





















Zelda II 100% Completion Walkthrough15 chapters
- Starting the AdventureSave, North Castle, first Life level, Shield in Rauru, the Parapa Desert Heart Container and the way to Parapa Palace.
- Palace 1Enter the first palace, collect its four keys and the Candle, defeat Horsehead and place the first crystal.
- Ruto, the Trophy and the Jump SpellThe first Magic Container, the Trophy from the Tantari Desert cave, Jump in Ruto Town, then the caves.
- Saria and the Life SpellFind the Mirror in Saria, learn Life, follow the river guard, and walk on toward Death Mountain in Zelda II.
- Death Mountain and the HammerEnter the caves, take the Hammer from the lava room, and collect the Magic Container and Link Doll on the way to Mido.
- Mido Town, the Water of Life and the Fairy SpellLearn Downward Thrust in the church, get the Water of Life from Moruge Swamp and unlock the Fairy spell.
- Palace 2Reach the palace from the swamp, get the Handy Glove, beat Helmethead and place the second crystal in route order.
- Palace 3Reach it from King’s Tomb, use Fairy, get the Raft, find the P-Bags and keys, beat Rebonack and place the third crystal.
- Nabooru and the Fire SpellReach Nabooru from the eastern desert, learn Fire in the town basement, find the 500 P-Bag and reach Magic level 6.
- Darunia, the Kidnapped Child and the Reflect SpellLearn Upward Thrust, rescue the kidnapped child on Maze Island and get Reflect.
- Palace 4Enter with Reflect, find the keys and P-Bags, beat Carock by reflecting his waves, and place the fourth crystal.
- Palace 5The fake wall, the Flute behind Iron Knuckles, keys, Attack level 7 and the Gooma boss in this green-brick palace.
- New Kasuto, Old Kasuto and the Thunder SpellThe Magic Container, Spell and Magical Key in the hidden town, Attack 8, Thunder.
- Palace 6Reach the palace with the Flute, climb the red-brick floors, defeat Barba, and place the crystal at the statue.
- Final PalaceCross the Valley of Death, beat Thunderbird and Dark Link, and claim the Triforce of Courage for the ending.
| Covers | Maze Island Palace, from its purple-brick entrance to the shore outside it |
|---|---|
| Palace | Maze Island Palace (Palace 4): Reflect needed for the Wizzrobes and Carock, boss Carock, crystal placed at the statue after him |
| Rewards | Boots, one crystal, three P-Bags (100, 100 and 200 EXP), Magic level 7 and Life level 8 from experience earned here; Heart Container 3 of 4 on the sea walk after the palace; no Magic Containers or Link Dolls |
This chapter takes you through Maze Island Palace, the fourth palace, from its entrance to the crystal and back out to the sea. You need the Reflect spell before you go in, and you leave with the Boots, the fourth crystal, three P-Bags and two level-ups.
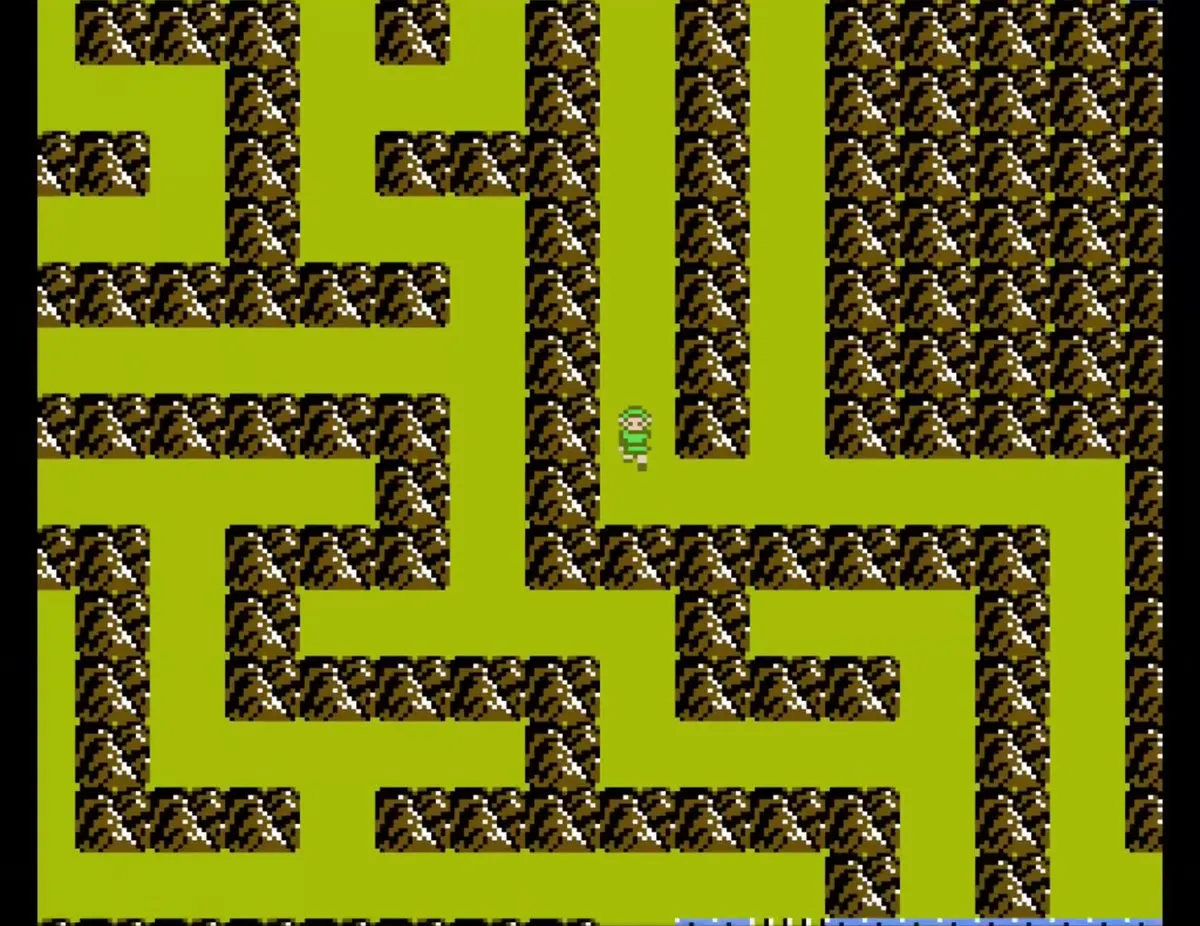
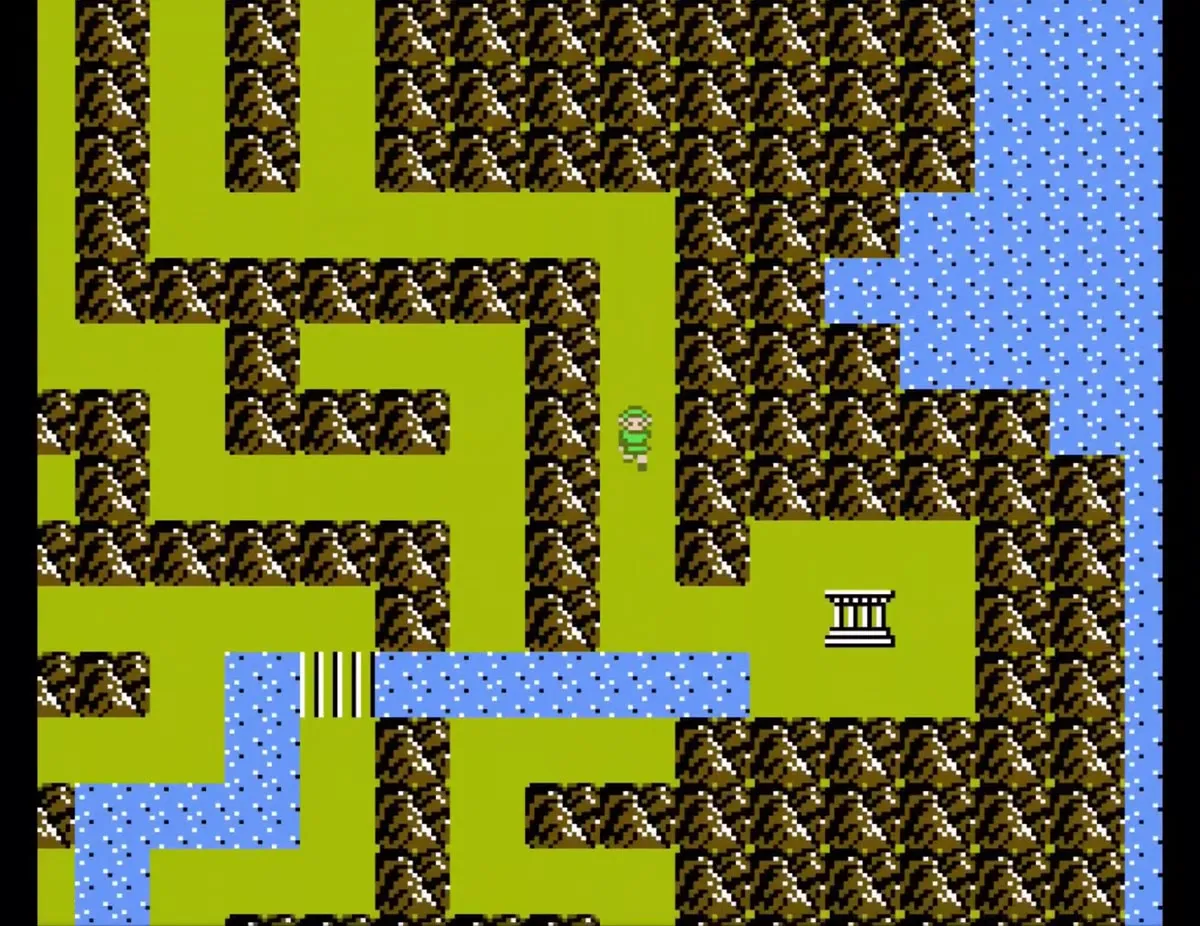
Table of Contents
Entering Maze Island Palace
Reach the purple-brick entrance
Maze Island Palace is on Maze Island, east of Darunia: walk the island’s paths up the left side, across the top and down the right side. Reflect is the spell to bring, and you get it from Darunia after rescuing the child who was taken to Maze Island. Wizzrobes wait in the very first room and cast waves of magic, so cast Reflect and crouch to send their spells back. They usually come in pairs.
Climb the purple-brick floors
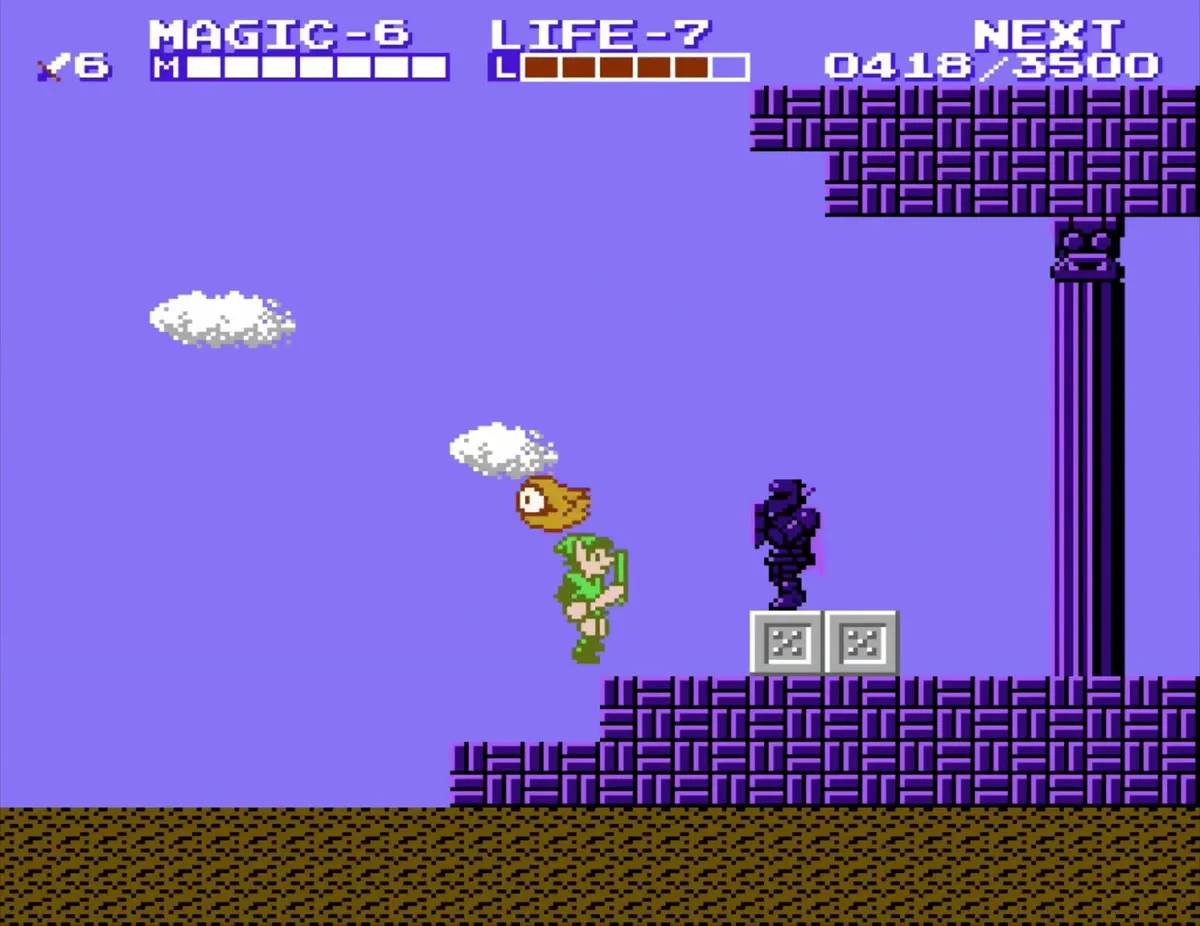
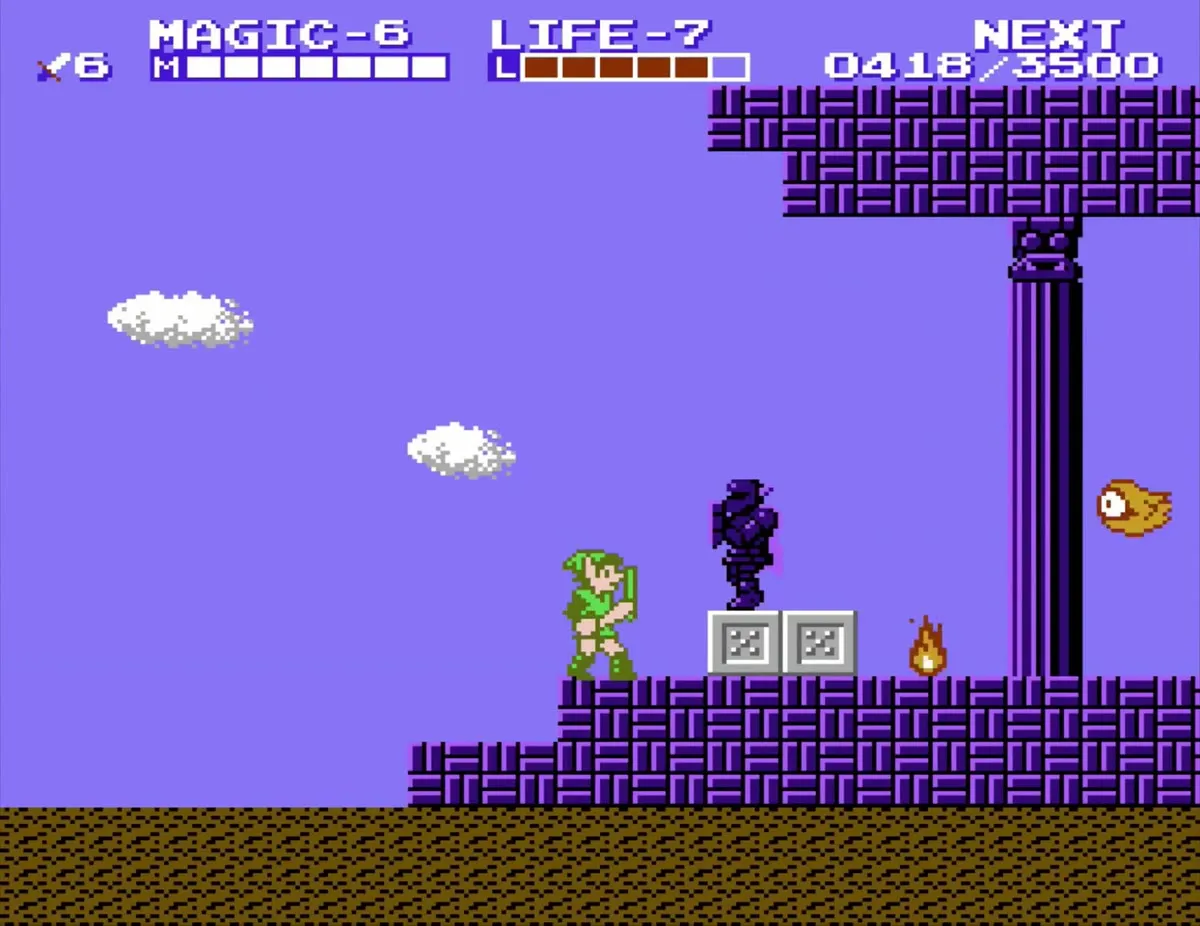
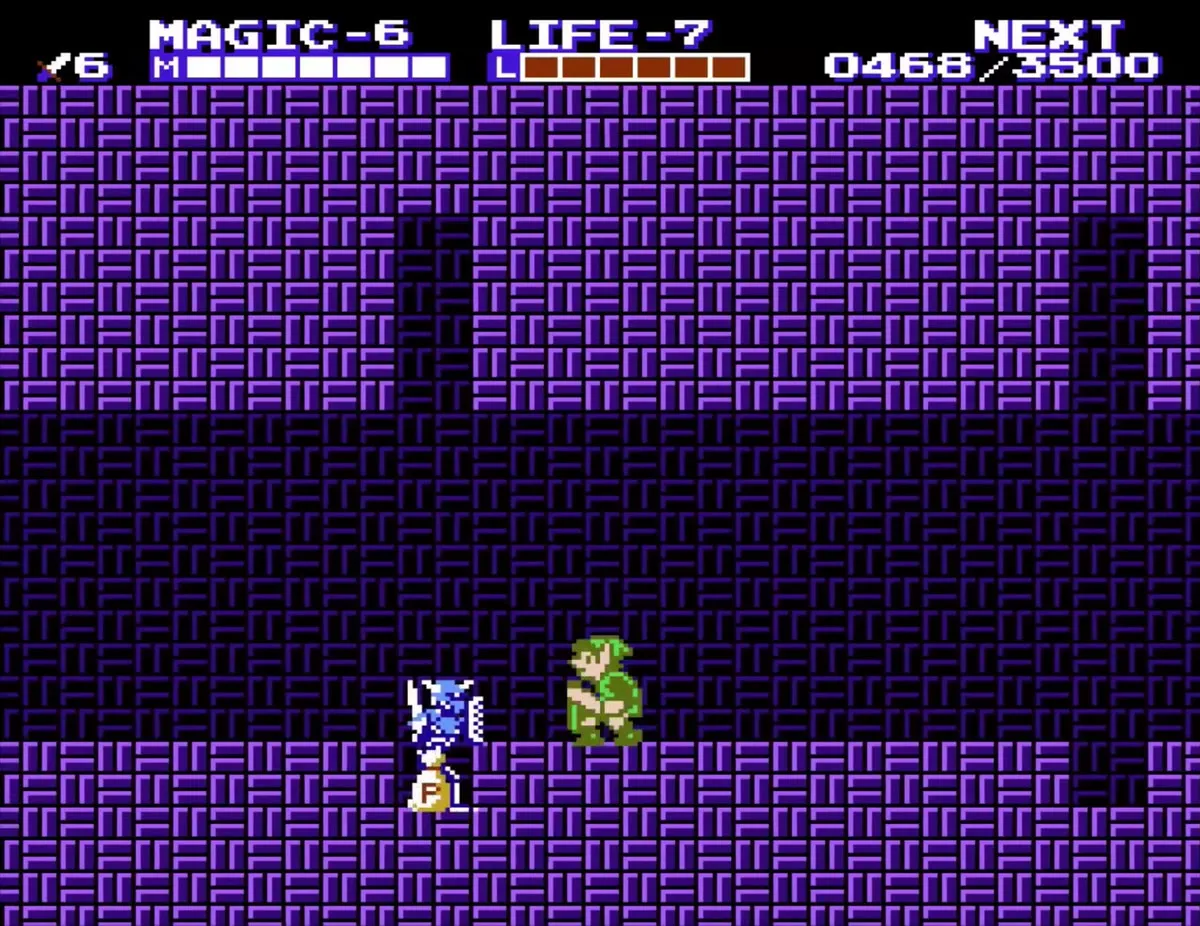
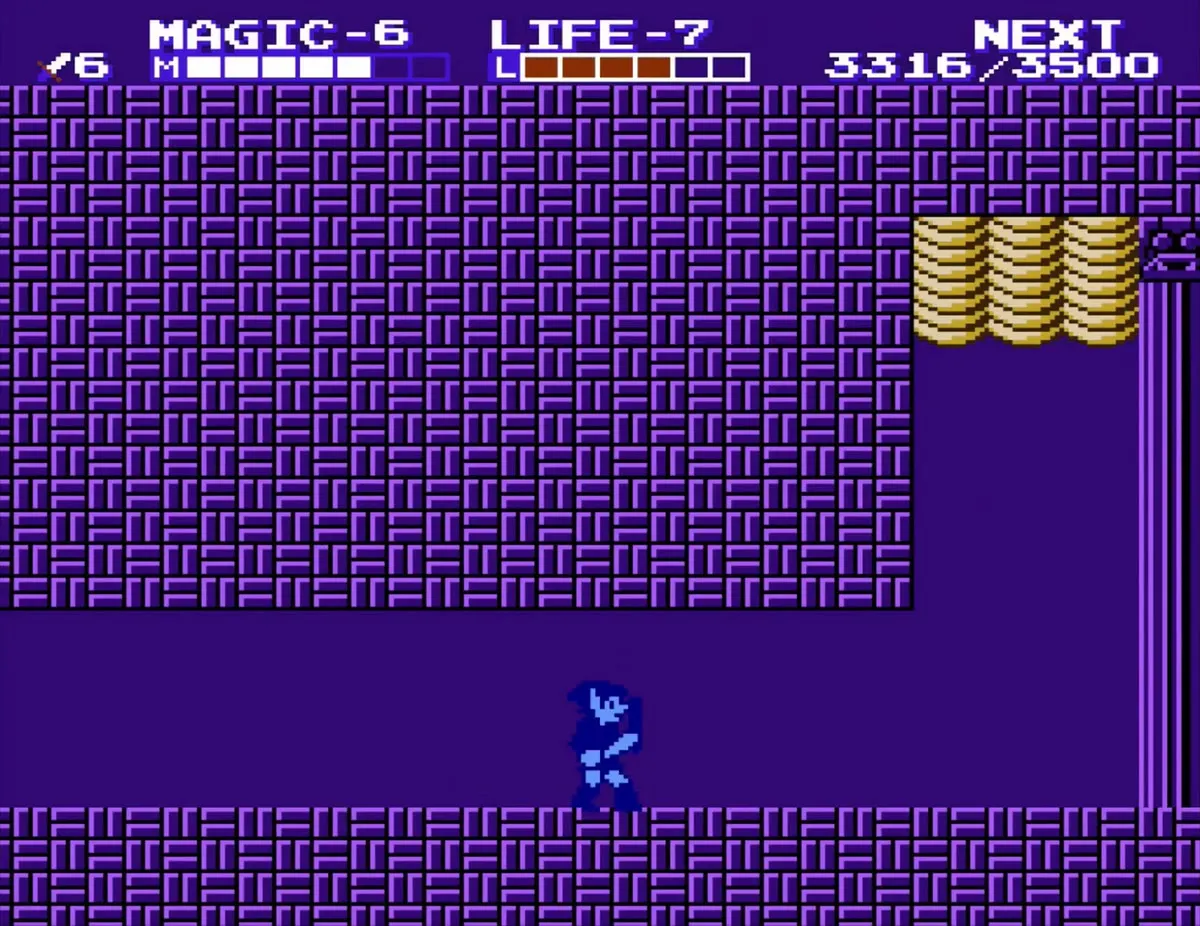
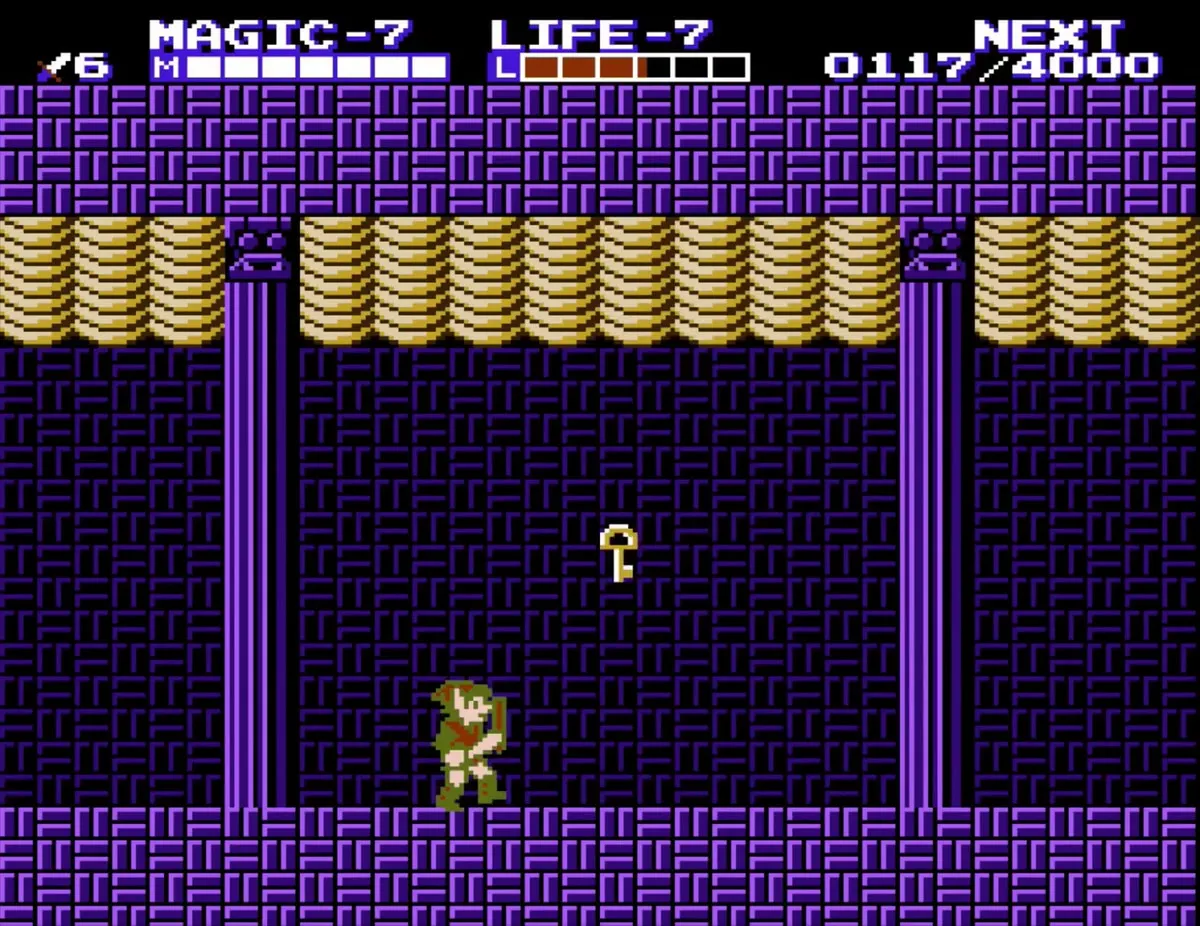
The rooms are built from purple brick with gold-capped columns. Wizzrobes live in this palace, and they only die to their own reflected spells, so keep Reflect ready whenever one is on screen; Kobolds that steal EXP often walk in with them. Ladders connect the floors, and blue and orange armored knights patrol the rooms between them.

Cross the lava strip and use keys on the gold doors
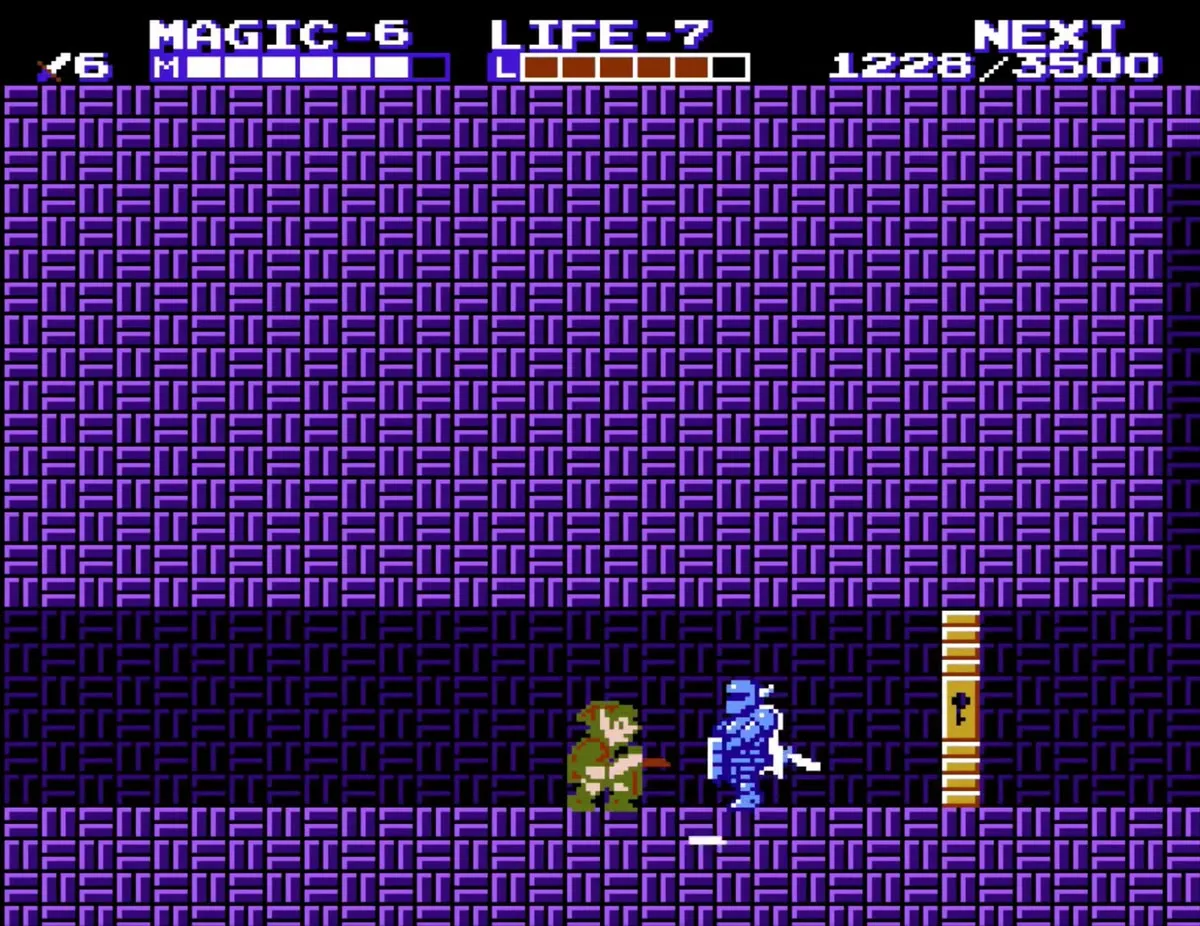
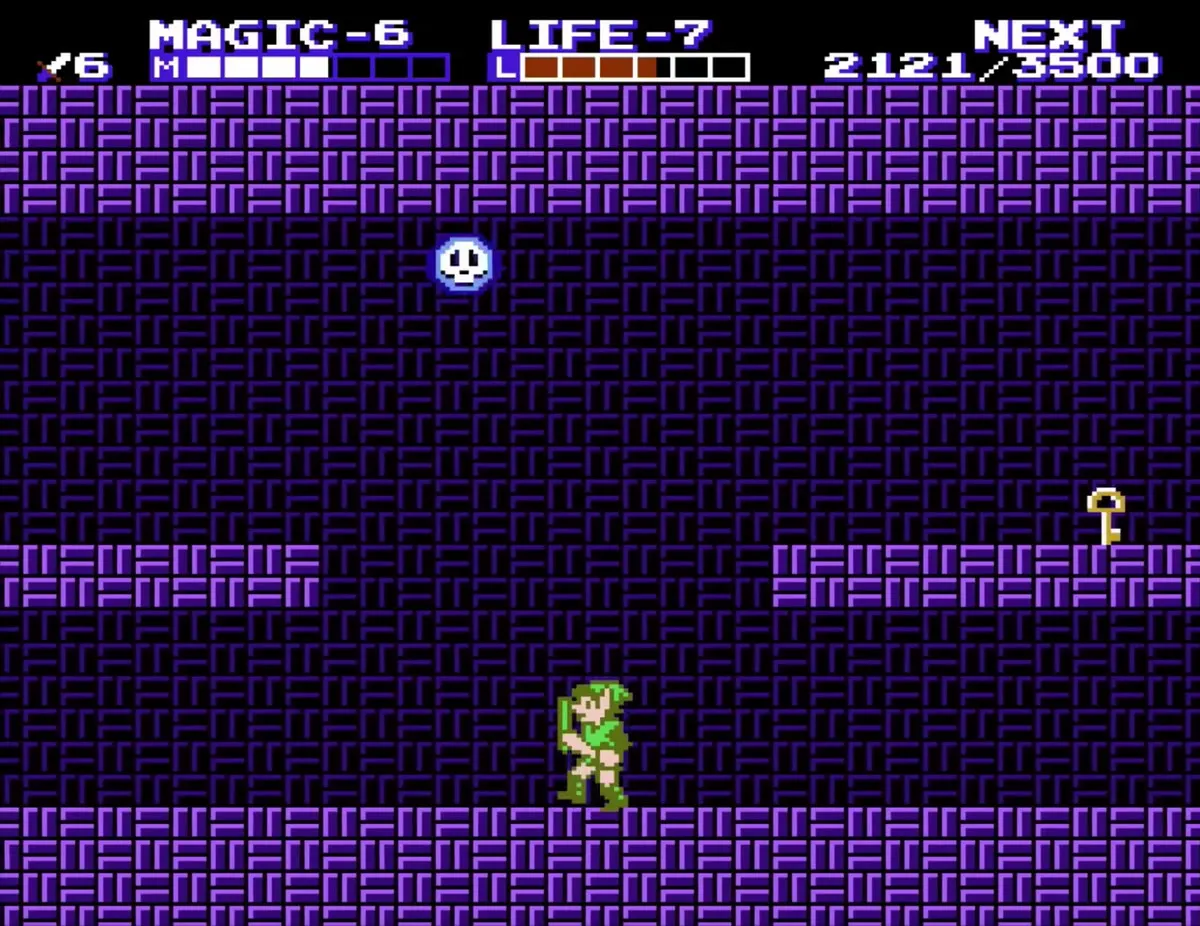
Some rooms have a red-brown lava strip along the floor, and gold doors block the way into the next section. Several keys lie on the floors of the purple rooms, so collect every one you can reach and use them on the gold doors to move forward.

Collect the P-Bags
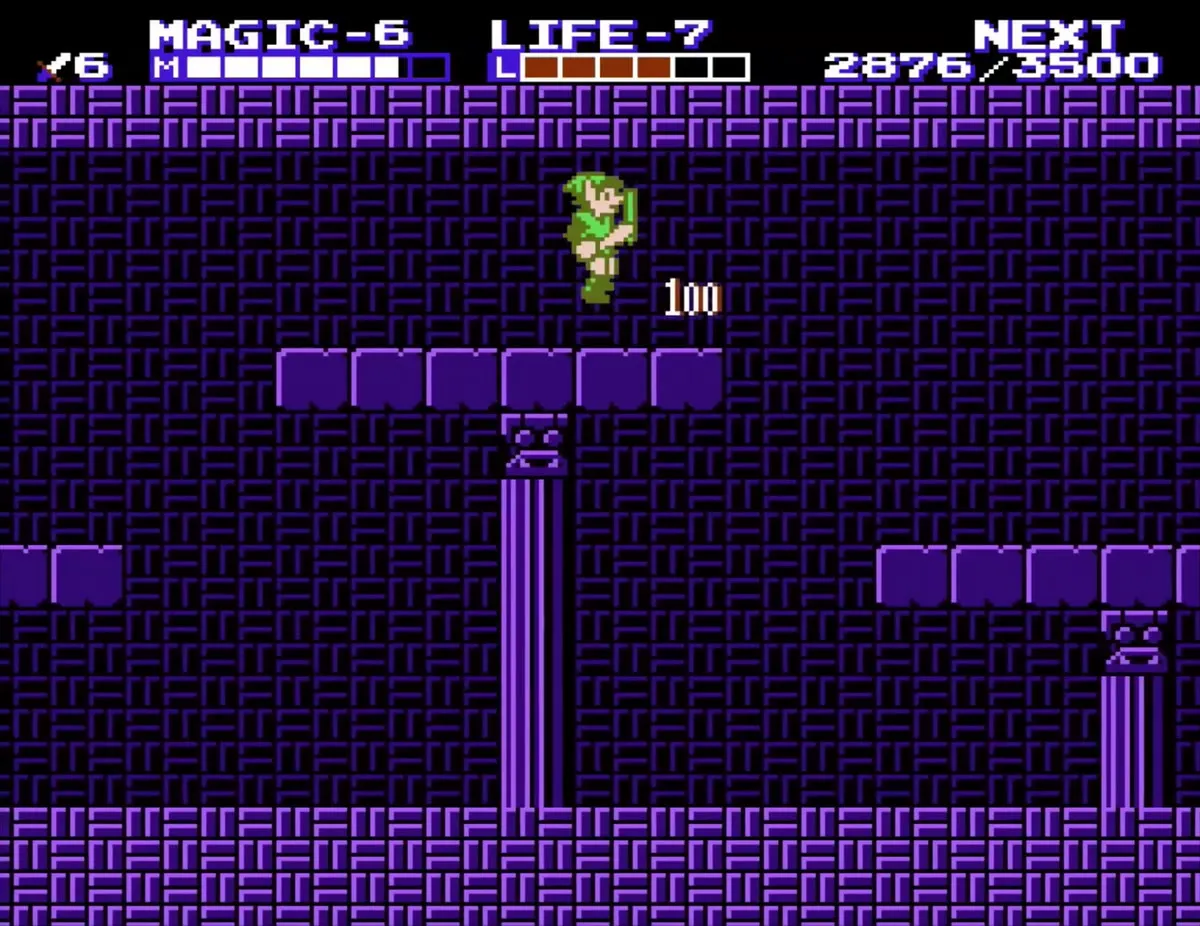
There are three P-Bags in this palace: 100 EXP in the room just right of the entrance, where two blue Stalfos drop in beside it; 200 EXP in a room with two Doomknockers, tunnelled out from under the blocks next to a key; and 100 EXP on a tall platform near the end that needs Jump, guarded by two blue Stalfos. Pouches on the floor in the purple rooms match these spots, so pick up every one you can reach. Read the P-Bags list for the full set across the game.


Boots, Carock and the crystal
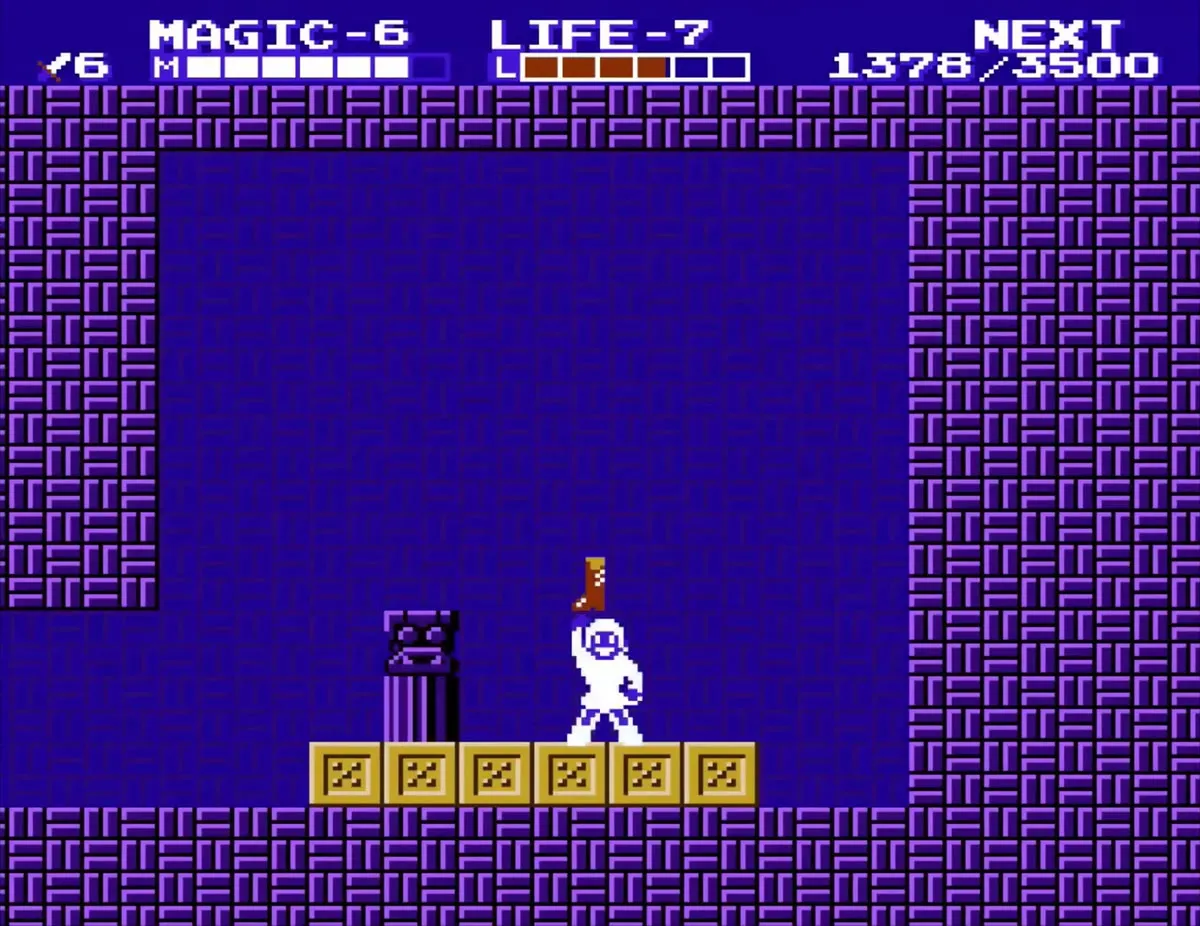
Get the Boots behind the locked door
The Boots are the palace item, held behind a locked door that a blue Iron Knuckle guards, so bring a key. With the Boots equipped you can walk on certain water on the overworld, which you will need at the lake beside the next palace.


Beat Carock by reflecting his waves
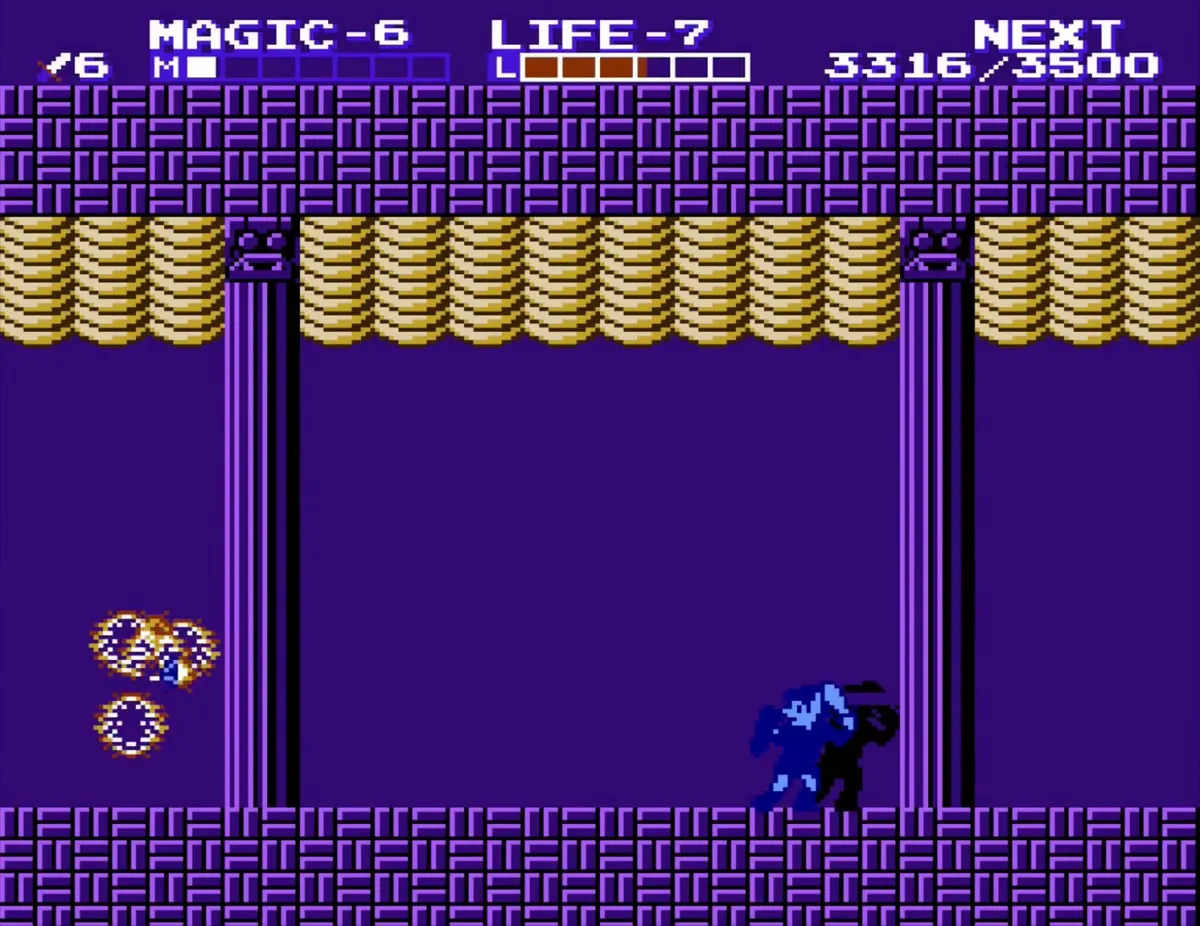
Carock is the boss of this palace, a large Wizard who throws waves and warps around the room very quickly. Cast Reflect before he starts attacking, so his magic bounces back at him. Crouch on one side of the room, facing the middle, and let his waves rebound until he sometimes jumps onto your head; if your health is low at that point, cast Life. He will eventually destroy himself with his own magic. See the bosses page for the full list of boss fights.
Place the fourth crystal
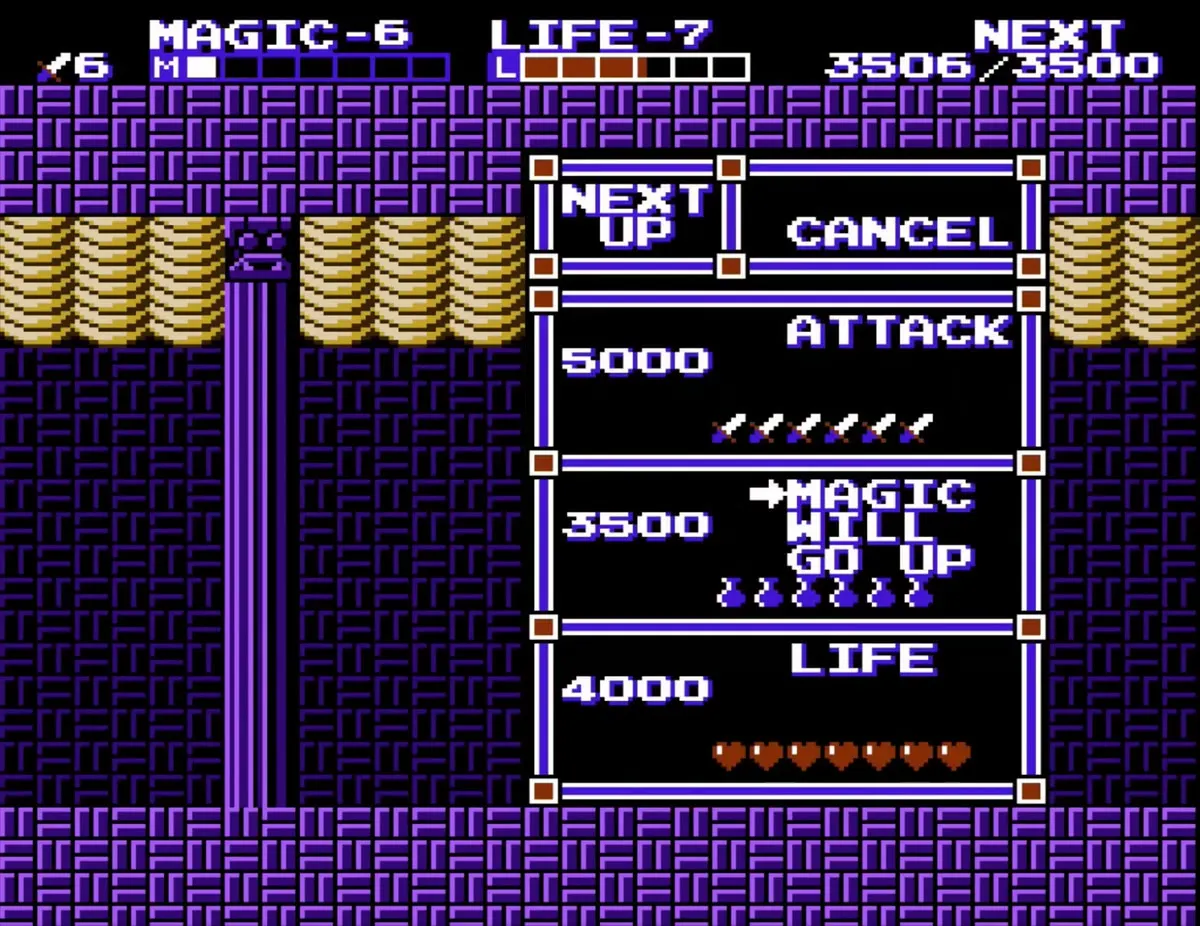
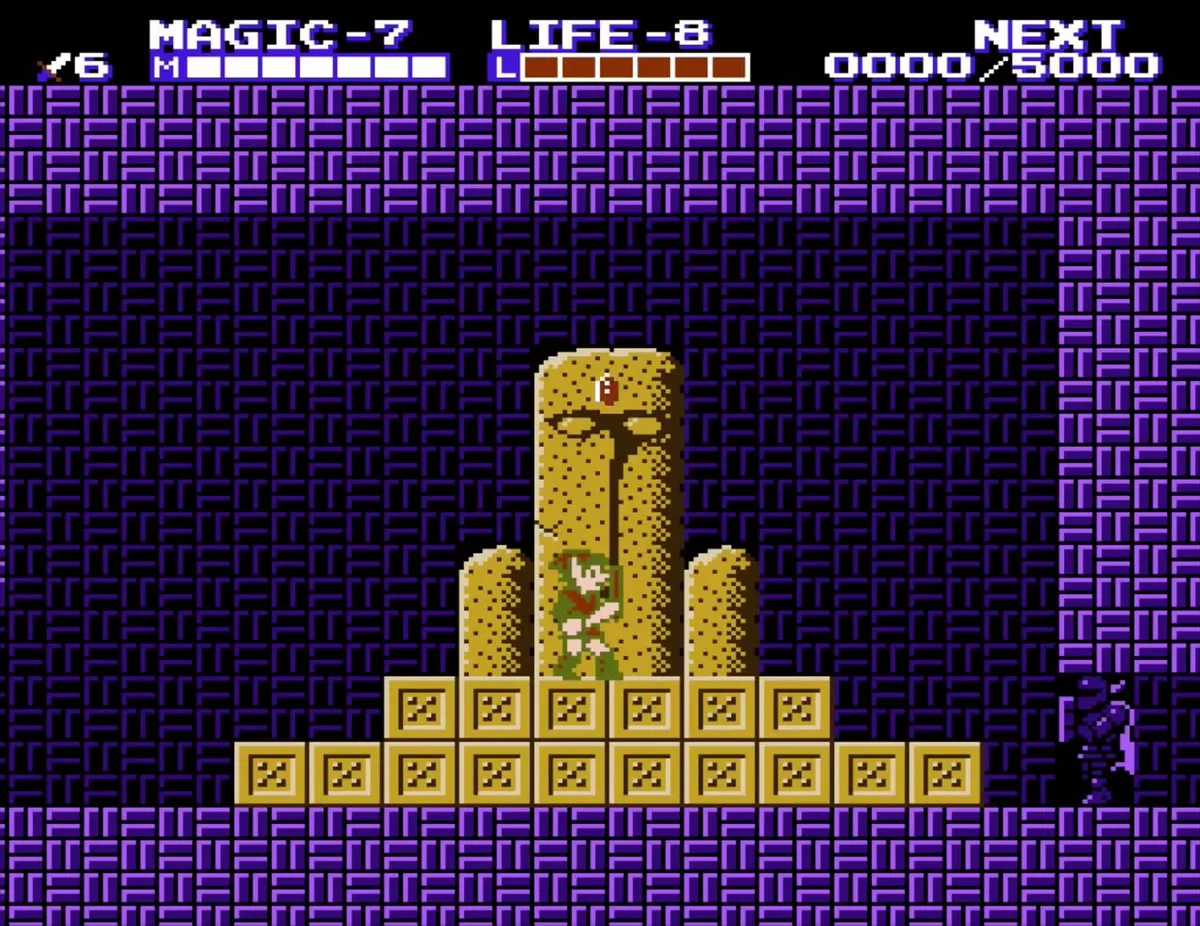
Once Carock is defeated, take the crystal to the statue in the palace and place it there. Placing a crystal raises your experience to the current cap for your level, so the counter fills up as soon as the crystal is set. The palaces and crystals page lists where the other crystals go.


Level-ups in the gold rooms
Reach Magic level 7
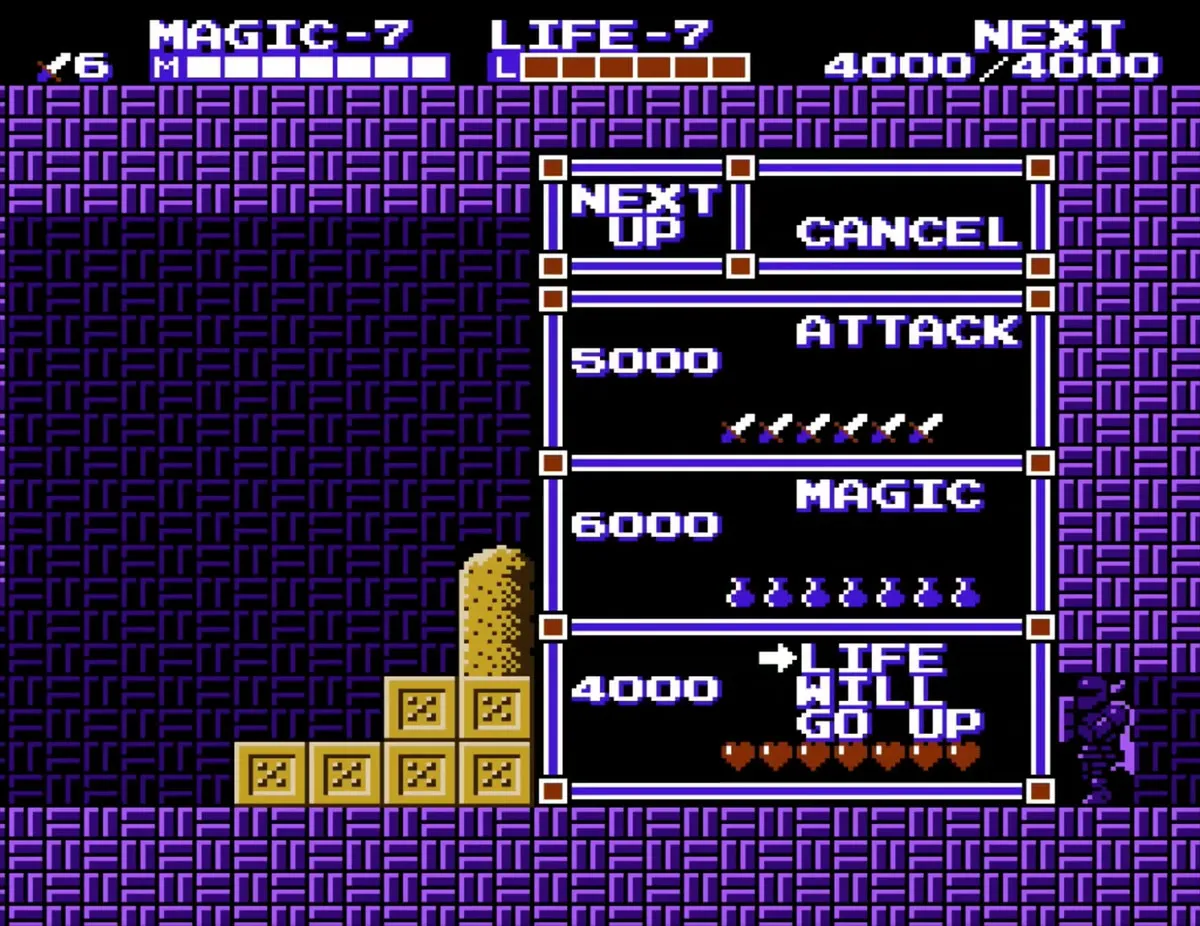
Before you reach the shrine, you earn enough experience to reach Magic level 7 in the gold-tile room, where the level-up menu appears after the red winged fight. Magic level 7 costs 3,500 EXP. In the gold shrine a little later, Life level 8 becomes affordable at 4,000 EXP.
Leaving the palace
Walk the shore outside
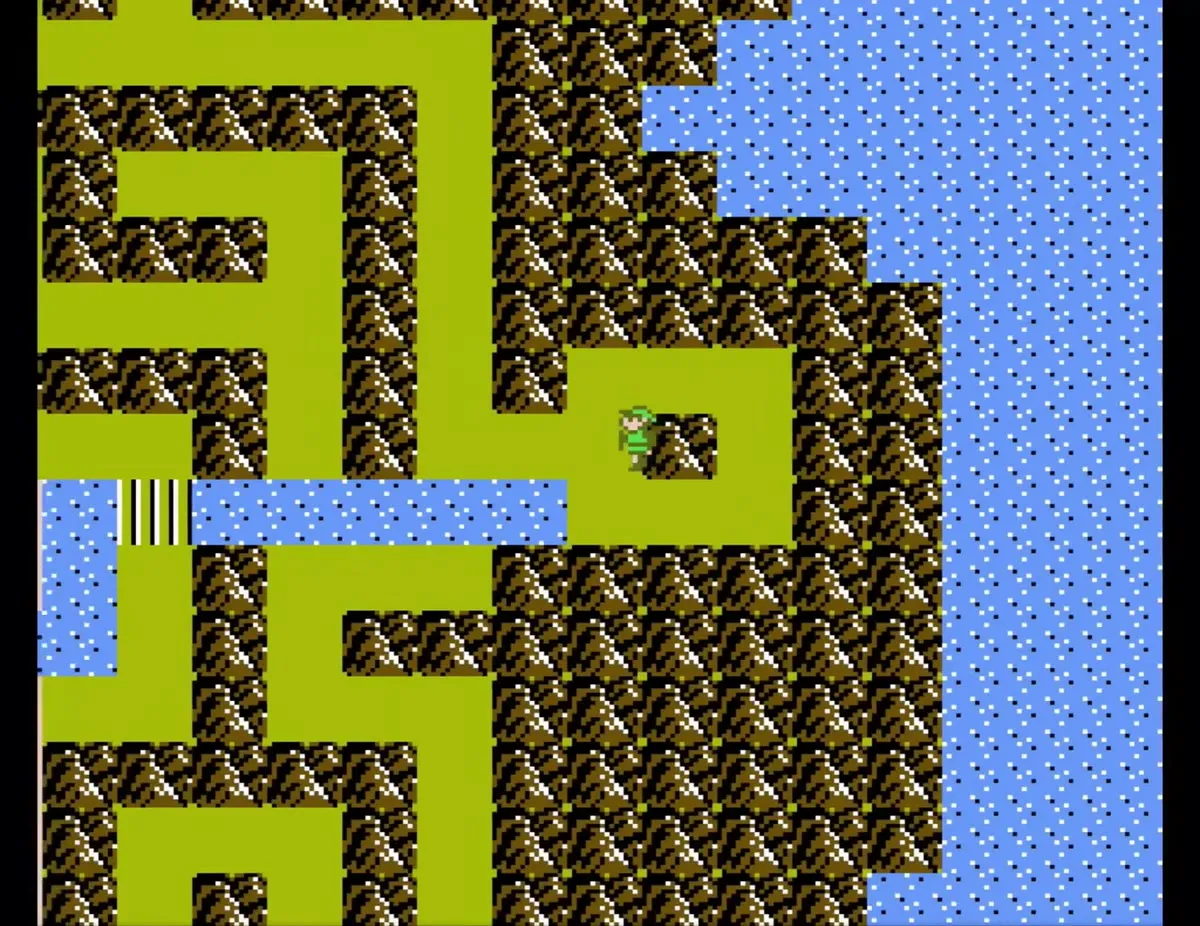
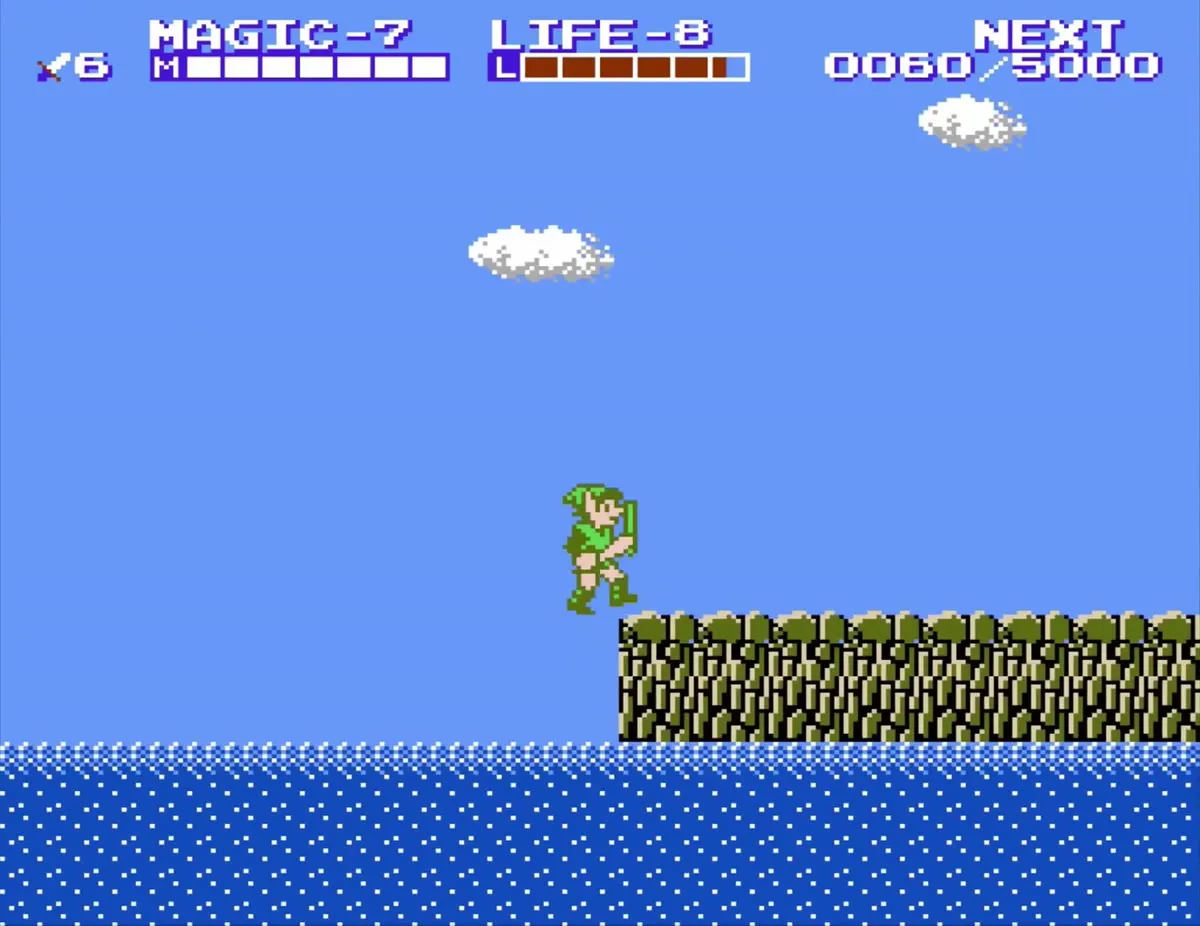
Leave the palace through its exit, which opens onto a top-down path with water on both sides. Follow the shore east past a grassy stretch and a desert strip with cacti, and keep an eye out for the enemies on the sand. The green column entrance and its dark green statue, which lead to the next palace, sit at the far end of the shore. With the Boots you can also walk out over the water: about halfway along the sea route turn north and then east to a hidden side-scrolling screen, where the third Heart Container waits on a grass ledge. See Heart Container Locations.

Chapter checklist
| Type | Name | Where |
|---|---|---|
| Item | Boots | Behind the locked door guarded by a blue Iron Knuckle |
| Boss | Carock | Palace boss; beat him with Reflect |
| Crystal | Fourth crystal | Statue in the palace, after Carock |
| P-Bag | 100 EXP | Room just right of the entrance |
| P-Bag | 100 EXP | Tall platform near the end (Jump), with two blue Stalfos |
| P-Bag | 200 EXP | Under the blocks in the room with two Doomknockers, next to a key |
| Keys | Several small keys | Floors of the purple rooms; used on gold doors |
| Level-up | Magic level 7 | Gold-tile room after the red winged fight (3500 EXP) |
| Level-up | Life level 8 | Gold shrine (4000 EXP) |
| Heart Container | Heart Container 3 of 4 | Outside the palace: Boots, walk the sea route toward Palace on the Sea, north then east to a hidden screen |
| Containers inside the palace | None | No Heart or Magic Containers inside this palace |
