





















Zelda II 100% Completion Walkthrough15 chapters
- Starting the AdventureSave, North Castle, first Life level, Shield in Rauru, the Parapa Desert Heart Container and the way to Parapa Palace.
- Palace 1Enter the first palace, collect its four keys and the Candle, defeat Horsehead and place the first crystal.
- Ruto, the Trophy and the Jump SpellThe first Magic Container, the Trophy from the Tantari Desert cave, Jump in Ruto Town, then the caves.
- Saria and the Life SpellFind the Mirror in Saria, learn Life, follow the river guard, and walk on toward Death Mountain in Zelda II.
- Death Mountain and the HammerEnter the caves, take the Hammer from the lava room, and collect the Magic Container and Link Doll on the way to Mido.
- Mido Town, the Water of Life and the Fairy SpellLearn Downward Thrust in the church, get the Water of Life from Moruge Swamp and unlock the Fairy spell.
- Palace 2Reach the palace from the swamp, get the Handy Glove, beat Helmethead and place the second crystal in route order.
- Palace 3Reach it from King’s Tomb, use Fairy, get the Raft, find the P-Bags and keys, beat Rebonack and place the third crystal.
- Nabooru and the Fire SpellReach Nabooru from the eastern desert, learn Fire in the town basement, find the 500 P-Bag and reach Magic level 6.
- Darunia, the Kidnapped Child and the Reflect SpellLearn Upward Thrust, rescue the kidnapped child on Maze Island and get Reflect.
- Palace 4Enter with Reflect, find the keys and P-Bags, beat Carock by reflecting his waves, and place the fourth crystal.
- Palace 5The fake wall, the Flute behind Iron Knuckles, keys, Attack level 7 and the Gooma boss in this green-brick palace.
- New Kasuto, Old Kasuto and the Thunder SpellThe Magic Container, Spell and Magical Key in the hidden town, Attack 8, Thunder.
- Palace 6Reach the palace with the Flute, climb the red-brick floors, defeat Barba, and place the crystal at the statue.
- Final PalaceCross the Valley of Death, beat Thunderbird and Dark Link, and claim the Triforce of Courage for the ending.
| Covers | Three-Eye Rock Palace from its entrance to the crystal statue: elevators and armored knights, the Rebonack mini-bosses, the Barba boss fight, and the Magic level-up |
|---|---|
| Palace | Three-Eye Rock Palace (Palace 6): play the Flute at the three rocks, use the Magical Key on locked doors, Barba is the boss, the crystal goes in the statue after Barba |
| Rewards | Cross (key item), Magic level 8 and an experience fill at the statue, 1 Link Doll (5 of 6, 1UP), 7 P-Bags, red magic jars, 1 crystal; no Heart Container or Magic Container inside this palace (the last Heart Container is on the desert screen just before it, in the Kasuto chapter) |
Three-Eye Rock Palace is the sixth palace, a hidden red-brick dungeon that you can only reach by playing the Flute at a set of three rocks on the east coast. Inside, you ride elevators between floors, fight armored Iron Knuckles, collect the white P-Bags along the way, and face Barba, the dragon that rises from the lava. The short route: reach the palace, clear the floors to the lava room, defeat Barba, then place the crystal at the statue to fill your experience bar.
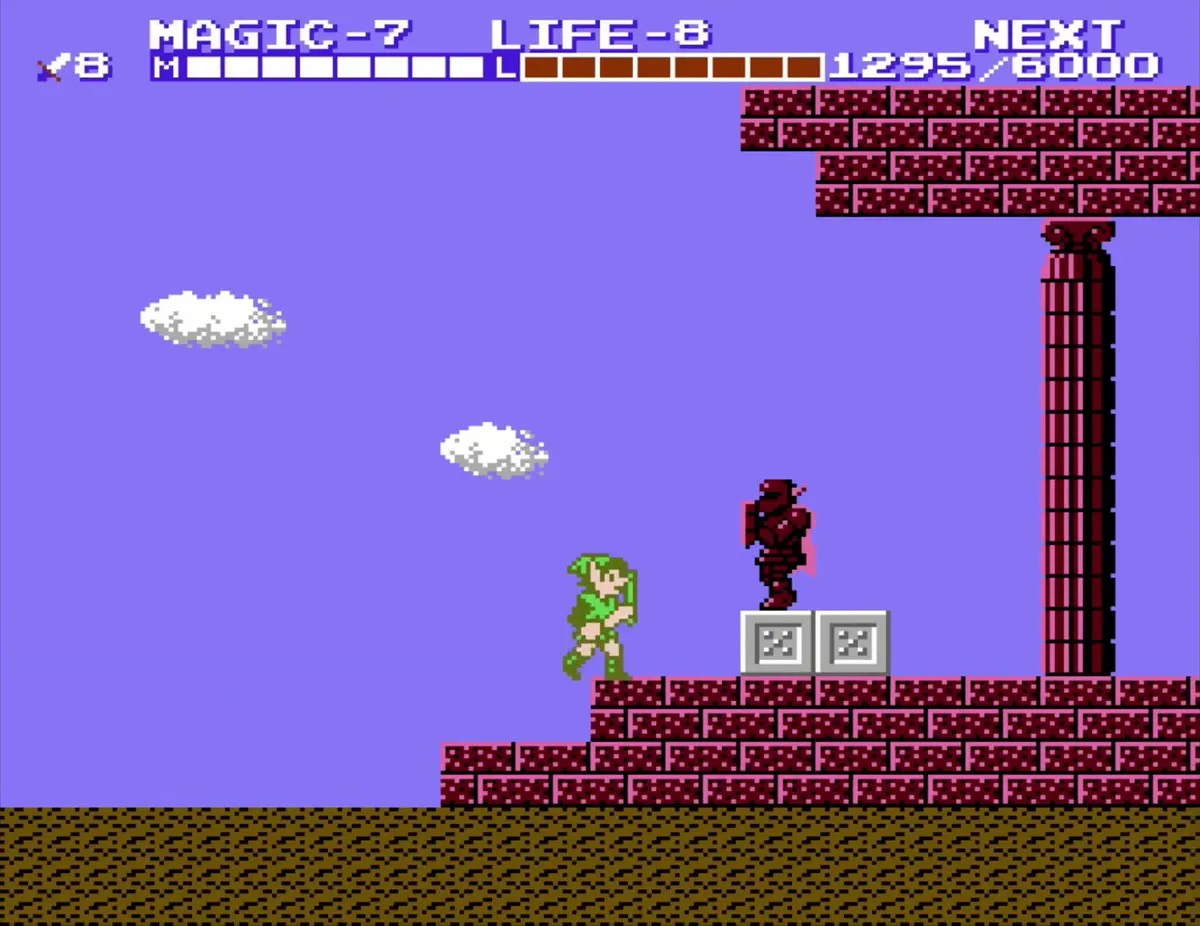
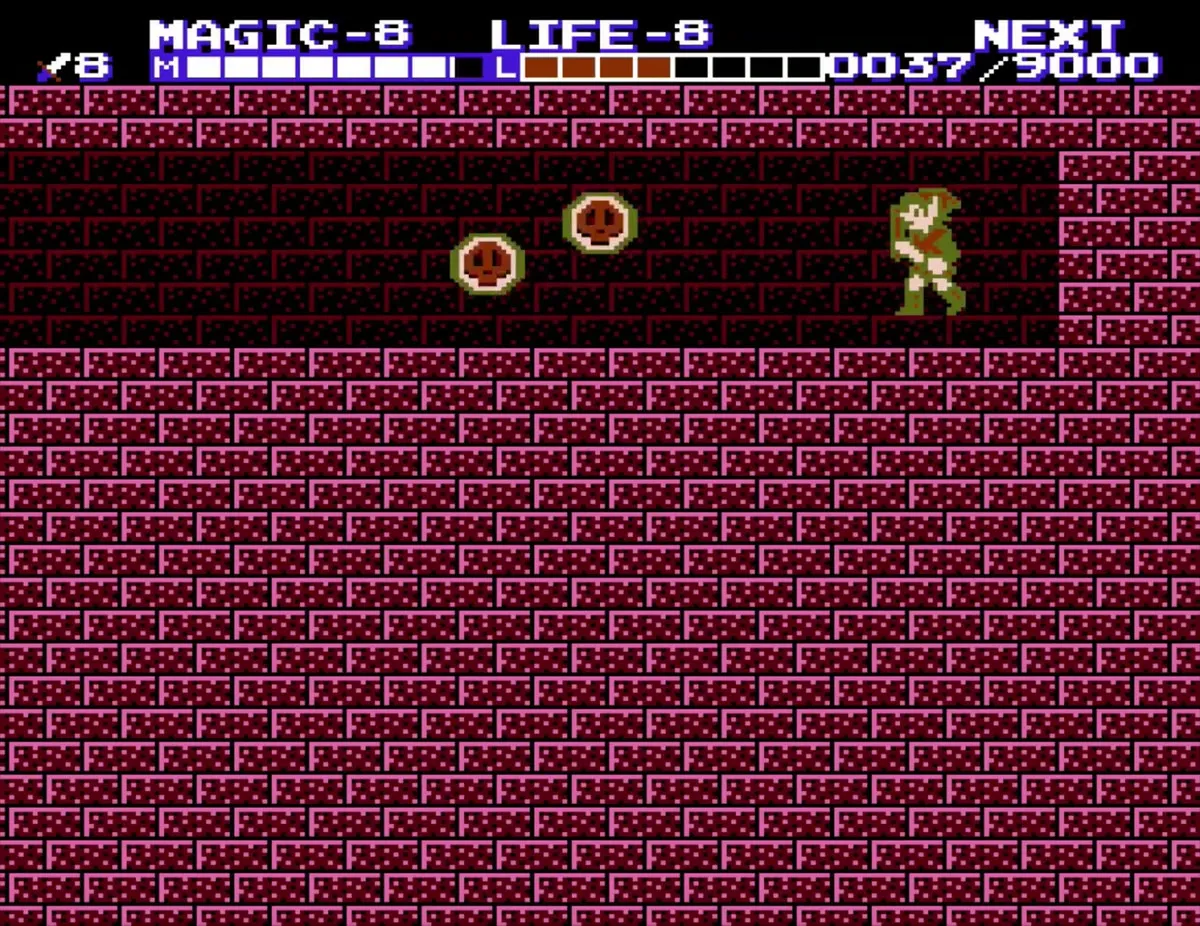

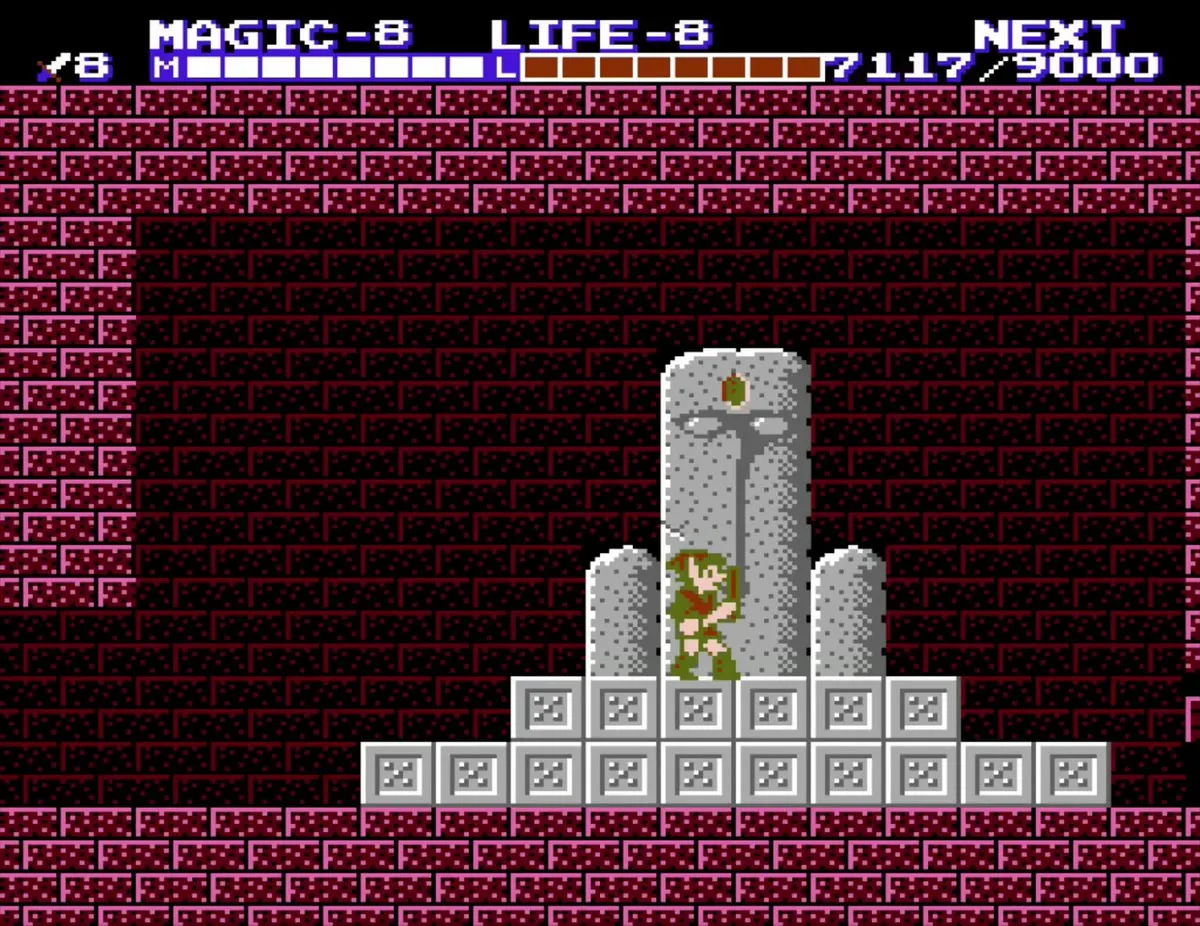
Table of Contents
Reaching Three-Eye Rock Palace
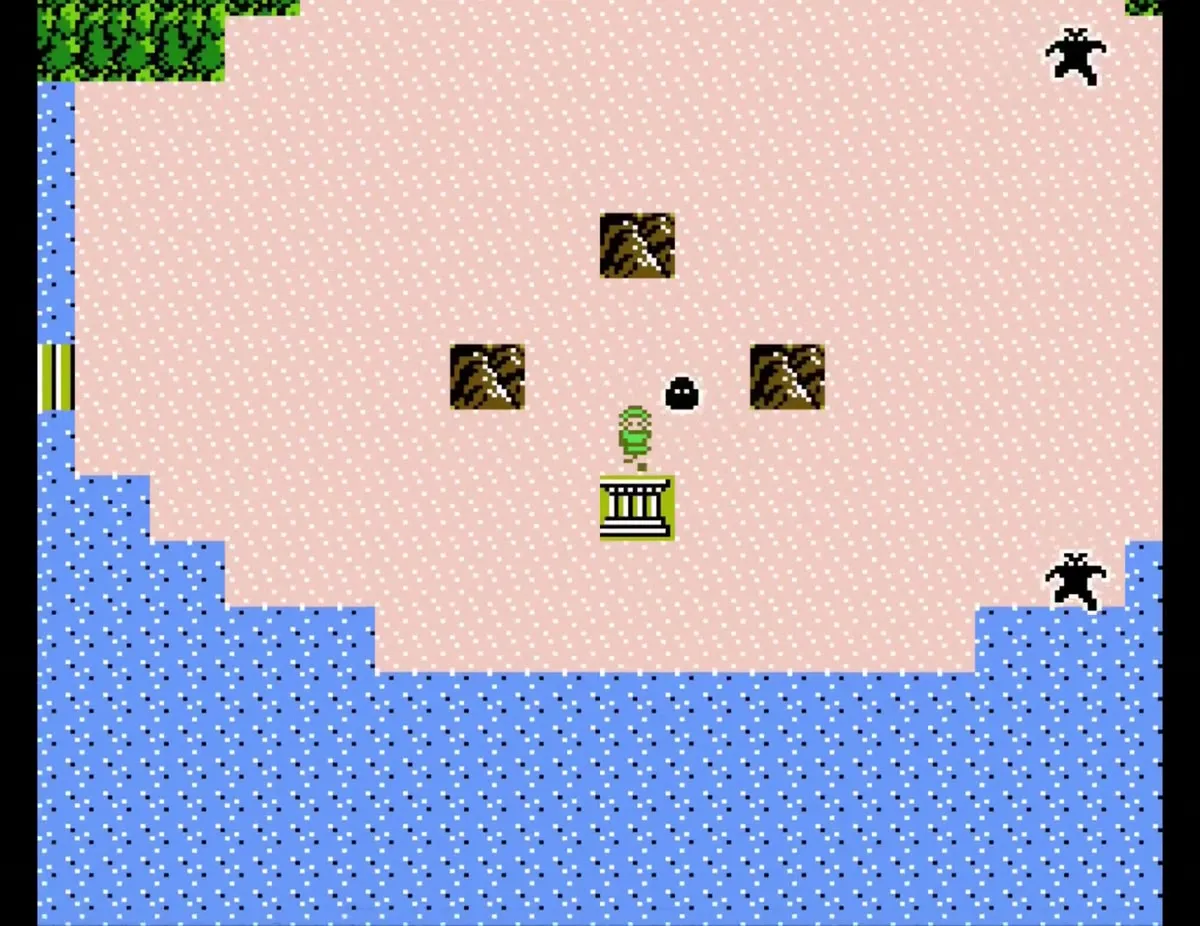
Play the Flute at the three rocks
Travel to the desert south of New Kasuto and head east toward the coast, where three rocks stand together. Stand in the middle of the rocks and play the Flute, and the palace entrance appears. Walk into the entrance and drop down the elevator to start the palace.

Carry the Magical Key and your spells
The locked doors inside this palace open only with the Magical Key from New Kasuto, and the palace has no keys you must find for them. Before you go in, make sure Jump, Fairy, Reflect and Shield are in your magic menu. Jump lets you reach ledges and gaps and strike Barba from above, Fairy floats you across wide gaps, Reflect kills the Wizzrobes quickly, and Shield helps against Barba’s fire.
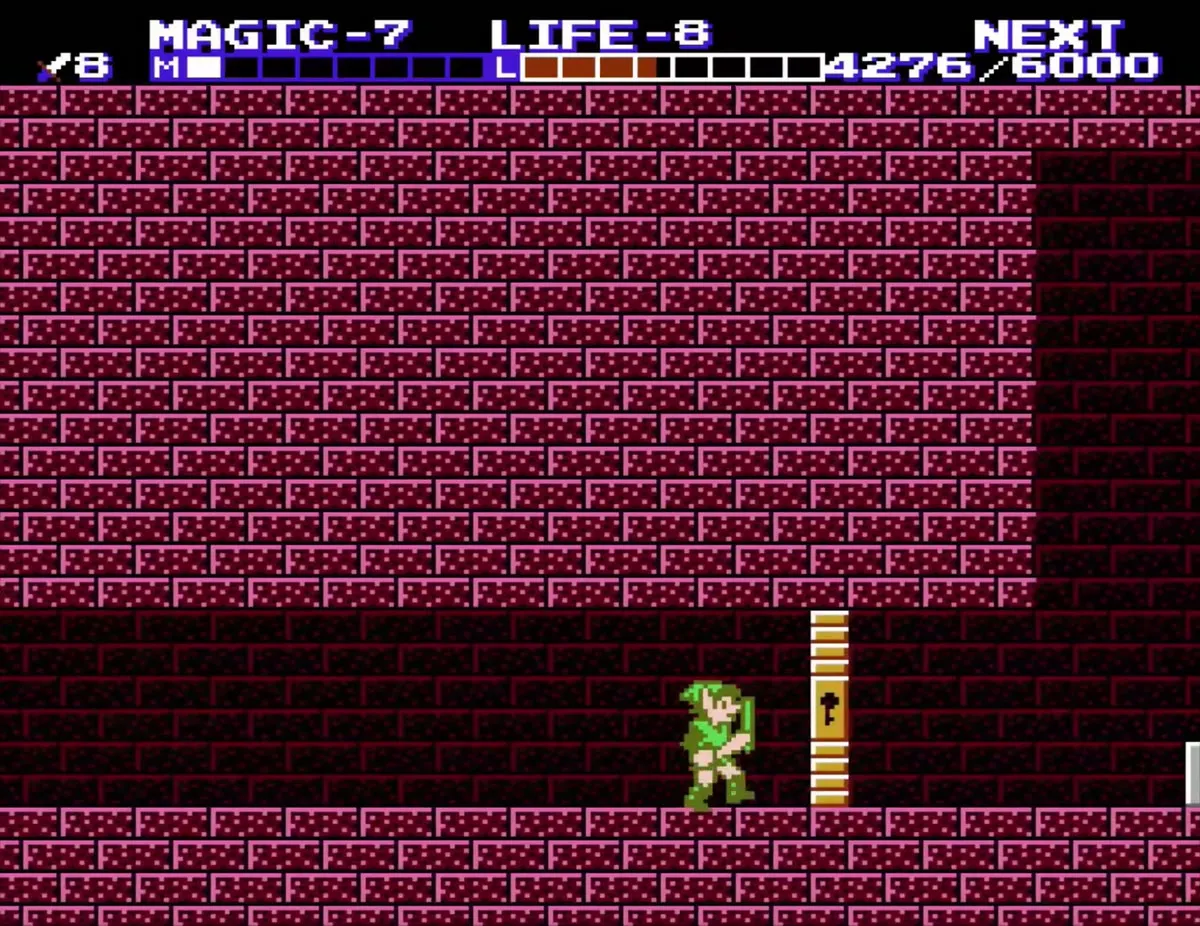
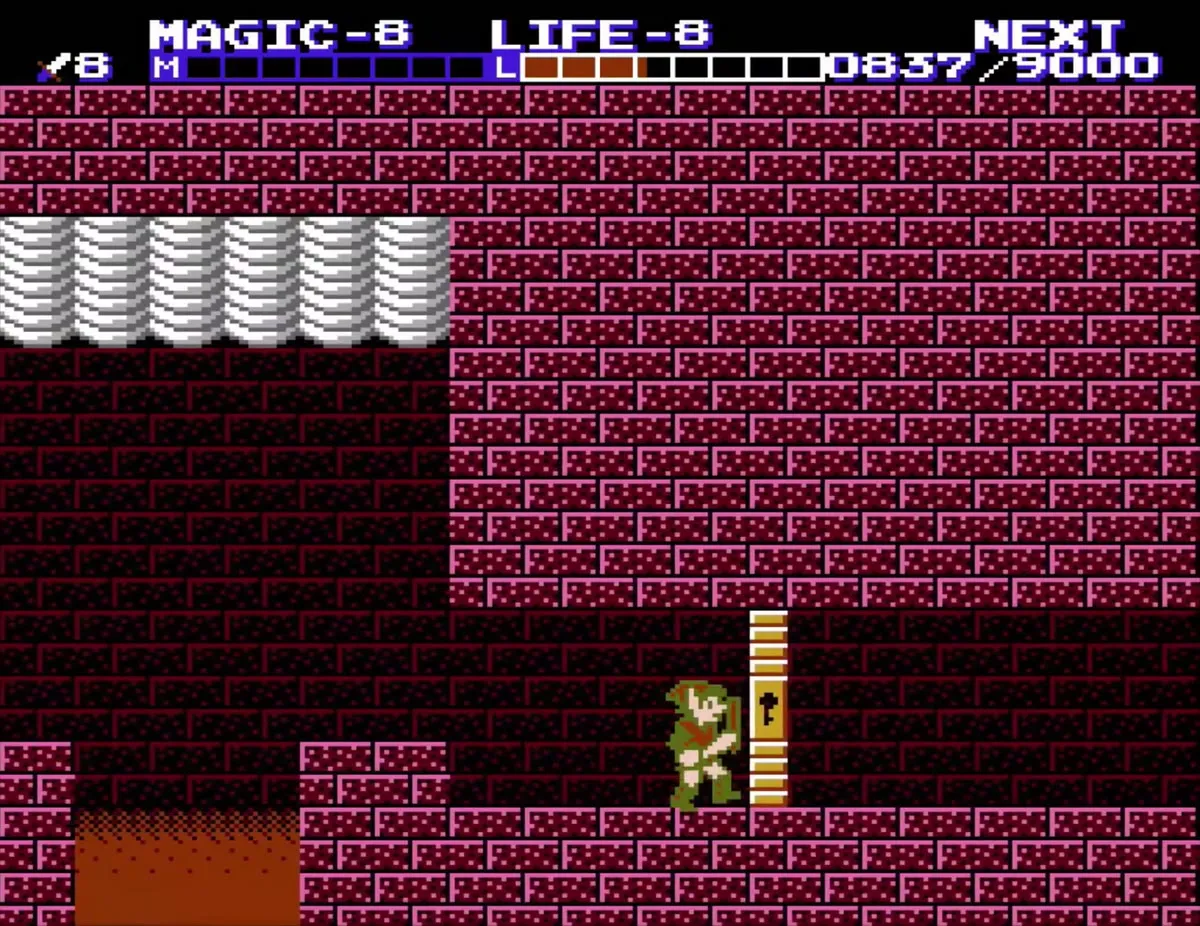
Palace 6: Three-Eye Rock Palace
Entrance and the first pillars
The entrance opens onto a room with a grey floor, a grey block, and red pillars. Walk to the right through the entrance room. On a low ledge at the left side of the room, a white bag marked P sits by the wall. Jump up to it and collect it, because it is a P-Bag that adds points to your total.
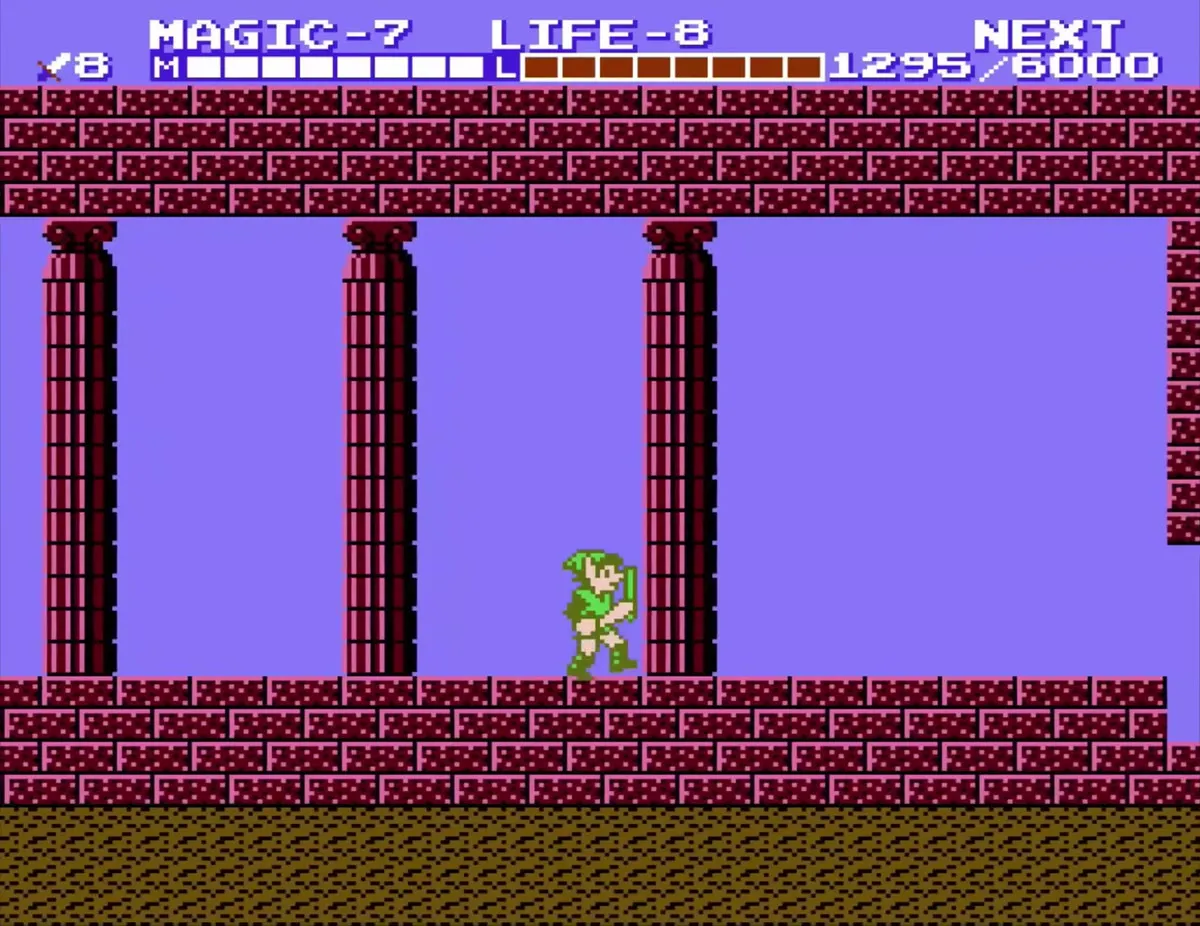

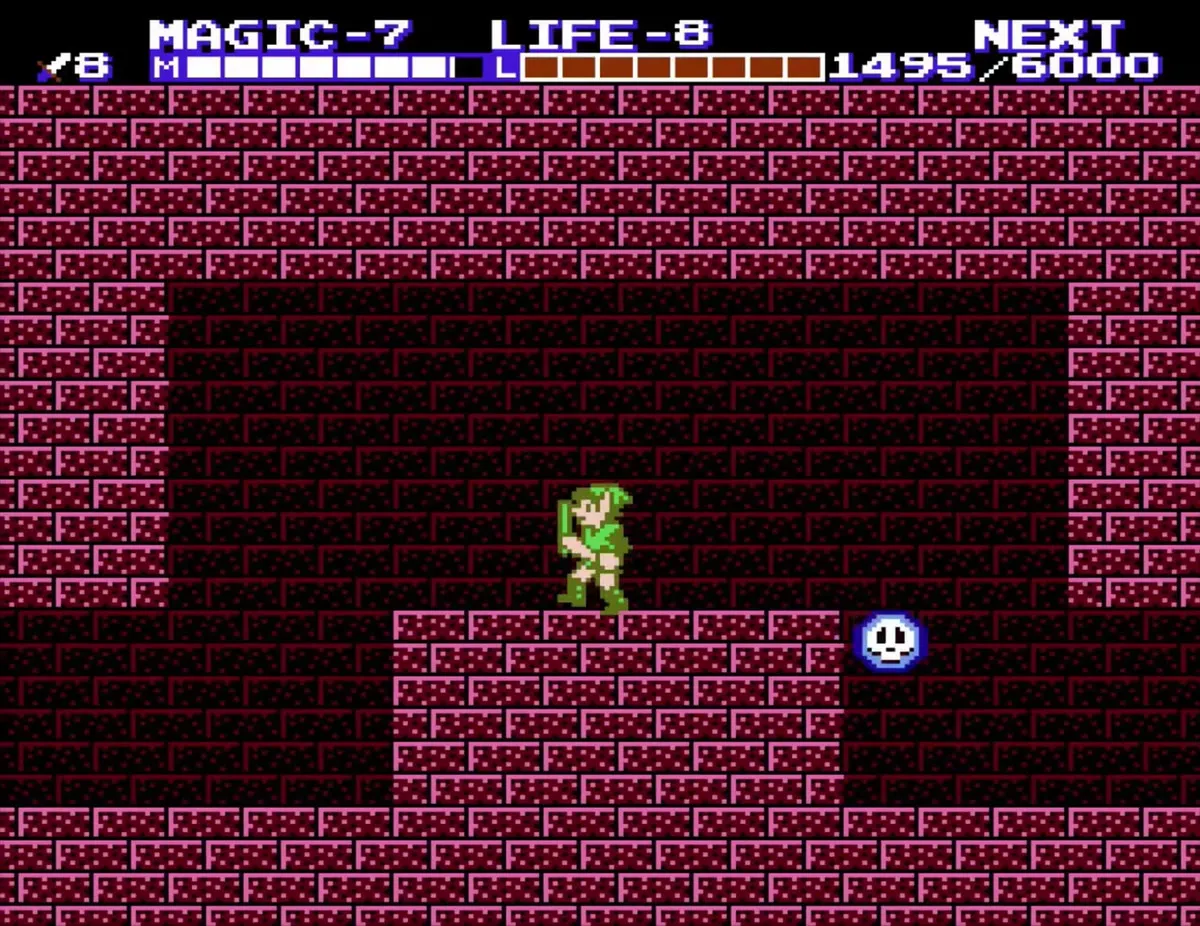
Floating skulls drift through the rooms past the red pillars. Strike each one as it comes into range, and keep moving rather than waiting for them to come to you.
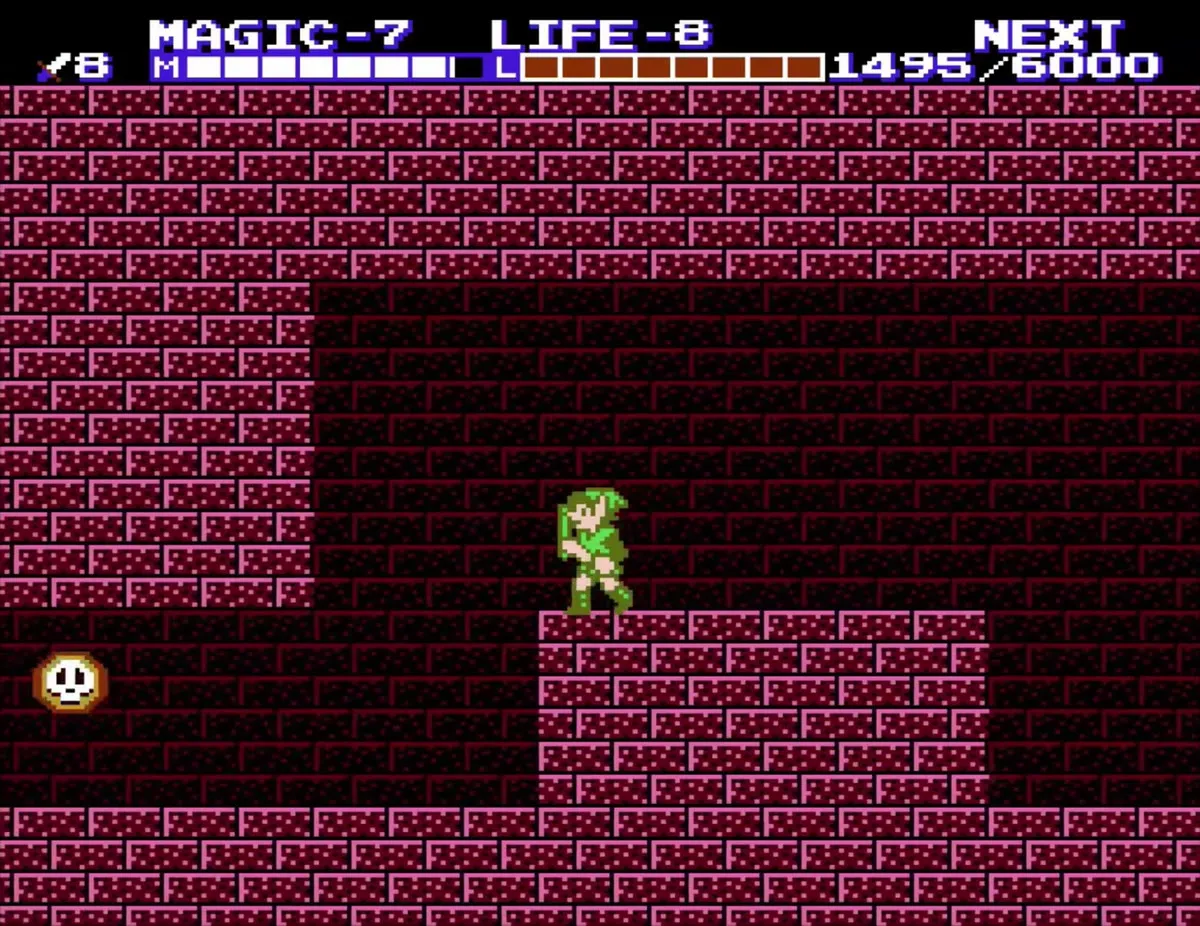
Further along, an armored Iron Knuckle waits beside a pillar topped with gold. Use your sword to defeat it, staying out of reach of its strikes. Then carry on to the block steps that lead up to the next area.
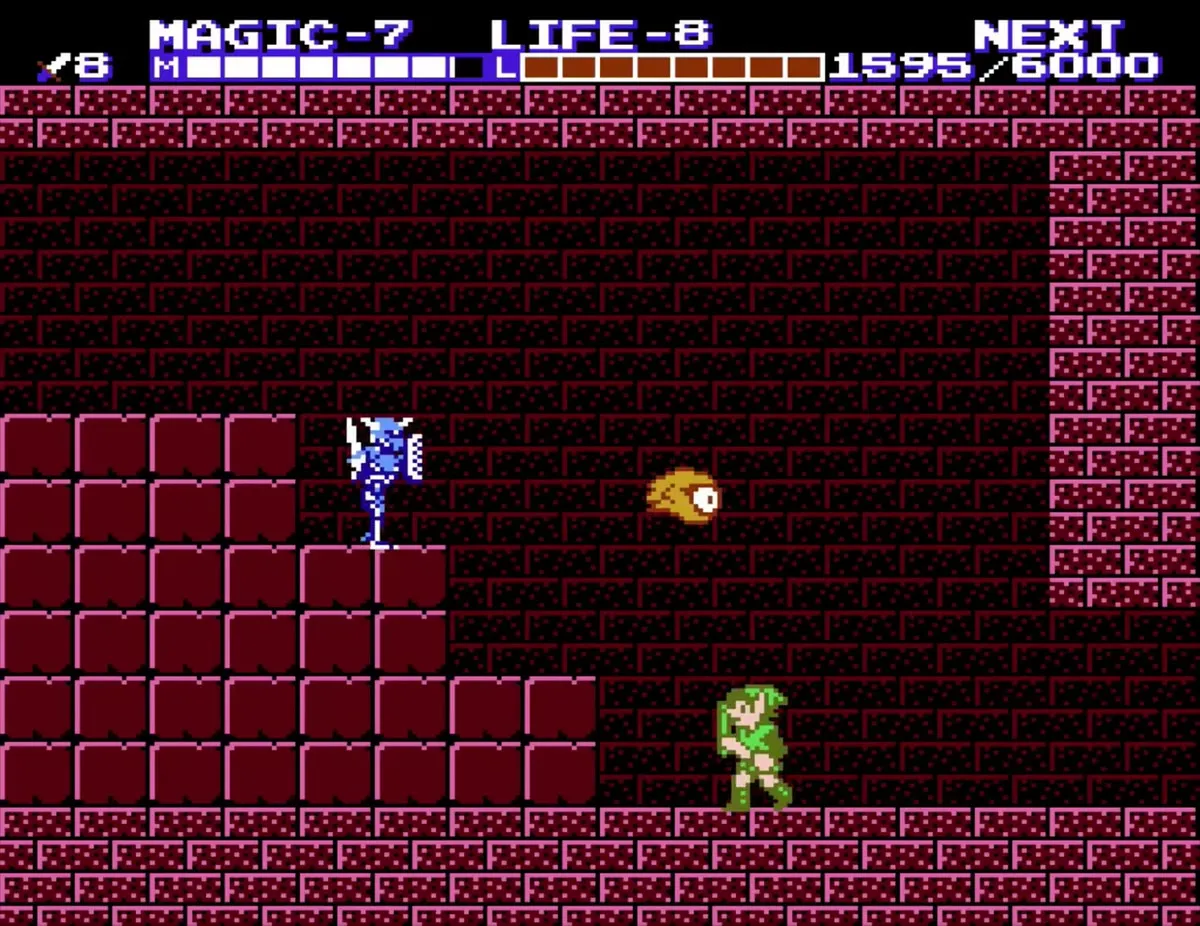
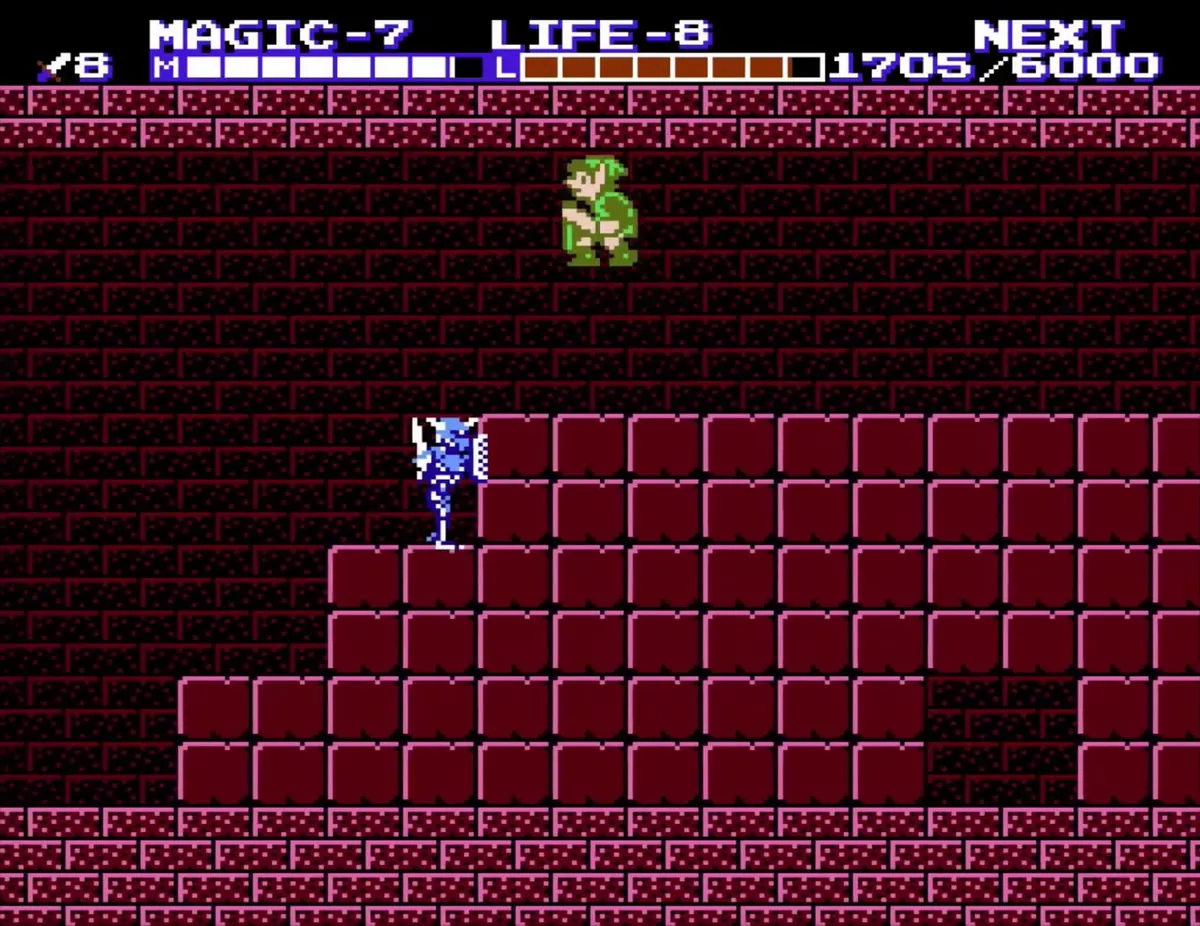
Block steps and the gold-rail elevator
Climb the block steps to a second white P-Bag on a ledge. Once you have it, walk to the gold-rail elevator. Ride it up, then ride it back down to continue on this floor. Elevator shafts are the way between floors, so use them whenever a shaft is in your path.
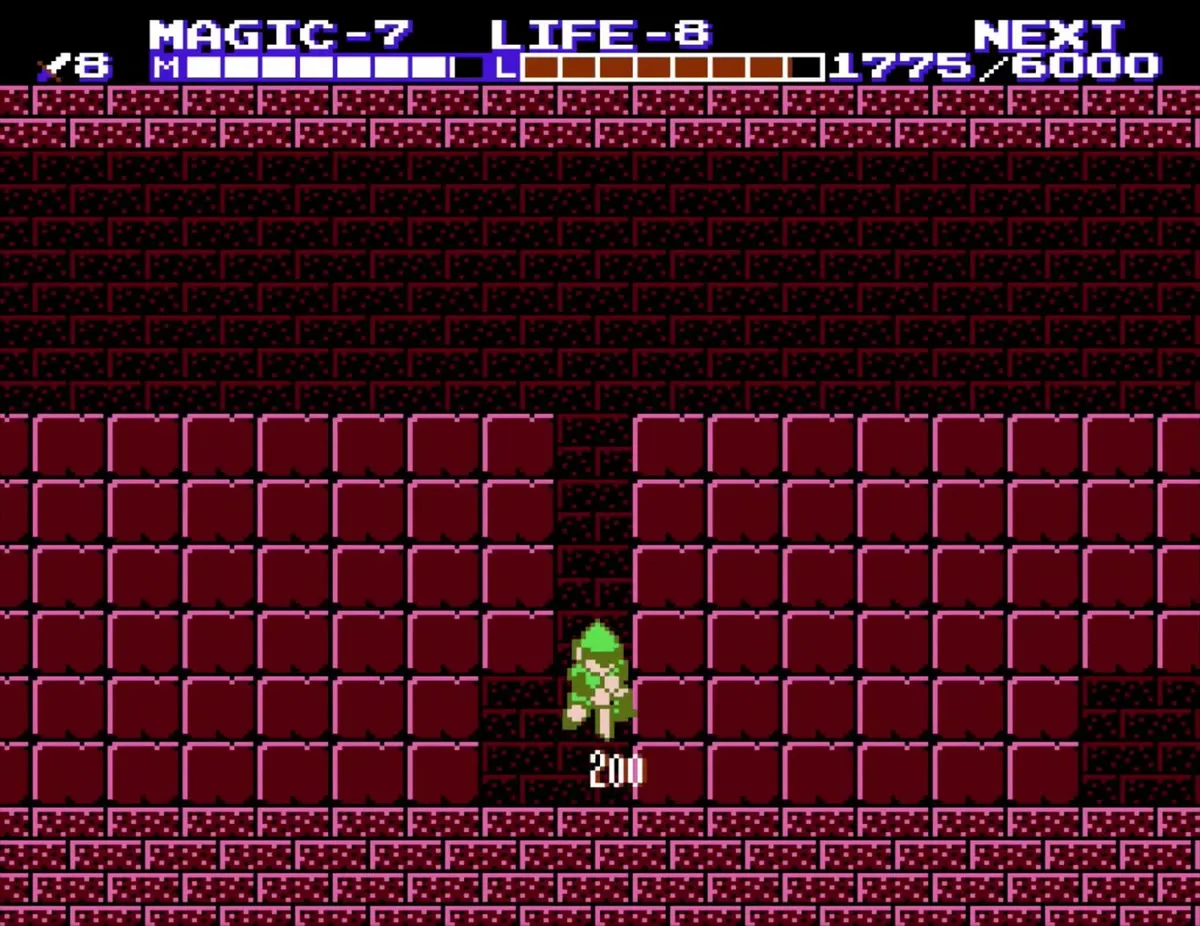
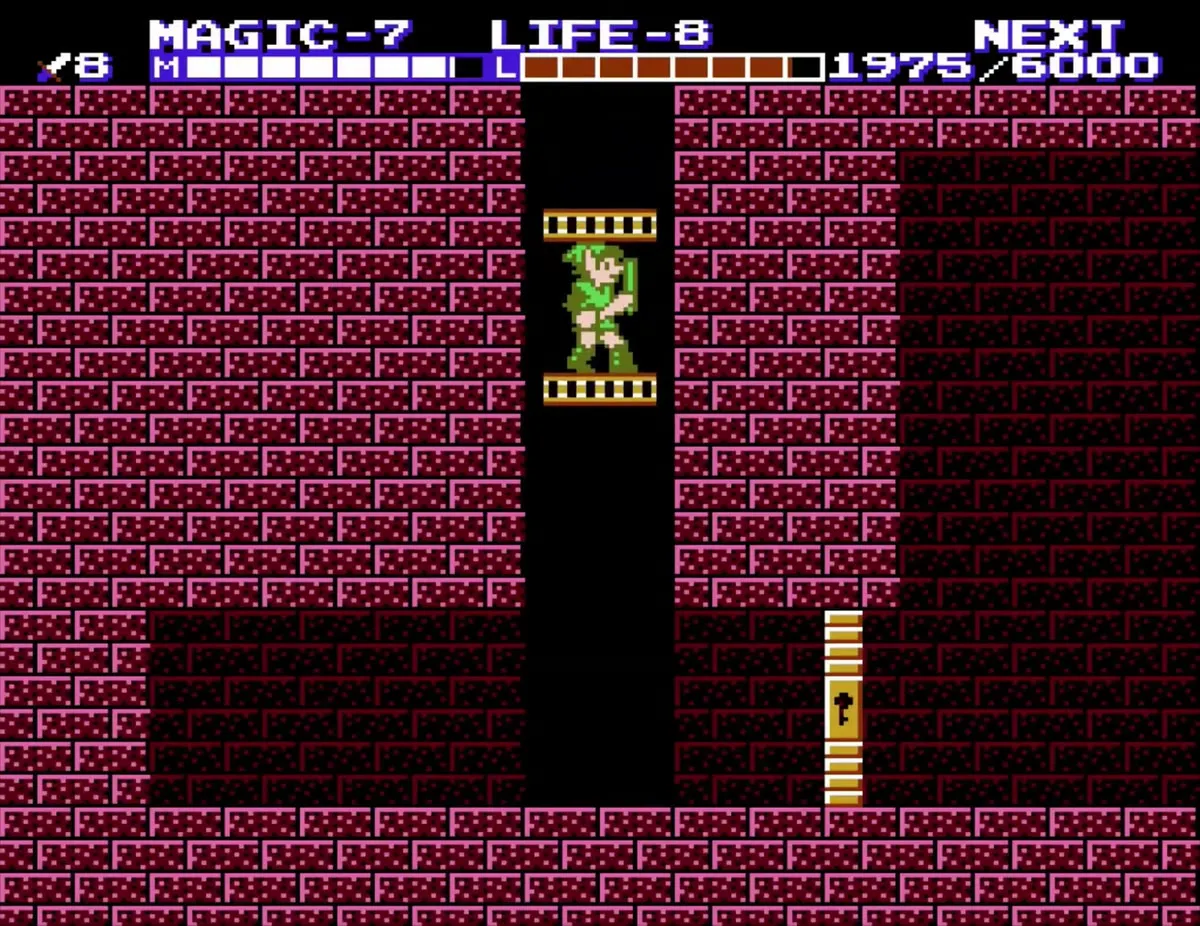
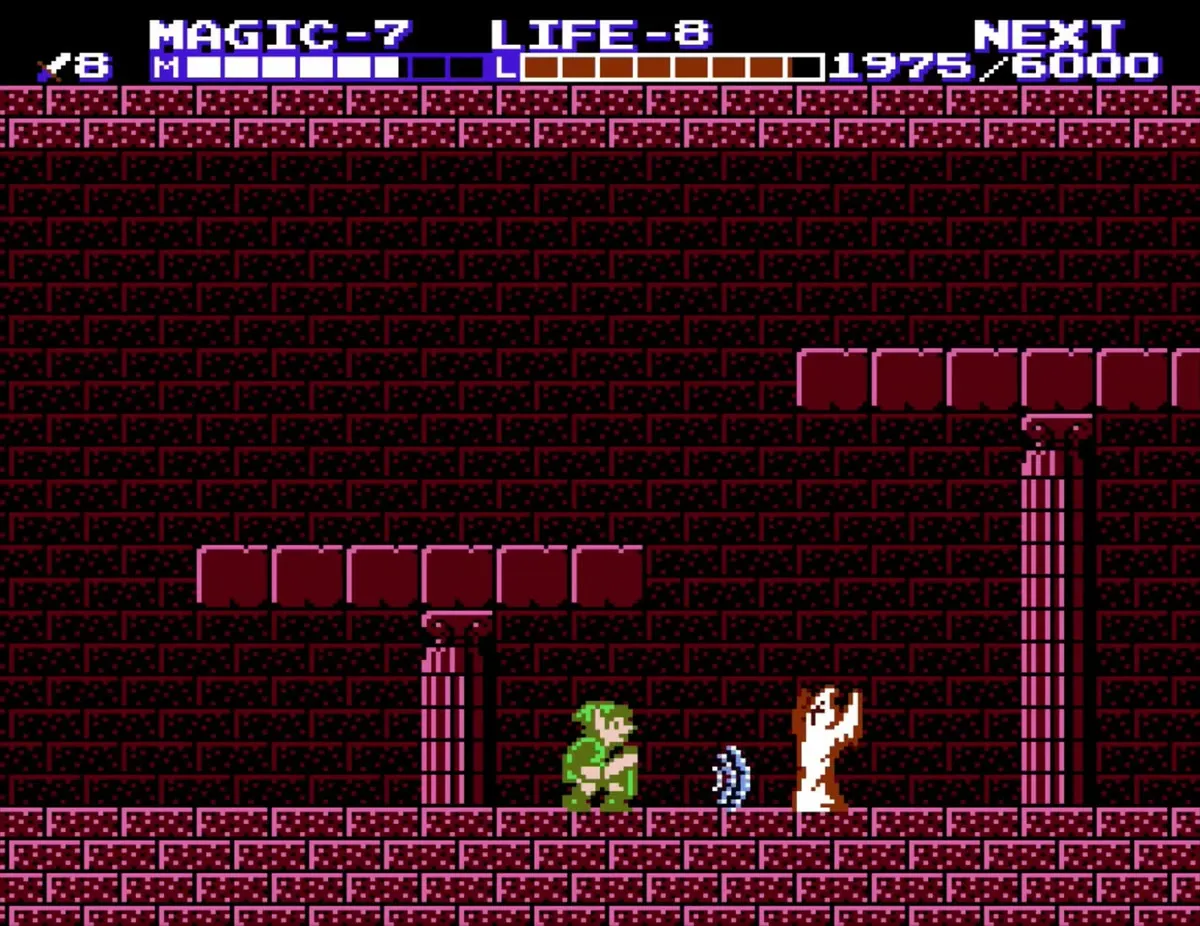
After the elevator, continue past the gold-capped pillar. An orange knight with a sword comes at you first, and a blue Iron Knuckle follows right behind it. Defeat the orange knight before turning to the blue Iron Knuckle.
Iron Knuckles, skeletons and the floor bags
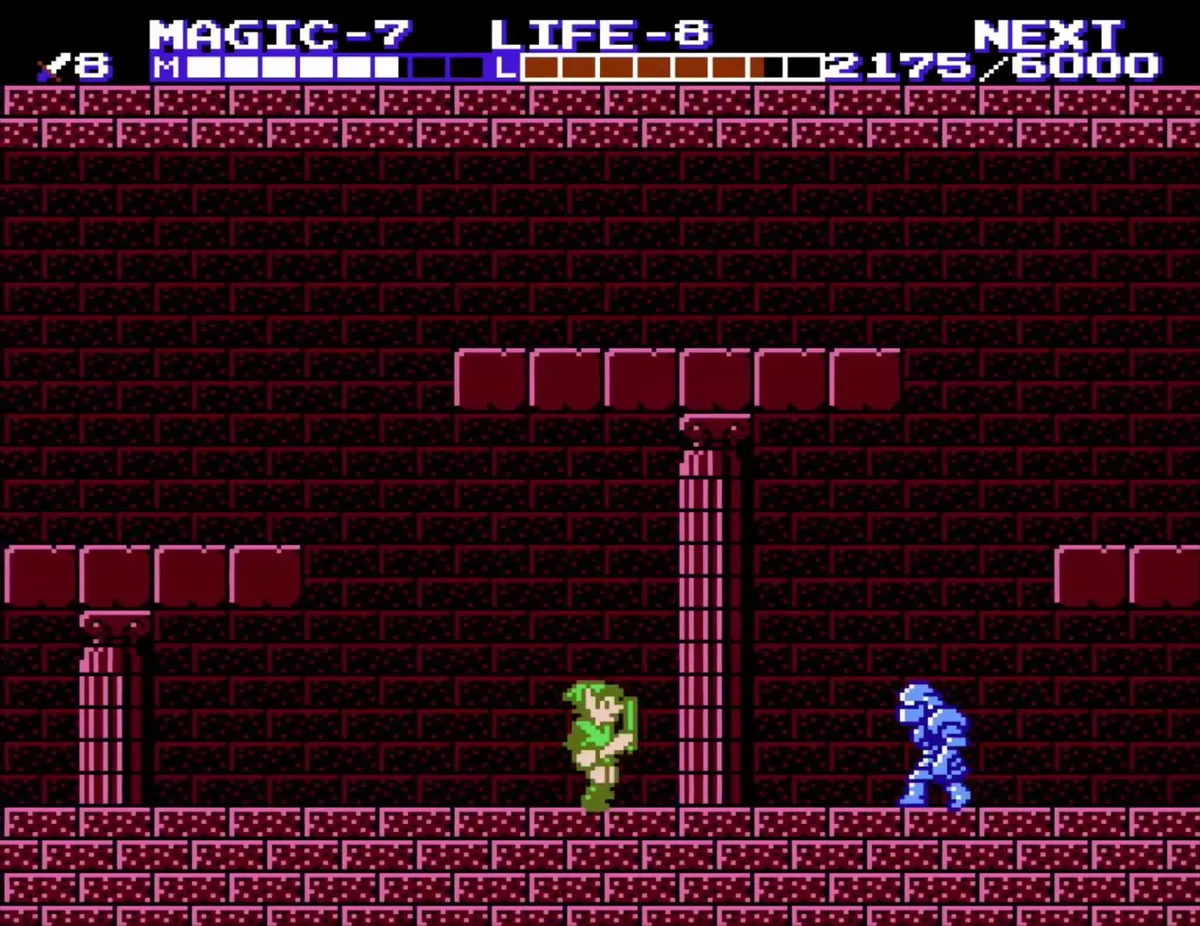
Next comes a white skeleton, then a pair of blue Iron Knuckles in the same room. Keep your sword ready and defeat them one at a time rather than fighting them together.
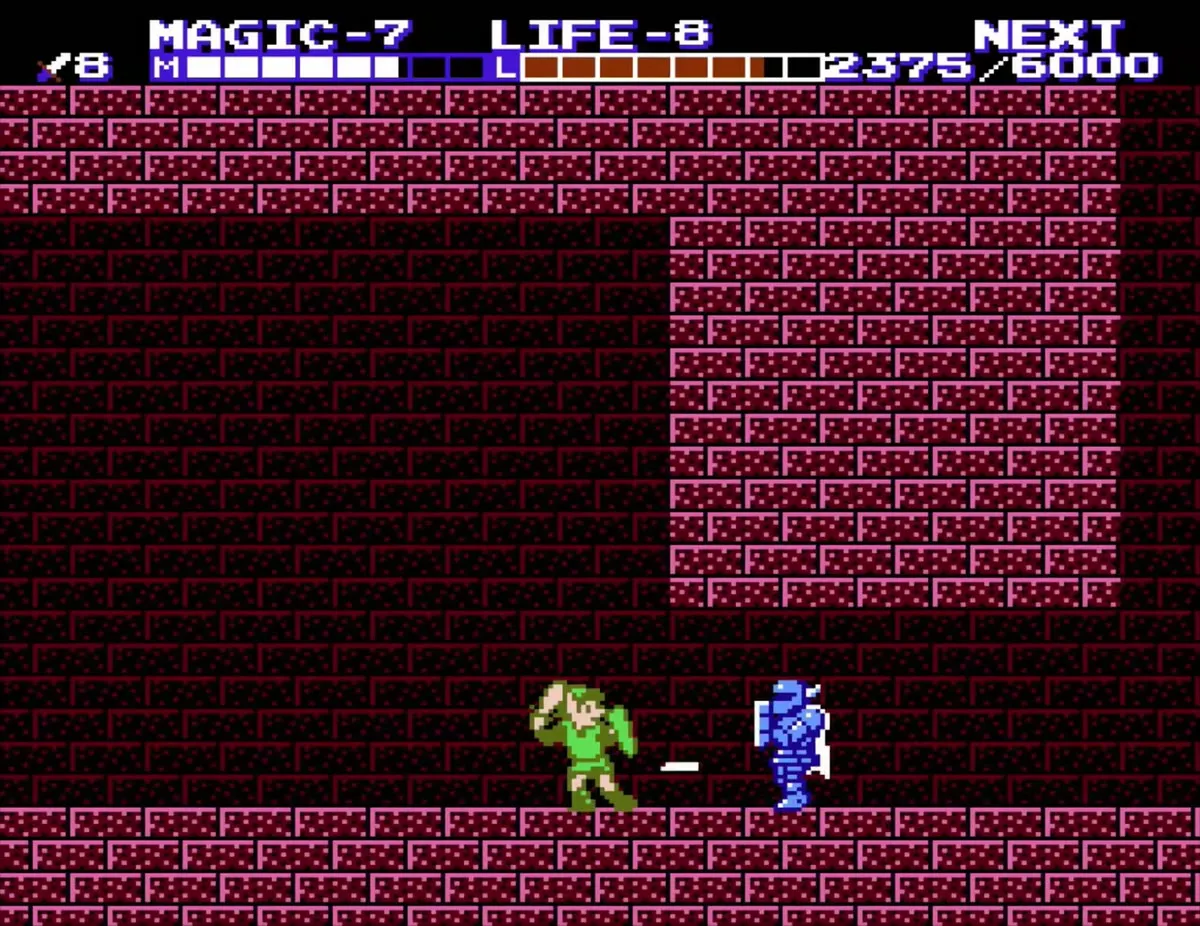
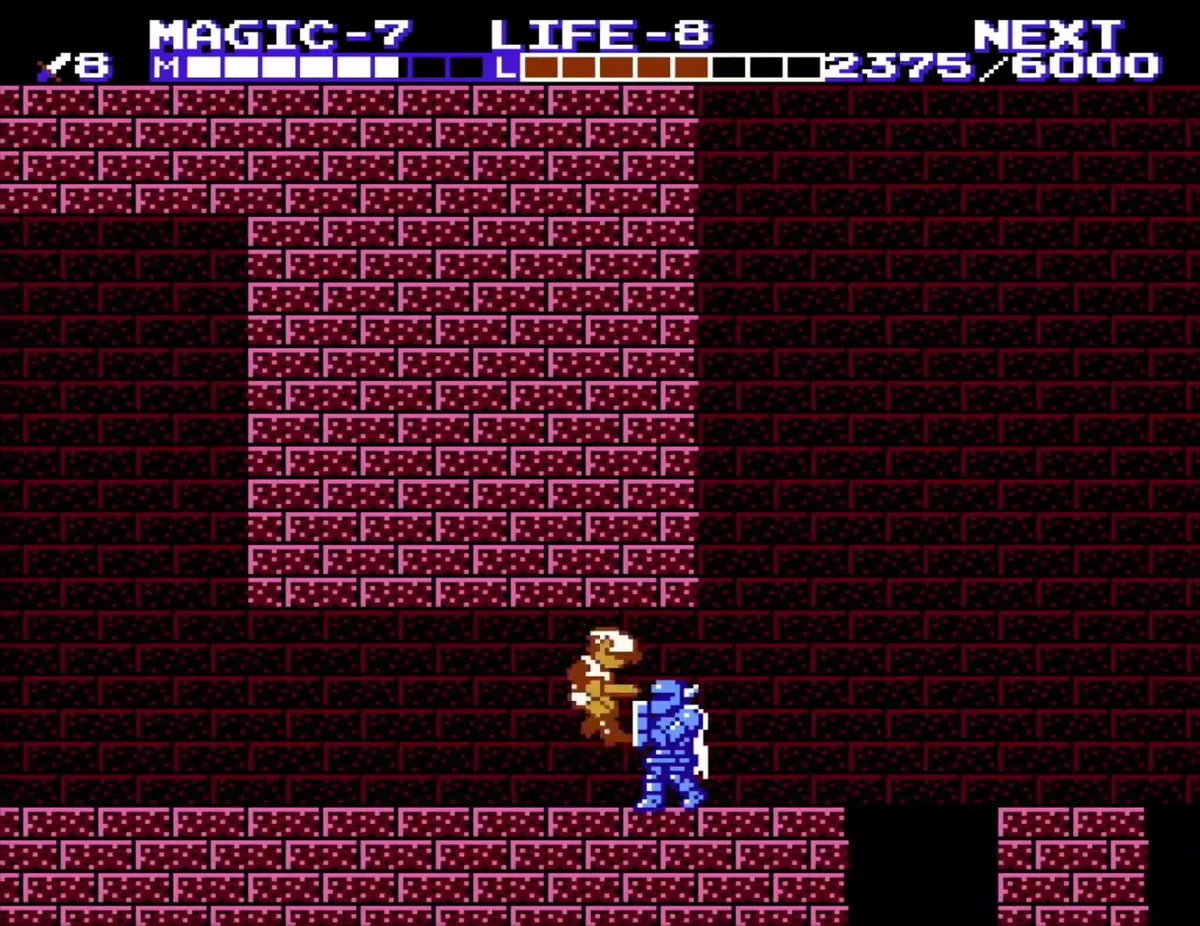
A white P-Bag lies on the floor near the middle of the room. Pick it up on your way past. A blue Iron Knuckle then attacks from the far side, and a striped room change follows once it is down.
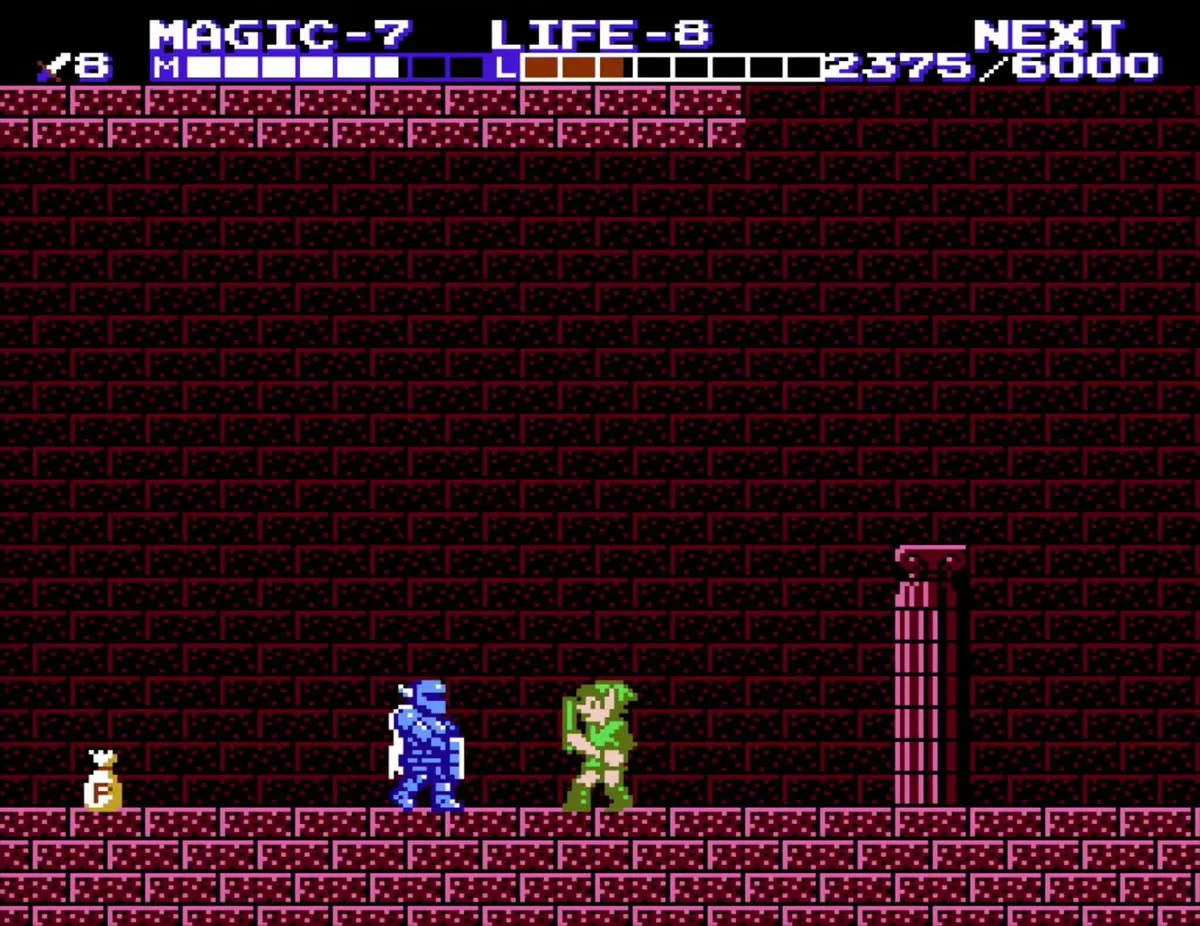
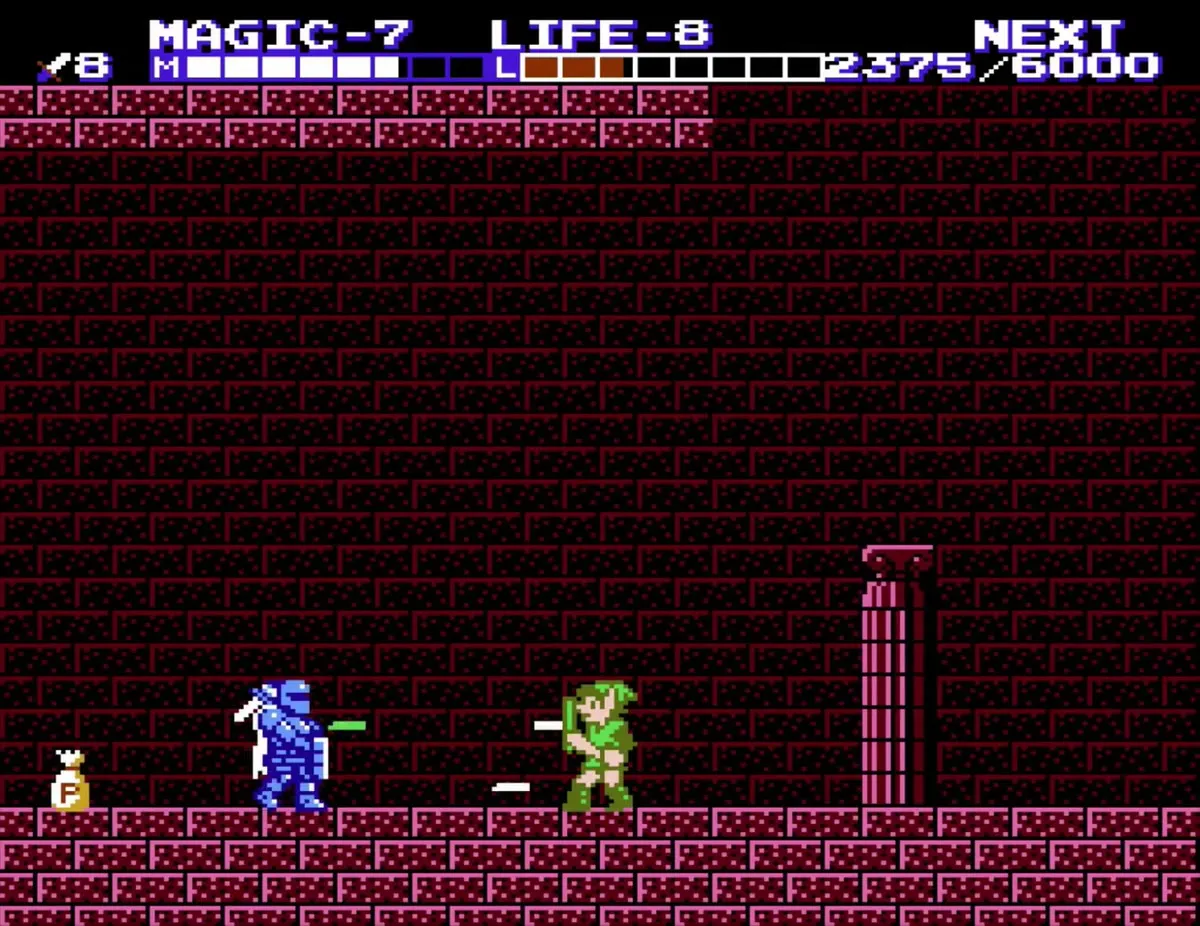
A white P-Bag sits at the bottom of the next room, so drop down to grab it and then climb back up. Above it, a gold ladder leads to the next section, and a blue skull floater crosses your path on the way up.
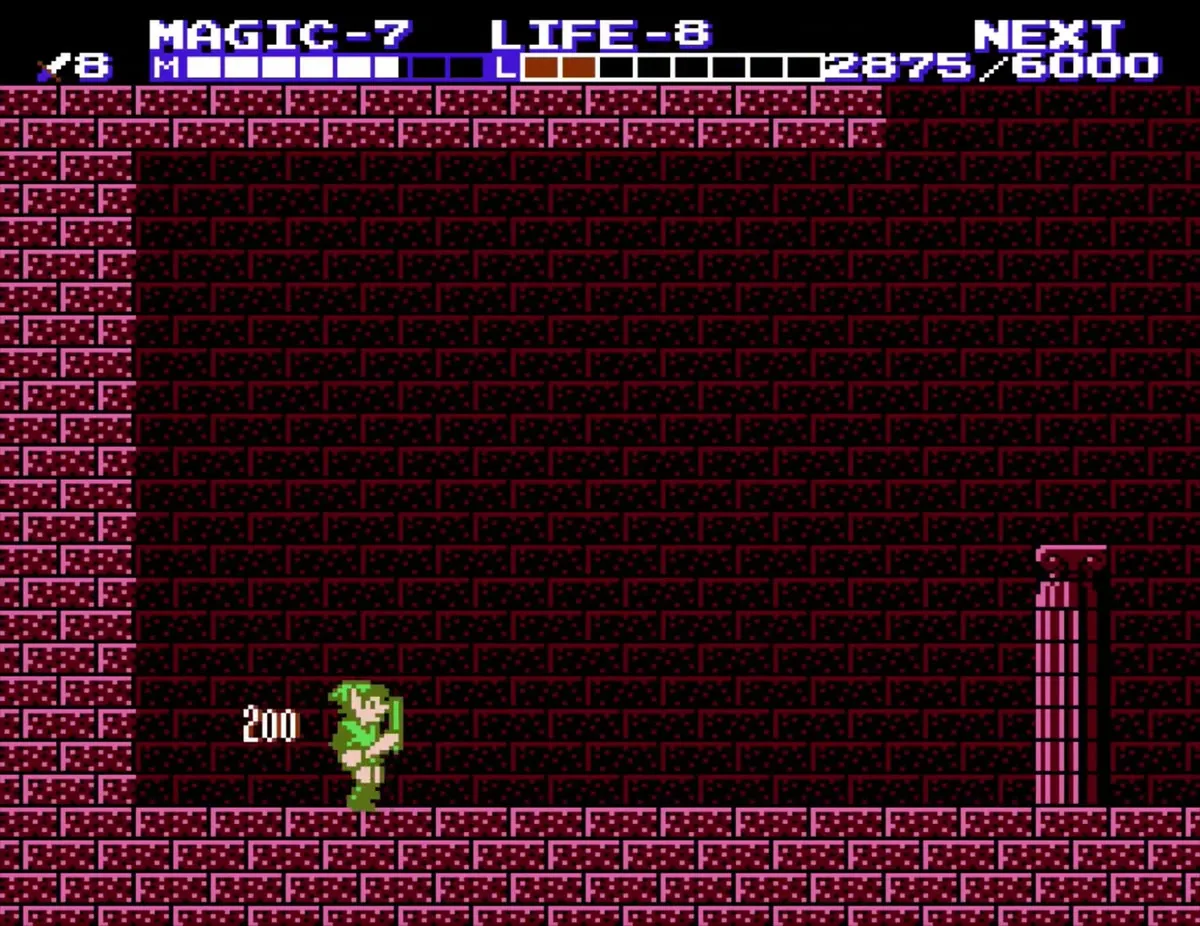
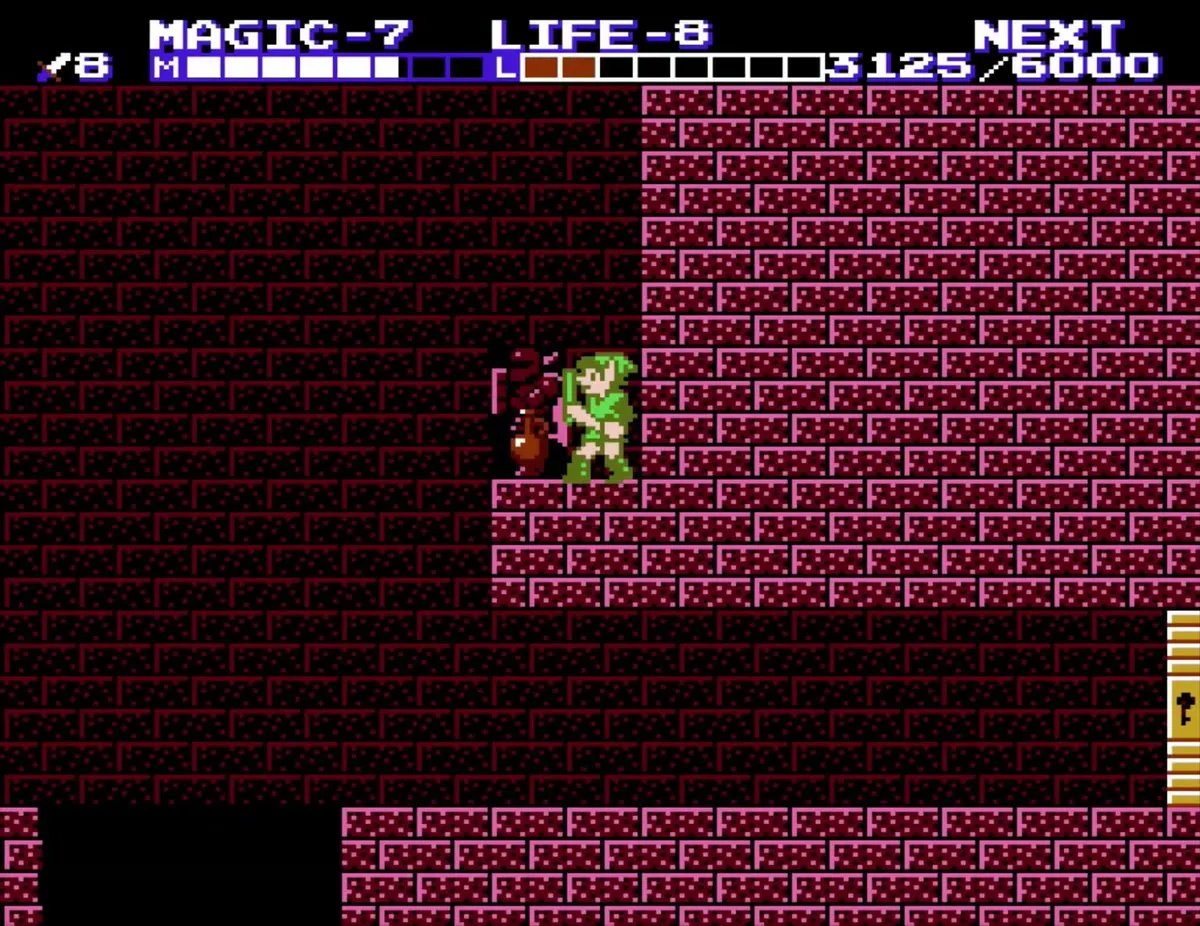
A Wizzrobe, a dark wizard enemy, appears on the left side of the next room. Defeat it, then carry on toward a red-black skeleton that stands in your way.
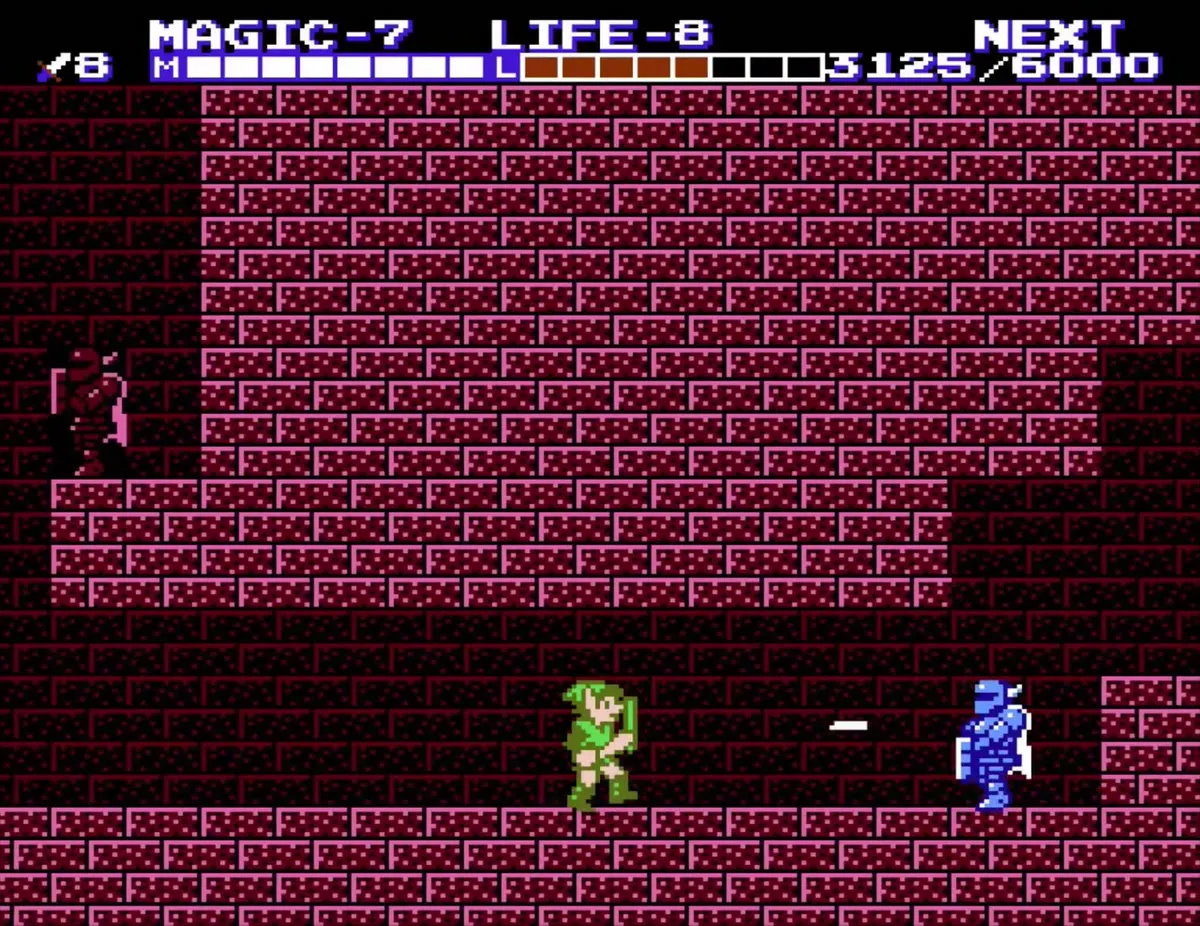
Block platforms in the next room hold another white P-Bag at the bottom right. Collect it, then return to the gold-rail elevator and ride it up. The shaft carries you to the next floor of the palace.
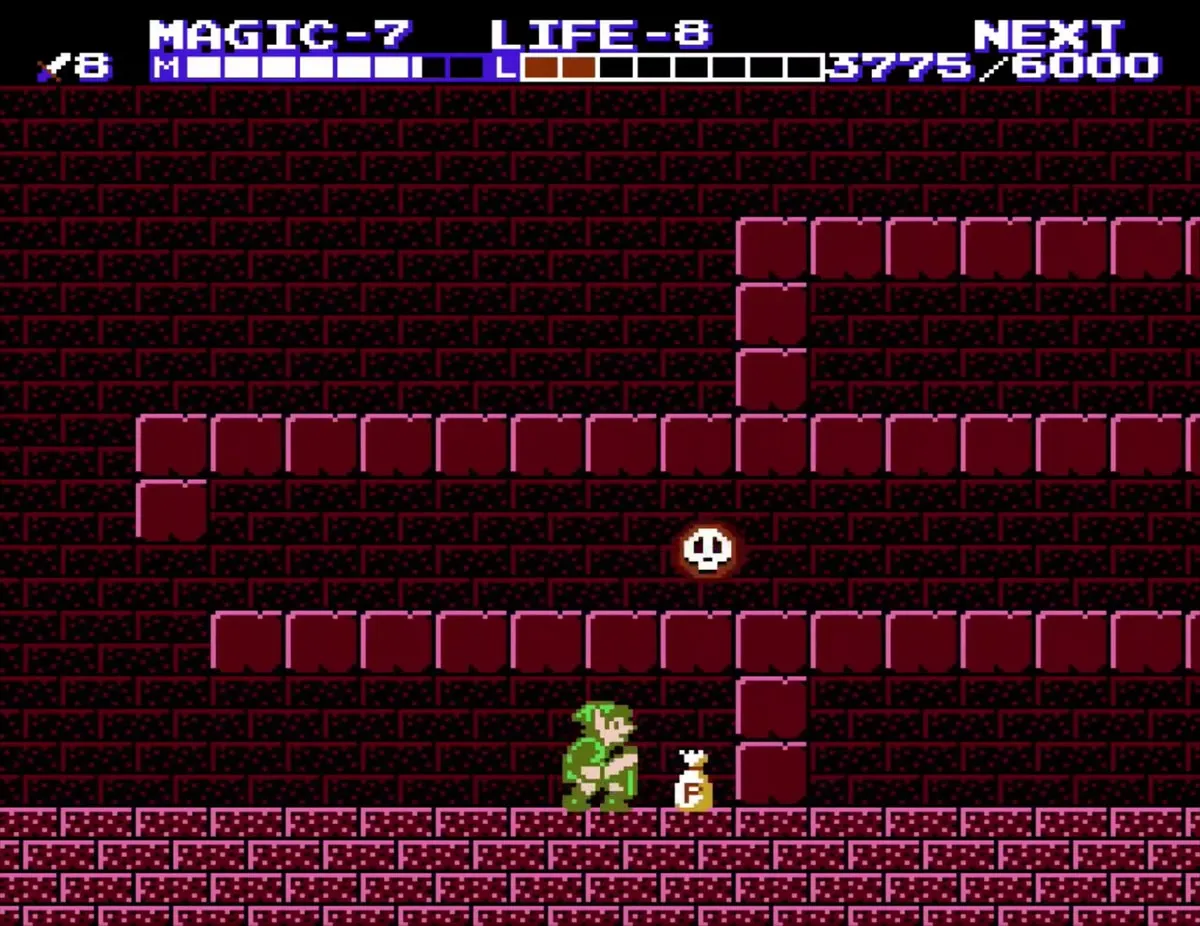
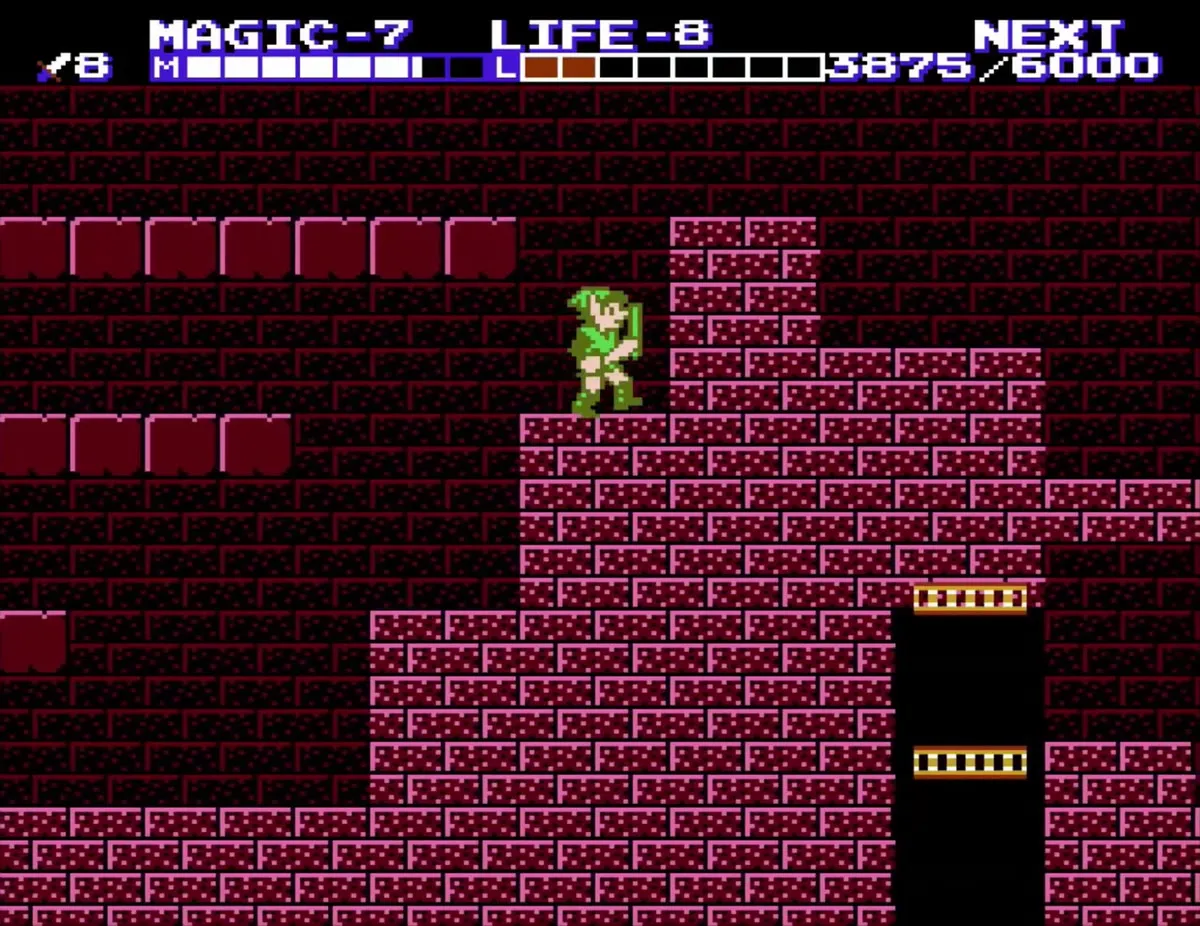
Near a red statue, a blue Iron Knuckle waits to fight you. Past it, a gold-yellow skull floater and a line of orange flames guard the way. A blue Iron Knuckle and an orange knight come at you together a little further on, so take them one at a time.

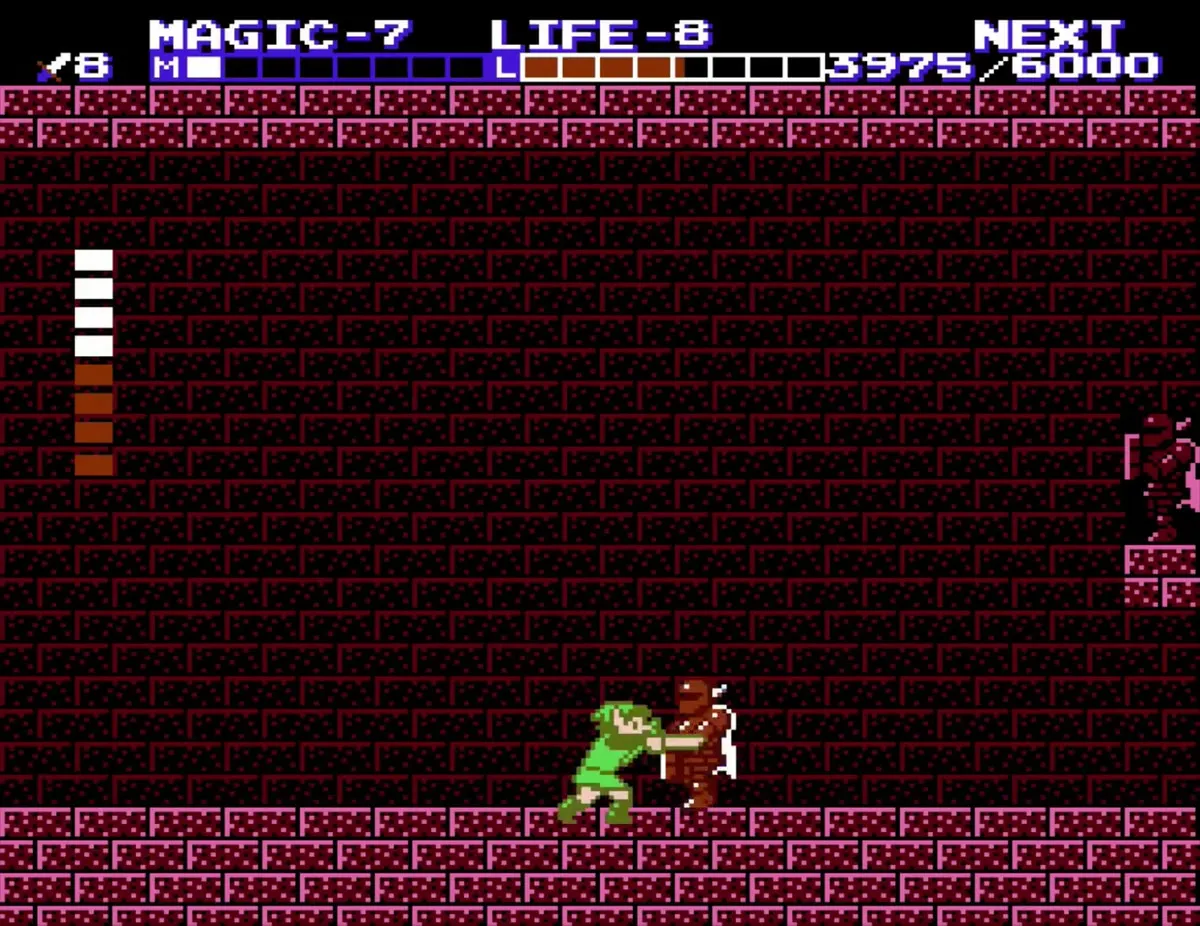
Keep moving through rooms of red and pink pillars, where a green skull floater and an orange bubble drift near the path. Climb the gold ladder to reach the next section of the palace.
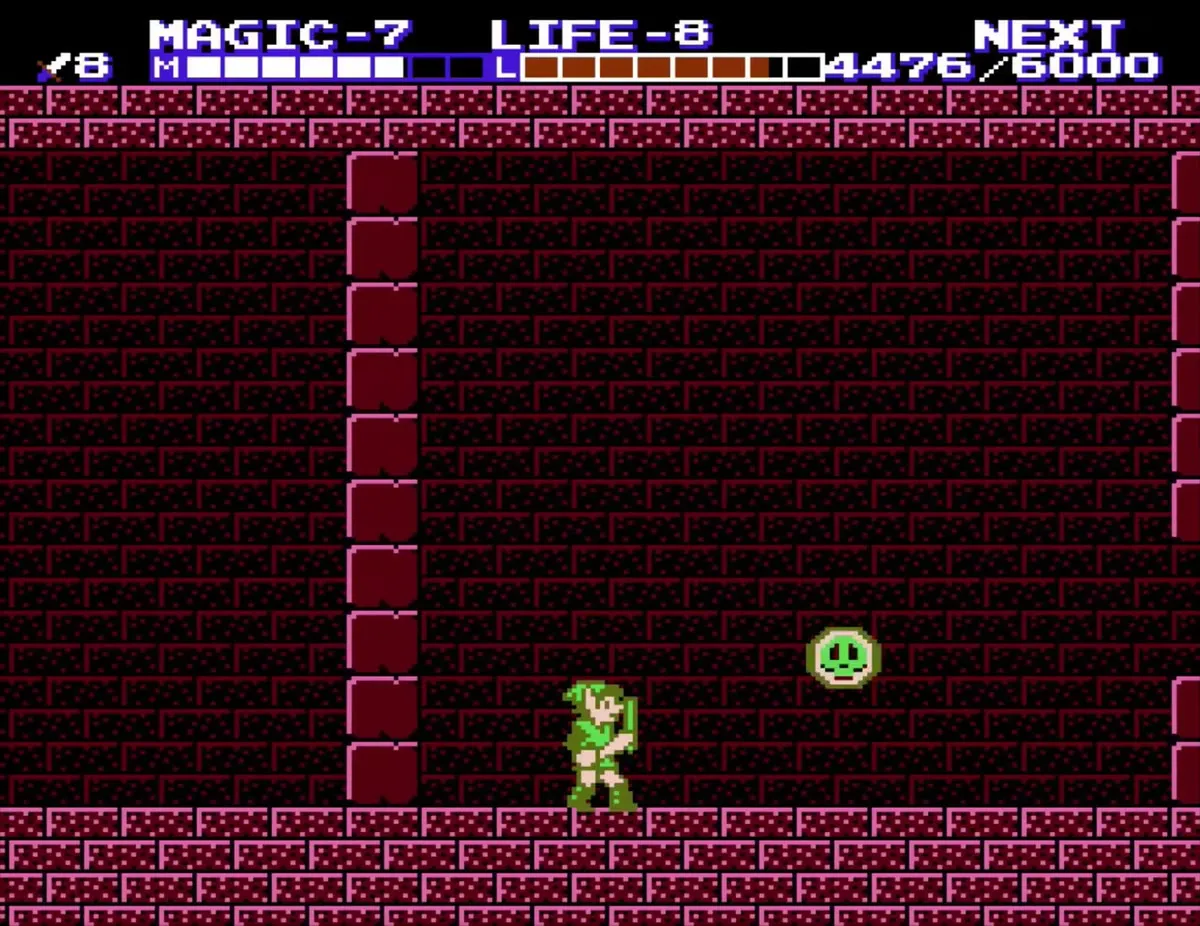

In a blue-brick room, a gold elevator shaft sits at the bottom. Strike the white spark that appears in the room, then ride the elevator. Beyond it, a red crystal enemy and a red-cross enemy wait on the right side, and a striped room change takes you to the next area.

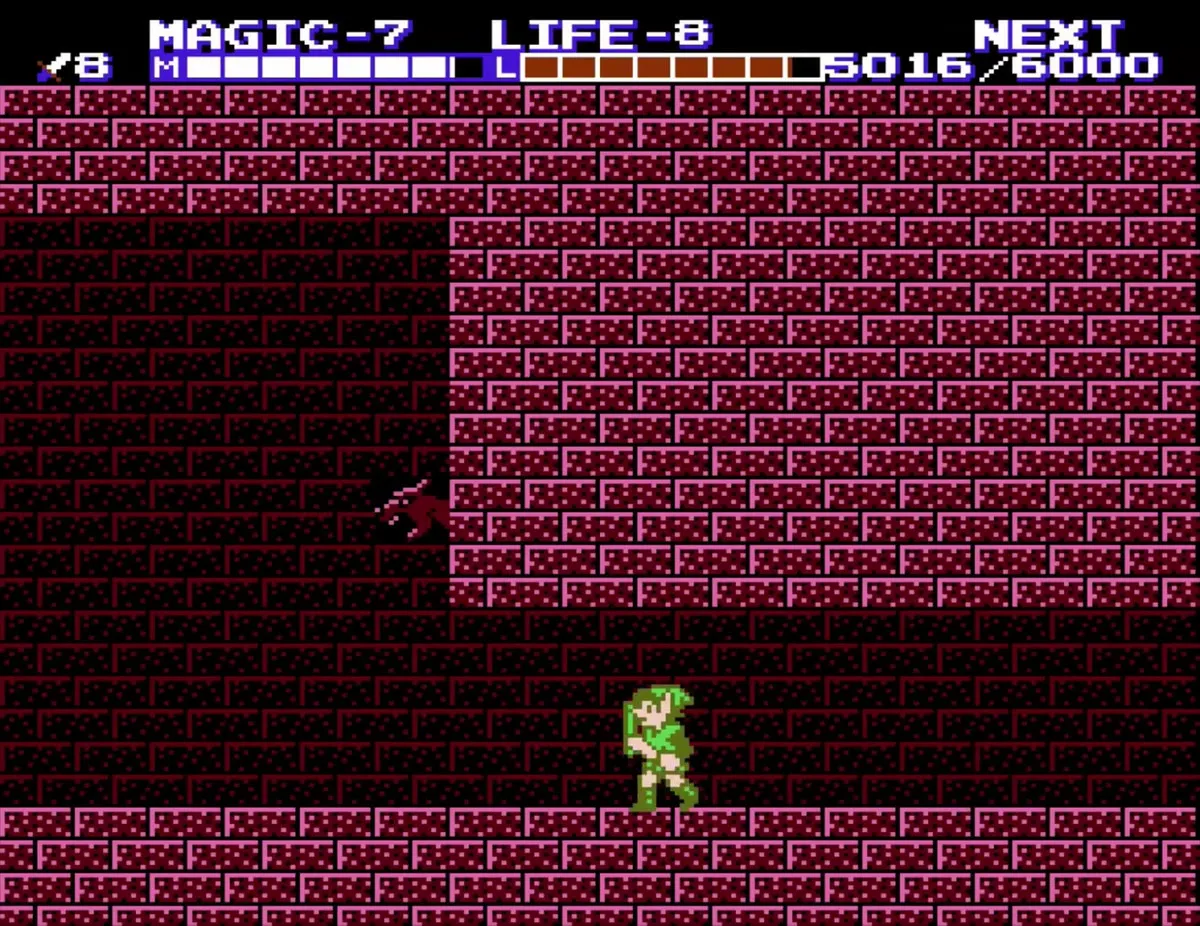
Corridor, lava ledges and a blue knight
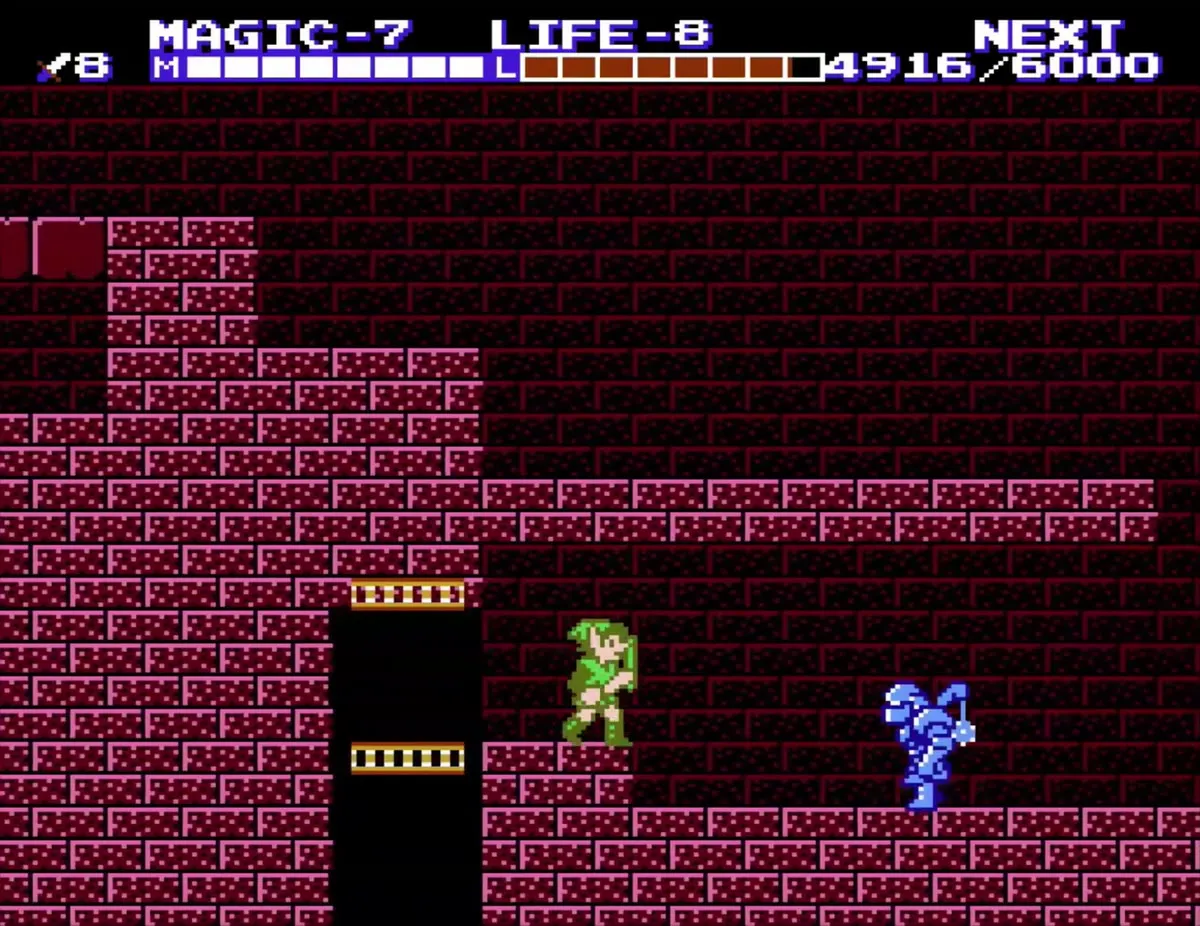
Past the gold door at the start of this corridor, a blue Iron Knuckle attacks you. Defeat it with your sword. Then cross the stone ledges that rise above a strip of lava, watching for a small blue bat-like enemy along the way.
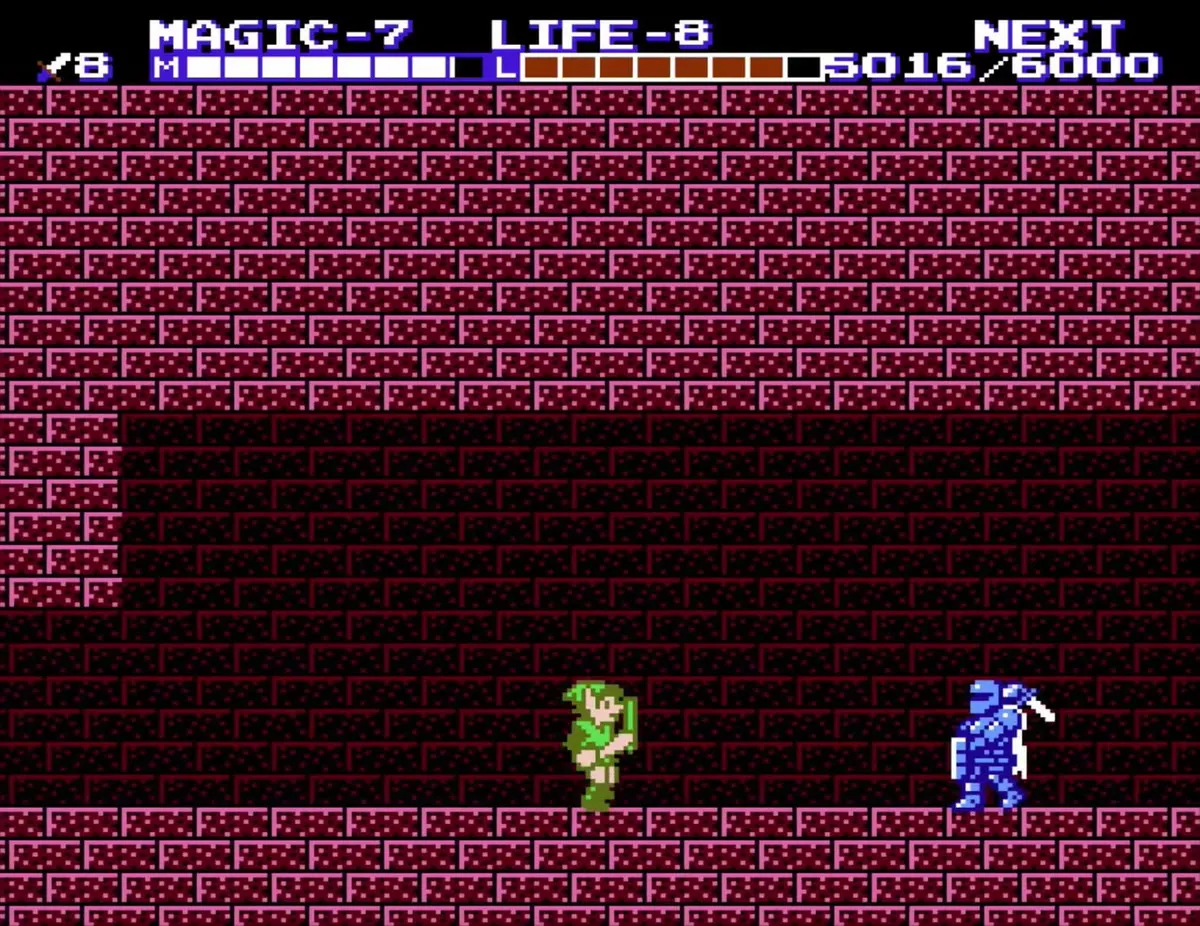
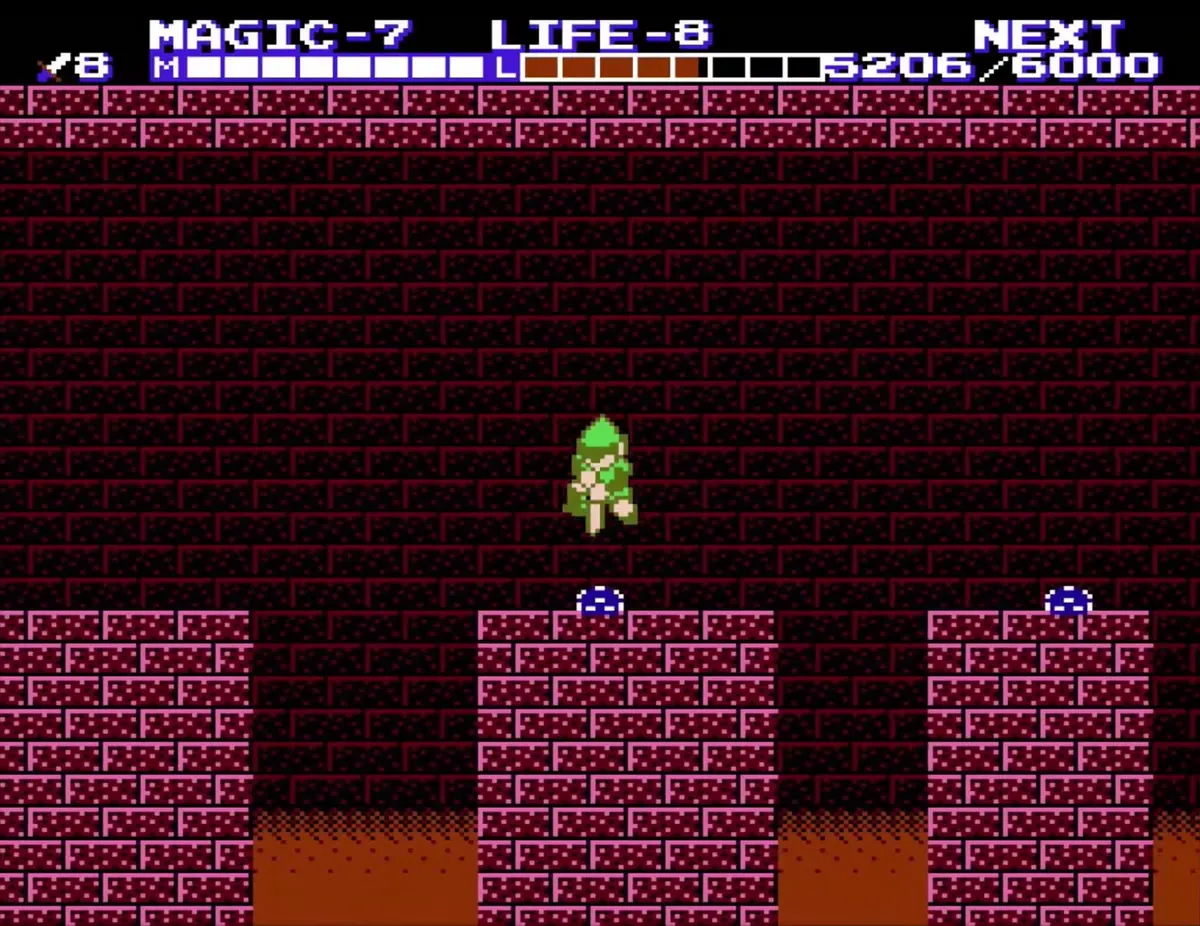
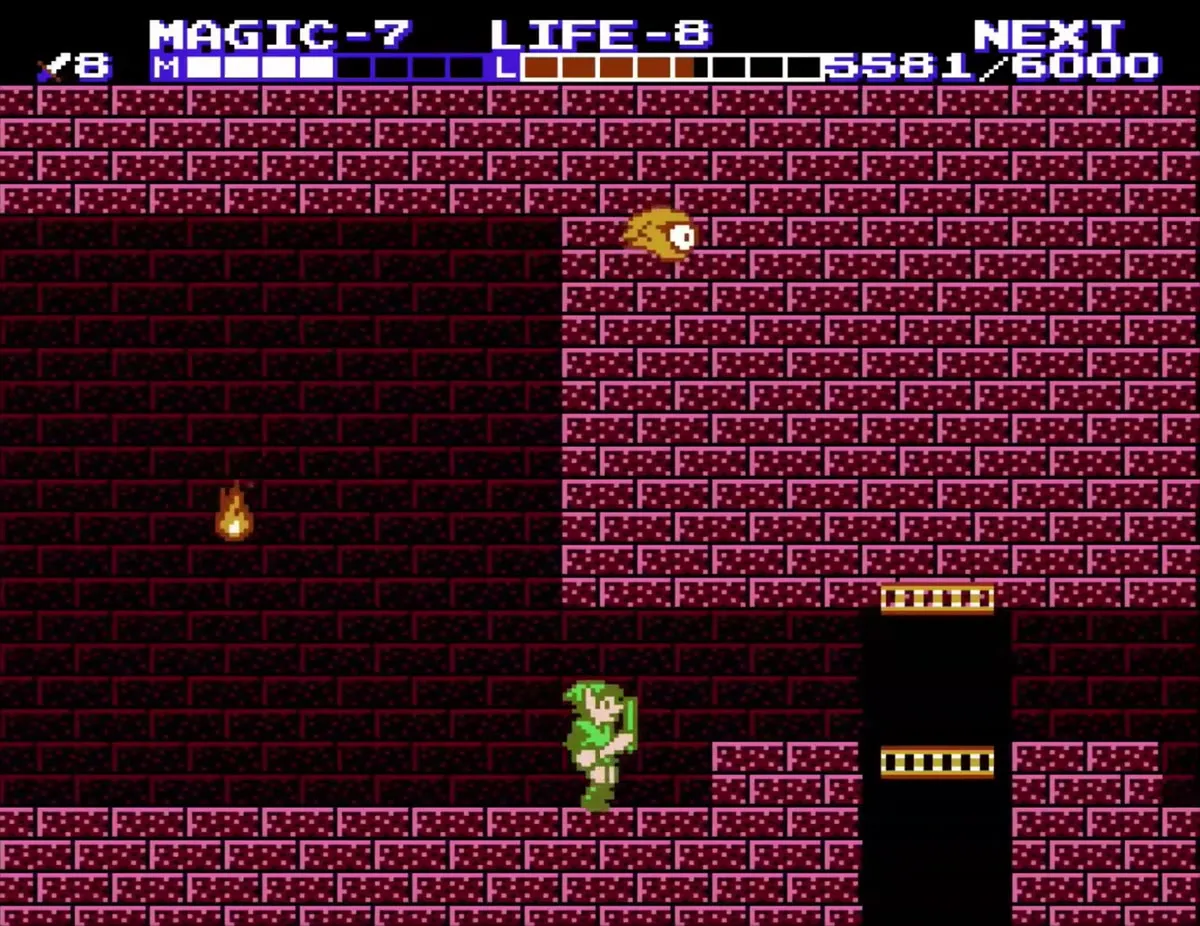
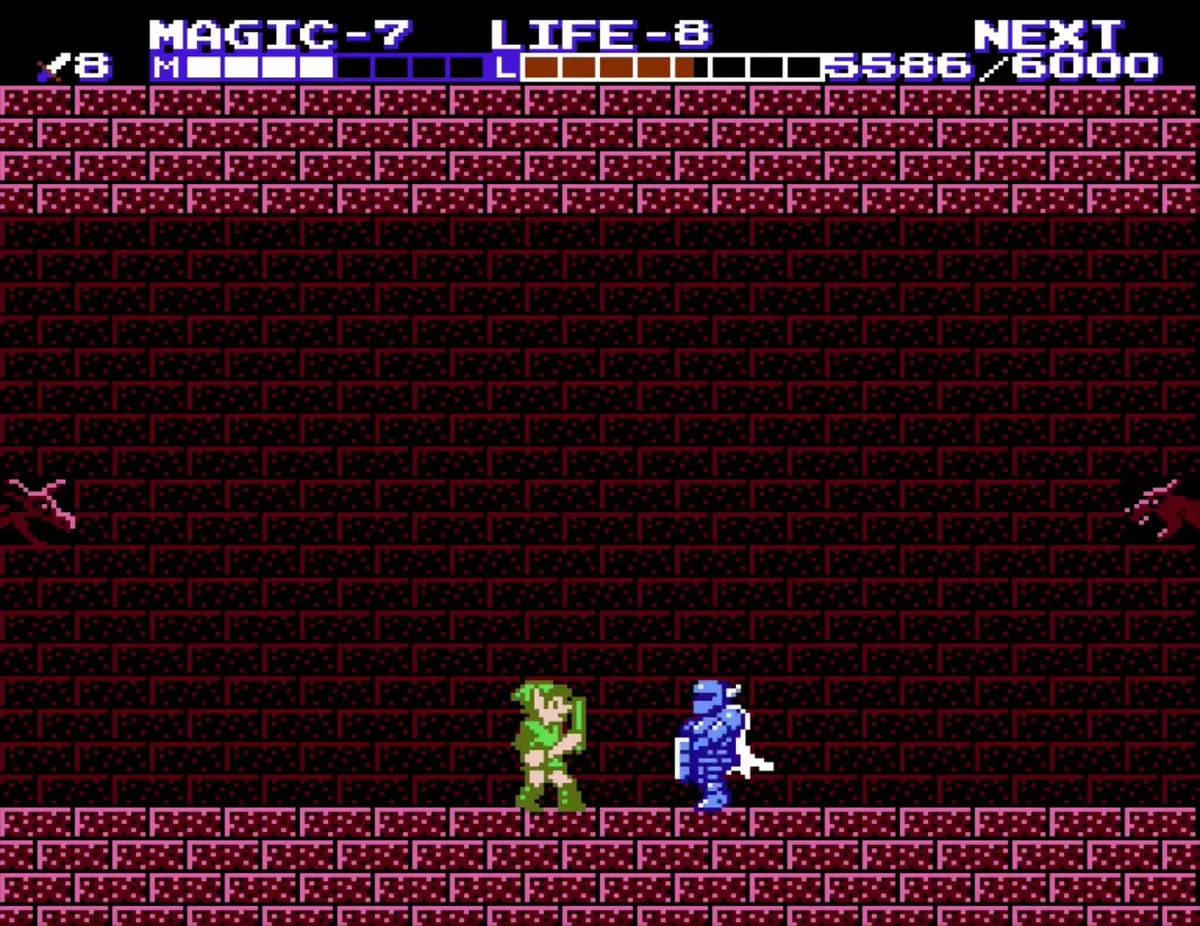
Keep going through a side-scrolling stretch with a yellow-orange orb and a red-orange enemy on the path. A purple room change follows, and on the other side, a blue Iron Knuckle waits at the bottom right of the room.
Magic level 8 from the blue knight
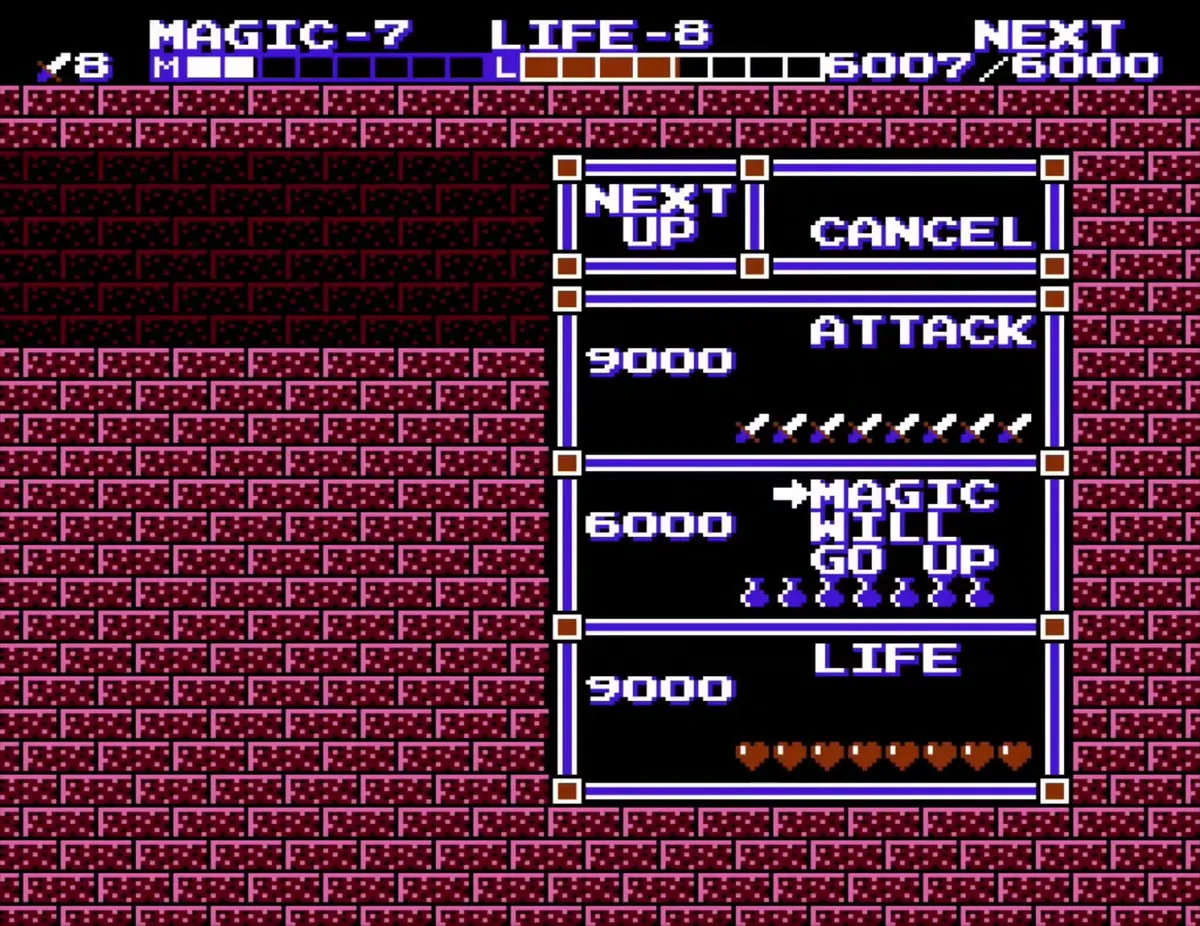
Keep your EXP counter in view as you fight. When you hold 6,000 EXP, the level-up menu opens. Move the cursor to MAGIC and confirm, and your Magic rises to level 8, the top level for that stat.

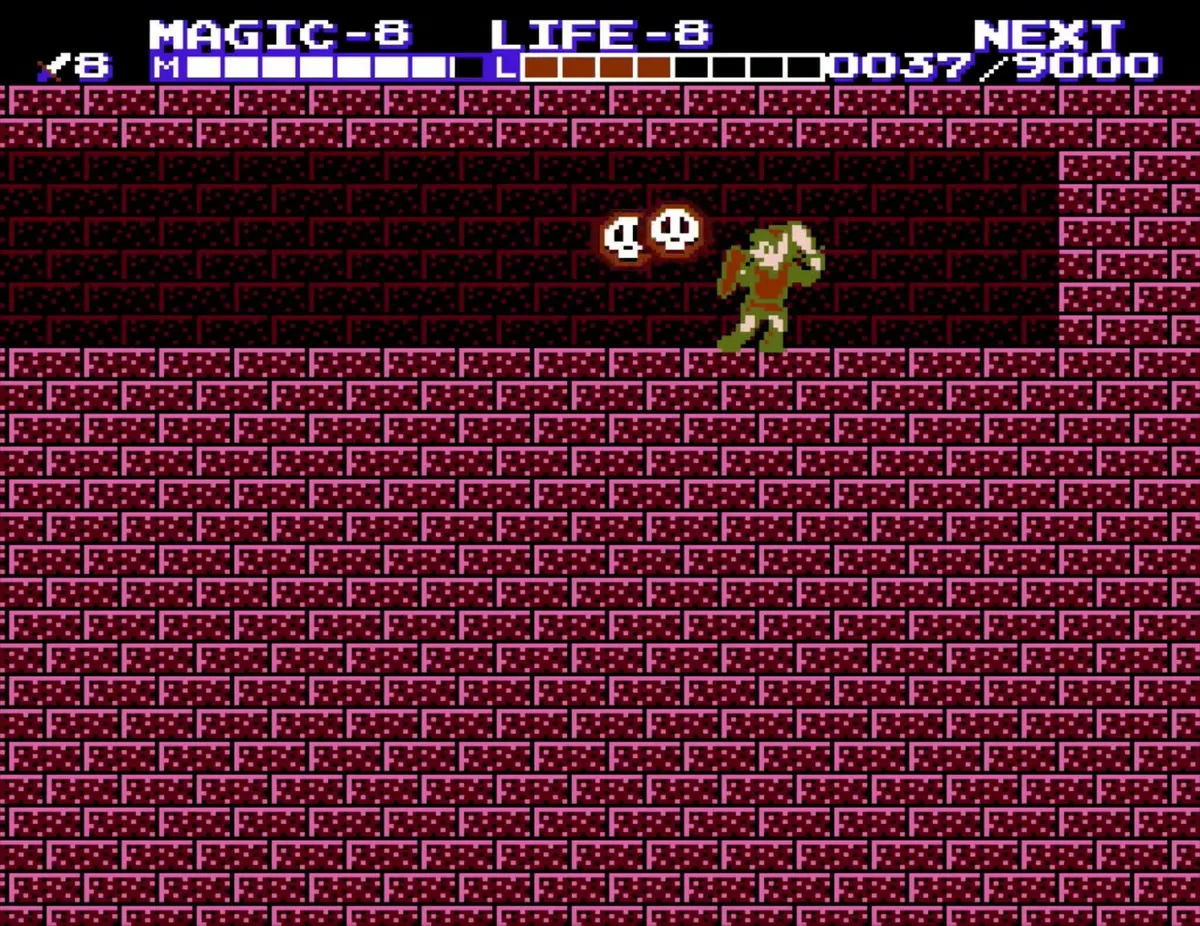
Two white skull-like enemies attack you as you enter the next room. Beyond them, a dark tunnel with stone blocks leads on. A blue Iron Knuckle appears at the far right edge of the tunnel, so be ready for it as you advance.

Rebonack, the Cross and the 1-Up Doll
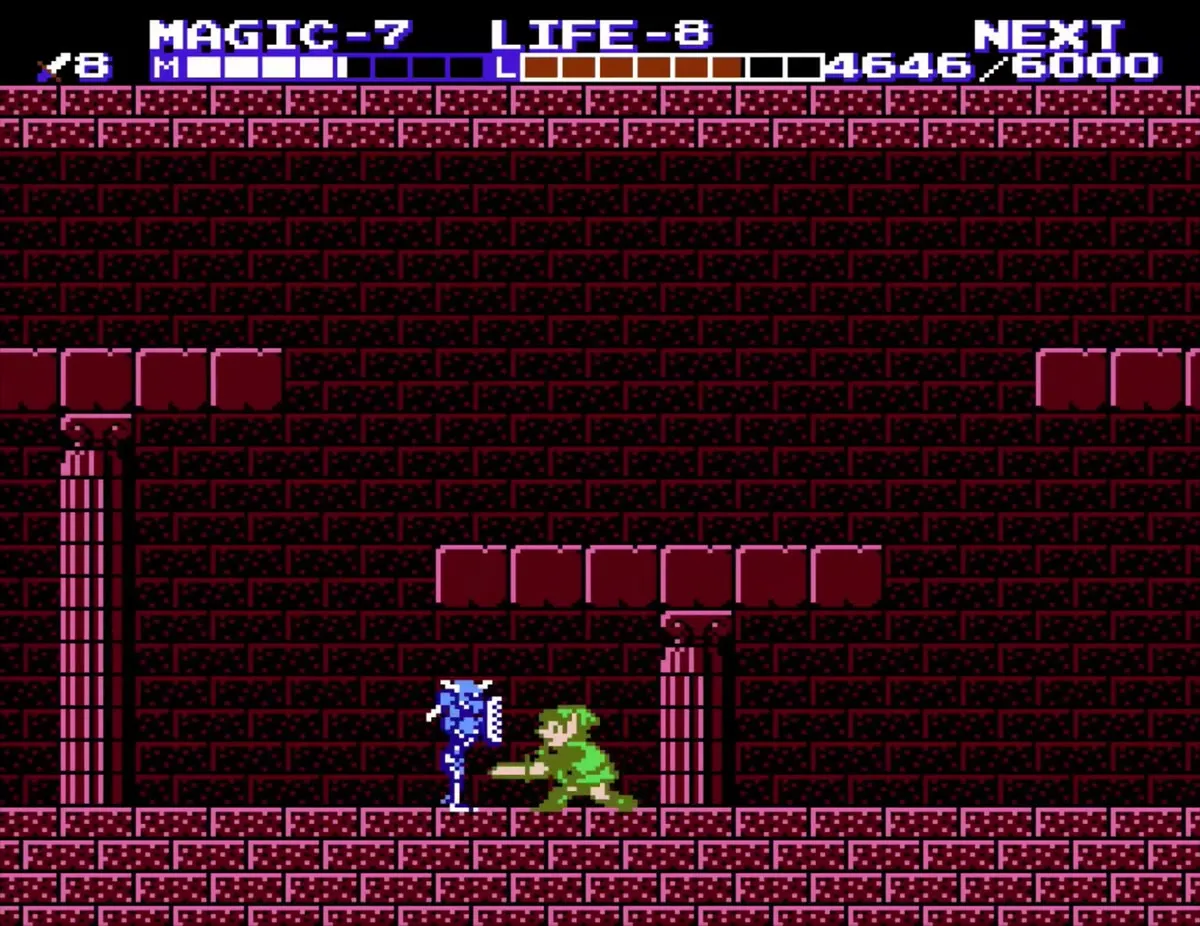
Two Rebonack mini-bosses guard this palace. Each is a blue Iron Knuckle riding a floating mechanical horse, and it charges at you with a lance. Stand in the middle of the room, then jump and use the Downward Thrust as it charges. Once the horse runs off, Rebonack fights on foot and fires sword beams, and it can retreat off the screen, so lure it back toward the center of the room.
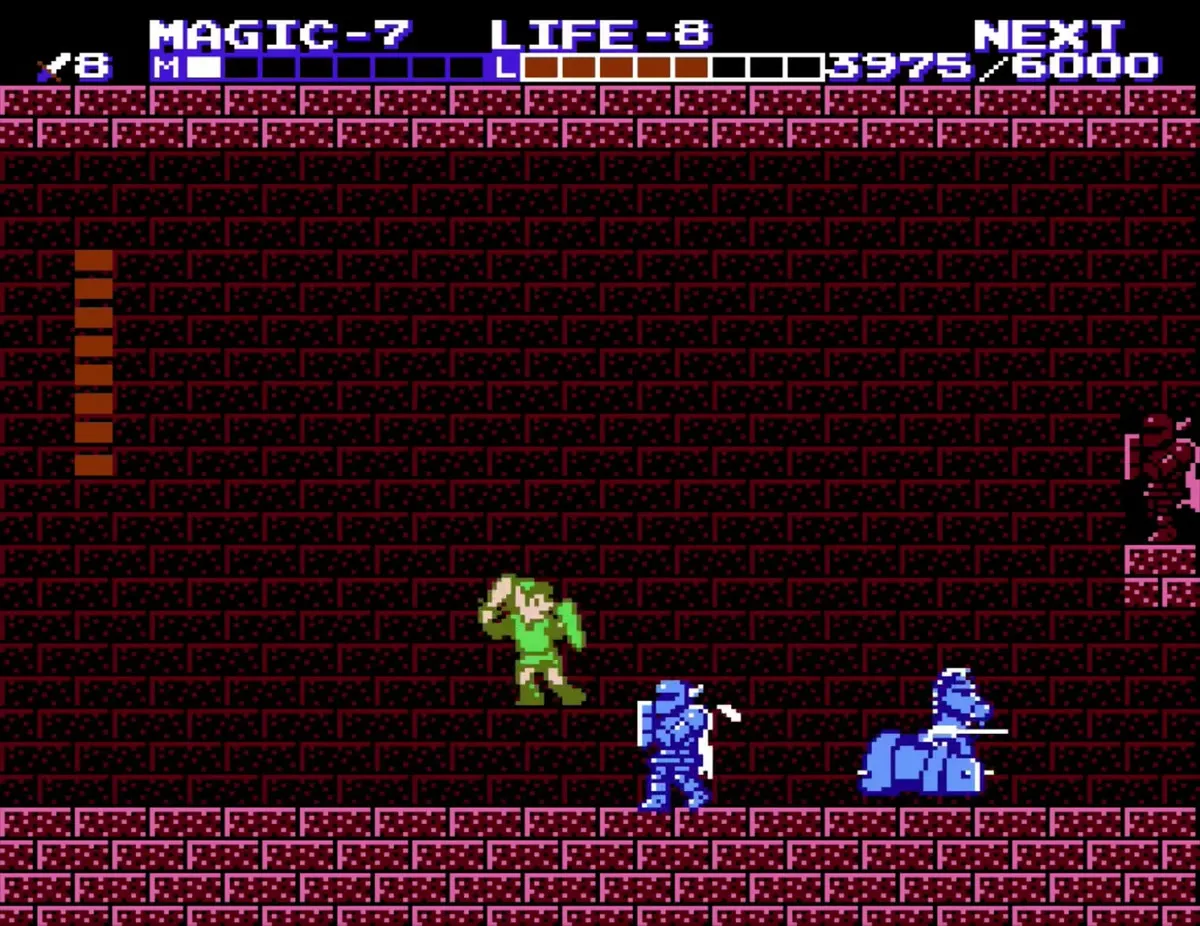
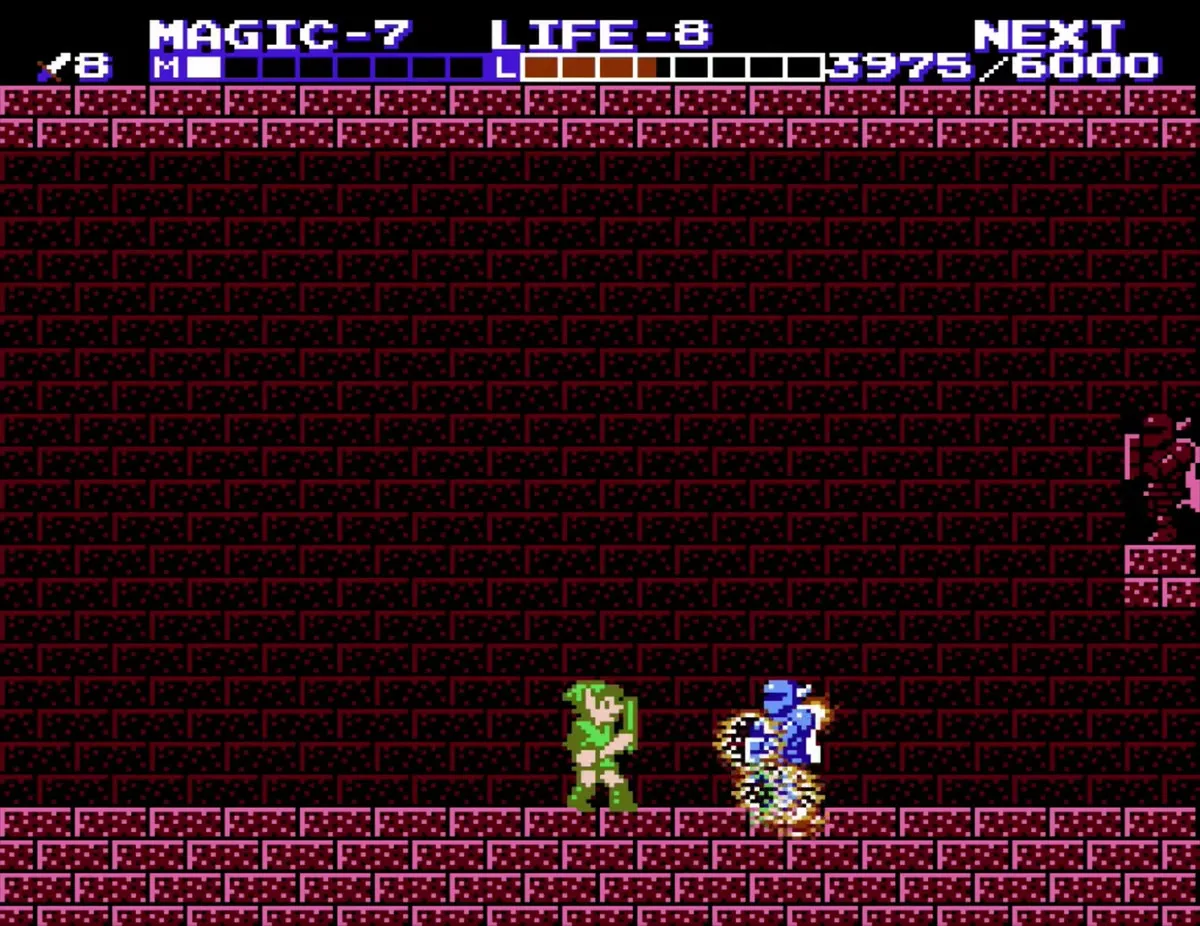
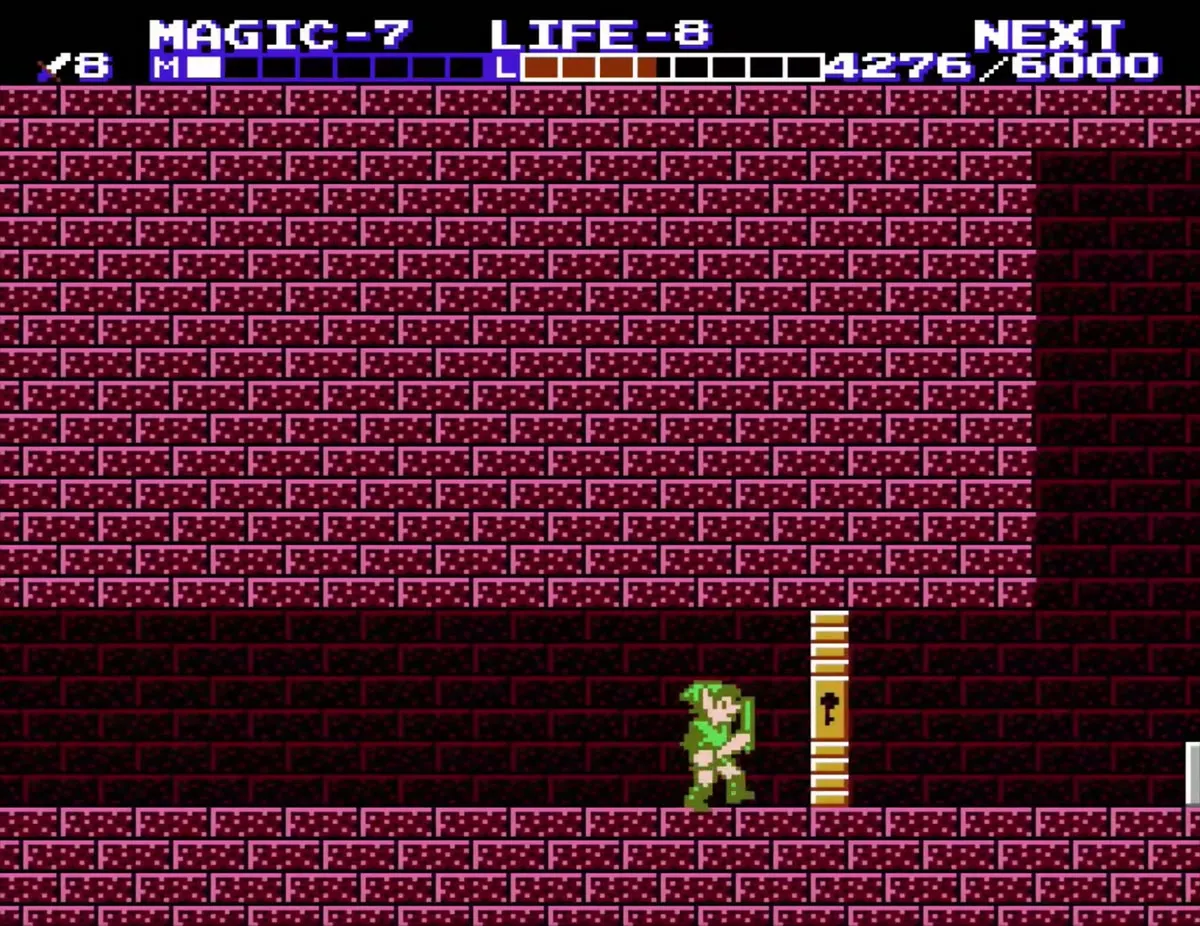
Defeating the first Rebonack leaves a small key behind, and you will find a locked door just past it. Behind that door is the Cross, which makes invisible enemies visible. You do not need the small keys, because the Magical Key already opens every locked door in the palace.
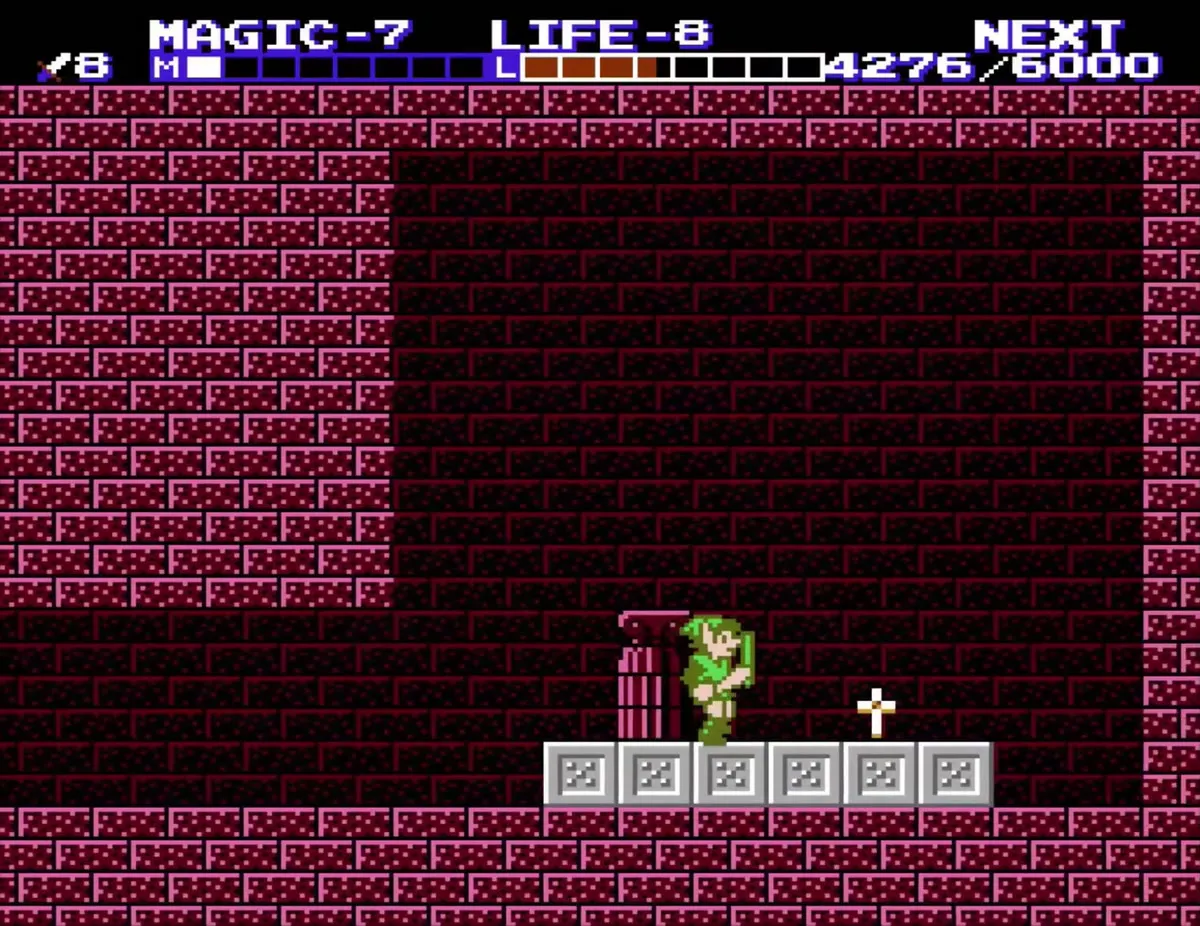
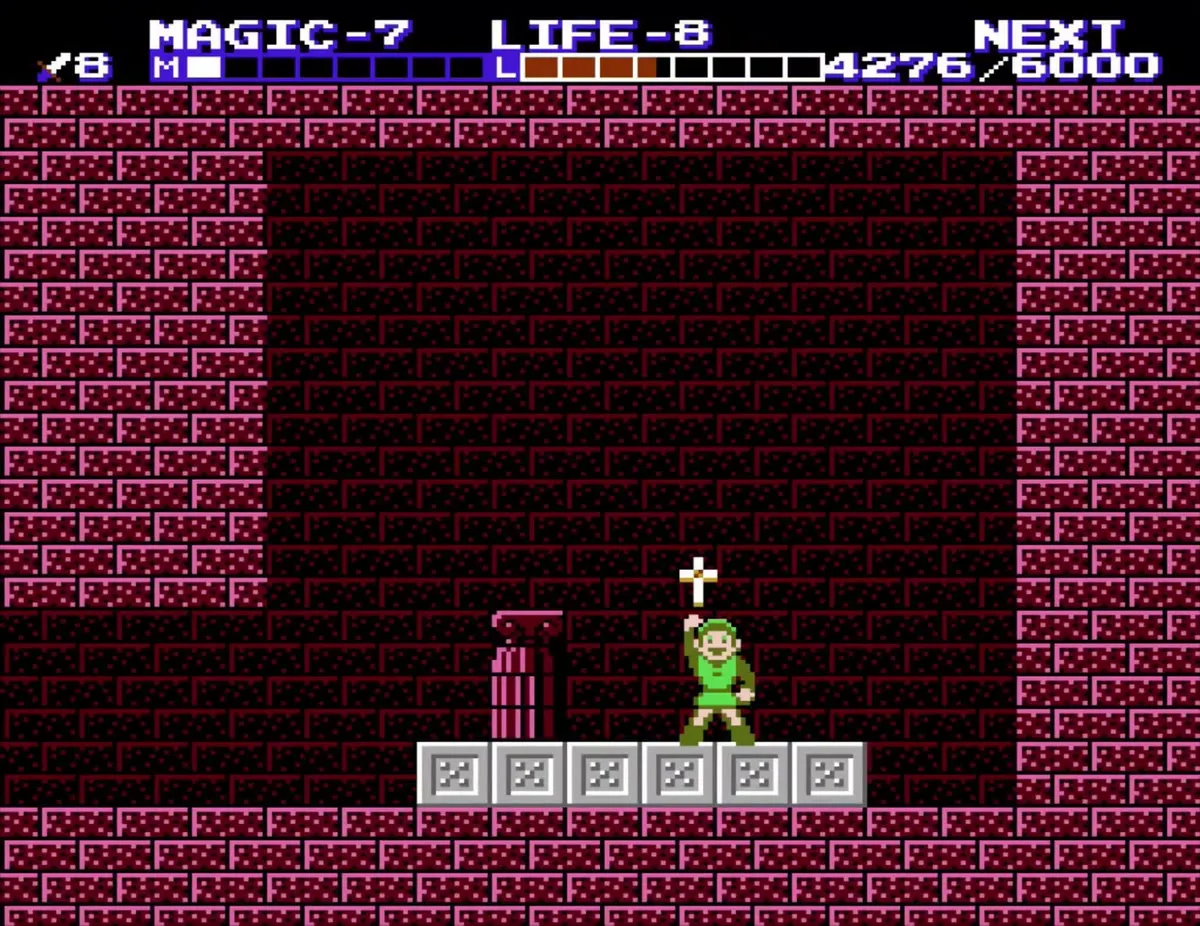
The palace’s 1-Up Doll sits in a room past the crumbling bridge area, beyond a blue Iron Knuckle and a Bubble, on the right side of the room. Cast Jump to cross the gap in the middle of the bridge, which crumbles. The second Rebonack comes before this room, and the drop toward Barba lies beyond it.
Barba in the lava room
Barba is the boss of this palace, a dragon that rises out of the lava pits in its room and breathes fire. Its head stays out of sword range, so cast Jump and strike the head from above. If Barba rises beside you, you can also jump onto it. Its fireballs can knock you into the lava, so watch your footing.
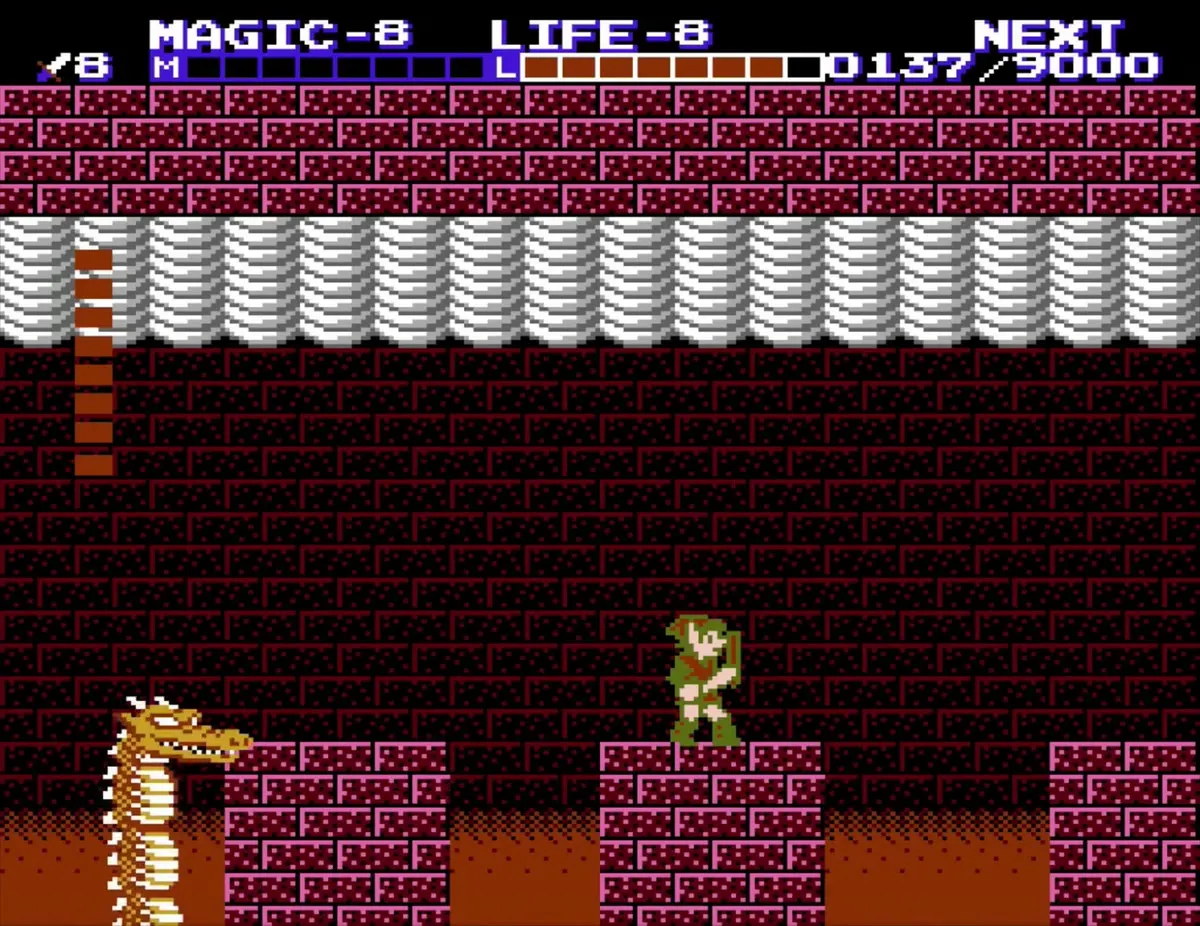
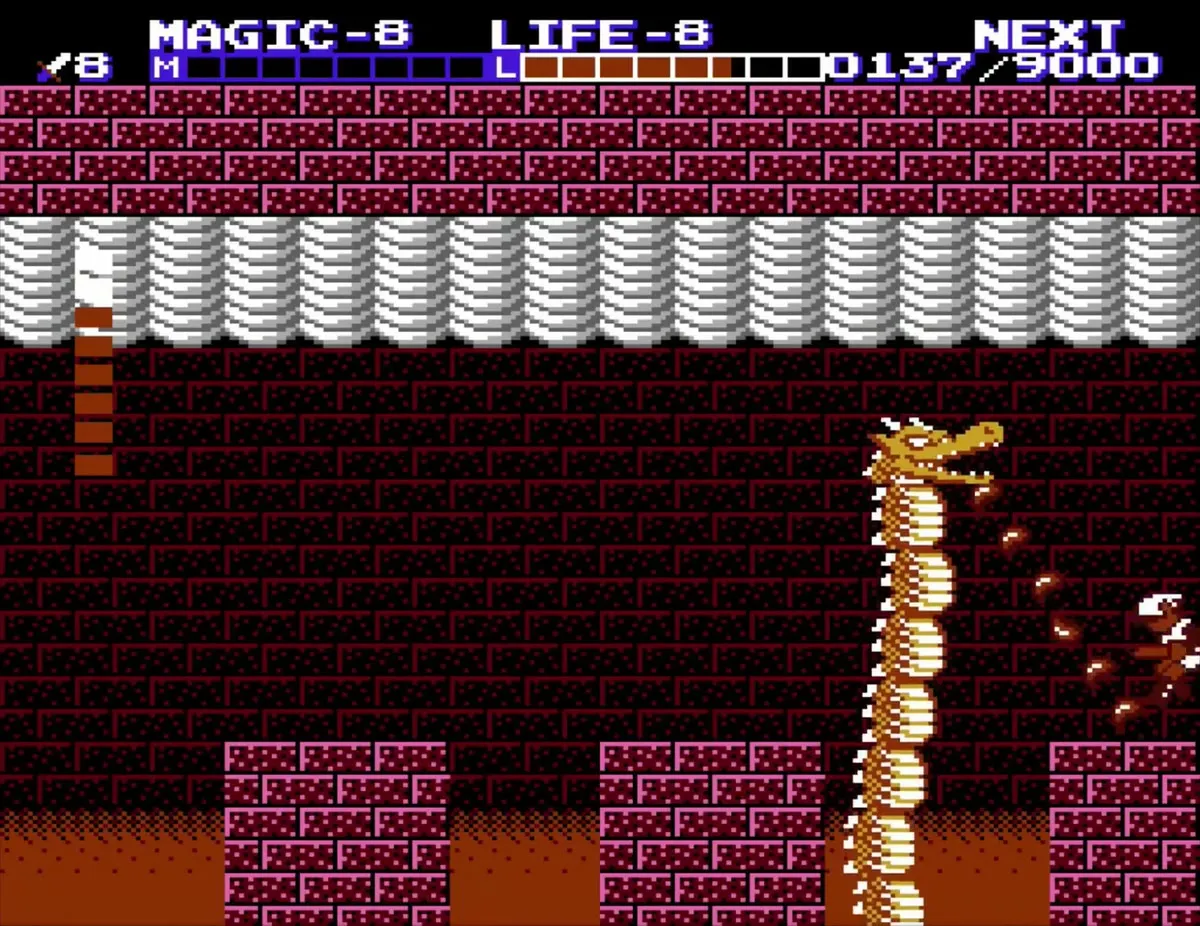
Barba rises again and again from different lava pits. Each time its head comes up within reach, jump onto it and strike. Shield cuts the damage from the fire it breathes. Never try a Downward Thrust when it rises from the far left pit, because there is no platform to land on. Repeat this until the dragon goes down.


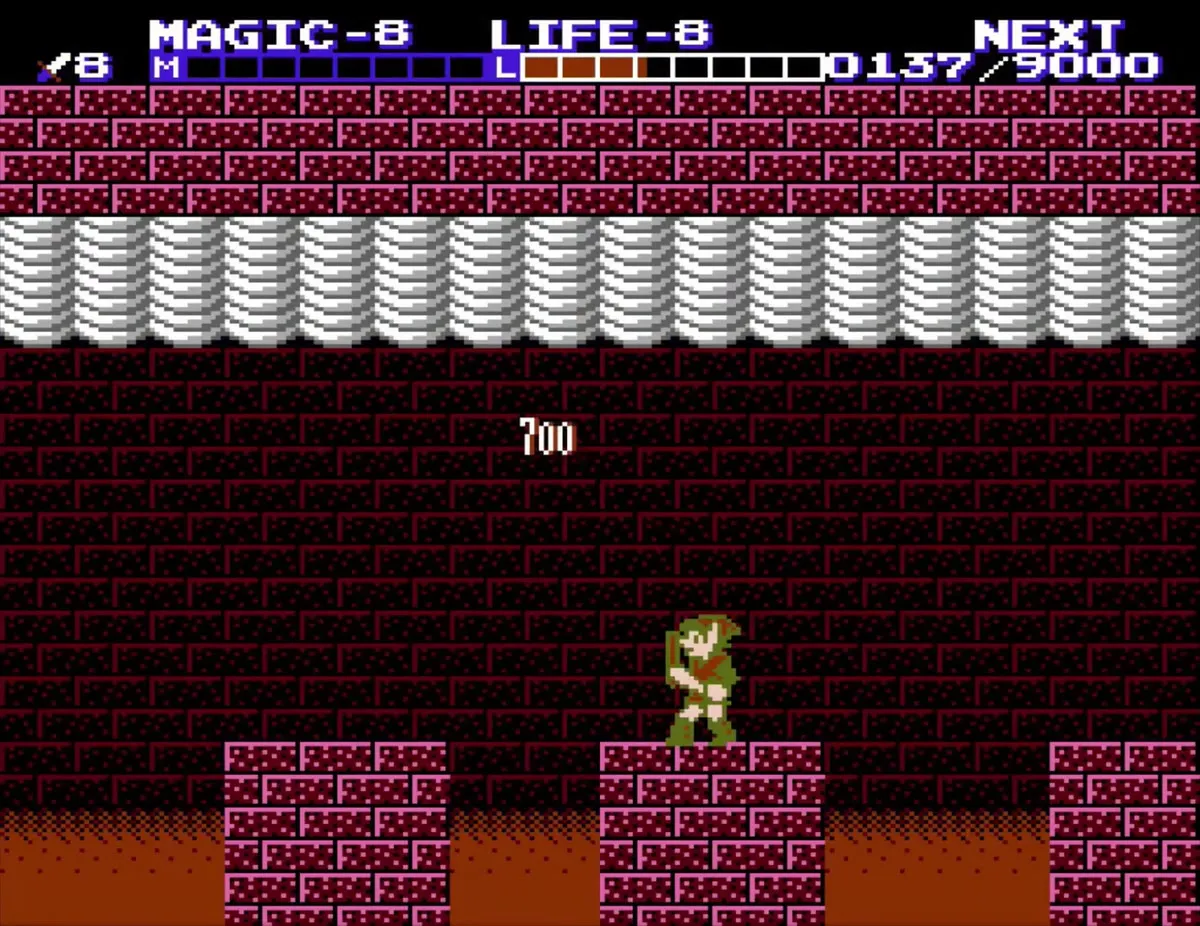
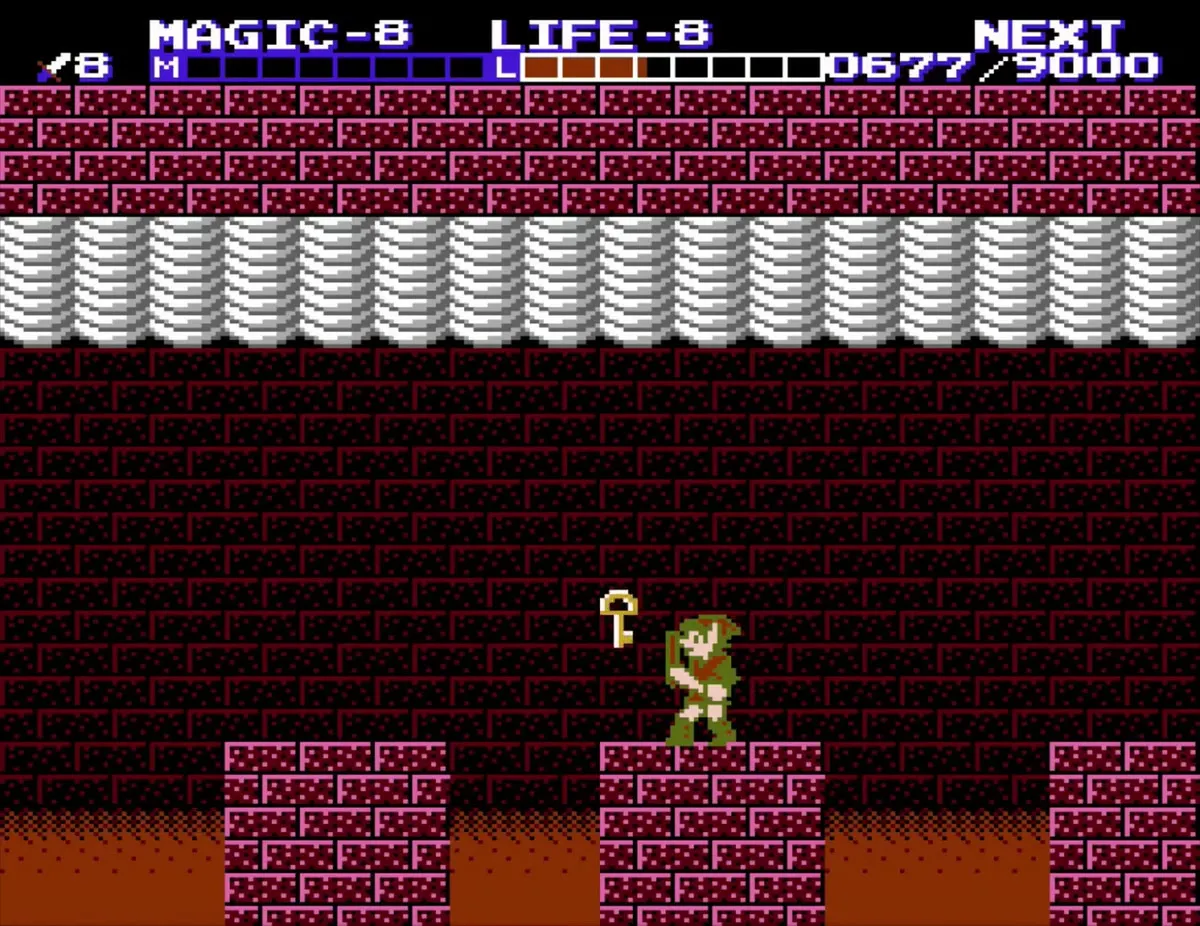
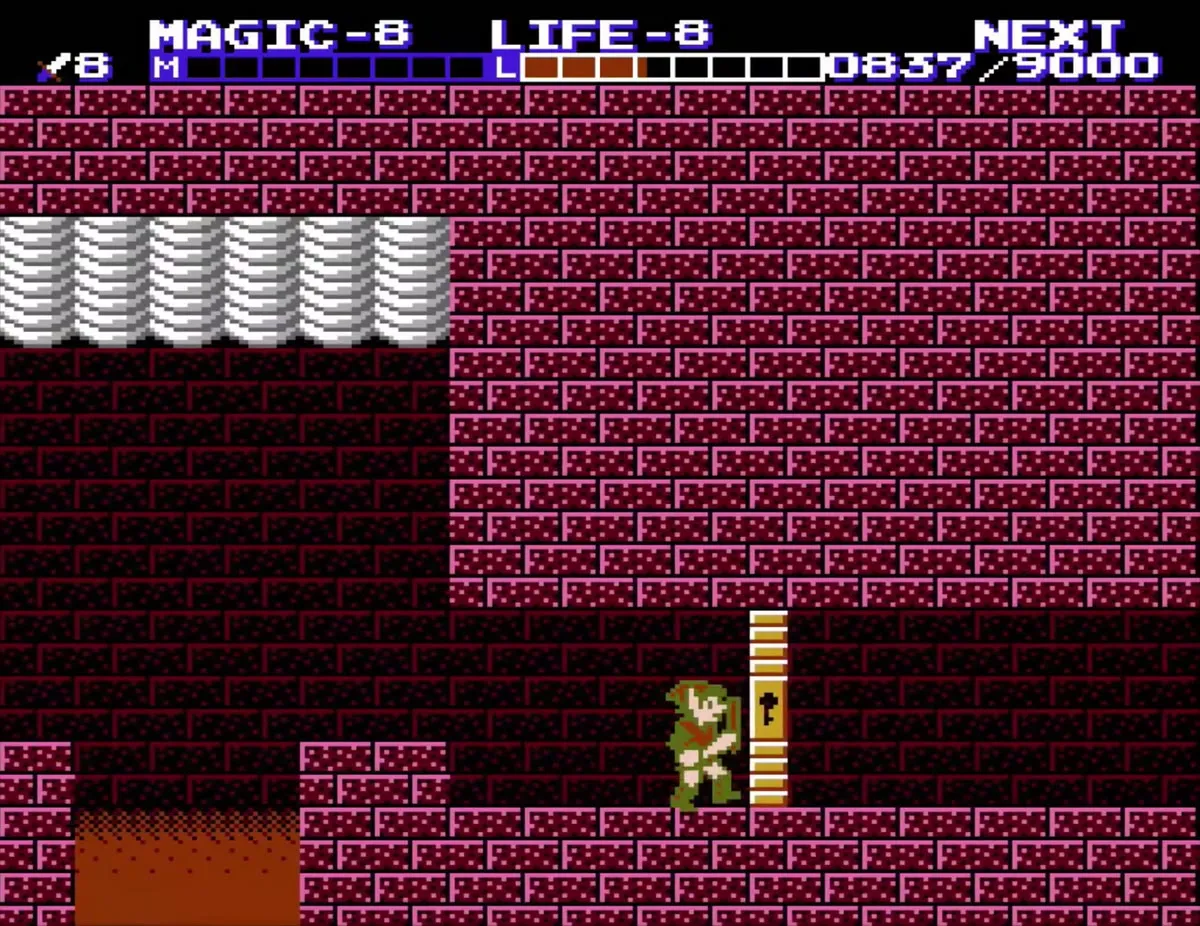
When Barba falls, the screen shows 700 points for the kill and a key drops. Use it on the door on the left, and the way to the statue is clear. Make your way across to the stone shrine ahead of you.
The crystal statue
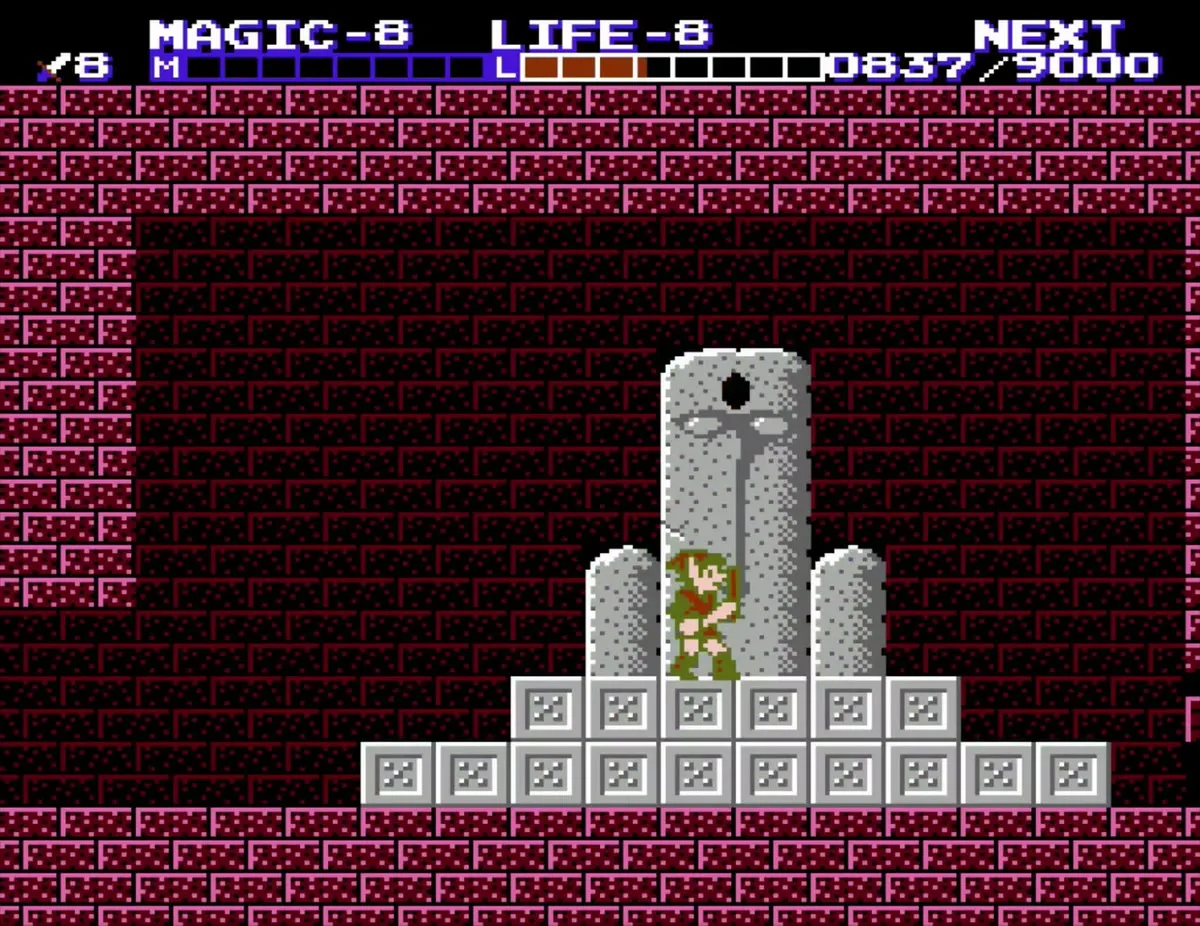
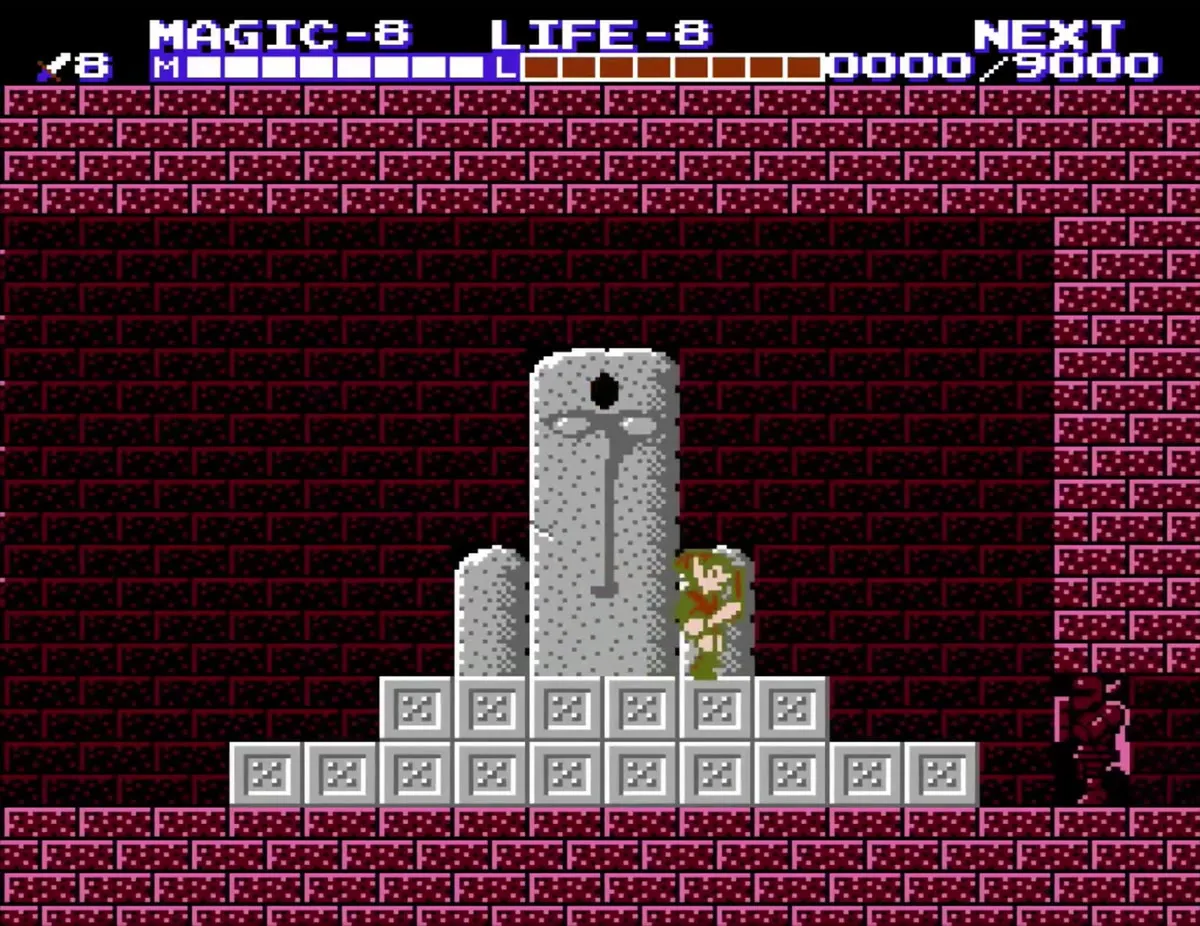
Walk up the steps of the stone shrine and stand in front of the grey statue with its stepped base. Place the crystal you earned from Barba here. The statue fills your experience bar up to its current cap, so the counter climbs quickly while the statue takes effect.
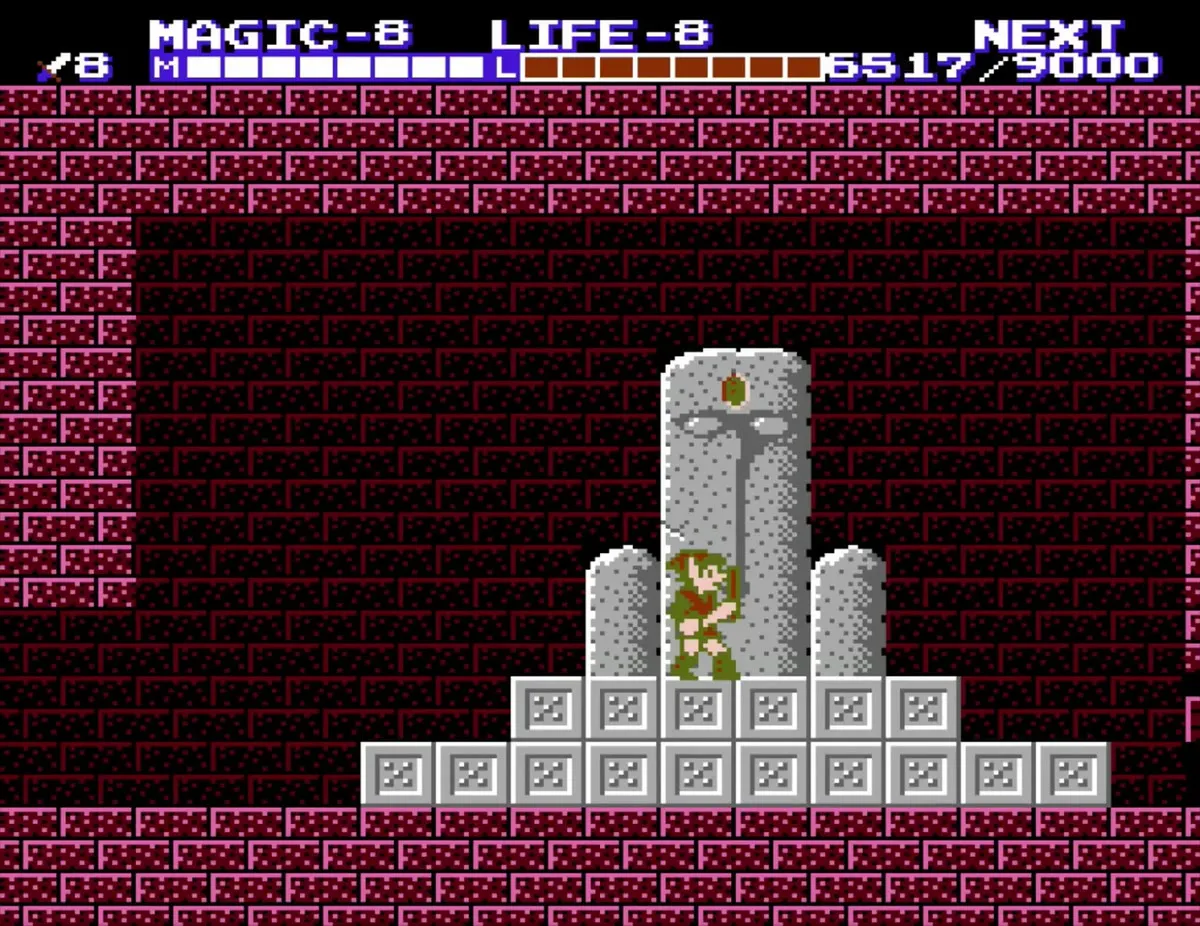
With Attack, Magic and Life all at level 8, every 9000 experience points earns you an extra life, and the experience counter starts again from zero.

Chapter checklist
| Type | Name | Where |
|---|---|---|
| Key item | Magical Key | From New Kasuto; opens every locked door in the palace |
| Key item | Cross | Behind the locked door just past the first Rebonack |
| Link Doll | 1-Up Doll | Room past the crumbling bridge, beyond a blue Iron Knuckle and a Bubble |
| P-Bag | Seven P-Bags (two worth 100, five worth 200) | Ledge at the entrance, ledge after the block steps, floor past the blue Iron Knuckle, bottom of the room with the gold ladder, bottom right of the block platforms; five are on this route and two are off it |
| Magic jar | Red magic jars | At the entrance statue, above the first blue Iron Knuckle room, and in a hole near the bottom elevator |
| Level-up | Magic level 8 | Blue Iron Knuckle room in the corridor, after 6000 experience points |
| Crystal | 1 crystal | Placed at the statue after Barba; fills experience to the cap |
| Container | Heart and Magic Containers | None in this palace |
