





















Zelda II 100% Completion Walkthrough15 chapters
- Starting the AdventureSave, North Castle, first Life level, Shield in Rauru, the Parapa Desert Heart Container and the way to Parapa Palace.
- Palace 1Enter the first palace, collect its four keys and the Candle, defeat Horsehead and place the first crystal.
- Ruto, the Trophy and the Jump SpellThe first Magic Container, the Trophy from the Tantari Desert cave, Jump in Ruto Town, then the caves.
- Saria and the Life SpellFind the Mirror in Saria, learn Life, follow the river guard, and walk on toward Death Mountain in Zelda II.
- Death Mountain and the HammerEnter the caves, take the Hammer from the lava room, and collect the Magic Container and Link Doll on the way to Mido.
- Mido Town, the Water of Life and the Fairy SpellLearn Downward Thrust in the church, get the Water of Life from Moruge Swamp and unlock the Fairy spell.
- Palace 2Reach the palace from the swamp, get the Handy Glove, beat Helmethead and place the second crystal in route order.
- Palace 3Reach it from King’s Tomb, use Fairy, get the Raft, find the P-Bags and keys, beat Rebonack and place the third crystal.
- Nabooru and the Fire SpellReach Nabooru from the eastern desert, learn Fire in the town basement, find the 500 P-Bag and reach Magic level 6.
- Darunia, the Kidnapped Child and the Reflect SpellLearn Upward Thrust, rescue the kidnapped child on Maze Island and get Reflect.
- Palace 4Enter with Reflect, find the keys and P-Bags, beat Carock by reflecting his waves, and place the fourth crystal.
- Palace 5The fake wall, the Flute behind Iron Knuckles, keys, Attack level 7 and the Gooma boss in this green-brick palace.
- New Kasuto, Old Kasuto and the Thunder SpellThe Magic Container, Spell and Magical Key in the hidden town, Attack 8, Thunder.
- Palace 6Reach the palace with the Flute, climb the red-brick floors, defeat Barba, and place the crystal at the statue.
- Final PalaceCross the Valley of Death, beat Thunderbird and Dark Link, and claim the Triforce of Courage for the ending.
| Covers | Death Mountain cave network, the lava room under Spectacle Rock, and the desert road back toward Mido Town |
|---|---|
| Palace | None in this chapter; Death Mountain has no palace |
| Rewards | Hammer (key item), 1 Magic Container (second of four), 1 Link Doll (2 of 6, 1UP), Attack level 4 and Magic level 4 gained from enemies on the route; no crystal |
Death Mountain is the rocky region south of Saria, reached by crossing the river bridge that the River Man builds for you. This chapter takes you through its cave network, down into the lava room under Spectacle Rock for the Hammer, back out to collect the Magic Container and a Link Doll, and along the desert road that leads to Mido Town. In short: enter the caves, climb to the lava pillars, drop through the hole in the desert, take the Hammer, break the boulder for the Magic Container, then head for Mido.
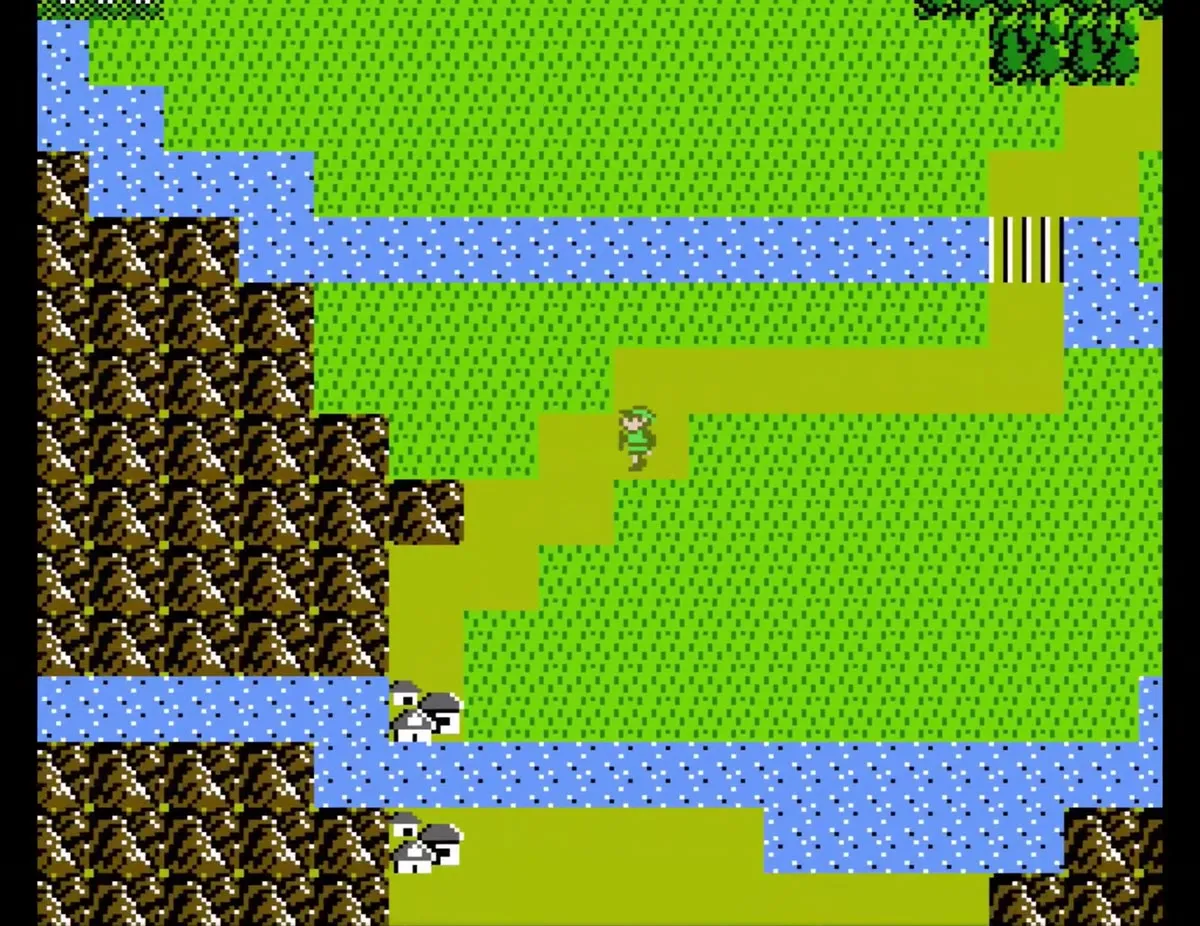
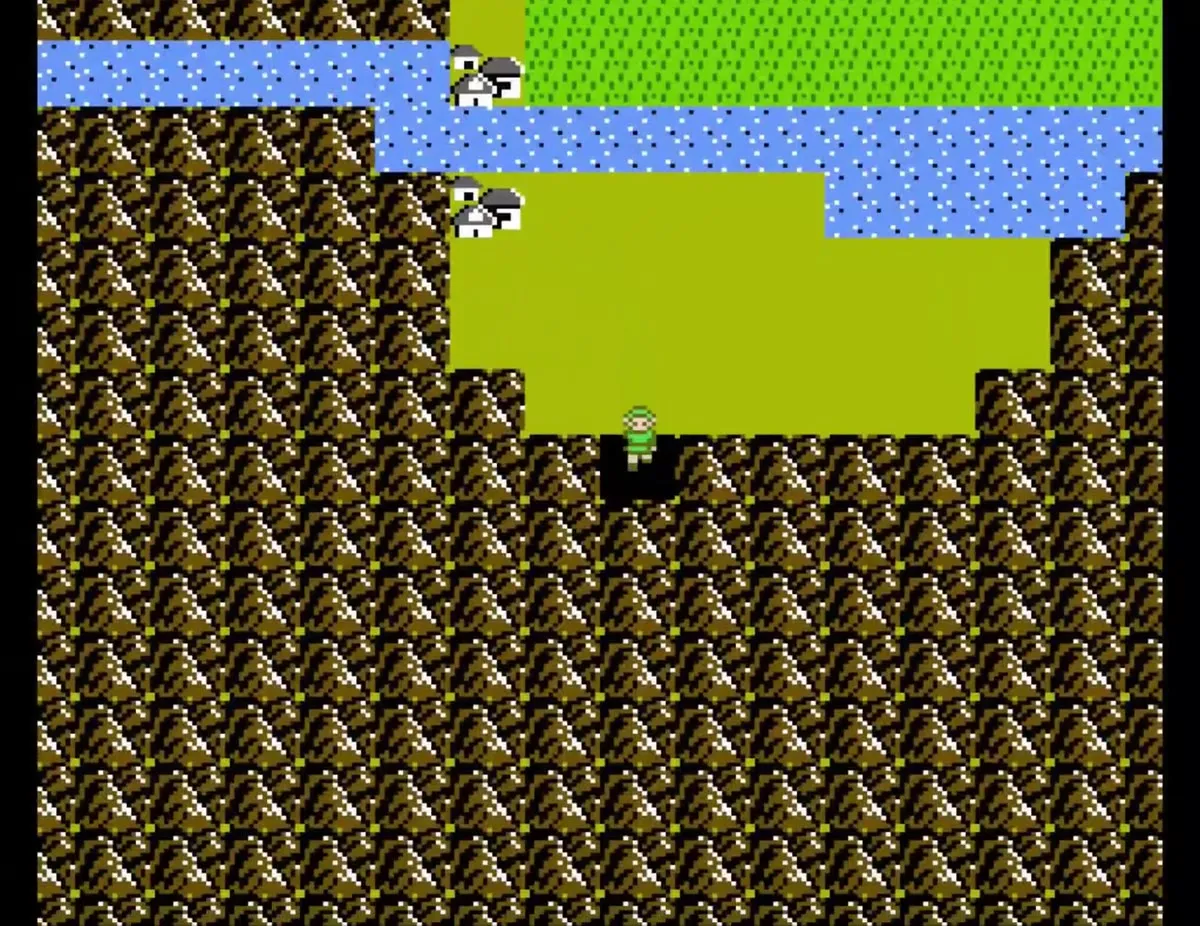
Table of Contents
Death Mountain cave network
Enter the caves from Saria
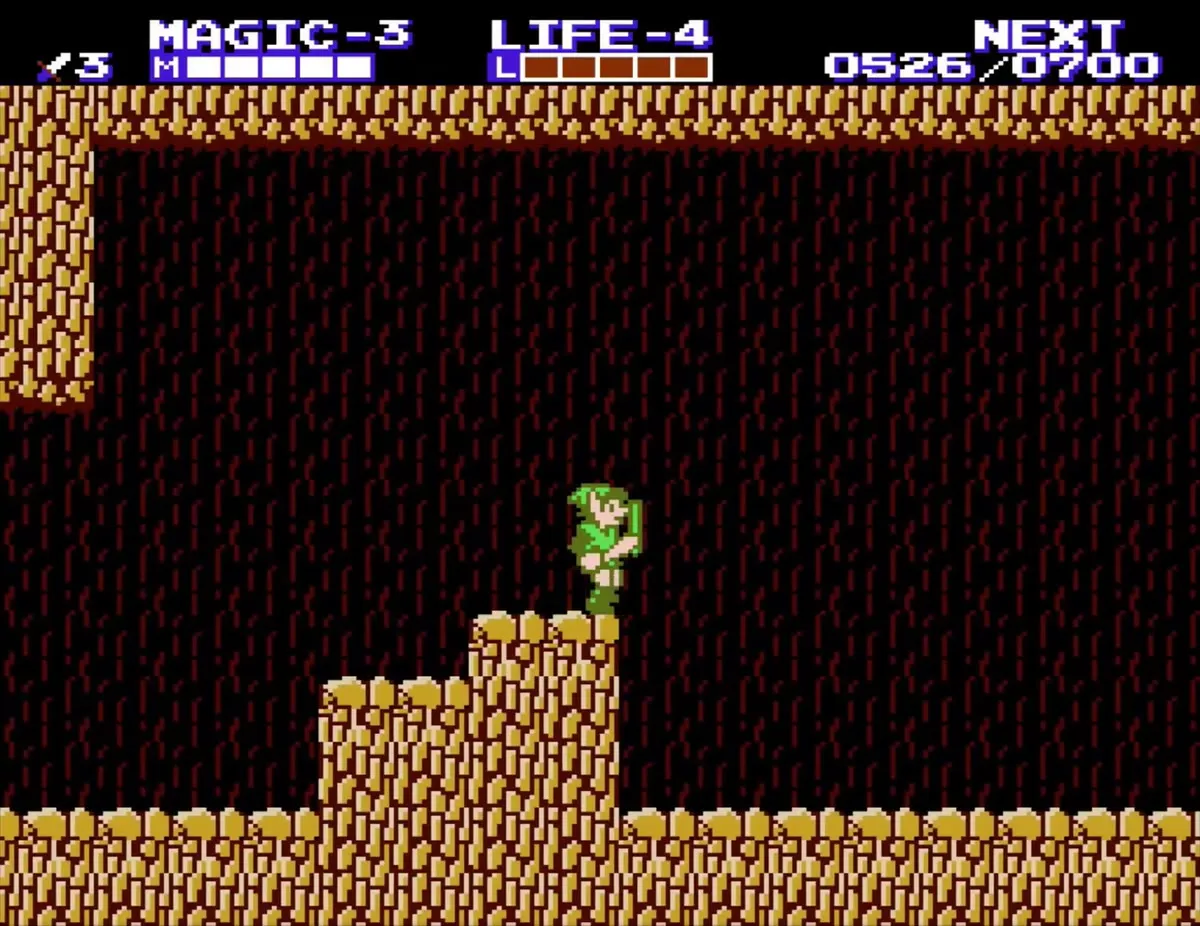
Show Bagu’s note to the River Man in Saria Town to have the bridge built across the river, then cross it and enter the cave. Inside, Death Mountain is a web of tunnels, and some branches are dead ends. When you reach a fork, take the rightmost opening and keep moving through the cave network.


Climb the rock ledges
The first stretch is a climb up rock ledges and steps, with enemies on the ledges and on the floor below. Dairas live in these tunnels, so keep your sword ready as you go up. Take each ledge in turn and do not rush the jumps, because the ledges stack close together.
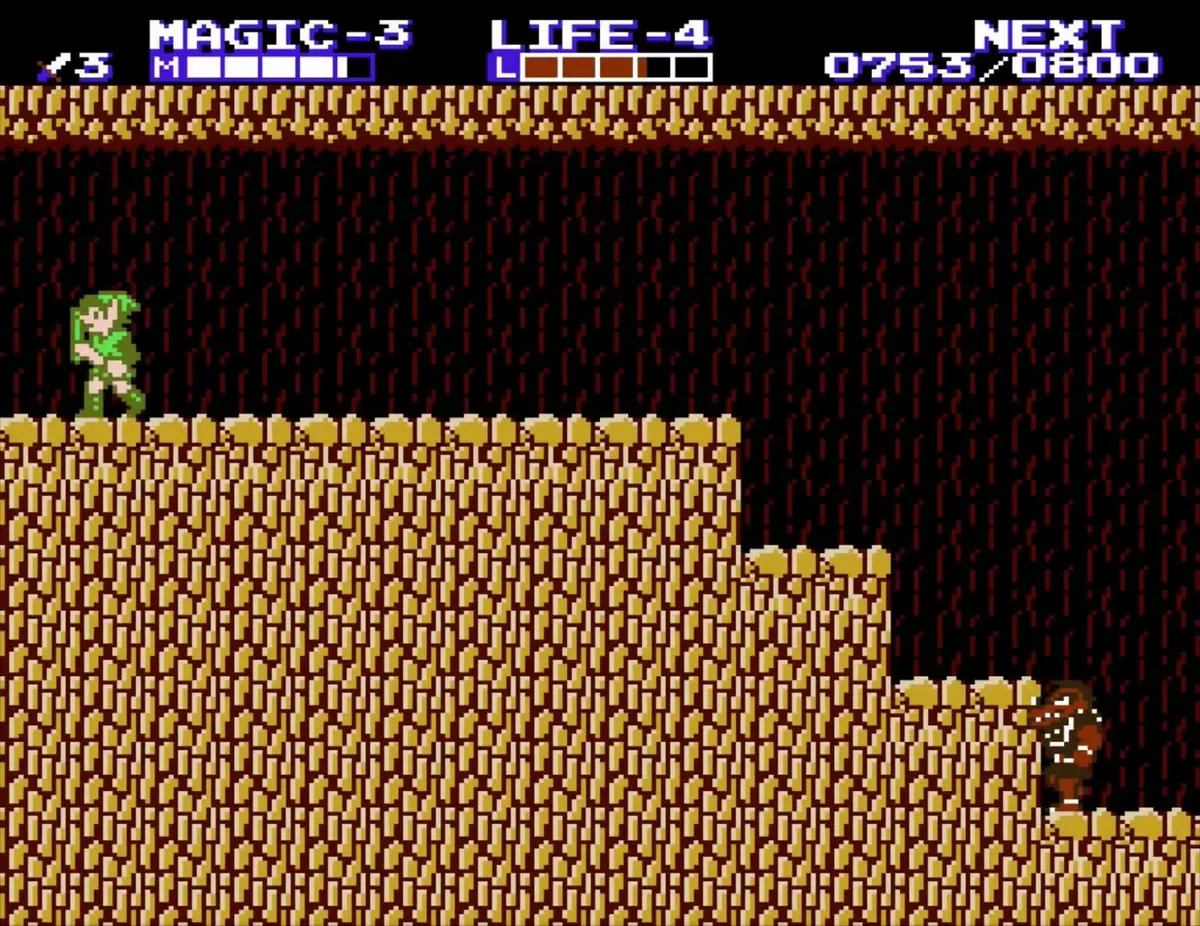
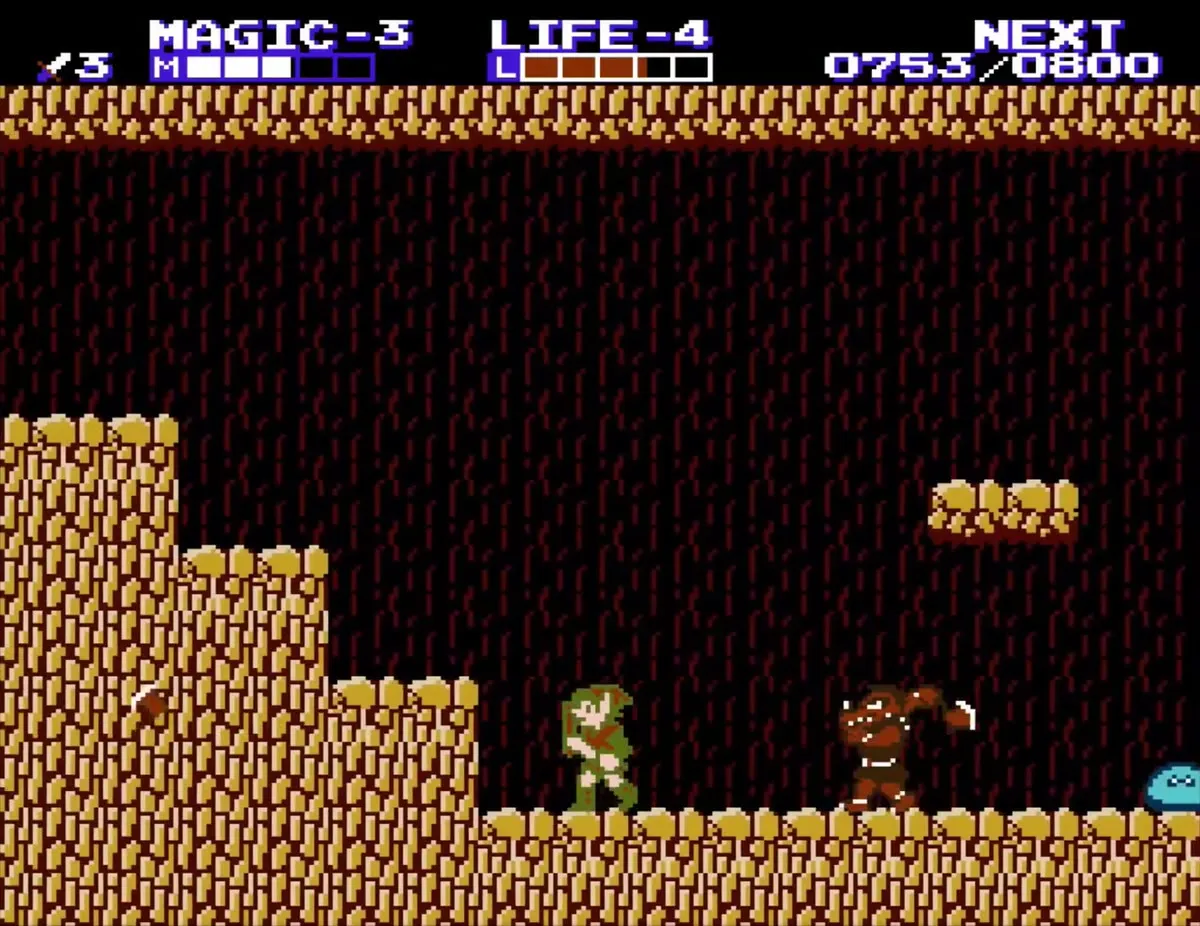
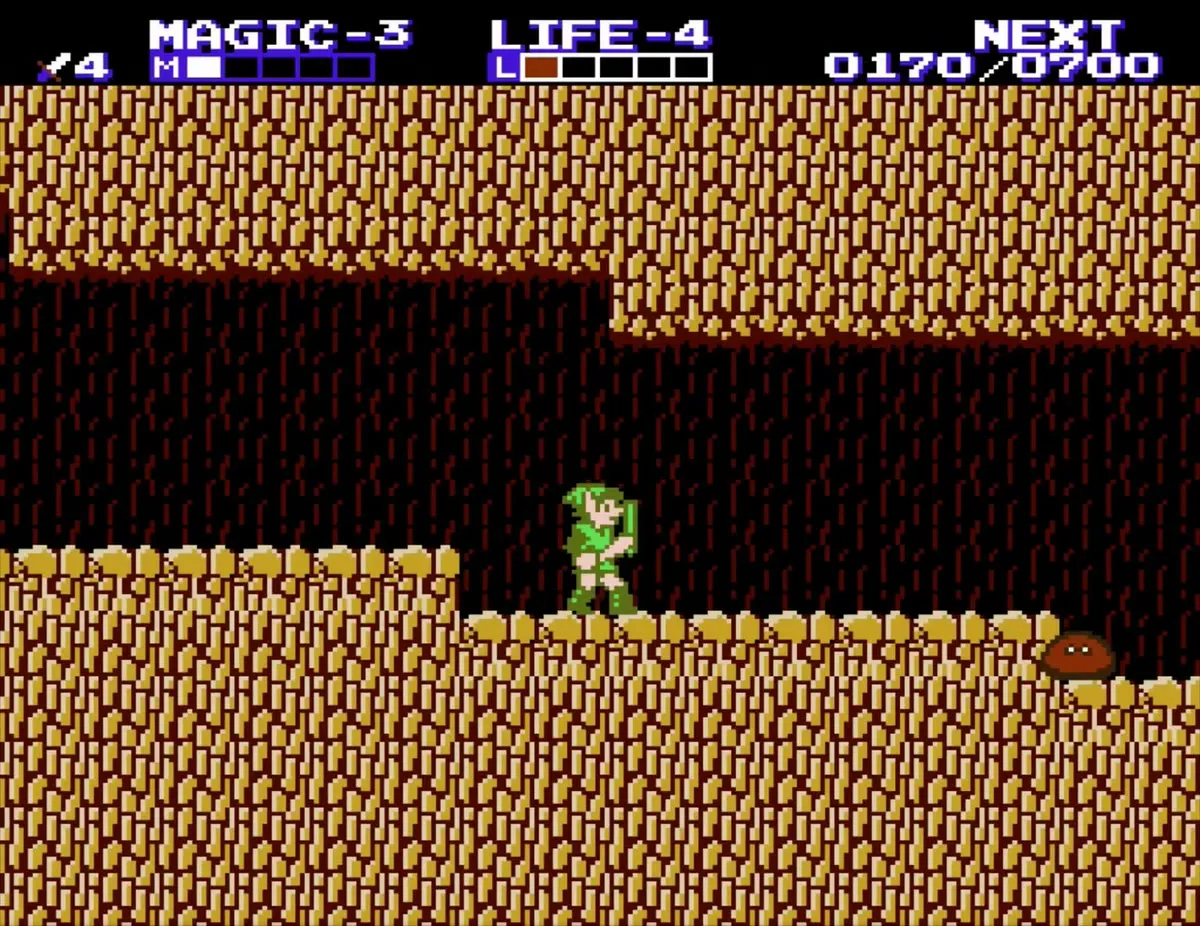
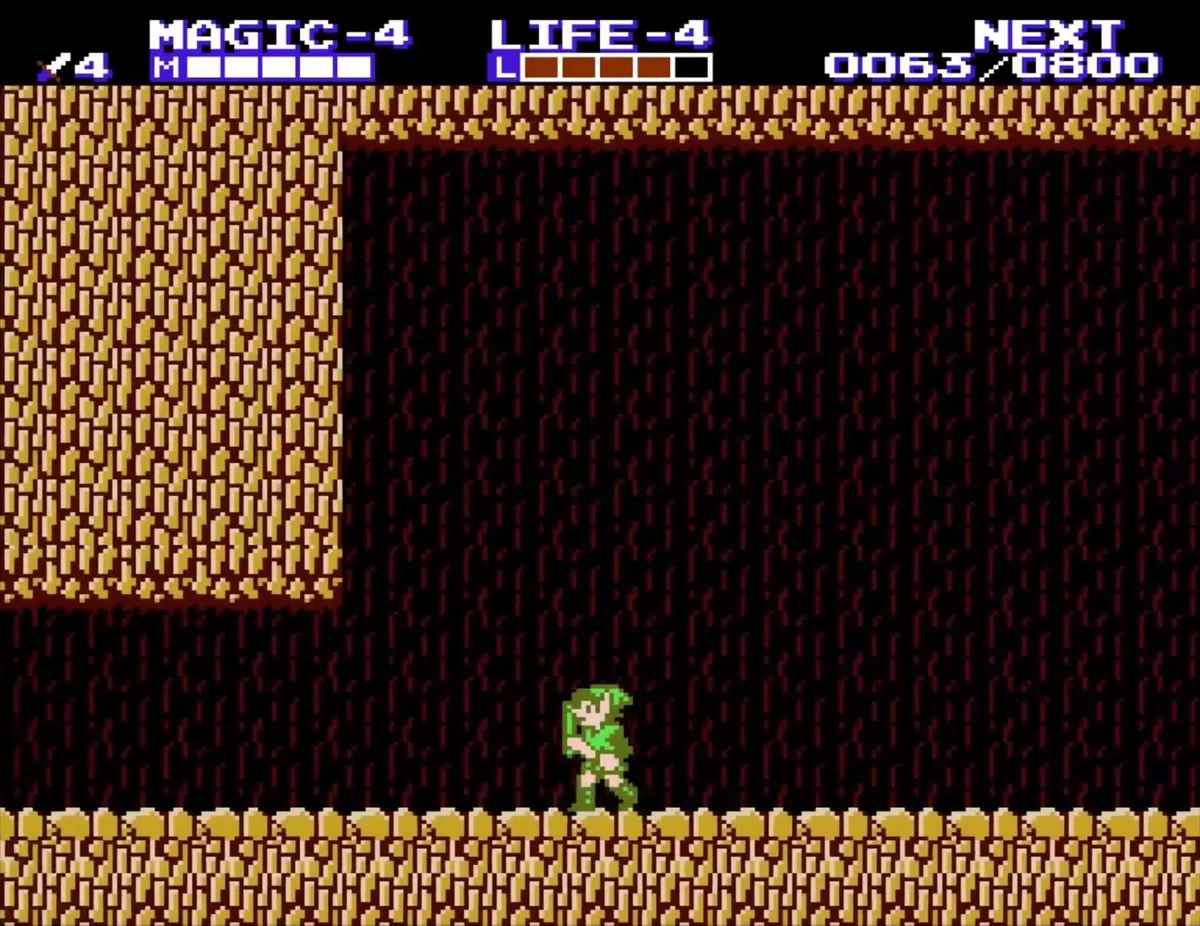
Keep defeating the enemies along the climb and you will reach Attack level 4, then Magic level 4 further in. See experience and levels for the thresholds.
Cross the lava pillars
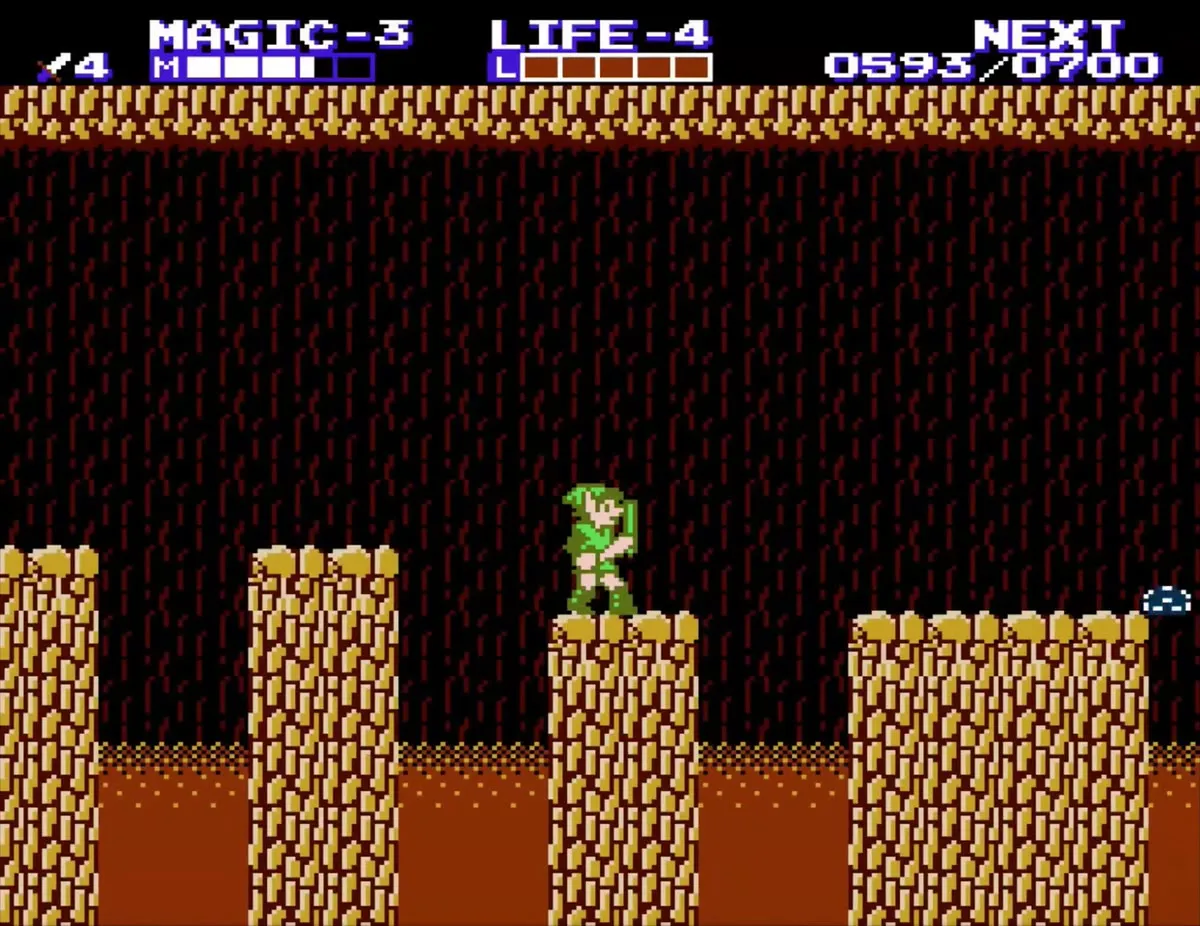
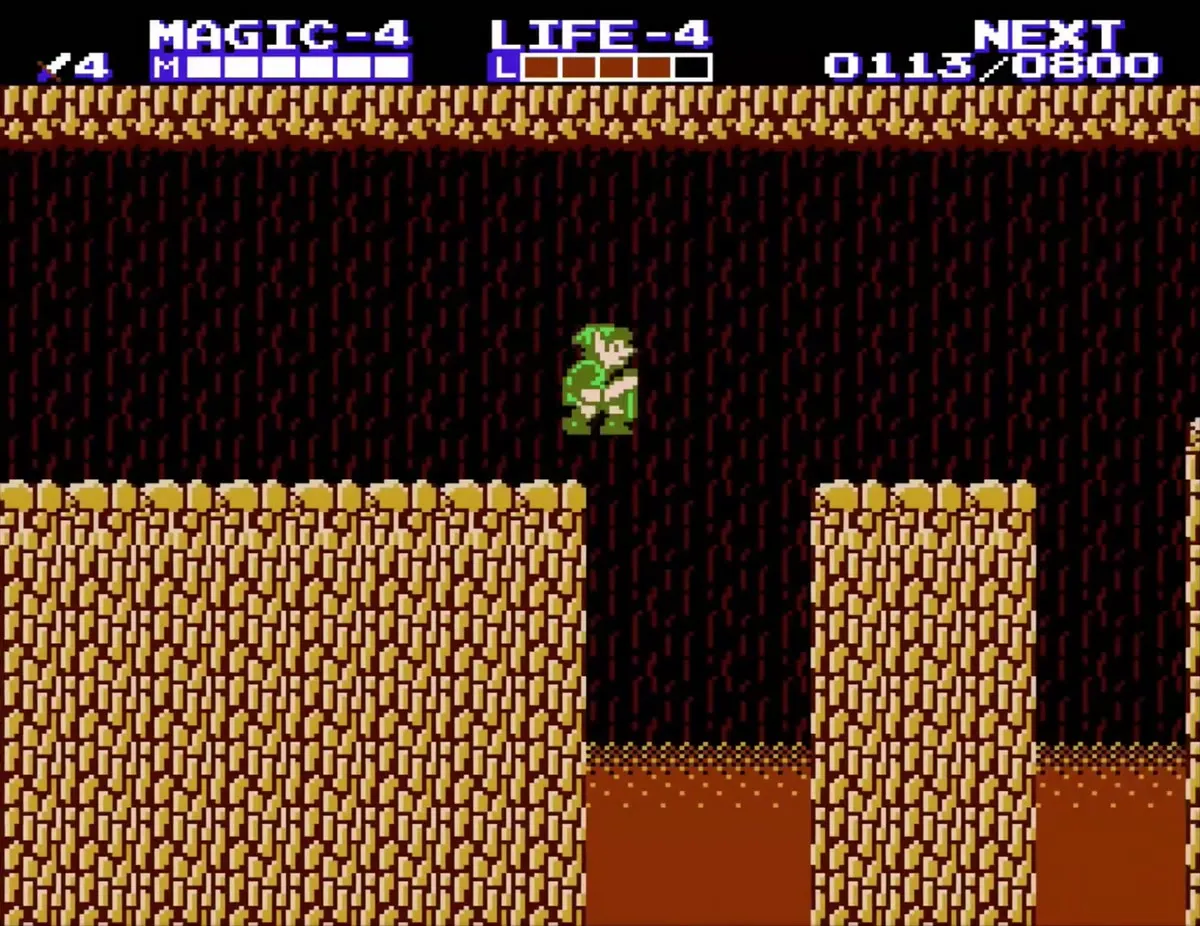
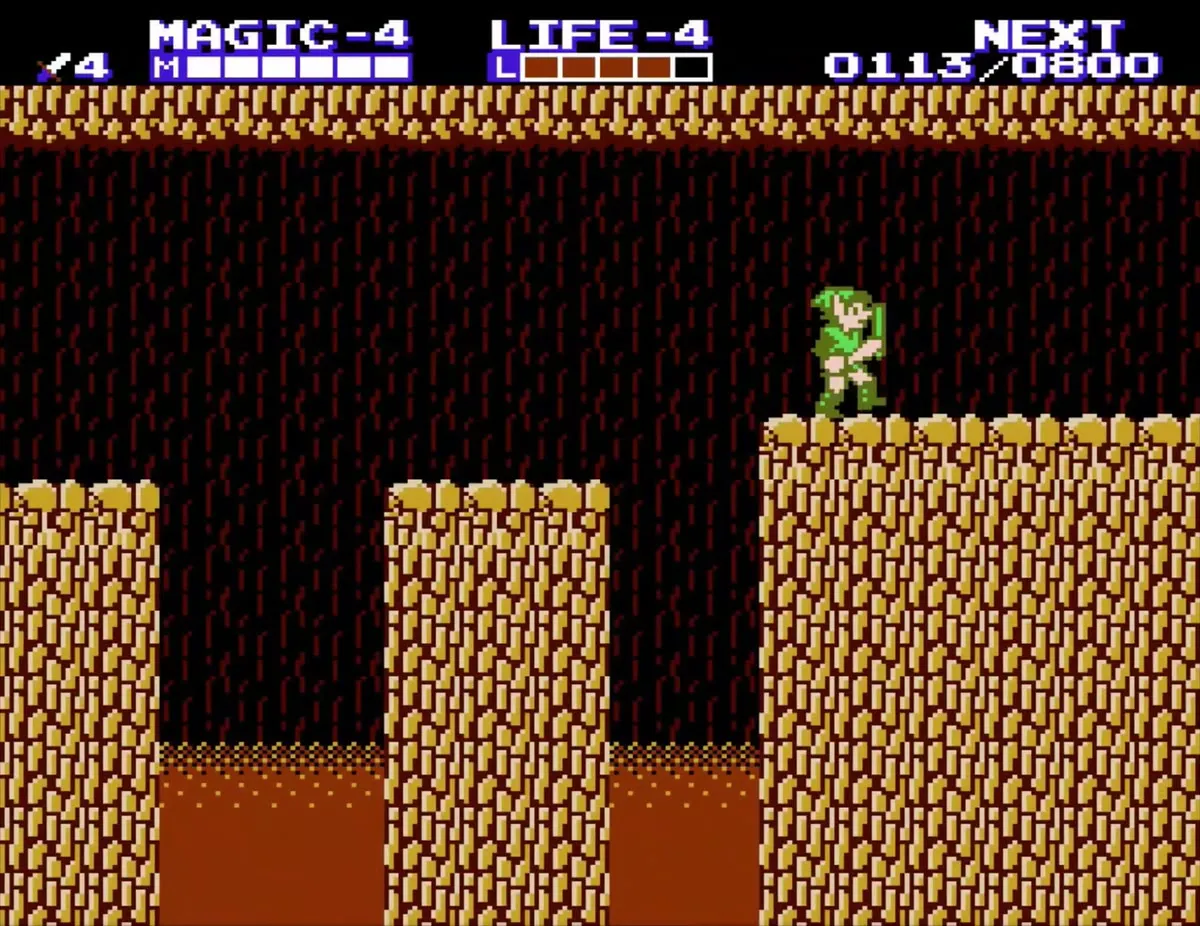
Further in, stone pillars stand above a pool of lava, and the route crosses from pillar to pillar. Time your jumps so that you land on each pillar. The cave continues past the pillars toward the exit into the desert.
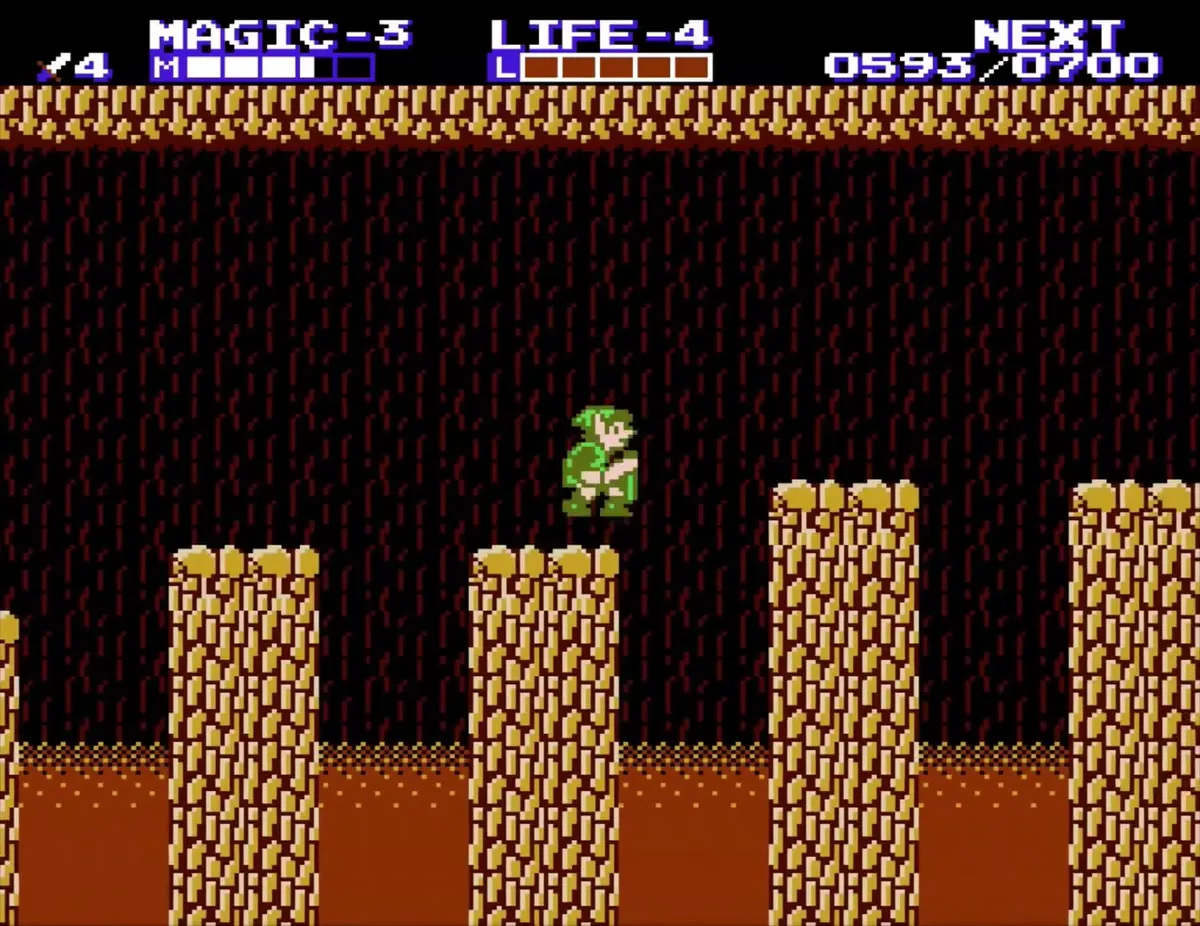
The Hammer in the lava room
Leave the caves into the desert
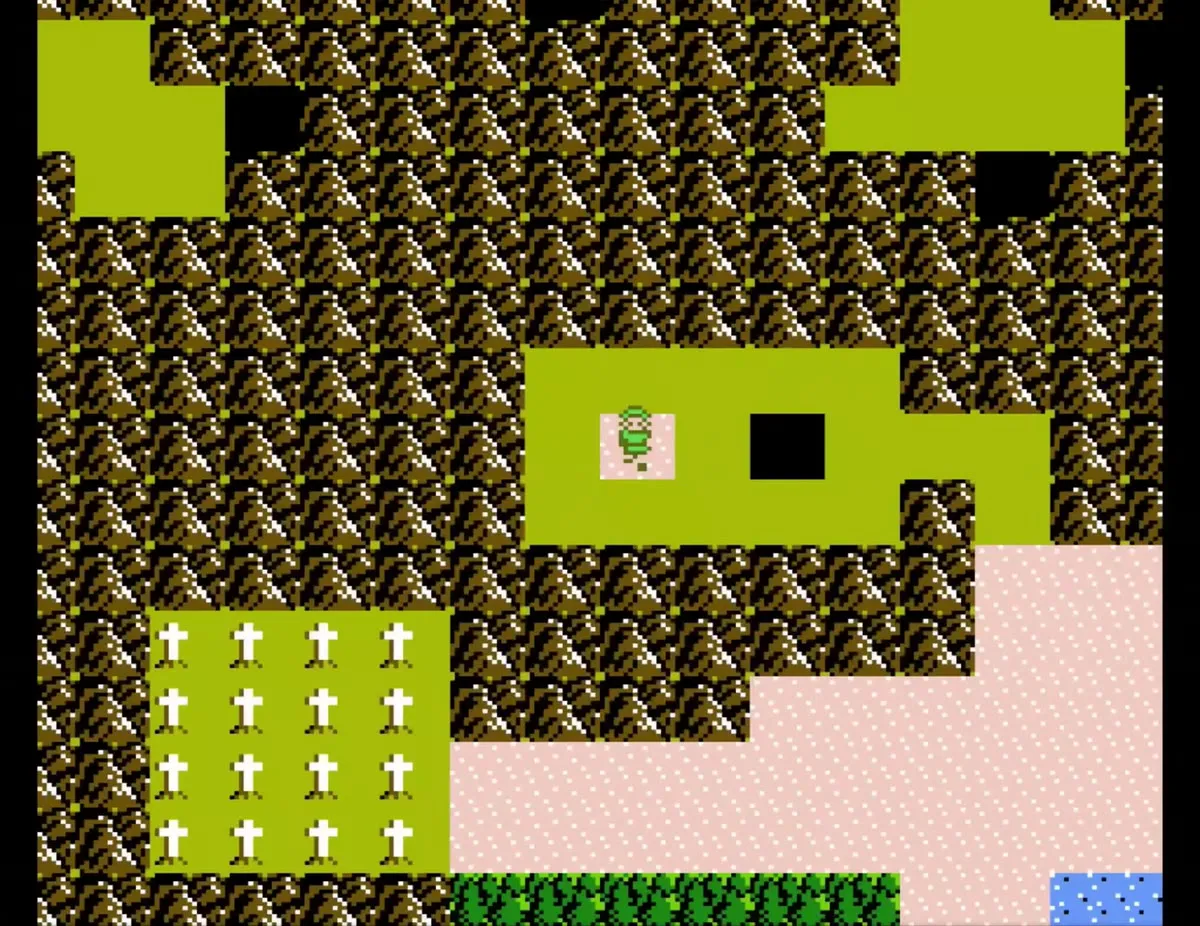
Leave the cave network into a desert. Walk west, then take the narrow passage that climbs up from the desert floor. The passage brings you to the spot where the hole in the ground opens beside a boulder.
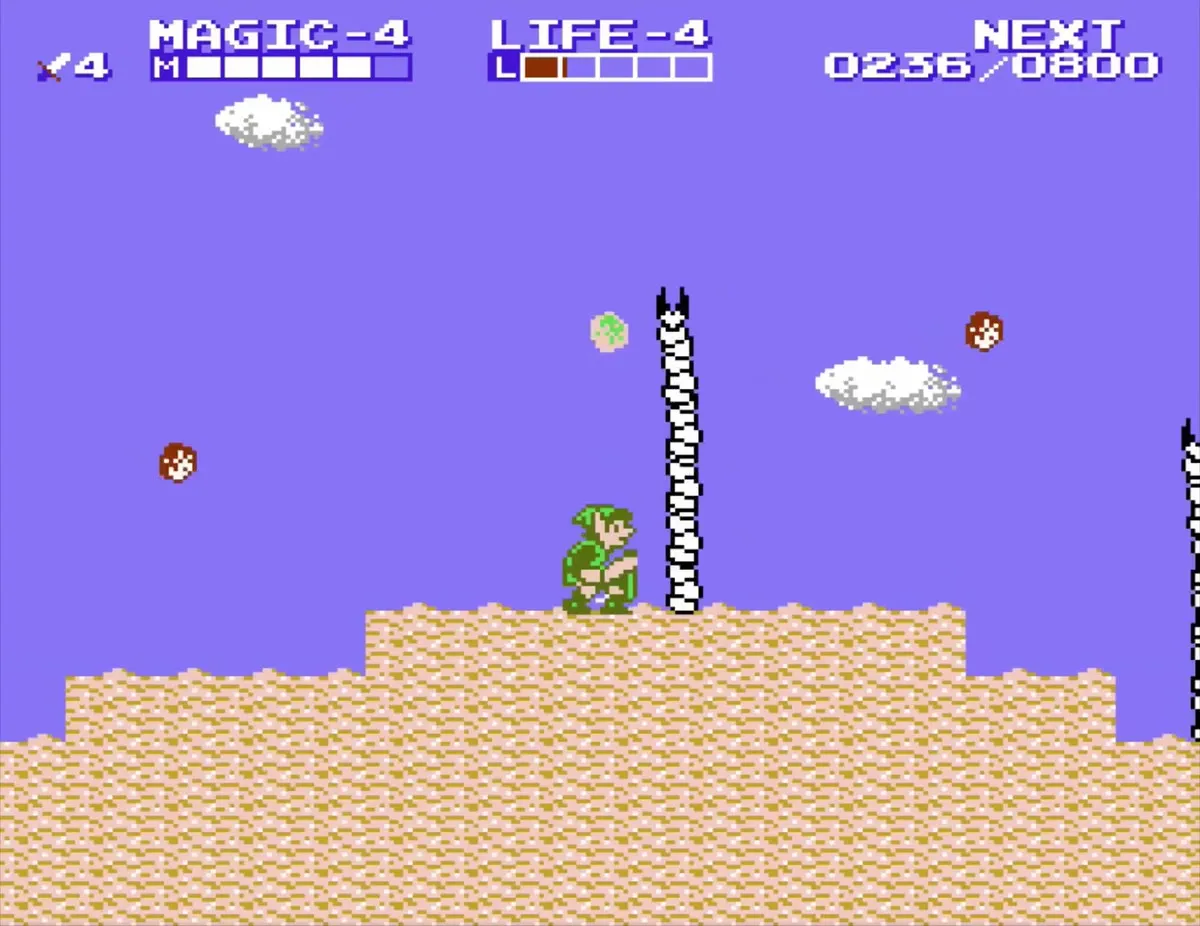
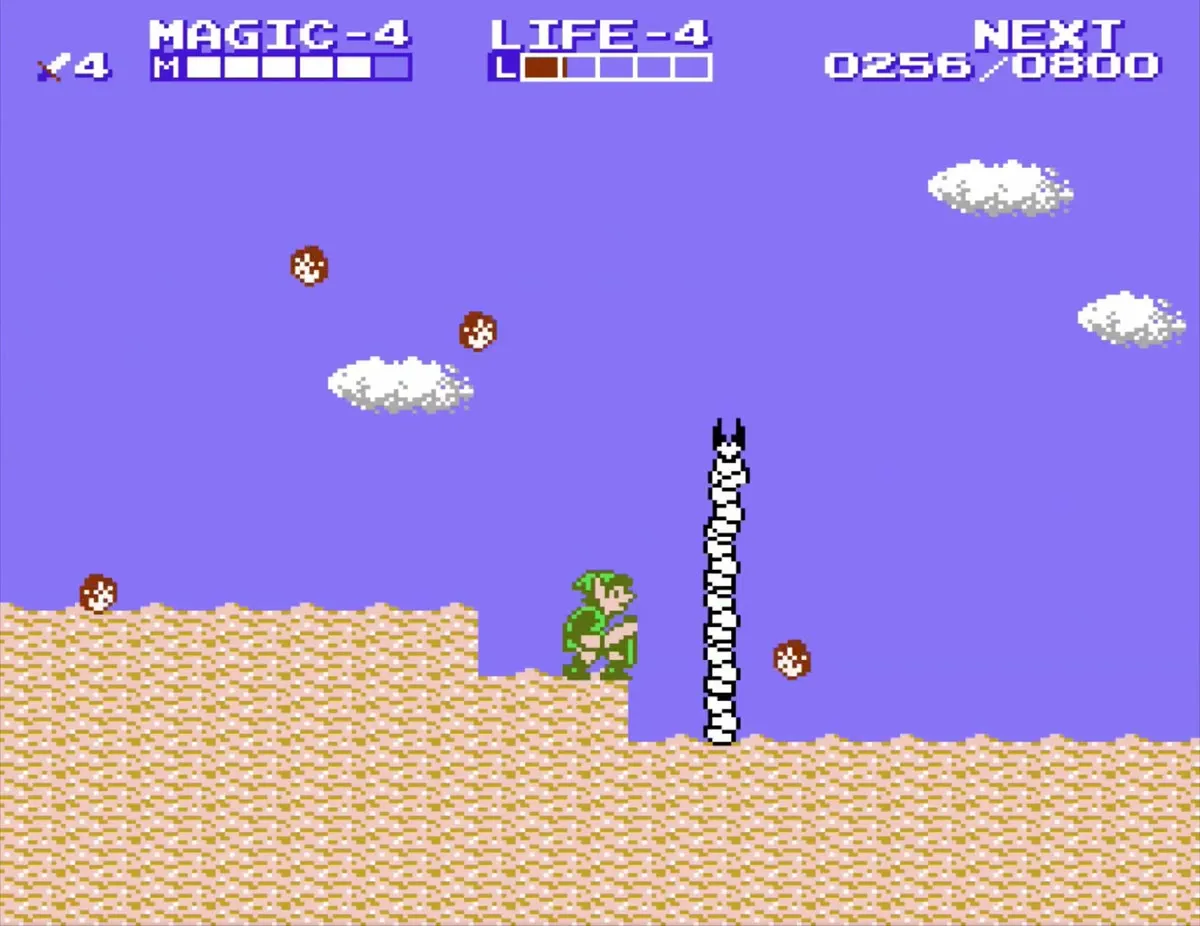
Drop through the hole into the lava room
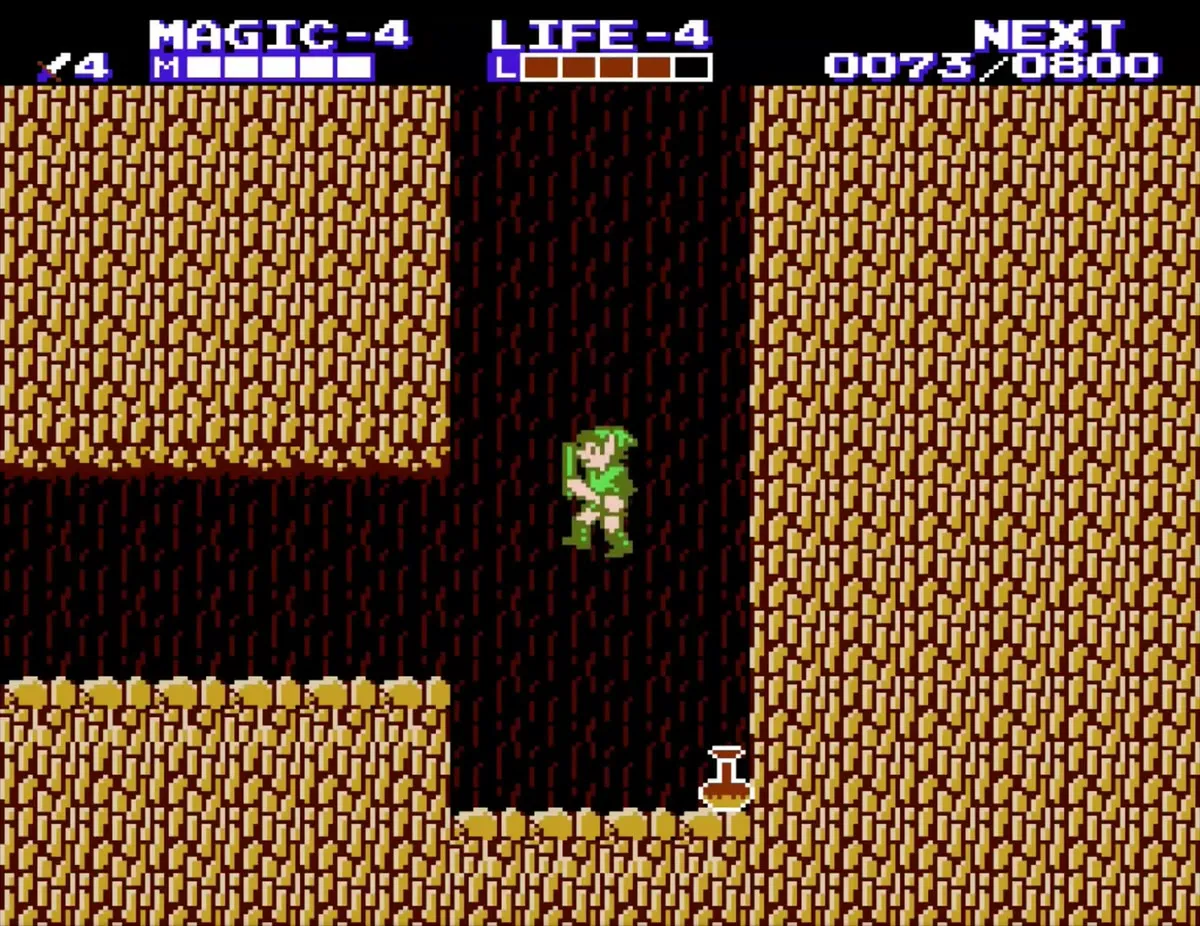
Jump into the hole next to the boulder to fall into the lava room below. Cross the room toward its far end, where a red Daira stands in your path before the Hammer. Defeat it with your sword, then continue past it toward the Hammer.
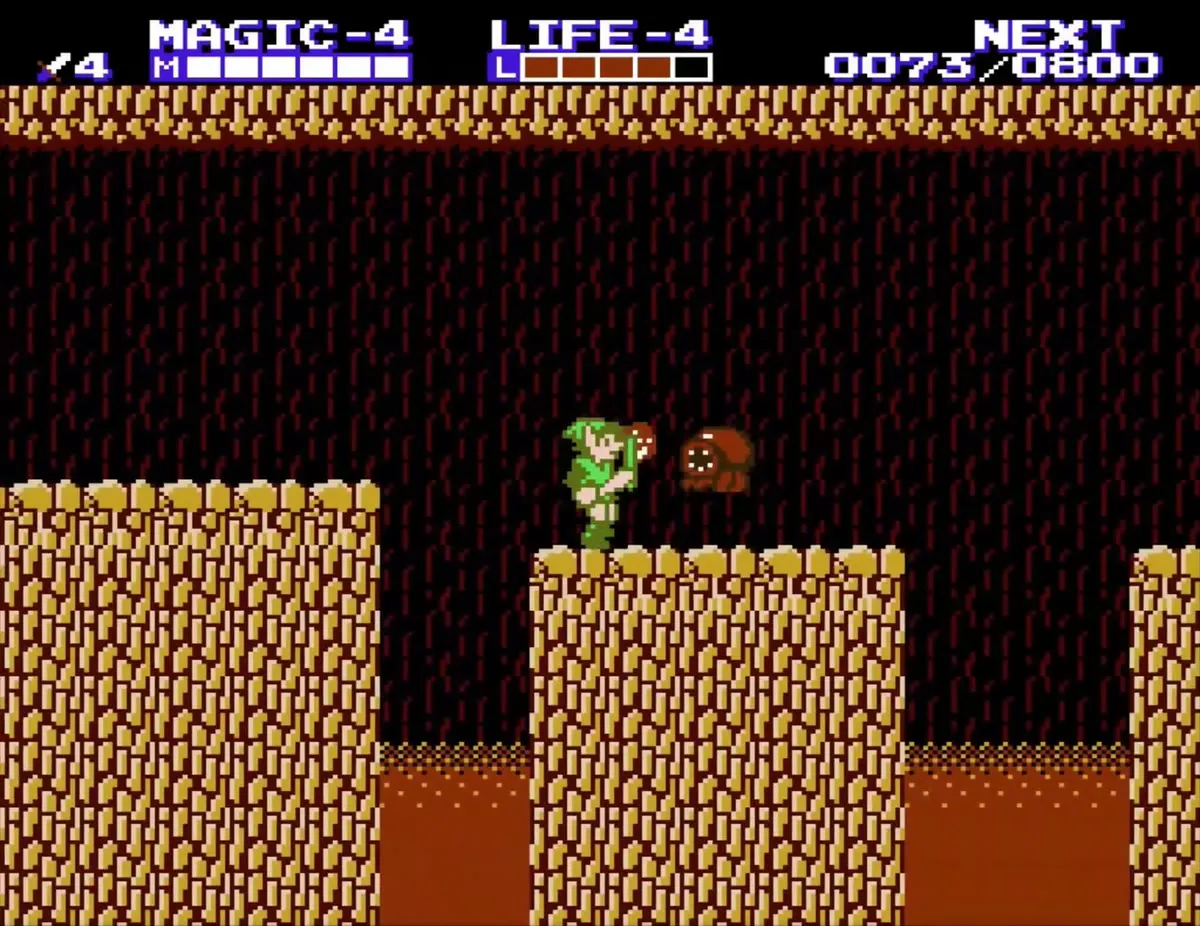

Take the Hammer
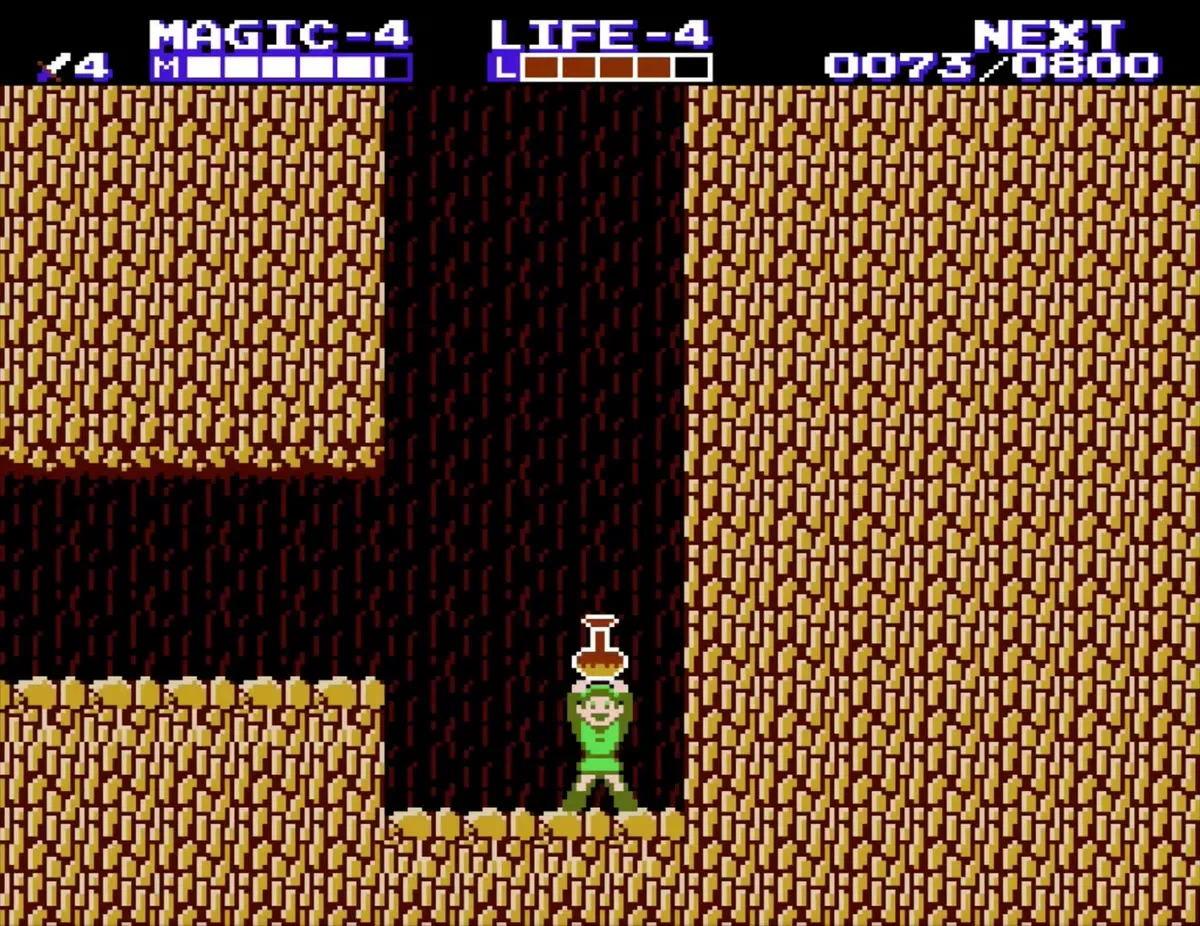
The Hammer is in the cave beneath Spectacle Rock, reached by working east through the bottom level of the lava room. Beyond the red Daira, take the Hammer from its spot. You can now leave the way you came, back through the desert.
Use the Hammer on boulders
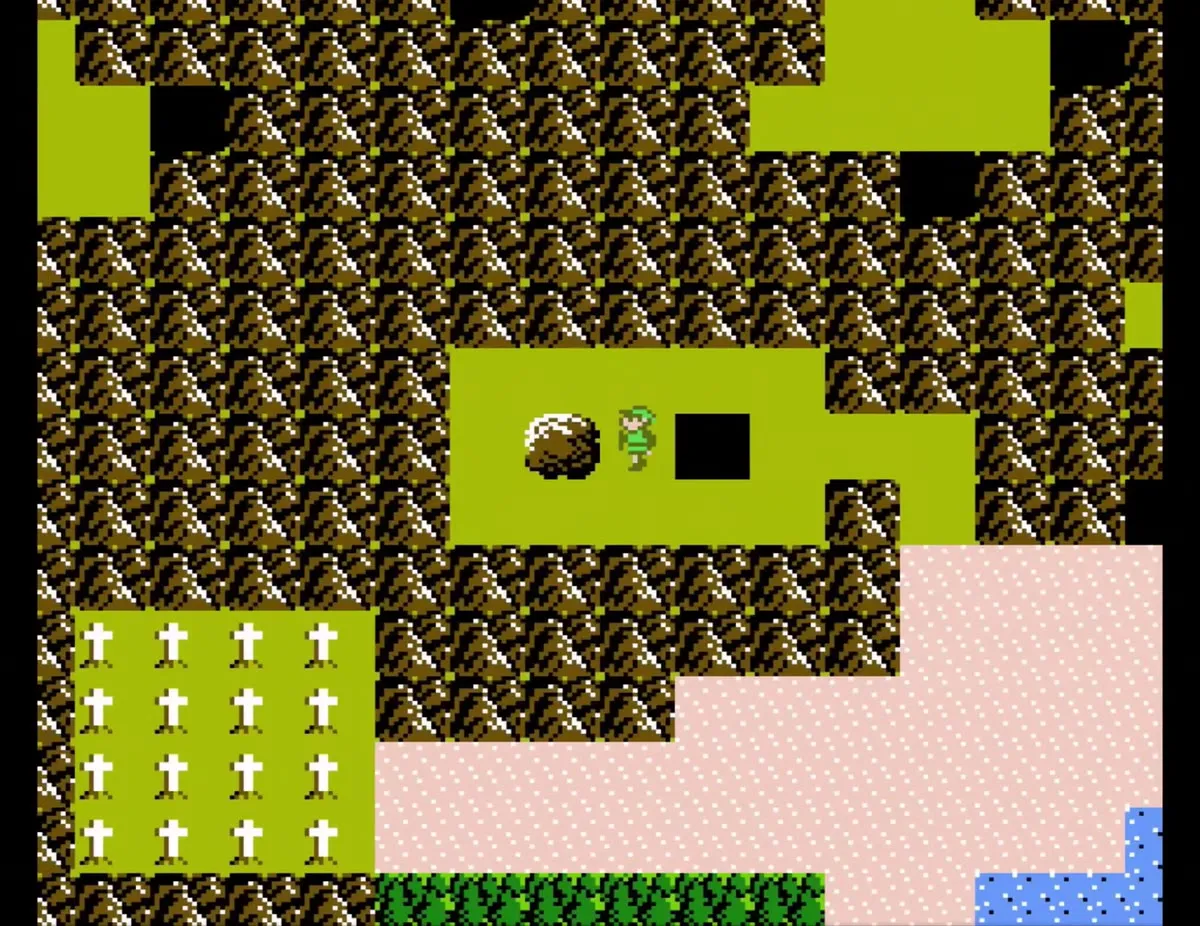
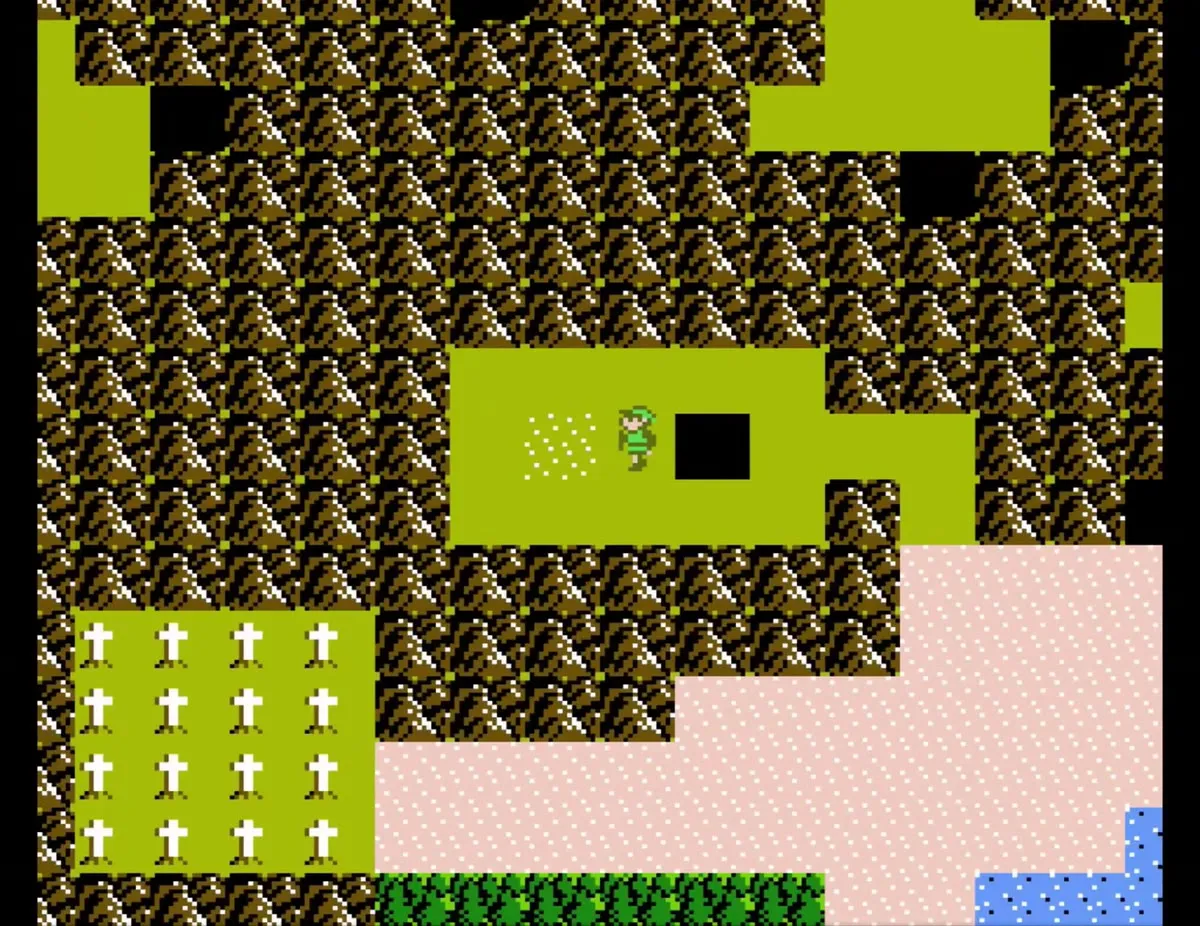
On the overworld, stand beside a boulder and use the Hammer to smash it. You will need the Hammer again on the road ahead to Mido, and it is the key to the Magic Container below.
Magic Container behind a boulder
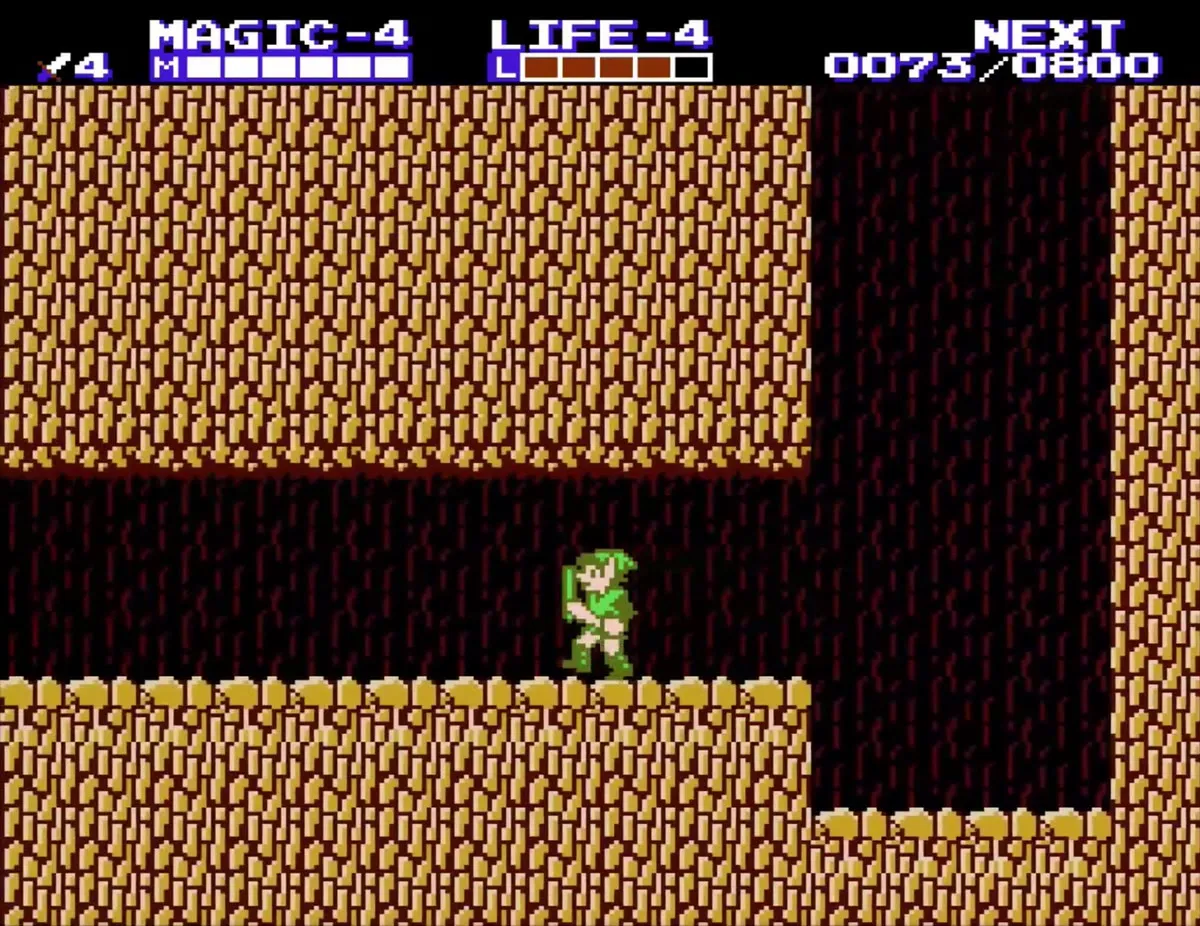
Return to the cave opening where you found the Hammer. Break the boulder beside it with the Hammer, step onto the spot the boulder covered, and drop into the pit. The Magic Container is inside, and it adds one magic segment to your magic bar, so you are now carrying the second of the four containers in the game.
Link Doll on the coast
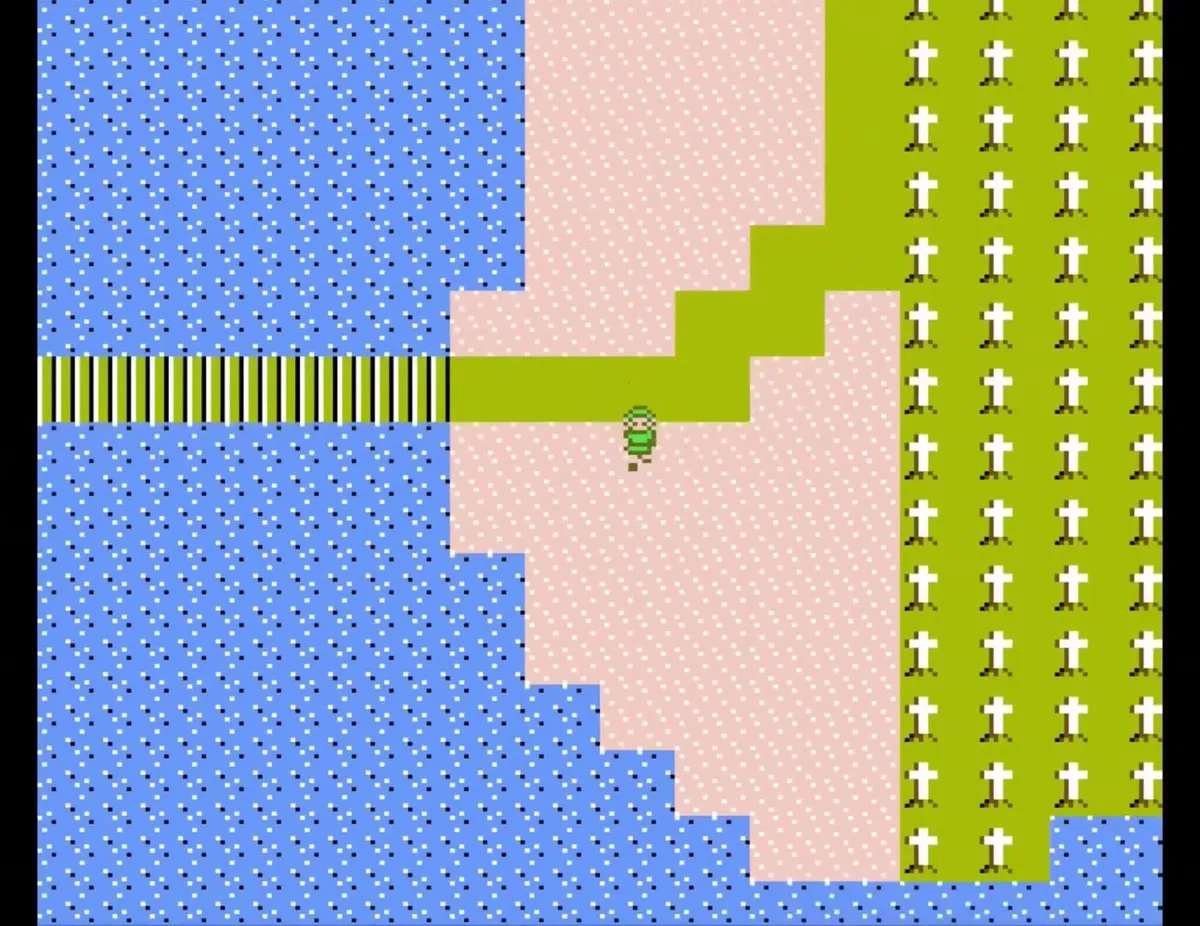
After the bridge in the small desert, follow the coast heading south and west of the graveyard that surrounds King’s Tomb, to a screen with a Link Doll on the beach. It is a one-time 1UP and it disappears once you take it, so take it when you reach that screen. The patch of woods on the beach west of the tomb is also home to a fairy, so you can heal there at the same time.
The road back to Mido
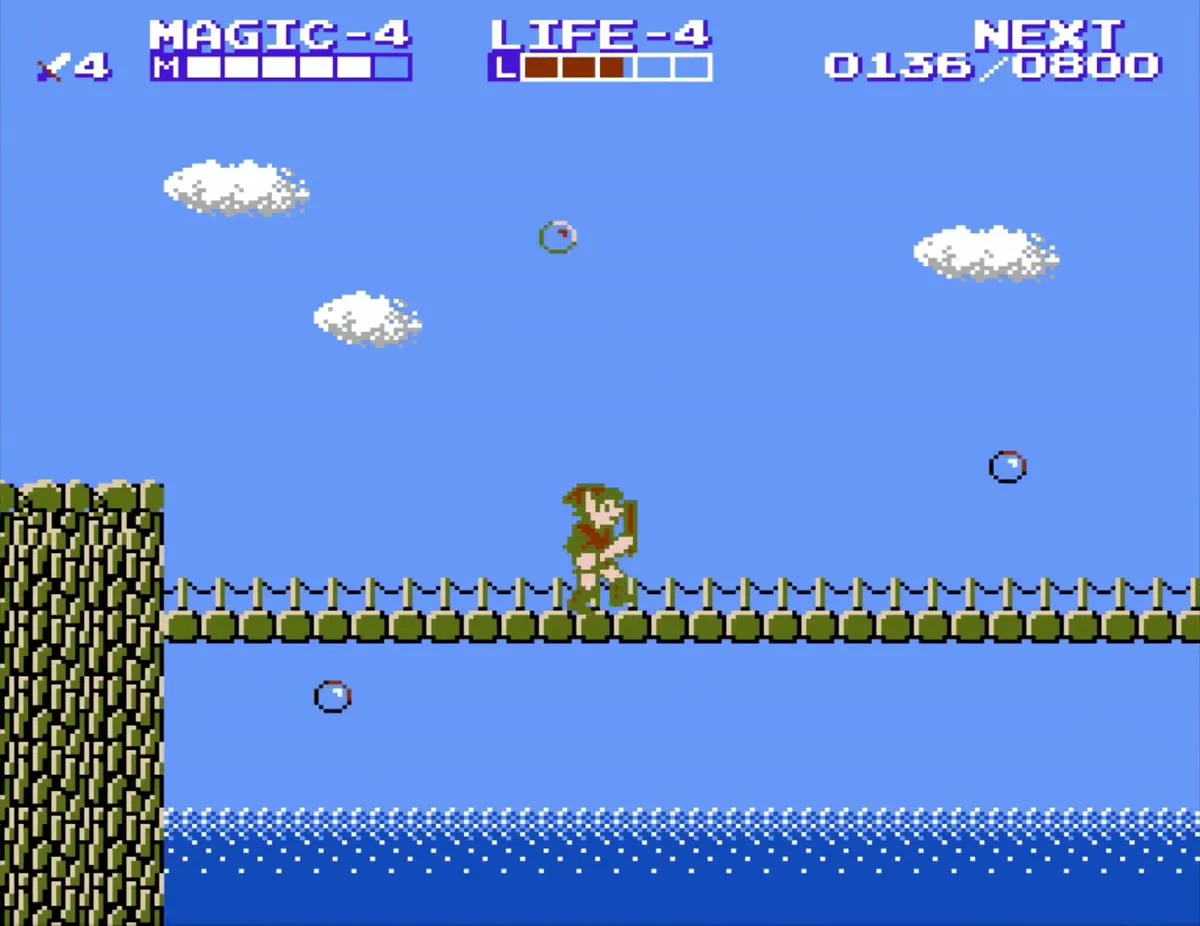
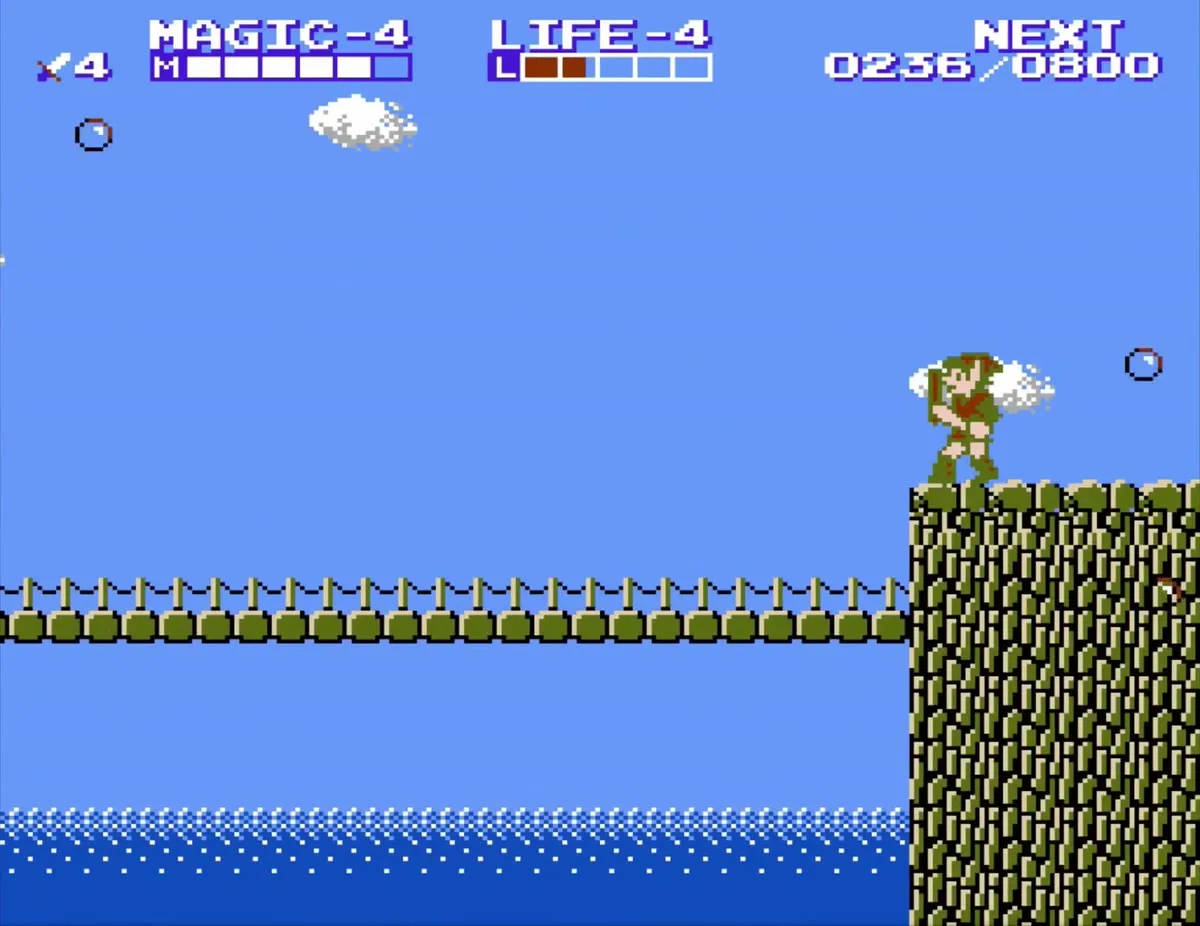
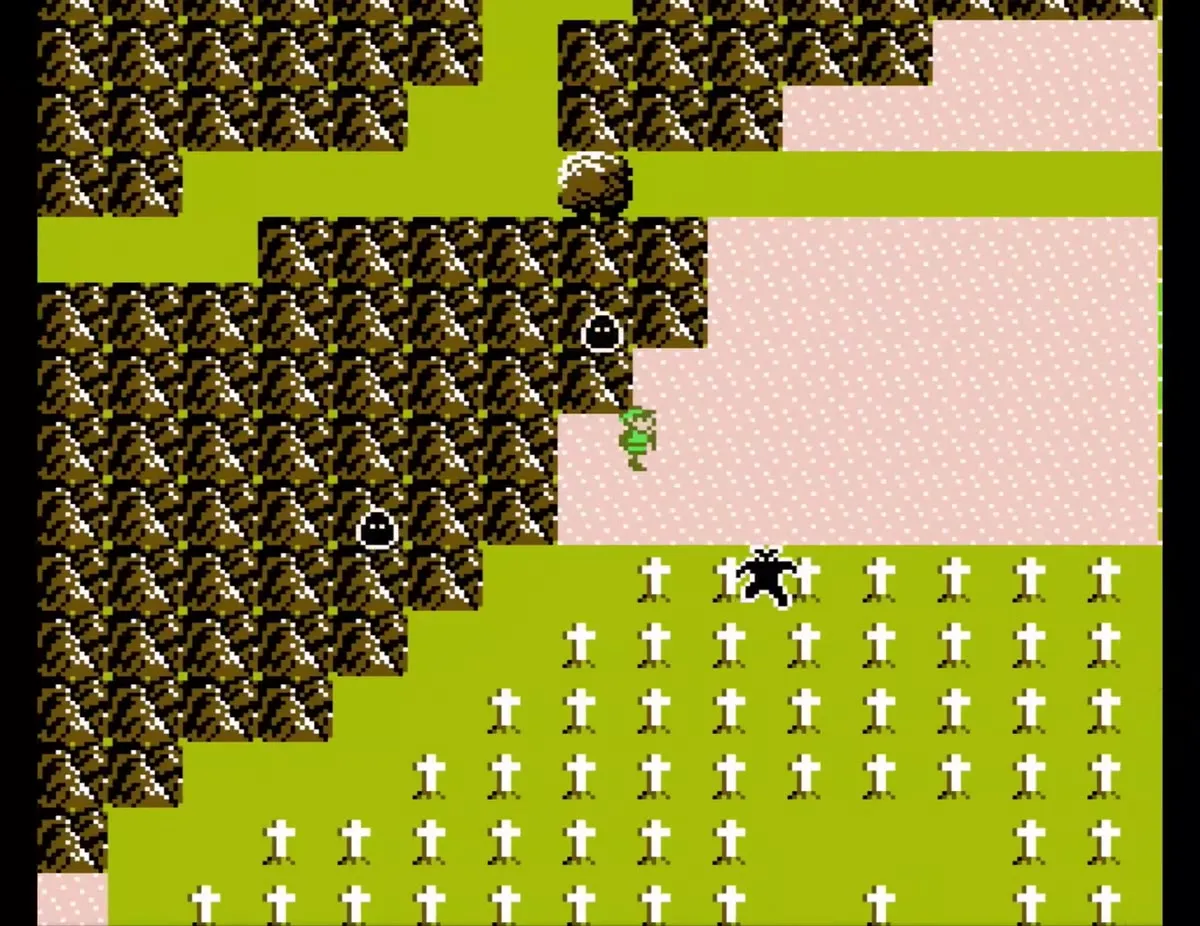
Leave the mountain by the Mido cave on the right side of the maze. It drops you at the west end of a long bridge: cross it through two side-view stretches (two Moblins on the left screen, a Daira on the right), then follow the west edge of the graveyard to Mido Town, because Moas inside the graveyard drain your EXP. If you went back to Saria instead, cross the bridge north of the town and walk east to the boulder that blocks the path to Mido, and smash it with the Hammer. Mido is where the next part of the route begins.
Chapter checklist
| Type | Name | Where |
|---|---|---|
| Key item | Hammer | Lava room beyond a red enemy, in the cave under Spectacle Rock |
| Magic Container | Magic Container (2 of 4) | Pit behind a boulder by the Hammer cave; break the boulder with the Hammer |
| Link Doll | 1UP | Coast south after the bridge in the small desert |
| Level-up | Attack 4 and Magic 4 | Enemies in the Death Mountain caves |
