





















Link's Awakening 100% Completion Walkthrough9 chapters
- The Shore, Forest and Tail Cave (Level 1)Shield, Sword, Mysterious Forest, Magic Powder, Tail Key, Roc’s Feather, Moldorm and the Full Moon Cello.
- Goponga Swamp and Bottle Grotto (Level 2)BowWow’s rescue, Goponga Swamp, every key, the Power Bracelet, the Genie boss and the Conch Horn.
- Ukuku Prairie, Kanalet Castle and Key Cavern (Level 3)The Golden Leaves of Kanalet Castle, the Slime Key, Pegasus Boots, Slime Eye and the Sea Lily’s Bell.
- Yarna Desert and Angler’s Tunnel (Level 4)Wake the walrus, cross Yarna Desert, win the Flippers, beat the Angler Fish and take the Surf Harp.
- Martha’s Bay and Catfish’s Maw (Level 5)Manbo’s Mambo, the ghost, the Mermaid’s Scale, Hookshot, Master Stalfos, Slime Eel and the Wind Marimba.
- Ancient Ruins and Face Shrine (Level 6)Magnifying Lens, Frog’s Song of Soul, Boomerang, Ancient Ruins, Power Bracelet L-2, Facade, Coral Triangle.
- Tal Tal Mountains and Eagle’s Tower (Level 7)Flying Rooster, Bird Key, Mirror Shield, Evil Eagle and the Organ of Evening Calm.
- Western Mountains and Turtle Rock (Level 8)Marin’s bridge, Mad Batter, Frog’s Song of Soul, Magic Rod, Hot Head and the Thunder Drum.
- The Wind Fish’s Egg and the FinaleFinish your 100%, read the maze book, play the Ballad, beat the Shadow Nightmares, see the secret ending.
| Covers | The road north of Mabe Village, Pit Square, the Camera Shop, the Moblin Hideout, Goponga Swamp and Bottle Grotto |
|---|---|
| Dungeon | Bottle Grotto (Level 2): needs Magic Powder, the Roc’s Feather and BowWow to open the way; mini-boss Hinox, boss Genie, instrument Conch Horn |
| Rewards | Power Bracelet, Stone Beak, Heart Container, Conch Horn; 1 Piece of Heart (Pit Square); photo 1 (DX only); a 20 rupee chest north of Mr. Write’s house; once you own the Power Bracelet, an optional Piece of Heart and Secret Seashell in the Mysterious Forest; no trade items in this chapter |
This chapter takes you from the end of Tail Cave to your second Instrument. You collect the Pit Square Piece of Heart, take the first photo at the Camera Shop, beat the leader of the Moblin Hideout to free BowWow, and let the dog eat his way through the flowers of Goponga Swamp to the entrance of Bottle Grotto. Inside you find the Power Bracelet, then defeat the Genie for the Conch Horn.

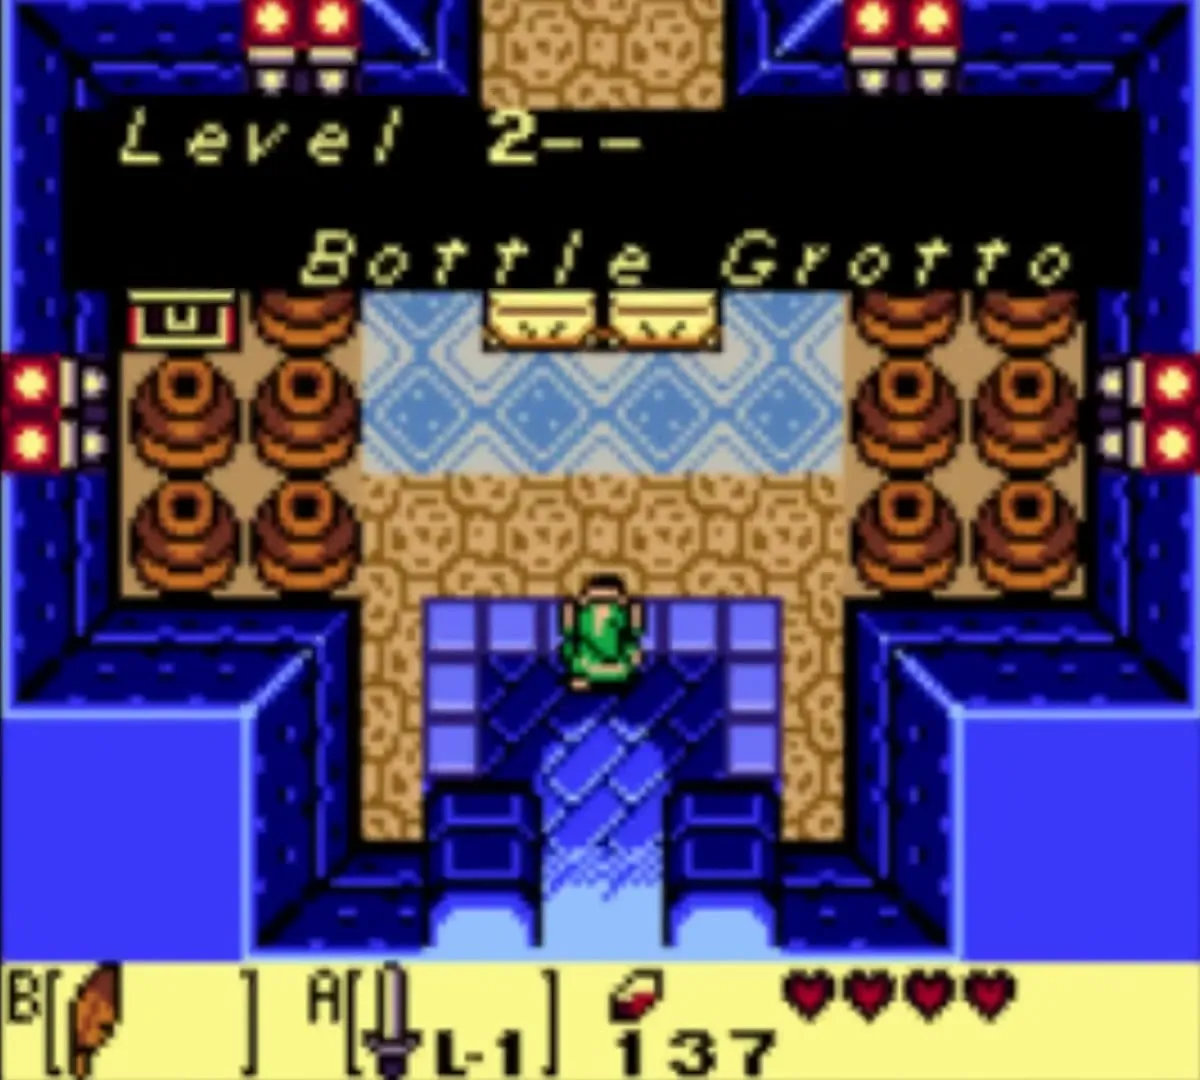
Table of Contents
Where to go after Tail Cave
Leaving Tail Cave with the Full Moon Cello, you meet the Owl outside. It tells you the next Instrument lies to the north, in Goponga Swamp. Back in Mabe Village the children playing catch tell you the Moblins took BowWow, Madam MeowMeow’s Chain Chomp, and at his doghouse he is gone. You cannot get through the swamp without him, so the first job is to find where the Moblins took him.


Check your item screen before you set out. You need the Sword, the Shield, the Roc’s Feather from Level 1 and the Magic Powder you swapped for the toadstool at the Witch’s Hut (the steps are in the Tail Cave chapter). Without the powder you cannot light the dark rooms of Bottle Grotto, so go back for it now if you skipped it.



Pit Square Piece of Heart
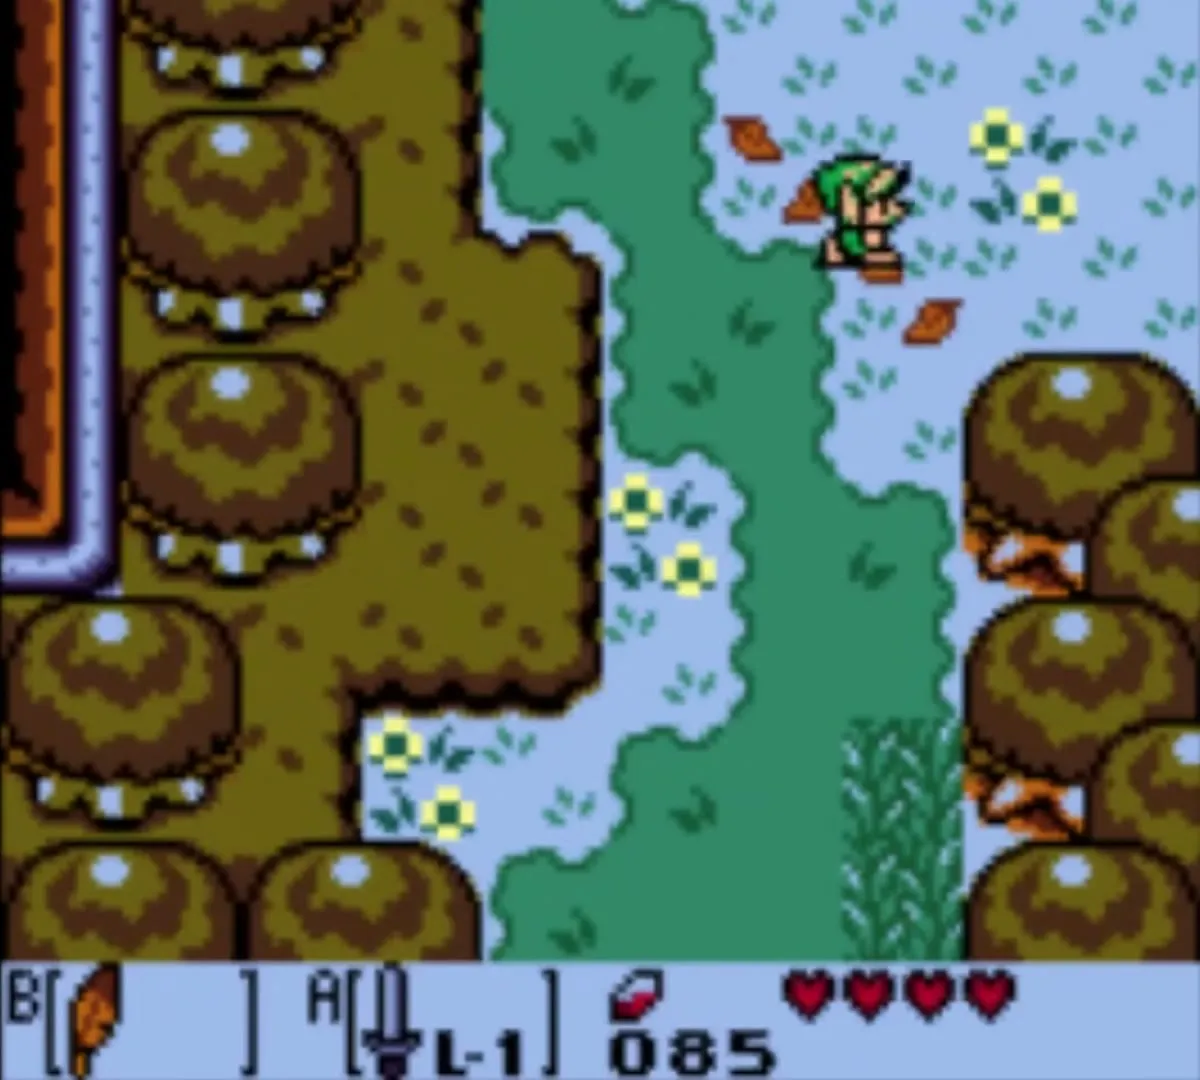
Head north out of Mabe Village and cross the Mysterious Forest toward its eastern edge.
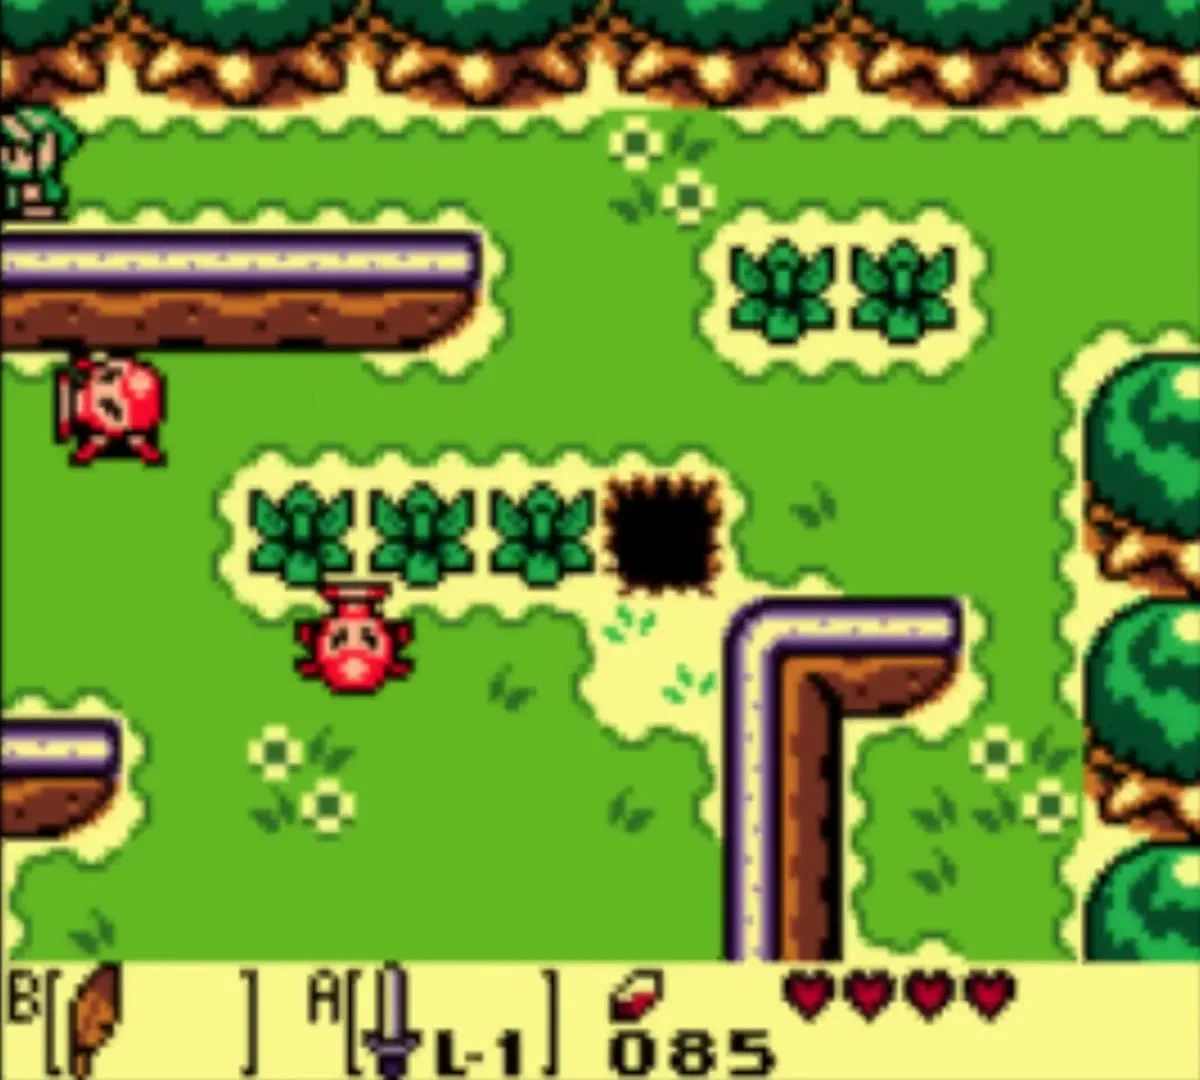

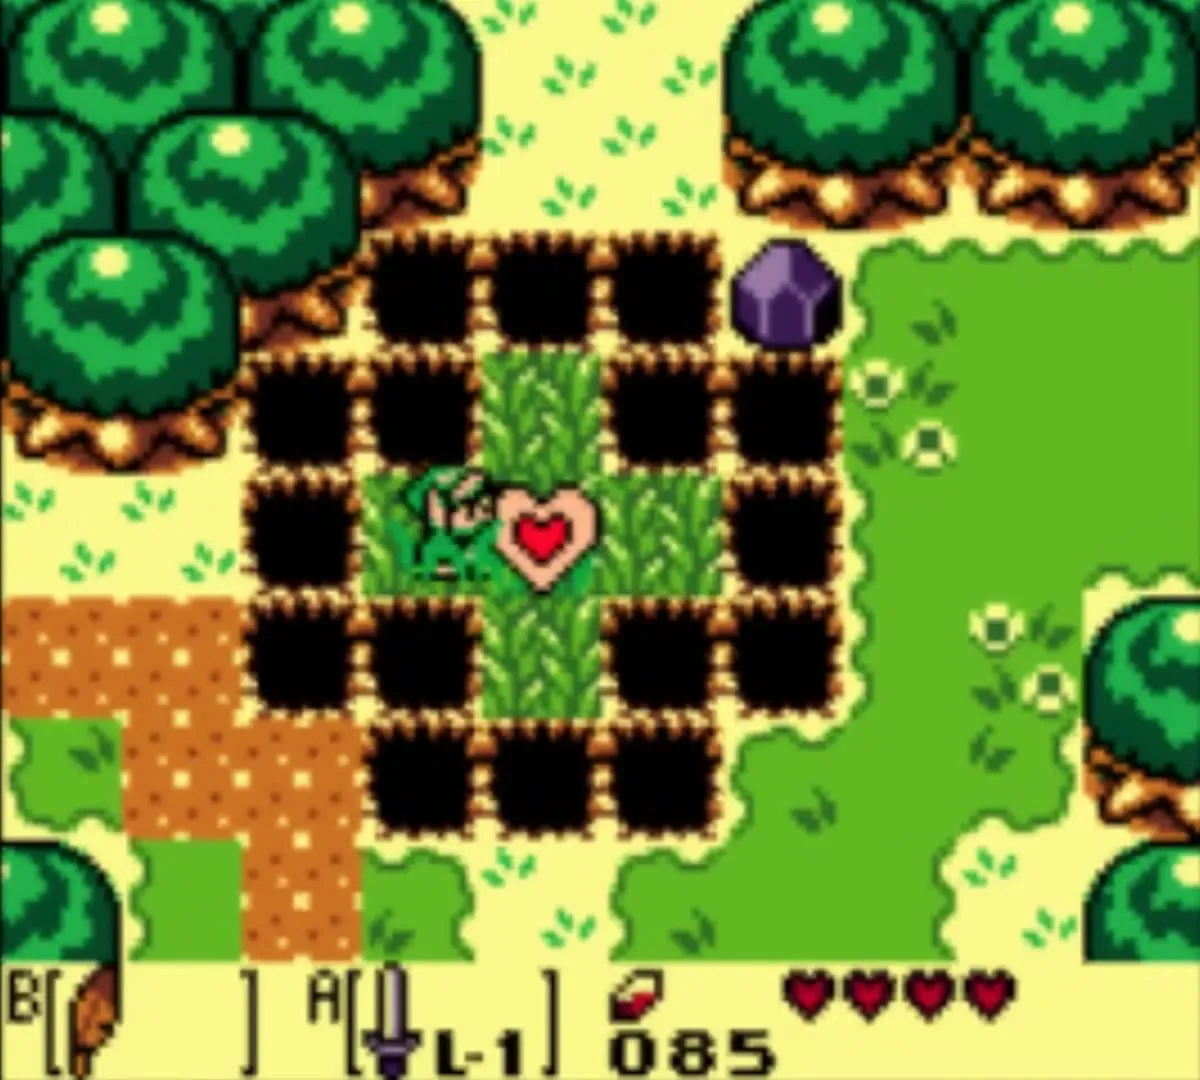
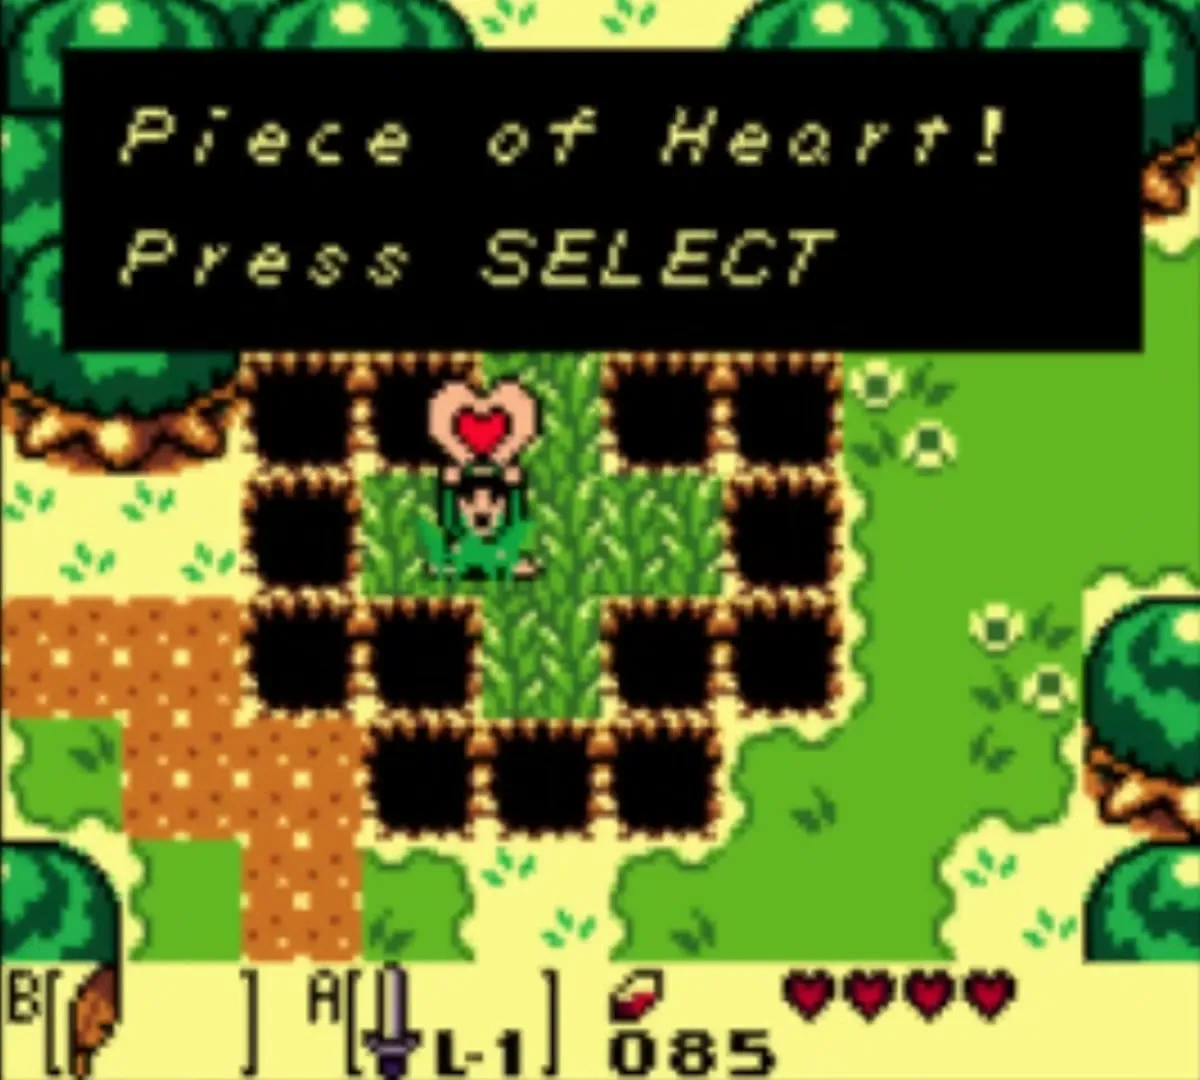
Outside the forest, in the grass field east of the exit, a small island of grass sits in the middle of a ring of pits with a Piece of Heart in the centre. Equip the Roc’s Feather, face the island, jump the pit between you and it and grab the heart. If you fall in, climb out and try again. Four pieces make a new Heart Container. The full list is on the Heart Pieces page.
Camera Shop and photo 1
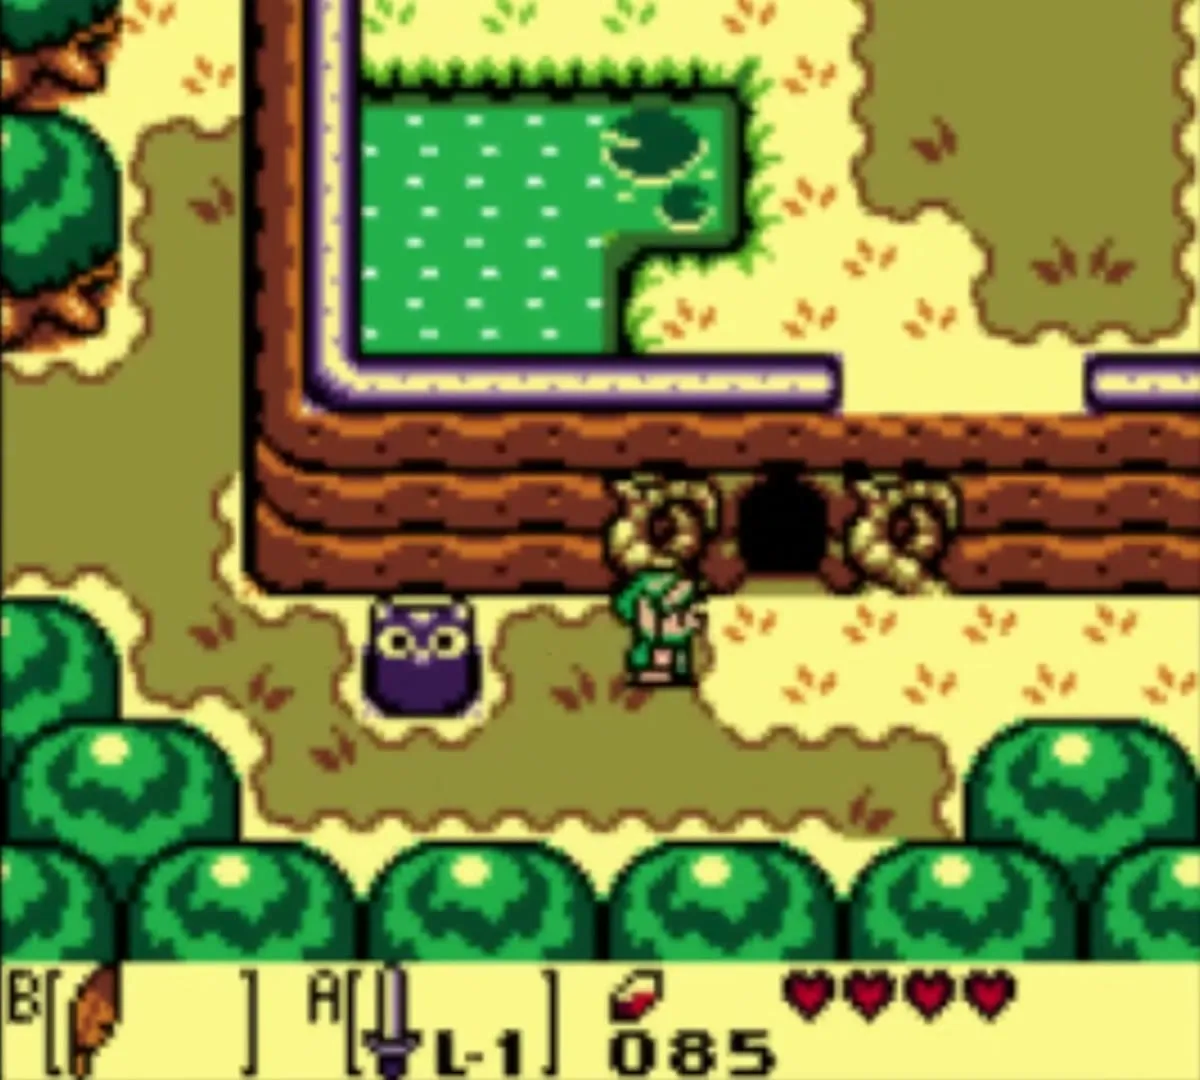
From Pit Square, jump north to the path above and walk northeast. You pass a cave with an owl statue in front of it; that is the Moblin Hideout, which you visit next. Keep going east, past a sign and a few pits, and you reach a small building with a camera sign. This shop exists only in DX.

Walk in and talk to the photographer, who is a mouse. He asks if he can take your picture. Say yes. He calls the shot “Here Stands A Brave Man” and it becomes photo 1. If you keep refusing instead, you get a different shot, “Game Over”. Only one of the two is kept, and every other photo in the game needs photo 1 first, so take it now.
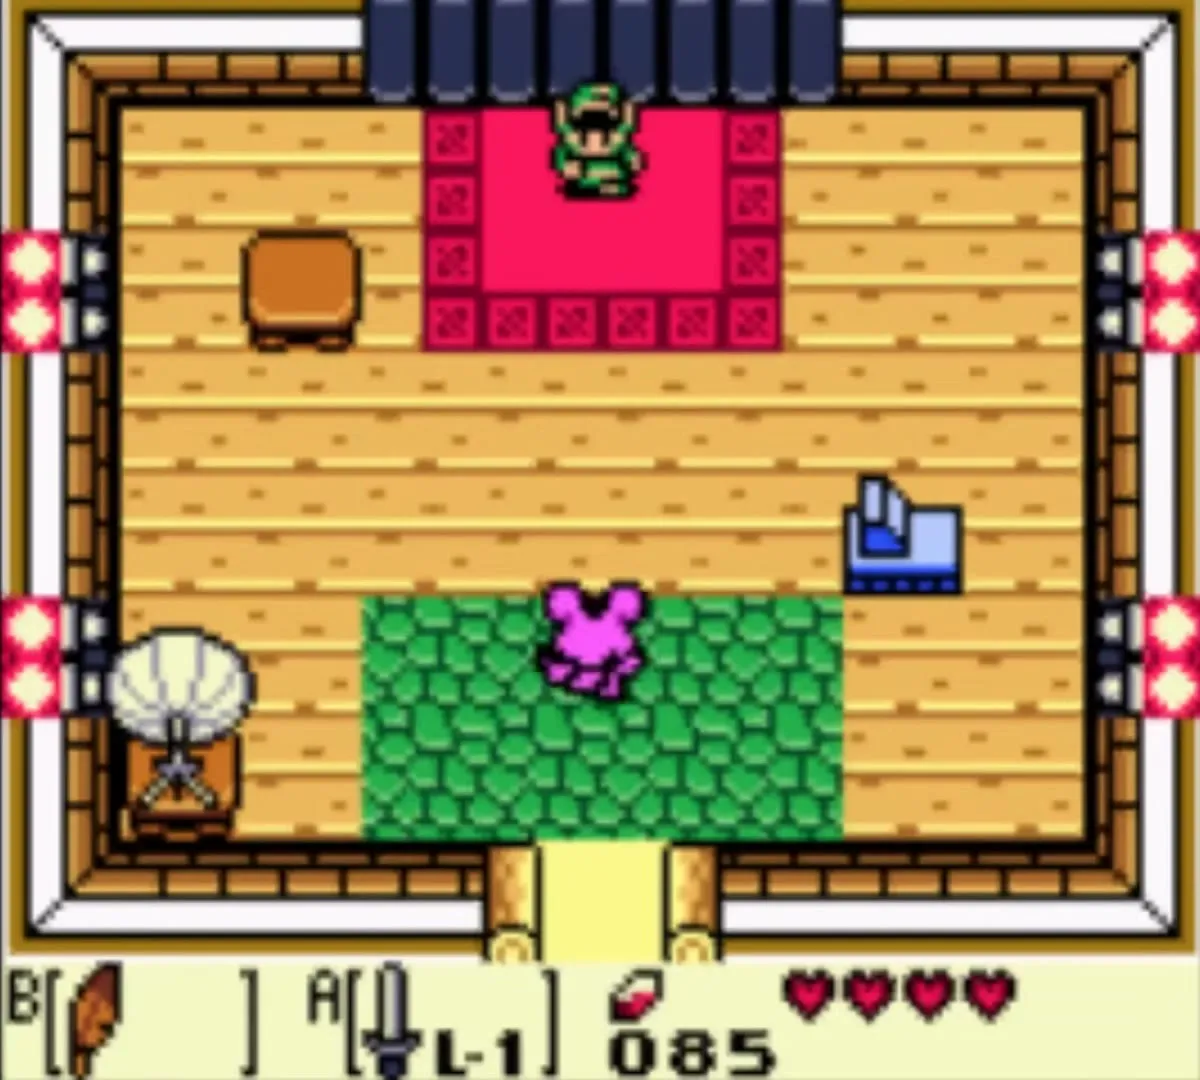
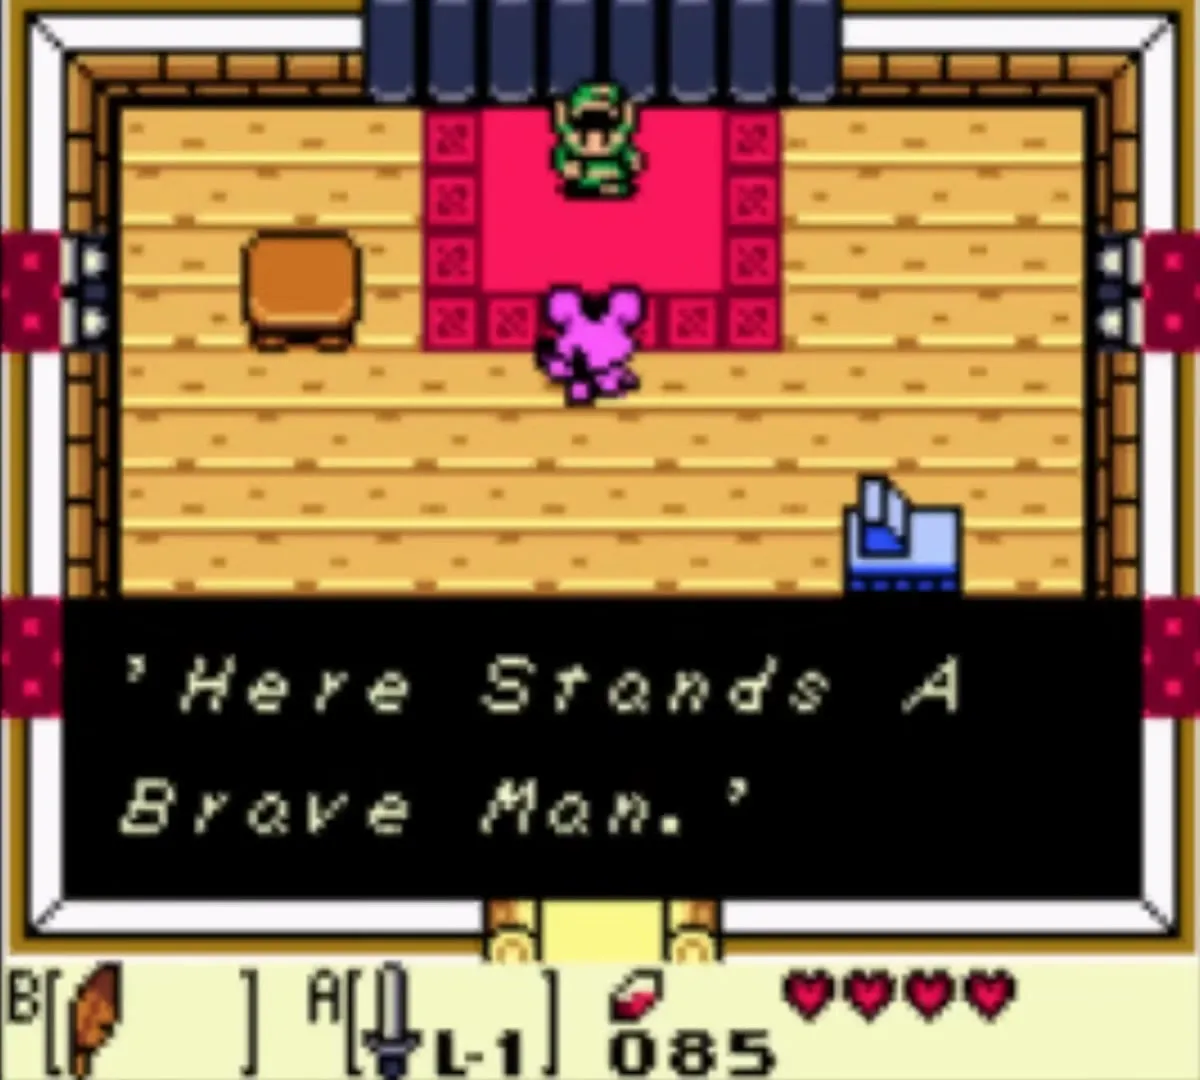
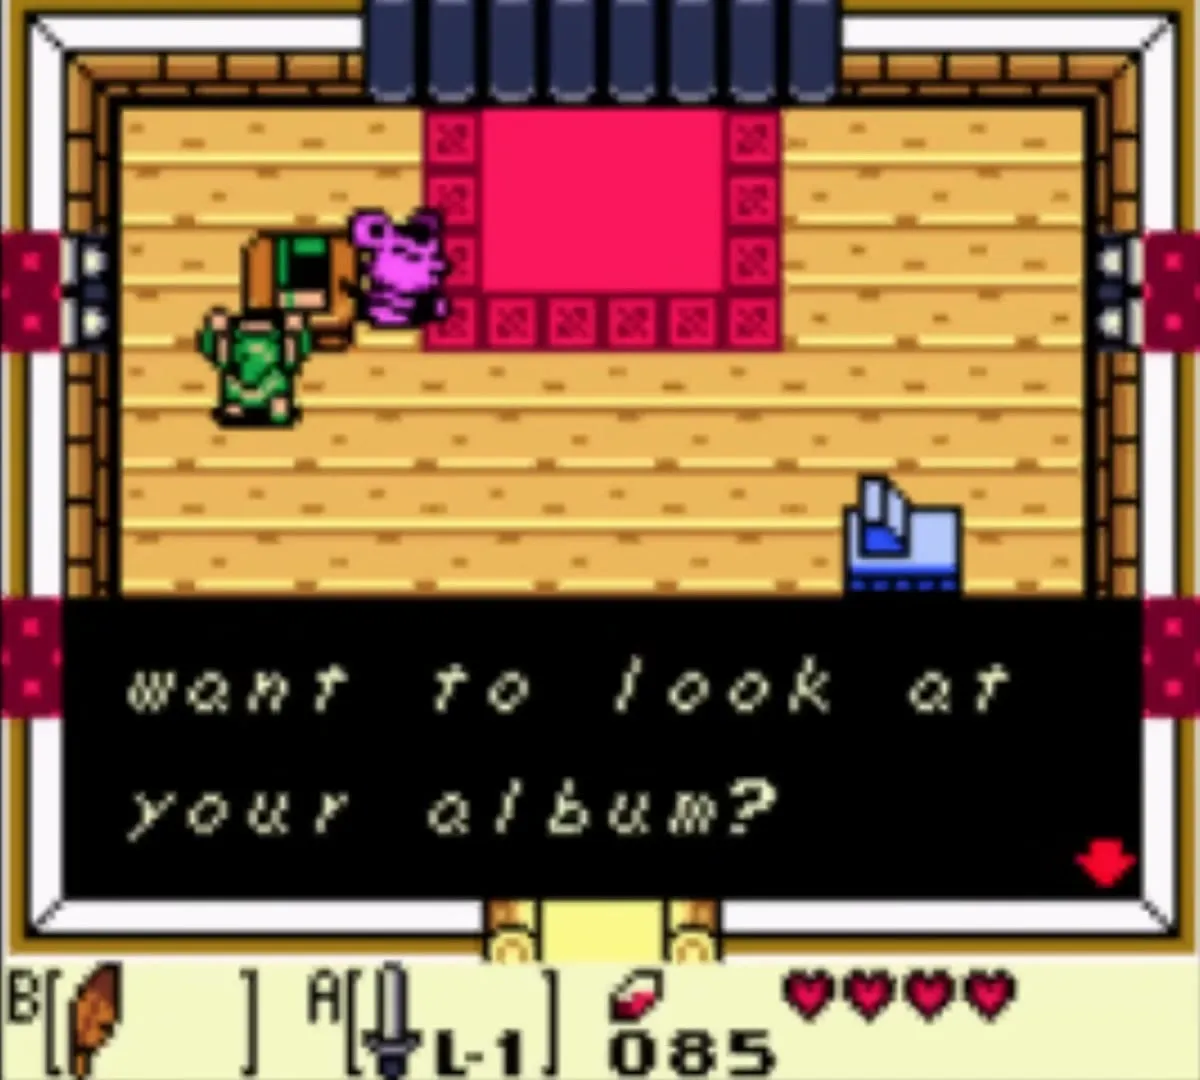
The mouse keeps your pictures in an album, “The Travels of Link”. Talk to him again whenever you want to look through it. The album has twelve pages, and each photo you take later fills one. If you own a Game Boy Printer you can also print the photos as stickers. The Photographs page lists all twelve and how to take them.

Moblin Hideout and King Moblin
Go back west to the cave with the owl statue and step inside. The hideout is a run of rooms patrolled by Moblins with spears. Take them one at a time with the Sword, and keep your Shield up against their spears. Work your way through the rooms to the leader.
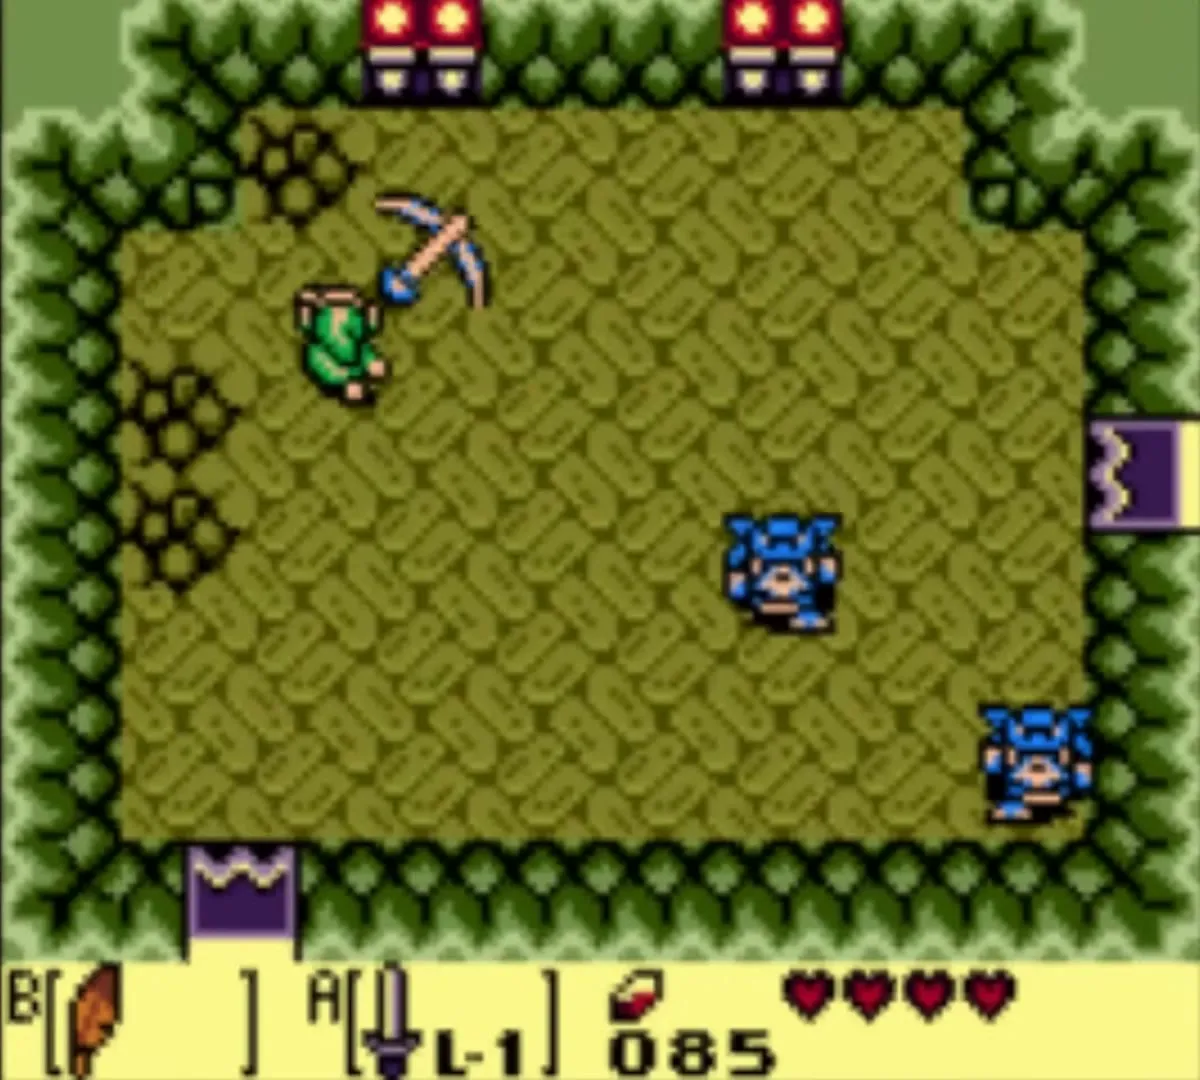
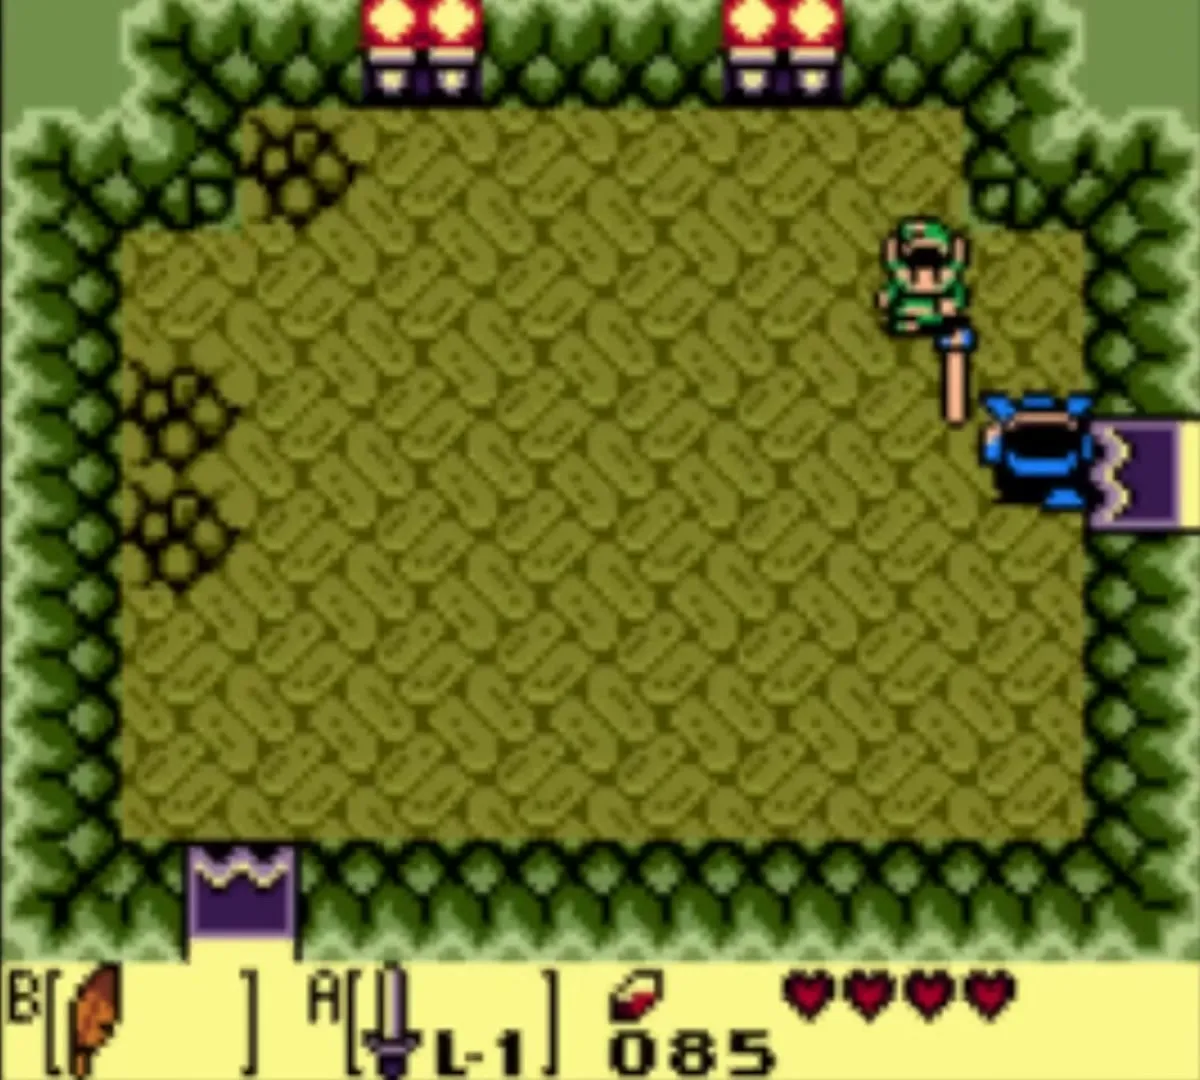
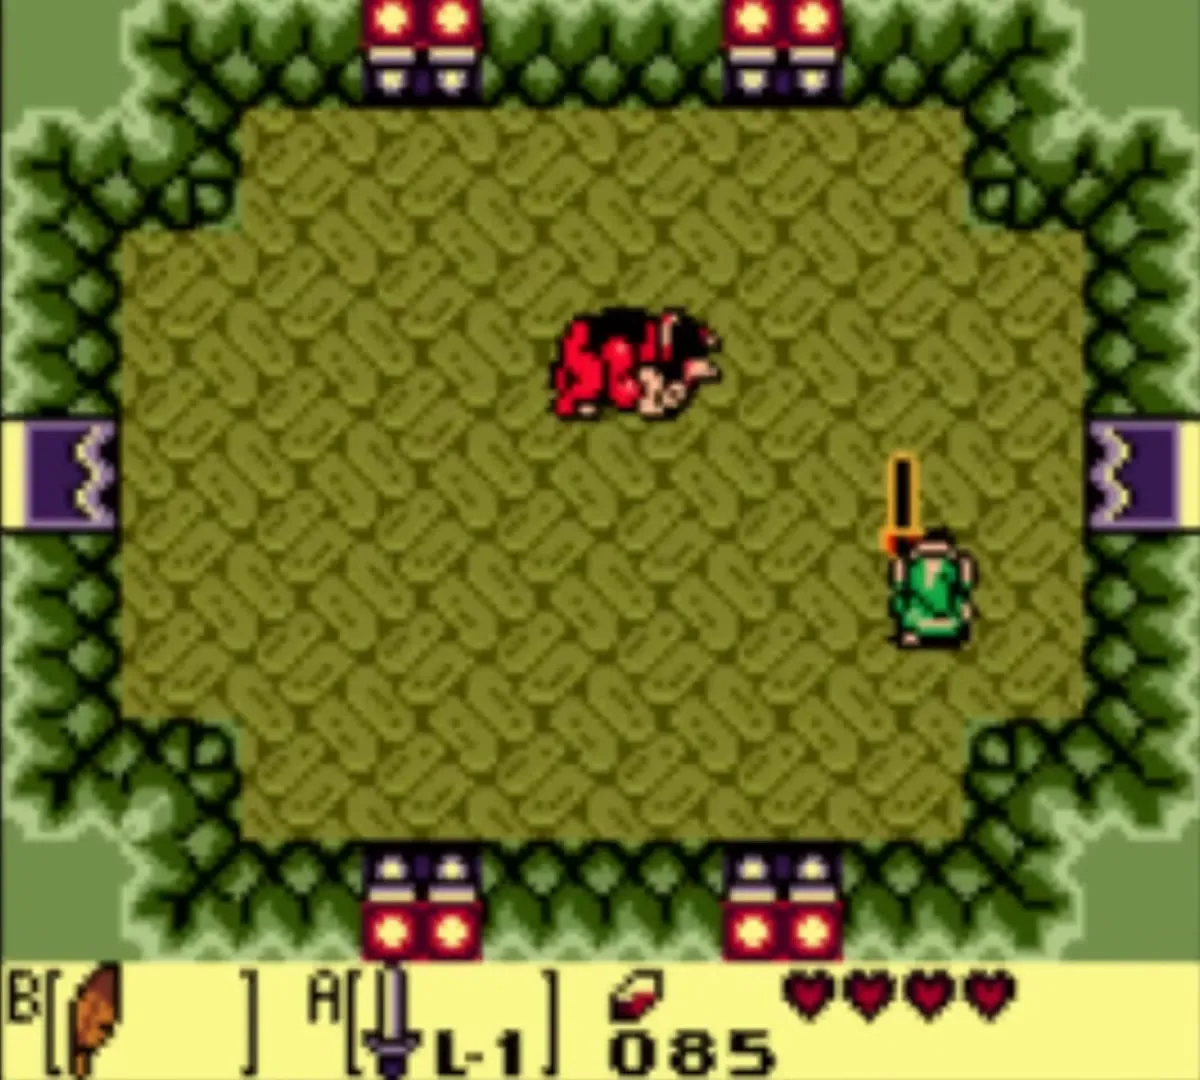
The leader, the King Moblin, waits in the next room. Wait for him to charge, step out of the way so that he slams into the wall and is stunned, then hit him with the Sword. Repeat until he falls.

Rescue BowWow
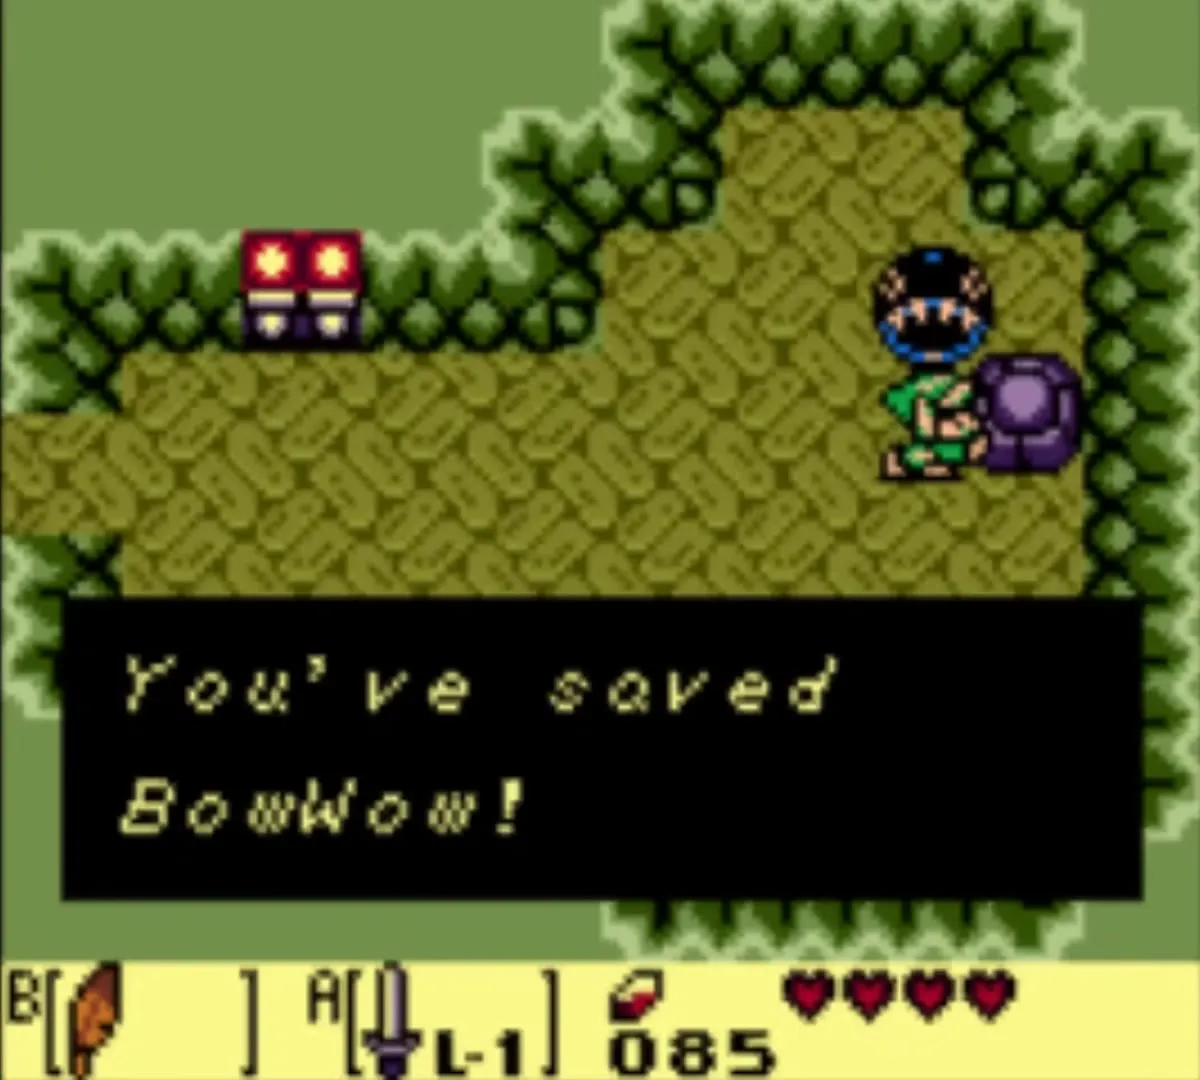
BowWow is in the room beyond the King Moblin. Walk up to him to free him. He follows you from now on and eats anything he can reach.

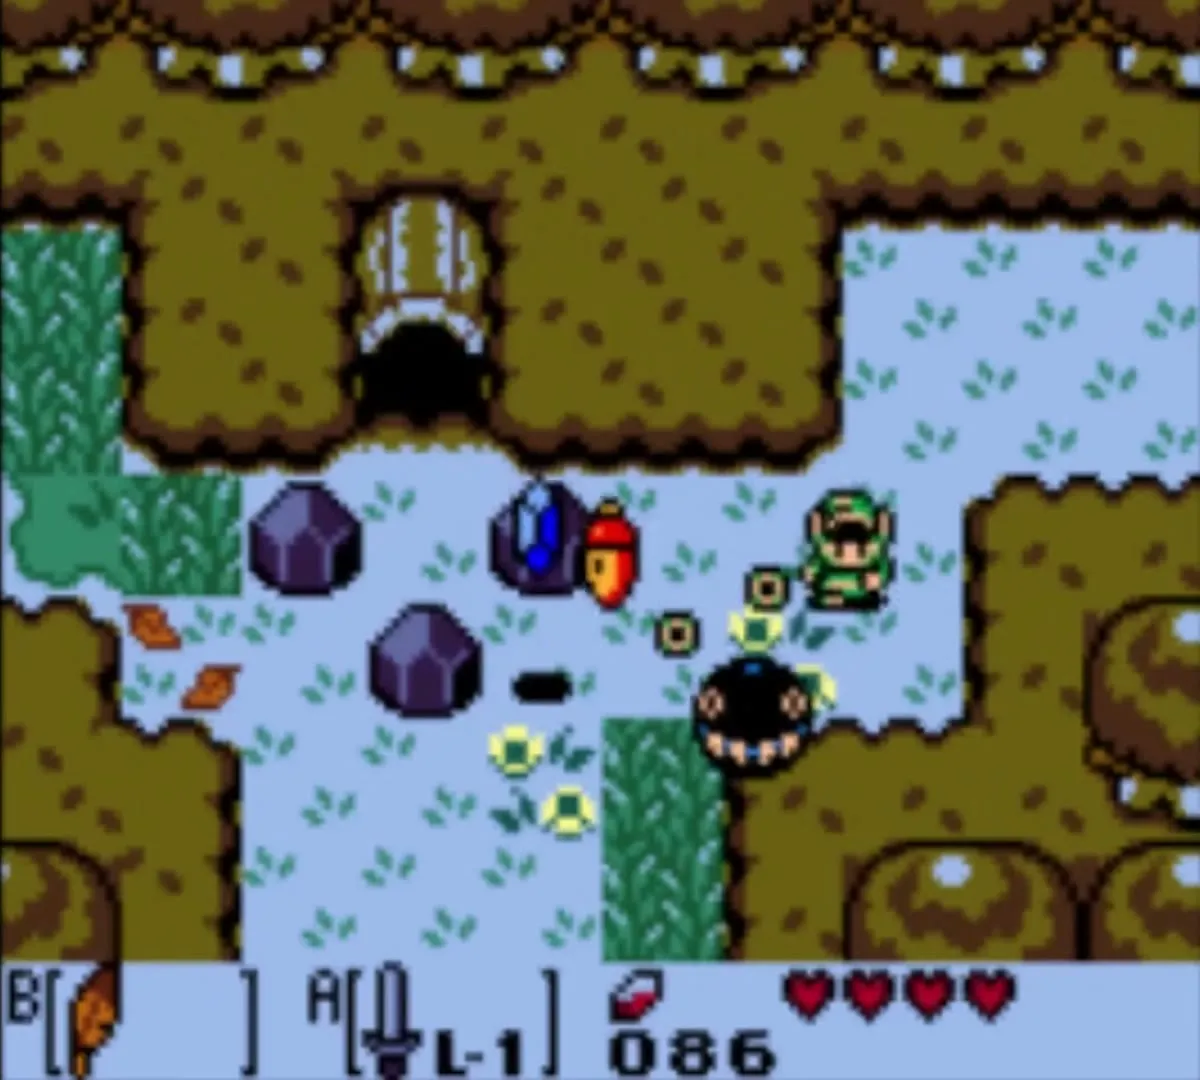
Leave the hideout. BowWow swallows many weak enemies in his path, so on busy screens let him walk ahead of you. You need him for the swamp, so keep him close until the flowers are gone.
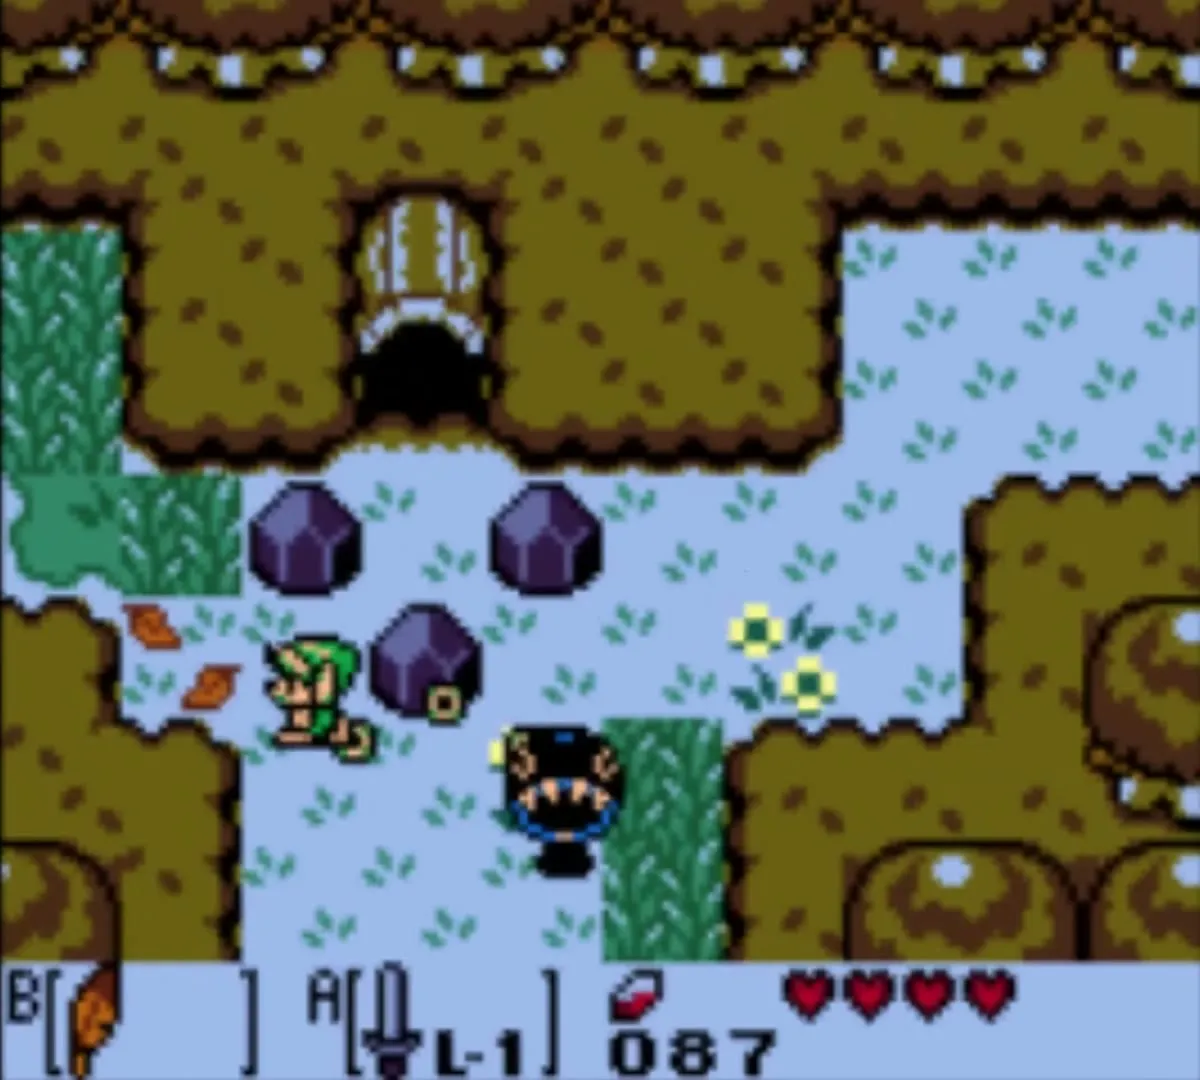
Goponga Swamp
Outside the cave, go west and then south. Hop over the holes in the path, then keep heading west through the forest until a path opens to the north. A couple of Moblins in the water here are easy prey for BowWow.

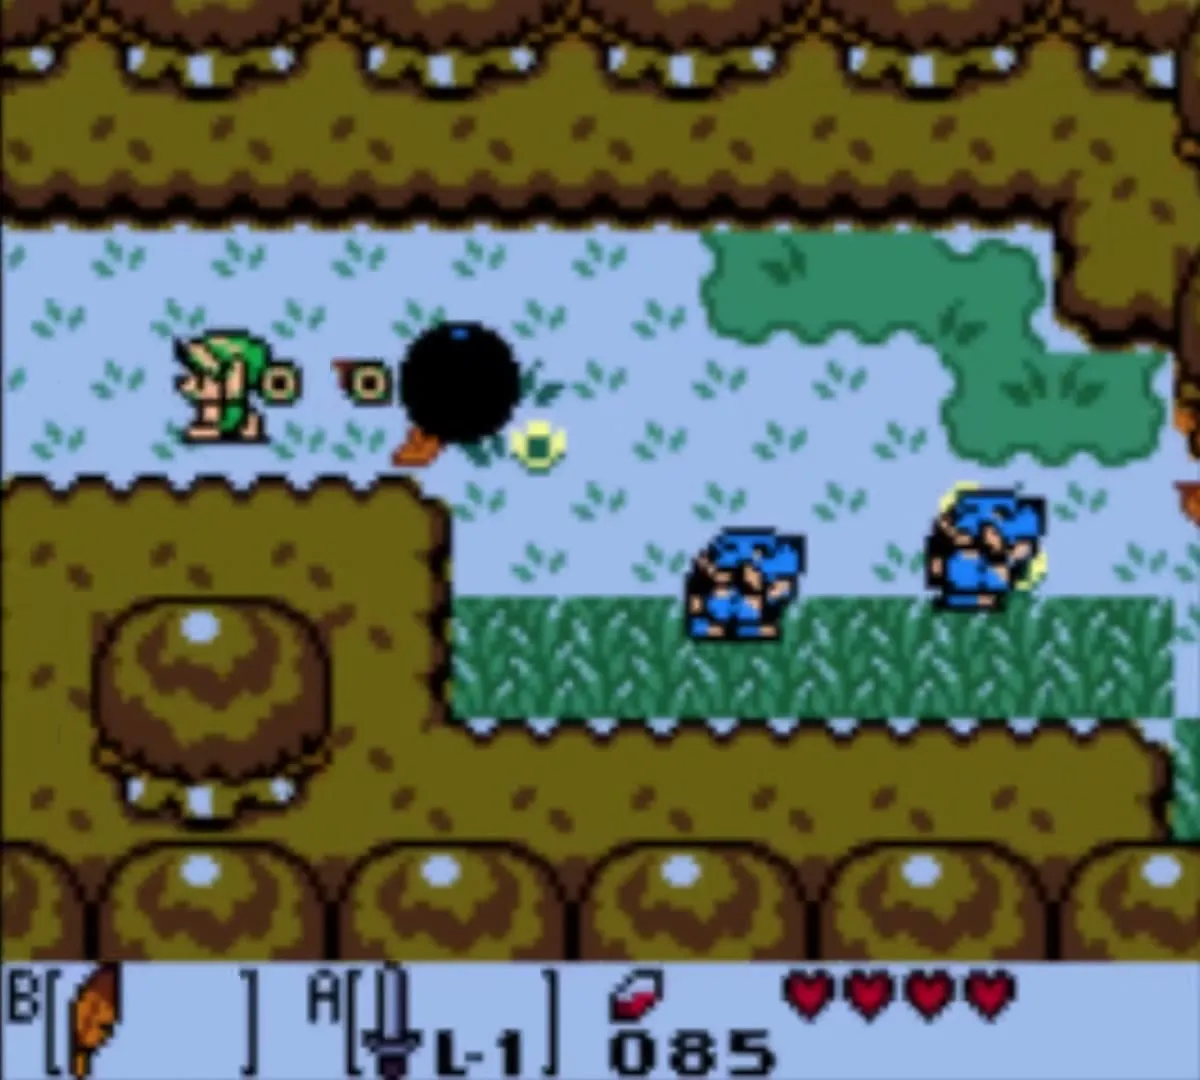
You come out at the house of Mr. Write, the building with the striped roof. A hollow tree beside it holds a telephone booth, so you can call Grandpa Ulrira for advice if you are stuck. A Like Like north of the house can swallow your Shield, so keep your distance. A cave north of the house holds a chest with 20 rupees: jump the gap inside with the Roc’s Feather. Go east from the house into the swamp, then north. Red Goponga Flowers block the paths. Stand back and wait until BowWow eats them, then walk on east.


In the screen with the large flower, leave by the southeast exit. BowWow eats the large flower as well, and with it gone you can reach a chest holding 50 rupees.


Continue to the northeast corner of the swamp, where more flowers hide a cave mouth. Let BowWow eat them and enter the cave. This is Bottle Grotto, the Level 2 dungeon.
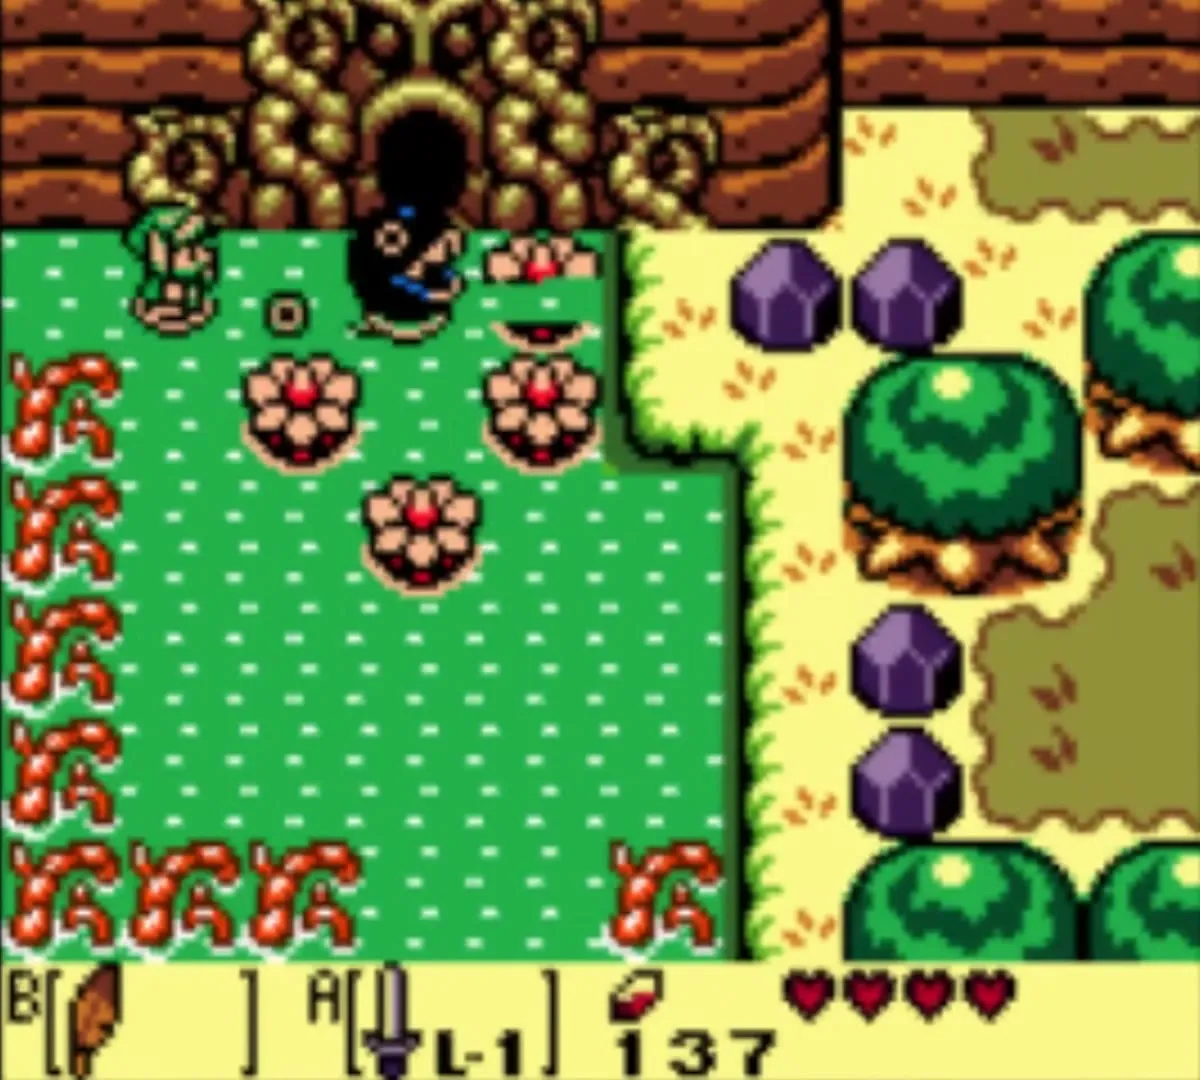
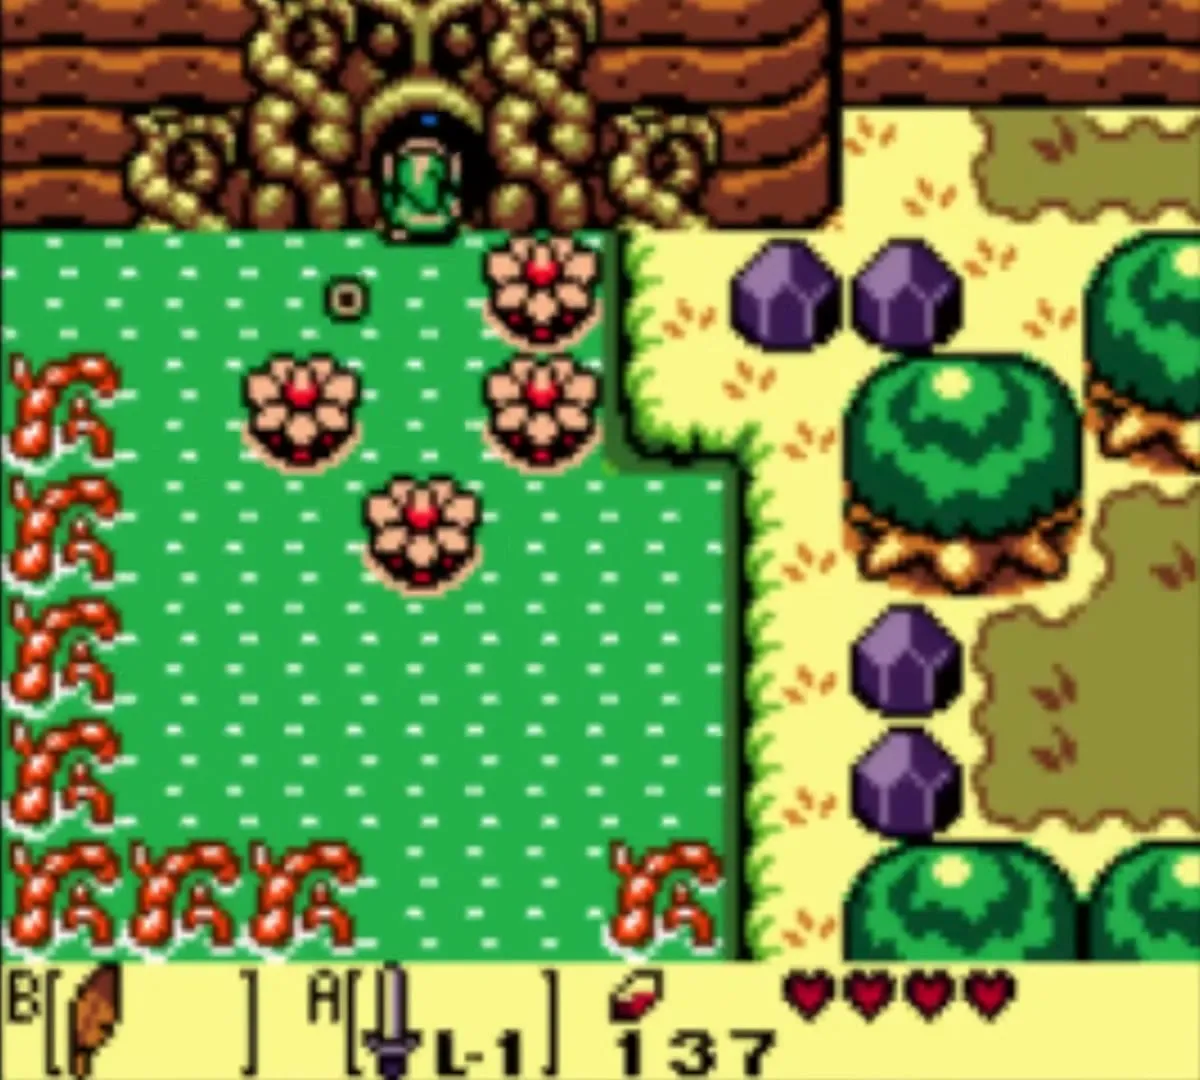
Bottle Grotto (Level 2) walkthrough
Bottle Grotto has five small keys, a map, a compass, a Stone Beak, a Hinox mini-boss and the Nightmare’s Key, which opens the door to the Genie. The item inside is the Power Bracelet, which lets you lift pots and rocks, and the boss fight uses it as well. Keep a good stock of Magic Powder, because several rooms are dark.


Entrance chamber and first small key
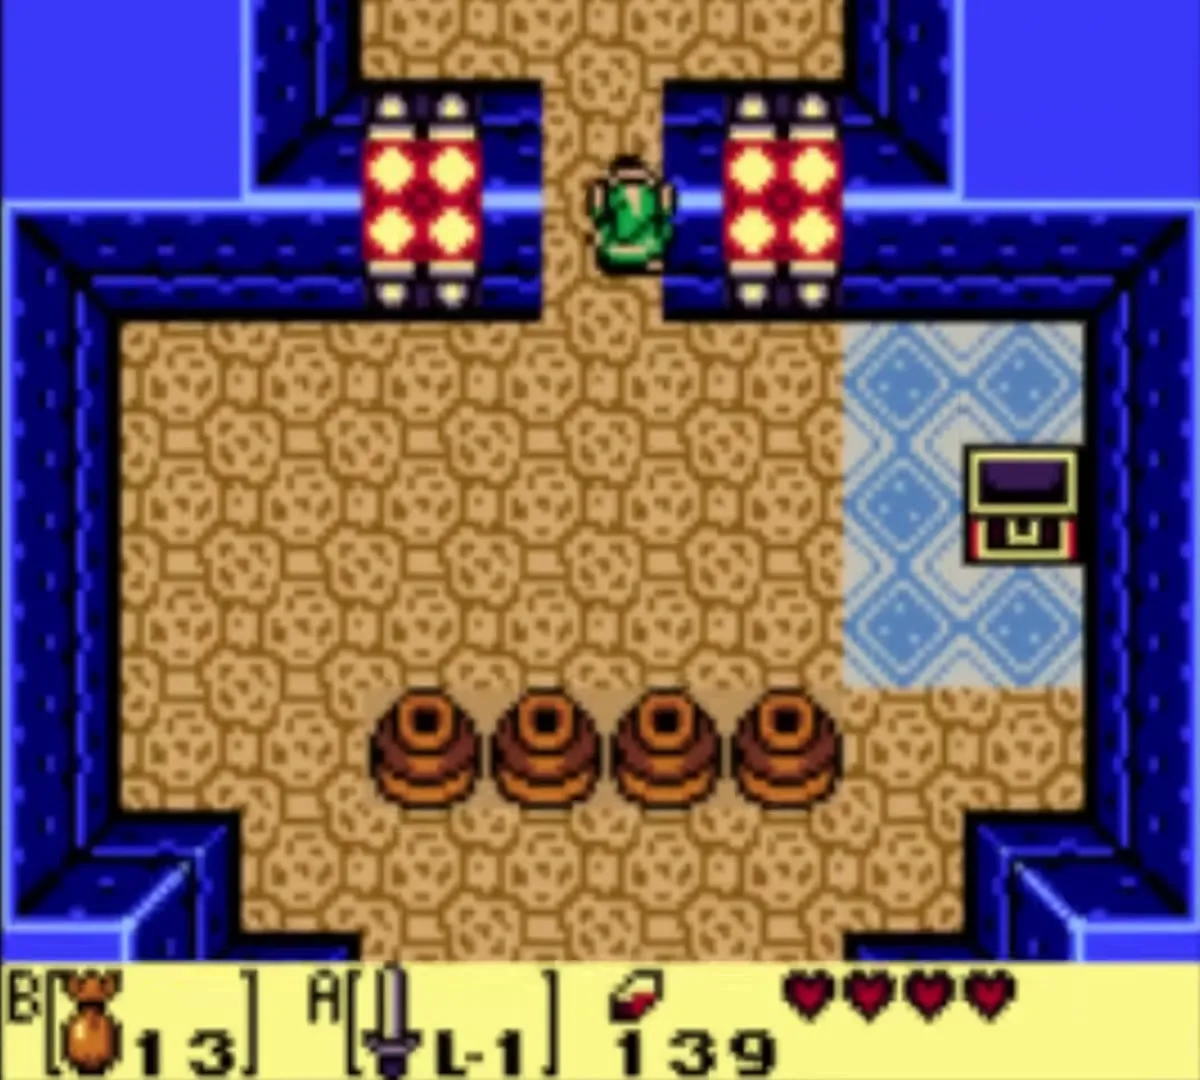
The entrance chamber holds a chest behind a wall of pots. You cannot reach it yet, so ignore it for now and leave by the north door.


The next room is dark. Equip the Magic Powder and sprinkle it on the two torches in the middle of the room. This lights the room and opens the east door. In the room beyond you fight two Stalfos. Defeat both and a small key falls from the ceiling.


Stone Beak
Go back to the torch room and use the key on the locked door in the west wall. In the next room, sliding blade traps race along the walls and Keese swoop in the dark. Light the torches again if the room goes dark, and kill the Keese. When they are all gone the north door opens.
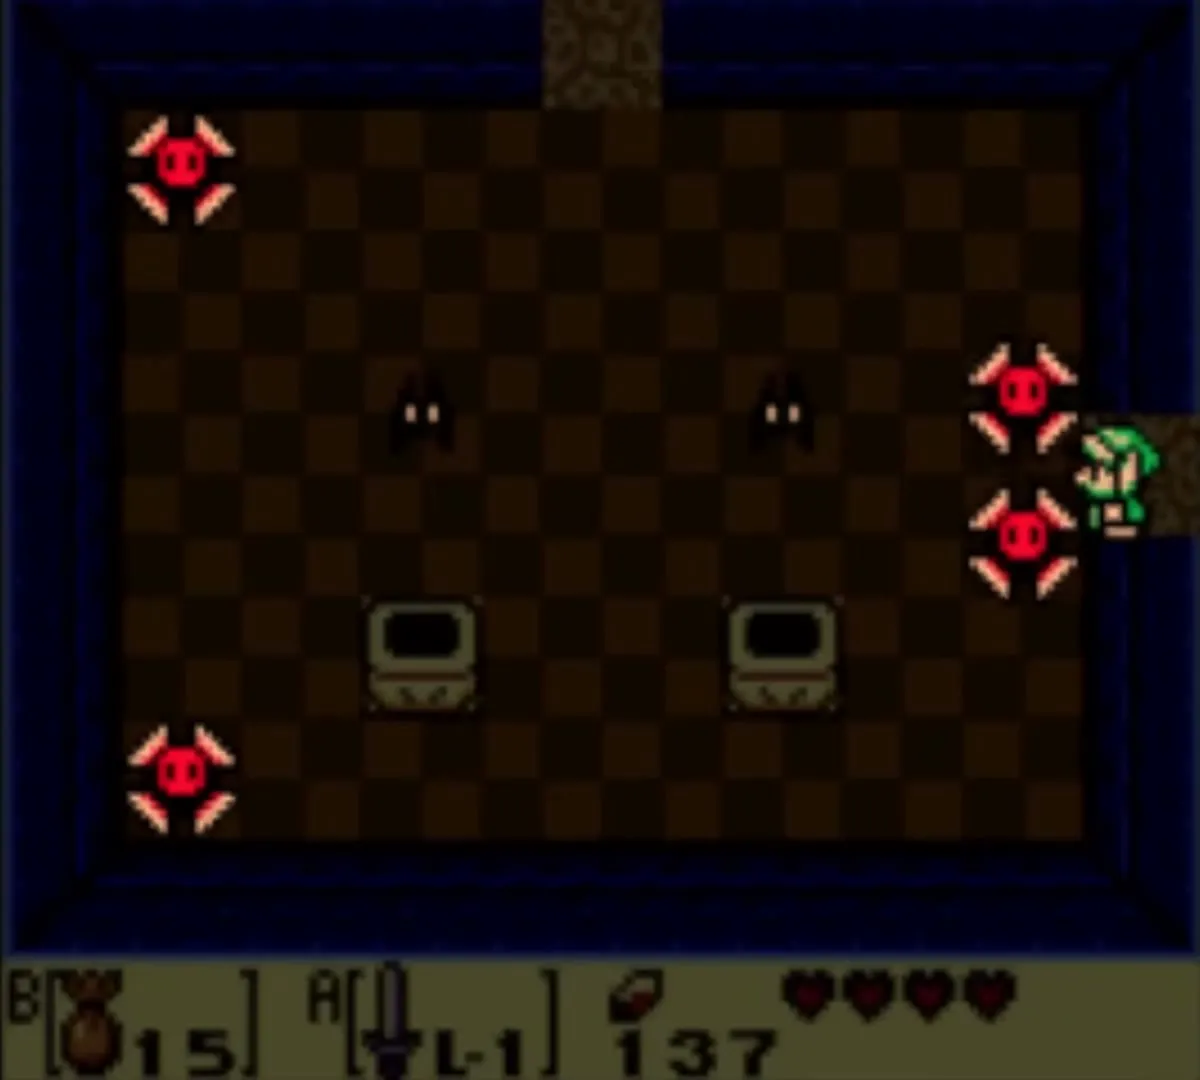
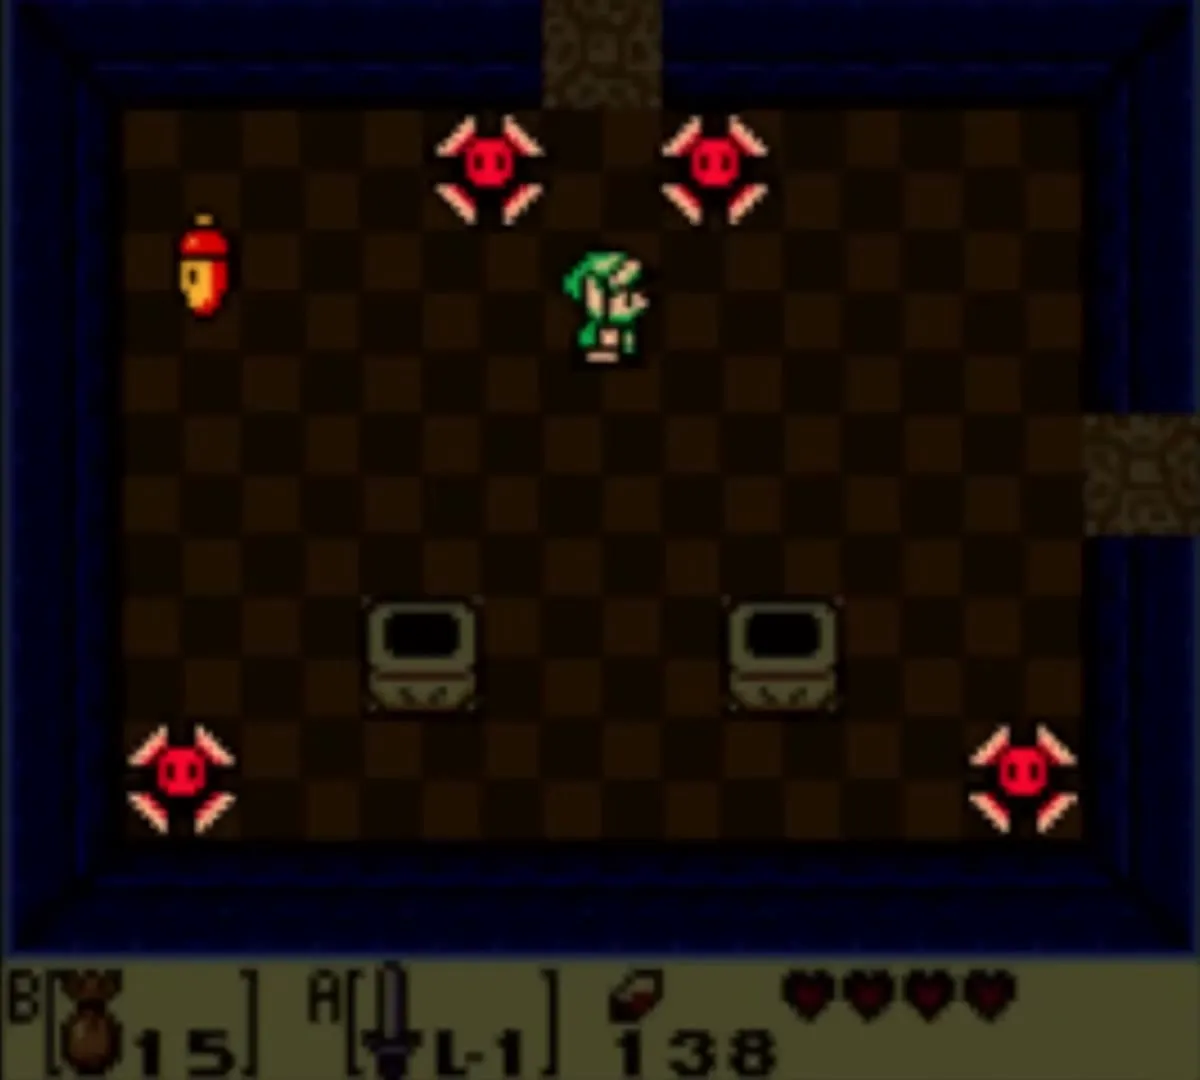
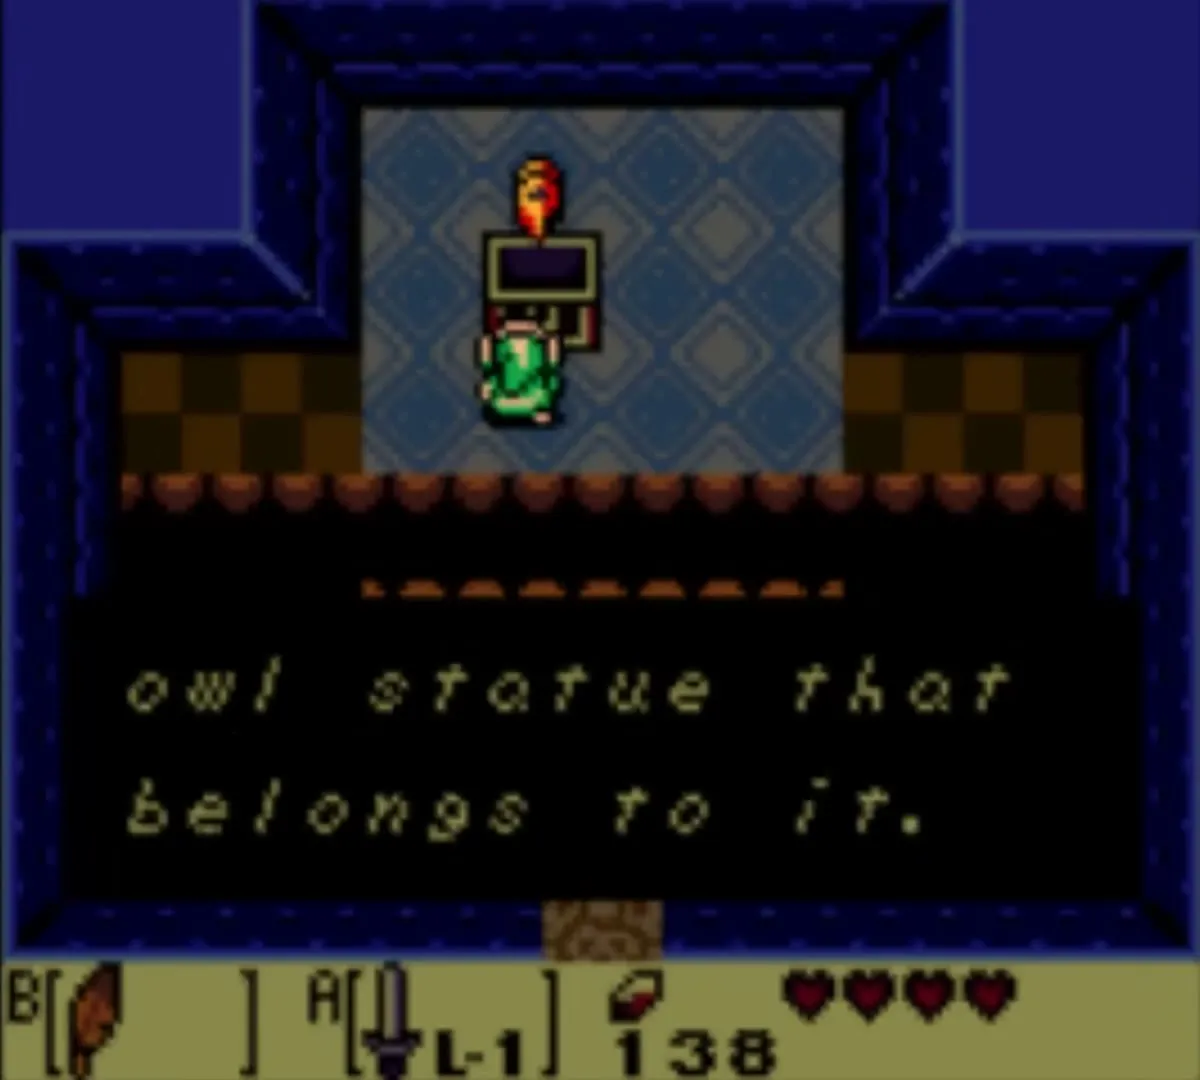
In the room beyond, a Hardhat Beetle guards a chest across a gap. Draw the beetle off to one side, run past into the middle of the room and jump the gap with the Roc’s Feather. Open the chest for the Stone Beak. Walk back to the north side and knock the beetle into the gap to open the door.

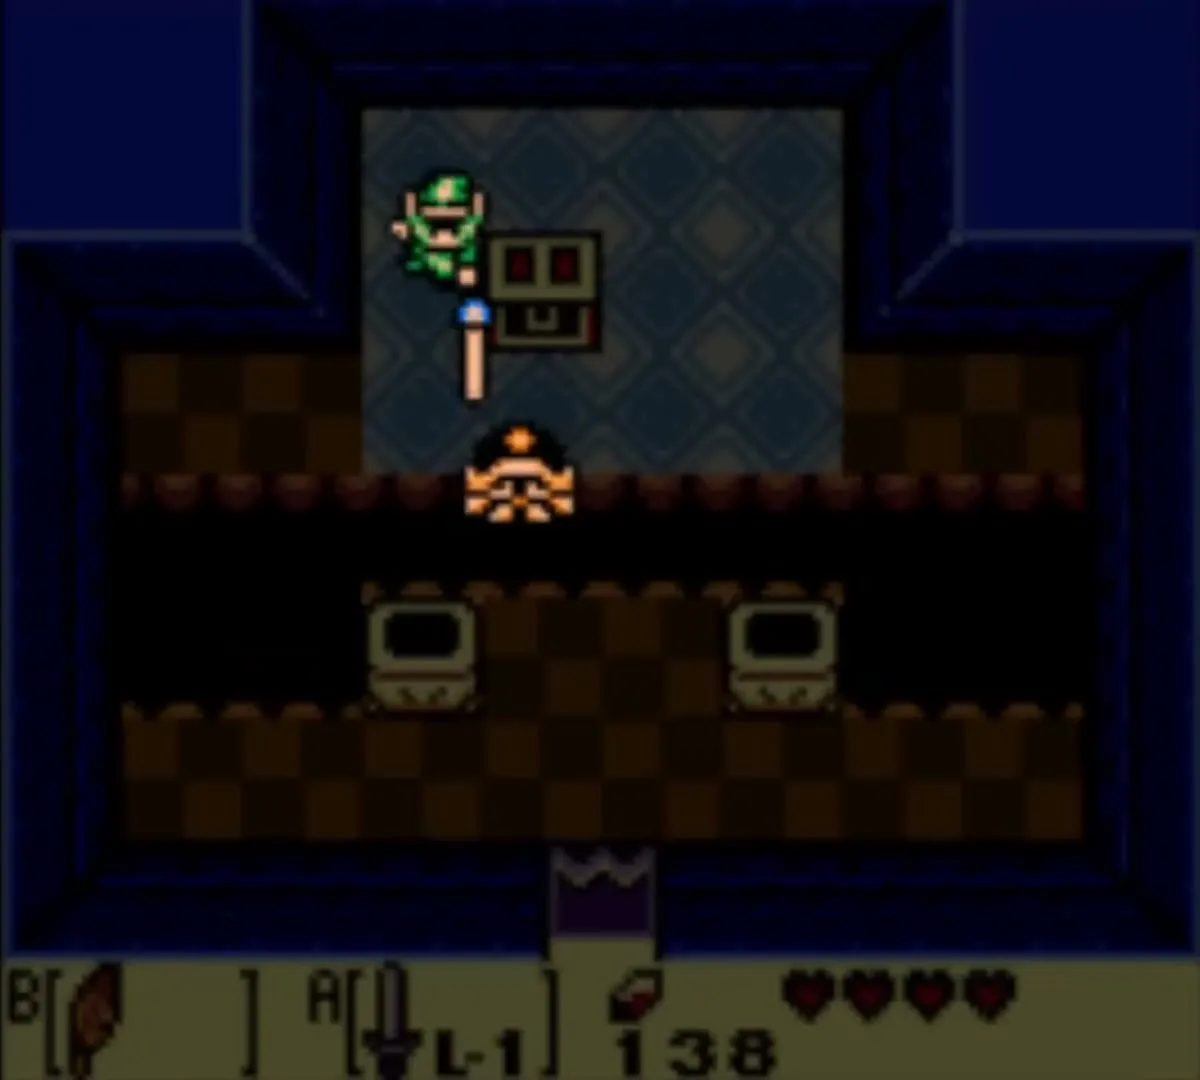
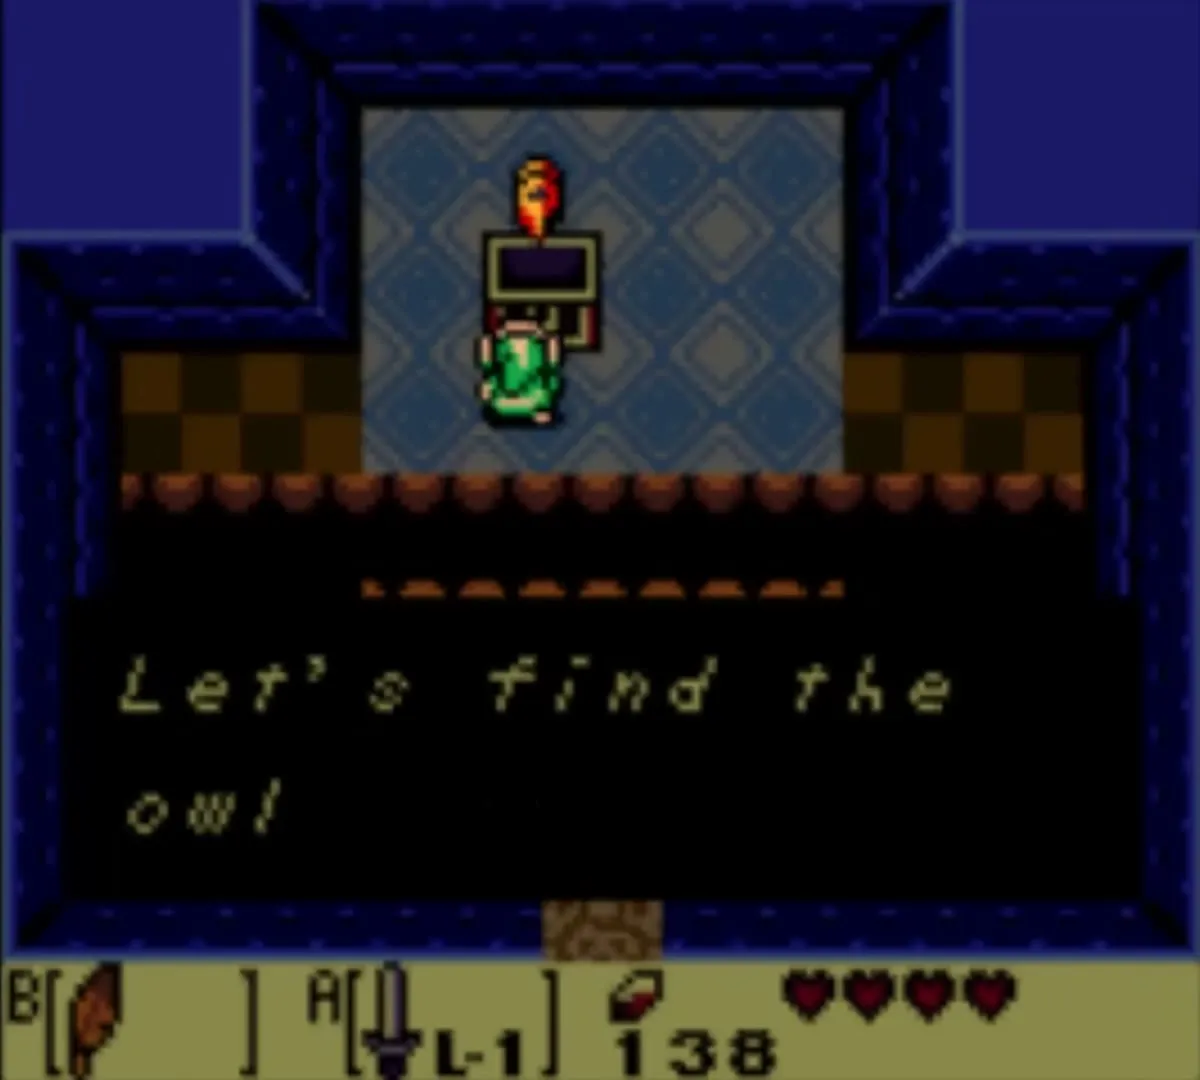
The Stone Beak lets the owl statues in the dungeon give you hints, so read the ones you pass.

Second small key
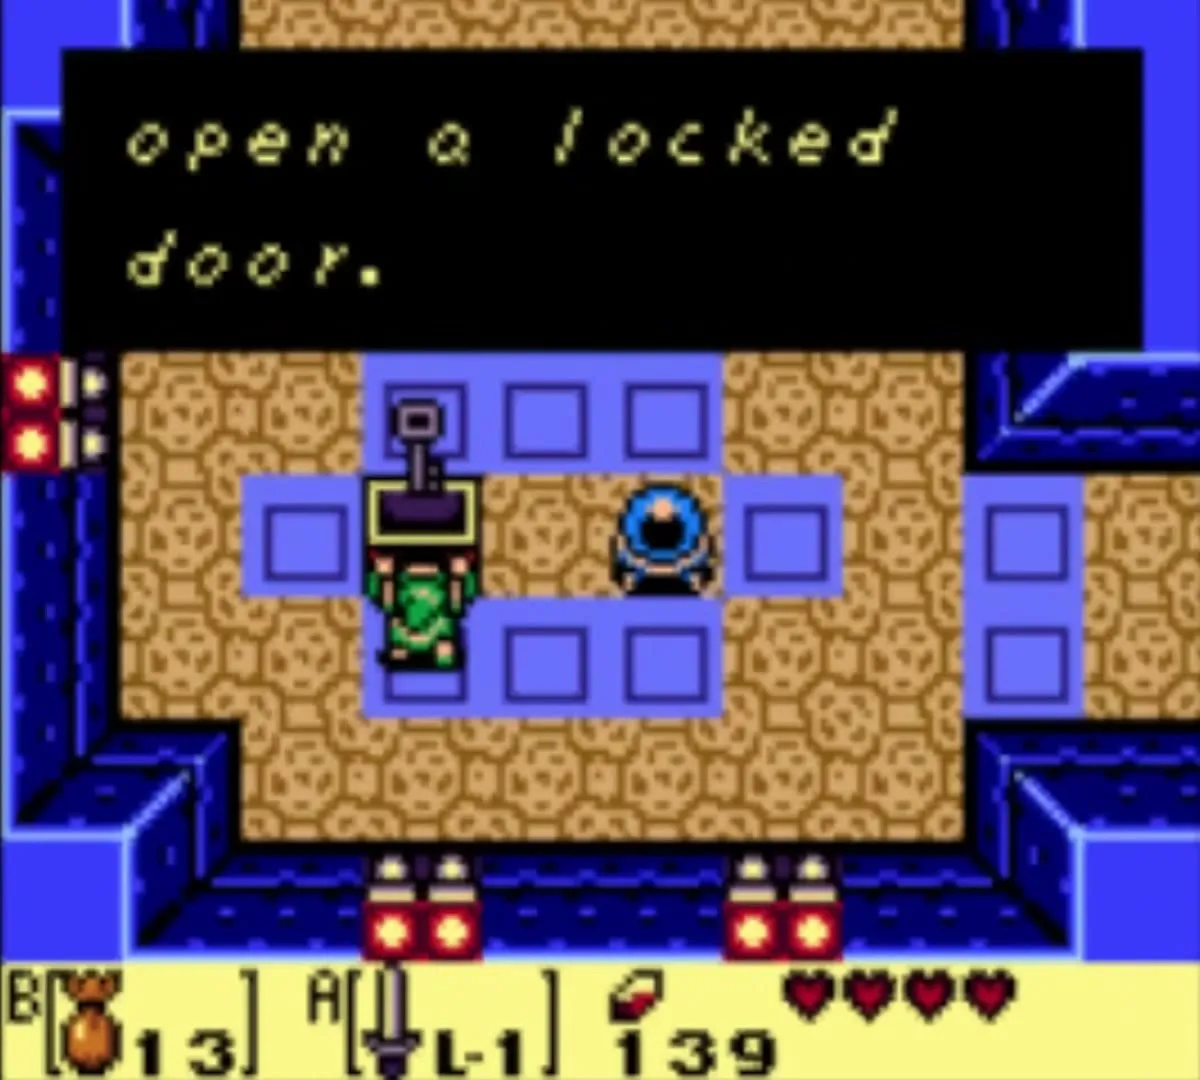
Return to the room with the two Stalfos and go east. Hit the crystal switch and go south, then hit the crystal inside the walled-off block area to lower the blue blocks around the chest. Open it for a small key.

Compass
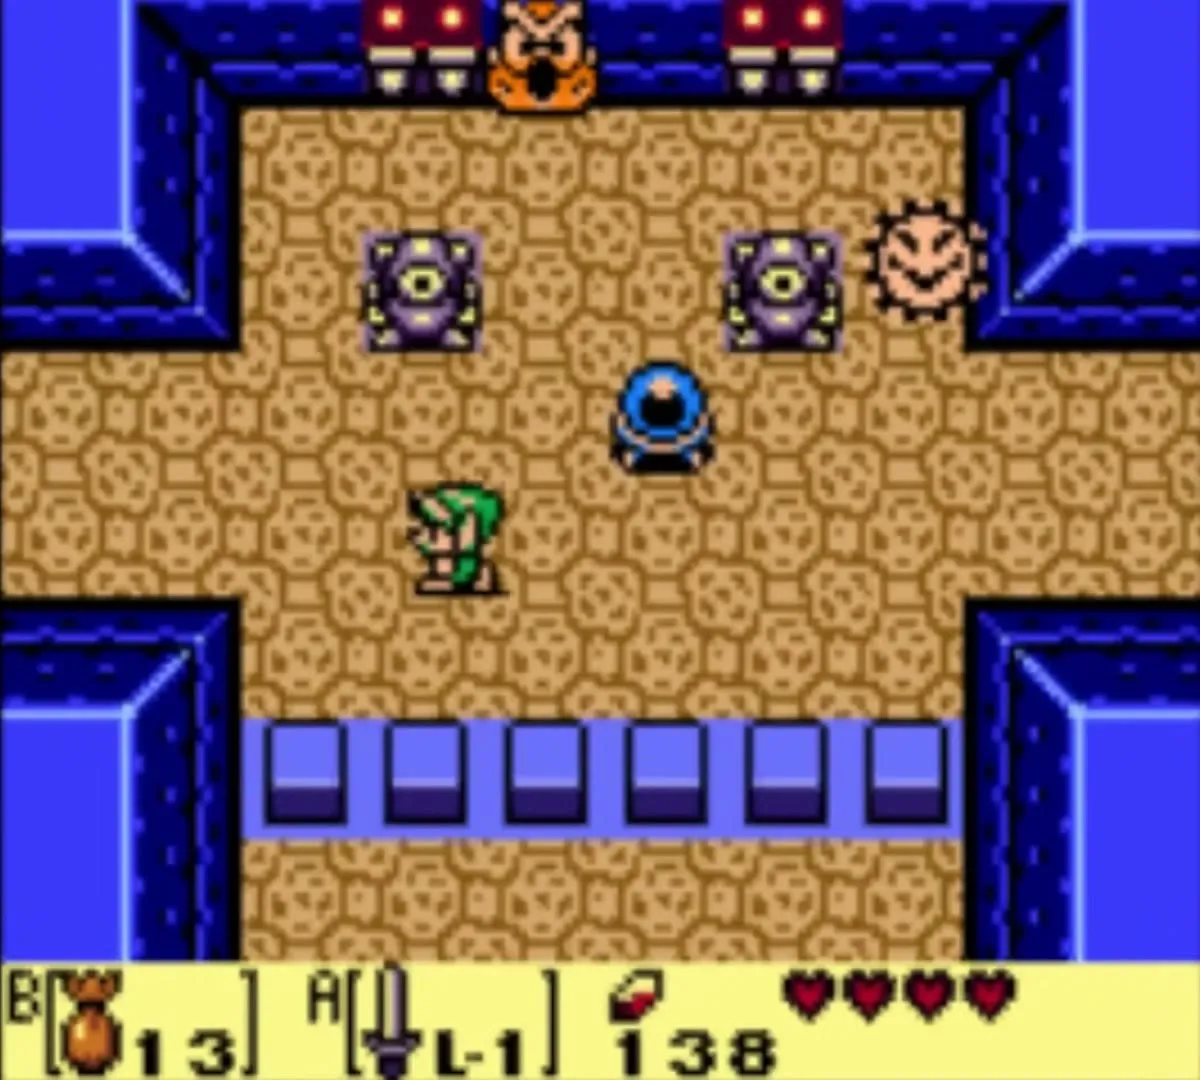
Hit the crystal again, go north, and hit the crystal beside the owl statue before heading west. Take the locked door to the south. The room beyond is guarded by Shy Guys, which copy your steps. Get behind one and use the sword spin to defeat it. Once they are gone a chest appears.

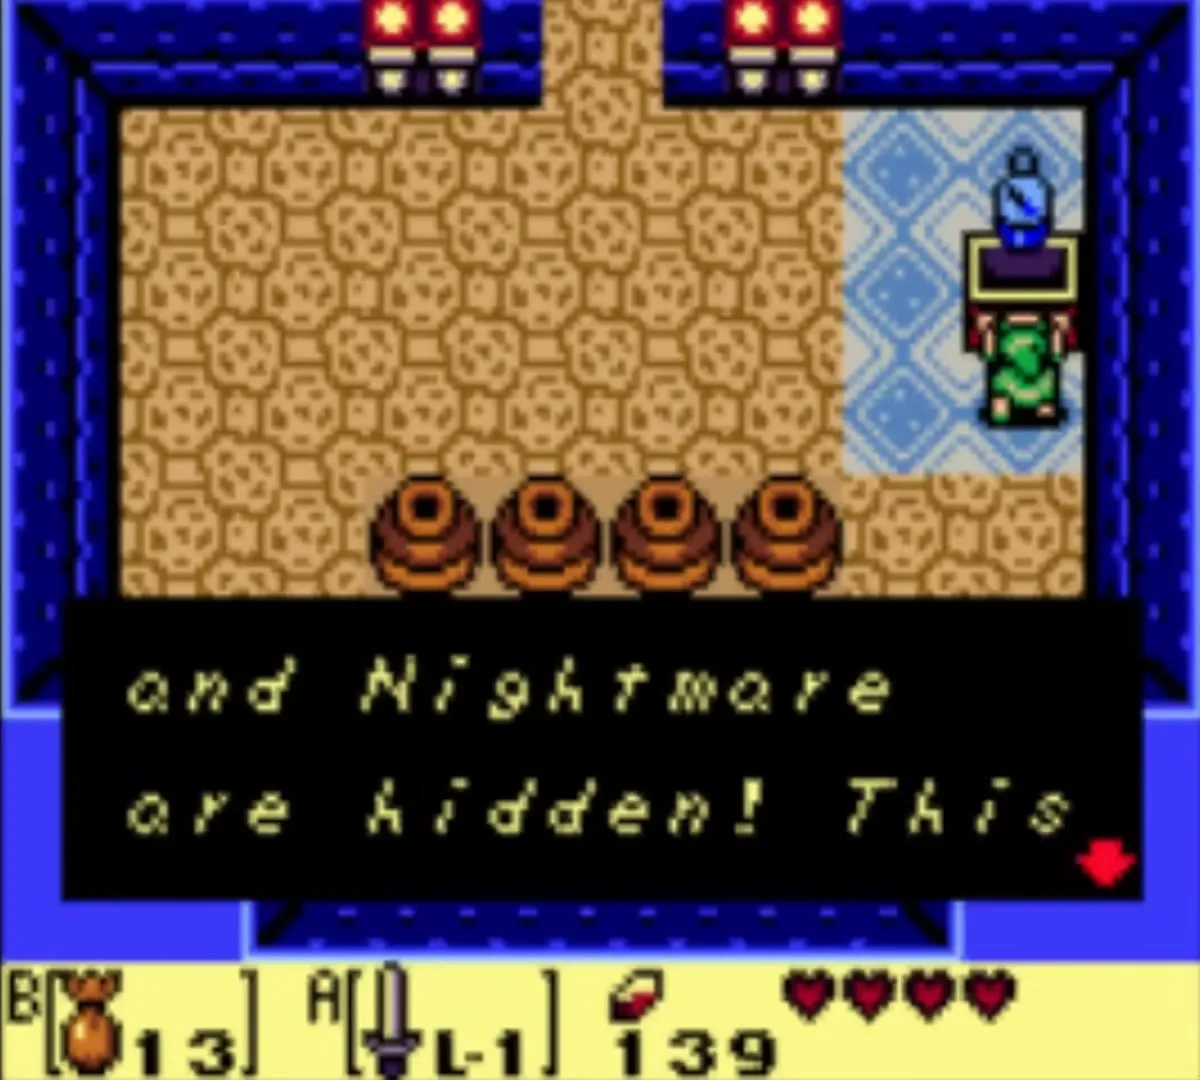
It holds the Compass. The Compass shows where chests and the Nightmare’s Key are hidden, and it sounds a tone when you enter a room that hides a small key.

Third and fourth small keys
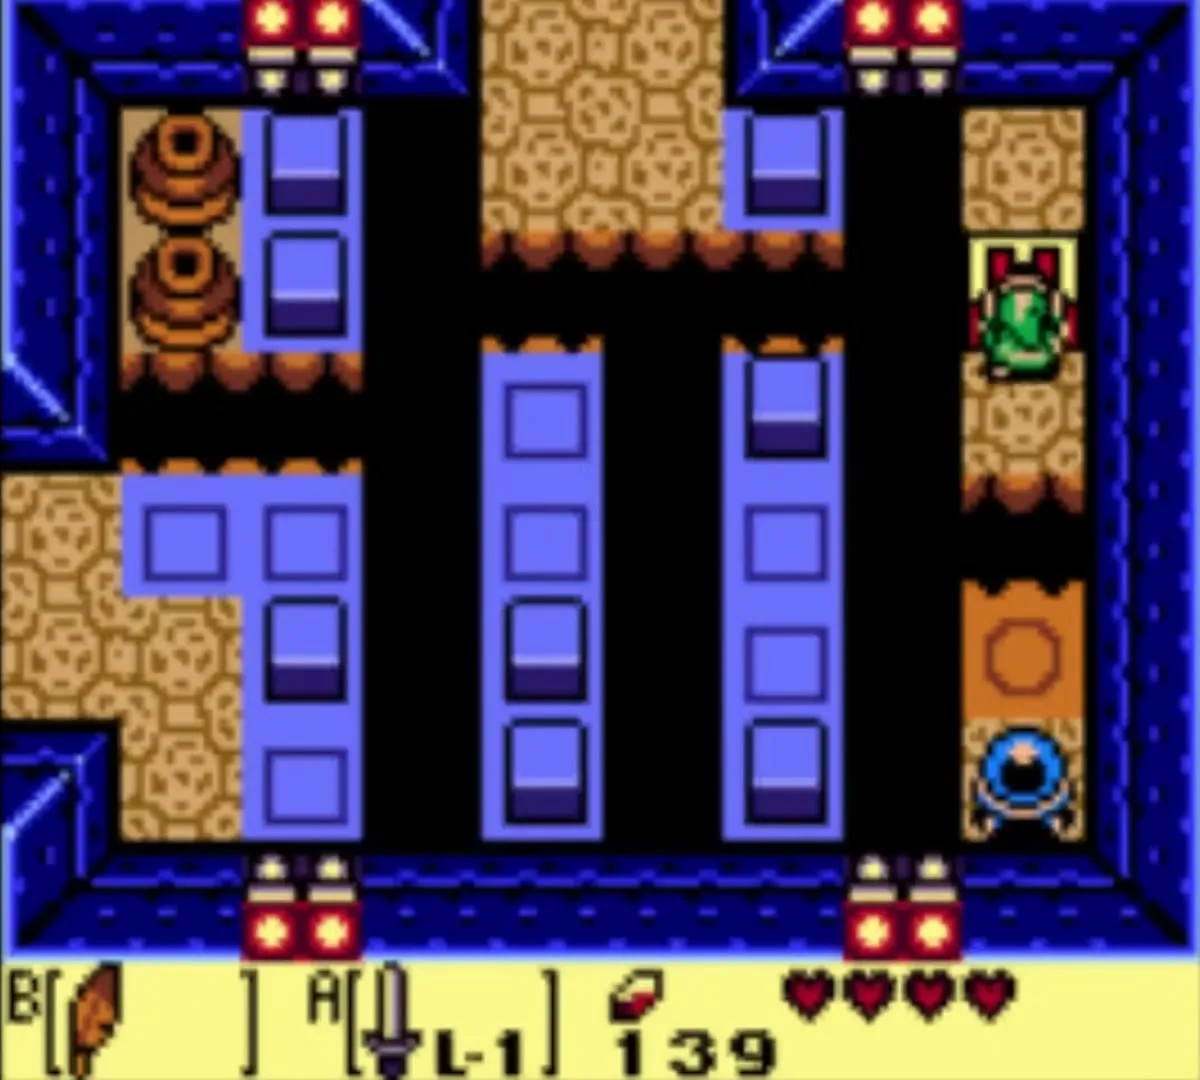
Go north and then east to the owl statue room, hit the crystal and go south, hit the next crystal and head east. Jump the gaps between the blue blocks with the Roc’s Feather. On the way, grab the Magic Powder that floats in the air. Step on the floor switch at the far end and a chest appears holding the third small key.

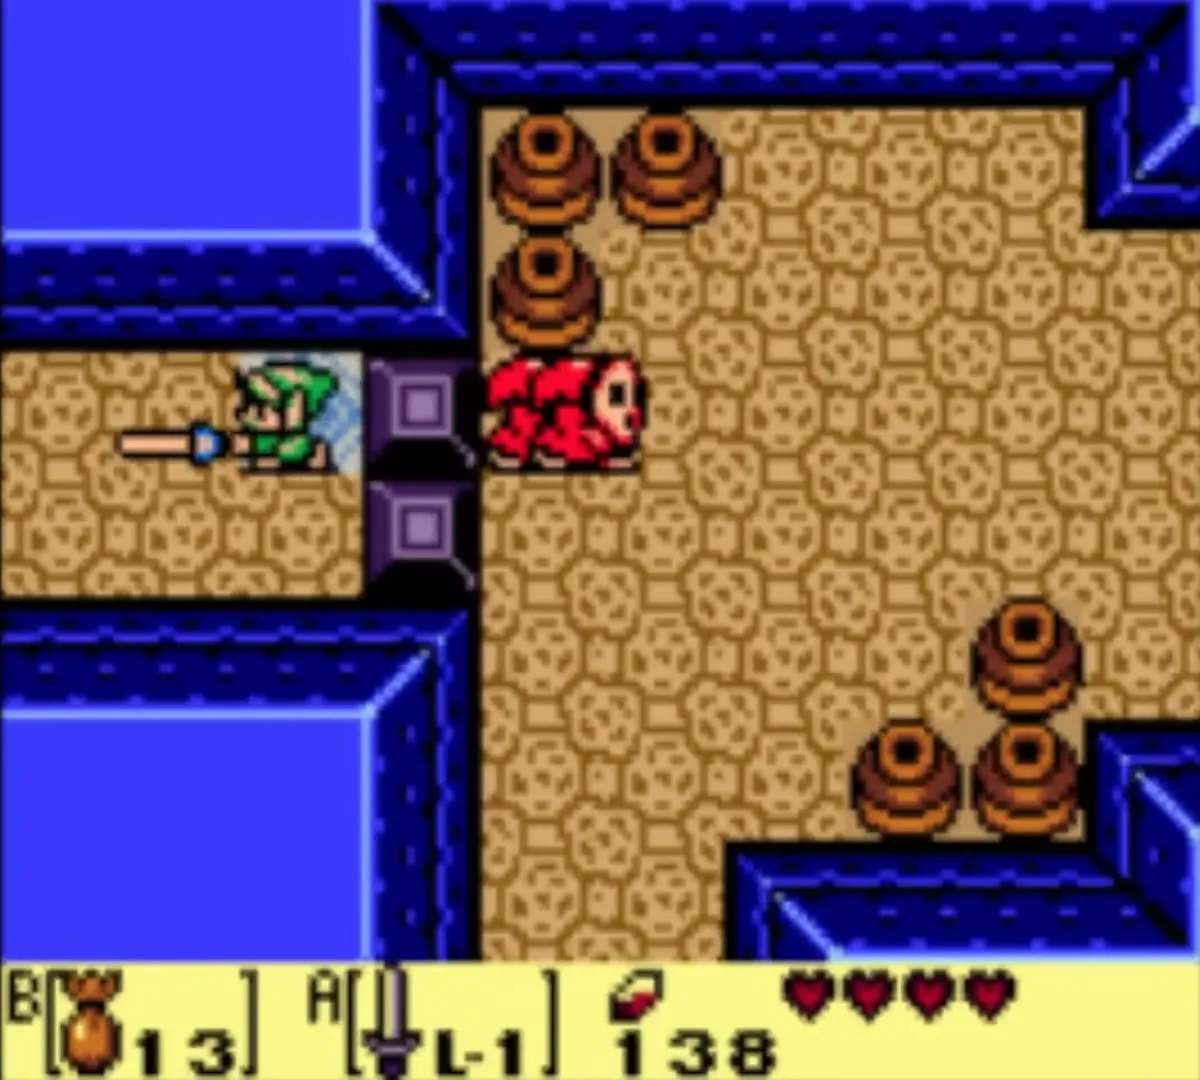
A fourth key is in the room to the north. Spin your sword to defeat the Shy Guys there and a key falls. Walk round the room, hitting the crystal if blue blocks are in your way, and collect it.

Route to the mini-boss
Go back east and use a key on the locked door in the next room. Beyond it, push the two purple blocks onto the blue tiles and stairs appear. Take them down.


Underground, ride the moving platform to the left, jump over the spikes with the Roc’s Feather and ride a second platform up to a ladder. Climb it. In the dark room at the top, leave through the one-way door in the north wall.


The owl statue in the block-pushing room now gives you a hint, because you have the Stone Beak. The item that lets you lift heavy things waits a little later in the dungeon.

Hinox mini-boss
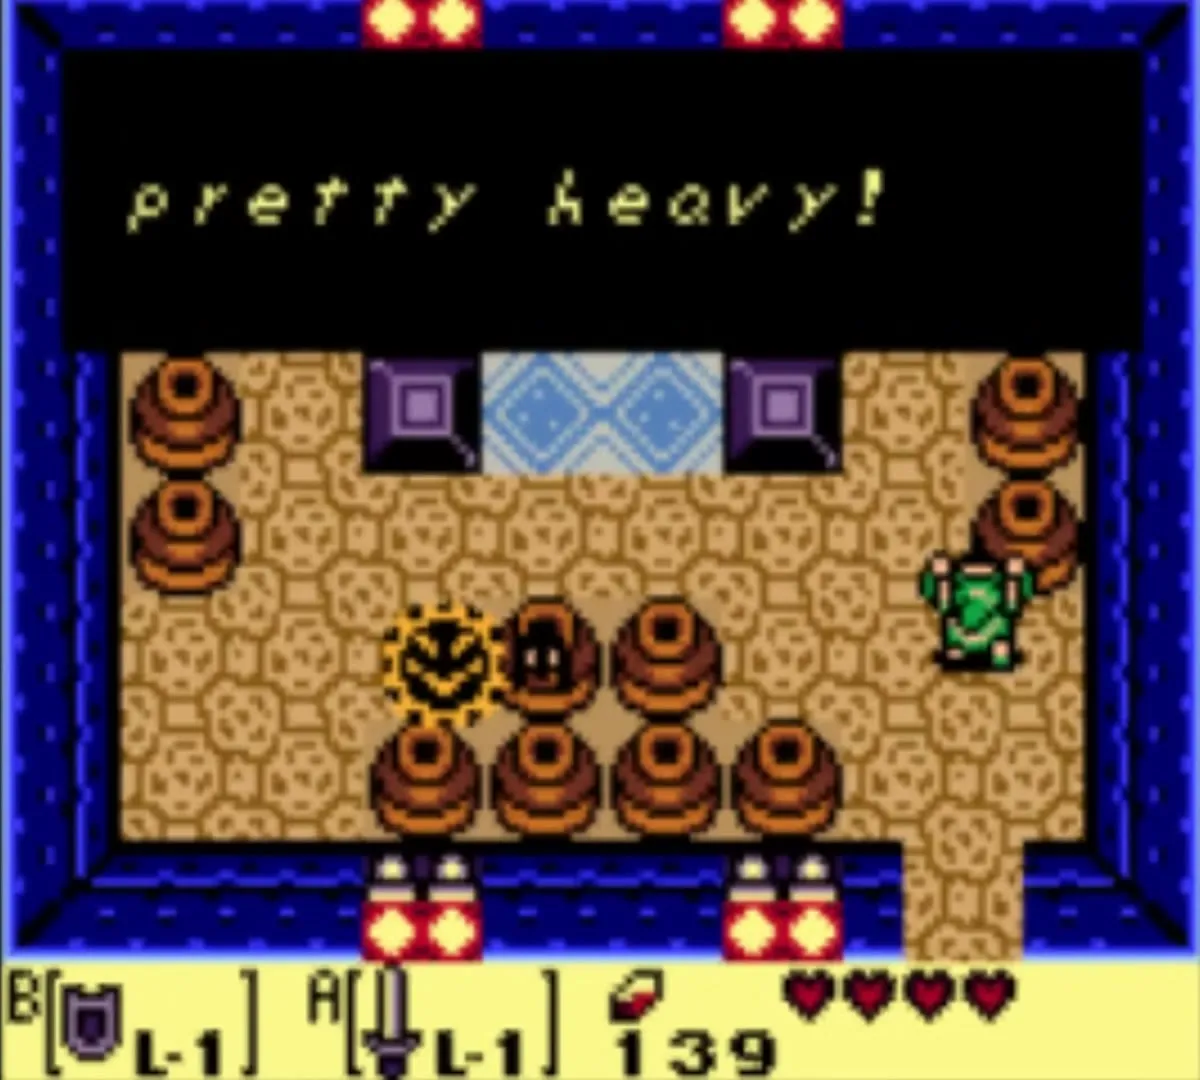
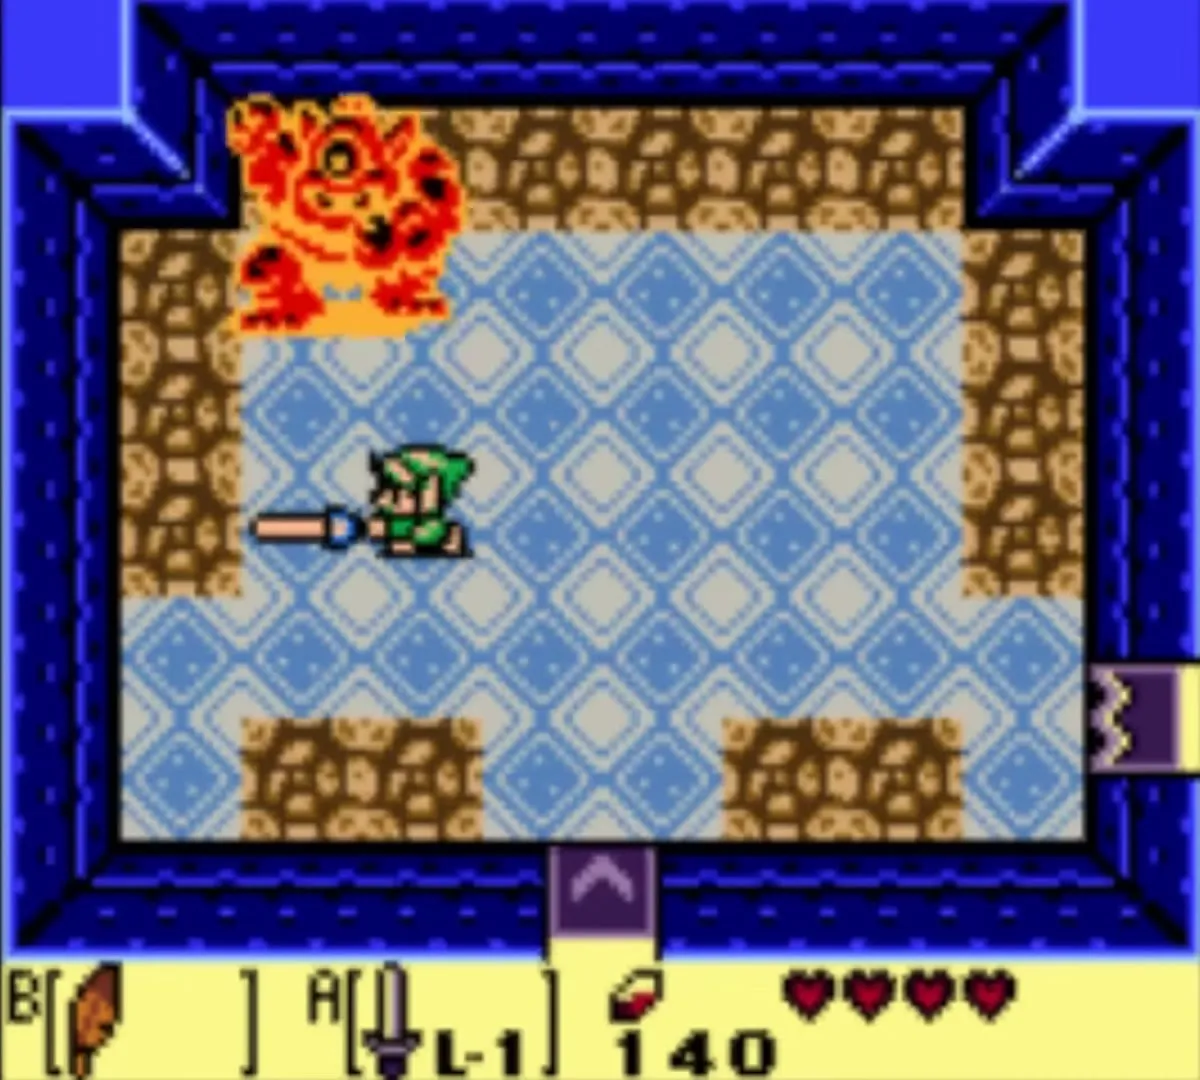
Hinox is a one-eyed giant who waits in the north end of the room. He throws bombs and, if he gets hold of you, hurls you across the room, so keep your distance. Avoid the cracks in the floor along the walls, because they can drop you out of the fight. Let him come close, strike with the Sword, and back off before the next bomb.

When Hinox falls, a fairy and a warp tile appear. The warp tile takes you to the dungeon entrance if you want to leave. Otherwise, take the east door.

Dungeon map and 20 rupees
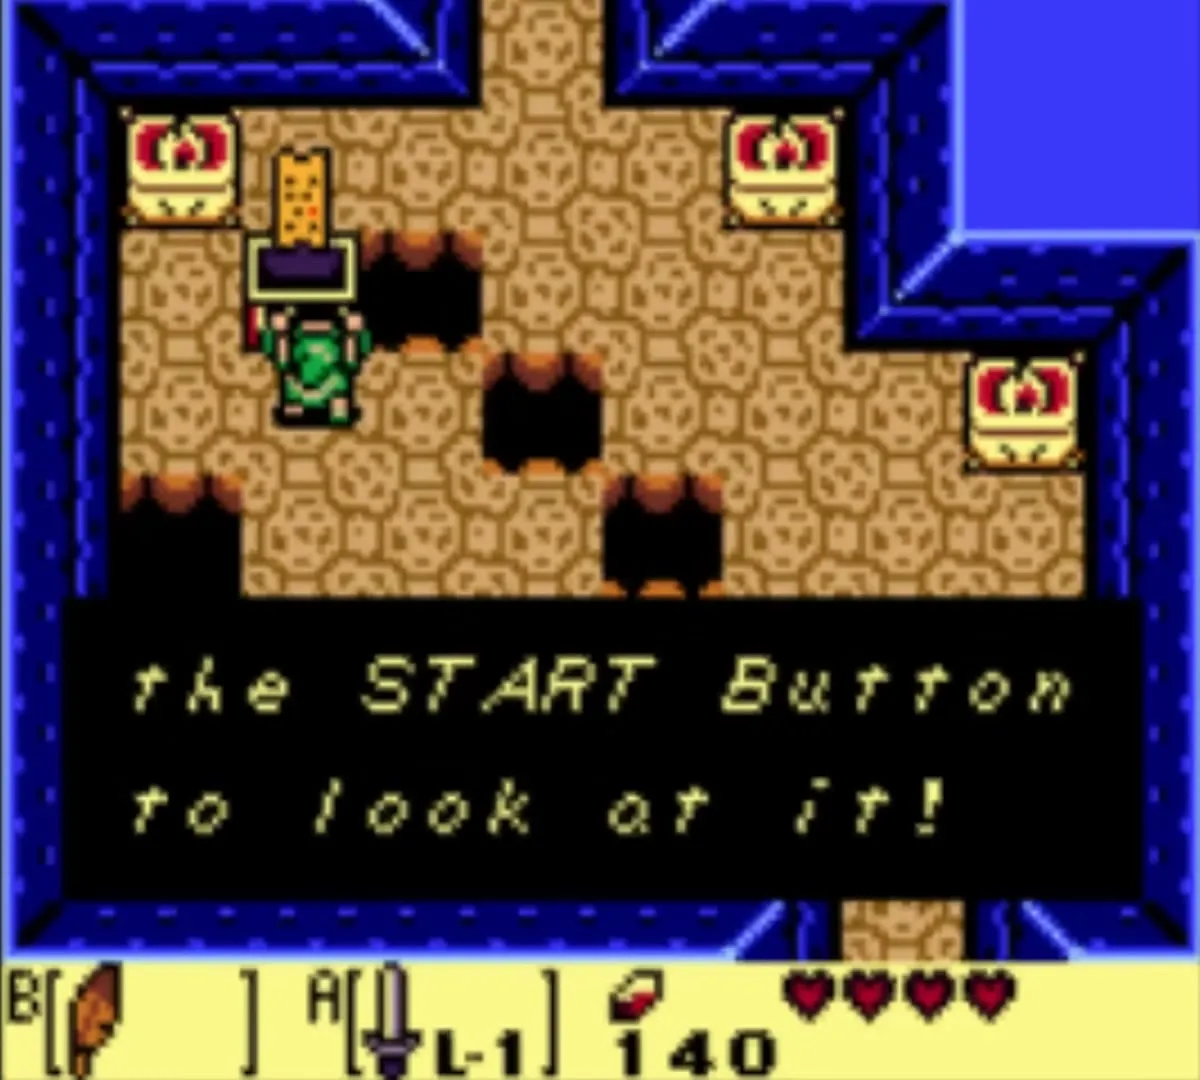
Jump the gaps in the next room, keeping clear of the Keese that sit on the statues, and leave by the northeast exit. A Vacuum Mouth in the corner pulls you toward it, so stay on the far side. The chest in the northwest corner holds the Map. Press Select to look at it.
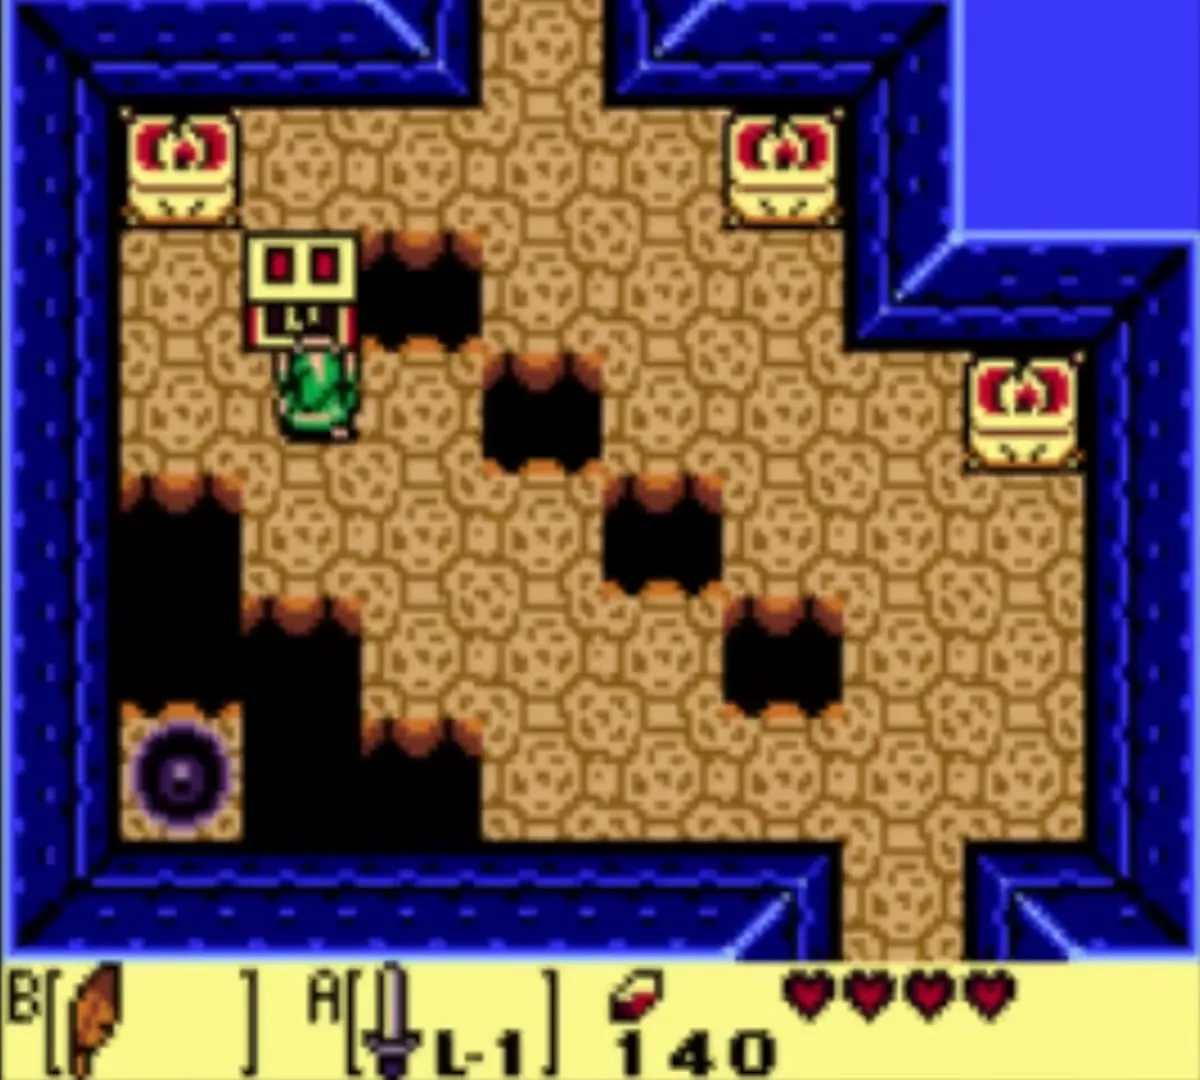
Leave by the north door of the map room. Grab the Magic Powder that floats in the air, then open the chest for 20 rupees.


How to get the Power Bracelet
Go west of the 20 rupee room through the locked door, which takes a small key. The room is dark and its ghosts cannot be hurt in the dark. Sprinkle Magic Powder on the torch and the light returns. Now the ghosts can be killed with your Sword. When they are gone, a chest appears.
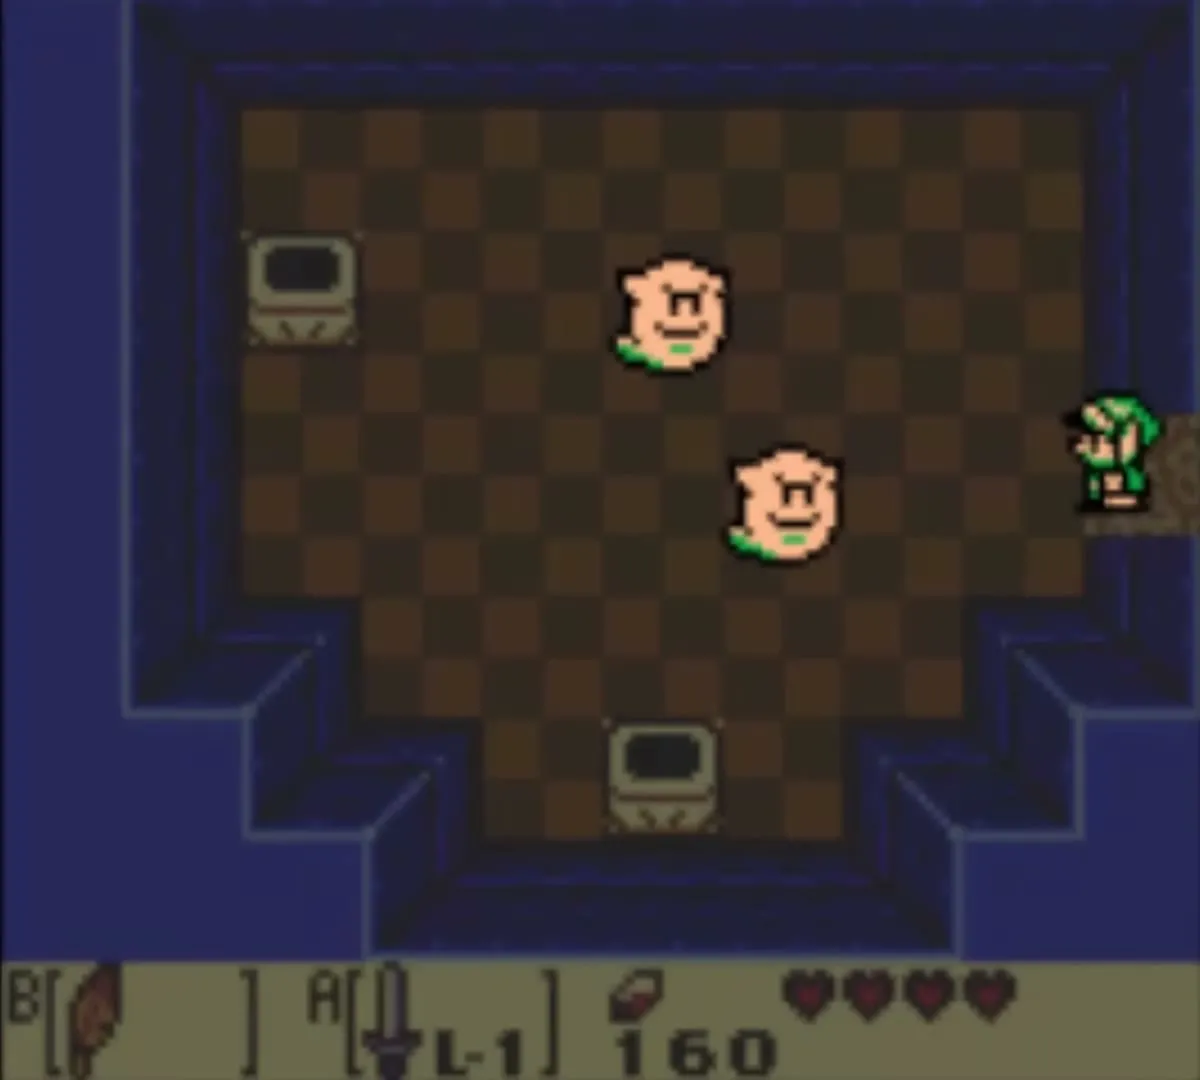
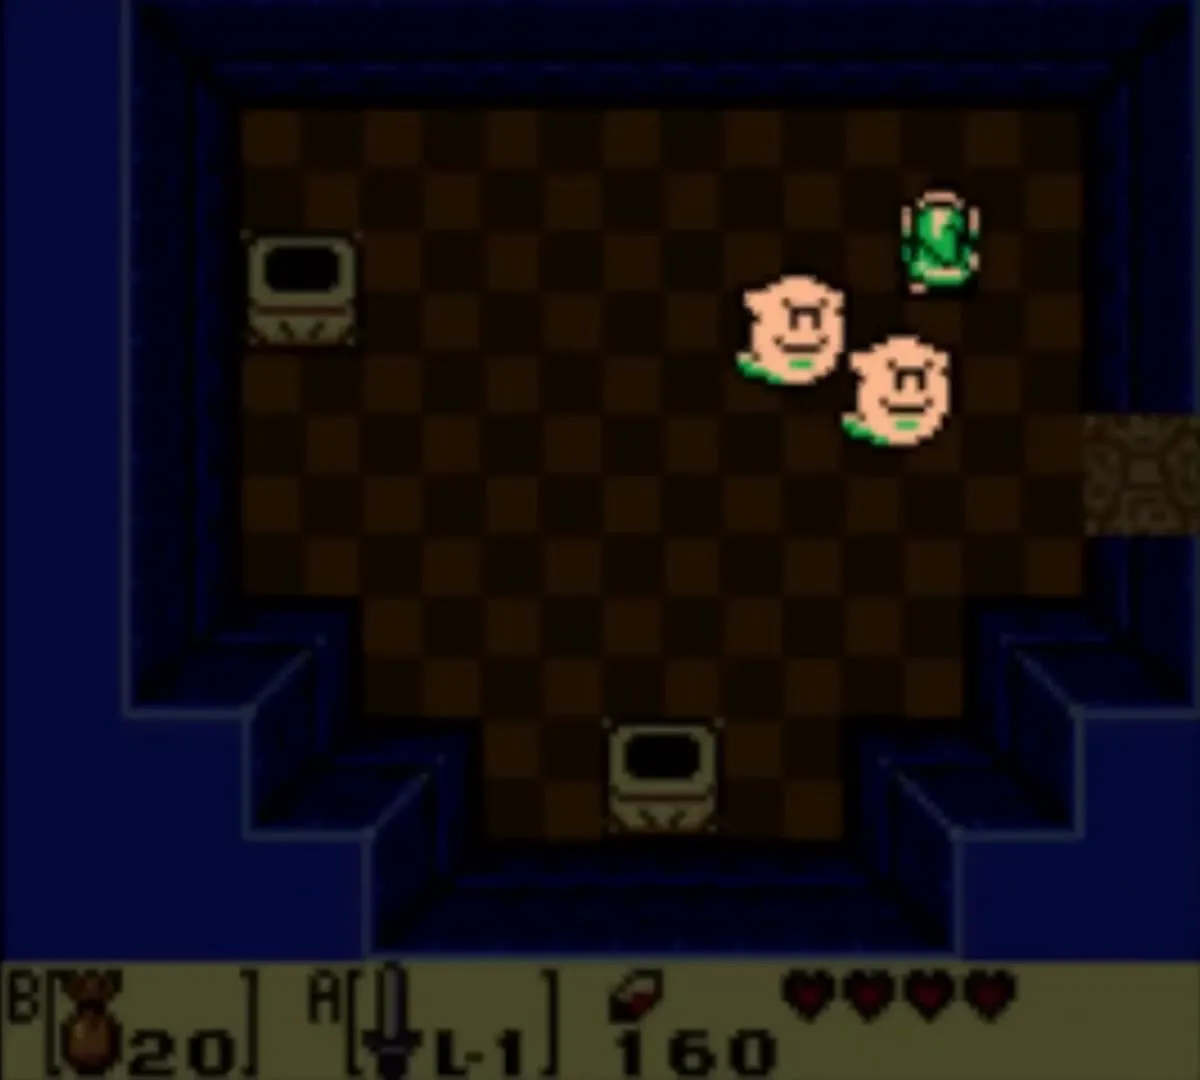
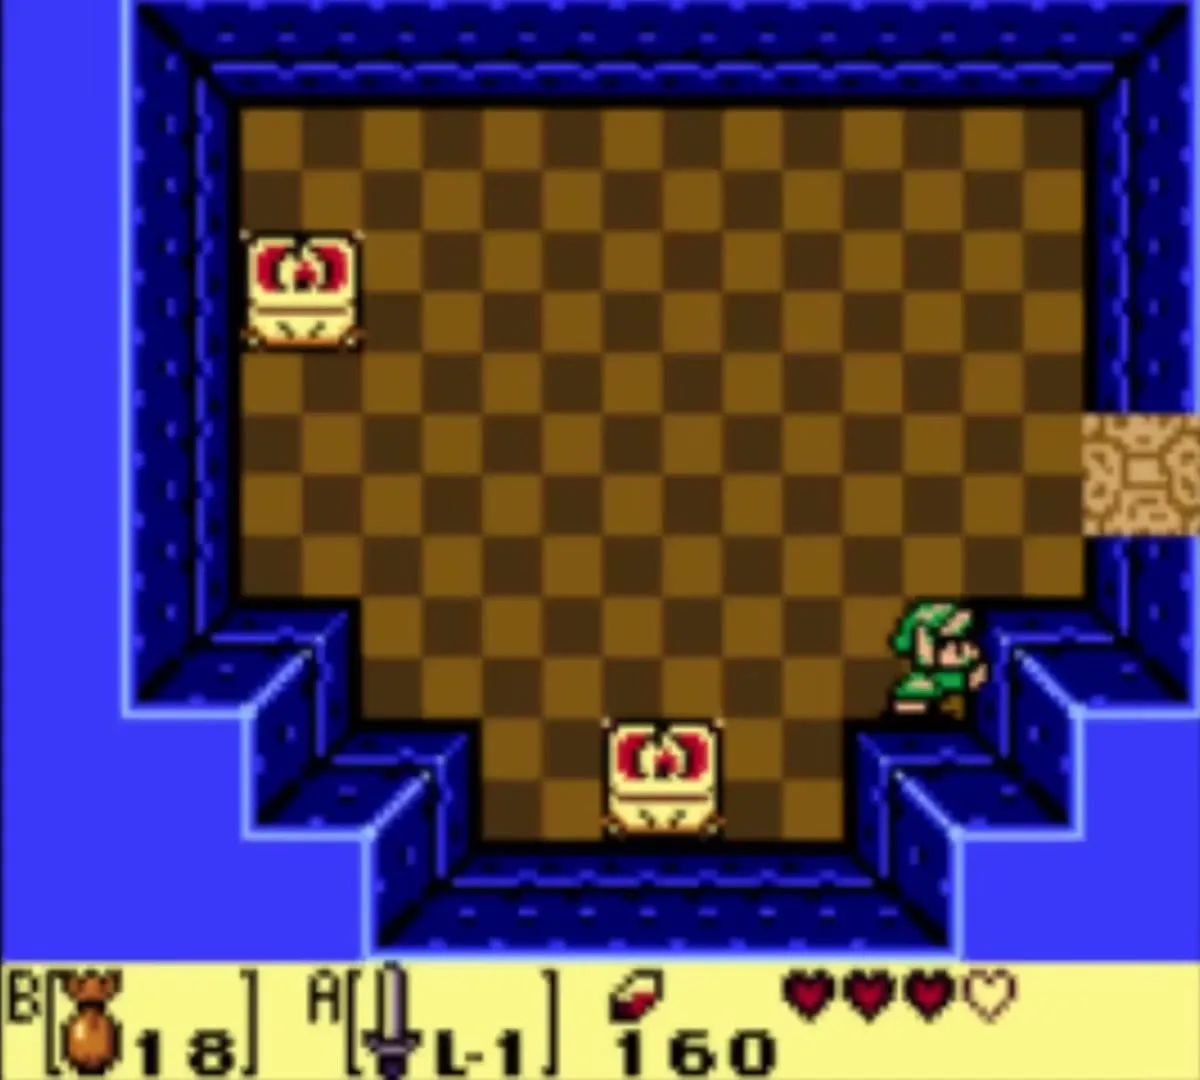
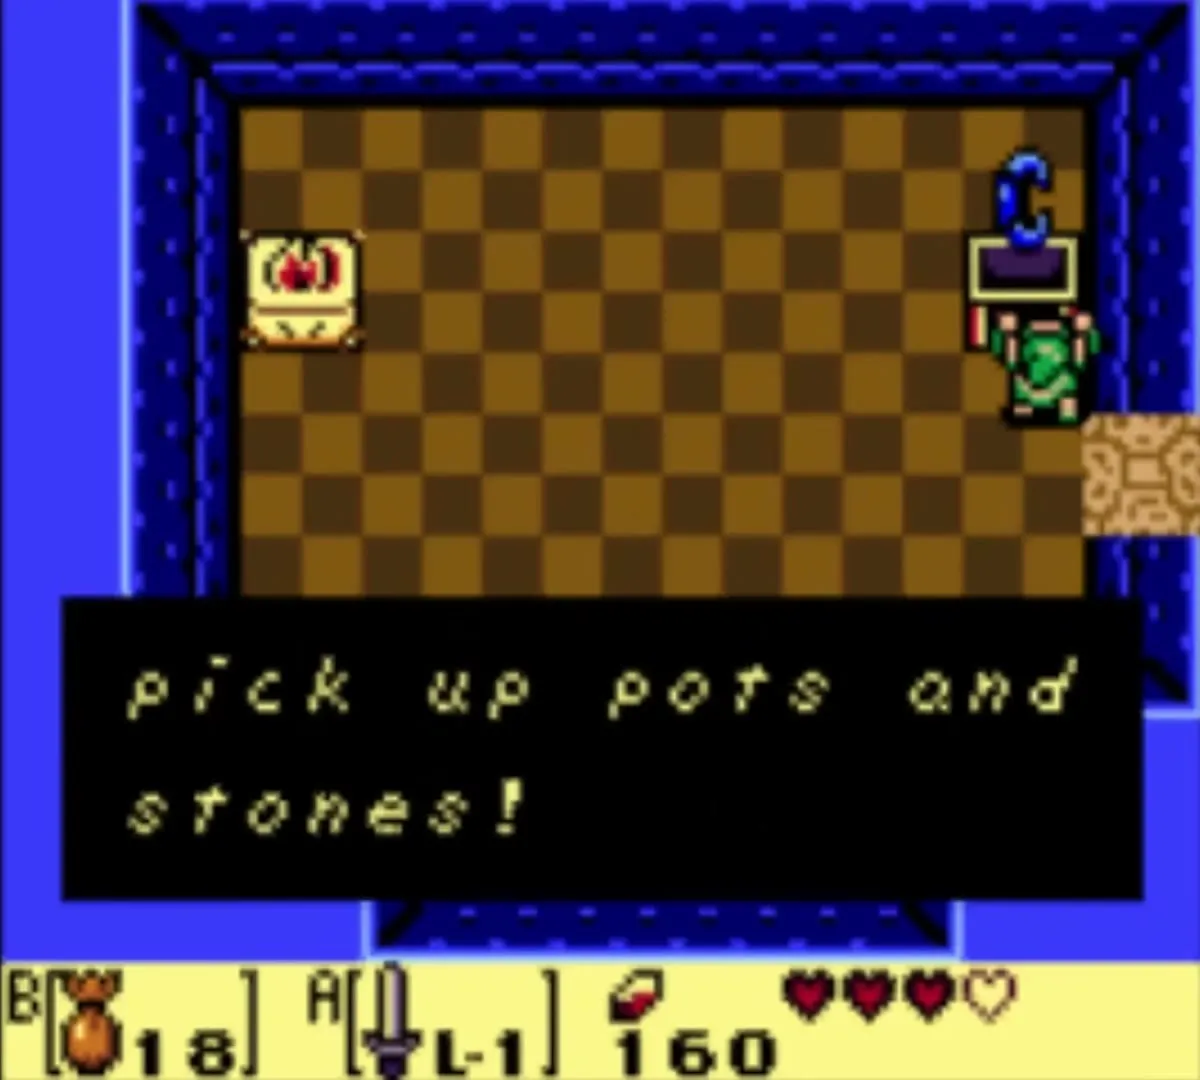
The chest holds the Power Bracelet. Equip it on a button, face a pot or a stone and use it to pick it up, then throw it. The game tells you that you can now pick up pots and stones. This is also the item you need to lift the heavy rocks on the overworld. Back at the entrance chamber you can now lift the pots around the chest there and open it for 50 rupees.
Fifth small key
Go to the room east of the Bracelet room. Pick up the pots around the chest, then head to the northeast. Hit the crystal switch. If you cannot reach it, throw a pot at it from the south side and hit it again from the north. The chest in the northeast holds the fifth small key.

Nightmare’s Key
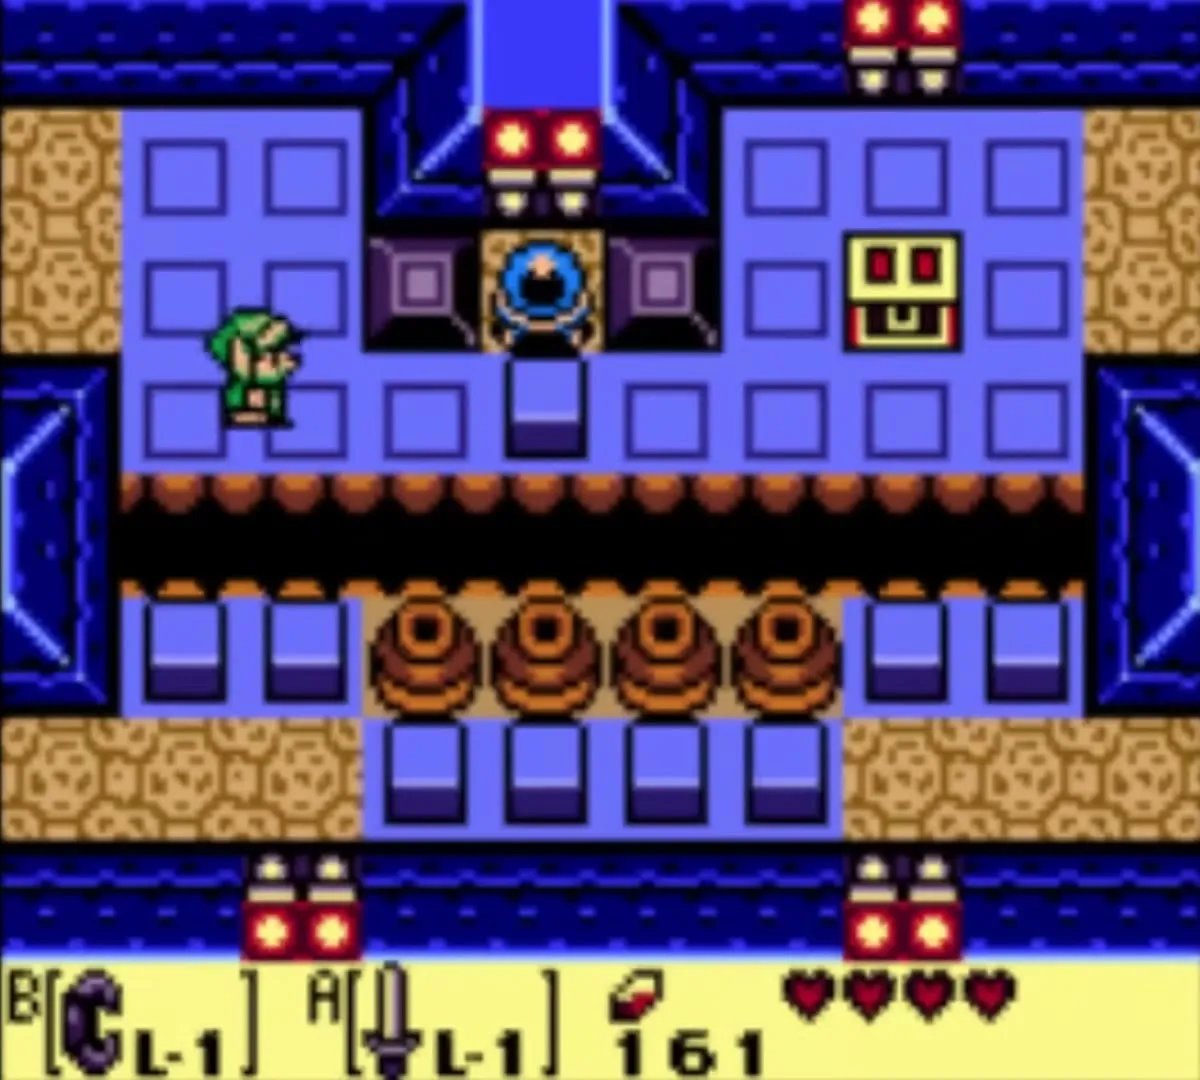
Step onto the blue blocks to the right of the crystal, hit it, and walk east along the blocks. Go northeast, avoiding the red Zol and the Hardhat Beetle, and leave by the south exit. The room holds a Shrouded Stalfos, a Pols Voice and a Keese.

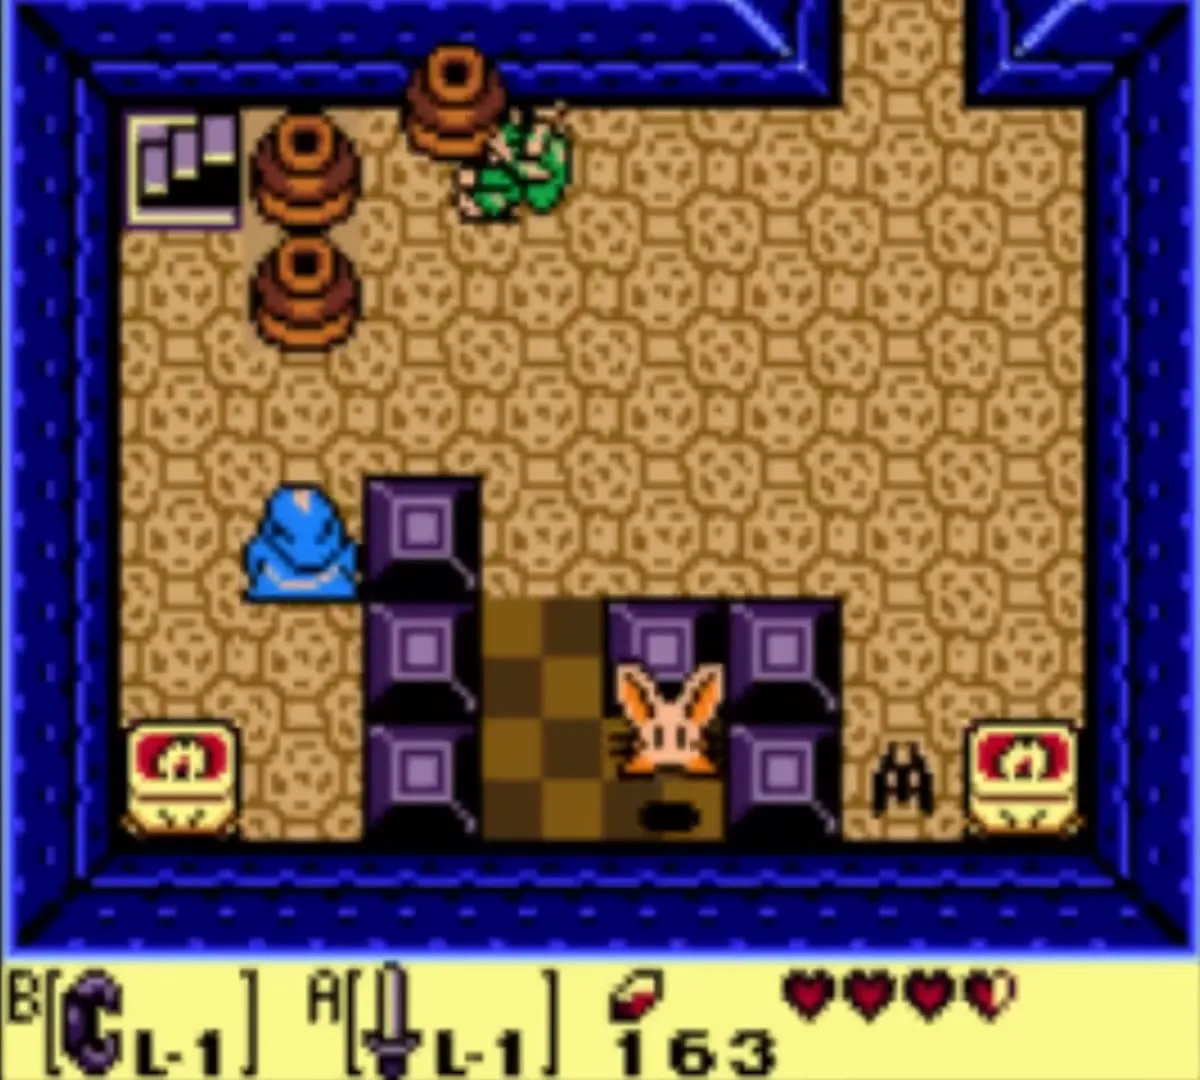
Take the stairs to the far room, which tells you the order to defeat them: Pols Voice, then Keese, then Stalfos. Push the upper blocks into position, throw a pot at the Pols Voice and finish the other two in order. A chest appears with the Nightmare’s Key.


Route to the boss door
Go north and unlock the east door. In the next room, throw pots at the Pols Voices to kill them and defeat the Red Zol.

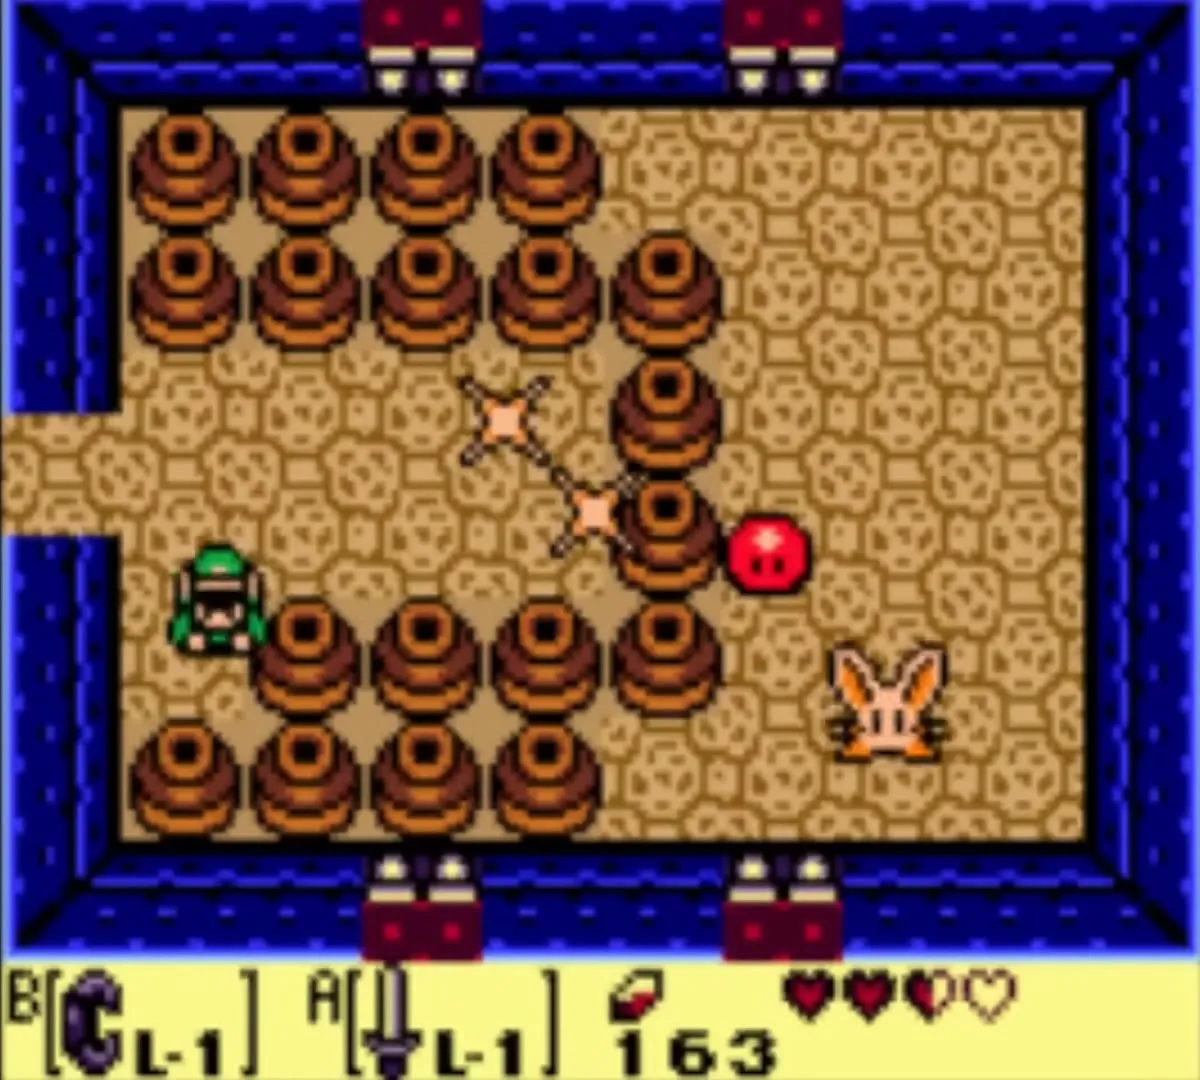
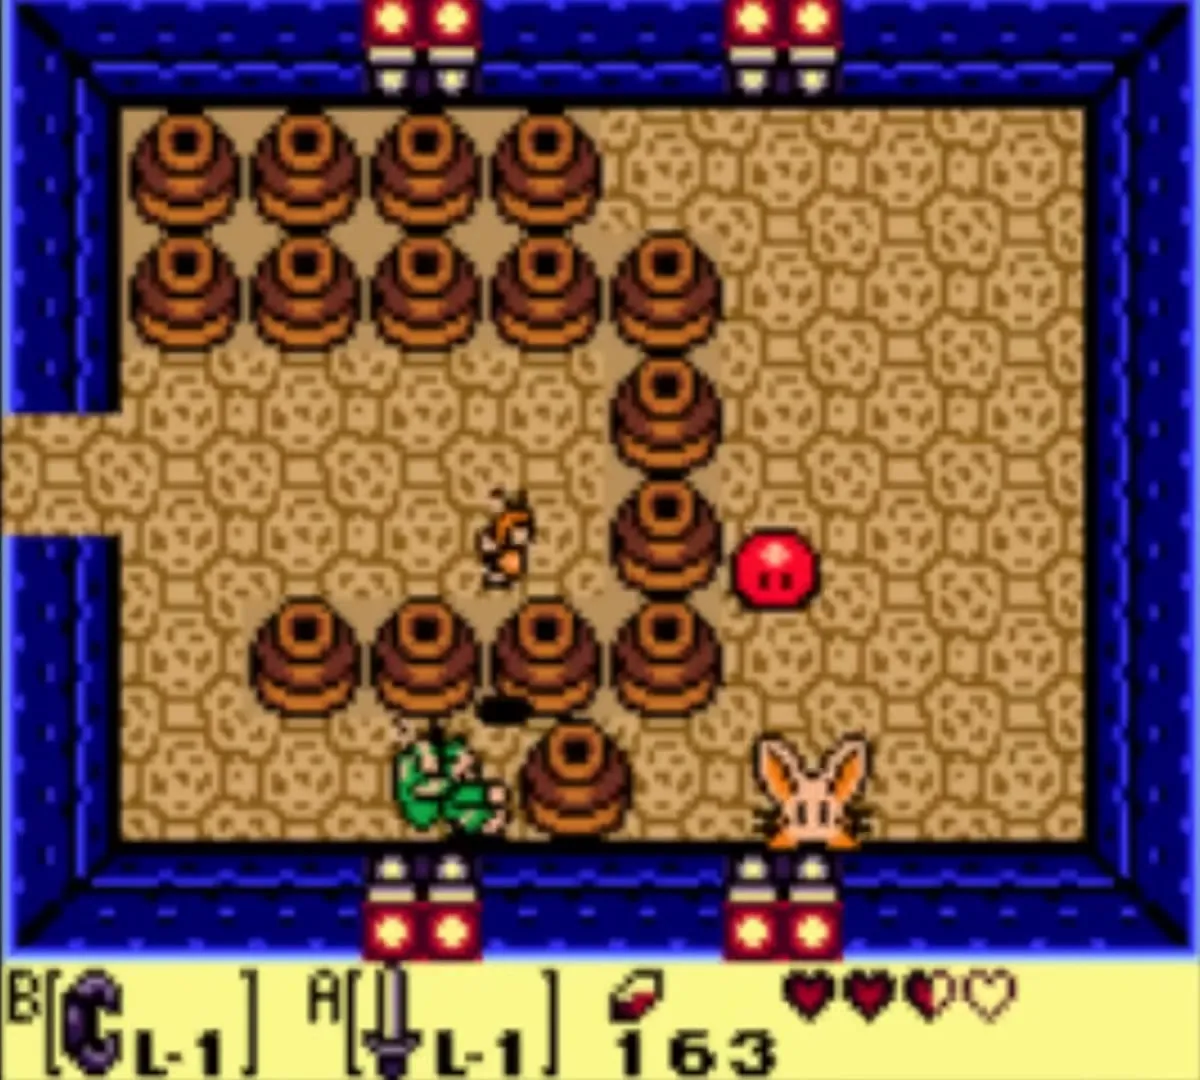

When the room is clear, stairs appear. Go down, step onto the stone platform and move west. Carry a pot onto the other platform to lower it, then climb the ladder. Jump the gaps to reach the Nightmare’s door and unlock it with the Nightmare’s Key.
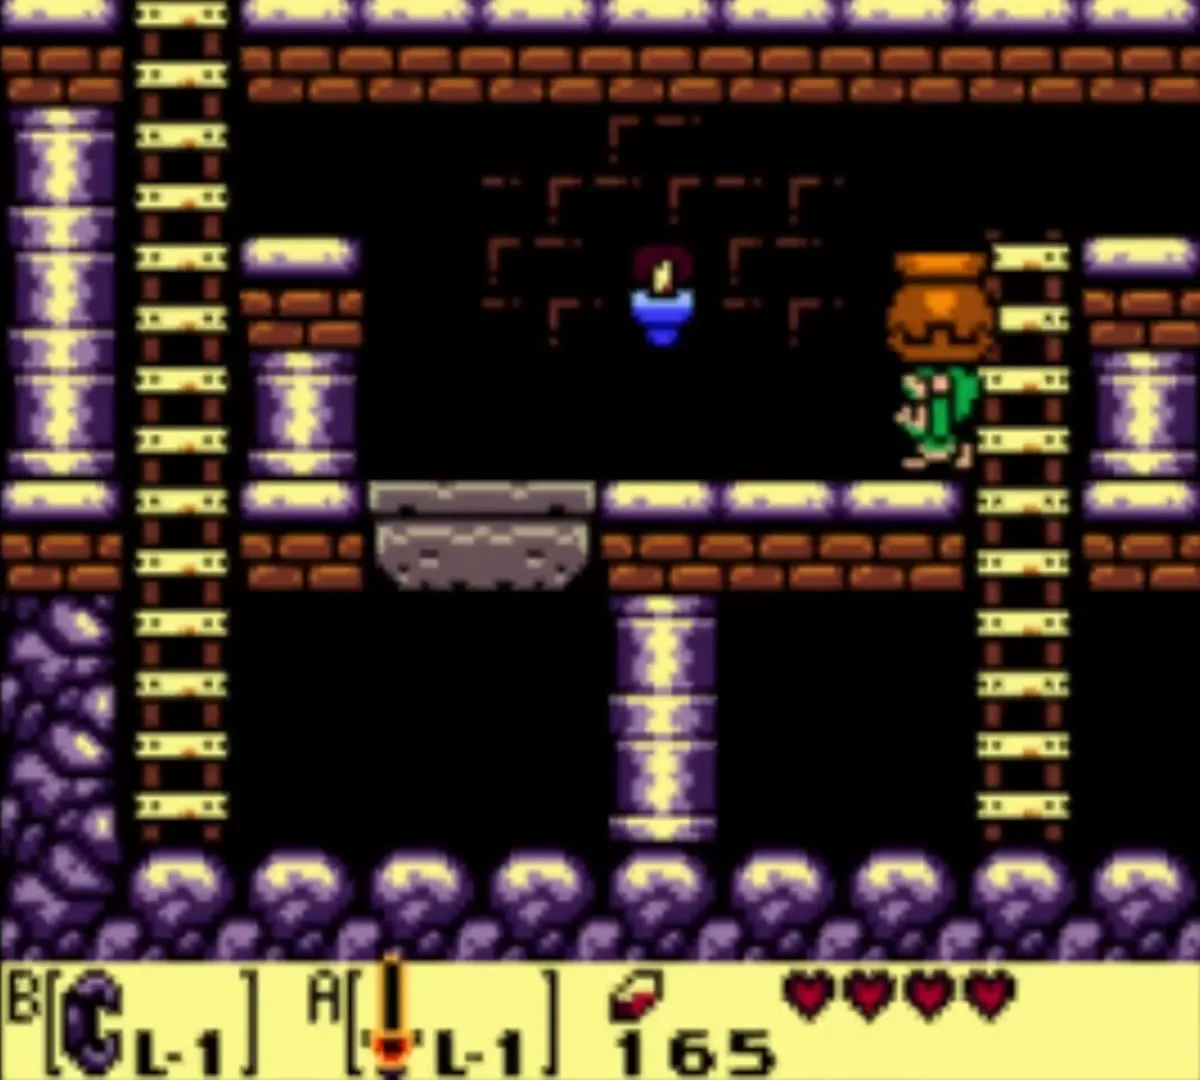

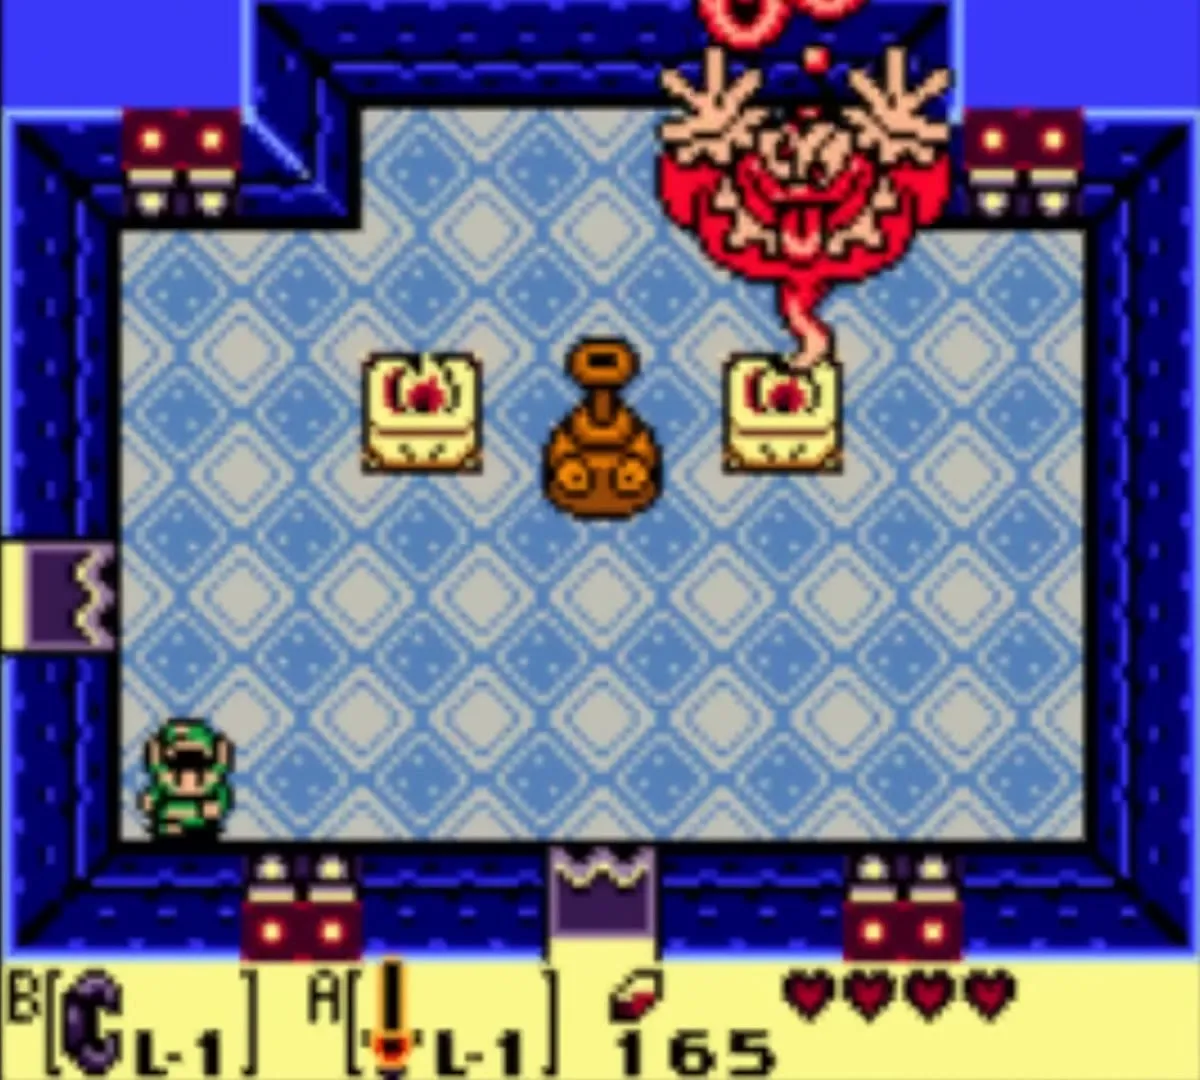
Genie boss
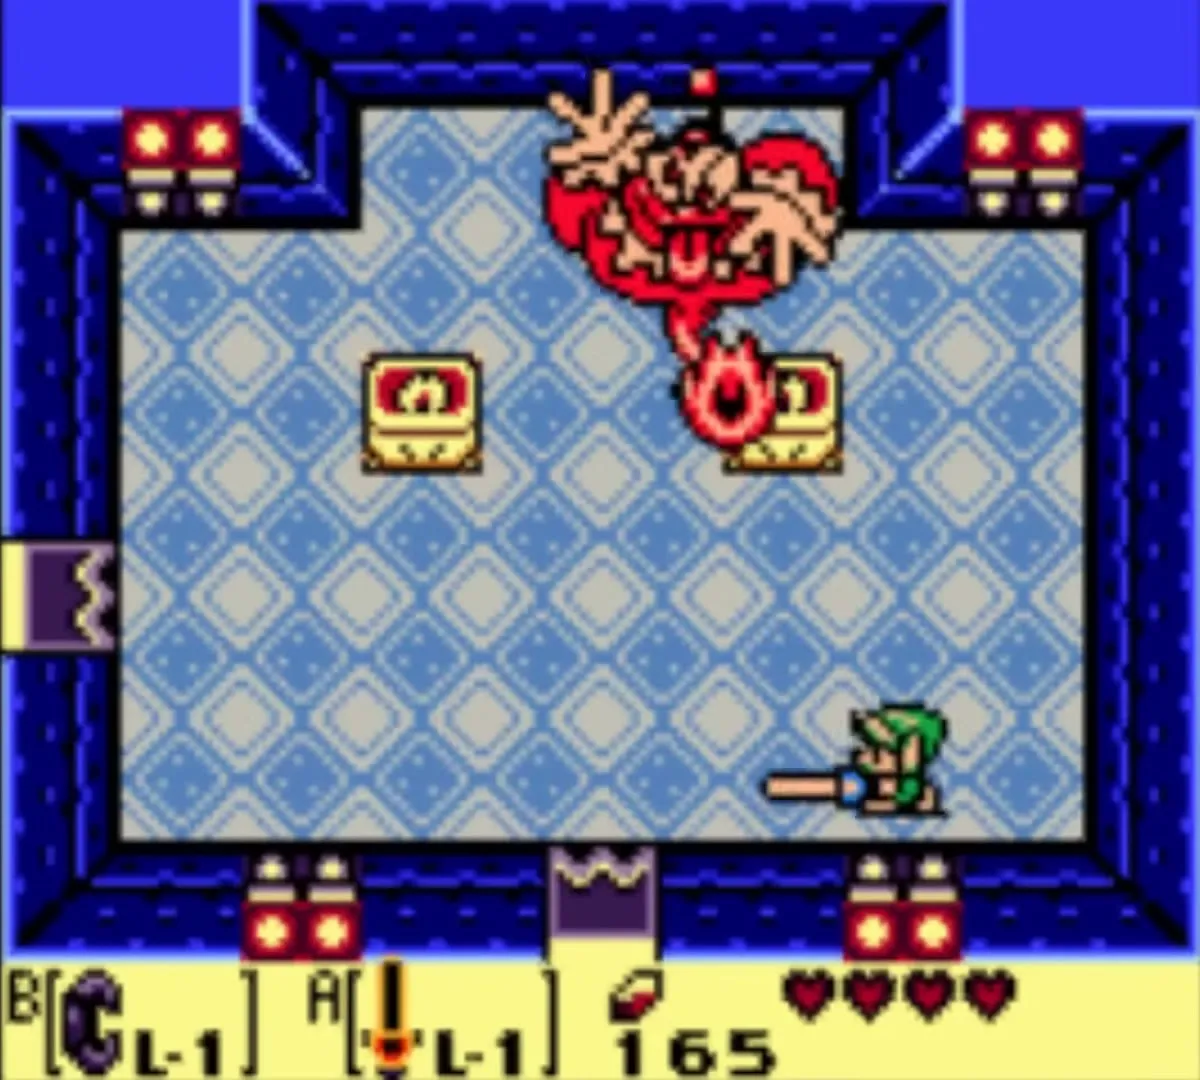
The Genie comes out of his bottle and flings flames at you. Keep moving to dodge them.
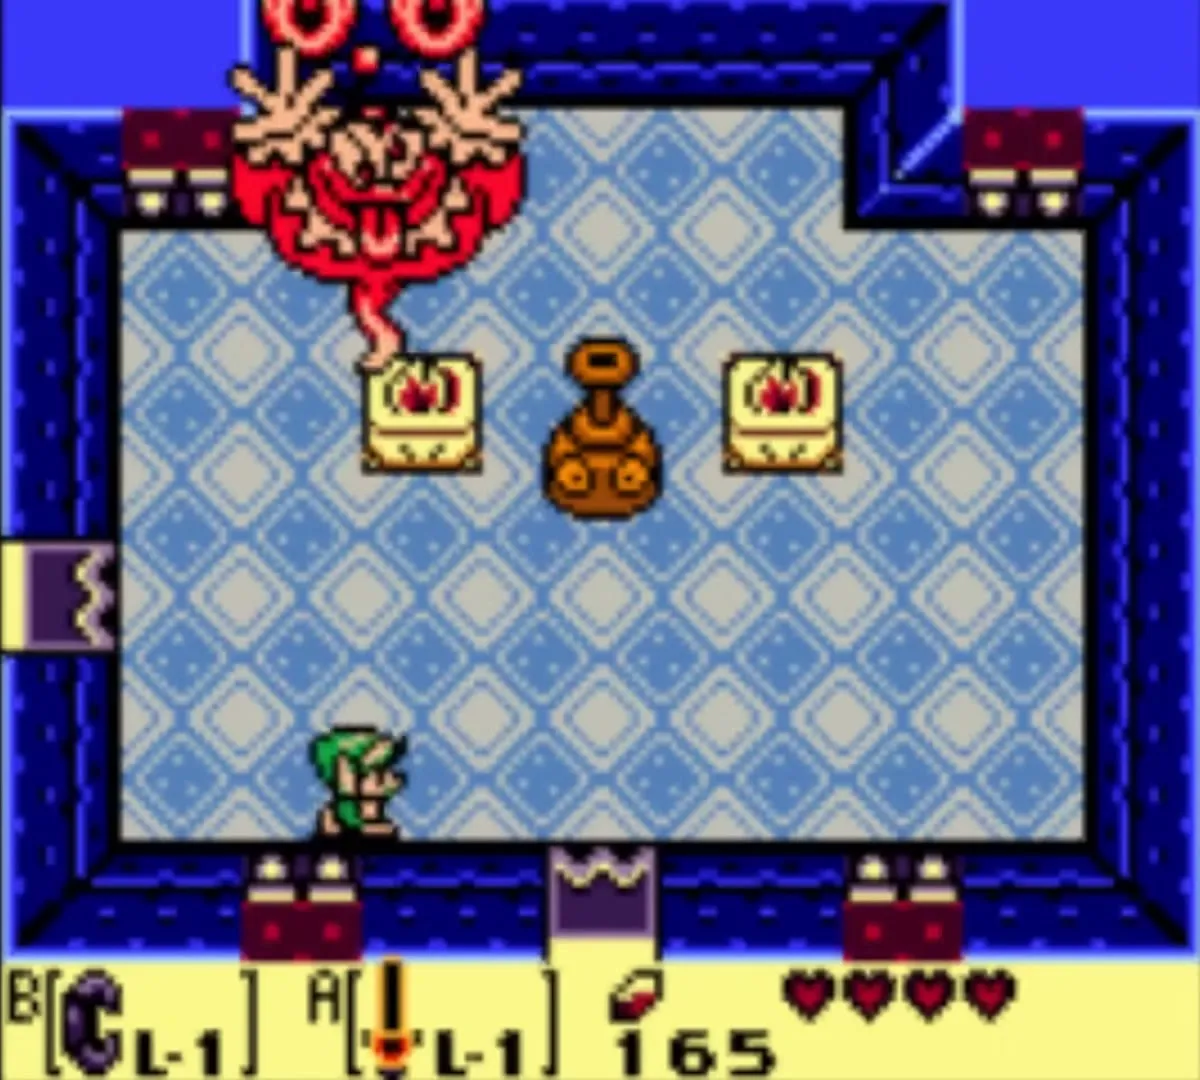
When he ducks back into the bottle, the bottle starts to hop. Hit it with the Sword to stun it, pick it up with the Power Bracelet and throw it against a wall. Repeat this until the bottle breaks, which takes about three throws. Wait for the bottle to be stunned each time and do not rush.
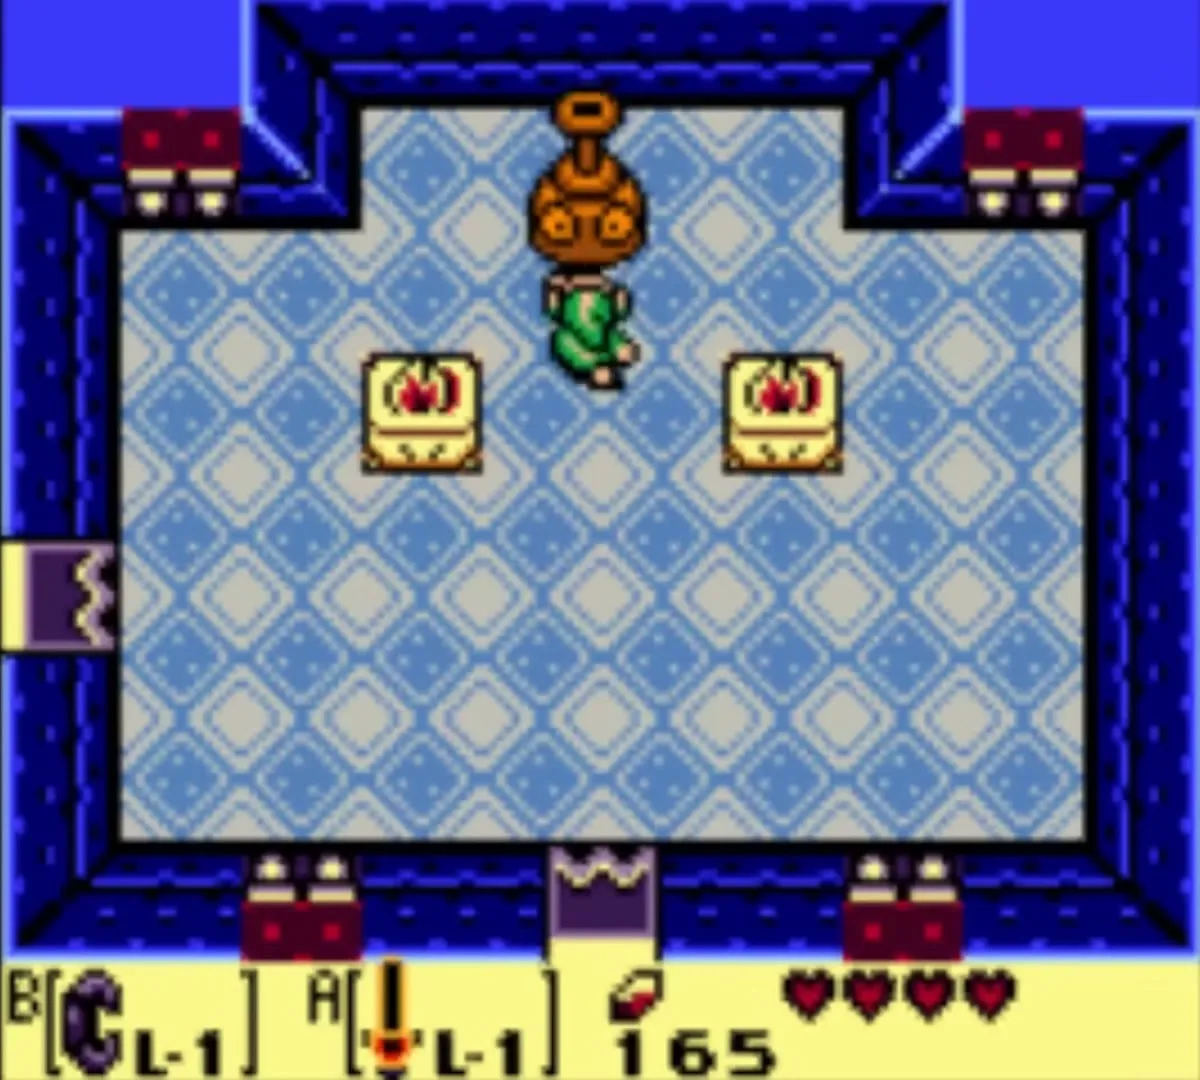

With the bottle broken, the Genie attacks you directly. He spins, vanishes and reappears at one of two places. While he spins, stand near the middle of the south wall. When he reappears, step to the side to dodge the big fireball and slash him. Repeat until he is defeated.


Heart Container and the Conch Horn
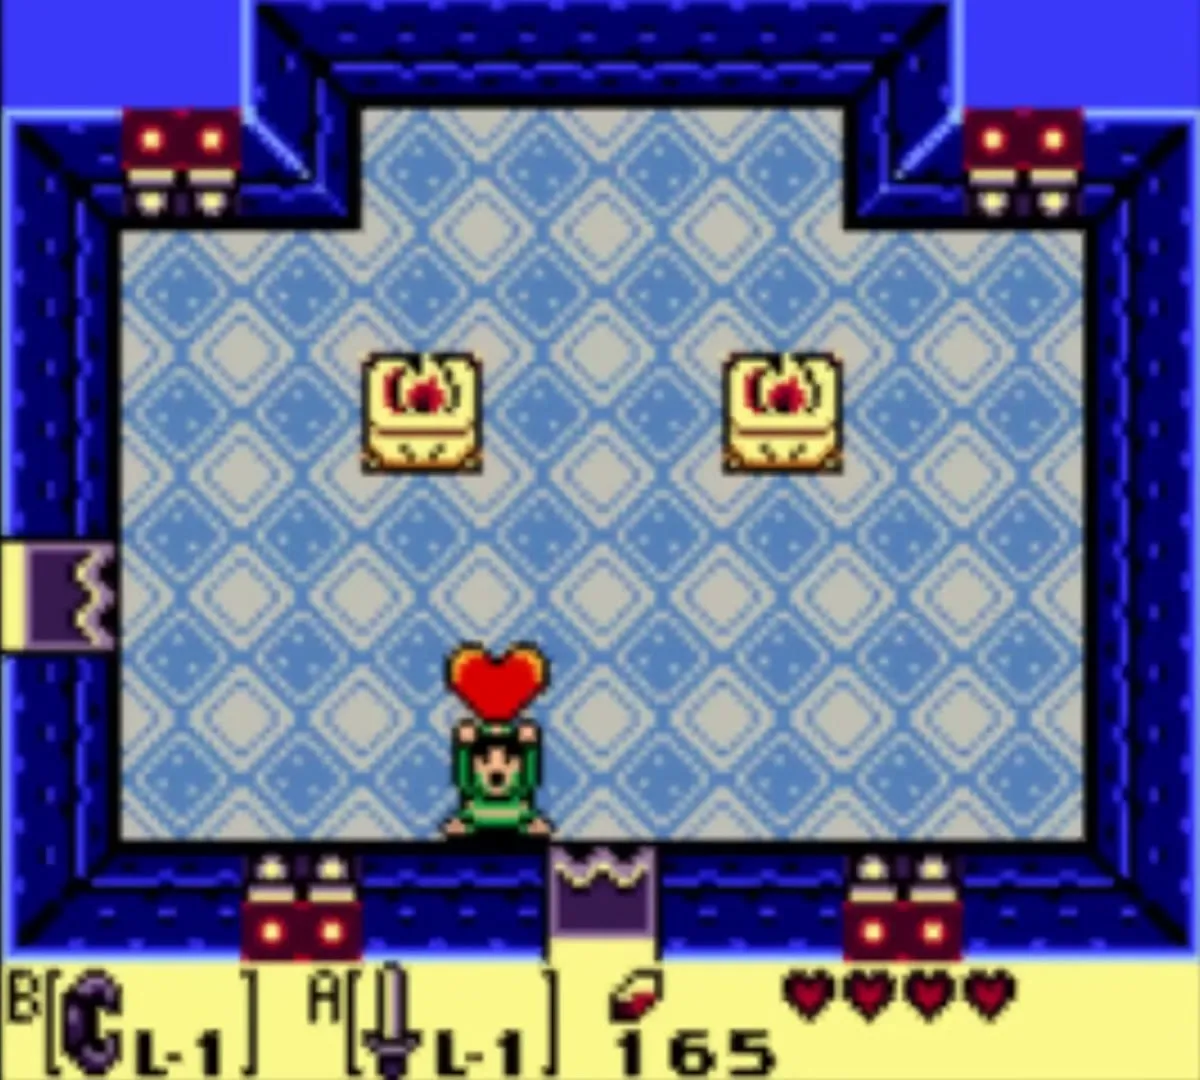
The Genie leaves a Heart Container. Take it to raise your maximum health by one heart. Go on to the room beyond and take the Conch Horn, your second Instrument.

Its hint points you to the prairie, which is Ukuku Prairie east of Mabe Village. Your next stop is Kanalet Castle and the Key Cavern.


After the Power Bracelet
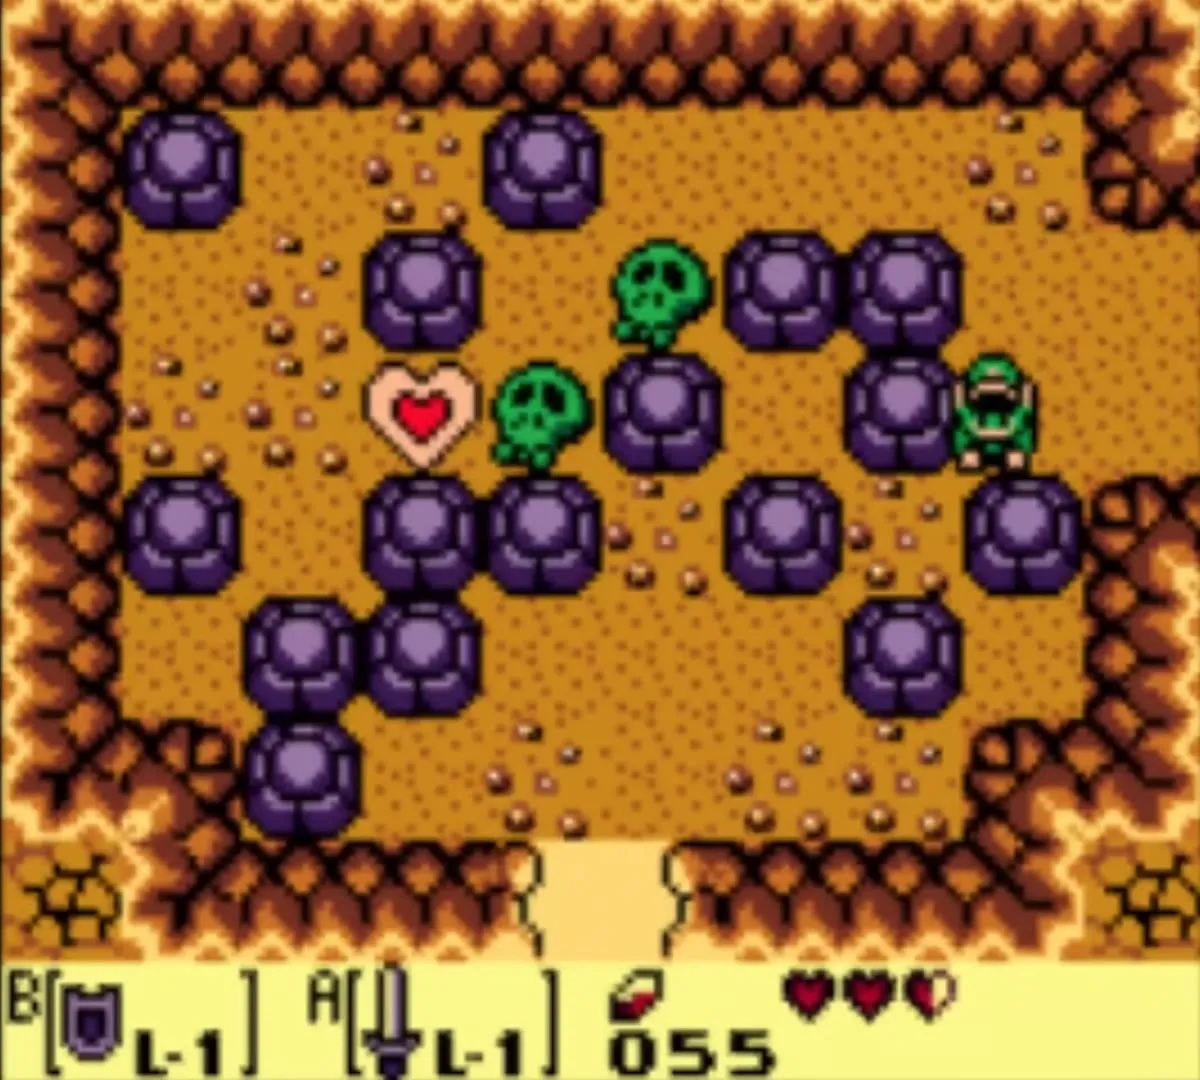
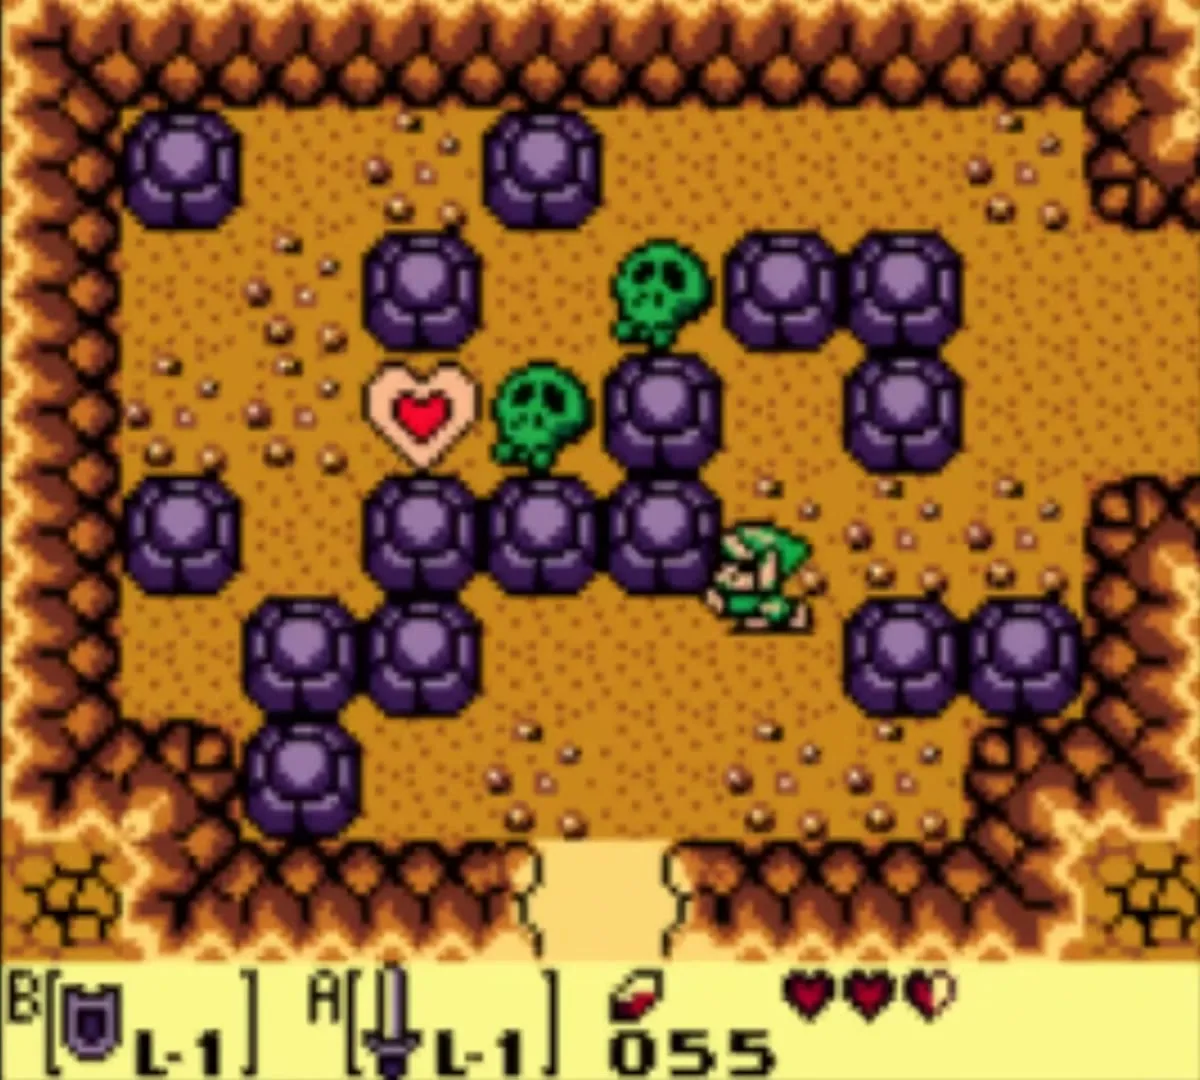
The Bracelet opens a few detours in the area you just crossed. In the Mysterious Forest, the hollow log tunnel holds a room of rocks and skull pots with a Piece of Heart in the middle, which needs the Bracelet to clear the way. A chest in the southeast of the forest is blocked by a rock you cannot lift without it and holds a Secret Seashell. Neither detour is on the main route, so you can take them now or on a later trip. The Secret Seashells page has the full list.
Chapter checklist
| Collectible | Type | Where |
|---|---|---|
 Piece of Heart | Heart Piece | Pit Square, in the field east of the Mysterious Forest (Roc’s Feather) |
| Photo 1: Here Stands A Brave Man | Photo (DX) | Camera Shop, a couple of screens east of the Moblin Hideout cave |
| BowWow | Companion | Moblin Hideout, after King Moblin |
 20 rupees | Chest | Cave north of Mr. Write’s house; jump the gap with the Roc’s Feather |
| 50 rupees | Chest | Goponga Swamp, behind the large flower |
 Small keys (5) | Dungeon | Bottle Grotto: Stalfos room, walled crystal chest, switch chest, Shy Guy room, northeast chest |
| Stone Beak | Dungeon | Bottle Grotto, chest across the gap guarded by a Hardhat Beetle |
 Compass | Dungeon | Bottle Grotto, chest behind the Shy Guys |
 Map | Dungeon | Bottle Grotto, northwest chest after Hinox |
| 20 rupees | Chest | Bottle Grotto, room north of the map room |
| Power Bracelet | Item | Bottle Grotto, dark ghost room (Magic Powder on the torch) |
| 50 rupees | Chest | Bottle Grotto entrance chamber, behind the pots; lift them with the Power Bracelet |
 Nightmare’s Key | Dungeon | Bottle Grotto, chest in the Pols Voice, Keese and Stalfos room |
 Heart Container | Boss reward | Bottle Grotto, from the Genie |
| Conch Horn | Instrument | Bottle Grotto, room beyond the boss |
With the Conch Horn in hand, head east to Ukuku Prairie, Kanalet Castle and the Key Cavern.
