





















Link's Awakening 100% Completion Walkthrough9 chapters
- The Shore, Forest and Tail Cave (Level 1)Shield, Sword, Mysterious Forest, Magic Powder, Tail Key, Roc’s Feather, Moldorm and the Full Moon Cello.
- Goponga Swamp and Bottle Grotto (Level 2)BowWow’s rescue, Goponga Swamp, every key, the Power Bracelet, the Genie boss and the Conch Horn.
- Ukuku Prairie, Kanalet Castle and Key Cavern (Level 3)The Golden Leaves of Kanalet Castle, the Slime Key, Pegasus Boots, Slime Eye and the Sea Lily’s Bell.
- Yarna Desert and Angler’s Tunnel (Level 4)Wake the walrus, cross Yarna Desert, win the Flippers, beat the Angler Fish and take the Surf Harp.
- Martha’s Bay and Catfish’s Maw (Level 5)Manbo’s Mambo, the ghost, the Mermaid’s Scale, Hookshot, Master Stalfos, Slime Eel and the Wind Marimba.
- Ancient Ruins and Face Shrine (Level 6)Magnifying Lens, Frog’s Song of Soul, Boomerang, Ancient Ruins, Power Bracelet L-2, Facade, Coral Triangle.
- Tal Tal Mountains and Eagle’s Tower (Level 7)Flying Rooster, Bird Key, Mirror Shield, Evil Eagle and the Organ of Evening Calm.
- Western Mountains and Turtle Rock (Level 8)Marin’s bridge, Mad Batter, Frog’s Song of Soul, Magic Rod, Hot Head and the Thunder Drum.
- The Wind Fish’s Egg and the FinaleFinish your 100%, read the maze book, play the Ballad, beat the Shadow Nightmares, see the secret ending.
| Covers | The way out of Face Shrine, the Flying Rooster under the Mabe Village weathercock, the climb through the Tal Tal Mountains to the Bird Key, and Eagle’s Tower on the north-eastern cliffs |
|---|---|
| Dungeon | Eagle’s Tower (Level 7): opened with the Bird Key, needs the Flying Rooster, Roc’s Feather, Power Bracelet, Pegasus Boots and Hookshot; mini-bosses Hinox and Grim Creeper, boss Evil Eagle, instrument Organ of Evening Calm |
| Rewards | Bird Key, Mirror Shield, Stone Beak, Map, Compass, Nightmare’s Key, Heart Container, Organ of Evening Calm; up to 2 Secret Seashells (Kanalet Rooster cave, which is missable, and Eagle’s Tower); an optional Secret Medicine; no trade items and no photos in this chapter |
This chapter carries you from the end of Face Shrine to the seventh Instrument. You wake the Flying Rooster under the weathercock in Mabe Village, fly him north into the Tal Tal Mountains to collect the Bird Key, then use the key to open Eagle’s Tower. Inside, you roll an iron ball into four pillars to bring the top floors down, claim the Mirror Shield, beat Grim Creeper and fight the Evil Eagle on the roof. The Rooster leaves you once the tower is cleared, so anything that needs him has to be done first.
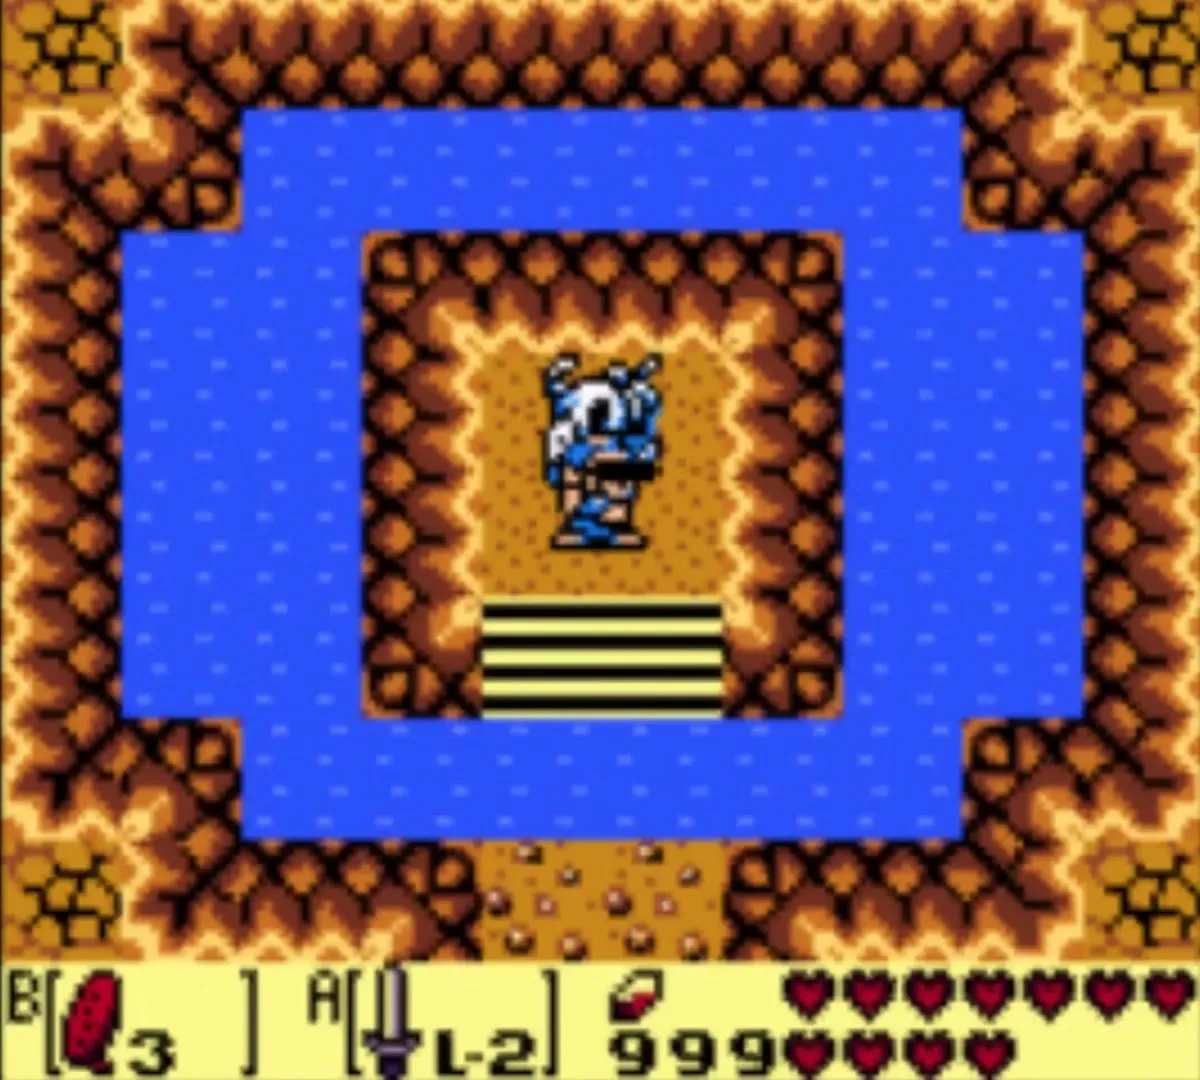
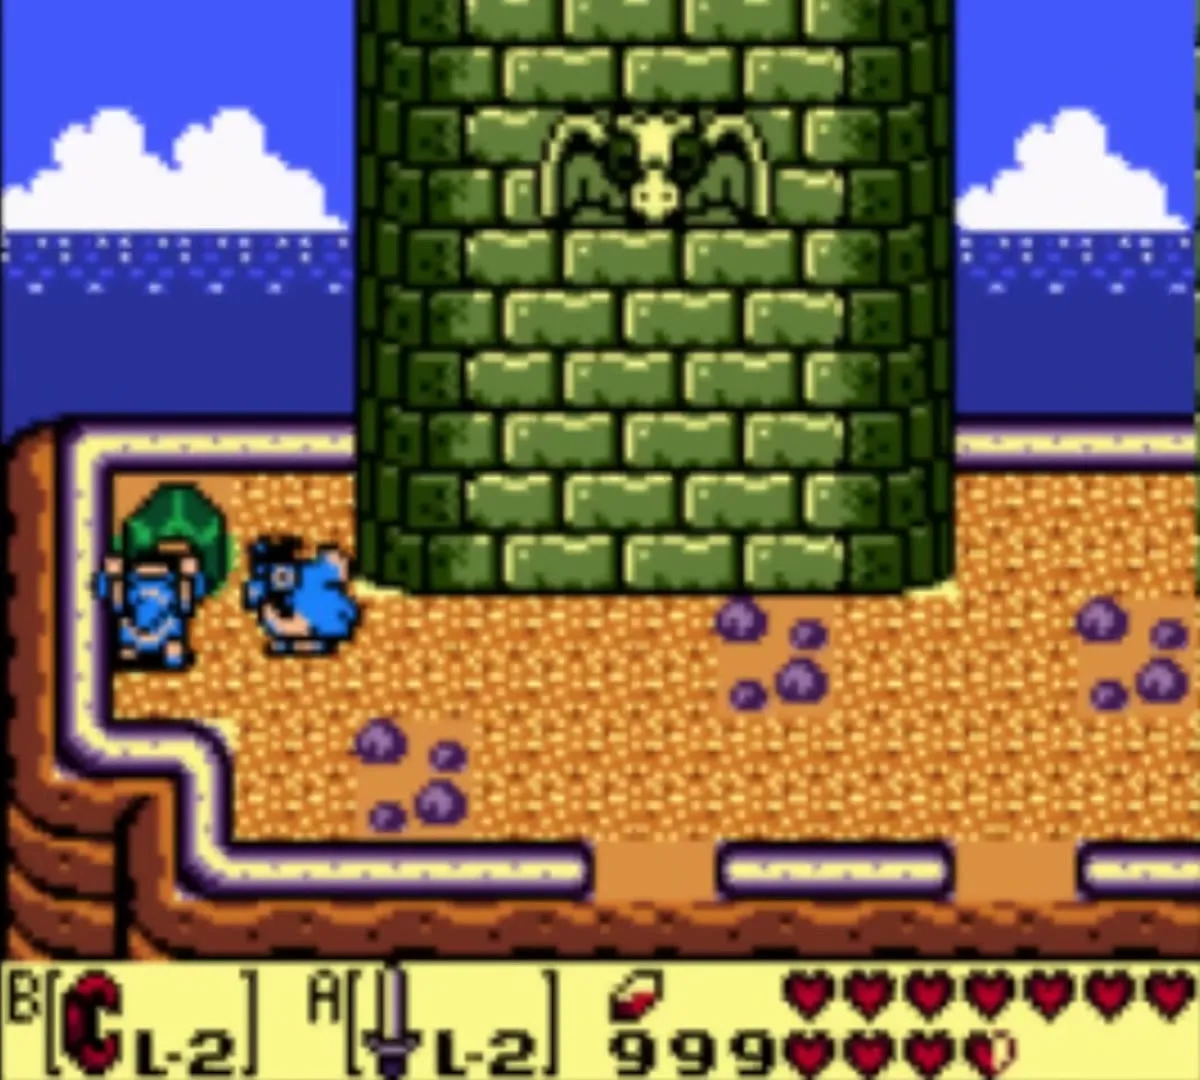
Table of Contents
How to get the Flying Rooster
The Owl’s hint outside Face Shrine
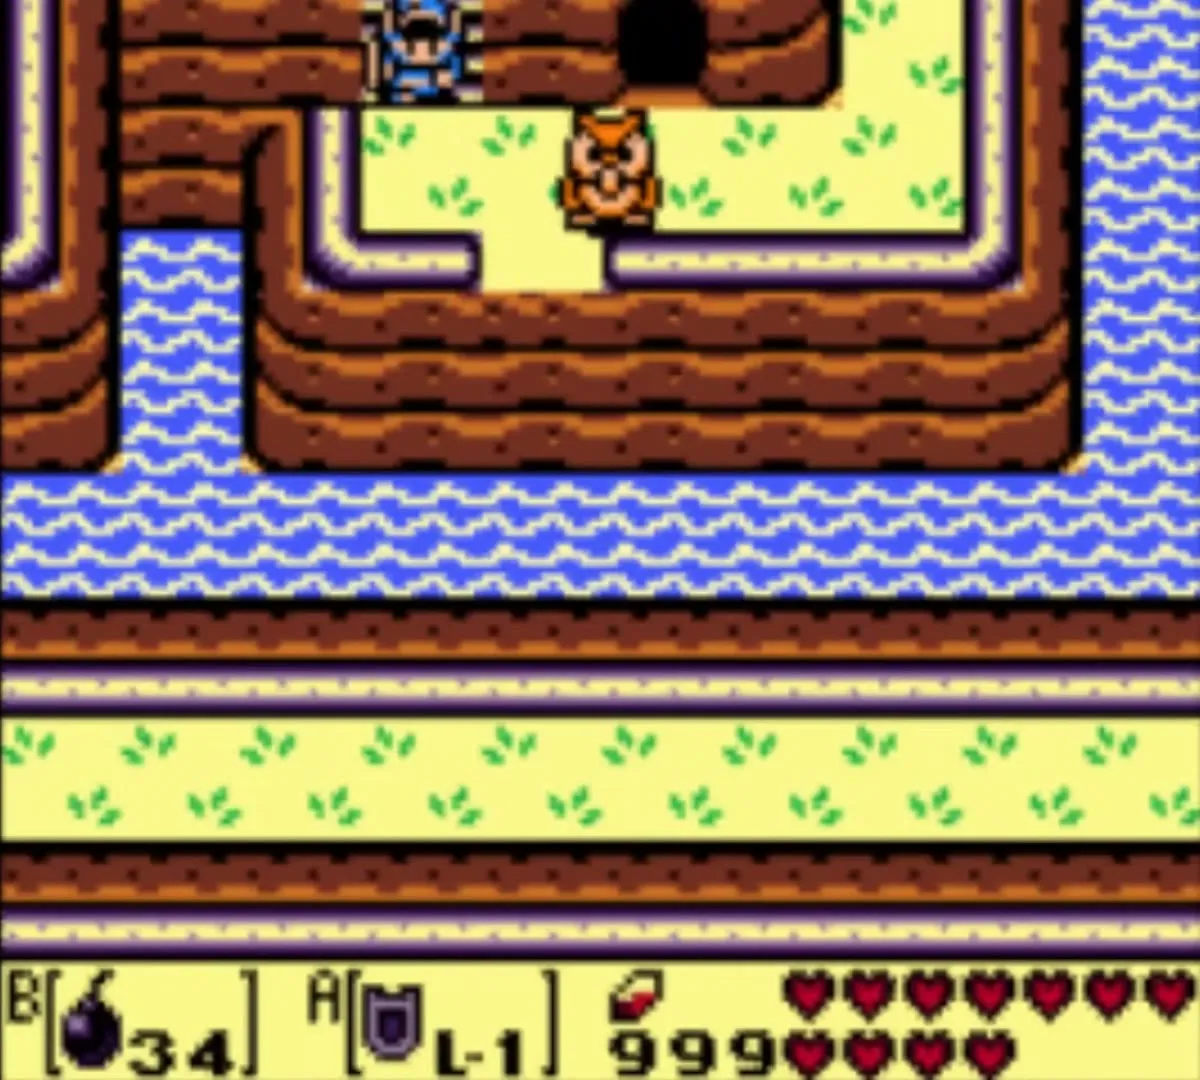
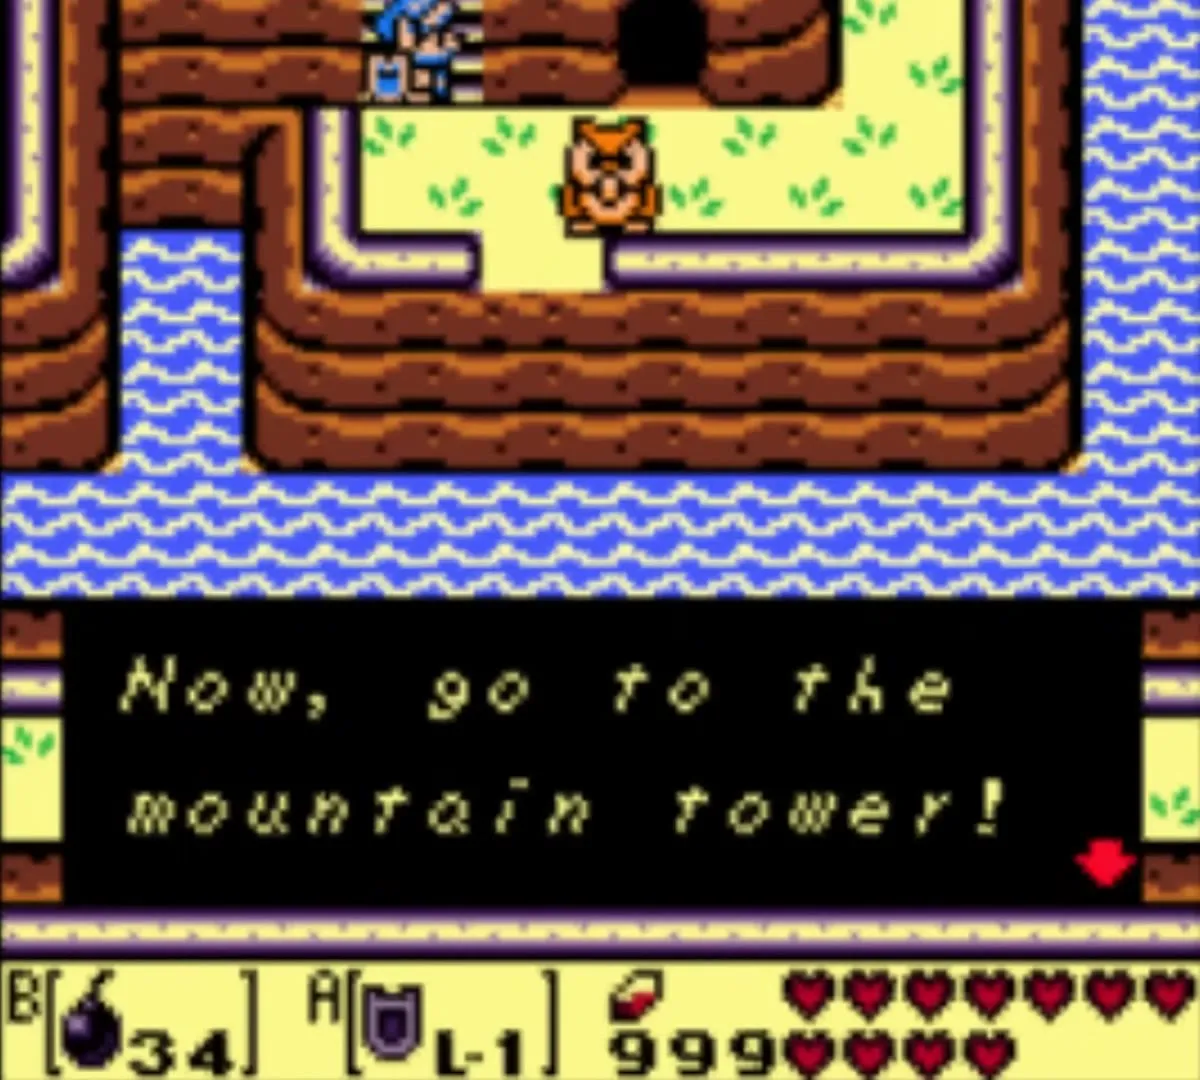
With the Coral Triangle in your hands, step out of Face Shrine and talk to the Owl waiting near the lake shore. He warns you about the monsters’ power and the island’s fate, then tells you to go to the mountain tower. That tower is Eagle’s Tower, but you cannot get in yet: the road there needs a companion you have not woken.
Warp back towards Mabe Village
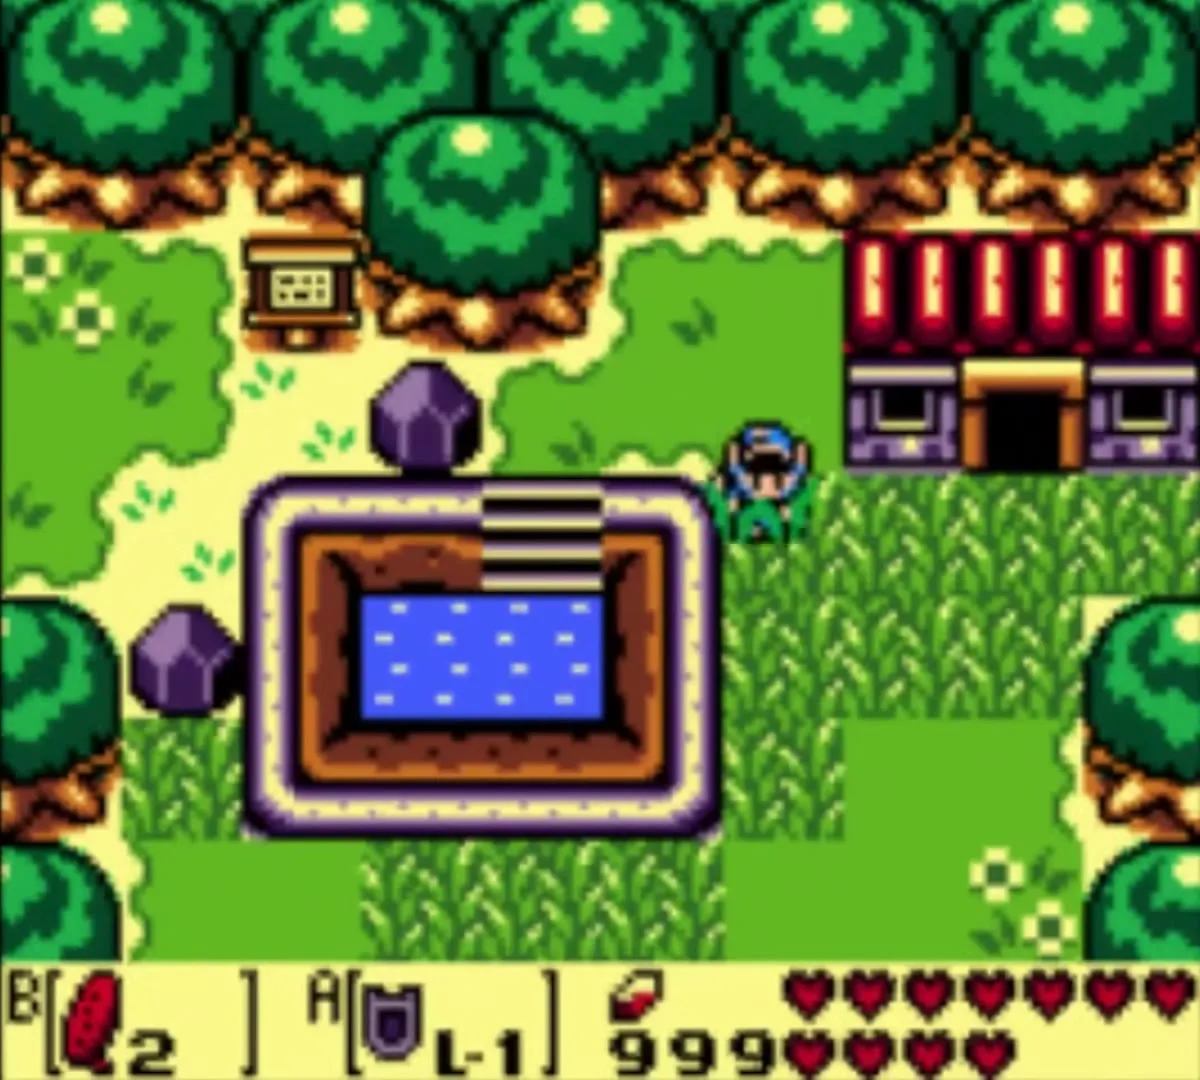
Open the Ocarina, choose Manbo’s Mambo and play it. On the overworld the song carries you to Manbo’s Pond; from there walk on into Mabe Village.

Weathercock stairs
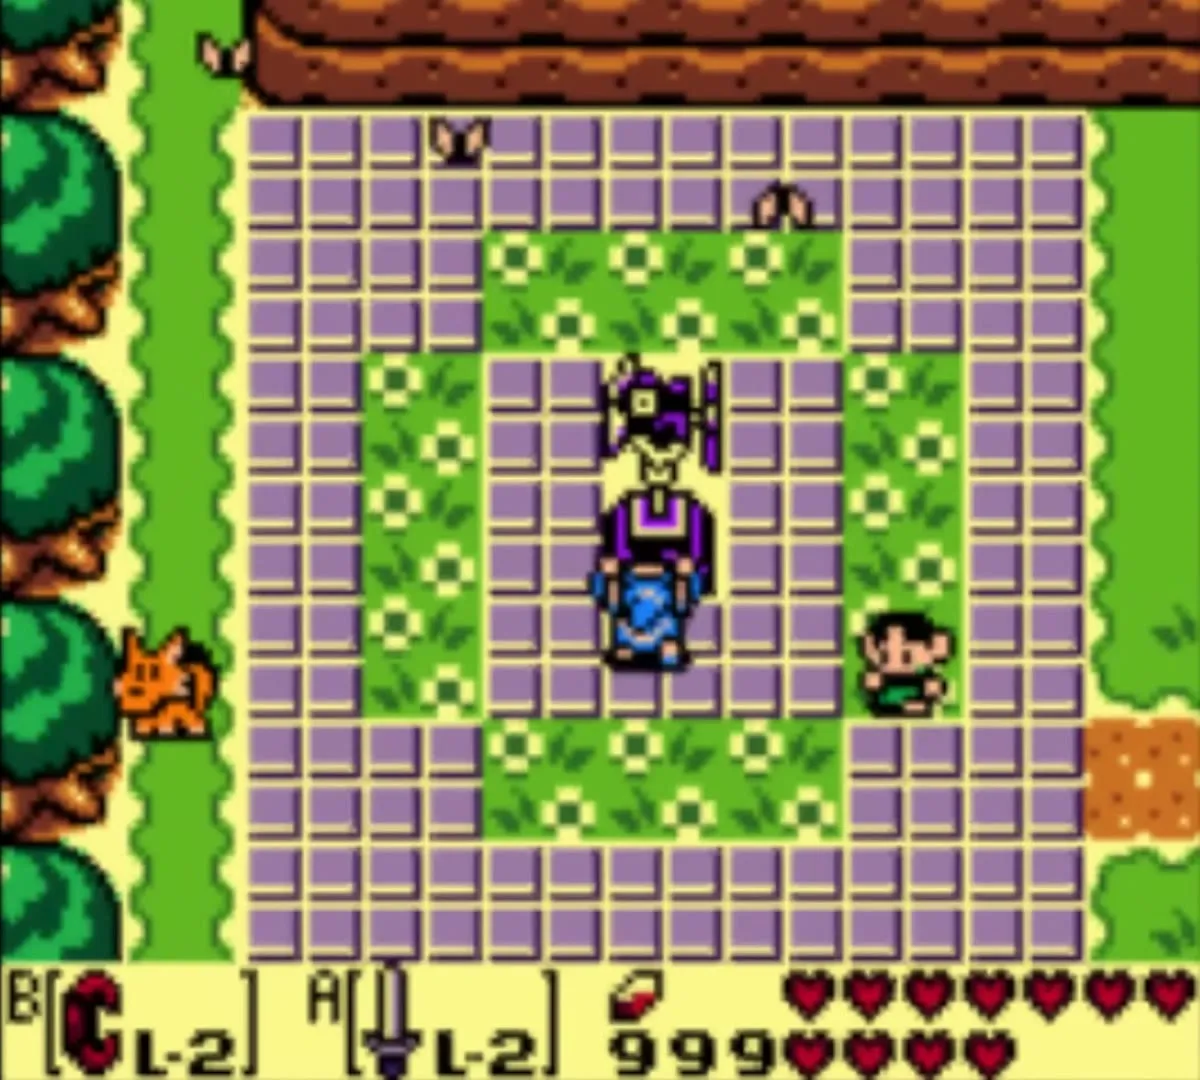
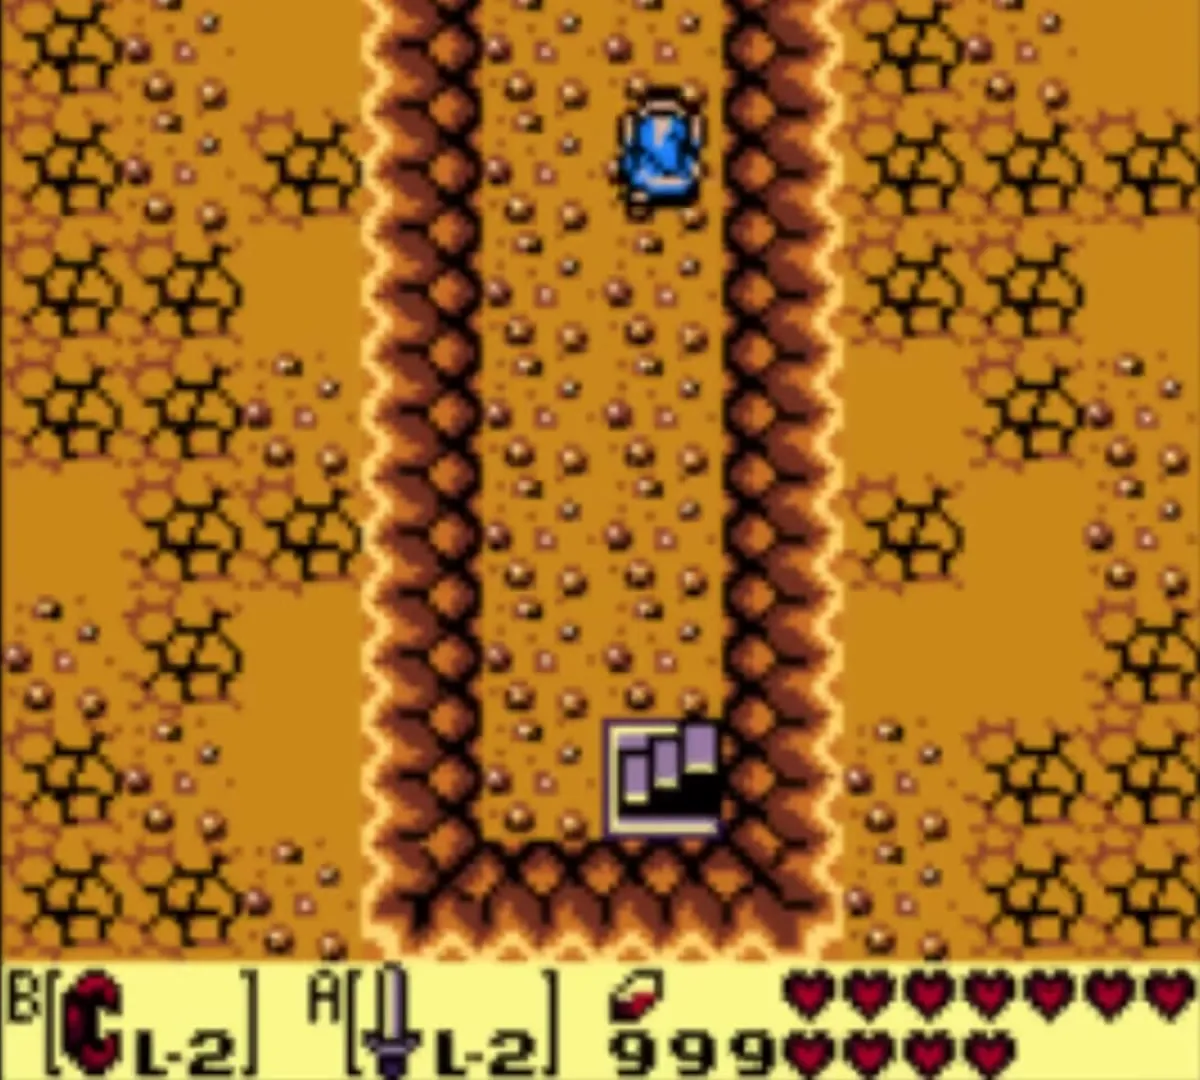
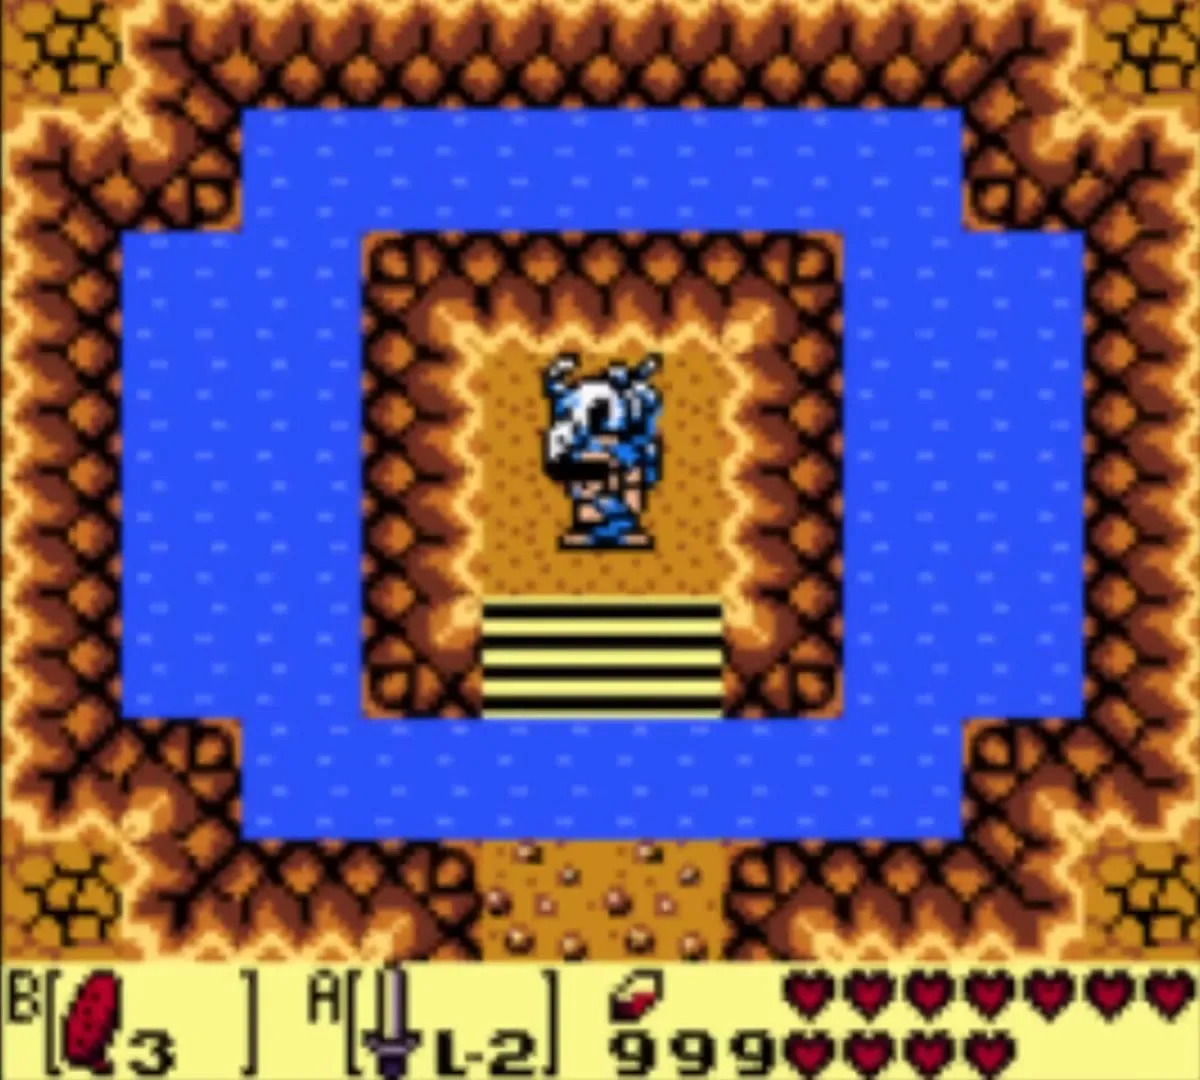
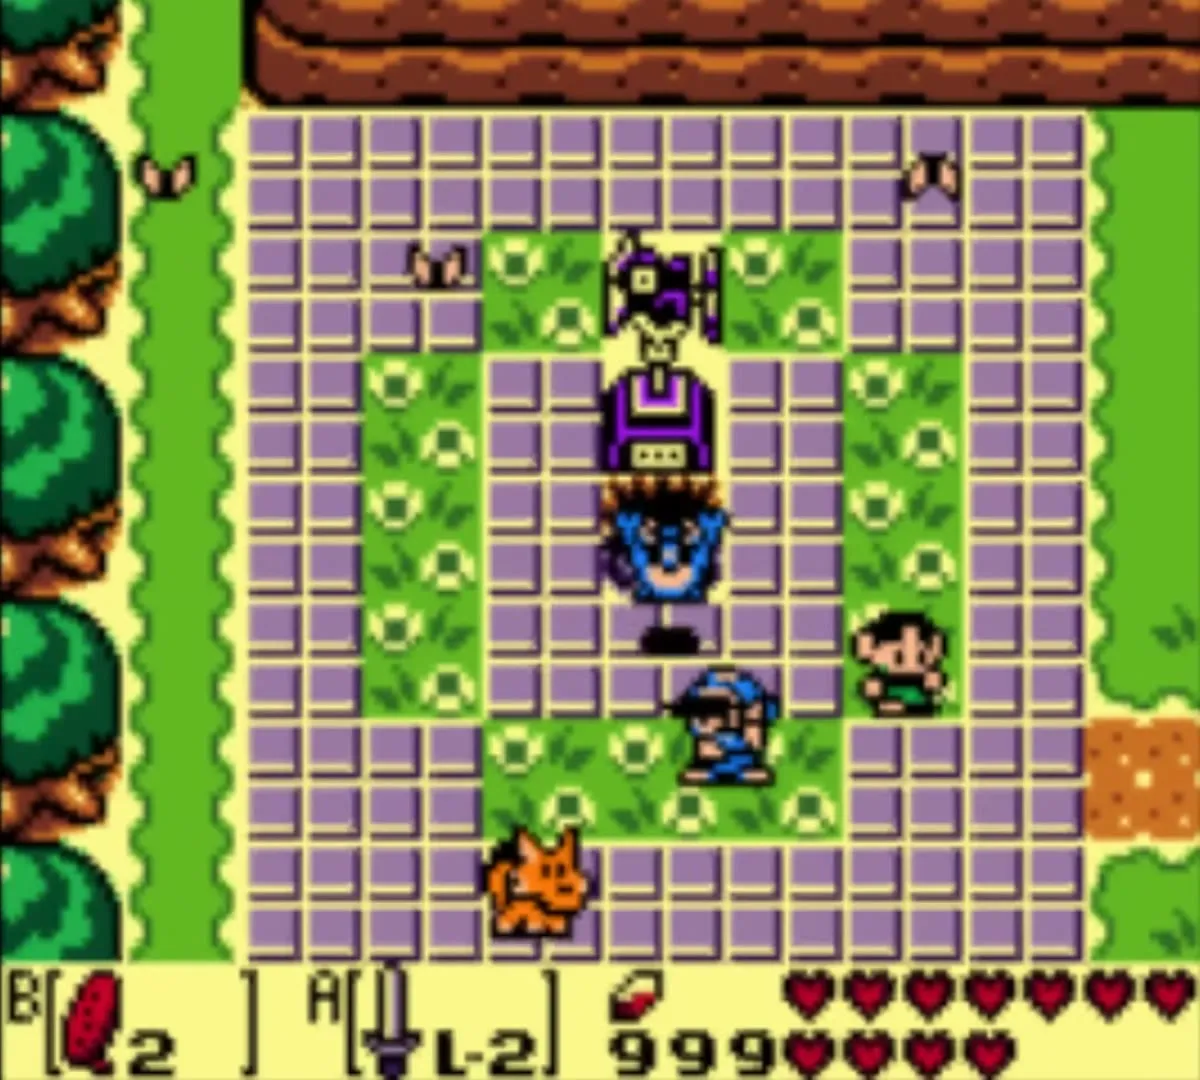
Walk to the village square with the stone weathercock at its centre. Use the Power Bracelet L-2 you took from Face Shrine on the weathercock statue. A hidden staircase opens under it. Go down the corridor and the stairs at its end to reach a small island in a pond, where a pile of bones lies in front of a stone bird head.
Play the Frog’s Song of Soul
Stand next to the bones, select the Ocarina and play the Frog’s Song of Soul, the tune that Mamu taught you. The bones turn back into the Flying Rooster, and the message box tells you he has recovered and seems very friendly. From now on he follows you around the overworld like a pet.


How the Flying Rooster works
Climb back up and lift the Rooster with the Power Bracelet. While you hold him you glide through the air, so you can cross pits, water and broken bridges that stop you on foot. Throw him down when you want to land. He only works outdoors and will not come into dungeons. Once you finish Eagle’s Tower he leaves you and settles in the Hen House in the Tal Tal Mountains.

Secret Seashell at Kanalet (missable)
While the Rooster is with you, one Secret Seashell can be collected at Kanalet Castle: fly him over the pits west of the drawbridge and take the stairs behind them. This is Secret Seashell number 25. The Rooster is gone for good once you finish Eagle’s Tower, so detour to Kanalet now if you are going for all 26. See the Secret Seashell page for its exact position.
Tal Tal Mountains: the road to the Bird Key
Warp back and fly north
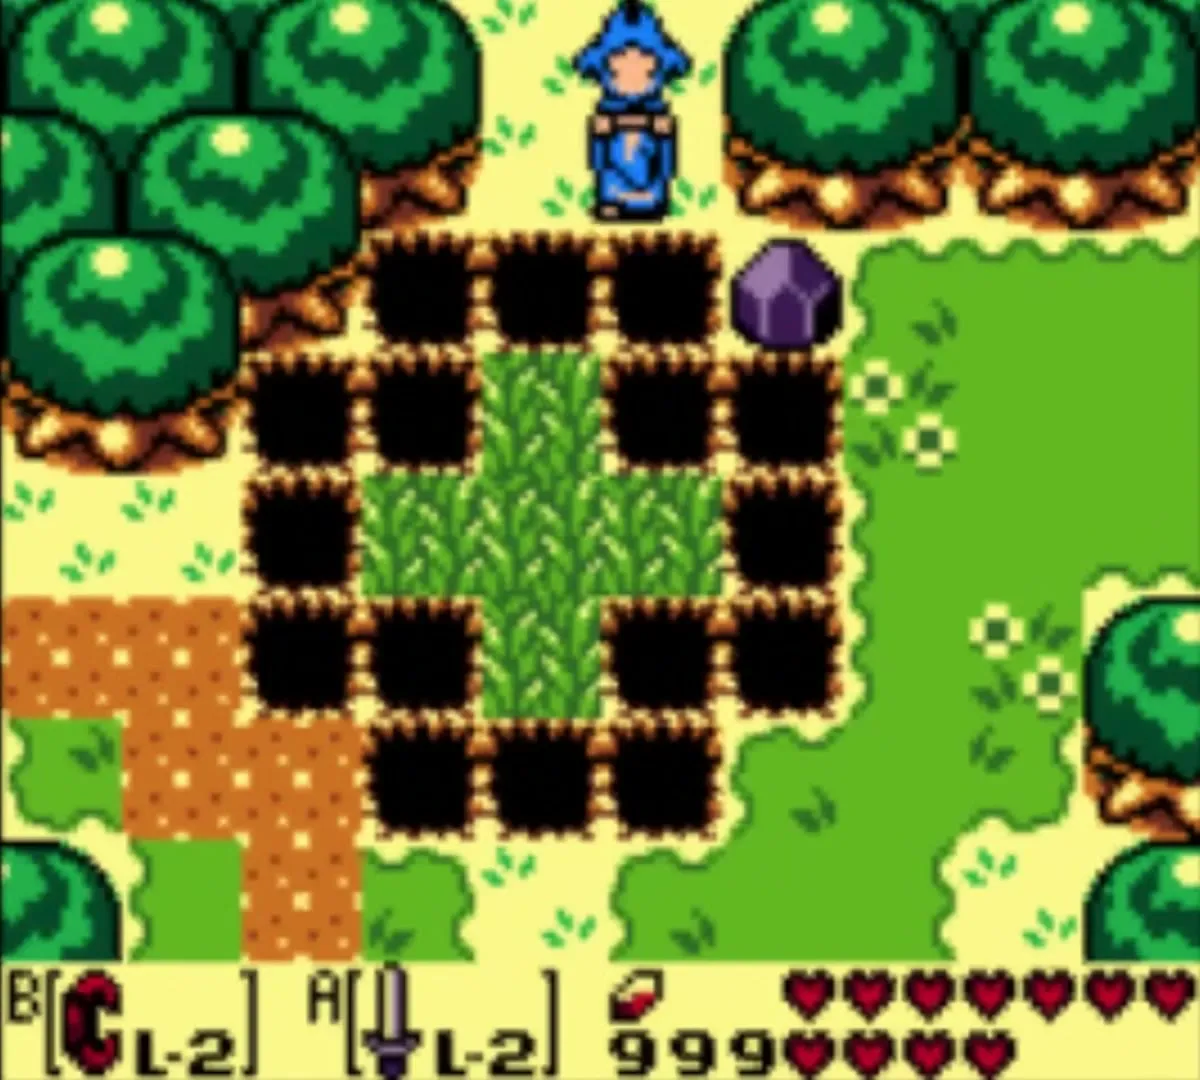
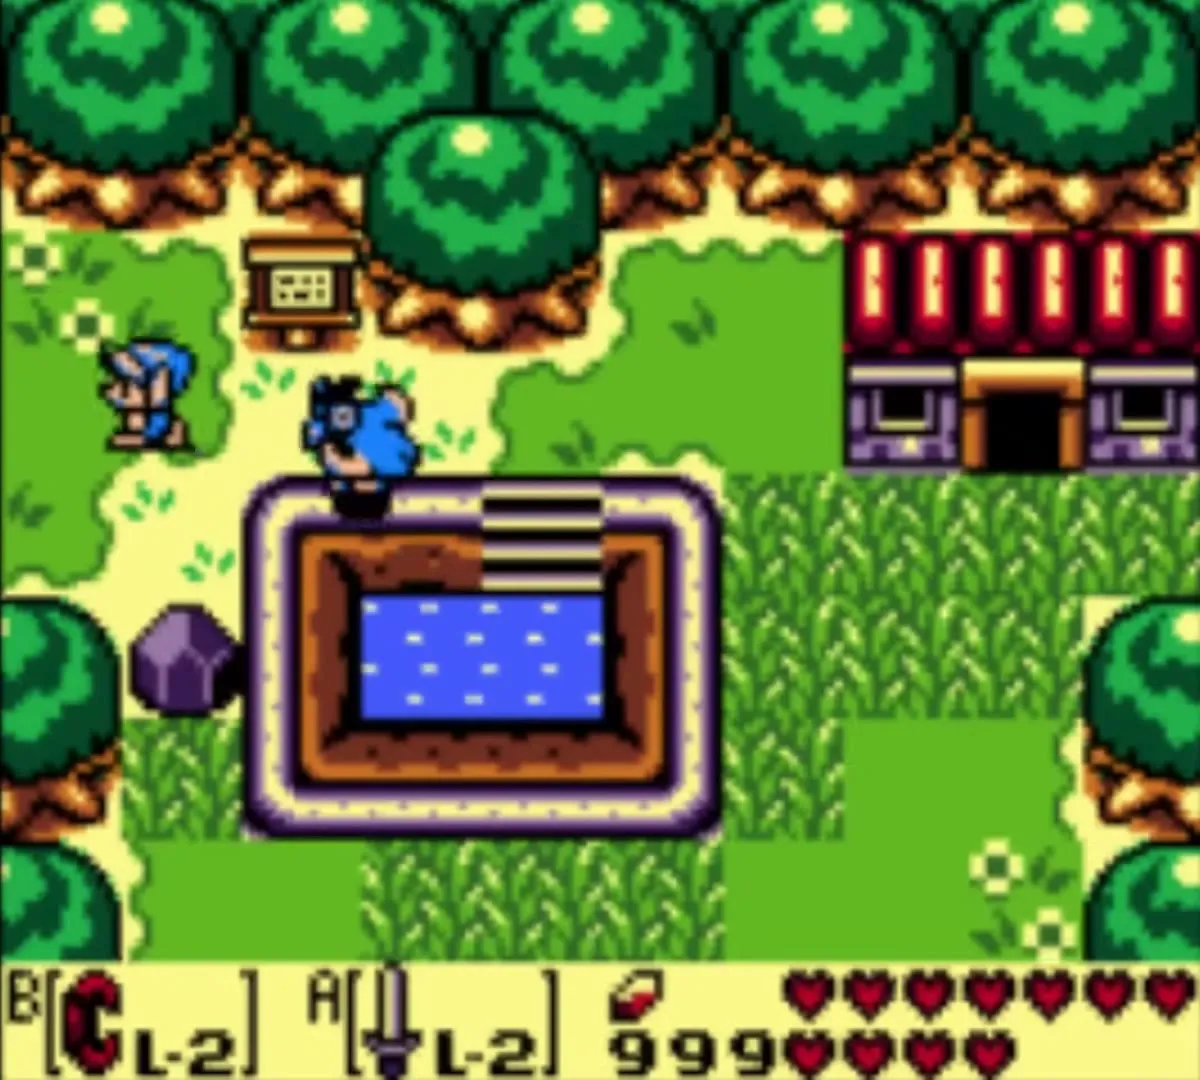
Return to the Mabe Village square with the Rooster following and head north. Lift the Rooster to hop across the ring of pits, then walk on through the red-flowered swamp to the stairs that climb into the Tal Tal Mountain Range.

Owl at the foot of the mountains
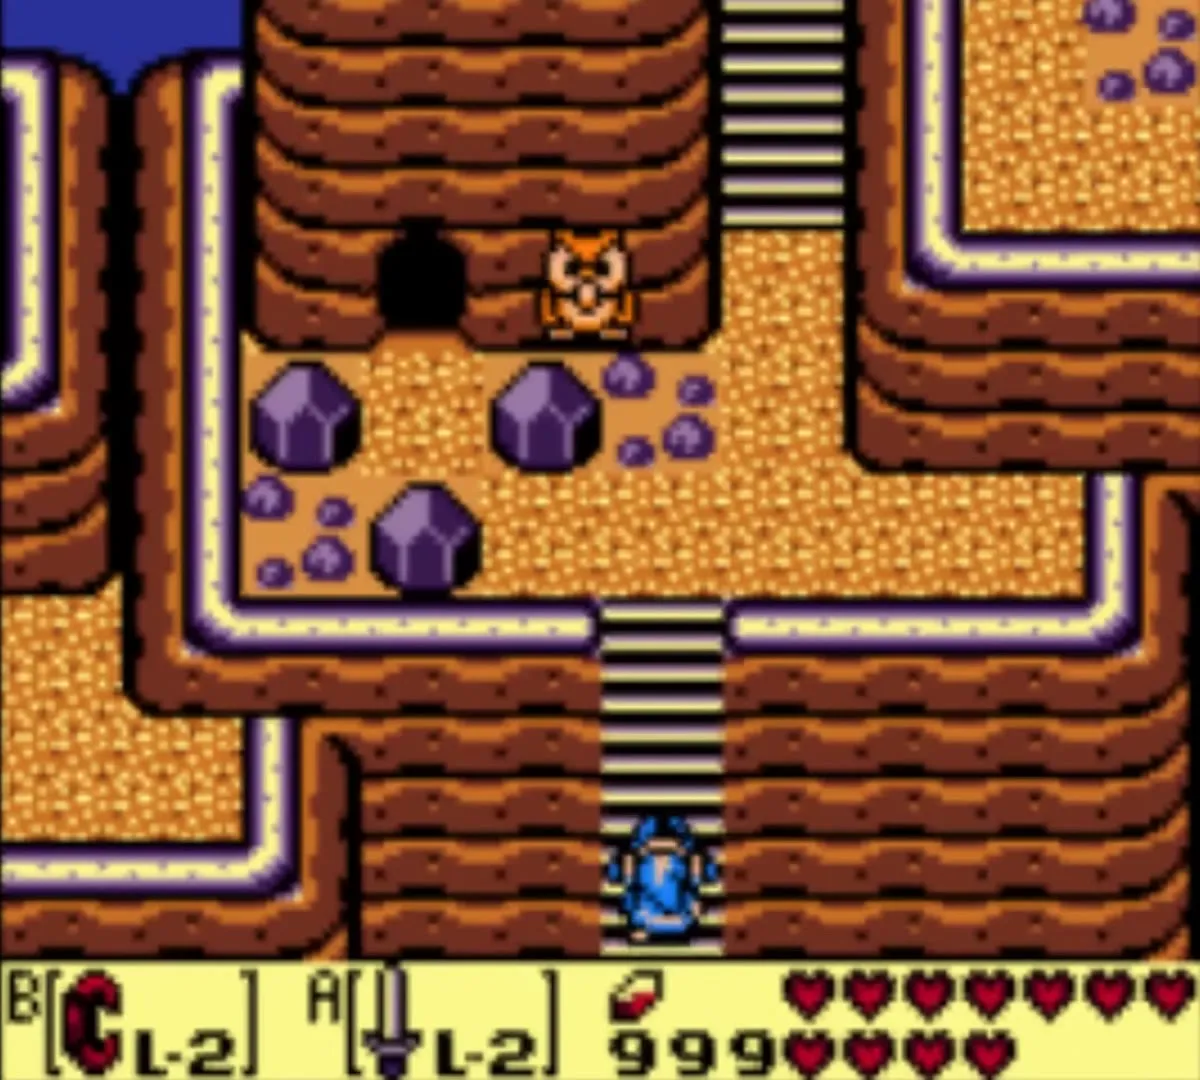
Climb the first stairs into the mountains and you meet another Owl, who warns that the way is not easy but that you are almost there, and tells you to go east. Follow his advice and keep heading east through the caves and over the ledges.


50 Rupees chest
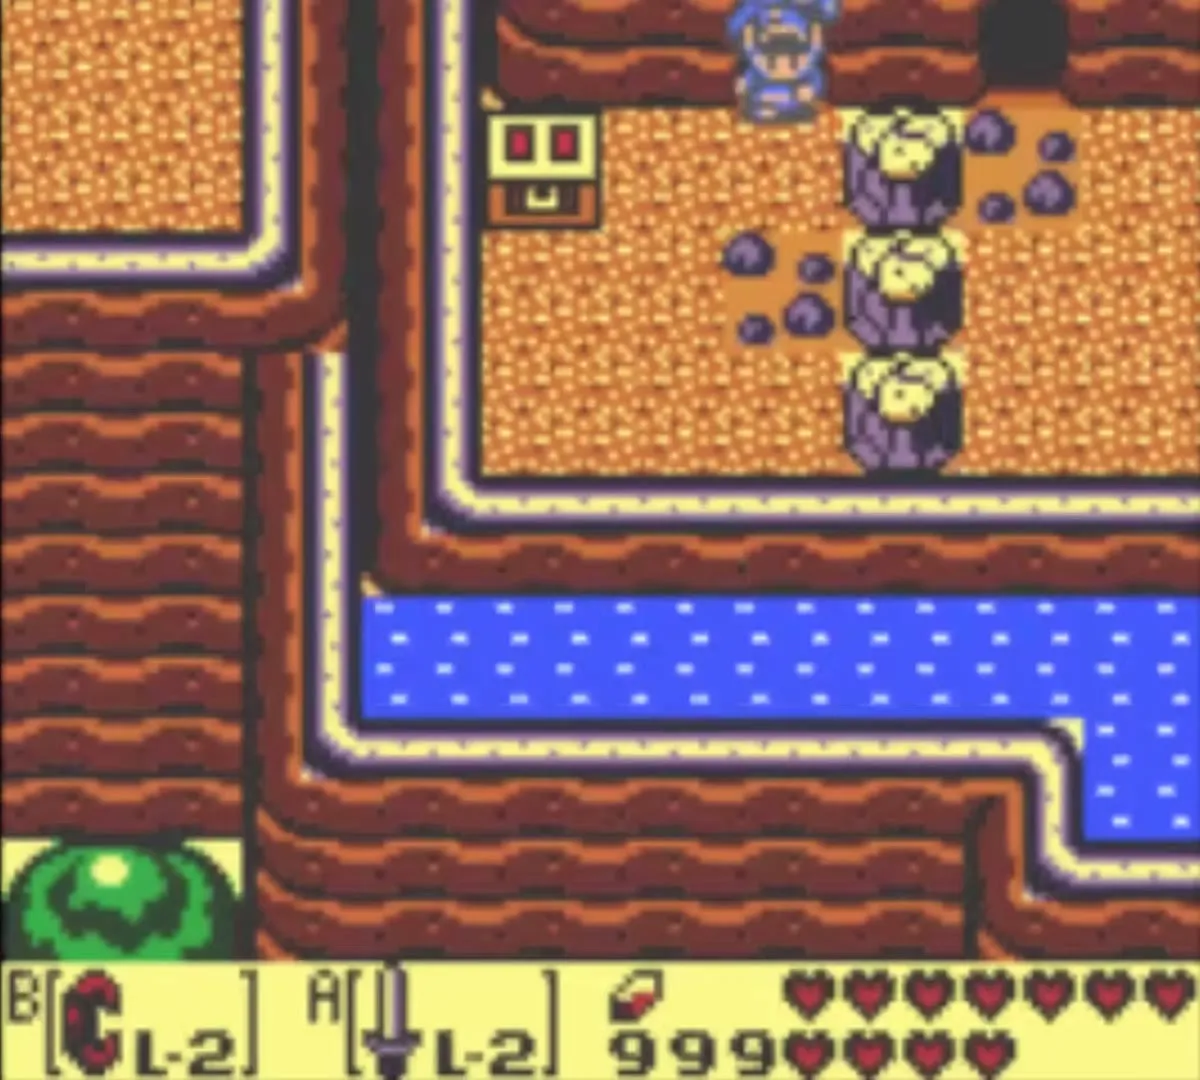
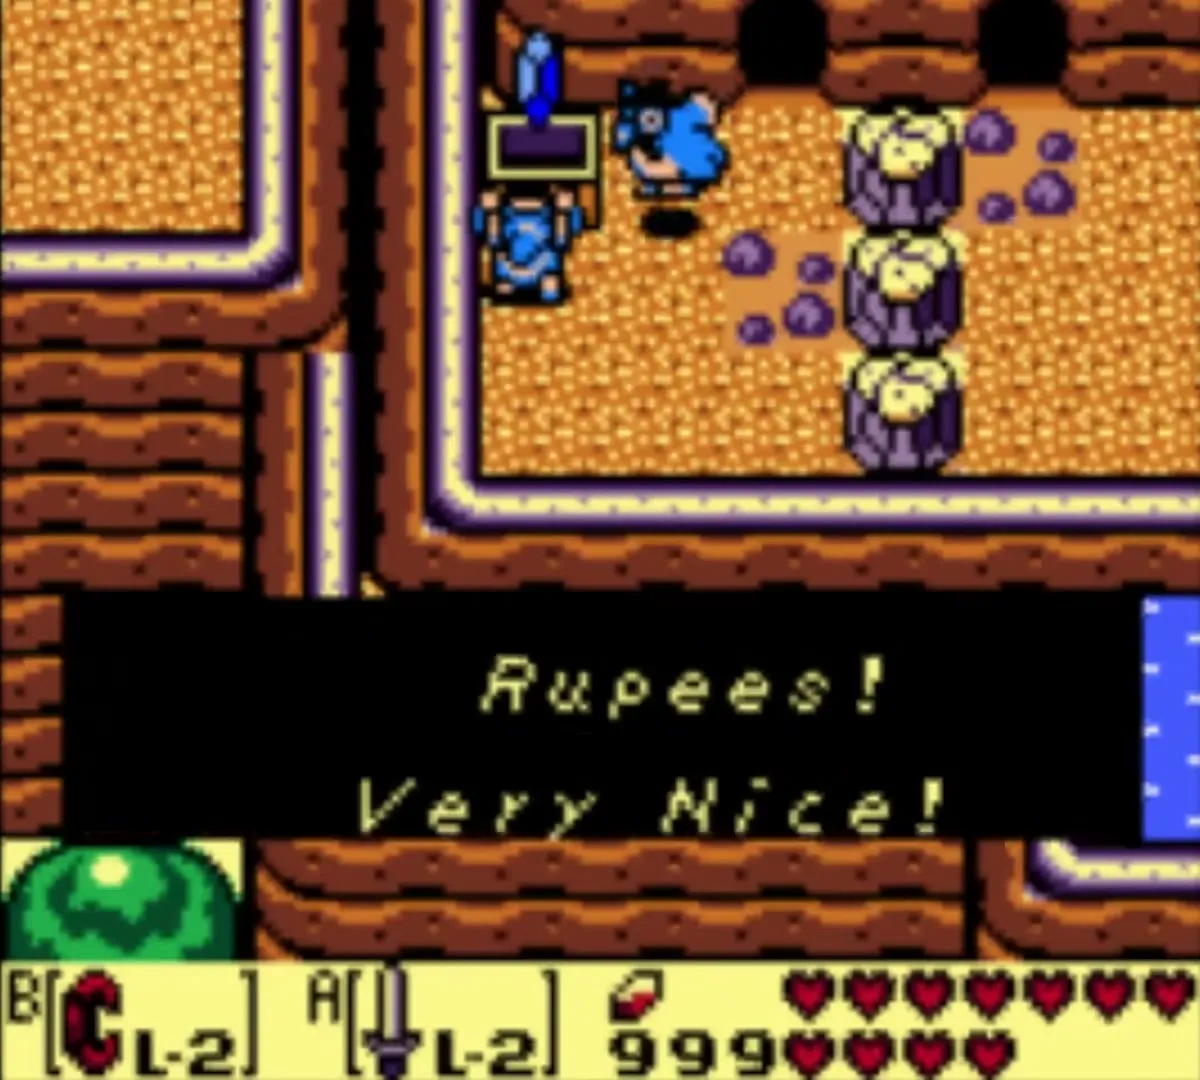
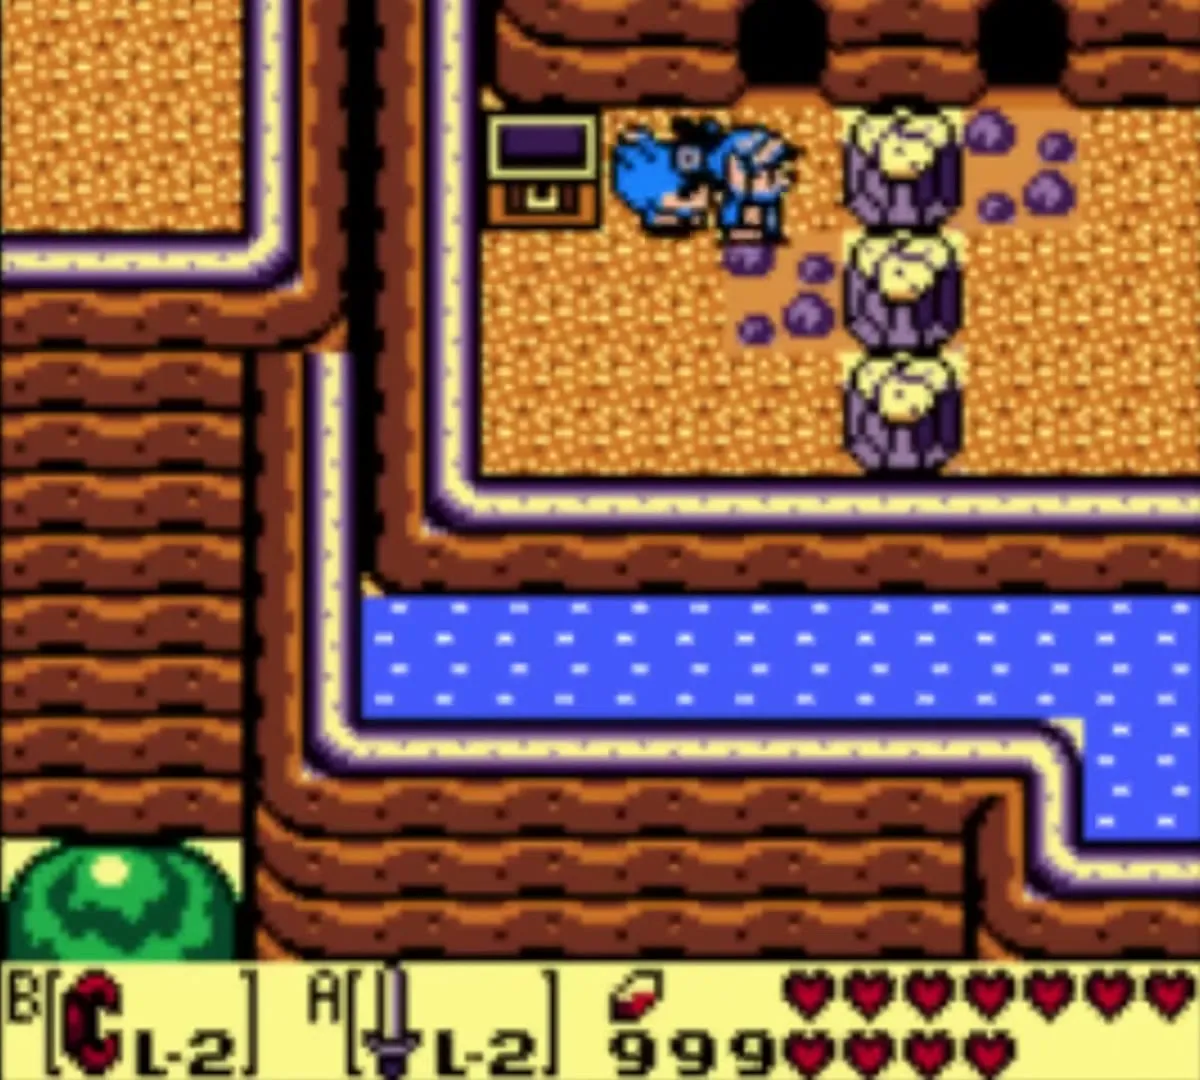
On one of the high ledges, a treasure chest sits beside a row of tree stumps with a river running below it. Open it for 50 Rupees. It is a short stop on the way east.
Piece of Heart in the mountain path cave
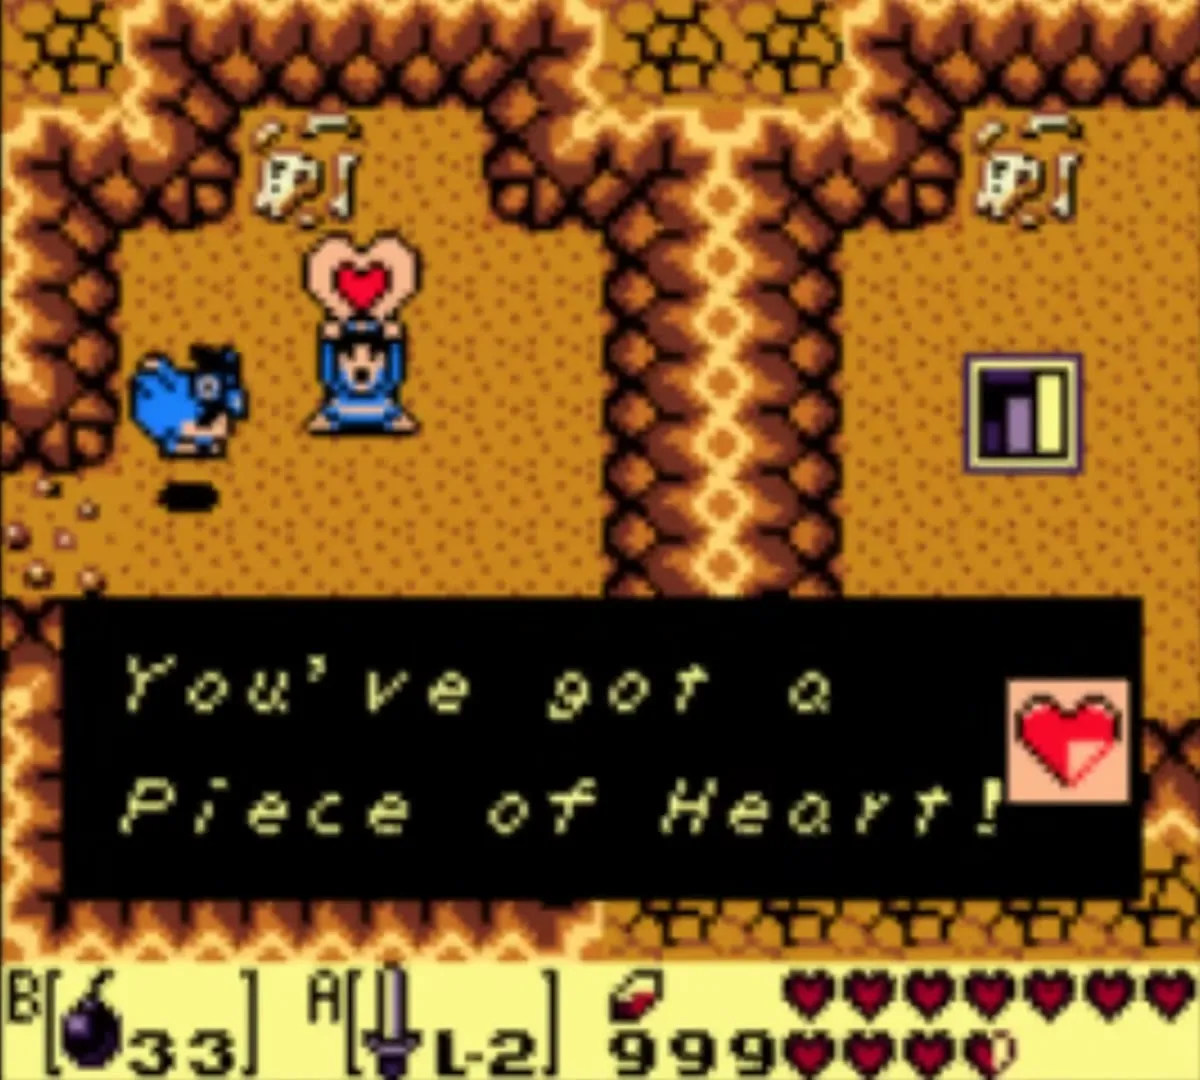
A cave west of the bridge where you meet Marin hides a Piece of Heart behind a cracked south wall. You can skip it for now: the Turtle Rock chapter covers the cave step by step.

How to get the Bird Key
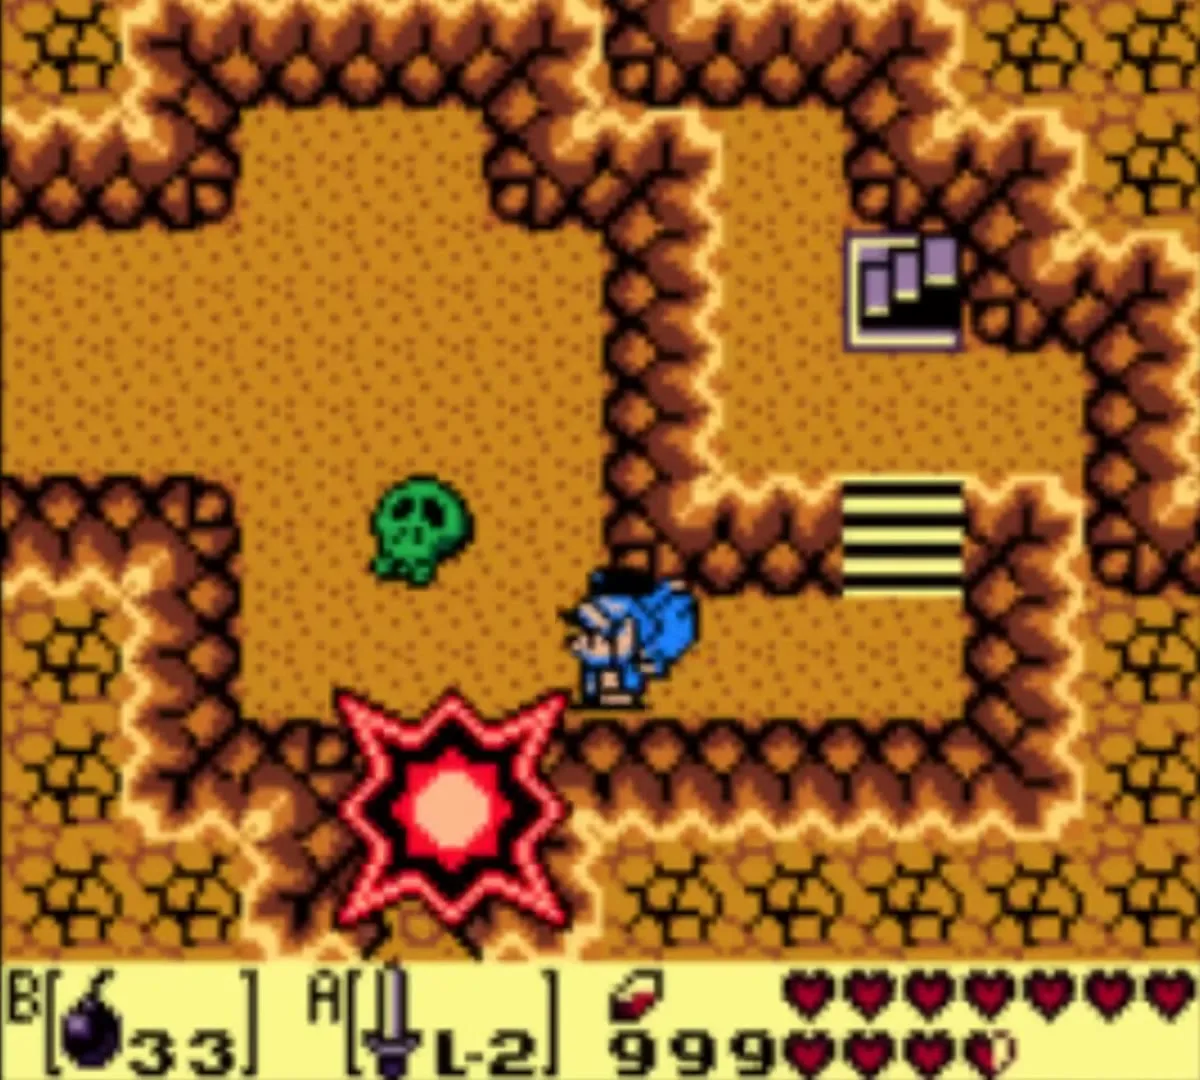
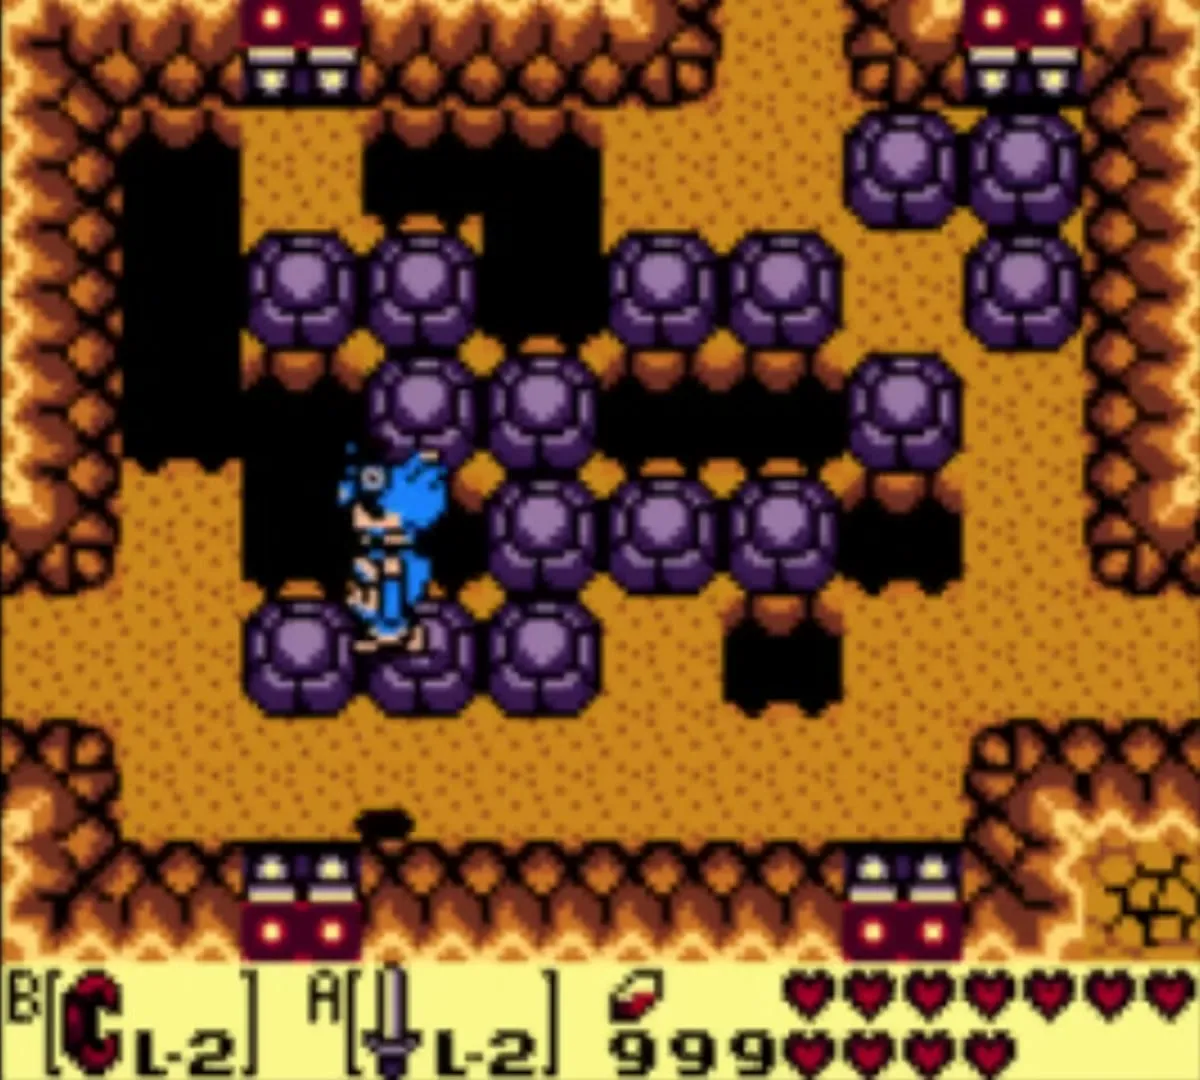
Cross the next rope bridge and enter the cave under the Hen House on the cliff beyond. Its second room is a puzzle of rocks and long pits that you cannot solve by pushing. Instead, lift the Rooster and fly him over the pits on the left and top sides of the room, then throw him down once you are across so you can walk on.

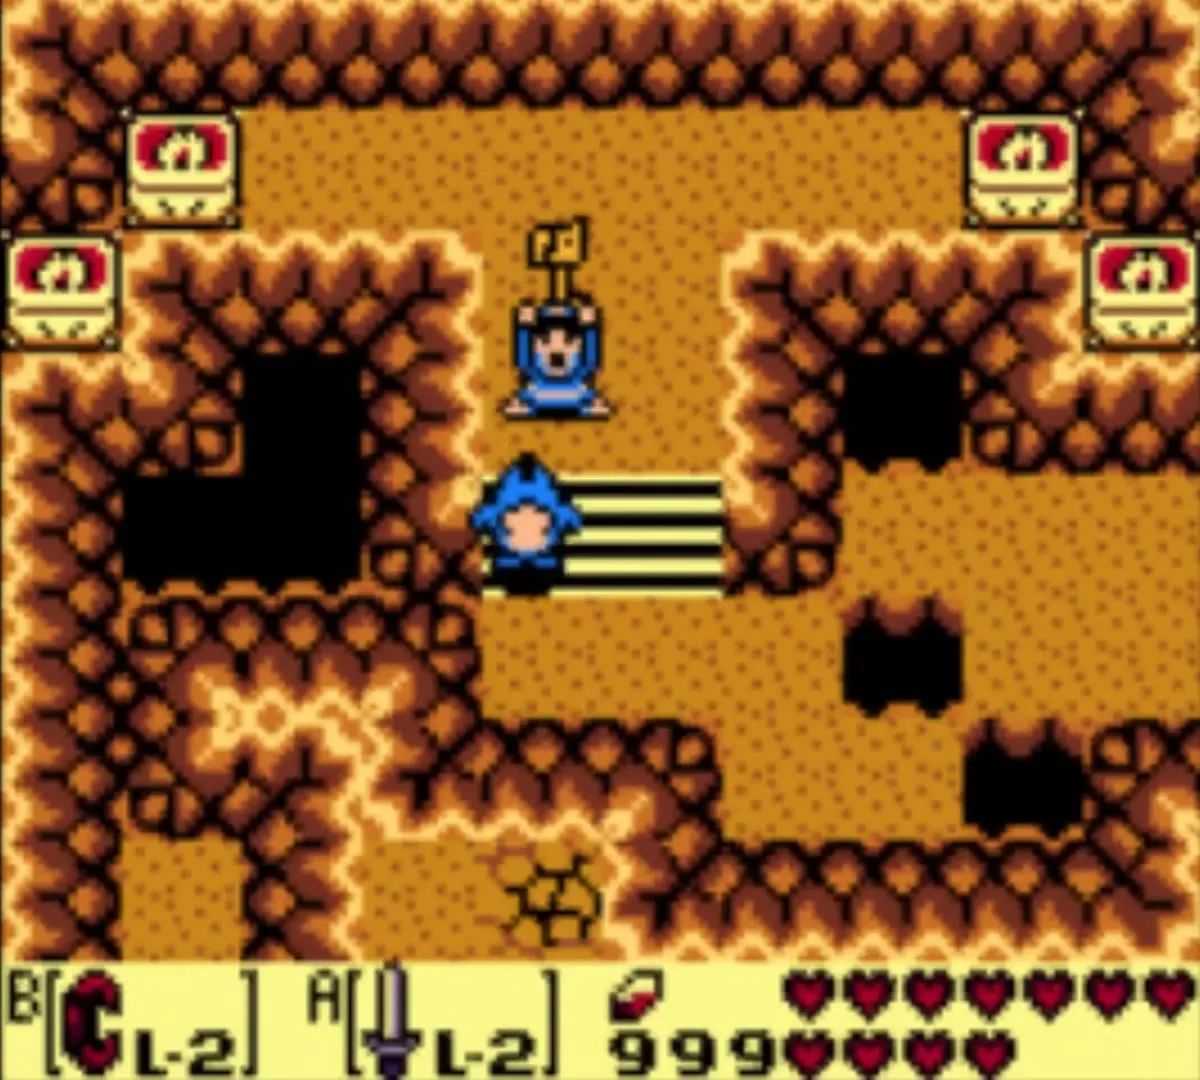
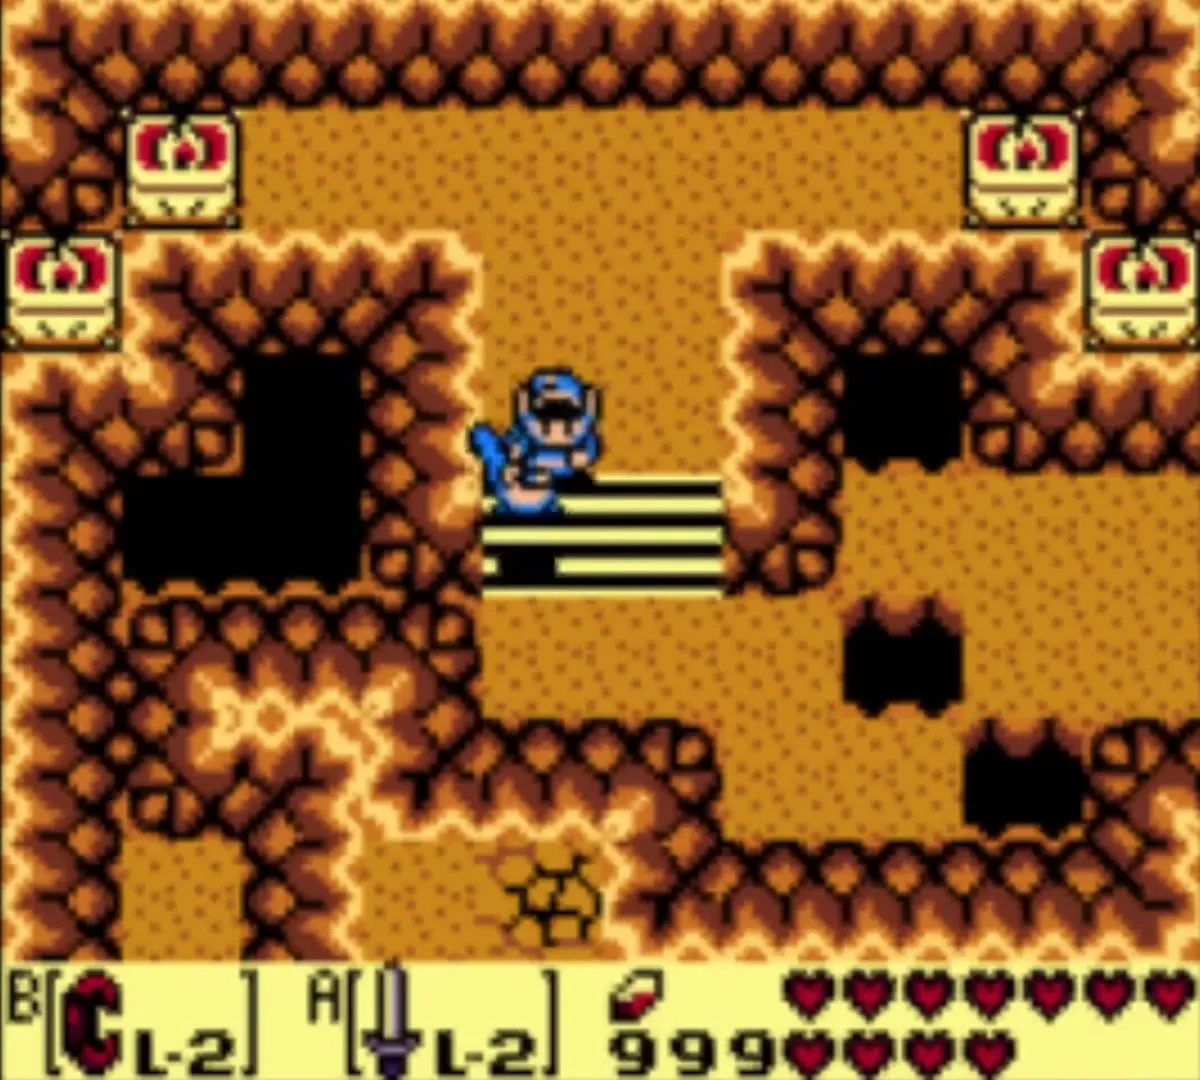
The next room has another pit to fly over. Beyond it a short staircase leads up to a dais with a small key sitting on it. Take it: you have the Bird Key, the item that opens Eagle’s Tower. The chests in the corners of this room are not needed for the route.

Back to the tower
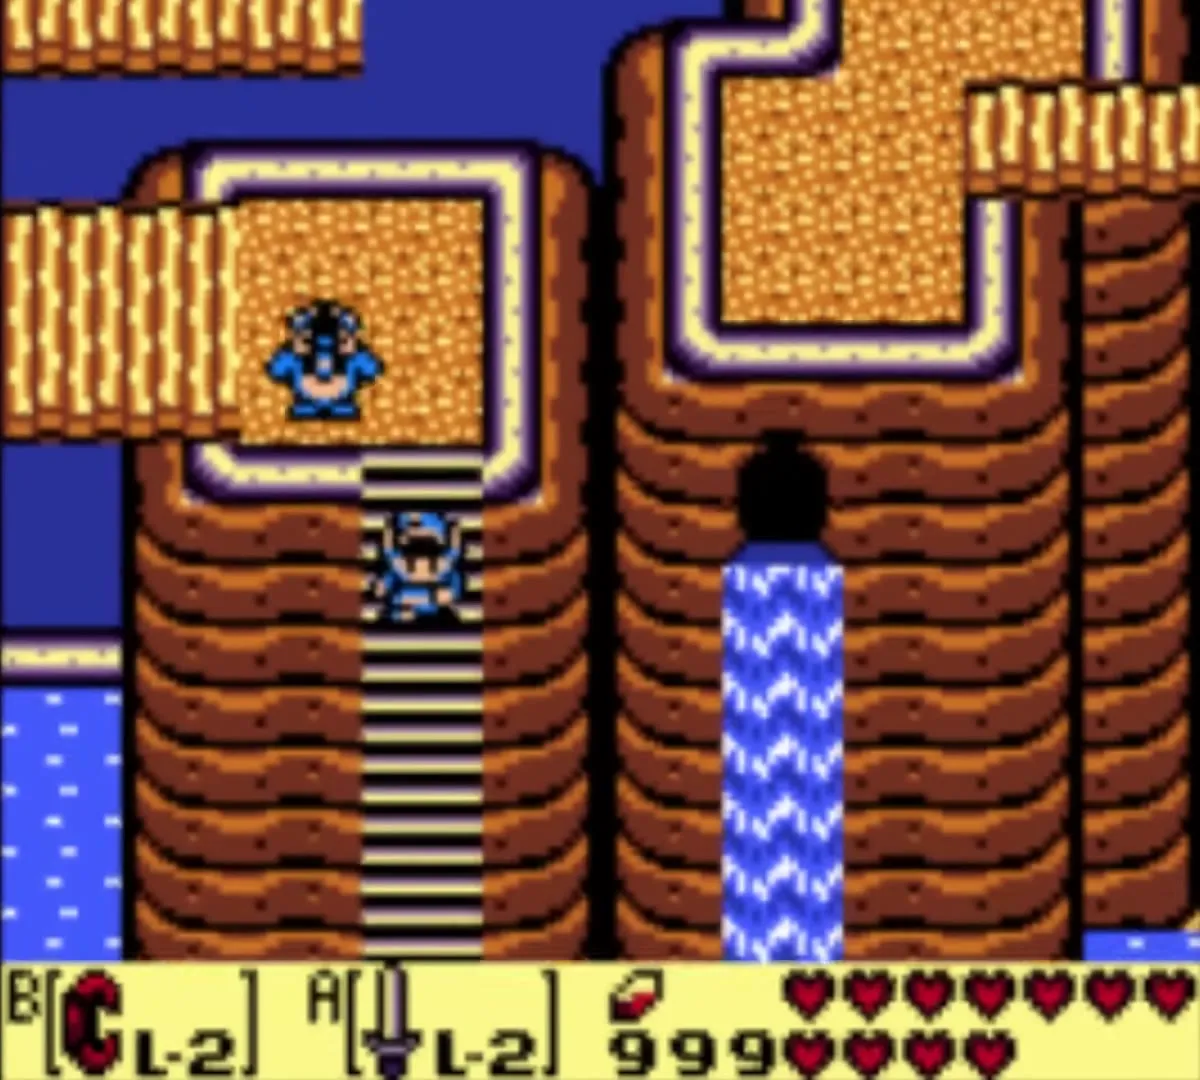
Leave the cave, recross the bridges and the waterfall ladder, and keep following the mountain caves towards the north-east corner of the island. If a gap or pit stops you, lift the Rooster again to fly over it. Eagle’s Tower stands on a cliff at the end of the route.


Opening Eagle’s Tower
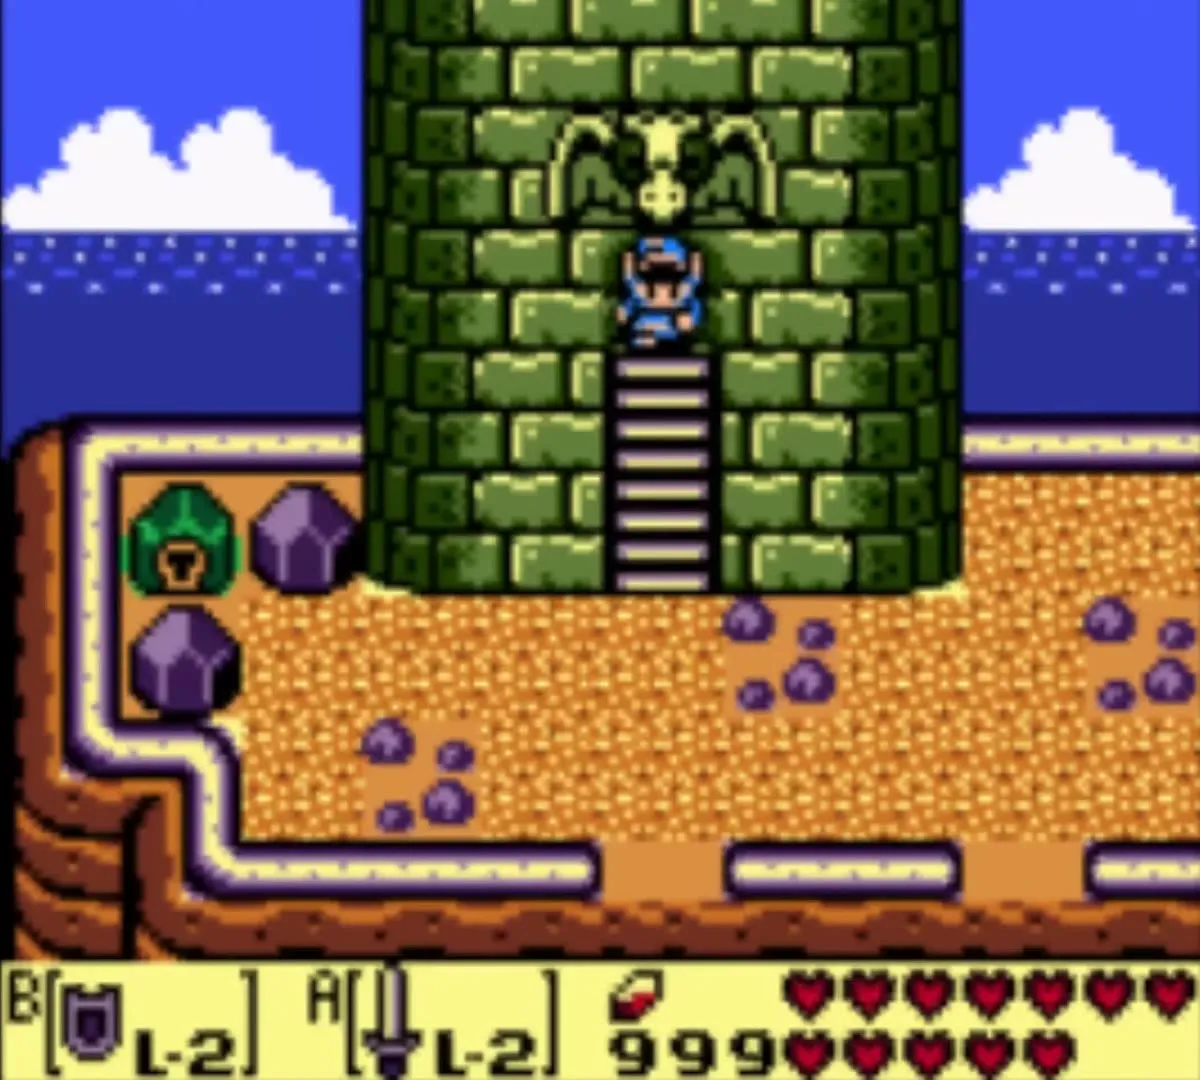
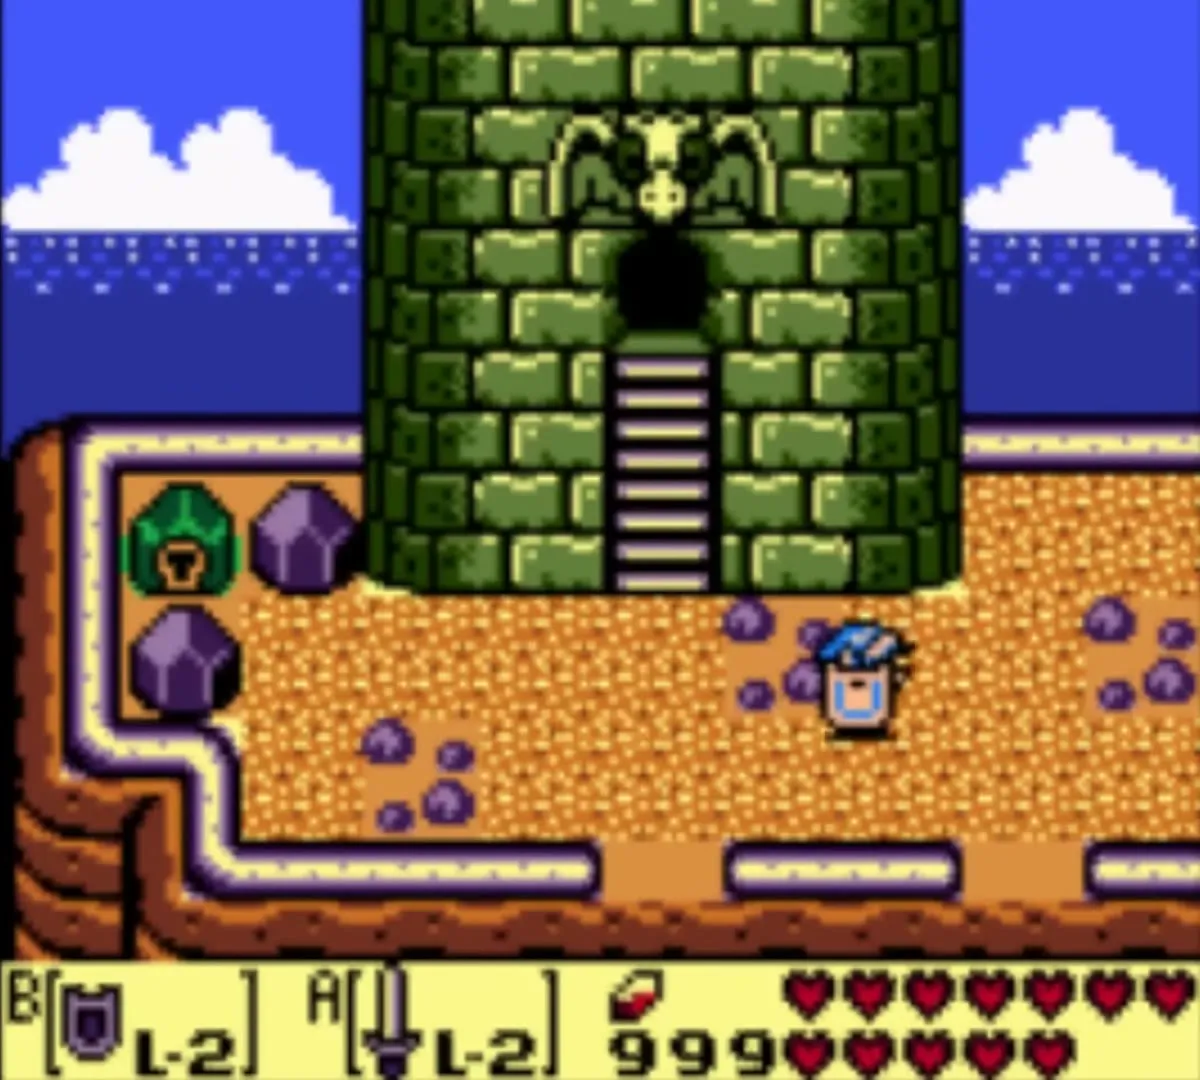
The tower is a round green structure with an eagle carved above the door. Lift the rock sitting in front of the keyhole block, step up to it and use the Bird Key. The whole tower turns on its base and a staircase appears at the entrance. Walk up it to enter Eagle’s Tower (Level 7). The Rooster stays outside, because he cannot enter dungeons.


Eagle’s Tower walkthrough
Eagle’s Tower has four floors. Floor 4 is closed off, and the whole dungeon is built around a heavy iron ball: you carry it with the Power Bracelet and throw it at four pillars on the second floor. When the fourth pillar falls, floor 4 crashes into floor 3 and opens the rooms and the boss door beyond. You will use Roc’s Feather, the Pegasus Boots and the Hookshot, and you pick up small keys along the way.


Entrance room and first small key
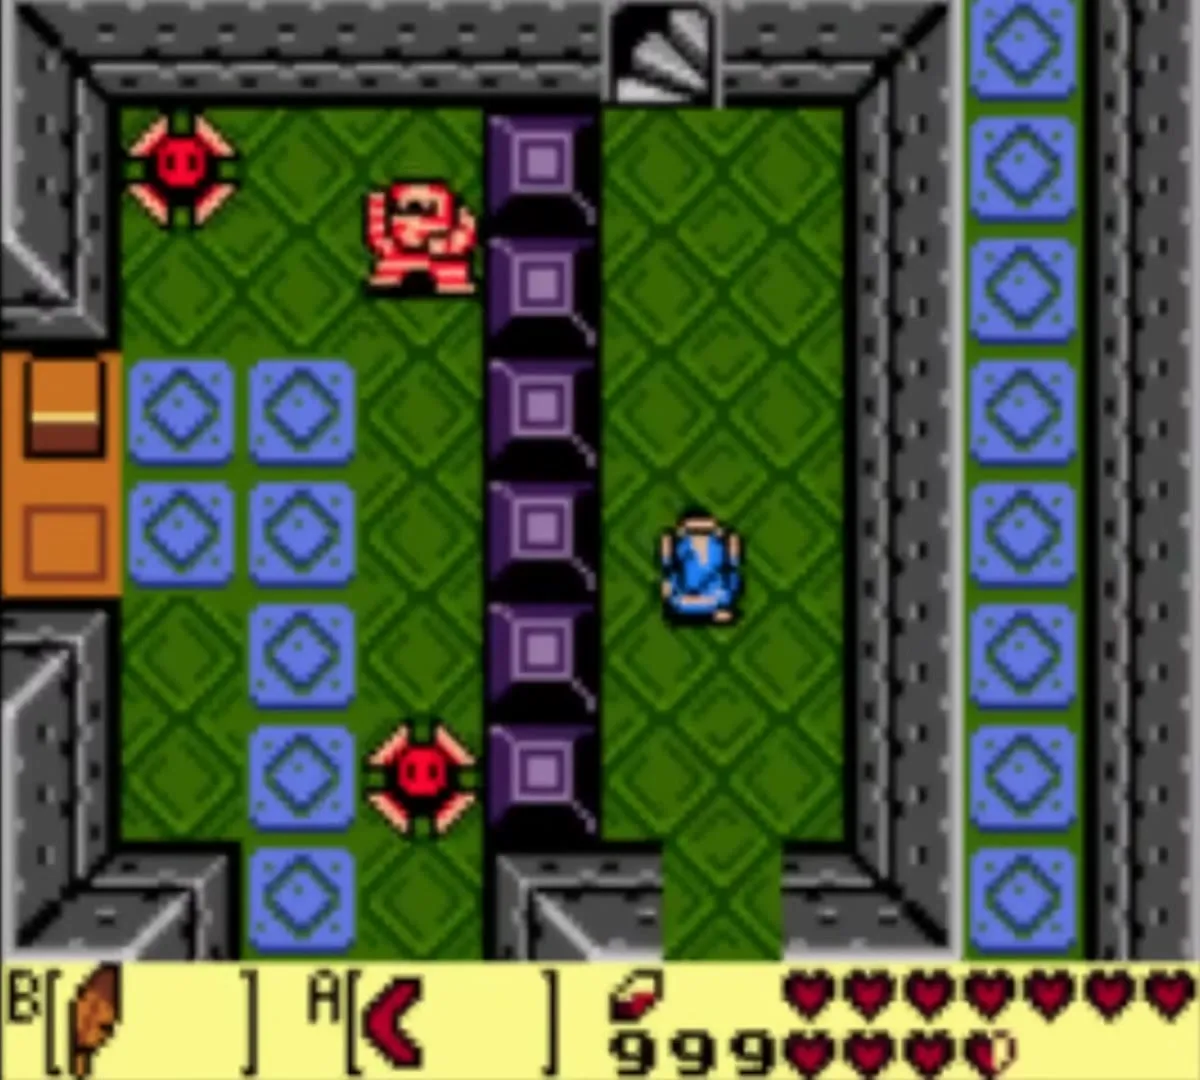
In the first room, jump with Roc’s Feather over the spikes and go east. In the next room, kill the two Like-Likes and a small key drops. Use it on the locked door in the north wall and climb the stairs to the second floor. A black iron ball waits on a platform there. If you drop it into a hole it returns to its platform, so you can always fetch it again.


How to get the Mirror Shield
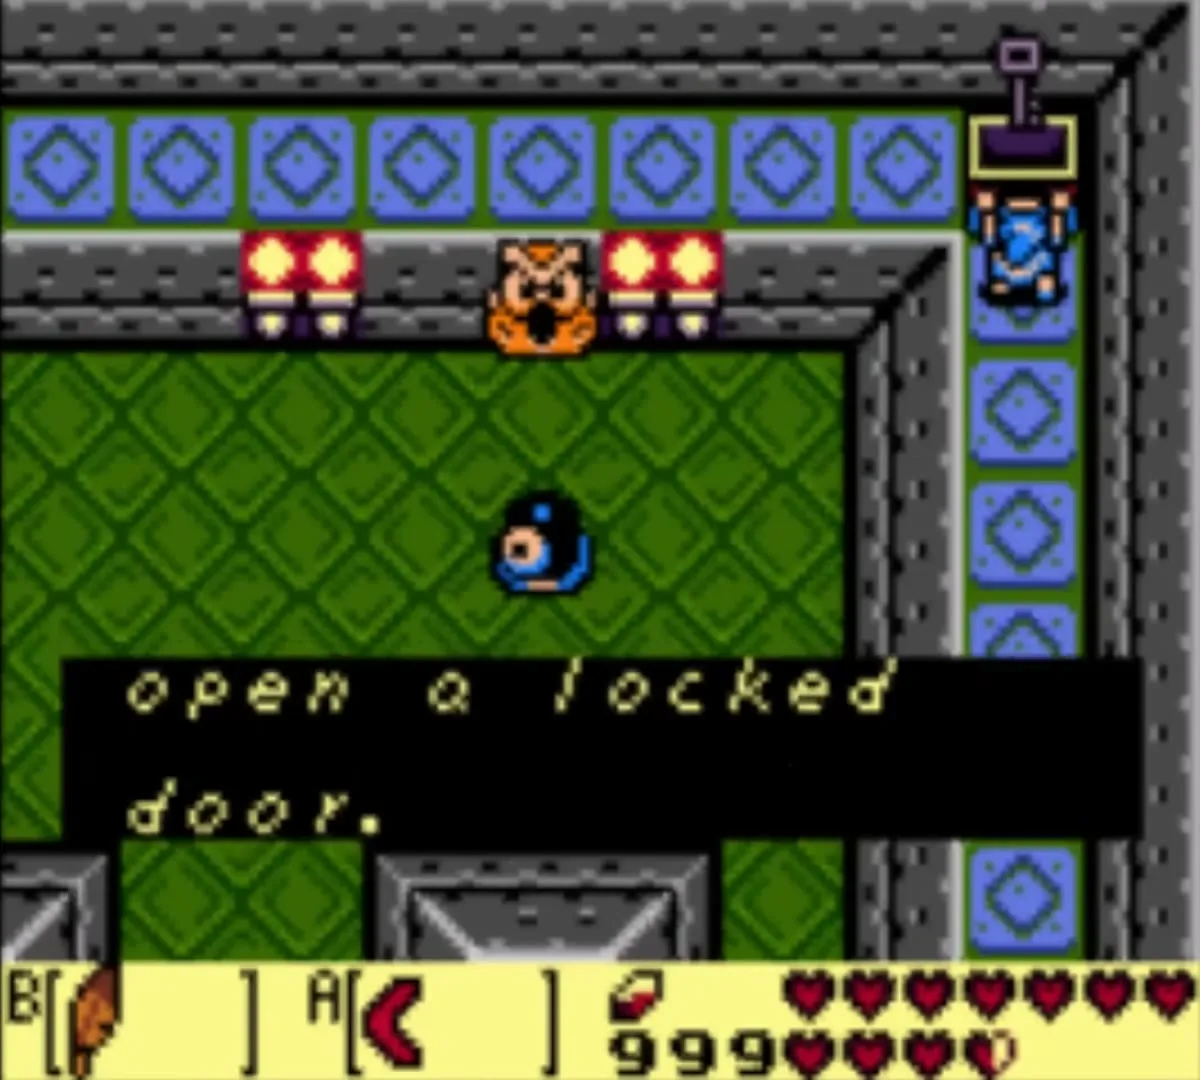
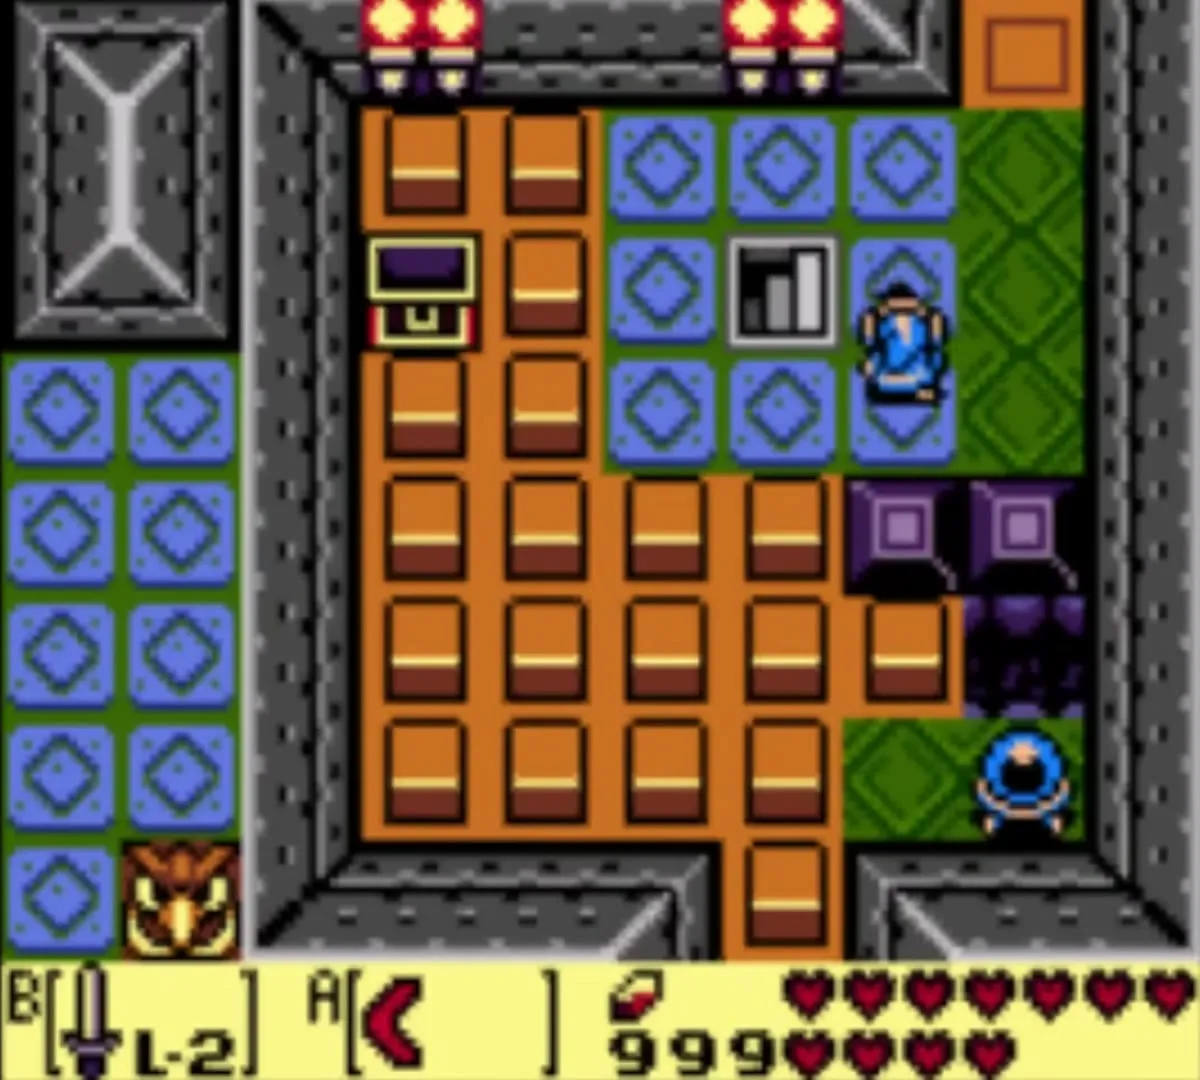
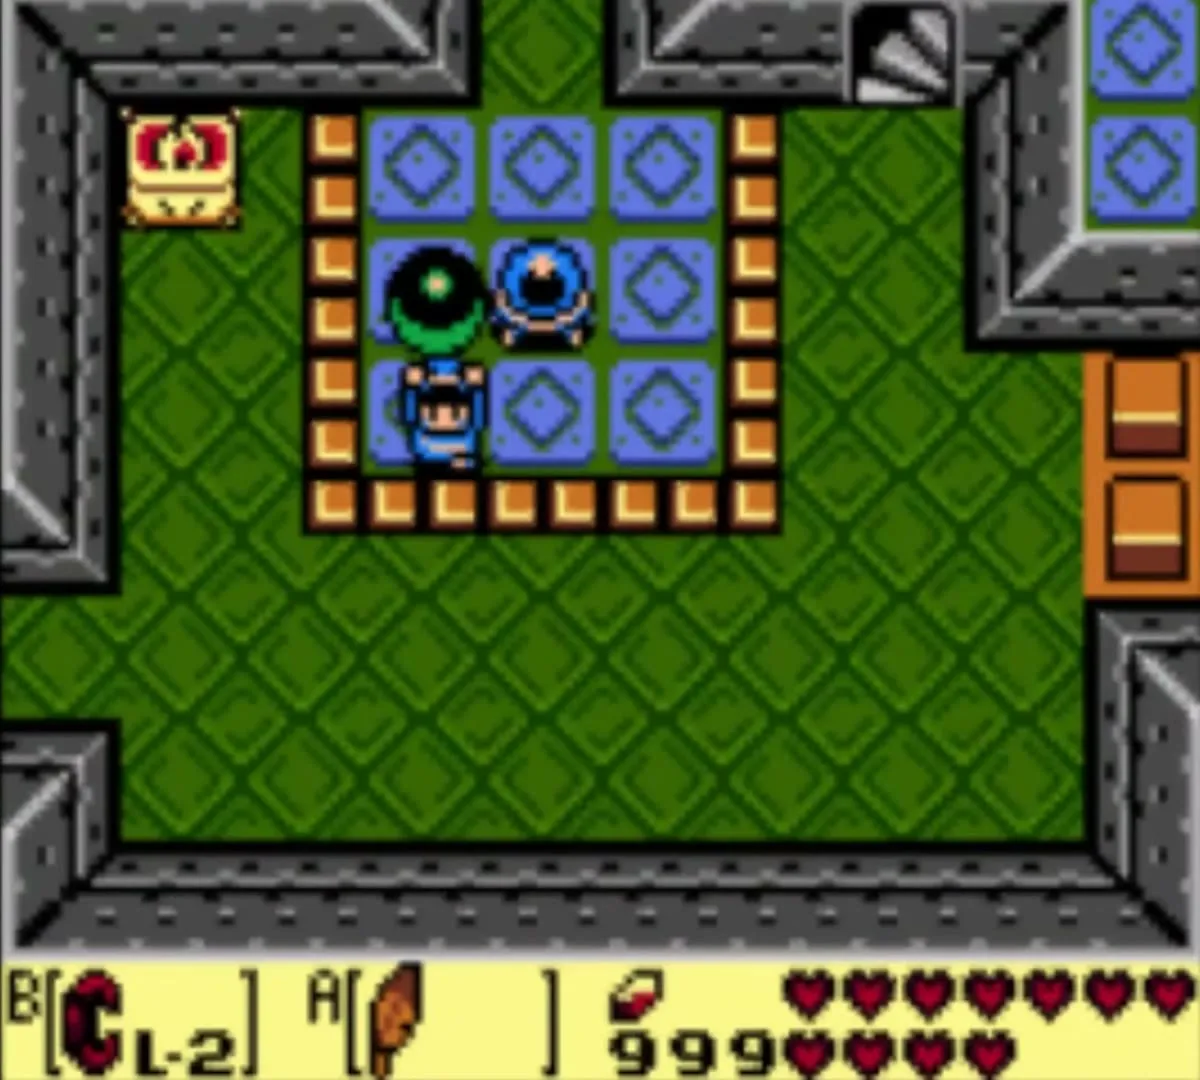
The chest with the Mirror Shield sits in a room sealed by raised blue crystal blocks. Hit the crystal switch to lower the blocks, then walk to the chest. Open it for the Mirror Shield (L-2), which blocks attacks the plain Shield cannot and lets you walk through fire later on.
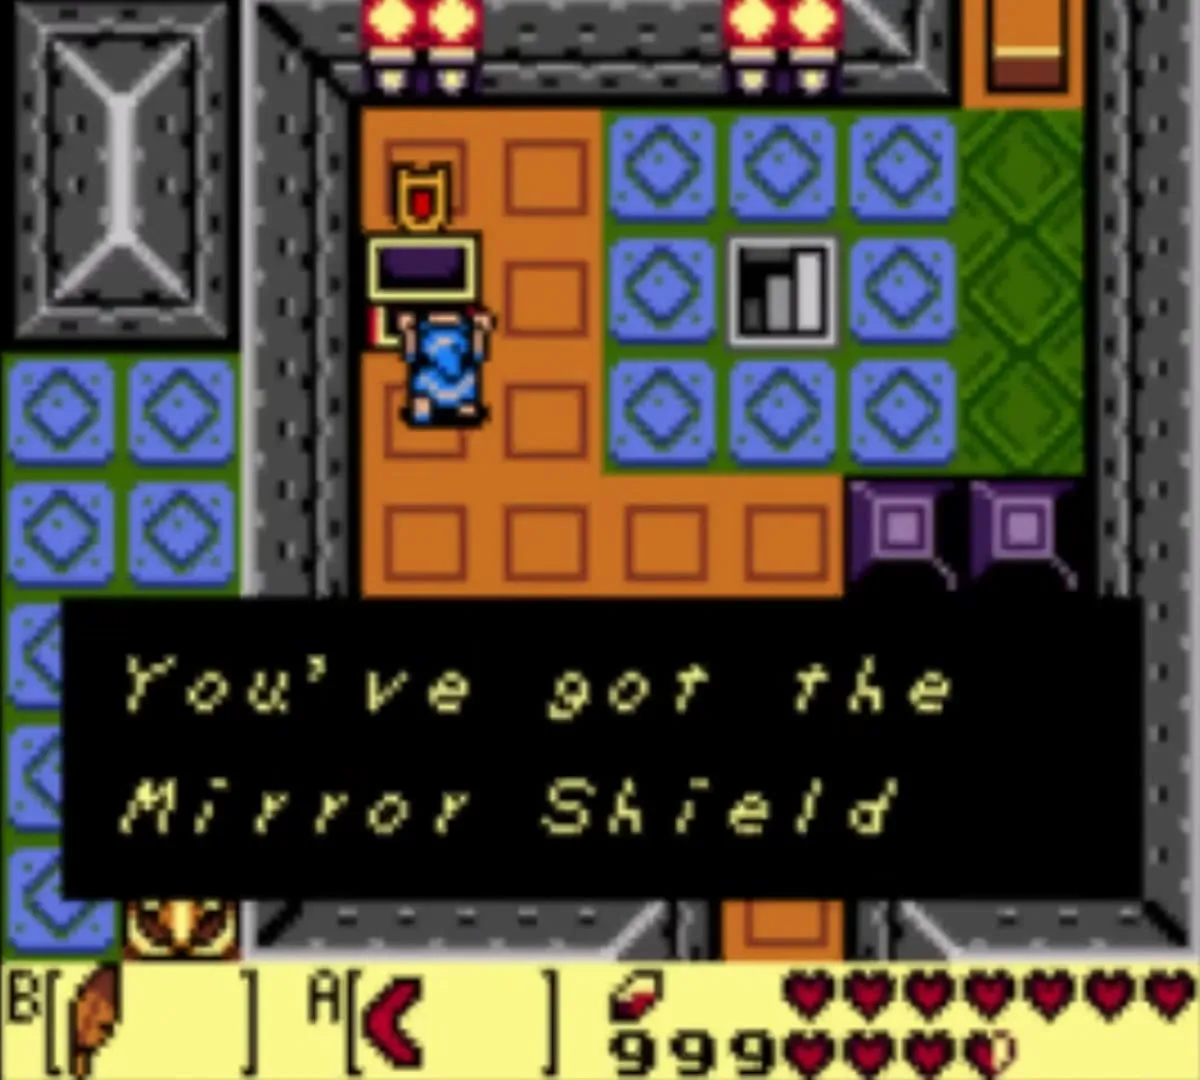
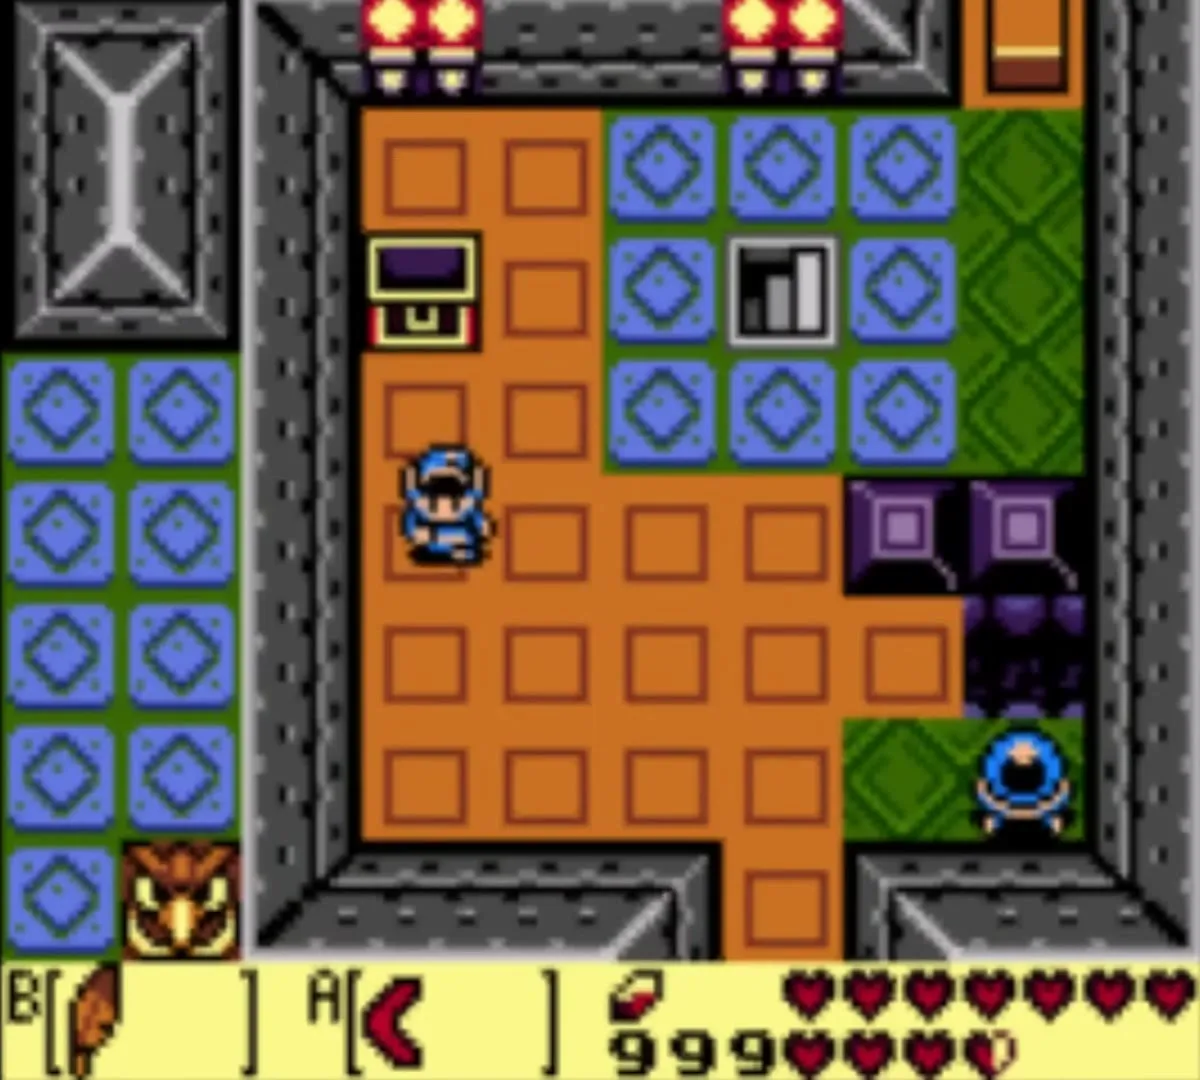
If you cannot reach the switch yet, come back for it after the Hinox room below. The crystal switch you hit near pillar 2 has already lowered the blocks, so walk back to the first floor, head east twice past traps, spikes and Like-Likes, take the north-east doorway up to the second floor and open the chest.

Iron ball and pillar puzzles
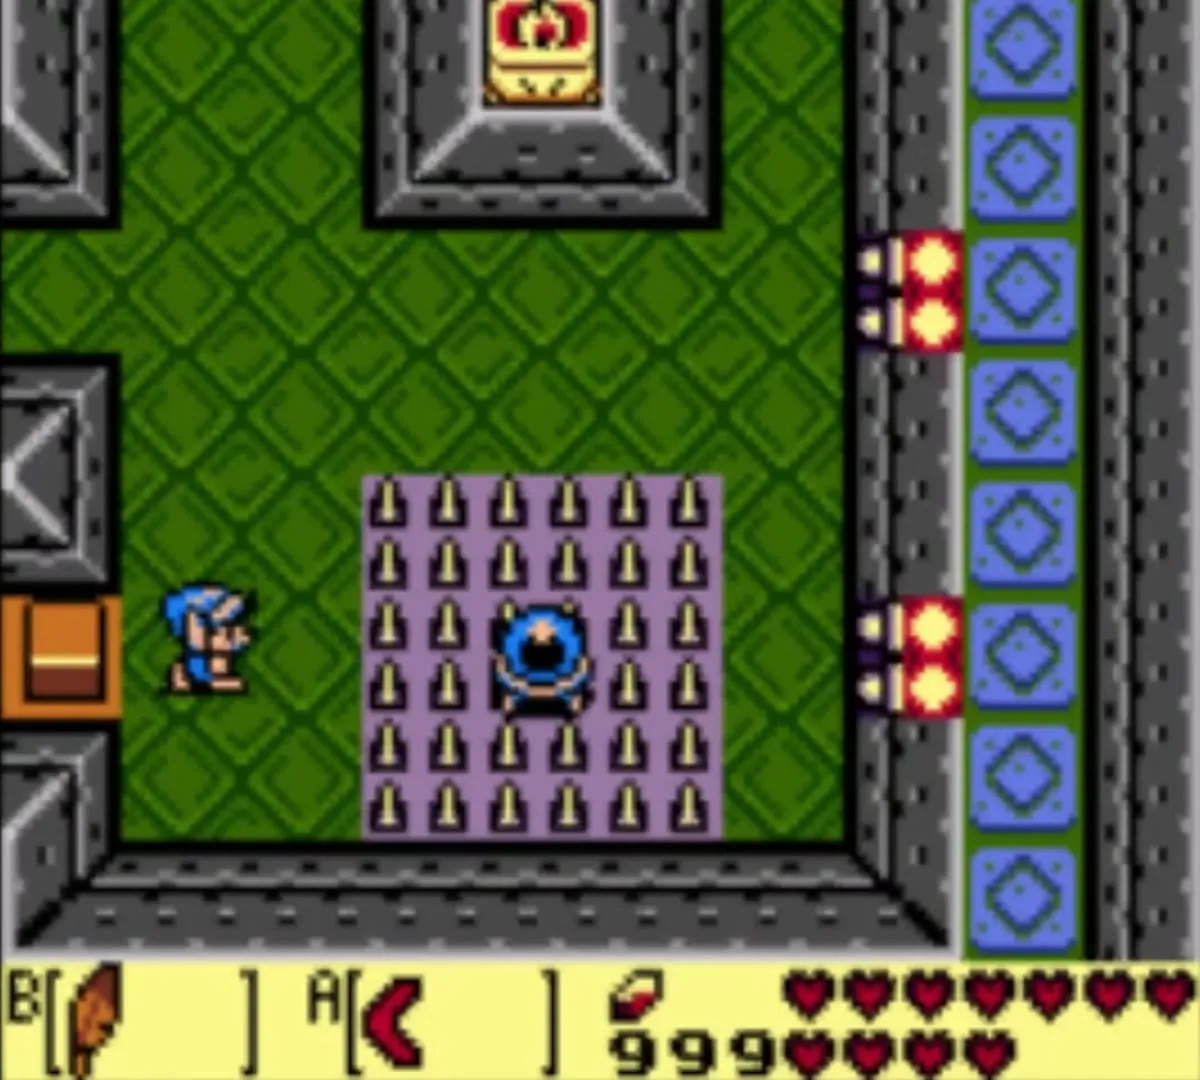
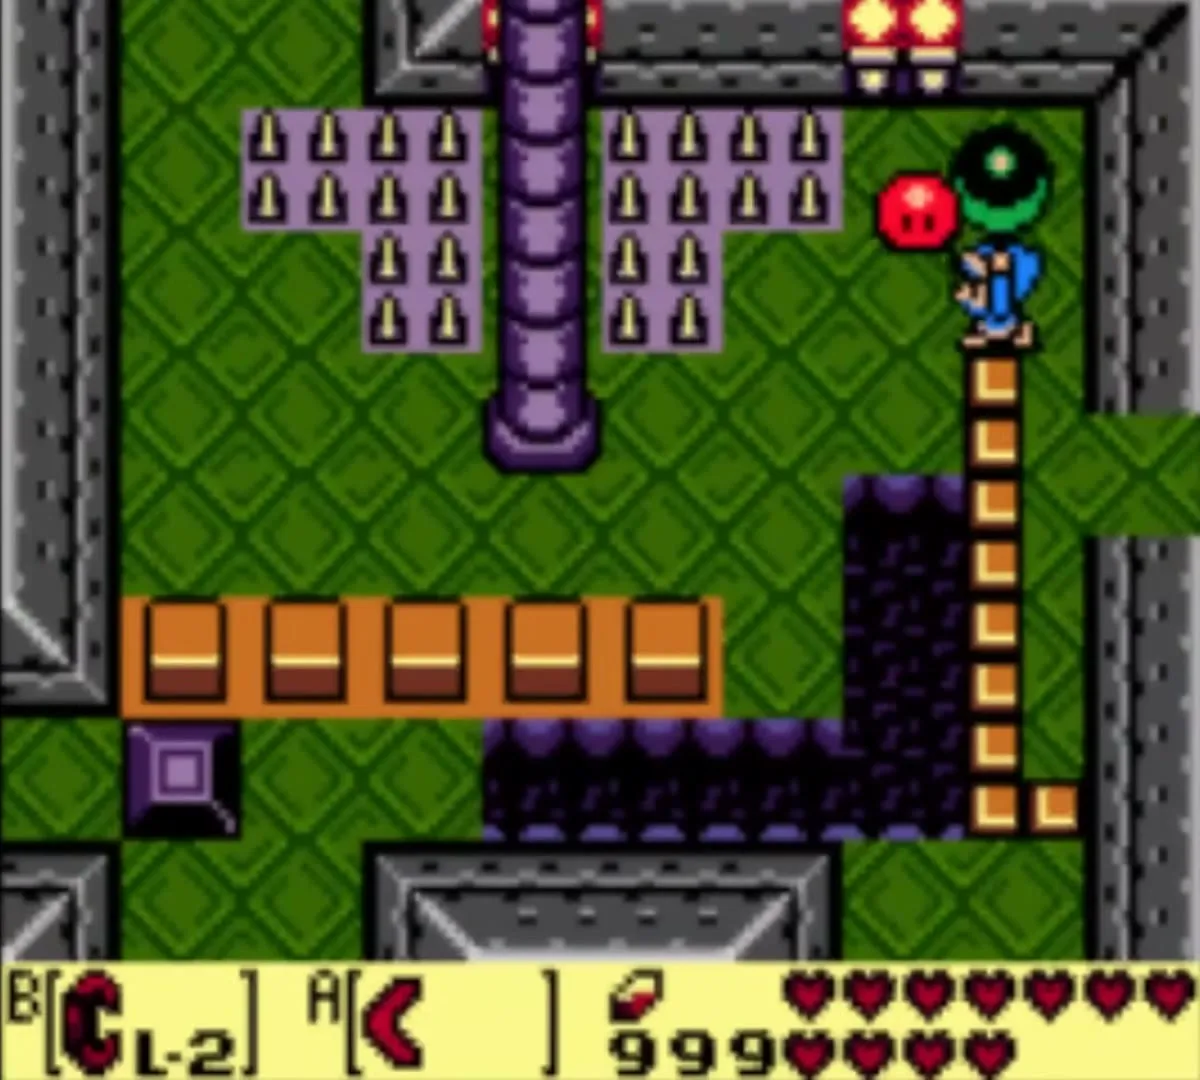
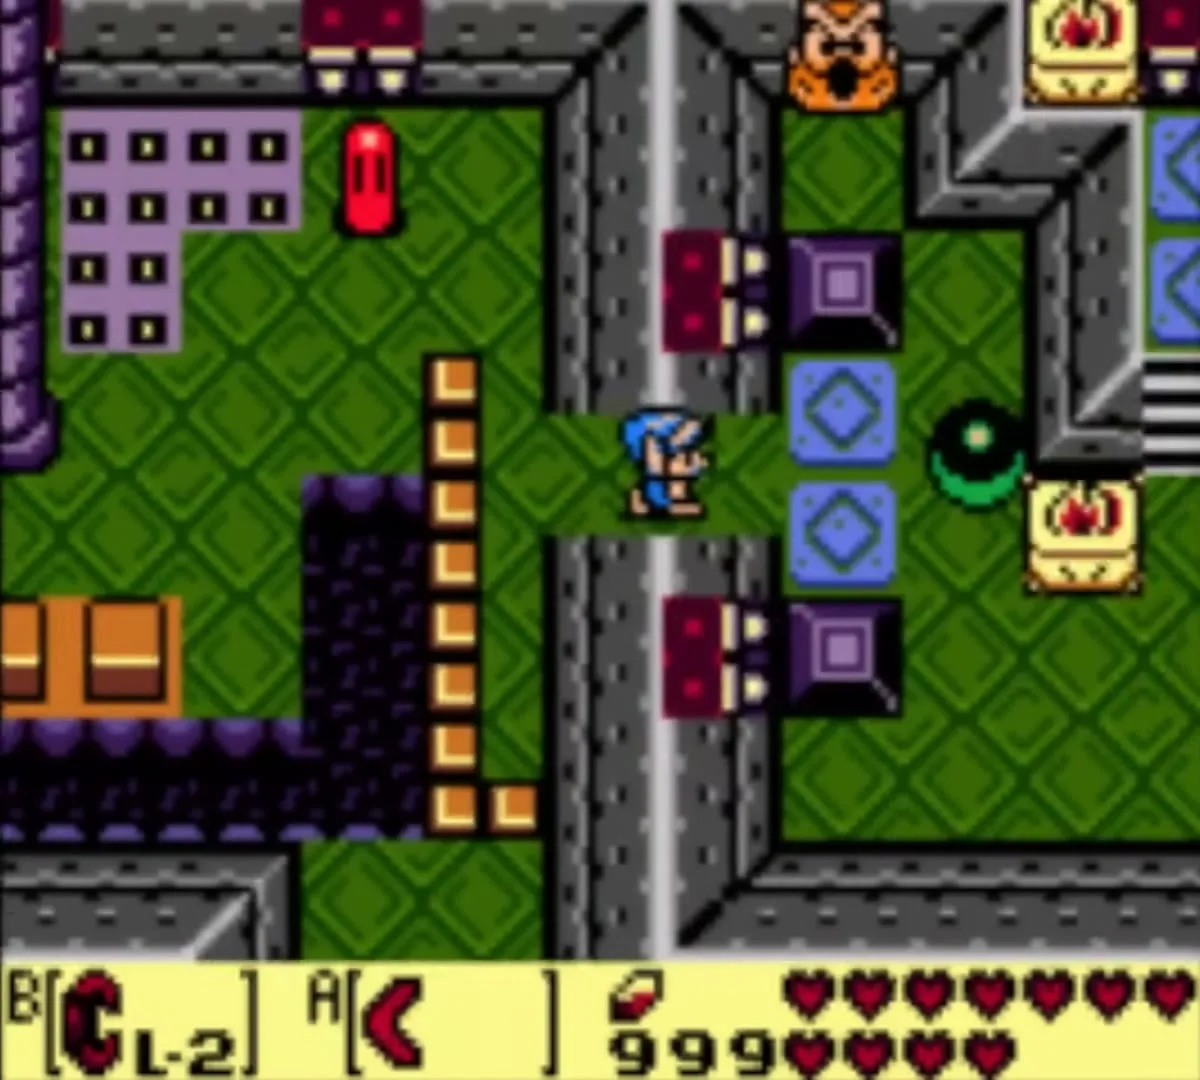
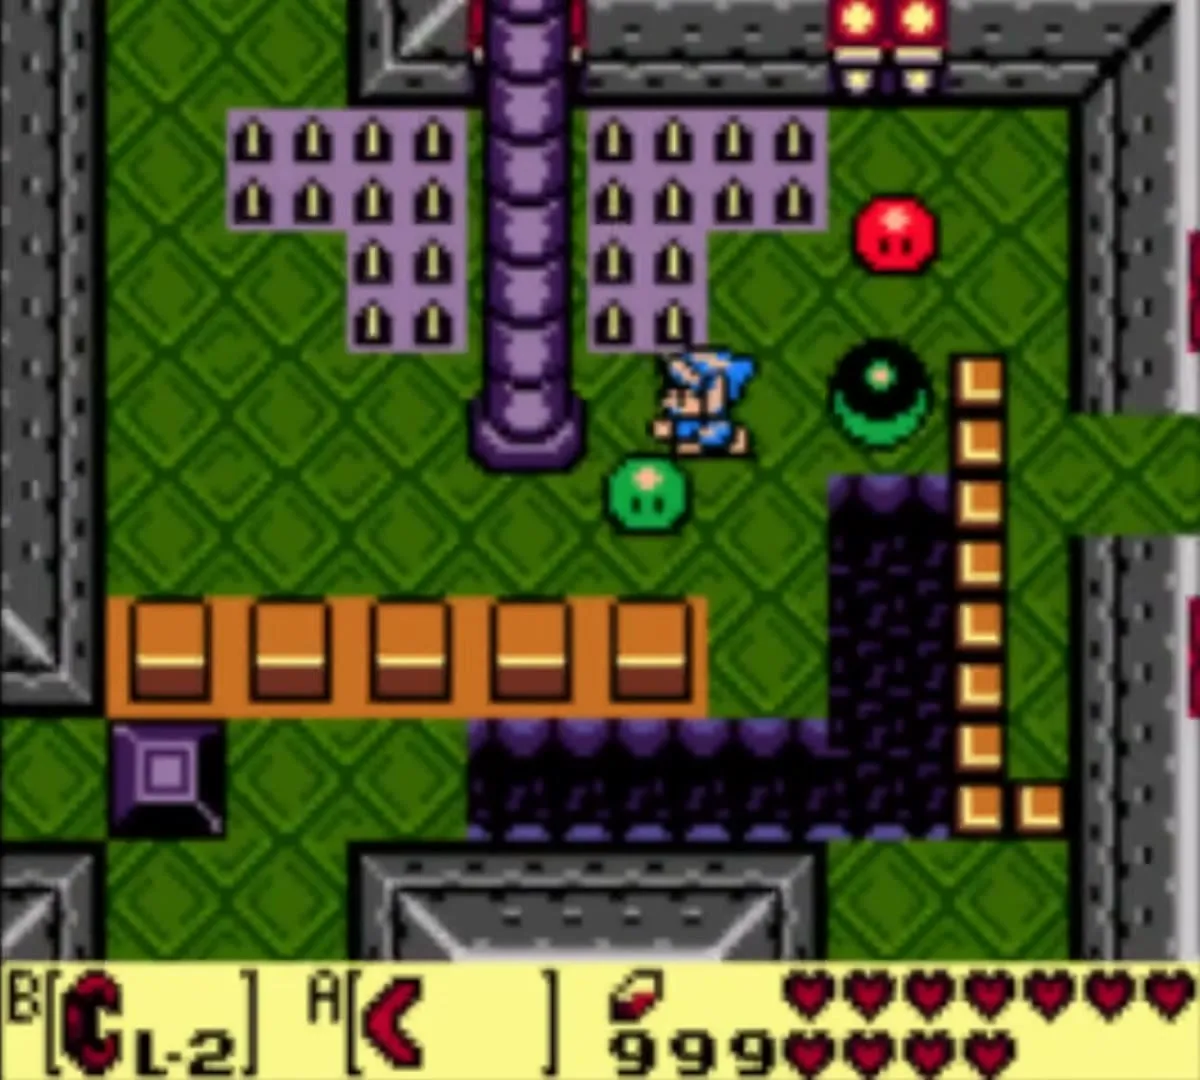
Four pillars hold up the upper floors, and the ball is the only thing that breaks them. If it falls into a hole it goes back to its platform on the second floor, so avoid pits while you carry it and throw it carefully.
Pillar 1
Carry the ball to the pair of blocks at the west door and drop it there. Walk around to the east side and pull the lever with the Power Bracelet; the blocks sink briefly. Pick the ball up again and rush through before they rise, using a Pegasus Boots dash if you need the speed. Defeat the Red Zol and throw the ball at the central pillar.
Pillar 2 and the first crystal switch
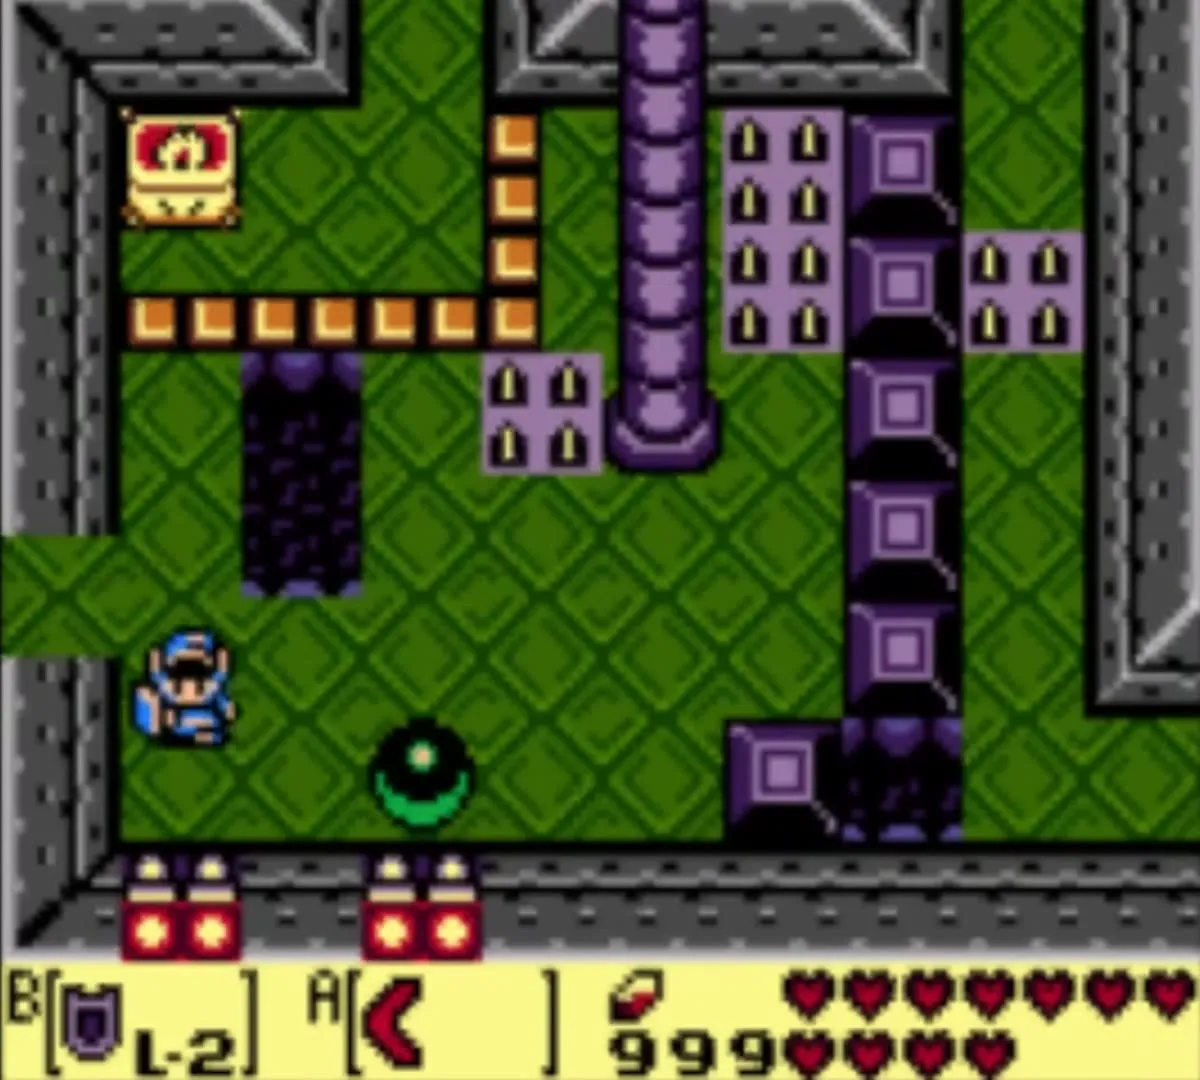
In the room south of the first pillar, throw the ball over the raised crystal blocks or the small barrier, jump the small pit at the lower right and pick up the ball again. Go south and throw it at the second pillar, taking care to avoid the pits. Two screens further south there is a crystal switch: leave the ball behind, toss it over the fence if needed, and hit the switch with your Sword.

How to get the Map
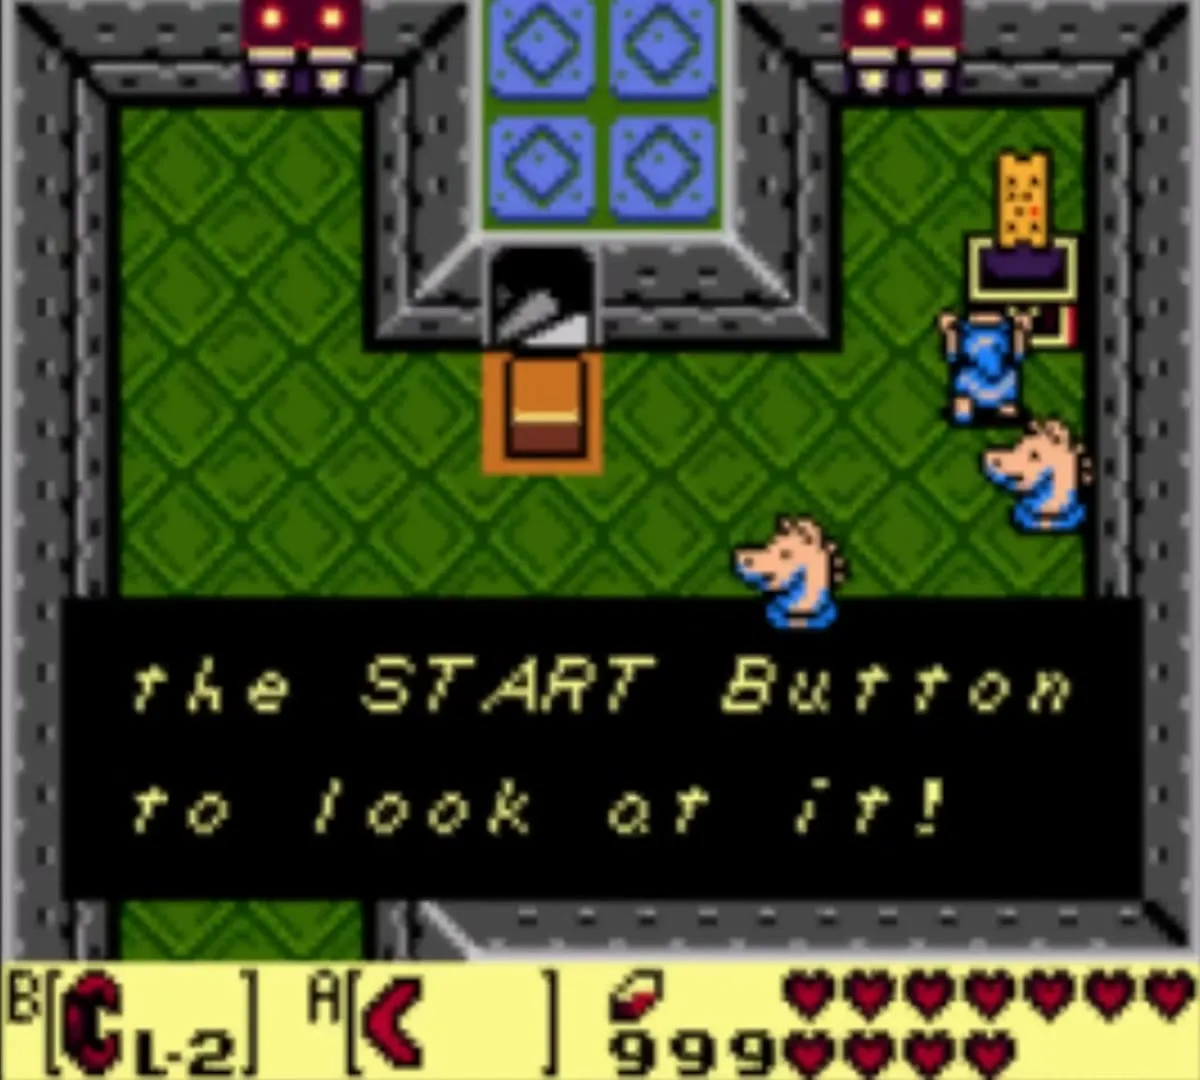
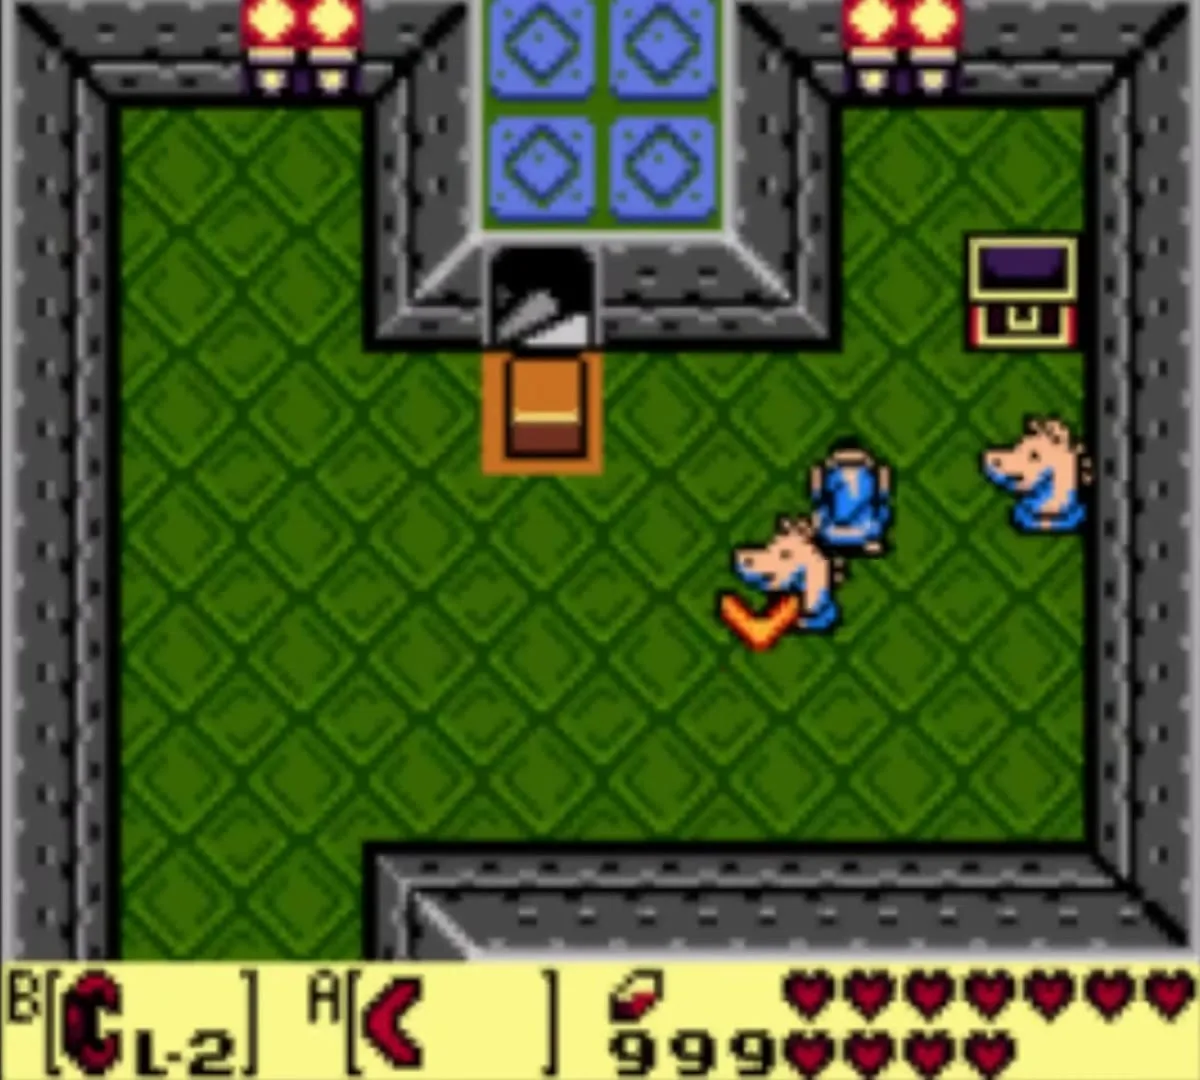
Return north along the left side, which is clear now, and walk past the two pillar rooms. In a room with two stone horse heads and an Anti-fairy, pick up each head and throw it so that it lands upright. When both stand correctly, a chest appears with the Map. If a head lands badly, try again.

How to get the Compass
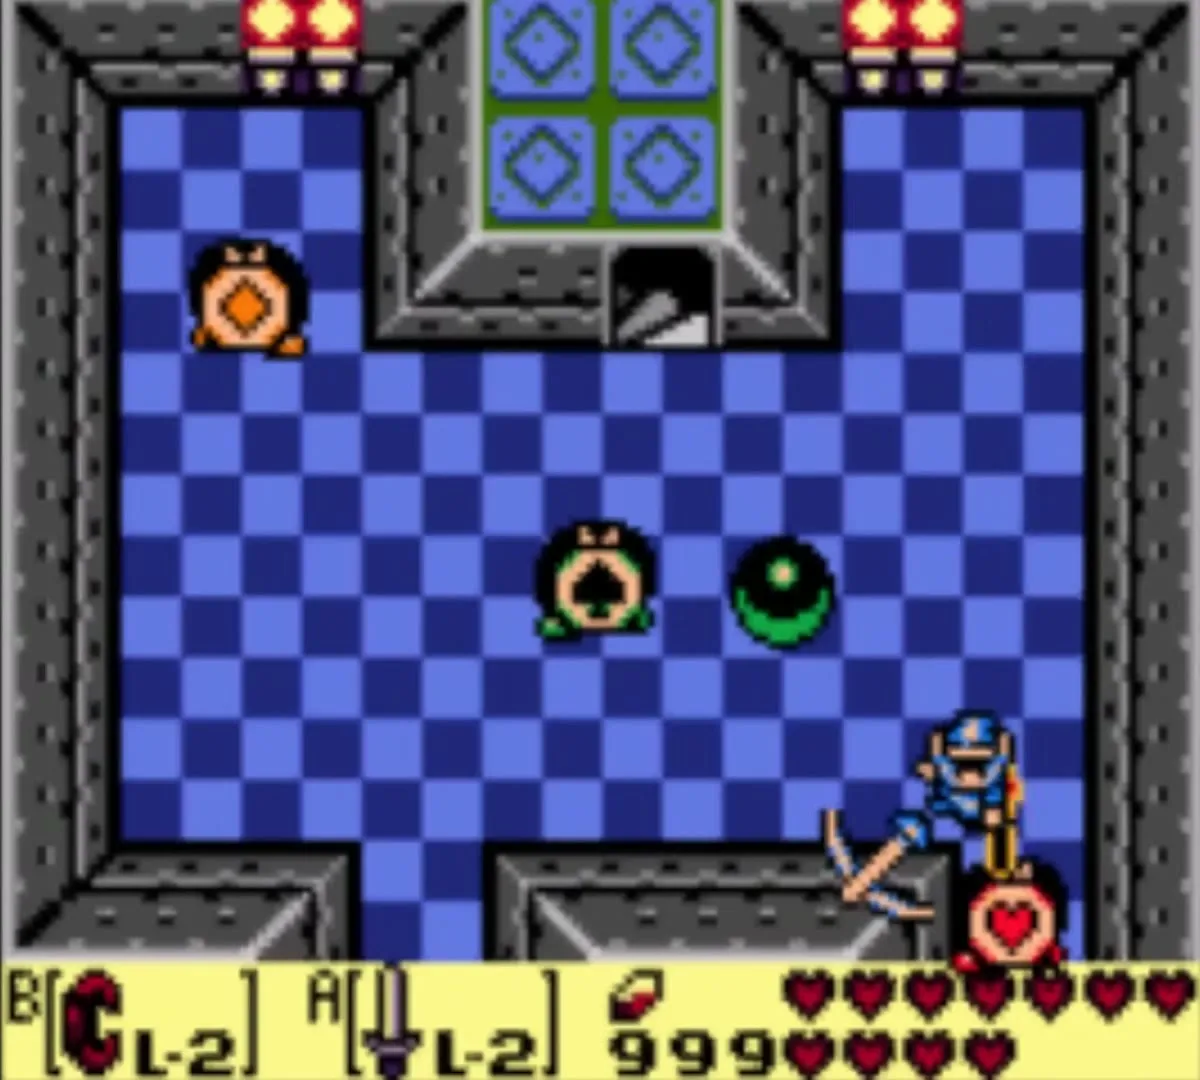
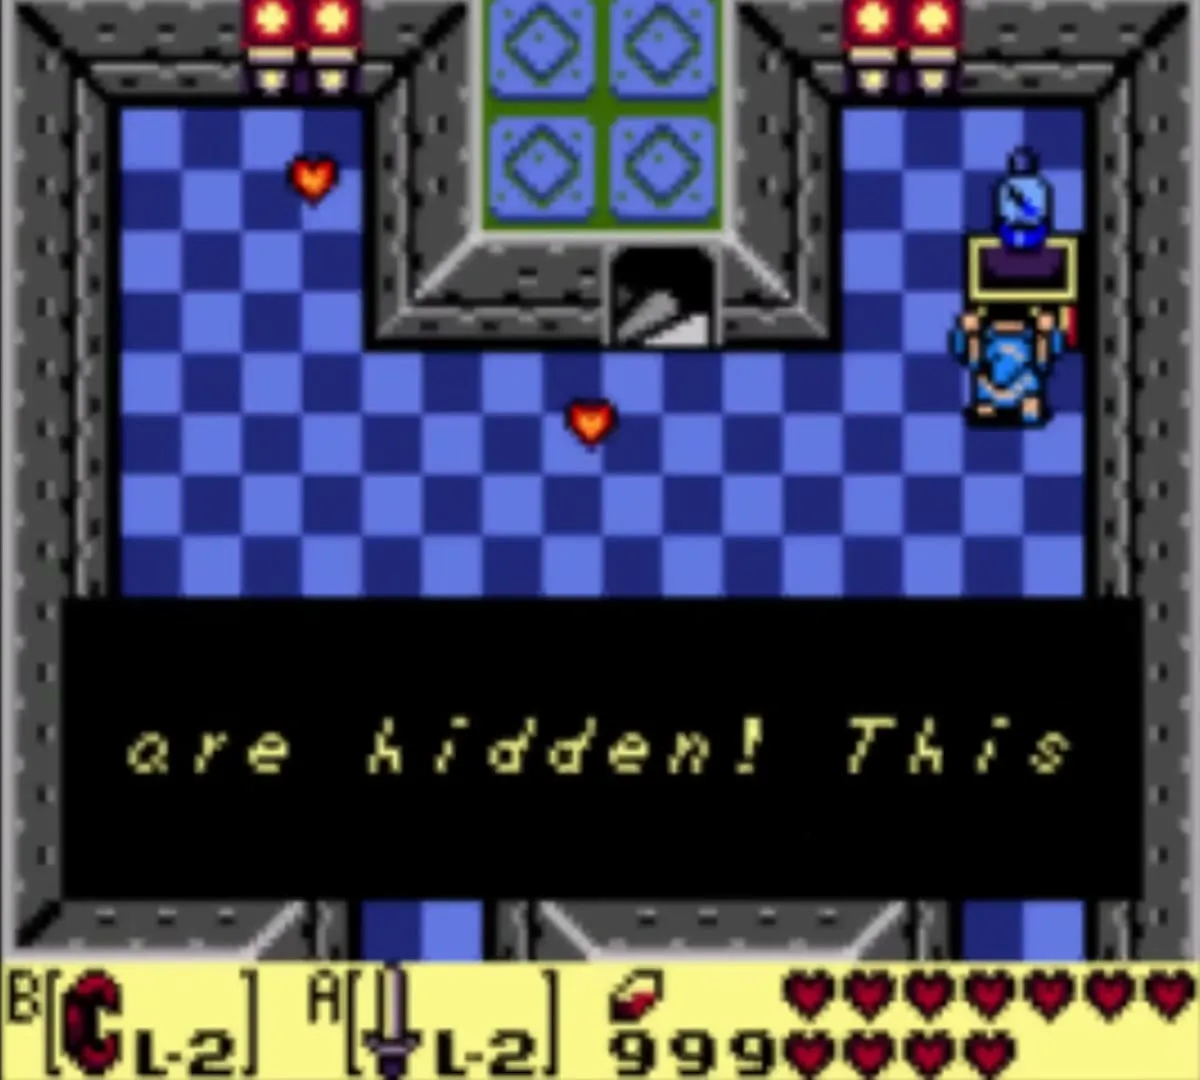
Go back one room south and push the block to open the western passage. Follow the narrow corridor to the northern room, where a Three of a Kind enemy shows card suits. Hit it until all three show the same suit, and a chest appears with the Compass.


How to get the Stone Beak
Walk back to the pillar 2 room and drop into the pit to land on the first floor. You arrive on a raised crystal block. Climb north, jump off the right side of the platform onto the other raised blocks and follow them west. At the first fork, go south and open the chest while standing on the blocks to find the Stone Beak.
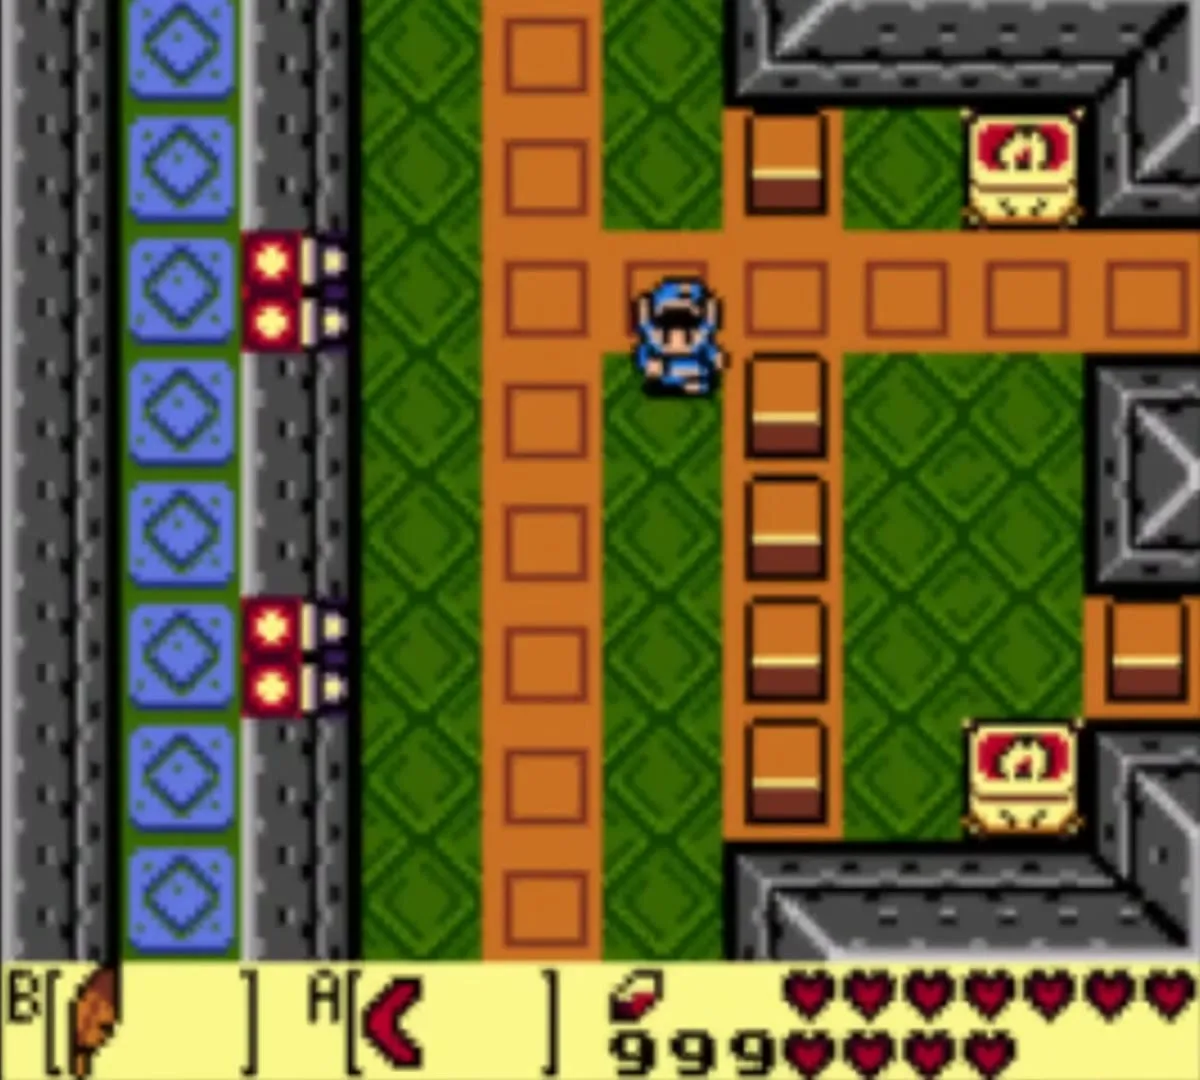
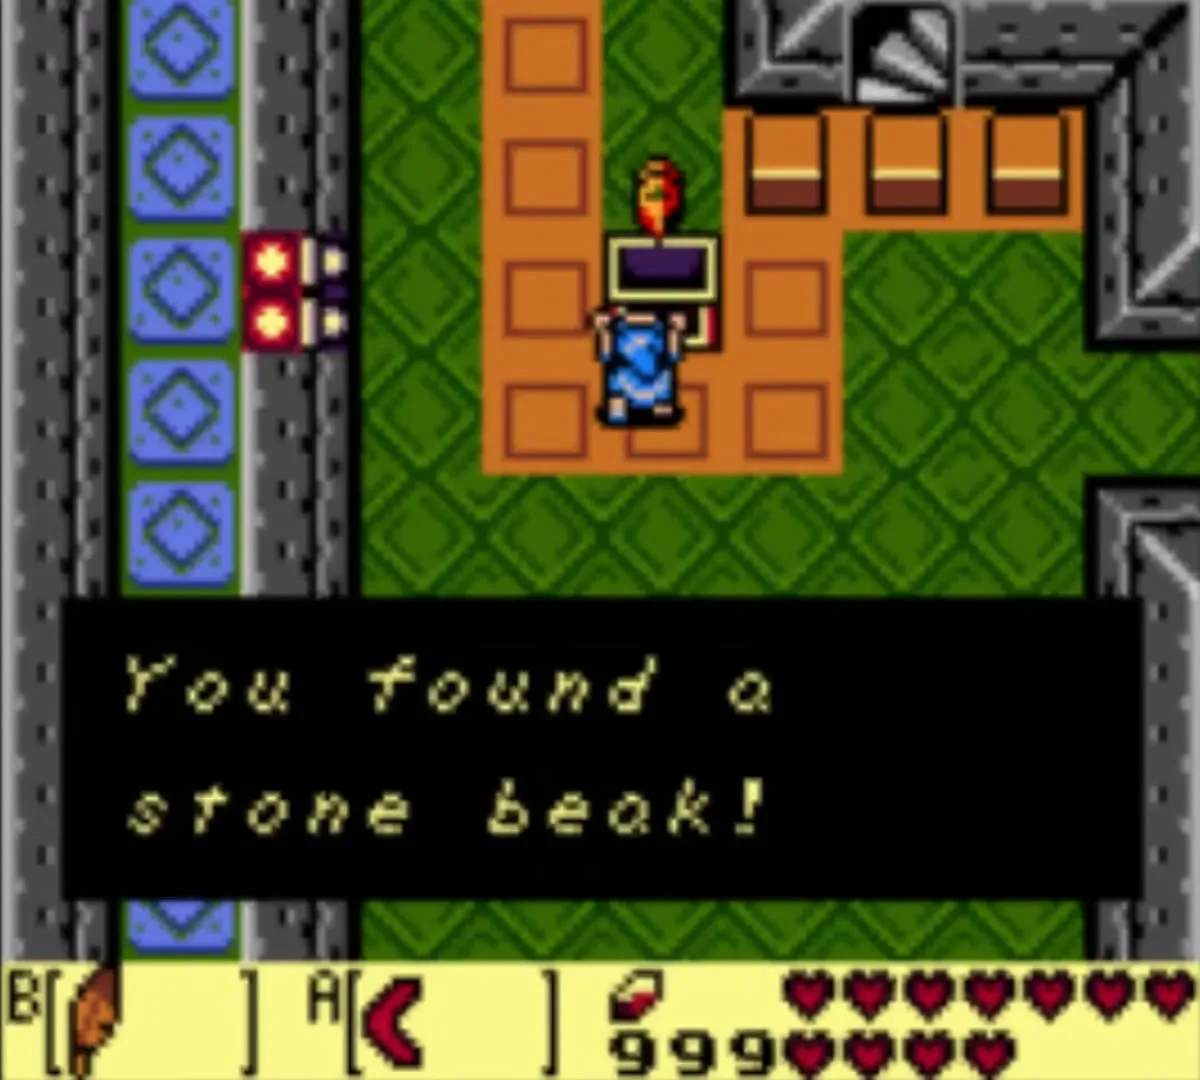
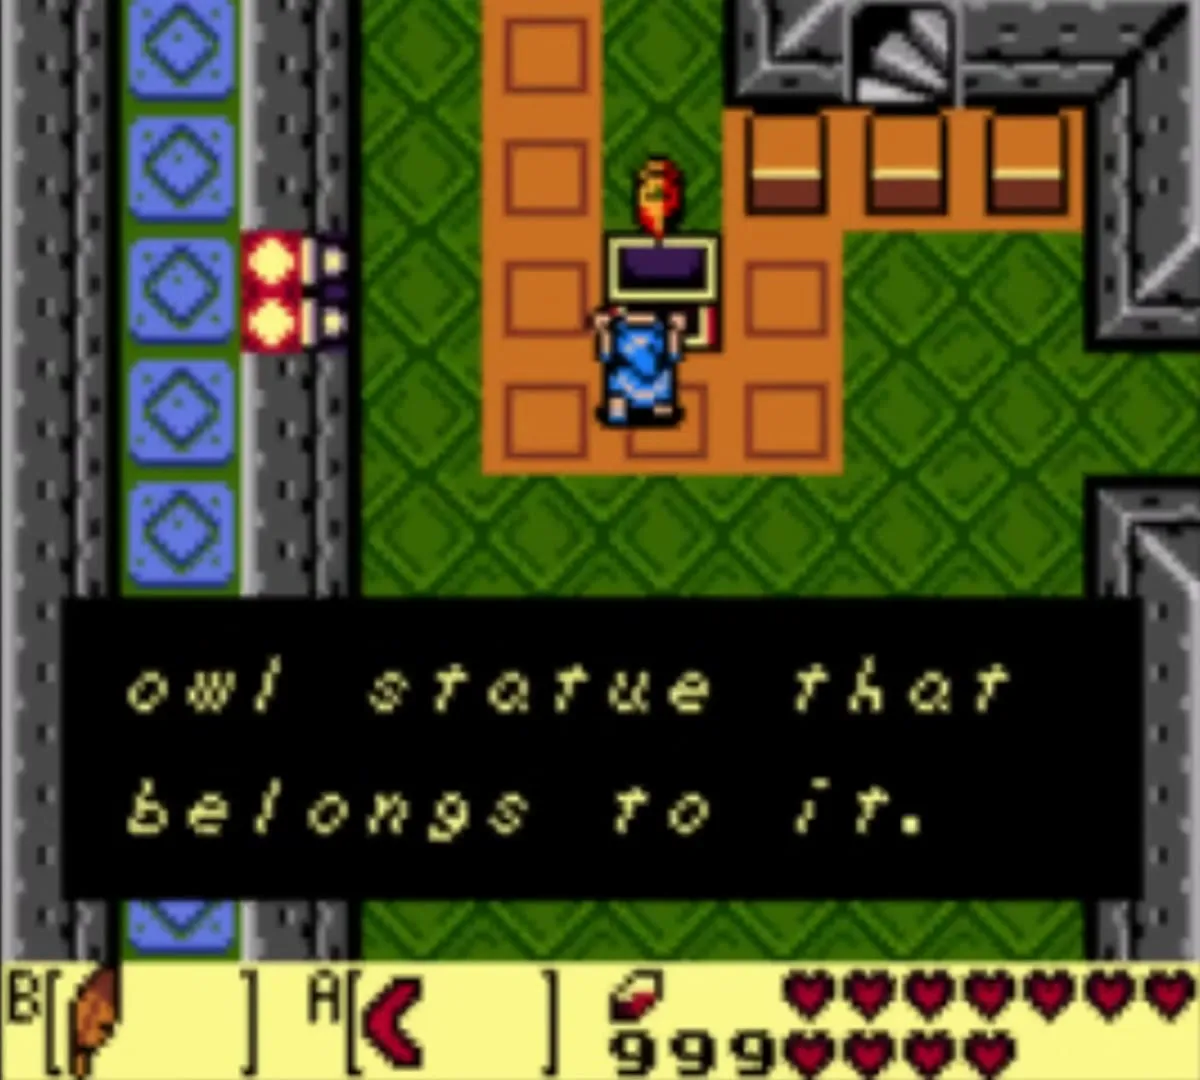
Take the Stone Beak to the owl statue in the dungeon and its hint is revealed. In this tower it says that the riddle is solved when the pillars fall, which is exactly what you are doing.

Hinox, the second small key and Pillar 3
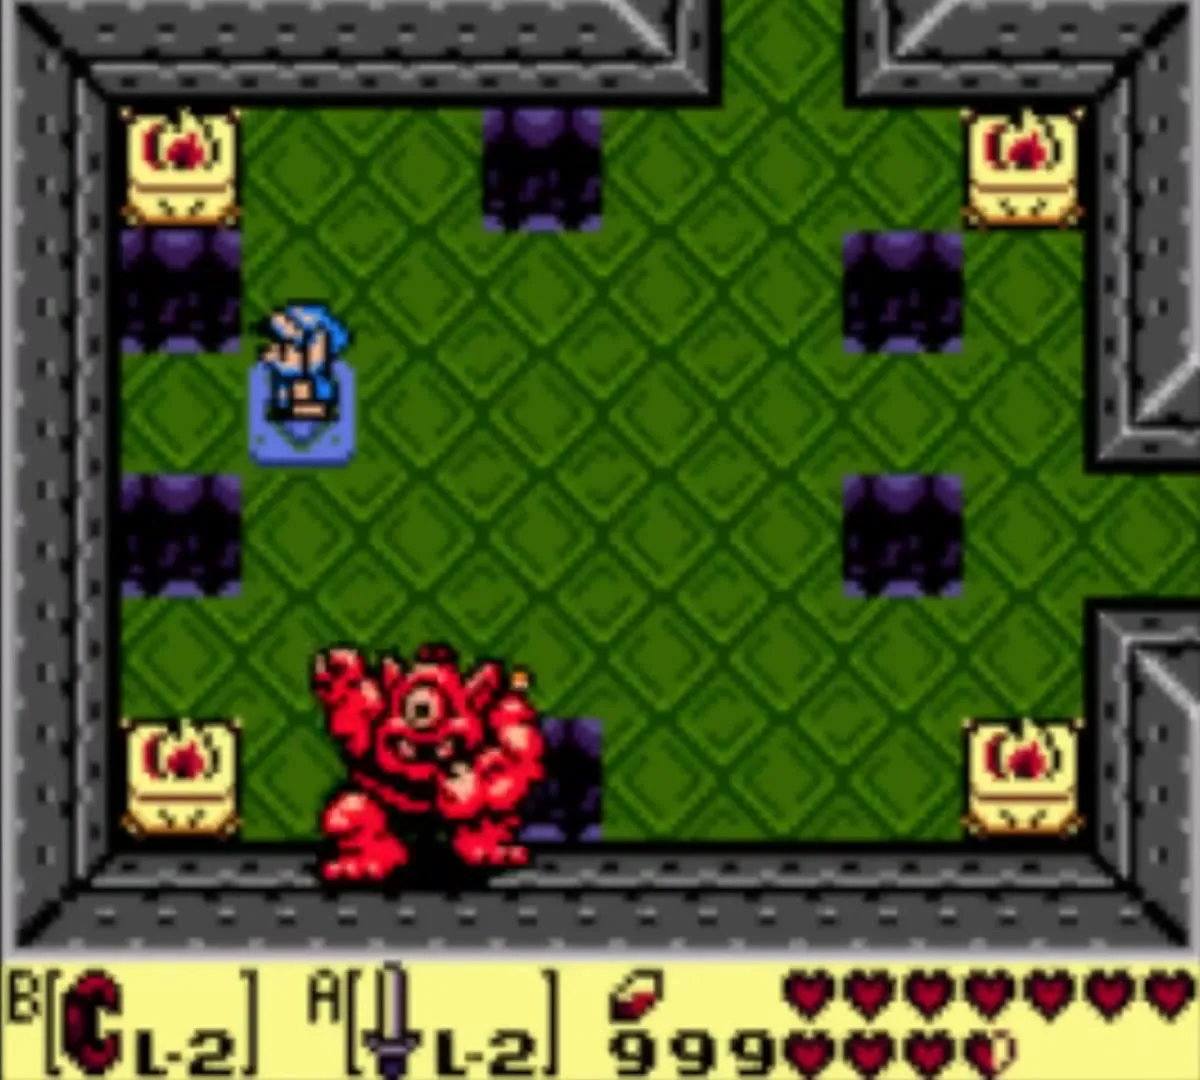
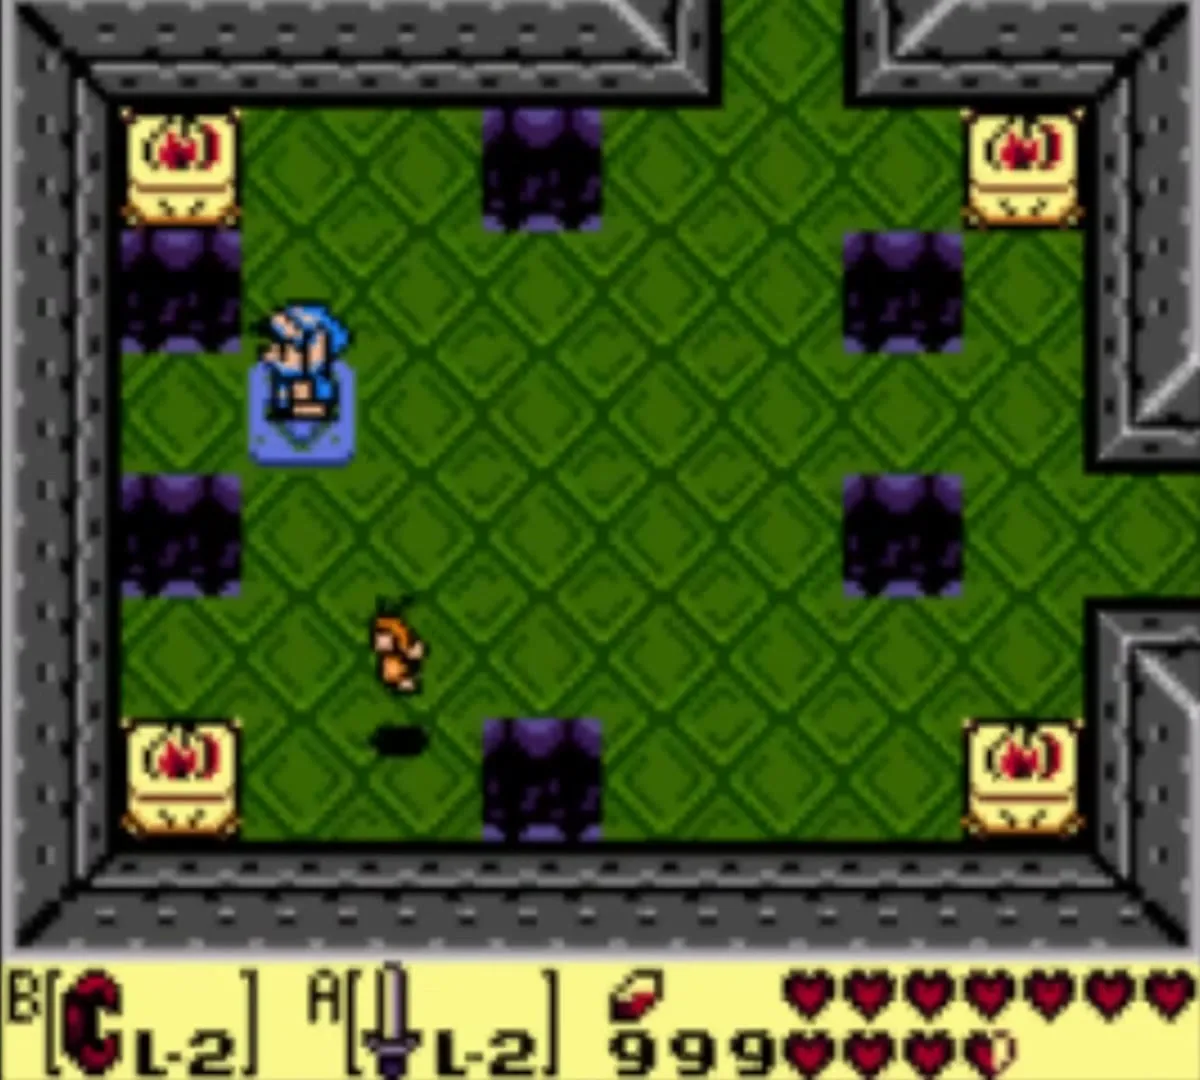
Take the north stairs back up to the second floor and enter the room with two Sparks circling it. This is the home of the mini-boss Hinox. Holes in the floor drop you to the first floor and a wall torch shoots fireballs while he lives. Stay out of his reach, hit him with the Sword several times, and he gives up a small key.
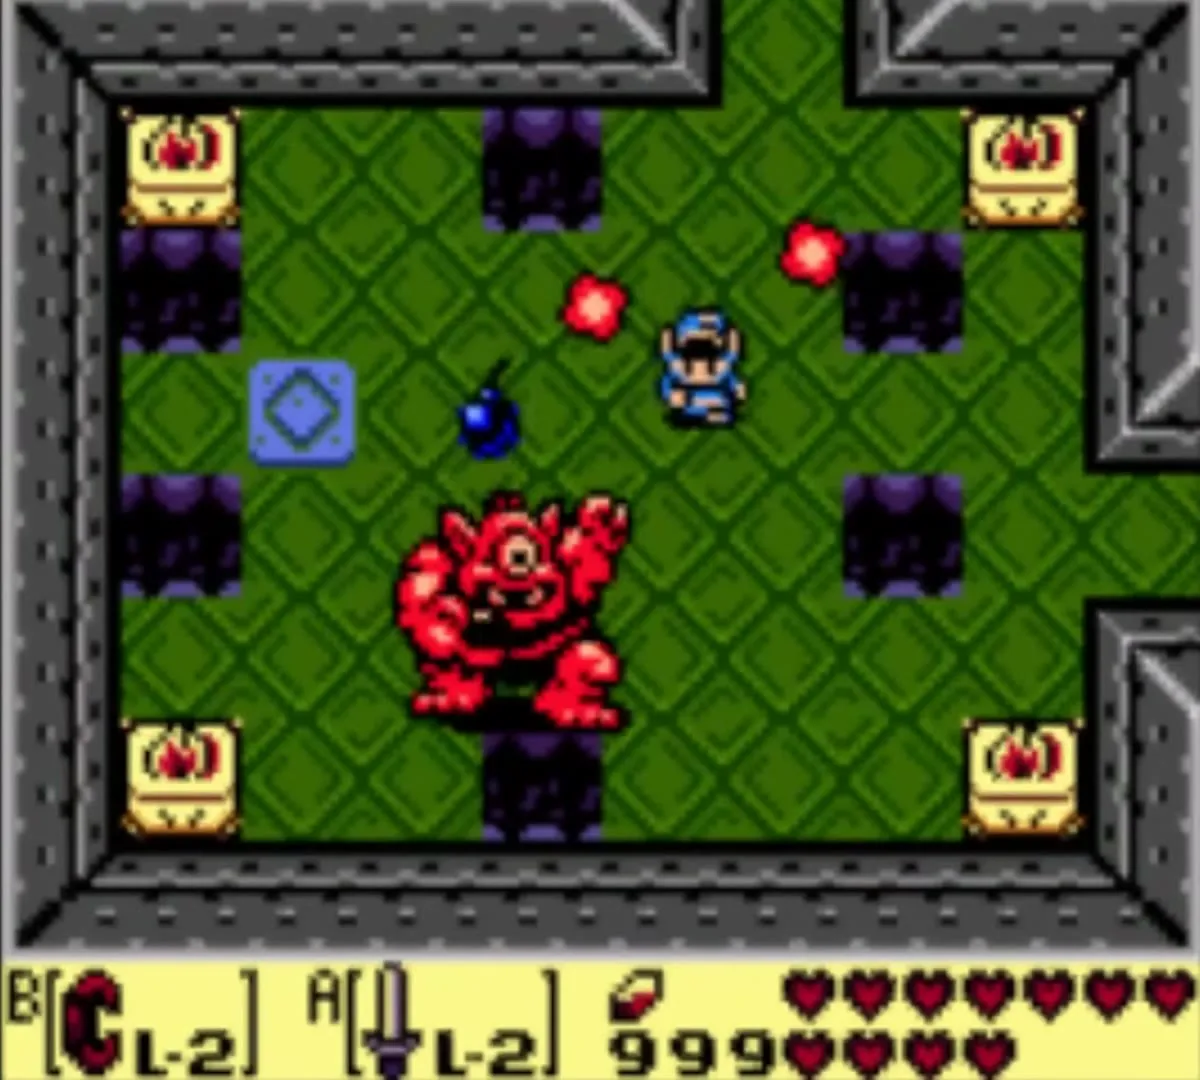
If you drop through one of the holes along the far-left wall, you land on a ledge on the floor below. Walk north around its outer edge to a chest with Secret Seashell number 26. If you already took the L-2 Sword from the Seashell Mansion, this chest holds 20 Rupees instead. You can return to the tower at any time for it.

Back in the upper rooms, go east one screen and defeat the Three of a Kind; a chest appears but cannot be reached yet. Go east again, grab the iron ball and bring it back to the Hinox room. Throw it over the fences and the pit to the north end. Then go north through the one-way door into the room with Flying Tiles. Press yourself into a corner with your shield up, wait for the tiles to stop, and head east.


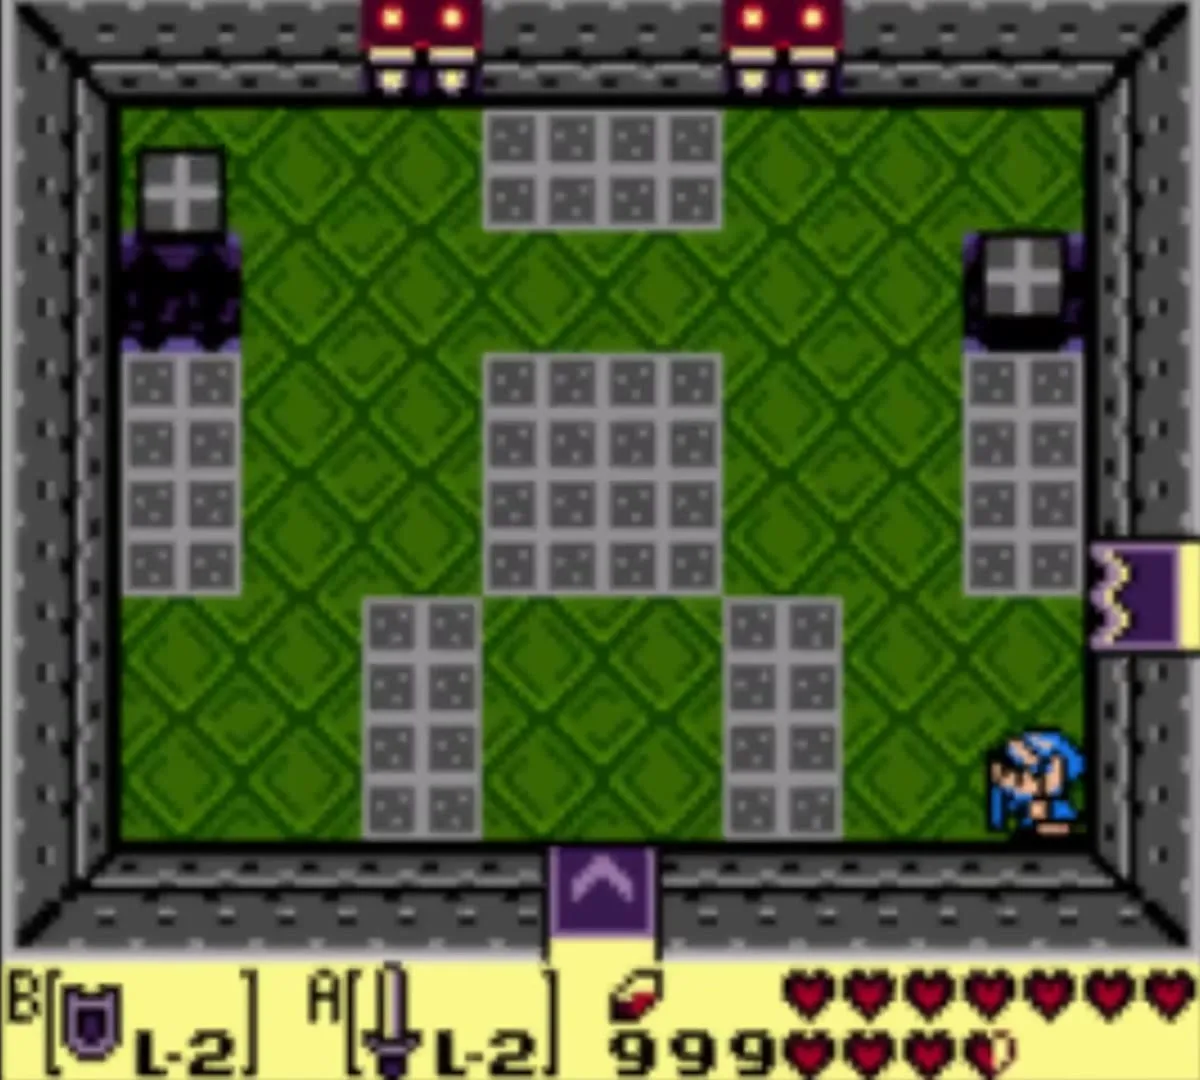
Place a bomb on the south wall between the two torches, and another on the south wall of the next room, which opens a loop back to the chest room. Use the Hookshot on the chest to pull yourself across, open it for a bomb, then take the iron ball north and throw it at pillar 3.


Pillar 4: bring the roof down
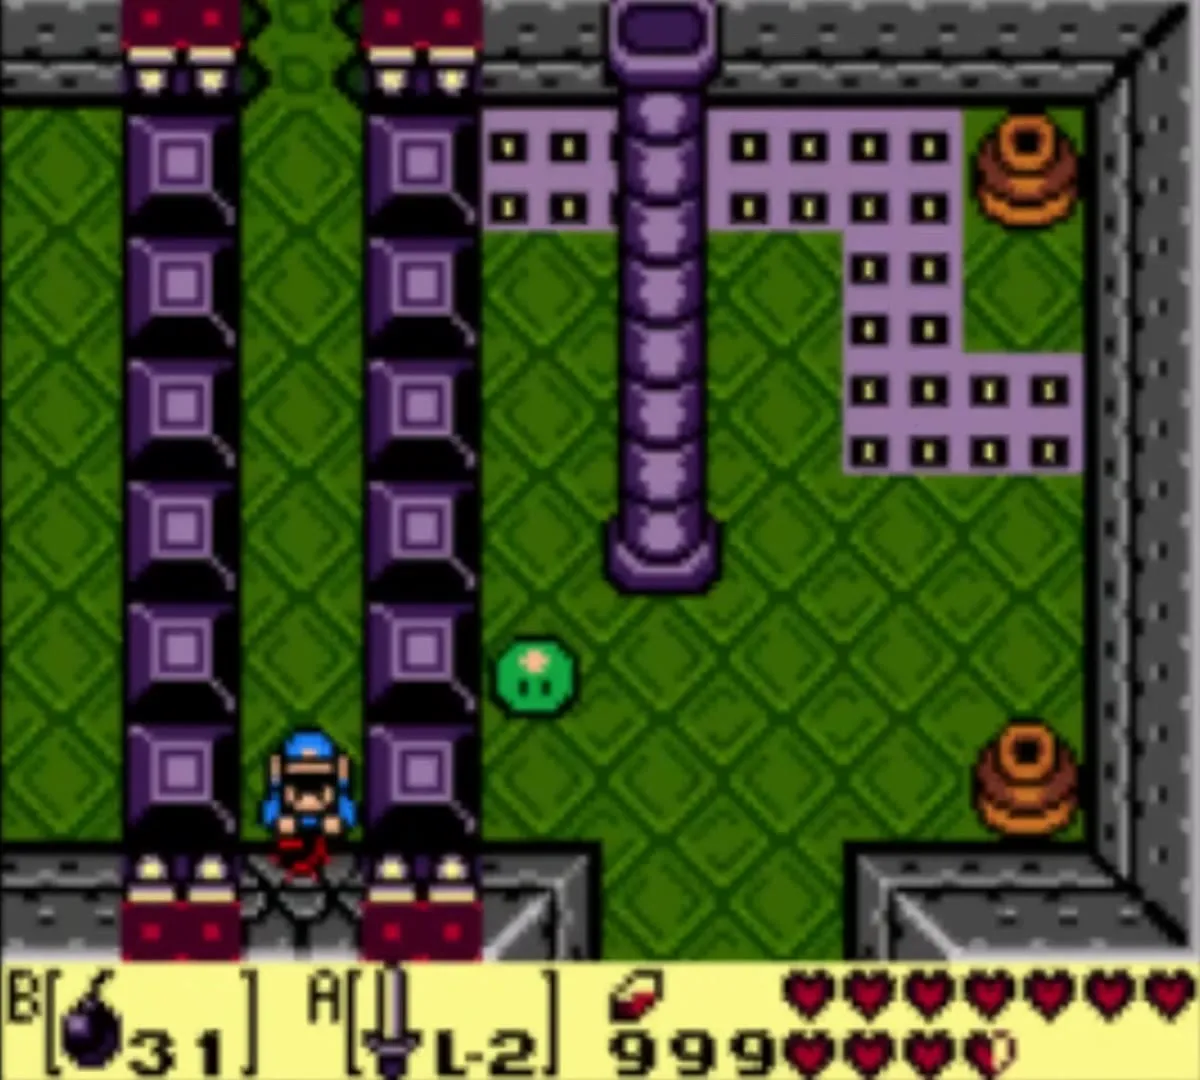
Pick the ball up again and carry it south and throw it across the pit where the Three of a Kind roam. Fall into the pit to return to the entrance if you need to, and make your way back through the Hinox room and north through the one-way door. In the Flying Tiles room, set the ball on a floor tile, throw it north from the south wall and shield yourself while the tiles drop pits. Pick it up and head east.
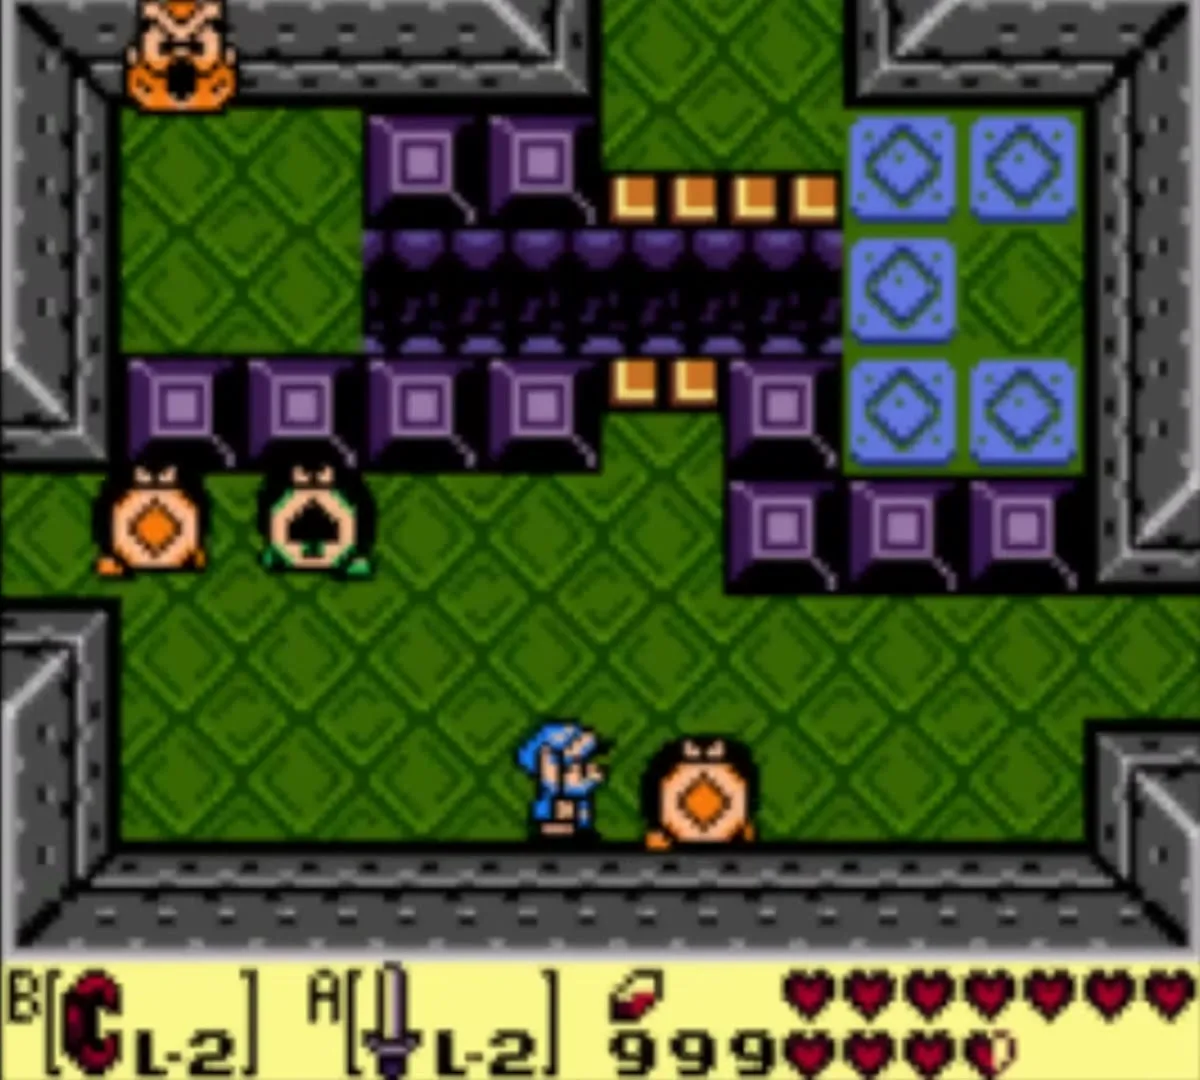


Throw the ball at pillar 4. The tower shakes and the fourth floor falls into the third, replacing the old rooms with a path that leads on to the Nightmare’s Key and the boss.
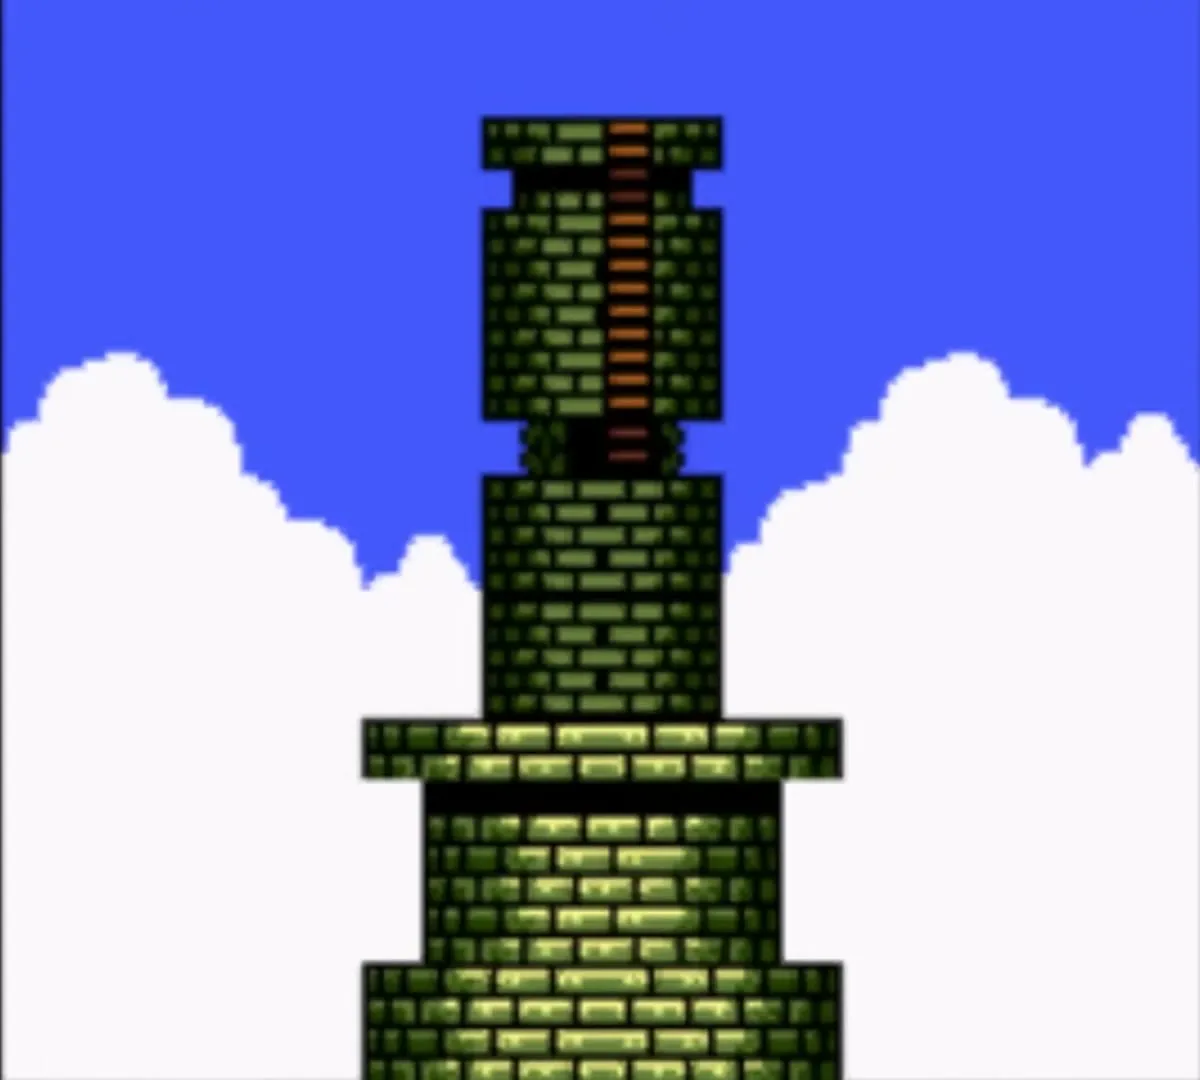


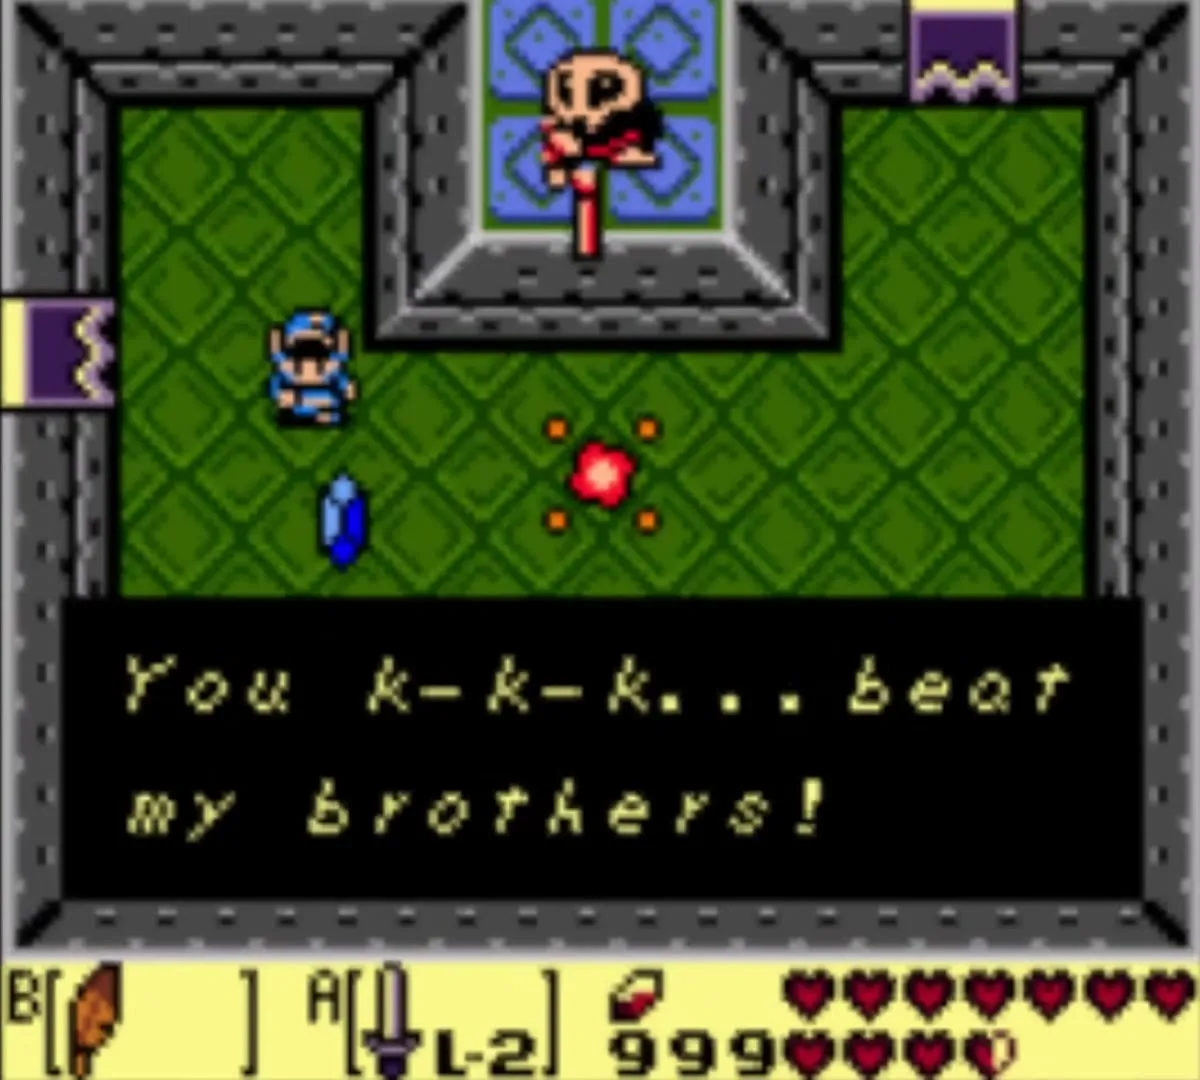
Grim Creeper mini-boss
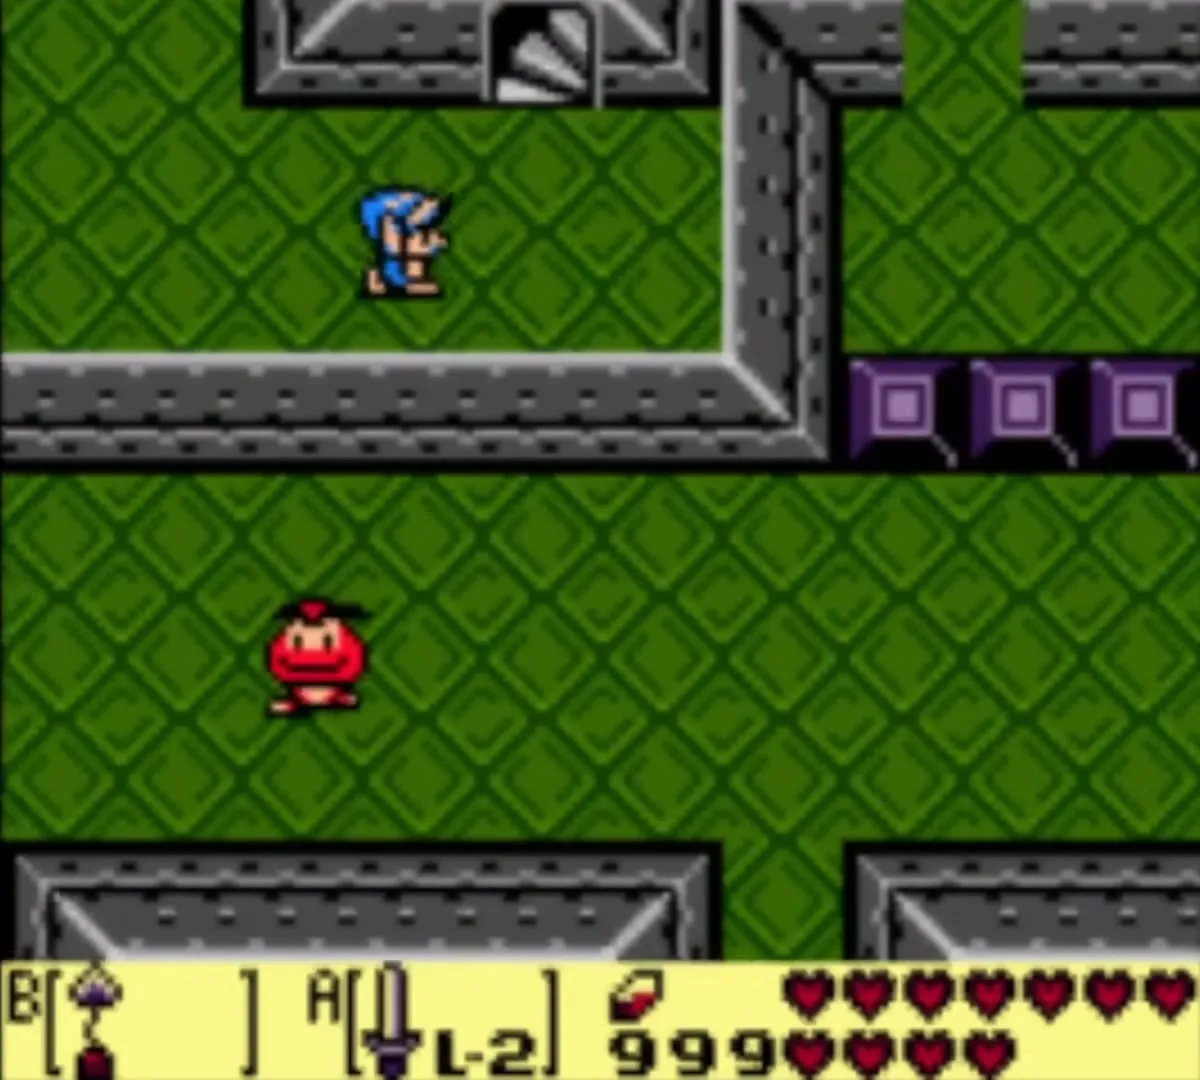
Climb to the third floor and head to the east door, where the mini-boss Grim Creeper waits in a niche in the north wall. He taunts you, then calls six Big Keese that fly at you one at a time in the order they arrived. You can hurt each Keese only while it is diving at you, so stand near the middle of the south wall and swing the Sword as each one comes. Kill all six; he does not give up until they are all gone. When they are gone, Grim Creeper flees and the sealed north door opens.
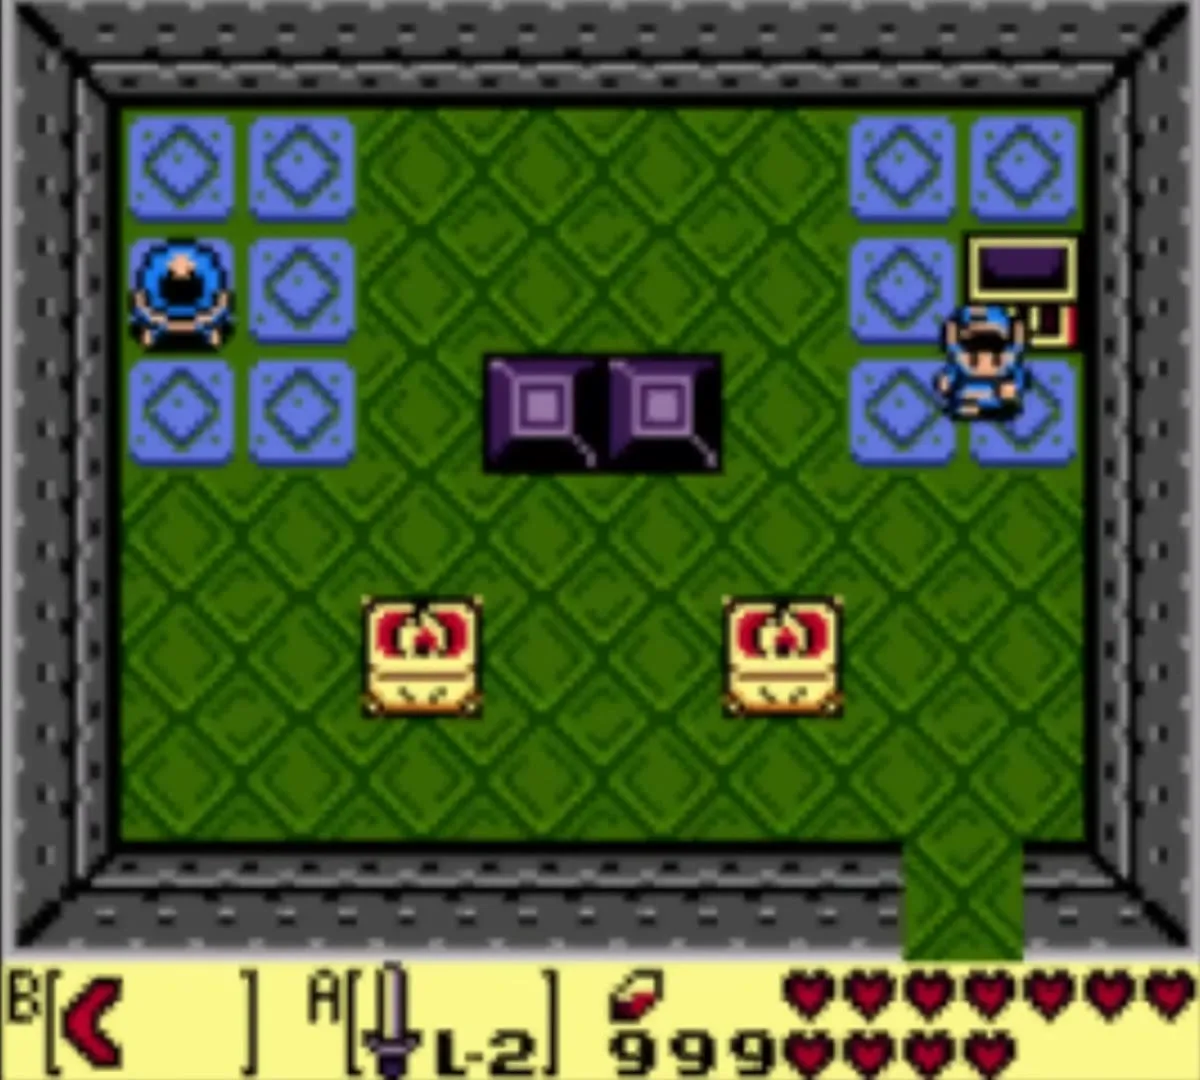
How to get the Nightmare’s Key
Go through the north door to a room with two blocks and three Sparks. Push the left block one step right and the right block one step left until they touch. A chest appears holding the Nightmare’s Key. Hit the crystal switch before you leave so the way back stays open.


Optional Secret Medicine
Near the Nightmare door there is one more optional treasure: a chest holding a Secret Medicine appears when you throw two more stone horse heads so that they land upright, while a Beamos fires across the room. You can only carry one Secret Medicine, so skip it if you already have one.
Nightmare door and the road to the roof
Go back to the Grim Creeper room and walk two screens west to the Nightmare door. Open it with the Nightmare’s Key, go north and climb the stairs. Use the Hookshot on the far block to cross, follow the raised platform south and round to the staircase, then climb the ladder to the tower roof.


Evil Eagle boss fight
You arrive on the narrow roof platform in the clouds. Grim Creeper sneers at you, then the Evil Eagle swoops in. If you are knocked off the platform, the fight starts over and the Eagle recovers. Stay near the middle of the platform, equip the Mirror Shield and hold your Hookshot or Sword ready.
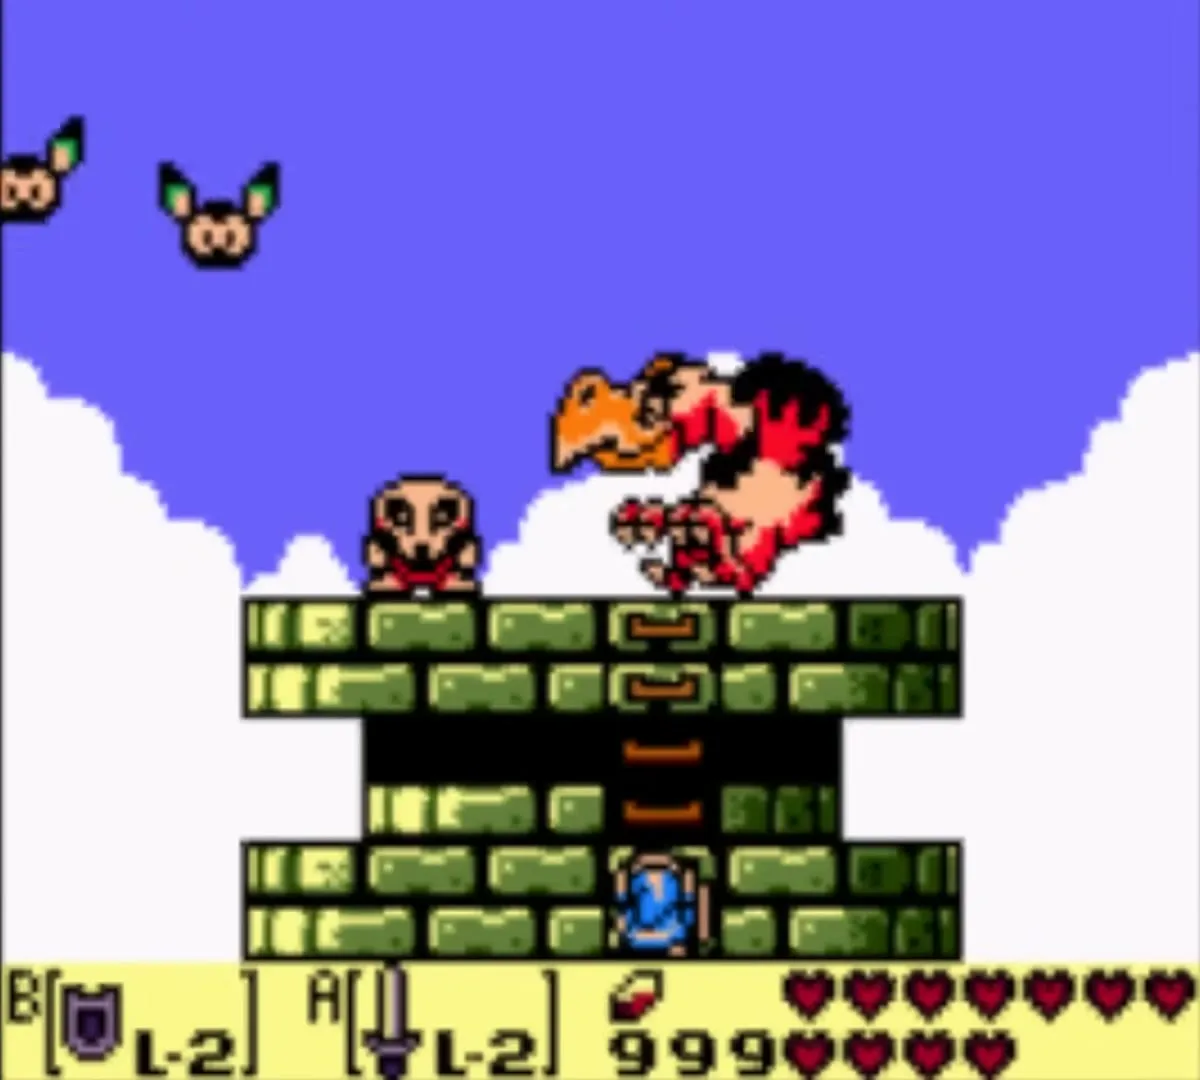
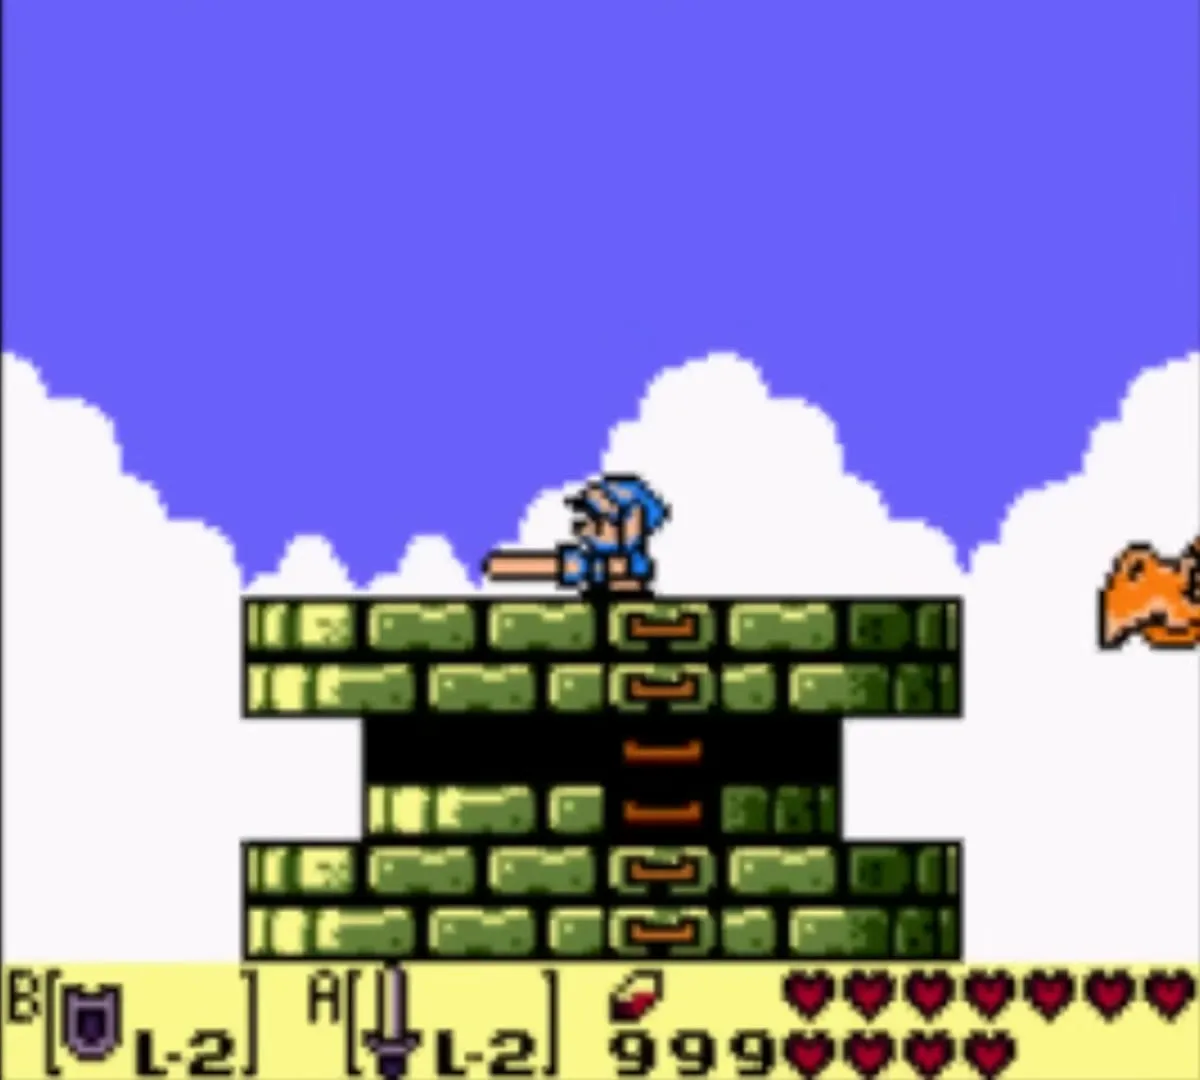
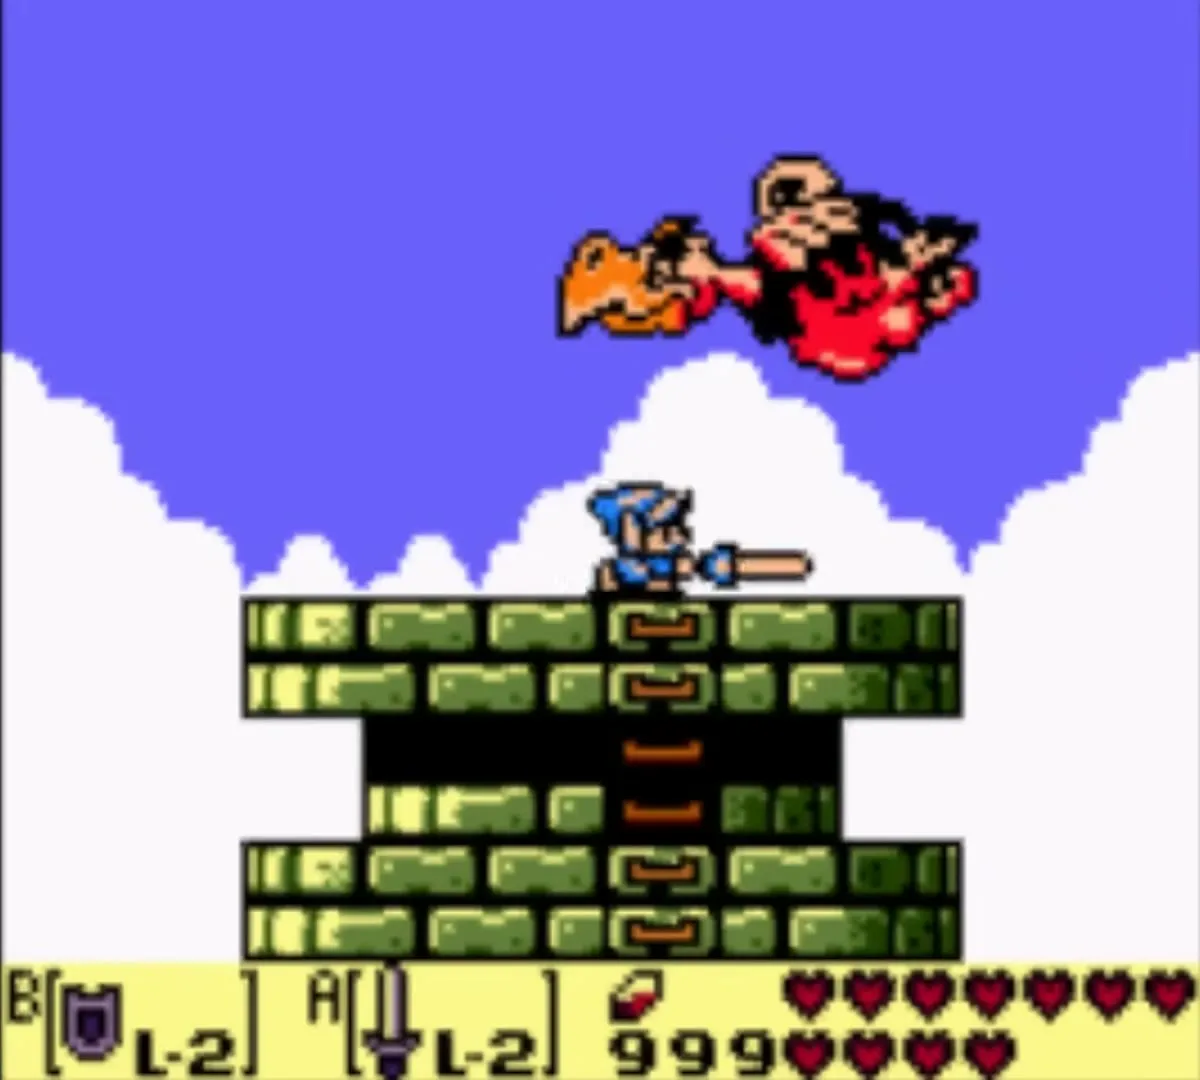
The Evil Eagle uses three attacks. When it flies across the roof, hit it with the Sword, Hookshot or Boomerang as it passes; each hit makes it retreat. When it perches at the side and flaps, a wind and a rain of feathers pushes you towards the edge: raise your shield and walk into the wind until it stops, then return to the middle. When it dives straight down, shield up, and hit the beak if you can. It takes several clean hits, and the count depends on the weapon, so be patient and stay near the middle.
Heart Container
When the Eagle burns away, a Heart Container appears on the roof. Pick it up: it is your seventh.

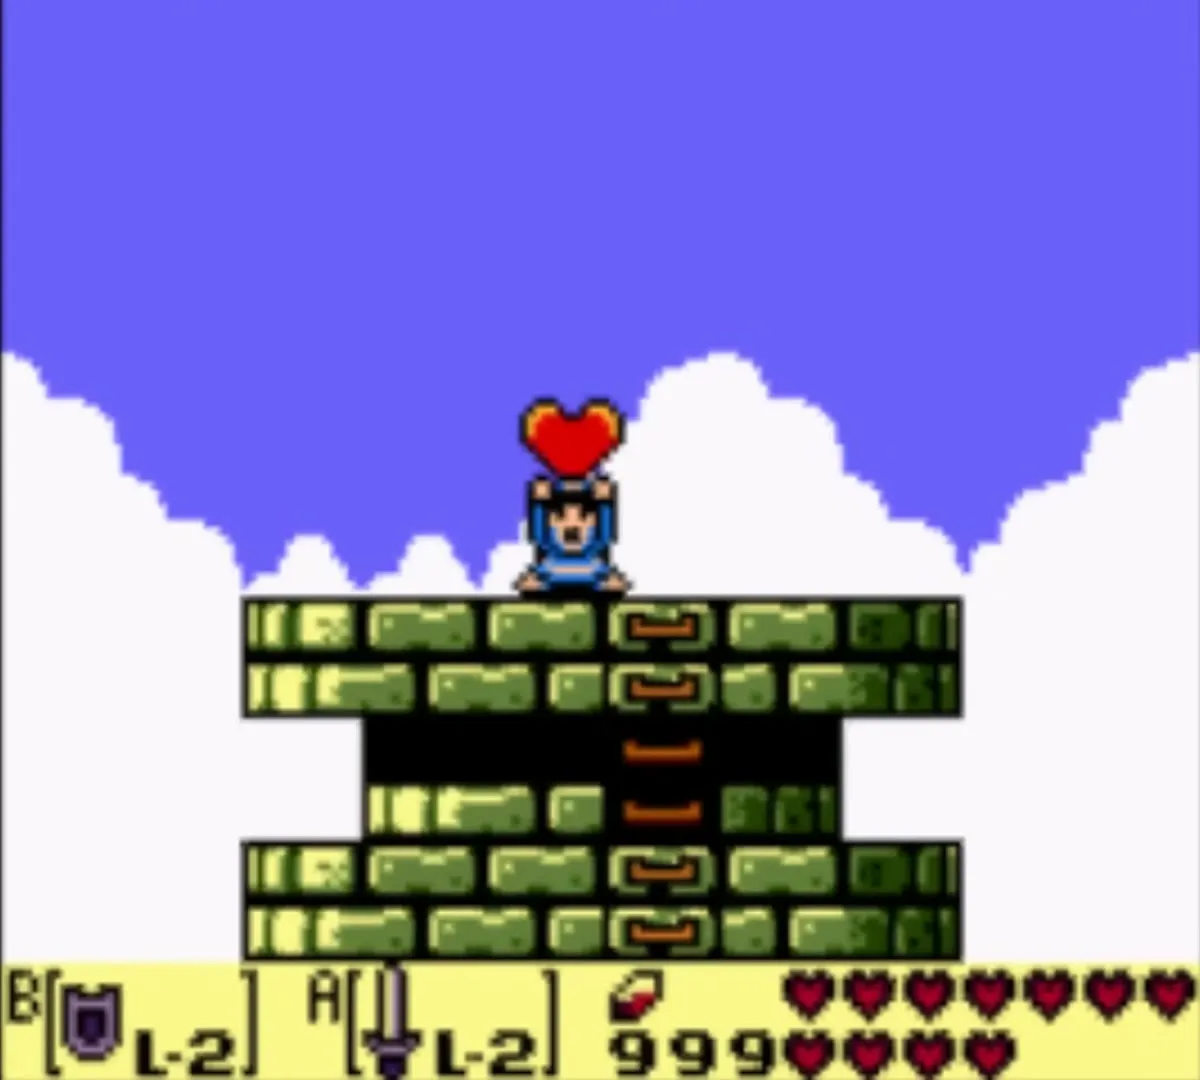
How to get the Organ of Evening Calm
Climb down the ladder and go back through the door into the tower. A passage that opened when the boss fell leads north to a room with owl statues around a blue floor, where the Organ of Evening Calm rests. Take the Instrument to finish Level 7.


The Owl speaks again, saying that the music of the Ocarina leads the way on. The next Instrument is inside Turtle Rock, which opens when you play the Frog’s Song of Soul to the sleeping turtle.
Chapter checklist
| Collectible | Type | Where |
|---|---|---|
| Flying Rooster | Companion | Under the Mabe Village weathercock, with the Power Bracelet L-2 and the Frog’s Song of Soul |
| Secret Seashell 25 | Secret Seashell (missable) | Kanalet Castle, stairs west of the drawbridge past the pits, reached with the Rooster |
 50 Rupees | Chest | Tal Tal ledge beside the stumps, before the bridge |
| Bird Key | Key item | Dais in the cave under the Hen House, past the long pits |
| Mirror Shield | Equipment | Eagle’s Tower, chest behind the crystal blocks |
| Stone Beak | Dungeon item | Eagle’s Tower, first-floor chest |
| Map and Compass | Dungeon items | Eagle’s Tower, horse-head room and Three of a Kind room |
| Secret Seashell 26 | Secret Seashell | Eagle’s Tower, ledge below the Hinox room |
 Nightmare’s Key | Dungeon item | Eagle’s Tower, two-block room after Grim Creeper |
 Secret Medicine | Optional item | Eagle’s Tower, horse-head chest near the Nightmare door |
 Heart Container | Heart | Evil Eagle on the roof |
 Organ of Evening Calm | Instrument | Eagle’s Tower, room above the entrance after the boss |
With seven Instruments in hand, continue in Western Mountains and Turtle Rock (Level 8).
