





















Link's Awakening 100% Completion Walkthrough9 chapters
- The Shore, Forest and Tail Cave (Level 1)Shield, Sword, Mysterious Forest, Magic Powder, Tail Key, Roc’s Feather, Moldorm and the Full Moon Cello.
- Goponga Swamp and Bottle Grotto (Level 2)BowWow’s rescue, Goponga Swamp, every key, the Power Bracelet, the Genie boss and the Conch Horn.
- Ukuku Prairie, Kanalet Castle and Key Cavern (Level 3)The Golden Leaves of Kanalet Castle, the Slime Key, Pegasus Boots, Slime Eye and the Sea Lily’s Bell.
- Yarna Desert and Angler’s Tunnel (Level 4)Wake the walrus, cross Yarna Desert, win the Flippers, beat the Angler Fish and take the Surf Harp.
- Martha’s Bay and Catfish’s Maw (Level 5)Manbo’s Mambo, the ghost, the Mermaid’s Scale, Hookshot, Master Stalfos, Slime Eel and the Wind Marimba.
- Ancient Ruins and Face Shrine (Level 6)Magnifying Lens, Frog’s Song of Soul, Boomerang, Ancient Ruins, Power Bracelet L-2, Facade, Coral Triangle.
- Tal Tal Mountains and Eagle’s Tower (Level 7)Flying Rooster, Bird Key, Mirror Shield, Evil Eagle and the Organ of Evening Calm.
- Western Mountains and Turtle Rock (Level 8)Marin’s bridge, Mad Batter, Frog’s Song of Soul, Magic Rod, Hot Head and the Thunder Drum.
- The Wind Fish’s Egg and the FinaleFinish your 100%, read the maze book, play the Ballad, beat the Shadow Nightmares, see the secret ending.
| Covers | The cliffs east of the Egg, the bridge where you meet Marin, the Mad Batter’s well, Spectacle Rock, the turtle at the northwest corner of the Tal Tal Mountains and Turtle Rock |
|---|---|
| Dungeon | Turtle Rock (Level 8): opened by playing the Frog’s Song of Soul to the turtle; needs the Hookshot, Roc’s Feather, Power Bracelet, Mirror Shield, Bombs and Bow, plus the Boomerang if you made the optional trade; seven small keys; mini-bosses Vire, Hinox, Rolling Bones, Smasher, Blaino and Cue Ball; boss Hot Head; item Magic Rod; instrument Thunder Drum |
| Rewards | Photo 12 (Close Call); the Mad Batter’s arrow upgrade to 60; Magic Rod, Compass, Map, Stone Beak, Heart Container, Thunder Drum; 1 Piece of Heart on the outside ledge of Turtle Rock, plus the optional Mountain Path piece if you still lack it; no Secret Seashells, trade items or songs |
This chapter takes you from the foot of Eagle’s Tower to the eighth and last Siren Instrument. You cross the eastern cliffs, meet Marin on a frightening bridge, throw Magic Powder into the Mad Batter’s well, walk through a mountain of flames behind the Mirror Shield and wake a giant turtle with the Frog’s Song of Soul. Inside Turtle Rock you win the Magic Rod from Blaino, burn through the ice halls it opens and defeat Hot Head for the Thunder Drum. After that only the Wind Fish’s Egg is left.
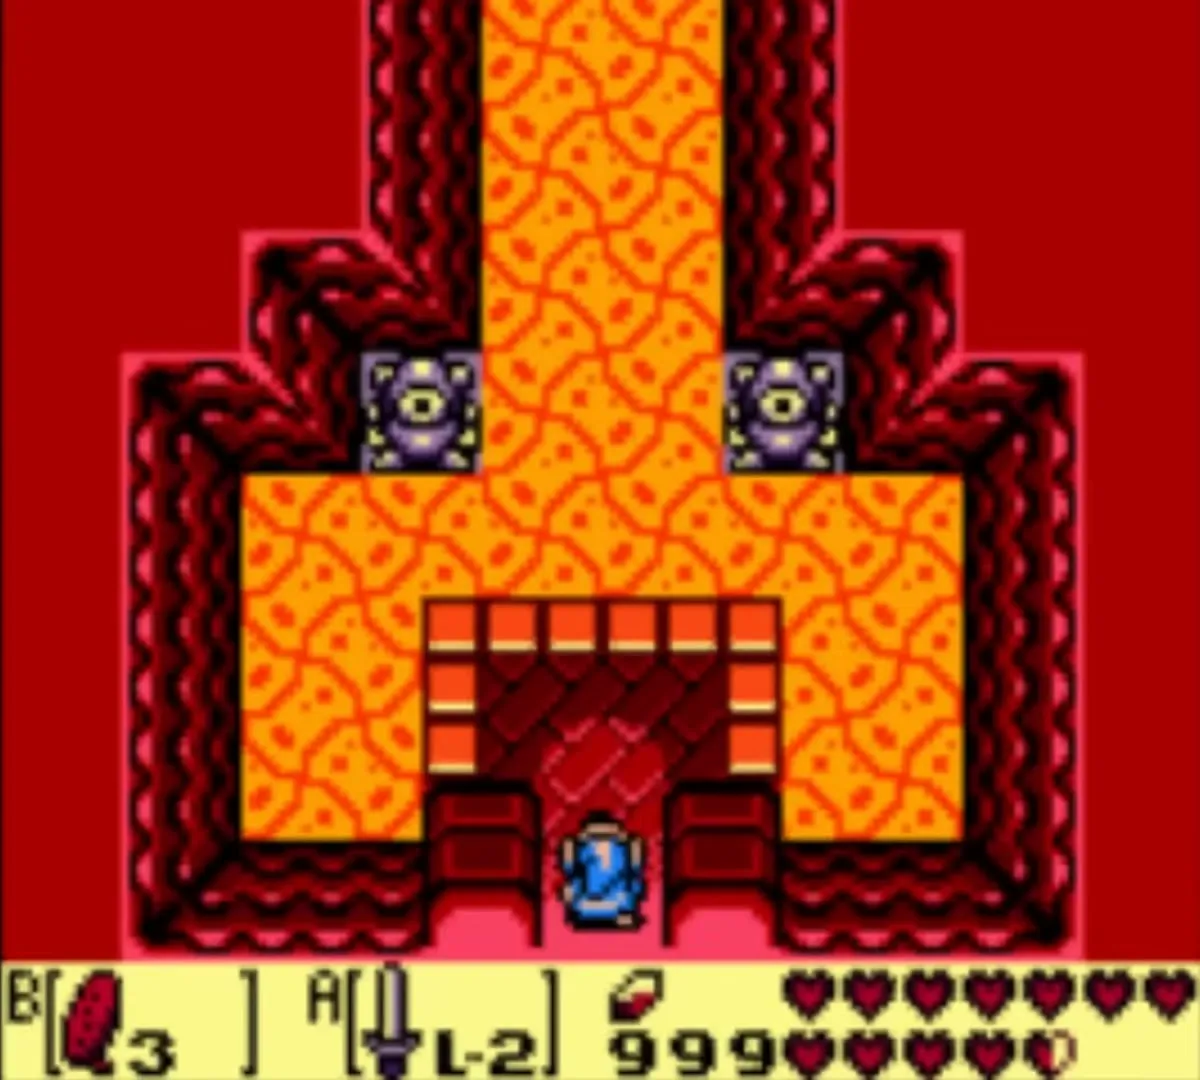
Table of Contents
From Eagle’s Tower to Marin’s bridge
Leave Eagle’s Tower and head east
With the Organ of Evening Calm in your hands, walk out of the tower. Jump down from the right edge of the ledge outside, go east and step into the cave mouth. Follow the tunnel until it opens onto a waterfall, climb the ladder beside the water and go west to the stairs that lead north. They take you up to a small house on the cliff top, and from there the road toward the western mountains continues over a chain of narrow wooden bridges. Bring the Hookshot, the Power Bracelet, the Roc’s Feather and the Mirror Shield, because every one of them is needed before this chapter is over.

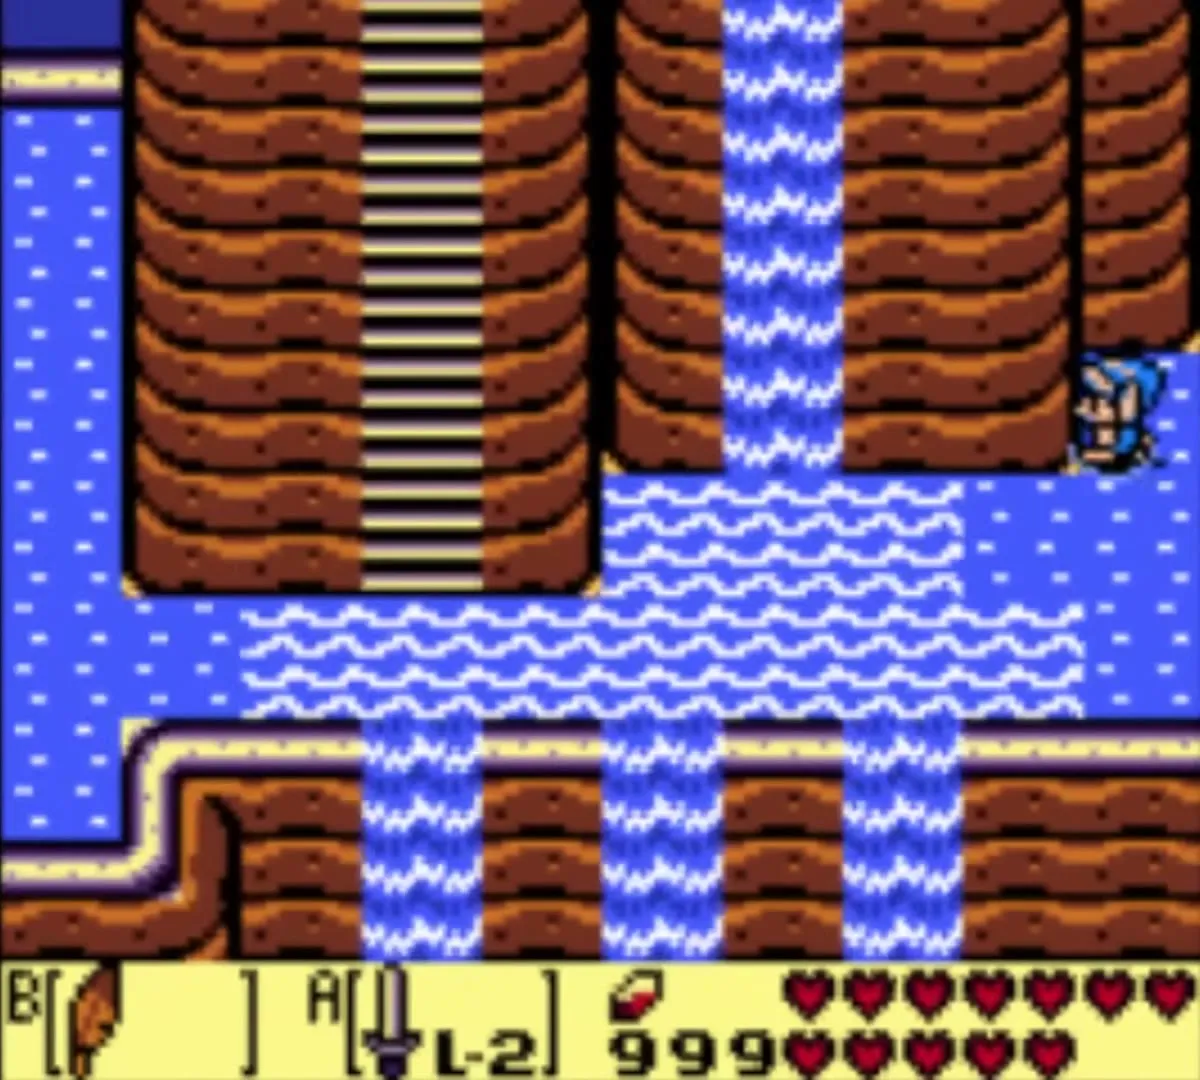

Photo 12: Close Call
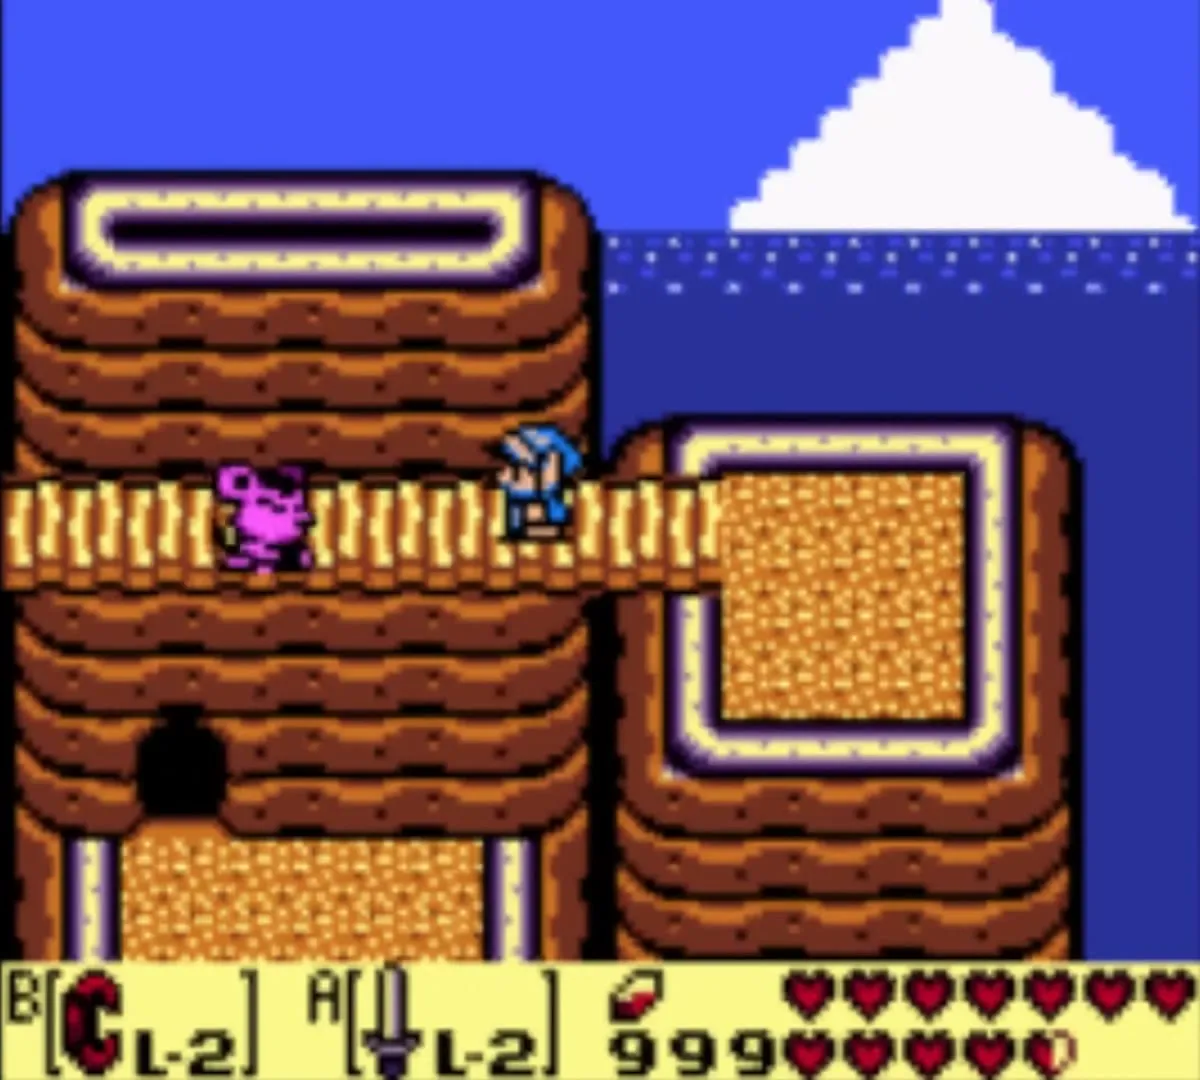
Walk east from the Hen House and out onto the plank bridge that runs along the cliff. The mouse photographer is waiting on the planks, talks about the picture he is about to take and then slips off the edge with a yell. The shutter clicks and the shot is saved as photo 12, titled “Close Call”. Walk across the bridge on your own feet to trigger it. The photograph list covers the other eleven pictures.

Marin on the bridge
Return to the house and go west on the next bridge. A gap interrupts the planks, and Marin is standing in the middle of it, frozen because she is afraid of heights. Equip the Hookshot, aim it at the rock at the far end of the bridge and pull yourself over to her side. Marin panics, Tarin’s name comes up, and the Owl swoops in. After a short scene he tells you that Marin’s Ballad of the Wind Fish matters in front of the Egg, and sends you west. Take that as your cue: the next dungeon is opened with a melody on the Ocarina, not with a key.


Mountain Path Piece of Heart (optional)
If the last Piece of Heart on the cliffs is still missing from your file, collect it now. After the scene on the bridge go west, cut the bush in your way and walk down the stairs into the cave. Bomb the south wall of the room, step through the opening and walk east to the Piece of Heart. Come back through the bombed wall, go west and take the stairs at the other end of the room. Skip this step if you collected the piece earlier; the cracks in the wall are hard to see, so tap the wall with your Sword to find them.
Hookshot over the gap to the open cliff
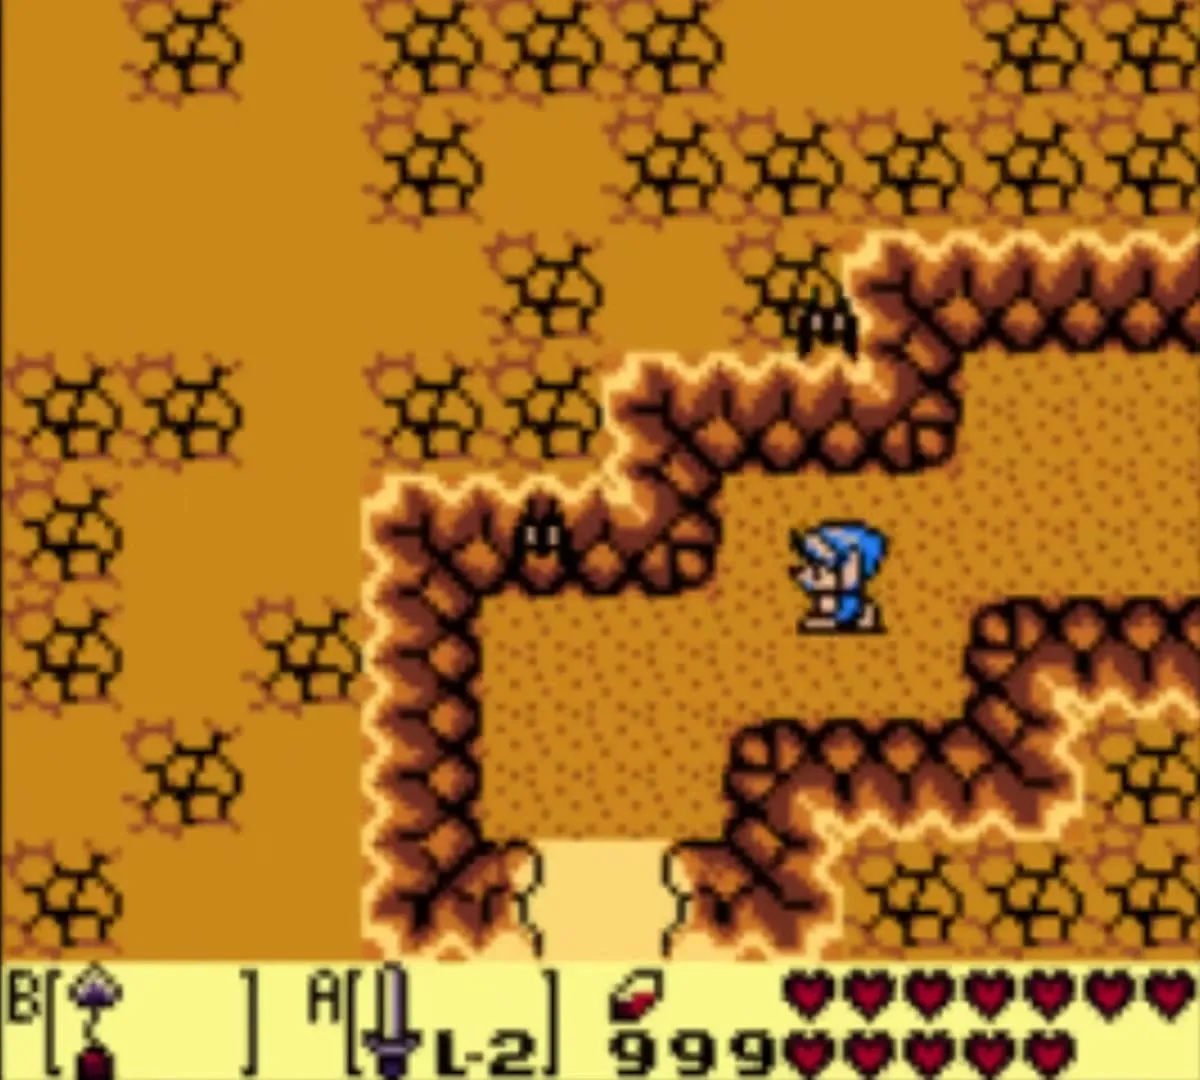
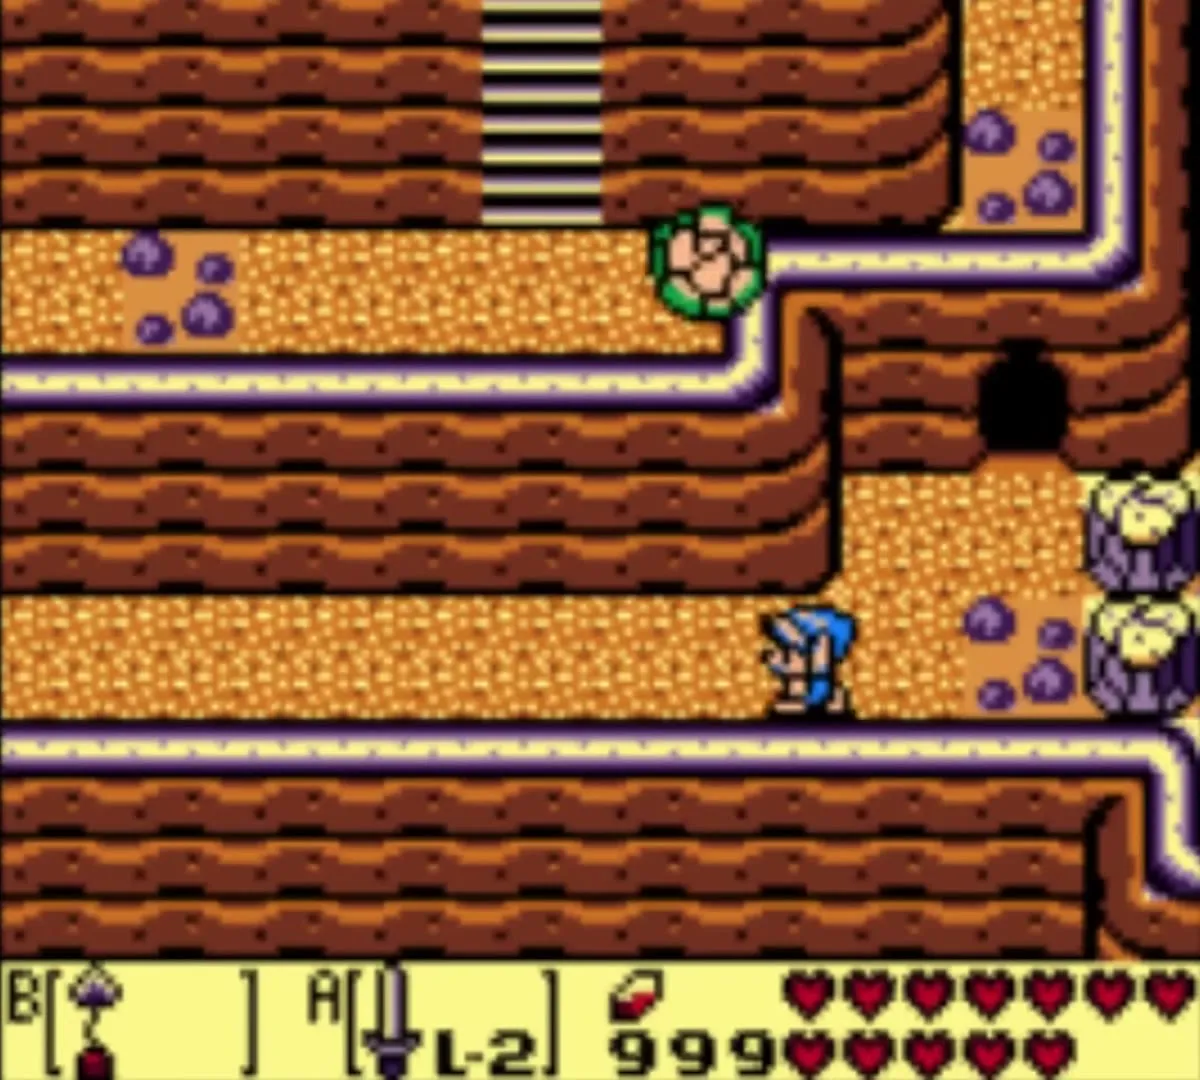
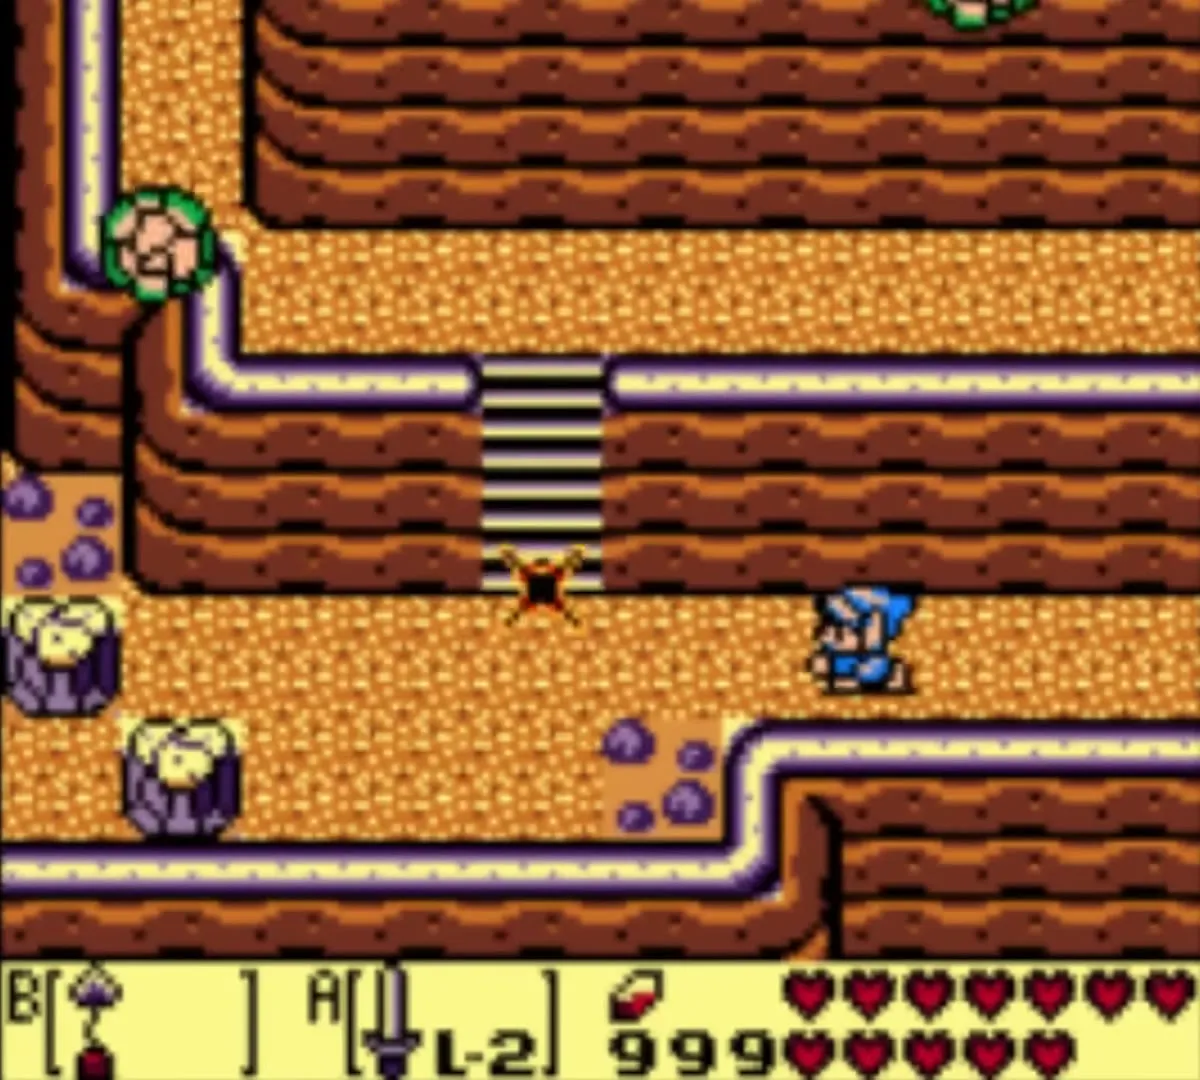
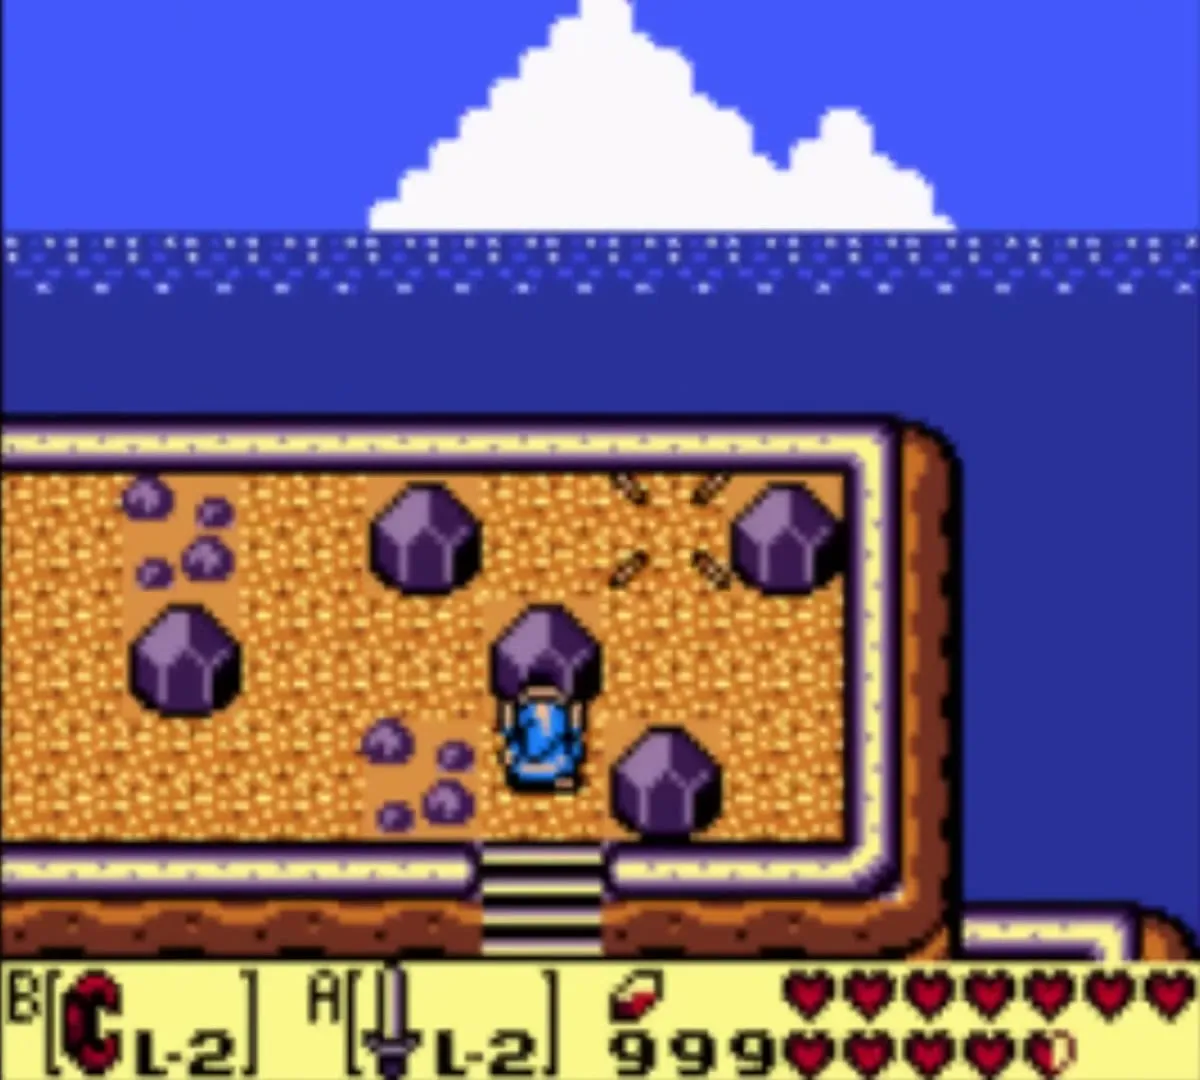
Continue west and use the Hookshot to cross the next gap in the cave, then leave the cave to the outside. You come out on a high cliff with sea on one side. Walk around the rocks, take the stairs up and head east, past a few purple boulders, until you find the next stairs.
Mad Batter’s well in the Tal Tal Mountains
The rupee chest
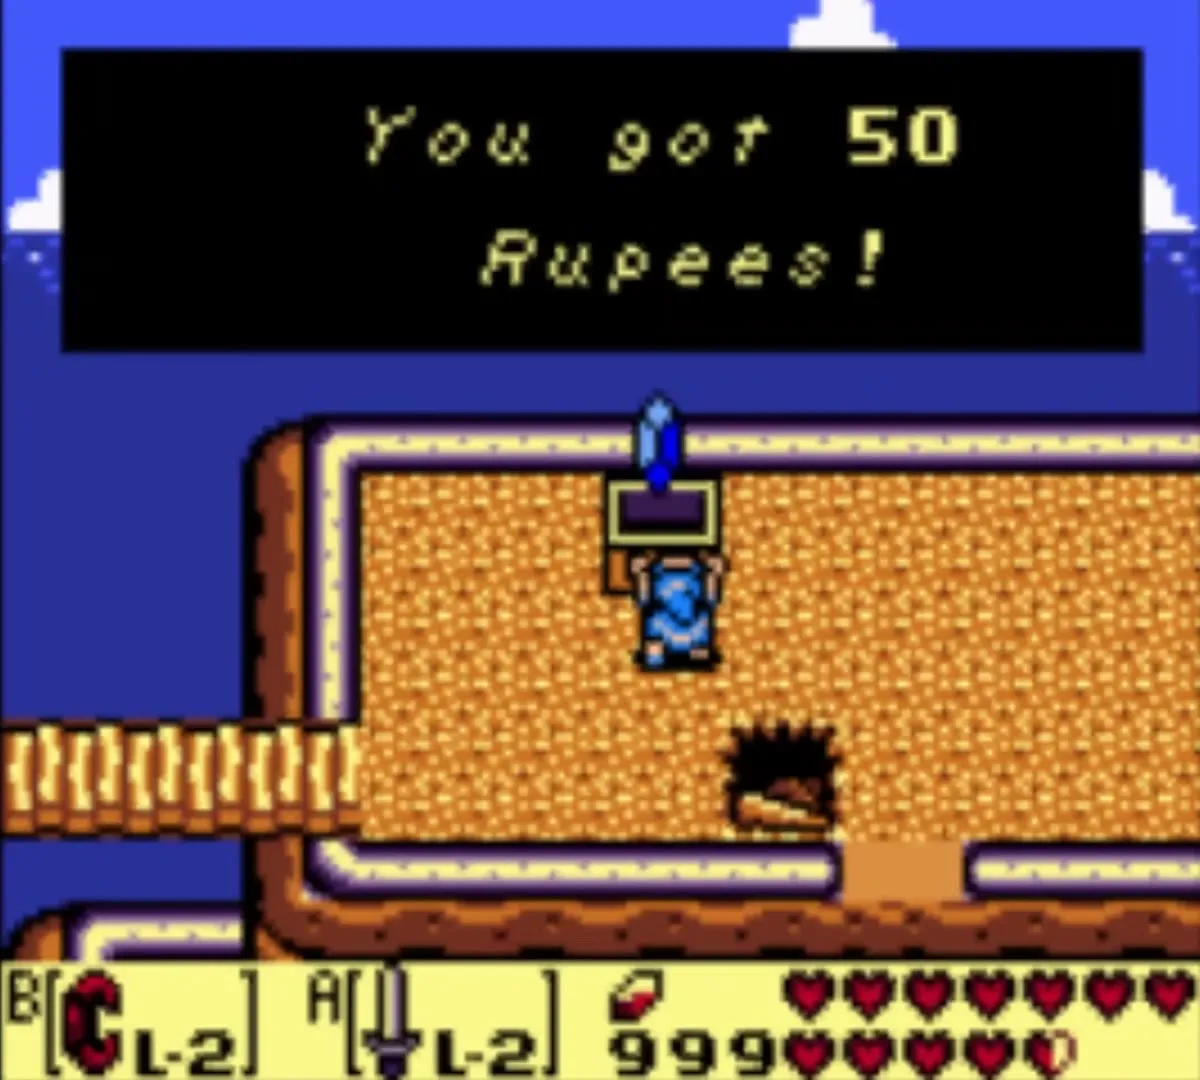
Walk west along the cliff to a chest on a small shelf above the water. It holds 50 rupees, which is only worth taking if your wallet is not already full. Lift the large rock beside it with the Power Bracelet to uncover a staircase that goes down into a cave.


Mad Batter: arrows up to 60
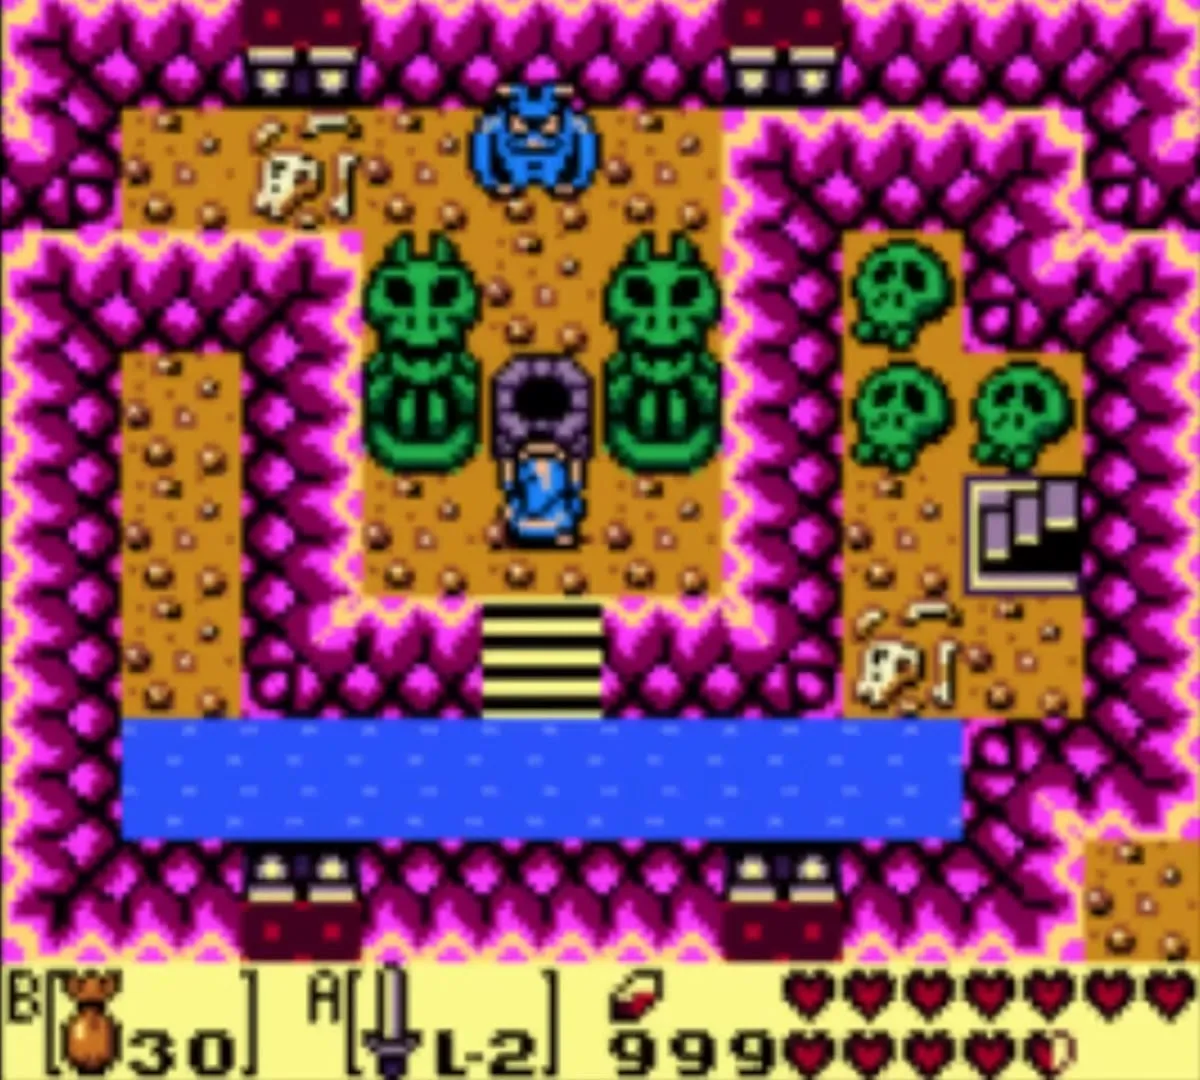
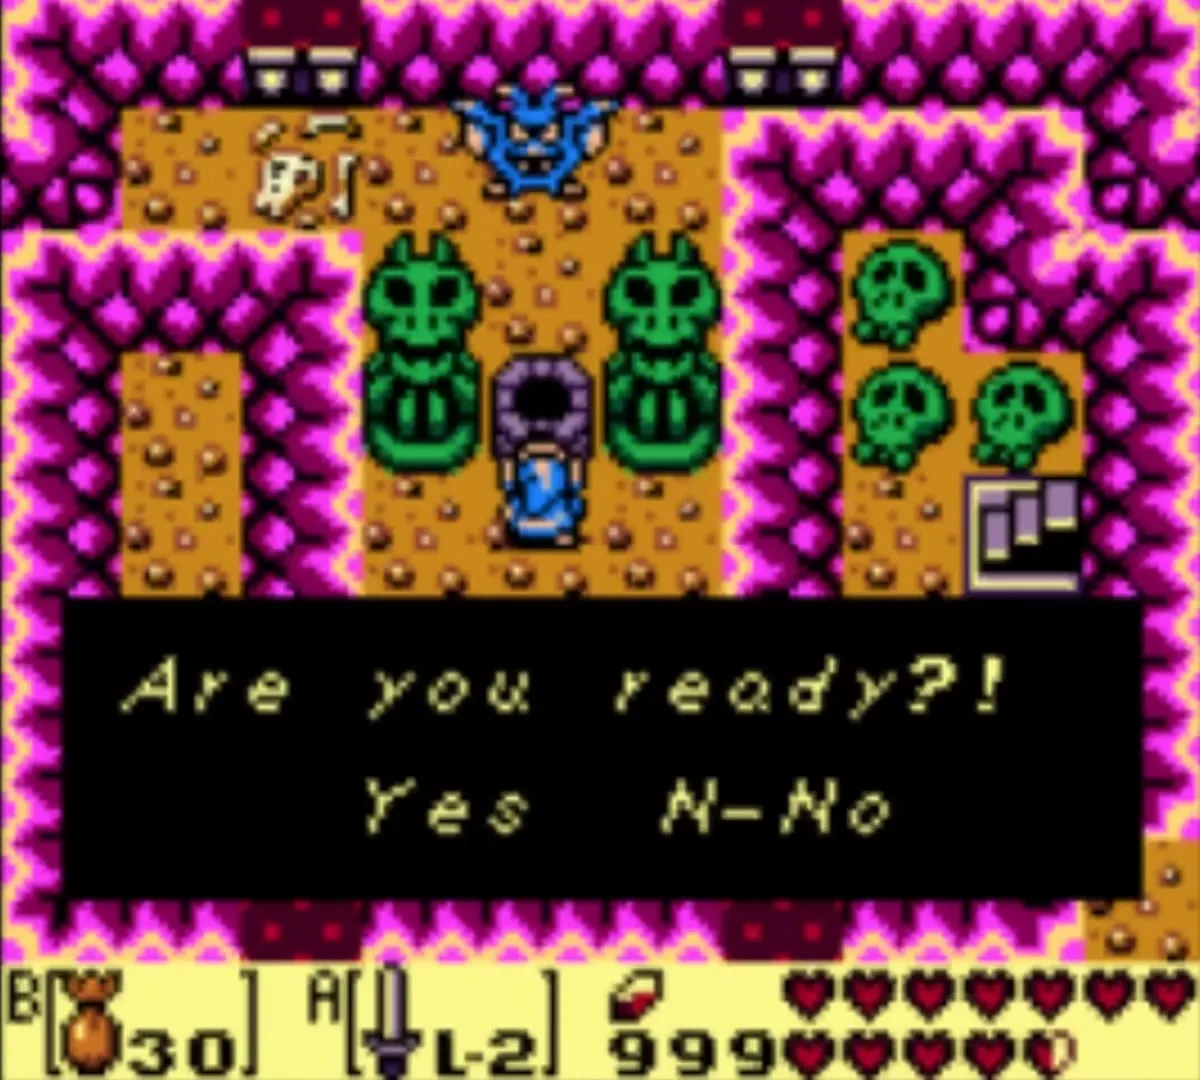
The staircase leads to a well with green statues on both sides. Stand in front of the well and throw Magic Powder into it. The Mad Batter wakes, and when he asks whether you are ready, answer yes. He offers one upgrade at a time, and refusing moves on to the next offer. Choose the arrow upgrade, which lifts your arrow capacity to 60, or whichever of the three you still lack. Bombs rise to 60 and Magic Powder to 40 at the other two altars. He will not upgrade an item you do not own, so carry the Bow, Bombs and Magic Powder before you visit. The upgrades are covered in Mini-Games and Shops.
Spectacle Rock to the turtle

Spectacle Rock and the Mirror Shield
Climb back outside and go west toward Spectacle Rock. The direct path is blocked by rocks, so jump down the ledge. At the cracked wall in the middle of the north wall, lay a Bomb and walk through the hole into the cave behind it.

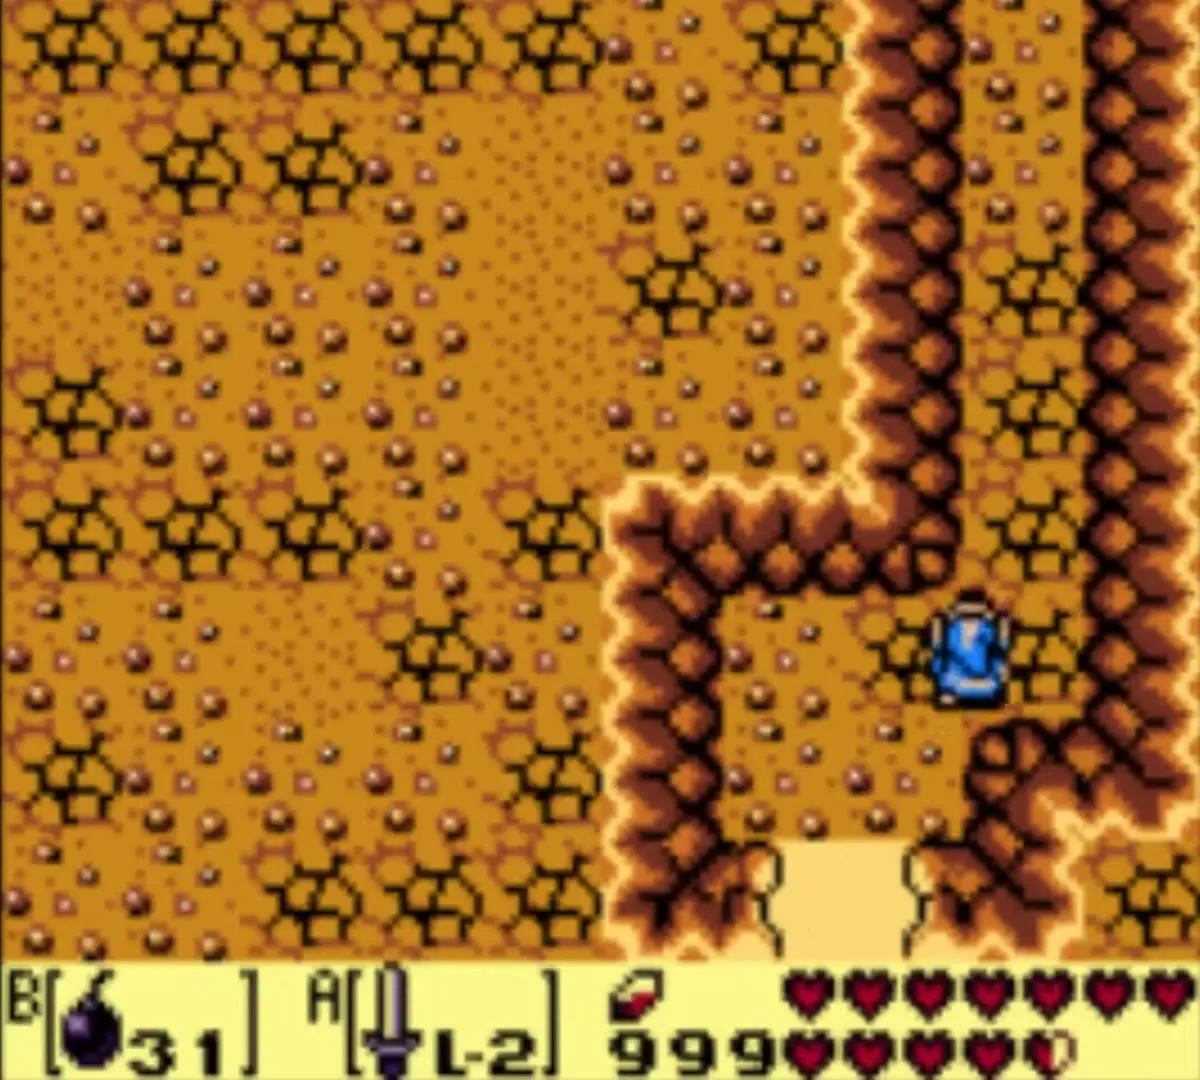
The cave is filled with fire that burns up from the floor. Equip the Mirror Shield and hold it up in front of you as you walk north; the shield absorbs the flames and lets you through. At the top of the cave turn left and climb the stairs. You come out the other side of Spectacle Rock on a clifftop that leads west.


Optional call to Ulrira
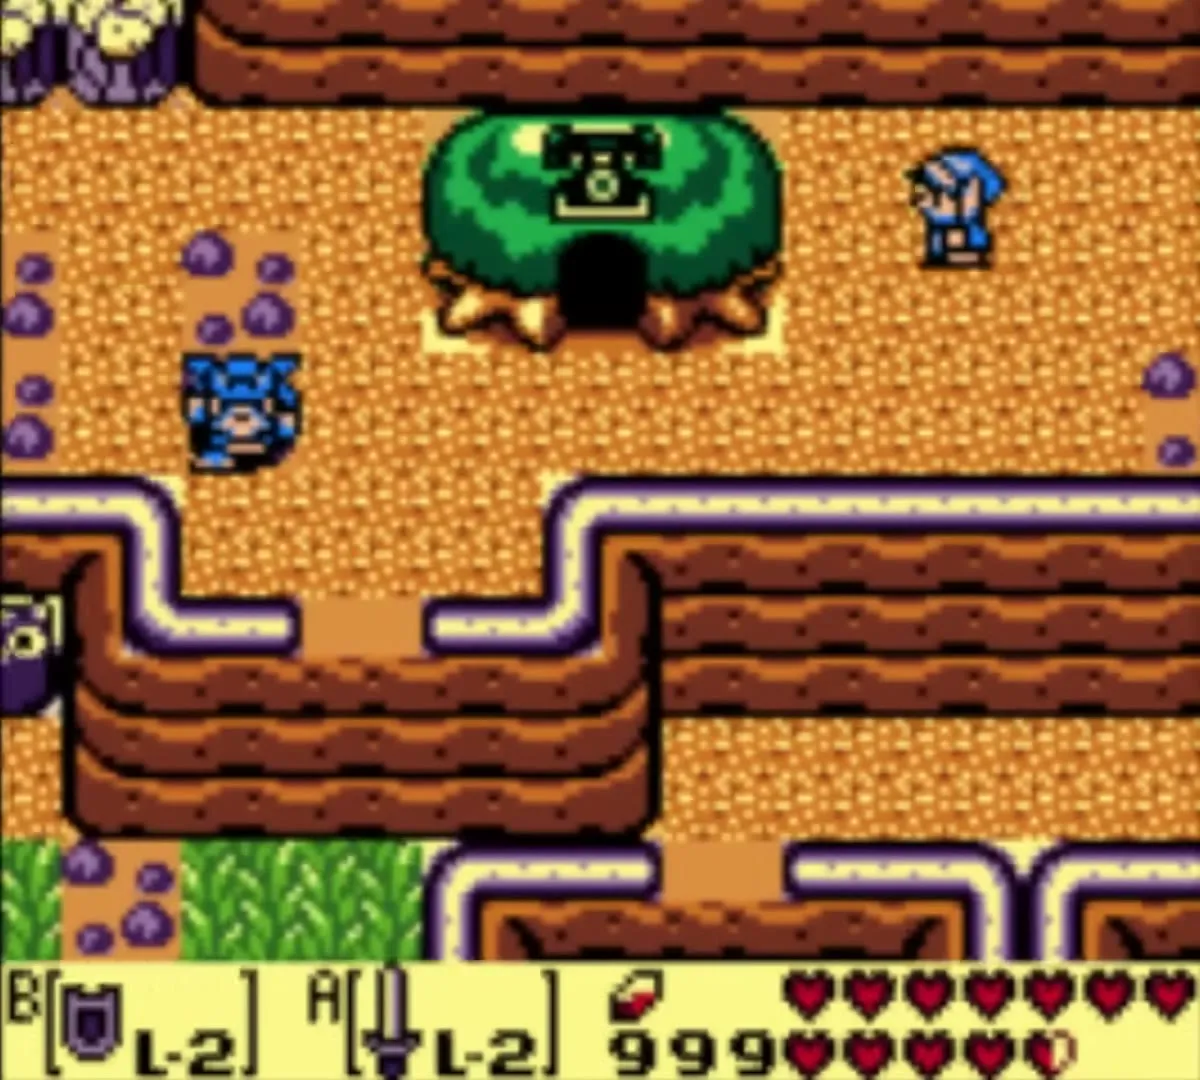
A phone booth stands in a tree beside the path. You can step in to hear Grandpa Ulrira, but nothing here is required. Continue west to Turtle Rock.

Wake the turtle with the Frog’s Song of Soul
Stop in front of the stone head at the northwest corner of the mountains. Open the item screen, select the Ocarina and play the Frog’s Song of Soul. The song is described in Ocarina Songs. The stone head turns green and starts to move.
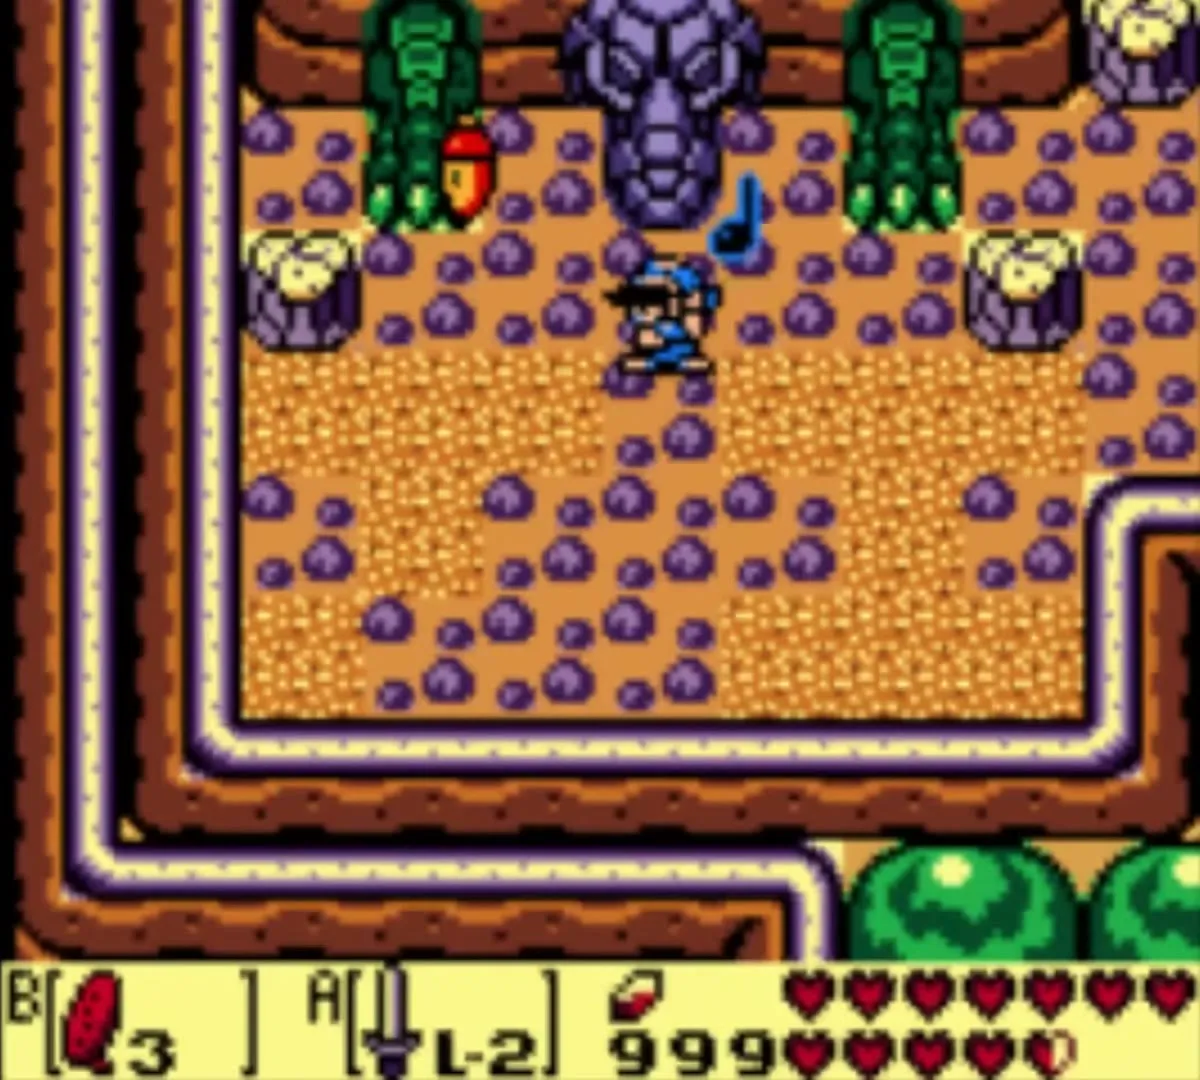
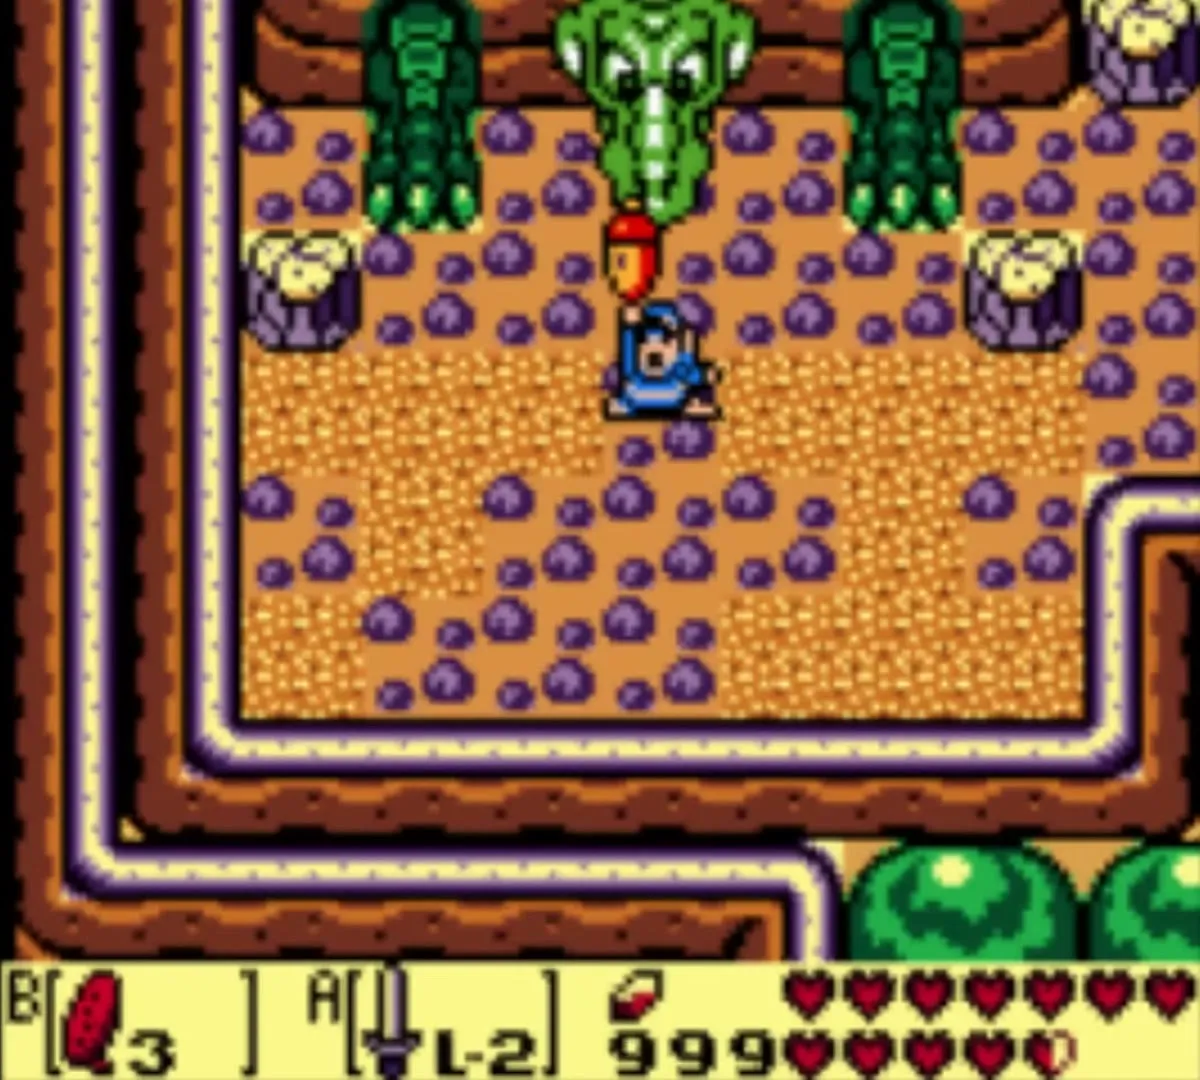
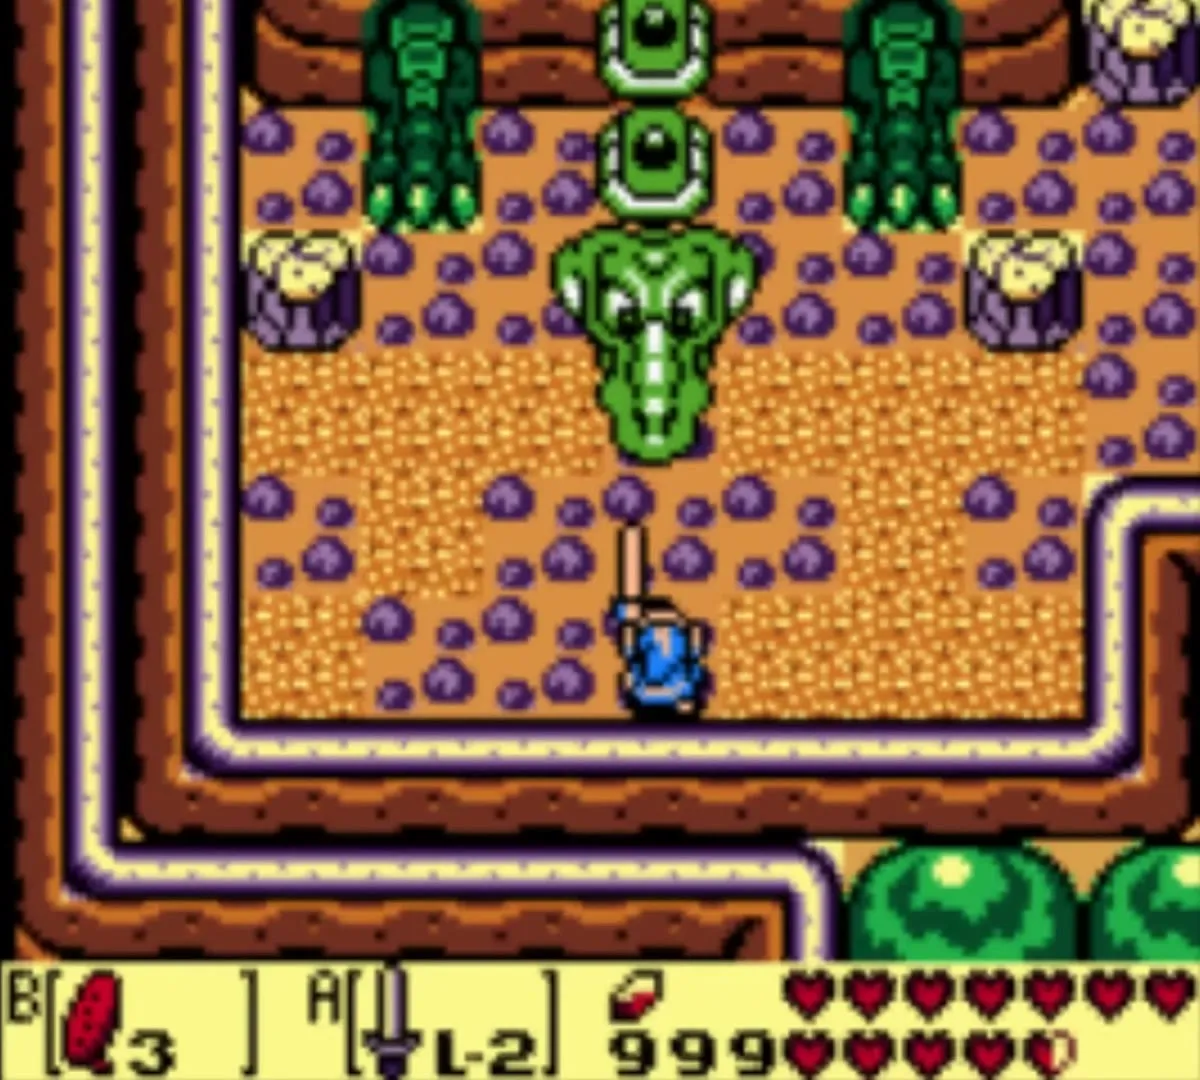
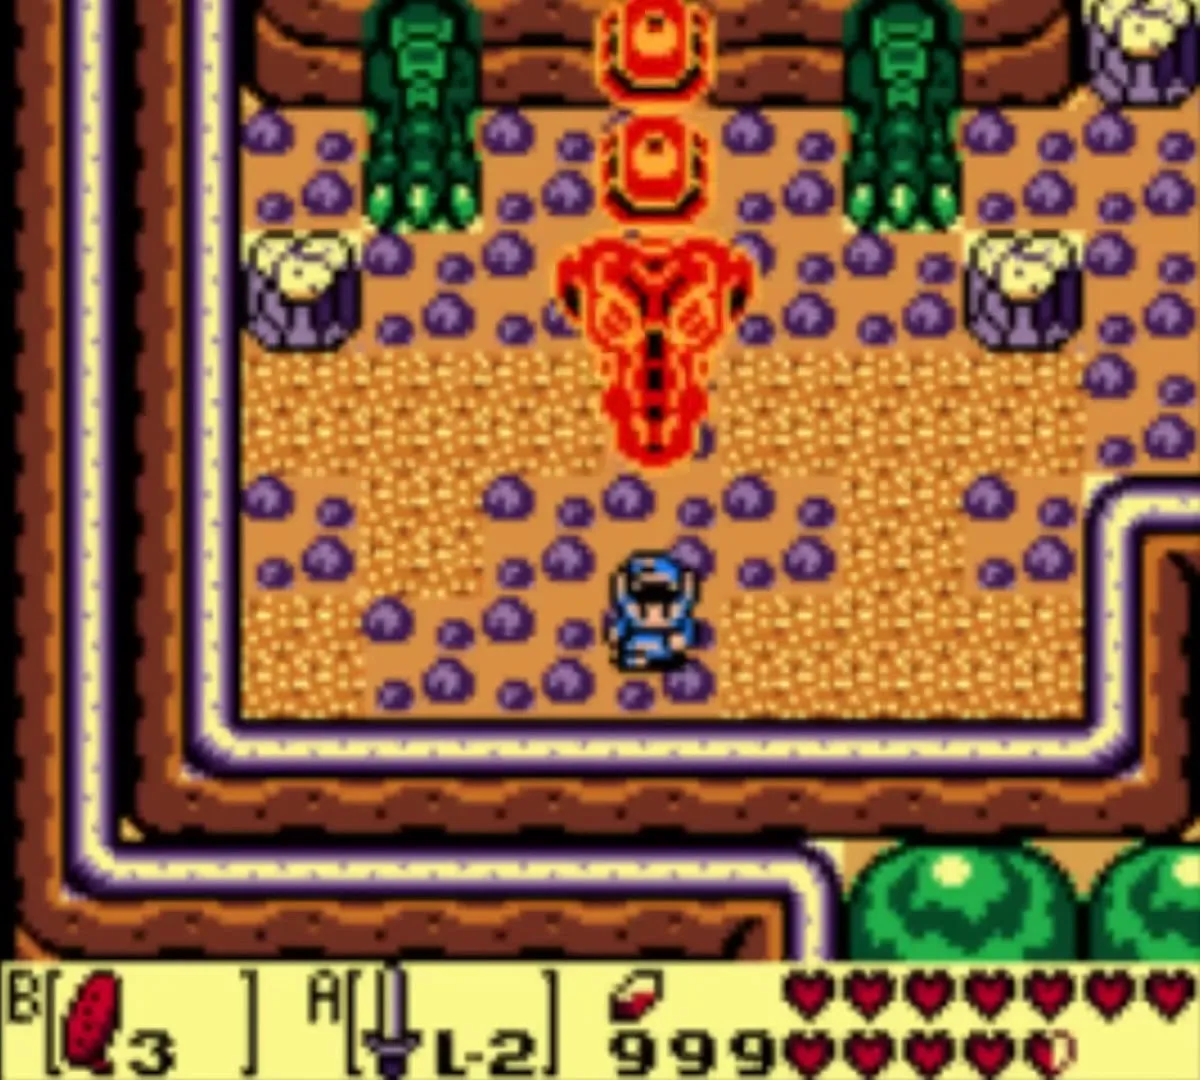
The head rises on a neck of stacked segments, lunges down toward you and pulls back, while a trail of fire runs down the field from the top of the screen. Step out of the way when it lunges, and hit its face with the Sword whenever it is stretched out. When it is beaten, the doorway above the field opens and you can walk into Turtle Rock.
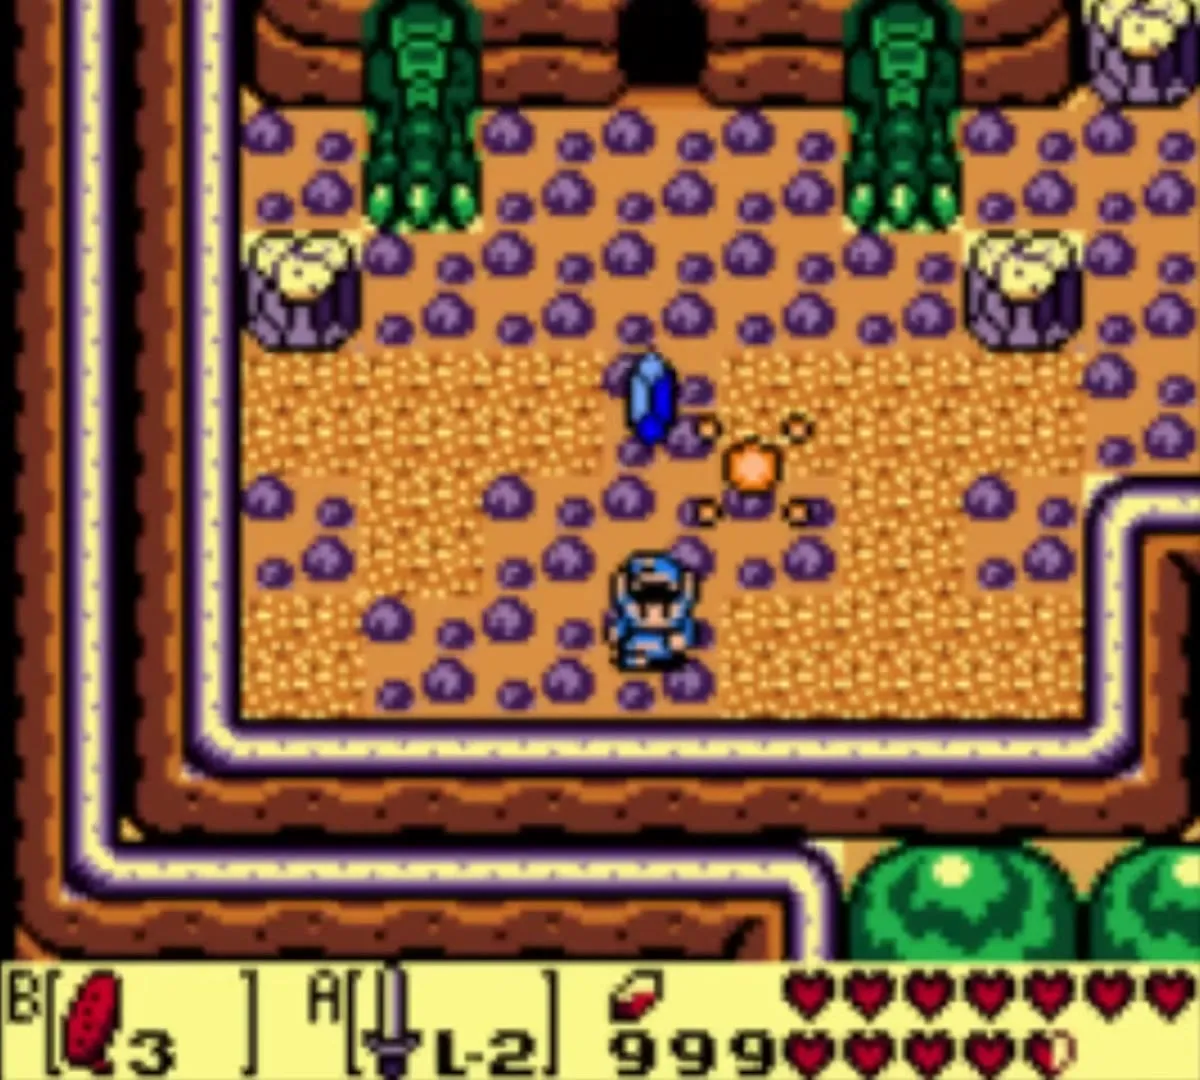
Turtle Rock (Level 8)
Turtle Rock is a lava dungeon with moving blocks, ice halls and a lot of fire. It holds seven small keys, the Map, the Compass, the Stone Beak and the Magic Rod, and its Nightmare’s Key sits in a chest north of Cue Ball’s room. Pack plenty of Bombs, keep your arrows stocked, and bring the Bow, the Hookshot, the Roc’s Feather and the Mirror Shield, along with the Boomerang if you have it. Manbo’s Mambo warps you to the dungeon entrance from anywhere inside, which saves a lot of walking, so keep the Ocarina ready.
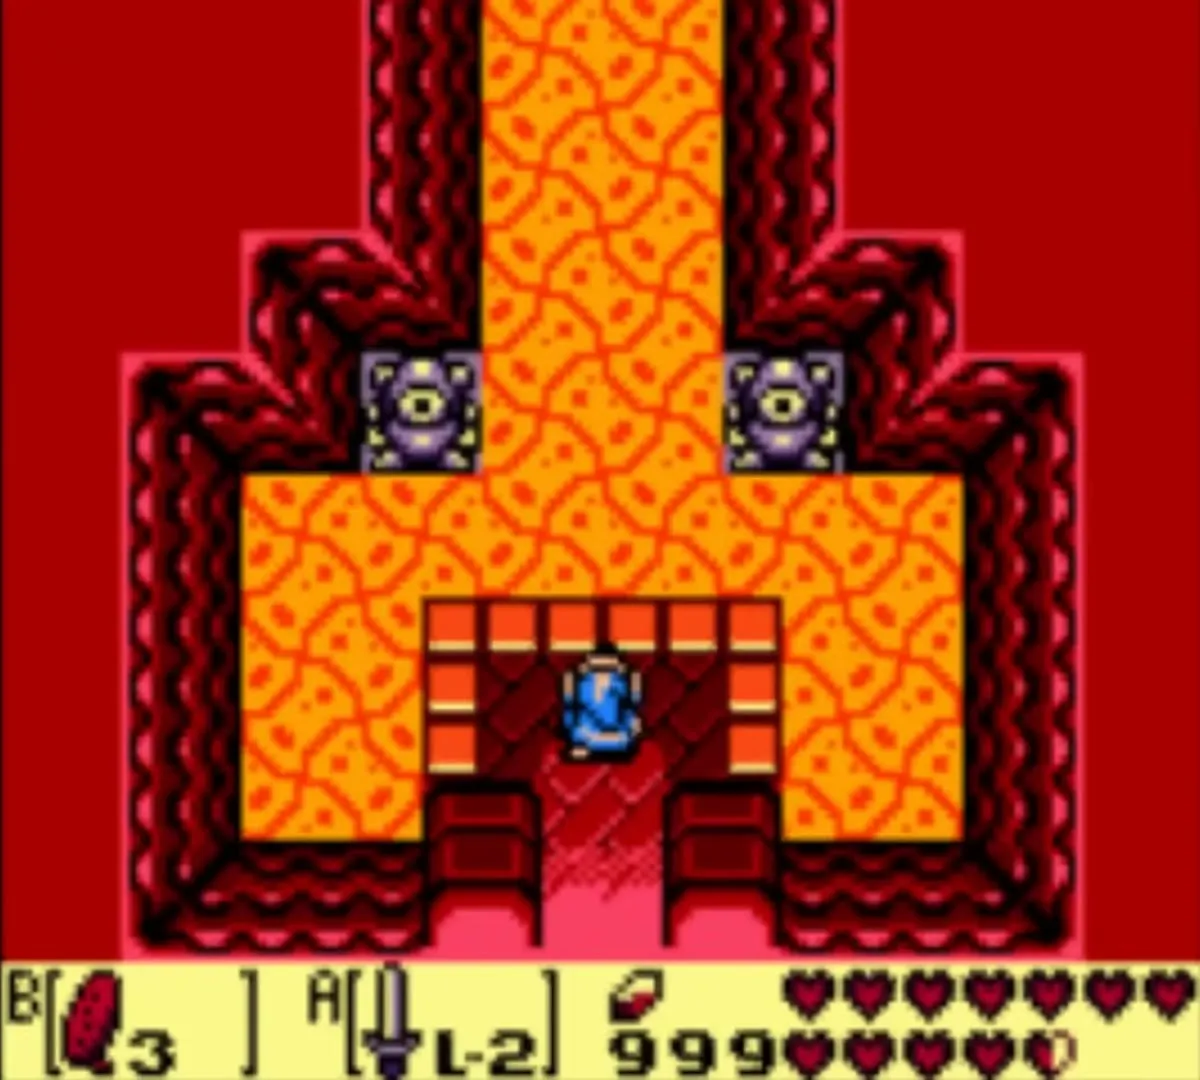


Entrance rooms: Vire, Hinox and the first chests
The first room has you go north. A red bat, Vire, blocks the way. Dodge its orbs and its charge and cut it down; the Boomerang helps. After the first room continue west.

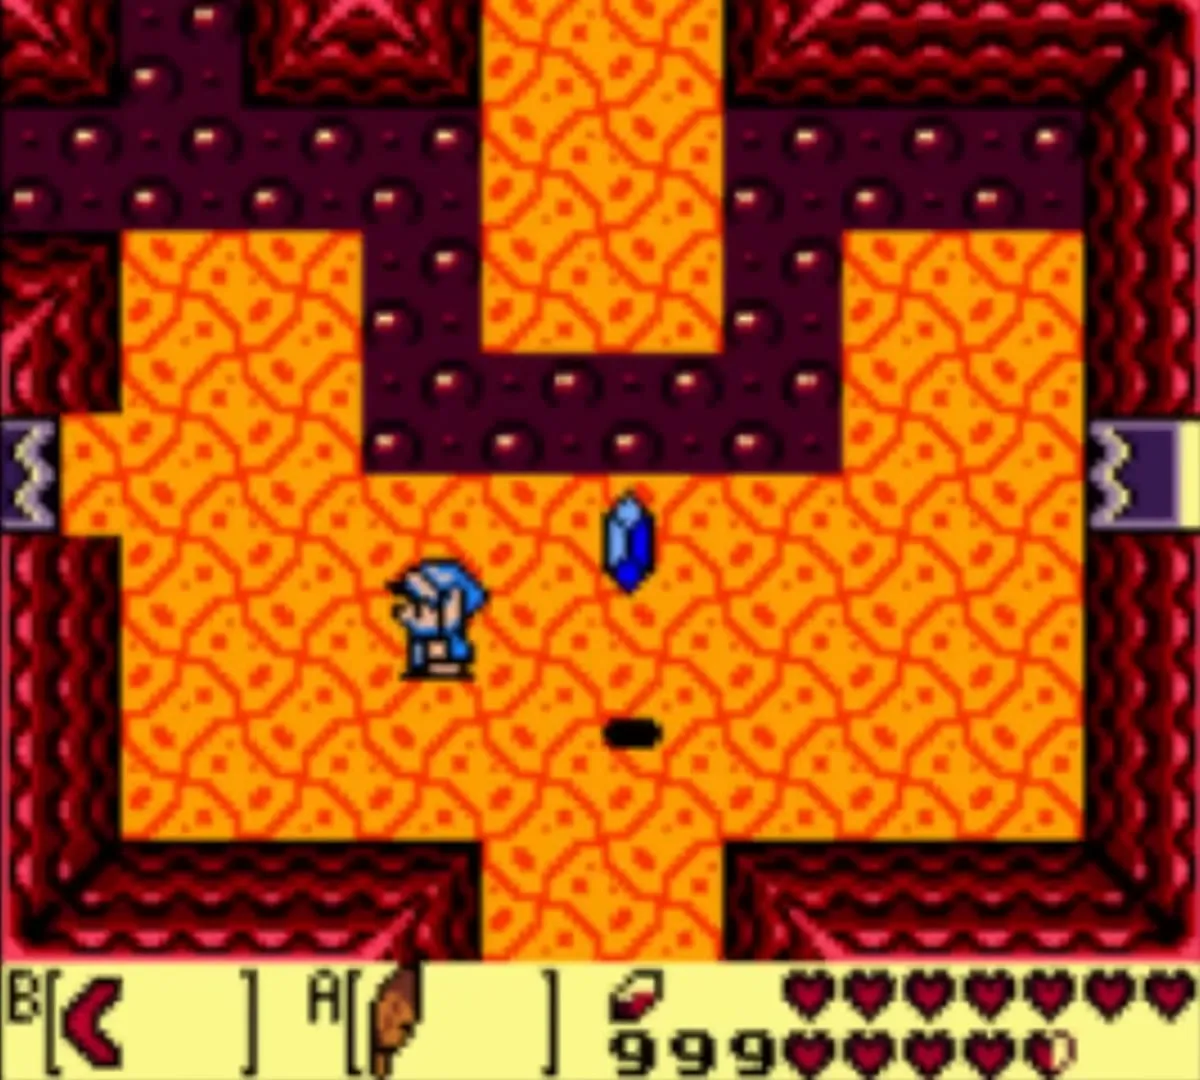
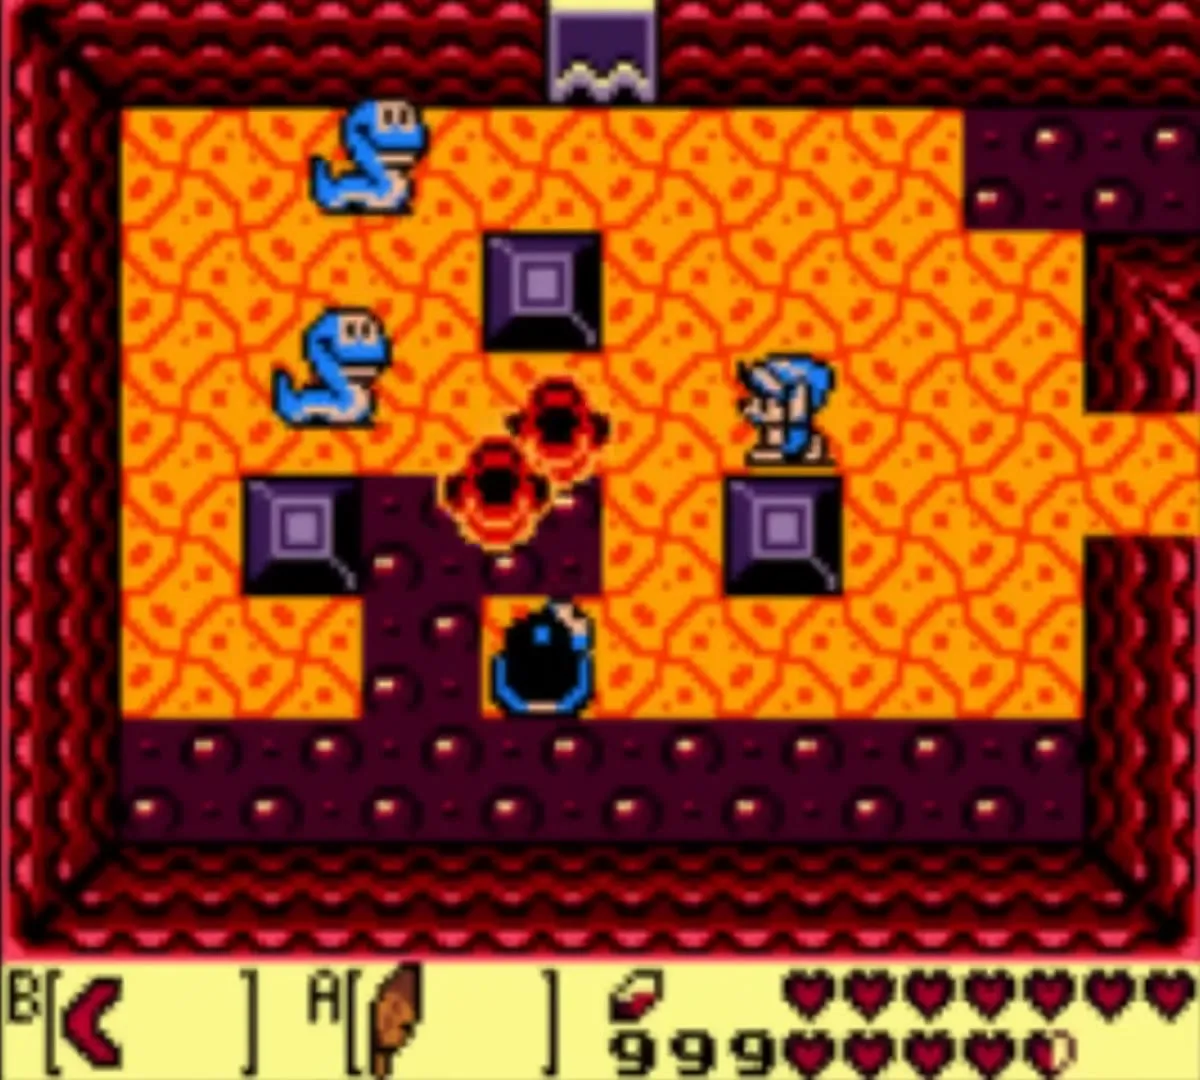
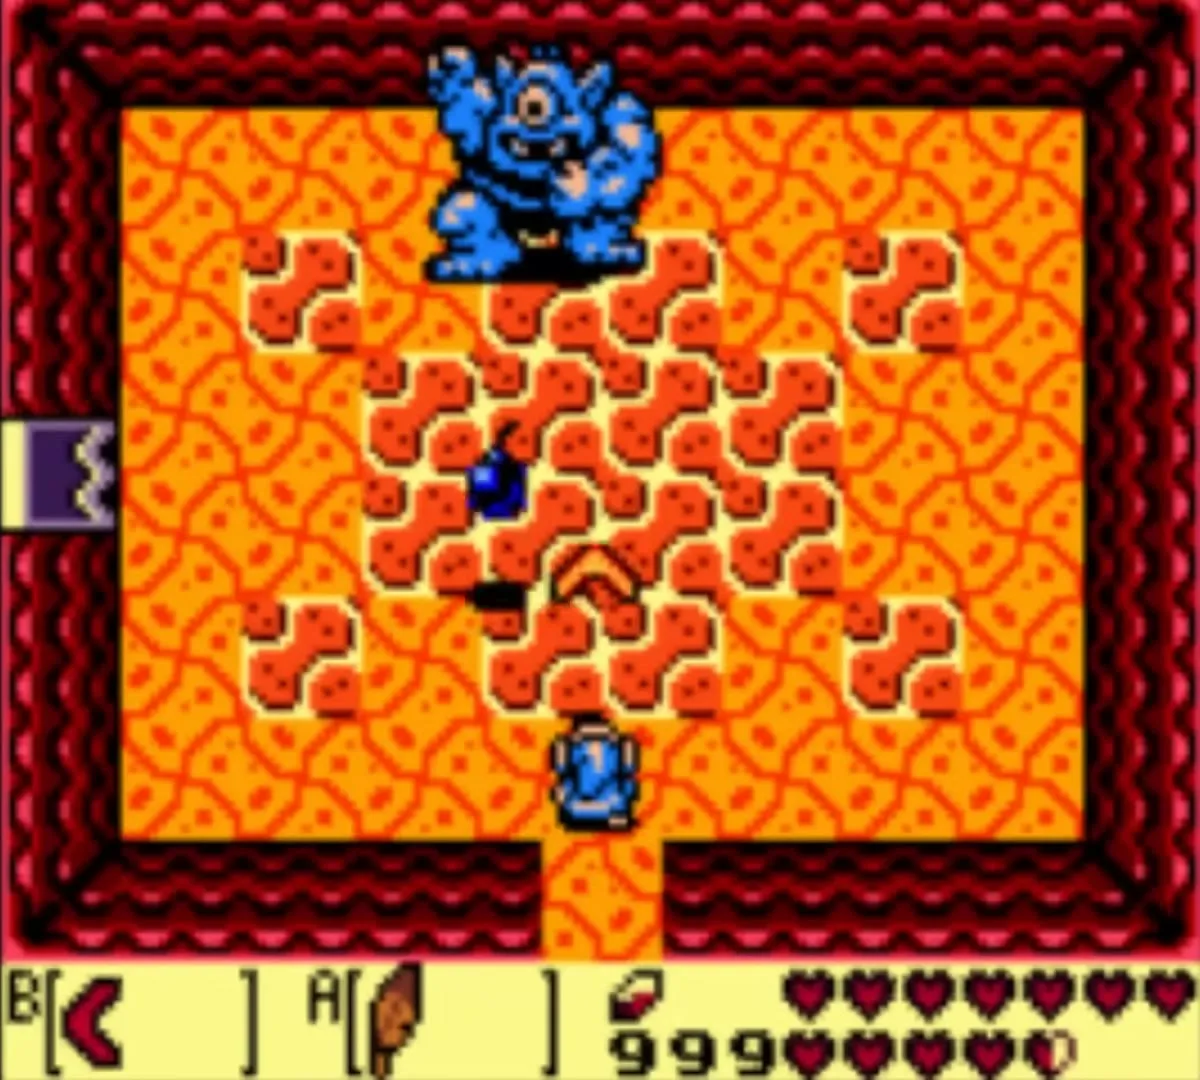
Cut the ropes and go north to the first mini-boss, Hinox. Keep moving and hit it when you get a gap; the Boomerang makes this fight much easier. Leave west.

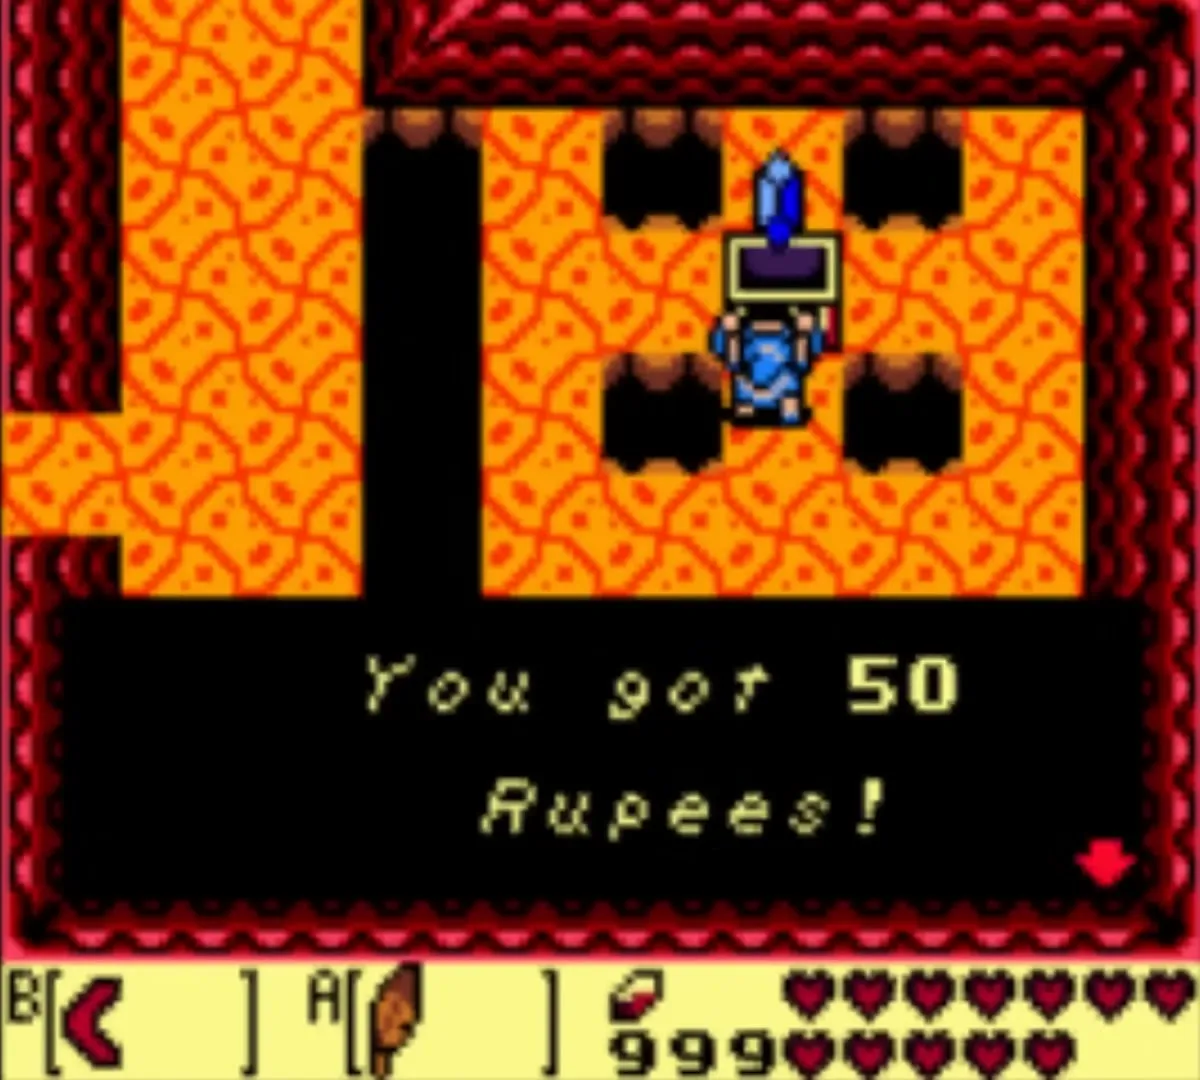
In the next room push the sliding block around until every hole in the floor is filled, and a chest with 20 rupees appears. Go south to the room with the Sparks: stun them with the Boomerang, jump the gap with the Roc’s Feather and open the chest for 50 rupees.

Compass
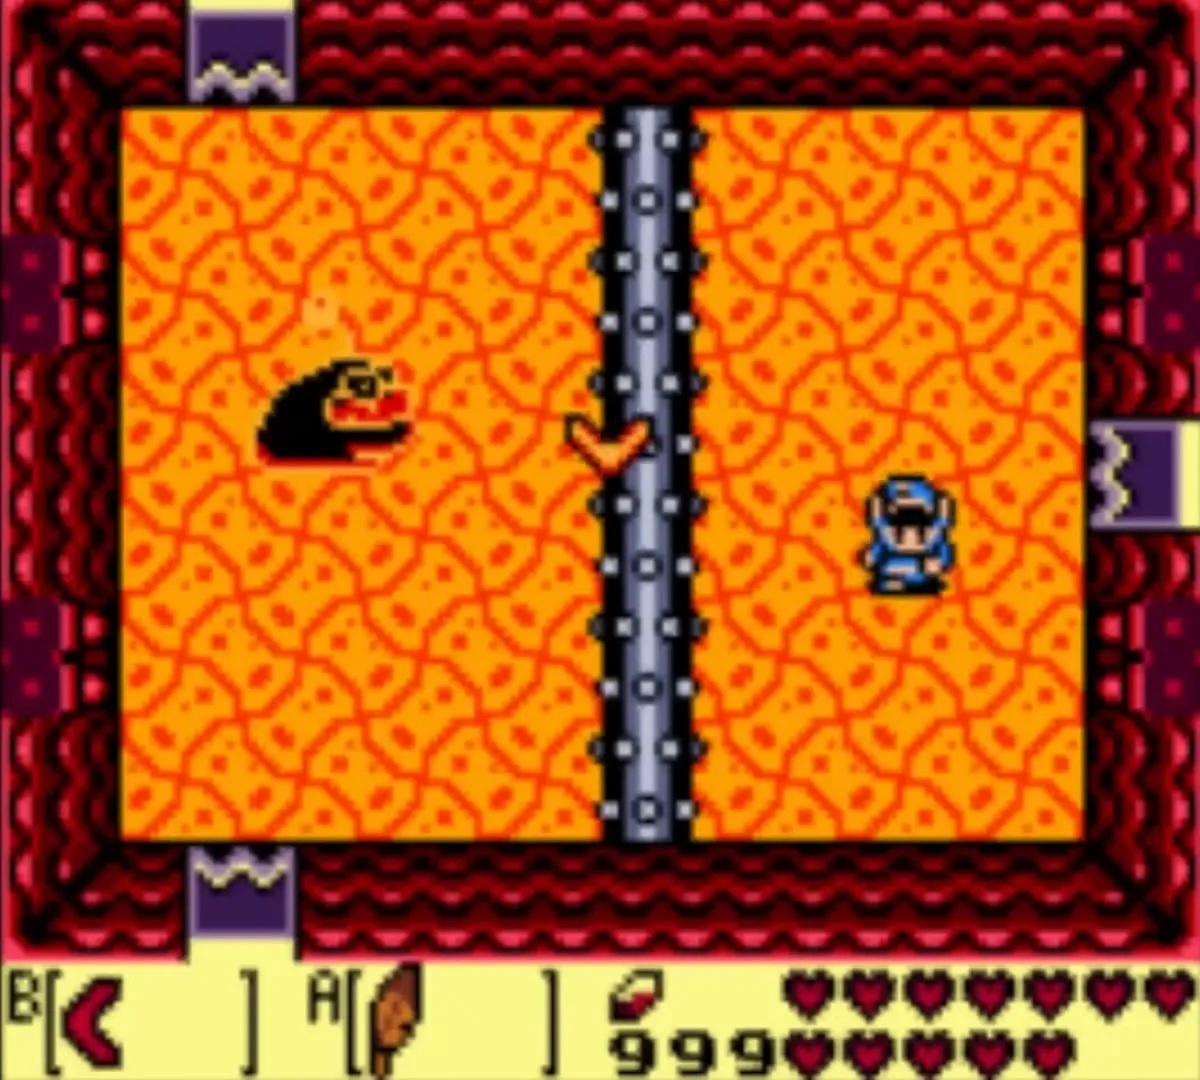
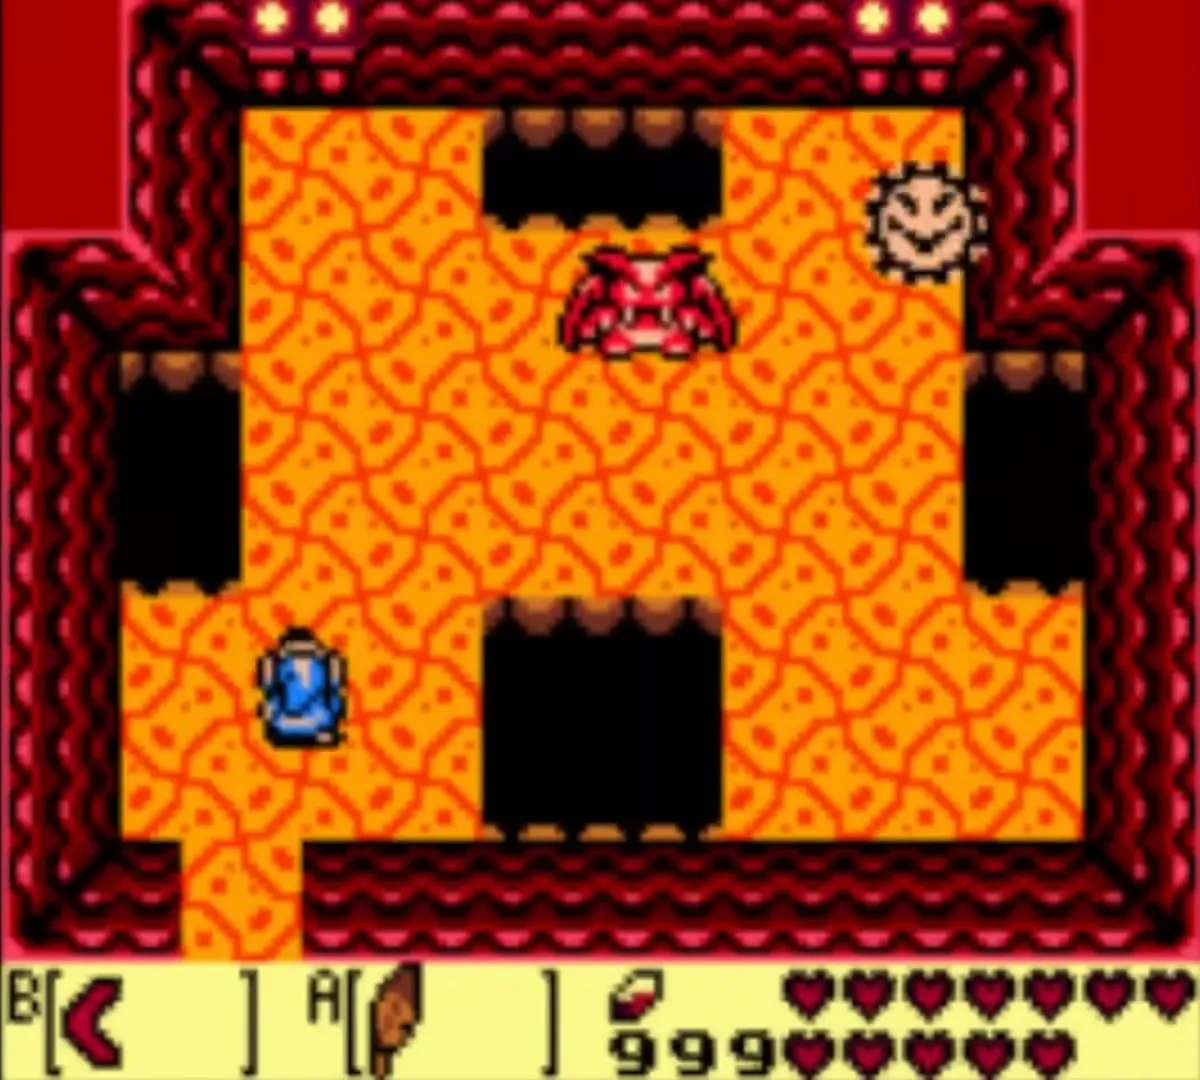
West of the rupee room, a spiked bar sweeps across the floor and Rolling Bones moves beside it. Jump over the bar and slash the mini-boss until it falls; the Boomerang helps. Go north from there to Vire’s return visit: kill it and a small key appears.
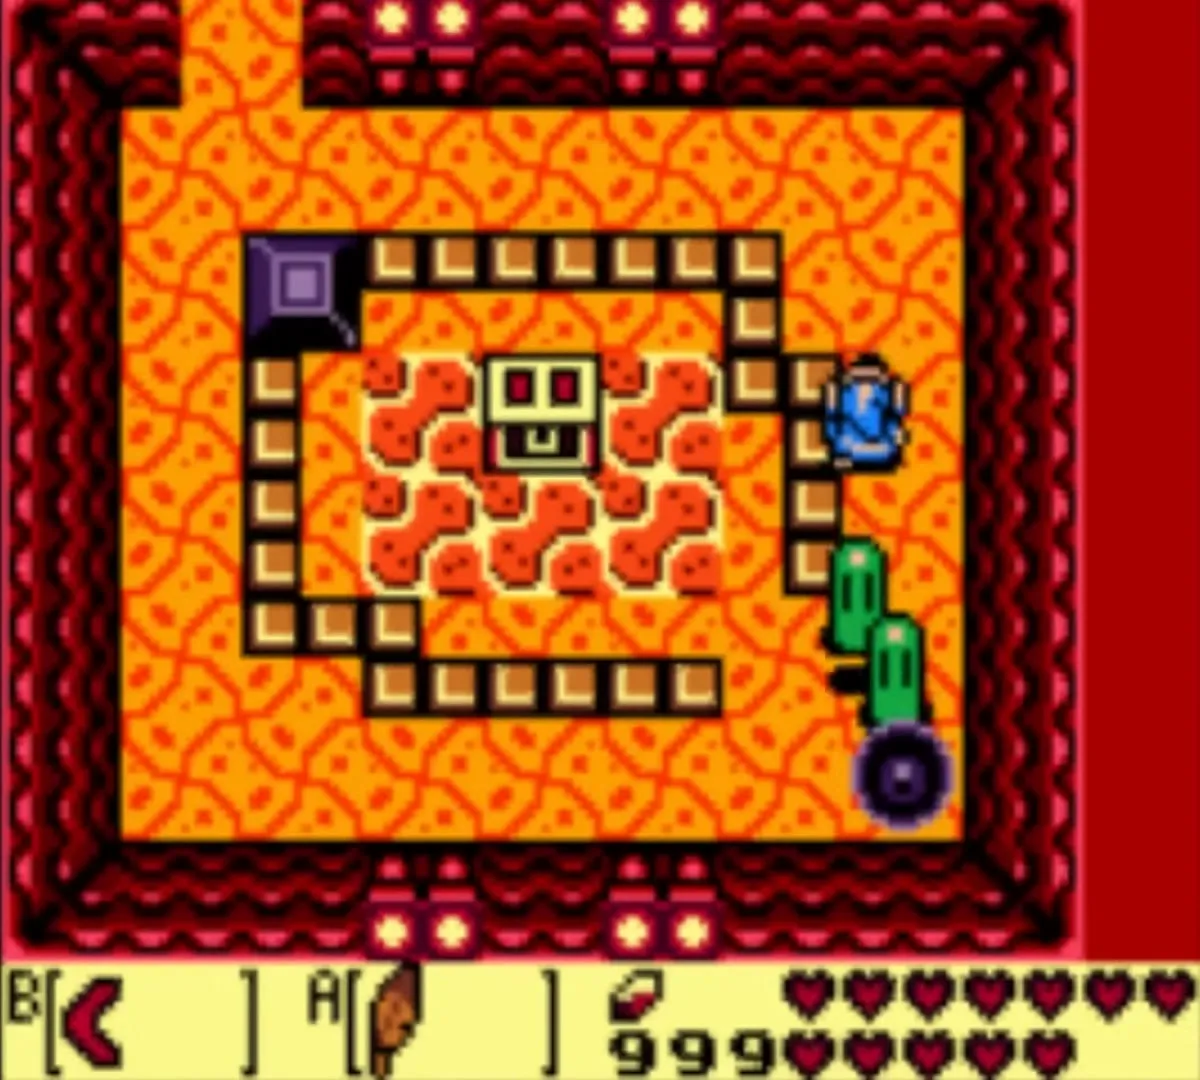
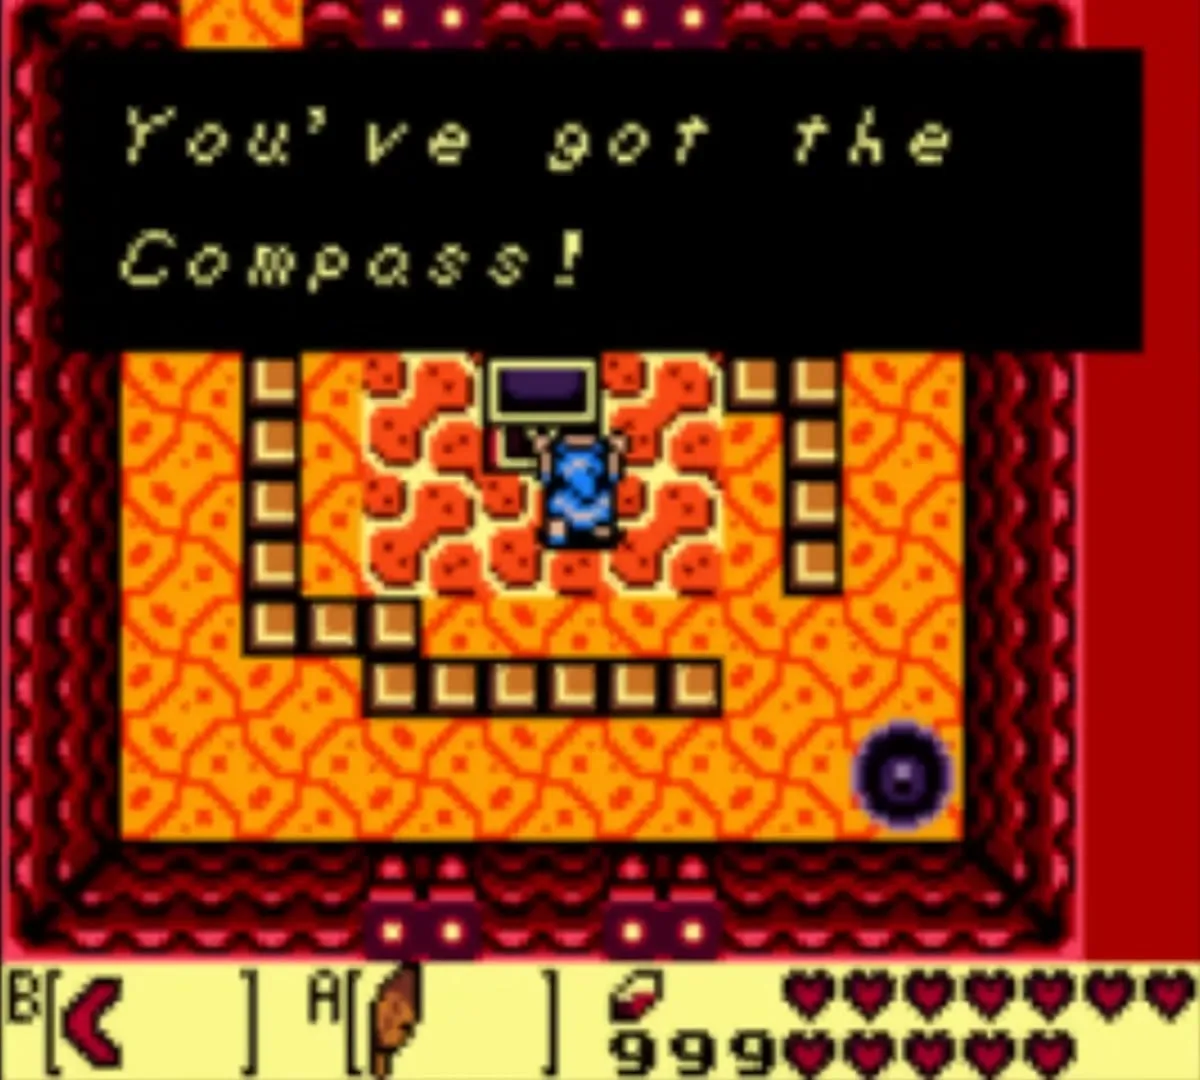
Go south twice, to the room in the far southeast. A trail of bricks leads around a chest set on an island of lava. Follow the trail, deal with the enemies that live there and open the chest to get the Compass of Level 8.
Map
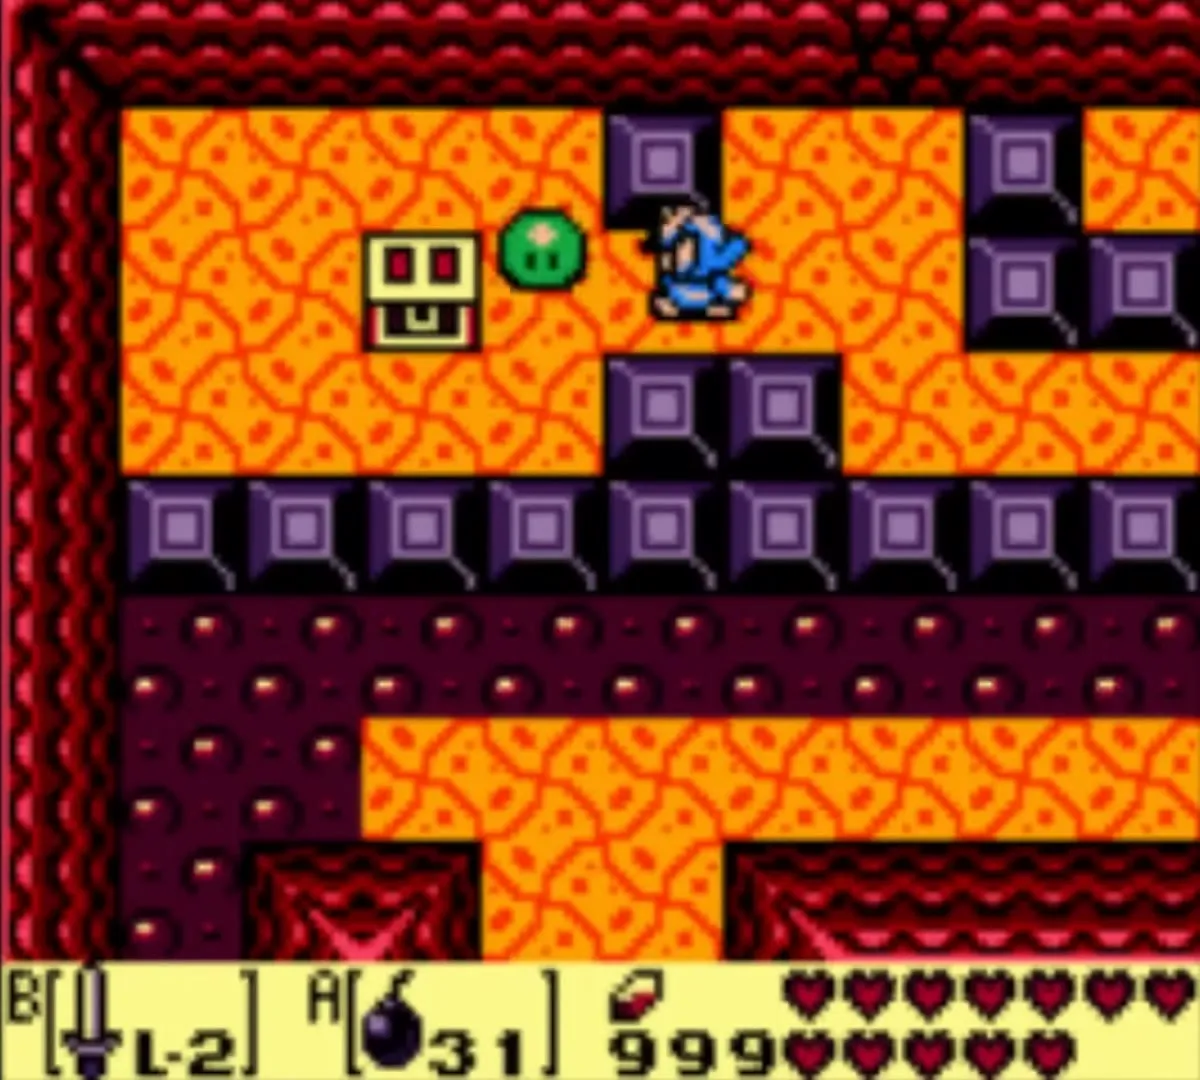
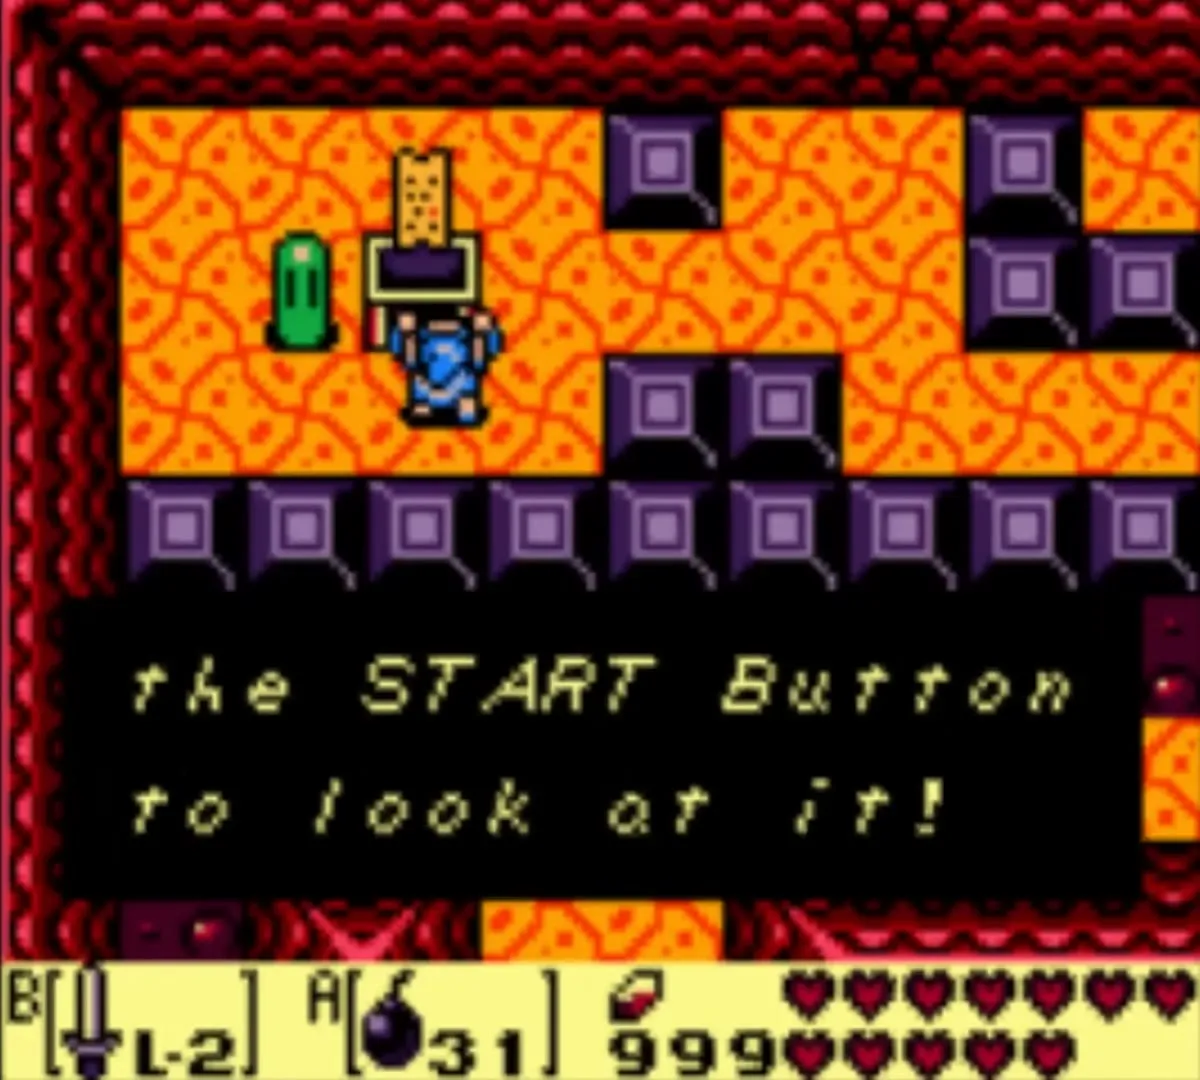
Go back to the entrance. Warping with Manbo’s Mambo saves time. From the entrance go north to the first Vire room and keep heading north and east until you reach a room with a field of purple blocks. Push the block up two squares, then left two squares and follow the path west. Push the three blocks on the left out of the way and open the chest on the ledge to get the Map. Two green Zols are hiding in this room, so keep your Sword ready.

Stone Beak
Use a Bomb on the cracked section in the north wall of the Map room and go through. Walk left, go down the stairs and you reach a side-view cave full of lava. Jump from ledge to ledge with the Roc’s Feather. The fireballs that jump out of the lava, the Podoboos, cannot be killed, so time your jumps and wait for them to drop back.

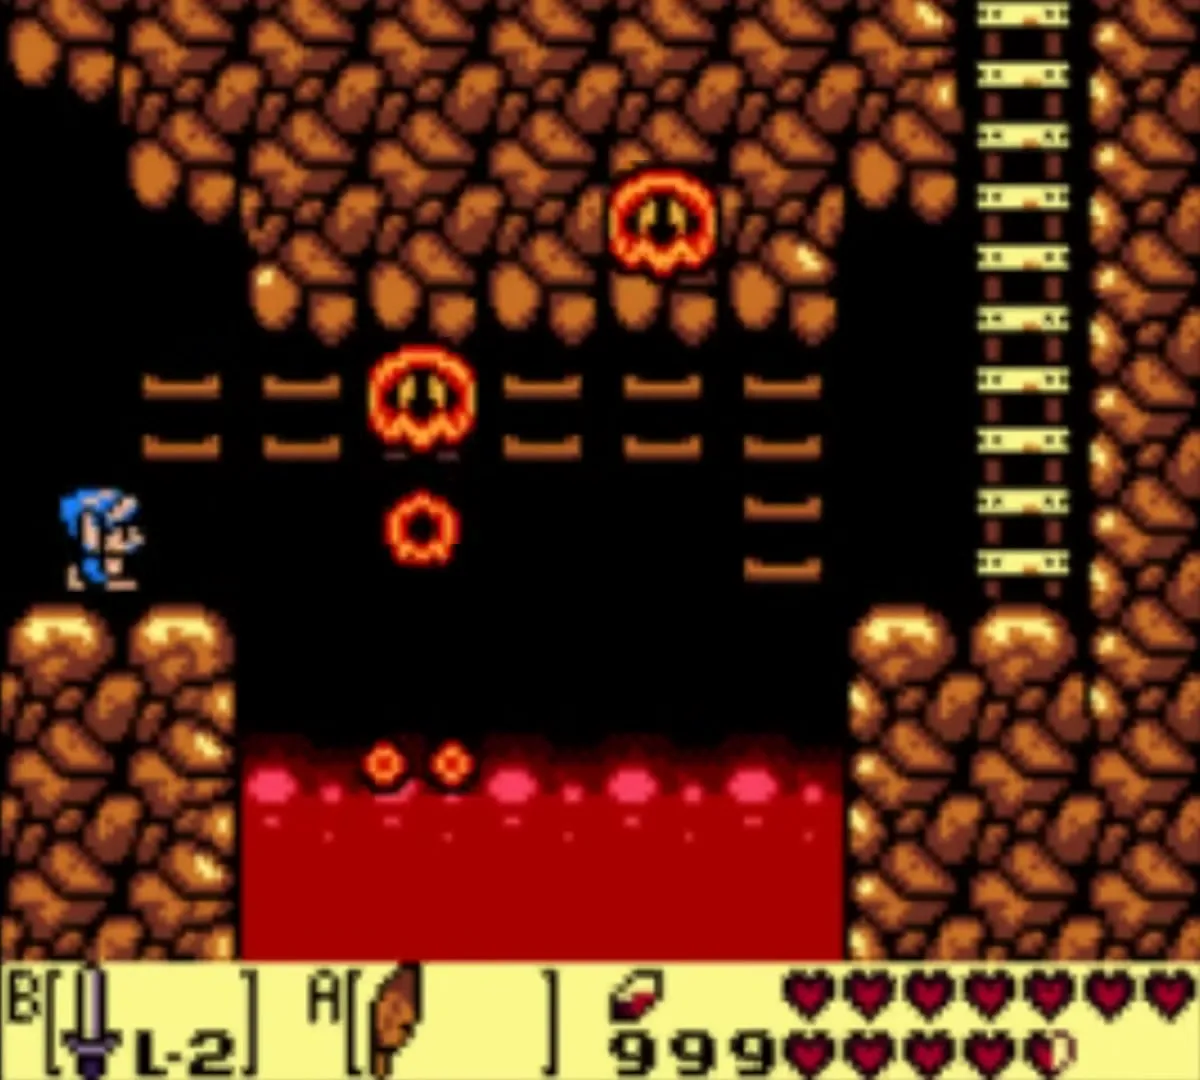
Go right, climb the ladders and keep going right and up. In the next room, lift the pots, defeat all the Ropes and the door opens. Open the chest for the Stone Beak.

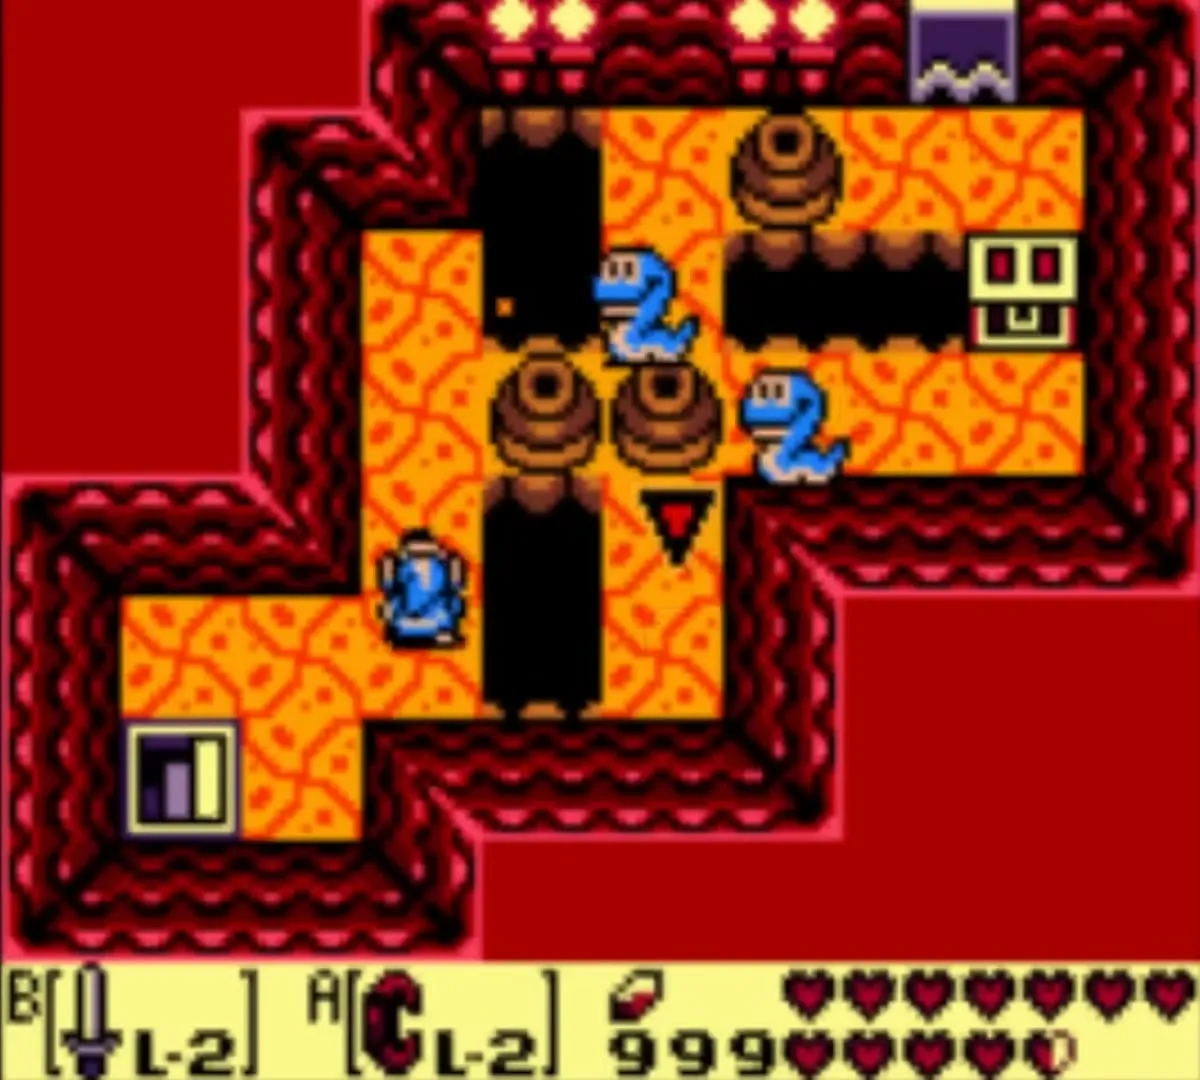

With the Stone Beak in your pack, the owl statues in this dungeon speak to you. The first one worth consulting stands north of the Smasher room, in the next step.


Smasher mini-boss
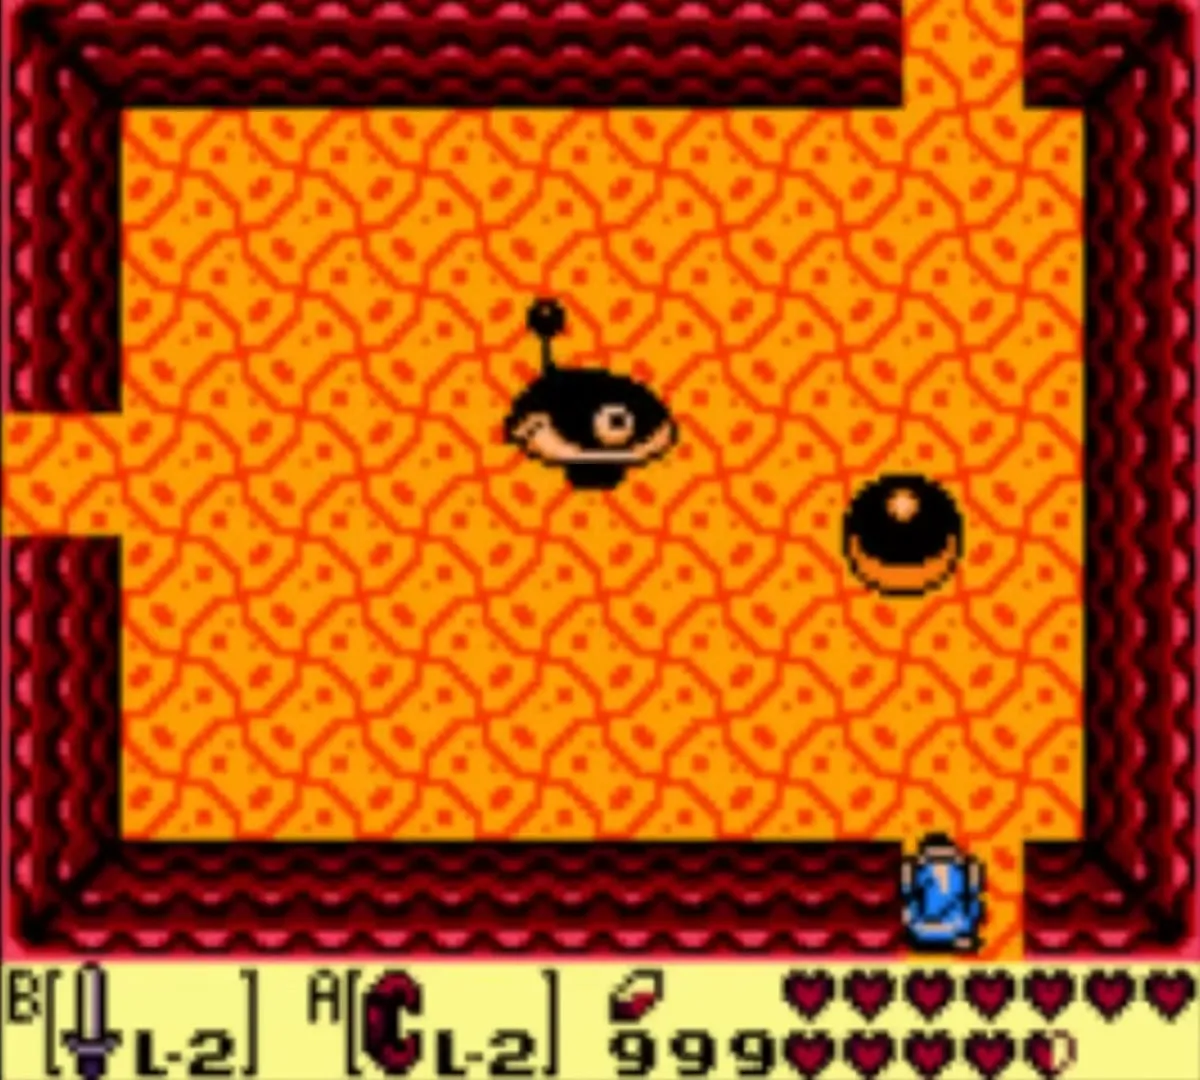
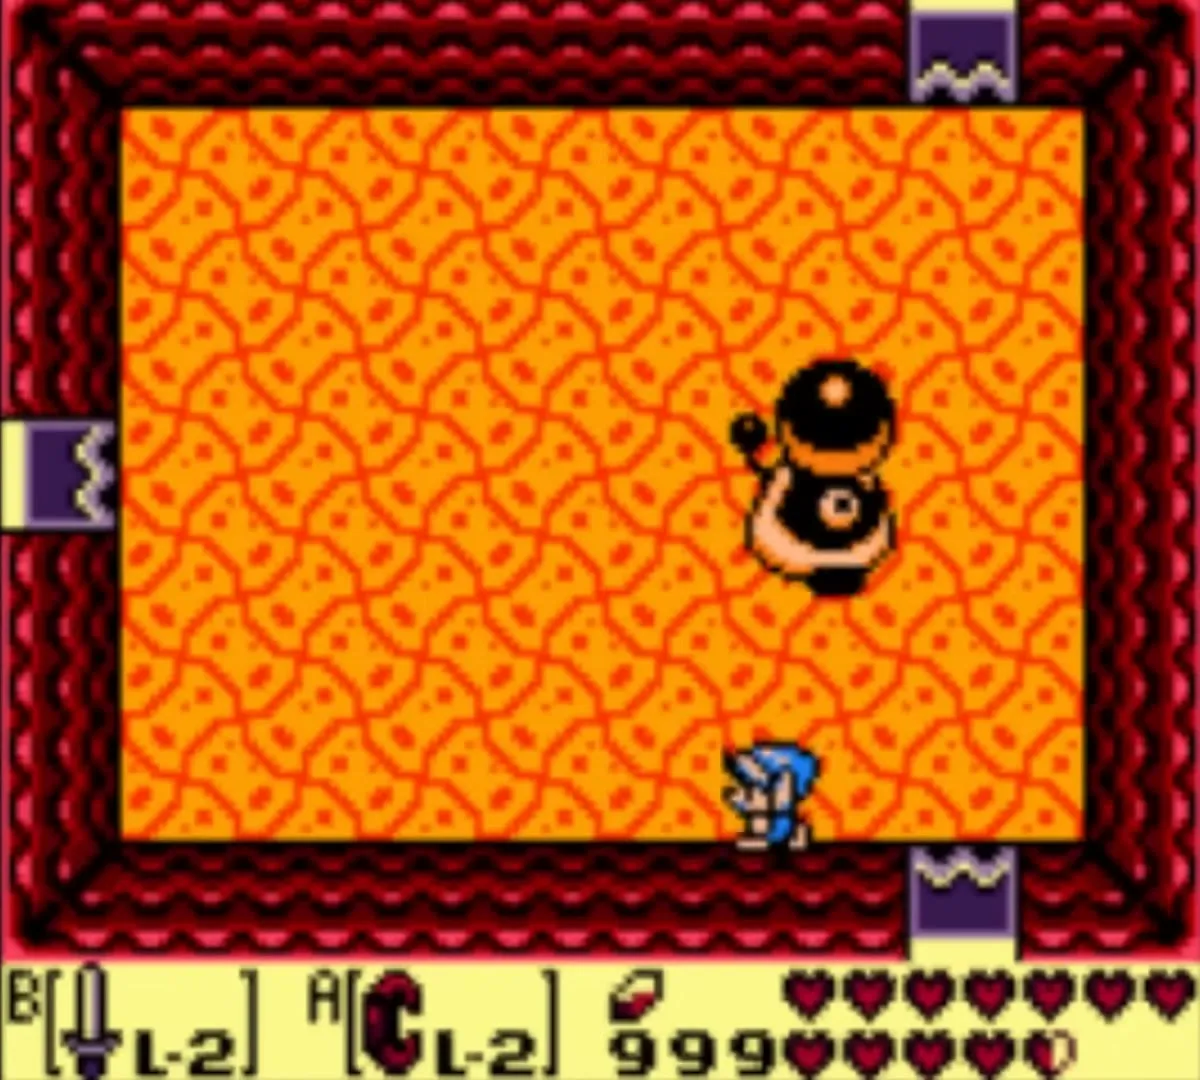
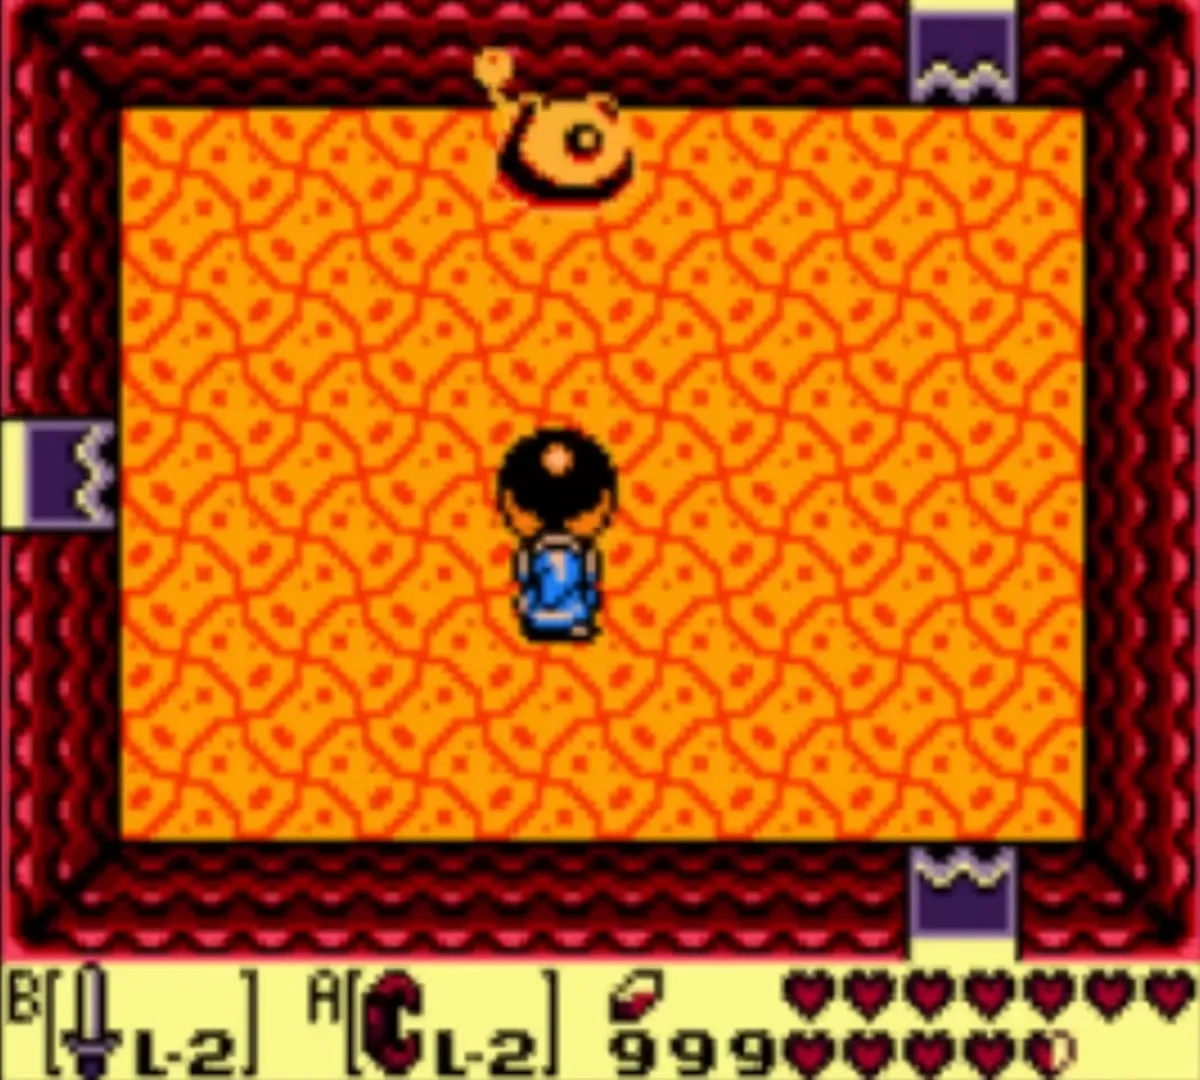
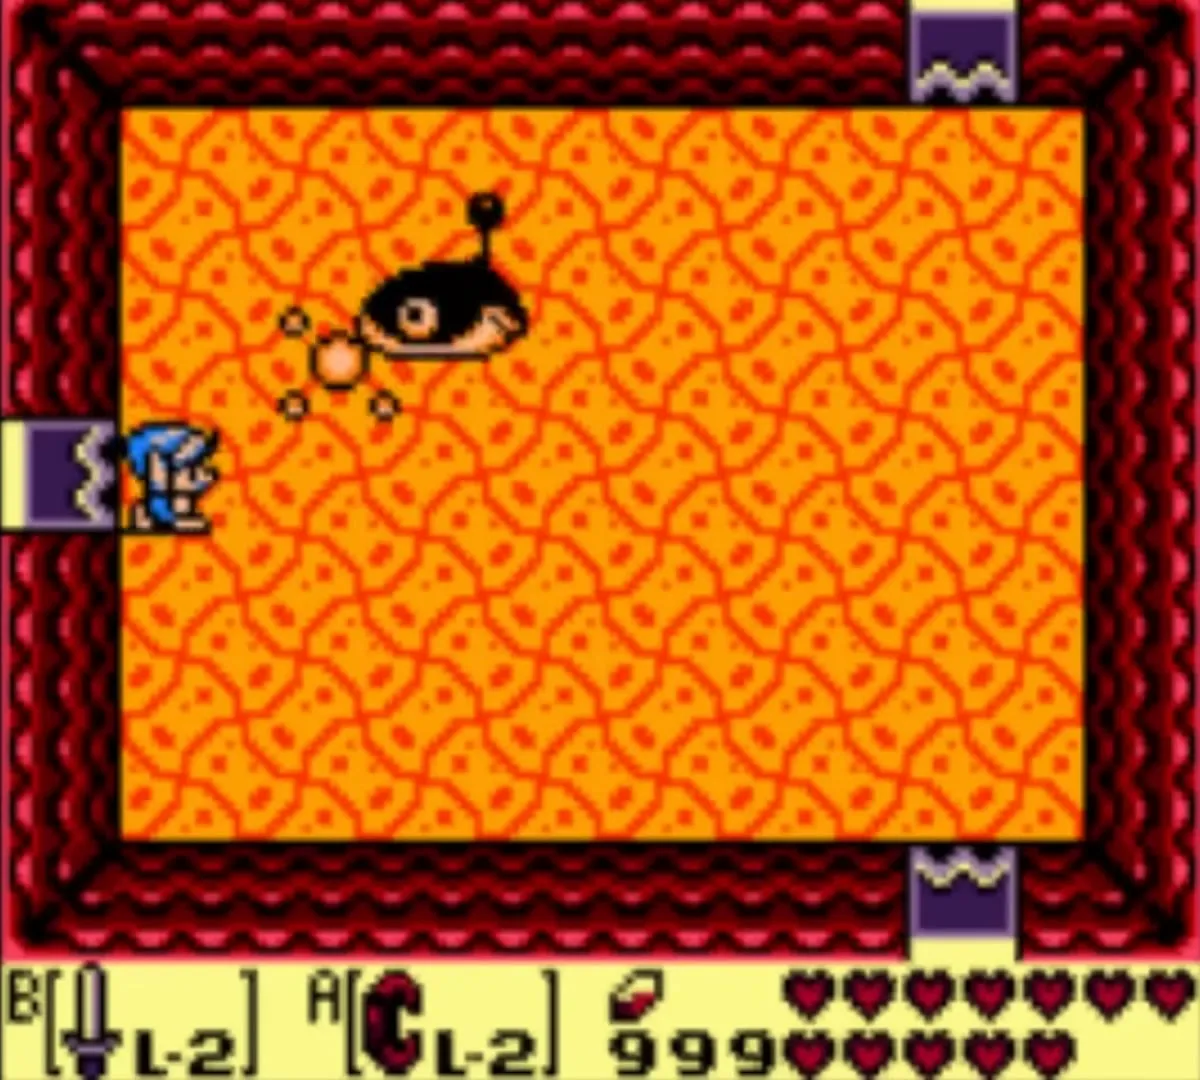
Go north to the Smasher fight. The mini-boss throws a heavy iron ball at you. Dodge it, pick it up with the Power Bracelet and throw it back, and repeat until Smasher is gone. Do not go down the owl’s stairs. Instead lift the pot, step on the switch under it, and go back to the room you fought in; the door you opened leads west.

Second small key
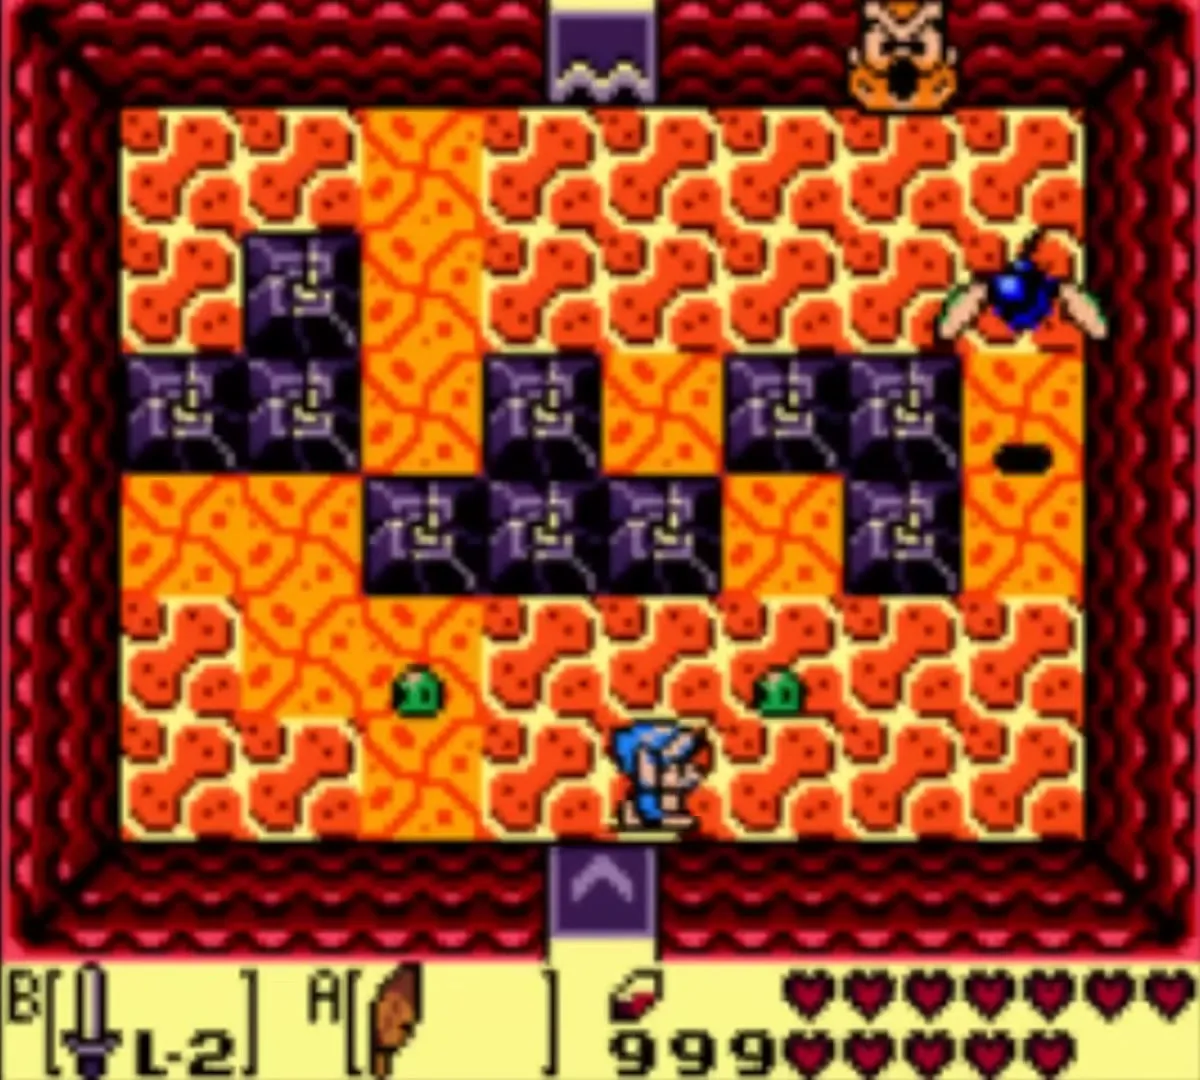
In the west room push the block along its path until every floor tile is covered. A key falls from the ceiling. Kill the two green Zols and pick it up.

Third small key and the Gibdos
From the key room bomb the middle of the north wall and go north. Ignore the crystal switch and bomb the left wall to go west. Take the stairs in the bottom right corner, go south, and jump down the ledge. The chest in the next room holds a Zol, so do not open it. Go west into the first Vire room, north, then east. Push the block between the two blocks on the north wall, follow the path and push the rightmost block to the right to leave north.
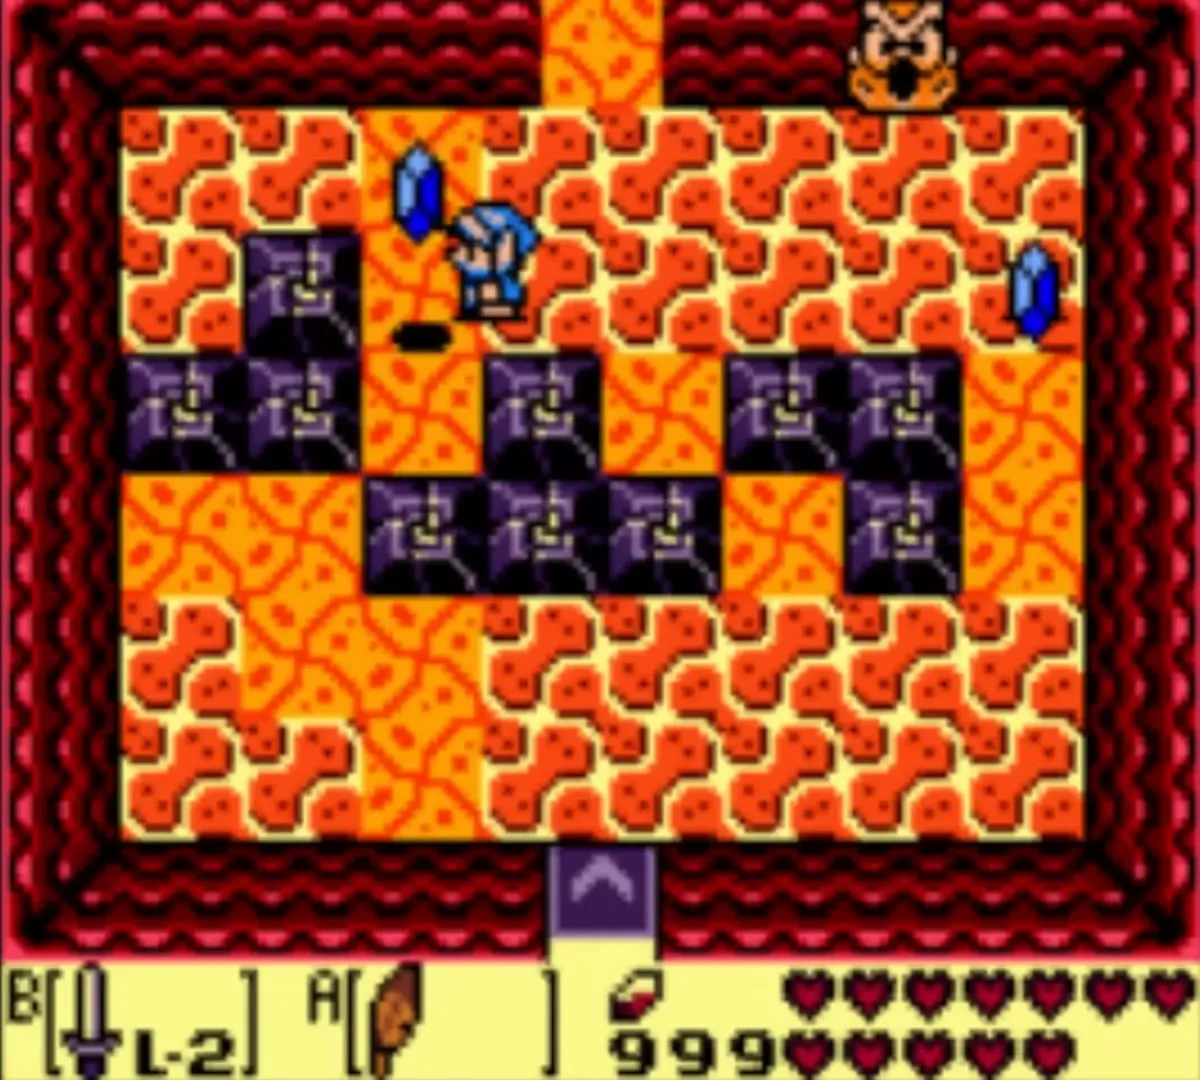
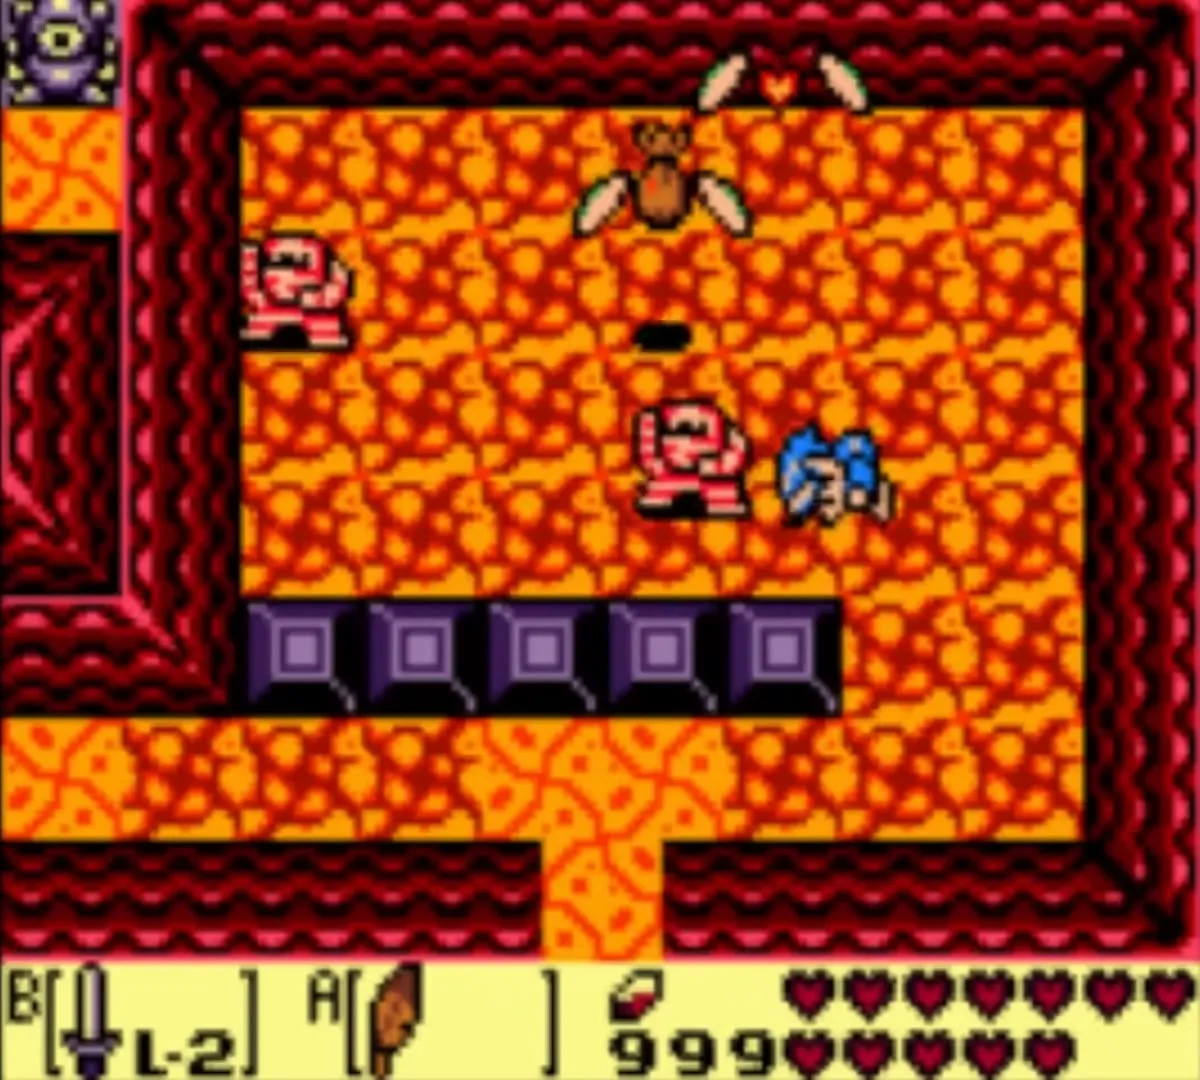
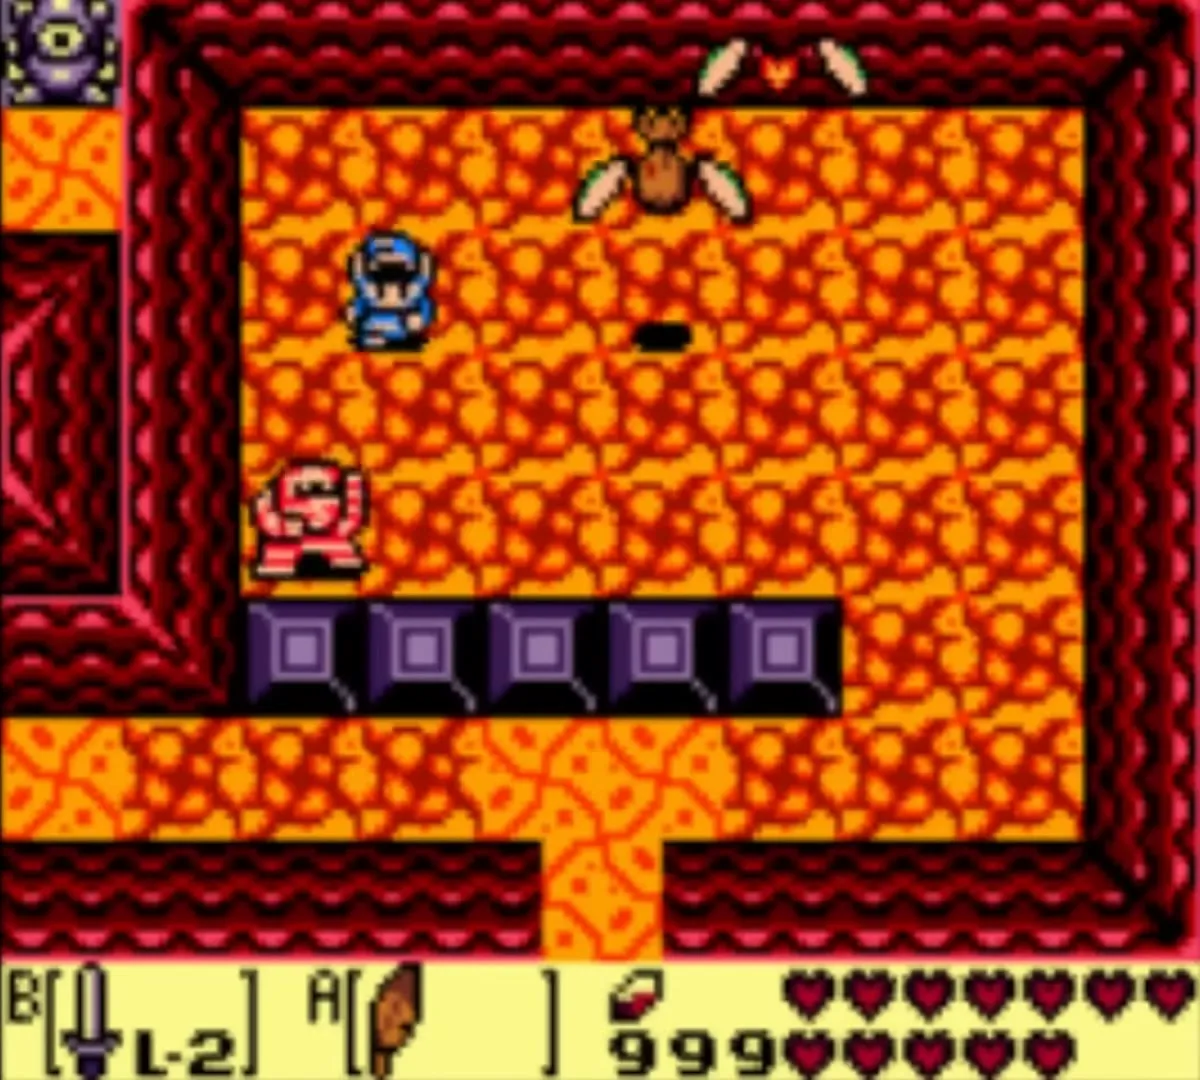
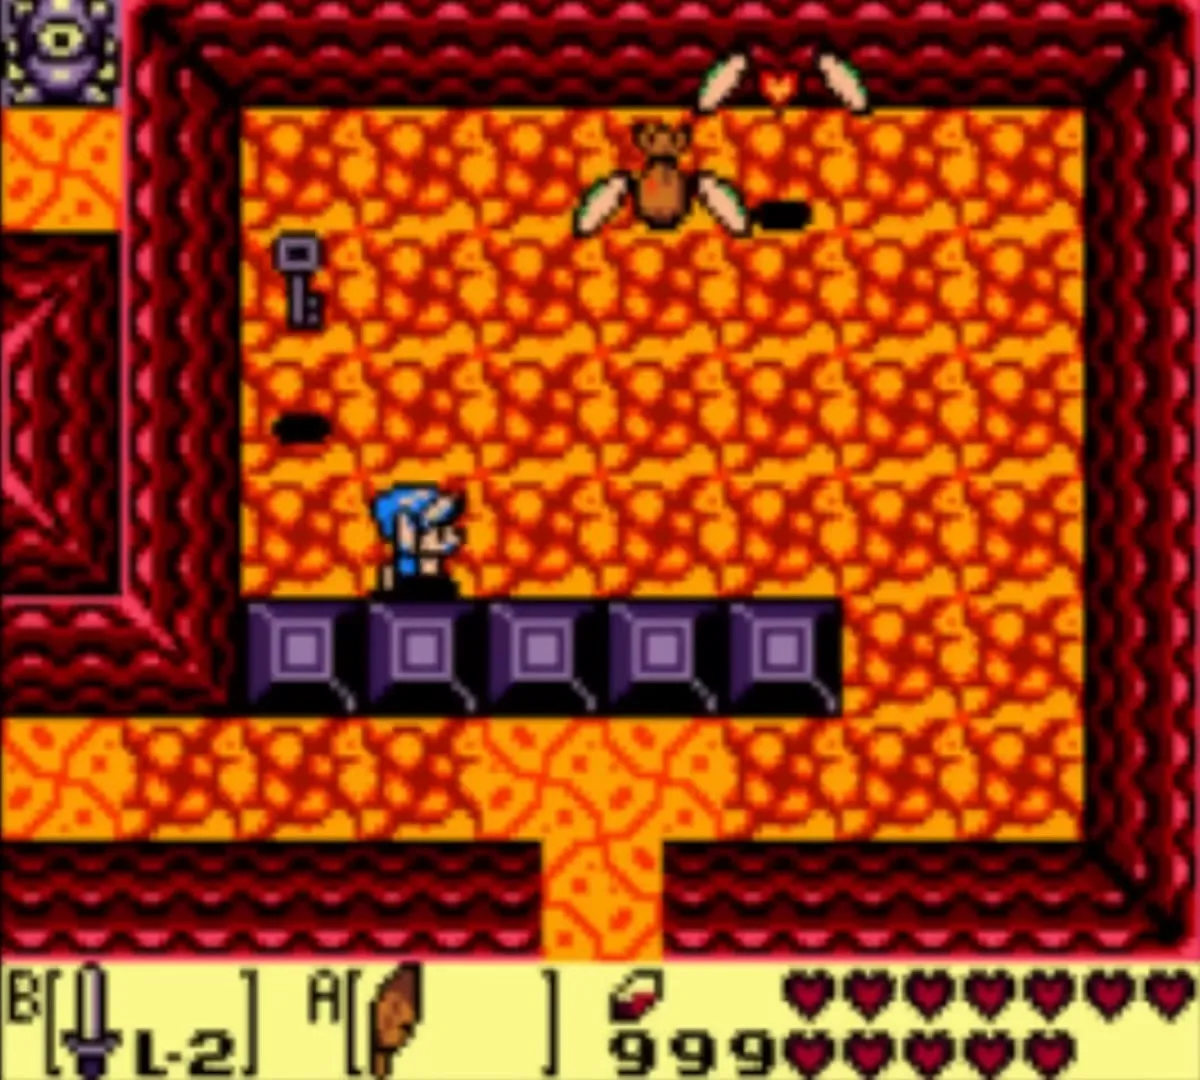
Open the key block, go east, and fight Vire again, then take the locked door to the east. Pass the Blade Traps and use the one-way door in the north wall. Defeat the four green Zols to open the way and go north to the room of two Gibdos. Hit them with the Boomerang three times in all, and stay off the cracked floor. A key drops. Take it and go west.

Fourth small key and the Secret Medicine
Skip the Dodongo Snakes for now. Go west, jump the gap and head north up the stairs. A chest in the room holds a Secret Medicine; take it only if you are not already carrying one, since you can hold only one and the second is lost. Collect the floating items in the room, then go up the stairs. The Secret Medicine page explains how it works.

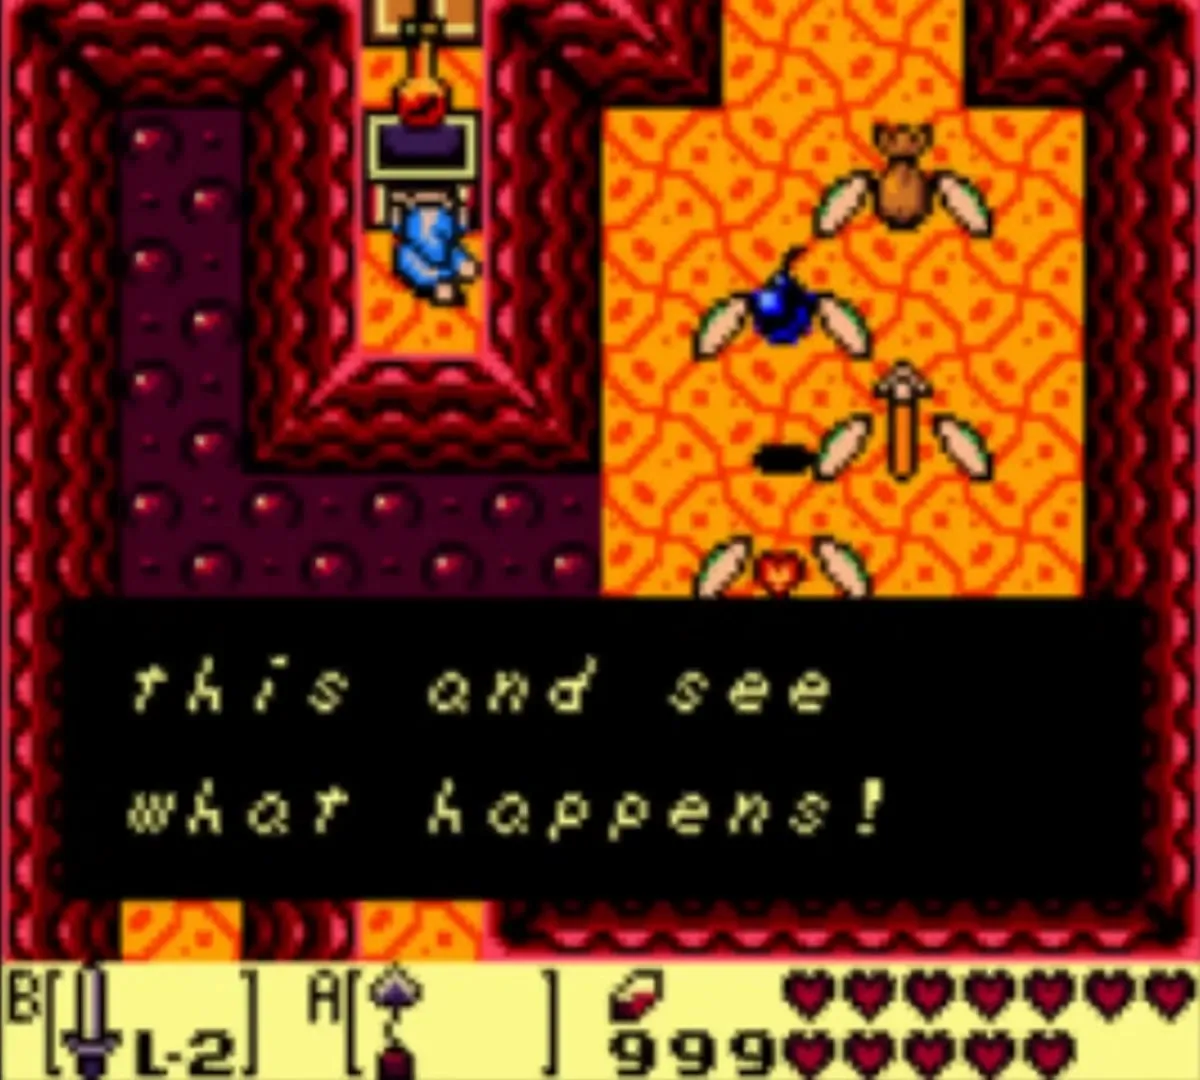
Go east past the Goomba and use the Roc’s Feather to reach the ledge. Continue east, climb the ladder and, once the Podoboos have fallen back into the lava, hook the statue with the Hookshot. Go north through the one-way door, bomb the left wall and go west. Light the torches with Magic Powder if you want to, jump the pit, unlock the key block and continue west.
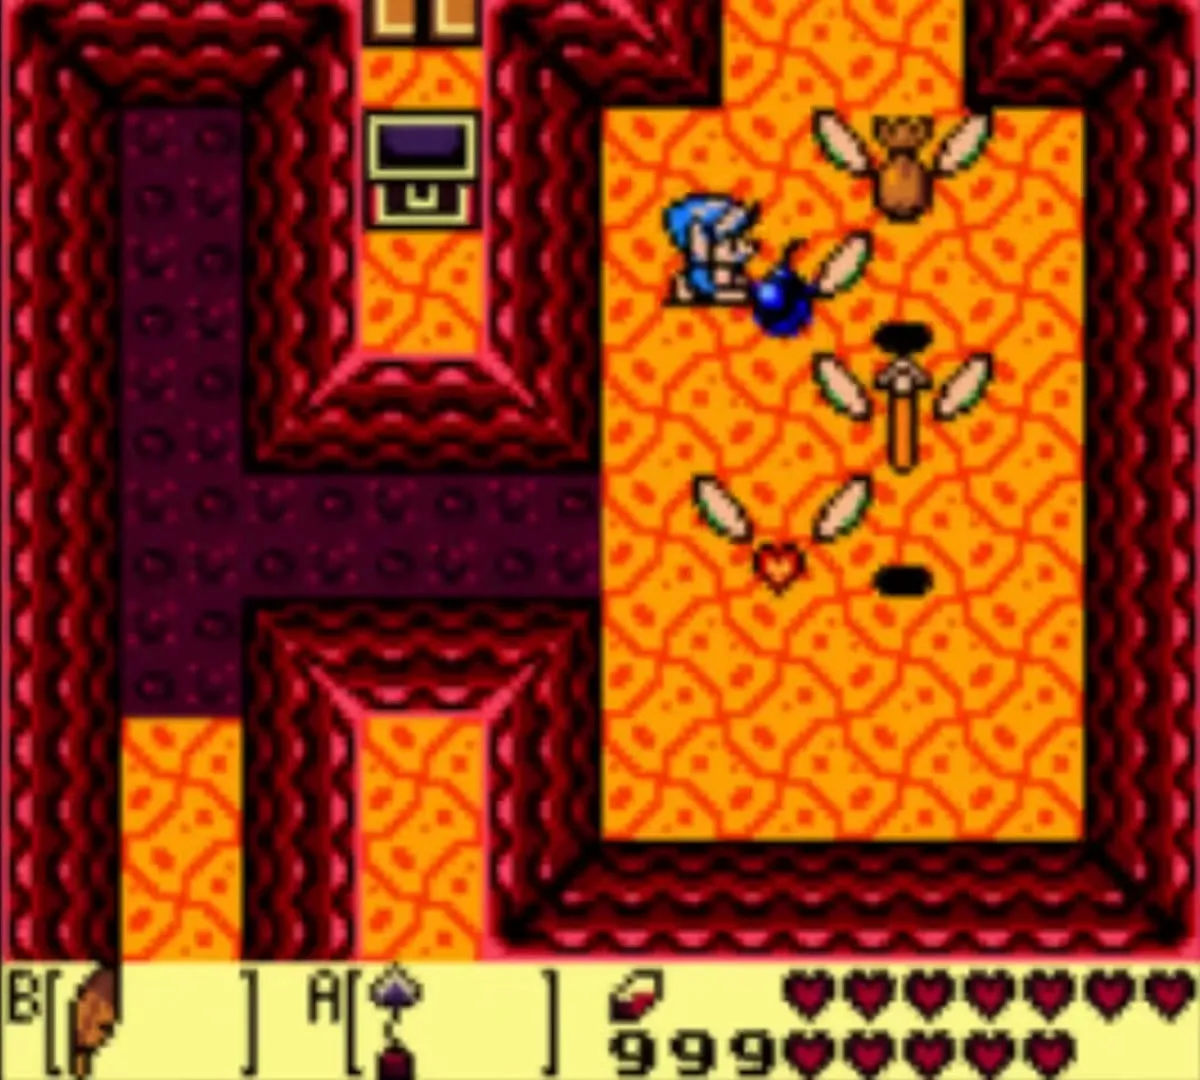
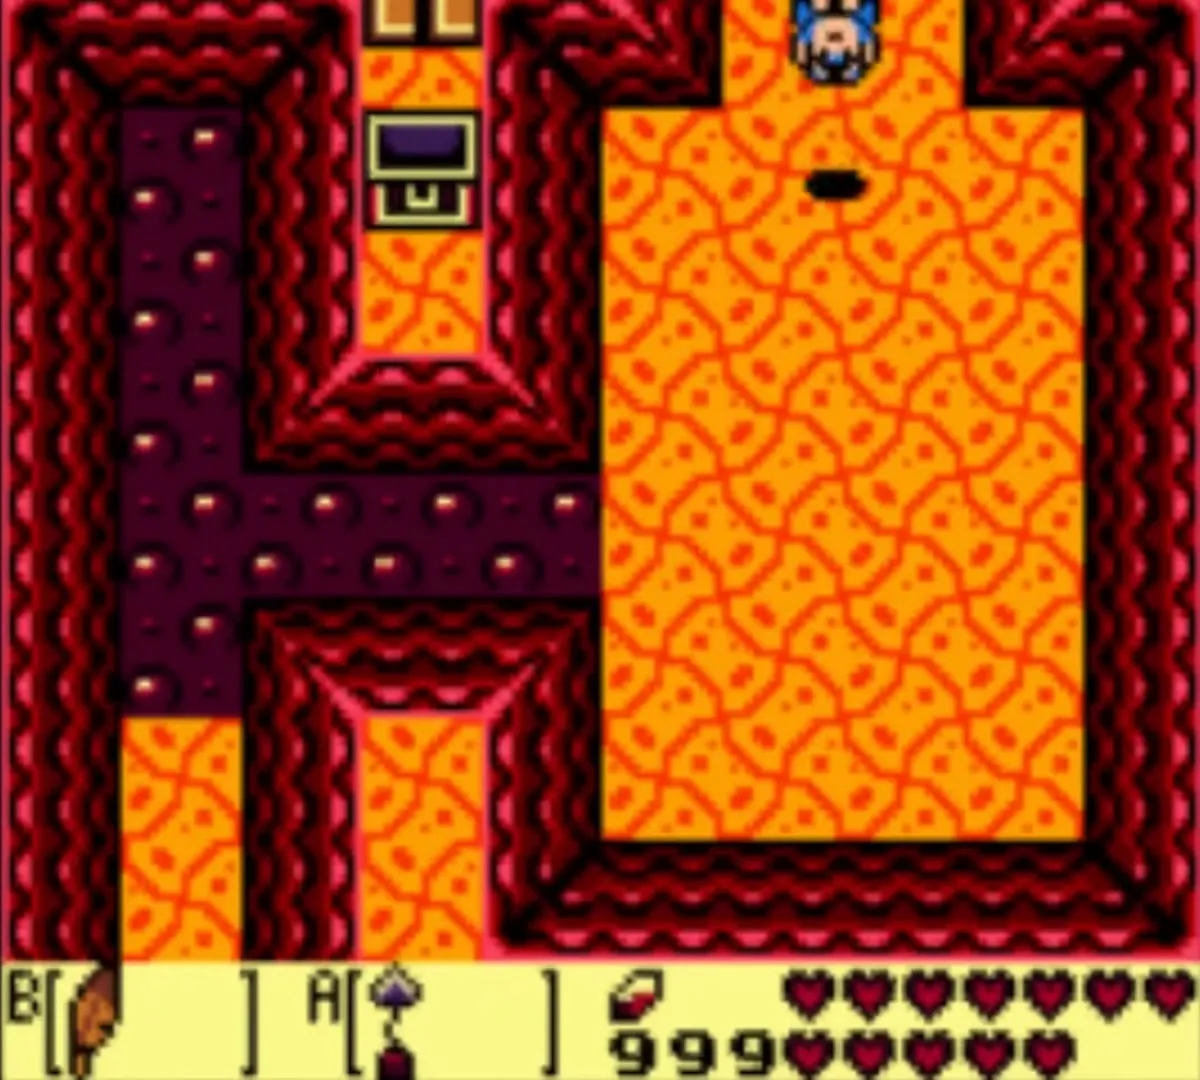
In the room with a Rope and a Peahat, bomb the left wall and go west again. Jump the lava, aim the Bow at the statue and shoot it: a key falls. Make sure your quiver is full first, since a key depends on it.

Fifth small key and 50 more rupees
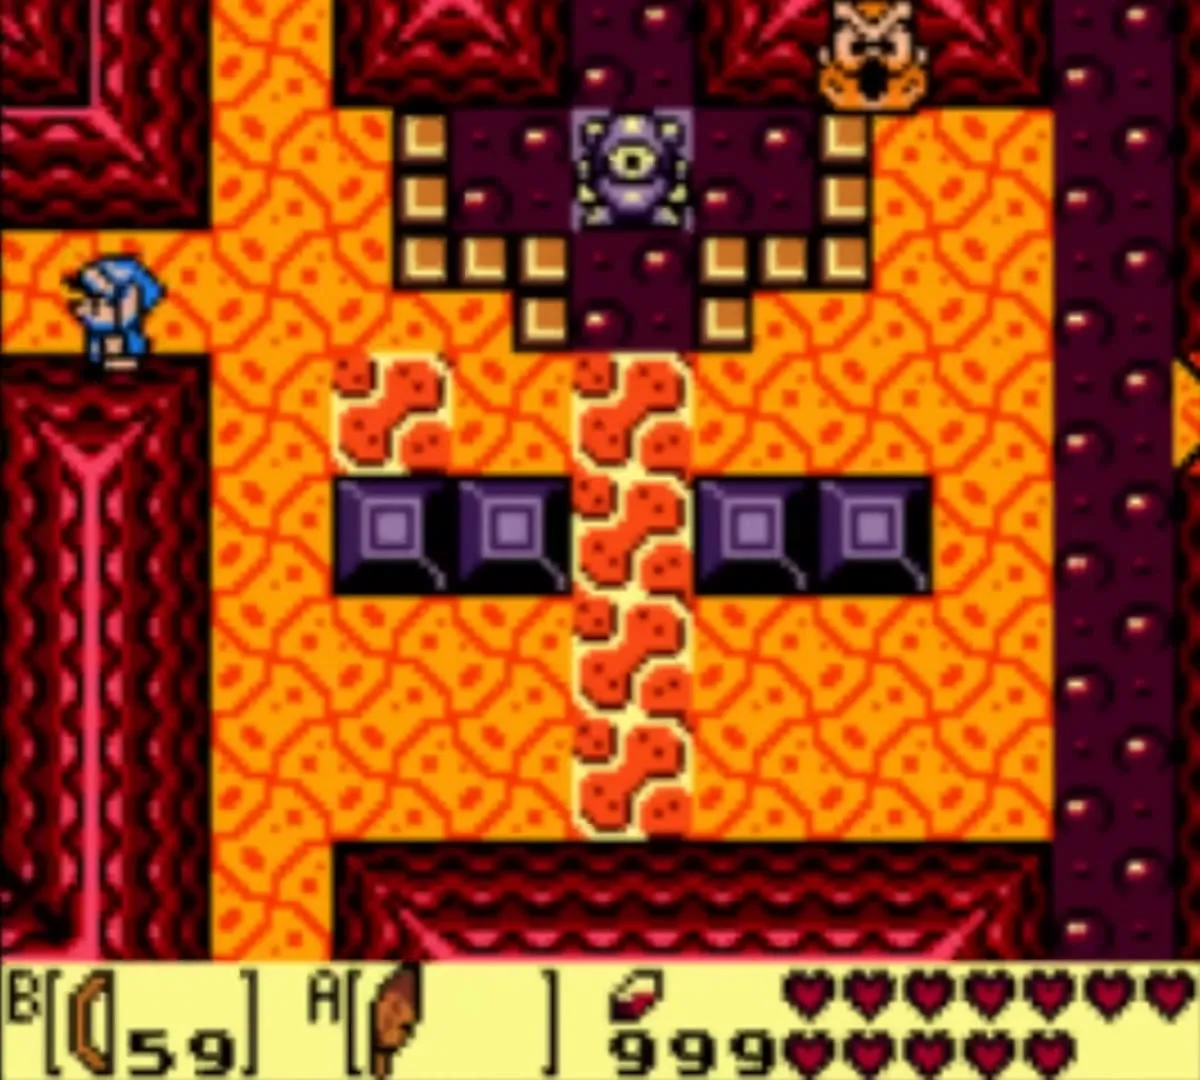
Go west to a room with a chest surrounded by blocks. Equip the Mirror Shield, push the block left of the chest up, push the block below the chest left and open the chest for a key. If the blocks jam, leave by the stairs and come back to reset them.


Go east, then north. Kill the Ropes and Vire, go west, take the rightmost stairs north and go east. Hook the chest on the right side with the Hookshot for 50 rupees.

Piece of Heart on the outside ledge
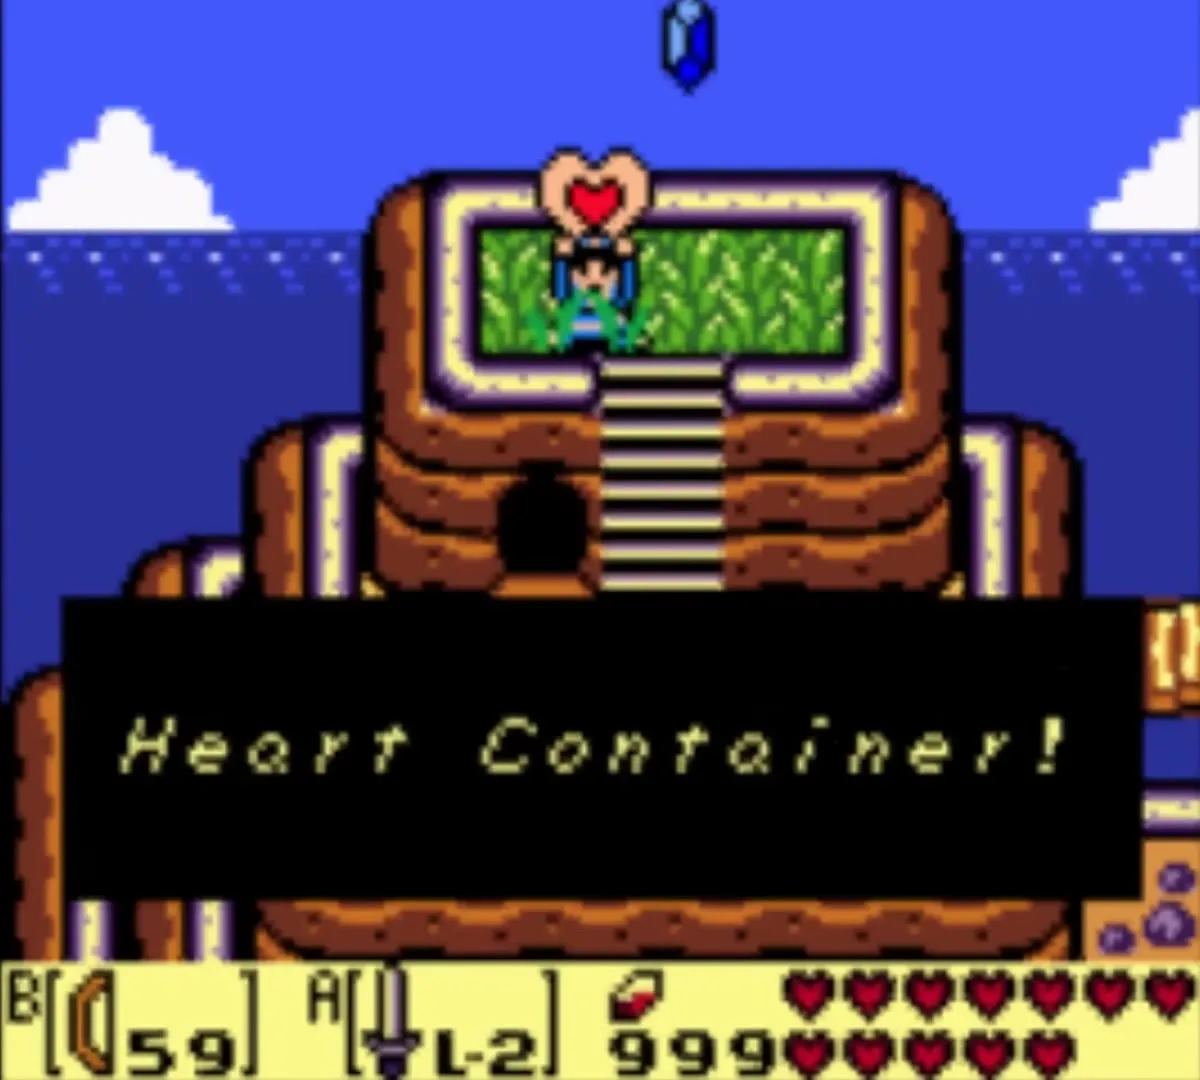
Jump down from the rupee ledge and walk up the stairs on the north side. They lead outside the dungeon to the top of Turtle Rock, where a Piece of Heart sits on a grassy ledge. Take it. Every four Pieces of Heart add one heart to your life meter.

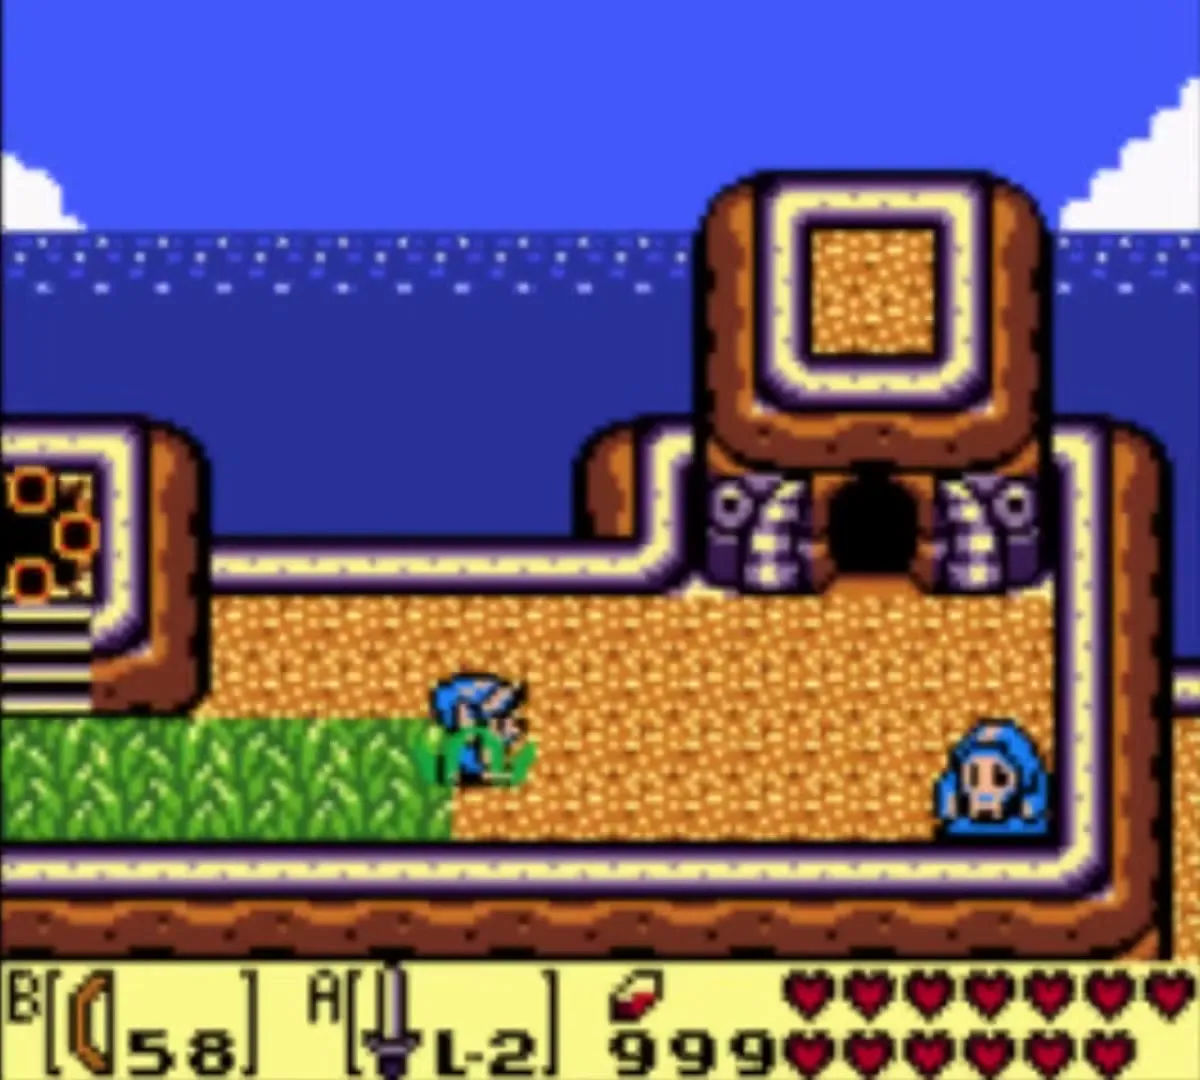
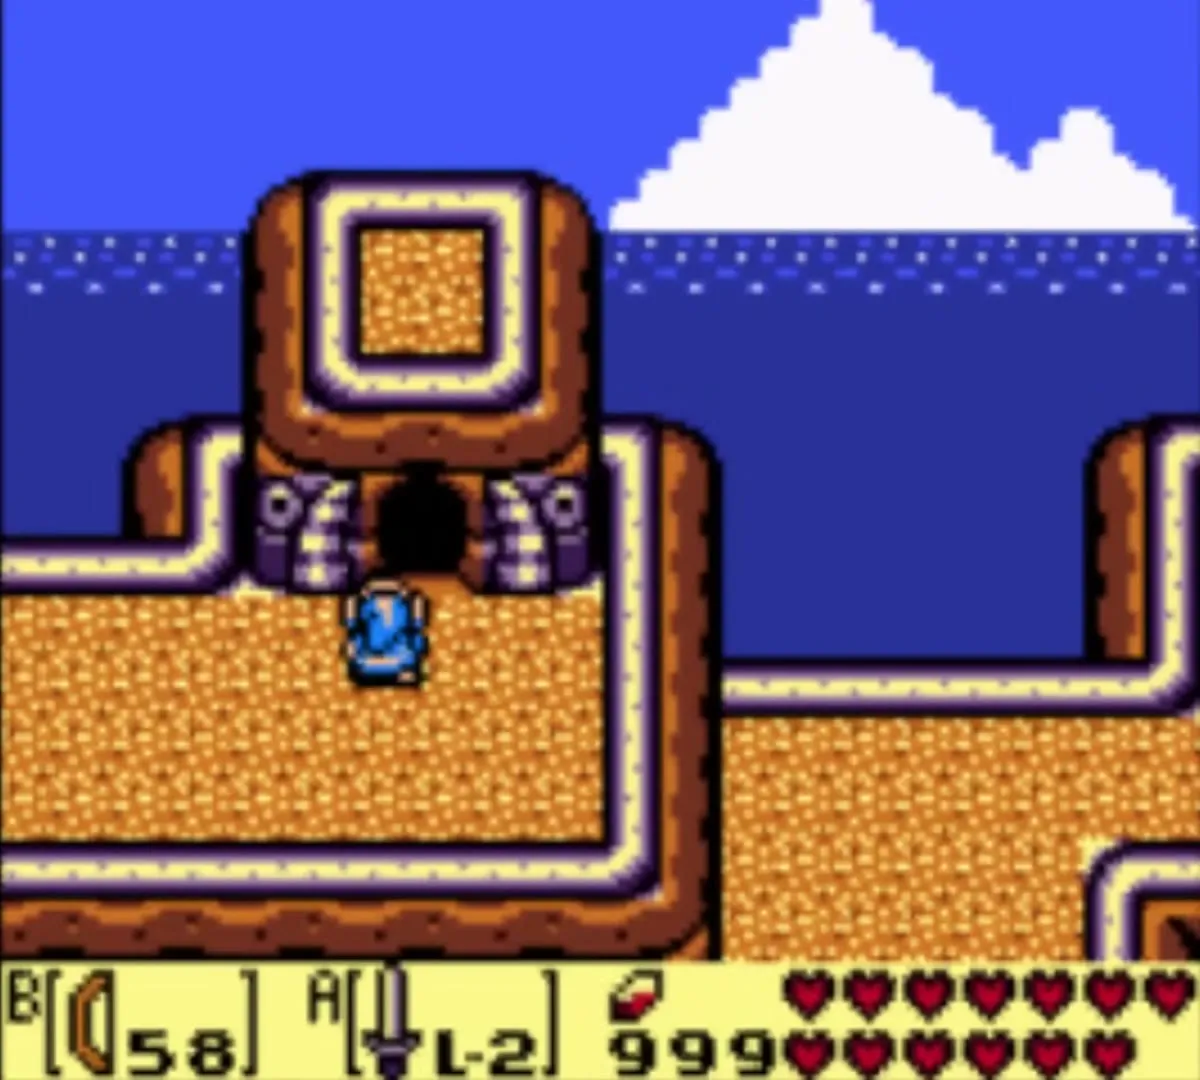
Go east along the bridge and walk to the second entrance of the dungeon, then go in.
Dodongo Snakes and the sixth key
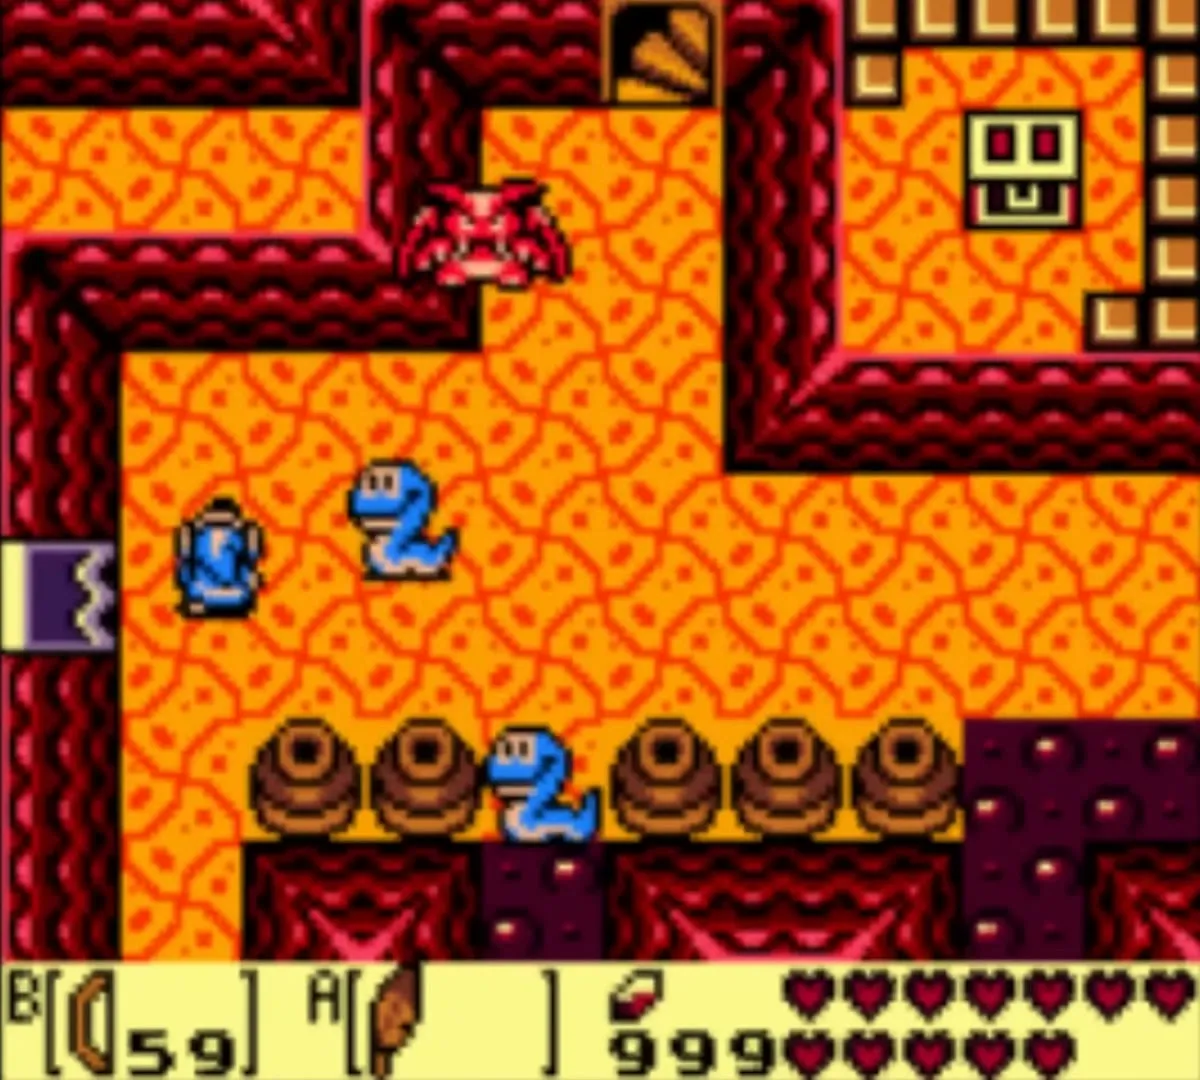
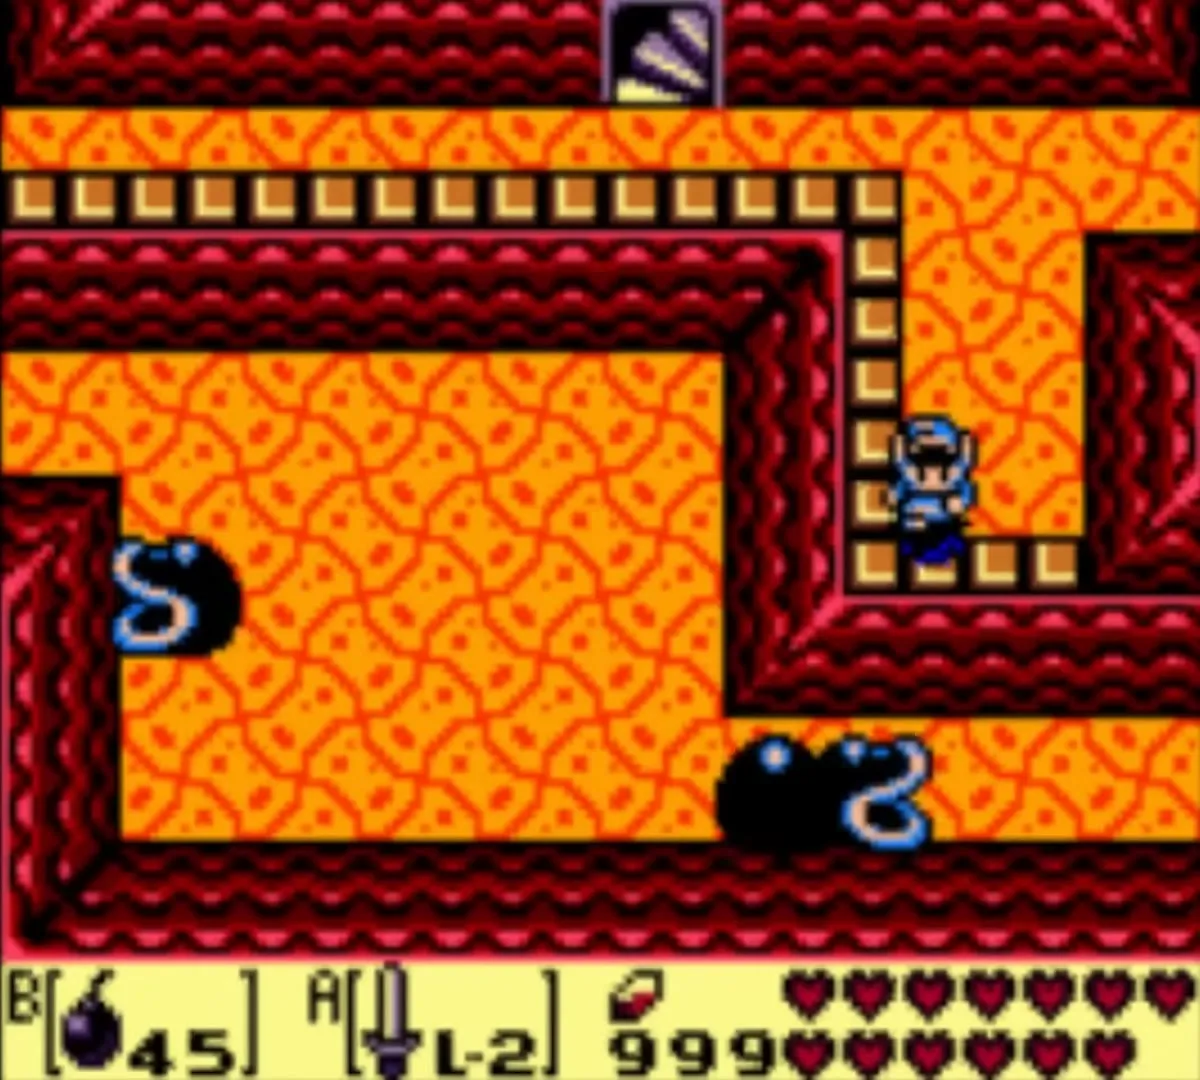
In the room beyond the second entrance, throw Bombs into the mouths of the two Dodongo Snakes as they crawl toward you. When both are dead a chest appears on a ledge; it holds a small key, your sixth.

Crystal switch
Go back to the entrance hall, north to the first Vire room, north again and east to the moving-platform room. Push the platform up once and then right until it stops, walk the path and leave east. Bomb the east wall if no opening is there, go through and hit the crystal switch. Without that hit the Magic Rod is out of reach.

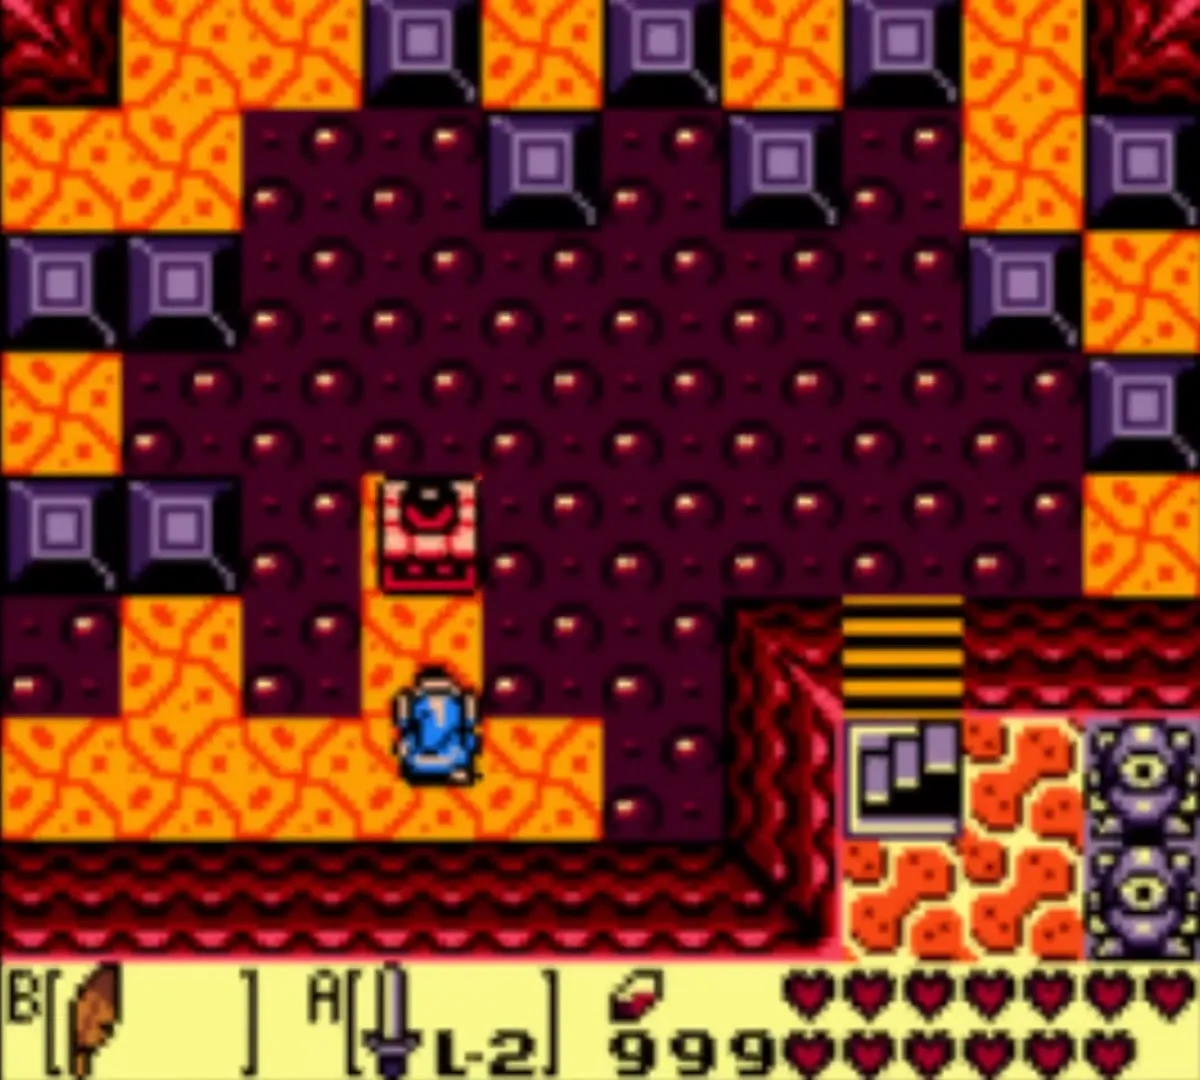


Blaino and the Magic Rod
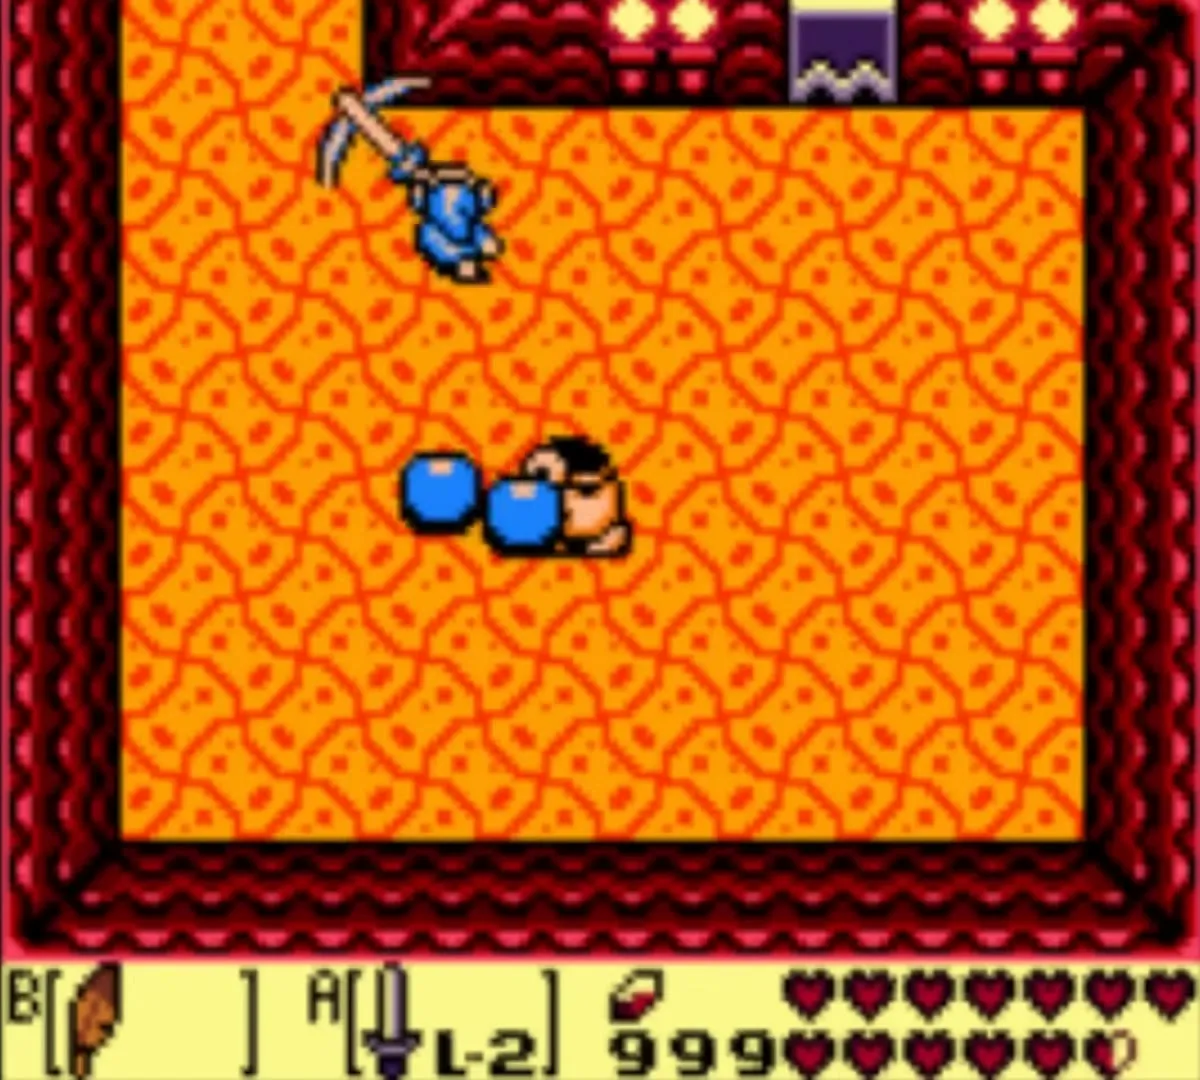
Return west and go down the stairs, jump off the ledge (skip the chest, which holds a Zol) and go west to the first Vire room. Cross the block room as before, then go east through the one-way door. Go west to the Rope and Peahat room, climb the stairs and unlock the key block. Hook across to the southern platform, unlock the next key block and go down the stairs. Cross the moving platforms with the Roc’s Feather, waiting out the Podoboo, then climb the ladder on the right, jump off the south ledge and go south. Blaino waits there, a boxer in blue gloves. A single punch can fling you all the way back to the dungeon entrance, so do not stand in front of him. Wait until he spins up his glove and swings, step aside, and hit him from the side or behind. A stronger trick is to charge your Sword, jump over him with the Roc’s Feather and let go of the button for a spin attack that hits even when his guard is up.
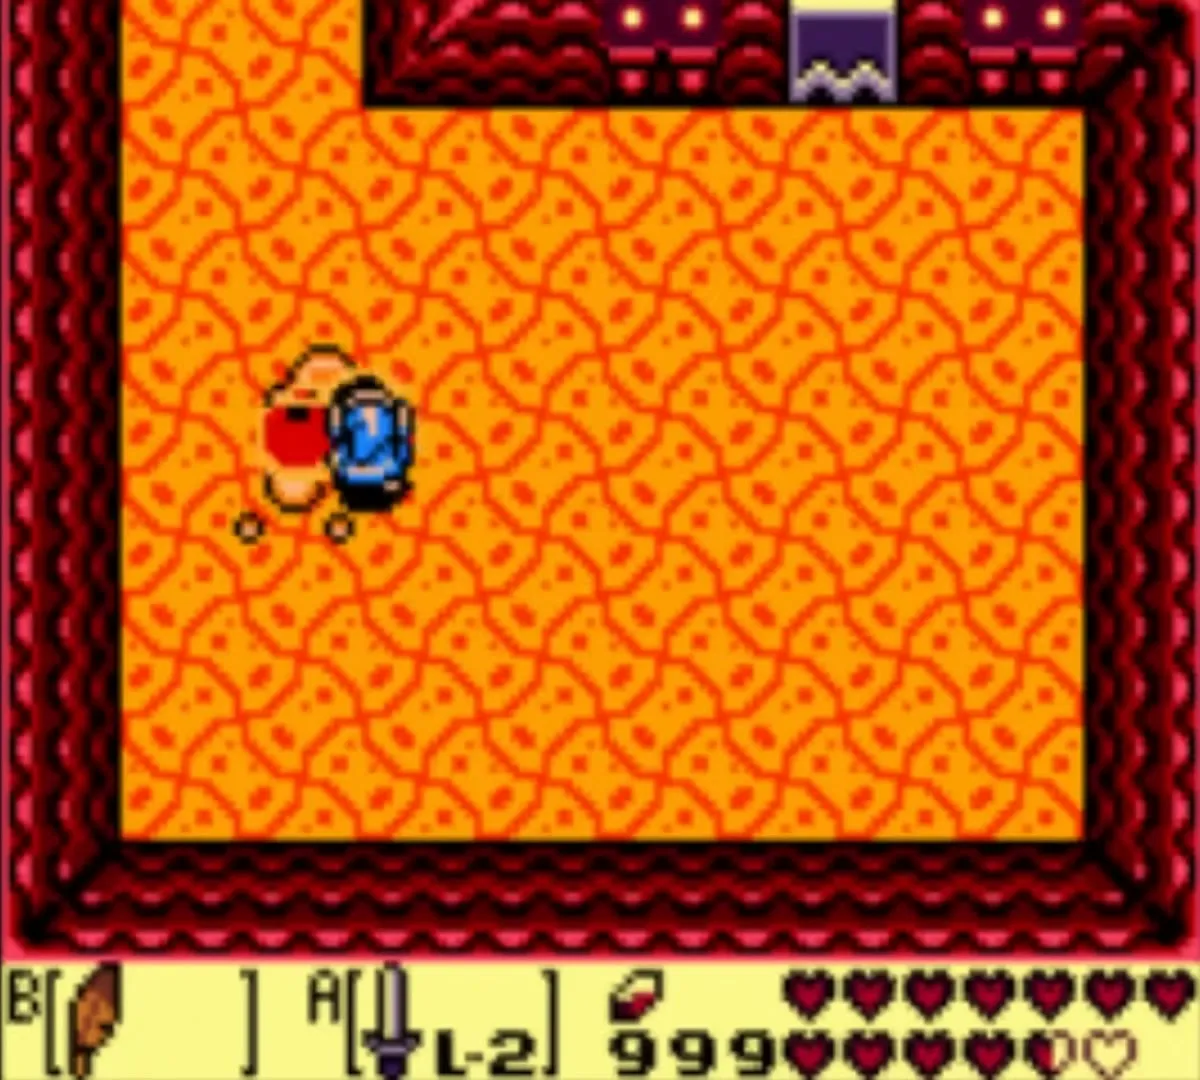
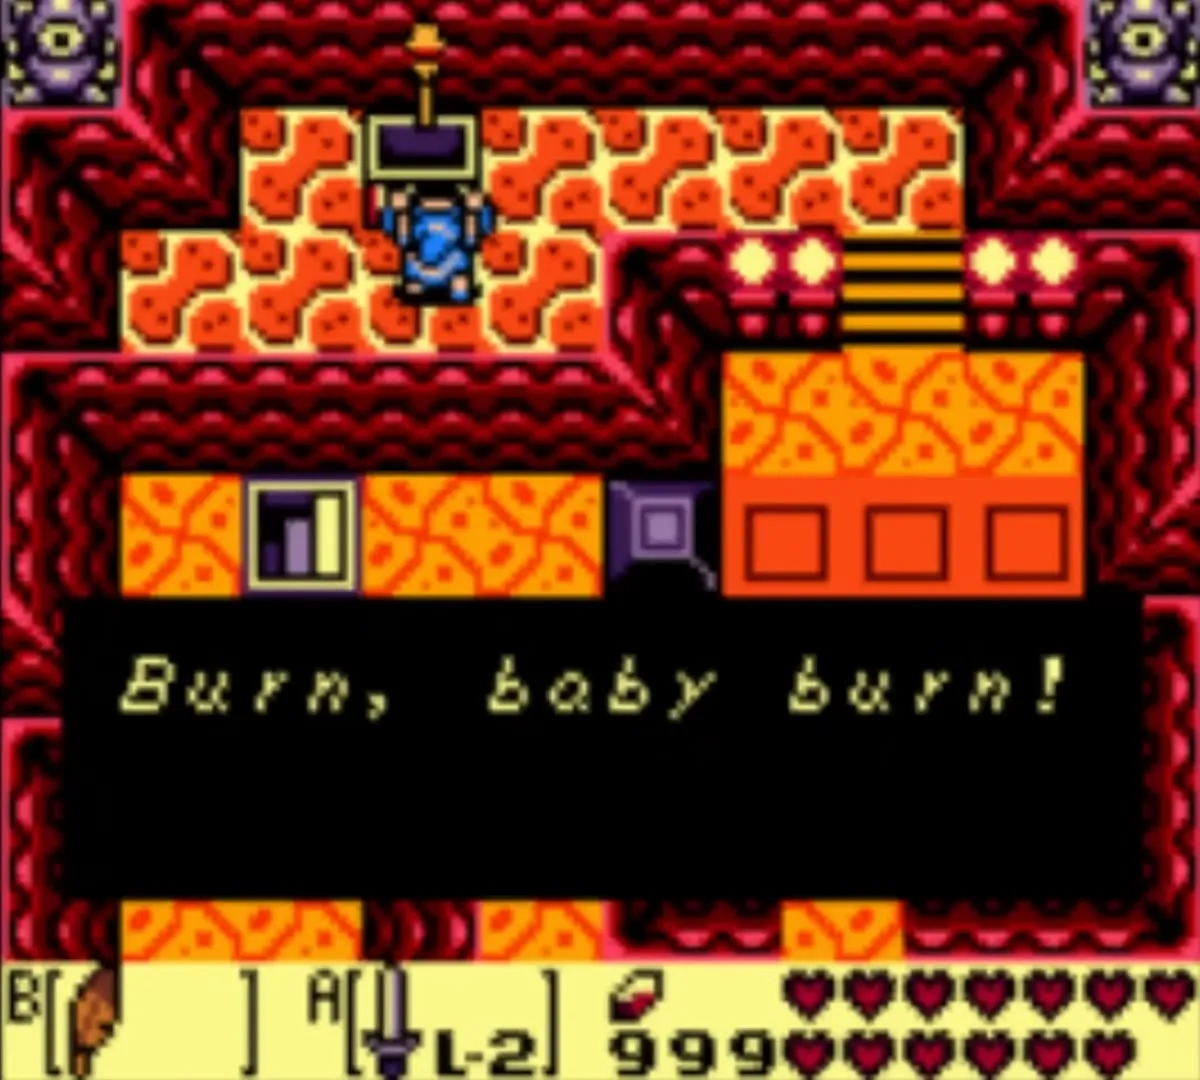
When Blaino goes down, walk northeast, climb the stairs and open the chest on the ledge. It holds the Magic Rod, a wand that shoots a fireball in a straight line. It also melts the blocks of ice that fill the dungeon’s upper halls, which is why you cannot finish Turtle Rock without it.
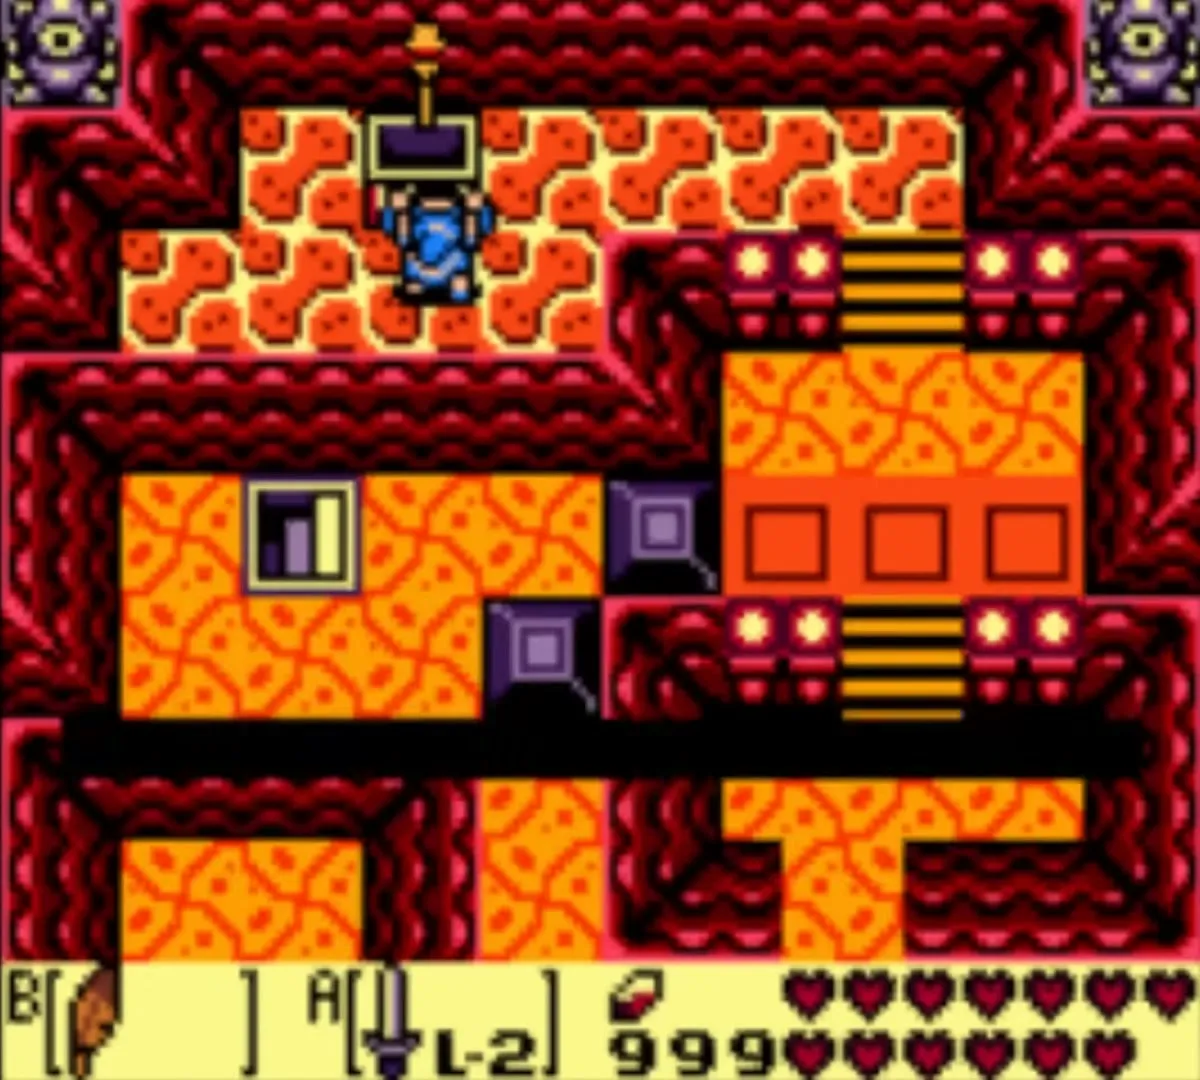
Seventh small key
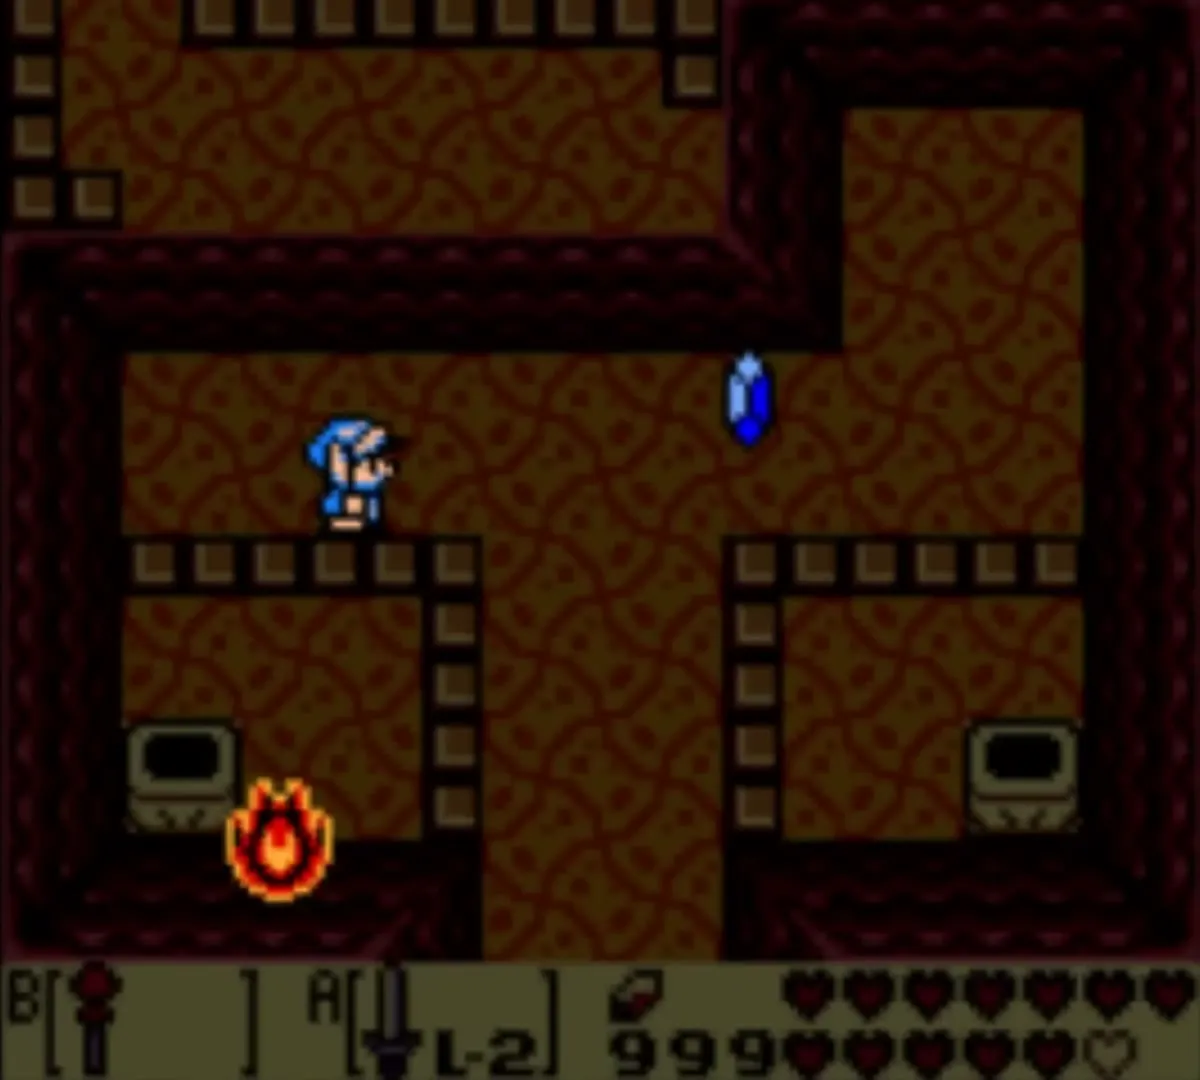
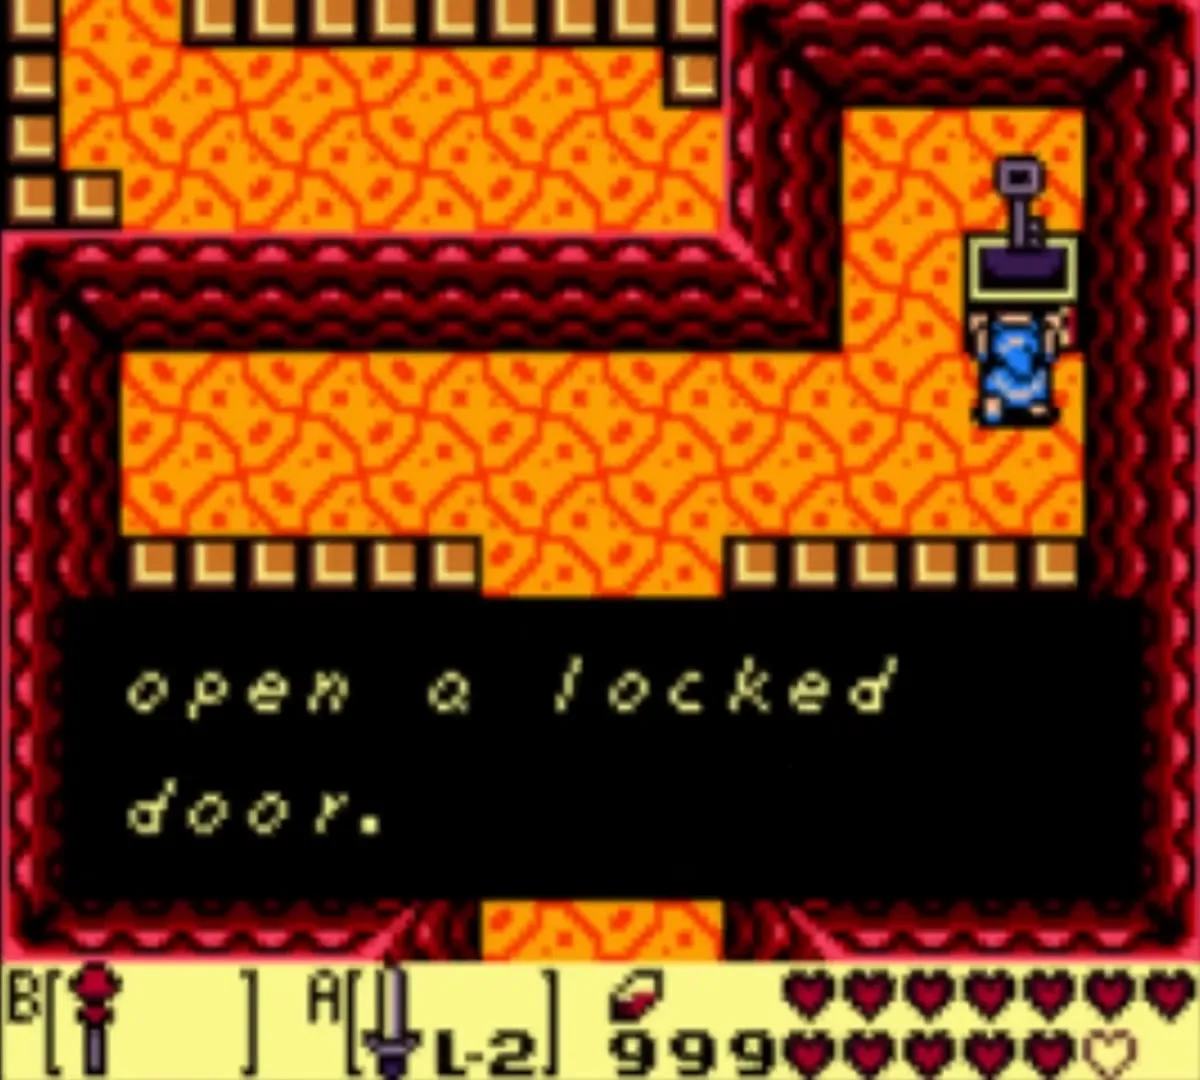
Jump down, take the stairs and cross the lava with the Roc’s Feather. In the dark torch room, kill the Rope if there is one, go west to the Beamos room, go up the northwest stairs and leave south. Jump down. Two unlit torches stand in this room: shoot them both with the Magic Rod and a chest opens with the seventh and last small key.
Ice halls on the way to Cue Ball
Warp to the entrance with Manbo’s Mambo, go north to the first Vire room, north again and east to the moving-platform room. Push the platform up once and then right as far as it goes, and take both staircases on the south side.
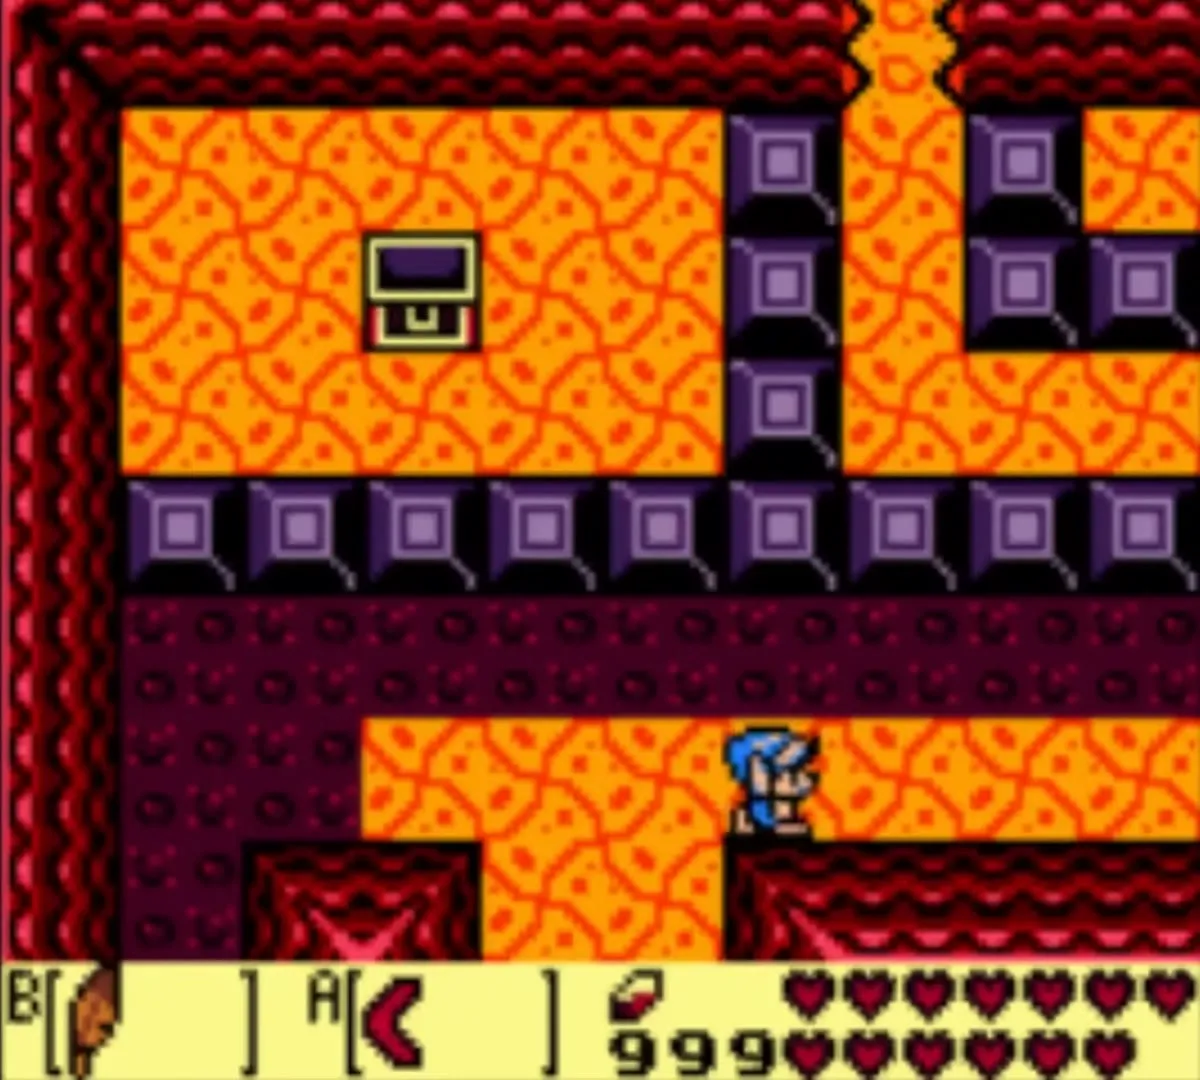
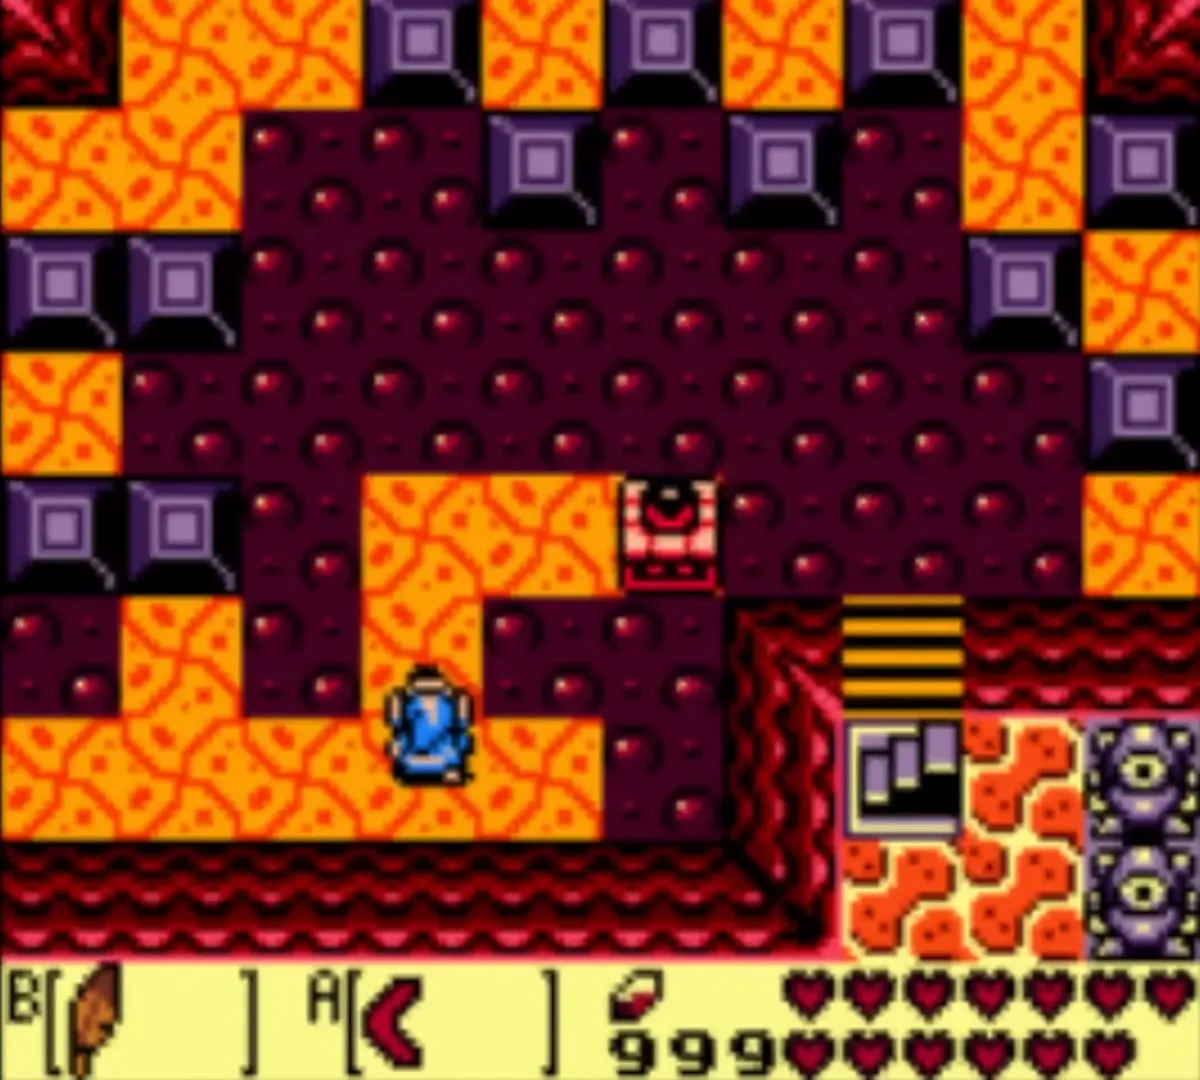
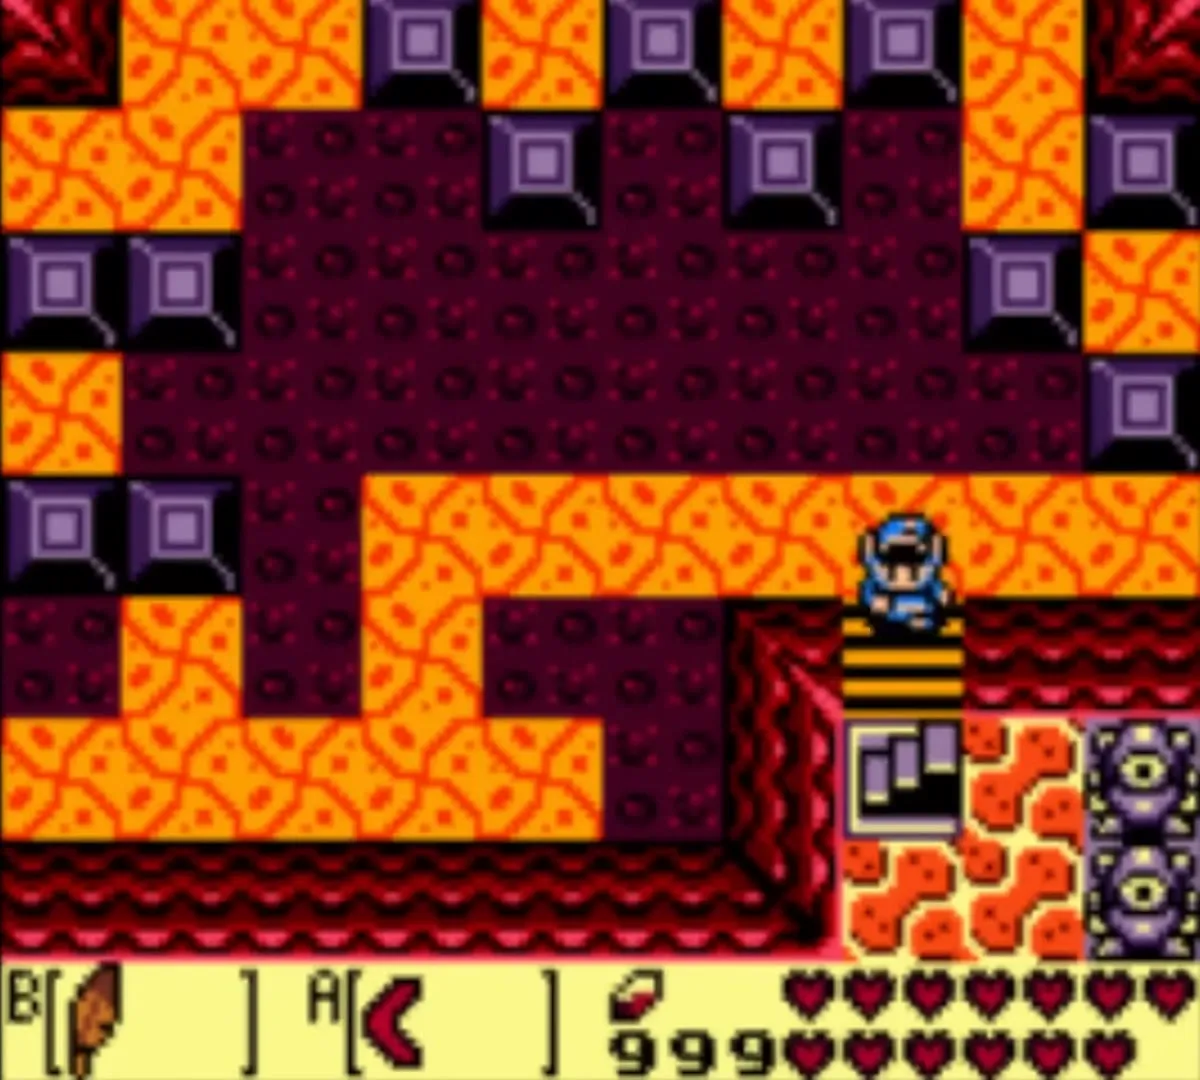
Melt the ice that blocks the way with the Magic Rod and walk past the Goombas. Equip both the Roc’s Feather and the Magic Rod: at the top of a jump, burn the layer of ice in front of you, land on it, go west and climb the ladder. Go down the left stairs, unlock the door and leave west.


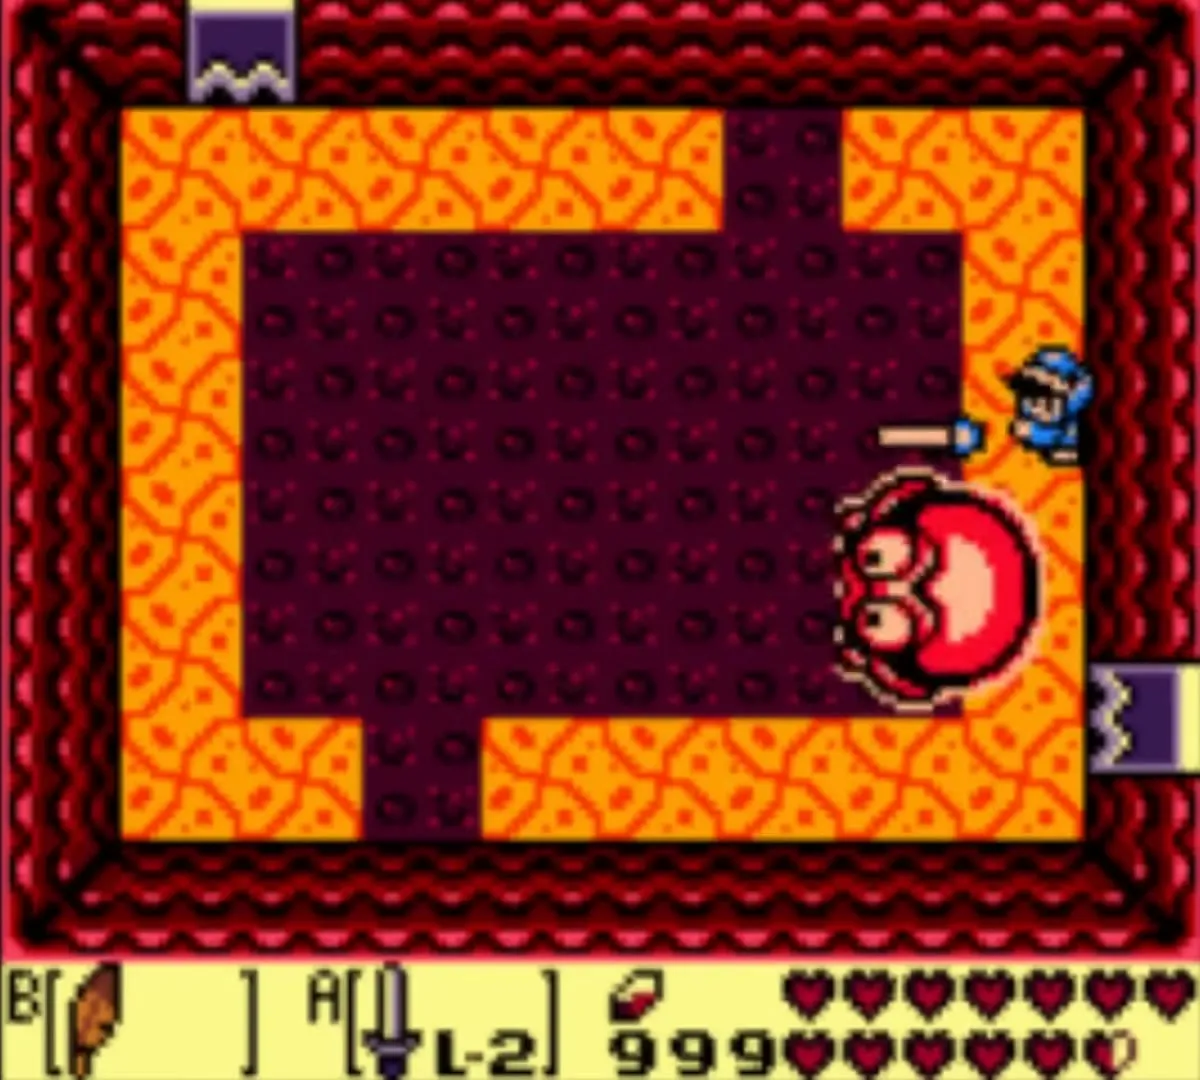
Cue Ball mini-boss
Cue Ball is a round enemy that charges back and forth across the room, and it cannot be hurt from the front. Jump over it with the Roc’s Feather as it rushes toward you, turn around and hit its back with the Sword. For a faster win charge a spin attack, jump straight up as it passes and release the spin when you land.

Nightmare’s Key
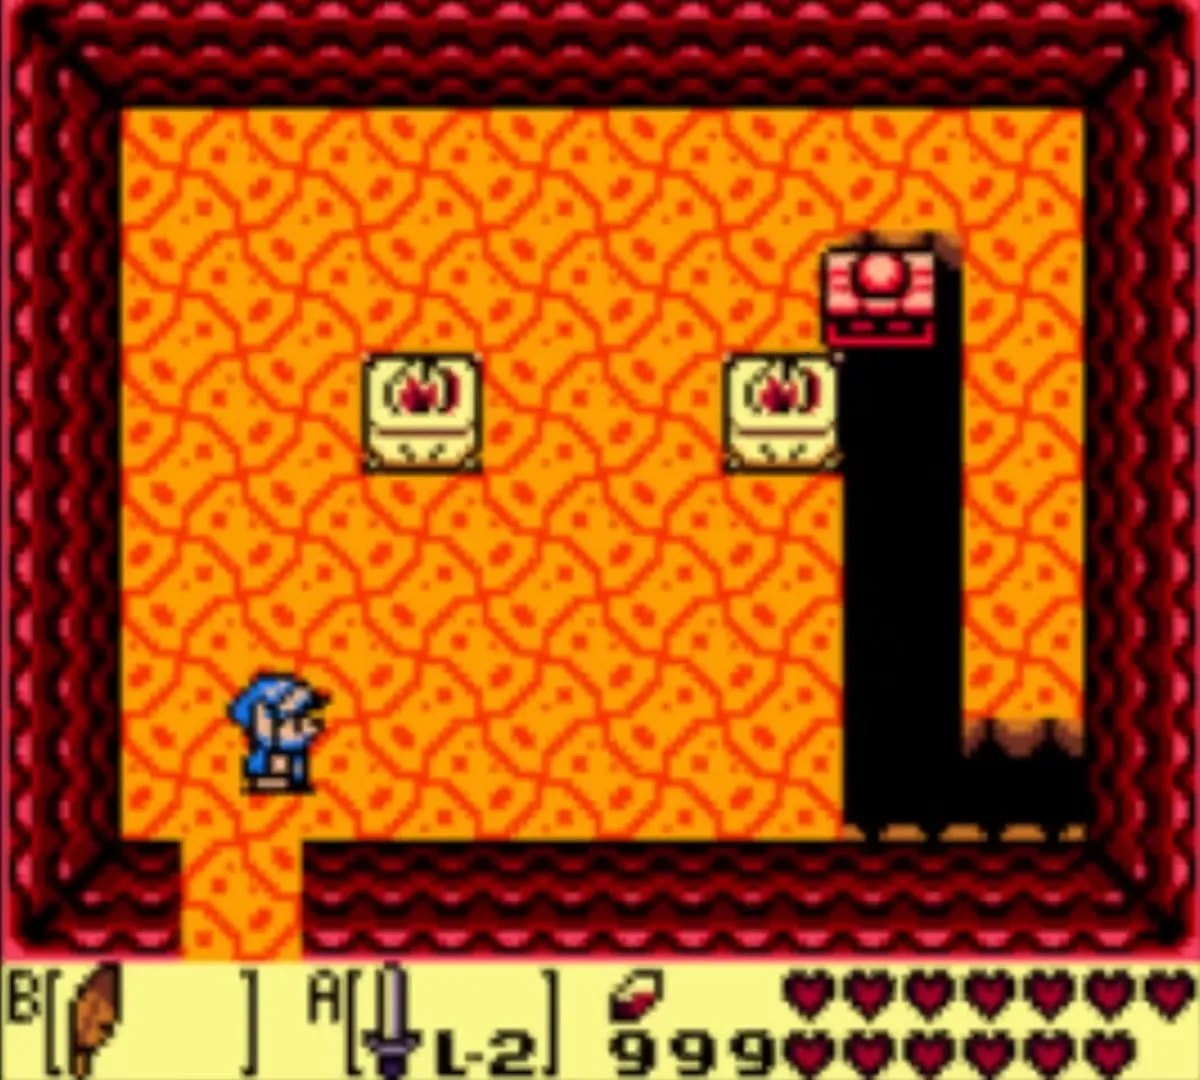
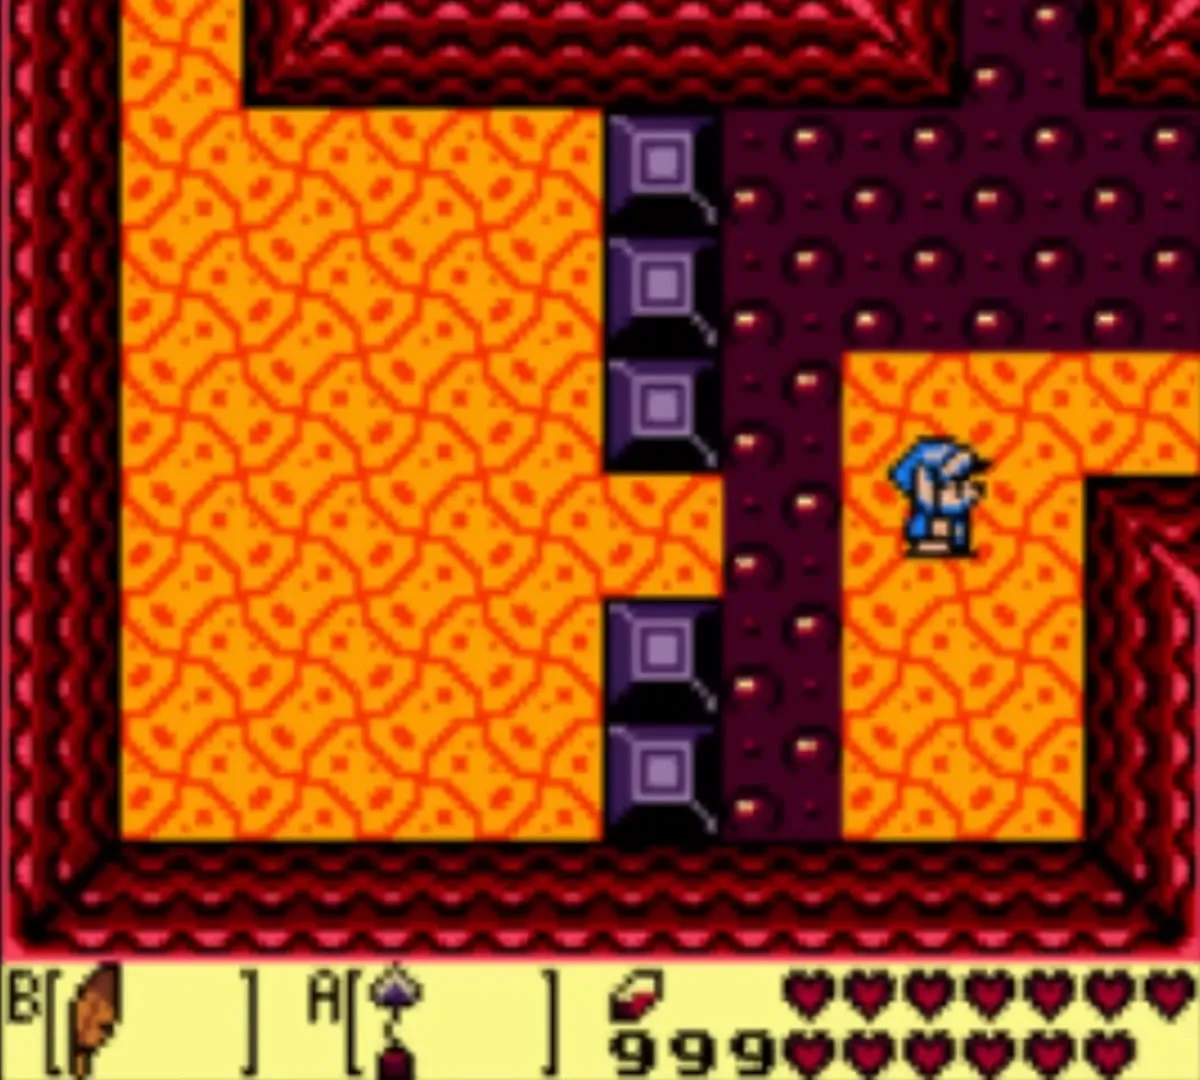
When Cue Ball is gone, a door opens to the north. The room behind it has holes in the floor and a block that slides over them. Shove the block along the dark trench so that it falls over every gap in turn, steering it around the bends instead of pushing it in a straight line. Once the last tile is covered a chest appears at the far right of the room. Open it for the Nightmare’s Key.
The ice path to the boss
Go south to Cue Ball’s room, east to the room with Vire and two Ropes and south to the room of flying items. Push a lower block into the lava and jump across, go east and then south into the lava room with a moving block. Push the block into the lava, jump right, push the block below into the lava, go east and jump down the ledge. Climb the stairs.

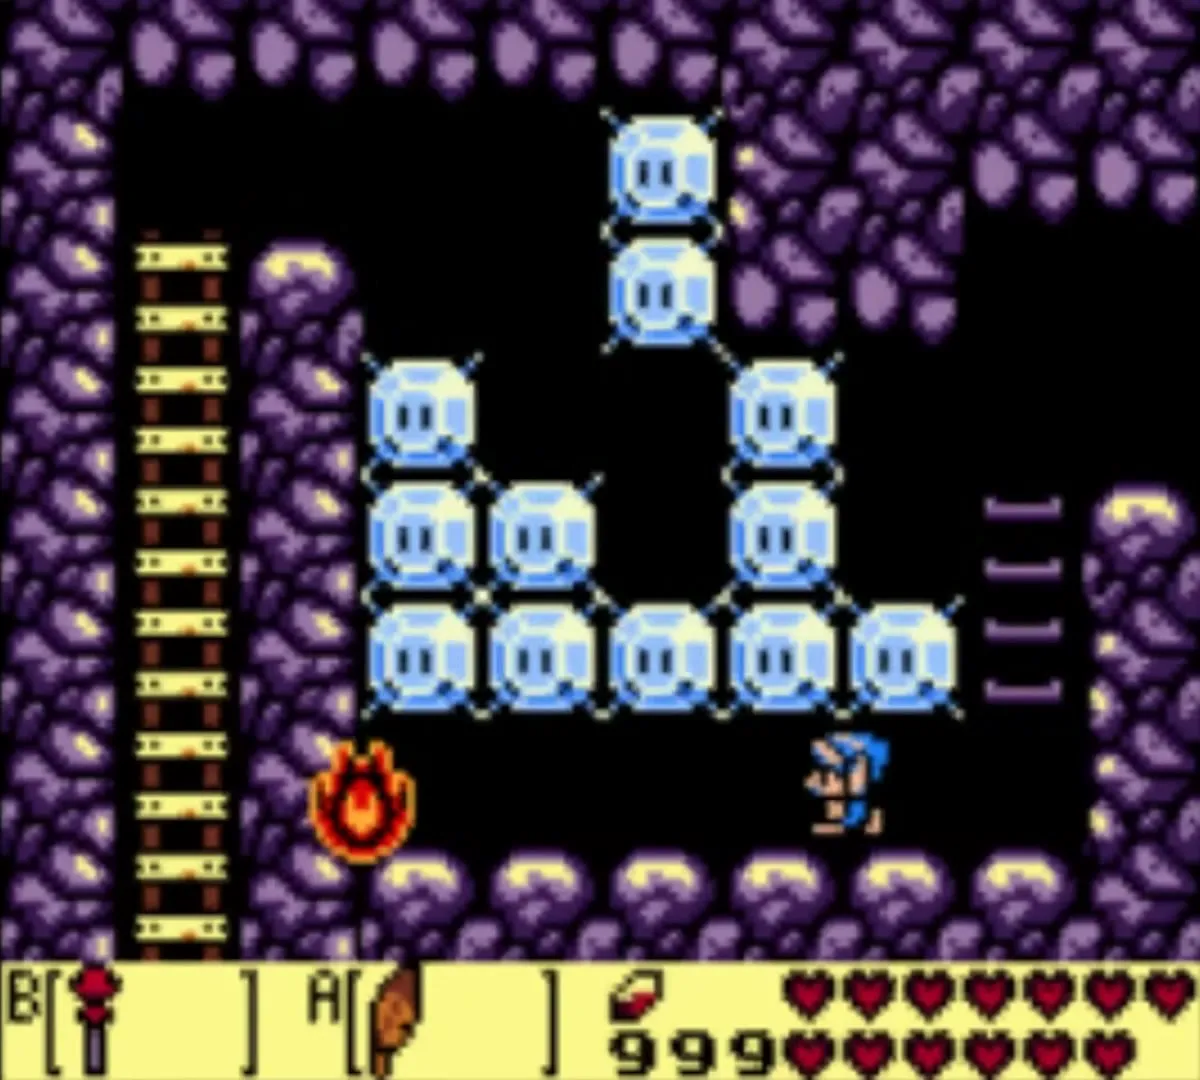
Climb the upper ladder and melt the ice on the left with the Magic Rod. Shoot fire upward to melt the ice above, jump up with the Roc’s Feather, melt the ice to the left at the top of the jump and drift left as you fall to land on the left ledge. If you miss, go back to the upper right ladder and try again.
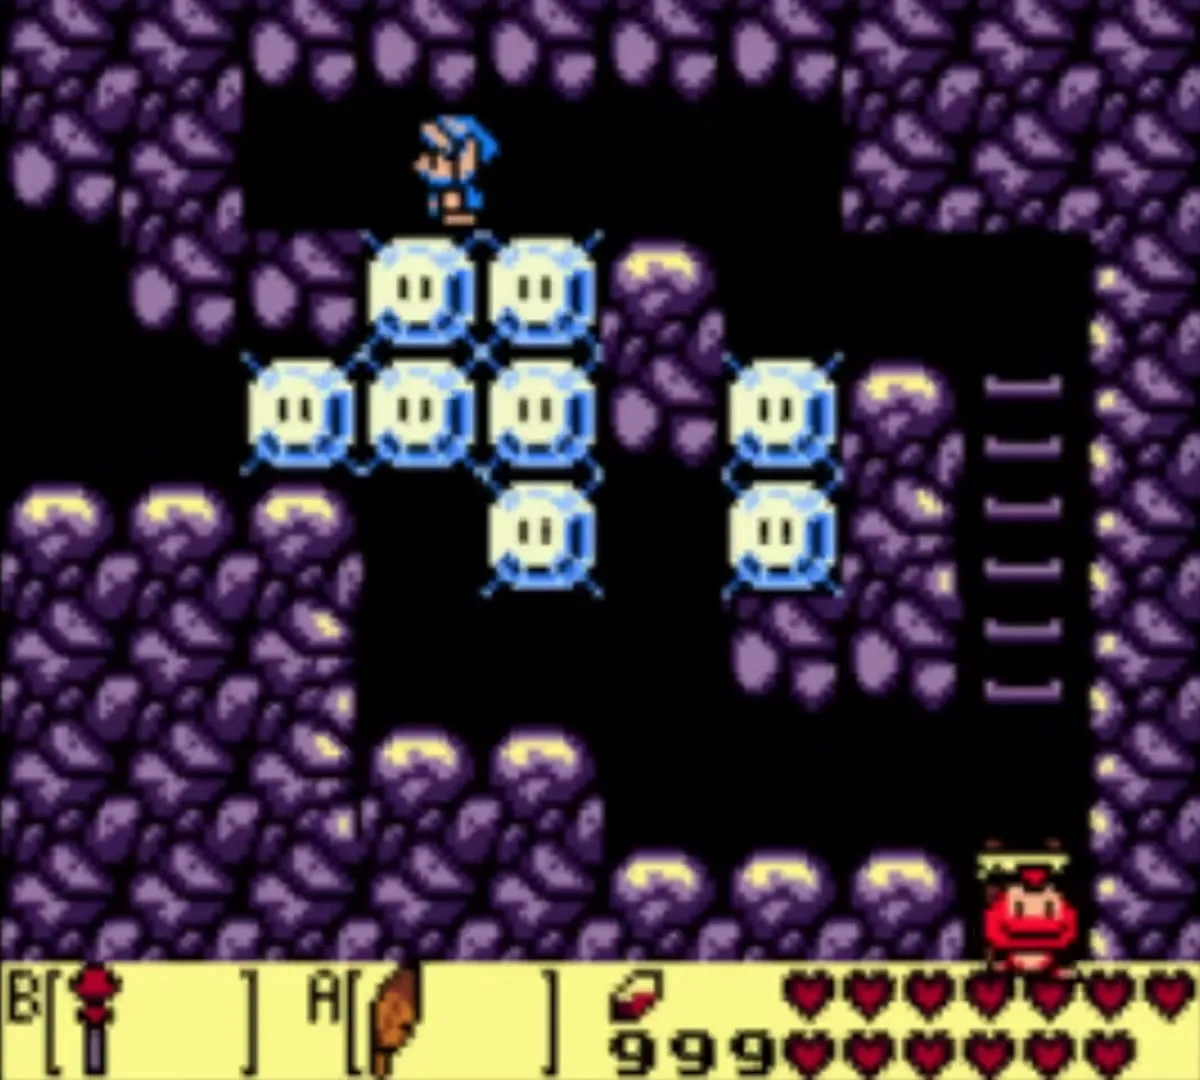

In the next room melt the bottom row of ice, walk to the middle and step one square to the right. Melt the column of three blocks that touches the ceiling, climb the ladder, jump left with the Roc’s Feather and go down the other ladder. Go north to the Nightmare Door and open it with your key.

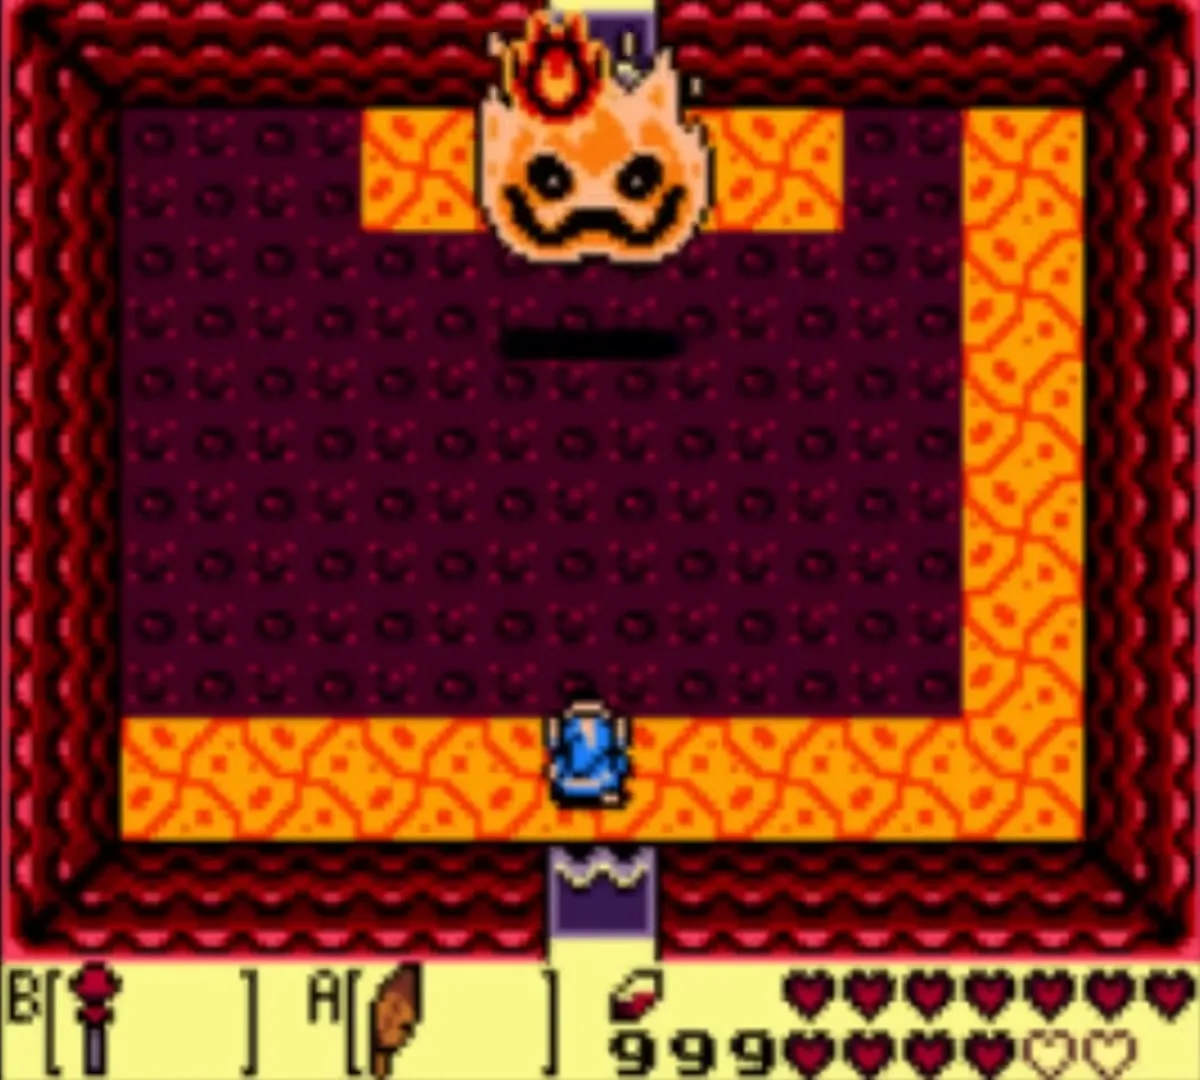
Hot Head boss
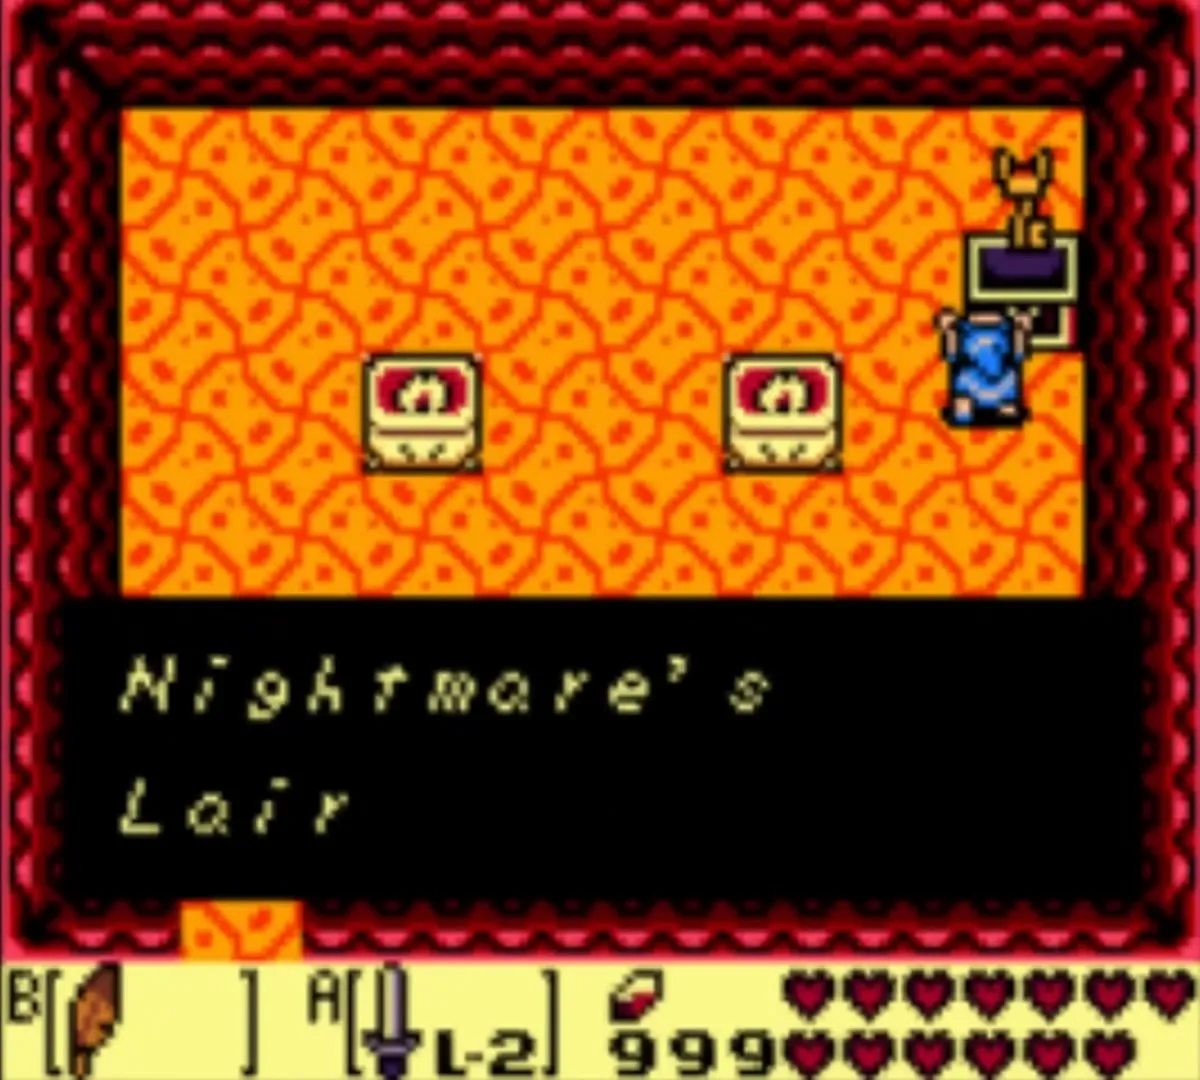
Hot Head fights from a lava lake with a narrow rim to stand on. Hot Head’s splashes hurt badly, so keep to the middle of the safe floor. The boss jumps out of the lava as a flaming face. Wait until it has jumped, then fire the Magic Rod at it. Every hit knocks its flames off and it flutters around for a moment before they come back, and it stays still right after a hit, which gives you time to shoot again.

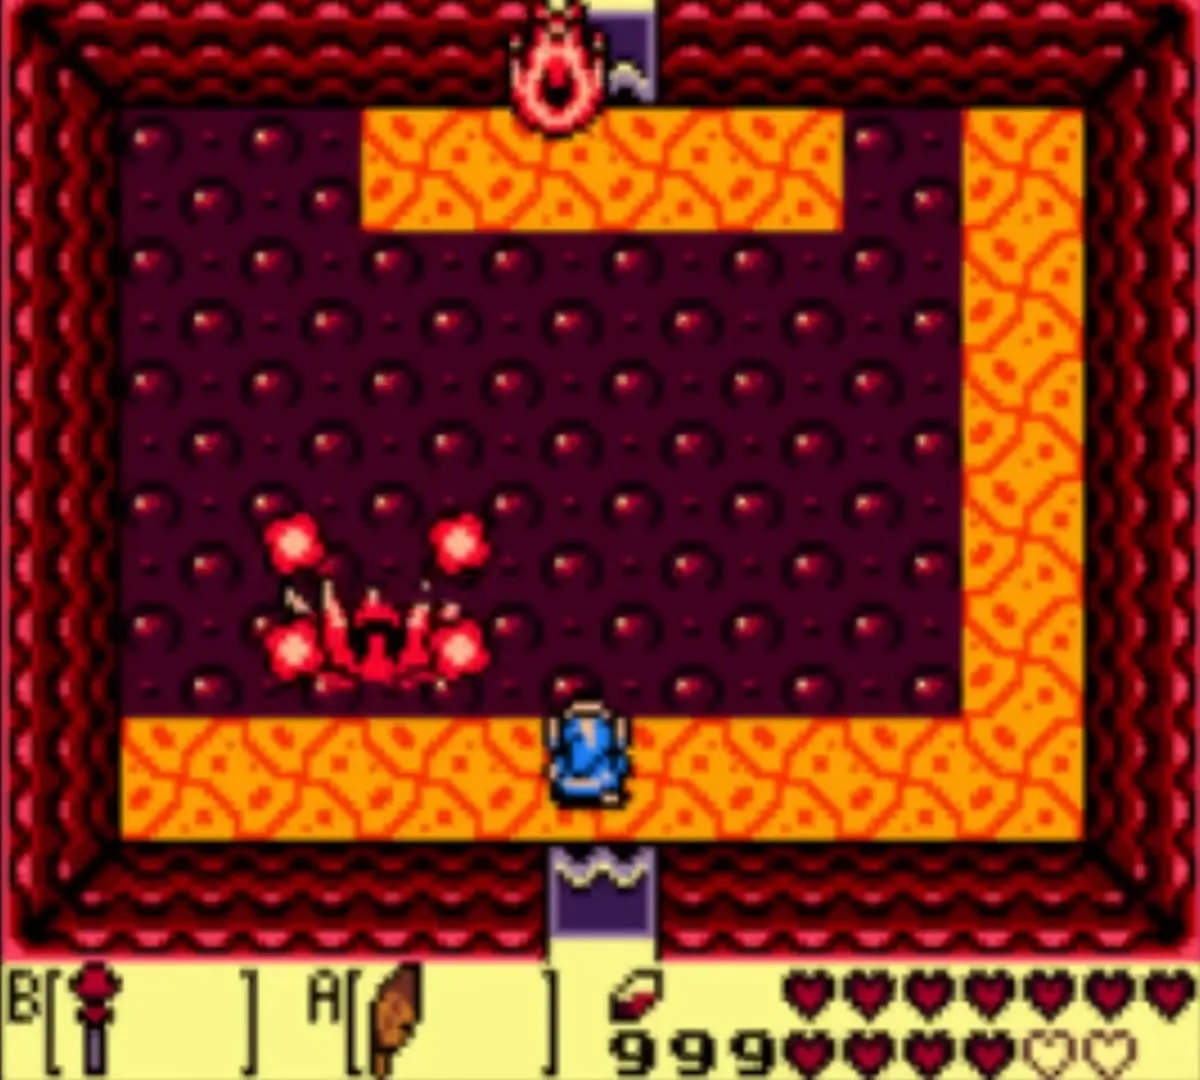
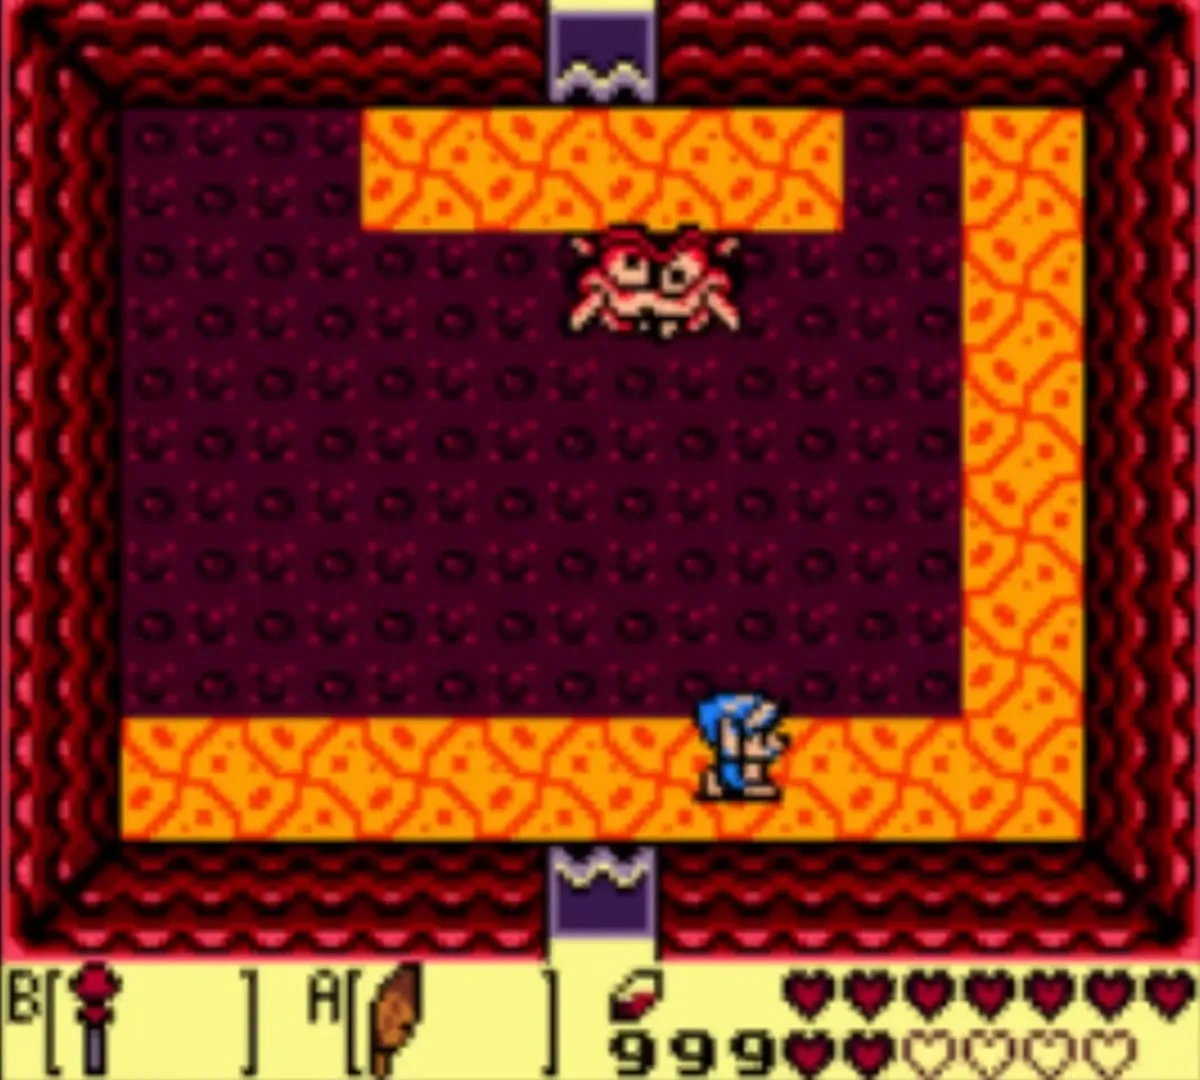
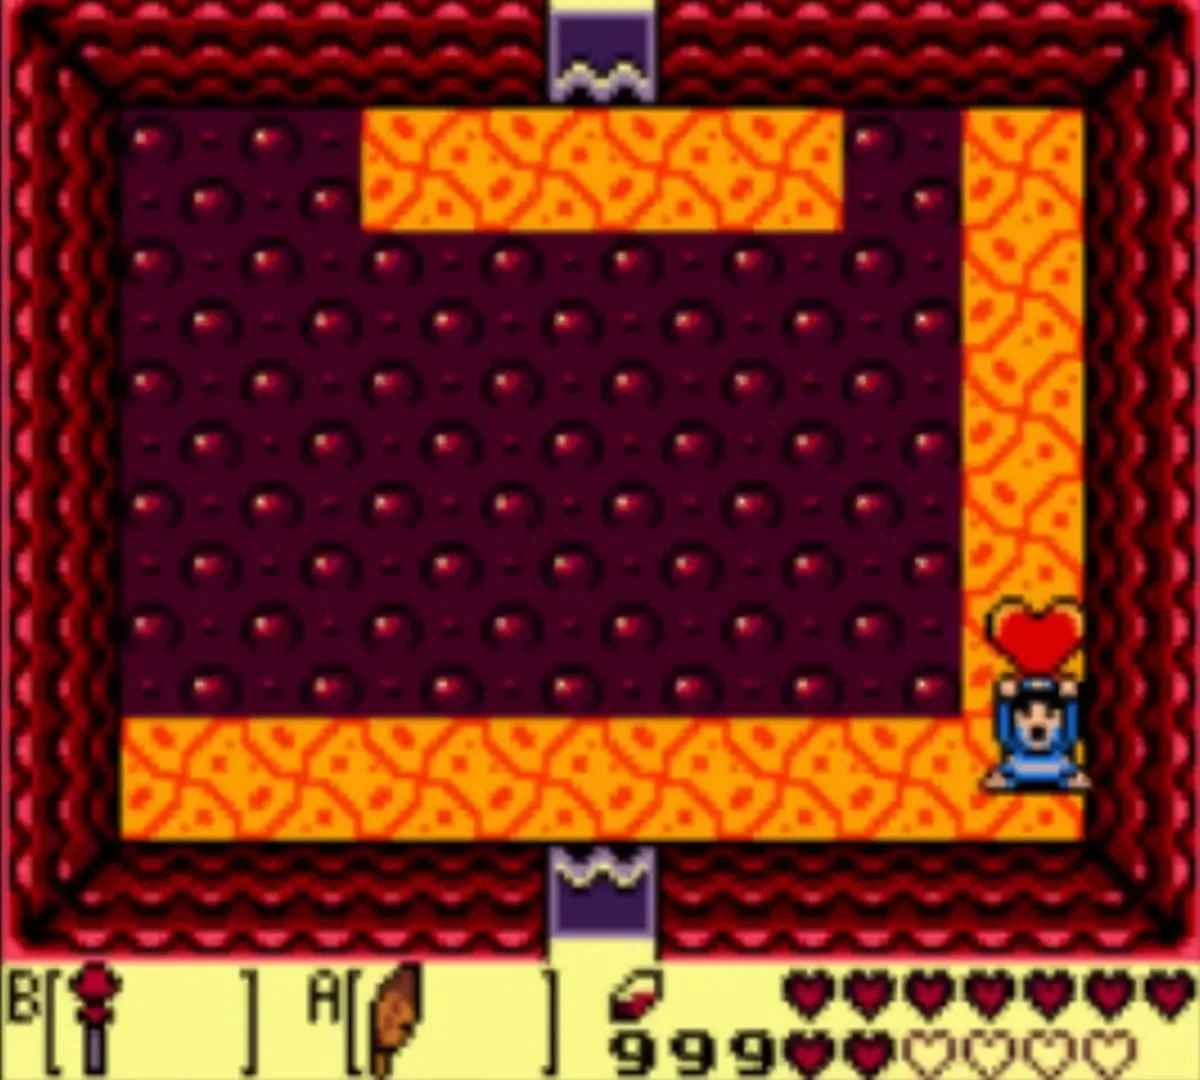
After a few hits it shrinks into a smaller, faster creature. Keep shooting until it is gone. A Heart Container appears; pick it up. If you have found all 12 Pieces of Heart, this brings you to the full 14 hearts, so every hit you take from here on is easier to survive.

Thunder Drum
Walk north into the next room, where the Thunder Drum waits on its pedestal ringed with lava. Take it: this is the eighth and last Siren Instrument. The Wind Fish’s Egg is now open to you. The finale is covered in The Wind Fish’s Egg and the Finale.


Chapter checklist
| Collectible | Type | Where |
|---|---|---|
| Close Call | Photo 12 | Plank bridge east of the Hen House at the top of the waterfall cave; walk across it without the Rooster |
| Mountain Path piece | Piece of Heart | Cave beyond the bridge where you meet Marin; bomb the south wall (skip if already collected) |
| Arrow upgrade | Upgrade | Mad Batter’s well beneath the cliff chest; throw Magic Powder |
| Rupee chest | Rupees | Cliff shelf beside the staircase to the Mad Batter’s well; 50 rupees |
 Compass | Dungeon item | Turtle Rock, chest on a lava island reached along a brick trail |
 Map | Dungeon item | Turtle Rock, chest in the block room north of the first Vire room |
| Stone Beak | Dungeon item | Turtle Rock, chest north of the lava cave behind the Map room |
 Small keys | Seven keys | Vire, block puzzle, Gibdos, arrow at the statue, block chest, Dodongo Snakes, torches with the Magic Rod |
| Secret Medicine | Chest | Turtle Rock, room on the way to the fourth key; take it only if you carry none |
| Outside Piece of Heart | Piece of Heart | Grass ledge above Turtle Rock, reached by the stairs north of the rupee ledge |
| Magic Rod | Item | Ledge chest northeast of Blaino’s room |
 Nightmare’s Key | Dungeon item | Turtle Rock, room north of Cue Ball; fill the floor holes with the sliding block |
 Heart Container | Heart Container | Dropped by Hot Head |
| Thunder Drum | Instrument | Room north of Hot Head’s lair |
With all eight instruments in your pack, go on to The Wind Fish’s Egg and the Finale.
