





















Link's Awakening 100% Completion Walkthrough9 chapters
- The Shore, Forest and Tail Cave (Level 1)Shield, Sword, Mysterious Forest, Magic Powder, Tail Key, Roc’s Feather, Moldorm and the Full Moon Cello.
- Goponga Swamp and Bottle Grotto (Level 2)BowWow’s rescue, Goponga Swamp, every key, the Power Bracelet, the Genie boss and the Conch Horn.
- Ukuku Prairie, Kanalet Castle and Key Cavern (Level 3)The Golden Leaves of Kanalet Castle, the Slime Key, Pegasus Boots, Slime Eye and the Sea Lily’s Bell.
- Yarna Desert and Angler’s Tunnel (Level 4)Wake the walrus, cross Yarna Desert, win the Flippers, beat the Angler Fish and take the Surf Harp.
- Martha’s Bay and Catfish’s Maw (Level 5)Manbo’s Mambo, the ghost, the Mermaid’s Scale, Hookshot, Master Stalfos, Slime Eel and the Wind Marimba.
- Ancient Ruins and Face Shrine (Level 6)Magnifying Lens, Frog’s Song of Soul, Boomerang, Ancient Ruins, Power Bracelet L-2, Facade, Coral Triangle.
- Tal Tal Mountains and Eagle’s Tower (Level 7)Flying Rooster, Bird Key, Mirror Shield, Evil Eagle and the Organ of Evening Calm.
- Western Mountains and Turtle Rock (Level 8)Marin’s bridge, Mad Batter, Frog’s Song of Soul, Magic Rod, Hot Head and the Thunder Drum.
- The Wind Fish’s Egg and the FinaleFinish your 100%, read the maze book, play the Ballad, beat the Shadow Nightmares, see the secret ending.
| Covers | Mermaid Statue, Animal Village, Signpost Maze, Toronbo Shores, Ancient Ruins (Southern Face Shrine) and the Face Shrine |
|---|---|
| Dungeon | Face Shrine (Level 6): needs the Face Key, Flippers, Hookshot, Bombs and Bow; the Boomerang from the optional trade helps; mini-boss Smasher; boss Facade; instrument Coral Triangle |
| Rewards | Magnifying Lens, Boomerang, Frog’s Song of Soul, Power Bracelet L-2, Coral Triangle, 1 Piece of Heart, 2 Secret Seashells, 1 Heart Container, 1 Piece of Power, Photo 9 (I Found Zora) |
This chapter takes you from the Wind Marimba to the sixth instrument. You collect the Magnifying Lens, a Piece of Heart and a photo around Animal Village, learn the Frog’s Song of Soul, trade for the Boomerang, beat the Armos Knight in the Ancient Ruins for the Face Key, then fight through the Face Shrine to pick up the Power Bracelet L-2, defeat Facade and take the Coral Triangle.
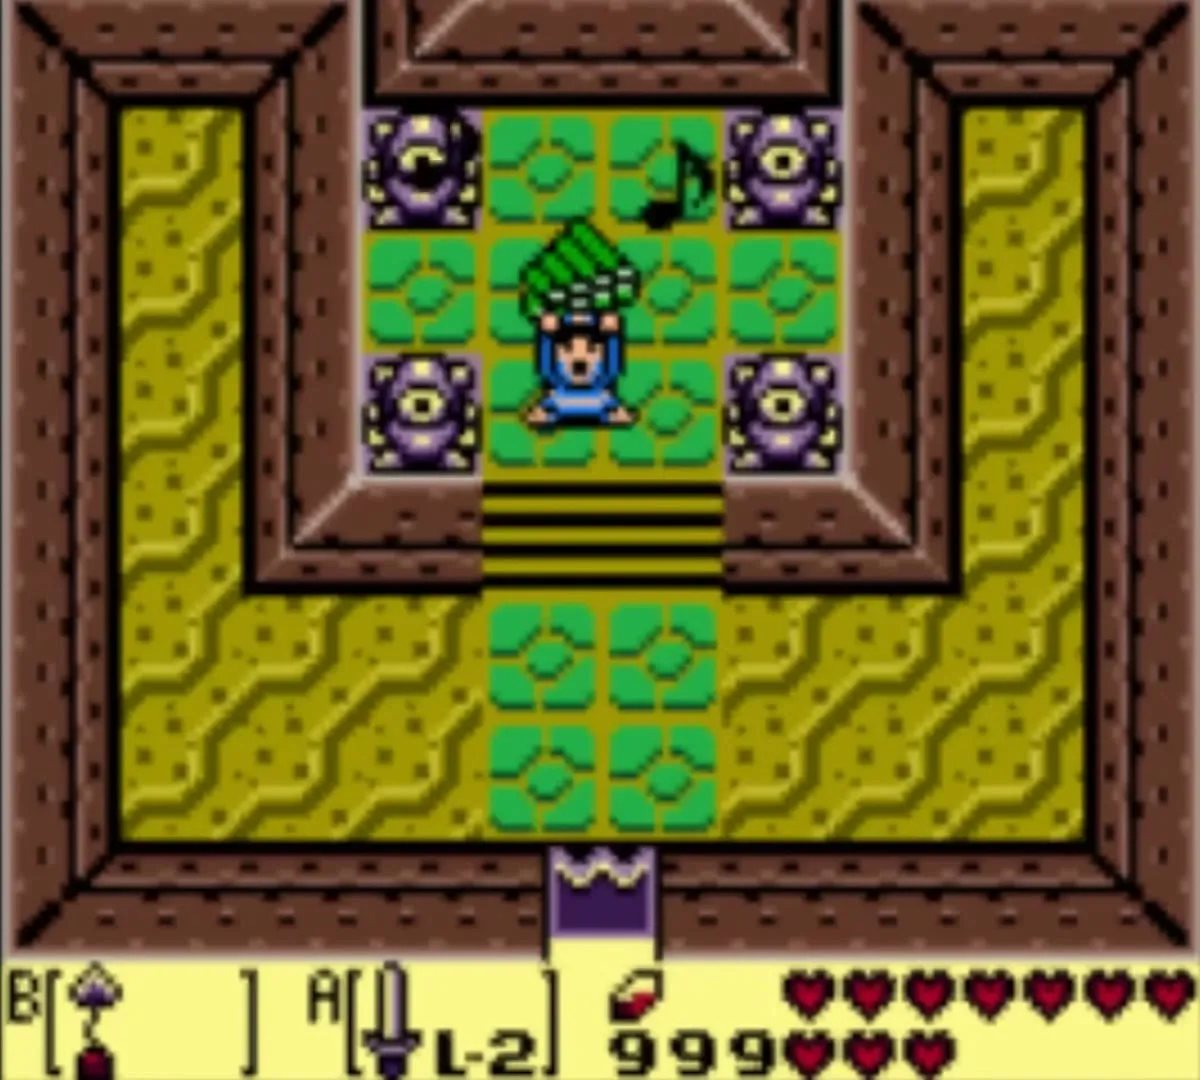
Table of Contents
How to get the Magnifying Lens
Place the Mermaid’s Scale on the statue
Make sure you hold the Mermaid’s Scale from the Mermaid in Martha’s Bay and have the Hookshot. Go to the screen just before Animal Village and walk south until you run out of land, then head west. Hookshot across the water to the rock on the far side, continue north and west, and check the Mermaid Statue. The statue says a scale is missing, so give it yours.

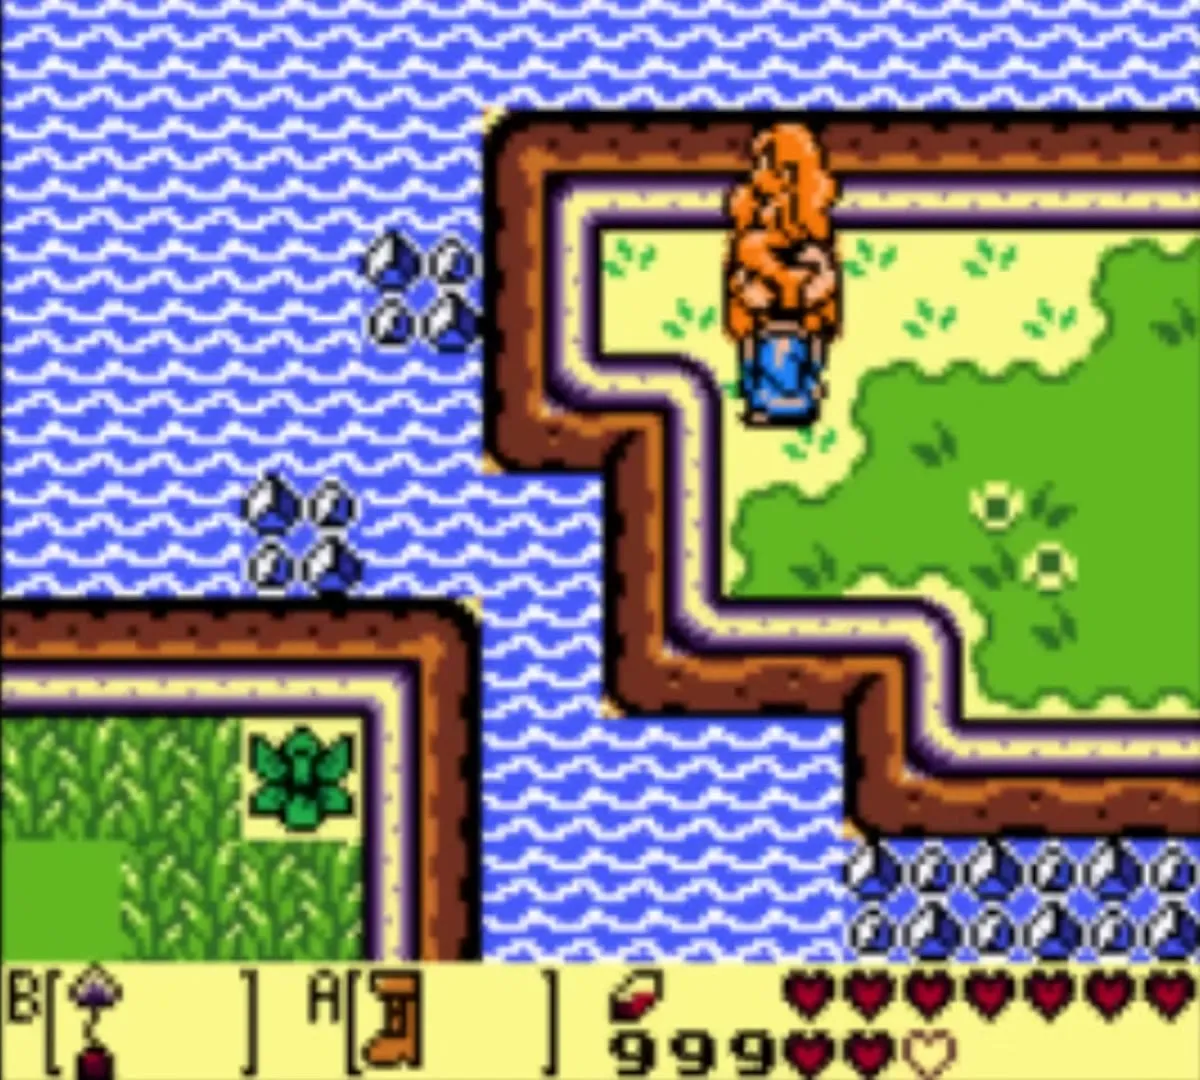
The statue slides aside and a staircase appears. Go down, walk north and pick up the Magnifying Lens at the end of the cellar. It lets you see things that you could not see before, such as the Zora in Animal Village. That finishes the trading sequence.

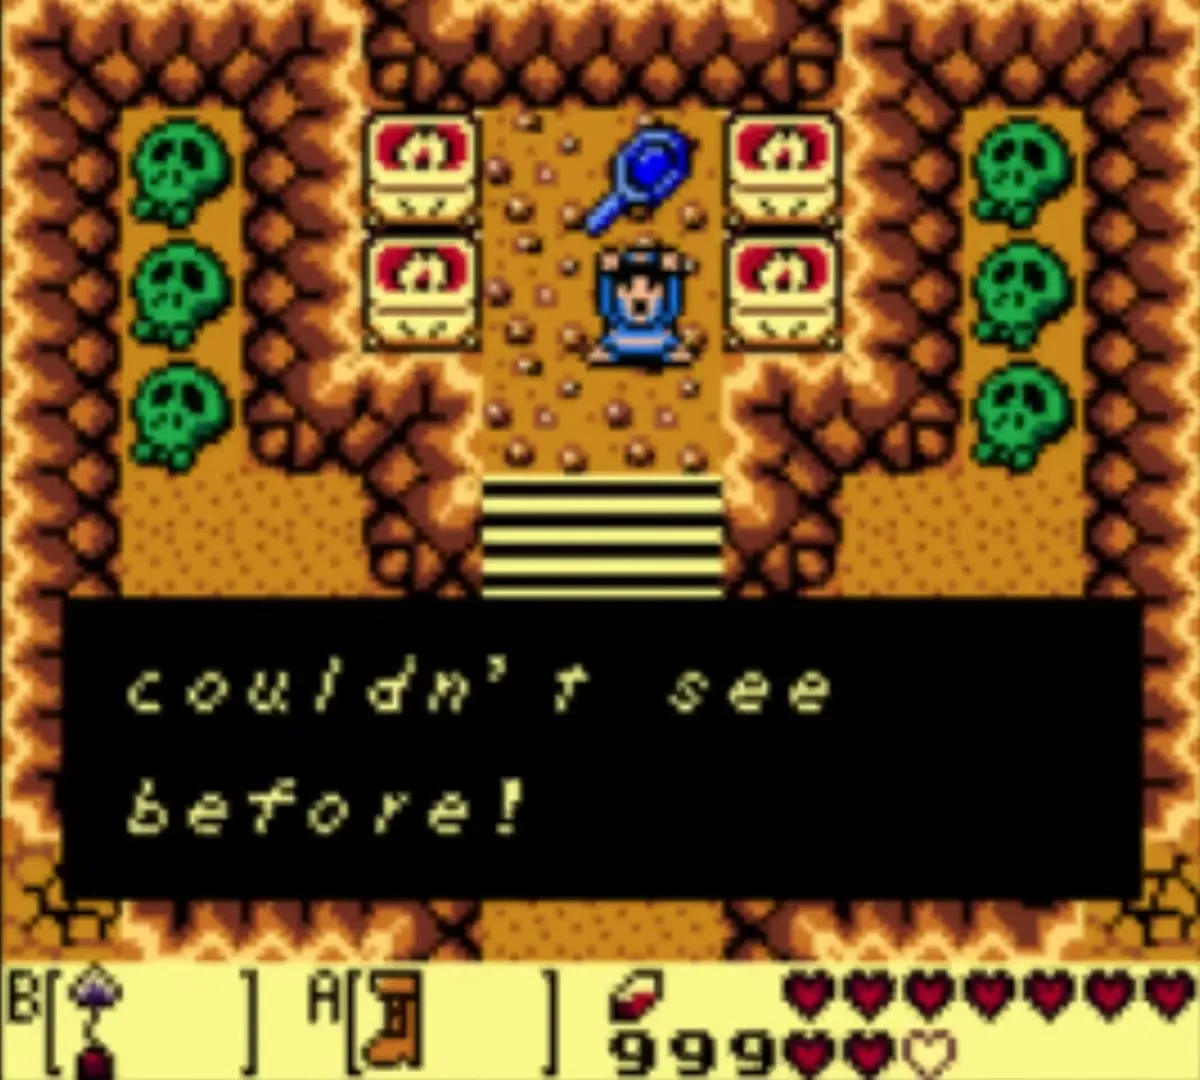
Photo 9: I Found Zora
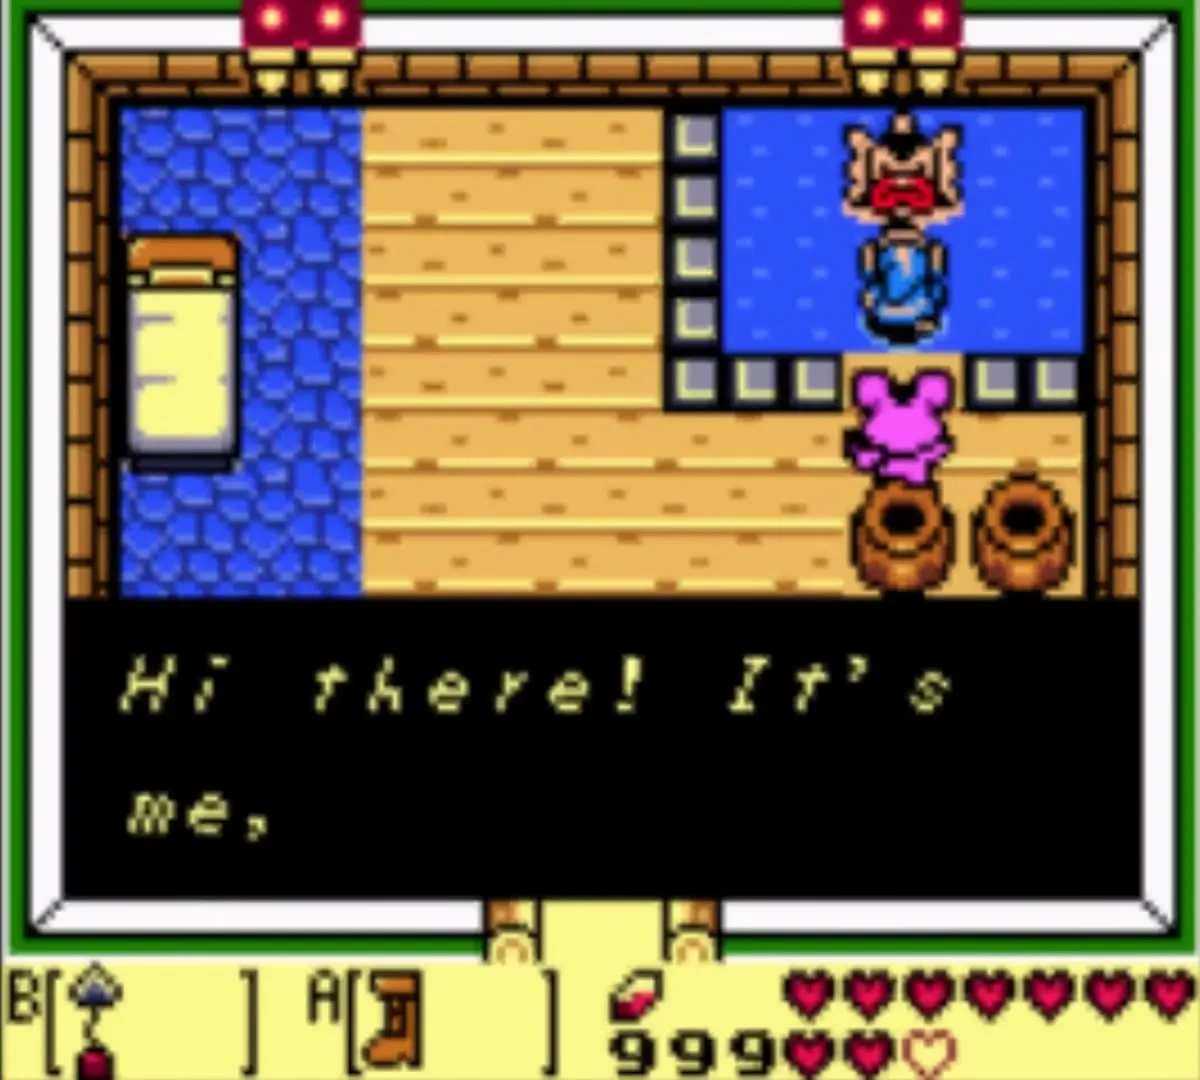
With the Lens in your inventory, walk into Animal Village and enter the house in the upper-right corner, the one with a small pond inside. A Zora swimming in it is only visible through the Lens. Talk to him, and the photographer pops in to take the picture. The photo is saved as “I Found Zora” in the album of the DX version; the original Game Boy has no photo quest.
Animal Village Piece of Heart
This Piece of Heart needs Bombs, Roc’s Feather and the Hookshot. On the east side of Animal Village, just before the path to Yarna Desert, follow the narrow path north to a dead end. Bomb the cave entrance there.
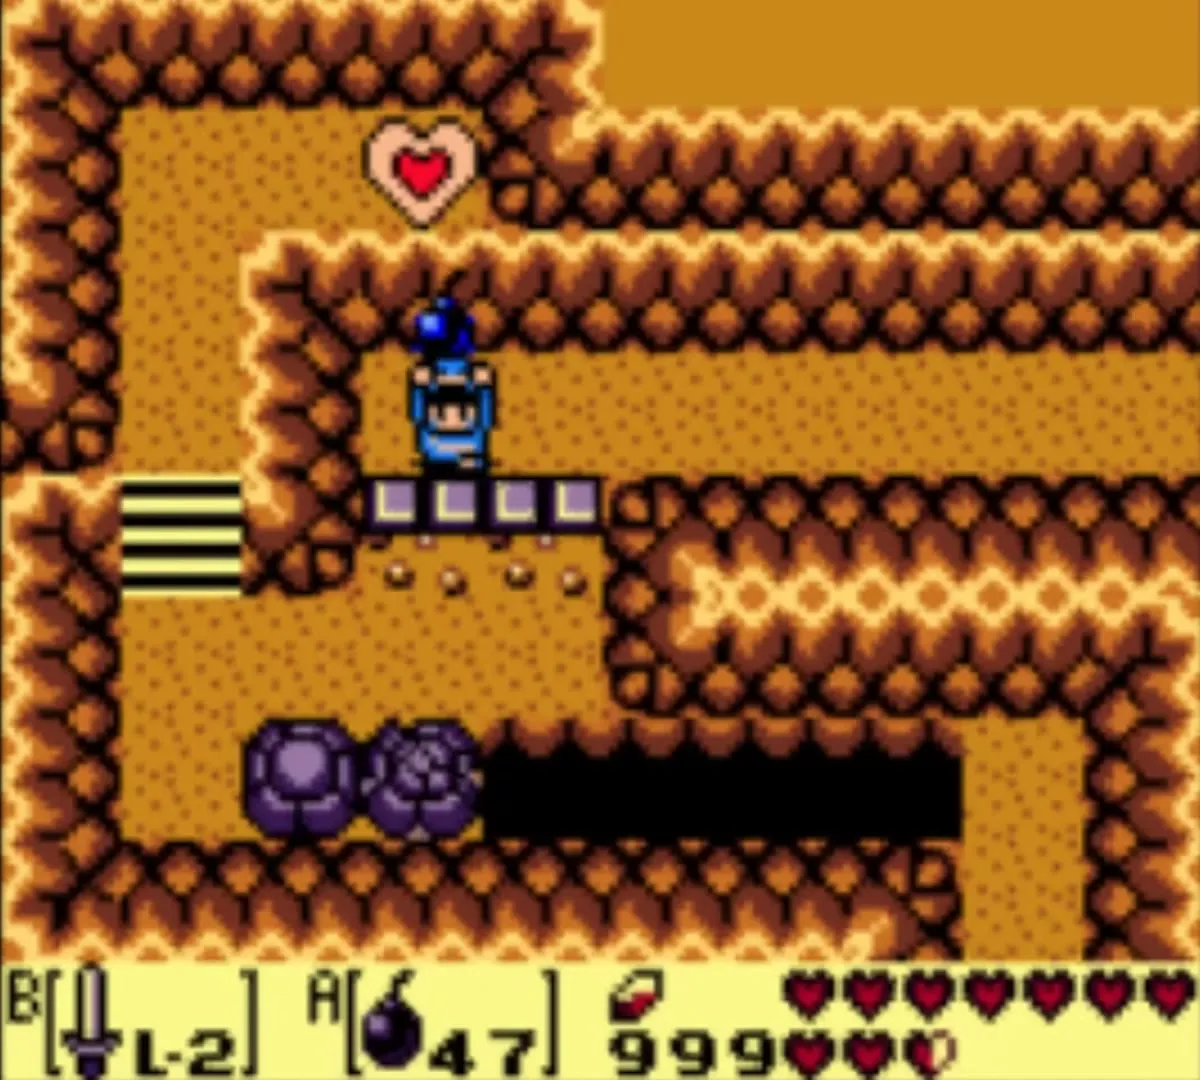

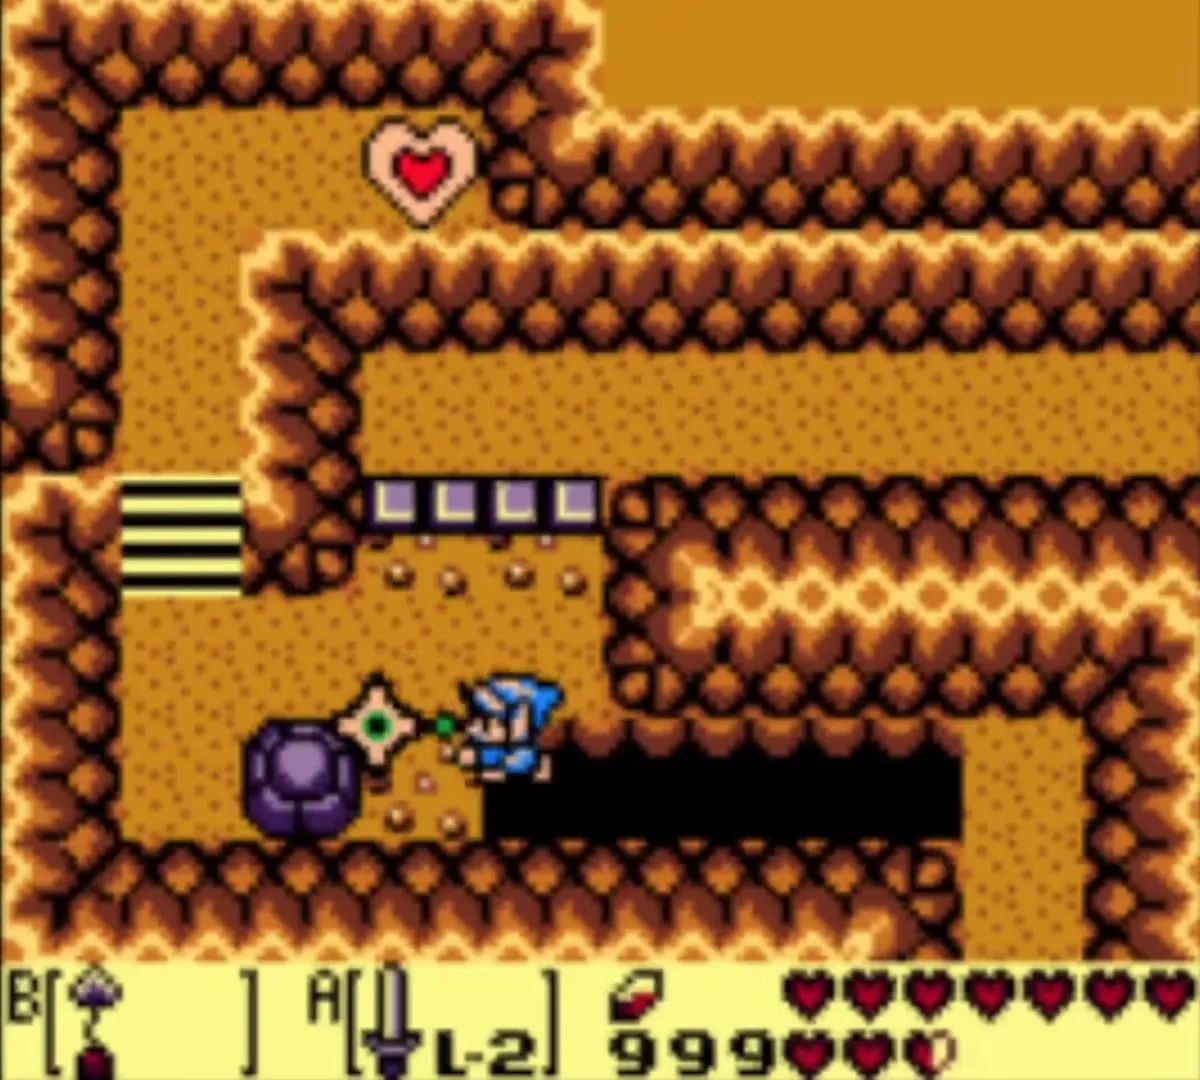
Inside, beat the Hardhat Beetle and jump north with the Roc’s Feather to a cracked wall. The crack is invisible, so lay a bomb against the wall and tap around with your Sword to find the right spot. Follow the path north and west to a dead end, then get a bomb onto the cracked stone in the south wall by throwing it across the small stones. Go back to the cave entrance, take the northwest path and Hookshot across the large pit to the Piece of Heart.

Signpost Maze and the Frog’s Song of Soul
Next you learn the third song. Bring the Ocarina, the Roc’s Feather, the Power Bracelet and at least 300 rupees. Mamu the frog charges that amount for a concert, and his cave lies underneath the Signpost Maze, south of Ukuku Prairie.

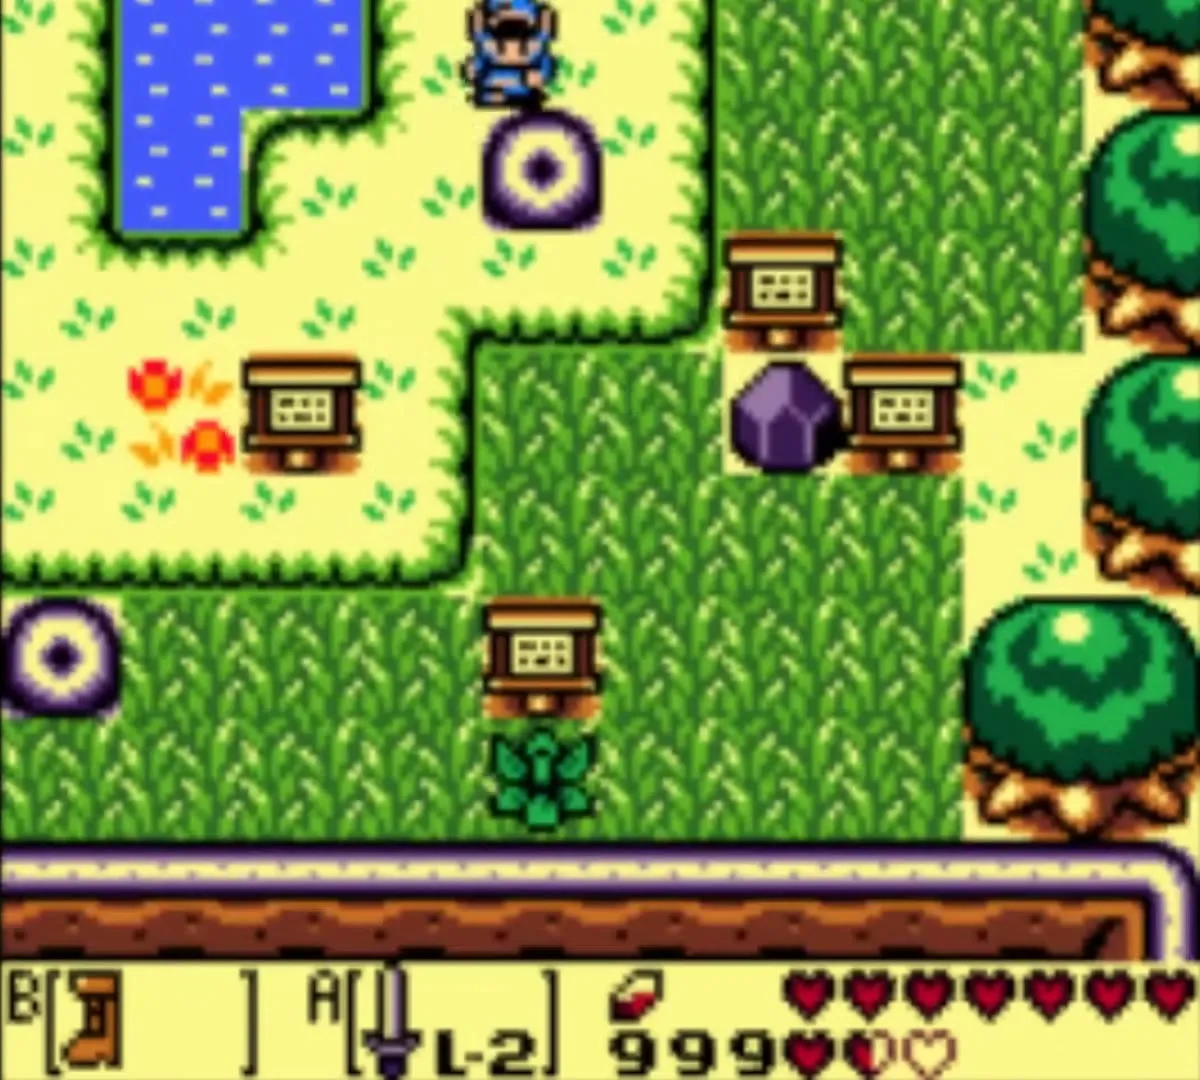
Read the sign at the entrance of the maze. Every sign points toward the next one, so follow the arrows in order. Jump pits with the Roc’s Feather and lift boulders out of the way with the Power Bracelet. When you reach the last sign, a staircase appears. Go down it into the frogs’ cave.
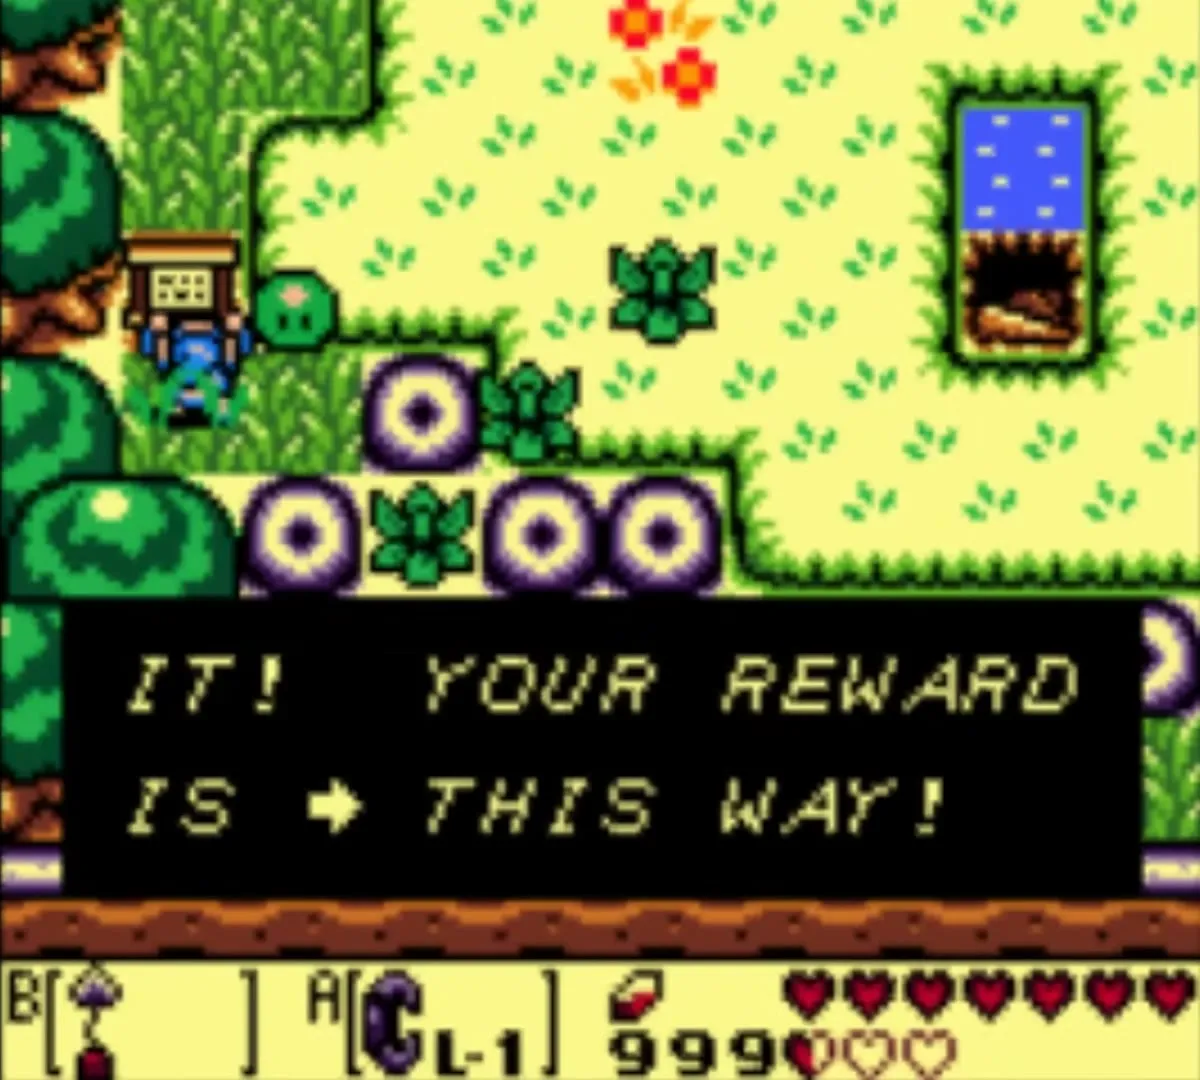

Talk to Mamu and choose Pay. The frogs sing, and Link learns the Frog’s Song of Soul, which brings lifeless things to life. You need it twice more: it wakes the Flying Rooster under the weathercock in Mabe Village for the trip to Eagle’s Tower, and it wakes the turtle that blocks Turtle Rock.
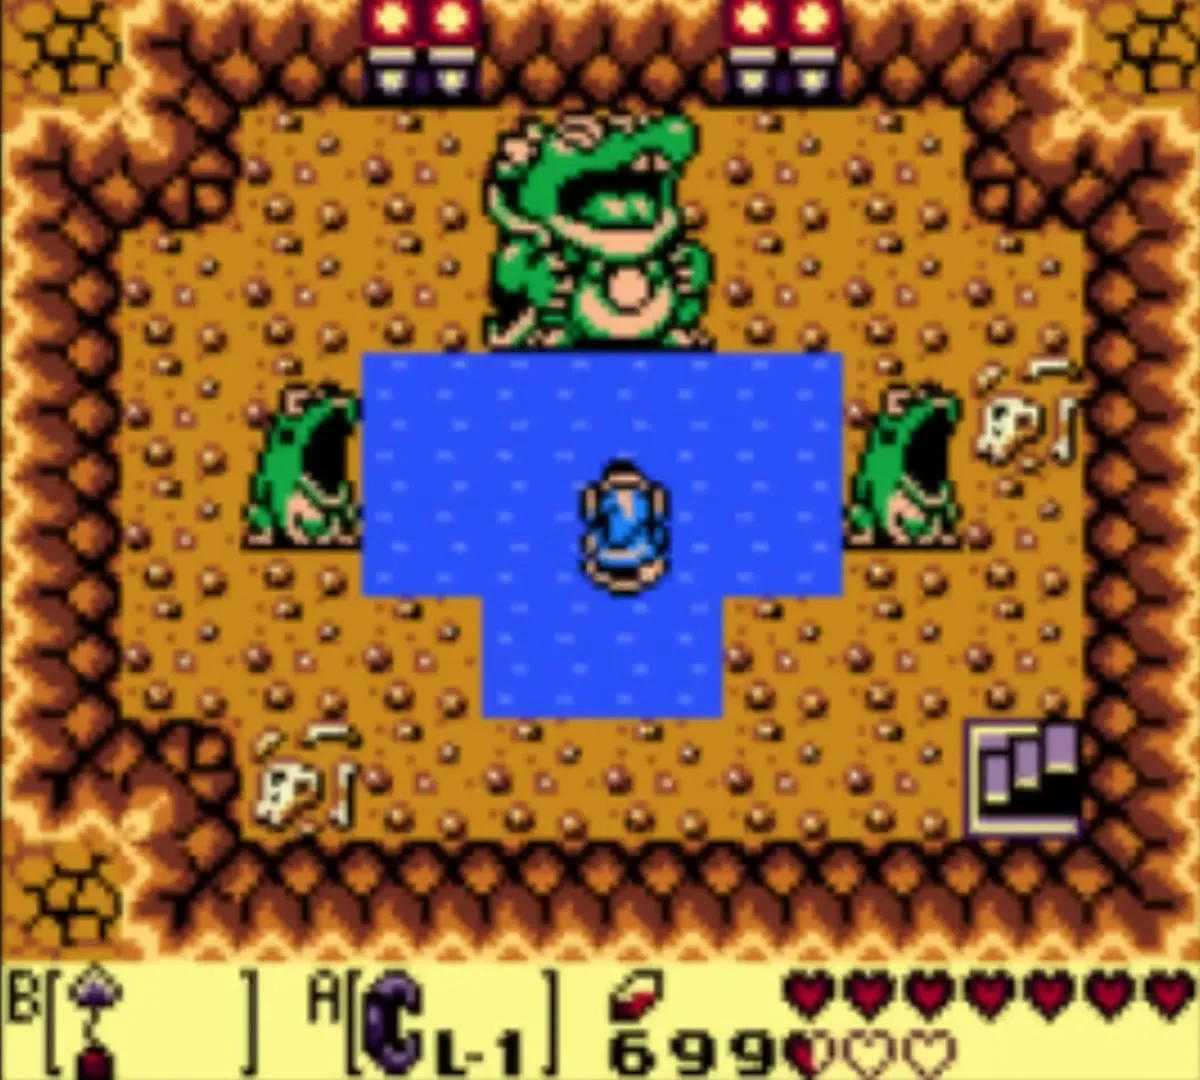

How to get the Boomerang
Go to Toronbo Shores with the Magnifying Lens and some Bombs. Find the cracked wall on the cliff south of Sale’s house, and blow it open. Inside, a Goriya that only the Lens reveals sits behind a table. Talk to him and agree to trade the item on your B button.

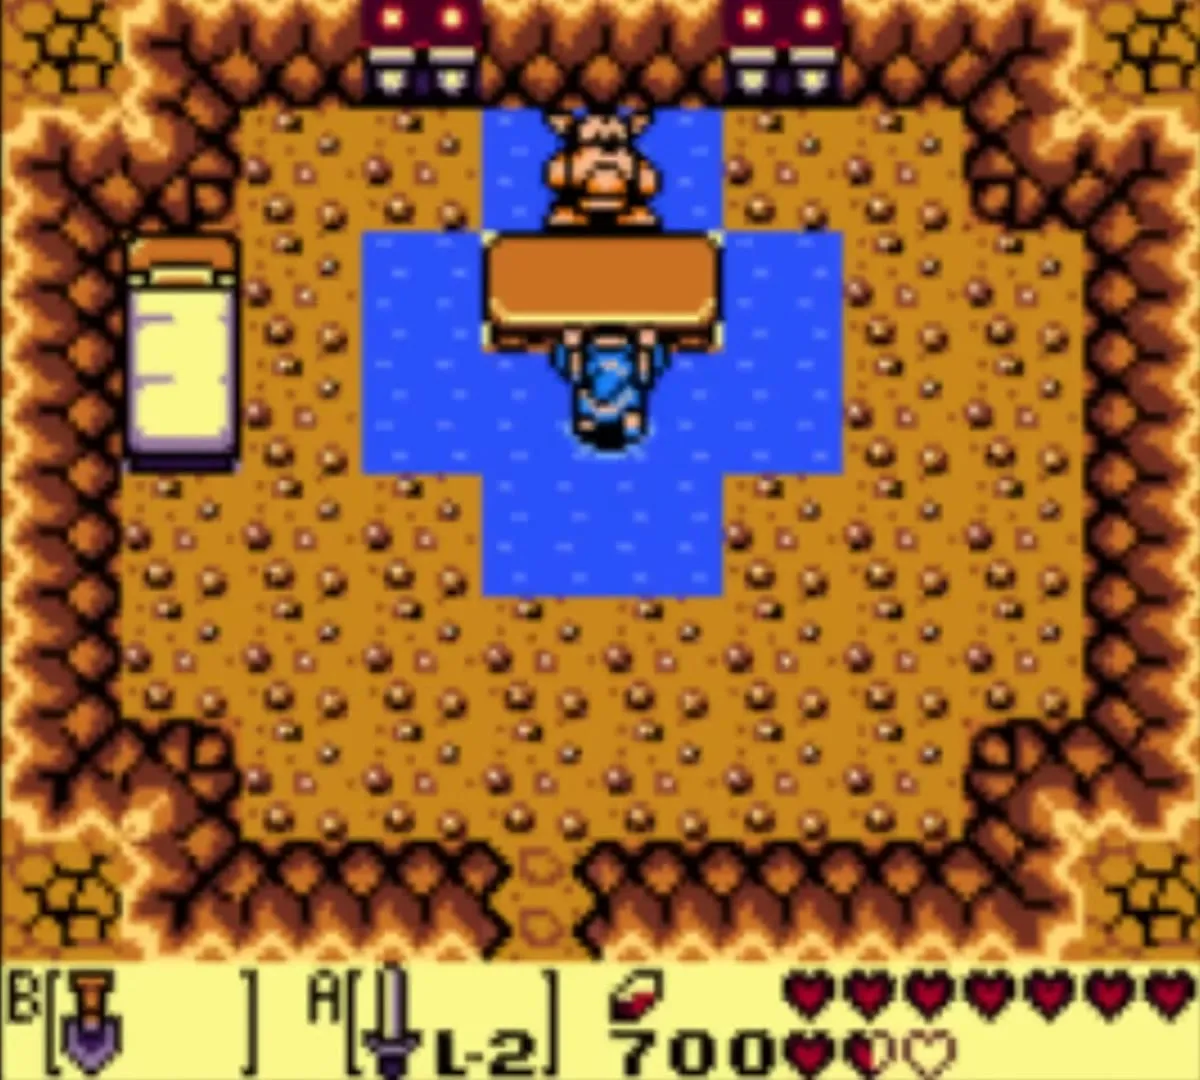
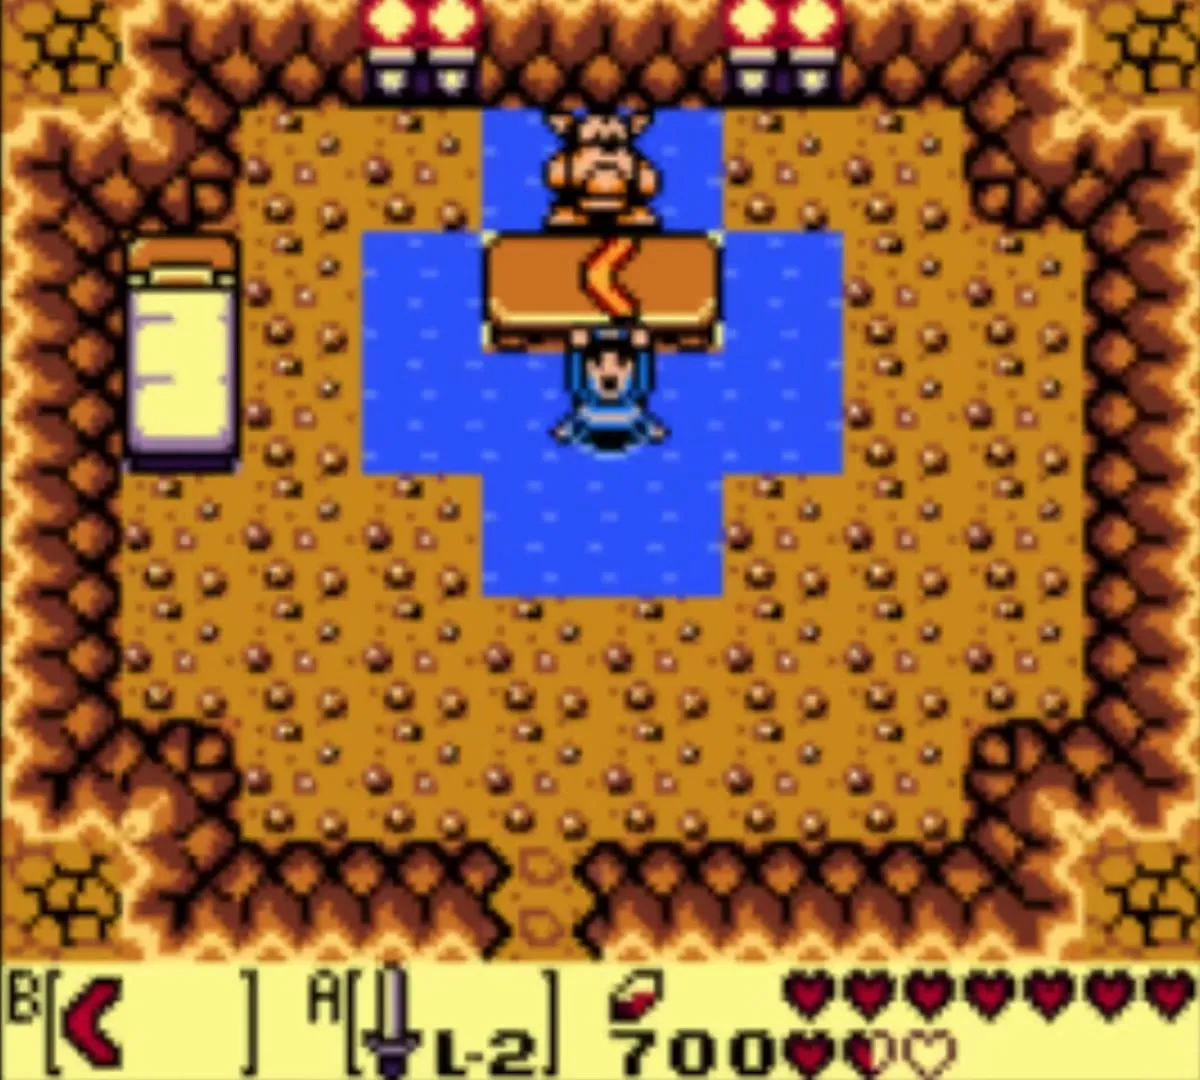
He gives you the Boomerang in exchange and keeps your item, but you can get it back for free: talk to him again and hand the Boomerang over. You can swap as often as you like. Pick something you will not use soon; many players leave the Shovel with him once every digging spot is done. The Boomerang stuns enemies from a distance, cuts bushes and flips switches, and it helps against the Wizzrobes in the Face Shrine.

Ancient Ruins (Southern Face Shrine)
Find the way in
The ruins stand in the southeast, just north of Animal Village, but the only road in leads from the northeast. A stone Owl on the way explains that two shrines stand here and that the northern one is locked, so head for the southern one first. Cross the maze of stone rings and boulders heading east, find the gap in the ridge and go south. Zols ambush you on the way to the entrance.

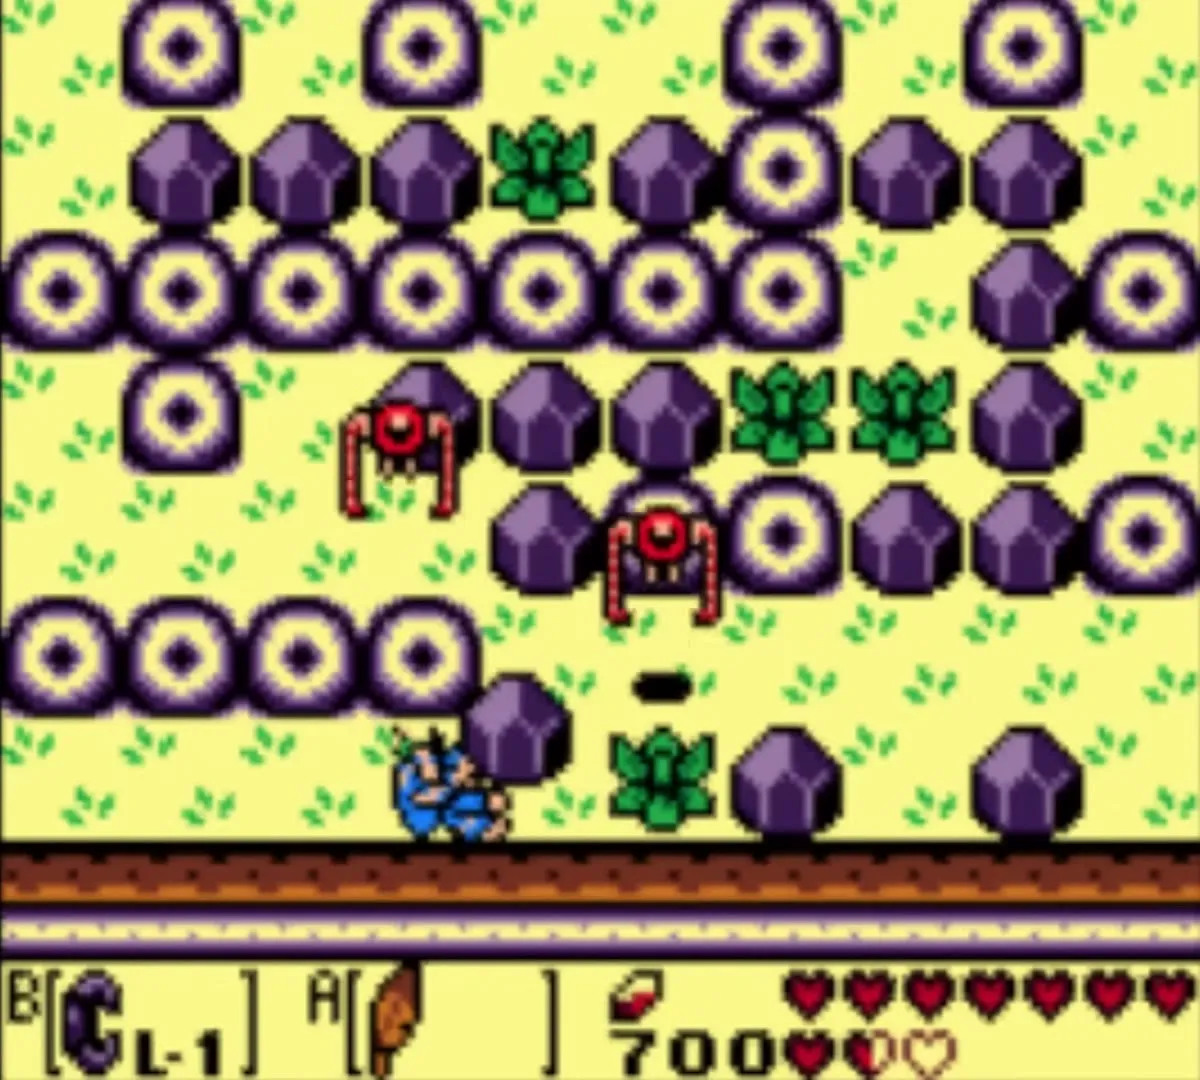
Armos statues all over this area come alive when you touch them. Arrows and the Boomerang defeat them, or you can bump them out of the way with your shield. If your Bow is empty, buy arrows before you go in, since the mini-boss needs plenty.
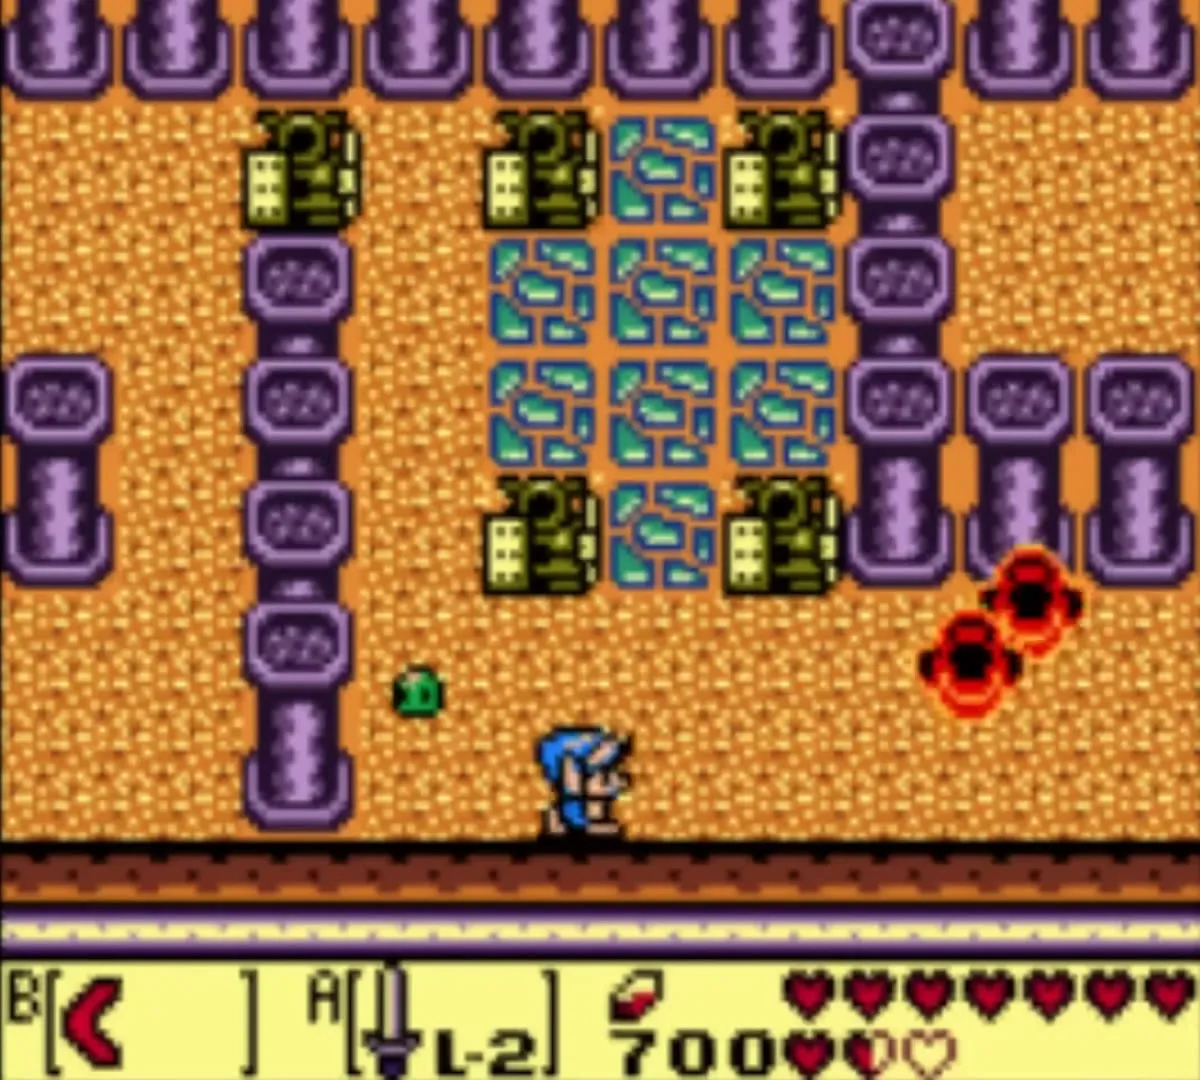
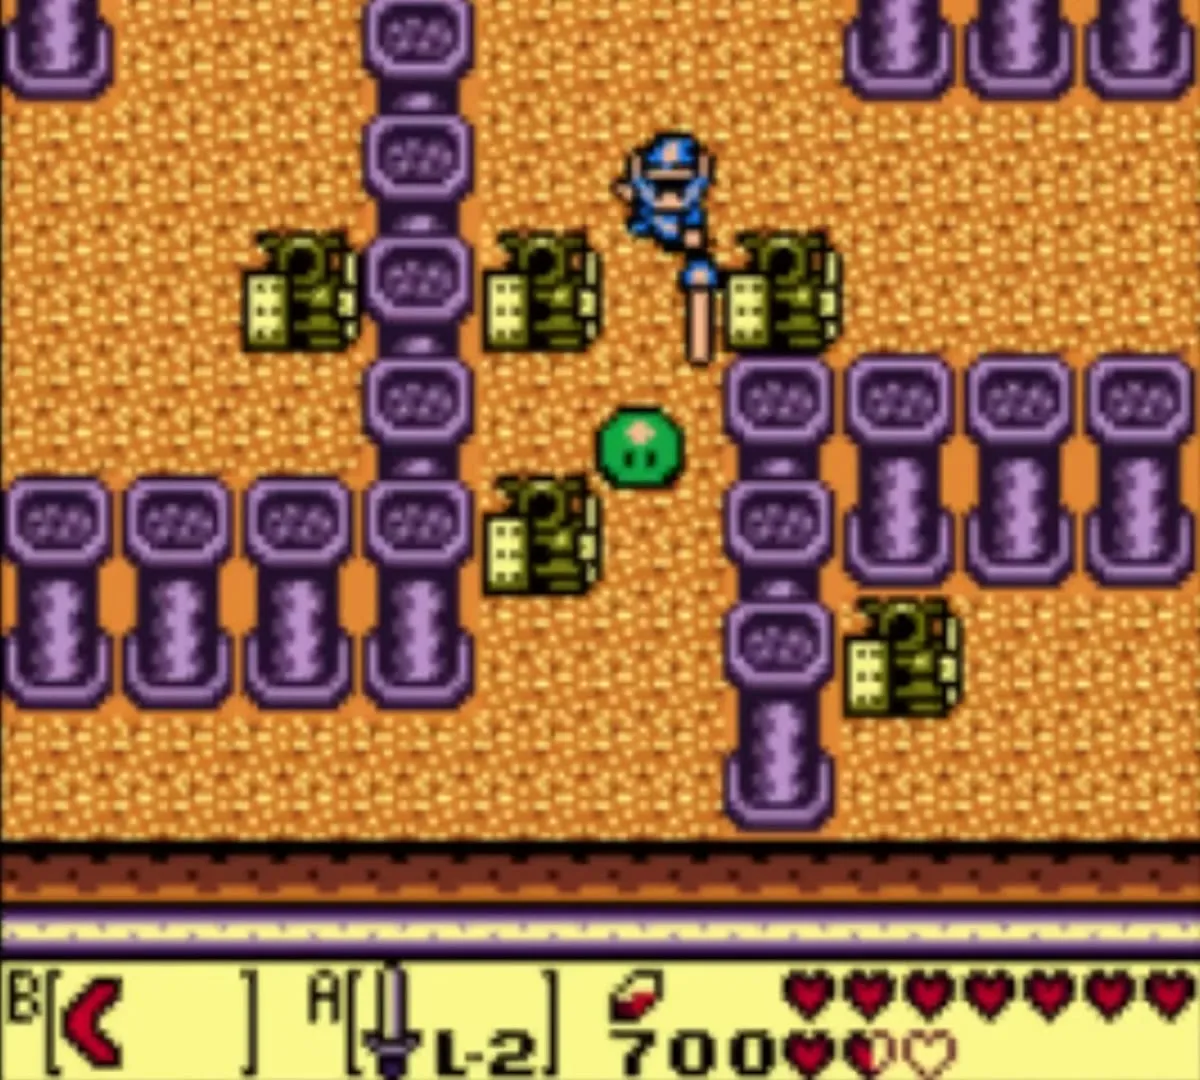
Piece of Power
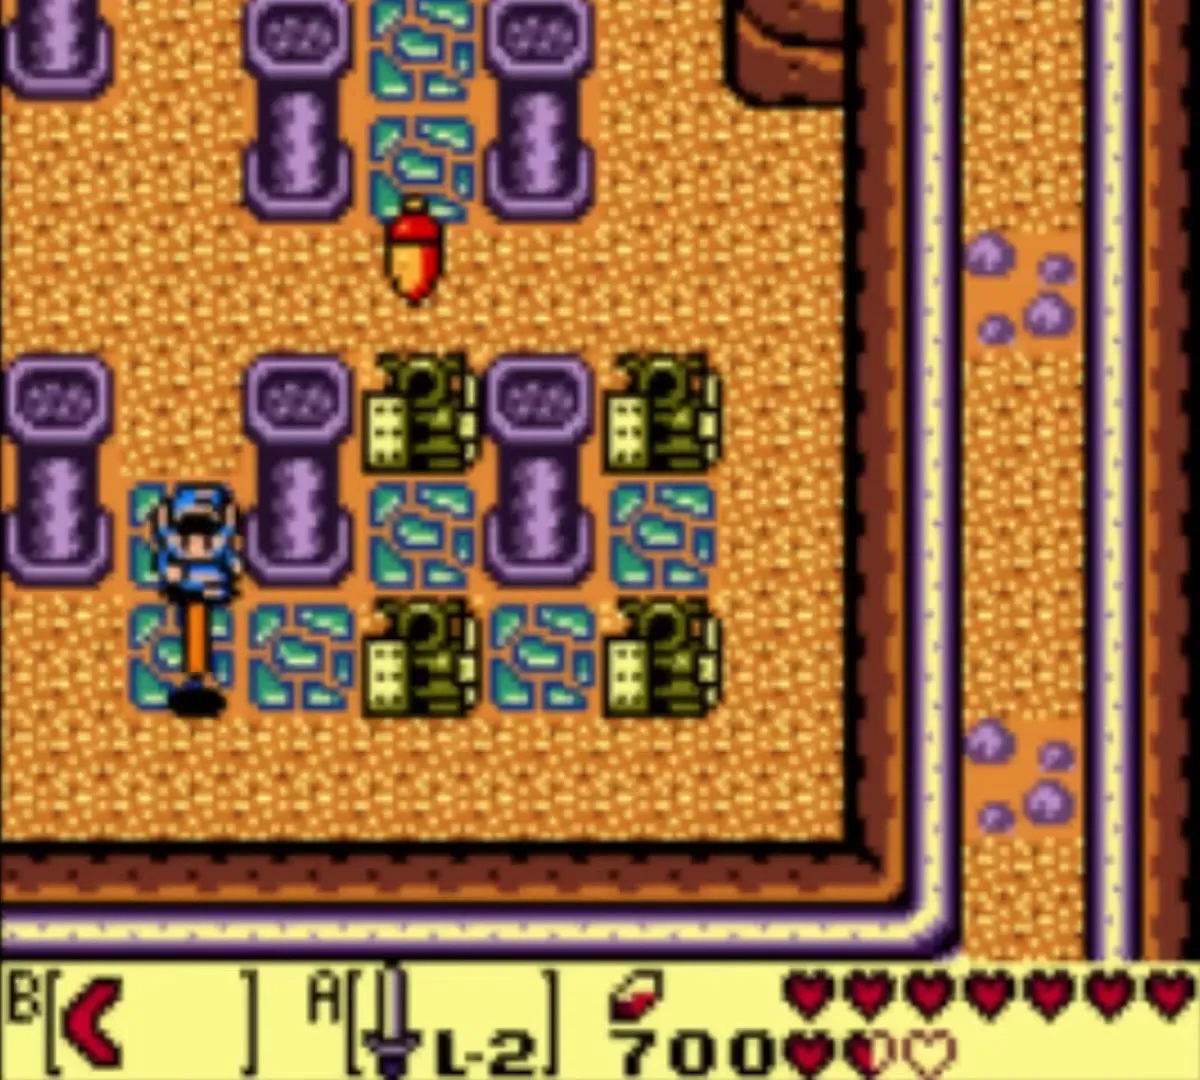
On the screen with the tiled floor and purple pillars, climb the left edge of the field and walk into the northwest corner. A Piece of Power sits there, and picking it up gives a temporary boost to your strength. The stairs at the top of the screen lead on to the shrine.


Secret Seashell under the Armos
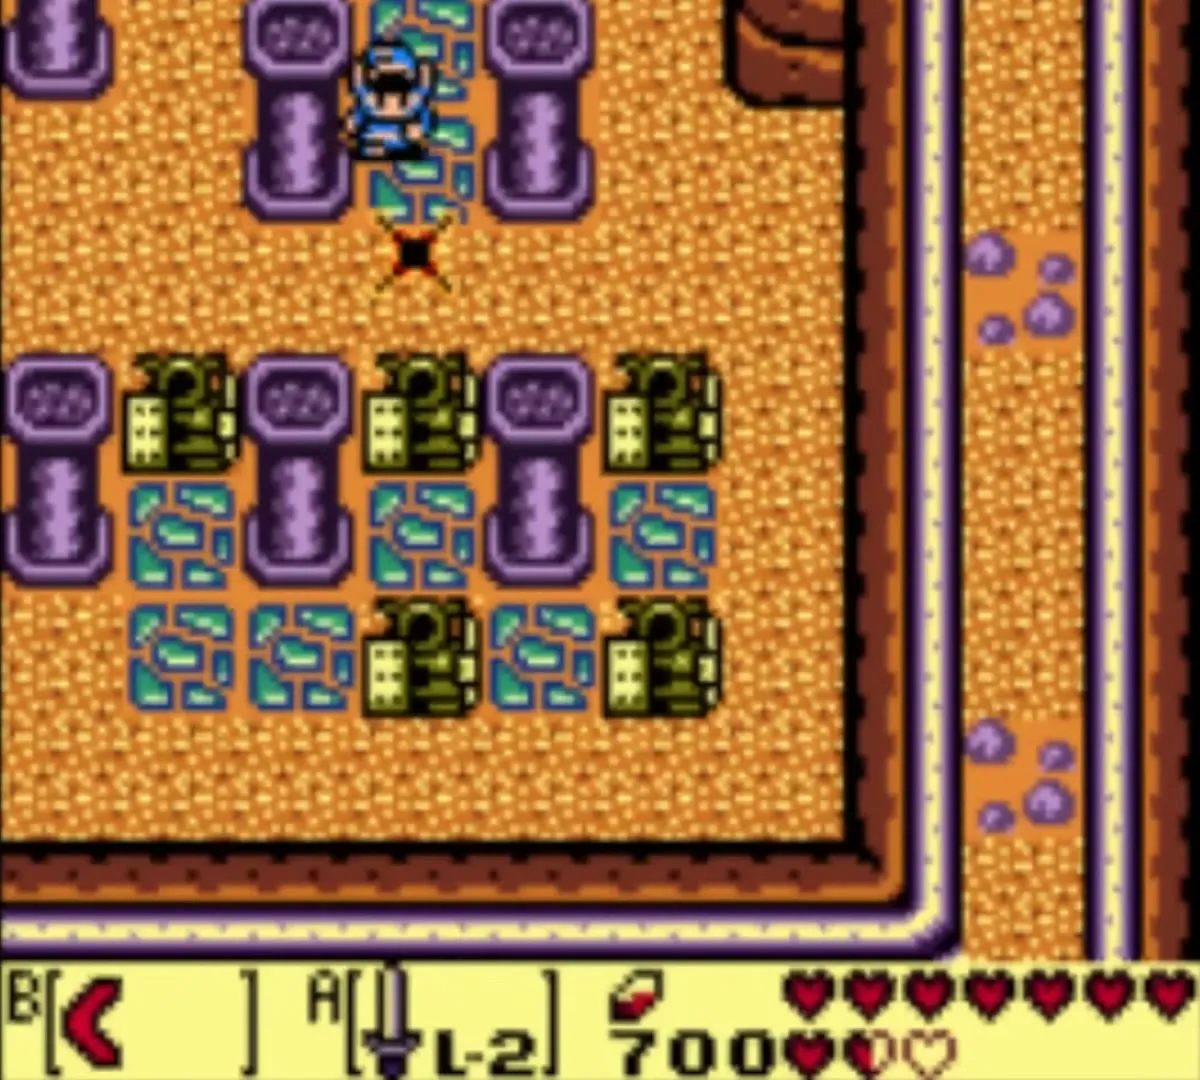
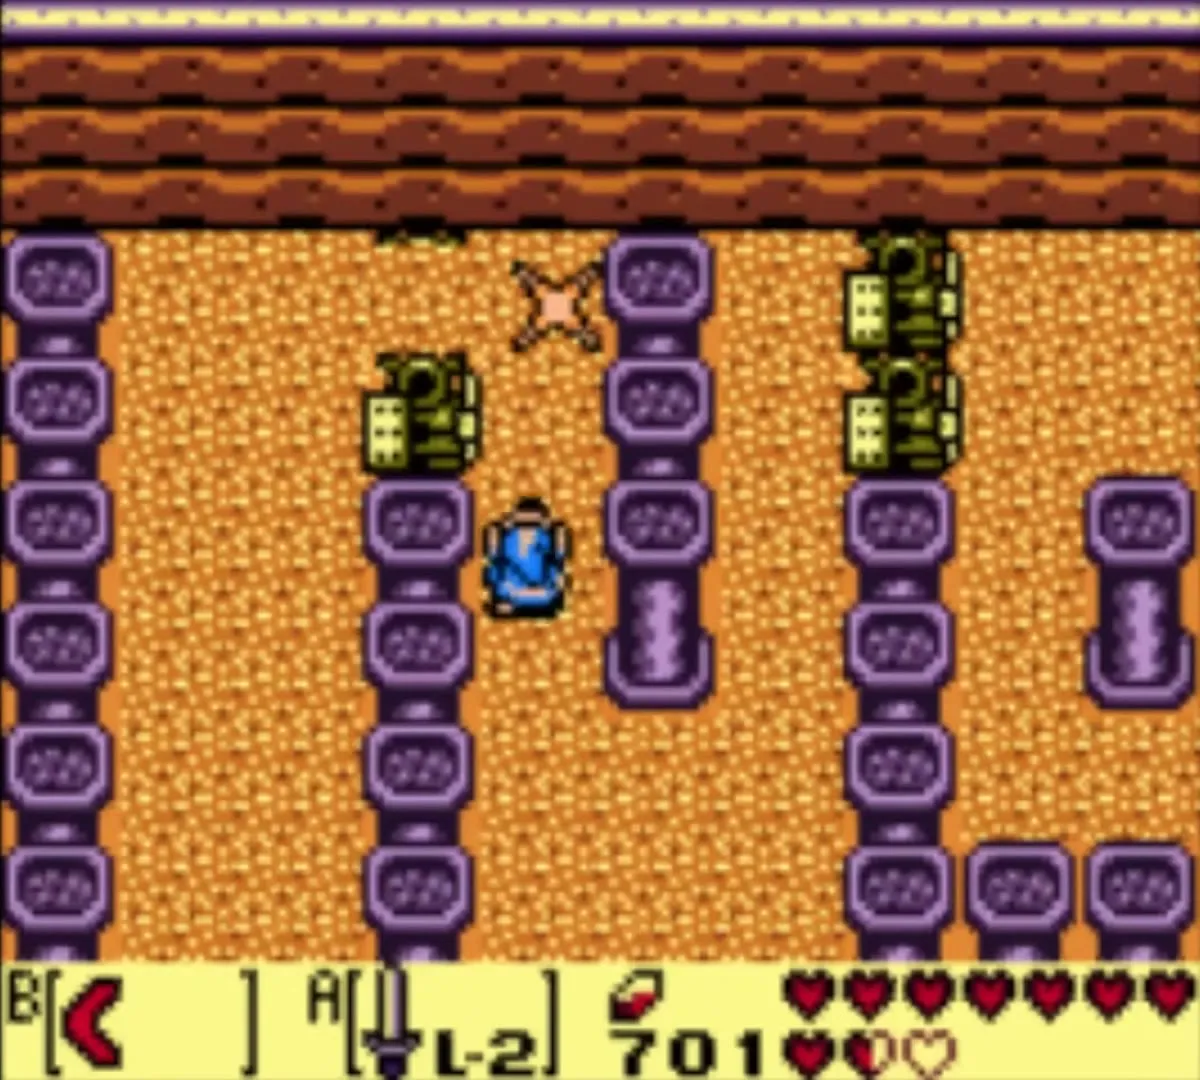
You also need the Power Bracelet for a Secret Seashell here. Start from the entrance and go south, west, west, north and east to a screen with four Armos statues. Push the one in the southeast corner out of its spot, go down the stairs it was covering and open the chest. Secret Seashell 20.

Armos Knight mini-boss and the Face Key
The knight chases you around a large square room. Every so often he jumps and slams the floor: be in the air with the Roc’s Feather when he lands or you are stunned. Stay near the door and keep shooting him with arrows; it takes quite a few. Partway through he changes form, but his pattern stays the same.
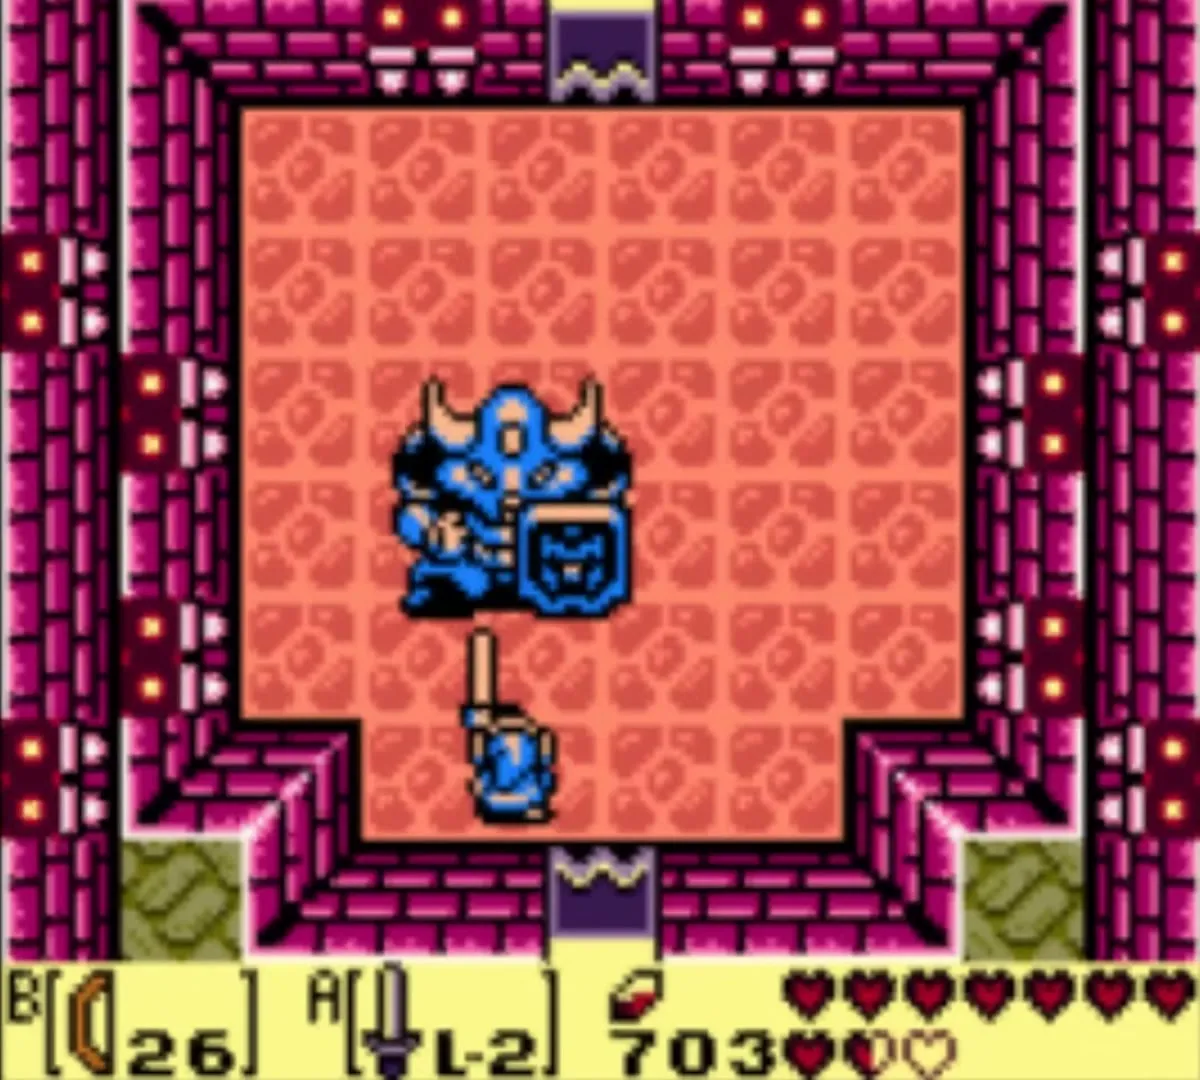
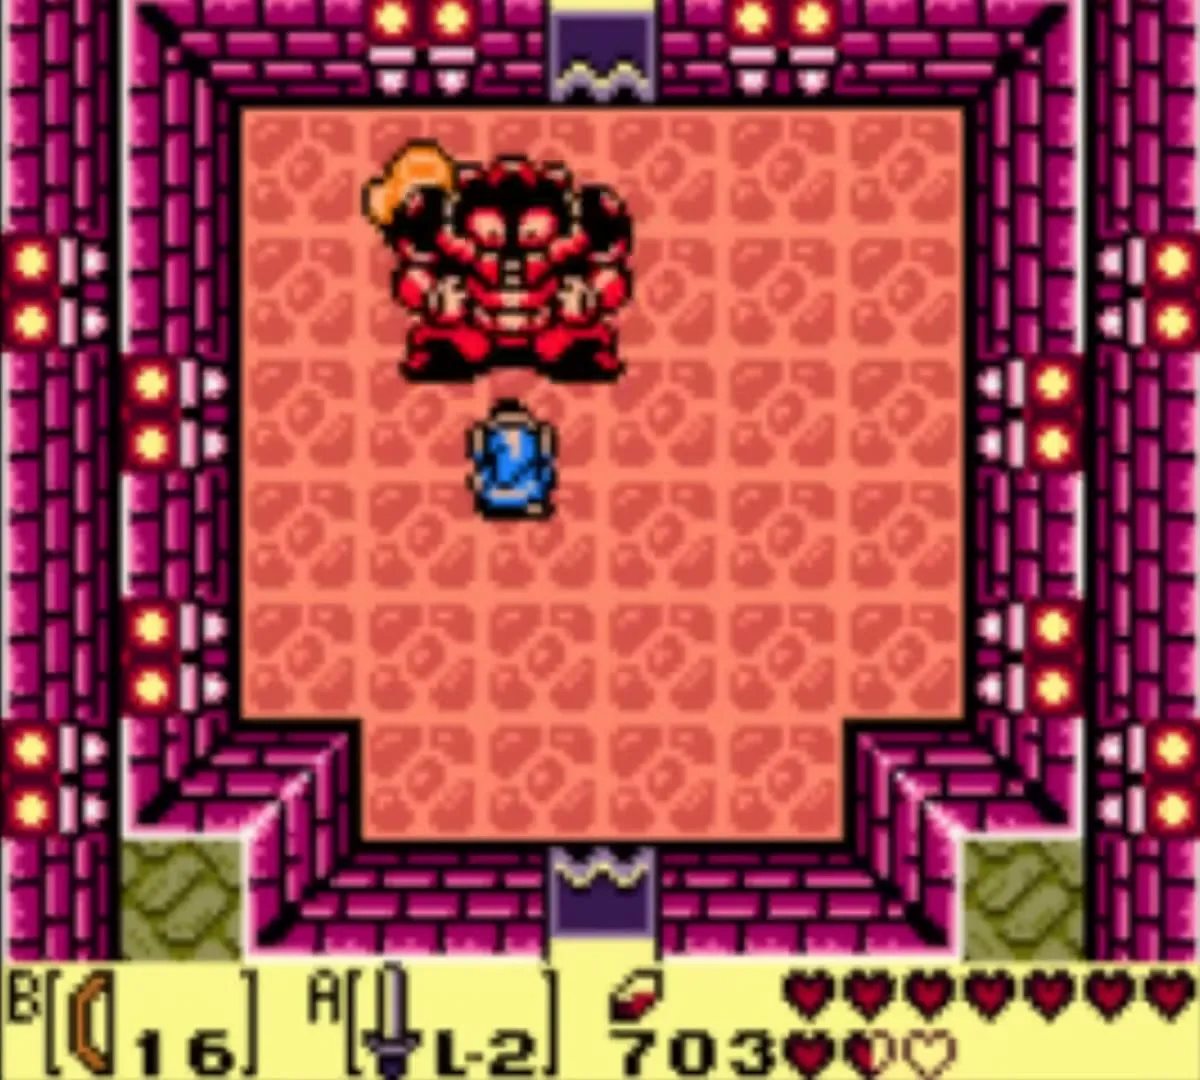
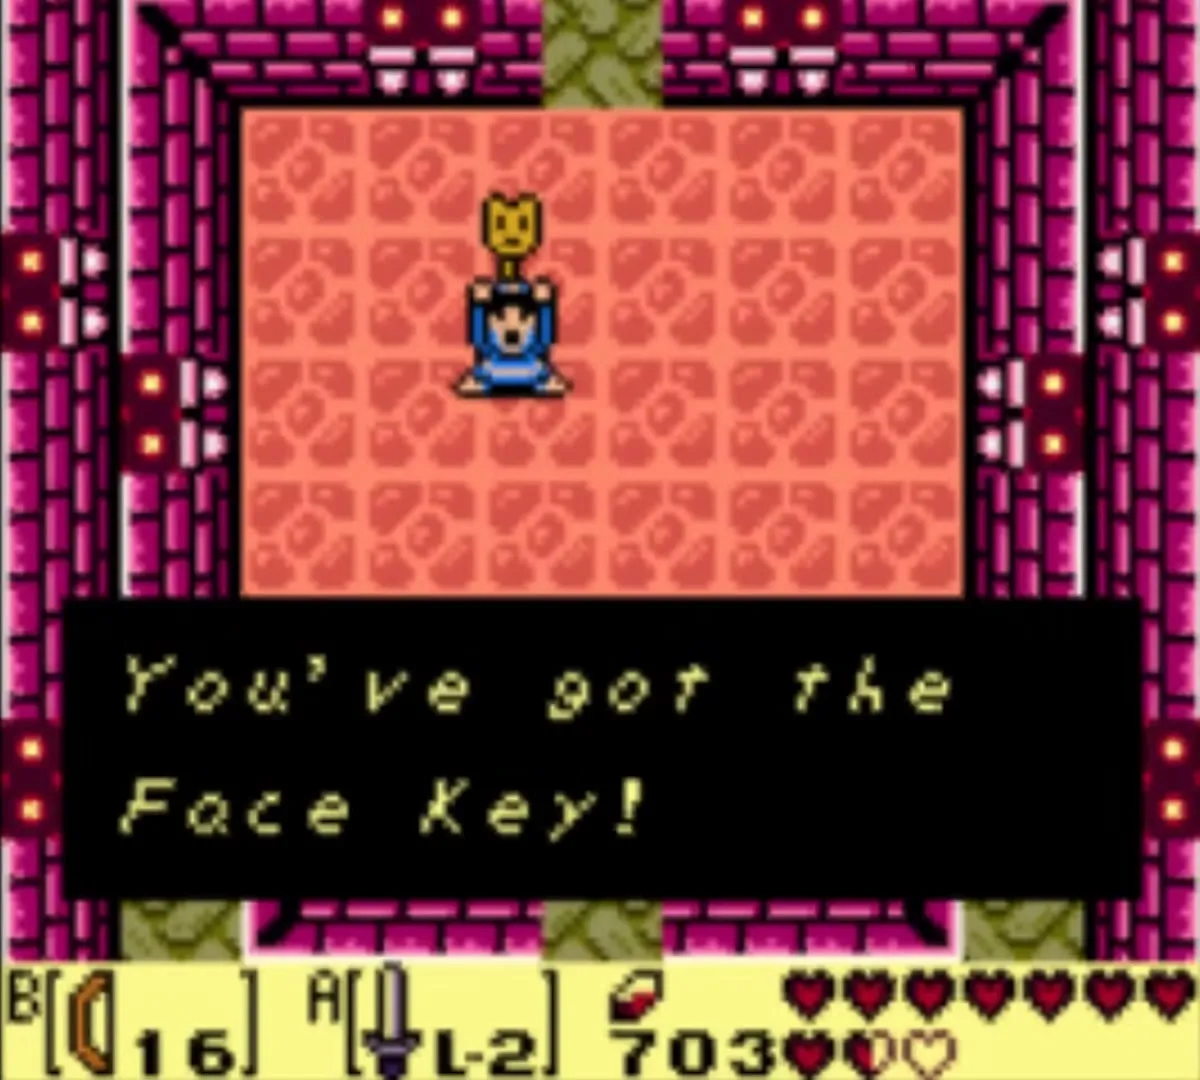
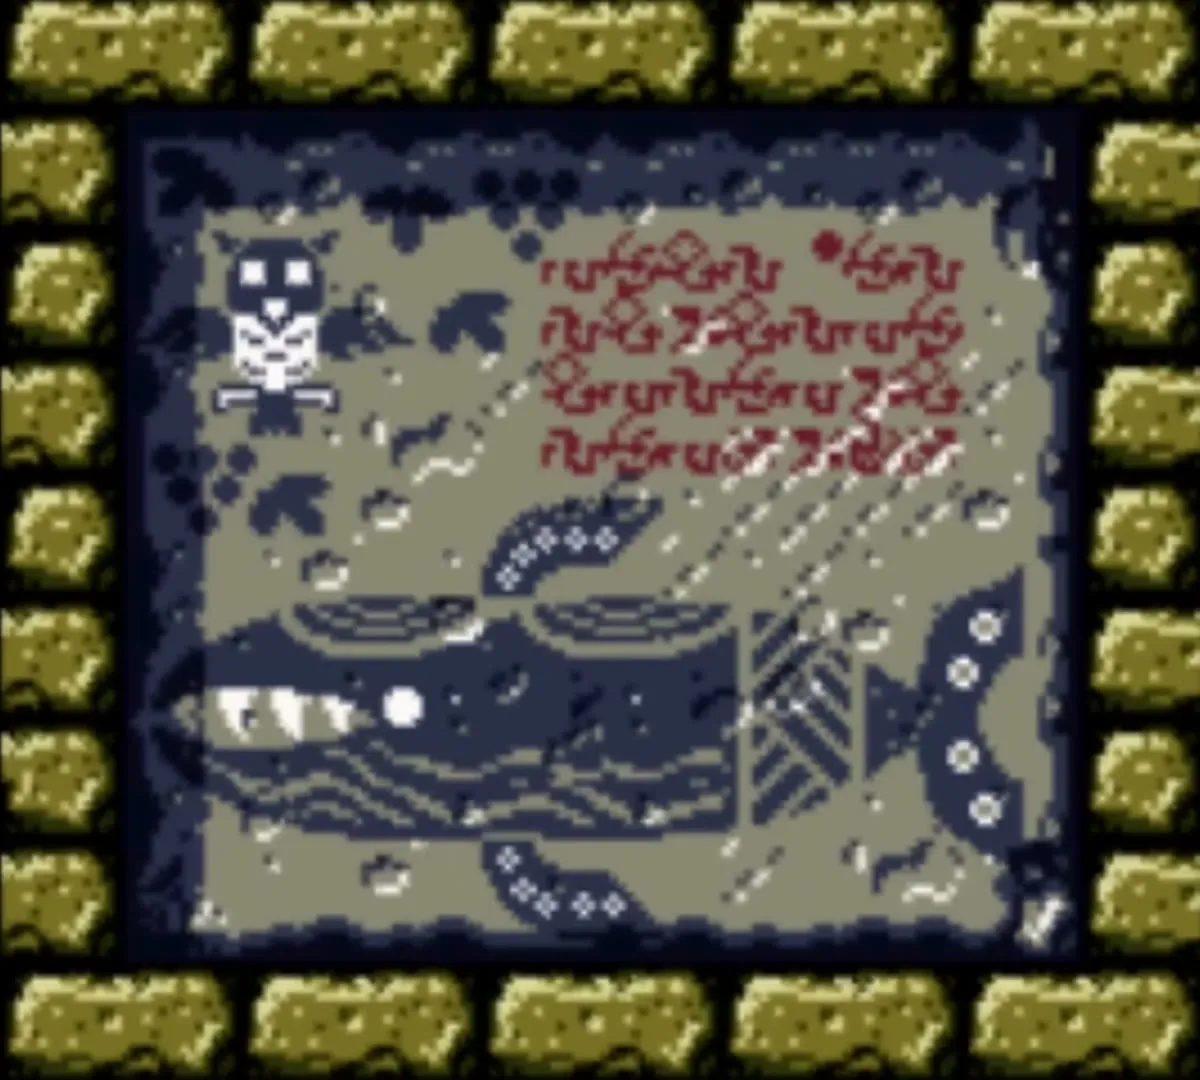
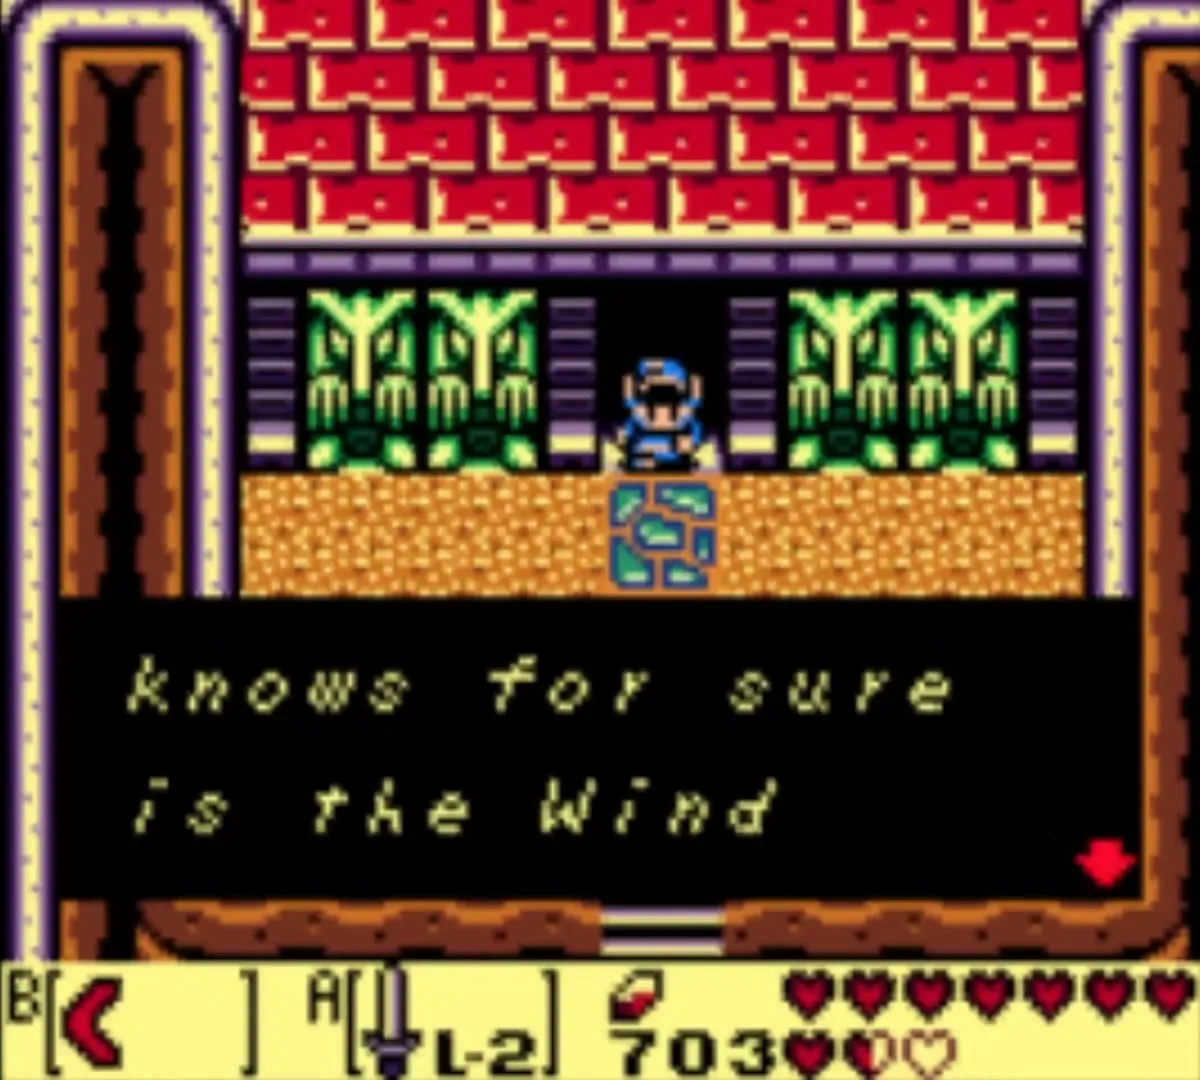
When he falls, the north door opens and the Face Key is yours. In the last room, a stone tablet is unreadable until you light both torches with Magic Powder. Read it: the relief warns that waking the Wind Fish will make Koholint vanish. Walk outside and the Owl returns to say that nobody really knows whether the island is only a dream.
Reaching the Face Shrine
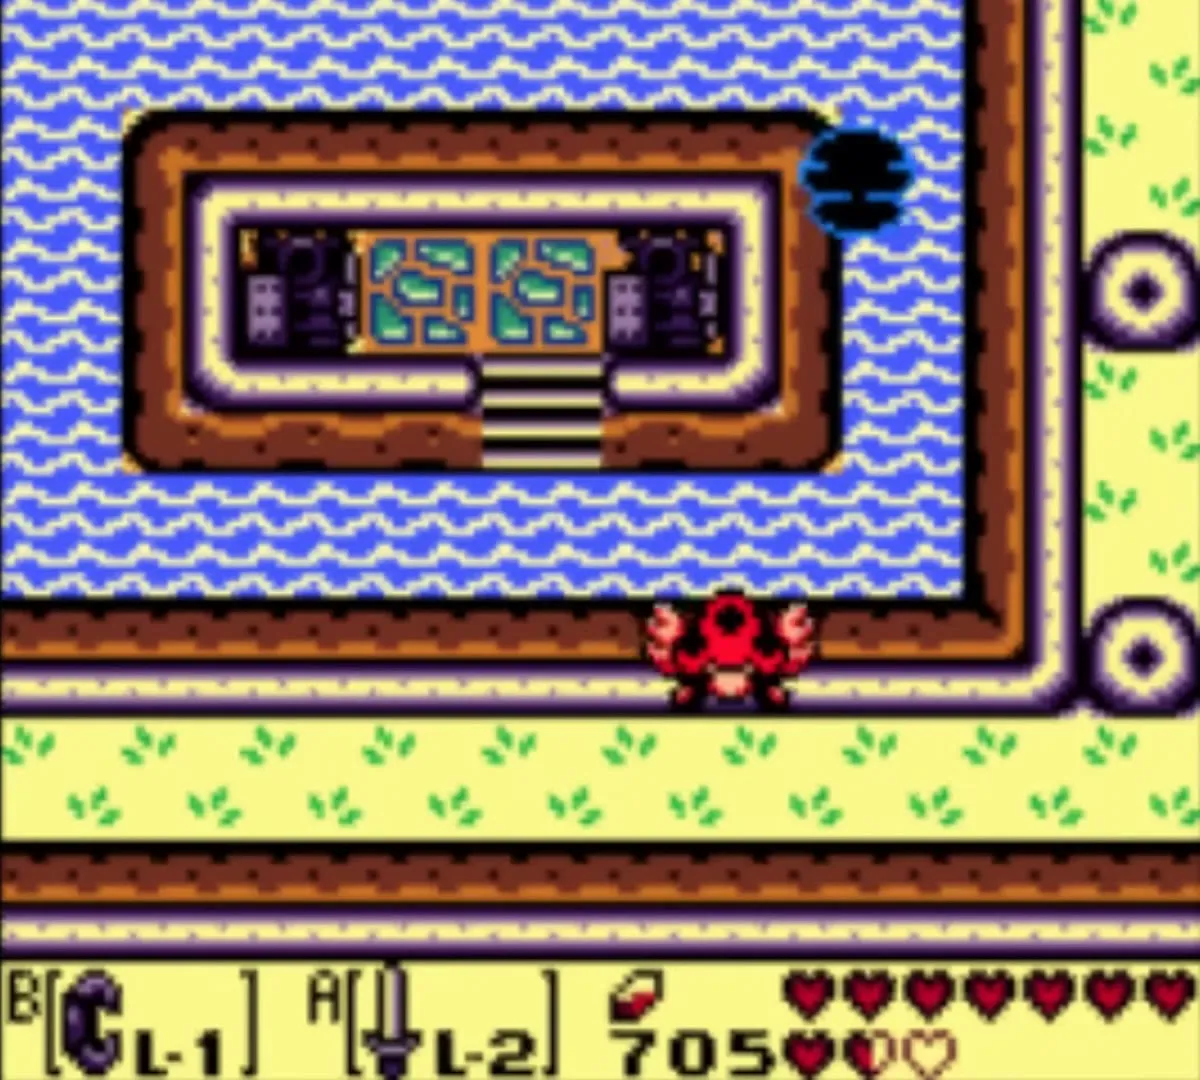
Leave the ruins and cross the water to the north with the Flippers. The Face Shrine is the large face-fronted building on the far side. You may have to deal with a statue on an island on the way and use the Hookshot on a rock to reach the final staircase. Push against the keyhole at the entrance and the Face Key opens the door.
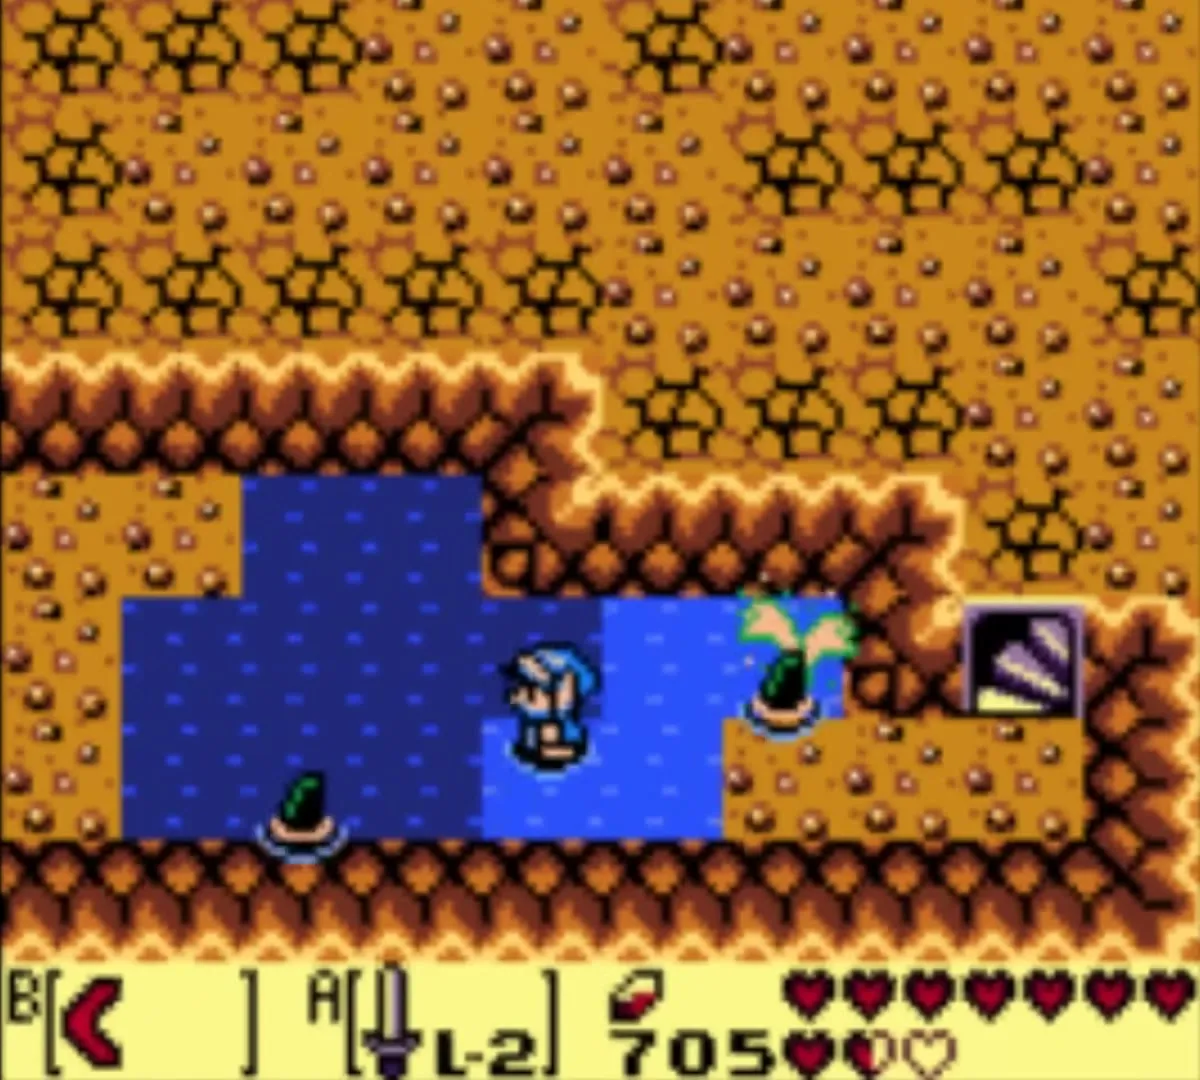
Face Shrine (Level 6) walkthrough
You need Bombs, the Bow and the Hookshot here (the Boomerang helps too), and the dungeon holds three small keys, the Power Bracelet L-2, the Map, the Compass and the Stone Beak. Wizzrobes fill many rooms: arrows and Bombs hurt them, and the Boomerang, Hookshot and Magic Powder stun them.


Power Bracelet L-2
Beat the Wizzrobes in the first room to open the door and collect 50 rupees. Take the northwest exit past the Mini-Moldorm and the Spark. In the room with the crystal switch and the Shy Guy, bomb the switch and run to the northeast exit. Bomb the east wall between the two torches and walk through the hole.


Defeat the four green Zols that hide in the floor to make a staircase appear and go down. Dodge the Giant Bubbles, climb the ladder on the west side and fight the Mini-Moldorm and Wizzrobes upstairs. Take the north door and open the chest for the Power Bracelet L-2. You can now lift statues. Pick up the statues in the middle of the room and go out through the one-way north door.

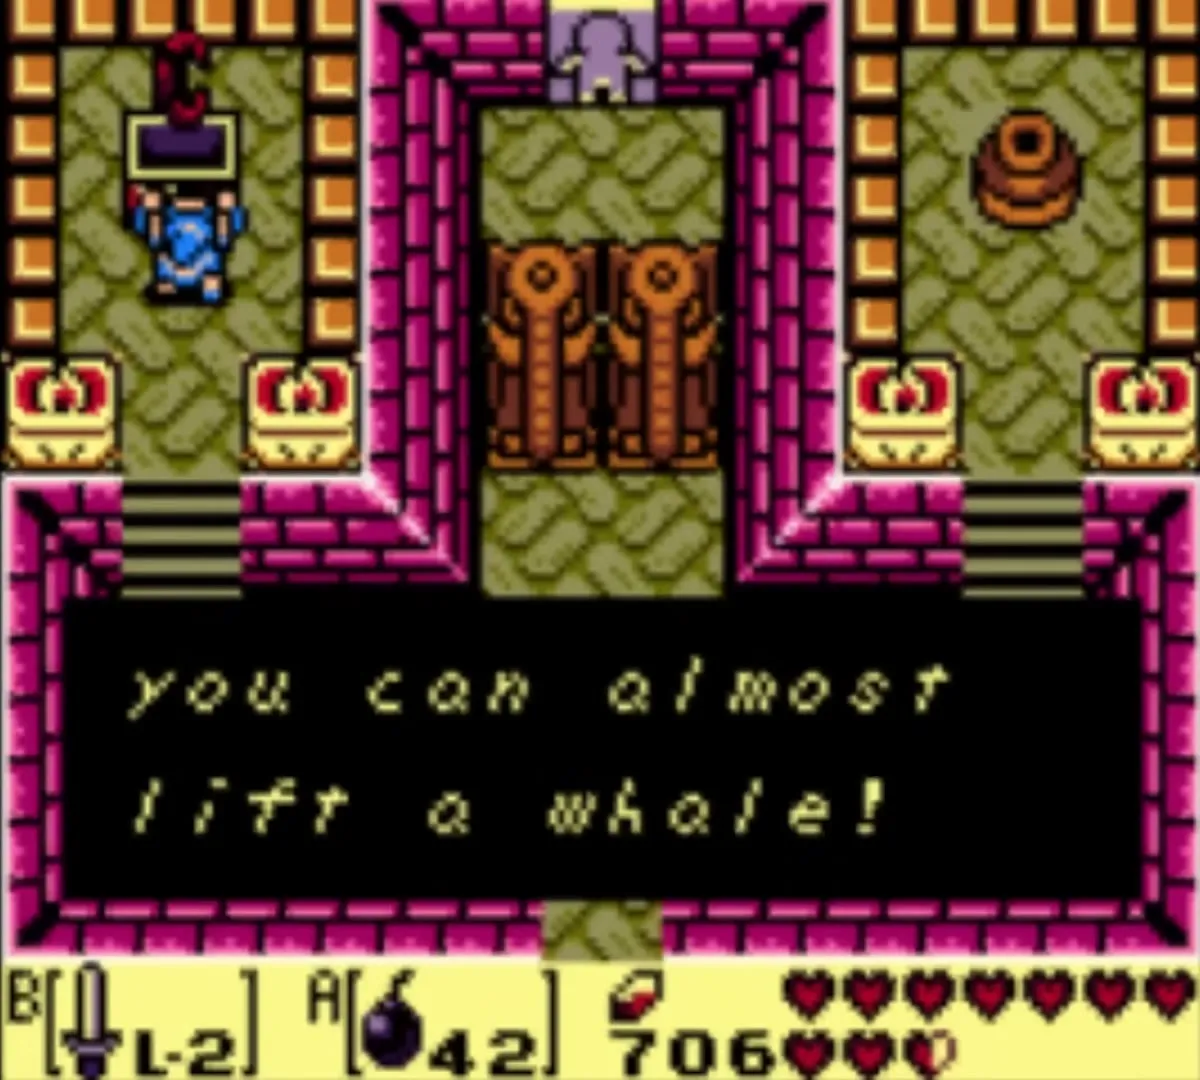
Map
Hit the crystal switch and bomb it so the blocks stay raised. Go out the northwest exit once they rise. Lift the pot in the northwest corner to reveal a button that opens the west door, then defeat the Wizzrobes. Shoot the crystal in the corner to reach all of them. Open the chest for the Map.


Stone Beak
Go north and then east and open the chest for the Stone Beak. Take it to the dungeon’s owl statues to hear their hints.
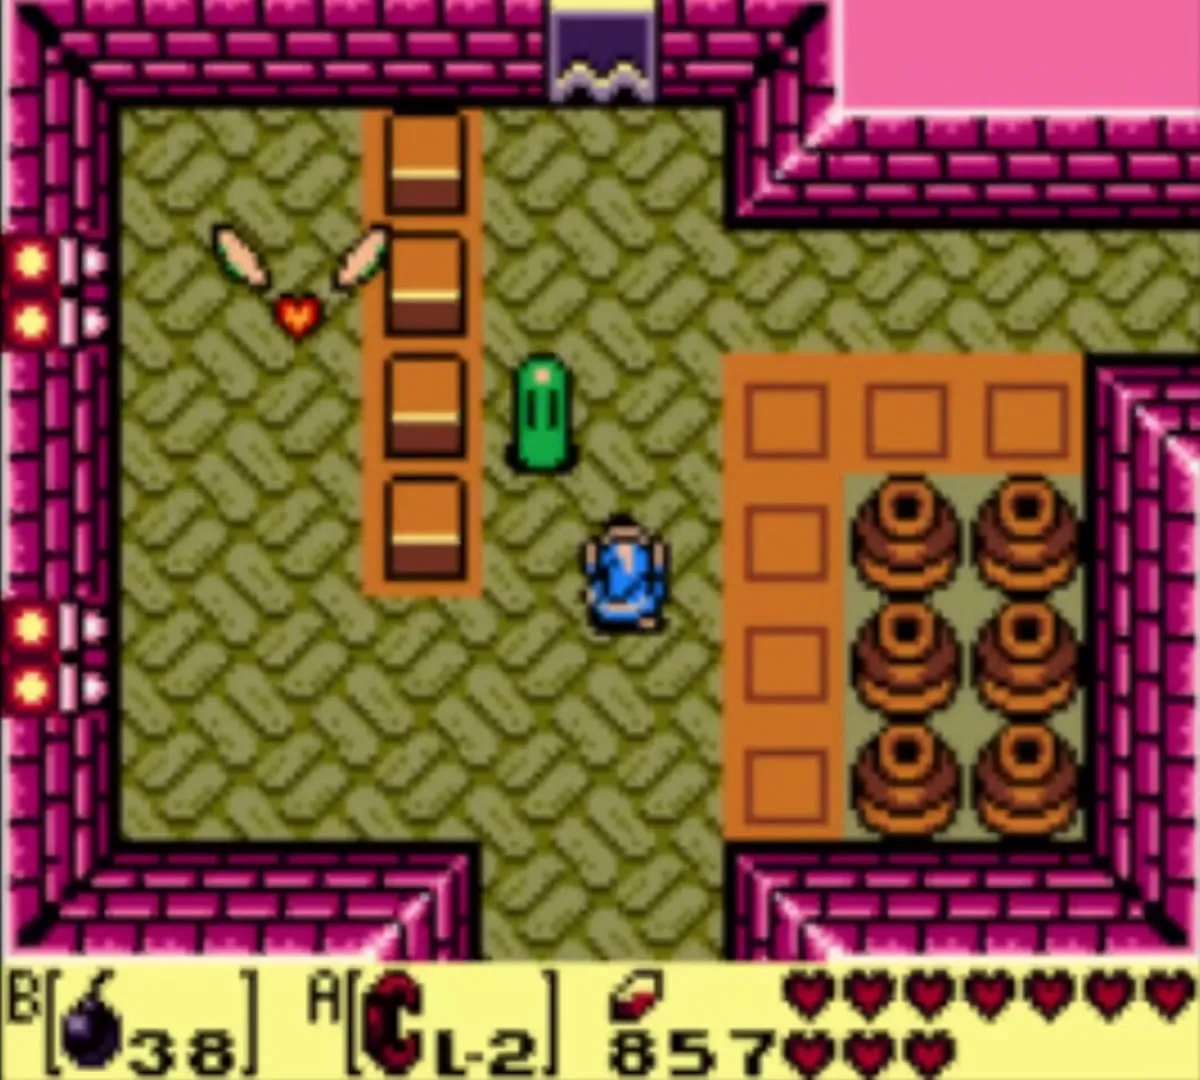


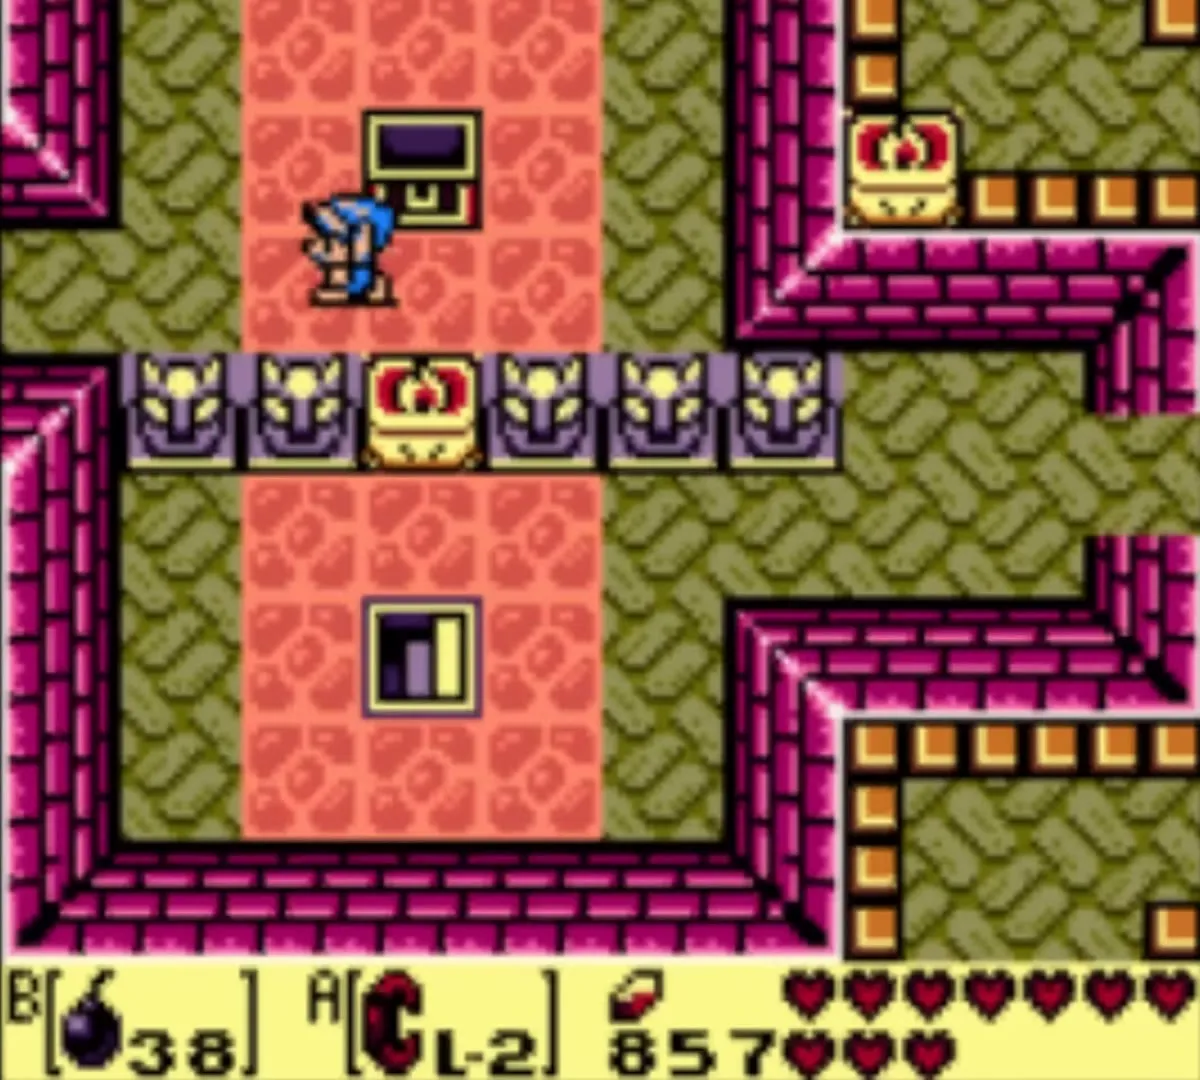
Compass
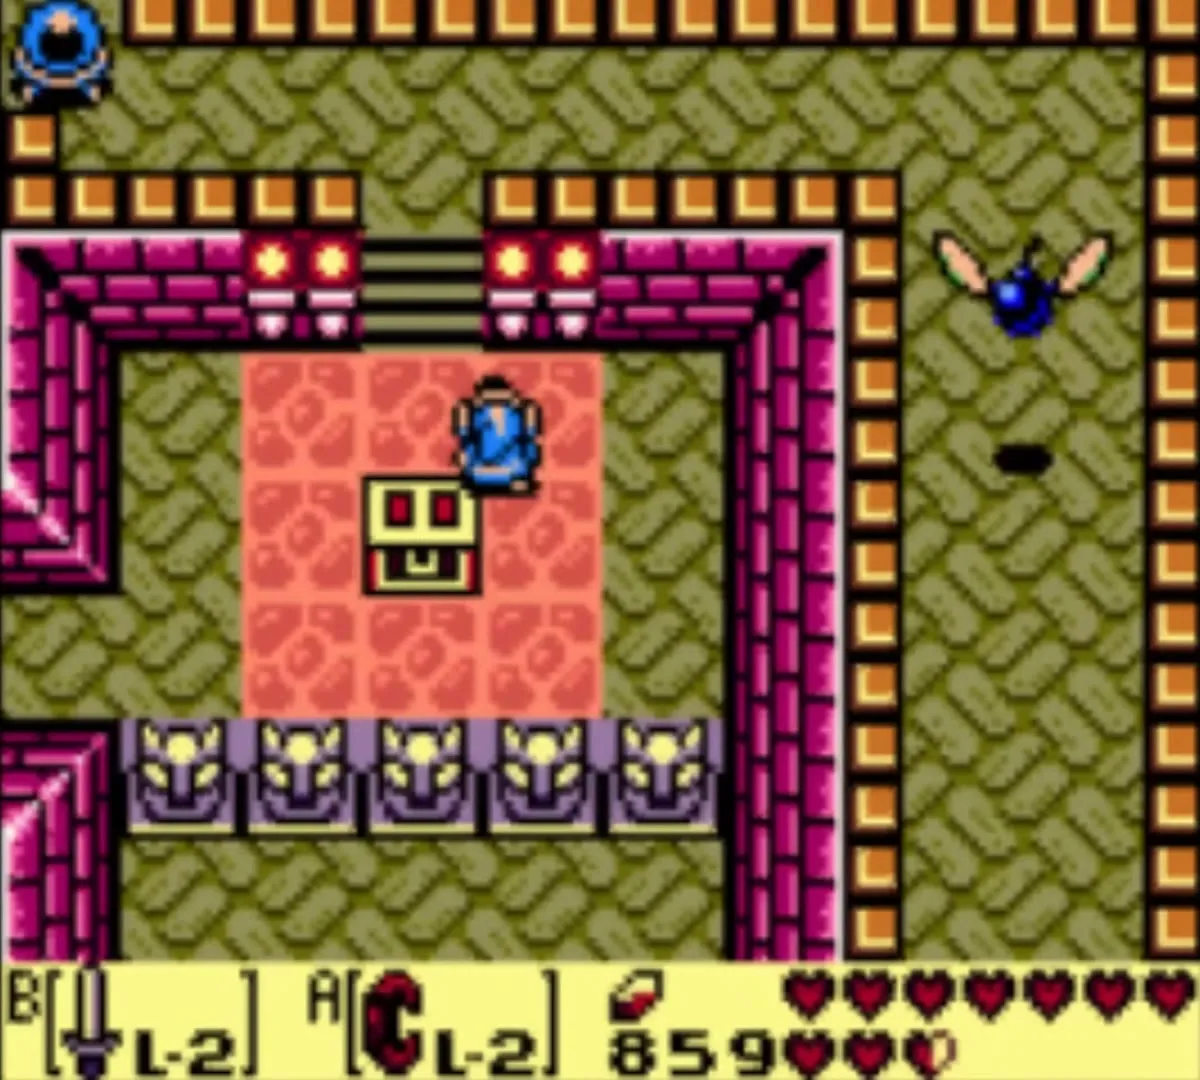
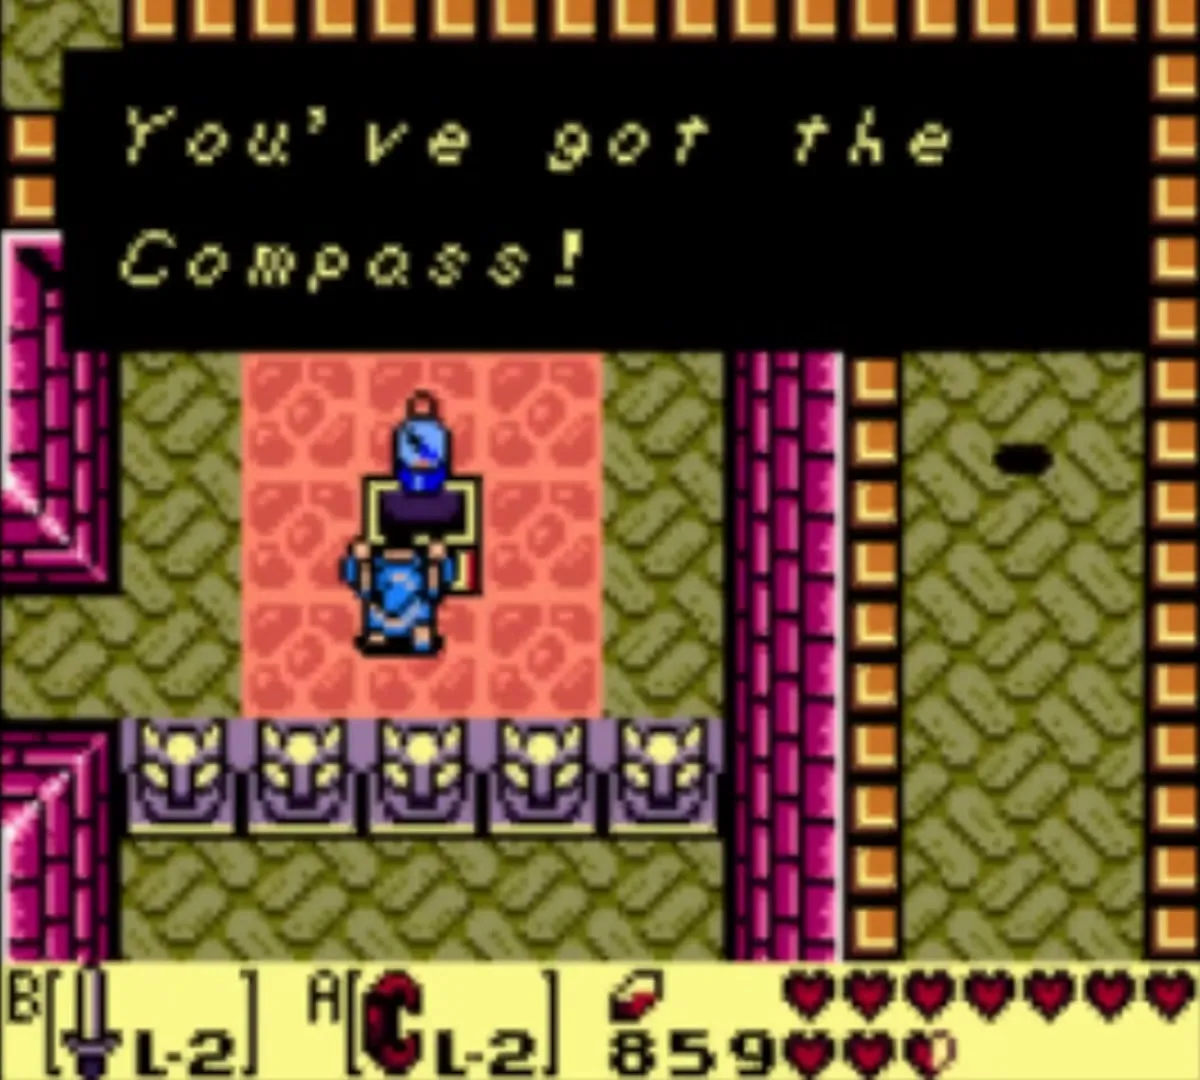
Go back to the previous room and throw a pot at the door. Walk east and open the chest to get the Compass. It shows where the chests are and beeps in rooms with a key.
First small key and the rupee chests
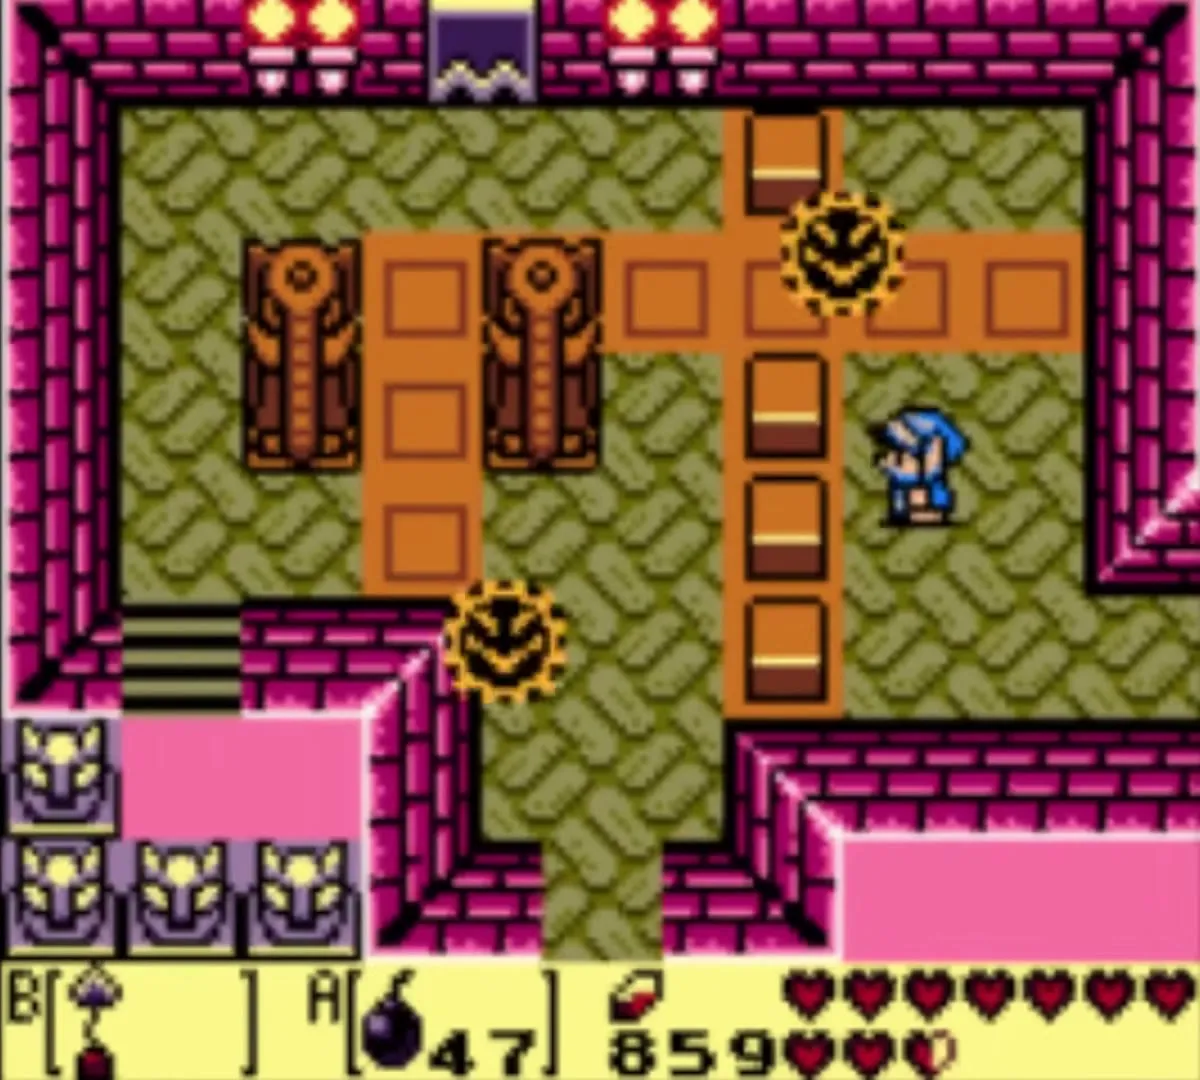
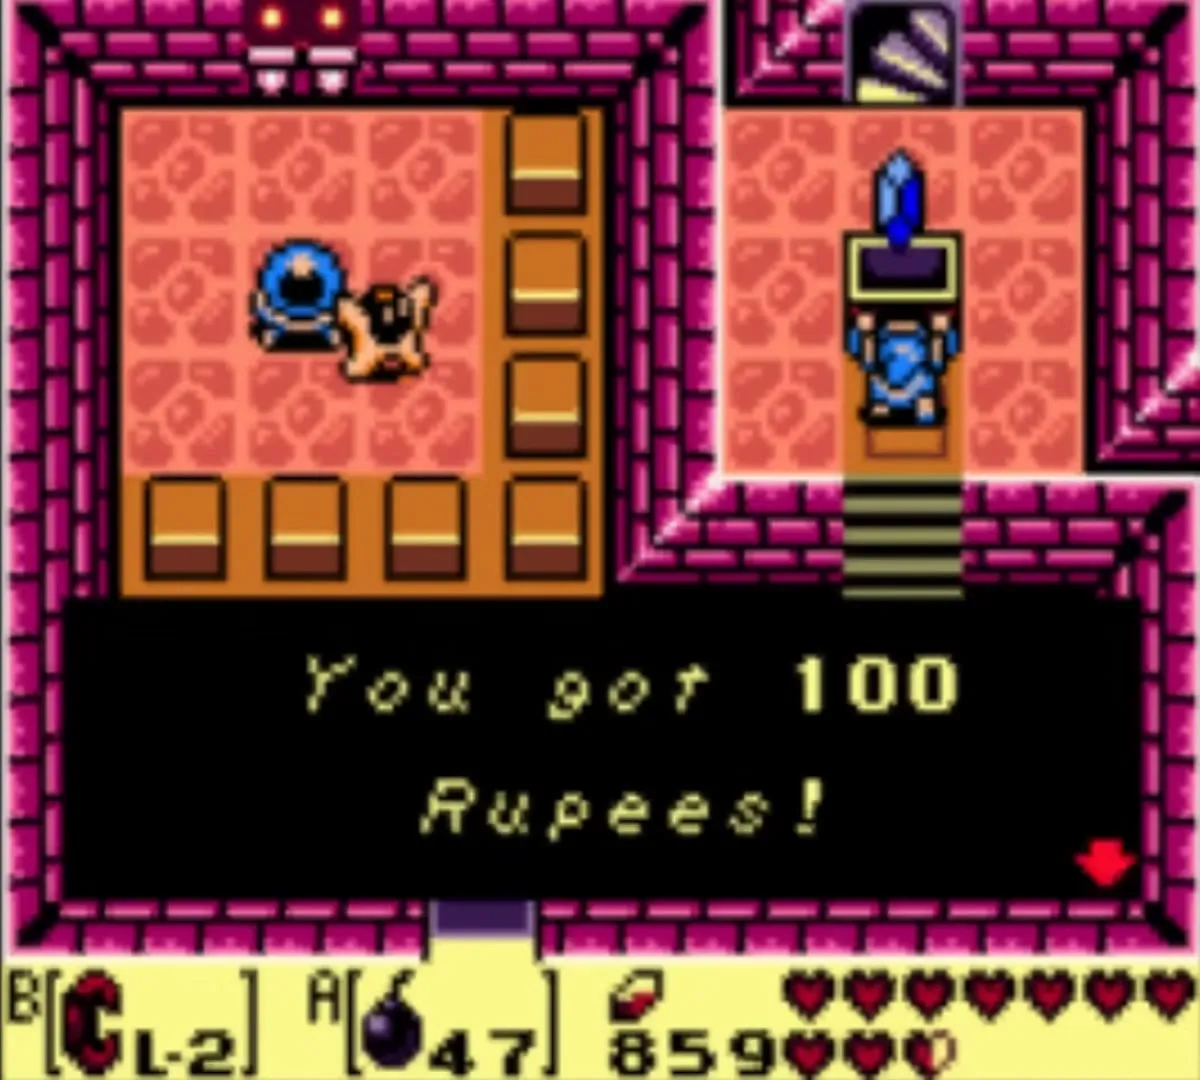
Climb the stairs and hit the crystal switch. Kill the floating Bubble with Magic Powder, then defeat two Wizzrobes: one drops a small key. In the room with two Sparks and two big statues, throw one statue at the north door. The chest behind it holds 100 rupees.
In the same area you can take the north staircase to a small island on the overworld. Its chest contains a Secret Seashell, number 24, but if you already own the Sword L-2 from the Seashell Mansion, it holds 20 rupees instead. You need the Hookshot and the Power Bracelet L-2 for this chest.

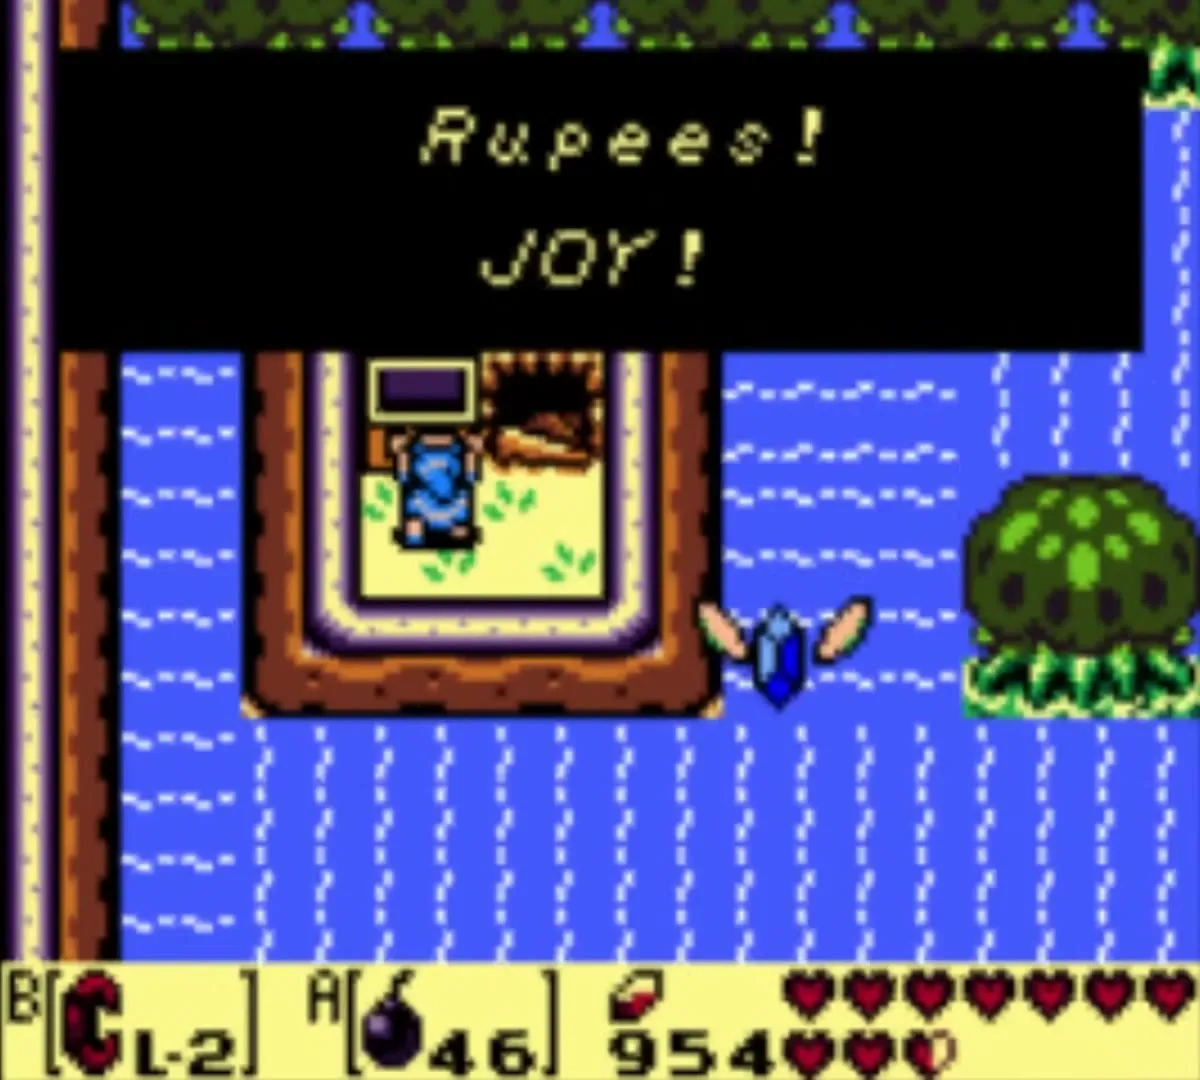
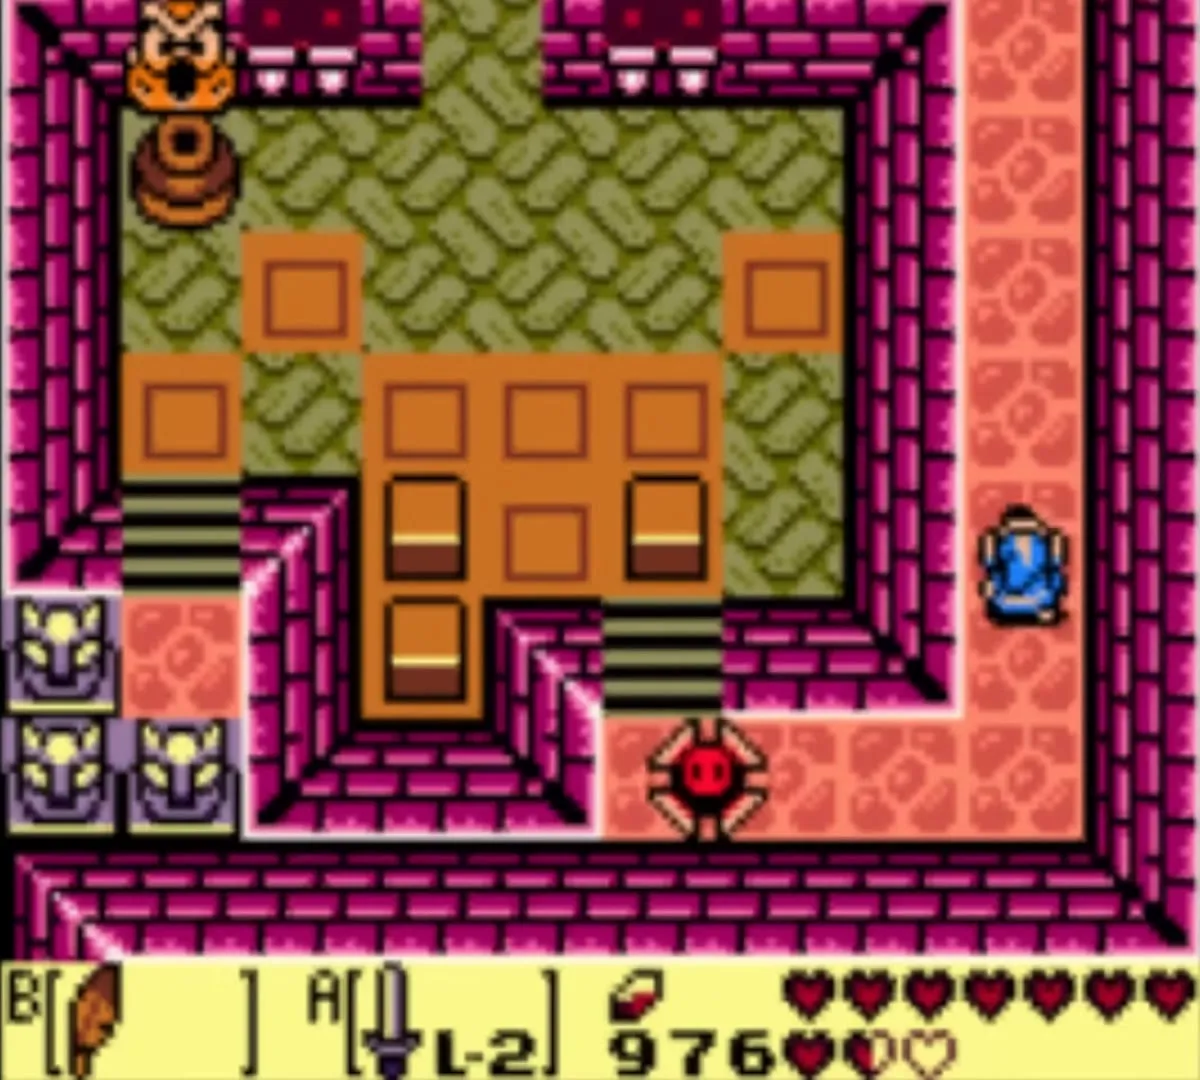
For a second 100 rupees, lower the left blocks with the crystal switch and solve the chess puzzle that opens the south door by throwing the two horse heads into place. Go south past the Sparks, then east to the Shy Guy room and southeast. Beat the Wizzrobes in the northeast room and open the chest.


Secret Medicine
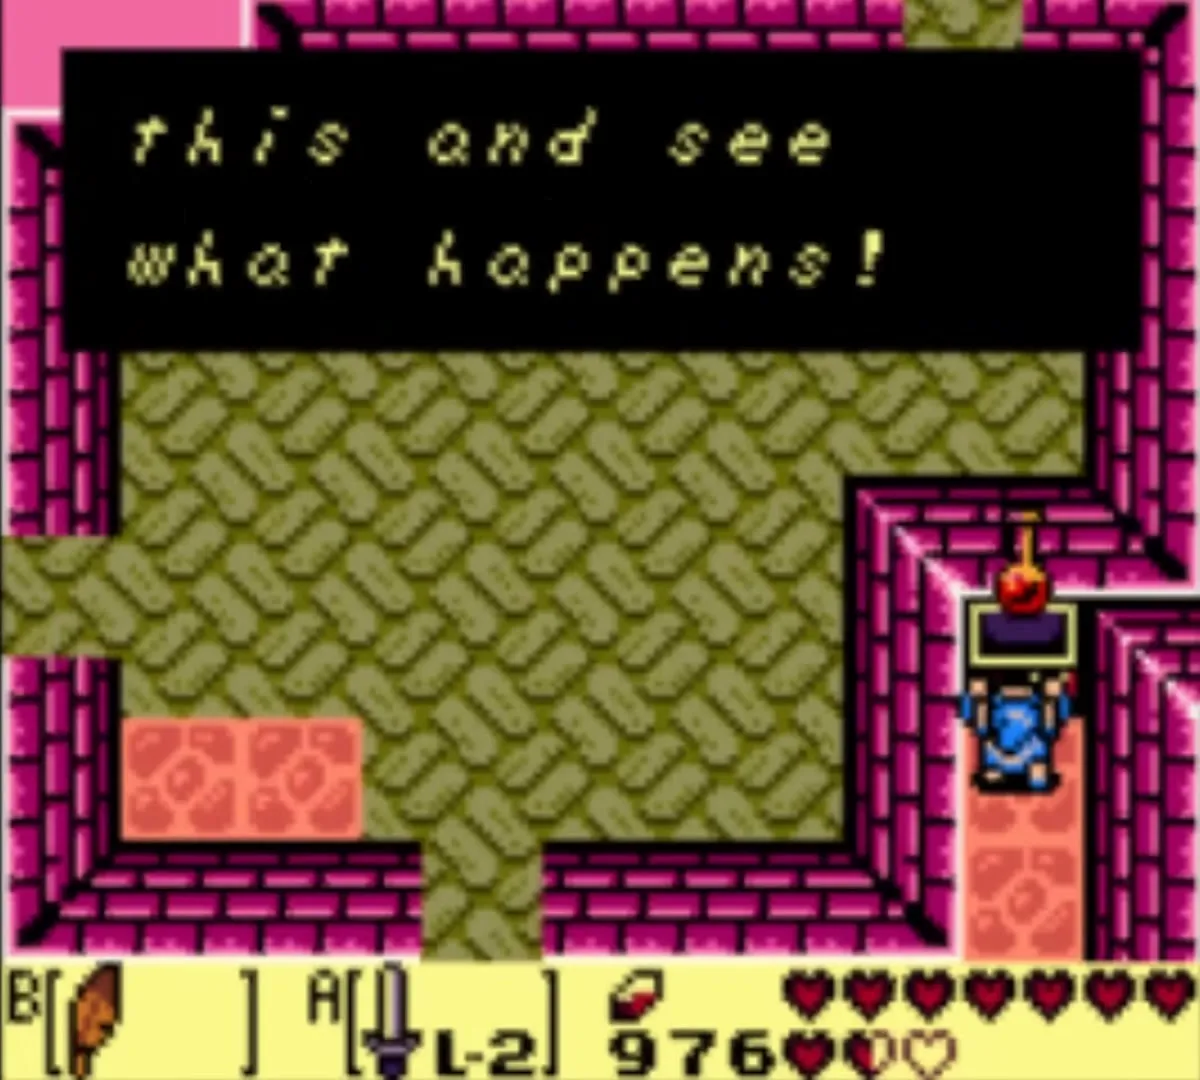
Cross the conveyor belts while avoiding the Traps and head east. Raise your shield against the flying tiles, throw a statue at the east door and defeat four Wizzrobes. Take the south door to a chest with the Secret Medicine. You can carry only one: if you already own it, opening this chest wastes it.
Second small key
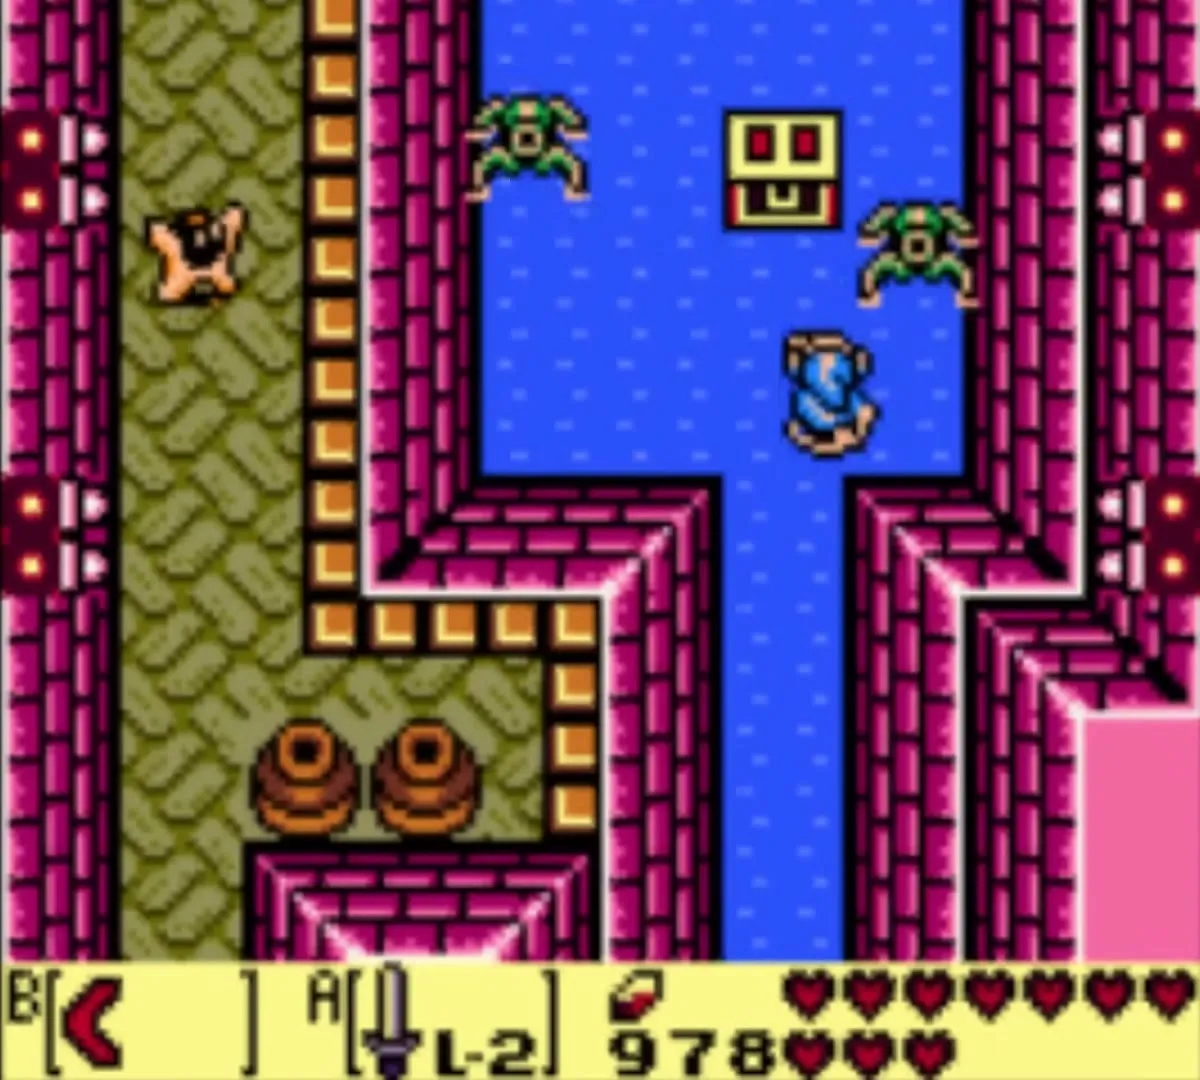
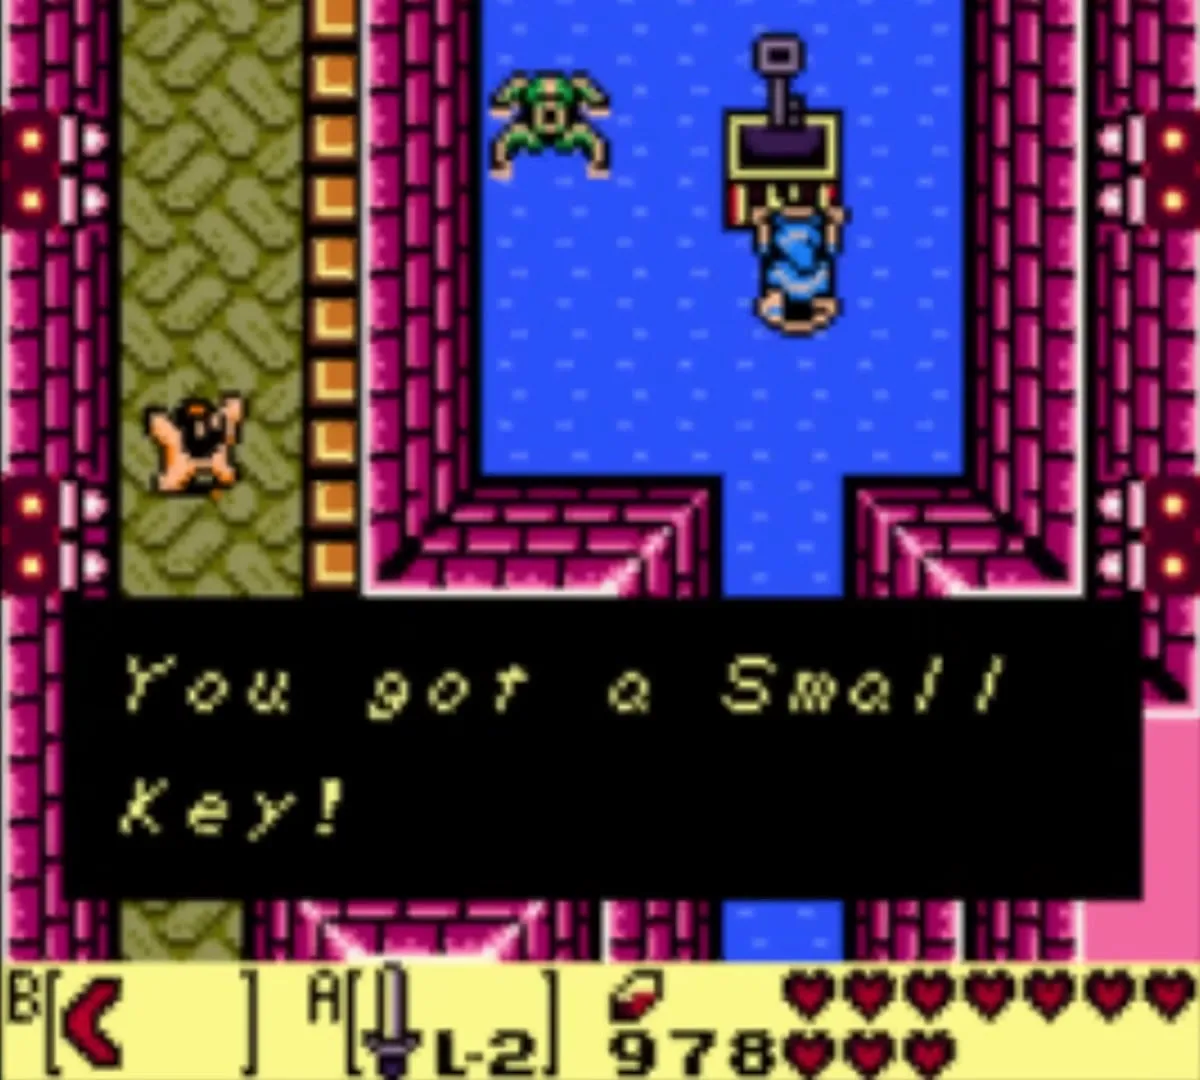
Jump off the ledge, go north and take the stairs, then wade through the shallow water to a chest. It holds the second small key.
Smasher mini-boss
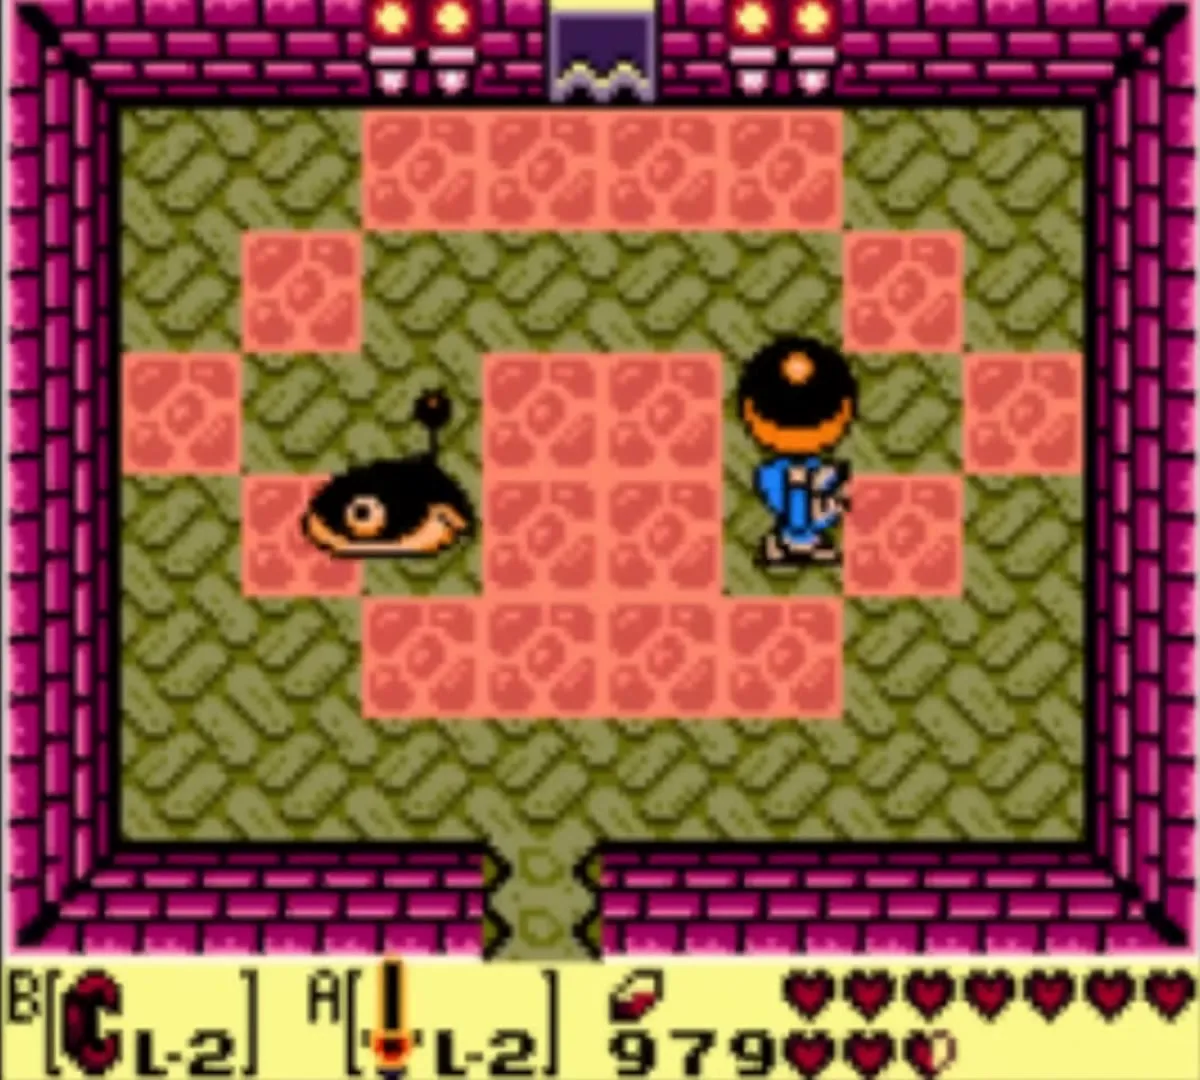
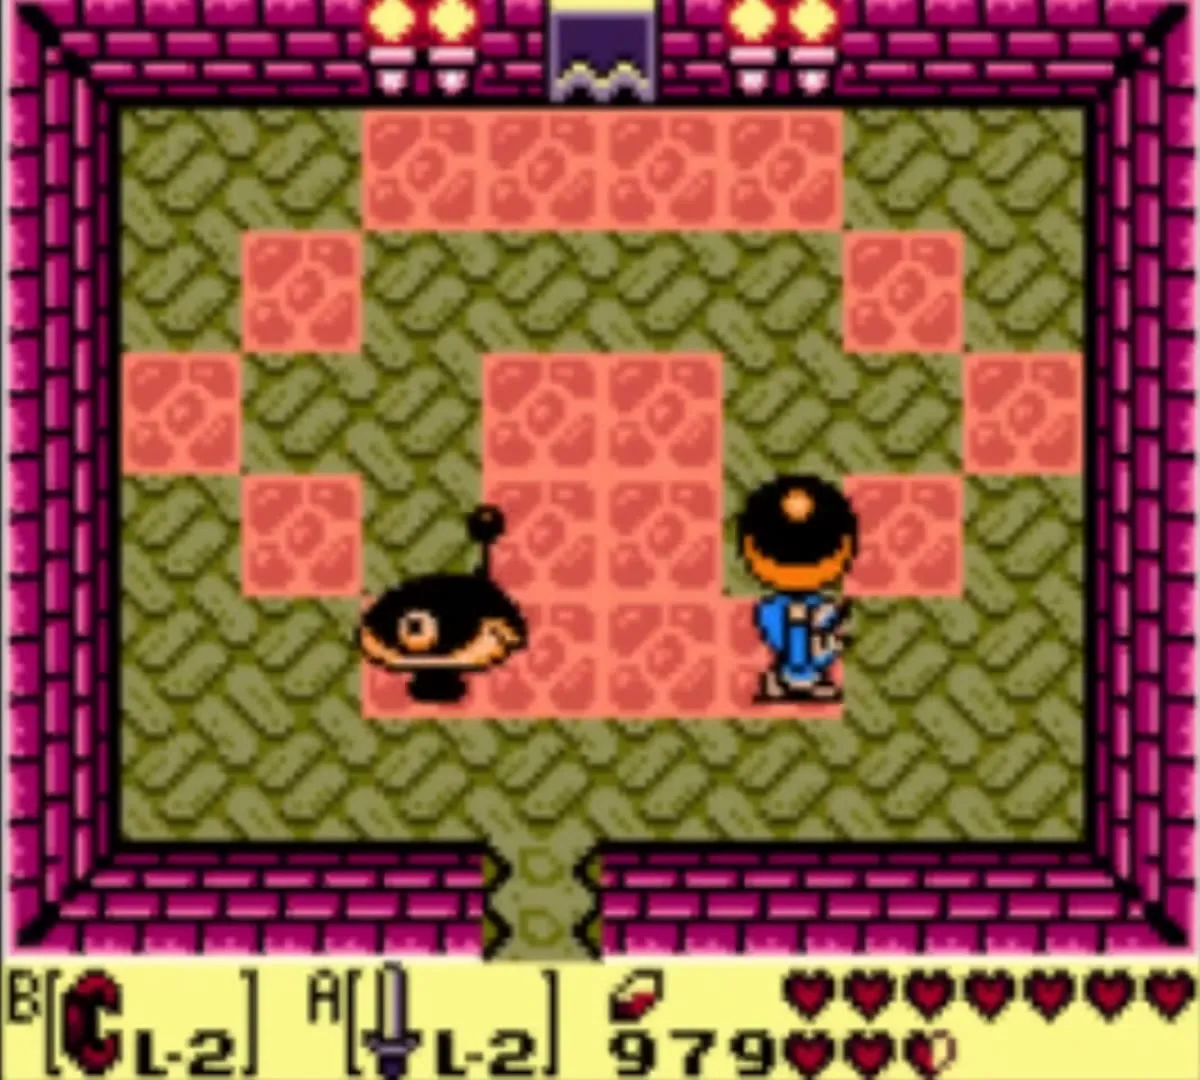
Take the key back to the locked north door and open it. Bomb the middle of the north wall to open a hole into the arena. Smasher throws a heavy ball at you. Step aside, lift the ball with the Power Bracelet and throw it back. Repeat it until he drops. Take the north door.
Third small key
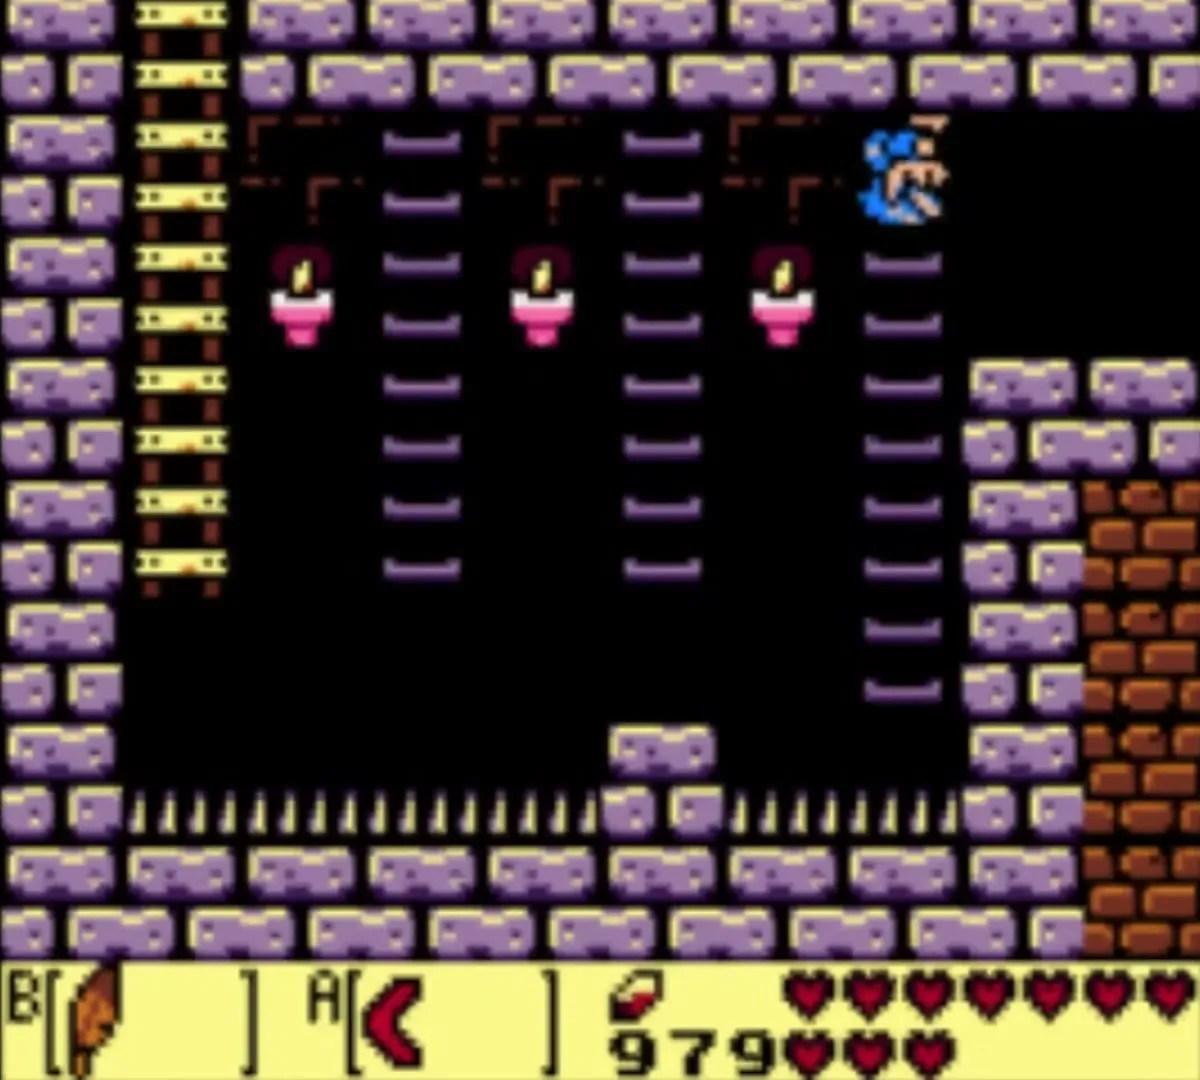
Lift the left statue to reveal stairs and go down. Use the ladders, taking the lower one to stay clear of the spikes, and jump the Spark with the Roc’s Feather. Hold left to drop between ladders until you reach the left one and climb it. Lift your shield against the flying tiles; when they are gone a key appears. Take it and open the key block in the northeast, then go north.

Nightmare’s Key
Throw the big statue at the door, go through, and clear the pots. Solve the chess puzzle to open the doors and leave west. Go down the stairs, use the Pegasus Boots to dash past the Thwomps and climb the ladder on the east side. Bomb the Pols Voices. In the north room, a second chess puzzle opens the door out.


Go south into the room of Dodongo Snakes and drop bombs in front of them until they die. If your bombs run low, the stairs in the northeast corner lead to a room of flying bombs. Cross the gap west of the snakes with the Hookshot, unlock the key block and head north. Throw a pot at the chest to knock it open and get the Nightmare’s Key.
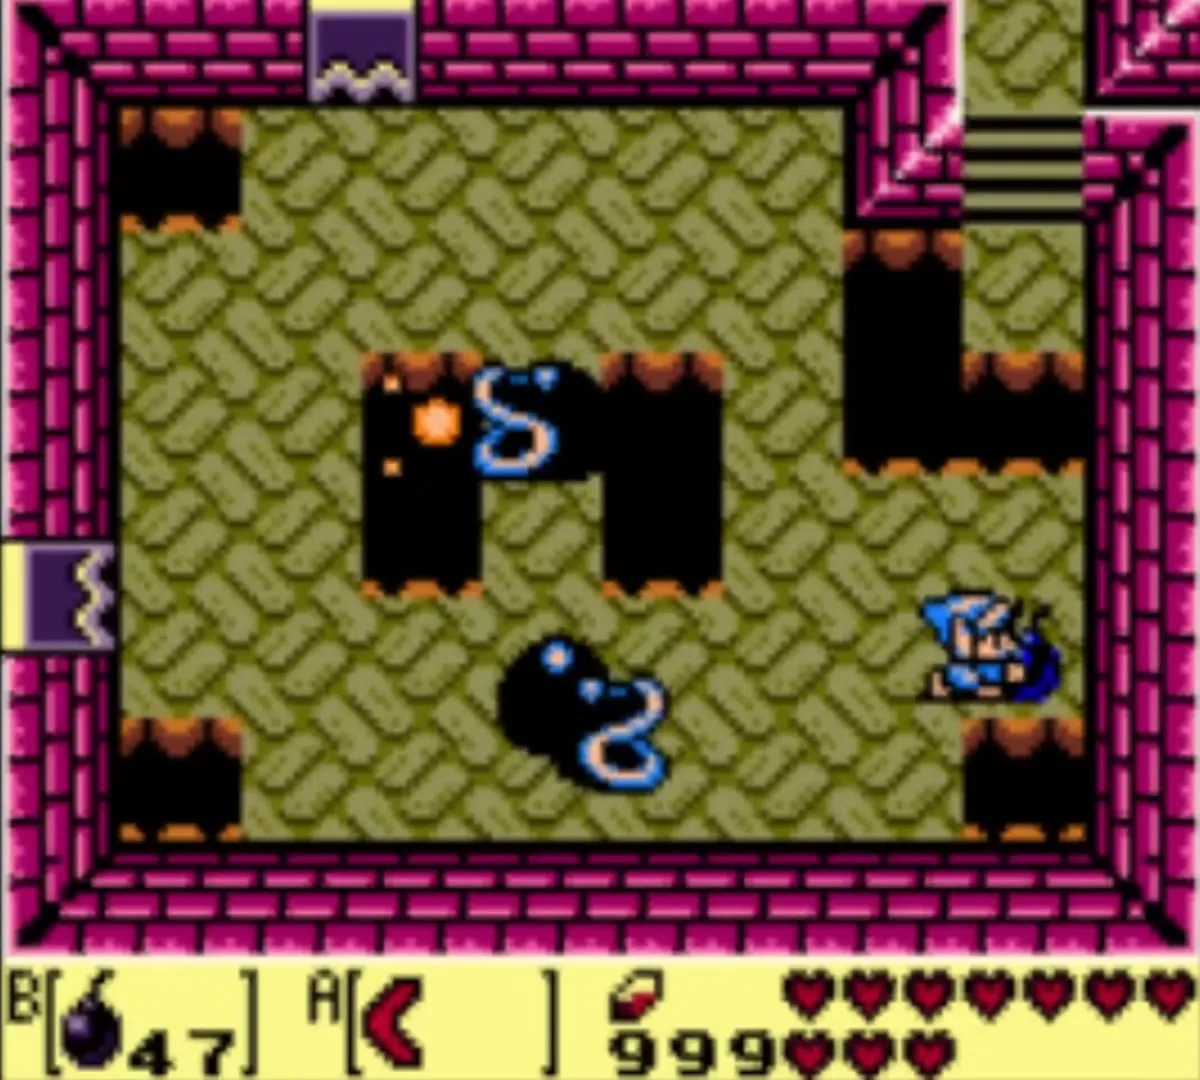

Walk to Facade
Return to the shallow water, go south and up the stairs, then through the south door. Defeat the Wizzrobes if the west door is shut, go west, then north through the hole in the wall. Lift any big statue to find stairs. Follow the path to the flying tile room and leave by its south door.
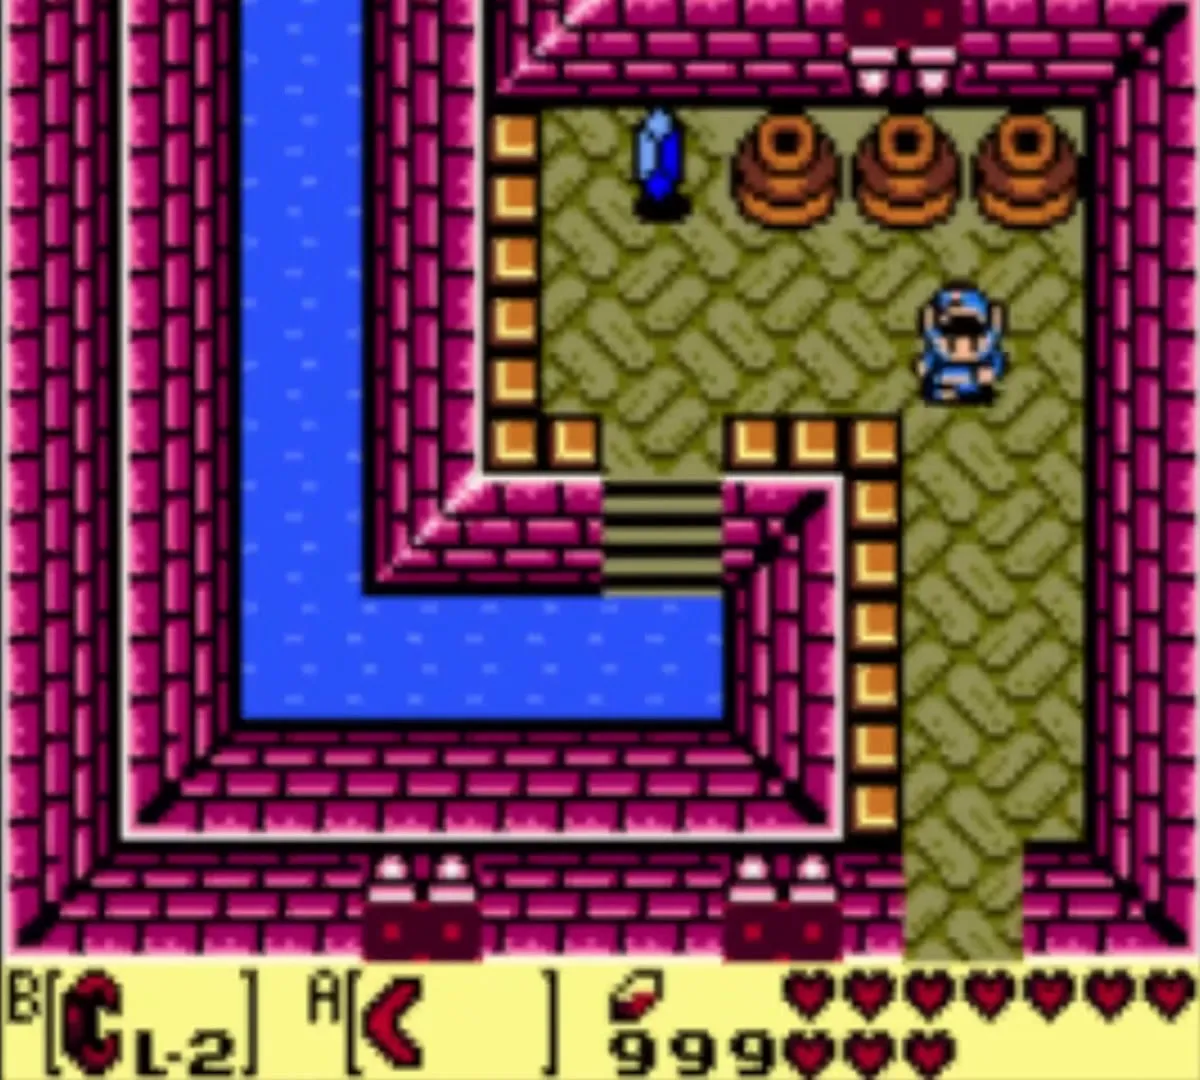
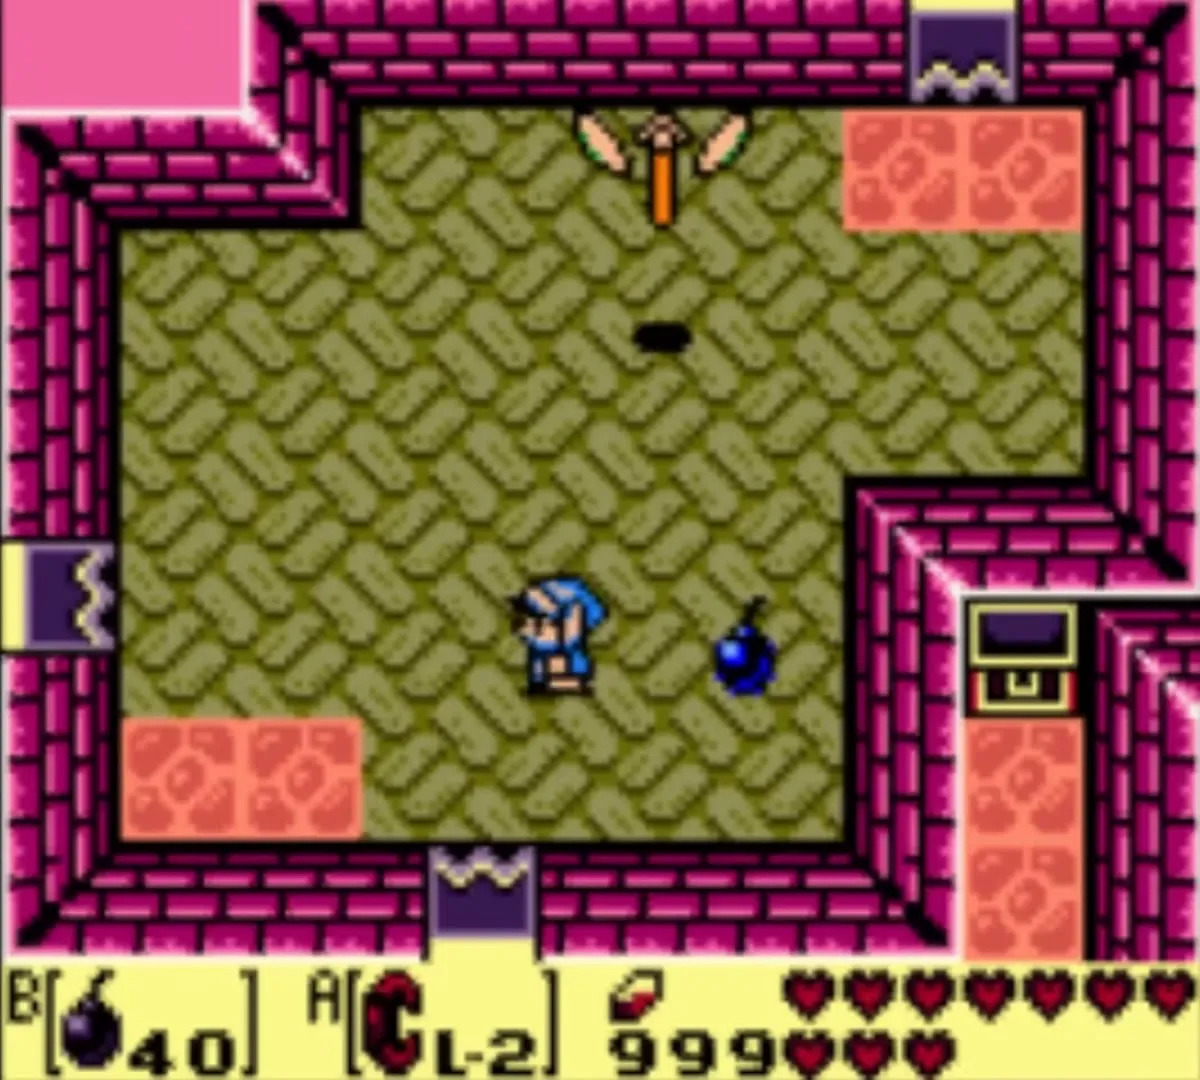
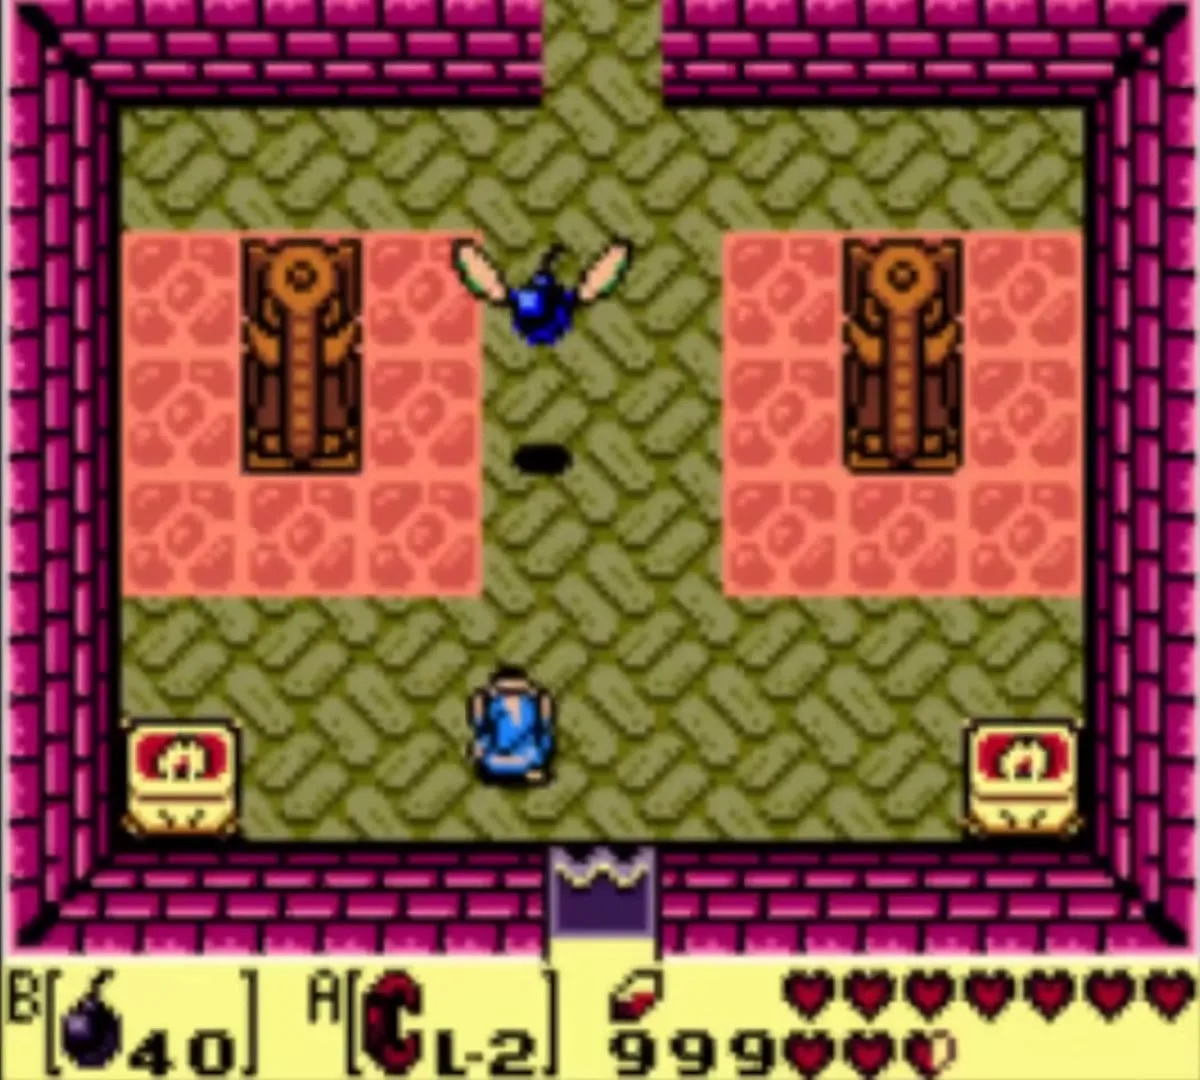
In the room with the Vacuum Mouth, kill the four Zols that hide above, below, left and right of it without being pulled in, then take the east door. Push the lower block right, kill the northern Wizzrobe with a bomb arrow (equip both Bow and Bombs and press the two buttons together), avoid the Beamos’ line of sight, push the northern block into the hole and go north. Light the two torches with Magic Powder to unlock the Nightmare door, then walk through it.

Facade boss fight
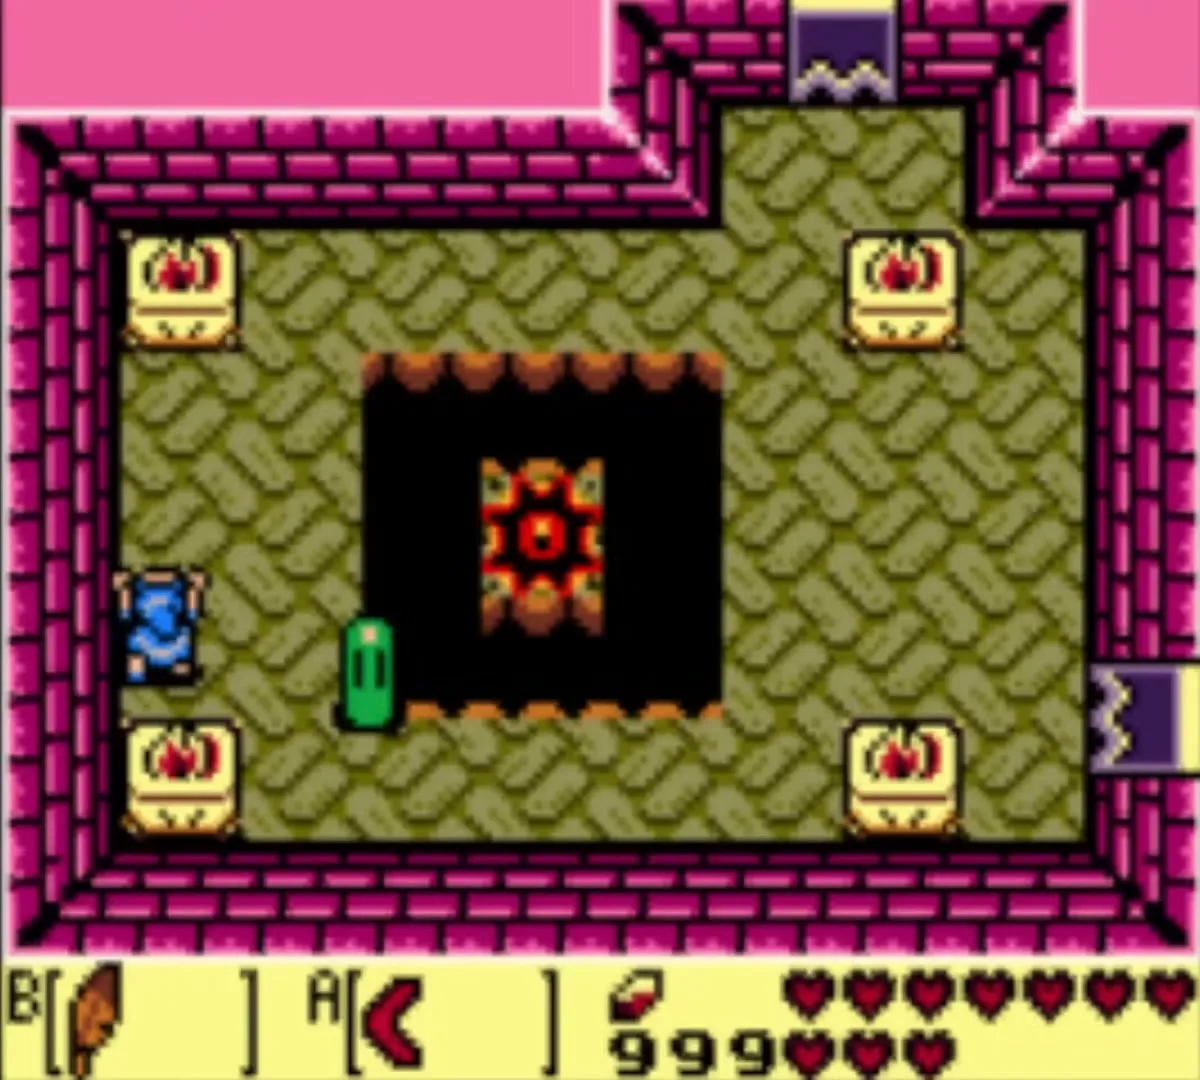
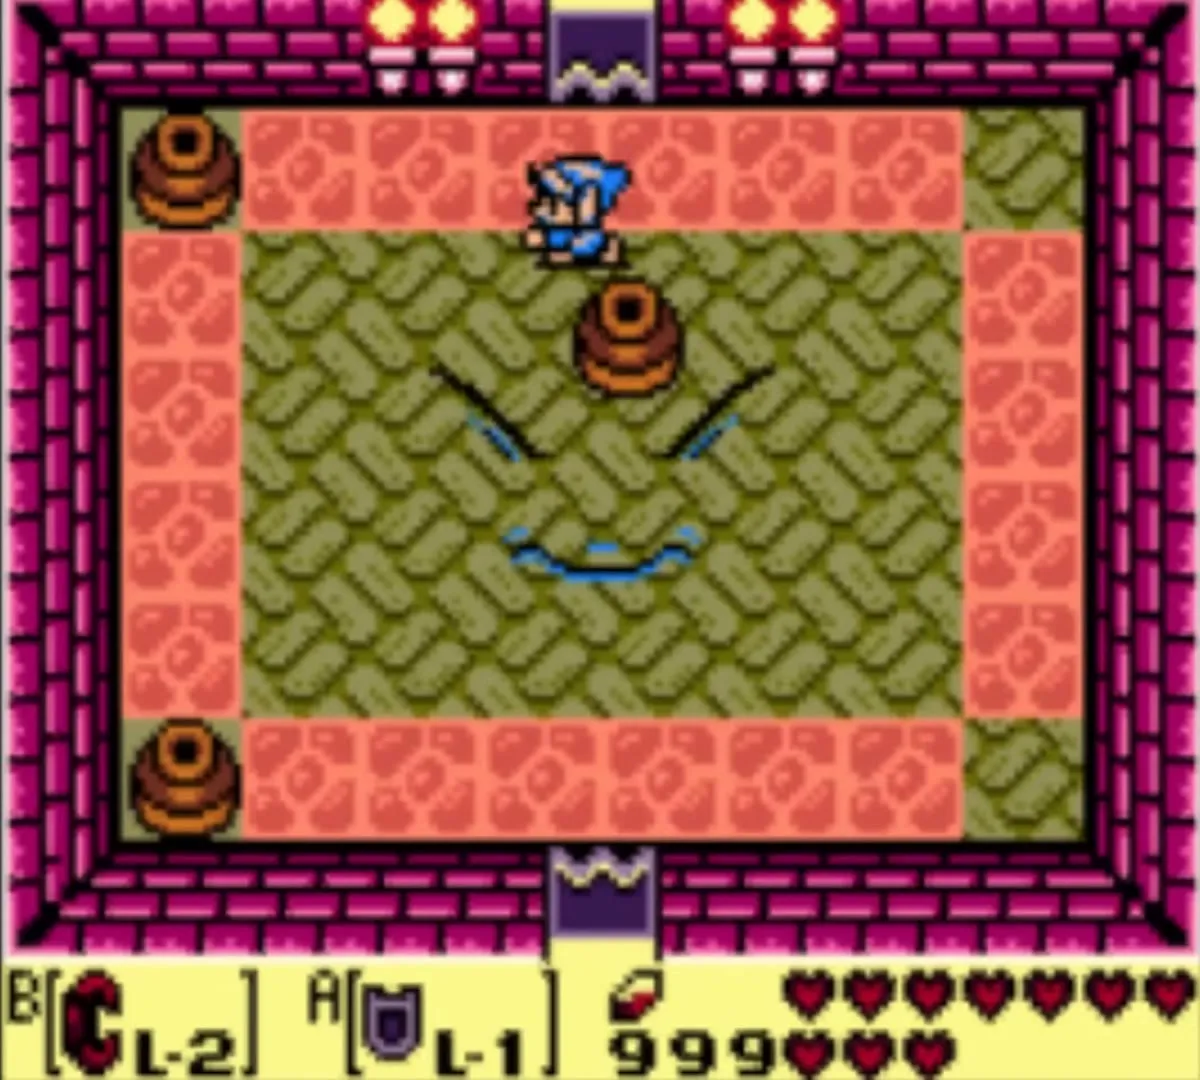
Facade is a huge face in the floor. It taunts you, vanishes and reappears, and each time it shows its face you must drop a Bomb on it. Five hits finish it. Between hits it throws floor tiles and pots at you; keep moving and hold your shield up if the tiles are coming at you.
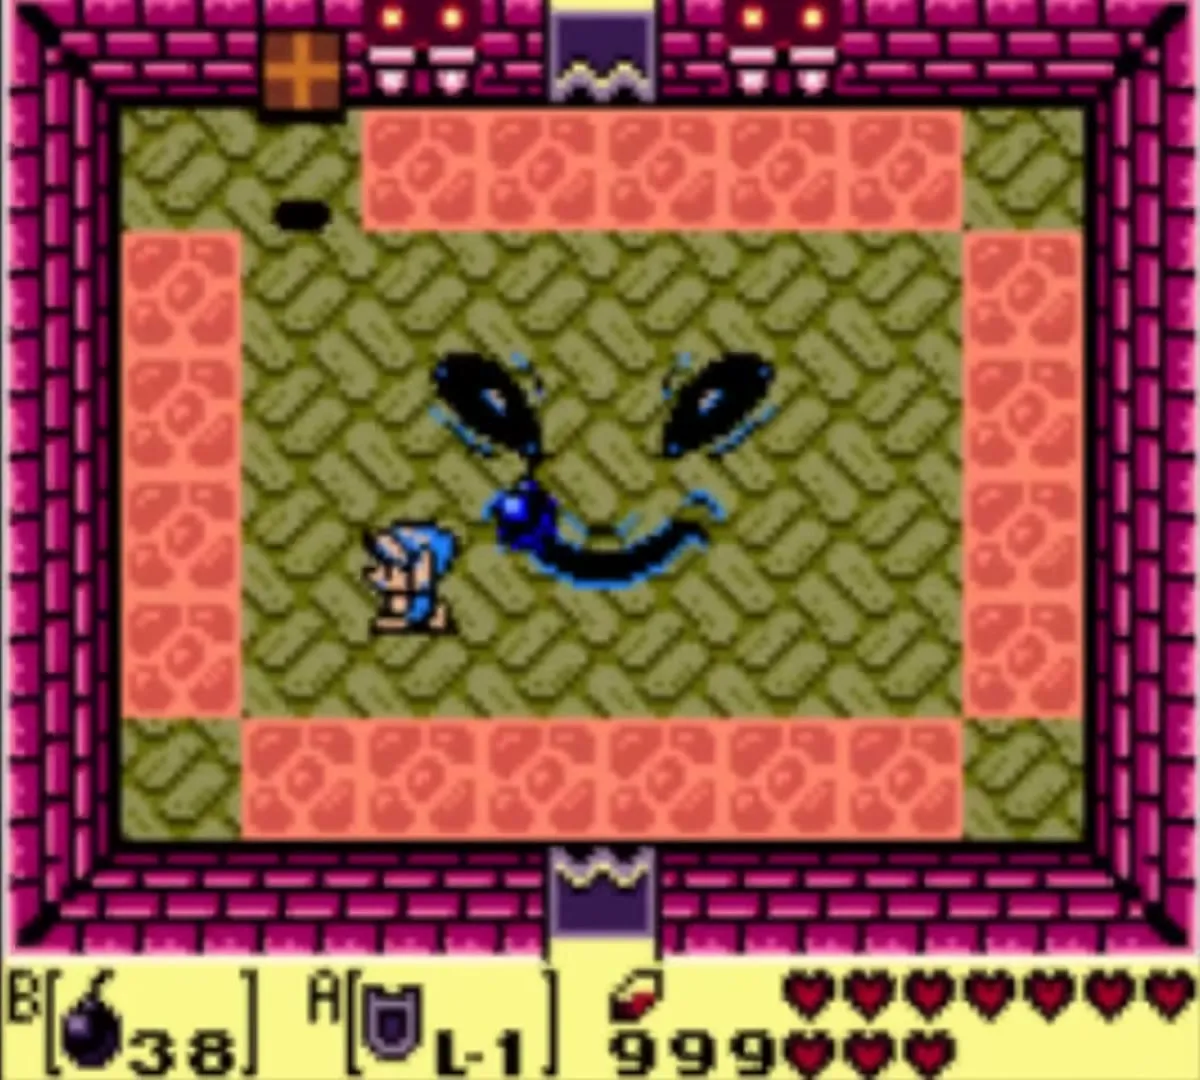

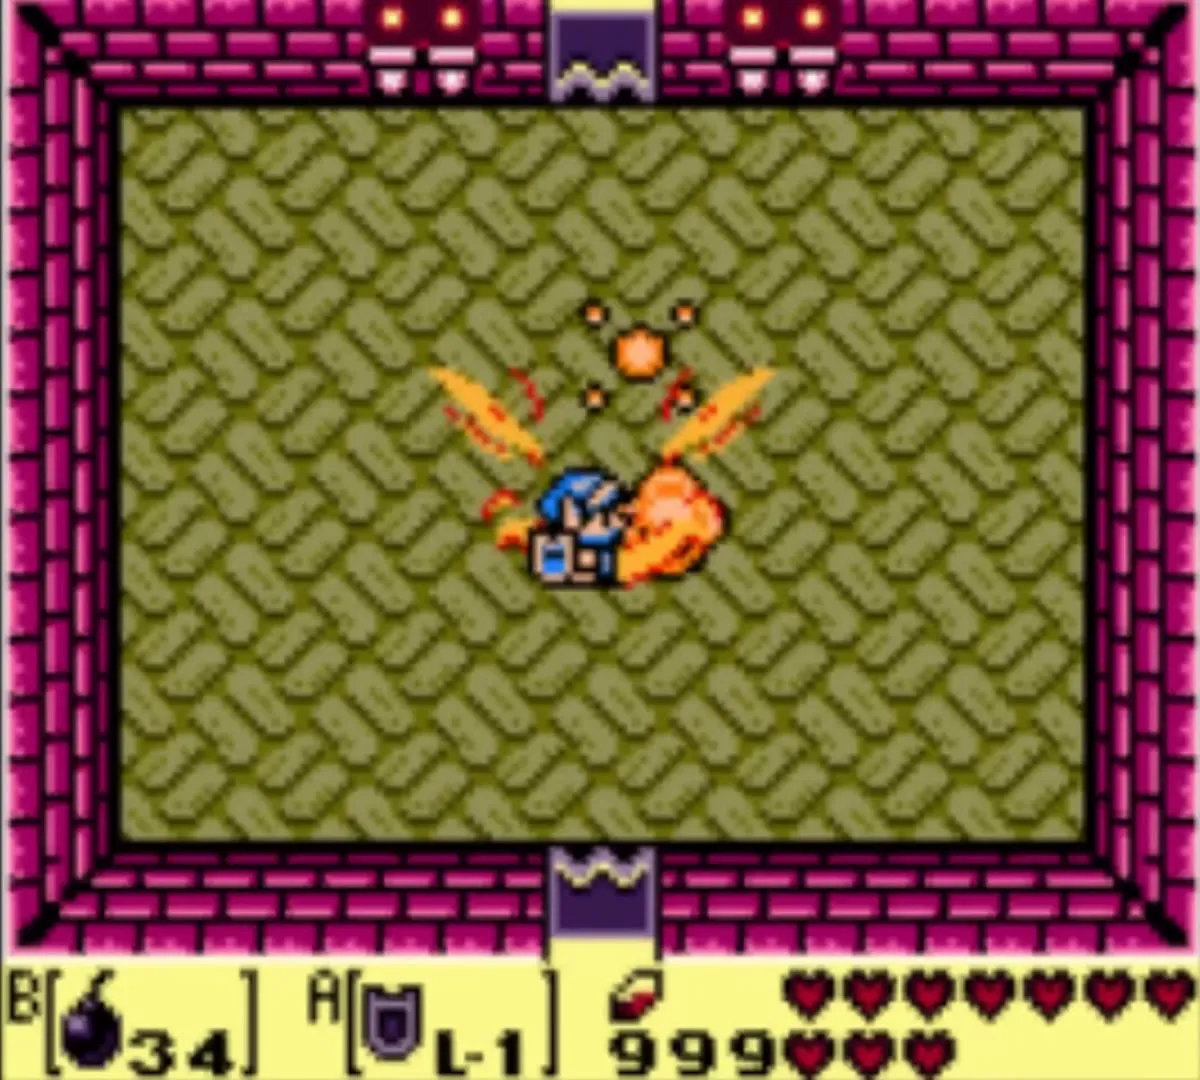
After a few hits the tiles and pots are gone, and holes open in the floor. Stay out of them or keep to the wall. Place your bombs on the face as it returns and Facade is defeated, after a final shout about the Wind Fish and the island. Take the Heart Container and walk north.

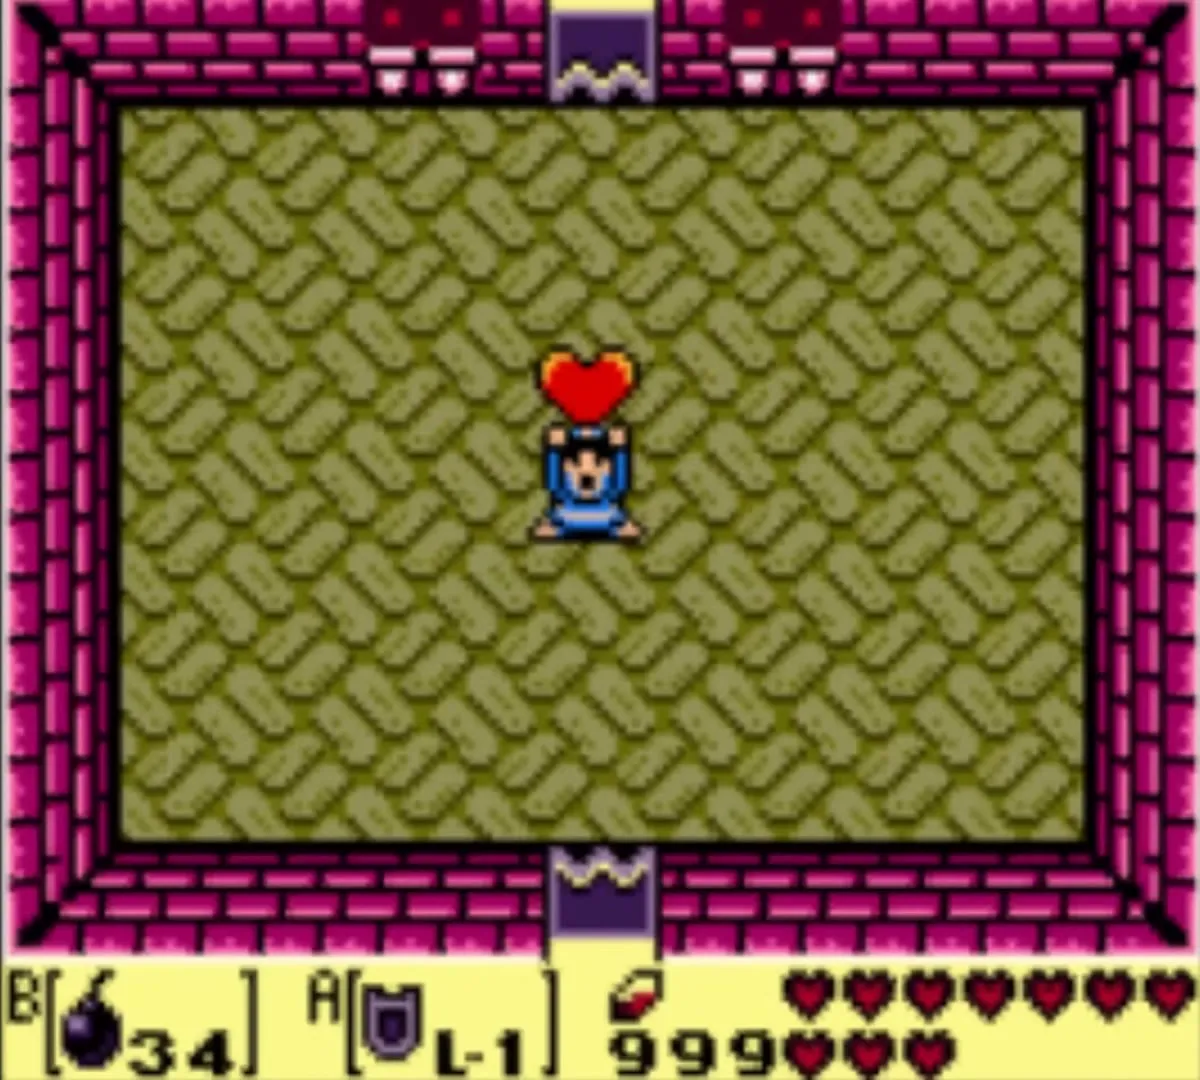
Coral Triangle
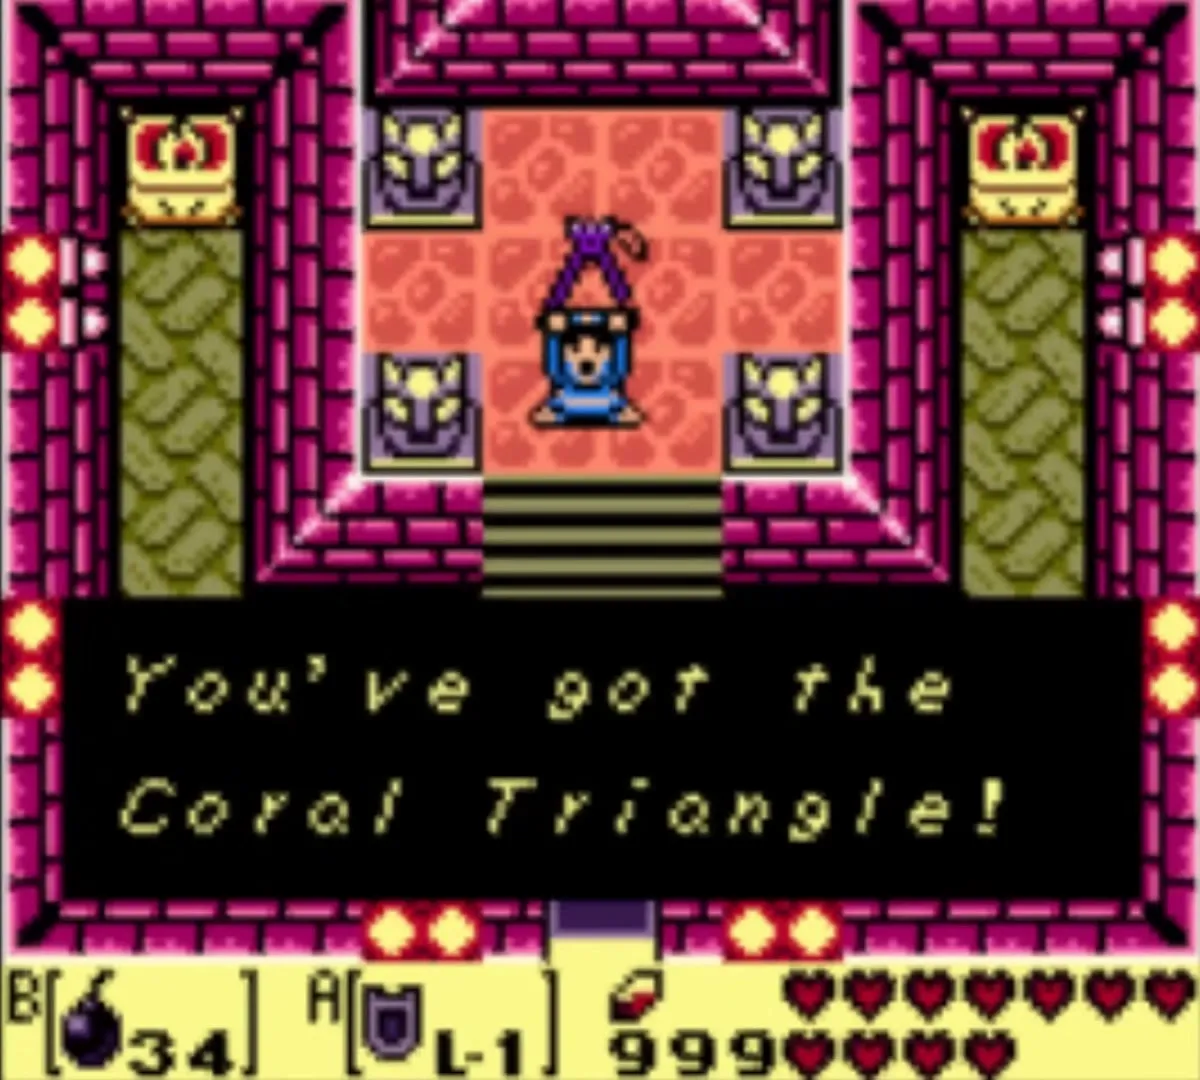
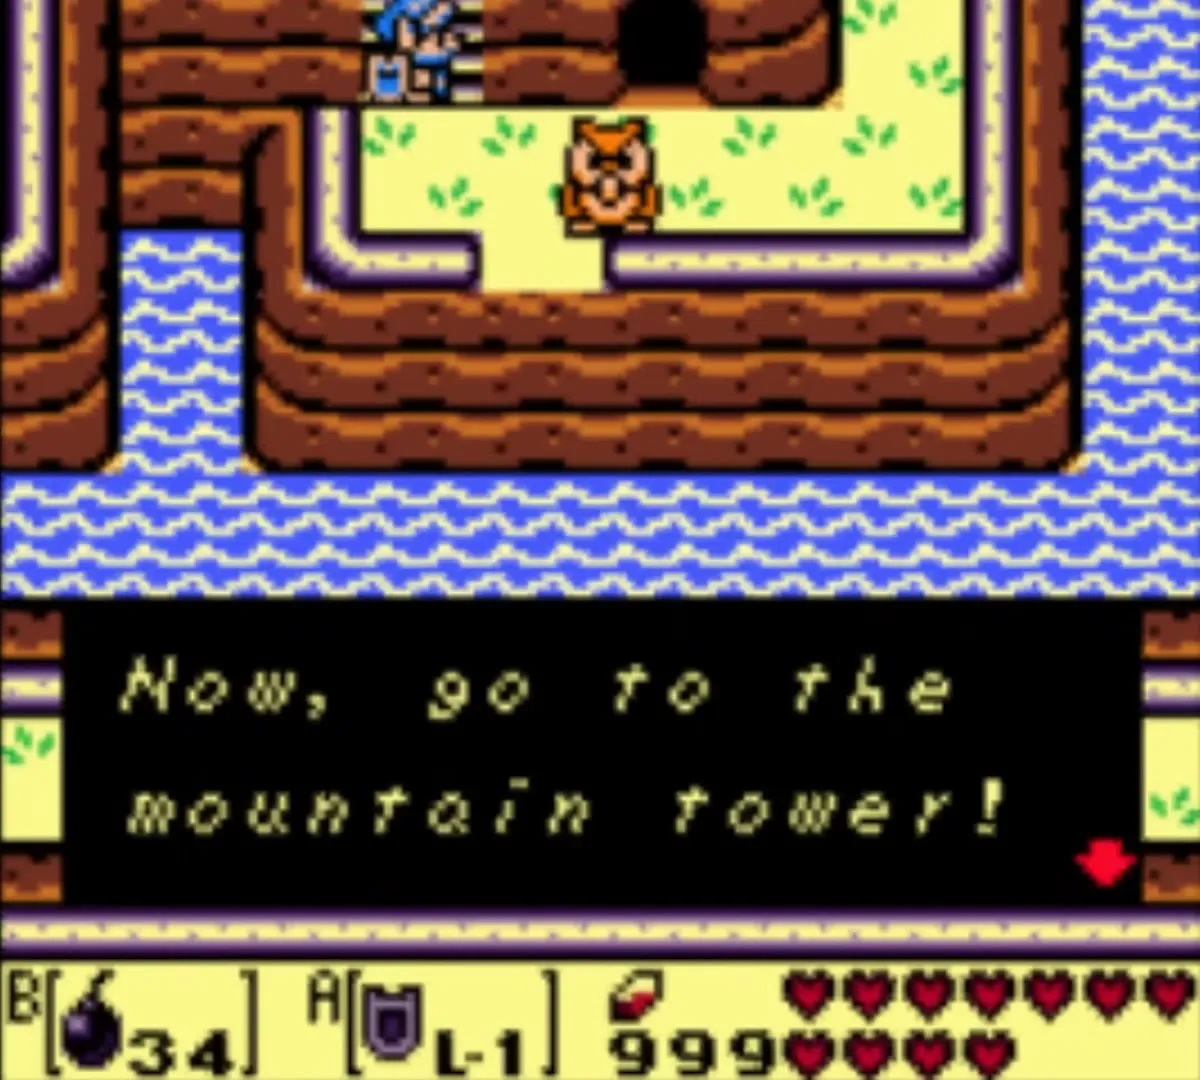
In the next room, walk up to the altar and take the Coral Triangle, the sixth instrument of eight. An Owl then points you toward a tower in the mountains and tells you to fly like a bird. To fly to it you will need the Flying Rooster, so now is the time to use your new song.
Chapter checklist
| Collectible | Type | Where |
|---|---|---|
 Magnifying Lens | Trading item | Cellar under the Mermaid Statue, Martha’s Bay |
| I Found Zora | Photo 9 (DX) | Upper-right house in Animal Village; needs the Lens |
| Animal Village Piece of Heart | Piece of Heart | Cave on the east side of Animal Village; Bombs, Roc’s Feather and Hookshot |
 Frog’s Song of Soul | Song | Mamu’s cave under the Signpost Maze; 300 rupees |
 Boomerang | Item (trade) | Goriya in the cave at Toronbo Shores |
| Piece of Power | Power-up | Northwest corner of the pillar field in the Ancient Ruins |
| Secret Seashell 20 | Secret Seashell | Chest under the Armos in the Ancient Ruins; needs the Power Bracelet |
| Face Key | Key | Armos Knight, Ancient Ruins |
| Power Bracelet L-2 | Dungeon item | Chest in the upstairs room, Face Shrine |
 Map,  Compass, Stone Beak | Dungeon items | Face Shrine chests |
| Secret Seashell 24 | Secret Seashell | Island chest north of the Face Shrine; 20 rupees if you own the Sword L-2 |
| Secret Medicine | Item | South of the conveyor room, Face Shrine |
 Small keys (3),  Nightmare’s Key | Keys | Face Shrine, in clearing order above |
 Heart Container | Heart Container | Facade |
 Coral Triangle | Instrument | Room behind Facade |
With six instruments in hand, climb into the mountains for Tal Tal Mountains and Eagle’s Tower.
