





















Link's Awakening 100% Completion Walkthrough9 chapters
- The Shore, Forest and Tail Cave (Level 1)Shield, Sword, Mysterious Forest, Magic Powder, Tail Key, Roc’s Feather, Moldorm and the Full Moon Cello.
- Goponga Swamp and Bottle Grotto (Level 2)BowWow’s rescue, Goponga Swamp, every key, the Power Bracelet, the Genie boss and the Conch Horn.
- Ukuku Prairie, Kanalet Castle and Key Cavern (Level 3)The Golden Leaves of Kanalet Castle, the Slime Key, Pegasus Boots, Slime Eye and the Sea Lily’s Bell.
- Yarna Desert and Angler’s Tunnel (Level 4)Wake the walrus, cross Yarna Desert, win the Flippers, beat the Angler Fish and take the Surf Harp.
- Martha’s Bay and Catfish’s Maw (Level 5)Manbo’s Mambo, the ghost, the Mermaid’s Scale, Hookshot, Master Stalfos, Slime Eel and the Wind Marimba.
- Ancient Ruins and Face Shrine (Level 6)Magnifying Lens, Frog’s Song of Soul, Boomerang, Ancient Ruins, Power Bracelet L-2, Facade, Coral Triangle.
- Tal Tal Mountains and Eagle’s Tower (Level 7)Flying Rooster, Bird Key, Mirror Shield, Evil Eagle and the Organ of Evening Calm.
- Western Mountains and Turtle Rock (Level 8)Marin’s bridge, Mad Batter, Frog’s Song of Soul, Magic Rod, Hot Head and the Thunder Drum.
- The Wind Fish’s Egg and the FinaleFinish your 100%, read the maze book, play the Ballad, beat the Shadow Nightmares, see the secret ending.
| Covers | Ukuku Prairie errands, Mabe Village and the Dream Shrine, Animal Village, Yarna Desert, Tal Tal Heights, Crazy Tracy’s house |
|---|---|
| Dungeon | Angler’s Tunnel (Level 4): needs the Angler Key, Roc’s Feather, Pegasus Boots, Power Bracelet, bombs. Mini-boss Cue Ball, boss Angler Fish, instrument Surf Harp |
| Rewards | Ocarina, Ballad of the Wind Fish, Angler Key, Flippers, Manbo’s Mambo, Surf Harp, 1 Heart Container, 3 Pieces of Heart, 4 Secret Seashells, 3 trading items (Honeycomb, Pineapple, Hibiscus), Secret Medicine, photos 2, 3 and 4 (DX) |
This chapter takes you from the Sea Lily’s Bell to the Surf Harp. You fetch the Ocarina and learn the Ballad of the Wind Fish, take Marin to Animal Village so she can wake the walrus, beat the Lanmola in Yarna Desert for the Angler Key, open the waterfall in the Tal Tal Heights, and clear Angler’s Tunnel. Its treasure is the Flippers, which let you swim and dive, and the Angler Fish guards the Surf Harp. Along the way you collect three Pieces of Heart, four Secret Seashells, three steps of the trading sequence and photos 2 to 4.
Table of Contents
Before the desert: Ocarina, Ballad and shells
The owl’s hint and the road east
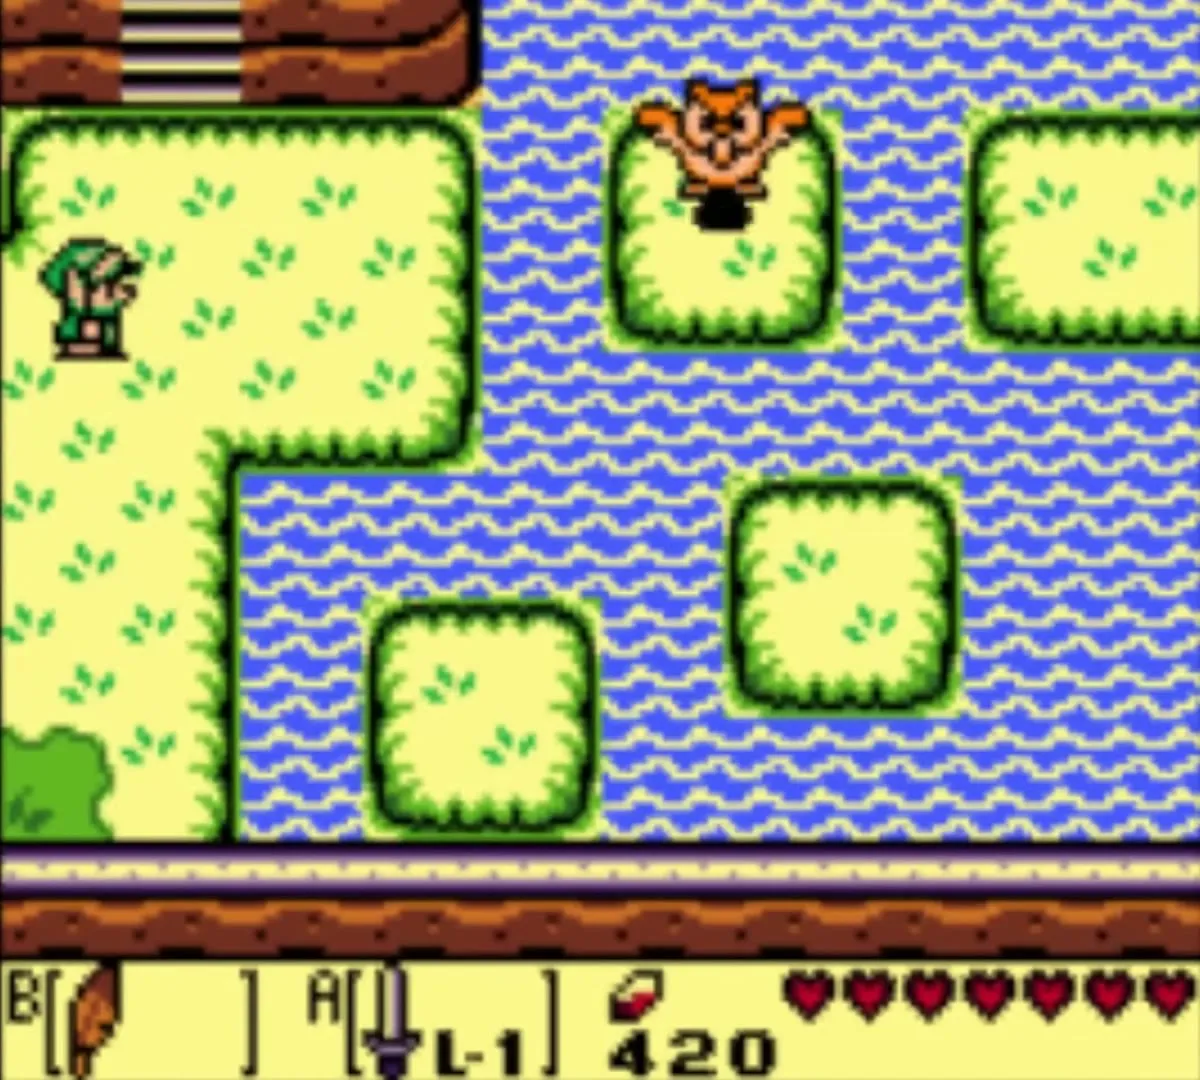
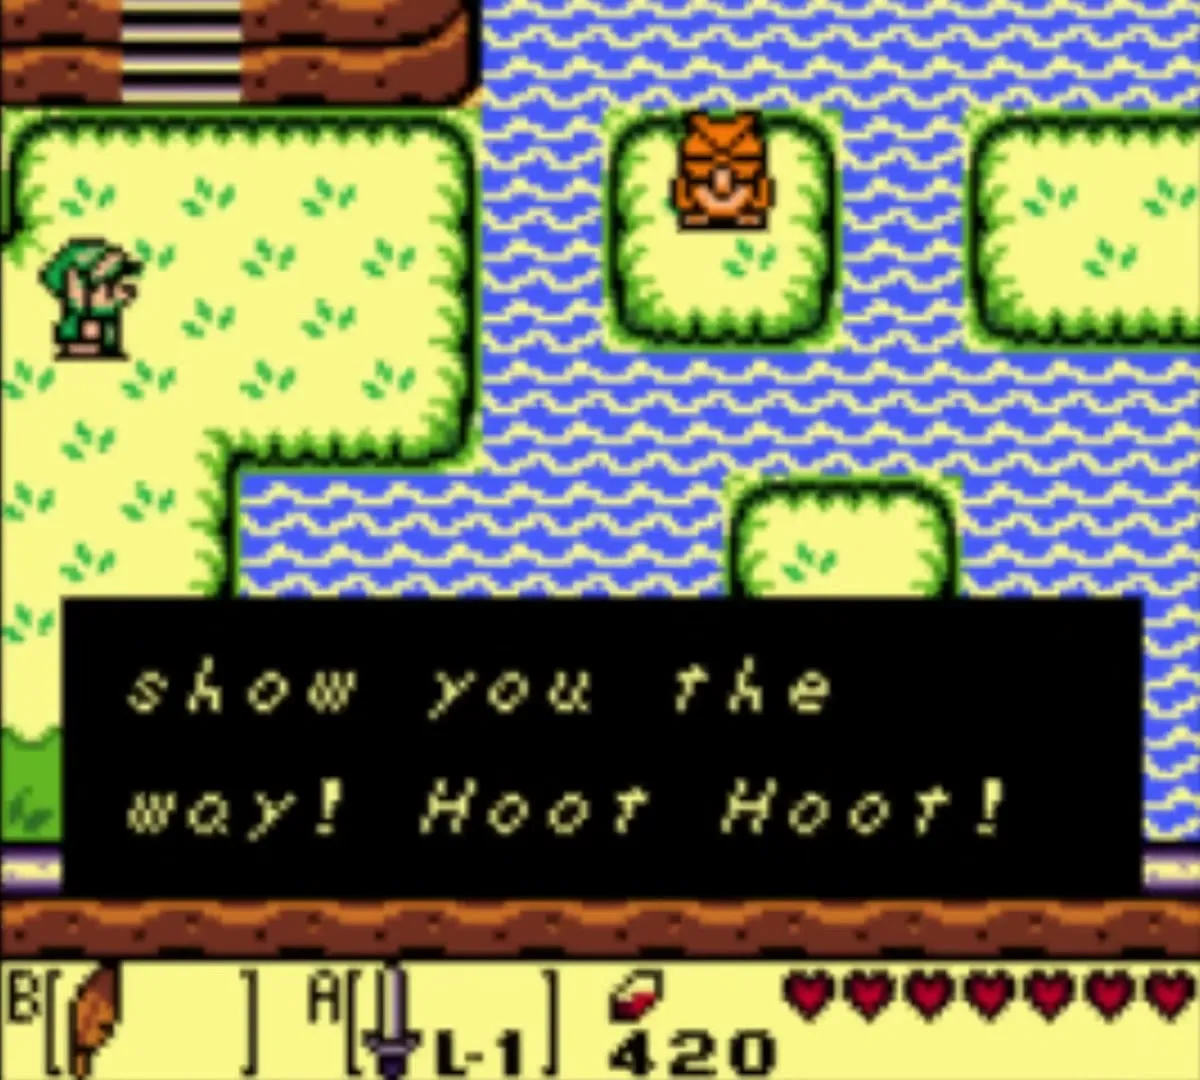
Outside Key Cavern the owl tells you that the next stretch of the island lies east, towards Yarna Desert. Nothing in the desert works yet, because a sleeping walrus blocks the way in, so use the walk back towards Mabe Village to pick up everything the Pegasus Boots and the bombs now allow.
Sealed Cave Piece of Heart
East of Mabe Village, near the honeycomb tree, is a bomb-sealed cave. Bomb the entrance wall, dash the Pegasus Boots through the blue crystals inside, and follow the tunnel onward. Further in, bomb the east wall of a room (the crack is invisible, so tap along the wall with your sword). Behind it lies the Piece of Heart. See also all 12 Pieces of Heart.


Secret Seashell by the telephone booth
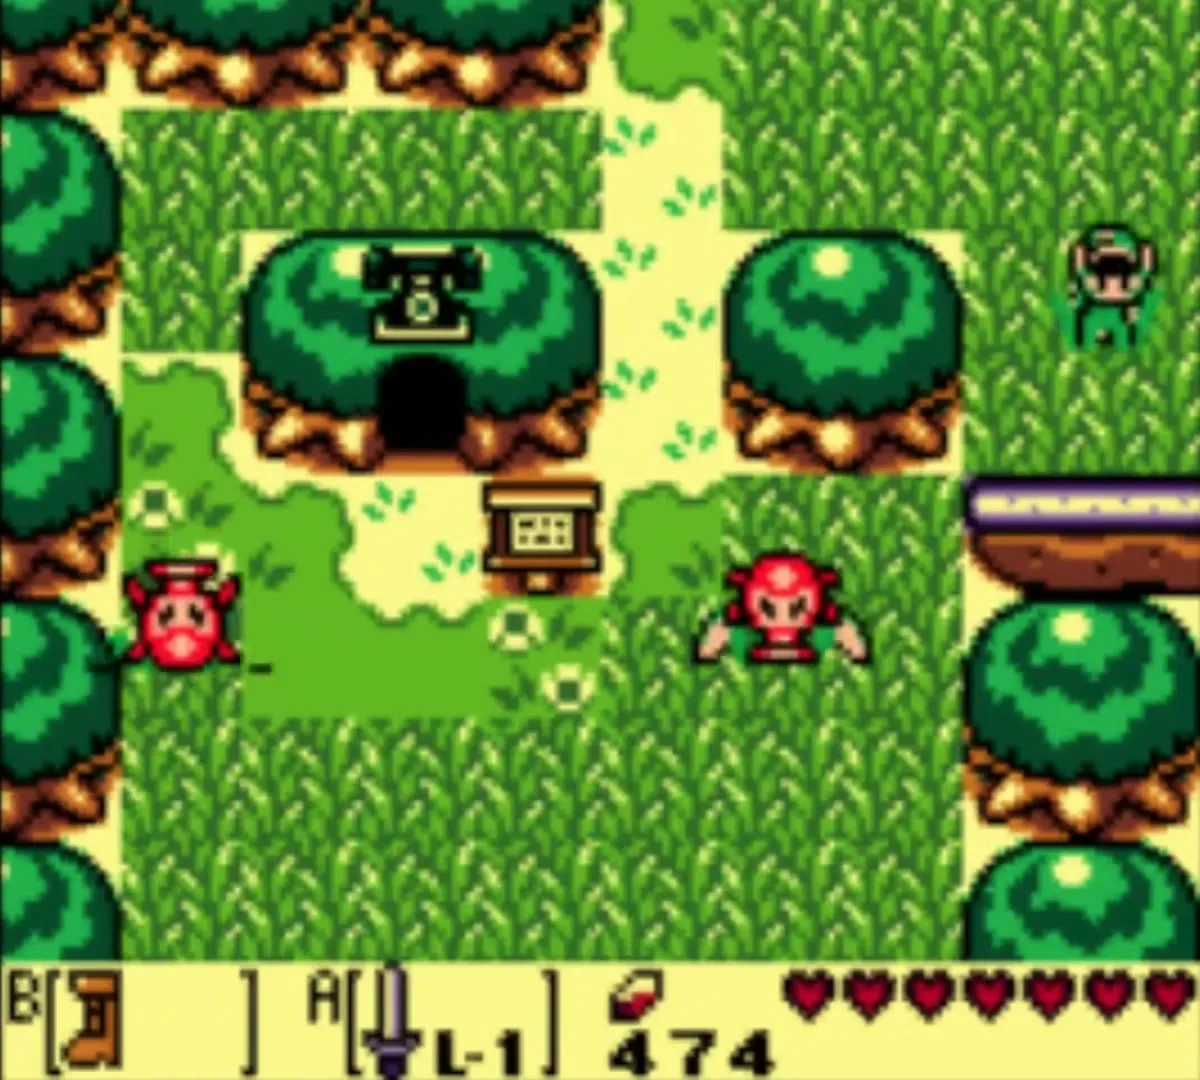
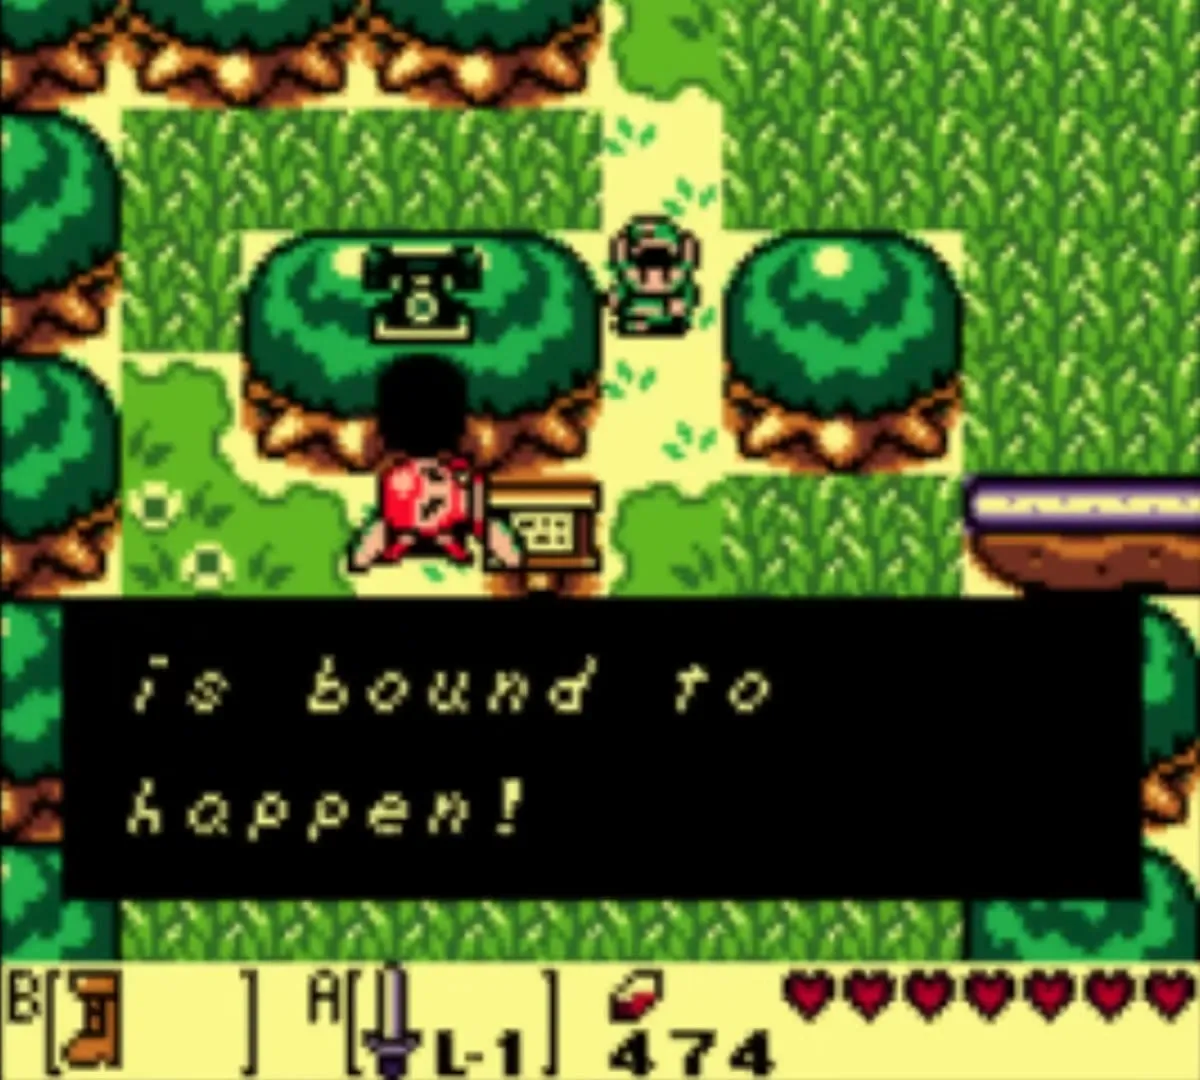
Walk east of Mabe Village to the telephone booth in the hollow tree. Lift the rocks that block the path east and go south to the booth, then run the Pegasus Boots into the lone tree beside it: a Secret Seashell drops out. This is the first of the chapter’s four shells.

Dream Shrine: how to get the Ocarina
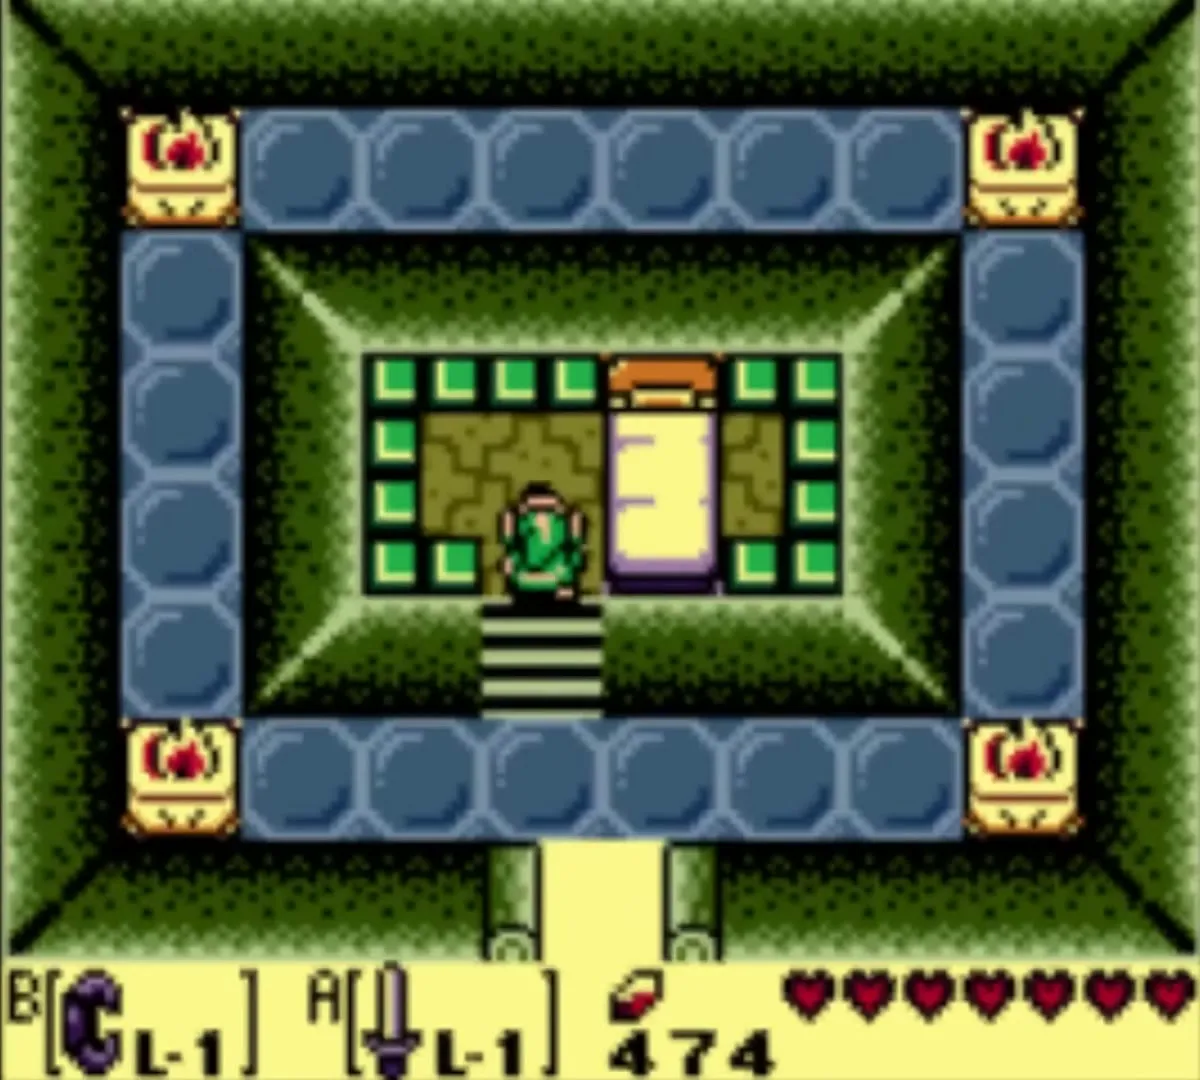
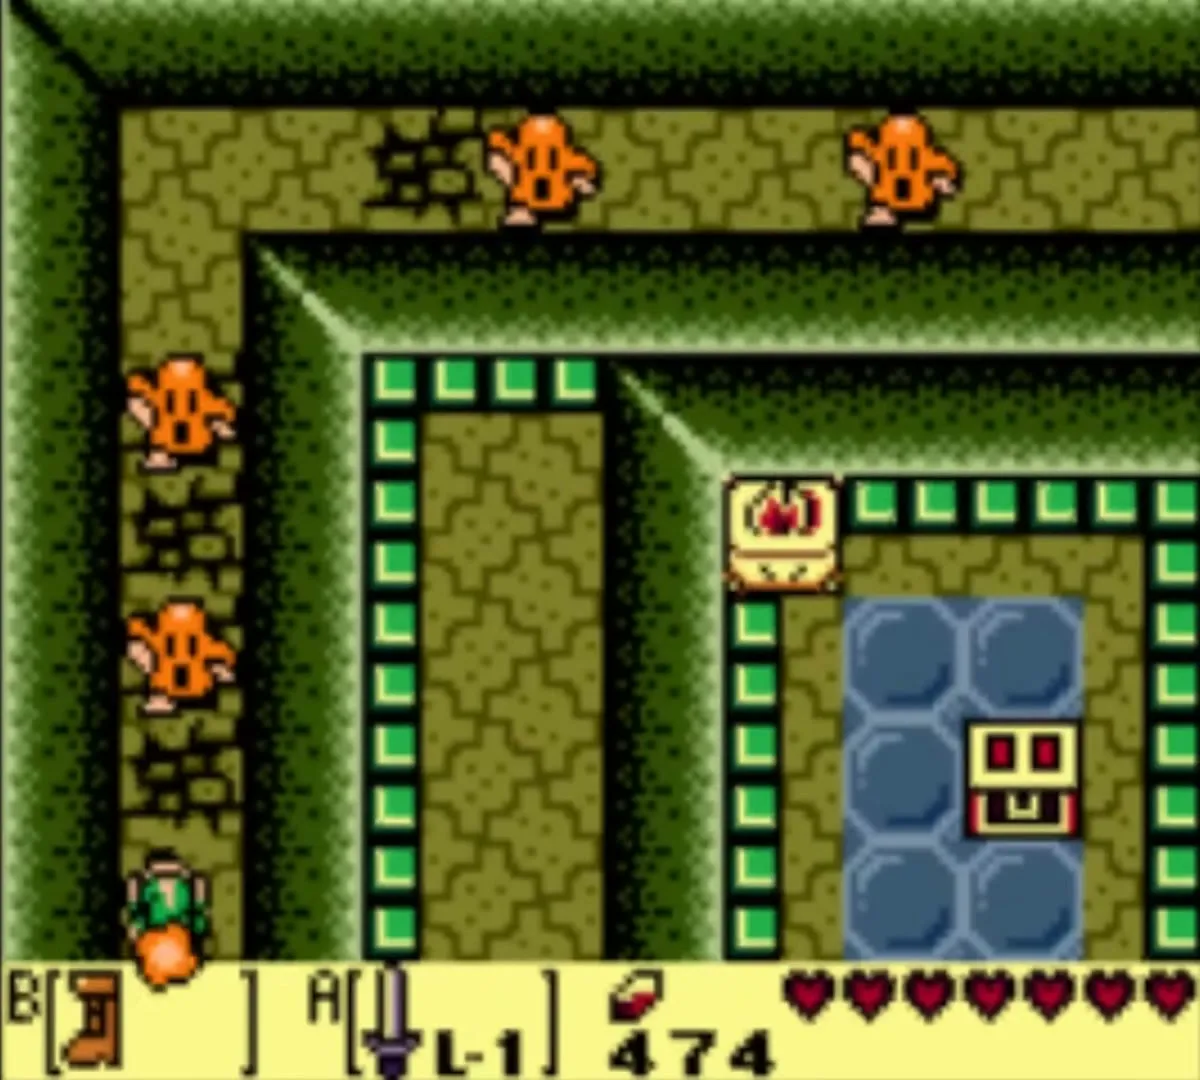
Lift the rock that blocks the Dream Shrine, in the stone building north of the Town Tool Shop, and walk in to find a bed. Lie down and the main area opens up. Beyond the Arm Mimics a chest holds 100 rupees, and the Ocarina sits behind a crystal that only the Pegasus Boots can dash through.

Learn the Ballad of the Wind Fish
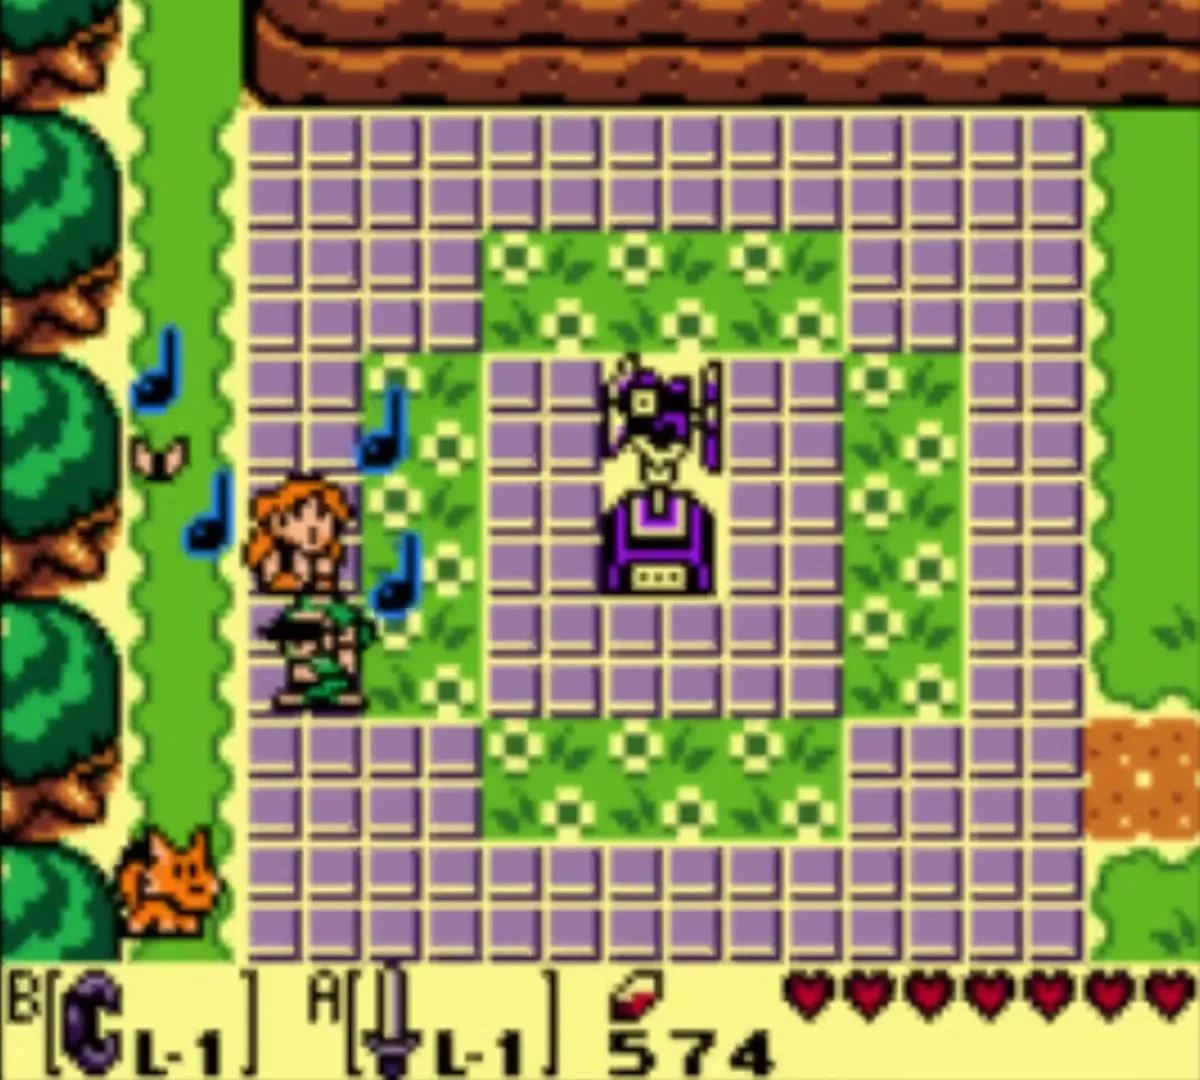
With the Ocarina in hand, go to the weathercock north of Marin and Tarin’s house. Marin is there, admires your new instrument and teaches you the Ballad of the Wind Fish. It is the song that opens the Wind Fish’s Egg at the end of the game, so keep it in mind; all three songs are listed on the Ocarina Songs page.

Secret Seashell west of Tail Cave
Your Boots now open a second tree shell. Go to Tail Cave and find the lone tree one screen west of the dungeon entrance. Dash into it and a Secret Seashell falls to the ground.
Color Dungeon (optional detour)
The Game Boy Color version hides a bonus dungeon behind the cemetery. It is optional, gives no Heart Container and rewards you with a choice between the Red Clothes and the Blue Clothes. It needs the Roc’s Feather, Power Bracelet and Magic Powder, so you can clear it now or later. The full route, the boss and the clothes choice are on the Color Dungeon page; come back here afterwards.
Honeycomb, Pineapple and a word from the bear
Trade the Stick for the Honeycomb
Trading step 6: Tarin stands at the big beehive in the Ukuku Prairie. Speak to him and agree to lend him the Stick you got from the monkey at Kanalet Castle. He knocks the hive down, and when the Honeycomb falls you pick it up.

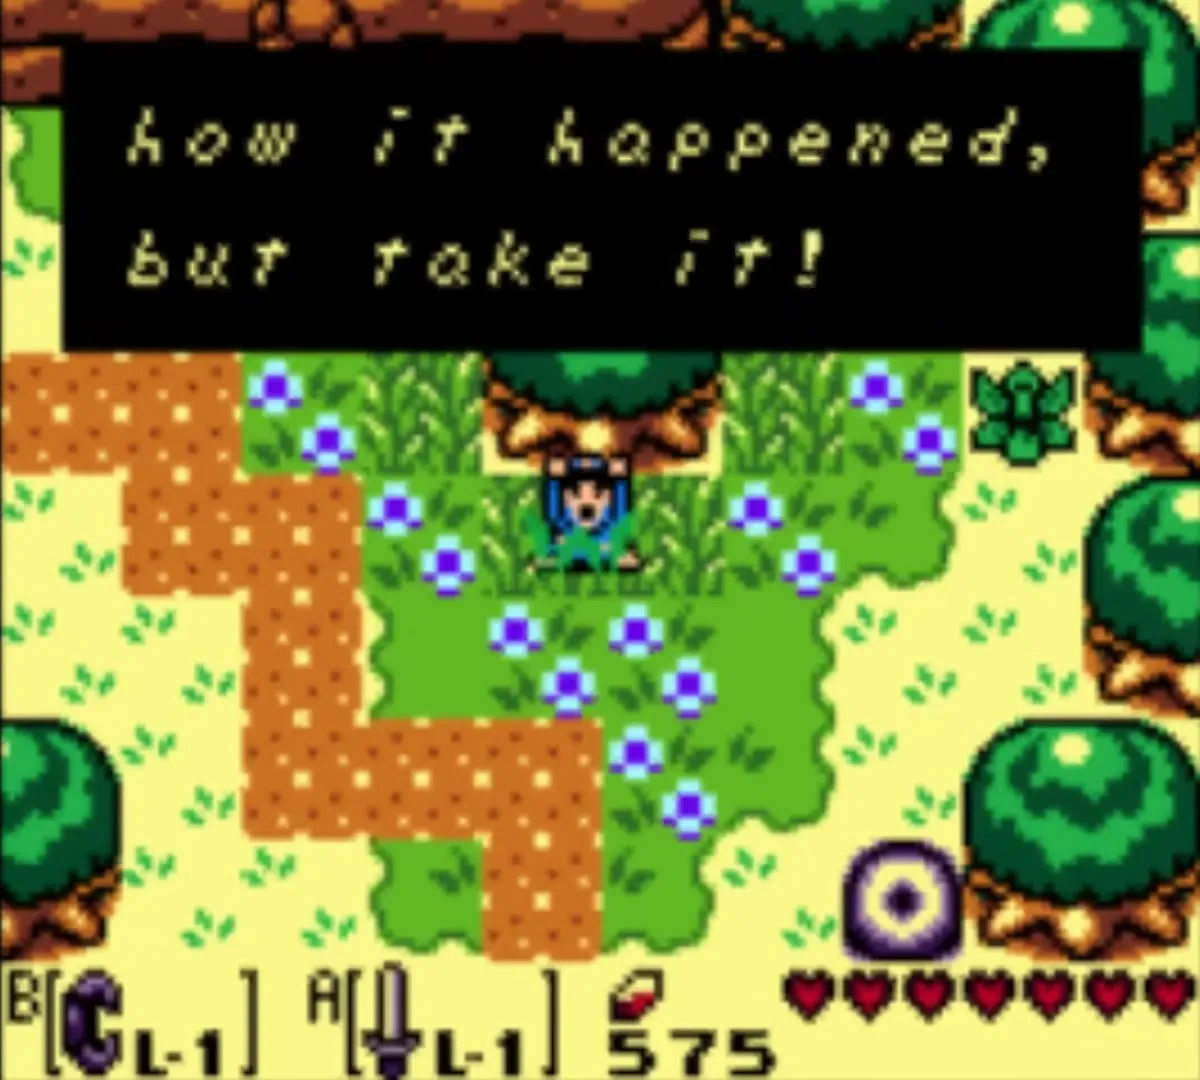
Secret Seashell beside the owl statue
Go on towards Animal Village. On the screen before the village, where a bridge crosses the water, an owl statue stands next to the path. The path there needs the Power Bracelet. Equip the Shovel and dig in the soil on the statue’s left. A Secret Seashell comes up.
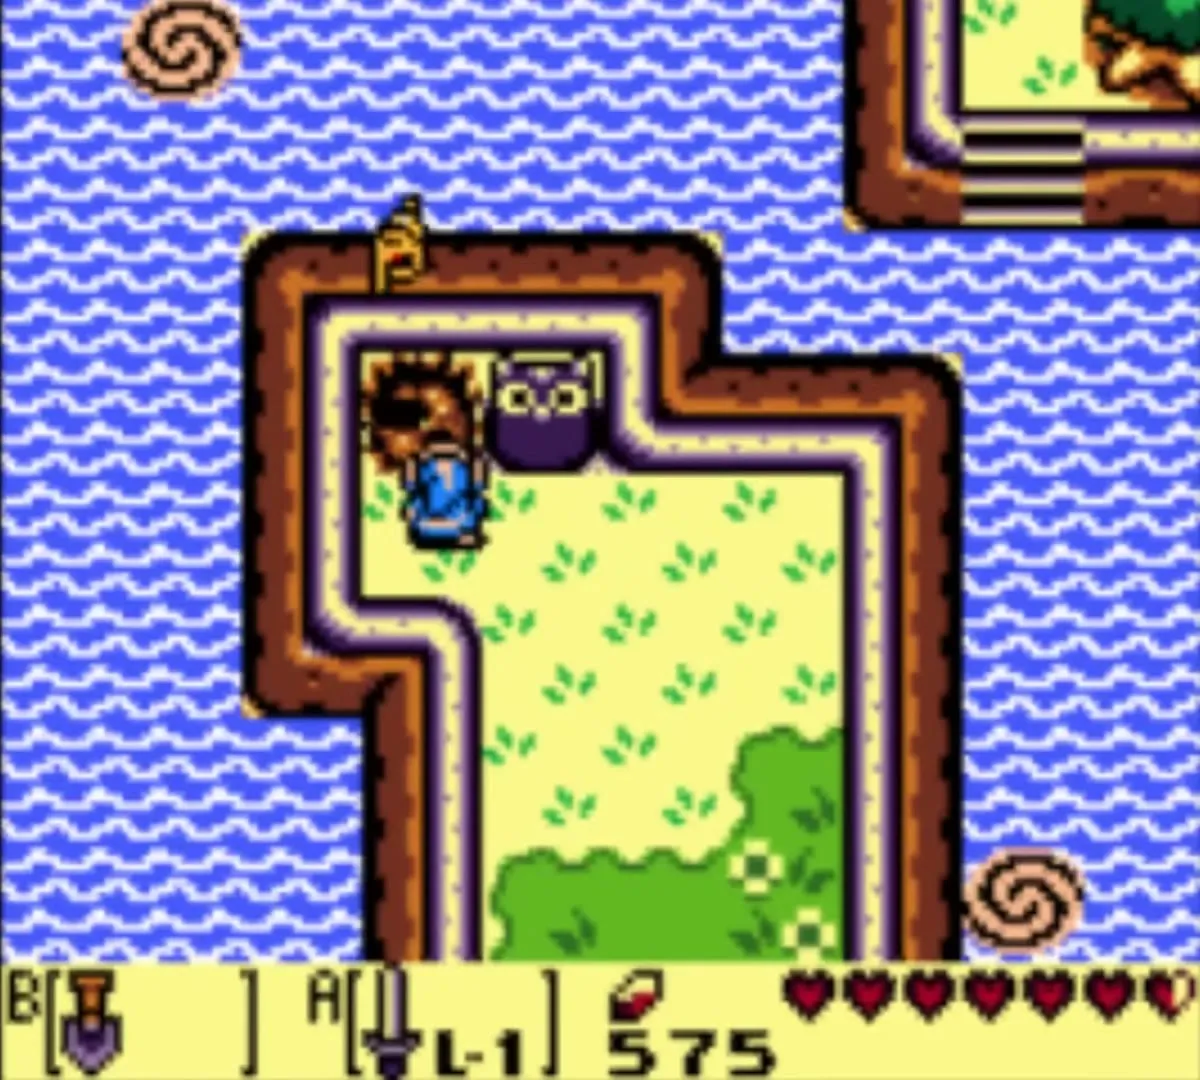
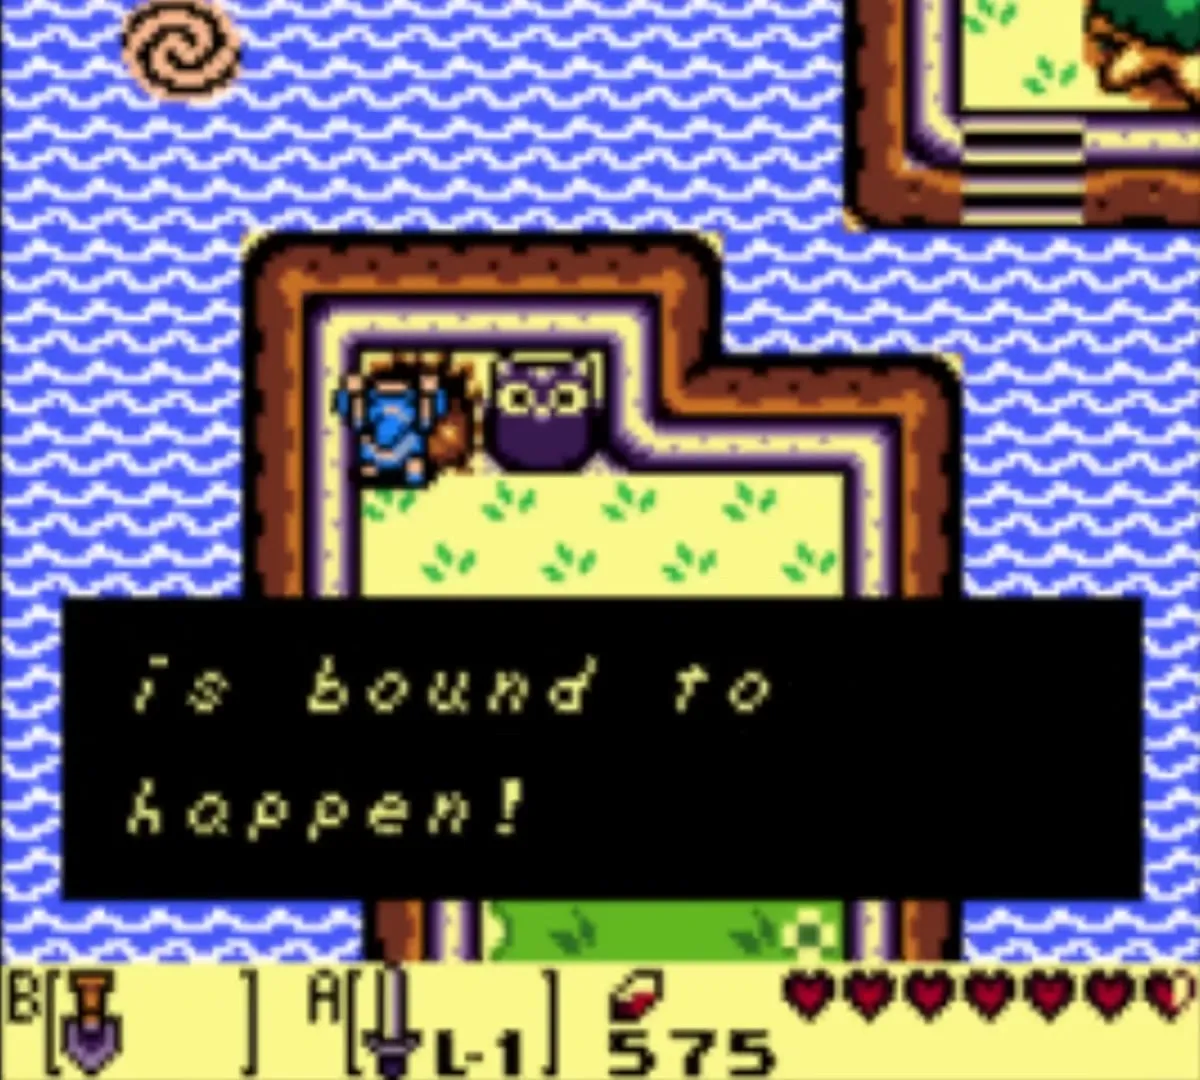
Trade the Honeycomb for the Pineapple
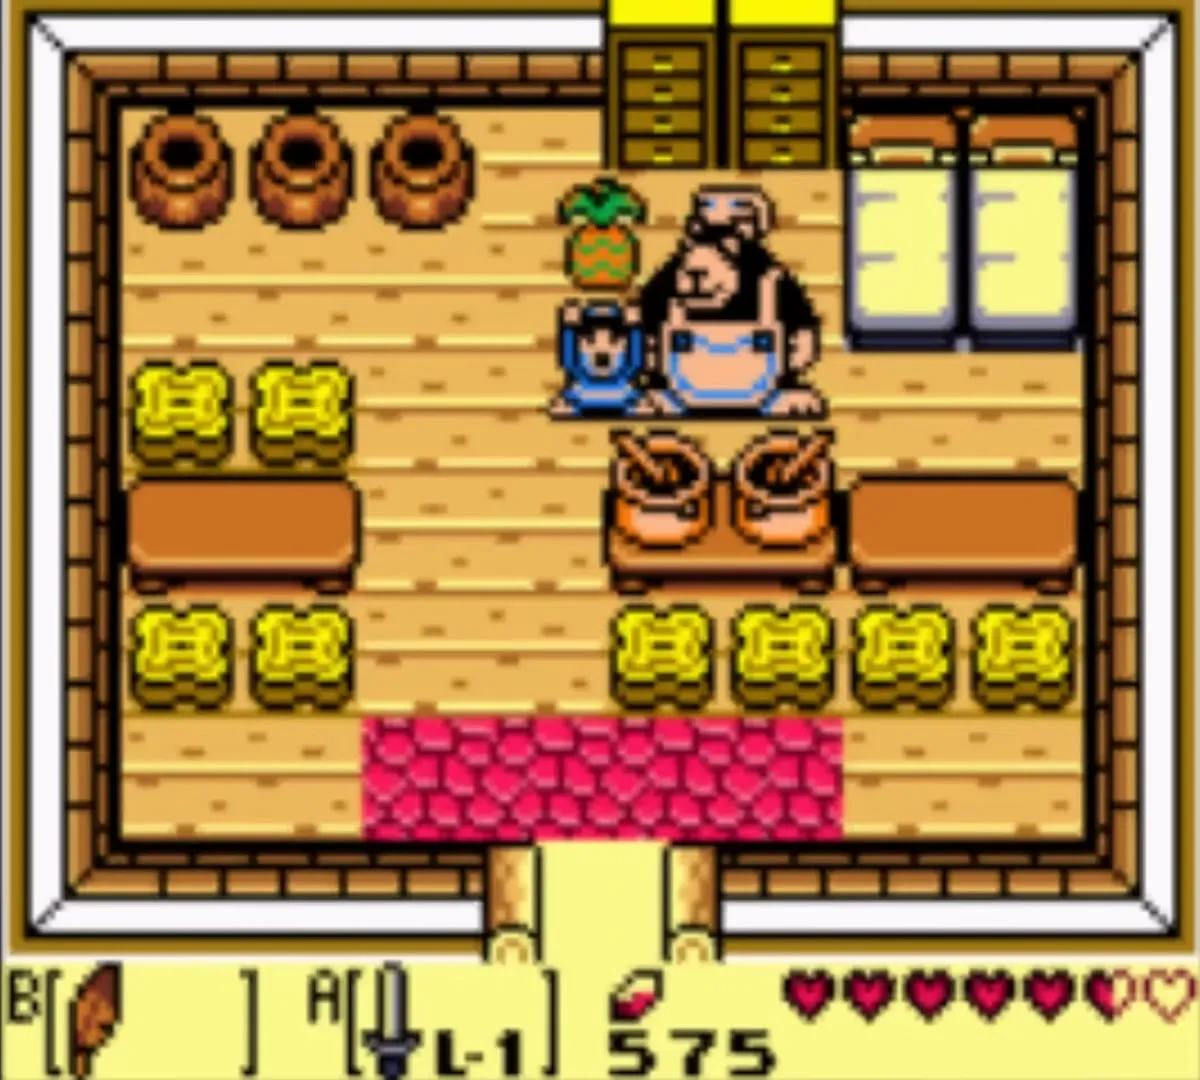
Trading step 7: in Animal Village, the bear in the southeast house swaps a Pineapple for your Honeycomb. He also tells you about the walrus lying across the path to the desert: Marin’s singing might wake him.

Find Marin
Marin is not at home. Look for her on the beach at Toronbo Shores.
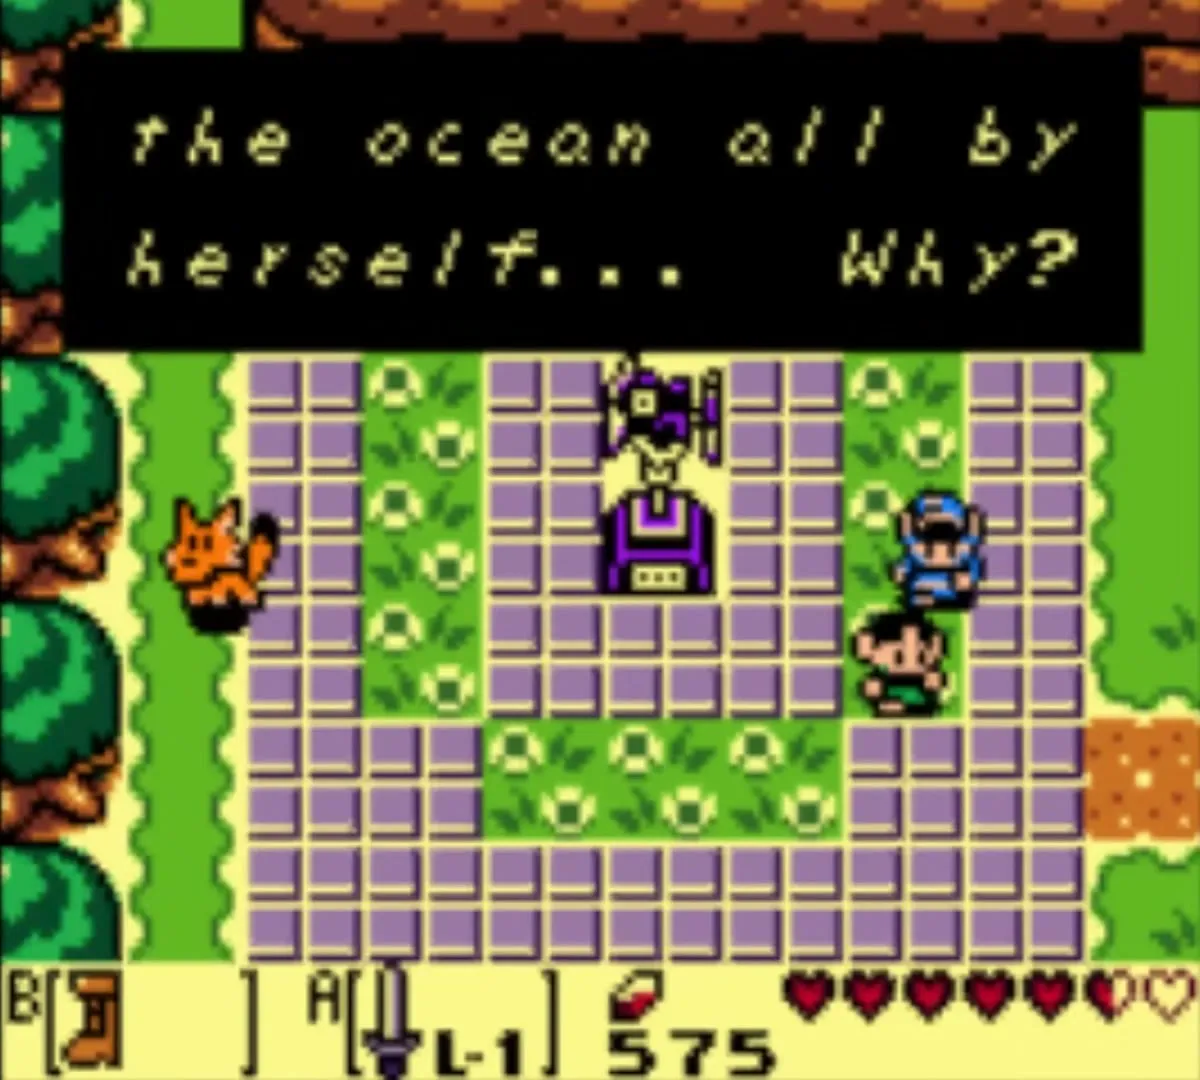

Marin, the first photos and the walrus
How to get Marin to follow you
Find Marin on the driftwood log on the beach and talk to her. From then on she follows you around until you reach the walrus. While she is with you, she comments on many things you do, and three of those spots give you photographs.
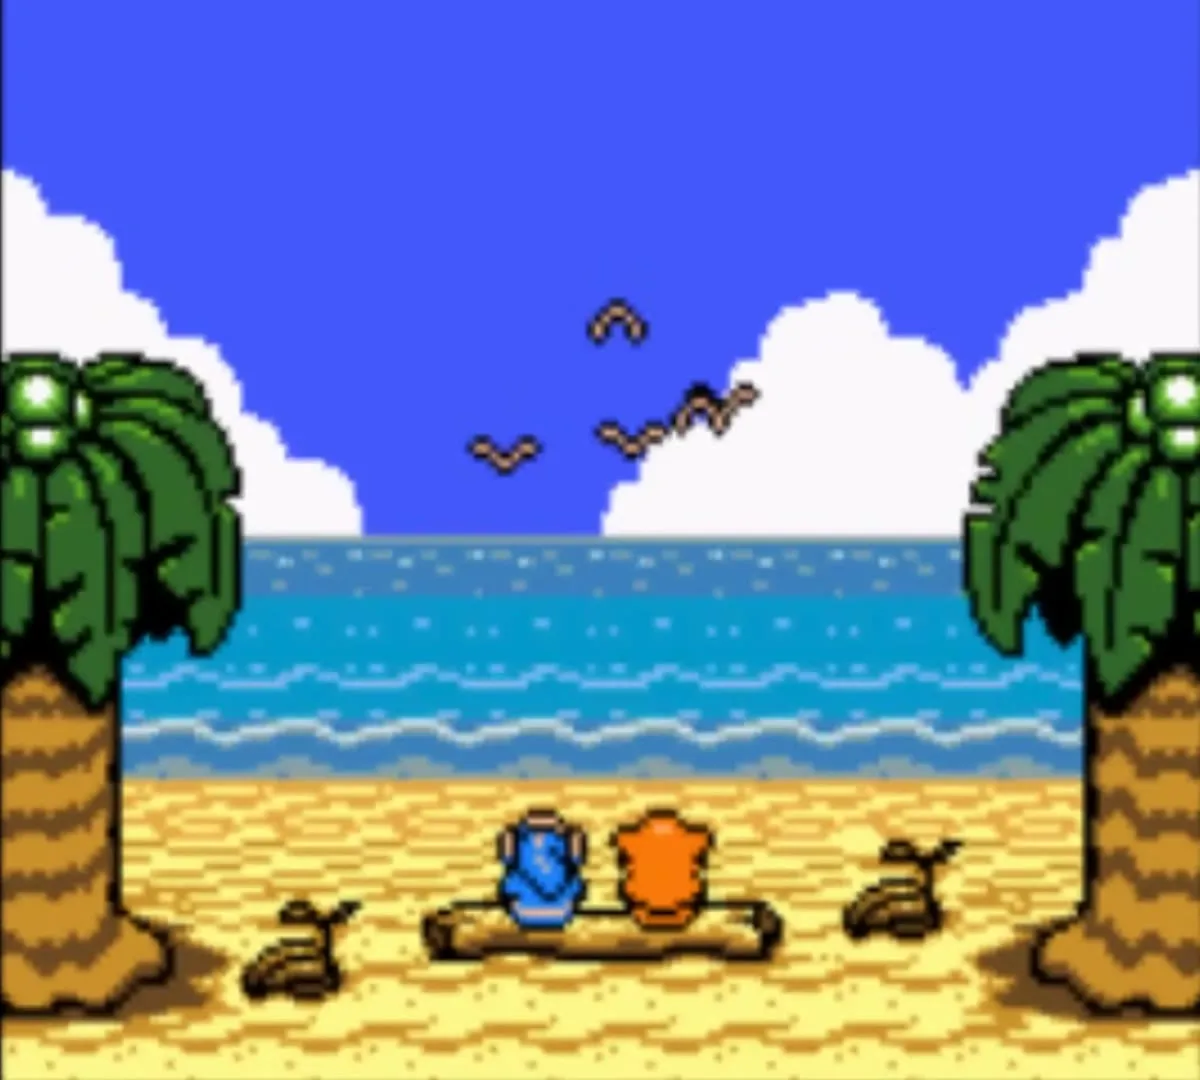

Photo 2: Ocean View
Marin wants to show you a secret place. Walk with her to the end of the cliff in the southwest corner of Toronbo Shores. She says it will be your secret spot and asks you to come back and look at it later, and the album gets picture number 2, Ocean View. Your pictures are kept at the Camera Shop. For the full list, see Photographs.
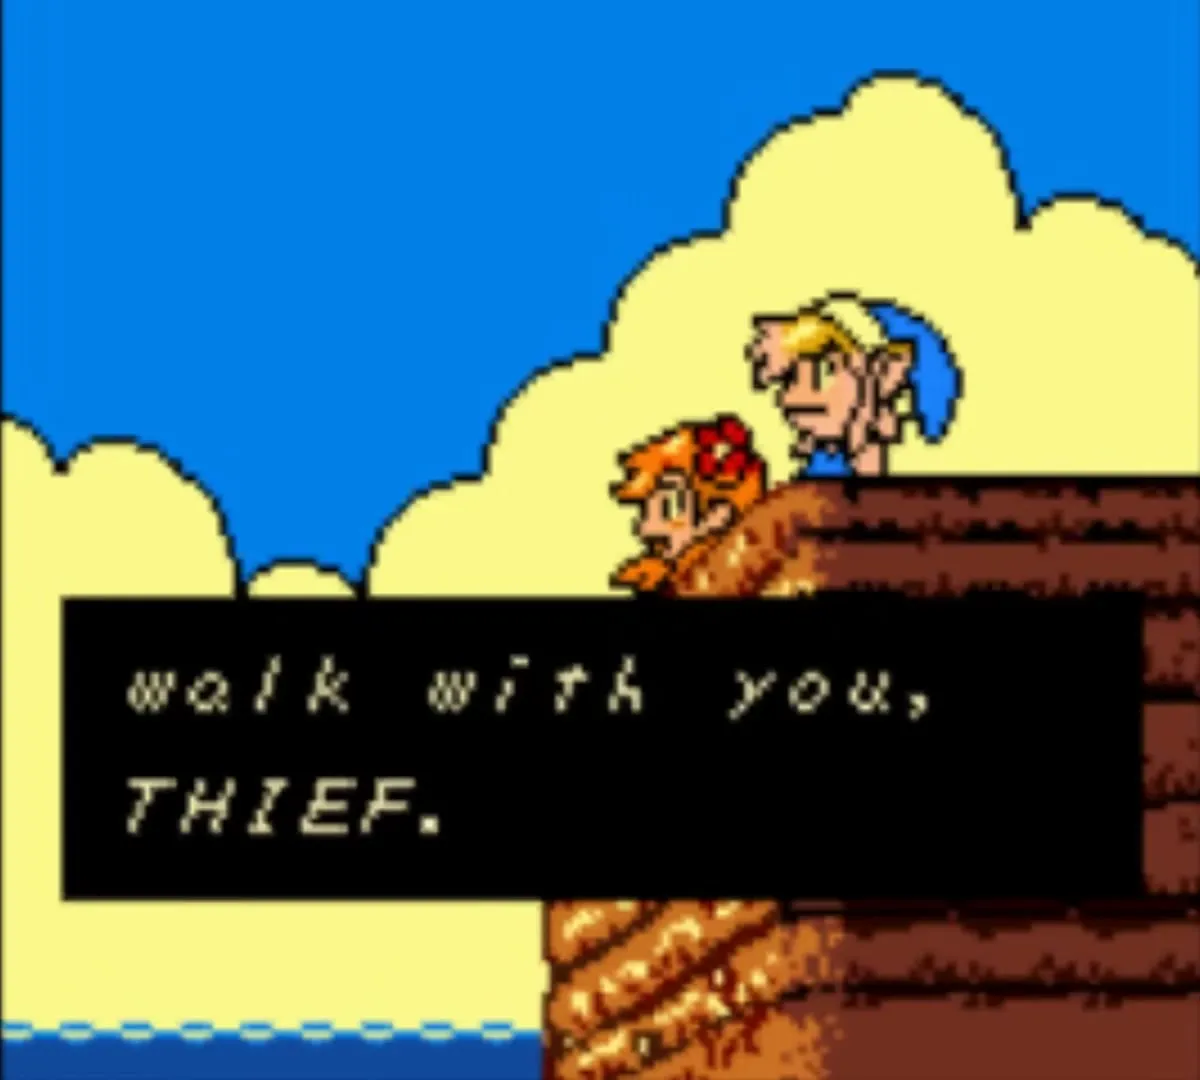

Photo 3: Heads Up!
With Marin still in tow, go to Mabe Village and fall into the well. She worries about you when you land, and the album gets photo number 3, Heads Up!


Photo 4: Camera Hog
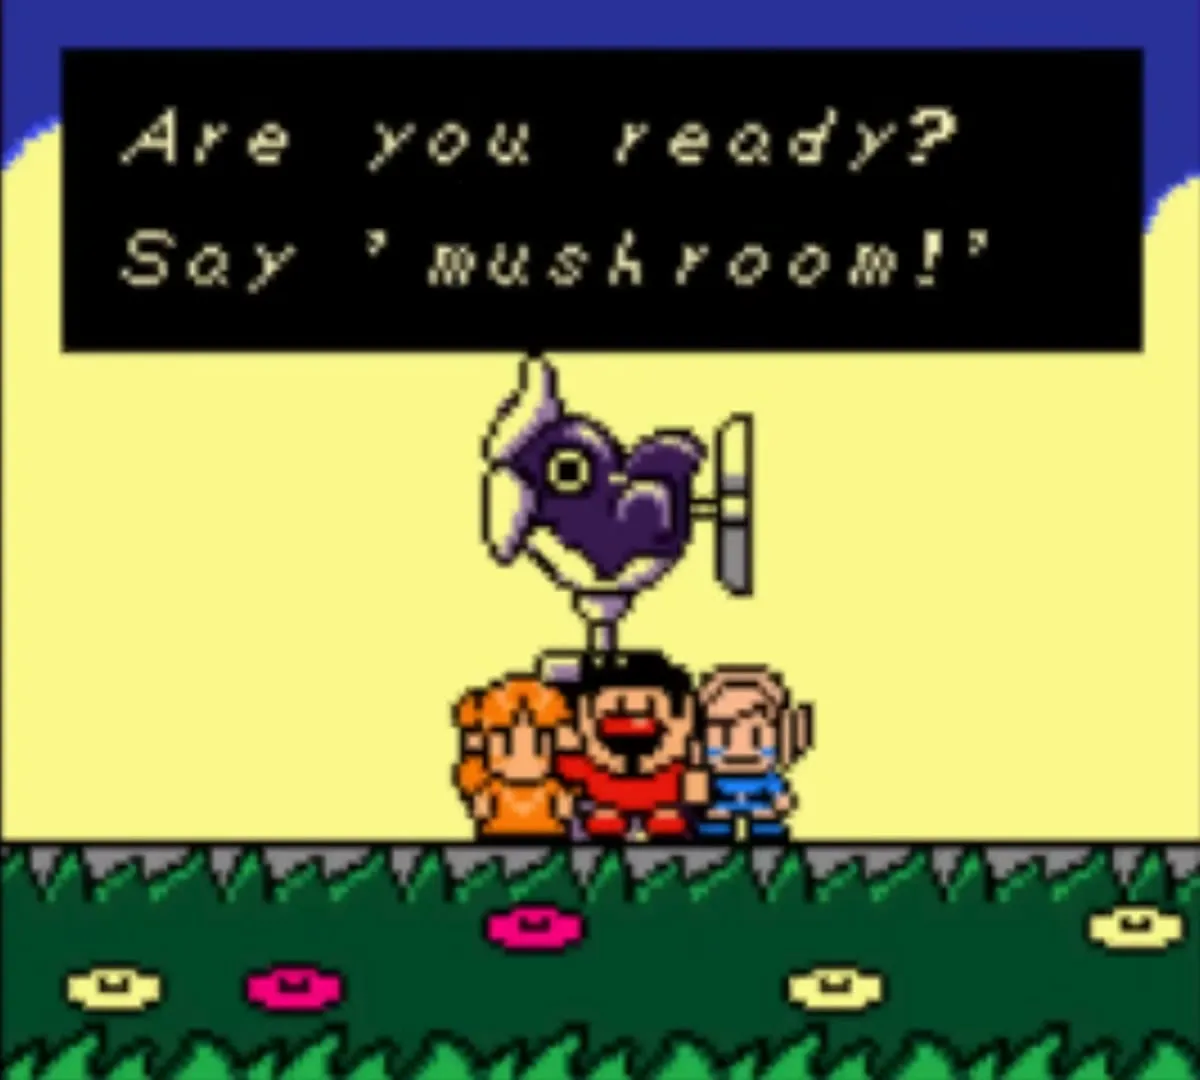
Stand near the weathercock in the village with Marin next to you. Tarin wanders over and squeezes into the frame, and the photographer takes photo number 4, Camera Hog. These three pictures are only possible while Marin is following you, so do them now.

Wake the walrus in Animal Village
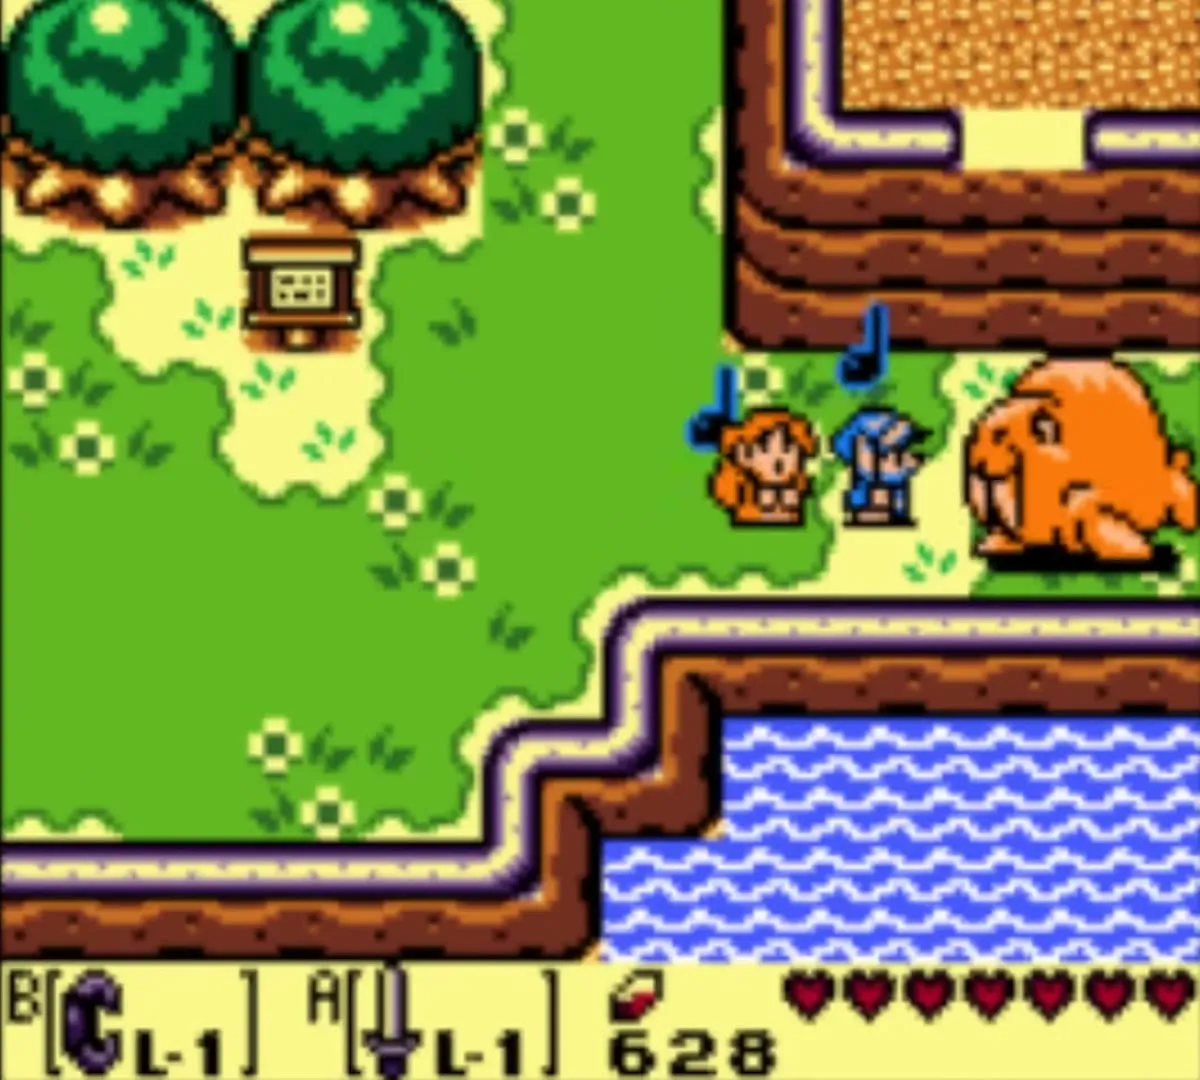
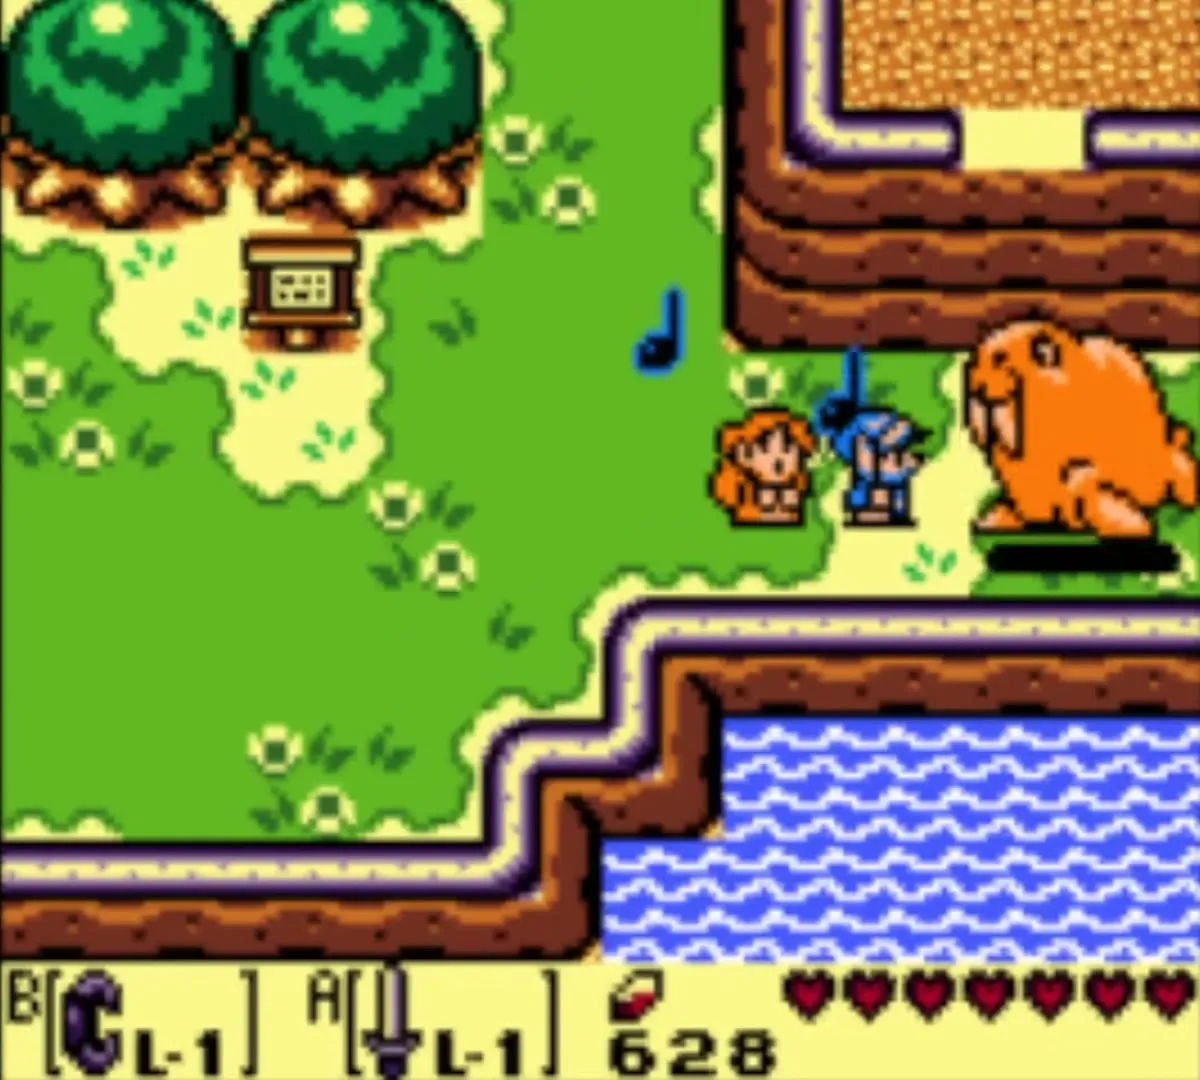
Walk Marin through Mabe and the Ukuku Prairie to Animal Village, then go to the sleeping walrus east of the village. Speak to the walrus with Marin at your side. She sings her version of the Ballad of the Wind Fish and the walrus wakes and heaves himself out of the path. The way to Yarna Desert is open.
Yarna Desert walkthrough
Crossing the desert
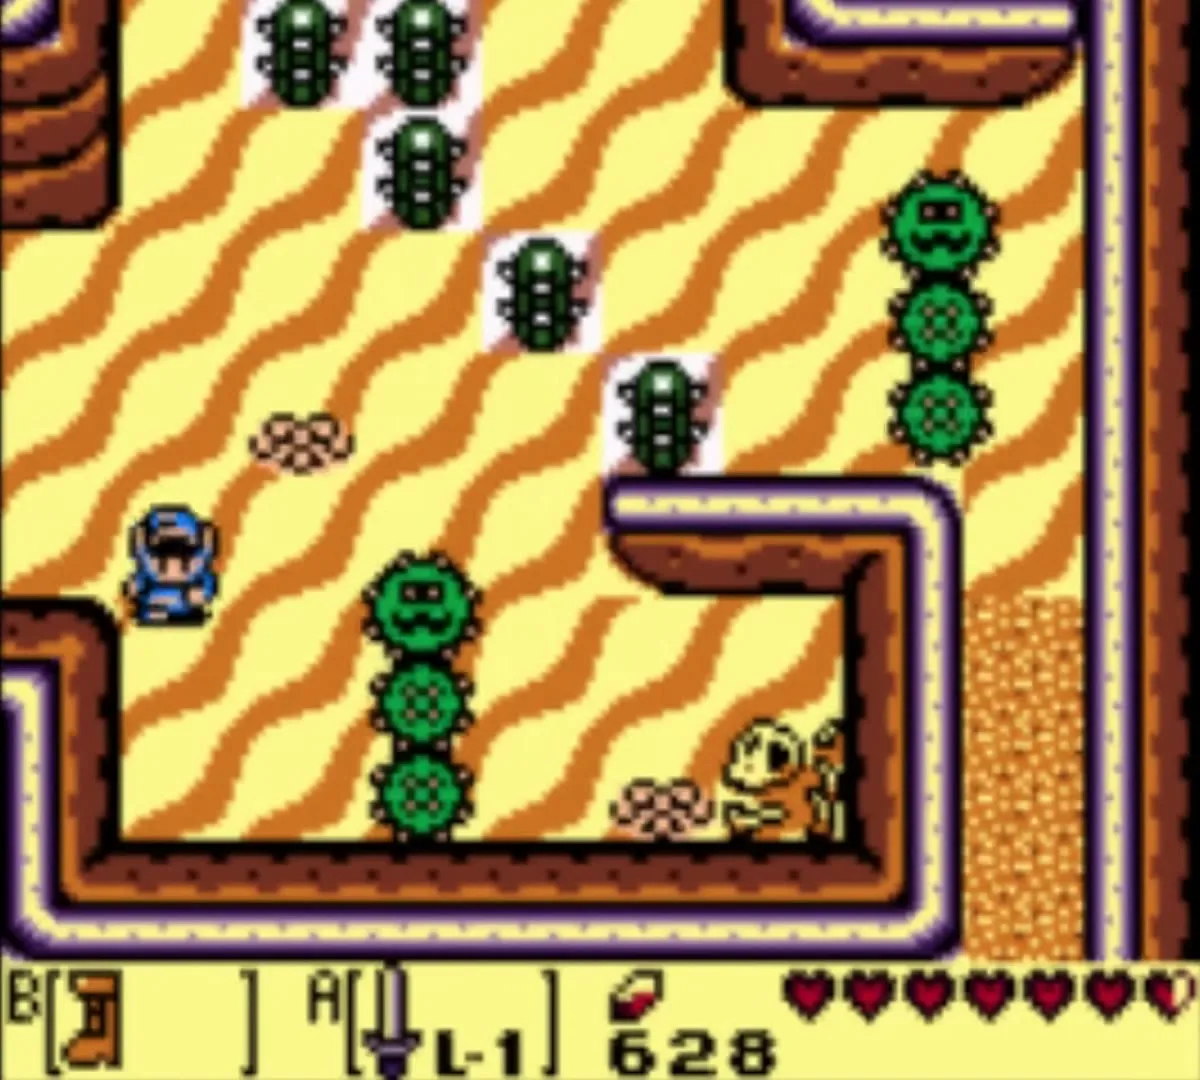
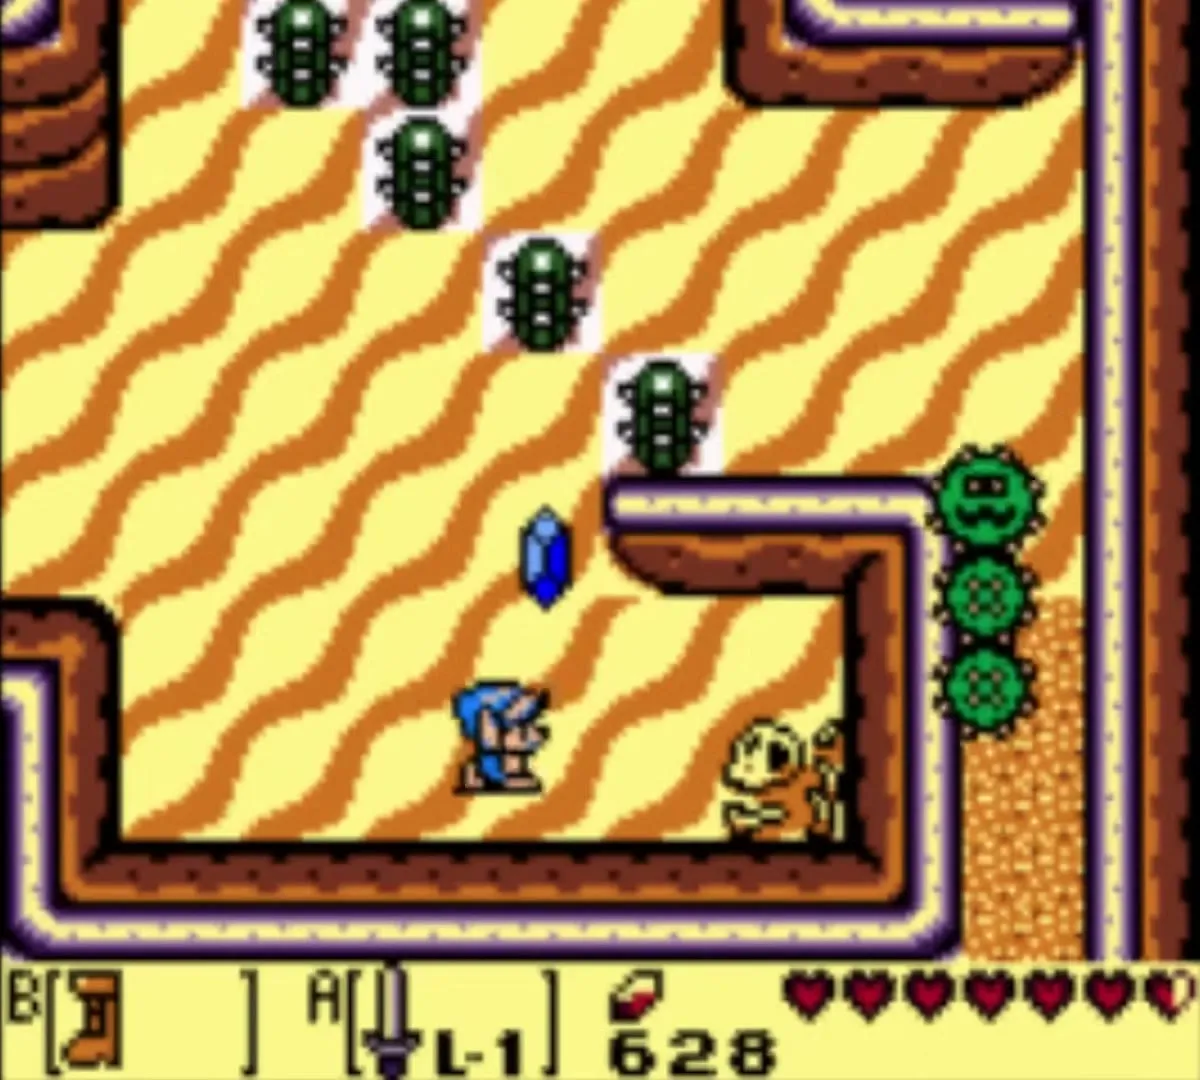
The desert is full of Pokeys and Leevers. Keep your Sword ready and head for the quicksand, which you need for both the Angler Key and the Piece of Heart below.

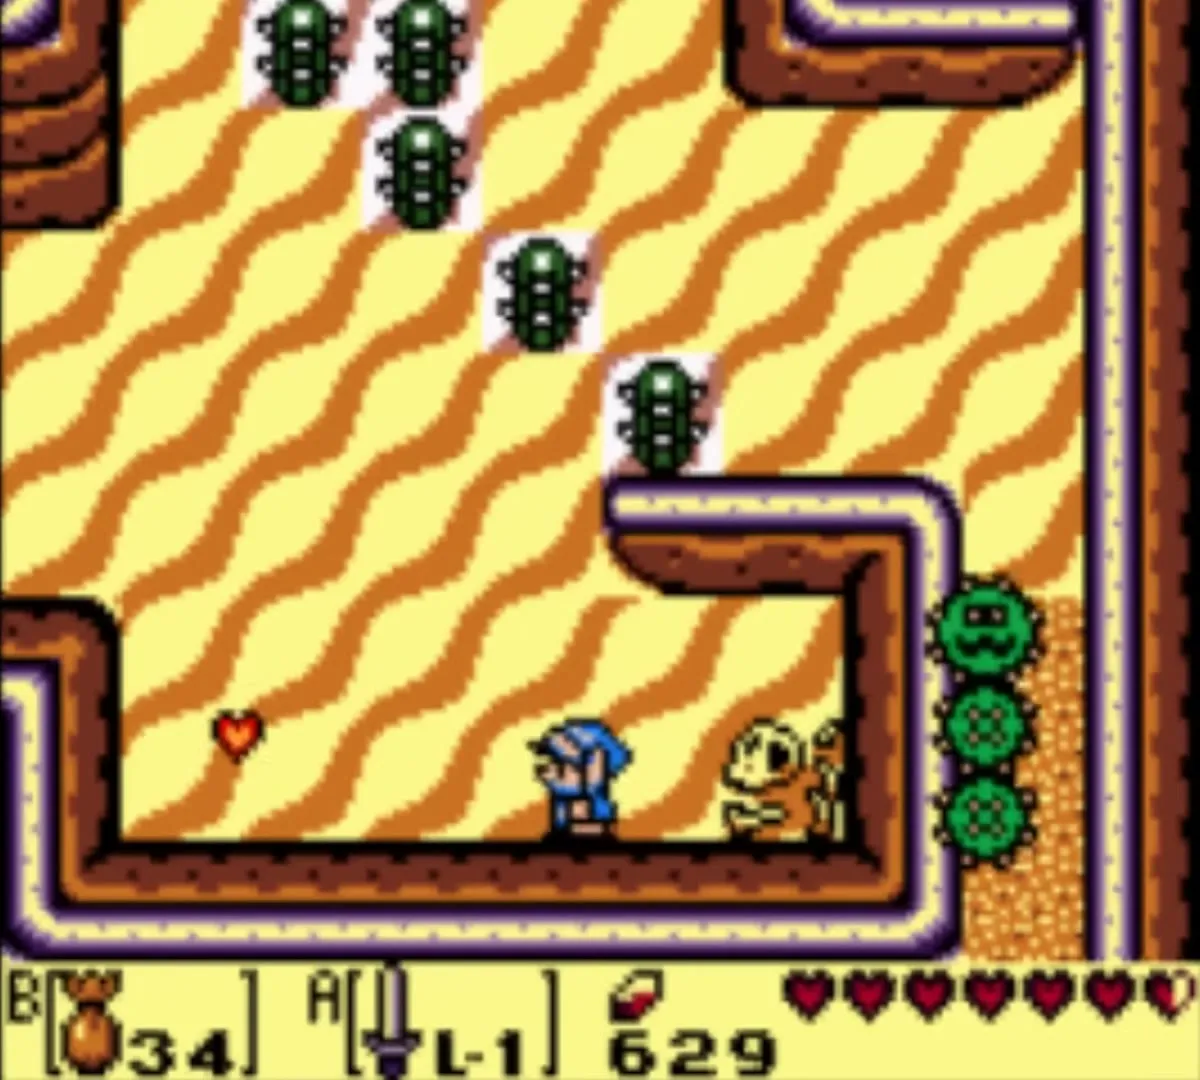
Lanmola boss fight
In the north of the desert lies a sand pit. Walk onto the quicksand and a Lanmola, a long segmented sand-worm, bursts out of the ground. Stay on the move and hit it with your sword whenever the head or a segment rises out of the sand. If you sink into the quicksand, climb out of the cave below and return for another round.
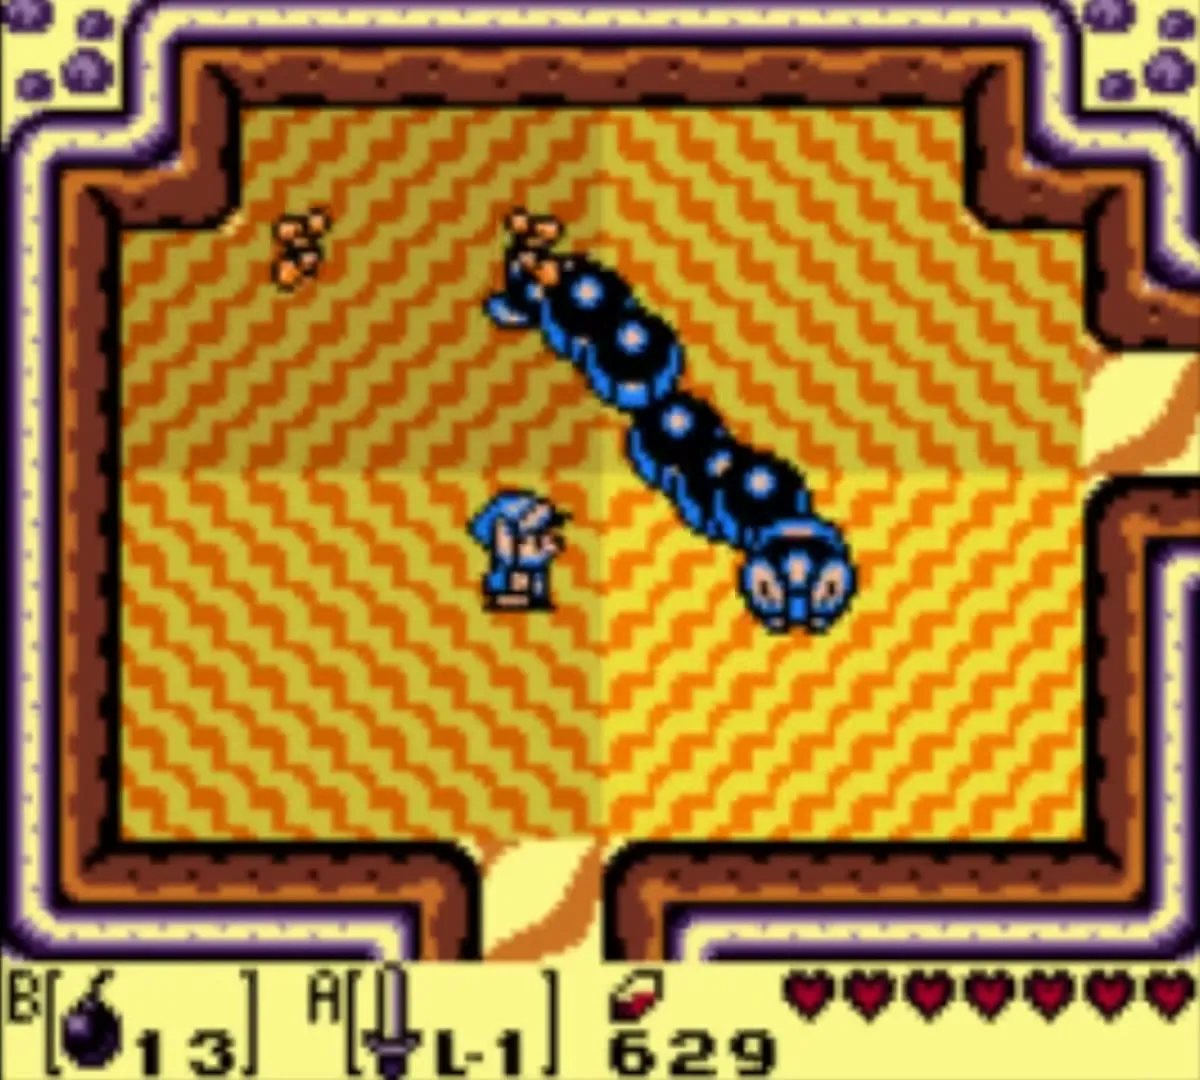


Where to find the Angler Key
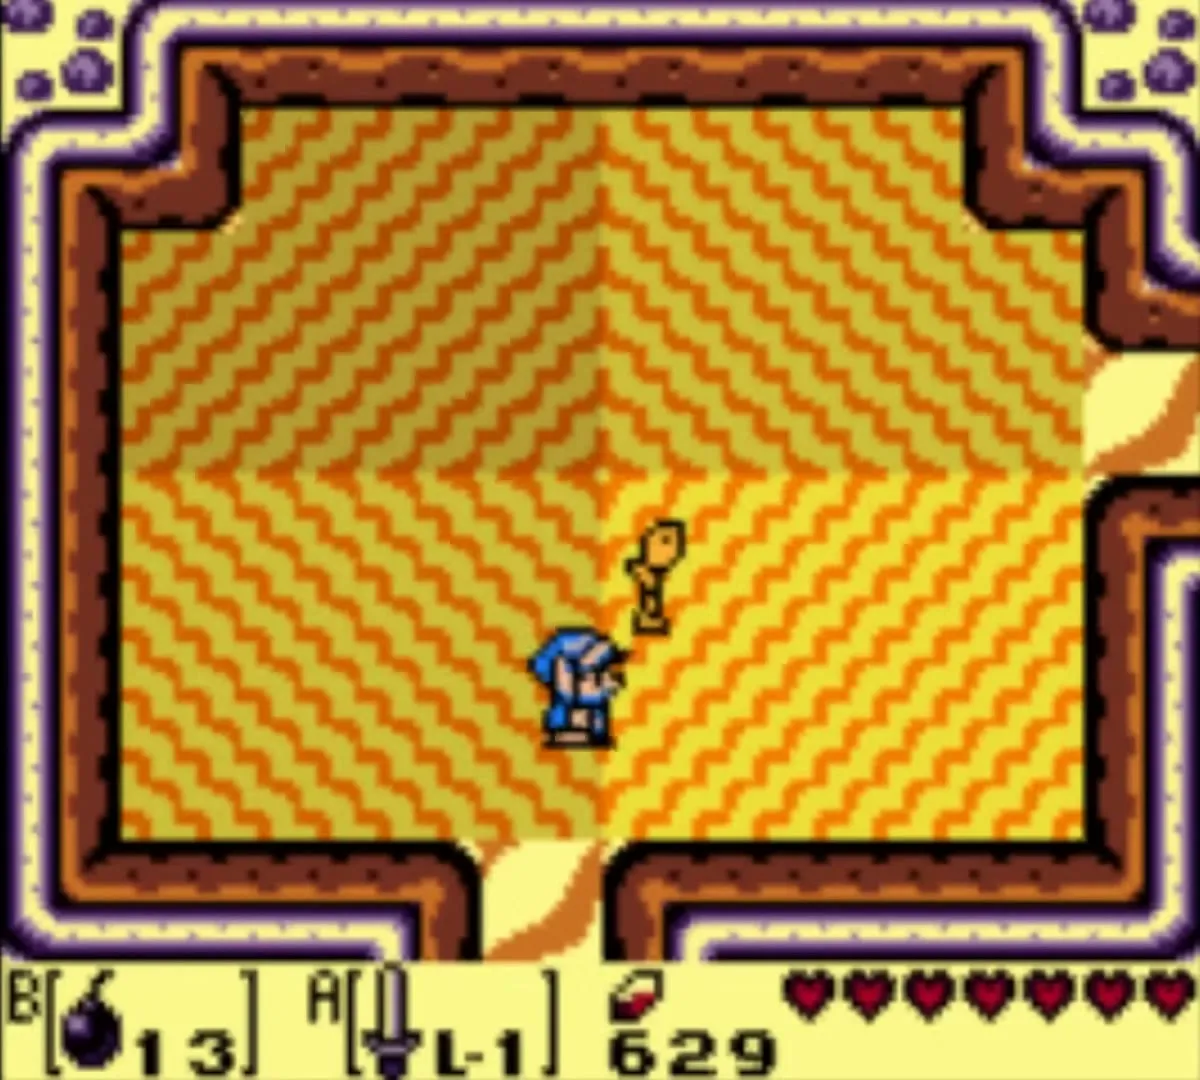
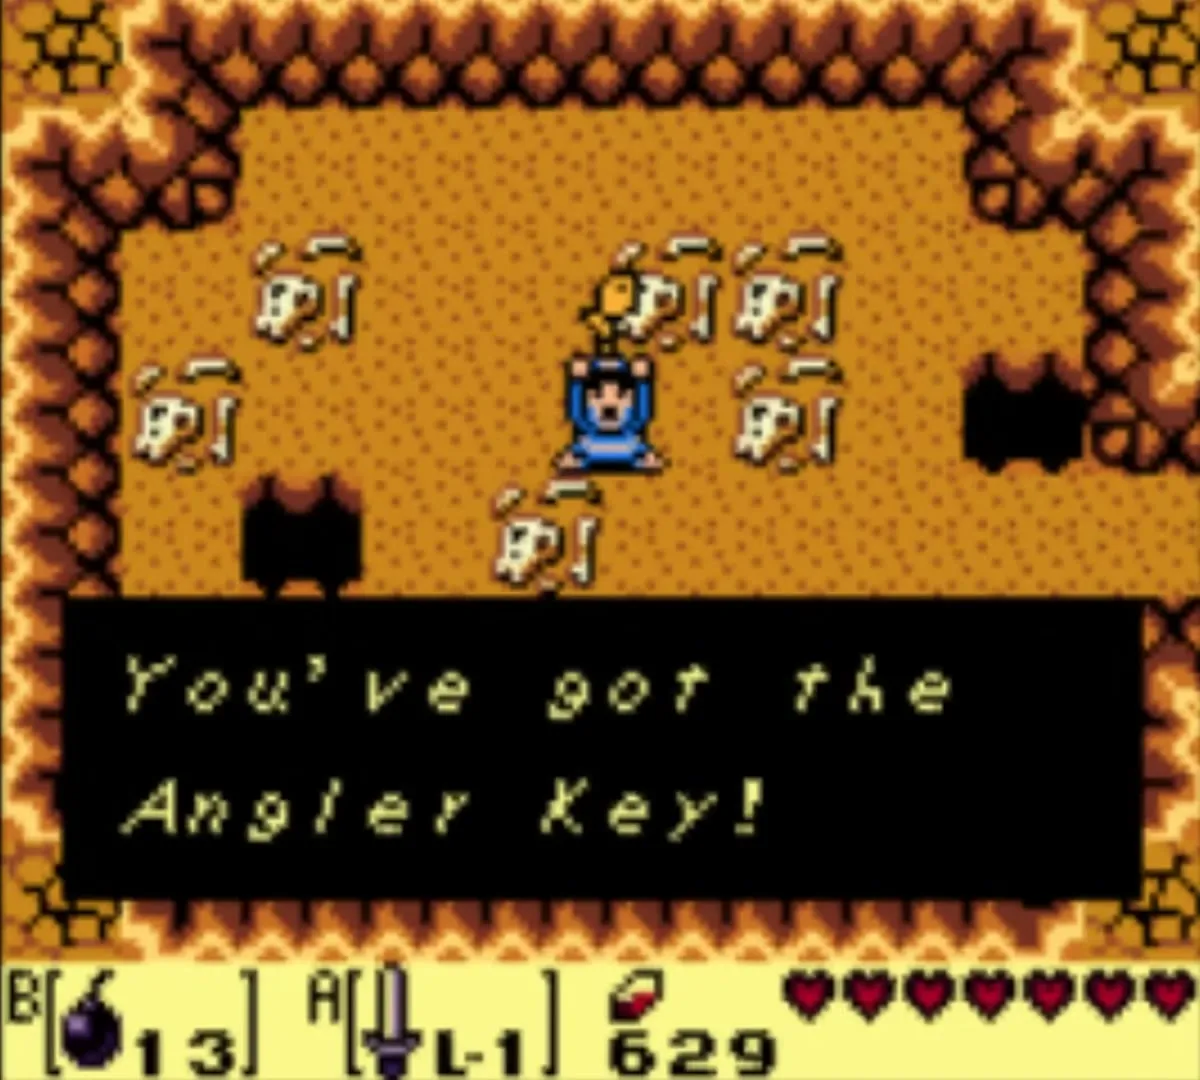
Beating the Lanmola gives you the Angler Key, the key that opens the way to Angler’s Tunnel. Take it and carry on.
Yarna Desert Piece of Heart
Once the Lanmolas are beaten, let yourself sink into the middle of the quicksand to drop into a cave under the sand. Set a bomb against the north wall and it blows open. Step through to find a Piece of Heart.

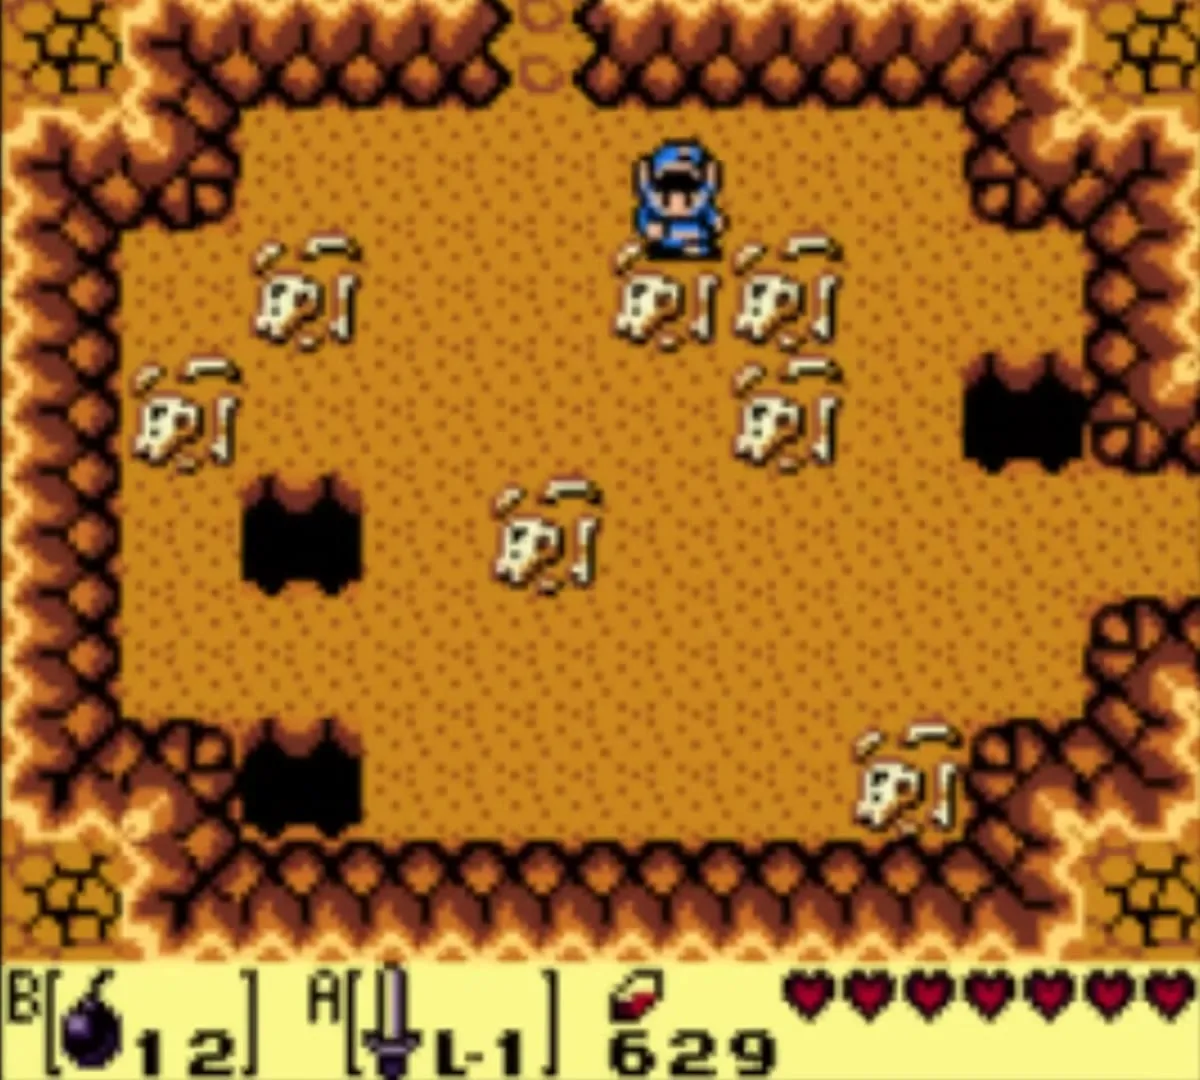
Secret Seashell in the southeast corner
Go to the southeast corner of the desert. Lift the boulder there with the Power Bracelet and a Secret Seashell lies underneath.
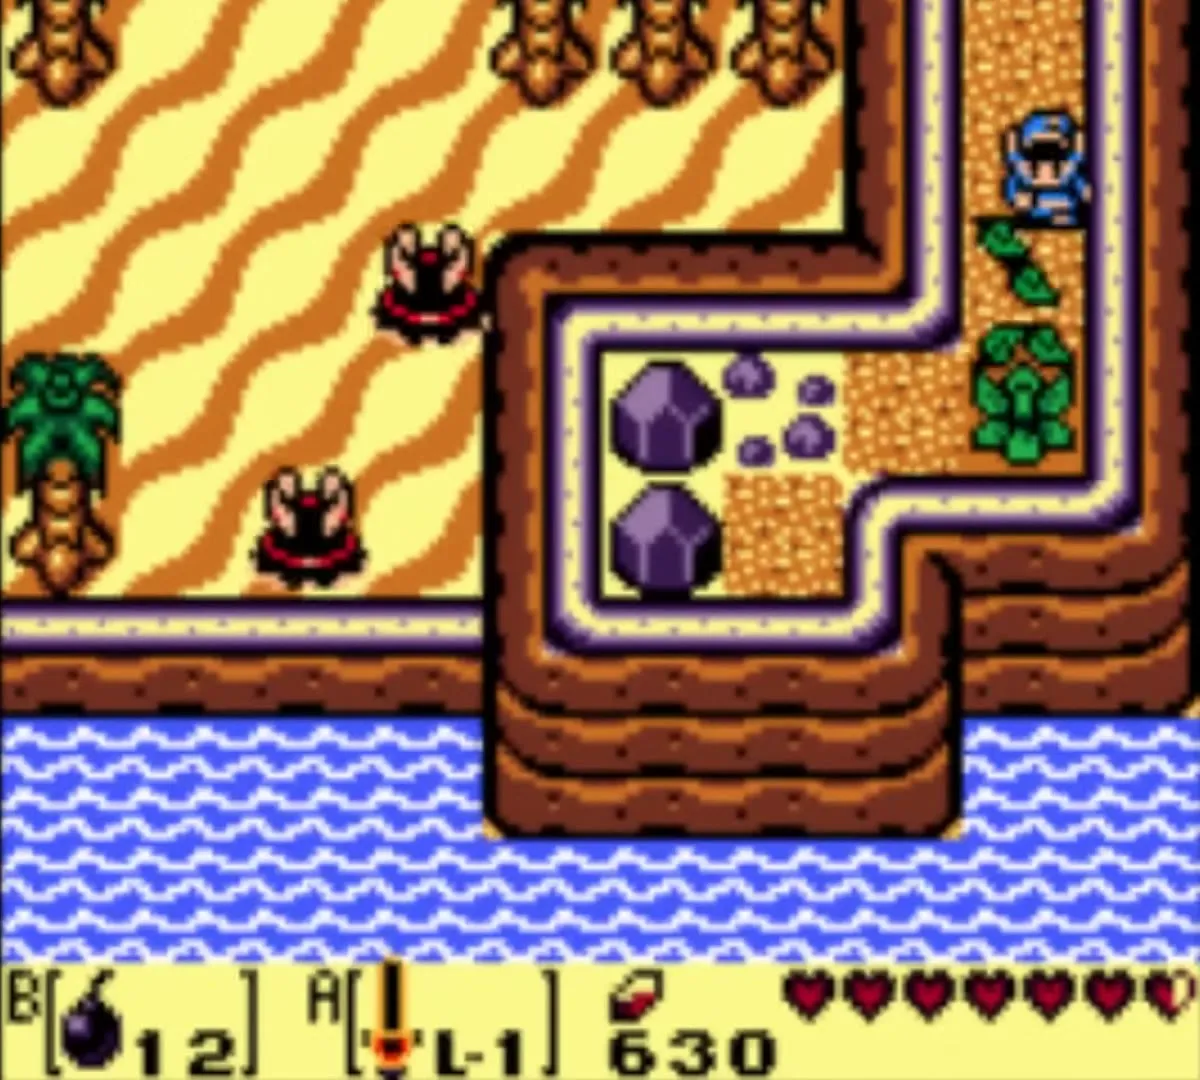

The owl at the waterfall
The owl statue in the desert tells you to go to the waterfall in the Tal Tal Heights and leap from the cliff above it. That is how you reach Angler’s Tunnel, but first you need to open the way with the key.
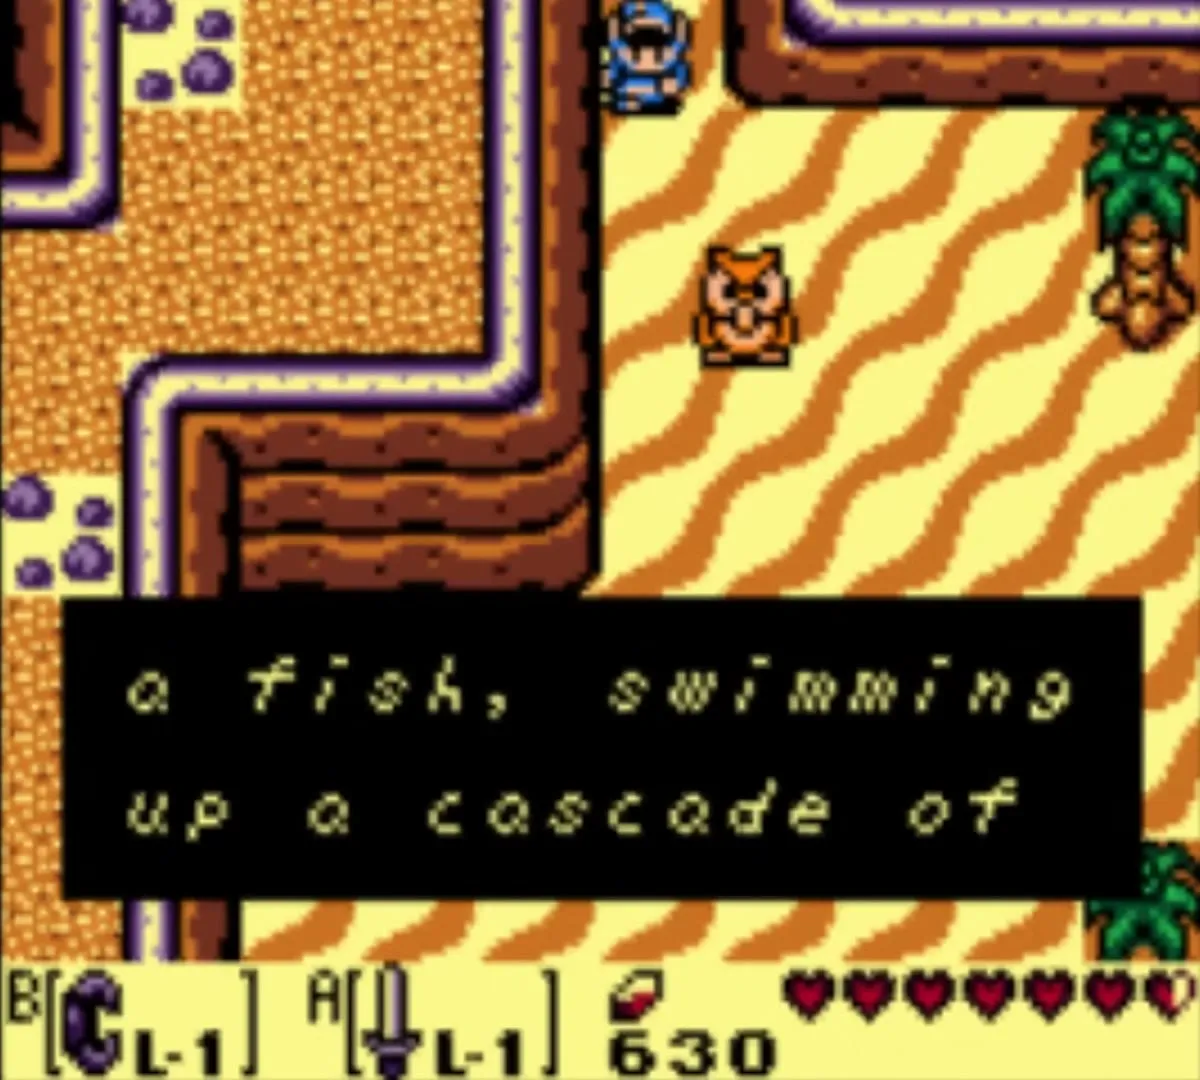

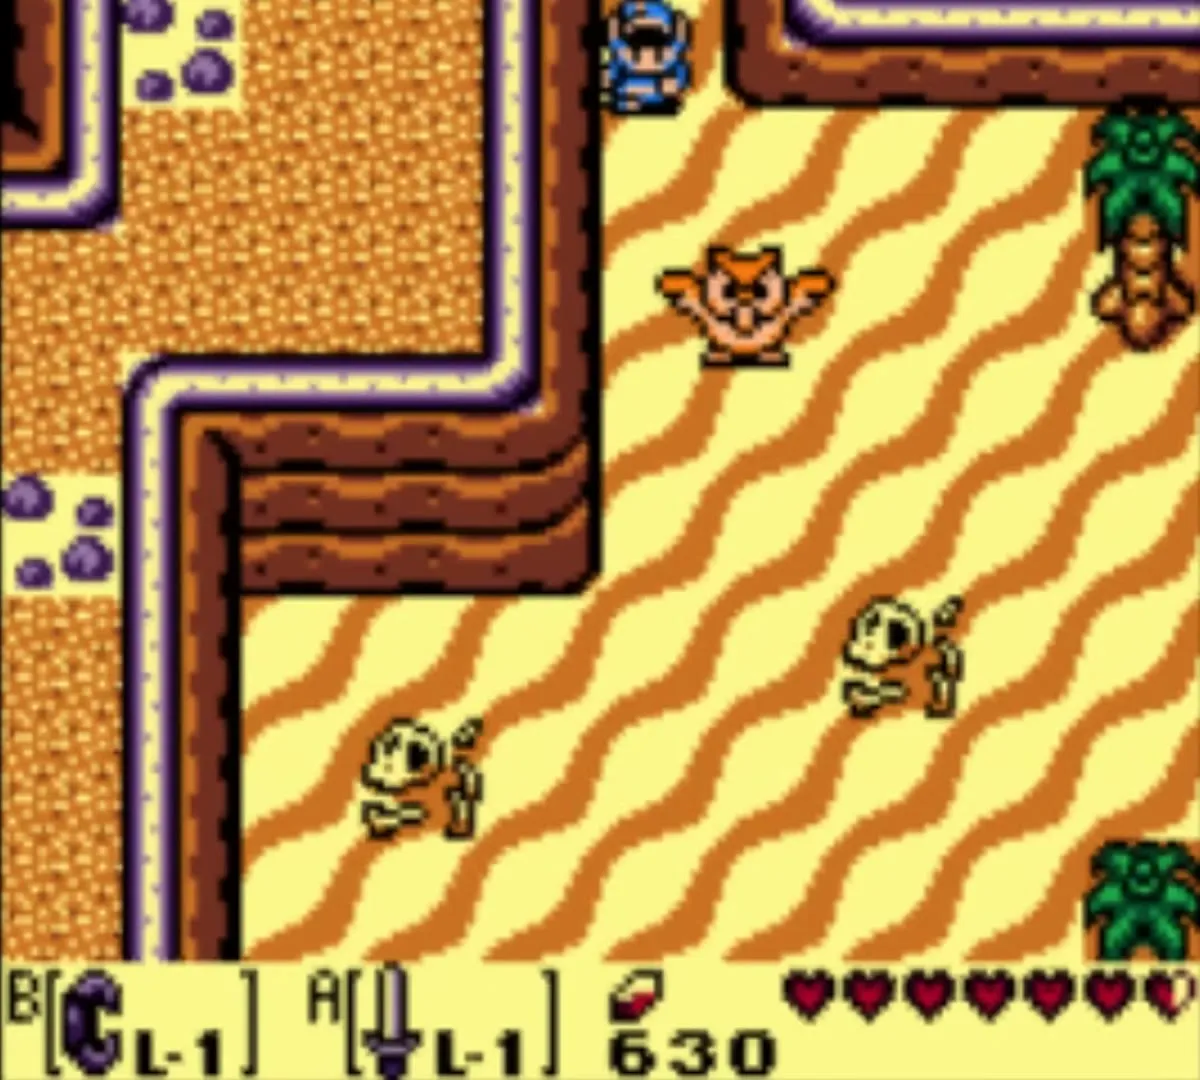
Crazy Tracy’s house: Secret Medicine
On the way east, stop at Crazy Tracy’s house southeast of Goponga Swamp. She sells the Secret Medicine, which brings you back to life with full hearts when you die, for 28 or 42 rupees depending on how many enemies you have beaten; you can only carry one. It is worth a visit before a dungeon with deep water and a fish boss. See Fairies and Secret Medicine for details.


Open the waterfall with the Angler Key
The keyhole in Tal Tal Heights
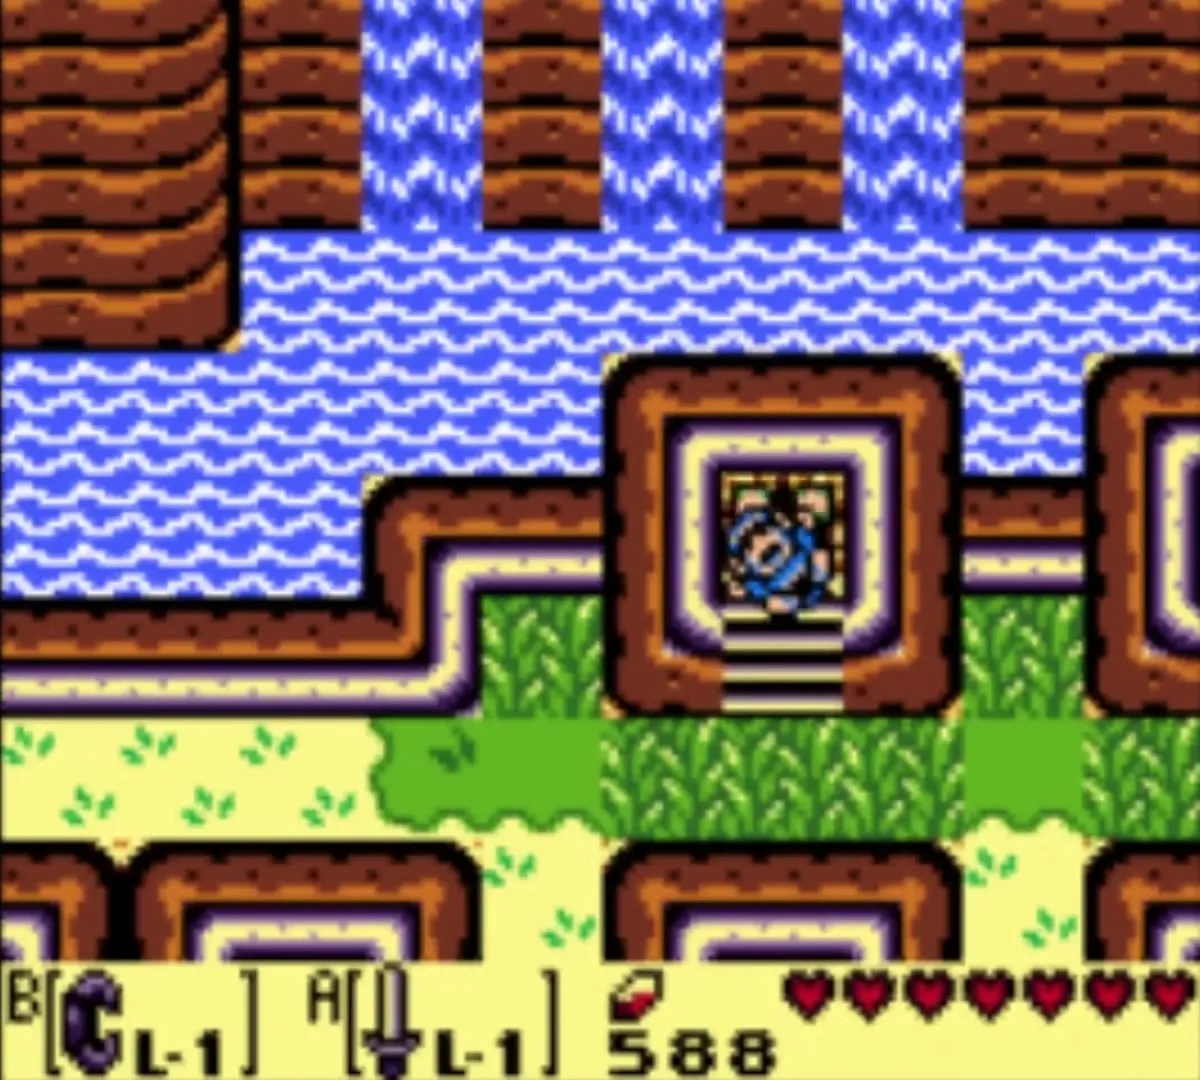
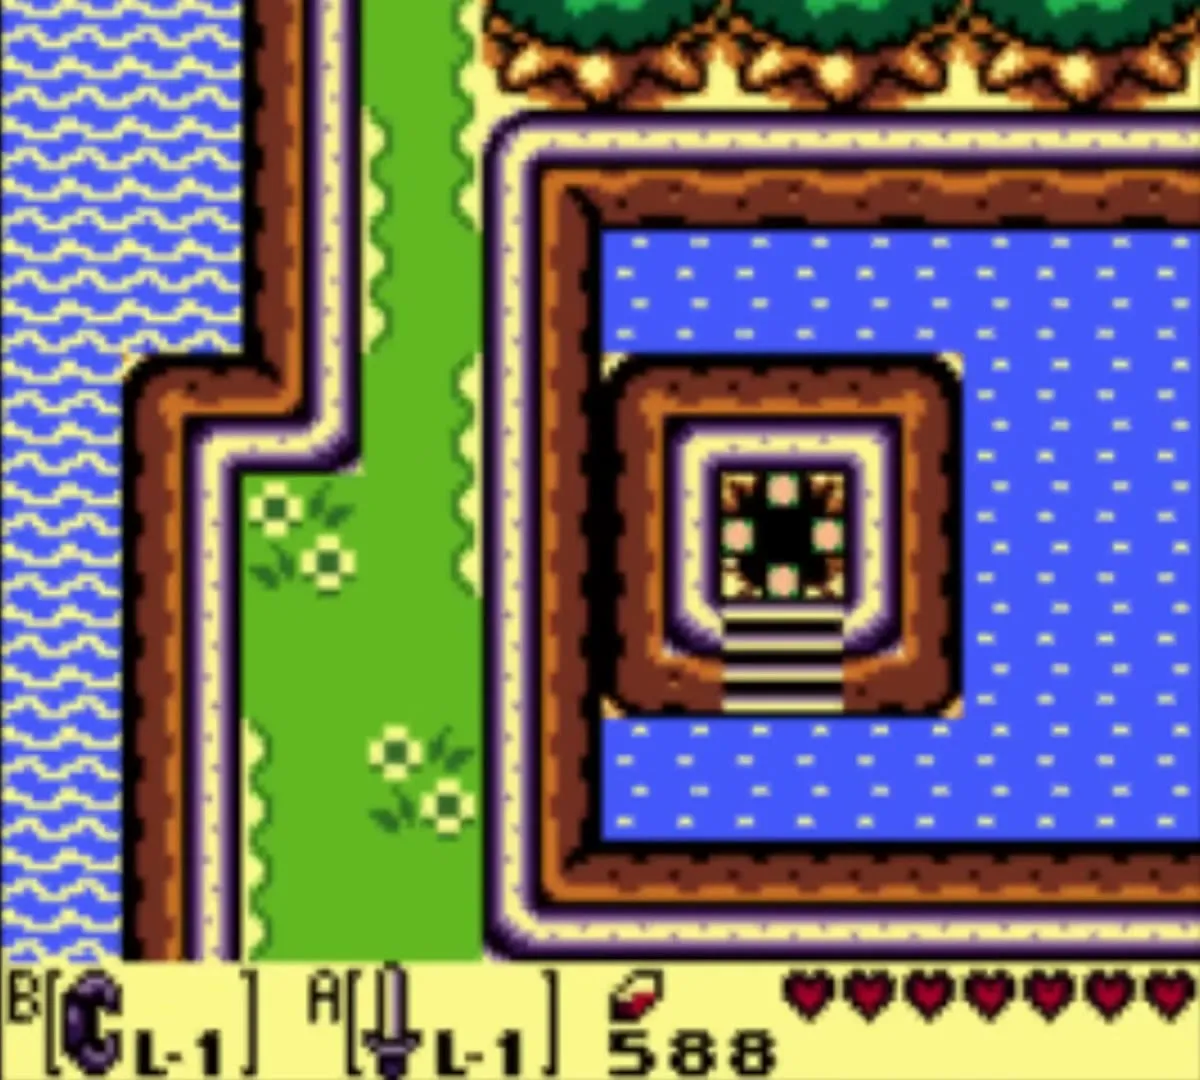
From the Bottle Grotto entrance in Goponga Swamp, head east to the clearing with the Pig Warriors and the rocks around a sign. Lift the rocks, go north and then east to the keyhole, and push the Angler Key into it. It opens the way up to the Tal Tal Heights, where the waterfall hides the dungeon.
Trade the Pineapple for the Hibiscus
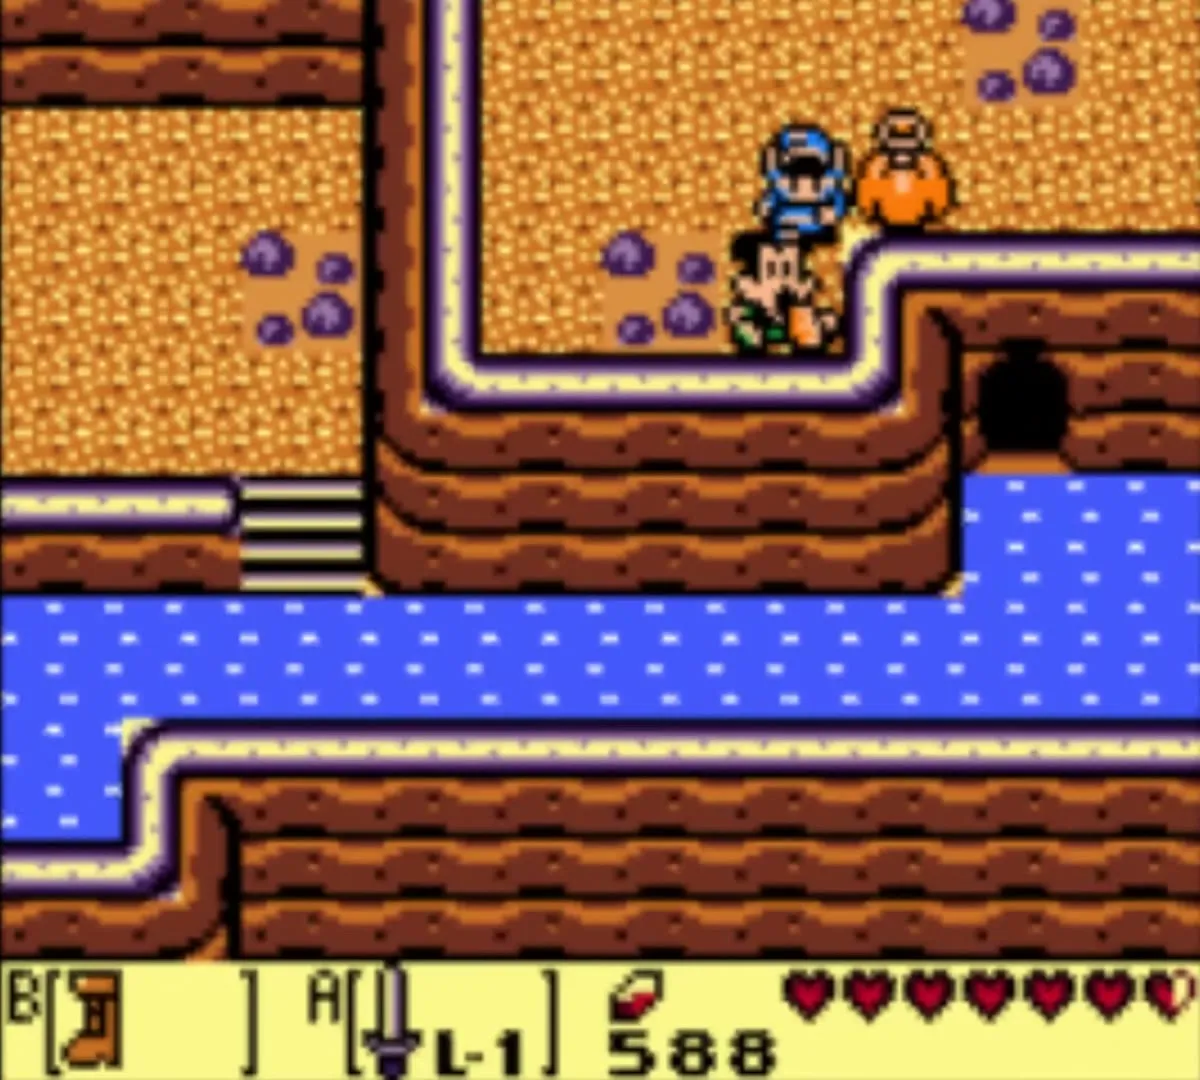
Trading step 8: in the mountains beyond the keyhole, a man named Papahl is lost. Give him your Pineapple and he hands you a Hibiscus. Keep it; Christine the goat in Animal Village wants it next.

Angler’s Tunnel (Level 4) walkthrough
How to enter Angler’s Tunnel
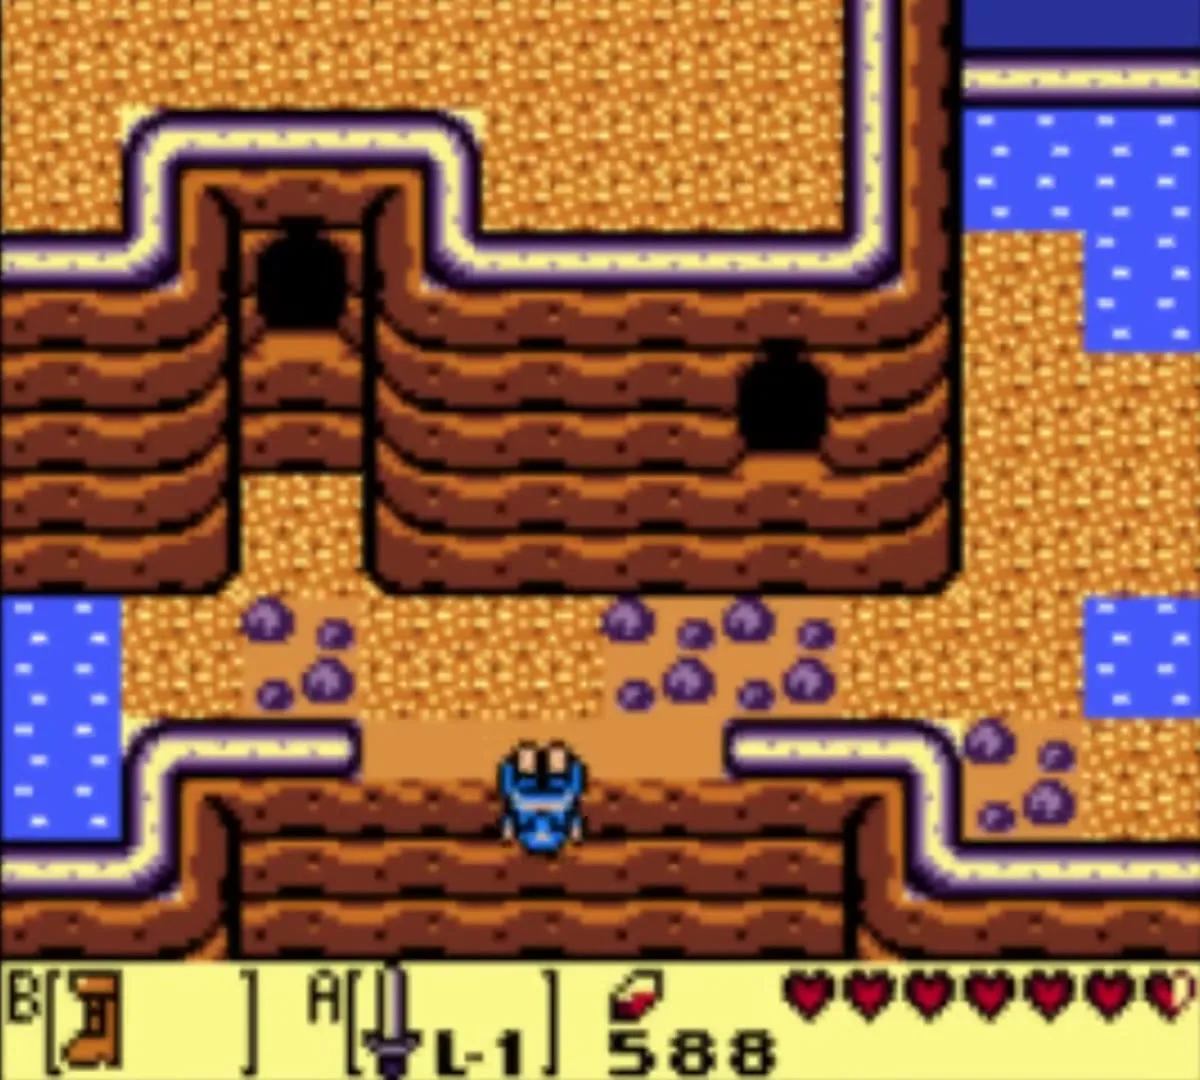
Wade through the shallows to the exposed cliff above the dungeon, then leap down onto the dry ground in front of the waterfall and walk in. The dungeon is half underwater and the rooms are full of Water Tektites, so keep the Roc’s Feather and Pegasus Boots on your buttons: you need them for gaps and for crossing shallow water quickly.

Stone Beak and hint
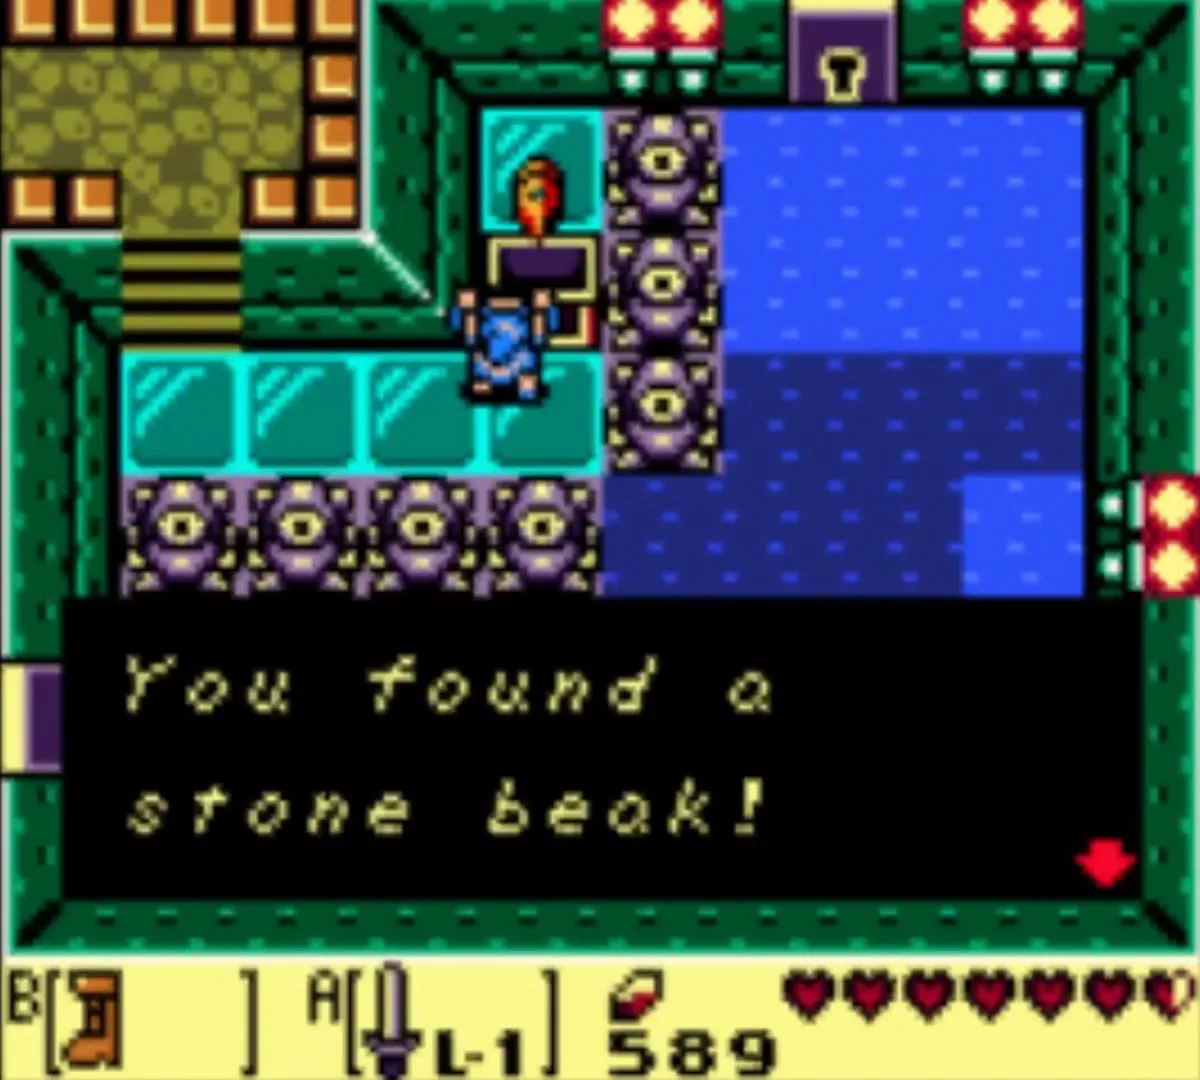
A chest in the west of the dungeon, past a gap and up some stairs, holds the Stone Beak. With it, the owl statues in the dungeon give you hints.
Dungeon Map
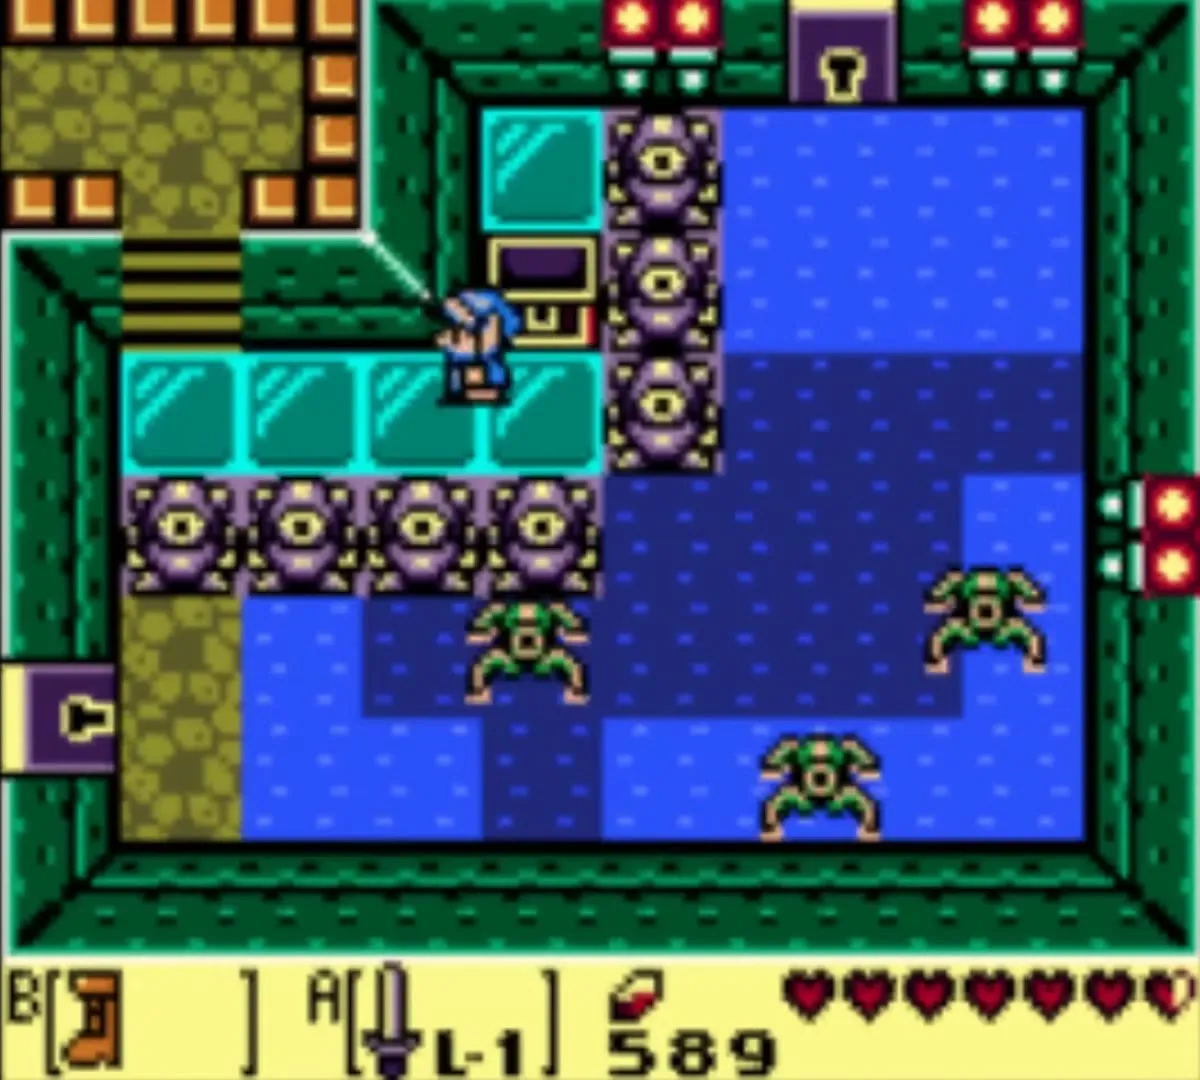
Near the start, jump with the Roc’s Feather to grab the bombs floating above a gap, then head east, climb the stairs and go north. A chest there holds the Dungeon Map, which shows the rooms on your subscreen.

Small Keys 1 and 2
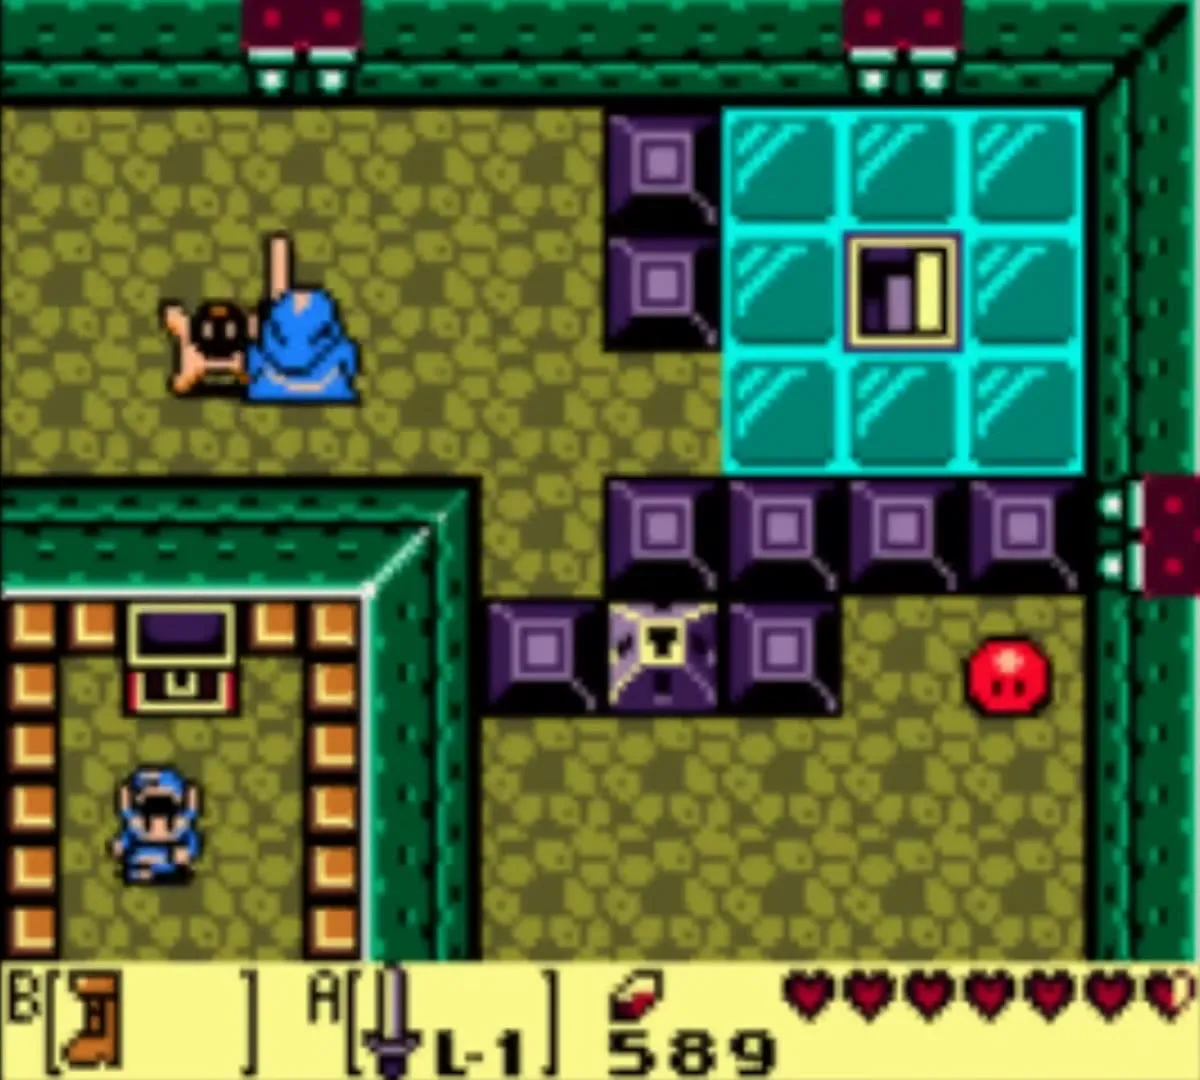
South of the map room, down the stairs, the first Small Key lies past a central gap that needs the Pegasus Boots and the Roc’s Feather together. Go out east, bomb a cracked block and push another block into the water to free the chest. The second key is north of the map room: bomb a cracked block and open the chest.
Compass
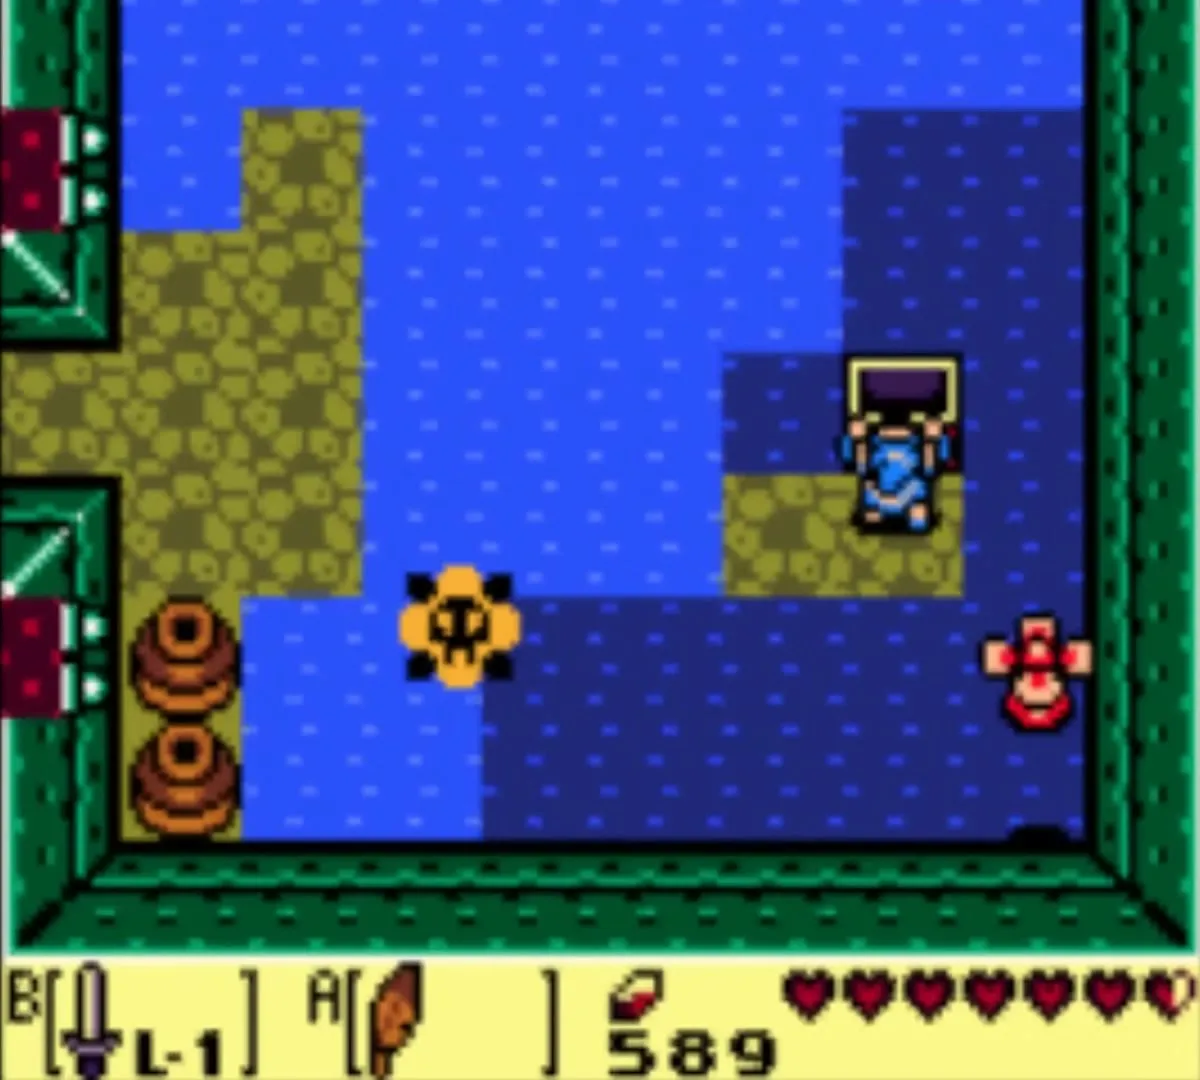
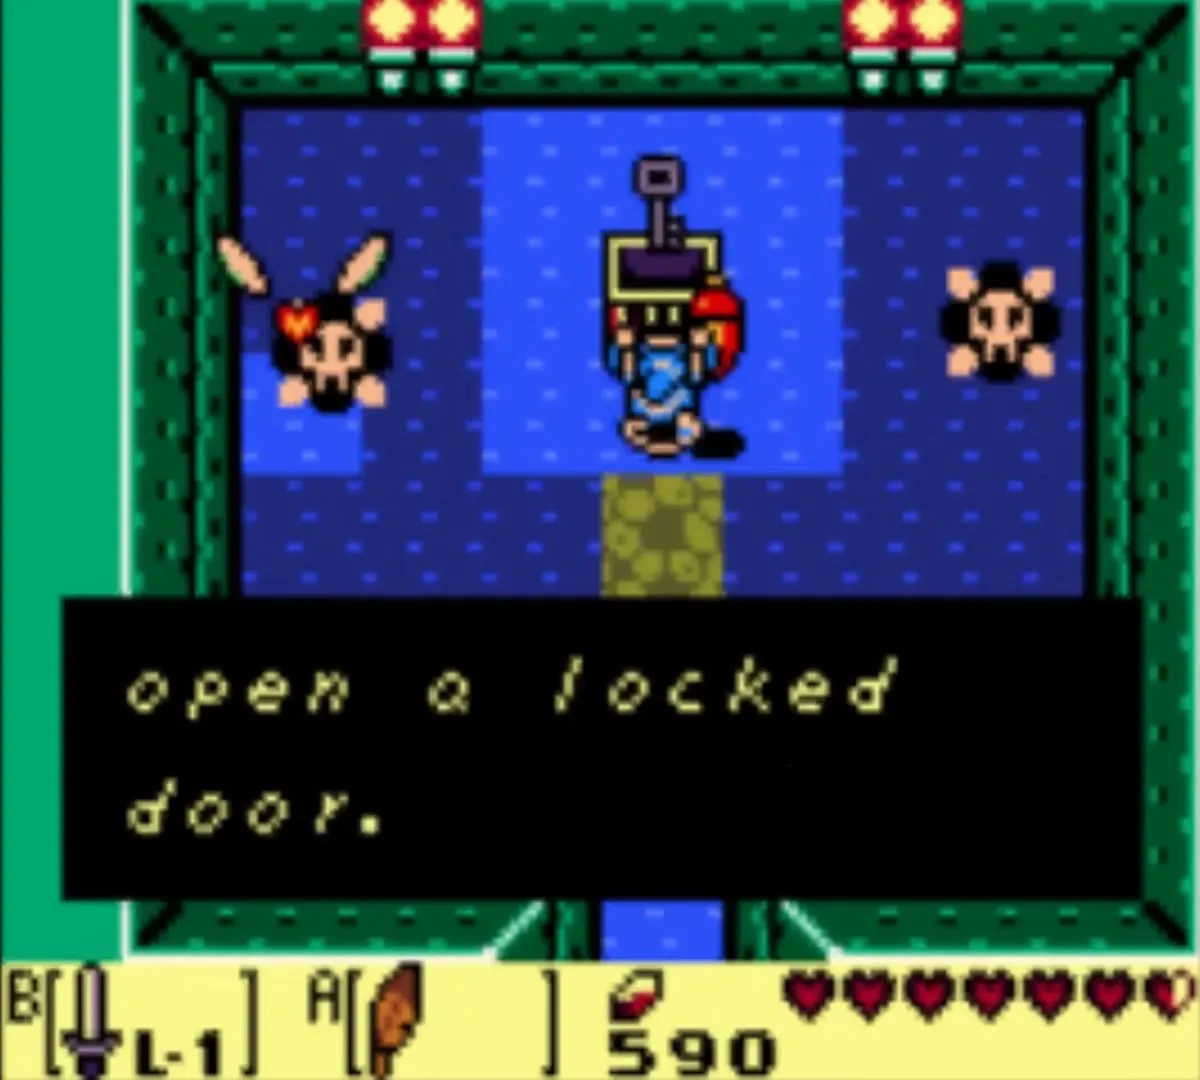
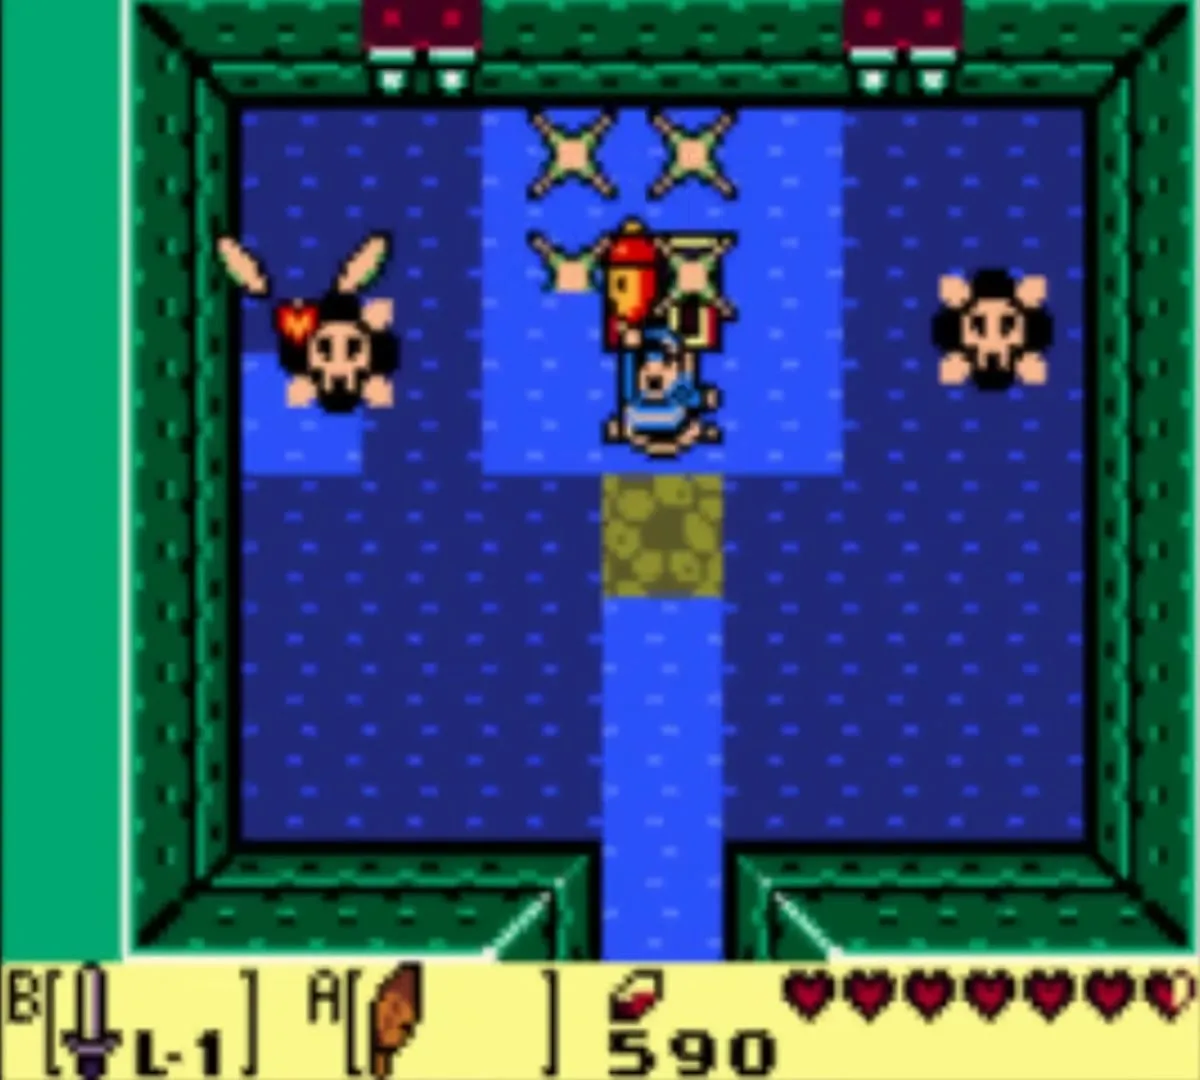
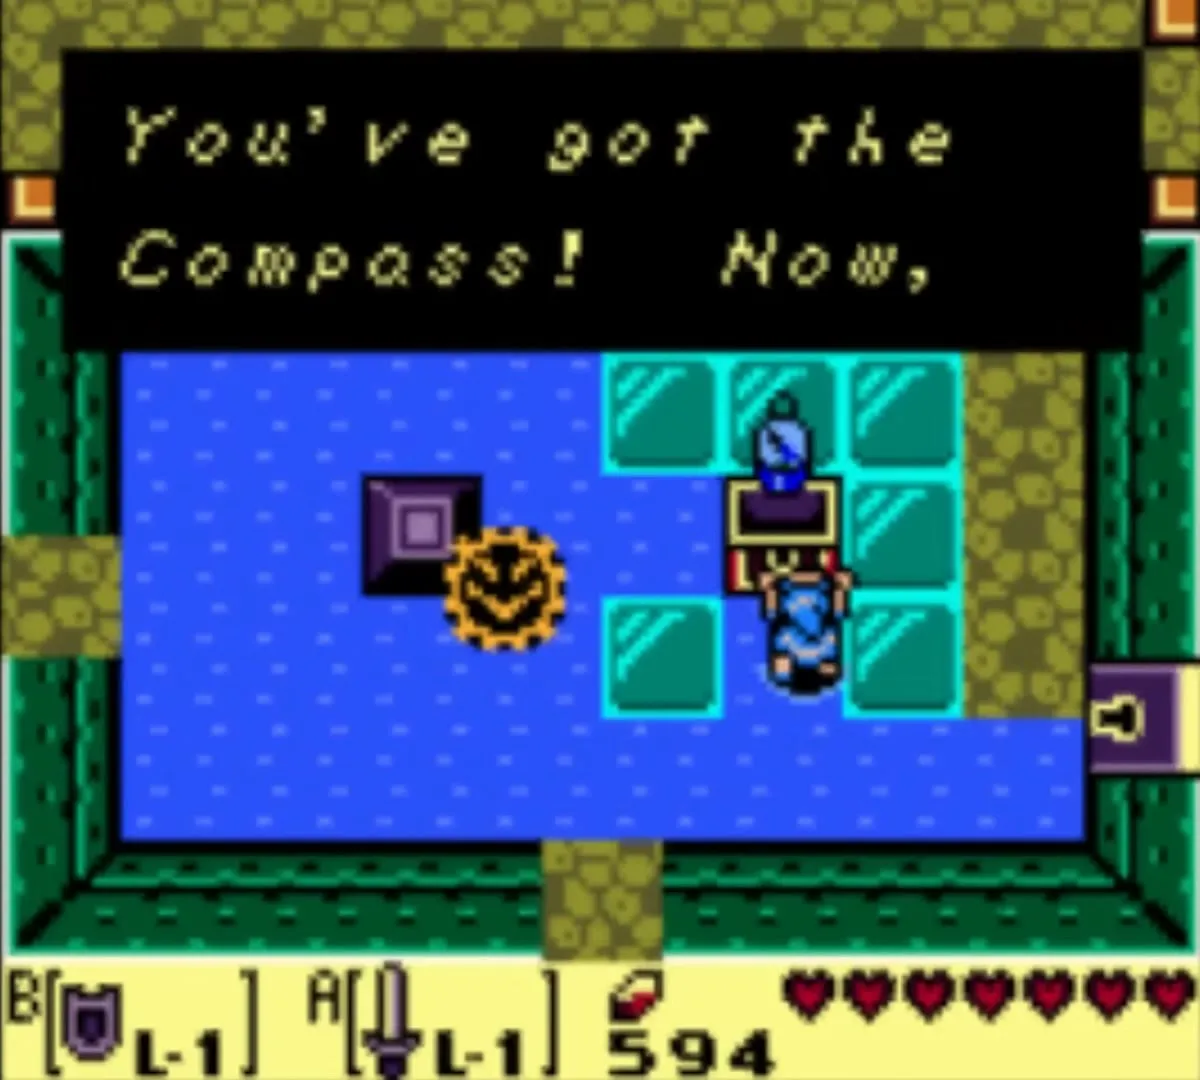
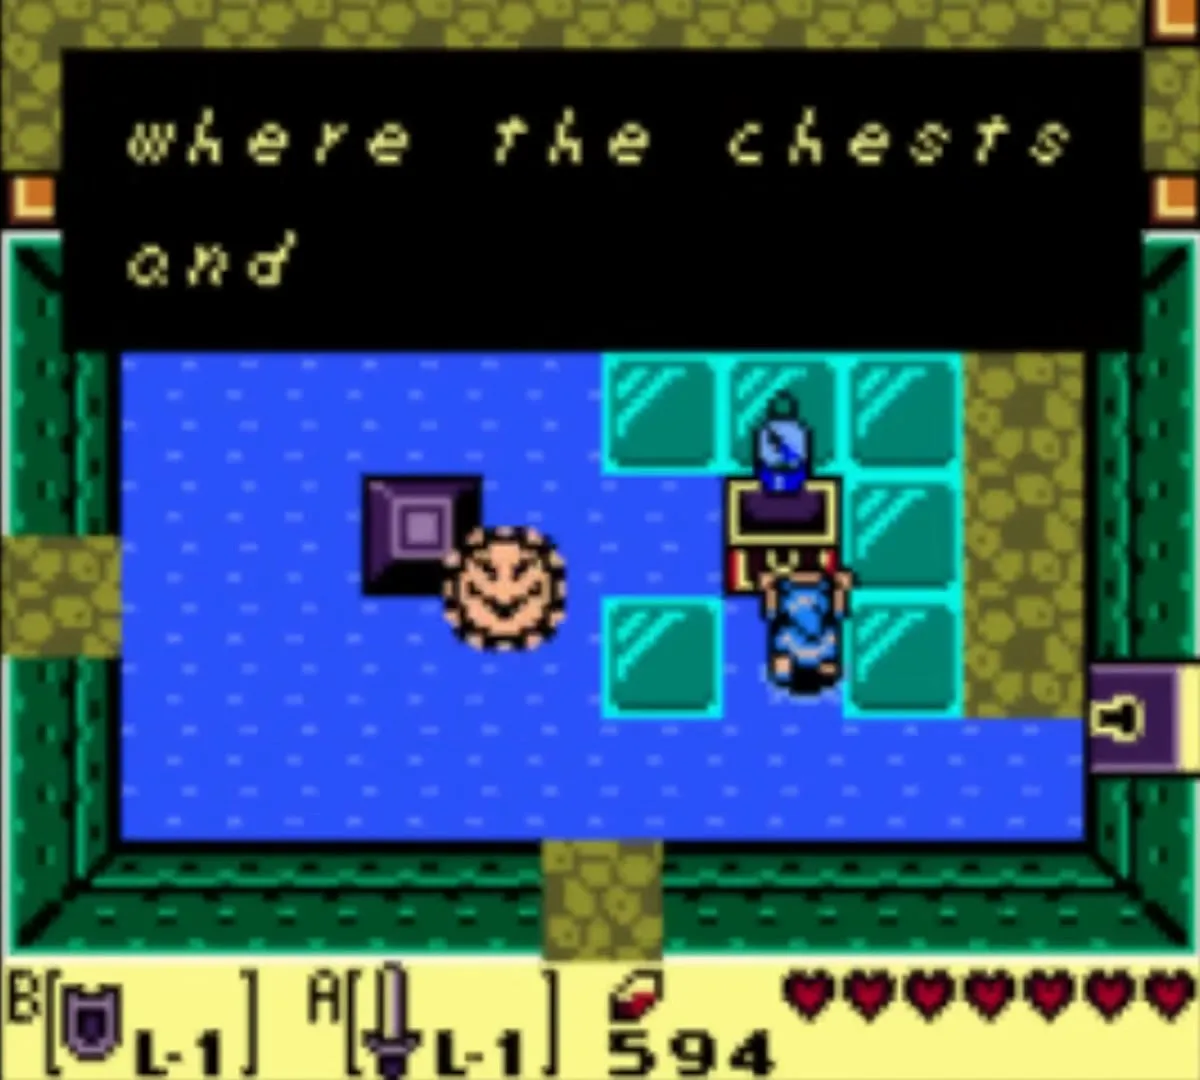
The Compass sits in a chest in a room with Spiked Beetles. Use your shield to flip each beetle onto its back and finish it with your sword; the door opens when they are gone. Open the chest and the compass shows where the keys and chests are.
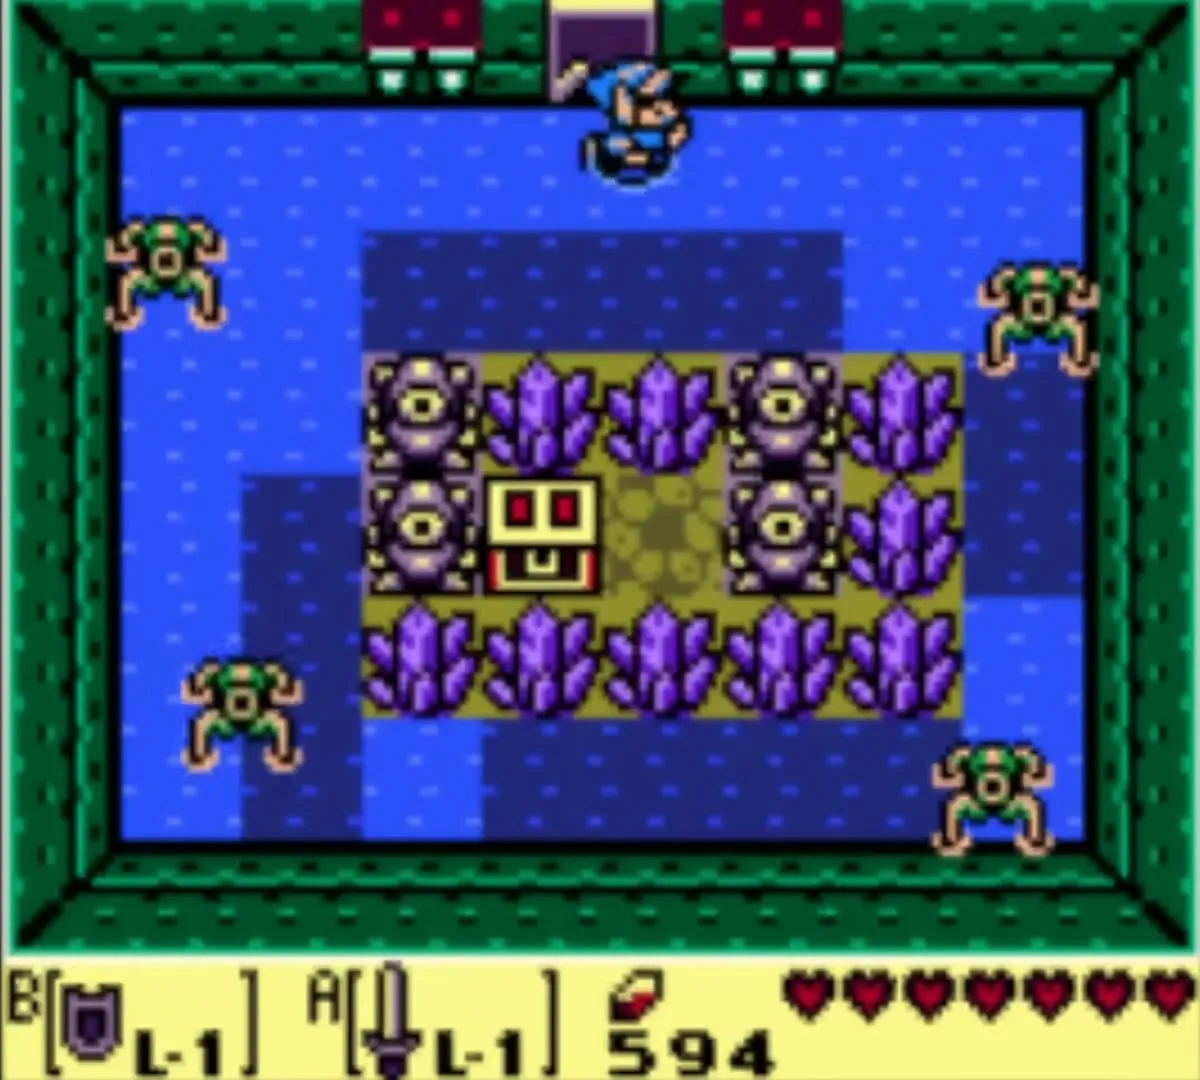

Small Key 3
Defeat every enemy in the Compass room to open the south door. Break the crystals around the chest beyond it and open it for the third Small Key.
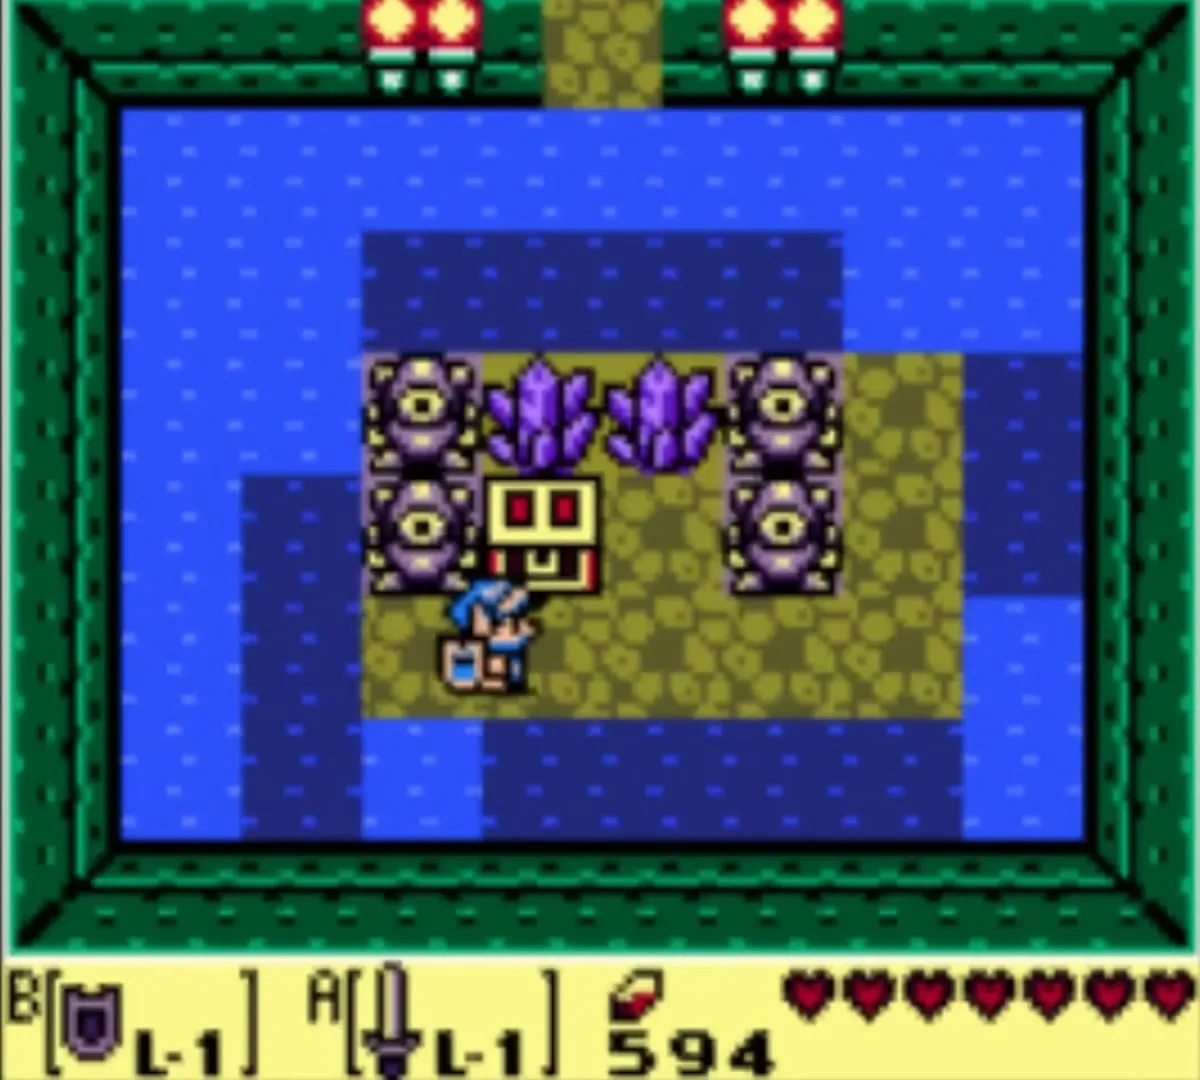
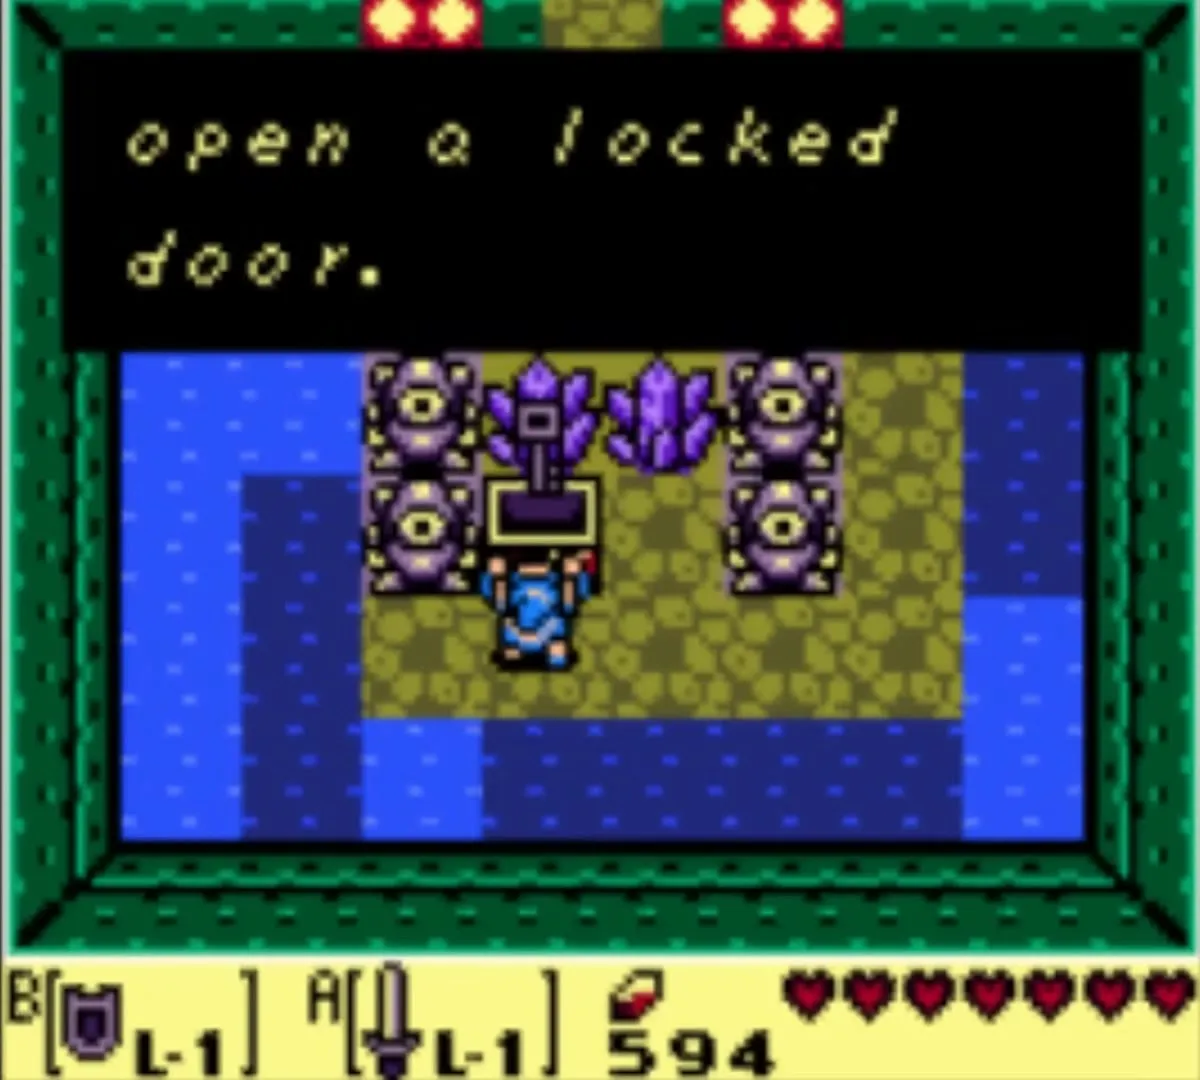
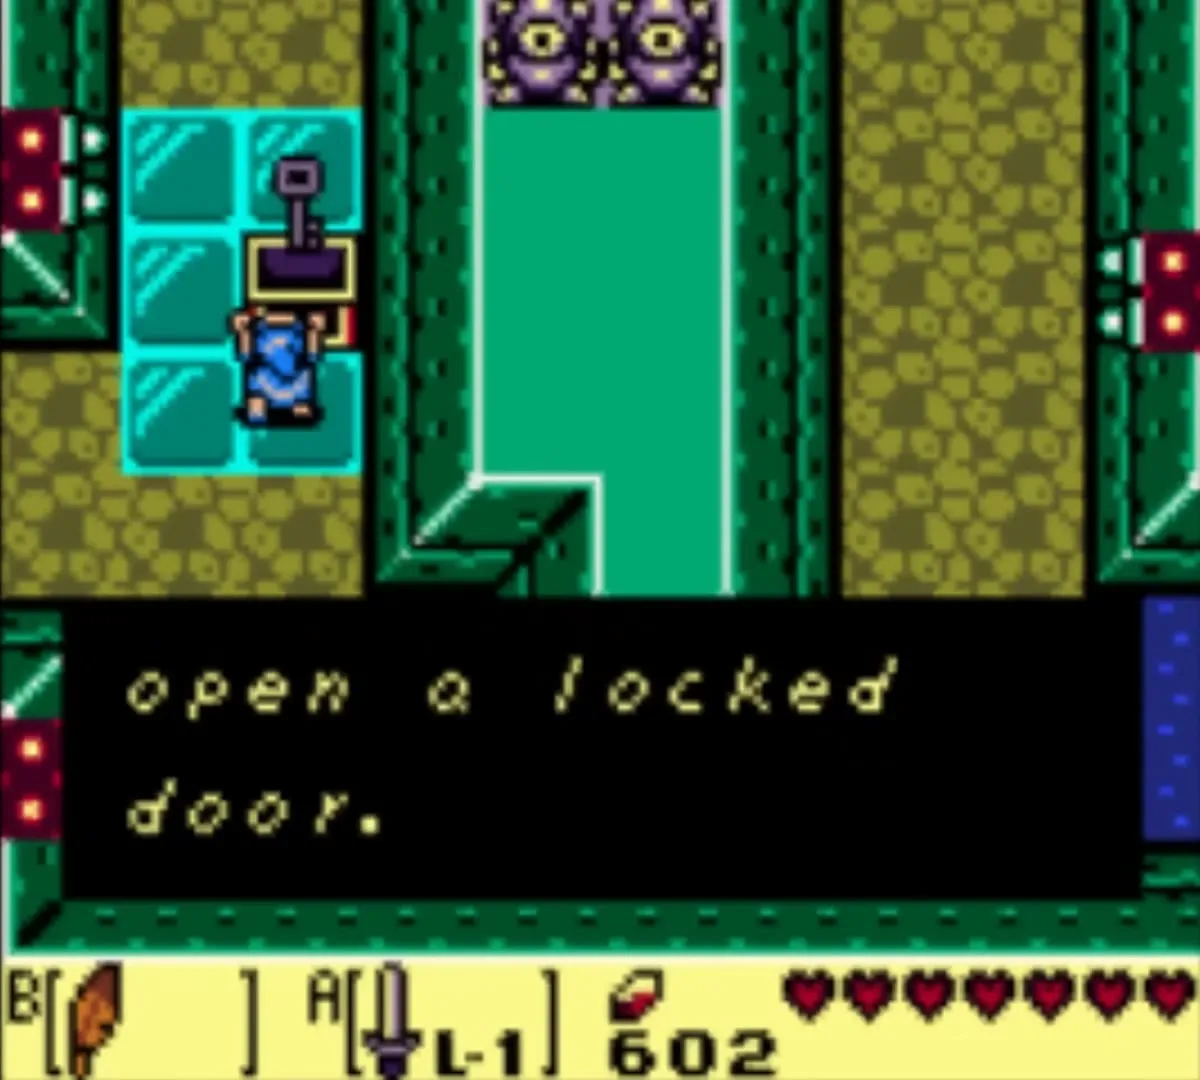
Small Key 4
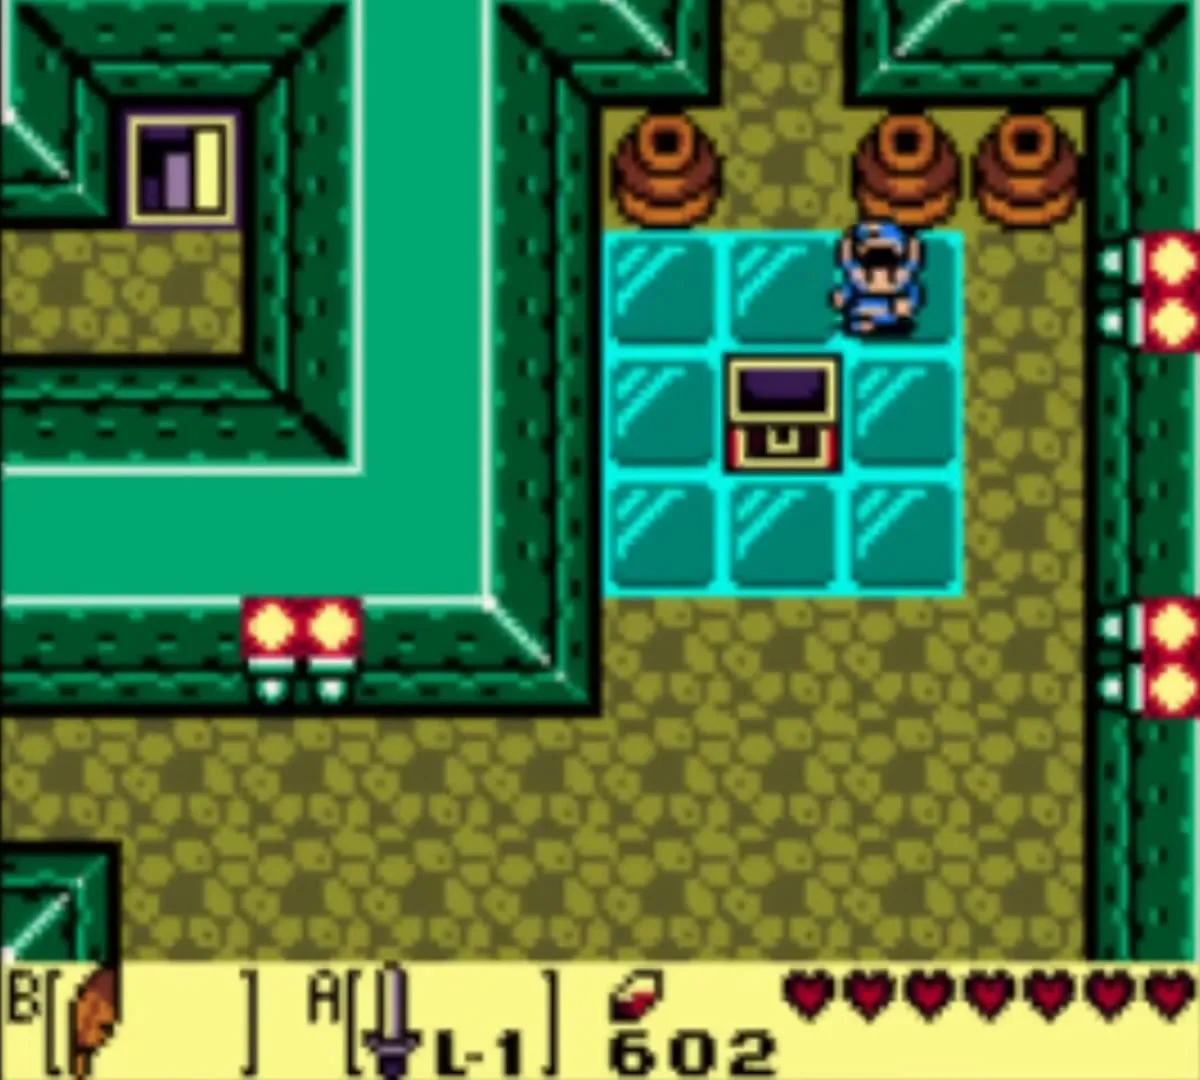
The fourth key is a longer trip through rooms of Water Tektites, Red Zols, Peahats and Stalfos, with locked doors and a key block on the way; the chest is in the room with five tiles. Leave the nearby chest that releases a Green Zol shut.

Cue Ball mini-boss
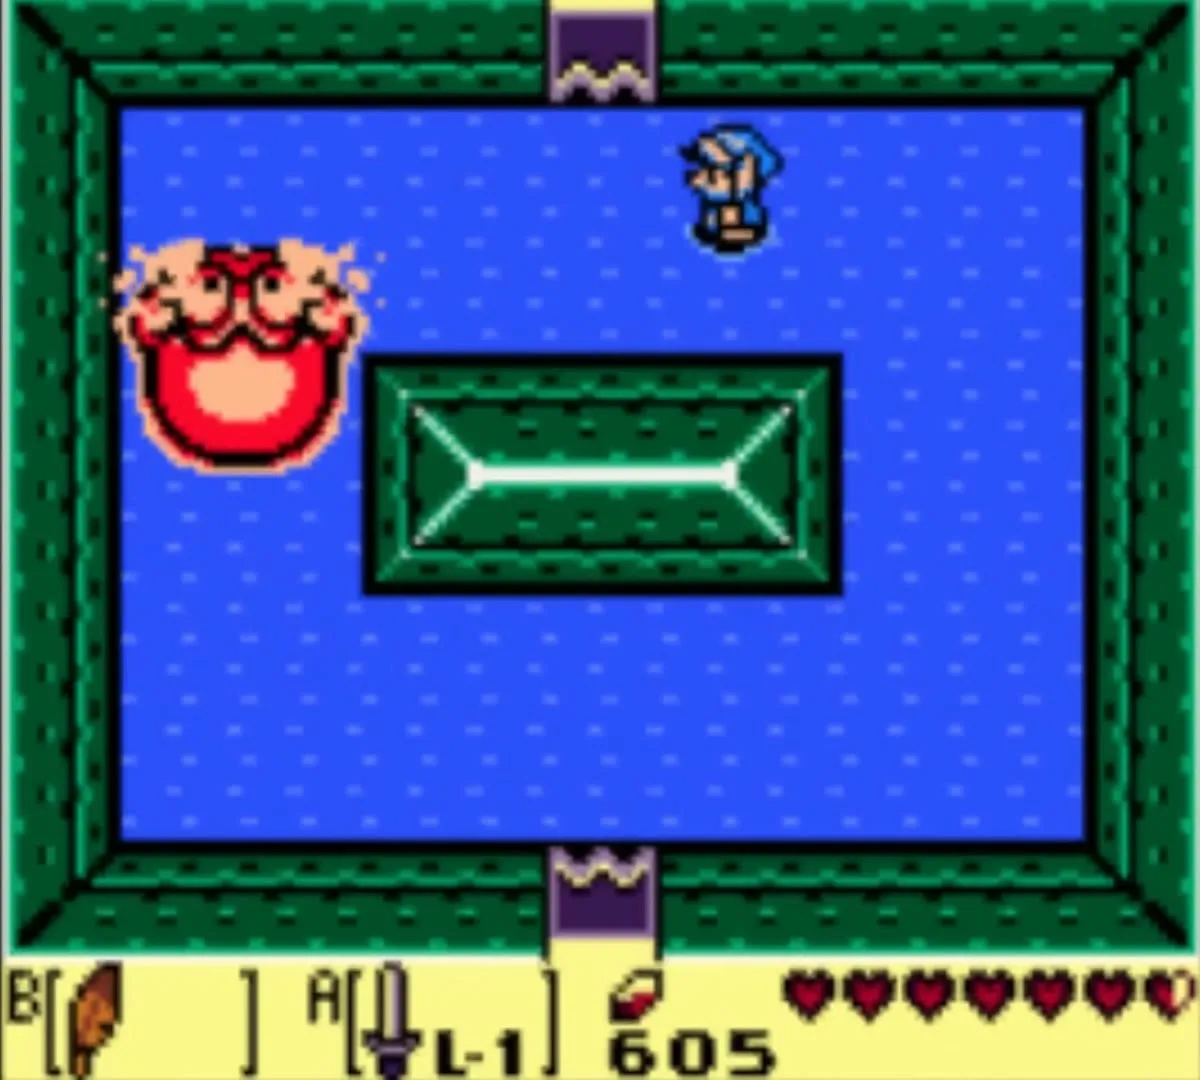
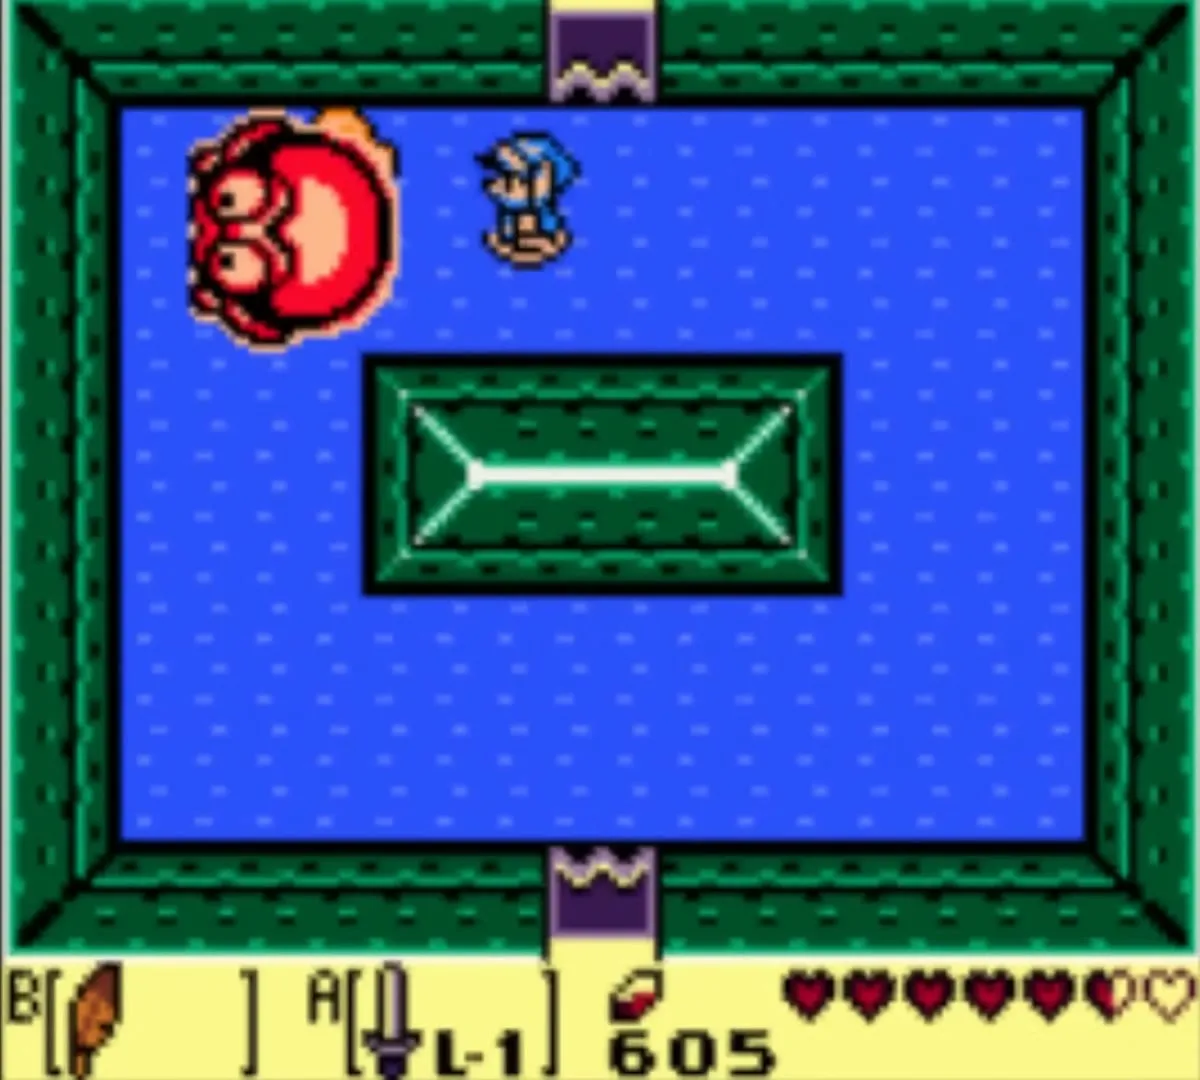
Unlock the door to the mini-boss room. Cue Ball can only be hurt from behind. Charge the sword for a spin attack and jump over it with the Roc’s Feather, or dash round its back with the Pegasus Boots. It changes direction after being hit, so move away and wait for the next opening. When it is gone it leaves a fairy and a warp point.

How to get the Flippers
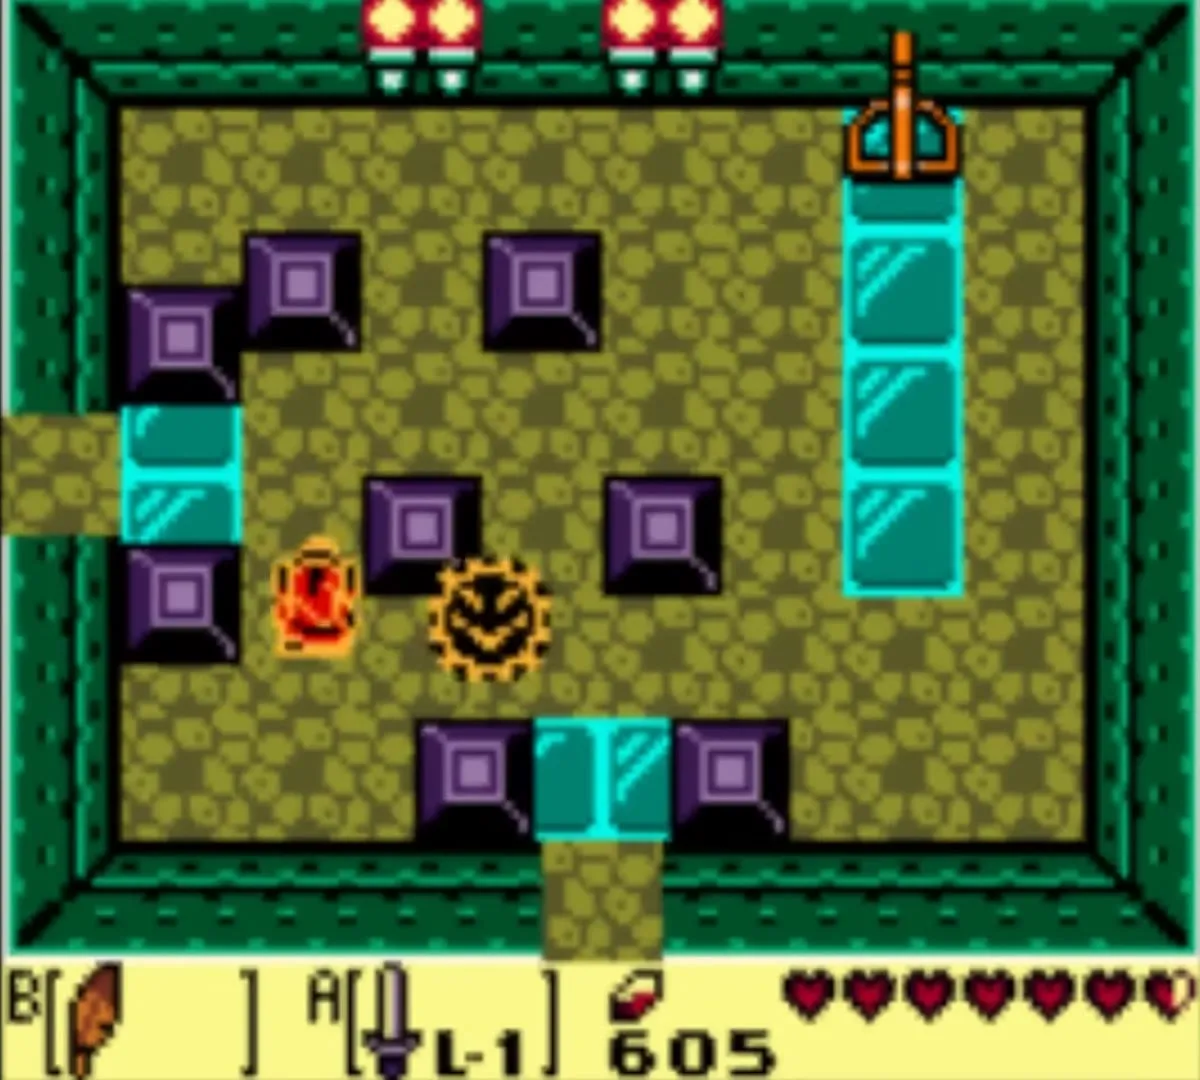
Go on to the next room as quickly as you can, because moving blocks start to close the path. Pull the lever in the upper-right corner, with the Power Bracelet equipped, so the blocks spread apart. Run the Pegasus Boots to the west exit before they close again and avoid the Spark. In the next room, beat the Red Zols and the doors open. The chest holds the Flippers. While swimming, press B to dive and A for a short burst of speed.

Small Key 5 and the rupee chests
Leave through the south door and step on the tiles that light up. Memorise the order, because you need it for the Nightmare’s Key. Swim east, go down the stairs in the corner and ride the moving platform to the left side of the room. Dive in the water to find the fifth Small Key. Two optional chests hold 50 rupees each if you swim up to them.


Nightmare’s Key
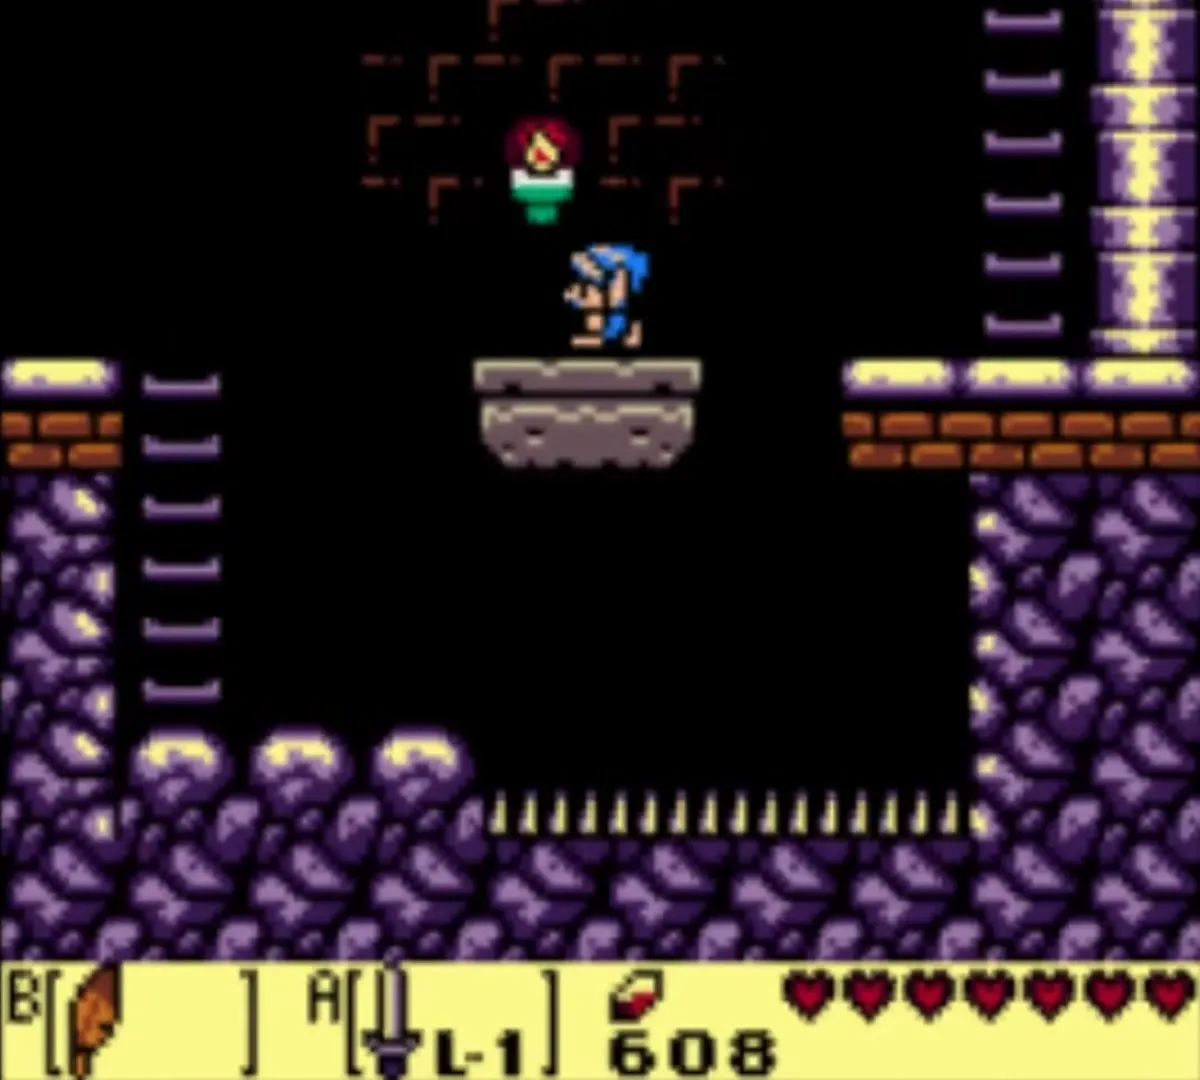
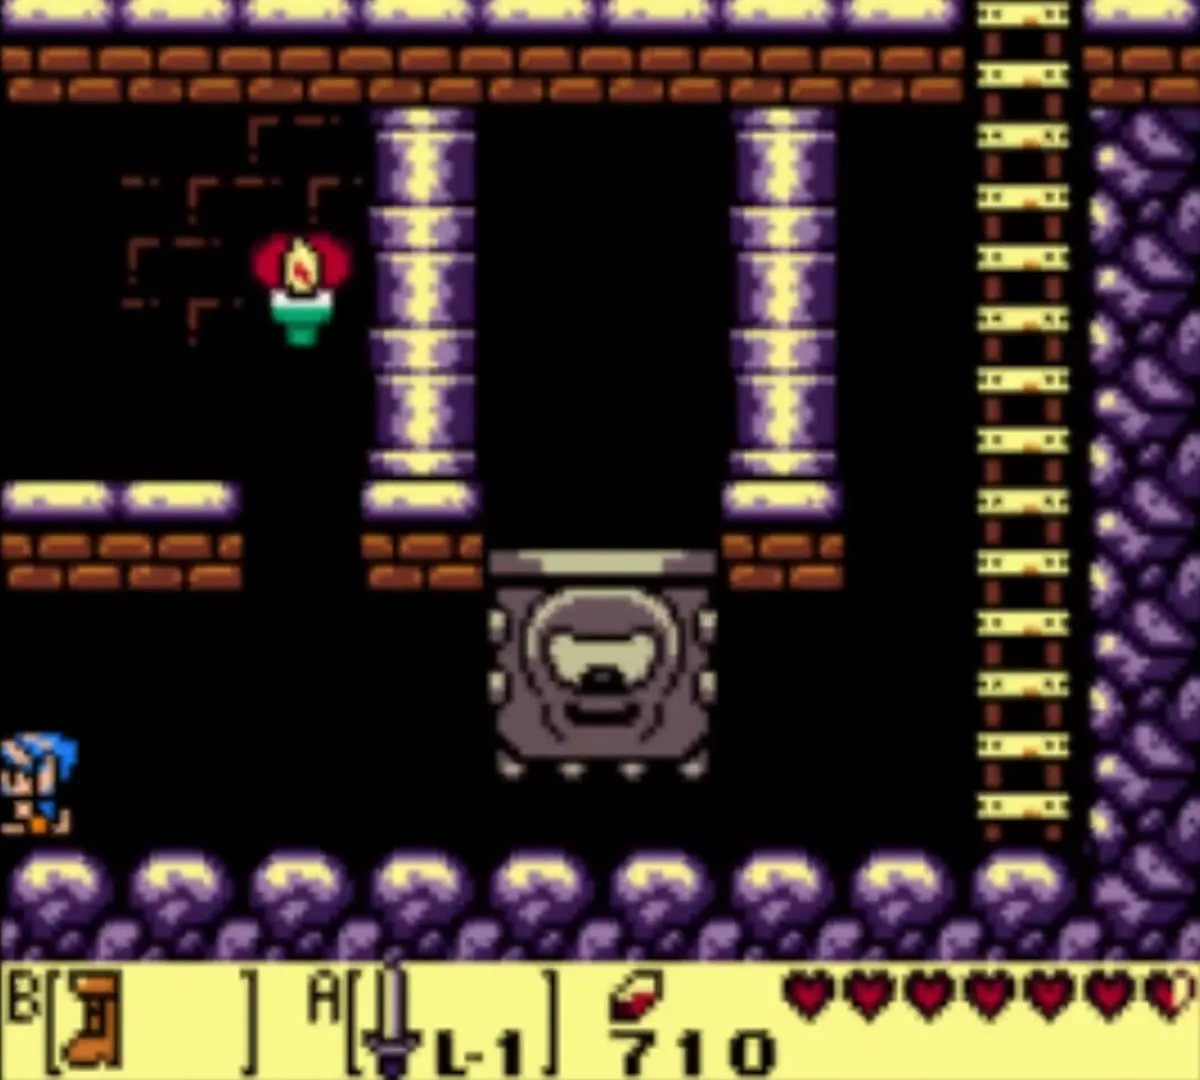
Go back to the stairs room and head west, then step on the tiles in the order you memorised. Stairs open in the floor. Go down to a side-view room with Thwomps and use the Roc’s Feather to get past them, then climb the ladder. The Nightmare’s Key is in the chest.
The way to the boss
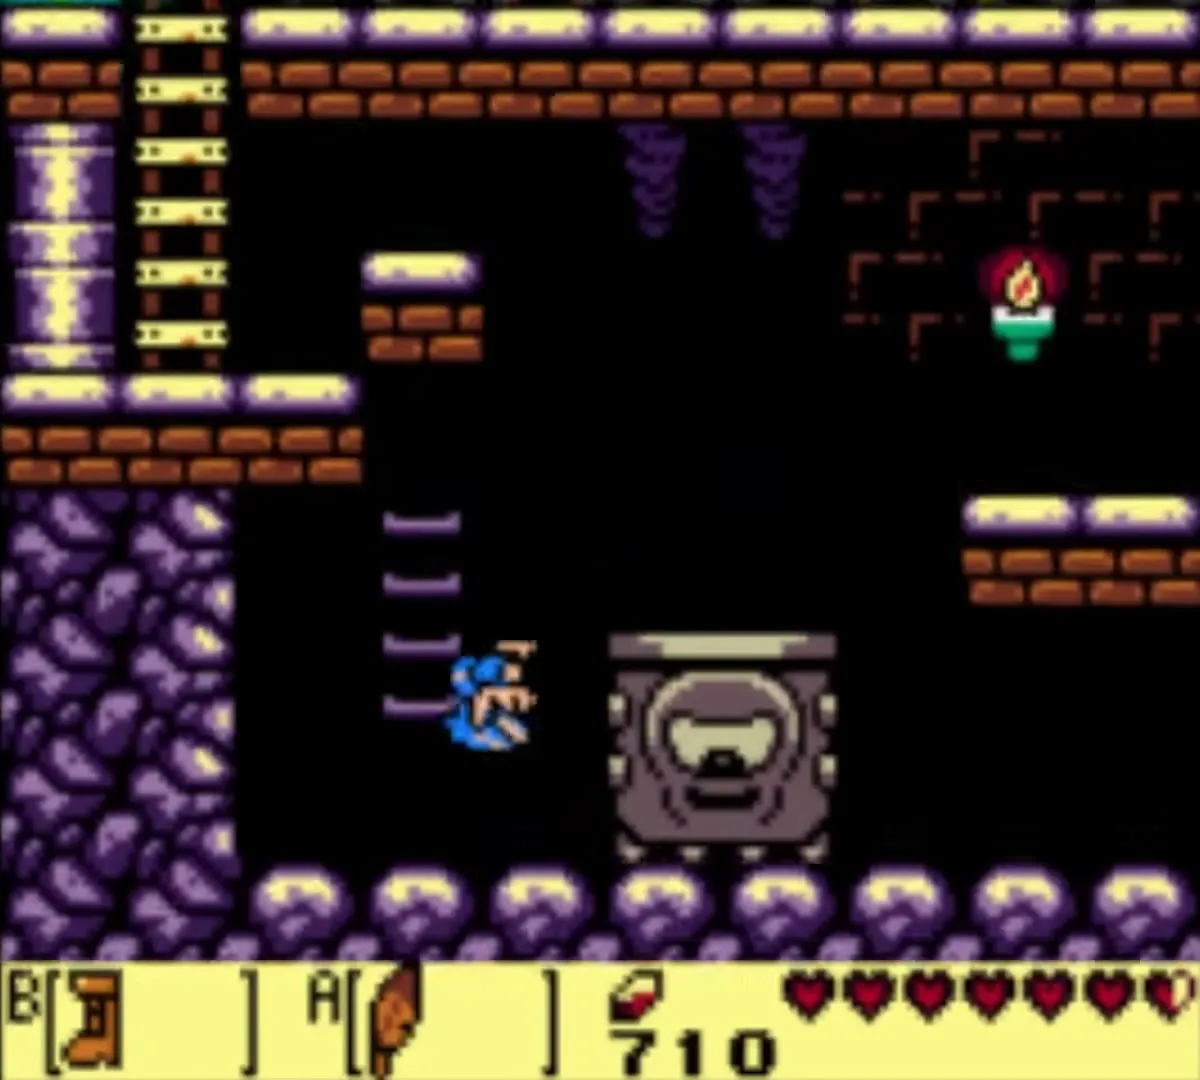
Return to the previous room and push on to the button in front of the door. Step on it and go north. Collect the flying hearts, use a Small Key on the locked block, then descend the stairs and swim the water path. Use your sword on the Cheep-Cheeps. Climb the ladder, go through the Nightmare’s door and swim down to the boss room.


Angler Fish boss
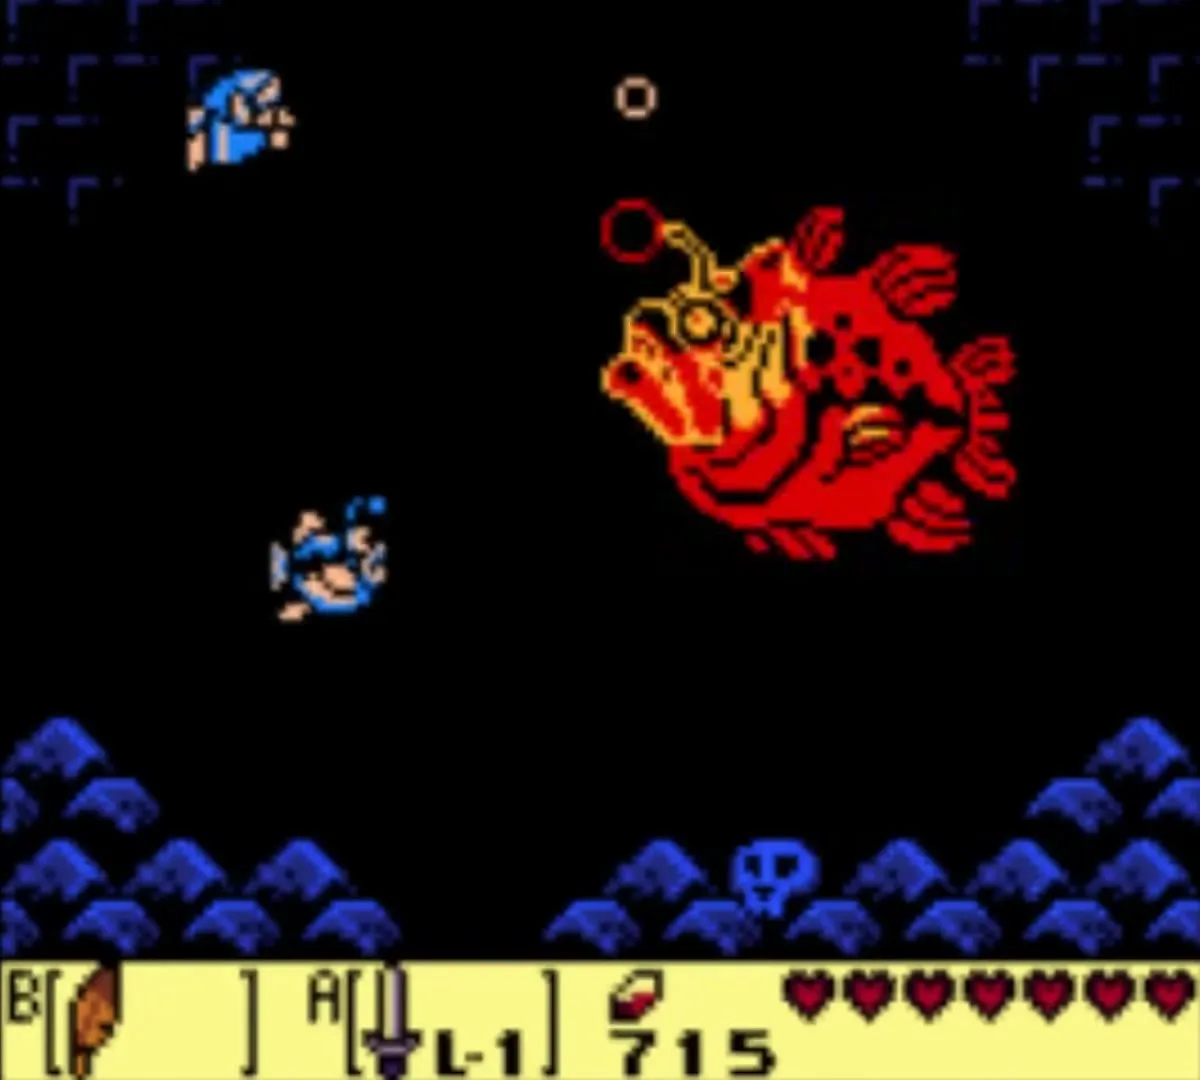
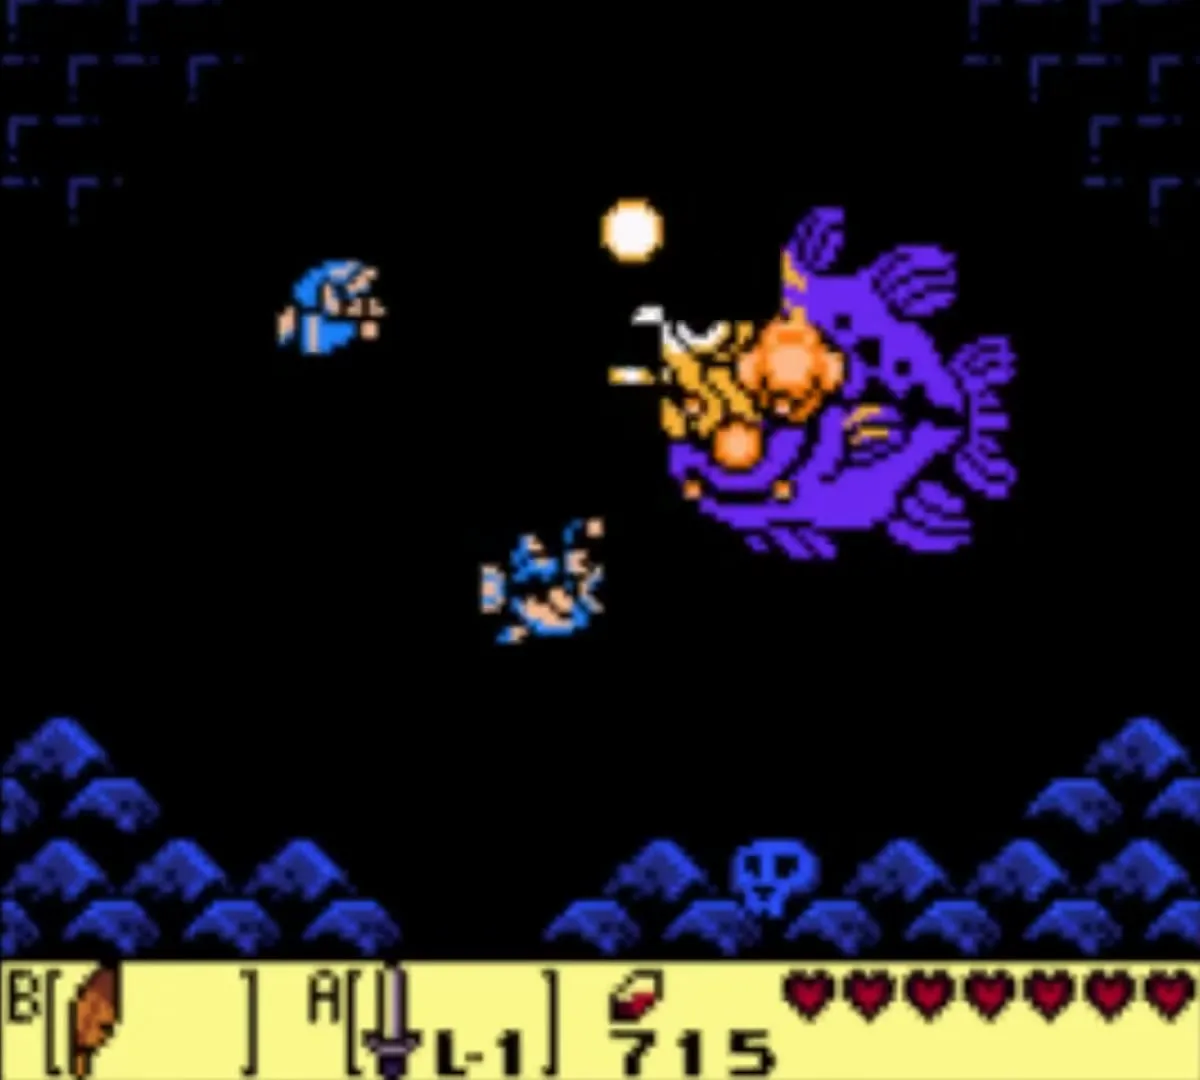
The Angler Fish swims up and down the room and tries to eat you. The weak point is the glowing light on its head: swim up to it and slash. Rapid sword swings deal the most damage. Small Angler Fry drift across the room; kill them with a single hit. Now and then it charges into the wall and pieces of ceiling fall, so swim out of the way. Keep slashing the light until the fish gives up.
Heart Container
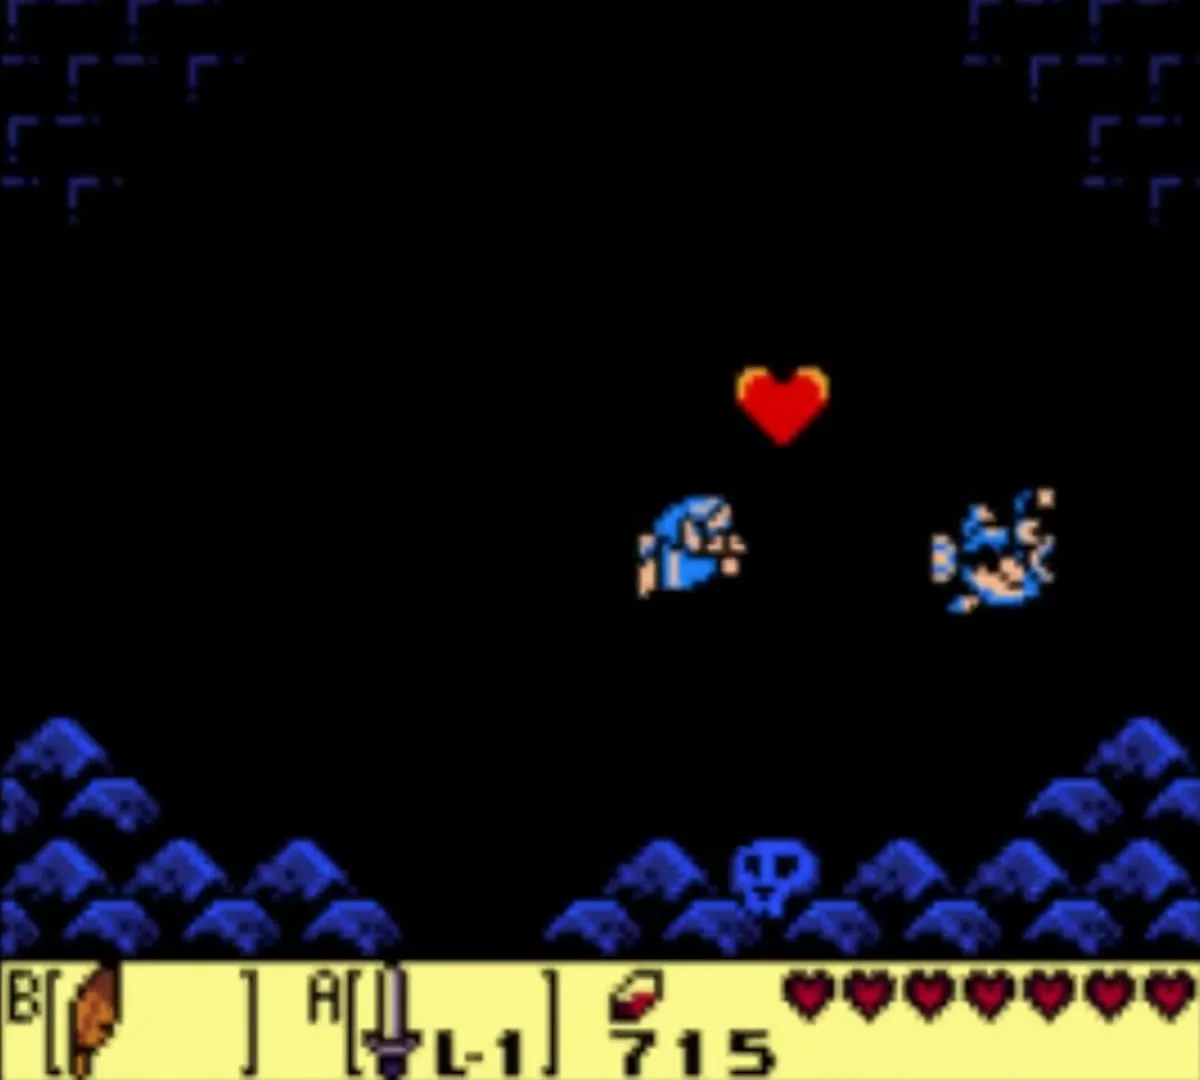
The Angler Fish leaves a Heart Container. Pick it up to gain a full heart.


Surf Harp
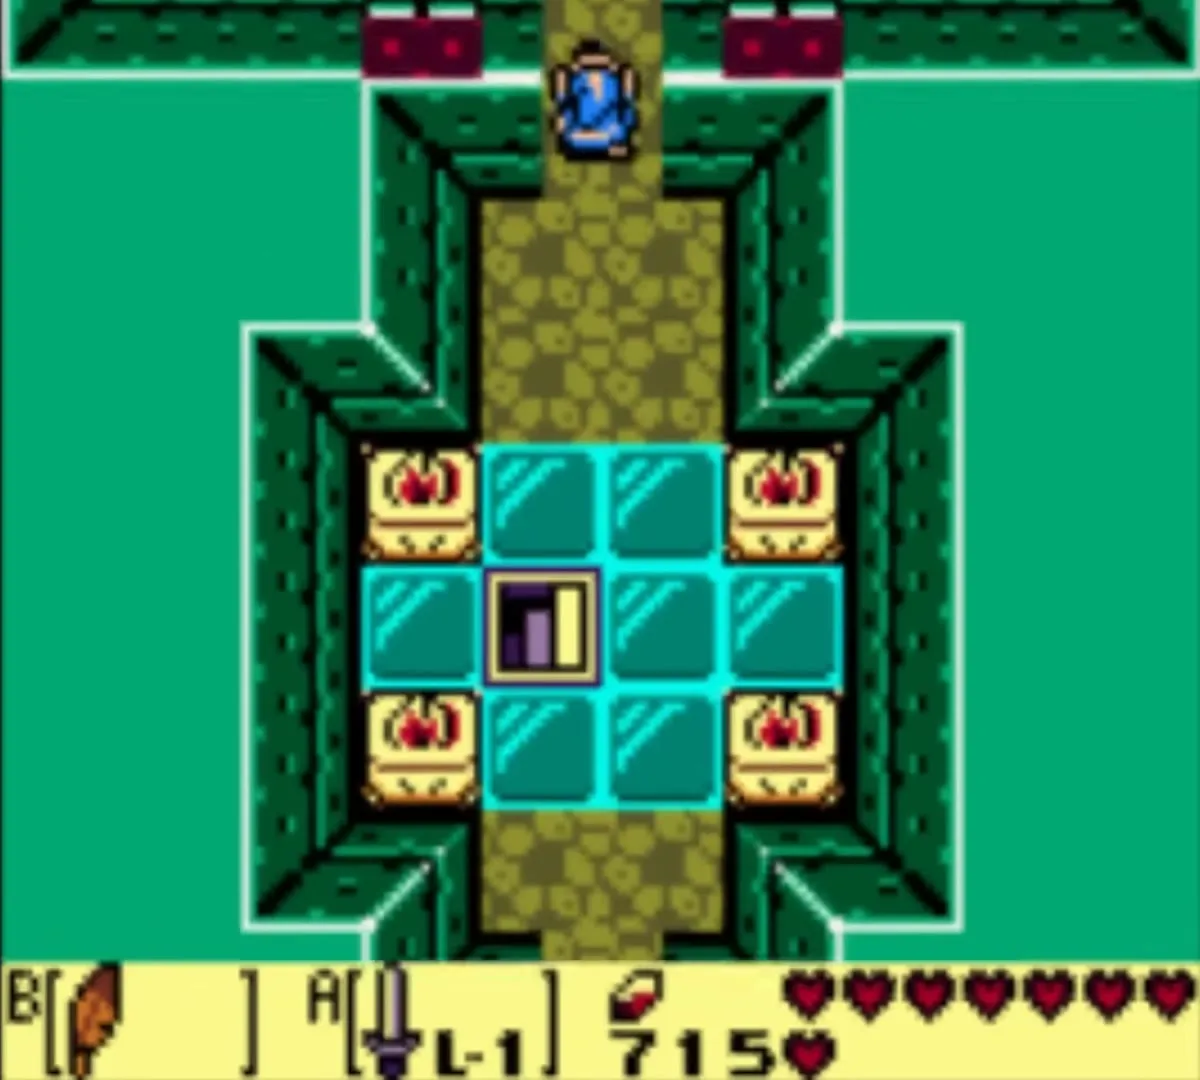
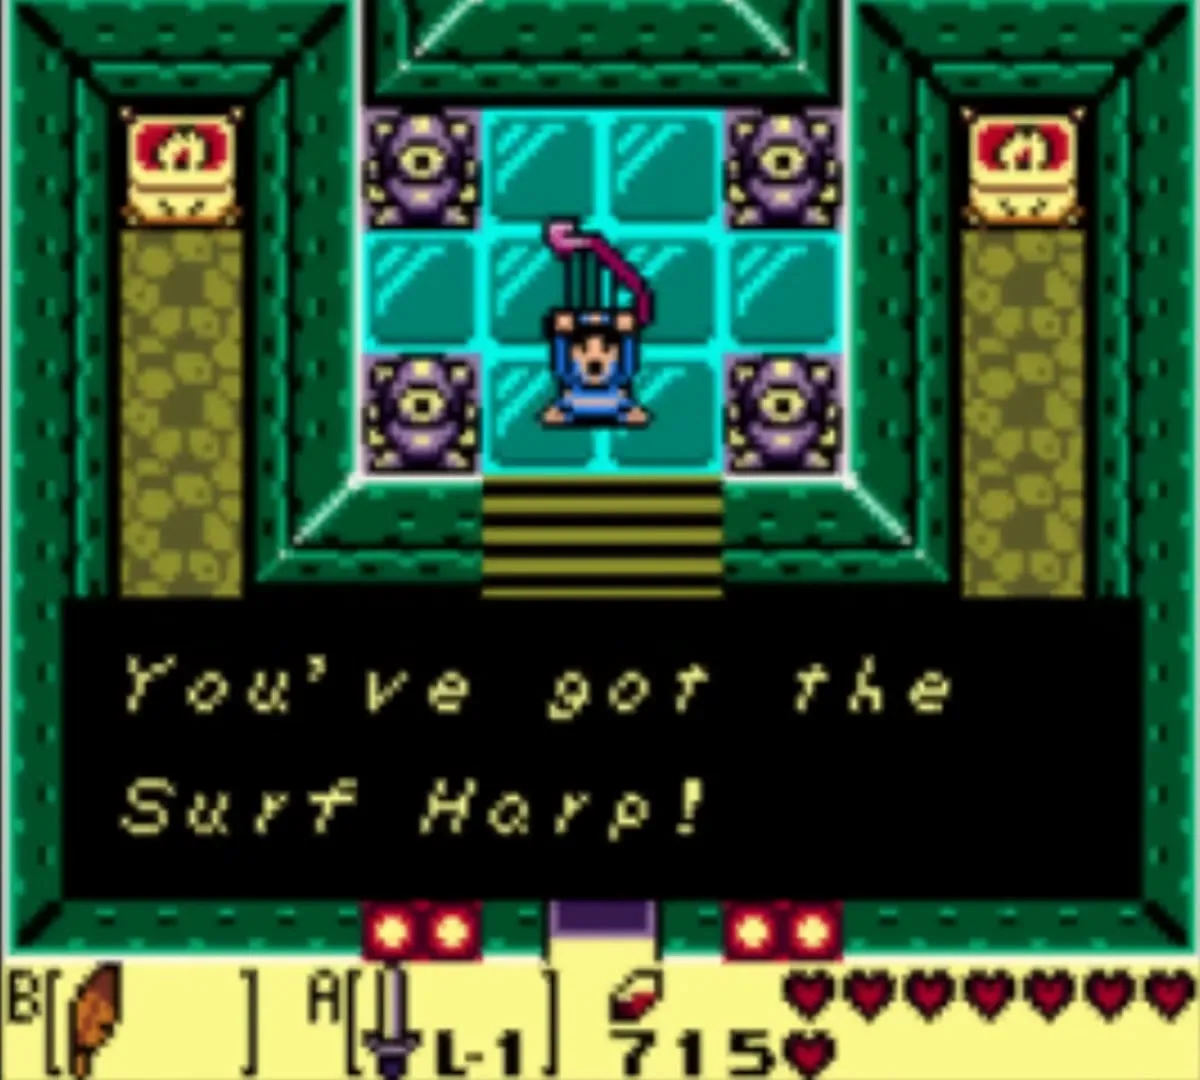
Go back to the room before the boss, climb the ladder and go north. Walk up to the instrument in the next chamber to take the Surf Harp. A hint that follows points you to Martha’s Bay.
After the dungeon
Learn Manbo’s Mambo
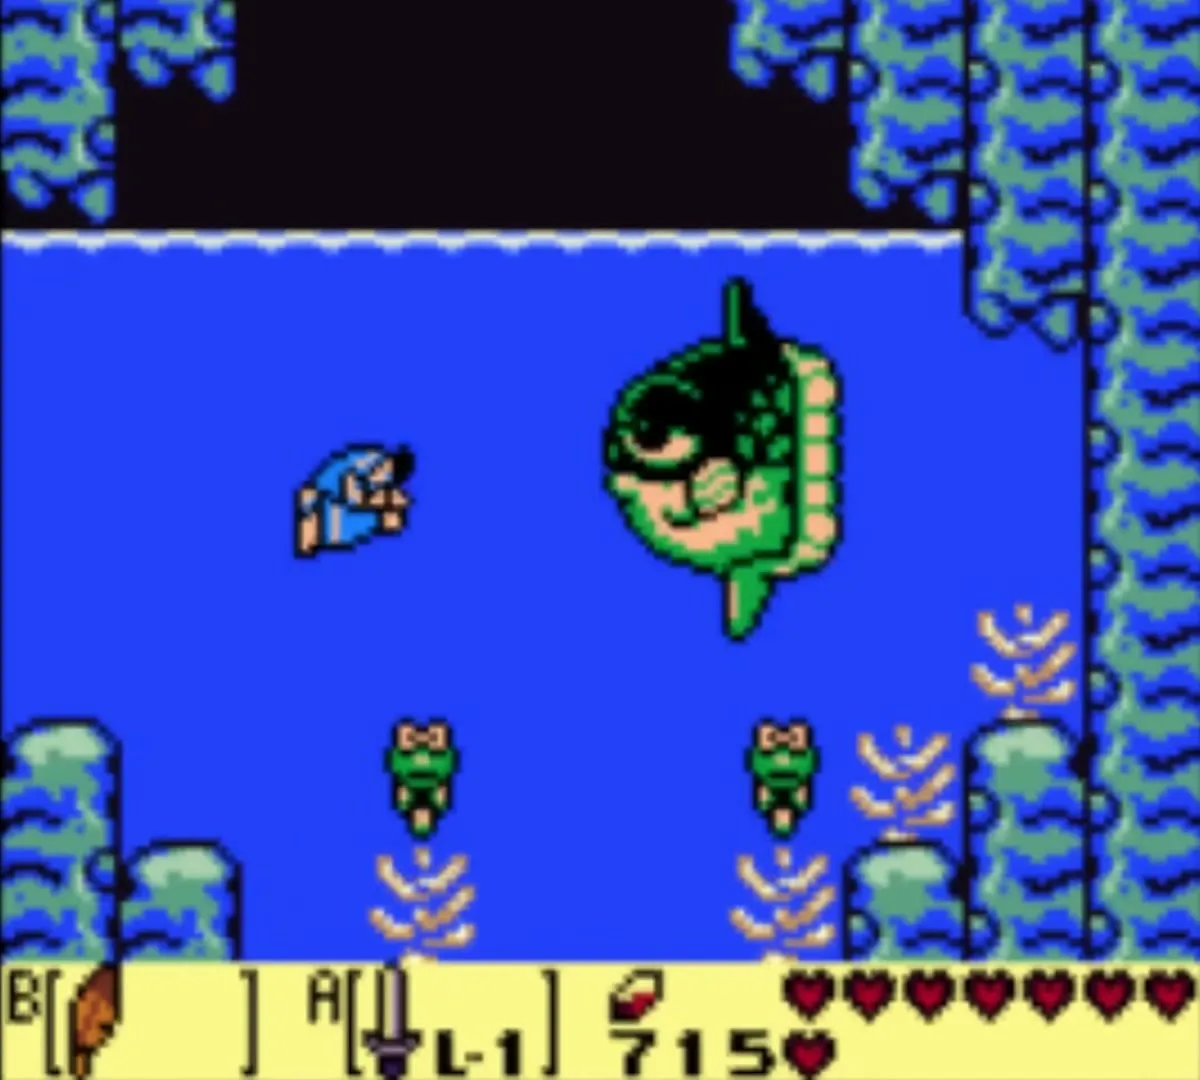
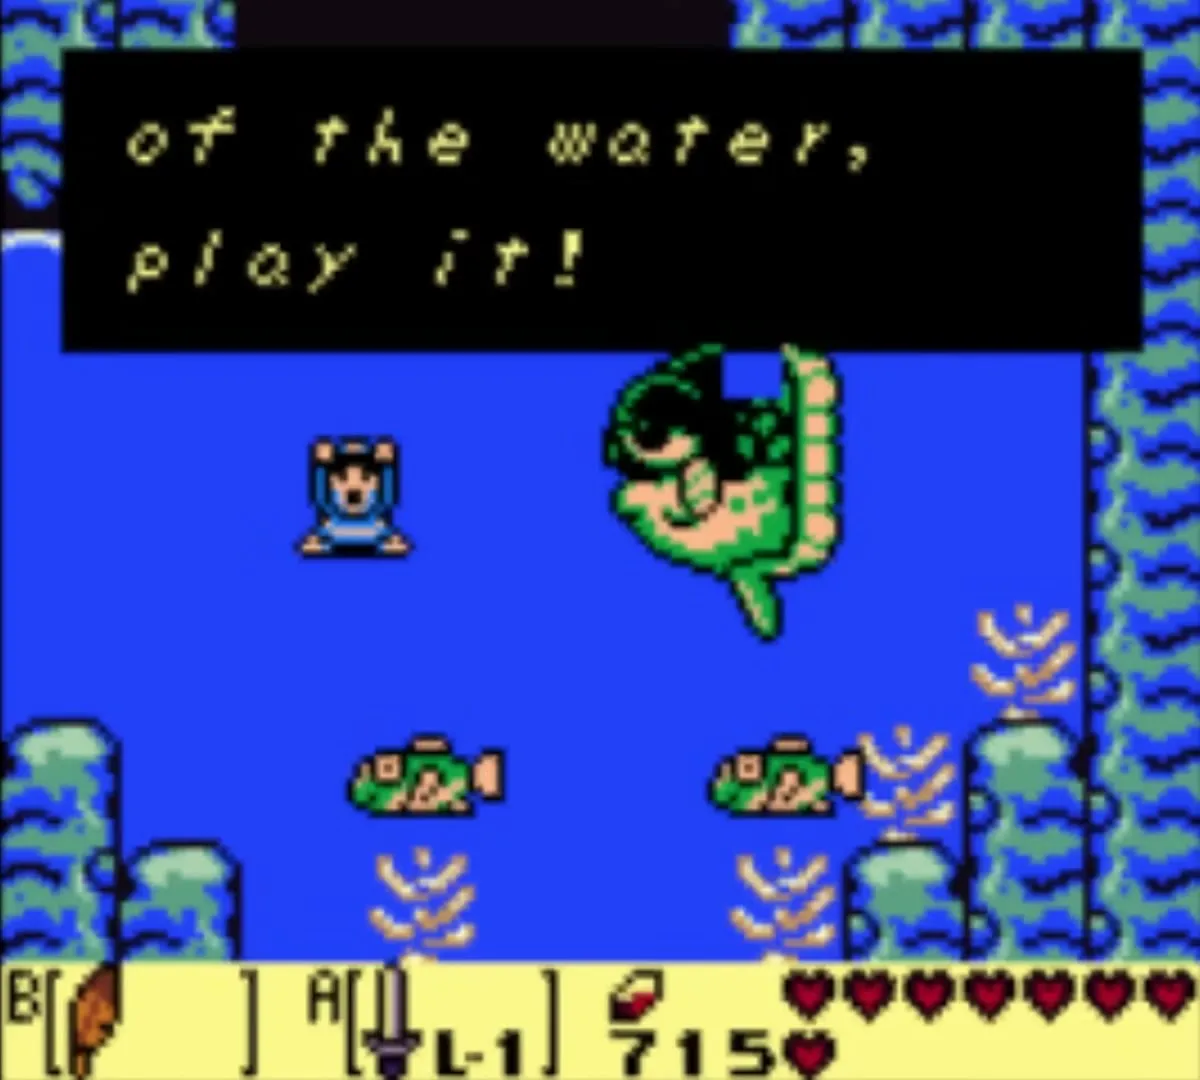
When you leave the dungeon, a large fish named Manbo is waiting in the water outside and teaches you Manbo’s Mambo. Playing it on the Ocarina warps you to Manbo’s Pond. See the Ocarina Songs page for how it works.
Flooded cave Piece of Heart
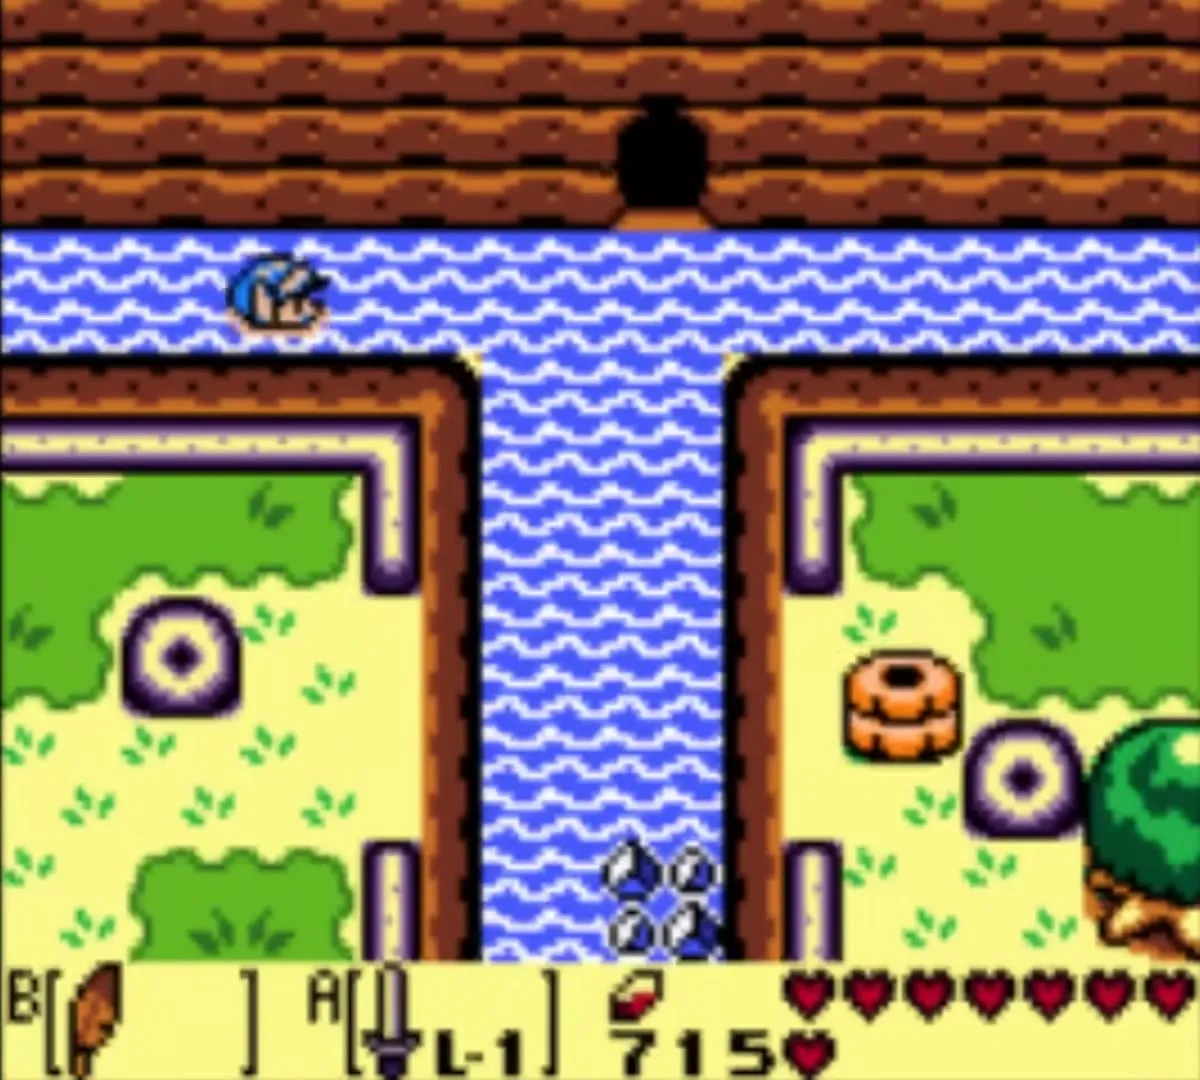
Use the Flippers at once. Swim to the cave east of the Angler’s Tunnel entrance in the Tal Tal Heights and dive in the middle of the flooded room. You come back up with a Piece of Heart.

Chapter checklist
| Collectible | Type | Where |
|---|---|---|
| Sealed Cave Piece of Heart | Piece of Heart | Cave east of Mabe Village near the honeycomb tree; bombs, Pegasus Boots |
| Yarna Desert Piece of Heart | Piece of Heart | Cave under the quicksand; bomb the north wall |
| Flooded cave Piece of Heart | Piece of Heart | Tal Tal Heights cave east of the Angler’s Tunnel entrance; Flippers, dive |
| Phone-booth tree | Secret Seashell | Tree beside the telephone booth east of Mabe Village; Pegasus Boots, Power Bracelet |
| Tree west of Tail Cave | Secret Seashell | Lone tree one screen west of Tail Cave; Pegasus Boots |
| Owl statue dig | Secret Seashell | Owl statue before Animal Village; Shovel, Power Bracelet |
| Desert southeast corner | Secret Seashell | Boulder in the corner of Yarna Desert; Power Bracelet |
| Ocarina | Item | Dream Shrine chest |
| Ballad of the Wind Fish | Song | Marin at the Mabe Village weathercock |
| Dream Shrine chest | Rupees | 100 rupees beyond the Arm Mimics |
| Manbo’s Mambo | Song | Manbo, outside Angler’s Tunnel |
 Small keys (5),  Stone Beak, Map, Compass, Nightmare’s Key | Dungeon | Angler’s Tunnel |
 Honeycomb | Trading item | Tarin at the beehive, for the Stick |
 Pineapple | Trading item | Bear in Animal Village, for the Honeycomb |
 Hibiscus | Trading item | Papahl, for the Pineapple |
 Secret Medicine | Item | Crazy Tracy, 28 or 42 rupees |
| Ocean View, Heads Up!, Camera Hog | Photos 2 to 4 | Toronbo Shores cliff, the well, the weathercock; Marin must be following |
| Angler Key | Key item | Lanmola in Yarna Desert |
| Flippers | Item | Chest after Cue Ball in Angler’s Tunnel |
 Heart Container | Heart Container | Angler Fish |
| Surf Harp | Instrument | Chamber beyond the Angler Fish |
Next, put the Flippers to work and find your way to the sea: Martha’s Bay and Catfish’s Maw (Level 5).
