





















Link's Awakening 100% Completion Walkthrough9 chapters
- The Shore, Forest and Tail Cave (Level 1)Shield, Sword, Mysterious Forest, Magic Powder, Tail Key, Roc’s Feather, Moldorm and the Full Moon Cello.
- Goponga Swamp and Bottle Grotto (Level 2)BowWow’s rescue, Goponga Swamp, every key, the Power Bracelet, the Genie boss and the Conch Horn.
- Ukuku Prairie, Kanalet Castle and Key Cavern (Level 3)The Golden Leaves of Kanalet Castle, the Slime Key, Pegasus Boots, Slime Eye and the Sea Lily’s Bell.
- Yarna Desert and Angler’s Tunnel (Level 4)Wake the walrus, cross Yarna Desert, win the Flippers, beat the Angler Fish and take the Surf Harp.
- Martha’s Bay and Catfish’s Maw (Level 5)Manbo’s Mambo, the ghost, the Mermaid’s Scale, Hookshot, Master Stalfos, Slime Eel and the Wind Marimba.
- Ancient Ruins and Face Shrine (Level 6)Magnifying Lens, Frog’s Song of Soul, Boomerang, Ancient Ruins, Power Bracelet L-2, Facade, Coral Triangle.
- Tal Tal Mountains and Eagle’s Tower (Level 7)Flying Rooster, Bird Key, Mirror Shield, Evil Eagle and the Organ of Evening Calm.
- Western Mountains and Turtle Rock (Level 8)Marin’s bridge, Mad Batter, Frog’s Song of Soul, Magic Rod, Hot Head and the Thunder Drum.
- The Wind Fish’s Egg and the FinaleFinish your 100%, read the maze book, play the Ballad, beat the Shadow Nightmares, see the secret ending.
| Covers | Tarin’s house, Toronbo Shores, Mabe Village, the Mysterious Forest, the Witch’s Hut and the road to Tail Cave |
|---|---|
| Dungeon | Tail Cave (Level 1): opened with the Tail Key; mini-boss Rolling Bones, boss Moldorm, instrument Full Moon Cello |
| Rewards | Shield, Sword, Magic Powder, Tail Key, Roc’s Feather, Stone Beak, Heart Container, Full Moon Cello; 2 Pieces of Heart (well and fishing pond); 3 Secret Seashells (bush, doghouse and, on a later return, the Tail Cave chest); no photos yet |
This chapter takes you from waking up in Tarin’s house to your first Instrument. You collect the Shield and the Sword, pick a Sleepy Toadstool in the Mysterious Forest and swap it for Magic Powder, use the powder on a raccoon to reach the Tail Key, then clear Tail Cave for the Roc’s Feather and defeat Moldorm. The village errands are optional and can wait, but a few early collectibles need only the Sword and a handful of rupees.

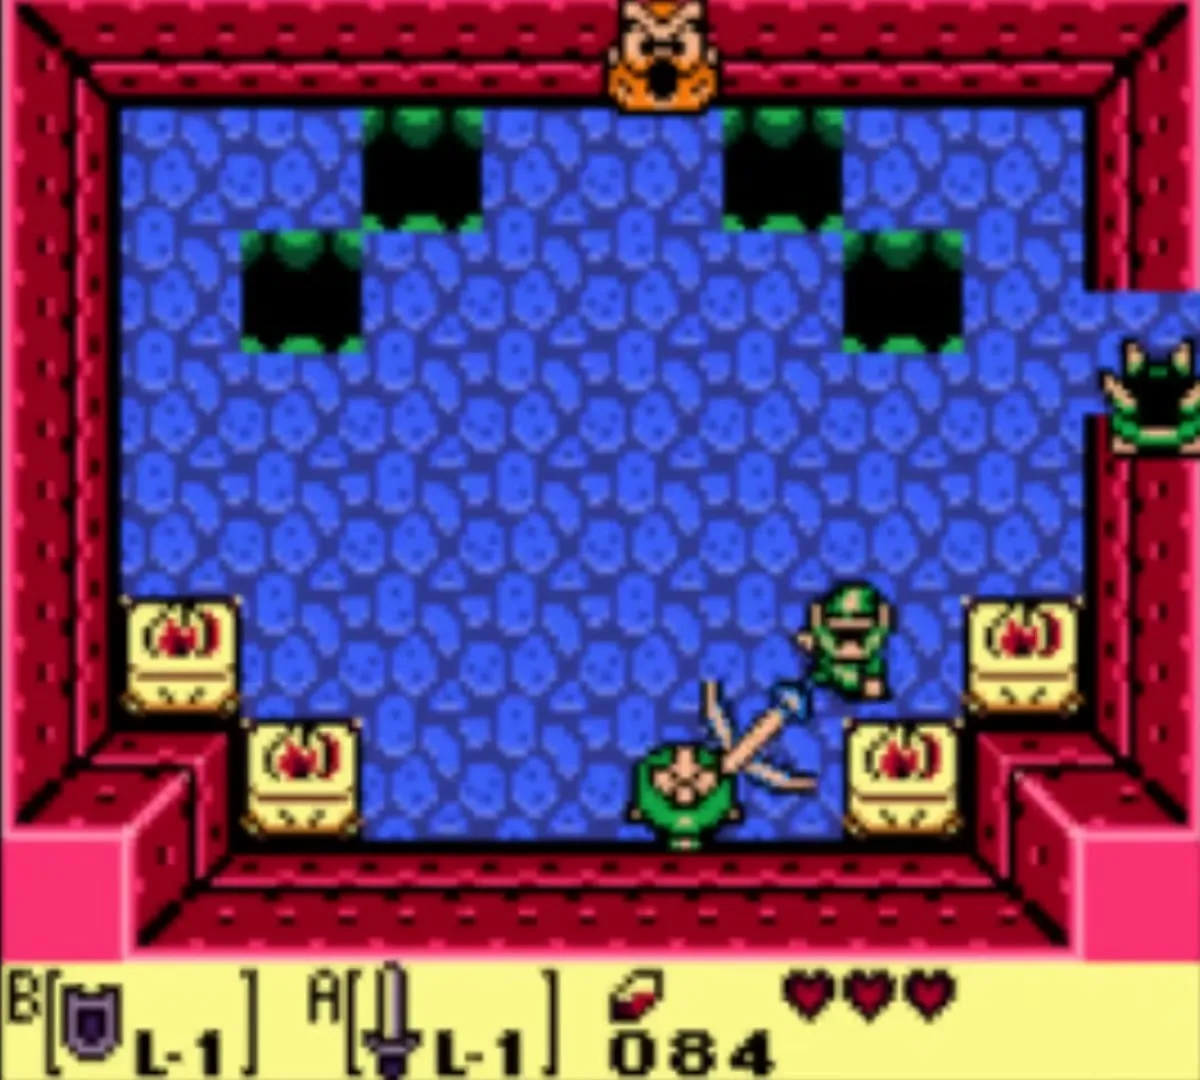
Table of Contents
Shield and Sword

How to get the Shield
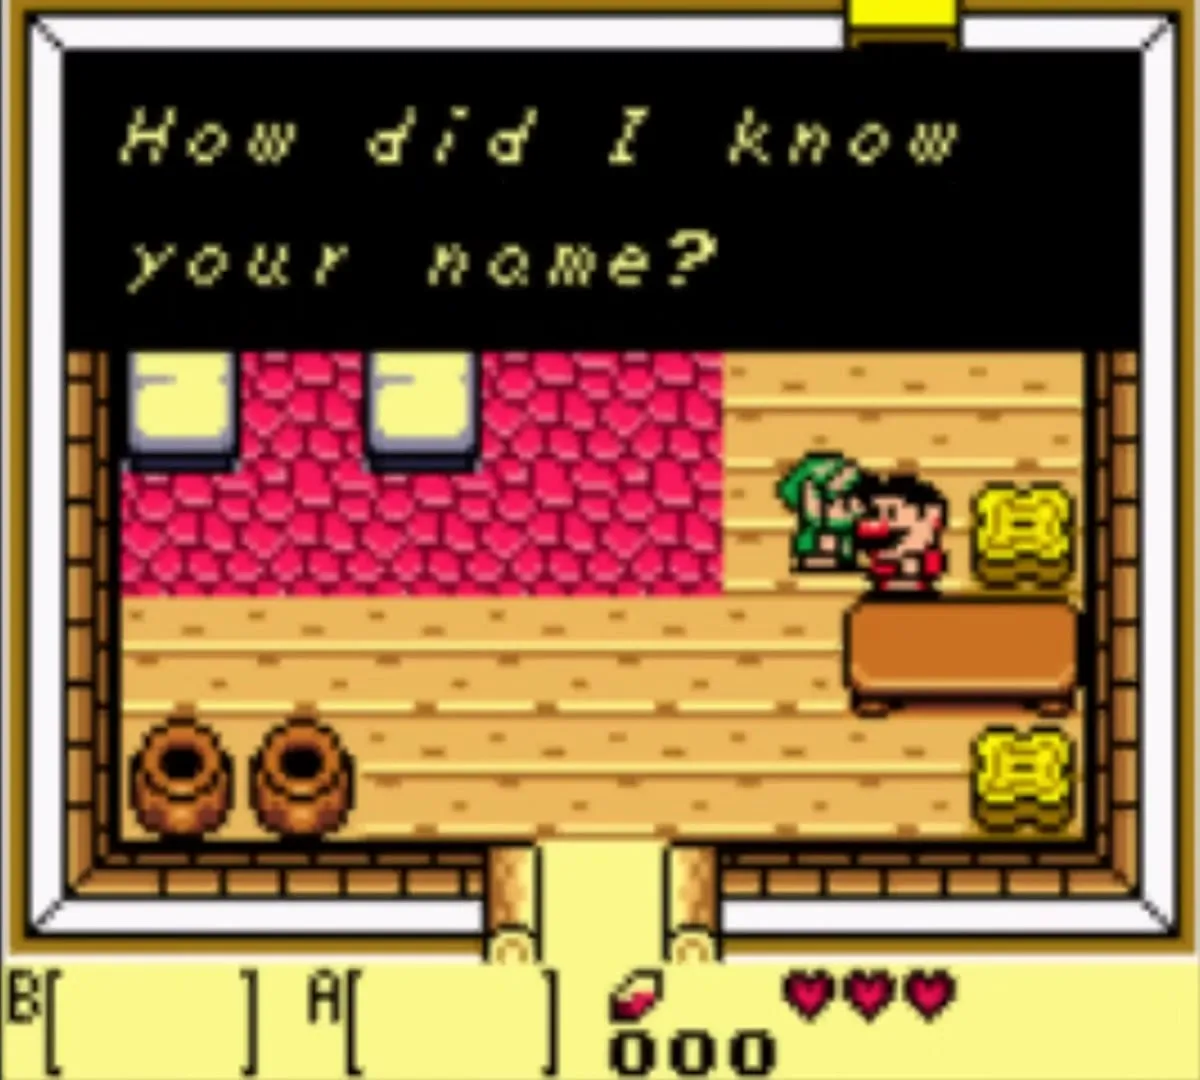
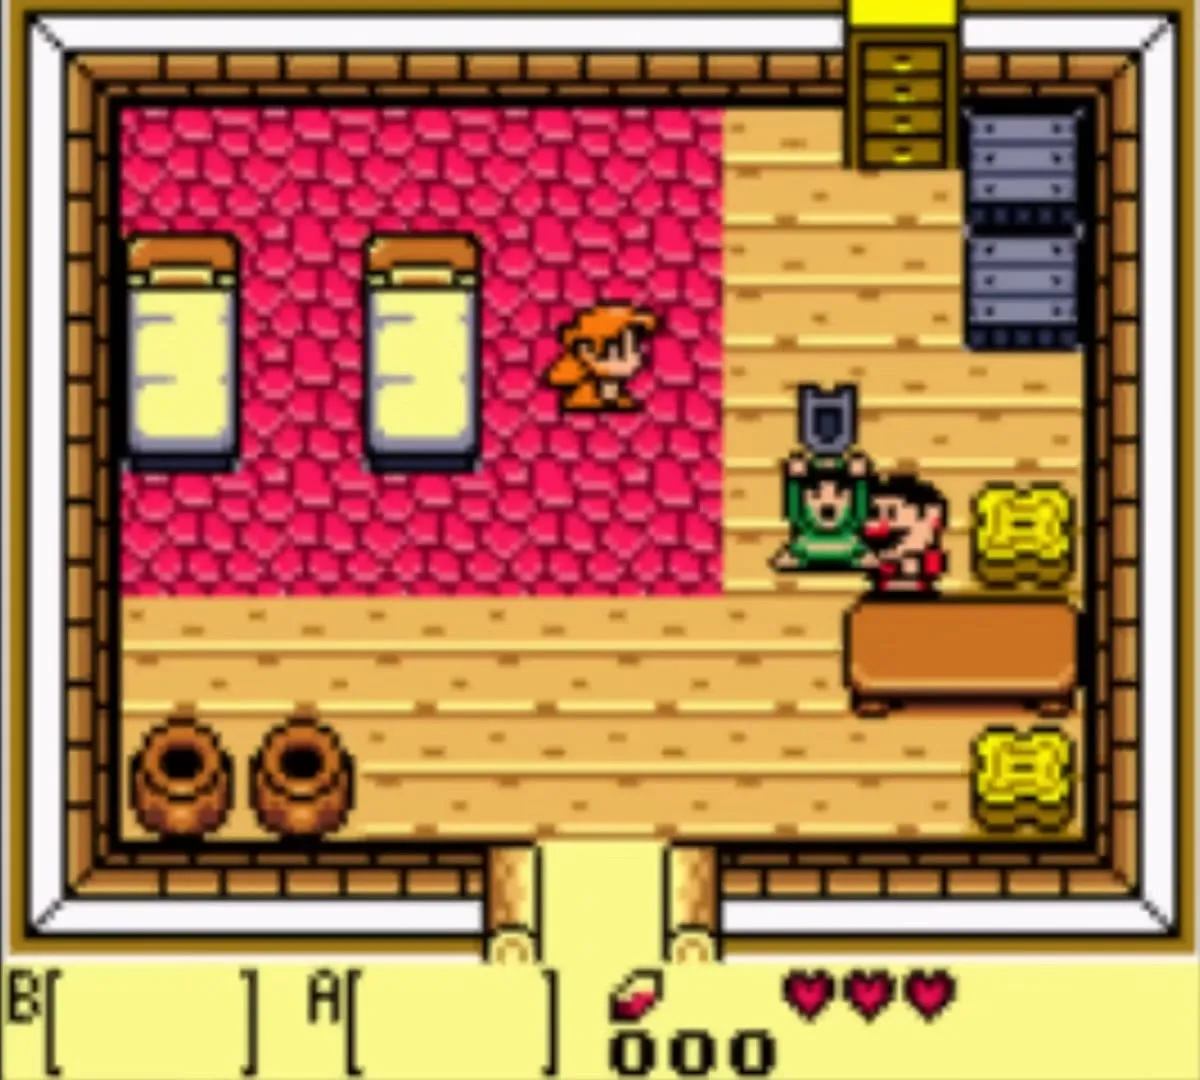
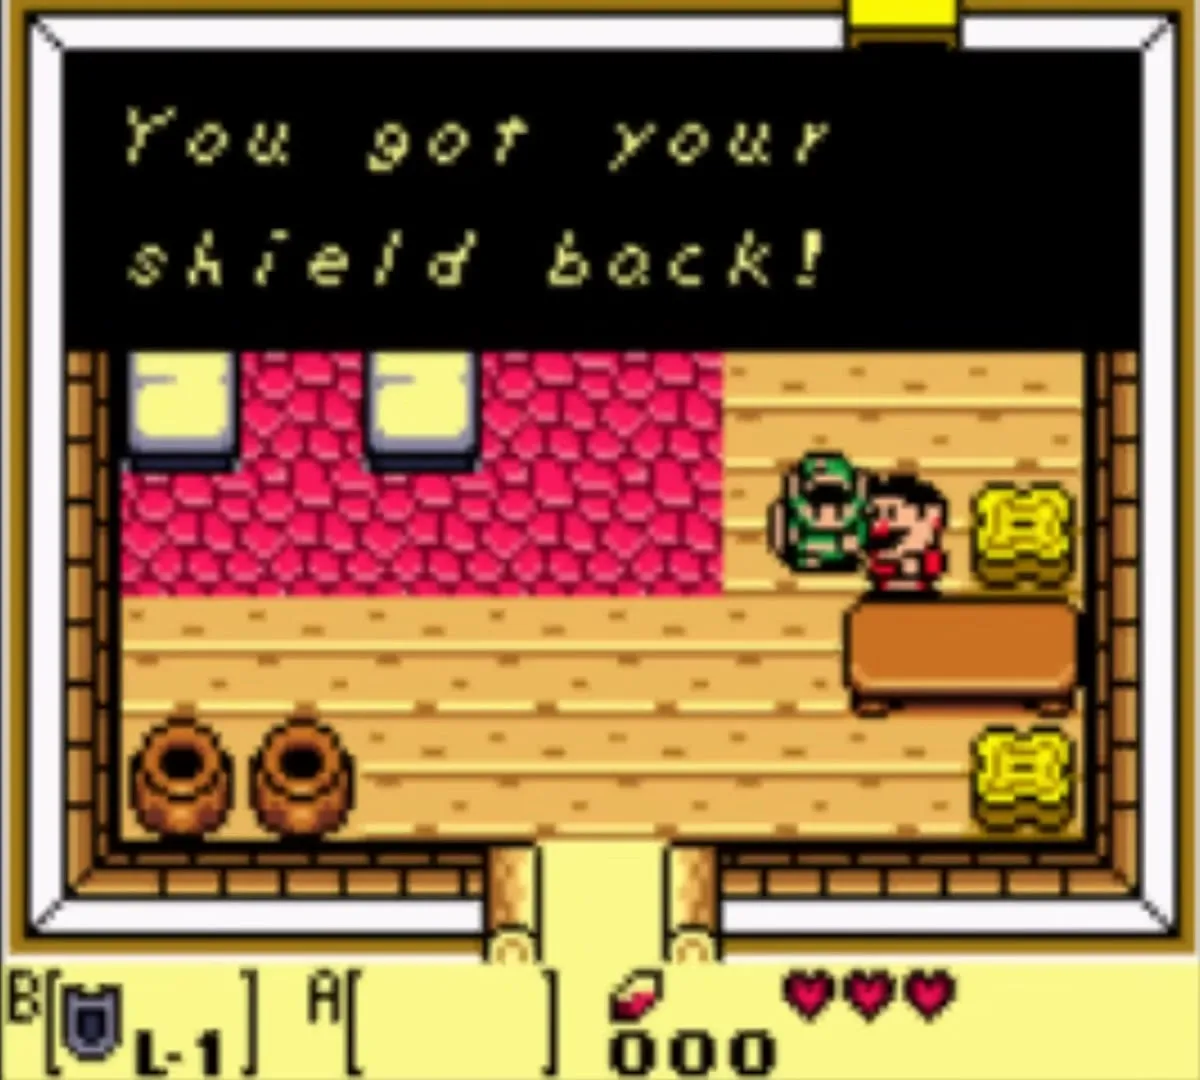
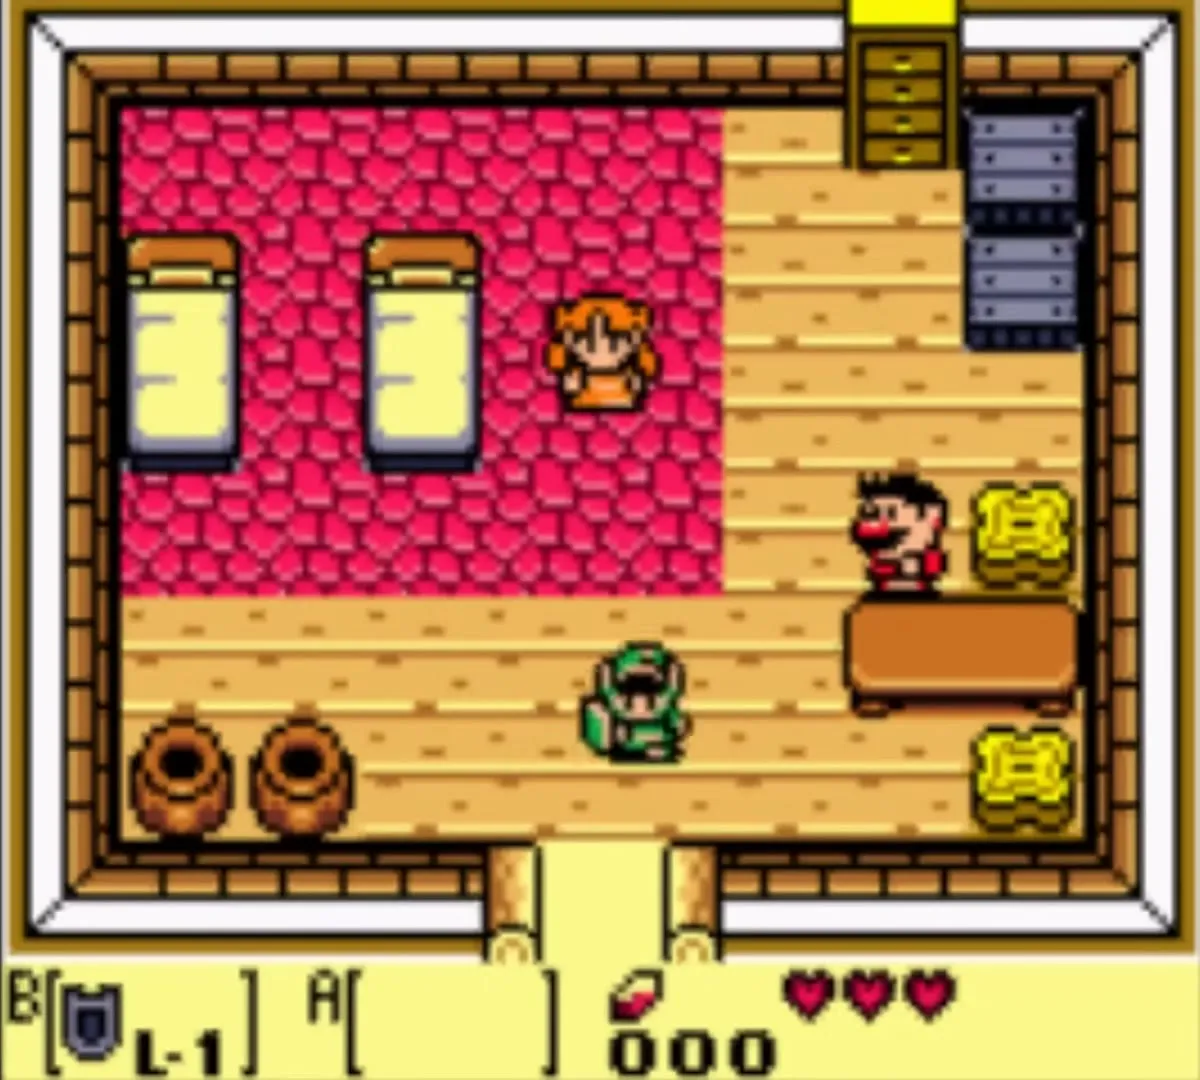
After the storm and the beach scene you wake up in a house in Mabe Village. Talk to Marin, then to her father Tarin, who hands you the Shield. Equip it from the item screen and leave through the doorway at the bottom of the room. Held forward, the Shield pushes enemies back and also blocks many shots.
Toronbo Shores sword
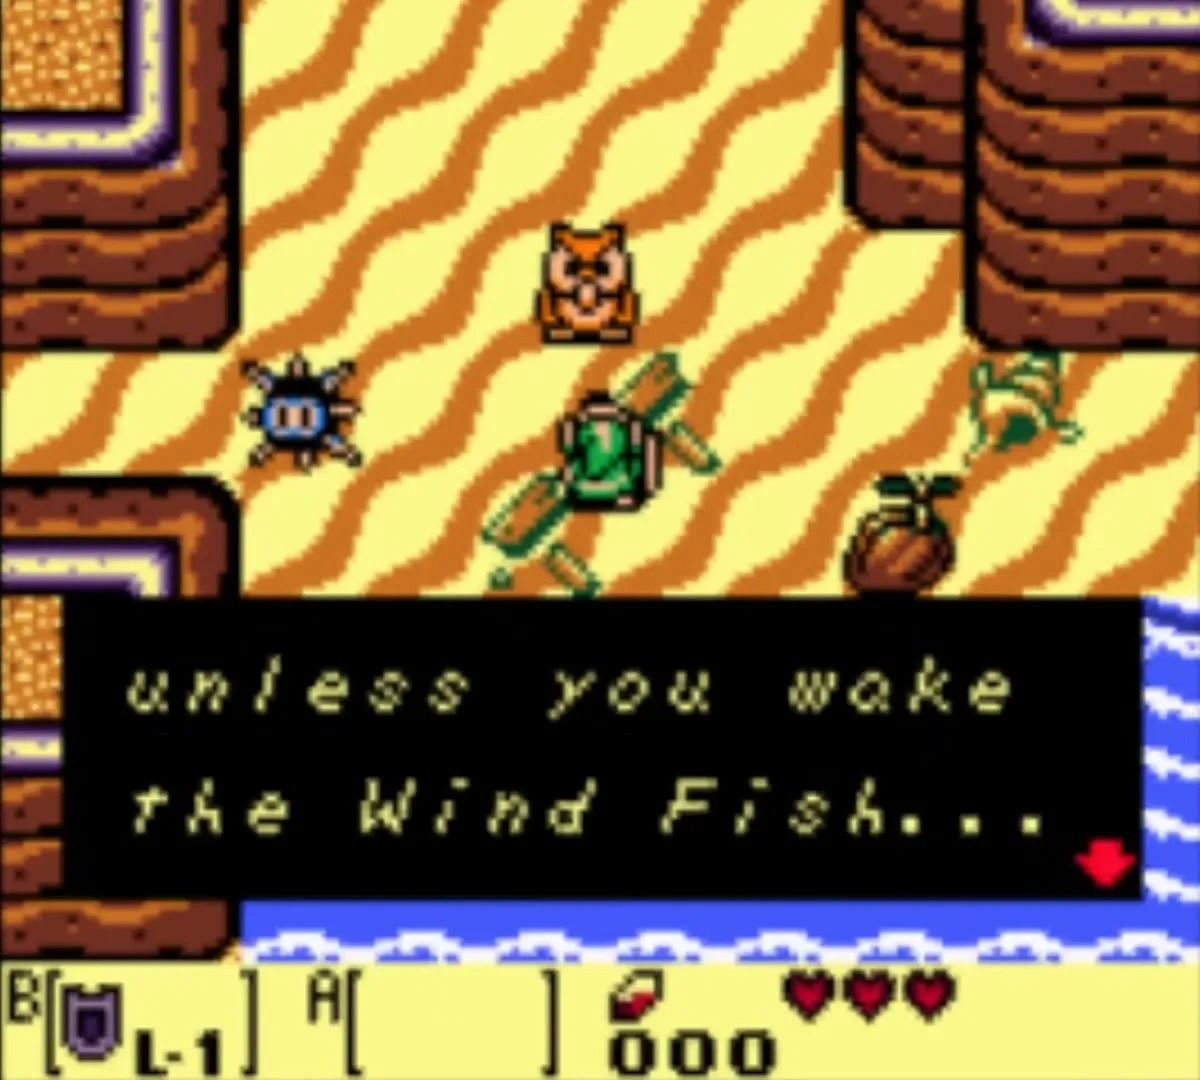
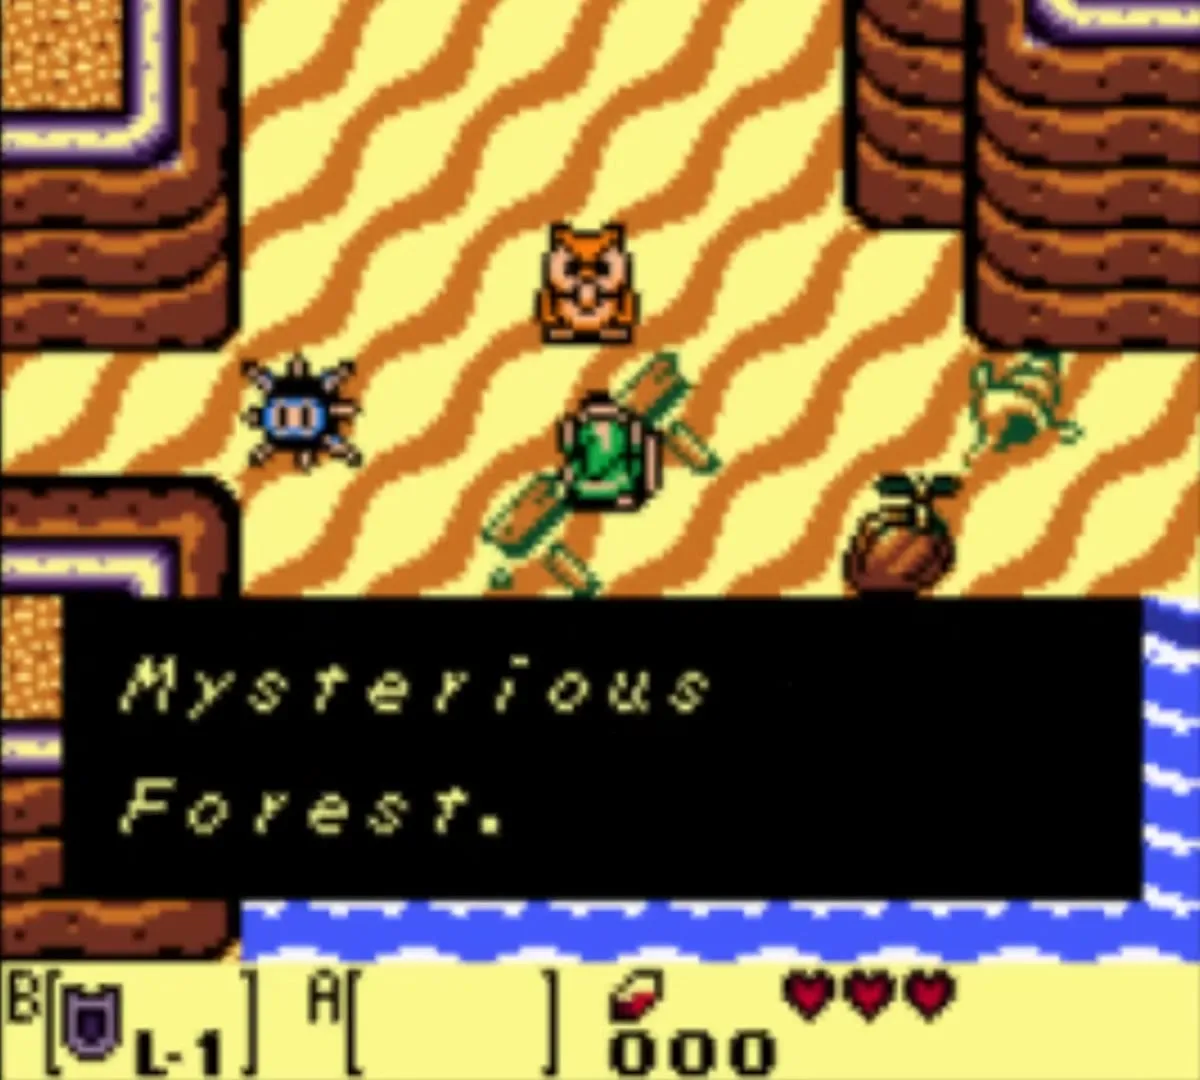
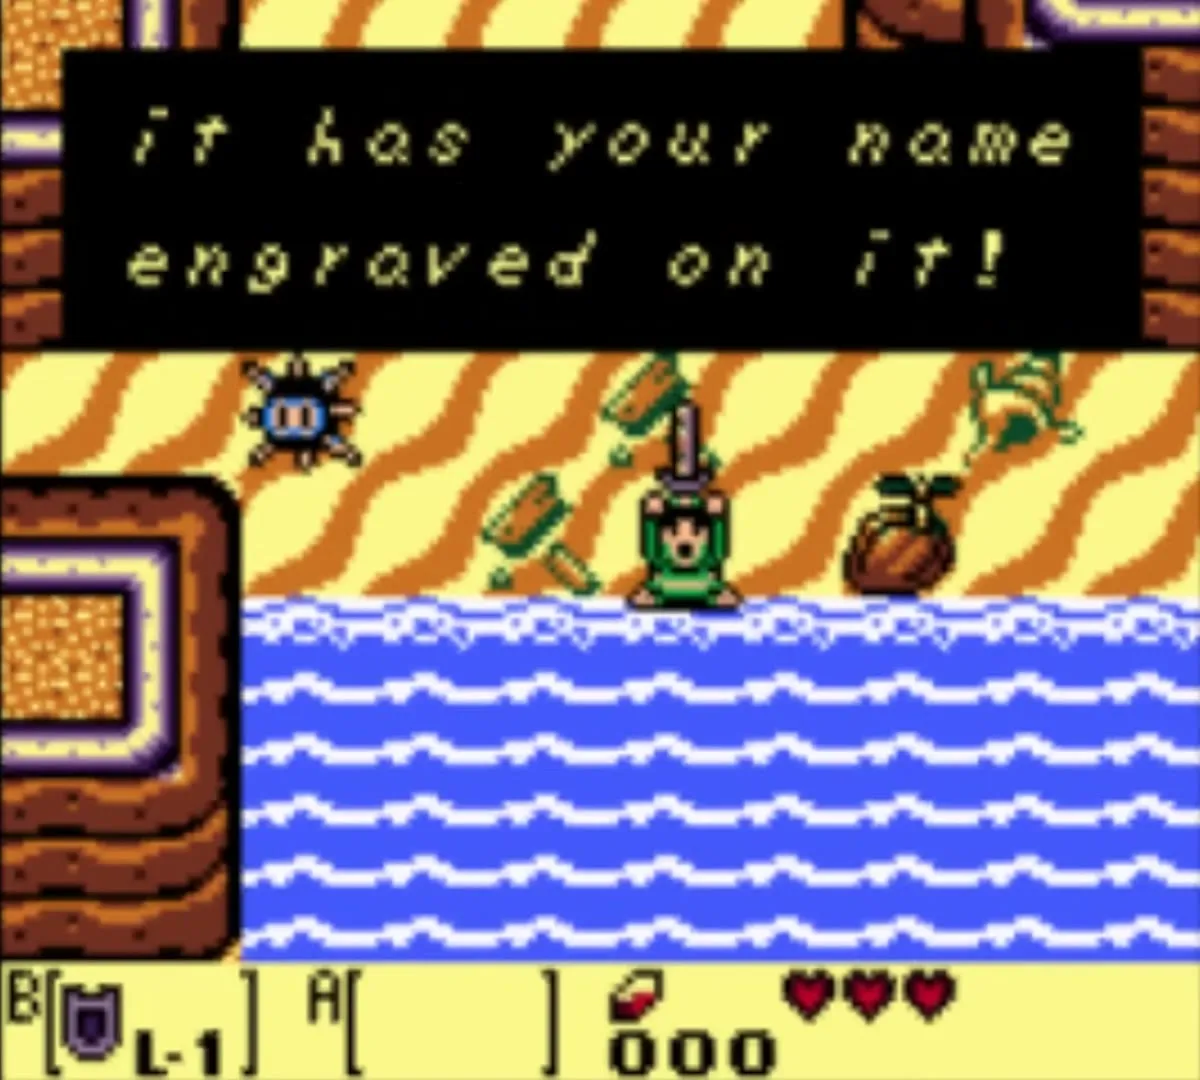
Head south out of the village past the children playing catch to Toronbo Shores. Hold the Shield forward and walk into the purple Sea Urchins to shove them aside, then go down to the water’s edge, where a sword sticks out of the sand. An Owl speaks first and sends you to the Mysterious Forest to look for a key. After it leaves, pick up the sword and assign it to a button.
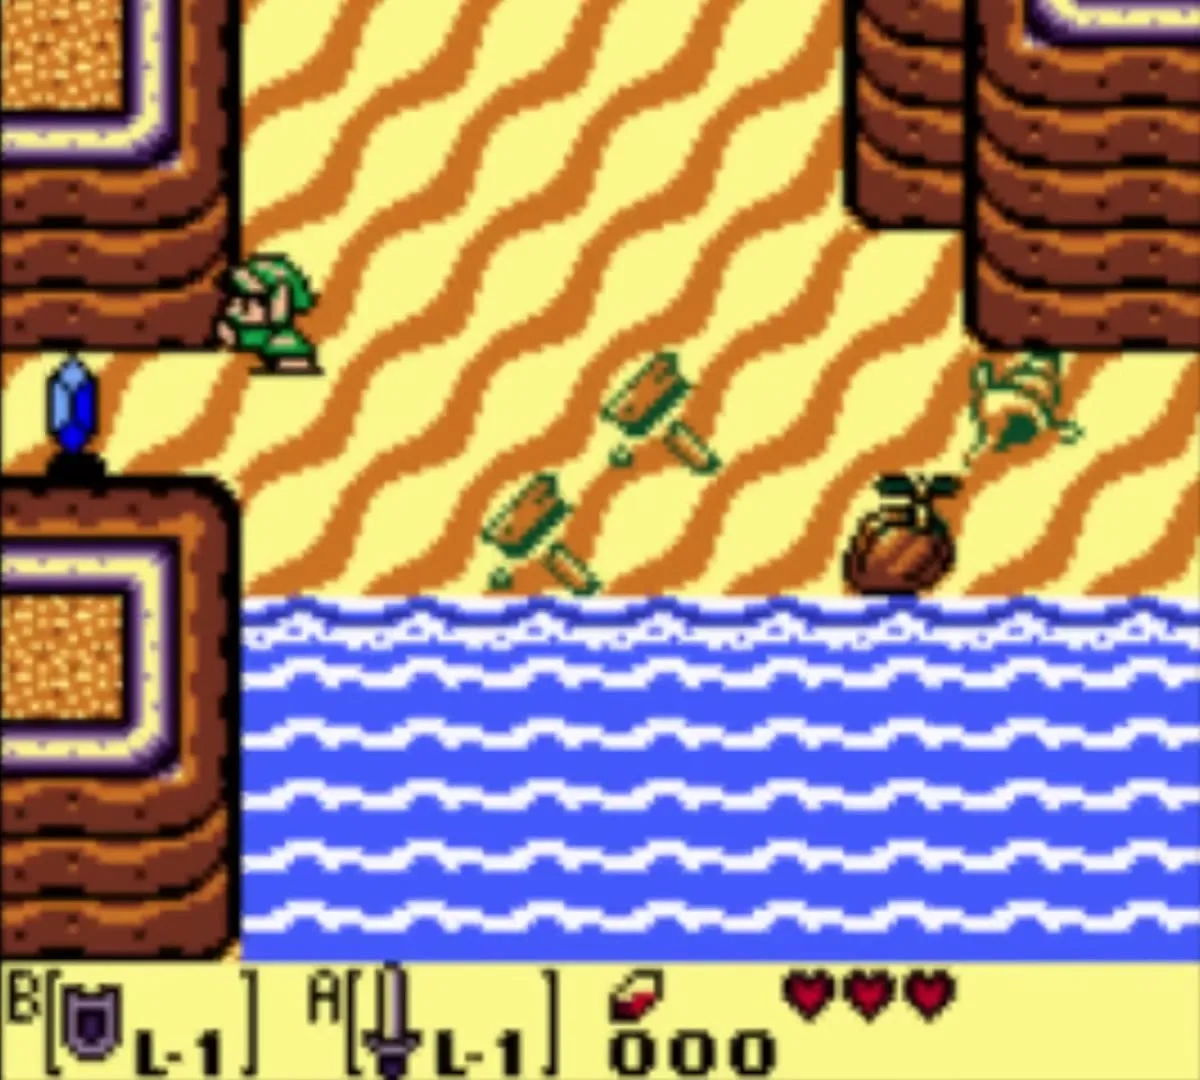
Mabe Village errands
Before you enter the forest, spend a few minutes in Mabe Village. Nothing here needs more than the Sword and some rupees, and several of the items start long collection quests. You can also return after Tail Cave when your wallet is fuller.
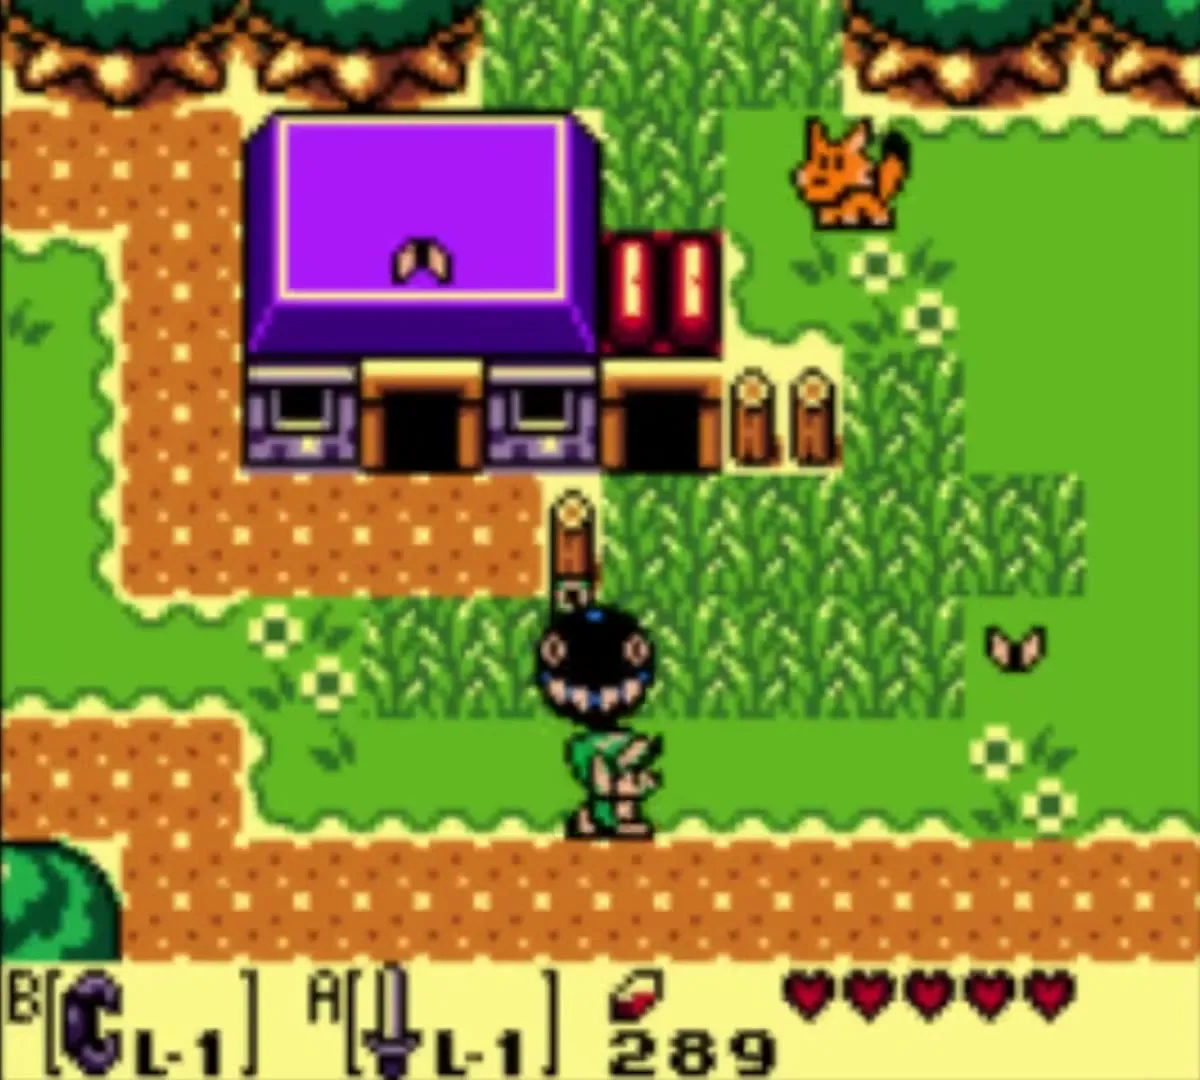

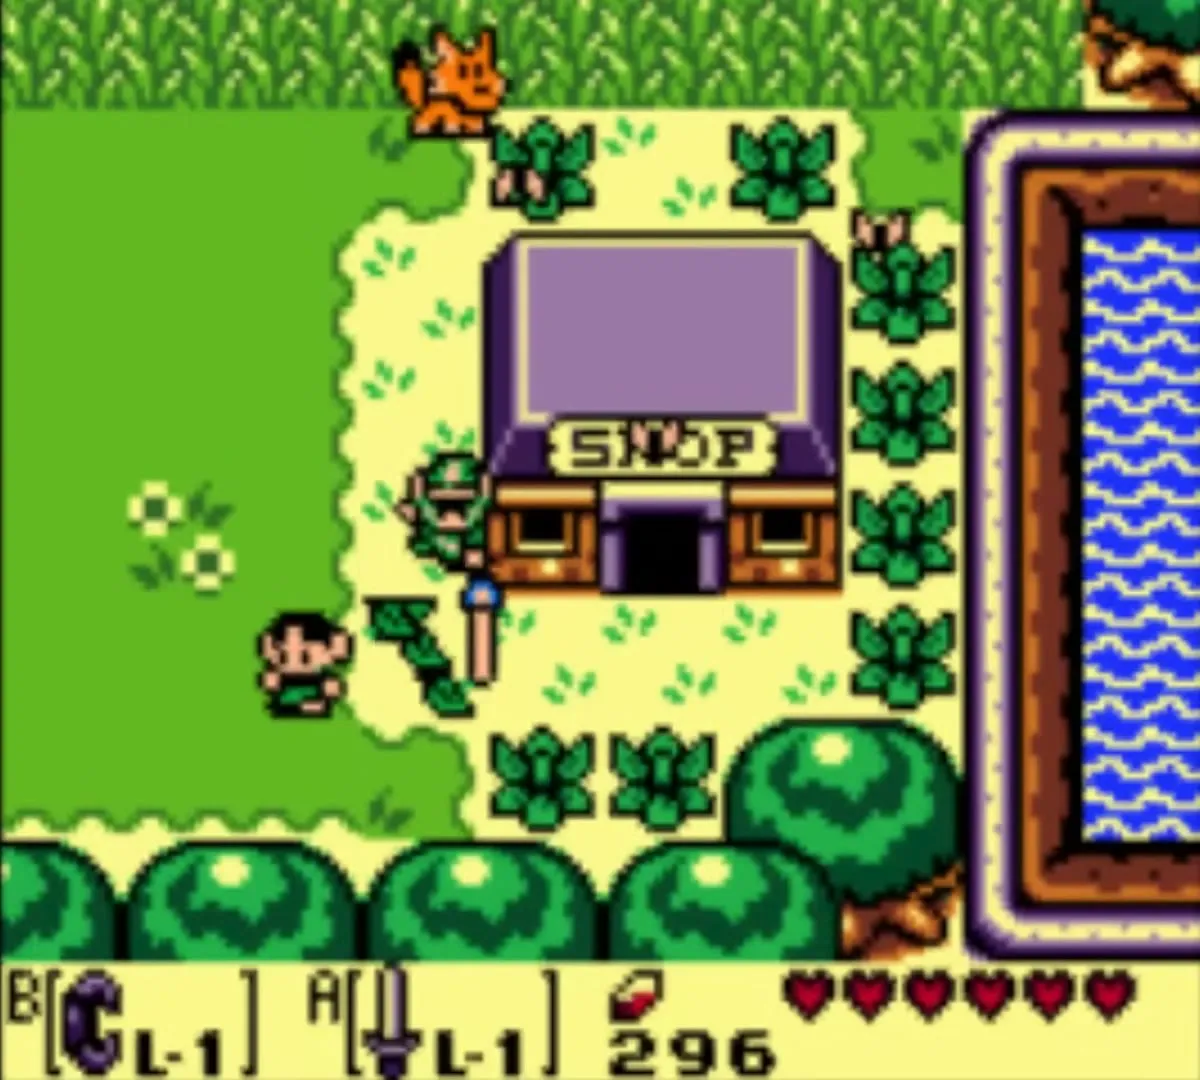
Well: first Piece of Heart
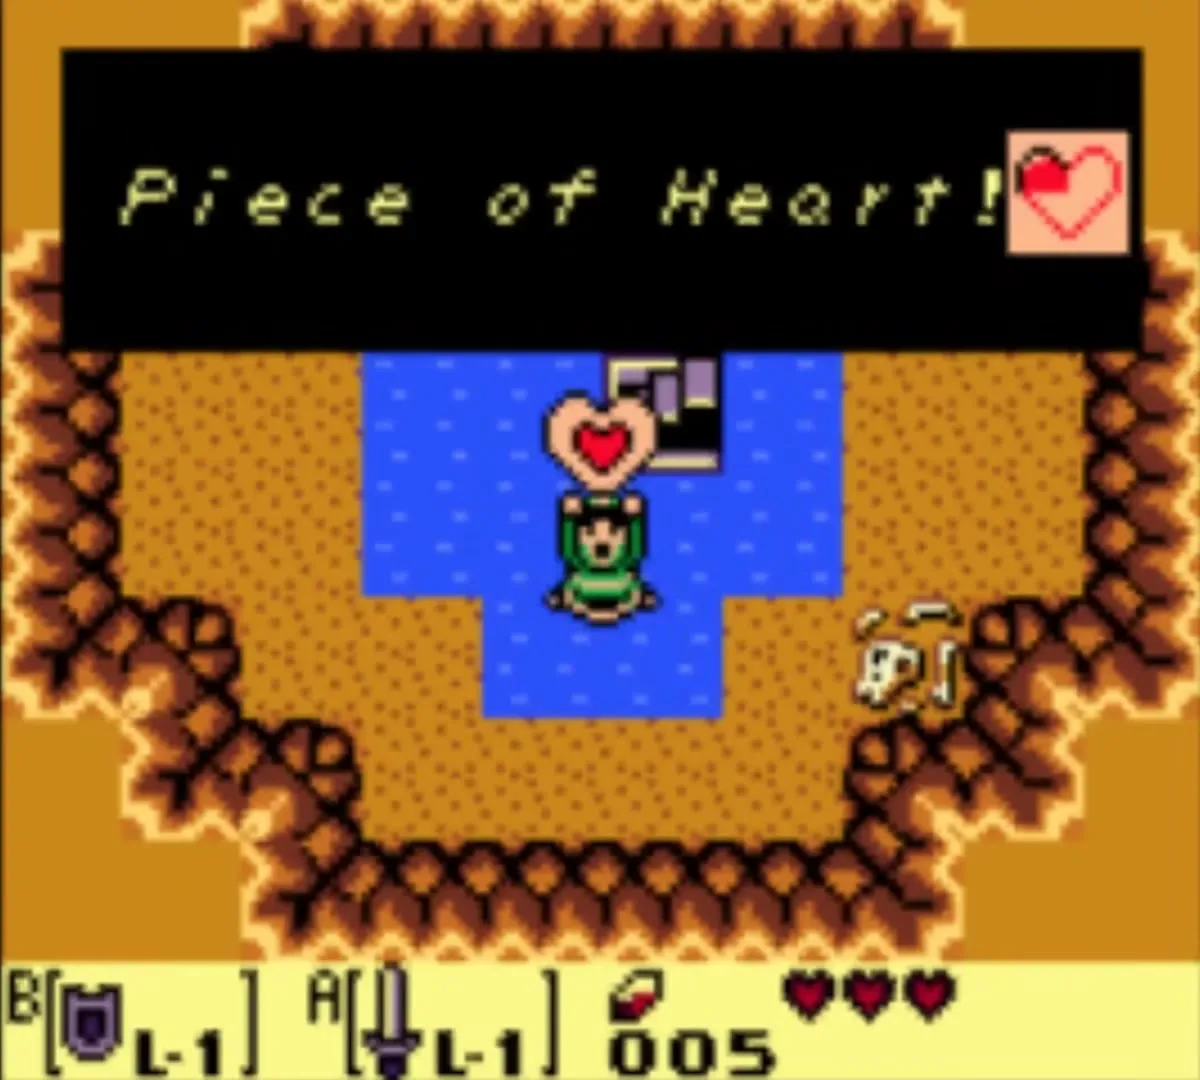
In the west of the village, two children play near a well. Climb to the ledge above it, cut the three bushes with the Sword, then step off the ledge into the well to find a Piece of Heart. Four pieces make one extra heart container, so this is the first quarter of one.
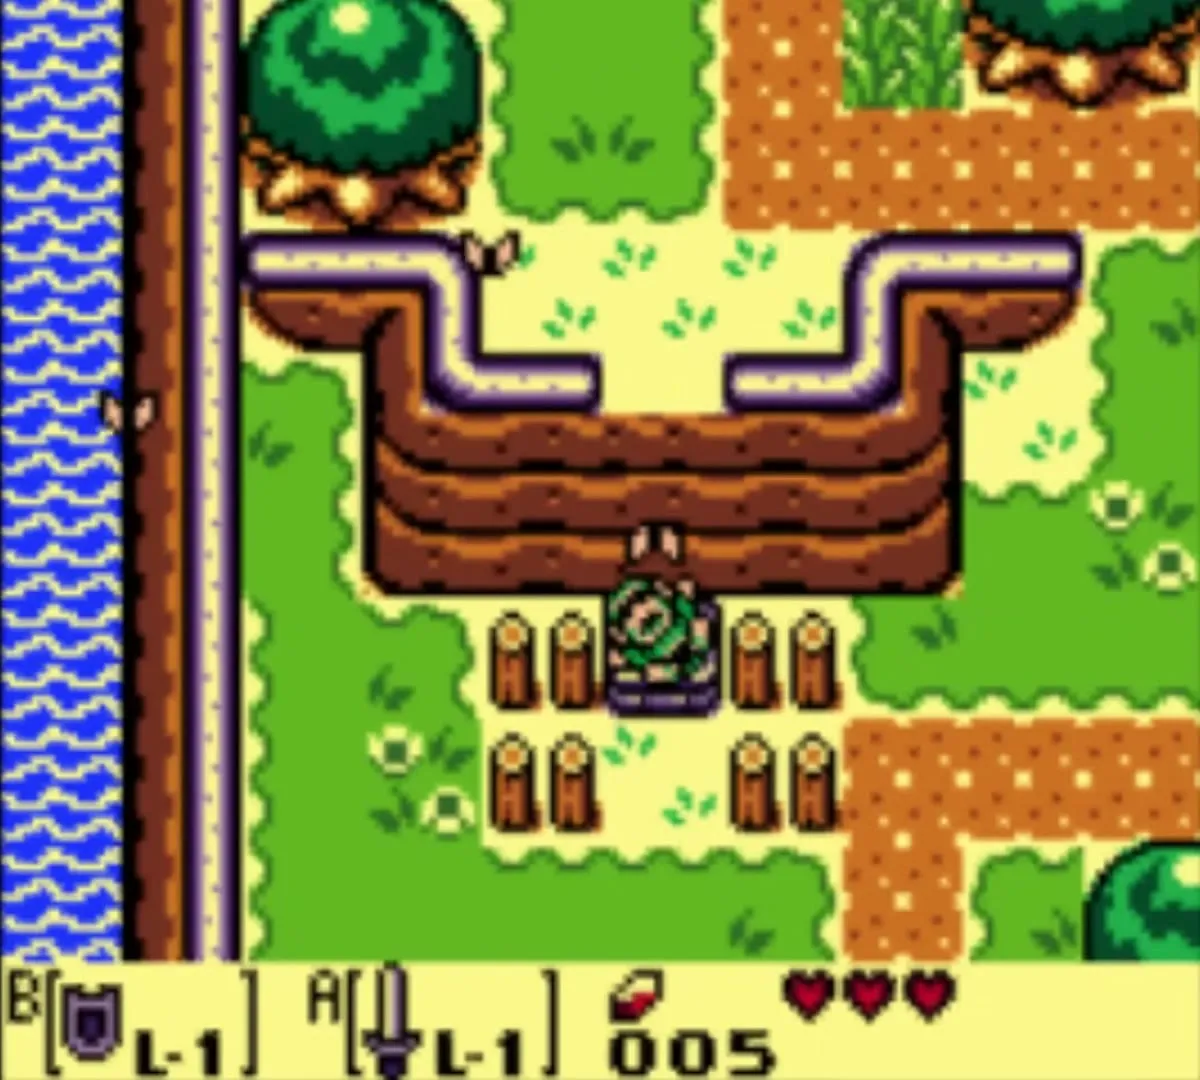
Secret Seashell in the bushes
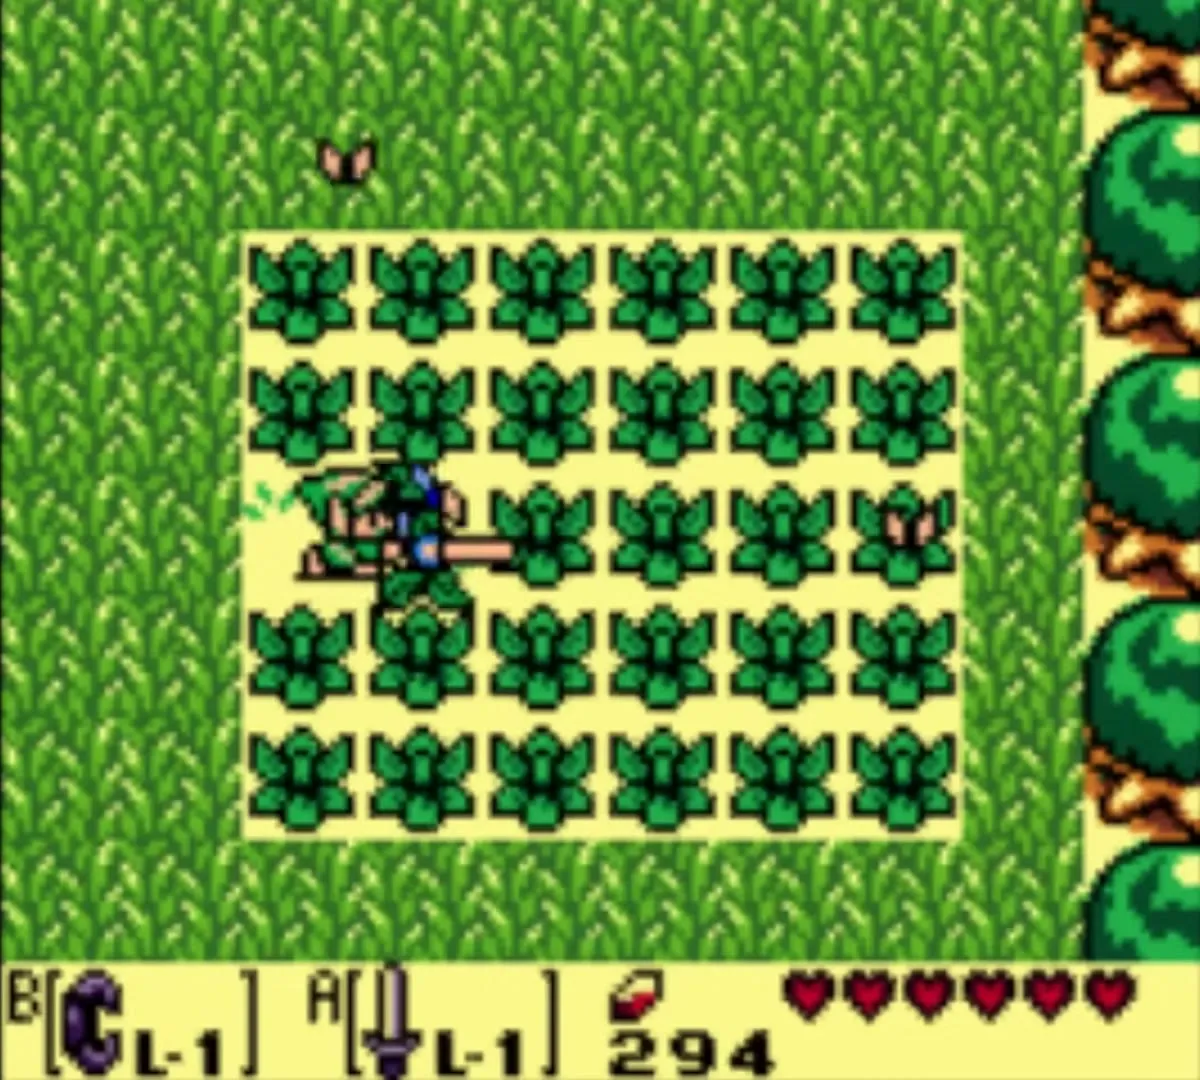
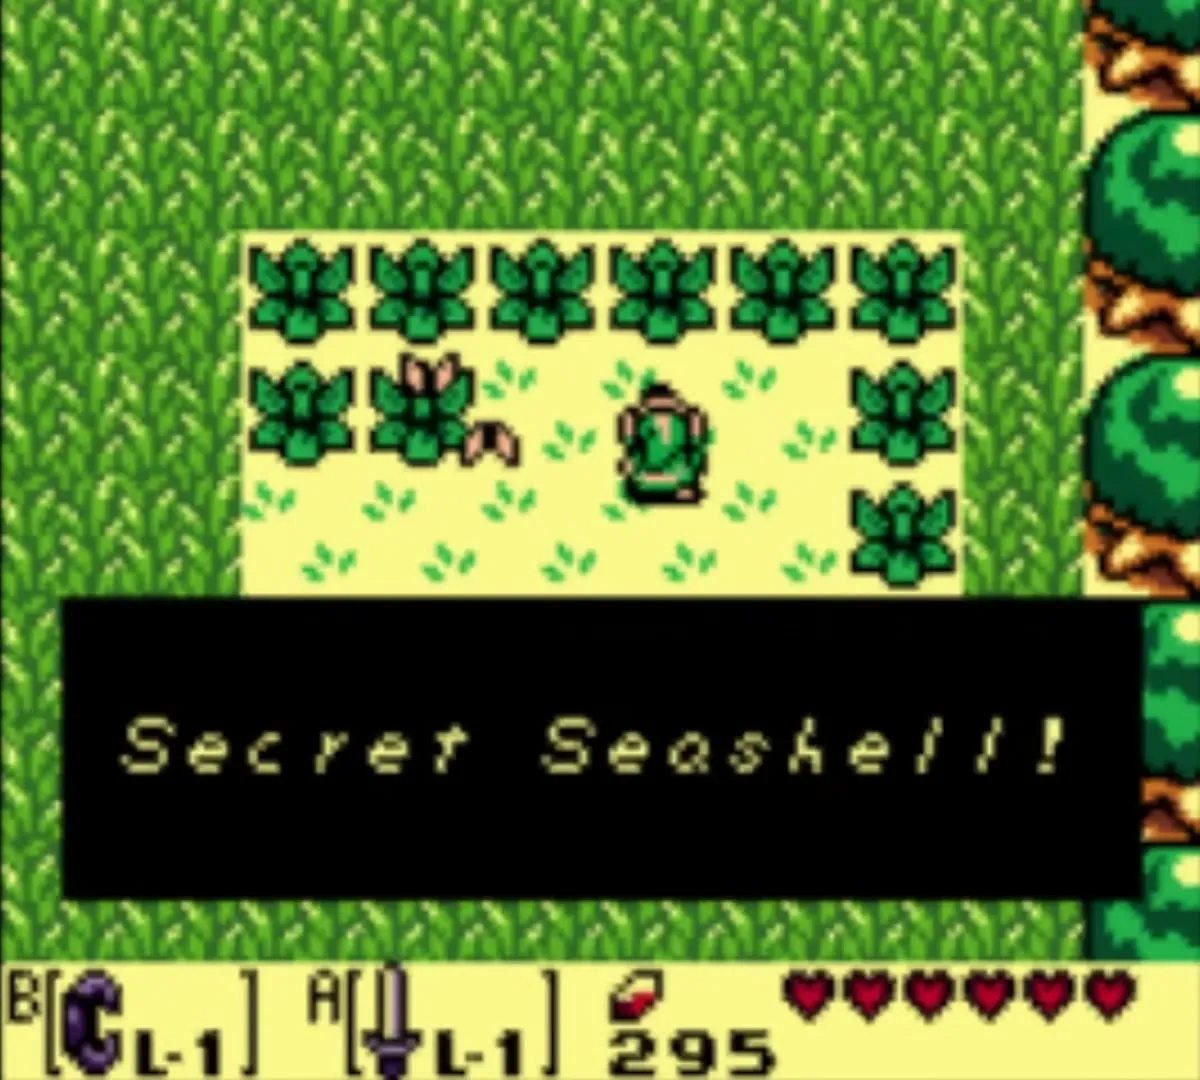
North of the Trendy Game, in the east of the village, a patch of bushes sits on one screen. Cut the bush four columns in from the right and four rows up from the bottom to uncover your first Secret Seashell. You only need the Sword.

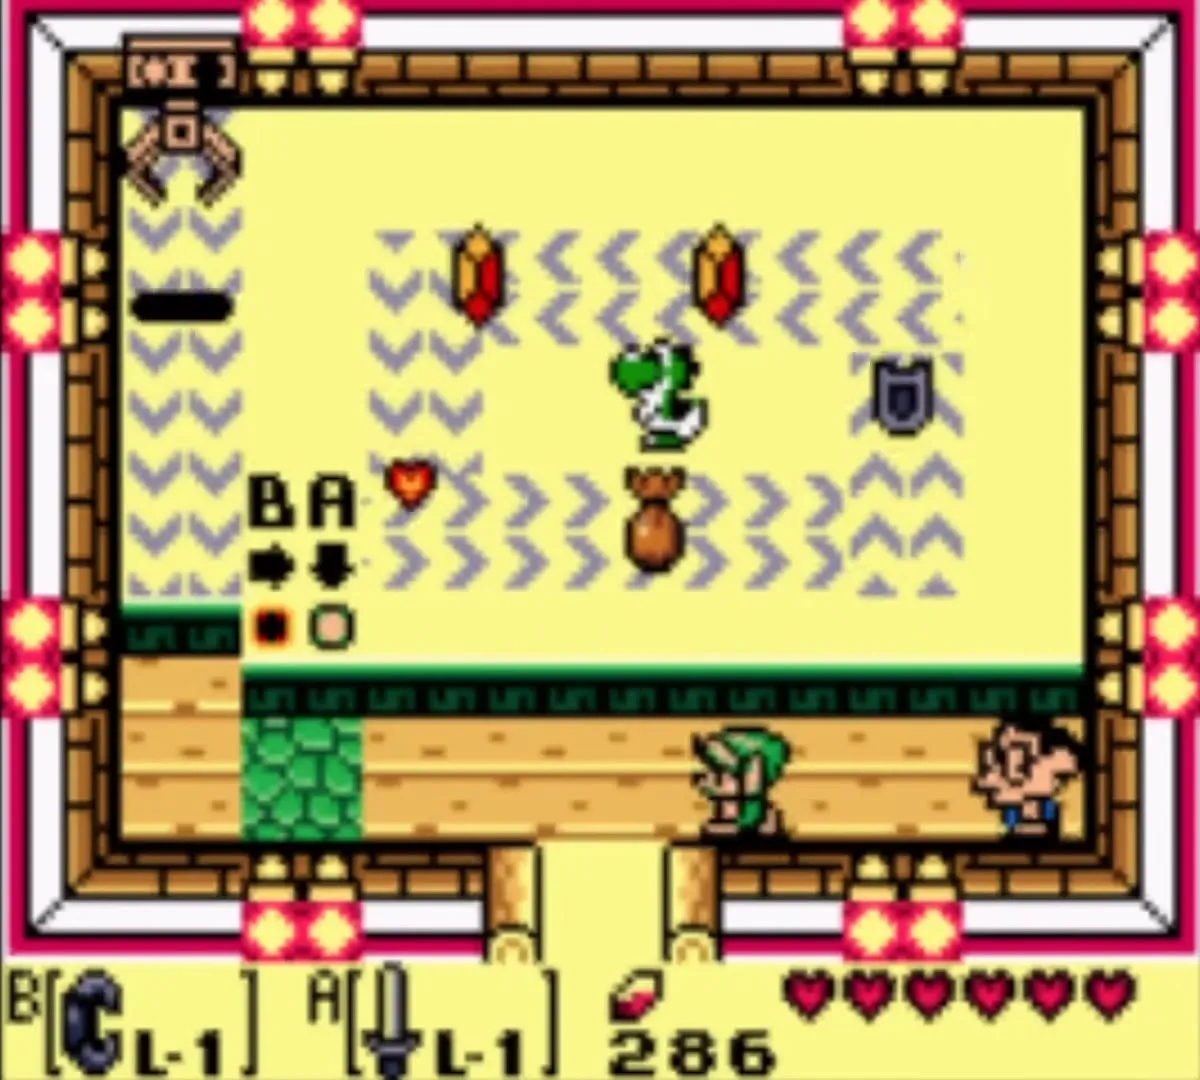
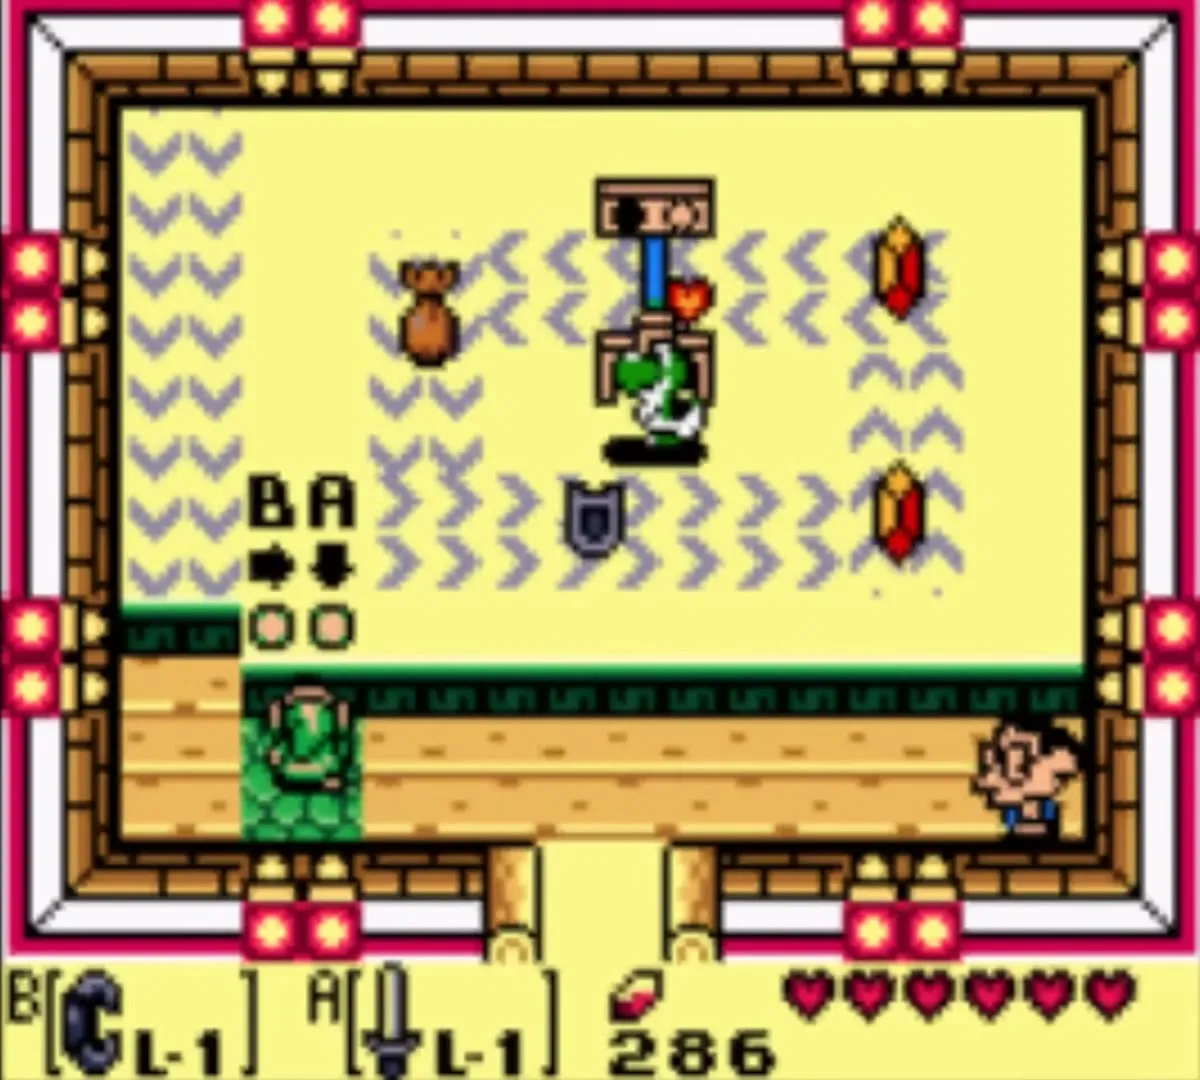
Trendy Game and the Yoshi Doll
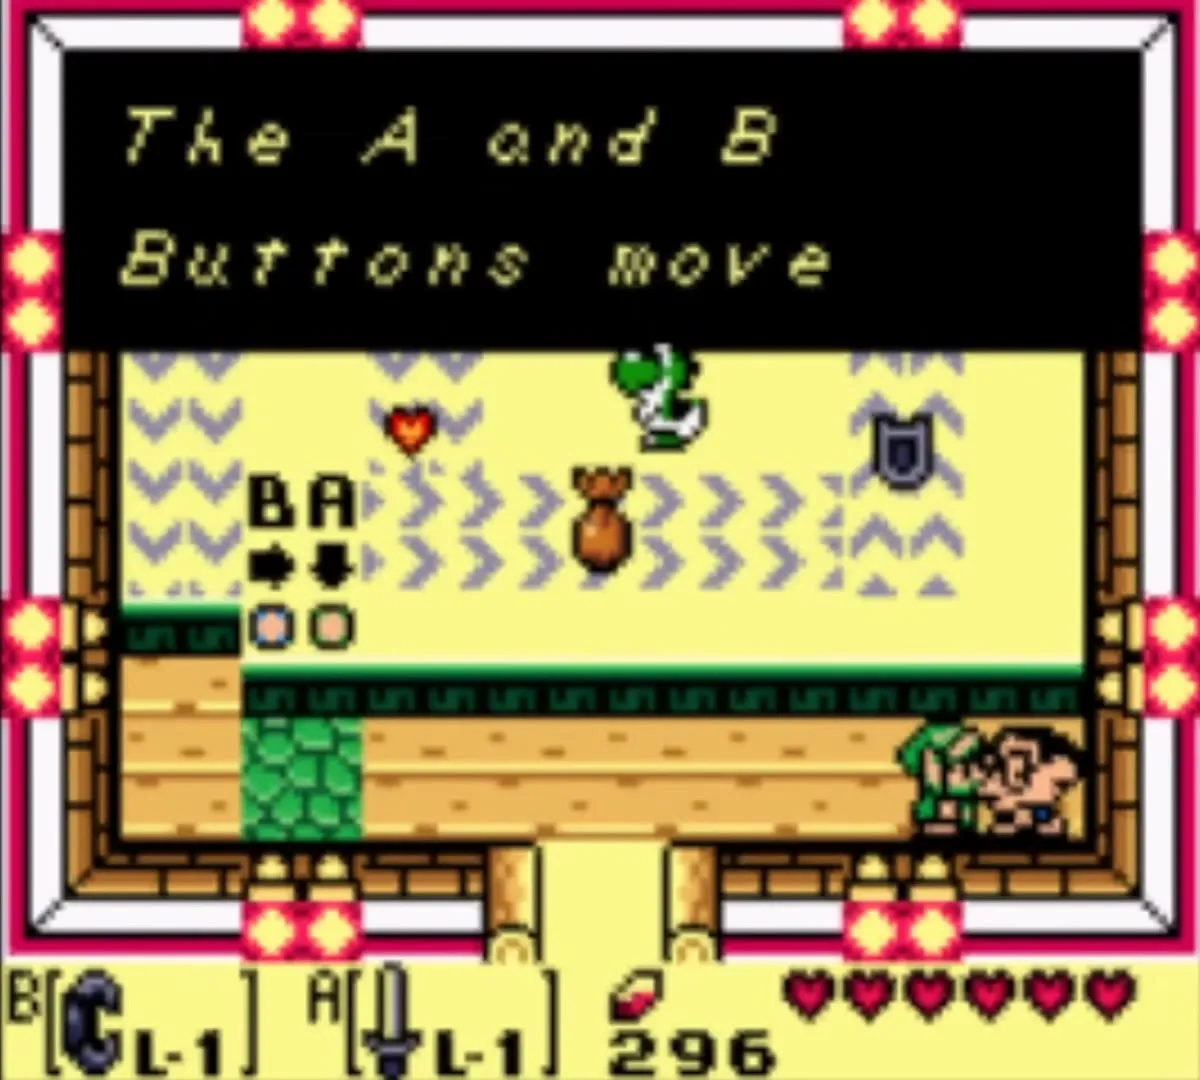
The crane machine in the east of the village is the Trendy Game, and its Yoshi Doll starts the trading sequence. The Ukuku Prairie chapter covers the machine and the first four trades, when you need the Bananas.

Mamasha, the doghouse and the Shovel
Mamasha’s house, the doghouse and Sale’s banana house on Toronbo Shores are steps 2 to 4 of the trading sequence, which the Ukuku Prairie chapter walks through.
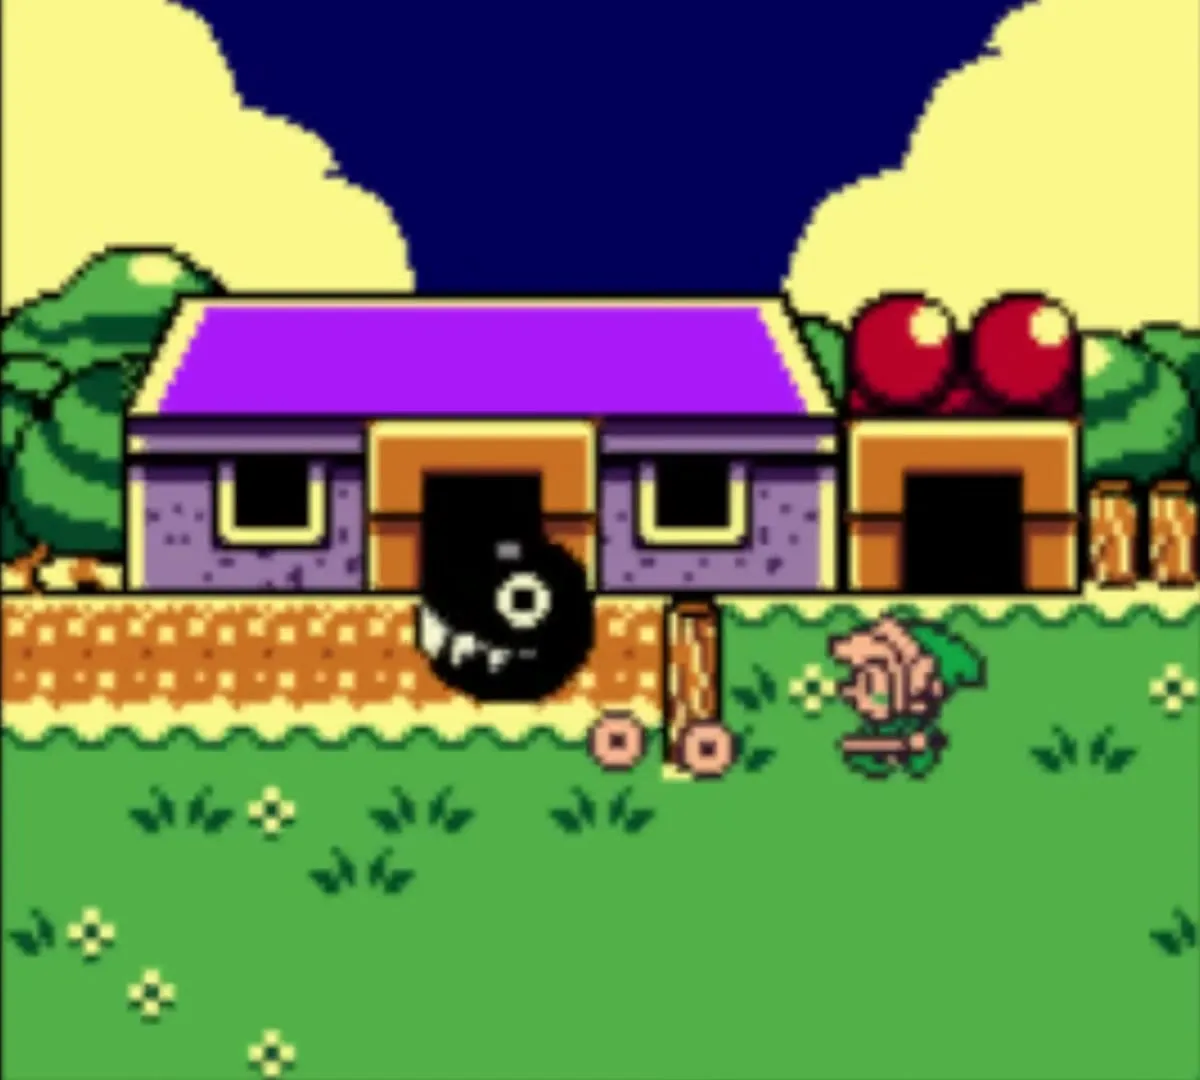
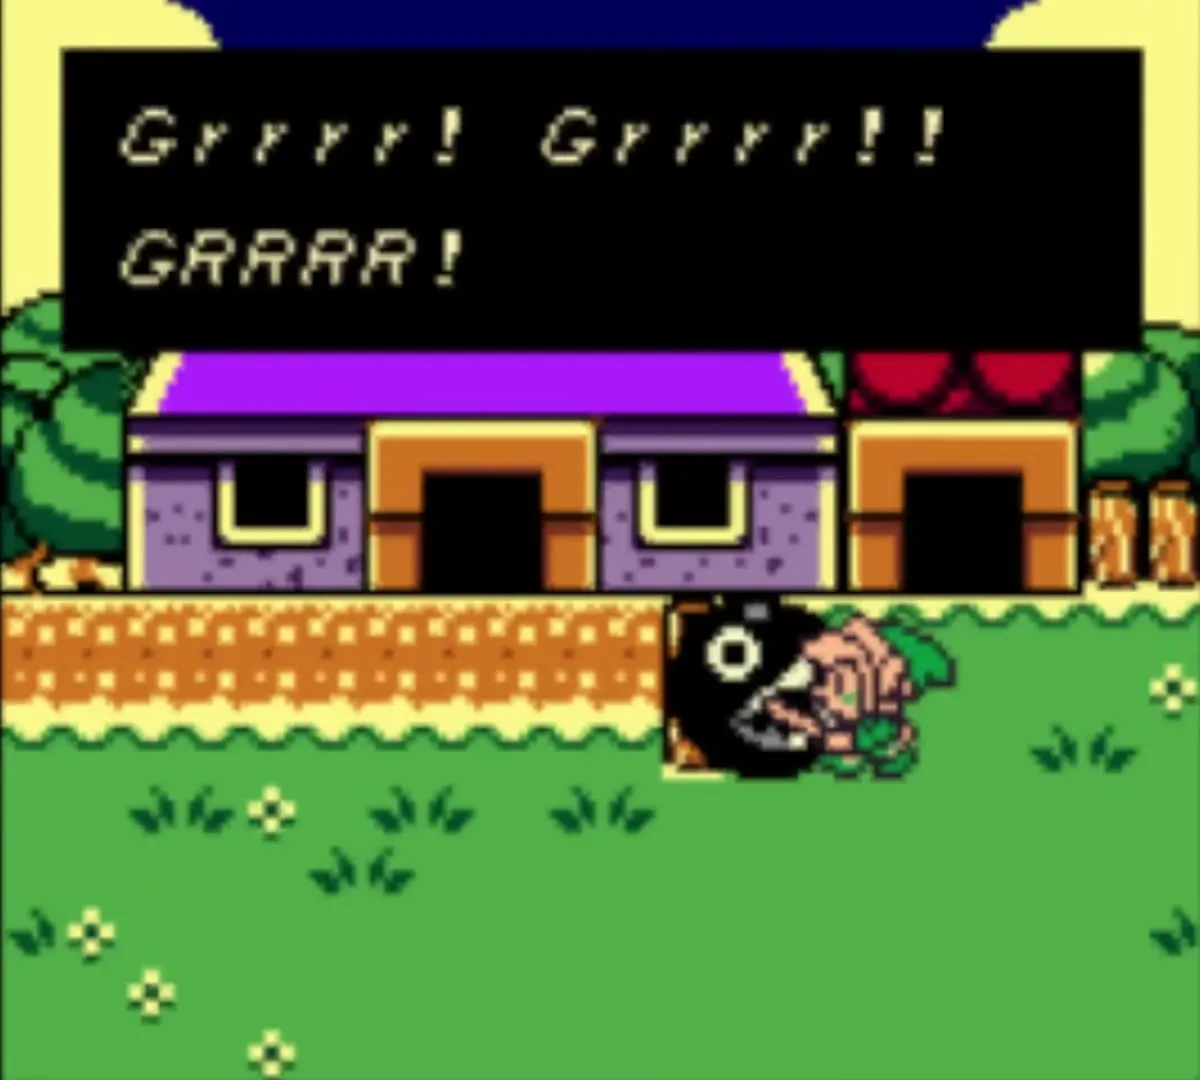
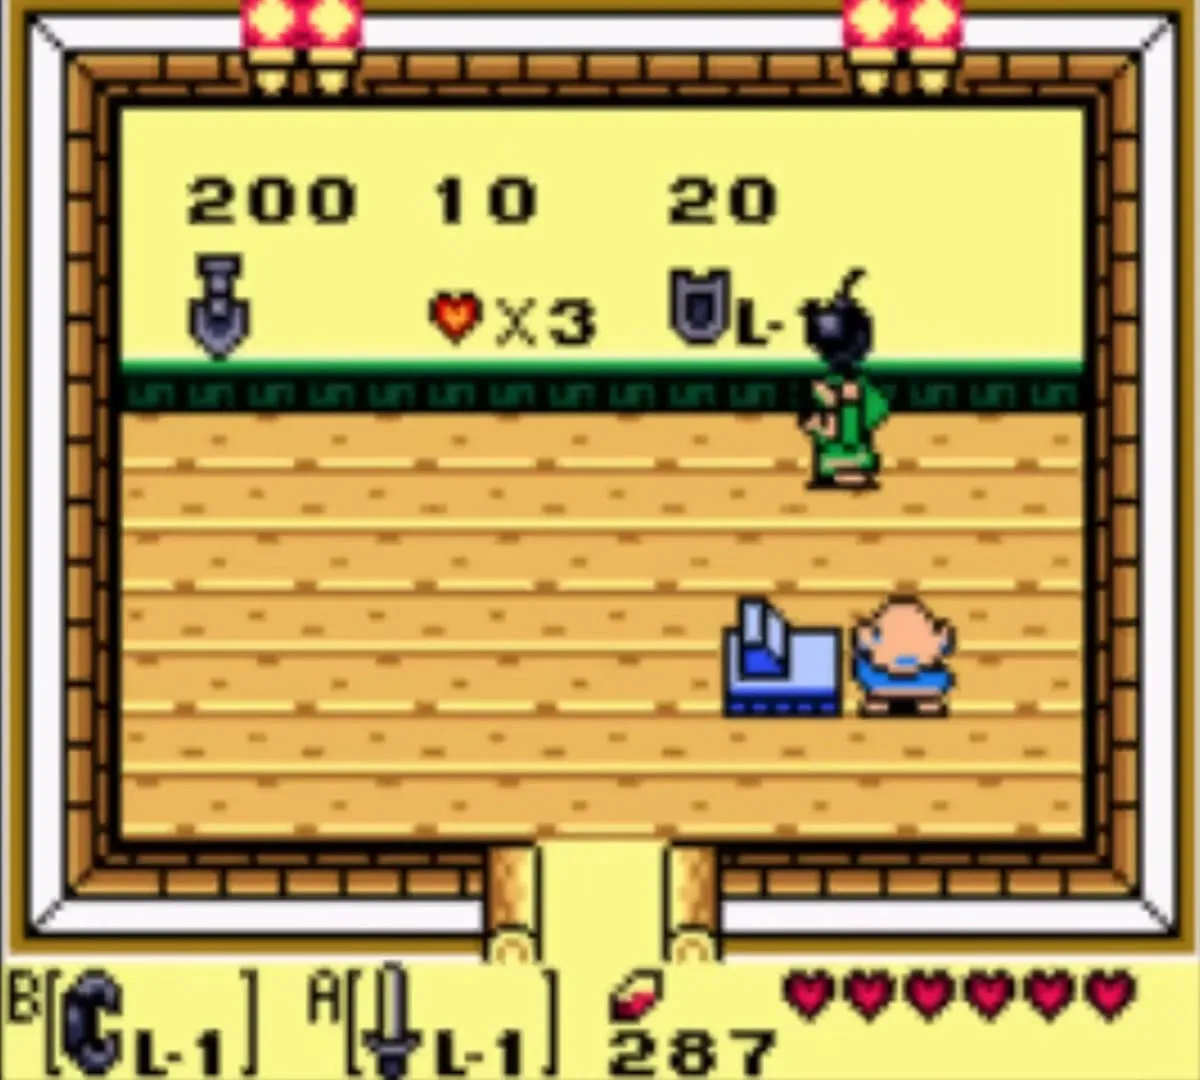
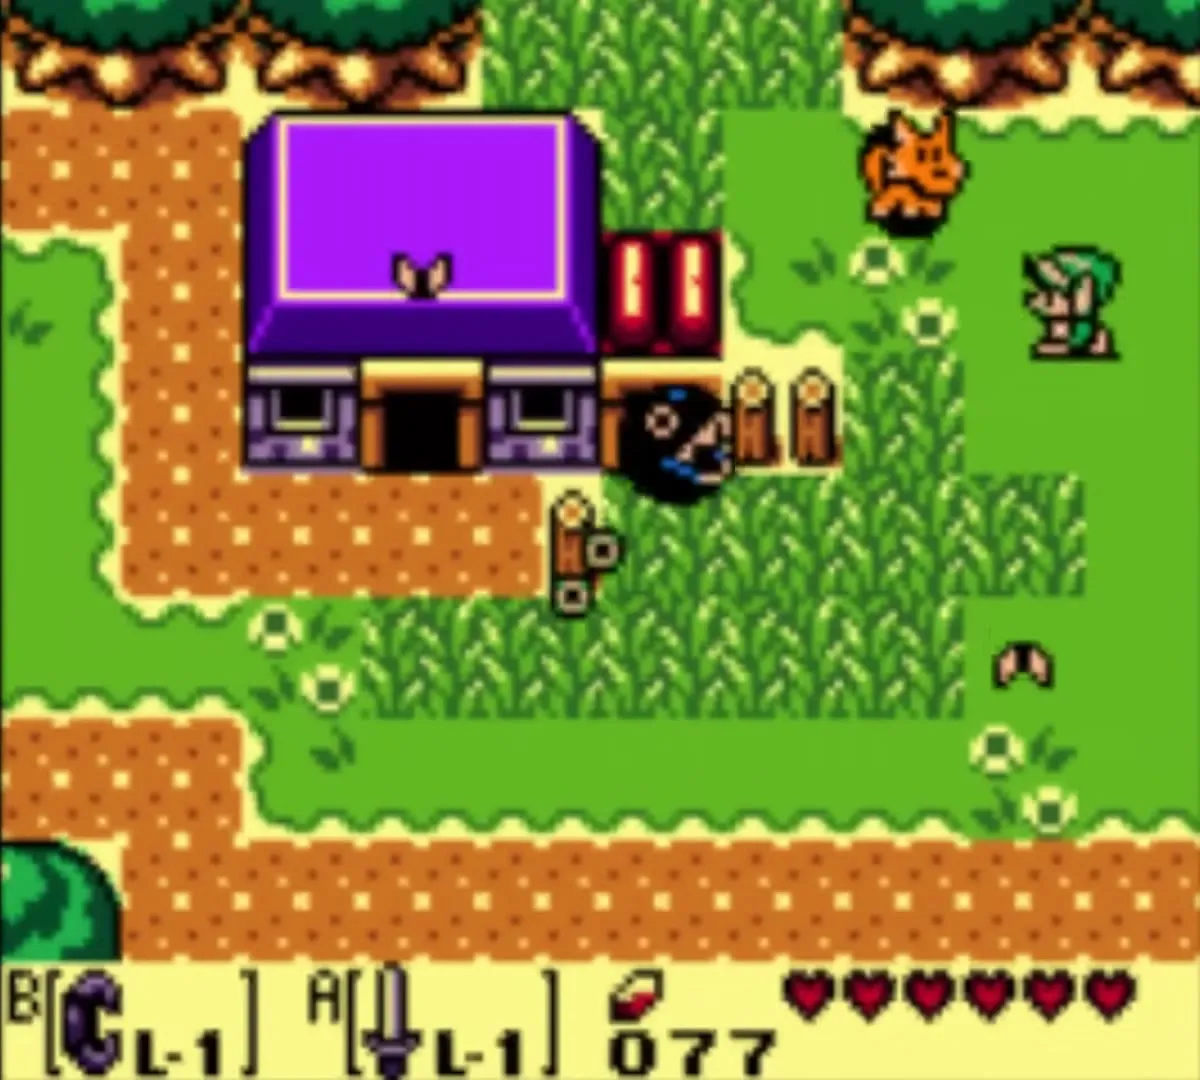
The Town Tool Shop sells a Shovel for 200 rupees. Buy it as soon as you can afford it, then dig the bottom-right corner of the doghouse to unearth your second Secret Seashell. Do not walk out with anything you have not paid for: your name becomes THIEF and the shopkeeper kills you if you ever enter the shop again.
Fishing pond: second Piece of Heart
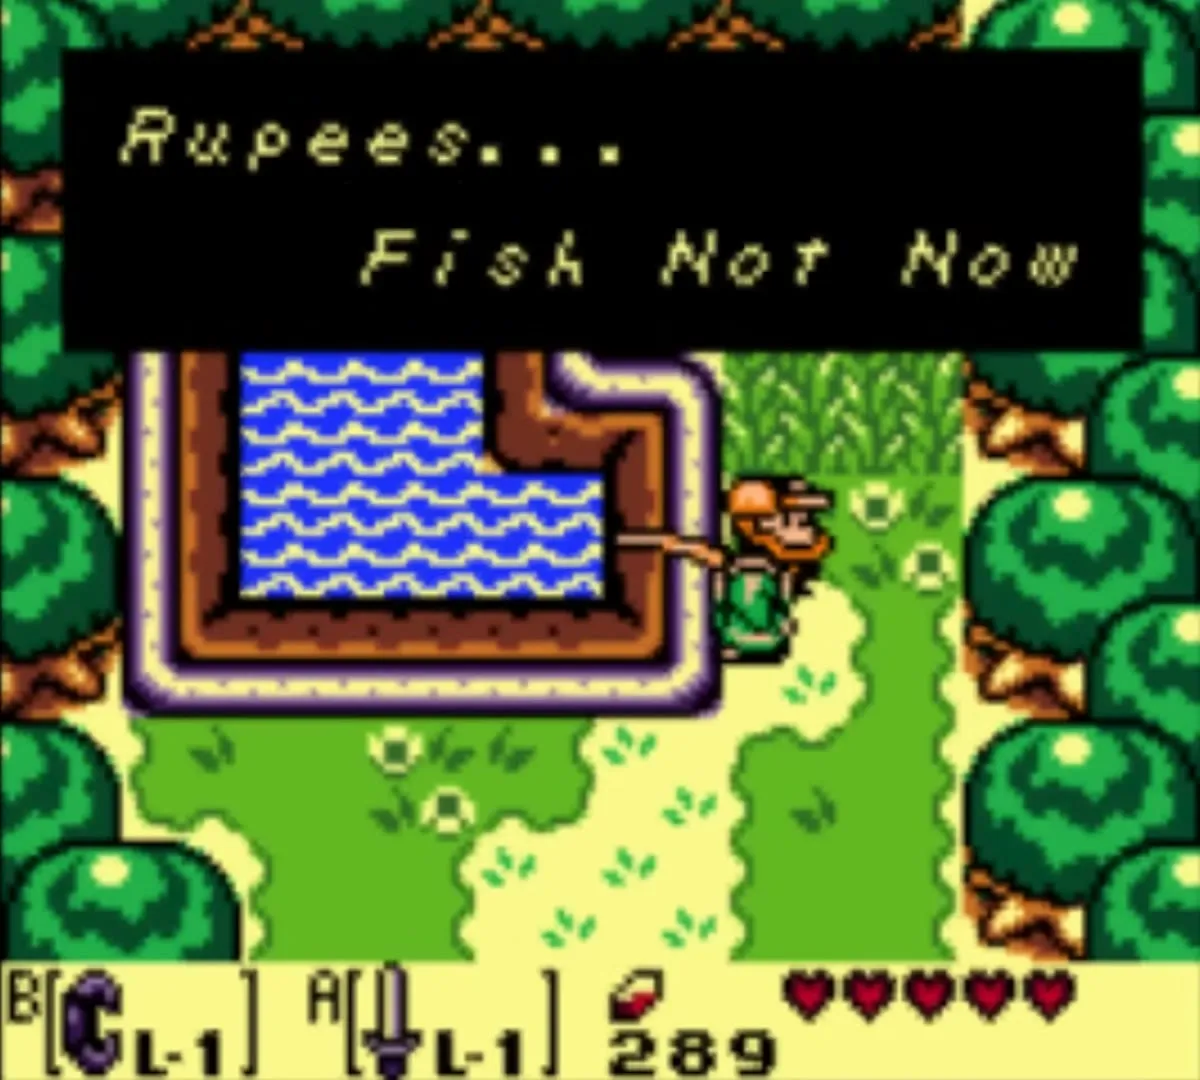
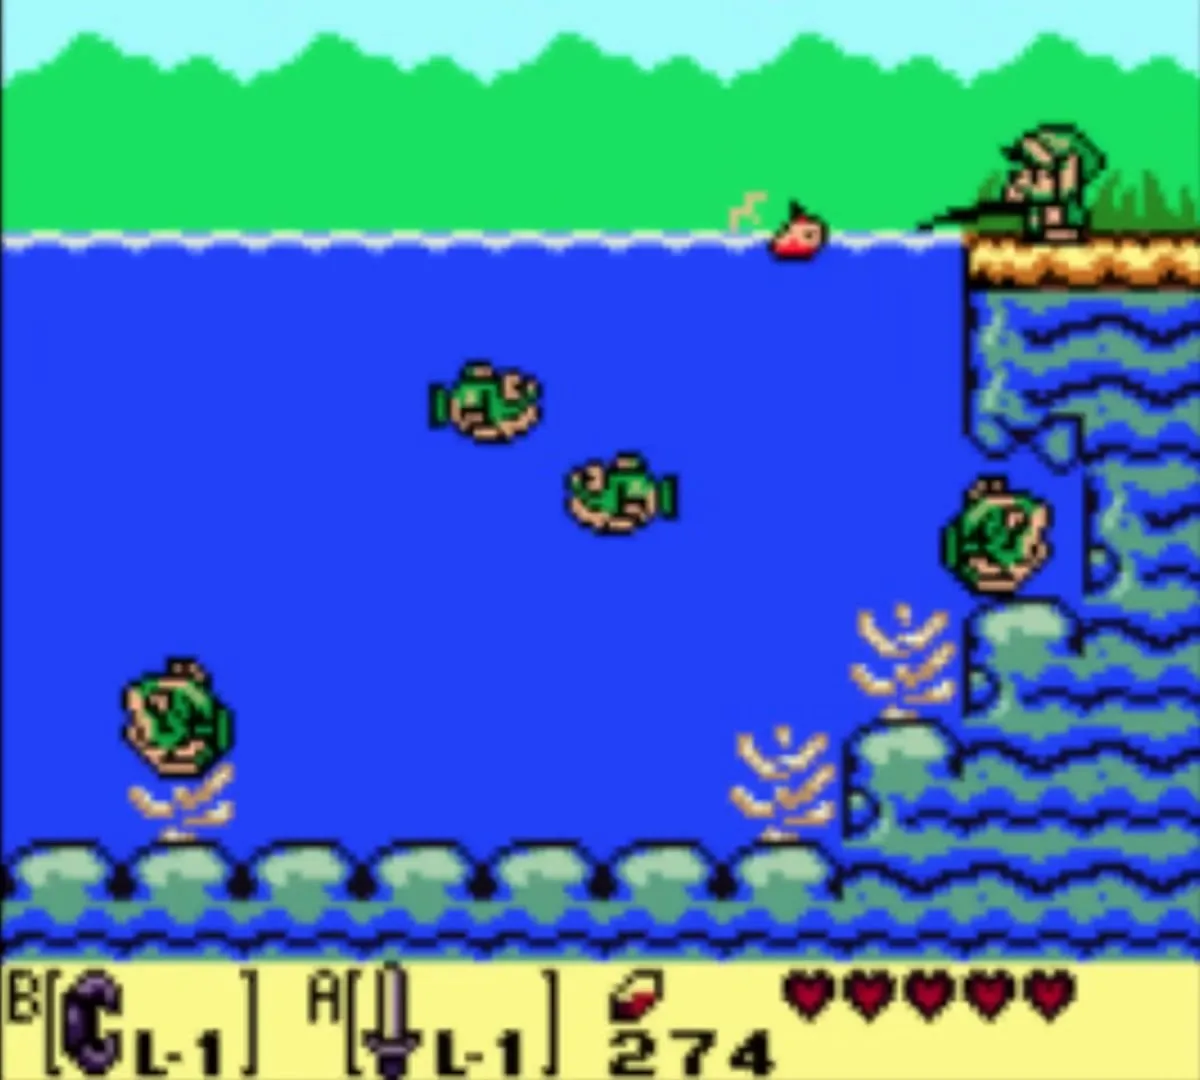
The fishing pond is in the northwest of the village, north of Madam MeowMeow’s house. Each try costs 10 rupees. Catching the big fish in the pond earns a Piece of Heart, and only one heart piece can be won there, so once you have it there is no reason to keep paying.
Ulrira’s telephone booth
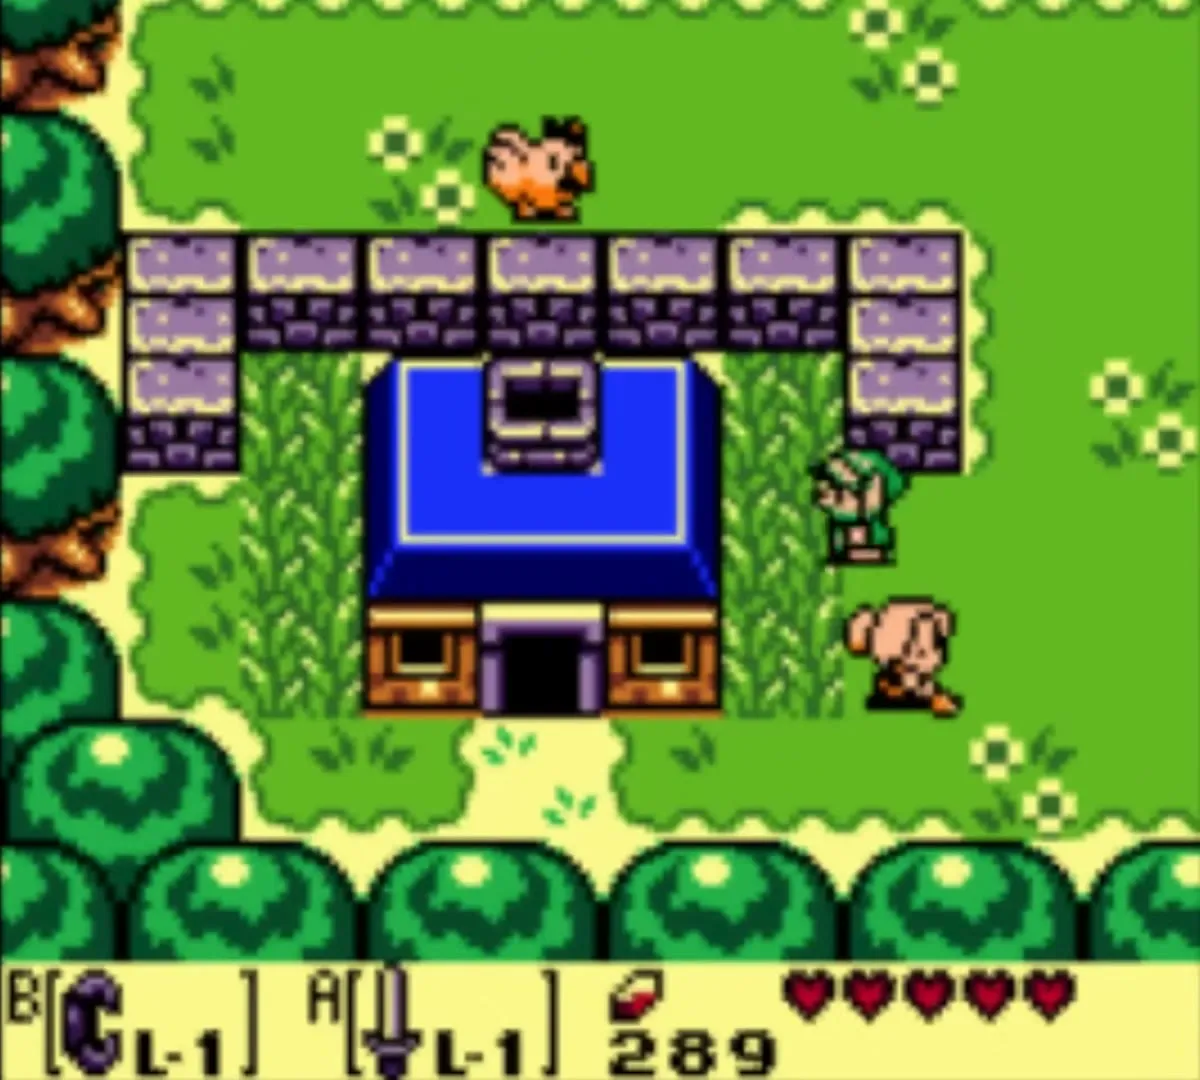
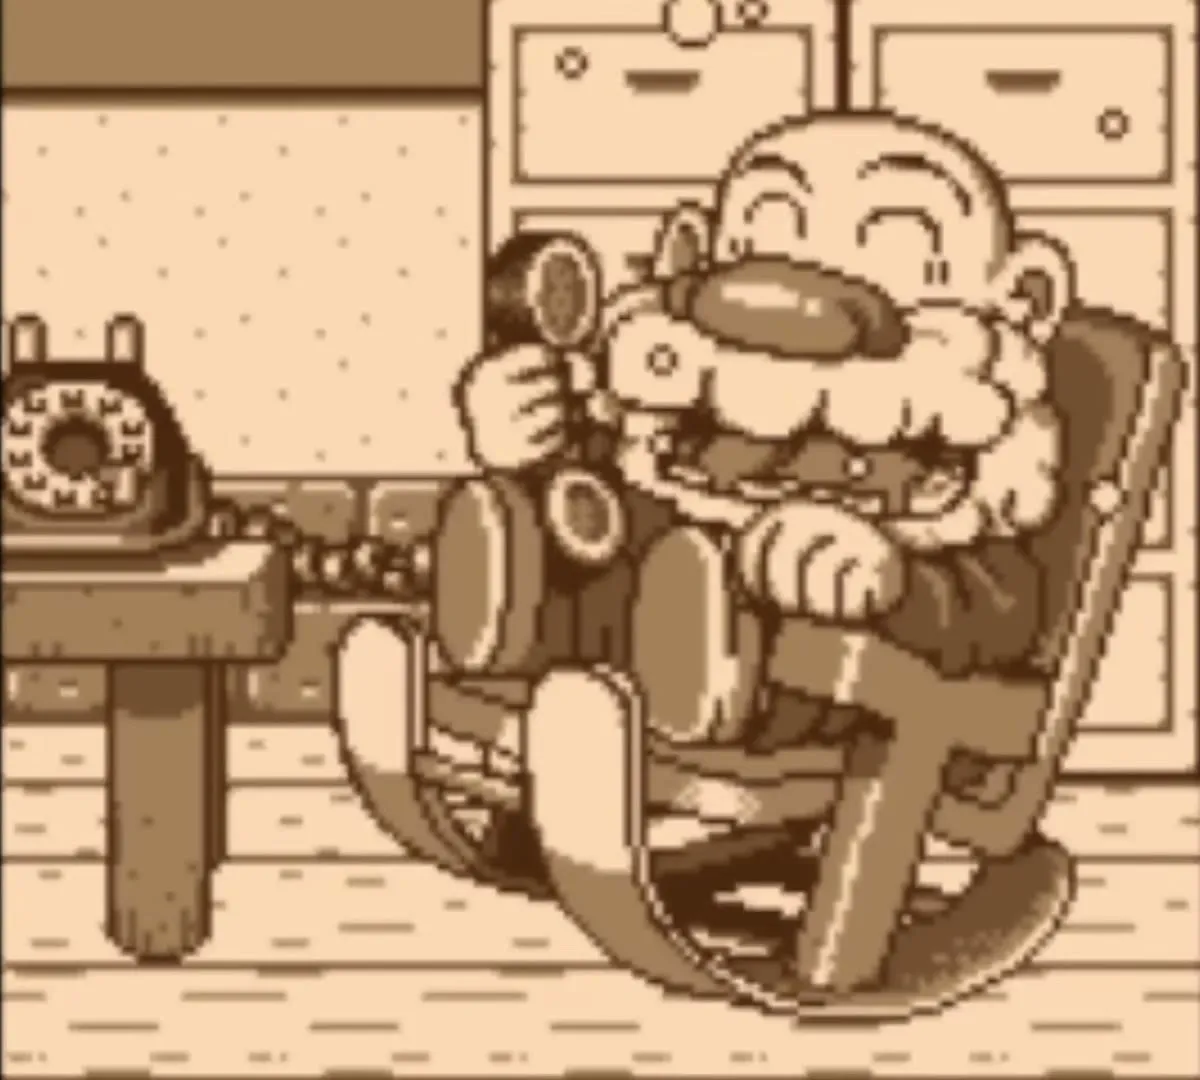
Grandpa Ulrira lives in a house in the southwest of the village, but he keeps to himself and tells you to phone him instead. Use the telephone booth in a hollow tree in the village and call him whenever you are lost: he gives hints for the whole island, and similar booths stand in other regions.
Mysterious Forest: Magic Powder and the Tail Key
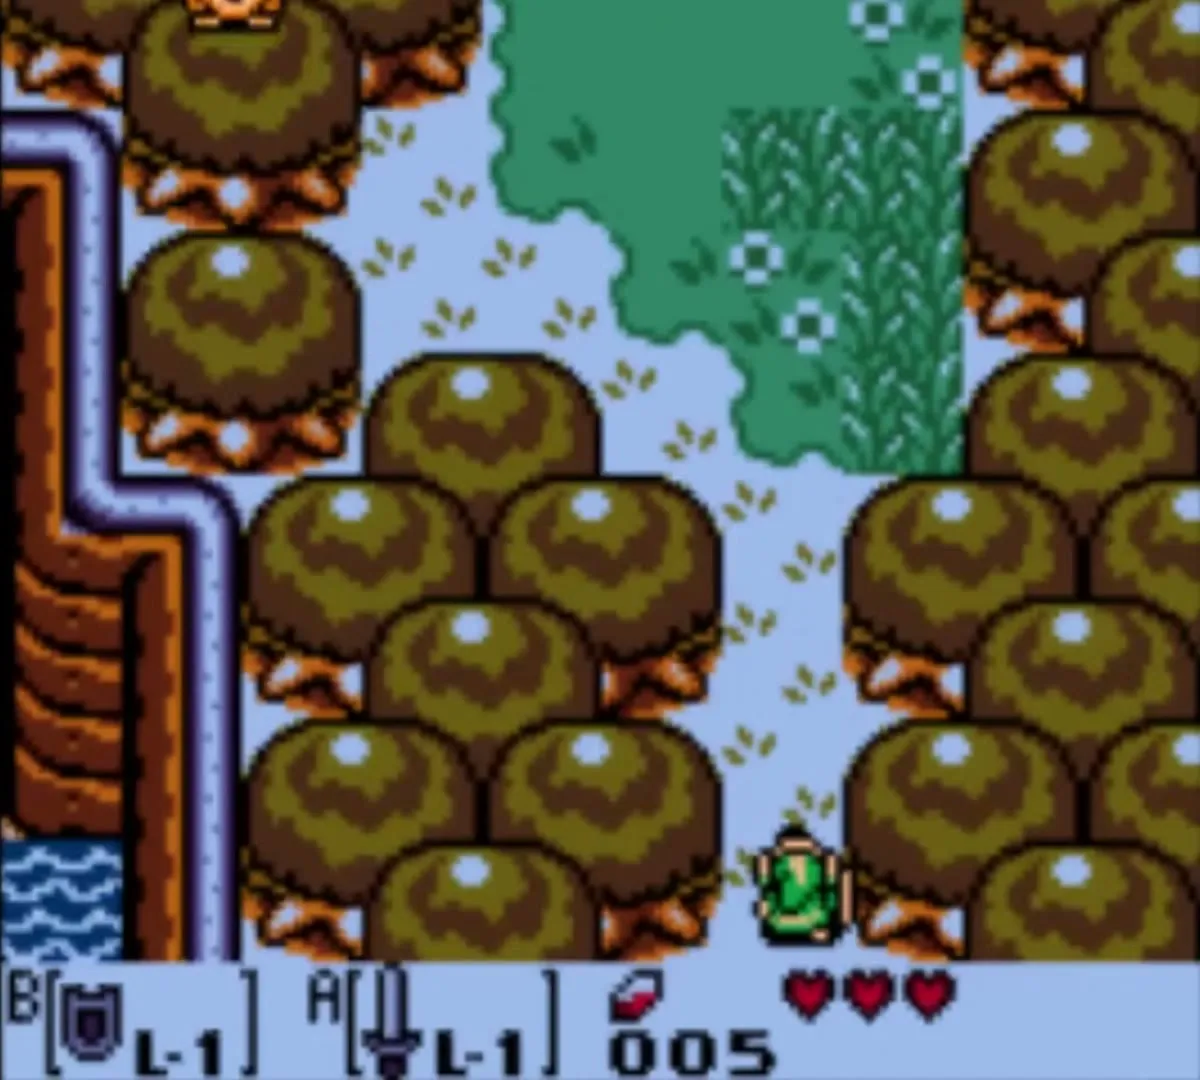
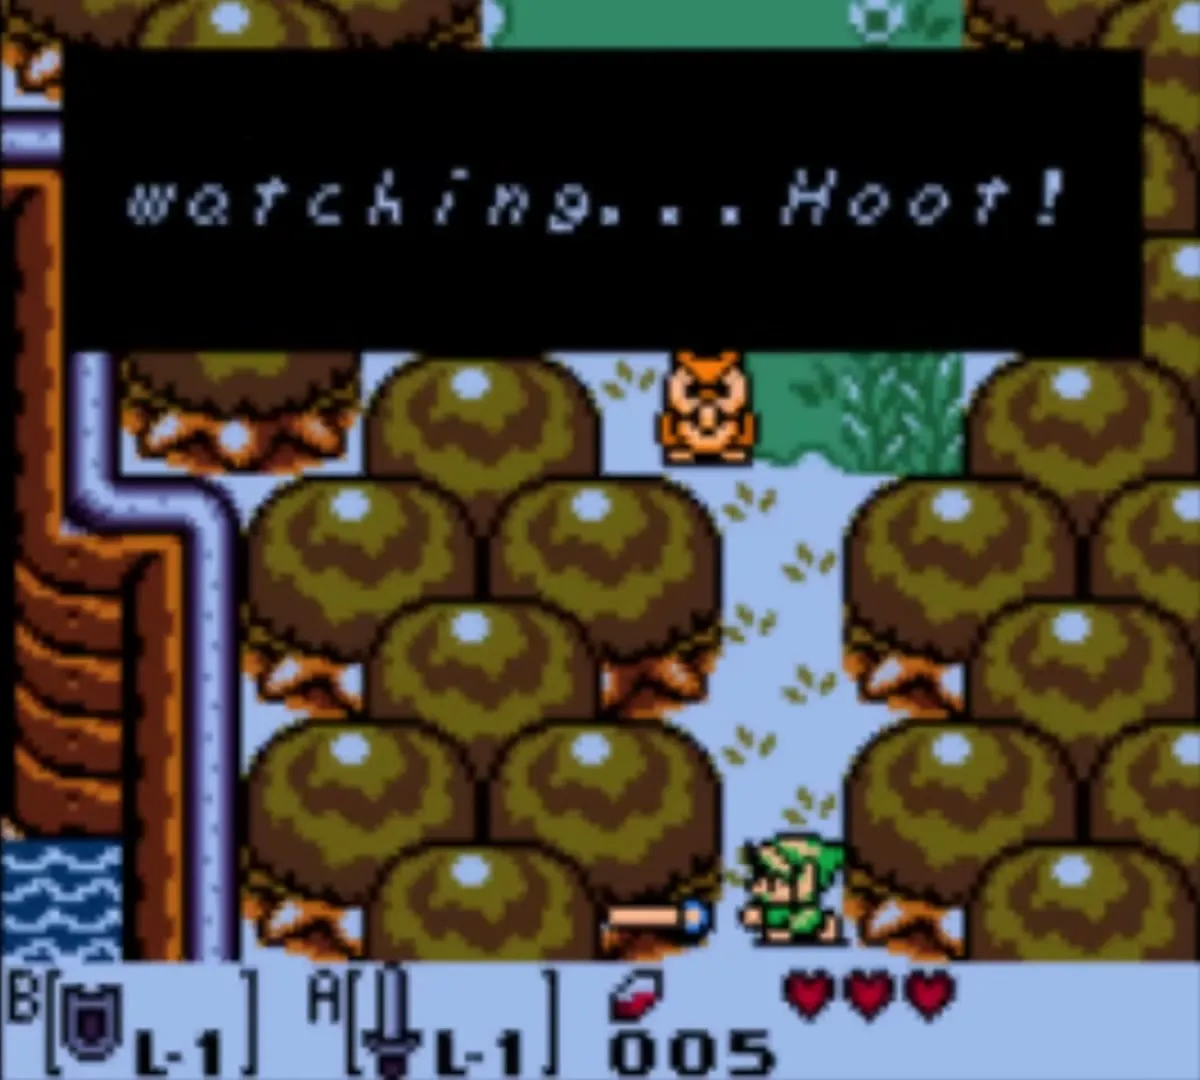
From the village, travel north into the Mysterious Forest. The Owl here warns that the forest is tricky to cross and tells you to find the key to Tail Cave. The key is the Tail Key, and you reach it by way of a Witch, a toadstool and a raccoon.
Log cave: 50 rupees
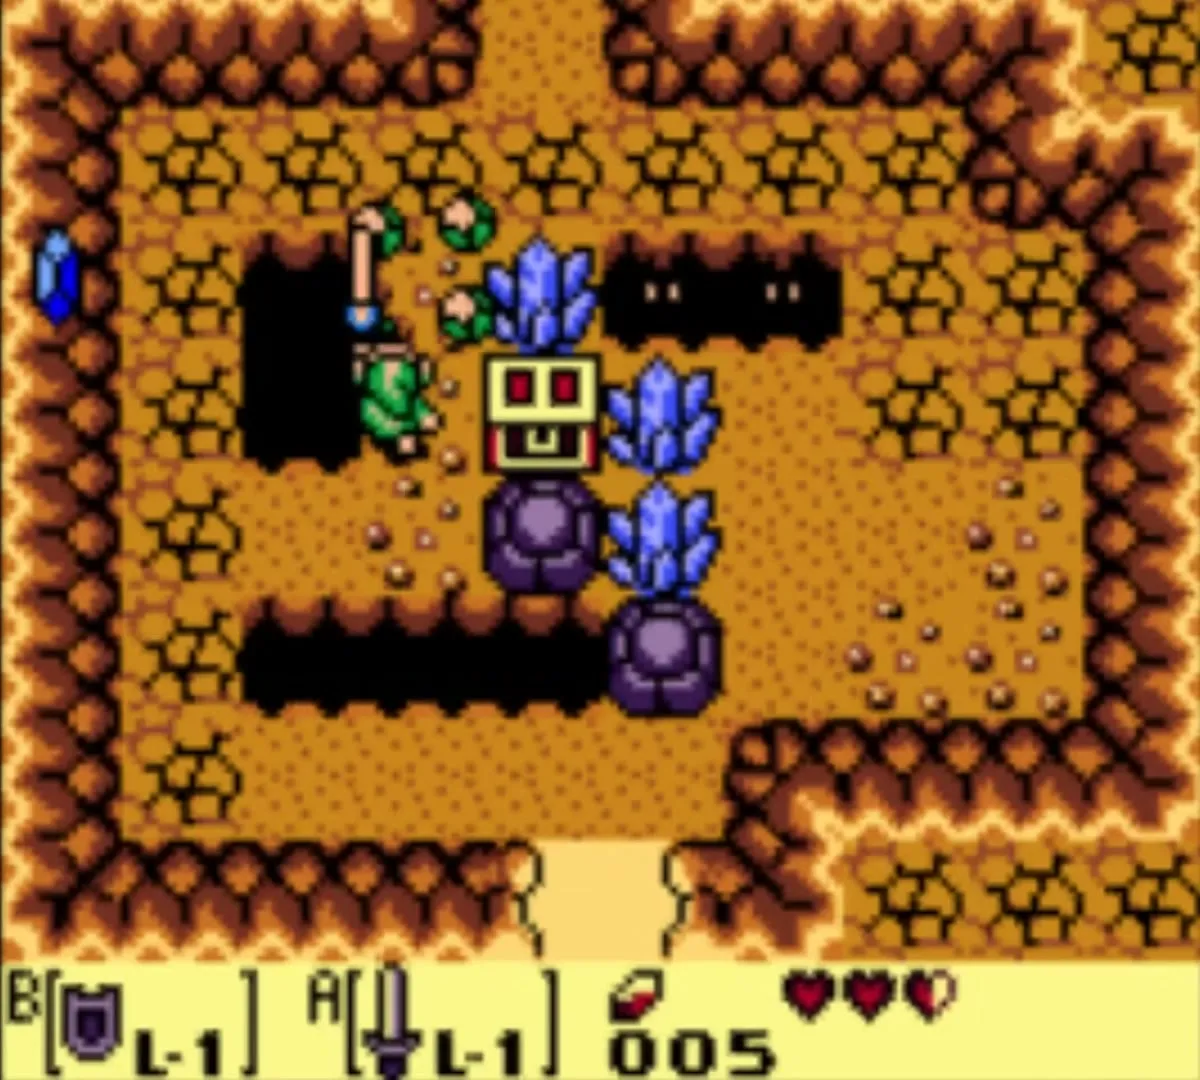
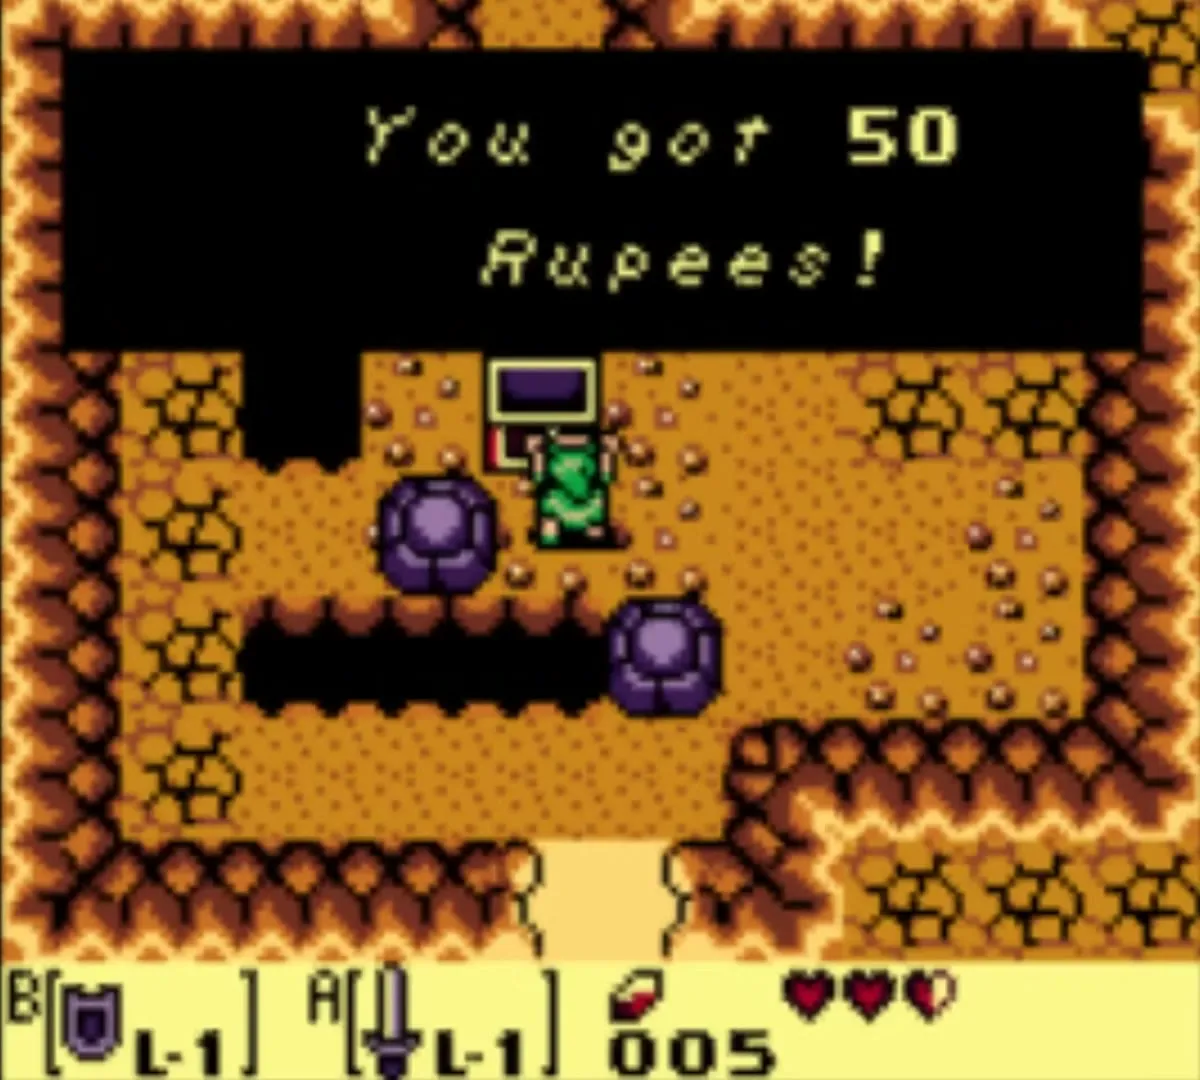
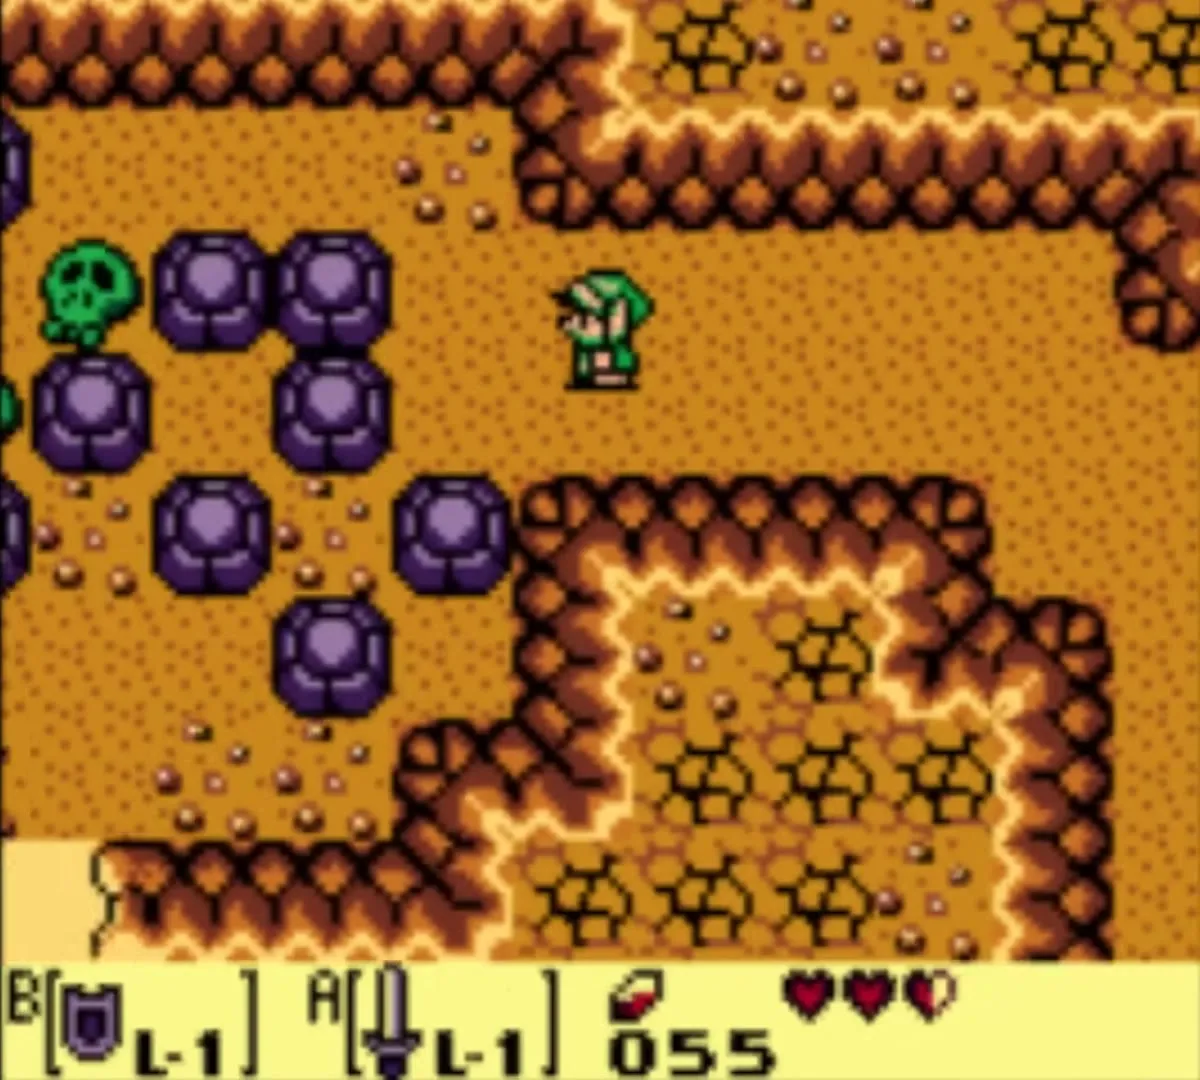
Enter the hollow log at the east end of the forest. In the first cave room, cut the blue crystals around the chest and push the rock that blocks it, then open it for 50 rupees. Continue through the next room, pushing the rocks as needed, and leave by the far exit.
Sleepy Toadstool
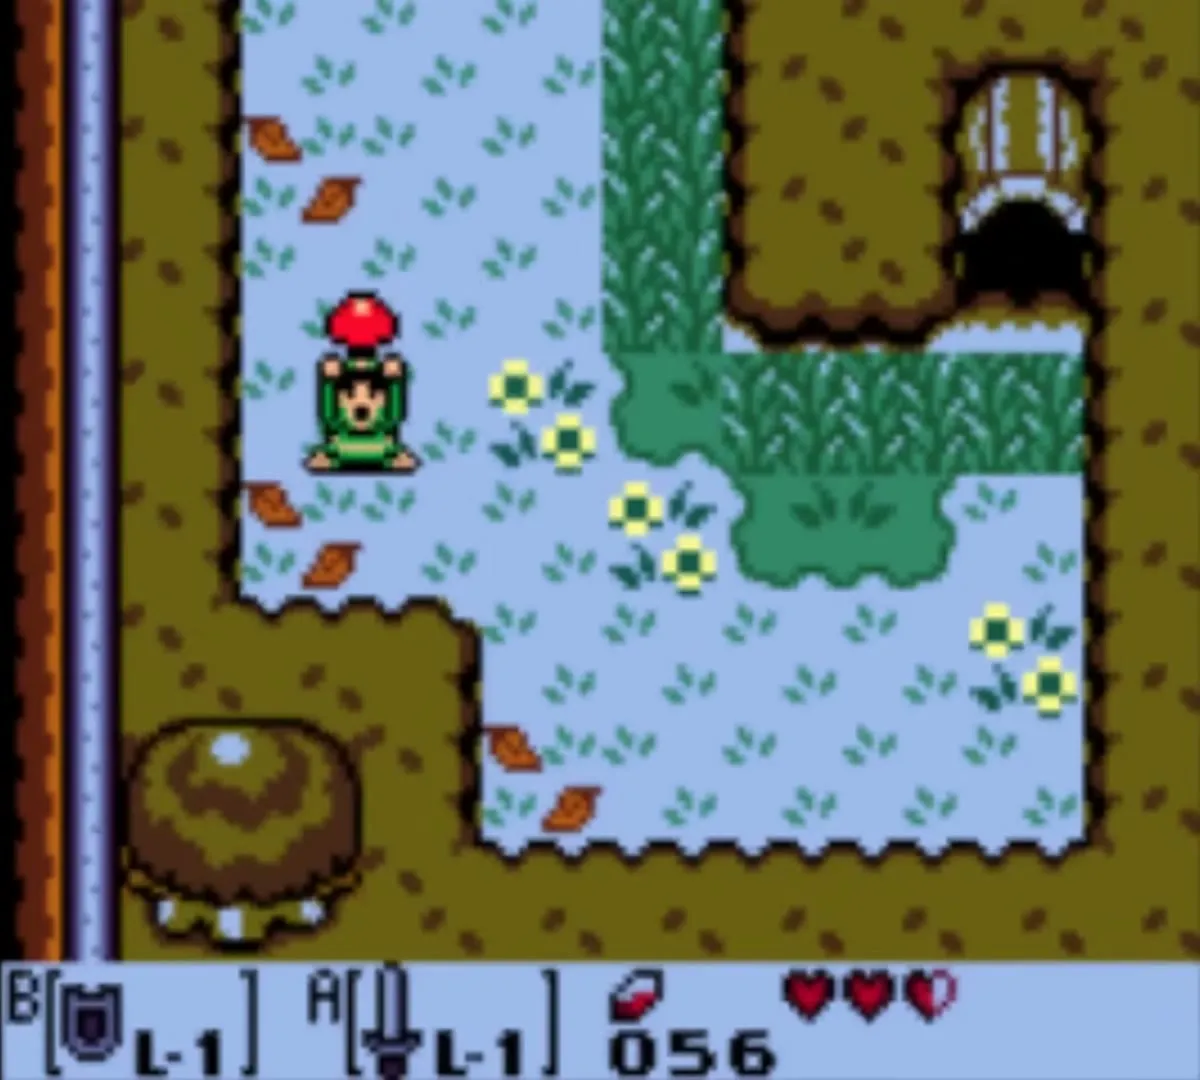
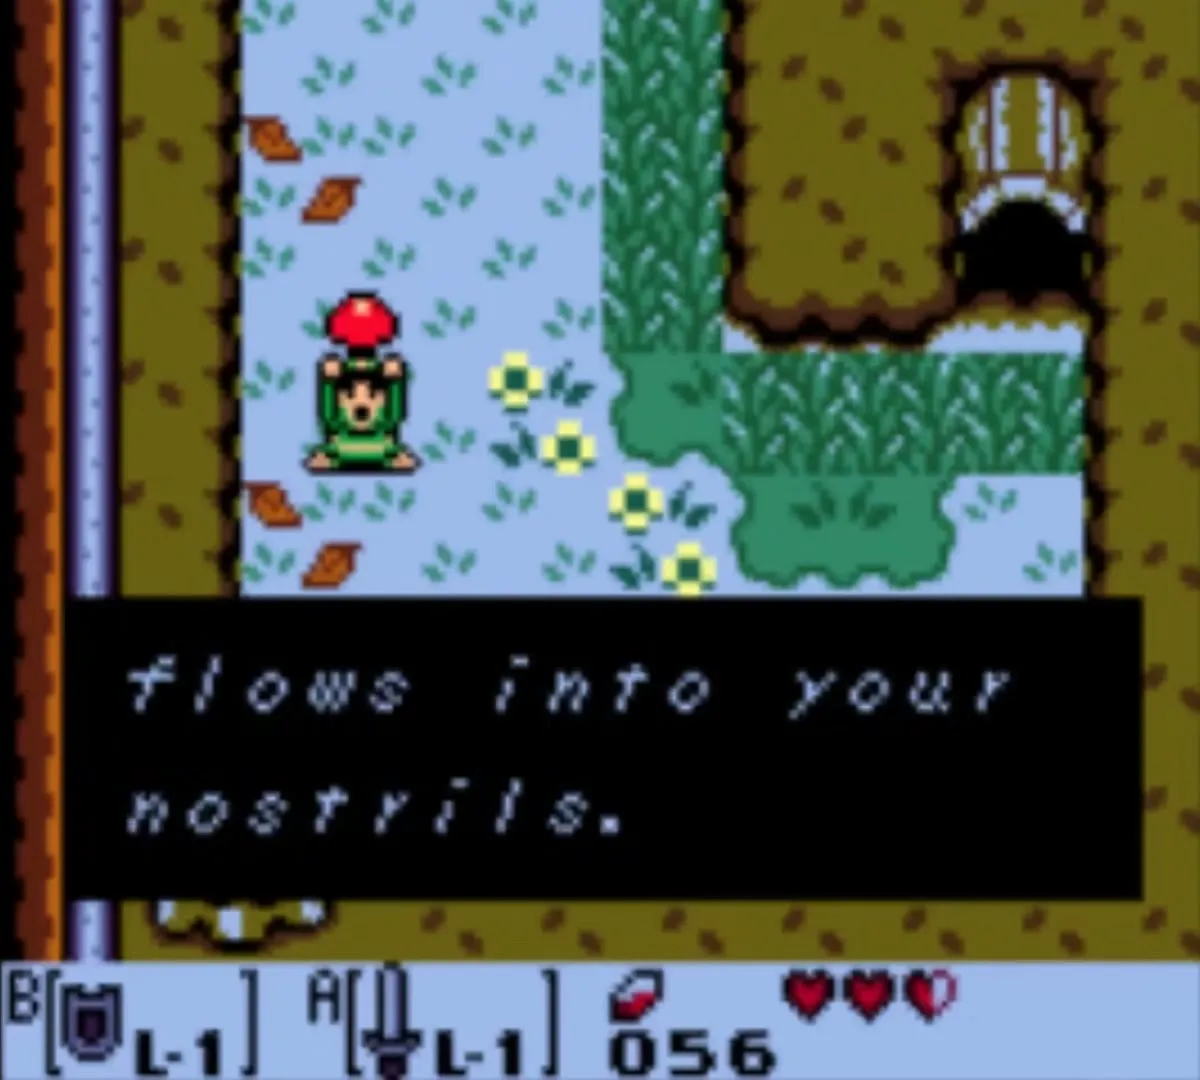
Outside, beside a small pond, a red toadstool grows. Pick it up. Link holds the Sleepy Toadstool overhead and a mellow smell fills the air. It goes into your item menu and is what the Witch is waiting for.
Witch’s Hut: how to get Magic Powder
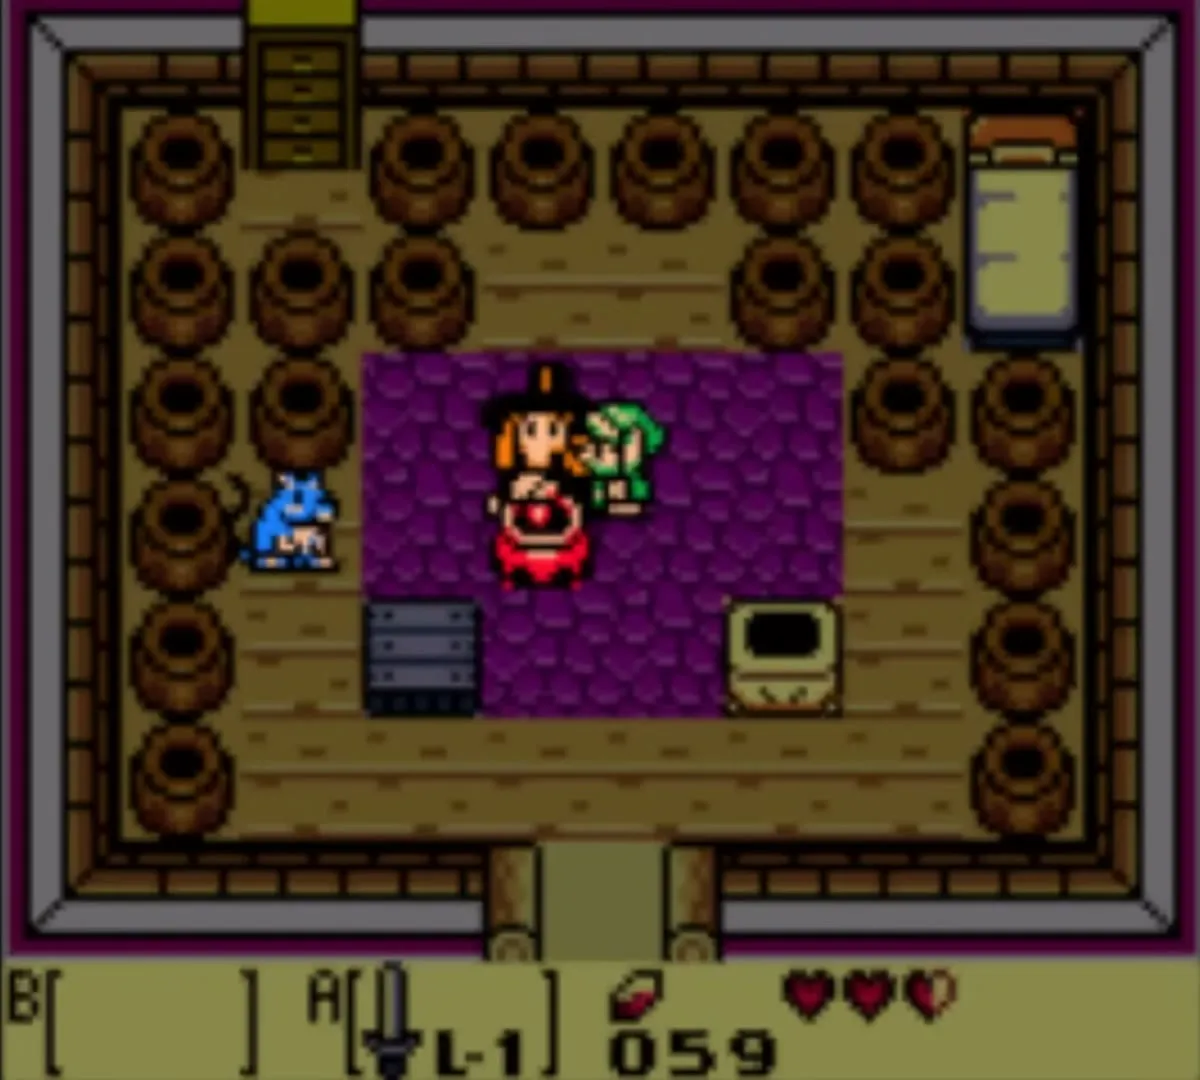
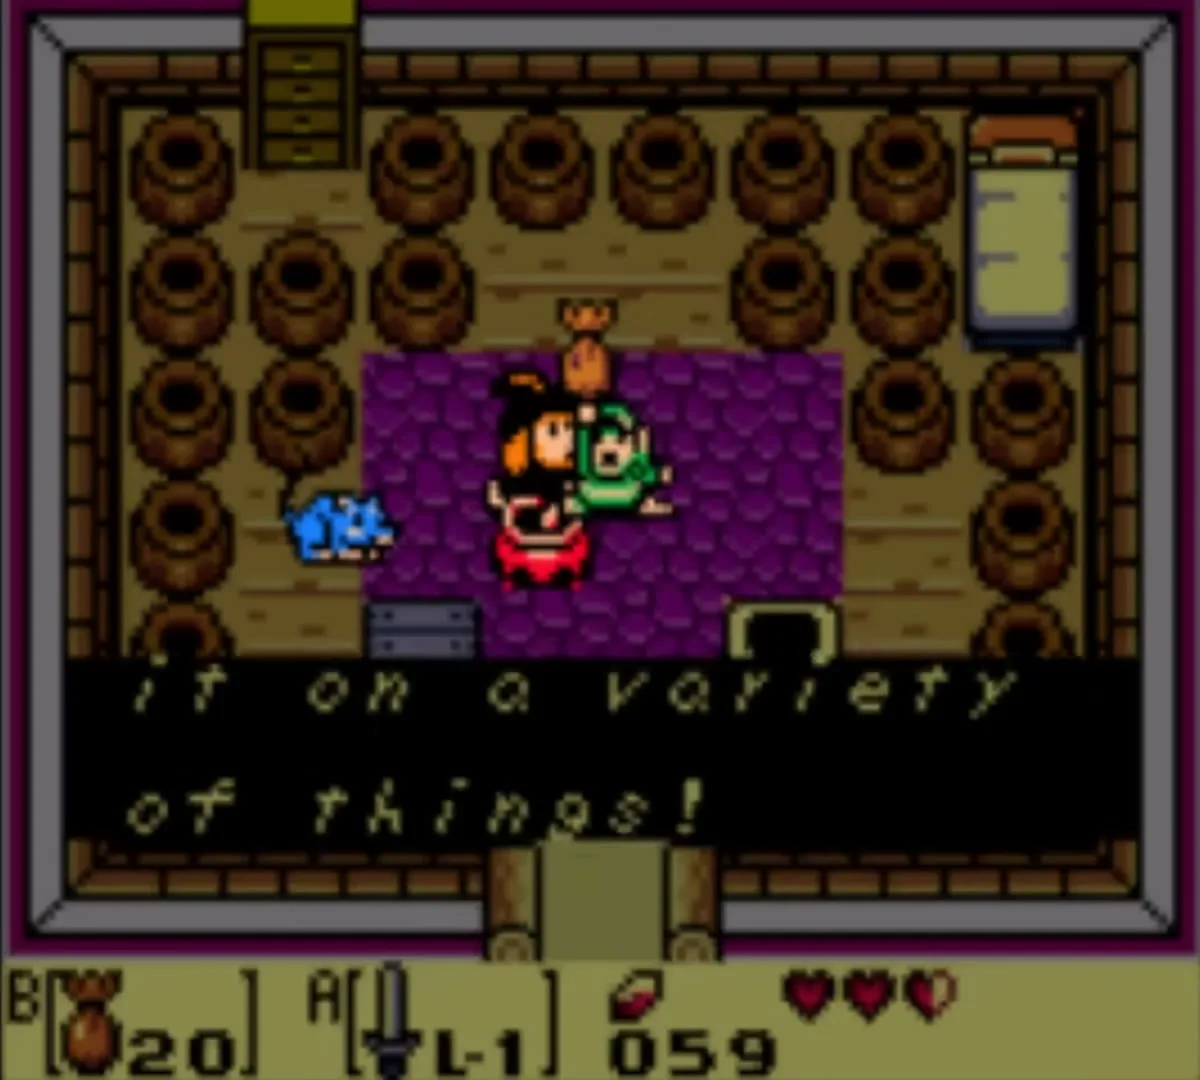
Leave the log cave toward the south to reach the Witch’s Hut, a tree with a door in it. Equip the Sleepy Toadstool on a button and use it in front of the Witch. She brews it into Magic Powder and your pouch holds 20 doses. Sprinkle it on enemies and objects to see what happens. The supply is limited, so use it with care; refills turn up as drops and floating pickups in dungeons.

Raccoon and the Tail Key
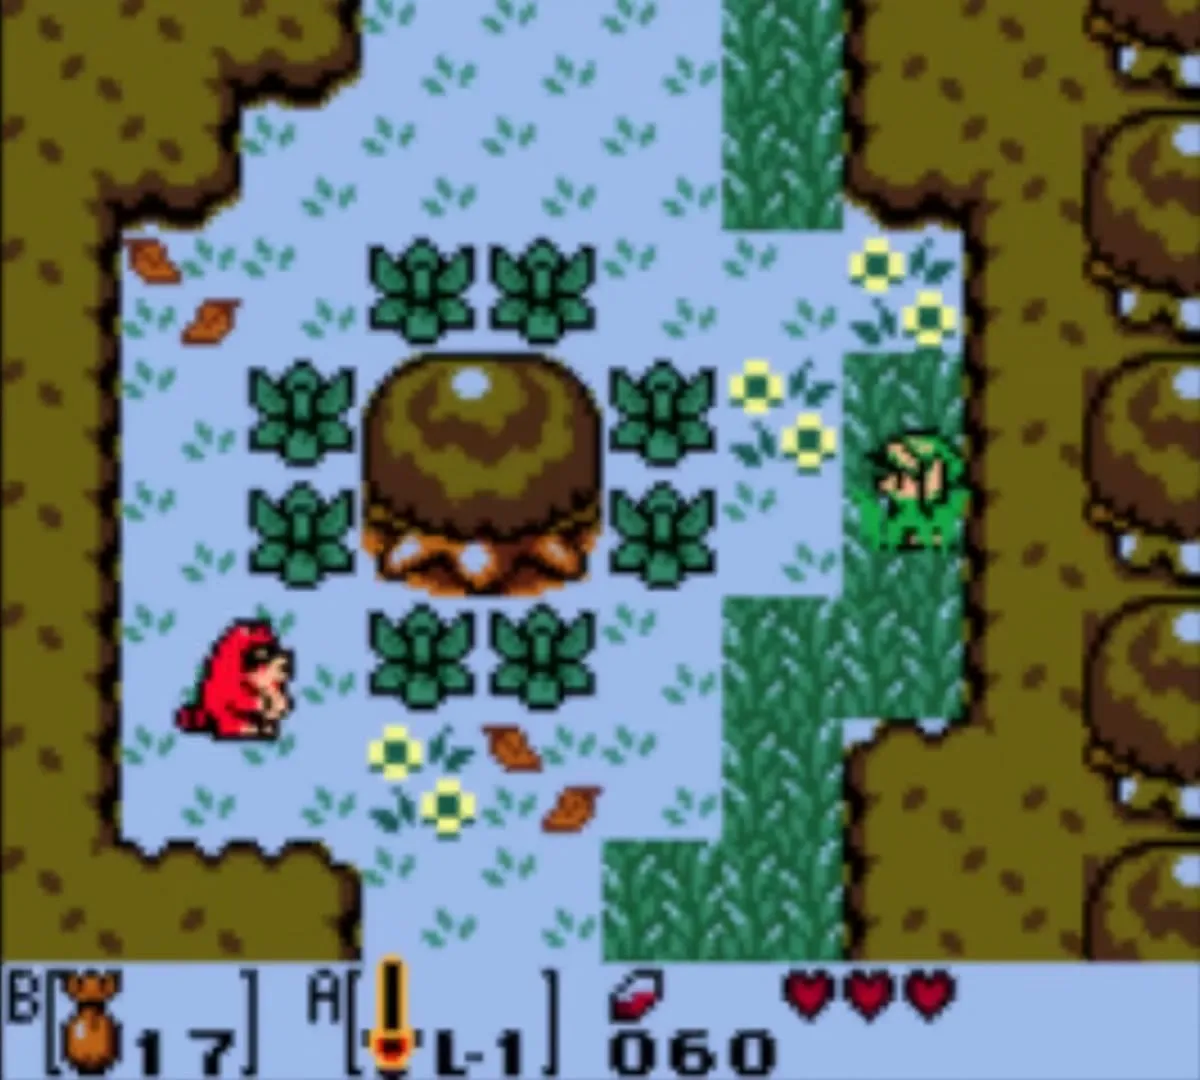
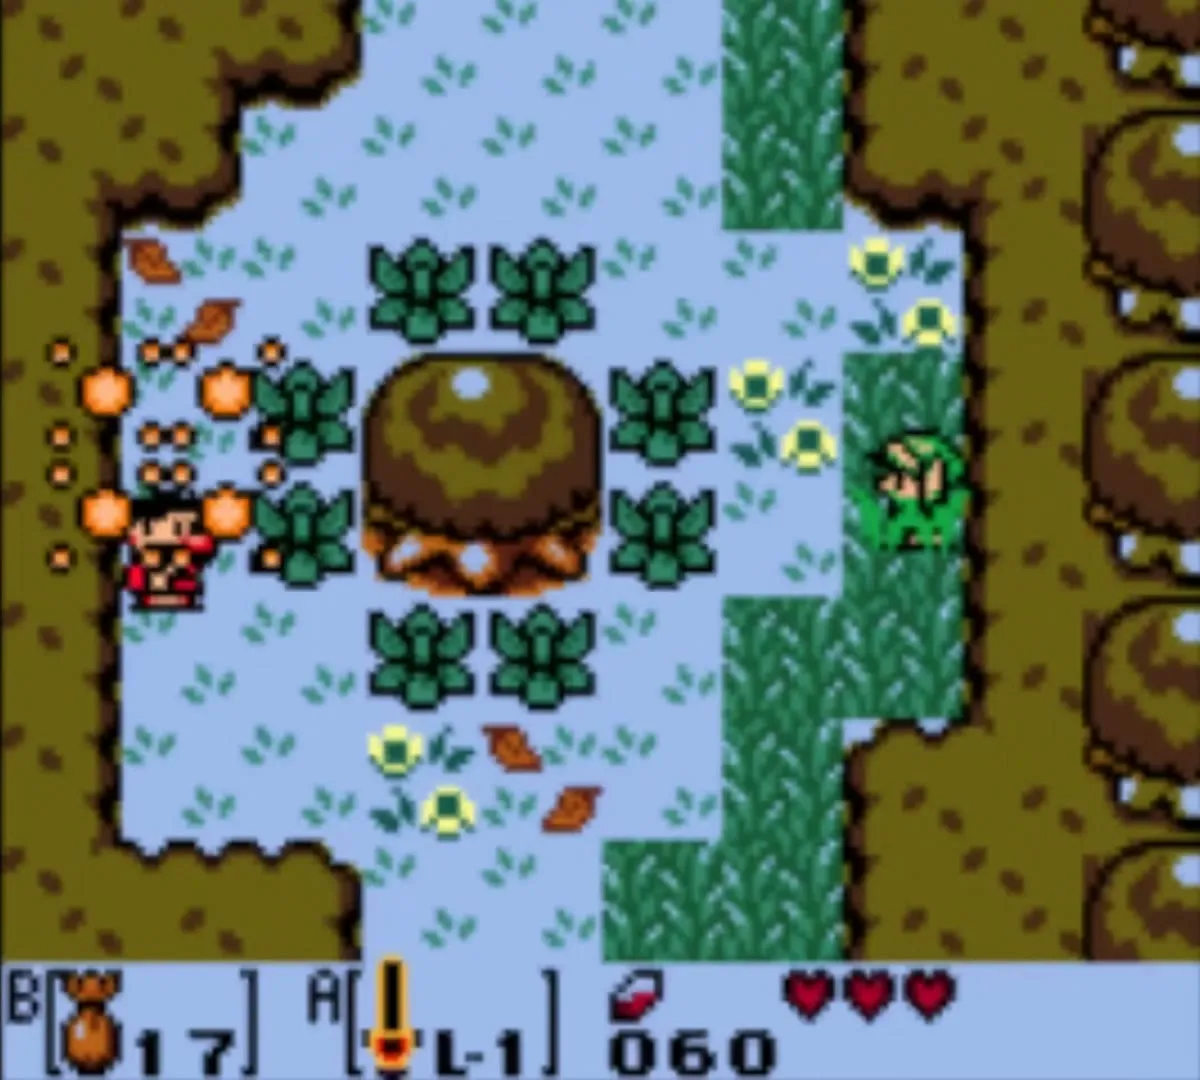
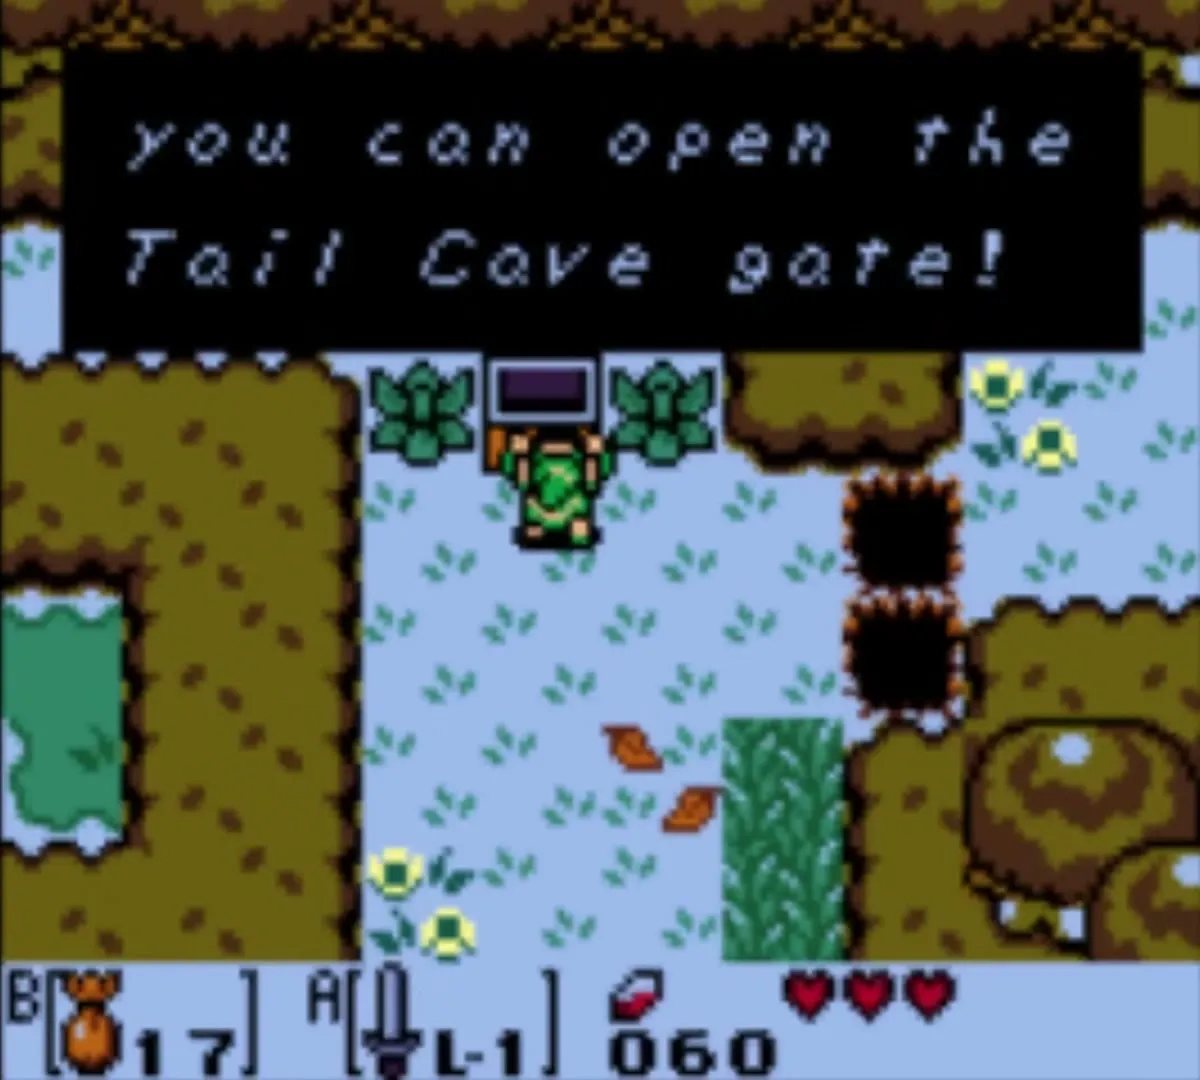
Return to the forest and head west to the clump of trees with a raccoon among them. Approach from the south and sprinkle Magic Powder on the animal: it turns out to be Tarin, who woke up lost in the woods. Go north from there to a chest and open it for the Tail Key.
Road to Tail Cave
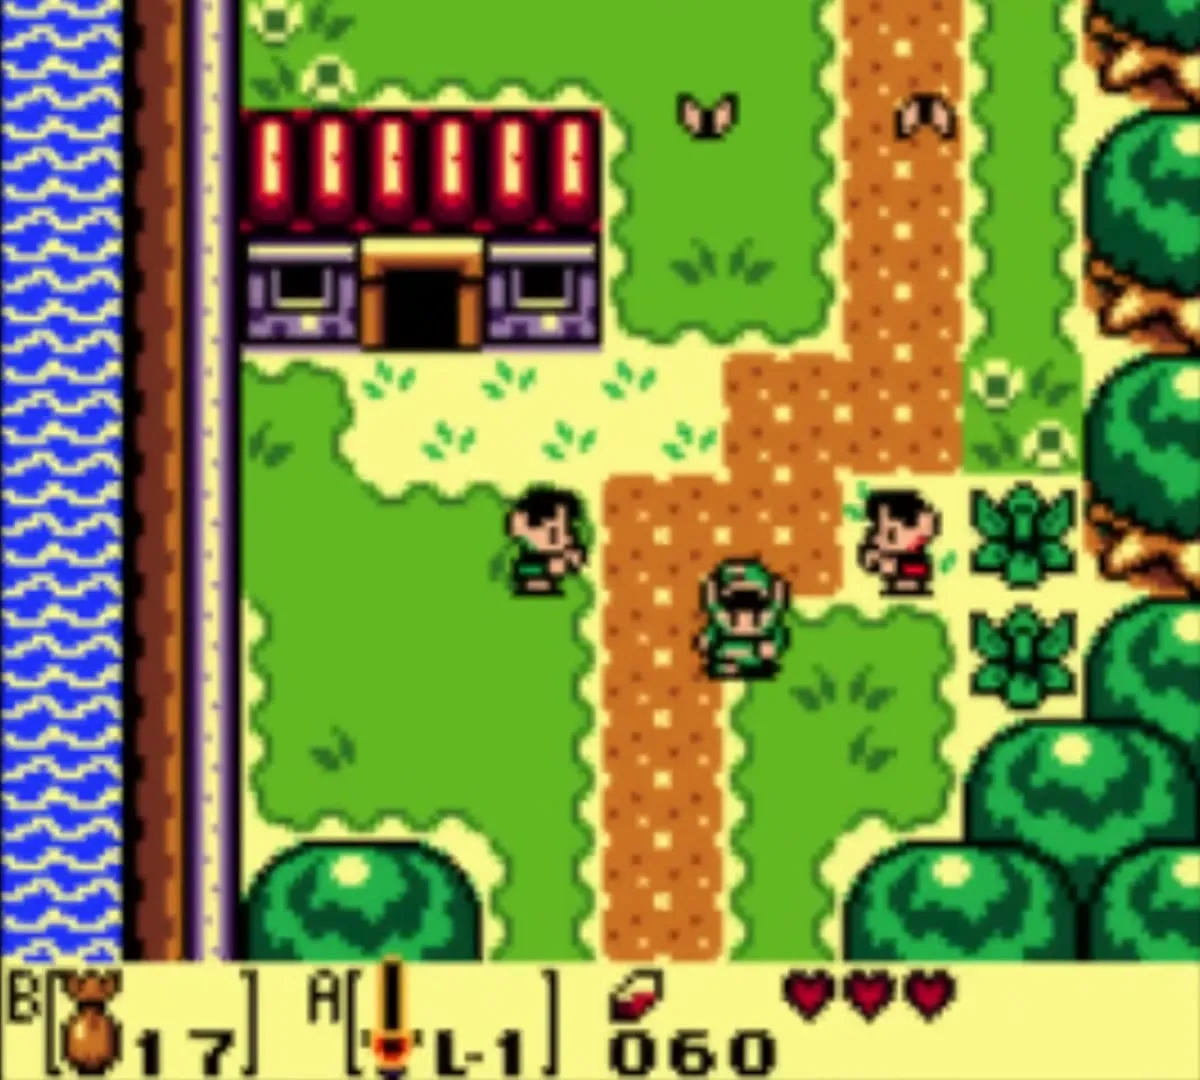
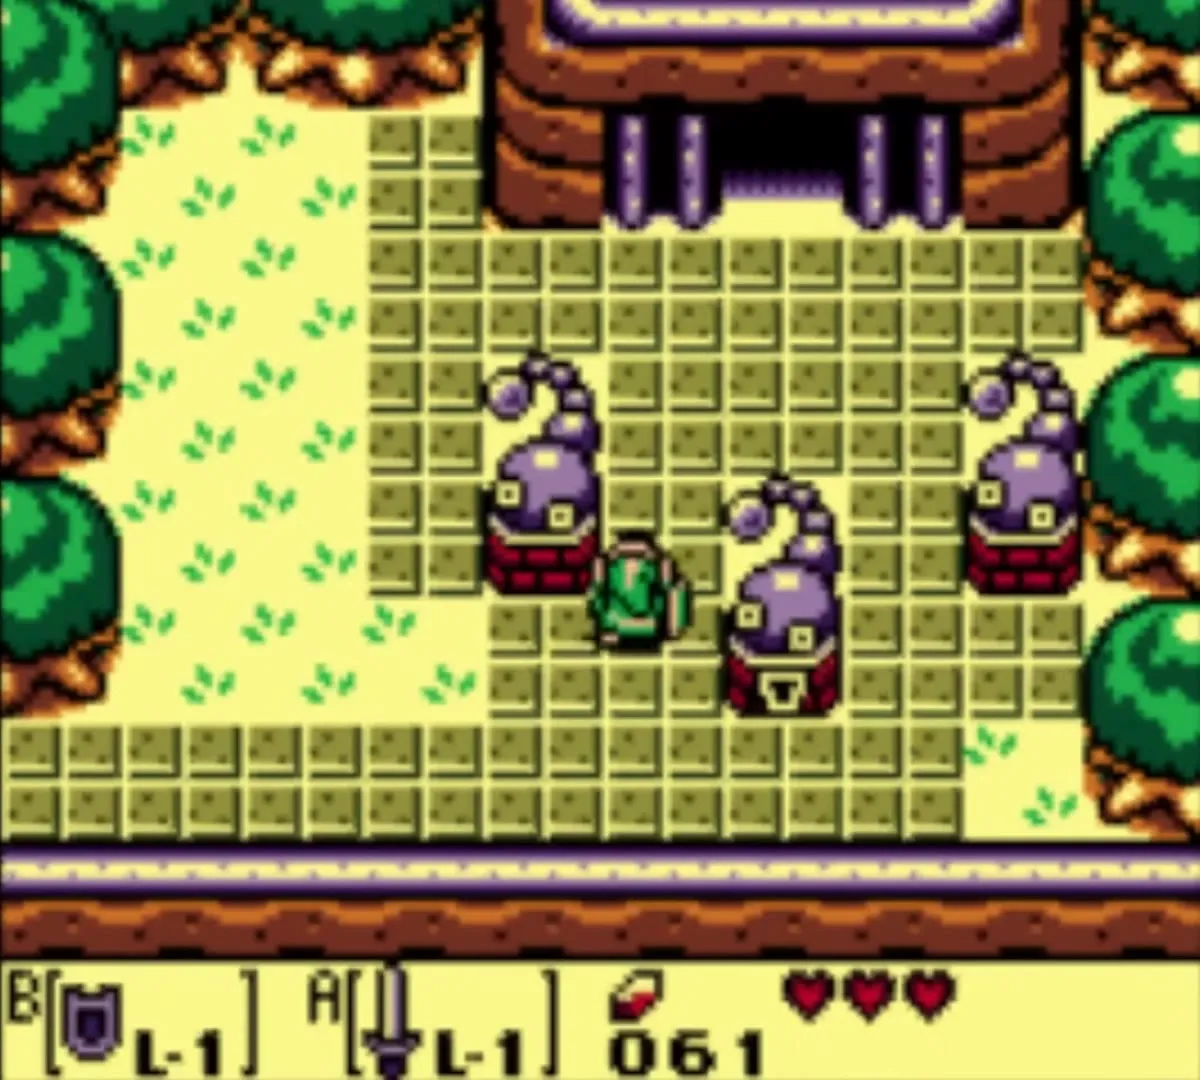
Go to the children playing catch in Mabe Village. Take the road east from the sign south of them, go as far east as you can, then south. A tiled courtyard stands in front of a locked statue. Push the Tail Key into the keyhole in the statue to open the entrance to the dungeon.
Tail Cave (Level 1) walkthrough
Tail Cave holds three small keys, a map, a compass, a Stone Beak, a mini-boss and a boss. The dungeon’s item is the Roc’s Feather, which lets Link jump gaps. Collect the first keys in the entrance wing before going north.
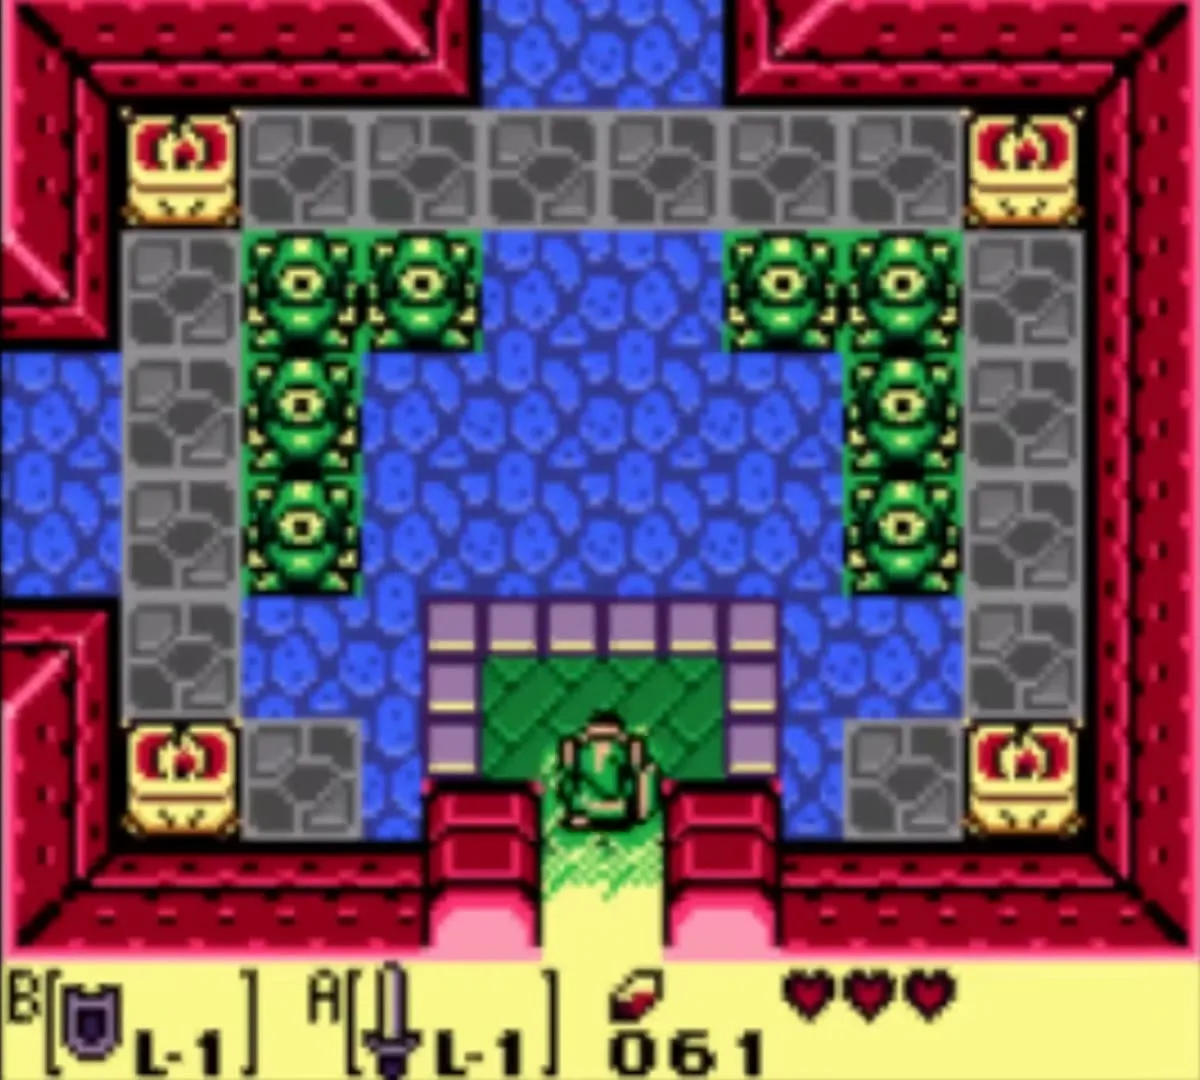

Entrance room and first small key
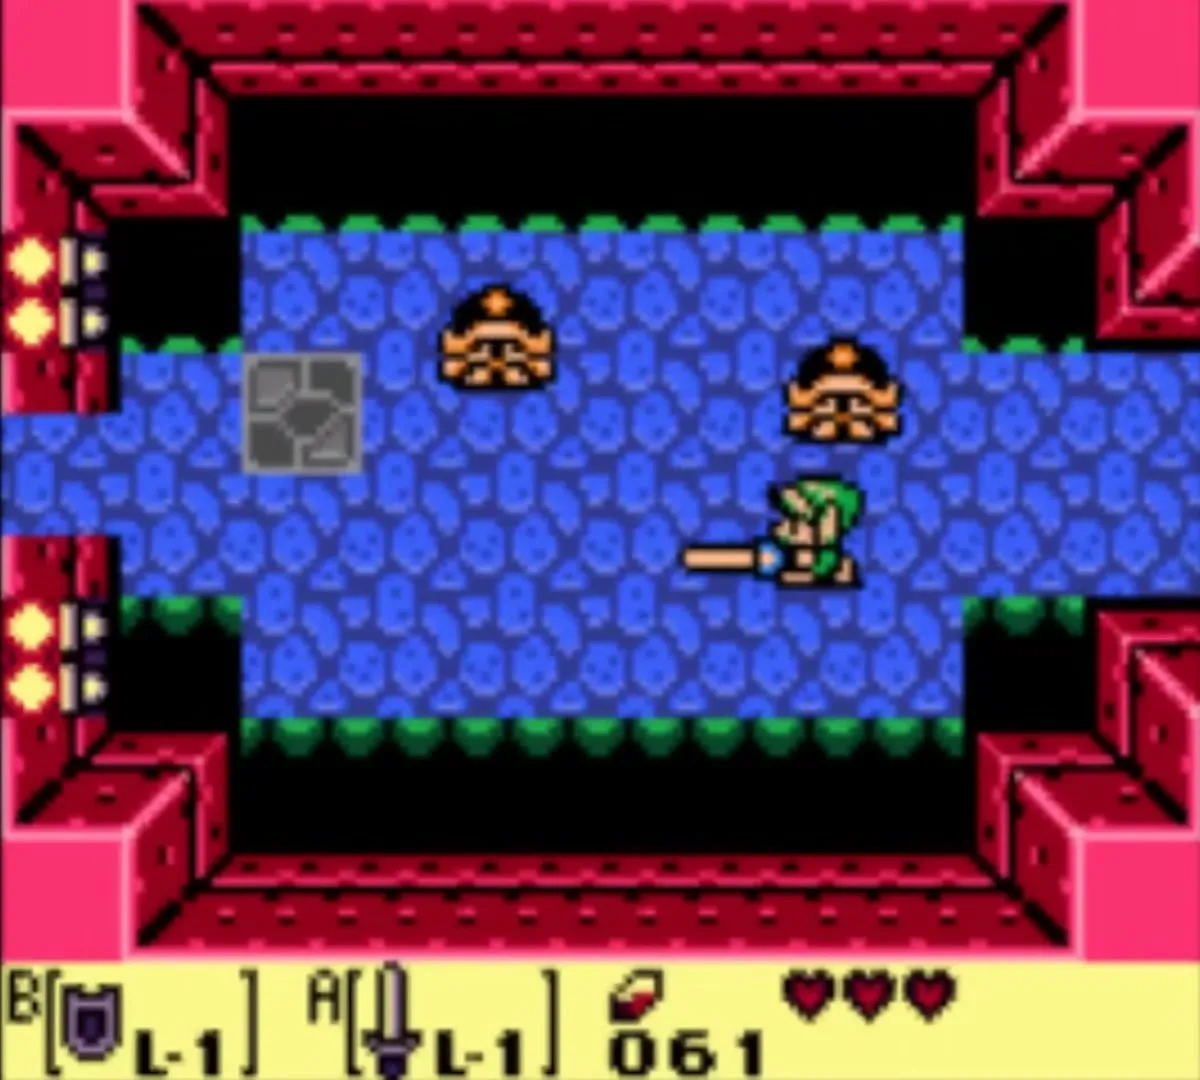
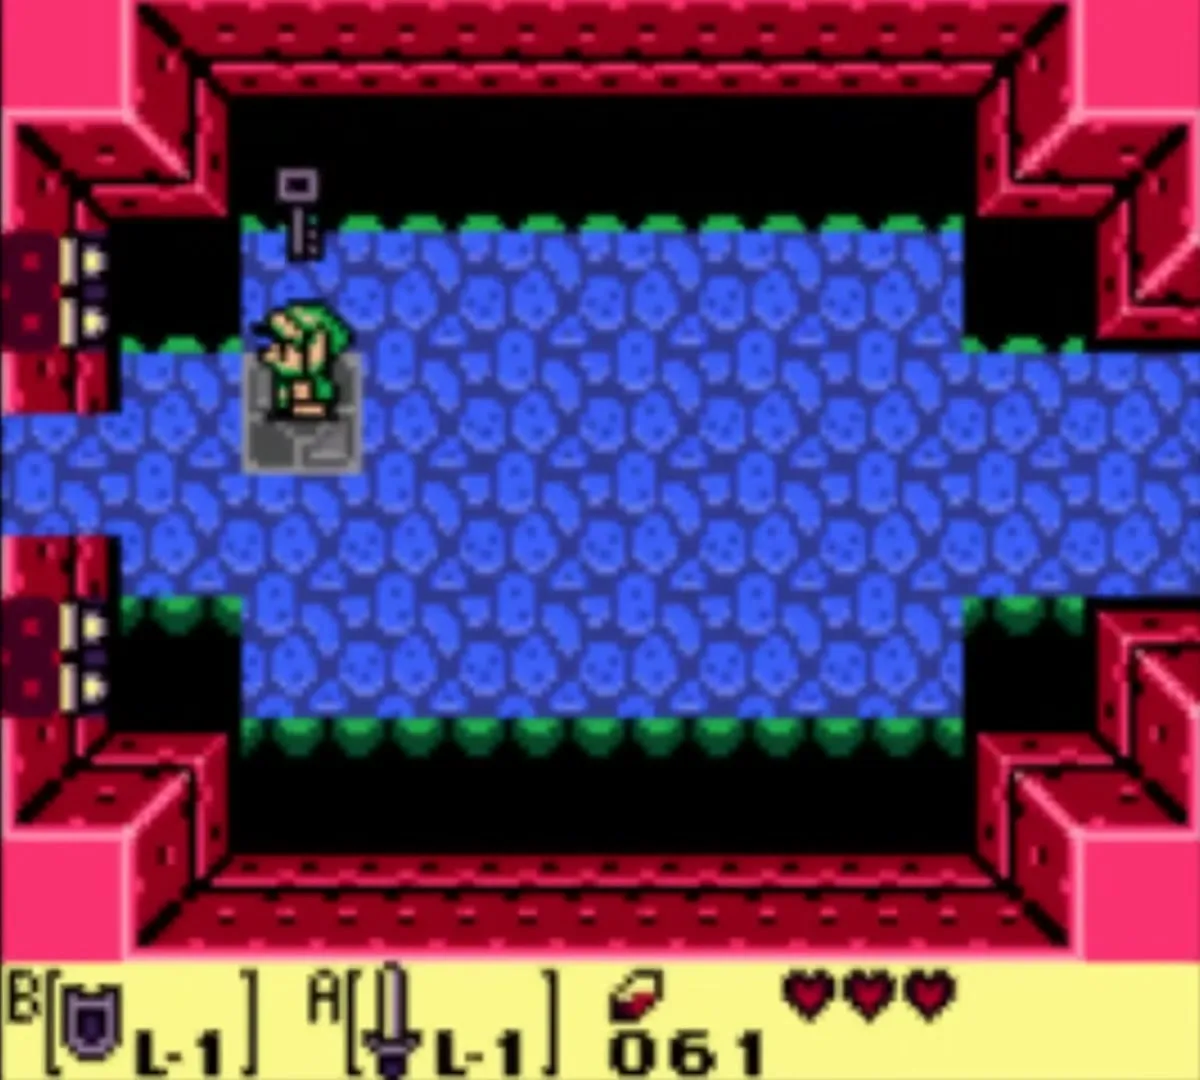
From the entrance room, take the west door into a long room with pits above and below. Two Hardhat Beetles drift toward you. Raise the Shield to knock them into a pit, or bat them away with the Sword. When both are gone a small key drops from the ceiling. Pick it up.
Compass
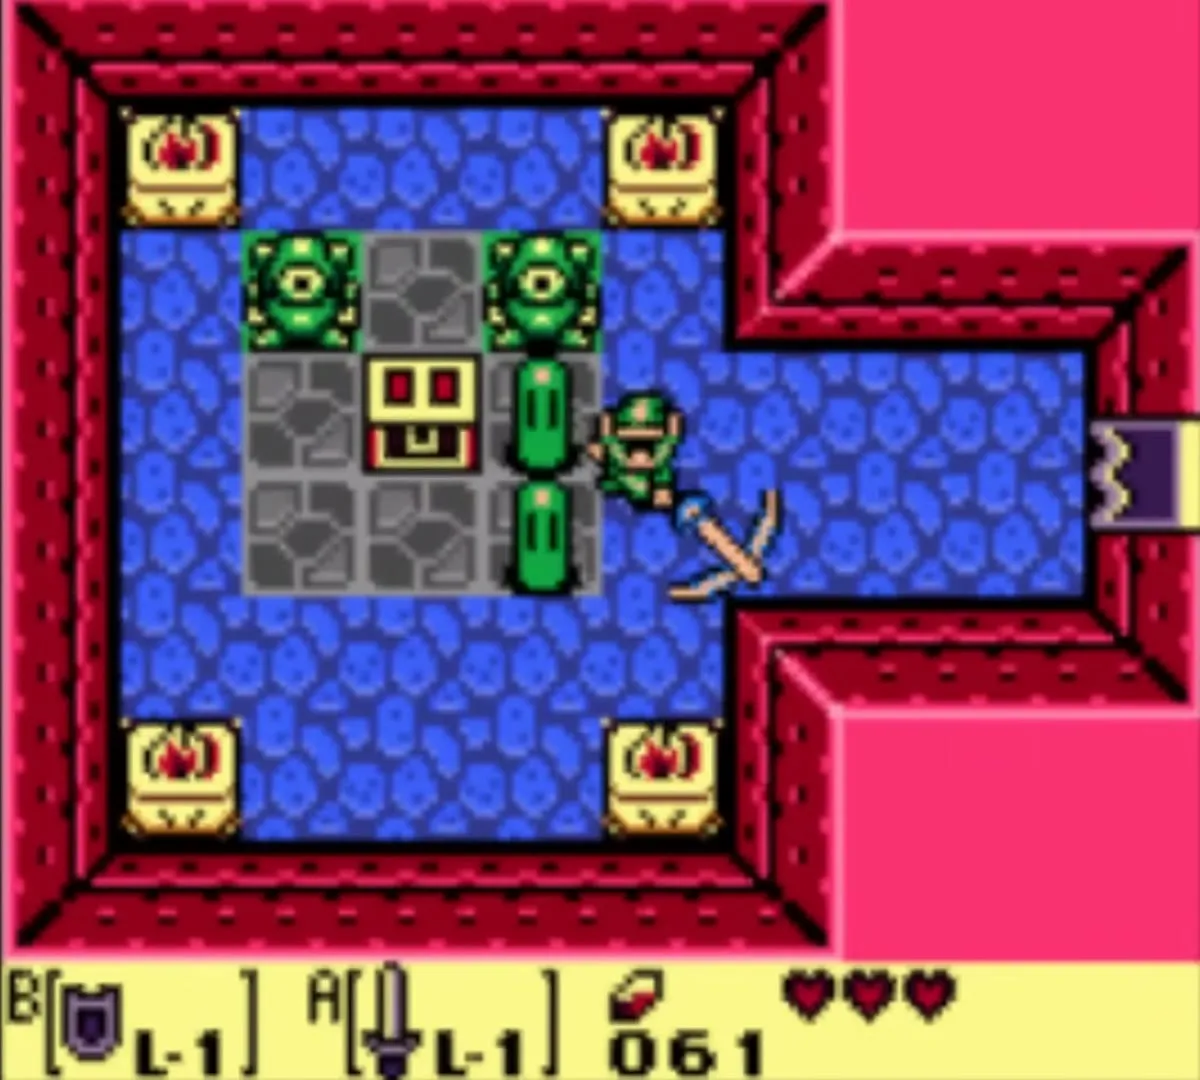
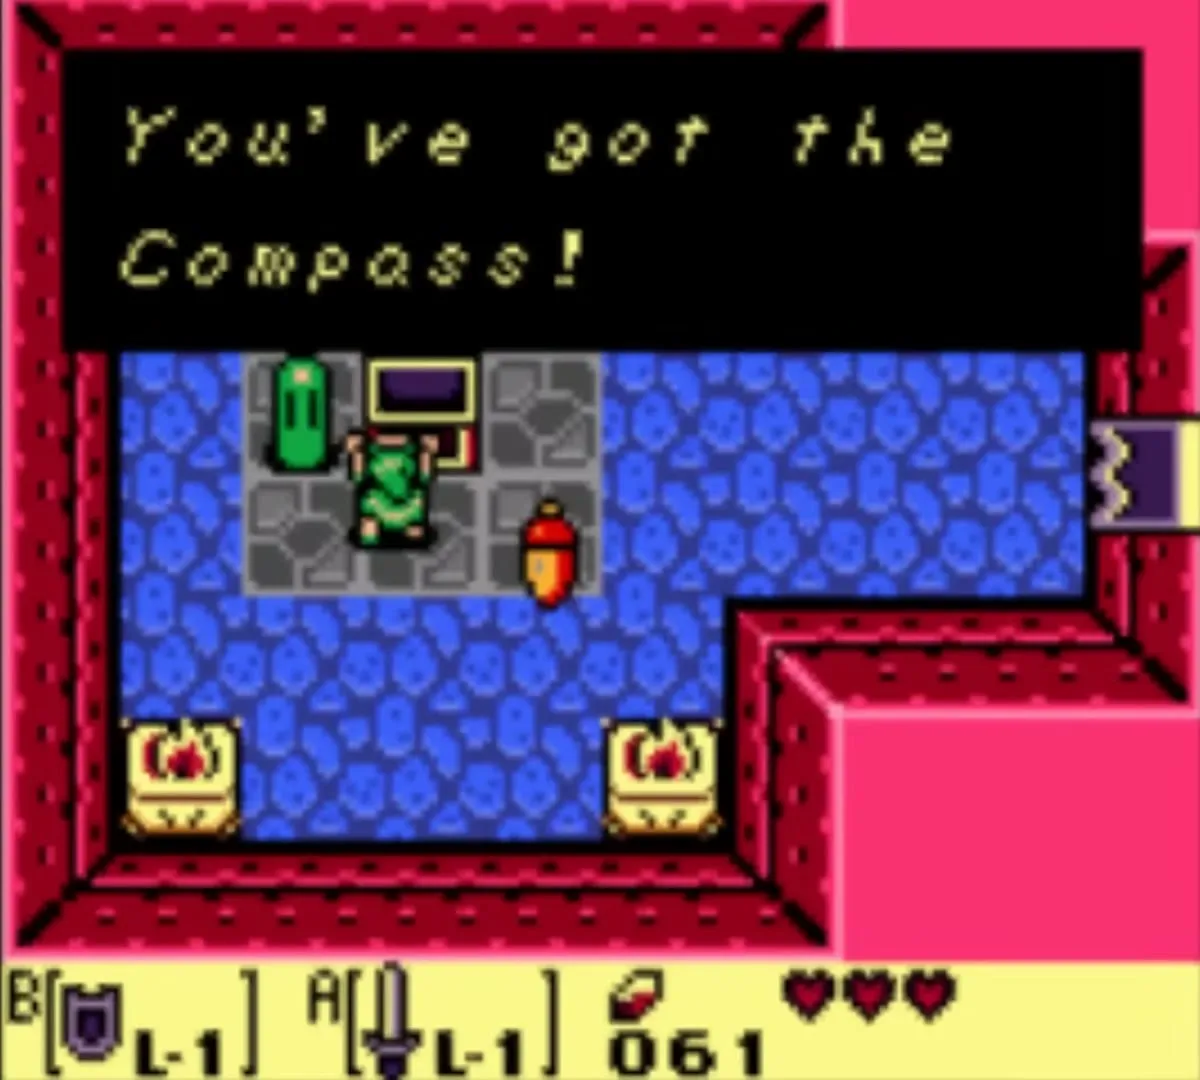
Continue west to the next room. Zols hide in the floor around a chest, so strike them as they pop up. Open the chest for the Compass, which marks every chest and chimes in rooms that hide a key.
Second small key
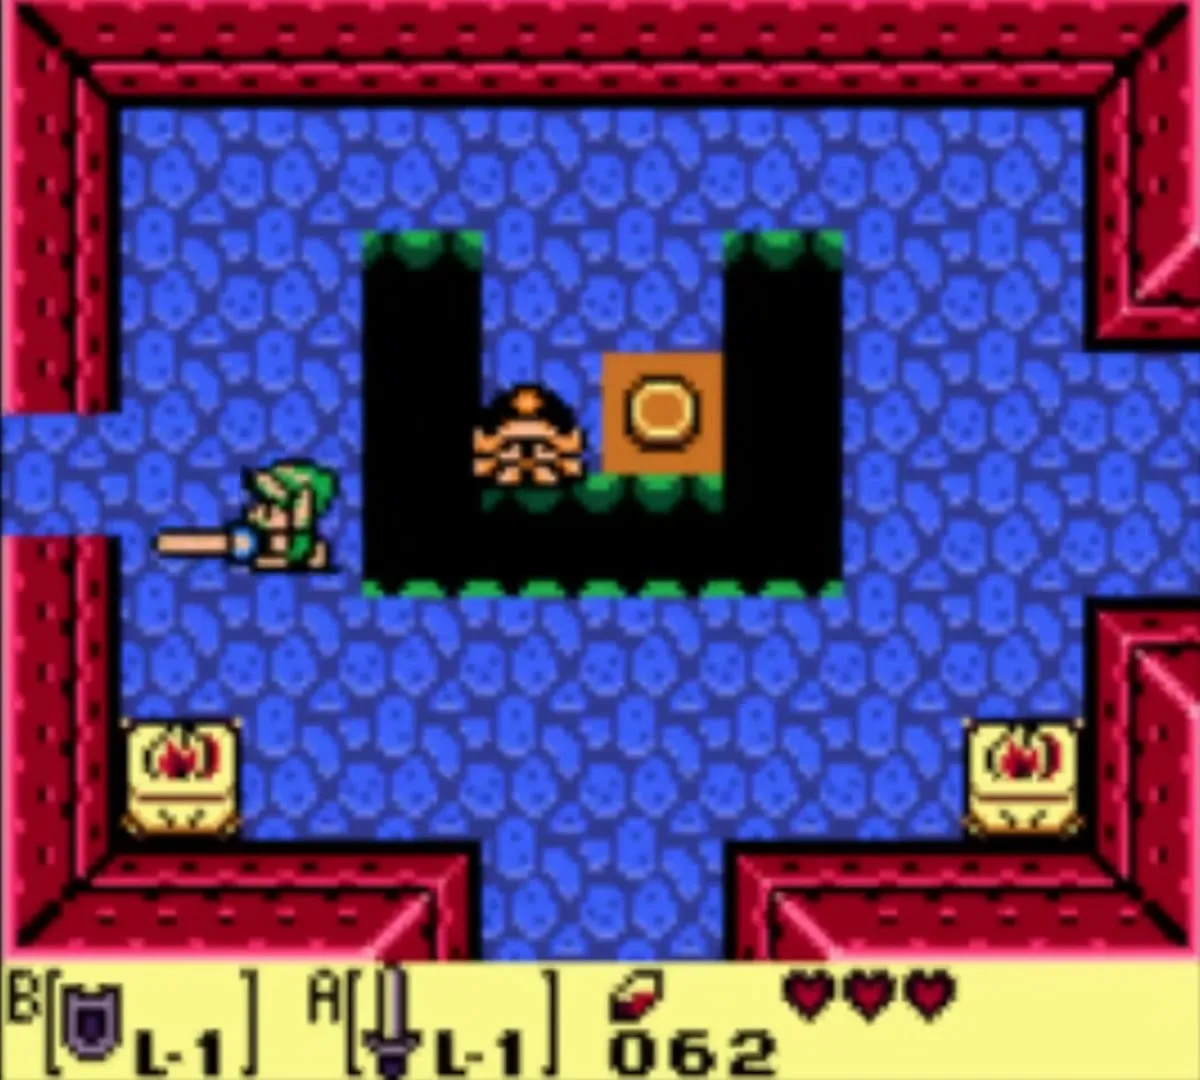
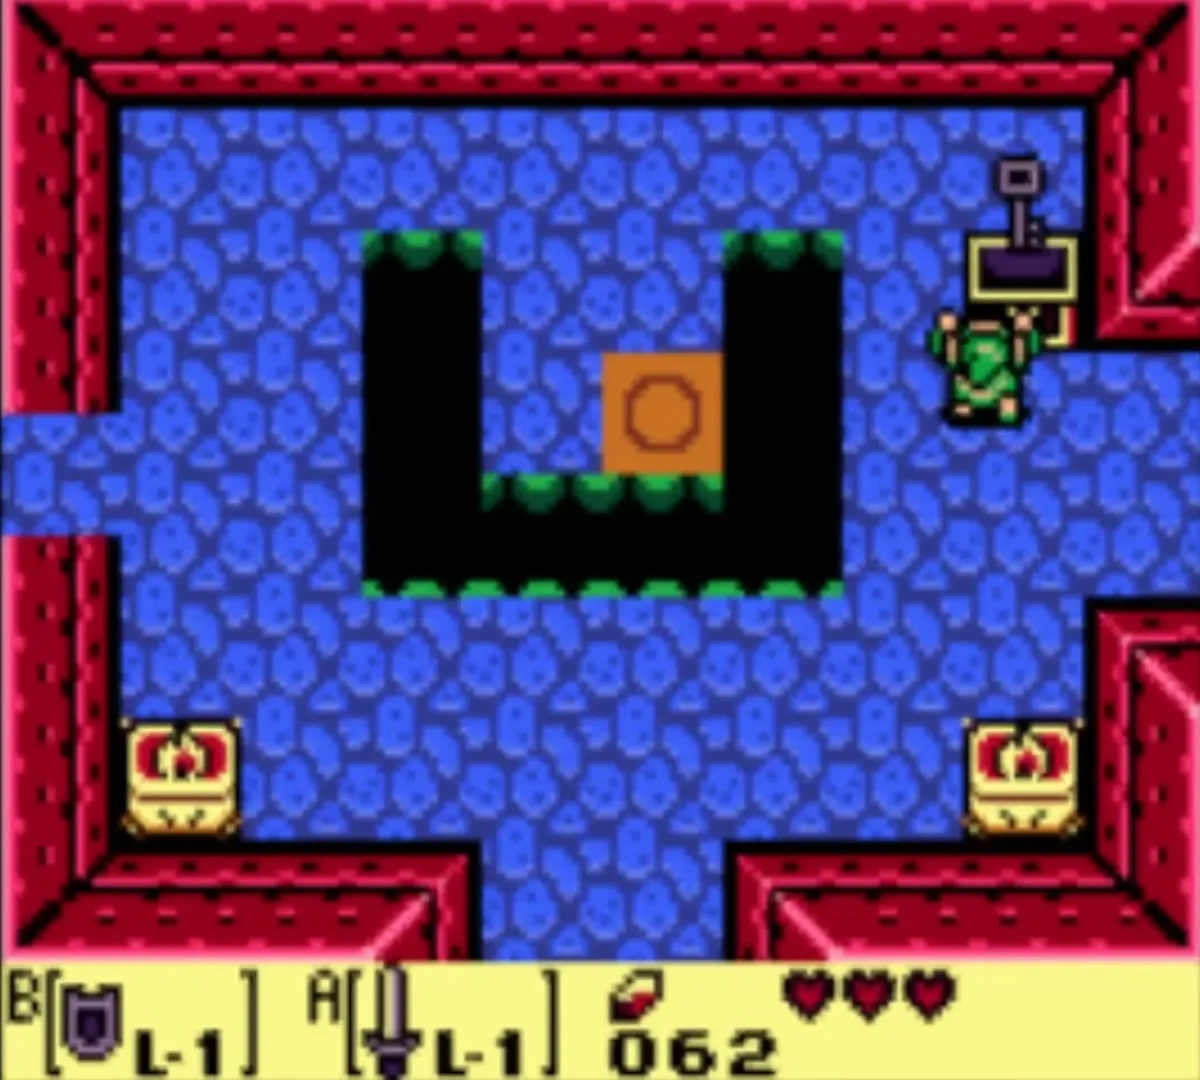
Return to the entrance room and take the north door. Knock the Hardhat Beetle into the pit and step on the orange switch on the floor. A chest appears holding your second small key.
Dungeon map
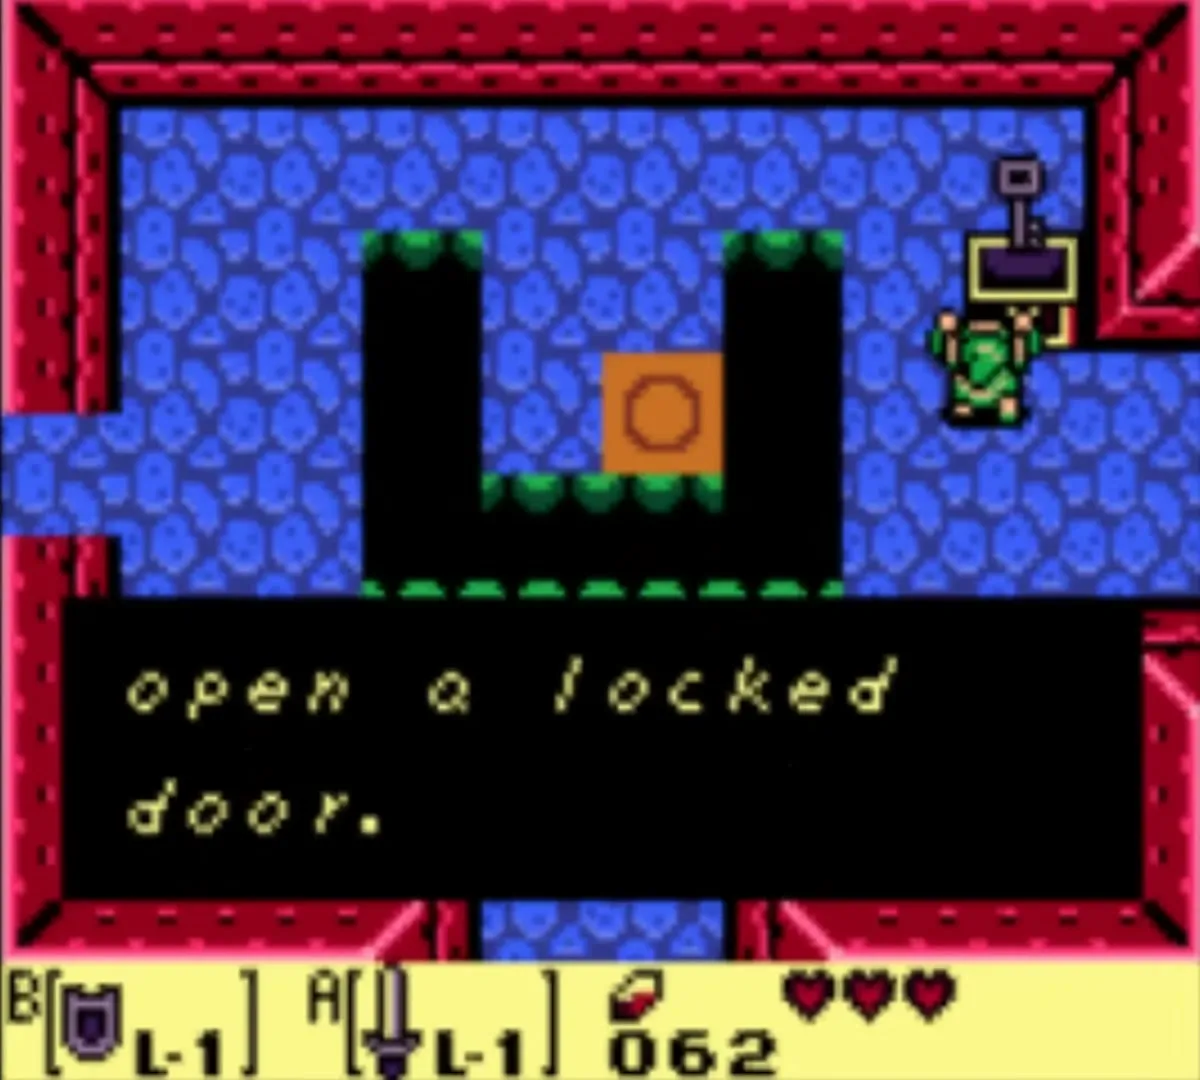
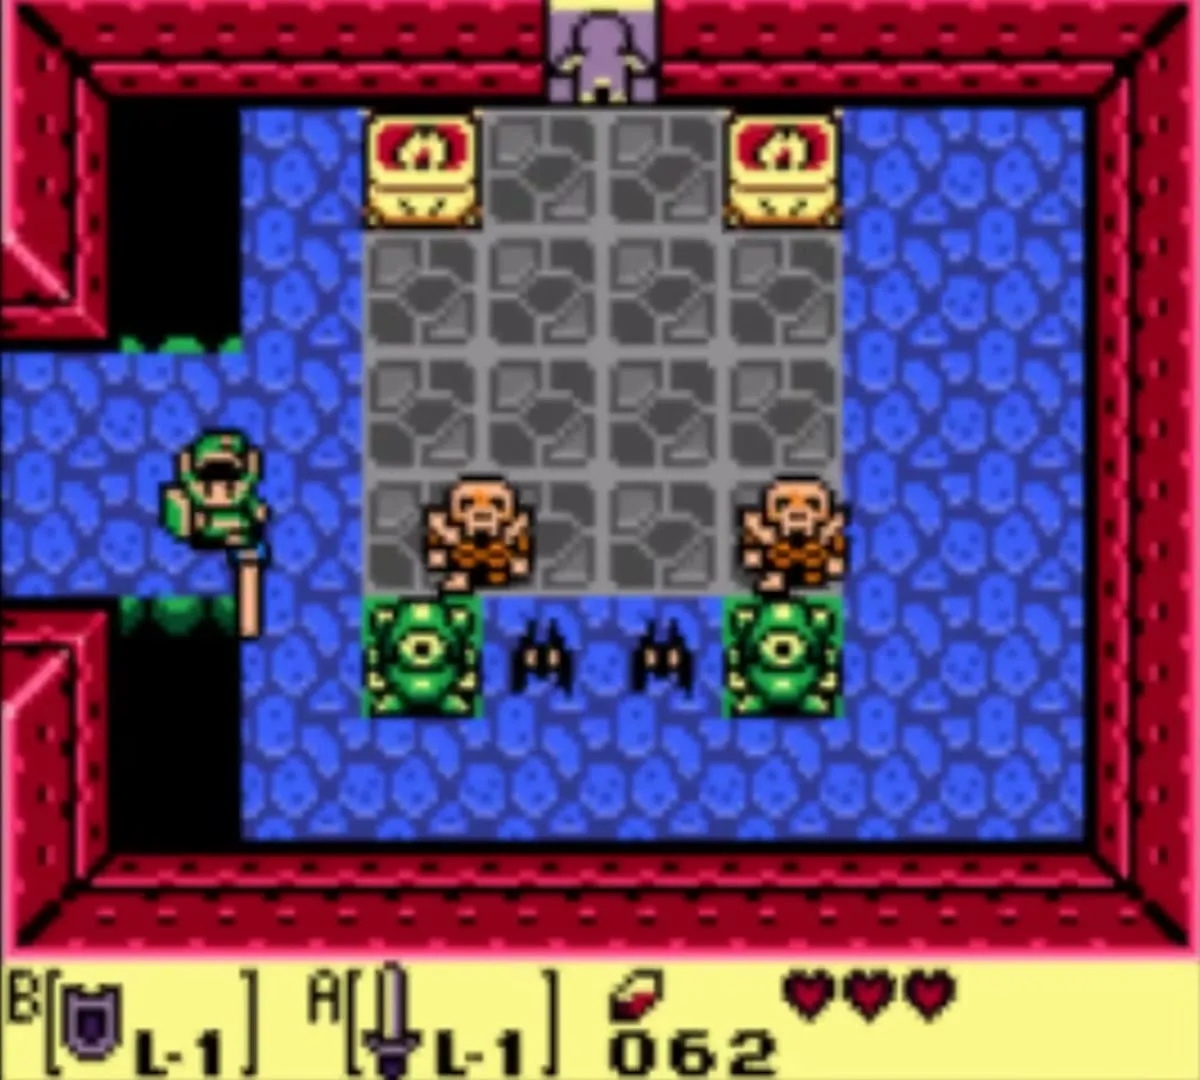
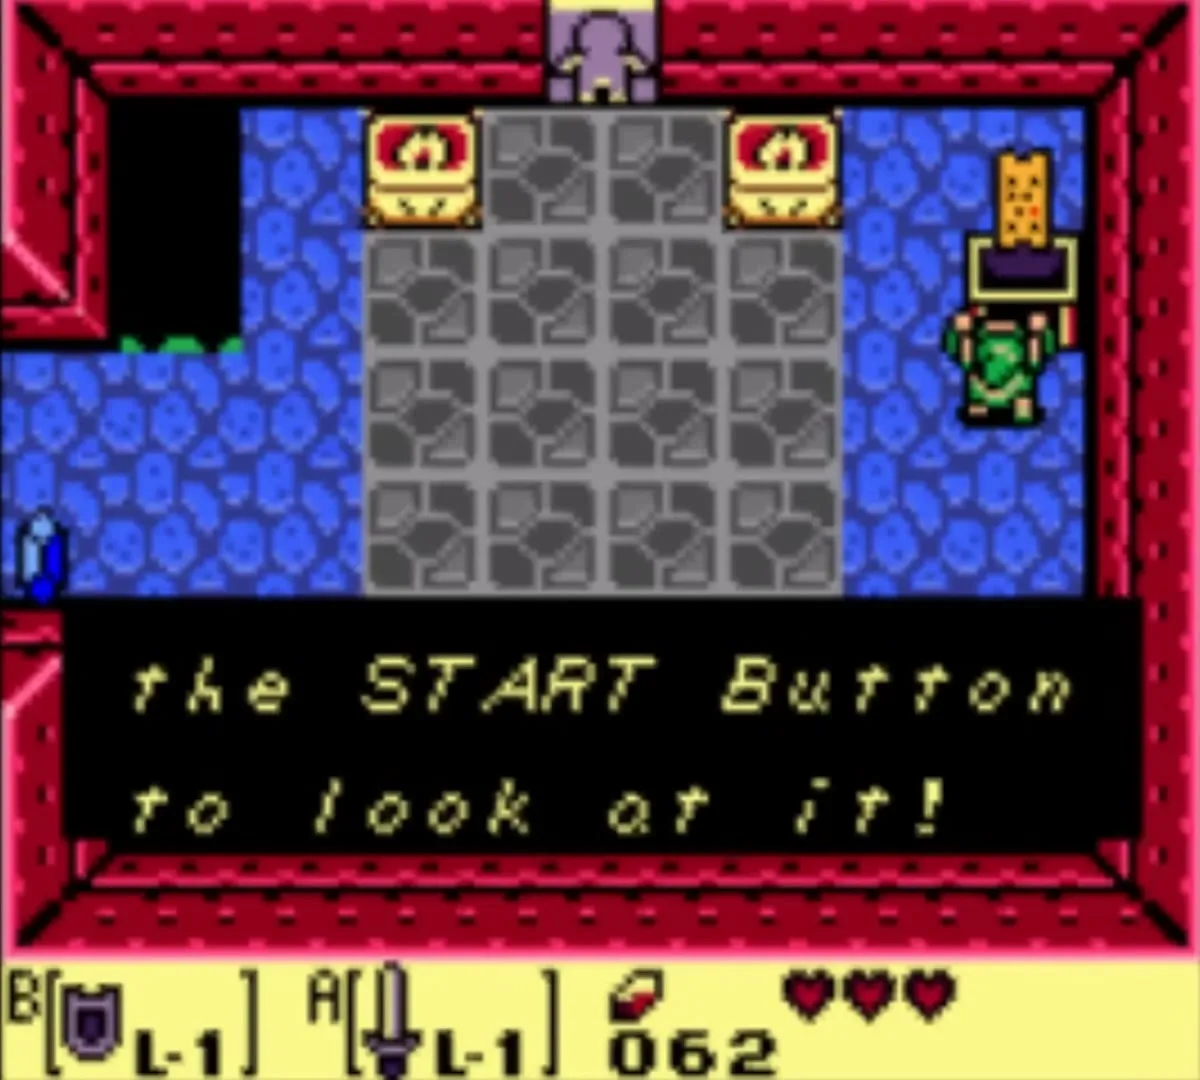
Go back through the entrance room and take the east door. Defeat the Stalfos and Keese in the room and a chest appears with the dungeon map. Press Select to look at it.

Stone Beak
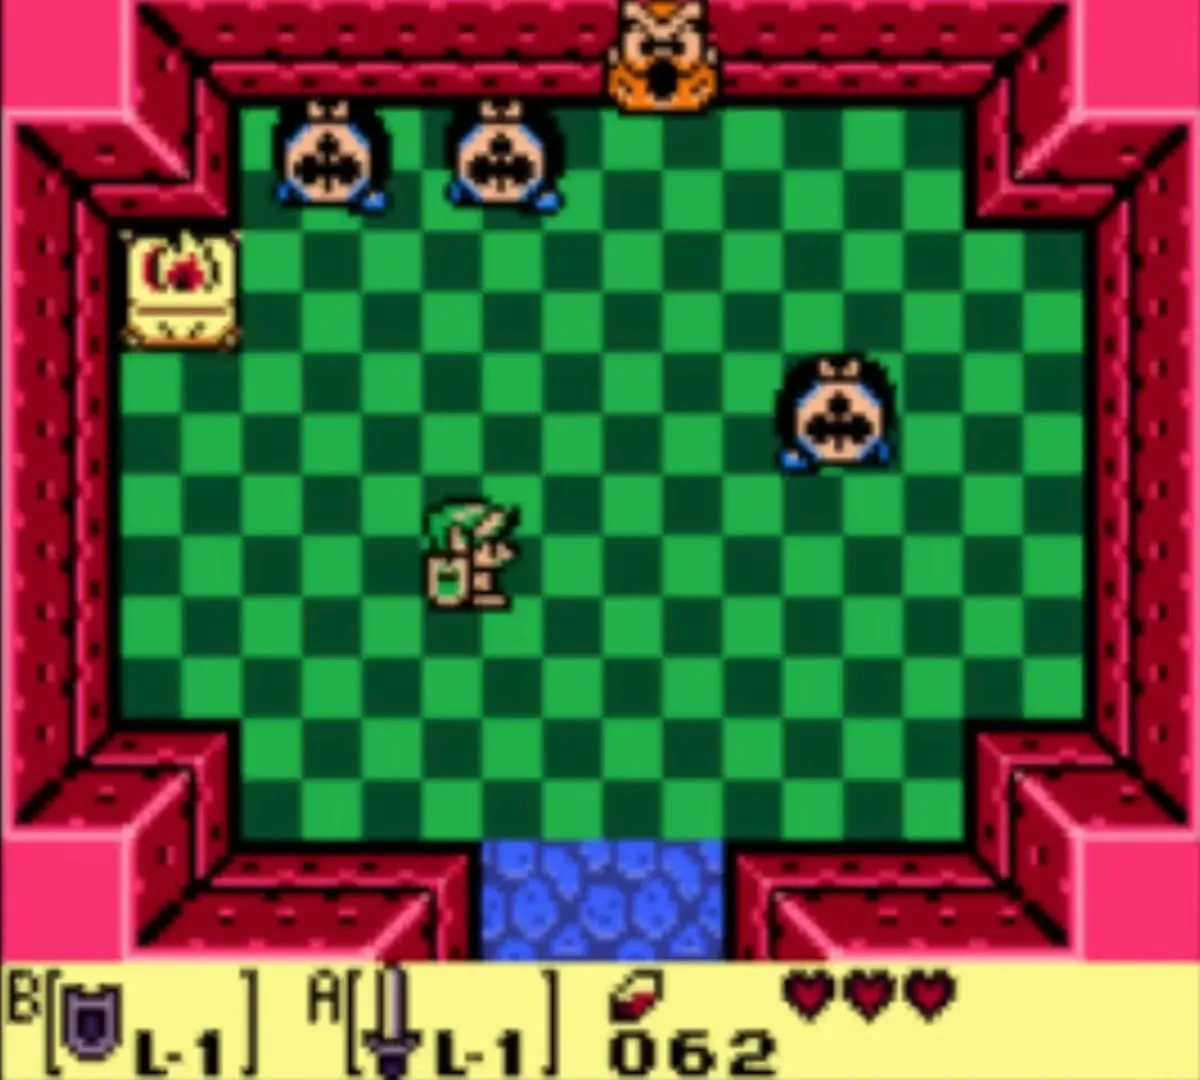
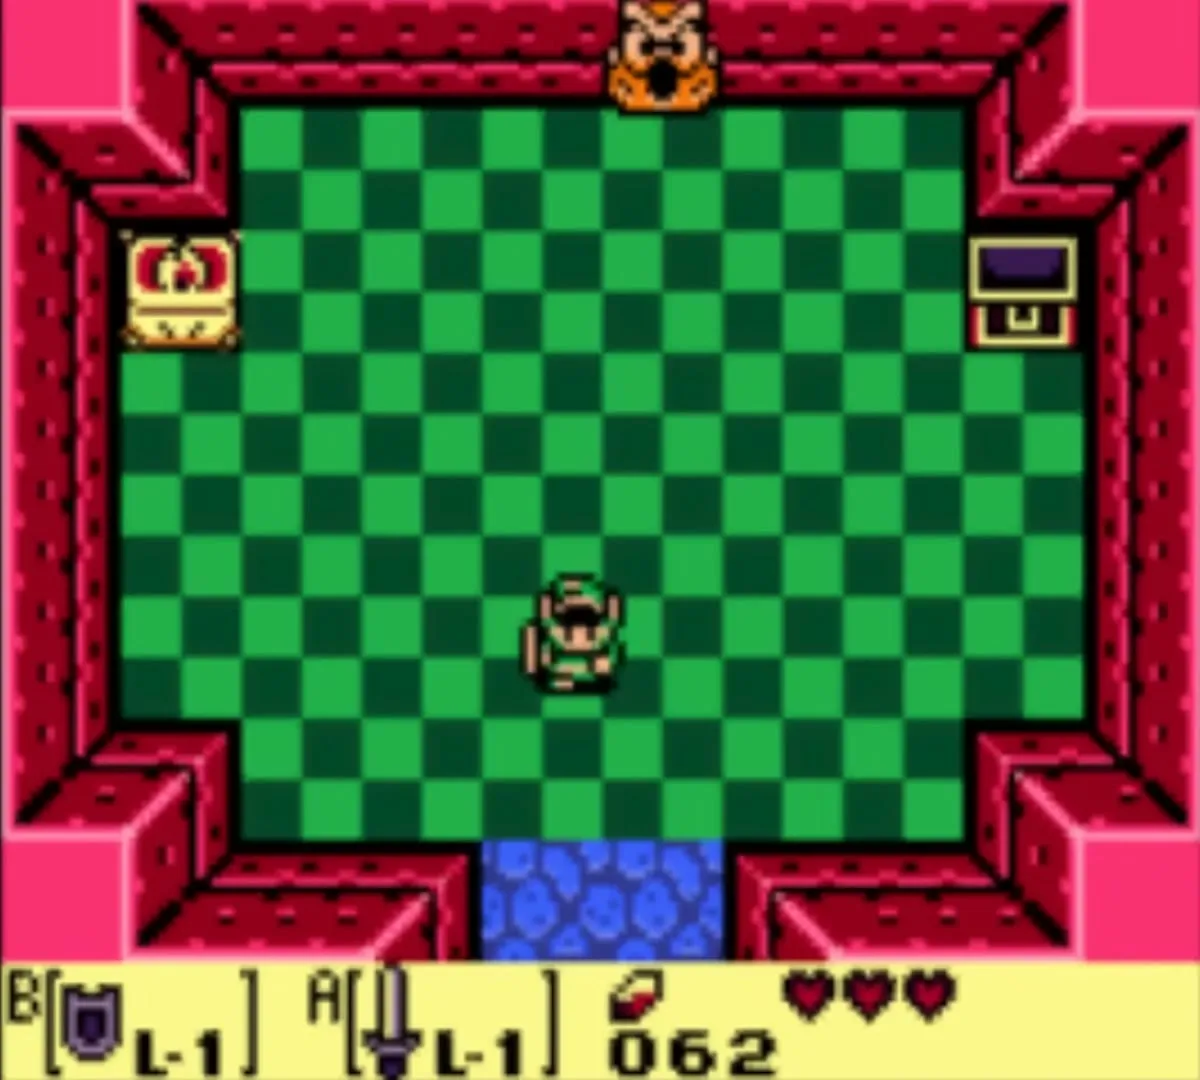
Return to the room divided by a row of blocks and get to the south side of the row. Spend a small key on the locked door in the east wall, then go north. Three card-suit enemies fill this room: strike them until all three show the same symbol at once. They vanish and a chest appears with the Stone Beak.
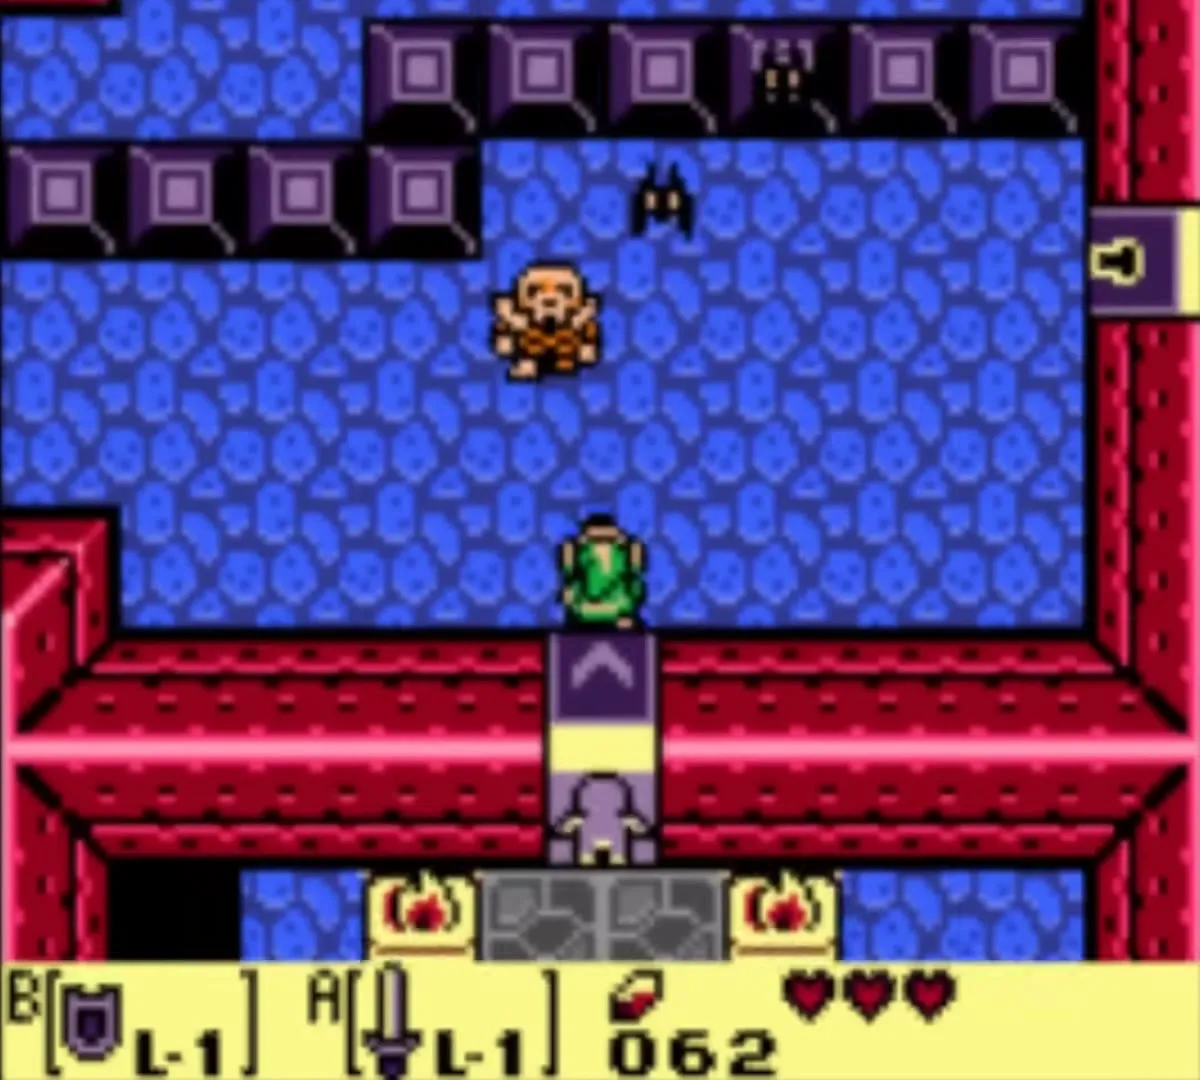
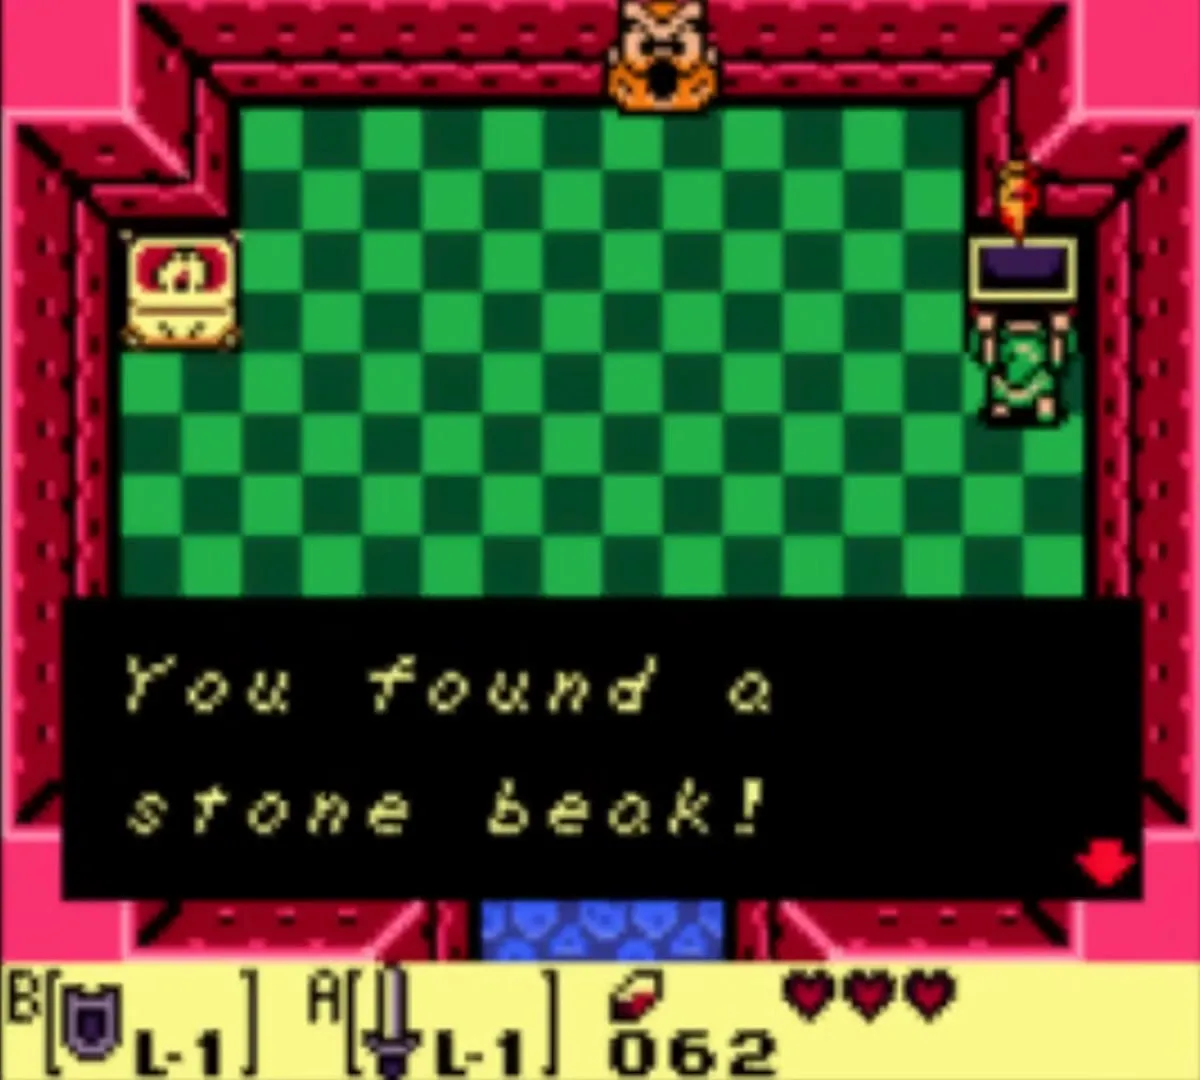
The Stone Beak lets every owl statue in the dungeon give you hints, so read each one you pass.

Third small key and the Spark
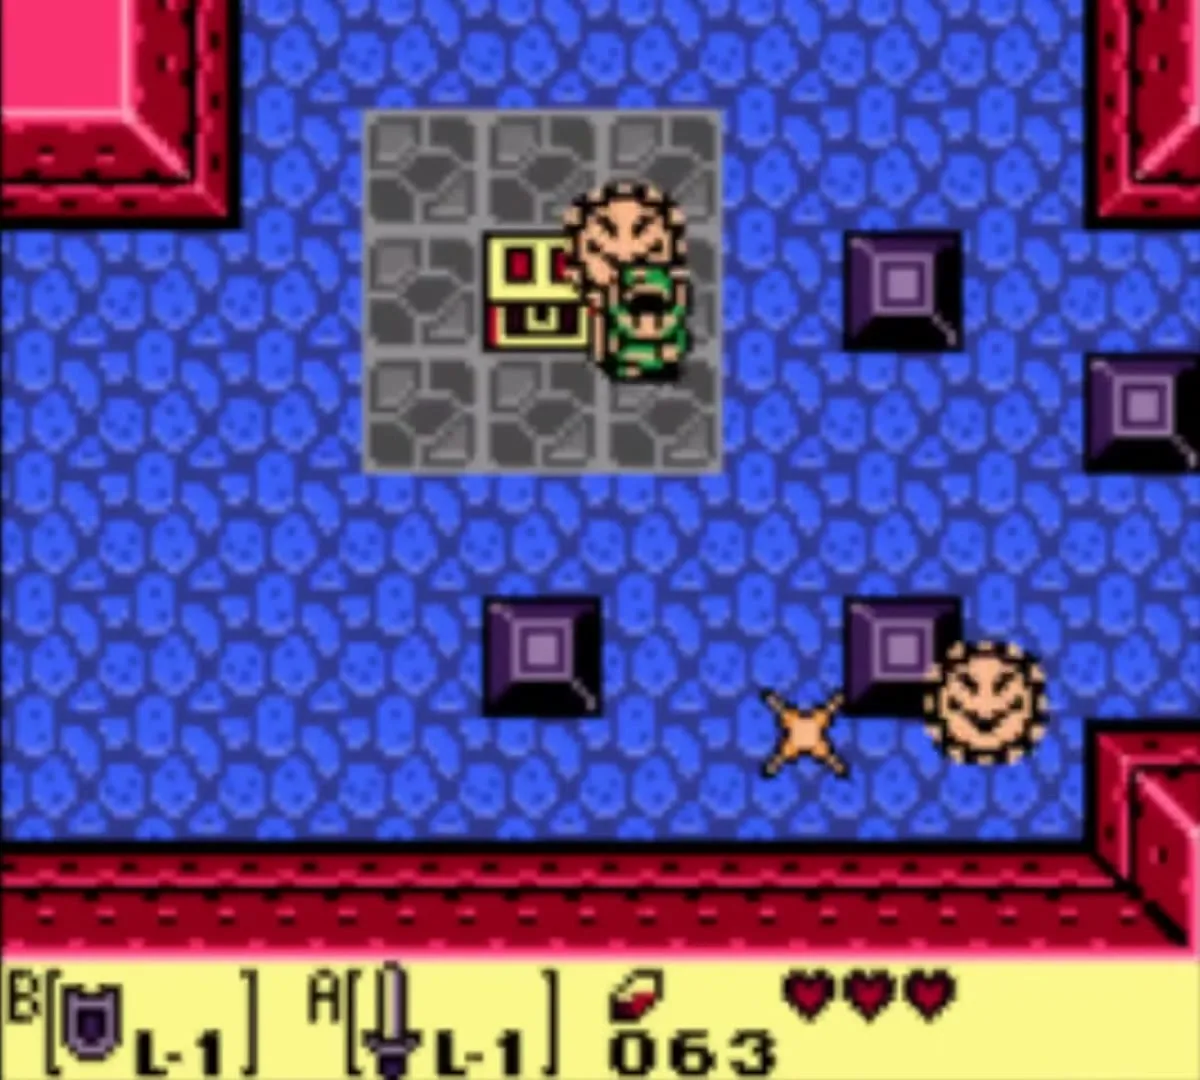
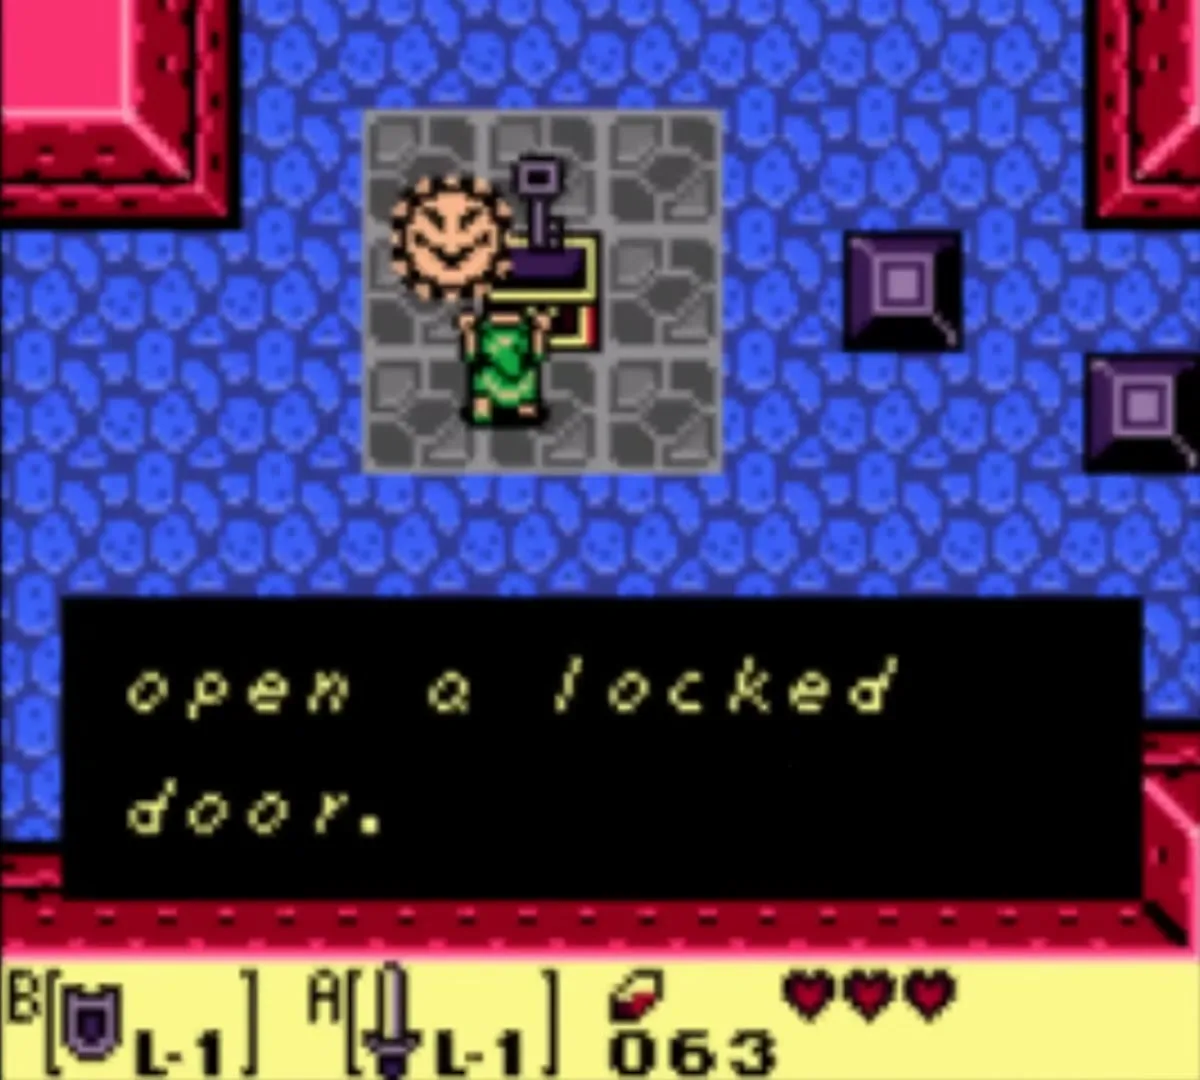
Return to the map room and step into the one-way door in its north wall, which leads west into a room where a Spark circles a chest. Watch its path, move in when it is on the far side, and open the chest for the third small key.
20 rupees chest
Further west, defeat the Mini-Moldorm to make a chest appear with 20 rupees. If none appears, defeat the Mini-Moldorm in the room to the east instead.
How to get the Roc’s Feather
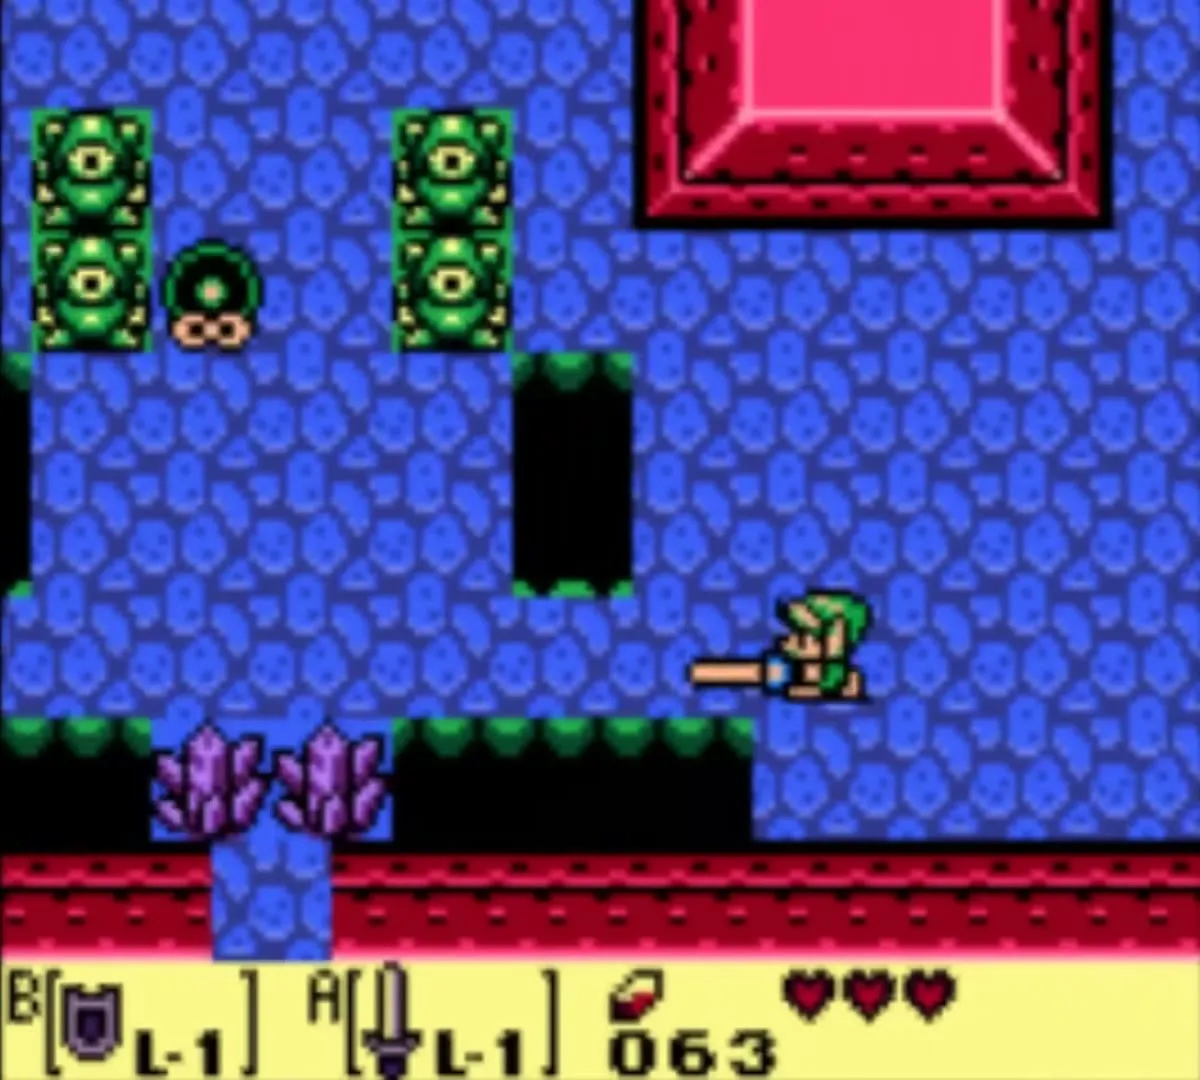
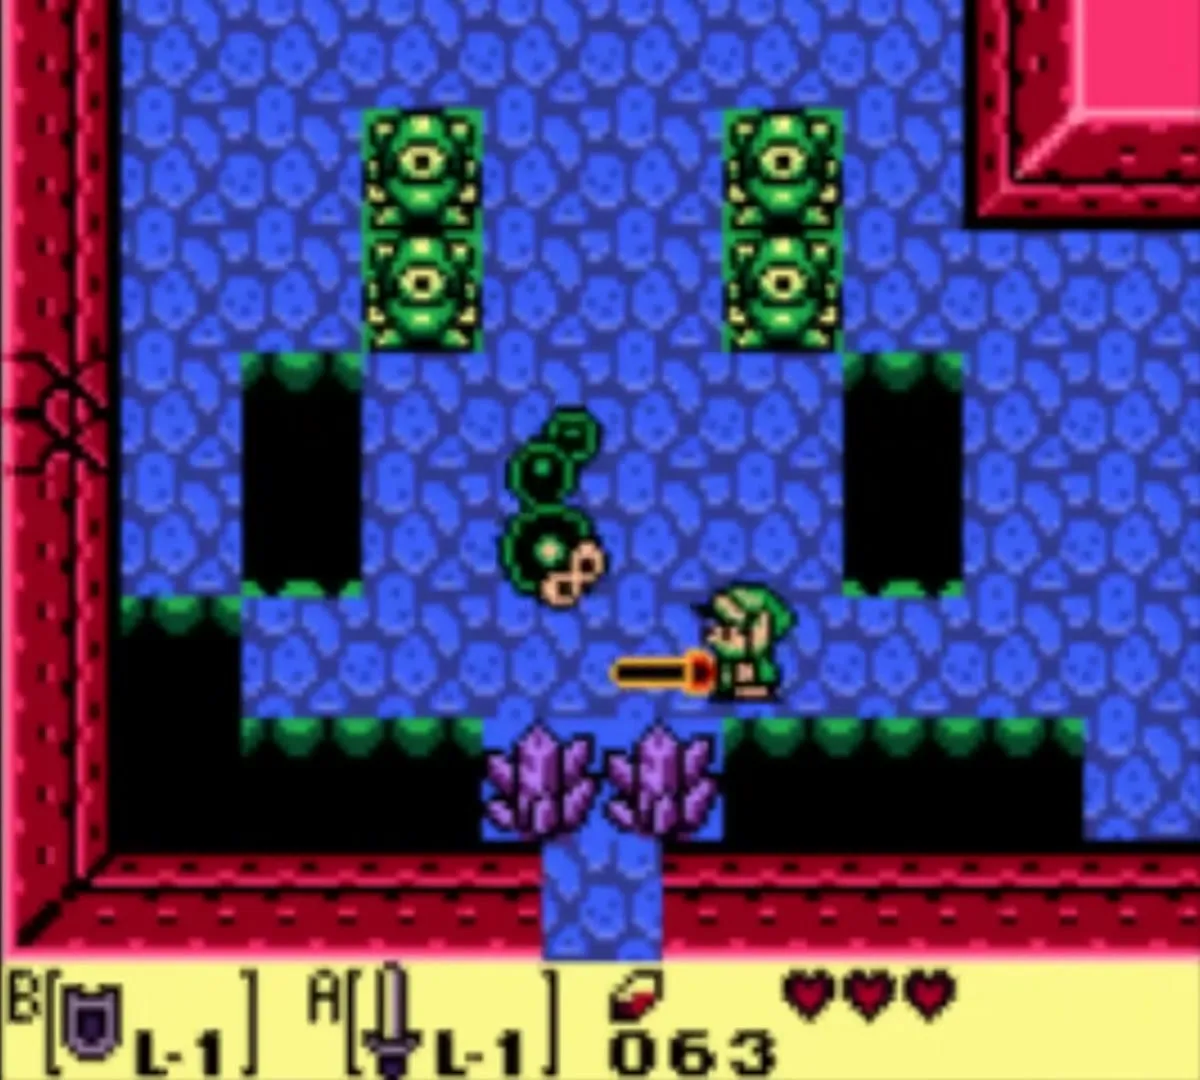
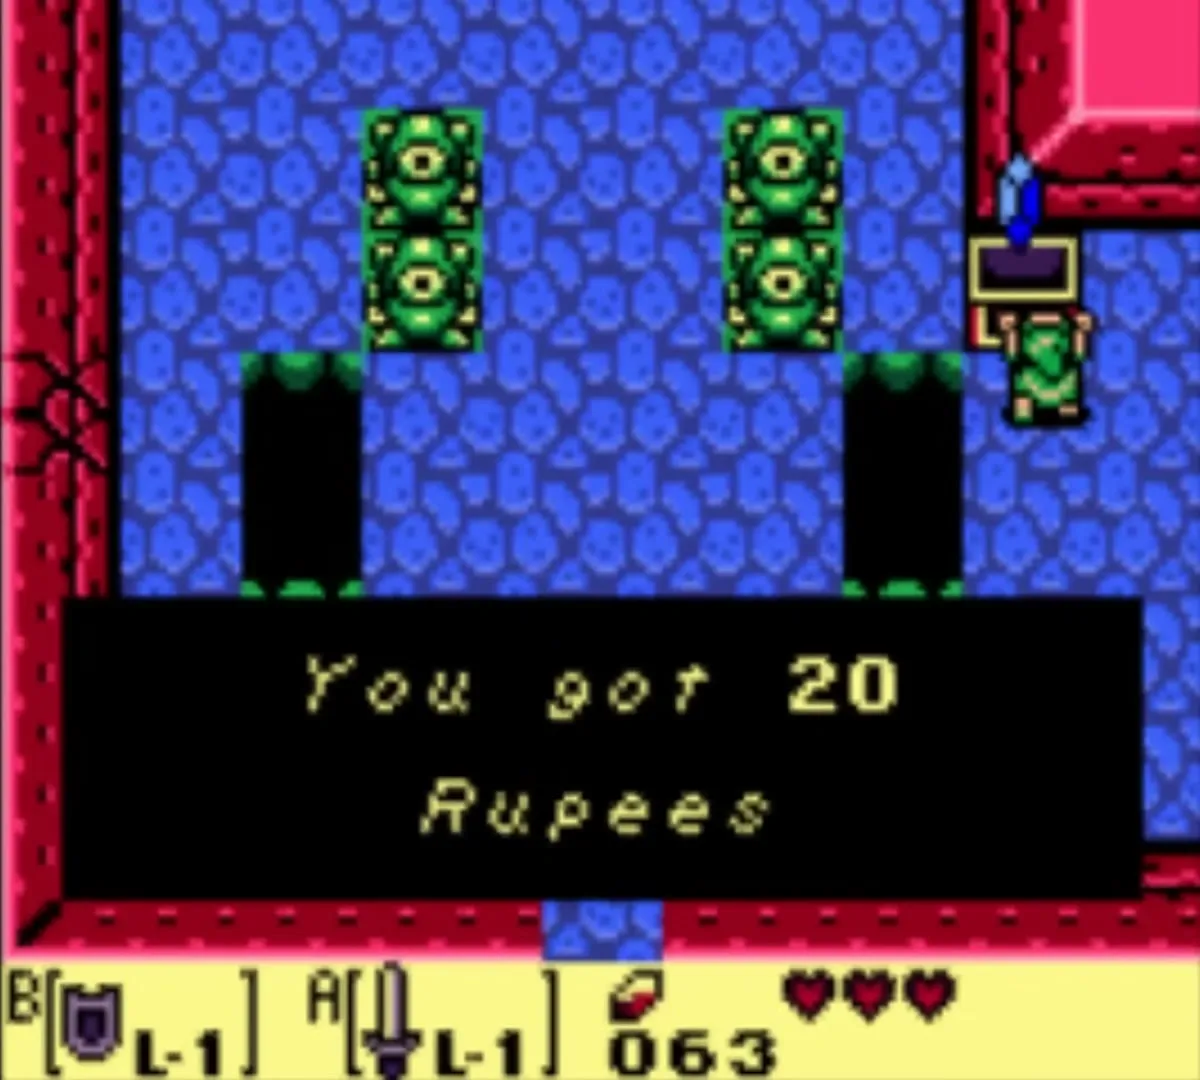
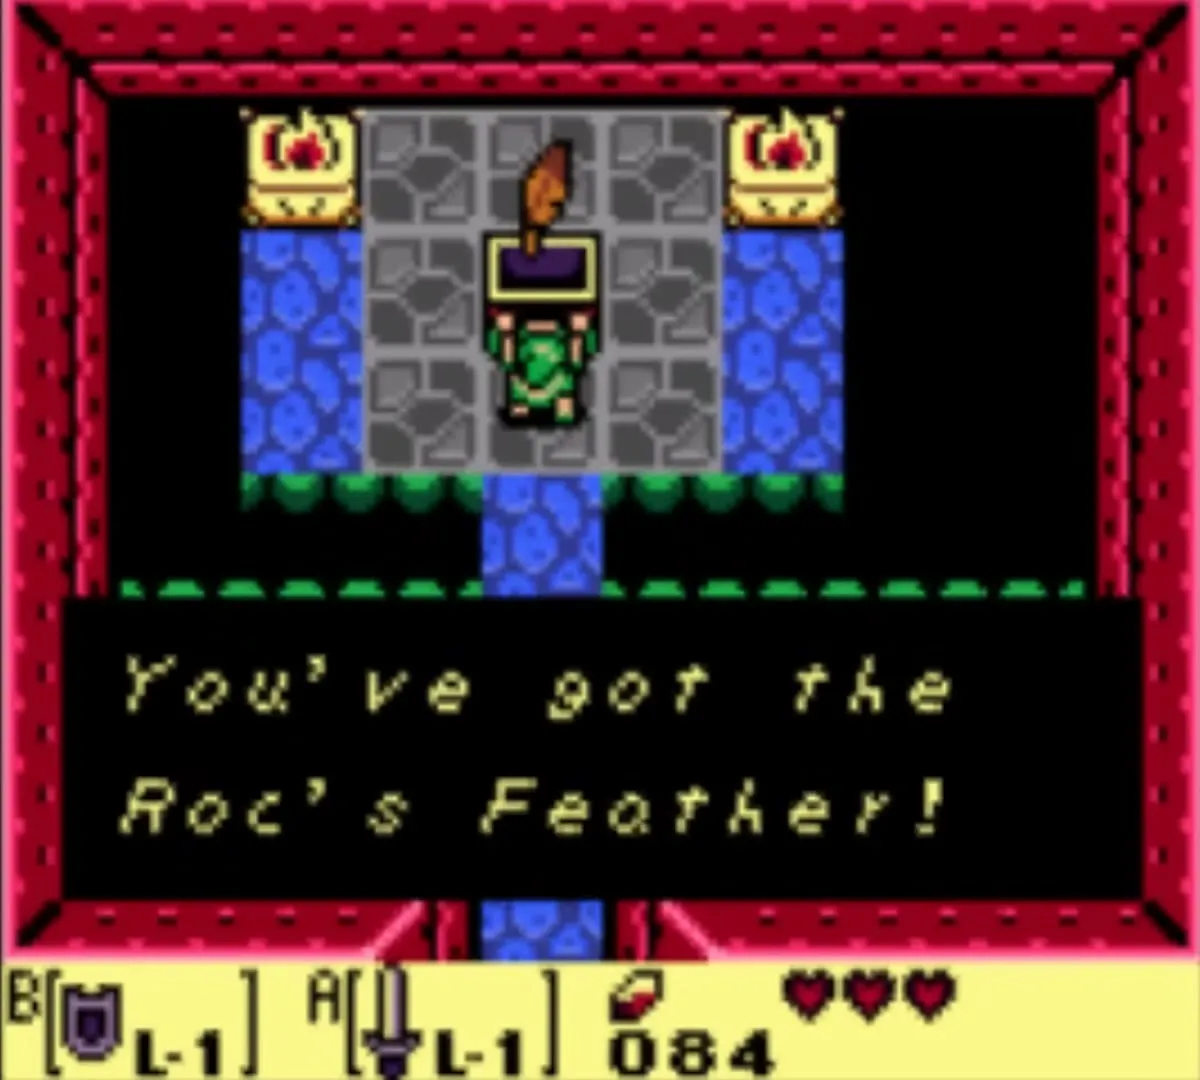
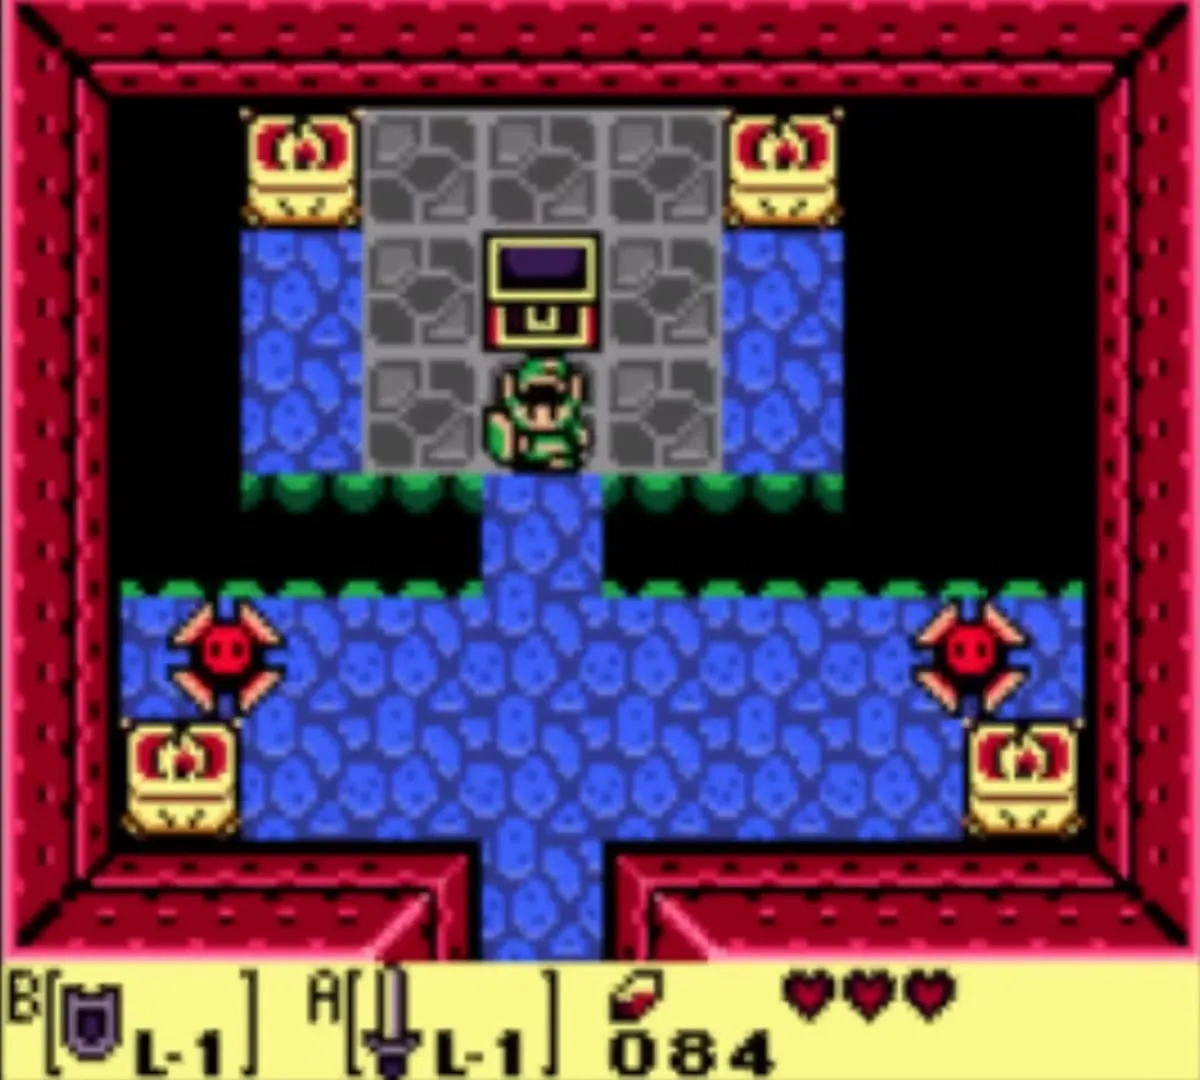
Unlock the door at the north end of the hub. Time your steps around the spiked Blade Trap and push the nearby block into its path. In the owl statue room push the leftmost block to open a door, then flip the Spiny Beetles with the Shield and finish them with the Sword. Take the stairs down, follow the underground passage west and climb the ladder. Time your run past the traps and open the chest for the Roc’s Feather. It makes Link’s body feel lighter and lets him jump gaps with the button you assign it to.
Nightmare’s Key
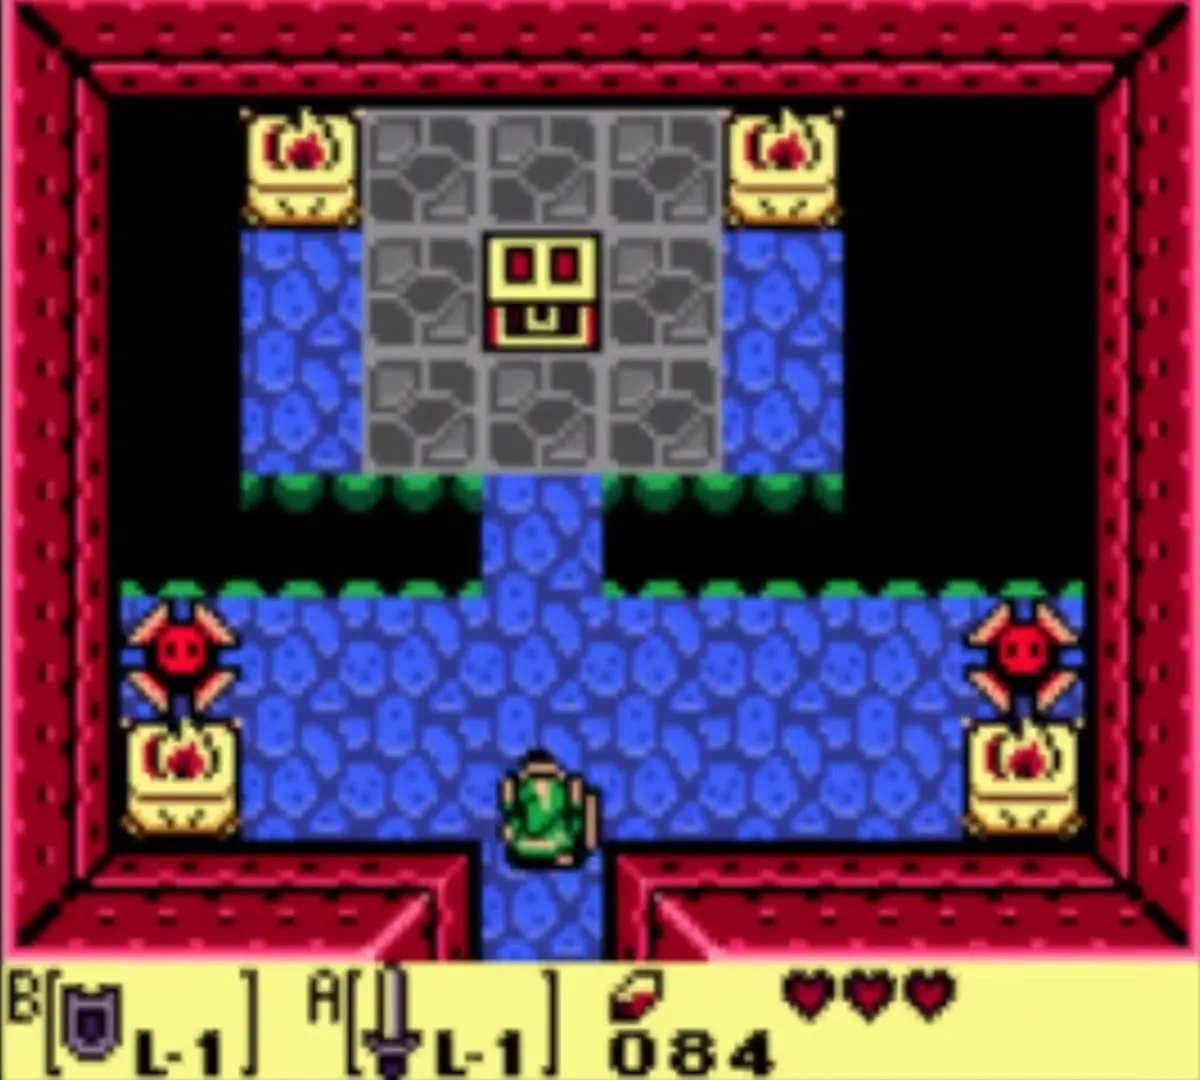
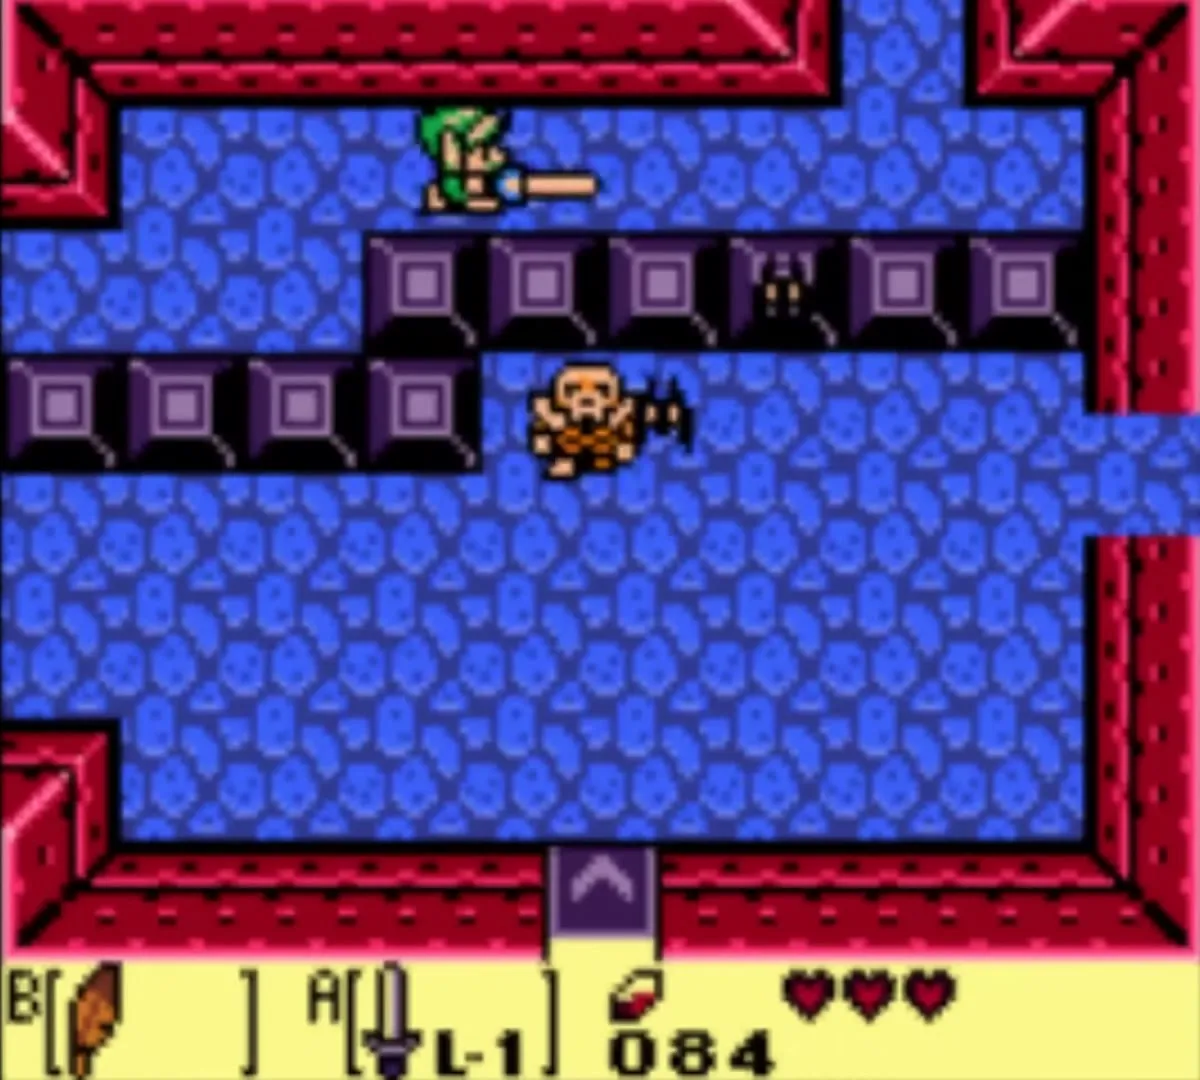
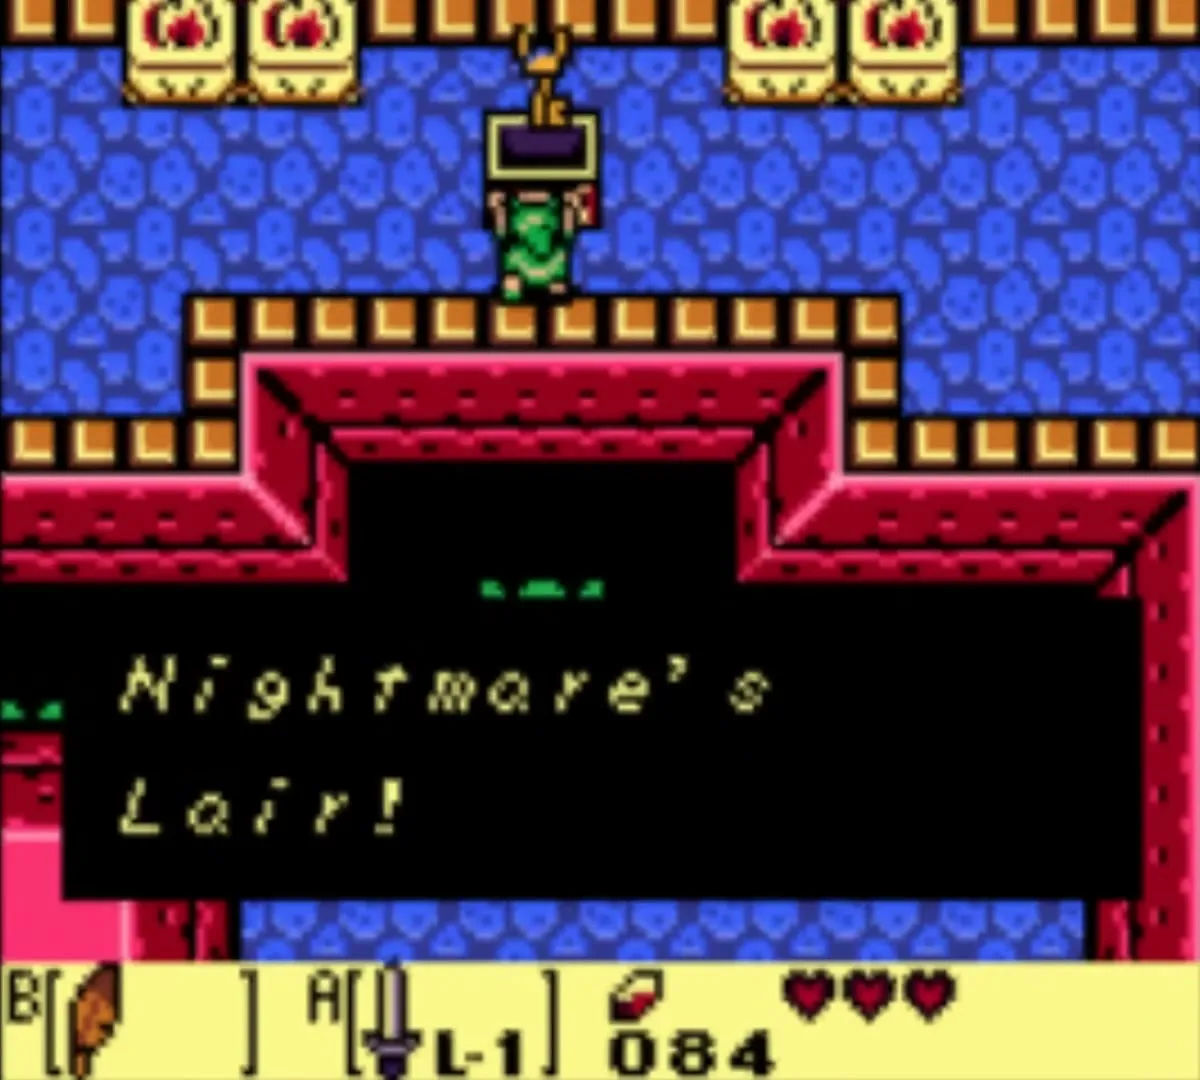
Use the Feather to reach the flying heart and to jump the platforms underground. Come back up by the owl statue and cross the gap to its south, then continue south and east, keeping to the north side of the block row in the room with the Stalfos and Keese. Jump the gap, spend a small key on the key block, take the stairs and go west to the chest with the Nightmare’s Key.
Mini-boss: Rolling Bones
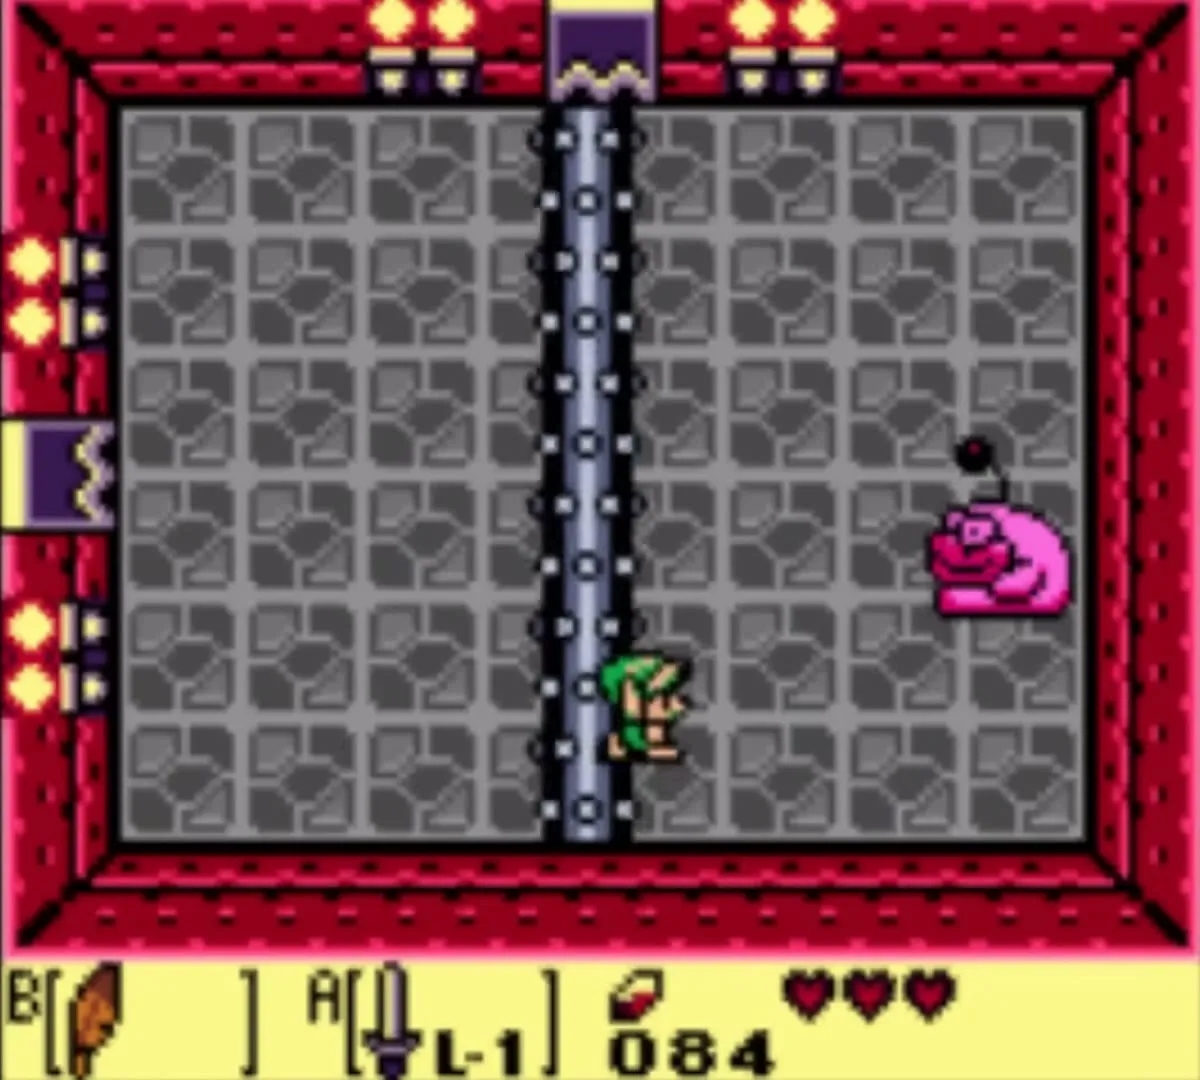
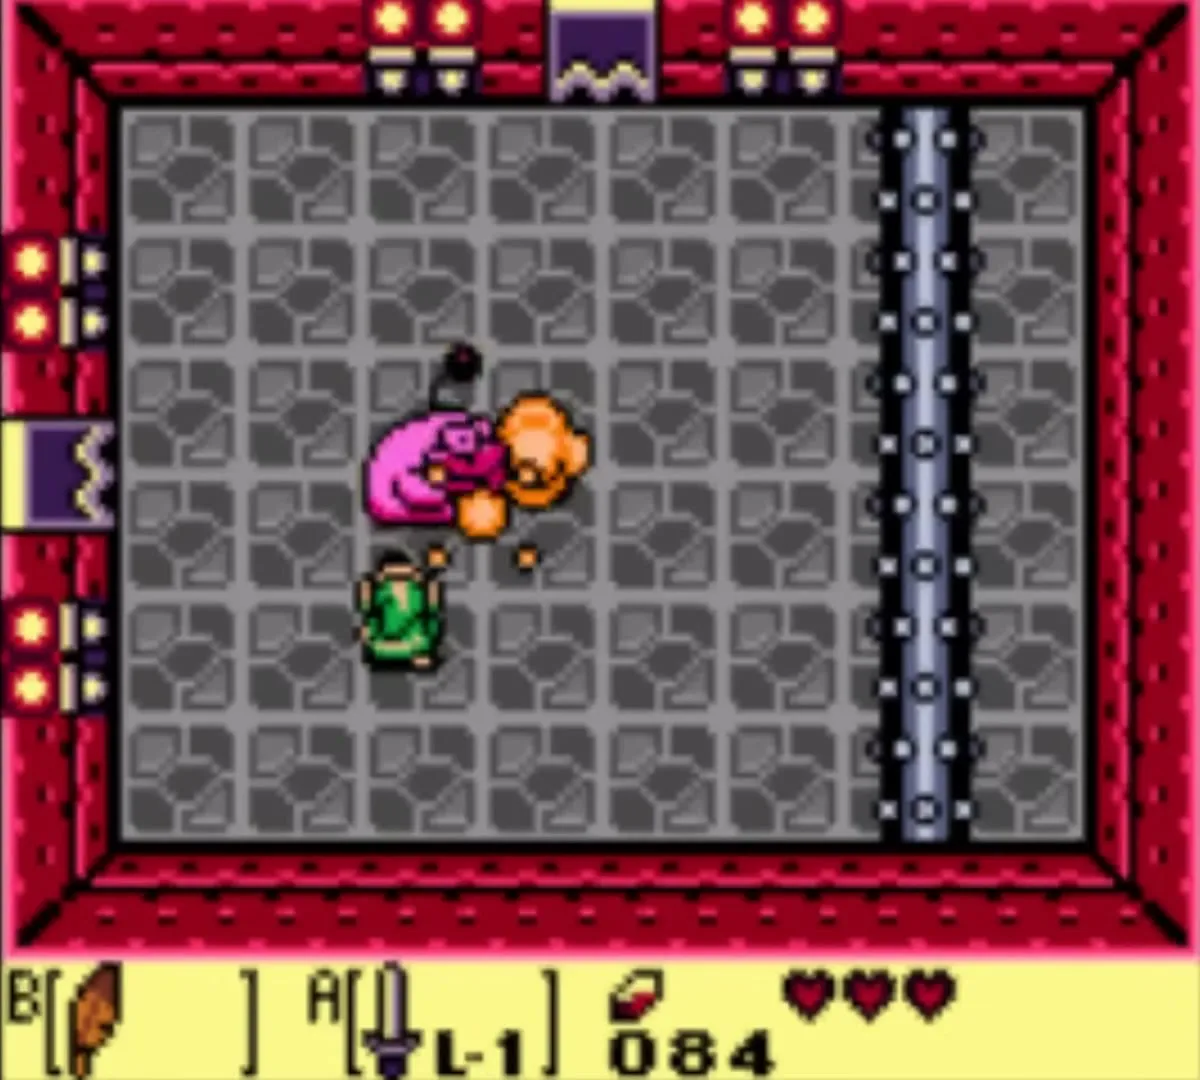
Go south and jump the gap with the Feather to leave through the east door. In the grey-floored room, Rolling Bones pushes a spiked roller across the floor. Jump over the roller as it comes, then slash Rolling Bones. Repeat until it falls. A fairy and a warp point appear. The warp returns you to the entrance, so use it only if you need to leave.
The Nightmare’s door
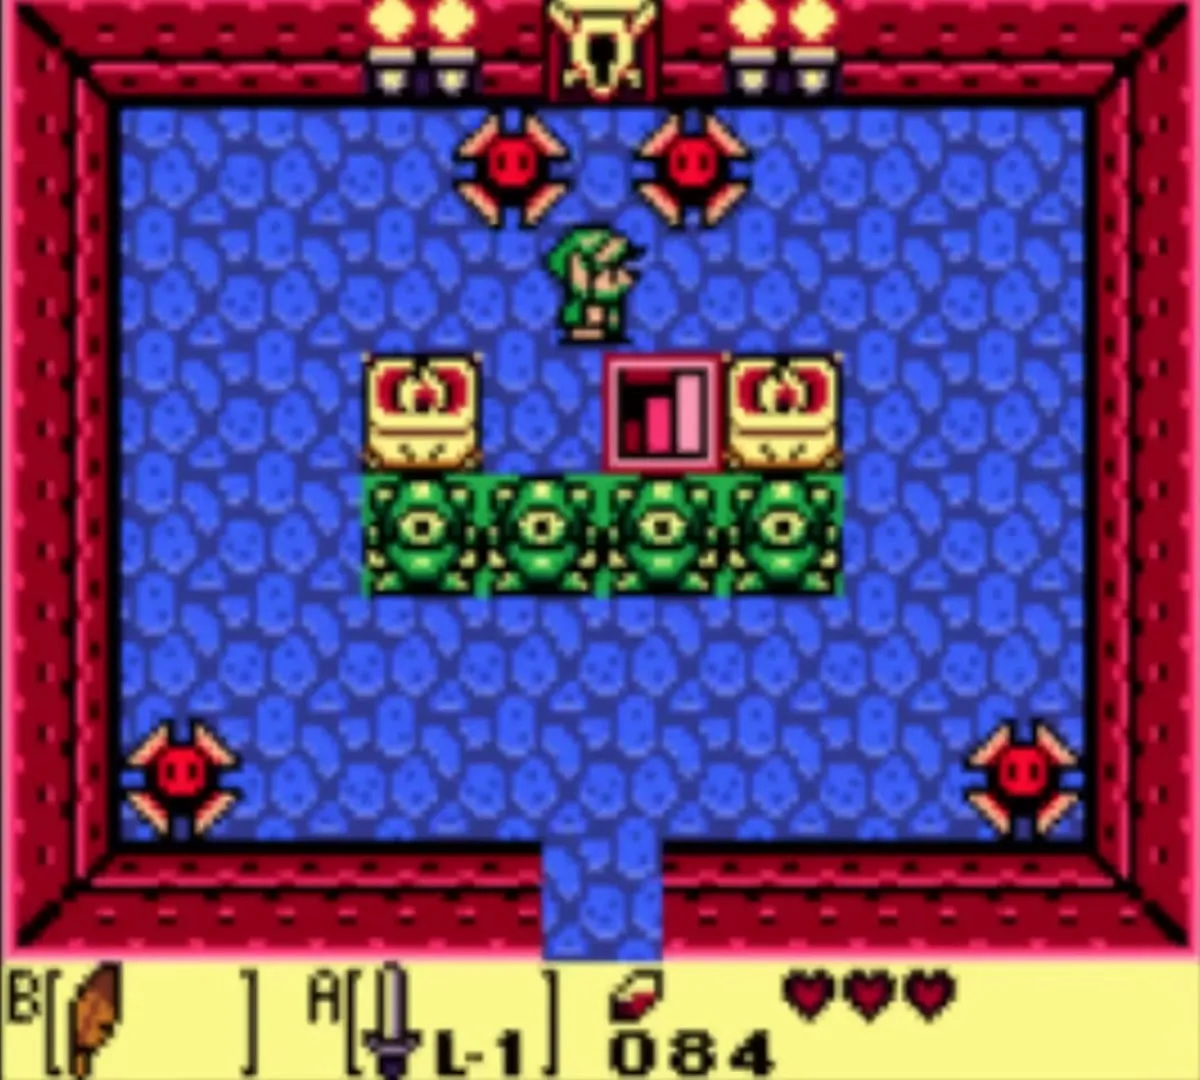
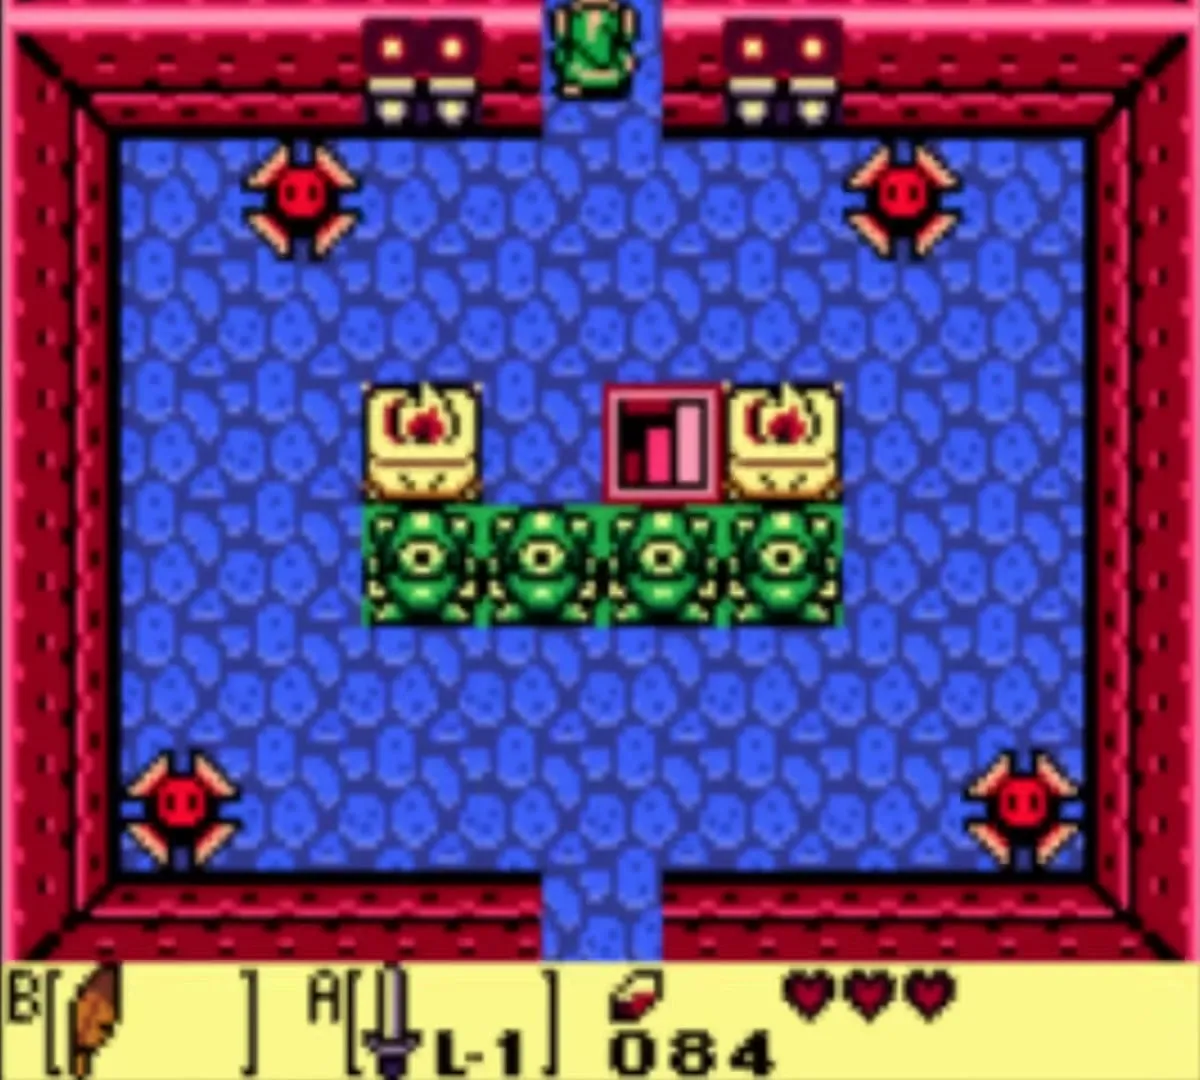
Head north past the rushing Blade Traps and ignore the stairs. Use the Nightmare’s Key on the door in the north wall.
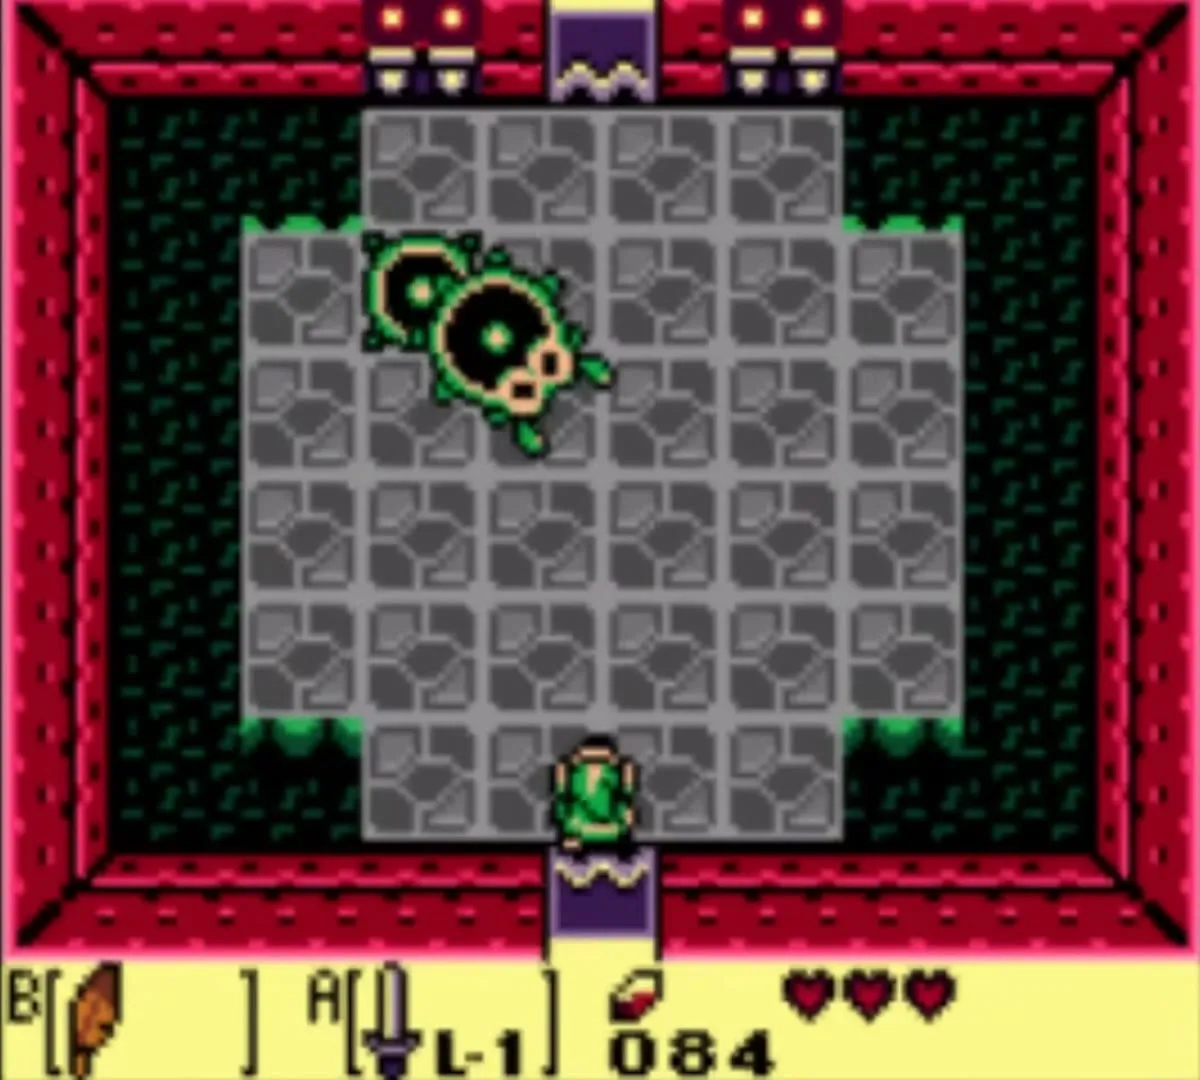
Boss: Moldorm
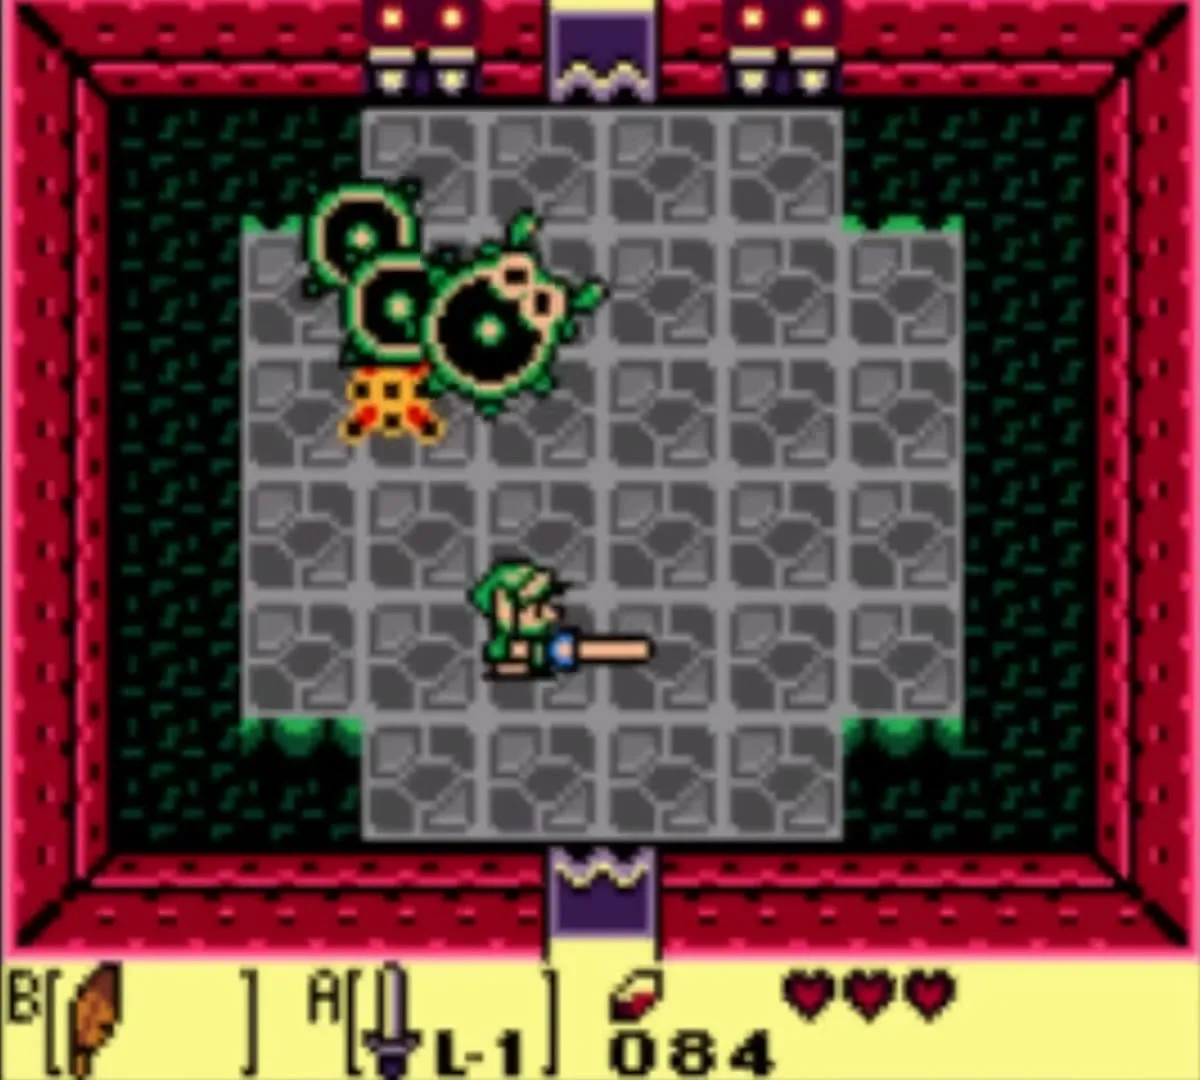
Moldorm is a giant worm that sweeps around a stone floor with pits along its edges. Stay near the middle and keep away from the edges so a hit cannot knock you into a pit. Its body hurts, but its tail is the weak point: wait for the tail to swing close and strike it with the Sword. Raise the Shield when the worm charges across the room. It falls after several tail hits.

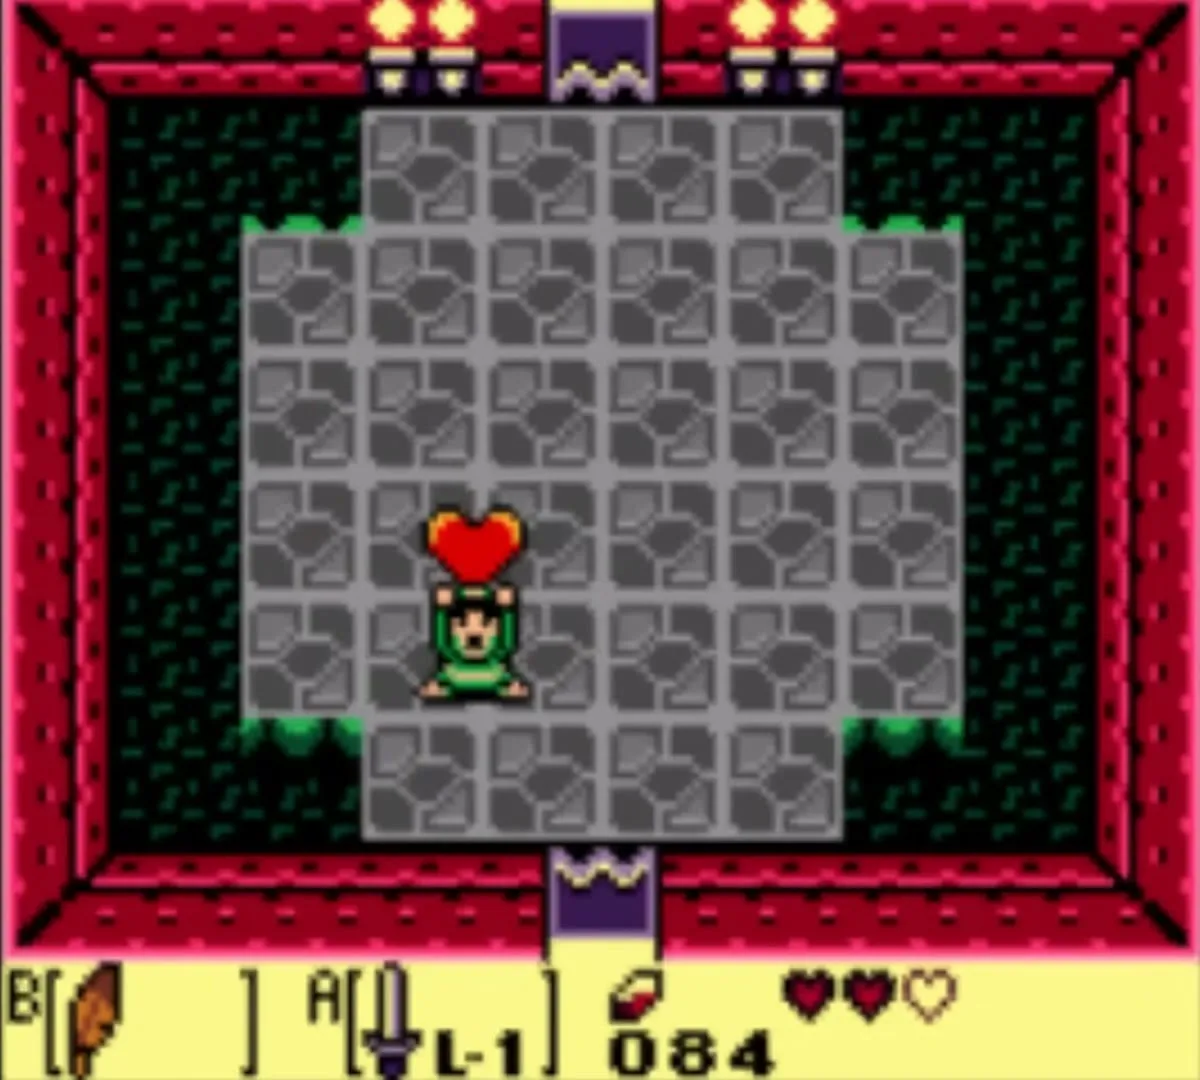
Moldorm leaves a Heart Container. Walk into it to raise your maximum health from three hearts to four.

Full Moon Cello
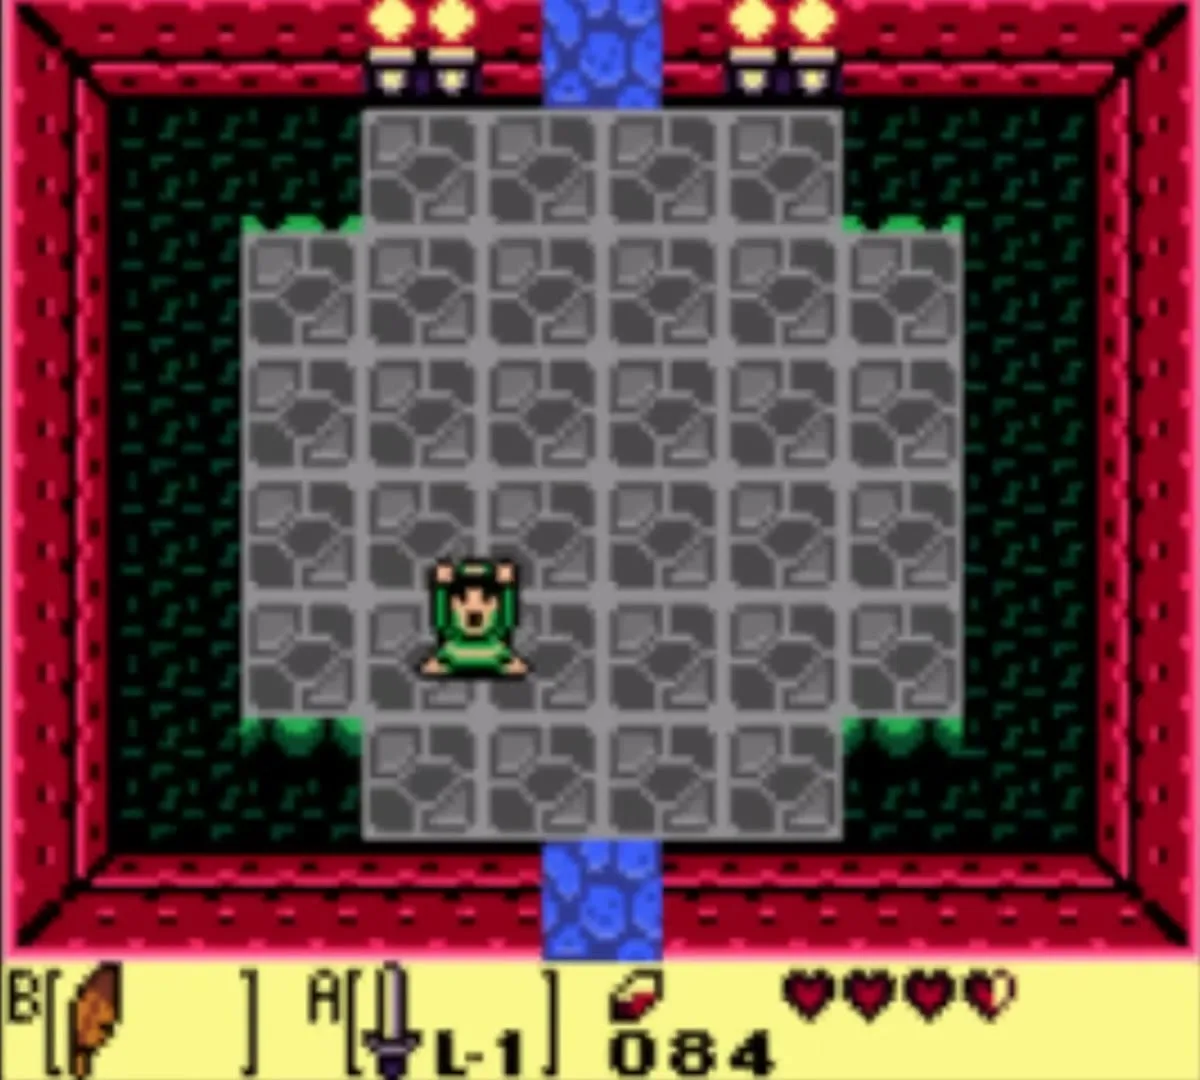
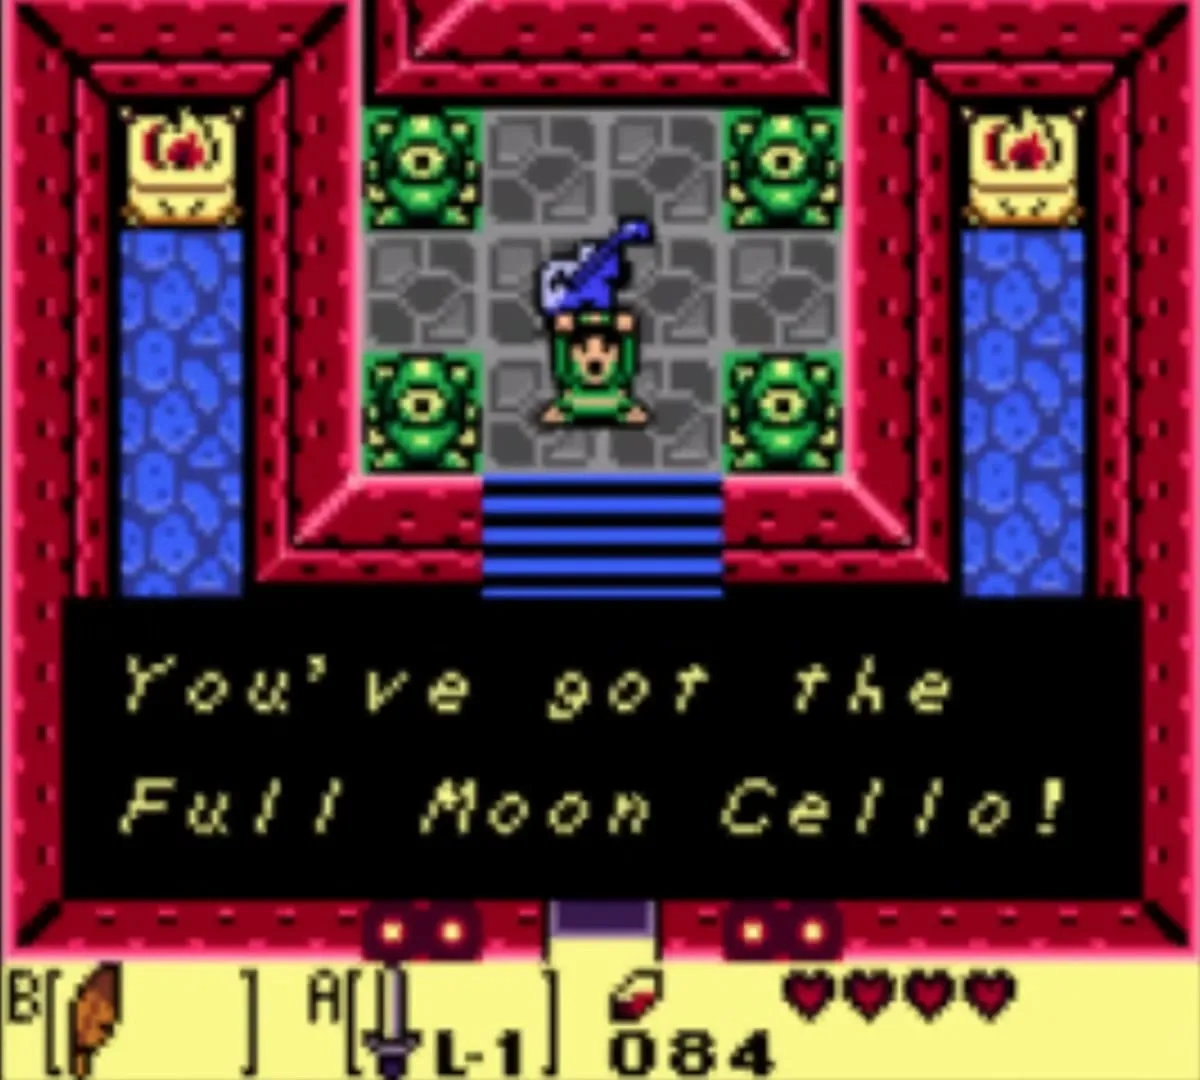
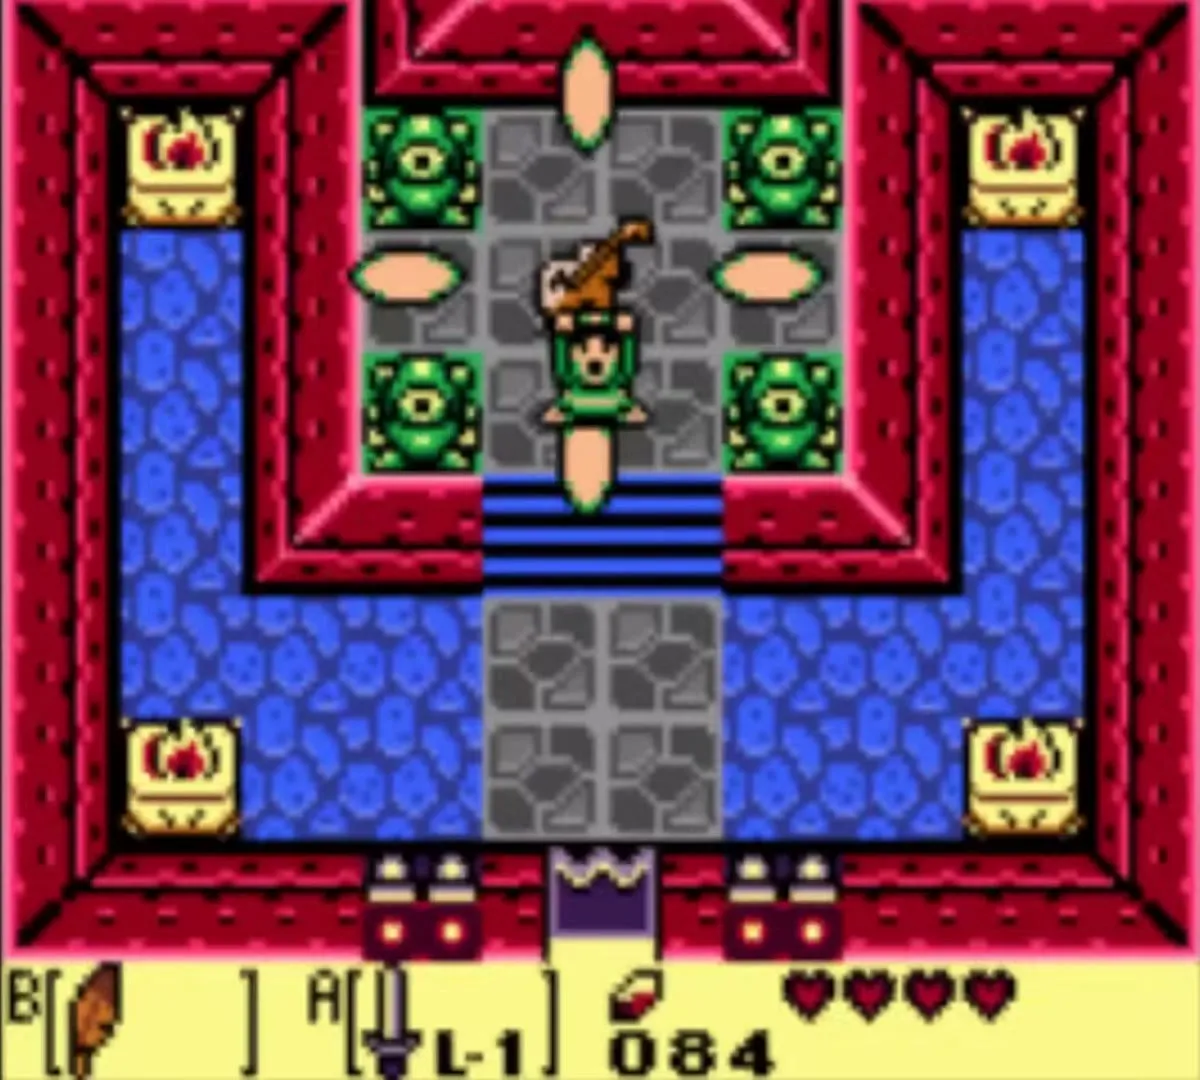
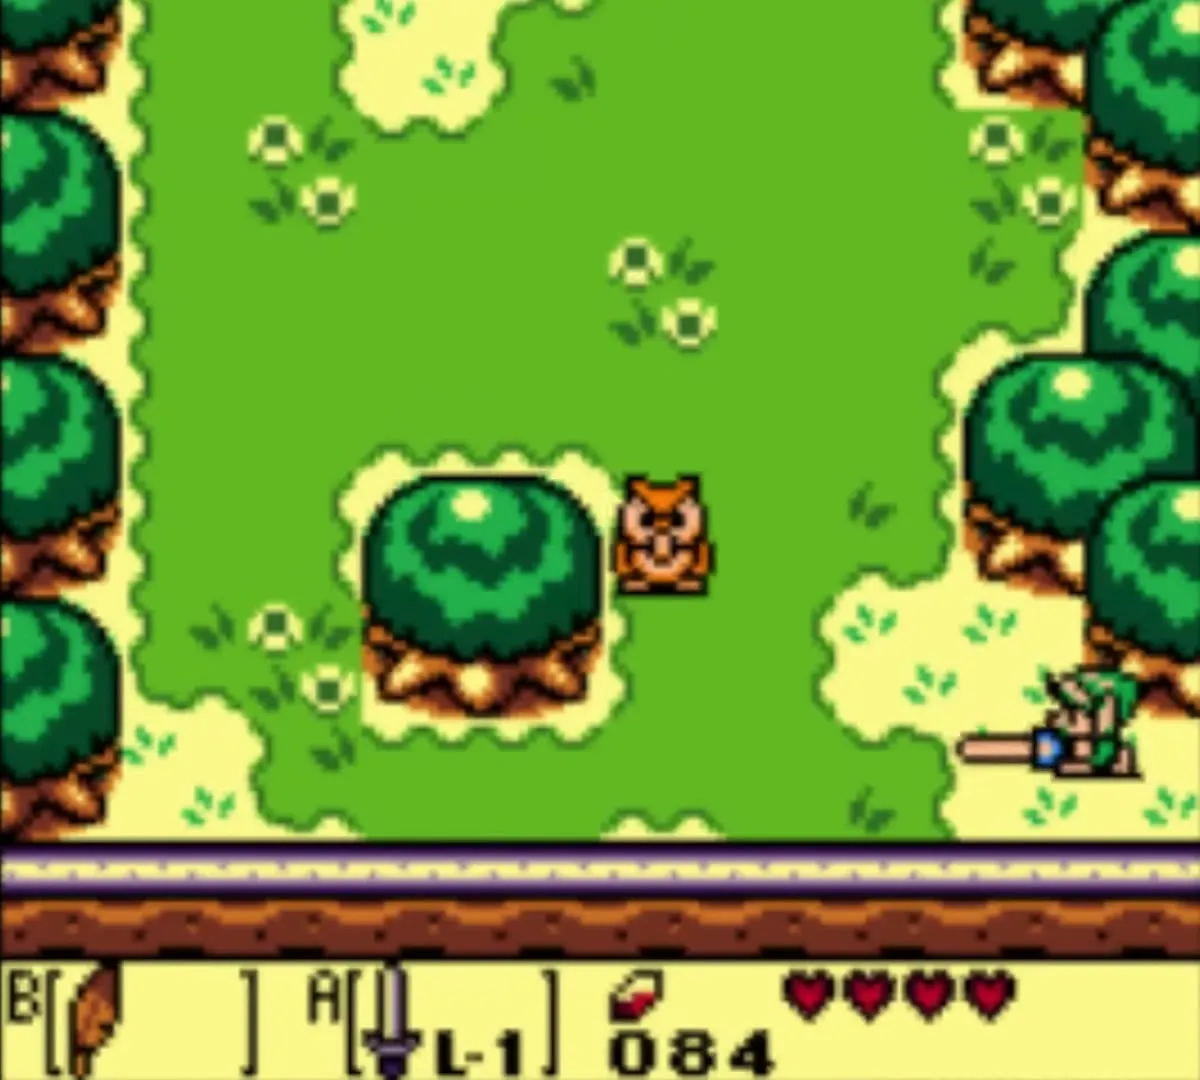
Walk north into the next room and take the Full Moon Cello from the pedestal. Link plays it, and a hint points you to Goponga Swamp. You are carried out of Tail Cave to the courtyard, where the Owl explains the Instrument’s power and sends you north. Two more Secret Seashells wait at Tail Cave for later: bomb the cracked west wall of the long room for a hidden chest once you own Bombs, and dash the Pegasus Boots into the lone tree one screen west of the entrance, which the Yarna Desert chapter collects for you.
Chapter checklist
| Collectible | Type | Where |
|---|---|---|
| Shield | Equipment | From Tarin in his house |
 Sword | Equipment | Toronbo Shores, stuck in the sand |
 Piece of Heart | Piece of Heart | Mabe Village well; needs the Sword |
| Piece of Heart | Piece of Heart | Fishing pond; the big fish, 10 rupees a try |
 Secret Seashell | Secret Seashell | Bush north of the Trendy Game, east Mabe Village; needs the Sword |
| Secret Seashell | Secret Seashell | Doghouse, dig the bottom-right corner; needs the Shovel (200 rupees) |
| Secret Seashell | Secret Seashell | Tail Cave, hidden chest behind the cracked west wall of the long room; needs Bombs (a return visit after Bottle Grotto) |
 Magic Powder | Item | Witch’s Hut, for the Sleepy Toadstool |
 50 rupees | Chest | Mysterious Forest log cave |
| Tail Key | Key item | Chest north of the raccoon in the Mysterious Forest |
| 20 rupees | Chest | Tail Cave, west of the Spark chest room; appears when you defeat the Mini-Moldorm |
 Roc’s Feather | Dungeon item | Tail Cave chest after the ladder and trap corridor |
Stone Beak,  Compass,  Map,  Nightmare’s Key,  3 small keys | Dungeon items | Tail Cave |
 Heart Container | Heart Container | Dropped by Moldorm |
| Full Moon Cello | Instrument | Tail Cave, room beyond Moldorm |
With the first Instrument in hand, rescue BowWow and clear the swamp in Goponga Swamp and Bottle Grotto (Level 2).
