





















| Total | 100 lost Maiamai: 50 in Hyrule and 50 in Lorule |
|---|---|
| Mother Maiamai | Bombable cave beside Lake Hylia, southeast of Link’s House |
| Rewards | One “Nice” upgrade for every 10 Maiamai (nine upgrades), then the Great Spin for all 100 |
| You need | A Bomb to open her cave, Ravio’s Bracelet, and, for upgrades, items you have bought from Ravio |
| Required to finish the game? | No |
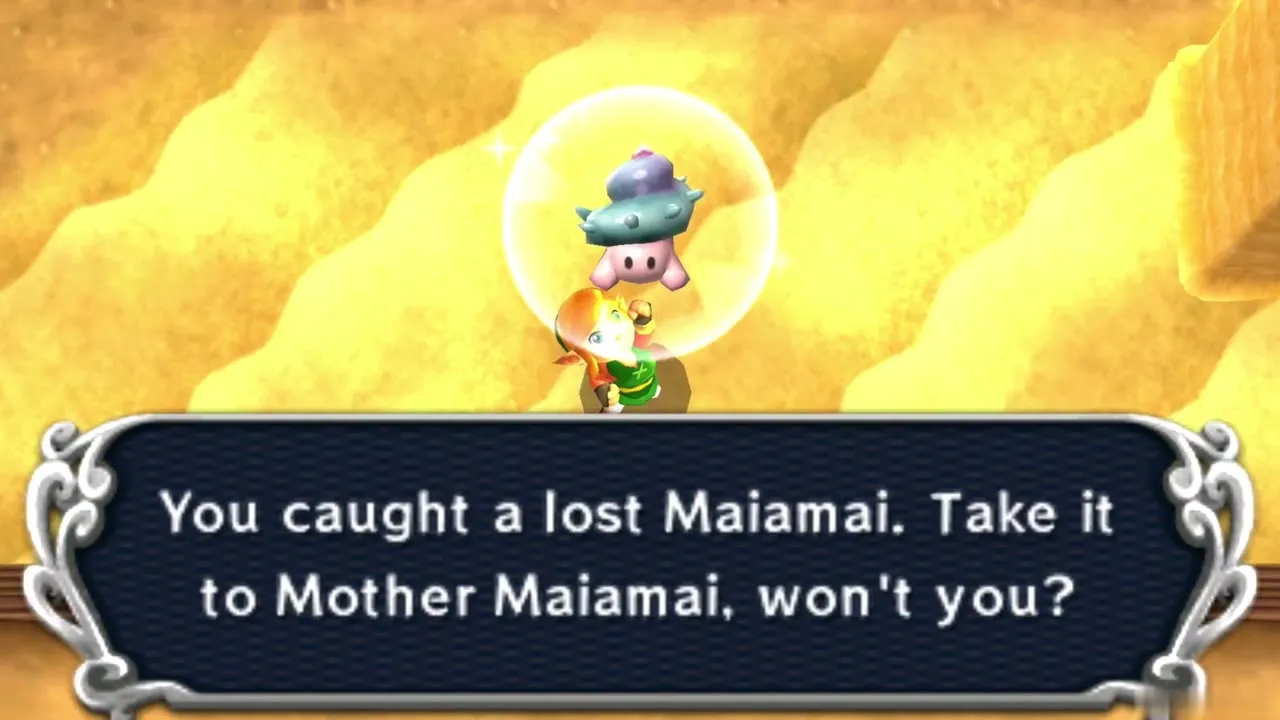
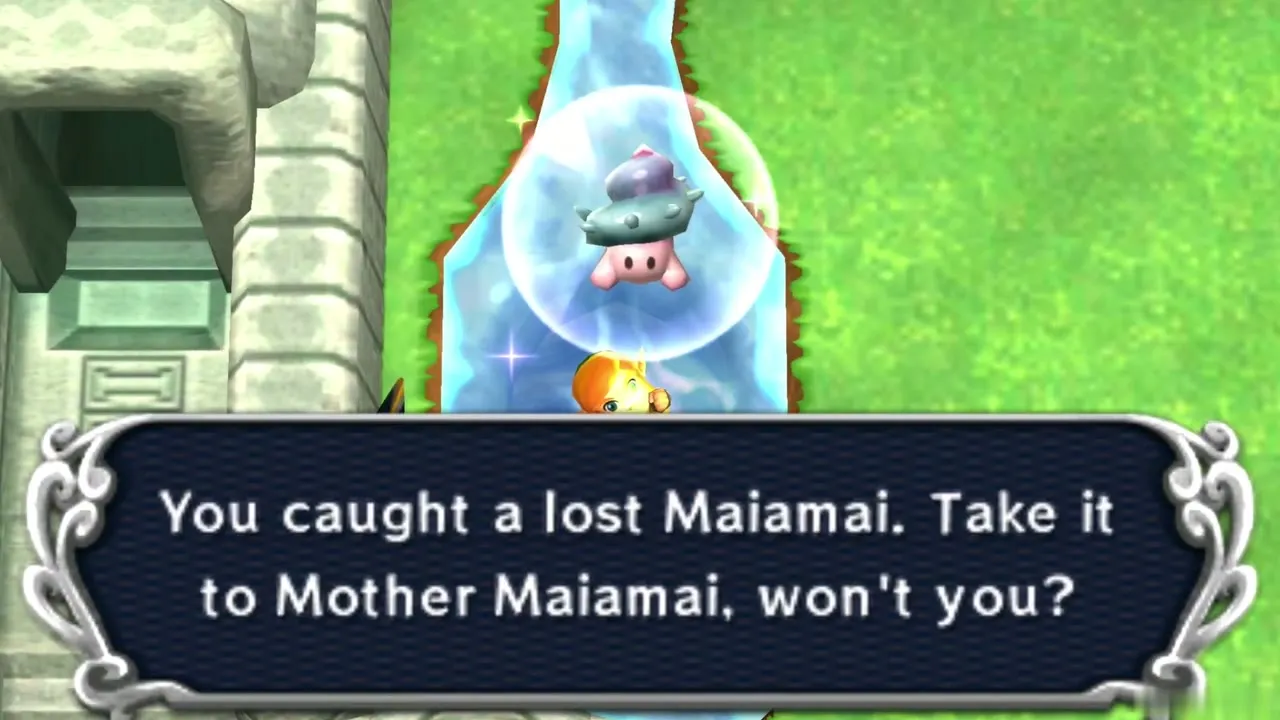
The game hides 100 lost Maiamai across Hyrule and Lorule, 50 in each world, and you return them to Mother Maiamai simply by finding them. Her cave is beside Lake Hylia. For every 10 you rescue she turns one tool you own into a stronger “Nice” version, and the full 100 earns you the Great Spin. This page covers her cave, each upgrade, and every Maiamai sorted by region, with the exact spot and the tool it needs. None of it is needed to beat the game, but the upgrades make later dungeons and bosses easier. Half the list sits in Lorule, so read the Lorule chapter first if you have not been there.
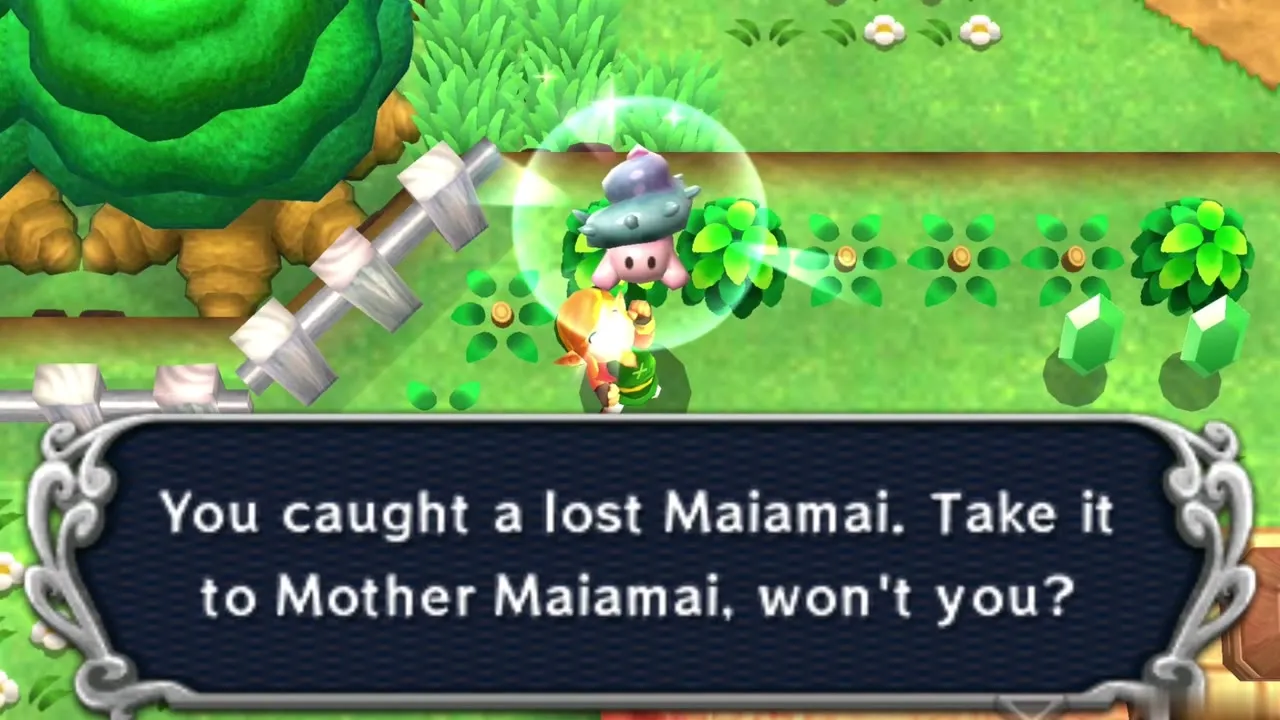
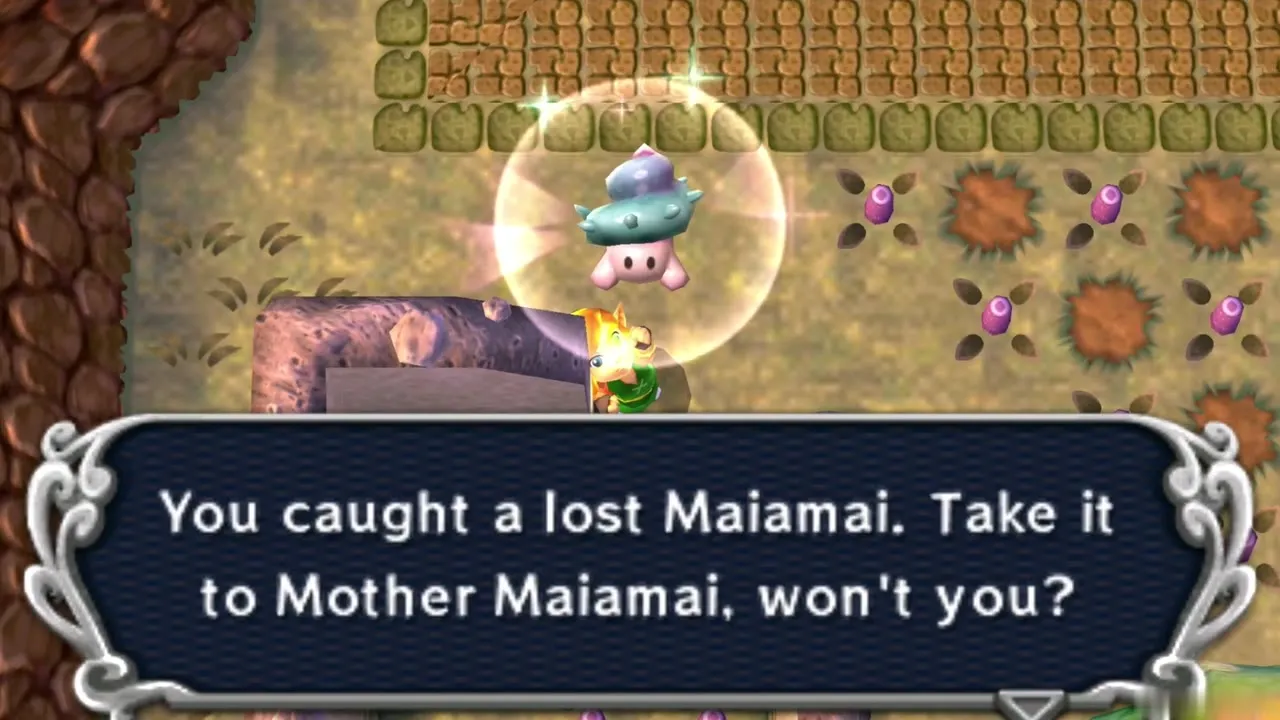
Table of Contents
Mother Maiamai
Mother Maiamai’s Cave
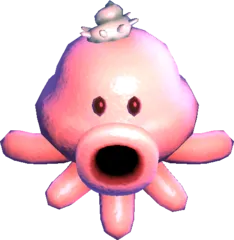
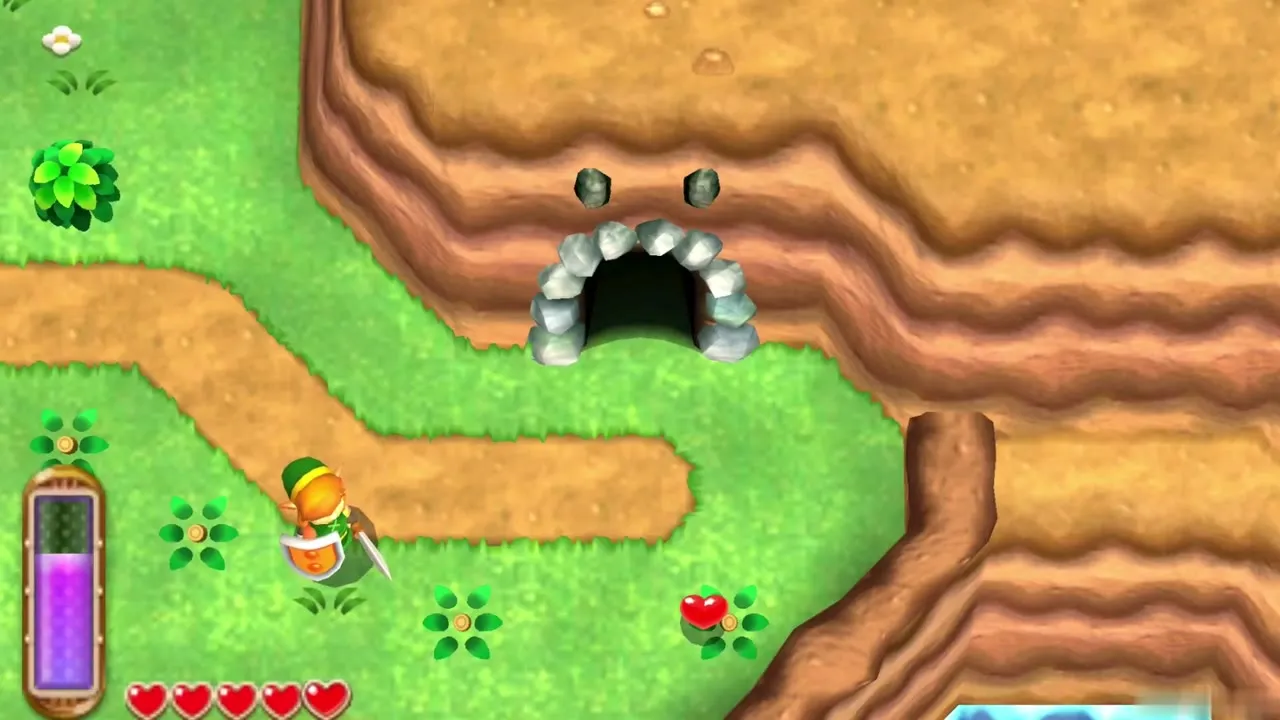
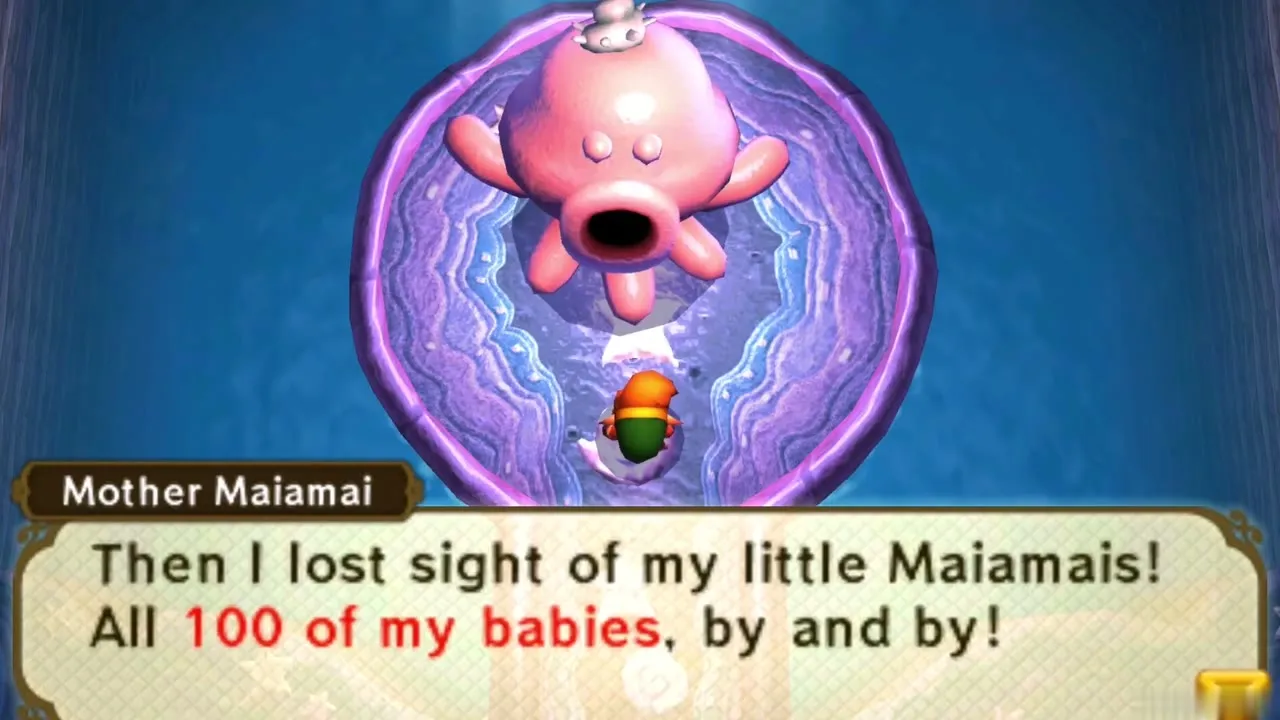
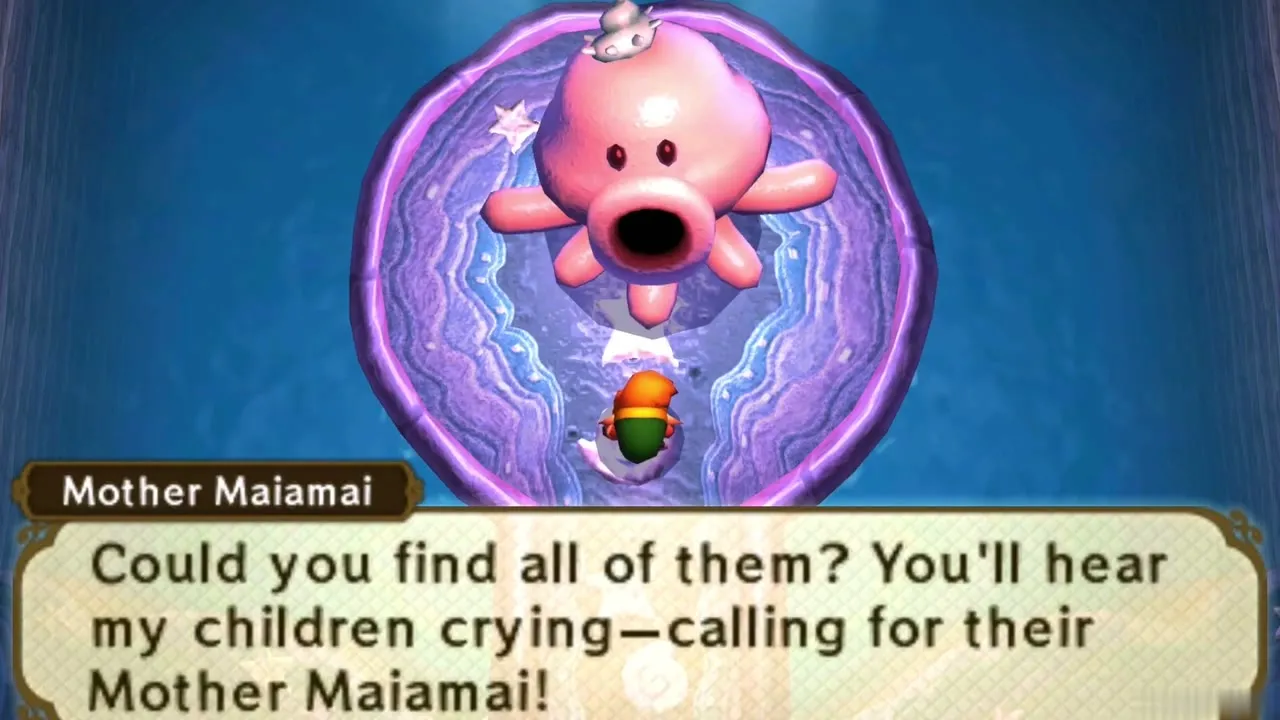
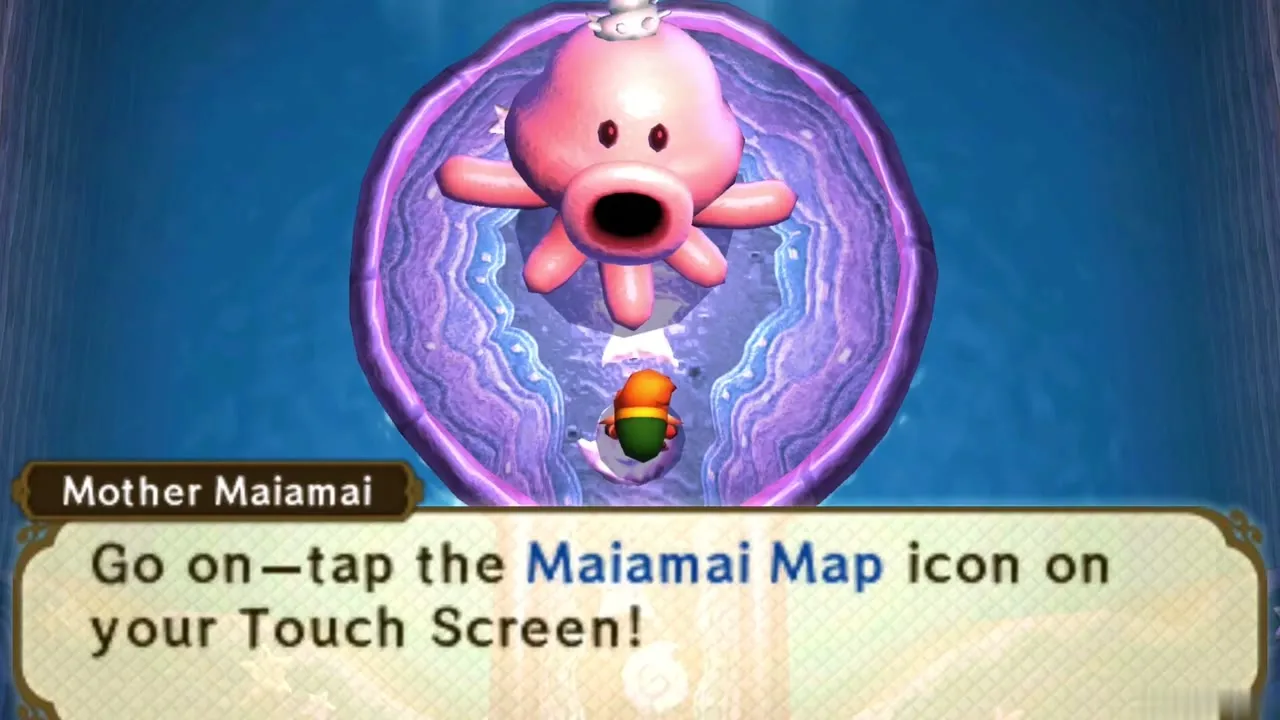
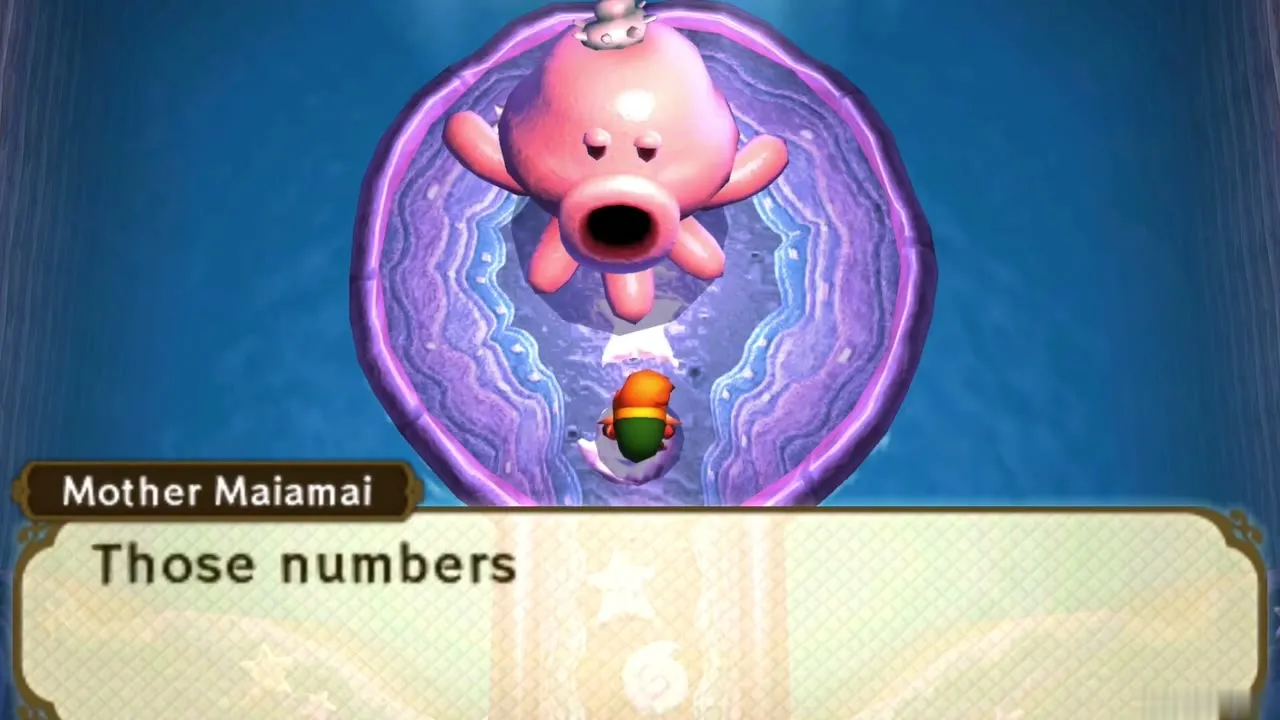
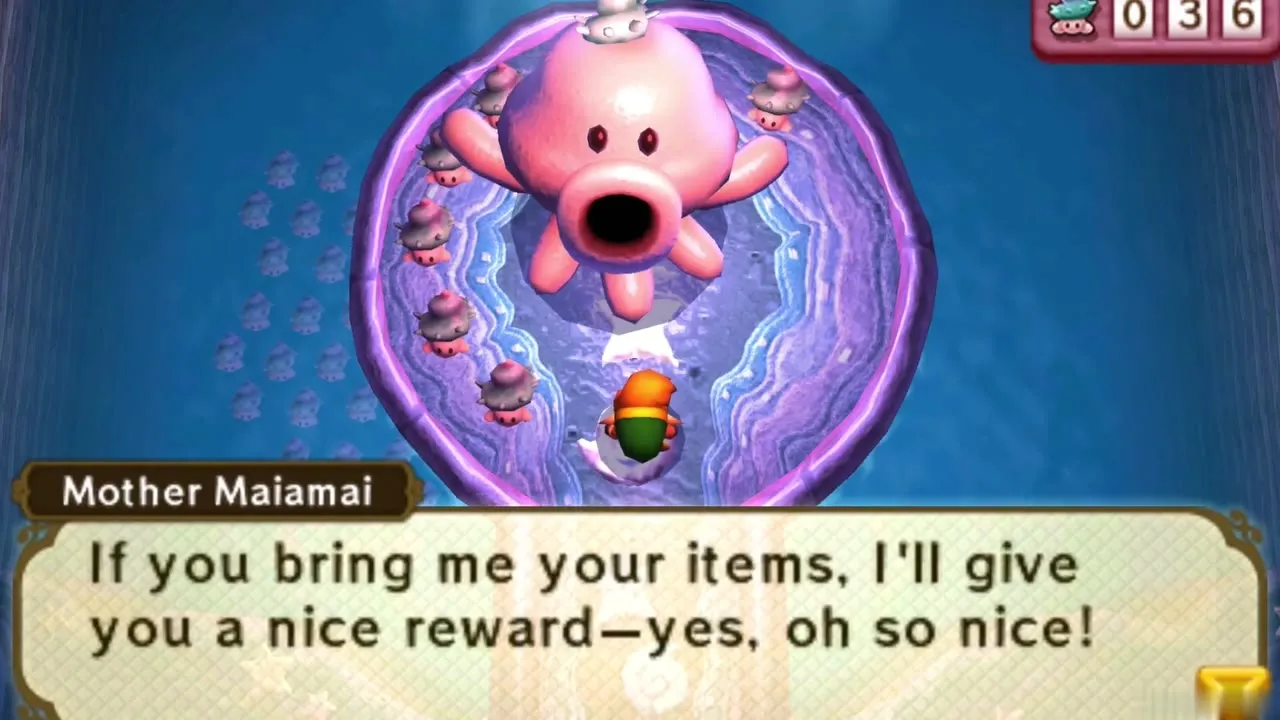
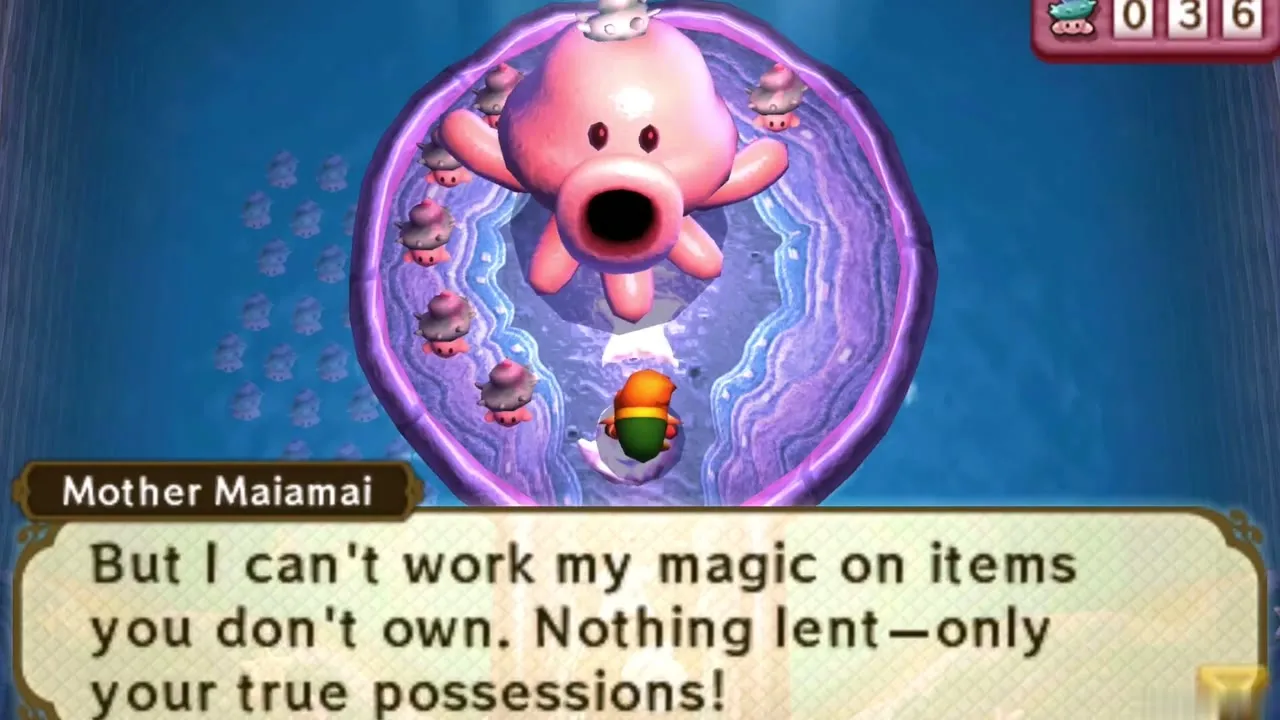
Walk to Lake Hylia, southeast of your house, and look for a sealed cave with a sign warning you not to blow up the wall. Blow it up anyway with a Bomb (rent or buy them from Ravio) and go in. Mother Maiamai says she lost all 100 of her children on a long voyage and asks for your help. She can only change something you actually own: anything you merely rent from Ravio’s Shop is refused.
Maiamai Map
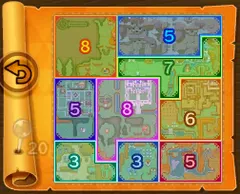
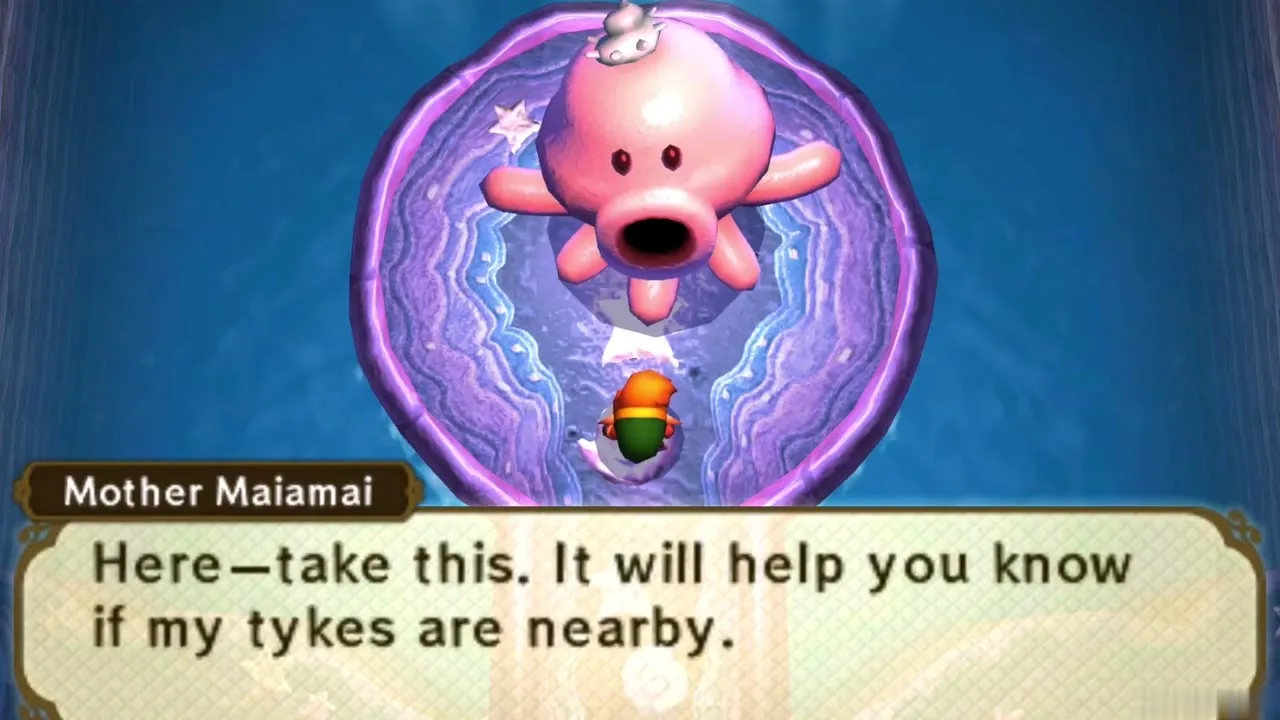
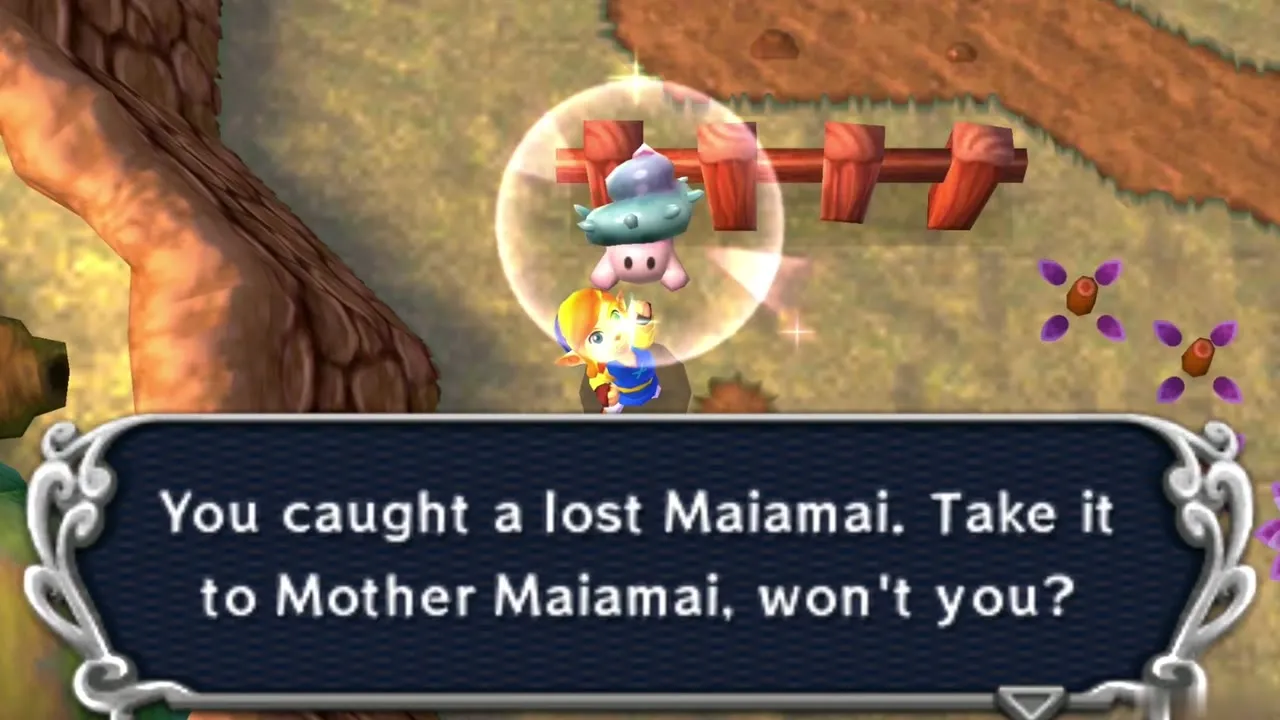
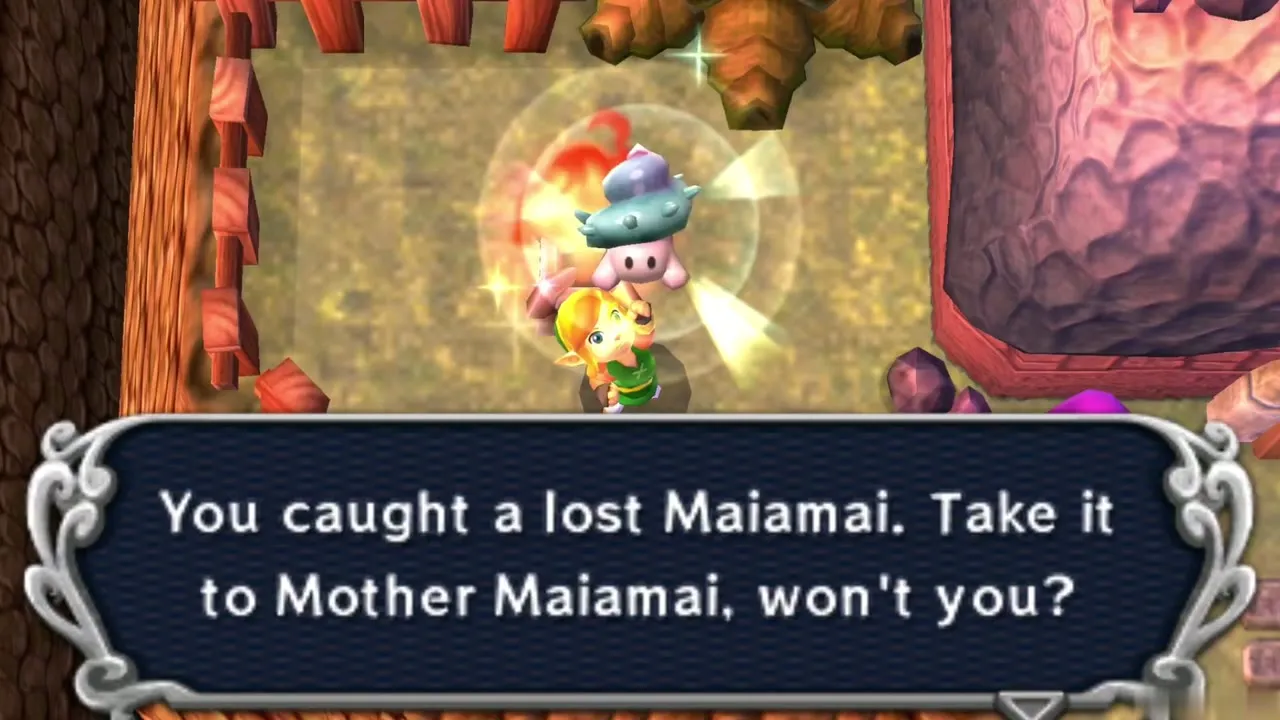
When you agree to help, Mother Maiamai gives you the Maiamai Map. It lives on the Touch Screen as an icon and shows how many Maiamai are still lost in each region of the world you are in. Hyrule is split into nine regions and Lorule into seven. Lost Maiamai also squeak when you are close, so the map plus your ears narrow every search quickly.
How to catch Maiamai
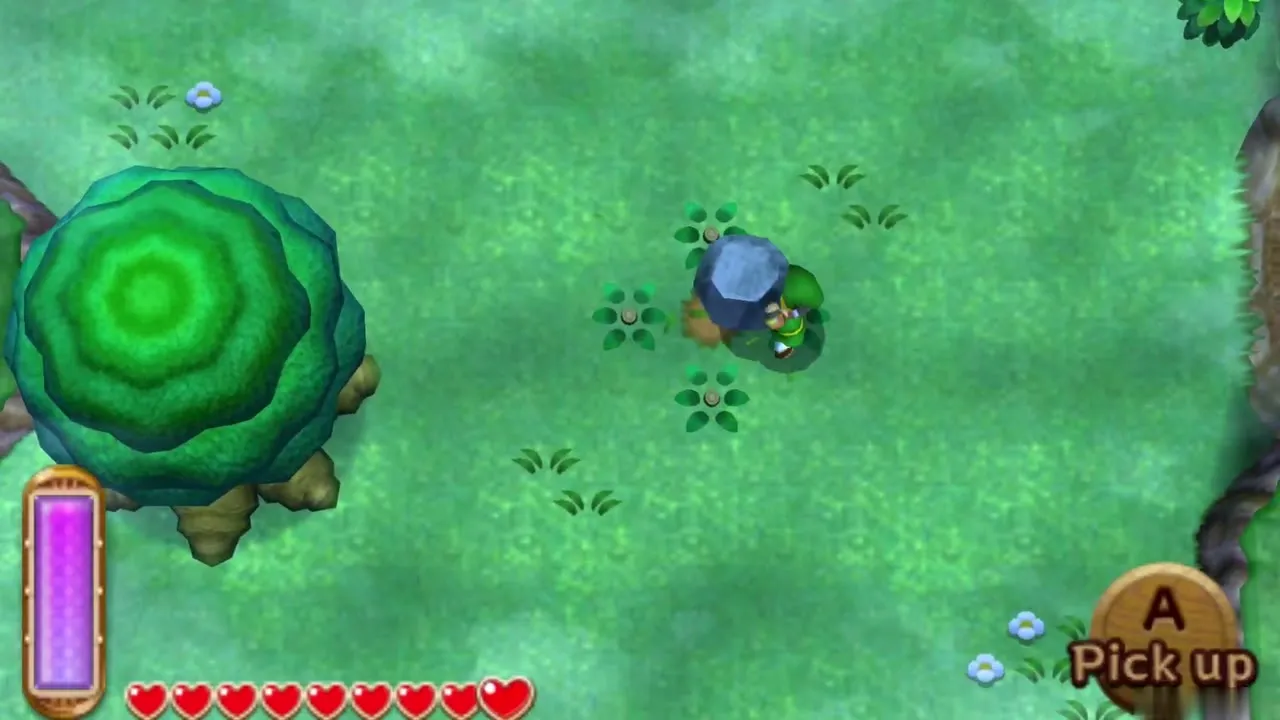
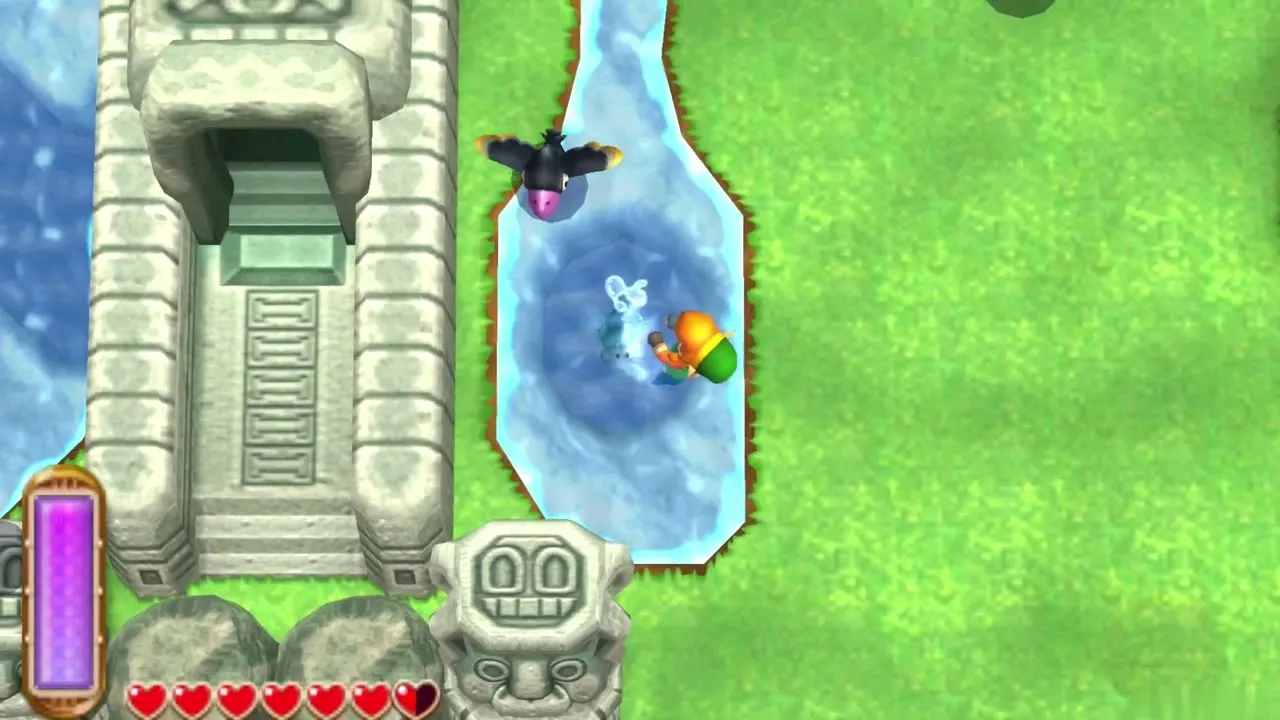
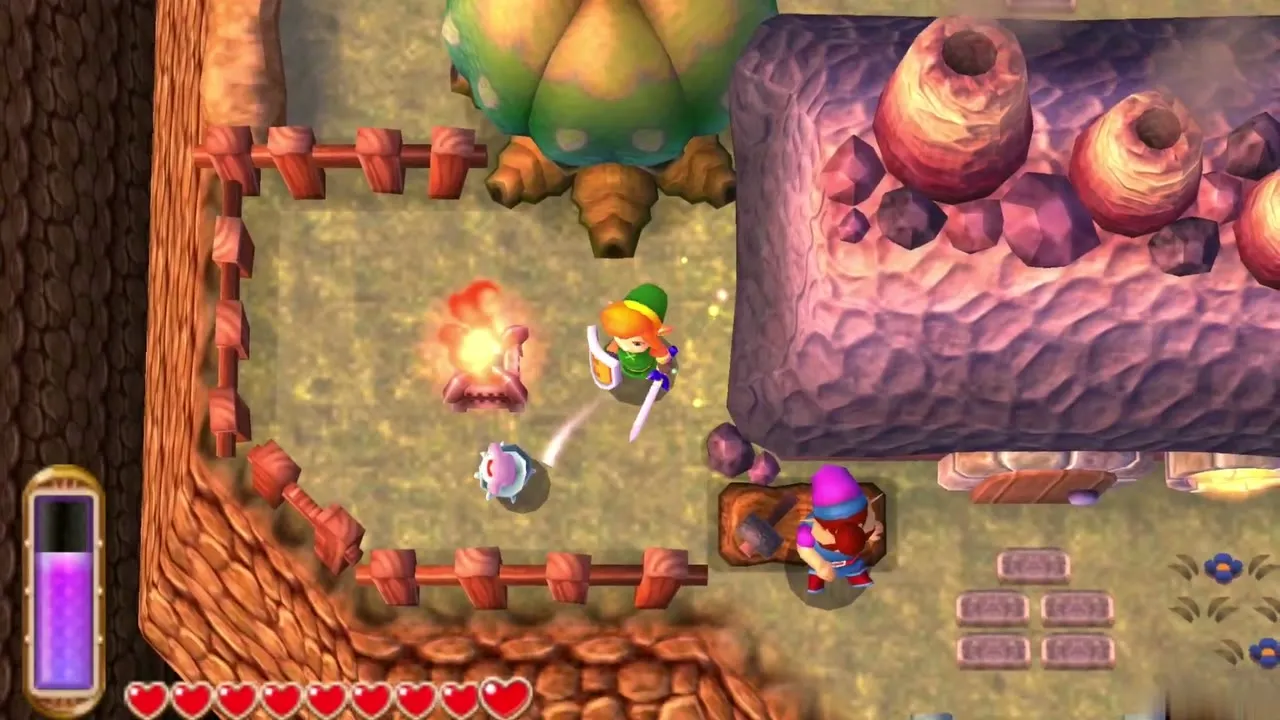
Each Maiamai is stuck to something and needs the right tool. Rocks and bushes hide them: lift small rocks with the Power Glove and large rocks with the Titan’s Mitt. Trees and statues drop them if you dash into them with the Pegasus Boots. Ones glued to a wall come off when you merge into the wall below them. Underwater ones need the Zora’s Flippers and a dive, and buried ones need the Sand Rod. A few more are tucked behind panels for the Tornado Rod or on ledges reached with the Hookshot or Hammer. The entries below name the tool every time.
Nice Item Upgrades
Every 10 Maiamai you hand over lets you choose one item for Mother Maiamai to improve. The order is your choice, each of the nine items can be upgraded only once, and you must have bought it from Ravio. At 10, 20, 30 and so on up to 90 you pick another. Once the ninth upgrade is done, the last 10 Maiamai are for the Great Spin.
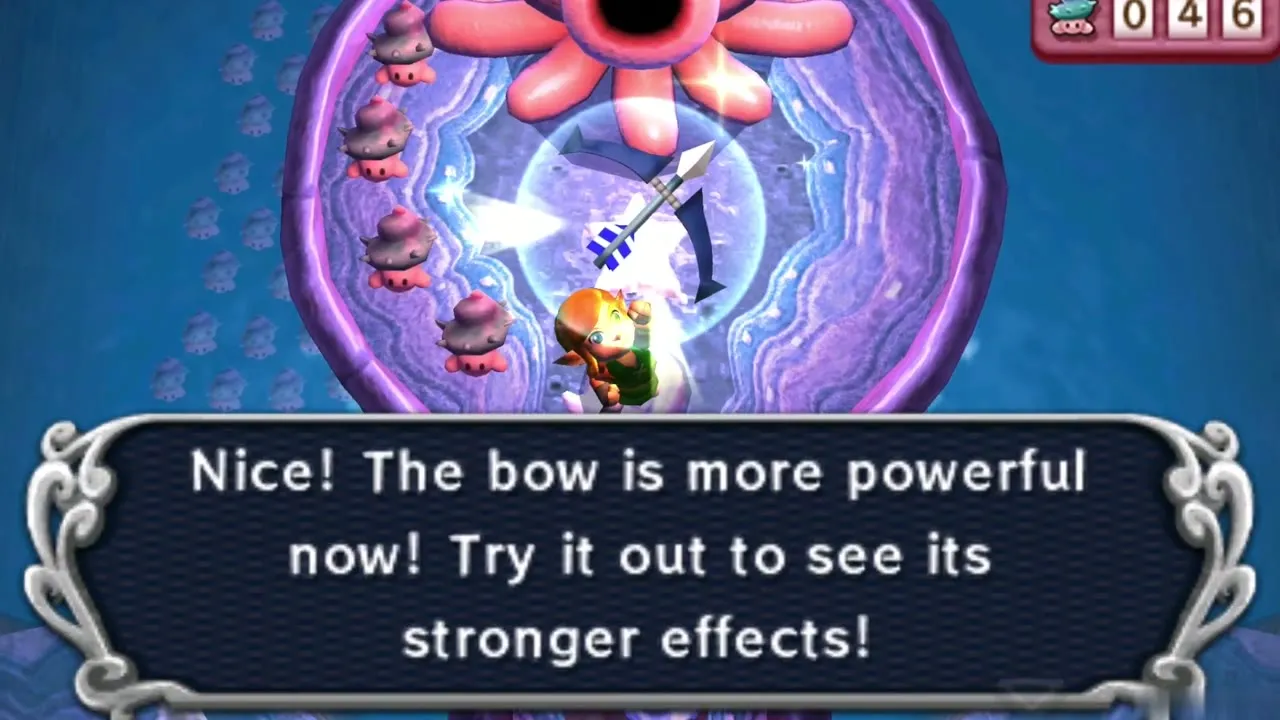

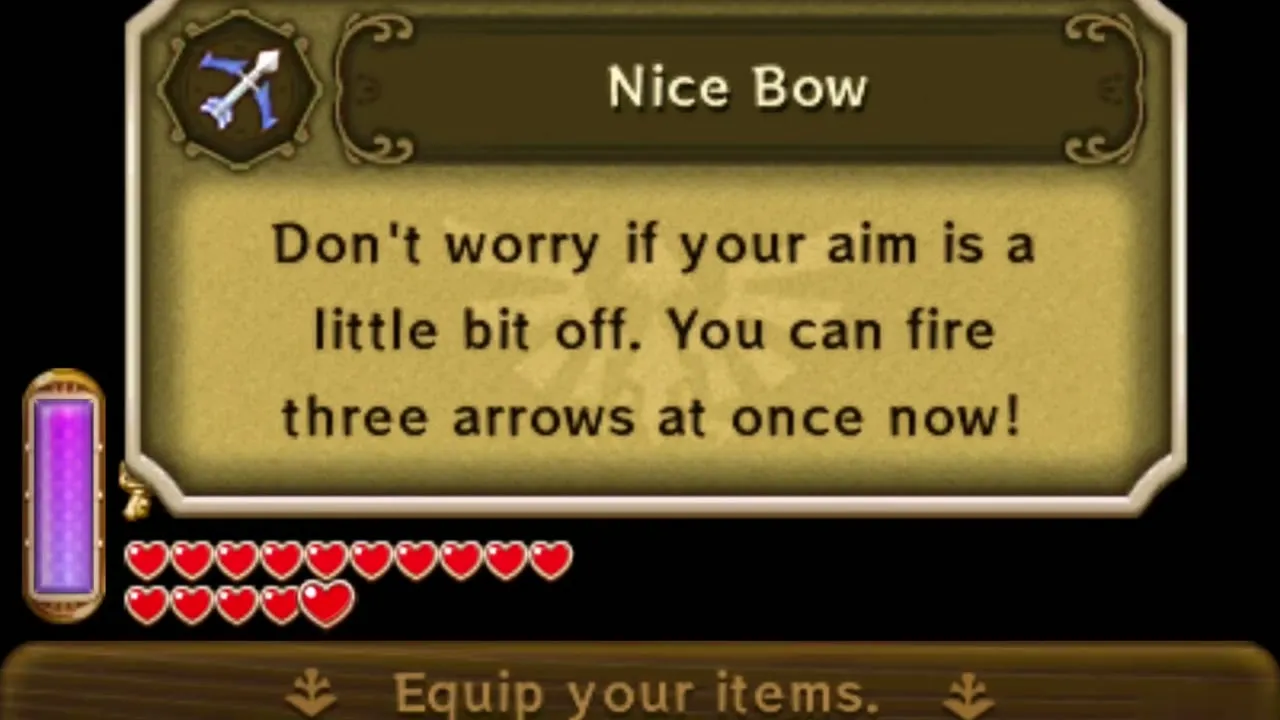
Nice Bow
Fires three arrows at once, which makes aiming far more forgiving. Hand over the base item once you own it and have returned the next 10 Maiamai.

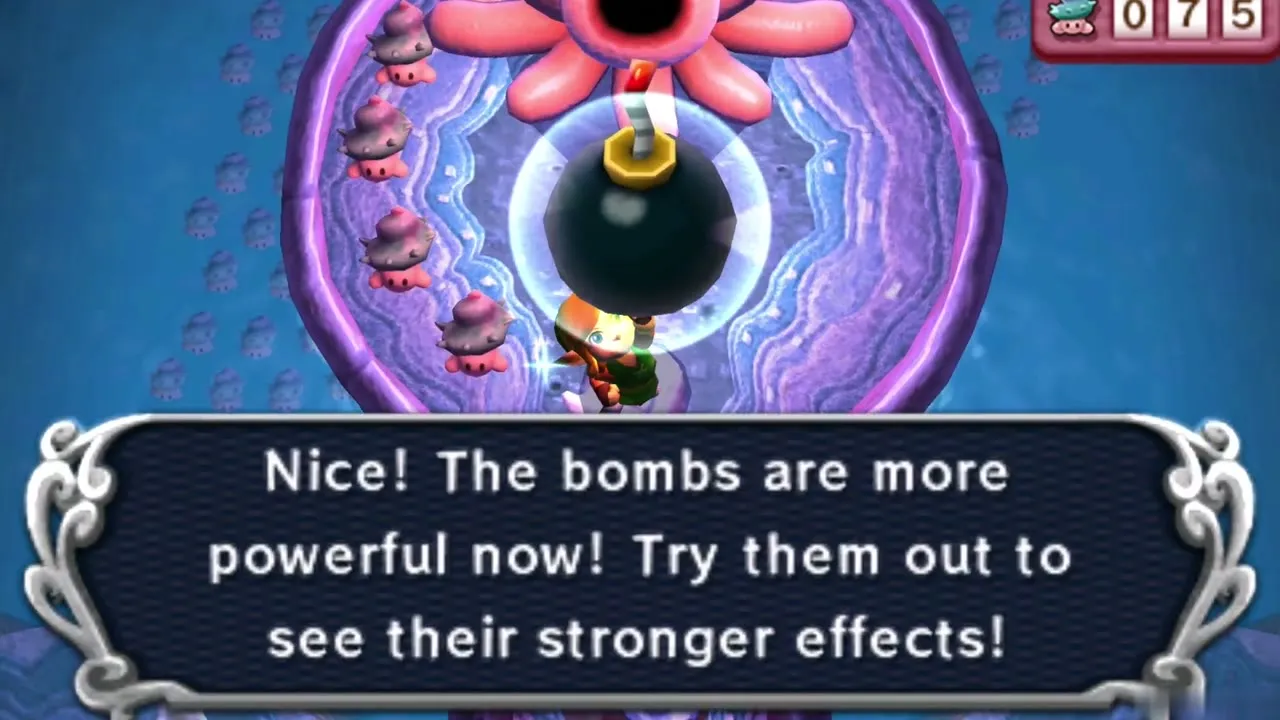
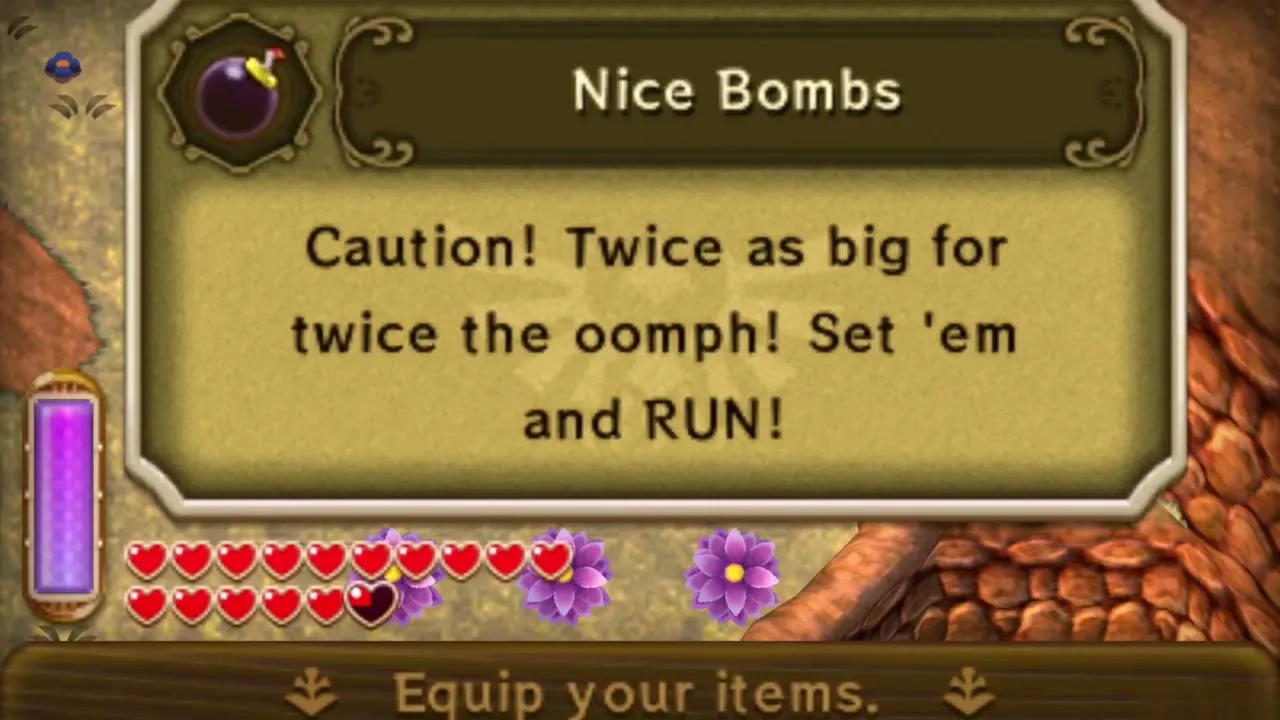
Nice Bombs
Bigger and more damaging, with a wider blast, so keep your distance. Hand over the base item once you own it and have returned the next 10 Maiamai.

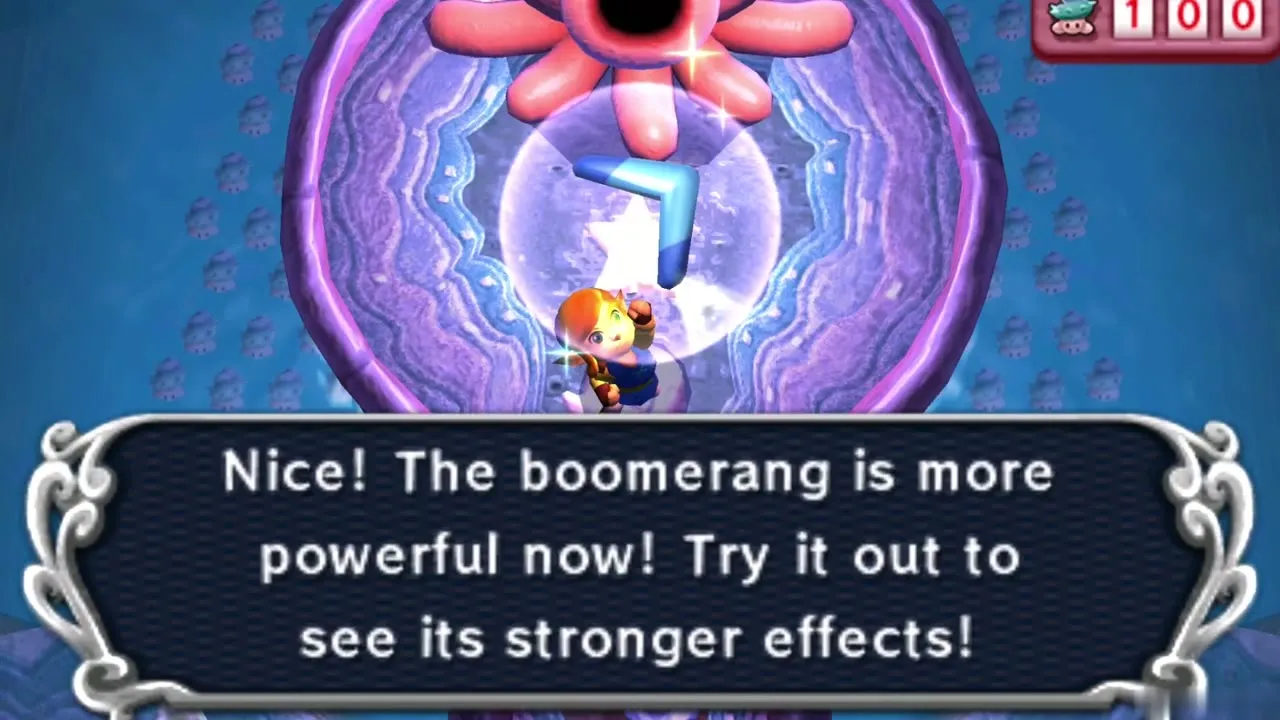
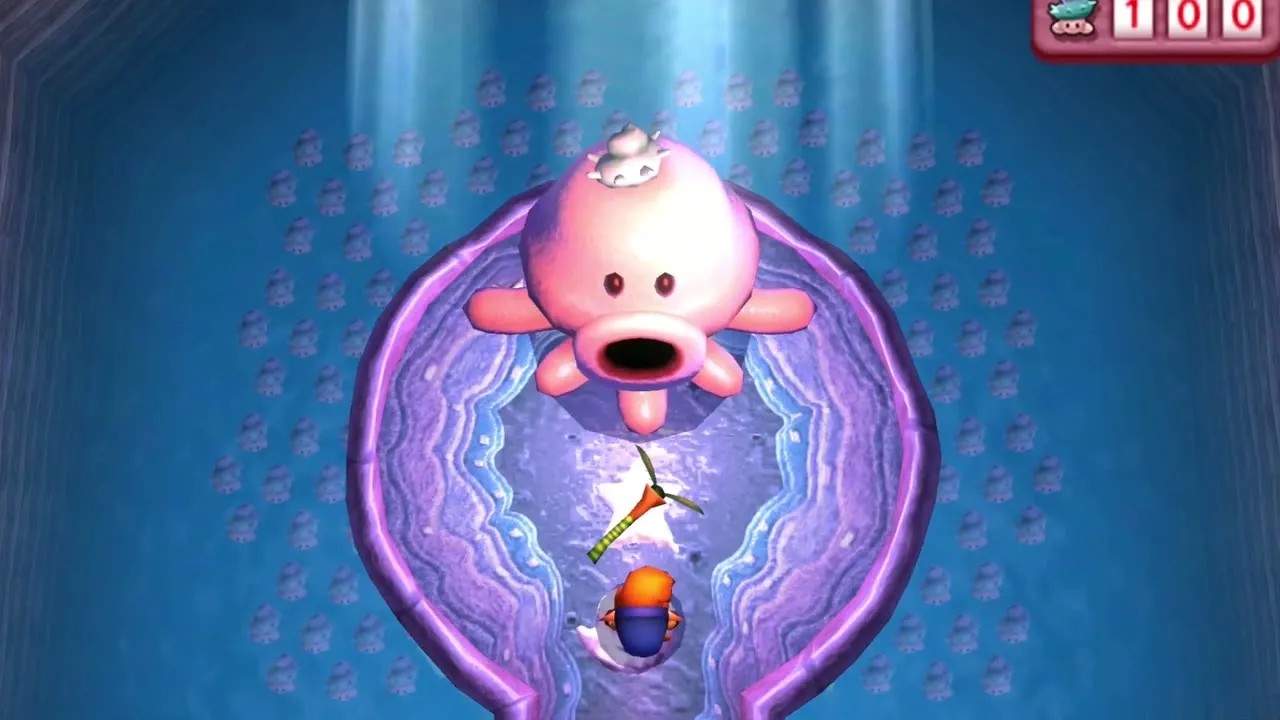
Nice Boomerang
Travels farther and faster, and you can throw three in a row. Hand over the base item once you own it and have returned the next 10 Maiamai.

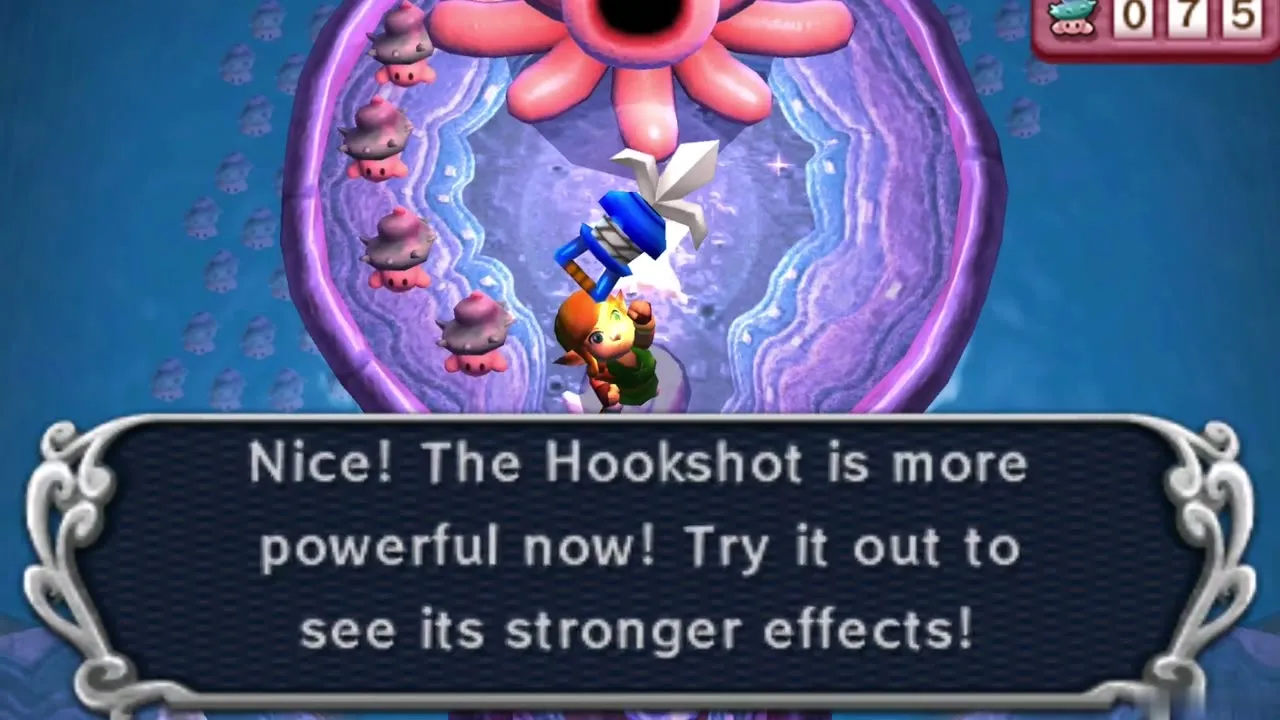
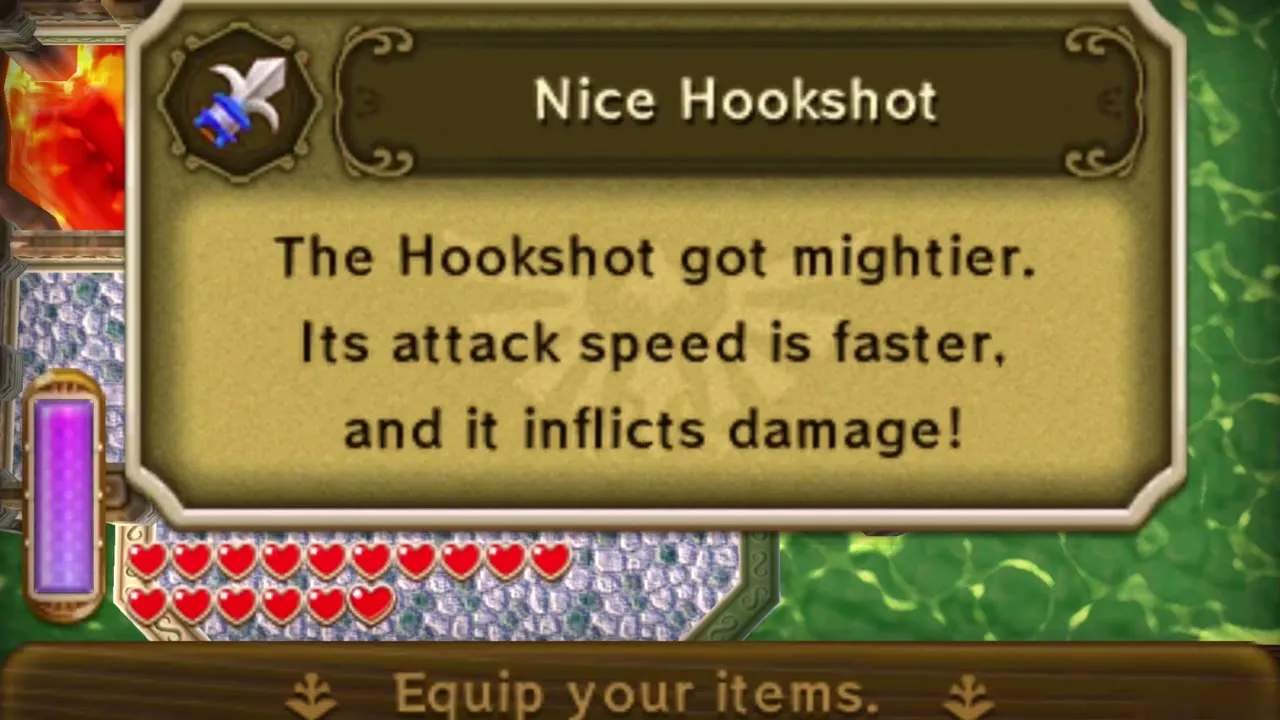
Nice Hookshot
Reaches farther and now hurts enemies it hits. Hand over the base item once you own it and have returned the next 10 Maiamai.

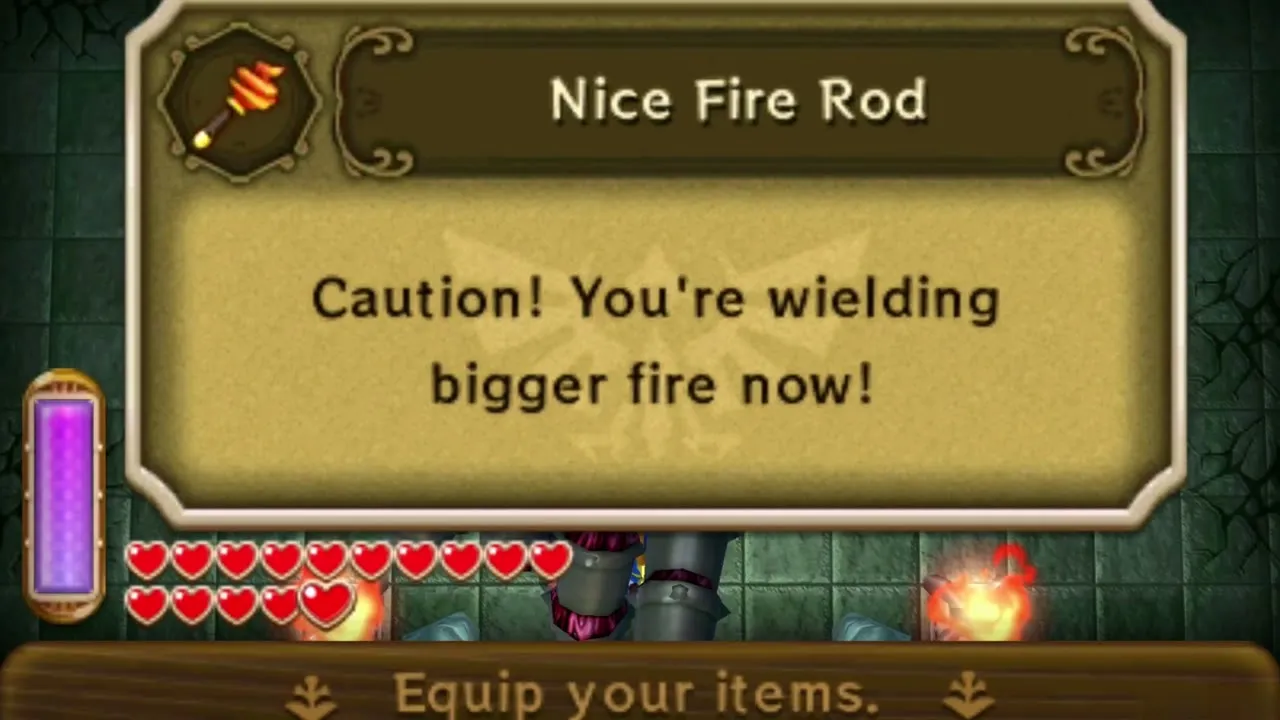
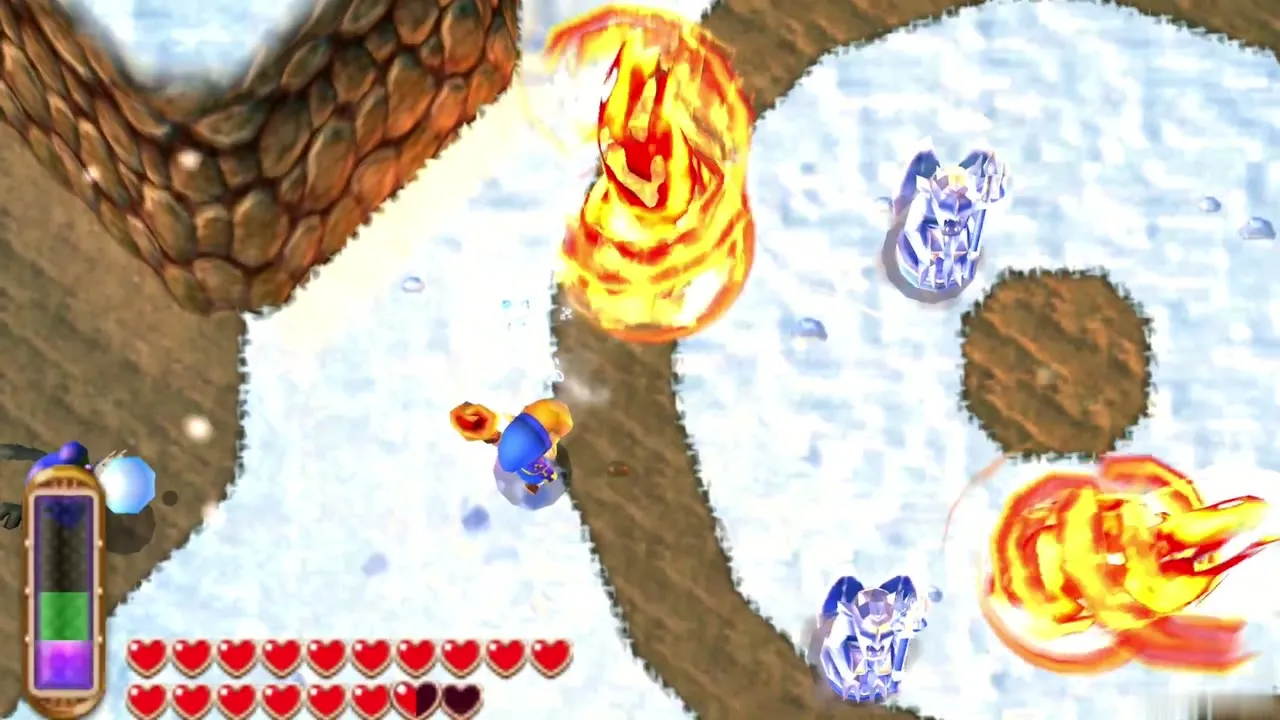
Nice Fire Rod
Makes a larger fire than the standard rod. Hand over the base item once you own it and have returned the next 10 Maiamai.

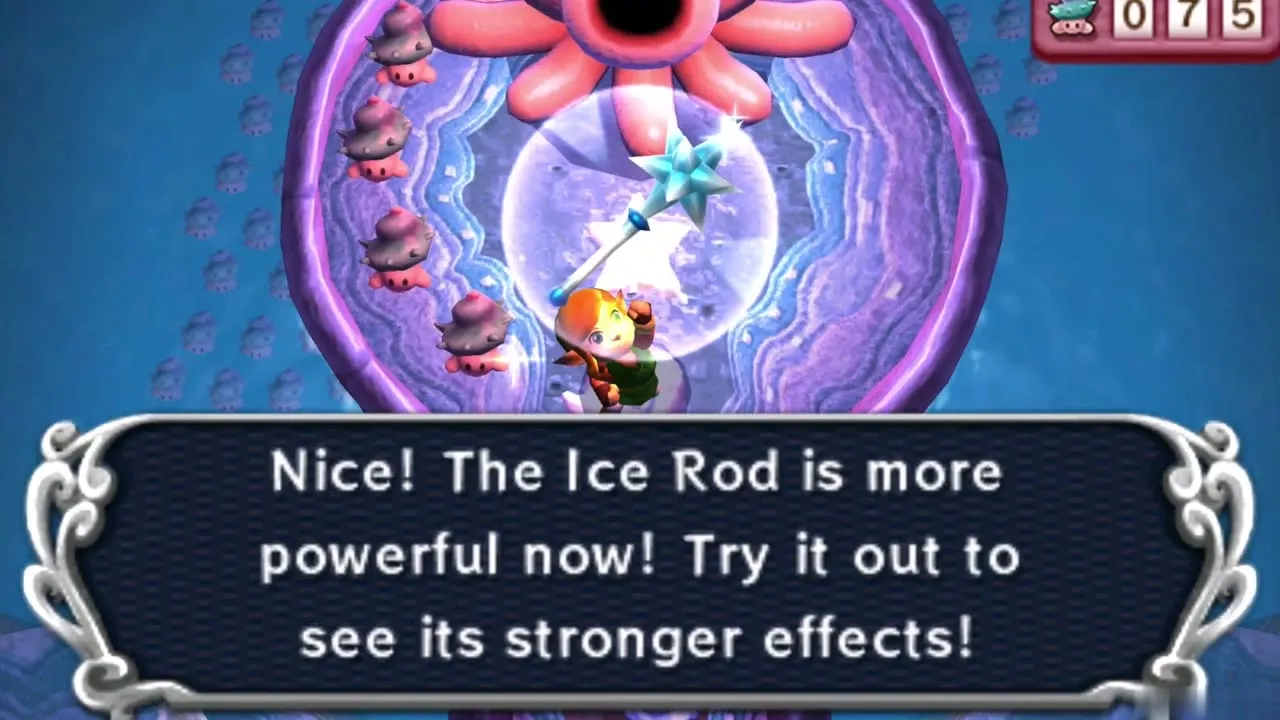
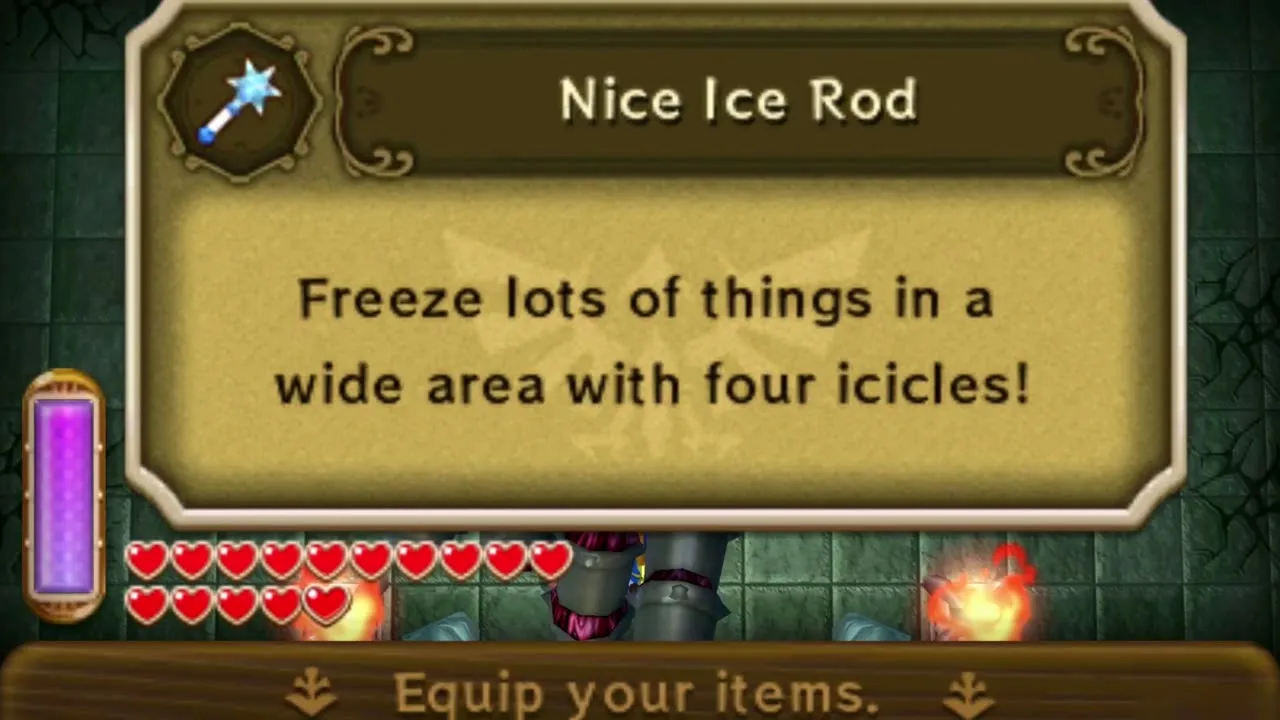
Nice Ice Rod
Drops four ice blocks at once instead of one, freezing a wide area. Hand over the base item once you own it and have returned the next 10 Maiamai.

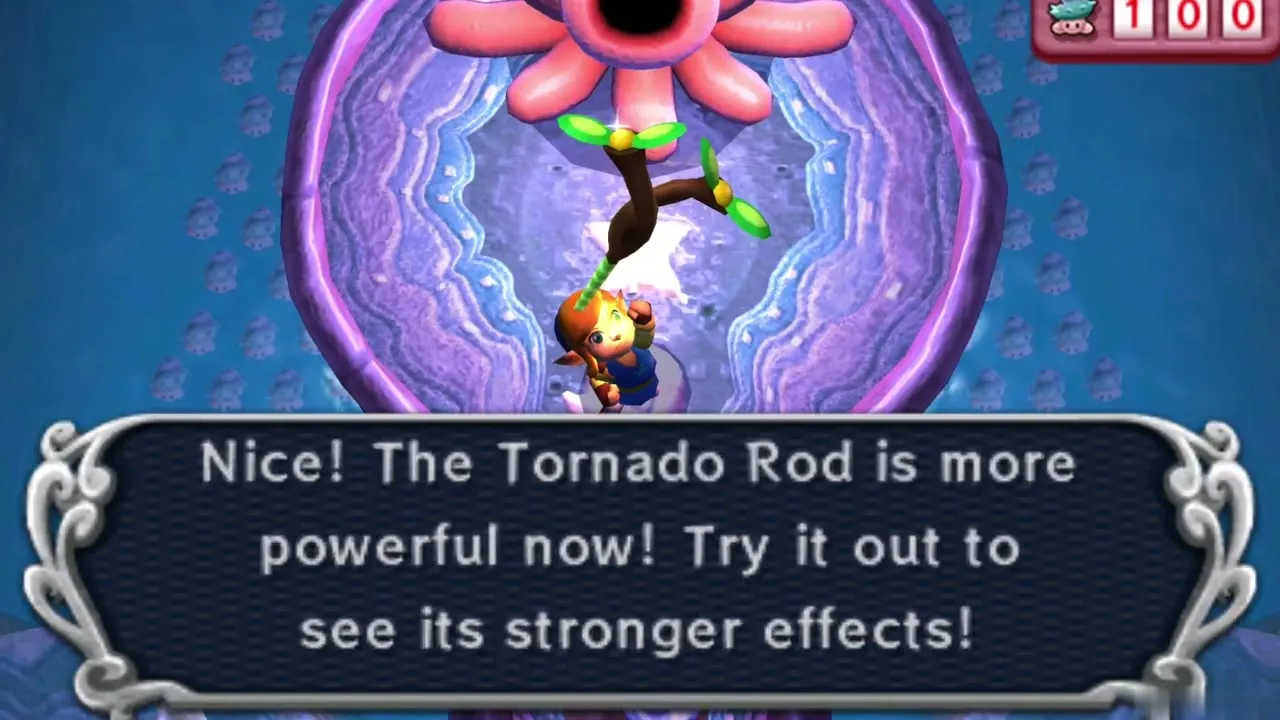
Nice Tornado Rod
Stirs up a gust that now damages enemies. Hand over the base item once you own it and have returned the next 10 Maiamai.

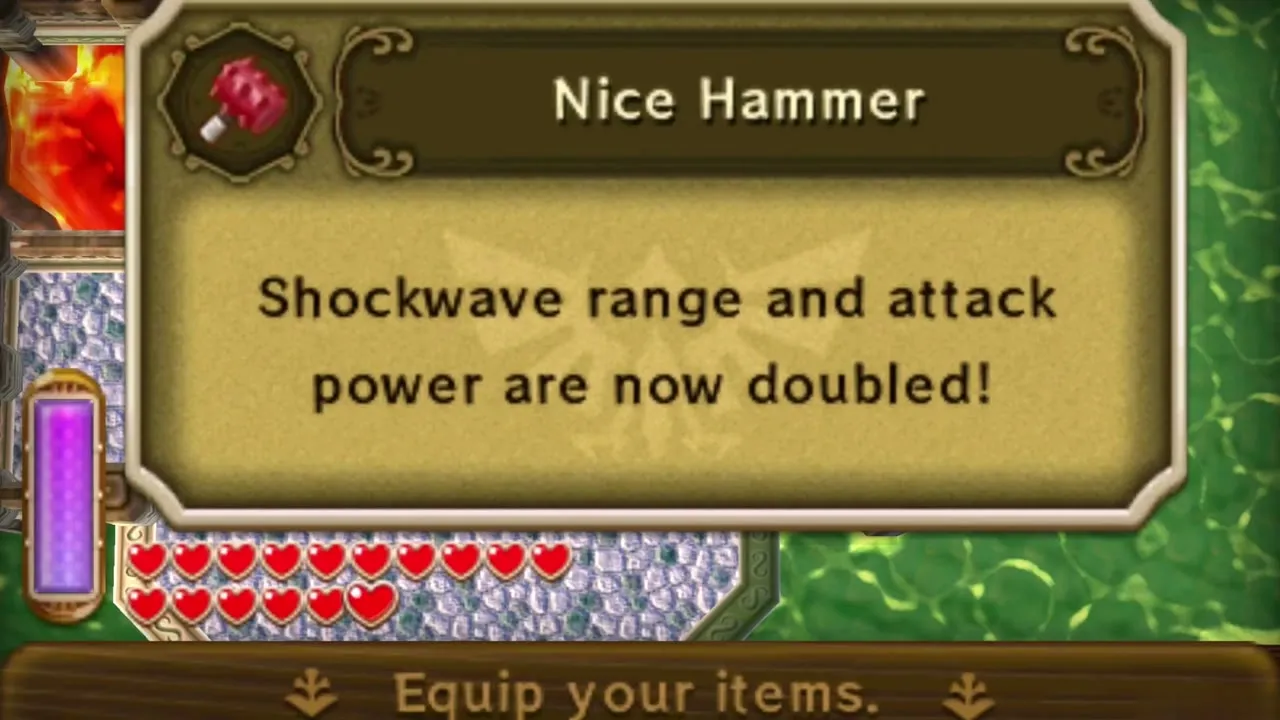
Nice Hammer
Doubles the range and power of the shockwave when you slam it. Hand over the base item once you own it and have returned the next 10 Maiamai.

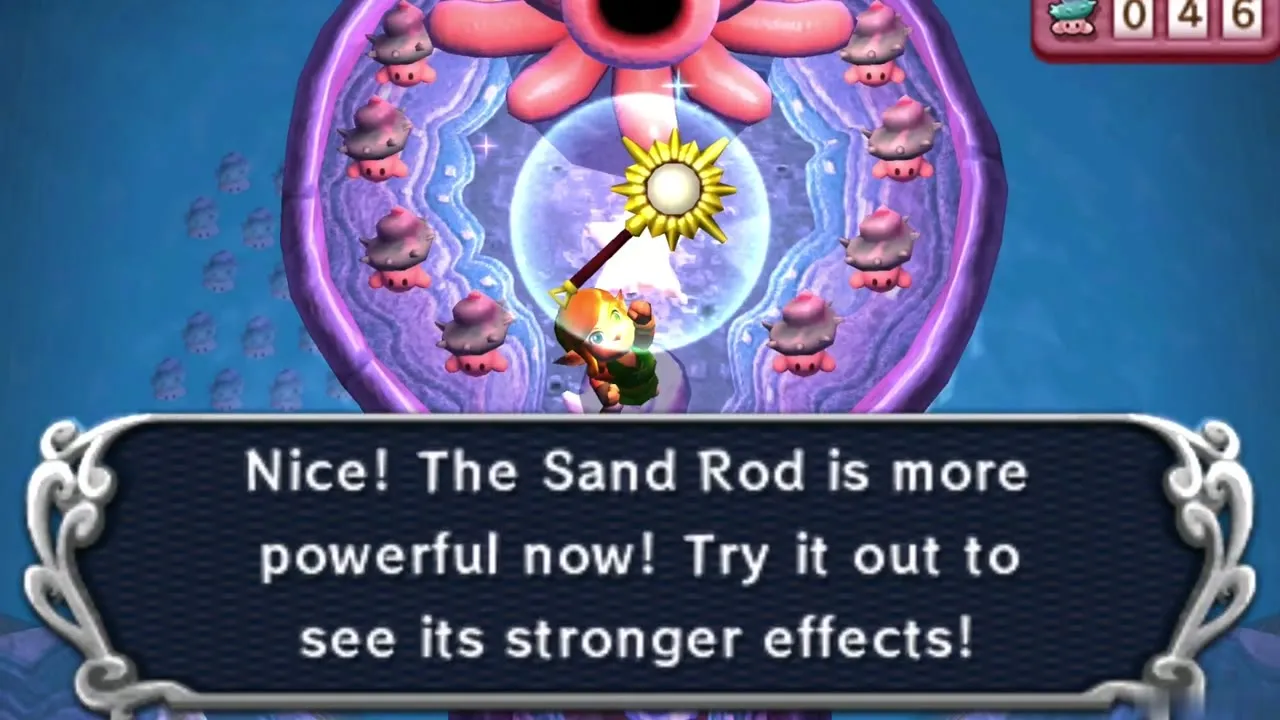
Nice Sand Rod
The sand pillars you raise stay up until you use the rod again to knock them down. Hand over the base item once you own it and have returned the next 10 Maiamai.

Great Spin
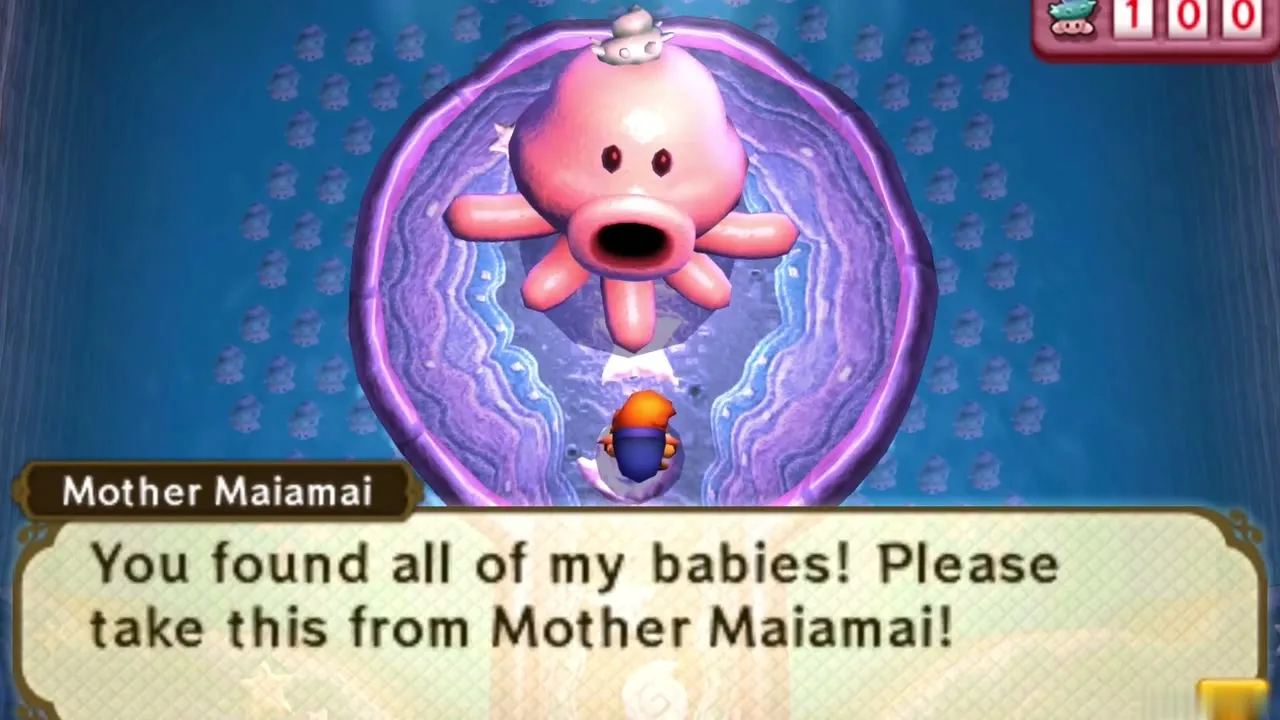
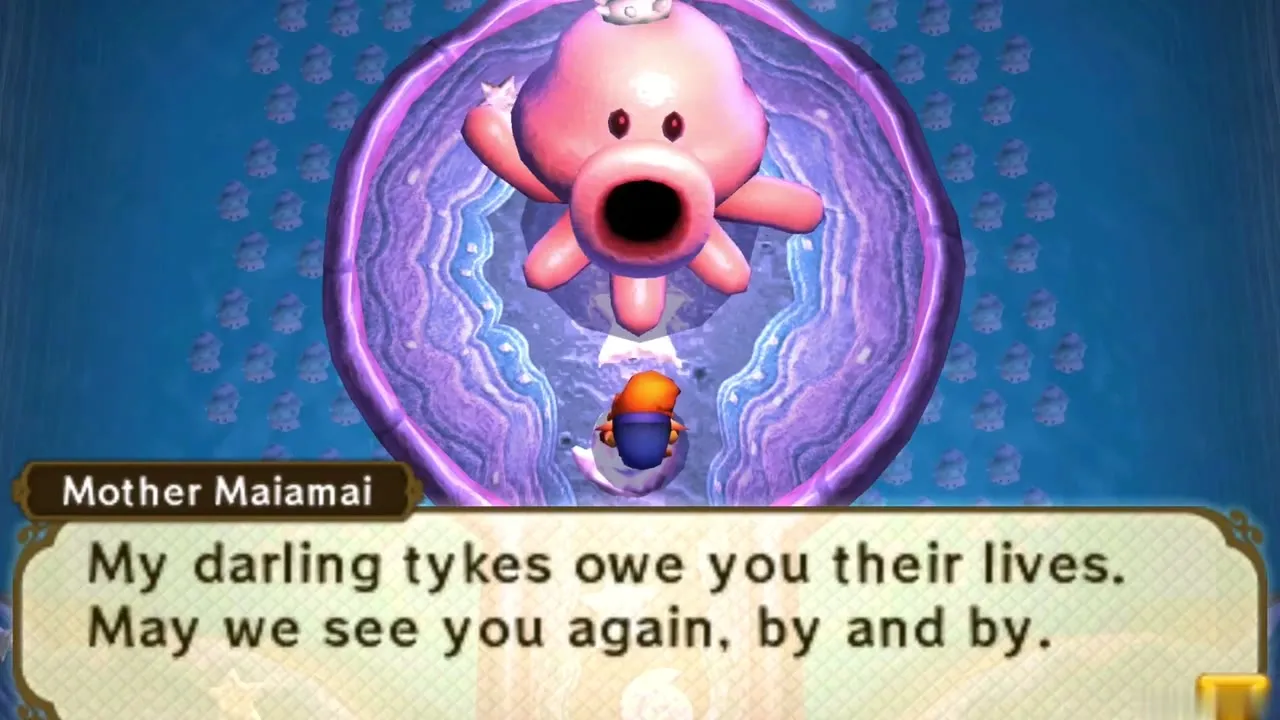
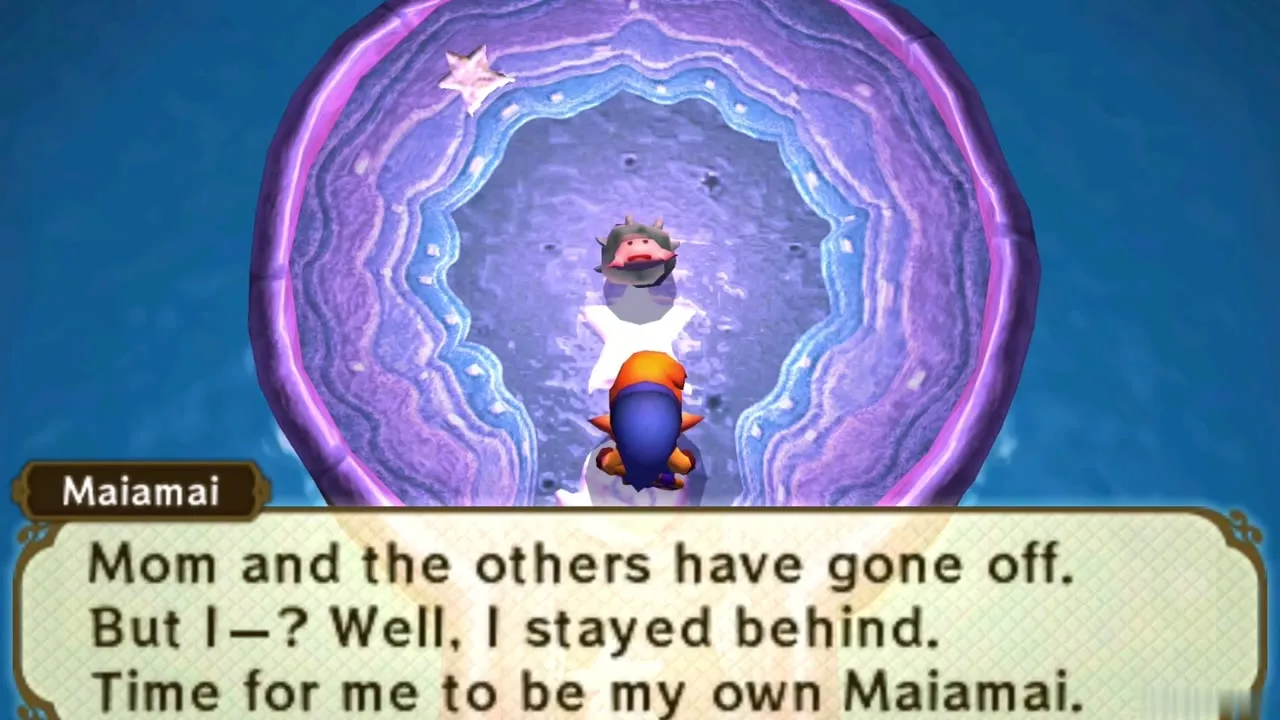
Bring back all 100 Maiamai and Mother Maiamai upgrades you instead of an item: your spin attack becomes the Great Spin. Talk to Ravio afterwards and visit her cave once more. She says goodbye and heads for another dimension with her children, but one baby Maiamai stays behind in the cave and says she was the 72nd you saved.
Hyrule: Death Mountain Region
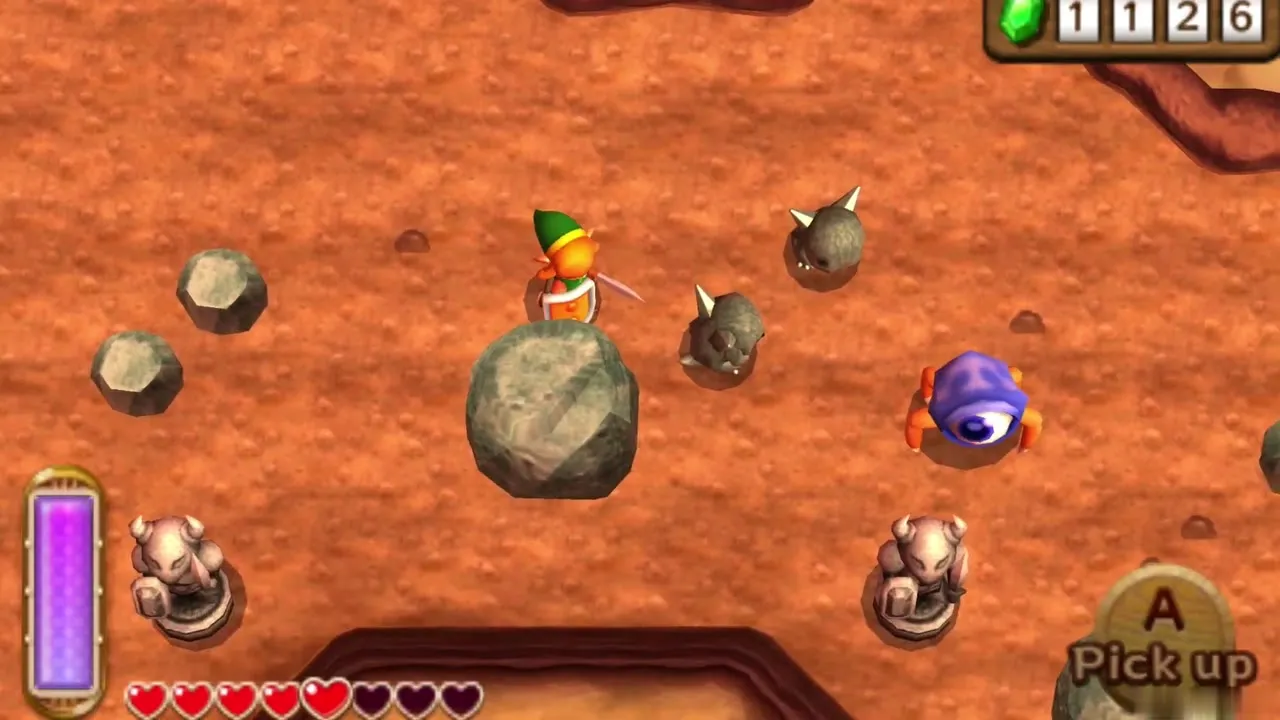
Maiamai 1: Rock southeast of the summit
Stand on the summit beside the Weather Vane and head southeast. A lone rock sits there; lift it and the Maiamai is underneath. You need: Power Glove.
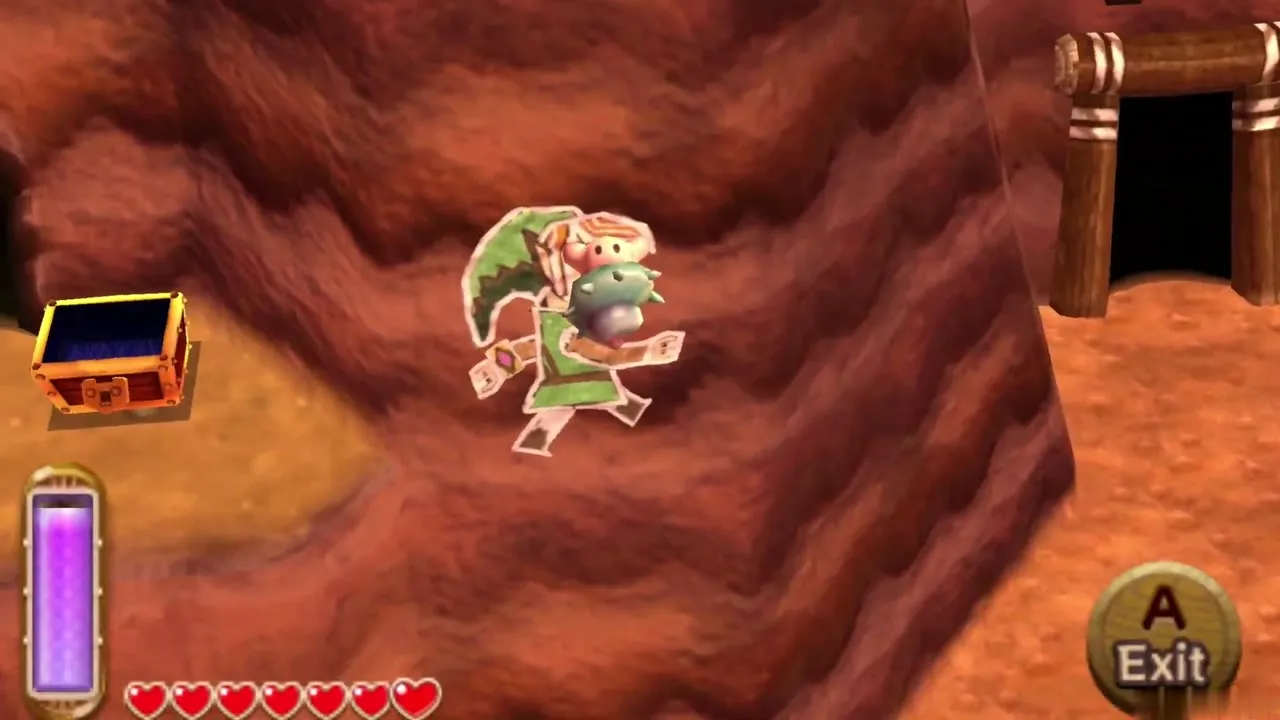
Maiamai 2: Treasure Chest cave wall
Go through the cave full of rolling boulders and leave by its second exit, where a Treasure Chest sits. Merge into the wall on the right of the chest to reach the Maiamai stuck to it. You need: Ravio’s Bracelet.
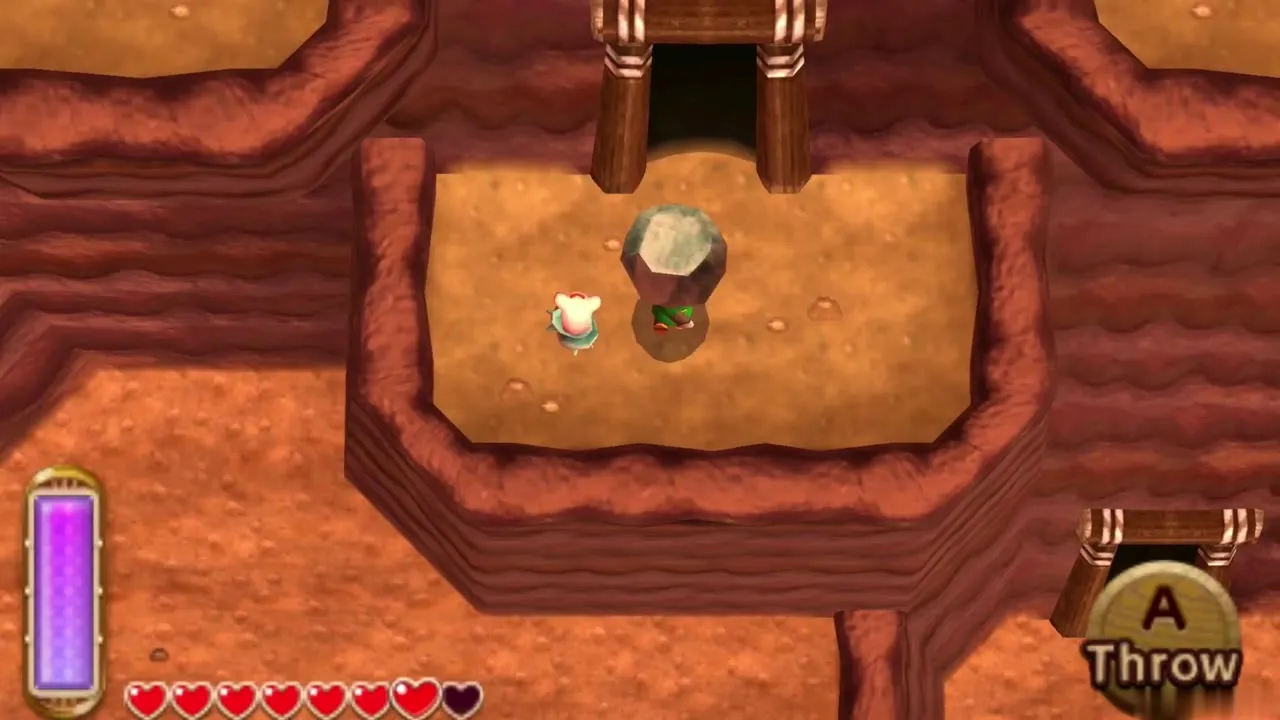
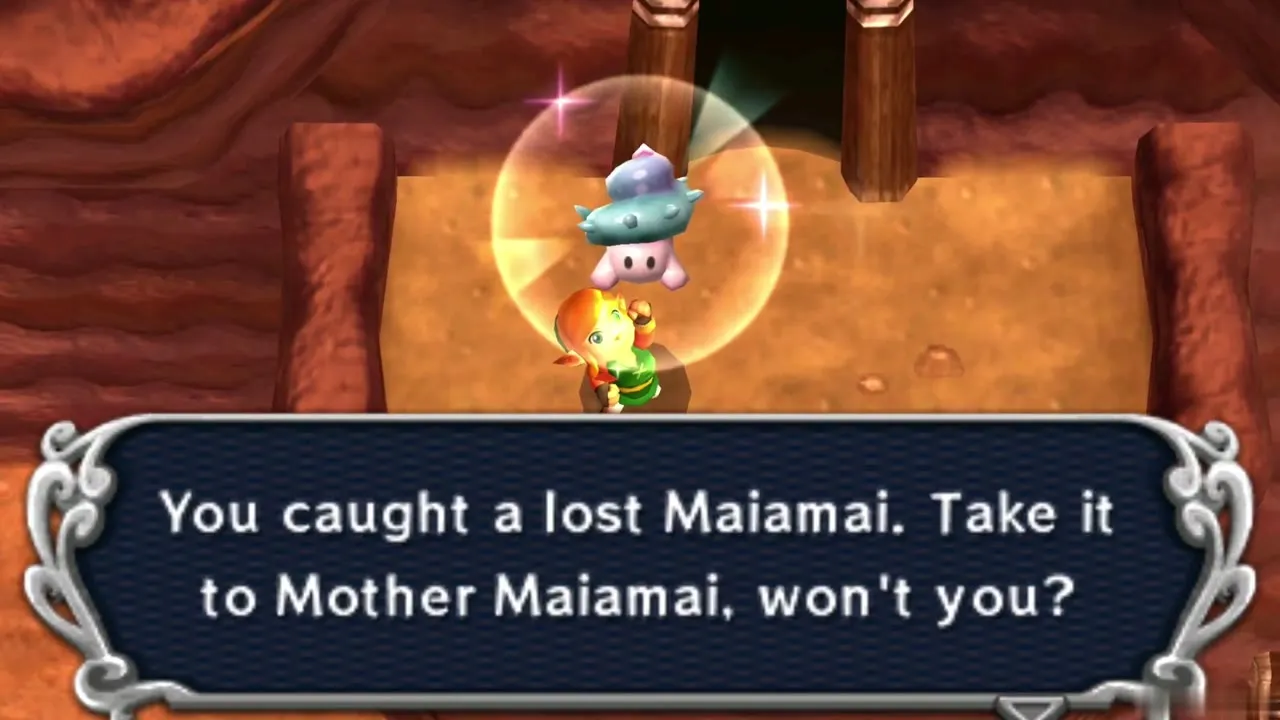
Maiamai 3: Lava cave exit rock
Cross the lava cave with floating platforms by taking the south platform from the central pillar guarded by Black Lynels. Once you are back outside, lift the small rock near the exit. You need: Power Glove.
Maiamai 4: North rock past the ore mine bridge
Shoot the Hookshot west across the bridge by Rosso’s Ore Mine to reach the far ledge, then lift the northernmost small rock there. You need: Power Glove and Hookshot.
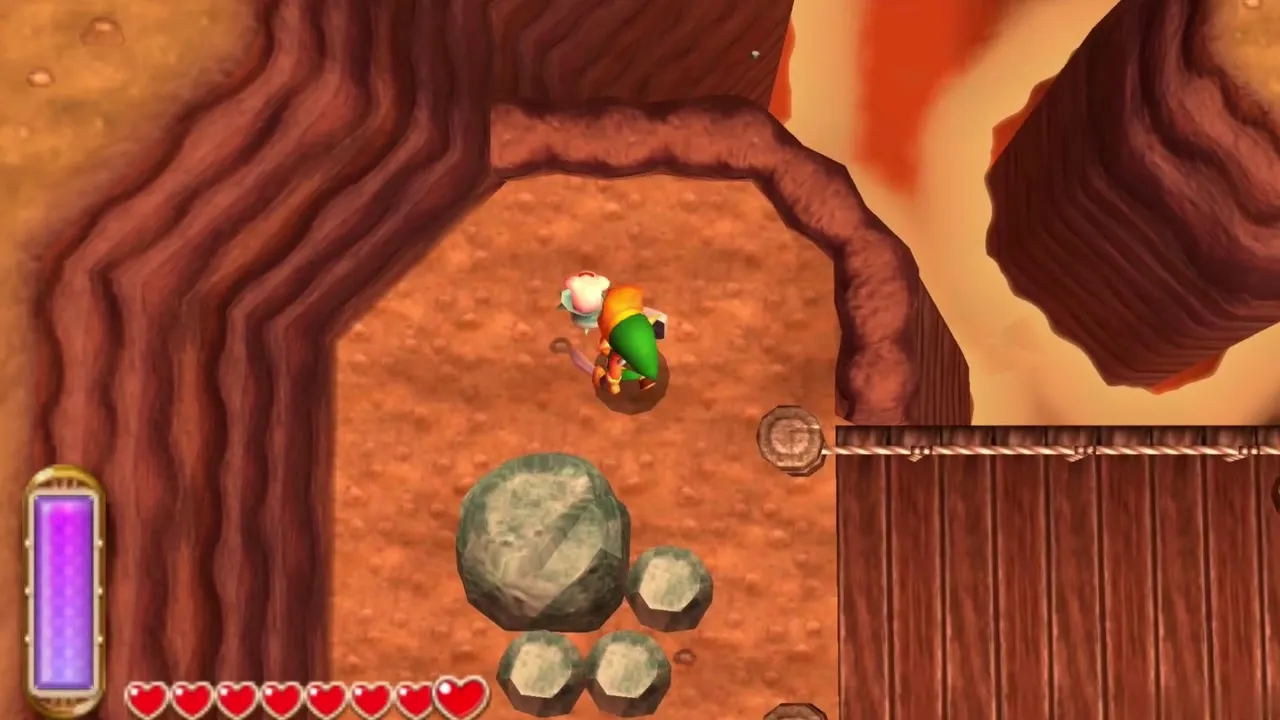
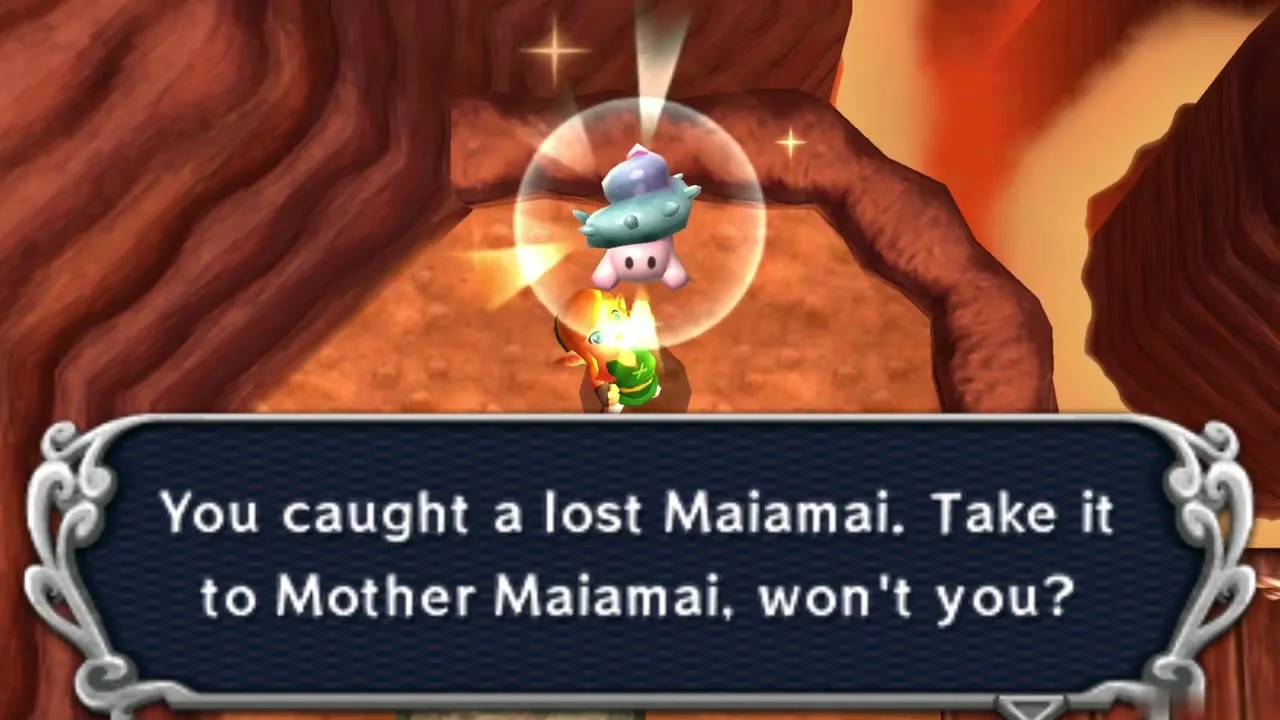
Maiamai 5: Wall by the Treasure Hunter Cave
Merge into the wall just to the right of the Treasure Hunter Cave entrance. The Maiamai clings to the wall. You need: Ravio’s Bracelet.
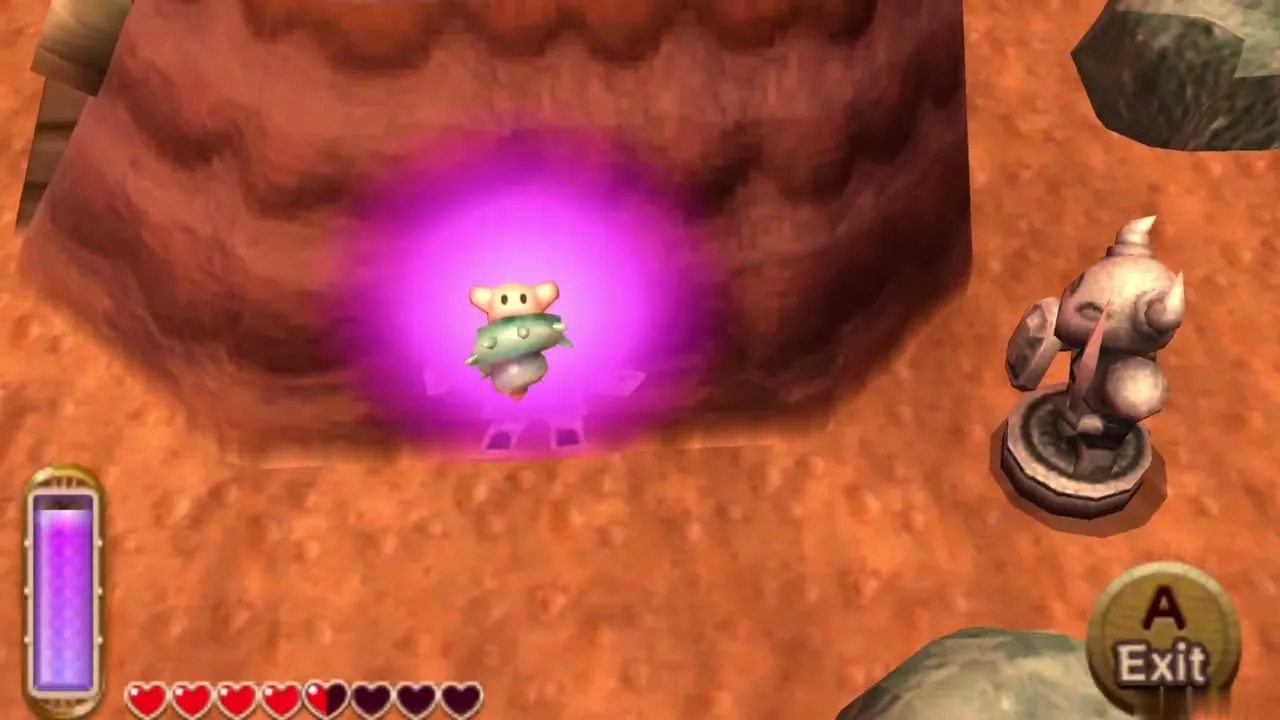
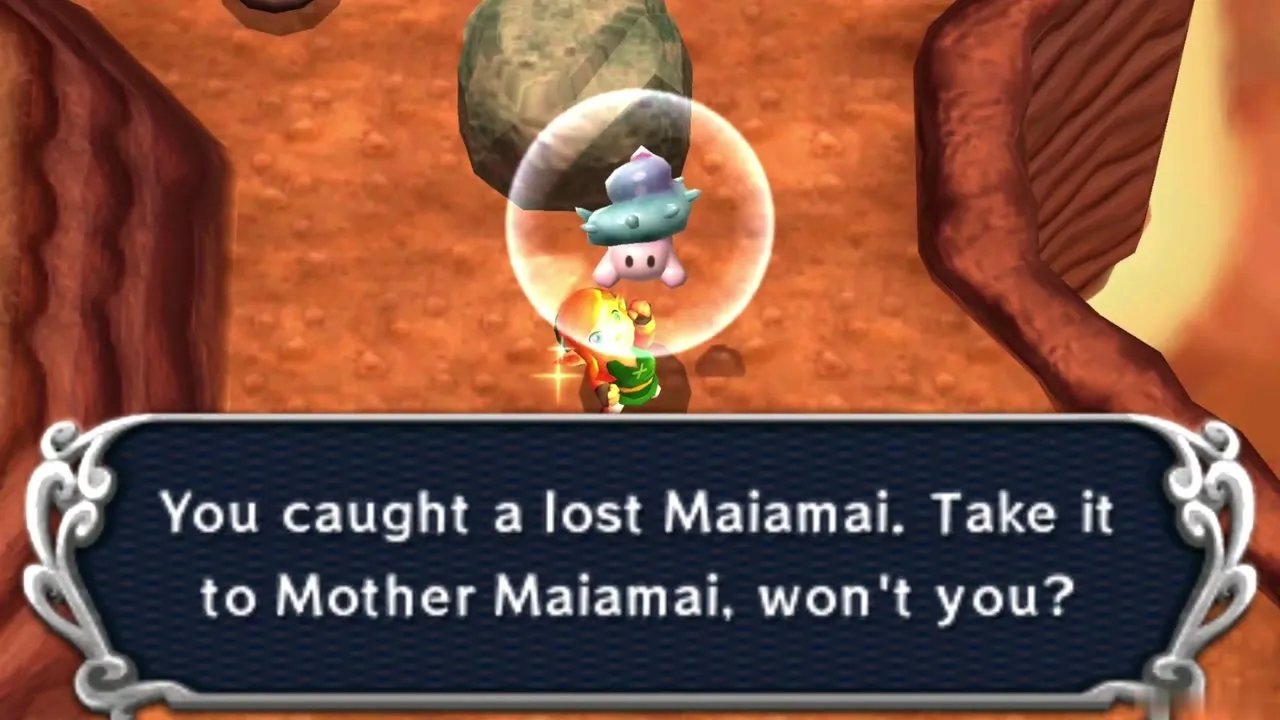
Hyrule: Desert Region
Maiamai 1: Large rock near the Southern Ruins
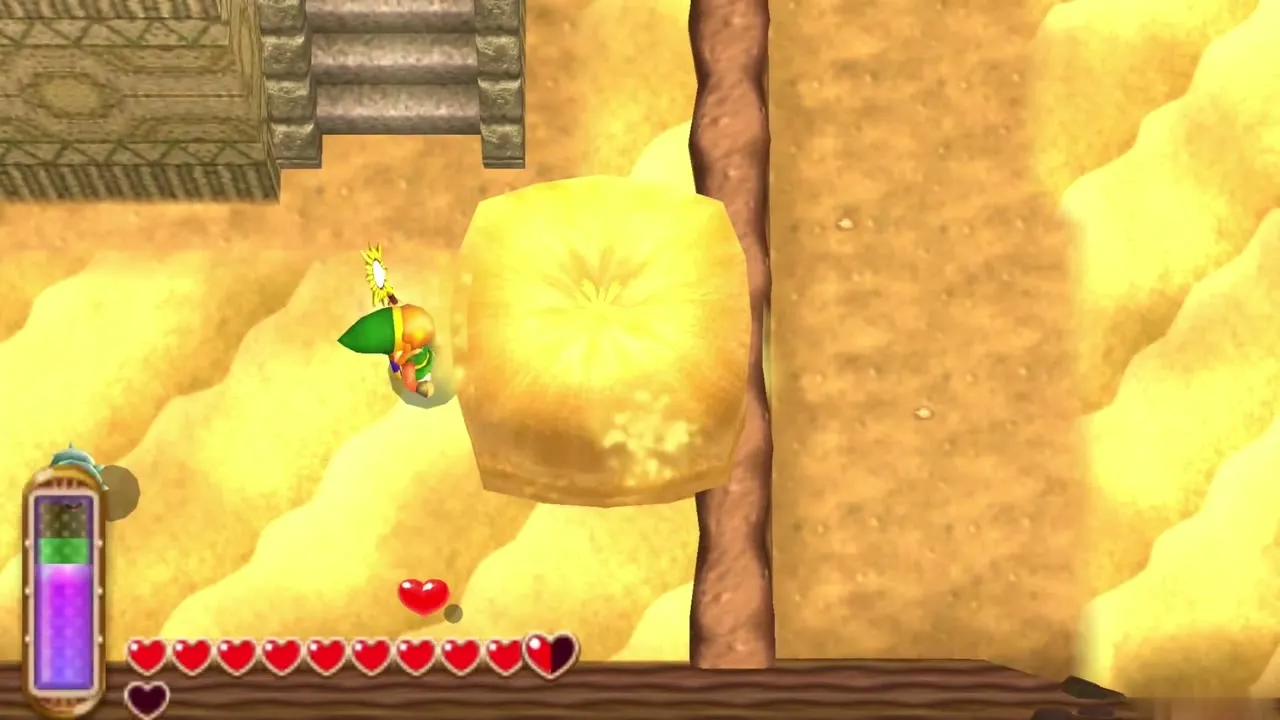
In the stretch of desert that joins the Southern Ruins, find the Fissure and lift the second large rock south of it. You need: Titan’s Mitt.
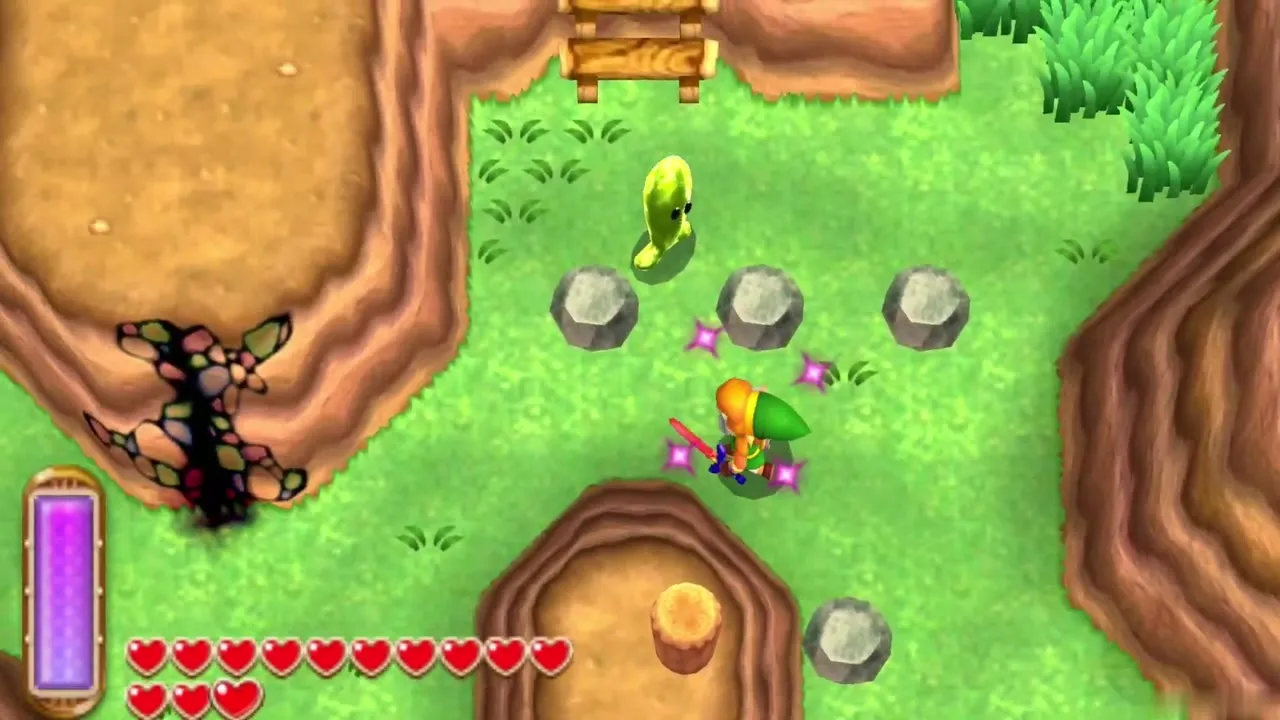
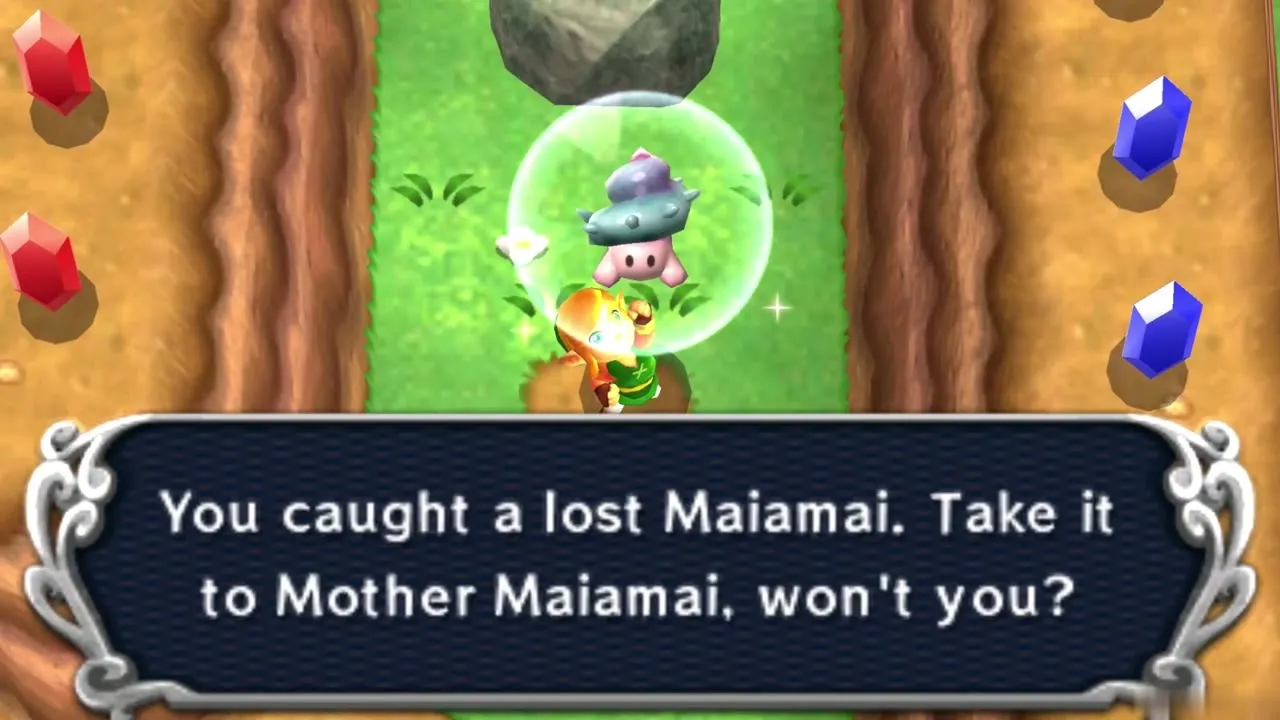
Maiamai 2: Sand northwest of the twin pillars
Walk northwest of the two pillars that each hold a Fissure and raise sand pillars until the buried Maiamai pops out. You need: Sand Rod.
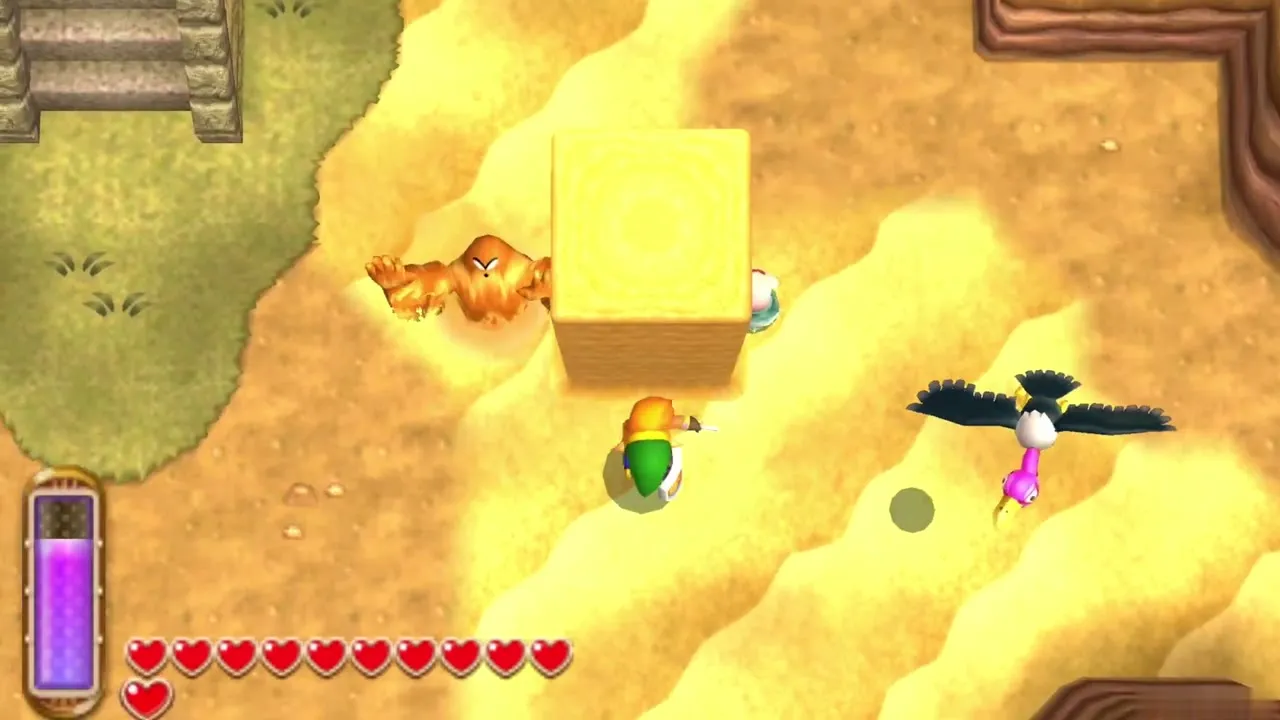
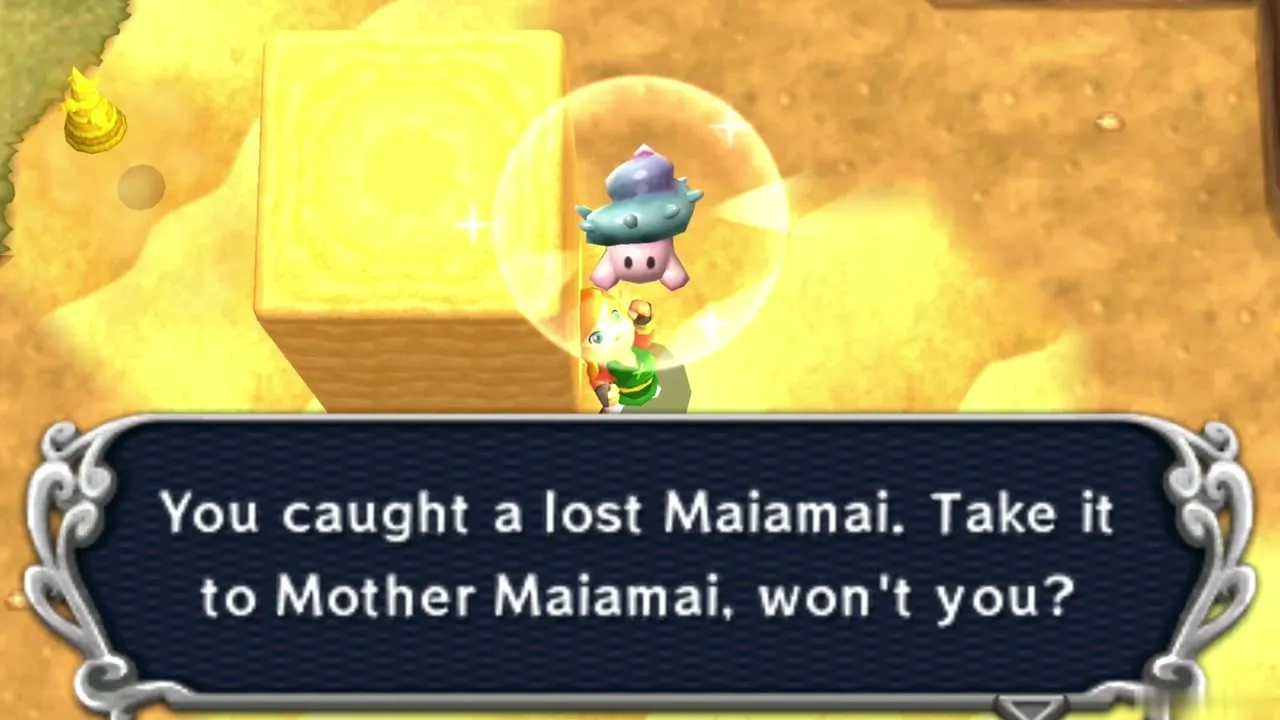
Maiamai 3: Sand south of the Weather Vane
Aim the Sand Rod at the sand just south of the desert’s Weather Vane to dig the Maiamai up. You need: Sand Rod.
Hyrule: Eastern Ruins Region
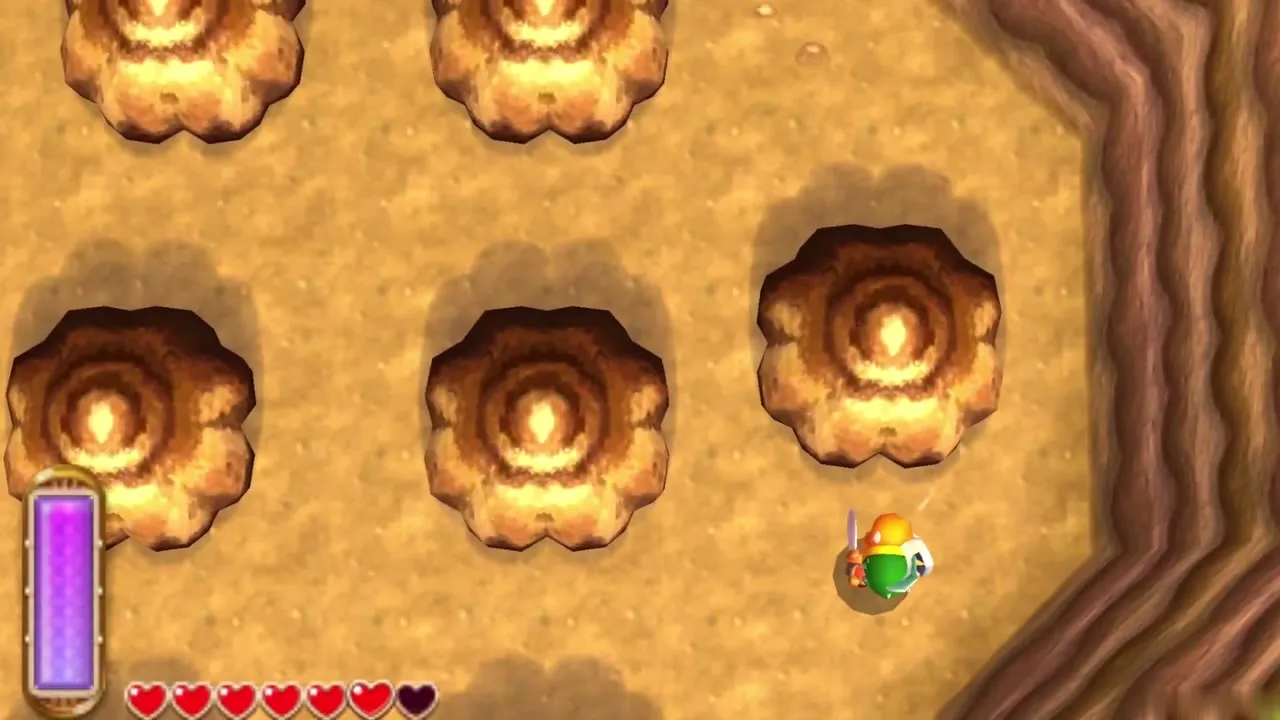
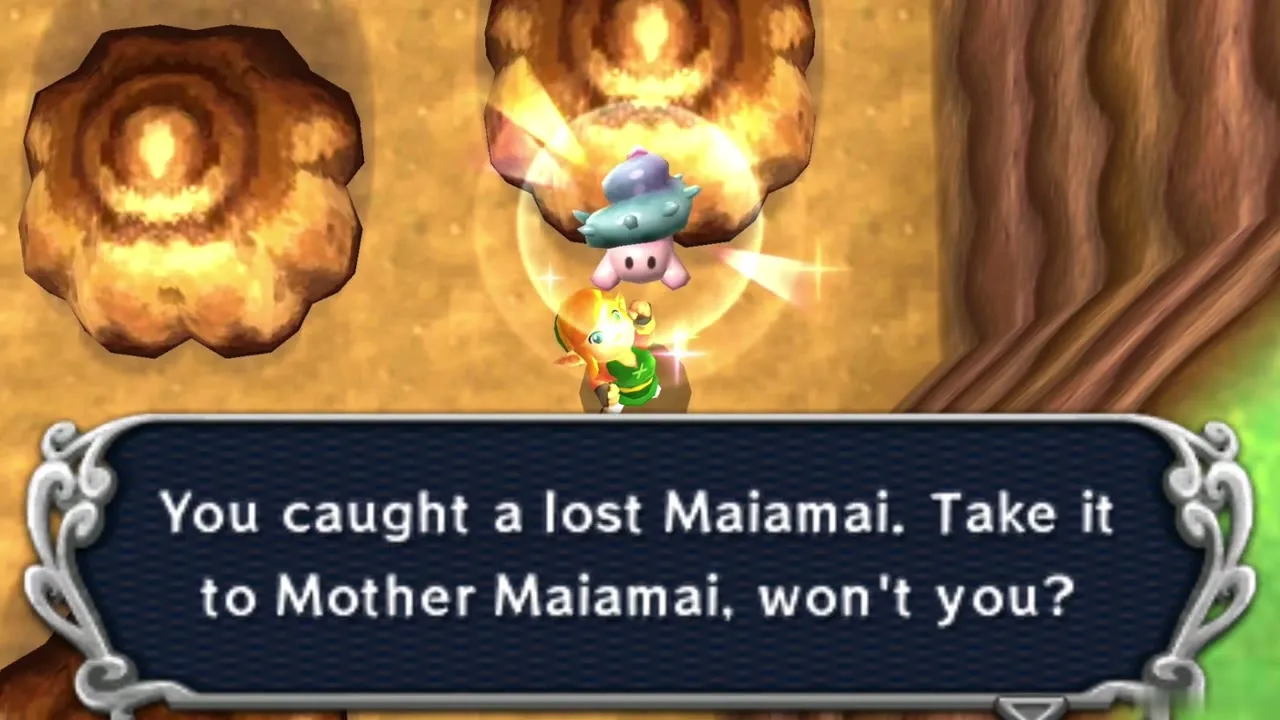
Maiamai 1: Easternmost rock formation
Run into the easternmost rock formation in this field and the Maiamai drops down. You need: Pegasus Boots.
Maiamai 2: Fifth tree
Dash into the fifth tree in the line to shake the Maiamai loose. You need: Pegasus Boots.
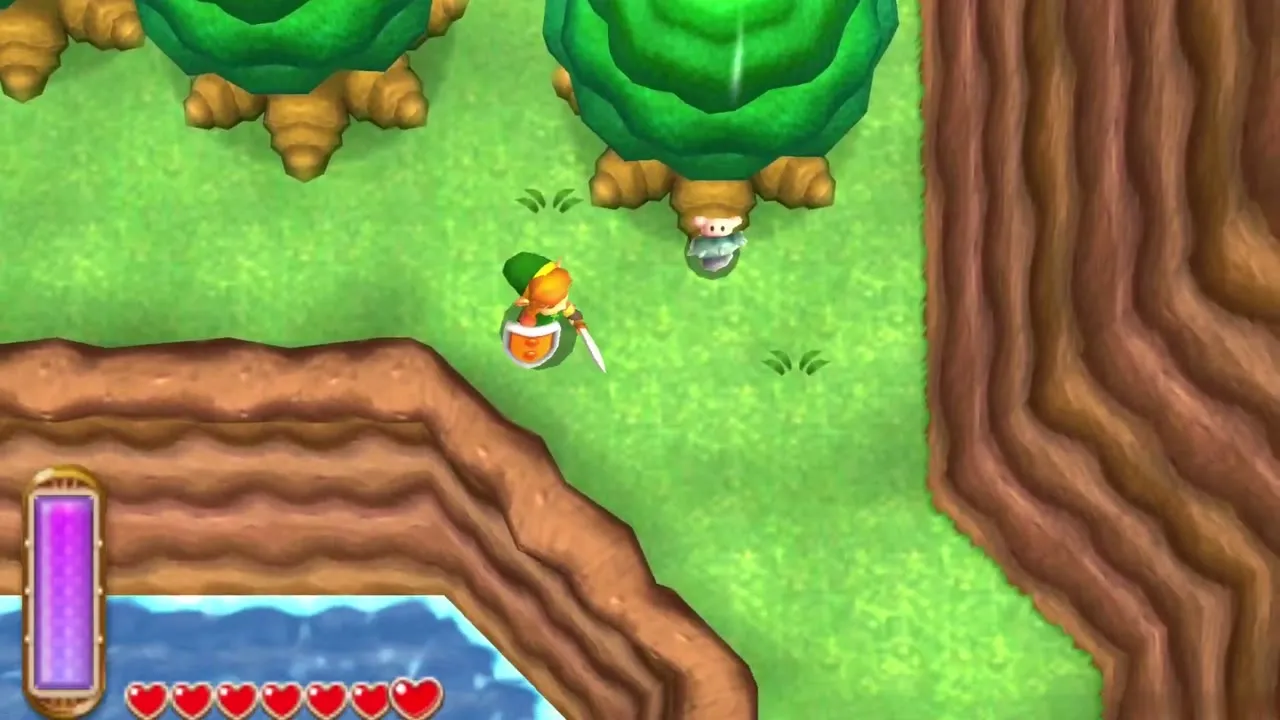
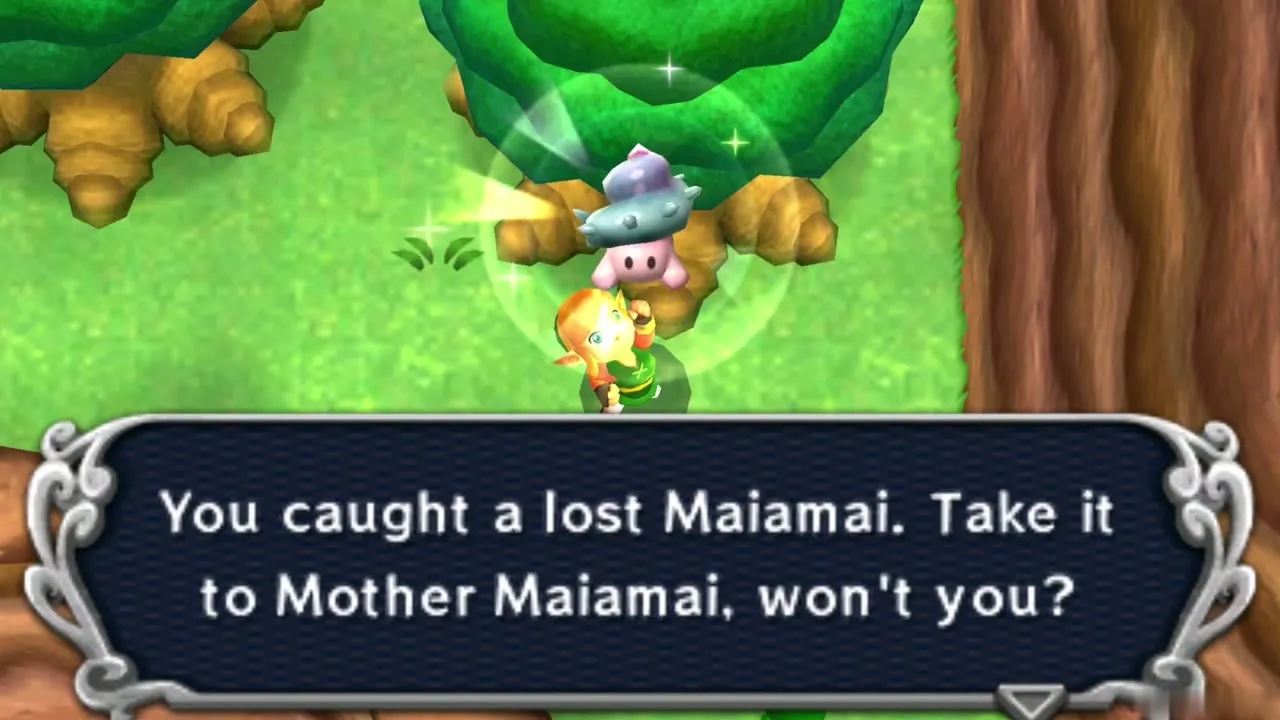
Maiamai 3: River dive east of the bridge
Swim north up the river from Lake Hylia, then dive just east of the bridge. You need: Zora’s Flippers.
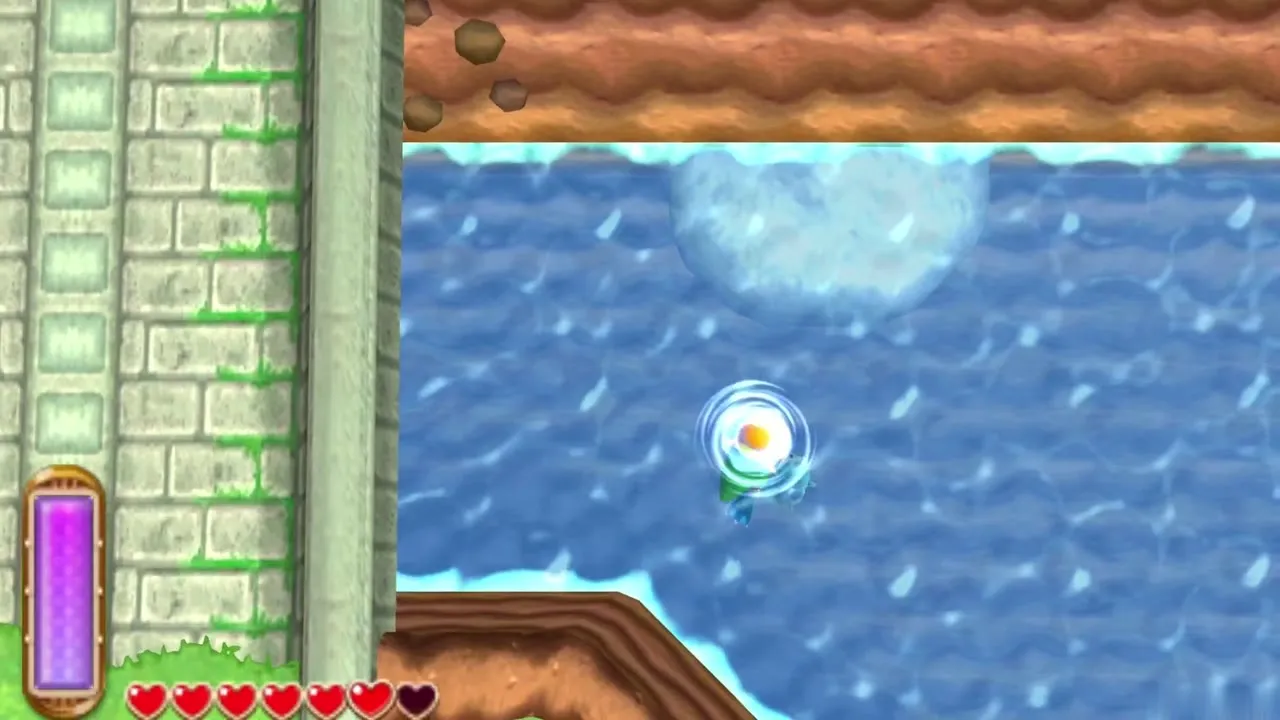
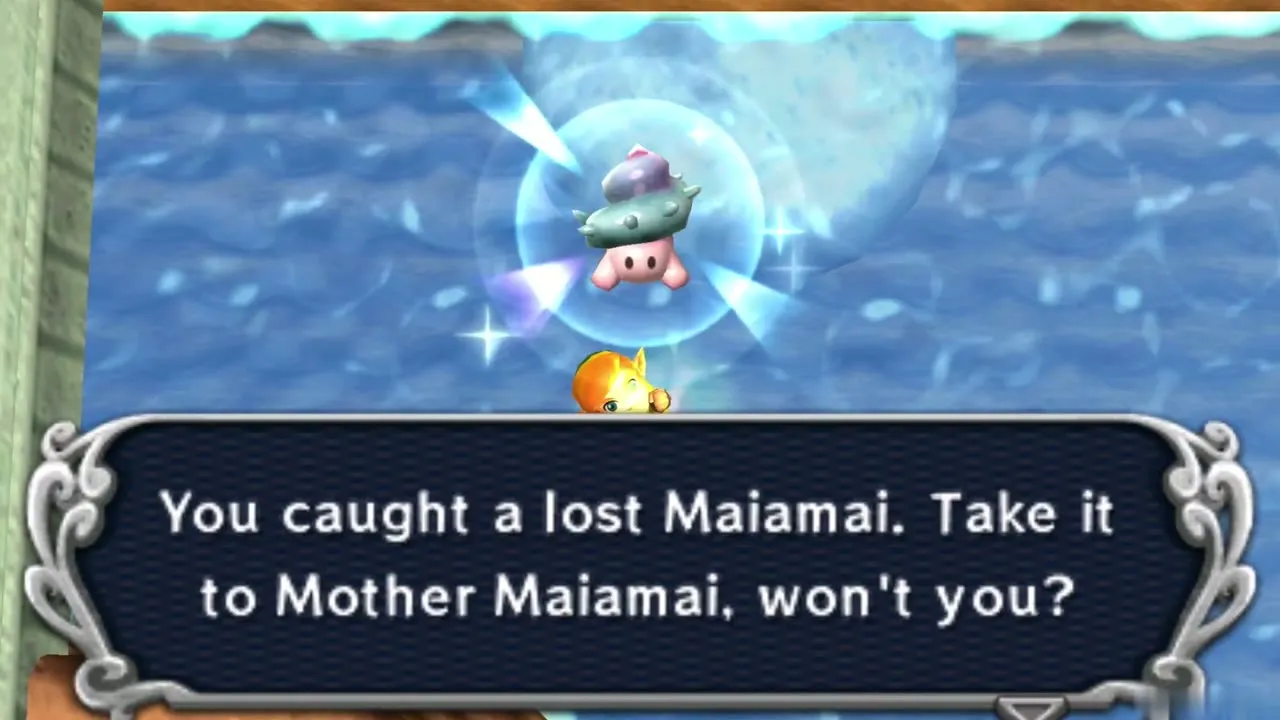
Maiamai 4: Alcove beyond the Crystal Switches
From the Crystal Switches, merge along the wall into a small alcove on the east side. You need: Ravio’s Bracelet.
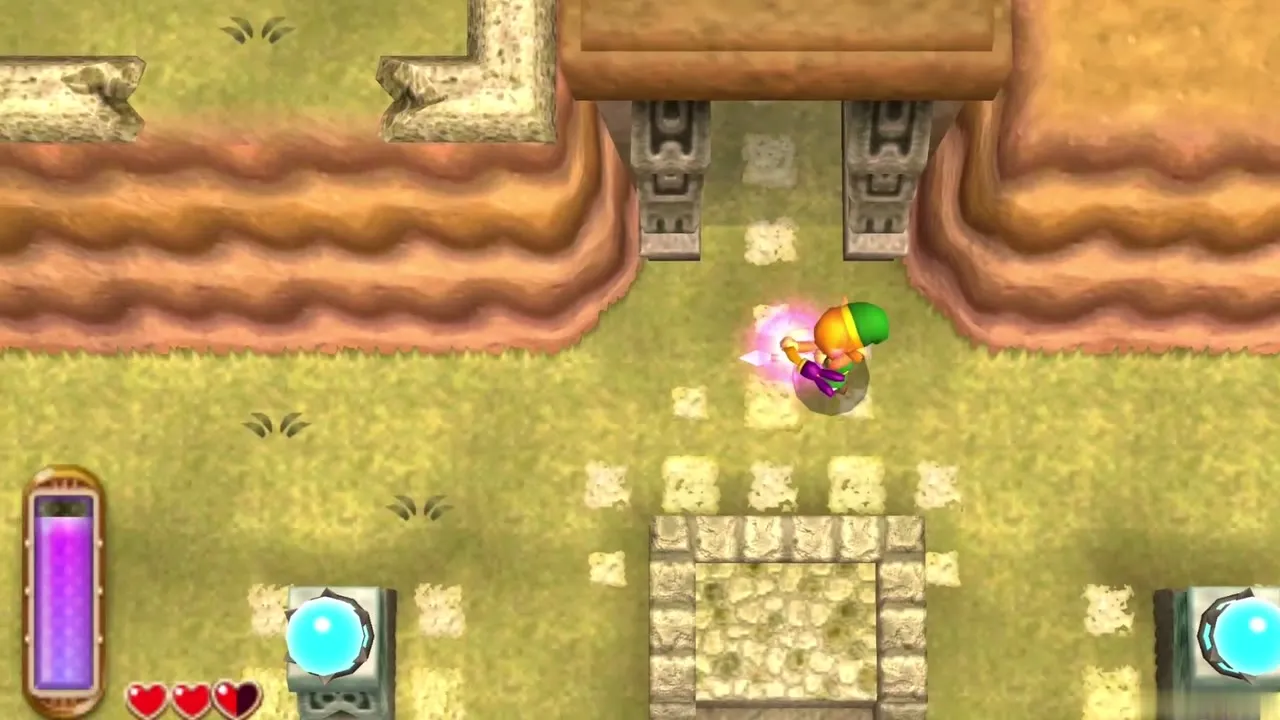
Maiamai 5: Lone yellow tree
Dash into the single yellow tree to knock the Maiamai out of it. You need: Pegasus Boots.
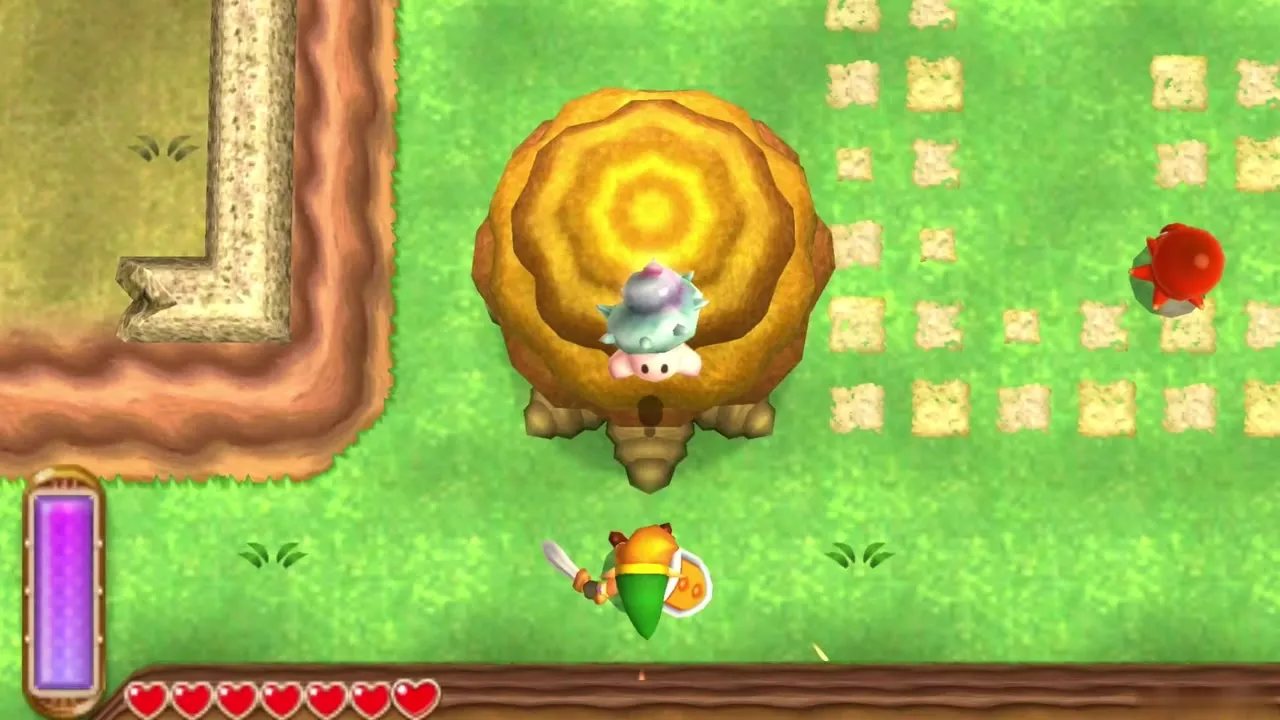
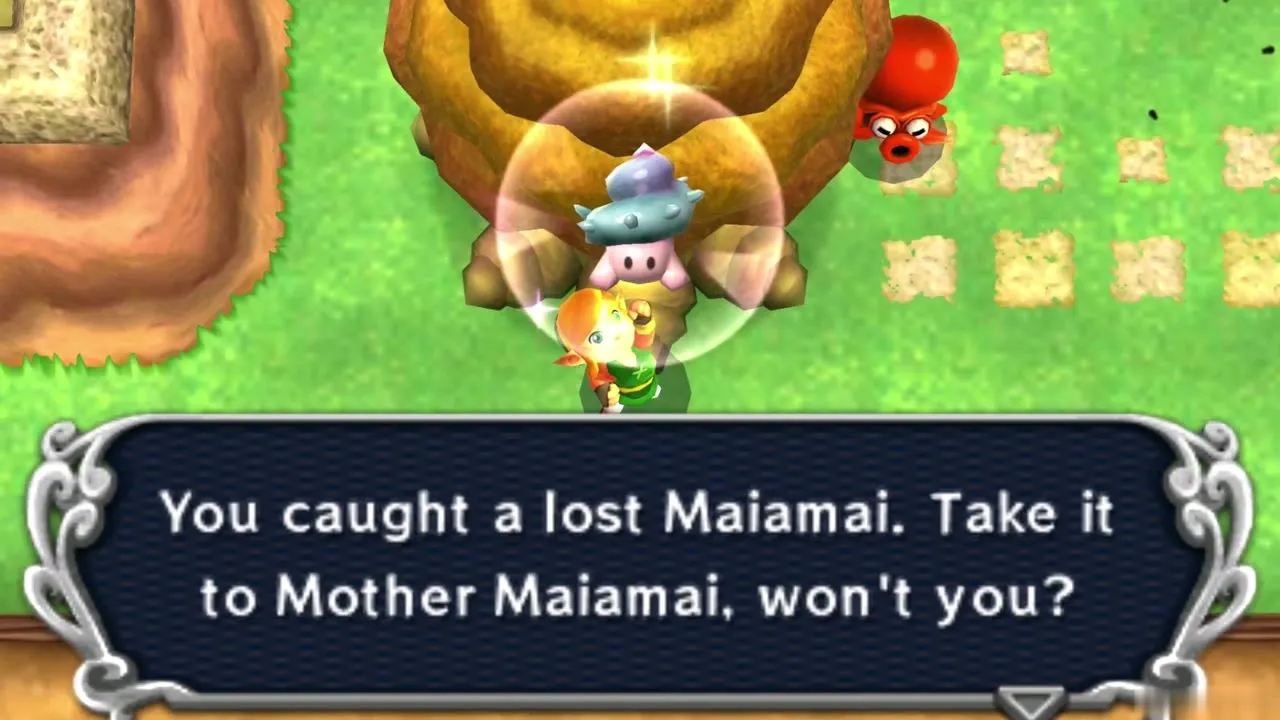
Maiamai 6: Rock on the southeastern ledges
In the southeast, merge at the top of the hill beside the Fissure and shuffle left onto the next platform. A large rock there hides the Maiamai. You need: Titan’s Mitt and Ravio’s Bracelet.
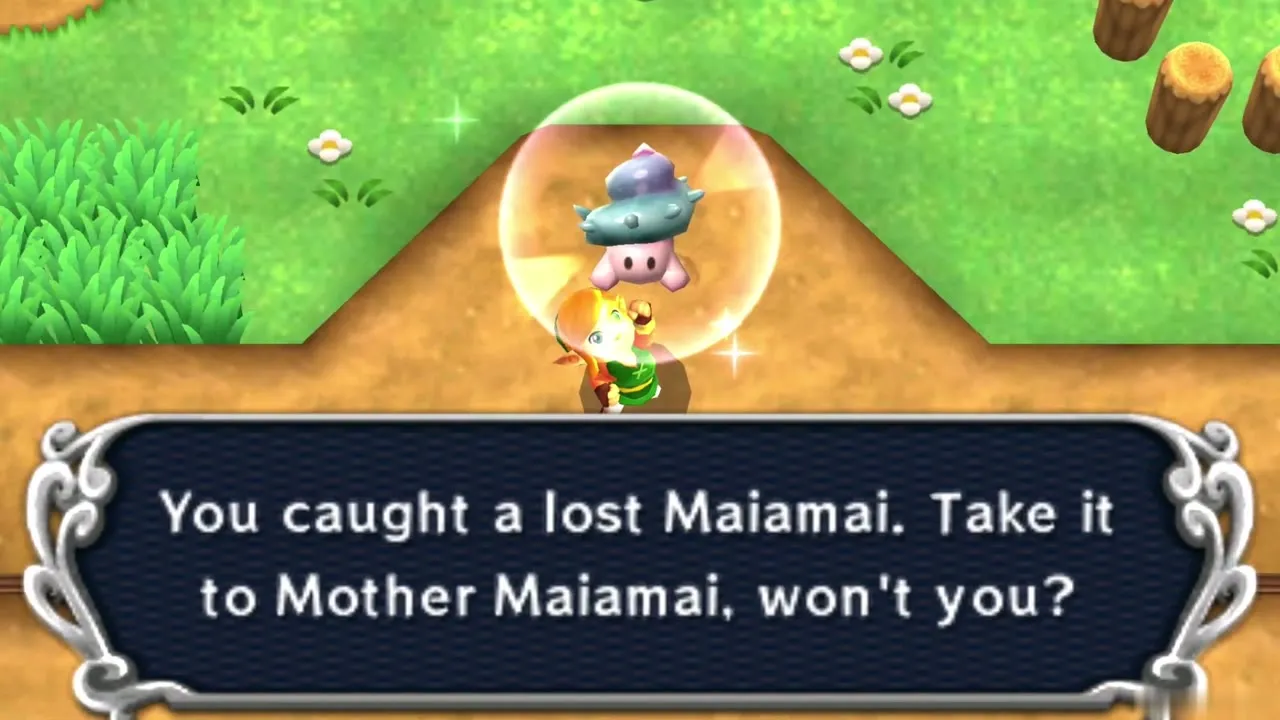
Hyrule: Hyrule Castle Region
Maiamai 1: Tree northwest of the castle
Dash into the tree at the northwest corner of Hyrule Castle. You need: Pegasus Boots.
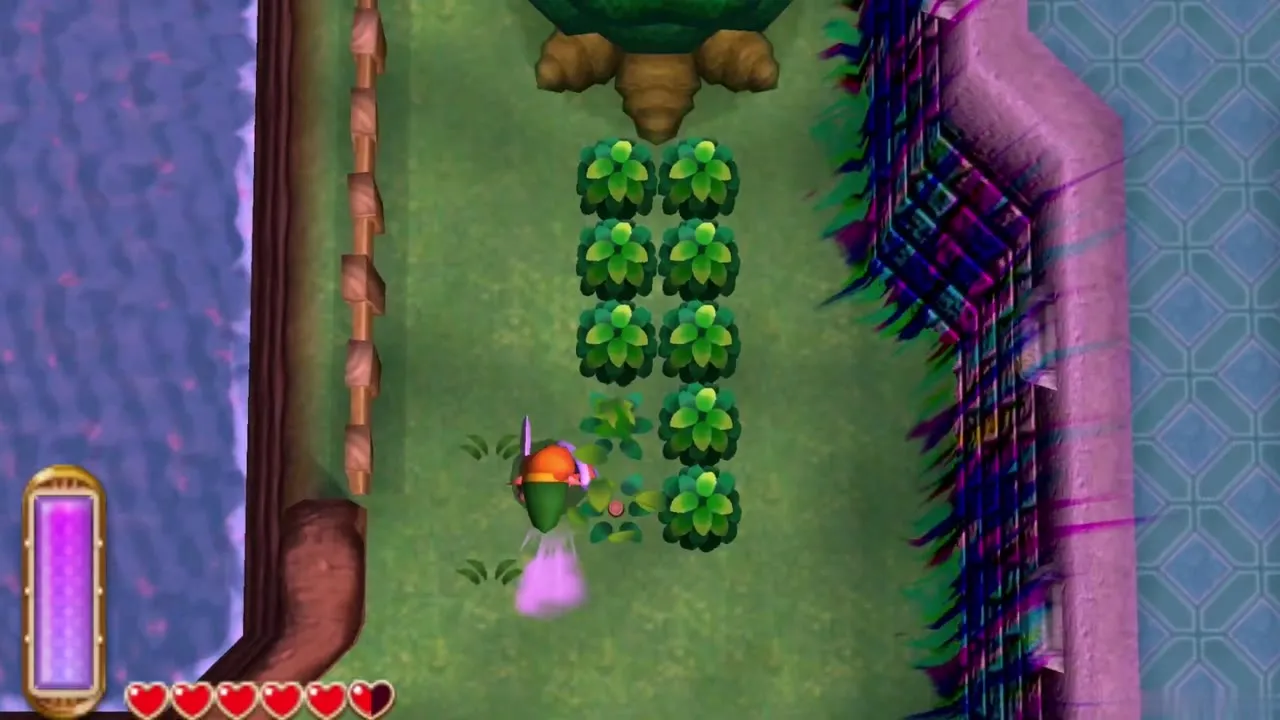
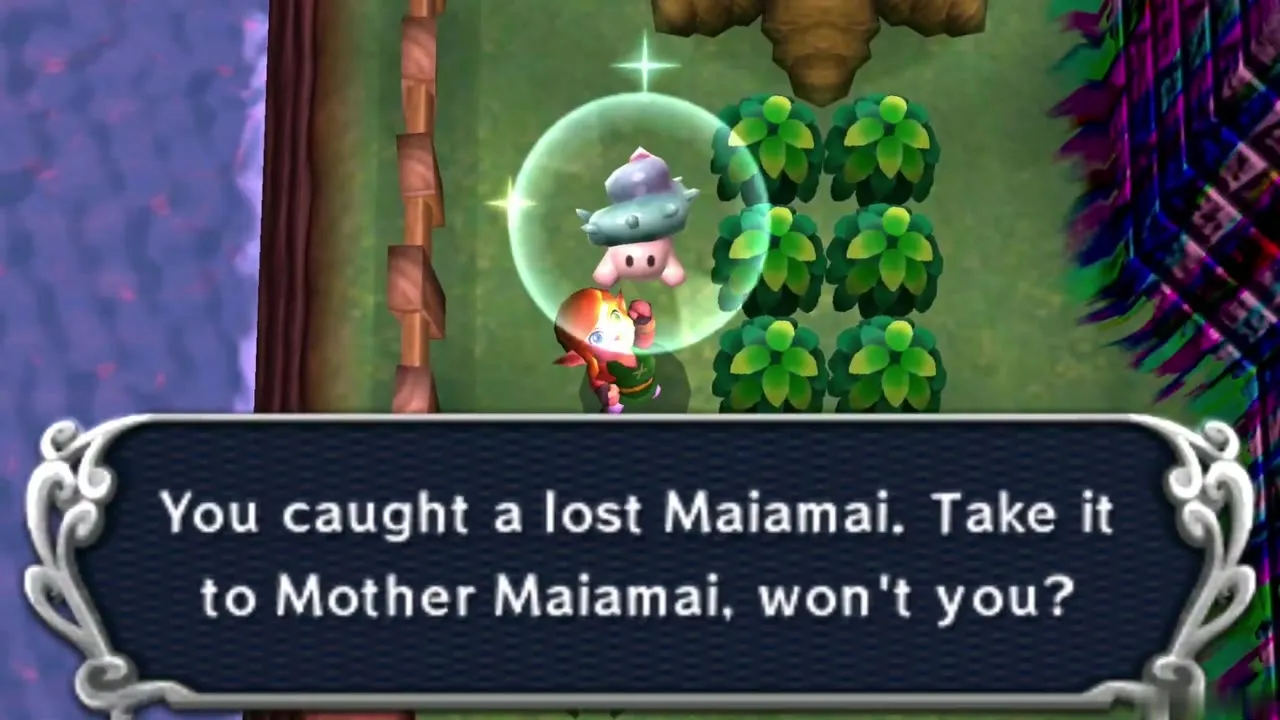
Maiamai 2: Tree in the middle of the area
Dash into the tree standing near the centre of this region. You need: Pegasus Boots.
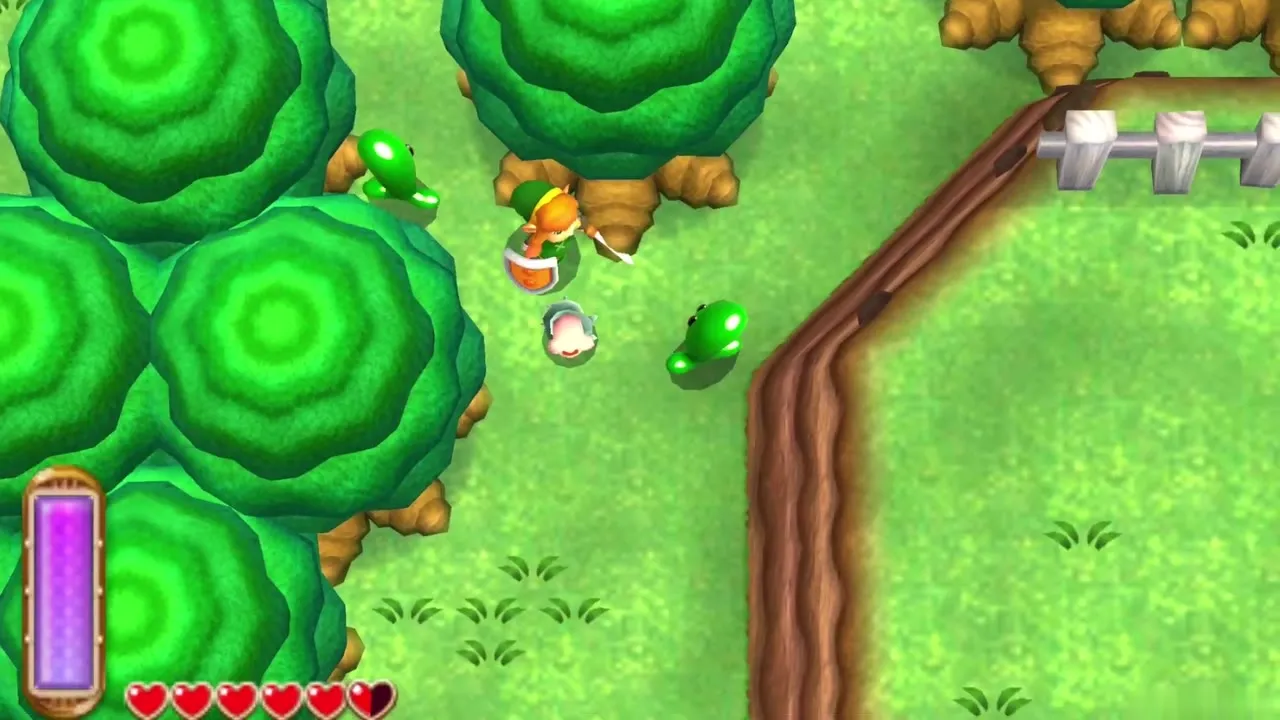
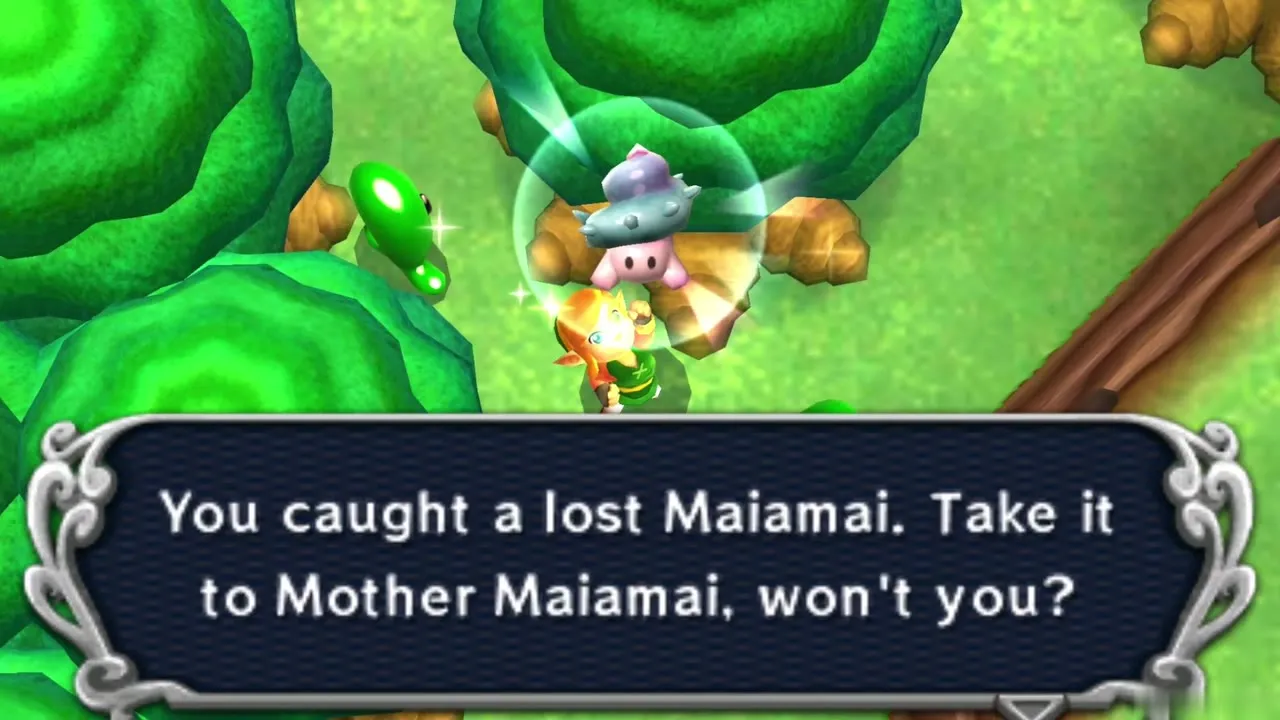
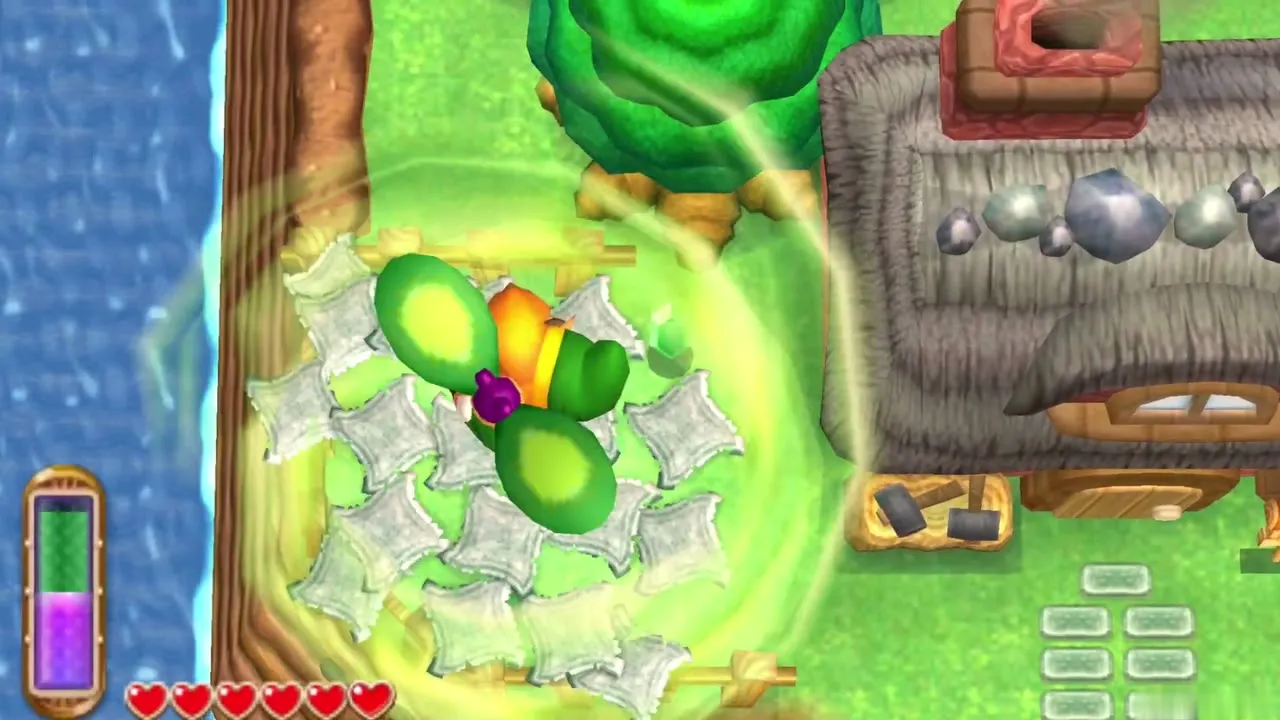
Maiamai 3: Panels beside the Blacksmith’s Forge
Blow a gust onto the floor panels next to the Blacksmith’s Forge. You need: Tornado Rod.
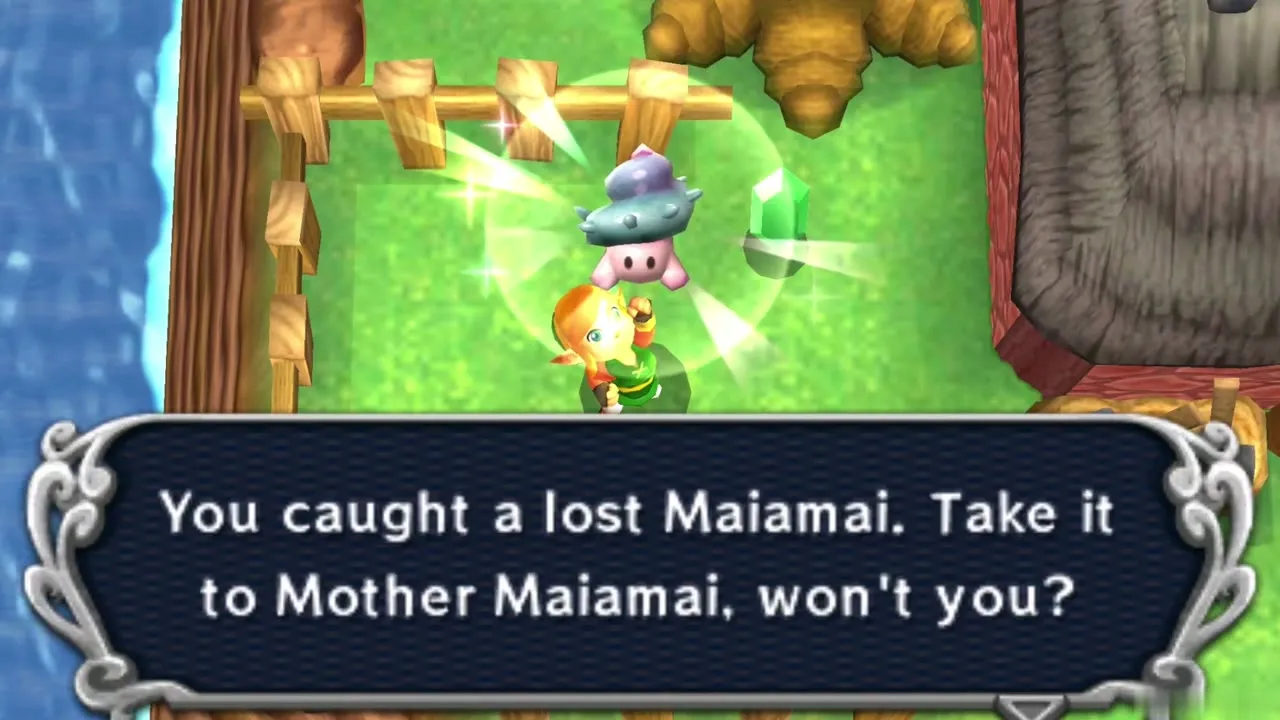
Maiamai 4: Panels on the ground
Use the Tornado Rod on the second set of ground panels in this region to blow the Maiamai free. You need: Tornado Rod.
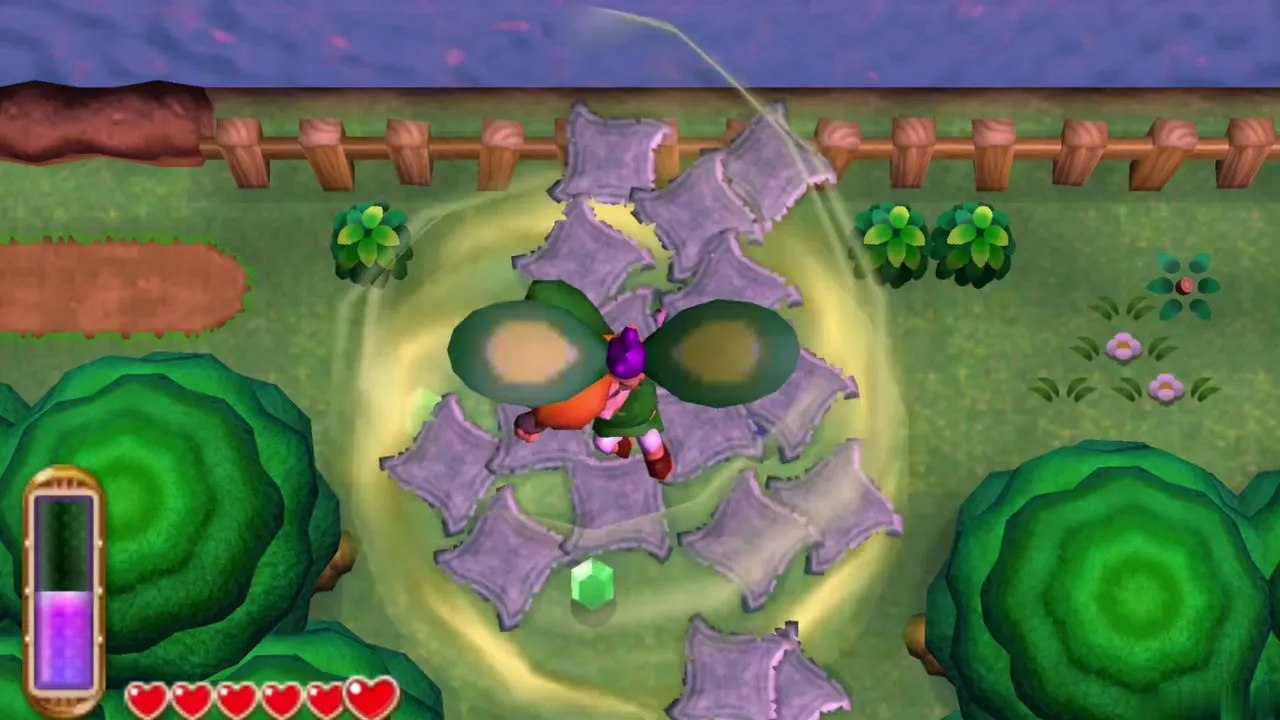
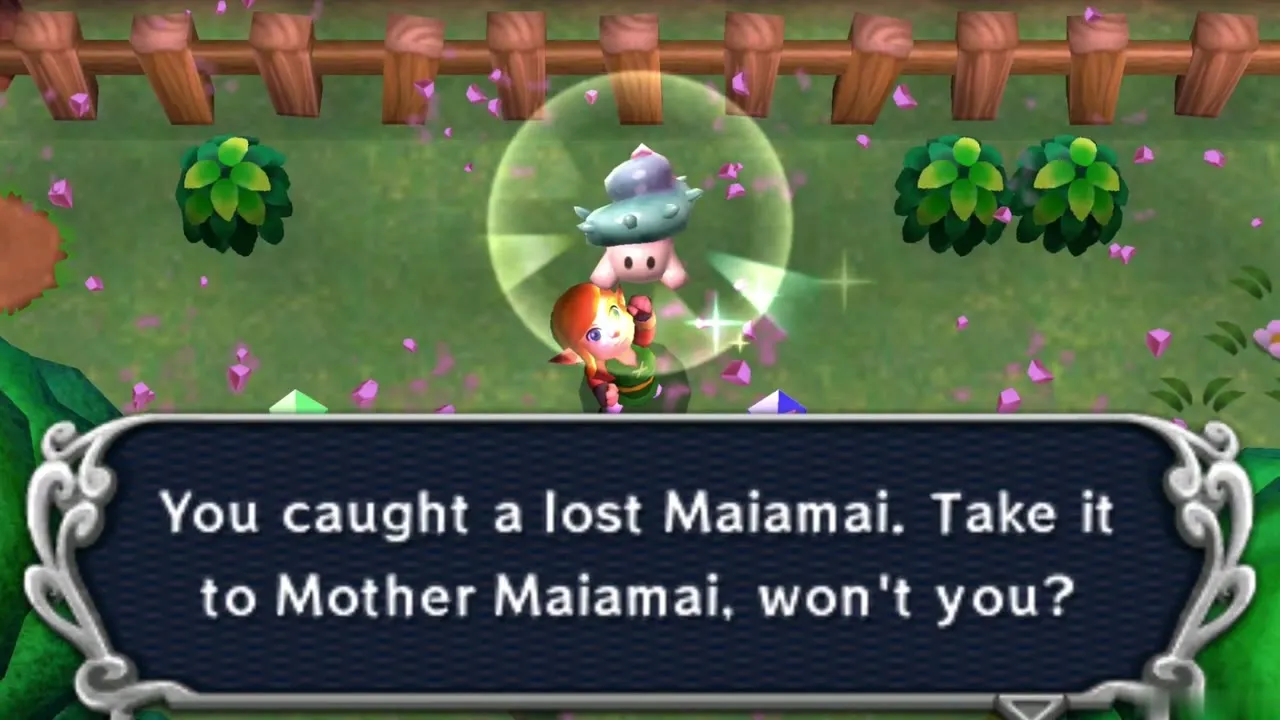
Maiamai 5: Tree standing alone
Dash into the one tree that does not touch any other tree. You need: Pegasus Boots.
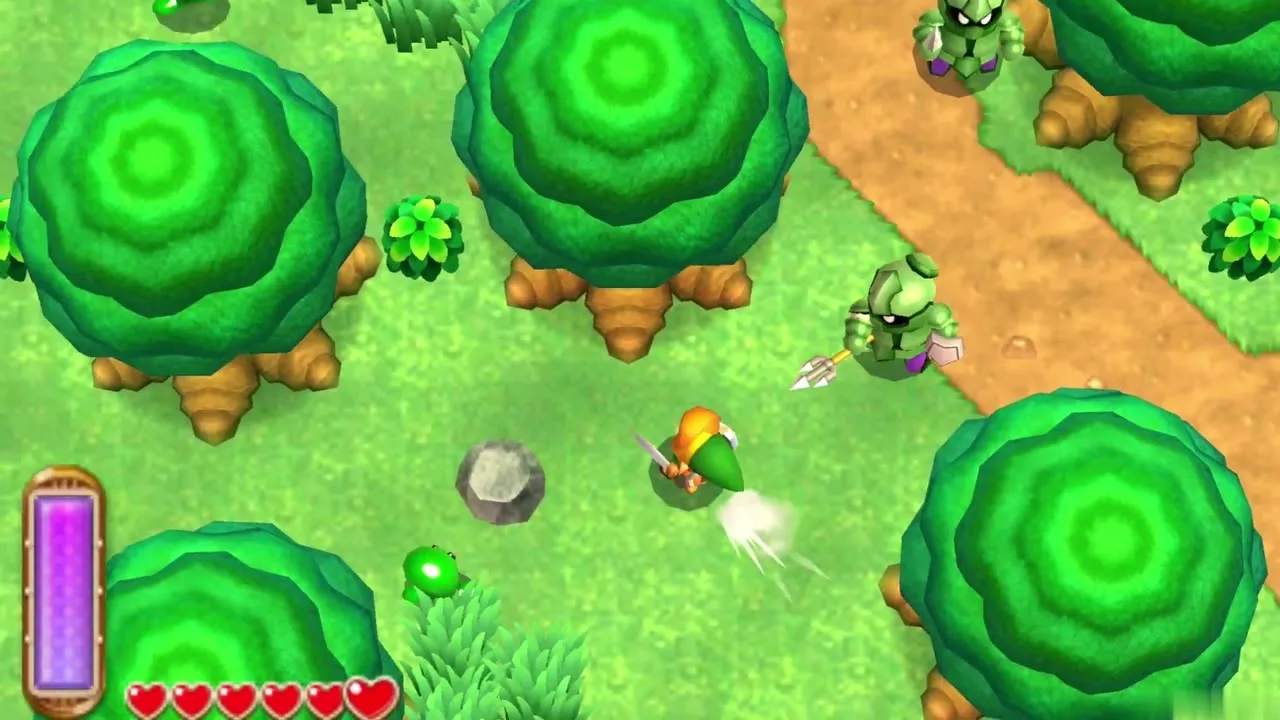
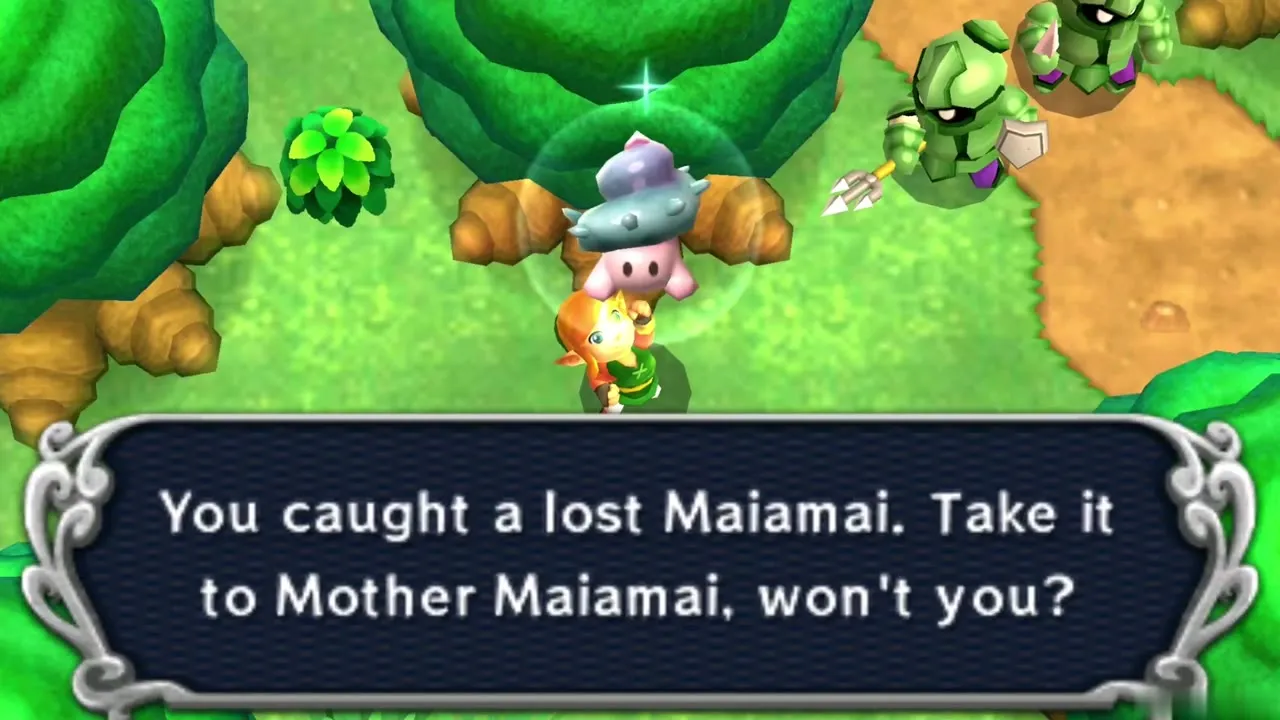
Maiamai 6: Back wall of Link’s House
Merge onto the rear wall of your own house, where the Maiamai is stuck. You need: Ravio’s Bracelet.
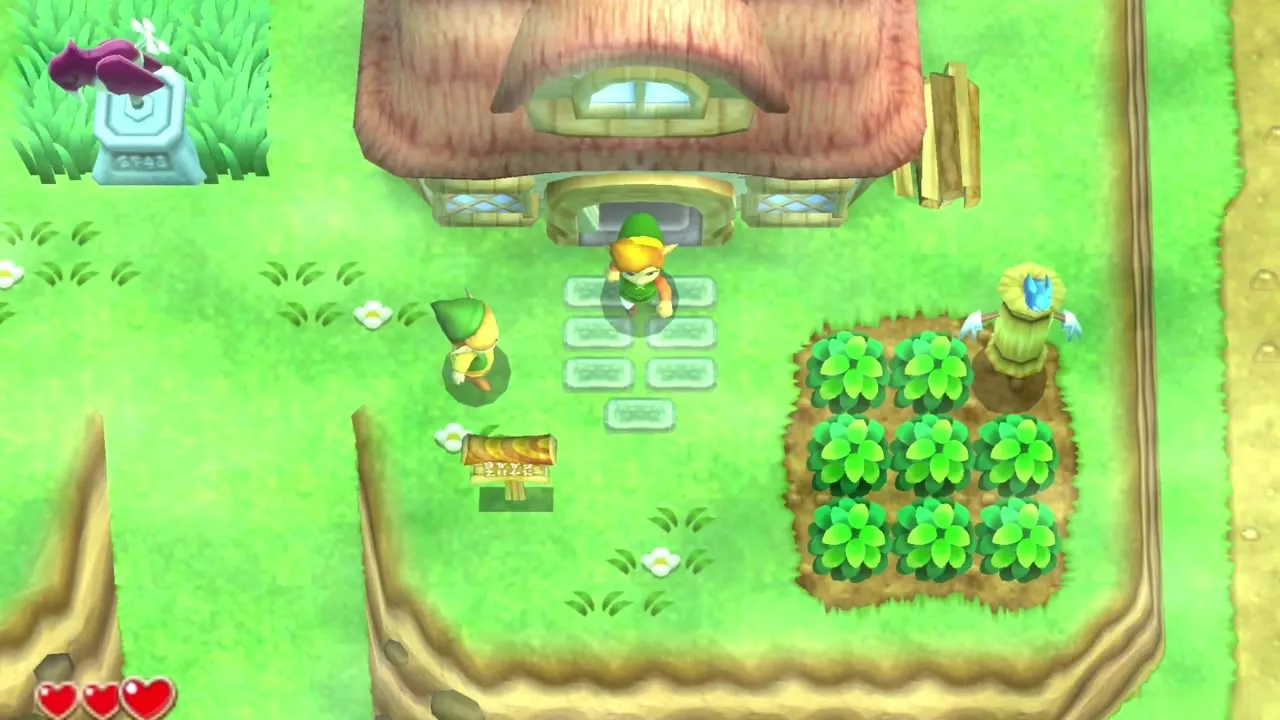
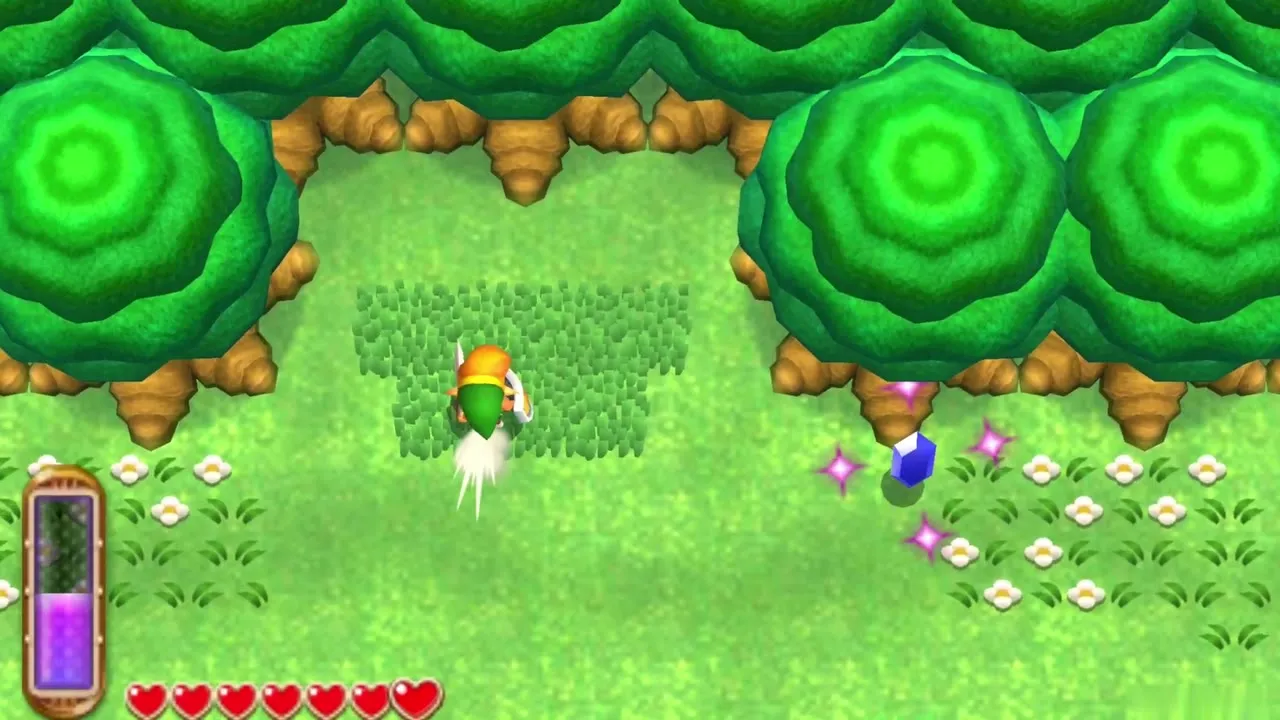
Maiamai 7: Northernmost tree in the Haunted Grove
Dash into the northernmost tree in the Haunted Grove. You need: Pegasus Boots.
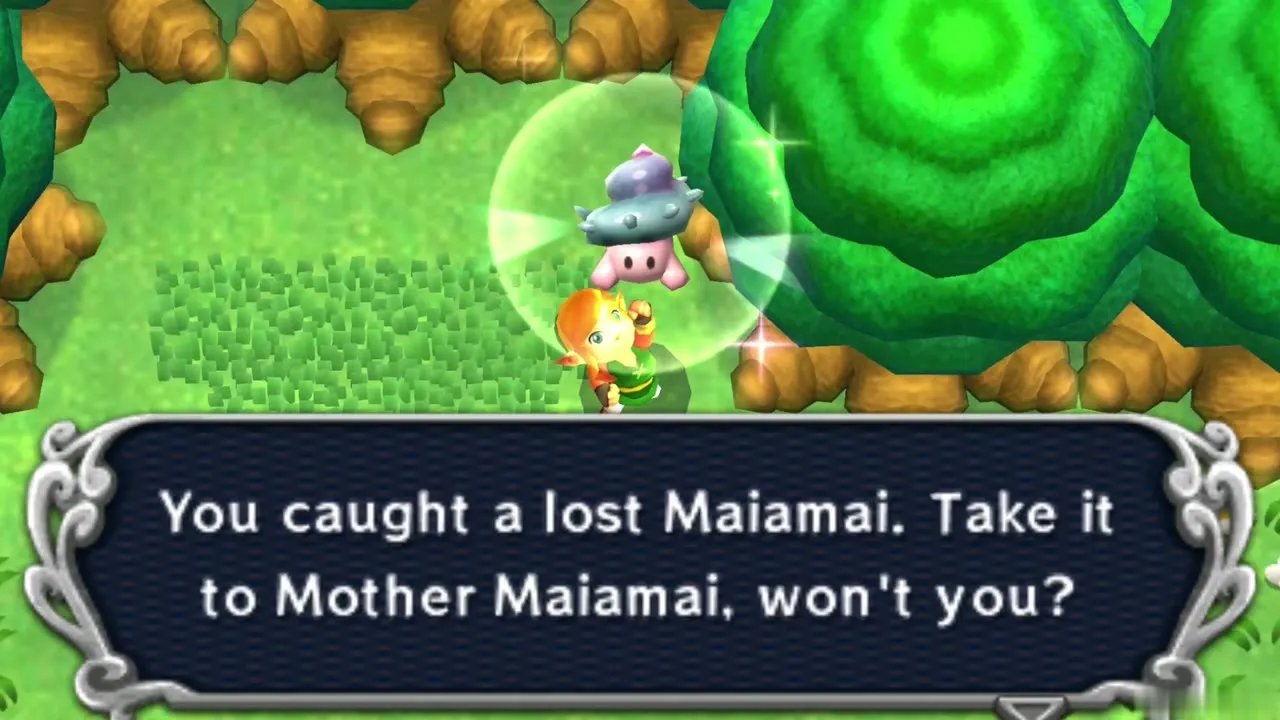
Maiamai 8: Rock reached from Lorule
Cross to Lorule, go through the southwest Fissure of the matching area, and lift the large rock on the other side. You need: Titan’s Mitt and access to Lorule.
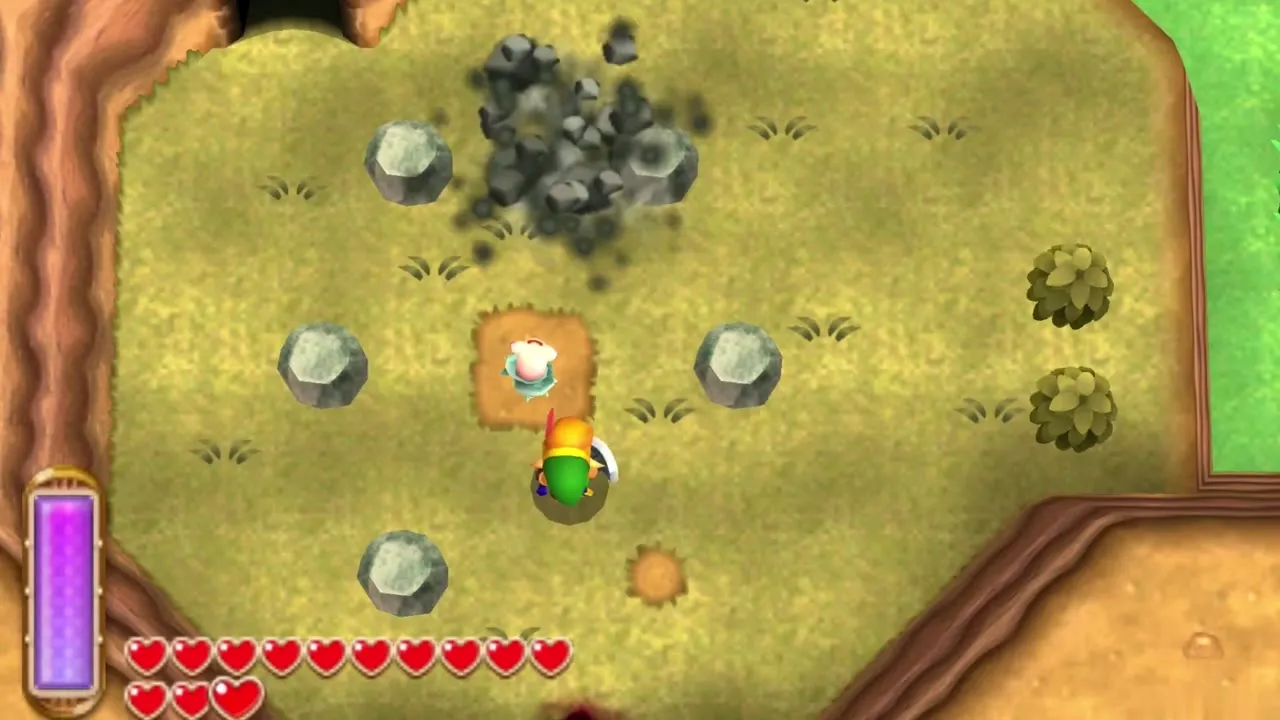
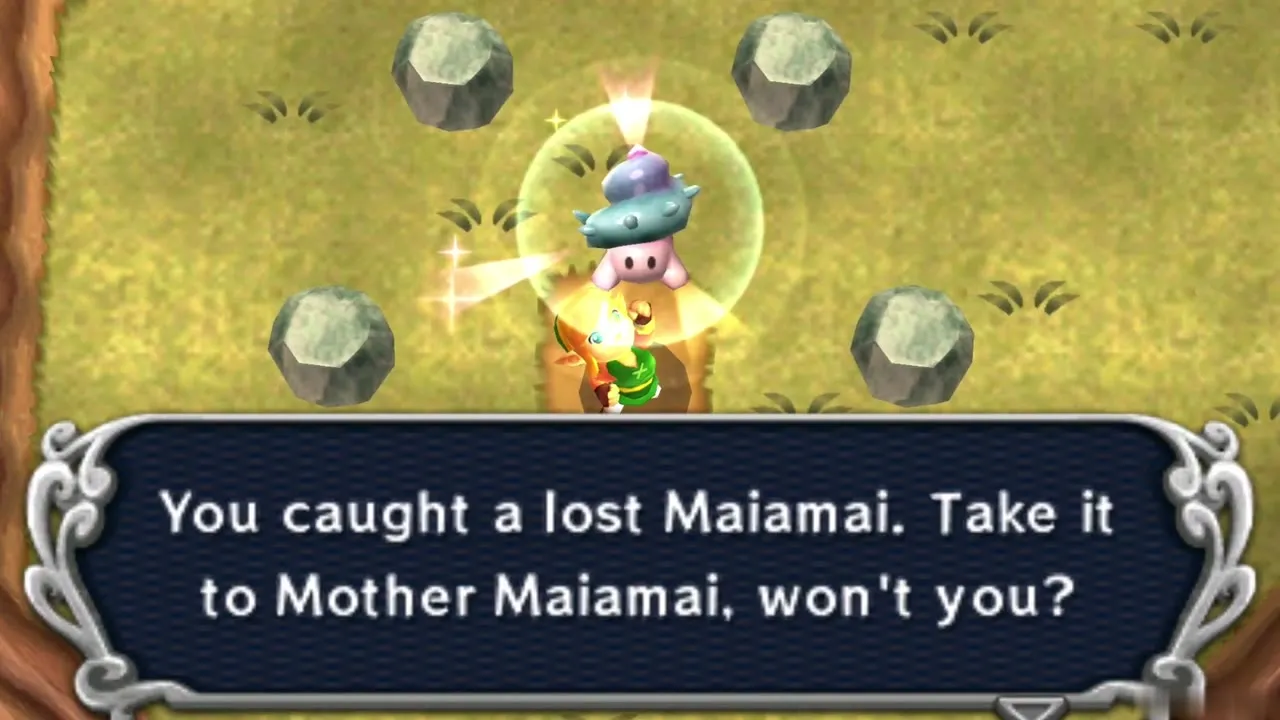
Hyrule: Kakariko Village Region
Maiamai 1: Bushes inside the little fence
Cut down the bushes within the small fenced patch to uncover the Maiamai. You need: Sword.
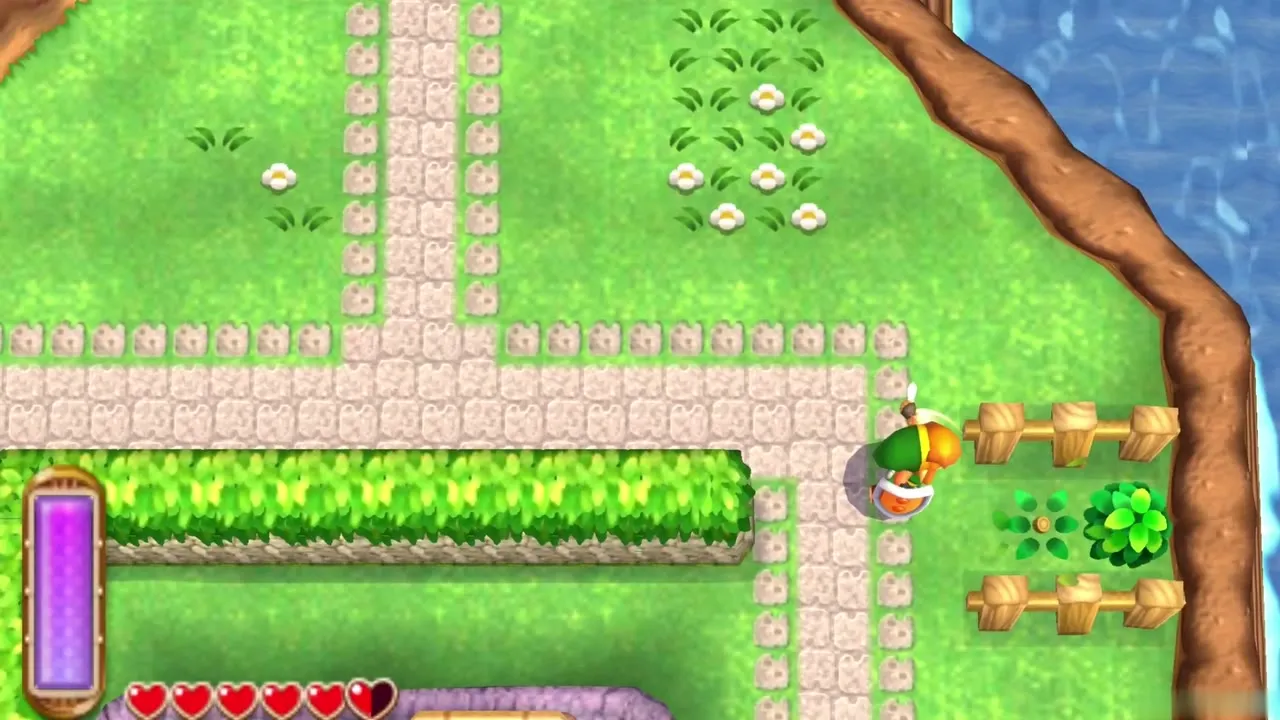
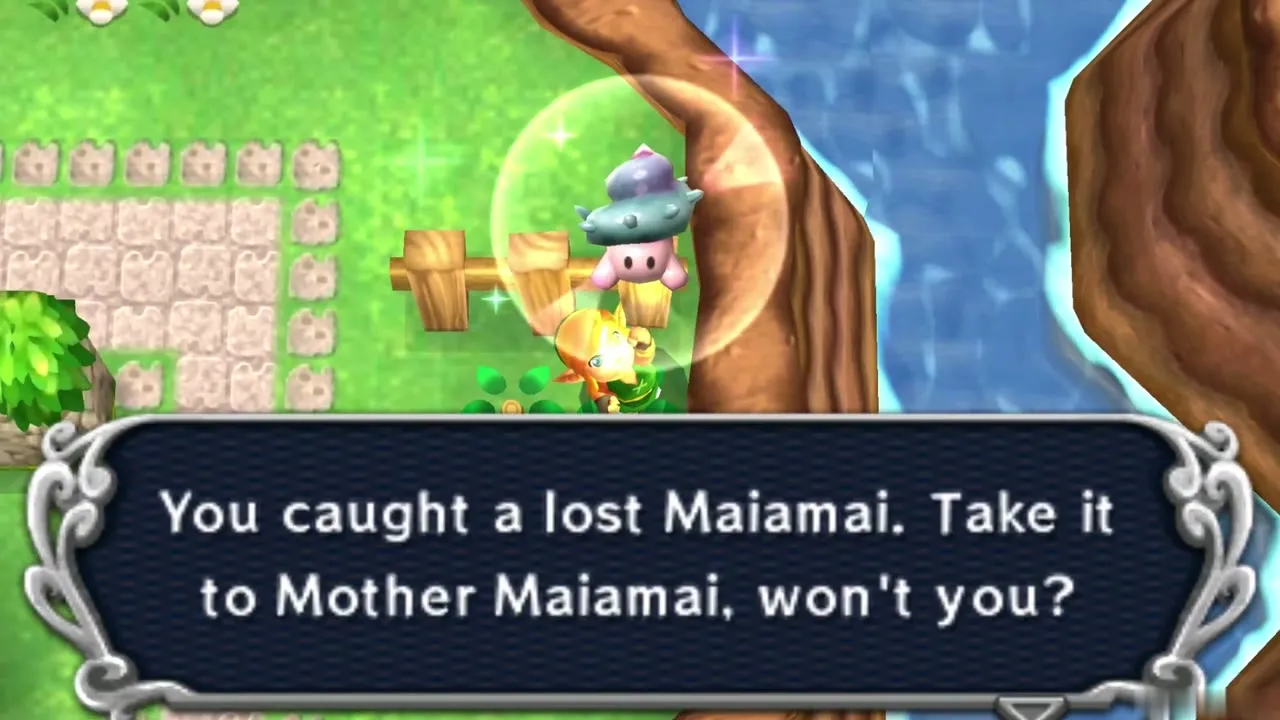
Maiamai 2: Rooftop rock
Glide with a Cucco from Sahasrahla’s house onto the nearby roof, then lift the small rock there. You need: Power Glove and a Cucco.
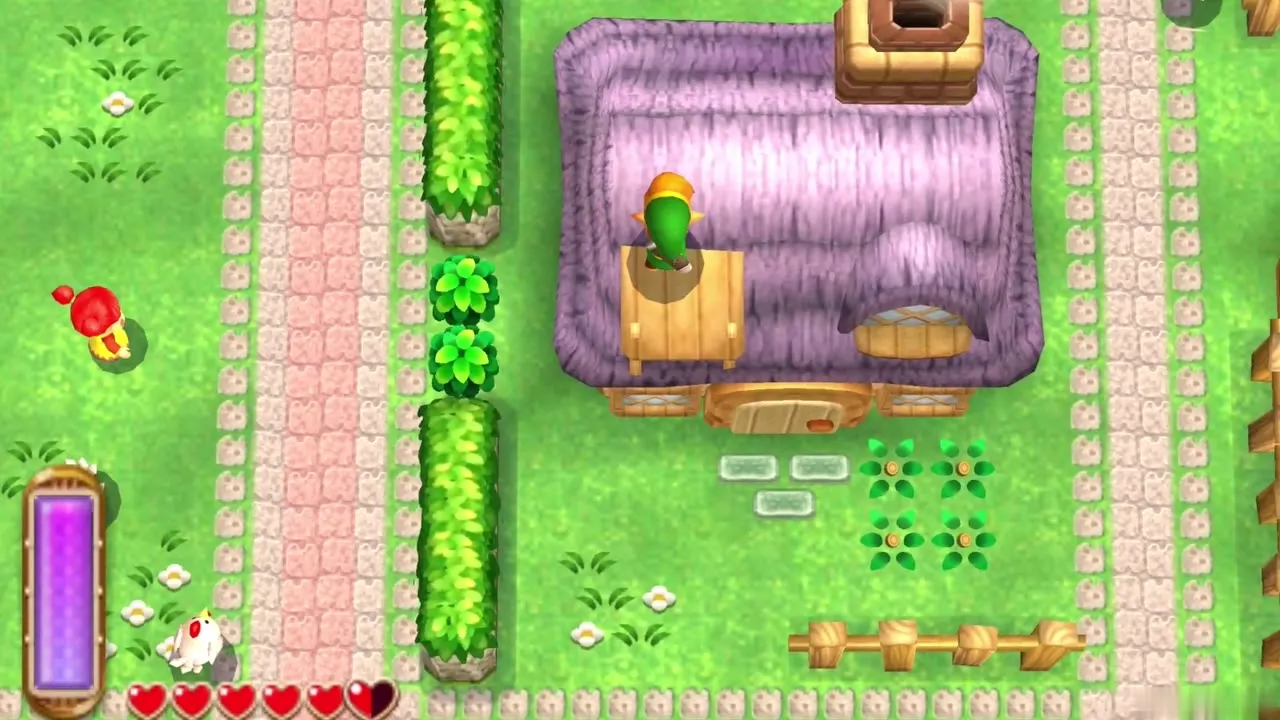
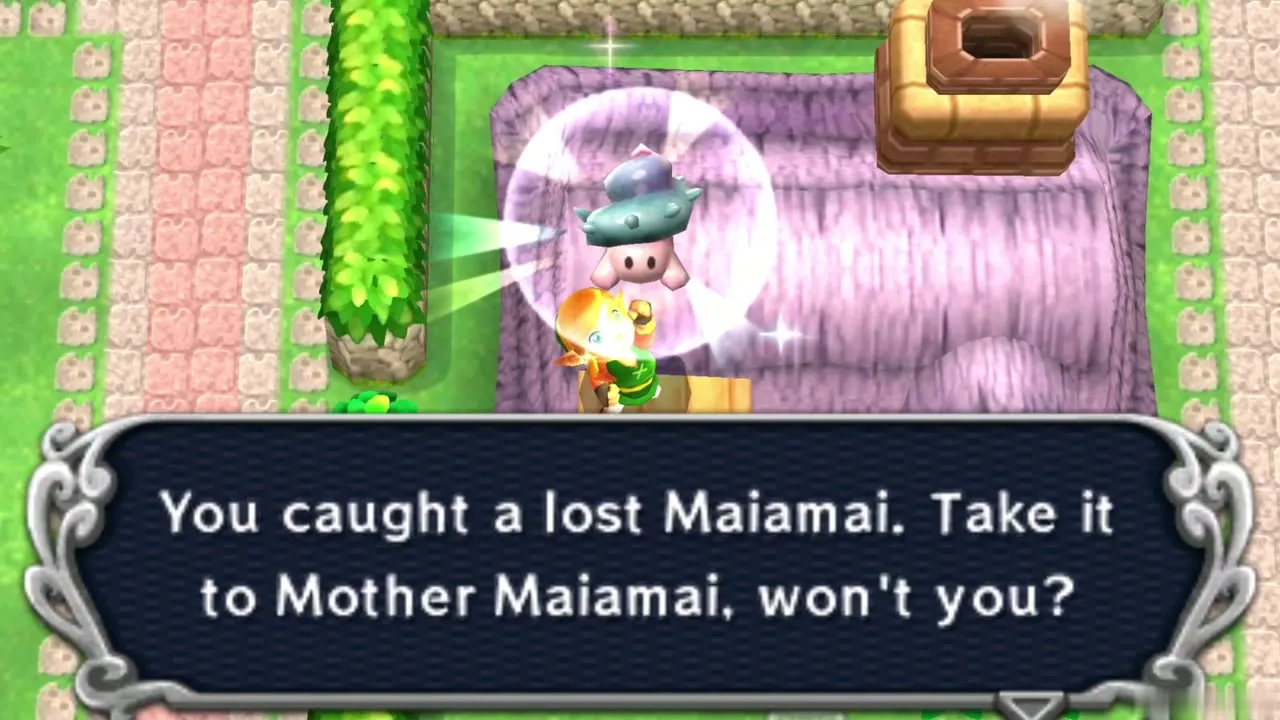
Maiamai 3: Young Woman’s backyard
Walk through the Young Woman’s house to her backyard and use the Sand Rod on the sand. You need: Sand Rod.
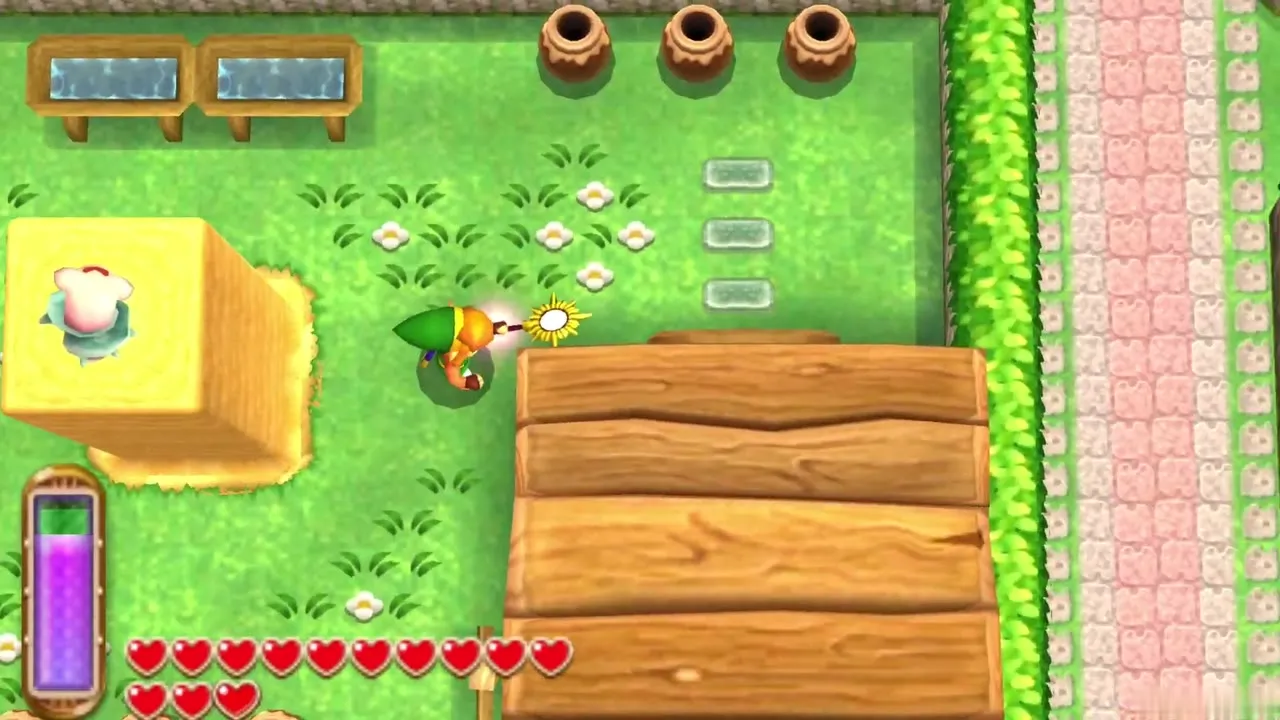
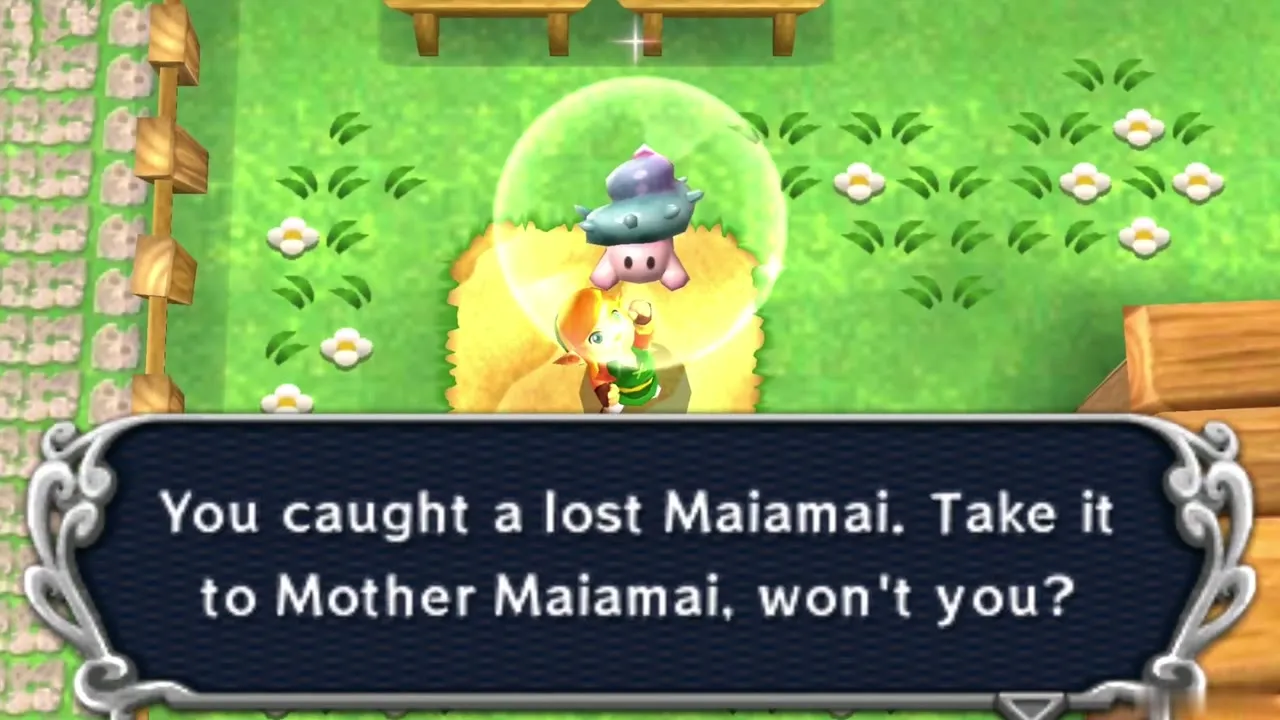
Maiamai 4: Tree beside the Cucco Ranch
Carry a Cucco to the tree on the right of the Cucco Ranch and dash into it. You need: Pegasus Boots and a Cucco.
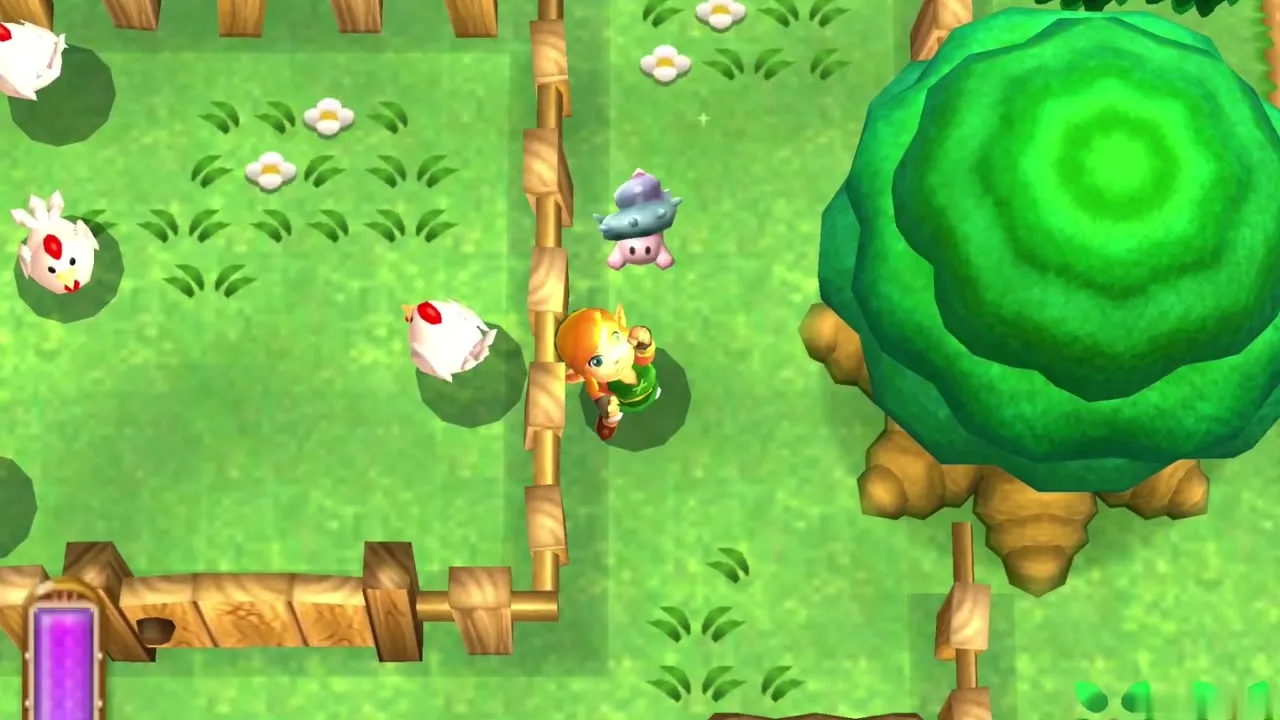
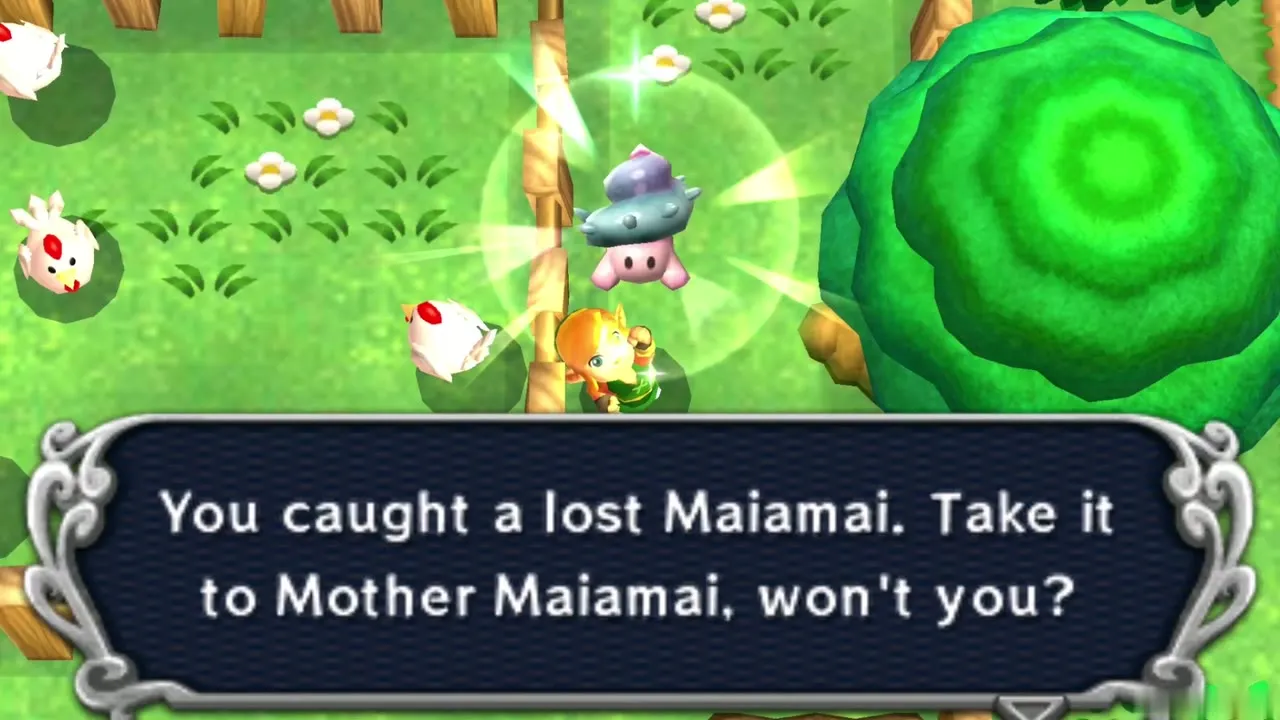
Maiamai 5: Wall behind the Rupee Rush
Play a round of Rupee Rush first. Afterwards, merge into the southern wall of the course. You need: Ravio’s Bracelet.
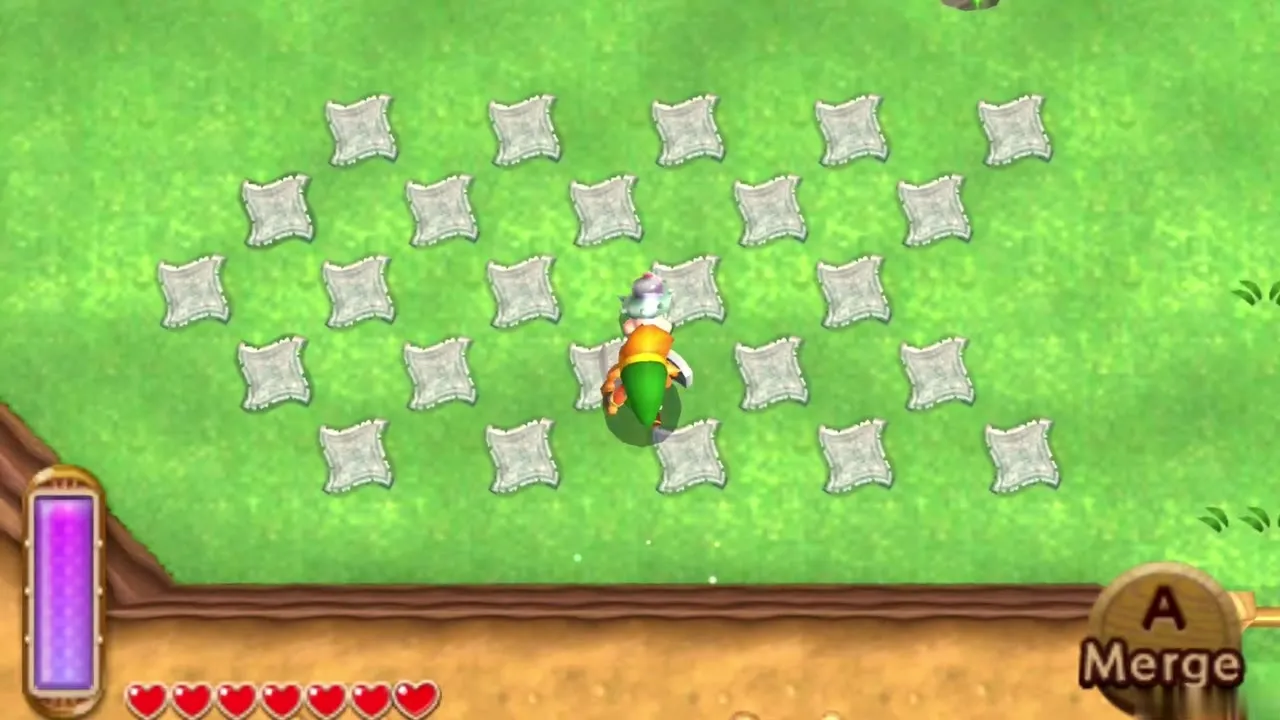
Hyrule: Lake Hylia Region
Maiamai 1: Beside Mother Maiamai’s Cave
Merge onto the wall right next to the entrance of Mother Maiamai’s cave. You need: Ravio’s Bracelet.
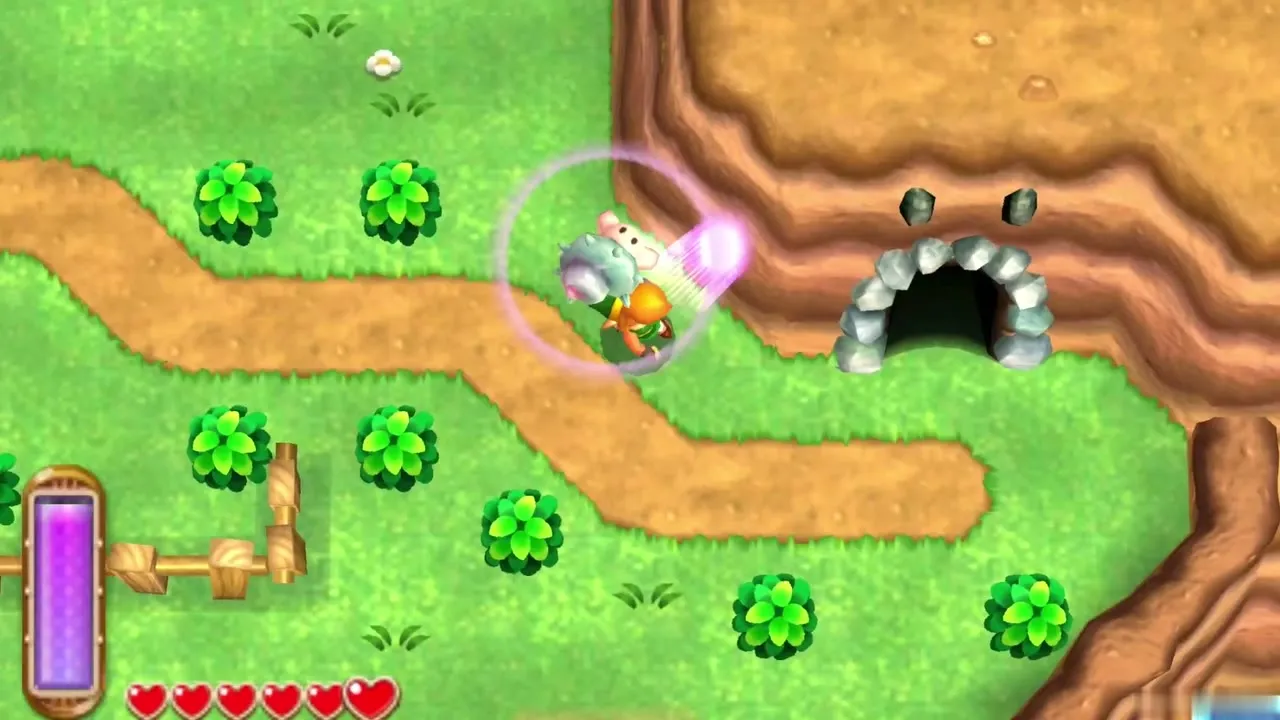
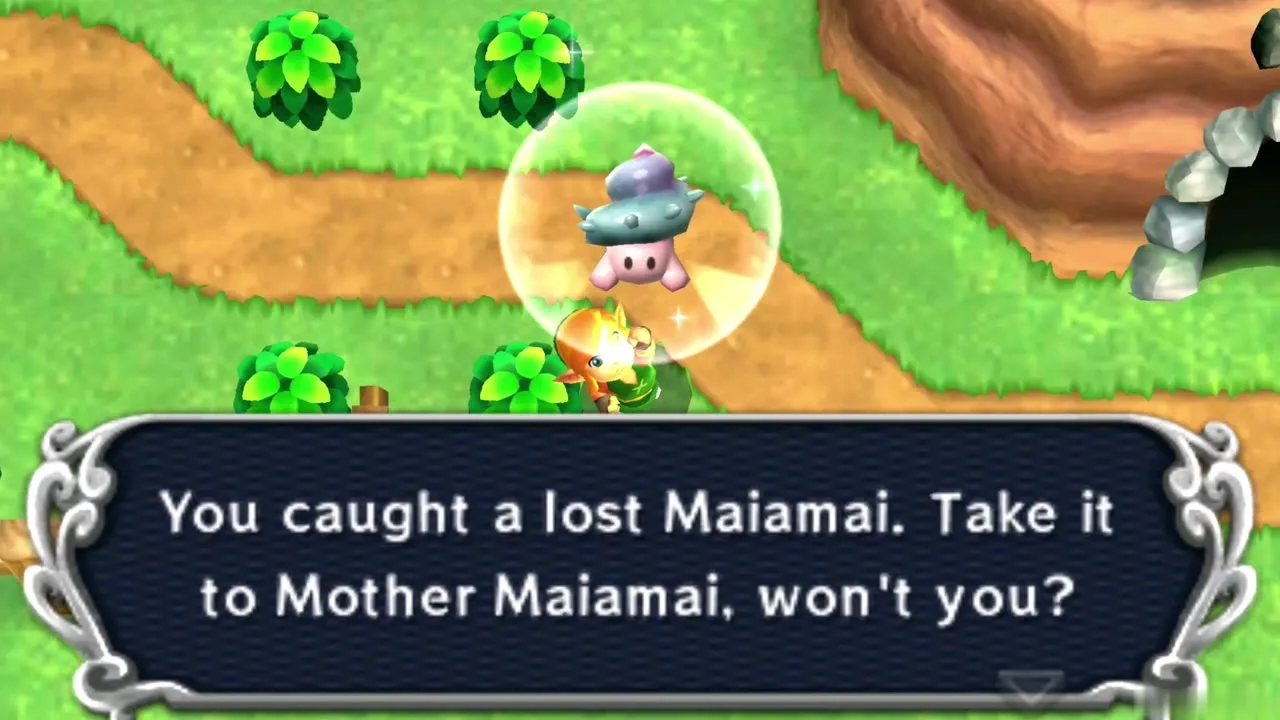
Maiamai 2: Shallows south of the House of Gales
Dive into the central hole in the shallow water south of the House of Gales. You need: Zora’s Flippers.
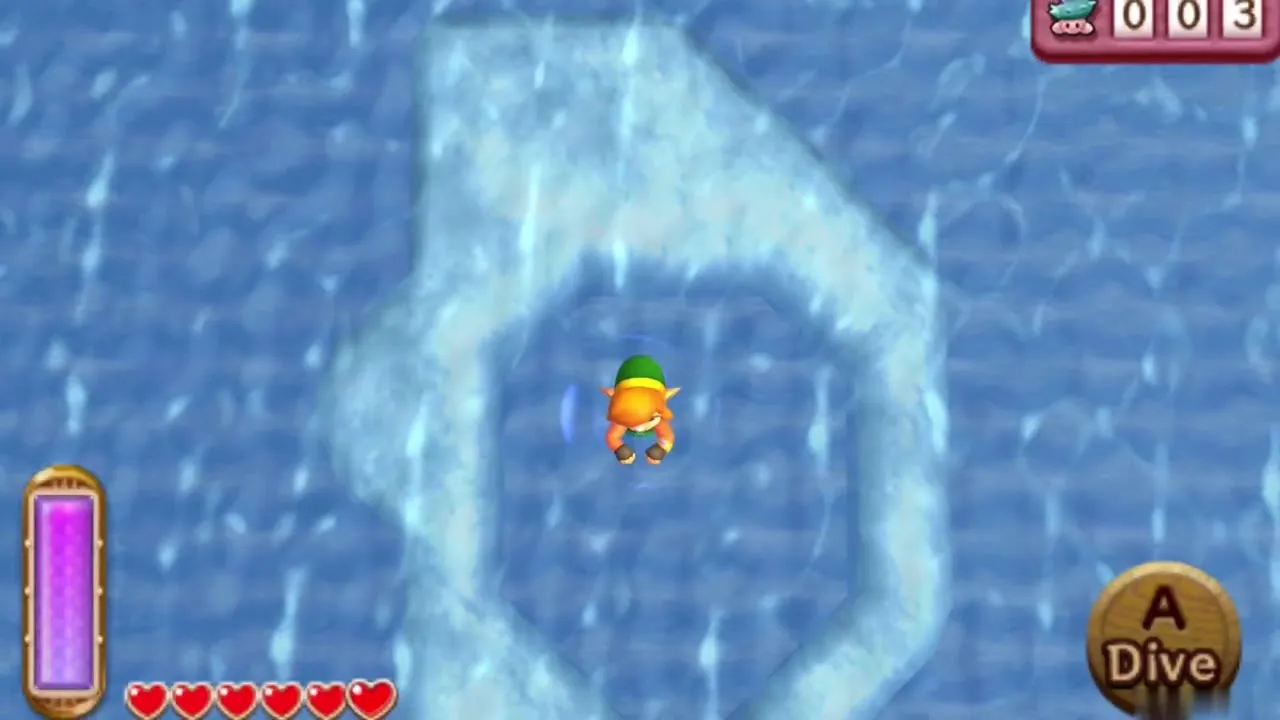
Maiamai 3: Panel behind the House of Gales
Hit the single panel behind the House of Gales with the Tornado Rod. You need: Tornado Rod.
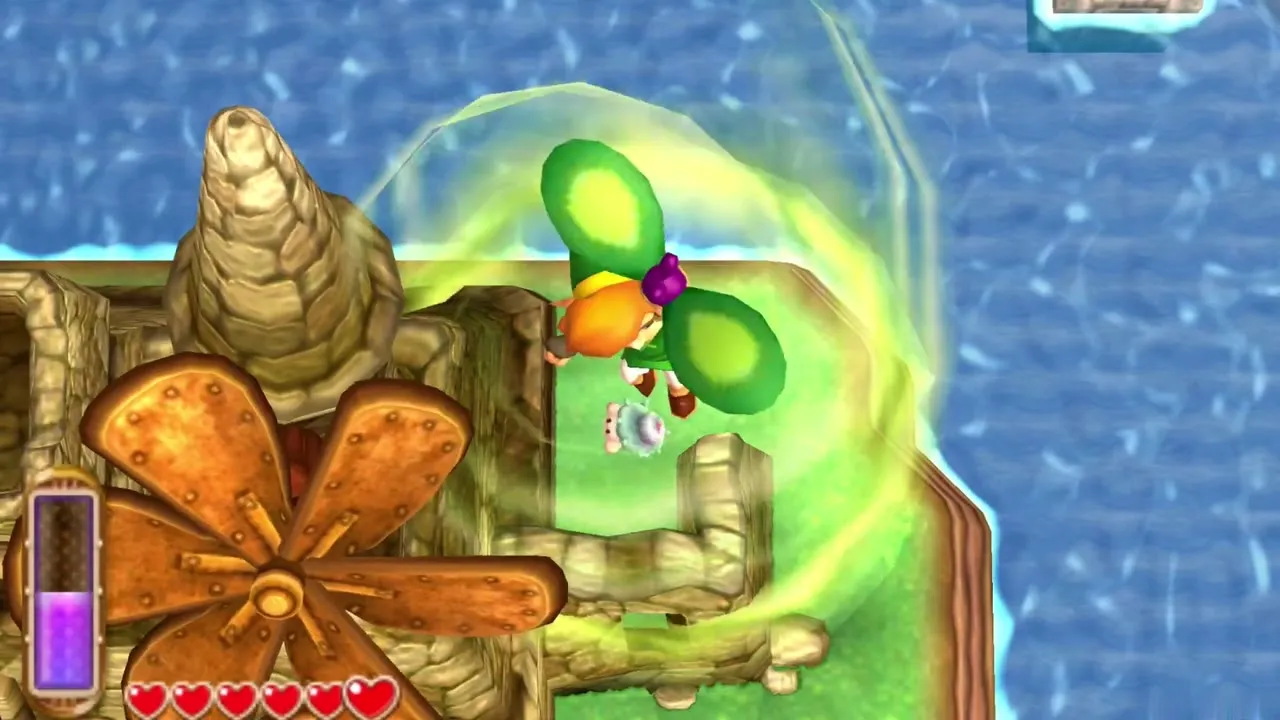
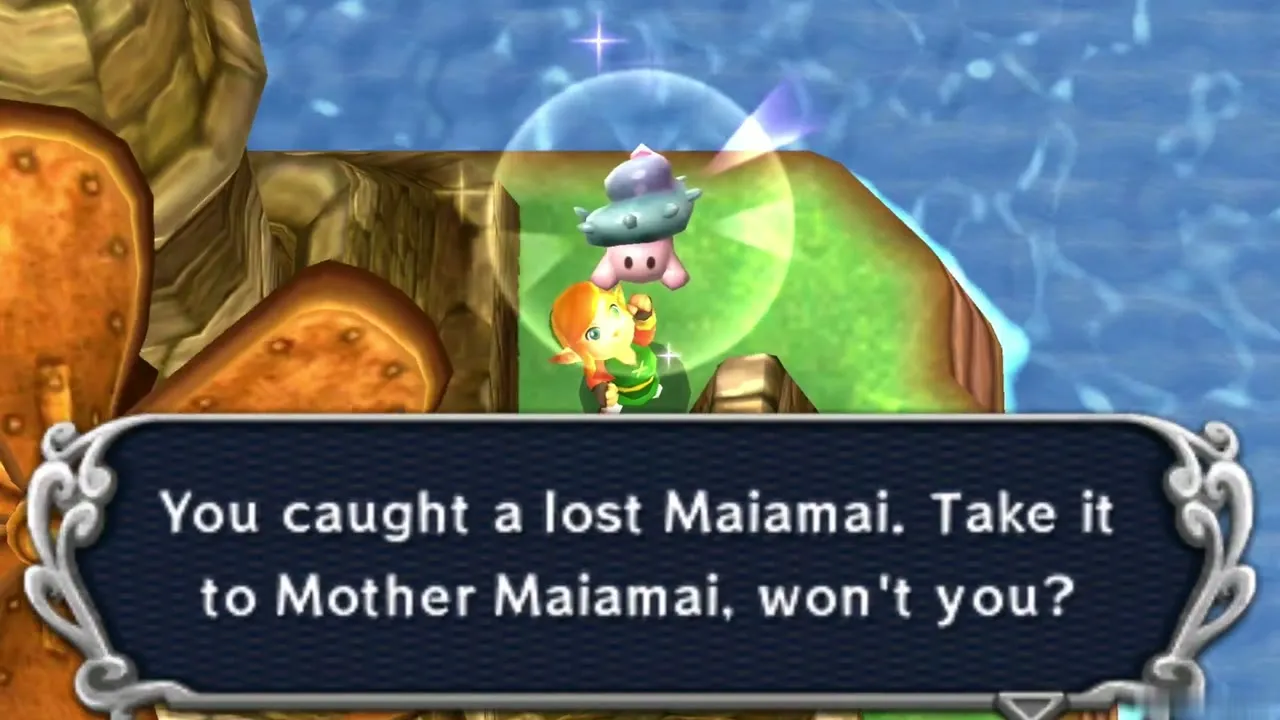
Maiamai 4: Underwater west of the ladder
Dive into the water just west of the ladder. You need: Zora’s Flippers.
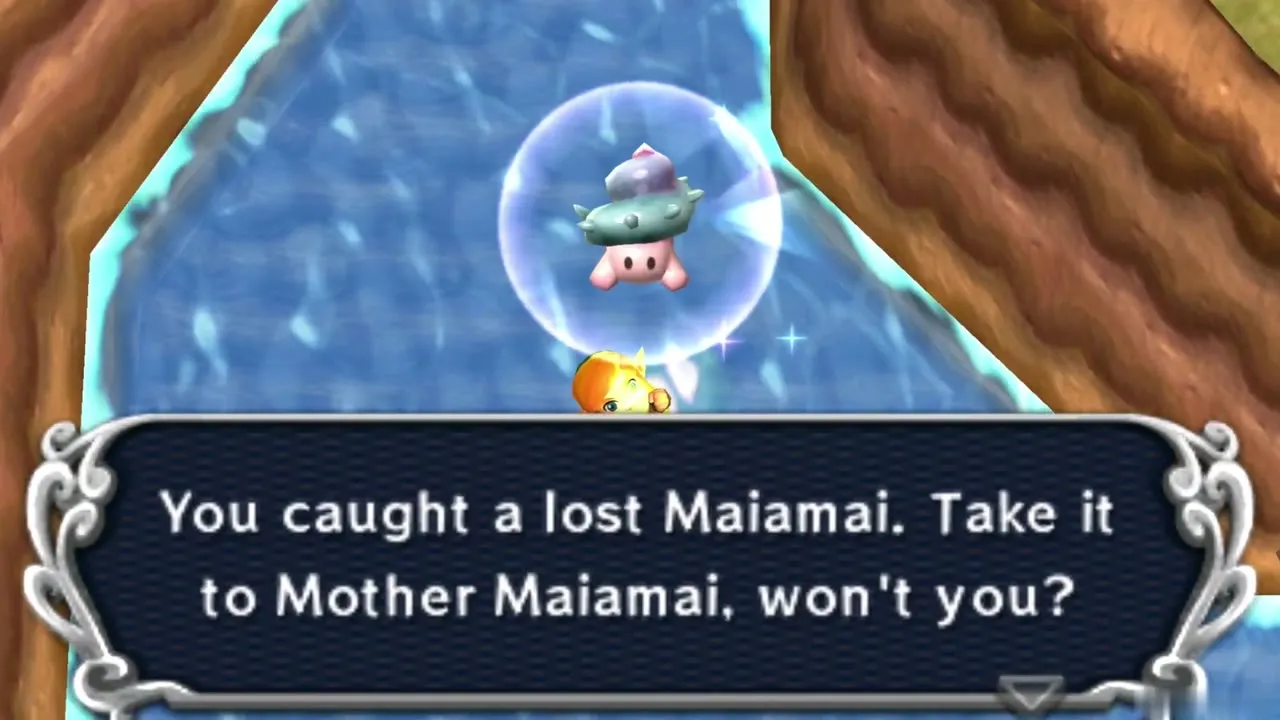
Maiamai 5: Large rock on the northeast platform
Starting on the platform in the northeast corner, merge to the right until you reach a large rock and lift it. You need: Titan’s Mitt and Ravio’s Bracelet.
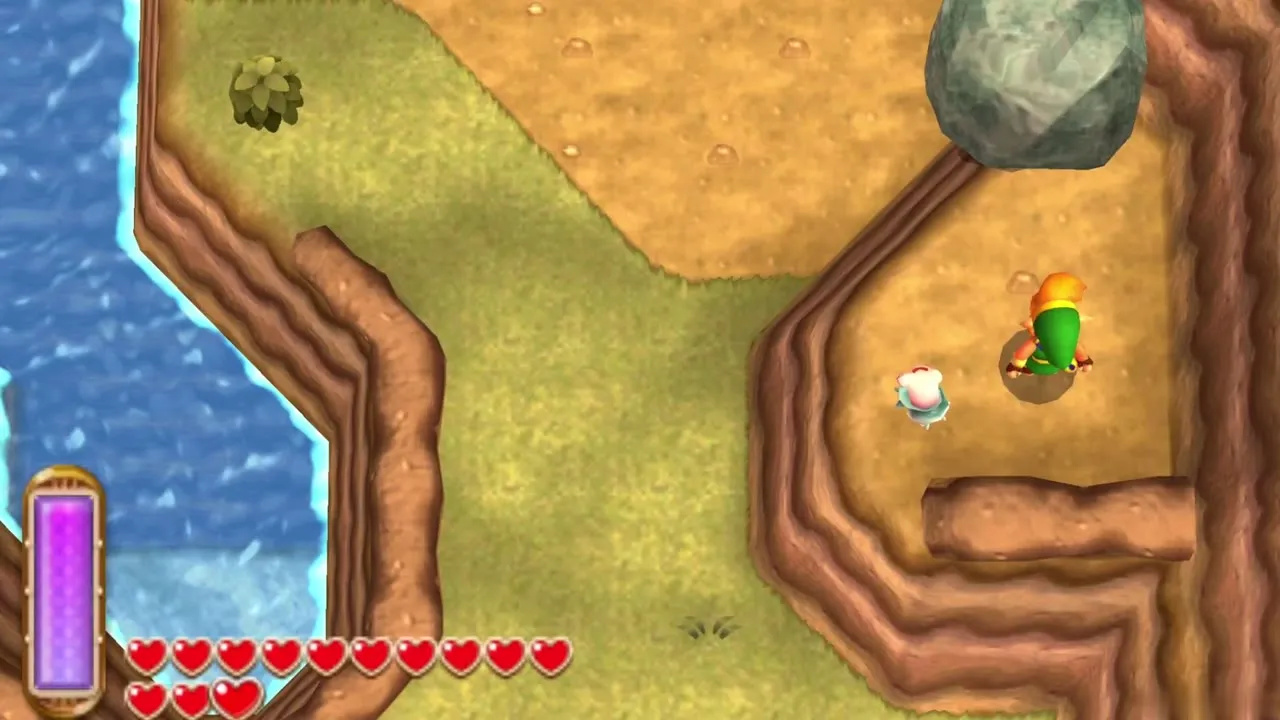
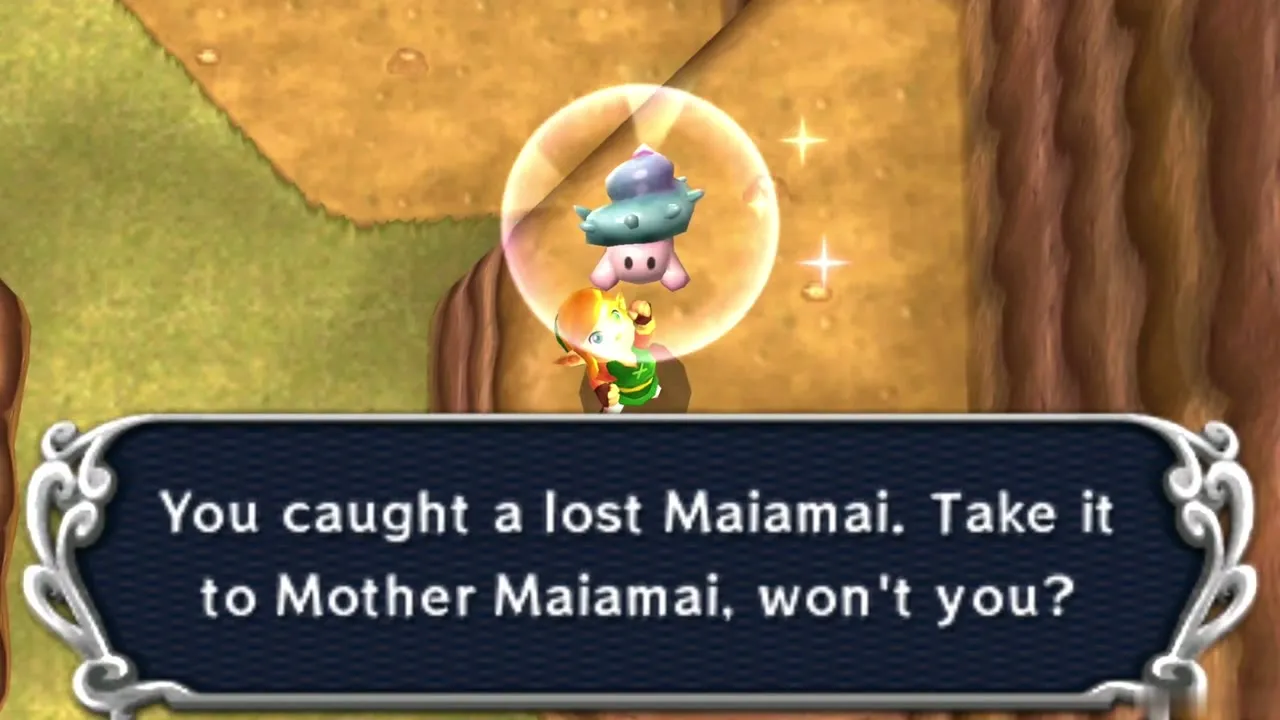
Hyrule: Lost Woods Region
Maiamai 1: Pair of rocks by the northeast entrance
Head south from the forest’s northeast entrance and lift the two small rocks. You need: Power Glove.
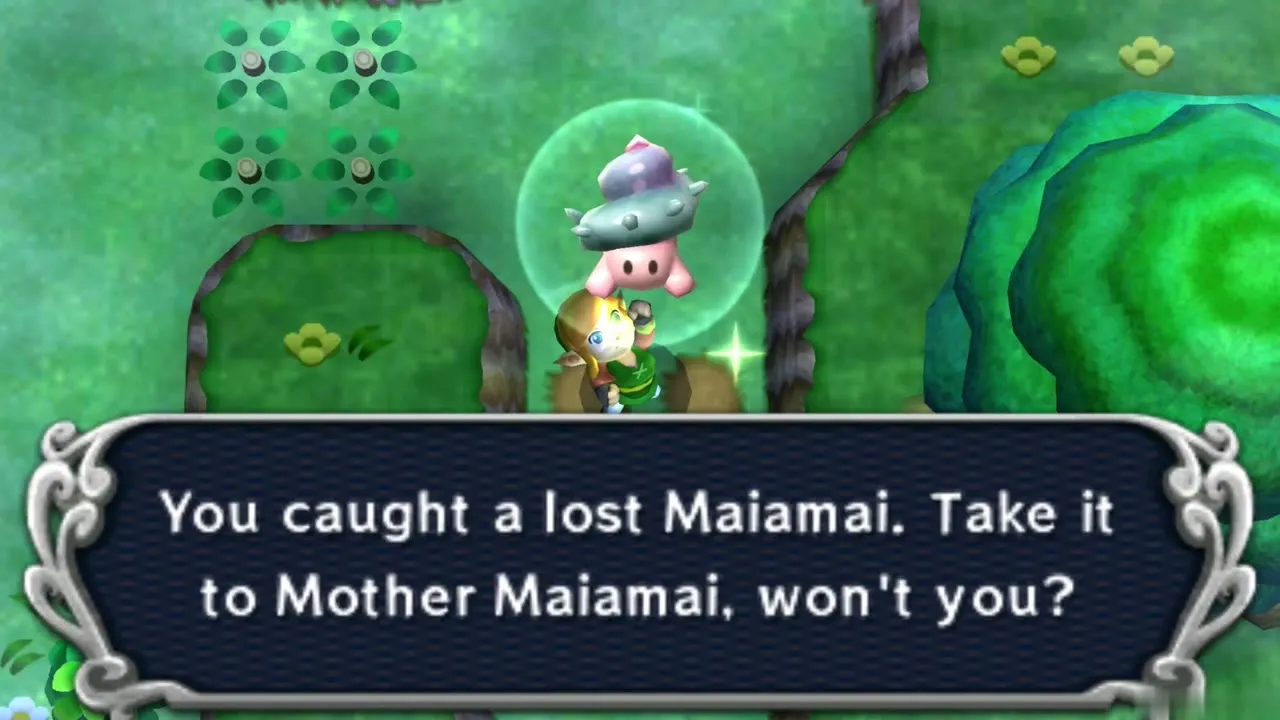
Maiamai 2: Tree near the southeast entrance
Dash into the tree close to the forest’s southeast entrance. You need: Pegasus Boots.
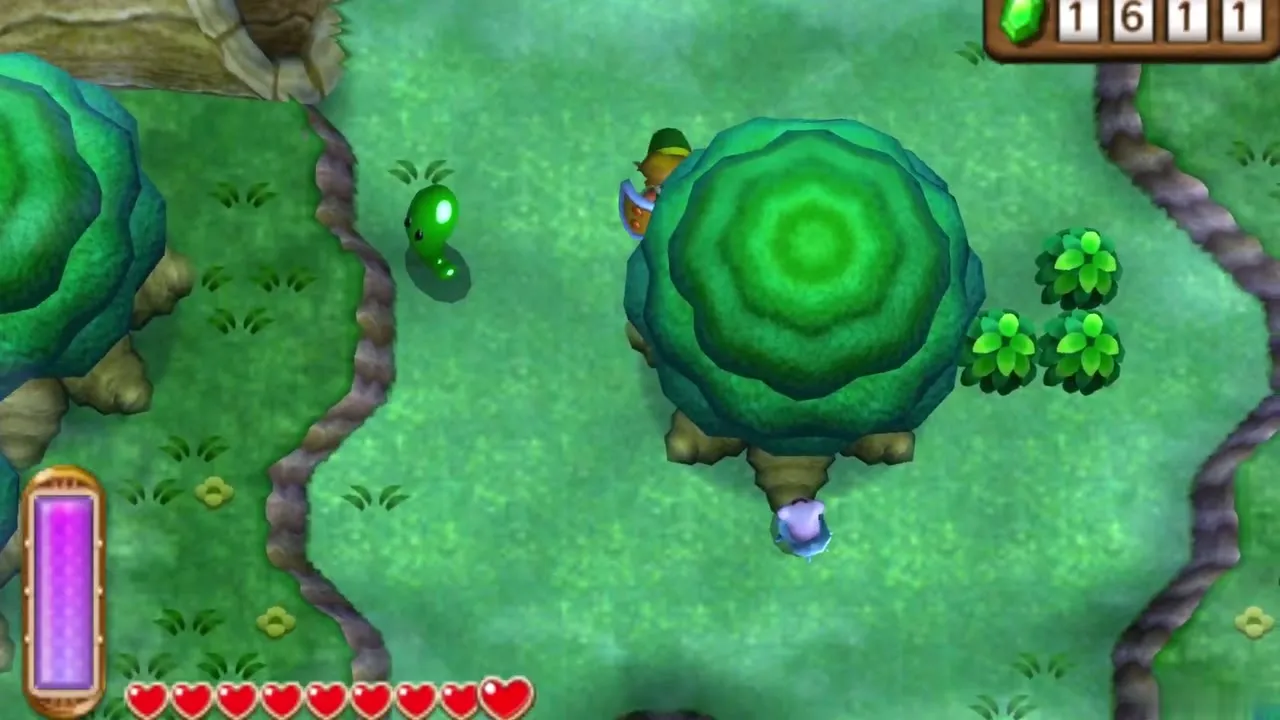
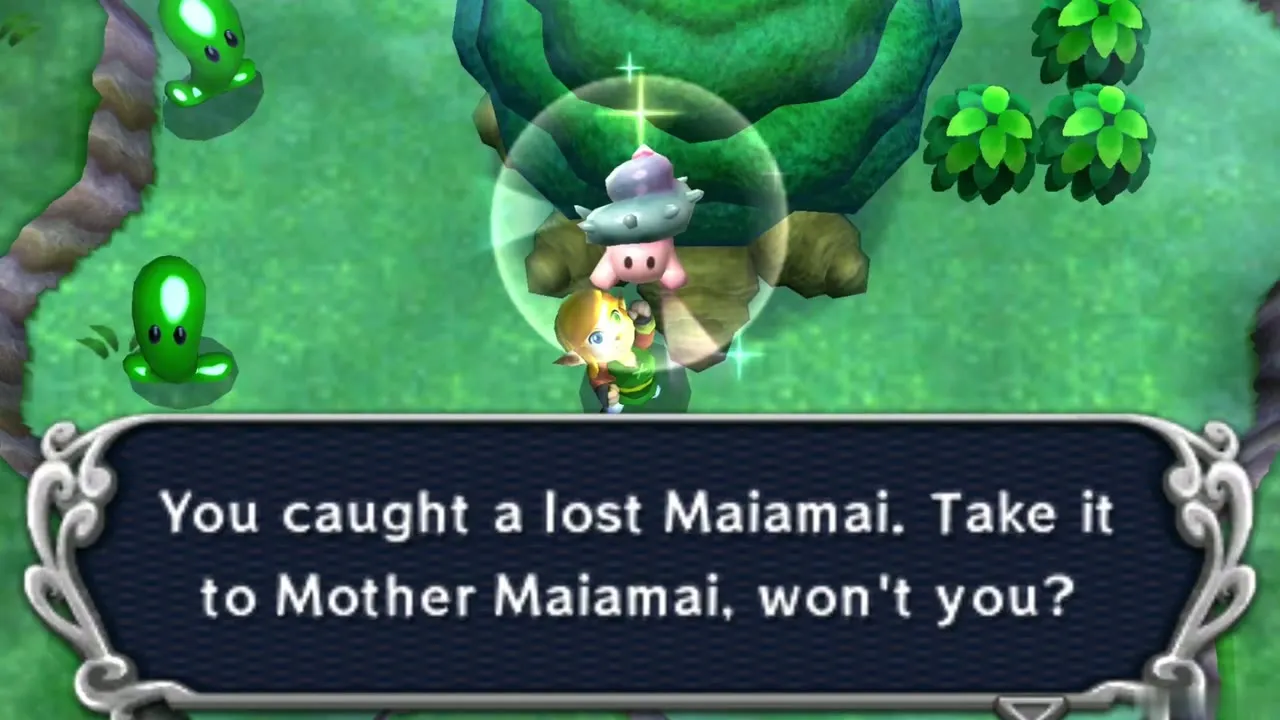
Maiamai 3: Bushes outside the woods
Cut the bushes on the west side, just outside the entrance to the Lost Woods. You need: Sword.
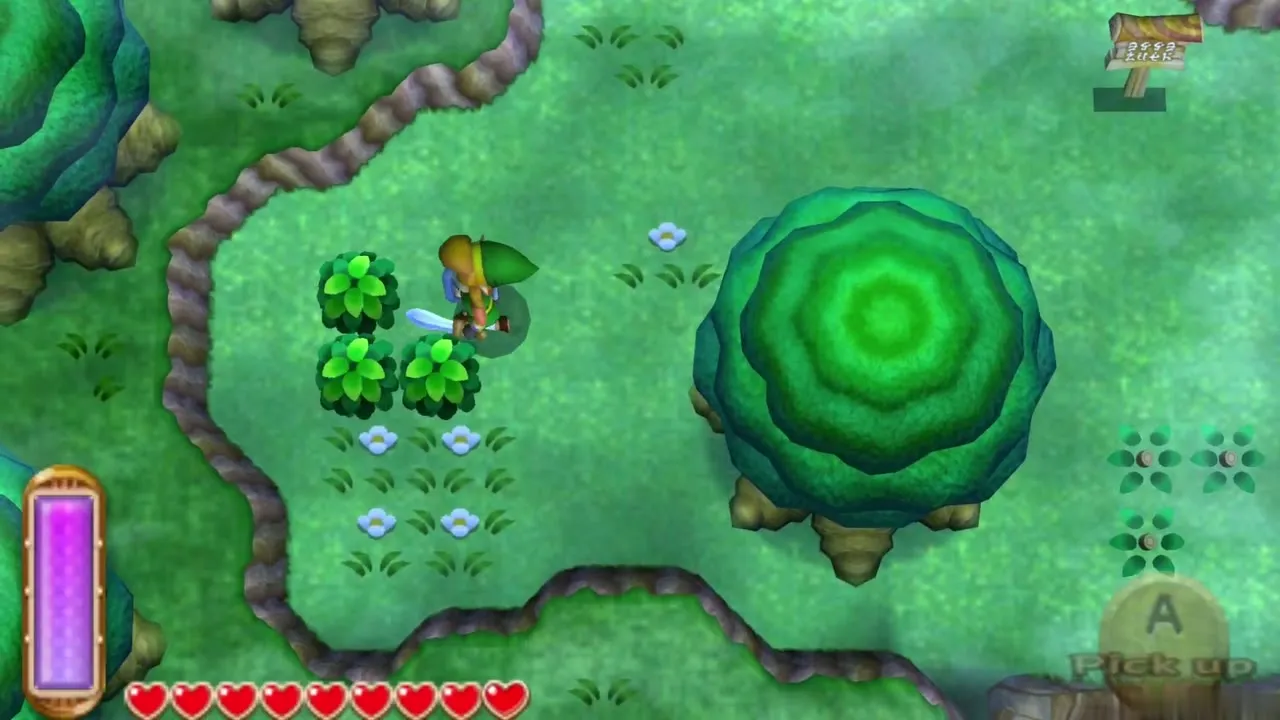
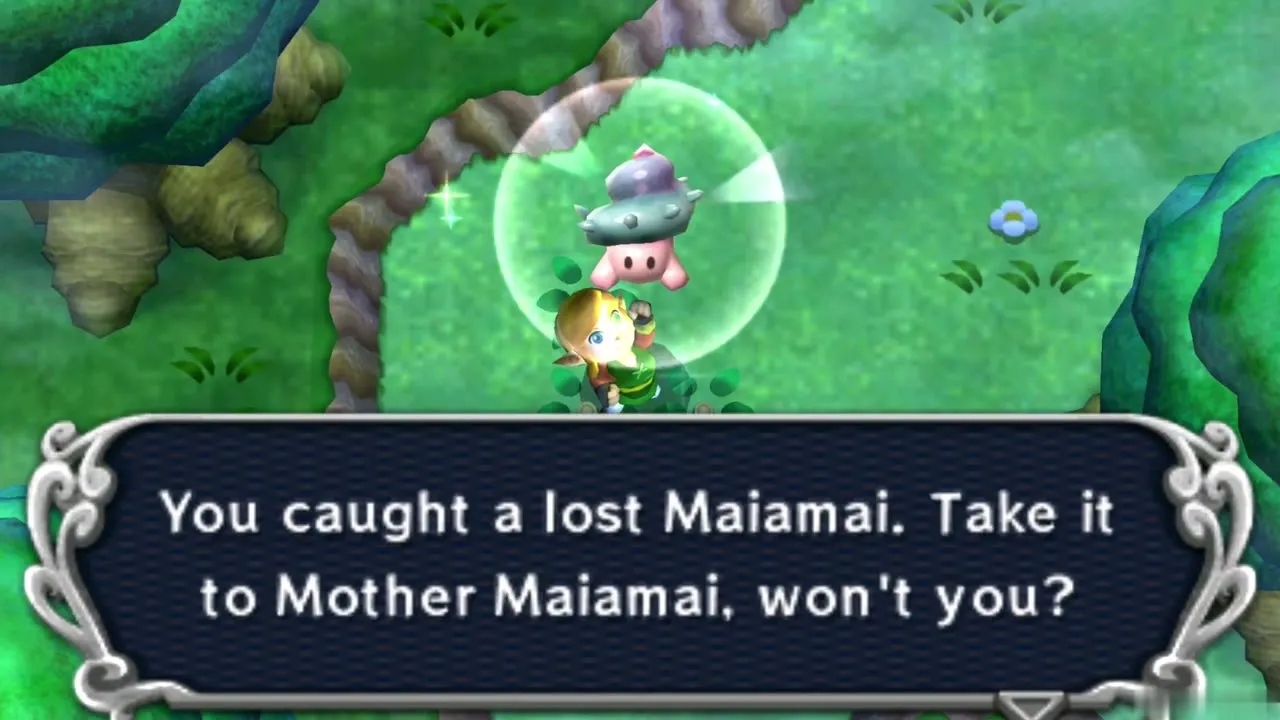
Maiamai 4: Wall south of the Miner’s House
Merge into the wall to the south of the Miner’s House. You need: Ravio’s Bracelet.
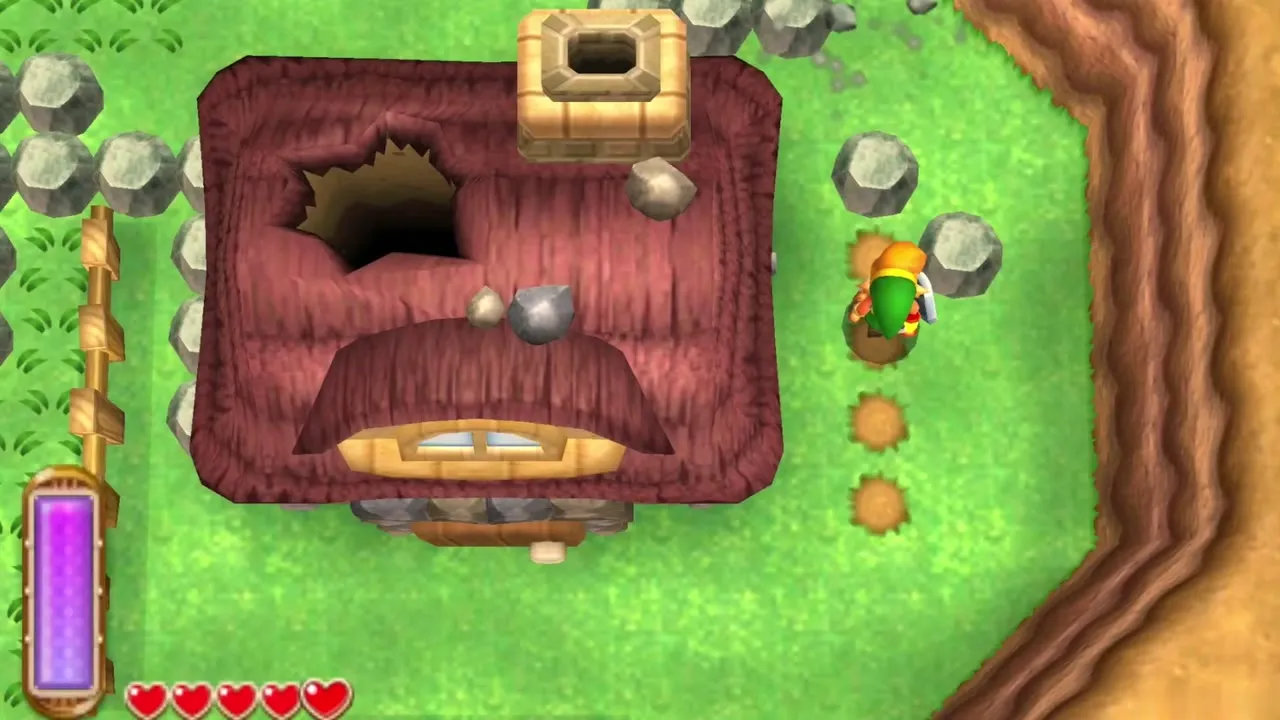
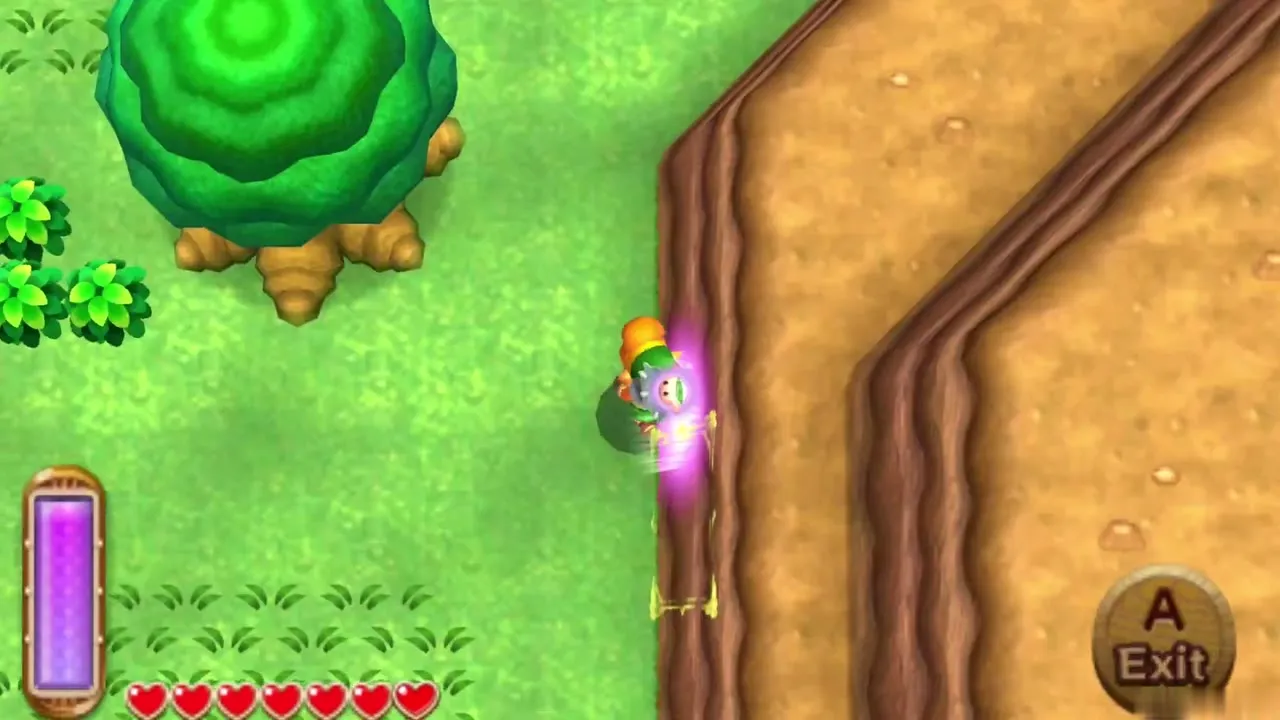
Maiamai 5: Death Mountain Path exit
Lift the large rock inside the Death Mountain Path and follow the passage to its other exit. Outside, merge into the wall next to the cave. You need: Titan’s Mitt and Ravio’s Bracelet.
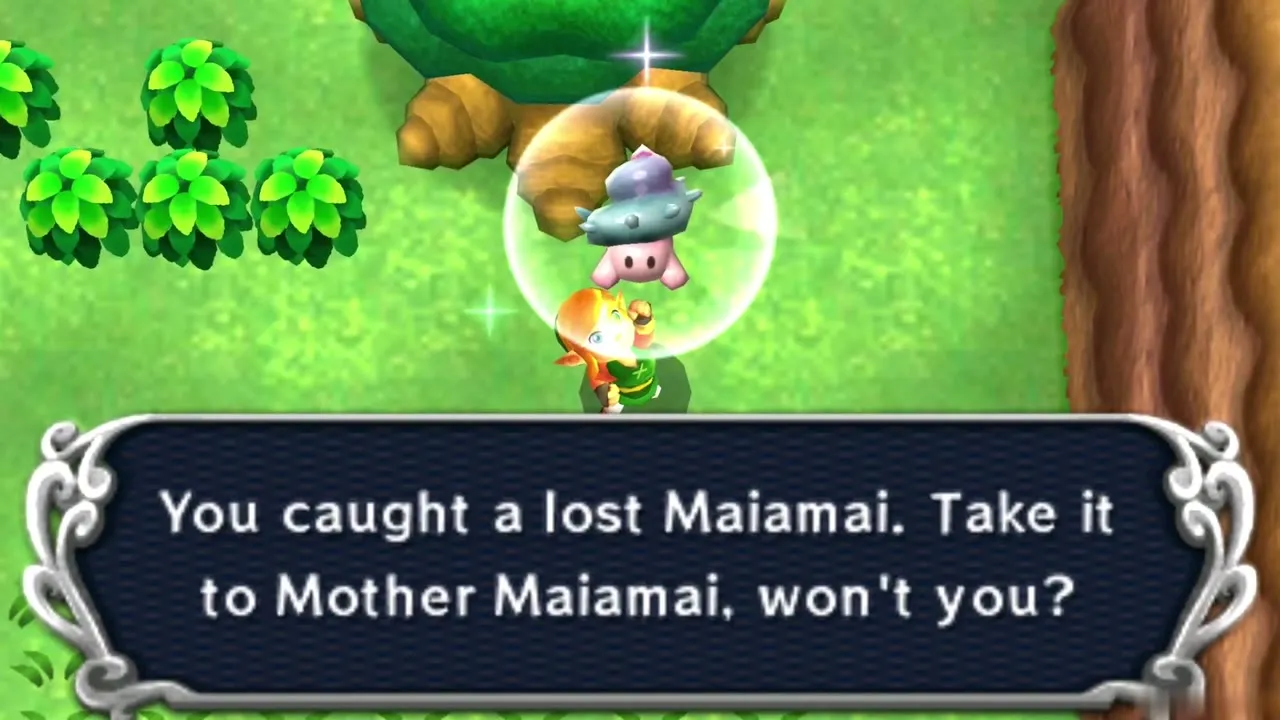
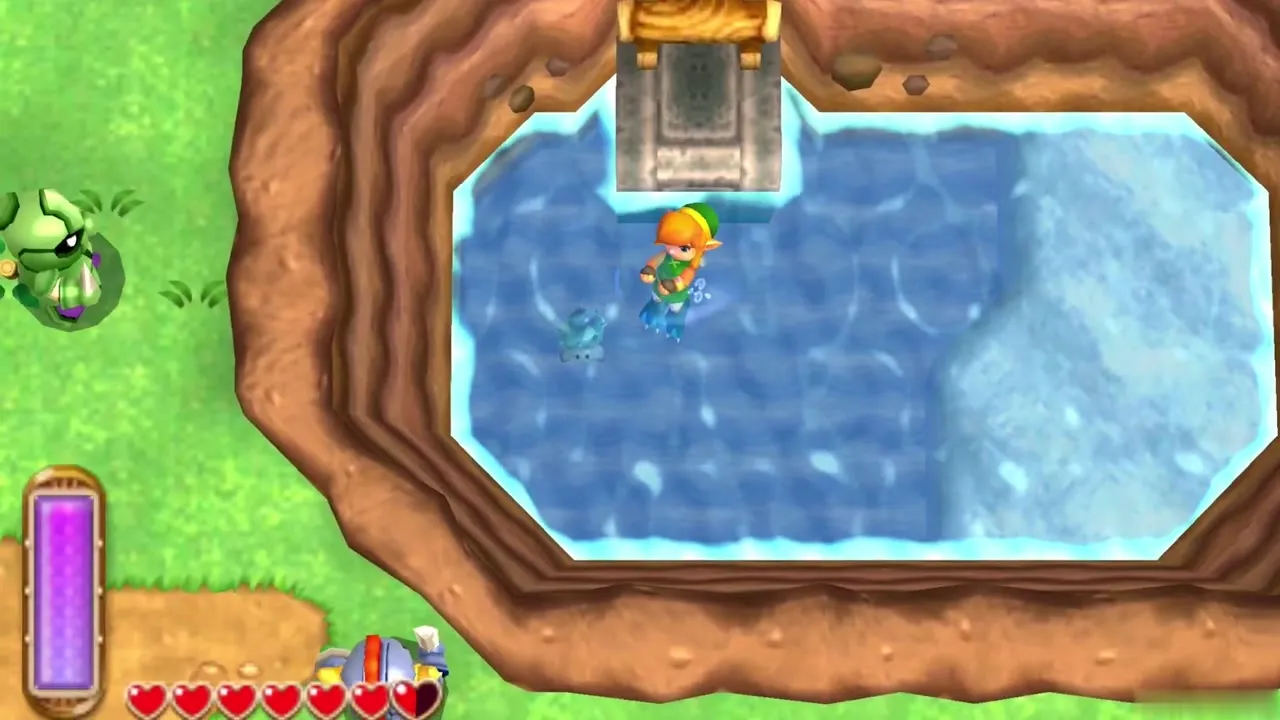
Maiamai 6: Small pond
Dive into the west side of the little pond. You need: Zora’s Flippers.
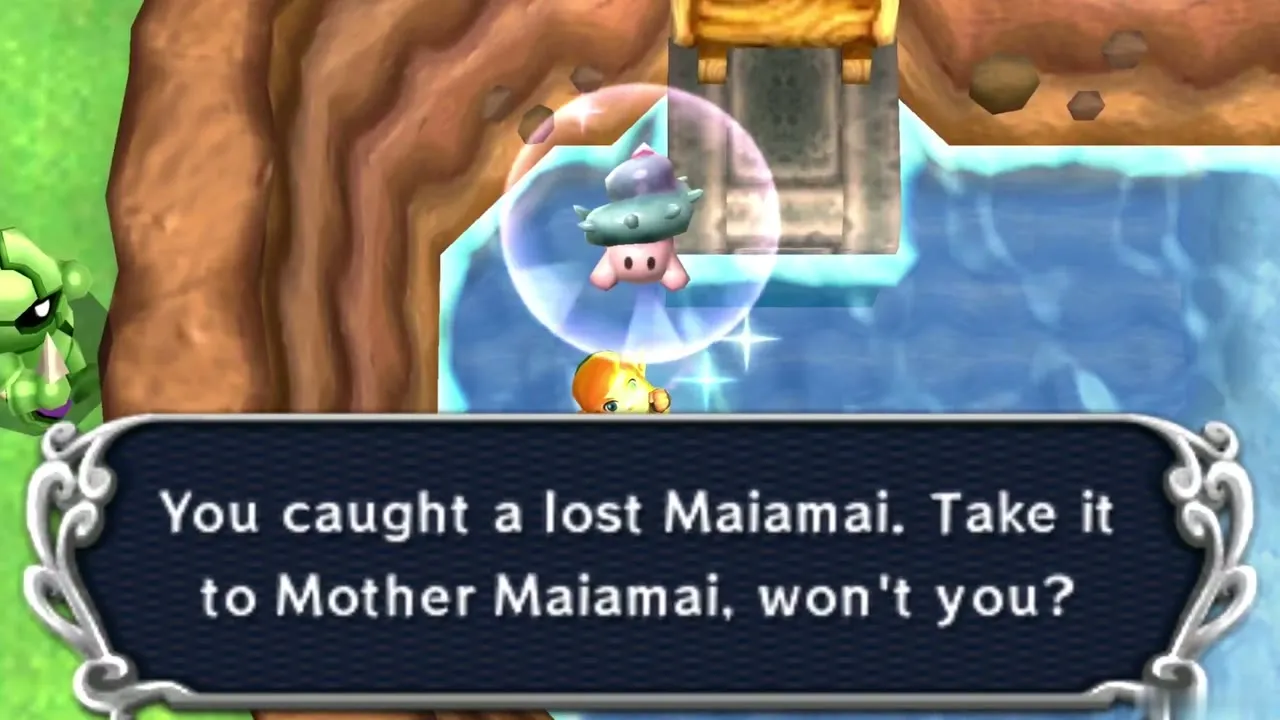
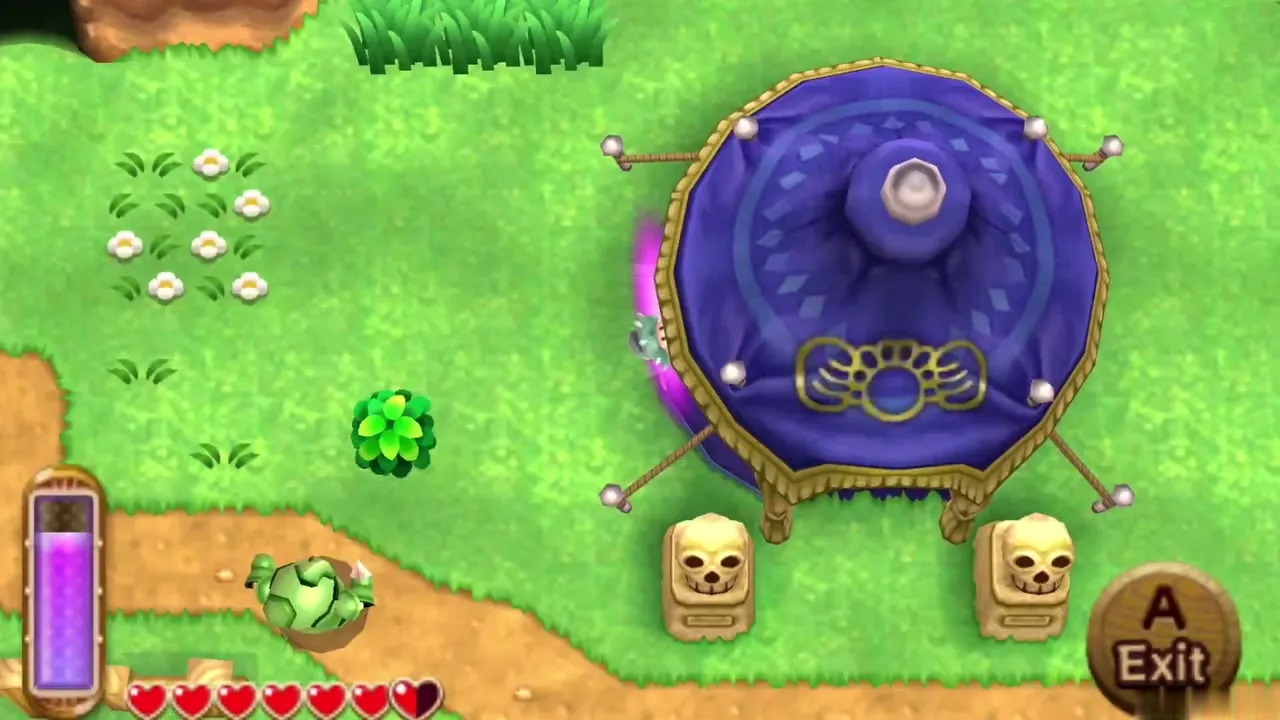
Maiamai 7: Fortune Teller’s tent
Merge onto the Fortune Teller’s tent. You need: Ravio’s Bracelet.
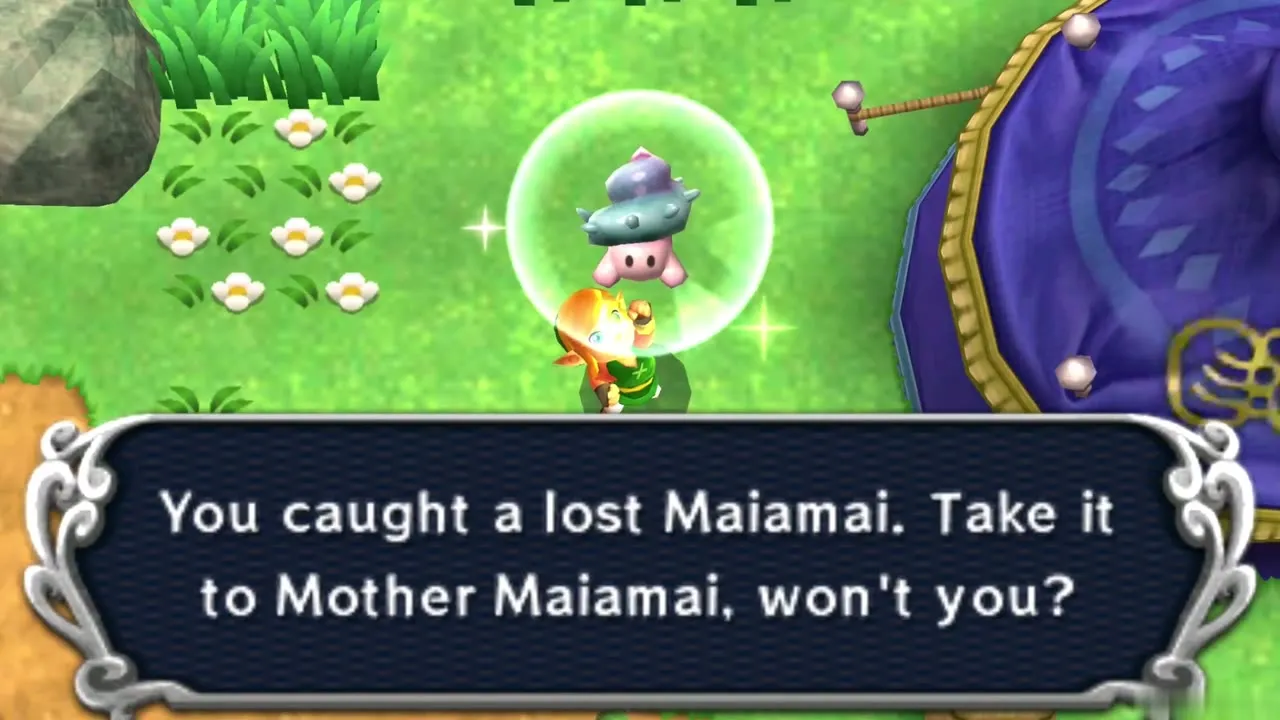
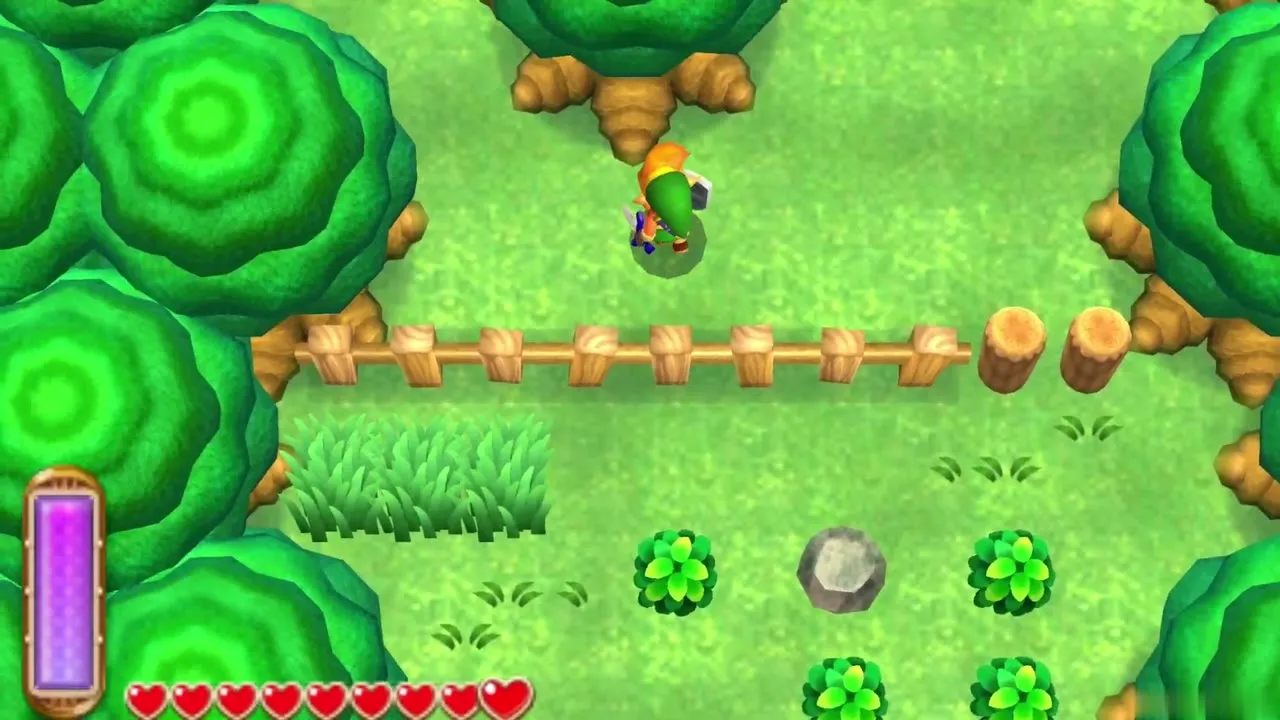
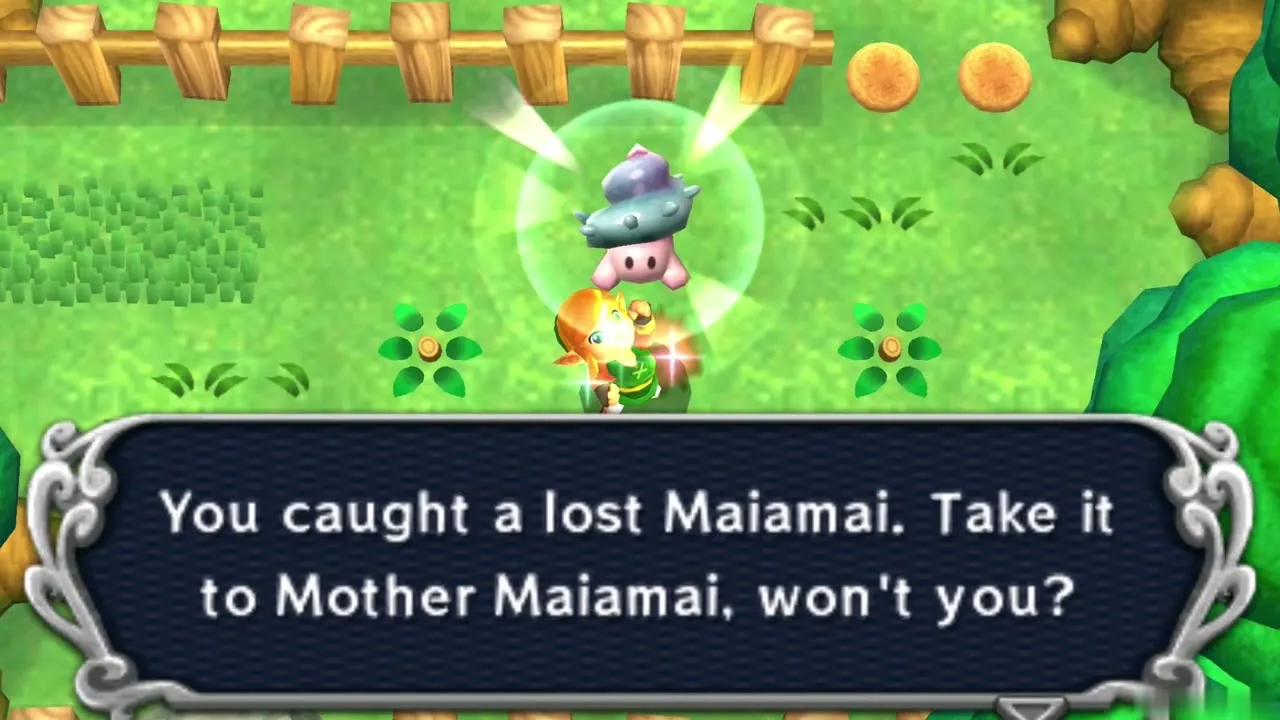
Maiamai 8: Rock between the fences
Of the two clearings between Kakariko Village and the forest, take the eastern one and lift the small rock between the fences. You need: Power Glove.
Hyrule: Sanctuary & Zora’s Domain Region
Maiamai 1: Cliff southwest of the Sanctuary
Merge onto the cliff wall southwest of the Sanctuary. You need: Ravio’s Bracelet.
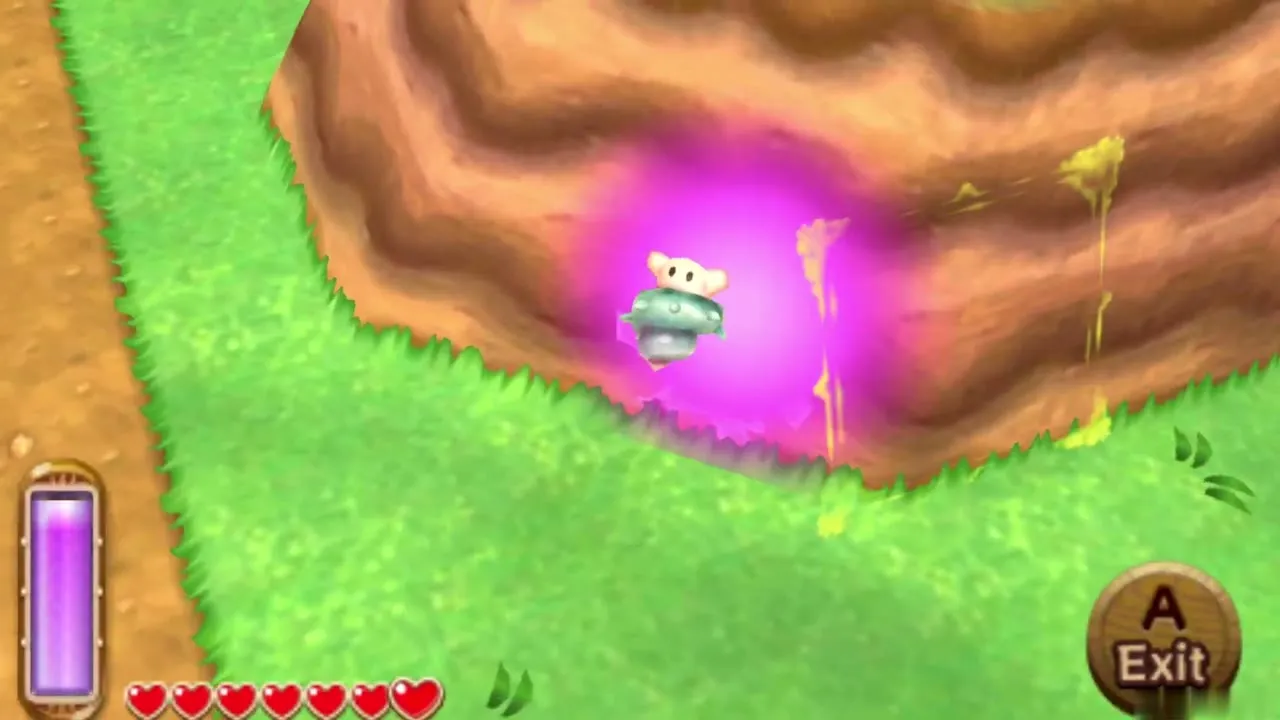
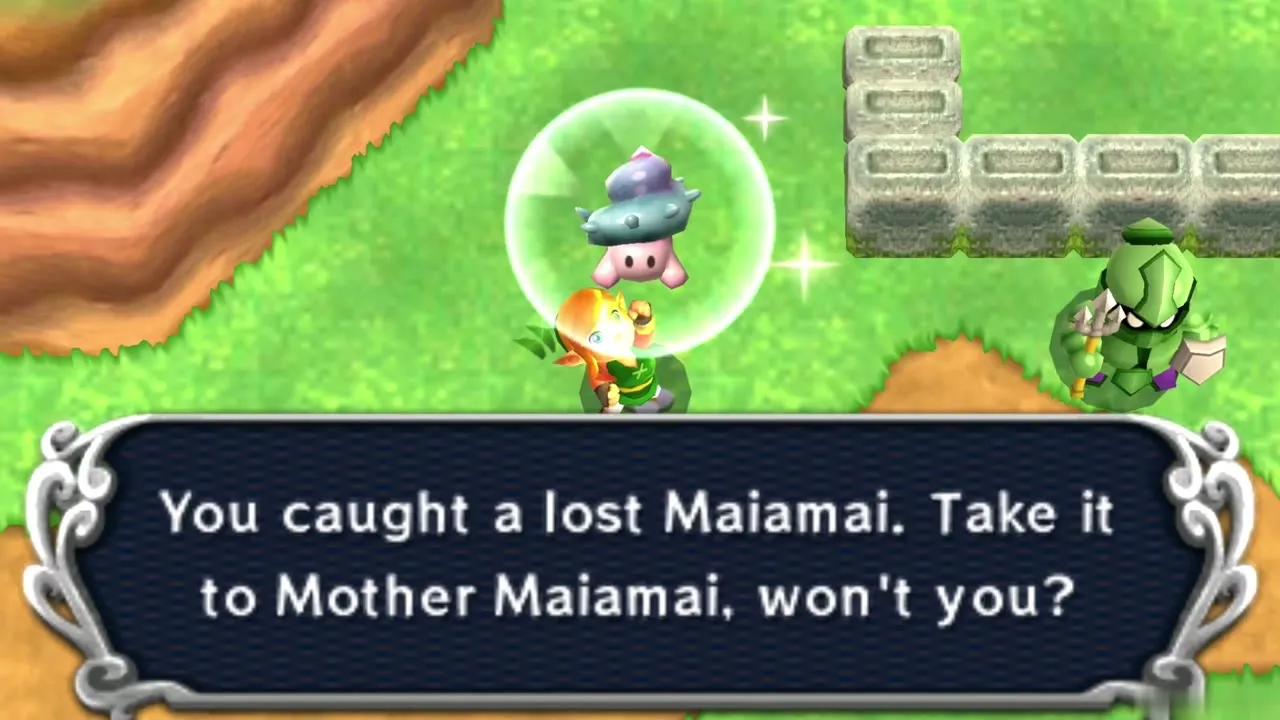
Maiamai 2: Rock structure linked to Lorule
Climb the matching rock structure in the Lorule Graveyard, travel through the Fissure, and merge west once you are back in Hyrule. You need: Ravio’s Bracelet and access to Lorule.
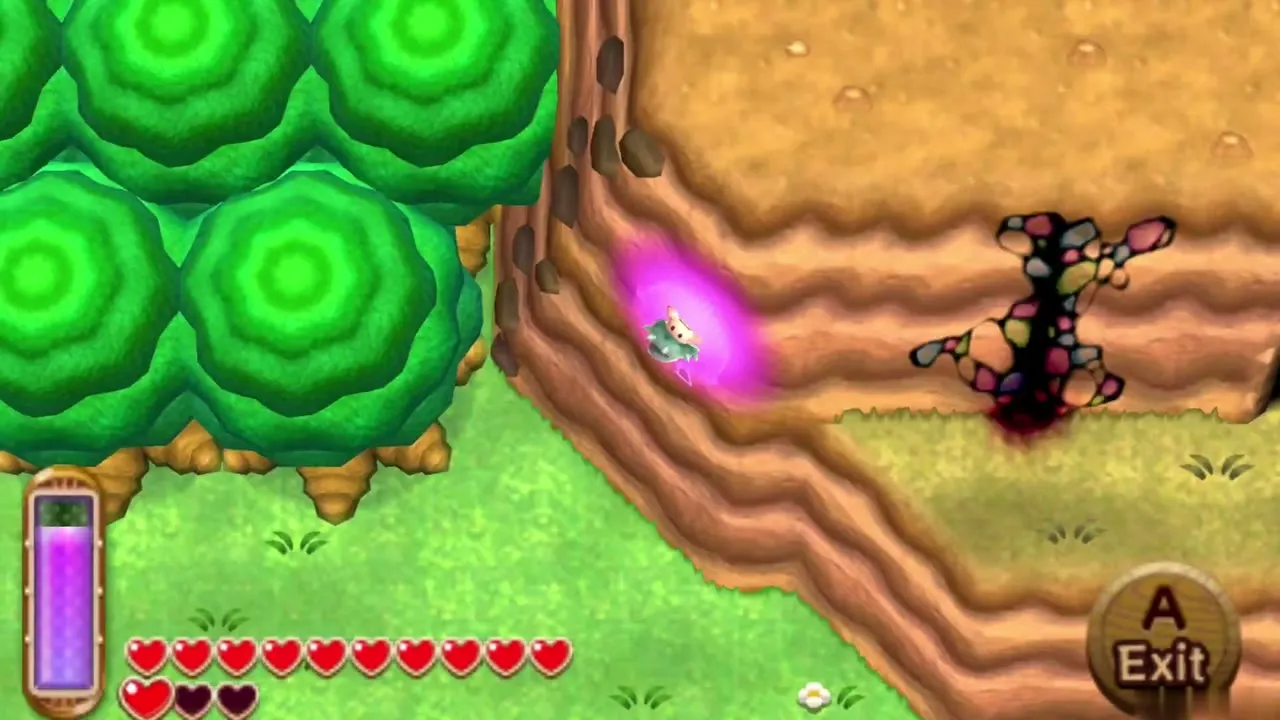
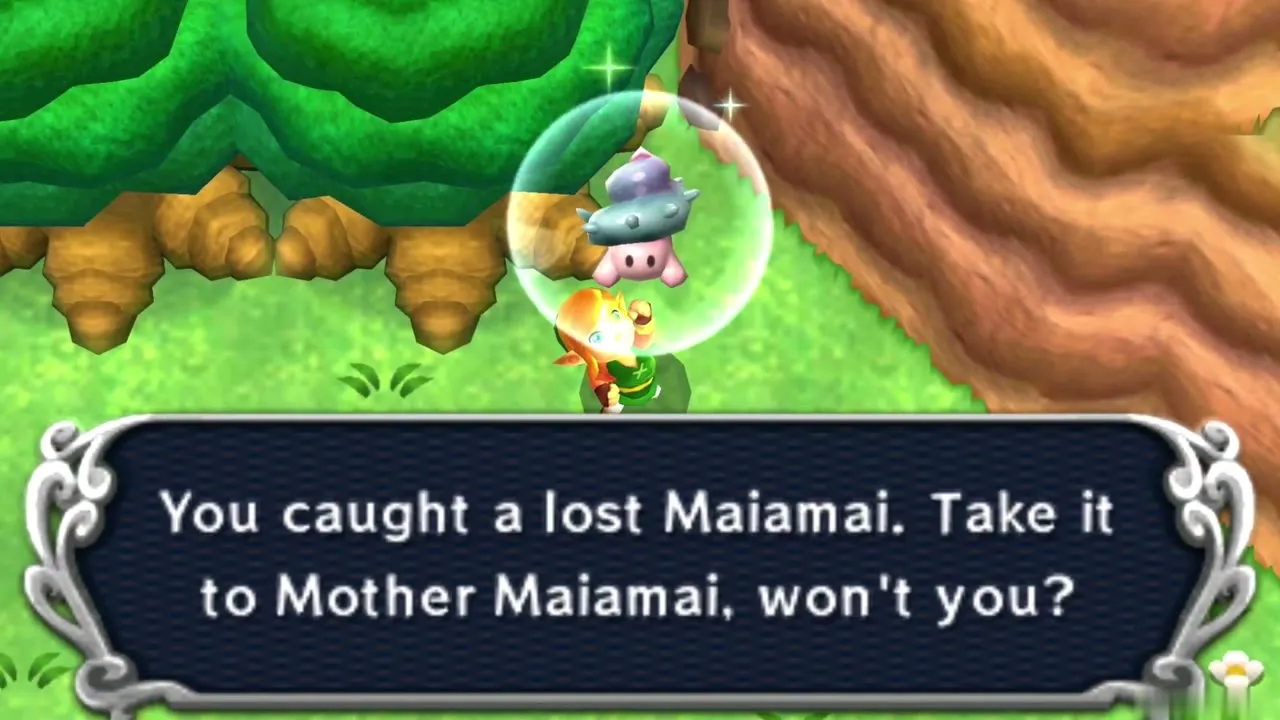
Maiamai 3: Ladder beside the river
Jump in the river that flows out of Zora’s Domain and leave it by the ladder. Climb up and merge into the wall. You need: Ravio’s Bracelet.
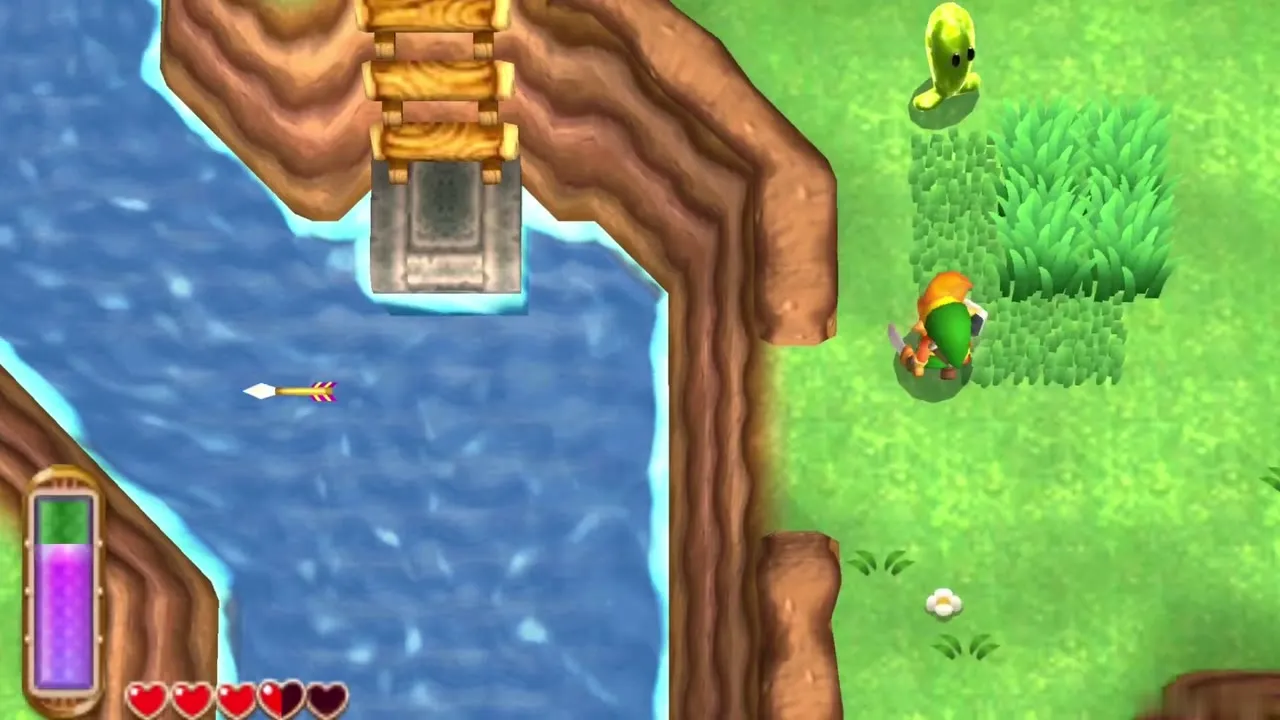
Maiamai 4: Underwater south of the bridge
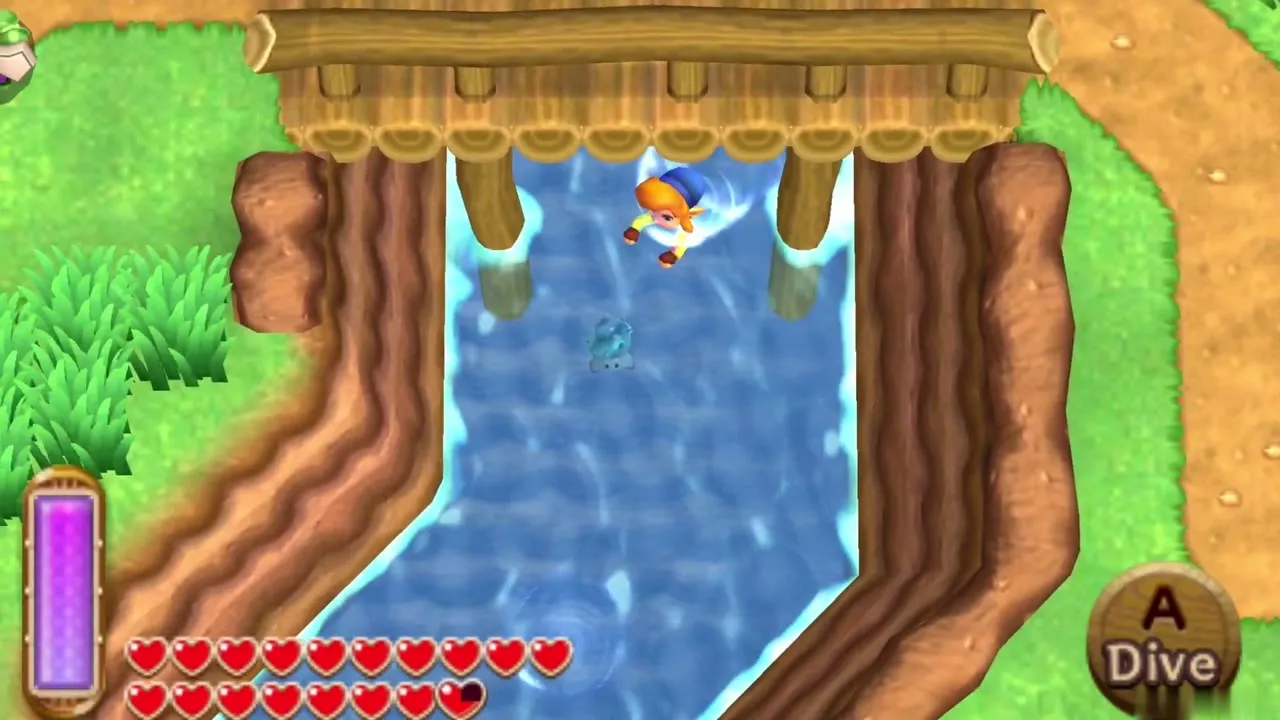
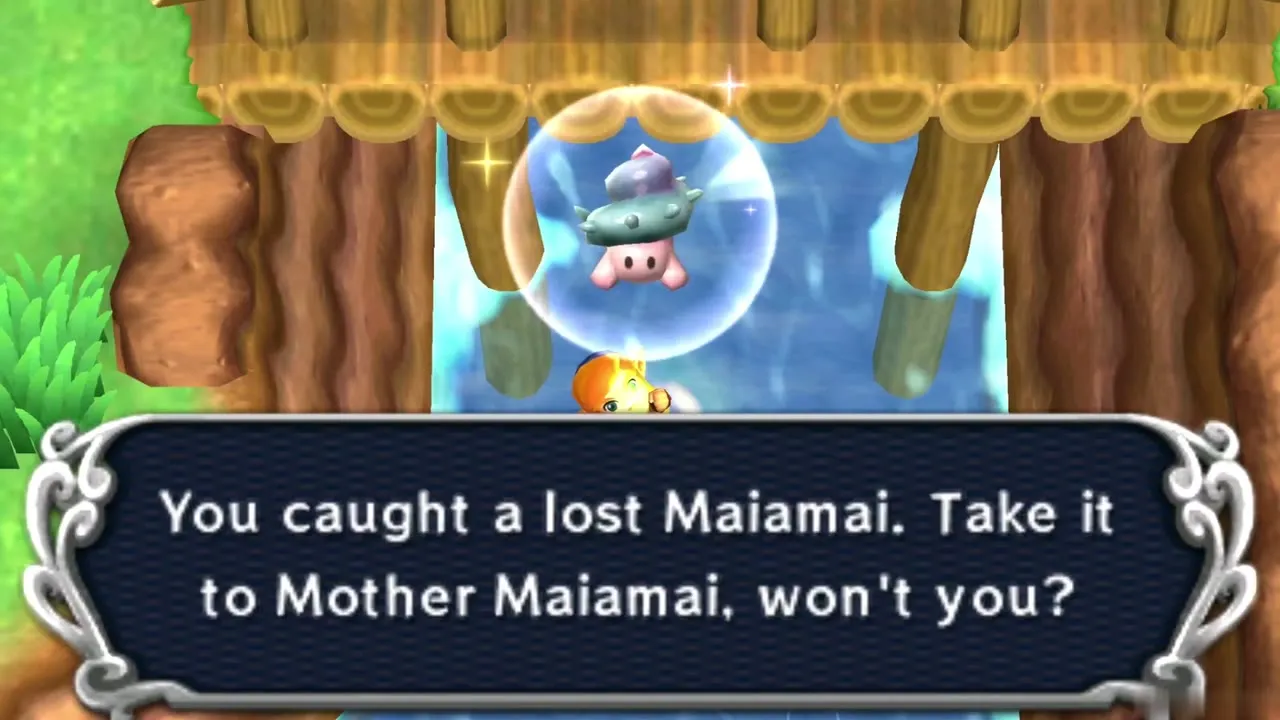
Jump into the river and dive directly south of the bridge. You need: Zora’s Flippers.
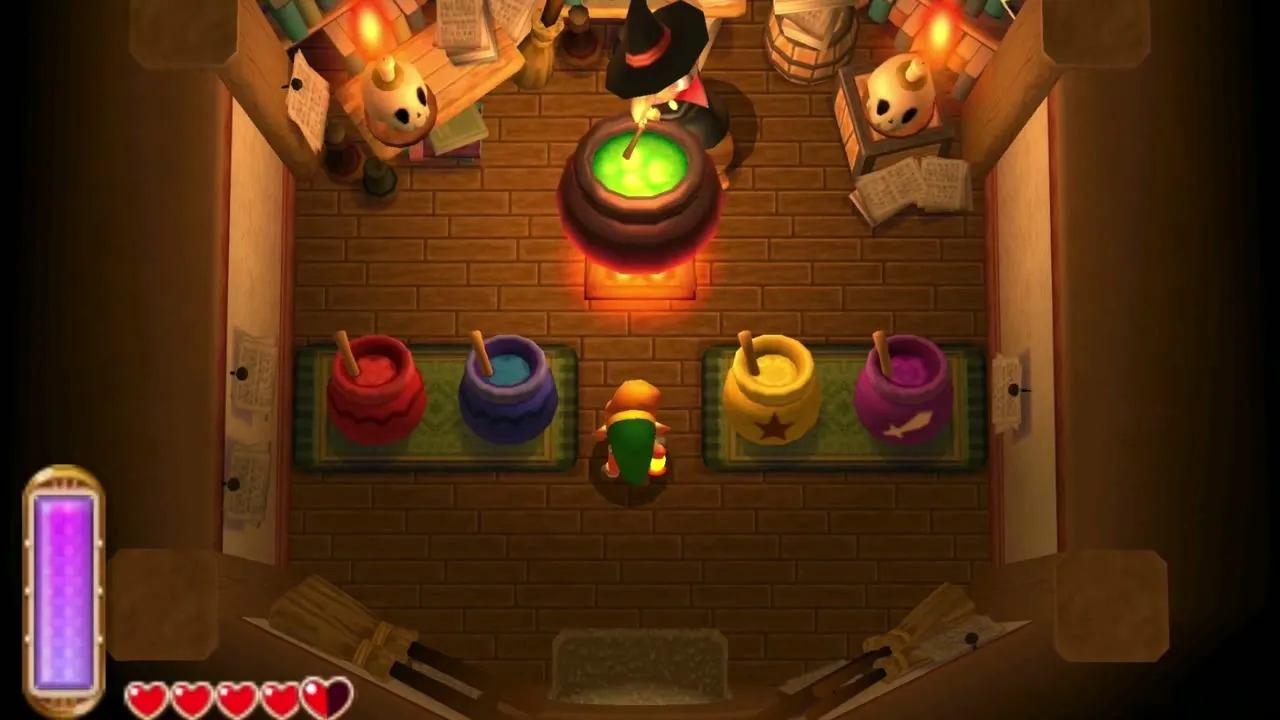
Maiamai 5: Witch’s House wall
Step inside the Witch’s House, then merge onto the wall to the left once you are outside again. You need: Ravio’s Bracelet.
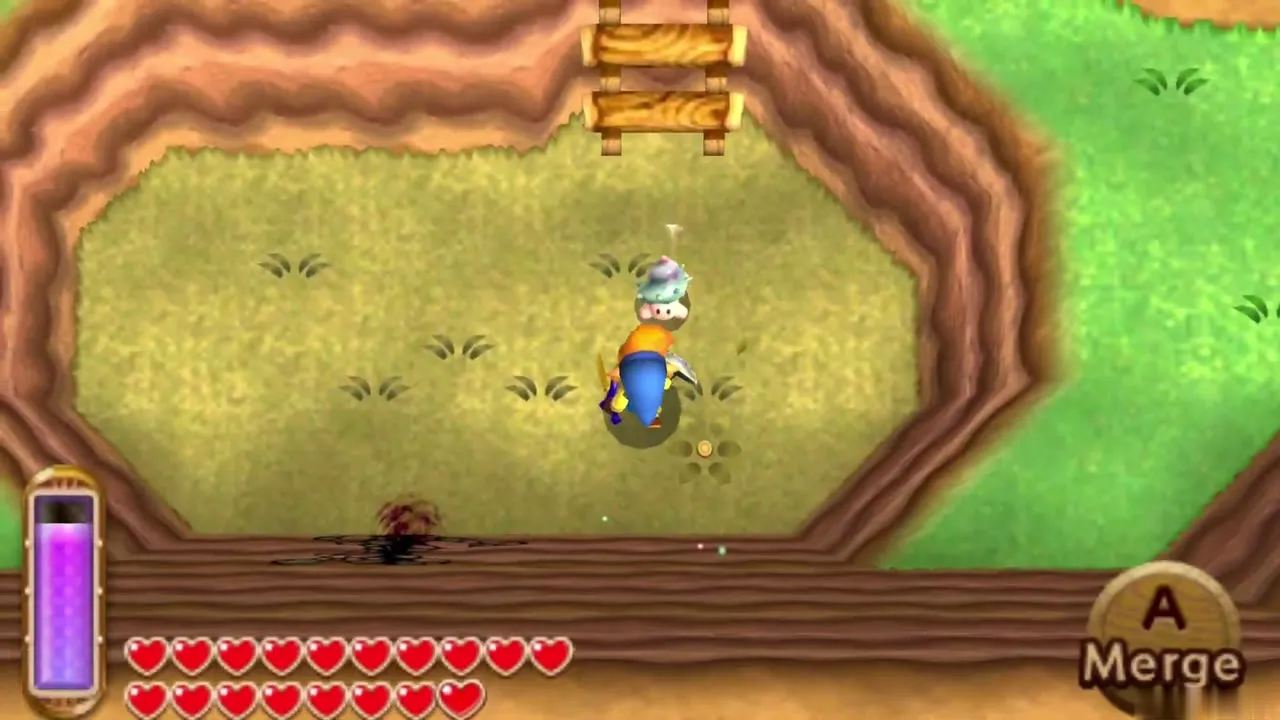
Maiamai 6: Wall by the pit
Stay outside the pit and merge onto its southern wall. You need: Ravio’s Bracelet.
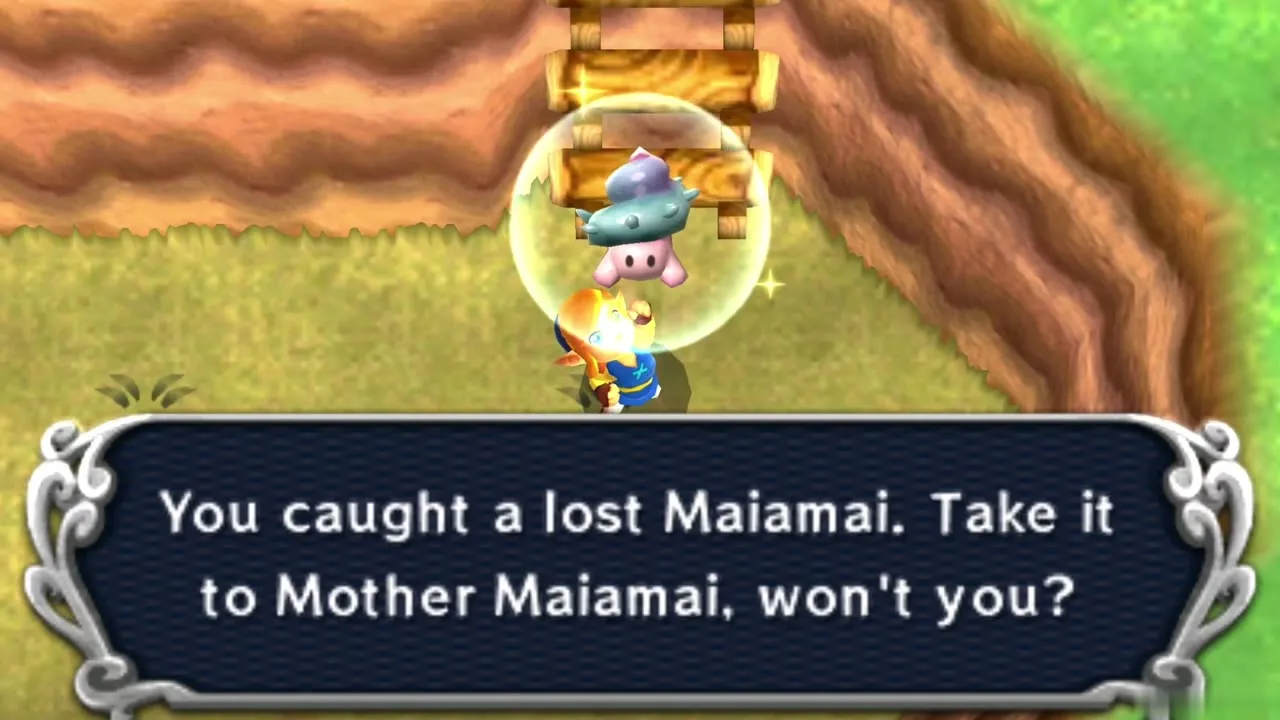
Maiamai 7: Deep water at Zora’s Domain
From the entrance to Zora’s Domain, dive into the first deep water, northwest of the underwater Rupees. You need: Zora’s Flippers.
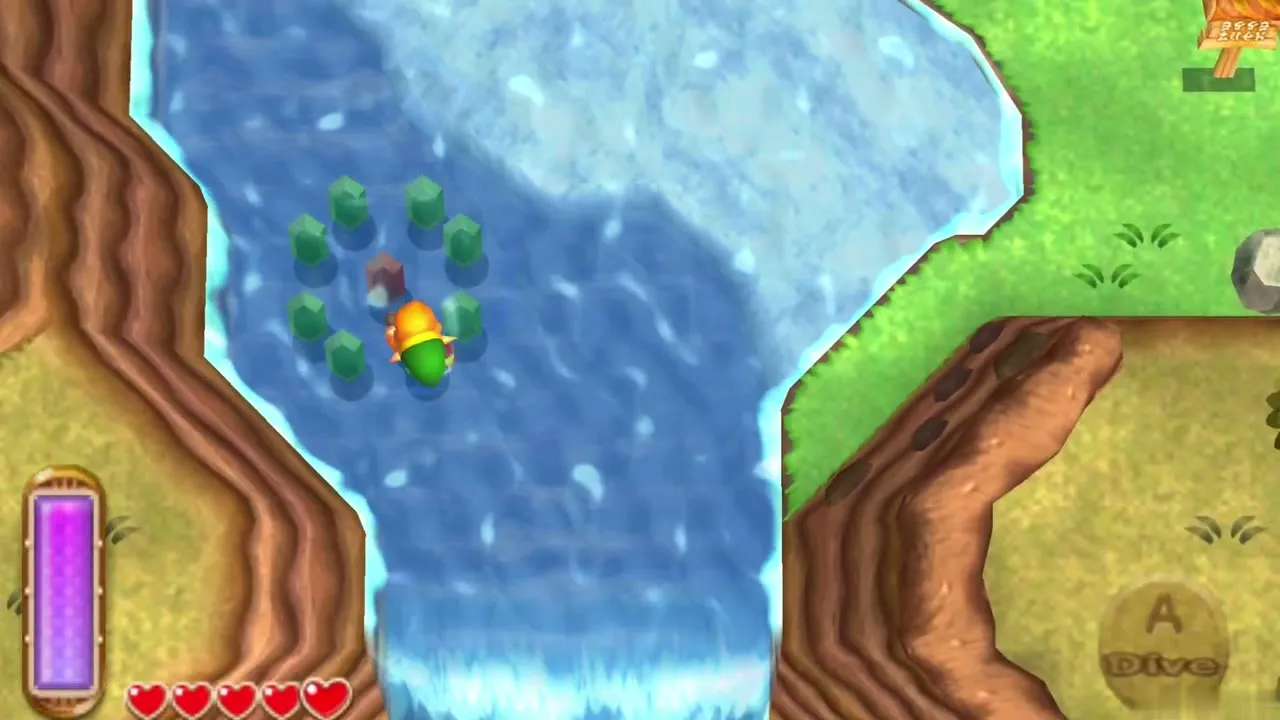
Hyrule: Southern Ruins Region
Maiamai 1: Statue in the shallows
Dash into the stone statue ringed by shallow water. You need: Pegasus Boots and Zora’s Flippers.
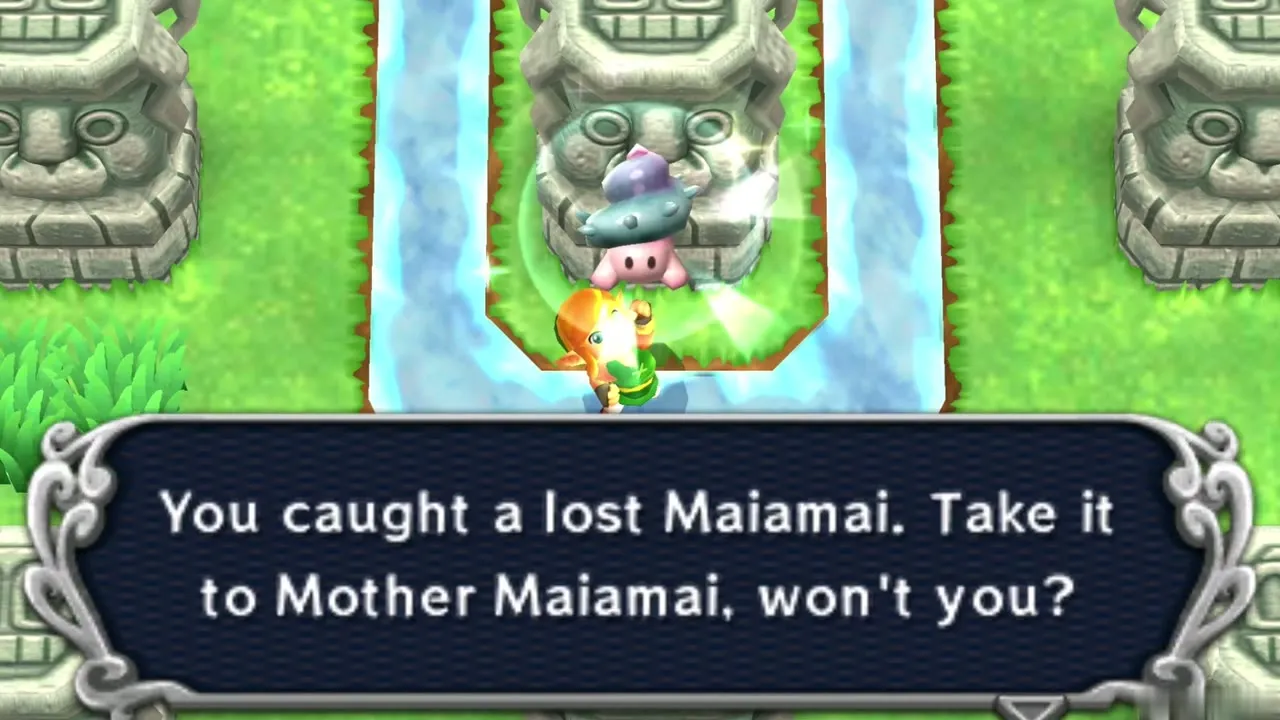
Maiamai 2: Cave pool
Enter the cave to the south and dive into the pool in its northeast corner. You need: Zora’s Flippers.
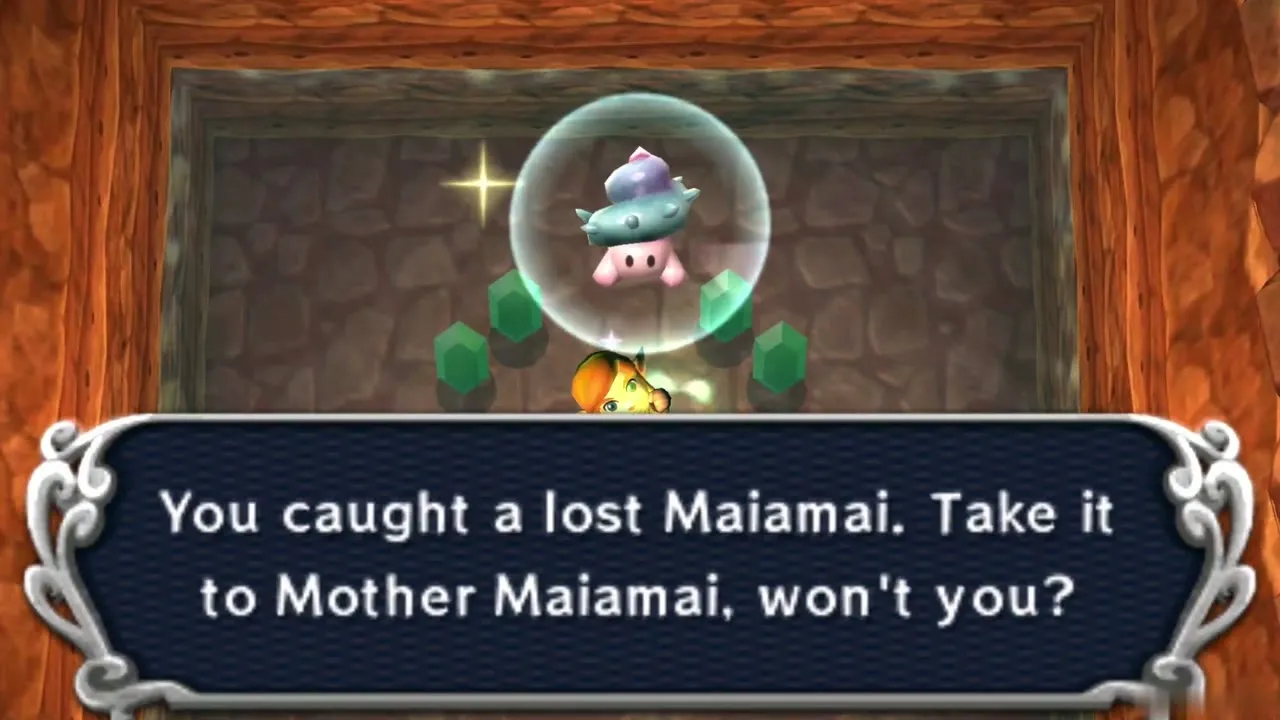
Maiamai 3: Hole east of the Treasure Hunter Cave
Dive into a hole in the shallow water east of the Treasure Hunter Cave entrance. You need: Zora’s Flippers.
Lorule: Dark Ruins Region
Maiamai 1: Grassy hill by the Fissure
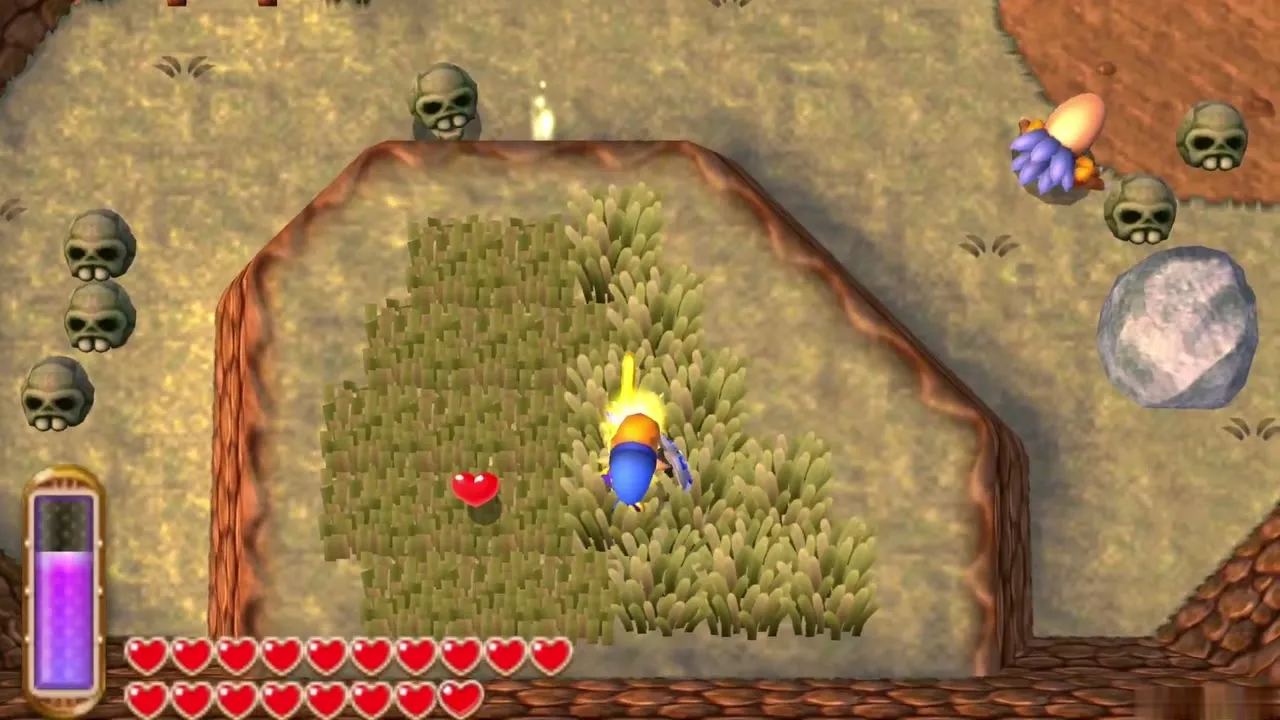
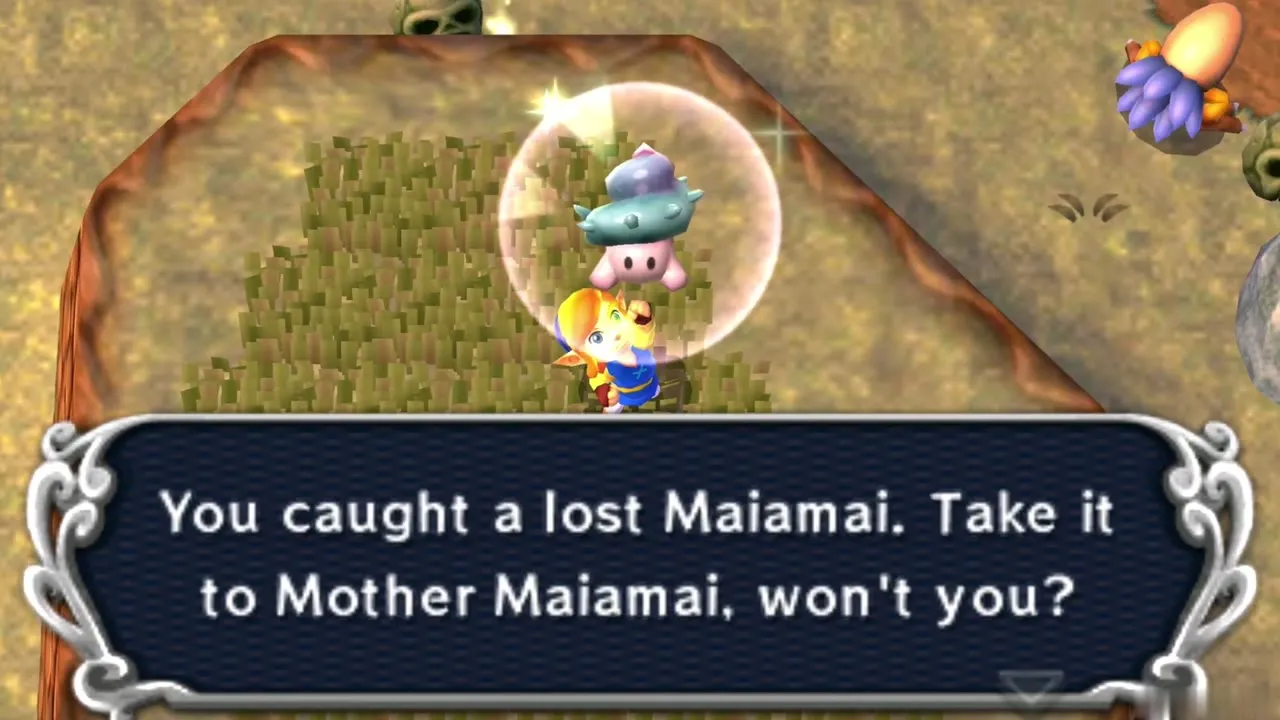
Enter from the matching Hyrule area through its Fissure. Climb the ladder to the west, merge left onto the grassy hill, and cut the grass. You need: Ravio’s Bracelet and access to Lorule.
Maiamai 2: Pond near Ku’s Domain
Keep merging left from the previous spot towards Ku’s Domain, then dive into the southwest corner of the pond. You need: Zora’s Flippers and Ravio’s Bracelet.
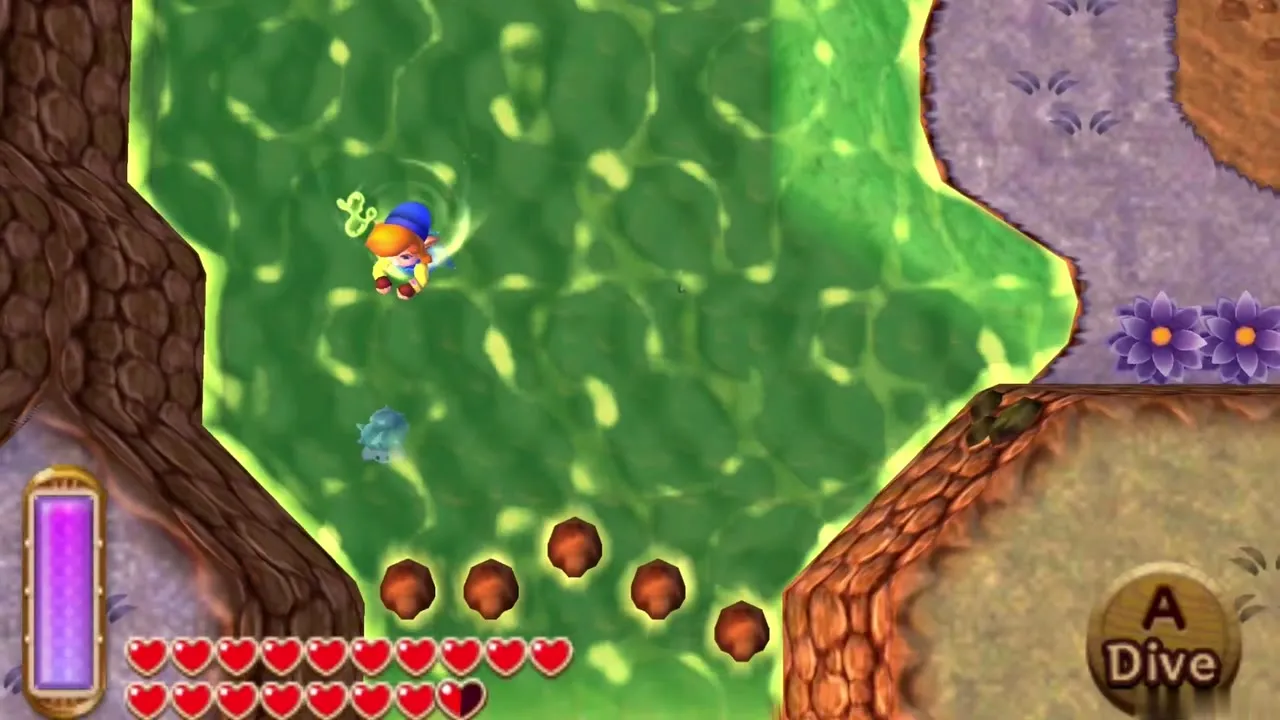
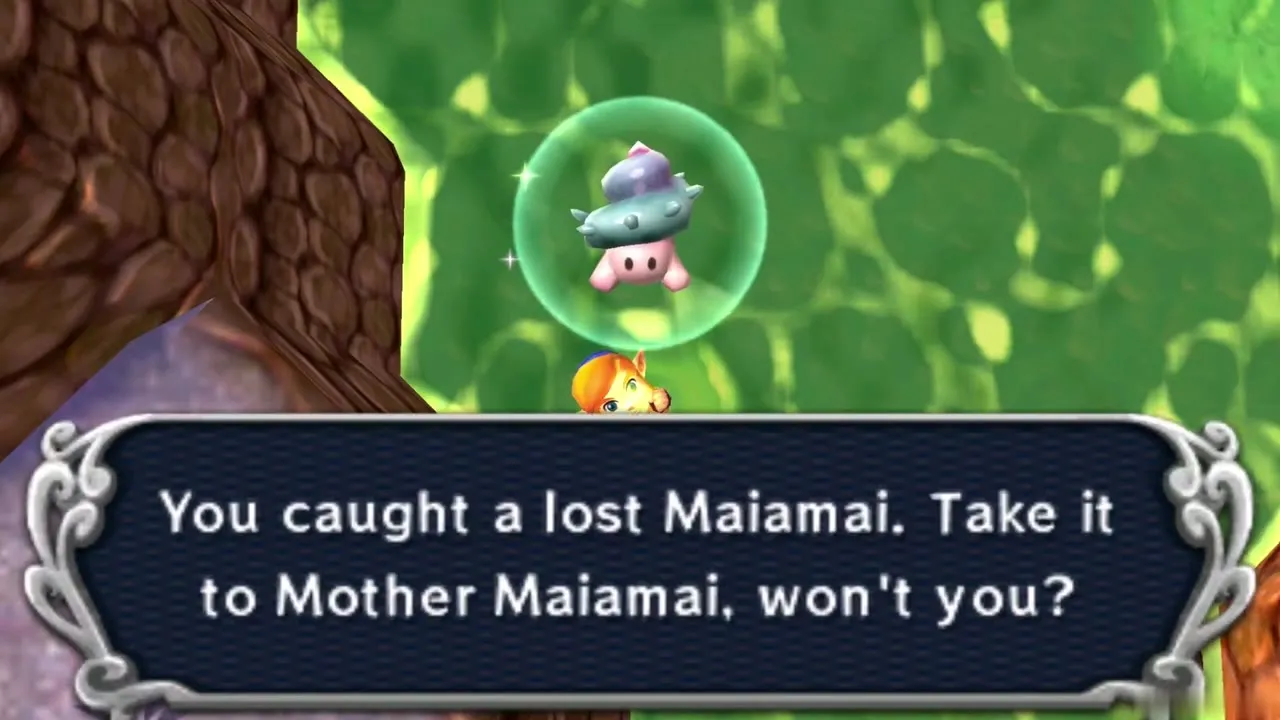
Maiamai 3: Top of the chasm waterfall
Jump into the water and dive at the top of the chasm waterfall. You need: Zora’s Flippers.
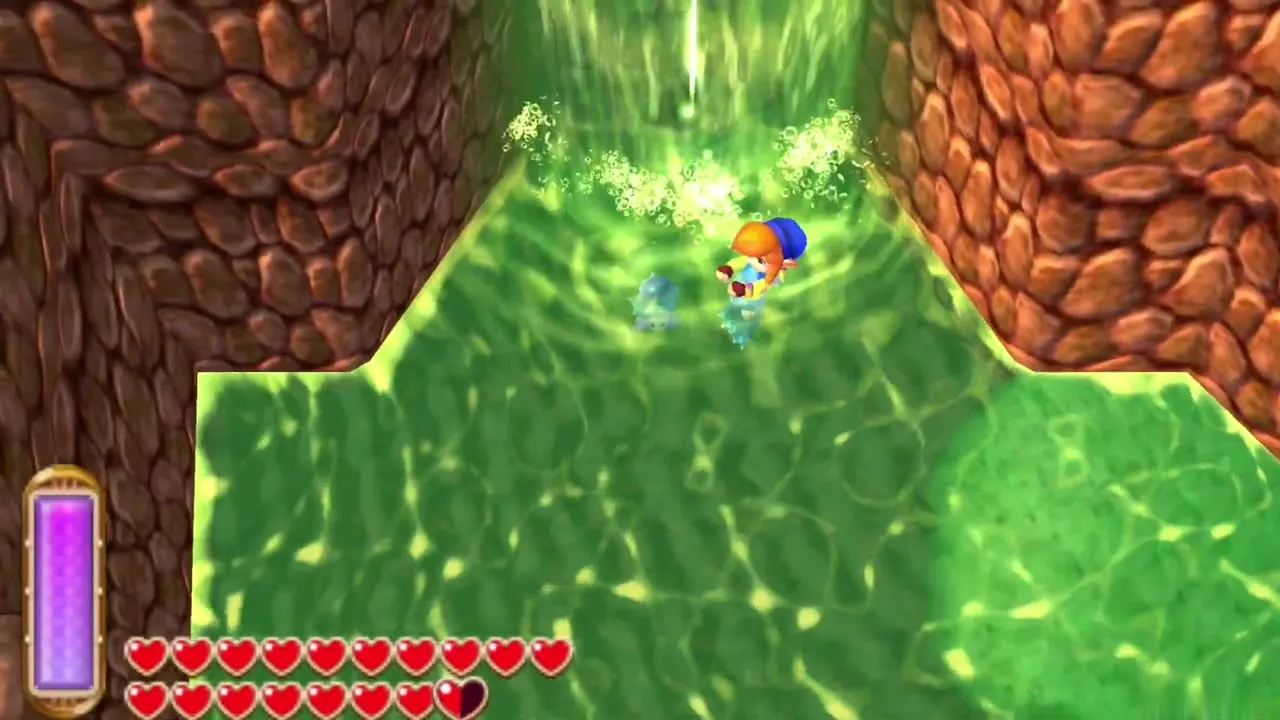
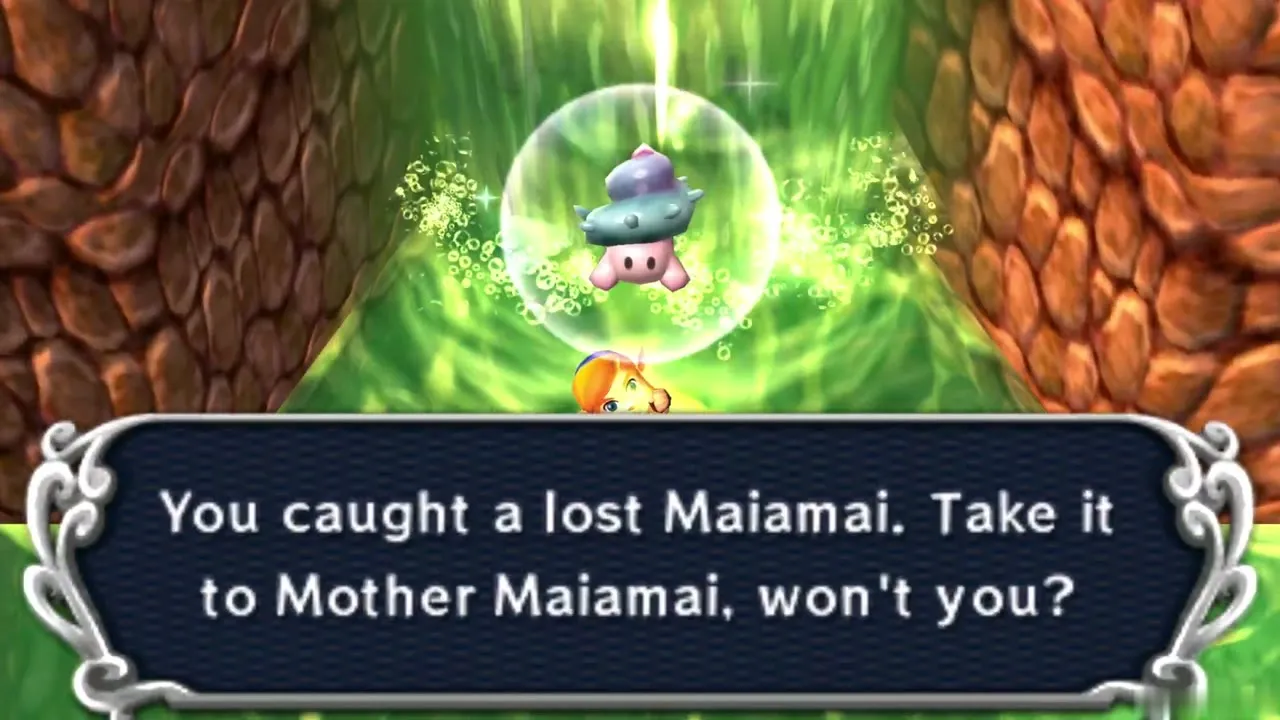
Maiamai 4: Water before the Fissure
Dive underwater right in front of the Fissure. You need: Zora’s Flippers.
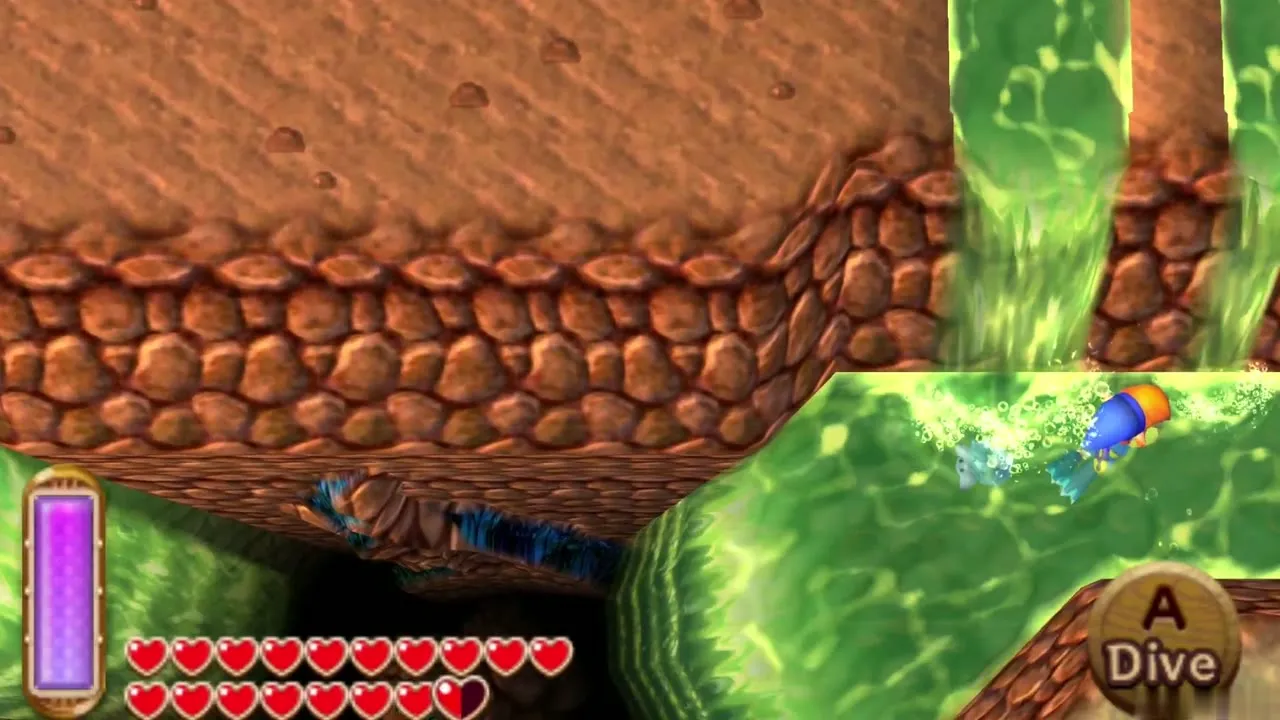
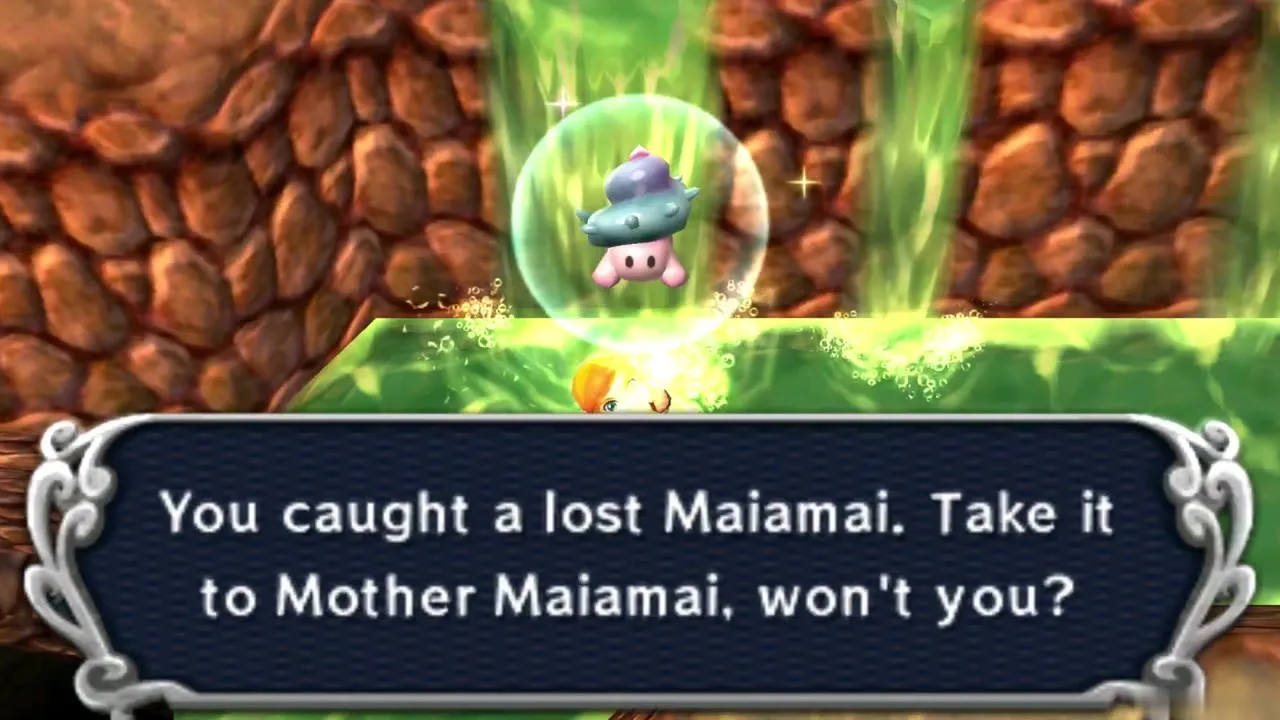
Maiamai 5: Rock formation by the pillar
Dash into the rock formation southeast of the pillar that holds a Fissure. You need: Pegasus Boots.
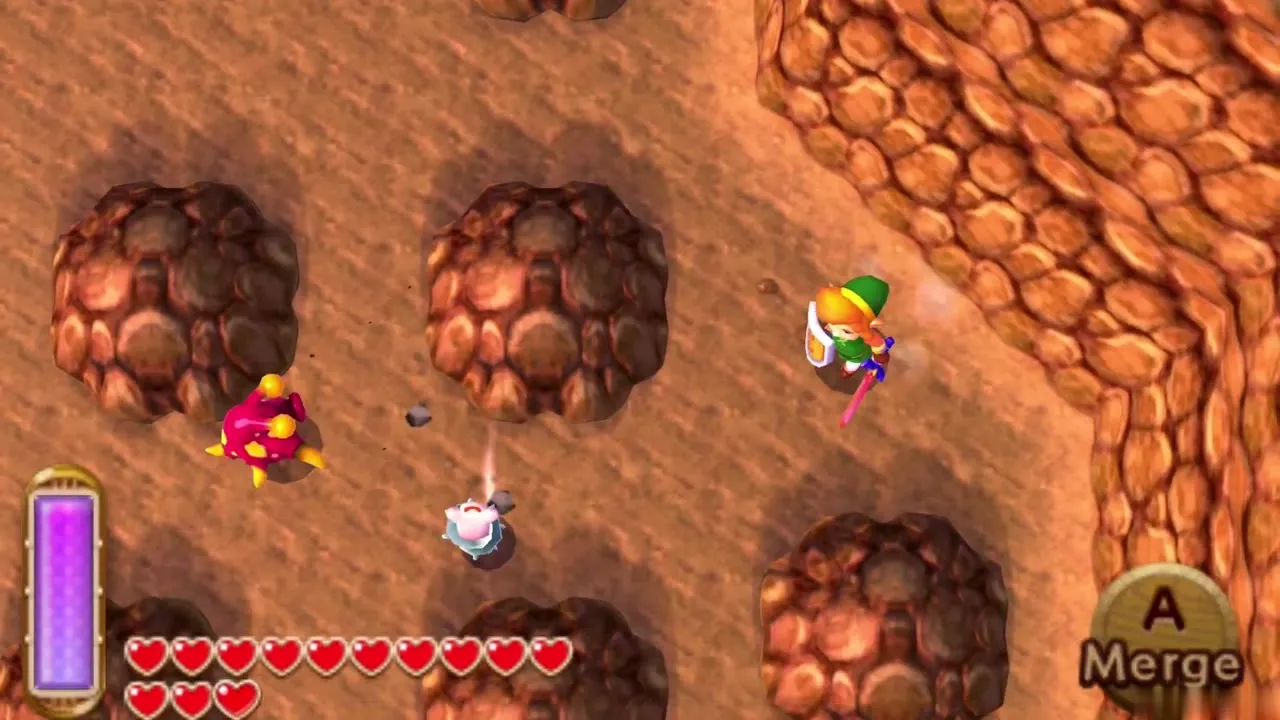
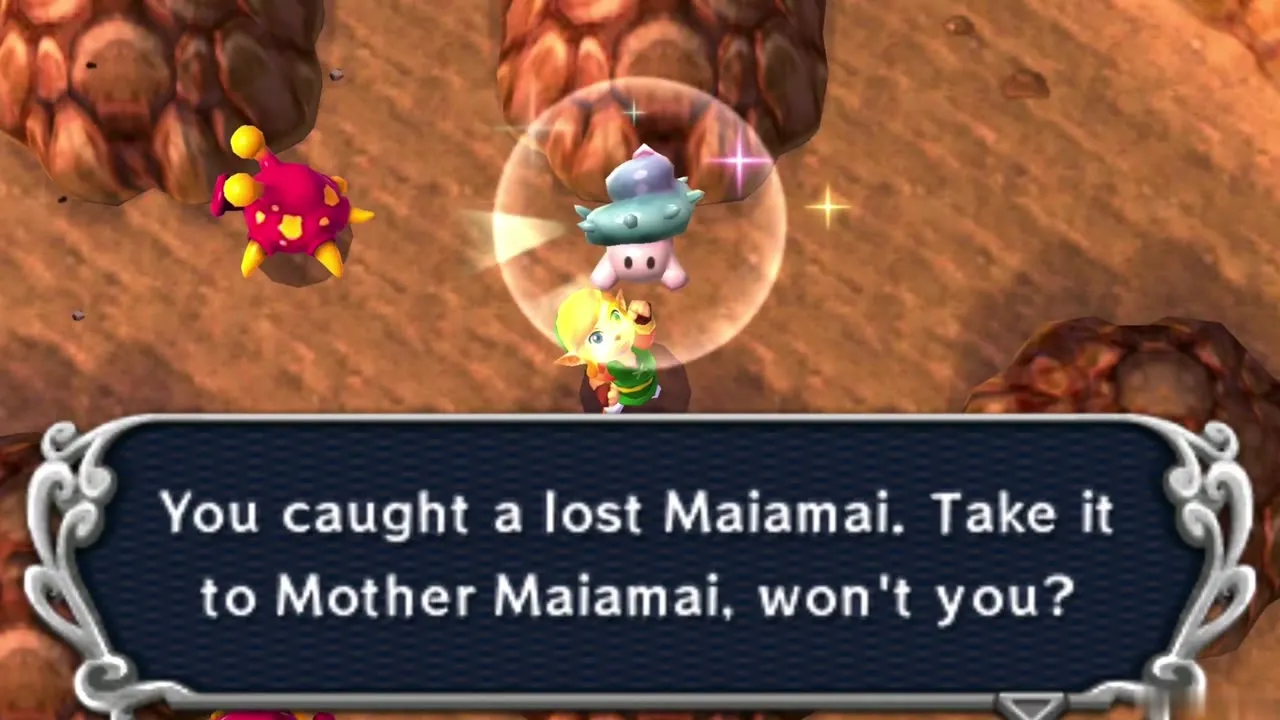
Maiamai 6: Tree in the southwest corner
Dash into the tree in the southwest corner. You need: Pegasus Boots.
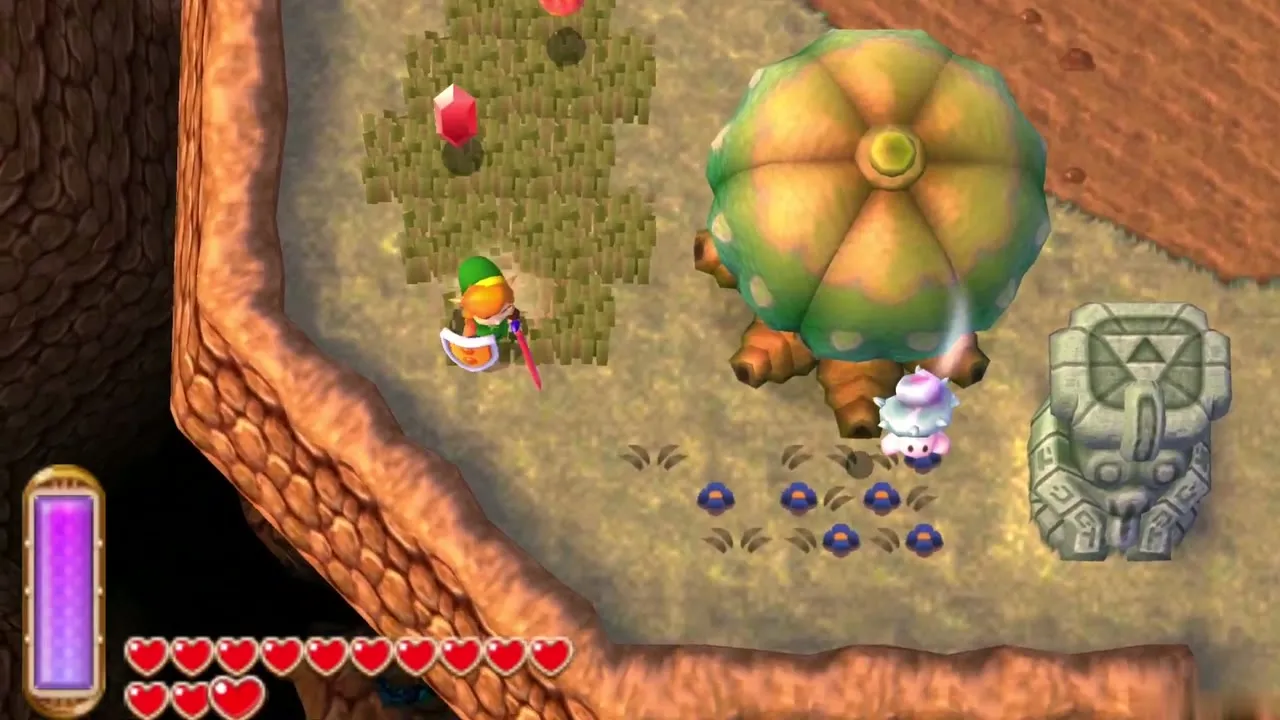
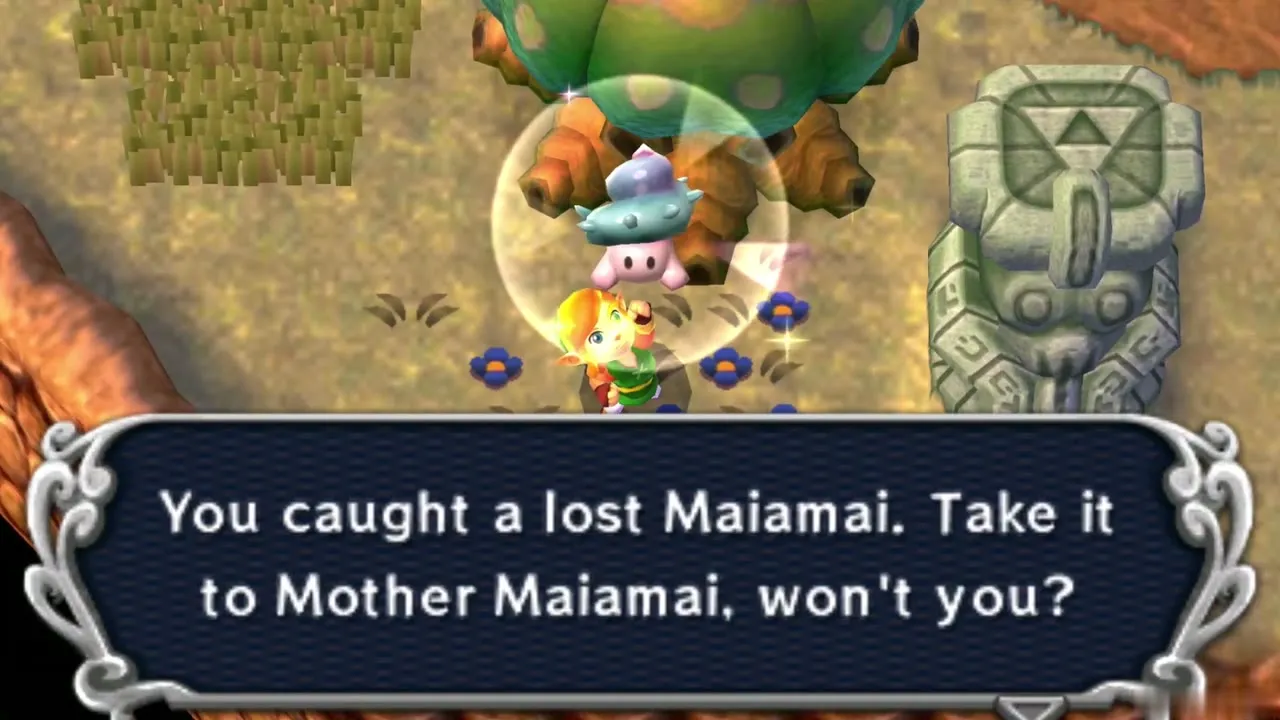
Maiamai 7: First tree on the left
Dash into the first tree on your left. You need: Pegasus Boots.
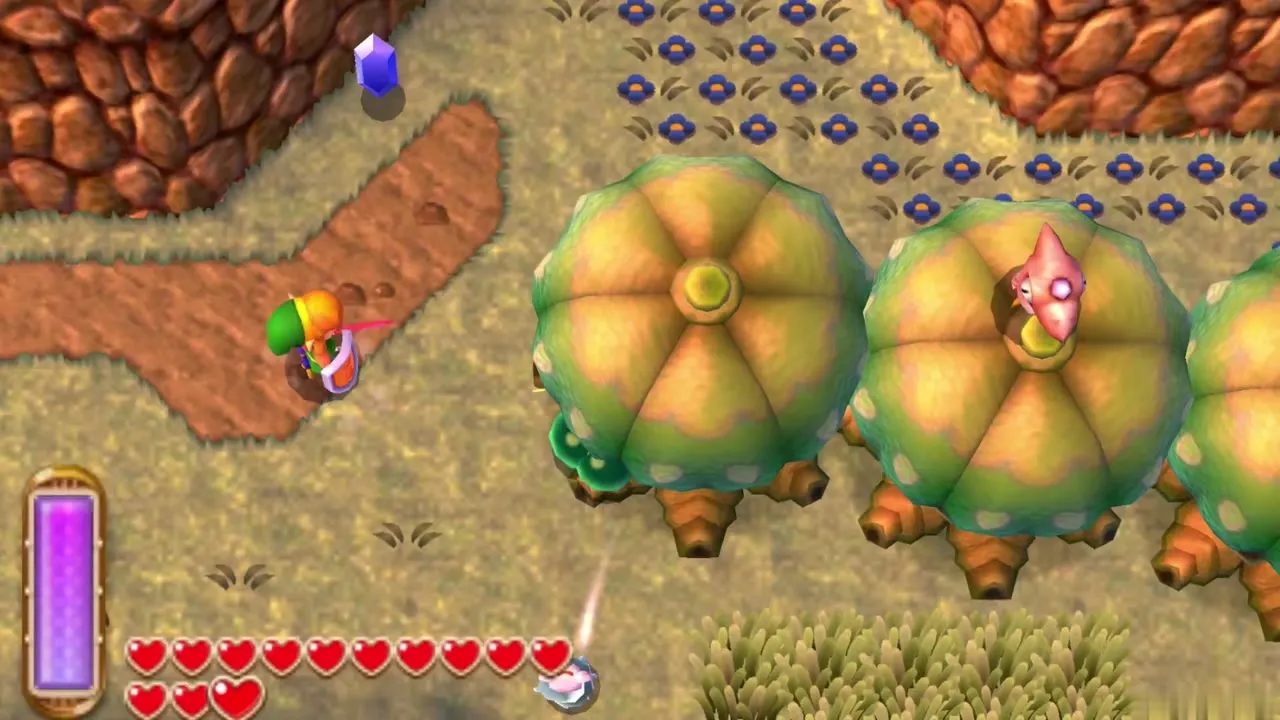
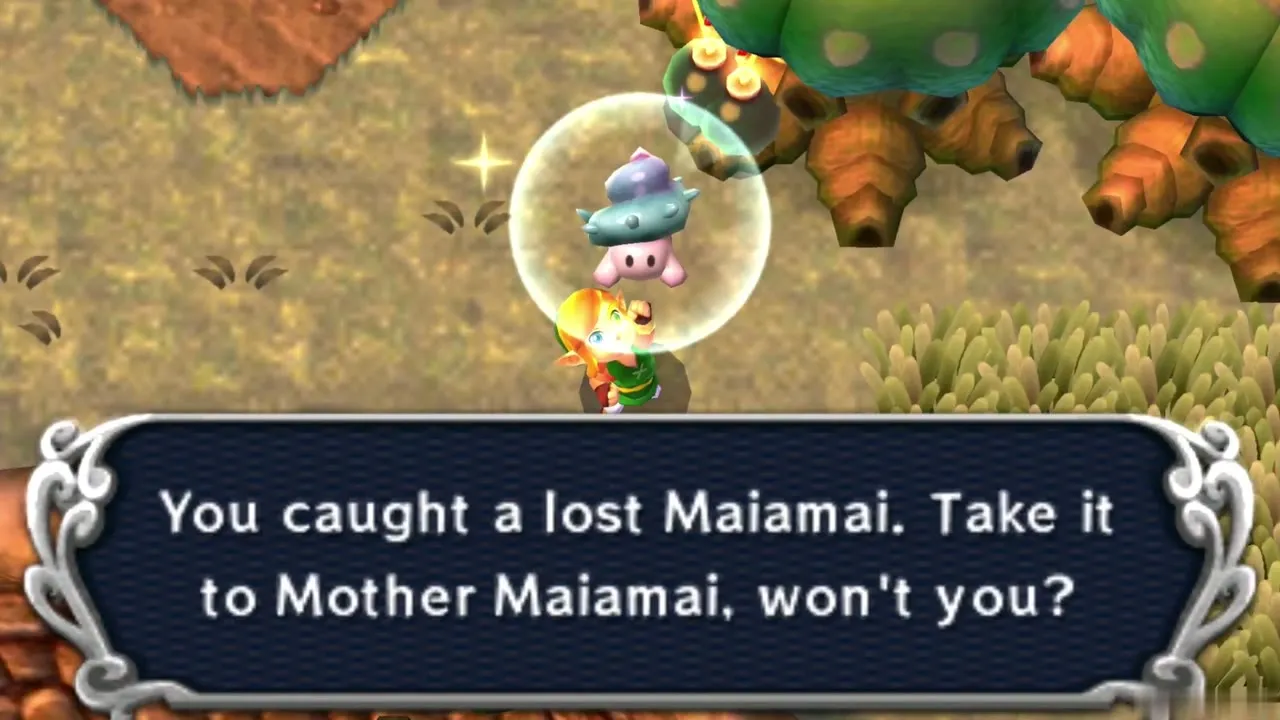
Maiamai 8: Wall facing the Dark Ruins
Merge onto the wall straight ahead of the Dark Ruins entrance. You need: Ravio’s Bracelet.
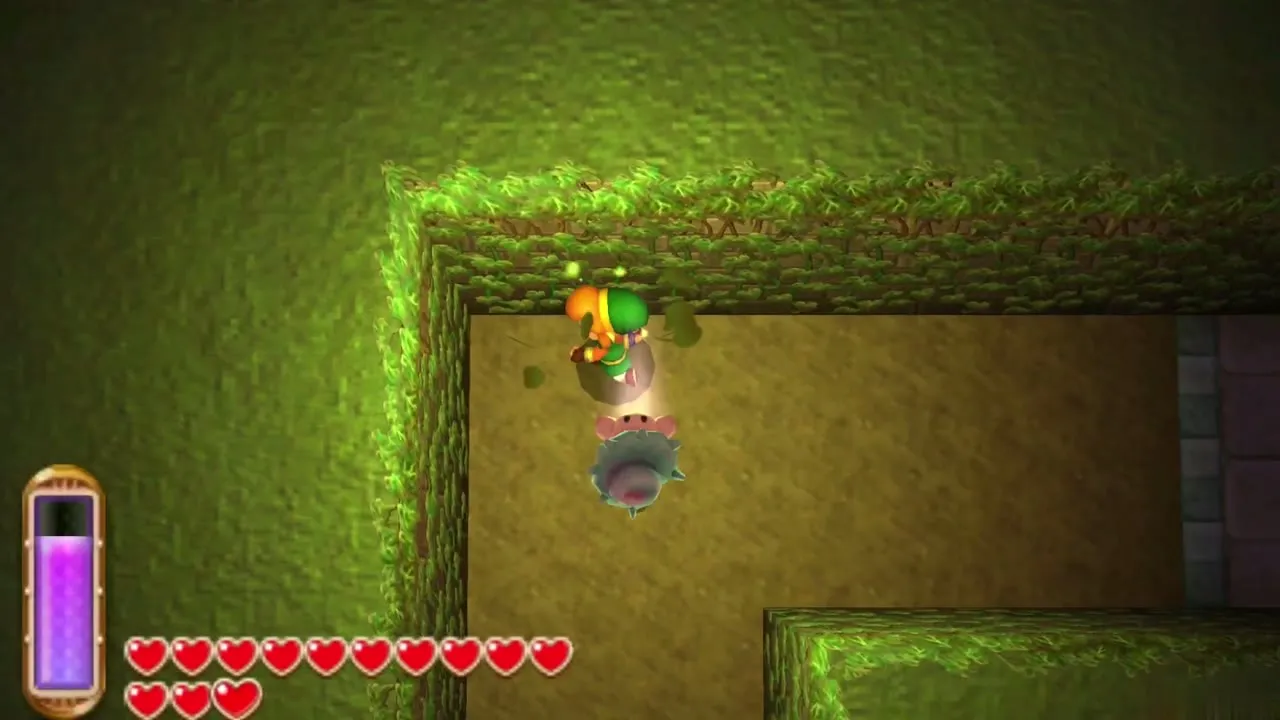
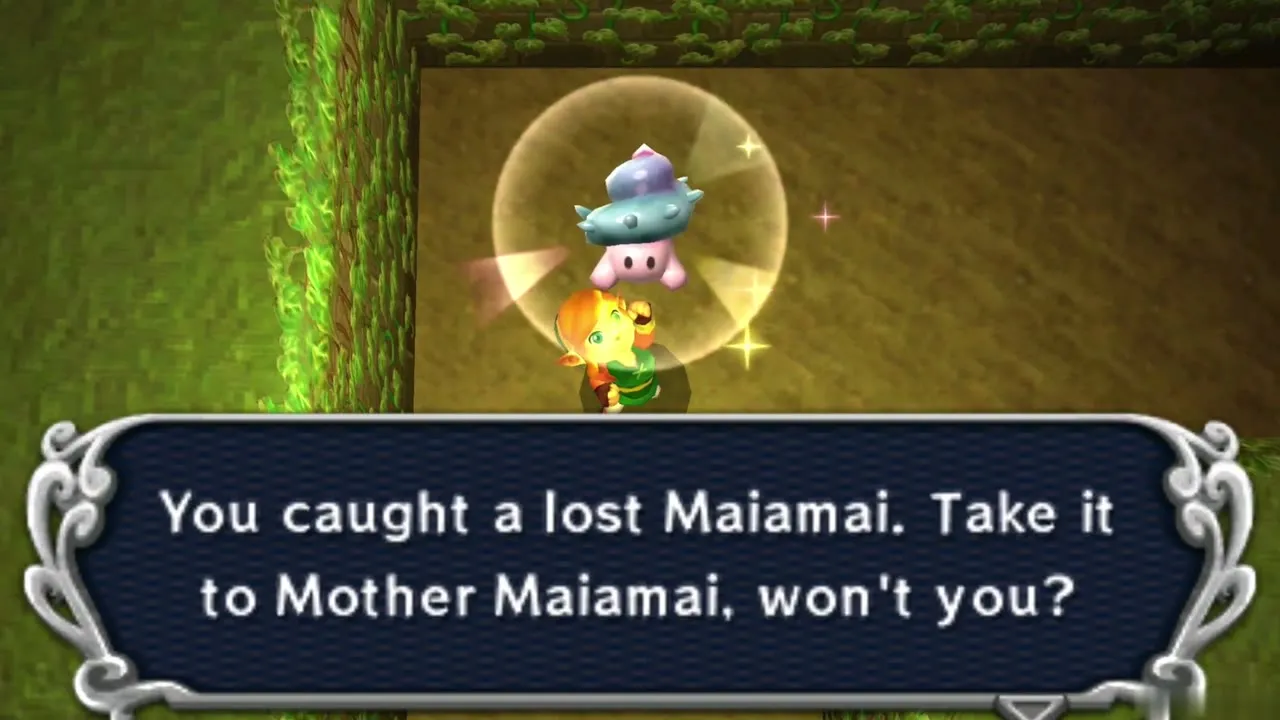
Maiamai 9: Wall north of the green flames
Once you are past the raised platform, merge onto the wall north of the two green flames. You need: Ravio’s Bracelet.
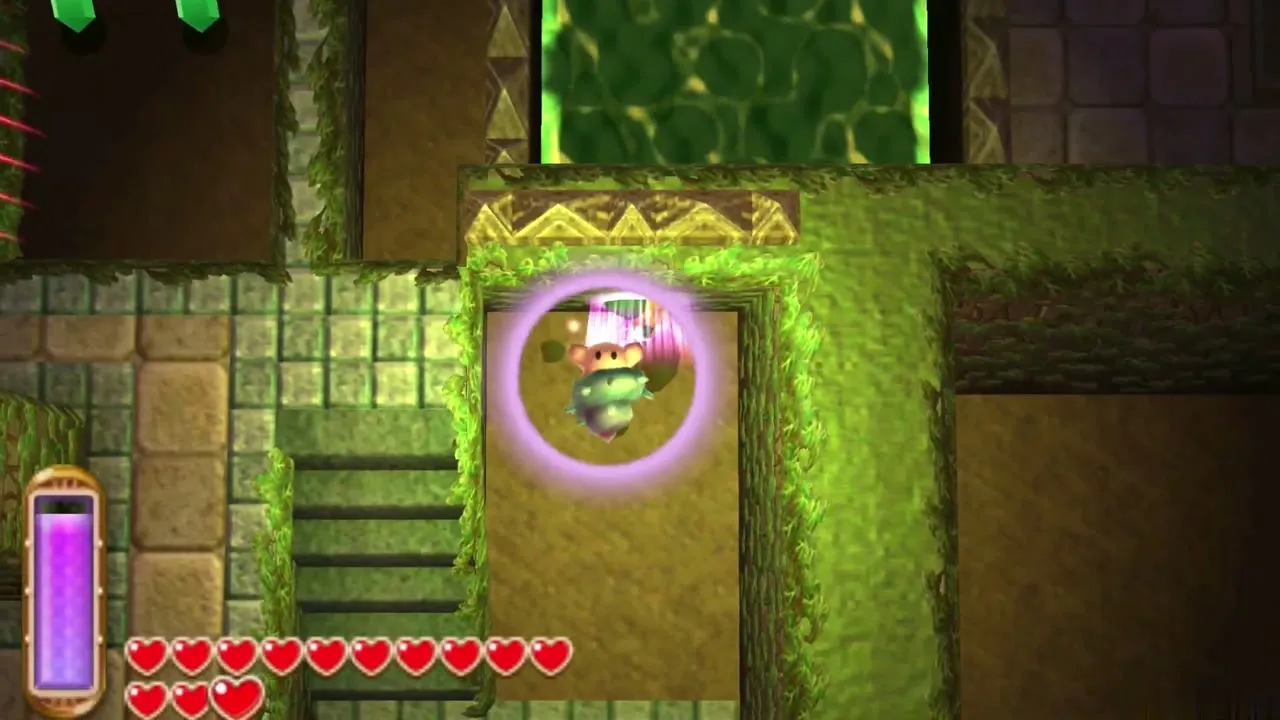
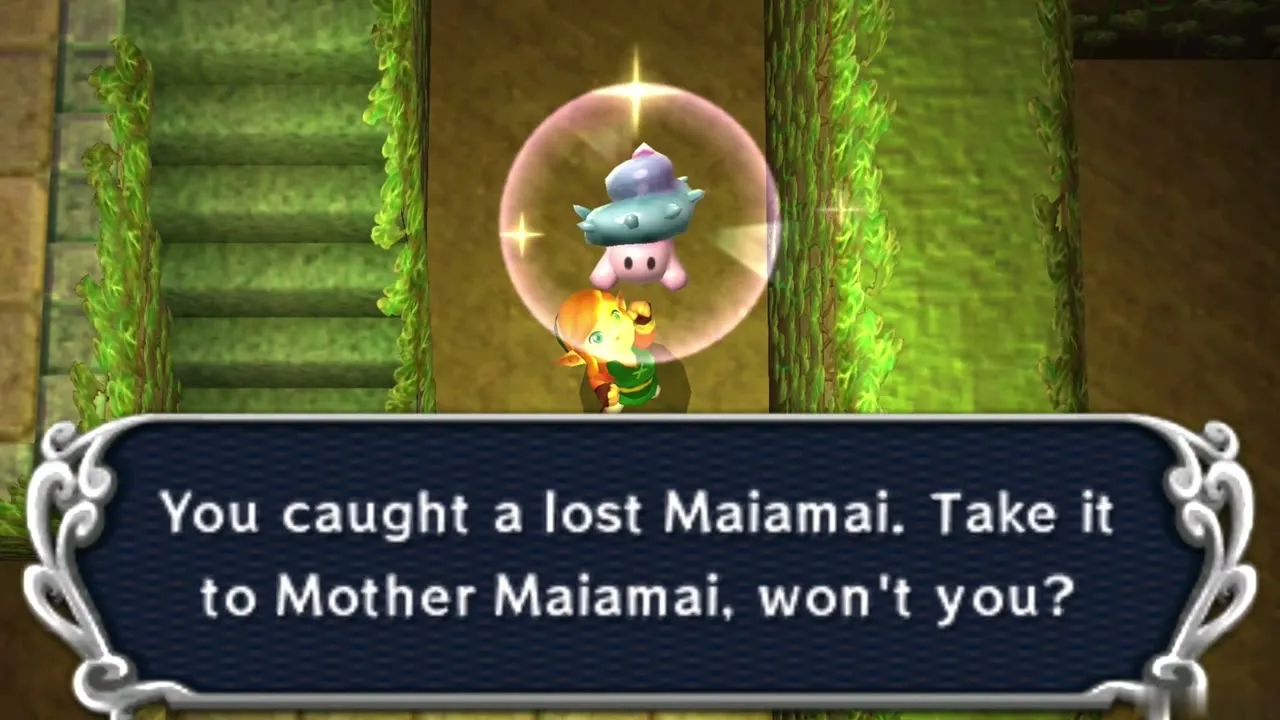
Maiamai 10: Rupee platform wall
In the southeast, merge at the top of the hill by the Fissure and go left onto the platform covered in Rupees. Follow the south wall and merge once more. You need: Ravio’s Bracelet.
Lorule: Death Mountain Region
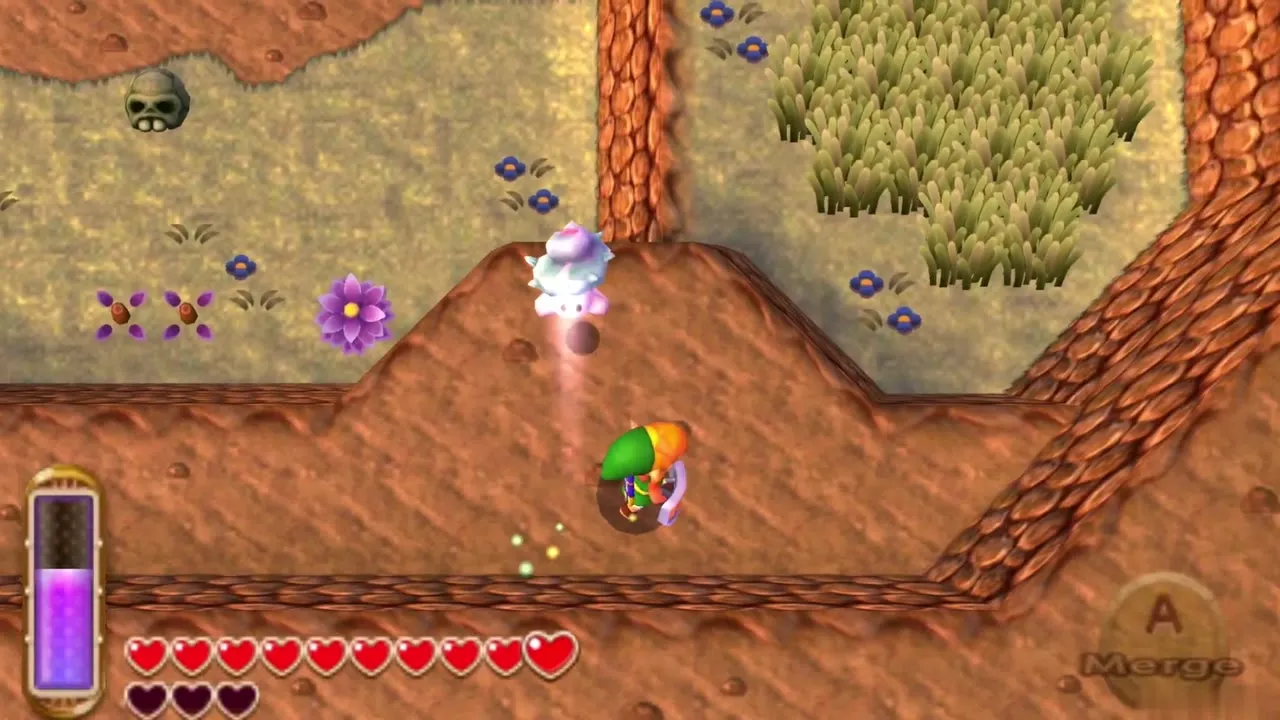
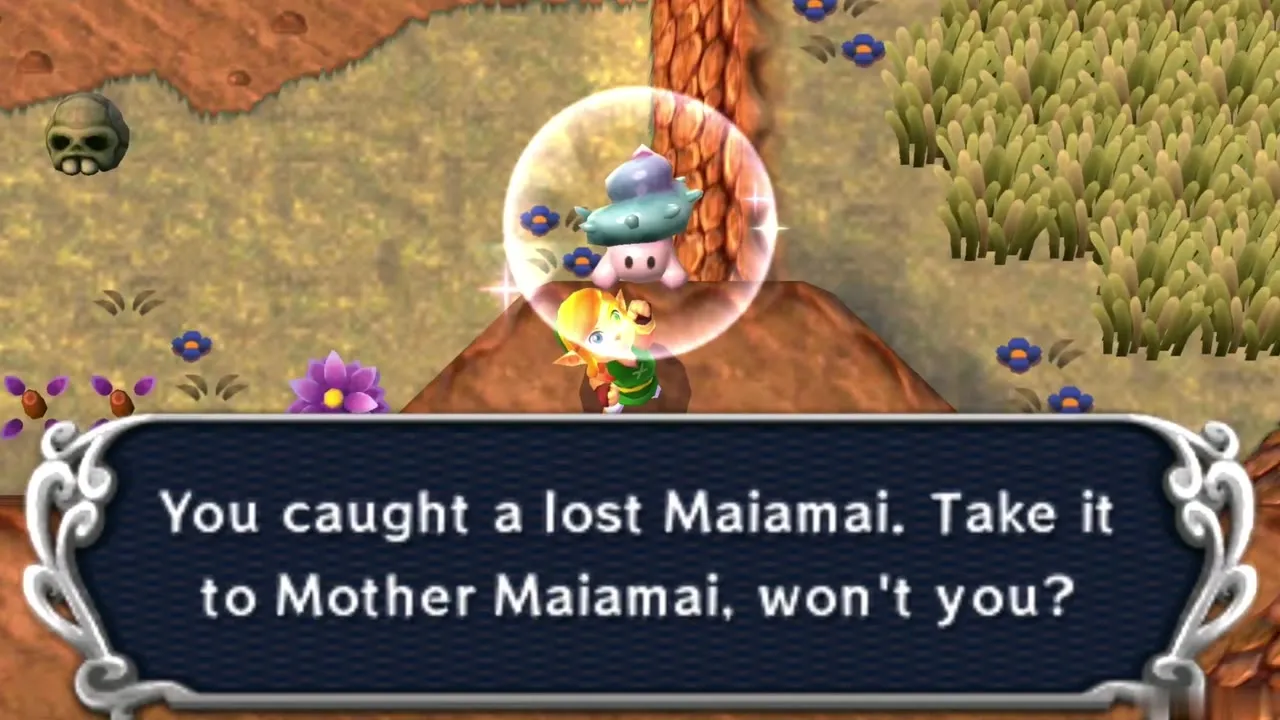
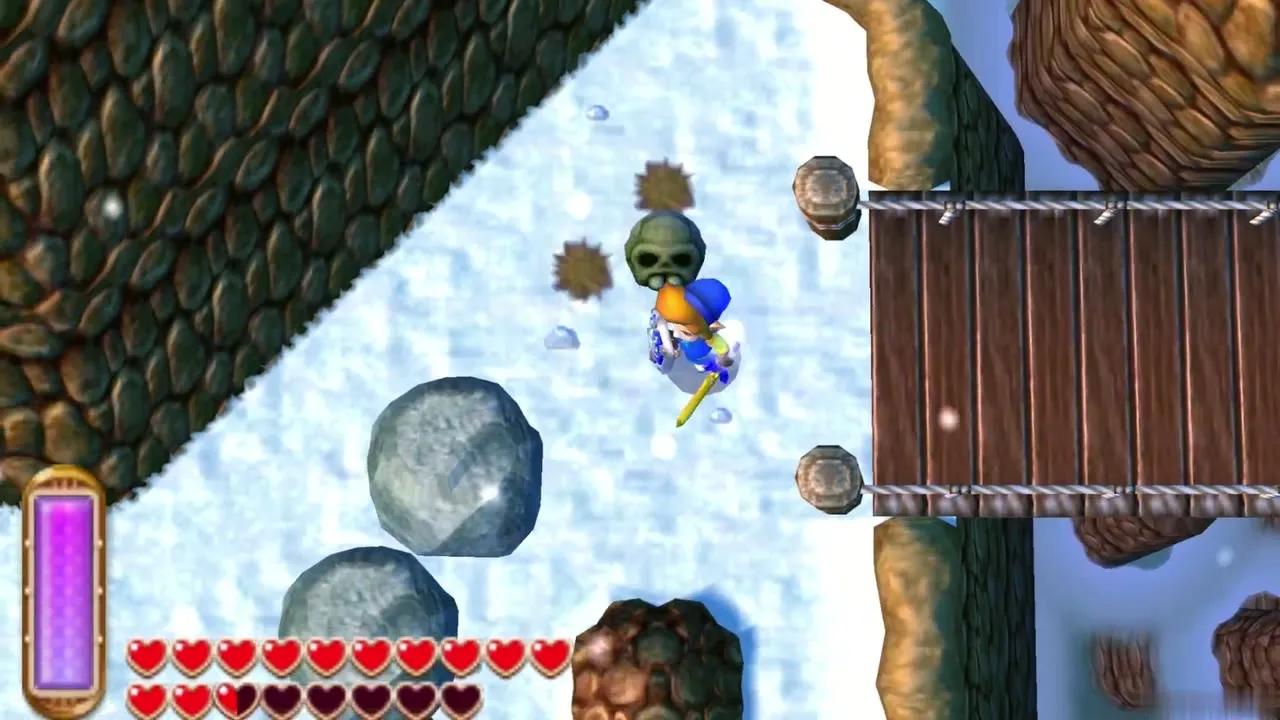
Maiamai 1: Skull on the small ledge
Pick up and throw the Skull on the little ledge to the left of the Fissure. You need: none (pick up the Skull).
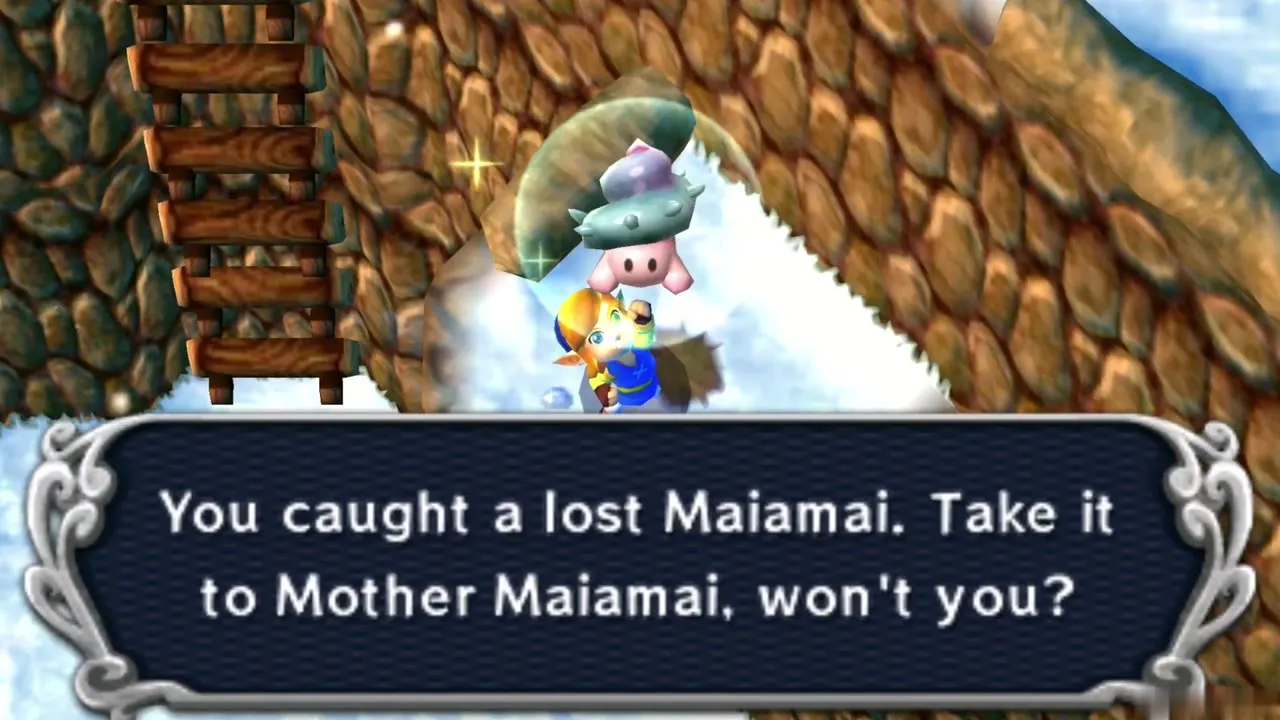
Maiamai 2: Large rock behind the pegs
Pound the pegs flat with the Hammer, then lift the westernmost large rock. You need: Titan’s Mitt and Hammer.
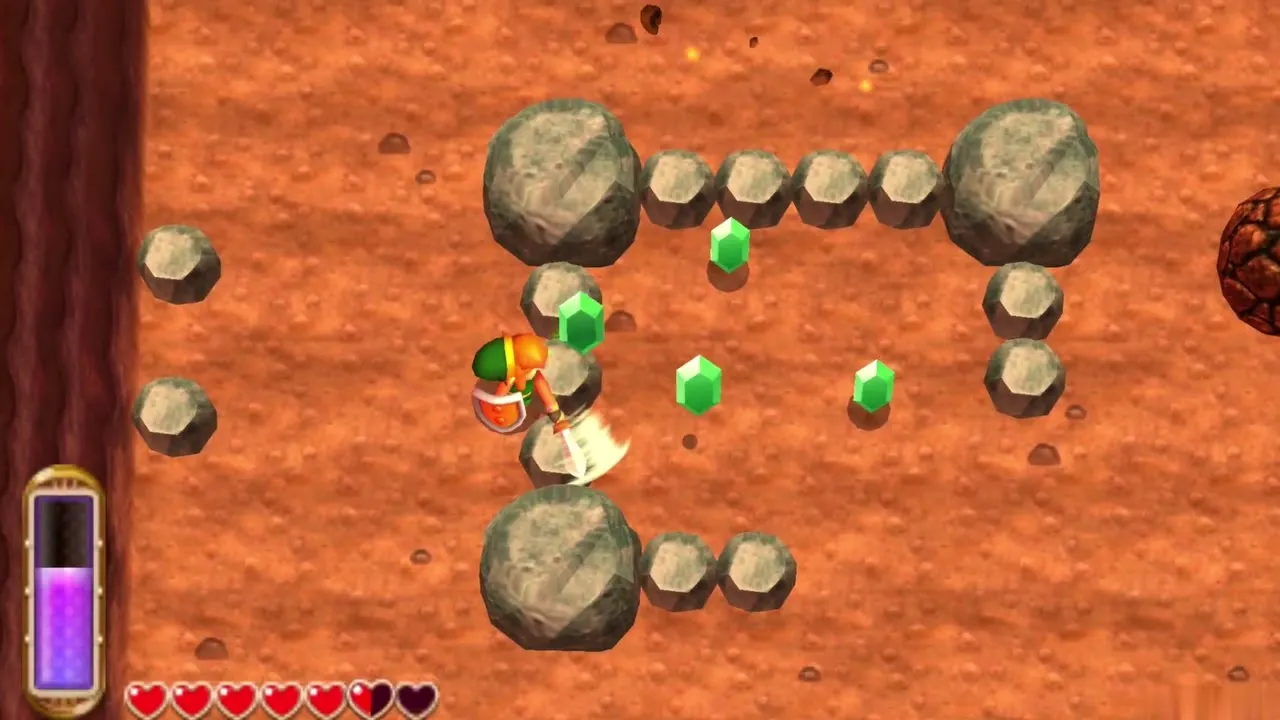
Maiamai 3: Large rock
Lift one of the large rocks in this area. You need: Titan’s Mitt.
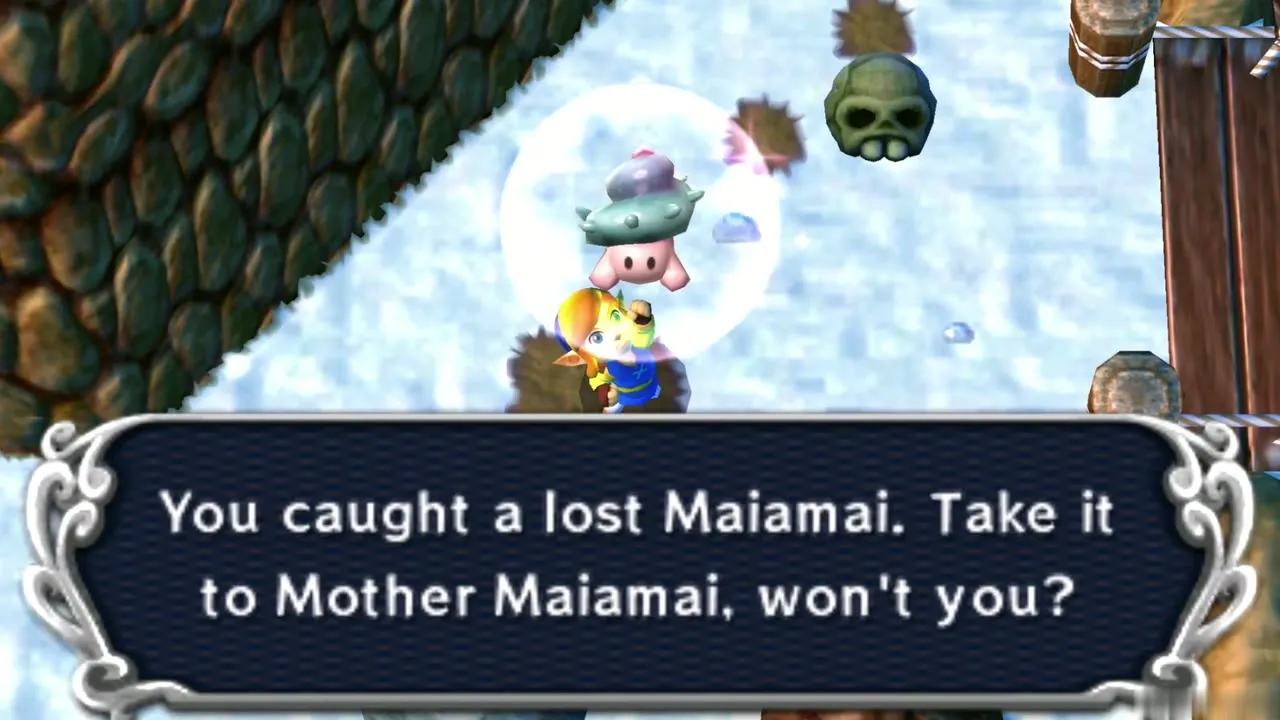
Maiamai 4: Wall near the cave and sign
Merge onto the east wall by the cave entrance and the sign, then travel right towards the southeast corner. You need: Ravio’s Bracelet.
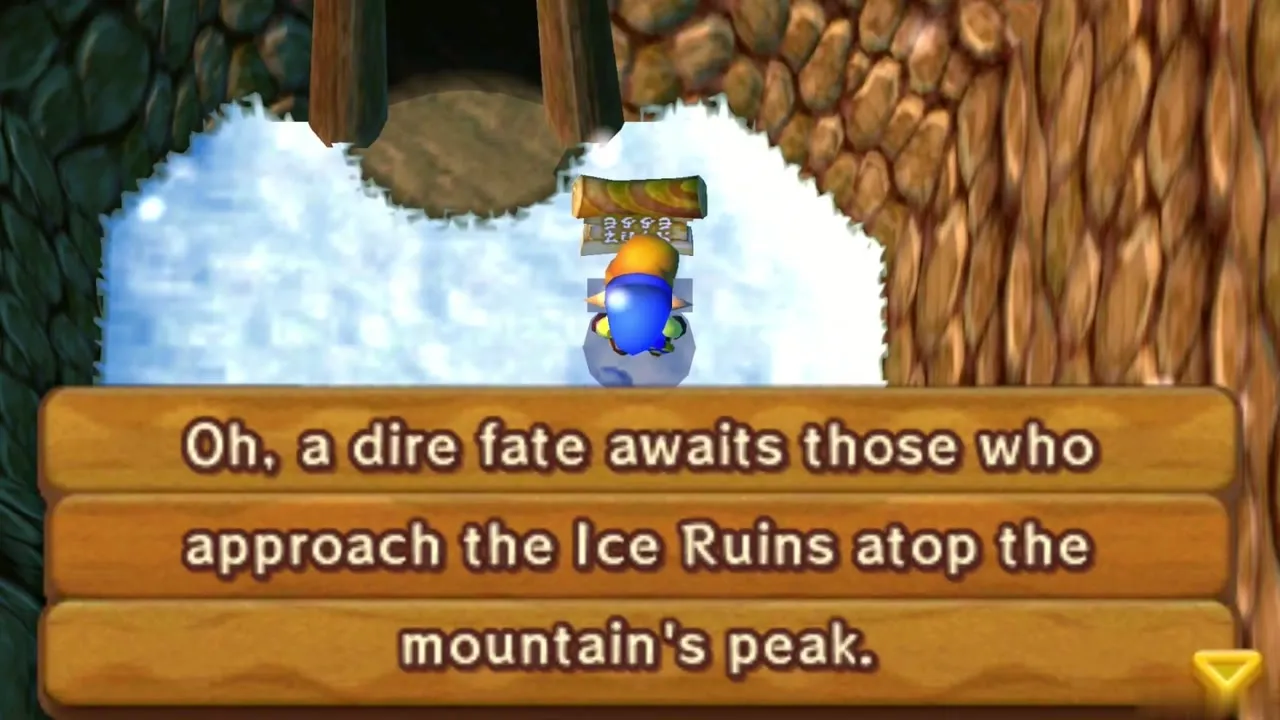
Maiamai 5: Floating-platform cave exit
In the cave with floating platforms, ride the south or west platform from the central pillar with the Big Ice Gimos. Outside, pick up the Skull. You need: none (pick up the Skull).
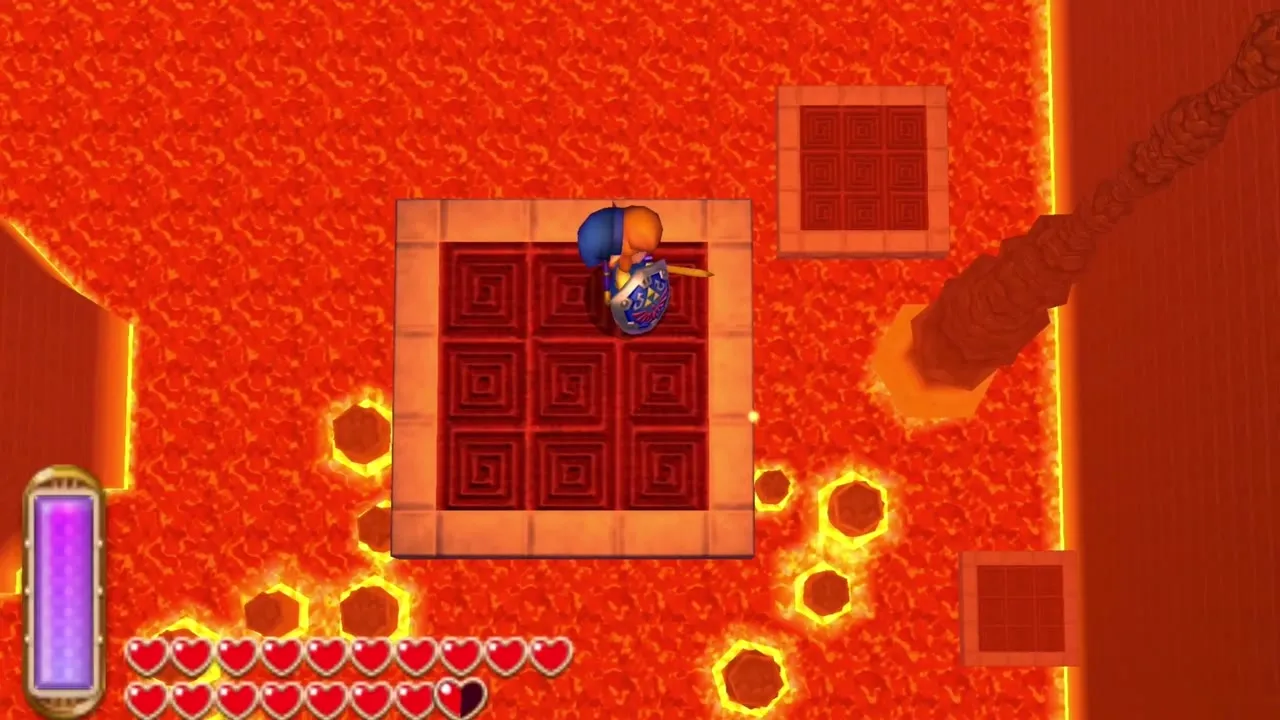
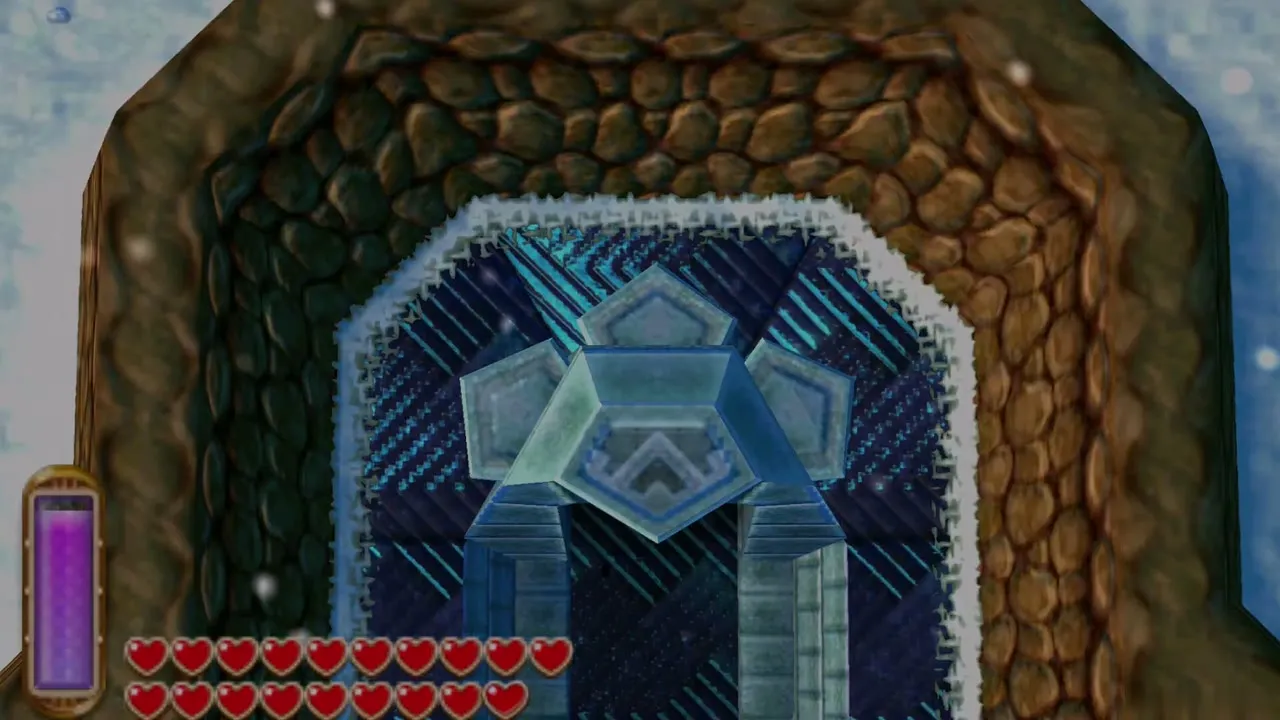
Maiamai 6: North wall of the Ice Ruins
Merge onto the north wall of the Ice Ruins entrance. You need: Ravio’s Bracelet.
Lorule: Graveyard Region
Maiamai 1: Large rock by the Philosopher’s Cave exit
Leave the Philosopher’s Cave and lift the large rock to the west. You need: Titan’s Mitt.
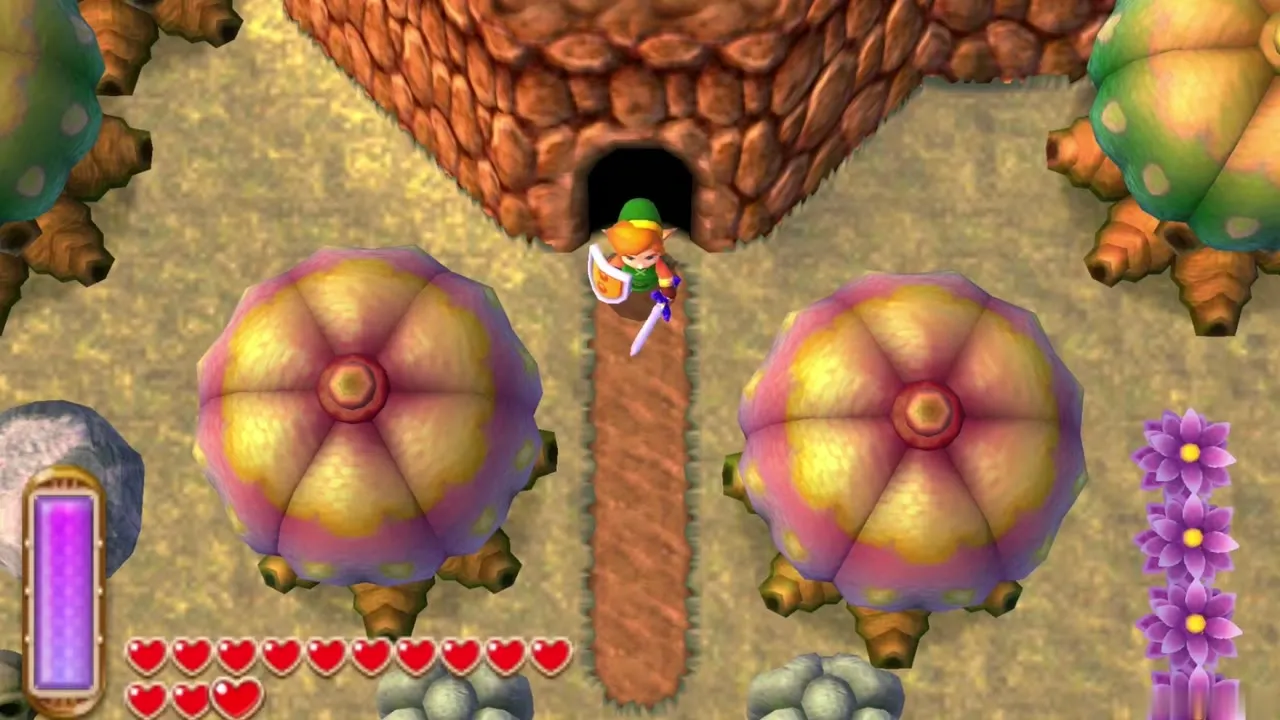
Maiamai 2: Rock structure wall
Merge onto the left side of the rock structure. You need: Ravio’s Bracelet.
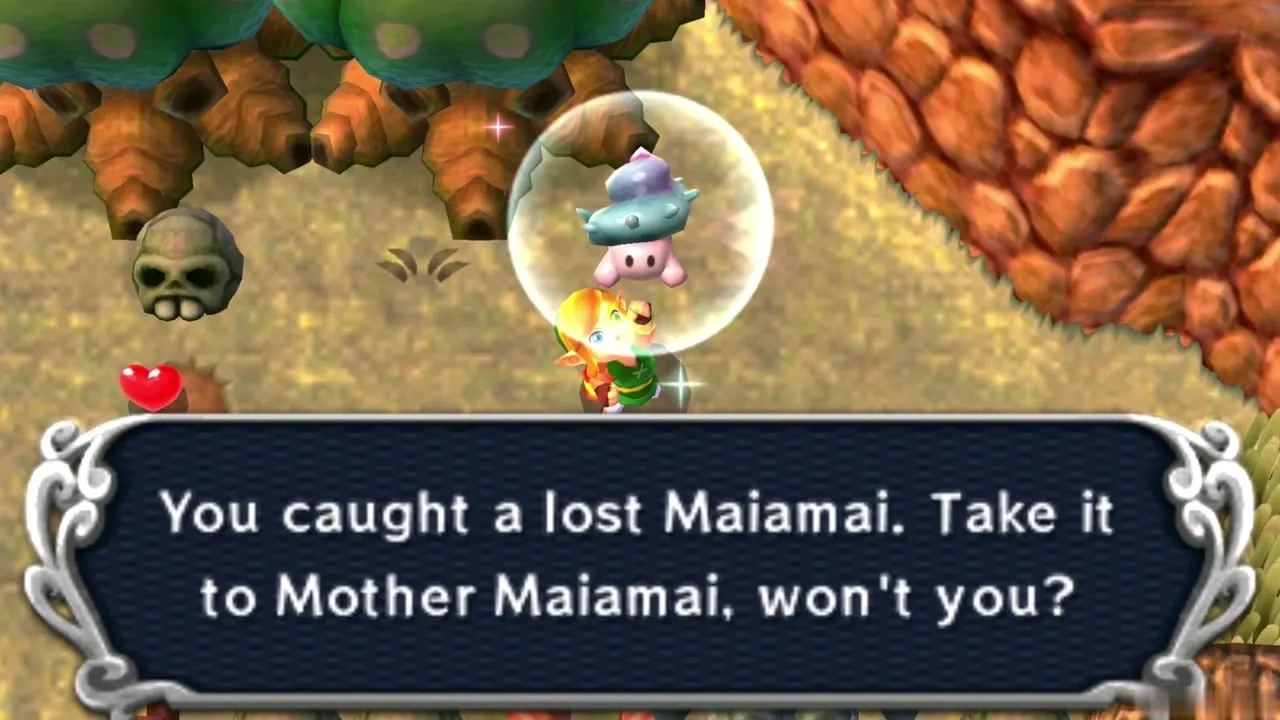
Maiamai 3: Lone tree
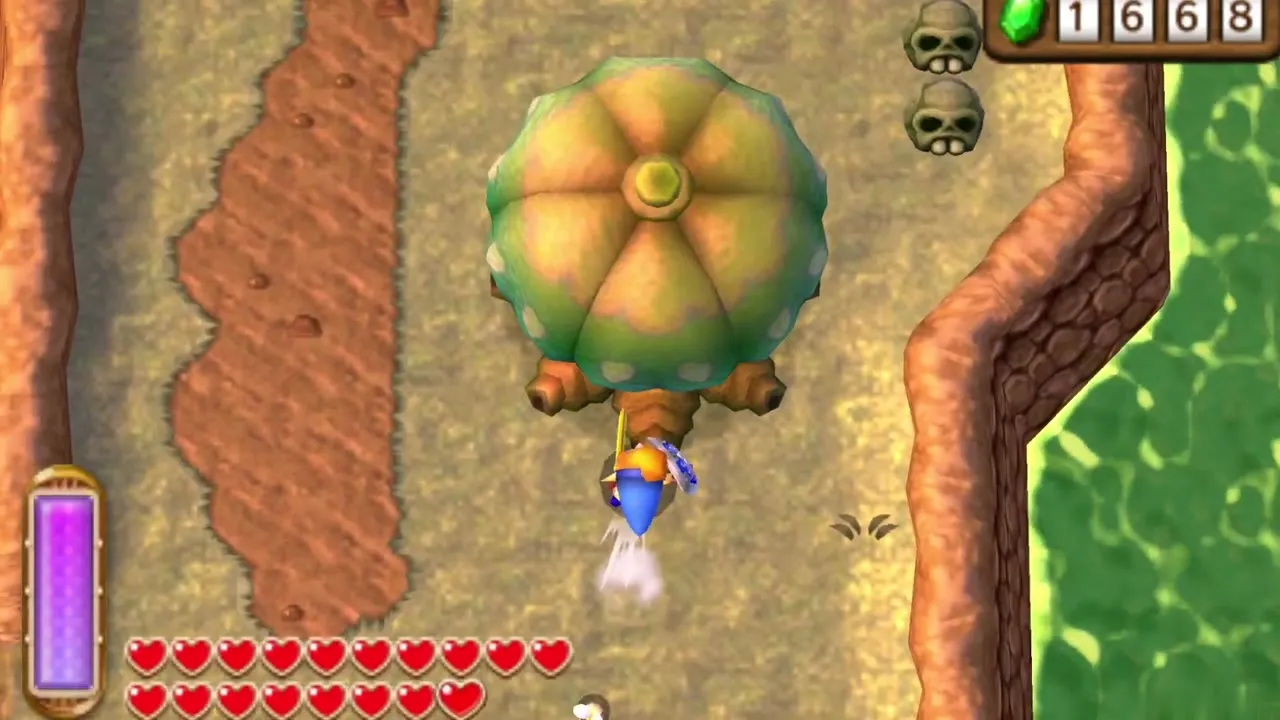
Dash into the lone tree north of the long grass and the Treasure Chest. You need: Pegasus Boots.
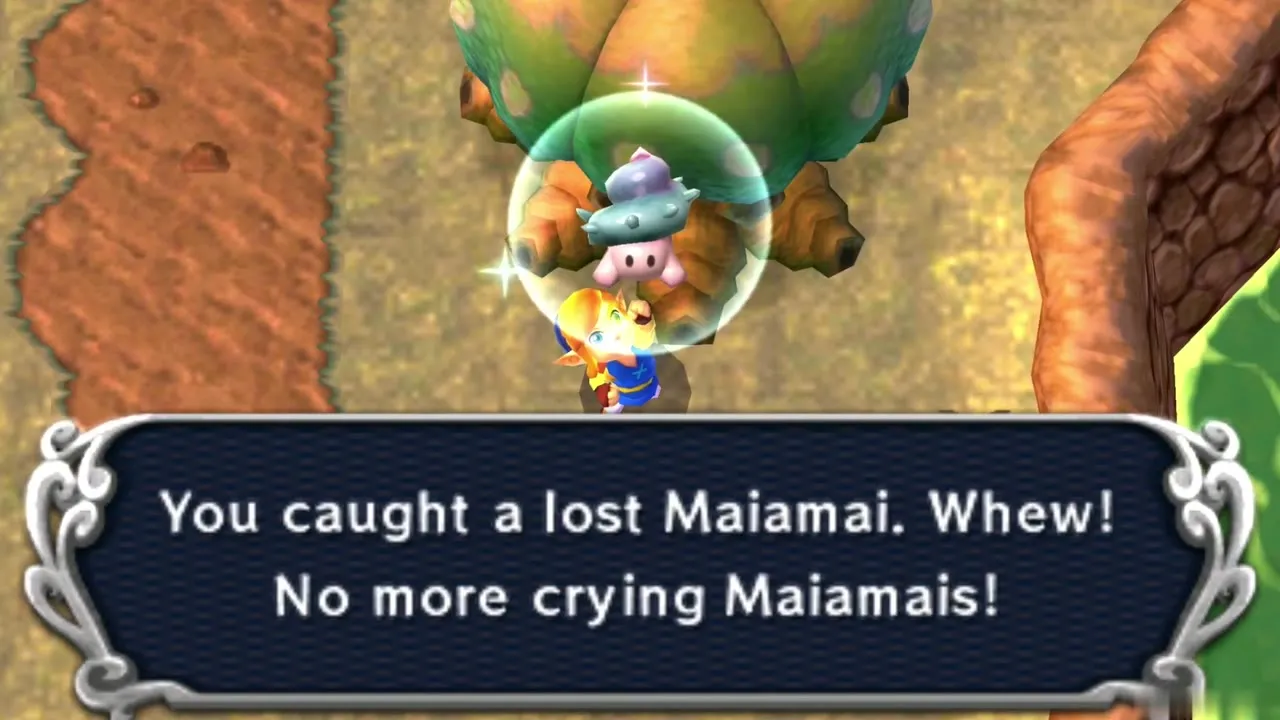
Lorule: Lorule Lake Region
Maiamai 1: Wall south of the Lakeside Item Shop
Merge onto the wall to the south of the Lakeside Item Shop. You need: Ravio’s Bracelet.
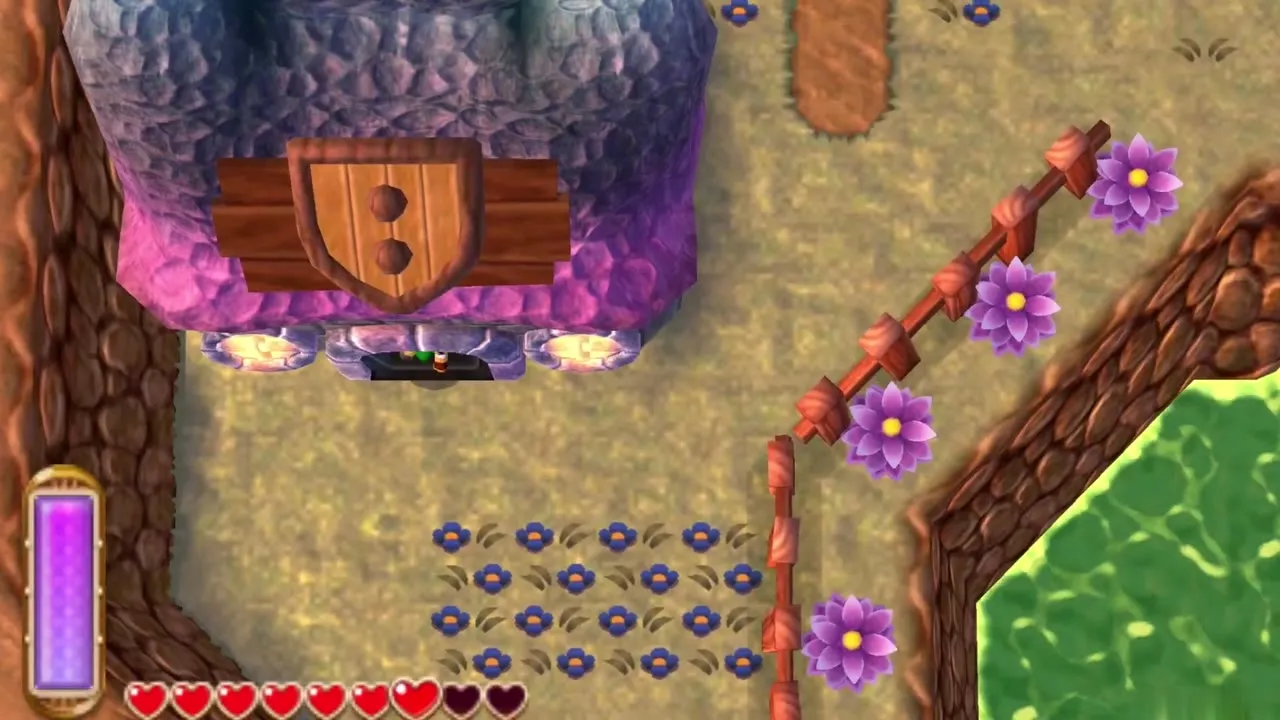
Maiamai 2: Southwest shore rock
Lift the large rock on the southwest shore. You need: Titan’s Mitt.
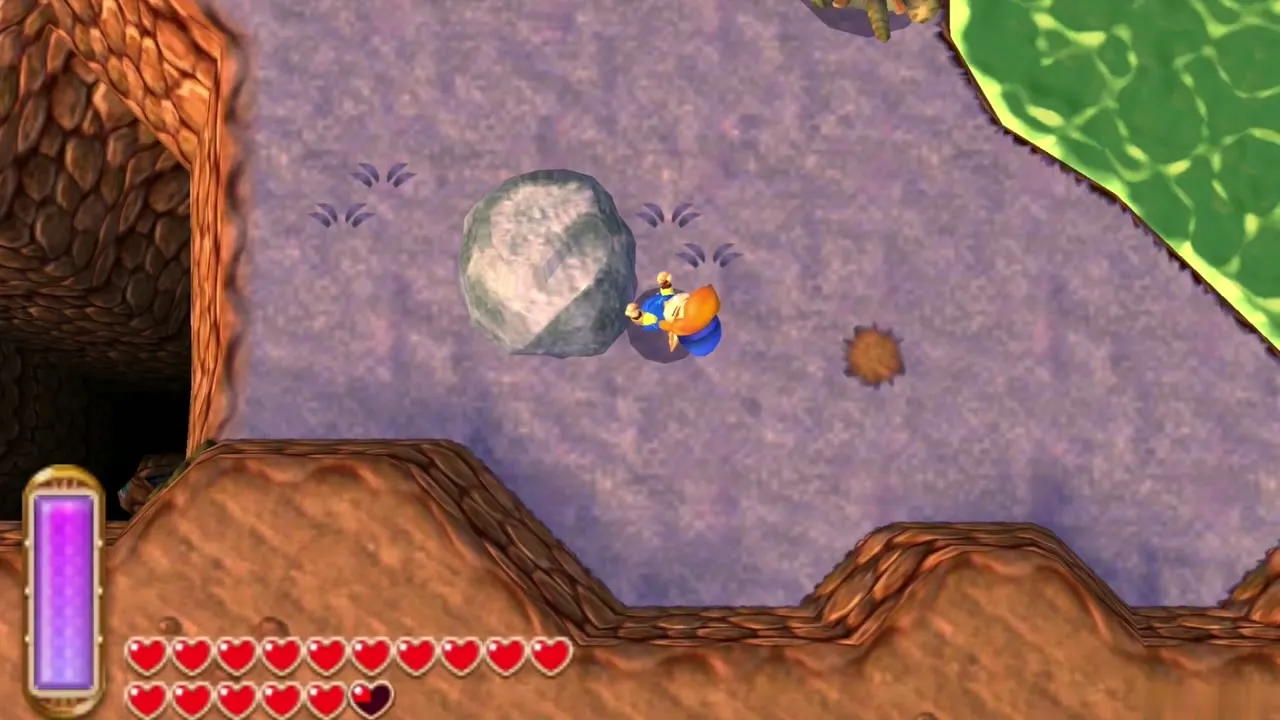
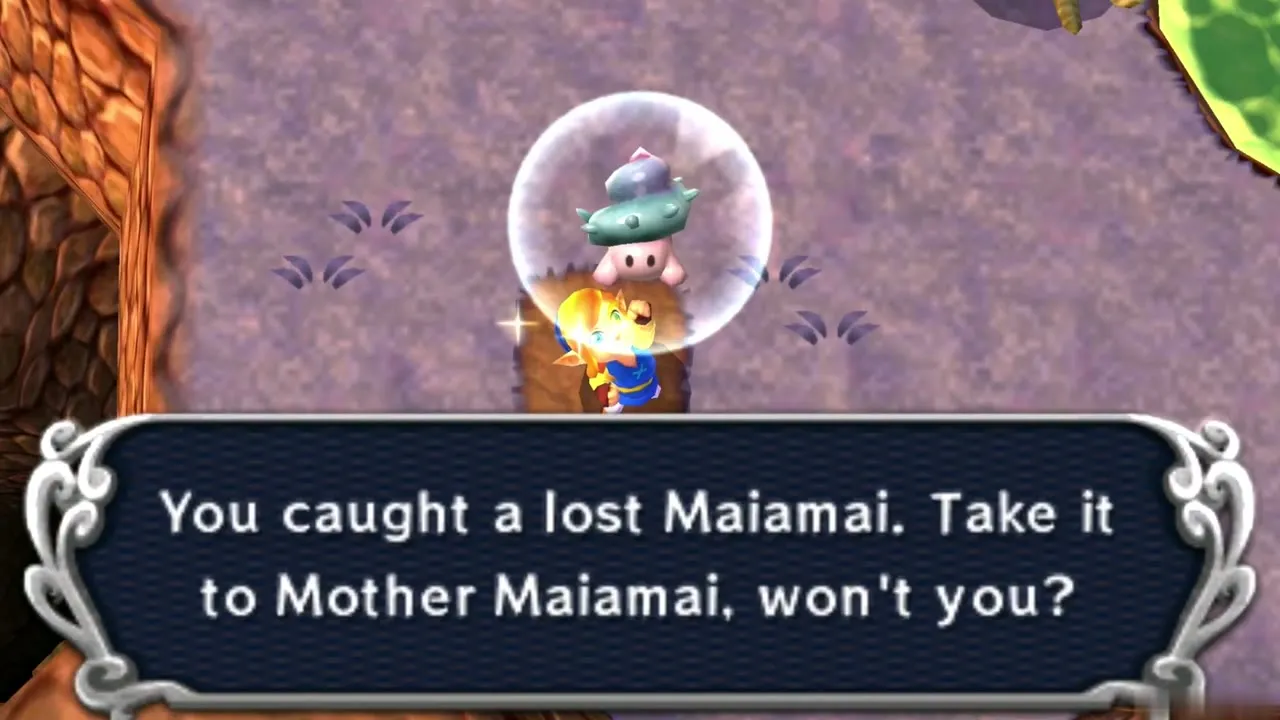
Maiamai 3: Rock formation in the water
Dive in the centre of the rock formation. You need: Zora’s Flippers.
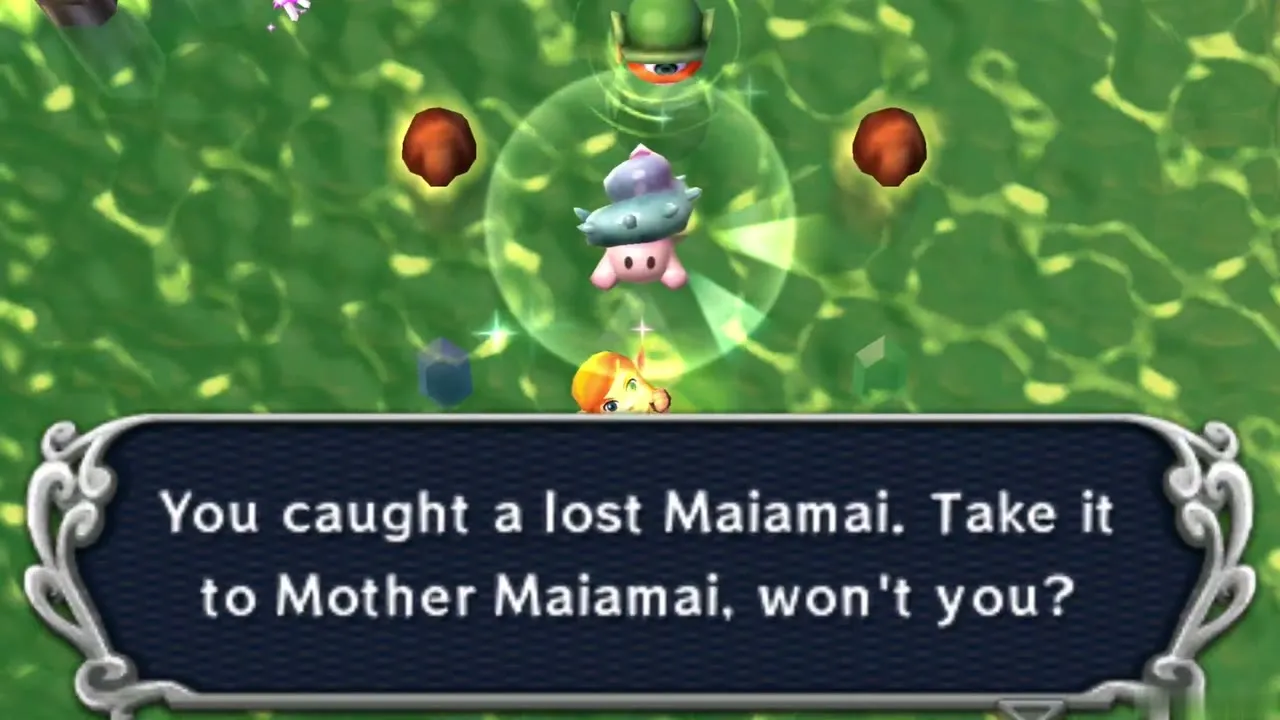
Maiamai 4: Southeast corner
Merge on the wall in the southeast corner. You need: Ravio’s Bracelet.
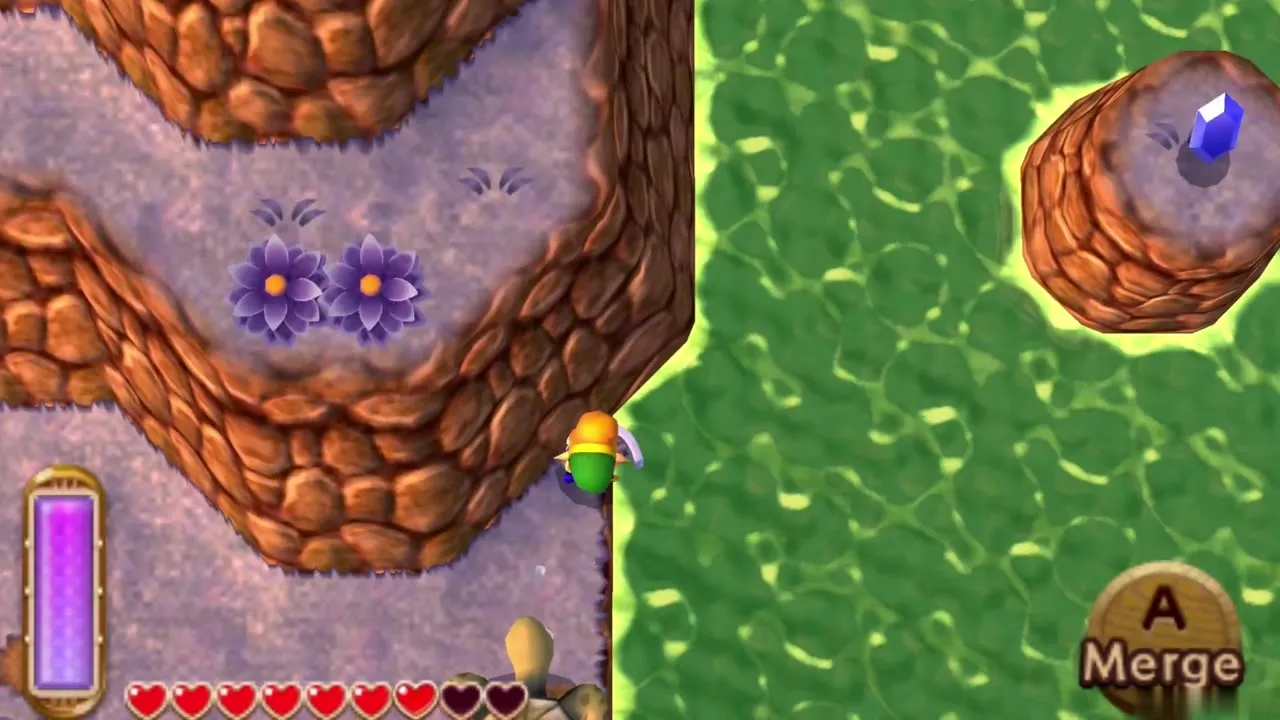
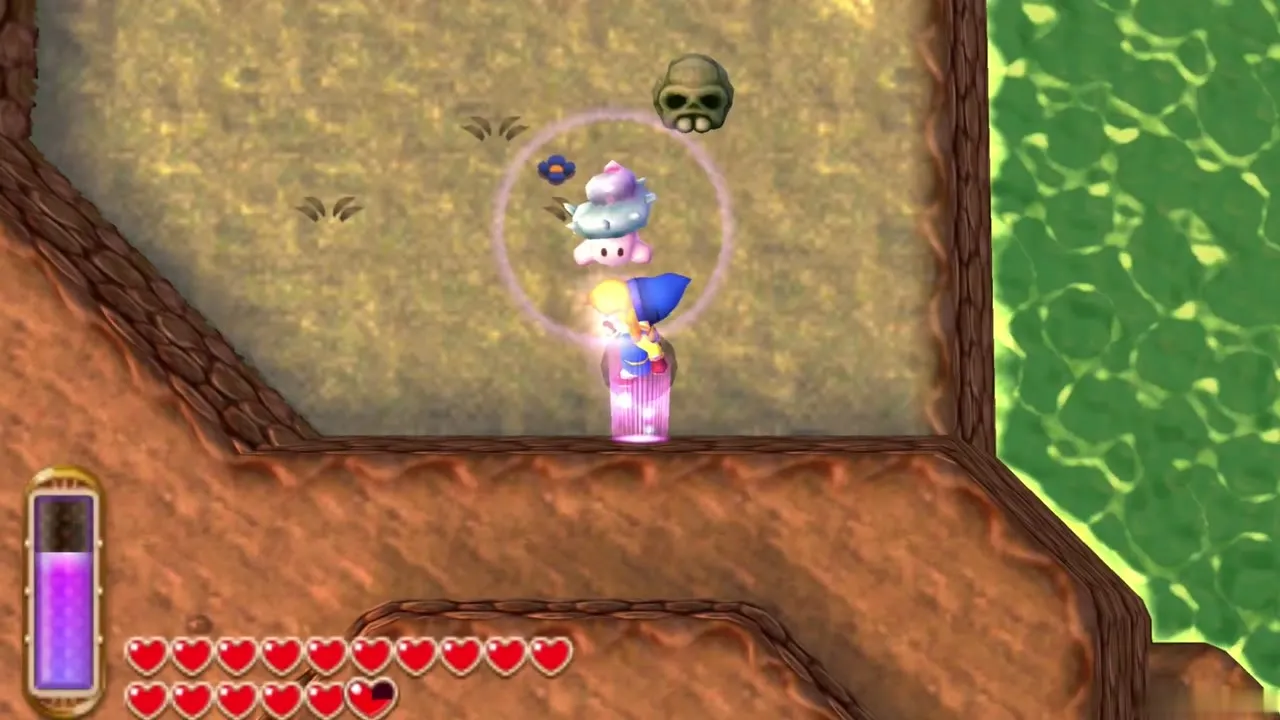
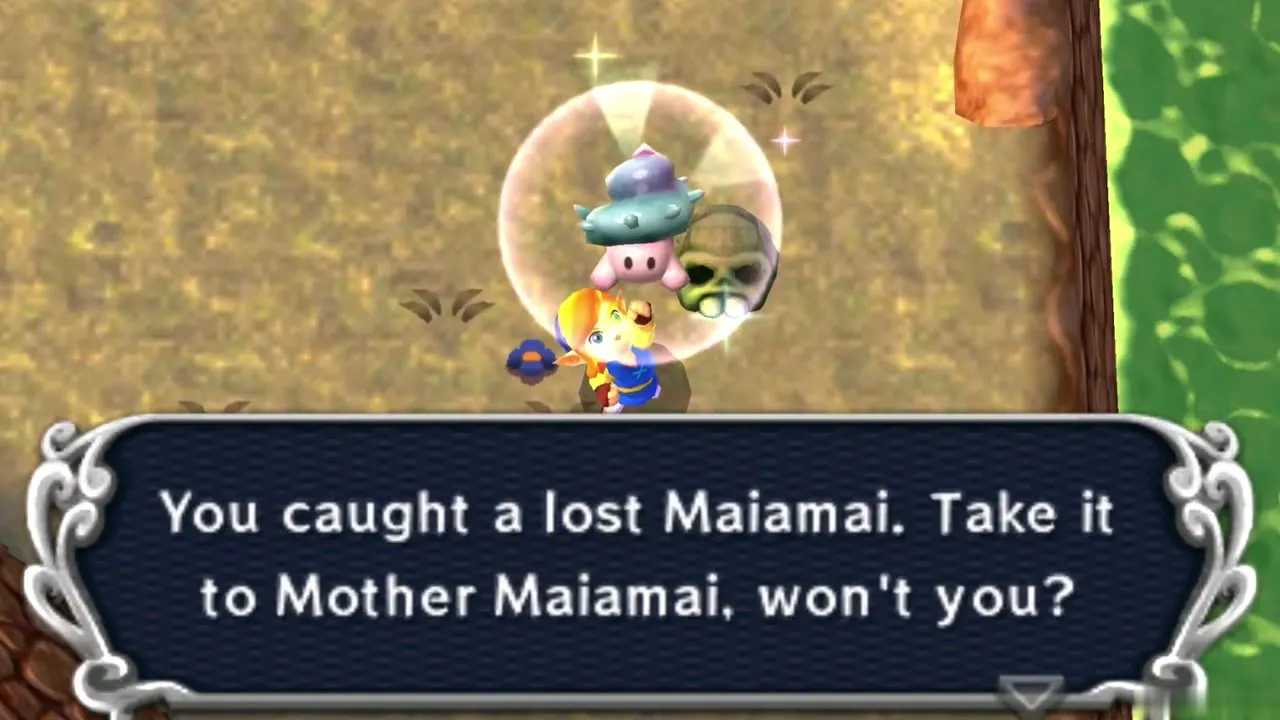
Maiamai 5: Skull on the second platform
From the platform in the northeast corner, merge and move left to the next platform, then pick up the Skull. You need: Ravio’s Bracelet (pick up the Skull).
Lorule: Misery Mire Region
Maiamai 1: Second large rock south of the Fissure
Lift the second large rock south of the Fissure. You need: Titan’s Mitt.
Maiamai 2: Behind the Weather Vane
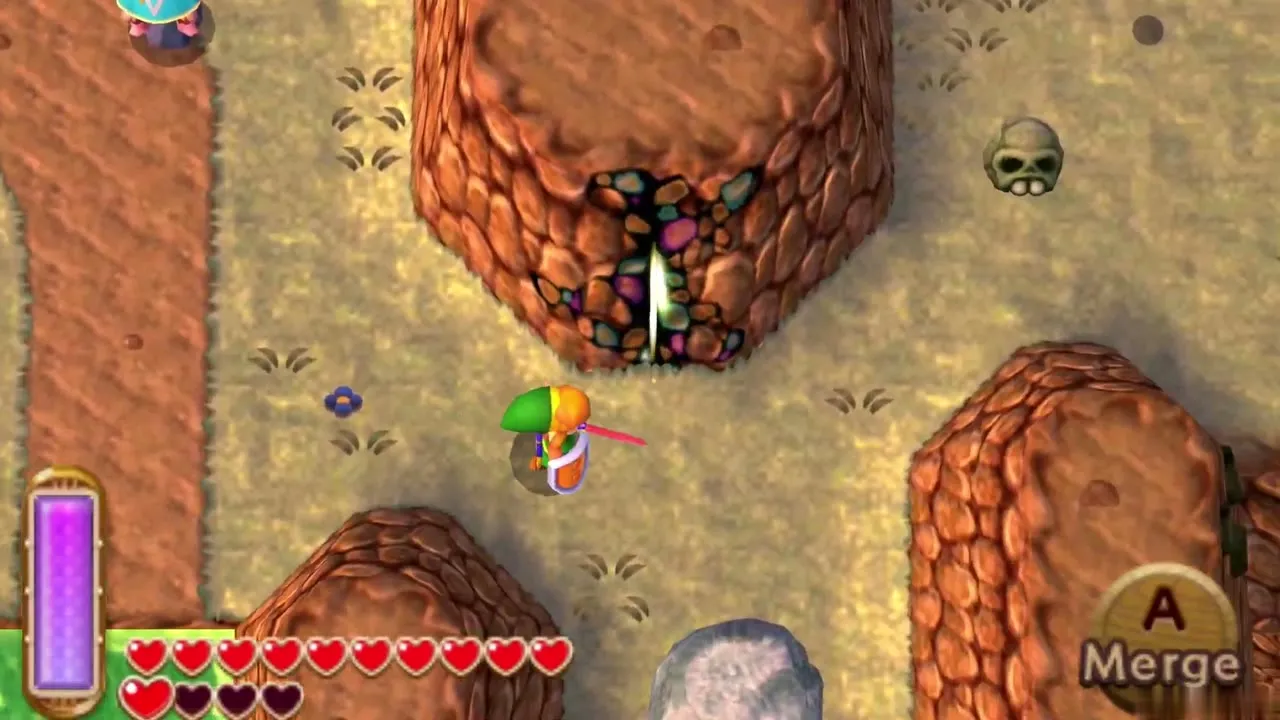
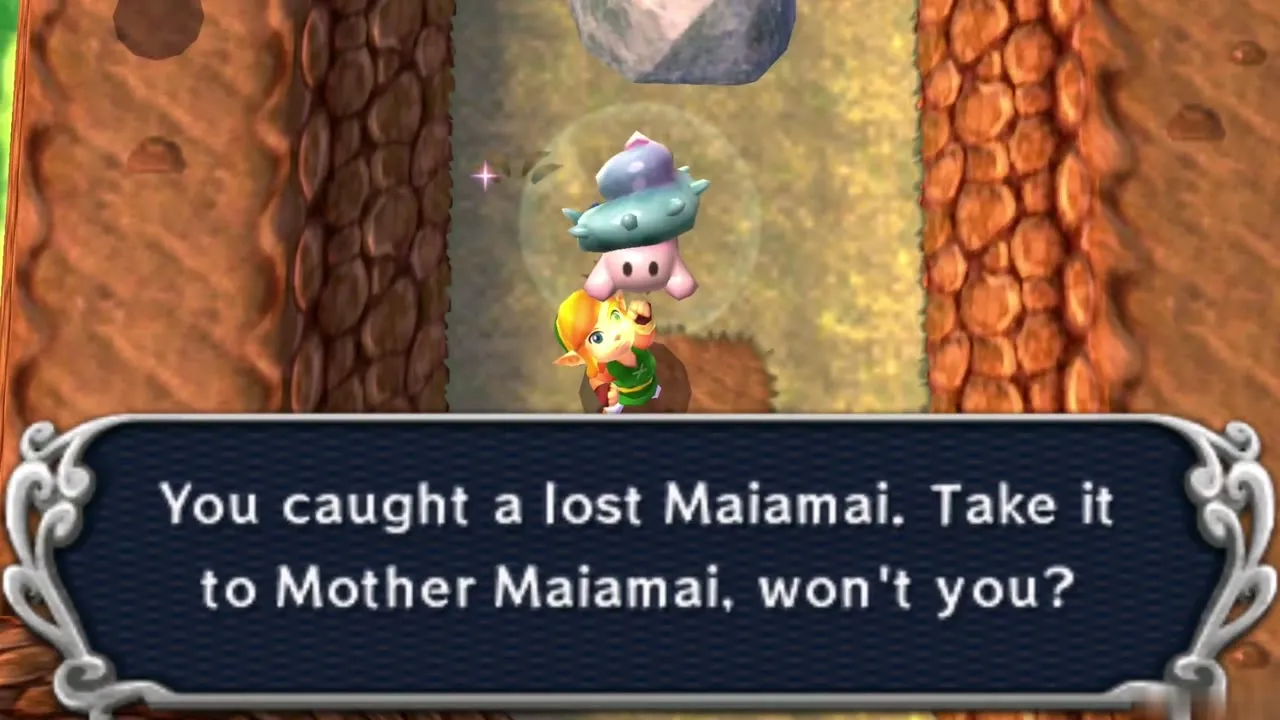
Merge directly behind the Weather Vane. You need: Ravio’s Bracelet.
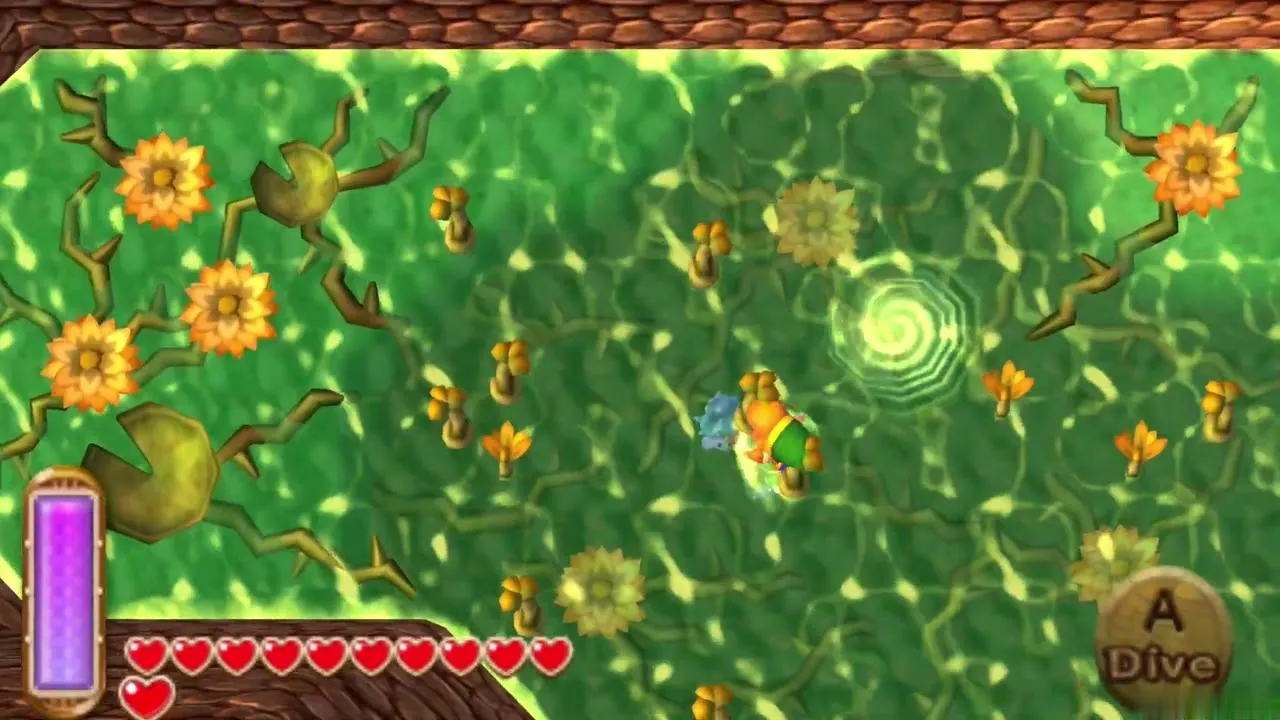
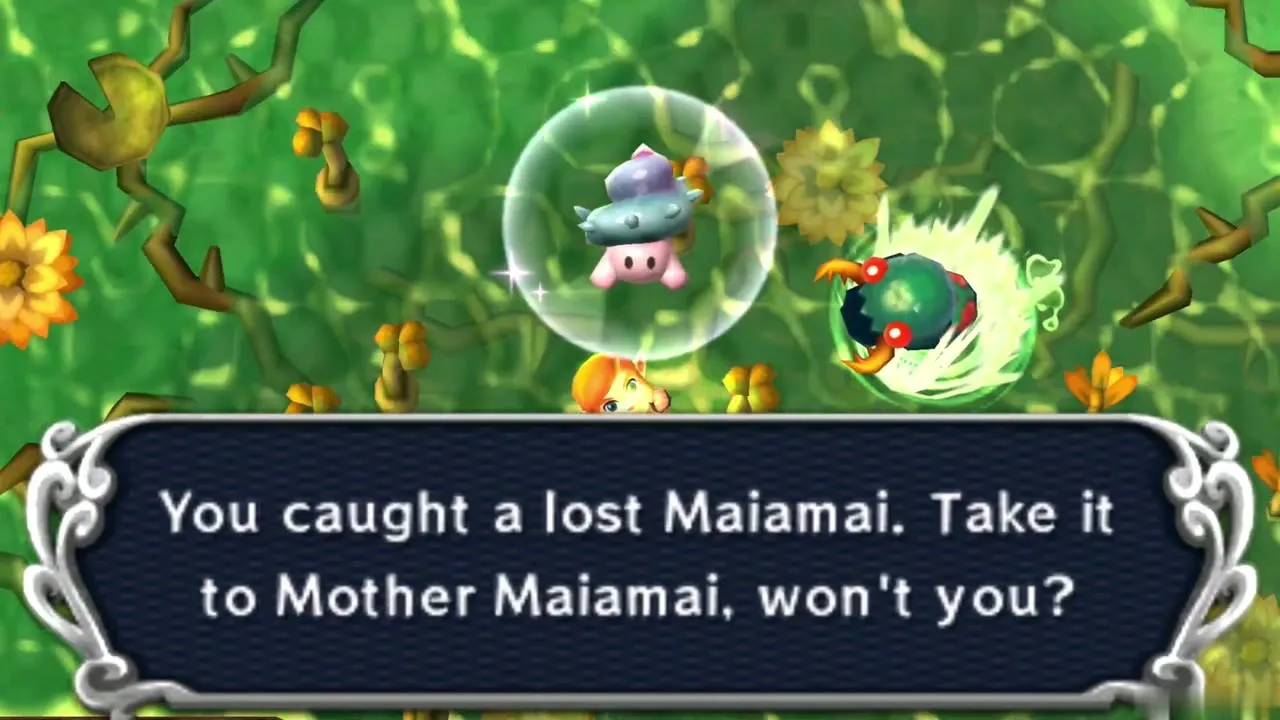
Maiamai 3: West end of the swamp
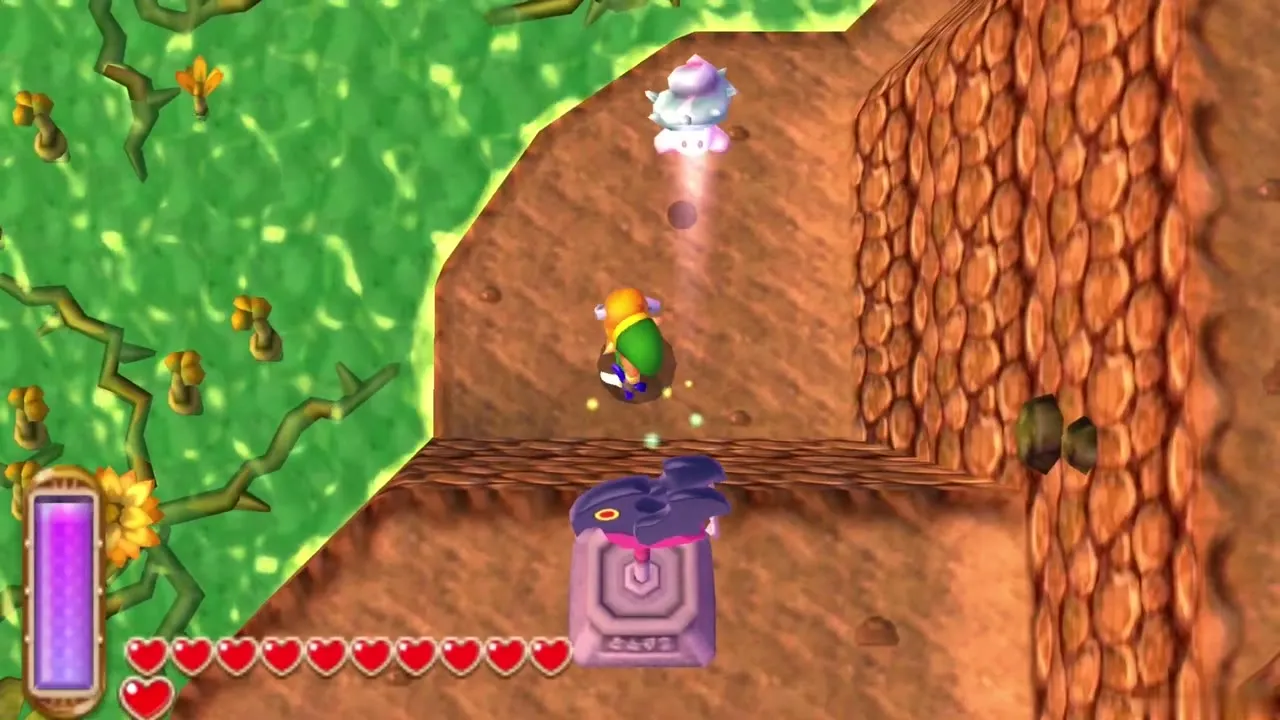
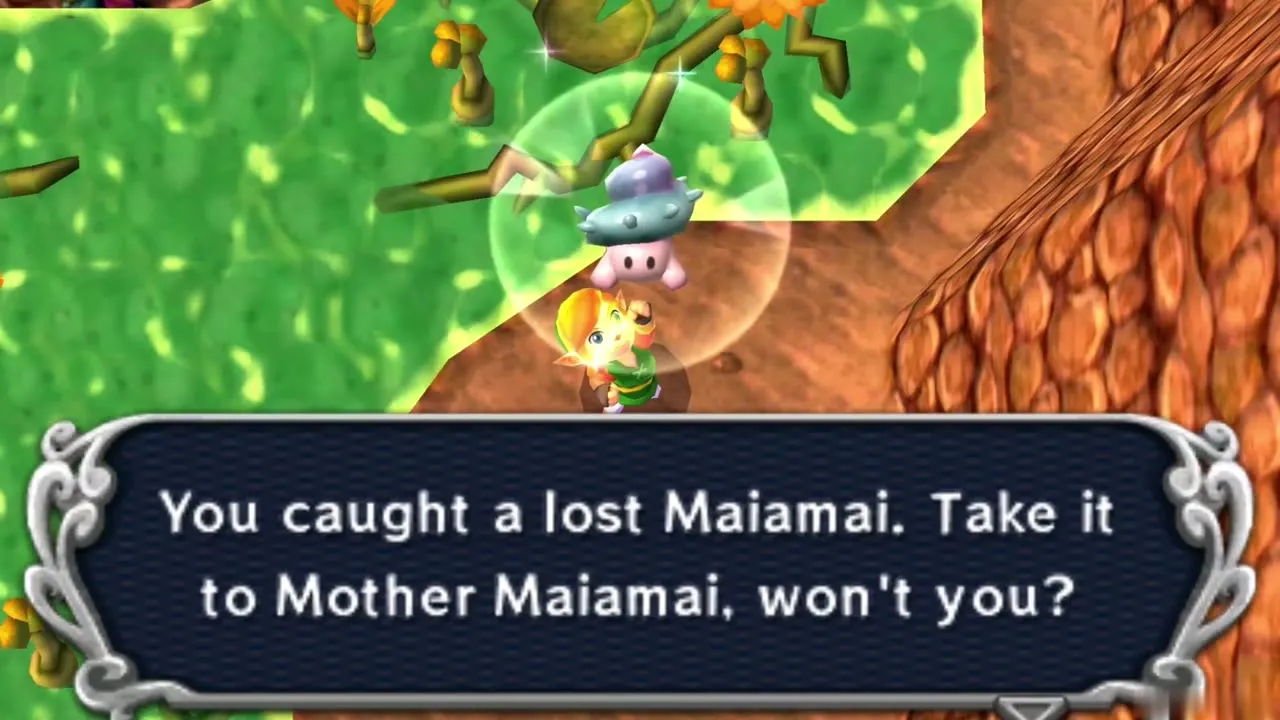
Dive in the deep water near the swamp’s western end. You need: Zora’s Flippers.
Lorule: Skull Woods Region
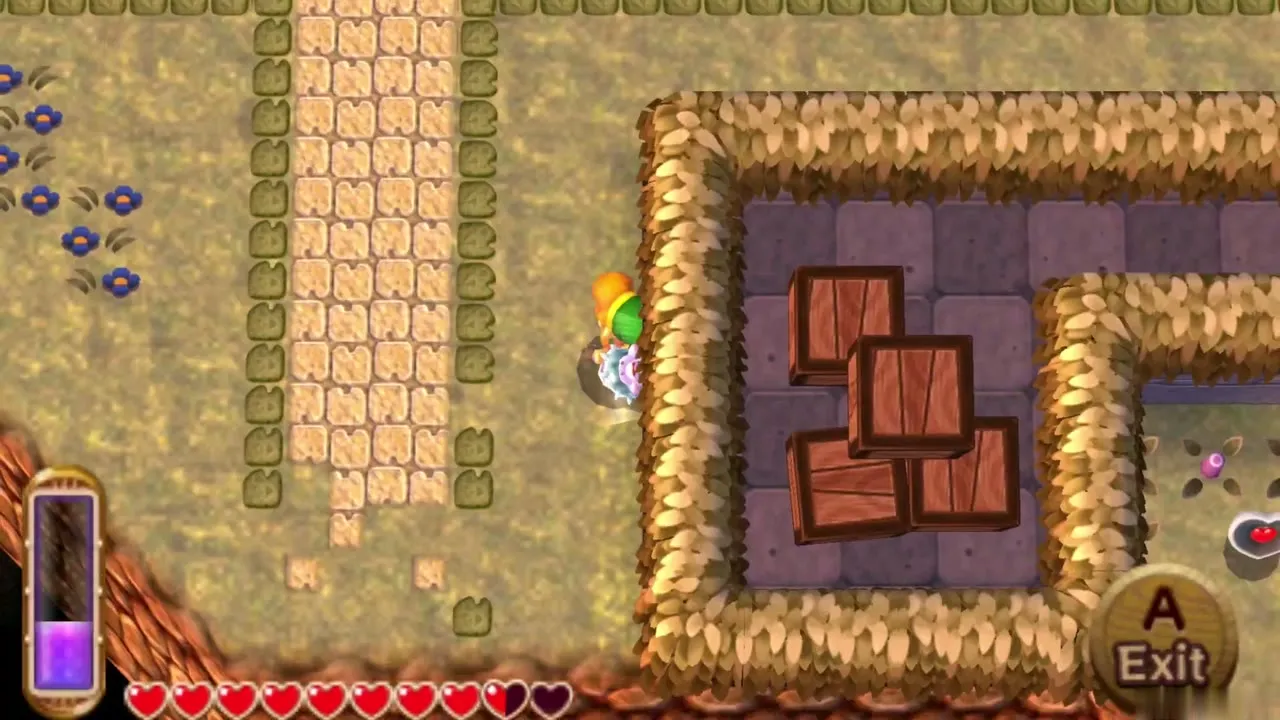
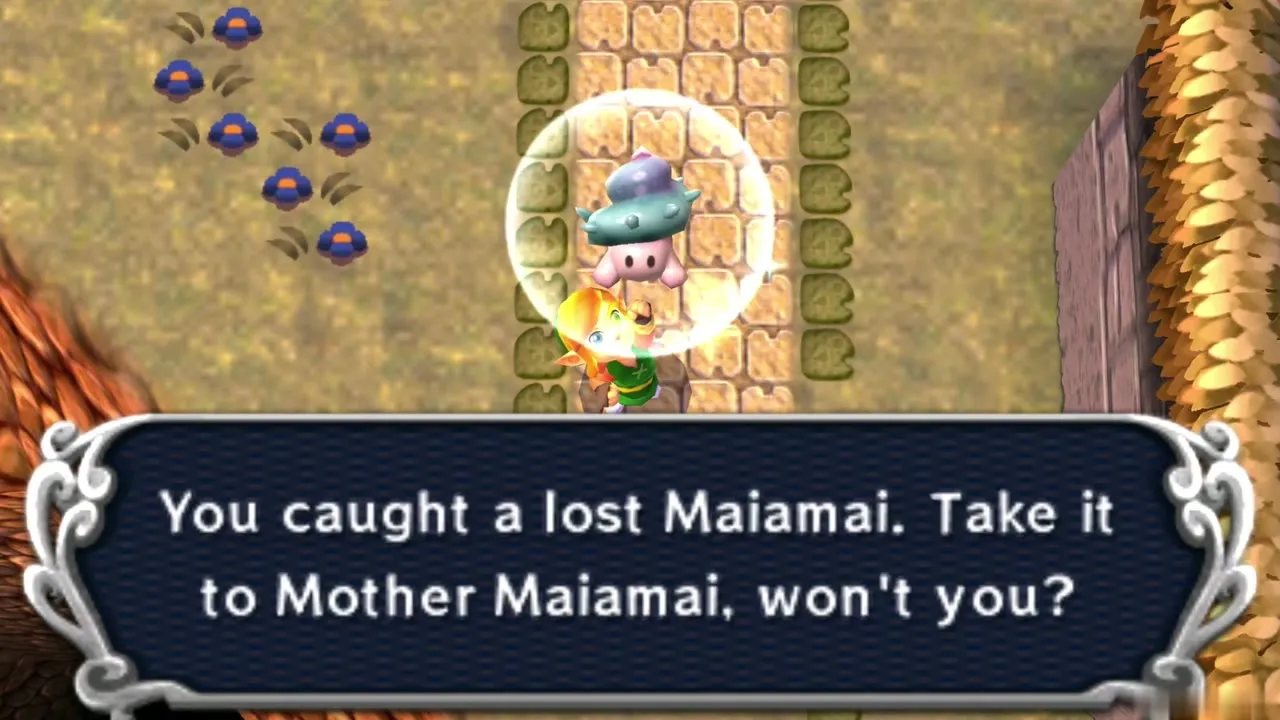
Maiamai 1: West wall of the long house
Merge onto the west wall of the long house. You need: Ravio’s Bracelet.
Maiamai 2: Rock in the eastern clearing
Of the two clearings south of the forest, go to the eastern one and lift the large rock. You need: Titan’s Mitt.
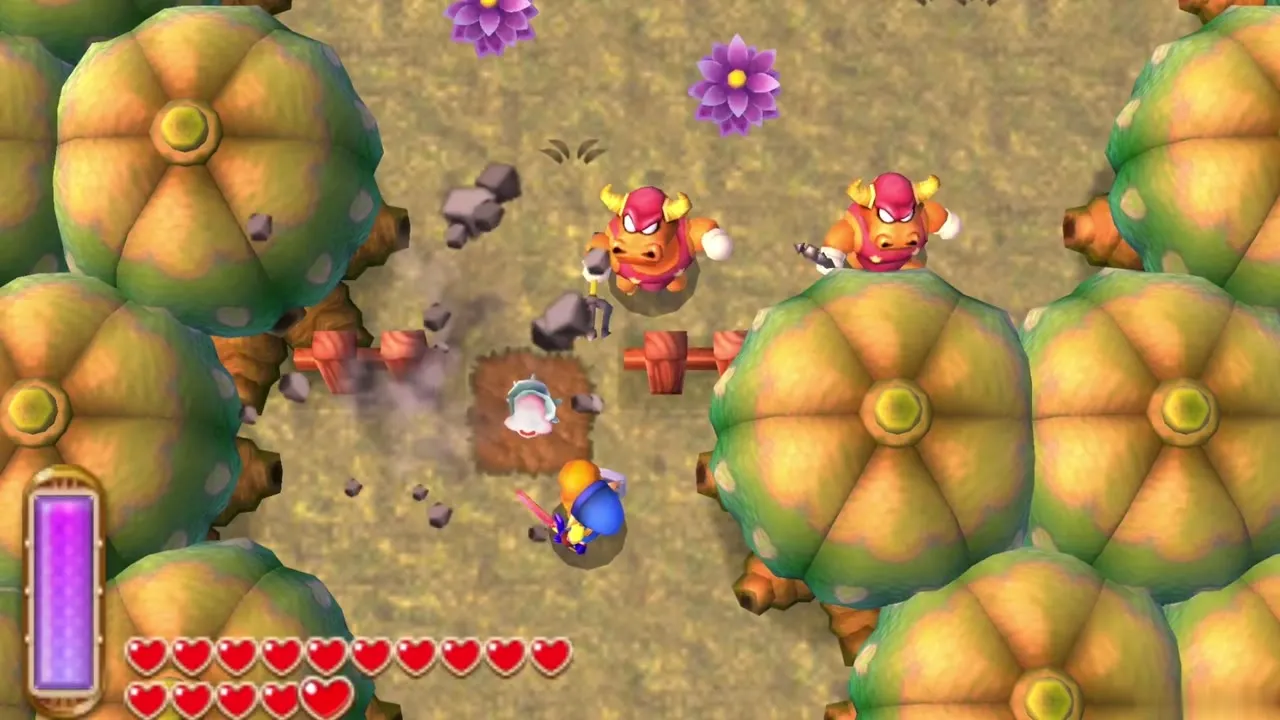
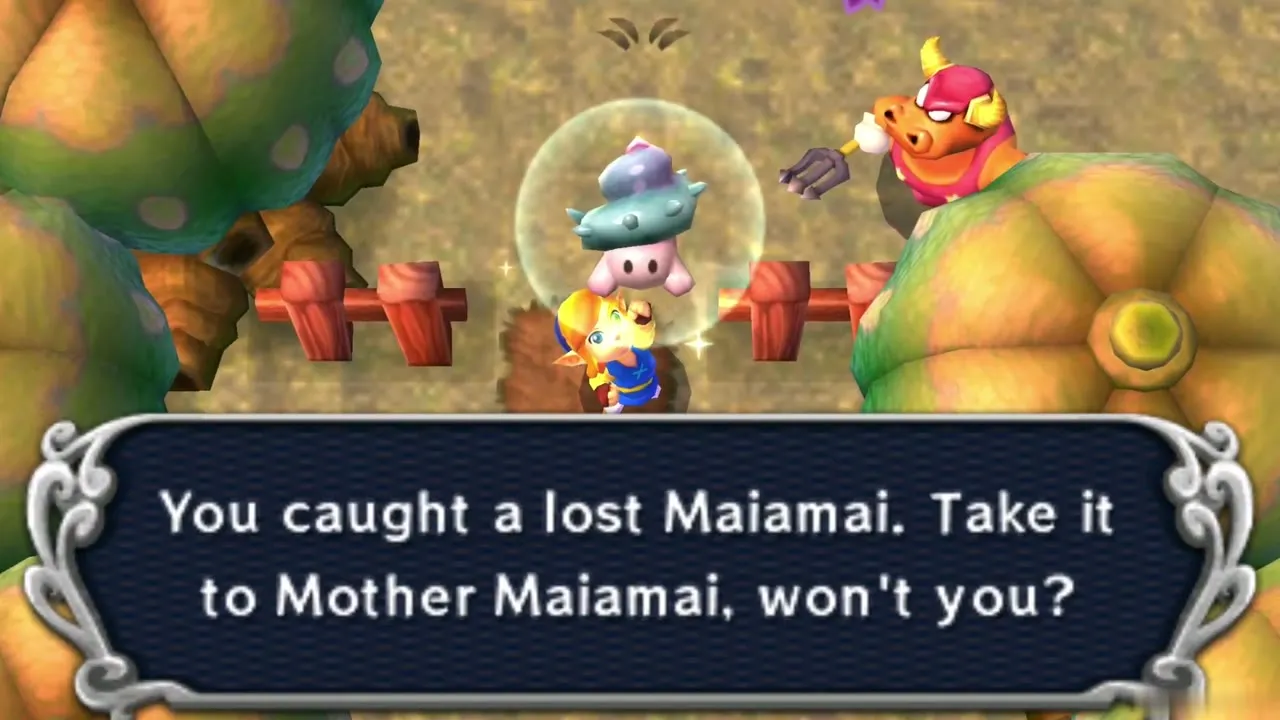
Maiamai 3: Grass east of the Fissure pillar
Head east from the pillar with a Fissure and cut the grass to the south. You need: Sword.
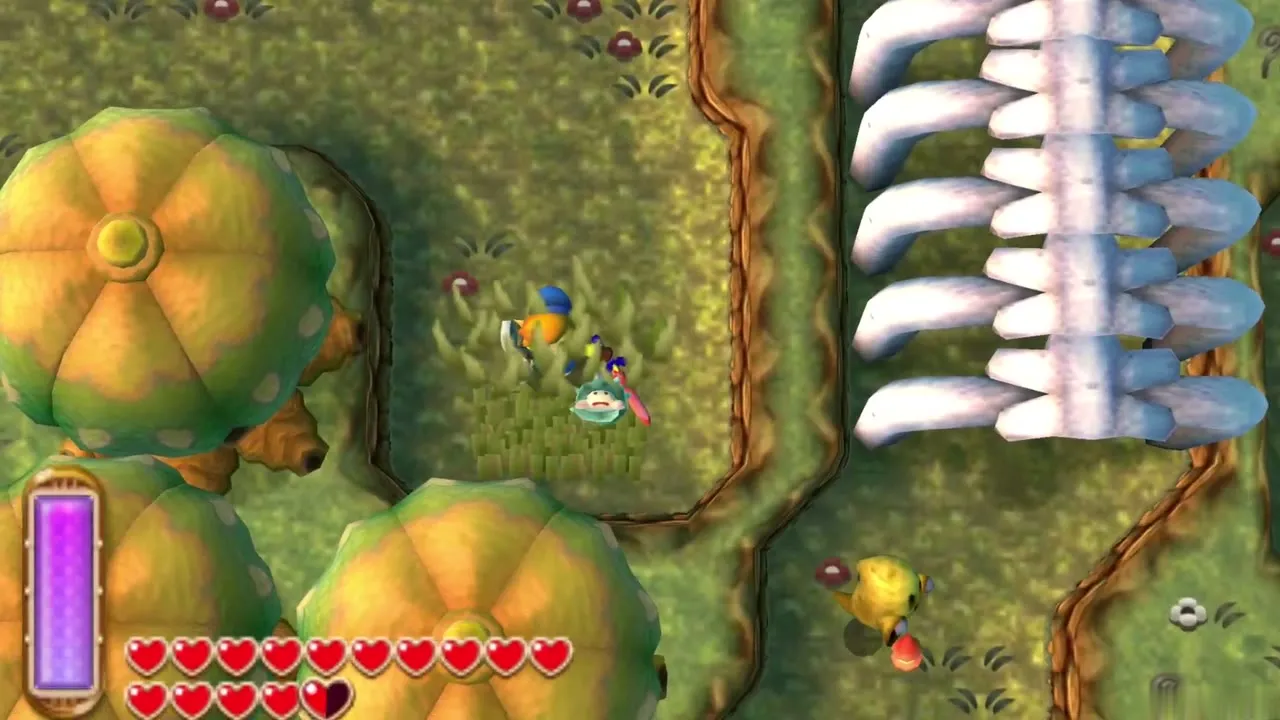
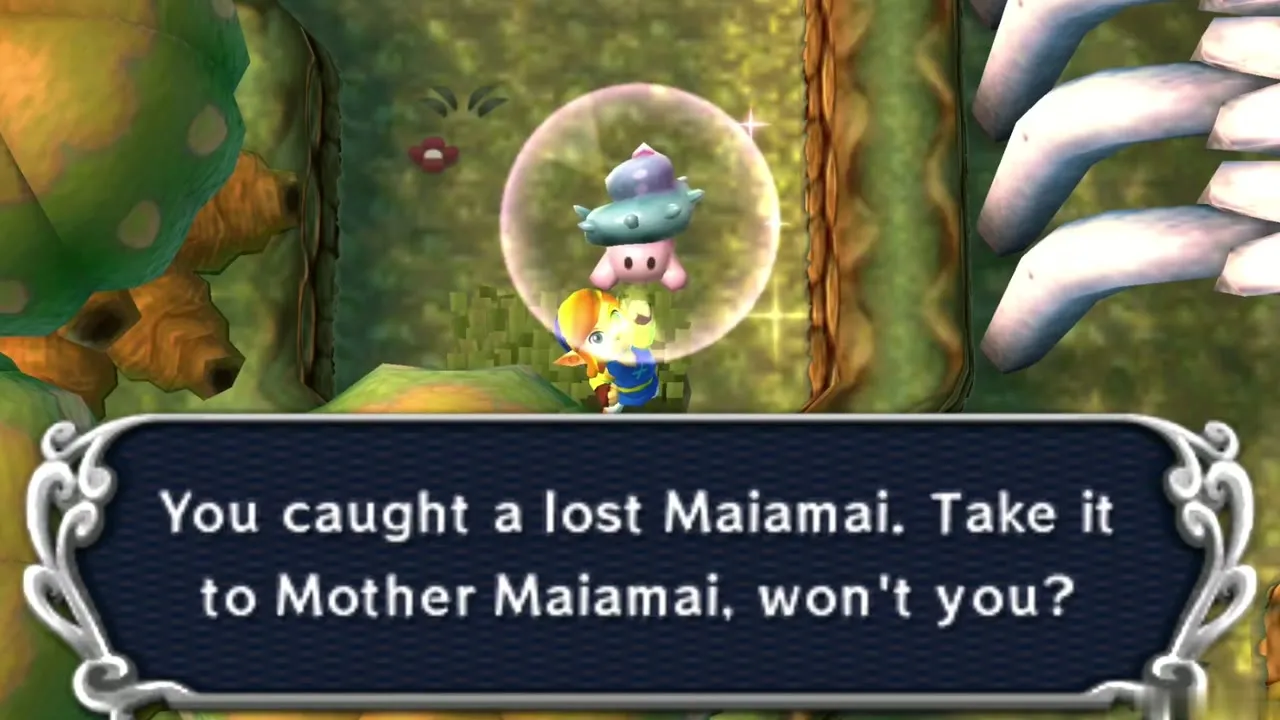
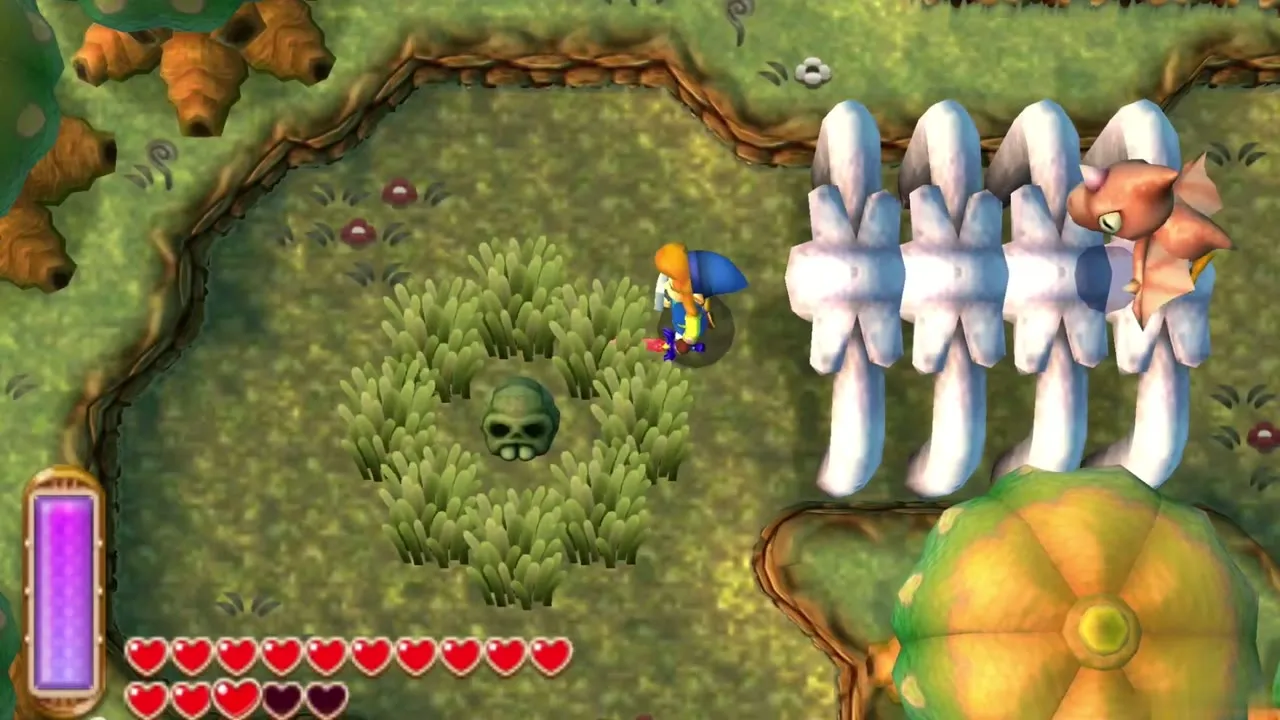
Maiamai 4: Skull in the grass ring
In the forest’s northwest corner, pick up the Skull in the ring of grass. You need: none (pick up the Skull).
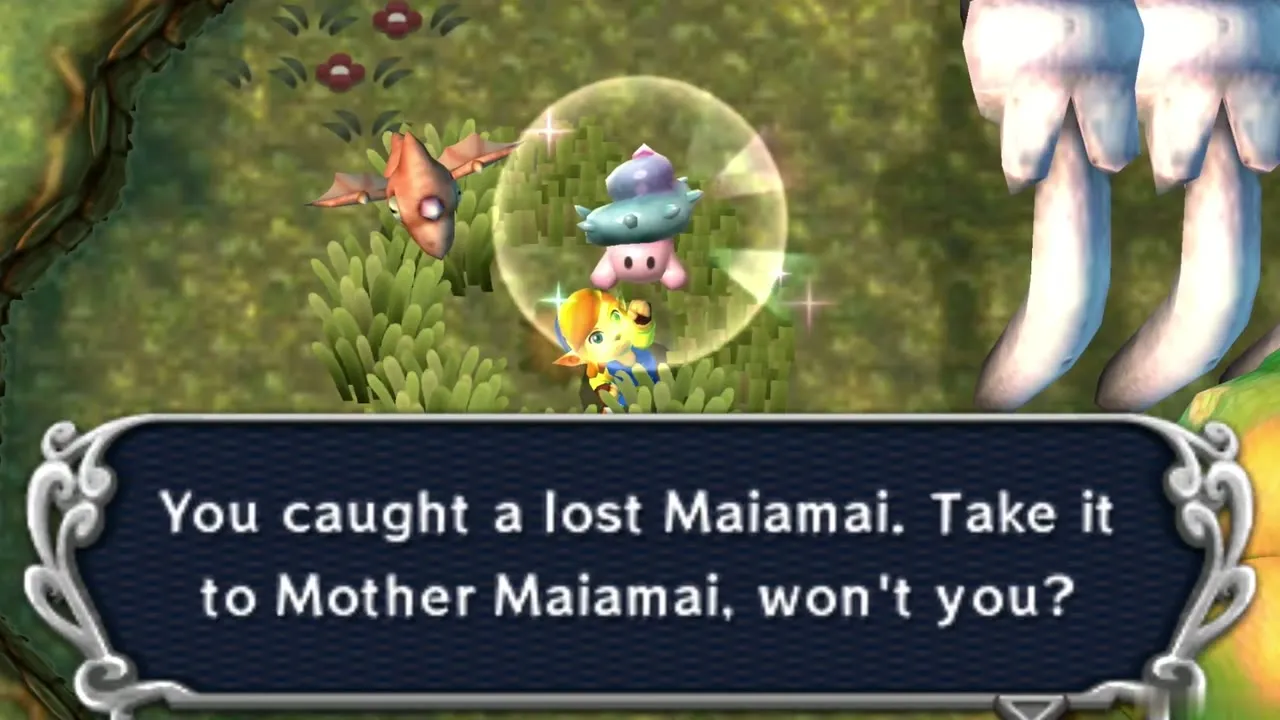
Maiamai 5: Tree south of the Abandoned Shack
Dash into the tree south of the Abandoned Shack. You need: Pegasus Boots.
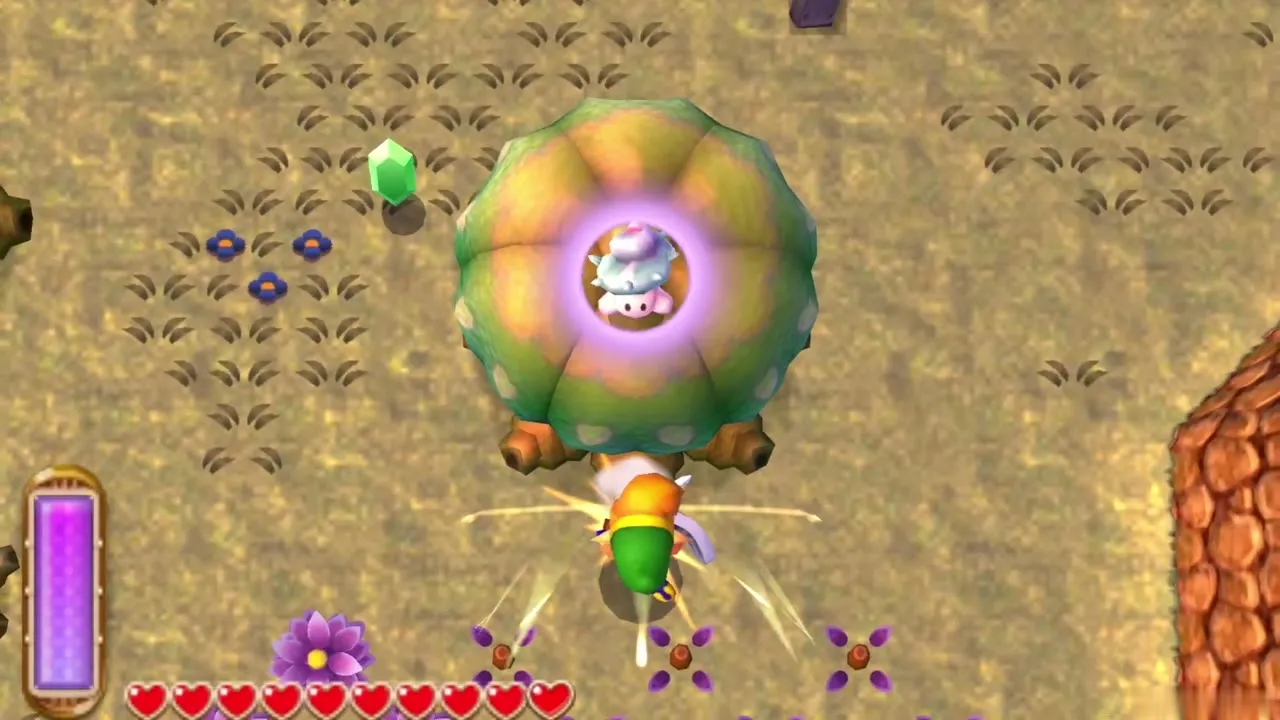
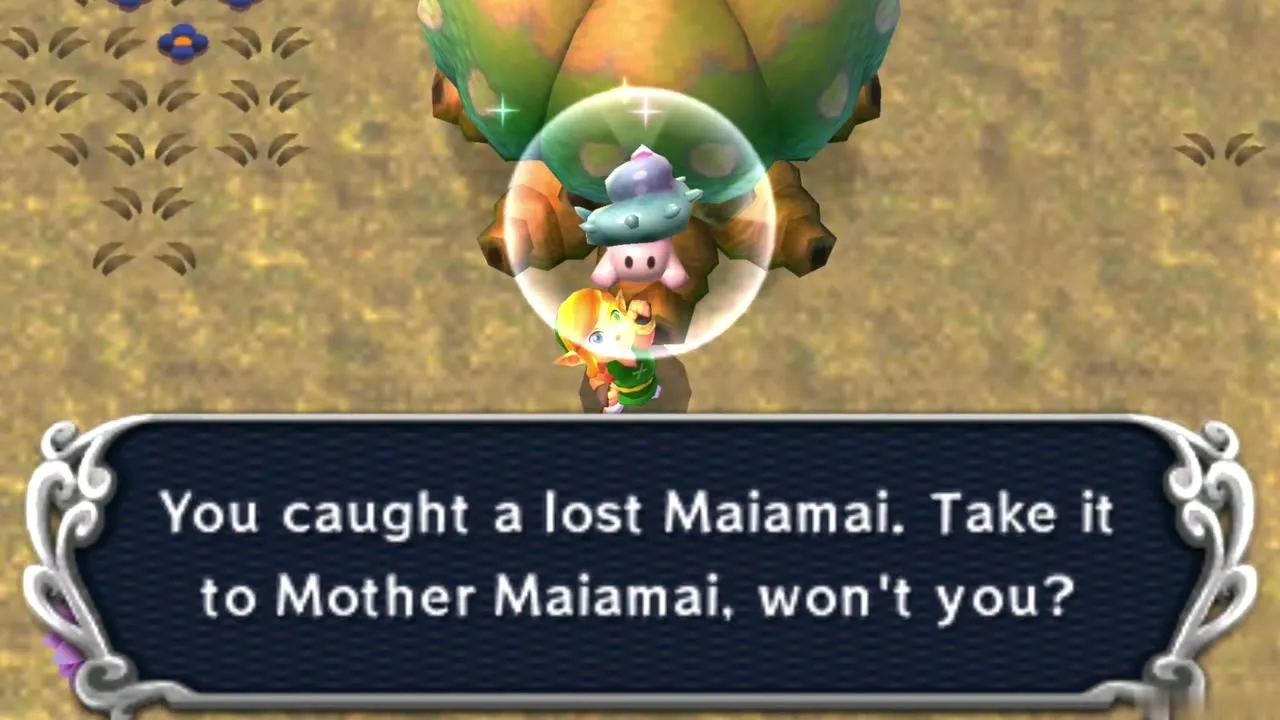
Maiamai 6: Centre of the V of trees
Cut the grass in the middle of the V-shaped group of trees. You need: Sword.
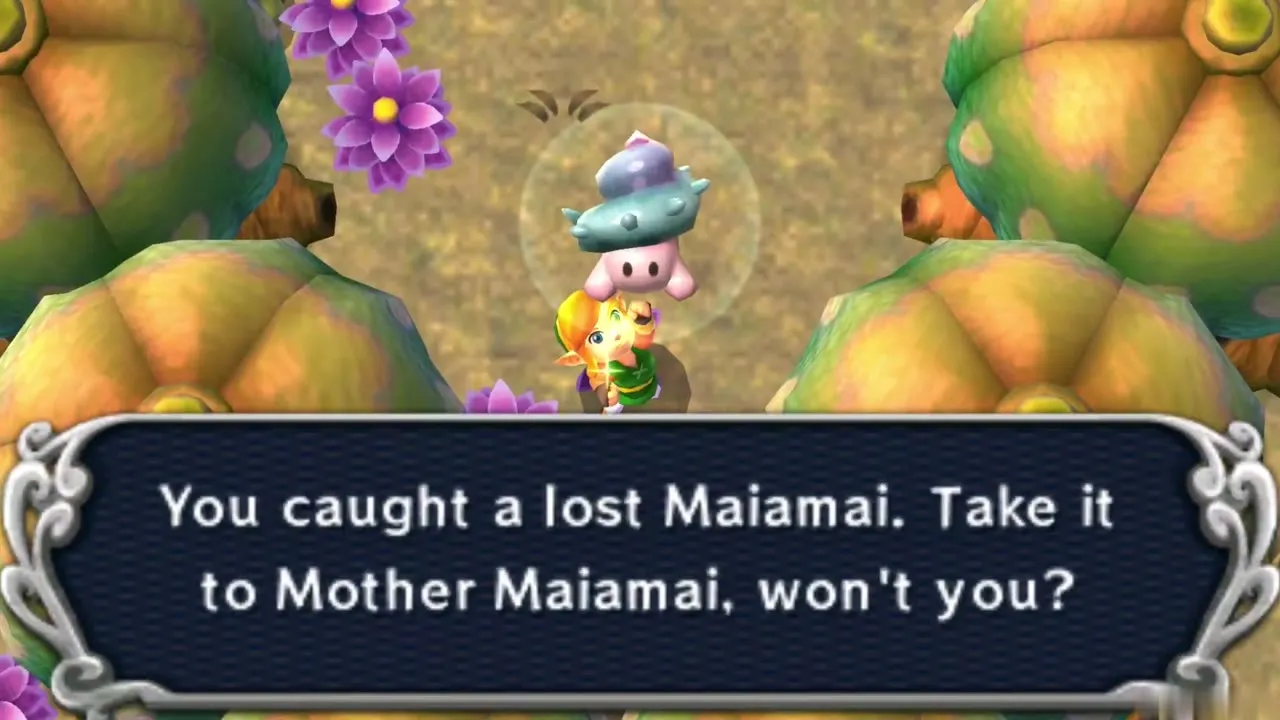
Maiamai 7: Pit wall
Merge onto the east wall of the small pit. You need: Ravio’s Bracelet.
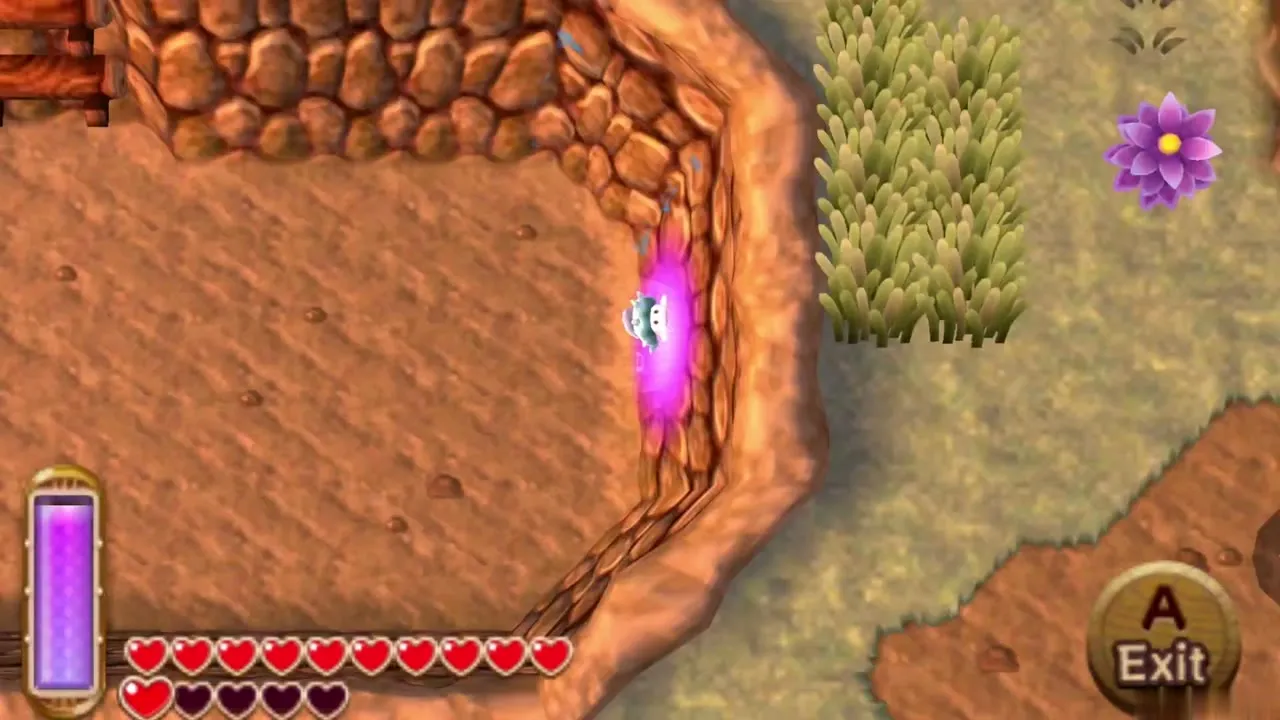
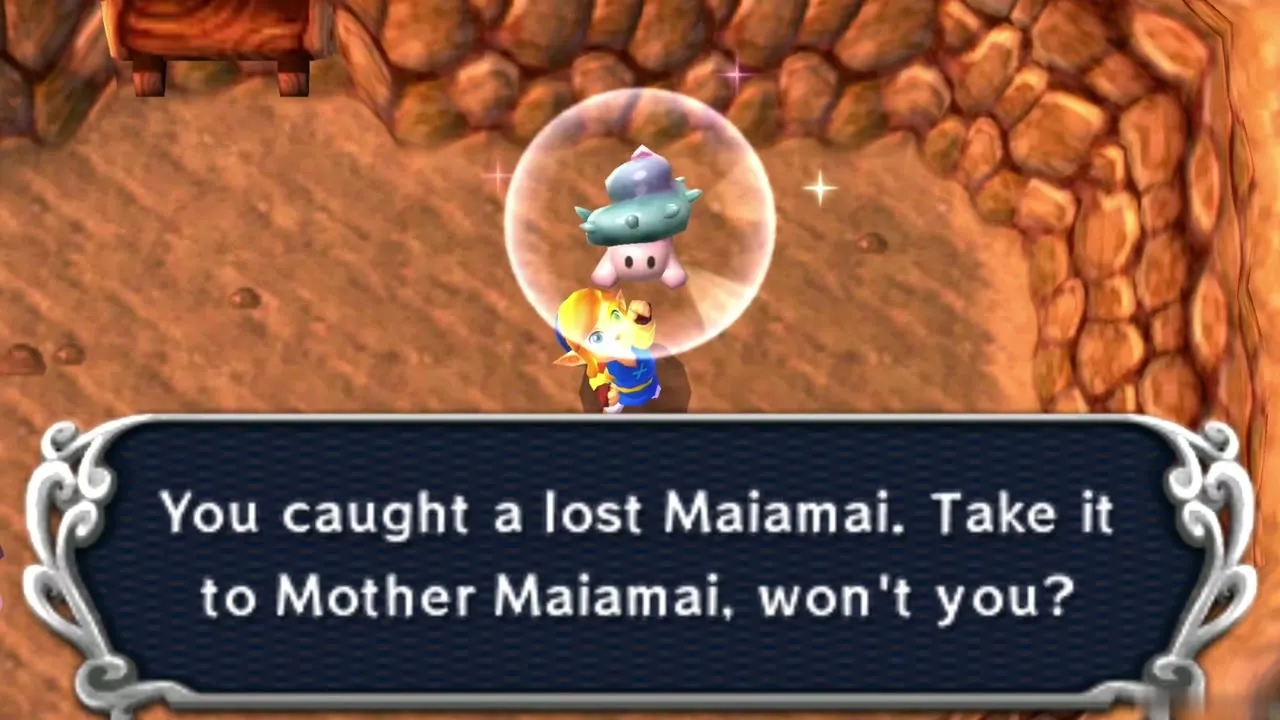
Maiamai 8: Wall by the Thieves’ Town arch
Merge onto the wall just west of the Thieves’ Town arch. You need: Ravio’s Bracelet.
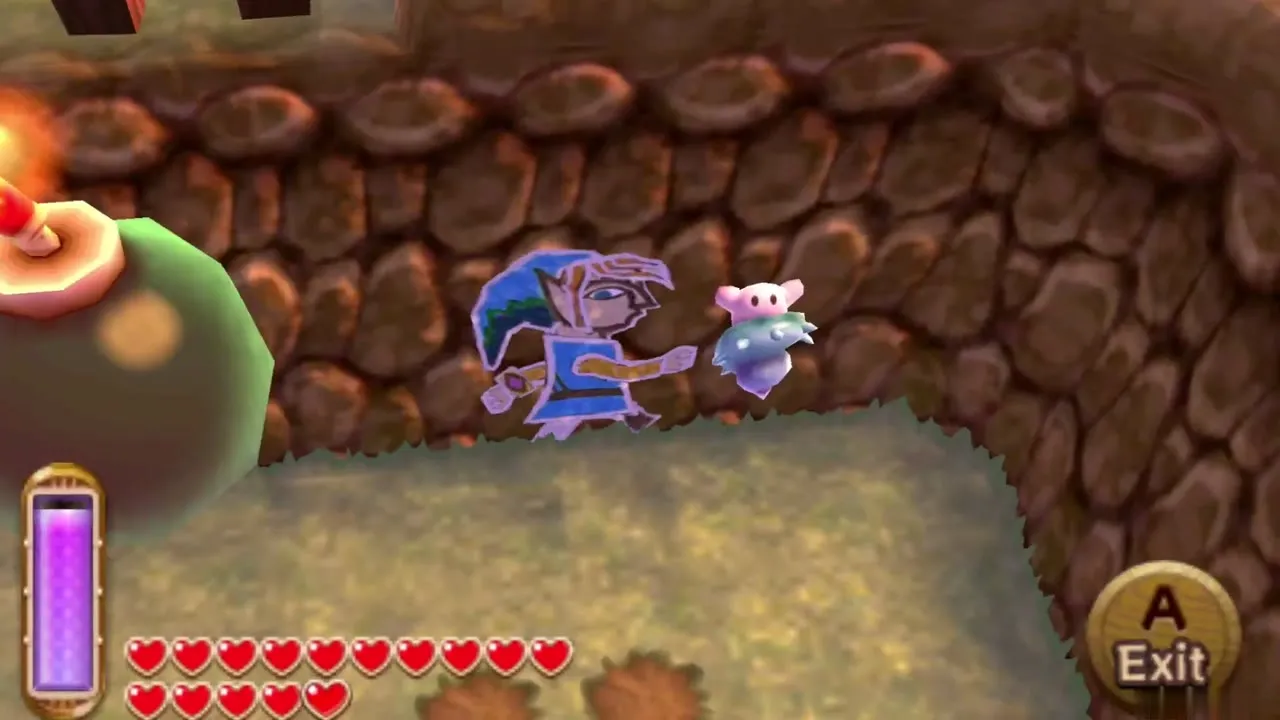
Lorule: Thieves’ Town & Lorule Castle Region
Maiamai 1: Forge wall
Merge onto the east wall of the Blacksmith’s Forge and move right until you are on the west wall. You need: Ravio’s Bracelet.
Maiamai 2: Southwest large rock
Lift the southwestern one of the two large rocks. You need: Titan’s Mitt.
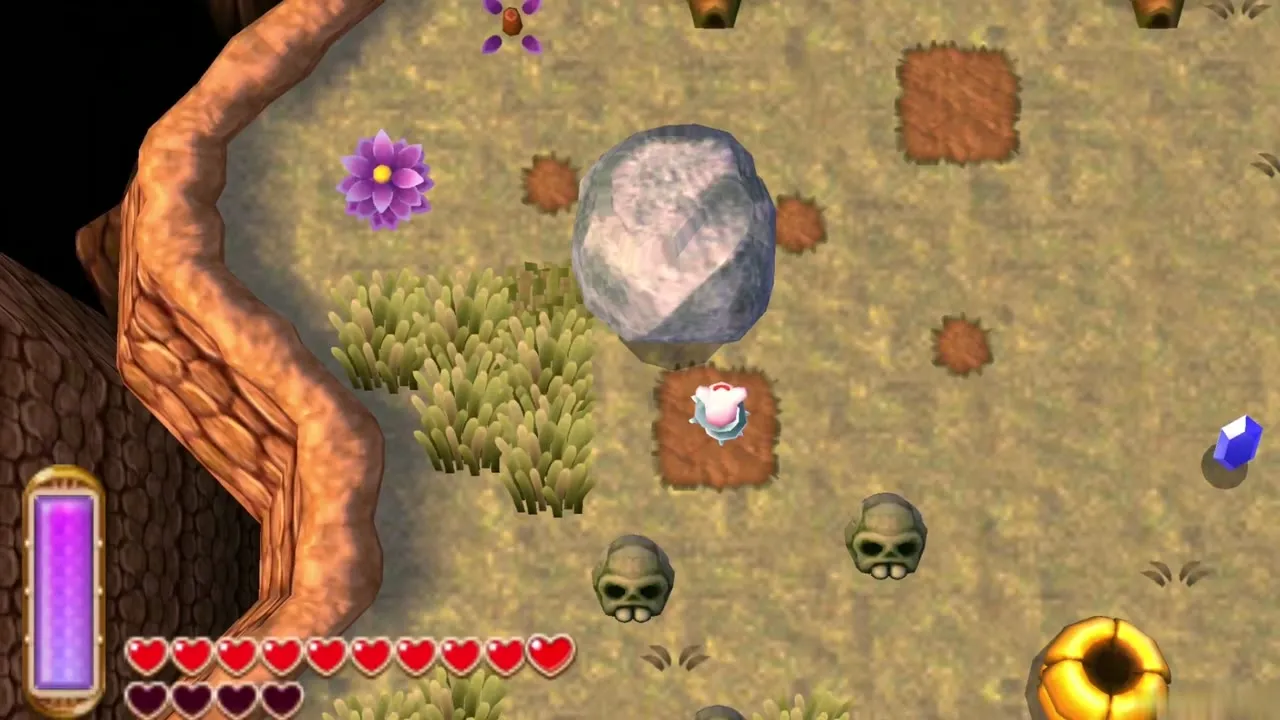
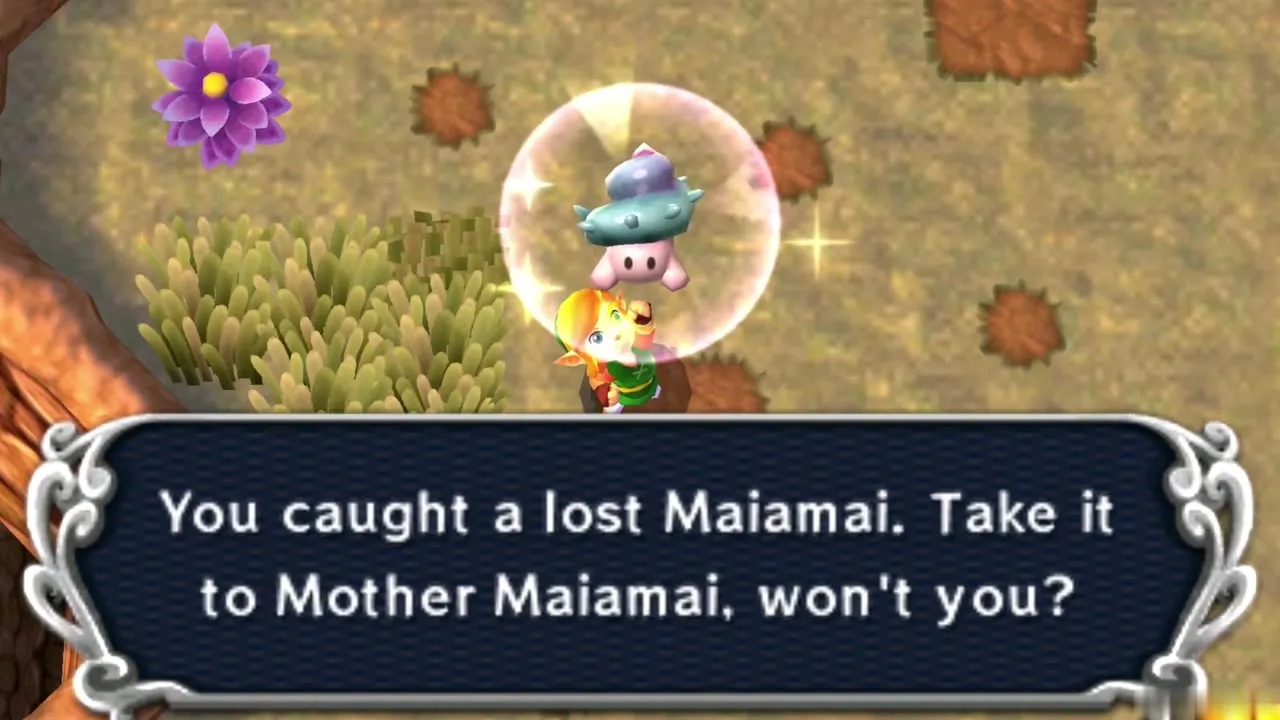
Maiamai 3: Tree north of the Thieves’ Town arch
Dash into the tree directly north of the Thieves’ Town arch. You need: Pegasus Boots.
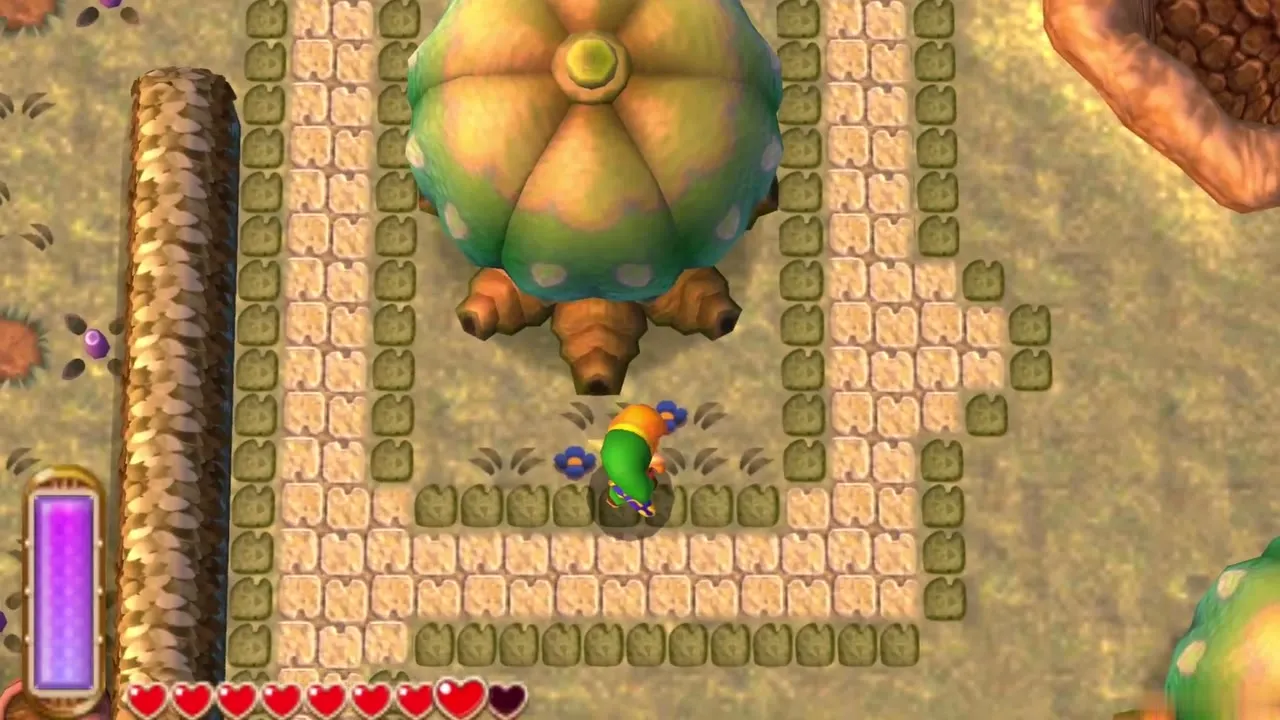
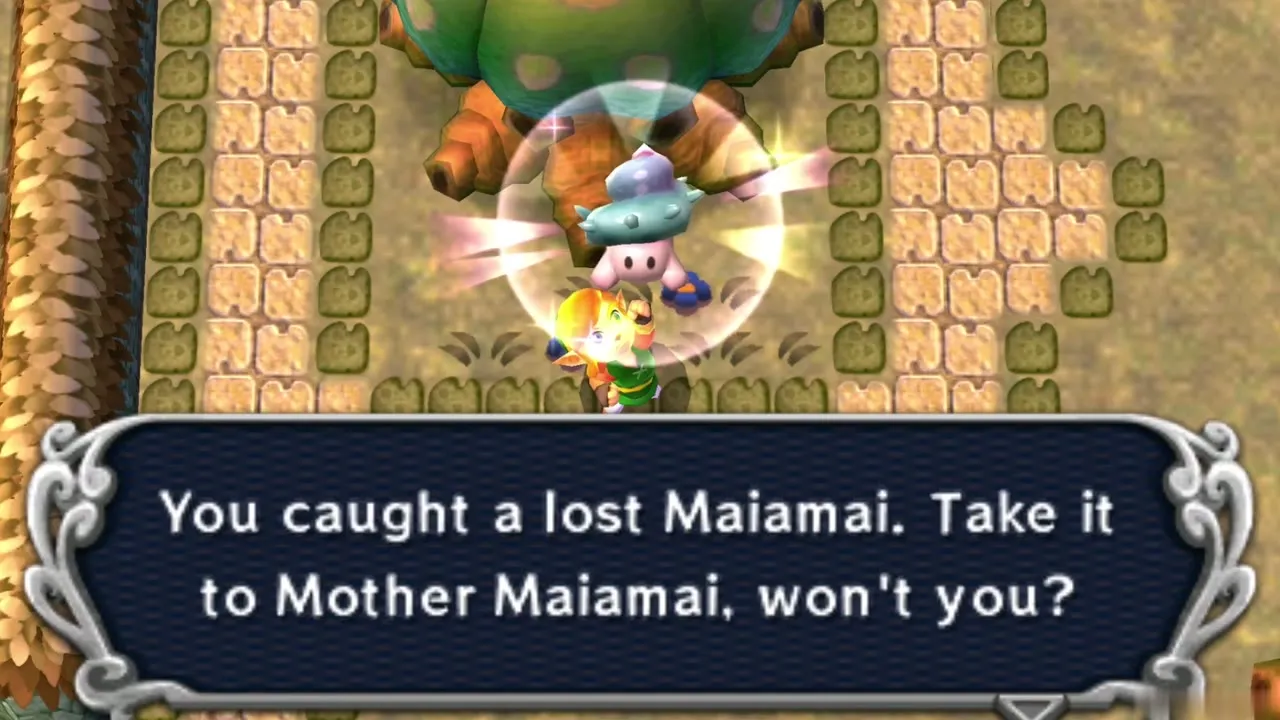
Maiamai 4: Walled corner structure
Merge into the small walled structure in the southwest corner. You need: Ravio’s Bracelet.
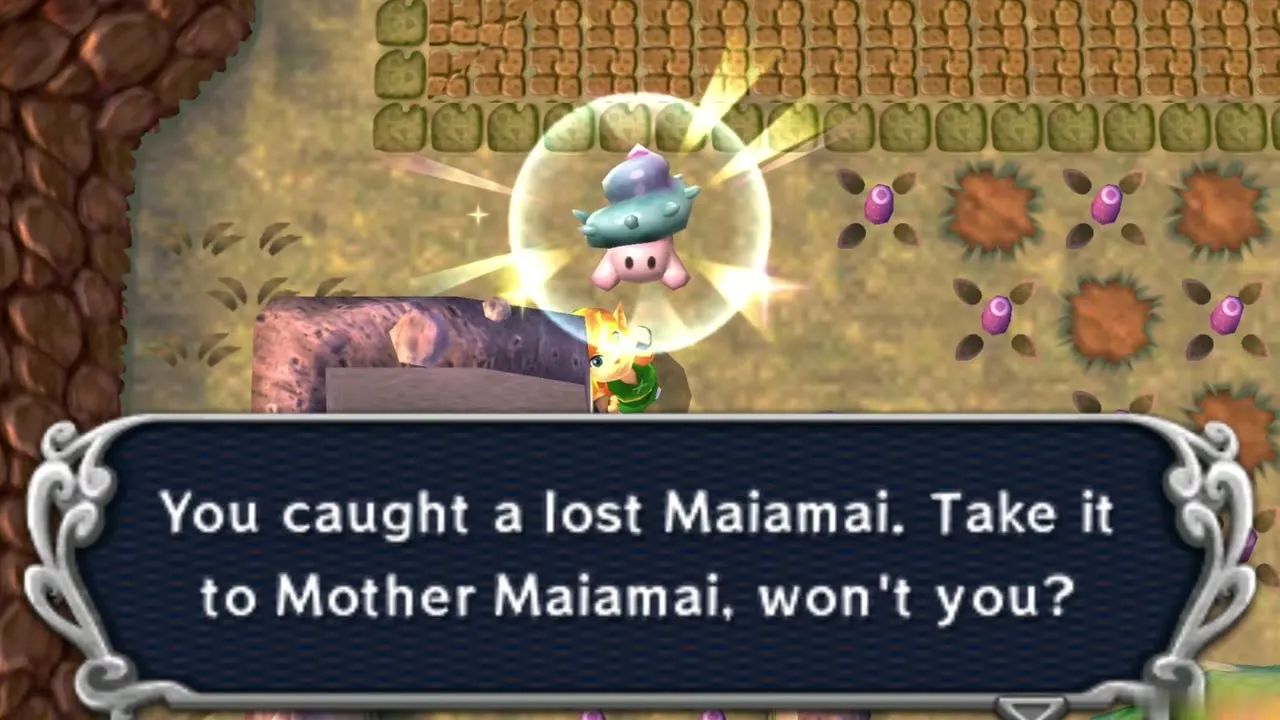
Maiamai 5: Grass around the Big Bomb Flower
Cut the northernmost blade of grass in the ring around the Big Bomb Flower. You need: Sword.
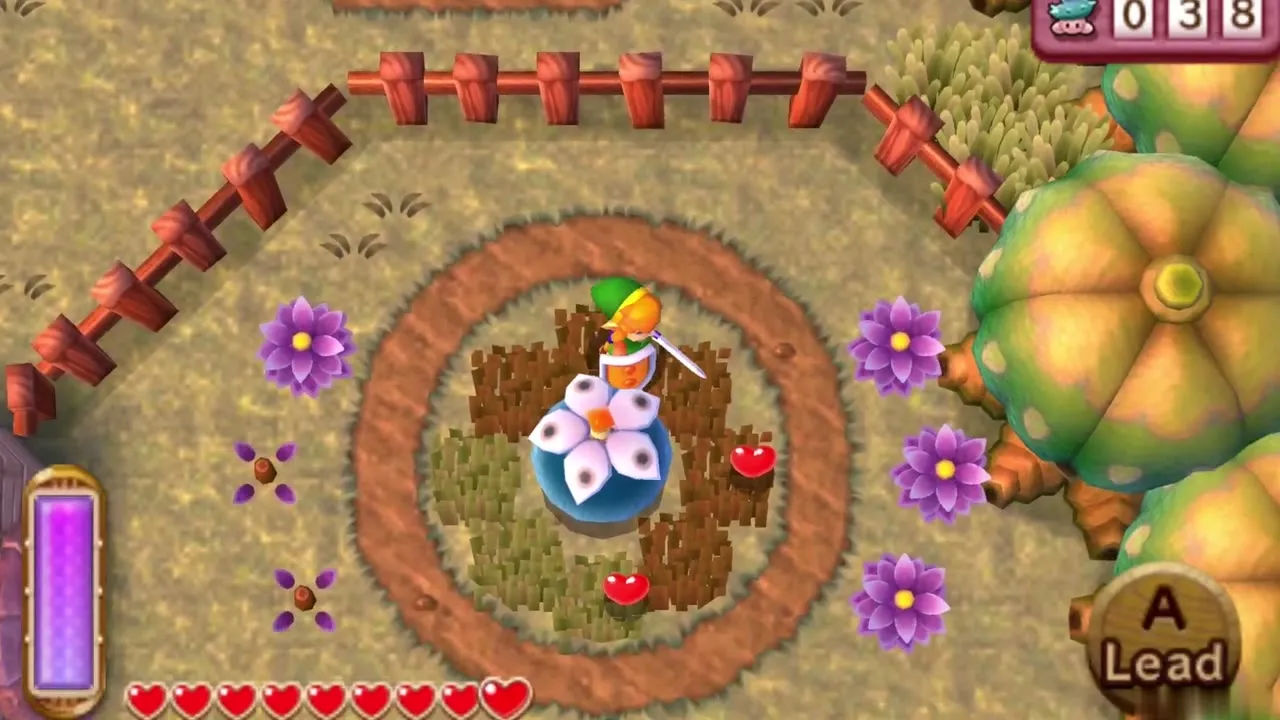
Maiamai 6: Rupee Rush northwest wall
Play Rupee Rush first, then merge into the wall at the northwest corner. You need: Ravio’s Bracelet.
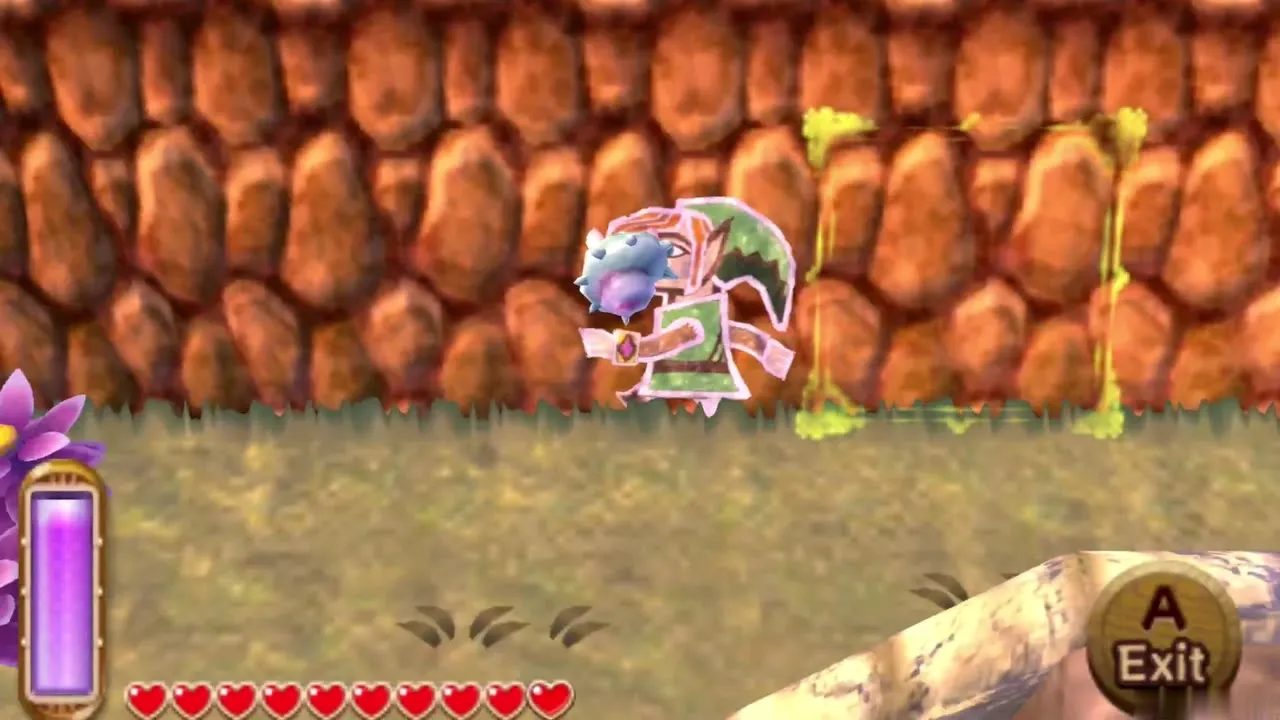
Maiamai 7: Skulls in the Octoball Derby area
Pick up the Skulls in the southwest corner of the Octoball Derby area. You need: none (pick up the Skulls).
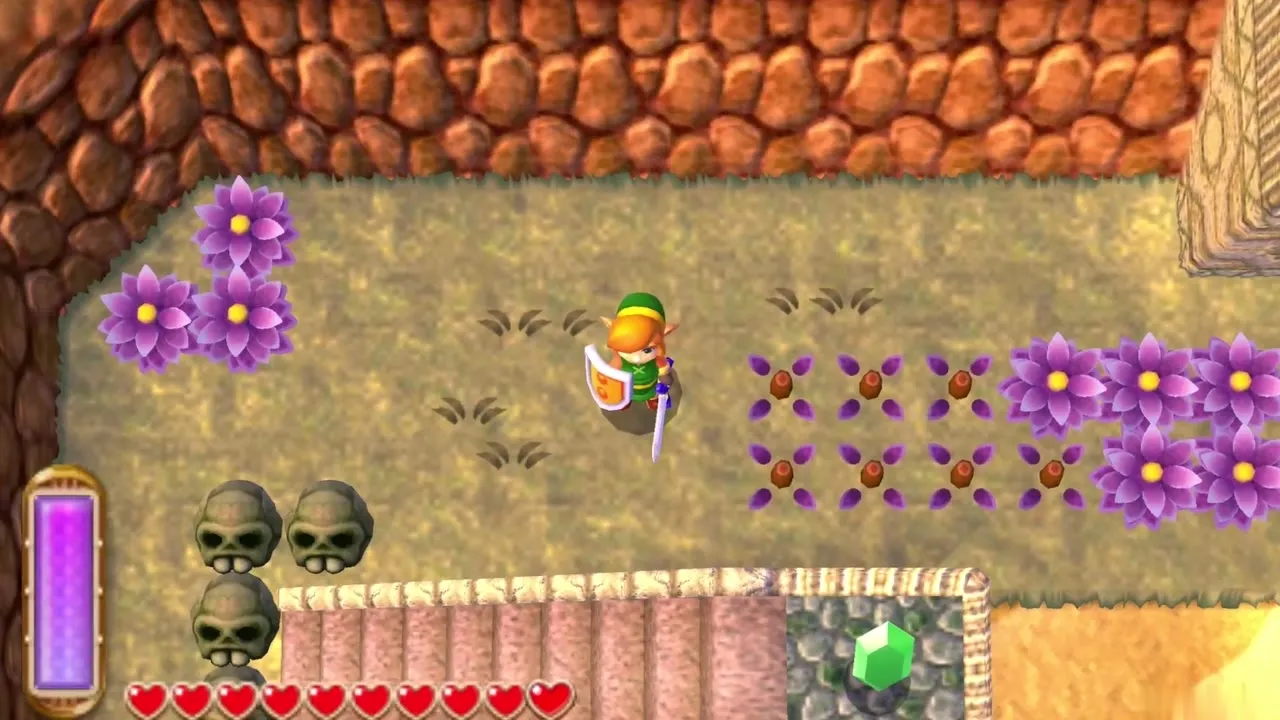
Maiamai 8: Fissure loop in the southwest
Take the Fissure in the southwest corner. In Hyrule, step into the ground-level Fissure just to the east, then in Lorule merge and work back to the southwest corner. You need: Ravio’s Bracelet and access to Lorule.
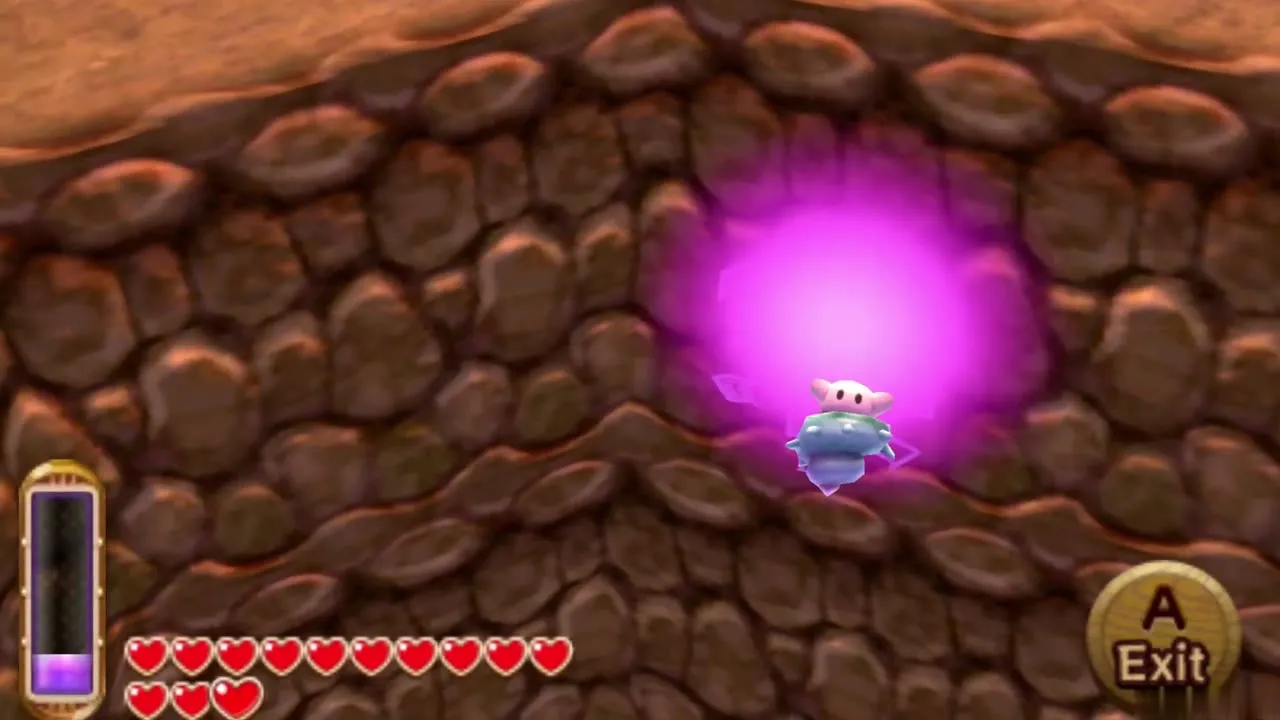
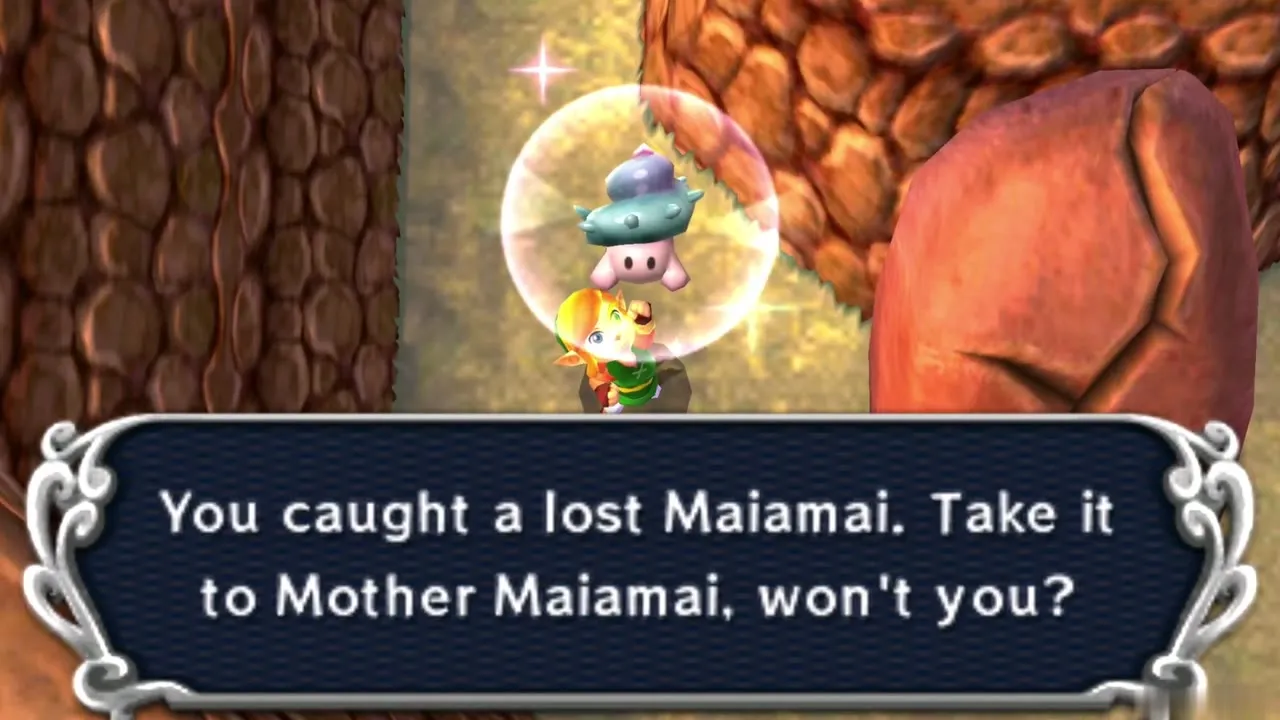
Maiamai 9: Eastern structure before the castle bridge
In the northeast corner, merge into the eastern structure before the bridge to Lorule Castle. You need: Ravio’s Bracelet.
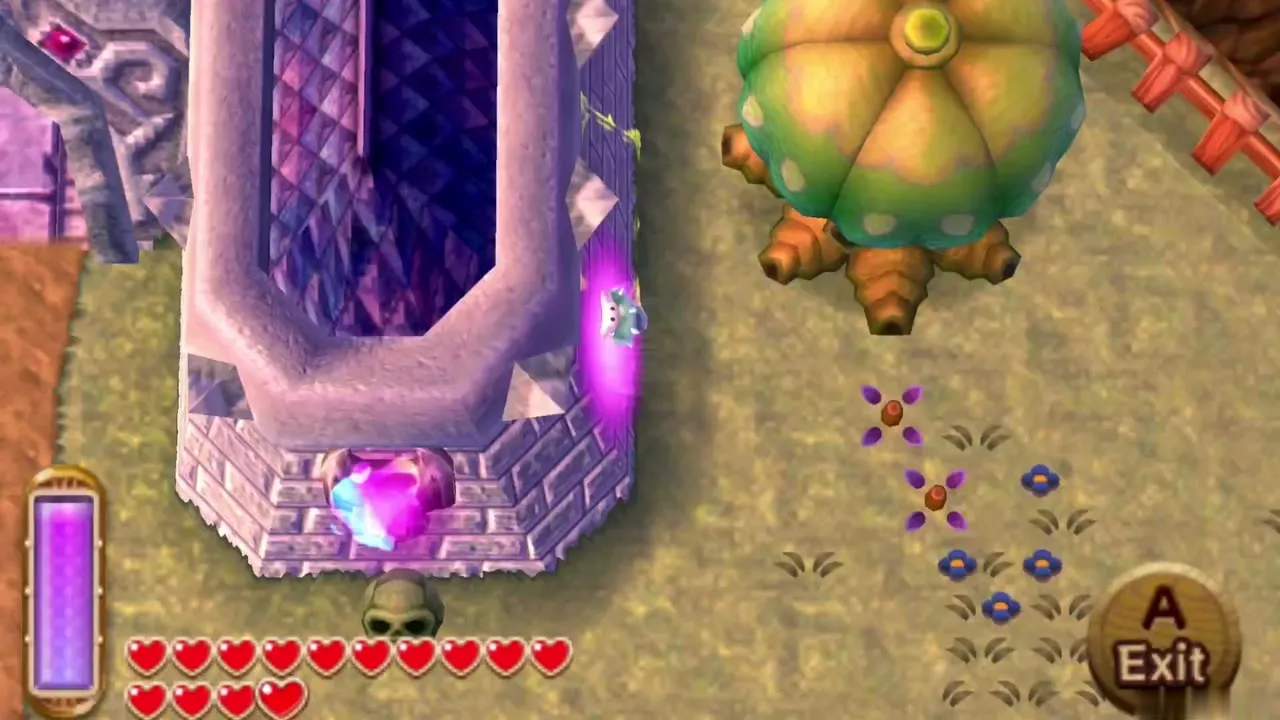
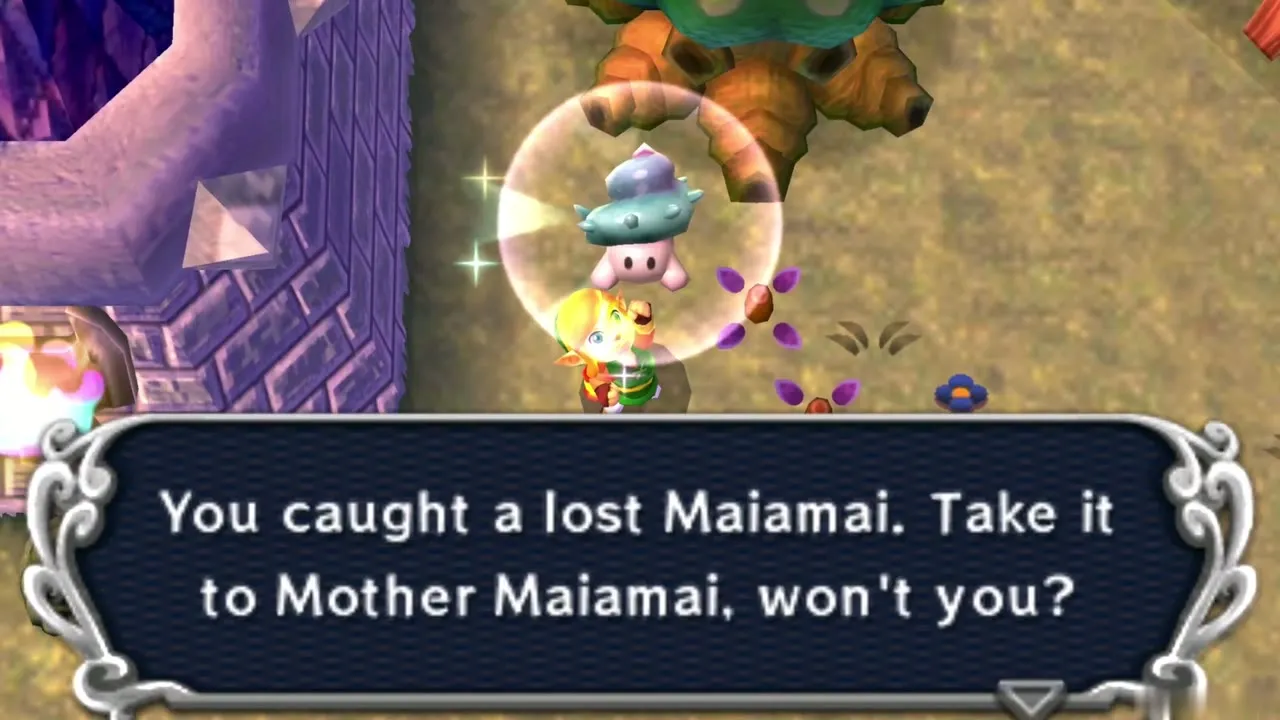
Maiamai 10: Tree on the east edge
Dash into the tree along the east edge. You need: Pegasus Boots.
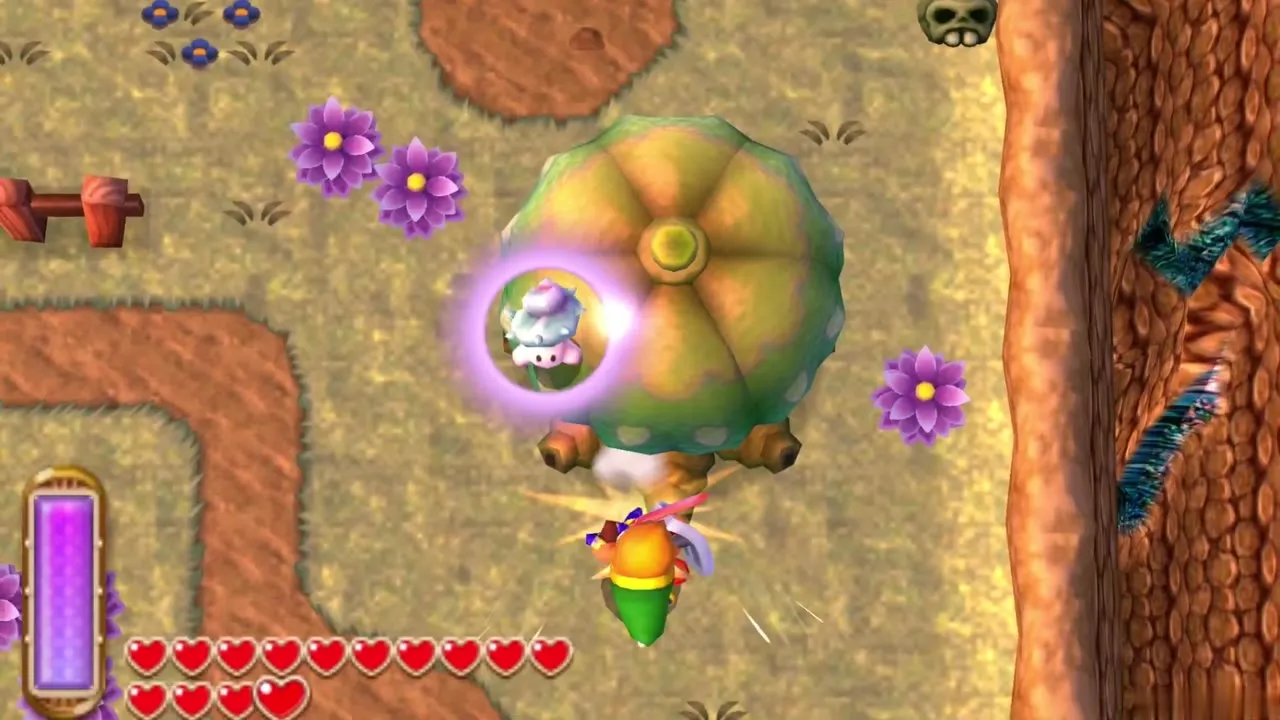
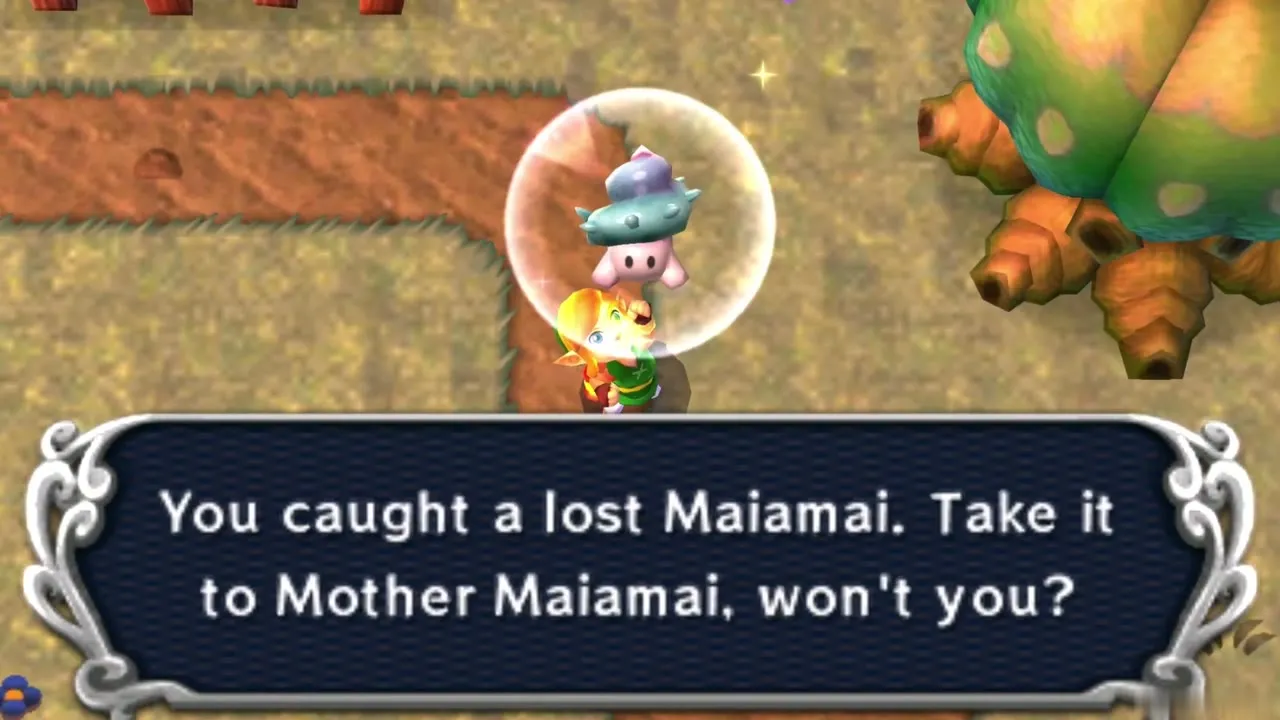
Maiamai 11: Hill northwest of the Vacant House
Merge into the hill just northwest of the Vacant House. You need: Ravio’s Bracelet.
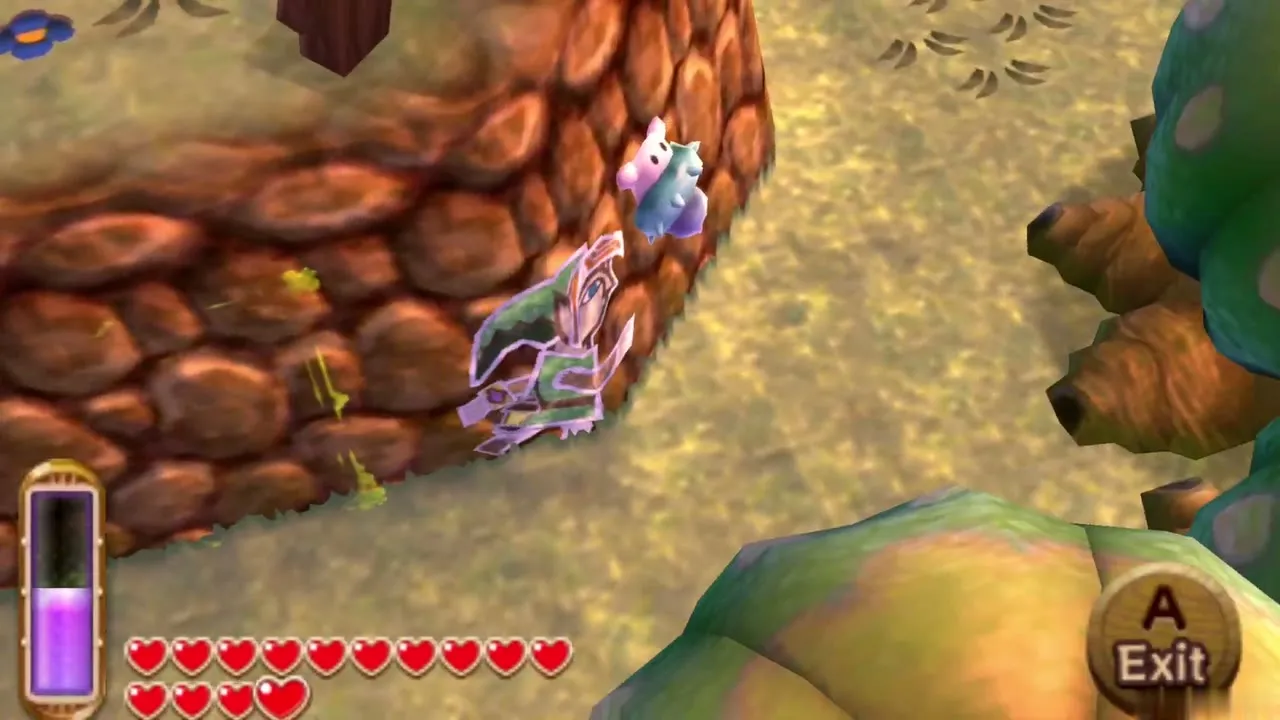
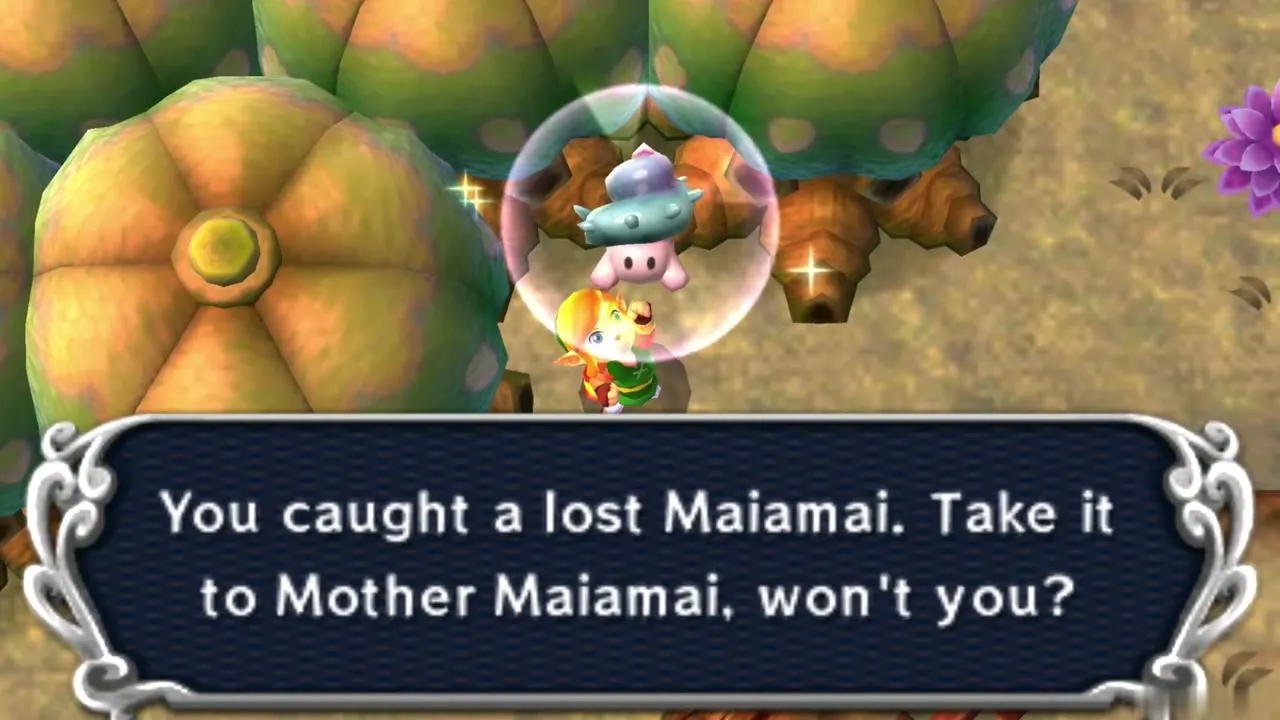
Maiamai 12: Rock beside the stump
Lift the large rock that sits next to the tree stump. You need: Titan’s Mitt.
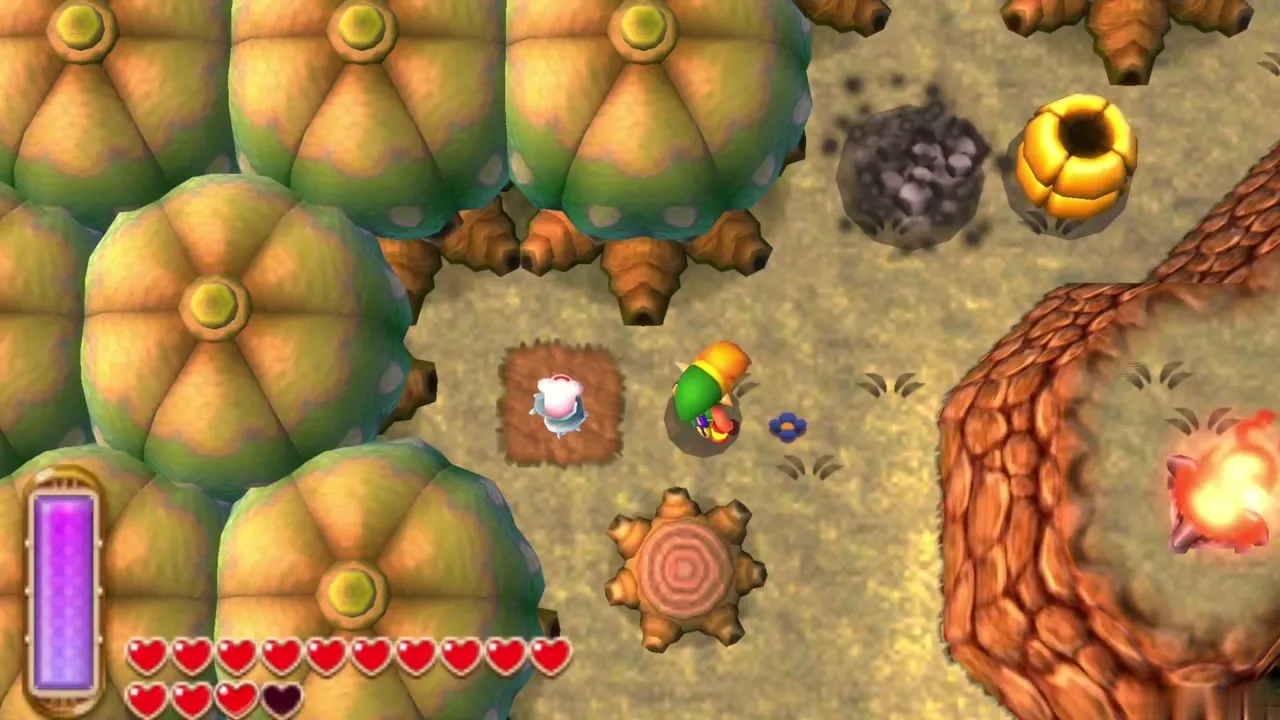
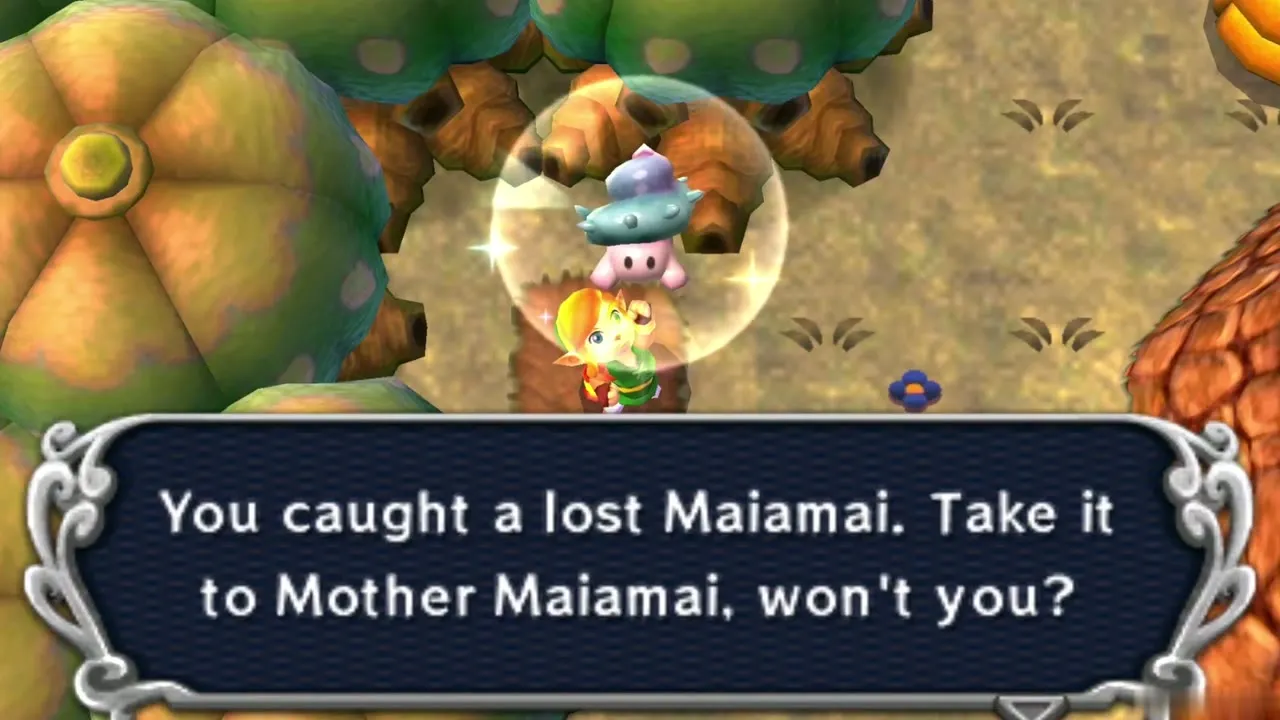
Maiamai 13: Northeast corner
Merge at the northeast corner. You need: Ravio’s Bracelet.
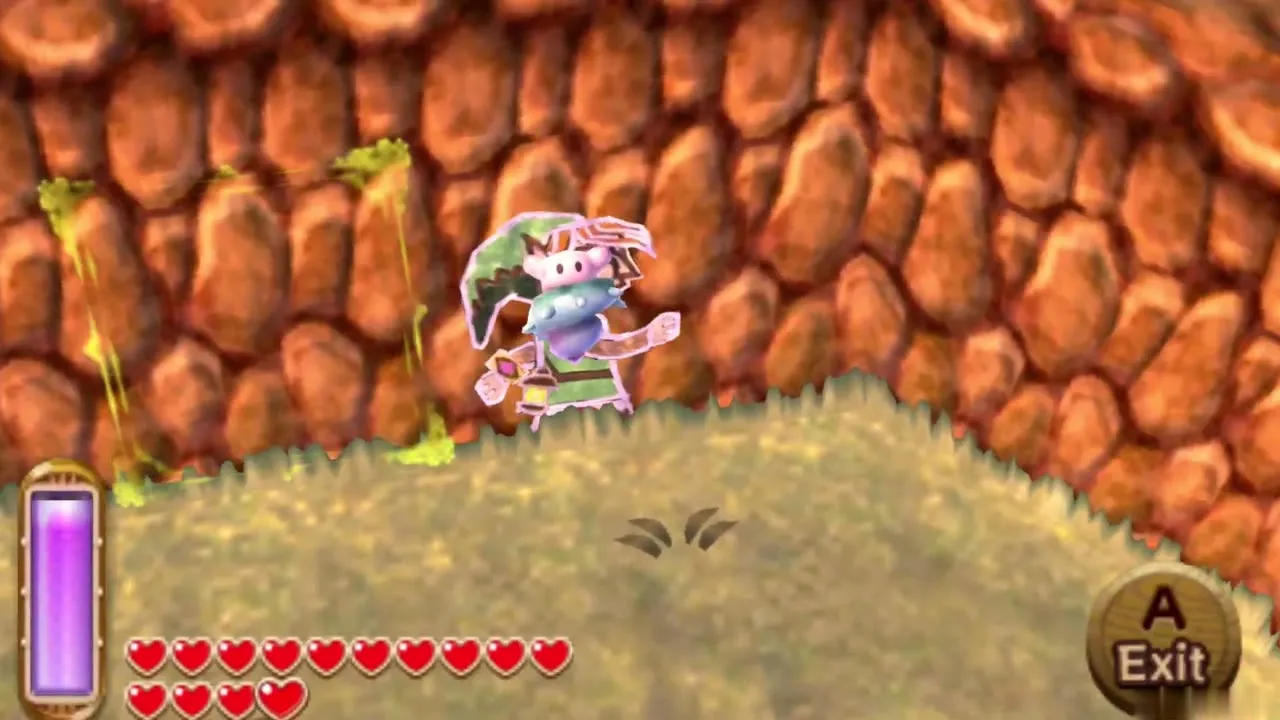
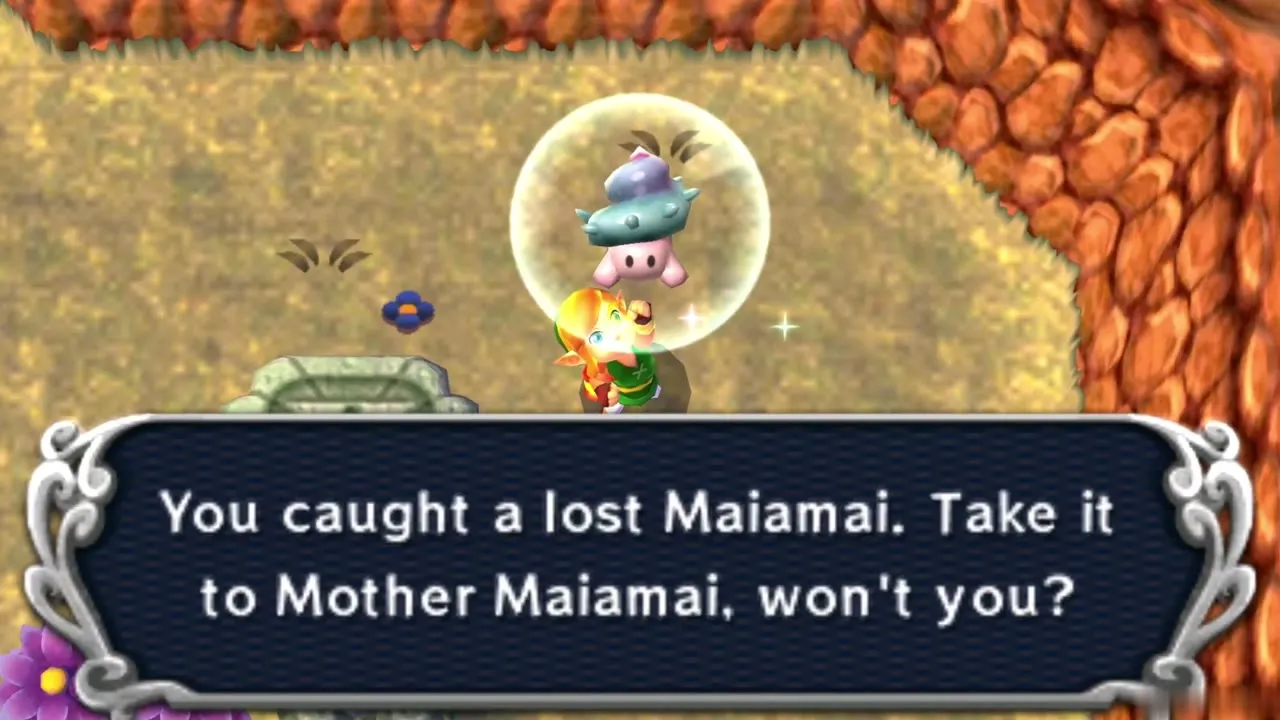
Maiamai 14: C-shaped rock formation
Dive into the rock formation shaped like a C. You need: Zora’s Flippers.
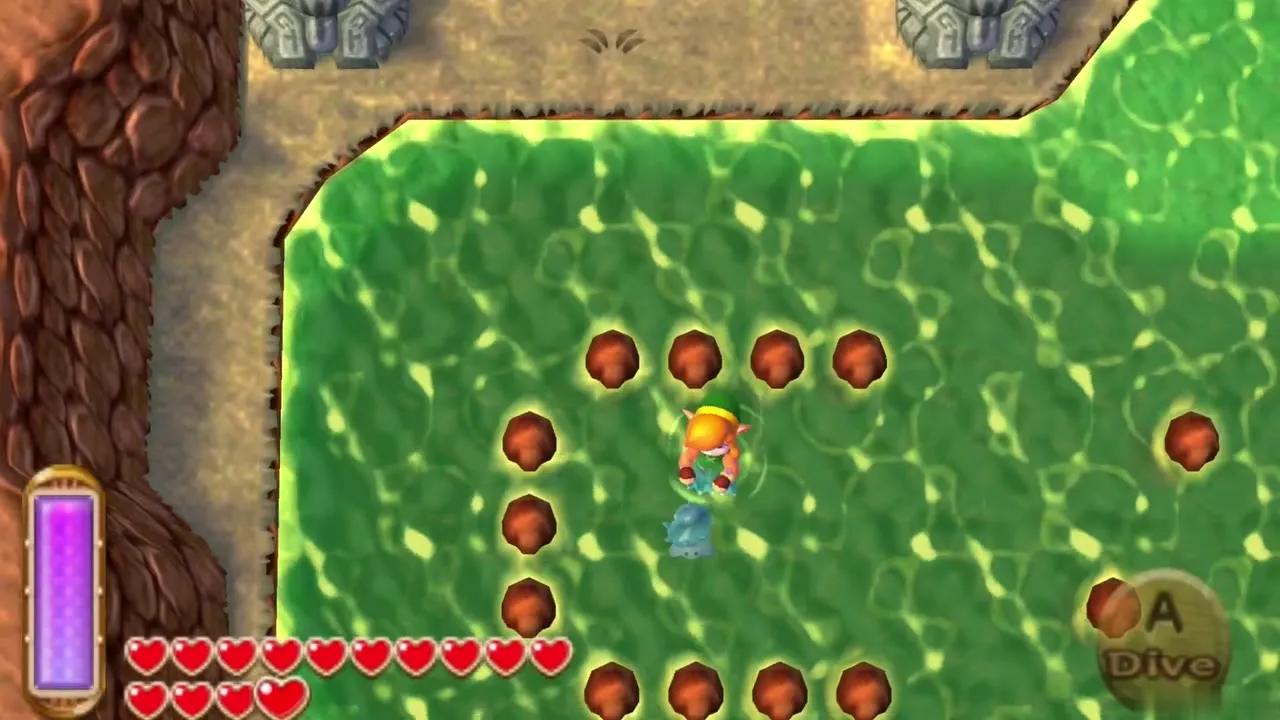
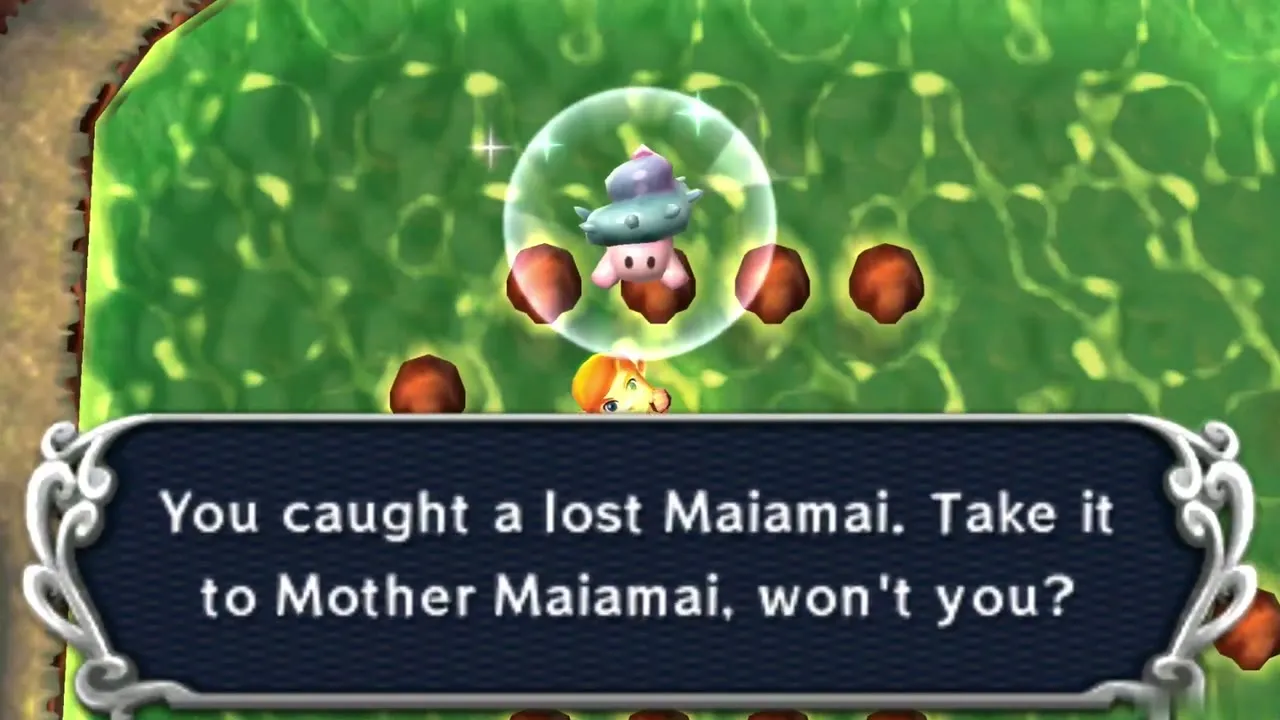
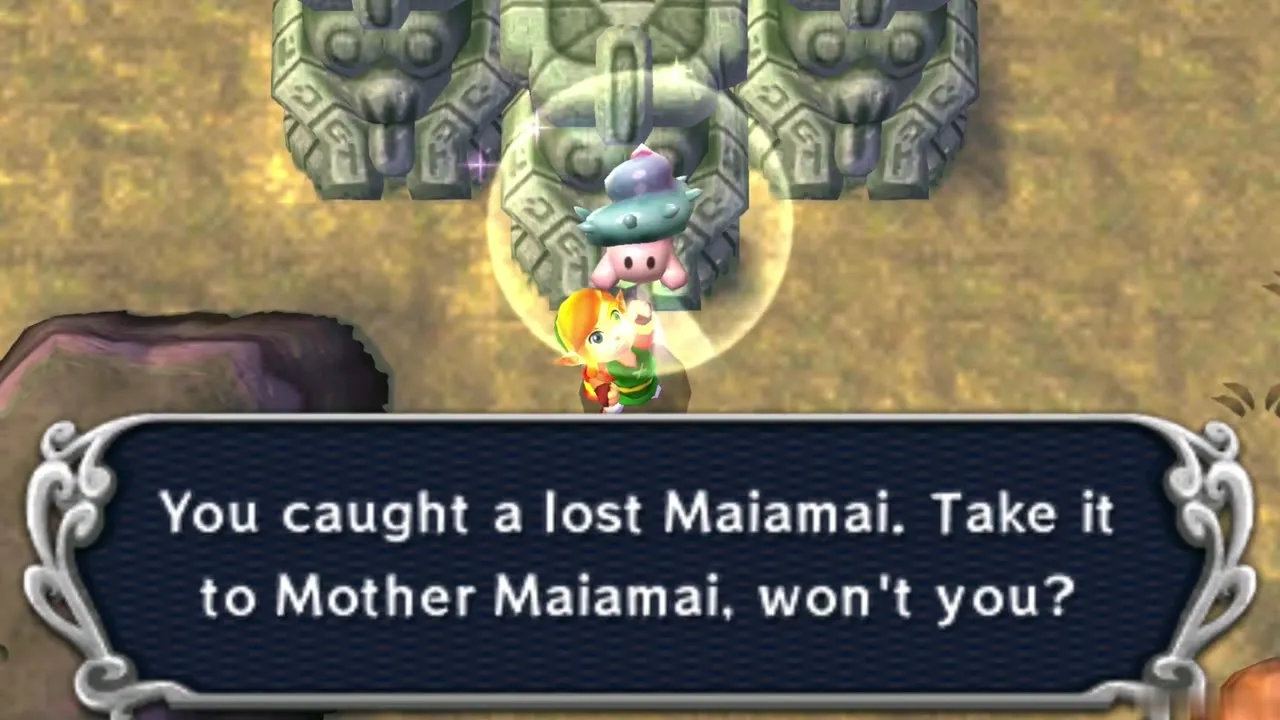
Maiamai 15: Three stone statues
Dash into the middle of three stone statues. You need: Pegasus Boots.
Quick Reference: All 100 Maiamai
| # | Maiamai | World | Requirement |
|---|---|---|---|
| 1 | Death Mountain 1: Rock southeast of the summit | Hyrule |  Power Glove |
| 2 | Death Mountain 2: Treasure Chest cave wall | Hyrule |  Ravio’s Bracelet |
| 3 | Death Mountain 3: Lava cave exit rock | Hyrule | Power Glove |
| 4 | Death Mountain 4: North rock past the ore mine bridge | Hyrule | Power Glove and  Hookshot |
| 5 | Death Mountain 5: Wall by the Treasure Hunter Cave | Hyrule | Ravio’s Bracelet |
| 6 | Desert 1: Large rock near the Southern Ruins | Hyrule |  Titan’s Mitt |
| 7 | Desert 2: Sand northwest of the twin pillars | Hyrule |  Sand Rod |
| 8 | Desert 3: Sand south of the Weather Vane | Hyrule | Sand Rod |
| 9 | Eastern Ruins 1: Easternmost rock formation | Hyrule |  Pegasus Boots |
| 10 | Eastern Ruins 2: Fifth tree | Hyrule | Pegasus Boots |
| 11 | Eastern Ruins 3: River dive east of the bridge | Hyrule |  Zora’s Flippers |
| 12 | Eastern Ruins 4: Alcove beyond the Crystal Switches | Hyrule | Ravio’s Bracelet |
| 13 | Eastern Ruins 5: Lone yellow tree | Hyrule | Pegasus Boots |
| 14 | Eastern Ruins 6: Rock on the southeastern ledges | Hyrule | Titan’s Mitt and Ravio’s Bracelet |
| 15 | Hyrule Castle 1: Tree northwest of the castle | Hyrule | Pegasus Boots |
| 16 | Hyrule Castle 2: Tree in the middle of the area | Hyrule | Pegasus Boots |
| 17 | Hyrule Castle 3: Panels beside the Blacksmith’s Forge | Hyrule |  Tornado Rod |
| 18 | Hyrule Castle 4: Panels on the ground | Hyrule | Tornado Rod |
| 19 | Hyrule Castle 5: Tree standing alone | Hyrule | Pegasus Boots |
| 20 | Hyrule Castle 6: Back wall of Link’s House | Hyrule | Ravio’s Bracelet |
| 21 | Hyrule Castle 7: Northernmost tree in the Haunted Grove | Hyrule | Pegasus Boots |
| 22 | Hyrule Castle 8: Rock reached from Lorule | Hyrule | Titan’s Mitt and access to Lorule |
| 23 | Kakariko Village 1: Bushes inside the little fence | Hyrule | Sword |
| 24 | Kakariko Village 2: Rooftop rock | Hyrule | Power Glove and a Cucco |
| 25 | Kakariko Village 3: Young Woman’s backyard | Hyrule | Sand Rod |
| 26 | Kakariko Village 4: Tree beside the Cucco Ranch | Hyrule | Pegasus Boots and a Cucco |
| 27 | Kakariko Village 5: Wall behind the Rupee Rush | Hyrule | Ravio’s Bracelet |
| 28 | Lake Hylia 1: Beside Mother Maiamai’s Cave | Hyrule | Ravio’s Bracelet |
| 29 | Lake Hylia 2: Shallows south of the House of Gales | Hyrule | Zora’s Flippers |
| 30 | Lake Hylia 3: Panel behind the House of Gales | Hyrule | Tornado Rod |
| 31 | Lake Hylia 4: Underwater west of the ladder | Hyrule | Zora’s Flippers |
| 32 | Lake Hylia 5: Large rock on the northeast platform | Hyrule | Titan’s Mitt and Ravio’s Bracelet |
| 33 | Lost Woods 1: Pair of rocks by the northeast entrance | Hyrule | Power Glove |
| 34 | Lost Woods 2: Tree near the southeast entrance | Hyrule | Pegasus Boots |
| 35 | Lost Woods 3: Bushes outside the woods | Hyrule | Sword |
| 36 | Lost Woods 4: Wall south of the Miner’s House | Hyrule | Ravio’s Bracelet |
| 37 | Lost Woods 5: Death Mountain Path exit | Hyrule | Titan’s Mitt and Ravio’s Bracelet |
| 38 | Lost Woods 6: Small pond | Hyrule | Zora’s Flippers |
| 39 | Lost Woods 7: Fortune Teller’s tent | Hyrule | Ravio’s Bracelet |
| 40 | Lost Woods 8: Rock between the fences | Hyrule | Power Glove |
| 41 | Sanctuary & Zora’s Domain 1: Cliff southwest of the Sanctuary | Hyrule | Ravio’s Bracelet |
| 42 | Sanctuary & Zora’s Domain 2: Rock structure linked to Lorule | Hyrule | Ravio’s Bracelet and access to Lorule |
| 43 | Sanctuary & Zora’s Domain 3: Ladder beside the river | Hyrule | Ravio’s Bracelet |
| 44 | Sanctuary & Zora’s Domain 4: Underwater south of the bridge | Hyrule | Zora’s Flippers |
| 45 | Sanctuary & Zora’s Domain 5: Witch’s House wall | Hyrule | Ravio’s Bracelet |
| 46 | Sanctuary & Zora’s Domain 6: Wall by the pit | Hyrule | Ravio’s Bracelet |
| 47 | Sanctuary & Zora’s Domain 7: Deep water at Zora’s Domain | Hyrule | Zora’s Flippers |
| 48 | Southern Ruins 1: Statue in the shallows | Hyrule | Pegasus Boots and Zora’s Flippers |
| 49 | Southern Ruins 2: Cave pool | Hyrule | Zora’s Flippers |
| 50 | Southern Ruins 3: Hole east of the Treasure Hunter Cave | Hyrule | Zora’s Flippers |
| 51 | Dark Ruins 1: Grassy hill by the Fissure | Lorule | Ravio’s Bracelet and access to Lorule |
| 52 | Dark Ruins 2: Pond near Ku’s Domain | Lorule | Zora’s Flippers and Ravio’s Bracelet |
| 53 | Dark Ruins 3: Top of the chasm waterfall | Lorule | Zora’s Flippers |
| 54 | Dark Ruins 4: Water before the Fissure | Lorule | Zora’s Flippers |
| 55 | Dark Ruins 5: Rock formation by the pillar | Lorule | Pegasus Boots |
| 56 | Dark Ruins 6: Tree in the southwest corner | Lorule | Pegasus Boots |
| 57 | Dark Ruins 7: First tree on the left | Lorule | Pegasus Boots |
| 58 | Dark Ruins 8: Wall facing the Dark Ruins | Lorule | Ravio’s Bracelet |
| 59 | Dark Ruins 9: Wall north of the green flames | Lorule | Ravio’s Bracelet |
| 60 | Dark Ruins 10: Rupee platform wall | Lorule | Ravio’s Bracelet |
| 61 | Death Mountain 1: Skull on the small ledge | Lorule | none (pick up the Skull) |
| 62 | Death Mountain 2: Large rock behind the pegs | Lorule | Titan’s Mitt and  Hammer |
| 63 | Death Mountain 3: Large rock | Lorule | Titan’s Mitt |
| 64 | Death Mountain 4: Wall near the cave and sign | Lorule | Ravio’s Bracelet |
| 65 | Death Mountain 5: Floating-platform cave exit | Lorule | none (pick up the Skull) |
| 66 | Death Mountain 6: North wall of the Ice Ruins | Lorule | Ravio’s Bracelet |
| 67 | Graveyard 1: Large rock by the Philosopher’s Cave exit | Lorule | Titan’s Mitt |
| 68 | Graveyard 2: Rock structure wall | Lorule | Ravio’s Bracelet |
| 69 | Graveyard 3: Lone tree | Lorule | Pegasus Boots |
| 70 | Lorule Lake 1: Wall south of the Lakeside Item Shop | Lorule | Ravio’s Bracelet |
| 71 | Lorule Lake 2: Southwest shore rock | Lorule | Titan’s Mitt |
| 72 | Lorule Lake 3: Rock formation in the water | Lorule | Zora’s Flippers |
| 73 | Lorule Lake 4: Southeast corner | Lorule | Ravio’s Bracelet |
| 74 | Lorule Lake 5: Skull on the second platform | Lorule | Ravio’s Bracelet (pick up the Skull) |
| 75 | Misery Mire 1: Second large rock south of the Fissure | Lorule | Titan’s Mitt |
| 76 | Misery Mire 2: Behind the Weather Vane | Lorule | Ravio’s Bracelet |
| 77 | Misery Mire 3: West end of the swamp | Lorule | Zora’s Flippers |
| 78 | Skull Woods 1: West wall of the long house | Lorule | Ravio’s Bracelet |
| 79 | Skull Woods 2: Rock in the eastern clearing | Lorule | Titan’s Mitt |
| 80 | Skull Woods 3: Grass east of the Fissure pillar | Lorule | Sword |
| 81 | Skull Woods 4: Skull in the grass ring | Lorule | none (pick up the Skull) |
| 82 | Skull Woods 5: Tree south of the Abandoned Shack | Lorule | Pegasus Boots |
| 83 | Skull Woods 6: Centre of the V of trees | Lorule | Sword |
| 84 | Skull Woods 7: Pit wall | Lorule | Ravio’s Bracelet |
| 85 | Skull Woods 8: Wall by the Thieves’ Town arch | Lorule | Ravio’s Bracelet |
| 86 | Thieves’ Town & Lorule Castle 1: Forge wall | Lorule | Ravio’s Bracelet |
| 87 | Thieves’ Town & Lorule Castle 2: Southwest large rock | Lorule | Titan’s Mitt |
| 88 | Thieves’ Town & Lorule Castle 3: Tree north of the Thieves’ Town arch | Lorule | Pegasus Boots |
| 89 | Thieves’ Town & Lorule Castle 4: Walled corner structure | Lorule | Ravio’s Bracelet |
| 90 | Thieves’ Town & Lorule Castle 5: Grass around the Big Bomb Flower | Lorule | Sword |
| 91 | Thieves’ Town & Lorule Castle 6: Rupee Rush northwest wall | Lorule | Ravio’s Bracelet |
| 92 | Thieves’ Town & Lorule Castle 7: Skulls in the Octoball Derby area | Lorule | none (pick up the Skulls) |
| 93 | Thieves’ Town & Lorule Castle 8: Fissure loop in the southwest | Lorule | Ravio’s Bracelet and access to Lorule |
| 94 | Thieves’ Town & Lorule Castle 9: Eastern structure before the castle bridge | Lorule | Ravio’s Bracelet |
| 95 | Thieves’ Town & Lorule Castle 10: Tree on the east edge | Lorule | Pegasus Boots |
| 96 | Thieves’ Town & Lorule Castle 11: Hill northwest of the Vacant House | Lorule | Ravio’s Bracelet |
| 97 | Thieves’ Town & Lorule Castle 12: Rock beside the stump | Lorule | Titan’s Mitt |
| 98 | Thieves’ Town & Lorule Castle 13: Northeast corner | Lorule | Ravio’s Bracelet |
| 99 | Thieves’ Town & Lorule Castle 14: C-shaped rock formation | Lorule | Zora’s Flippers |
| 100 | Thieves’ Town & Lorule Castle 15: Three stone statues | Lorule | Pegasus Boots |
