
























| Hearts | 20: 3 at the start, 10 Heart Containers and 7 from 28 Pieces of Heart |
|---|---|
| Lost Maiamai | 100, which pay for 9 Nice upgrades and the Great Spin |
| Master Ore | 4 chunks for Master Sword Lv2 and Lv3 |
| Bottles | 5 |
| Other | 9 Ravio tools, 22 Weather Vanes, 7 Sages, 3 Treacherous Tower courses |
A complete file in A Link Between Worlds means 20 hearts, all 100 Lost Maiamai returned, all 4 Master Ore forged into the Master Sword, 5 Bottles, every tool owned and upgraded, and the prizes of each mini-game collected. The lists below name every entry once, so you can compare them with your own file and then follow the links to the full location guides. Nothing can be collected in the last chapter, so finish your lists before you climb Lorule Castle.
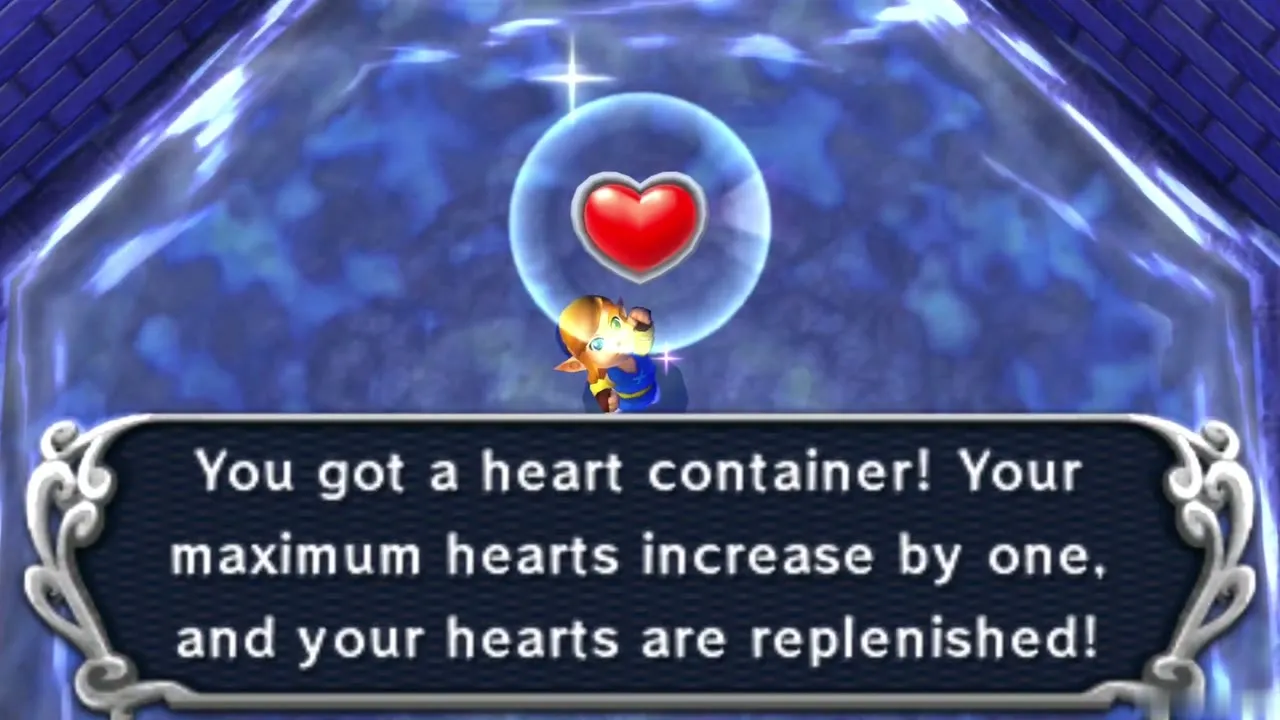
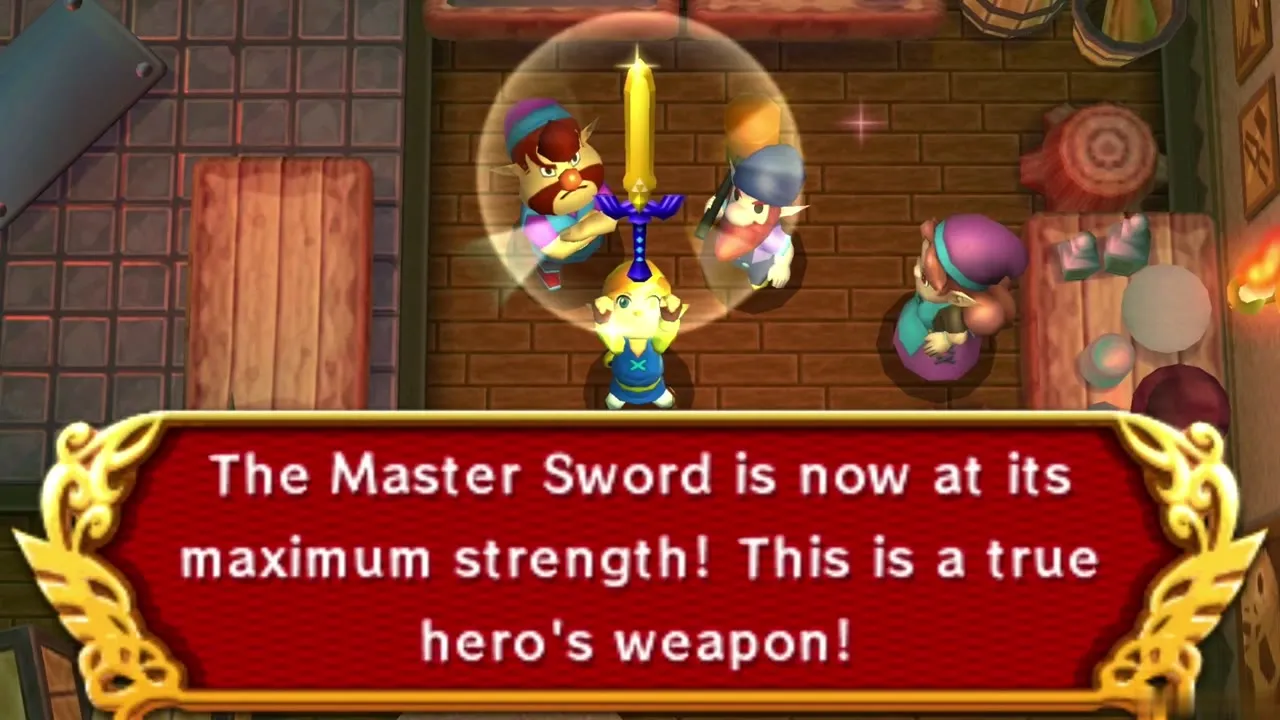
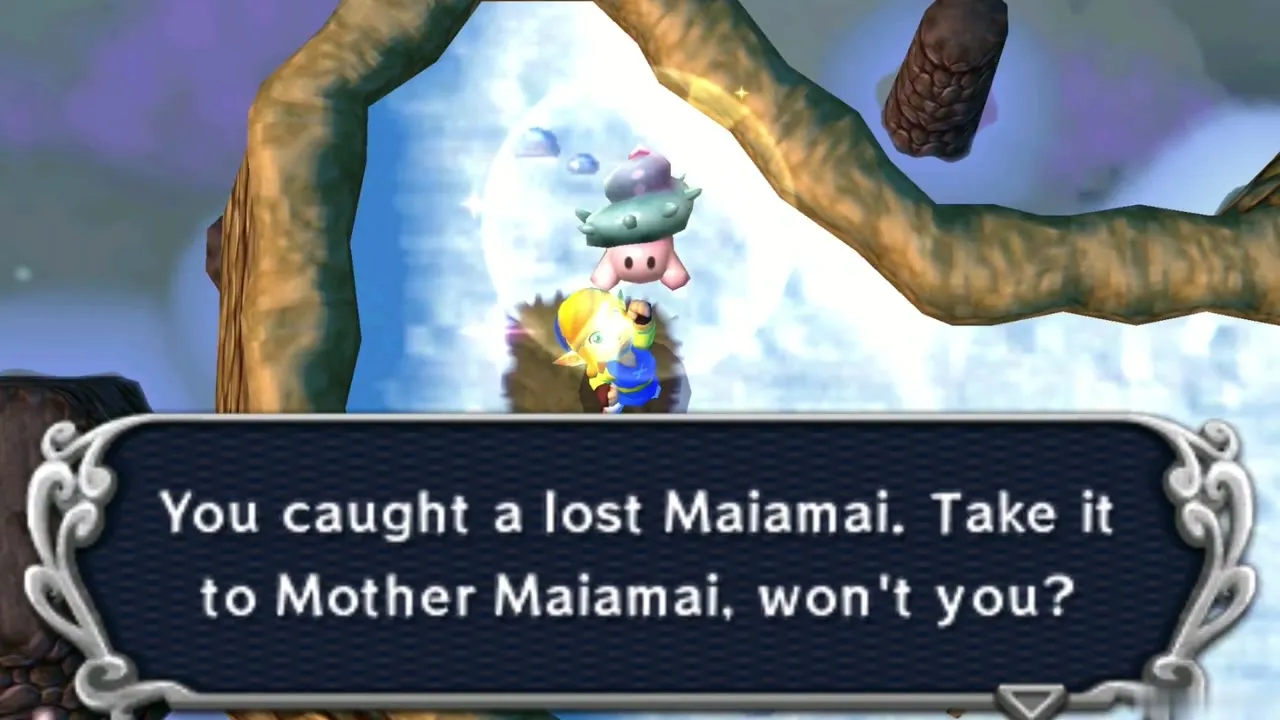
Table of Contents
Totals at a glance
| Collection | Total | Where it is listed |
|---|---|---|
 Heart Containers | 10 | Heart Piece Locations |
 Pieces of Heart | 28 (18 Hyrule, 10 Lorule) | Heart Piece Locations |
 Lost Maiamai | 100 (50 Hyrule, 50 Lorule) | Maiamai Locations |
 Master Ore | 4 | Master Ore Locations |
 Bottles | 5 | Bottle Locations |
| Ravio tools | 9, plus 9 Nice upgrades | Items and Equipment |
| Treacherous Tower courses | 3 | Treacherous Tower |
| Weather Vanes | 22 (9 Hyrule, 13 Lorule) | Weather Vane Locations |
| Seven Sages | 7 | Walkthrough |
Hearts
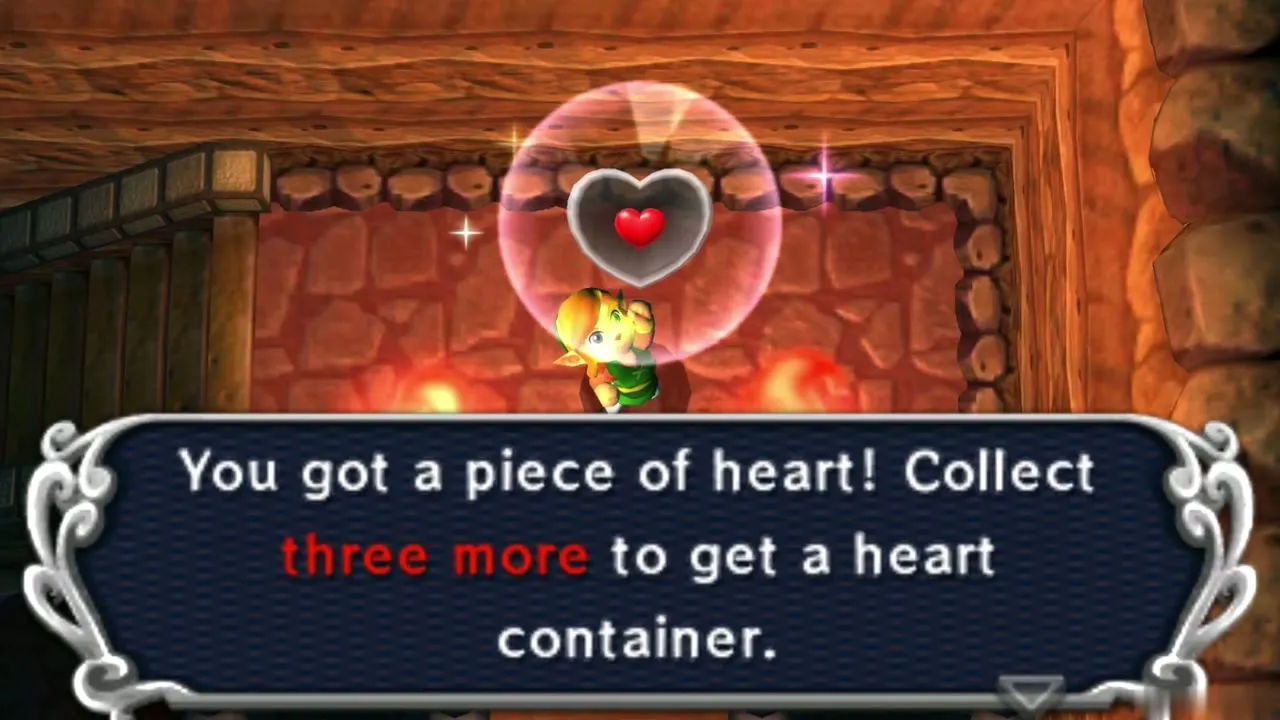
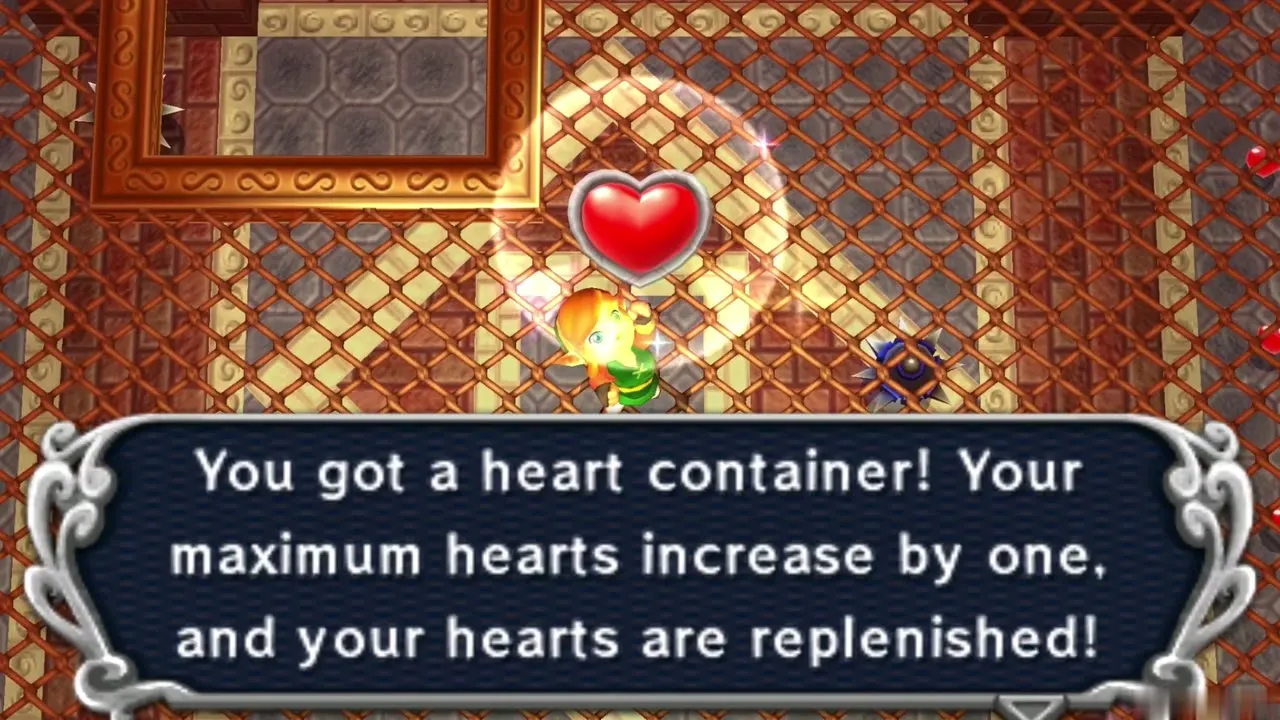
You begin with 3 hearts. The ten Heart Containers add 10 and the 28 Pieces of Heart add 7, because four Pieces make one heart. That makes 20 hearts, the maximum. The Heart Piece Locations page explains how to reach each one.
The 10 Heart Containers
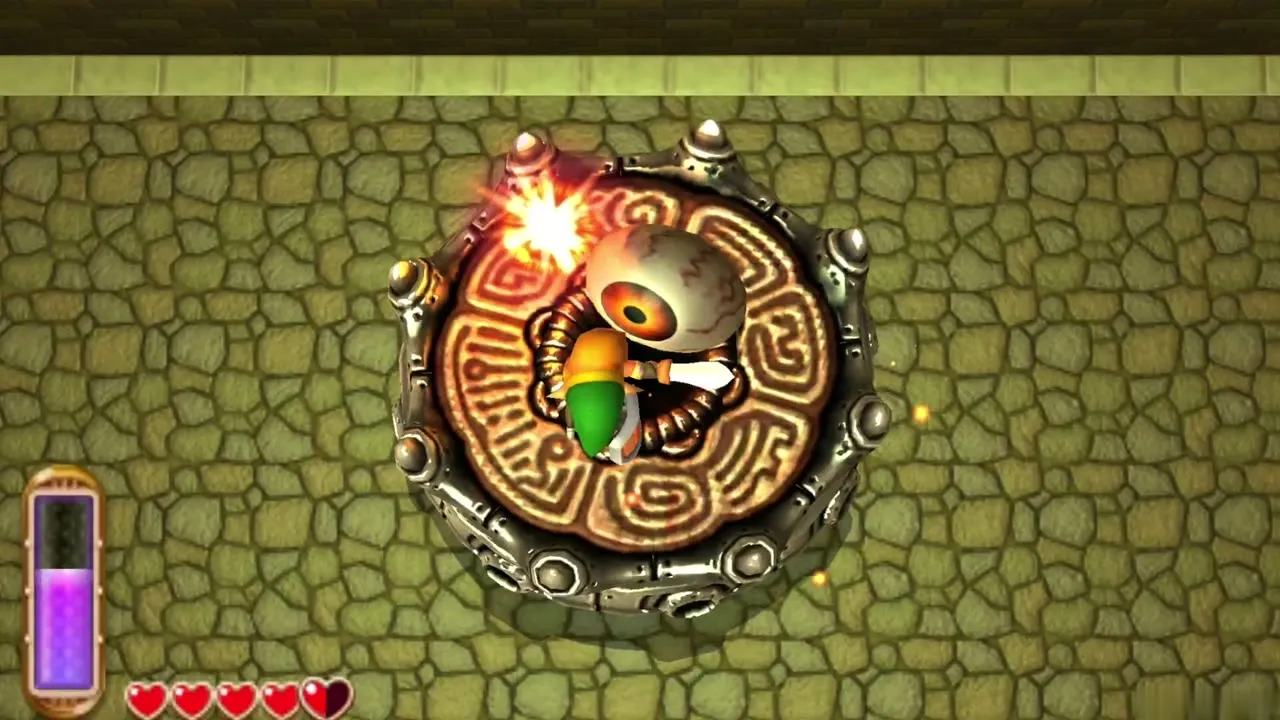
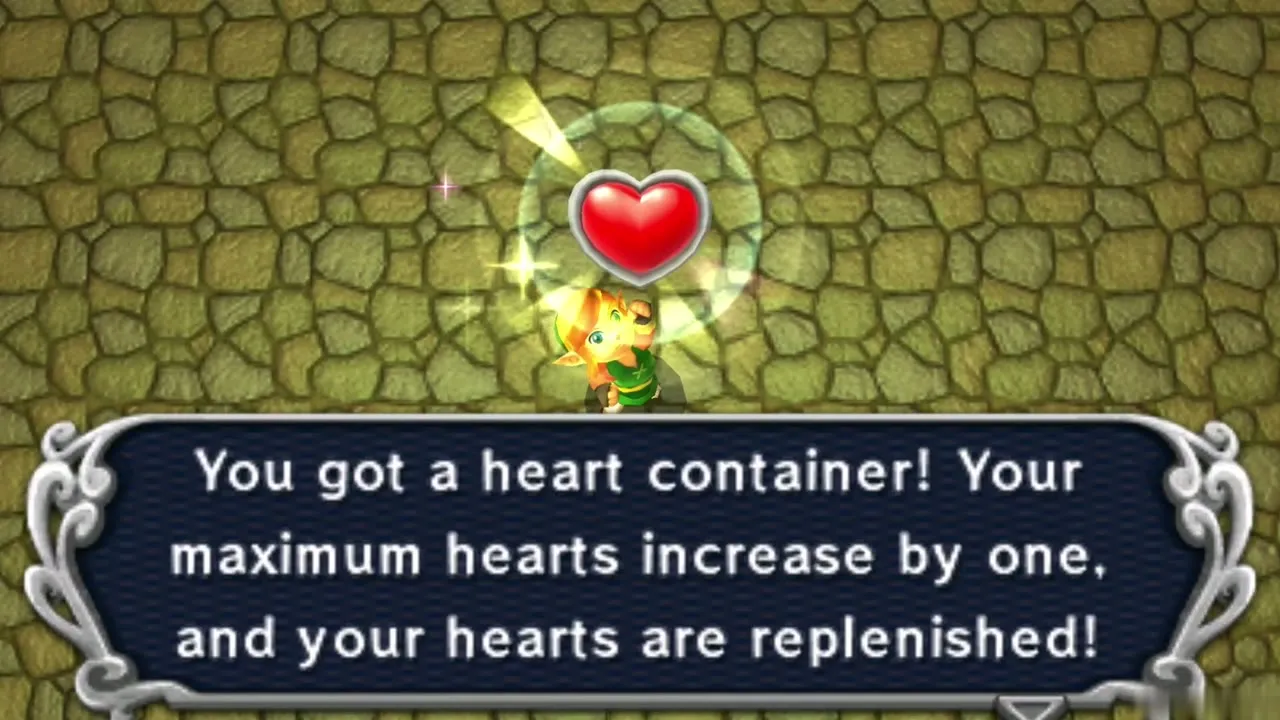
One Heart Container drops from each of the ten dungeon bosses, and none from Hyrule Castle, Lorule Castle or the Sanctuary.
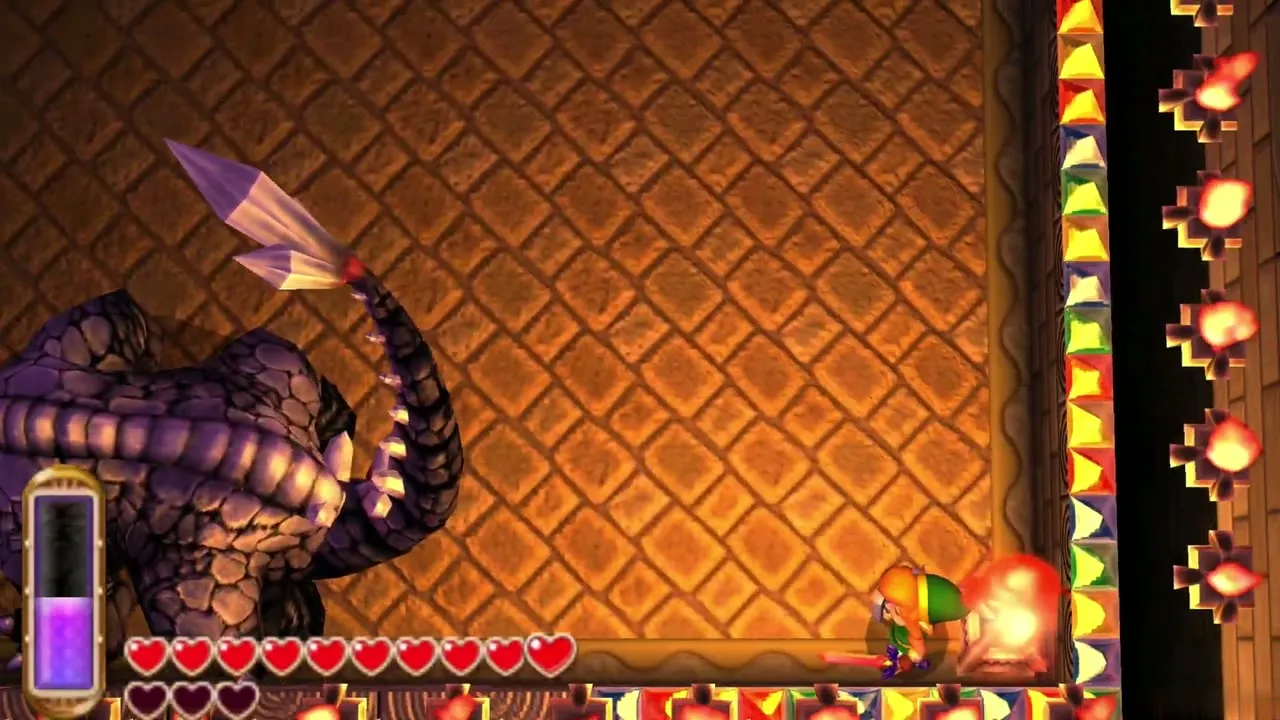
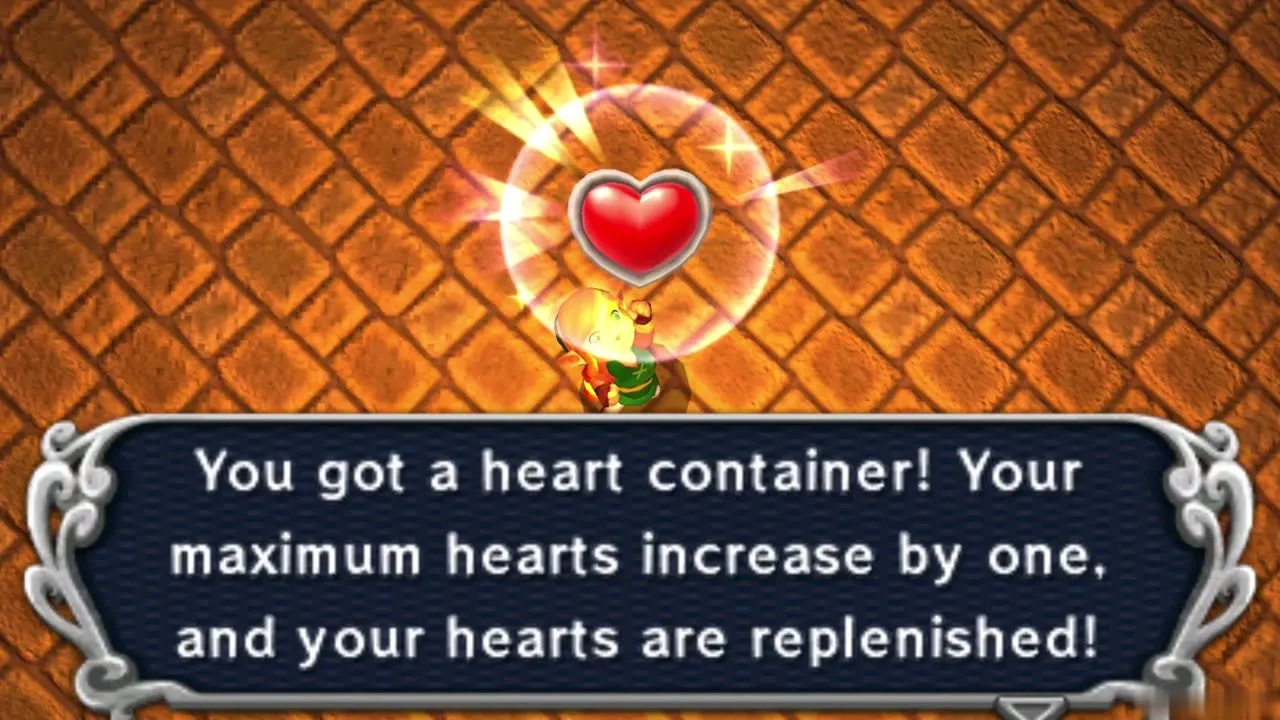
- Eastern Palace, from Yuga (Eastern Palace)
- House of Gales, from Margomill (House of Gales)
- Tower of Hera, from Moldorm (Tower of Hera)
- Dark Palace, from the Gemesaur King (Dark Palace)
- Skull Woods, from Knucklemaster (Skull Woods)
- Ice Ruins, from Dharkstare (Ice Ruins)
- Thieves’ Hideout, from Stalblind (Thieves’ Hideout)
- Swamp Palace, from Arrghus (Swamp Palace)
- Turtle Rock, from Grinexx (Turtle Rock)
- Desert Palace, from Zaganaga (Desert Palace)
The 18 Hyrule Pieces of Heart
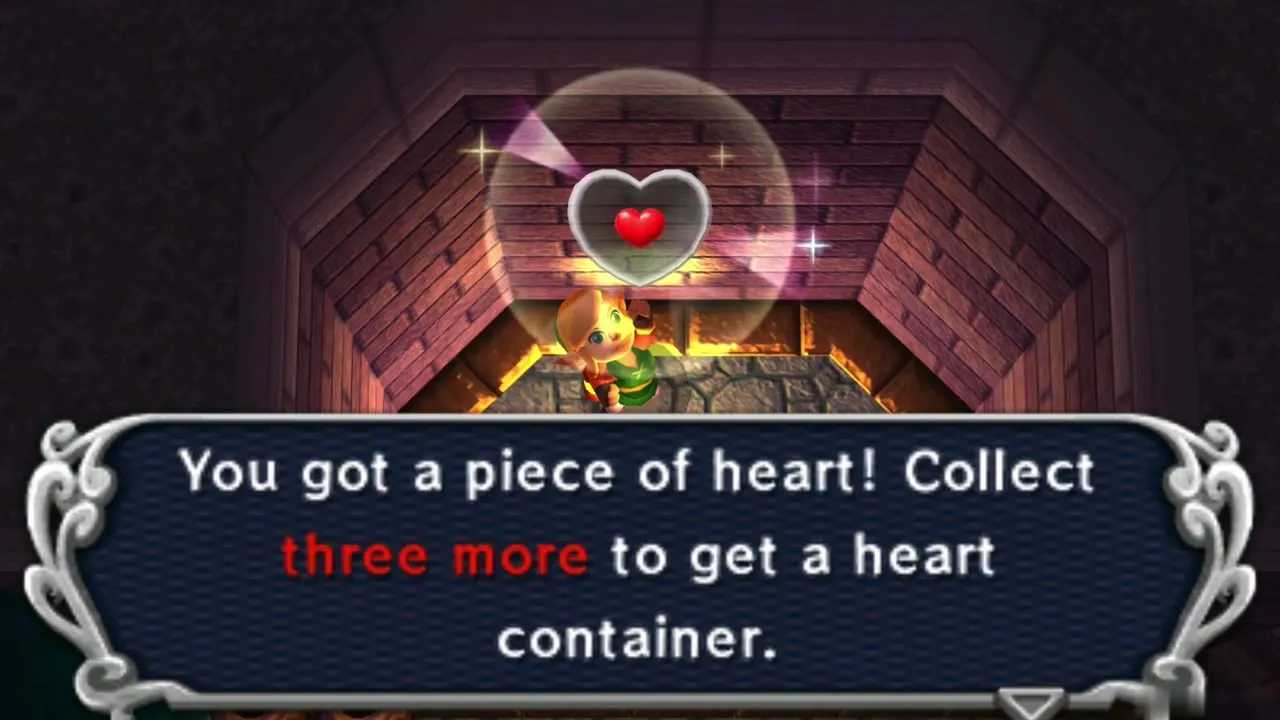
These 18 Pieces are in Hyrule, although three of them can only be entered after you travel through a fissure from Lorule.
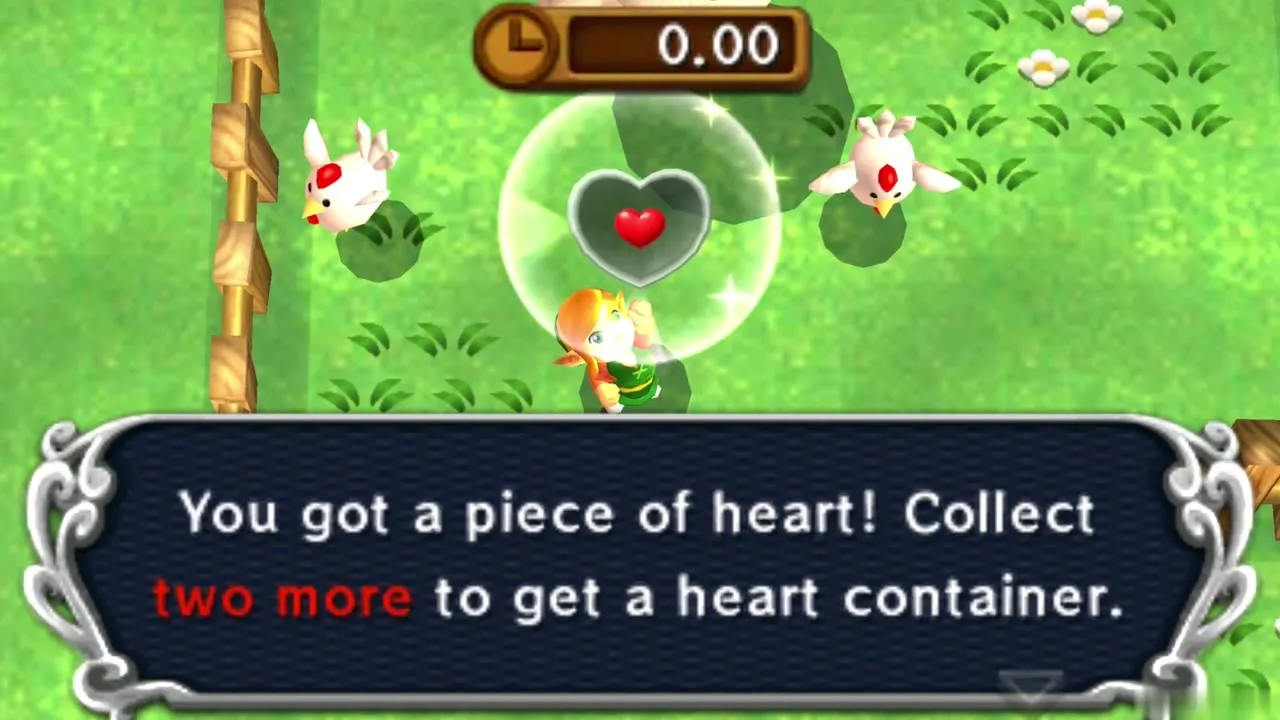
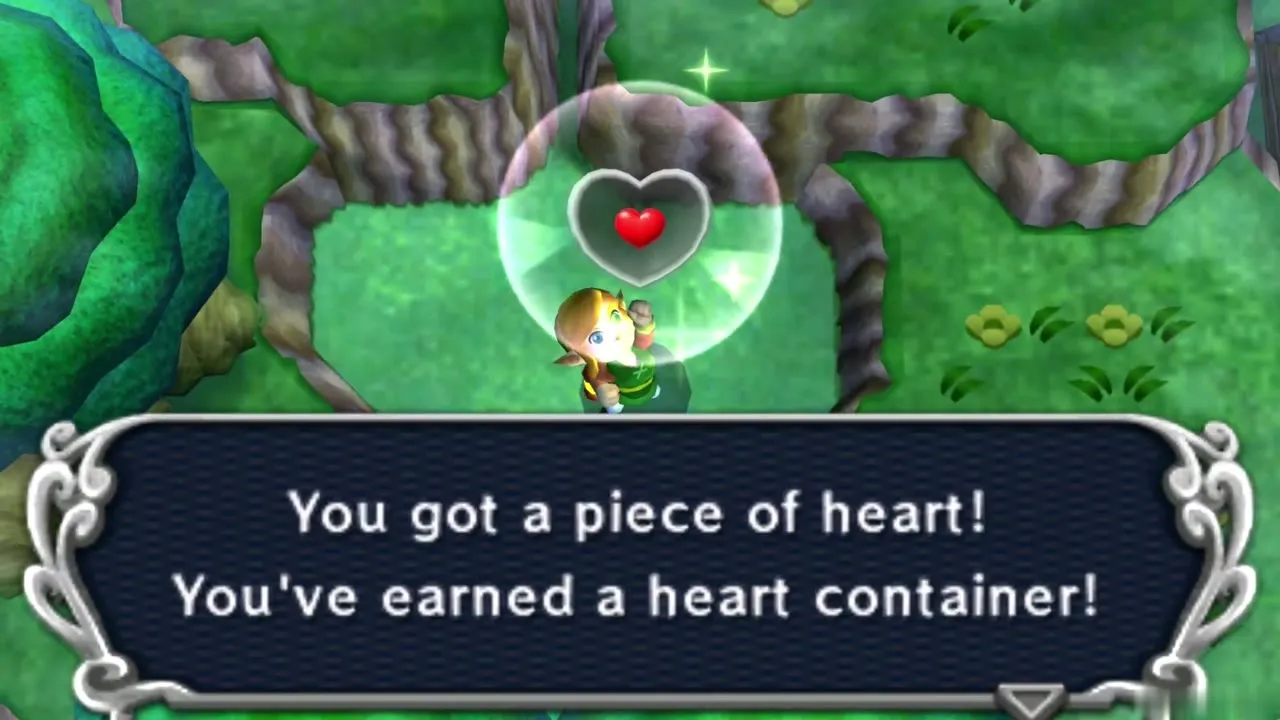
- Kakariko Village Well Cave
- Cucco Ranch Rooster Reward
- Behind the Blacksmith’s Forge
- Graveyard Secret Passage Ledge
- Lost Woods Narrow Wall Gap
- East Side of Hyrule Castle
- Waterfall Cave South of Zora’s Domain
- Hyrule Rupee Rush High Score
- Hyrule Hotfoot Race Reward
- Eastern Palace Bomb Cave
- Eastern Palace Peg Circle
- Southern Ruins Hidden Cave
- Death Mountain Secret Passage
- Rosso’s Ore Mine Platform Challenge
- Young Woman’s Locked House
- Graveyard High Cave
- Blacksmith Cave Beneath the Large Rock
- Ice Ruins Cavern Fissure Cliff
The 10 Lorule Pieces of Heart
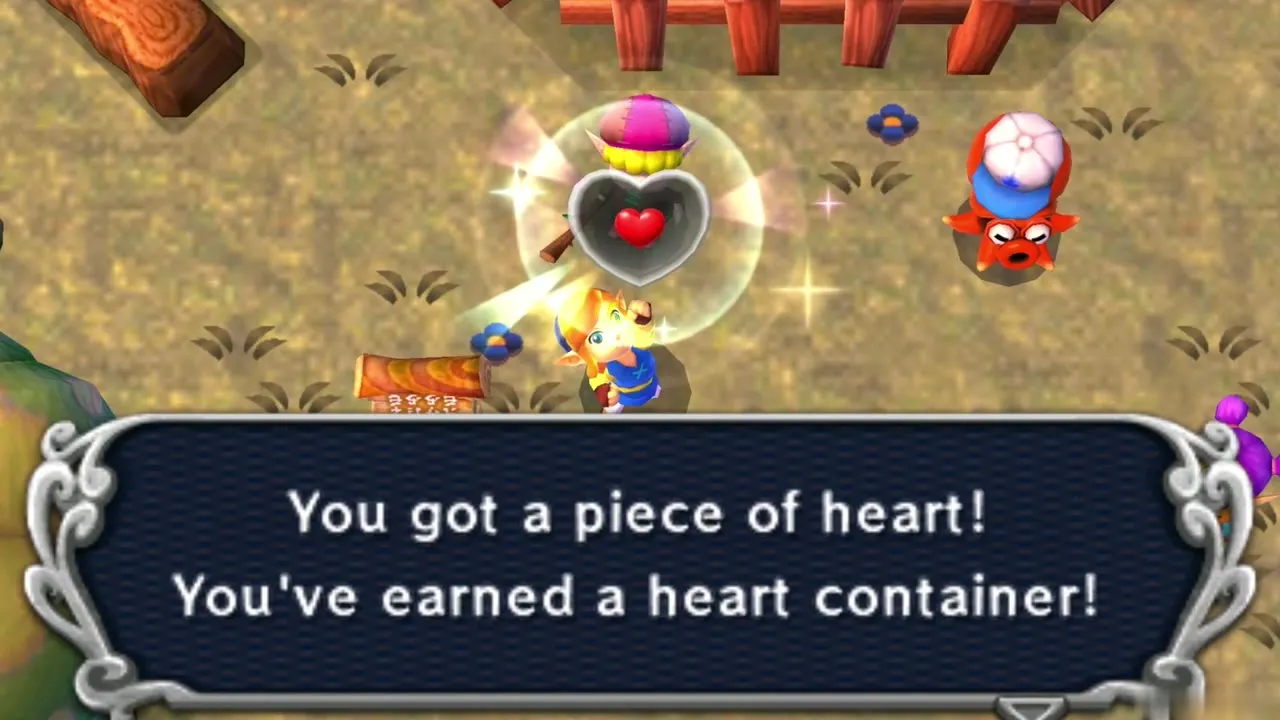
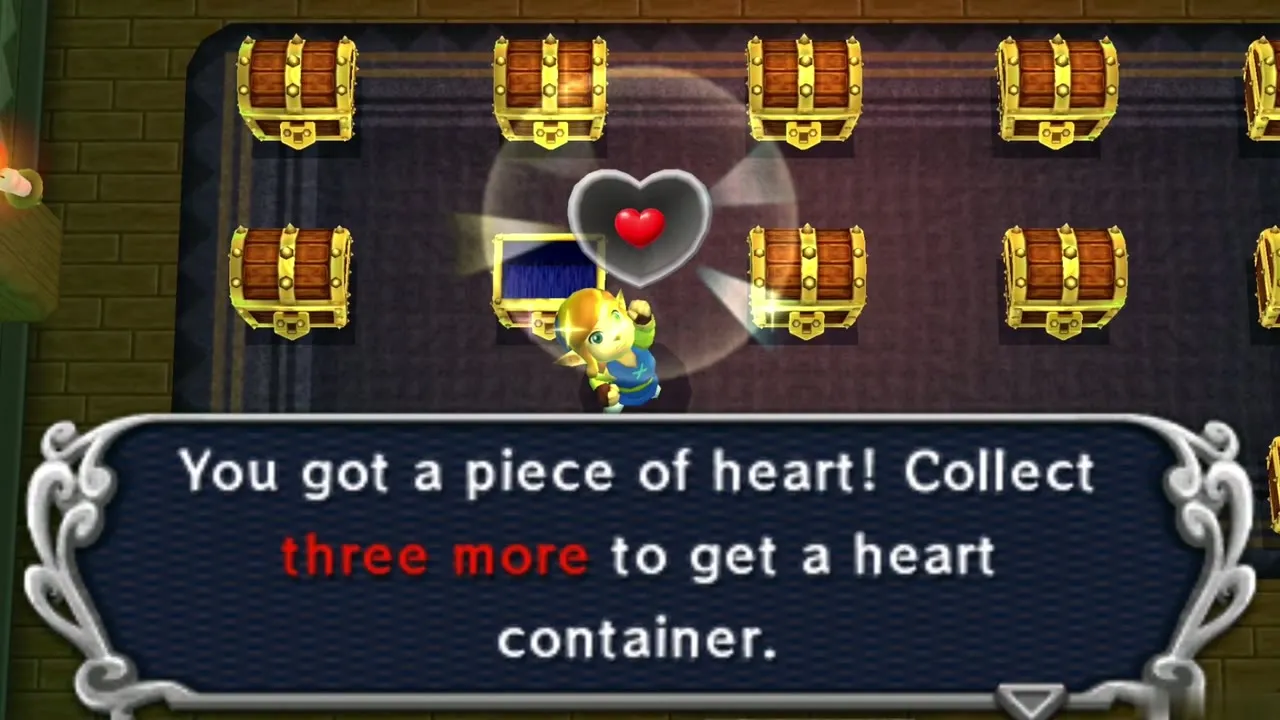
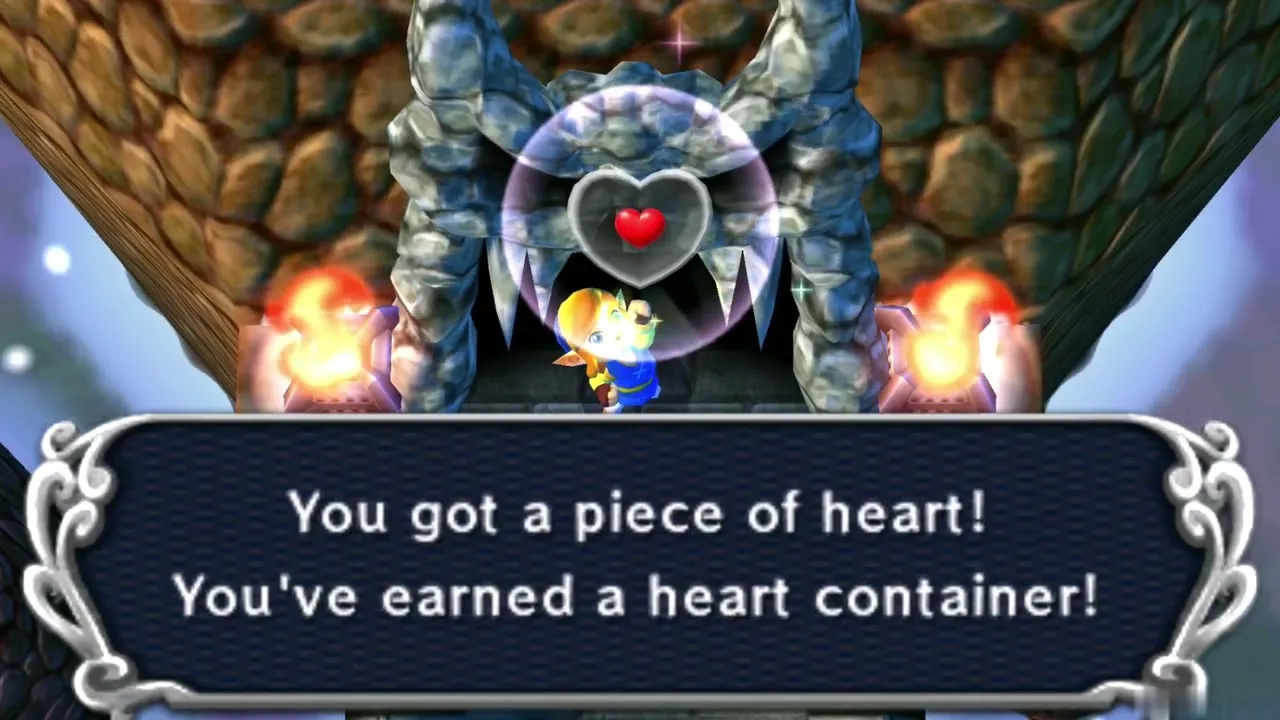
The ten Lorule Pieces include three prizes from Rupee and chest games and one from the Treacherous Tower.
- Fortune’s Choice Chest Prize
- Lorule Rupee Rush High Score
- Octoball Derby 100-Point Reward
- Big Bomb Flower Cave
- Dark Palace Maze Beam
- Lorule Sahasrahla House Ledge
- Abandoned Shack Roof
- Desert Fissure Near Misery Mire
- Turtle Rock Dungeon Exit
- Treacherous Tower Intermediate Reward
Lost Maiamai
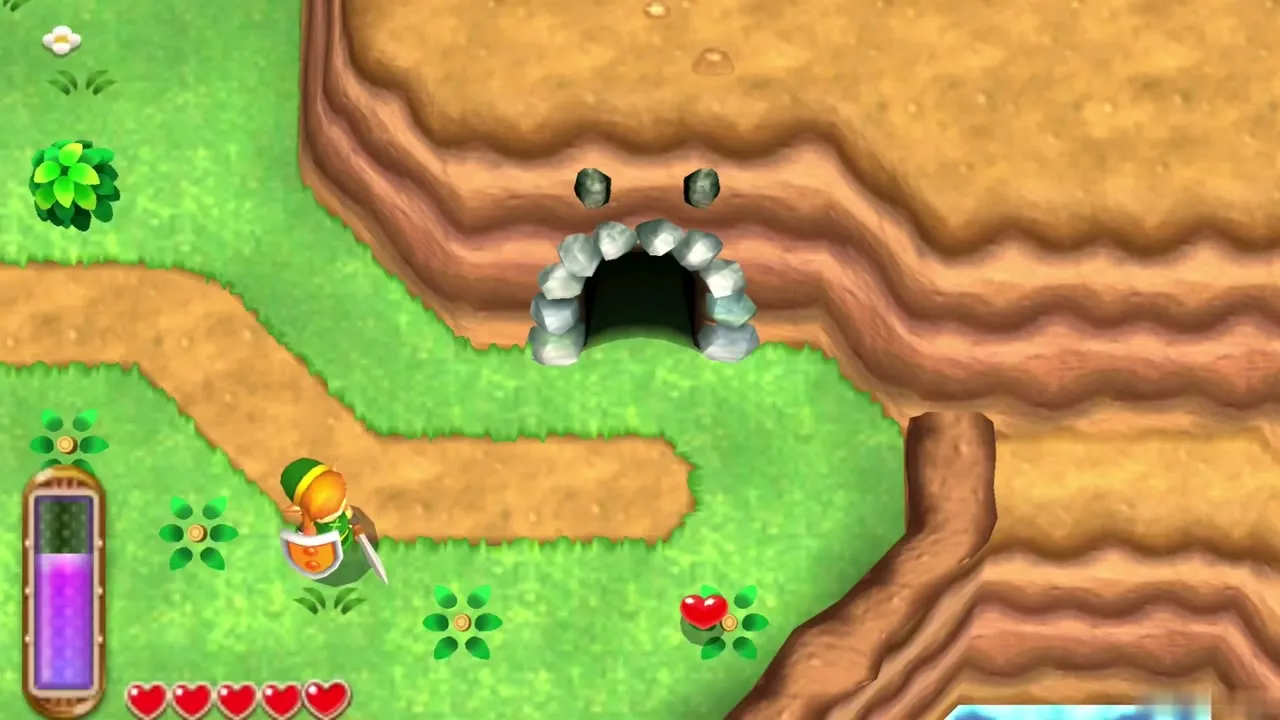
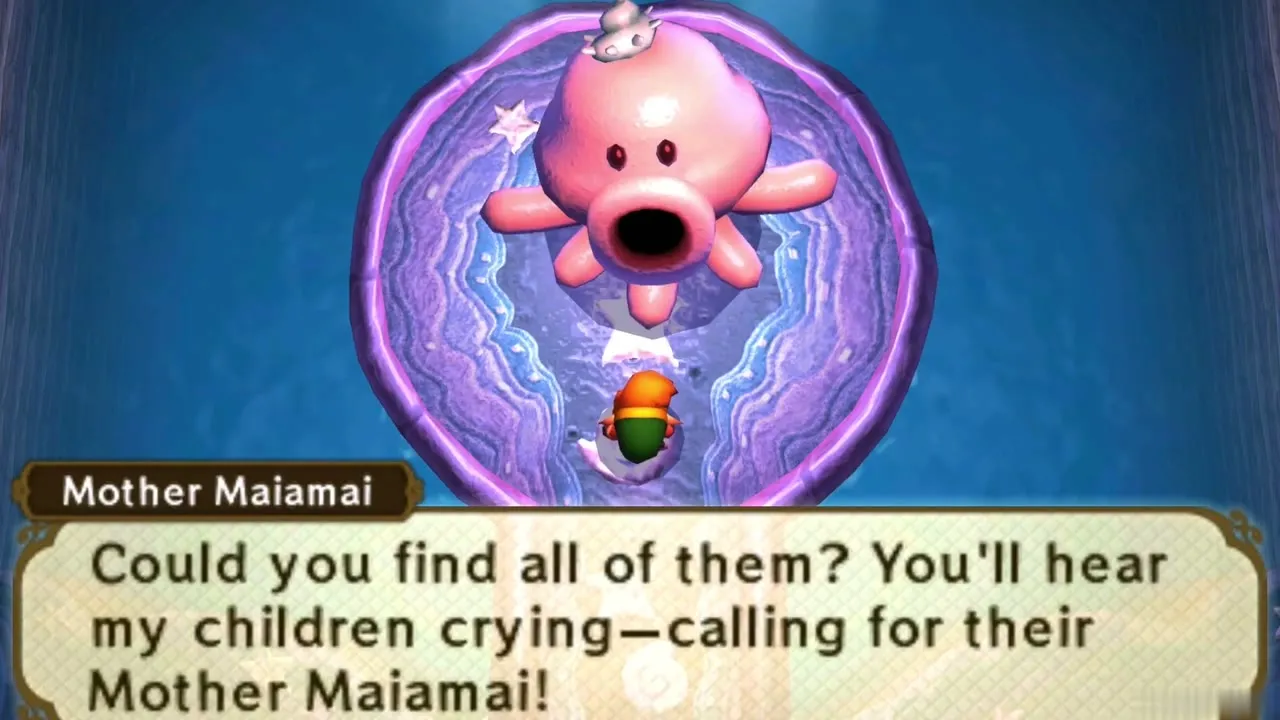
There are 100 Lost Maiamai, 50 in Hyrule and 50 in Lorule. Return them to Mother Maiamai in her cave beside Lake Hylia; the Maiamai Locations page lists every one. The Maiamai Map in the game counts how many are left in each region.
Maiamai by region
The Maiamai Map splits the 100 into 16 regions.
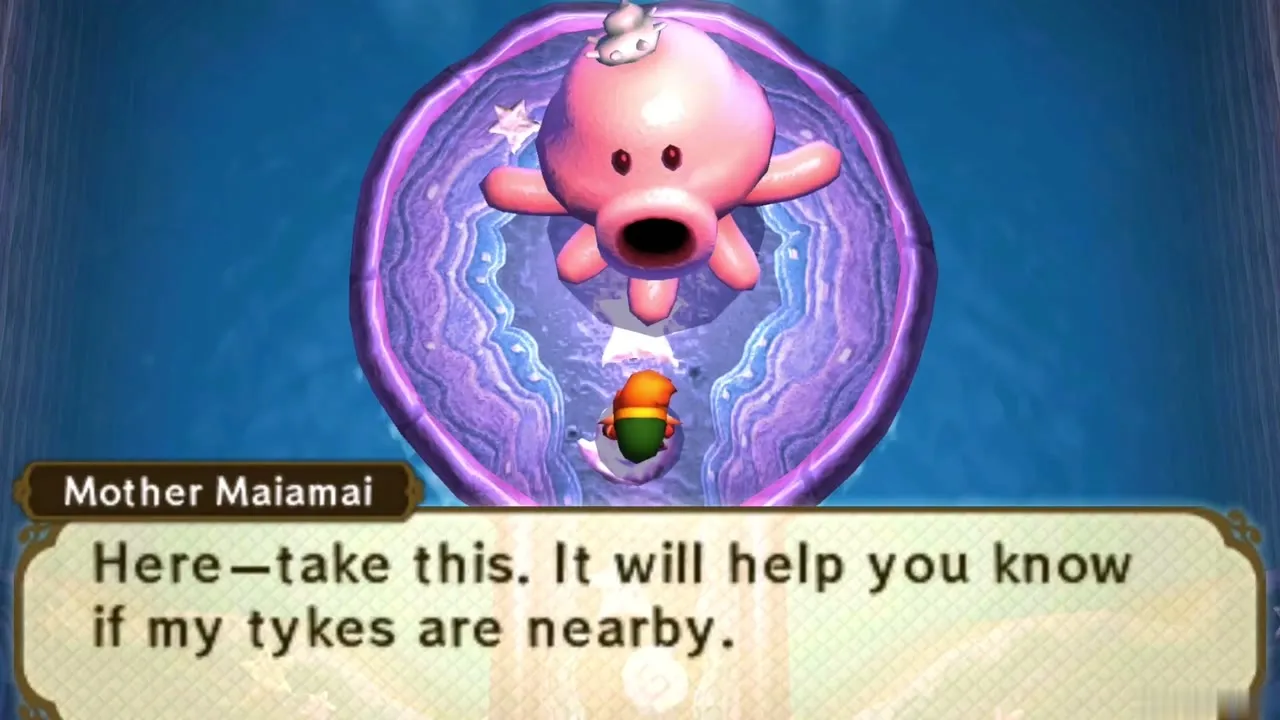
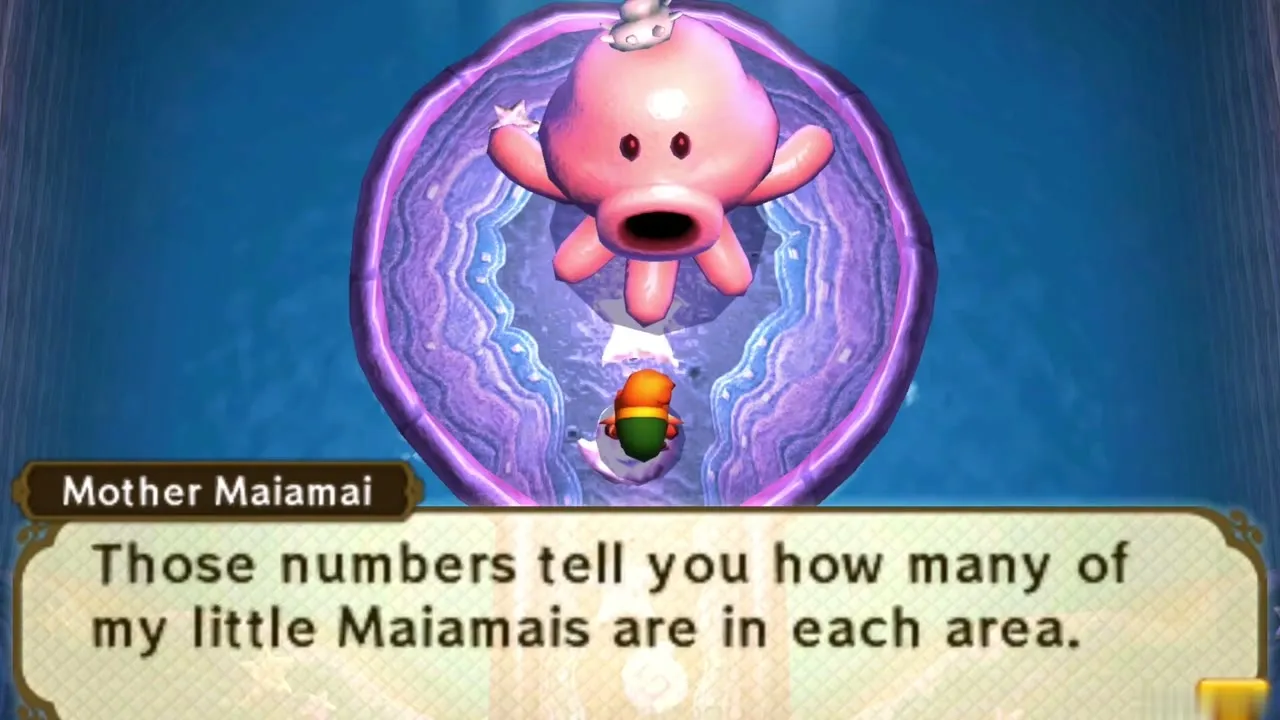
- Hyrule, 50 in total: Death Mountain 5, Desert 3, Eastern Ruins 6, Hyrule Castle 8, Kakariko Village 5, Lake Hylia 5, Lost Woods 8, Sanctuary and Zora’s Domain 7, Southern Ruins 3
- Lorule, 50 in total: Dark Ruins 10, Death Mountain 6, Graveyard 3, Lorule Lake 5, Misery Mire 3, Skull Woods 8, Thieves’ Town and Lorule Castle 15
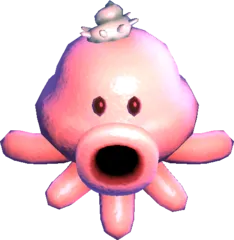
Maiamai rewards
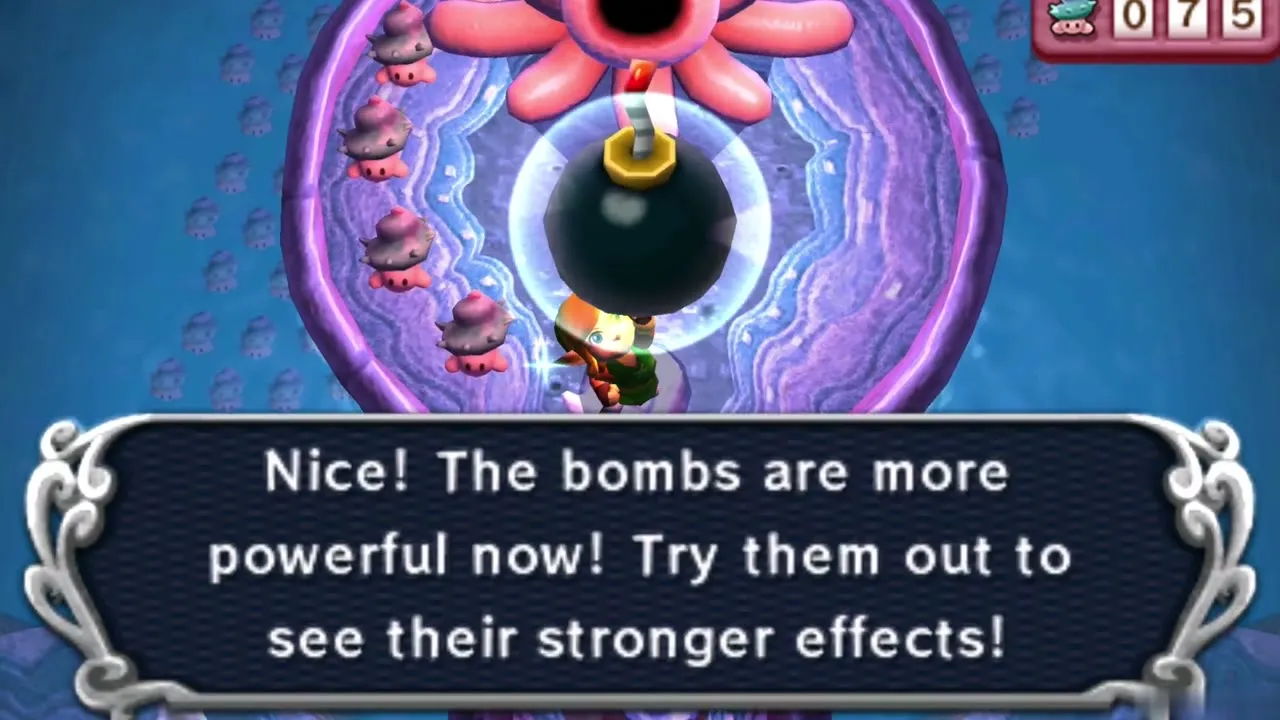
Every 10 Maiamai buy one Nice upgrade for a tool you bought from Ravio, because rented tools cannot be upgraded. Choose the order yourself; each tool can be upgraded once.
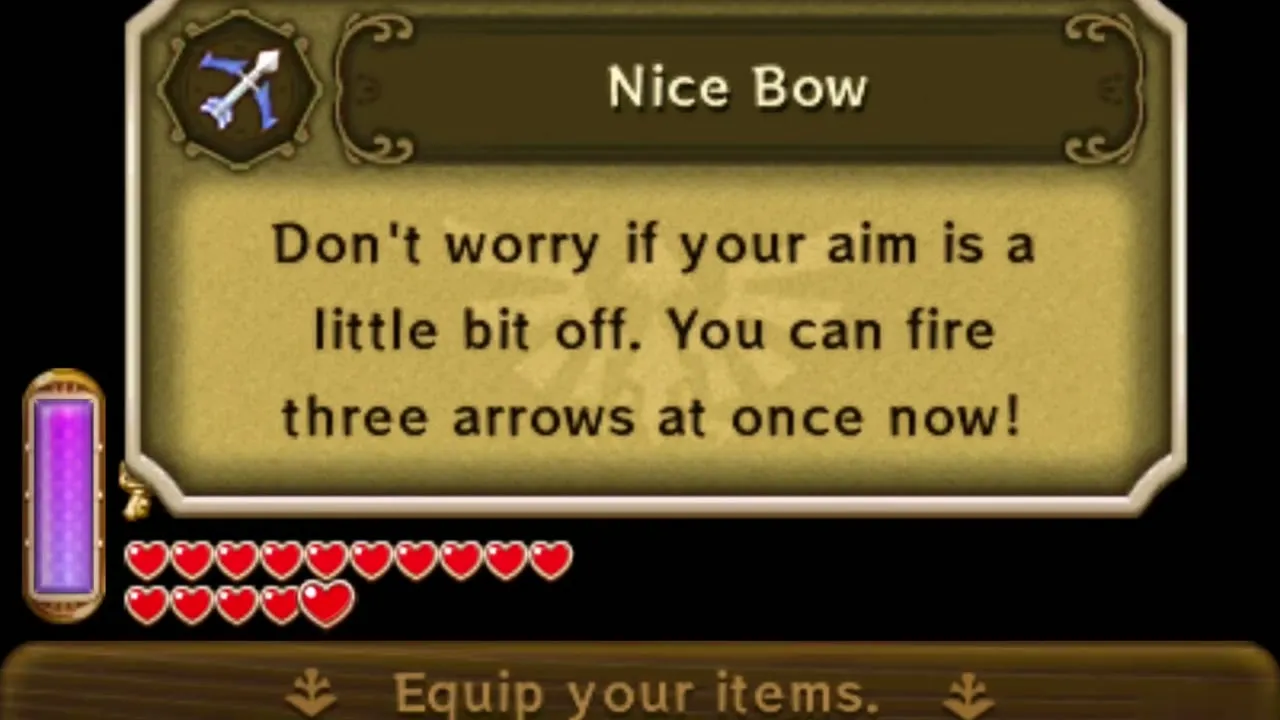
 Nice Bow
 Nice Bomb
 Nice Boomerang
 Nice Hookshot
 Nice Fire Rod
 Nice Ice Rod
 Nice Tornado Rod
 Nice Hammer
 Nice Sand Rod
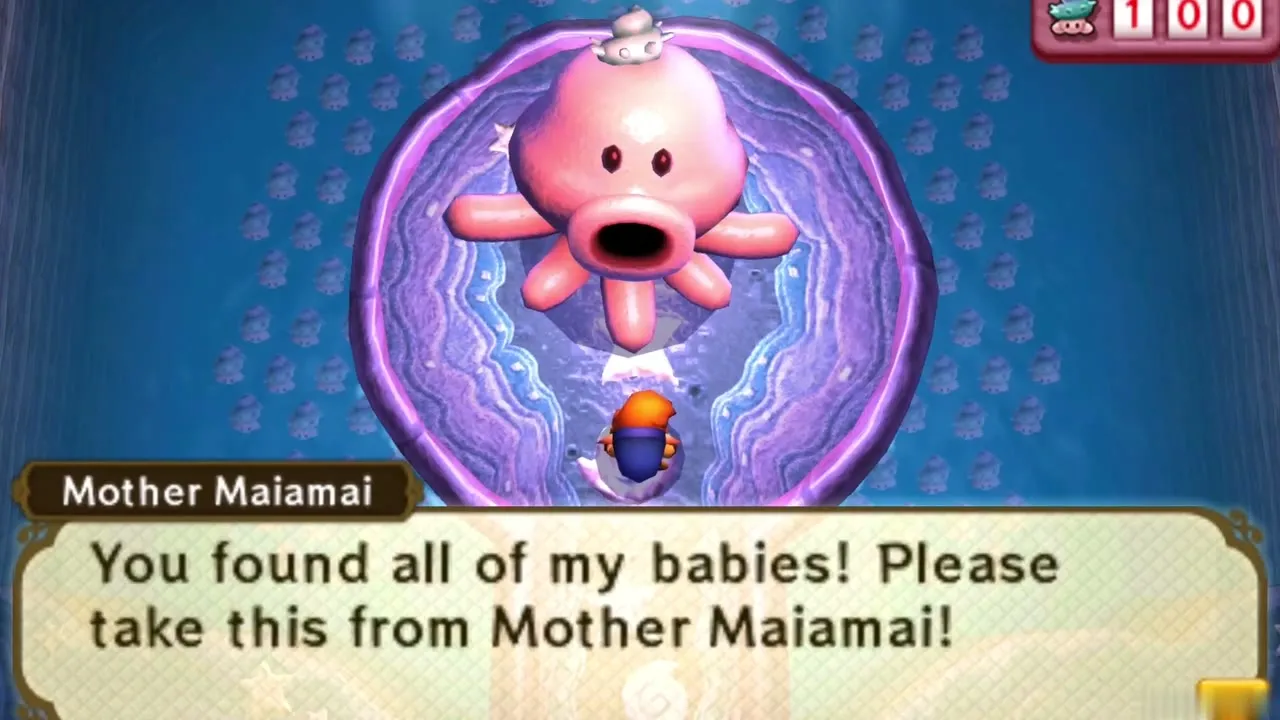
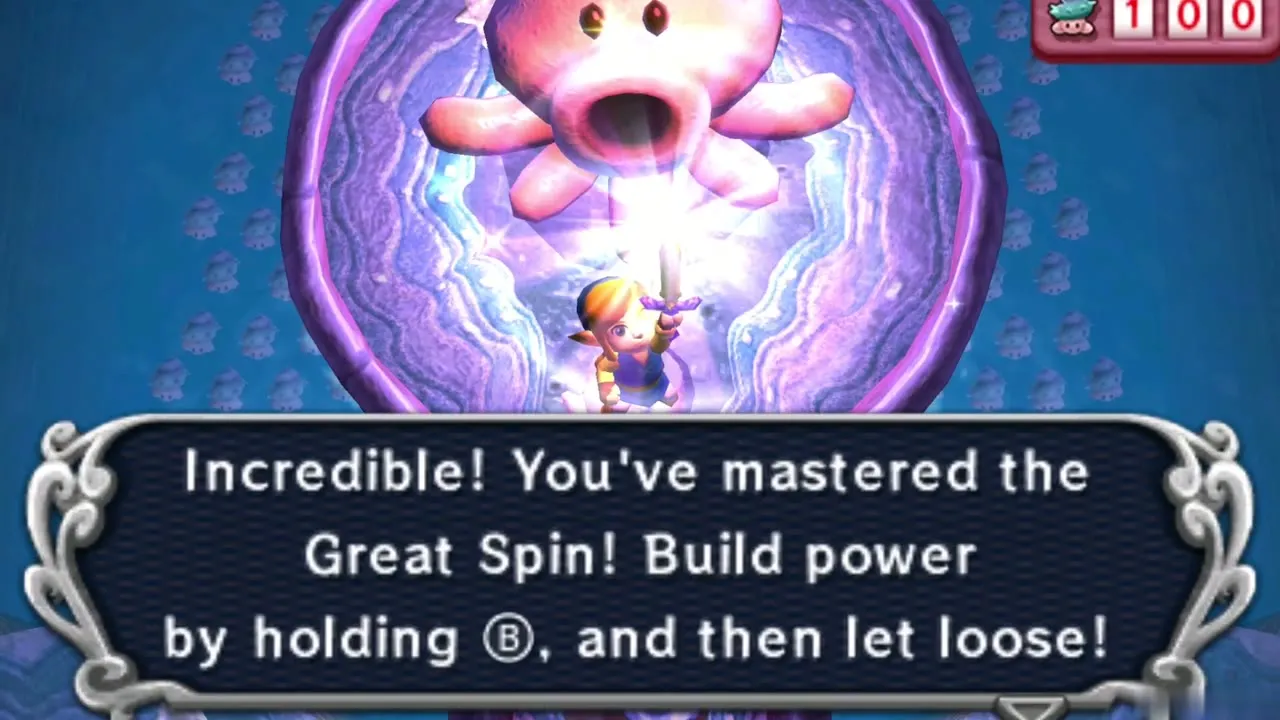
Once the nine upgrades are done, the last 10 Maiamai earn the Great Spin, a stronger spin attack. That brings the total to 100.
Master Ore
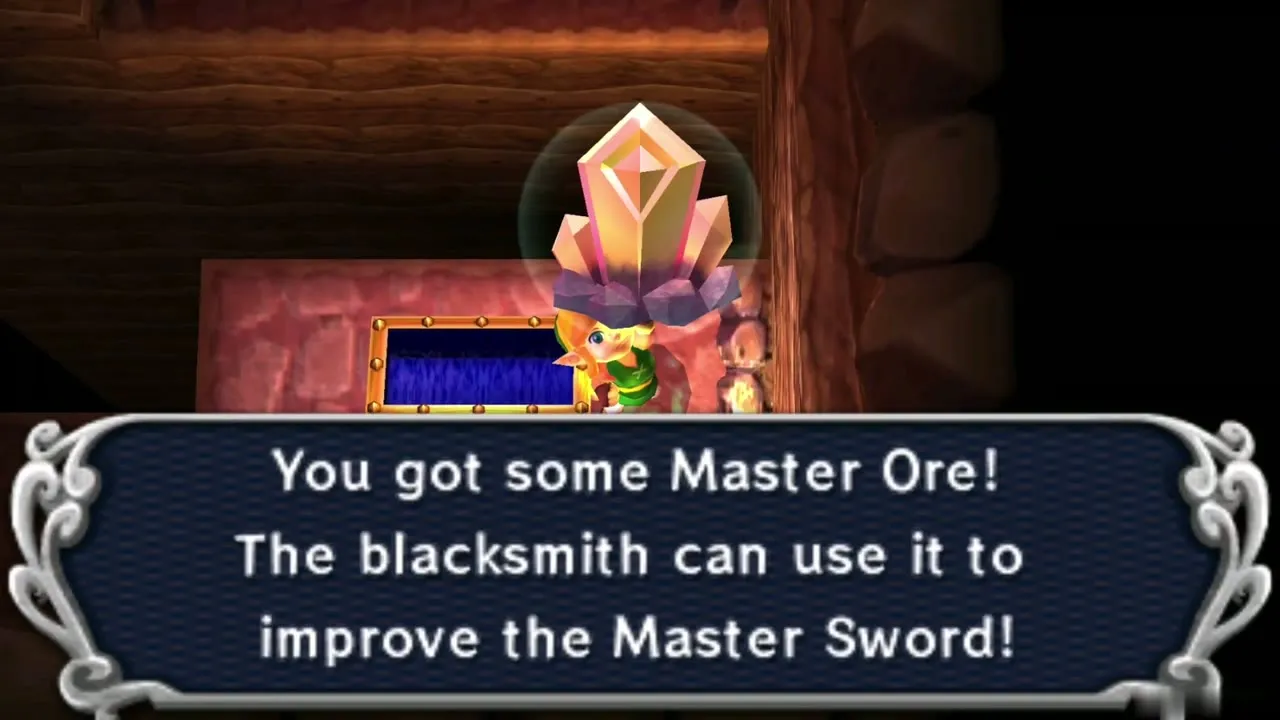
Four chunks of Master Ore hide in Lorule, two for each Master Sword upgrade. See the Master Ore Locations for the routes.
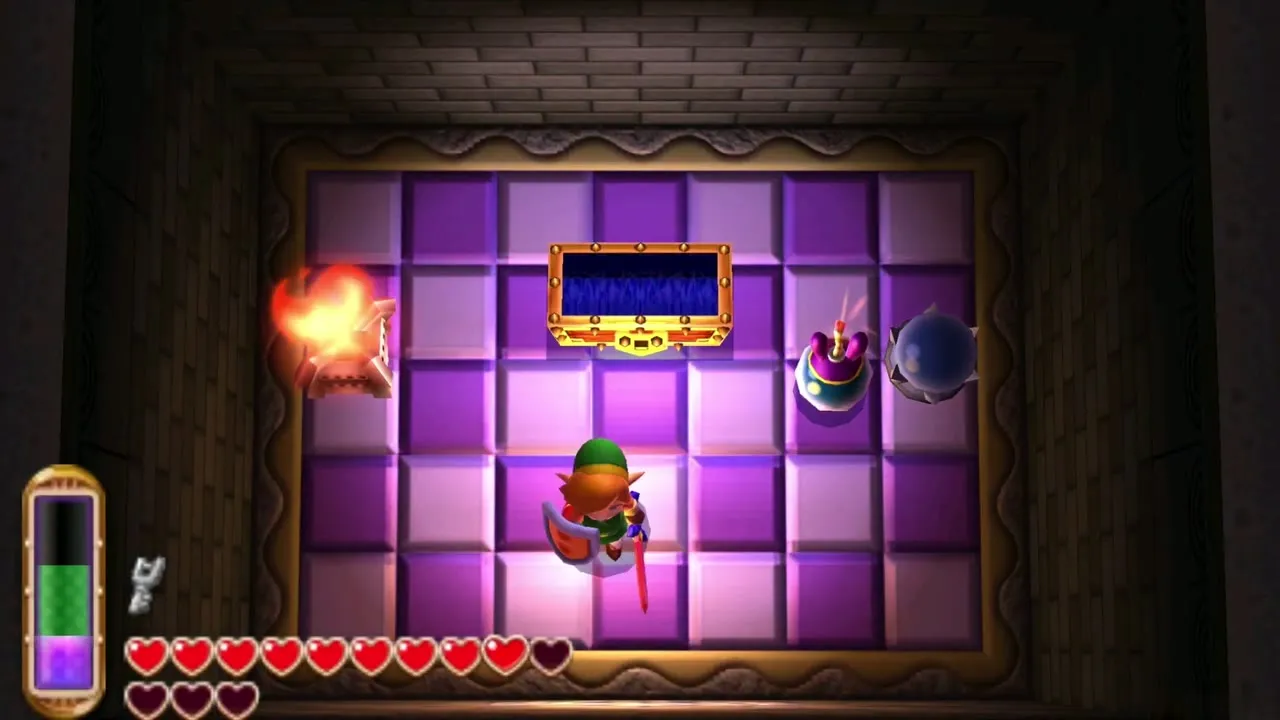
- Thieves’ Hideout (Thieves’ Hideout)
- Skull Woods (Skull Woods)
- Dark Palace (Dark Palace)
- The cave under the Lorule graveyard, which needs the Titan’s Mitt
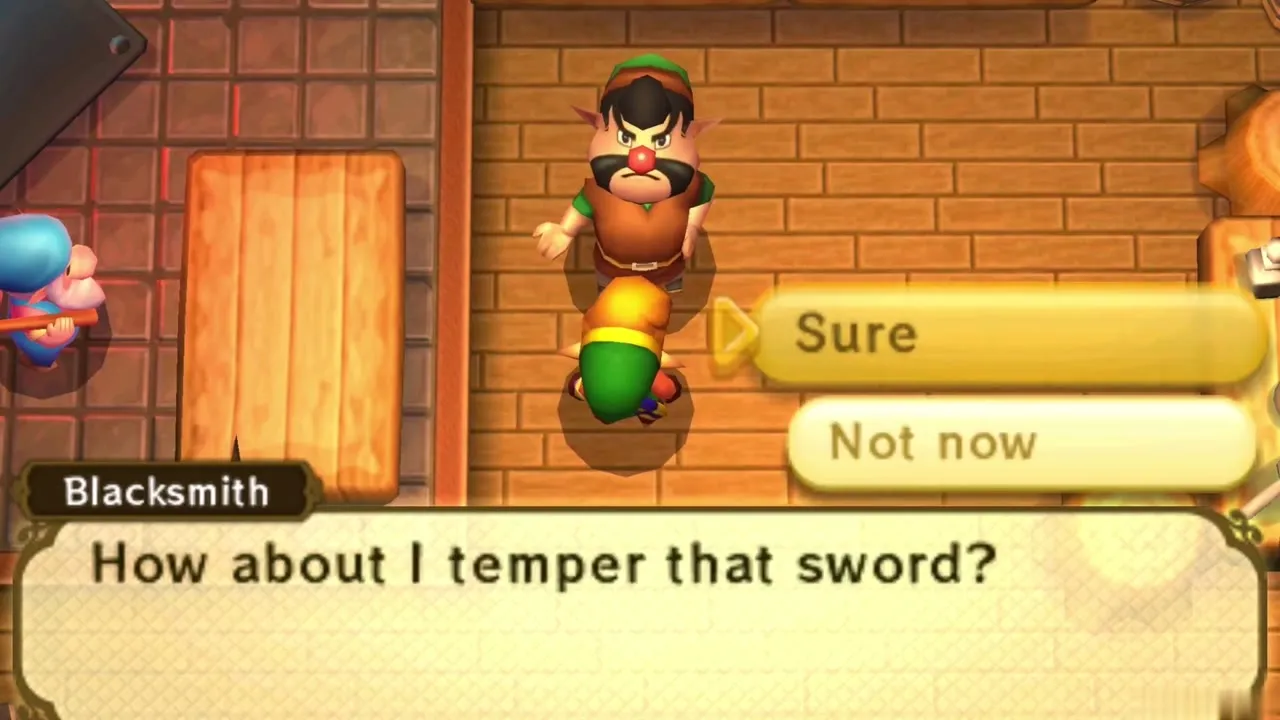
The Blacksmith in Hyrule turns the Master Sword into Lv2 for the first two chunks. The Blacksmith in Lorule makes it Lv3 for the other two. A single chunk earns only a reminder.
Bottles
You can own five Bottles, and each comes from a different source. The Bottle Locations page has the details.
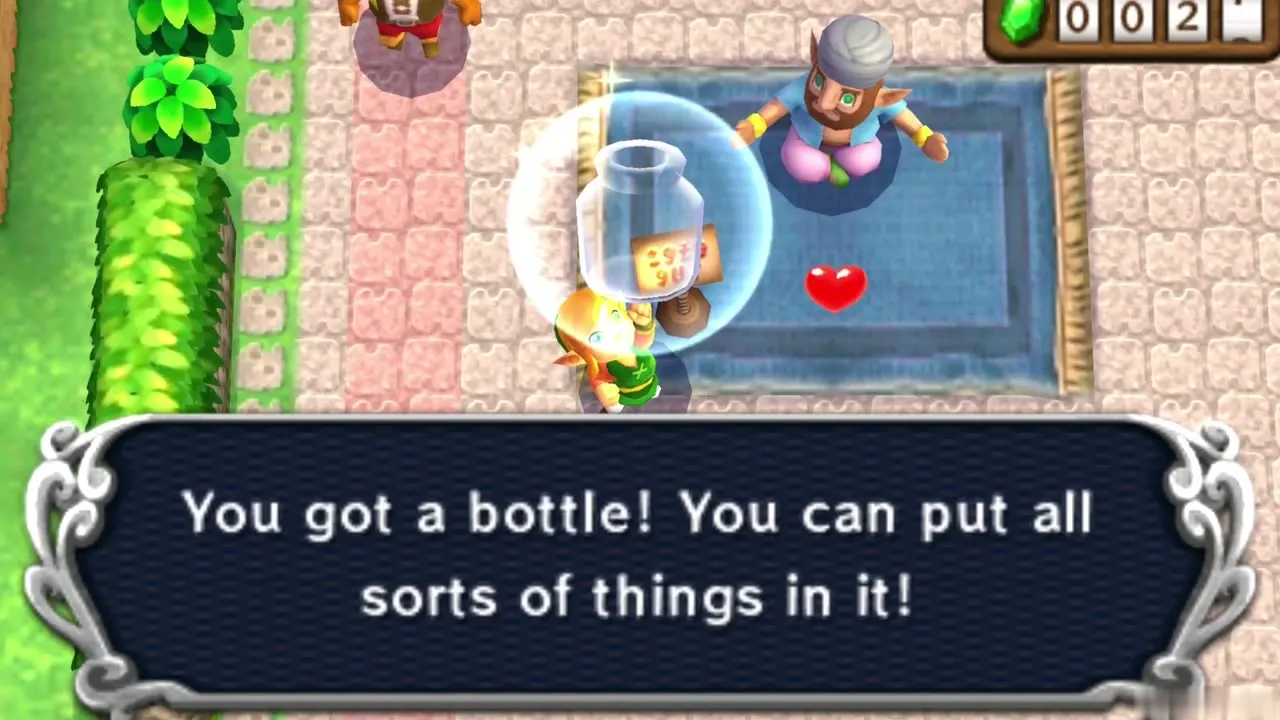
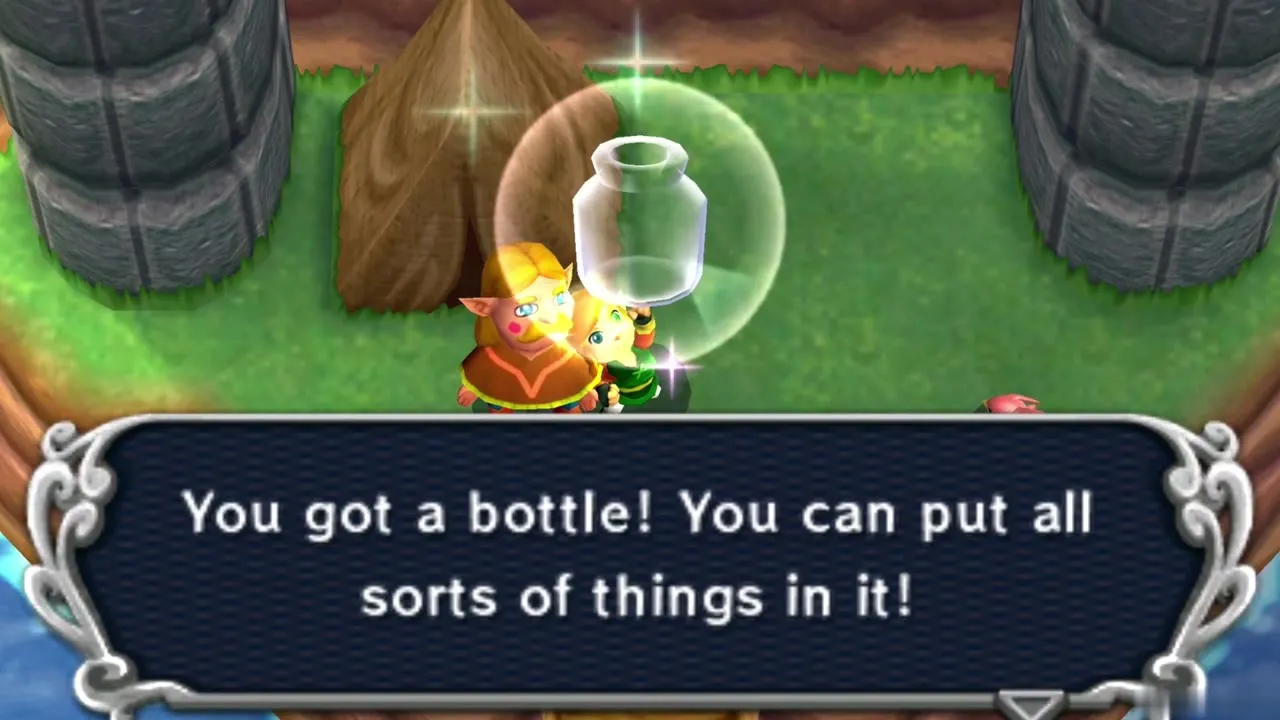
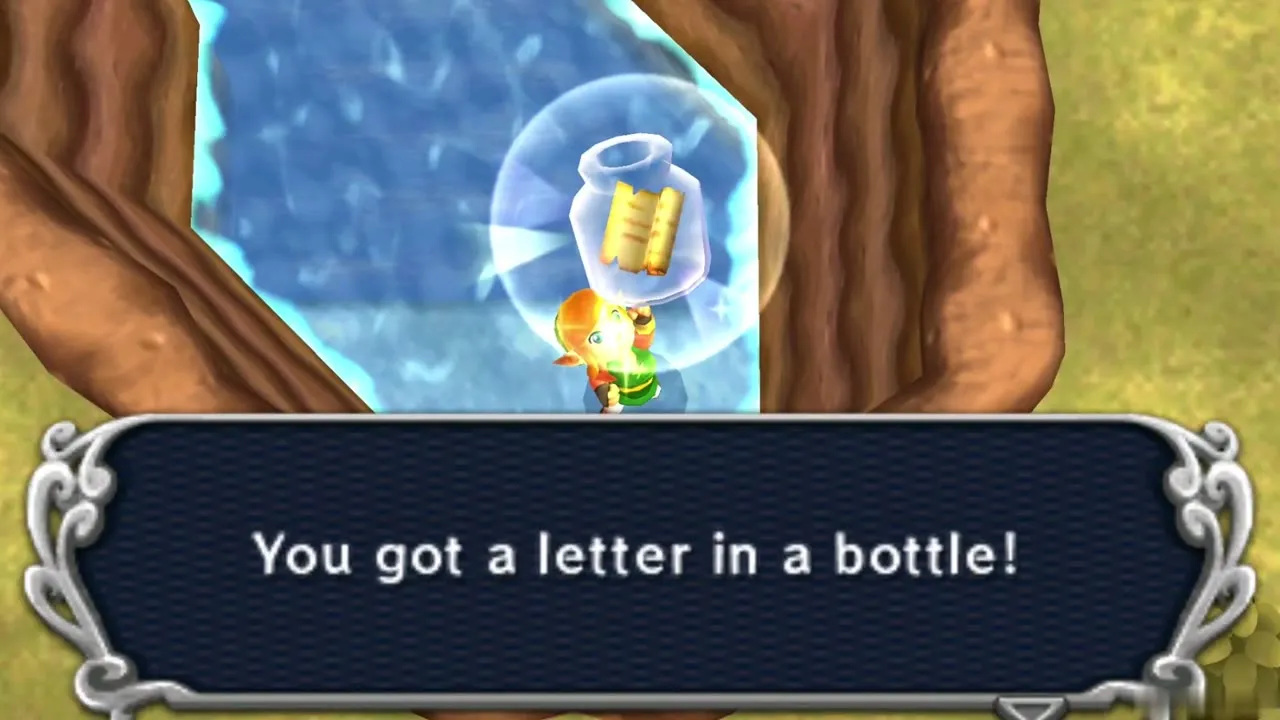
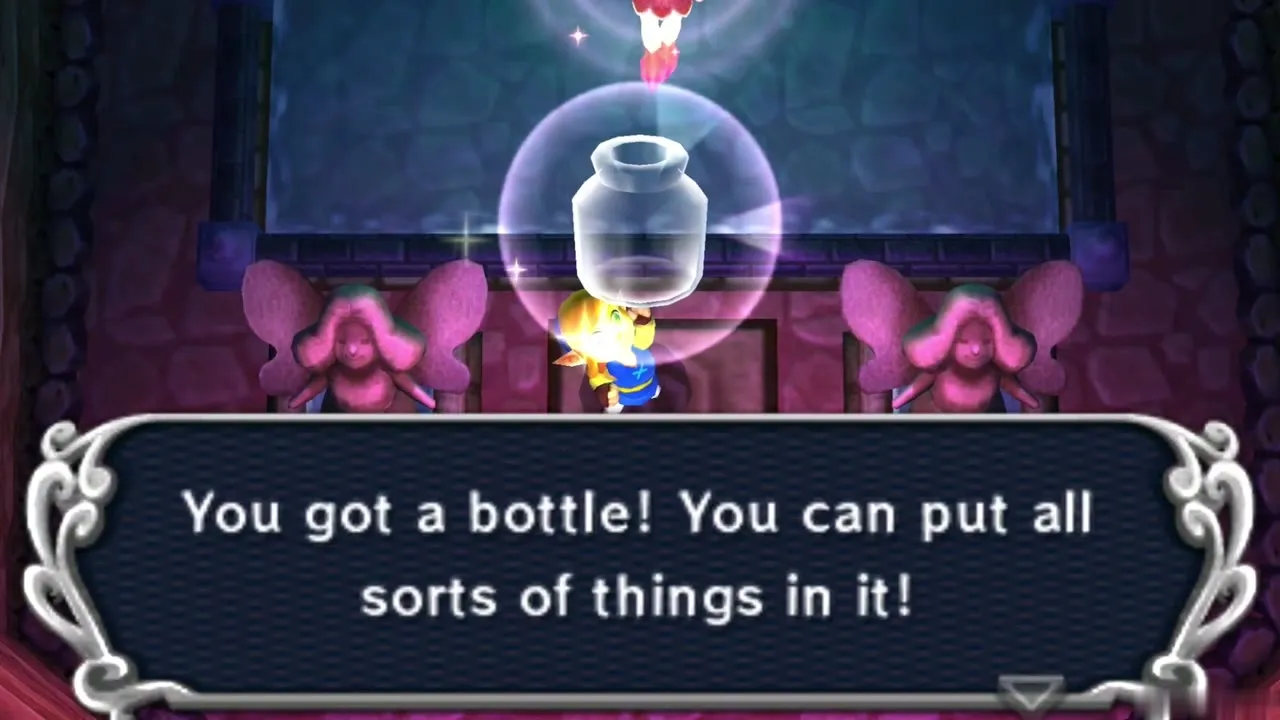
- The Street Merchant in Kakariko Village, for 100 Rupees
- The Bird Lover under the bridge east of Link’s House, free once you can swim
- The Letter in a Bottle quest, which ends with the Premium Milk delivery on Death Mountain
- The chest in the Vacant House in Lorule, behind a wall that you blow open with a Bomb
- The Great Rupee Fairy in Lorule, after 3,000 Rupees in donations
Items and equipment
Besides the Nice upgrades above, a full inventory contains the following. Every entry is described on the Items and Equipment page.
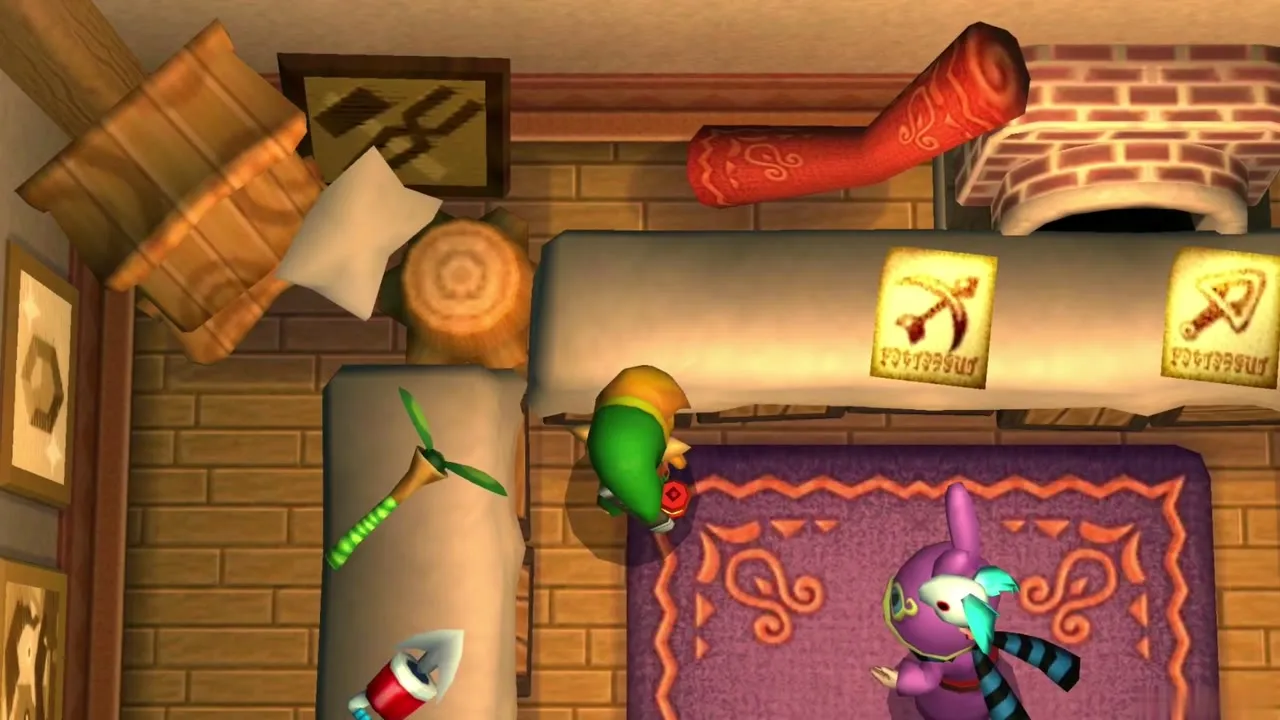
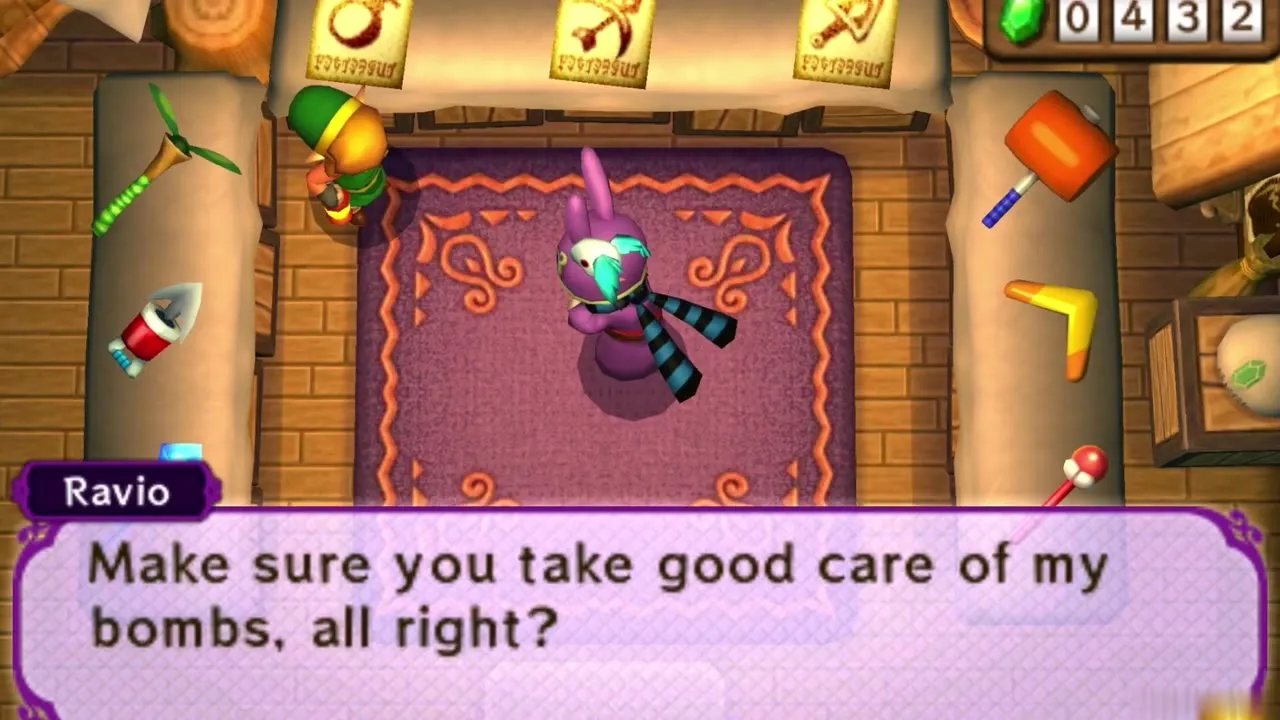
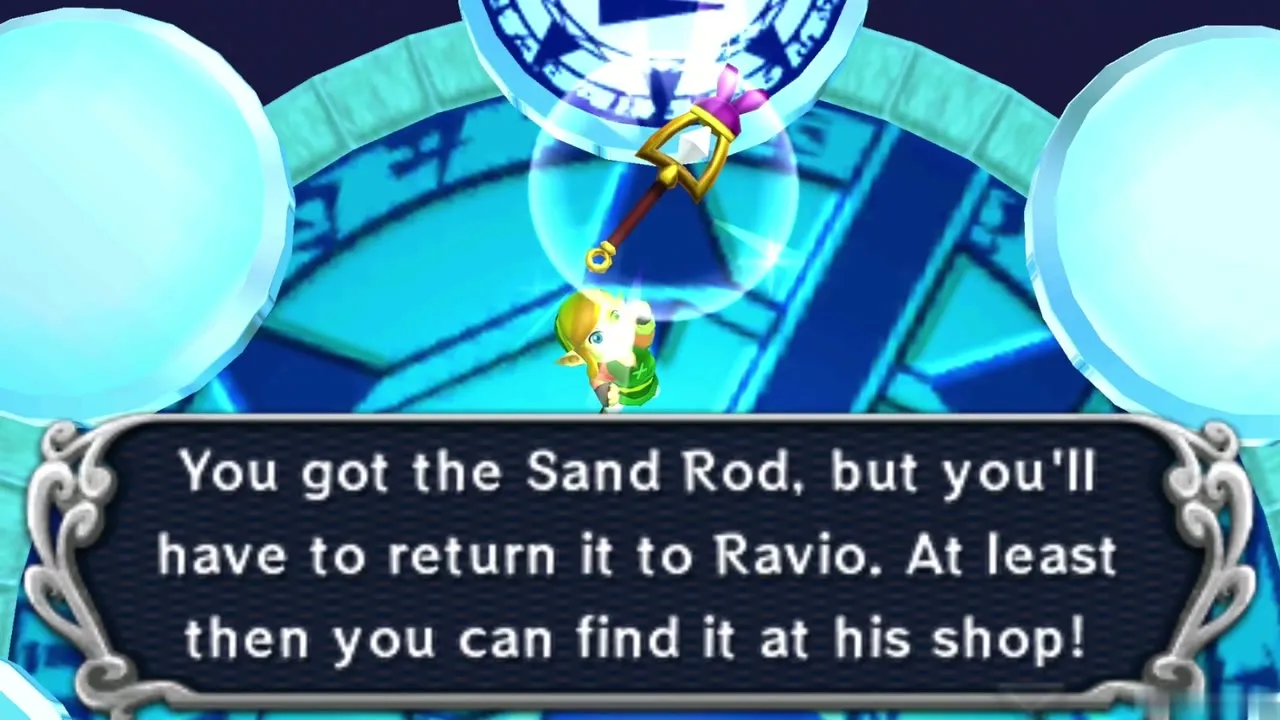
- Ravio’s nine tools:
 Bow,
 Bomb,
 Boomerang,
 Hookshot,
 Fire Rod,
 Ice Rod,
 Tornado Rod,
 Hammer and
 Sand Rod (the shop page lists the prices)
- Swords: the
 Forgotten Sword, the
 Master Sword,
 Master Sword Lv2 and
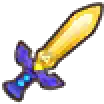 Lv3
- Defence: the
 Shield, the
 Hylian Shield,
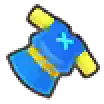 Blue Mail and
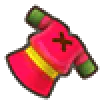 Red Mail
- Abilities and tools:
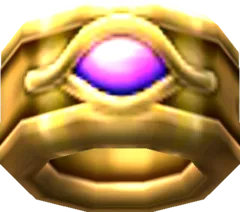 Ravio’s Bracelet,
 Power Glove,
 Titan’s Mitt,
 Pegasus Boots,
 Zora’s Flippers,
 Lamp,
 Net,
 Hint Glasses,
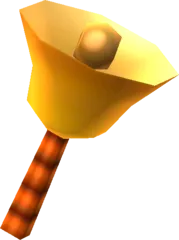 Bell,
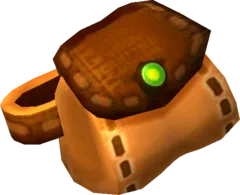 Pouch and
 Stamina Scroll
- Prize upgrades: the
 Super Lamp and the
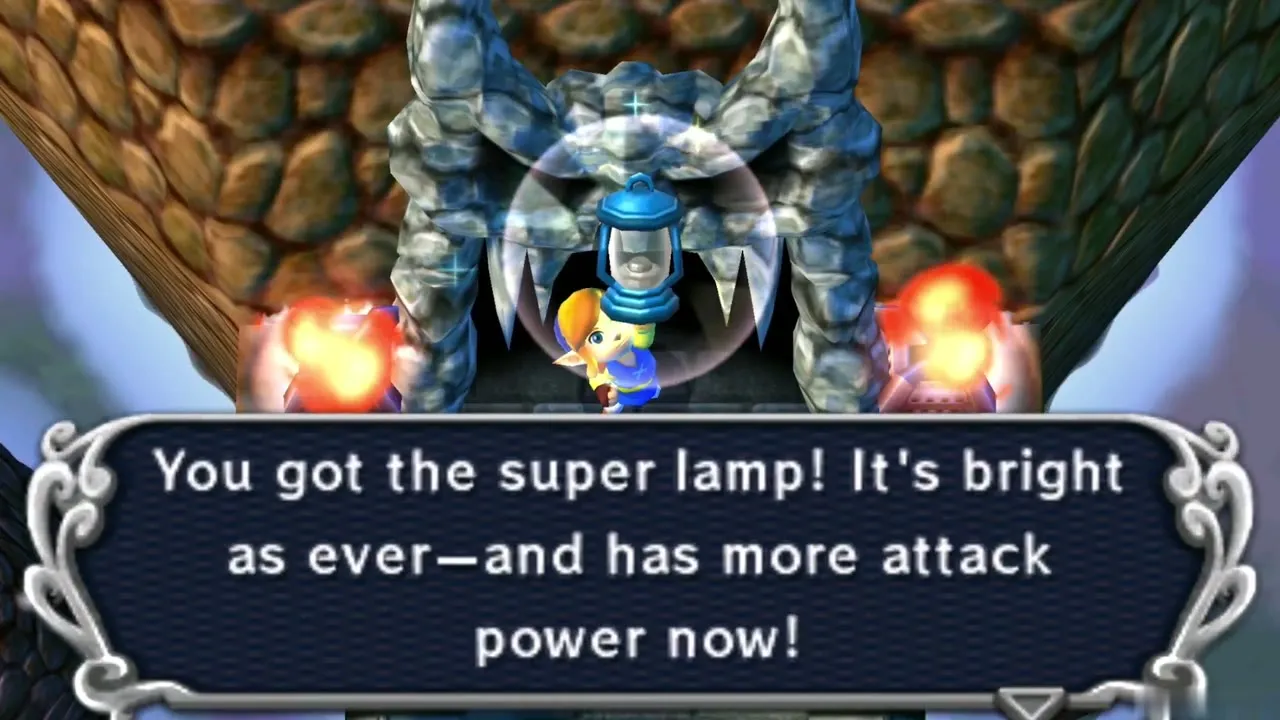
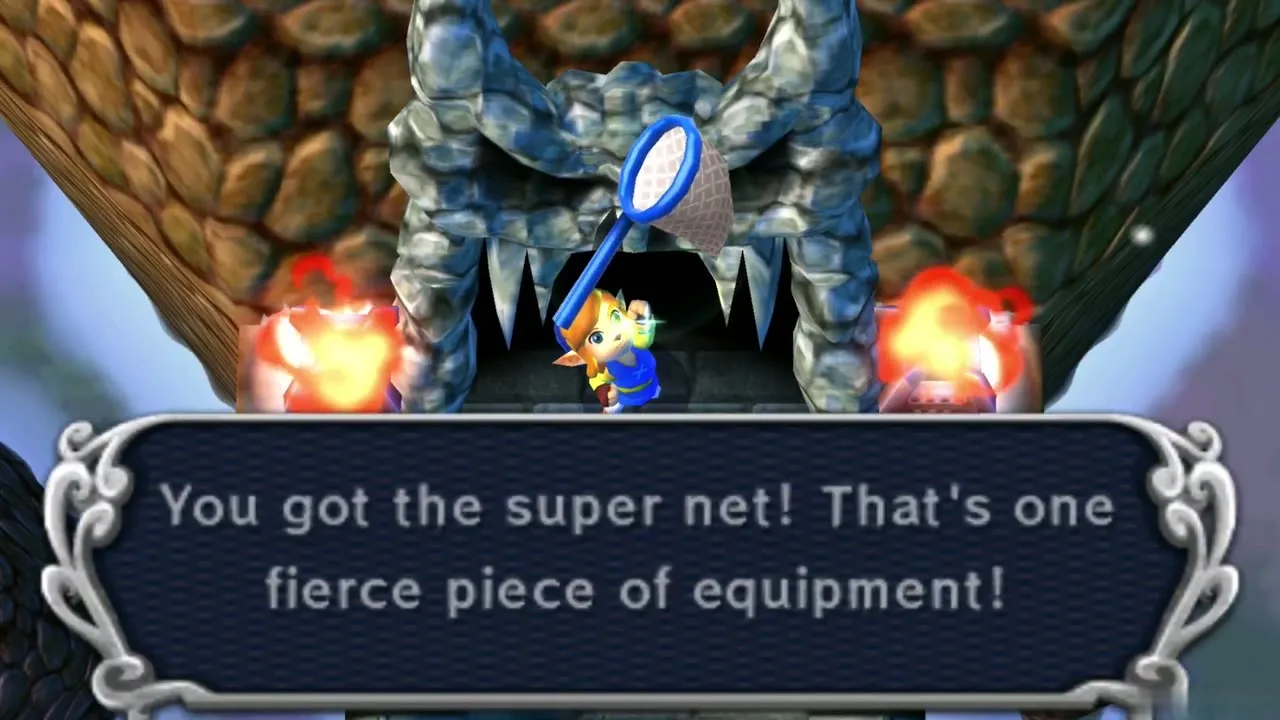
 Super Net, both from the Treacherous Tower, and the
 Bee Badge from the Bee Guy
- The
 Bow of Light, which Zelda gives you in the final battle
- Story items: the Pendants of Courage, Wisdom and Power, and the Triforce of Courage
Mini-games and side quests
Seven of these prizes are a Piece of Heart, and you have already counted those under the hearts above. These are the prizes worth finishing, with the full rules on the Mini-Games and Side Quests page.
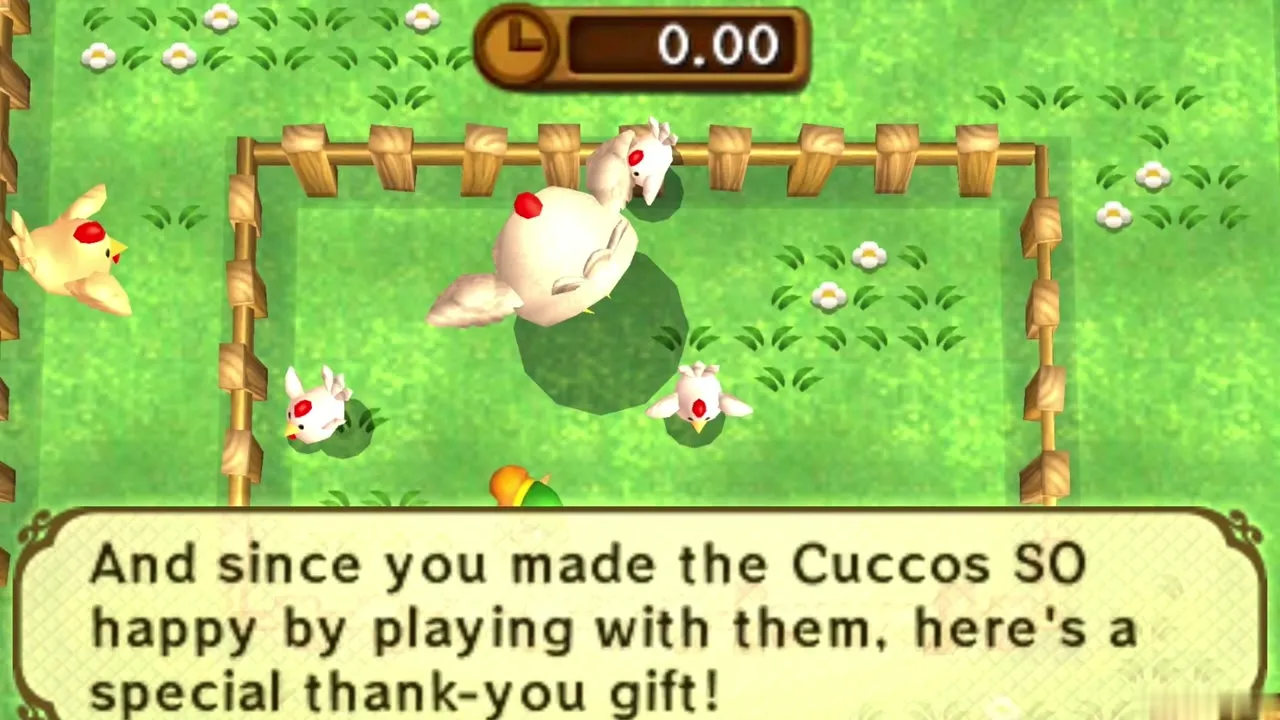
- Cucco Ranch: clear the Rooster level for a Piece of Heart
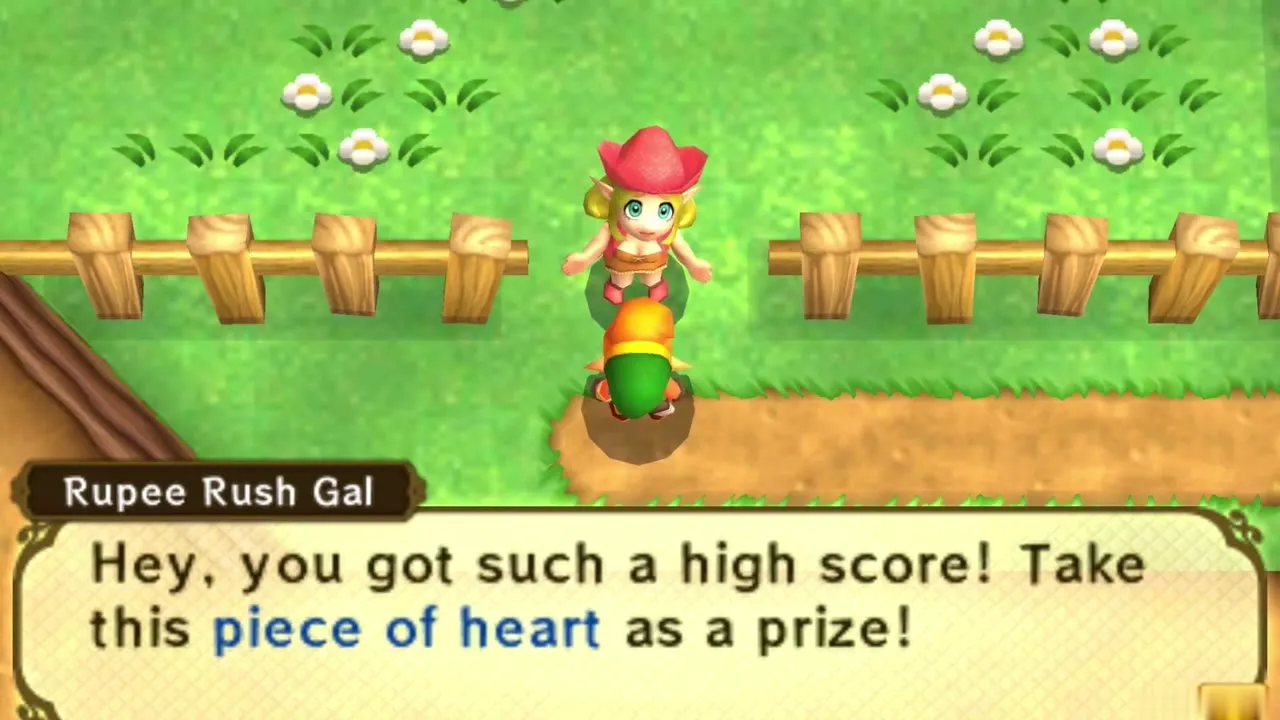
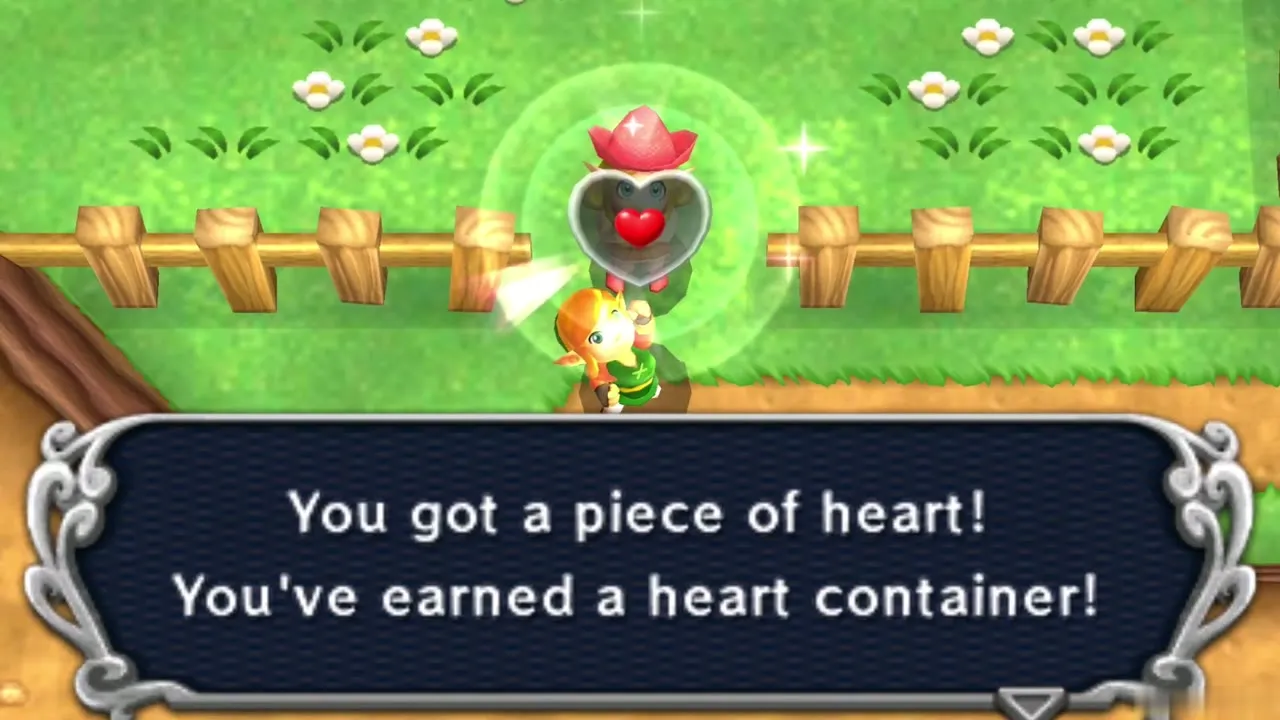
- Rupee Rush in Hyrule: collect 100 Rupees or more for a Piece of Heart
- Rupee Rush in Lorule: collect 150 Rupees or more for a Piece of Heart
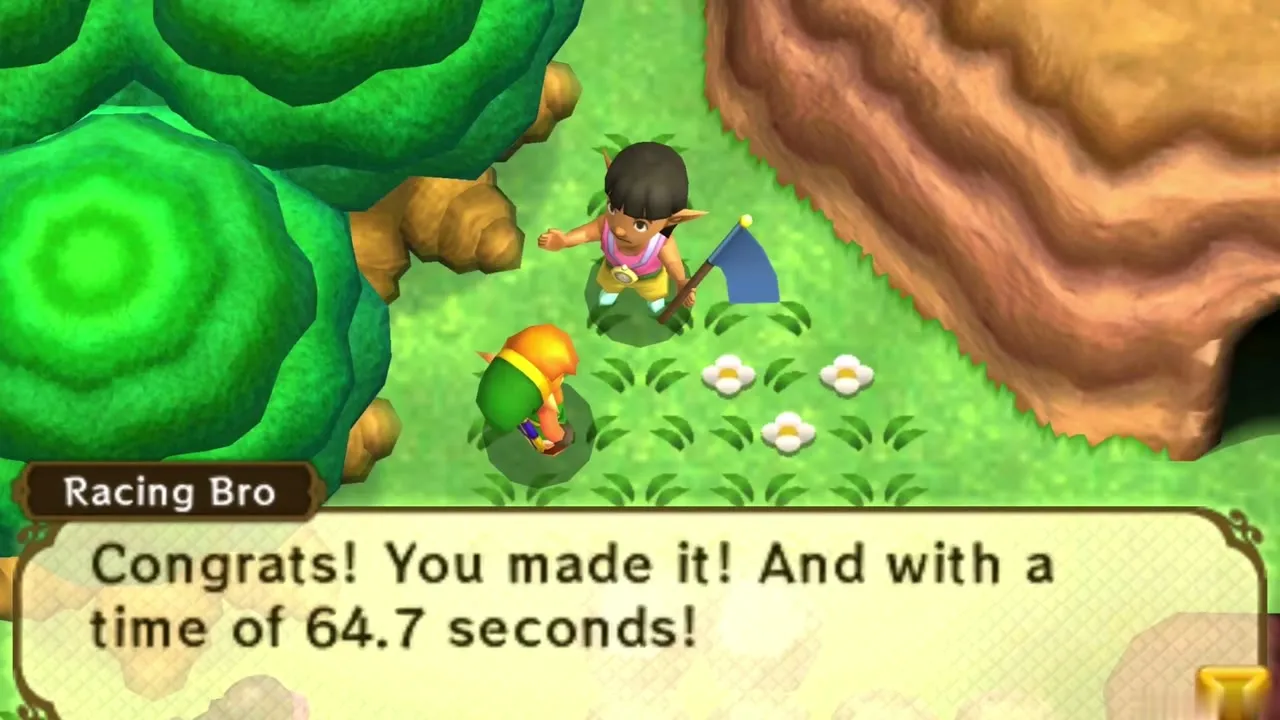
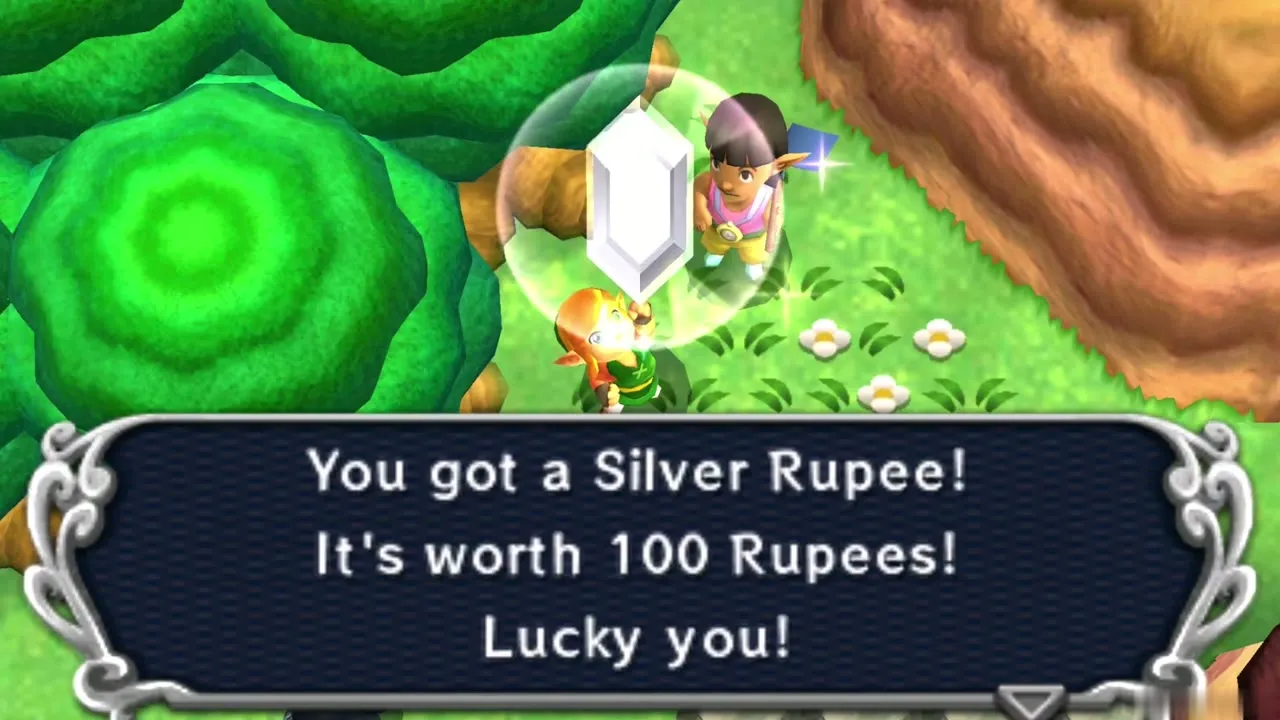
- Hyrule Hotfoot: win the second race in 65 seconds for a Piece of Heart, after the first race pays a Silver Rupee
- Octoball Derby: score 100 Rupees or more the first time for a Piece of Heart
- Fortune’s Choice in Lorule: find the Piece of Heart in one of three chests on your first try
- Treacherous Tower: clear the Intermediate course once for a Piece of Heart
- Treasure Hunter Caves: seven caves, each with a Silver Rupee in Hyrule or a Gold Rupee in Lorule
- Bee Guy: deliver a Golden Bee for the Bee Badge
Treacherous Tower
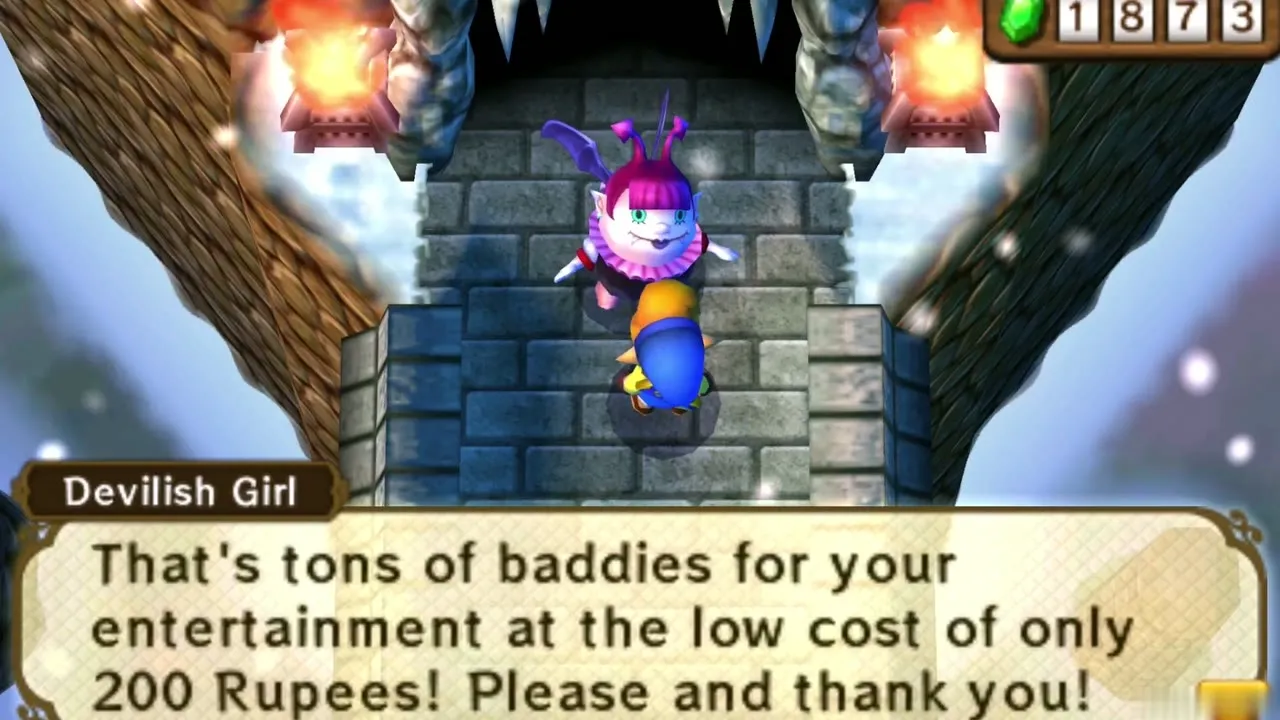
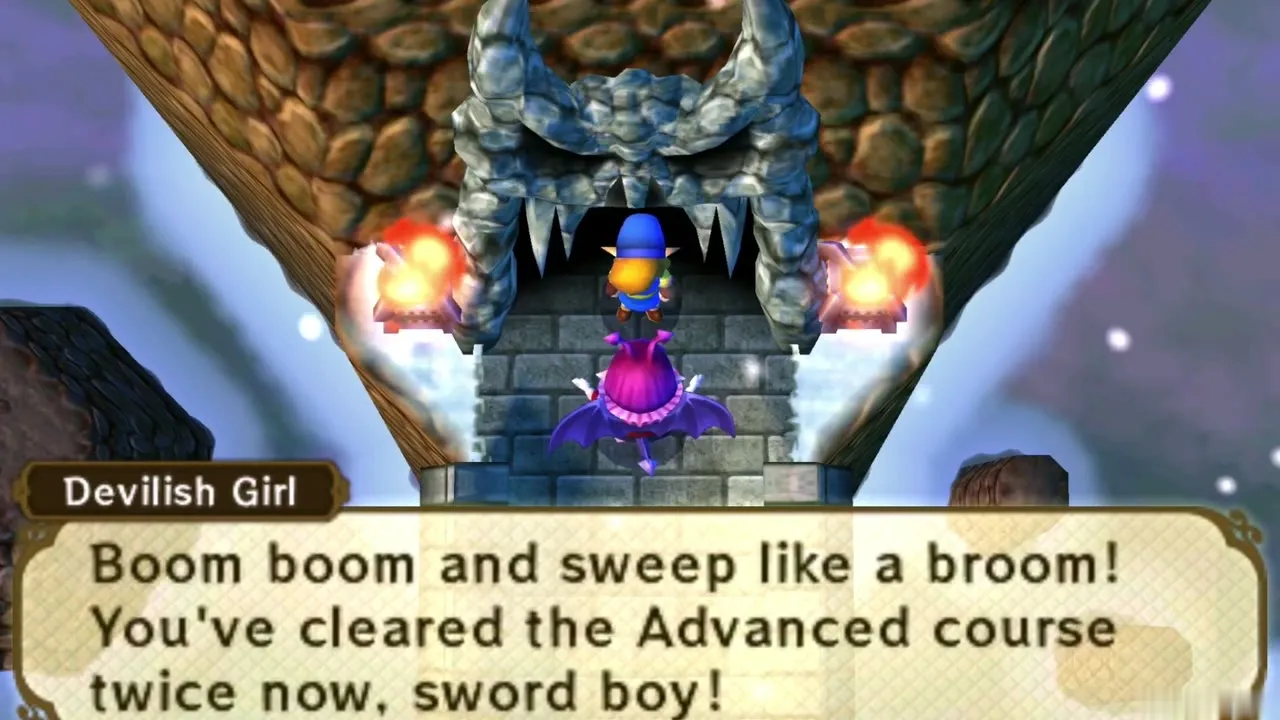
Three courses, each unlocked by clearing the one before. Beginner has 5 floors, costs 100 Rupees and pays 300. Intermediate has 15 floors, costs 200 Rupees and pays 1,000 plus a Piece of Heart the first time. Advanced has 50 floors, costs 300 Rupees and pays 5,000, with the Super Lamp for the first clear and the Super Net for the second. See the Treacherous Tower guide.
Other things to finish
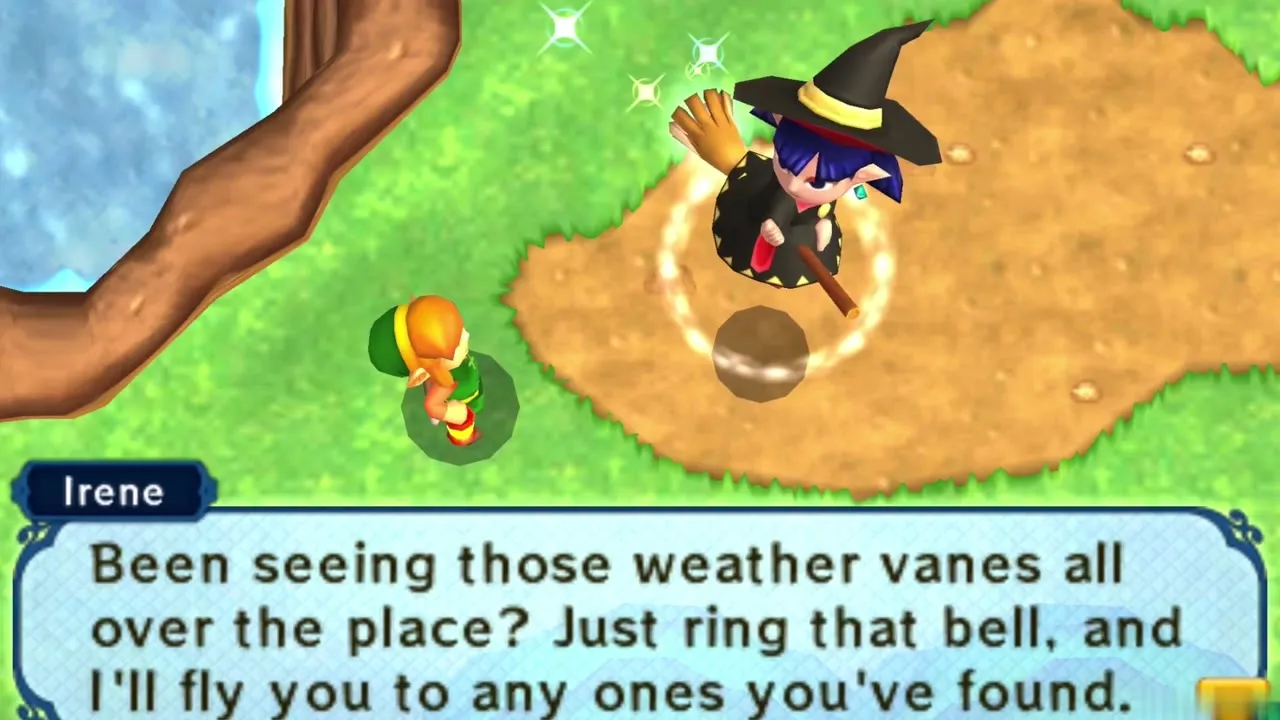
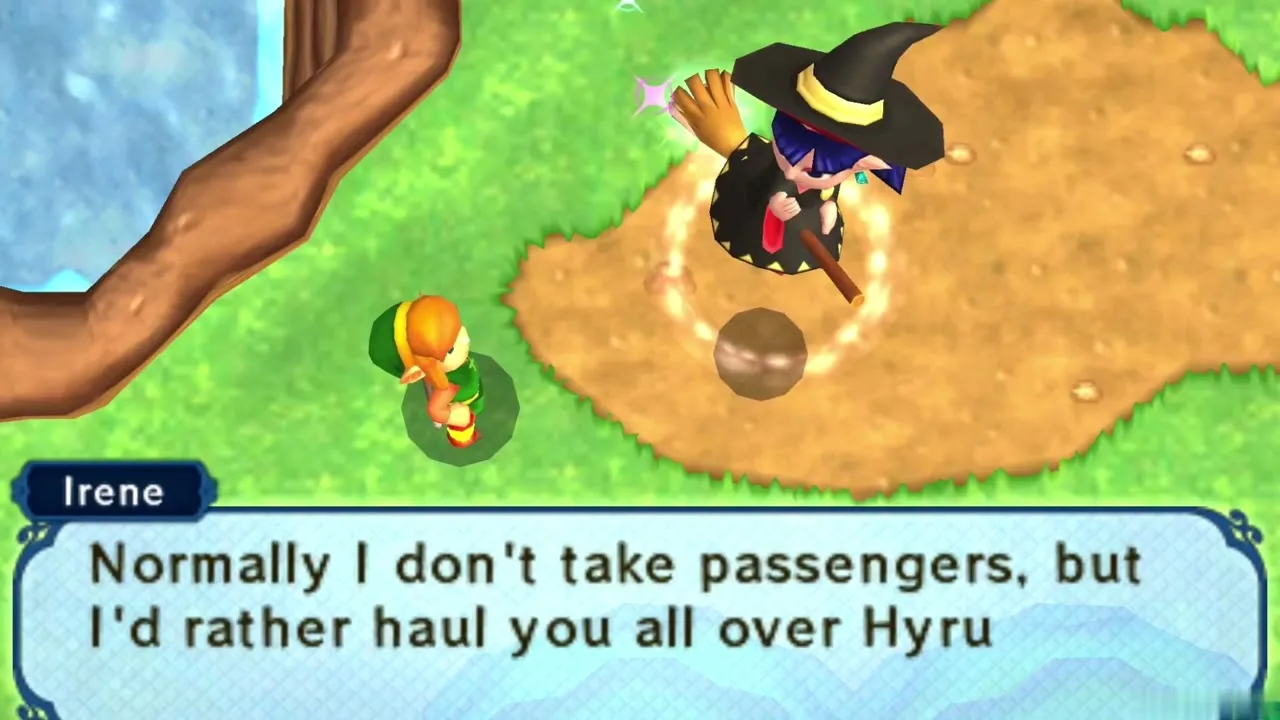
The Weather Vane Locations page lists all 22 Weather Vanes, 9 in Hyrule and 13 in Lorule; touch every one to save and fly to it with Irene’s Bell. The seven Sages are Seres, Gulley, Osfala, Oren, Rosso, Impa and Irene.
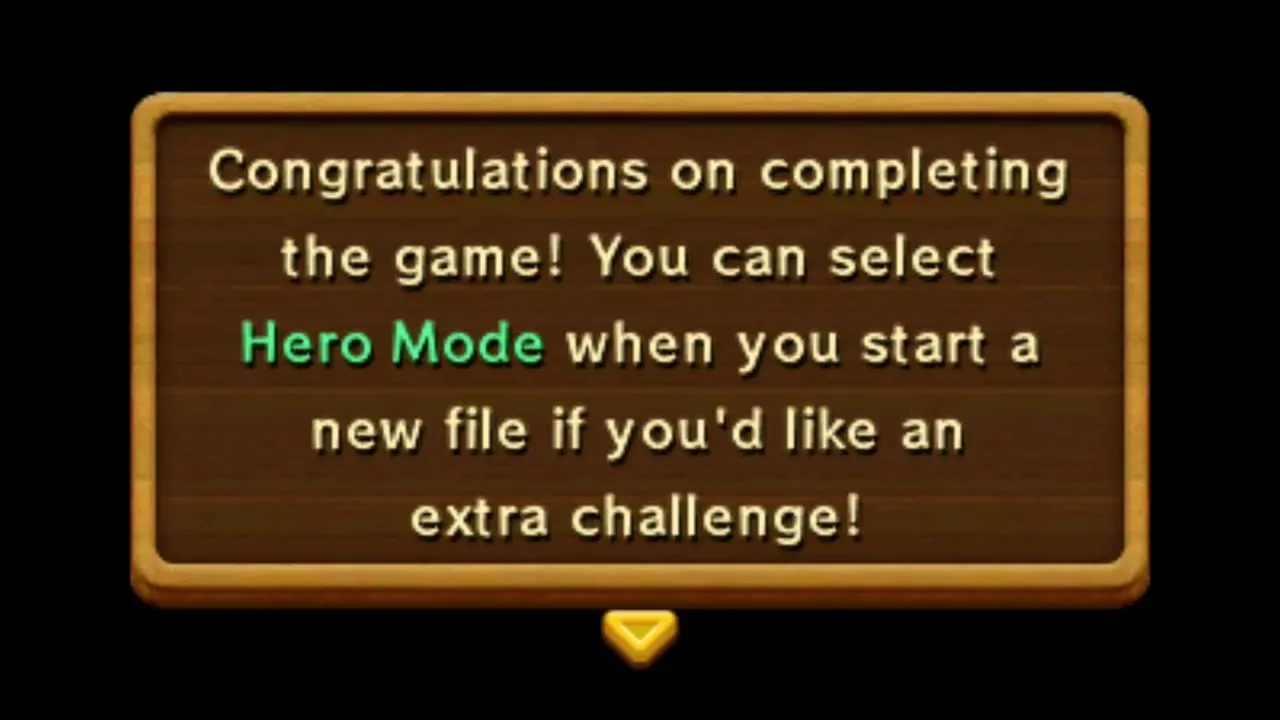
After the credits, the game lets you pick Hero Mode on a new file, where enemies deal four times as much damage. The walkthrough is the place to start if you still have chapters to play.
Full checklist
Main story
Dungeon Heart Containers (10)
| Done | Item | Area | Where |
|---|---|---|---|
| Heart Container: Eastern Palace | Eastern Palace | Guide | |
| Heart Container: House of Gales | House of Gales | Guide | |
| Heart Container: Tower of Hera | Tower of Hera | Guide | |
| Heart Container: Thieves’ Hideout | Thieves’ Hideout | Guide | |
| Heart Container: Dark Palace | Dark Palace | Guide | |
| Heart Container: Swamp Palace | Swamp Palace | Guide | |
| Heart Container: Skull Woods | Skull Woods | Guide | |
| Heart Container: Ice Ruins | Ice Ruins | Guide | |
| Heart Container: Desert Palace | Desert Palace | Guide | |
| Heart Container: Turtle Rock | Turtle Rock | Guide |
Sages (7)
| Done | Item | Area | Where |
|---|---|---|---|
| Osfala | Thieves’ Hideout (Thieves’ Town) | Guide | |
| Gulley | Dark Palace | Guide | |
| Seres | Skull Woods | Guide | |
| Oren | Swamp Palace | Guide | |
| Rosso | Ice Ruins | Guide | |
| Impa | Turtle Rock | Guide | |
| Irene | Desert Palace | Guide |
Side quests and activities
Treacherous Tower Courses (3)
| Done | Item | Area | Where |
|---|---|---|---|
| Beginner | Death Mountain, Lorule | Guide | |
| Intermediate | Death Mountain, Lorule | Guide | |
| Advanced | Death Mountain, Lorule | Guide |
Mini-games and Quests (13)
| Done | Item | Area | Where |
|---|---|---|---|
| Cucco Ranch | Hyrule, south of Kakariko Village | Guide | |
| Rupee Rush (Hyrule) | Hyrule, south of Kakariko Village | Guide | |
| Hyrule Hotfoot | Hyrule, northeast of Lake Hylia to the Miner’s House | Guide | |
| Fortune’s Choice (Hyrule) | Hyrule, Kakariko Village | Guide | |
| Rupee Rush (Lorule) | Lorule, south of Thieves’ Town | Guide | |
| Octoball Derby | Lorule, forest clearing near Lorule Castle | Guide | |
| Fortune’s Choice (Lorule) | Lorule, Thieves’ Town | Guide | |
| Treacherous Tower | Lorule, Death Mountain | Guide | |
| Treasure Hunter Caves | Seven caves in both worlds | Guide | |
| Bee Guy | Hyrule, Kakariko Village | Guide | |
| Shady Guy | Hyrule, Kakariko Village | Guide | |
| Street Merchant | Hyrule, Kakariko Village | Guide | |
| Great Rupee Fairy | Lorule, behind the Bomb Shop | Guide |
Collectibles and upgrades
Pieces of Heart (28)
| Done | Item | Area | Where |
|---|---|---|---|
| Kakariko Village Well Cave | Kakariko Village | Guide | |
| Cucco Ranch Rooster Reward | Kakariko Village | Guide | |
| Behind the Blacksmith’s Forge | Hyrule Castle | Guide | |
| Graveyard Secret Passage Ledge | Sanctuary & Zora’s Domain | Guide | |
| Lost Woods Narrow Wall Gap | Lost Woods | Guide | |
| East Side of Hyrule Castle | Hyrule Castle | Guide | |
| Waterfall Cave South of Zora’s Domain | Sanctuary & Zora’s Domain | Guide | |
| Hyrule Rupee Rush High Score | Kakariko Village | Guide | |
| Hyrule Hotfoot Race Reward | Lake Hylia | Guide | |
| Eastern Palace Bomb Cave | Eastern Ruins | Guide | |
| Eastern Palace Peg Circle | Eastern Ruins | Guide | |
| Southern Ruins Hidden Cave | Southern Ruins | Guide | |
| Death Mountain Secret Passage | Death Mountain | Guide | |
| Rosso’s Ore Mine Platform Challenge | Death Mountain | Guide | |
| Stylish Woman’s House | Kakariko Village | Guide | |
| Graveyard High Cave | Sanctuary & Zora’s Domain | Guide | |
| Blacksmith Cave Beneath the Large Rock | Kakariko Village | Guide | |
| Ice Ruins Cavern Fissure Cliff | Death Mountain | Guide | |
| Fortune’s Choice Chest Prize | Thieves’ Town & Lorule Castle | Guide | |
| Lorule Rupee Rush High Score | Thieves’ Town & Lorule Castle | Guide | |
| Octoball Derby 100-Point Reward | Thieves’ Town & Lorule Castle | Guide | |
| Big Bomb Flower Cave | Thieves’ Town & Lorule Castle | Guide | |
| Dark Palace Maze Beam | Dark Ruins | Guide | |
| Lorule Sahasrahla House Ledge | Skull Woods | Guide | |
| Abandoned Shack Roof | Skull Woods | Guide | |
| Desert Fissure Near Misery Mire | Misery Mire | Guide | |
| Turtle Rock Dungeon Exit | Lorule Lake | Guide | |
| Treacherous Tower Intermediate Reward | Death Mountain (Lorule) | Guide |
Lost Maiamai (100)
| Done | Item | Area | Where |
|---|---|---|---|
| Death Mountain 1: Rock southeast of the summit | Hyrule | Guide | |
| Death Mountain 2: Treasure Chest cave wall | Hyrule | Guide | |
| Death Mountain 3: Lava cave exit rock | Hyrule | Guide | |
| Death Mountain 4: North rock past the ore mine bridge | Hyrule | Guide | |
| Death Mountain 5: Wall by the Treasure Hunter Cave | Hyrule | Guide | |
| Desert 1: Large rock near the Southern Ruins | Hyrule | Guide | |
| Desert 2: Sand northwest of the twin pillars | Hyrule | Guide | |
| Desert 3: Sand south of the Weather Vane | Hyrule | Guide | |
| Eastern Ruins 1: Easternmost rock formation | Hyrule | Guide | |
| Eastern Ruins 2: Fifth tree | Hyrule | Guide | |
| Eastern Ruins 3: River dive east of the bridge | Hyrule | Guide | |
| Eastern Ruins 4: Alcove beyond the Crystal Switches | Hyrule | Guide | |
| Eastern Ruins 5: Lone yellow tree | Hyrule | Guide | |
| Eastern Ruins 6: Rock on the southeastern ledges | Hyrule | Guide | |
| Hyrule Castle 1: Tree northwest of the castle | Hyrule | Guide | |
| Hyrule Castle 2: Tree in the middle of the area | Hyrule | Guide | |
| Hyrule Castle 3: Panels beside the Blacksmith’s Forge | Hyrule | Guide | |
| Hyrule Castle 4: Panels on the ground | Hyrule | Guide | |
| Hyrule Castle 5: Tree standing alone | Hyrule | Guide | |
| Hyrule Castle 6: Back wall of Link’s House | Hyrule | Guide | |
| Hyrule Castle 7: Northernmost tree in the Haunted Grove | Hyrule | Guide | |
| Hyrule Castle 8: Rock reached from Lorule | Hyrule | Guide | |
| Kakariko Village 1: Bushes inside the little fence | Hyrule | Guide | |
| Kakariko Village 2: Rooftop rock | Hyrule | Guide | |
| Kakariko Village 3: Young Woman’s backyard | Hyrule | Guide | |
| Kakariko Village 4: Tree beside the Cucco Ranch | Hyrule | Guide | |
| Kakariko Village 5: Wall behind the Rupee Rush | Hyrule | Guide | |
| Lake Hylia 1: Beside Mother Maiamai’s Cave | Hyrule | Guide | |
| Lake Hylia 2: Shallows south of the House of Gales | Hyrule | Guide | |
| Lake Hylia 3: Panel behind the House of Gales | Hyrule | Guide | |
| Lake Hylia 4: Underwater west of the ladder | Hyrule | Guide | |
| Lake Hylia 5: Large rock on the northeast platform | Hyrule | Guide | |
| Lost Woods 1: Pair of rocks by the northeast entrance | Hyrule | Guide | |
| Lost Woods 2: Tree near the southeast entrance | Hyrule | Guide | |
| Lost Woods 3: Bushes outside the woods | Hyrule | Guide | |
| Lost Woods 4: Wall south of the Miner’s House | Hyrule | Guide | |
| Lost Woods 5: Death Mountain Path exit | Hyrule | Guide | |
| Lost Woods 6: Small pond | Hyrule | Guide | |
| Lost Woods 7: Fortune Teller’s tent | Hyrule | Guide | |
| Lost Woods 8: Rock between the fences | Hyrule | Guide | |
| Sanctuary & Zora’s Domain 1: Cliff southwest of the Sanctuary | Hyrule | Guide | |
| Sanctuary & Zora’s Domain 2: Rock structure linked to Lorule | Hyrule | Guide | |
| Sanctuary & Zora’s Domain 3: Ladder beside the river | Hyrule | Guide | |
| Sanctuary & Zora’s Domain 4: Underwater south of the bridge | Hyrule | Guide | |
| Sanctuary & Zora’s Domain 5: Witch’s House wall | Hyrule | Guide | |
| Sanctuary & Zora’s Domain 6: Wall by the pit | Hyrule | Guide | |
| Sanctuary & Zora’s Domain 7: Deep water at Zora’s Domain | Hyrule | Guide | |
| Southern Ruins 1: Statue in the shallows | Hyrule | Guide | |
| Southern Ruins 2: Cave pool | Hyrule | Guide | |
| Southern Ruins 3: Hole east of the Treasure Hunter Cave | Hyrule | Guide | |
| Dark Ruins 1: Grassy hill by the Fissure | Lorule | Guide | |
| Dark Ruins 2: Pond near Ku’s Domain | Lorule | Guide | |
| Dark Ruins 3: Top of the chasm waterfall | Lorule | Guide | |
| Dark Ruins 4: Water before the Fissure | Lorule | Guide | |
| Dark Ruins 5: Rock formation by the pillar | Lorule | Guide | |
| Dark Ruins 6: Tree in the southwest corner | Lorule | Guide | |
| Dark Ruins 7: First tree on the left | Lorule | Guide | |
| Dark Ruins 8: Wall facing the Dark Ruins | Lorule | Guide | |
| Dark Ruins 9: Wall north of the green flames | Lorule | Guide | |
| Dark Ruins 10: Rupee platform wall | Lorule | Guide | |
| Death Mountain 1: Skull on the small ledge | Lorule | Guide | |
| Death Mountain 2: Large rock behind the pegs | Lorule | Guide | |
| Death Mountain 3: Large rock | Lorule | Guide | |
| Death Mountain 4: Wall near the cave and sign | Lorule | Guide | |
| Death Mountain 5: Floating-platform cave exit | Lorule | Guide | |
| Death Mountain 6: North wall of the Ice Ruins | Lorule | Guide | |
| Graveyard 1: Large rock by the Philosopher’s Cave exit | Lorule | Guide | |
| Graveyard 2: Rock structure wall | Lorule | Guide | |
| Graveyard 3: Lone tree | Lorule | Guide | |
| Lorule Lake 1: Wall south of the Lakeside Item Shop | Lorule | Guide | |
| Lorule Lake 2: Southwest shore rock | Lorule | Guide | |
| Lorule Lake 3: Rock formation in the water | Lorule | Guide | |
| Lorule Lake 4: Southeast corner | Lorule | Guide | |
| Lorule Lake 5: Skull on the second platform | Lorule | Guide | |
| Misery Mire 1: Second large rock south of the Fissure | Lorule | Guide | |
| Misery Mire 2: Behind the Weather Vane | Lorule | Guide | |
| Misery Mire 3: West end of the swamp | Lorule | Guide | |
| Skull Woods 1: West wall of the long house | Lorule | Guide | |
| Skull Woods 2: Rock in the eastern clearing | Lorule | Guide | |
| Skull Woods 3: Grass east of the Fissure pillar | Lorule | Guide | |
| Skull Woods 4: Skull in the grass ring | Lorule | Guide | |
| Skull Woods 5: Tree south of the Abandoned Shack | Lorule | Guide | |
| Skull Woods 6: Centre of the V of trees | Lorule | Guide | |
| Skull Woods 7: Pit wall | Lorule | Guide | |
| Skull Woods 8: Wall by the Thieves’ Town arch | Lorule | Guide | |
| Thieves’ Town & Lorule Castle 1: Forge wall | Lorule | Guide | |
| Thieves’ Town & Lorule Castle 2: Southwest large rock | Lorule | Guide | |
| Thieves’ Town & Lorule Castle 3: Tree north of the Thieves’ Town arch | Lorule | Guide | |
| Thieves’ Town & Lorule Castle 4: Walled corner structure | Lorule | Guide | |
| Thieves’ Town & Lorule Castle 5: Grass around the Big Bomb Flower | Lorule | Guide | |
| Thieves’ Town & Lorule Castle 6: Rupee Rush northwest wall | Lorule | Guide | |
| Thieves’ Town & Lorule Castle 7: Skulls in the Octoball Derby area | Lorule | Guide | |
| Thieves’ Town & Lorule Castle 8: Fissure loop in the southwest | Lorule | Guide | |
| Thieves’ Town & Lorule Castle 9: Eastern structure before the castle bridge | Lorule | Guide | |
| Thieves’ Town & Lorule Castle 10: Tree on the east edge | Lorule | Guide | |
| Thieves’ Town & Lorule Castle 11: Hill northwest of the Vacant House | Lorule | Guide | |
| Thieves’ Town & Lorule Castle 12: Rock beside the stump | Lorule | Guide | |
| Thieves’ Town & Lorule Castle 13: Northeast corner | Lorule | Guide | |
| Thieves’ Town & Lorule Castle 14: C-shaped rock formation | Lorule | Guide | |
| Thieves’ Town & Lorule Castle 15: Three stone statues | Lorule | Guide |
Master Ore (4)
| Done | Item | Area | Where |
|---|---|---|---|
| Thieves’ Hideout | Lorule | Guide | |
| Skull Woods | Lorule | Guide | |
| Dark Palace | Lorule | Guide | |
| Lorule Sanctuary cave | Lorule graveyard | Guide |
Bottles (5)
| Done | Item | Area | Where |
|---|---|---|---|
| Street Merchant | Kakariko Village, Hyrule | Guide | |
| Bird Lover | Under the bridge east of Link’s House, Hyrule | Guide | |
| Letter in a Bottle ( Premium Milk delivery) | South-east Lake Hylia, Kakariko Milk Bar, Death Mountain | Guide | |
| Vacant House chest | Lorule | Guide | |
| Great Rupee Fairy | Lorule, behind the Bomb Shop | Guide |
Weather Vanes (22)
| Done | Item | Area | Where |
|---|---|---|---|
| Your House (Link’s House) | Hyrule | Guide | |
| Kakariko Village | Hyrule | Guide | |
| Sanctuary | Hyrule | Guide | |
| Witch’s House | Hyrule | Guide | |
| Death Mountain | Hyrule | Guide | |
| Eastern Palace | Hyrule | Guide | |
| House of Gales | Hyrule | Guide | |
| Tower of Hera | Hyrule | Guide | |
| Desert Palace | Hyrule | Guide | |
| Vacant House | Lorule | Guide | |
| Blacksmith’s Forge | Lorule | Guide | |
| Thieves’ Town | Lorule | Guide | |
| Graveyard | Lorule | Guide | |
| Death Mountain | Lorule | Guide | |
| Treacherous Tower | Lorule | Guide | |
| Dark Palace | Lorule | Guide | |
| Swamp Palace | Lorule | Guide | |
| Skull Woods | Lorule | Guide | |
| Misery Mire | Lorule | Guide | |
| Turtle Rock | Lorule | Guide | |
| Ice Ruins | Lorule | Guide | |
| Lorule Castle | Lorule | Guide |
Other Items (30)
| Done | Item | Area | Where |
|---|---|---|---|
| Lamp | Opening and Sanctuary | Guide | |
| Ravio’s Bracelet | Hyrule Castle and Kakariko Village | Guide | |
| Net | Hyrule Castle and Kakariko Village | Guide | |
| Item | Hyrule Castle and Kakariko Village | Guide | |
| Hint Glasses | Hyrule Castle and Kakariko Village | Guide | |
| Monster Guts | Eastern Palace | Guide | |
| Monster Guts | Eastern Palace | Guide | |
| Pouch | Pegasus Boots and Zora’s Flippers | Guide | |
| Bell | Pegasus Boots and Zora’s Flippers | Guide | |
| Power Glove | Pegasus Boots and Zora’s Flippers | Guide | |
| Pegasus Boots | Pegasus Boots and Zora’s Flippers | Guide | |
| Zora’s Flippers | Pegasus Boots and Zora’s Flippers | Guide | |
| Monster Guts | Swamp Palace | Guide | |
| Hylian Shield | Turtle Rock | Guide | |
| Nice Sand Rod | Desert Palace | Guide | |
| Titan’s Mitt | Desert Palace | Guide | |
| Monster Horn | Lorule Castle | Guide | |
| Red Mail (or Blue Mail) | Lorule Castle | Guide | |
| Bow of Light | Final Boss: Yuga Ganon | Guide | |
| Pendant of Courage | Hyrule Castle | Guide | |
| Pendant of Wisdom | House of Gales | Guide | |
| Monster Guts | Tower of Hera | Guide | |
| Pendant of Power | Tower of Hera | Guide | |
| Master Sword | Lost Woods | Guide | |
| Monster Tail | Dark Palace | Guide | |
| Golden Bee | Mysterious Man’s cave, north | Guide | |
| Stamina Scroll | Ice Ruins | Guide | |
| Blue Mail | Swamp Palace | Guide | |
| Triforce of Courage | Chamber of Sages | Guide | |
| Baby turtles (3) | Lorule Lake | Guide |
Dungeon Items and Keys (55)
| Done | Item | Area | Where |
|---|---|---|---|
| Small Key (Key), Opening and Sanctuary | Opening and Sanctuary | Guide | |
| Small Key (Key), Eastern Palace | Eastern Palace | Guide | |
| Small Key 1 (Key), House of Gales | House of Gales | Guide | |
| Small Key 2 (Key), House of Gales | House of Gales | Guide | |
| Small Key 3 (Key), House of Gales | House of Gales | Guide | |
| Small Key 4 (Key), House of Gales | House of Gales | Guide | |
| Small Key (Key), Tower of Hera | Tower of Hera | Guide | |
| Small Key (Key), Tower of Hera | Tower of Hera | Guide | |
| Big Key (Big chest), Dark Palace | Dark Palace | Guide | |
| Big Key (Key), Ice Ruins | Ice Ruins | Guide | |
| Small Key (Key), Ice Ruins | Ice Ruins | Guide | |
| Small Key (Key), Ice Ruins | Ice Ruins | Guide | |
| Compass (B1 southeast), Ice Ruins | Ice Ruins | Guide | |
| Small Key (Key), Ice Ruins | Ice Ruins | Guide | |
| Small Keys (4), Swamp Palace | Swamp Palace | Guide | |
| Small Key (5), Desert Palace | Desert Palace | Guide | |
| Small Key (1F, reached by dropping from 3F), Lorule Castle | Lorule Castle | Guide | |
| Small Key (Moldorm room, behind the cracked rock), Lorule Castle | Lorule Castle | Guide | |
| Small Key (Gigabari room), Lorule Castle | Lorule Castle | Guide | |
| Small Key (Lantern room), Lorule Castle | Lorule Castle | Guide | |
| Small Key (Hookshot room, between the pedestals), Lorule Castle | Lorule Castle | Guide | |
| Small Key (Key), Eastern Palace | Eastern Palace | Guide | |
| Small Key 1 (Key), Dark Palace | Dark Palace | Guide | |
| Small Key 2 (Key), Dark Palace | Dark Palace | Guide | |
| Small Key 3 (Key), Dark Palace | Dark Palace | Guide | |
| Small Key 4 (Key), Dark Palace | Dark Palace | Guide | |
| Small Key 1 (Key), Skull Woods | Skull Woods | Guide | |
| Small Key 2 (Key), Skull Woods | Skull Woods | Guide | |
| Small Key 3 (Key), Skull Woods | Skull Woods | Guide | |
| Small Key 1 (Key), Turtle Rock | Turtle Rock | Guide | |
| Small Key 2 (Key), Turtle Rock | Turtle Rock | Guide | |
| Small Key 3 (Key), Turtle Rock | Turtle Rock | Guide | |
| Big Key (Key), Turtle Rock | Turtle Rock | Guide | |
| Small Key (1), Desert Palace | Desert Palace | Guide | |
| Small Key (2), Desert Palace | Desert Palace | Guide | |
| Small Key (3), Desert Palace | Desert Palace | Guide | |
| Small Key (4), Desert Palace | Desert Palace | Guide | |
| Small Key (5), Desert Palace | Desert Palace | Guide | |
| Compass (4F central column), Lorule Castle | Lorule Castle | Guide | |
| Big Key, Eastern Palace | Eastern Palace | Guide | |
| Big Key (11F, east ledge), Tower of Hera | Tower of Hera | Guide | |
| Big Key (Chest opened by the second eyeball, B1), Skull Woods | Skull Woods | Guide | |
| Compass (B2, barred cell in the central room), Thieves’ Hideout | Thieves’ Hideout | Guide | |
| Small Key (B2, dark room with Red Eyegores), Thieves’ Hideout | Thieves’ Hideout | Guide | |
| Big Key (B1, north end of the entrance hall), Thieves’ Hideout | Thieves’ Hideout | Guide | |
| Big Key, Swamp Palace | Swamp Palace | Guide | |
| Compass, Eastern Palace | Eastern Palace | Guide | |
| Compass, House of Gales | House of Gales | Guide | |
| Big Key, House of Gales | House of Gales | Guide | |
| Compass, Tower of Hera | Tower of Hera | Guide | |
| Compass, Dark Palace | Dark Palace | Guide | |
| Compass, Skull Woods | Skull Woods | Guide | |
| Compass, Swamp Palace | Swamp Palace | Guide | |
| Compass, Turtle Rock | Turtle Rock | Guide | |
| Compass, Desert Palace | Desert Palace | Guide |
