A Link Between Worlds 100% Completion Walkthrough18 chapters
- Opening and SanctuaryWake in Link’s House, deliver the captain’s sword, cross the Graveyard passage with the Lamp and meet Yuga.
- Hyrule Castle and Kakariko VillageRavio’s Bracelet, Zelda’s Pendant of Courage, Kakariko shops, Sahasrahla and the free Bow rental.
- Eastern PalaceEvery key, chest and rupee, the Compass, Big Key, Yuga boss fight and your first Heart Container.
- Pegasus Boots and Zora’s FlippersGet the Pouch, Irene’s Bell, Power Glove, Pegasus Boots, Zora’s Flippers, Ravio’s rentals and Hyrule Heart Pieces.
- House of GalesRent the Tornado Rod, swim to Lake Hylia’s island, beat Margomill and take the Pendant of Wisdom.
- Death MountainClimb the boulder caves, find two Heart Pieces and a Bottle, and reach the Tower of Hera.
- Tower of HeraEvery floor, both Small Keys, Compass, Big Key, Moldorm boss fight, Heart Container and Pendant of Power.
- Master Sword and Lost WoodsWalkthrough for pulling the Master Sword in the Lost Woods, breaking the Hyrule Castle barrier.
- Lorule and Dungeon OrderHilda, the Blacksmith, fissures, Ravio’s Shop, Thieves’ Town side content and the dungeon order.
- Dark PalaceThe guard maze, every key, the Compass, Big Key, Master Ore, Gemesaur King, Heart Container and Sage Gulley.
- Skull WoodsKeys, Compass, Big Key, Master Ore, Knucklemaster boss fight, Sage Seres and the Master Sword upgrade.
- Ice RuinsThe Hookshot route to Lorule’s Death Mountain, every floor, keys, the Stamina Scroll and Dharkstare.
- Thieves’ HideoutThe password song, the Thief Girl escort, Master Ore, Stalblind, Sage Osfala and the Sand Rod.
- Swamp PalaceBig Bomb Flower, Hookshot, water levels, keys, Compass, Blue Mail, Big Key, Arrghus and Sage Oren.
- Turtle RockRescue the baby turtles, use the Ice Rod, find every key, beat Grinexx and free Sage Impa.
- Desert PalaceReach it with the Sand Rod, find the Titan’s Mitt, beat Zaganaga and rescue Sage Irene.
- Lorule CastleThe Triforce of Courage, all four mini-bosses, the Compass, Red Mail and the way to the Throne Room.
- Final BossBeat Yuga Ganon with the Bow of Light, see Hilda’s choice, make the Triforce wish and unlock Hero Mode.
| Covers | Hilda’s rescue, the Lorule Blacksmith’s house, fissures, Ravio’s Shop (purchases open once you hold all three Pendants), Thieves’ Town, the Bomb Shop, Lorule Lake and the dungeon order |
|---|---|
| You need | Master Sword, Ravio’s Bracelet (wall merging), Pegasus Boots, a rented Bomb and Rupees (200 for the Big Bomb Flower, 100 for Rupee Rush, 20 for the Hotfoot race, whose Heart Piece #9 is covered in Pegasus Boots and Zora’s Flippers) |
| Rewards |  4 Pieces of Heart (#15, #19, #20, #21), 4 Lost Maiamai, the Big Bomb Flower rental,  2 Bottles (Vacant House and Great Rupee Fairy), Ravio’s purchases (unlocked by the three Pendants) |
Escape Yuga Ganon with Hilda’s help, wake in Lorule, learn that the Seven Sages are held in dungeons across the two worlds, and then travel back to Hyrule through a fissure. Ravio’s items are for sale as well as for rent, since you hold all three Pendants. Between dungeons you can collect Maiamai, Pieces of Heart and the Big Bomb Flower, and you choose the order in which the seven Sage dungeons are cleared. Only the Desert Palace has to wait.
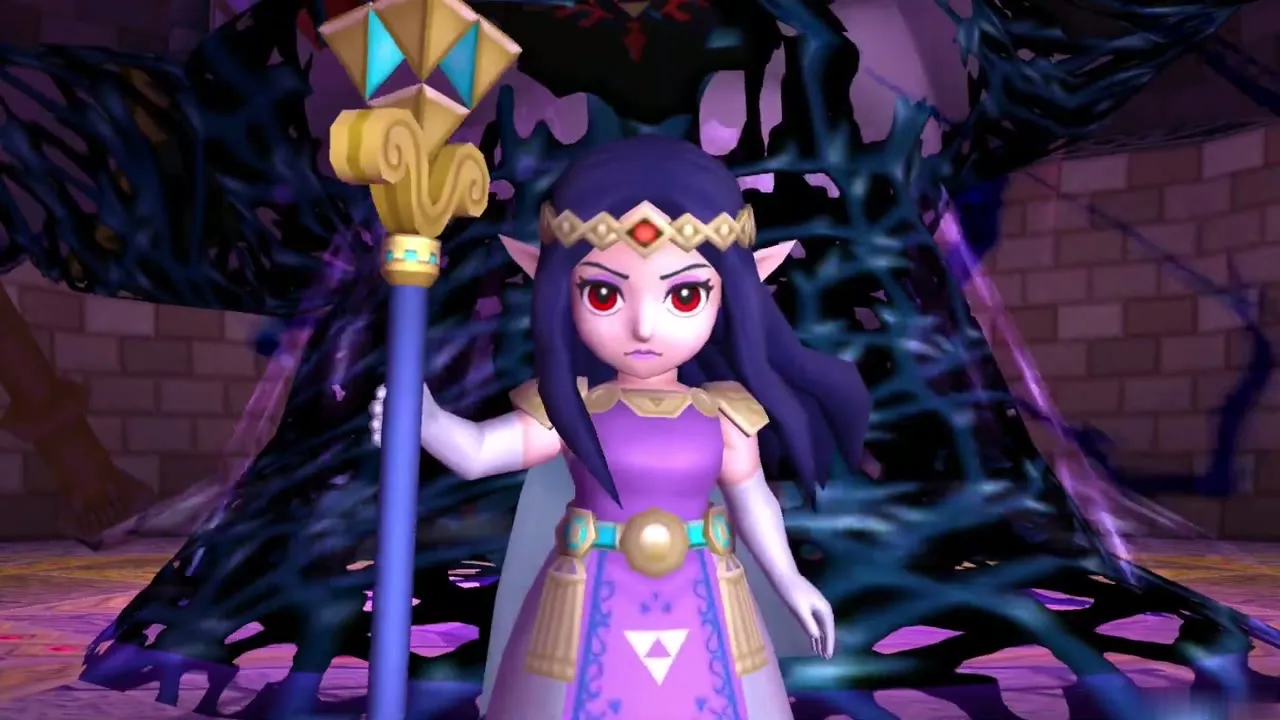
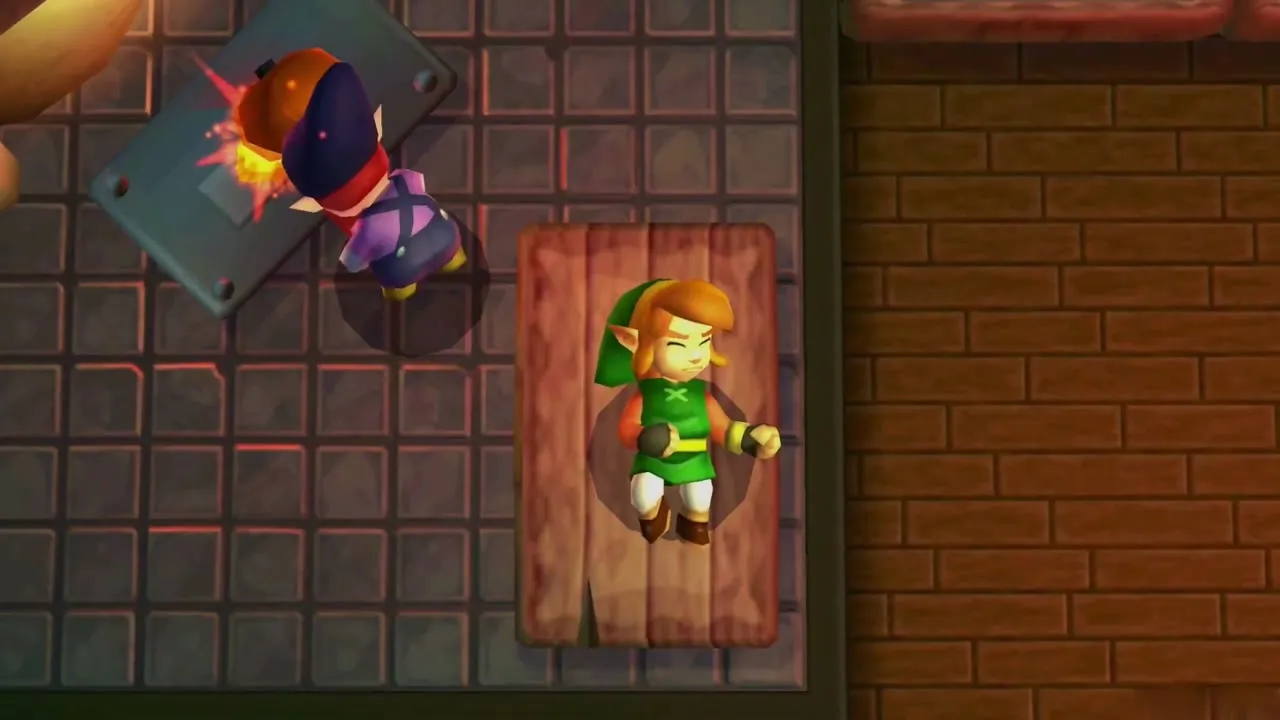
Table of Contents
Hilda and the Seven Sages
Hilda saves you from Yuga Ganon
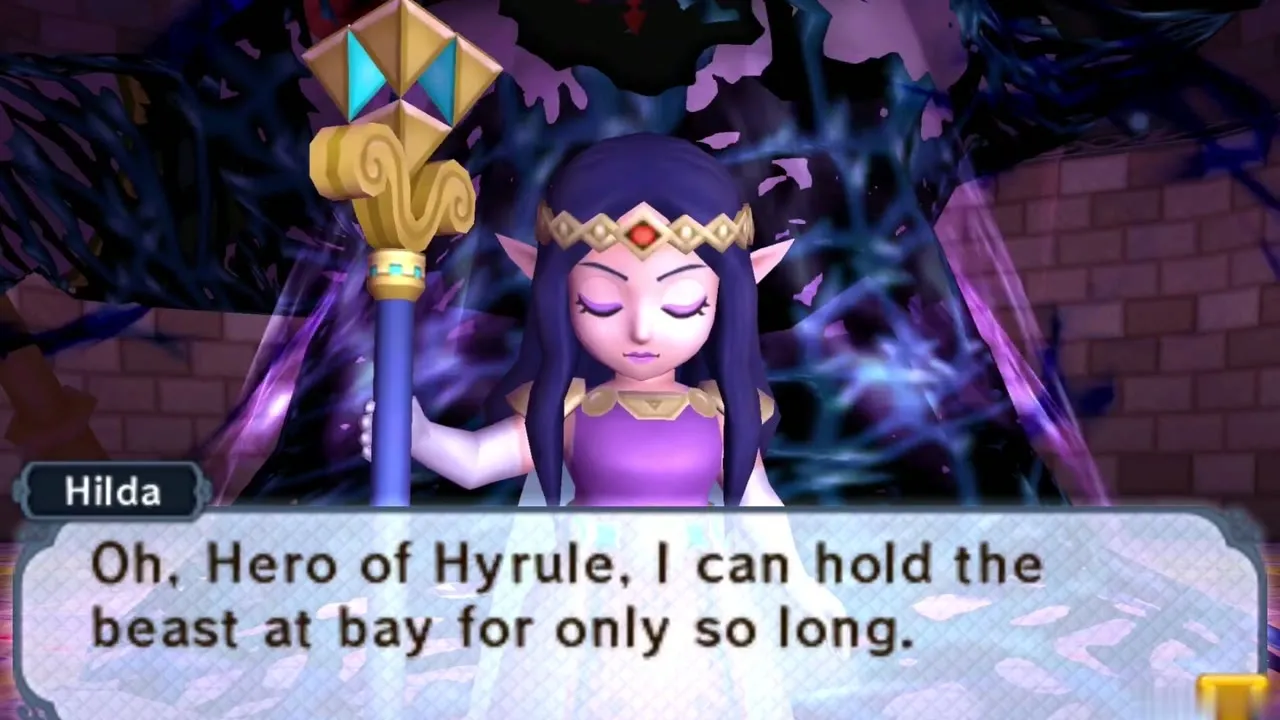
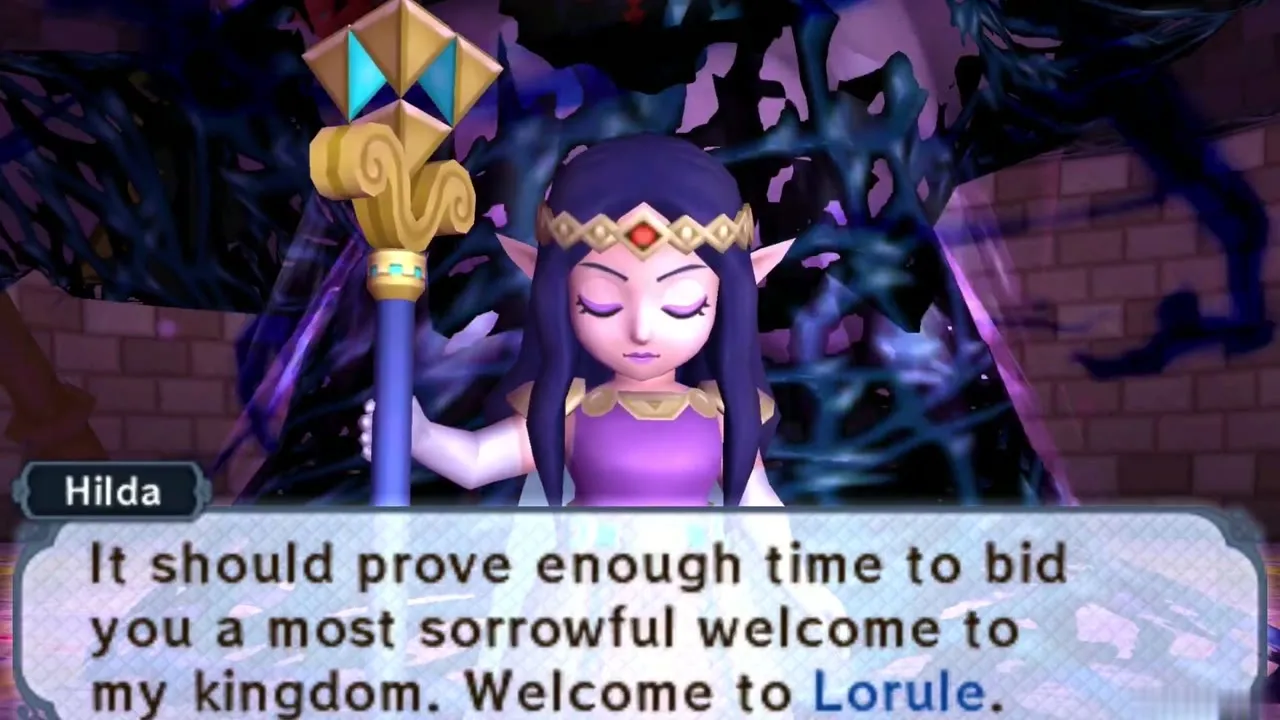
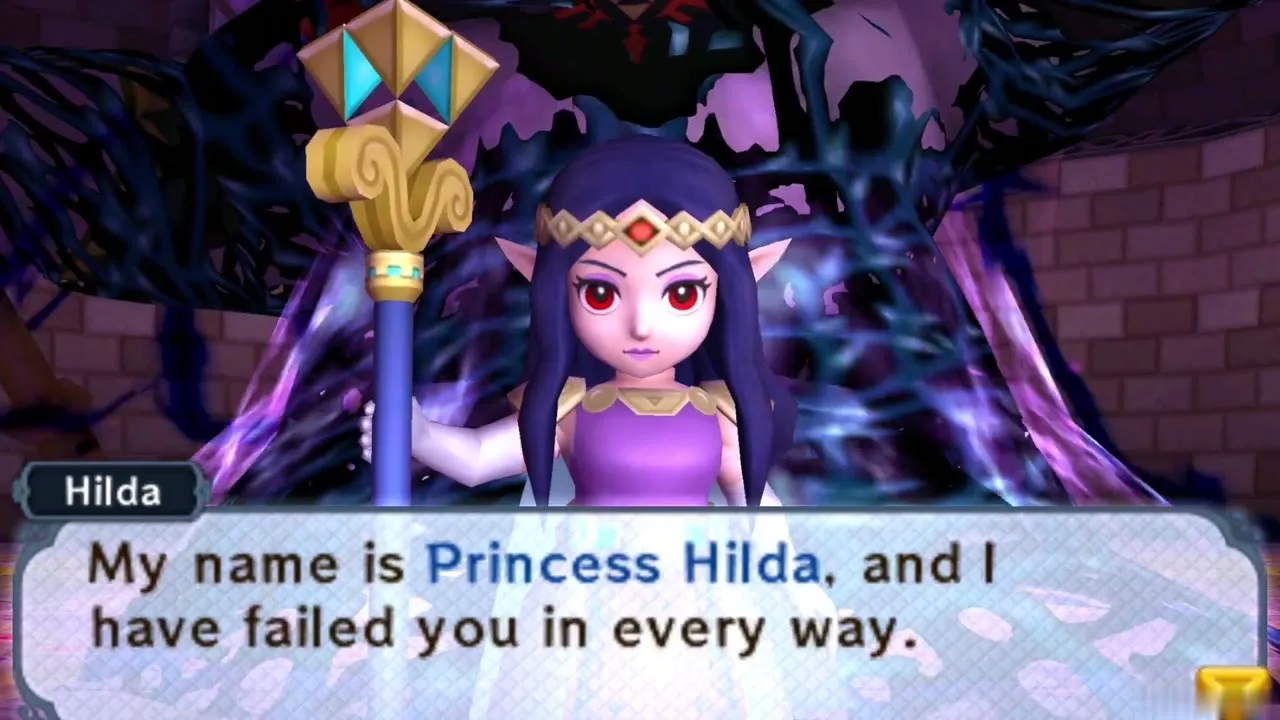
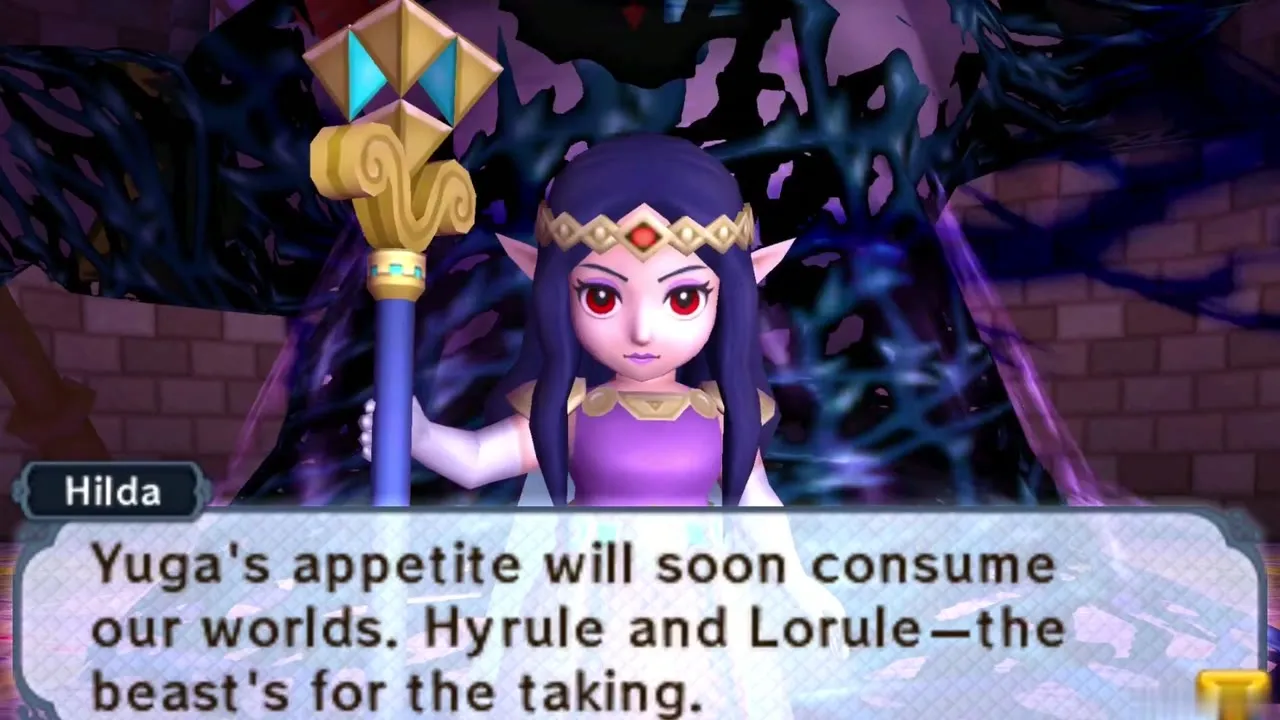
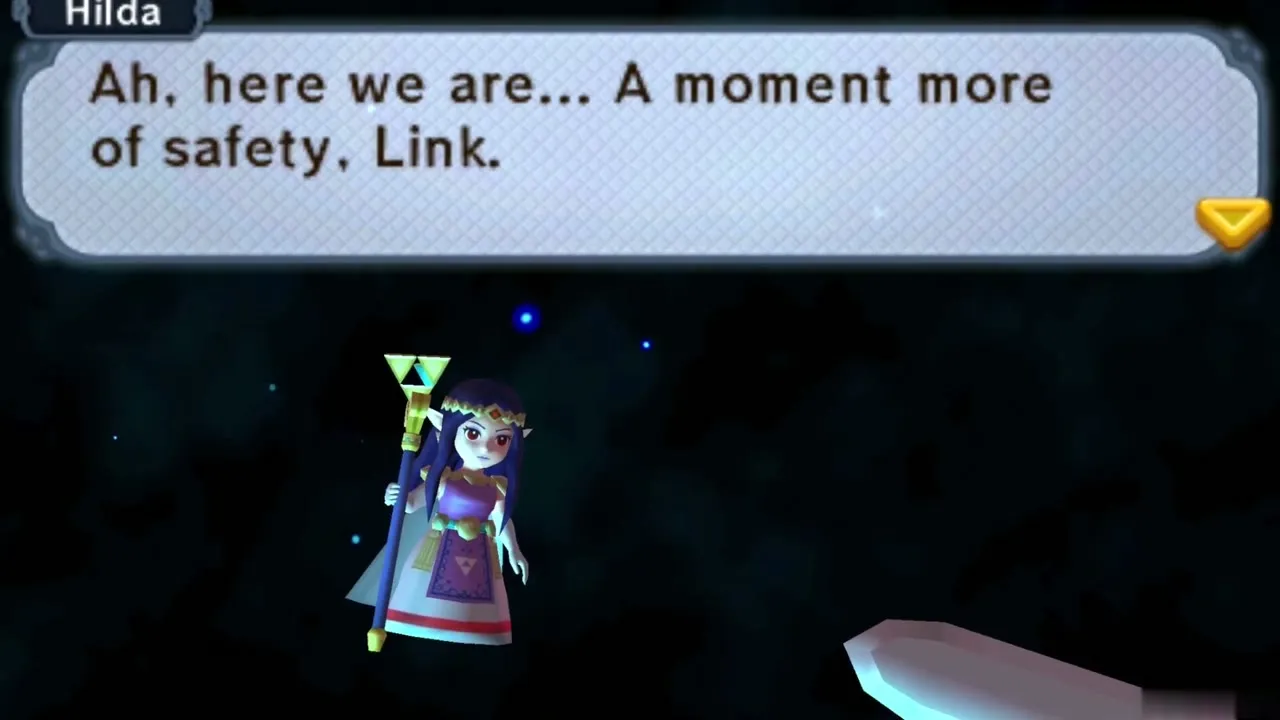
Yuga has fused with the Demon King, and the painted Sages are feeding his power. Princess Hilda of Lorule appears and holds the beast at bay long enough to welcome you to her kingdom. She admits she could not stop Yuga from slipping into Hyrule, warns that he will soon swallow both worlds, and then carries you off to a place of safety. You only need to follow the conversation.
The Seven Sages are scattered across Lorule
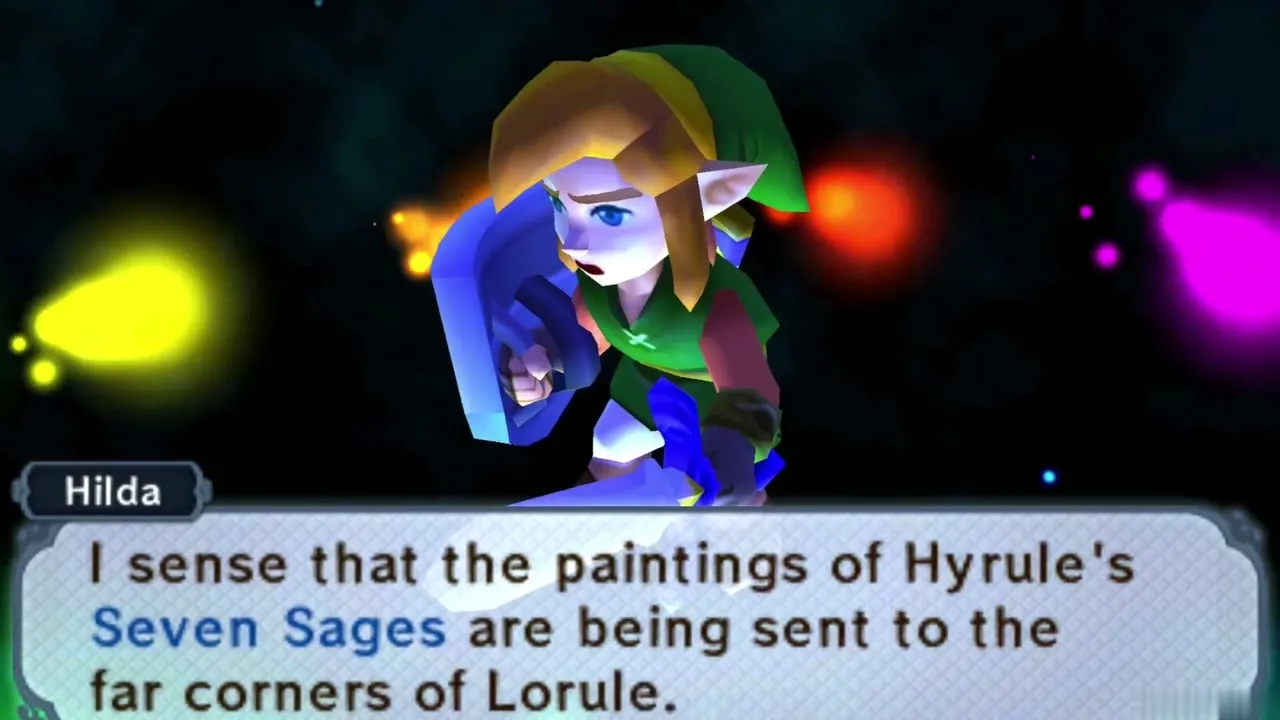
In safety, Hilda explains your task. The paintings of Hyrule’s Seven Sages have been sent to the far corners of Lorule, and you must steal them back so your full strength can wake. Each one hangs in a dungeon: Osfala in the Thieves’ Hideout, Gulley in the Dark Palace, Seres in Skull Woods, Oren in the Swamp Palace, Rosso in the Ice Ruins, Impa in Turtle Rock and Irene in the Desert Palace.
Lorule Blacksmith’s house and weather vane
Wake in the Lorule Blacksmith’s house
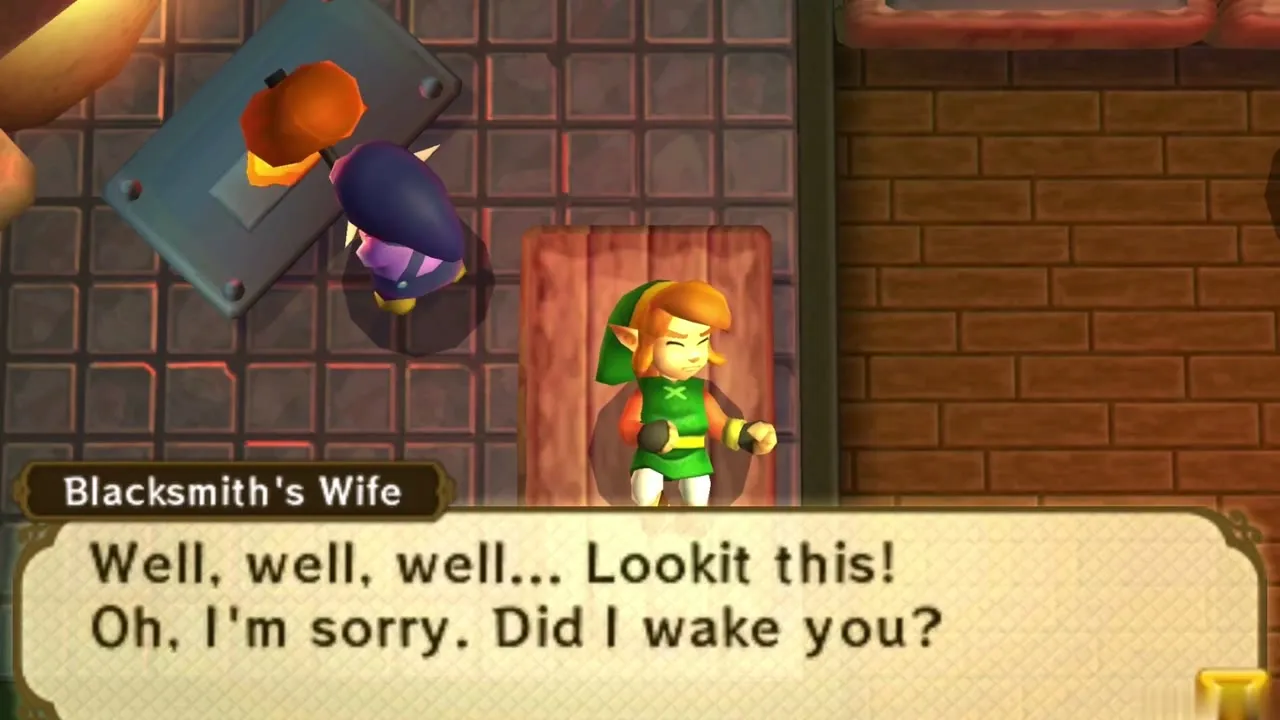
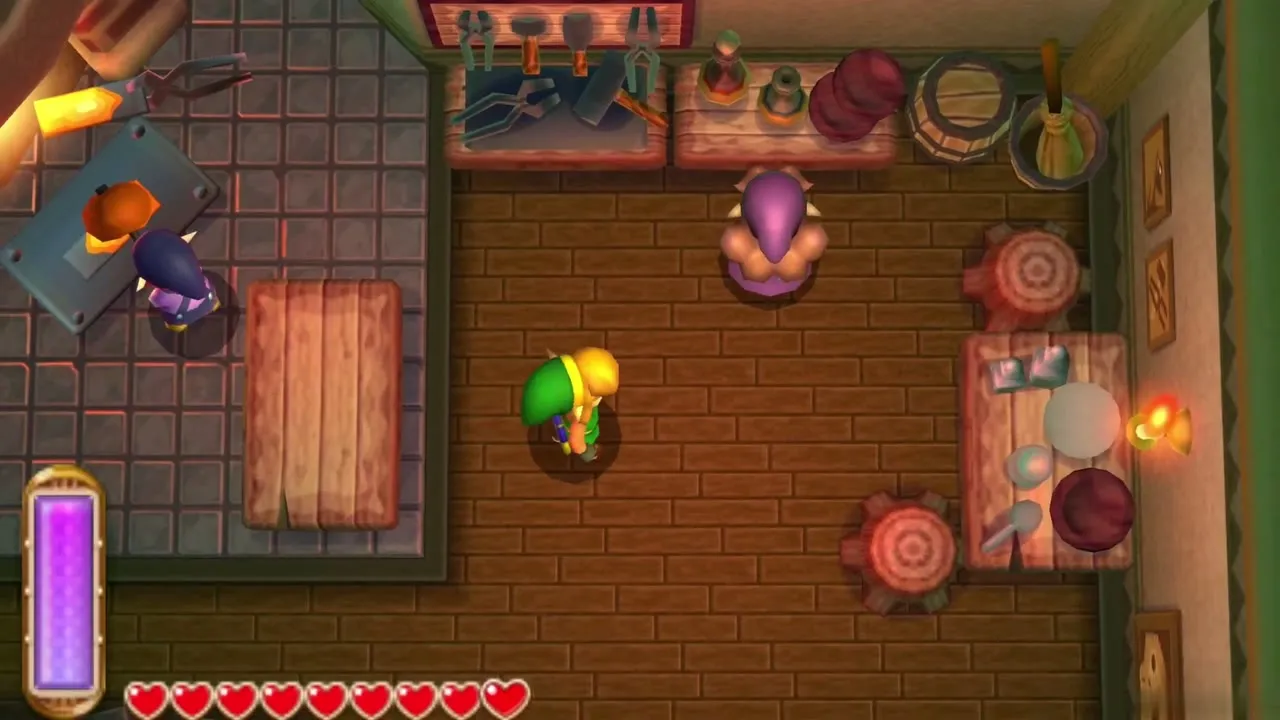
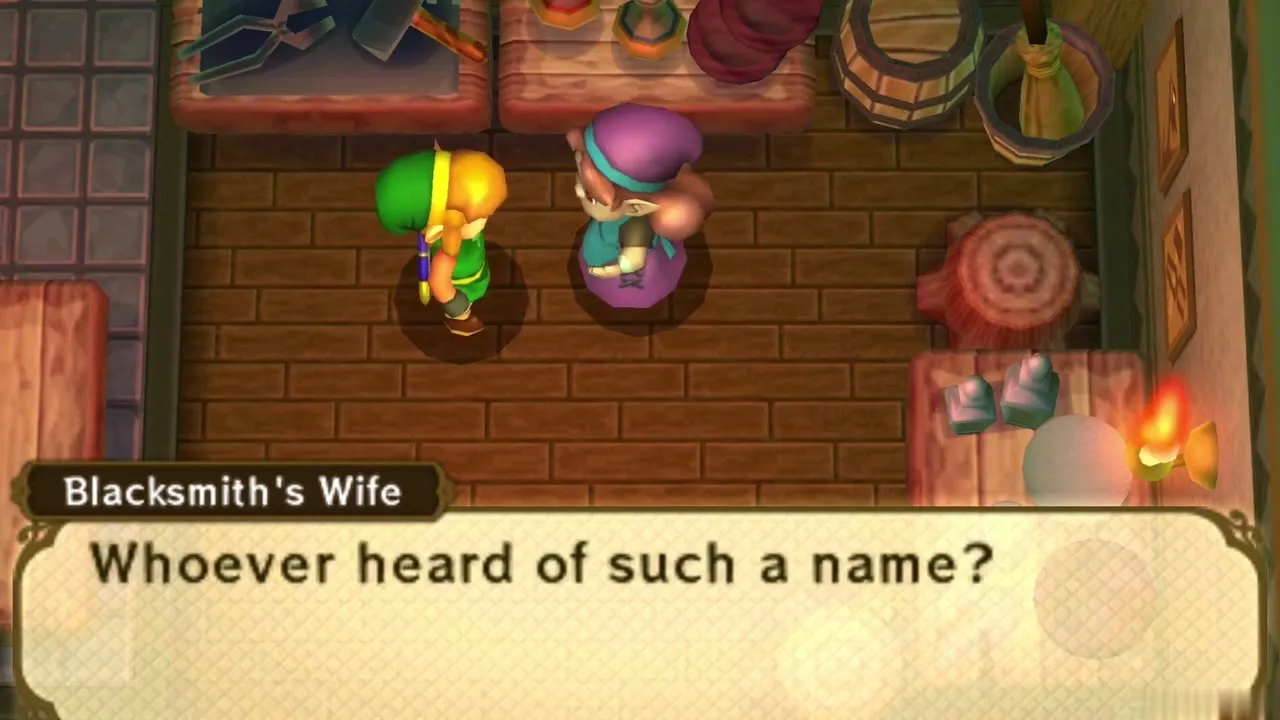
You come to in a wooden house with a forge, where the Lorule Blacksmith’s wife is in a sour mood. She is not pleased to find you there. Talk to her and the Blacksmith if you like, then leave through the door. The road outside is where the adventure restarts.
Hilda’s message about Lorule
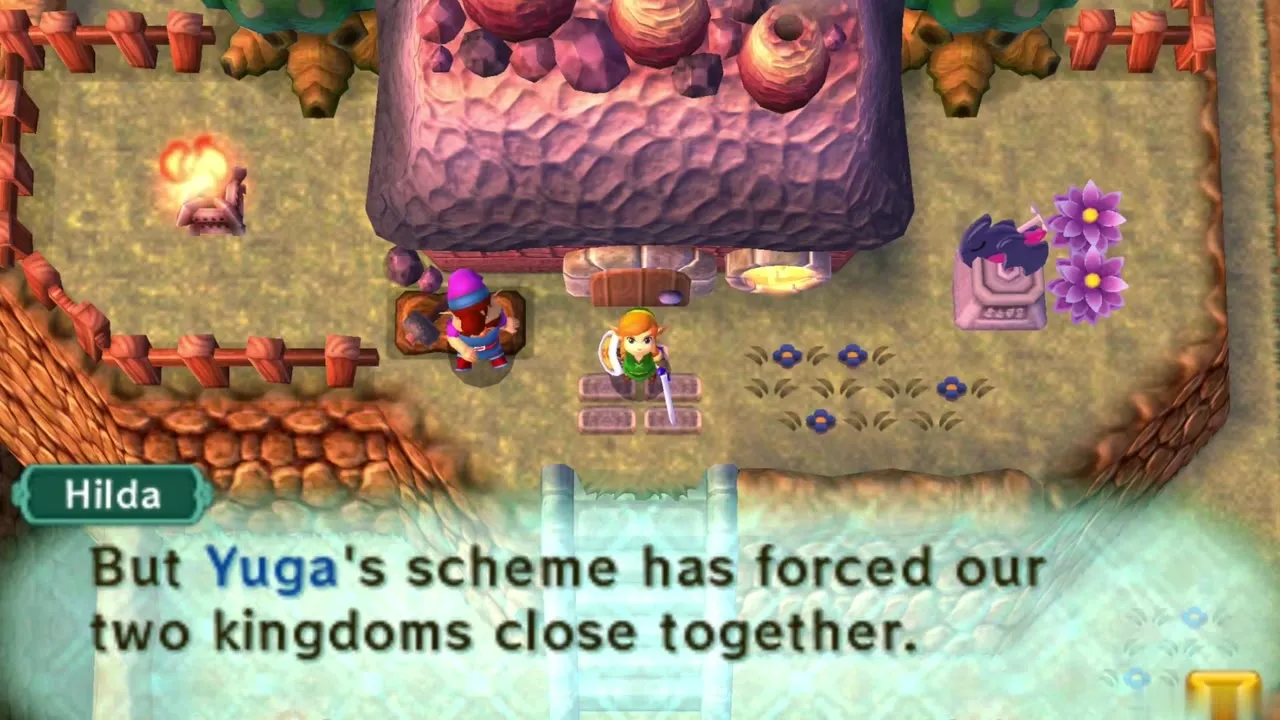
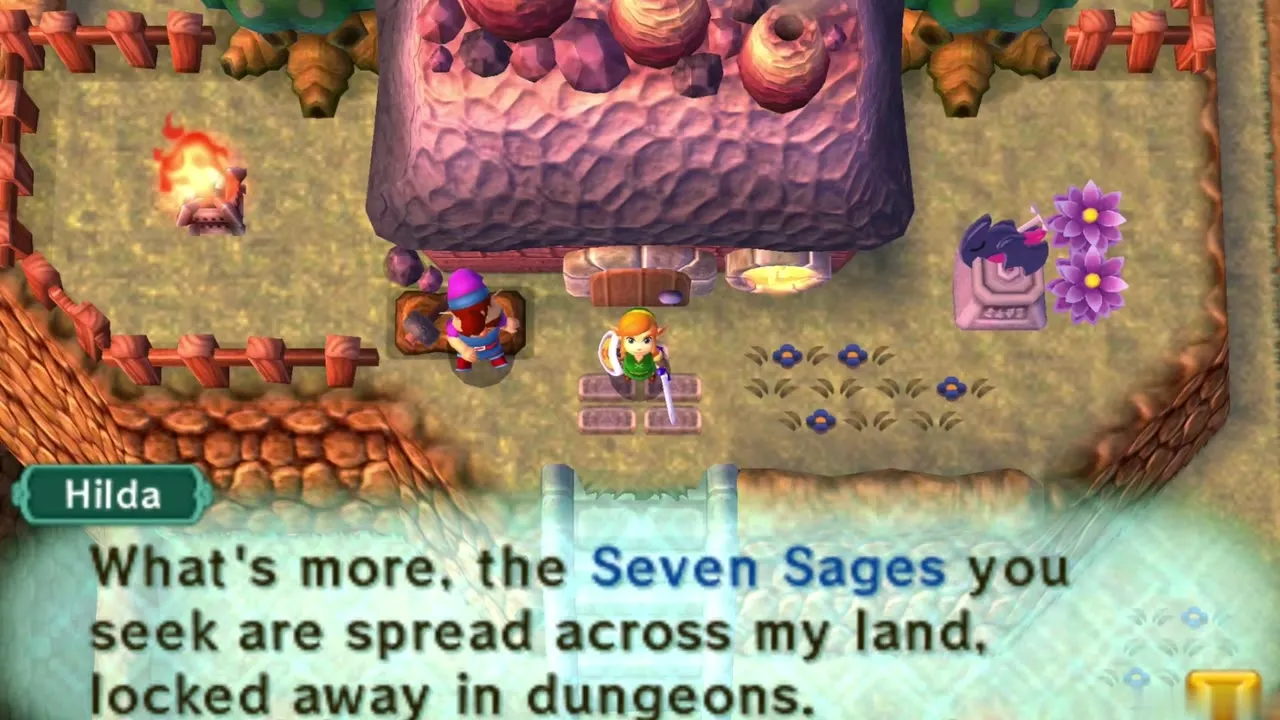
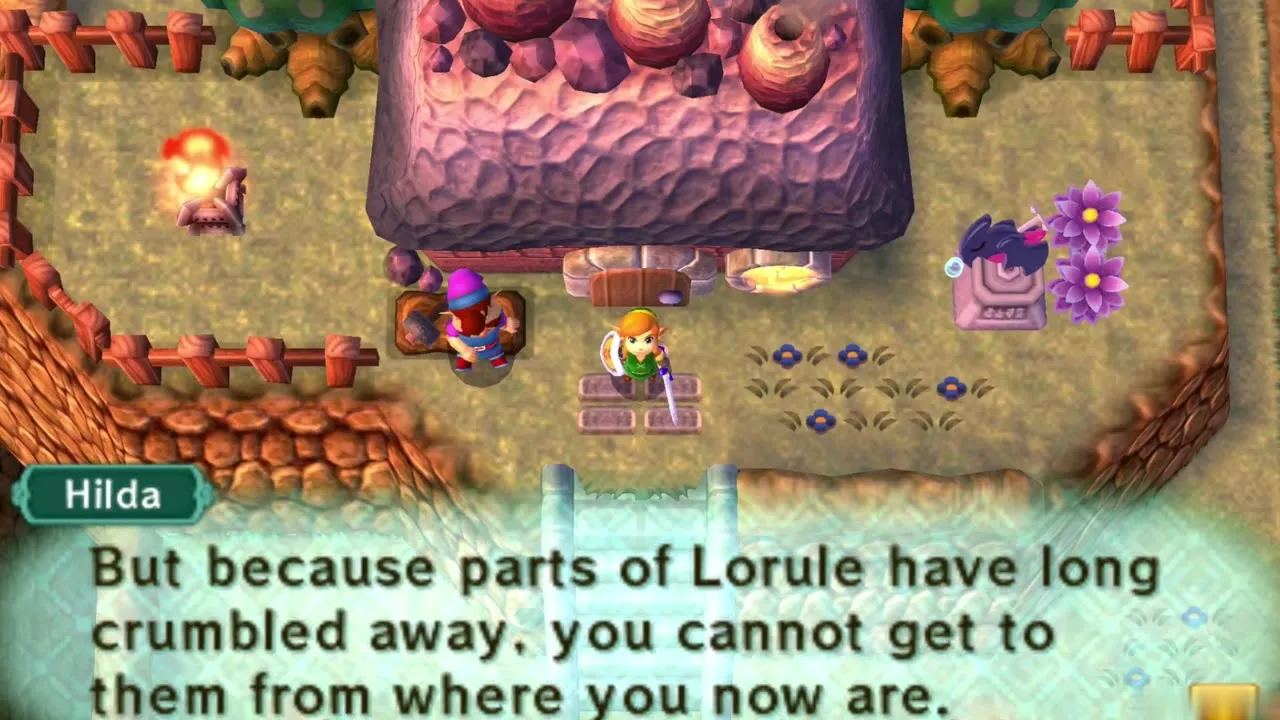
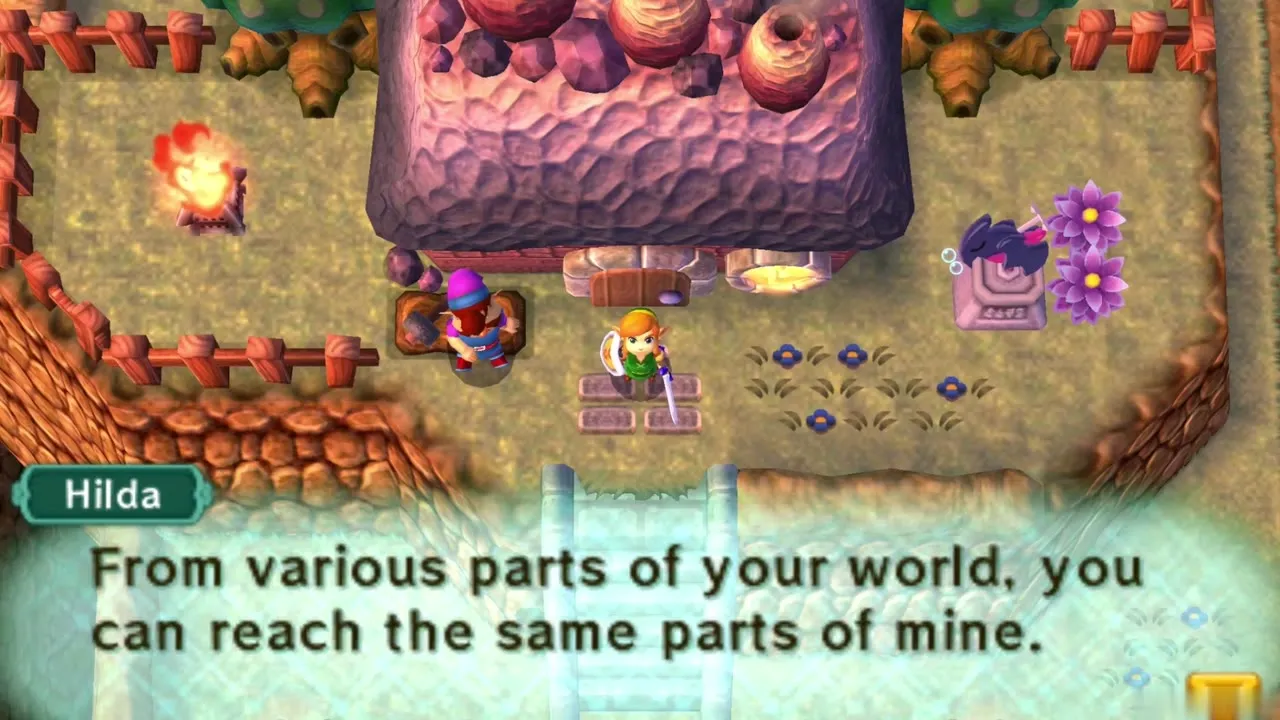
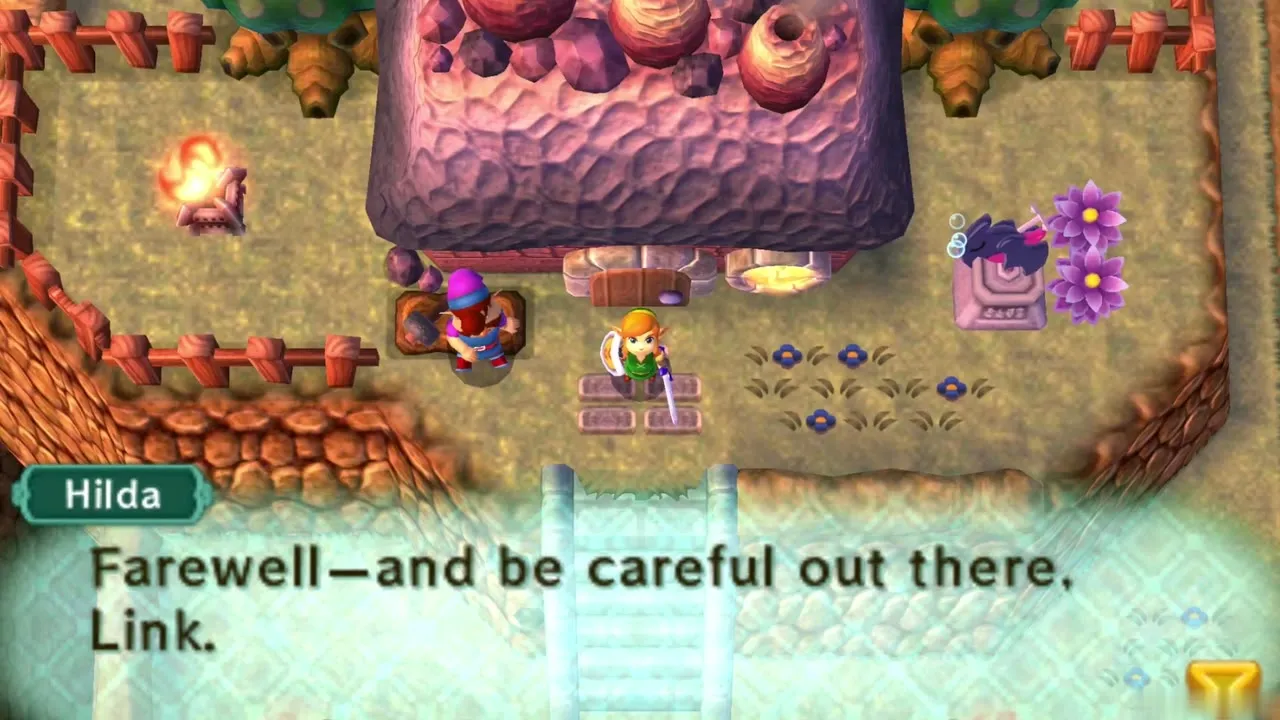
Step outside and Hilda speaks to you through your mind. She tells you that Yuga’s scheme has pushed the two kingdoms together, that the Sages are locked away in dungeons across Lorule, and that you cannot reach them from where you stand because large parts of Lorule have crumbled away. To reach each region you must go back to Hyrule and find a way in from the matching spot there. She also warns that Lorule is not kind to strangers.
Lorule Weather Vane at the Blacksmith’s
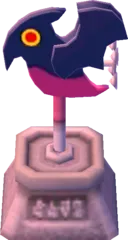
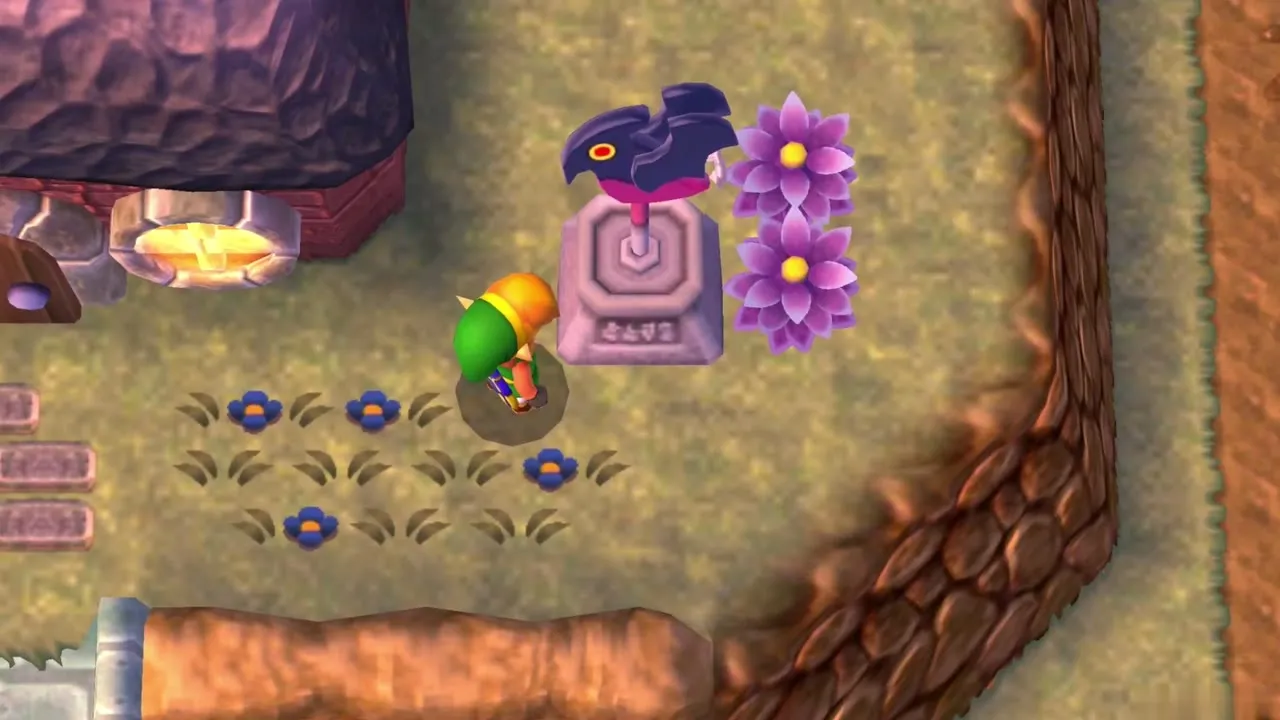
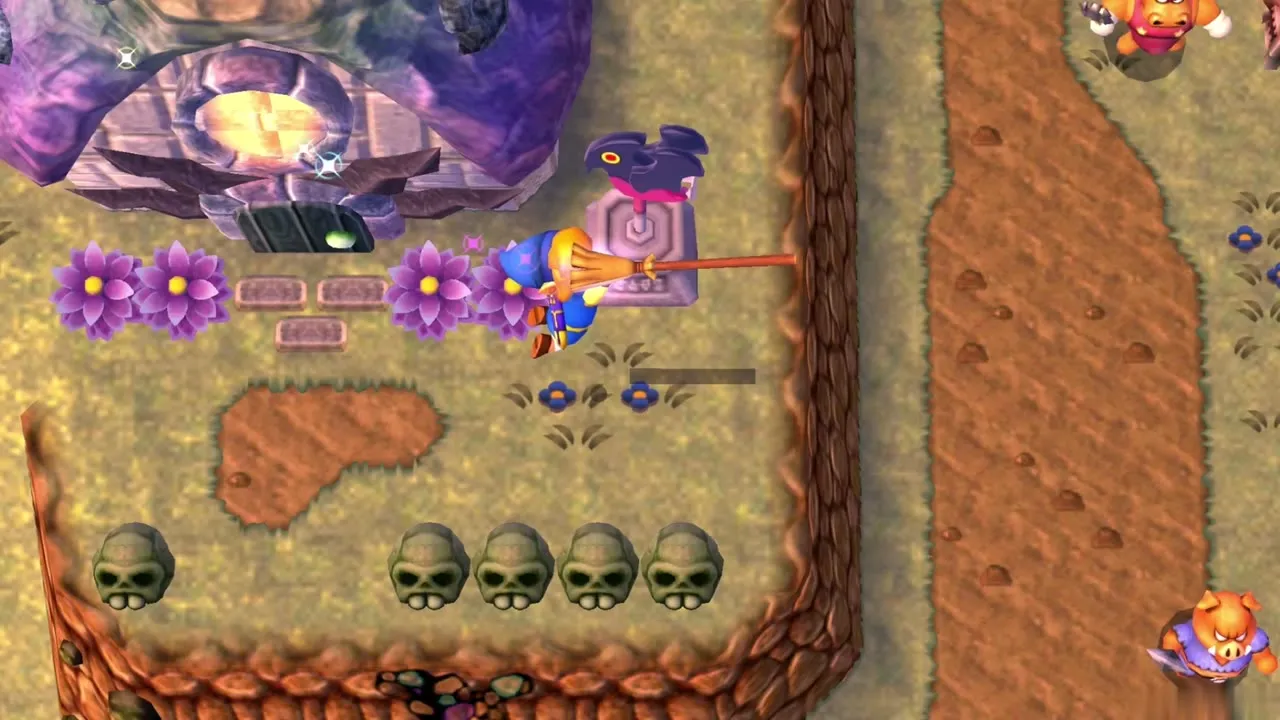
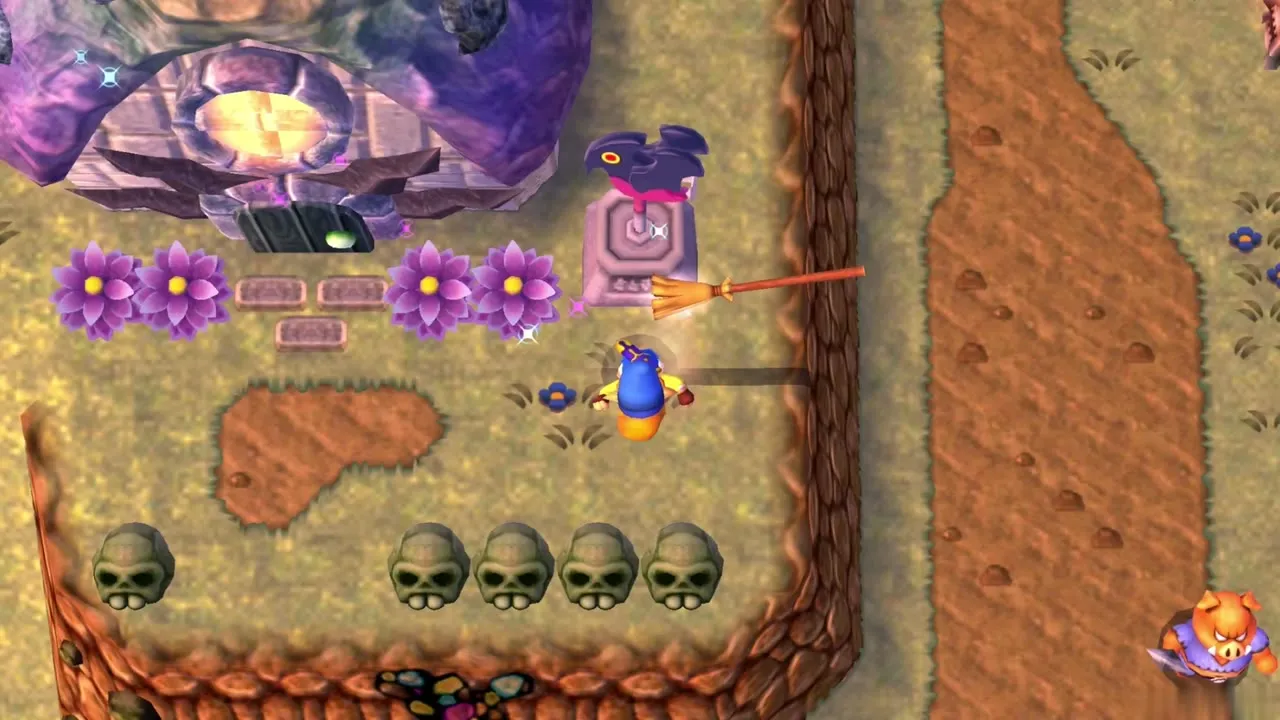
Walk to the stone pedestal topped with a bird beside the Blacksmith’s forge and touch it to activate your first Lorule Weather Vane and save. Irene’s Bell still works here, but it only carries you between Weather Vanes in the same world, so a Lorule Vane takes you to other Lorule Vanes. Thirteen of them sit across Lorule and nine across Hyrule, and the Weather Vanes page lists every one.
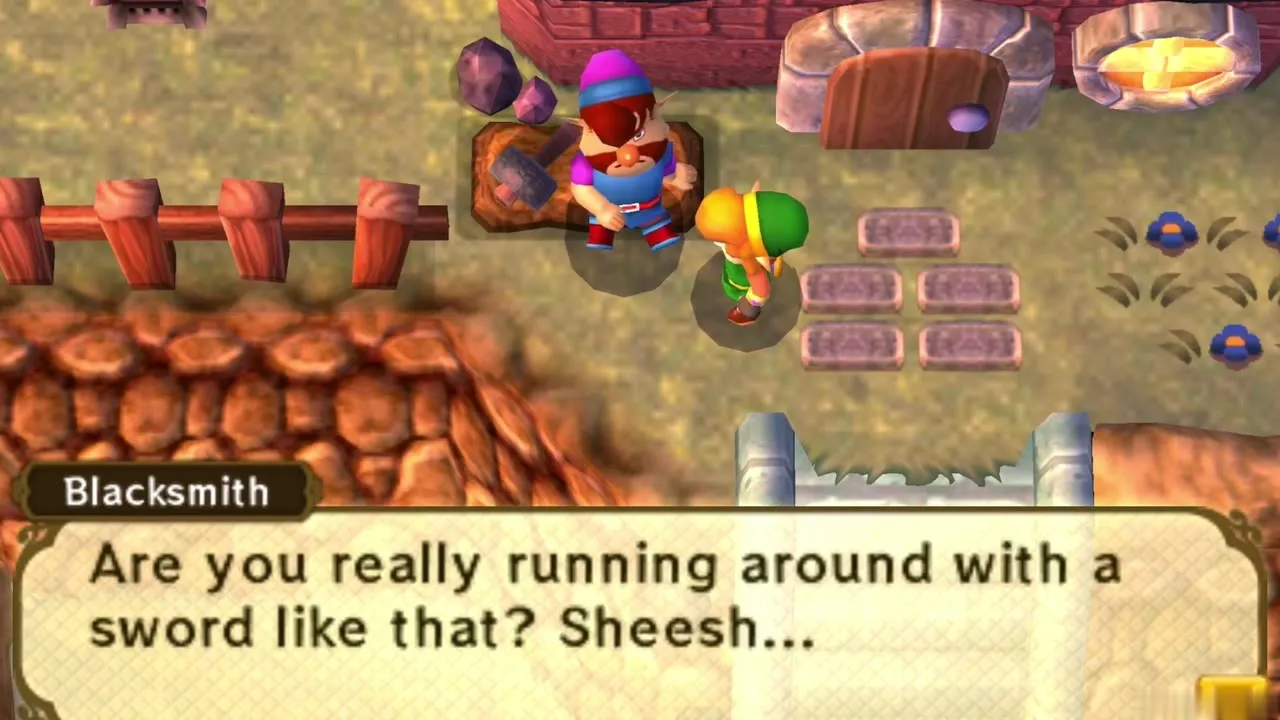
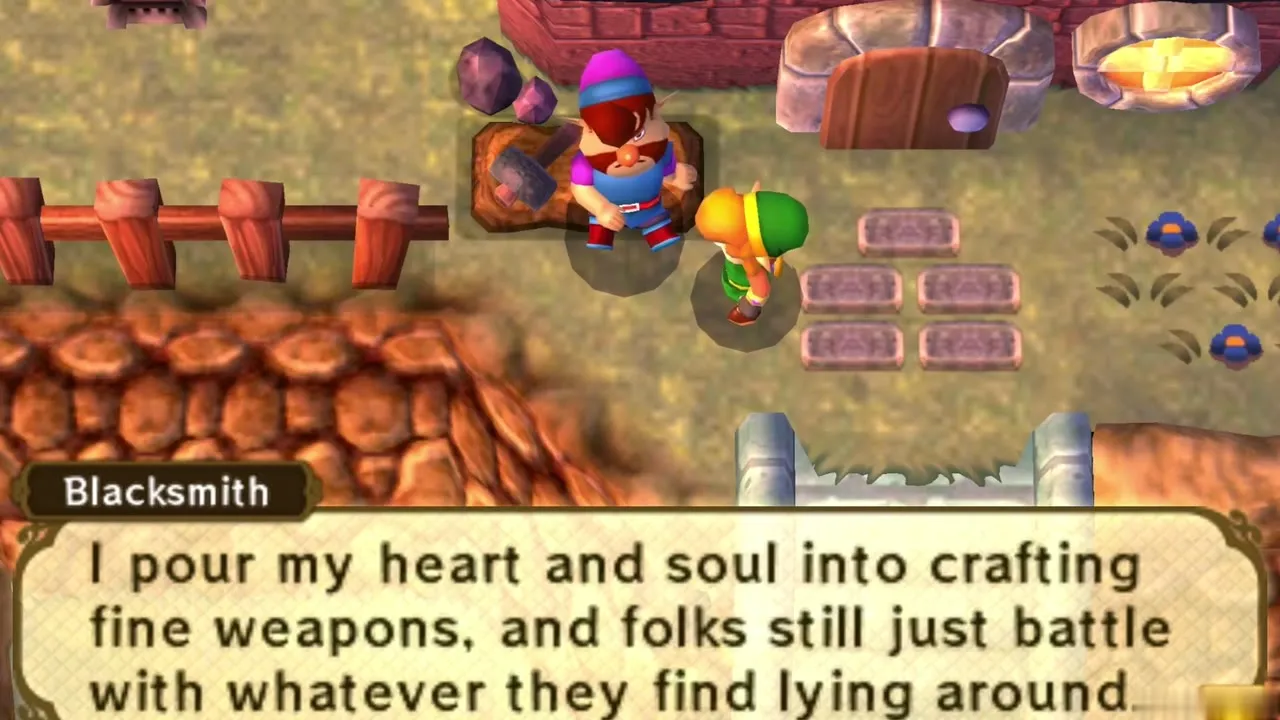
The Lorule Blacksmith
Speak to the Blacksmith outside his forge. Master Ore is what he needs. He forges the Lv3 blade from two chunks, but only once the Hyrule Blacksmith has made your Master Sword Lv2 with the first two. Come back with the third and fourth chunks.
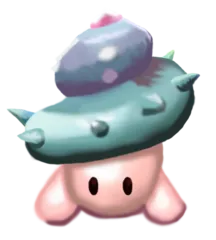
Lost Maiamai on the Forge wall
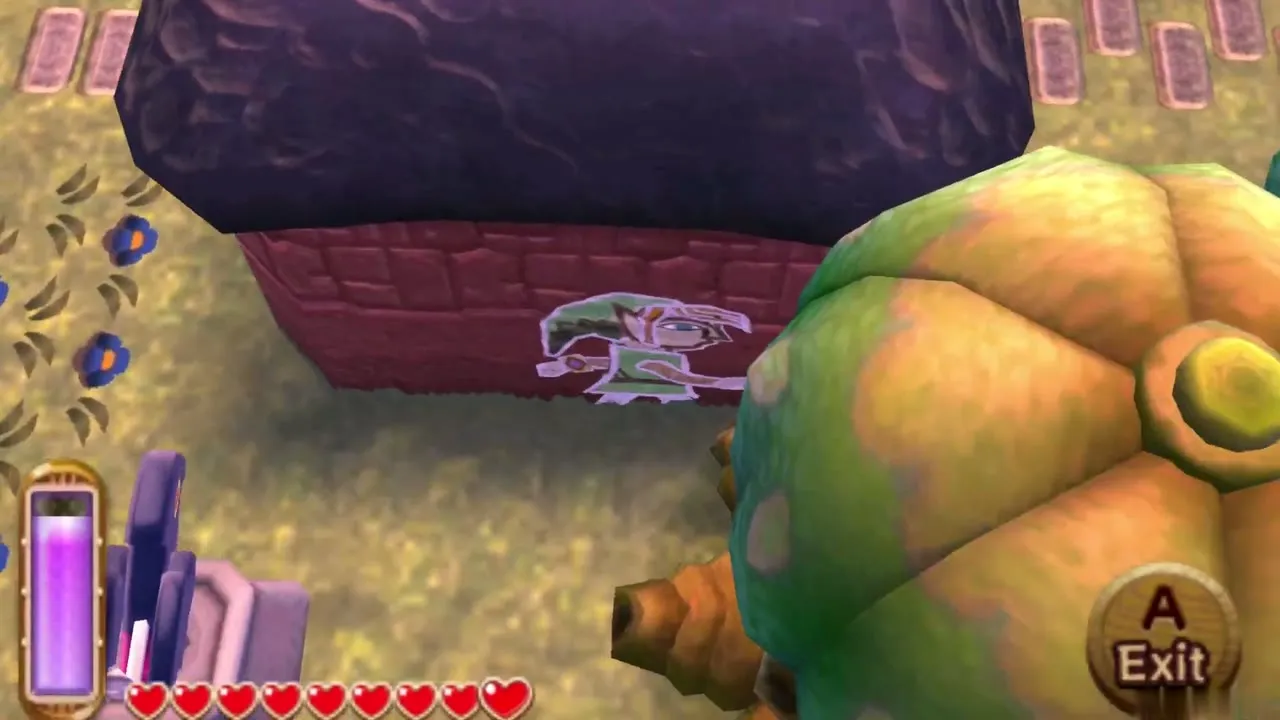
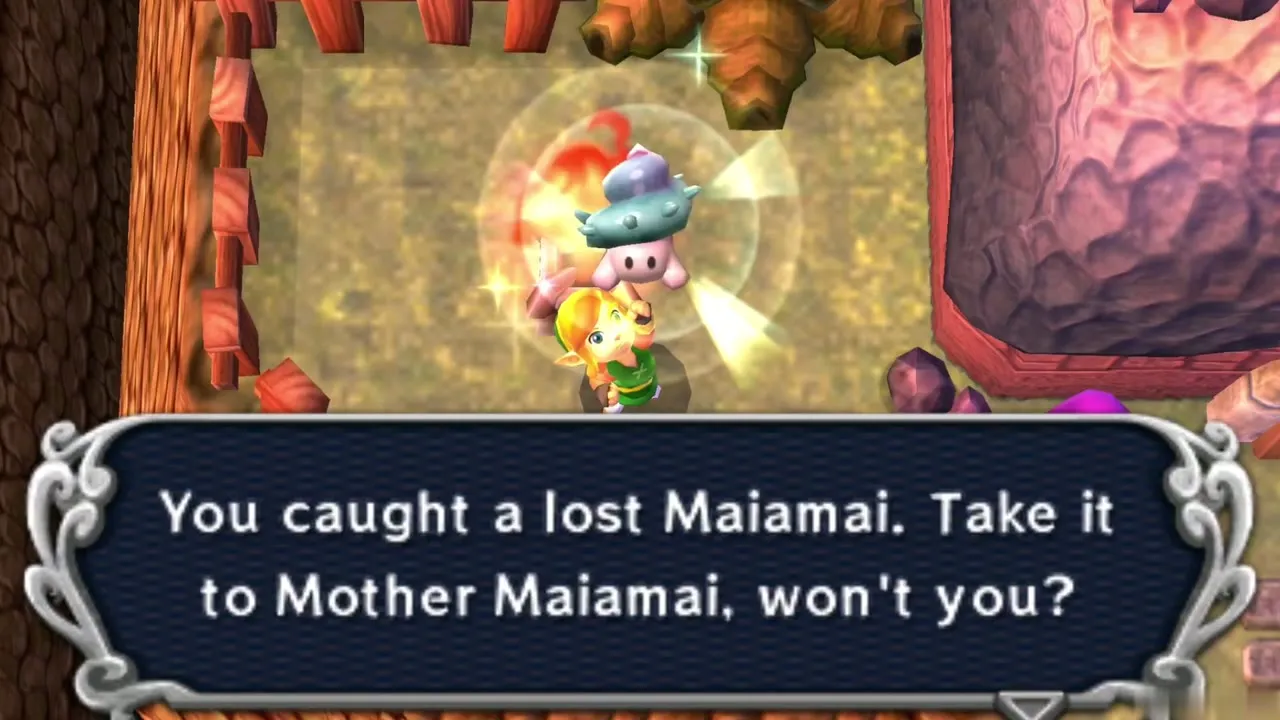
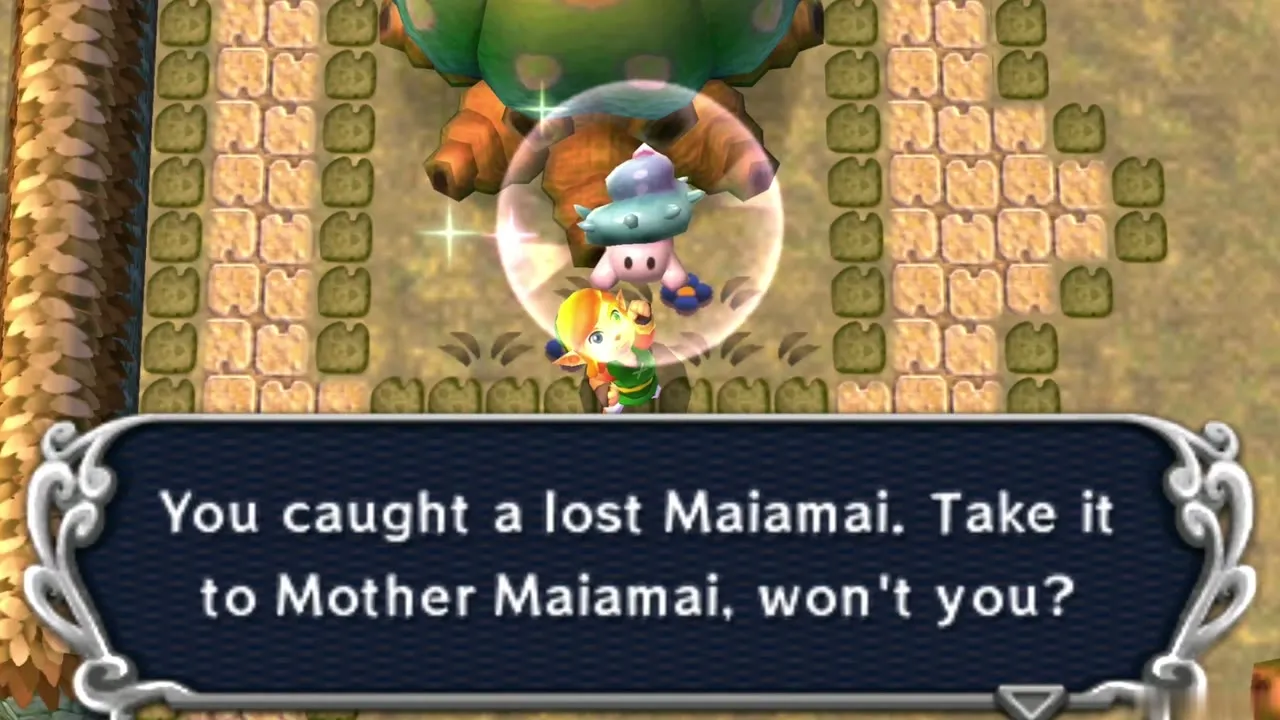
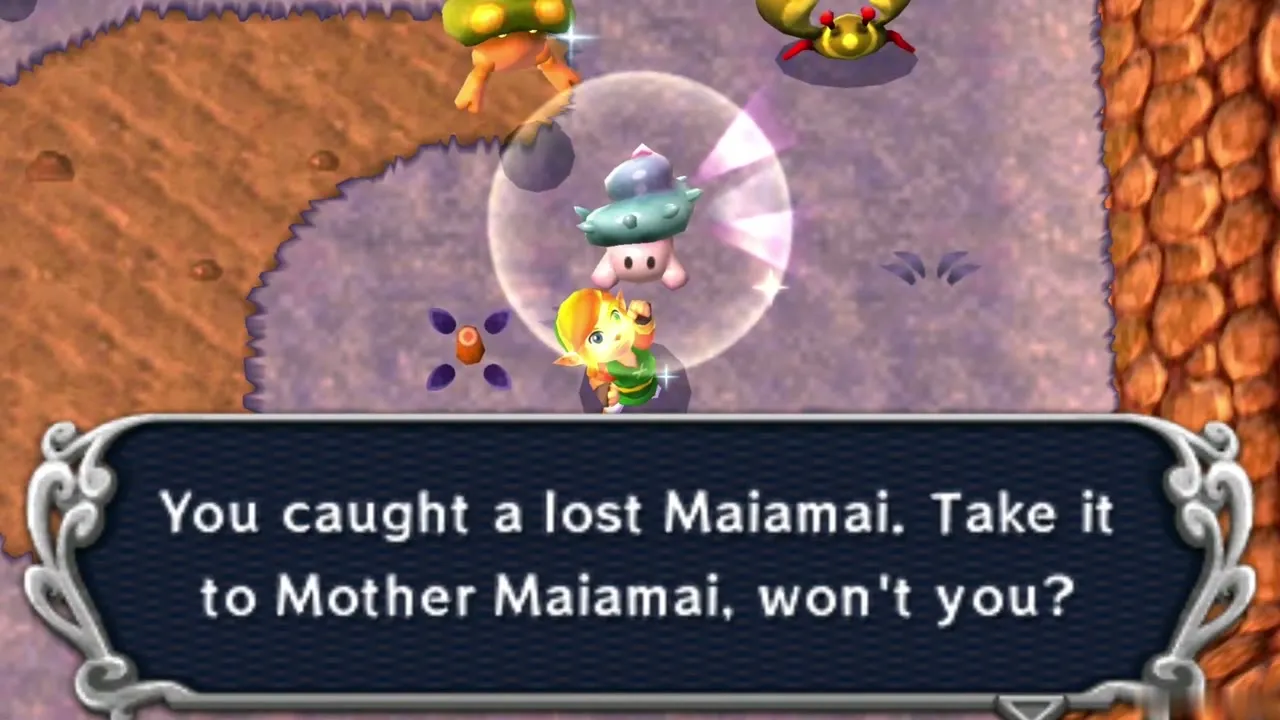
Merge into the east wall of the Blacksmith’s forge, a pink house with a stone door, and slide to the right. Keep merged and follow the wall around to the building’s west side. A Lost Maiamai is waiting along it. Step out of the wall to catch it. Bring every Maiamai to Mother Maiamai in her Lake Hylia cave once you reach Hyrule, where each ten returned upgrades an item you own.
Mapes and the Fortune-Teller’s tent
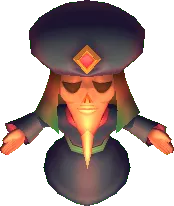
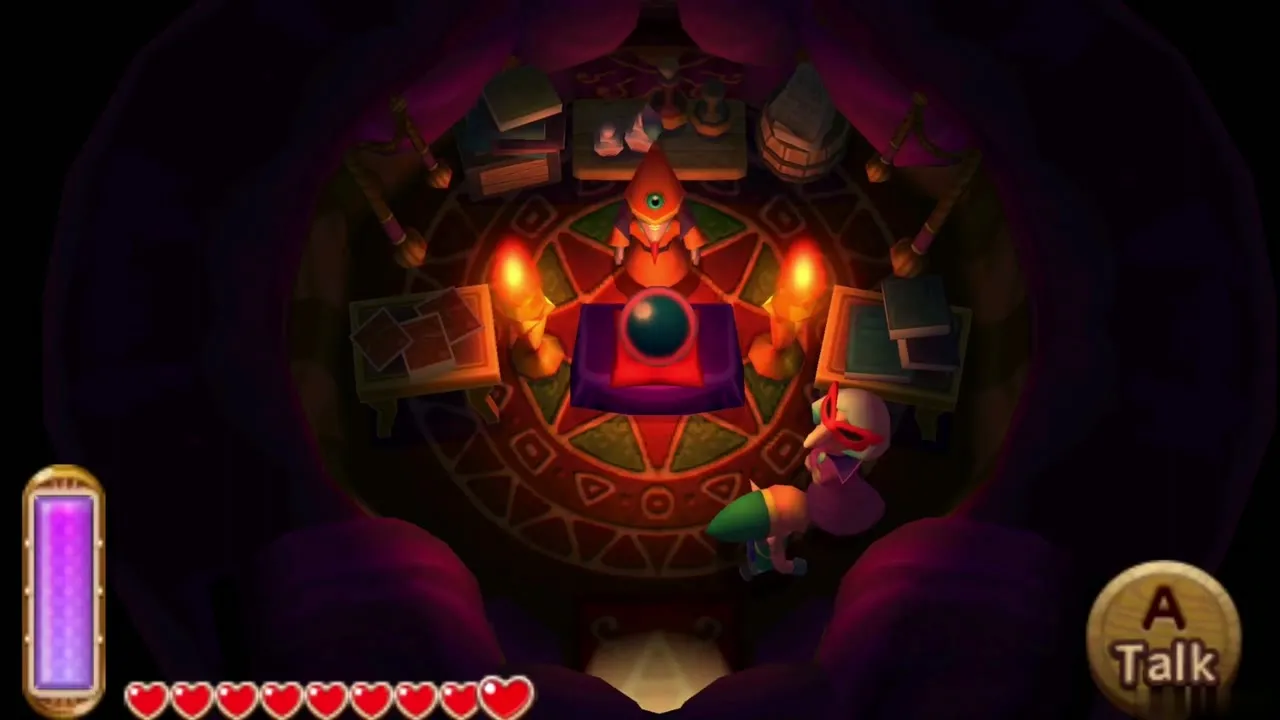
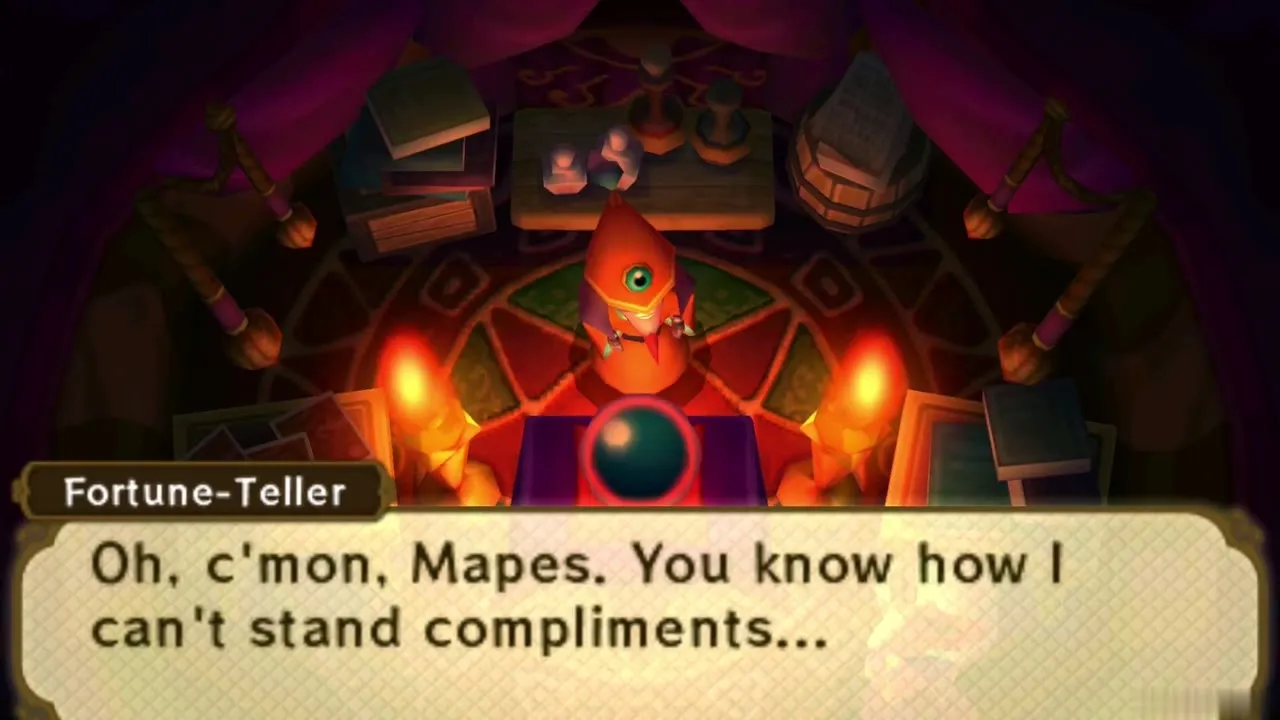
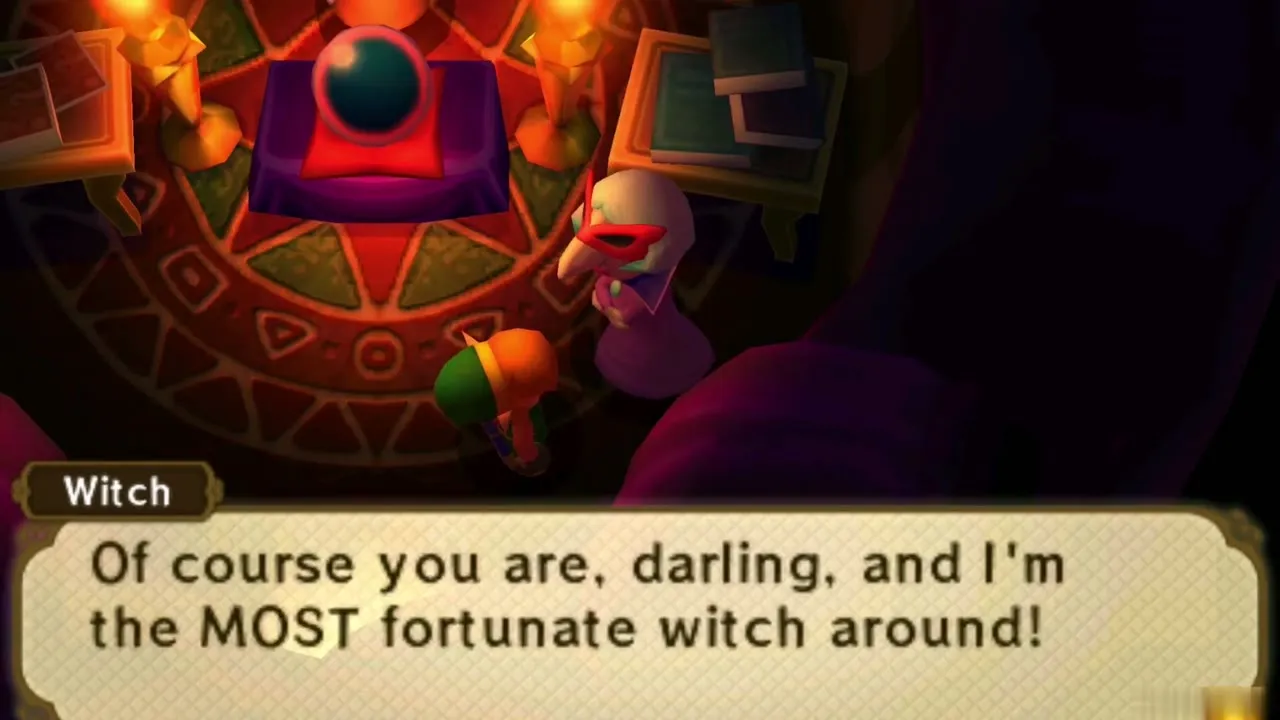
Walk north of the Blacksmith’s house, past the purple flower patches, to the Fortune-Teller’s tent. The witch inside is Mapes, the Lorule counterpart of the Hyrule Witch, and she spends the whole conversation praising her darling, the Fortune-Teller. Neither sells anything or gives anything away, so you can skip the tent if you are in a hurry.
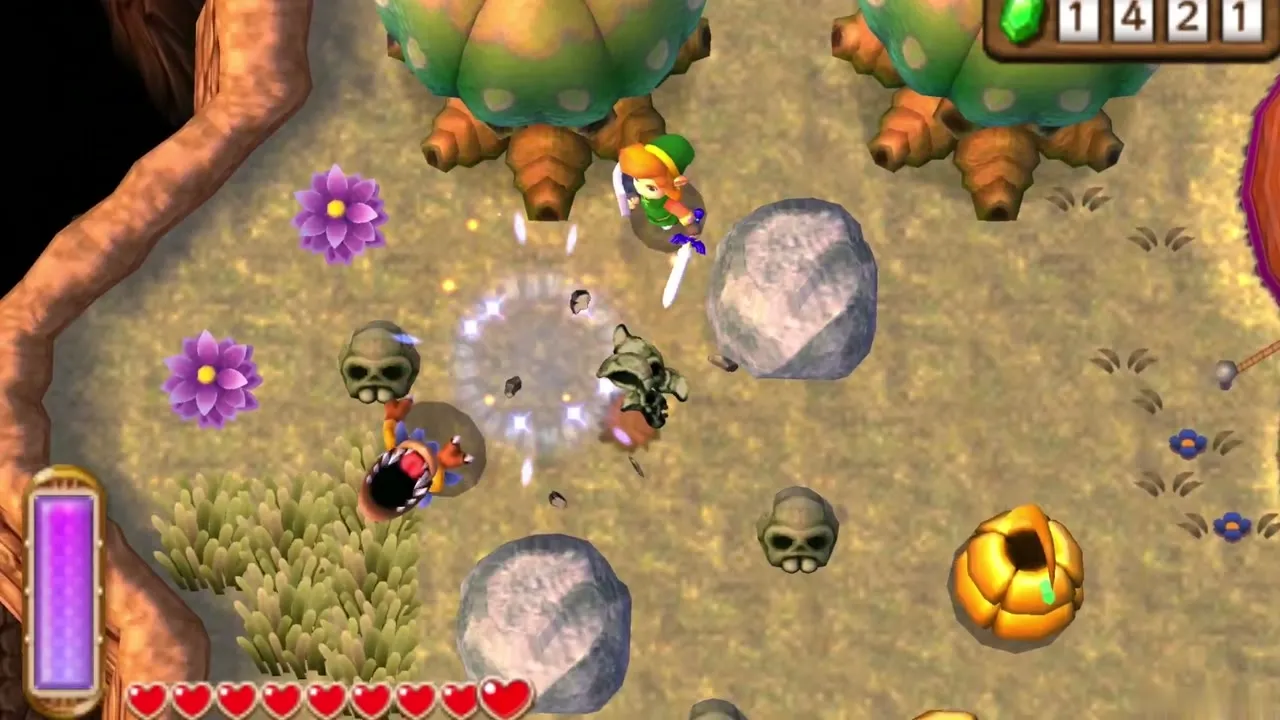
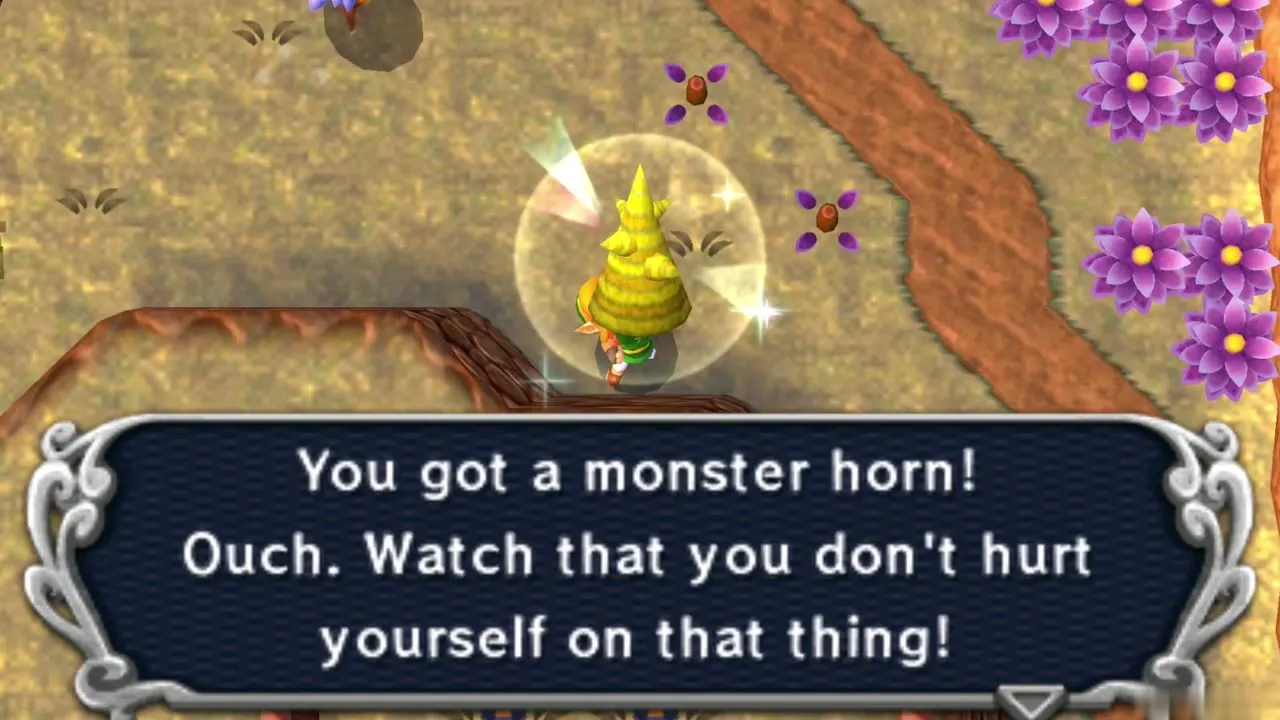
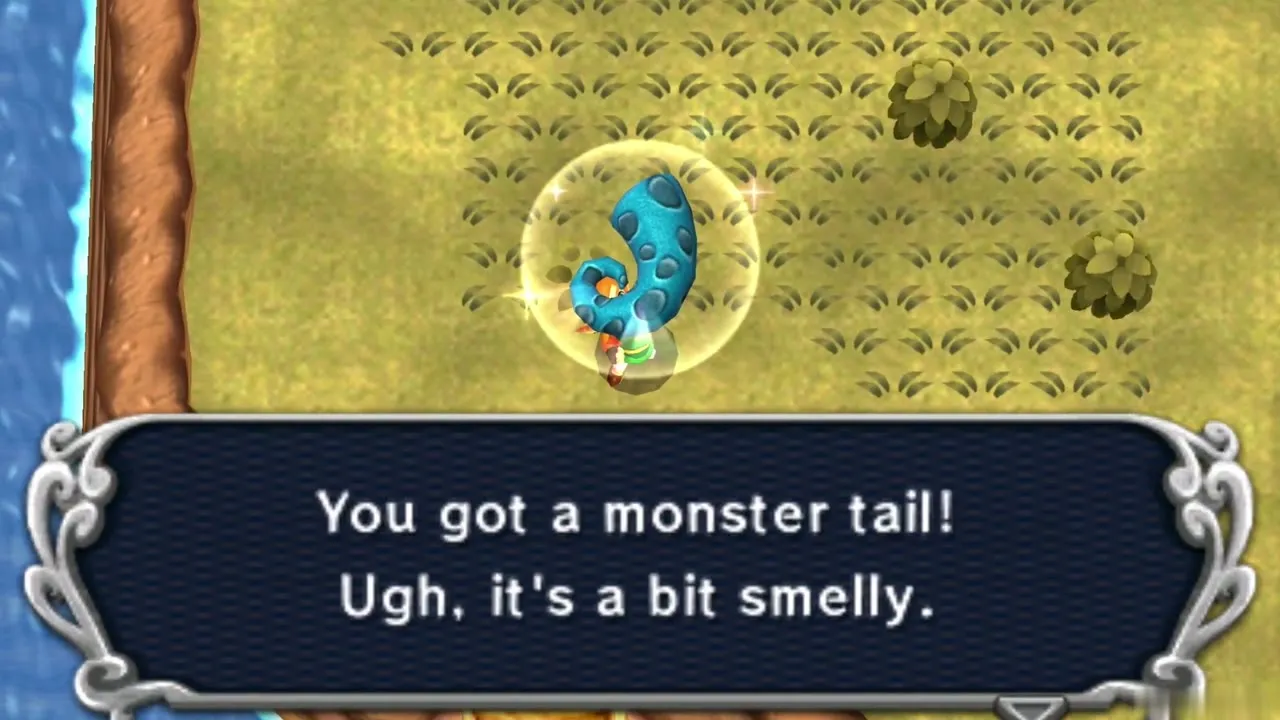
Fight the creatures that roam these fields as you go. They drop materials such as Monster Horns and Monster Tails, and the Witch’s House in Hyrule turns ten Horns into a Yellow Potion and ten Tails into a Blue Potion, so keep a few spare. You will need them once you have a Bottle.
Fissures and the way back to Hyrule
How fissures work
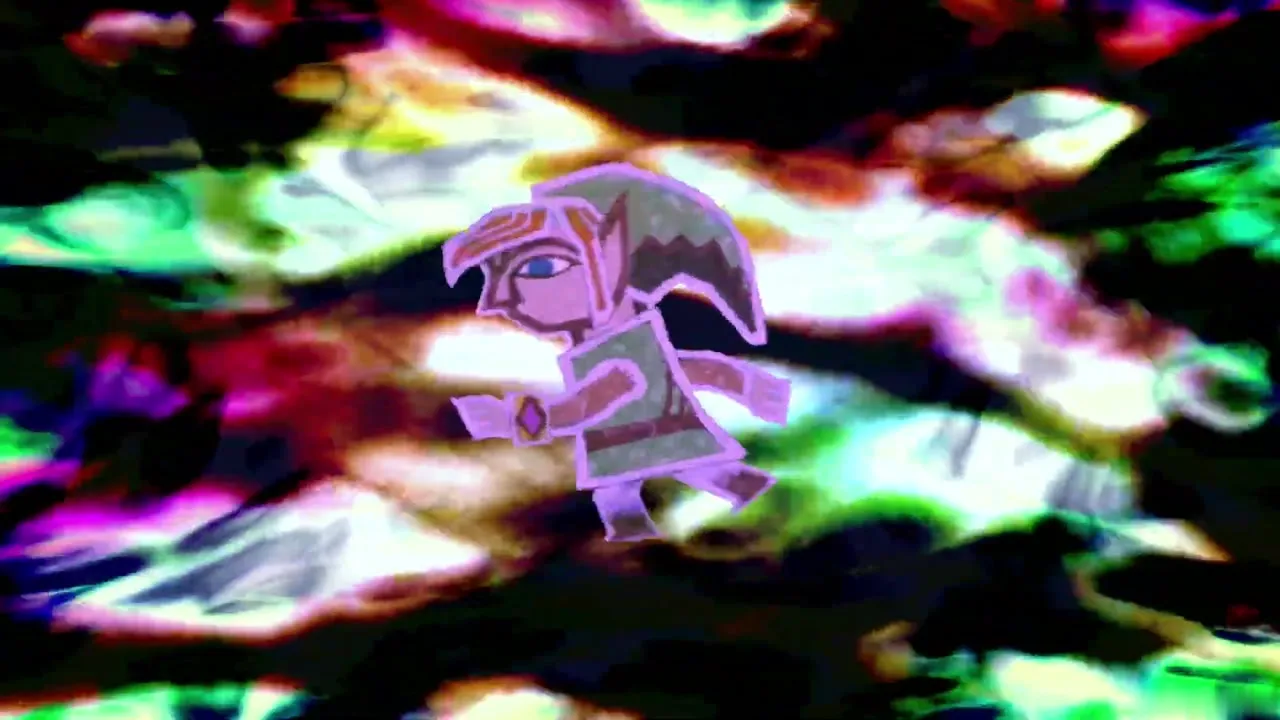
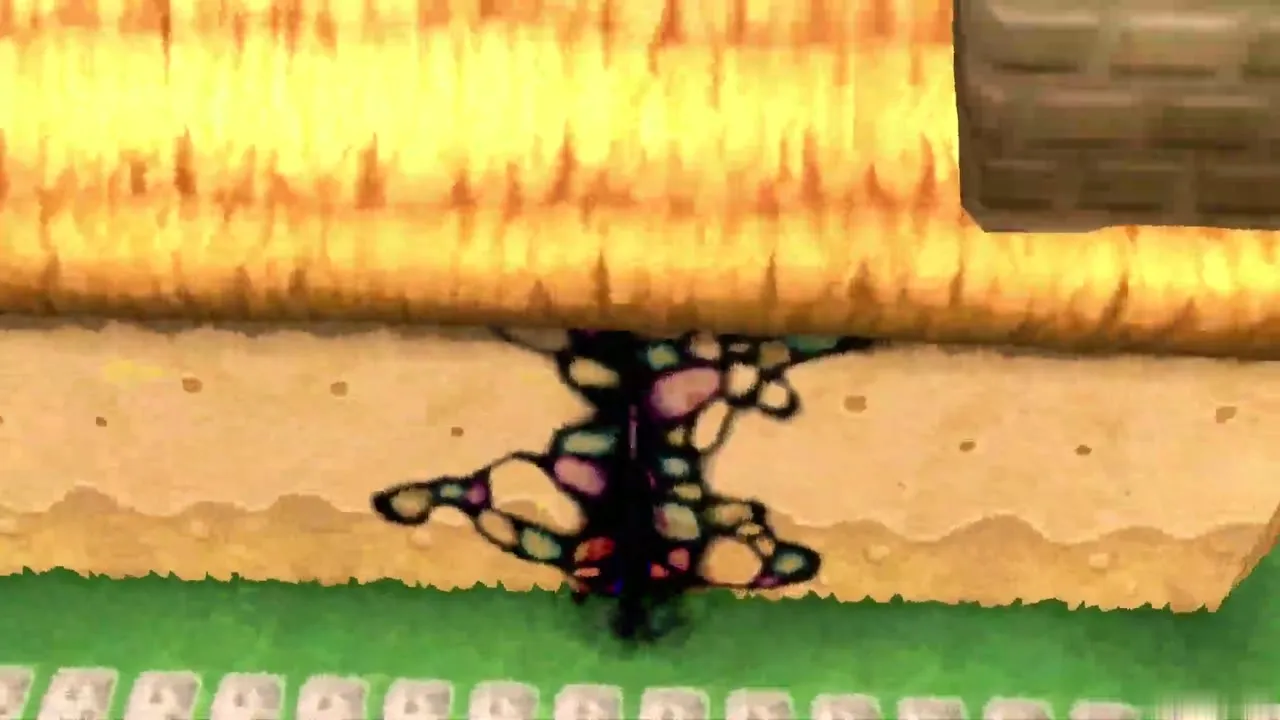
A fissure is a glowing crack on a wall. Merge into the wall next to it and walk into the crack to cross between Hyrule and Lorule. Hyrule’s fissures give off a dark fog and Lorule’s give off light. Each one you use is added to your map. Lorule is cut into regions by gaps, so every Lorule region is reached through the matching fissure in Hyrule.
Take the fissure back to Hyrule
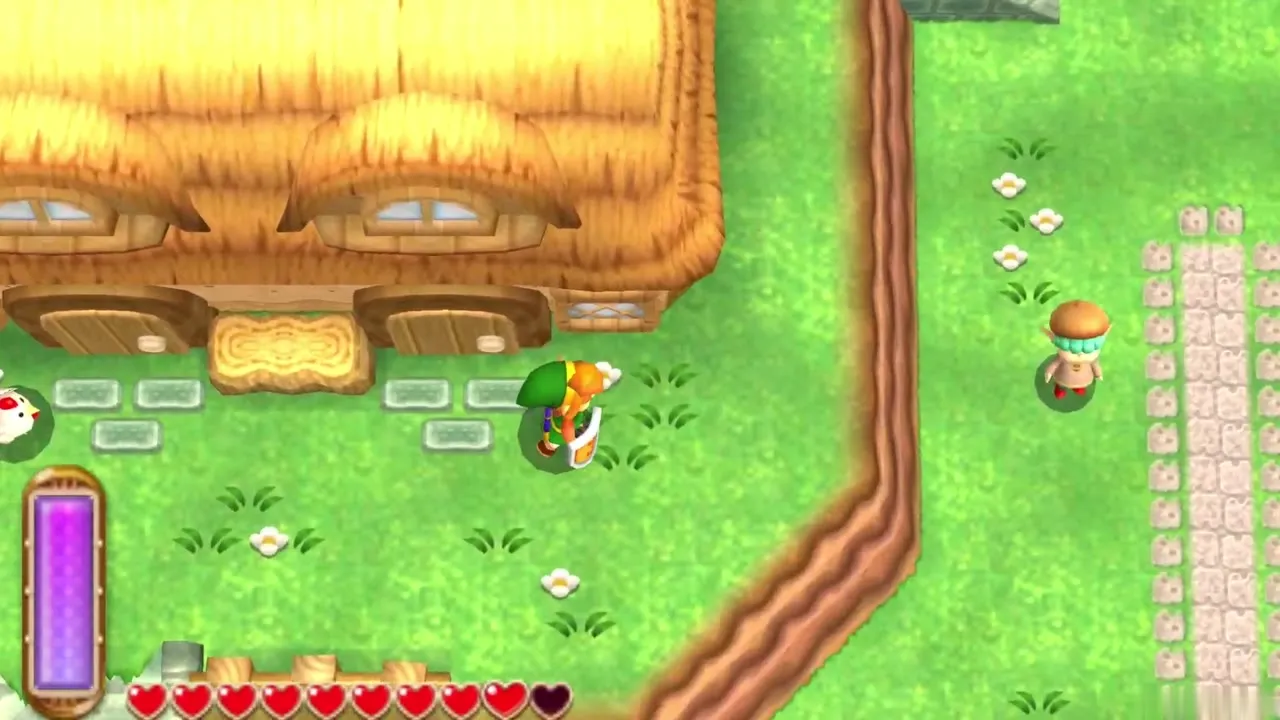
Use the nearest fissure to return to Hyrule, a crack on the ledge wall below the Vacant House, which is the Lorule counterpart of Link’s House. It brings you out on the ledge below Link’s House. Sahasrahla is waiting there and explains the quake that opened fissures across Hyrule. Hyrule’s Weather Vane at Link’s House is close by, so save before you leave.
Ravio’s Shop now sells items
Ravio’s purchases are open
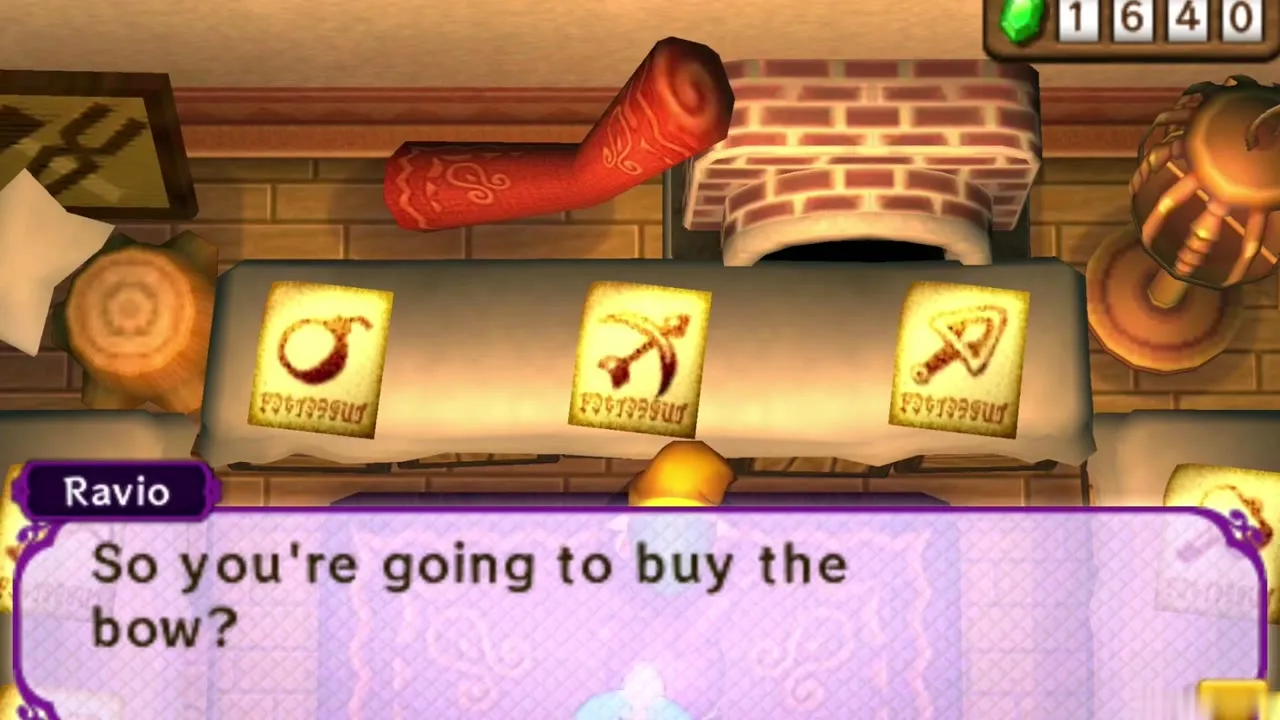
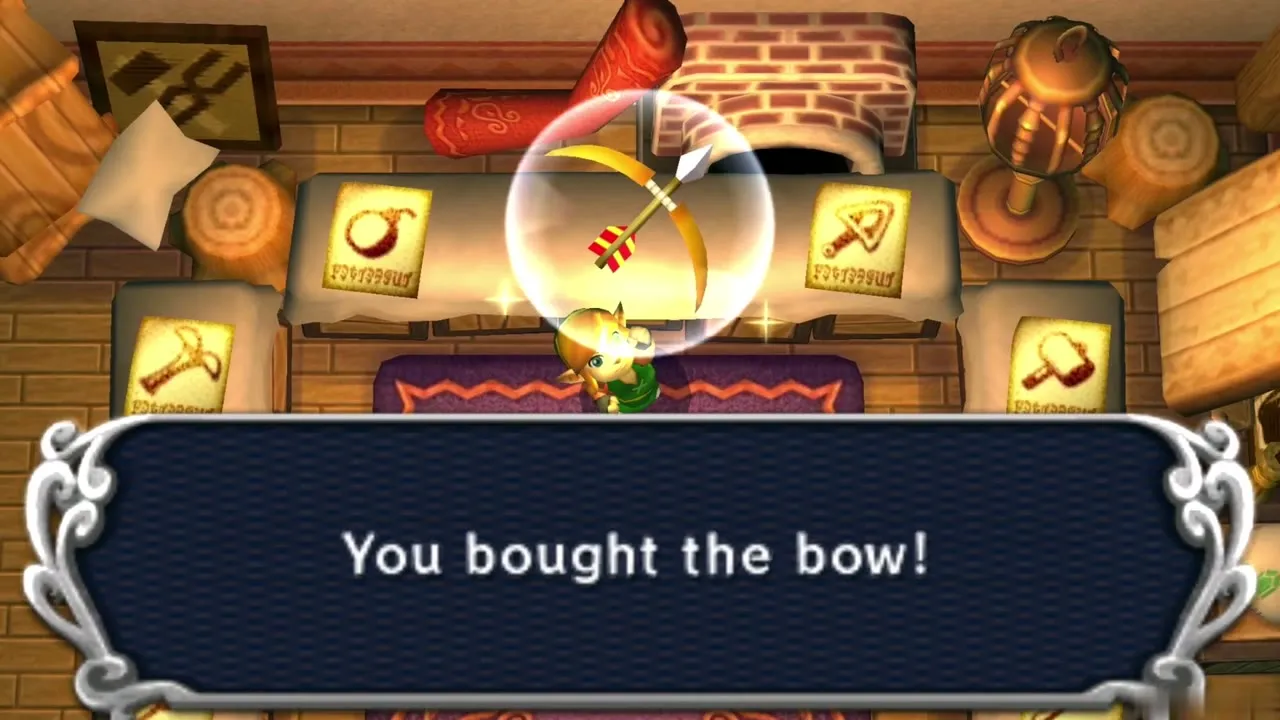
Ravio’s Shop stays inside Link’s House in Hyrule; the Lorule Vacant House has no shop. Once you hold all three Pendants of Virtue he announces that his items are for sale as well as for rent, and your first purchase is half price. Enter the house, talk to Ravio and pick an item. Items you buy are kept for good, while rented ones are taken back by his bird Sheerow if you run out of hearts.
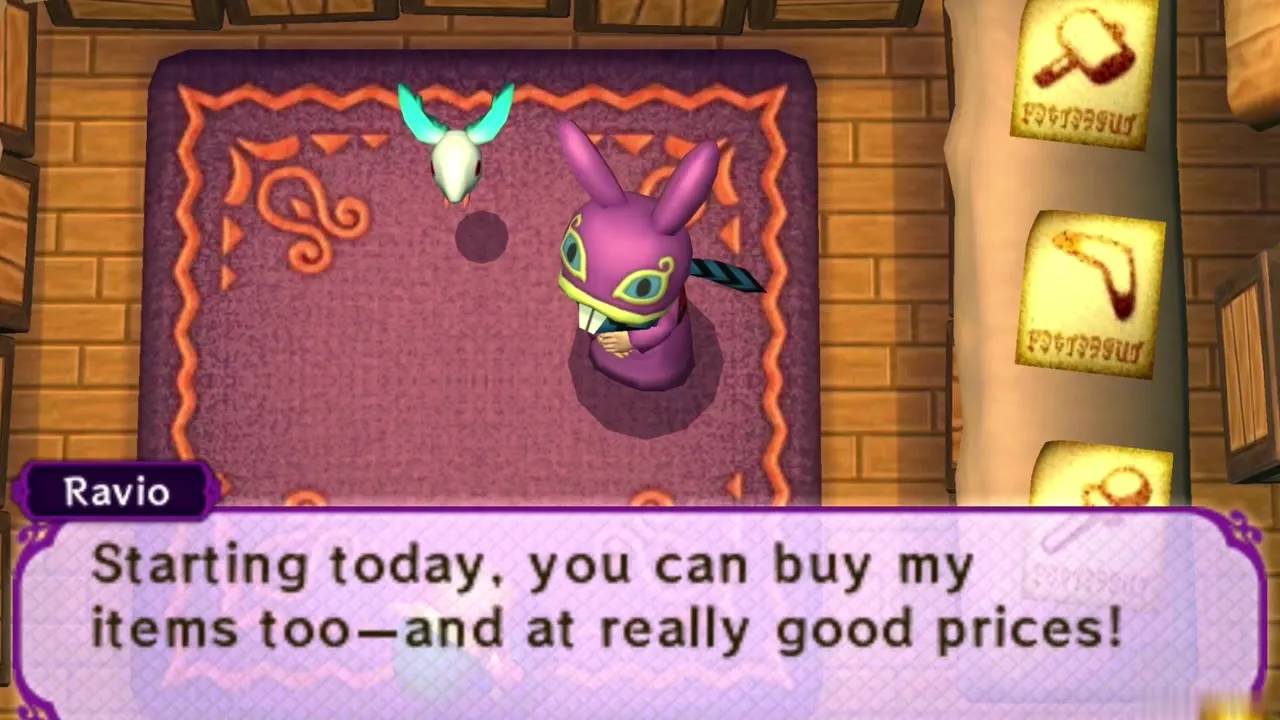
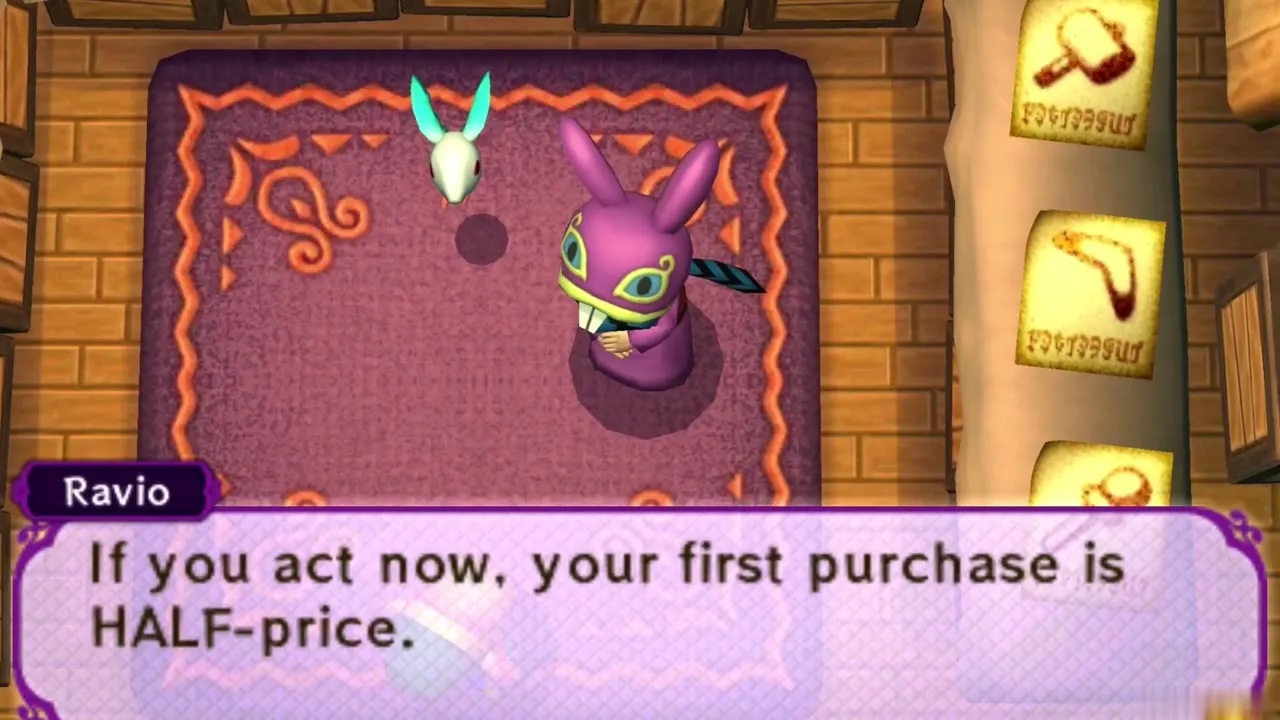
Buying costs 800 Rupees each for the Bow, Bomb, Boomerang, Hookshot, Hammer, Tornado Rod and Sand Rod, and 1,200 each for the Fire Rod and Ice Rod. Renting costs 50 or 100 Rupees. Only items you own can be upgraded by Mother Maiamai, so use the half-price discount on the one you will rely on most. The Ravio’s Shop page lists the full prices, and the Sand Rod only appears once Osfala is freed.
Thieves’ Town and the Lorule fields
Thieves’ Town overview
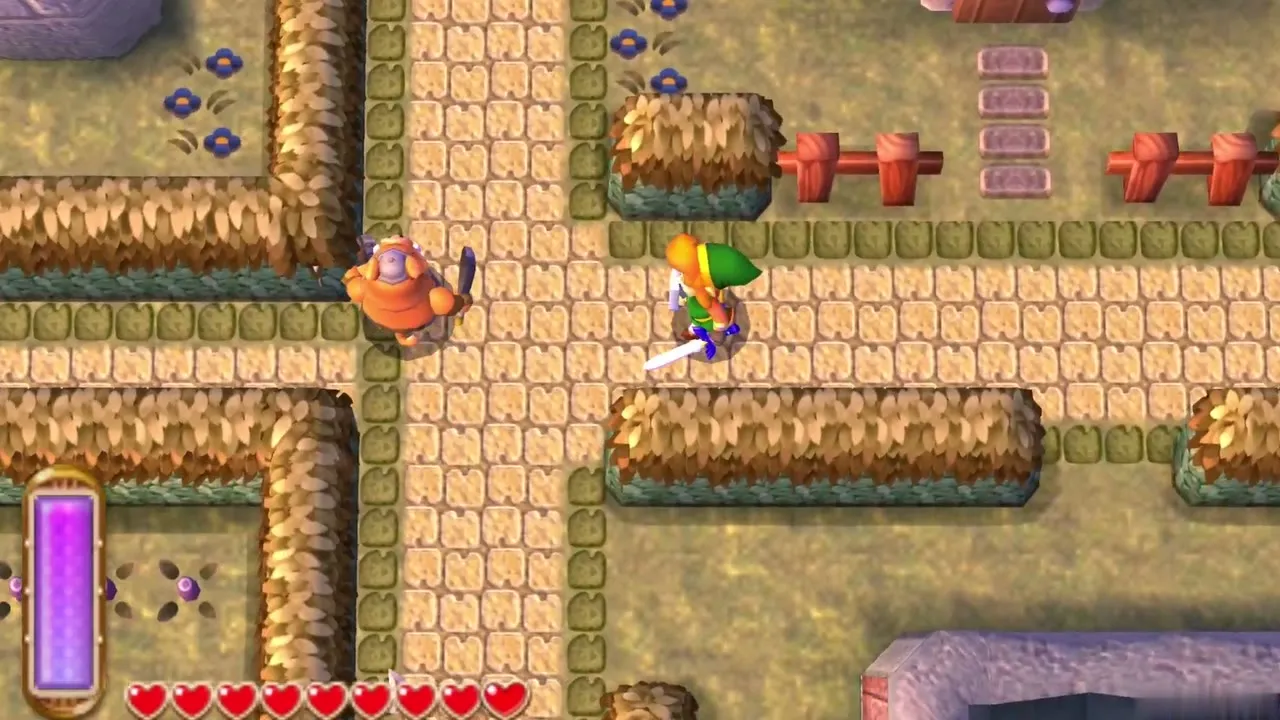
Thieves’ Town is Lorule’s counterpart of Kakariko Village. Thieves and a few merchants live here, and the Thieves’ Hideout stands at its northern end. Its leader, Stalblind, holds Osfala’s painting. The dungeon is covered in the Thieves’ Hideout walkthrough; for now walk the streets and pick up the side content below.
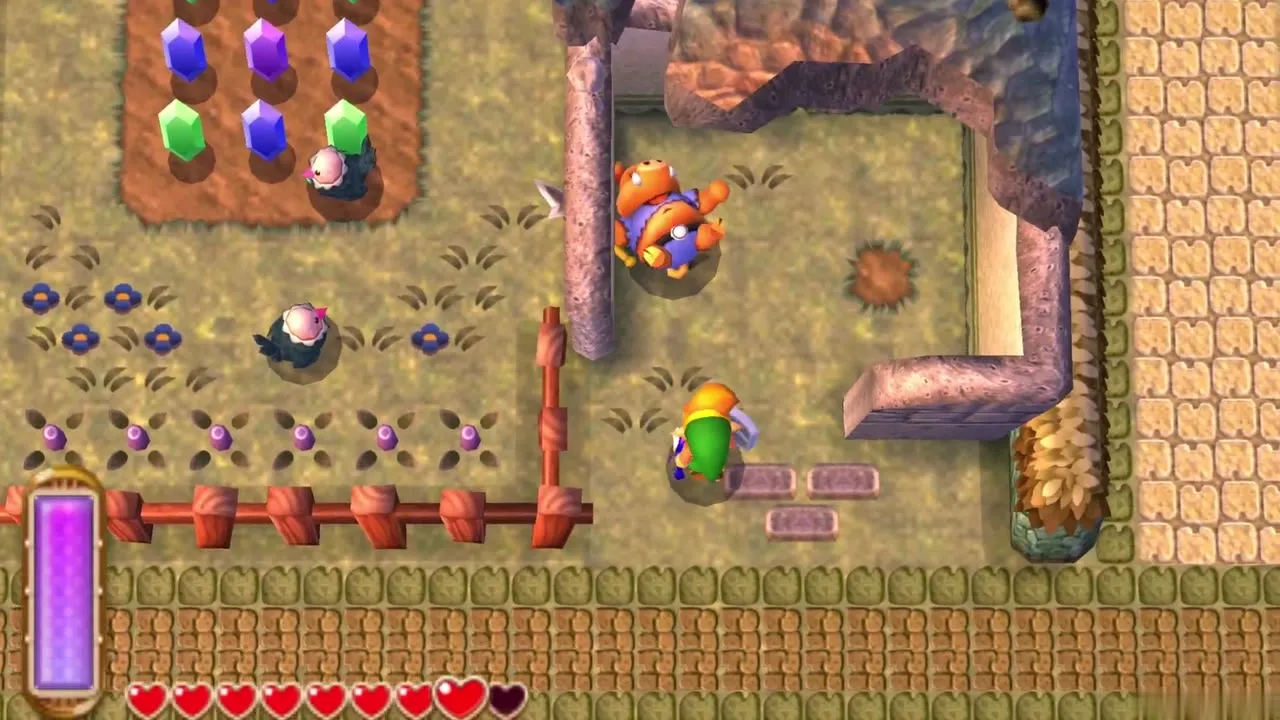
Lost Maiamai in the walled corner
In the village’s south-west corner is a small L-shaped stone enclosure. Merge into the wall near the inside corner of the L and slide along it. A Lost Maiamai is sheltering beside the wall. Step out of the wall to catch it.
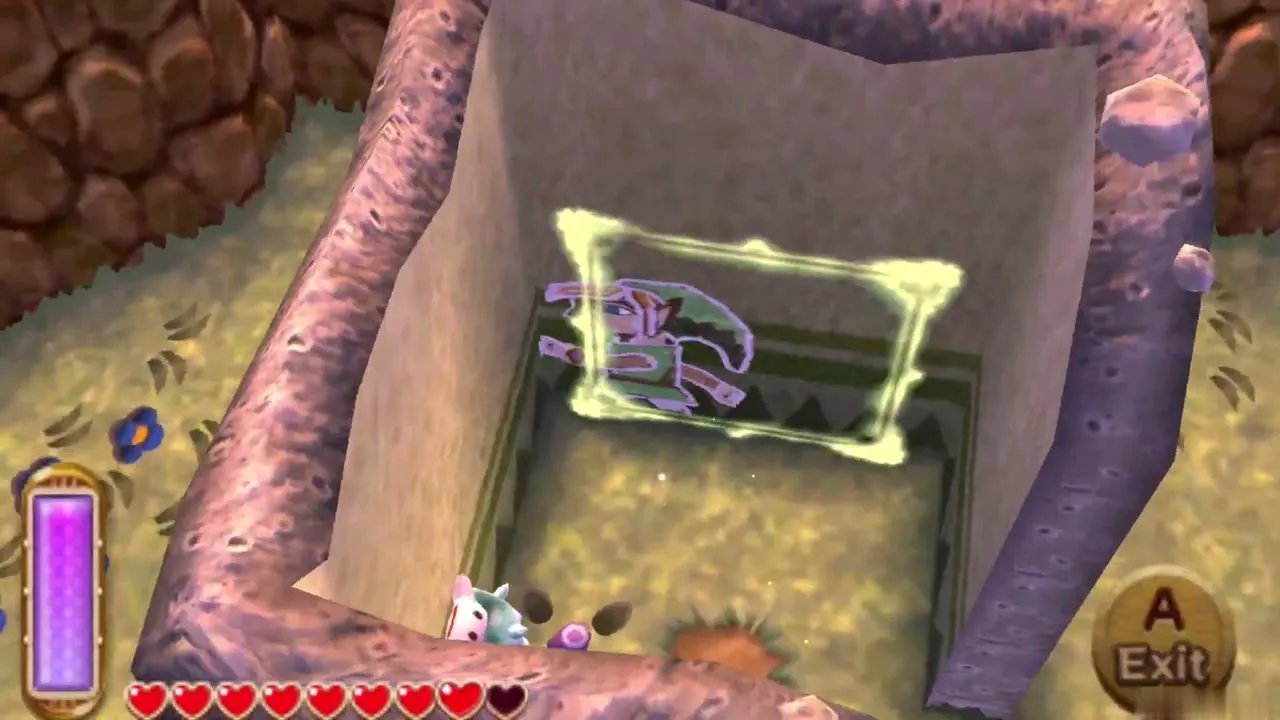
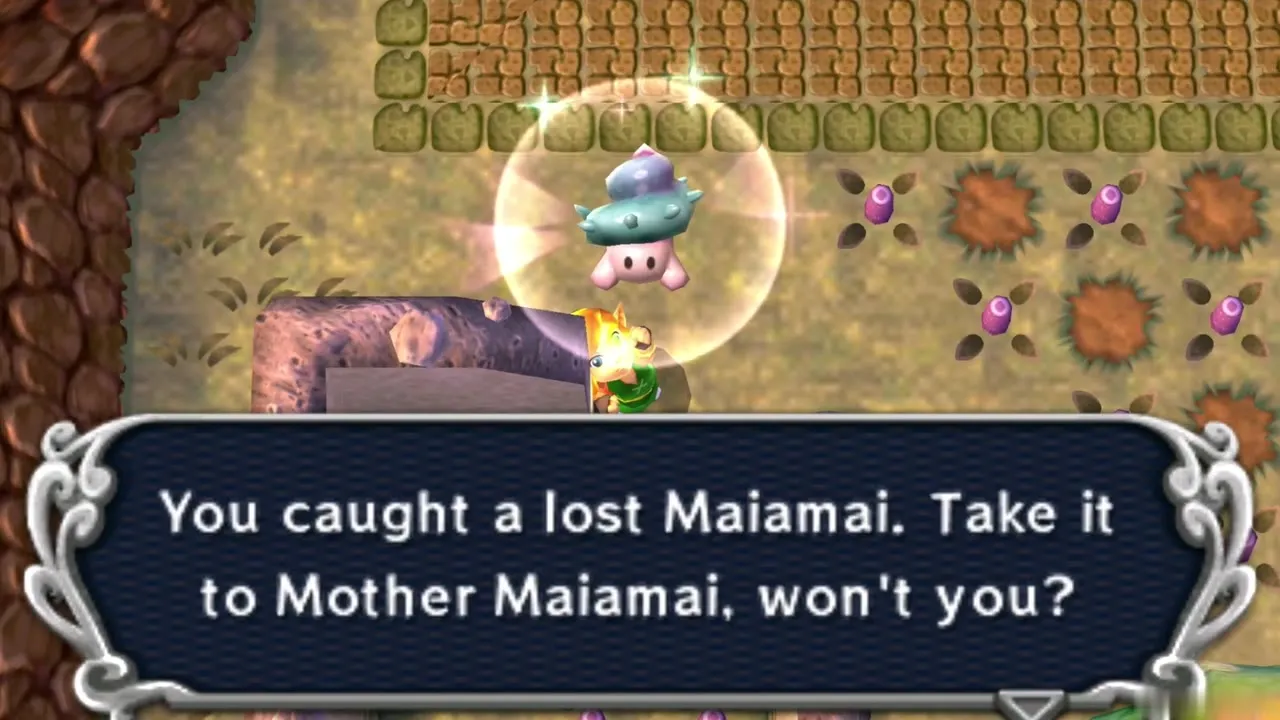
Lost Maiamai in the plaza tree
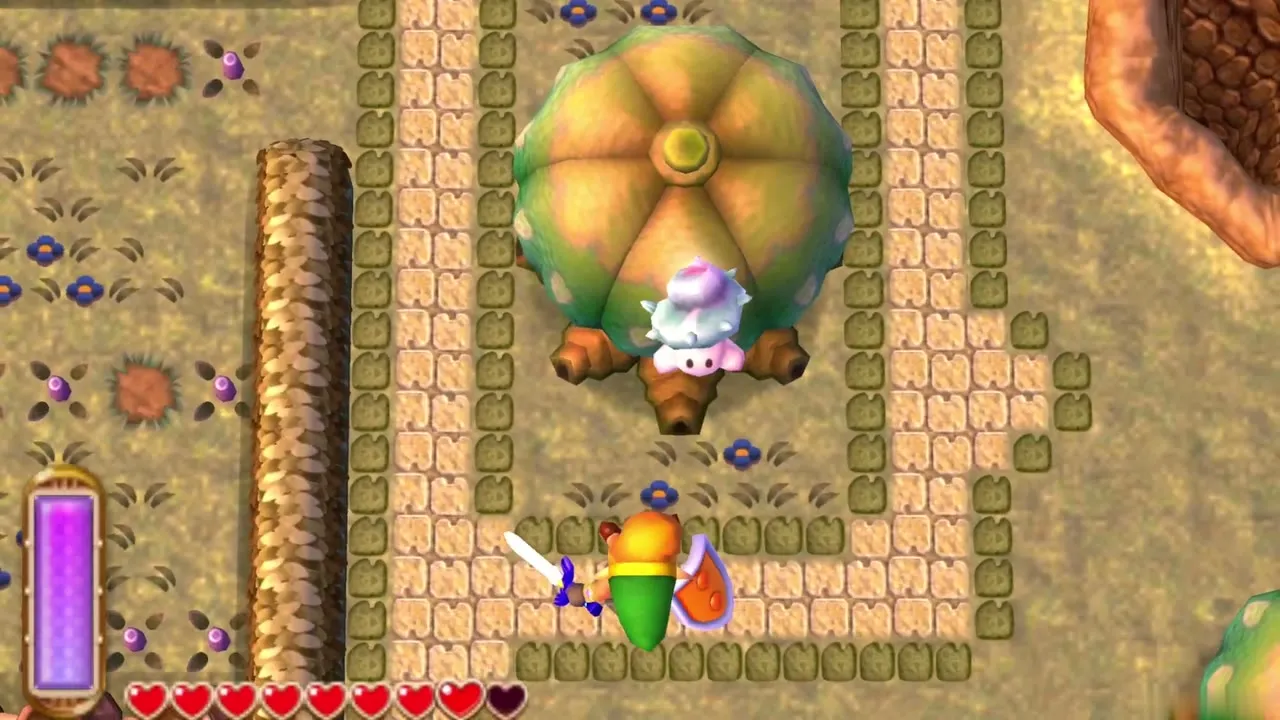
In the plaza north of the walled corner, stand a few steps from the large round tree and dash into its trunk with the Pegasus Boots. A Lost Maiamai drops out of the branches. Walk over to catch it. The message box confirms each catch.
Stylish Woman’s Piece of Heart
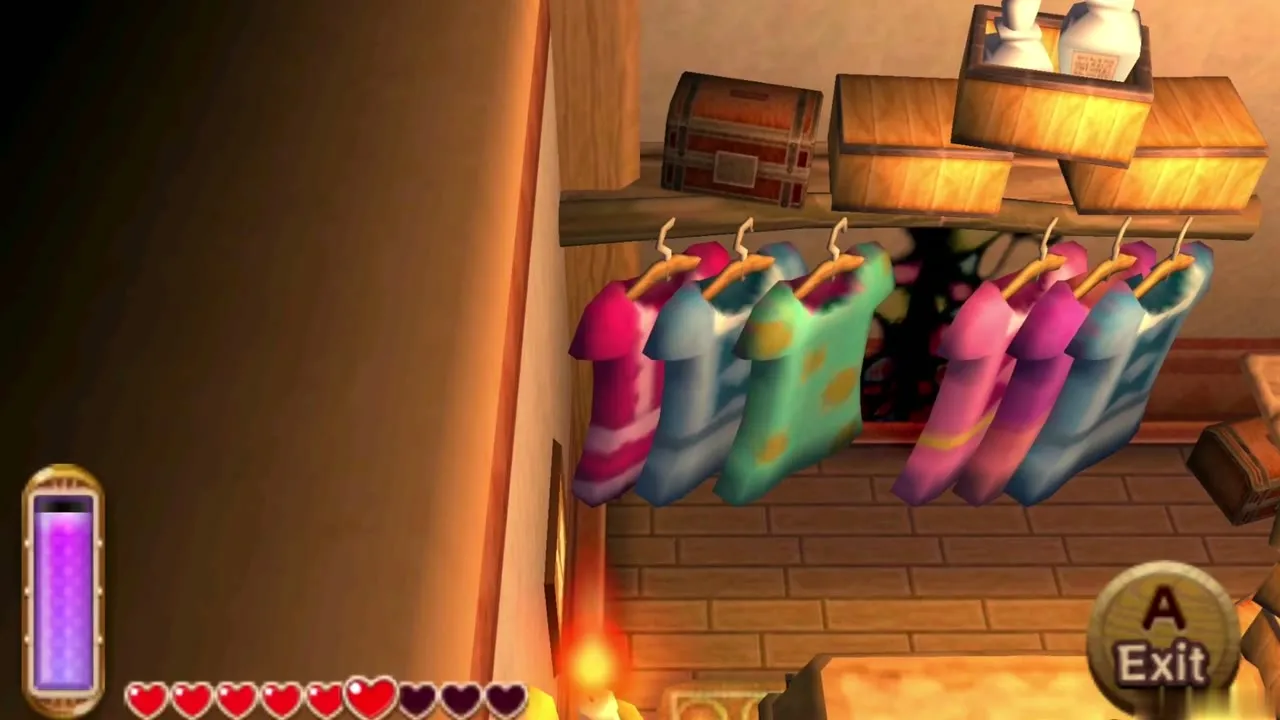
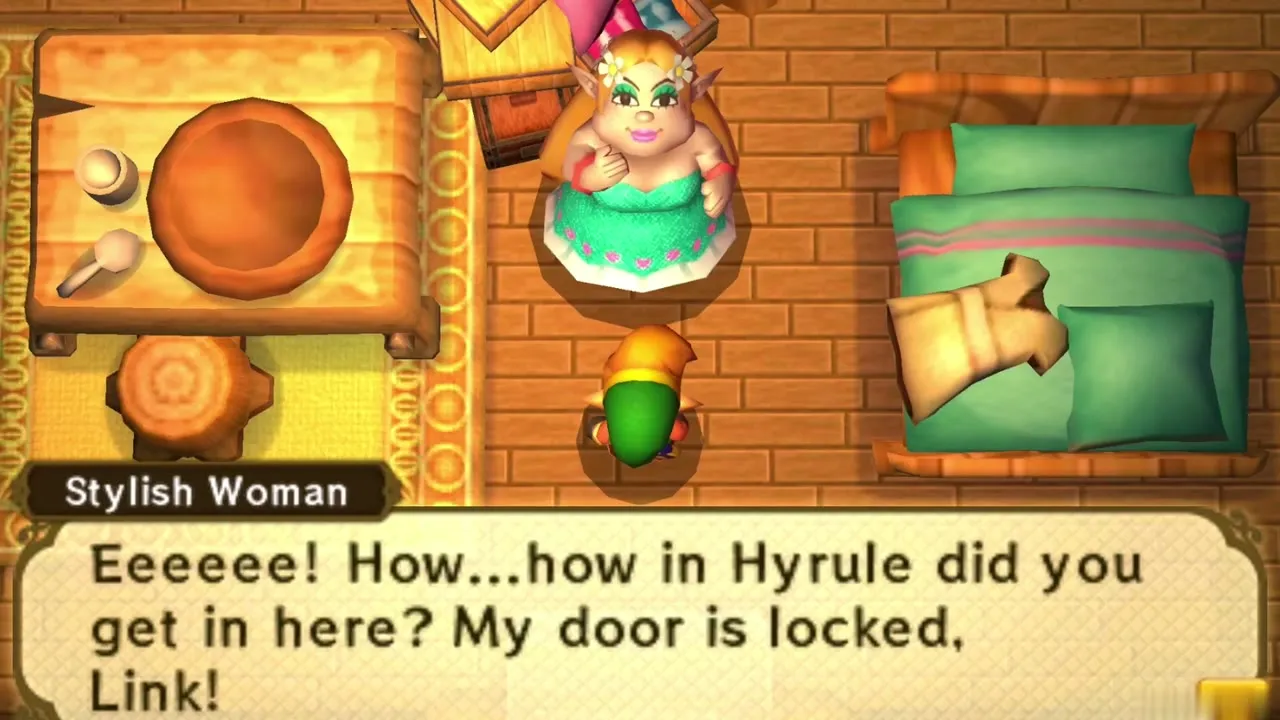
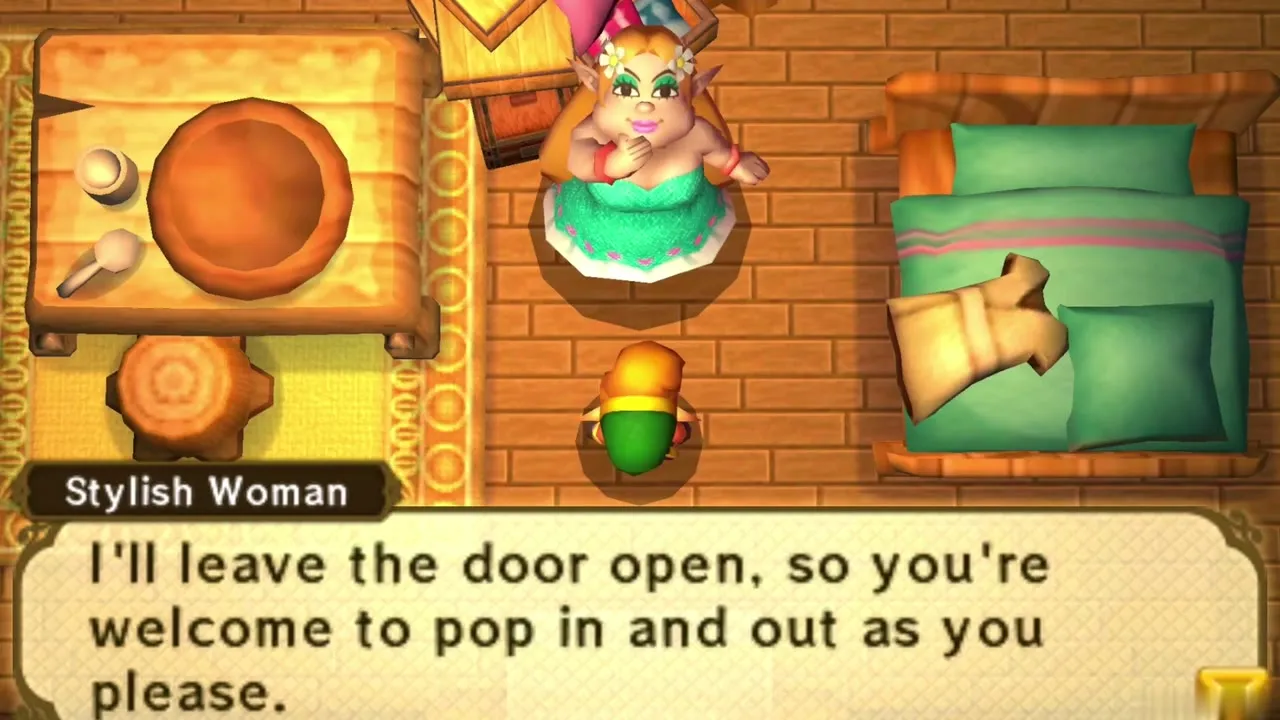
Inside the dilapidated house in the middle of Thieves’ Town is a fissure. Merge into it and cross to Kakariko Village in Hyrule, where you come out behind the clothes rack in the Stylish Woman’s house. Her door is locked from the inside, which is why this is the only way in. She is startled to find you in her bedroom.
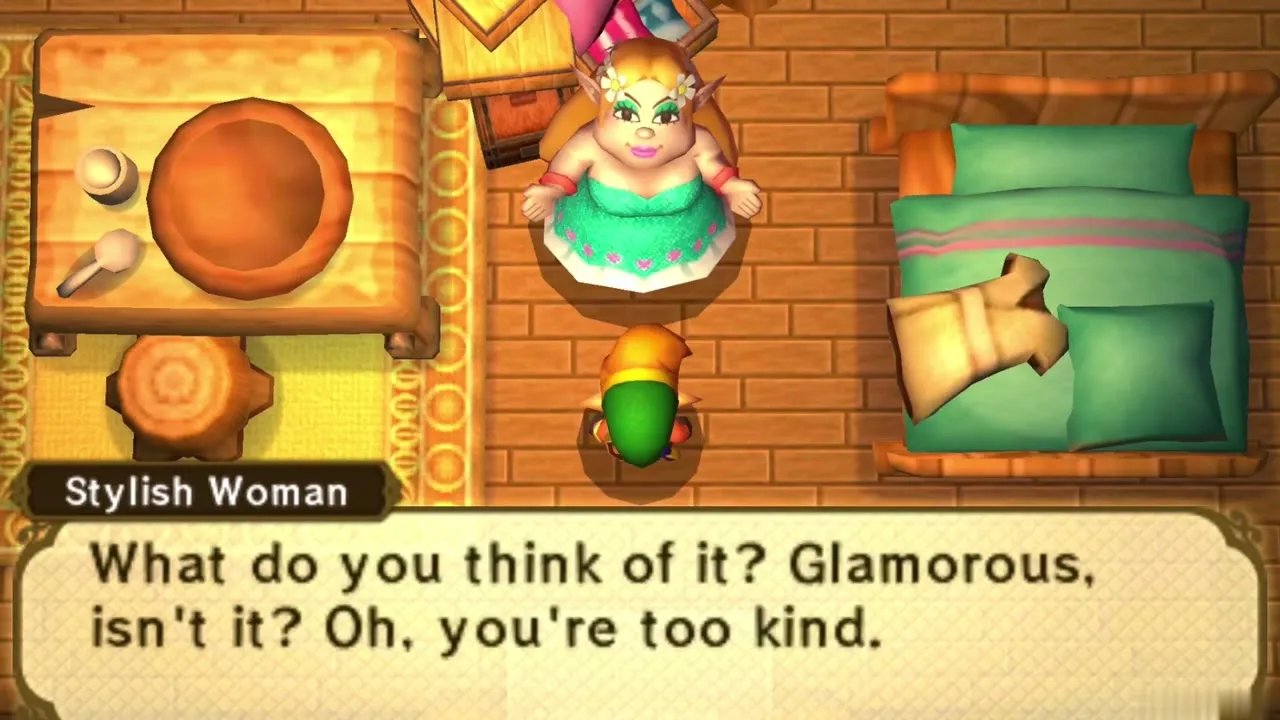
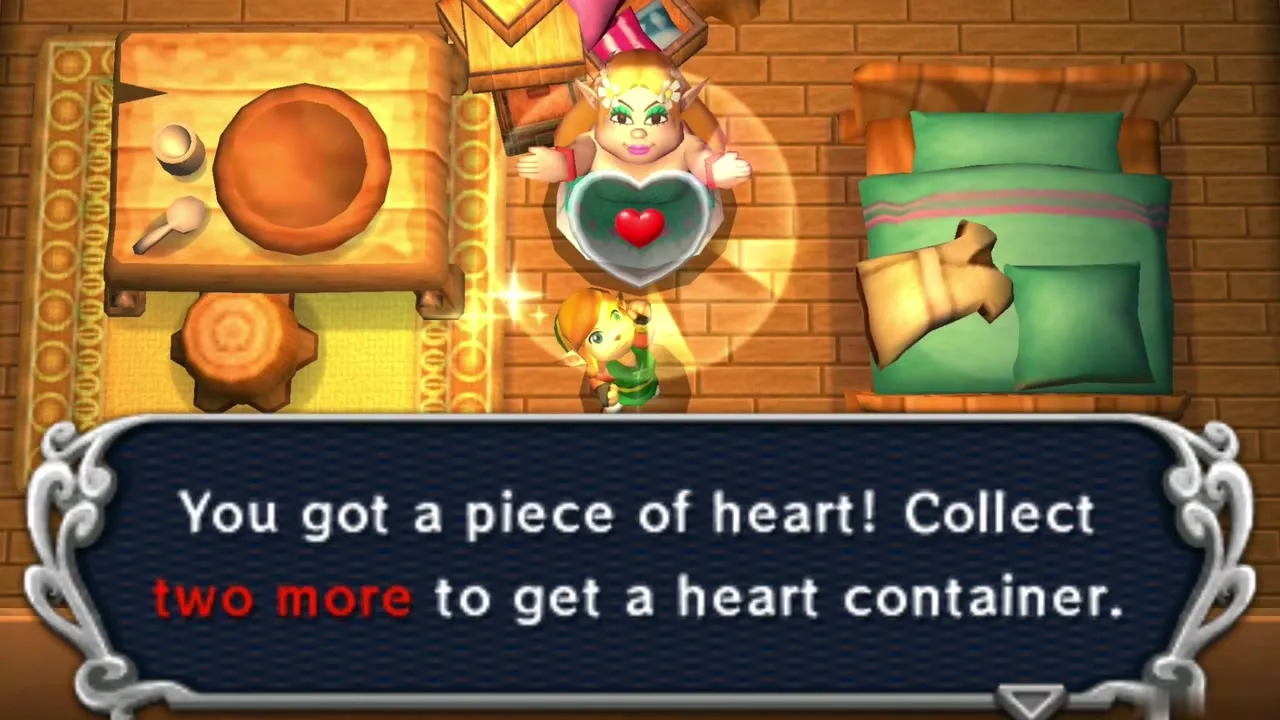
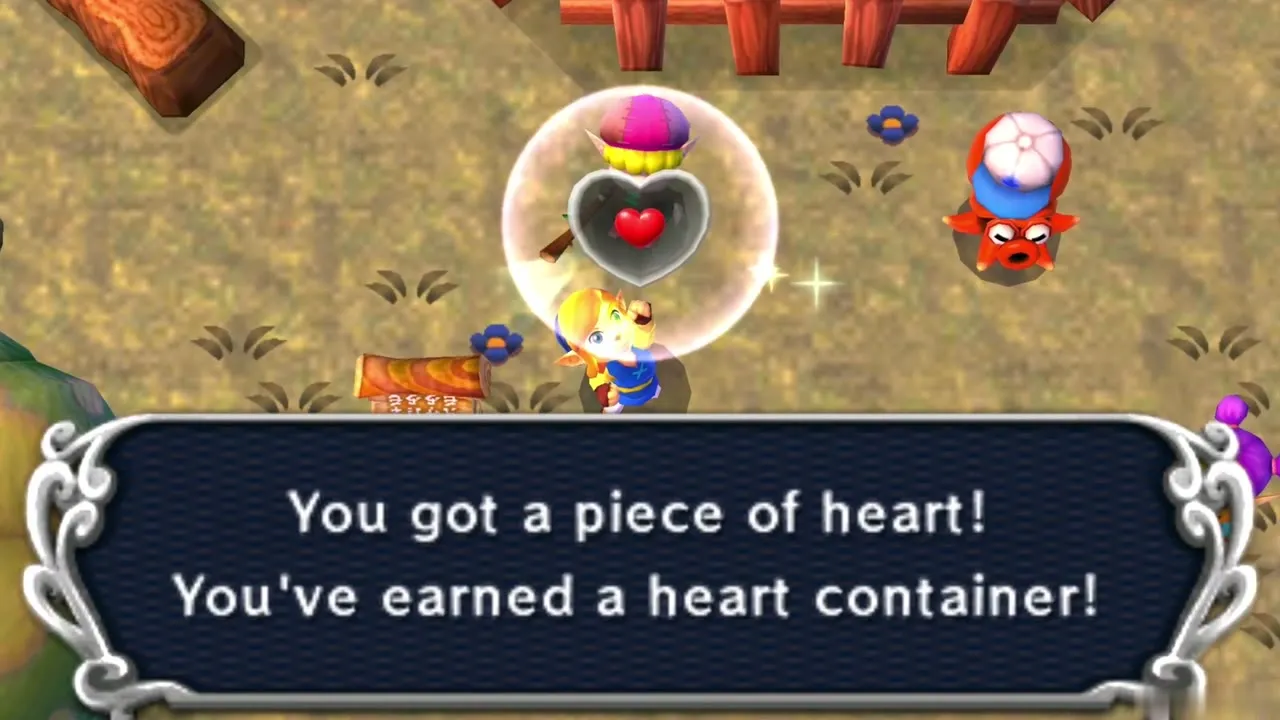
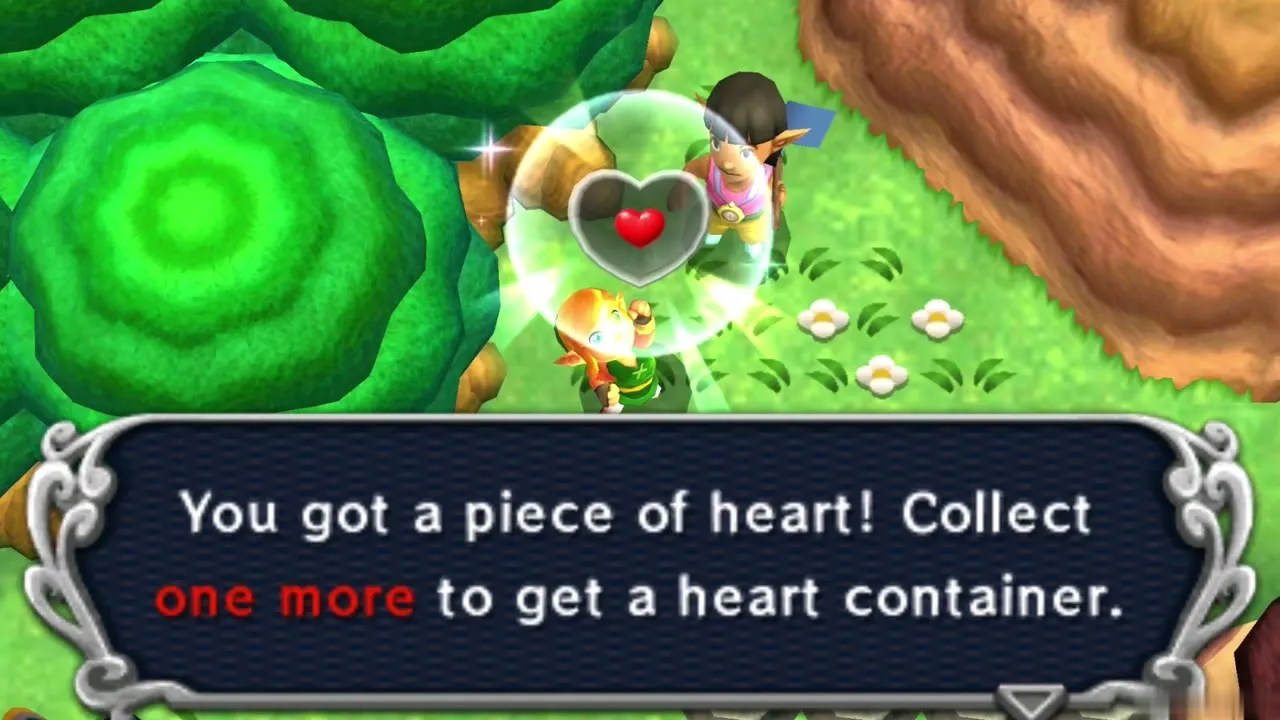
She asks what you think of her dress. Pick the compliment, and she thanks you with a Piece of Heart, Heart Piece #15. She then unlocks her door, and every later visit earns a free heart from her. If you talk to her again she mentions a bottle gleaming in the shallows in the south-eastern part of Lake Hylia, which starts the Letter in a Bottle quest from the Bottles page.
Bomb Shop and the Big Bomb Flower
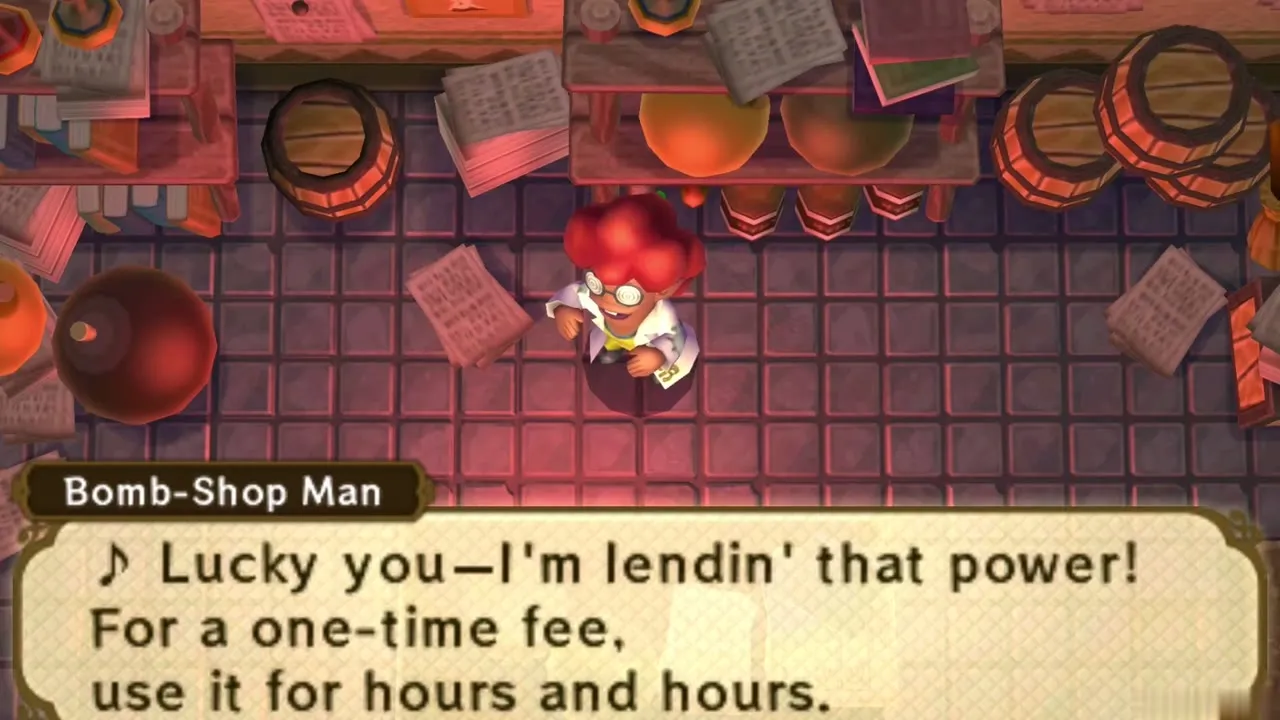
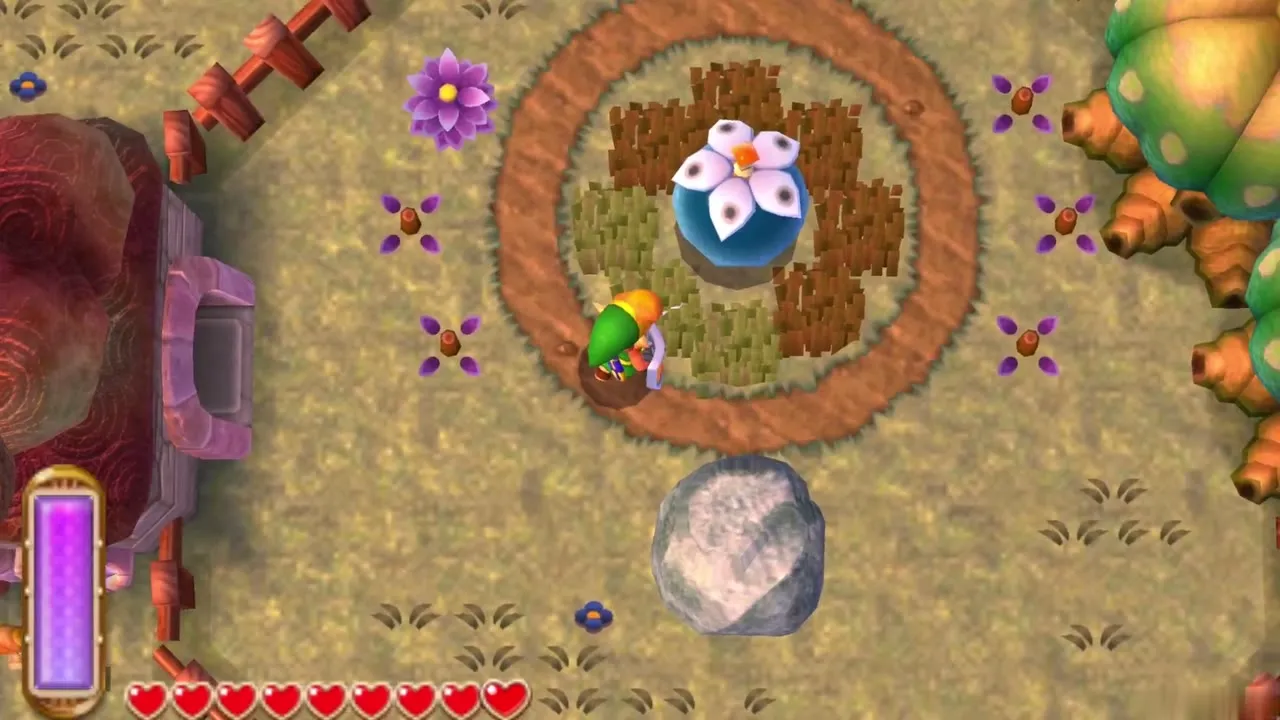
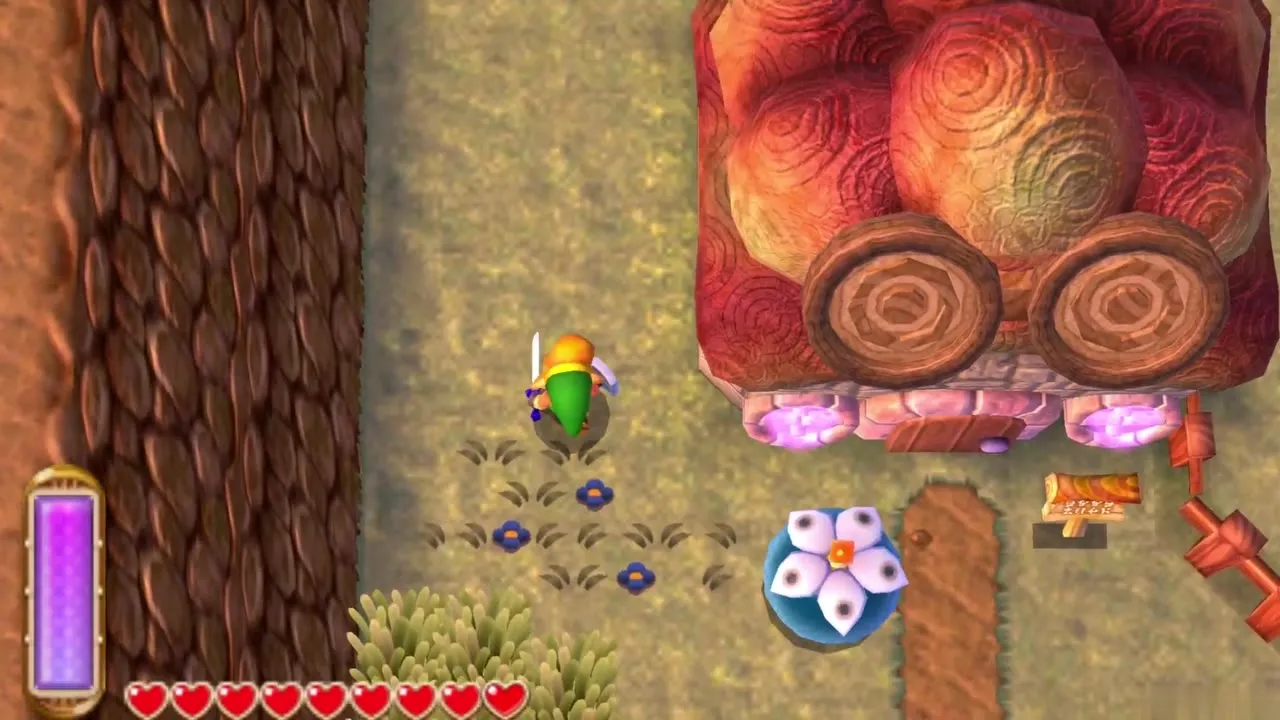
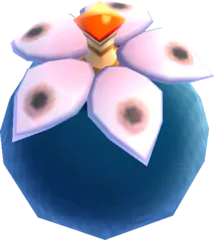
South of Thieves’ Town stands the Bomb Shop. The Bomb-Shop Man has nothing to sell, but he offers to lend you the Big Bomb Flower that grows in his garden for a one-time fee of 200 Rupees. Accept and you may use it as often as you like, because it grows back. You will also need this flower for the Swamp Palace in the Swamp Palace walkthrough.
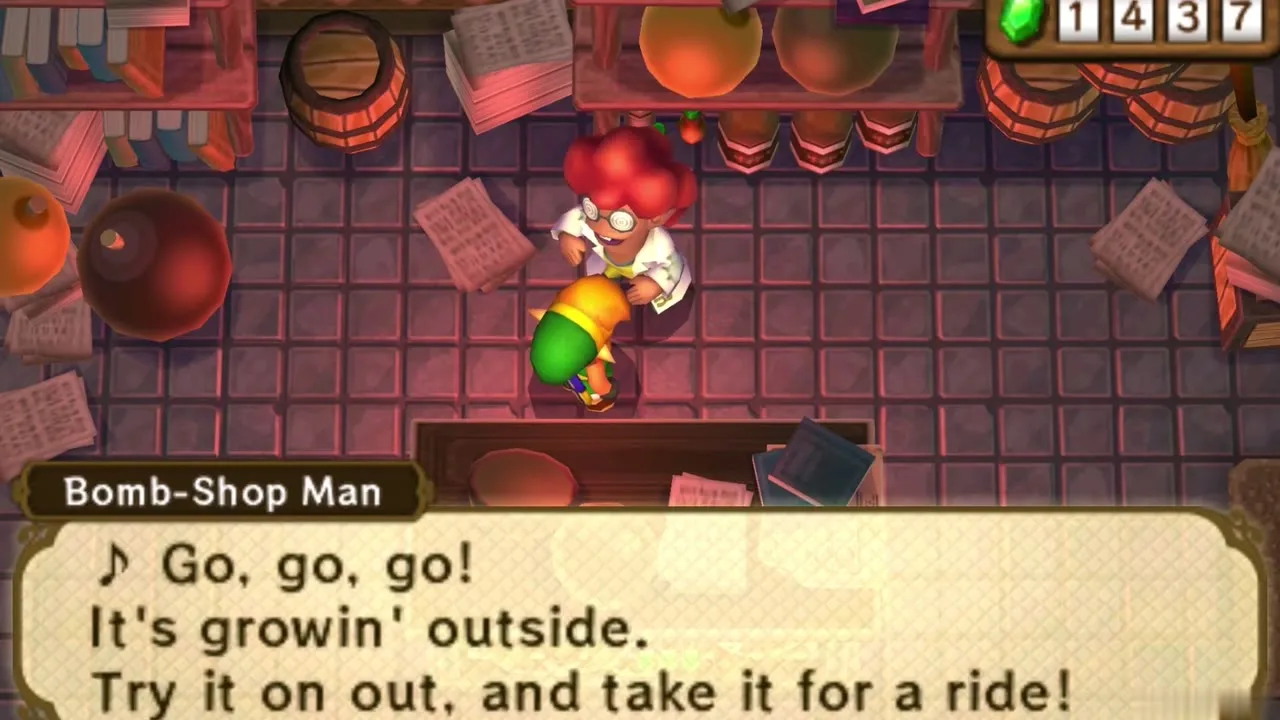
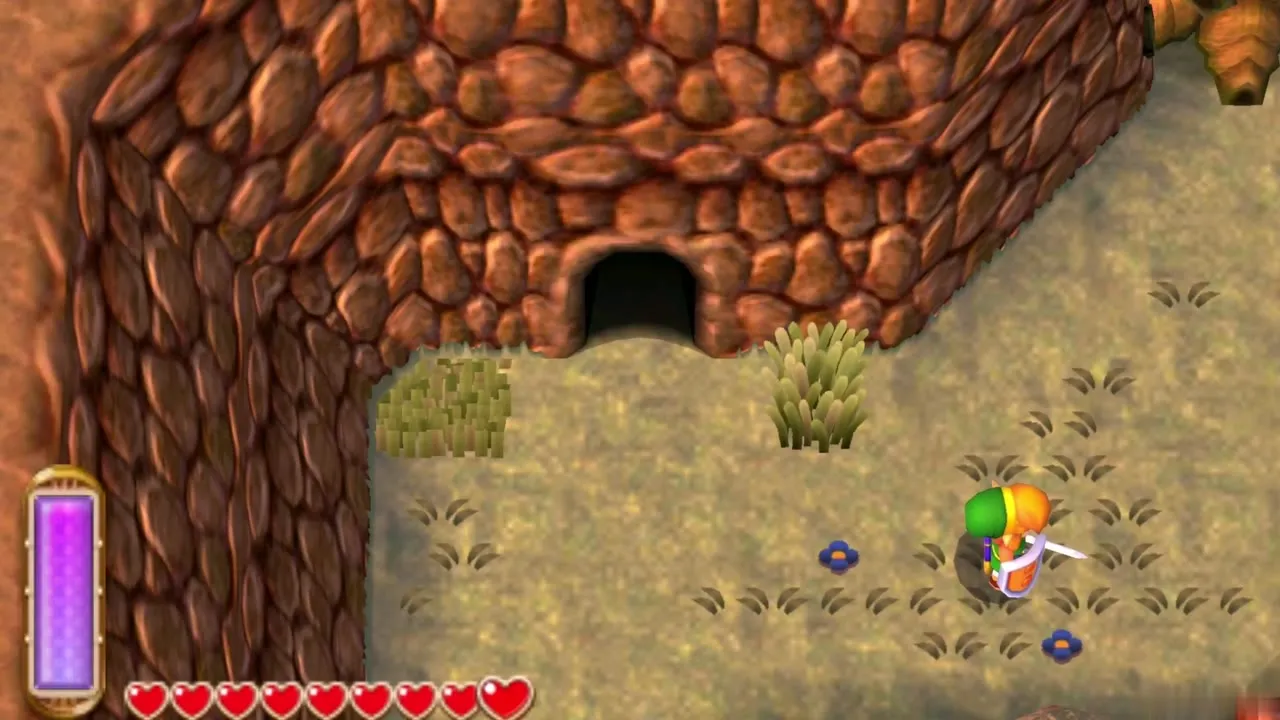
Walk into the fenced garden and press A in front of the flower to lift it, then carry it with care along the path. A knock can set it off, so take your time. Carry it to the cracked boulder northwest of the store and press A to drop it. The blast clears the rock and opens the cave of the Great Rupee Fairy.
Great Rupee Fairy
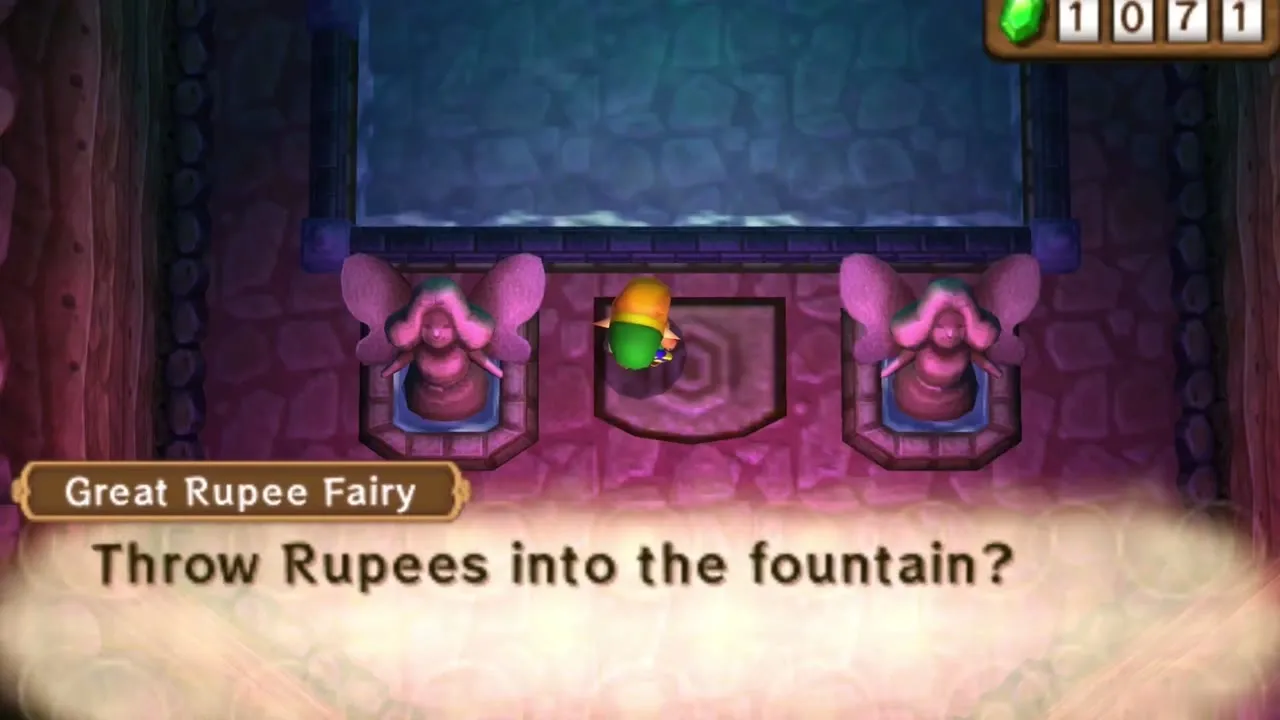
Enter the cave to find the Great Rupee Fairy’s fountain. Throw in 50 or 200 Rupees at a time and she restores your hearts and releases fairies. After 3,000 Rupees in total she grows to her full size and gives you a Bottle. Donate whenever your wallet is full.
Lorule Rupee Rush Piece of Heart
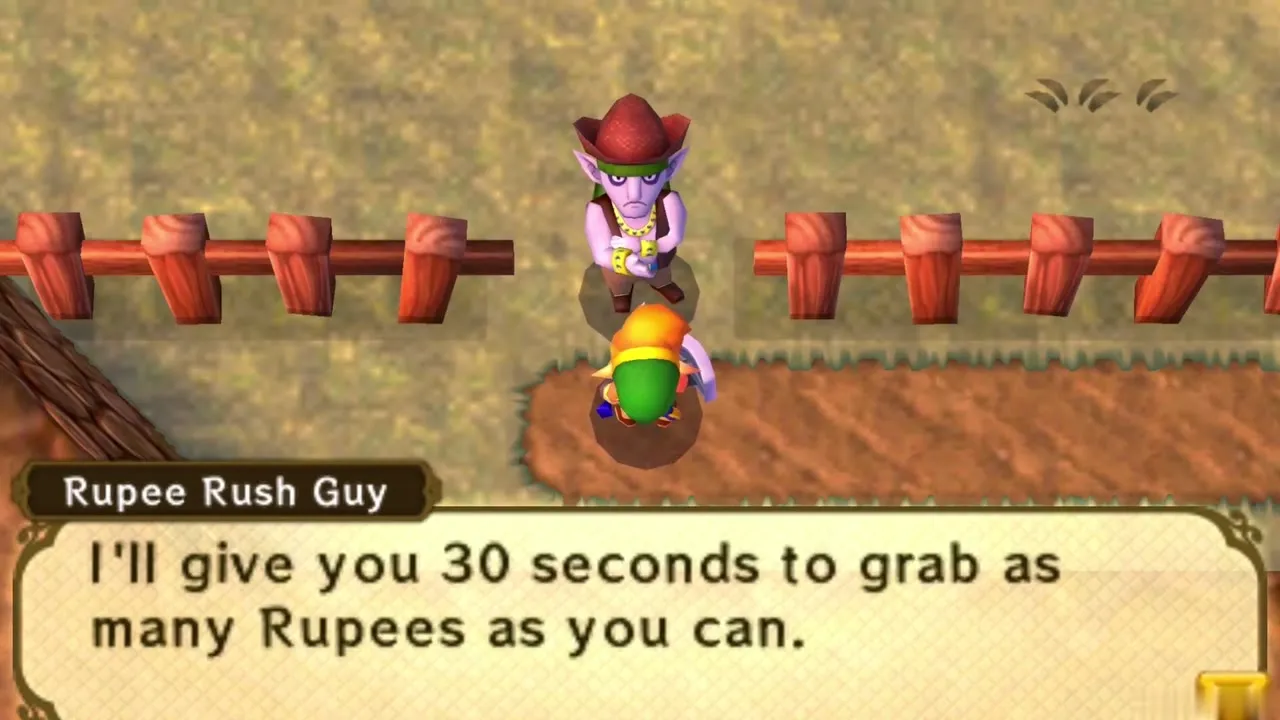
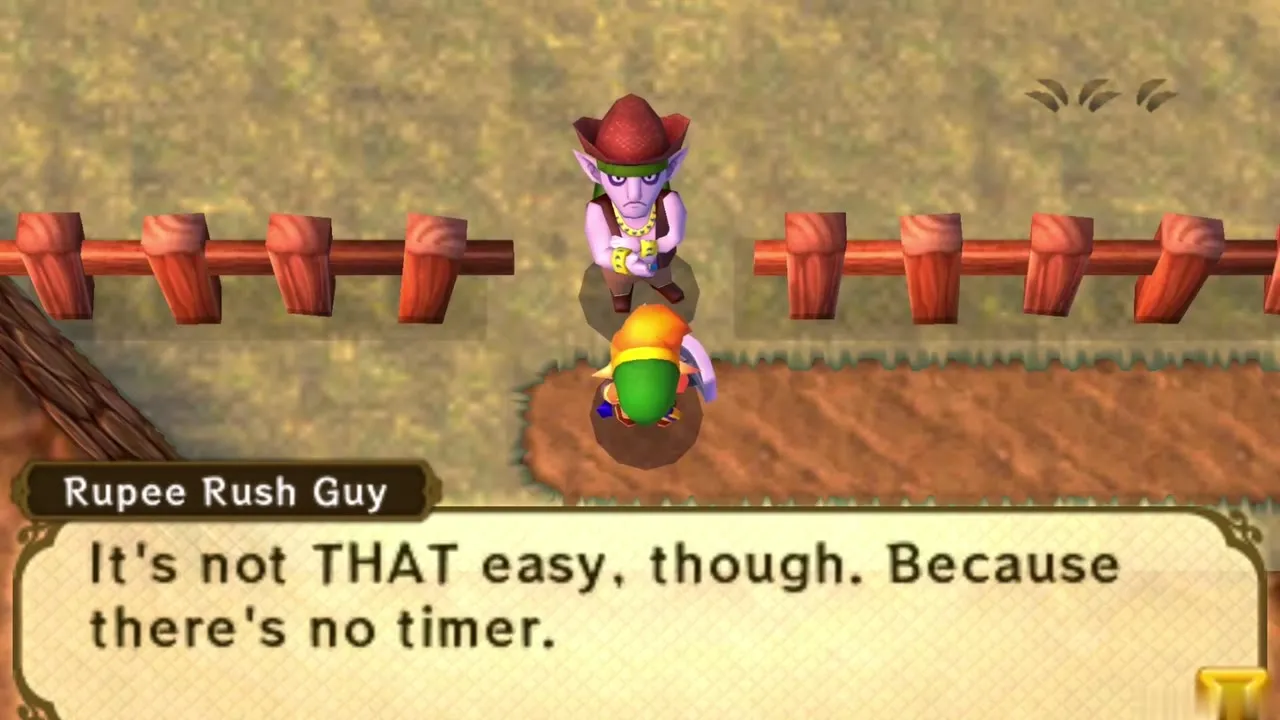
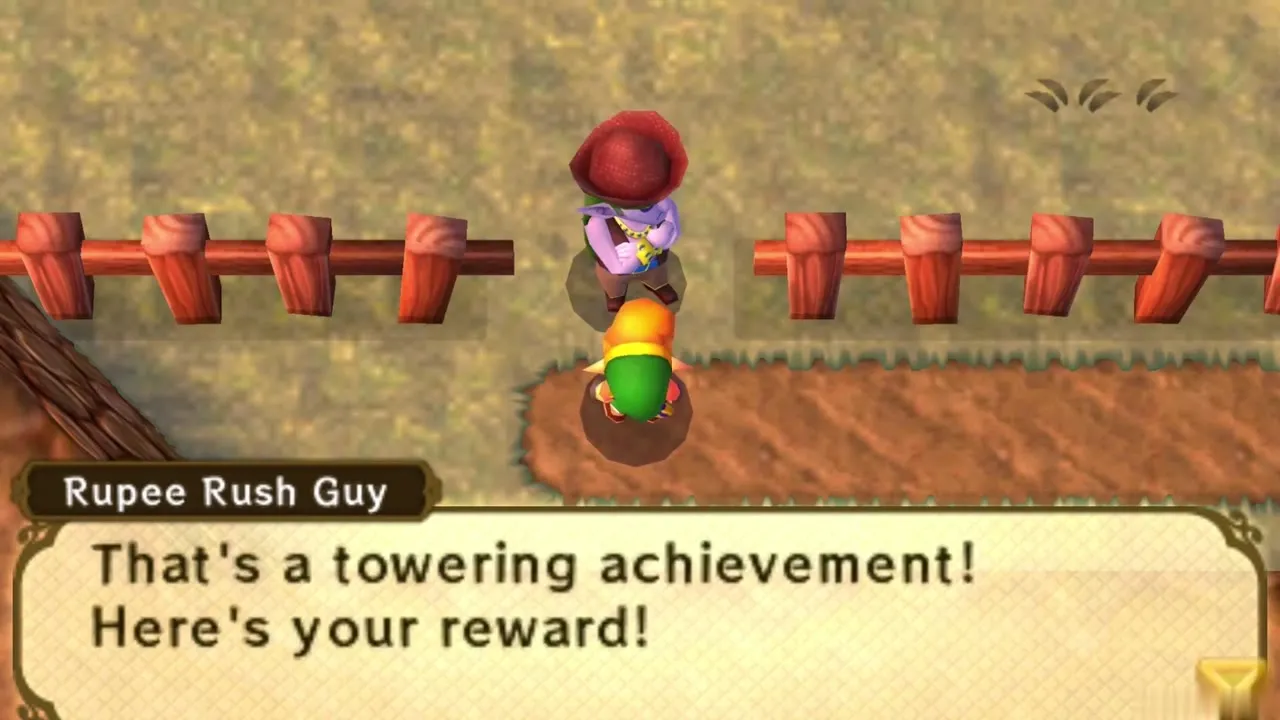
Also south of Thieves’ Town, the Rupee Rush Guy runs a fenced course. Paying 100 Rupees gives you 30 seconds to gather Rupees, but there is no timer on screen. Finish by talking to him before the time is up, or you forfeit all of it. Pace yourself and speak to him early in the run, since a late finish scores nothing at all. Merge through the walls to reach hidden Rupees.
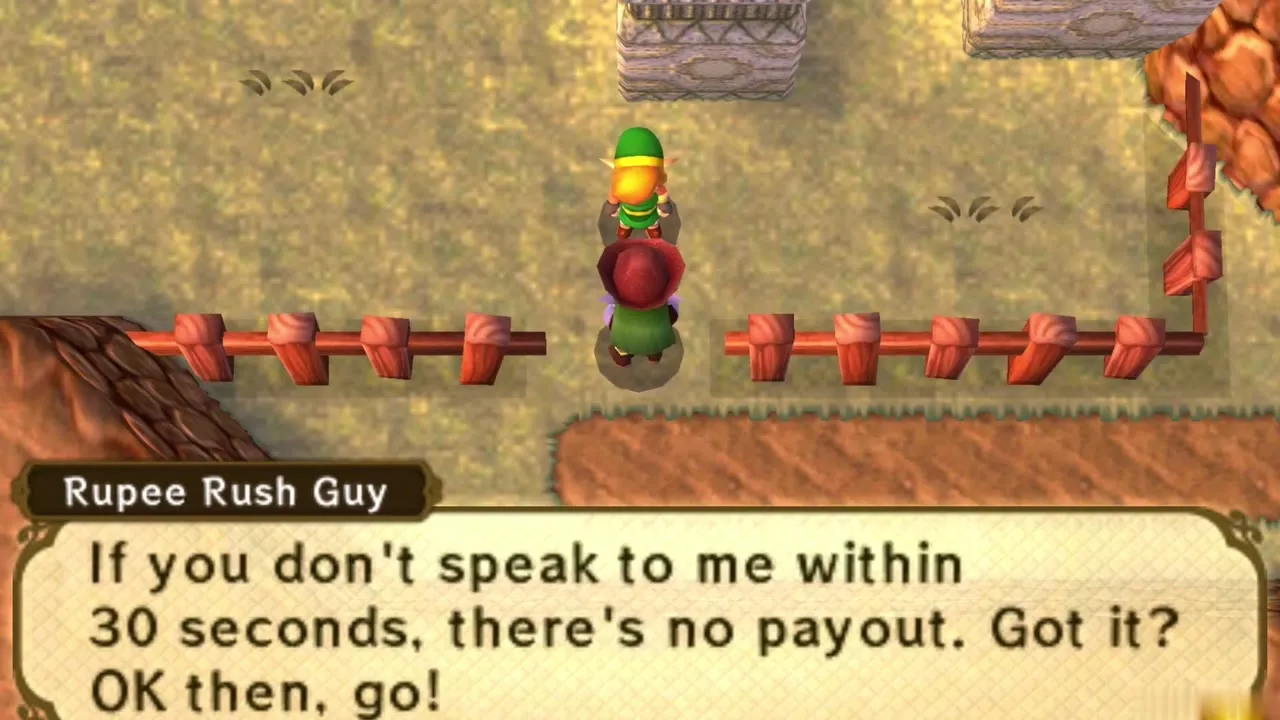
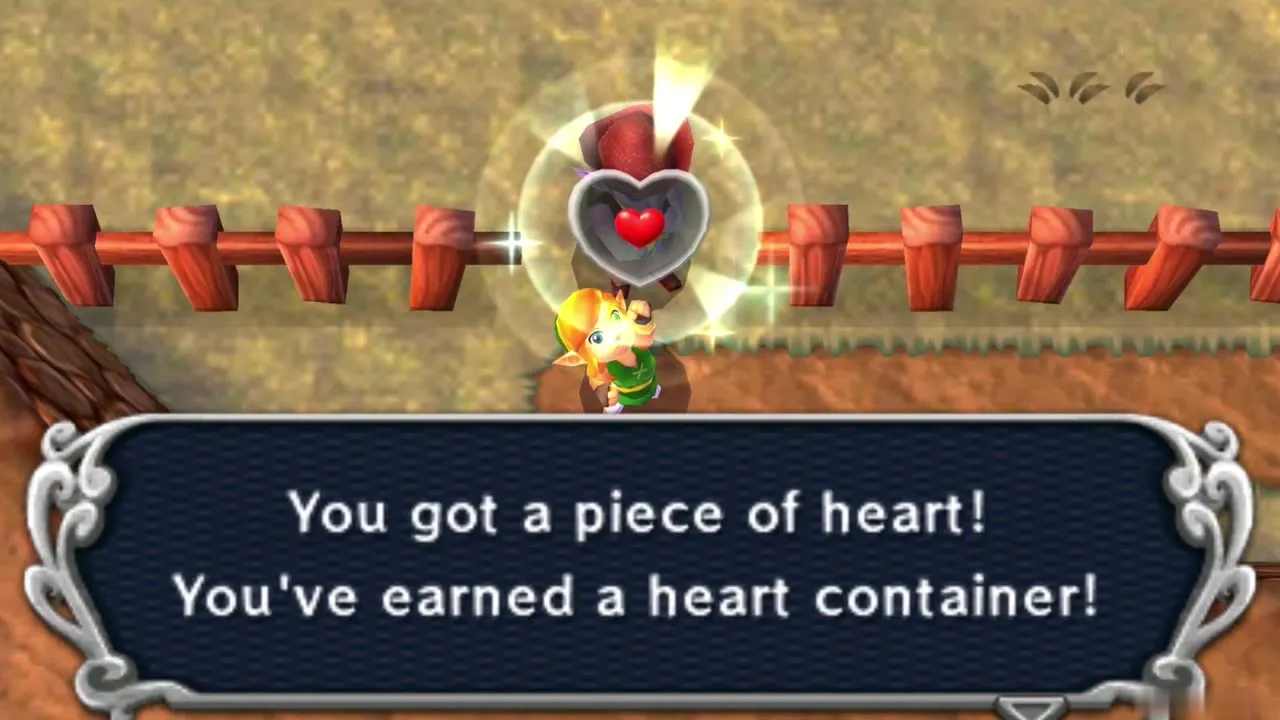
Reaching 150 Rupees earns a Piece of Heart, Heart Piece #20. A second try pays out the Rupees but not another Piece of Heart. The Sand Rod, which you get later, reaches the best Rupees on the course.
Fortune’s Choice and the Octoball Derby
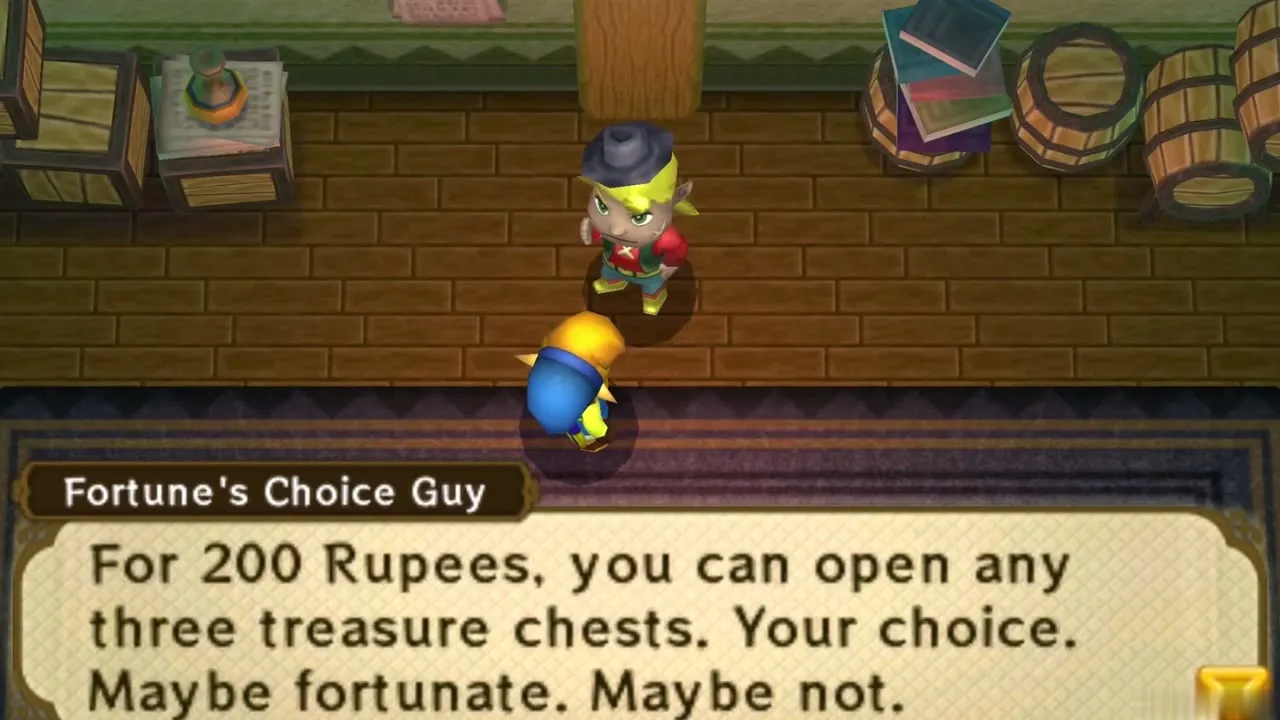
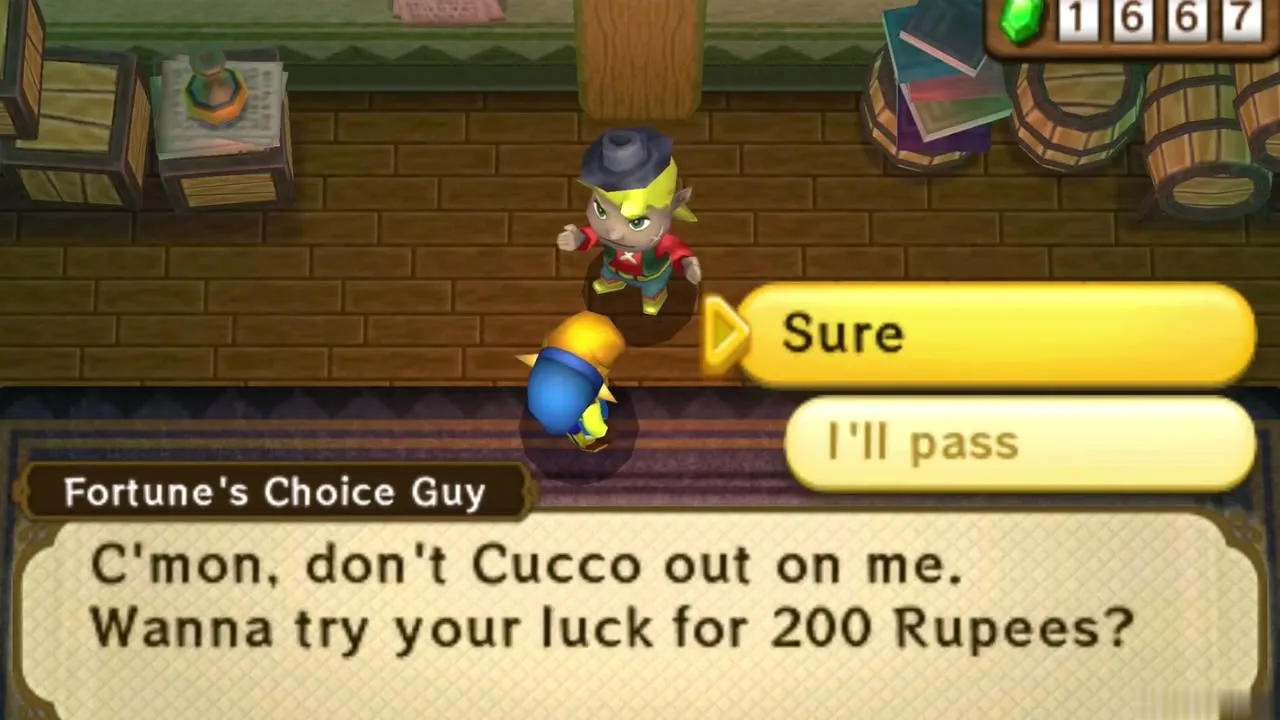
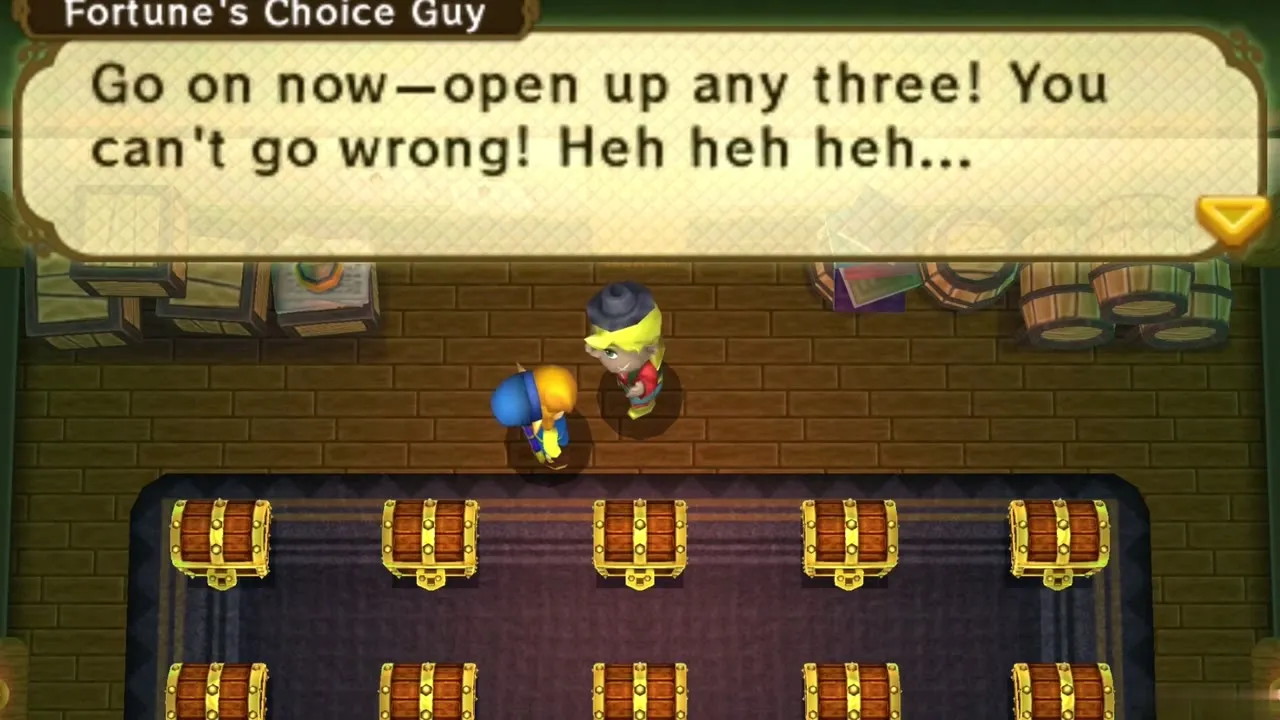
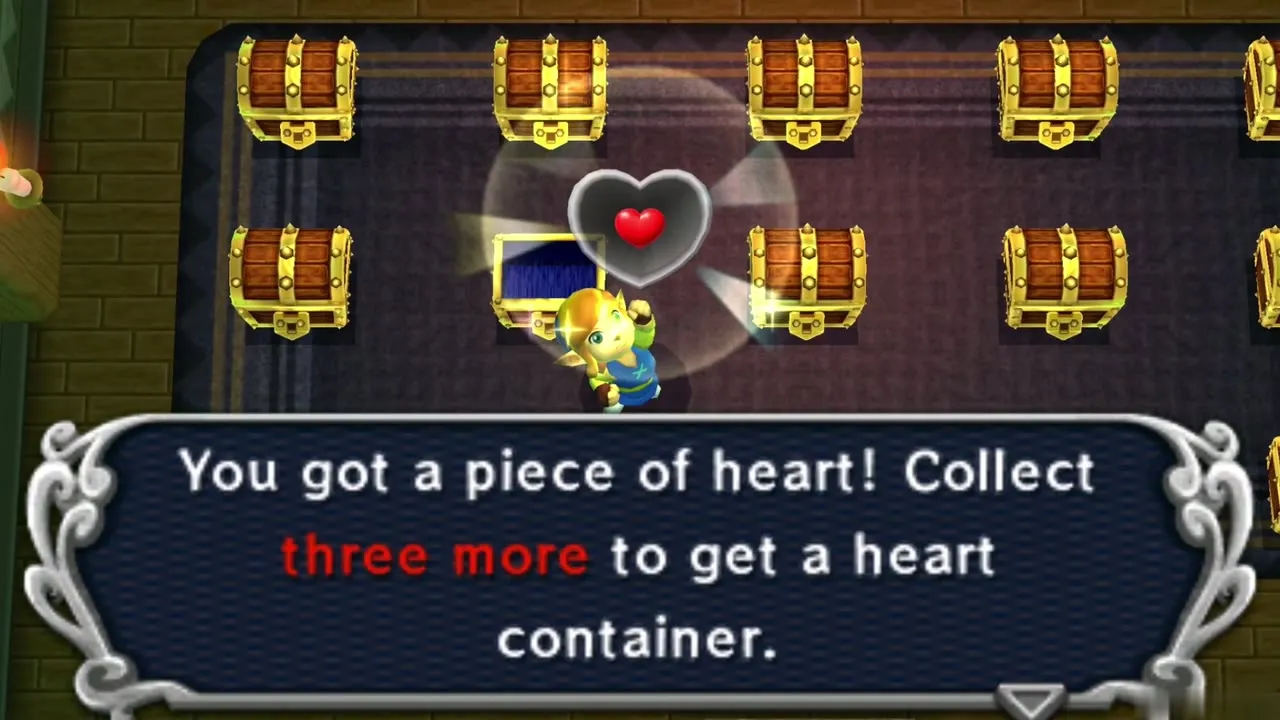
In Thieves’ Town the Fortune’s Choice Guy opens his treasure room for 200 Rupees. You open three of the fifteen chests, and one holds a Piece of Heart (Heart Piece #19) the first time. Afterward the prize is replaced by a Gold Rupee worth 300 Rupees, so it is worth coming back.
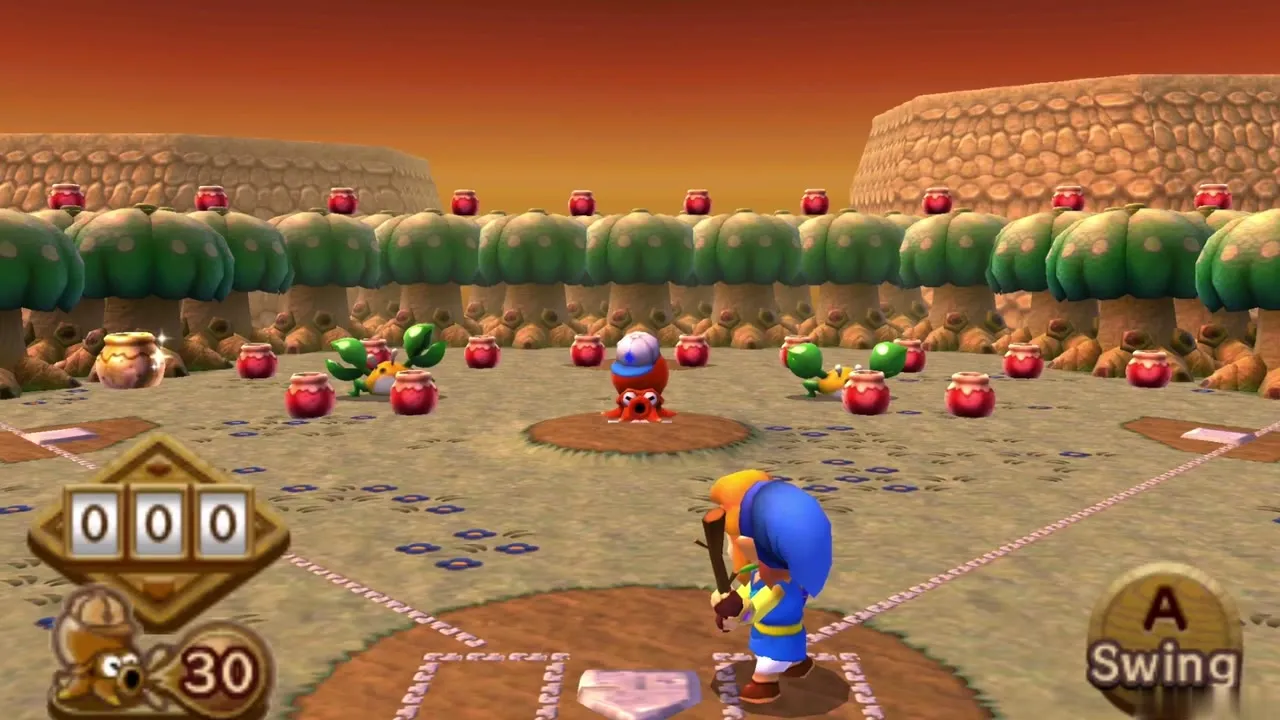
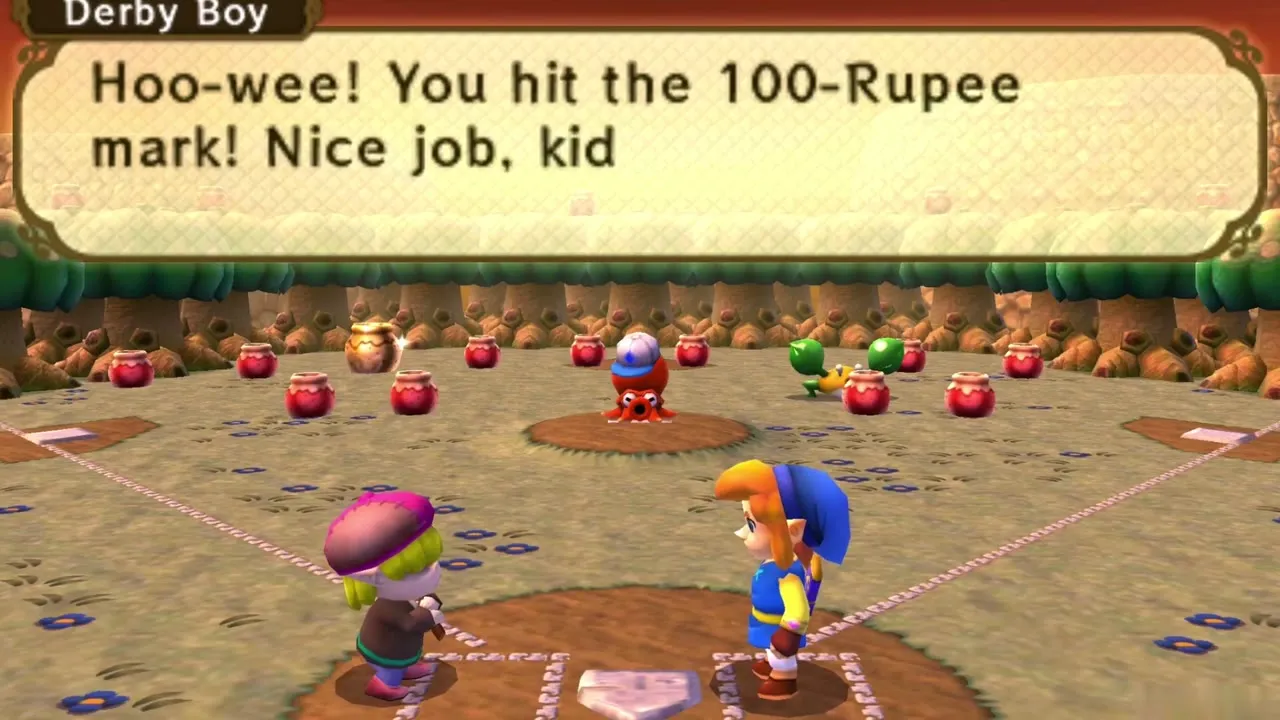
The Octoball Derby lies south-west of Lorule Castle. Pay 50 Rupees for 30 pitches and swing your sword at the pitched octoballs. Score 100 Rupees or more on your first try to win a Piece of Heart, Heart Piece #21. Hitting the pots, the gold pots and the crow that fly past pays extra, with the crow worth the most.
Lorule Lake and the Lakeside Item Shop
Cross to Lorule Lake
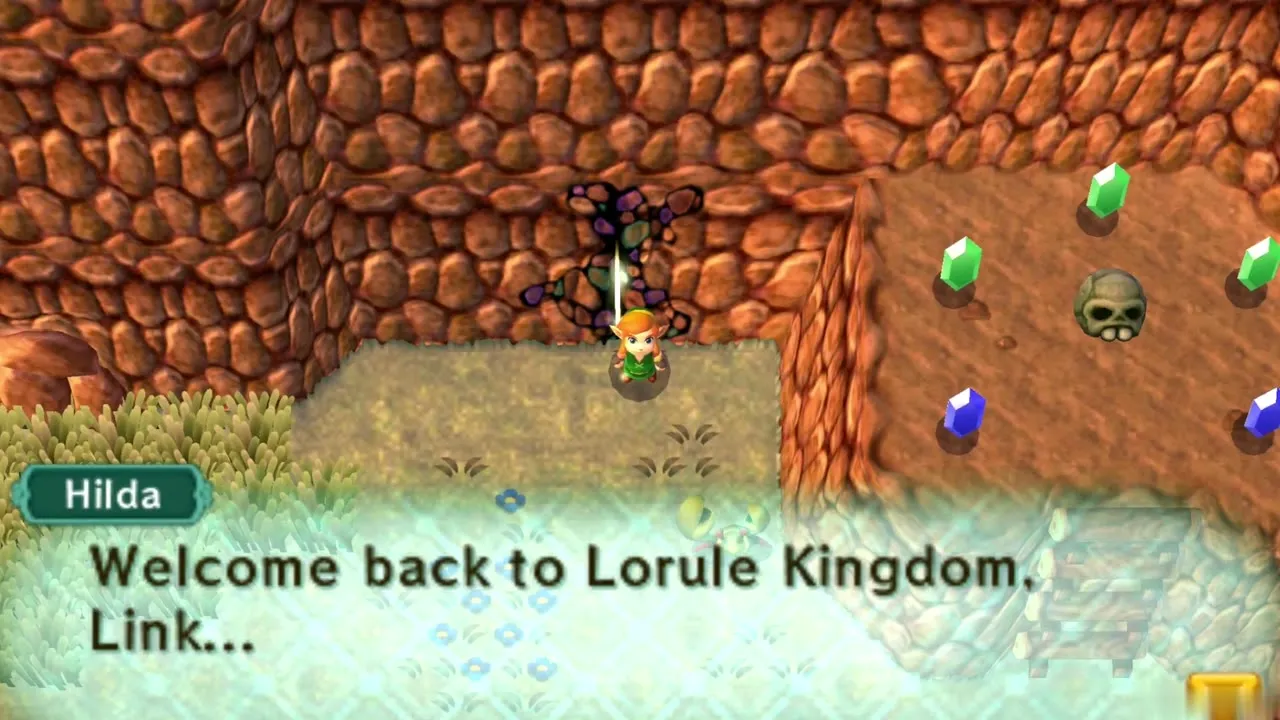
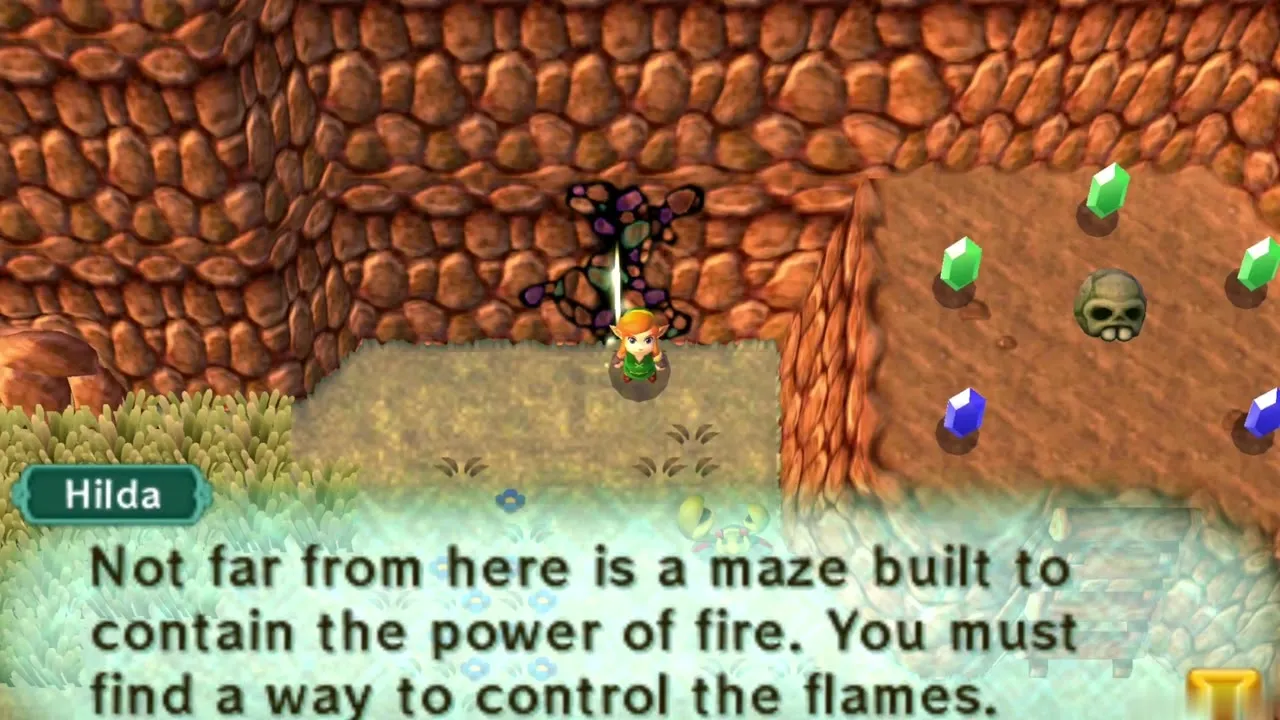
To reach Lorule Lake, return to Hyrule and take the fissure at Lake Hylia that opens onto the Lorule shore. Hilda greets you and says a maze built to hold the power of fire stands nearby, which is Turtle Rock in the Turtle Rock walkthrough.
Lost Maiamai beside the lake
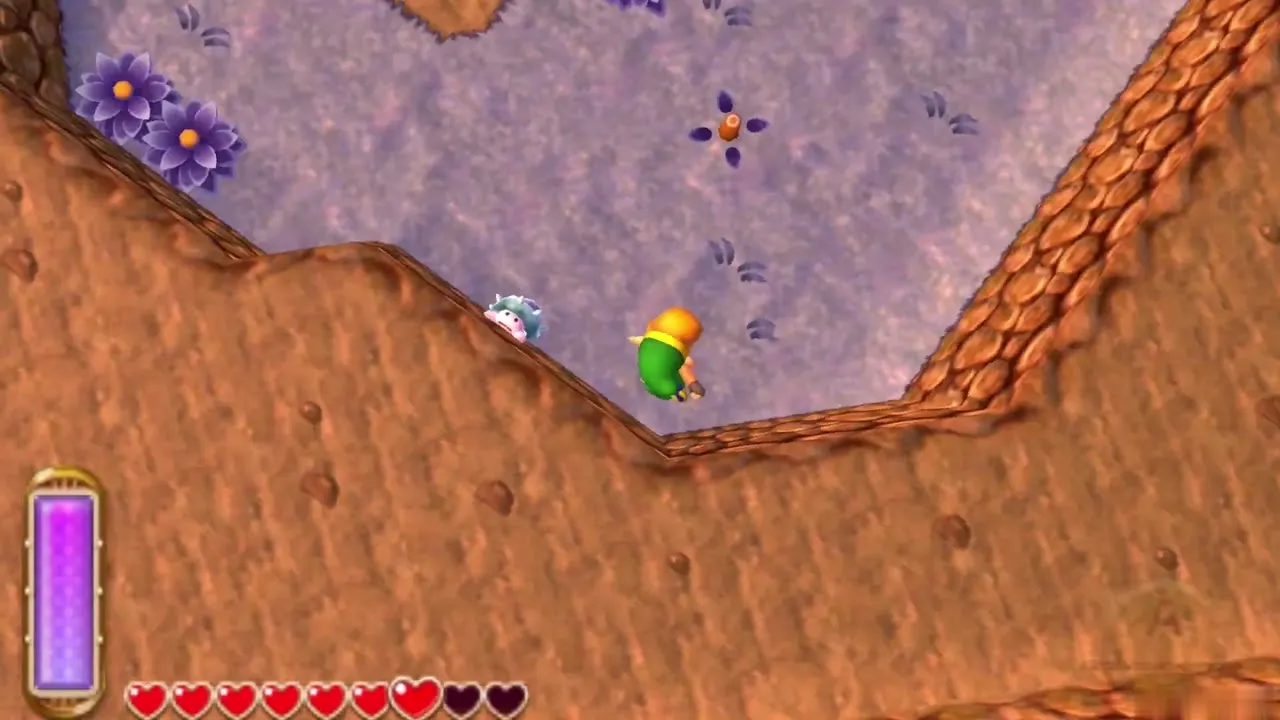
Follow the lake’s purple shoreline south of the fissure. A Lost Maiamai sits on the open ground below the rocky ledge. Listen for its squeak and walk up to it. Dive spots along the shore hide more of them, but they need the Flippers and are listed on the Maiamai page. The small enemies here will drop Monster Tails.
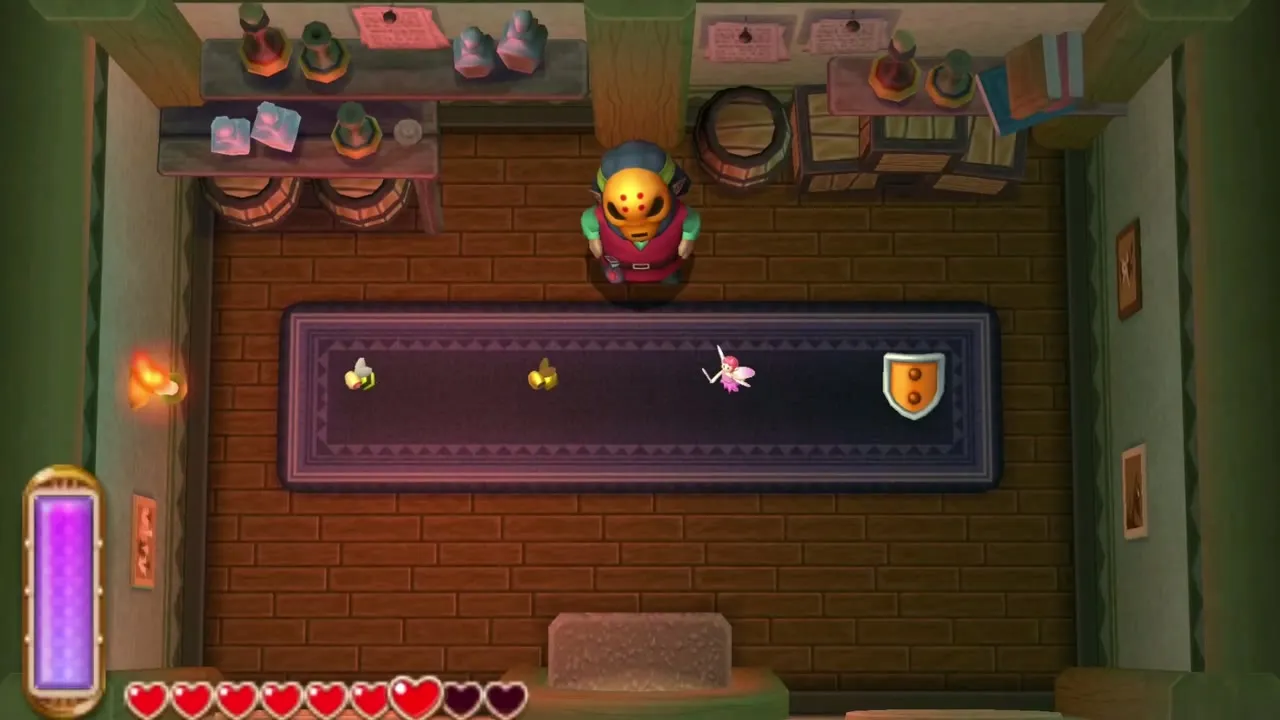
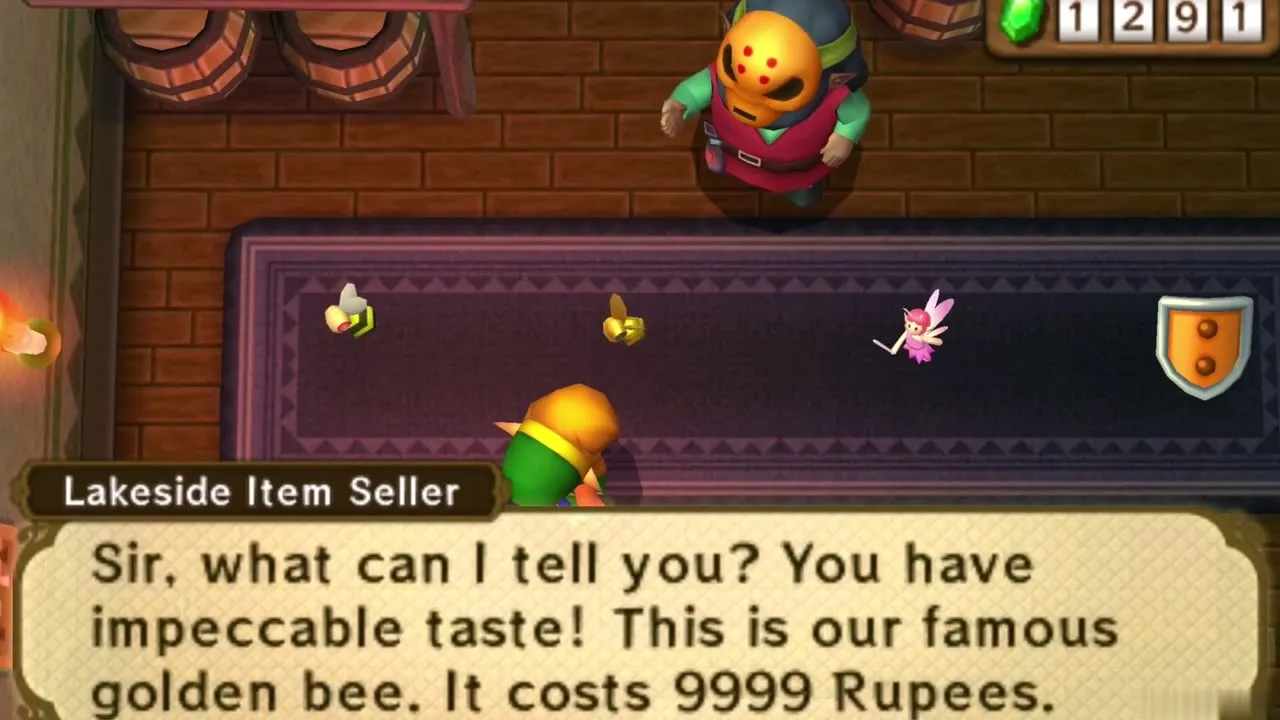
Lakeside Item Shop
The Lakeside Item Seller keeps a stall by the lake. He sells a Fairy for 77 Rupees, a Bee for 88 and a Golden Bee for 9,999. You need a Bottle first, so skip the shop until you own one.
Hyrule Hotfoot at Lake Hylia
Hyrule Hotfoot beginner race
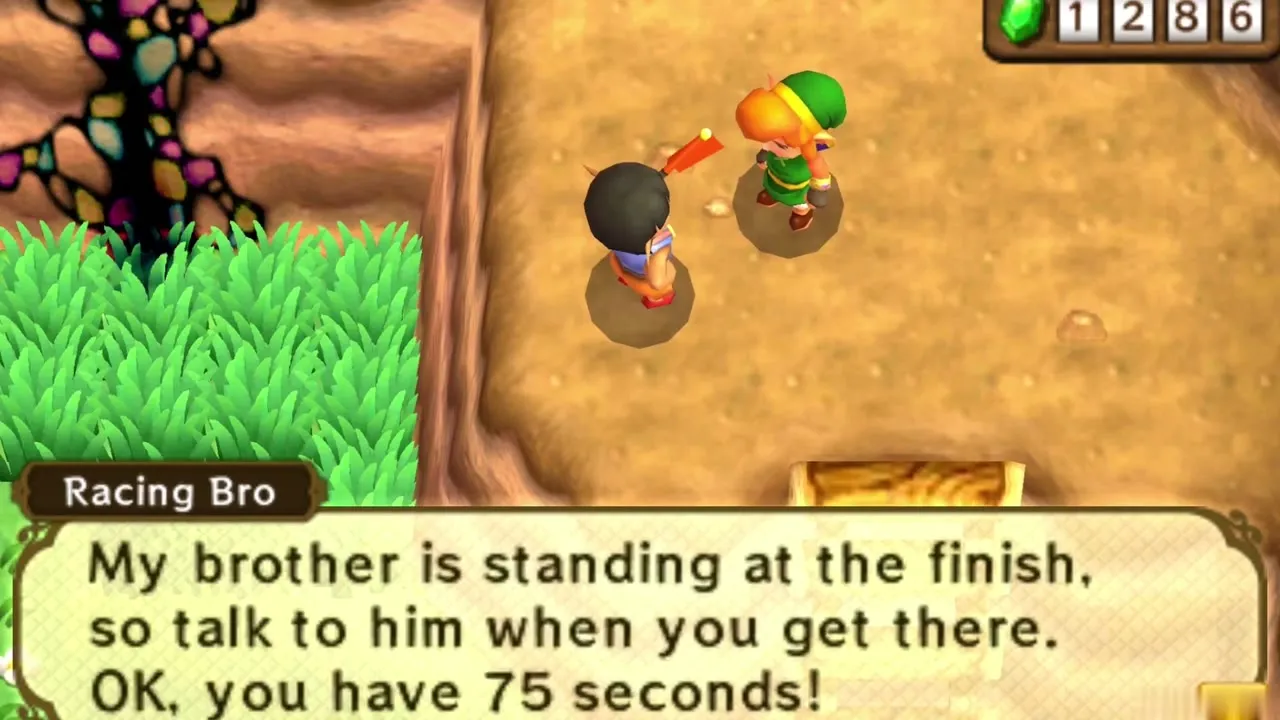
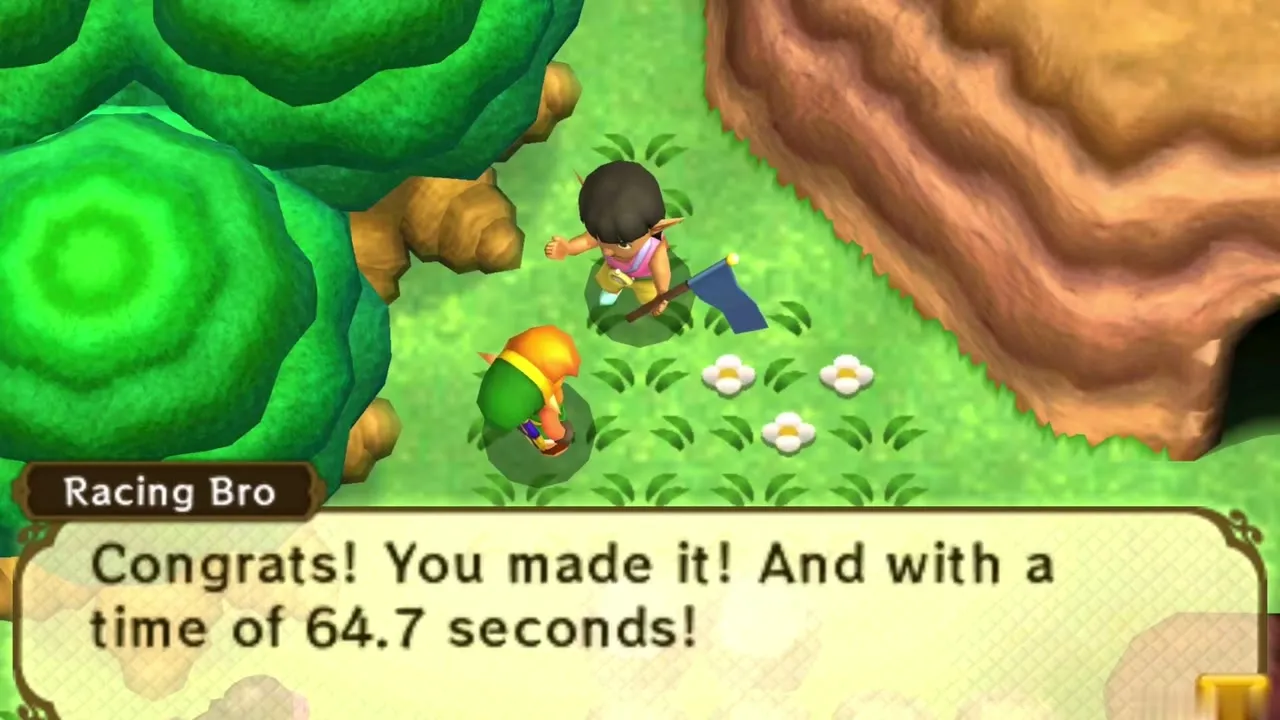
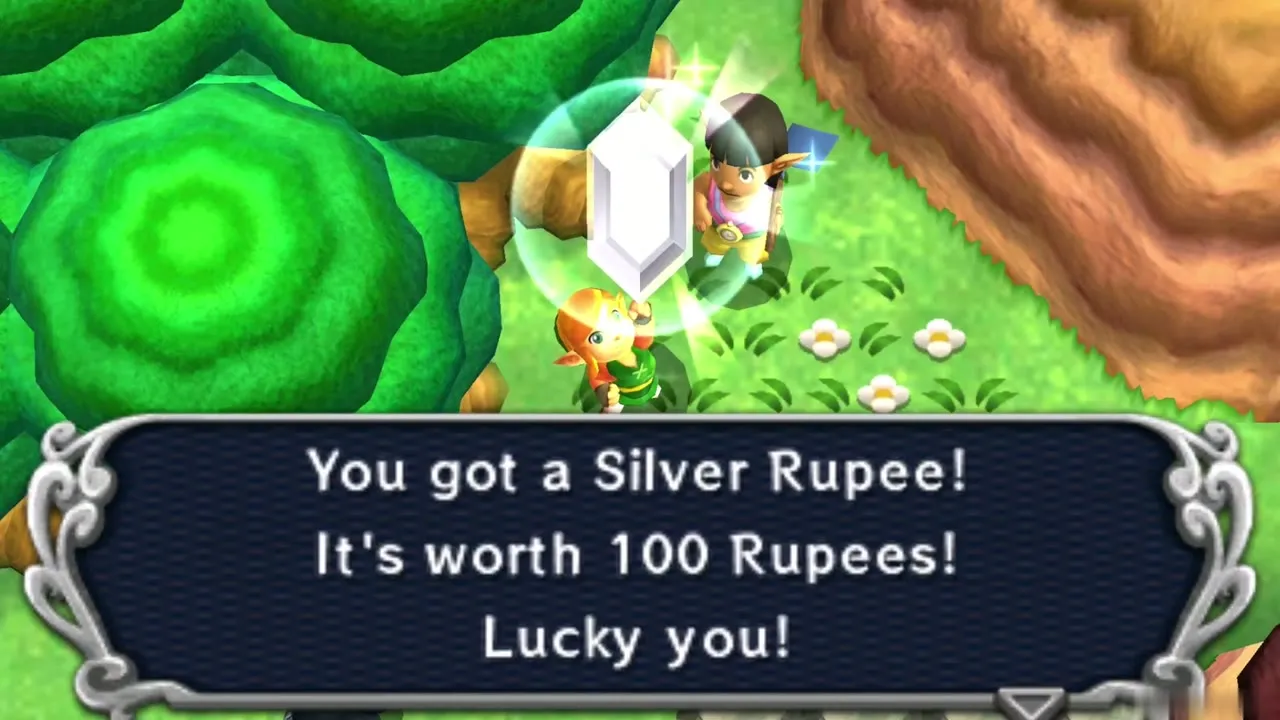
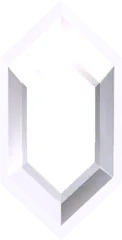
The younger Racing Bro stands in the north-east of Lake Hylia. Pay 20 Rupees, say you are ready and run to the older Racing Bro behind Rosso’s house. Beat the 75-second limit and you win a Silver Rupee, worth 100 Rupees. Use the Pegasus Boots. Warping with the Bell disqualifies you.
Hyrule Hotfoot Piece of Heart
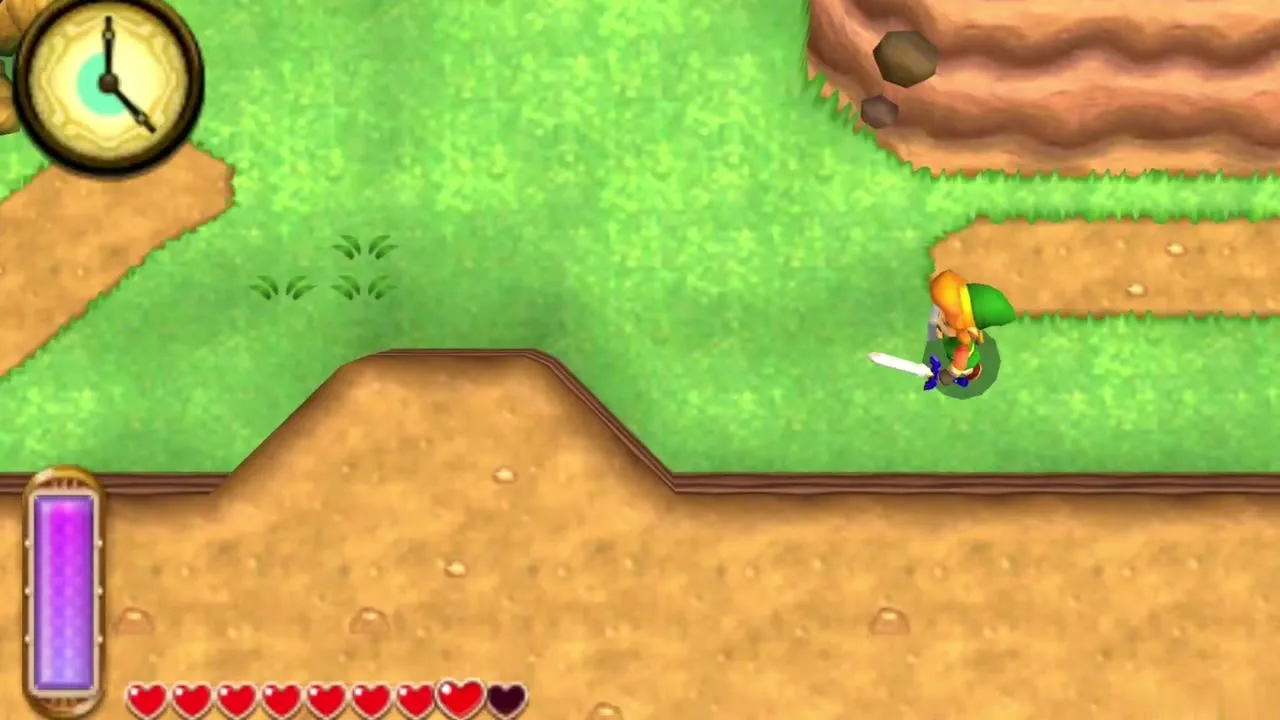
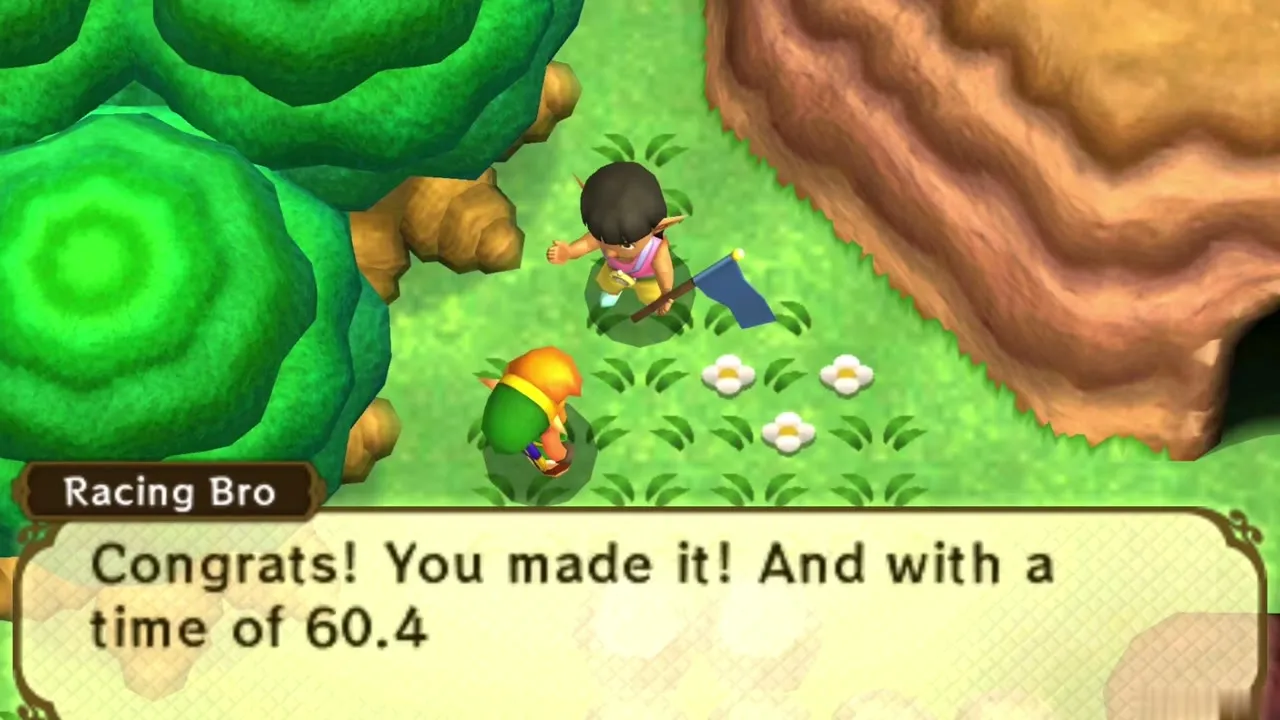
The older Racing Bro offers a second race for the same 20 Rupee fee. Beat 65 seconds on this intermediate course and you receive a Piece of Heart. That is Heart Piece #9, which the Pegasus Boots and Zora’s Flippers walkthrough covers in full.
Vacant House in Lorule
Vacant House Bottle
The Vacant House, Lorule’s version of Link’s House, has a Weather Vane at its door. Furniture blocks the back half of the room. Stand near the back wall with a rented Bomb and blow a hole in it, then open the chest inside for a Bottle. The fissure on the hill in front of the house is the one that leads out to the ledge below Link’s House.
Lorule dungeons: requirements and a suggested order
What you may do in any order
Seven dungeons hold the seven Sages: six in Lorule and the Desert Palace in Hyrule’s desert, which you reach through Lorule. You can clear six of them in any order: the Dark Palace, Skull Woods, the Thieves’ Hideout, the Swamp Palace, the Ice Ruins and Turtle Rock. The Desert Palace must come after the Thieves’ Hideout, because the Sand Rod only reaches Ravio’s Shop once Osfala is freed. The Titan’s Mitt from the Desert Palace is never required, so you may skip it until the end.
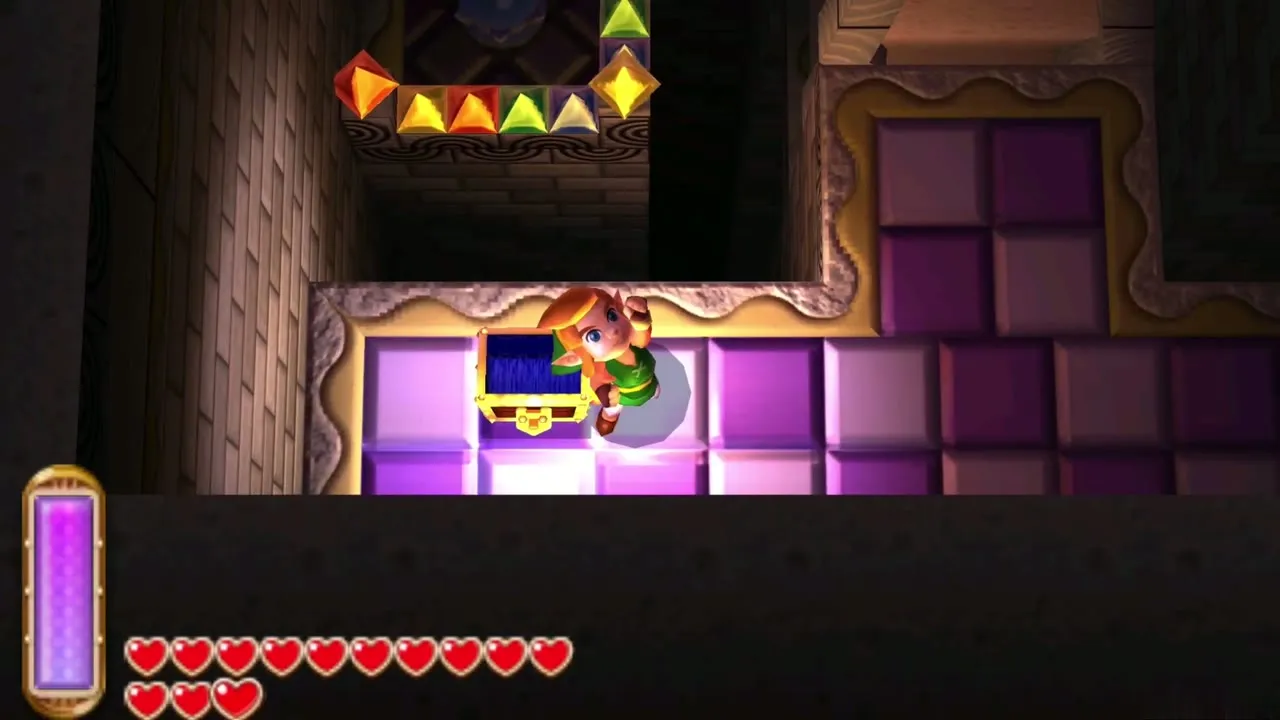
Dark Palace
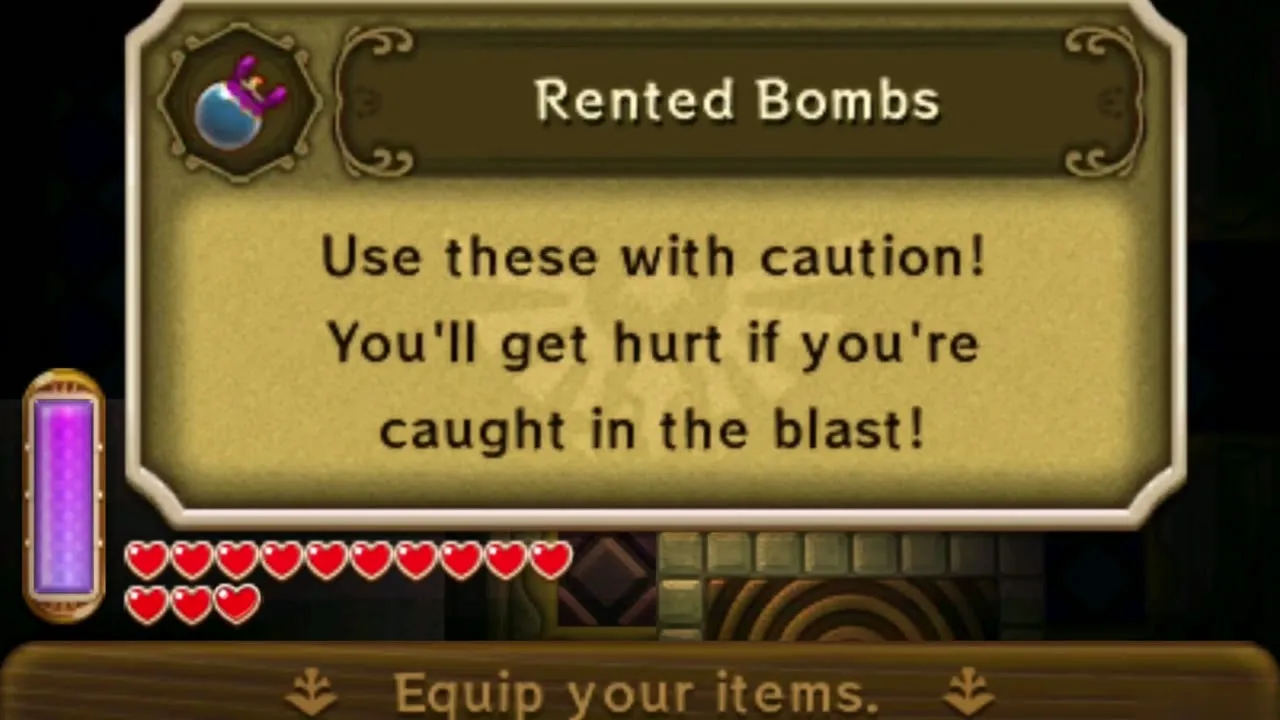
Enter the Dark Palace through the fissure on the ledge wall south of the Eastern Palace and sneak past the soldiers in the guard maze. Rent or buy Ravio’s Bomb, since you need to blast open the cracked wall at the gate. The dungeon contains a chunk of Master Ore on its second floor. See the Dark Palace walkthrough.
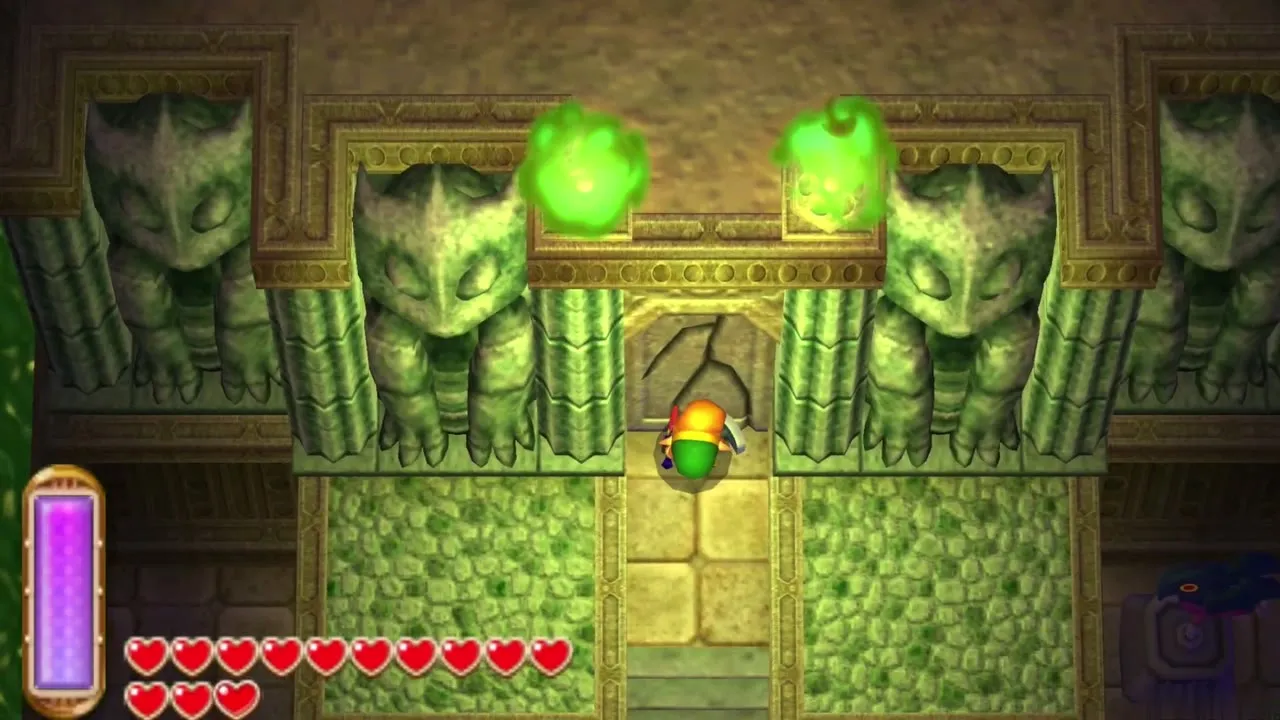
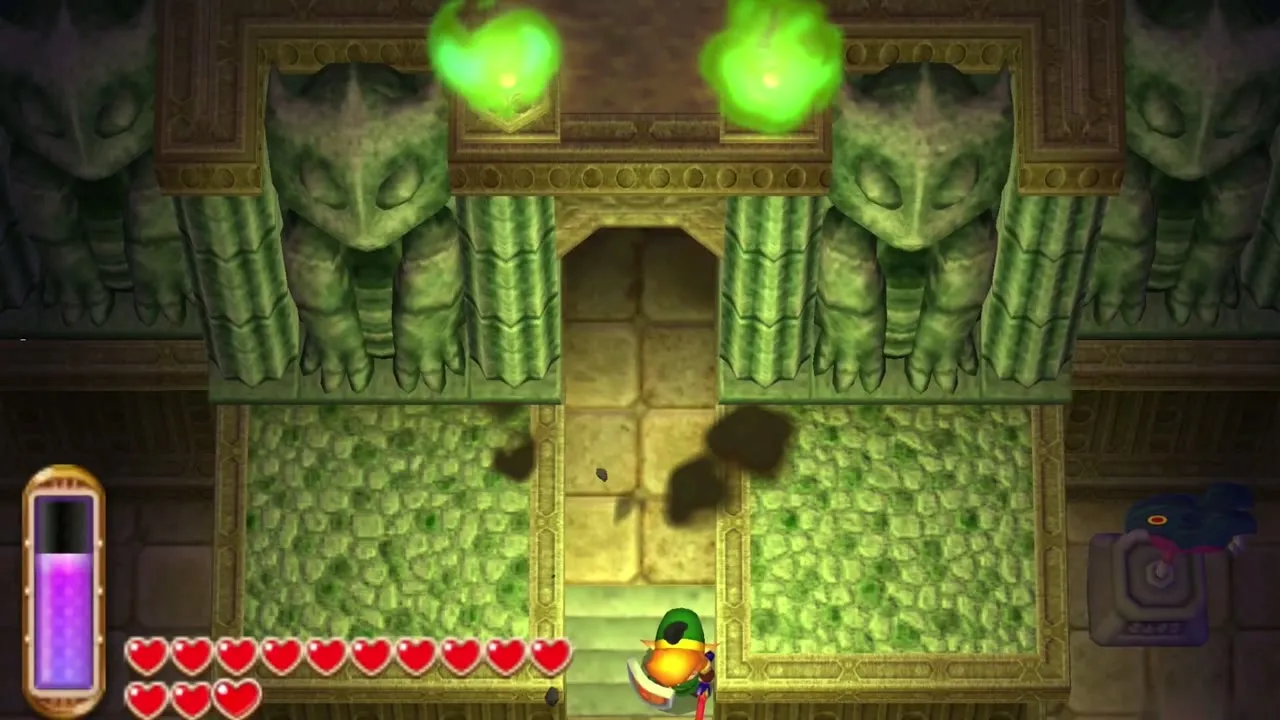
Skull Woods
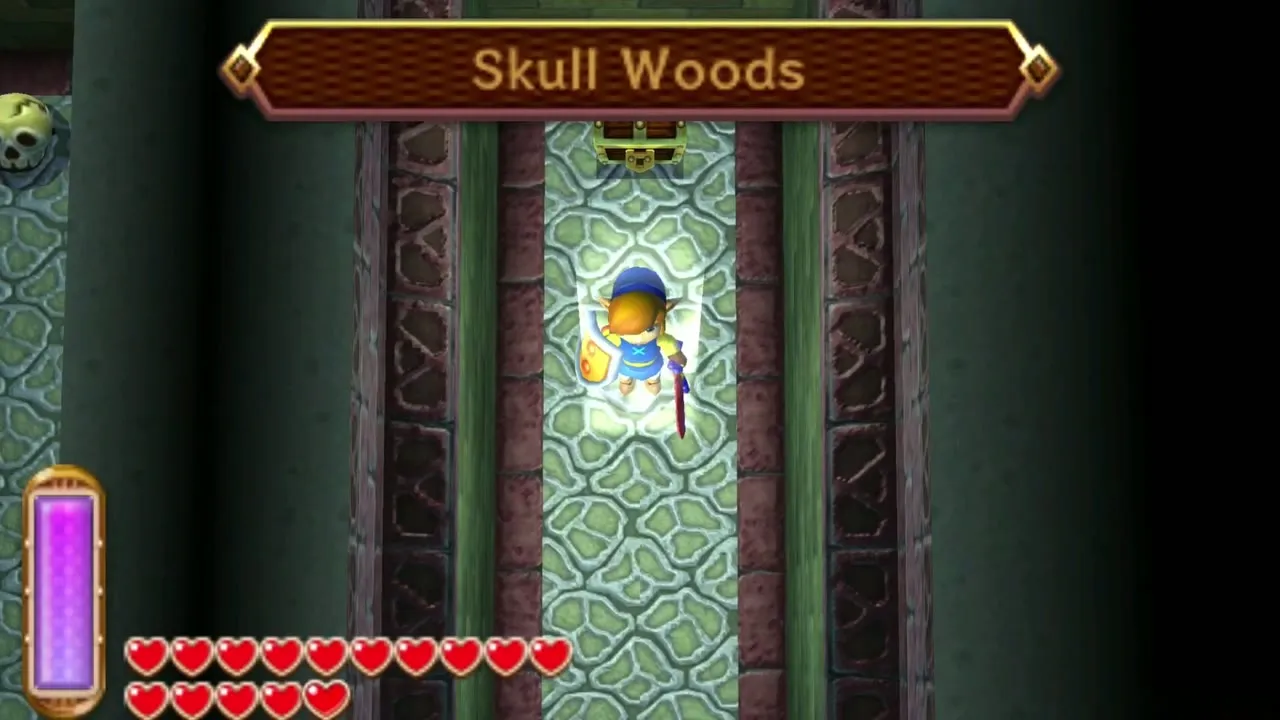
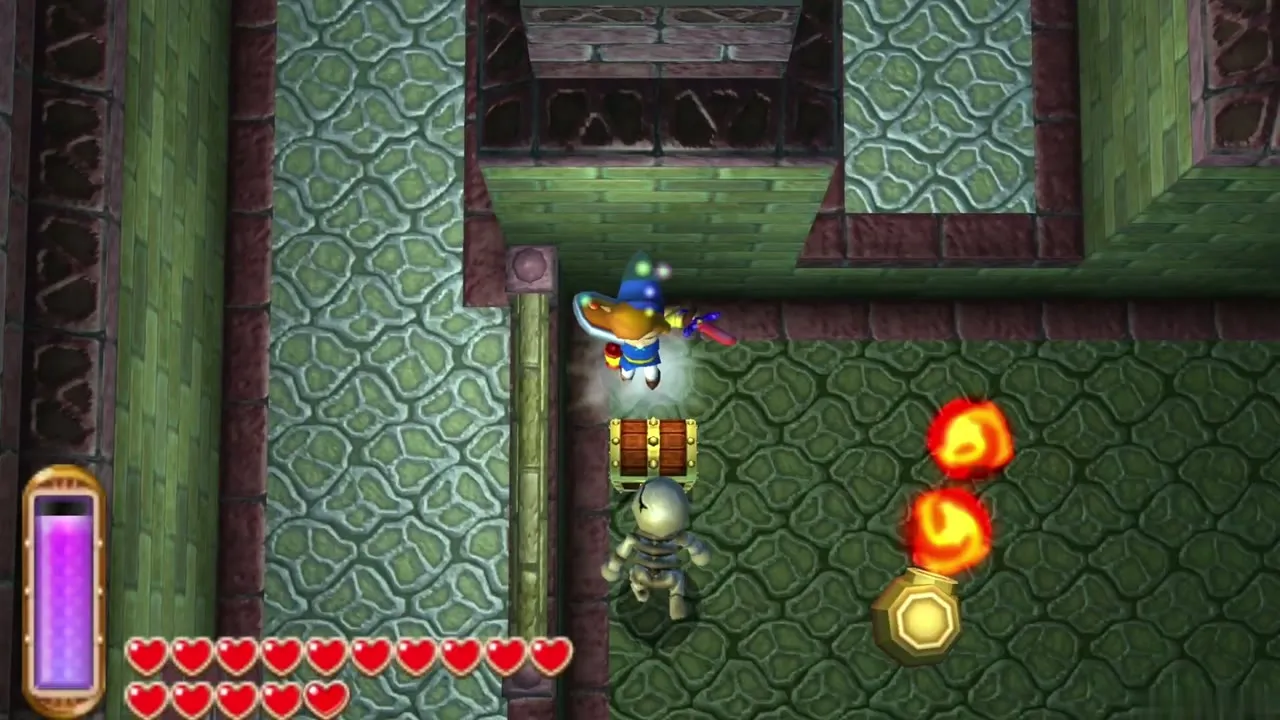
Skull Woods has several entrances, each reached by a fissure in Hyrule: behind Sahasrahla’s house, inside Rosso’s house, or at the pillar in the Lost Woods. None of Ravio’s items is required. Bring the Lamp, and the Fire Rod helps against the Gibdos, which are weak to fire. It holds another chunk of Master Ore; see the Skull Woods walkthrough.
Thieves’ Hideout
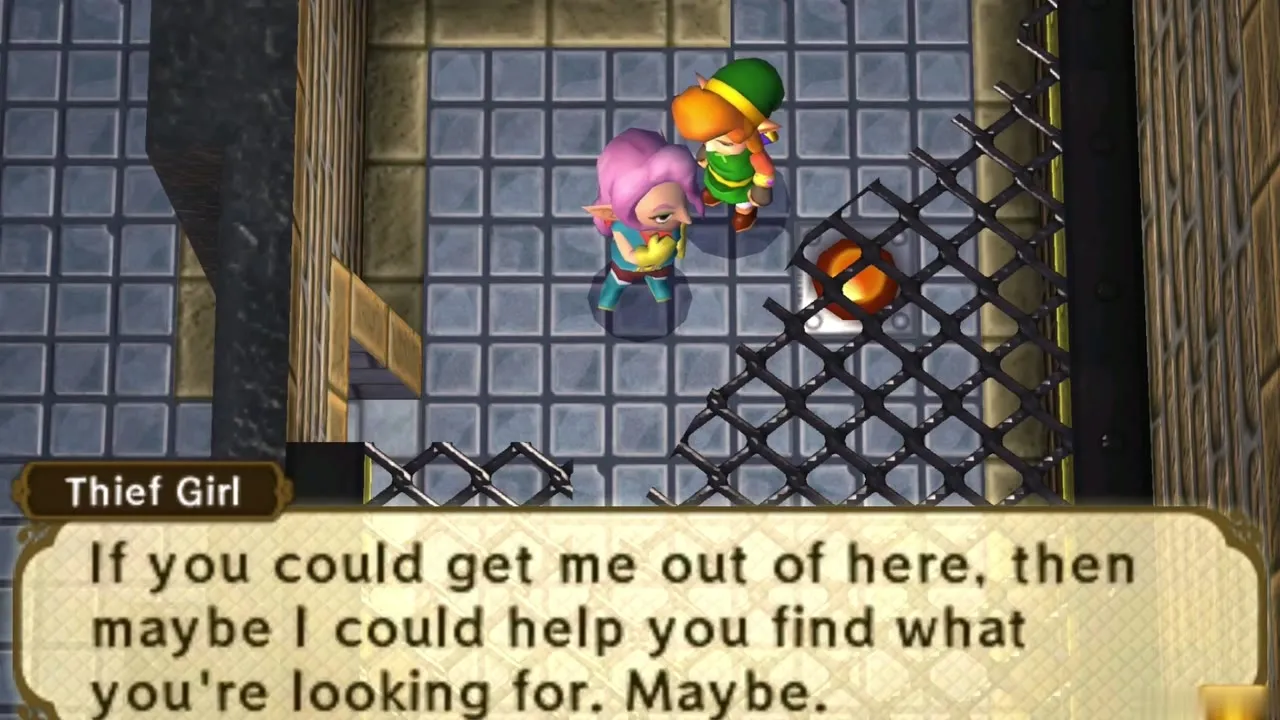
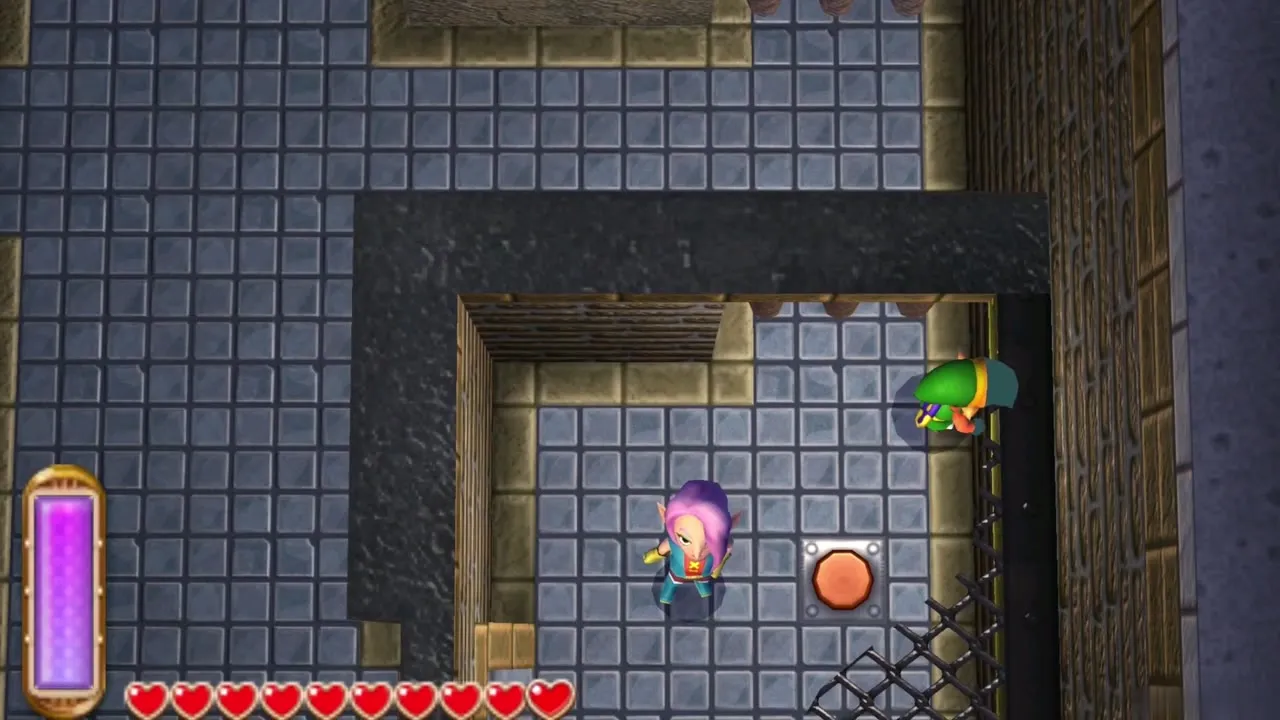
The Thieves’ Hideout is in Thieves’ Town and needs none of Ravio’s items. Play the gargoyle’s password song to get in, then rescue the Thief Girl. It holds Master Ore, and finishing it frees Osfala, who lets you rent the Sand Rod. Because the Desert Palace waits on it, this is the best dungeon to do first. Details in the Thieves’ Hideout walkthrough.
Swamp Palace
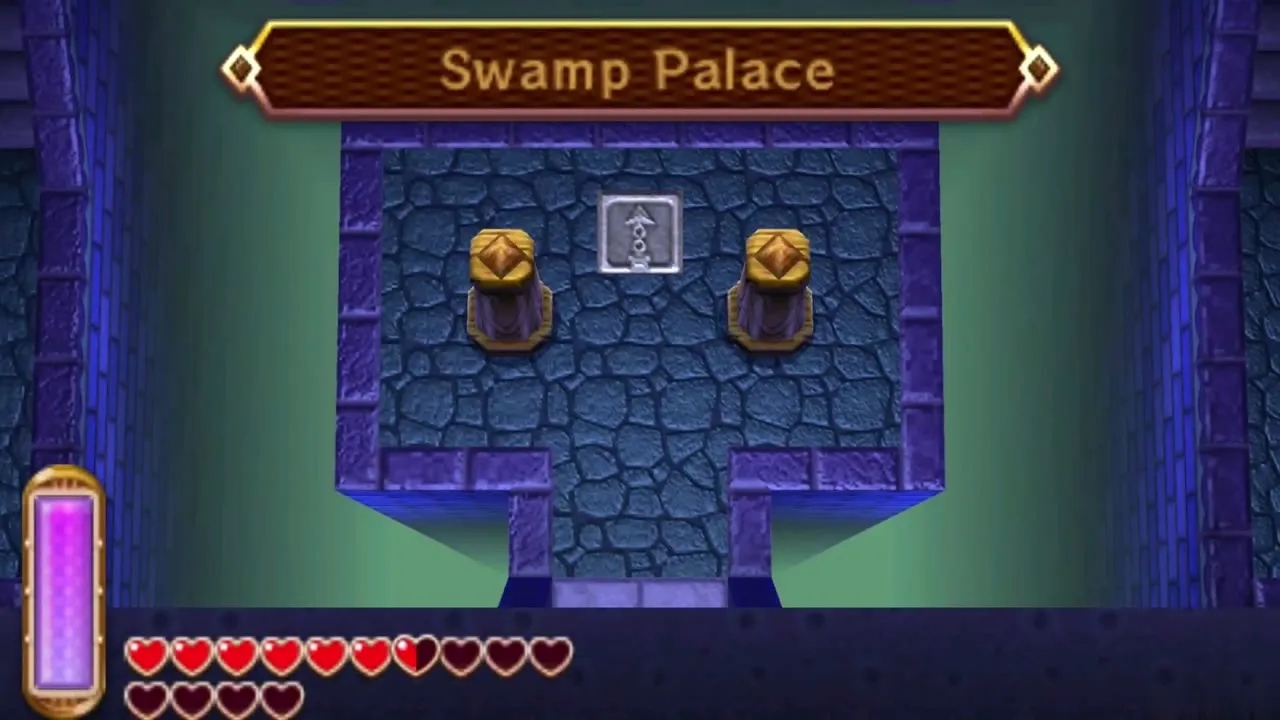
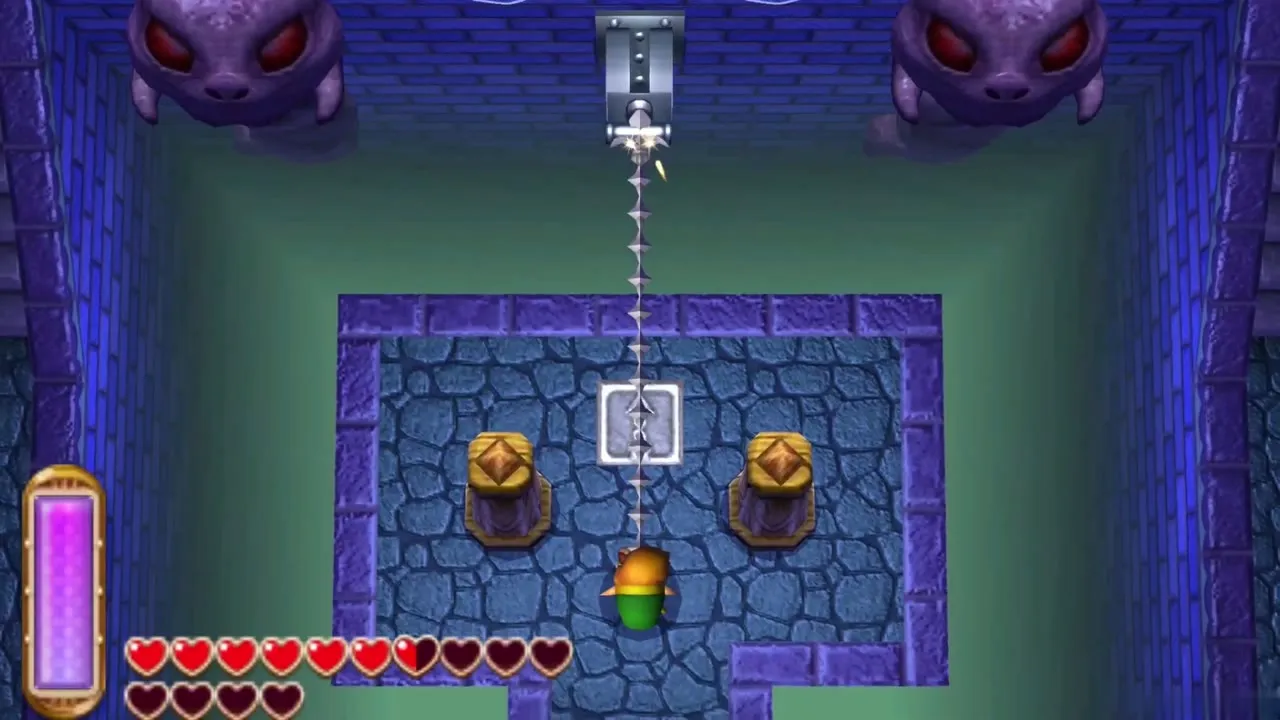
The Swamp Palace needs the Big Bomb Flower, to destroy the boulder in front of it, and Ravio’s Hookshot. Enter from the south of Lorule. A chest inside holds the Blue Mail, which halves the damage you take, so doing it early makes the others easier. If you find the Blue Mail first elsewhere, the Red Mail takes its place. Read the Swamp Palace walkthrough.
Ice Ruins
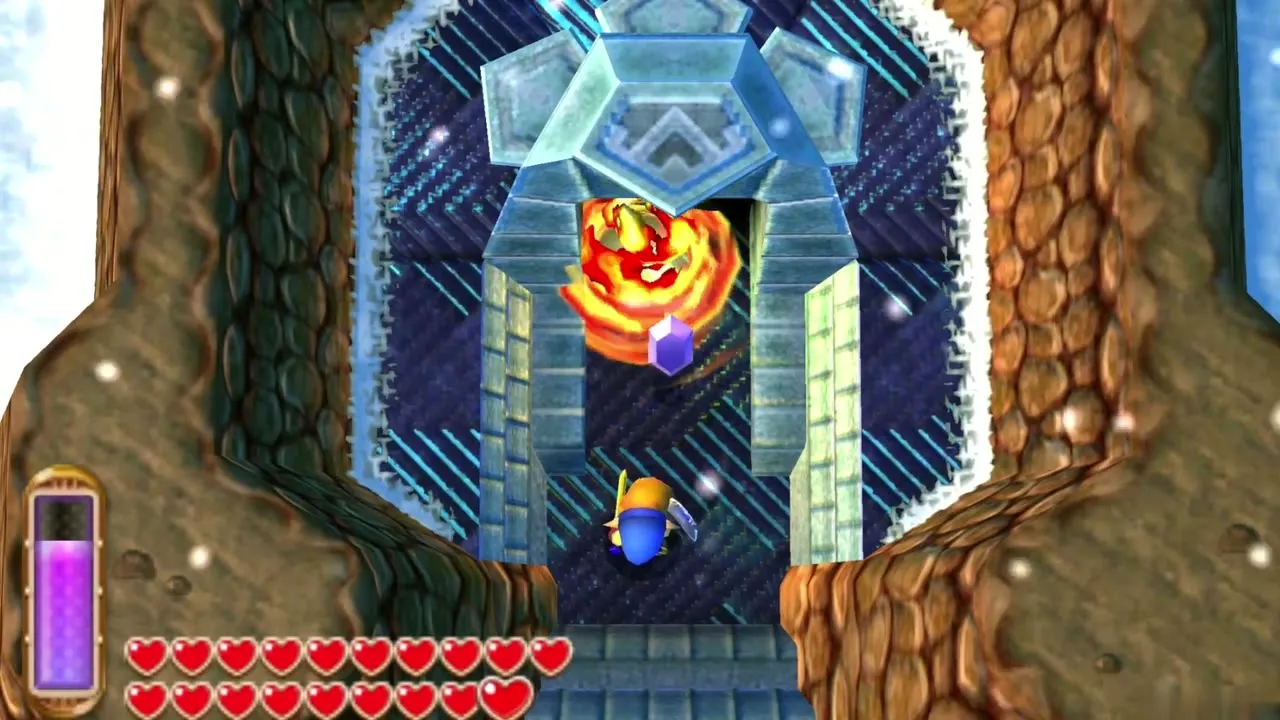
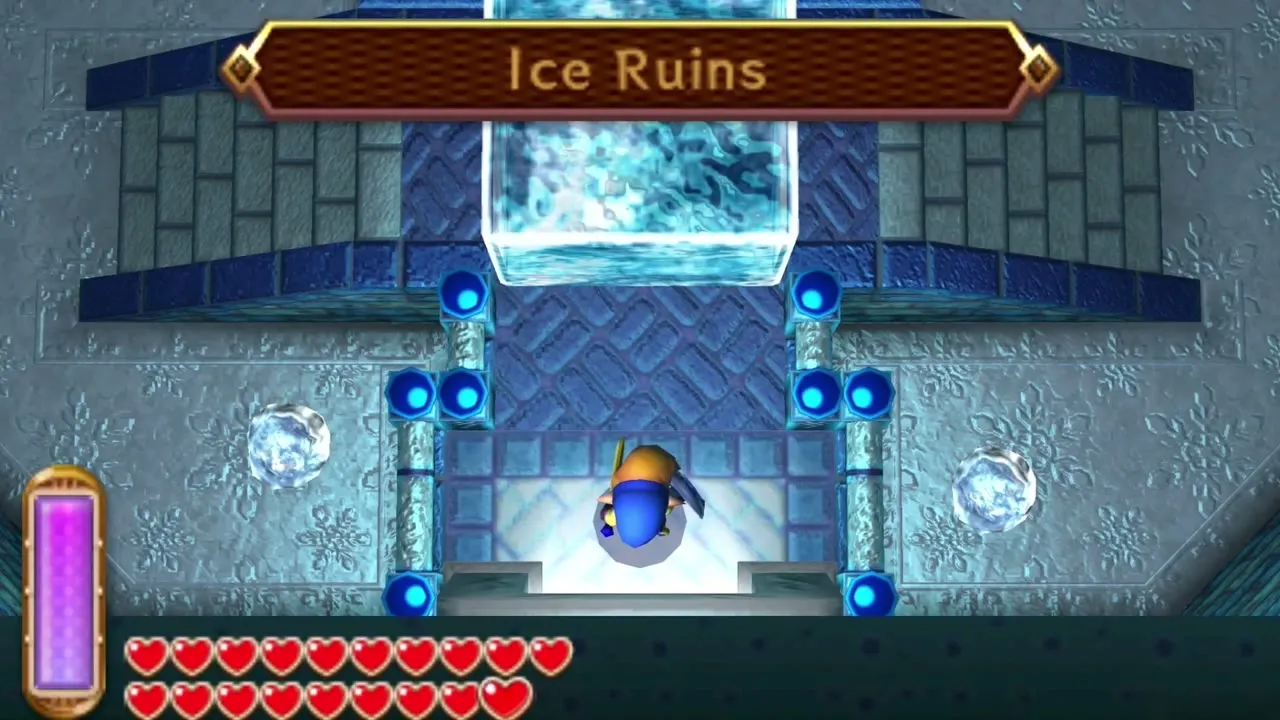
The Ice Ruins sit on Lorule’s Death Mountain, reached from the pillar fissure east of the Tower of Hera. You need the Hookshot to cross the broken bridge there and the Fire Rod to melt the ice at the door. A chest on B3 holds the Stamina Scroll, which enlarges your energy gauge. The route is in the Ice Ruins walkthrough.
Turtle Rock
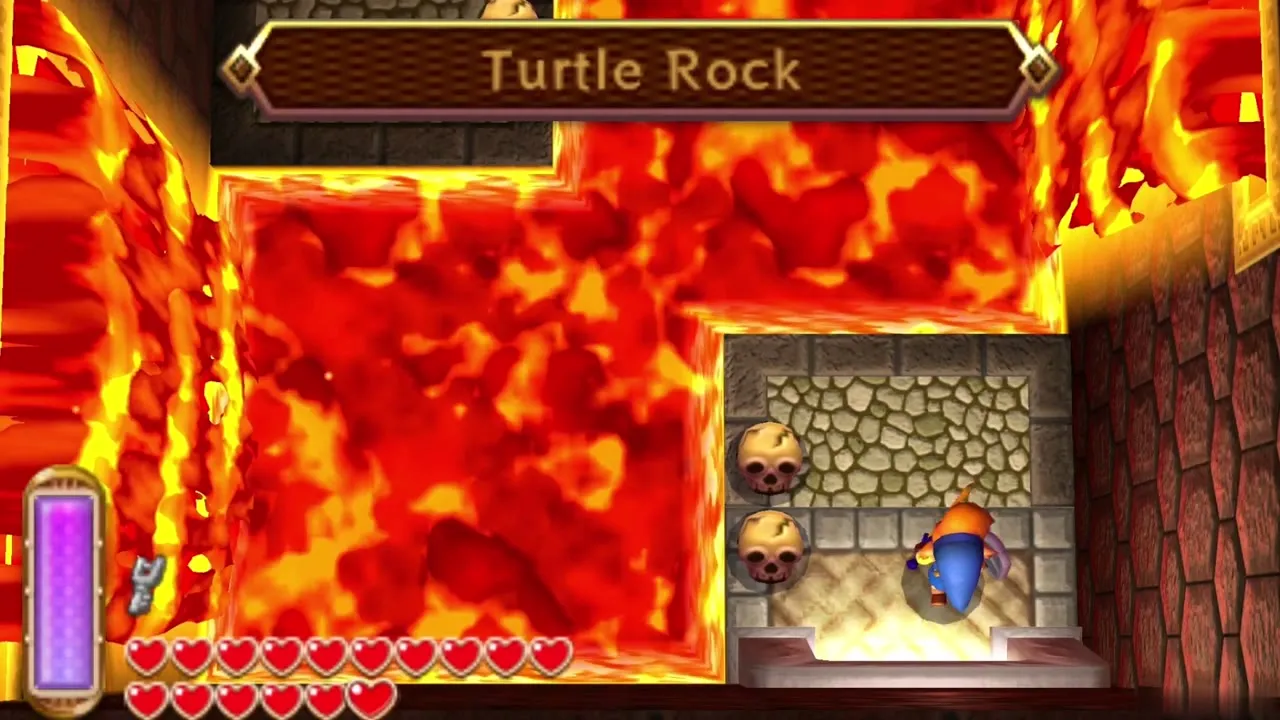
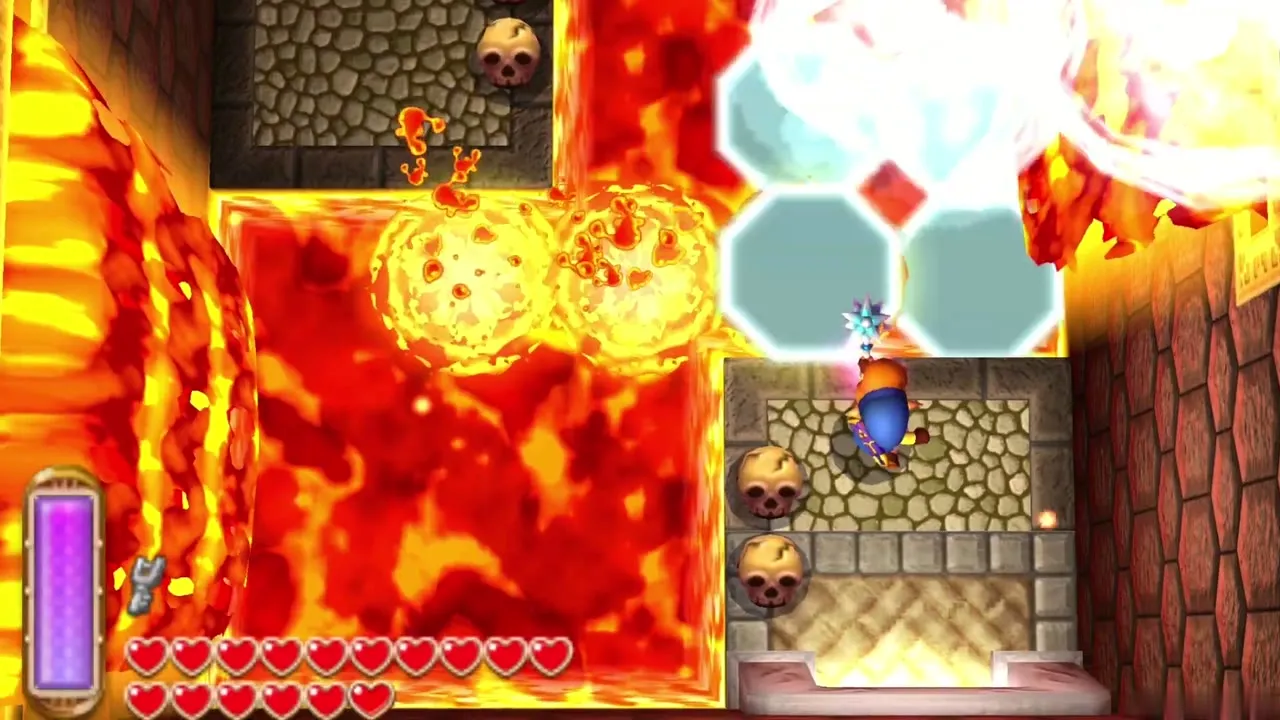
Turtle Rock sits in the middle of Lorule Lake. Reach it from the Lake Hylia fissure. You need Zora’s Flippers, three baby turtles and the Ice Rod to freeze lava. A chest holds the Hylian Shield. Follow the Turtle Rock walkthrough for the turtle ride and the dungeon.
Desert Palace
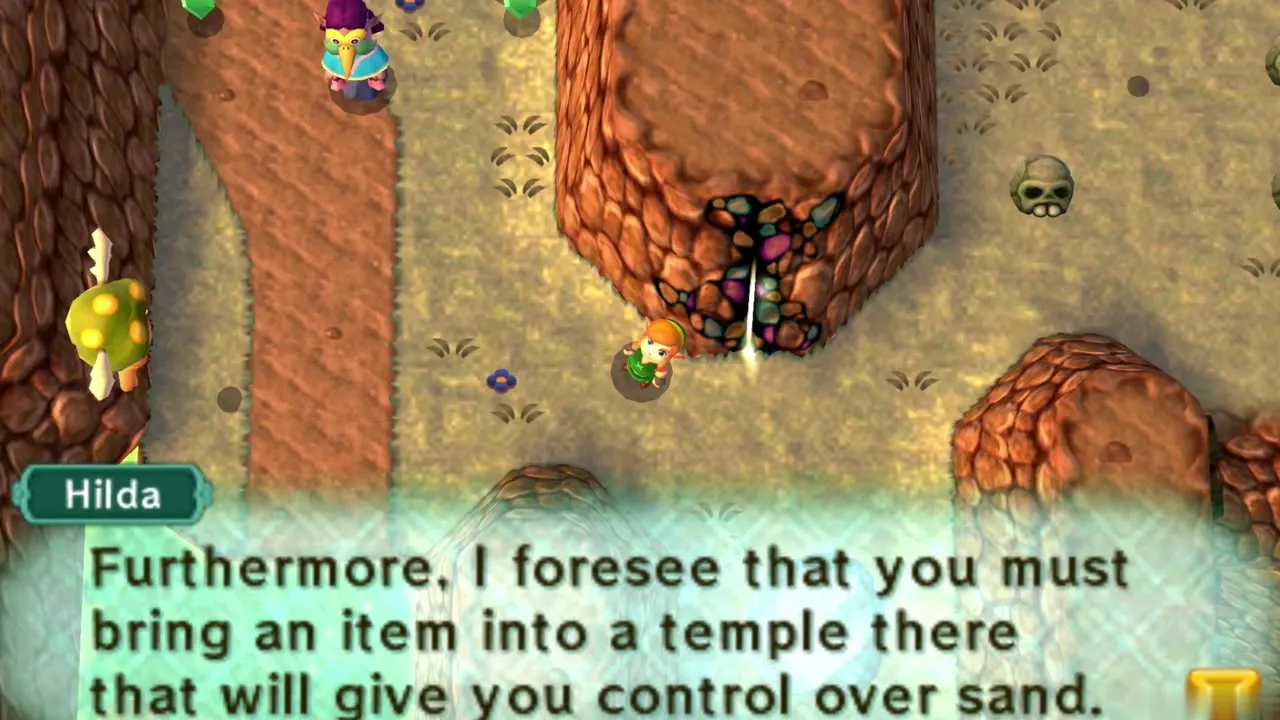
The Desert Palace stands in Hyrule’s desert but its boss waits in Lorule’s Misery Mire. You need the Sand Rod, so clear the Thieves’ Hideout first. Its chest holds the Titan’s Mitt, which lifts large rocks and reaches extra Maiamai. See the Desert Palace walkthrough for the route.
A suggested order
A workable order is the Thieves’ Hideout, the Swamp Palace, the Dark Palace, Skull Woods, the Ice Ruins, Turtle Rock and finally the Desert Palace. This collects the Sand Rod and the Blue Mail early and leaves the long Desert Palace for last. Rent the item a dungeon needs just before you enter it, and remember that dying makes Sheerow take rentals back.

Master Ore and the two Blacksmiths
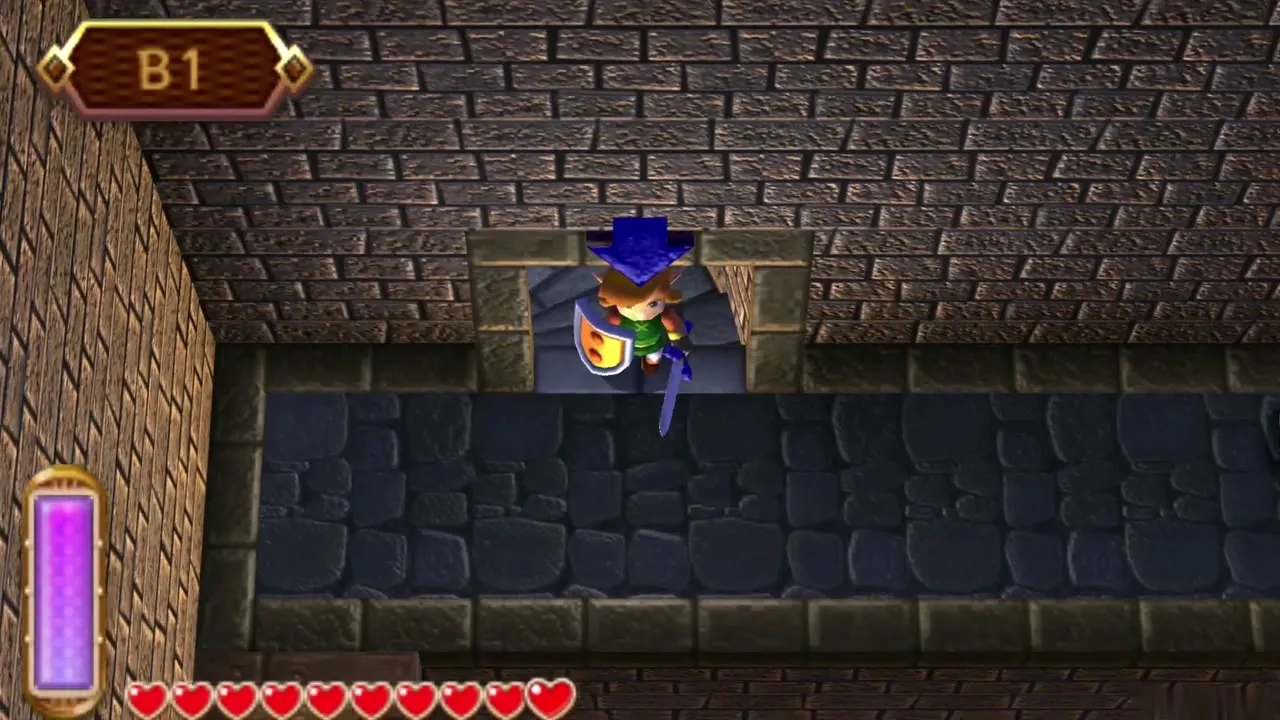
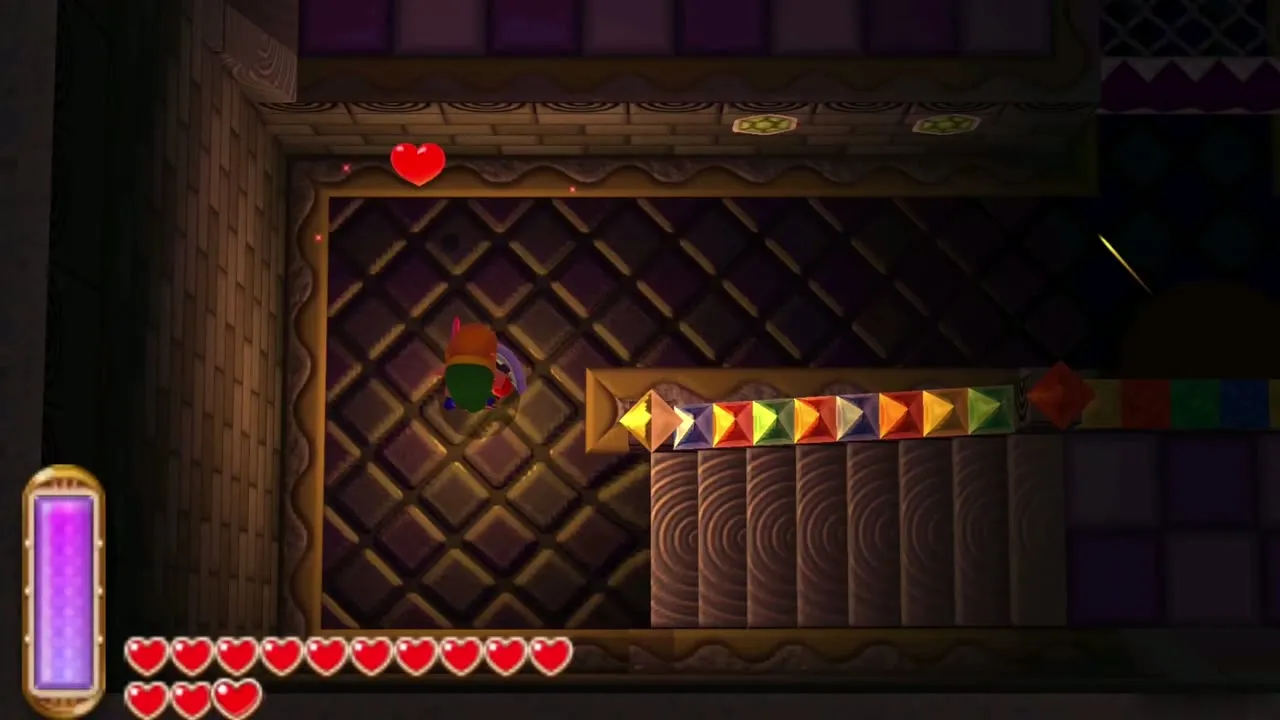
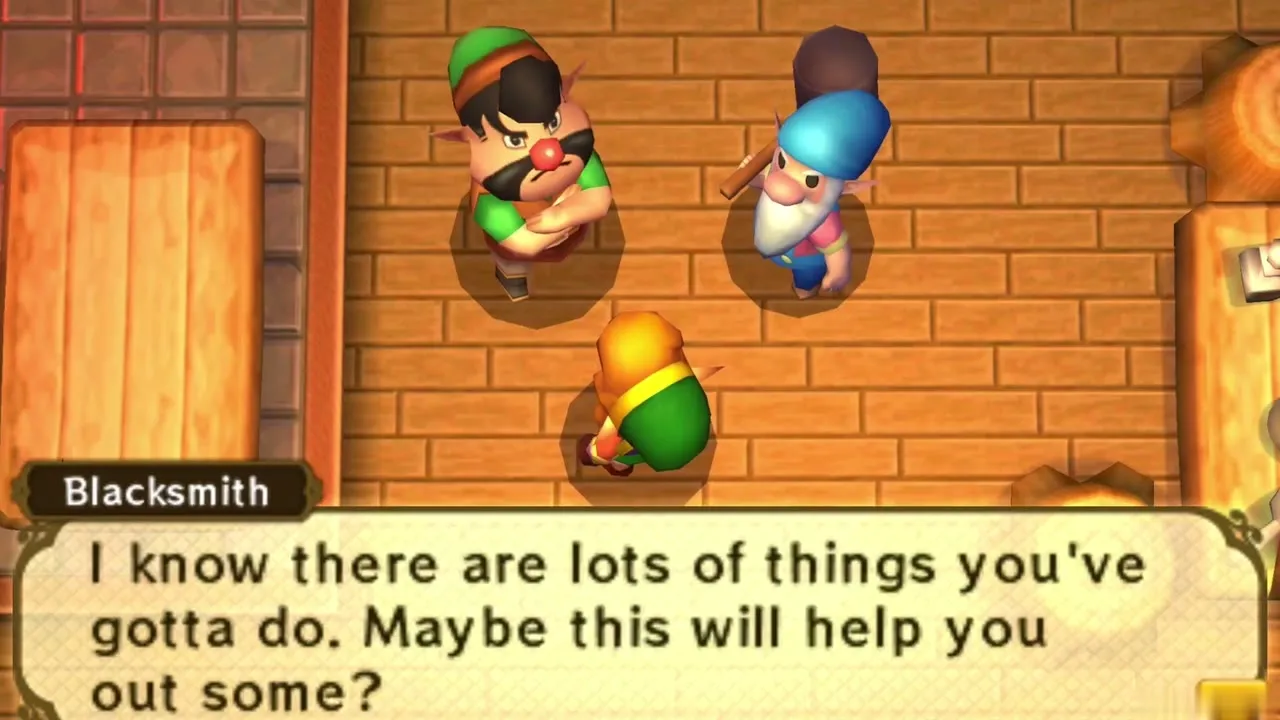
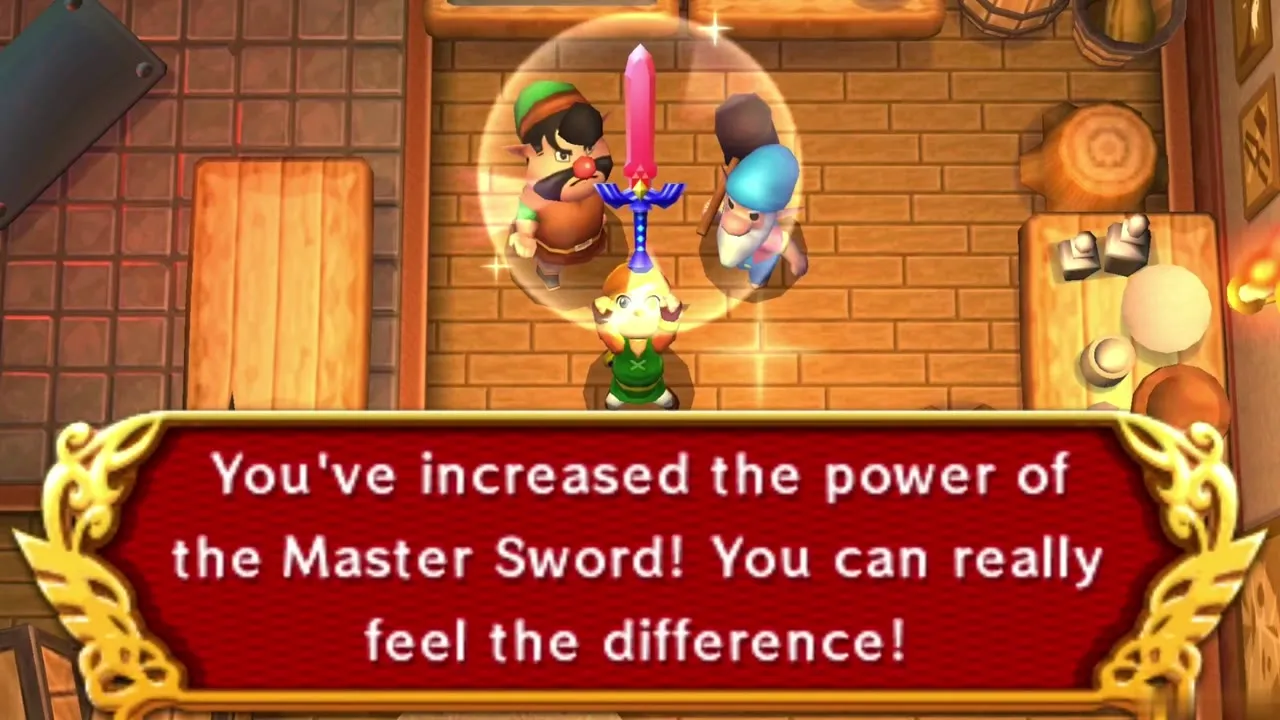
Four chunks of Master Ore are hidden in the Dark Palace, the Thieves’ Hideout, Skull Woods and a cave in Lorule’s graveyard. The Hyrule Blacksmith tempers the Master Sword with two chunks, and the Lorule Blacksmith does it again with two more. A single chunk only earns a reminder. The Master Ore page lists them all.
Chapter checklist
| Collectible | Type | Where |
|---|---|---|
 Lost Maiamai (Forge wall) | Maiamai | East wall of the Lorule Blacksmith’s forge |
| Lost Maiamai (walled corner) | Maiamai | South-west corner of Thieves’ Town |
| Lost Maiamai (plaza tree) | Maiamai | Thieves’ Town plaza, dash into the tree |
| Lost Maiamai (lakeshore) | Maiamai | Lorule Lake shore south of the fissure |
| Piece of Heart #15 | Heart Piece | Stylish Woman’s house, Kakariko, via the Thieves’ Town fissure |
| Piece of Heart #20 | Heart Piece | Lorule Rupee Rush, 150 Rupees or more |
| Piece of Heart #9 | Heart Piece | Hyrule Hotfoot intermediate race, 65 seconds (see Pegasus Boots and Zora’s Flippers) |
| Piece of Heart #19 | Heart Piece | Fortune’s Choice, Thieves’ Town, 200 Rupees |
| Piece of Heart #21 | Heart Piece | Octoball Derby, 100 Rupees or more, first time |
| Bottle | Bottle | Vacant House chest behind the back wall (needs a Bomb) |
| Bottle (3,000 Rupees) | Bottle | Great Rupee Fairy, behind the Bomb Shop |
 Silver Rupee | Prize | Hyrule Hotfoot beginner race, 75 seconds |
 Big Bomb Flower | Rental | Bomb-Shop Man, 200 Rupees |
Your next stop is the first Lorule dungeon you choose; the guide continues with the Dark Palace walkthrough, and the Skull Woods, Ice Ruins, Thieves’ Hideout, Swamp Palace, Turtle Rock and Desert Palace walkthroughs cover the others.