





















Ocarina of Time Master Quest Walkthrough12 chapters
- Inside the Great Deku Tree (Master Quest)Dungeon Map, Slingshot, Compass, Gold Skulltulas, Queen Gohma, Heart Container and Kokiri’s Emerald.
- Dodongo’s Cavern (Master Quest)Every room in order, Dungeon Map, Compass, Bomb Bag, silver rupees, Gold Skulltulas, King Dodongo and the Goron’s Ruby.
- Inside Jabu-Jabu’s Belly (Master Quest)Cow switches, Map, Compass, Boomerang, Big Octo, Barinade, Heart Container and Zora’s Sapphire.
- Forest Temple (Master Quest)Six Small Keys, Boss Key, Fairy Bow, the four Poe Sisters, five Gold Skulltulas and Phantom Ganon.
- Fire Temple (Master Quest)Five Small Keys, Din’s Fire puzzles, Iron Knuckle, Megaton Hammer, Boss Key, five Gold Skulltulas and Volvagia.
- Water Temple (Master Quest)Early Longshot, Map, Compass, both Small Keys, Dark Link, Boss Key and Morpha.
- Shadow Temple (Master Quest)Hover Boots, map, compass, Boss Key, Gold Skulltulas, Bongo Bongo and the Shadow Medallion.
- Spirit Temple (Master Quest)Every chest, 7 Small Keys, Silver Gauntlets, Mirror Shield, Boss Key, Skulltulas and Twinrova.
- Bottom of the Well (Master Quest)Map, Compass, two Small Keys, Dead Hand, the Lens of Truth and all three Gold Skulltulas.
- Ice Cavern (Master Quest)Blue Fire, Song of Time blocks, Stalfos, Iron Boots, Serenade of Water.
- Gerudo Training Ground (Master Quest)The remixed rooms in order, Small Keys, Silver Rupee puzzles and the Ice Arrows.
- Ganon’s Castle (Master Quest)Light Arrows, the rainbow bridge, all six remixed trials, Golden Gauntlets, Double Defense, the tower.
| Covers | Feeding Lord Jabu-Jabu, the Master Quest rooms in route order, carrying Ruto, the Boomerang, Big Octo, Barinade and the Zora’s Sapphire |
|---|---|
| Dungeon | Inside Jabu-Jabu’s Belly (child dungeon, Master Quest version). No small keys and no Boss Key. Mini-boss: Big Octo. Boss: Barinade. |
| You need | Fairy Slingshot, Bombs, Deku Sticks and Deku Nuts, a bottle holding a Fish, and the Ocarina with Epona’s Song if you want the milk. Din’s Fire and the Song of Time only matter for the optional Gold Skulltulas. |
| Rewards | Dungeon Map, Compass, Boomerang, Heart Container, Zora’s Sapphire. Outside the dungeon, in Zora’s Domain, there is one extra Piece of Heart. |
| Differences | Cow-head switches replace the ceiling switches, the Boomerang comes much sooner, Lizalfos and Like-Likes roam the halls, and Ruto is needed far less than in the original. |
Master Quest keeps the twisting inside of Jabu-Jabu’s Belly but rebuilds nearly every room. You blast and shoot your way through with Bombs and the Slingshot, collect the Boomerang long before the original does, carry Ruto only for a few stretches and finish with Big Octo and Barinade. Beating Barinade earns the Heart Container and the Zora’s Sapphire, the Spiritual Stone of Water.
Table of Contents
Getting there
Zora’s Domain Piece of Heart and the Fish
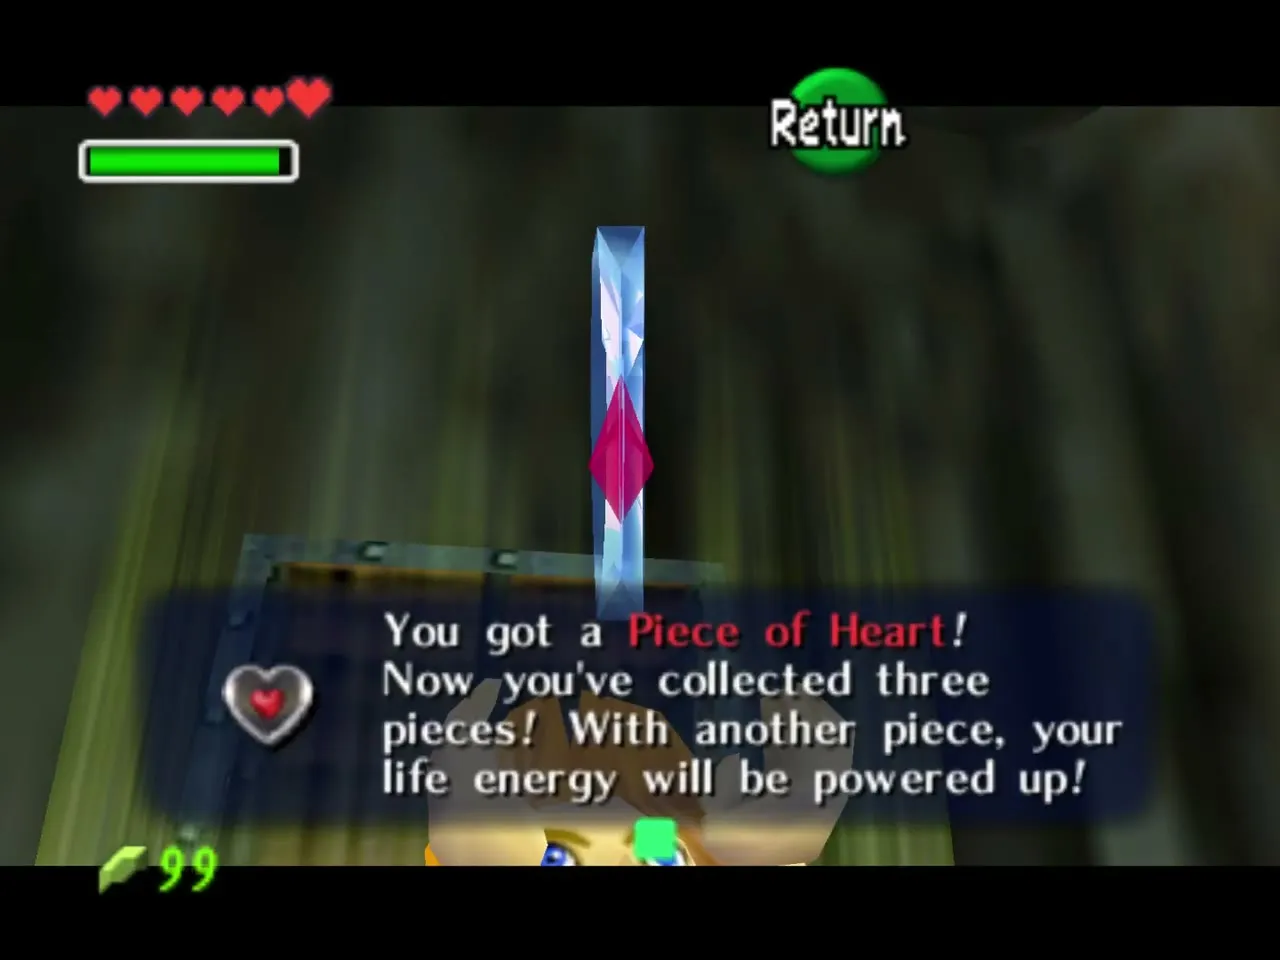
Before you leave Zora’s Domain, open the chest in its side cave for a Piece of Heart. Carry a Deku Stick, because you need fire to get at the chest. The Piece of Heart list covers the rest of the set.
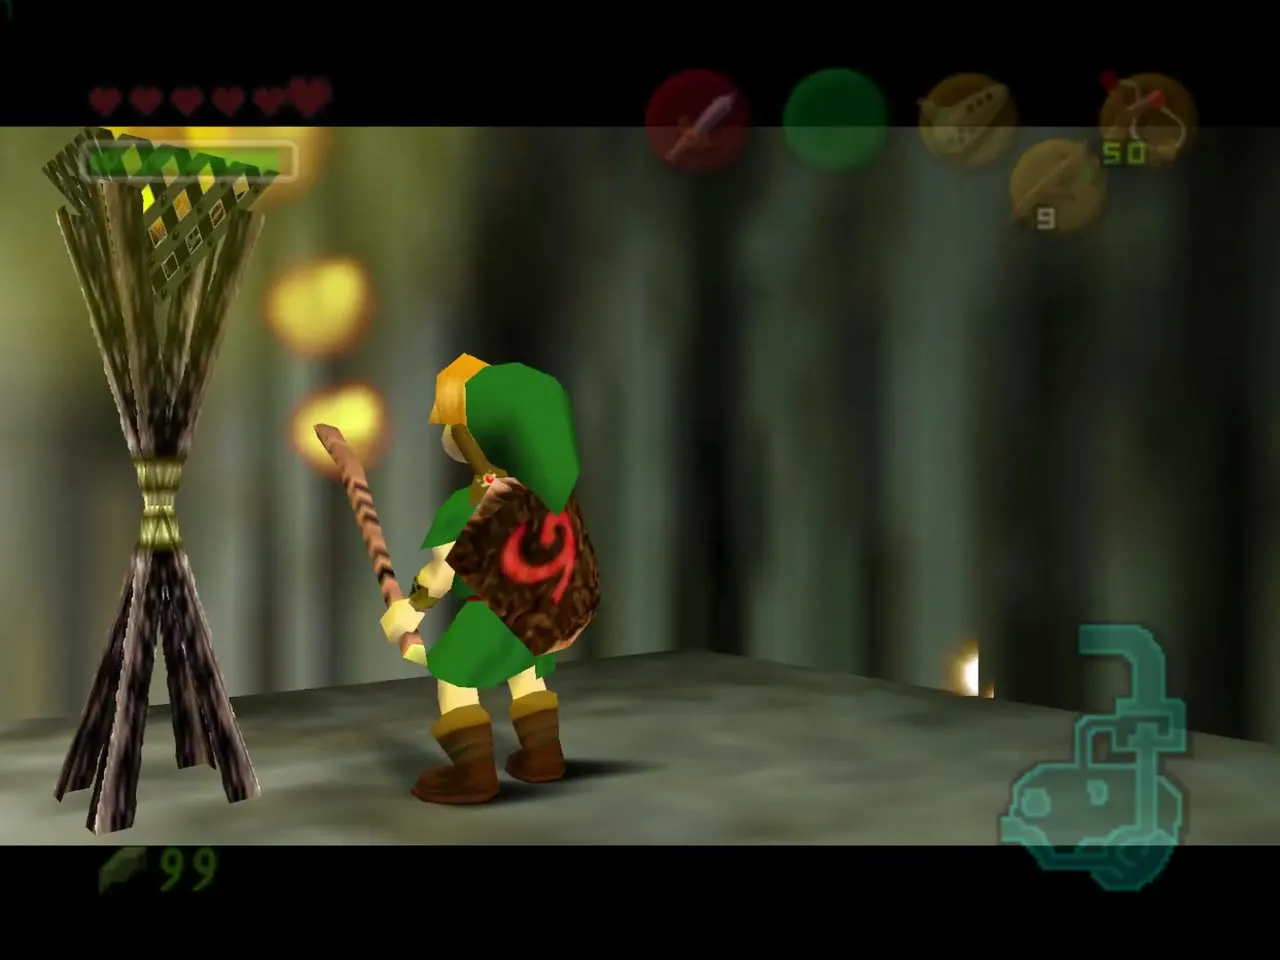
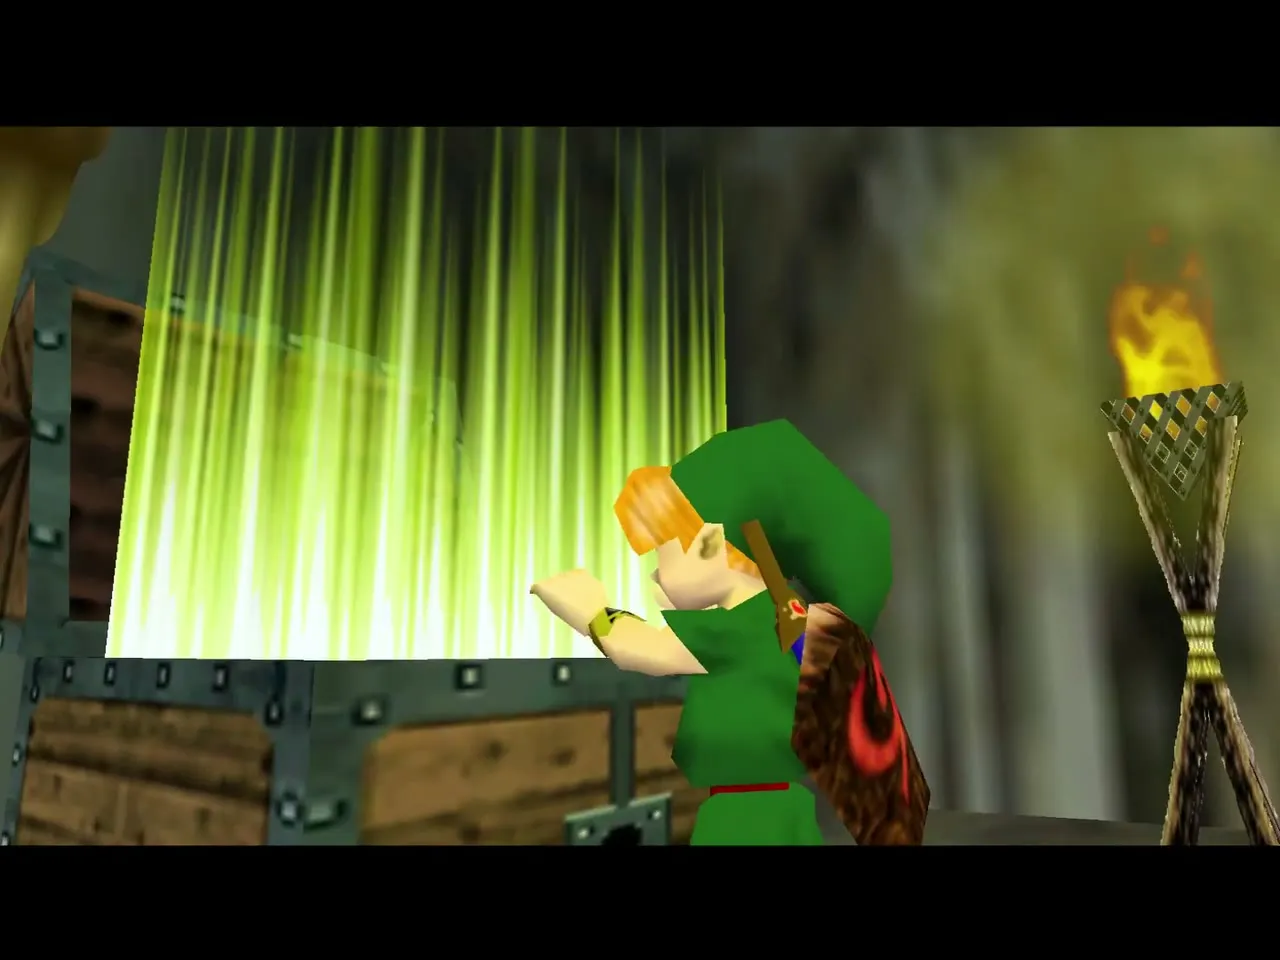
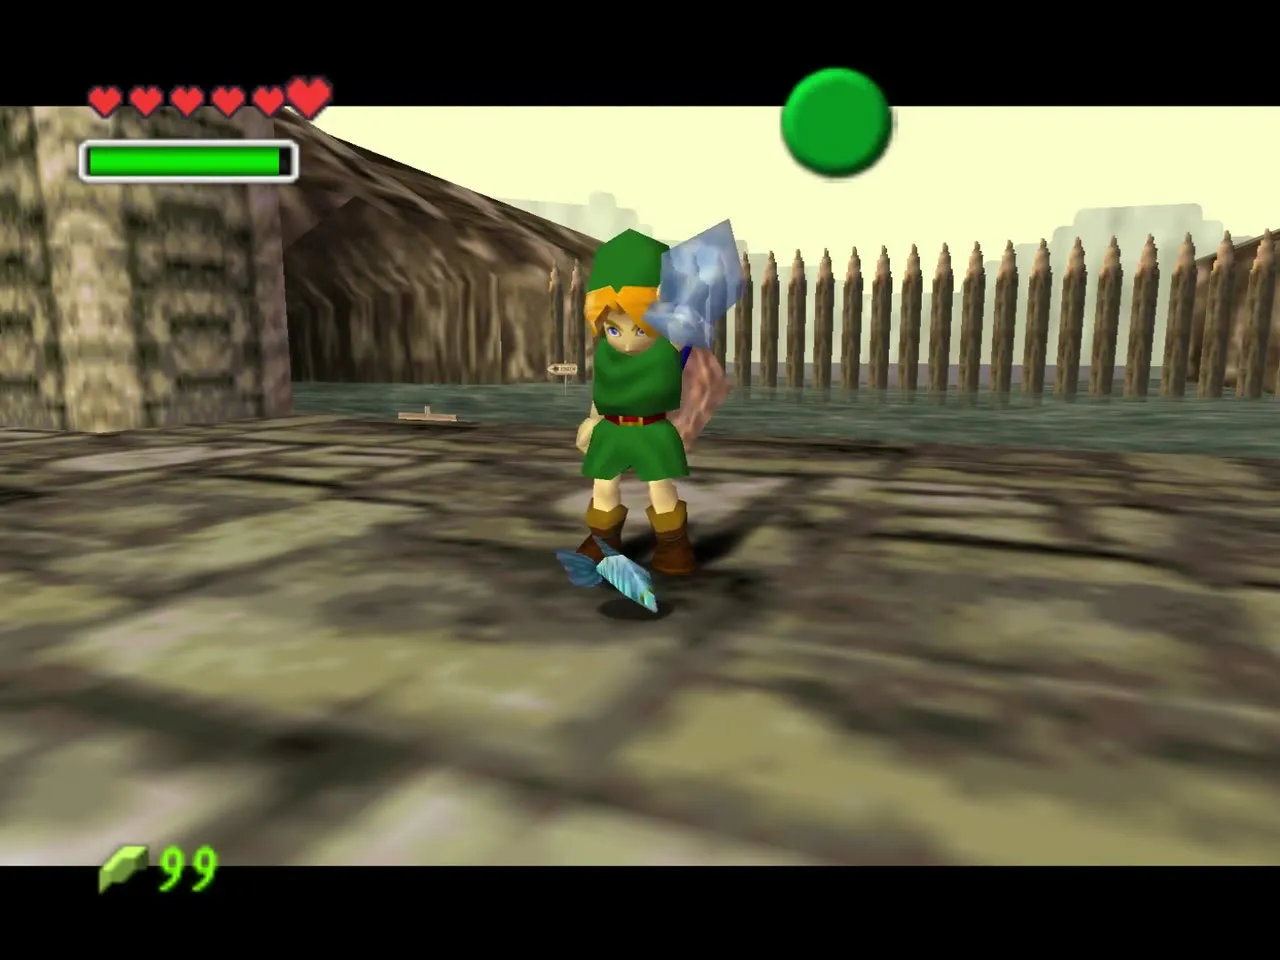
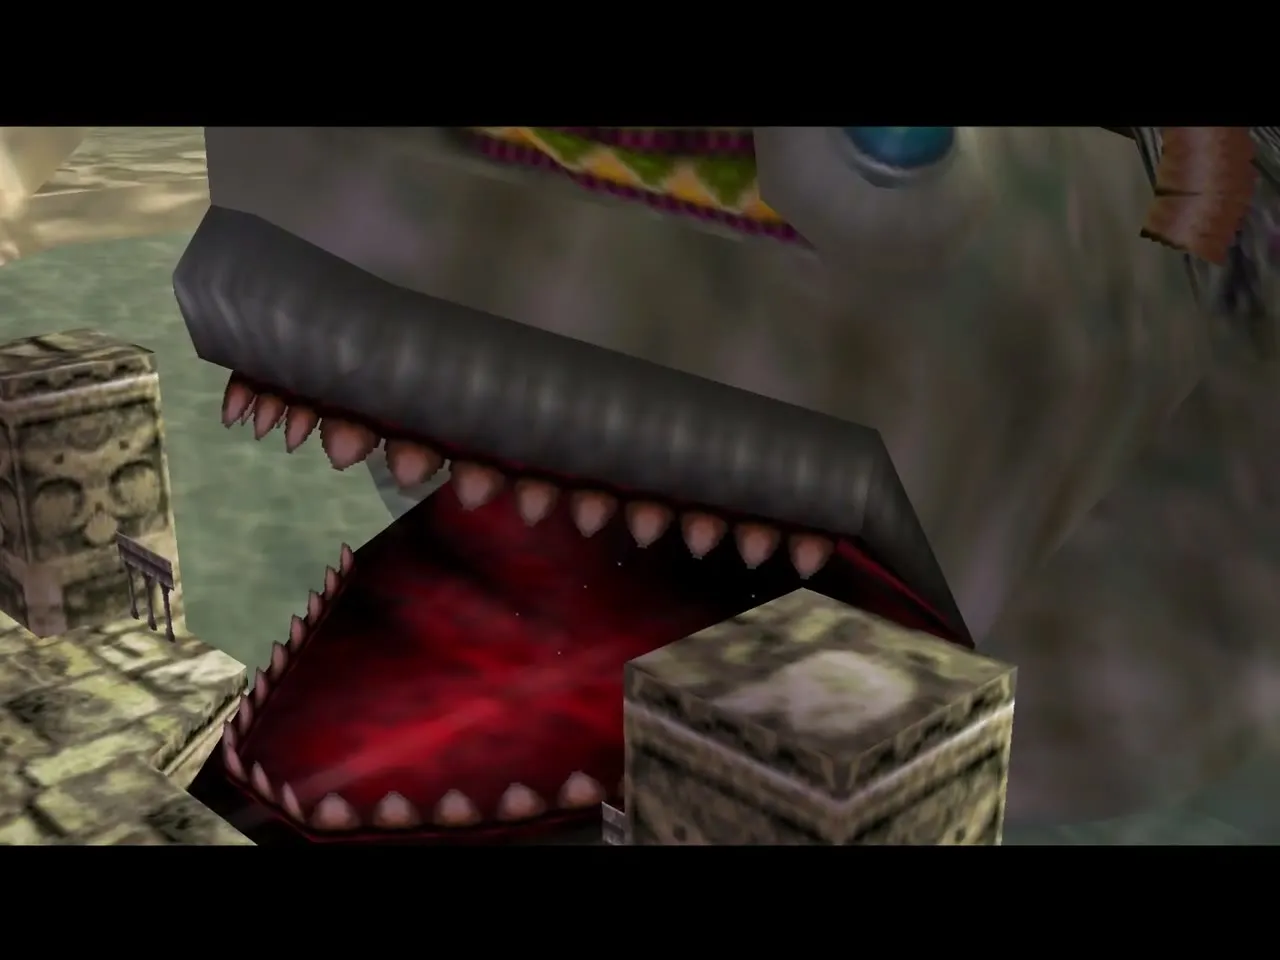
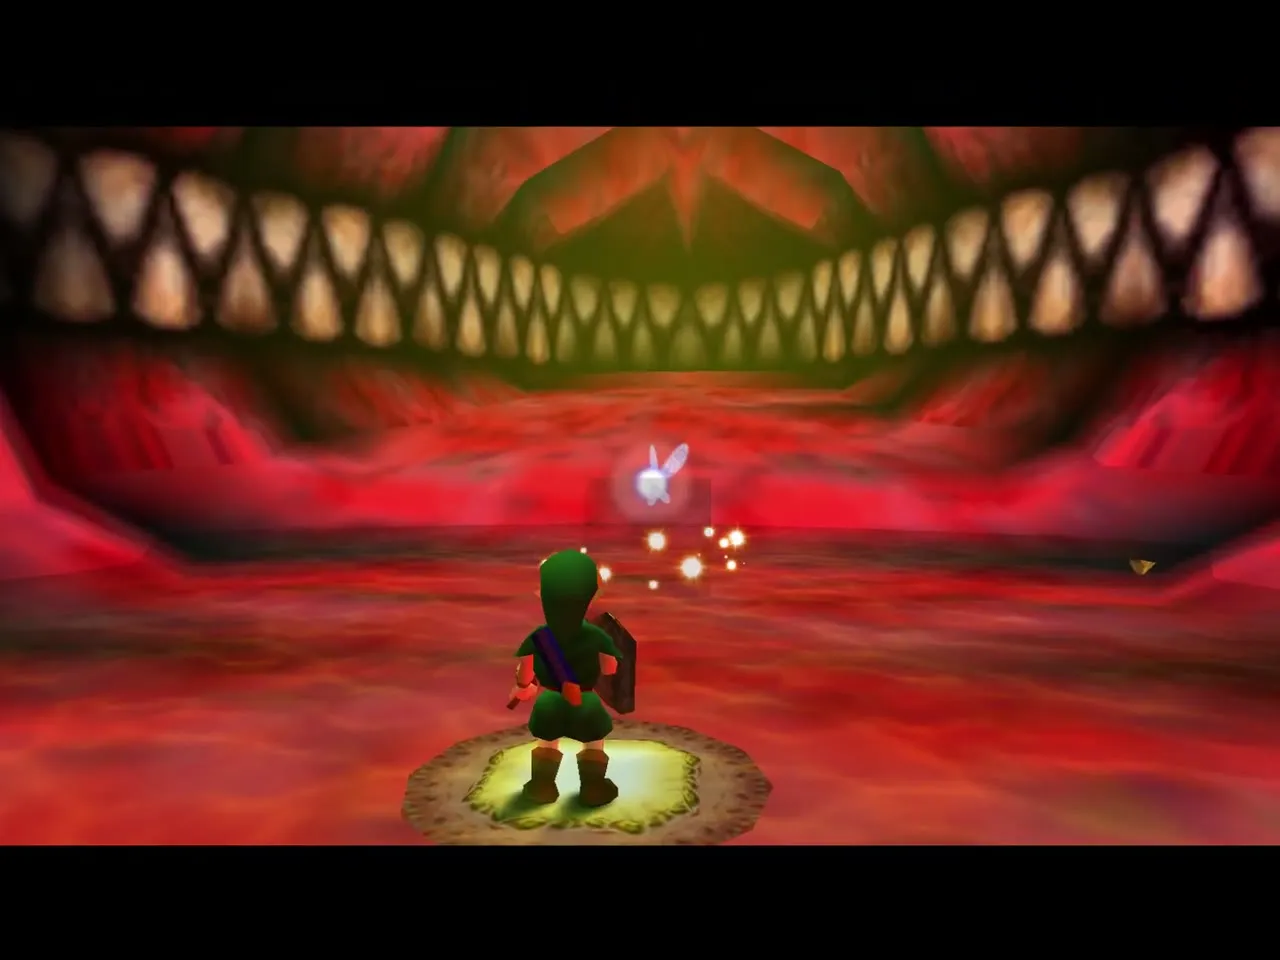
Walk on to Zora’s Fountain with the Fish in your bottle. Stand on the ledge in front of Lord Jabu-Jabu, let the Fish out and wait. Jabu-Jabu opens his mouth to swallow it, and you walk straight in after it.
Entrance room: Map and Deku Nuts
Ceiling creature, Magic Jar and Shabom
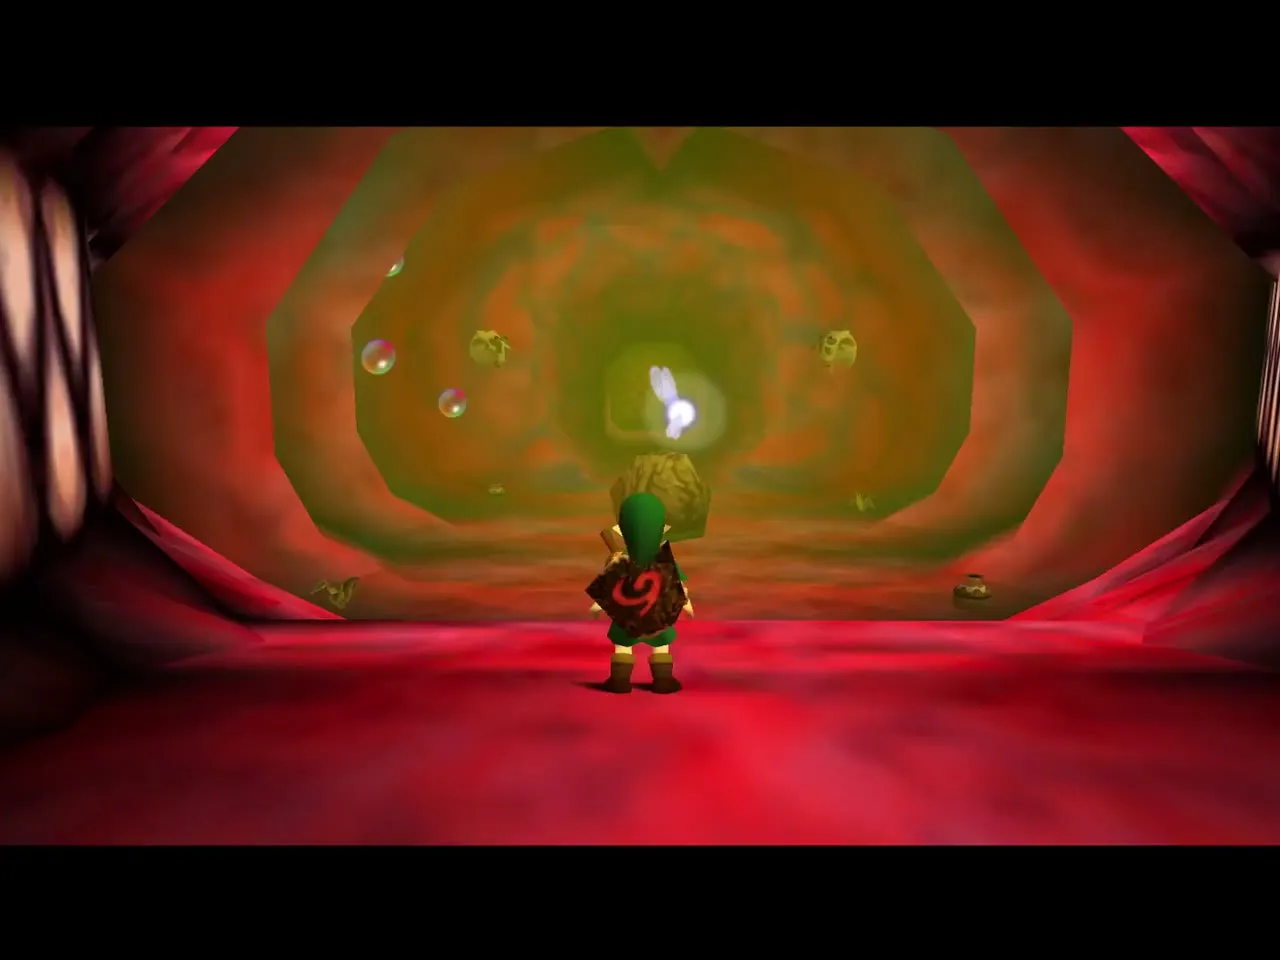
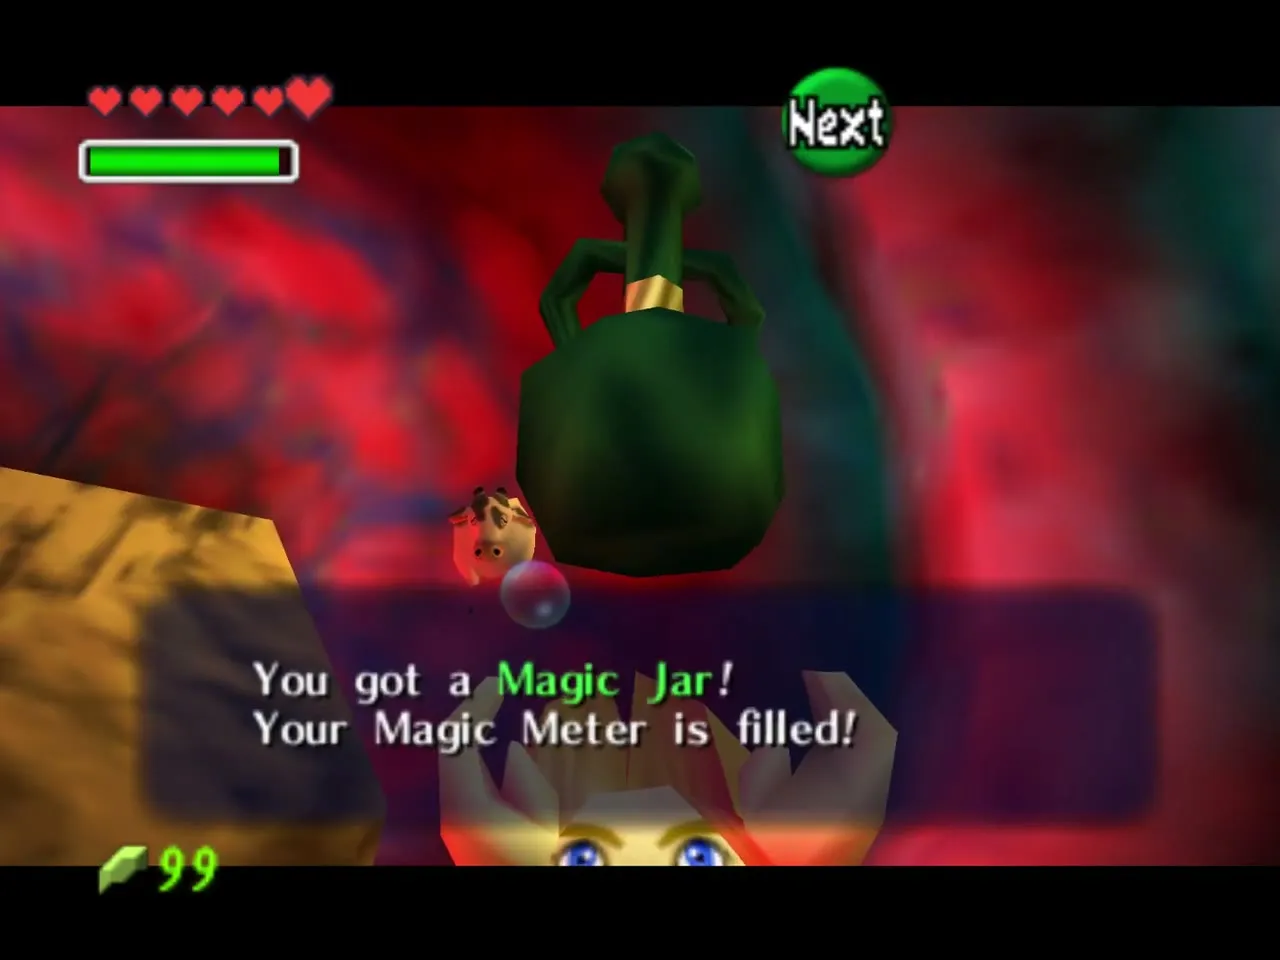
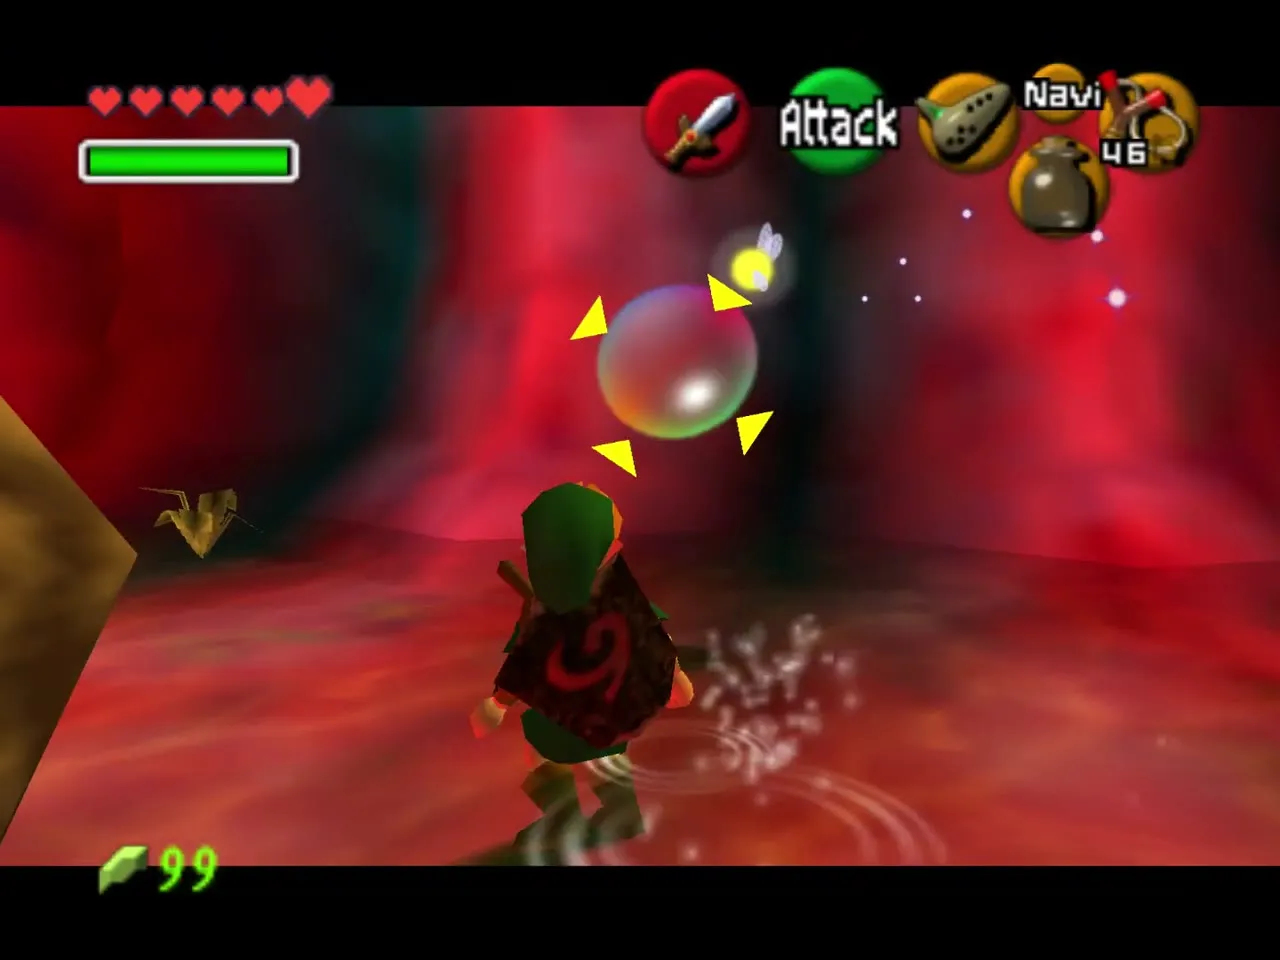
You start in a round chamber with a creature clinging to the ceiling. Lock onto it and shoot it with the Slingshot; it drops a Magic Jar that fills your magic meter. A Shabom, a floating bubble with a small enemy inside, drifts past. Seeds do not pop it, so use the sword or keep out of its way.
Bomb the boulder for the Dungeon Map
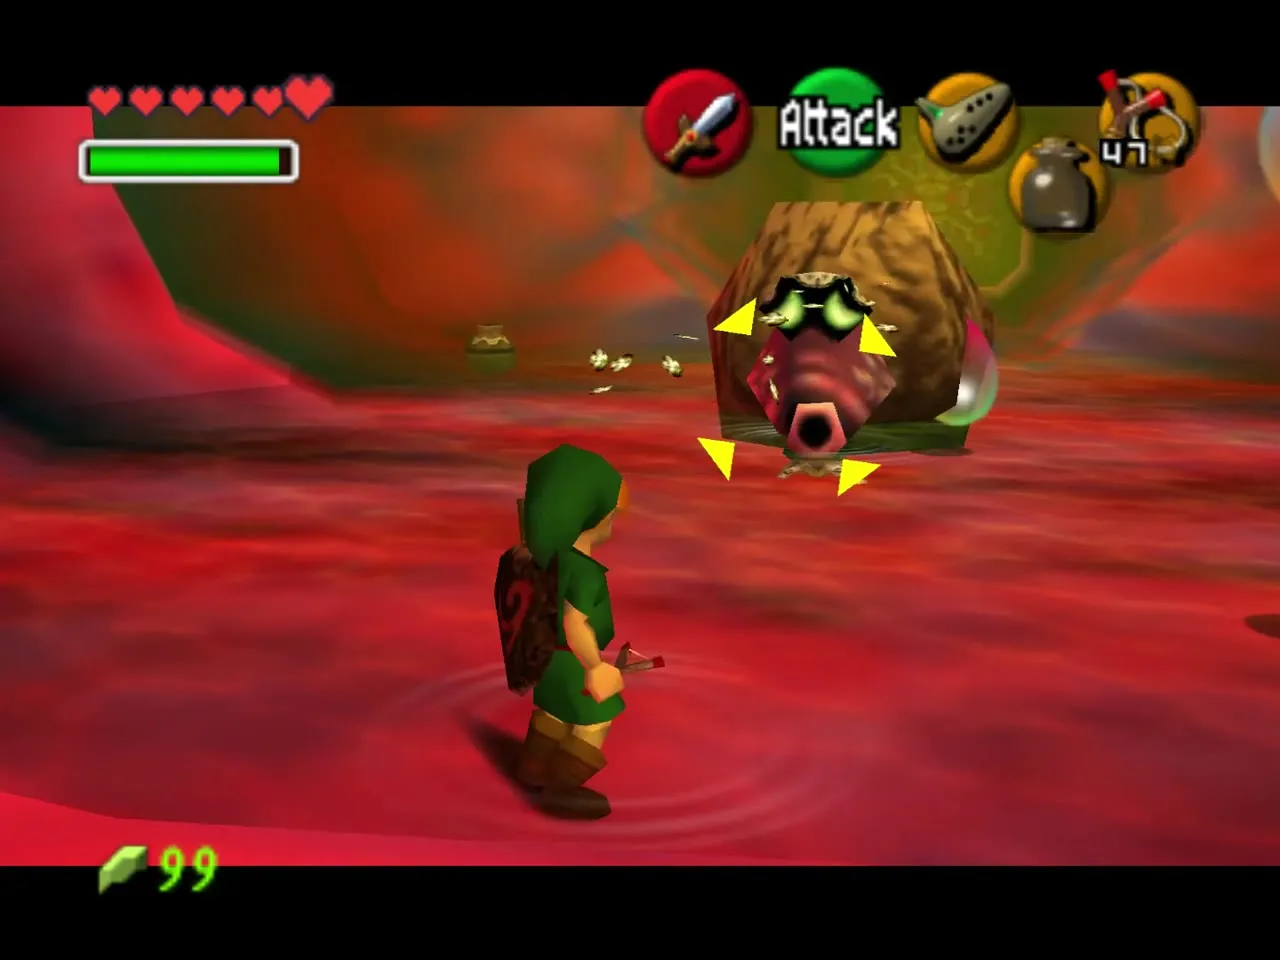
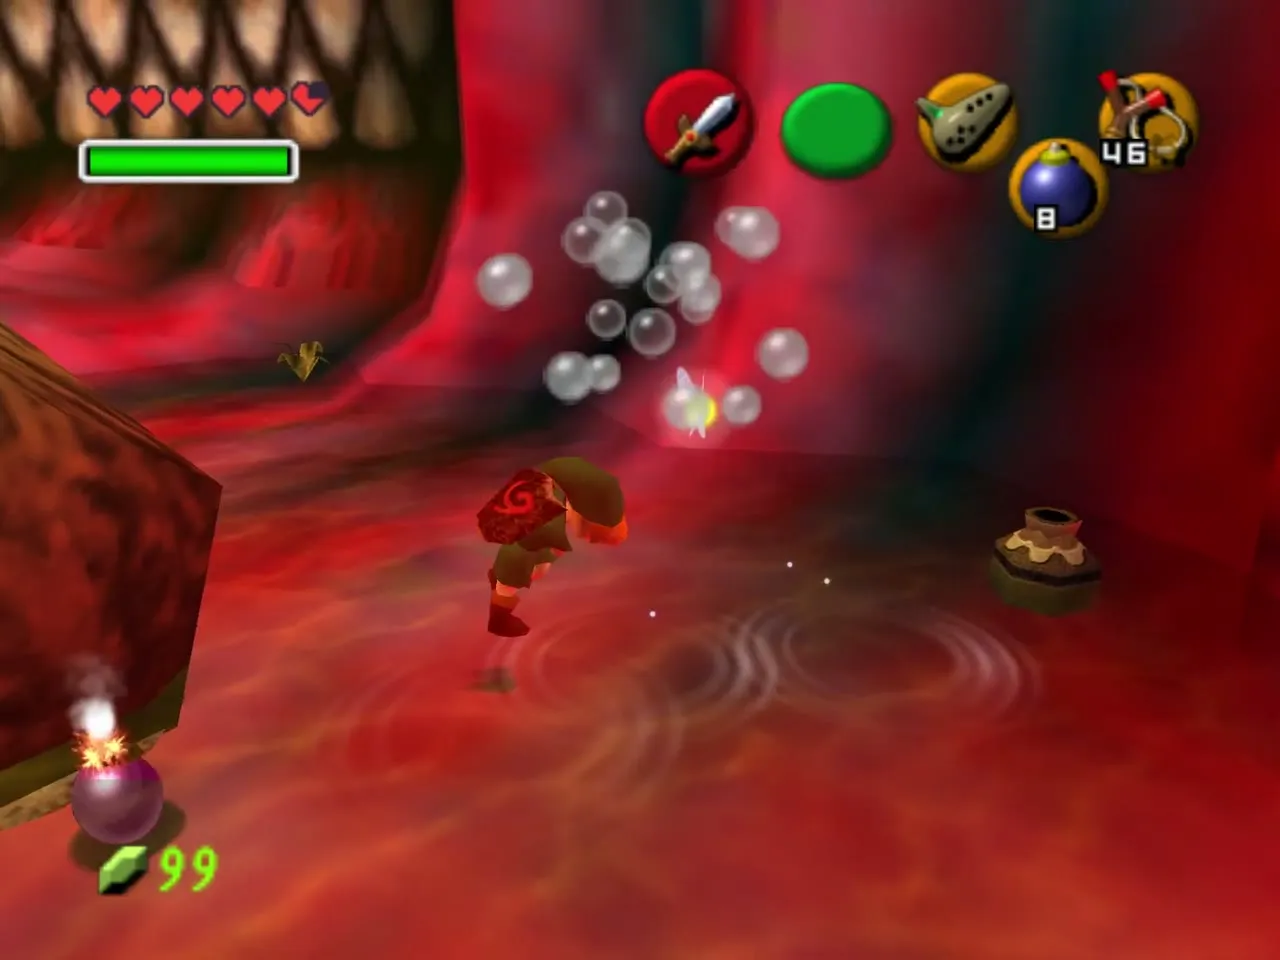
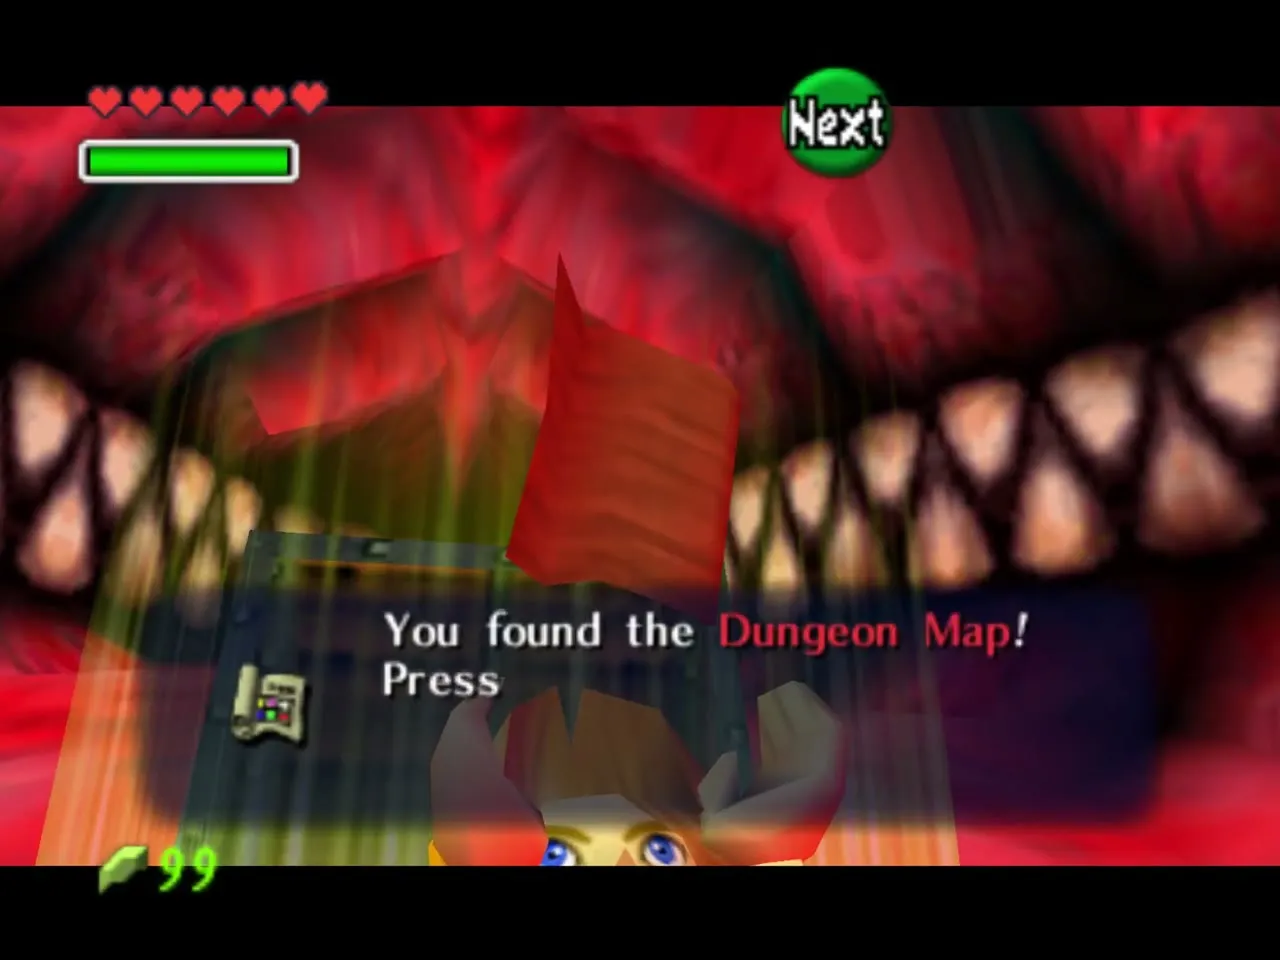
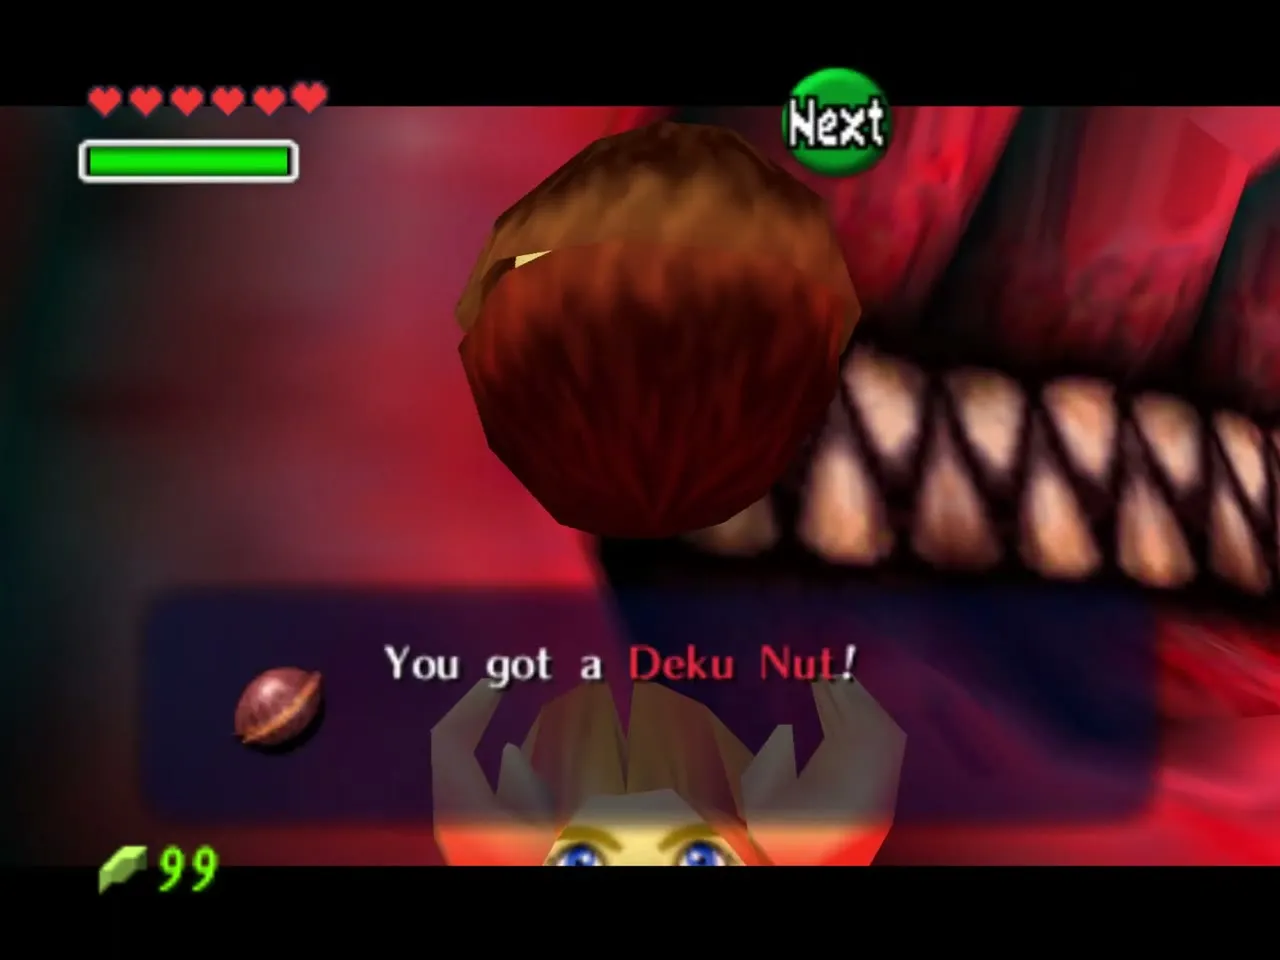
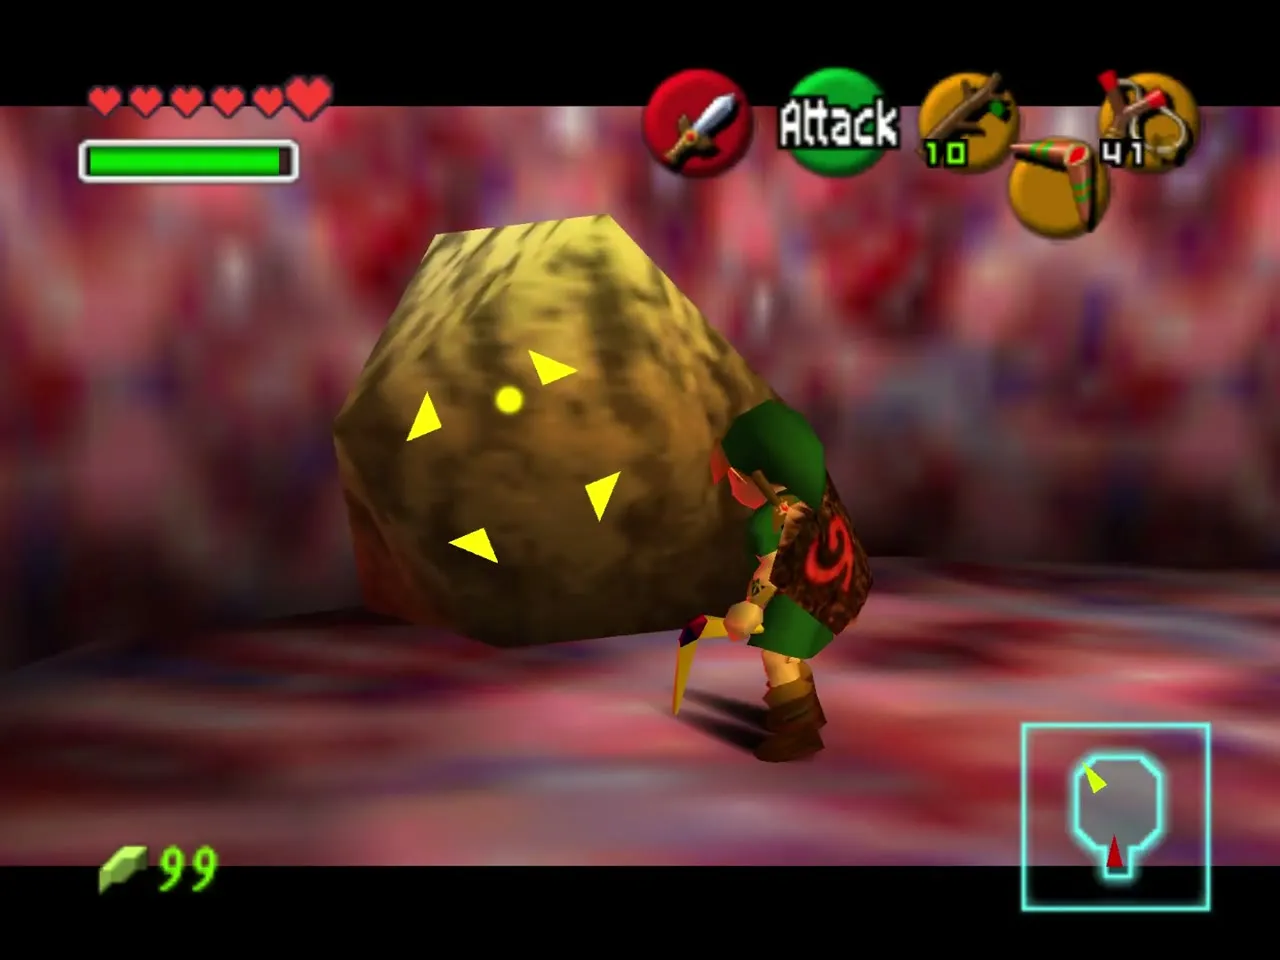
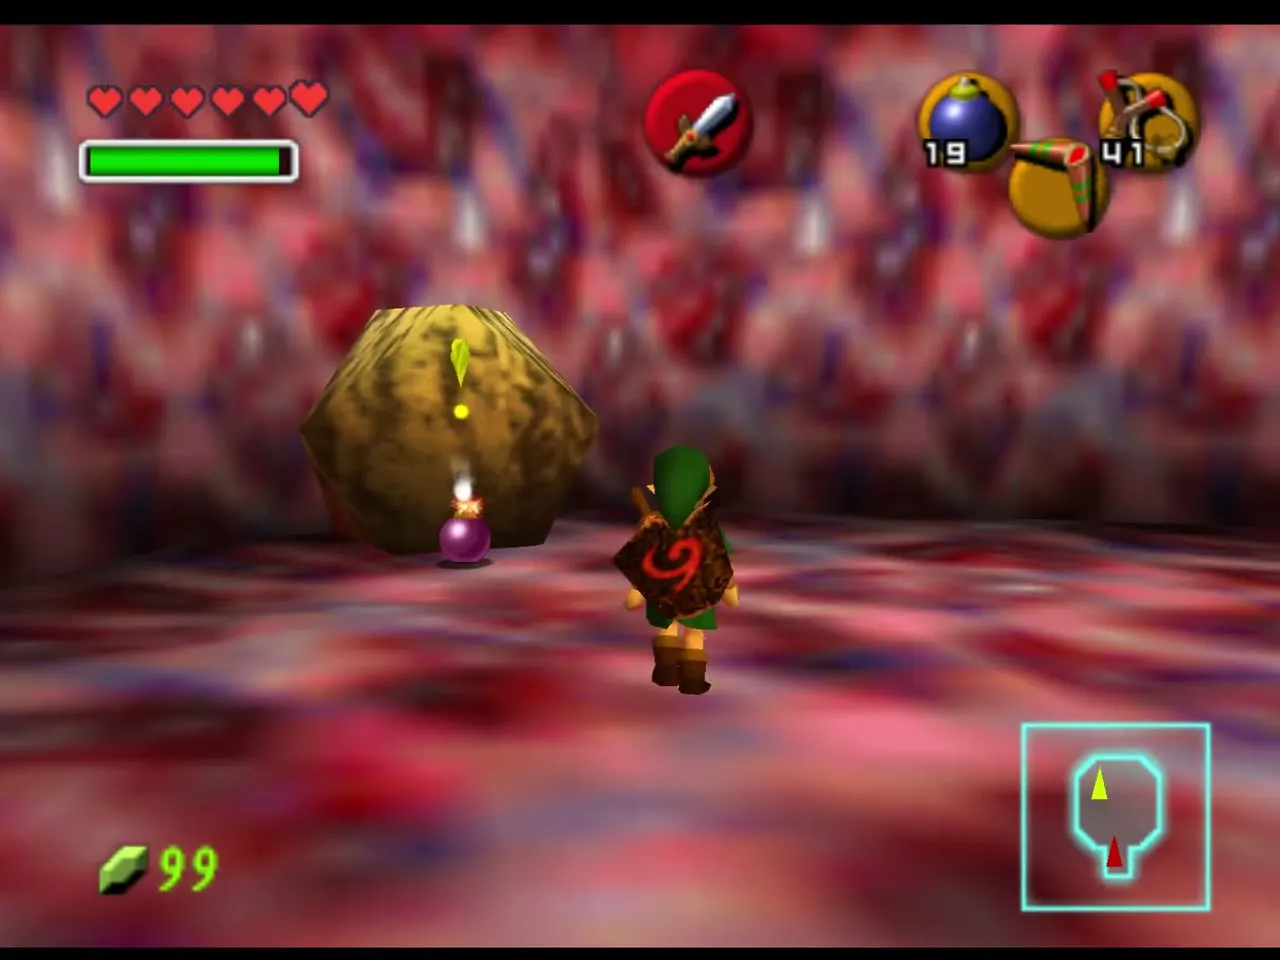
Blast the boulder in the middle of the room with a Bomb. Underneath is a yellow floor switch; step on it and a chest rises holding the Dungeon Map. A second chest in the same room holds Deku Nuts.
Shoot the cow
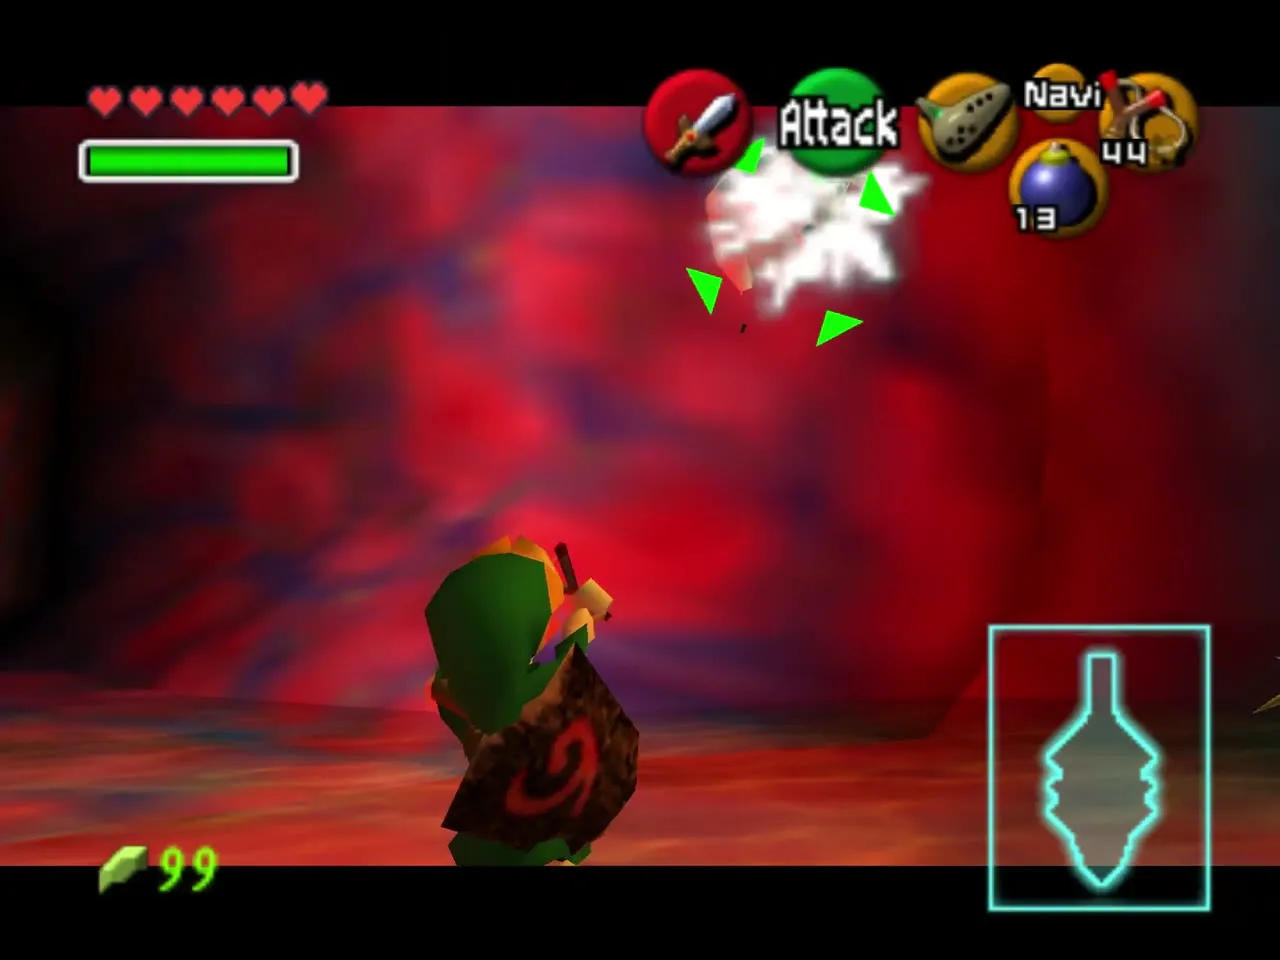
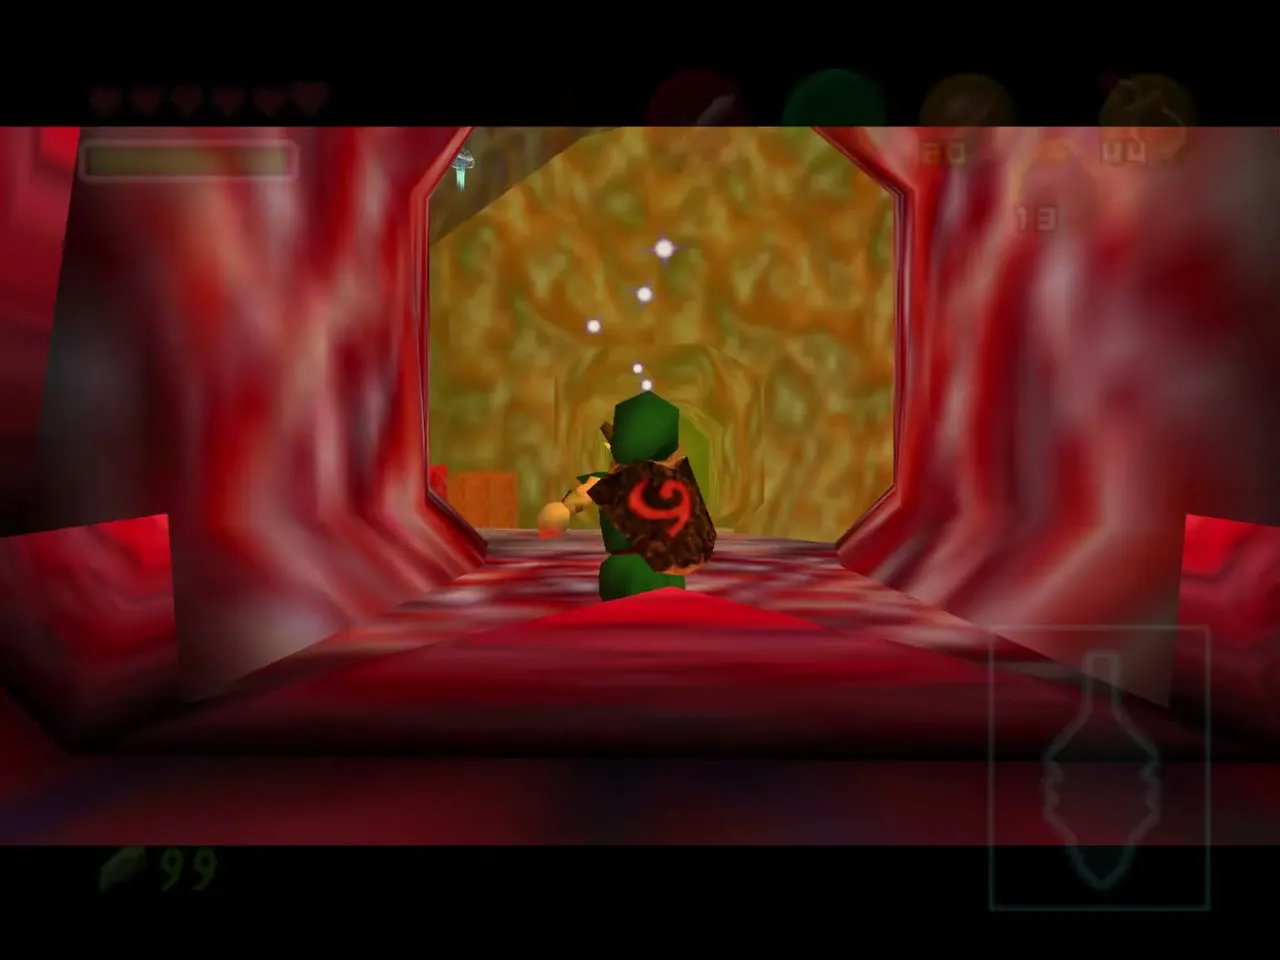
The slimy membrane over the exit is opened by cow heads set into the walls, which act as switches in Master Quest. Hit the cow on the left with a Slingshot seed and the membrane vanishes. Leave through the red tunnel.
Biri room
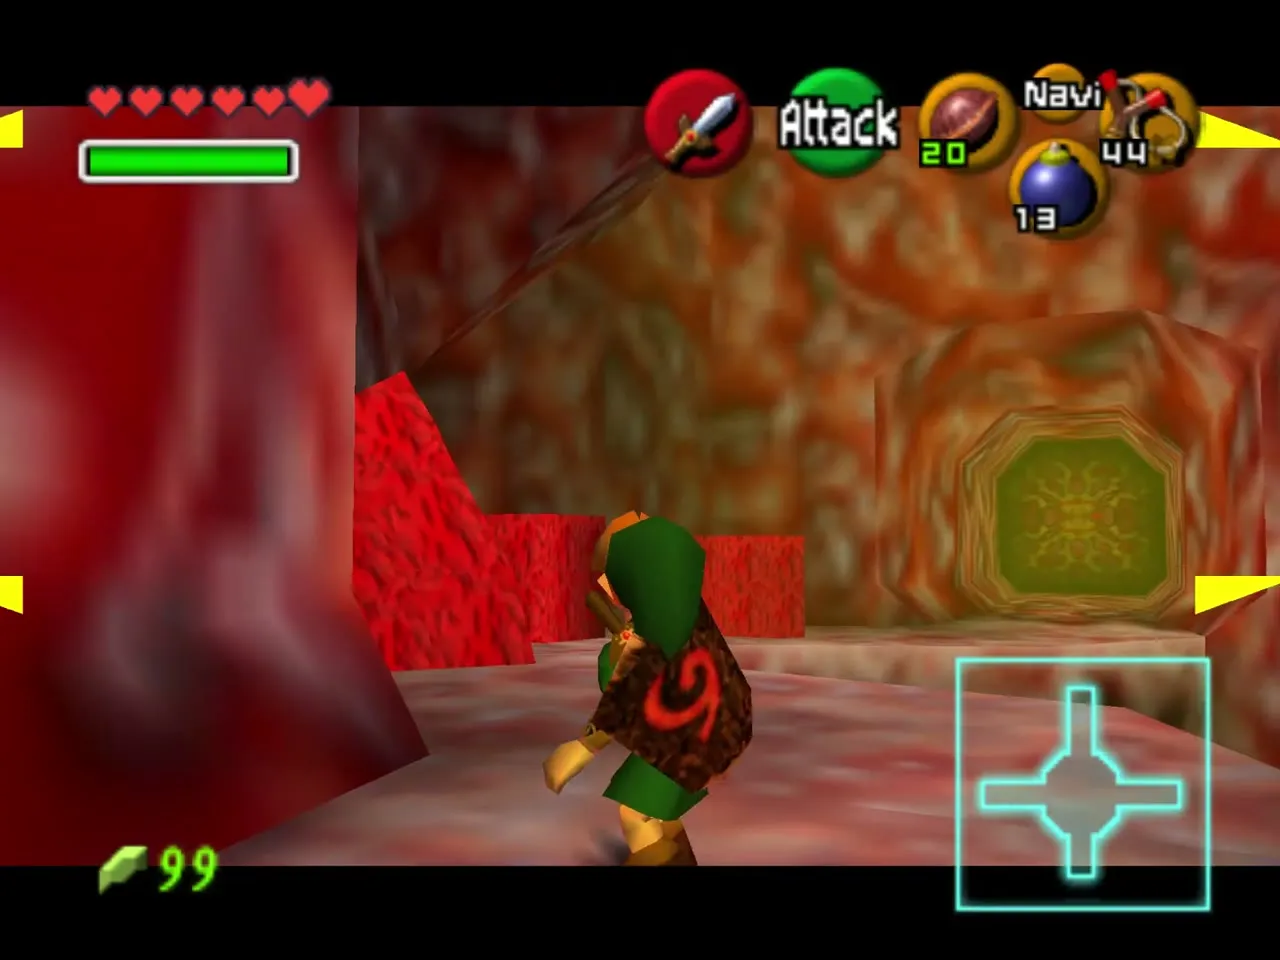
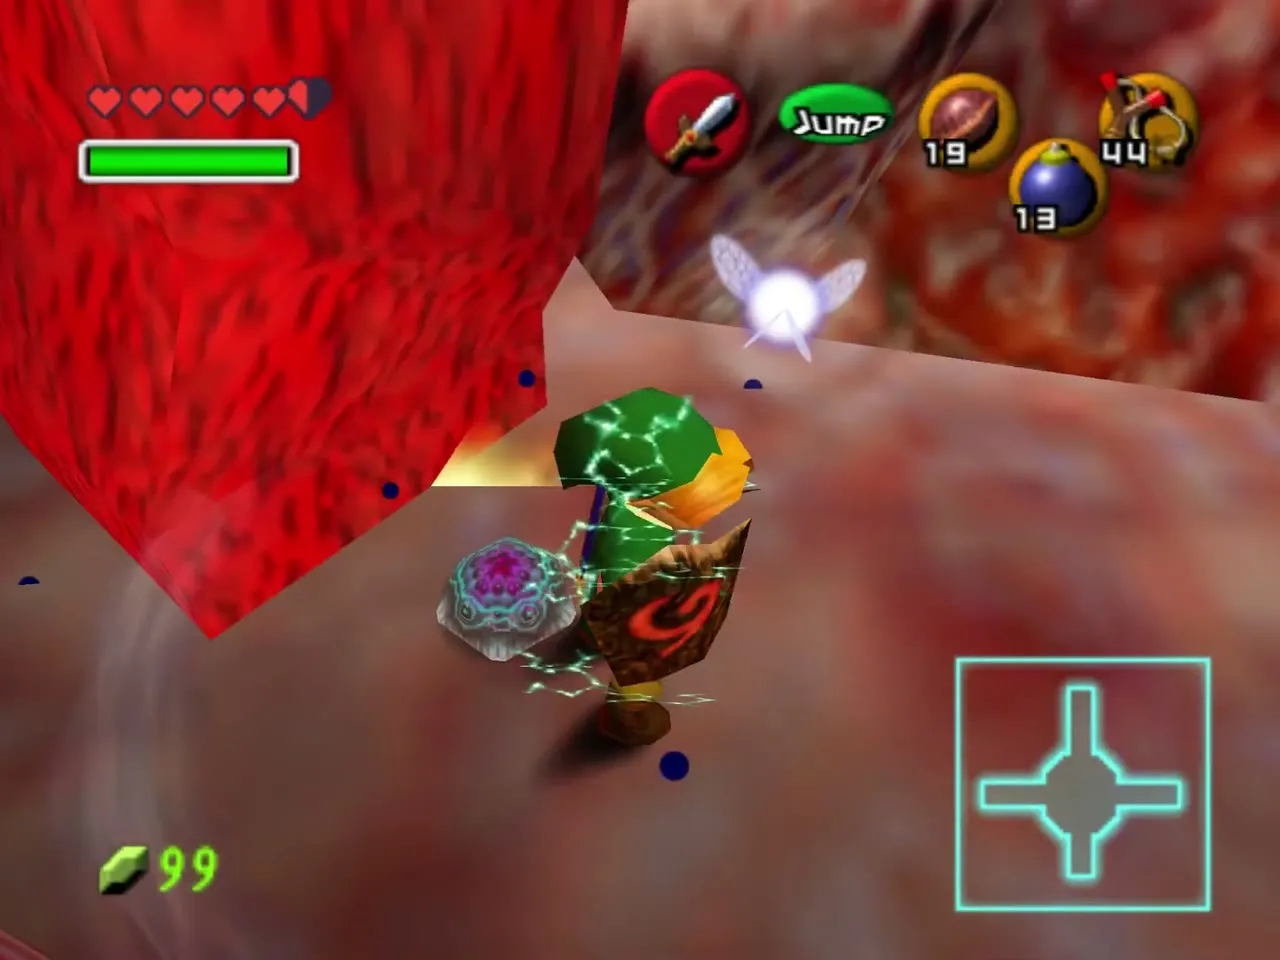
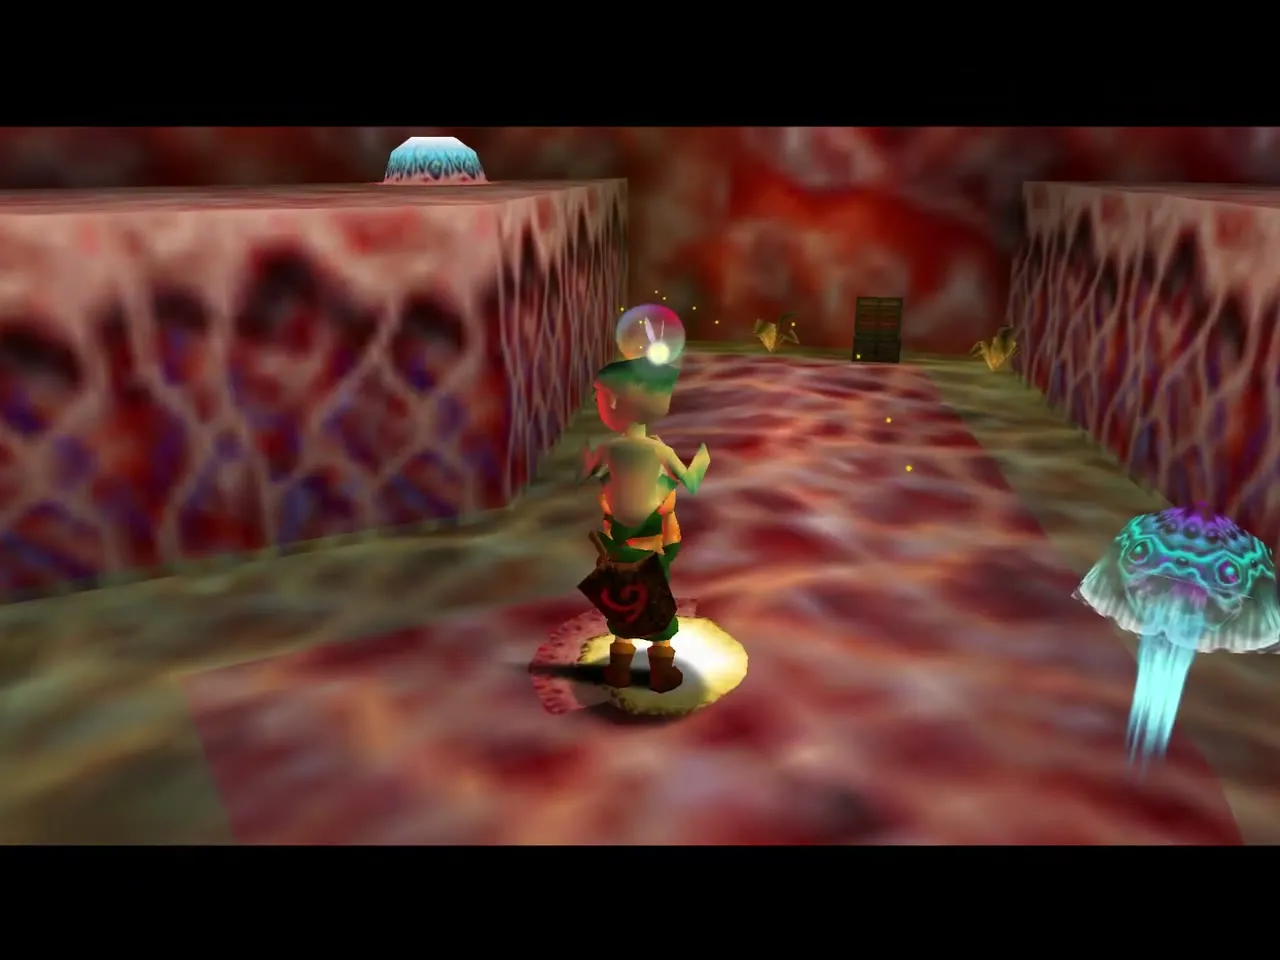
The next room is a plus-shaped chamber of red flesh with Biri, floating jellyfish that shock you on contact. Bombs deal with them safely. The way onward is to drop down the hole in this room.
Waterfall room: Compass
Cow chest and the dive
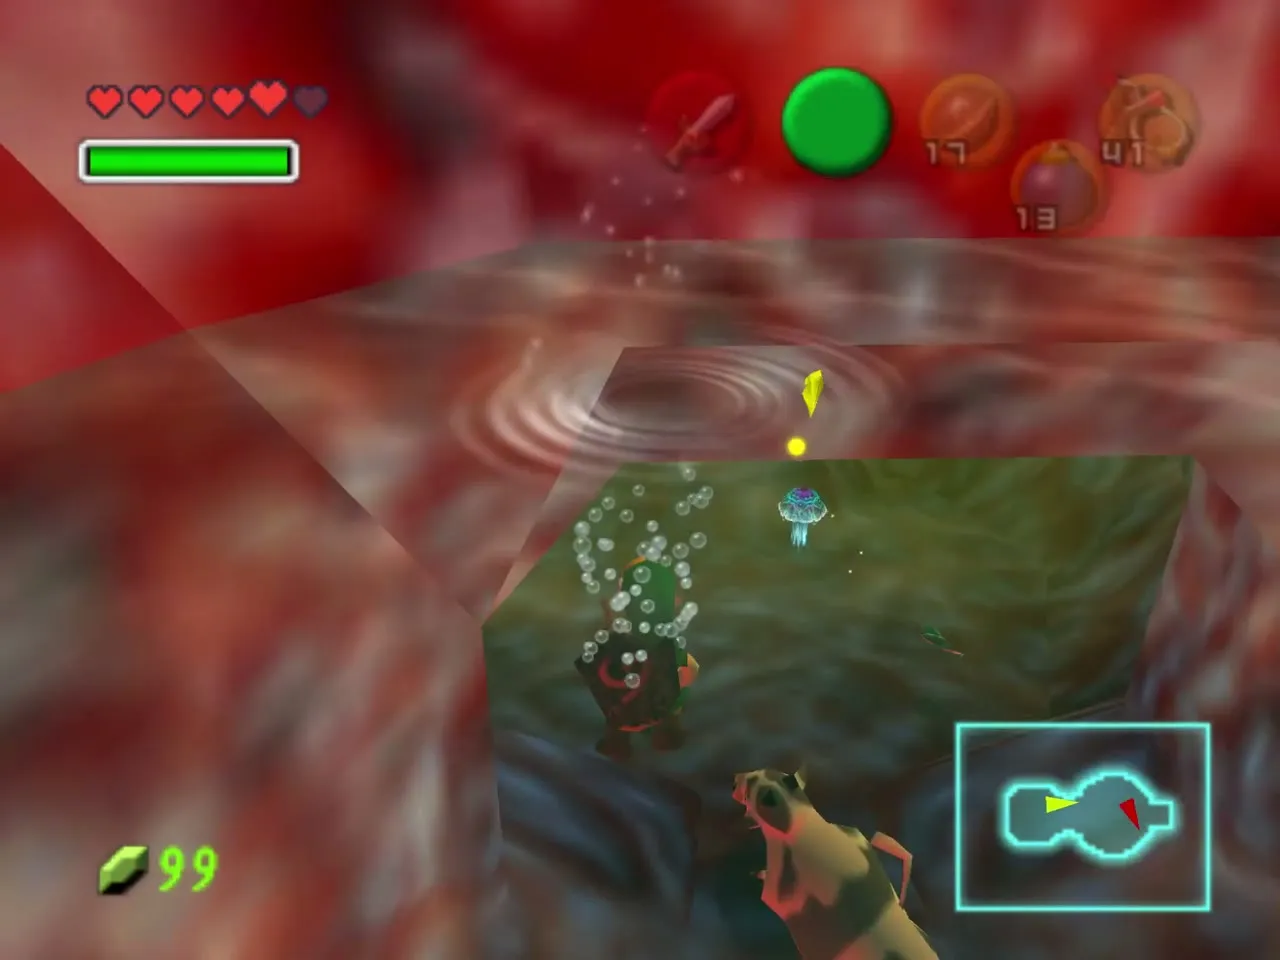
At the bottom you wade onto a pink platform beside a waterfall. A cow in a hole is the trigger: shoot it and a chest appears on the far side, which you reach by diving through a small opening. Beware of the Stinger lurking in the water.
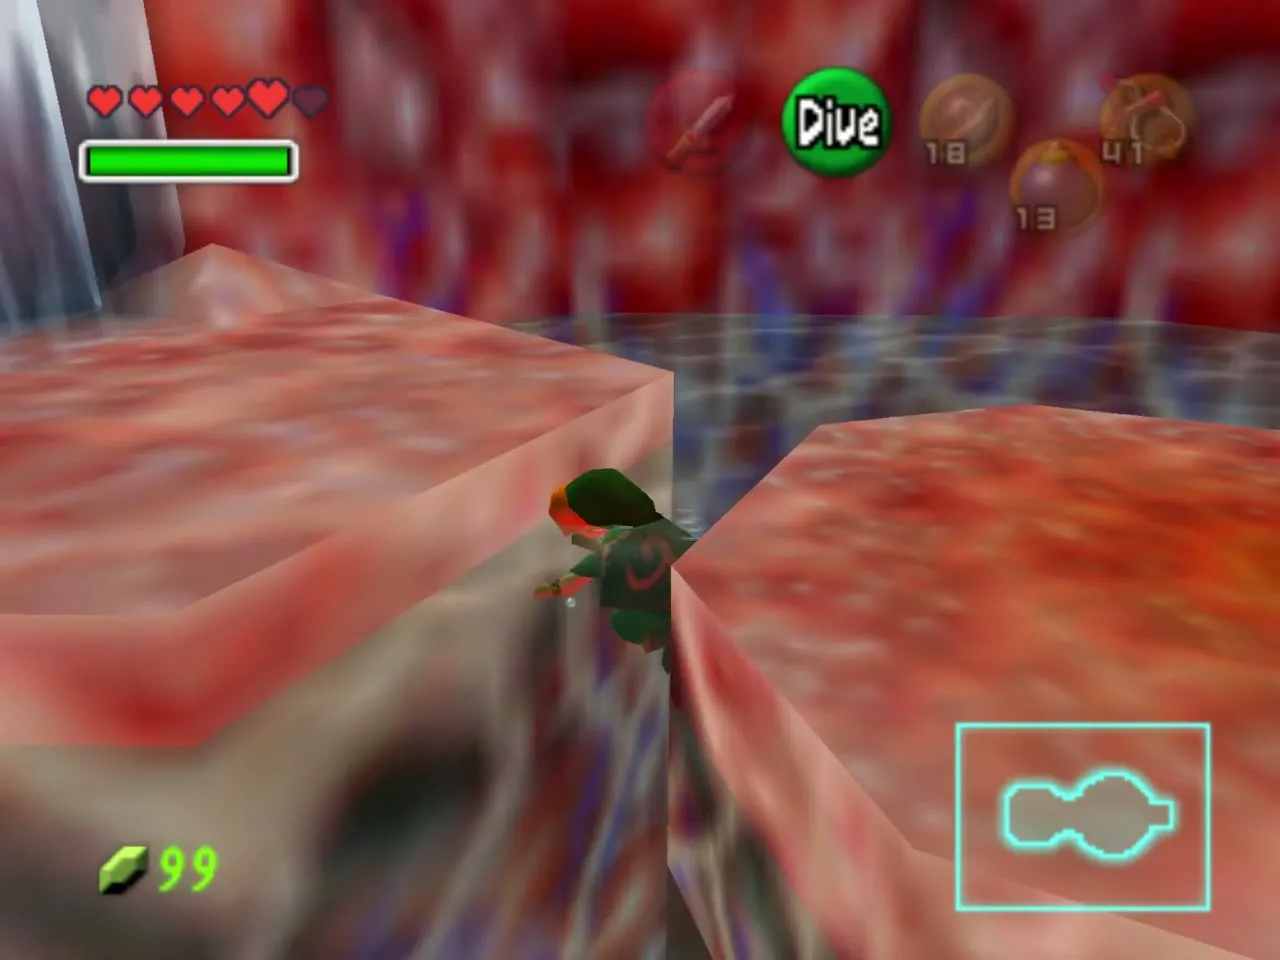
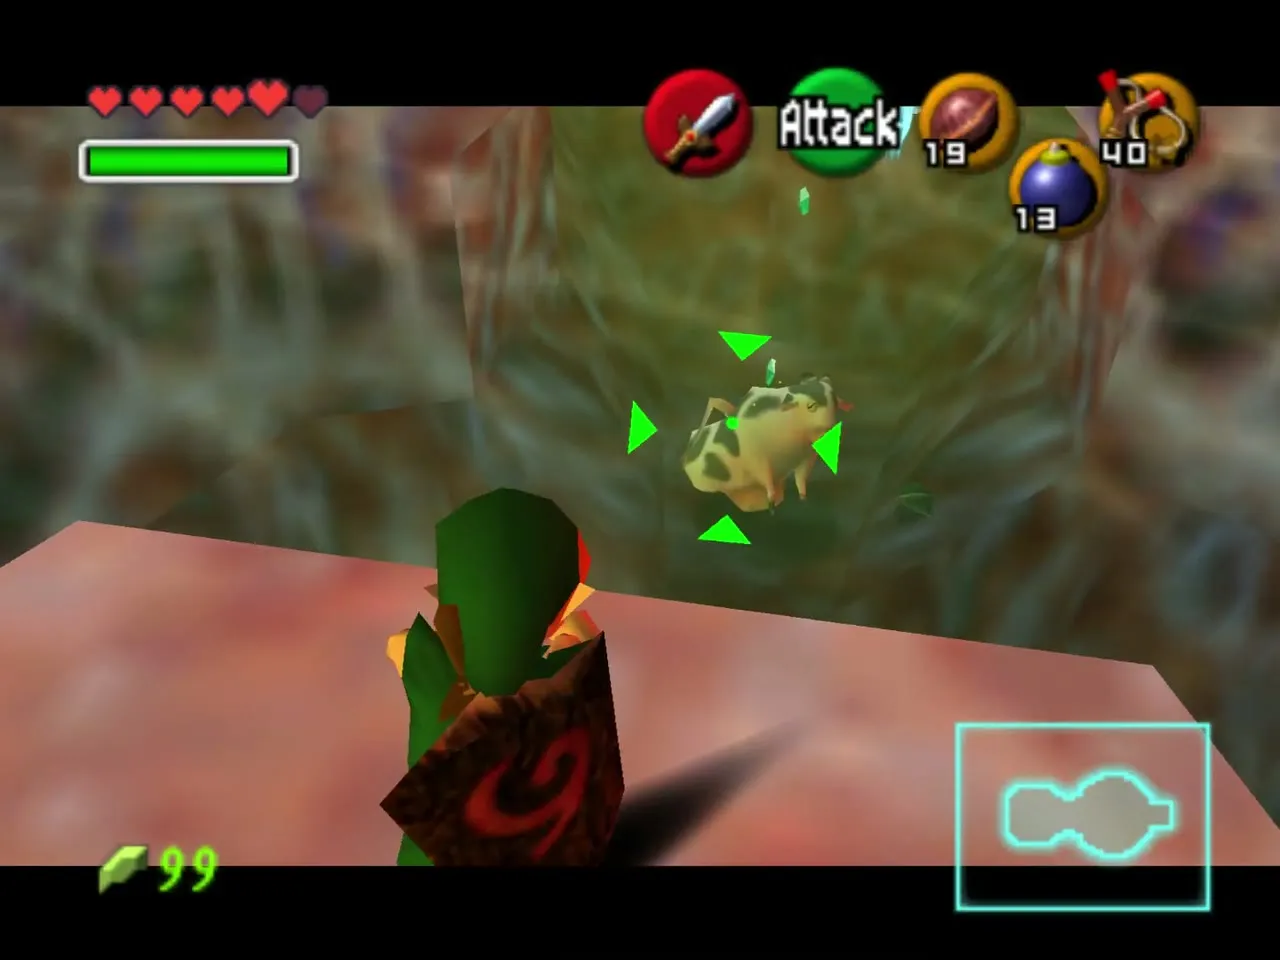
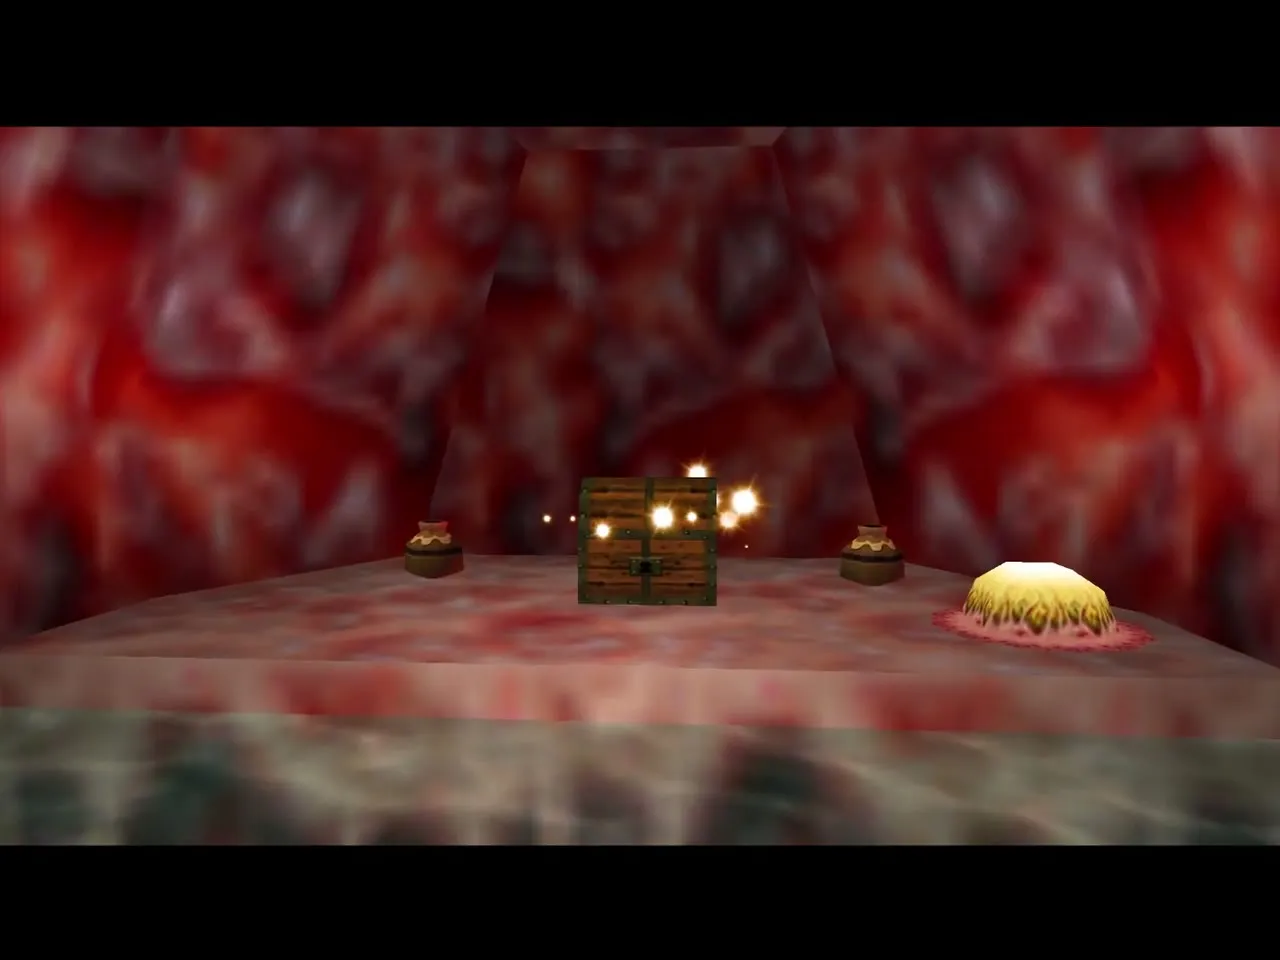
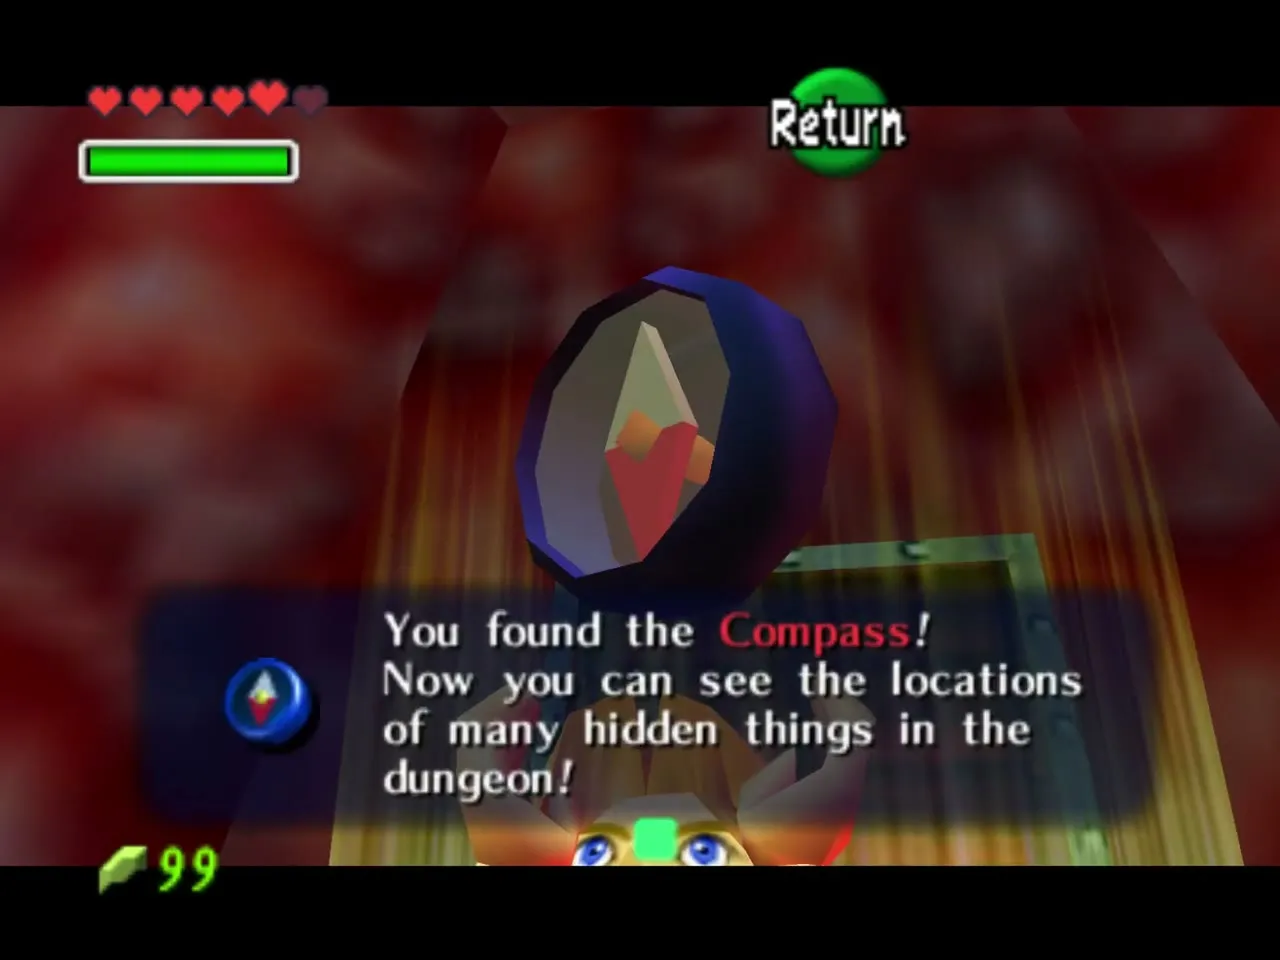
Open the chest for the Compass. Step on the yellow floor switch beside it to open the door above, then dive back out and take the spiked platform up. Slingshot the brown creature swimming near the pads if it gets in the way.
Leave by the tunnel
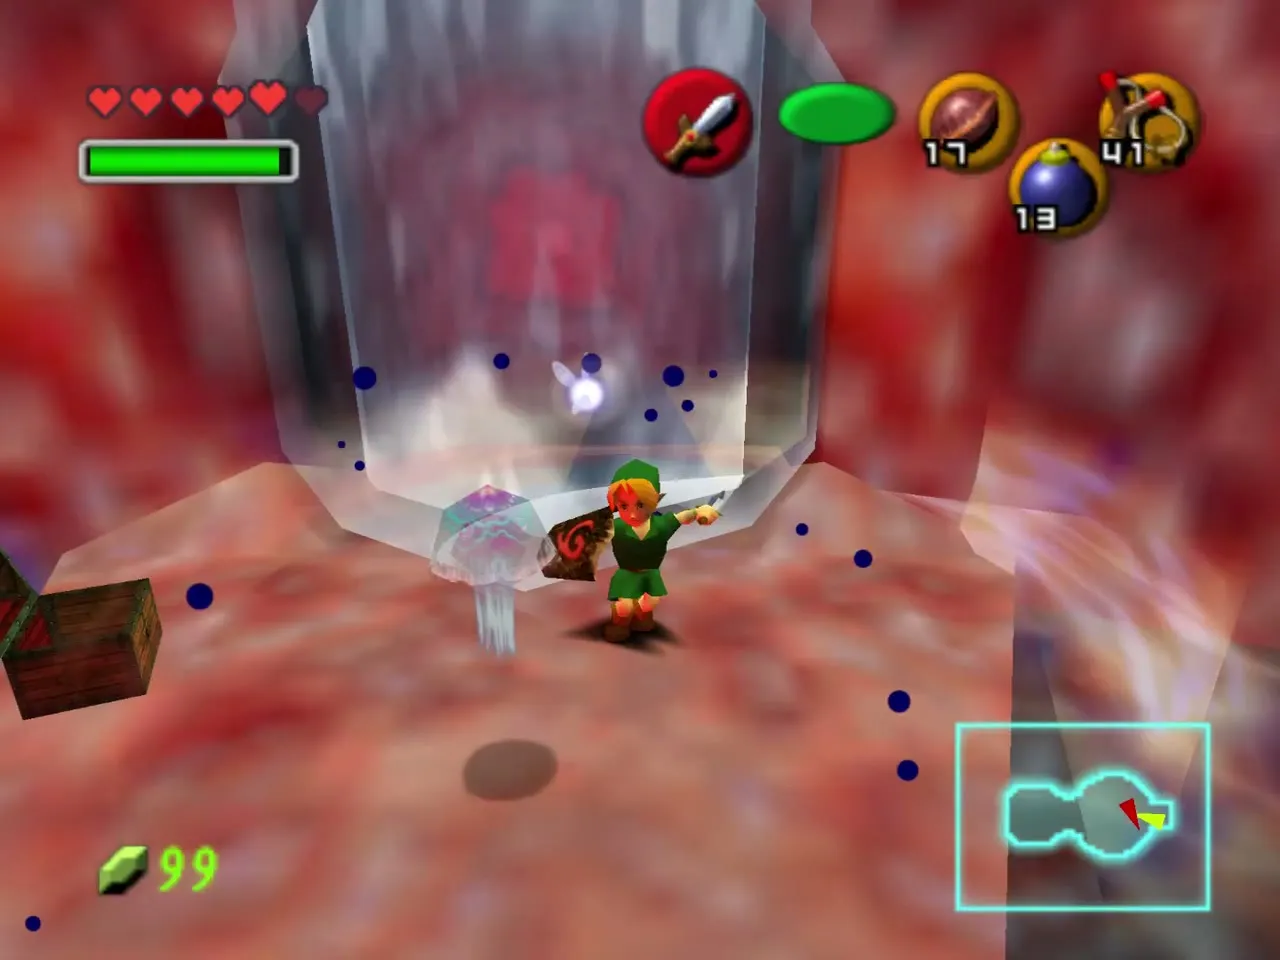
Cross the water pads and swim up the waterfall to the tunnel door on the side wall. The red wriggling growths in the doorways hurt if you touch them; they can be dealt with later using the Boomerang.
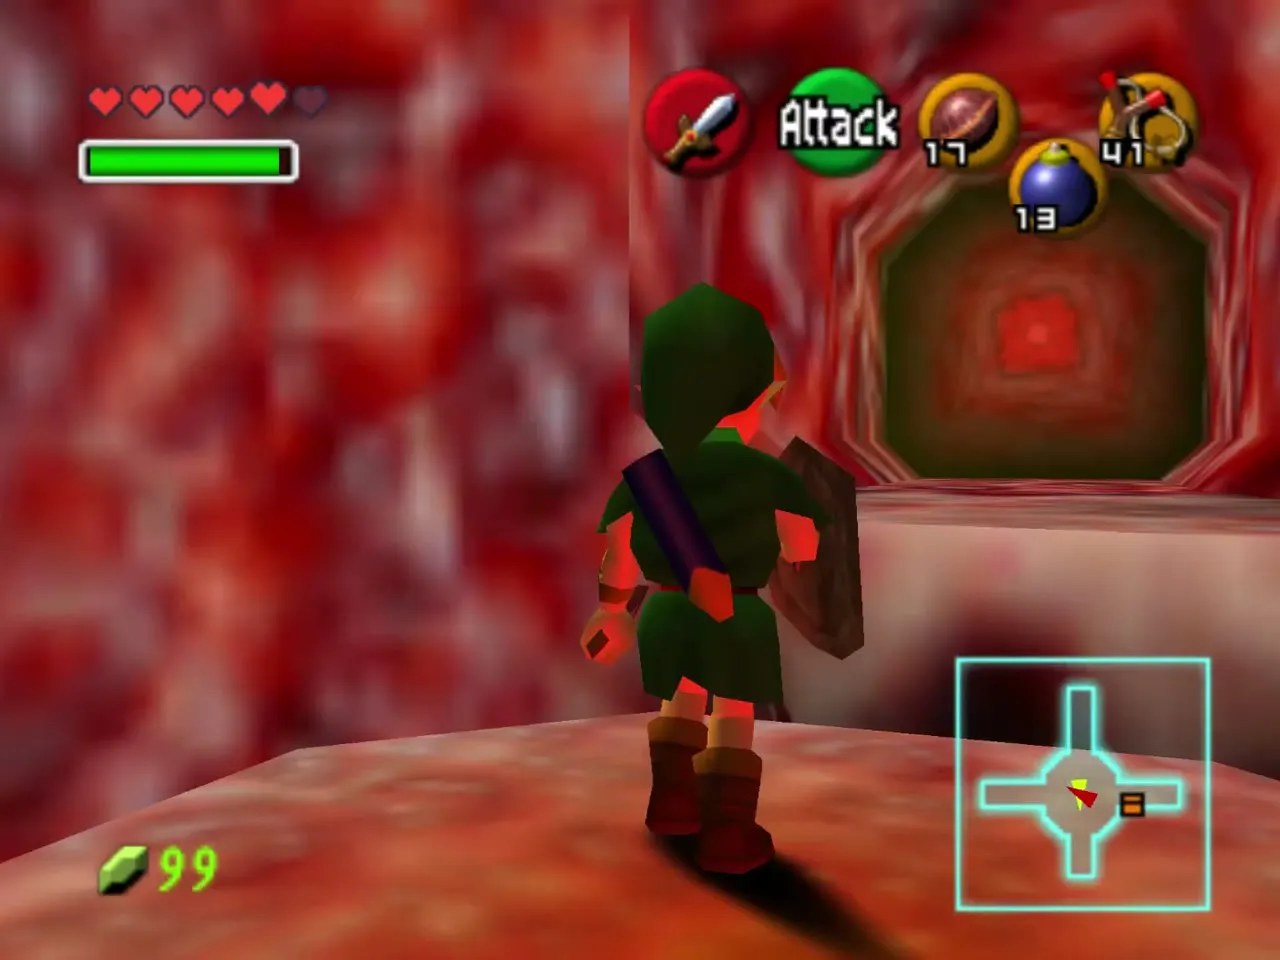
Princess Ruto and the cow-head chests
Meeting Ruto
Ruto waits in the next room. She demands to know who you are, says her father needs not worry and refuses to leave until she finds the thing she came for. She then walks away and drops into a hole in the floor. Follow her down.
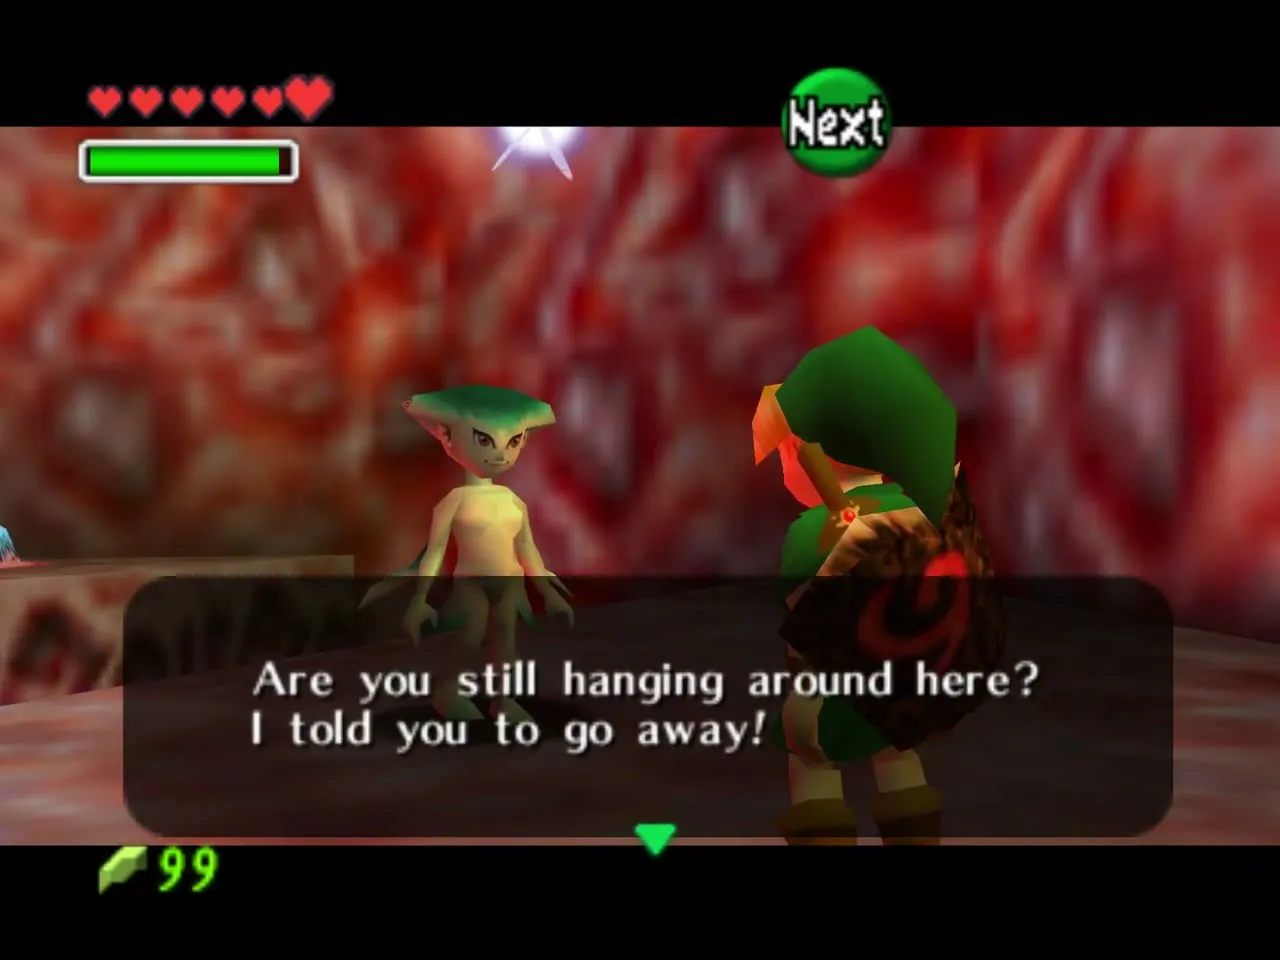
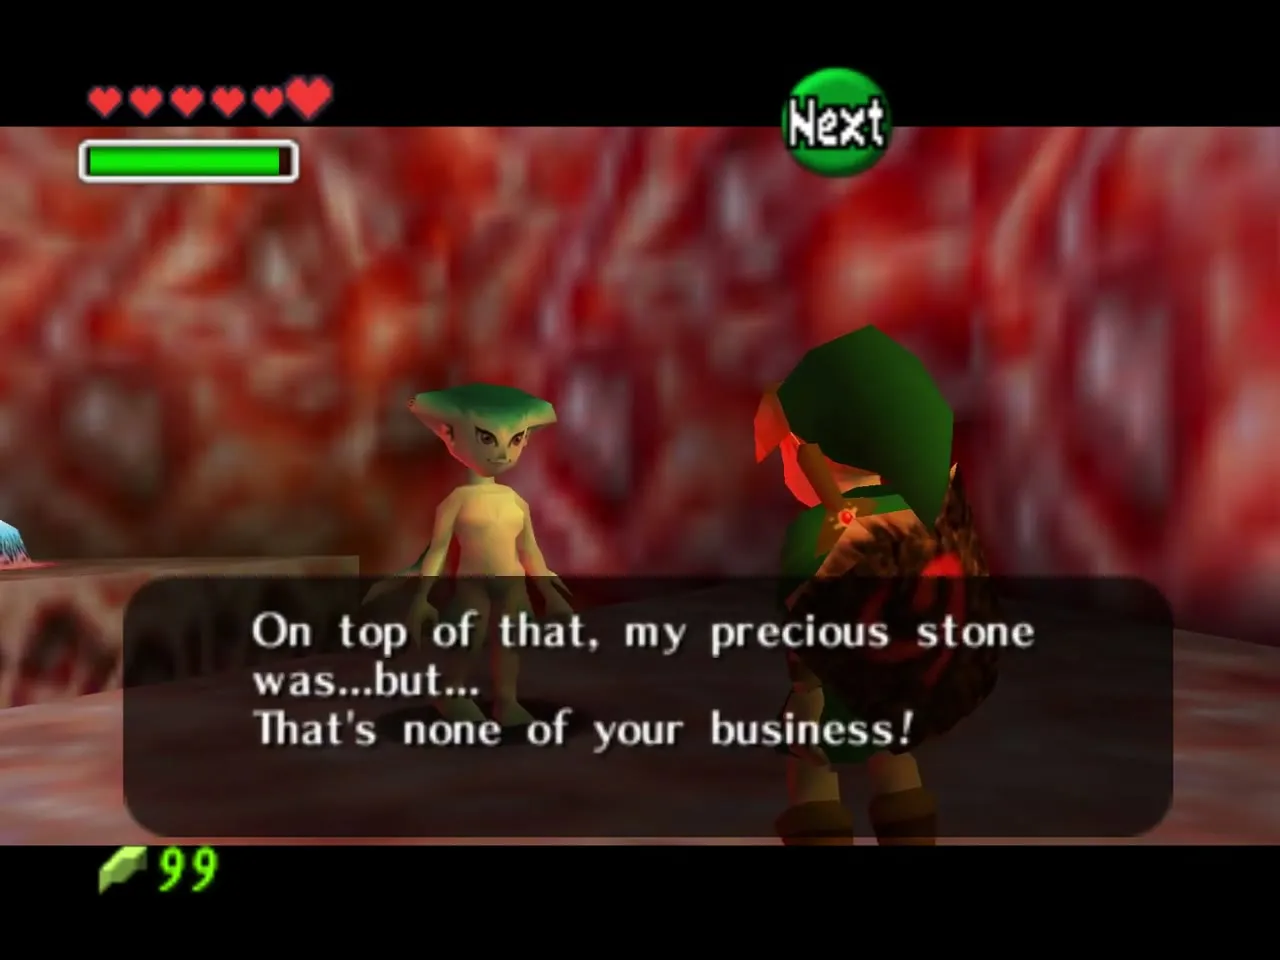
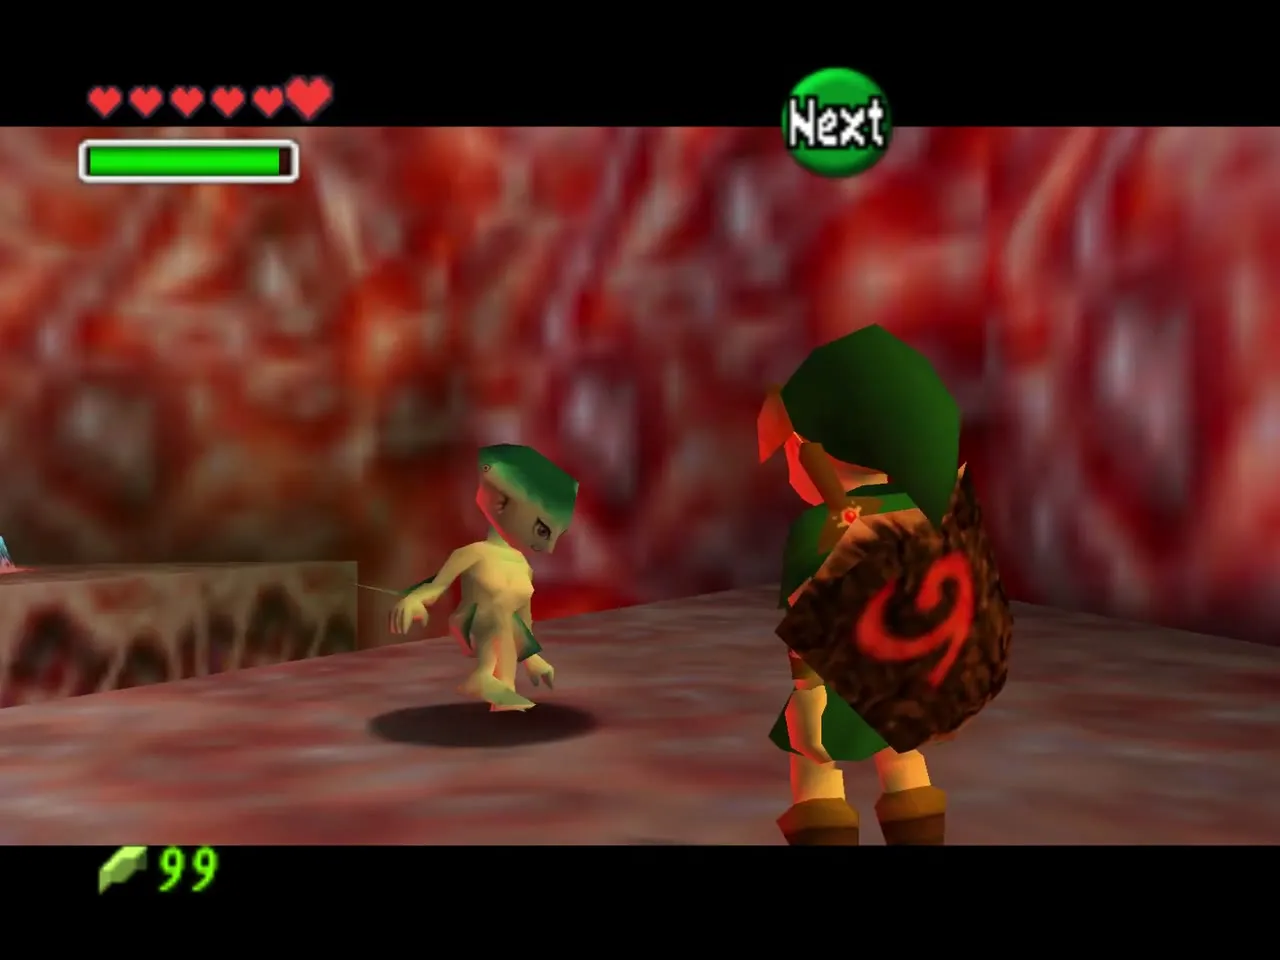
Chests and the first stretch
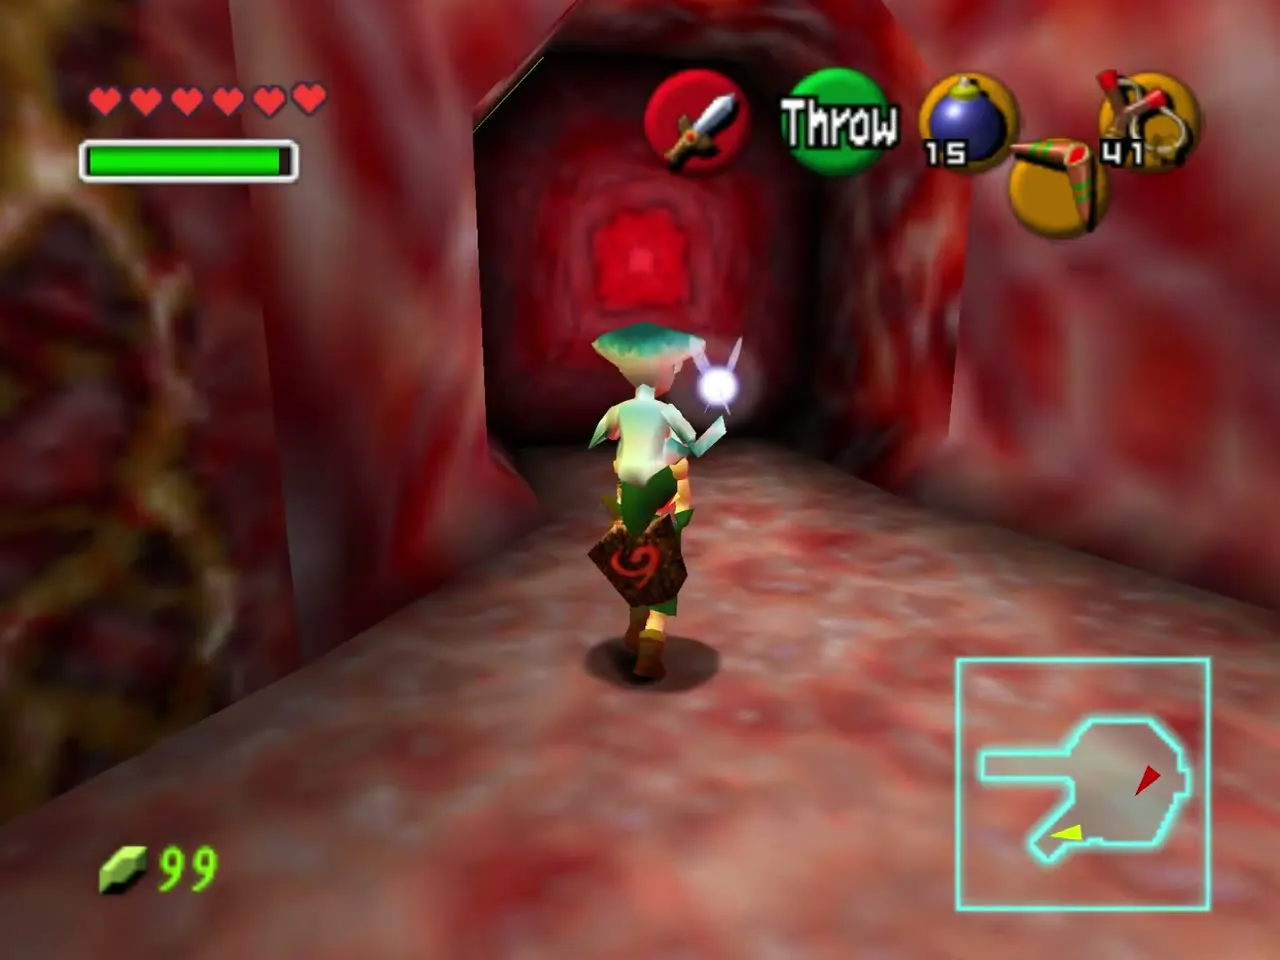
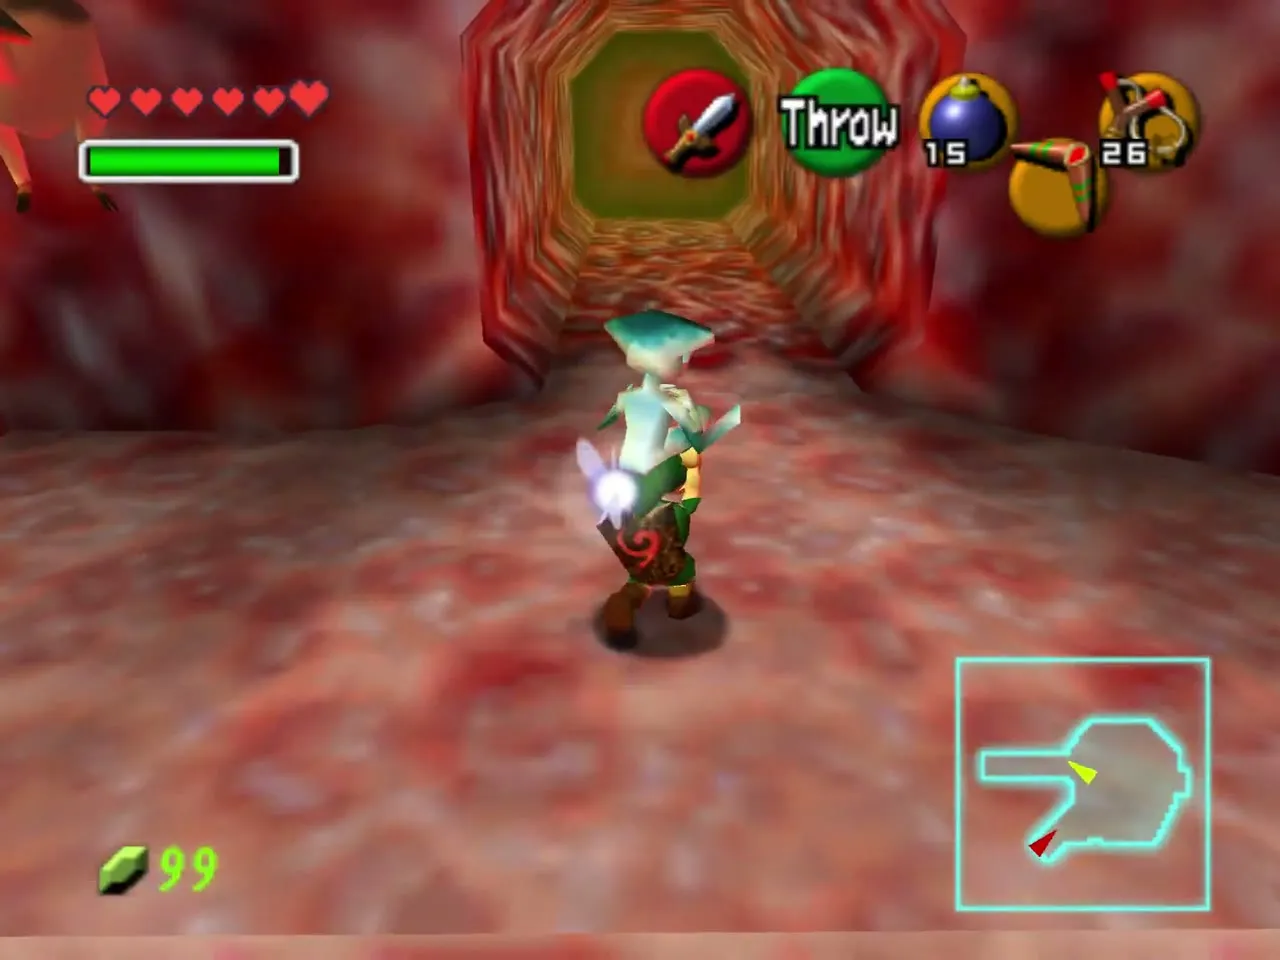
Down below, talk to Ruto until she agrees to be carried; press A beside her to pick her up and again to put her down. You cannot fight while holding her. Past her room, carry her to the pad under the waterfall; shoot cow heads along the way to bring out chests of Deku Nuts.
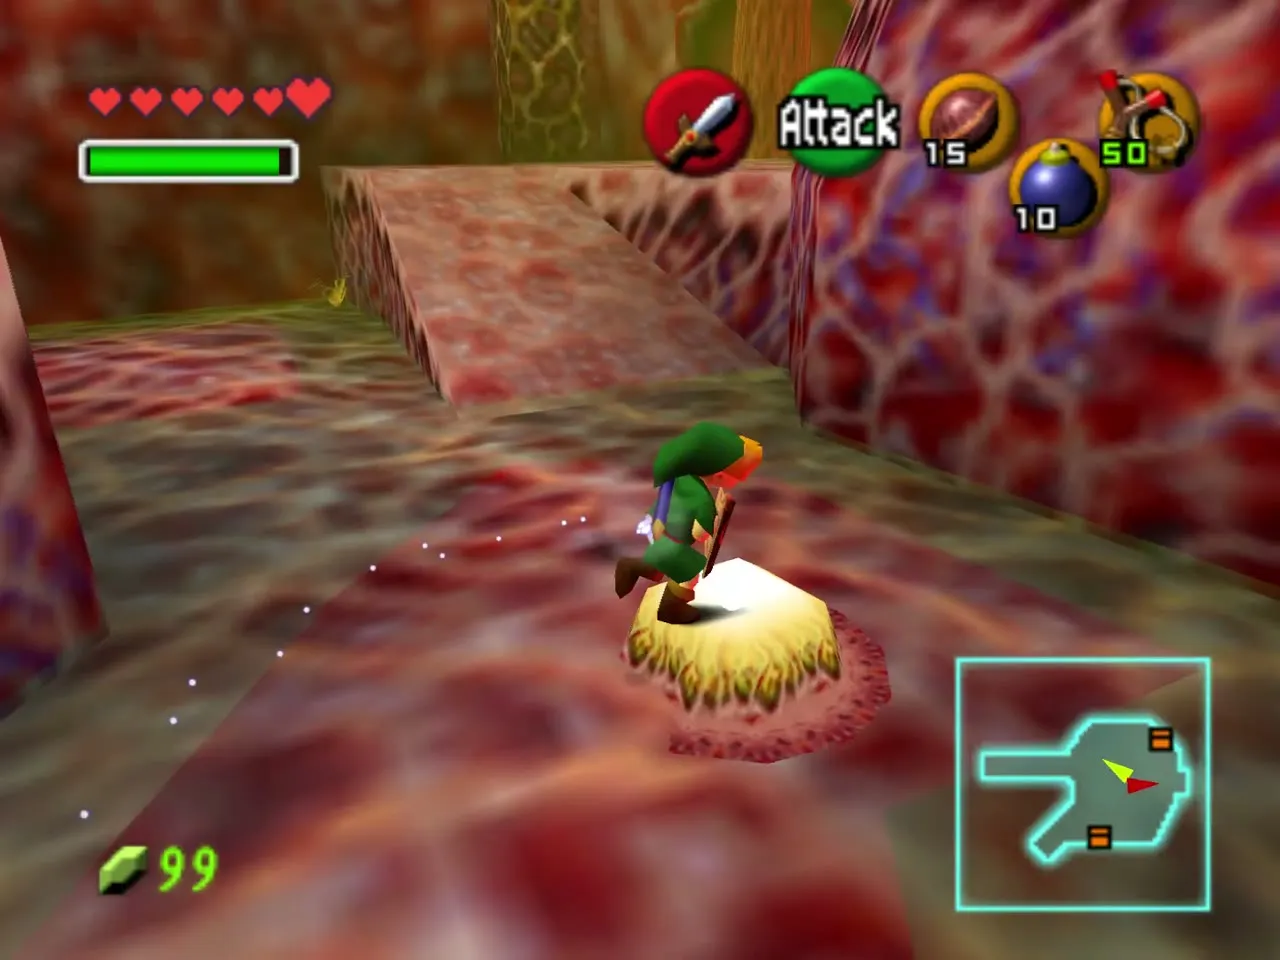
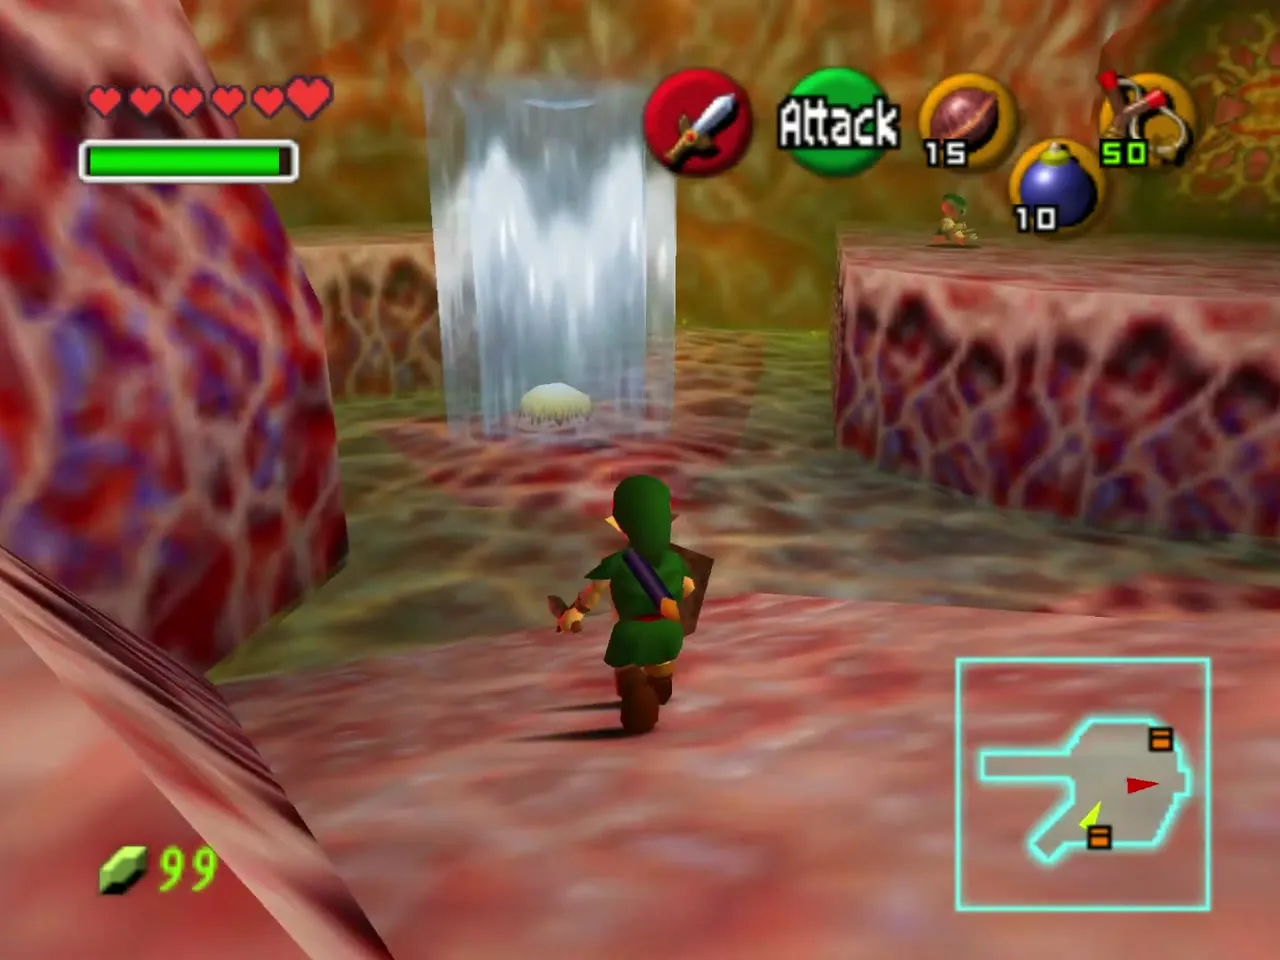
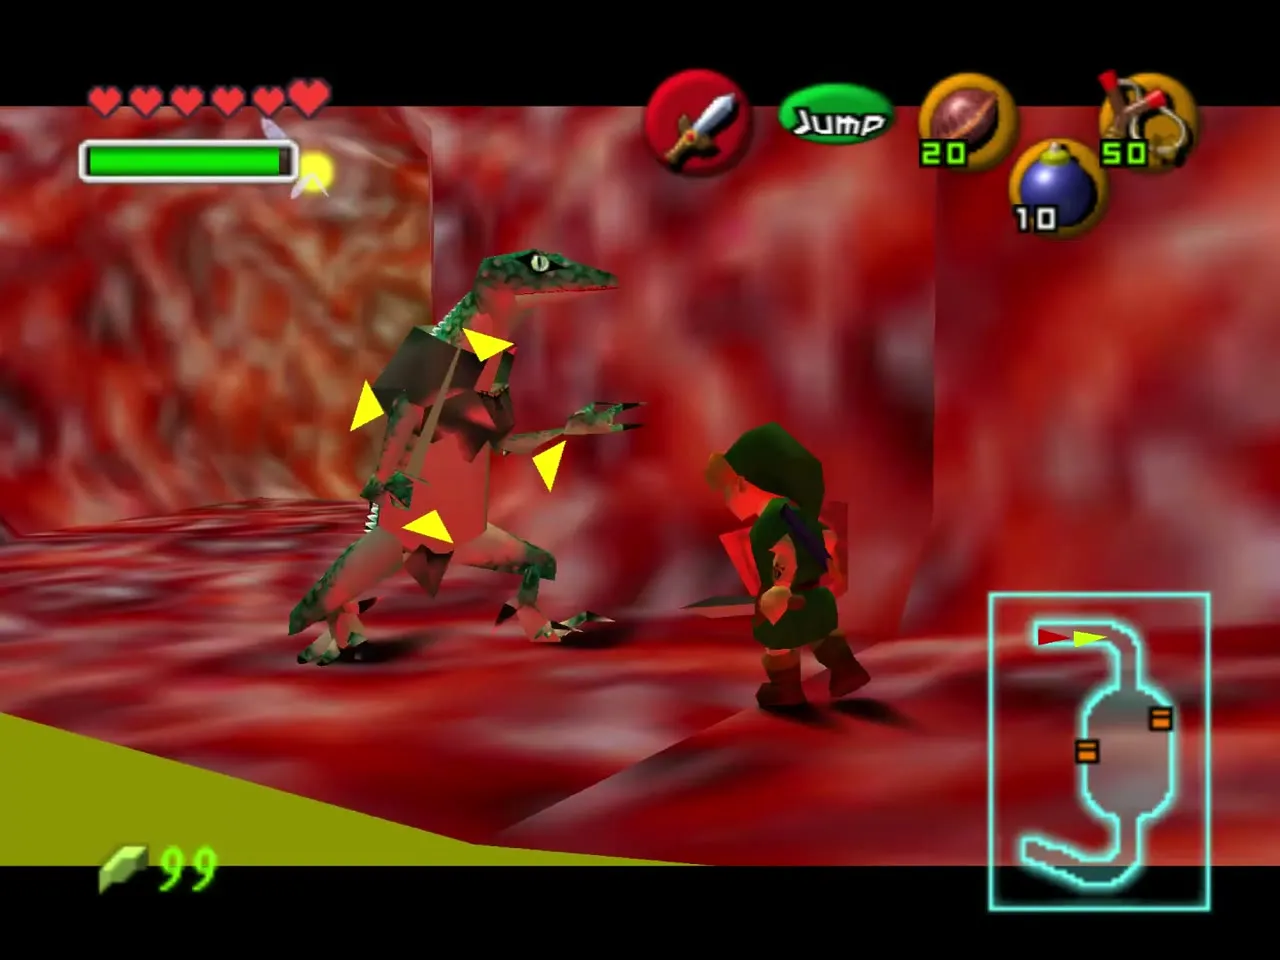
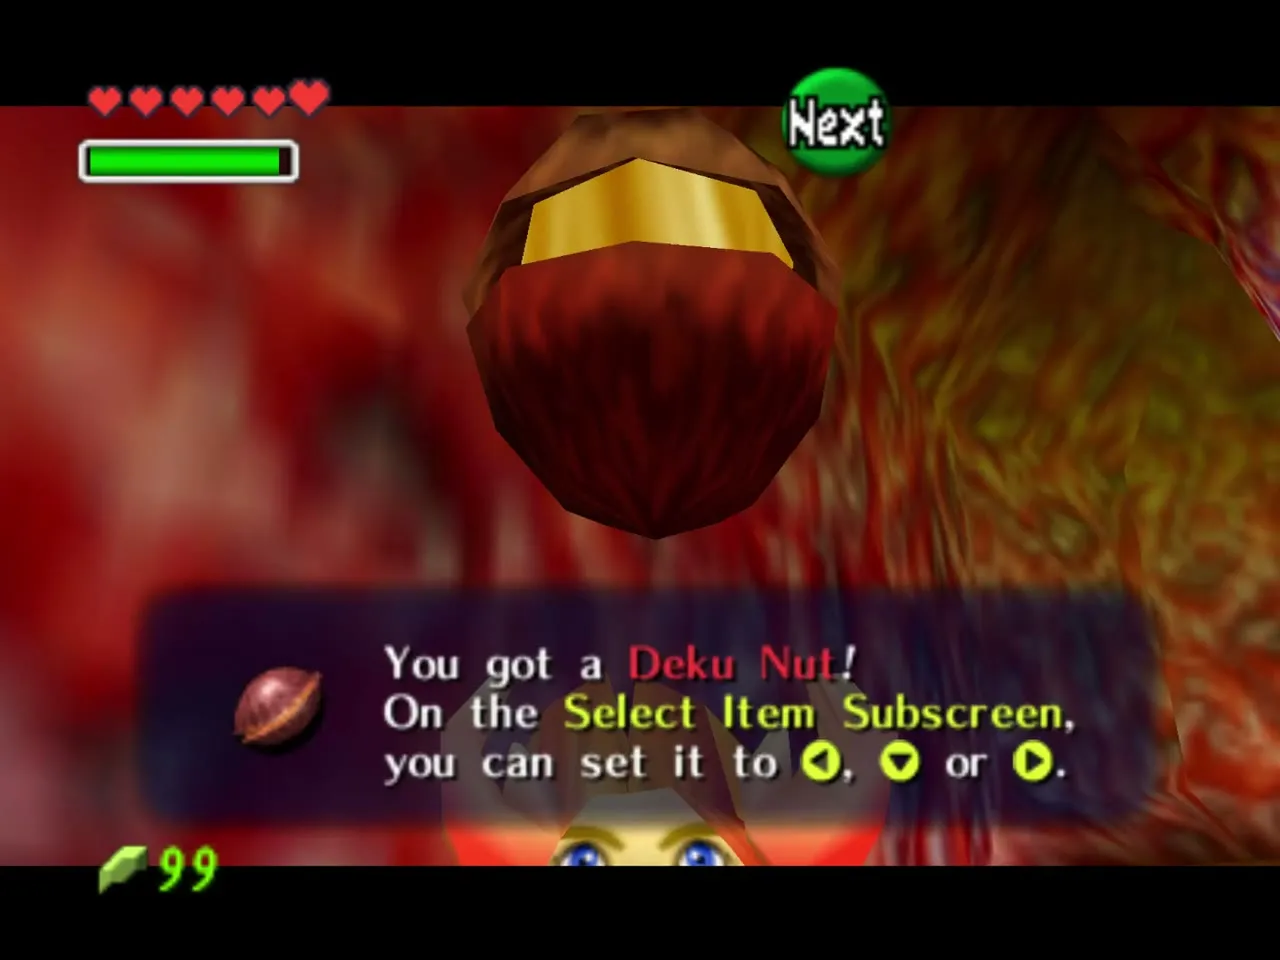
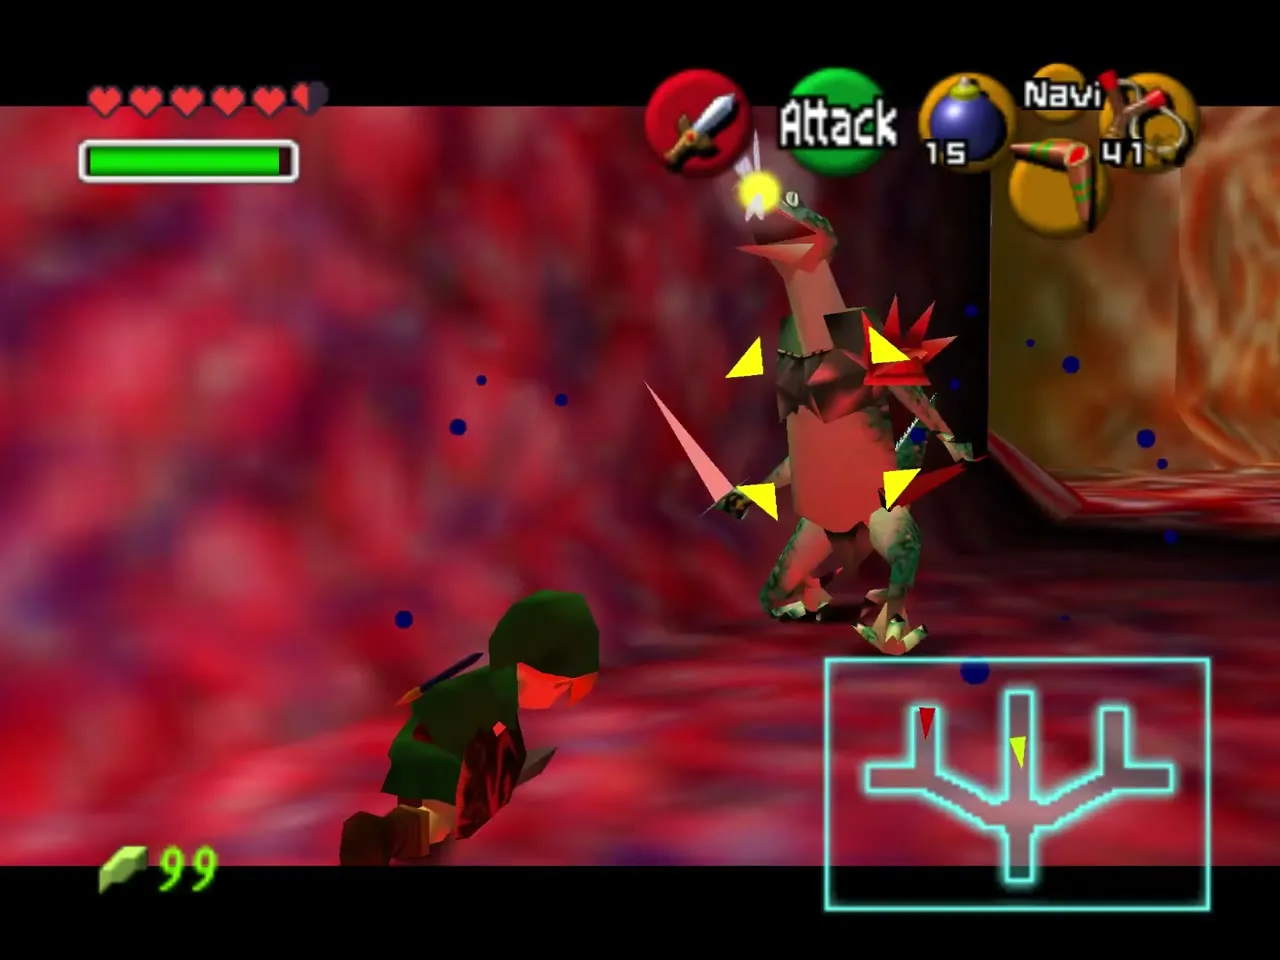
Follow the S-shaped corridor to the ledge where the next chest of Deku Nuts sits. A Lizalfos drops in as you pass. Dodge its first strike and slash back; a thrown Deku Nut stuns it for a free hit.
Pool room: Boomerang
Water enemies and the chest
The next room is a shallow pool with a Like-Like and Stingers lurking in the water. Throw Bombs (not Bombchus) to clear them, or fight them with the sword and nuts. When the room is empty, a chest appears on a high ledge.
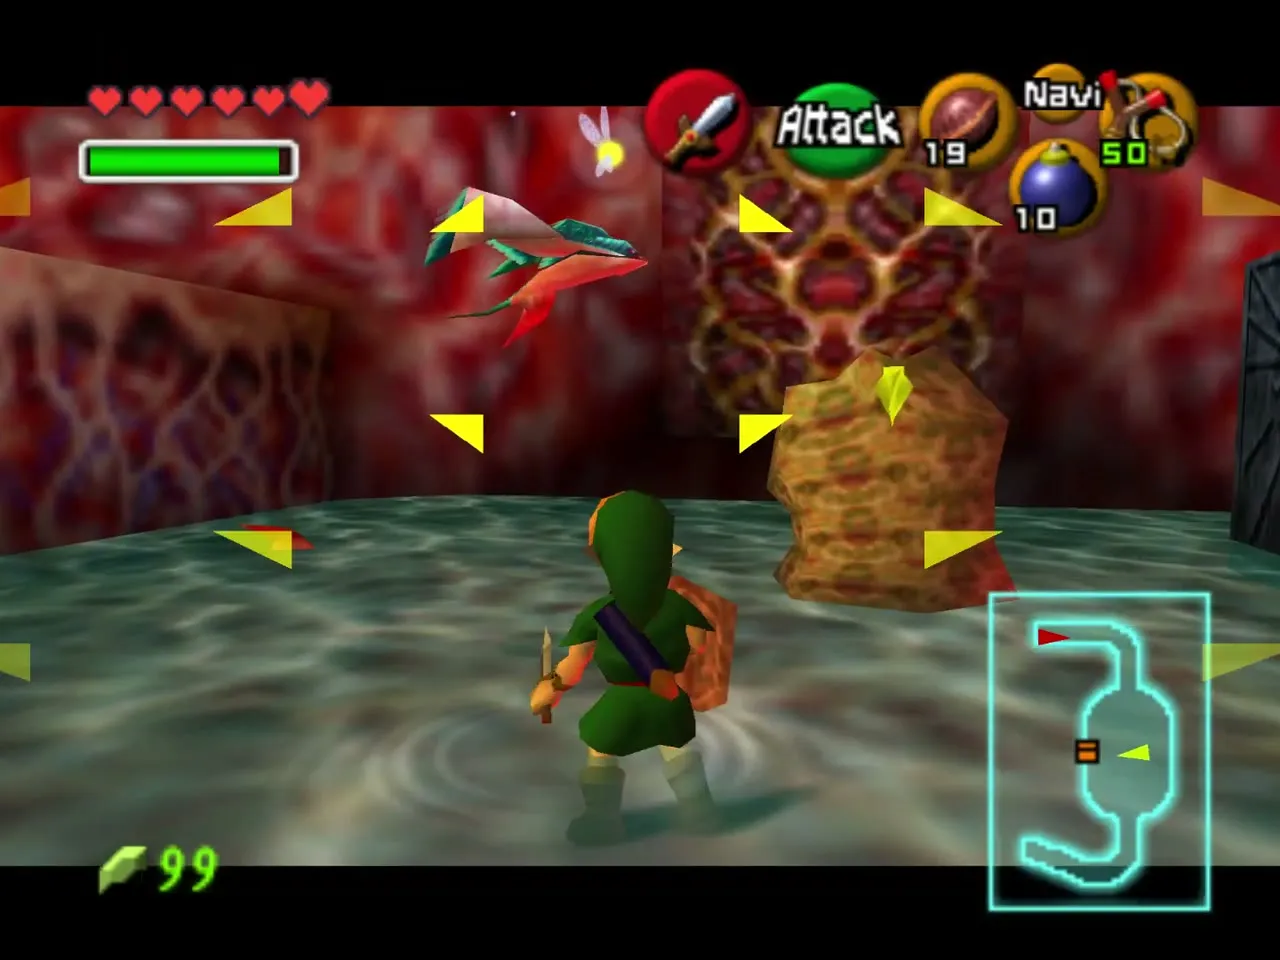
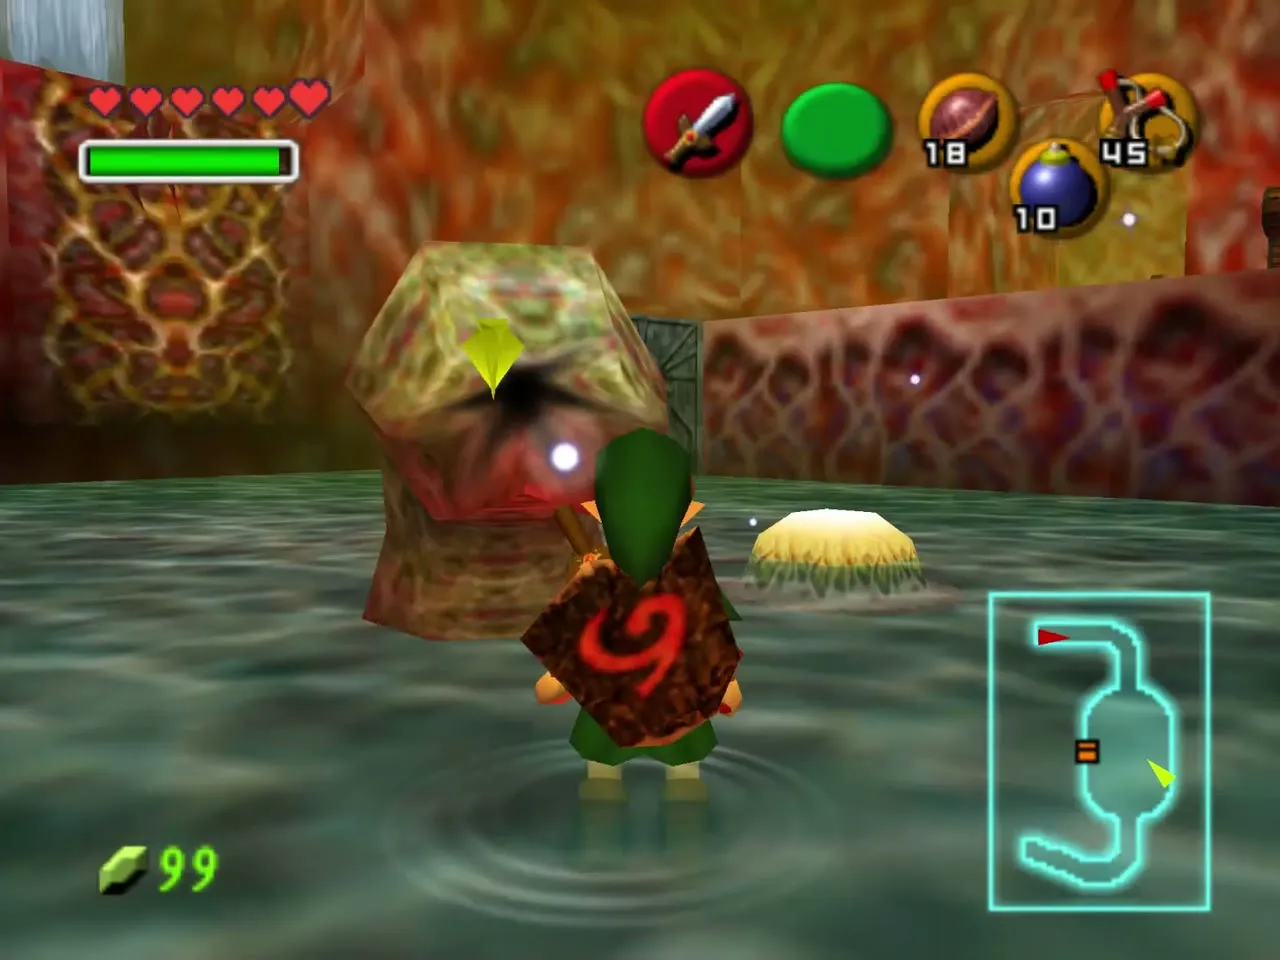
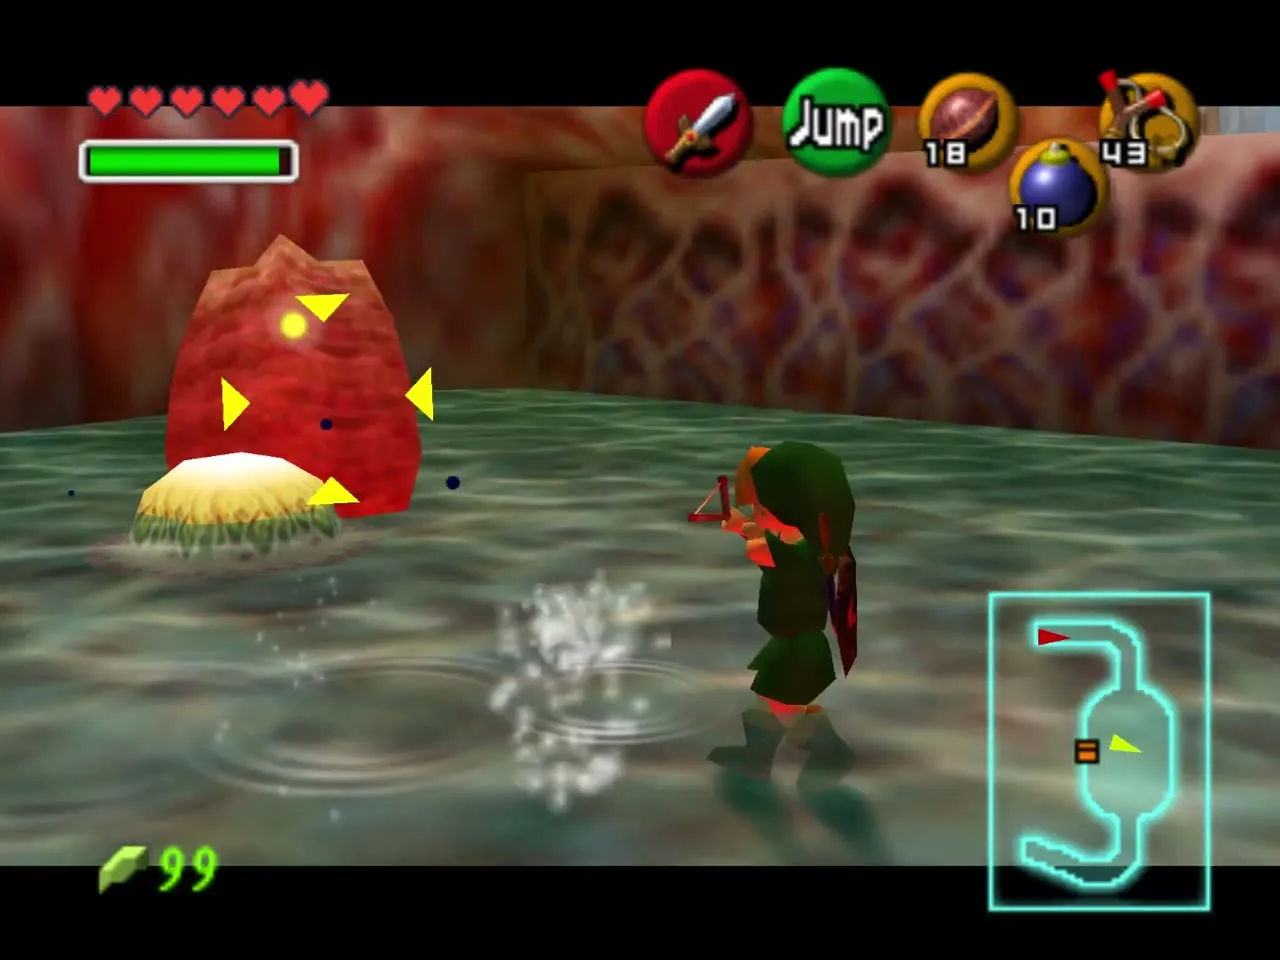
Swim to the yellow switch in the middle of the pool. It raises the water so you can reach the vines and climb to the chest holding the Boomerang. Set it on a C button: it stuns enemies, hits distant switches and collects items from afar. A Gold Skulltula hides under a Song of Time block here, but you can only take it later.
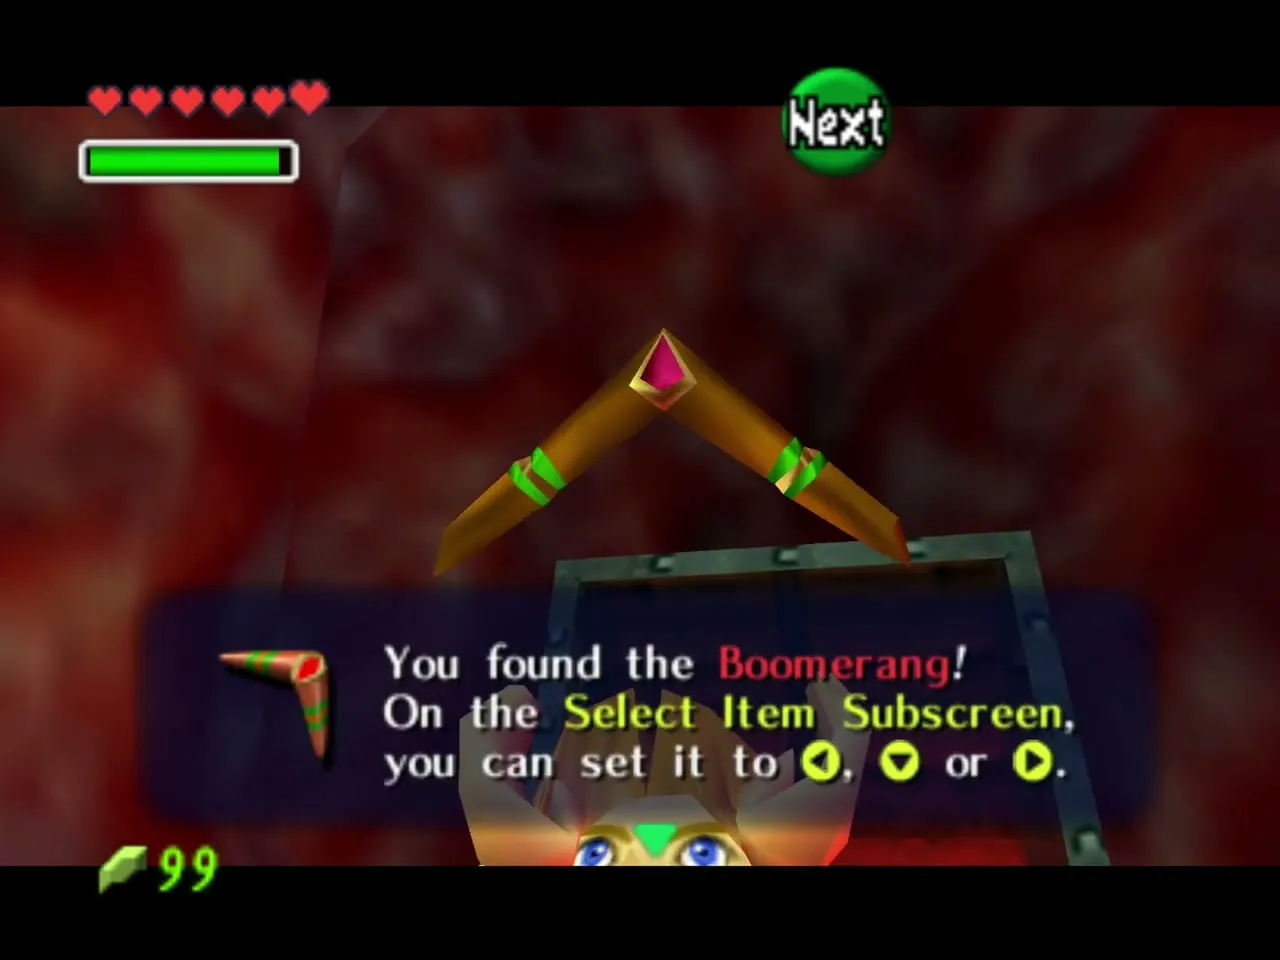
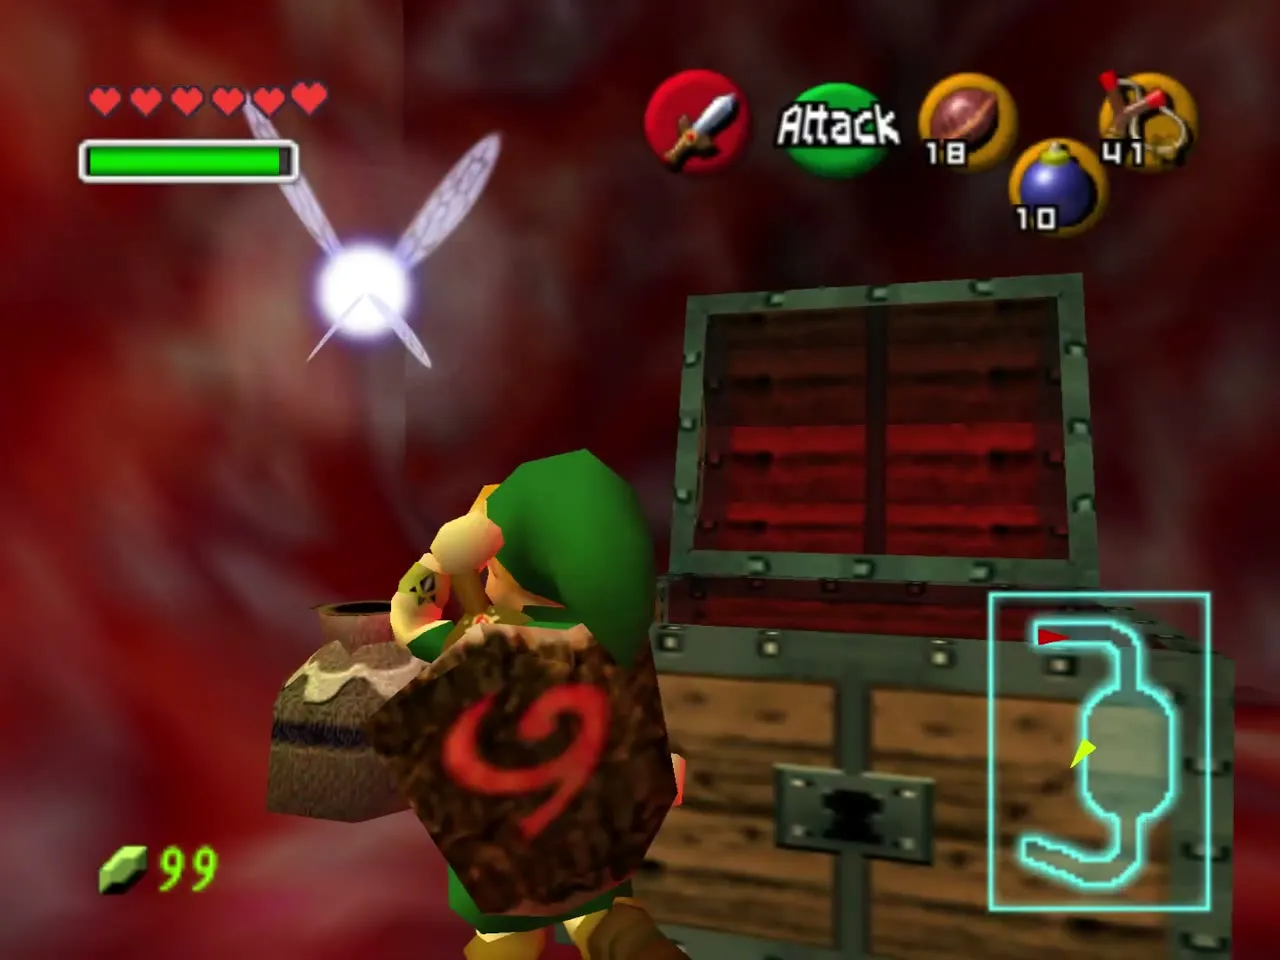
A drop beside the chest gives you five more Bombs, and a pot sits close by. Swim back to the pink platform and leave through the red tunnel past the round platform.
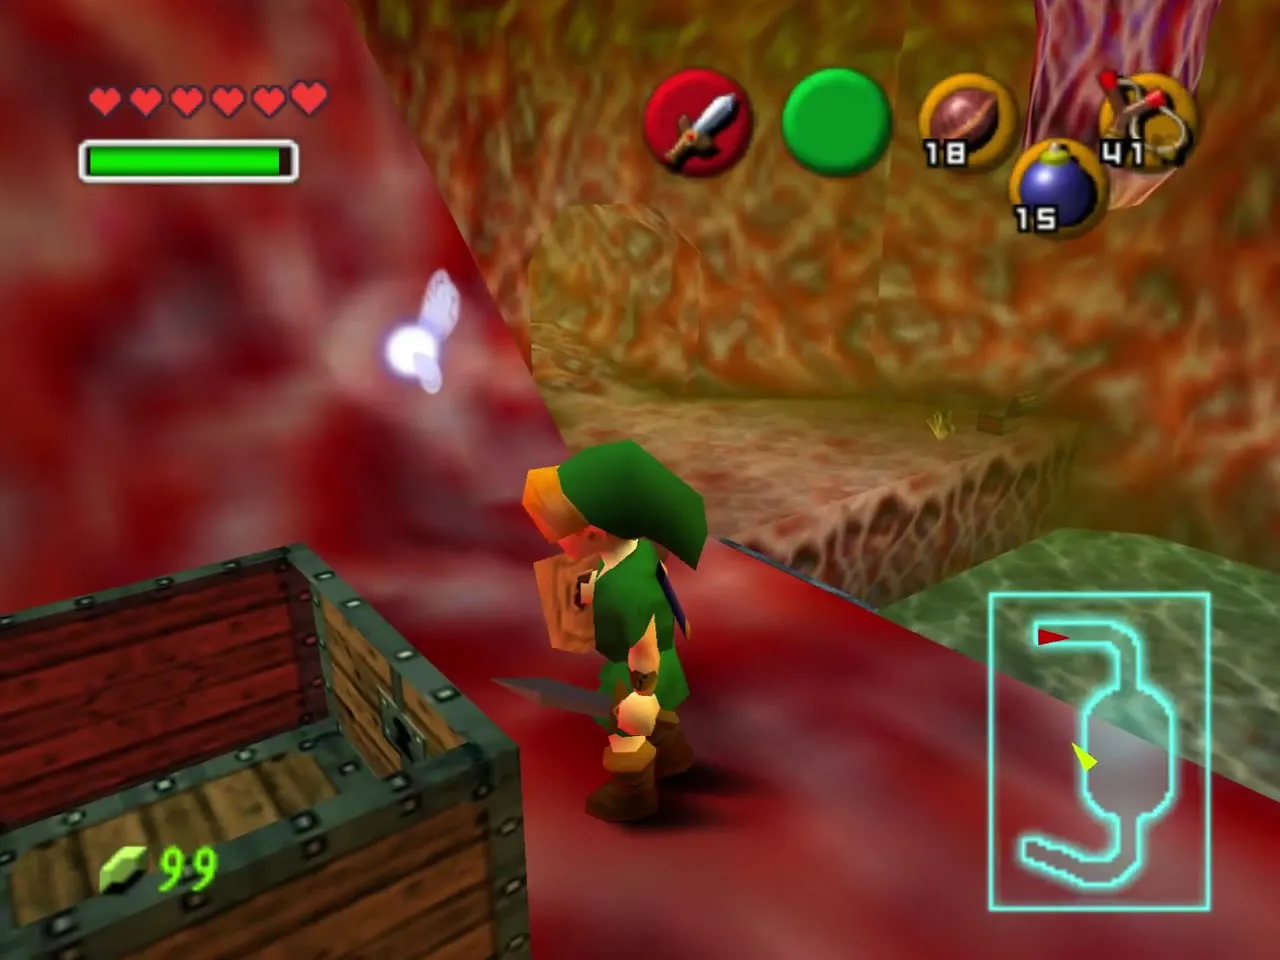
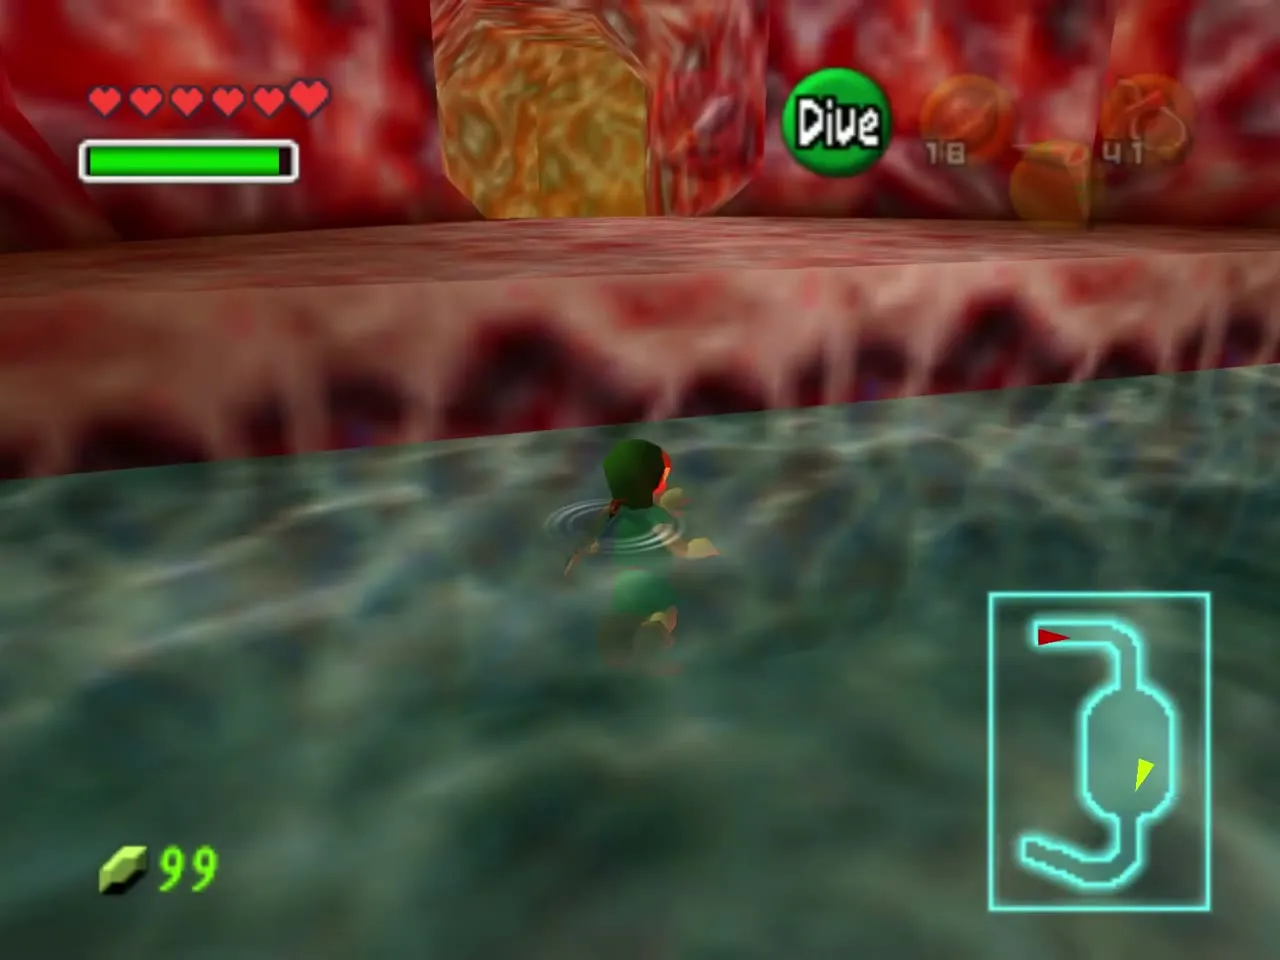
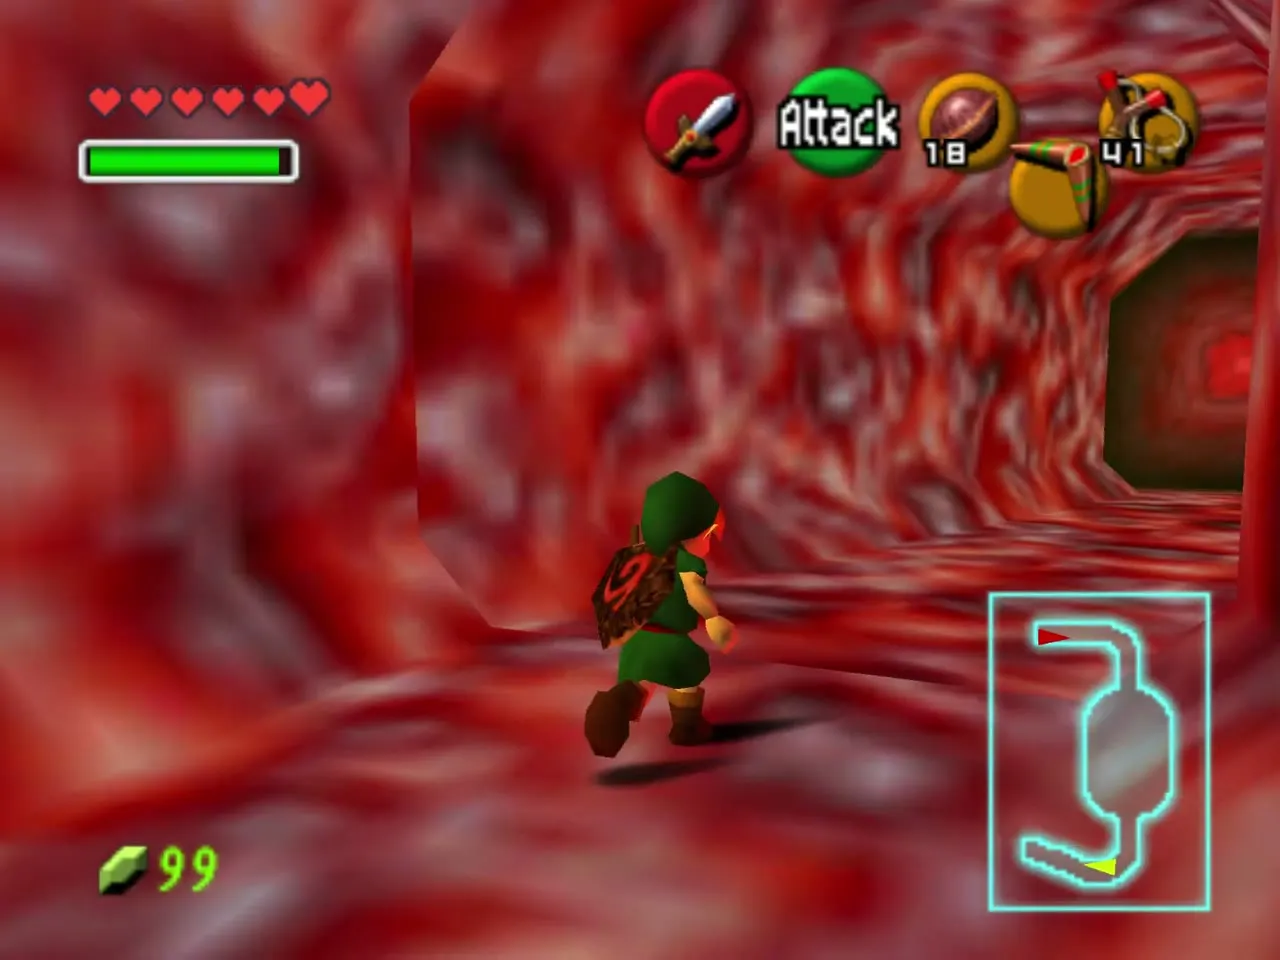
Crates, Deku Stick and the three tentacles
Crates and cube enemies
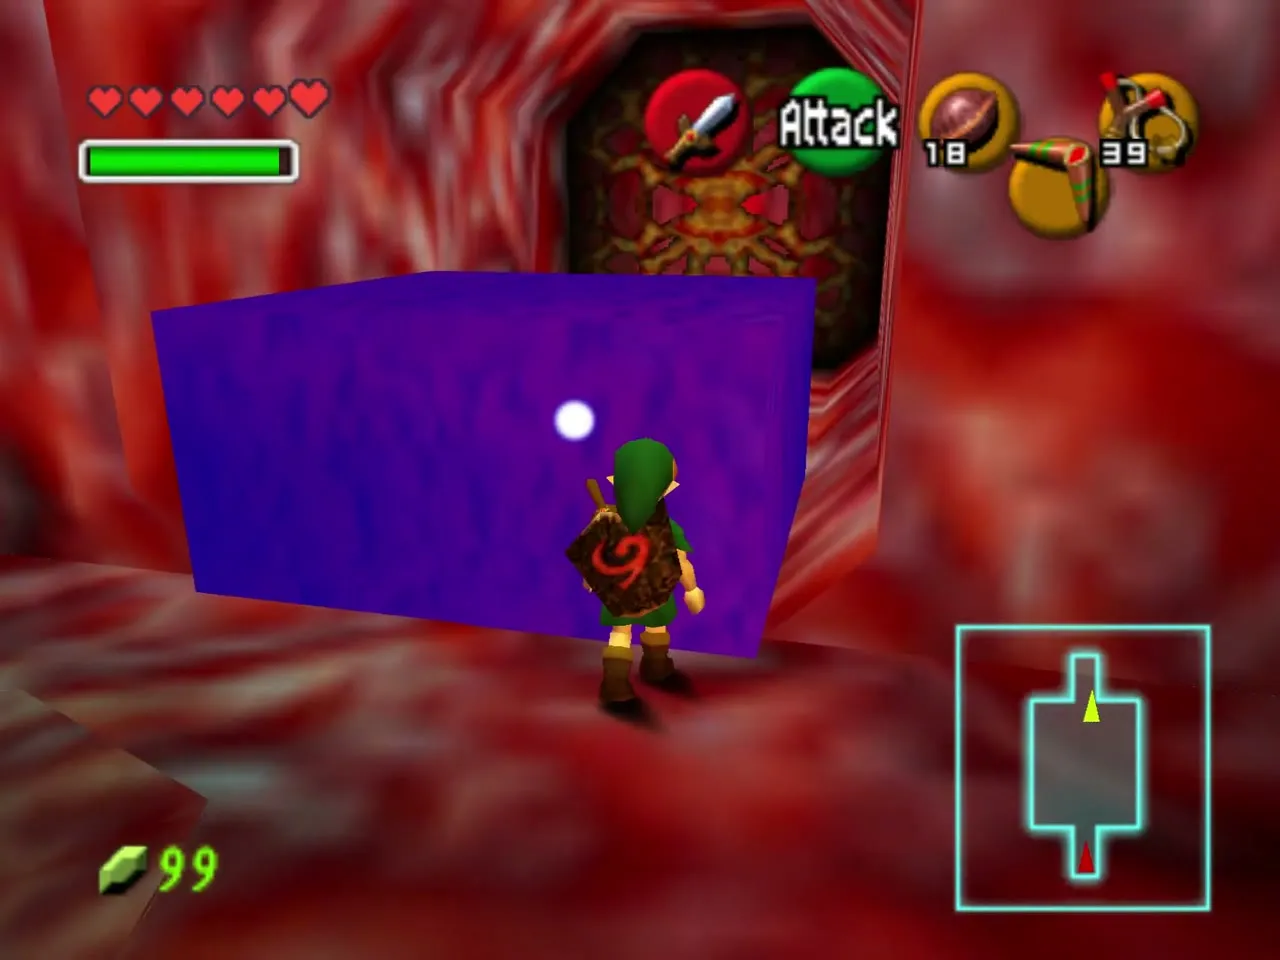
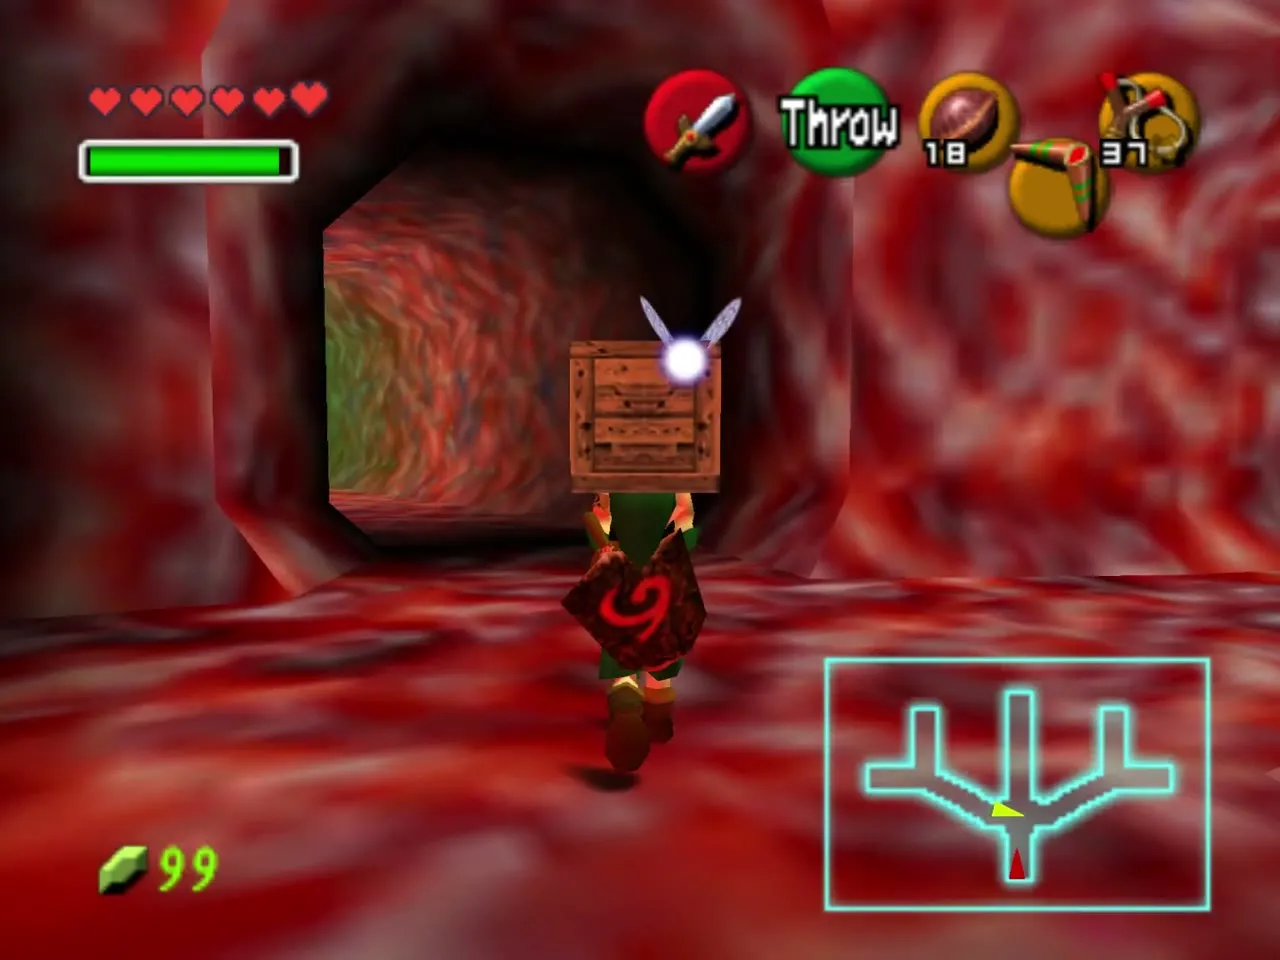
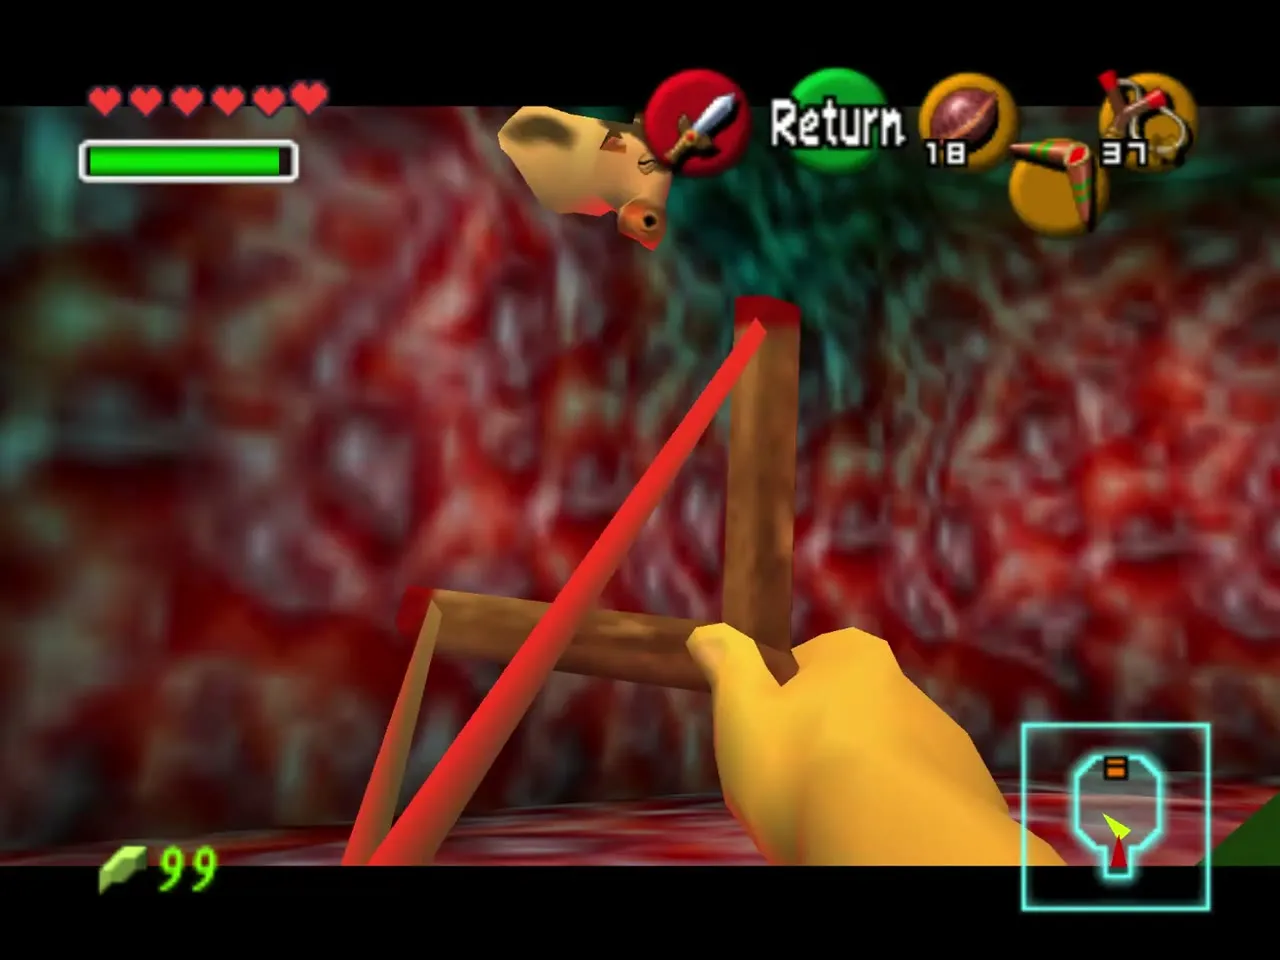
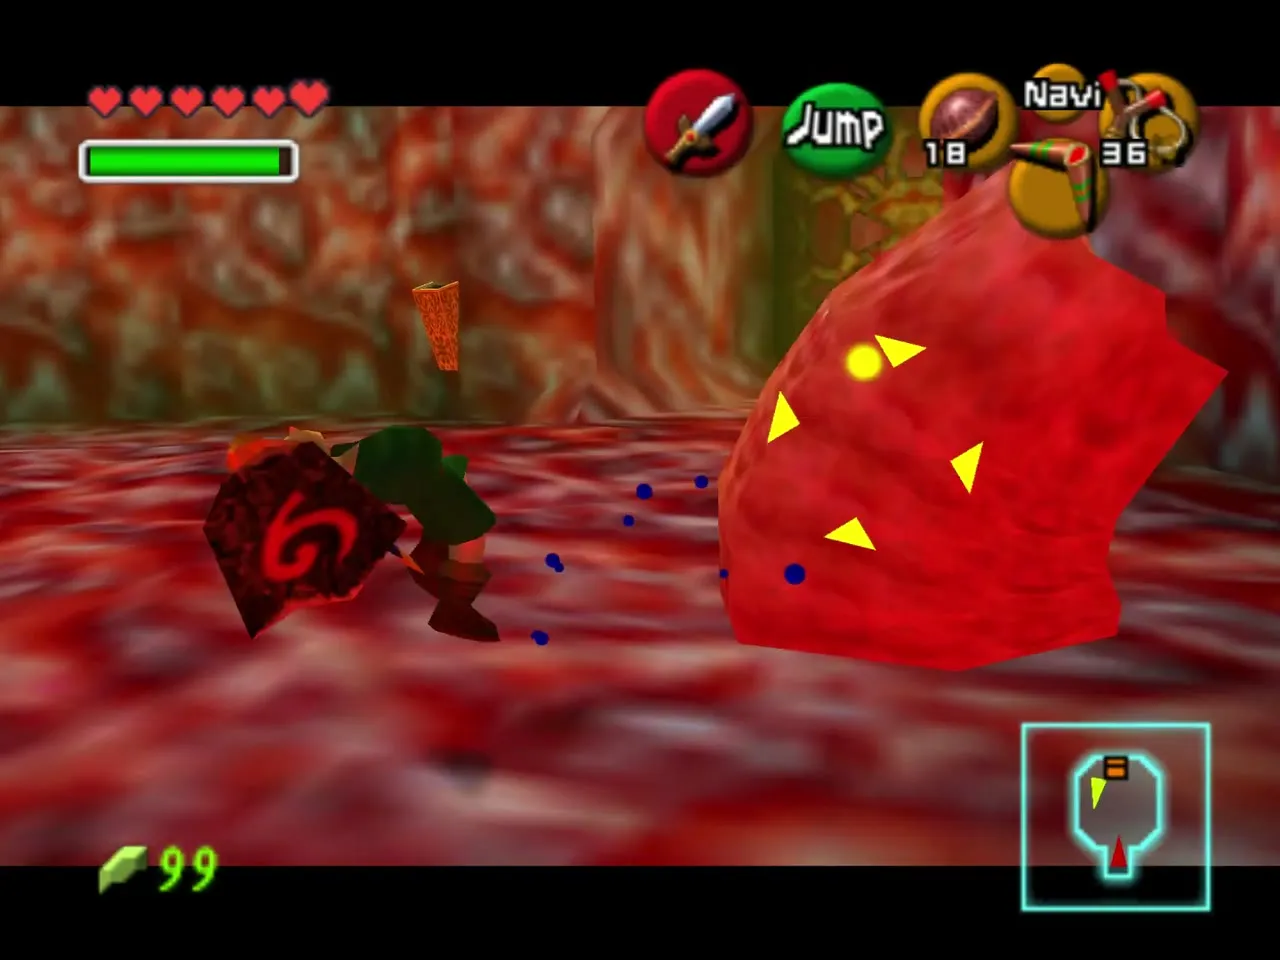
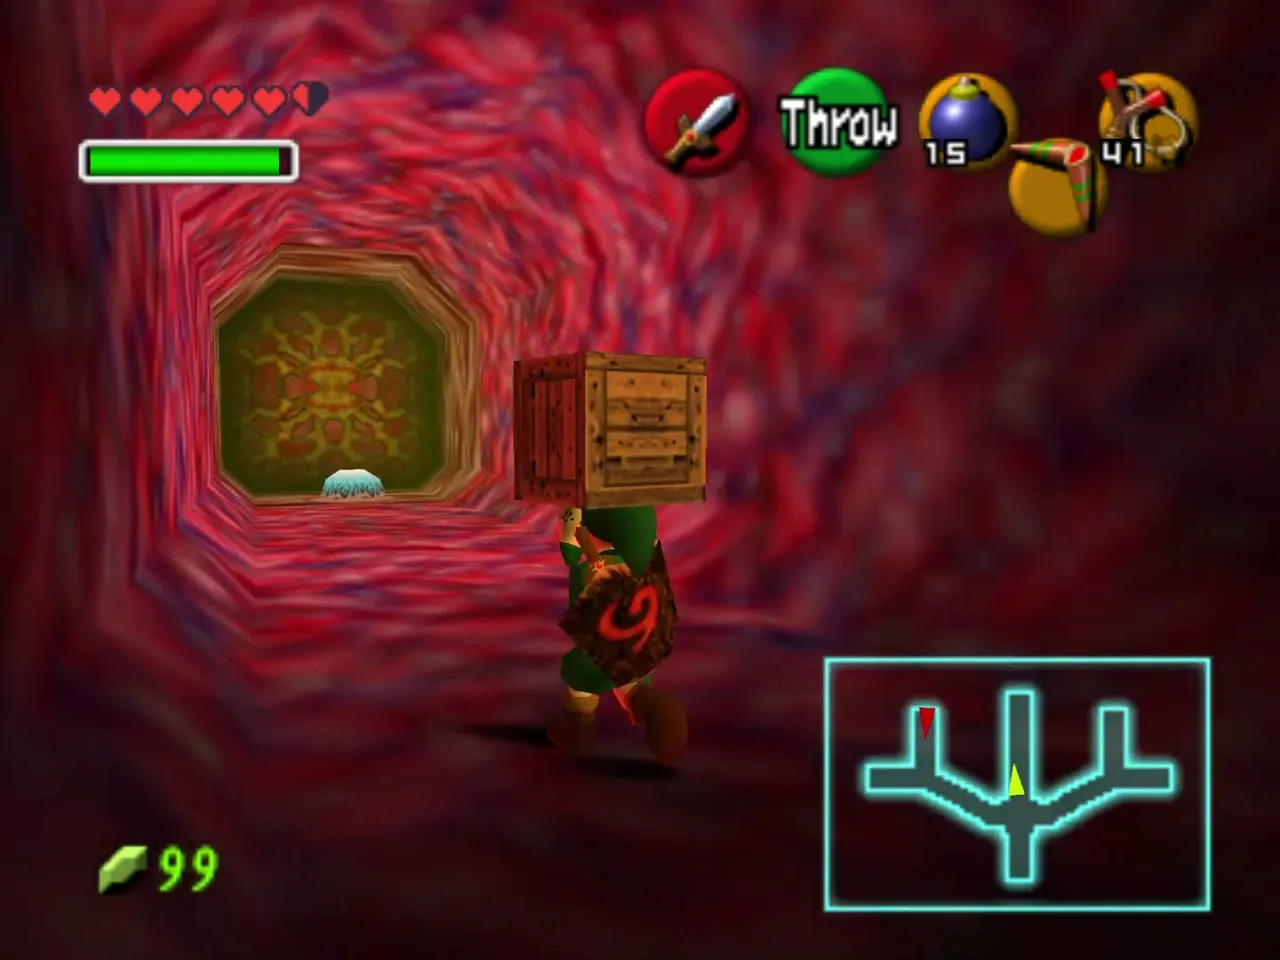
Climb the purple block at the start of the next room and shoot the small creature beyond it with the Slingshot. In the tunnel after that, pick up a wooden crate and carry it to the frosted pressure pad; a crate on the pad opens the door. Cube-shaped shelled enemies guard the following rooms; shoot them or use the sword.
Deku Stick room
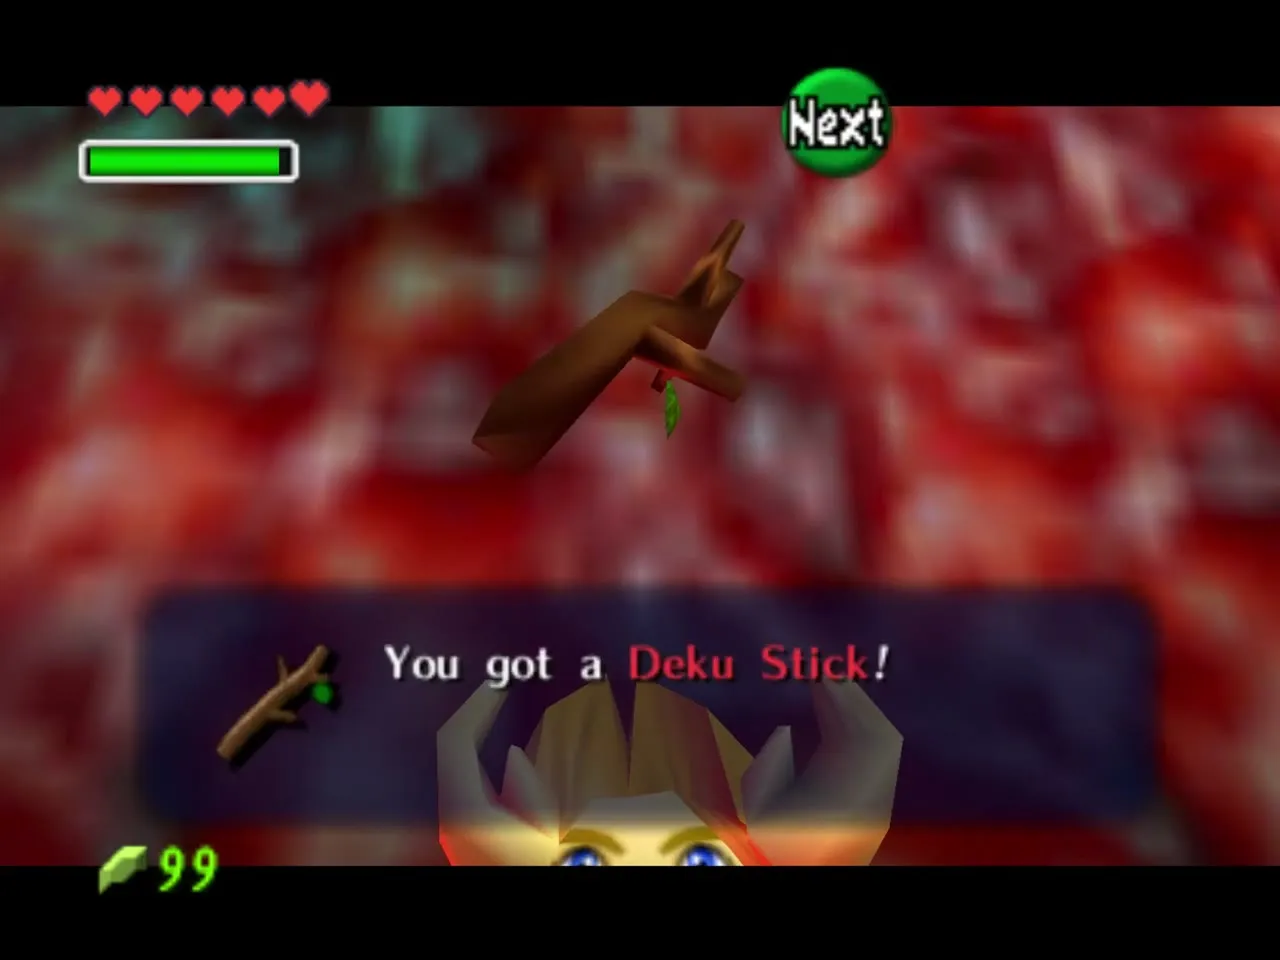
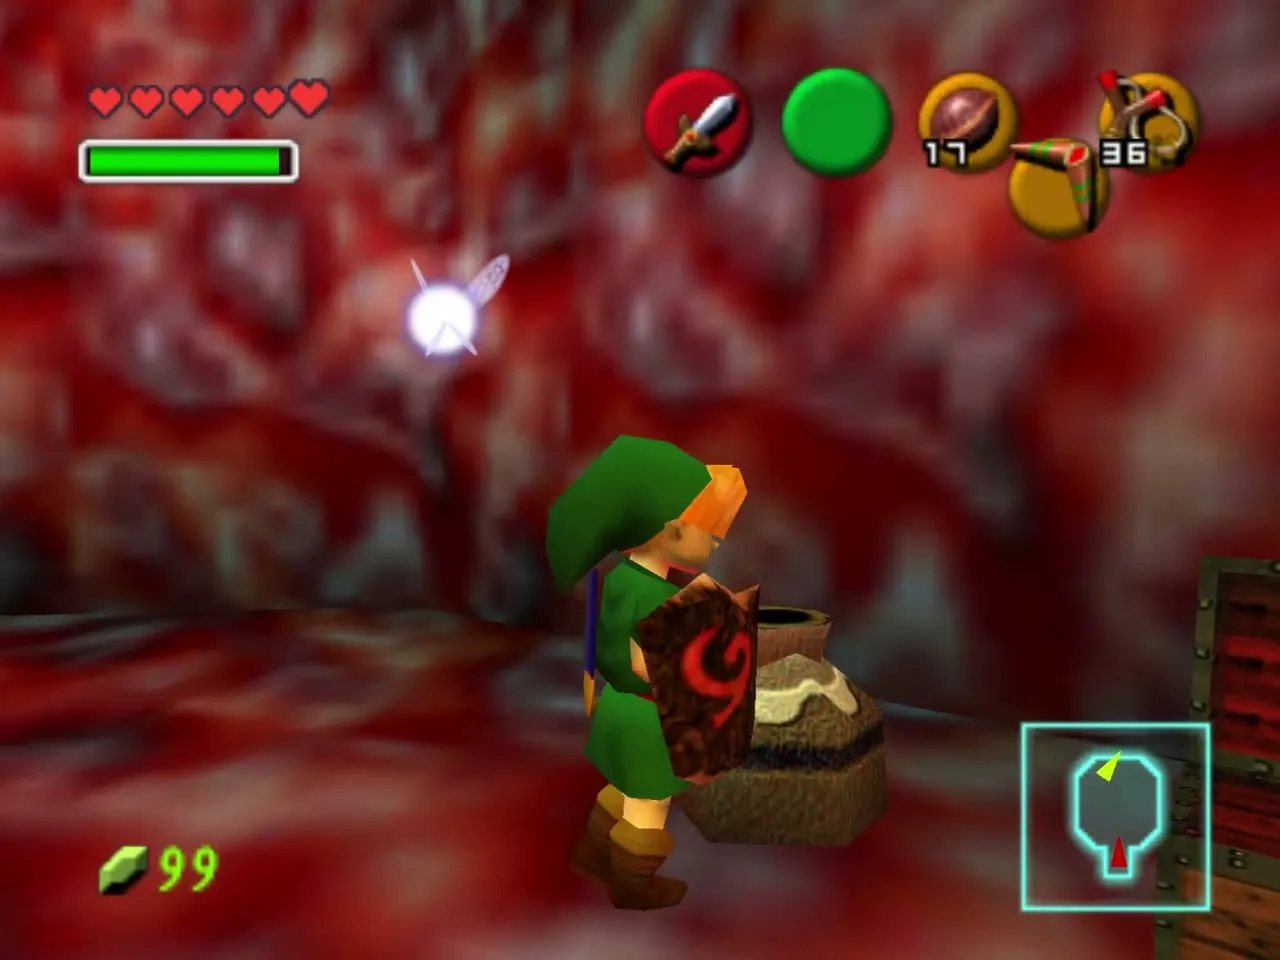
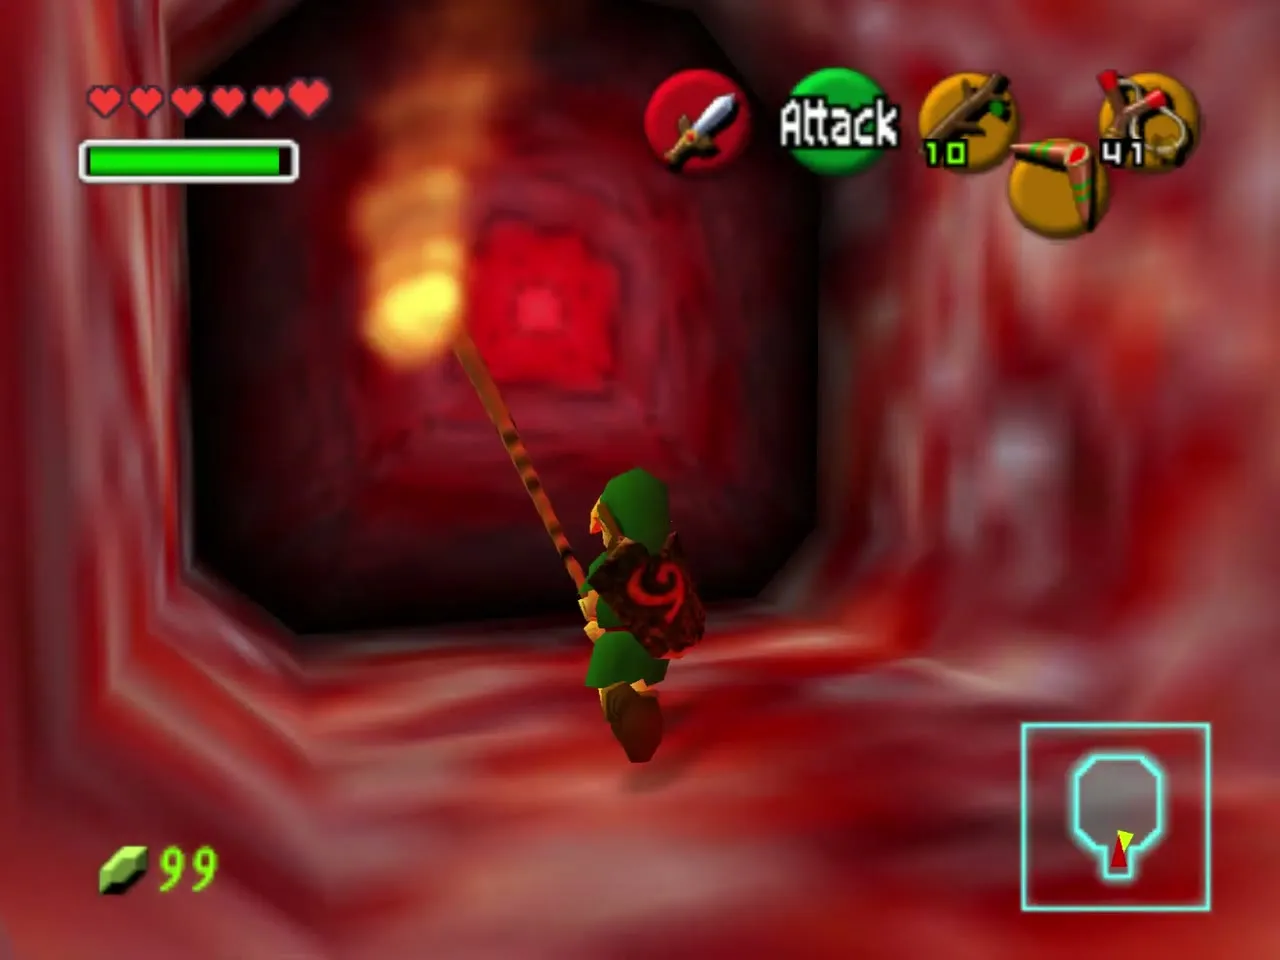
Break the pots in the next room to find a Deku Stick. Light it on the torch and burn the web in the hall off the doorway, which opens the way to the first giant Parasitic Tentacle.
Parasitic Tentacles
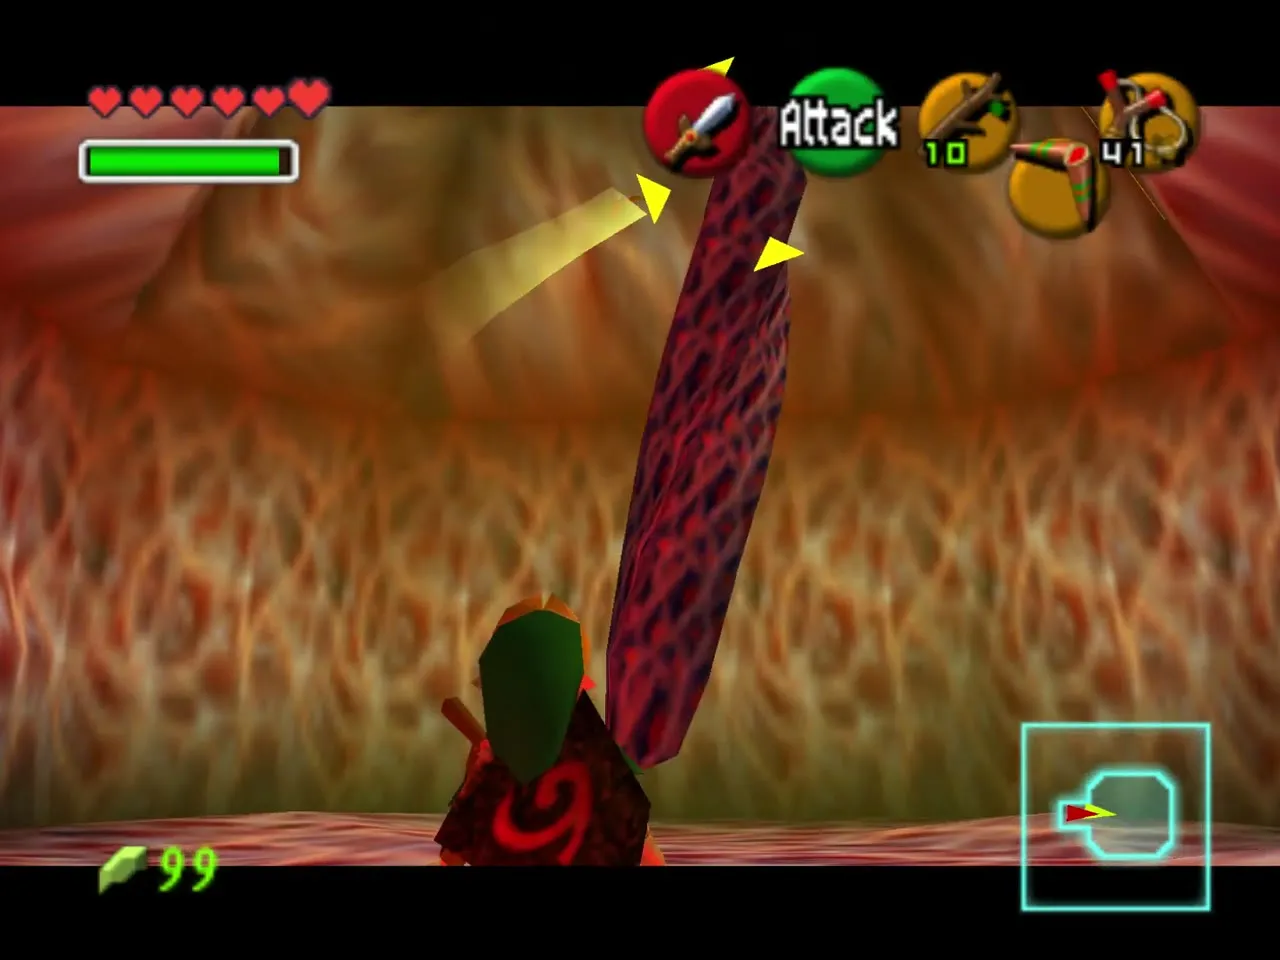
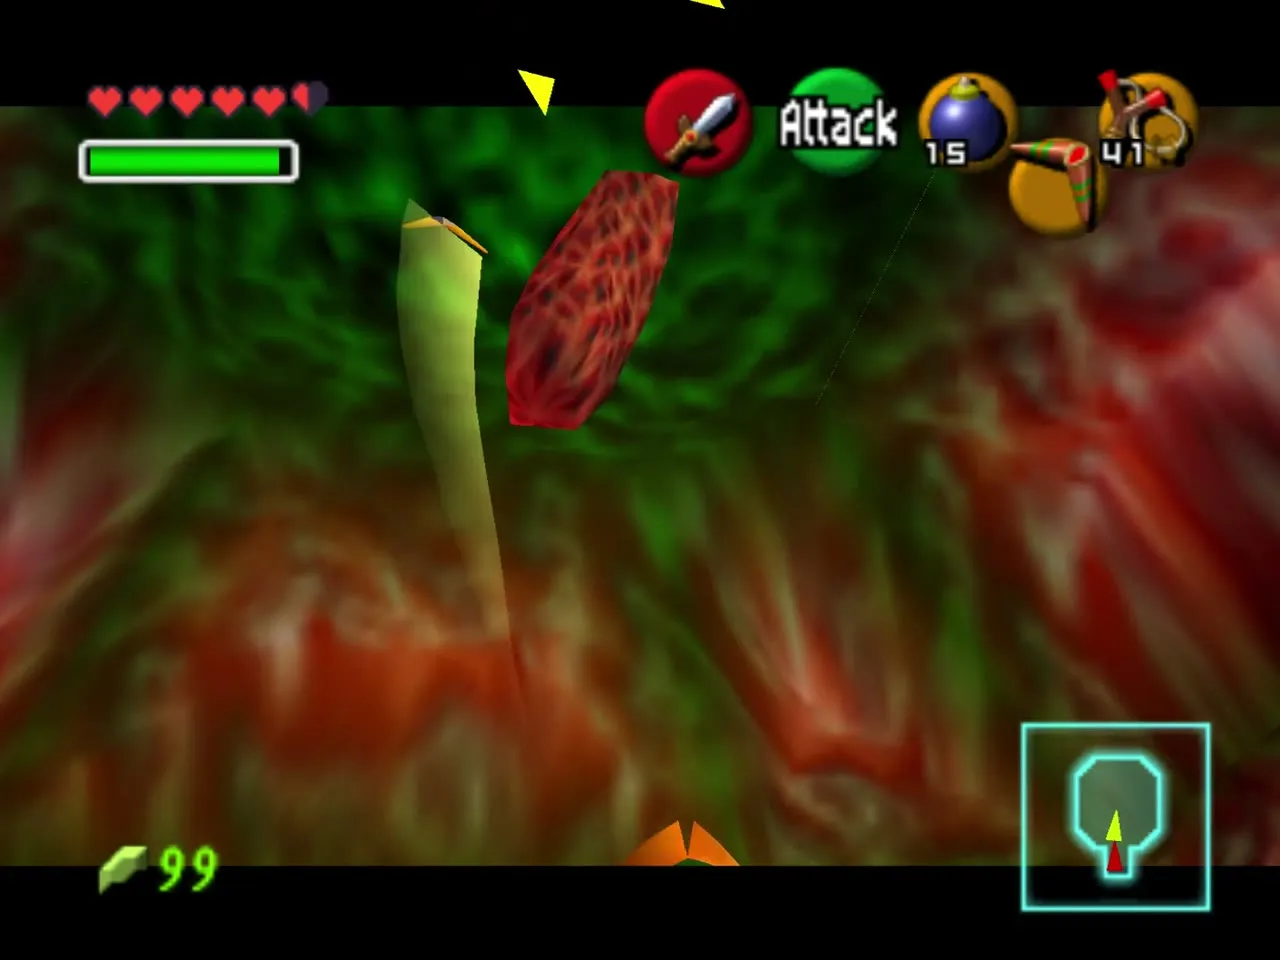
A Parasitic Tentacle hangs from the ceiling in each of three rooms. Lock onto its centre and throw the Boomerang. After the first hit it retreats into the ceiling and comes back down when you approach, so stay near and throw again. Three hits kill it. The blue, red and green tentacles each guard one branch of the junction.
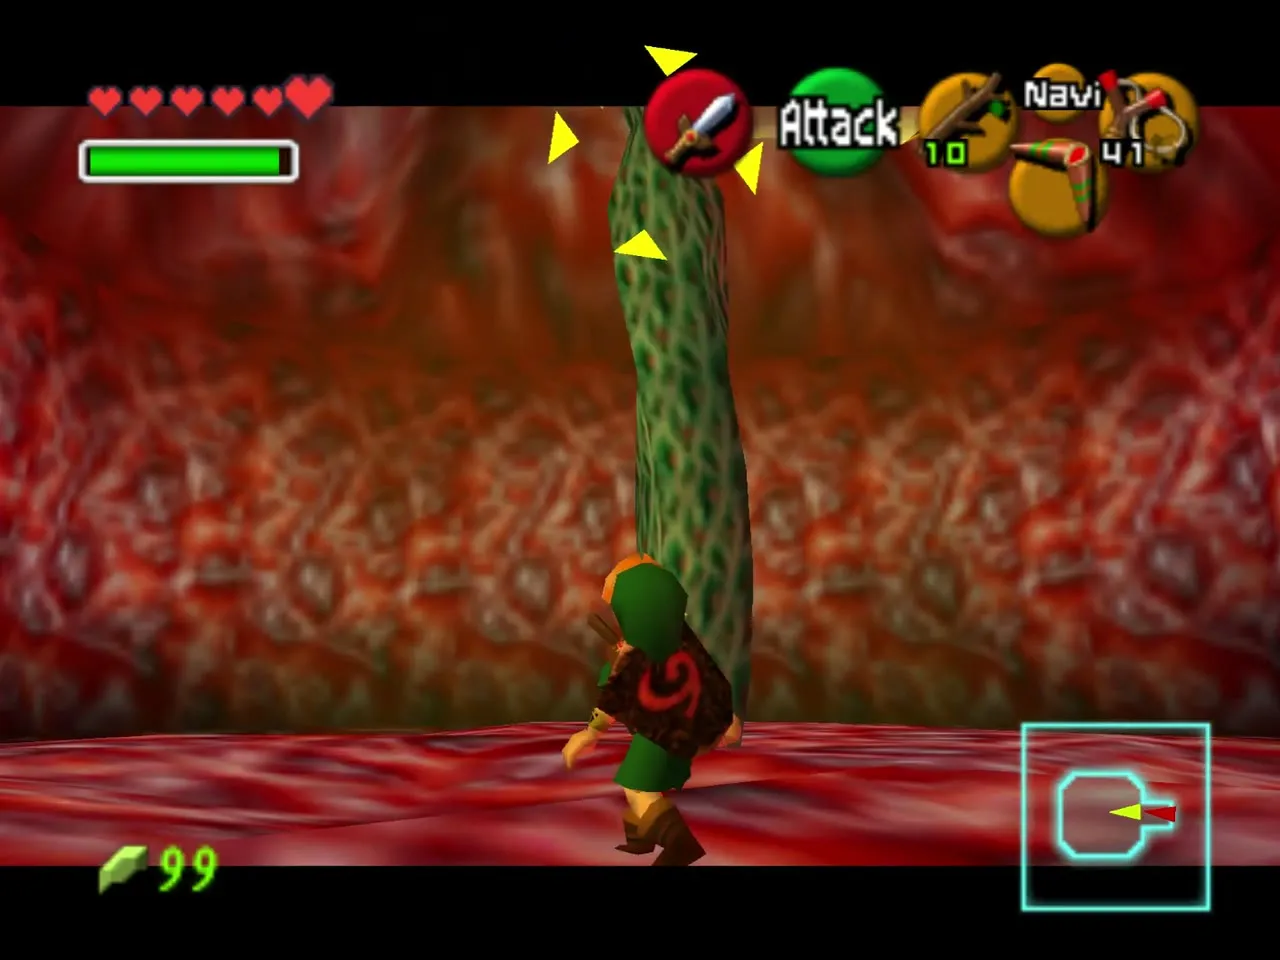
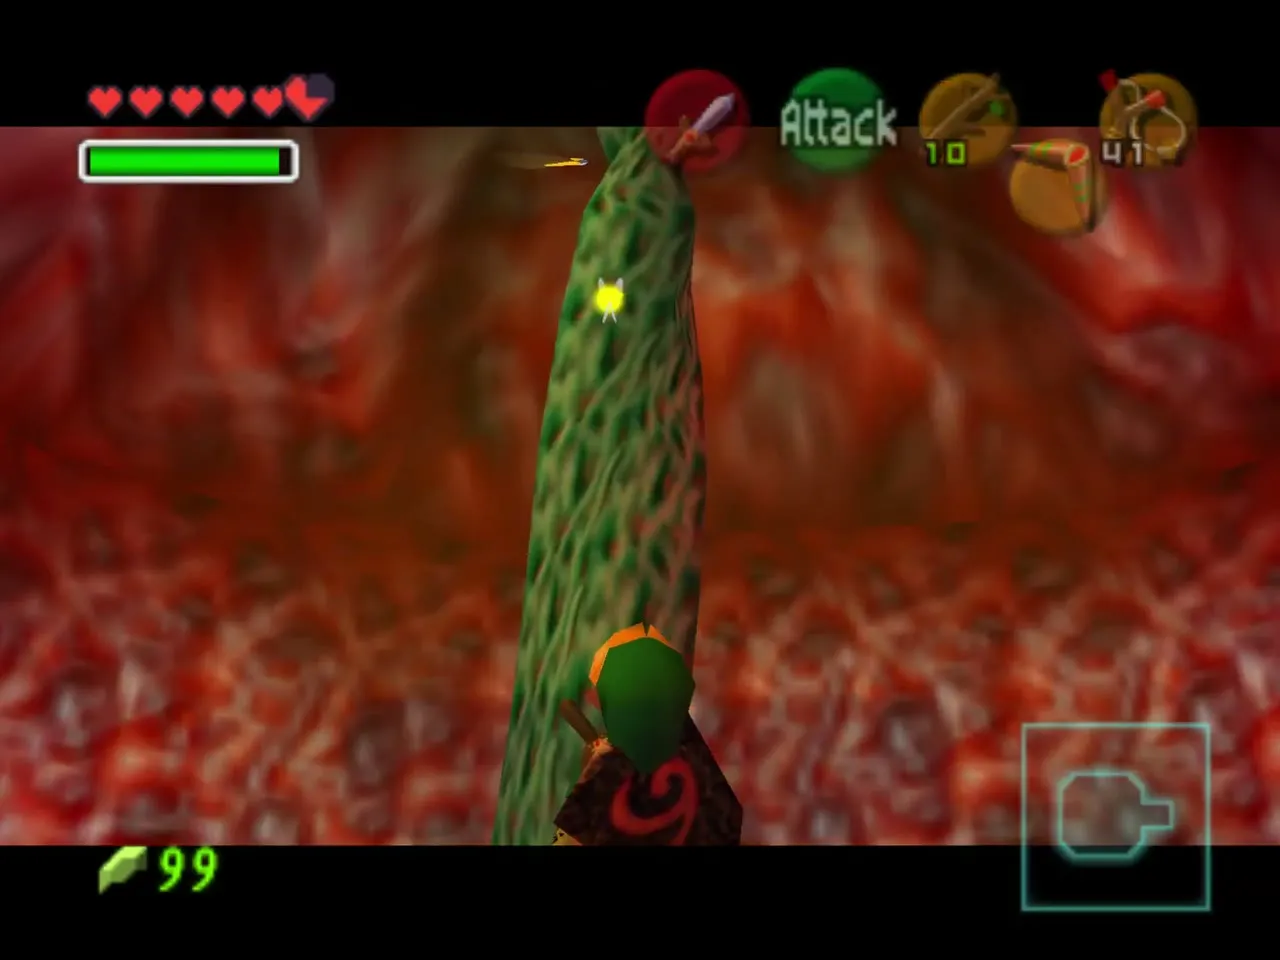
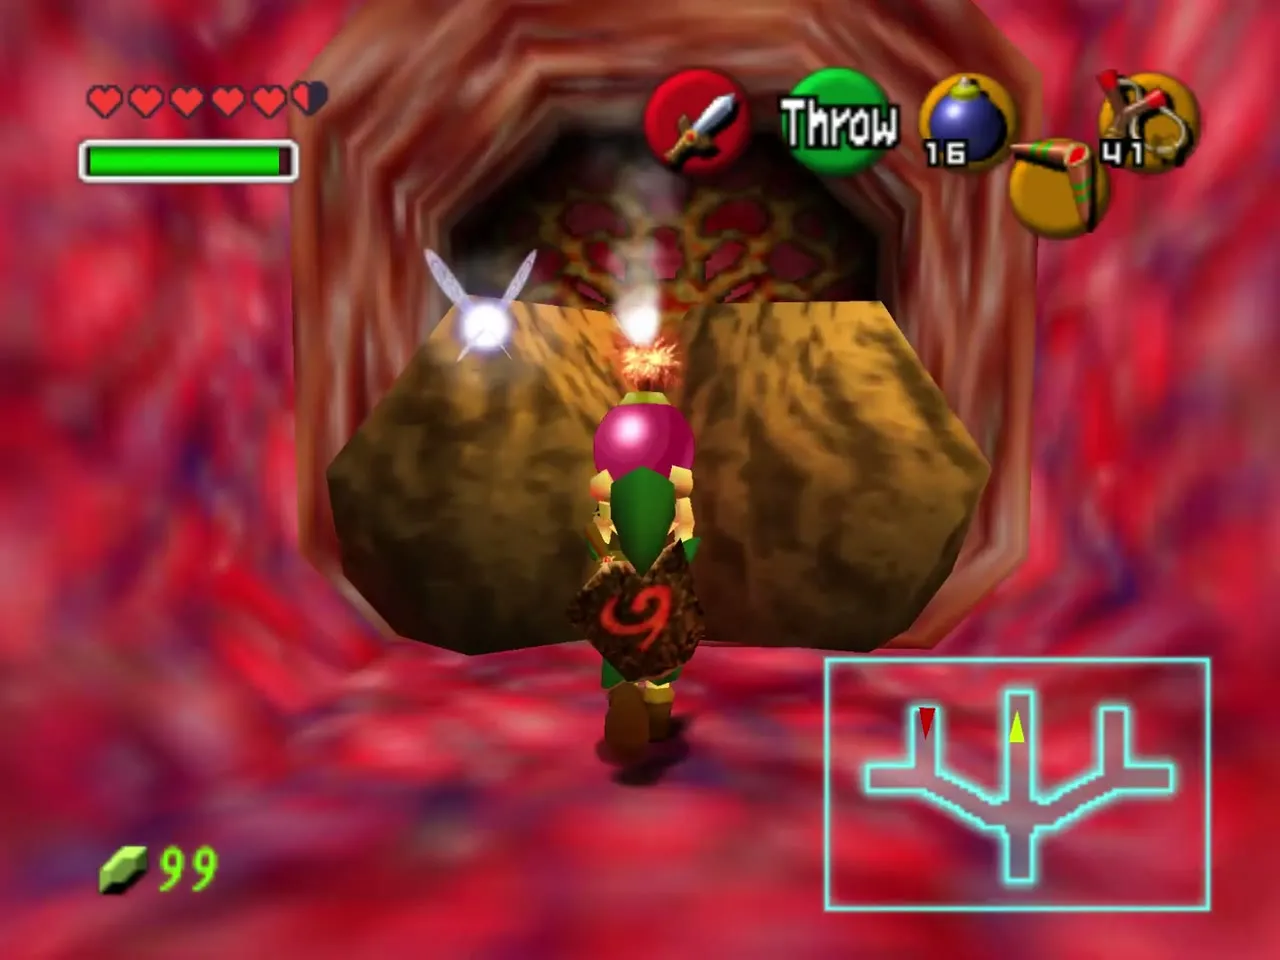
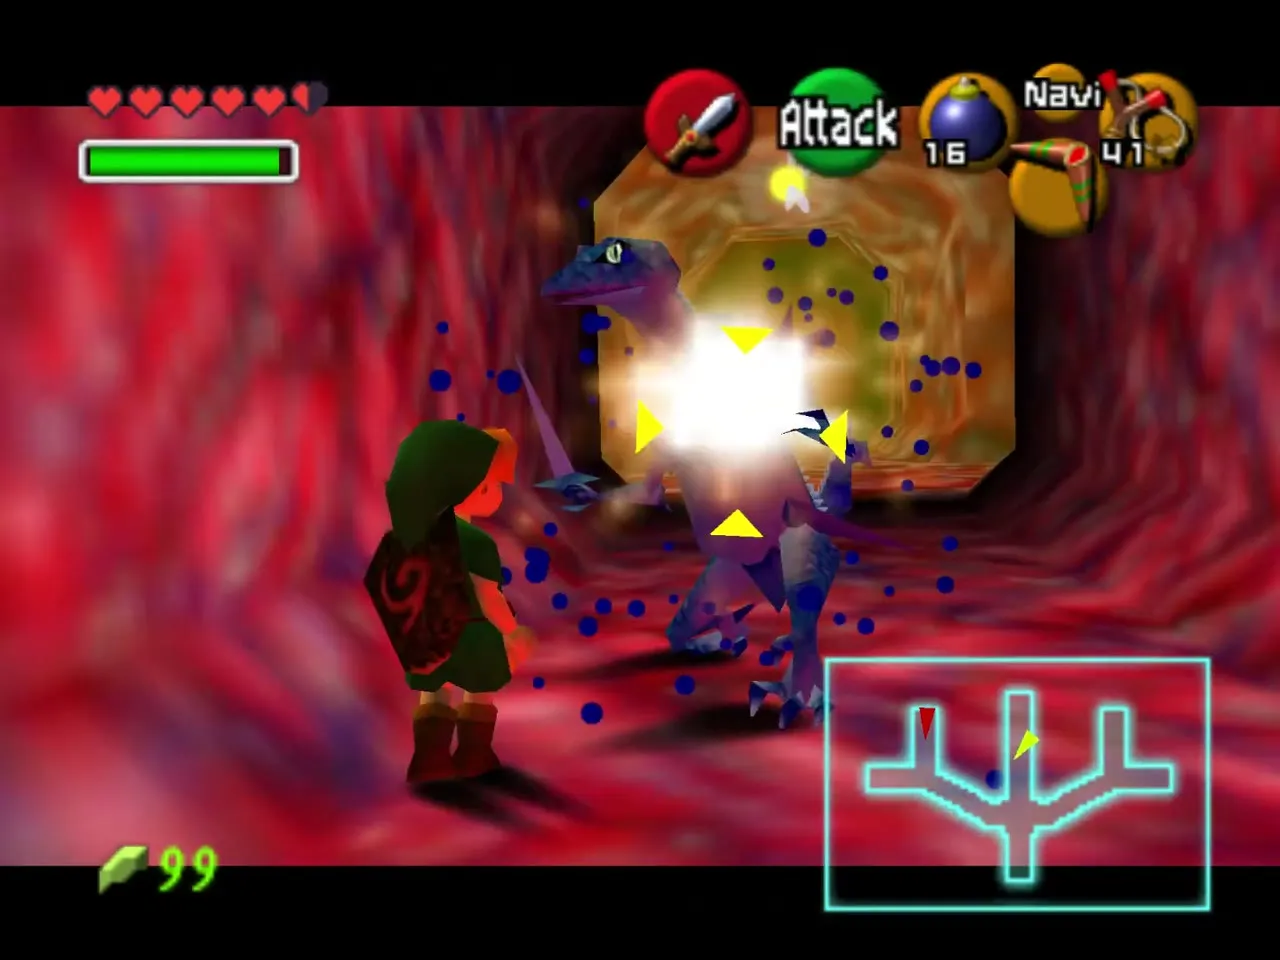
The central hall holds a Lizalfos that attacks when you walk halfway down. Bomb the boulders in that hall to uncover a blue switch, then set a crate from the opposite hall on it. Stun the red wriggling growths with the Boomerang and climb over them to reach the doors behind them. The Lizalfos returns each time you come back, so kill it again.
Cows and Like-Likes
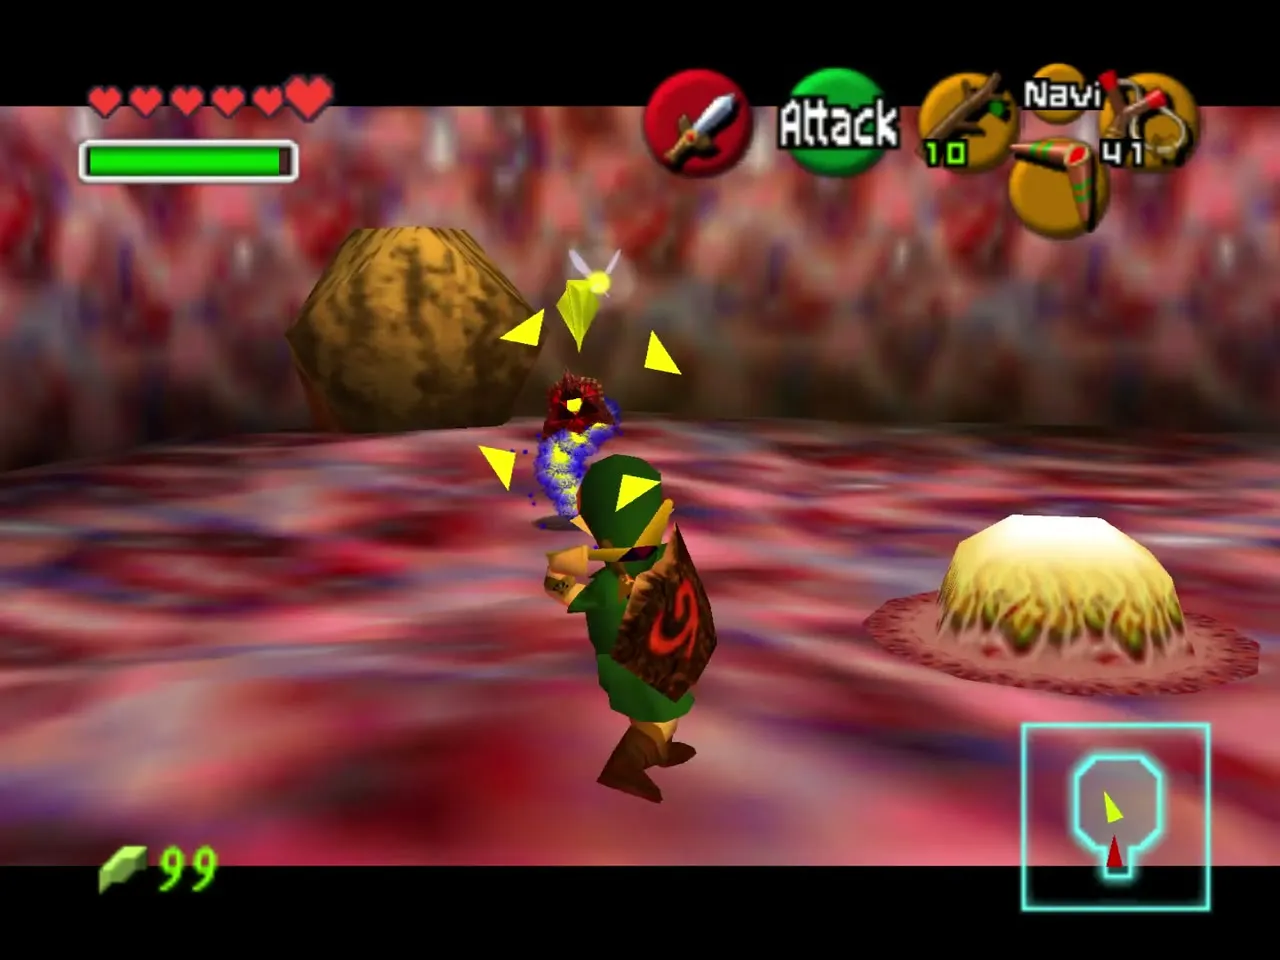
In a cow-head room, shoot each cow in turn; each drops a Like-Like on you. Beat both and the door opens, a torch lights and a chest with a Deku Stick appears. A shelled monster and a bomb-weighted pad lie further on; take the recovery hearts from the pots if you are low.
Back to Ruto and the Sapphire
Water and web room
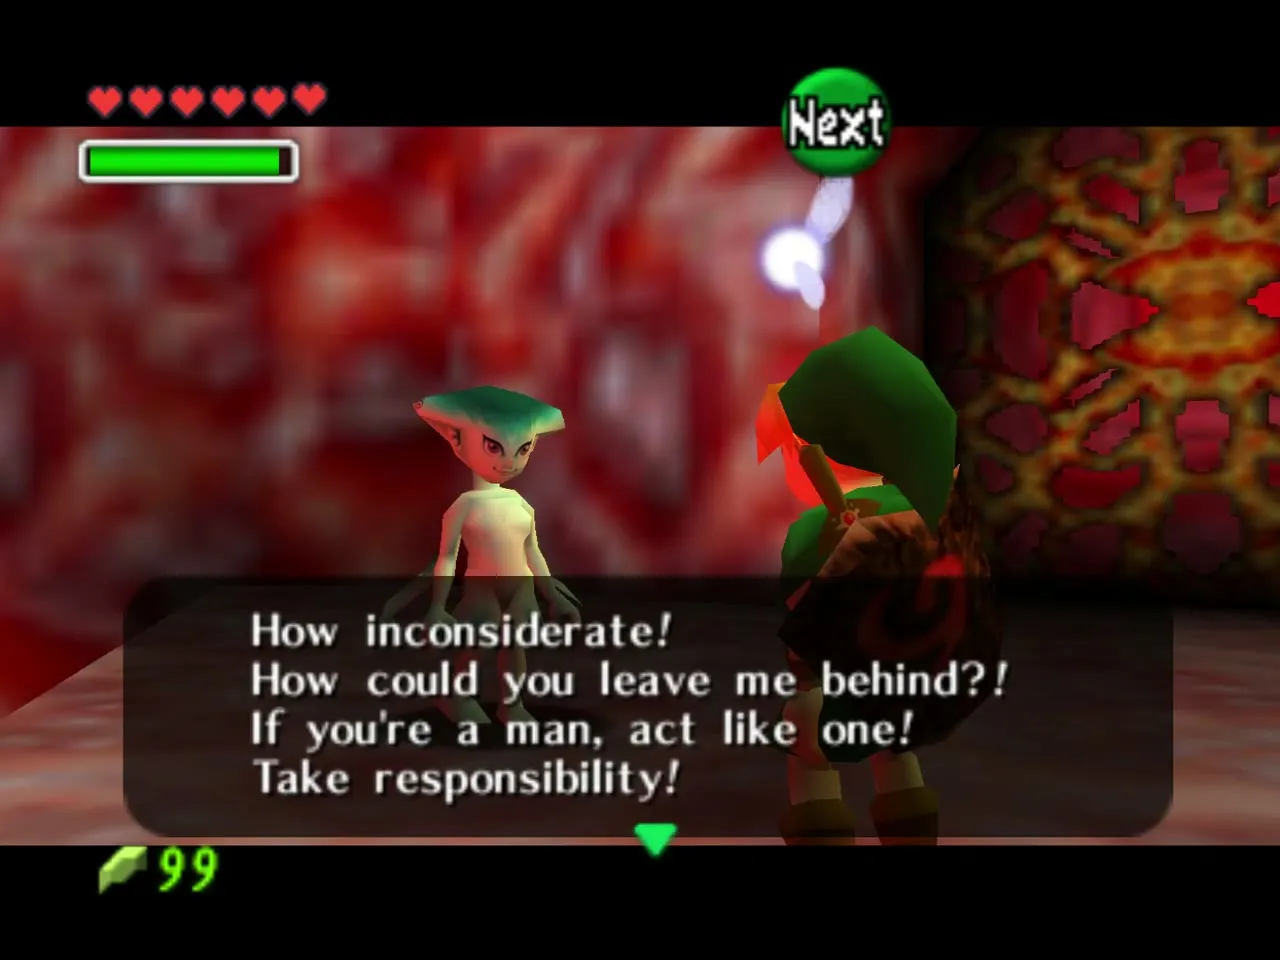
Go back for Ruto, who complains that you left her behind. Carry her through the water room and use the yellow switch to raise the water, setting her down on the platforms that need her weight. Watch your breath when the switch is underwater.
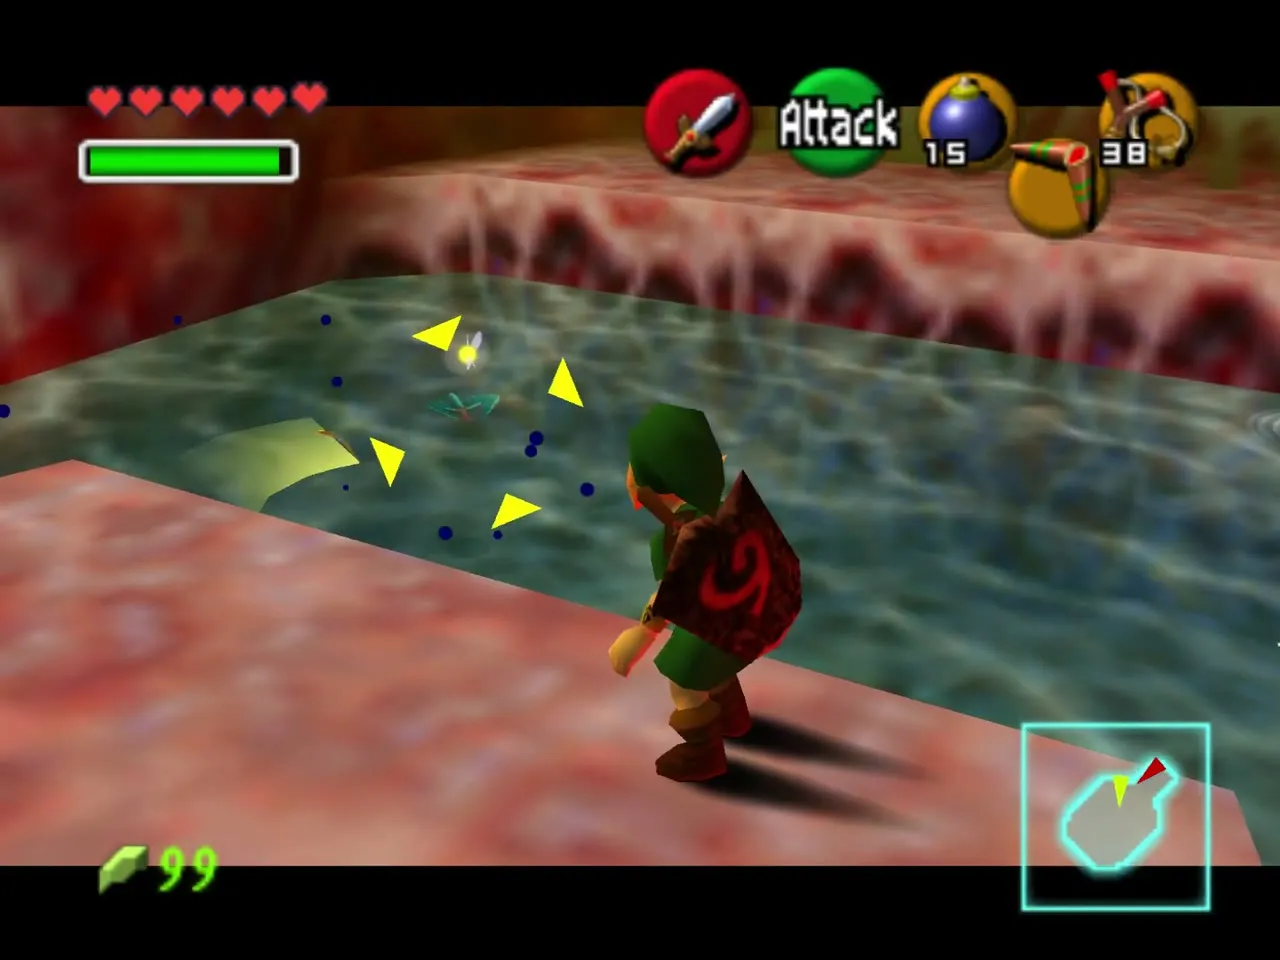
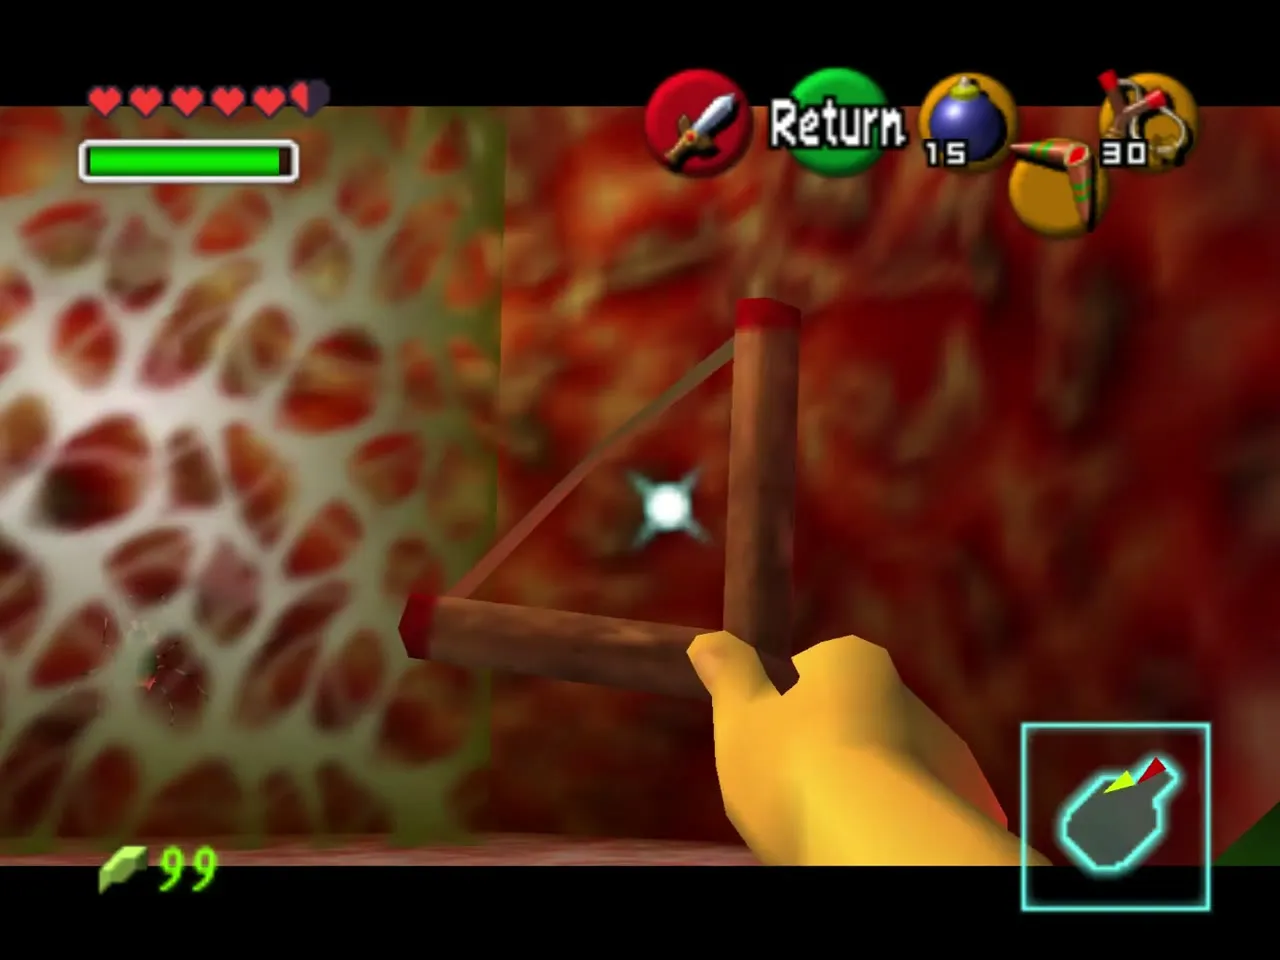
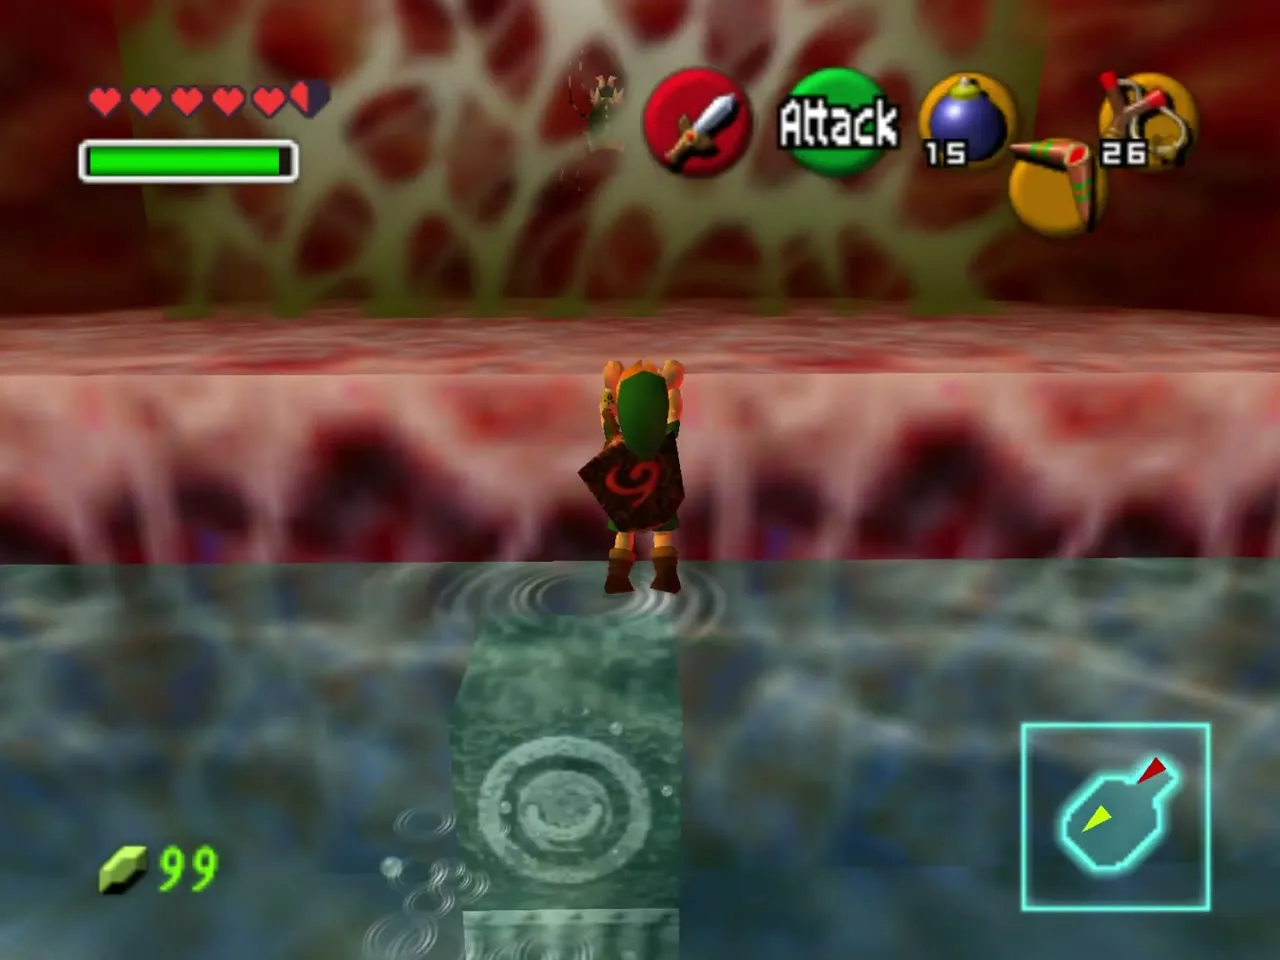
A honeycomb web blocks the next door. Shoot it with the Slingshot from first-person view, then dive for the switch that opens the way. Clear the curtain-like growth that follows with the Boomerang.
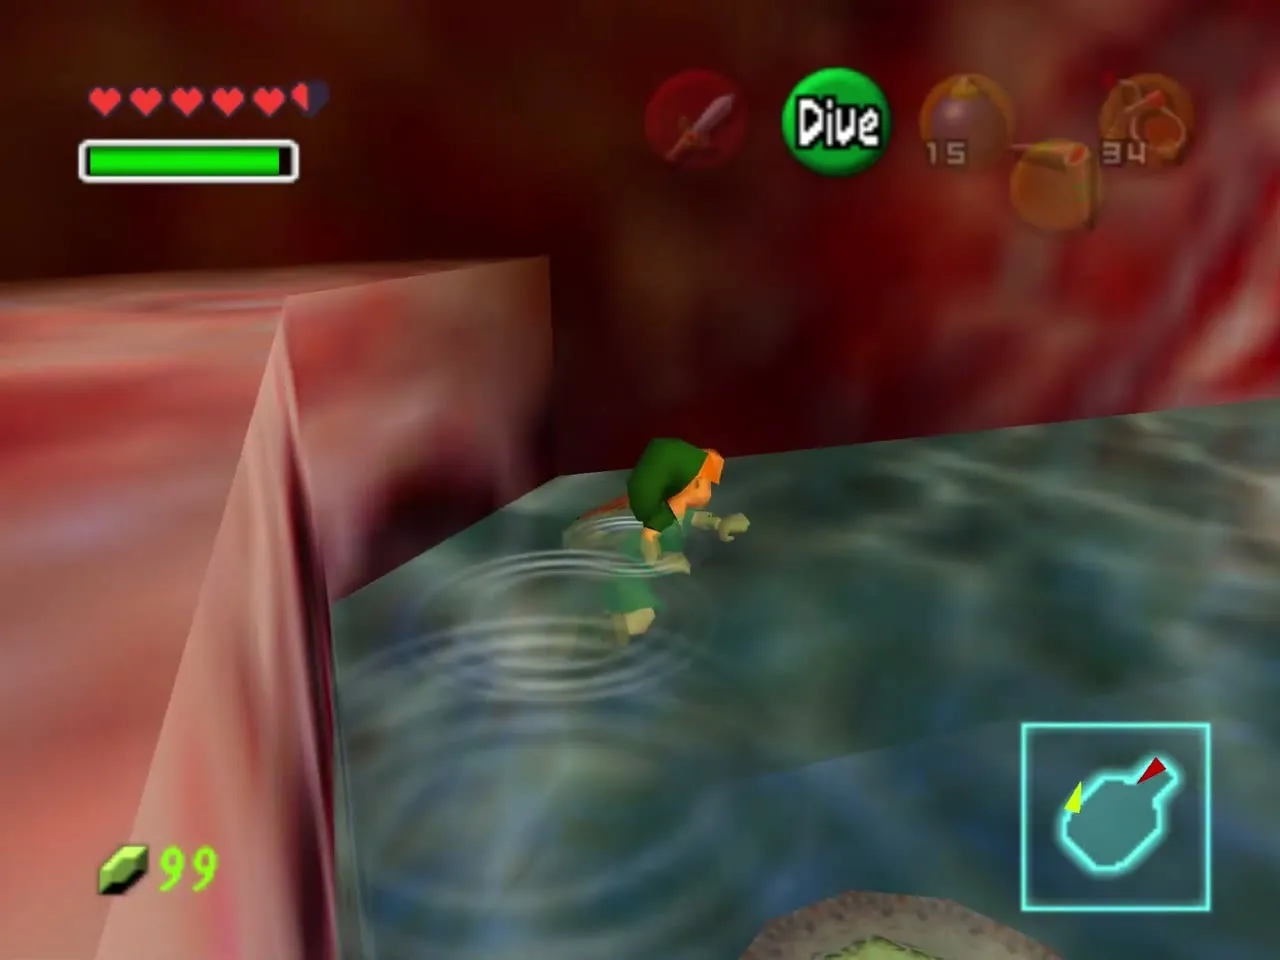
Throwing Ruto at the stone
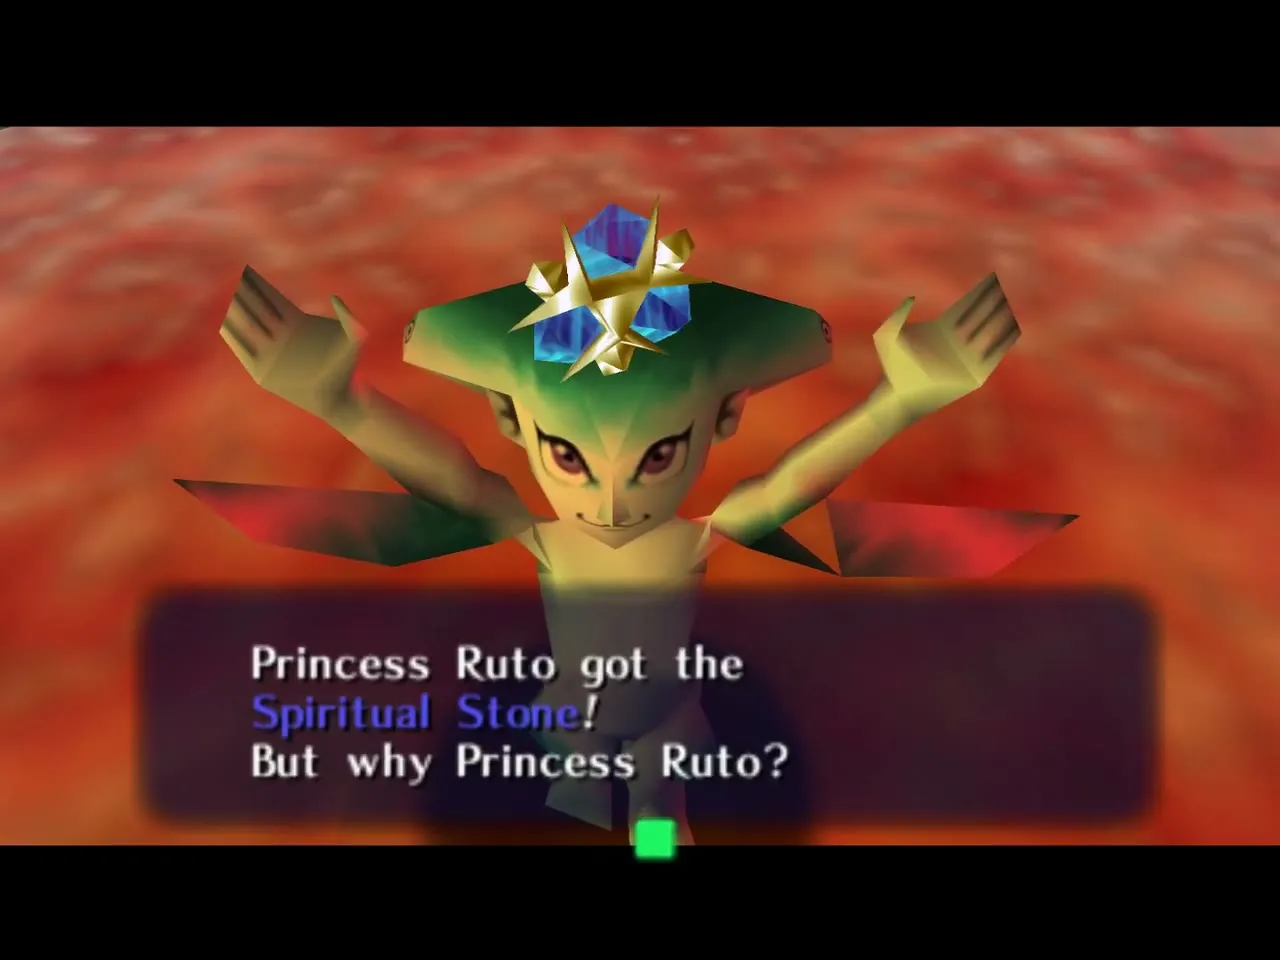
Carry Ruto to the room with the pad and put her down on it. In the final chamber she sees the Spiritual Stone on a raised platform, shouts that this is what she was looking for and demands that you throw her up there. Throw her onto the platform; she takes the stone, and a guardian drops in.
Mini-boss: Big Octo
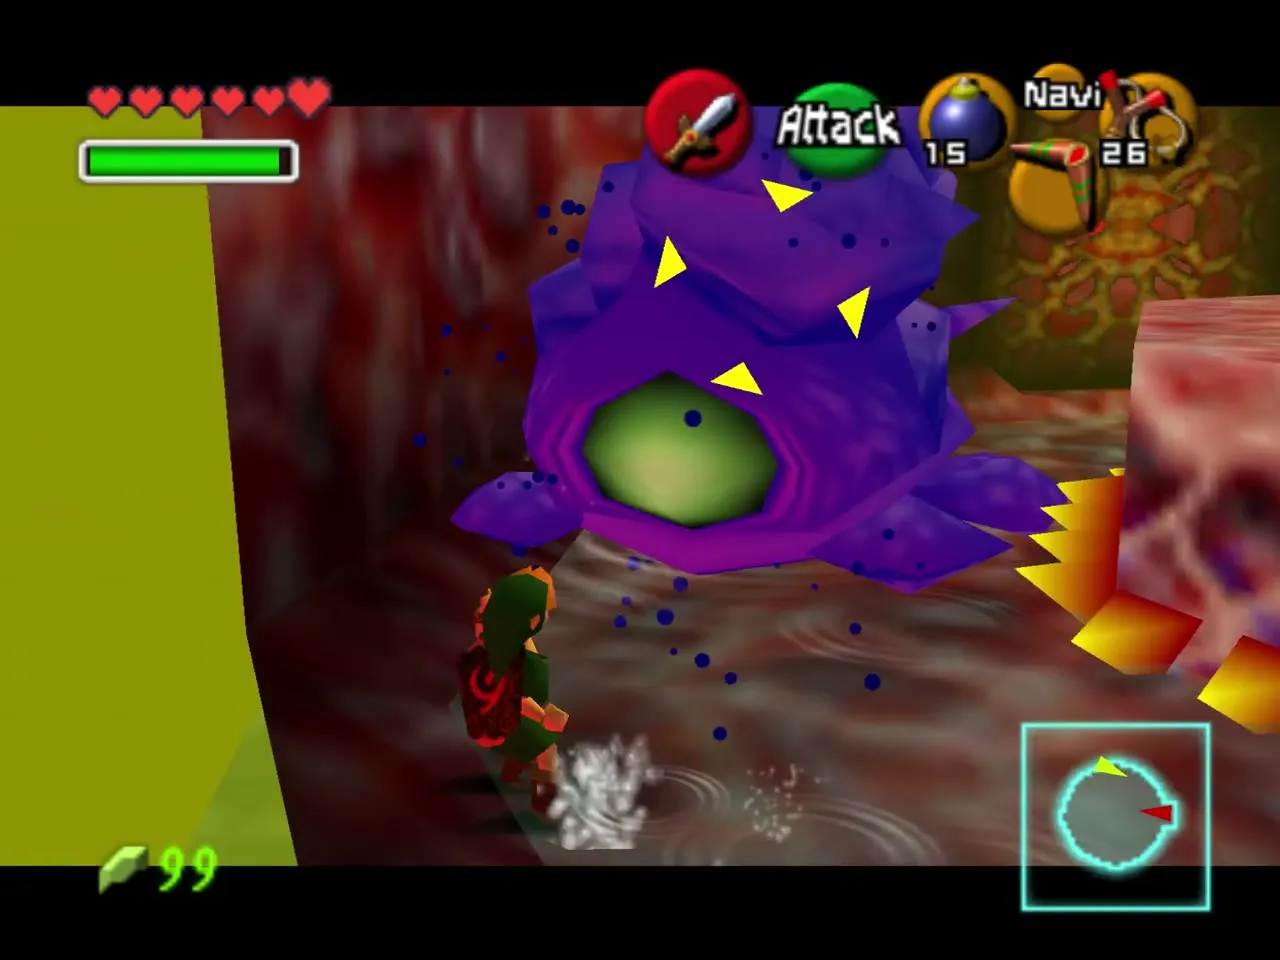
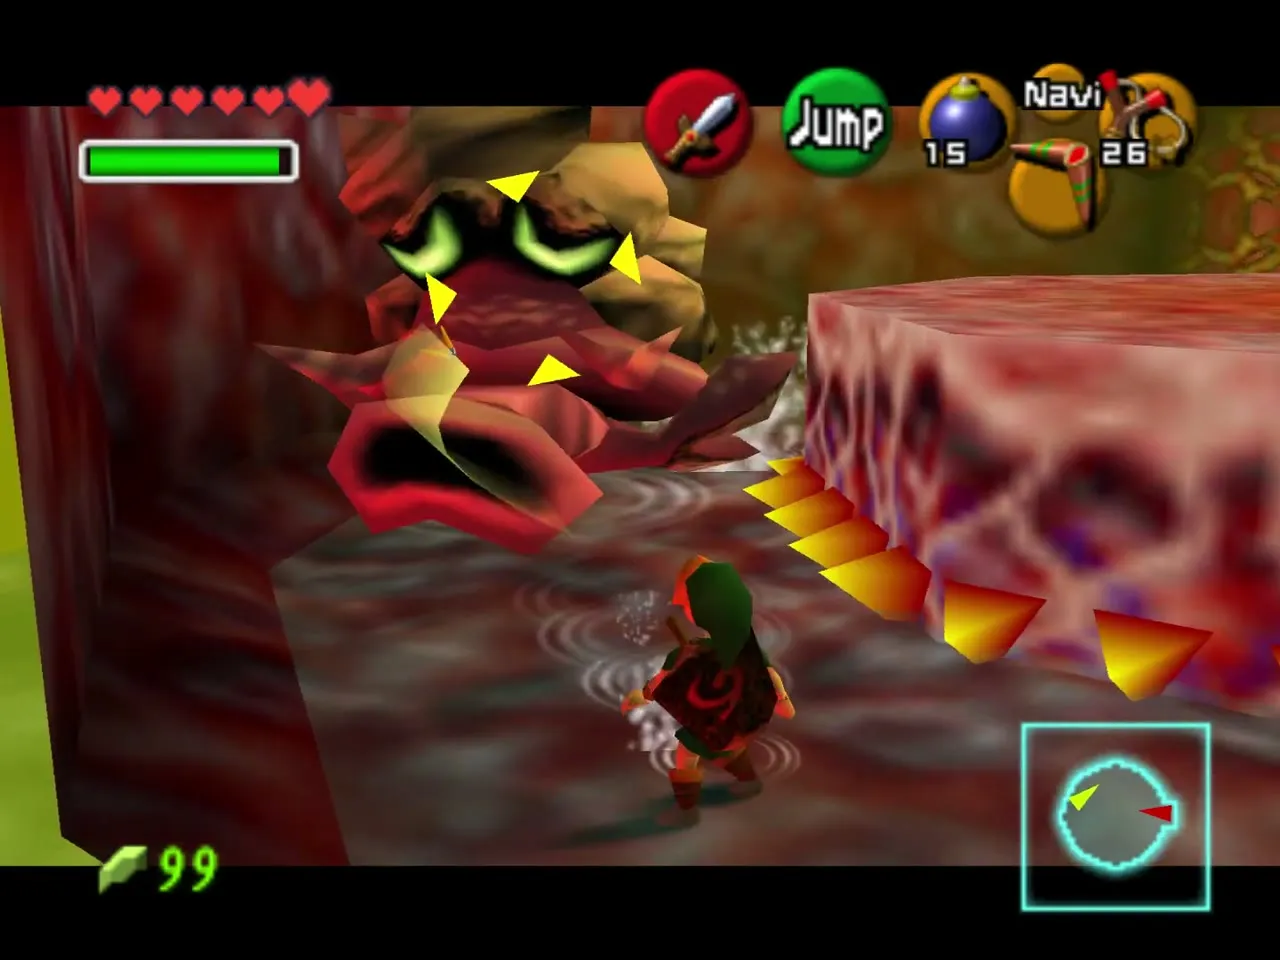
Big Octo circles in a round pool. Keep moving and stay away from its spiked ring. Stun it with the Boomerang; when it spins to show its back, stun it again and slash its weak spot. If it faces you, wait for it to turn and stun it again. A few rounds finish it, and it leaves recovery hearts. Climb out afterwards to the next rooms.
Toward Barinade
Slime halls and the cow
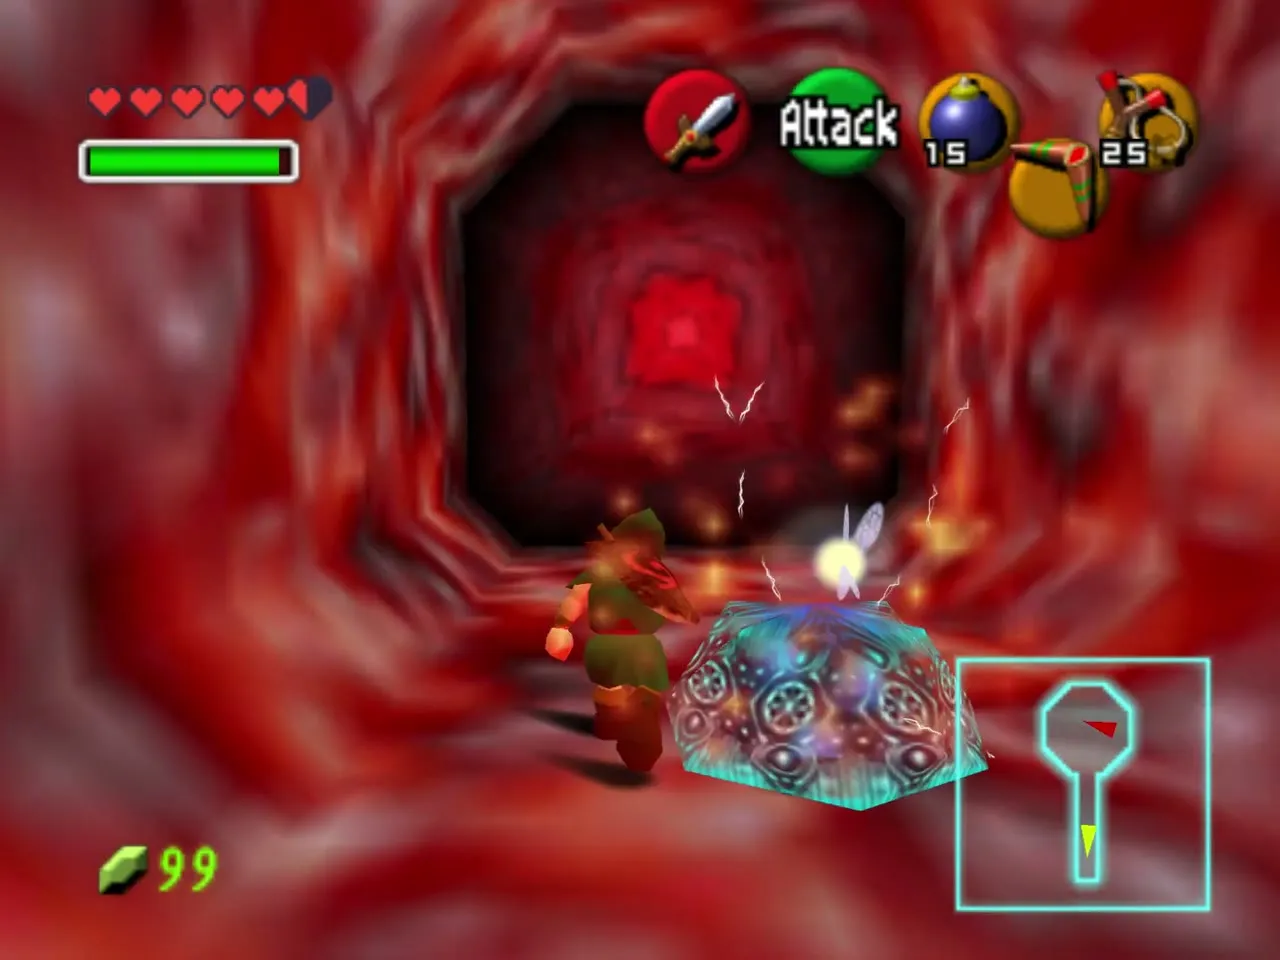
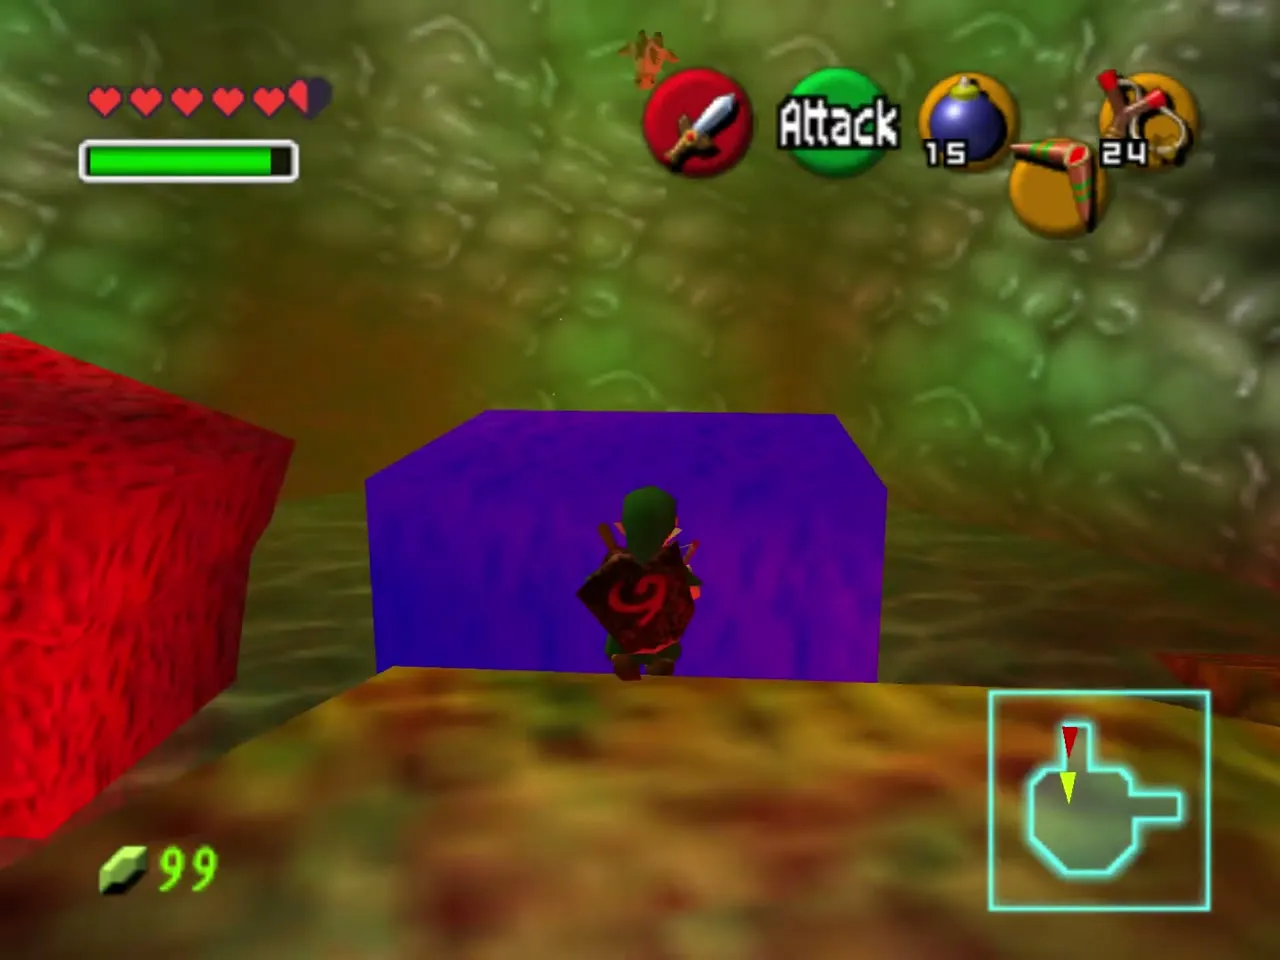
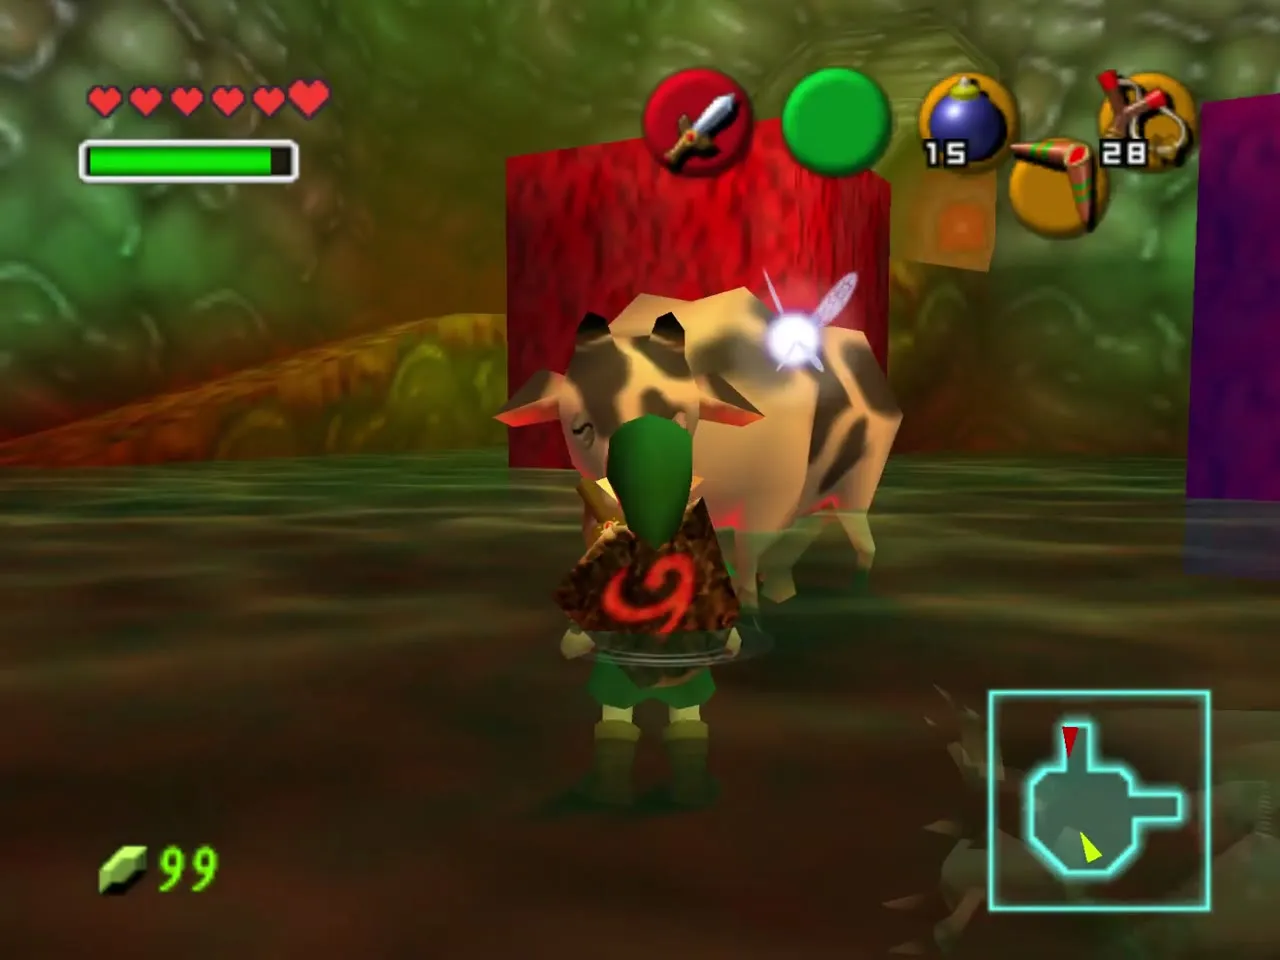
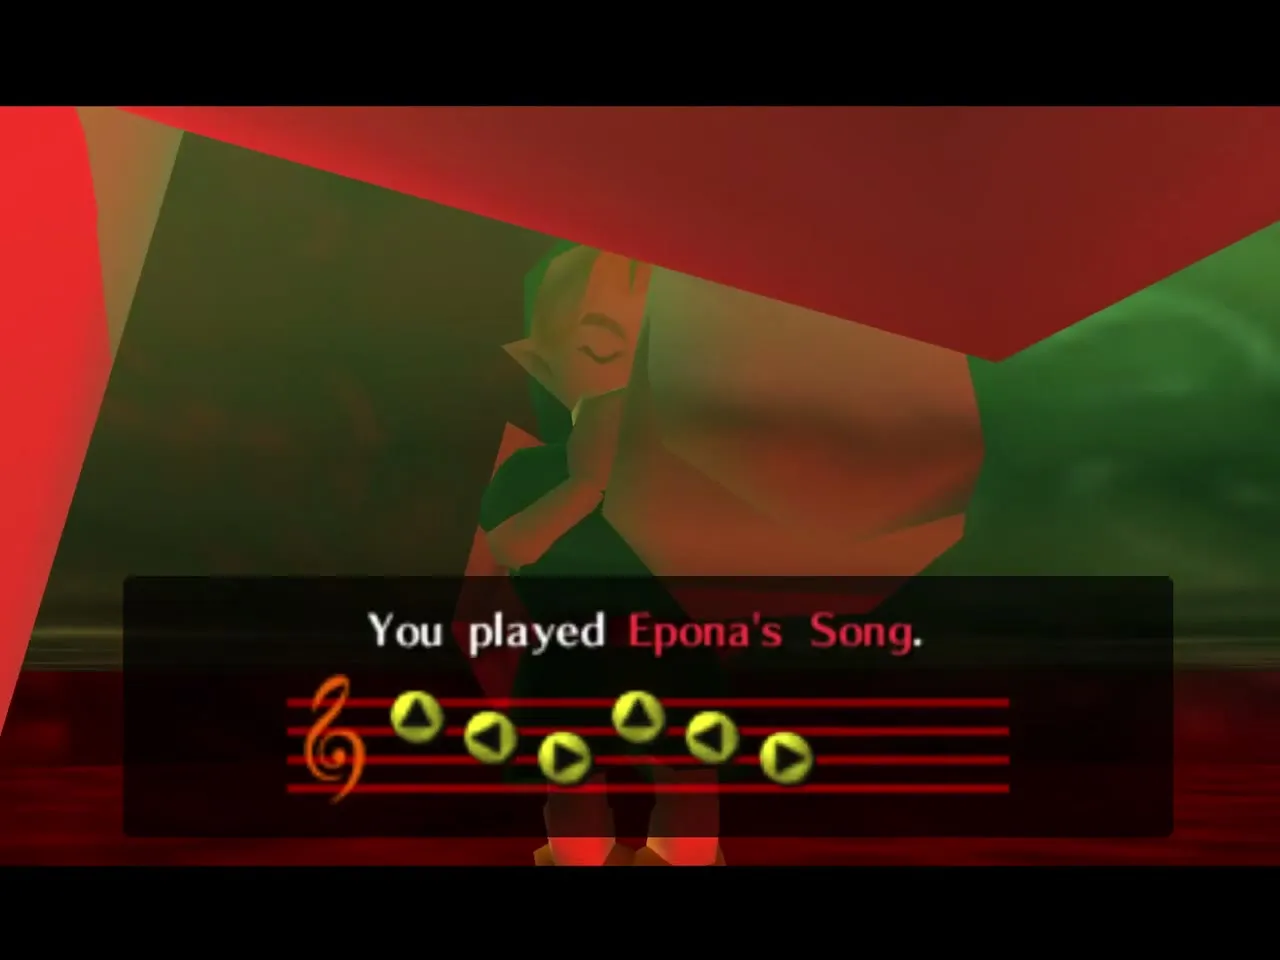
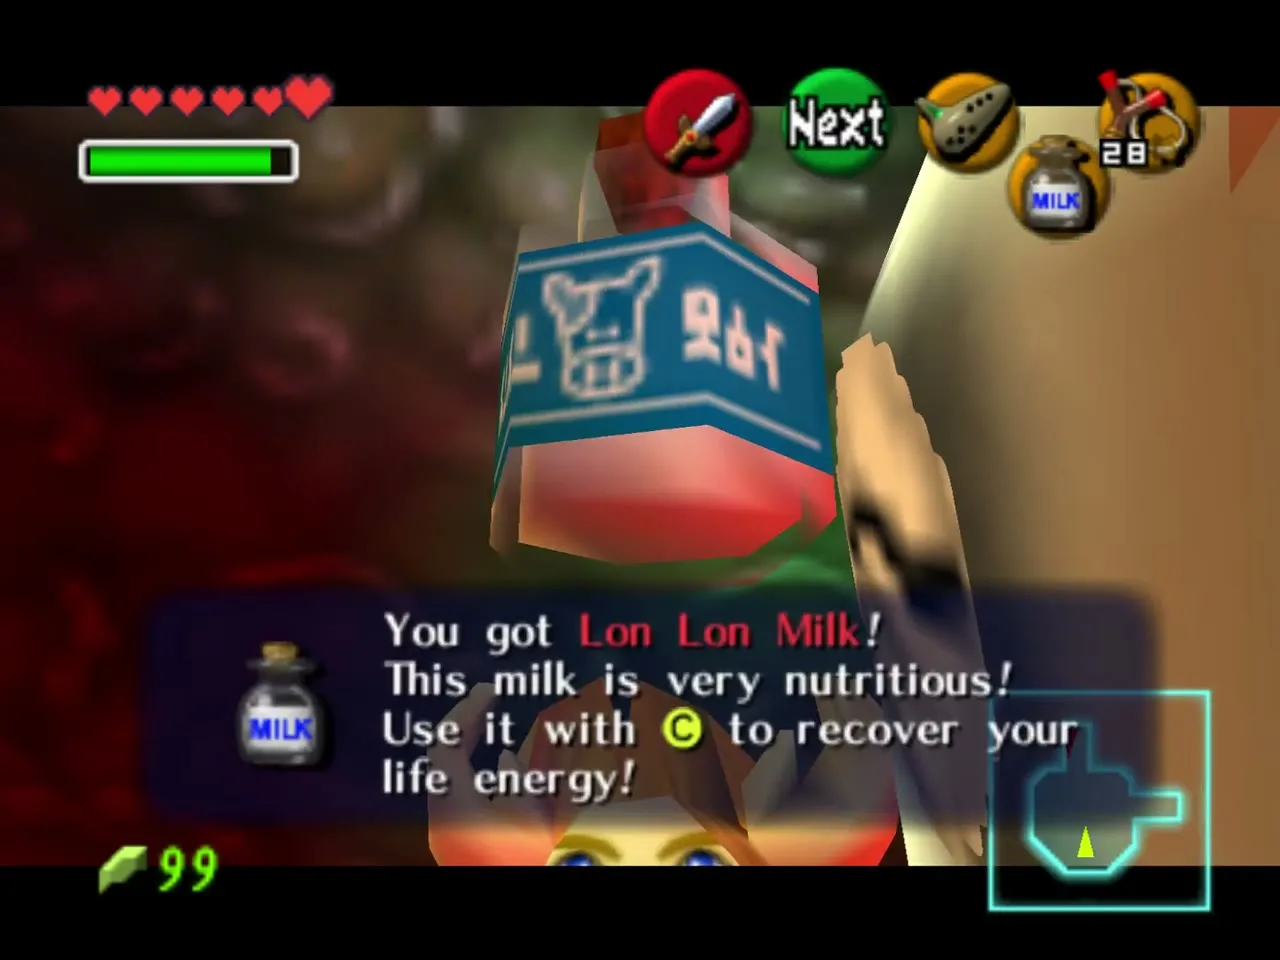
Shoot the blue and purple blocks to use them as platforms and jump over the slime hall; electricity in the walls shocks you. Cube enemies show up again. In the green cow room, play Epona’s Song to the cow to fill an empty bottle with Lon Lon Milk.
Crate, Fairy and the Blue Rupee
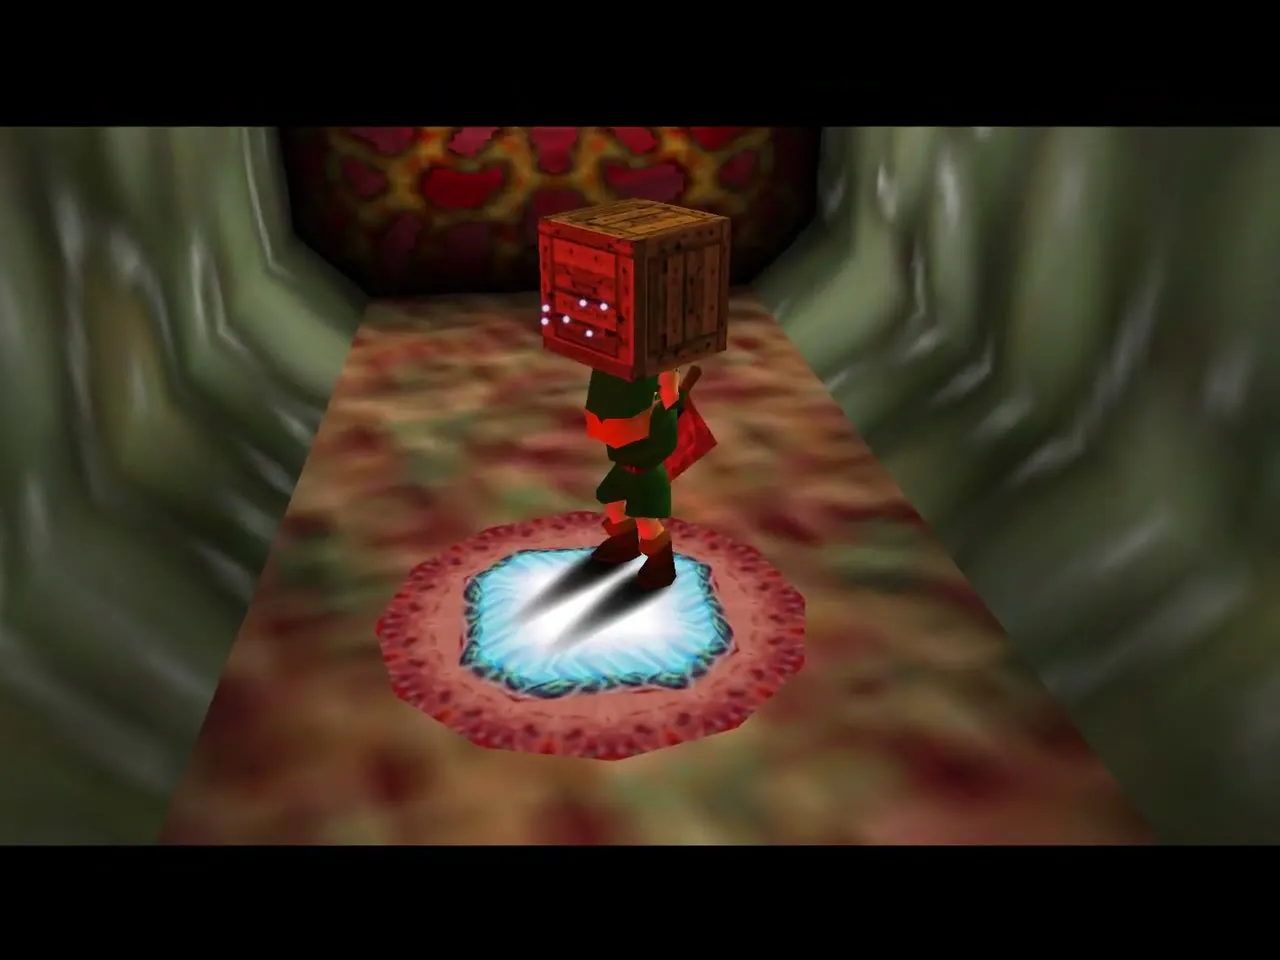
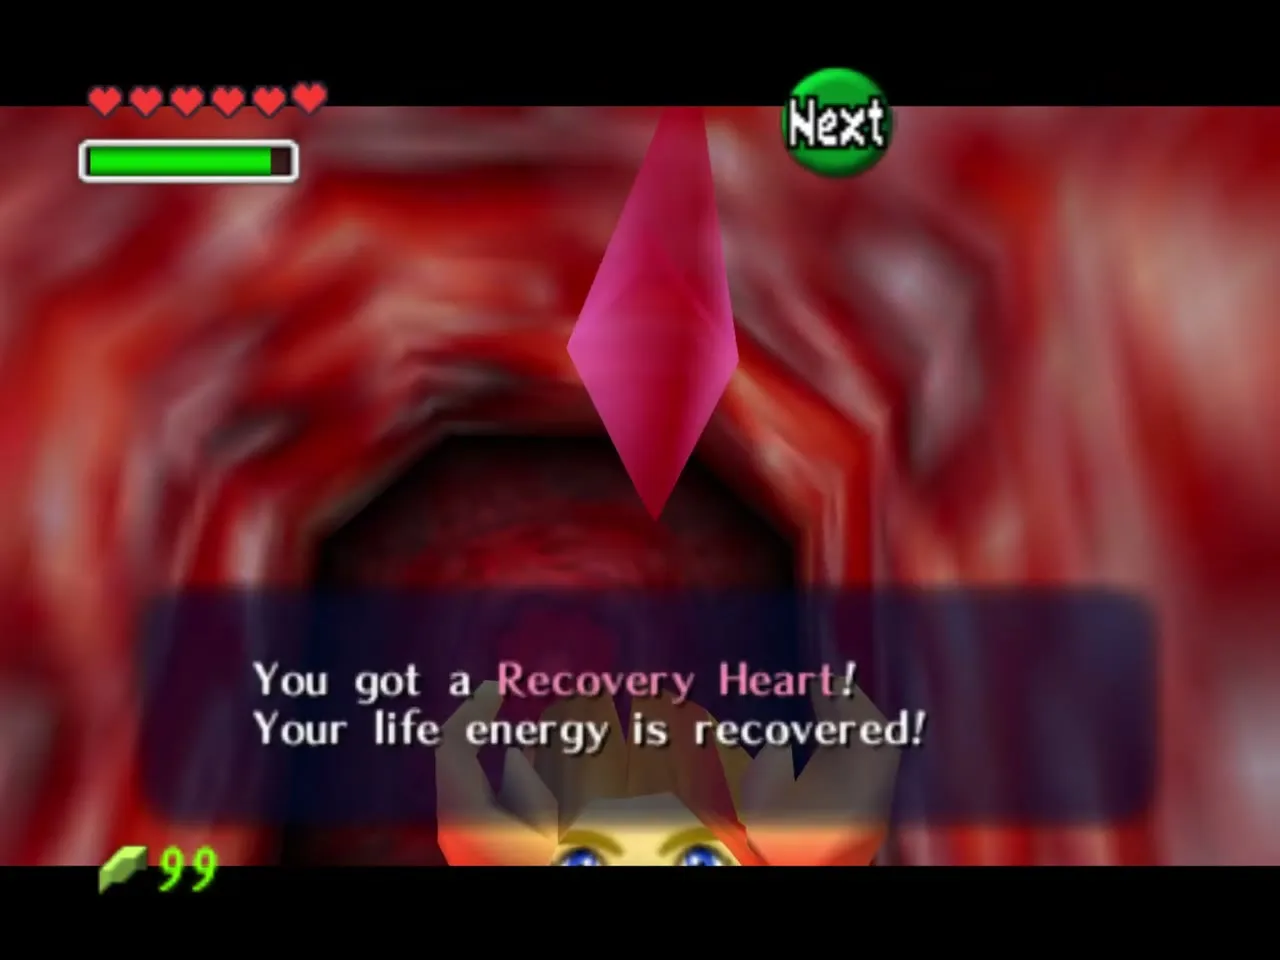
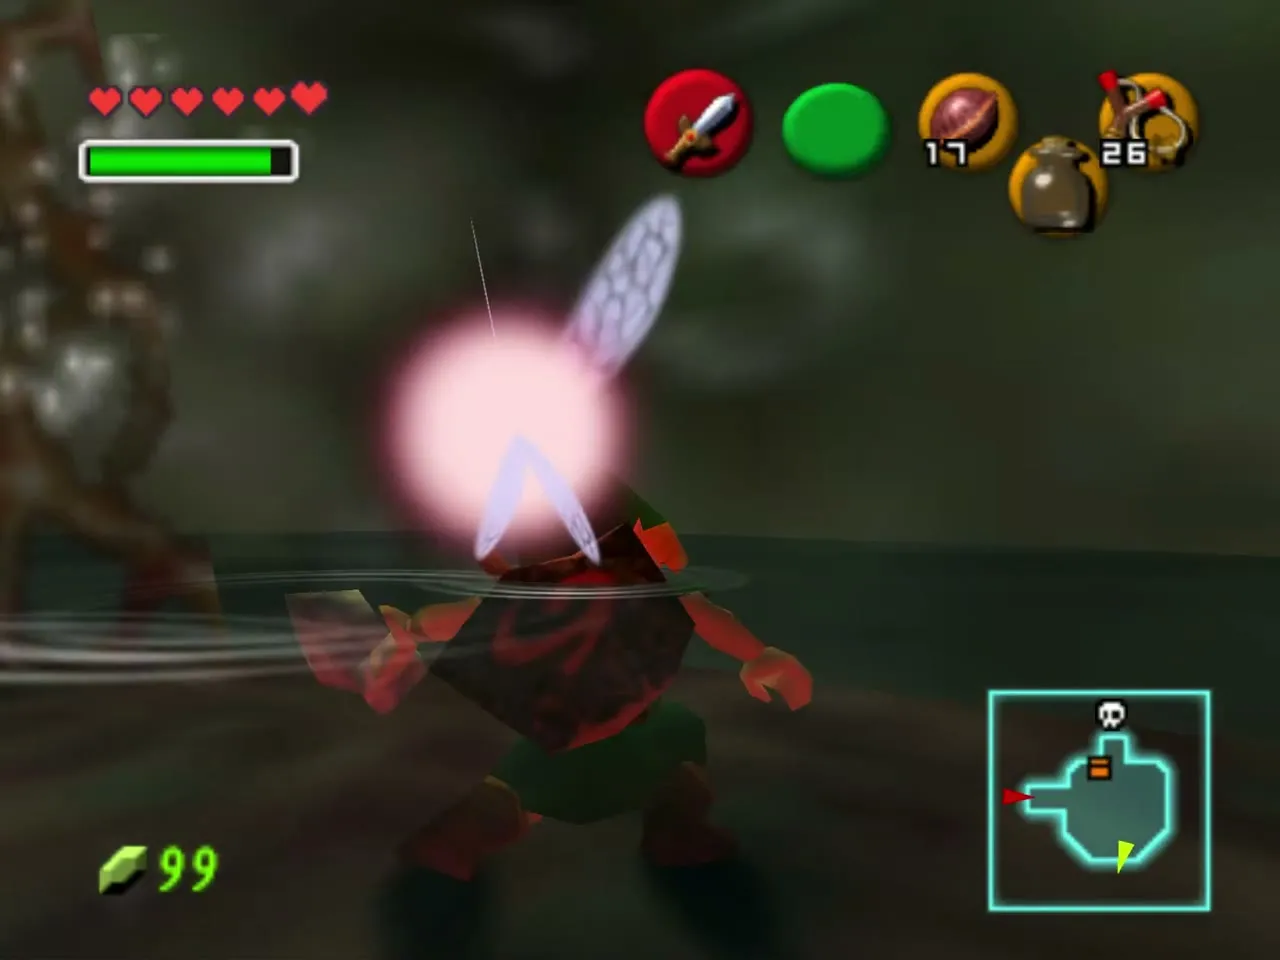
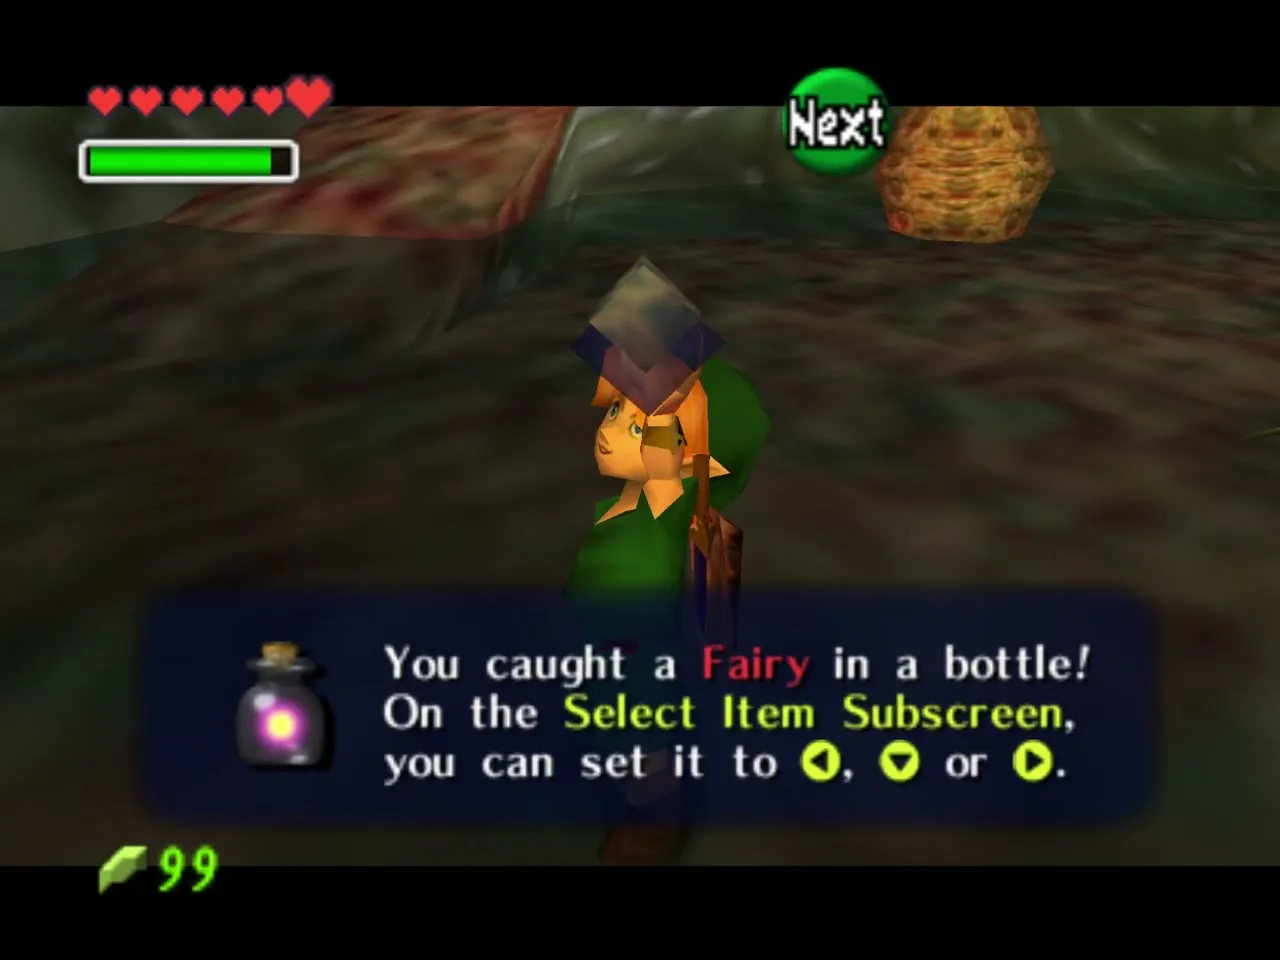
Carry a wooden crate to the frosted pressure pad to open the next door. A Recovery Heart waits in the tunnel beyond. In the shallow water room, catch the Fairy hovering there in an empty bottle.
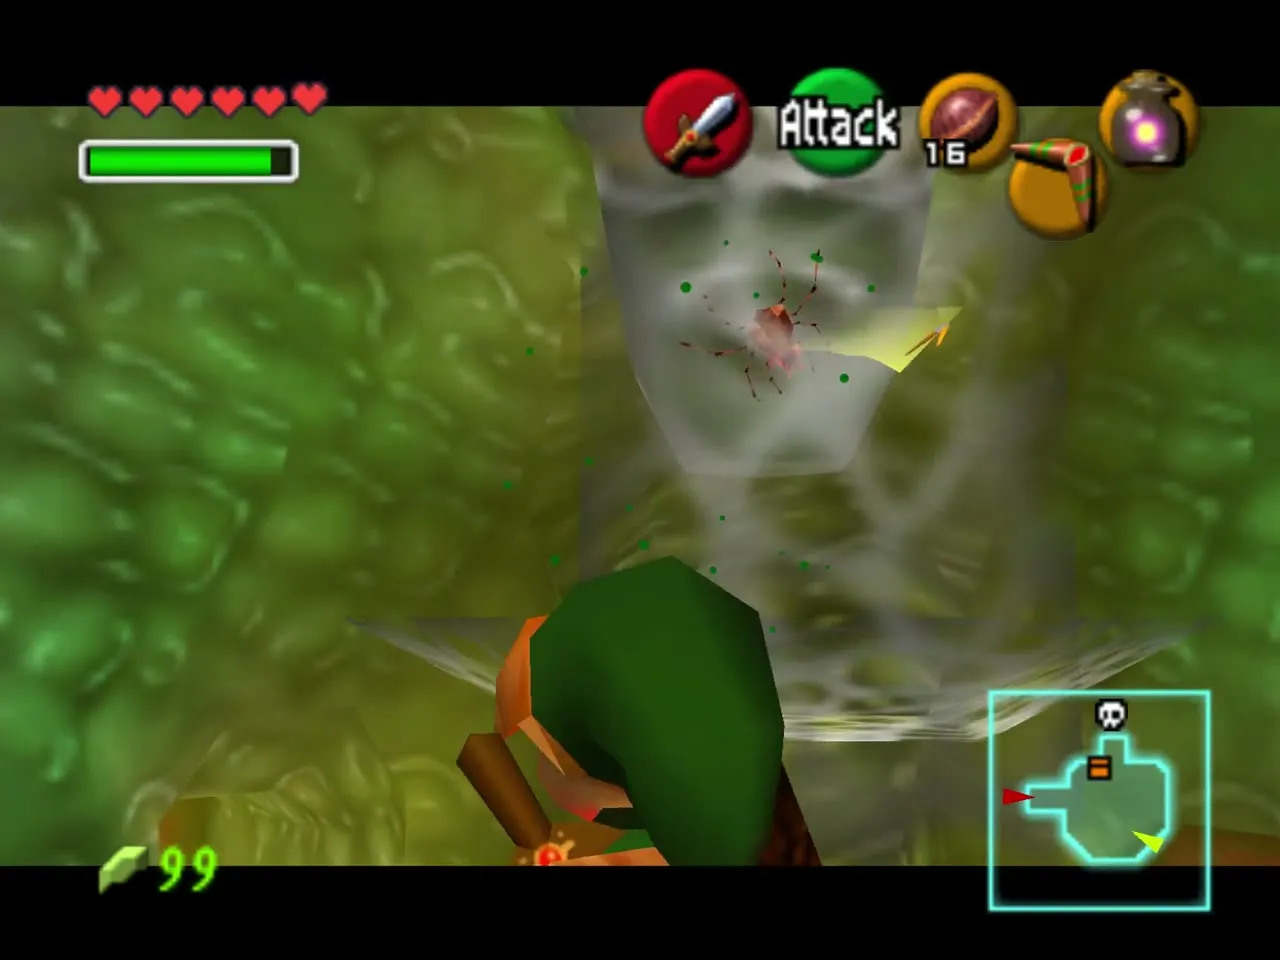
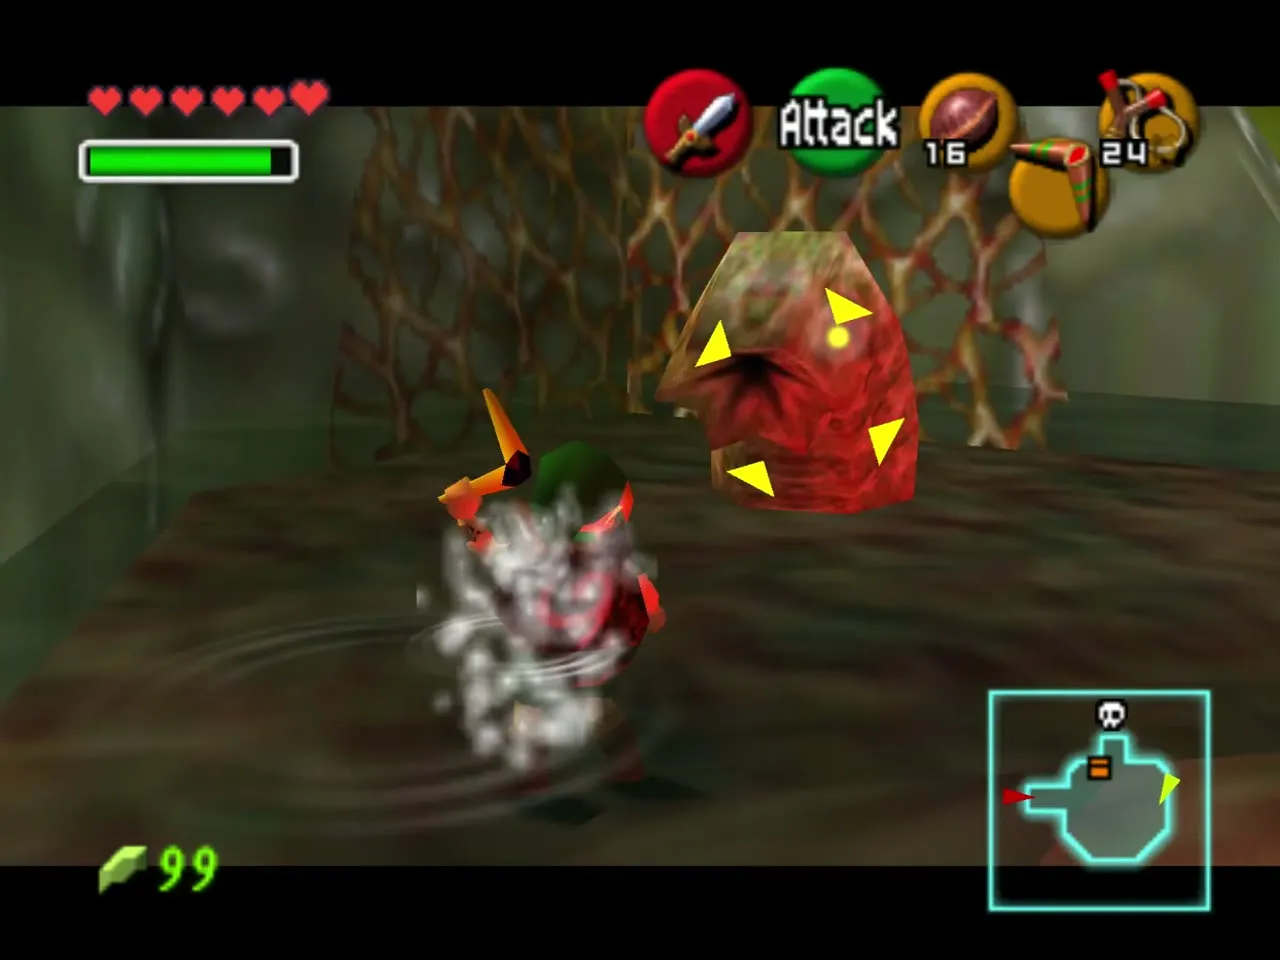
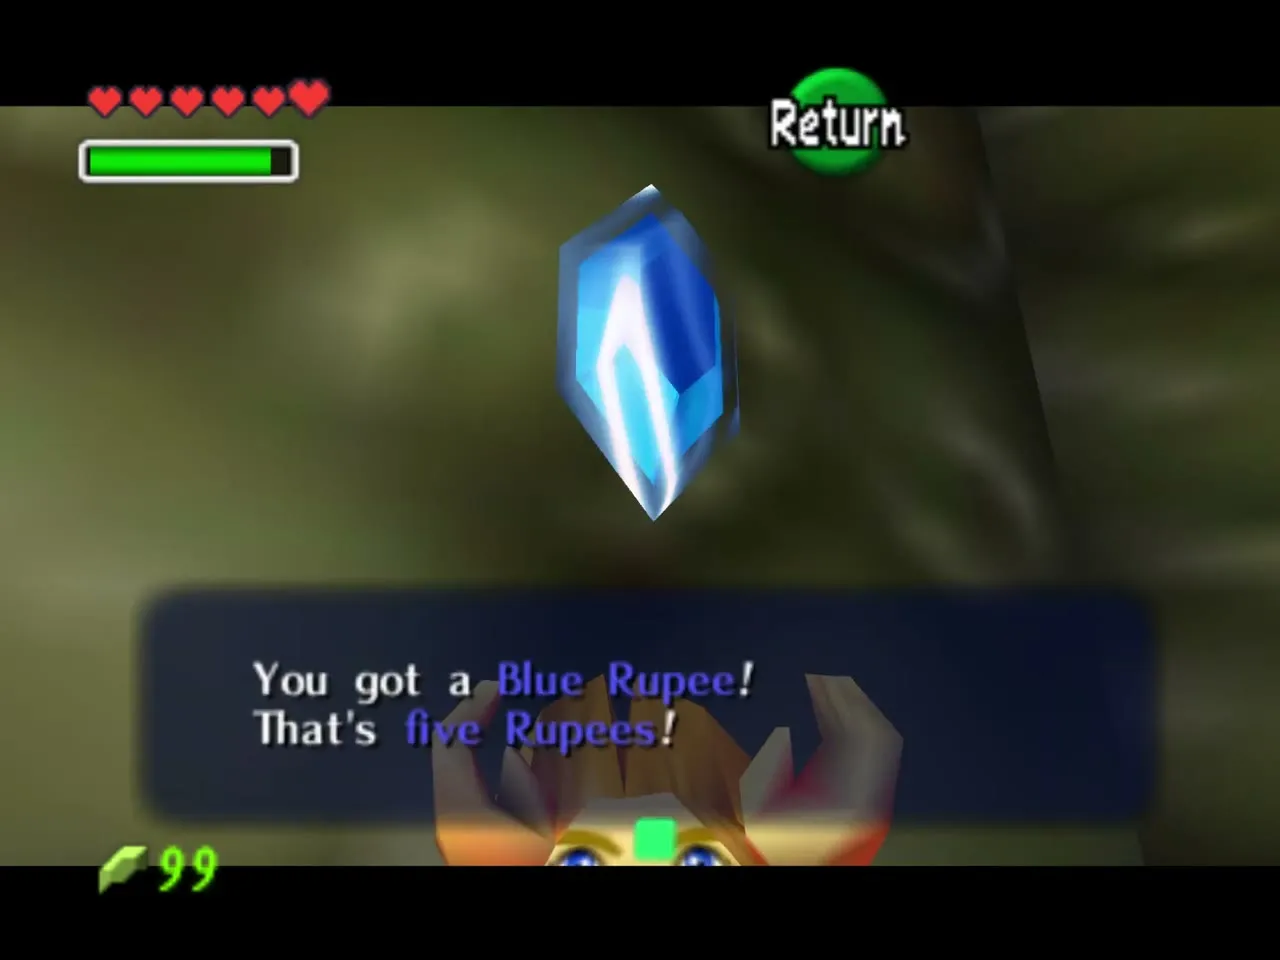
Throw the Boomerang at the pillar in the slime room, then shoot the red cube enemies, cross the red platforms and slide down the slope. At the end of the corridor, open the chest for a Blue Rupee, worth five Rupees. A fairy is hiding in the nearby pot.
Optional Gold Skulltulas
Four Gold Skulltulas sit in this dungeon: under the Song of Time block in the Boomerang room, behind a boulder in a water room (Song of Time and Bombs), behind a web that needs Din’s Fire, and behind a web in the room before Barinade. None is needed to finish the dungeon. The Gold Skulltula list has more.
Boss: Barinade
Entering the arena
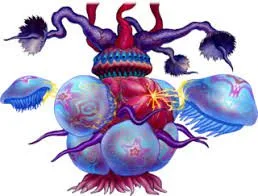
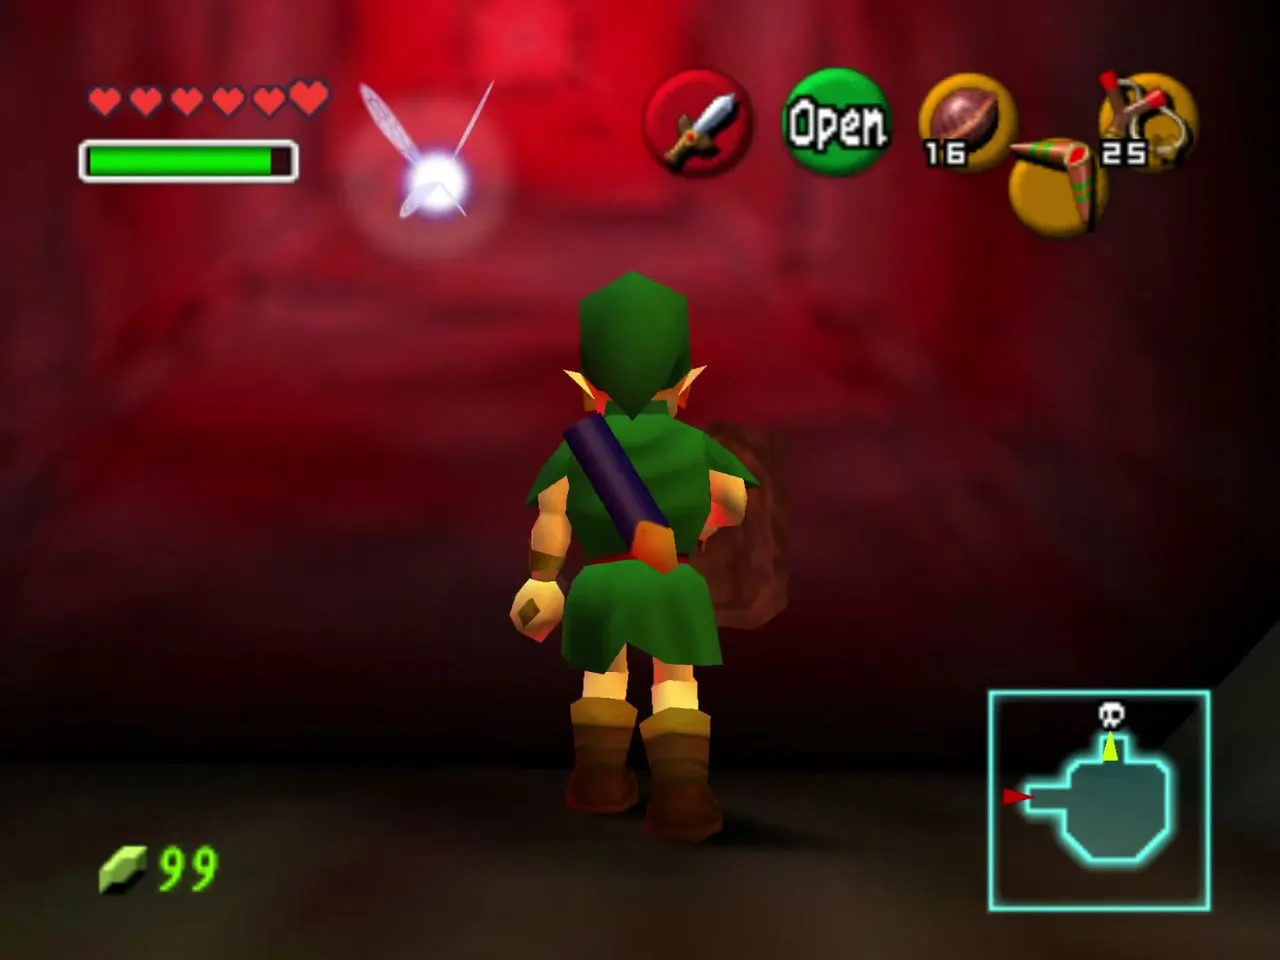
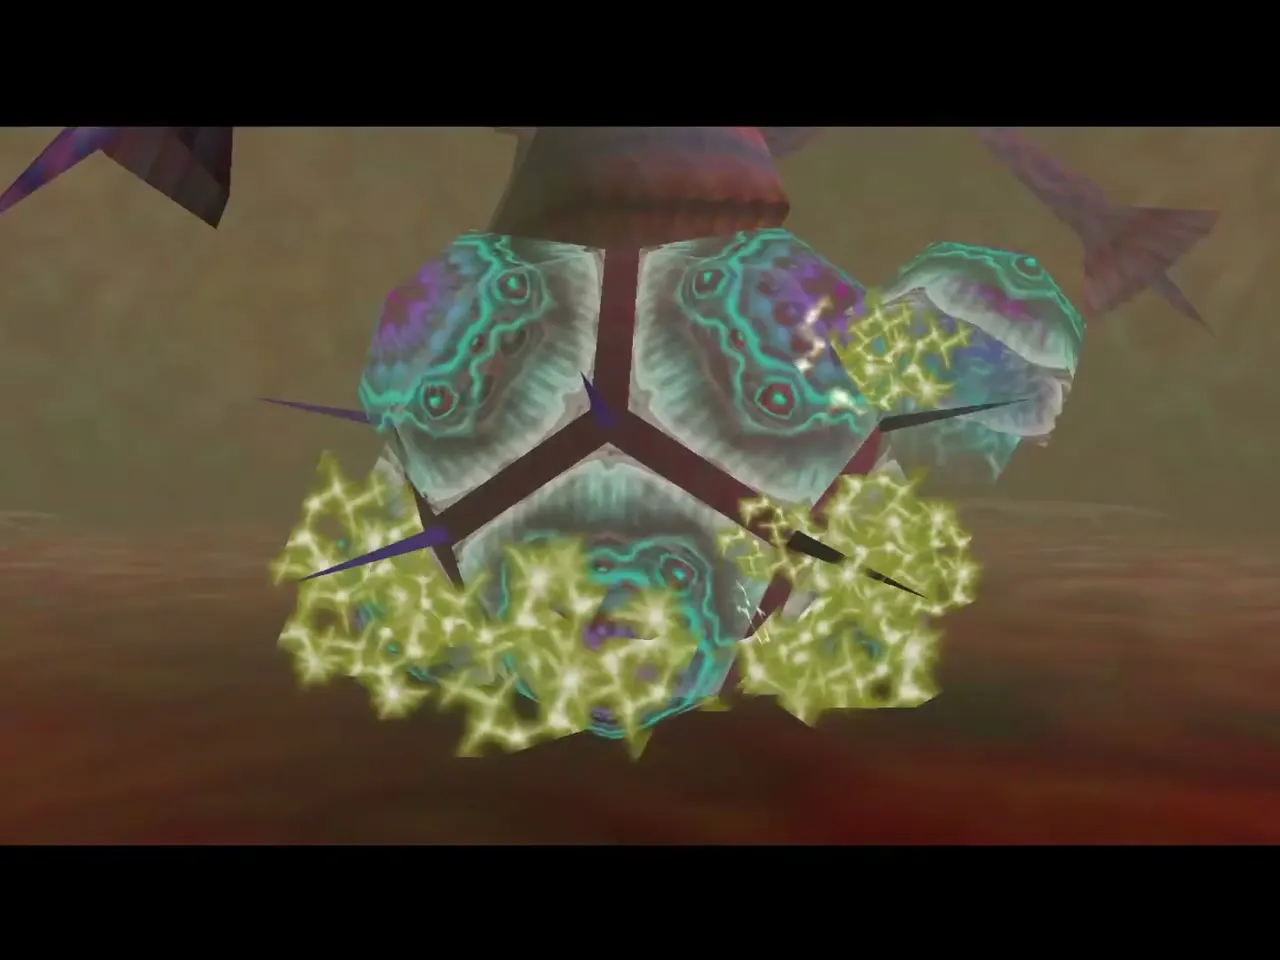
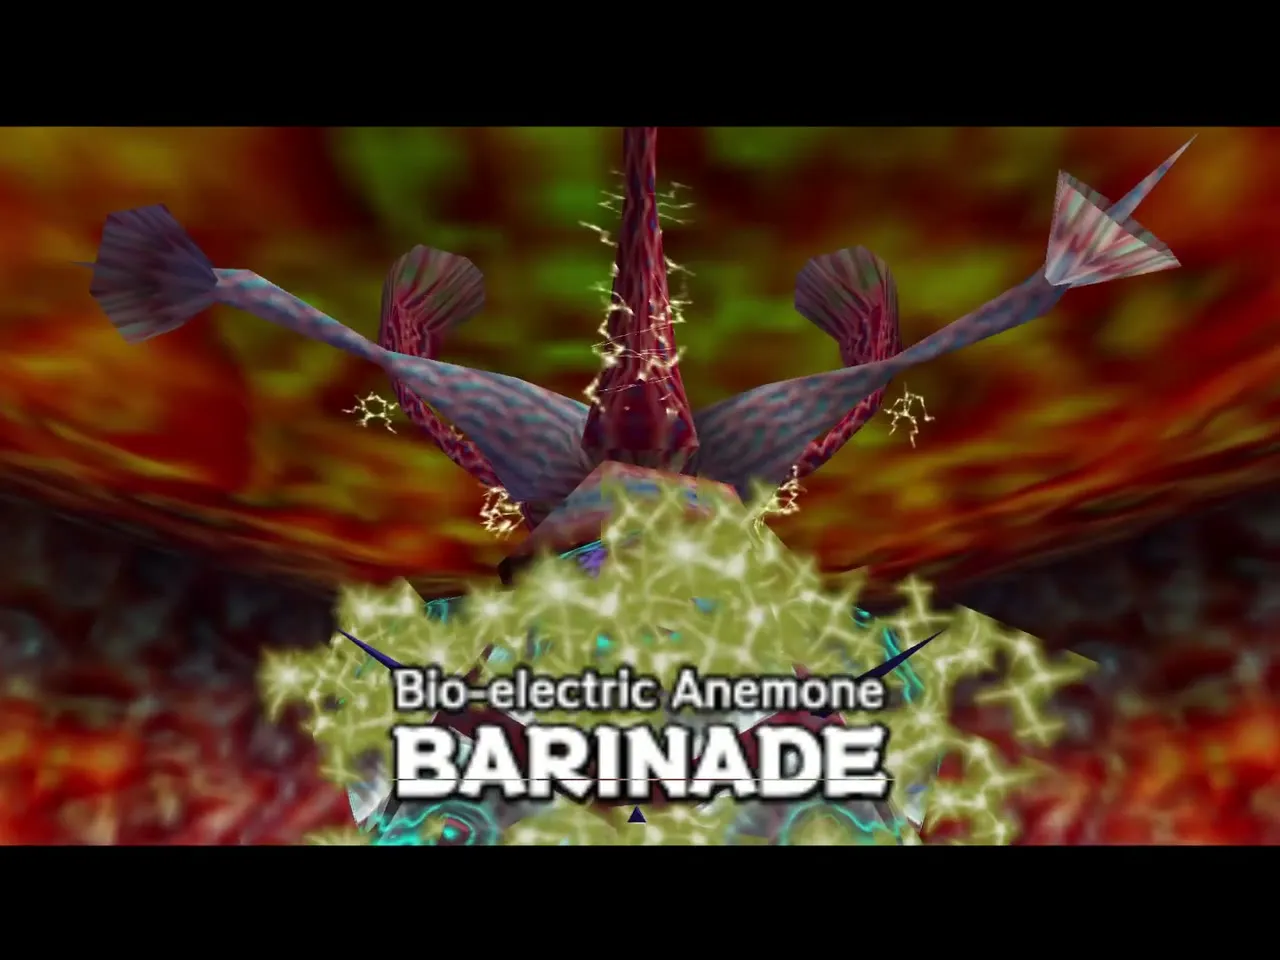
The red boss door opens with A; there is no Boss Key. Run into the dark red chamber. Electricity gathers overhead as Barinade forms from a cluster of jellyfish. The boss guide has general tips.
Phase one: the tentacles
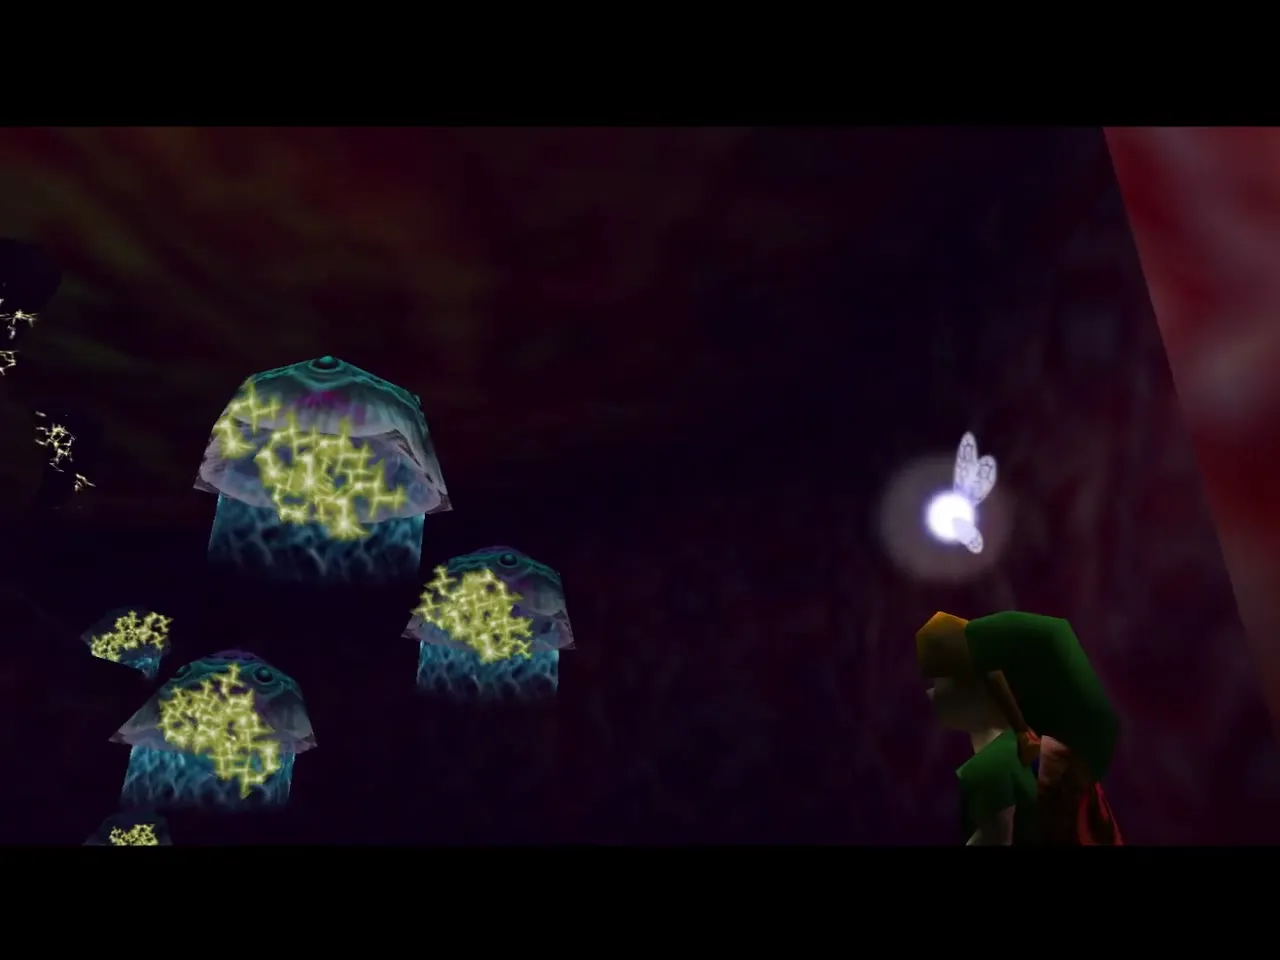
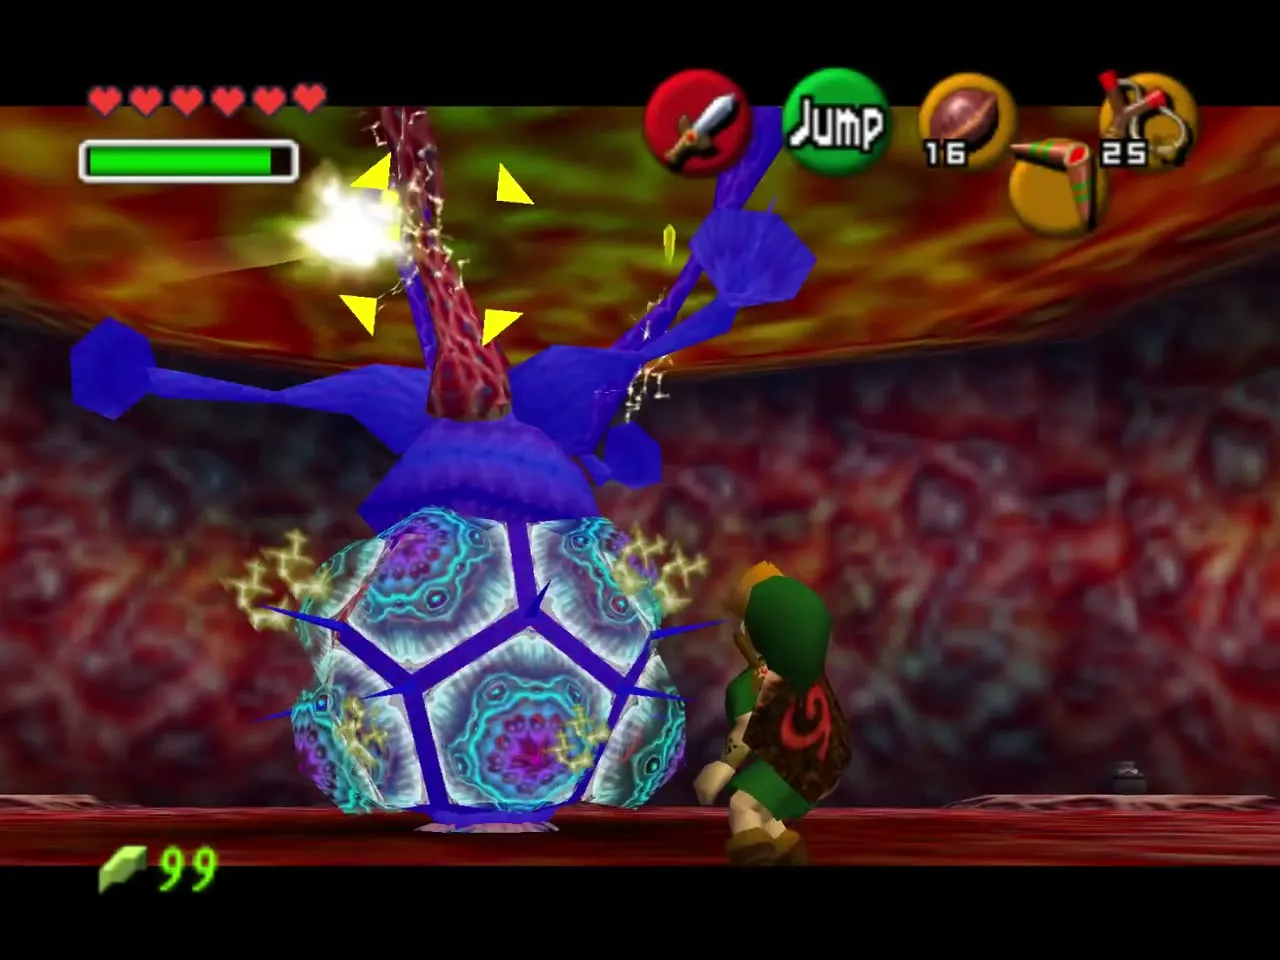
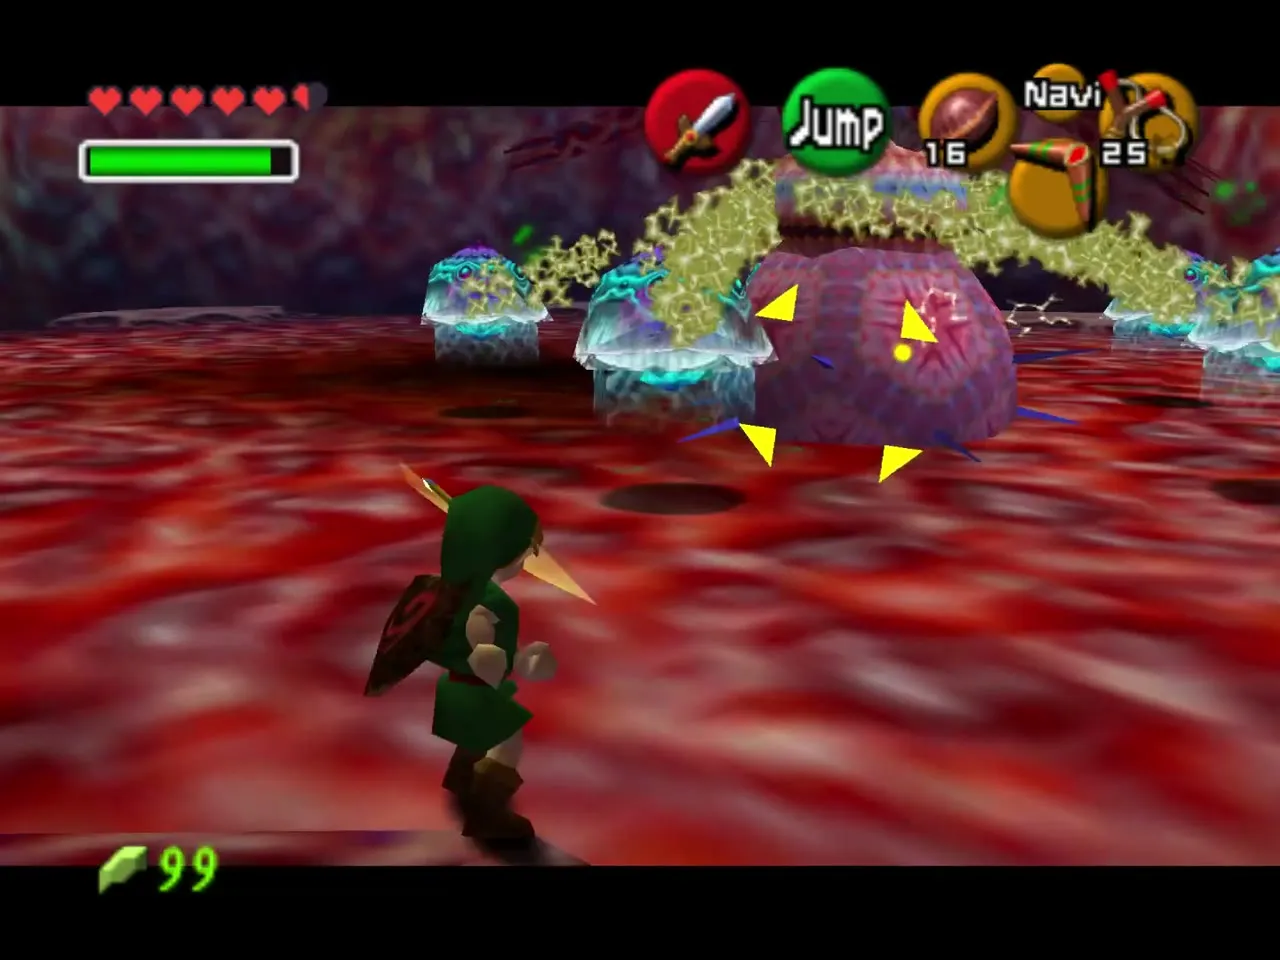
Barinade hangs from the ceiling, tied to its jellyfish by arcs of electricity. Lock onto the tentacles that hold it up and hit each with the Boomerang. Keep moving, because the arcs can hit you.
Phase two: the body
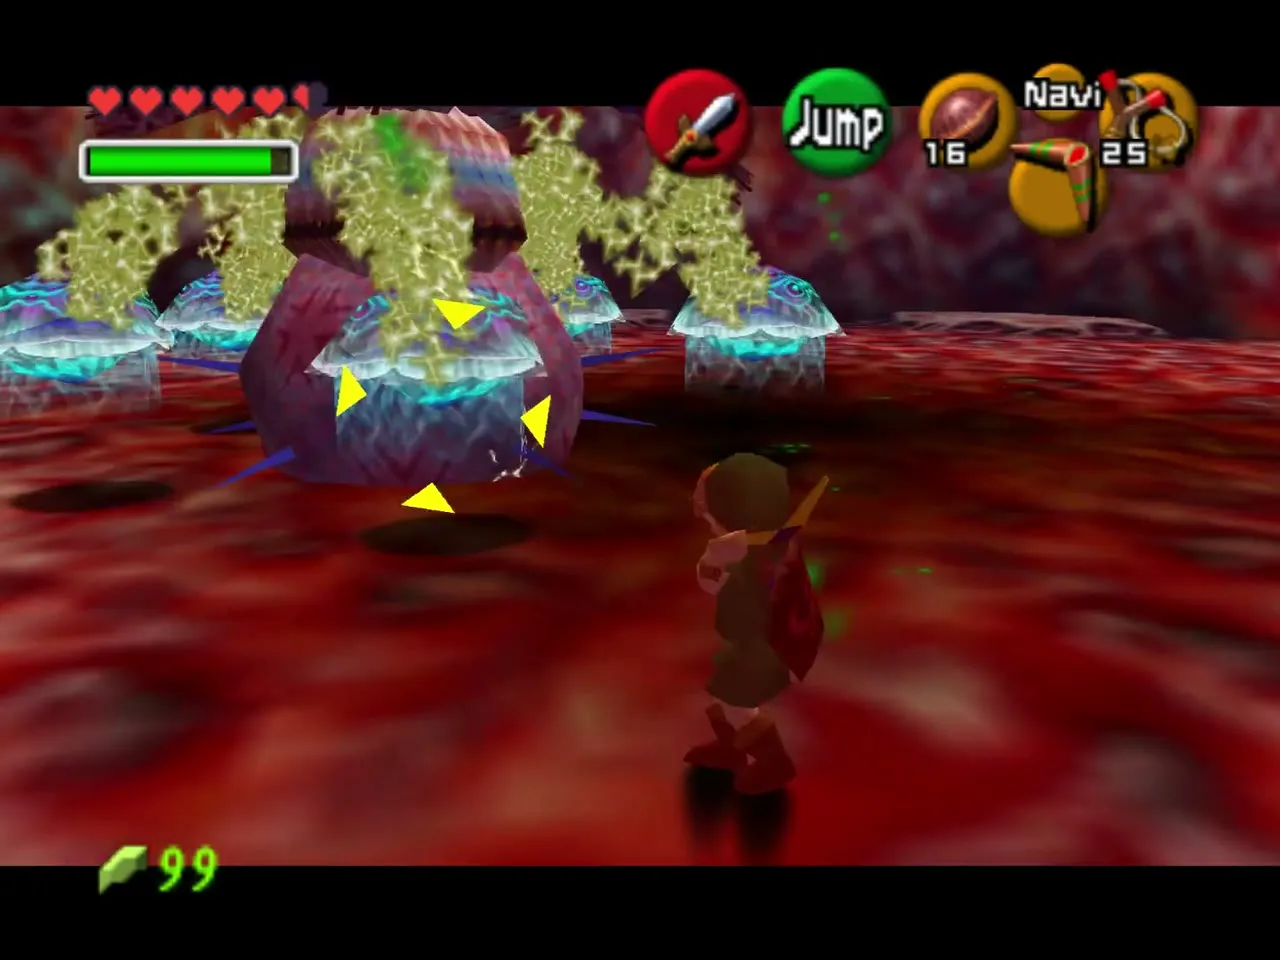
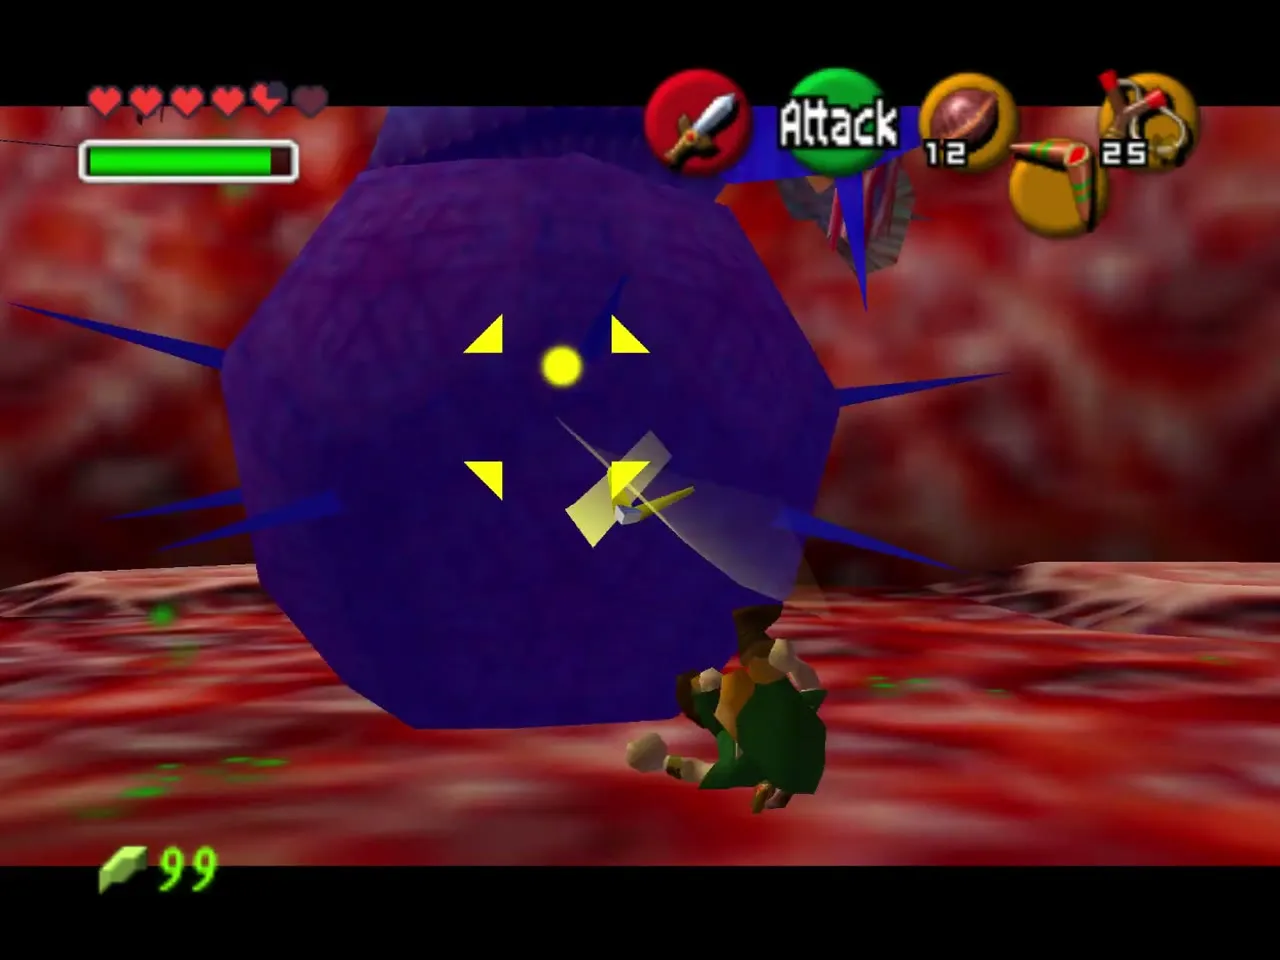
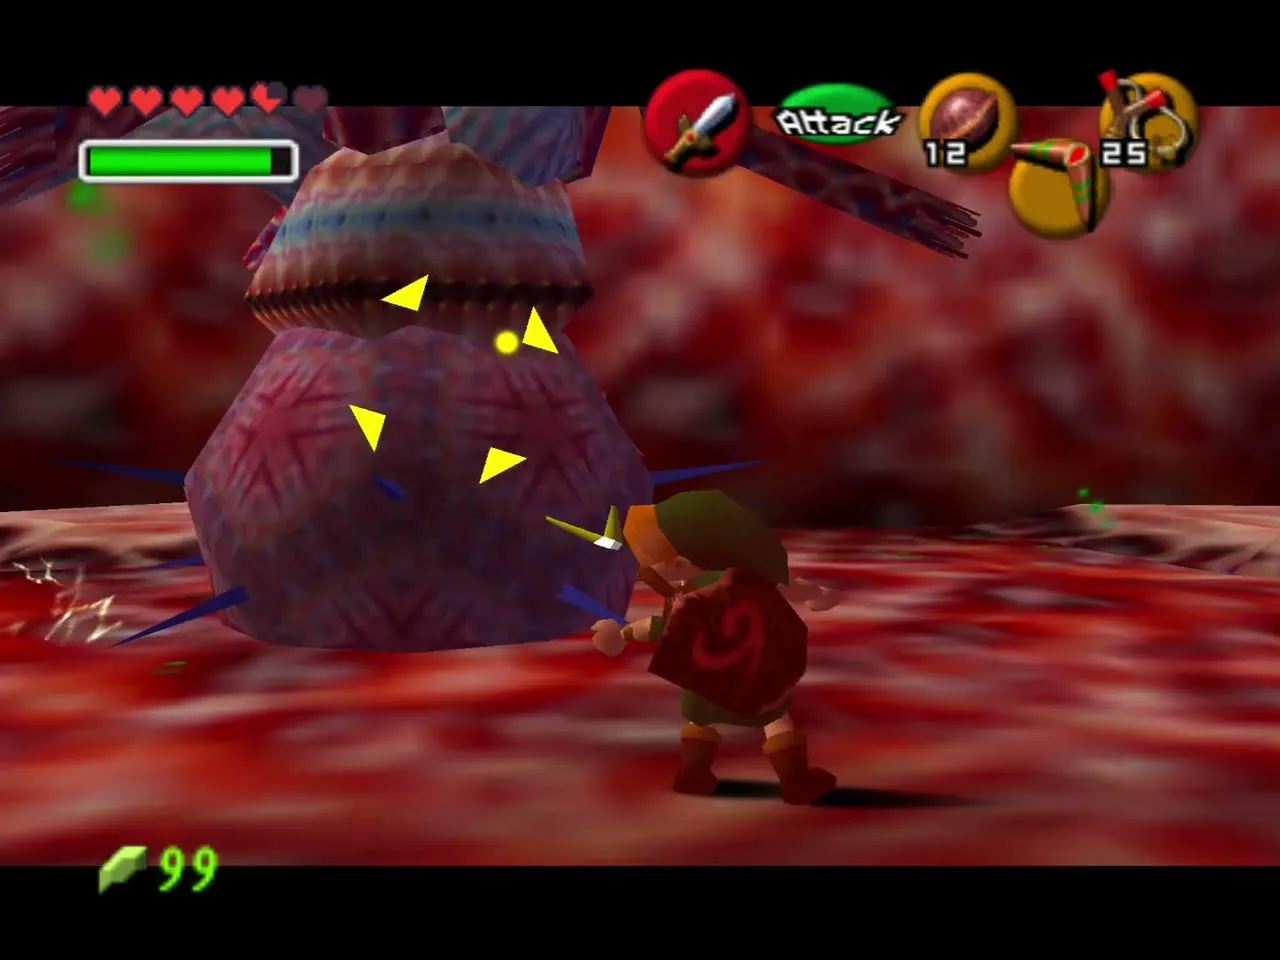
When the tentacles are cut, Barinade comes down with the Biri circling. Stun the body with the Boomerang, pop the Biri, then slash the exposed core. Jump slashes do the most damage.
Phase three: the finish
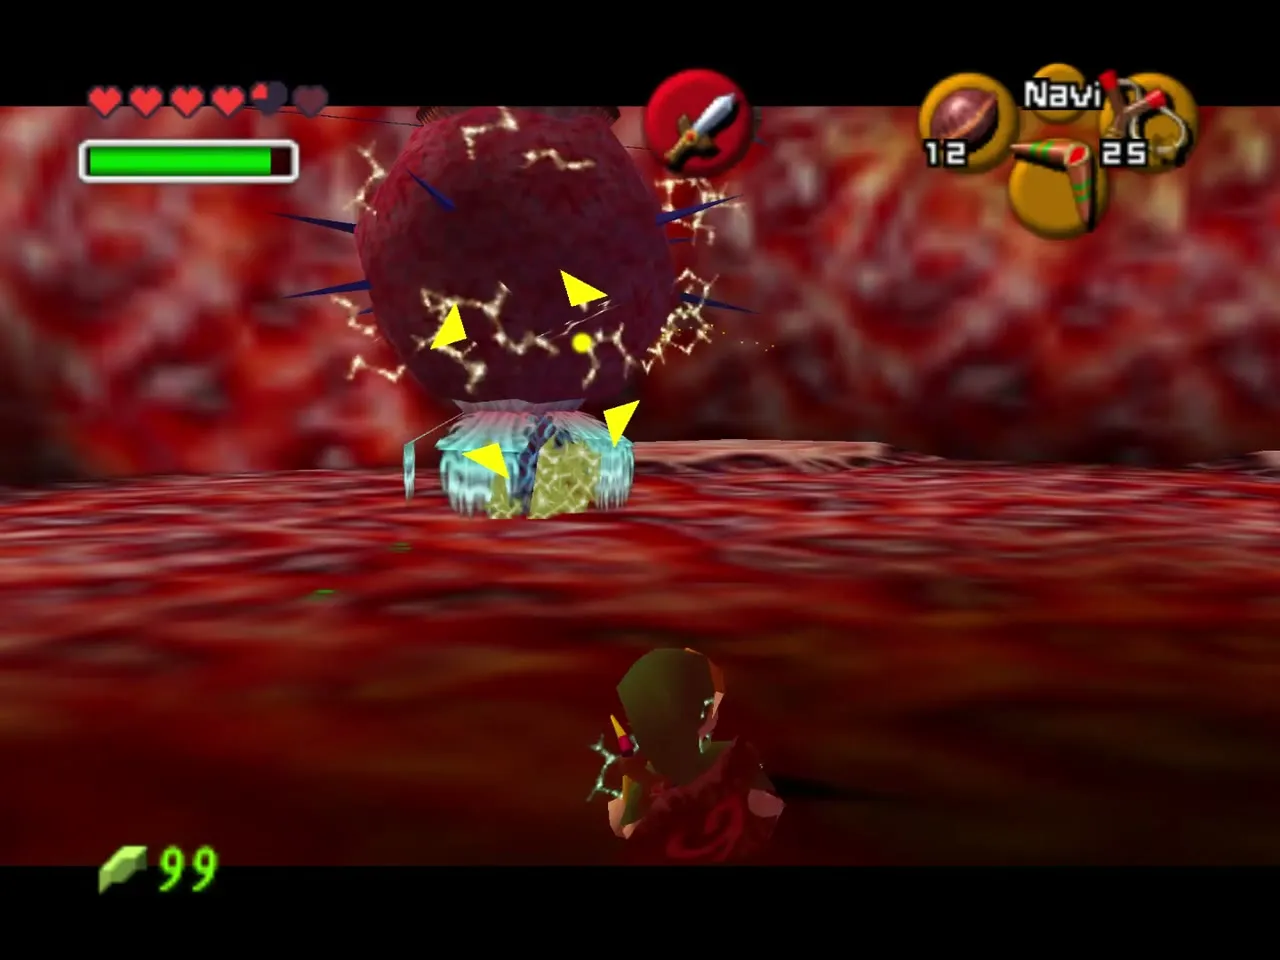
The wounded core fires bolts in all directions. Keep circling, stun it with the Boomerang and slash again and again. It finally collapses into a heap of limp tentacles.
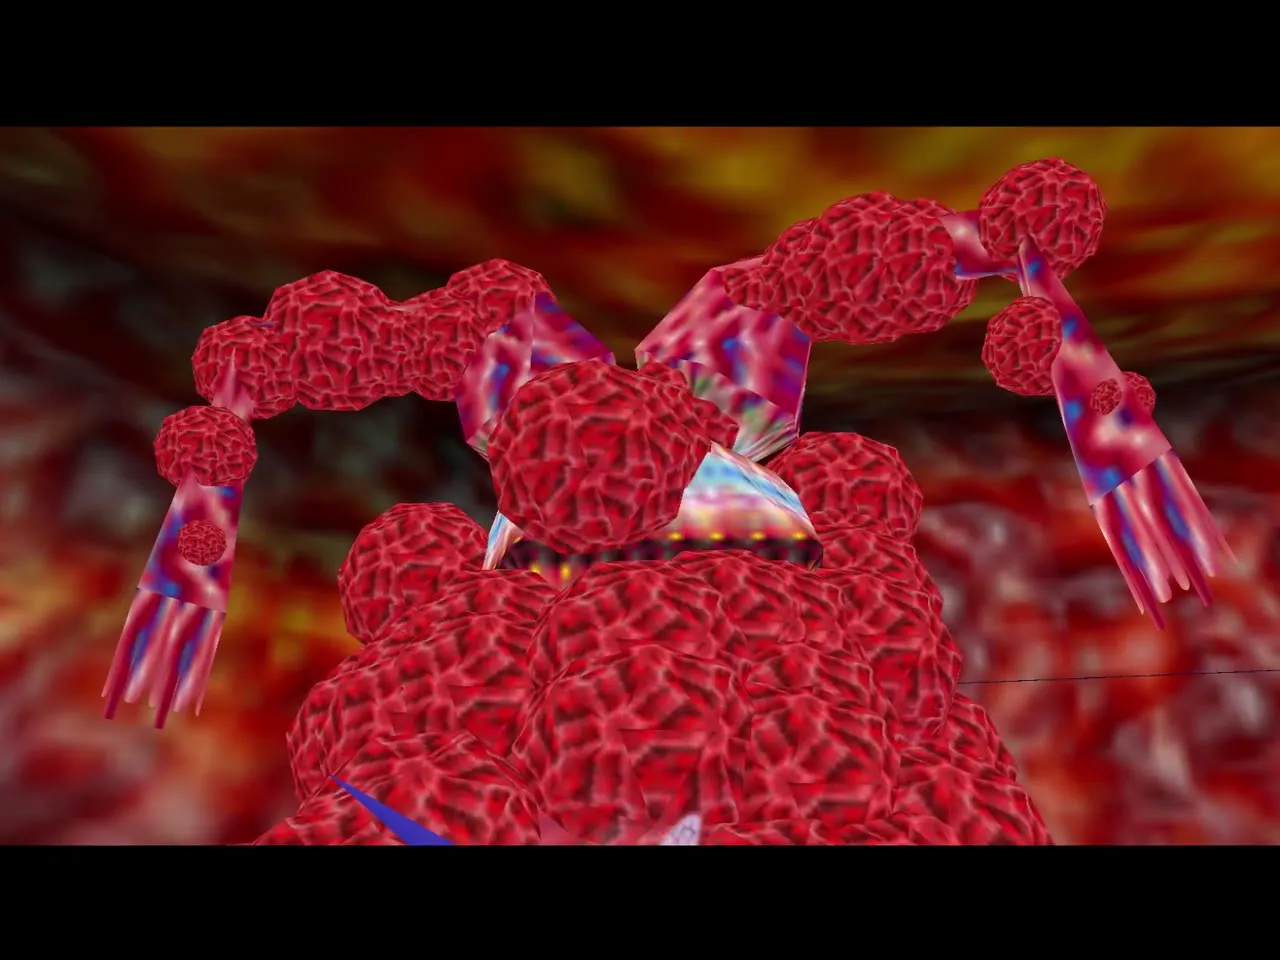
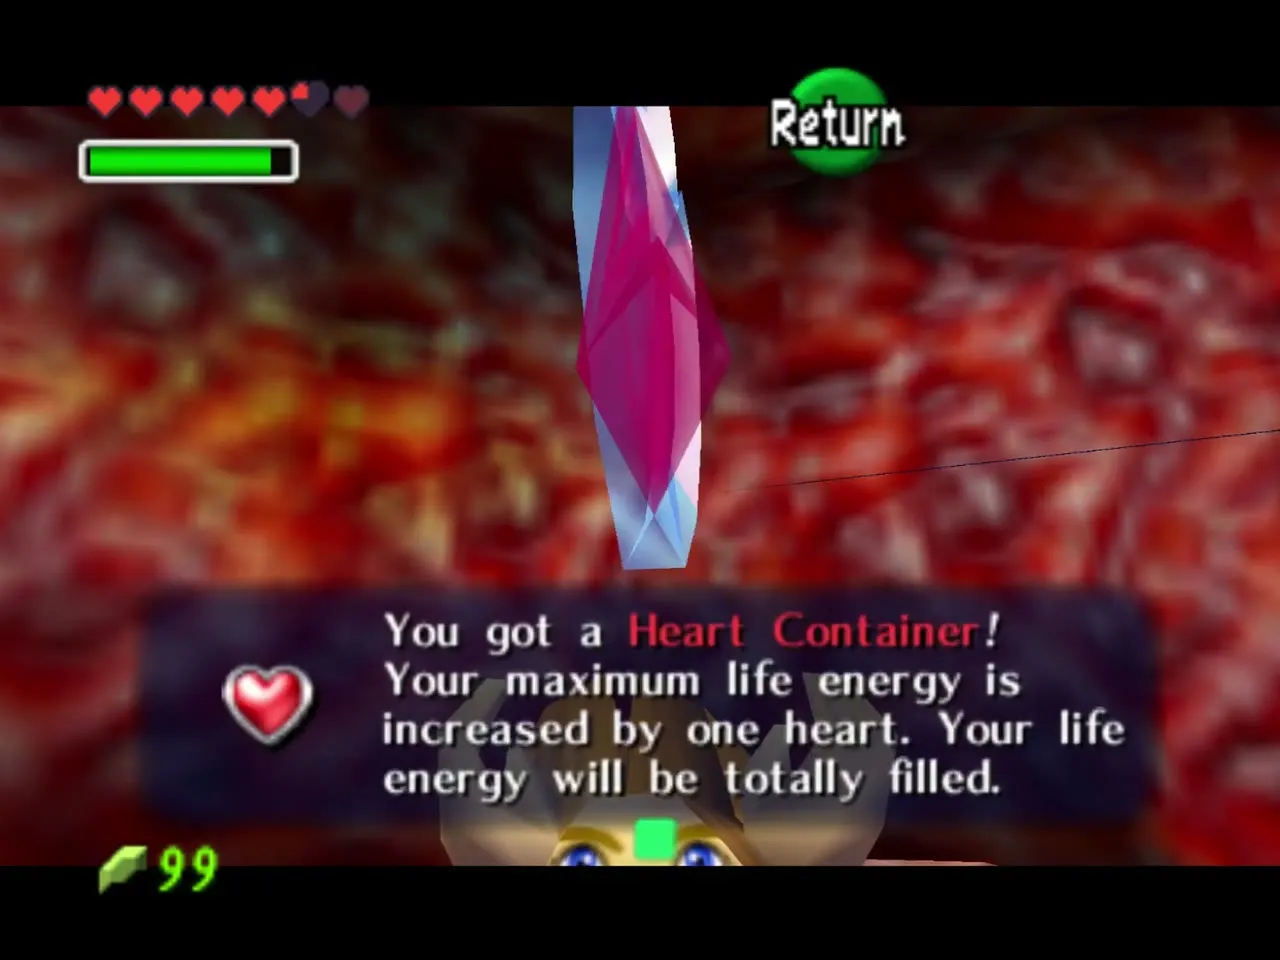
Heart Container and Zora’s Sapphire
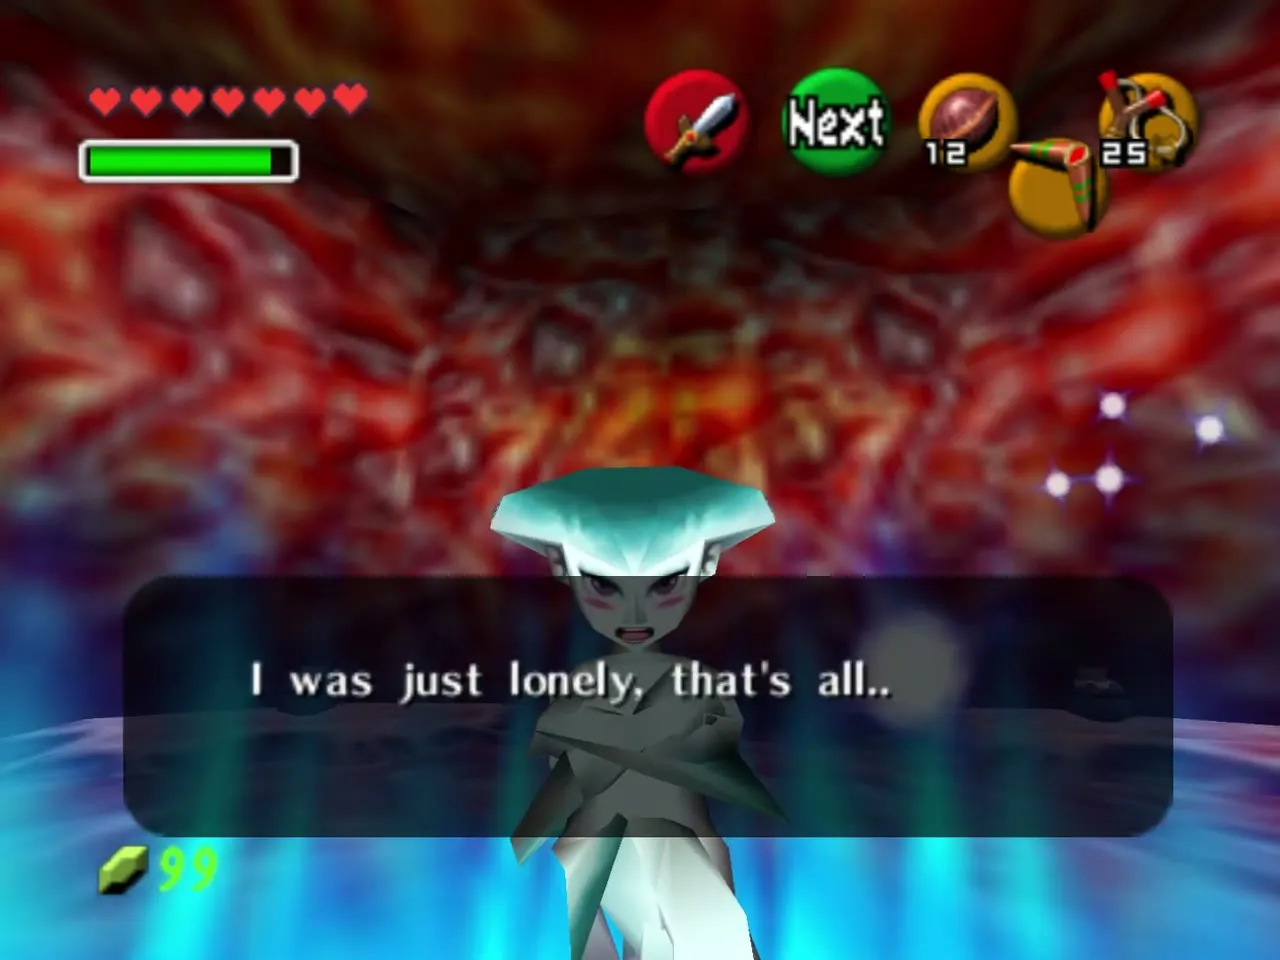
Walk to the middle of the arena and take the Heart Container. Step into the blue warp. Ruto appears in the light, a little embarrassed, and you are carried out to Zora’s Fountain.
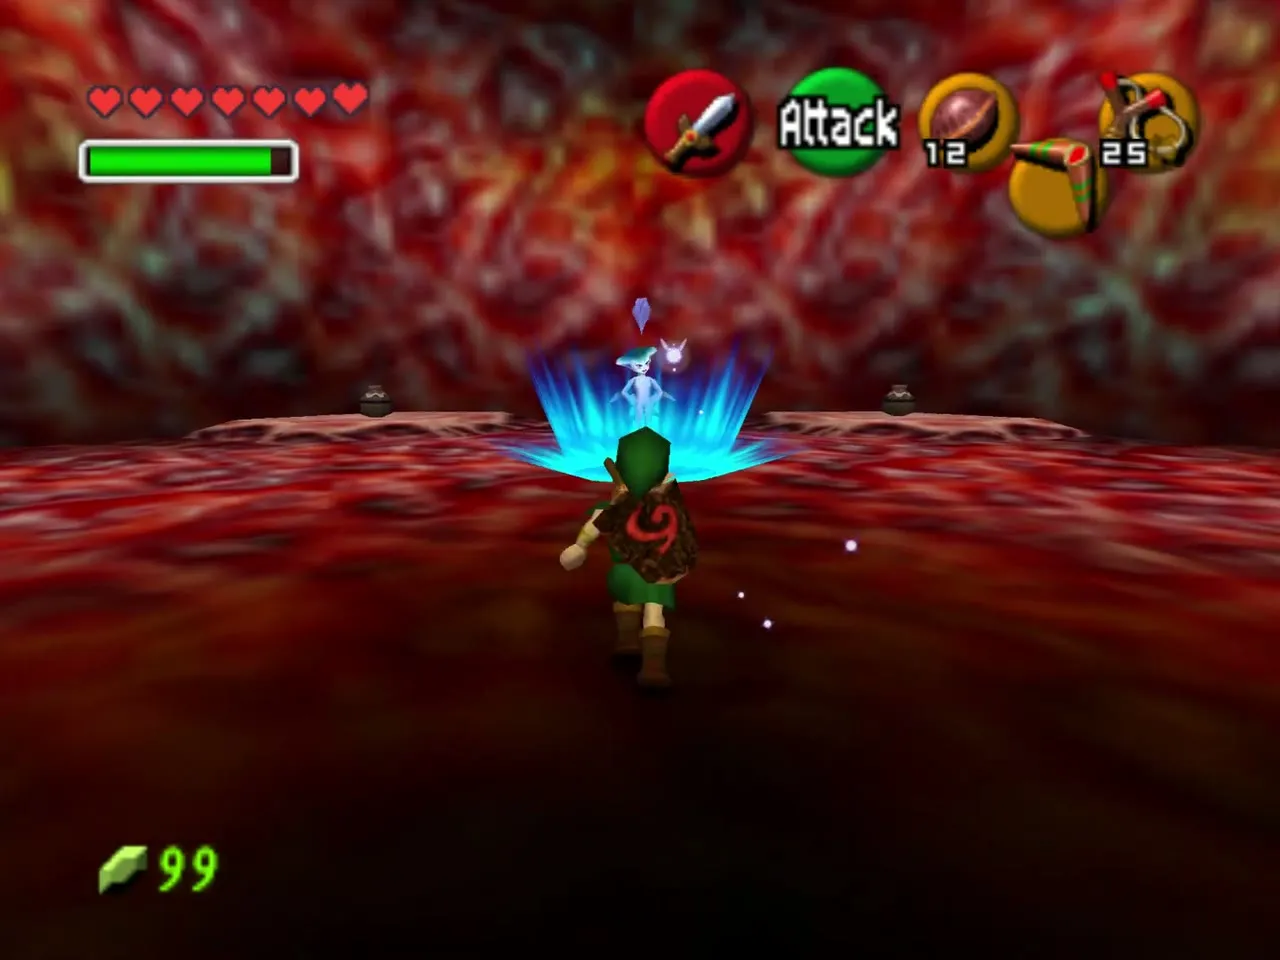
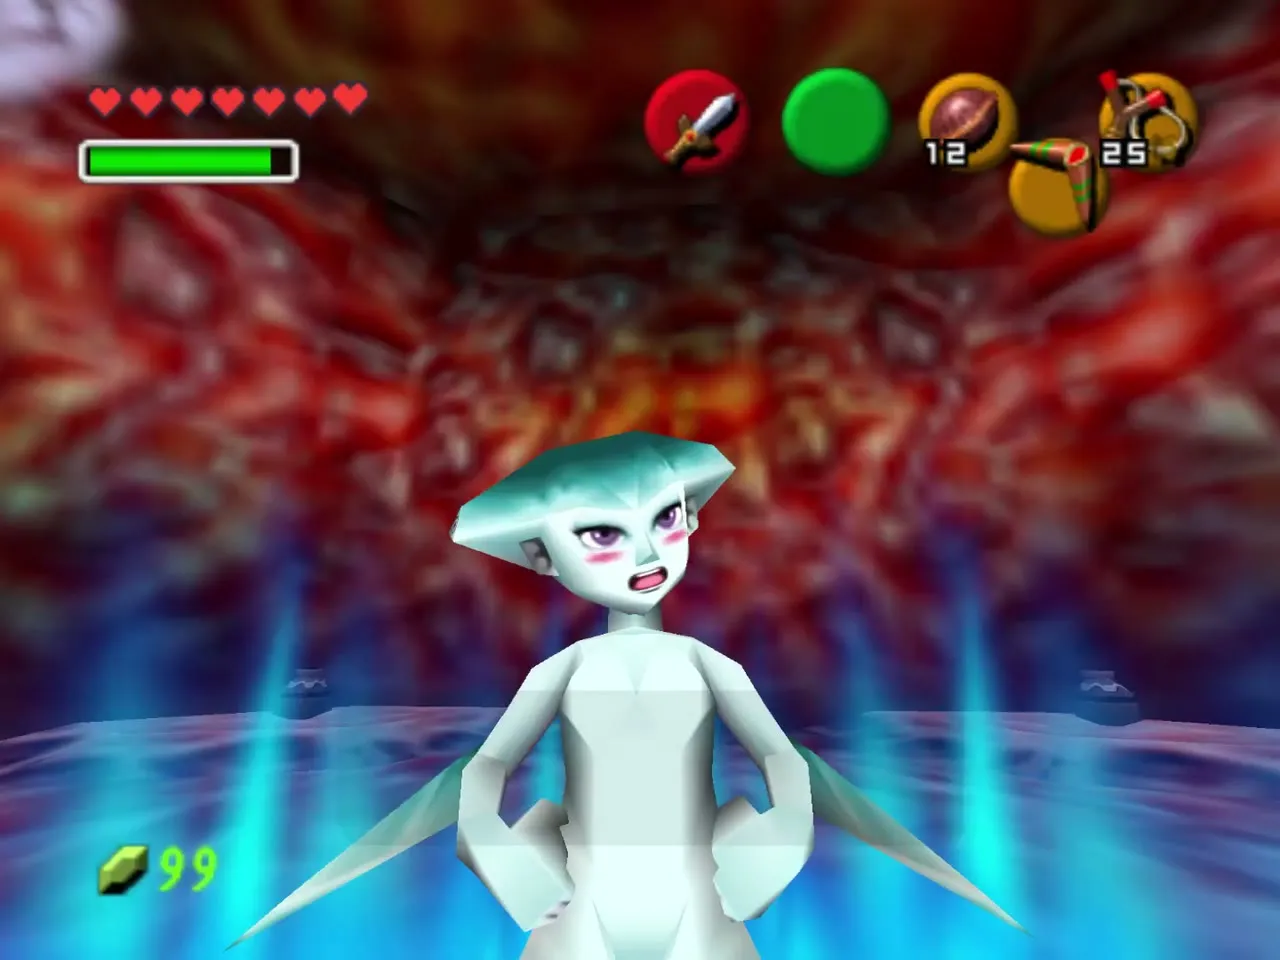
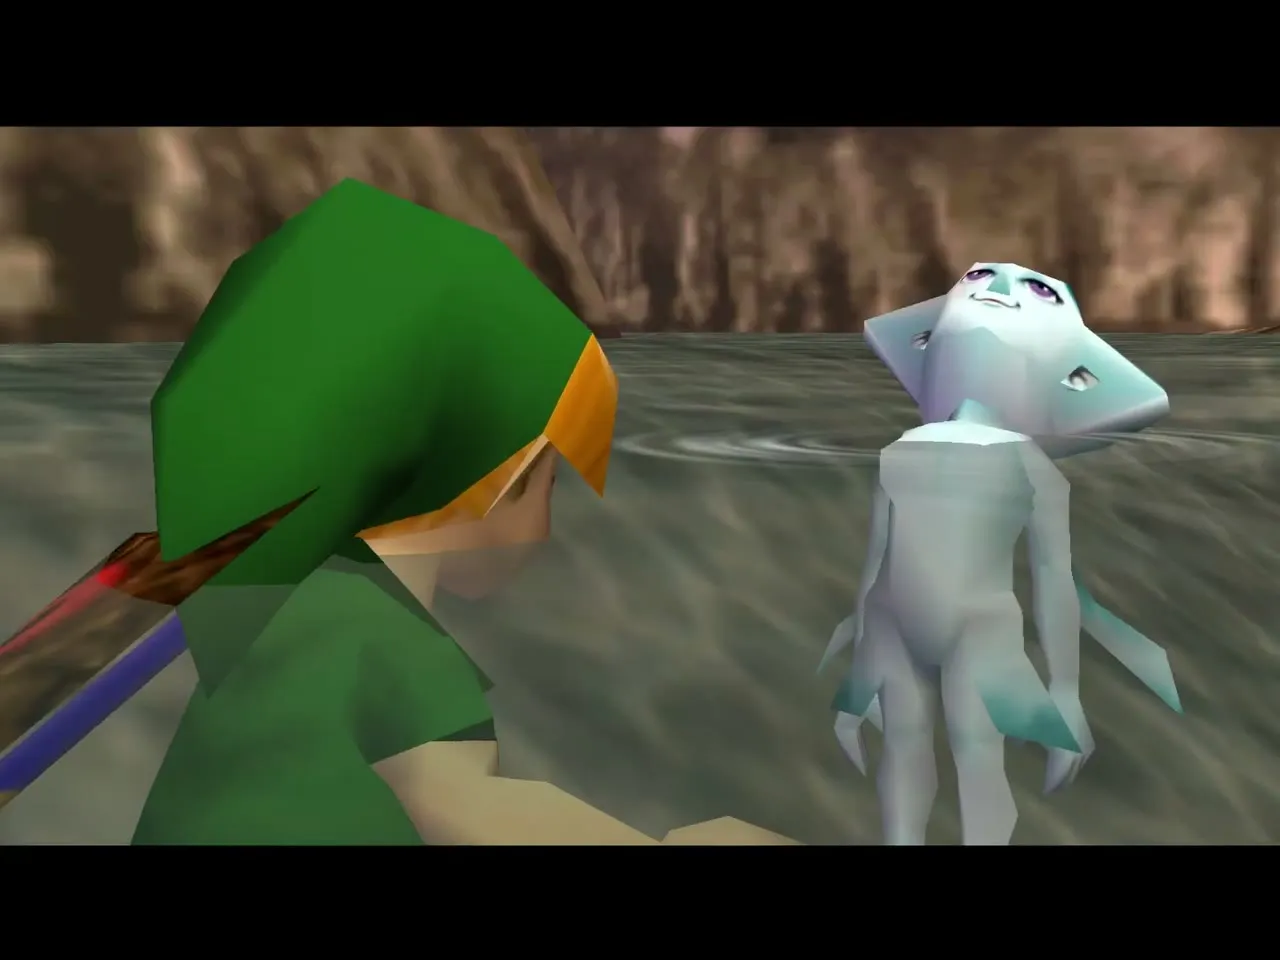
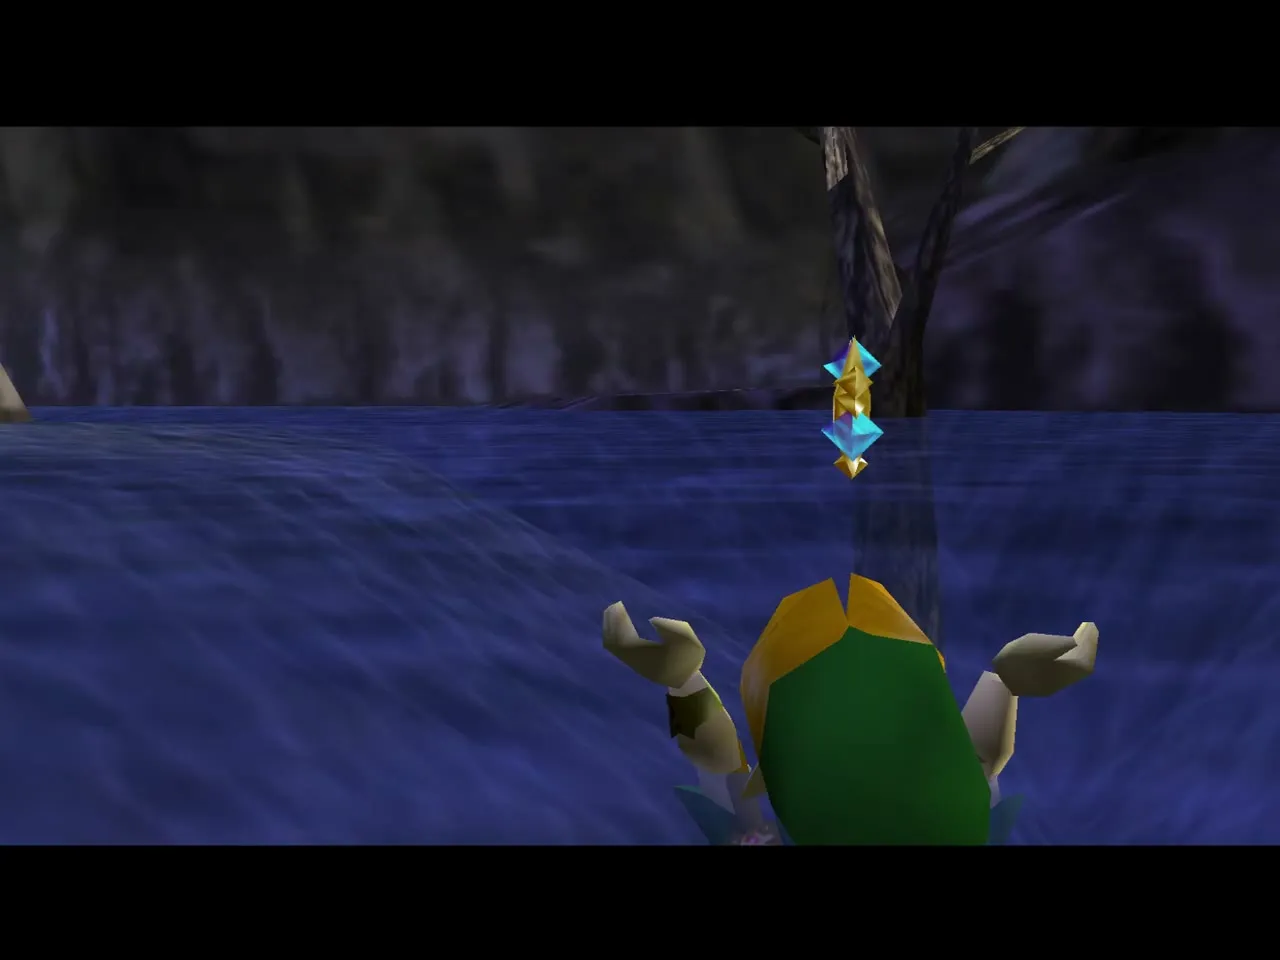
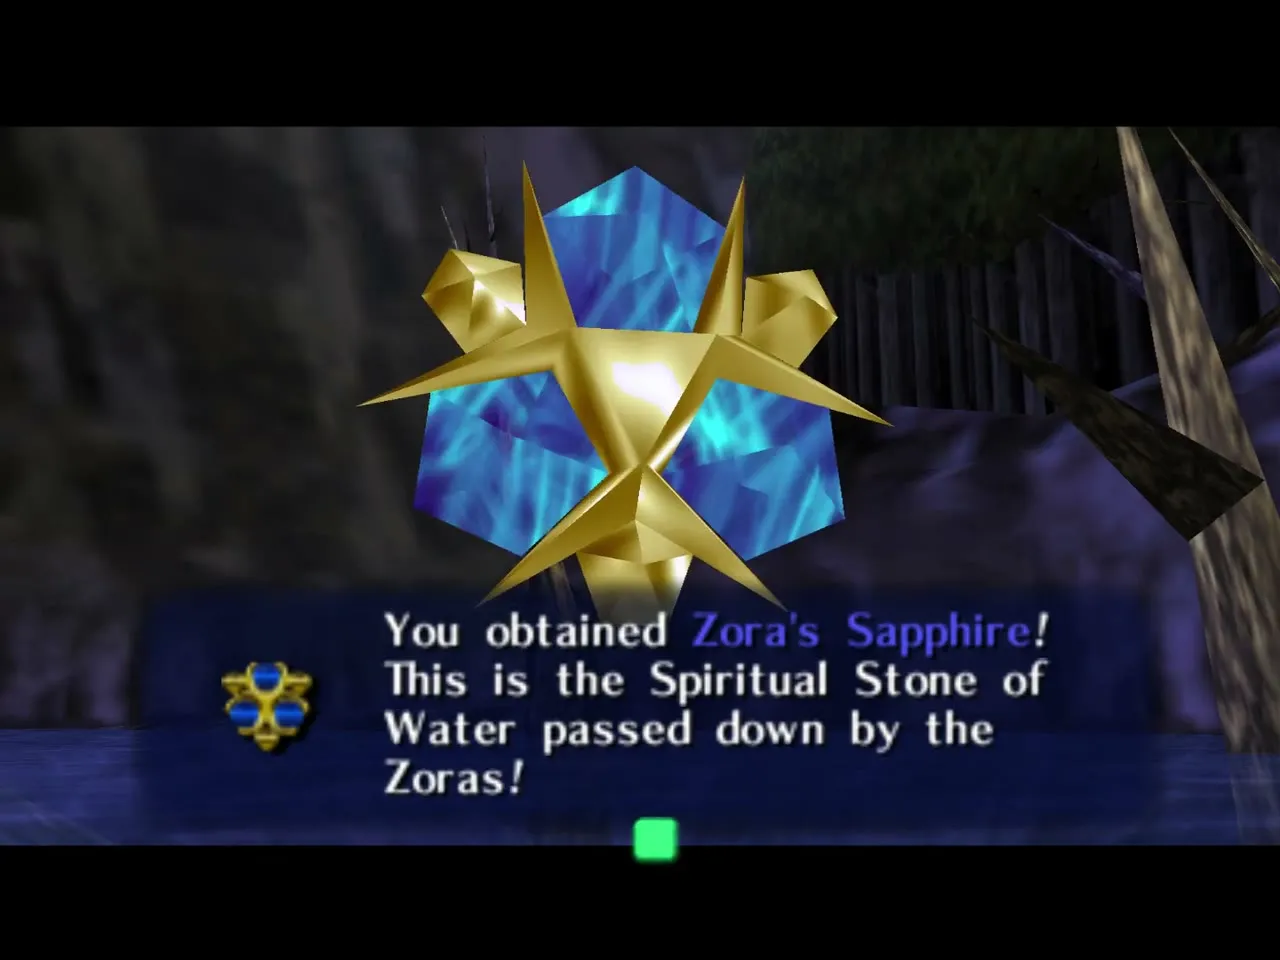
Ruto offers you her stone. Accept it and you receive the Zora’s Sapphire, the Spiritual Stone of Water. See the stone list for the next steps.
How Master Quest changes the Inside Jabu-Jabu’s Belly
Compare with the original chapter.
| Topic | Original | Master Quest |
|---|---|---|
| Switches | Ceiling switches opened with the Slingshot | Cow heads in the walls act as switches |
| Boomerang | Found mid-dungeon in the Stinger room | Found much earlier, in a pool room |
| Ruto | Carried through most rooms | Carried only for short sections |
| Enemies | Octoroks, Stingers, Biri, tentacles | Adds Lizalfos and Like-Likes |
| Chests | Map, Compass, Boomerang | Same items in new places, plus Deku Nuts and a Blue Rupee |
| Gold Skulltulas | Four | Four, in new places |
| Boss | Barinade | Barinade, with the same fight |
Chapter checklist
| Type | Item | Where |
|---|---|---|
| Piece of Heart | Piece of Heart | Chest in a side cave of Zora’s Domain |
| Dungeon item | Dungeon Map | Entrance room, under the boulder |
| Chest | Deku Nuts | Entrance room |
| Dungeon item | Compass | Waterfall room, chest reached by diving |
| Chest | Deku Nuts (two) | Corridors after Ruto’s room |
| Dungeon item | Boomerang | Pool room, chest on the high ledge |
| Pickup | Deku Stick | Pot room |
| Bottle | Lon Lon Milk | Cow, Epona’s Song |
| Bottle | Fairy | Shallow water room before the boss door |
| Chest | Blue Rupee | Corridor before the boss door |
| Mini-boss | Big Octo | Stone room |
| Boss reward | Heart Container | Barinade |
| Spiritual Stone | Zora’s Sapphire | Ruto, Zora’s Fountain |
