





















Ocarina of Time Master Quest Walkthrough12 chapters
- Inside the Great Deku Tree (Master Quest)Dungeon Map, Slingshot, Compass, Gold Skulltulas, Queen Gohma, Heart Container and Kokiri’s Emerald.
- Dodongo’s Cavern (Master Quest)Every room in order, Dungeon Map, Compass, Bomb Bag, silver rupees, Gold Skulltulas, King Dodongo and the Goron’s Ruby.
- Inside Jabu-Jabu’s Belly (Master Quest)Cow switches, Map, Compass, Boomerang, Big Octo, Barinade, Heart Container and Zora’s Sapphire.
- Forest Temple (Master Quest)Six Small Keys, Boss Key, Fairy Bow, the four Poe Sisters, five Gold Skulltulas and Phantom Ganon.
- Fire Temple (Master Quest)Five Small Keys, Din’s Fire puzzles, Iron Knuckle, Megaton Hammer, Boss Key, five Gold Skulltulas and Volvagia.
- Water Temple (Master Quest)Early Longshot, Map, Compass, both Small Keys, Dark Link, Boss Key and Morpha.
- Shadow Temple (Master Quest)Hover Boots, map, compass, Boss Key, Gold Skulltulas, Bongo Bongo and the Shadow Medallion.
- Spirit Temple (Master Quest)Every chest, 7 Small Keys, Silver Gauntlets, Mirror Shield, Boss Key, Skulltulas and Twinrova.
- Bottom of the Well (Master Quest)Map, Compass, two Small Keys, Dead Hand, the Lens of Truth and all three Gold Skulltulas.
- Ice Cavern (Master Quest)Blue Fire, Song of Time blocks, Stalfos, Iron Boots, Serenade of Water.
- Gerudo Training Ground (Master Quest)The remixed rooms in order, Small Keys, Silver Rupee puzzles and the Ice Arrows.
- Ganon’s Castle (Master Quest)Light Arrows, the rainbow bridge, all six remixed trials, Golden Gauntlets, Double Defense, the tower.
| Covers | The first look inside as an adult, the Great Fairy at the Desert Colossus, the child half with the Silver Gauntlets, the adult half with the Mirror Shield and the Boss Key, all three Iron Knuckles, Twinrova, the Heart Container and the Spirit Medallion |
|---|---|
| Dungeon | Spirit Temple (Dungeon 8, Master Quest): child and adult Link, 7 Small Keys, one Boss Key; boss Twinrova |
| You need | Requiem of Spirit, Prelude of Light, Zelda’s Lullaby, Song of Time, Sun’s Song, Song of Storms and Epona’s Song; Slingshot, Boomerang, Bombs and Bombchus, Din’s Fire, Fairy Bow with Fire Arrows, Longshot, Megaton Hammer, Lens of Truth, Hover Boots and Farore’s Wind |
| Rewards | Dungeon Map, Compass, Silver Gauntlets, Mirror Shield, Boss Key, 7 Small Keys, 5 Gold Skulltulas, 15 Silver Rupees, Heart Container, Spirit Medallion |
| Differences | A water jet in the entrance hall, Torch Slugs, Gibdos, Dinalfos and Wallmasters, a different room order, Song of Time crate puzzles, a trap chest and Gold Skulltulas behind an Iron Knuckle’s thrones |
The Master Quest Spirit Temple keeps the split between the two ages: child Link crawls through a hole an adult cannot fit and takes the Silver Gauntlets, adult Link then uses them to open the way to the Mirror Shield and the Boss Key, and the Sorceress Sisters wait at the end. Nearly every room is new, though. This chapter follows the order the temple is cleared in best: a first look as an adult, the child half, then the adult half, with Temple of Time hops in between.
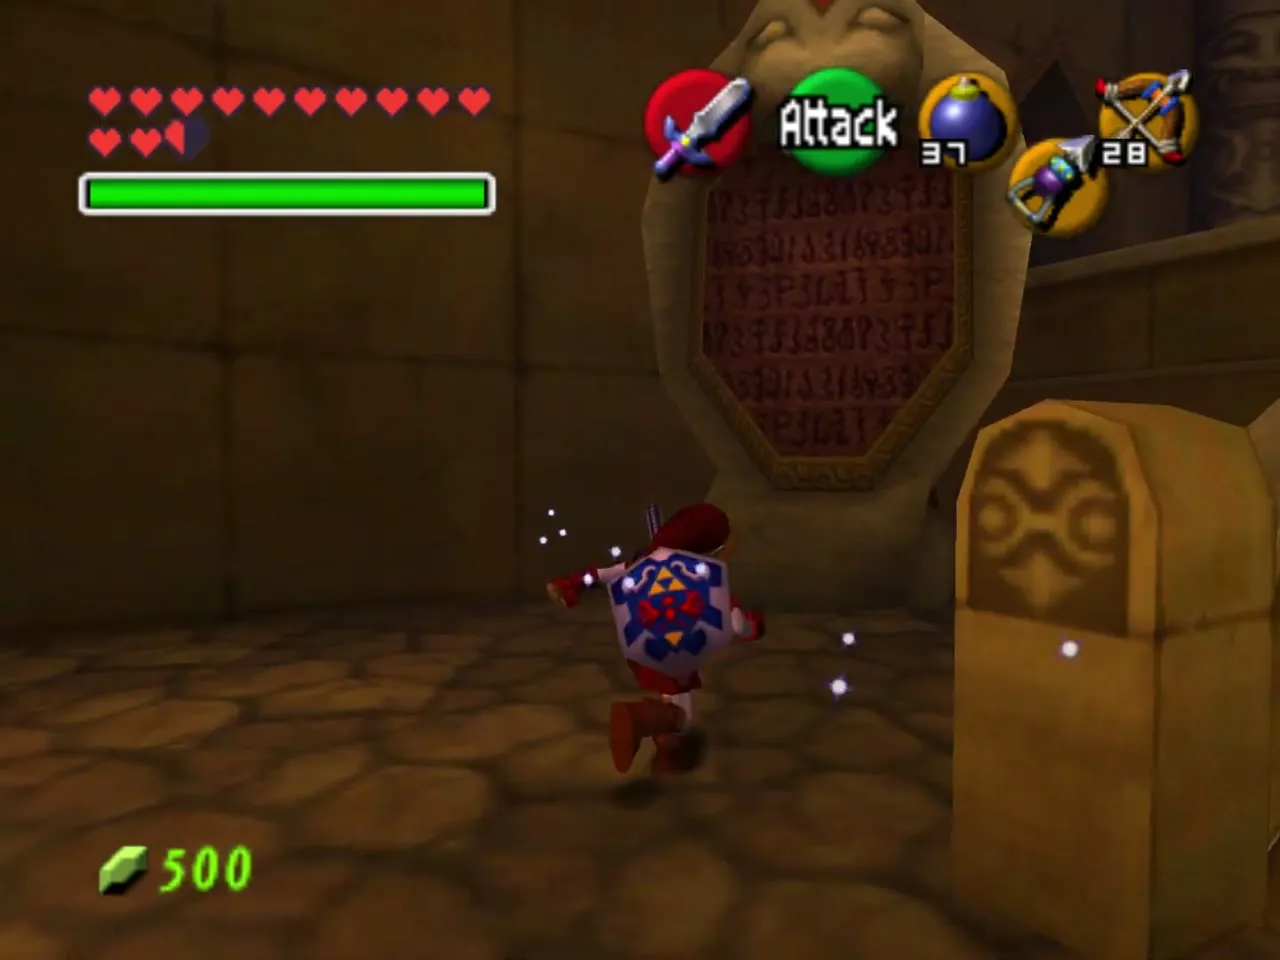
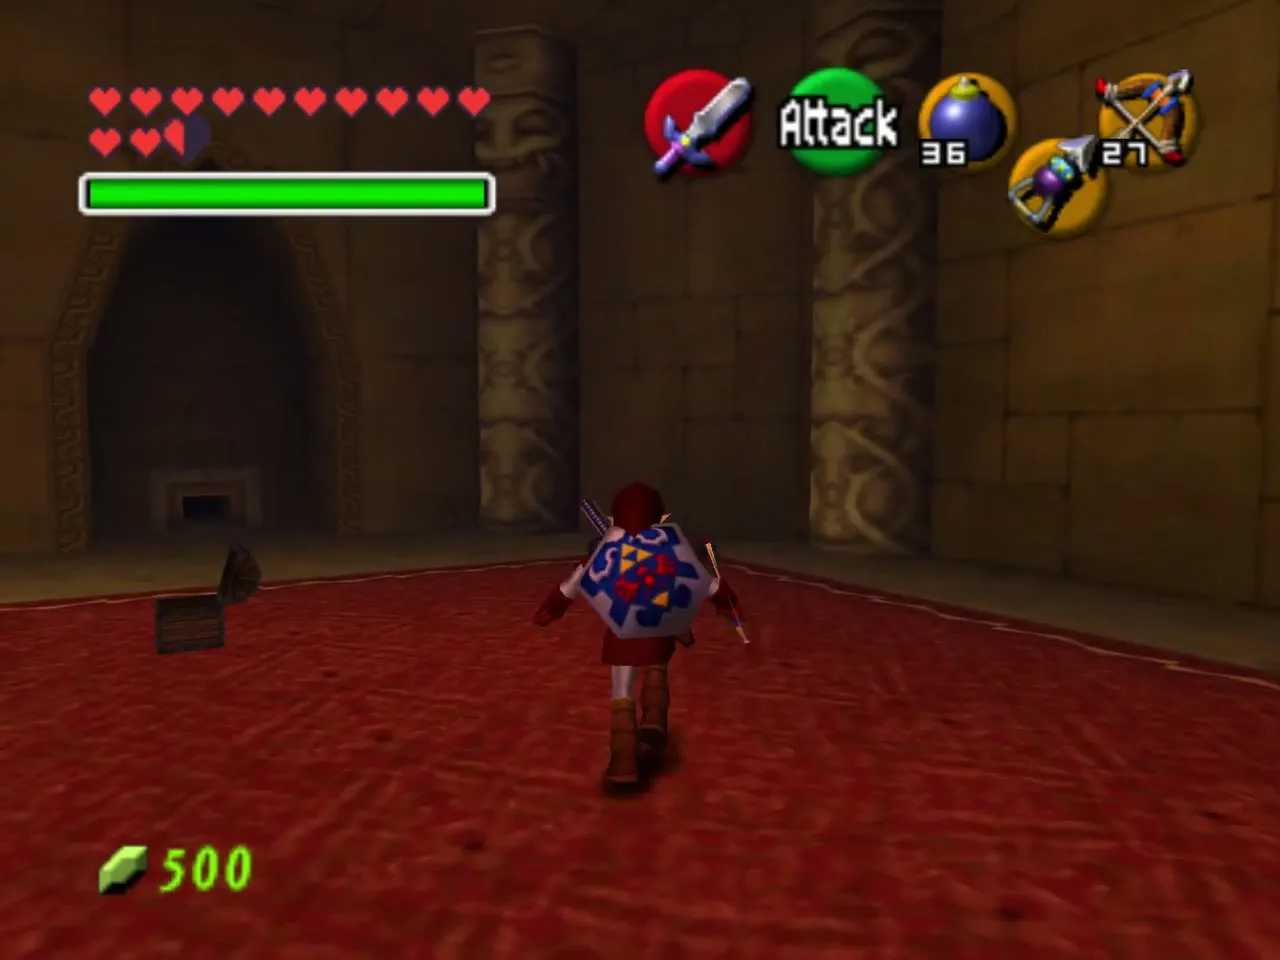
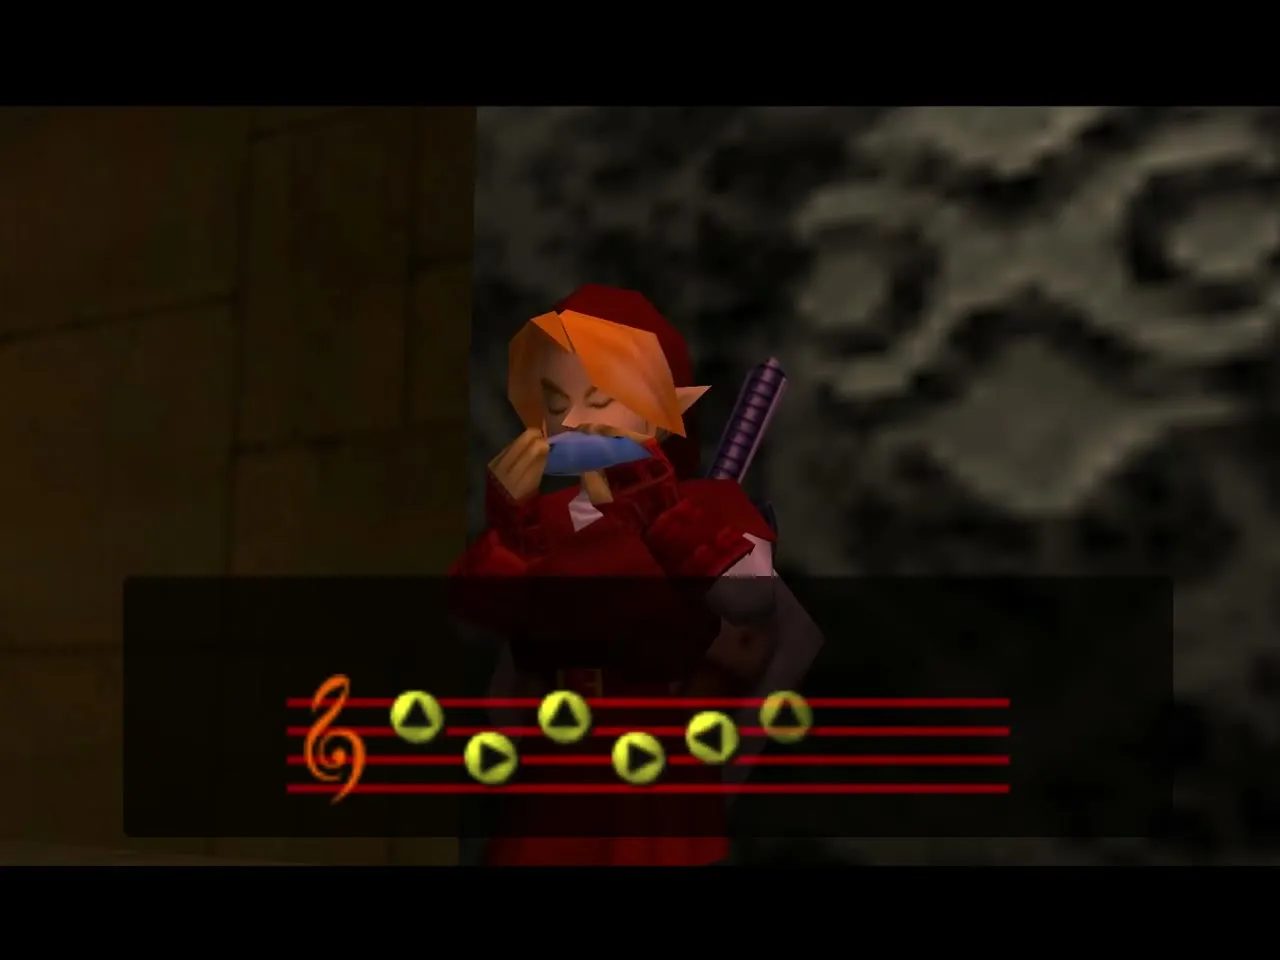
Table of Contents
Getting to the Spirit Temple
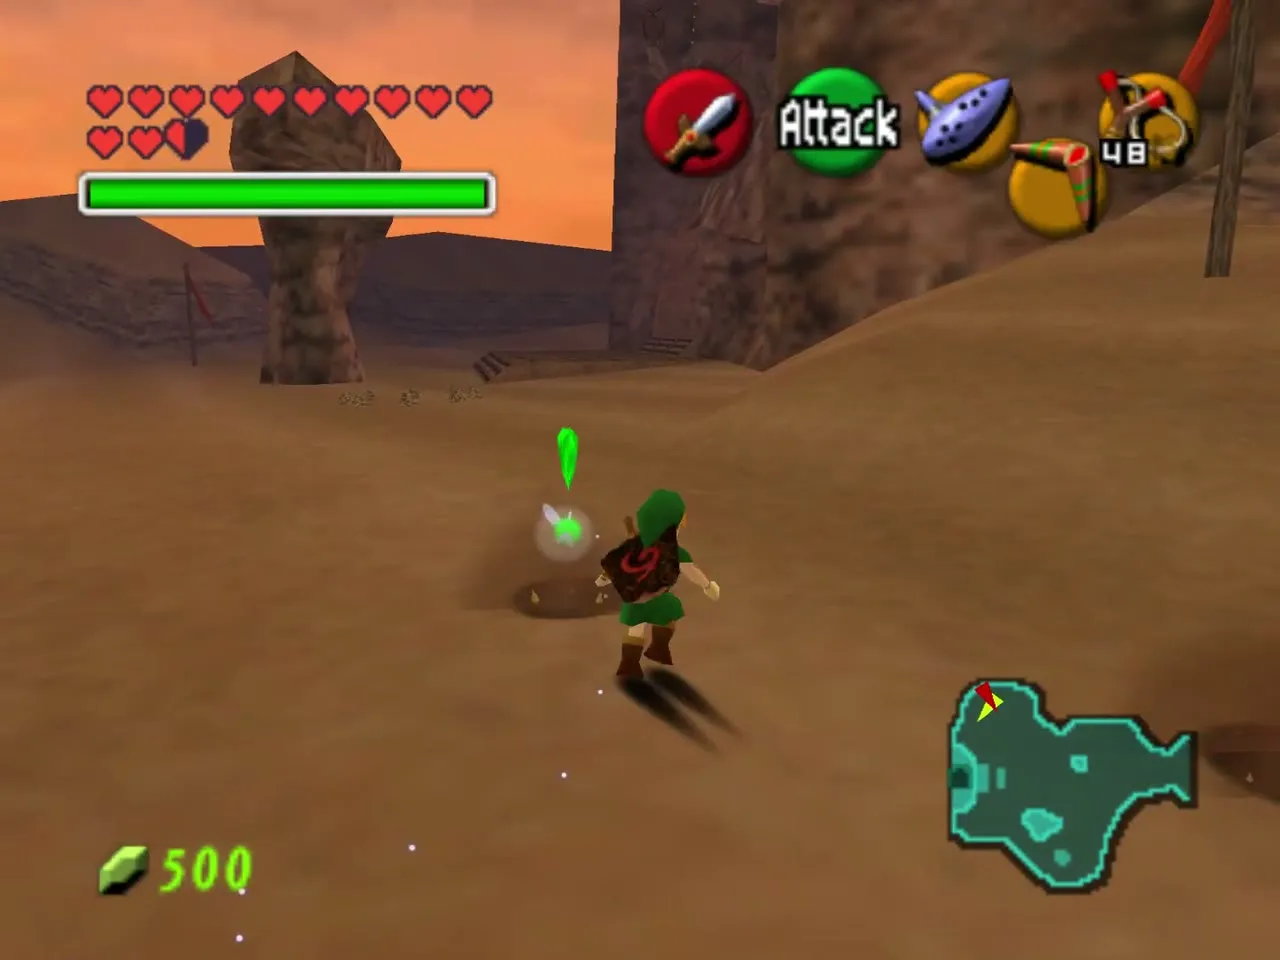
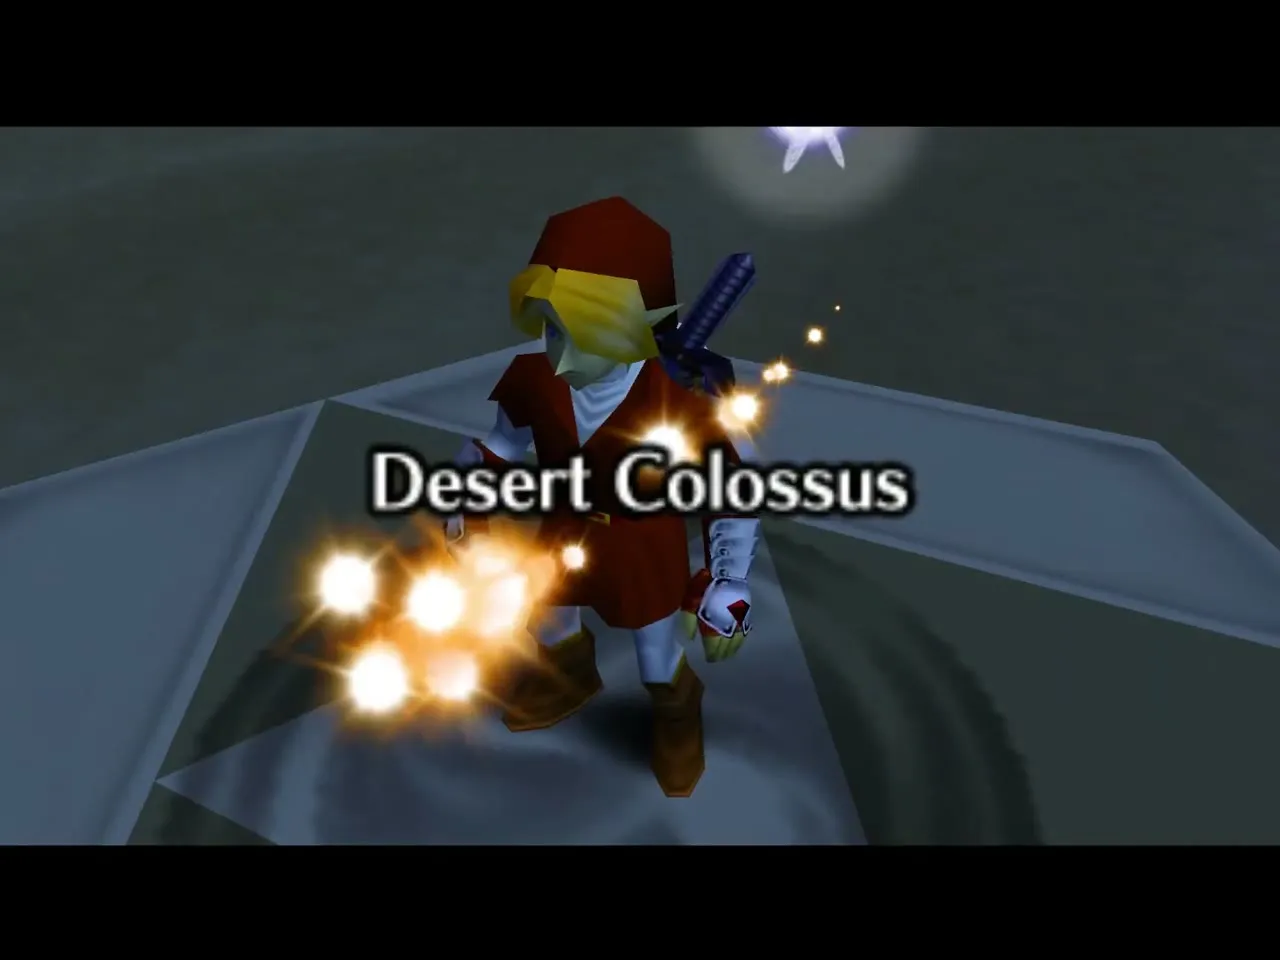
The Great Fairy at the Desert Colossus
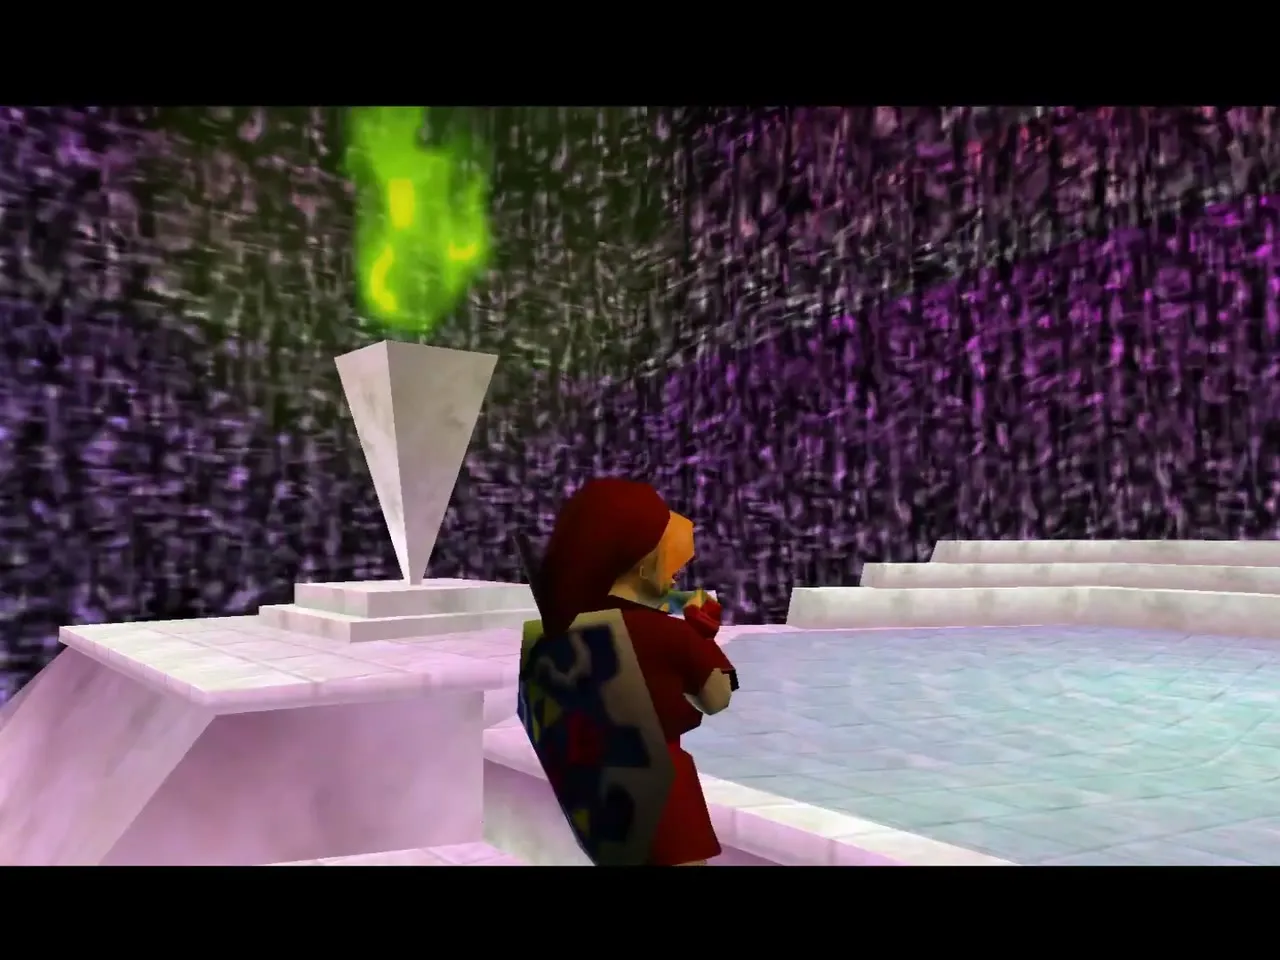
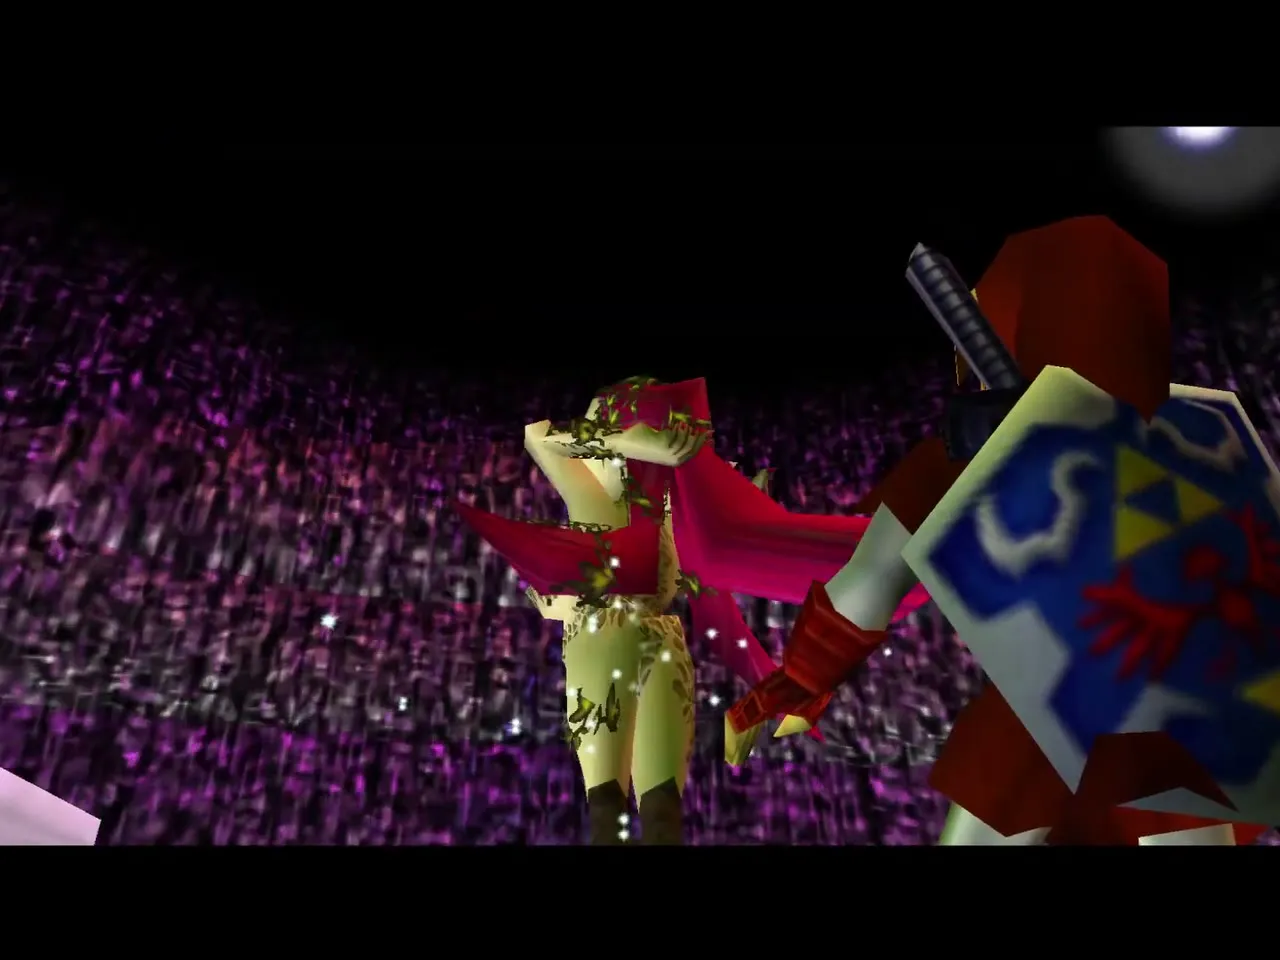
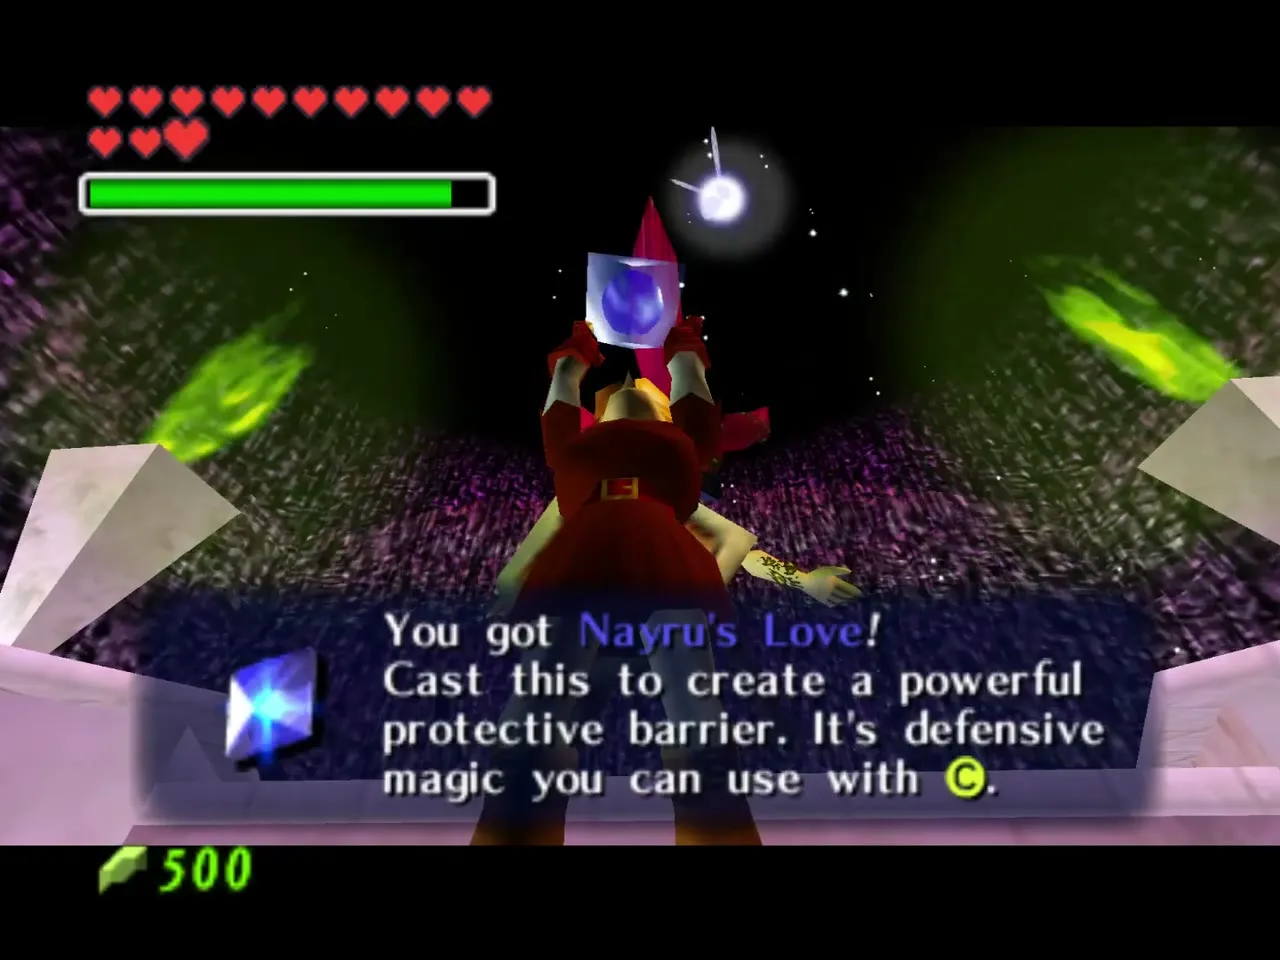
After you cross the Haunted Wasteland, you can pick up Nayru’s Love before going in, exactly as in the original quest. Bomb the cracked wall near the two trees in the north of the Colossus, stand on the Triforce mark and play Zelda’s Lullaby. The Great Fairy gives you a magic shield that makes you invulnerable for a short time, which helps against the Iron Knuckles.
A first look inside as an adult
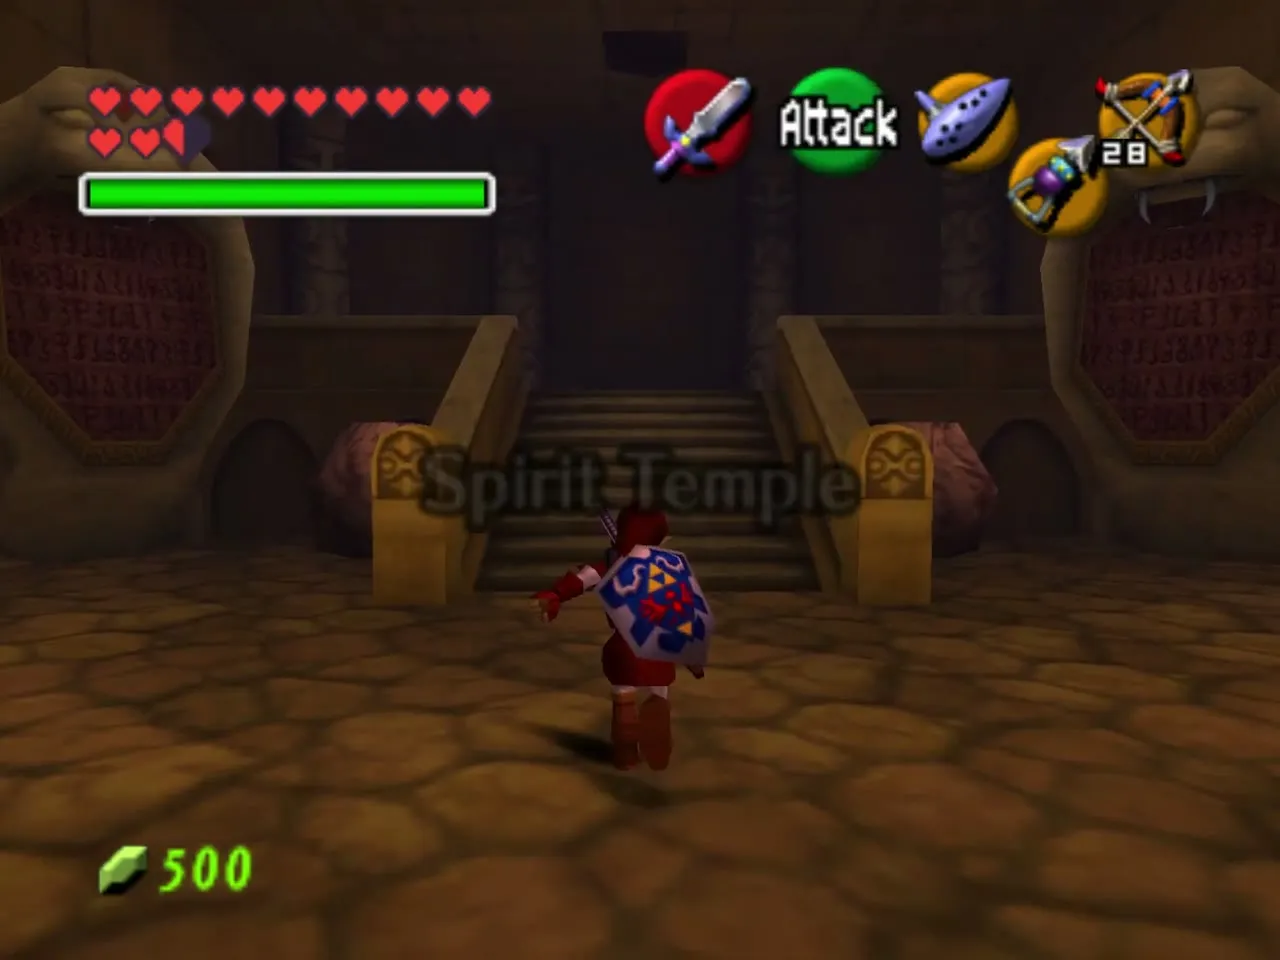
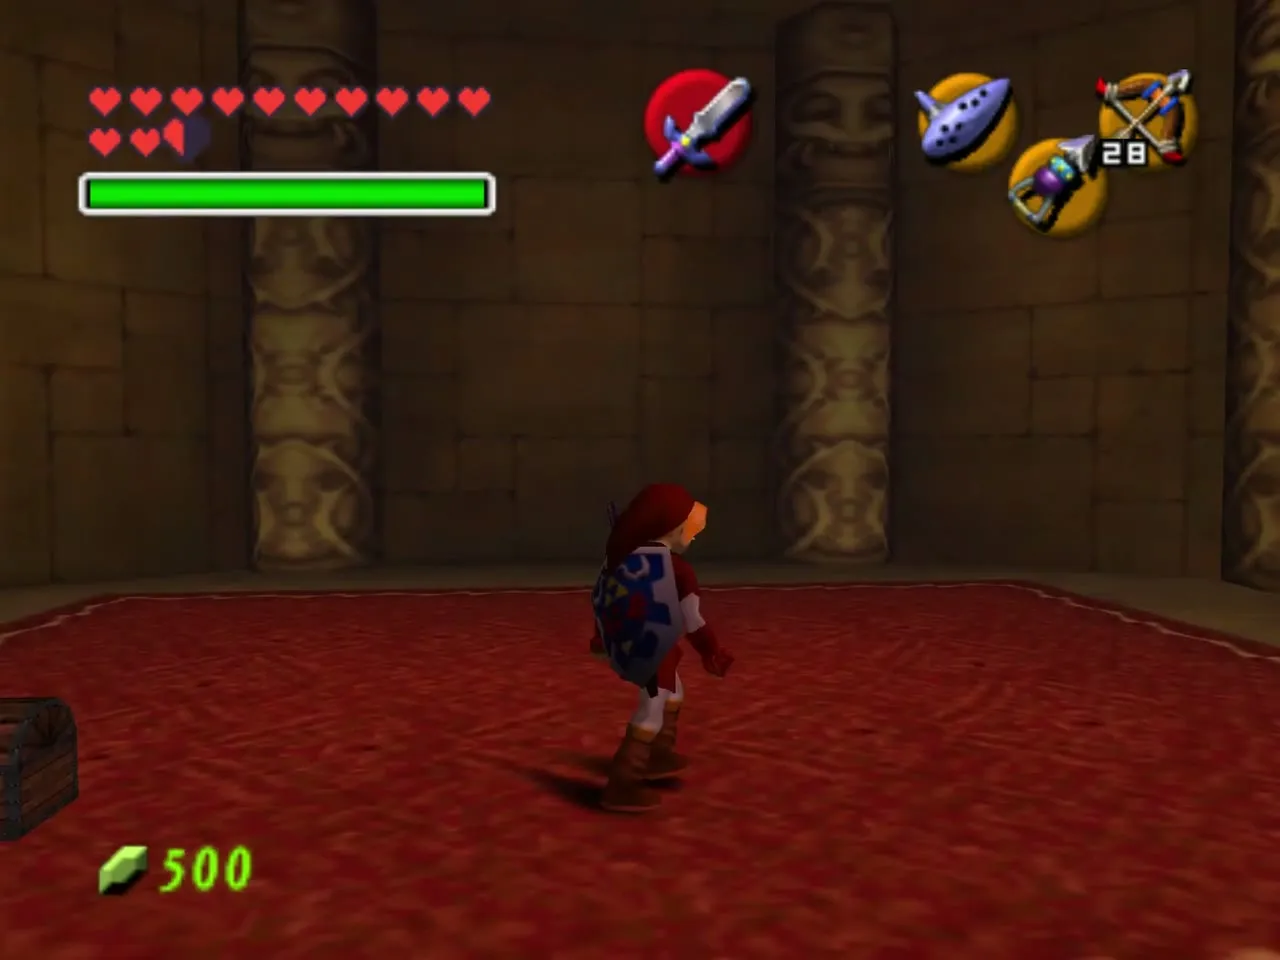
Climb the stairs and step into the entry hall as adult Link. A flight of stairs leads up to a small chest of Bombchus, and the passage on the left is a crawl hole that only a child fits through. A snake statue beside it tells you to return with the power of silver from the past, which points at the Silver Gauntlets.
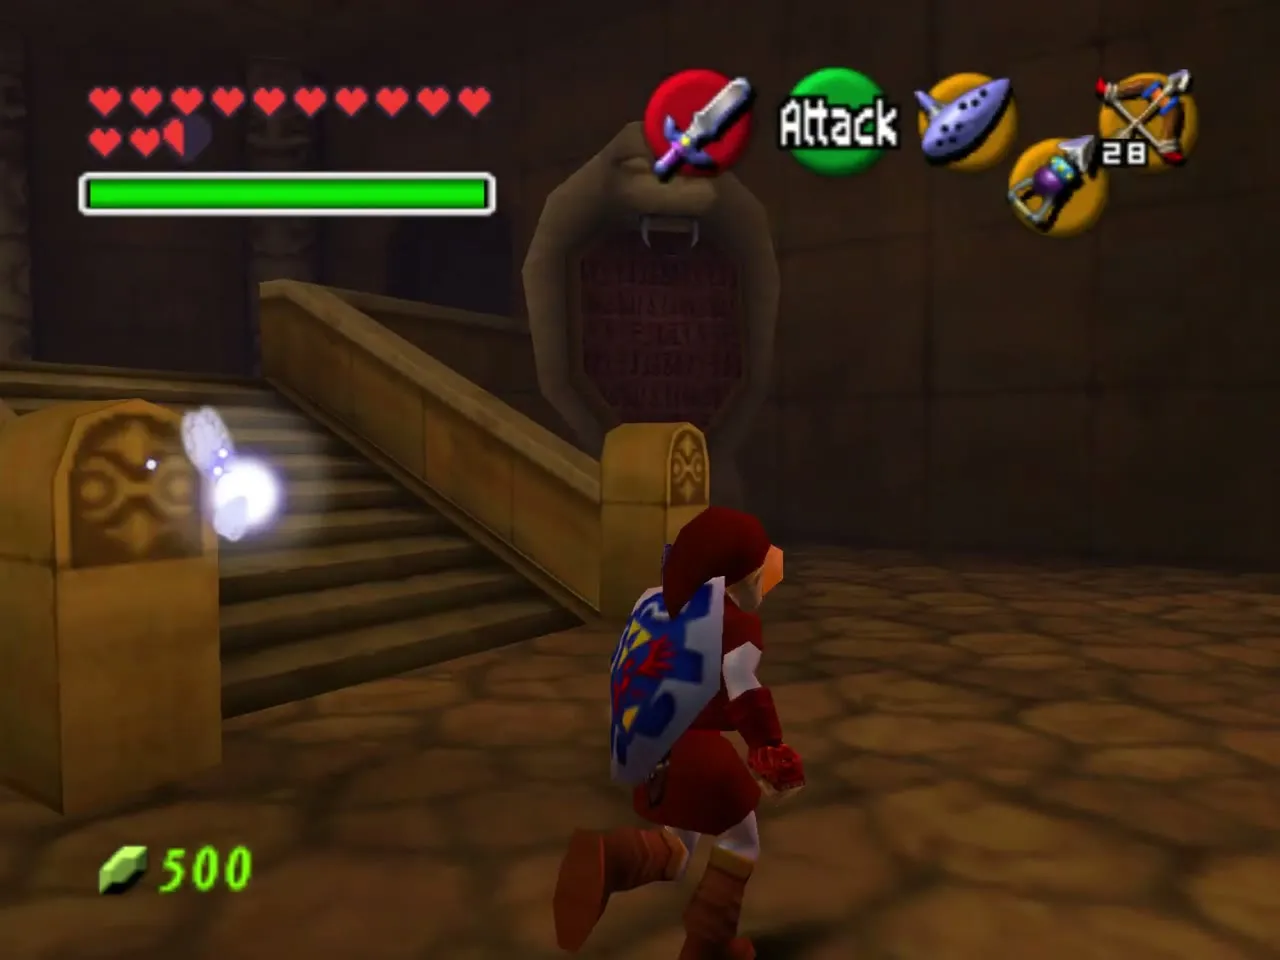
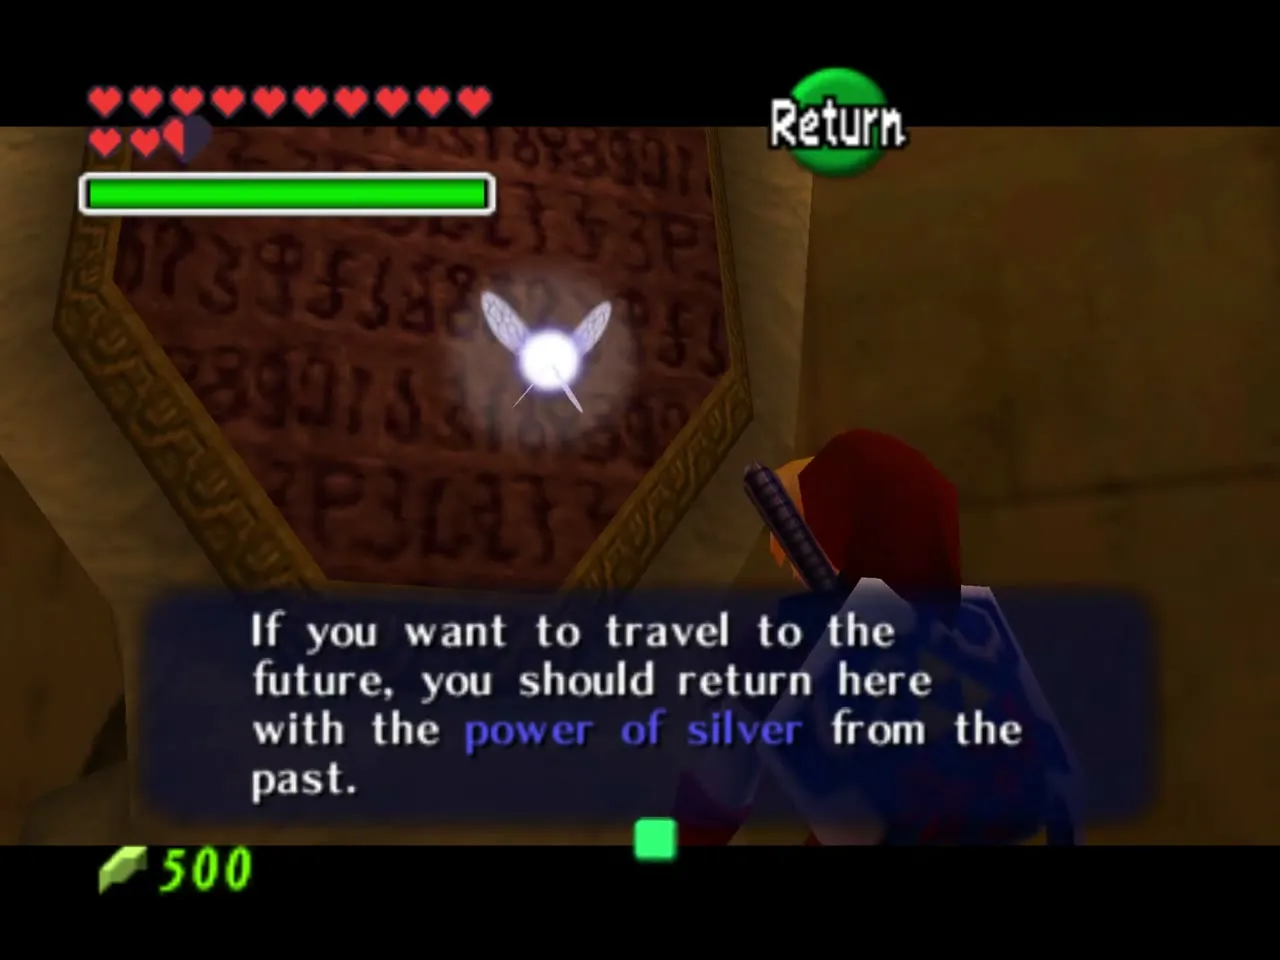
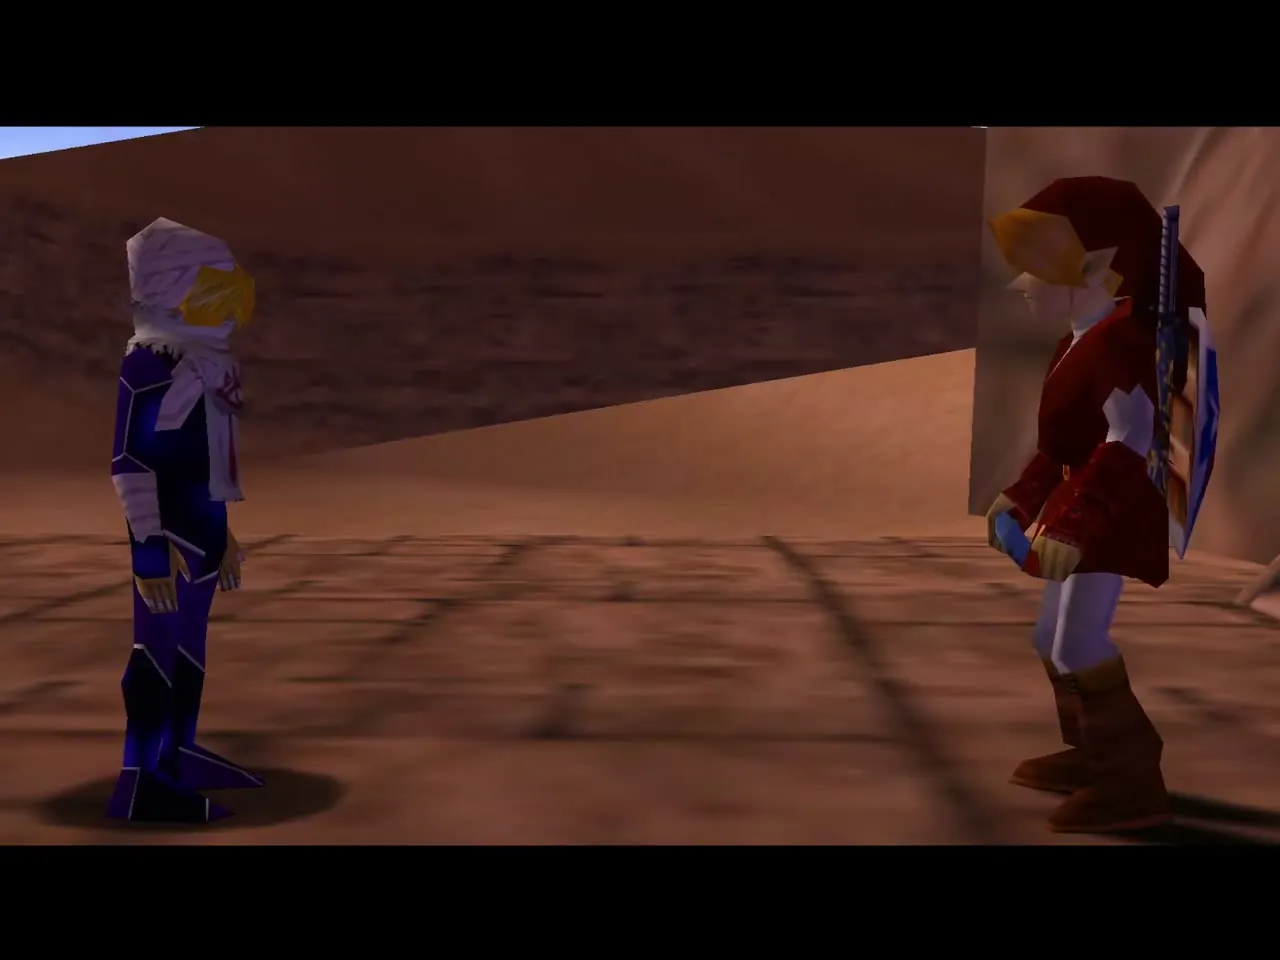
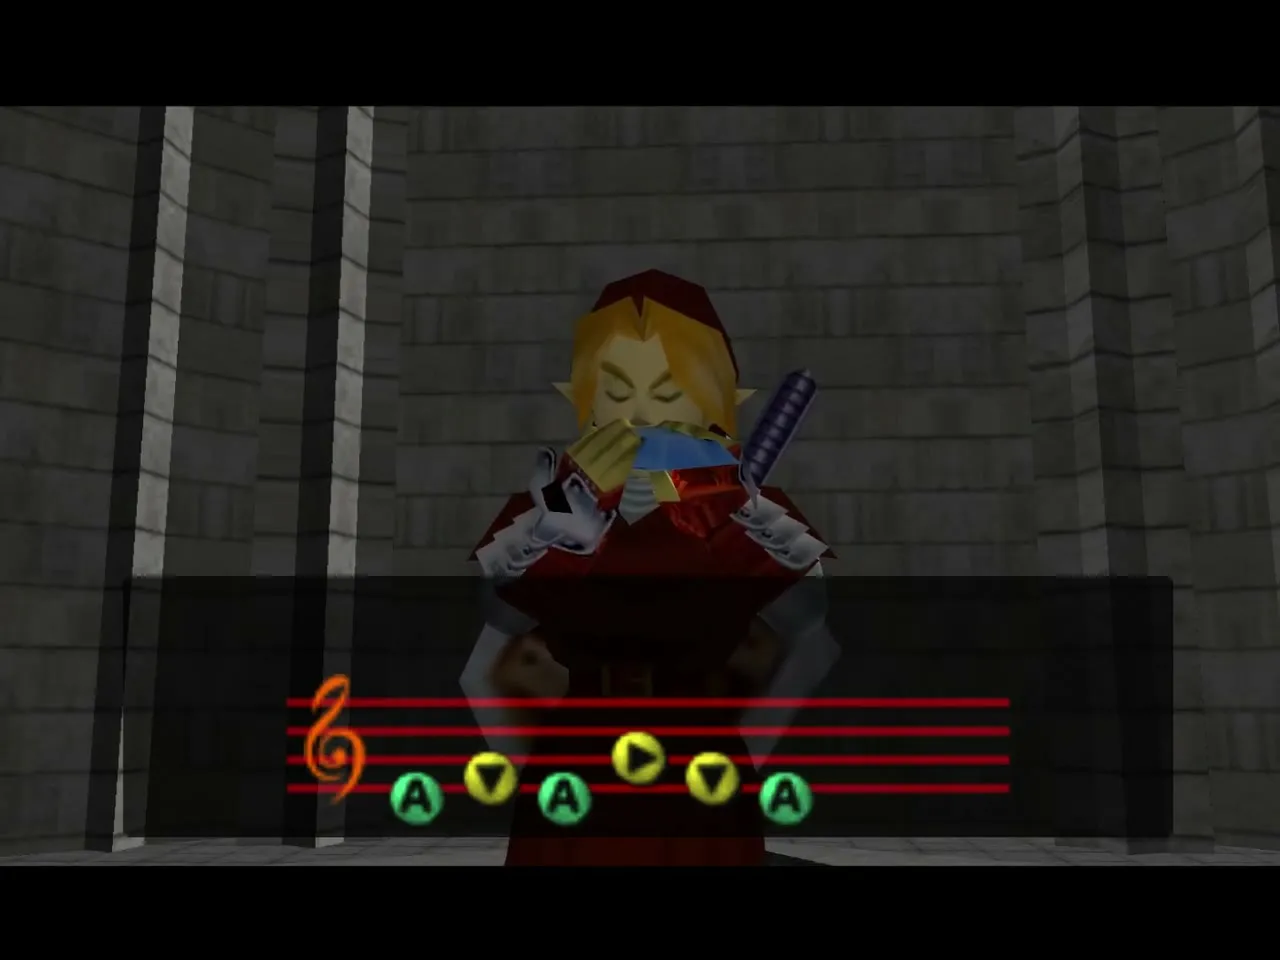
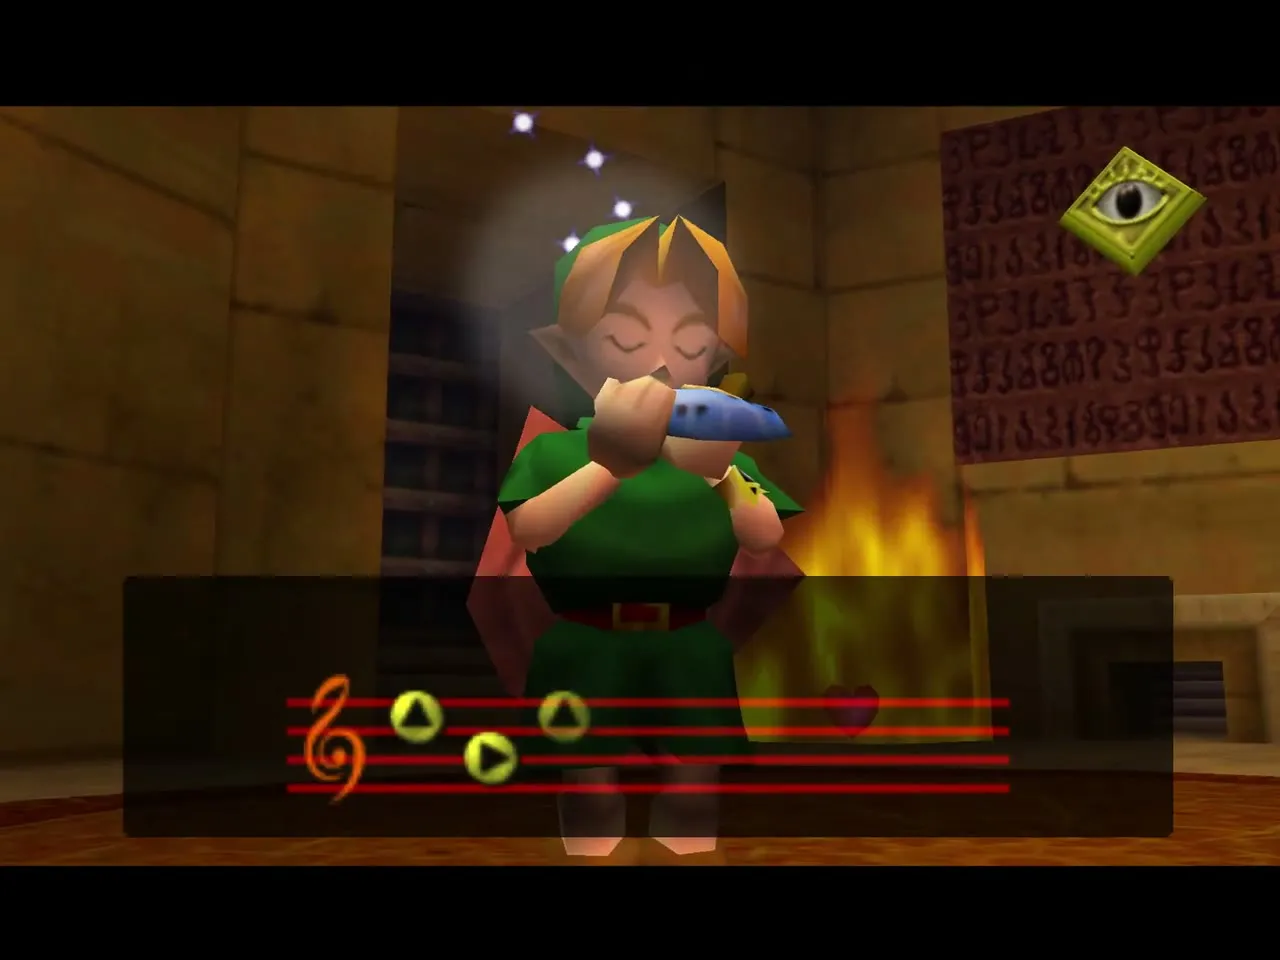
Back outside, Sheik waits on the ledge by the entrance and teaches you the Requiem of Spirit. Play it to warp to the Colossus whenever you need to, since a child cannot cross the Wasteland.
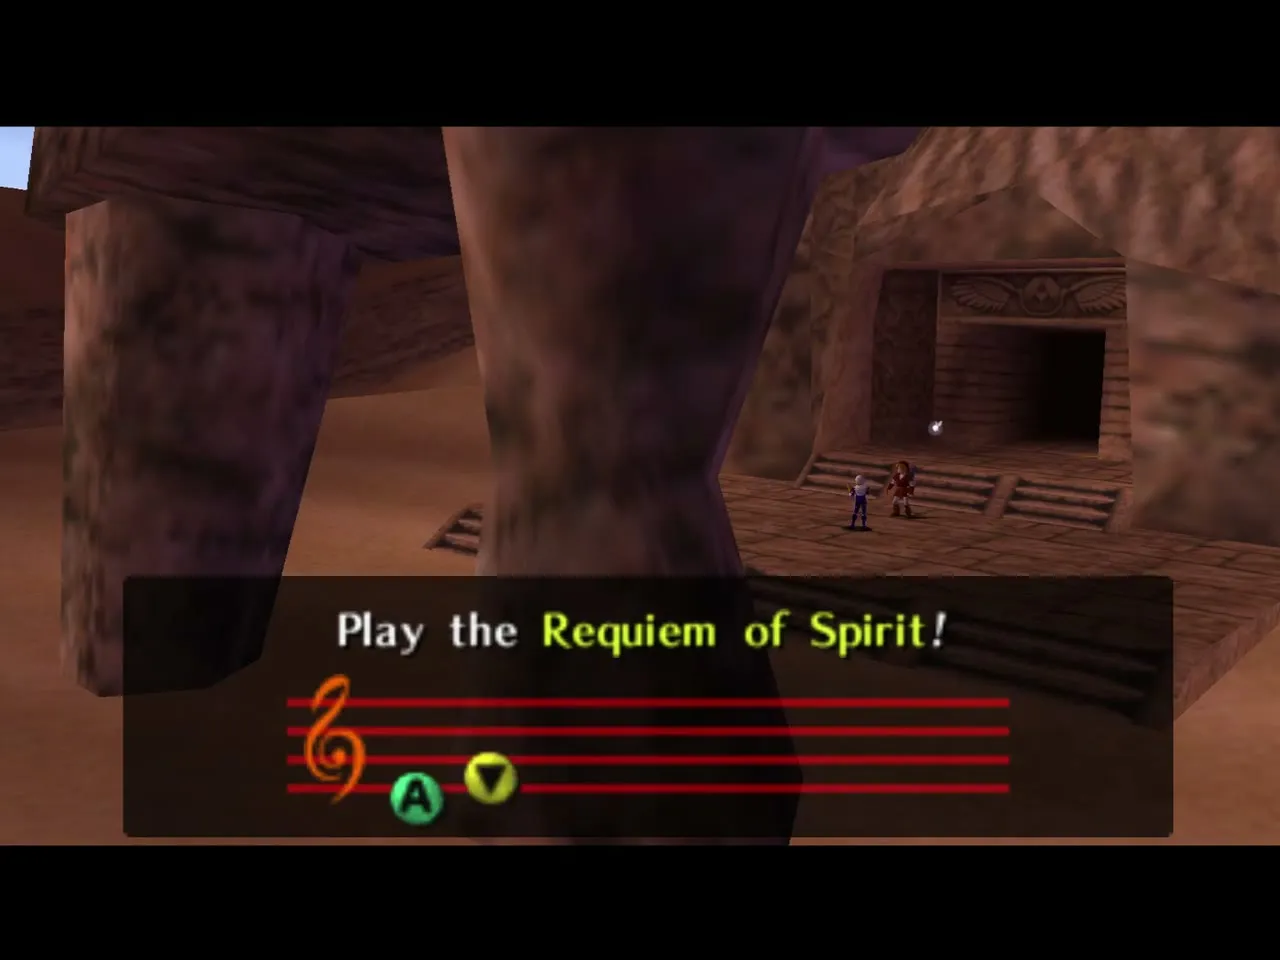
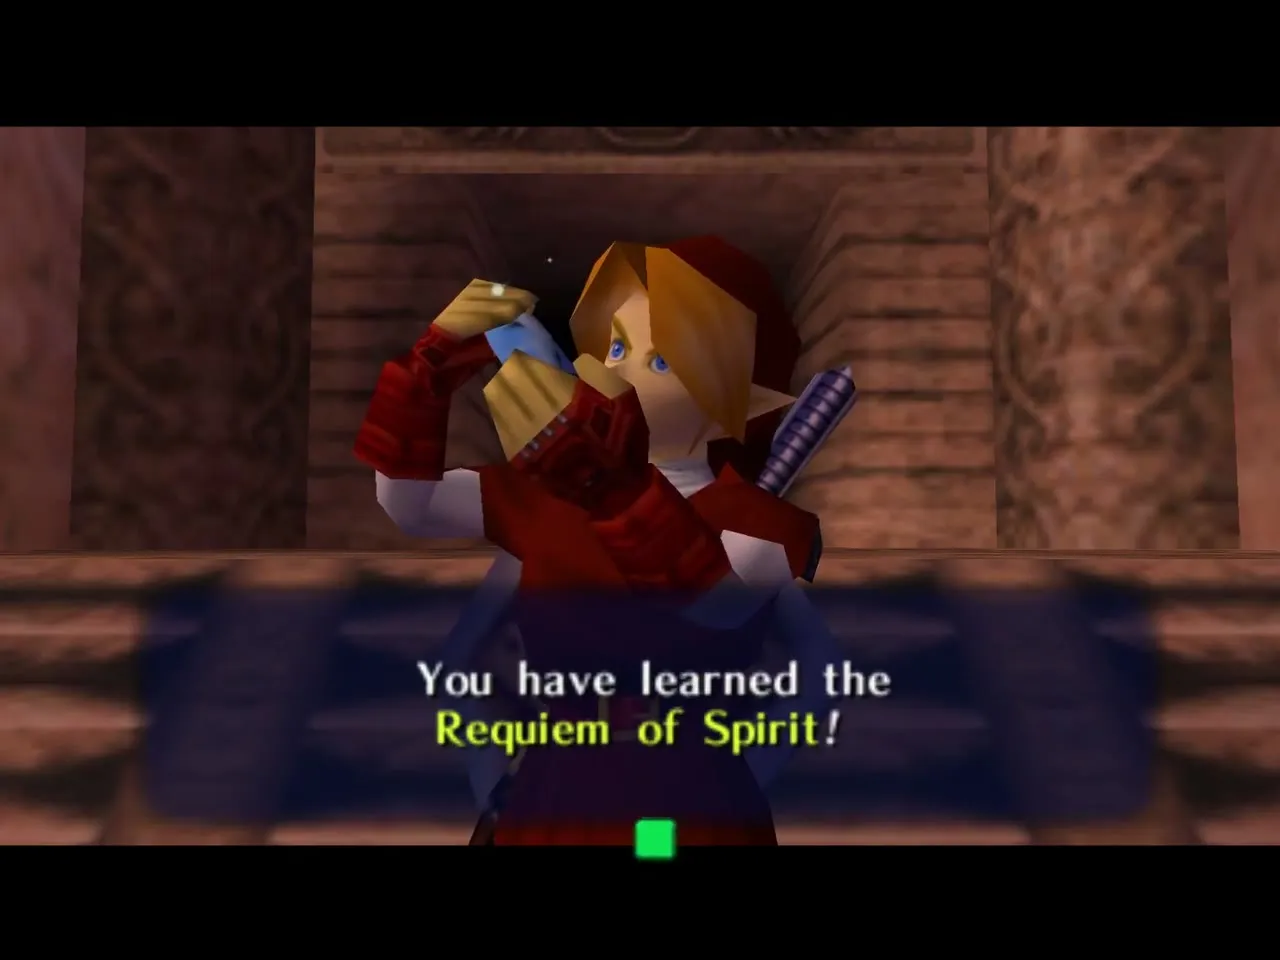
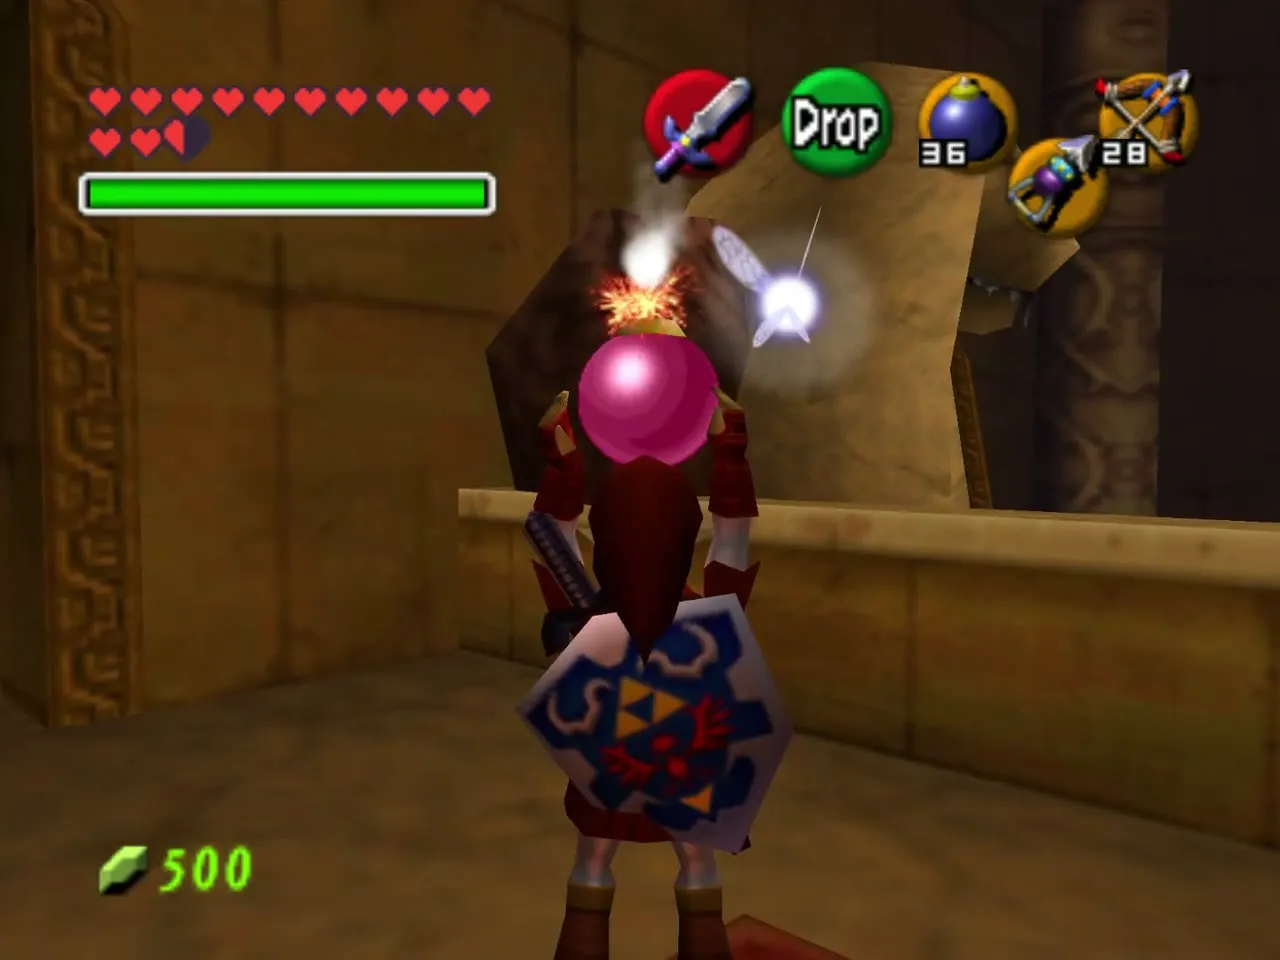
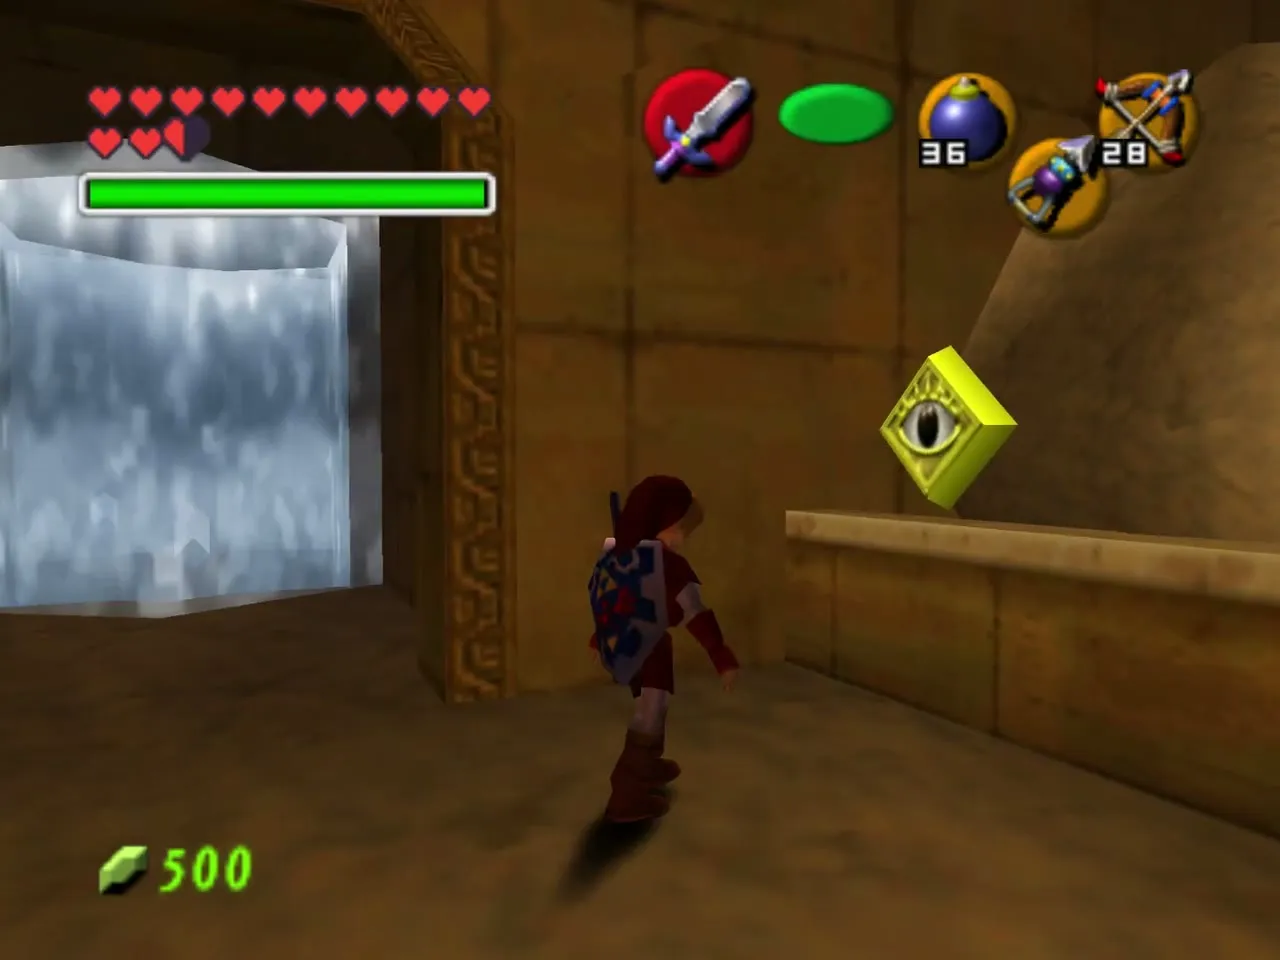
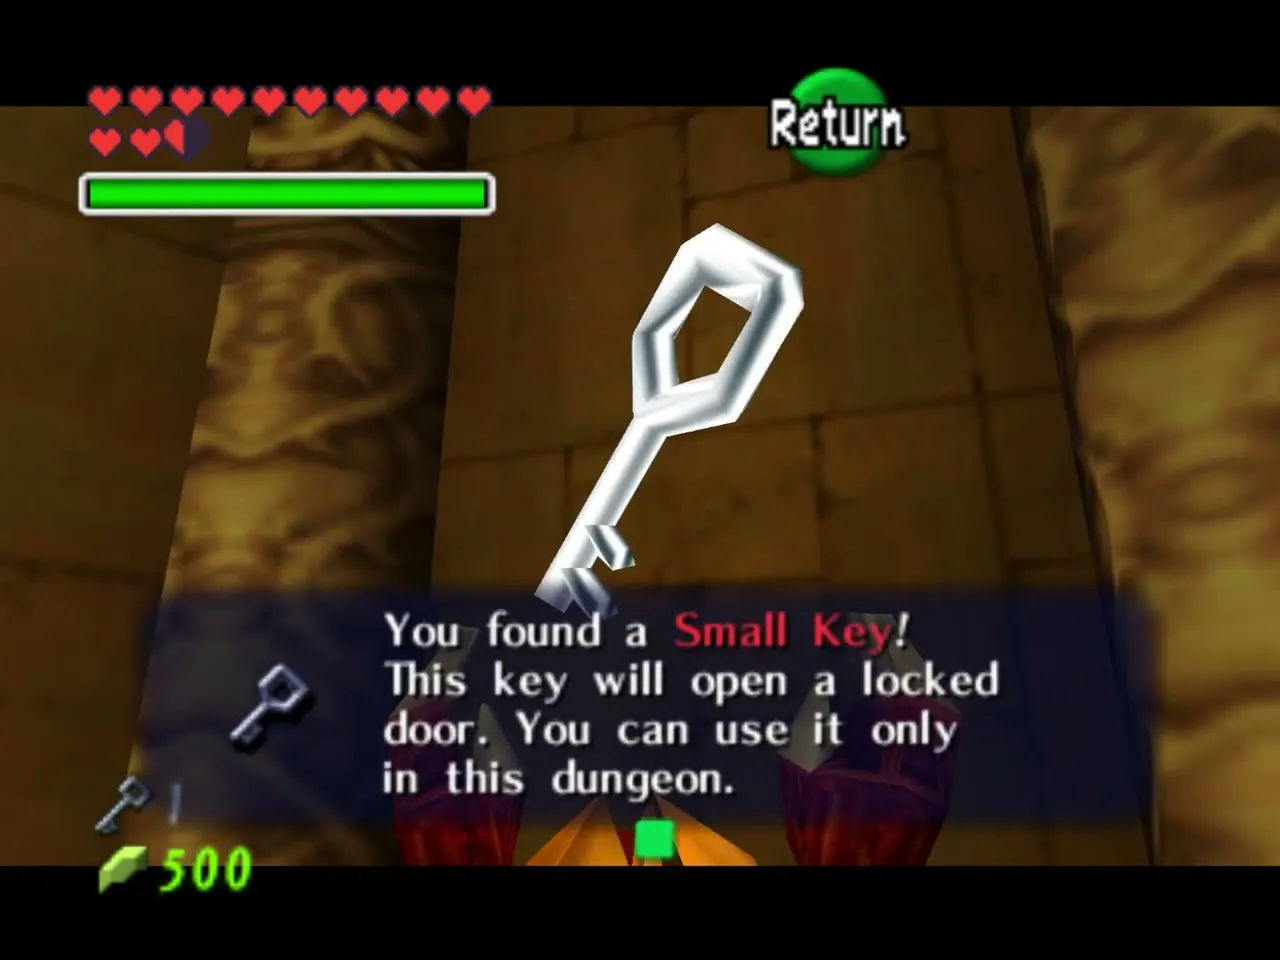
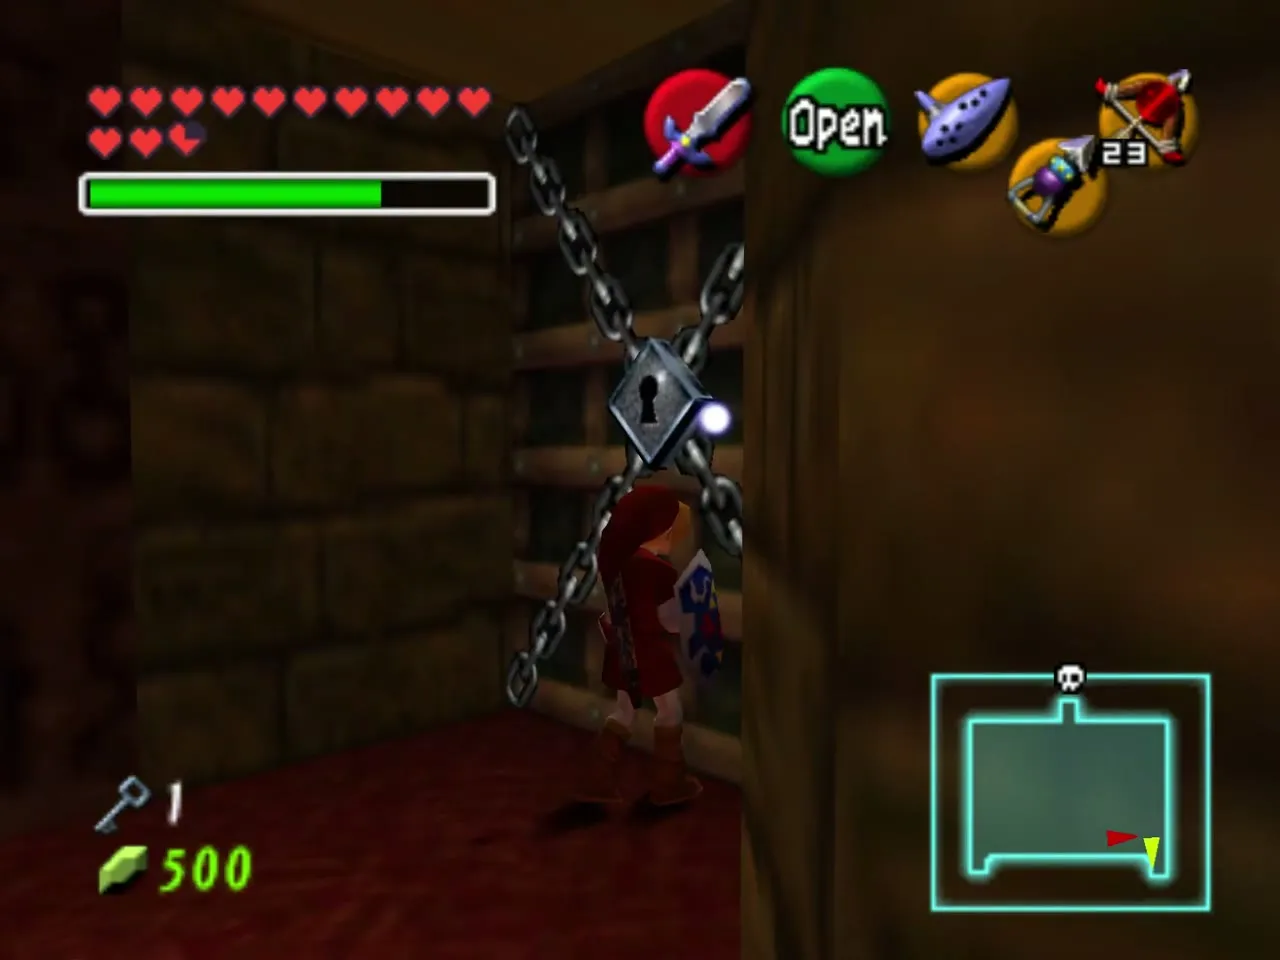
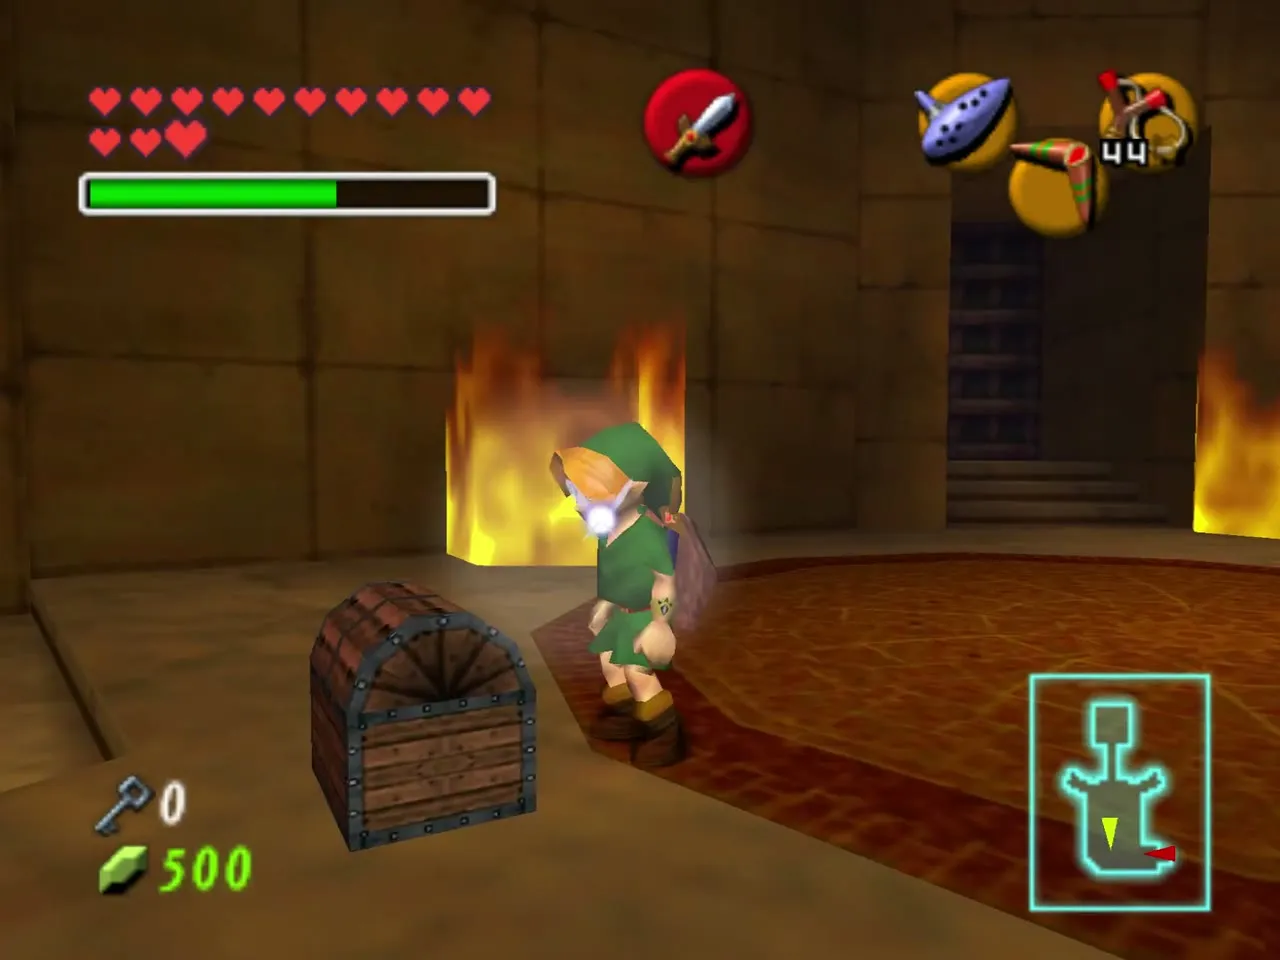
Warp back and walk in as adult Link once more before changing ages. A powerful water jet blocks the passage on the right. Behind the statue nearest the water is a boulder: blow it up with a Bombchu to uncover an eye switch, then shoot the eye and a small chest drops with a Small Key. You carry that key into the child half.
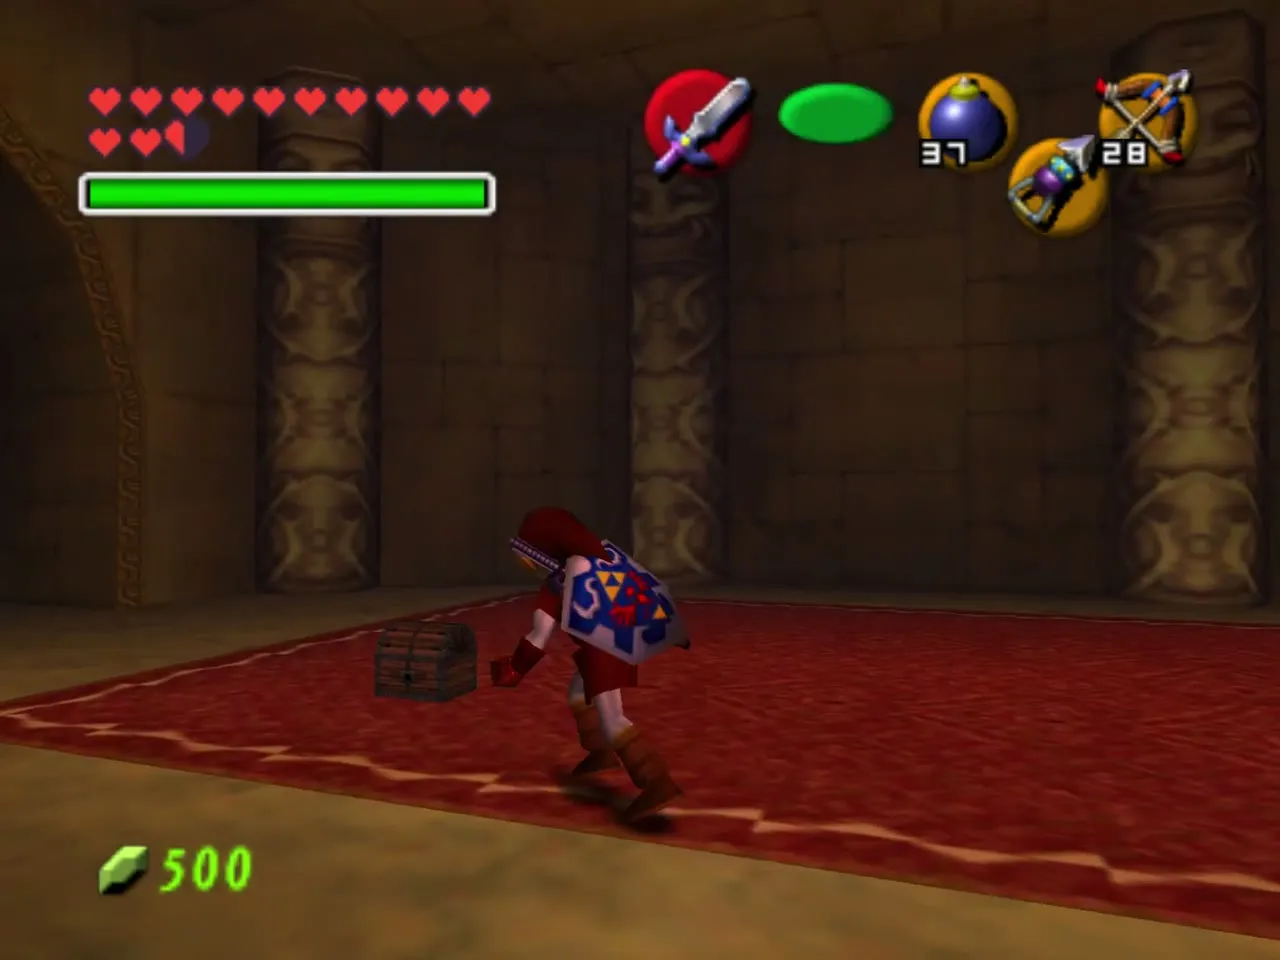
The two boulders in front of the snake statues hide Silver Rupees, but the Megaton Hammer work can wait until later. Play the Prelude of Light to go to the Temple of Time, put the Master Sword back to become a child and warp to the Colossus with the Requiem of Spirit.
The child half
Nabooru and the crawl hole
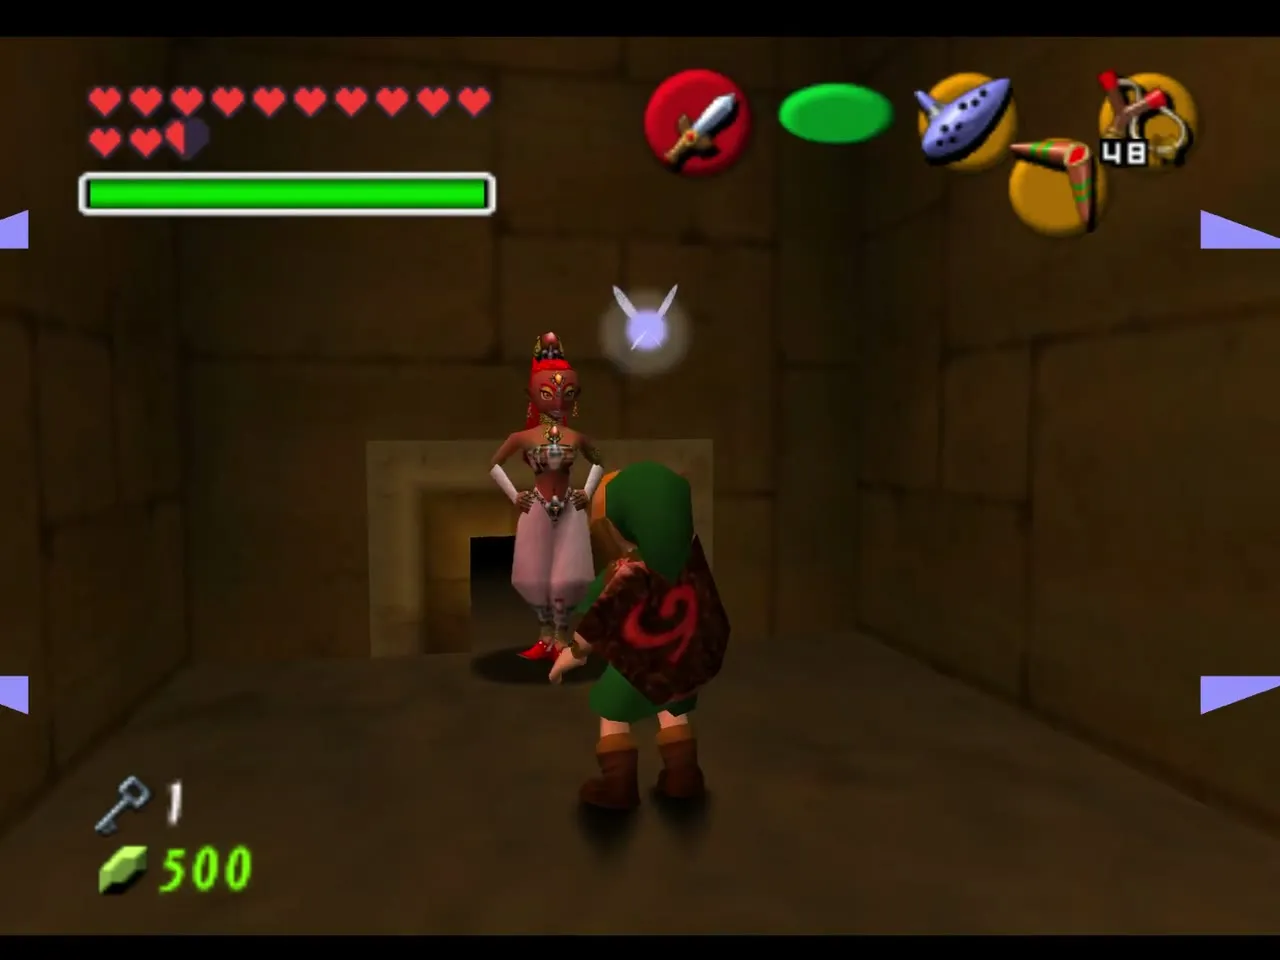
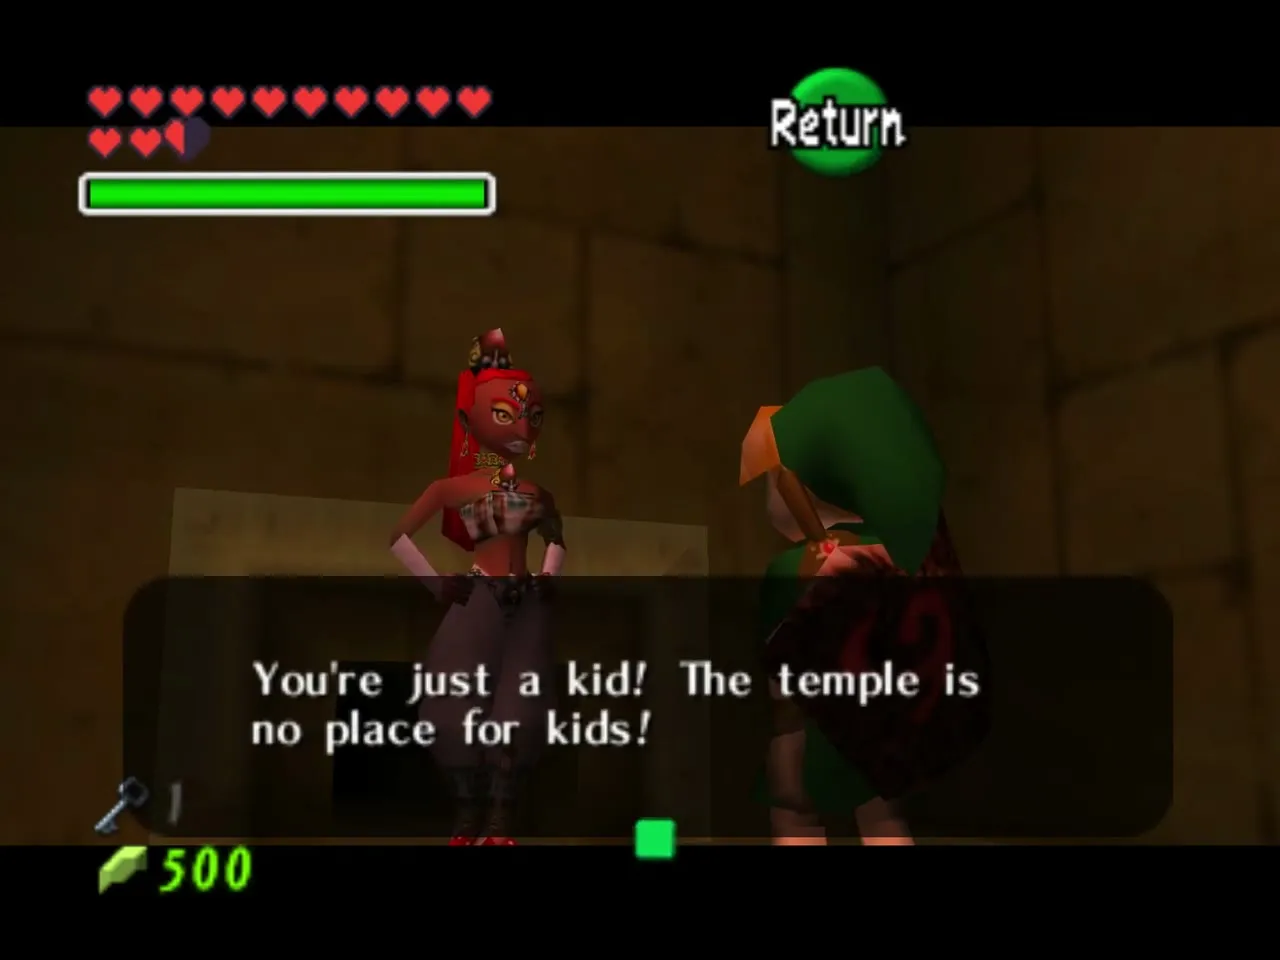
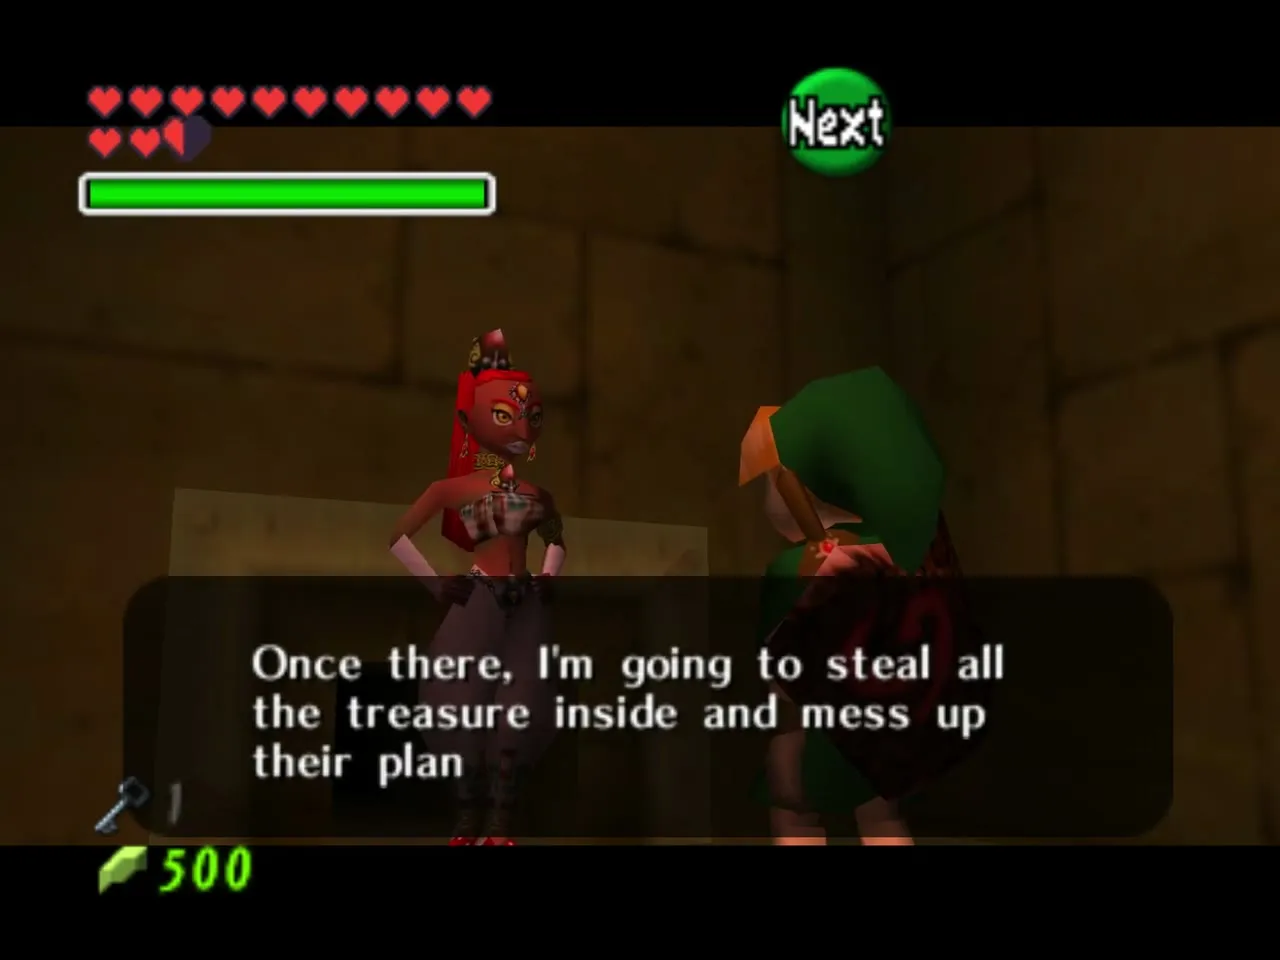
Walk into the hall and go left to the crawl hole, where a Gerudo woman named Nabooru stops you. Answer that you are not doing anything. She explains that Ganondorf and his minions are using the temple and that the treasure inside is the Silver Gauntlets, but she cannot fit through the hole herself. Crawl through.
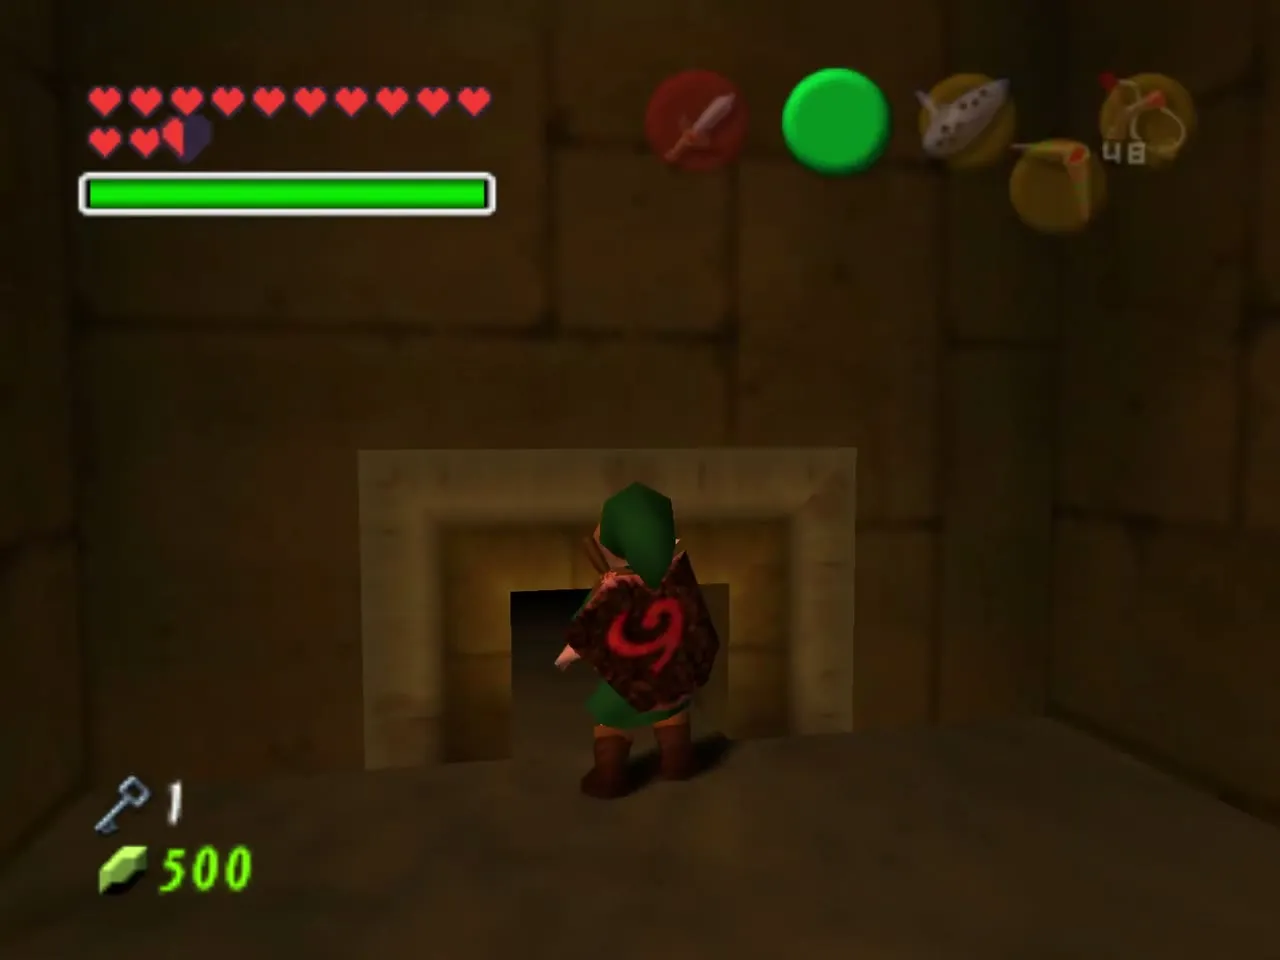
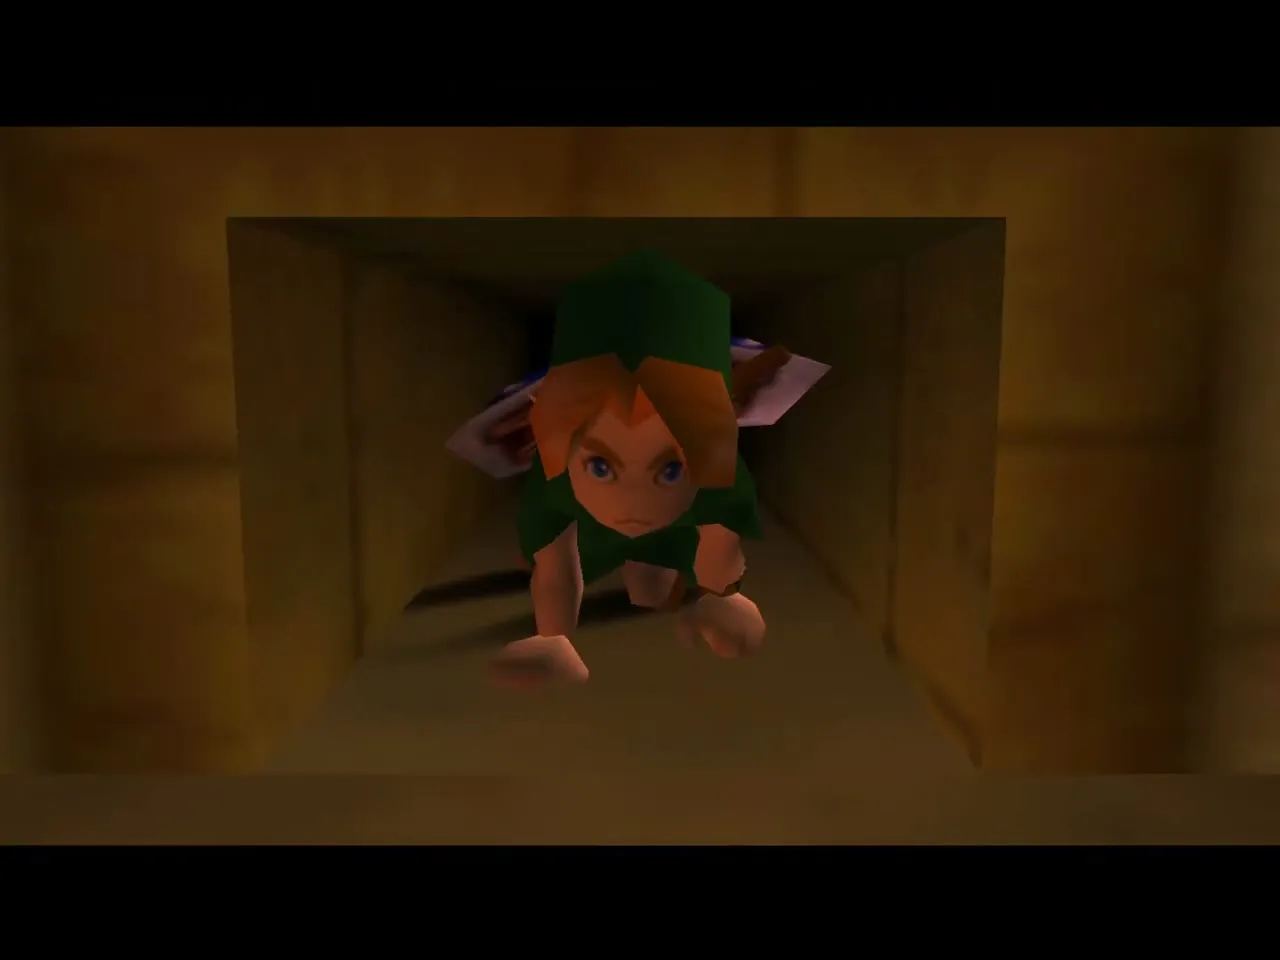
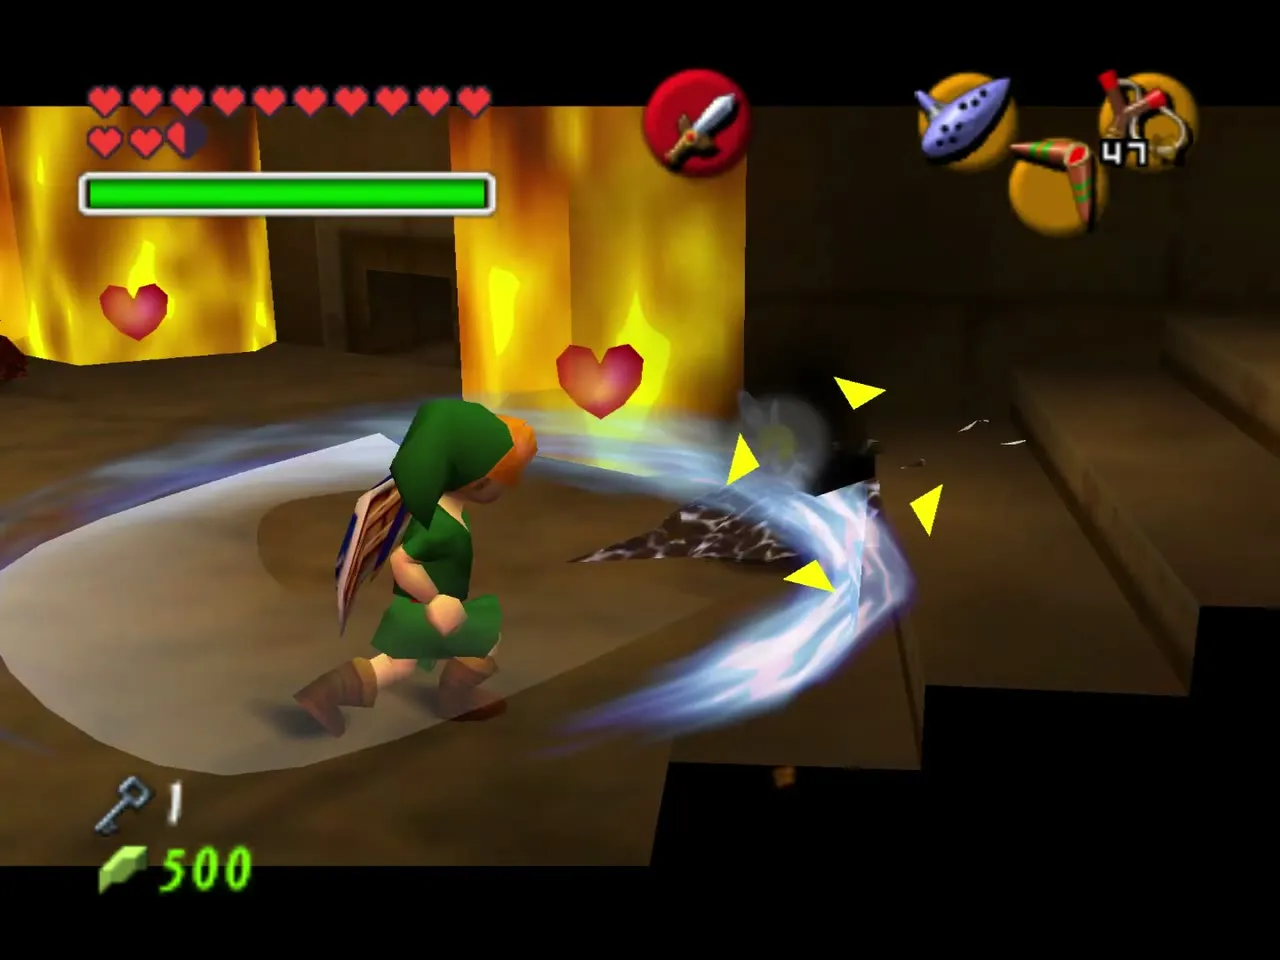
Torch Slugs and the Dungeon Map
The room on the other side has fire walls guarding Recovery Hearts, and Torch Slugs that your small sword barely scratches. Jump attacks are the safe way to hurt them, and the two doors open once they are gone. Shooting the eye in this room briefly puts out the fire if the Slugs keep relighting it.
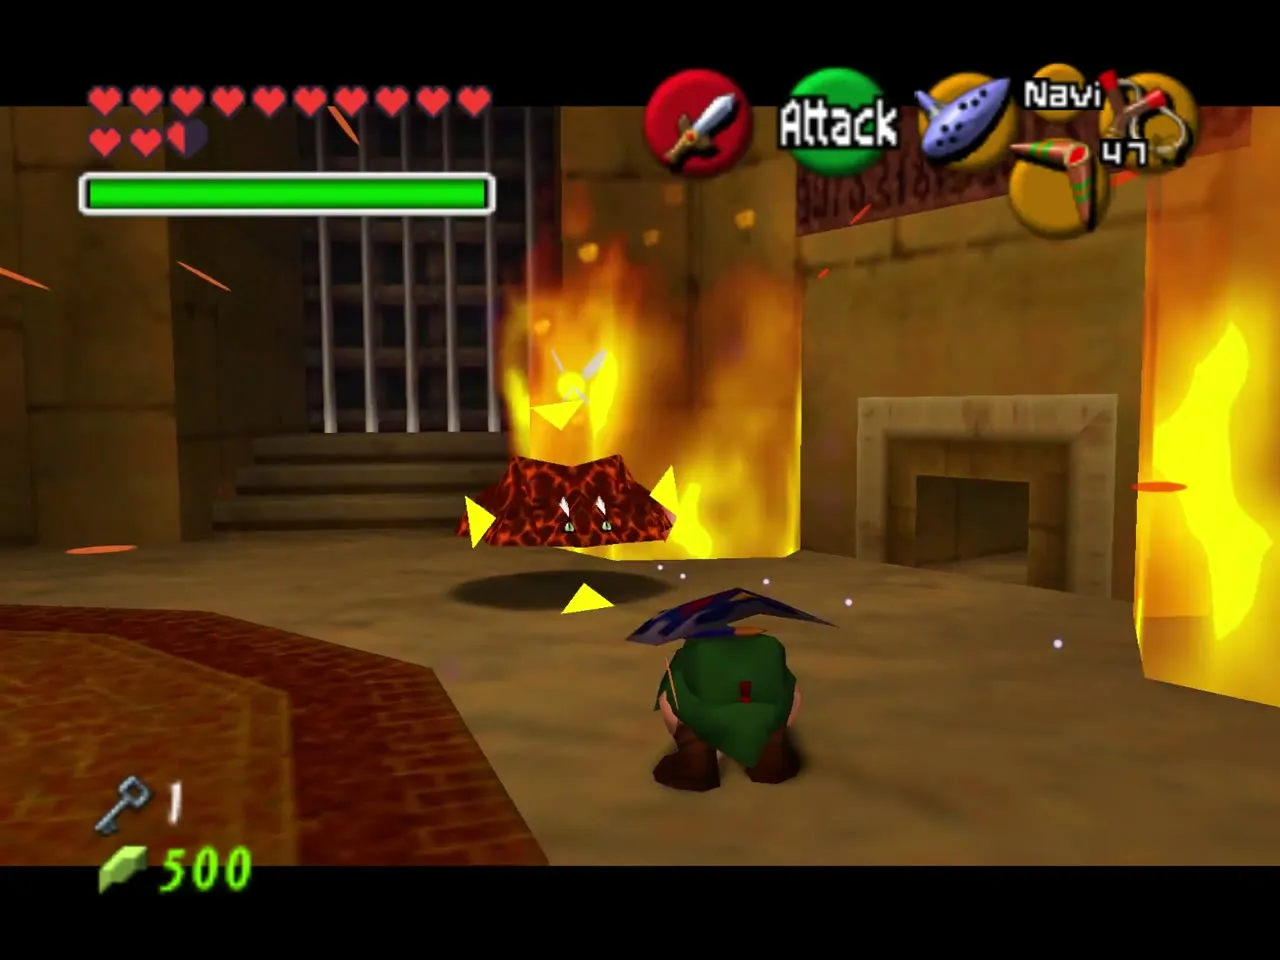
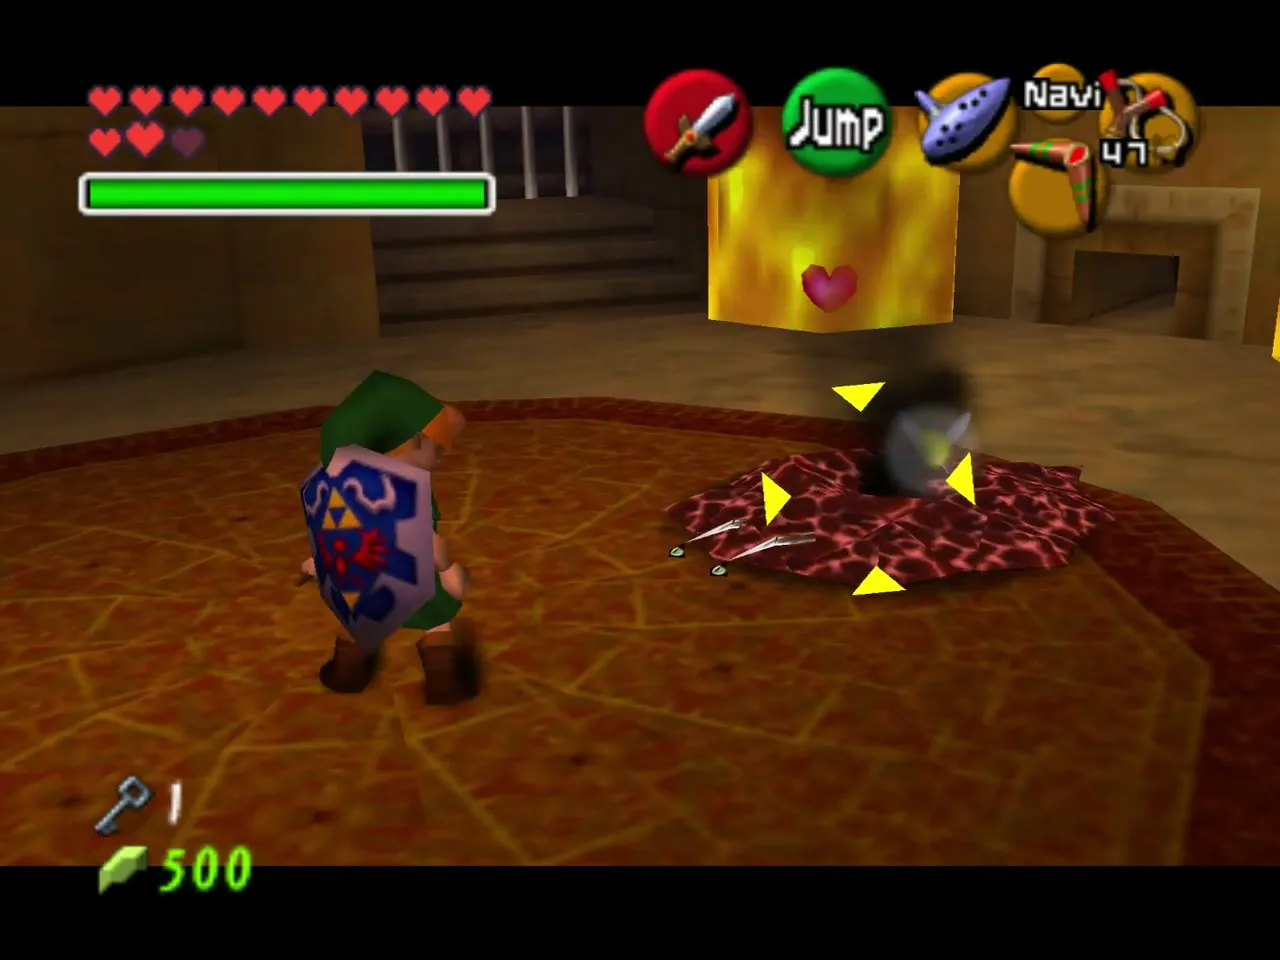
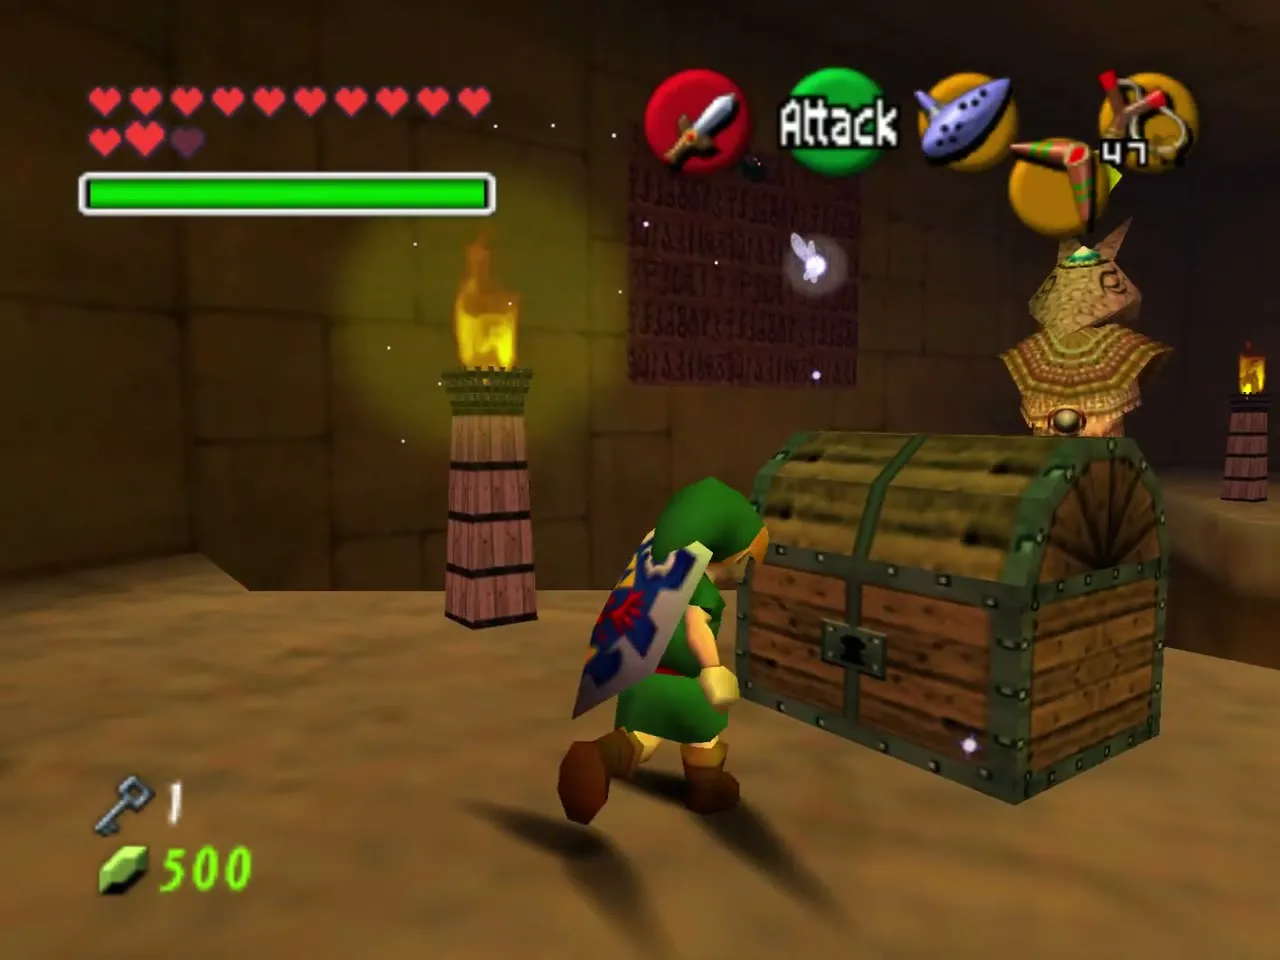
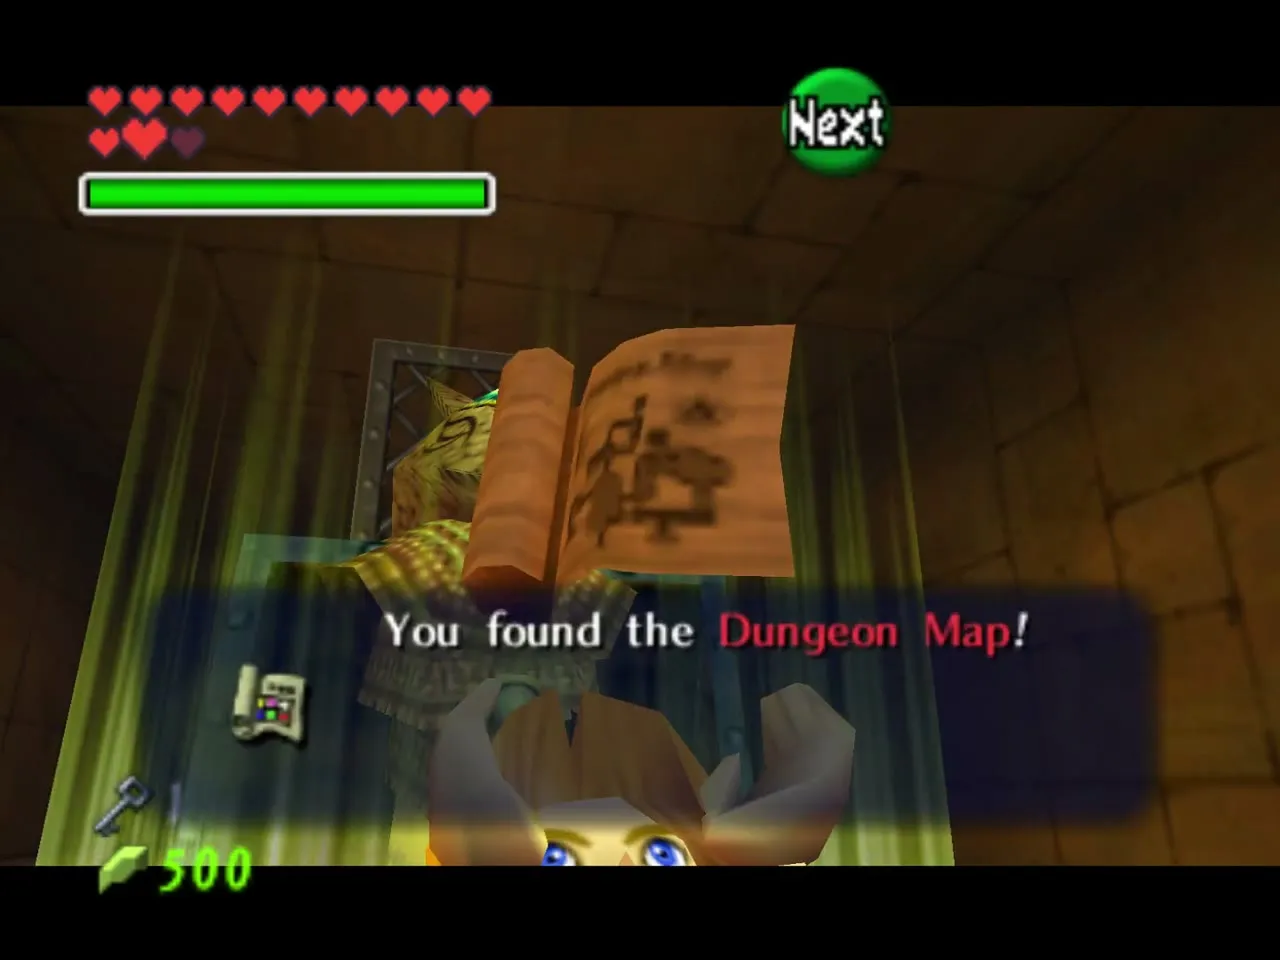
Take the right door and open the chest just inside for the Dungeon Map. Do not bother with the Anubis in this room yet.
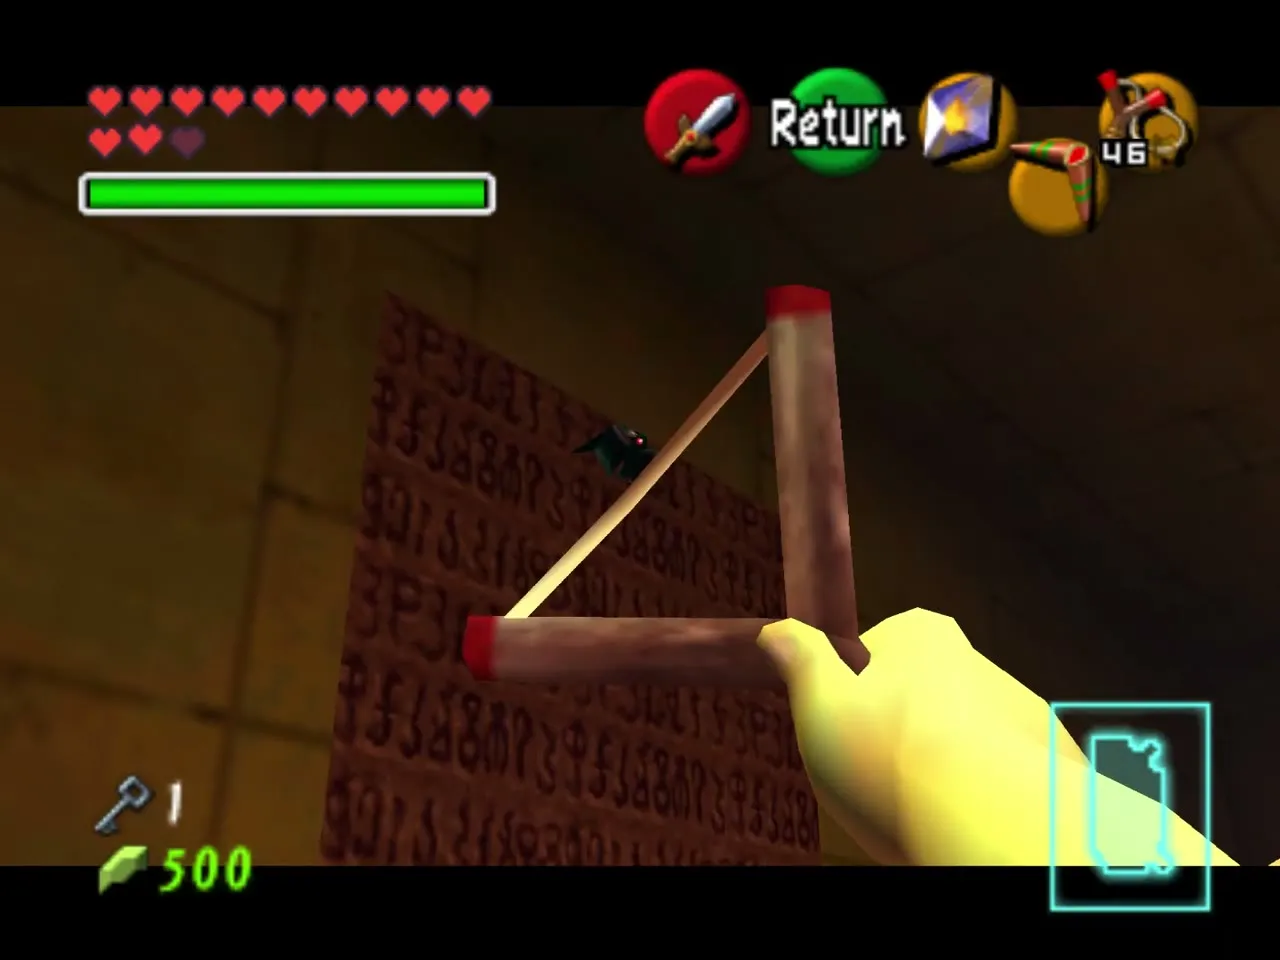
Shoot the Keese flying around, then kill the Anubis with Din’s Fire. Put the Deku Shield away if a Keese sets it alight, and open the small chest that appears once the room is clear. Return to the Torch Slug room.
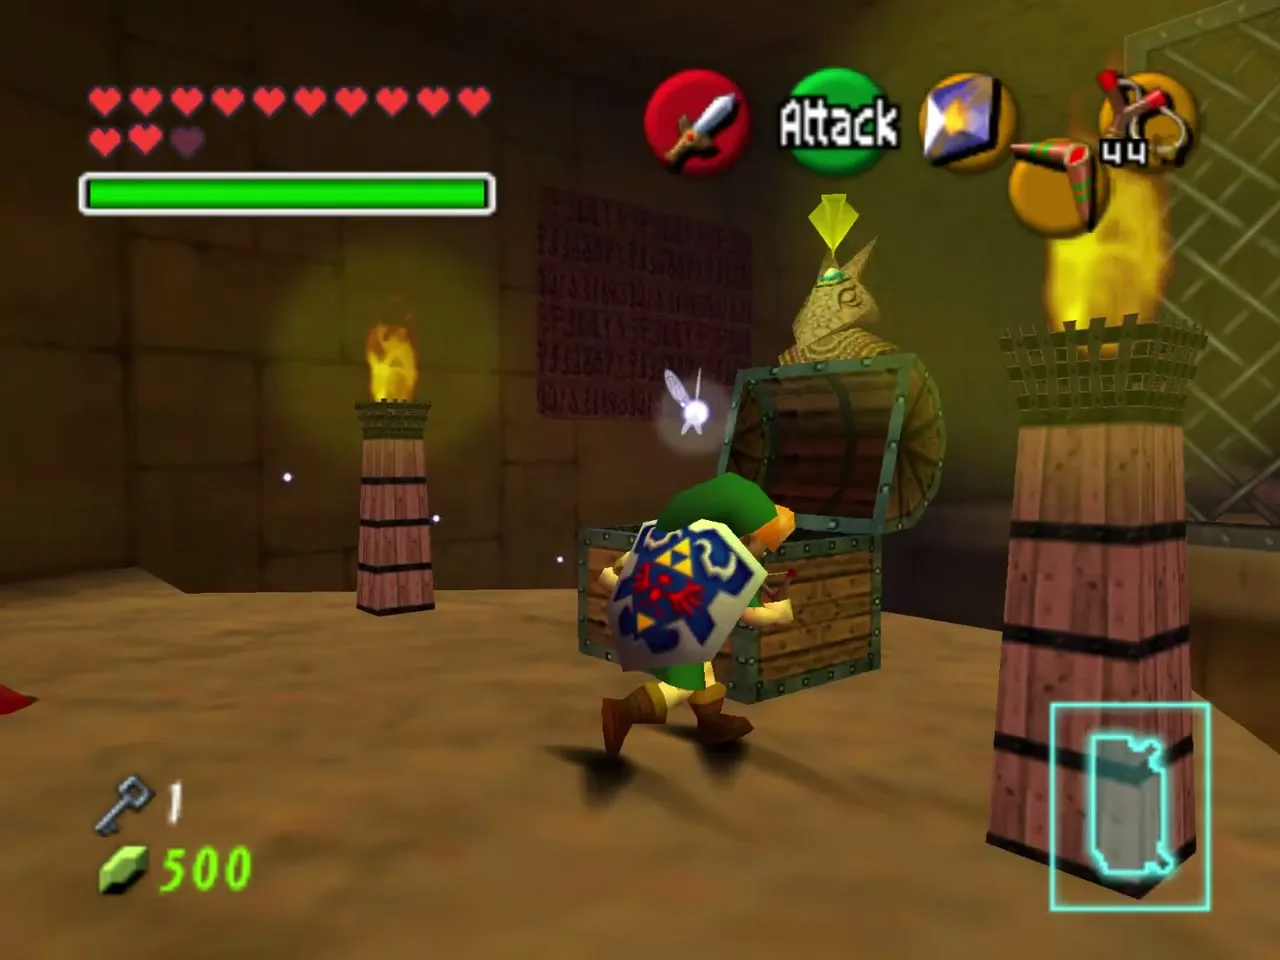
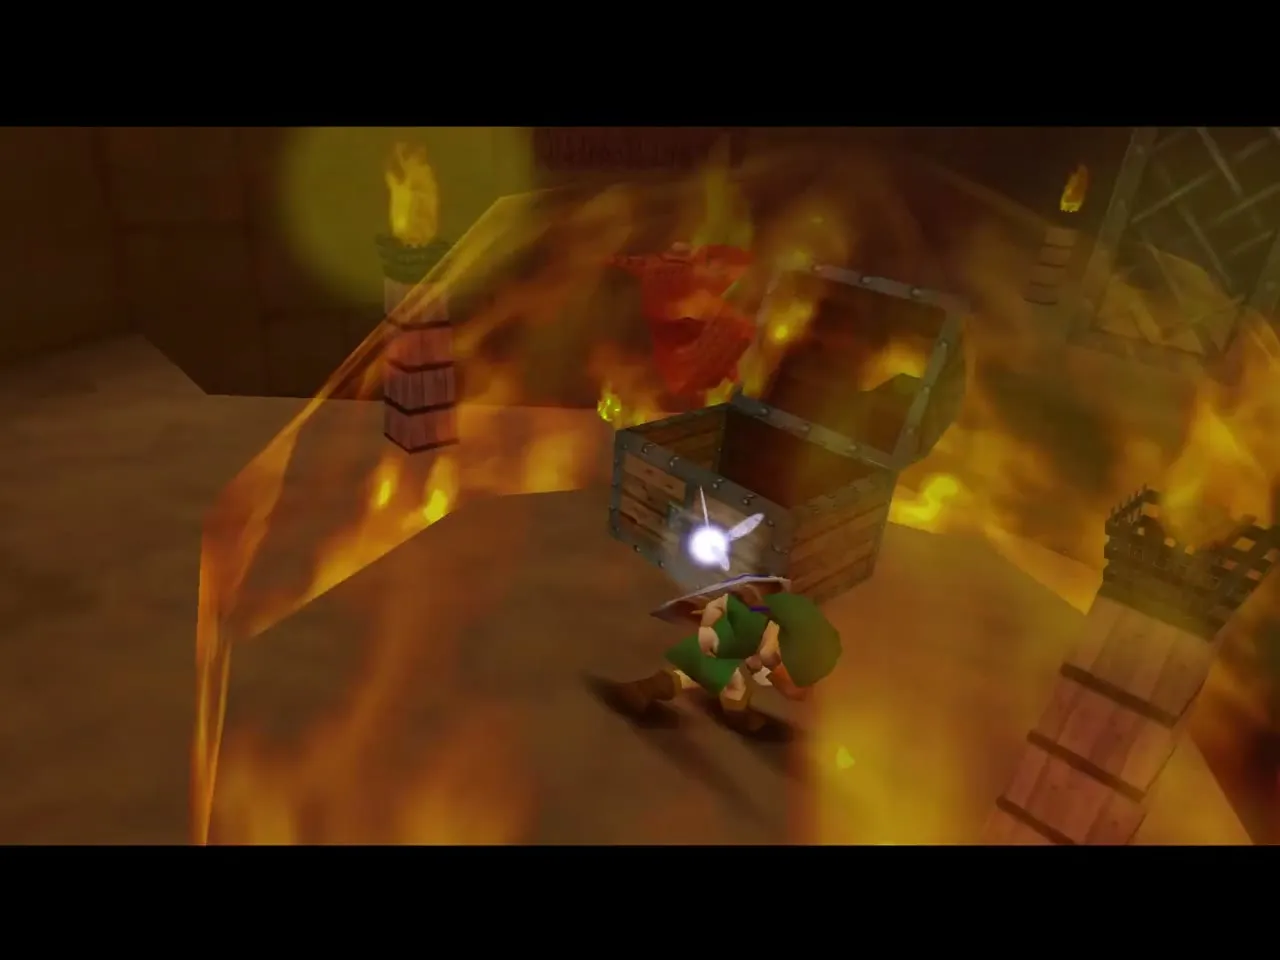
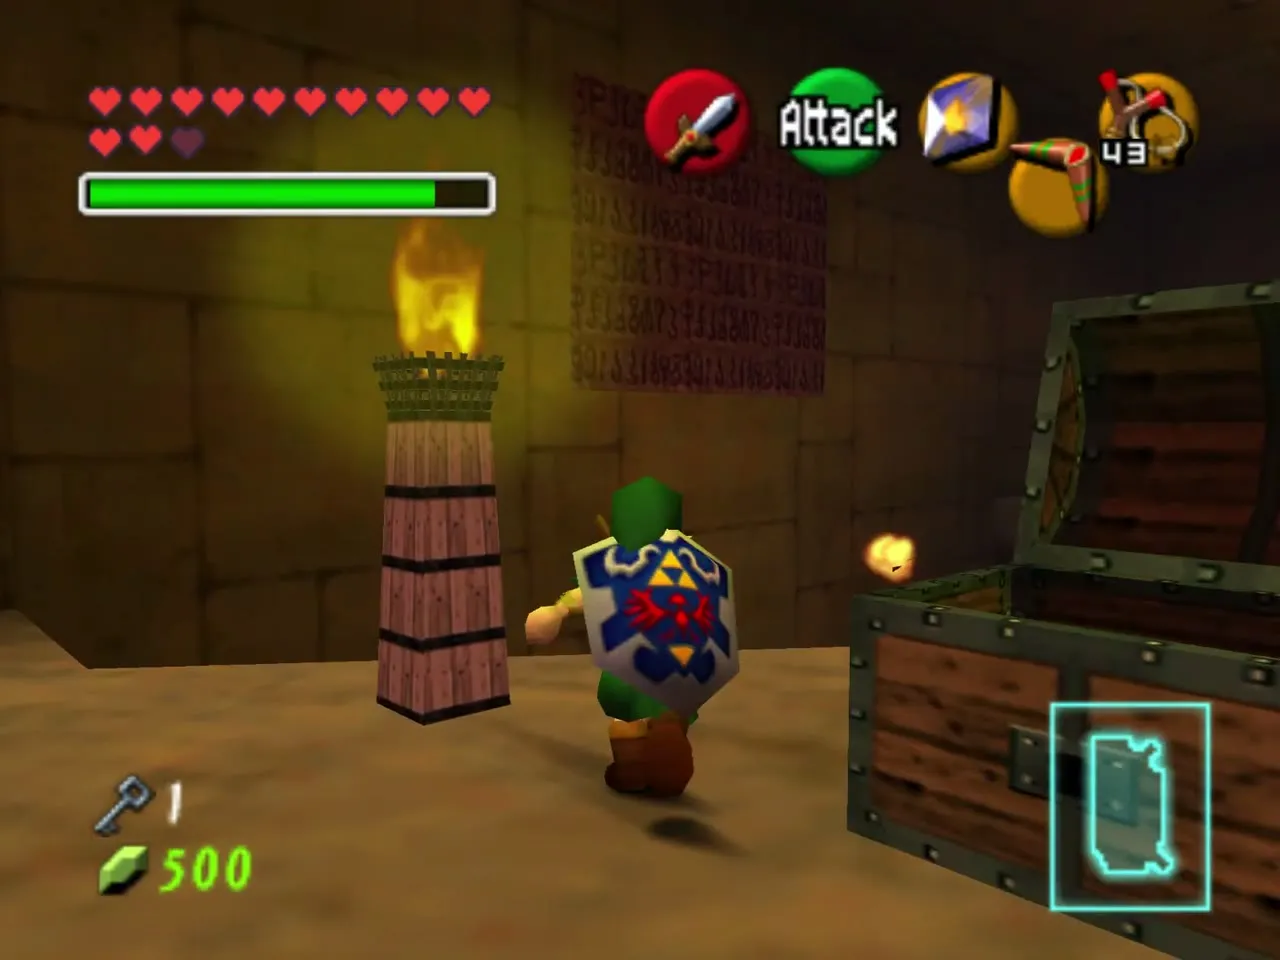
Gibdos, the floating block and the Stalfos
Take the left door. A Gibdo shuffles around the gravestones here, so kill it and pull a gravestone back to uncover a floor switch. Press it to open a grate, then stand at the edge and send a Bombchu straight through to destroy the boulder on the far side. The eye switch it reveals makes a floating block appear, so shoot it, jump across and kill the remaining Gibdos to open the door.
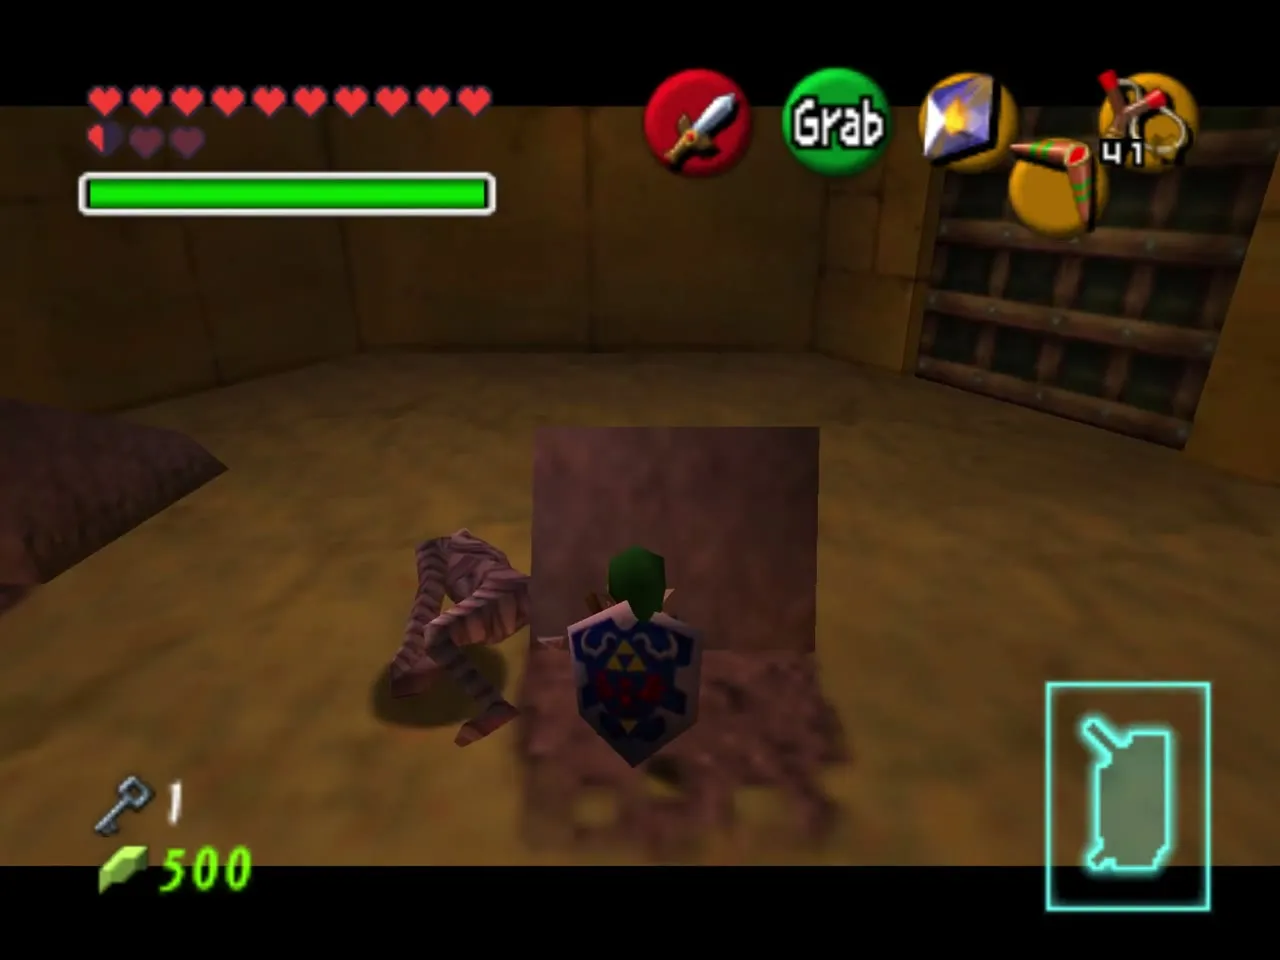
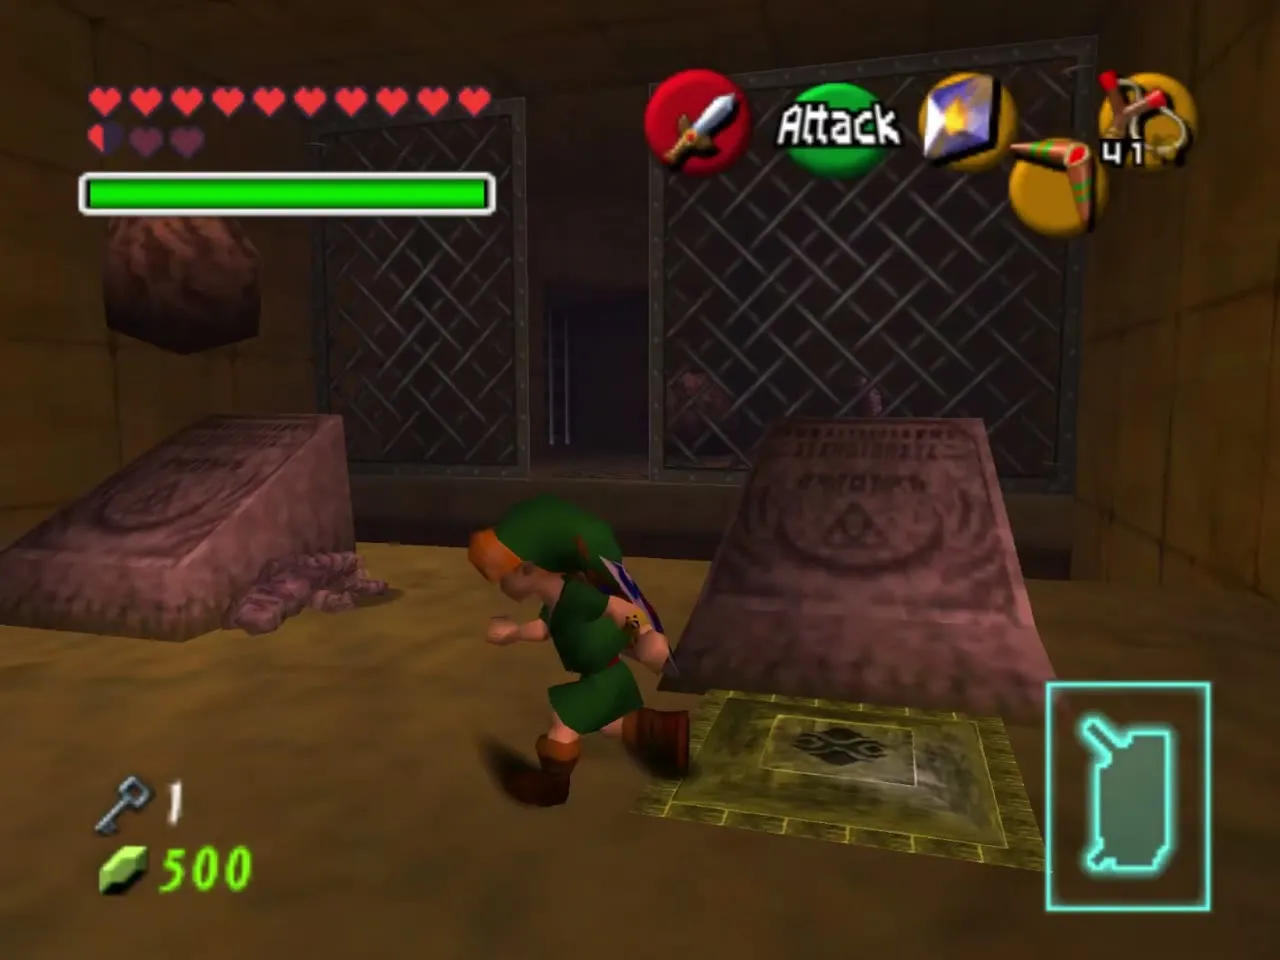
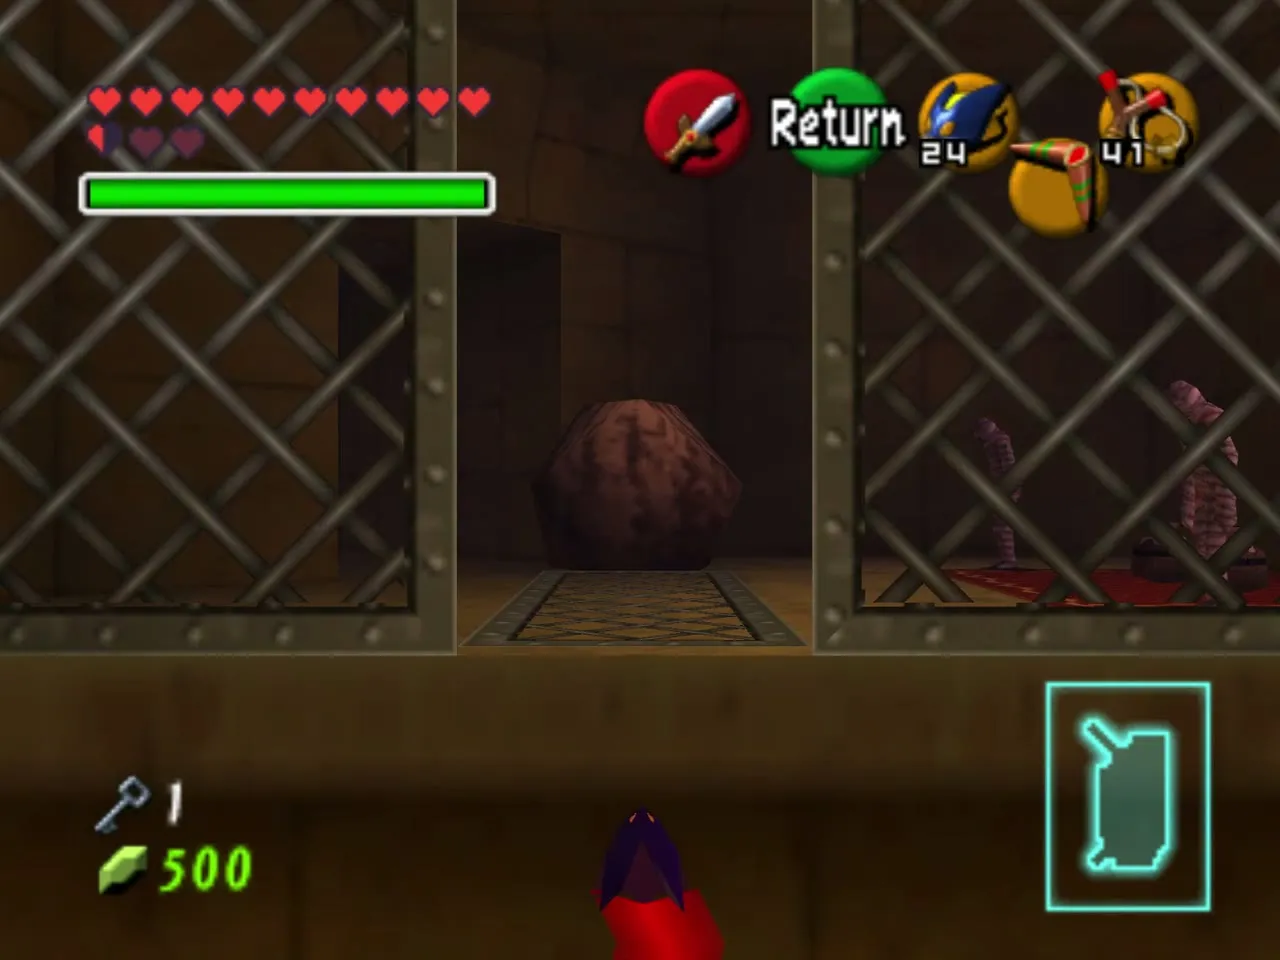
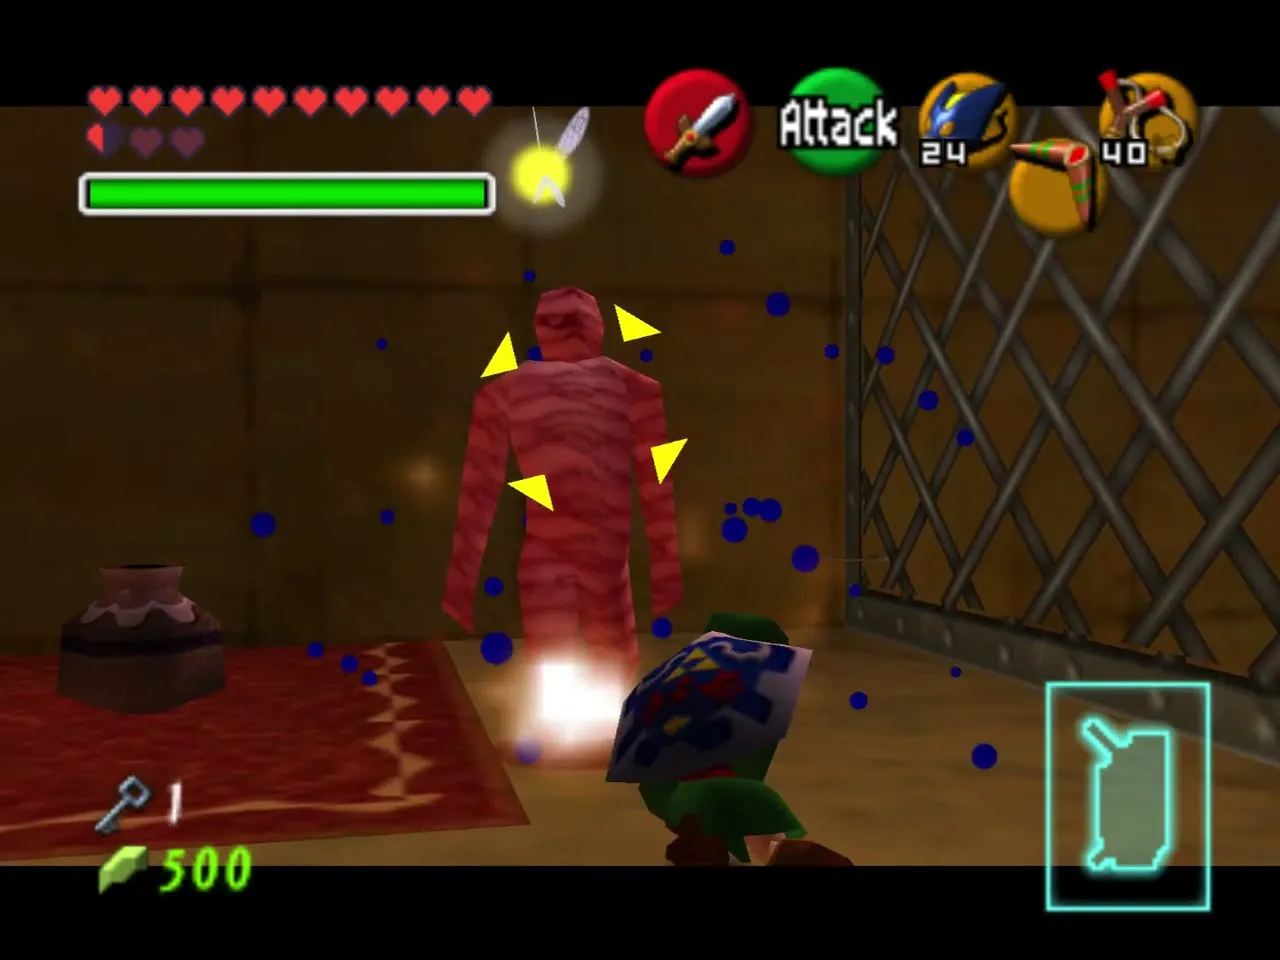
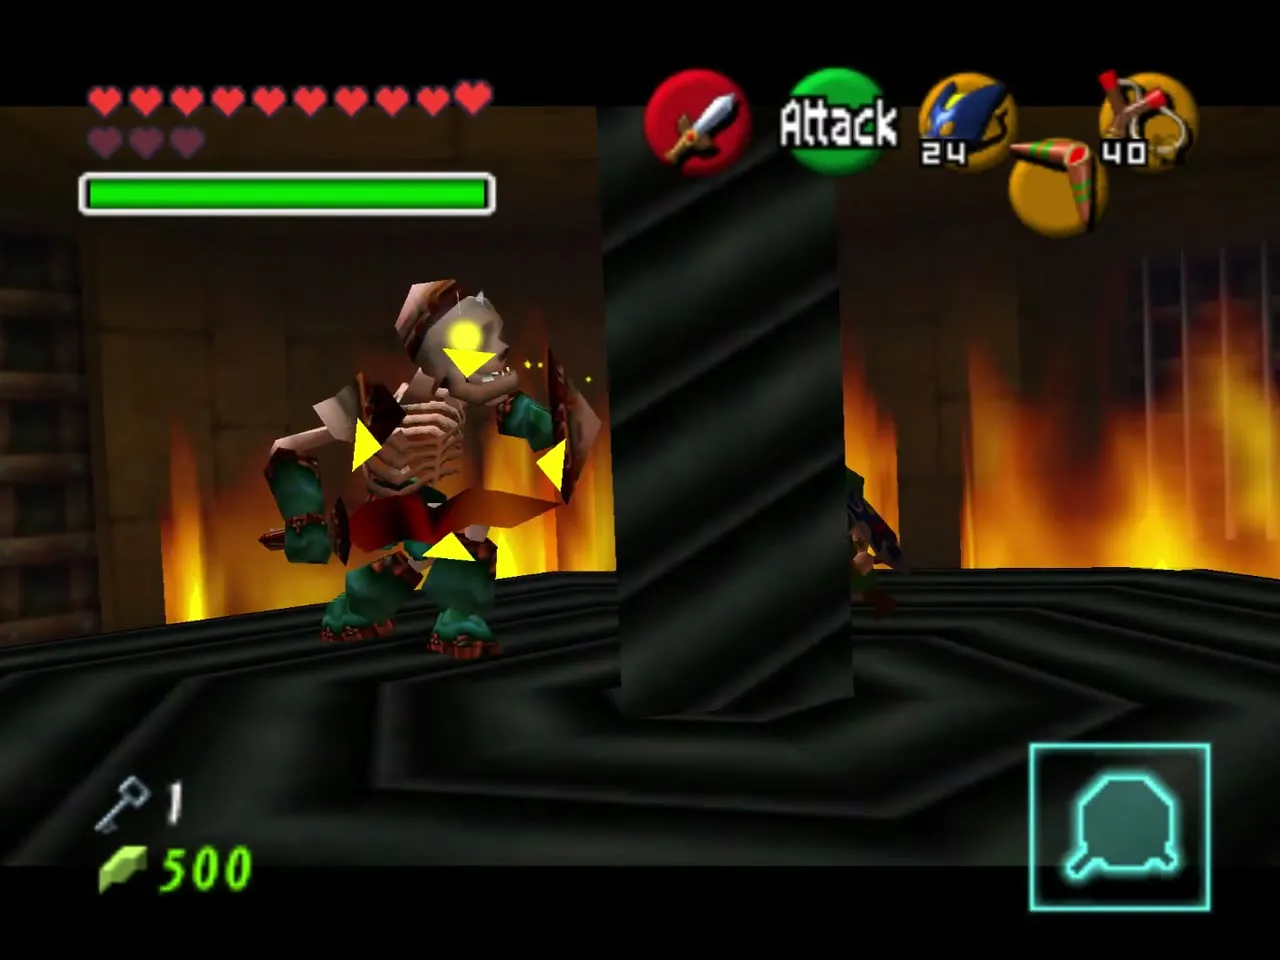
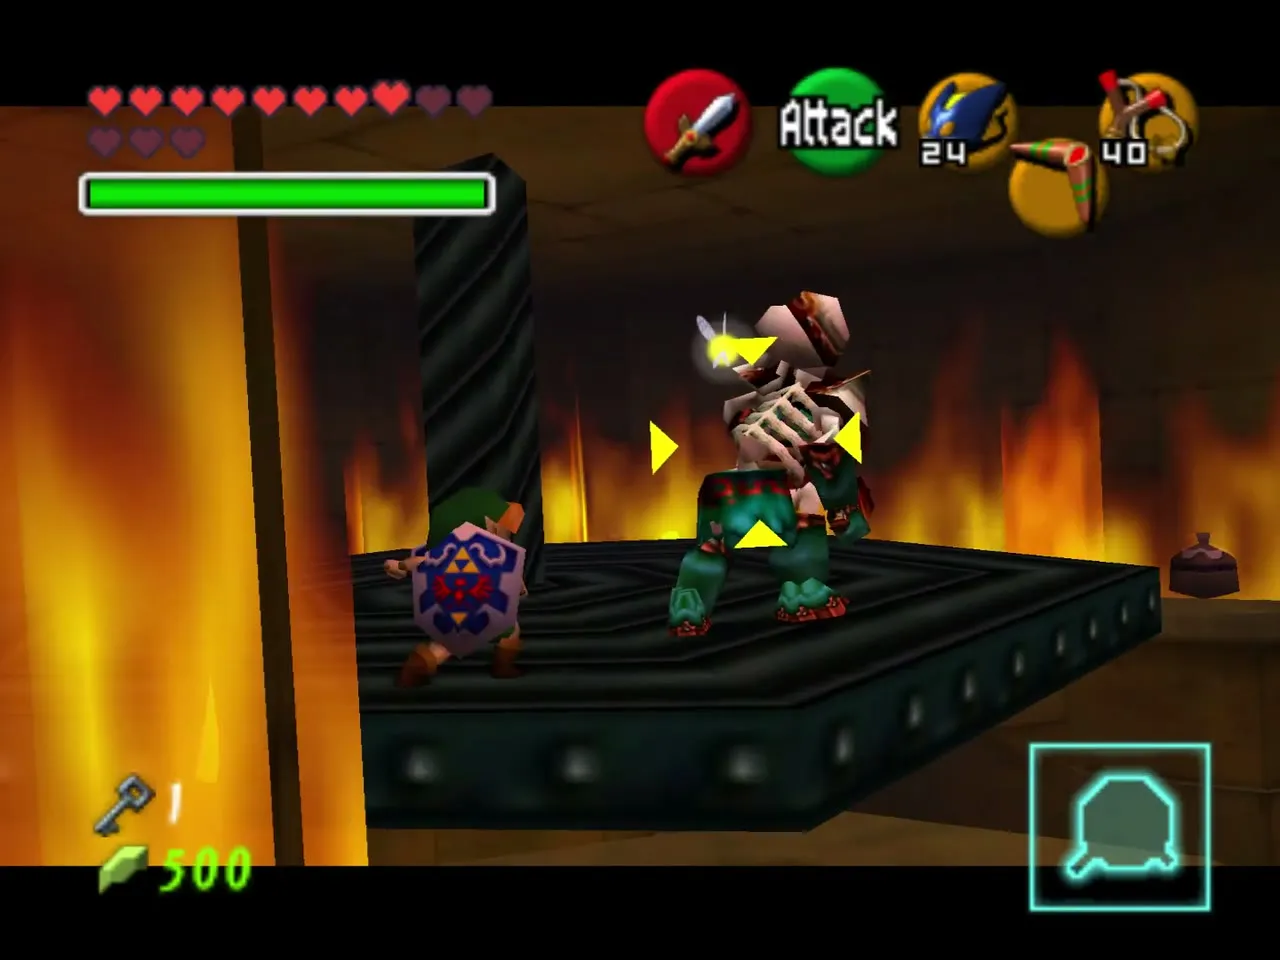
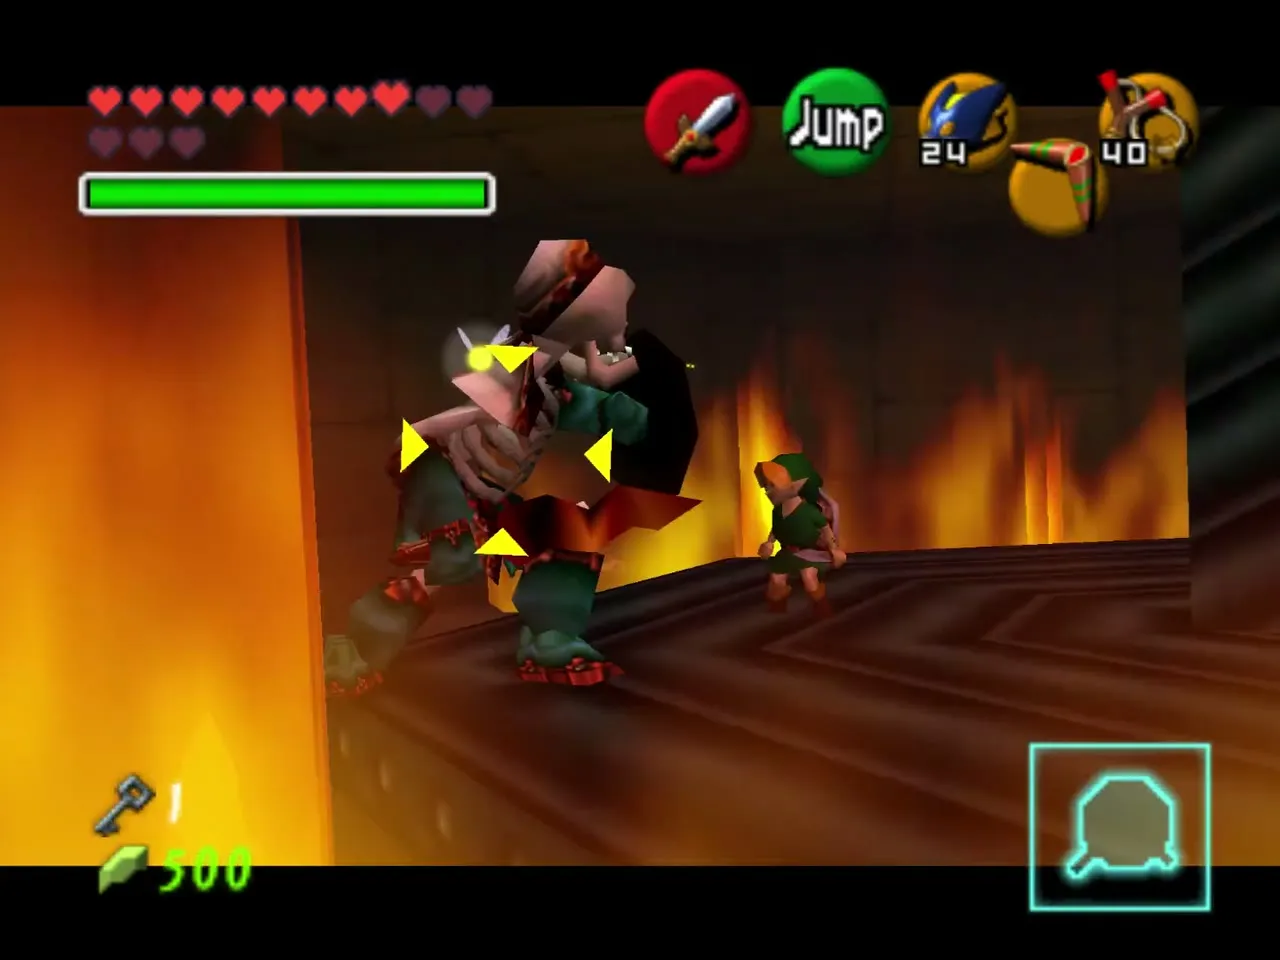
A spinning platform floats over a fire ring in the next room, and a Stalfos drops in. Fight it with jump attacks or knock it off the platform when it stands near the edge. A raised Hylian Shield makes a child almost immune to its leaping slashes. The doors unlock when it is down.
Gravestone switch and Small Key 2
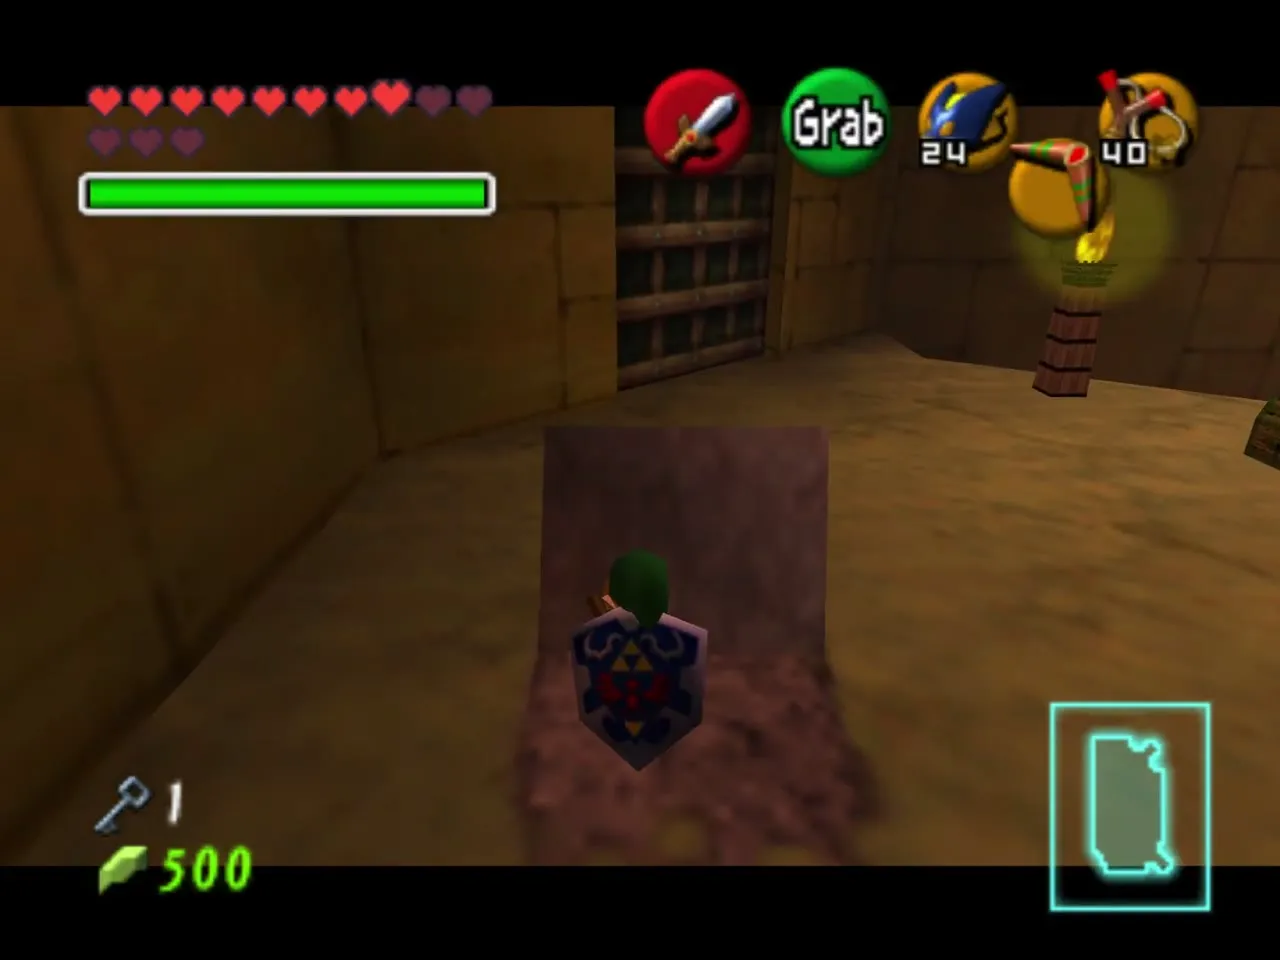
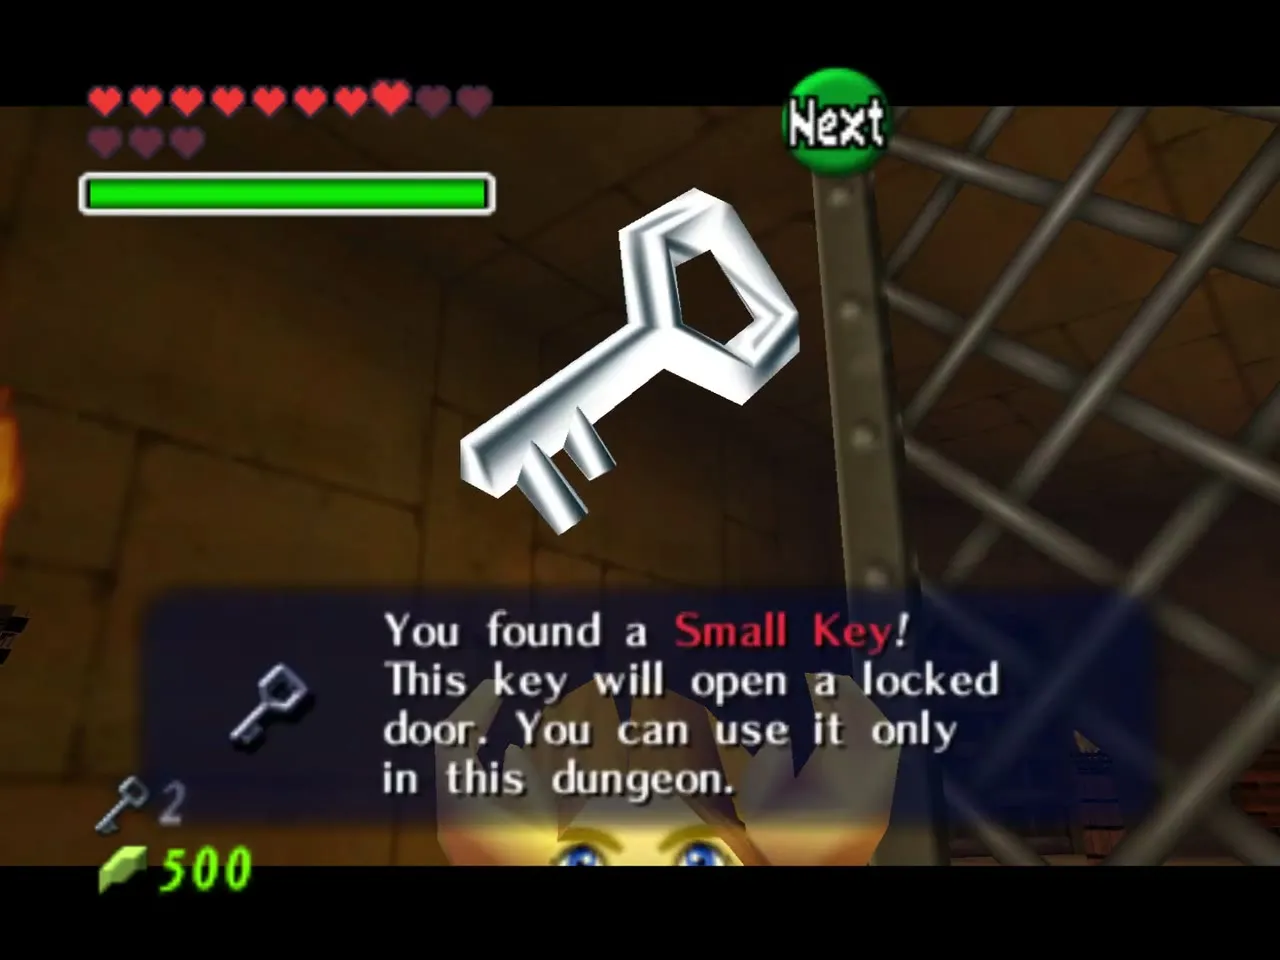
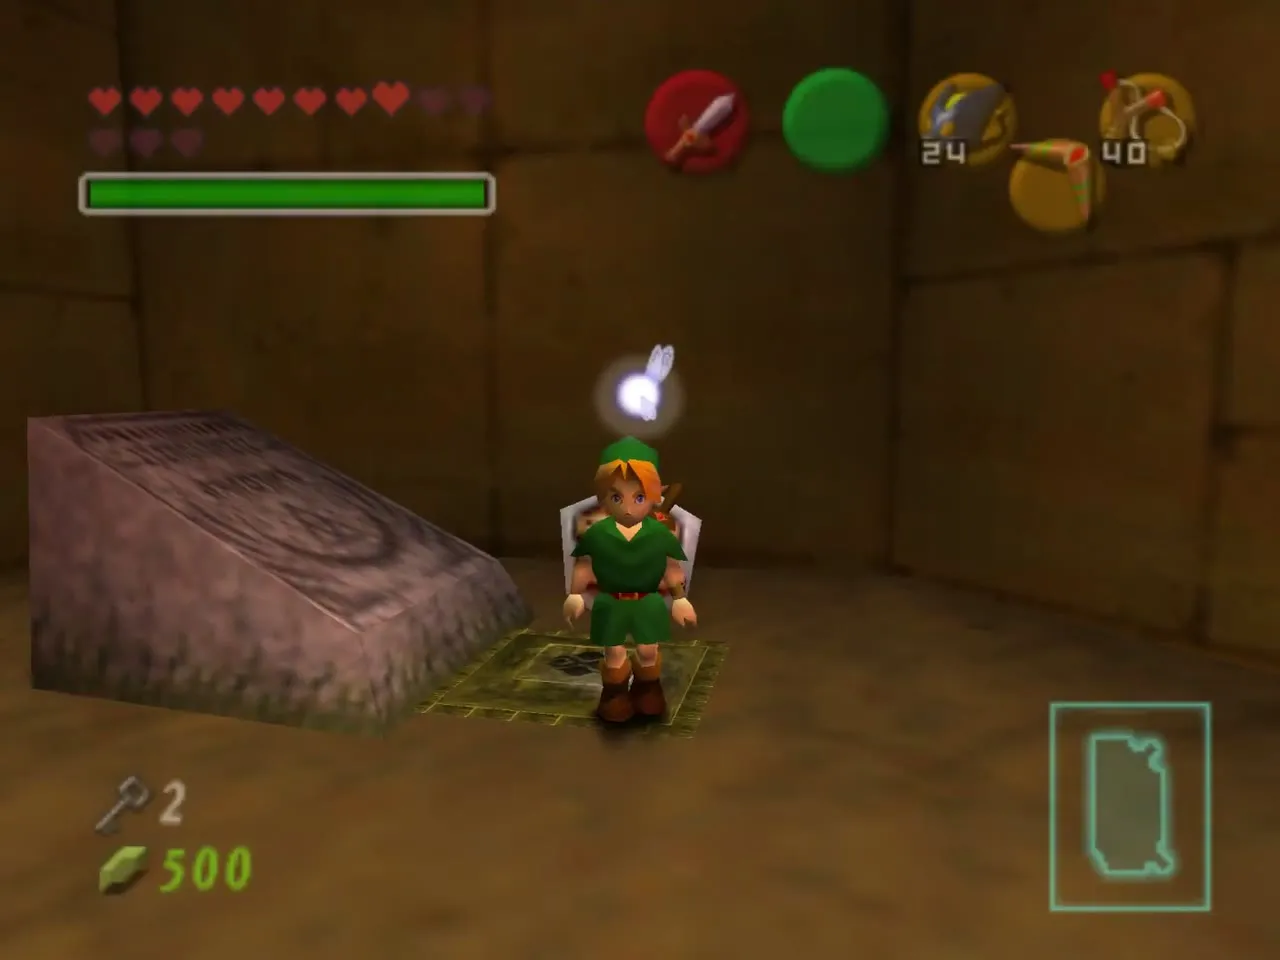
The next room has Keese and a raised bridge. Pull the gravestone beside the entrance to find a switch and lower the bridge, then open the small chest on the far side for your second Small Key. Go back to the Torch Slug room.
Second crawl hole, Like Like and the sun pattern
A second crawl hole in the north of the torch room is blocked by a rock, so blow it up with a Bombchu, crawl through and use the key on the locked door beyond. Hit the crystal switch in the next room to open the gate above and a Like Like drops on you. Keep the crystal between you and it, and if it swallows your shield, kill it quickly to get it back.
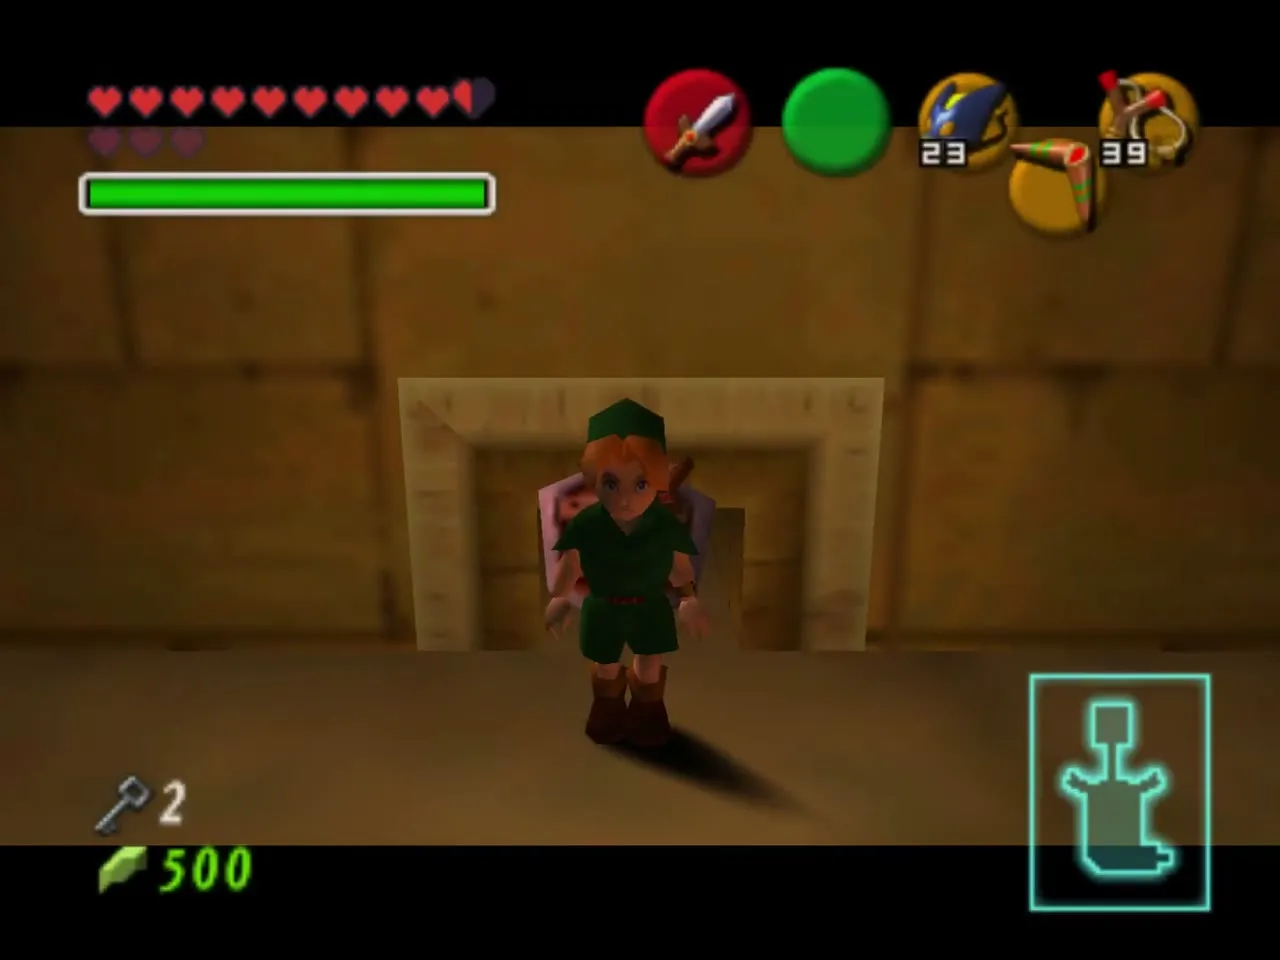
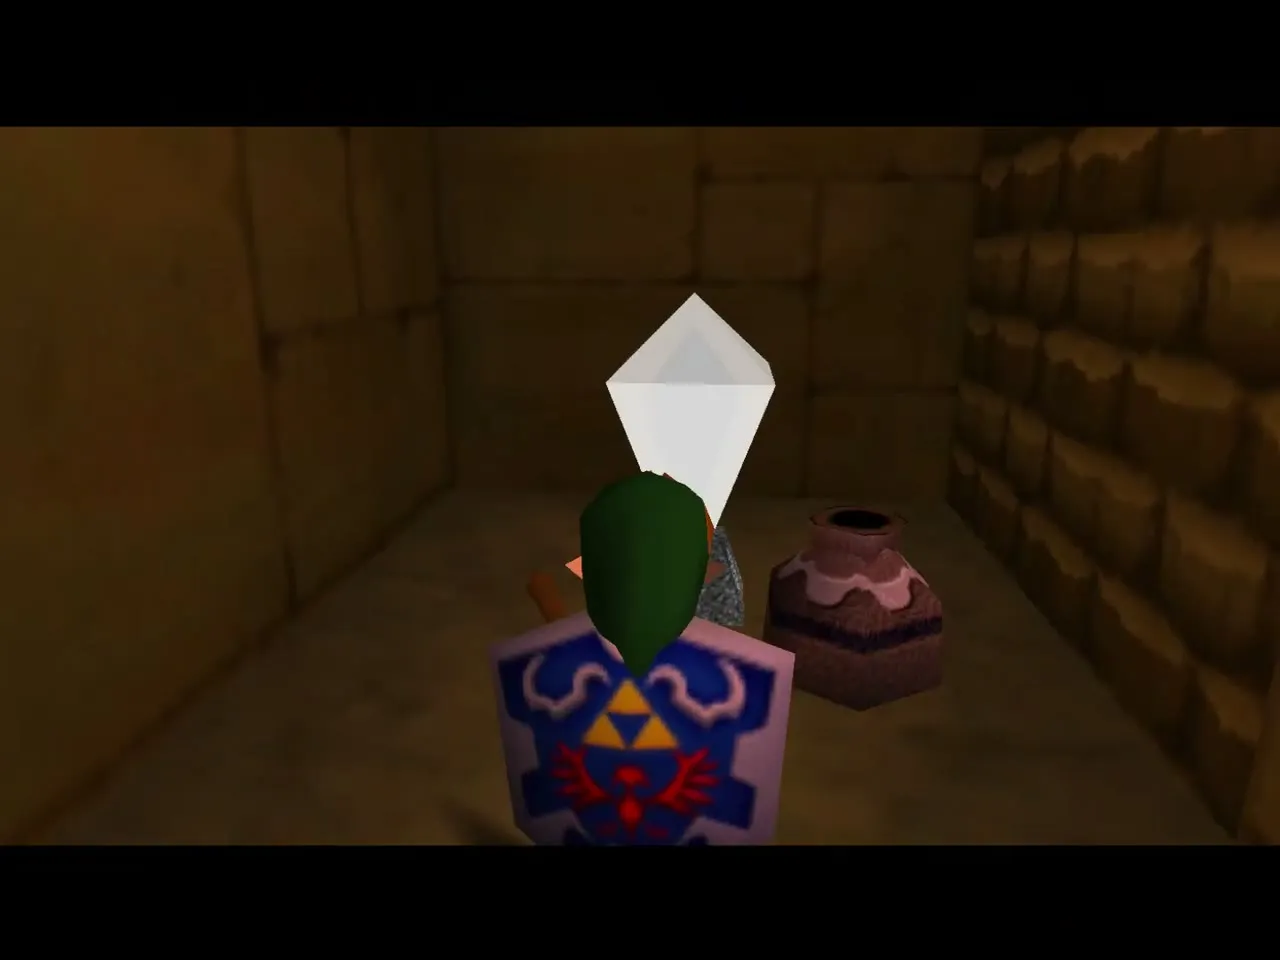
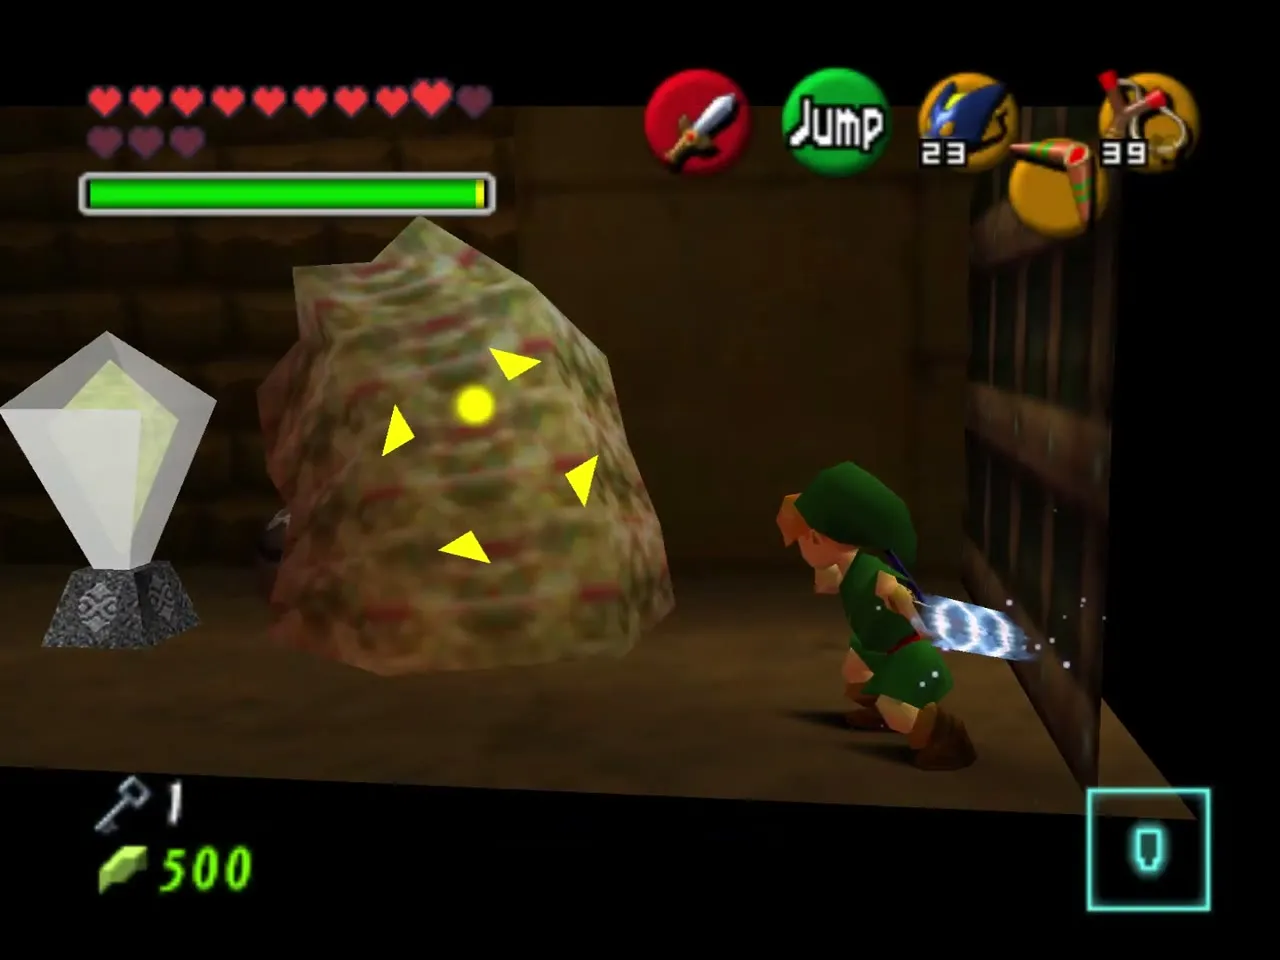
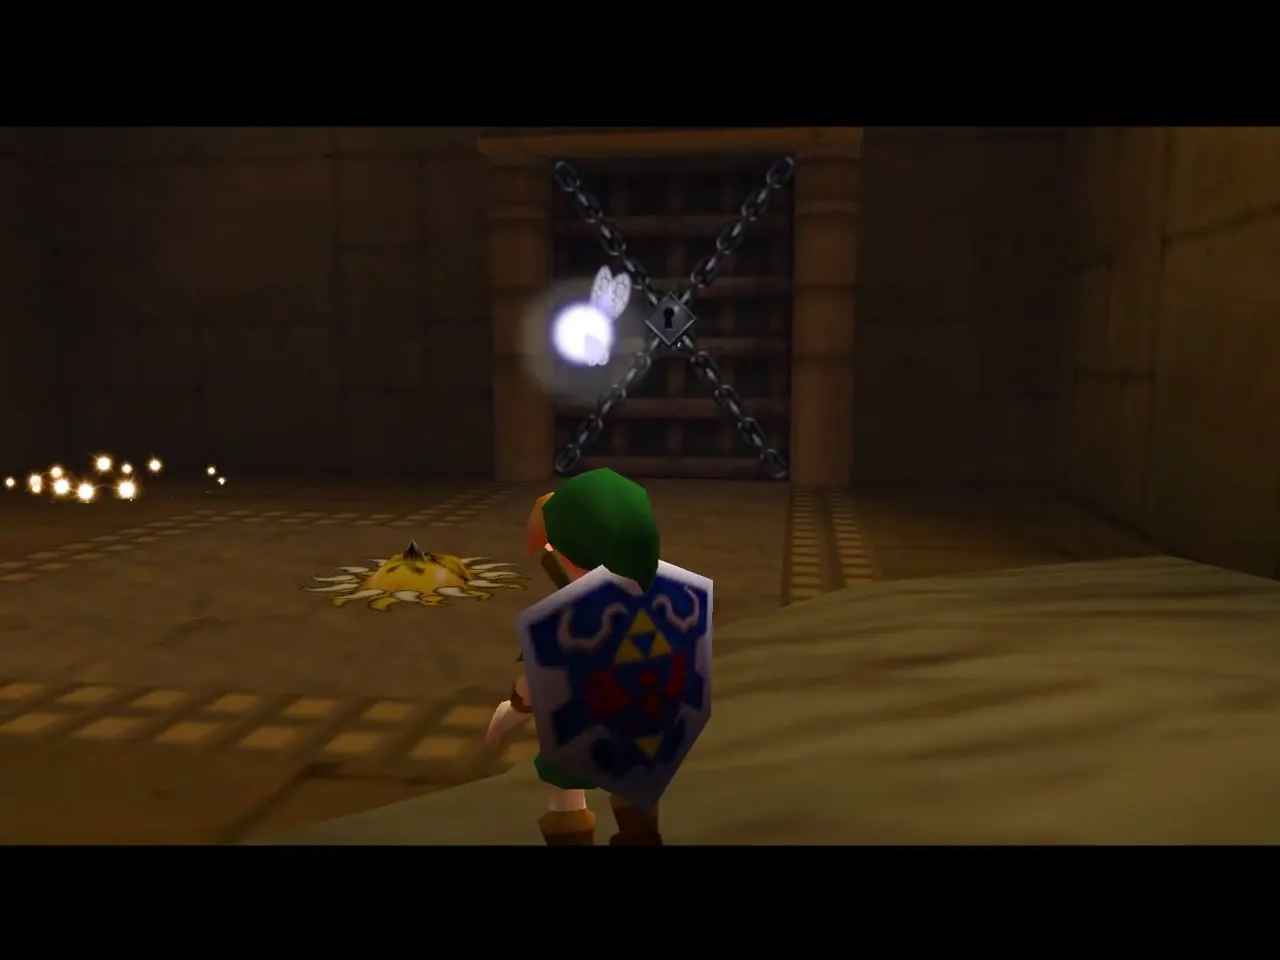
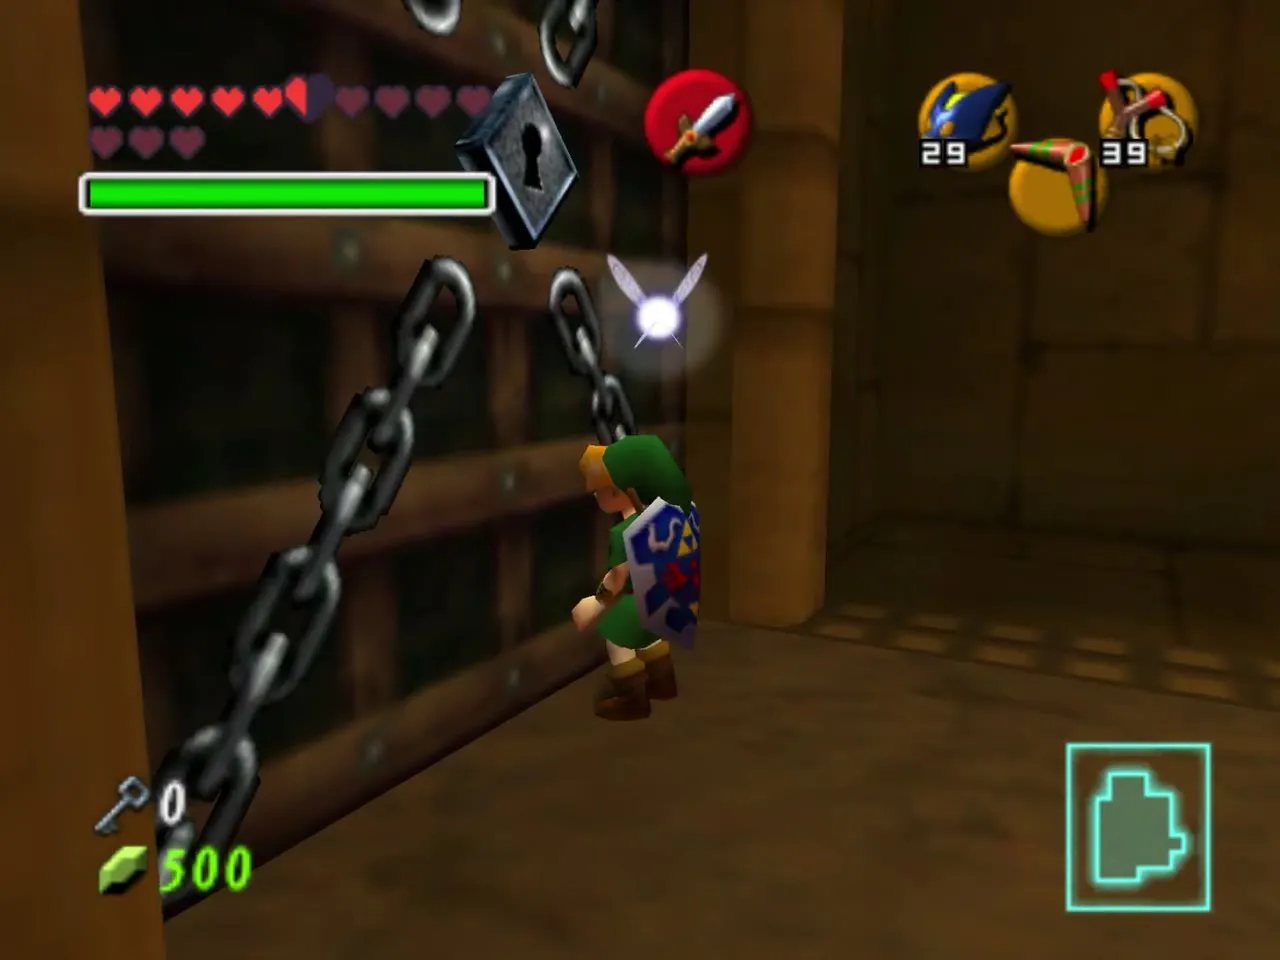
Climb up to a room with a Lizalfos, Baby Dodongos and a Beamos. Bomb the Beamos for a chest of Bombchus, and notice a boulder on the wall that hides a chest on a ledge you cannot reach as a child. Light leaks through a cracked wall onto a sun mark on the floor. Use the second key on the locked door.
Compass, frozen eye and Small Key 3
Drop into the statue room and shoot the eye on the statue’s right leg with the Slingshot. A chest rises in the middle of the room for the Compass. Watch out for Floormasters and Wallmasters.
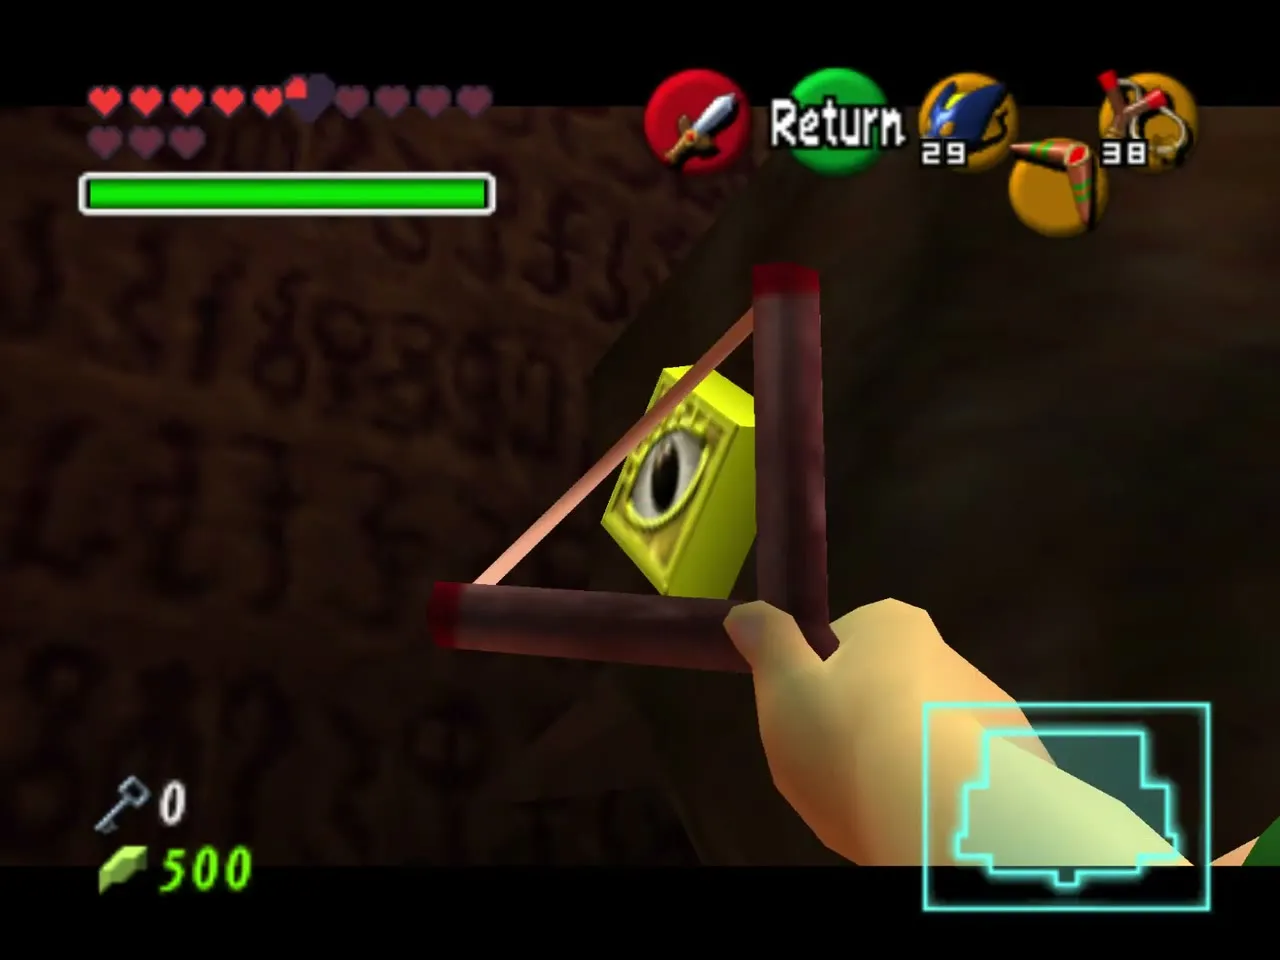
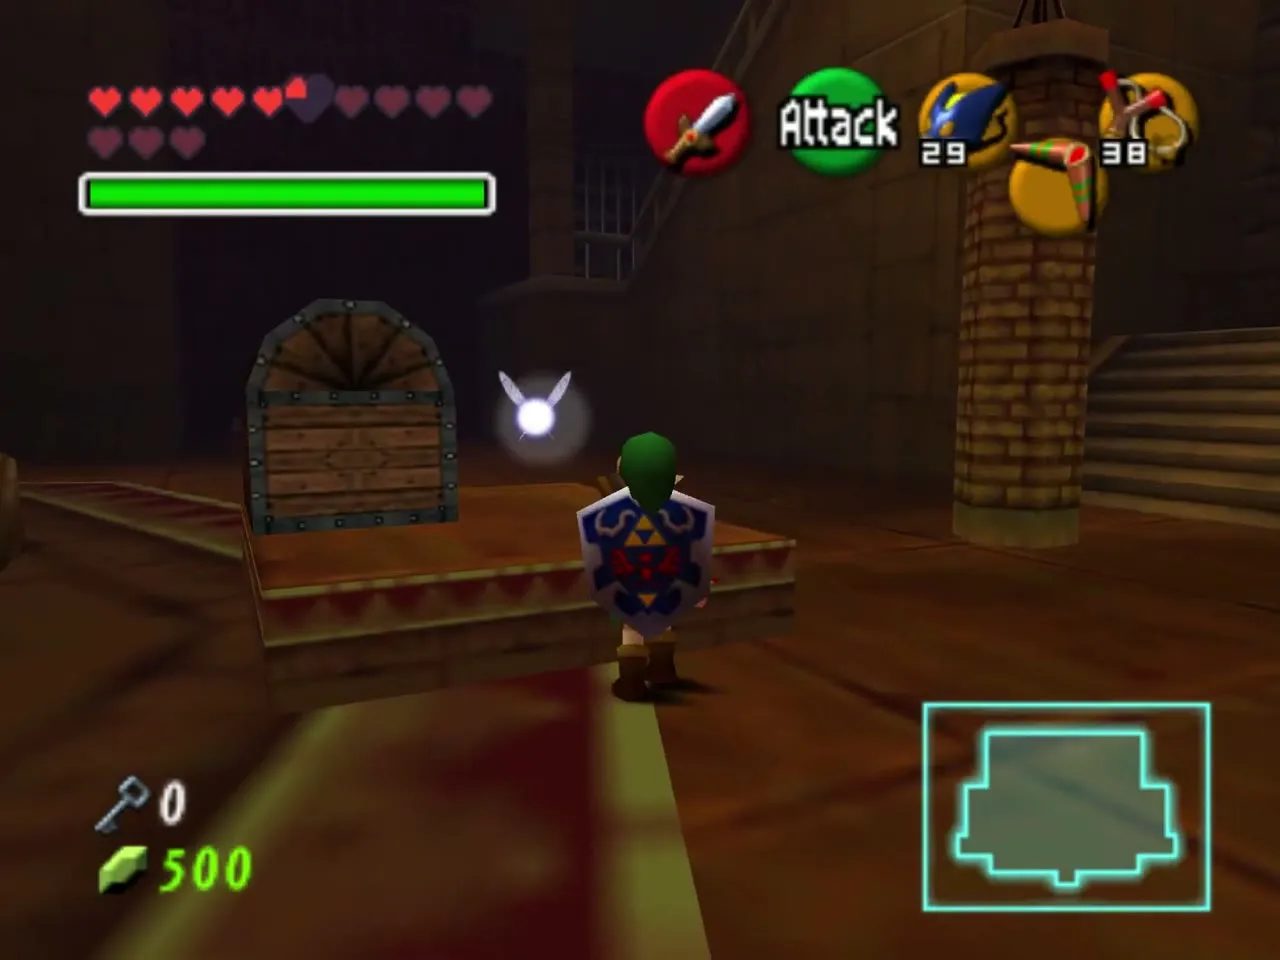
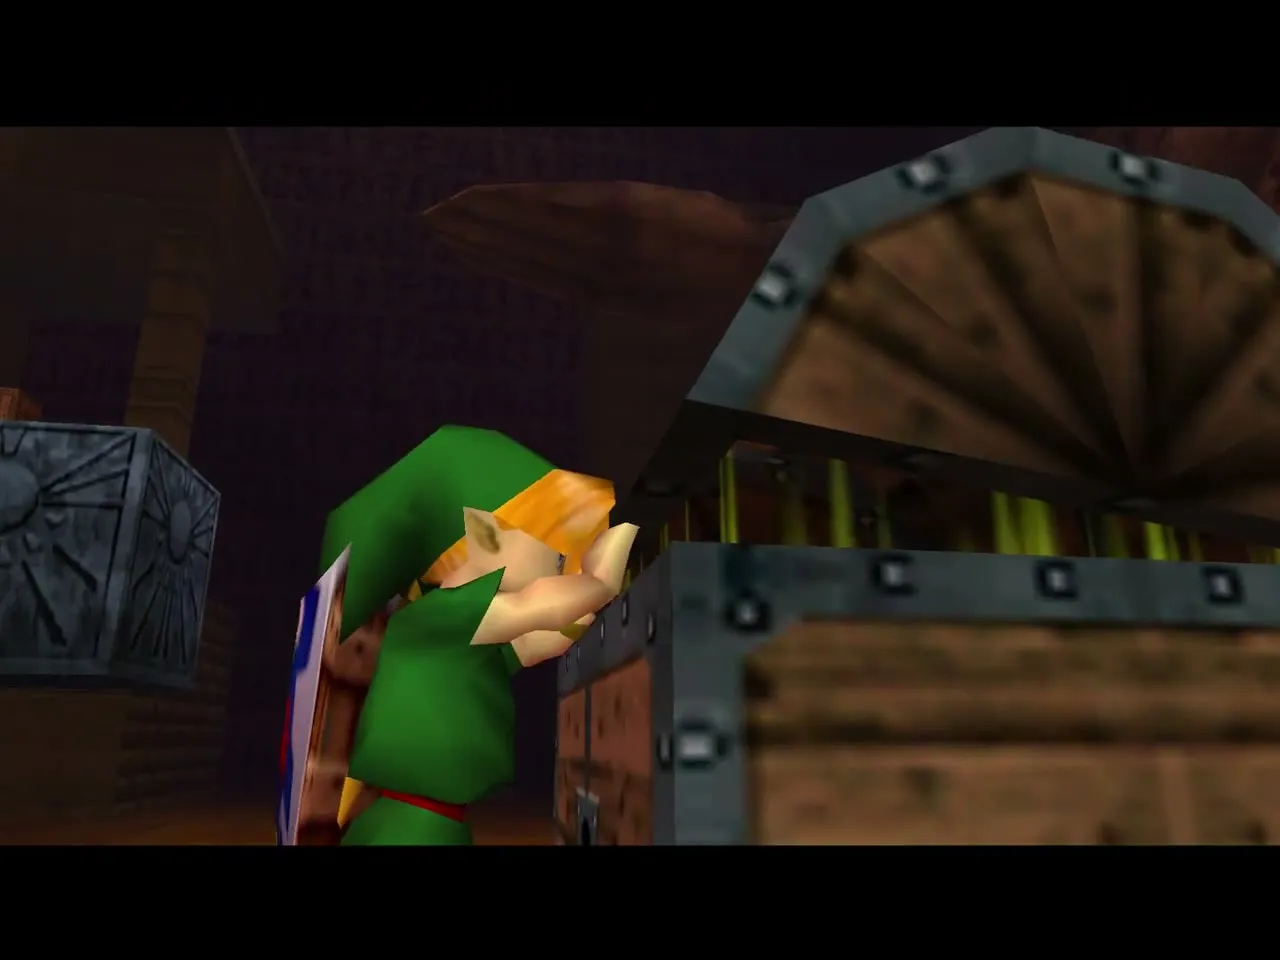
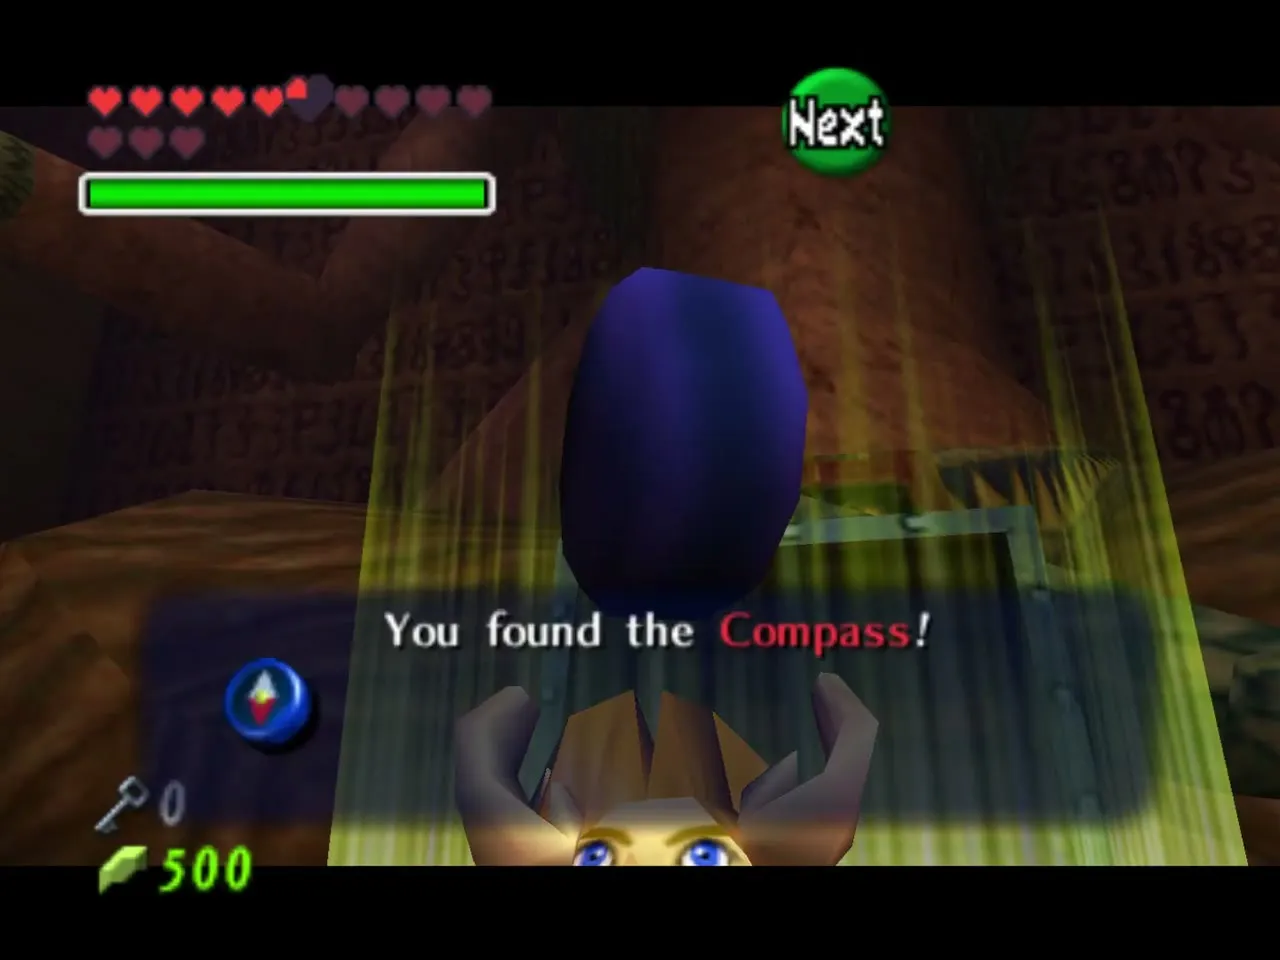
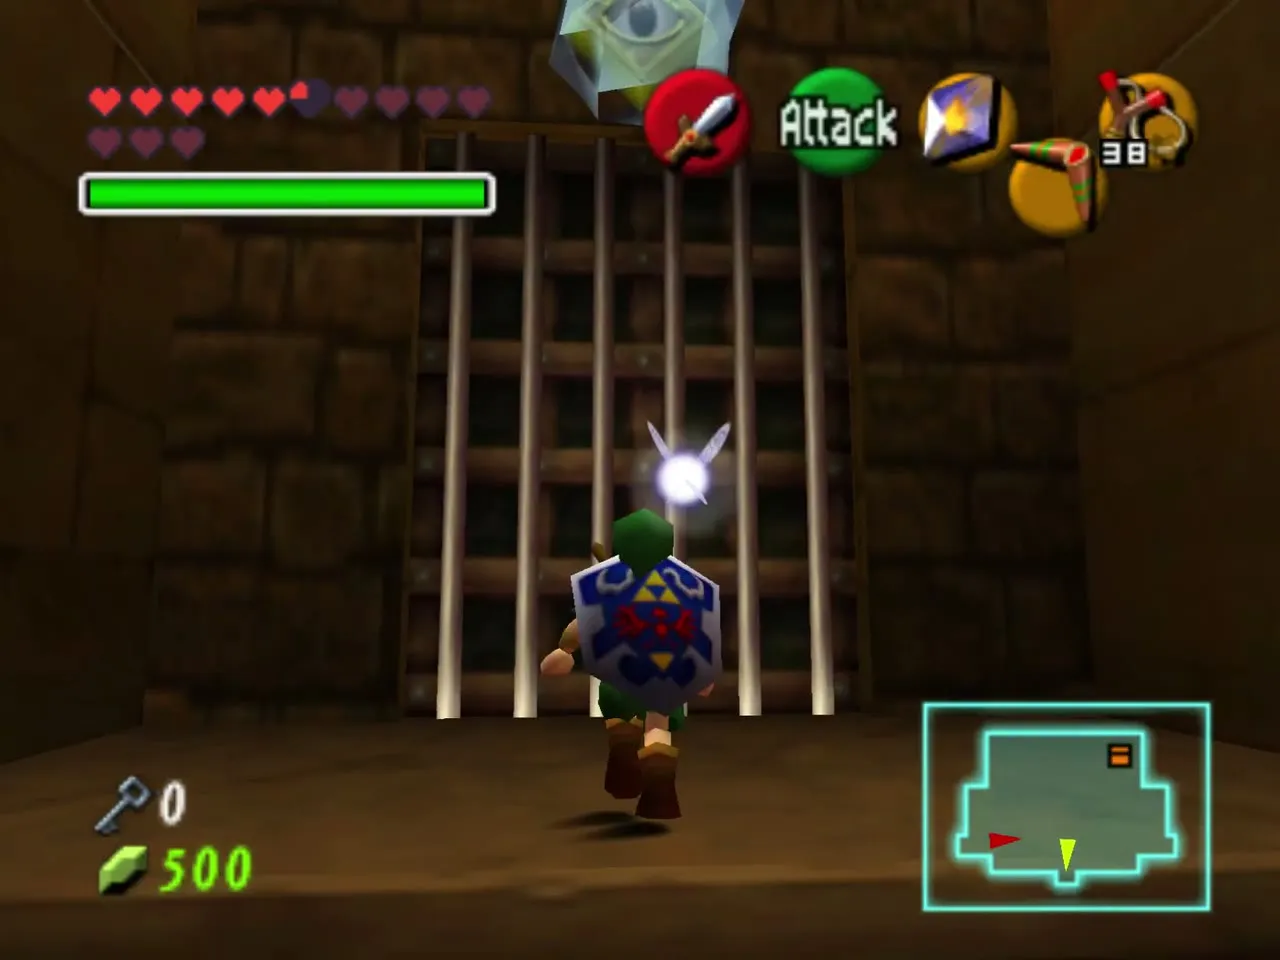
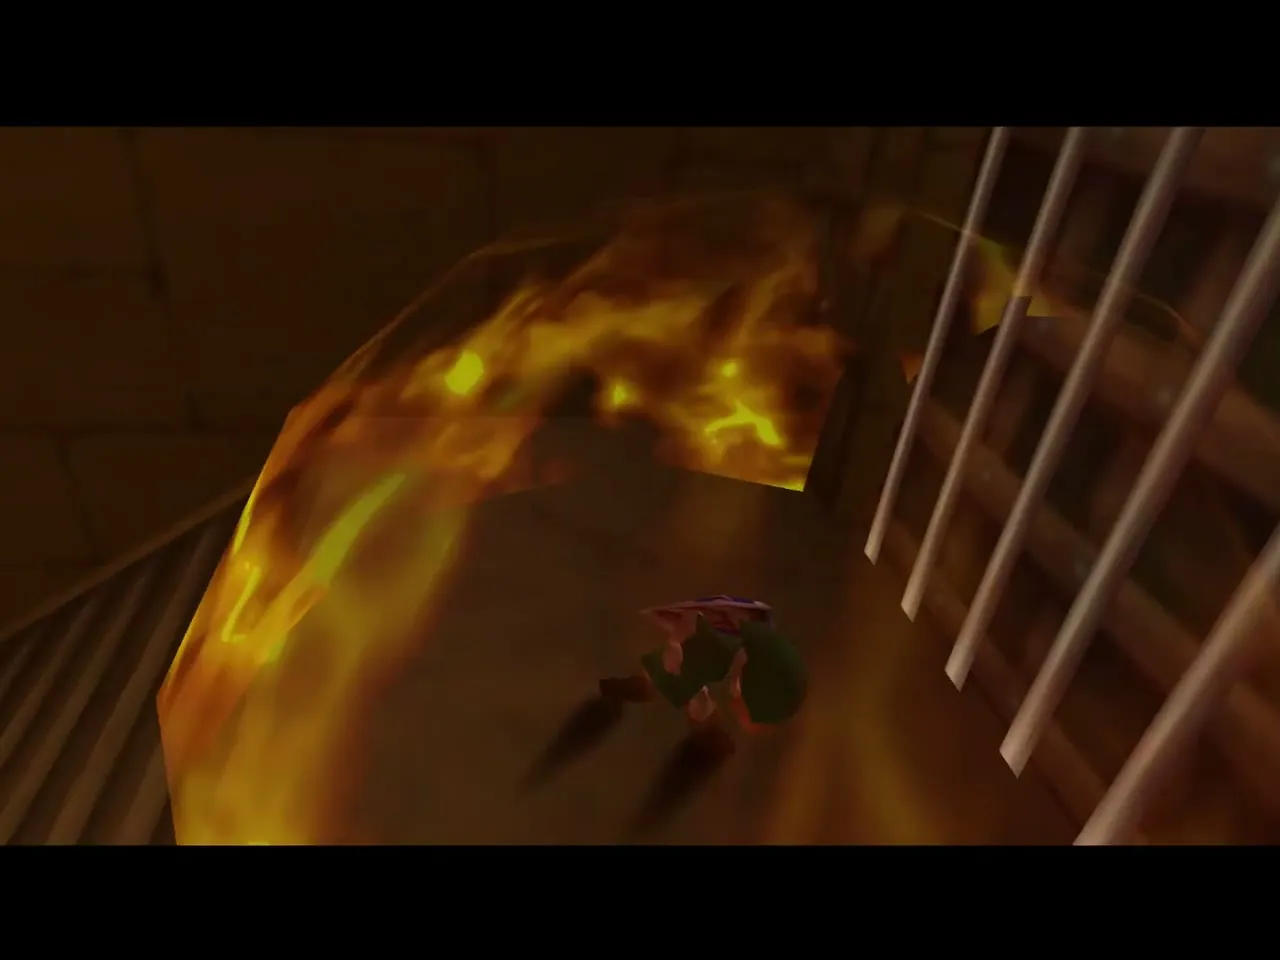
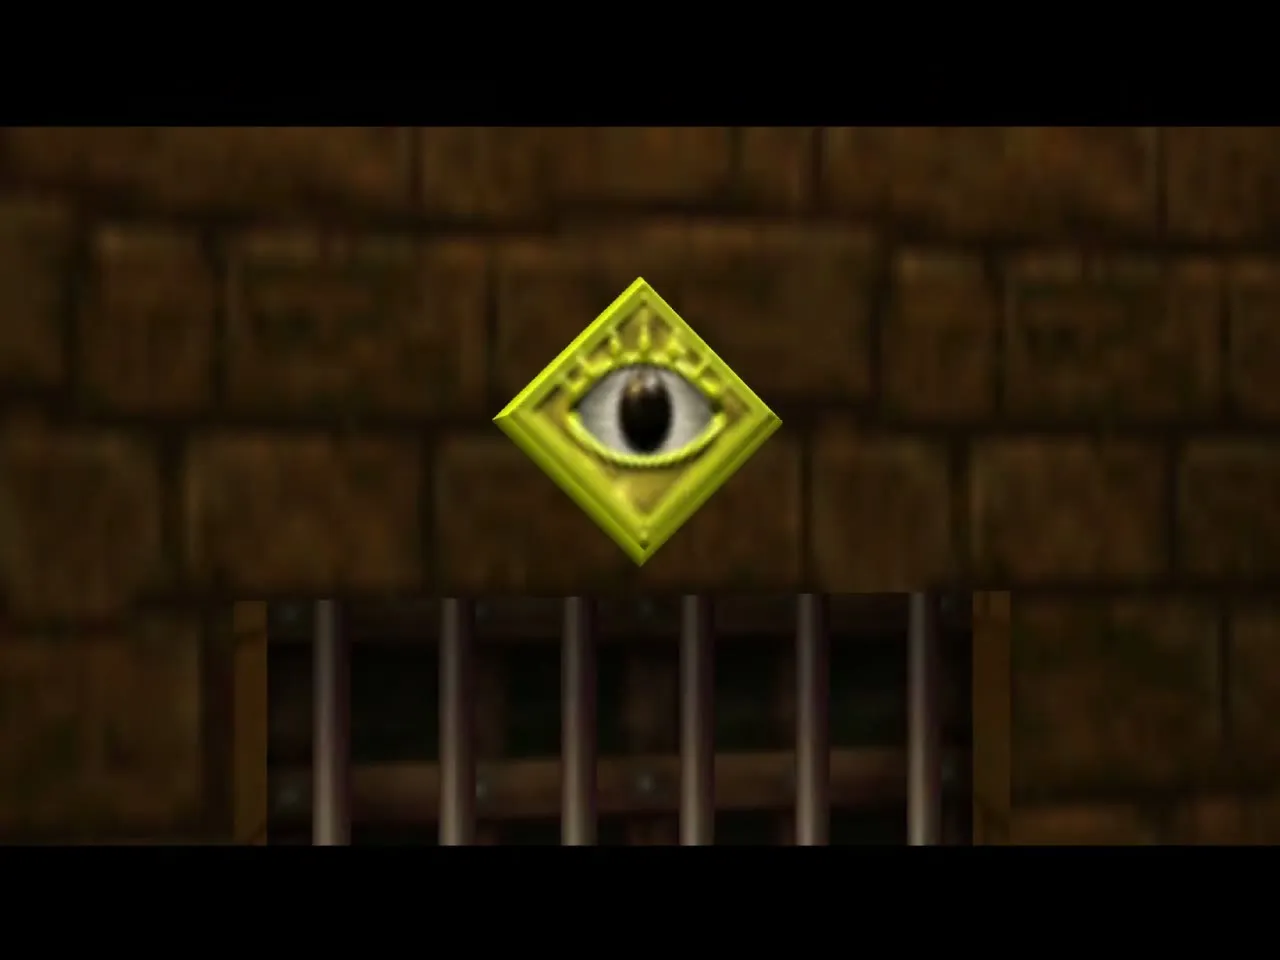
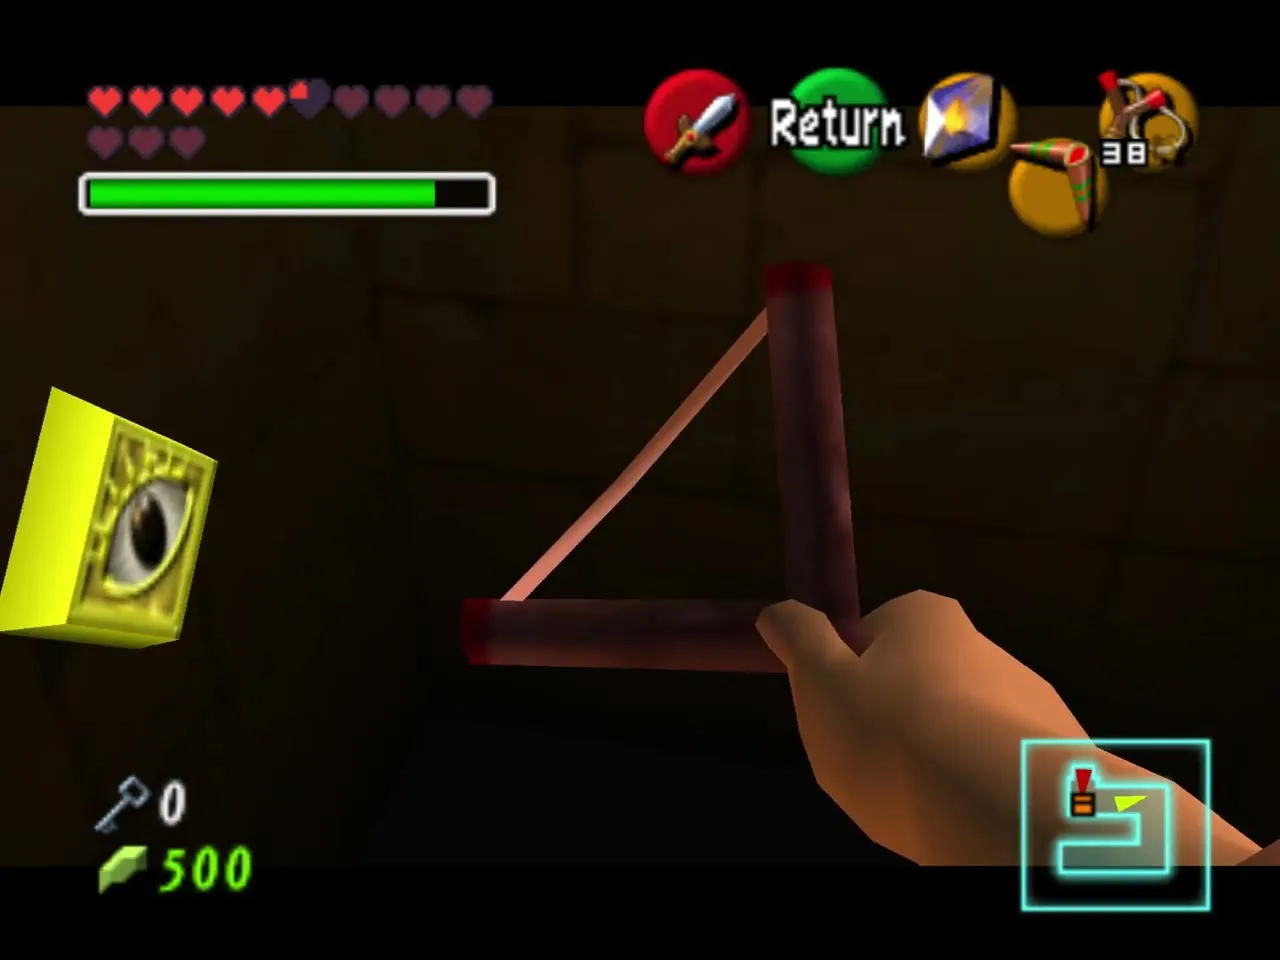
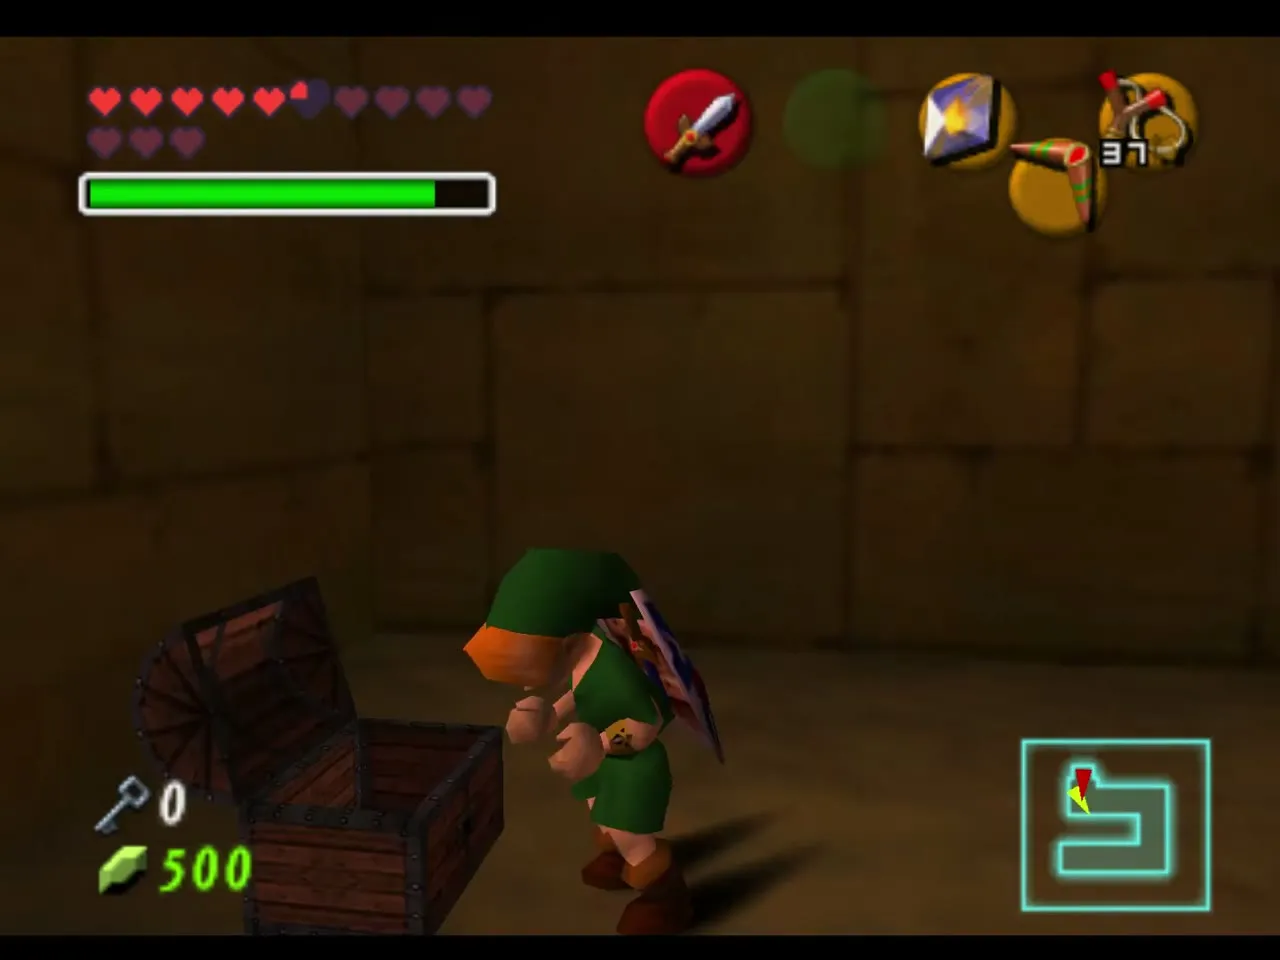
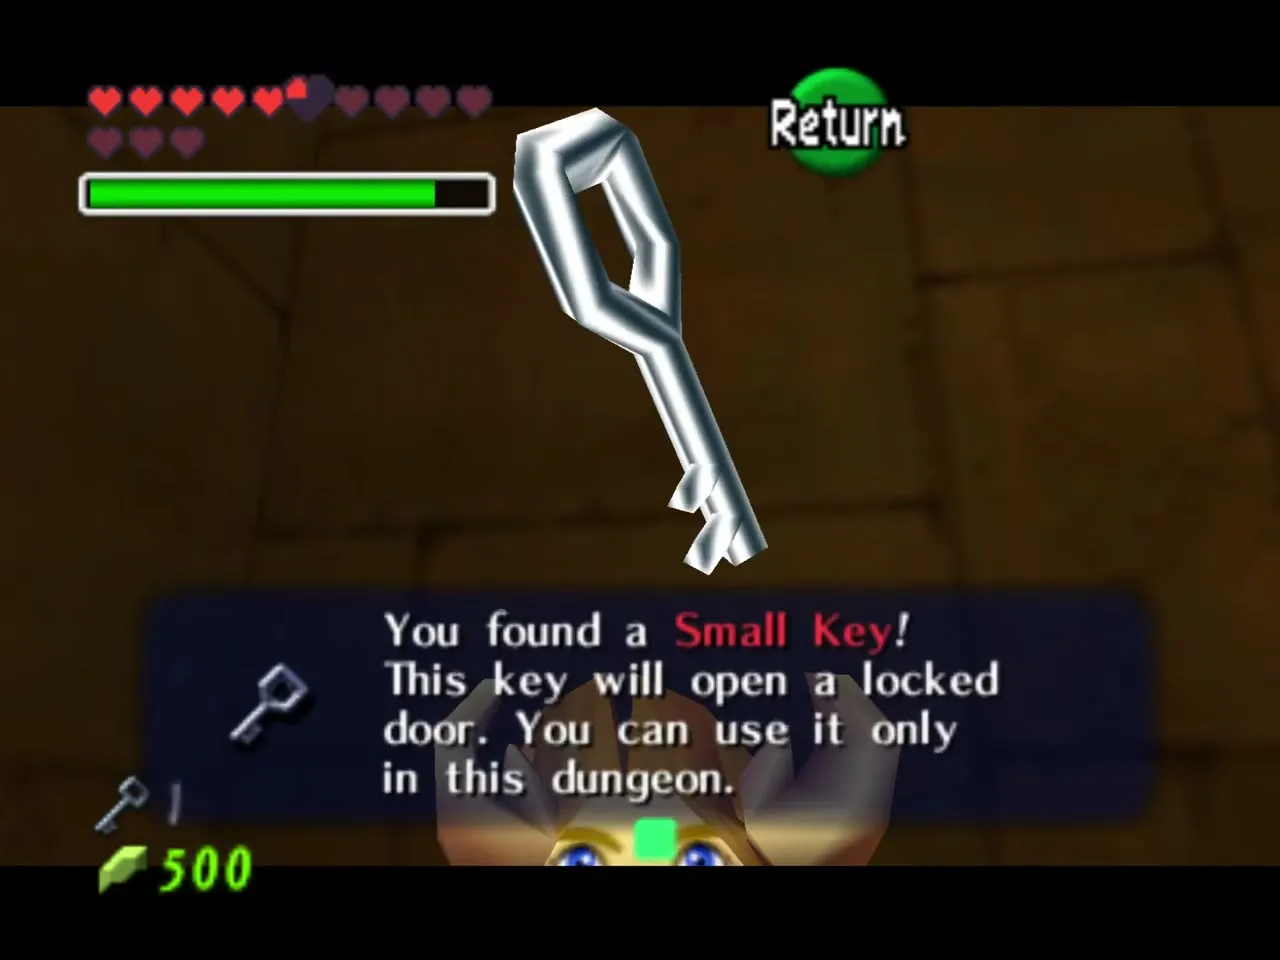
A frozen eye switch sits above one door. Melt the ice with Din’s Fire, then shoot the eye to open it. Follow the corridor to a pit, look down at the wall and shoot another eye switch to drop a small chest with Small Key 3.
Time block, crate and the statue hand
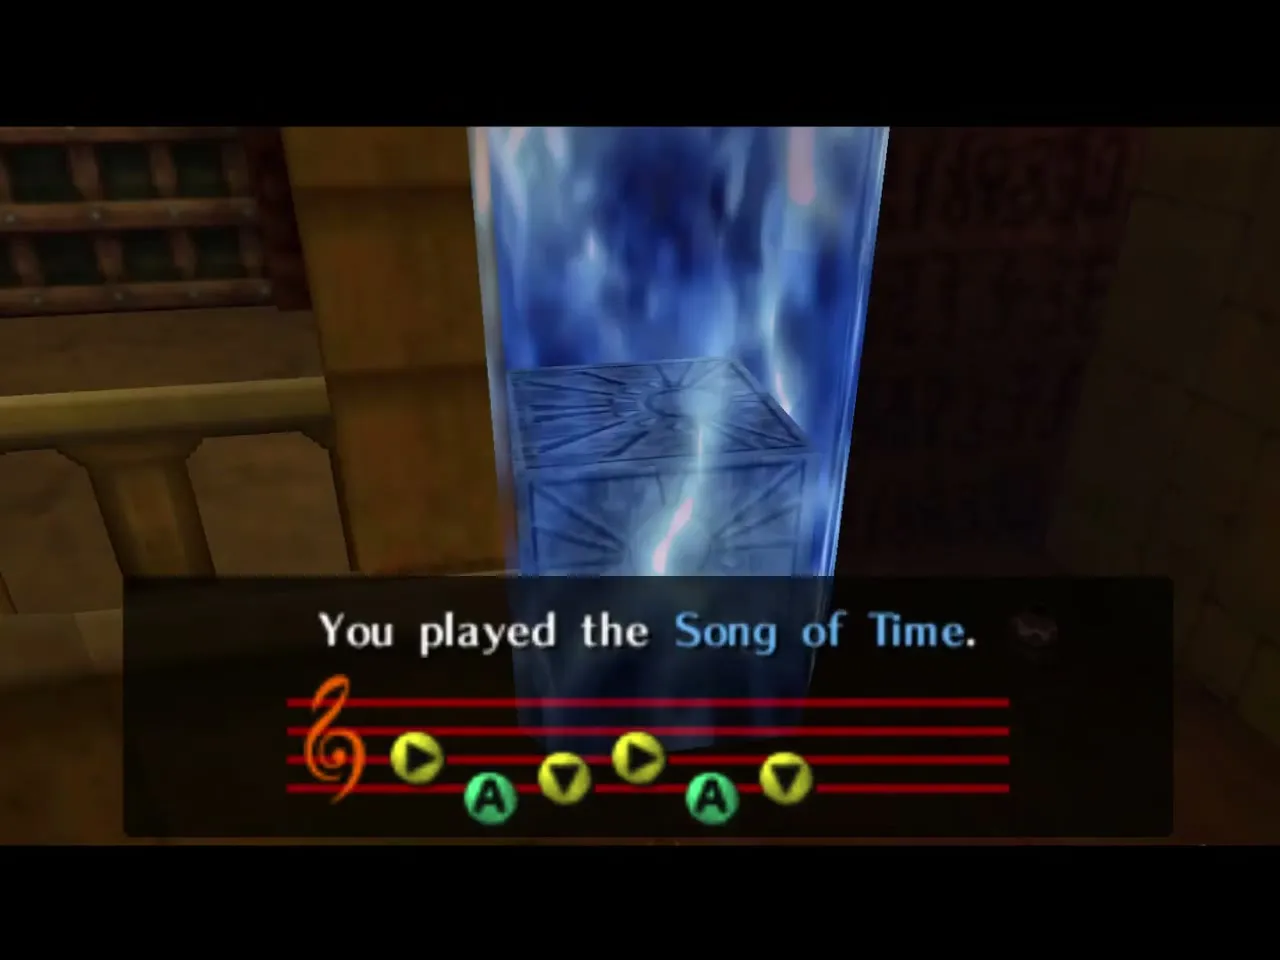
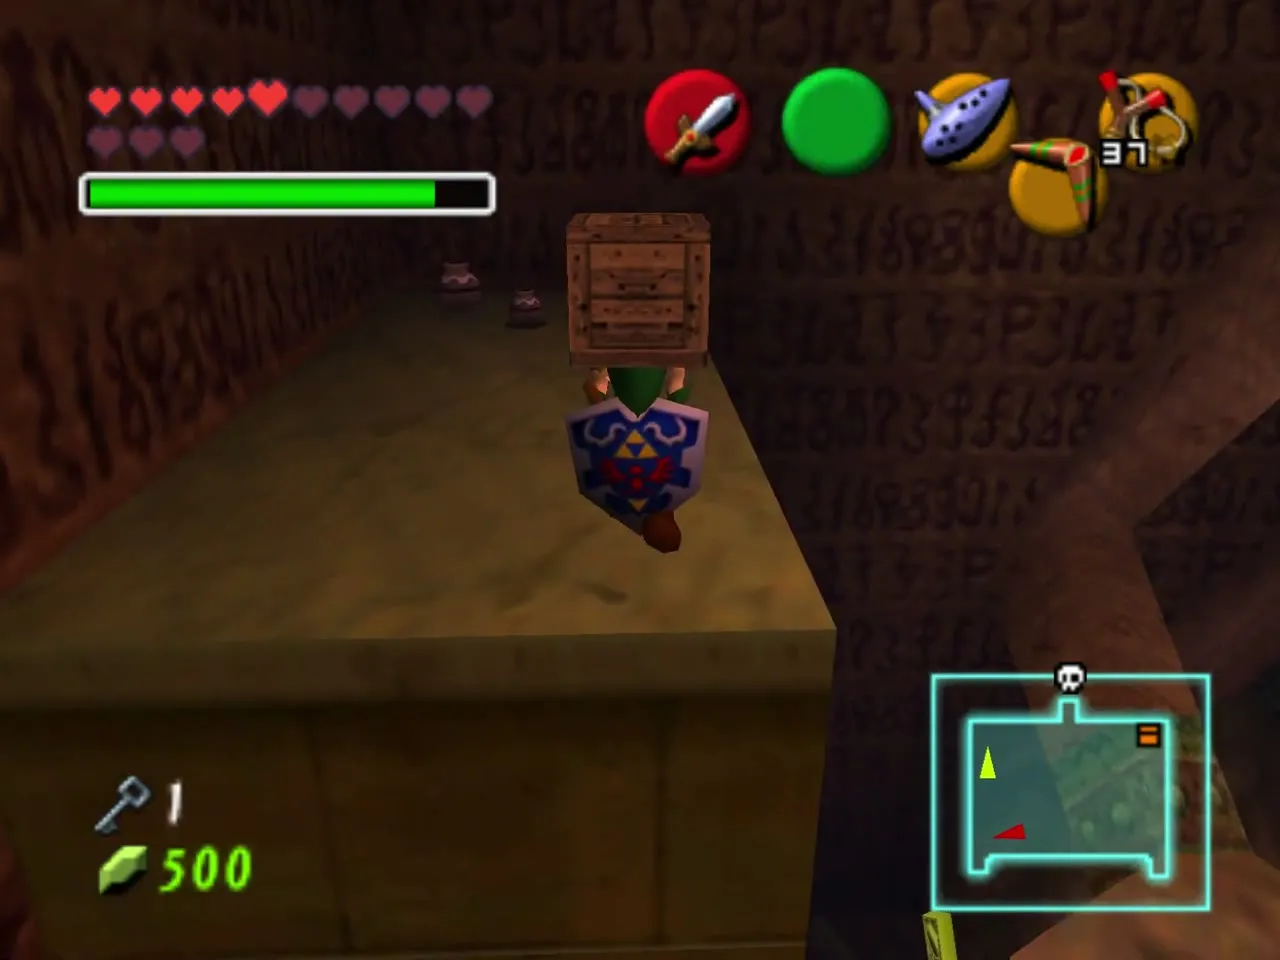
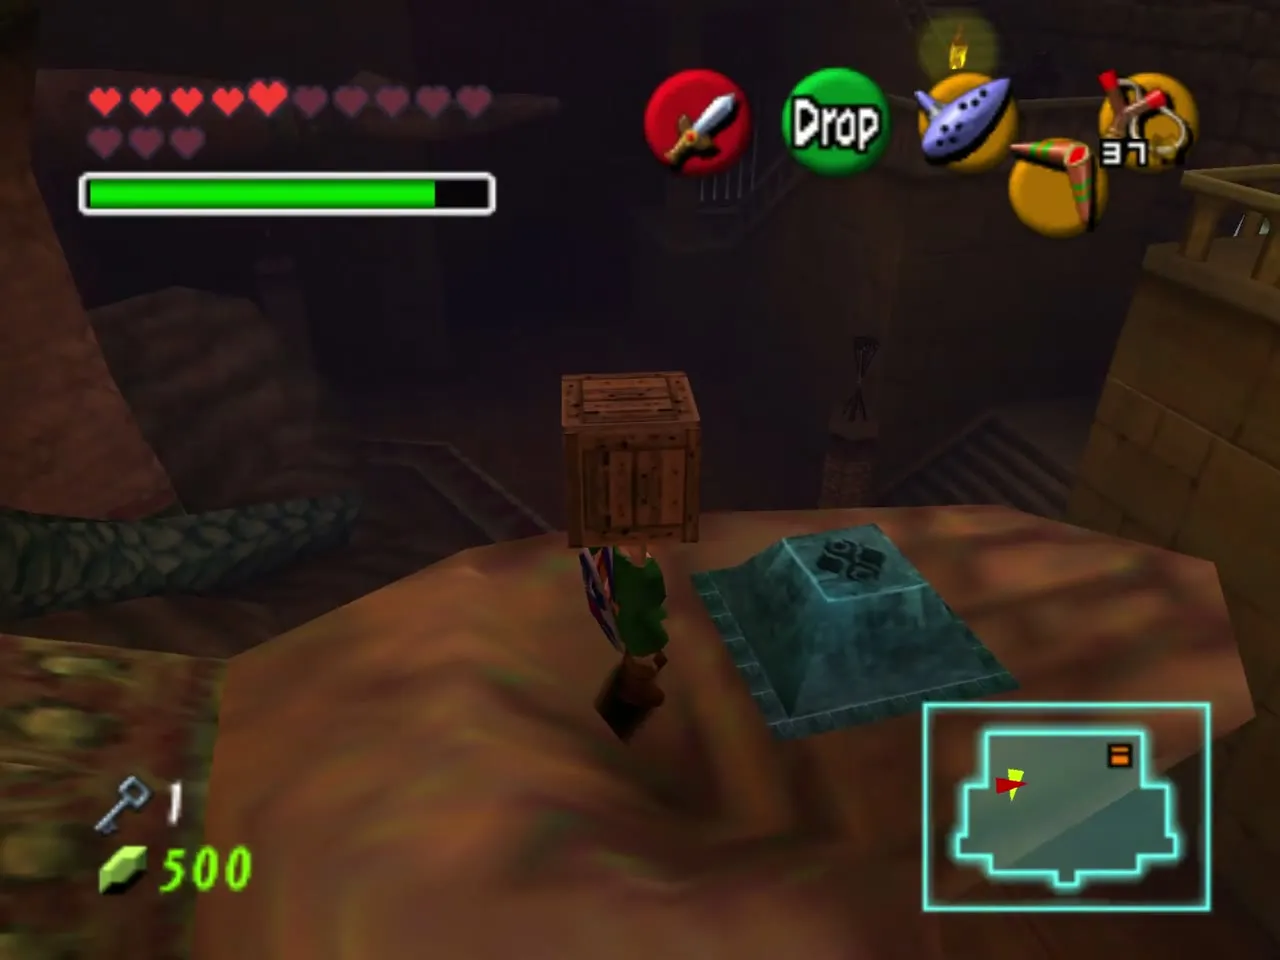
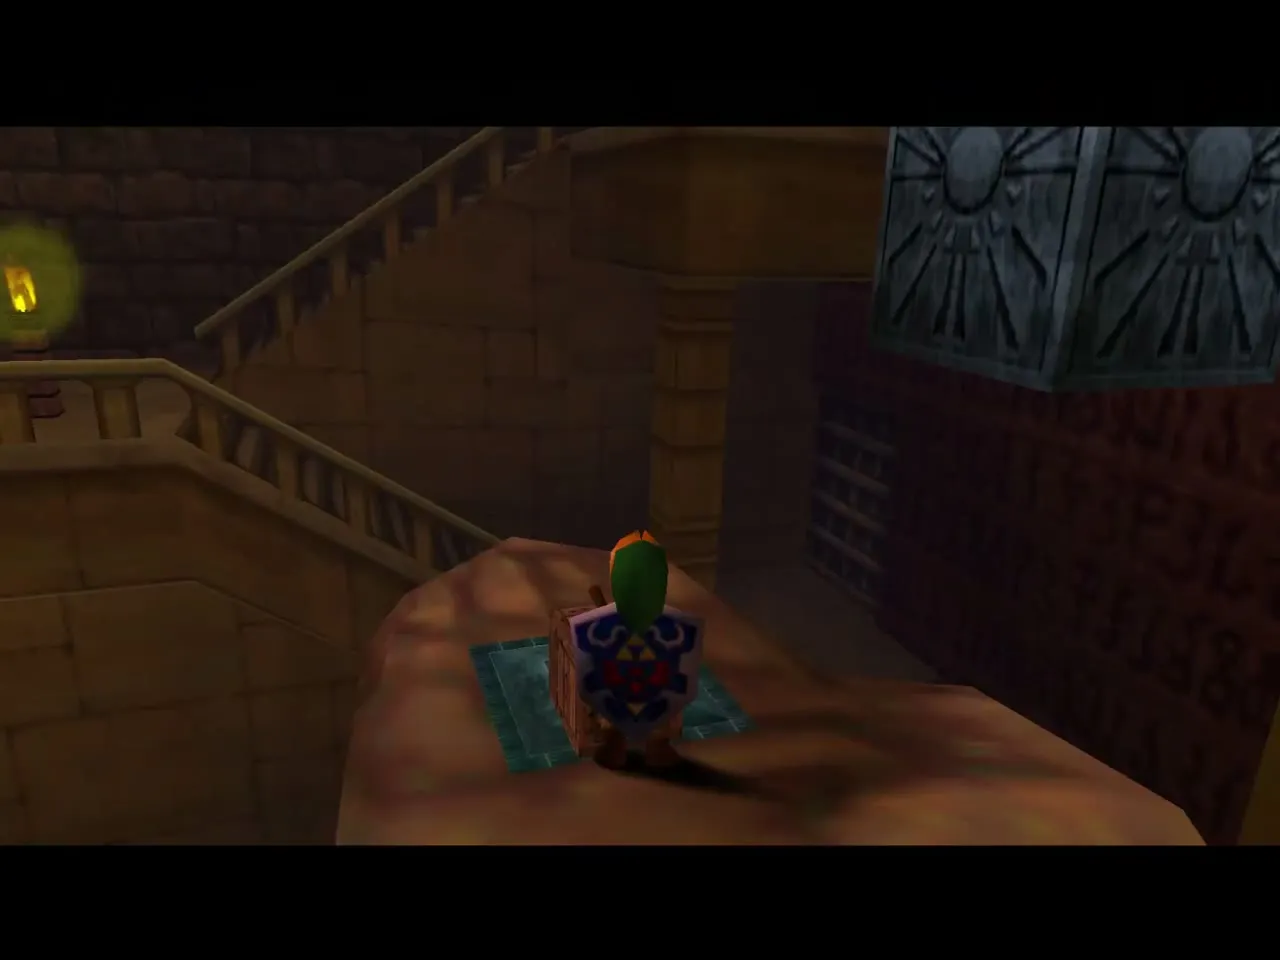
Climb back to the ledge by the first door and jump to the Time block beside the stairs, where a crate sits. Carry it up the stairs, set it down and play the Song of Time to place a block, then carry the crate across and drop onto the statue’s hand. Put the crate on the floor switch there to open the door at the top. If the crate is lost, leave the room and come back to reset it.
Sun block room and the locked door
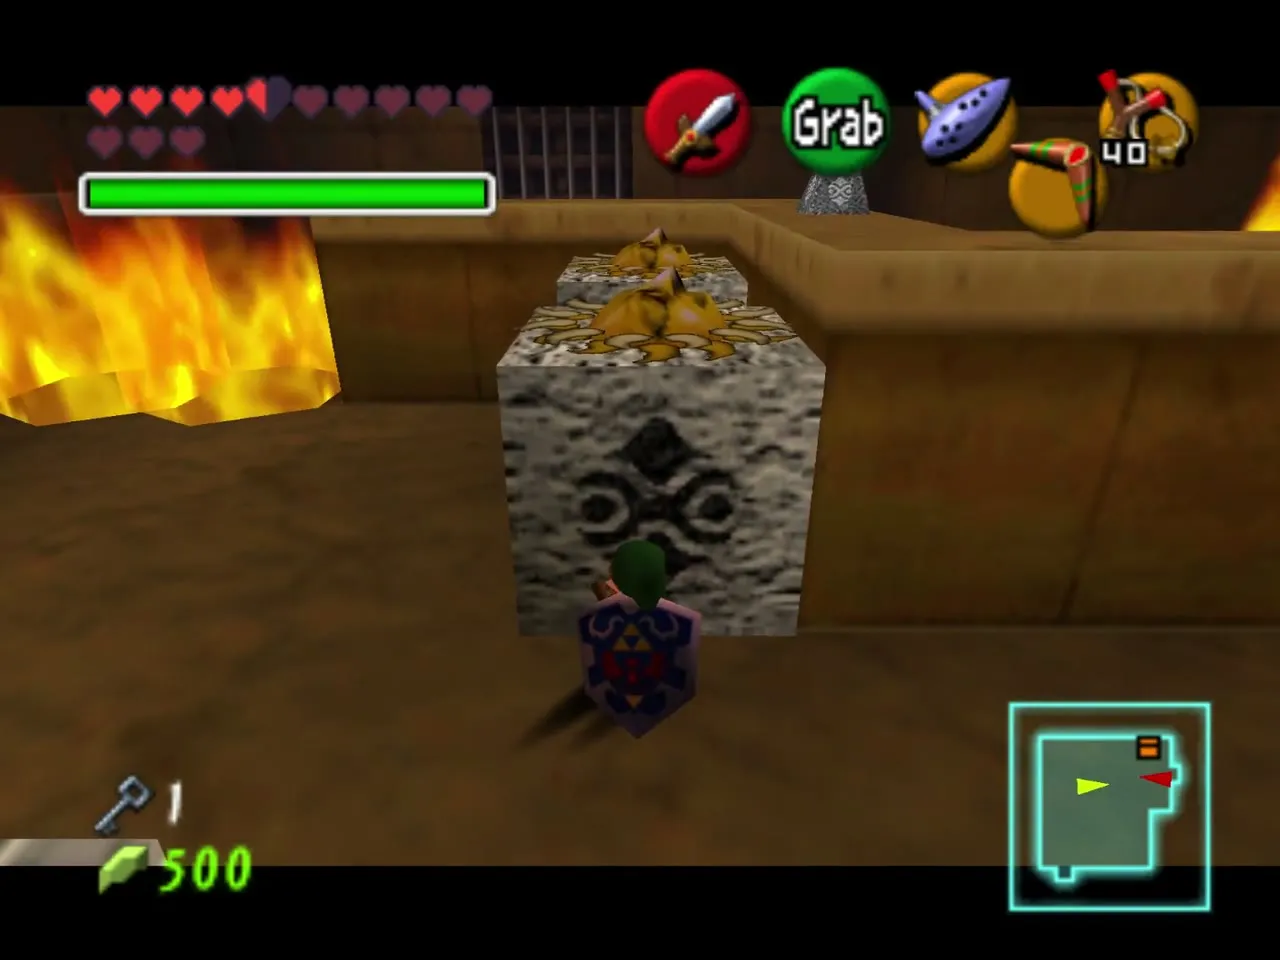
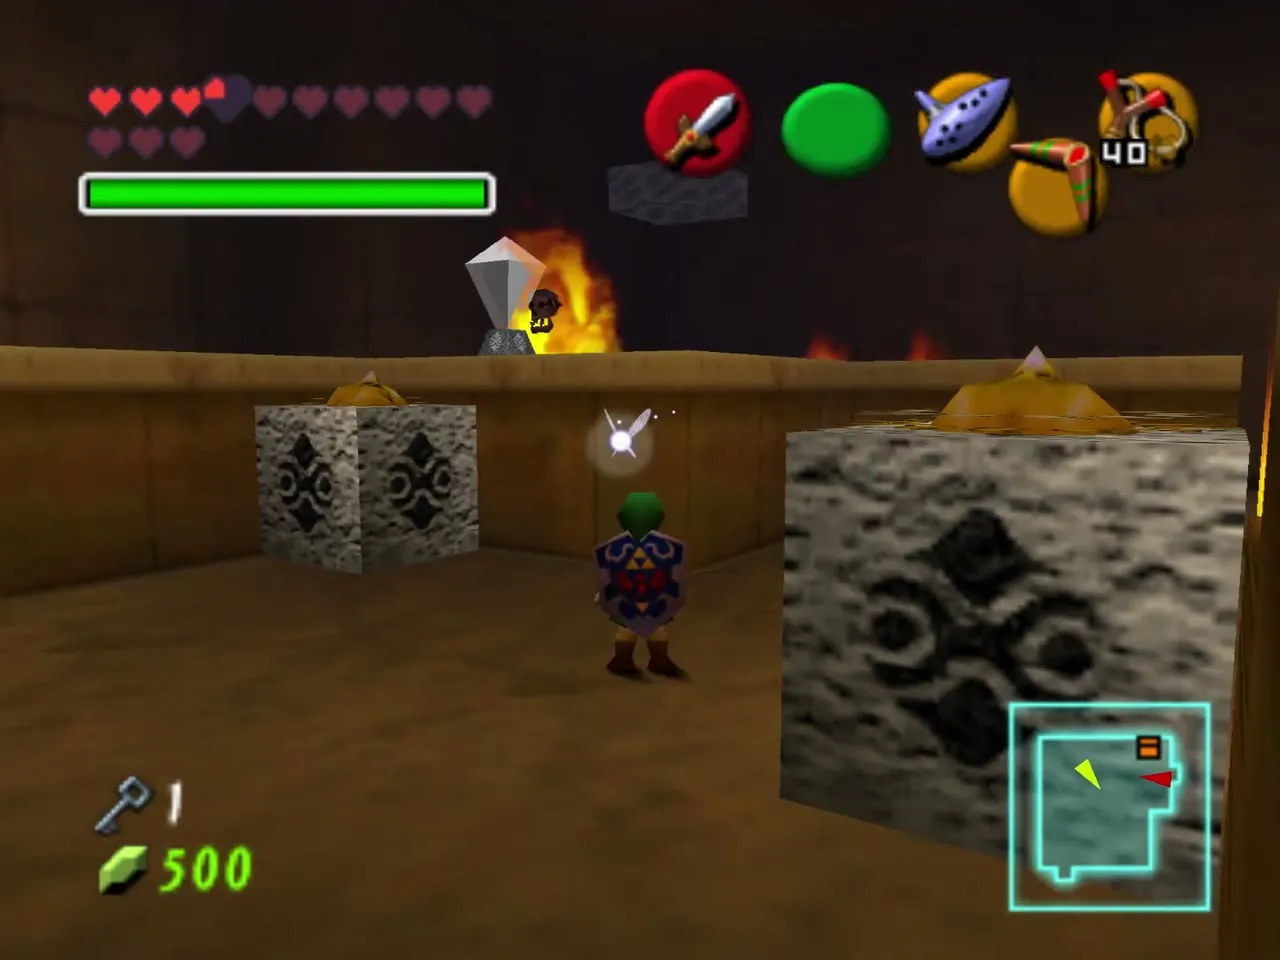
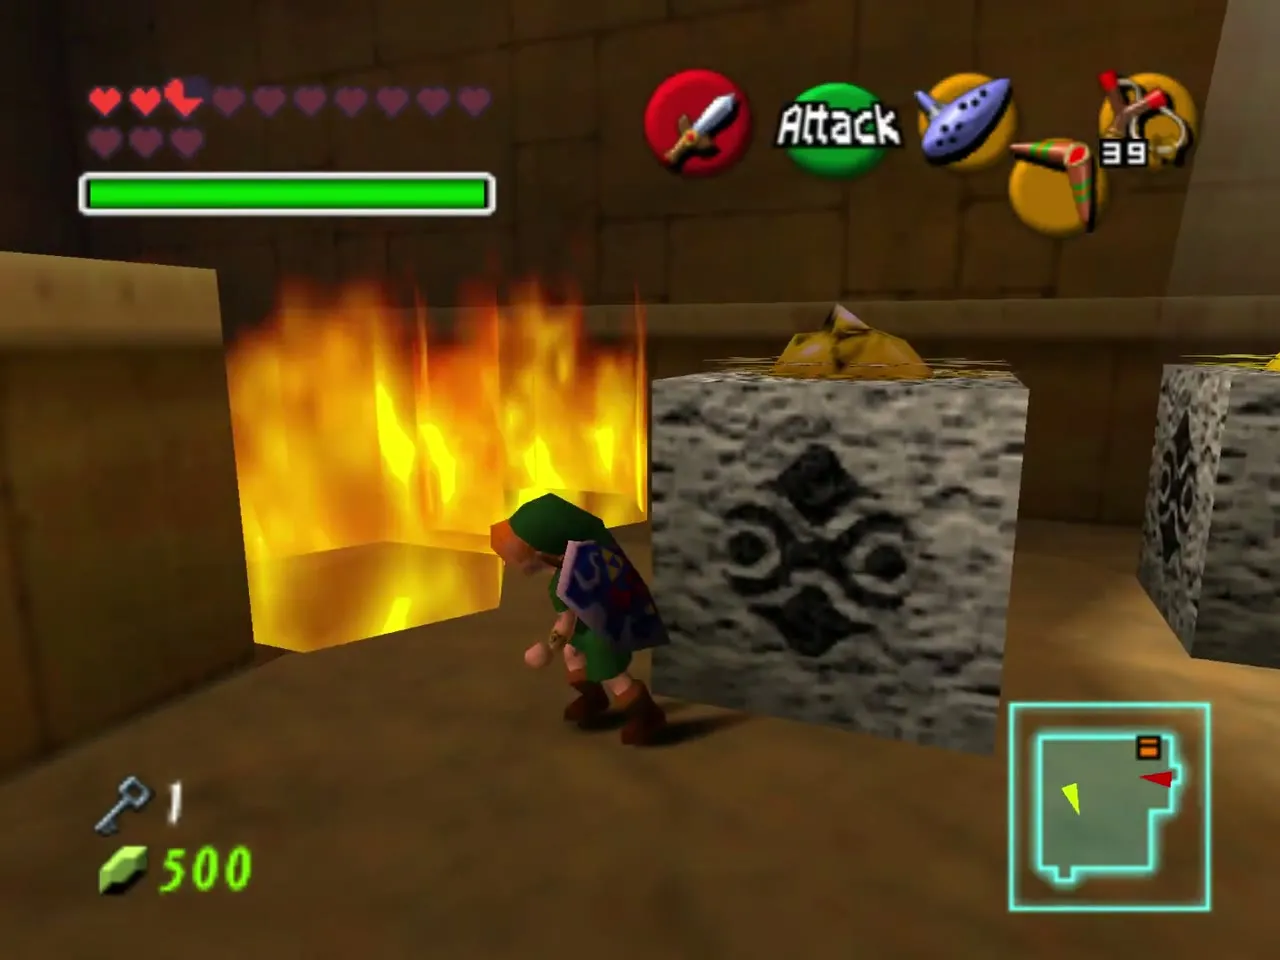
Run through the fire corridor when the flames pause and enter the next door. A crystal switch in the middle of the room puts out the fire when you shoot it. Pull the sun block that is not in the corner into the beam of light on the floor to open a door. The other sun blocks only matter to adult Link, so leave them. A Wallmaster drops here, so watch your shadow.
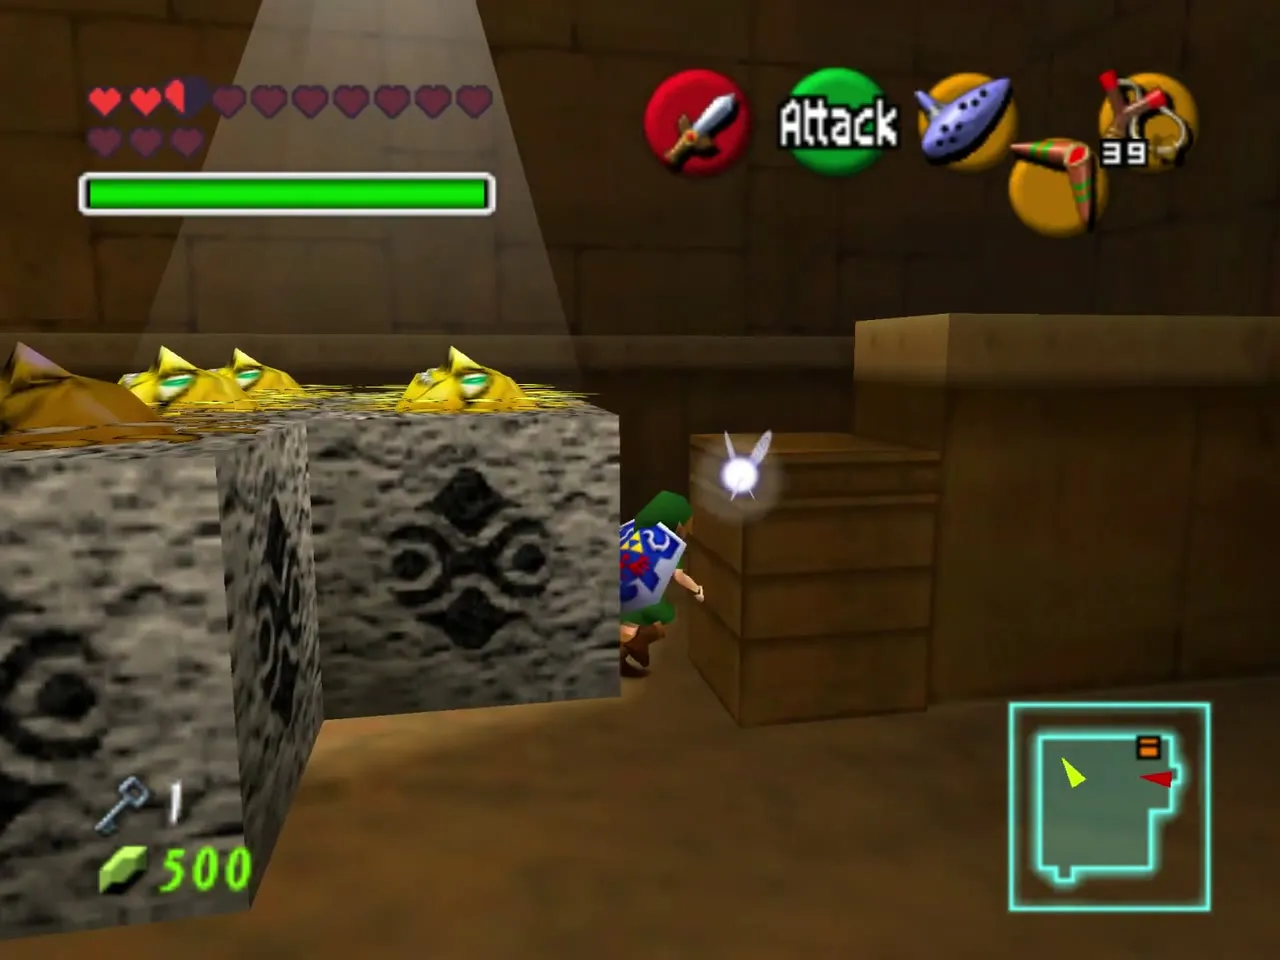
Shoot the Skulltula near the next door and use the key on the locked door. Pick Din’s Fire from the item screen if you want it for what comes next.
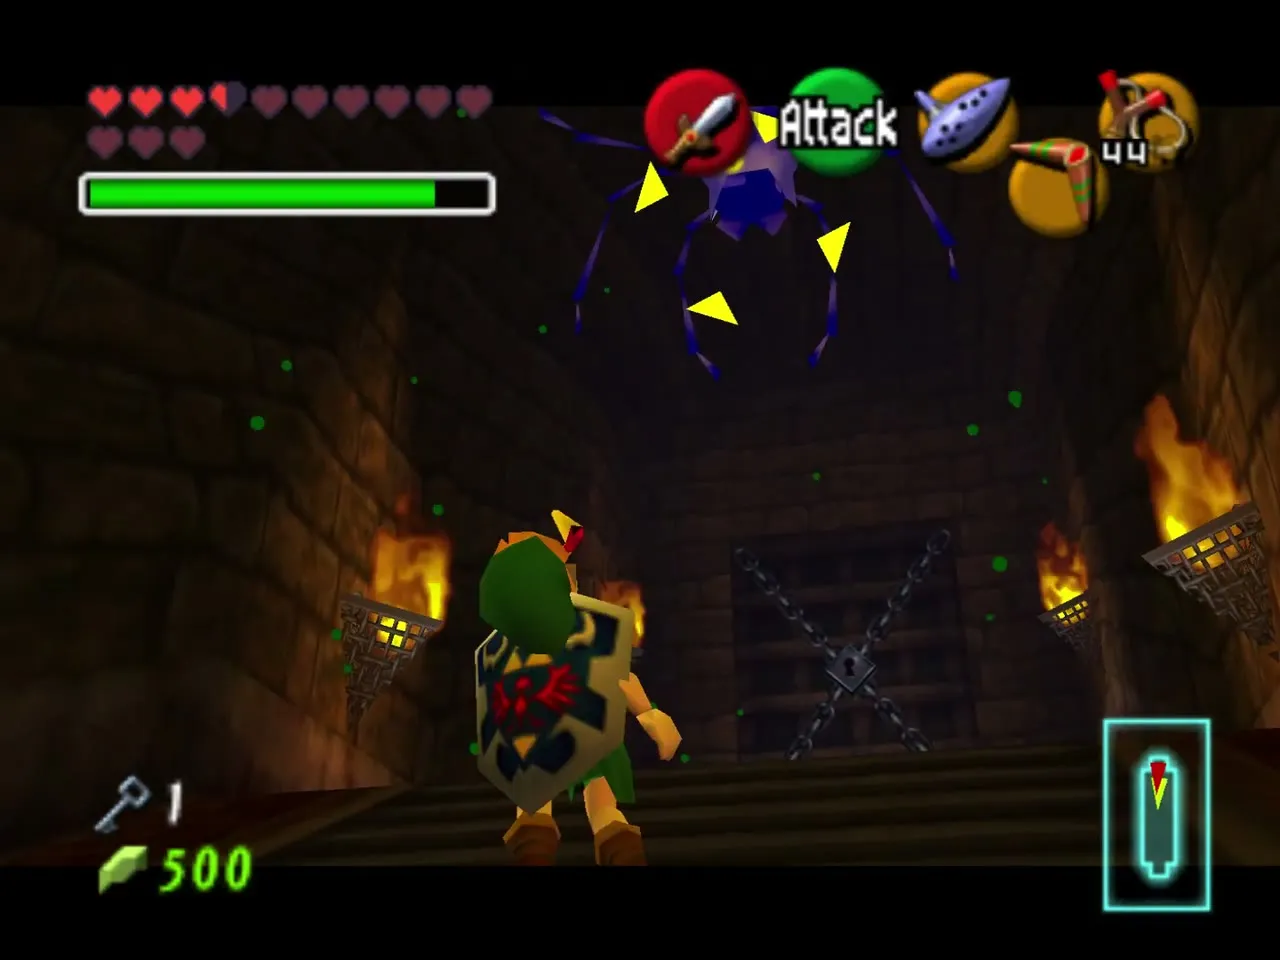
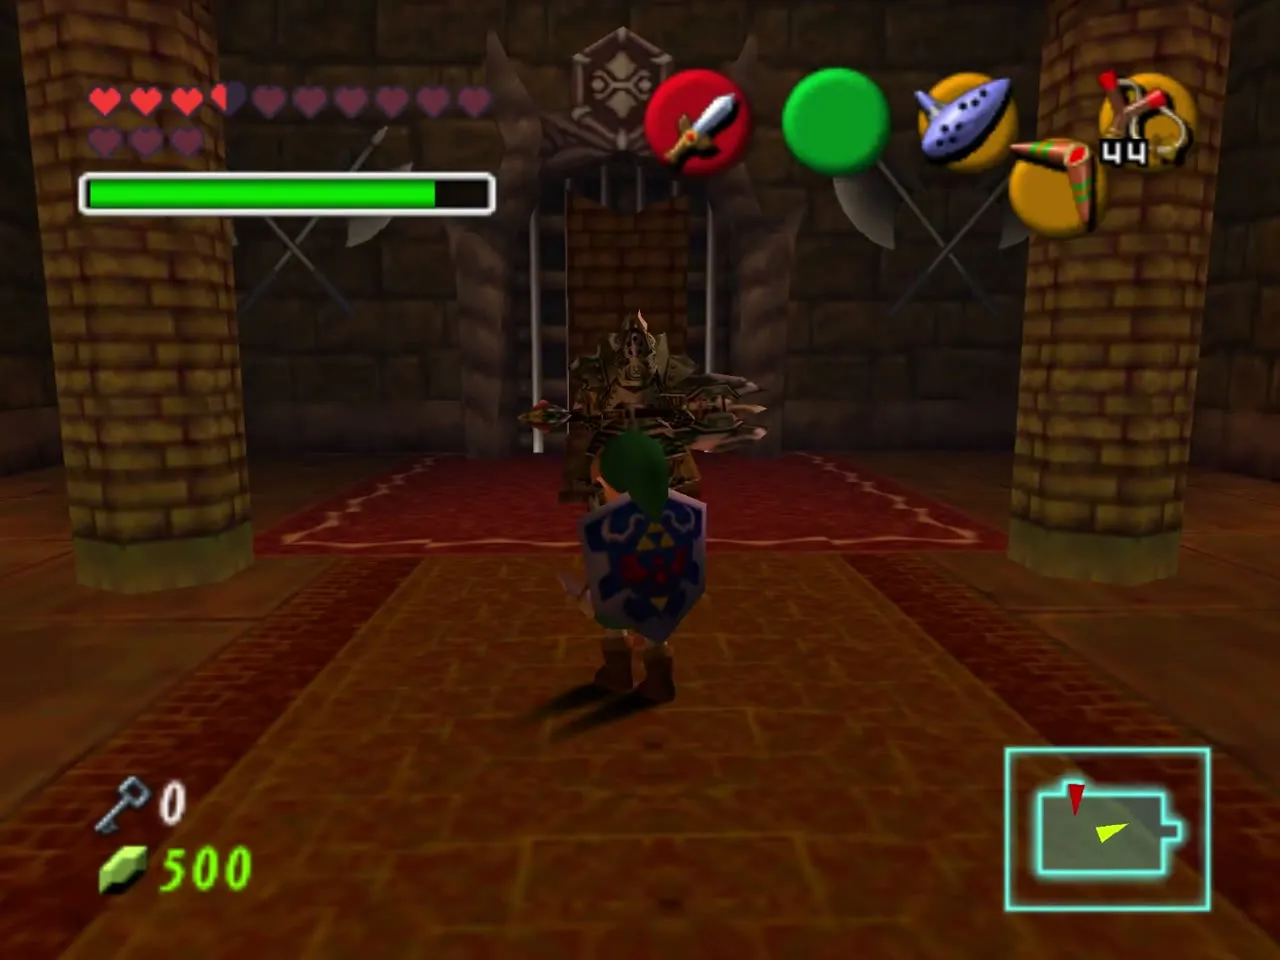
Mini-boss: Iron Knuckle
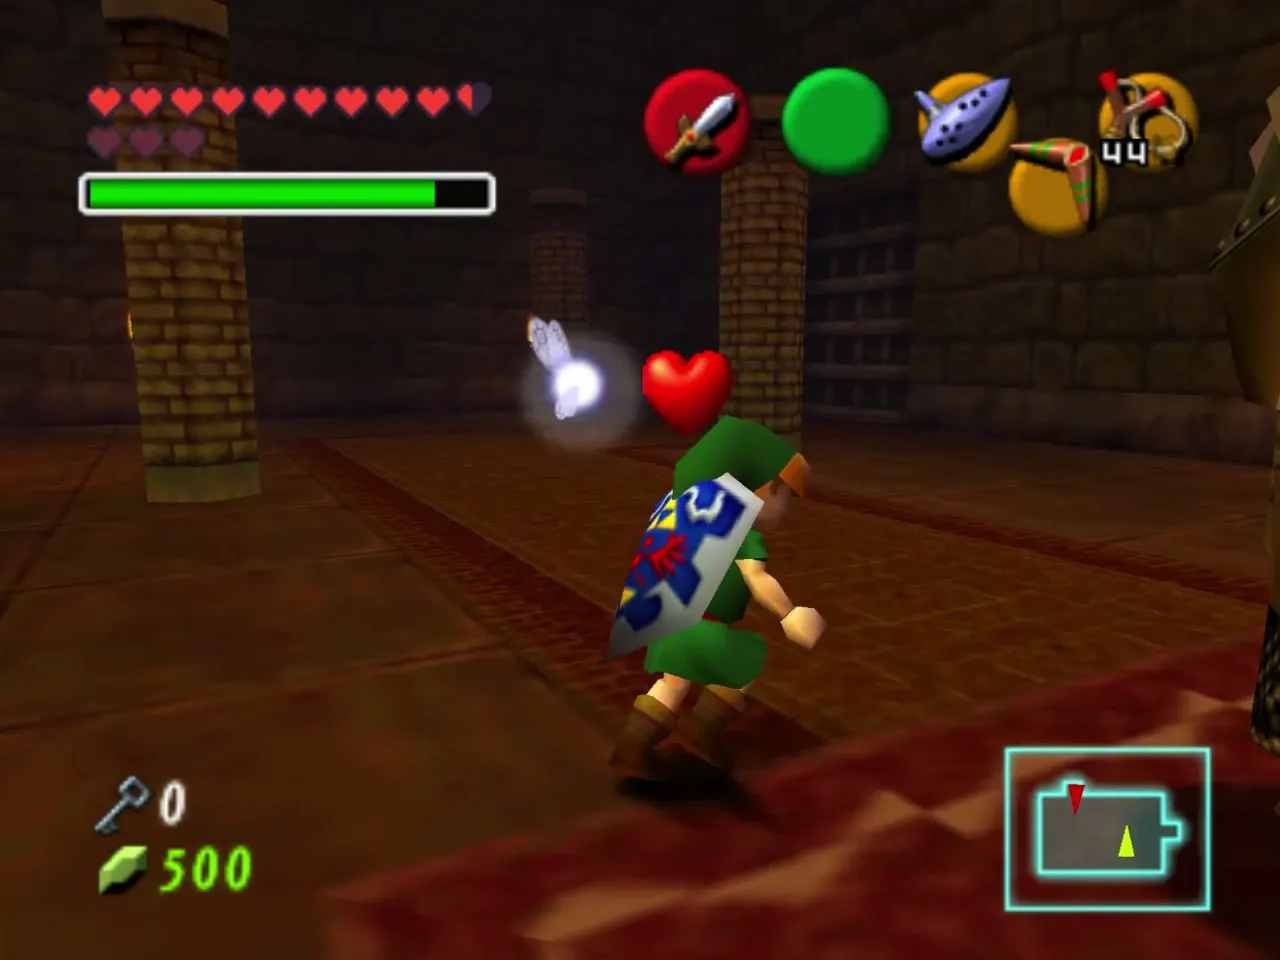
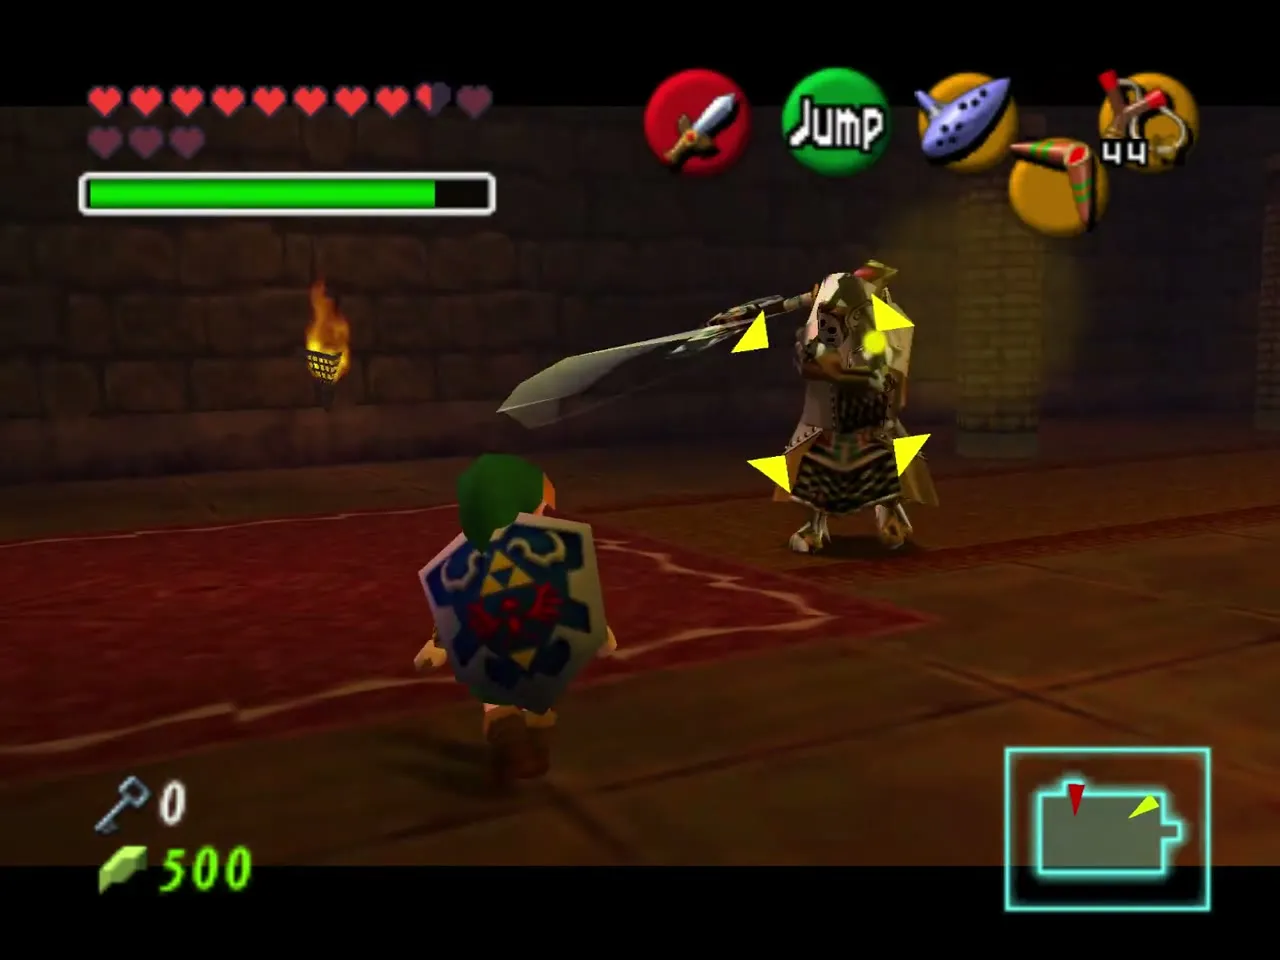
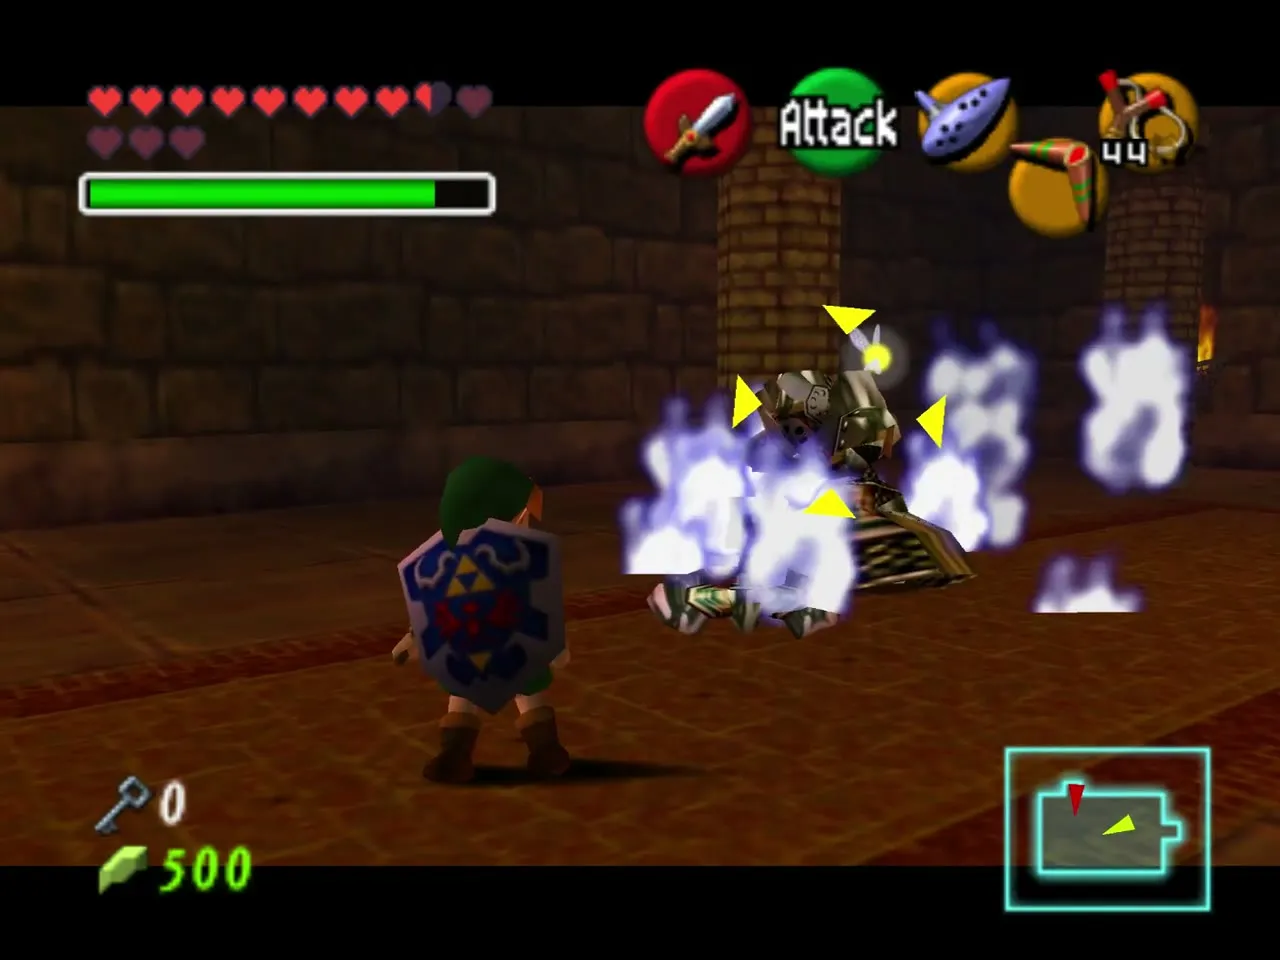
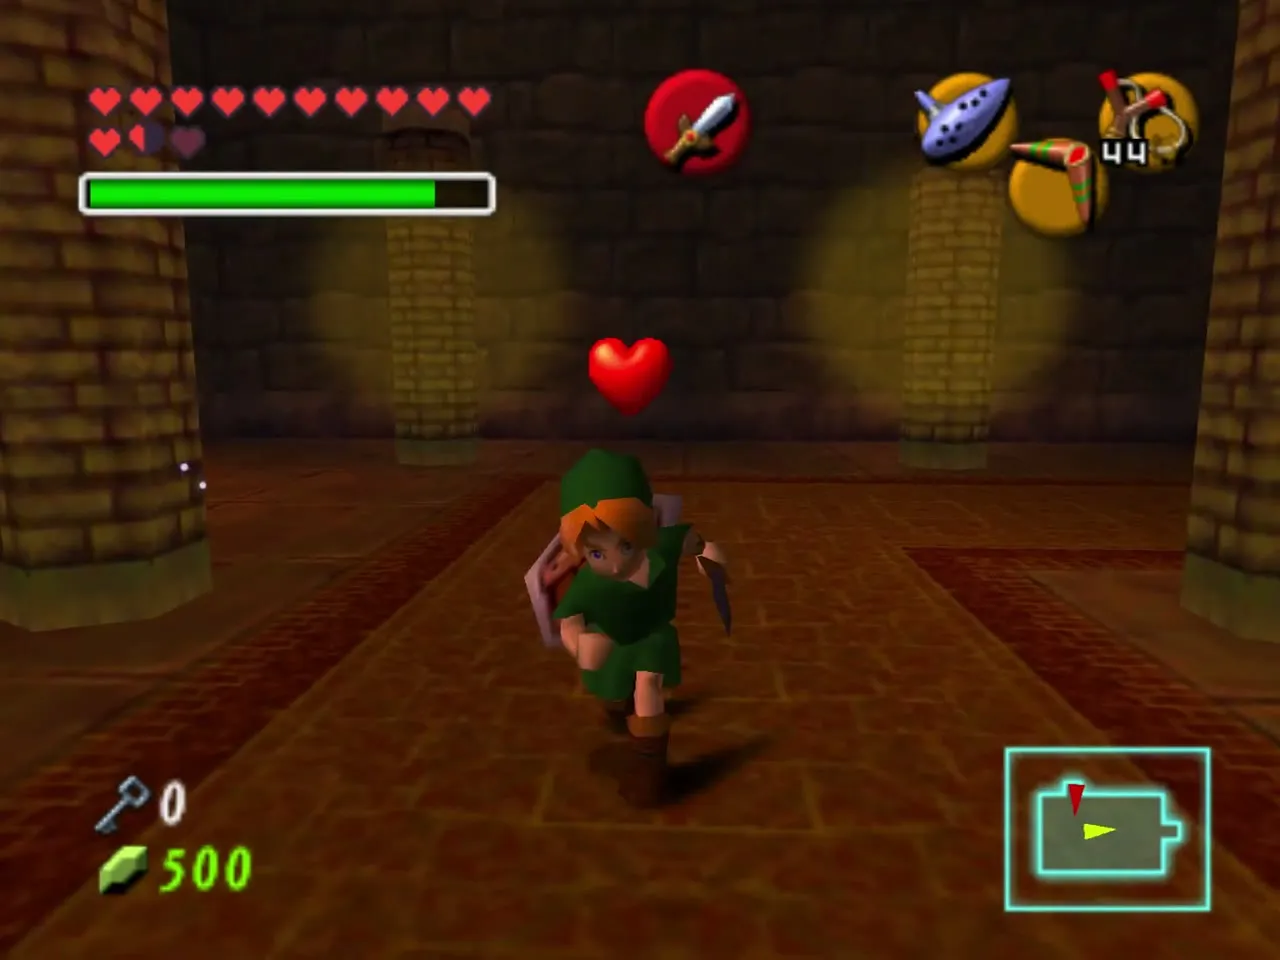
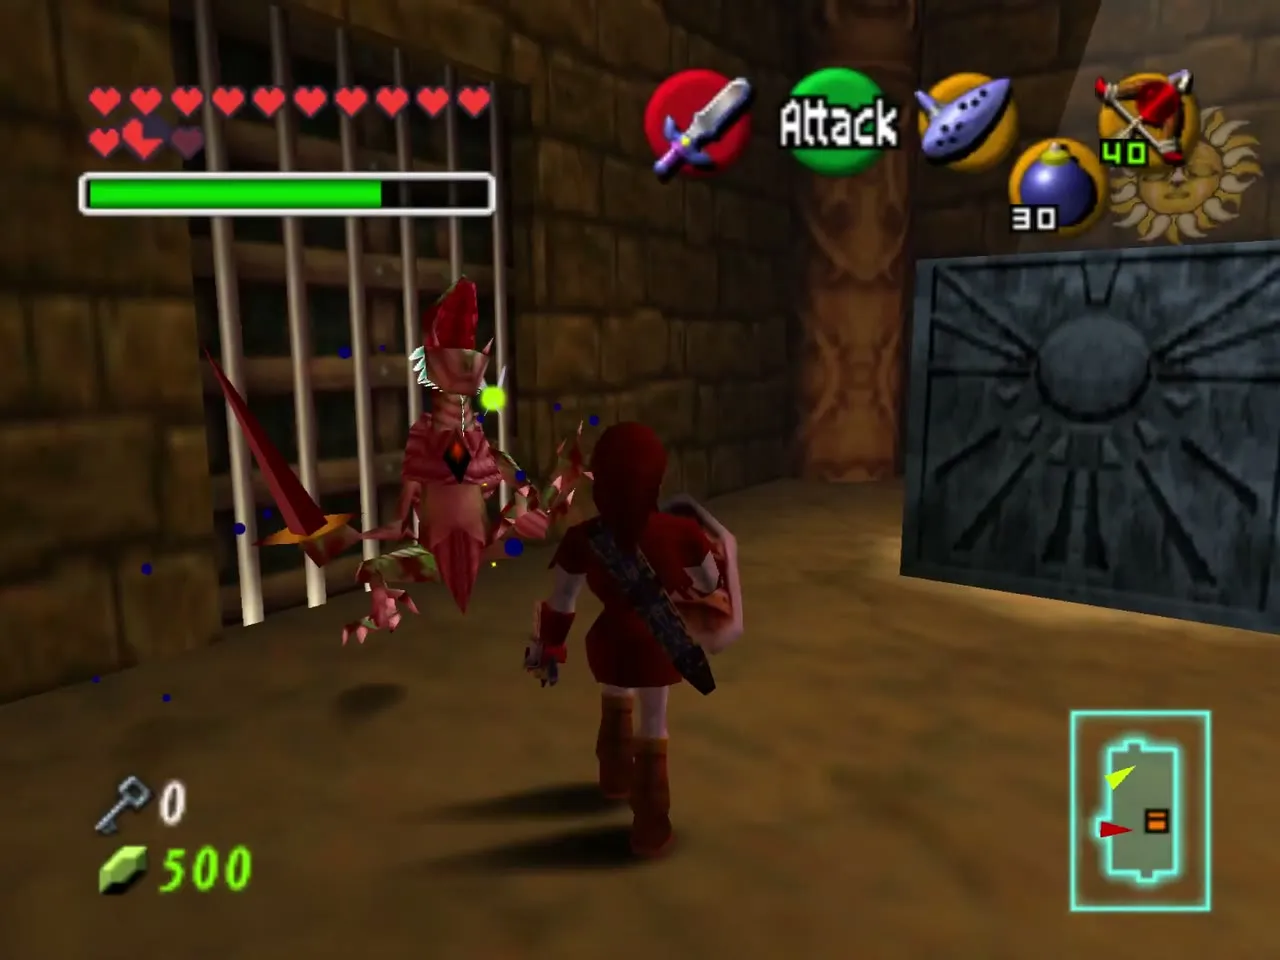
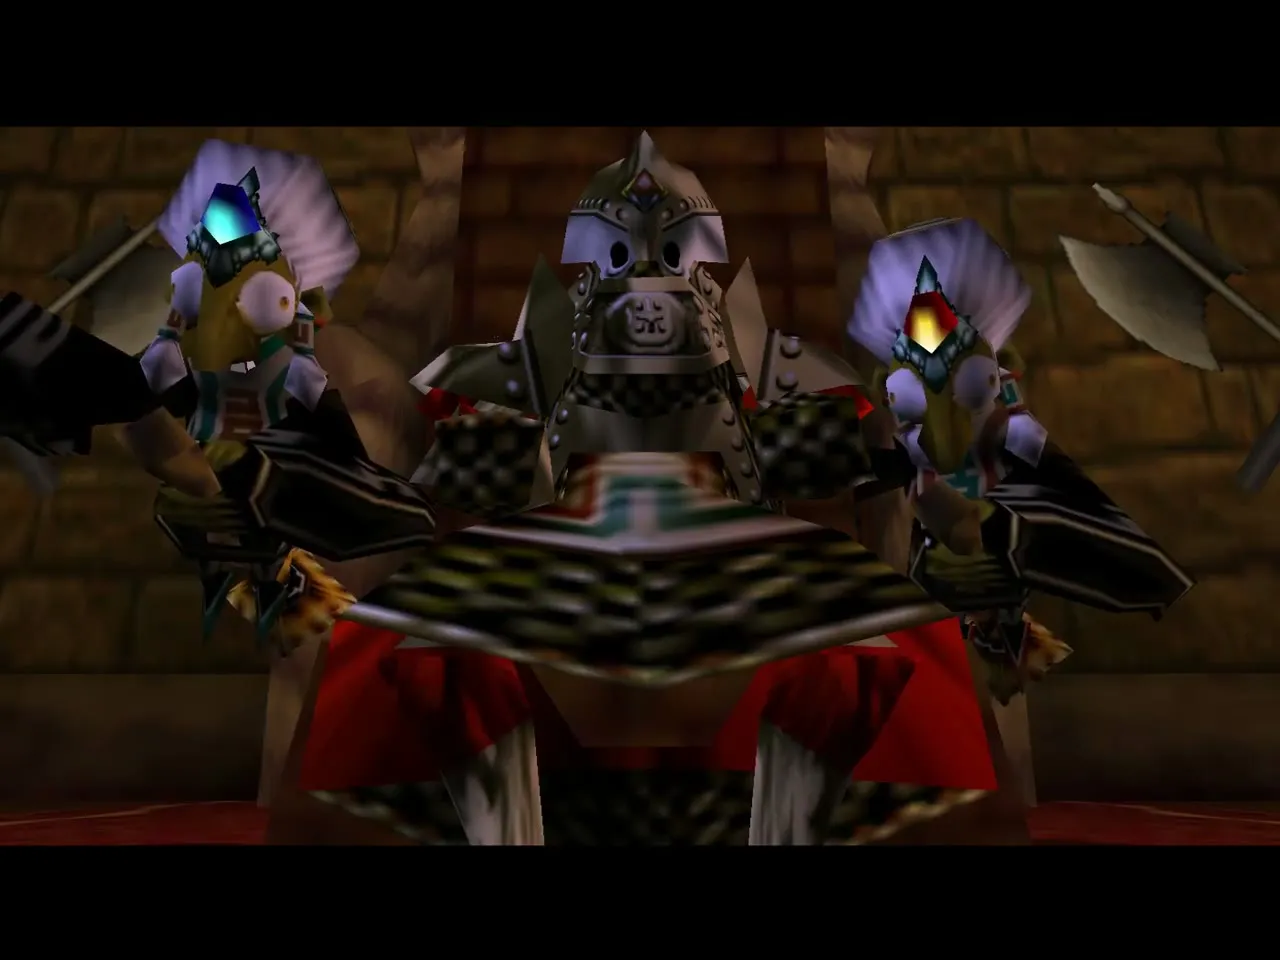
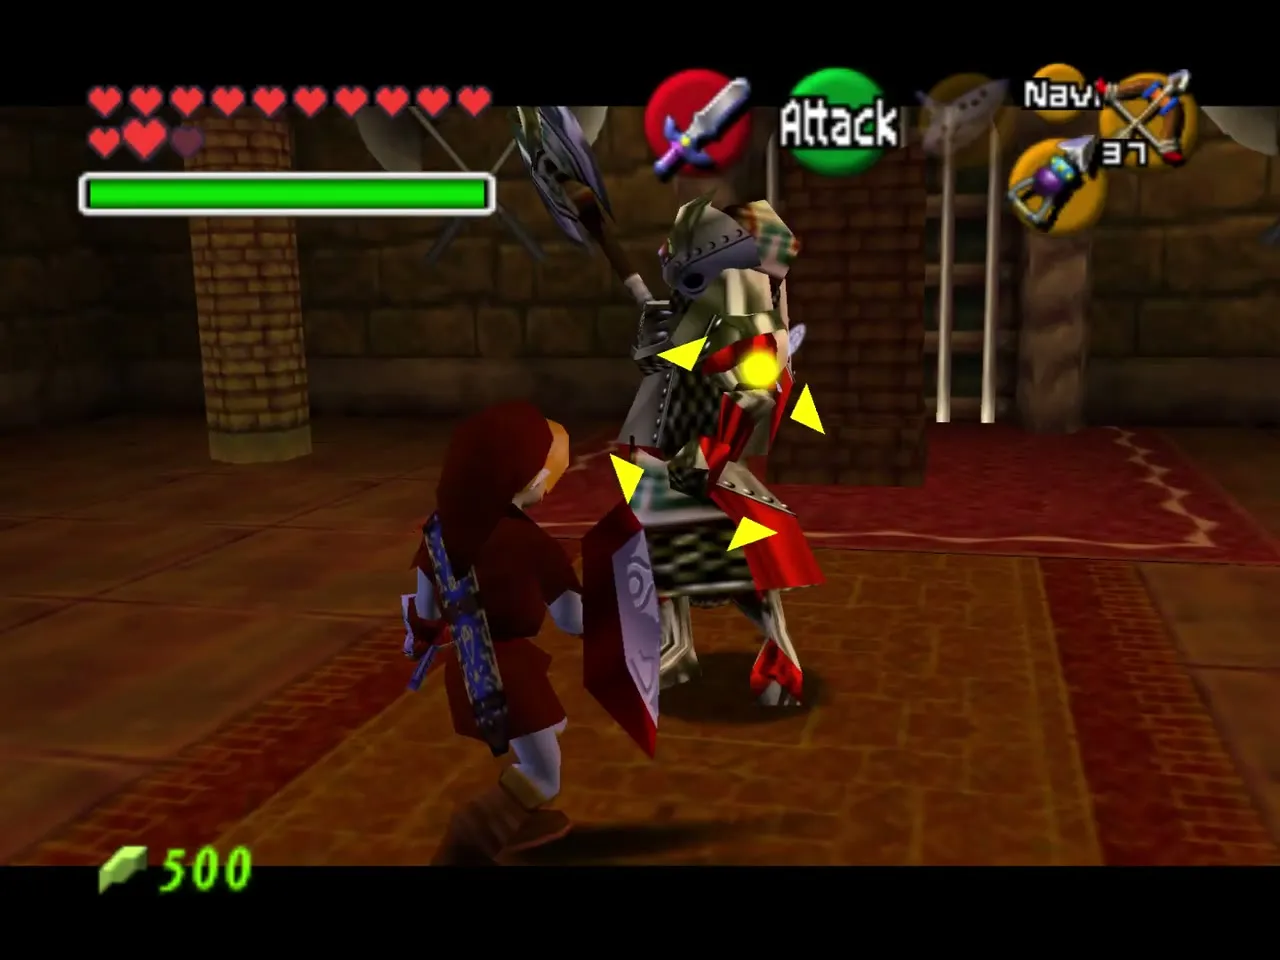
The room beyond holds an Iron Knuckle on a red carpet. Bait a swing, jump in for one hit and back off again, and duck behind your shield for his sideways slash. He smashes the pillars and his throne when you stand beside them, and they drop hearts. When enough armor breaks he turns fast, so keep up the rhythm. The door behind the throne opens onto the outside.
The Silver Gauntlets
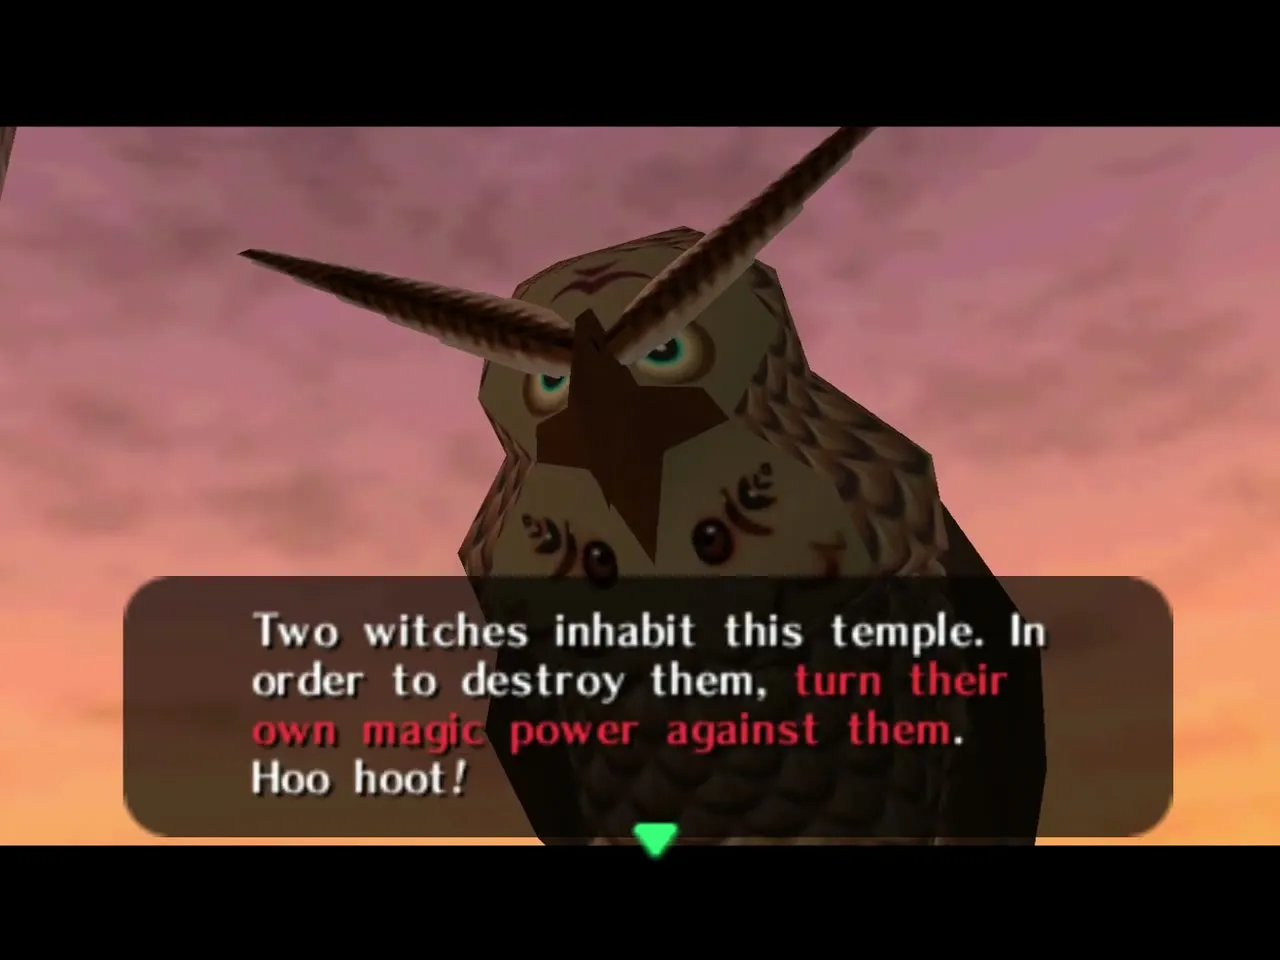
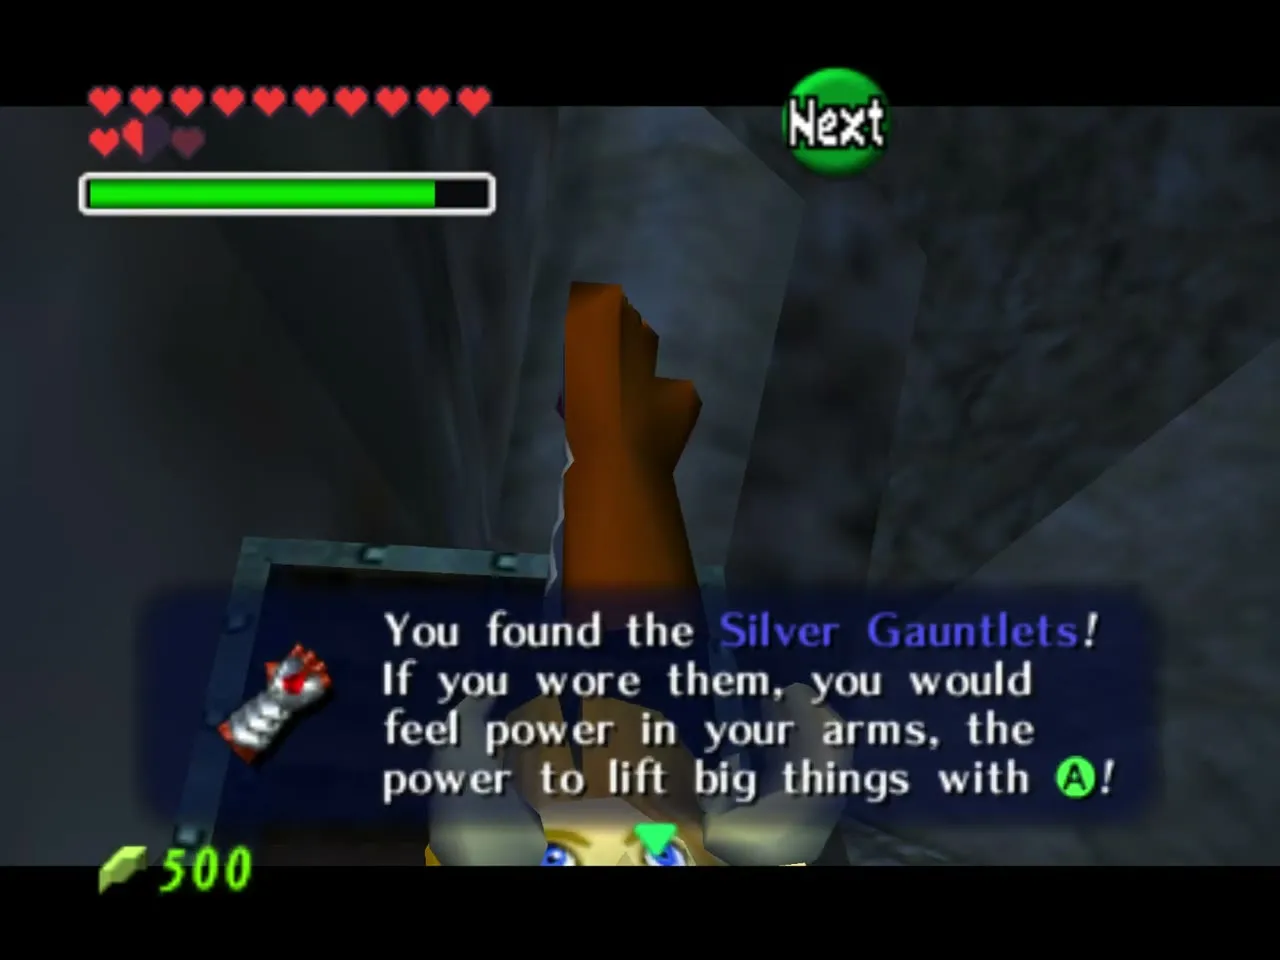
Outside, Kaepora Gaebora tells you that two witches live in the temple and that you must turn their magic against them. Open the chest to take the Silver Gauntlets. You cannot use them as a child, and you promised them to Nabooru, so you must come back as an adult.

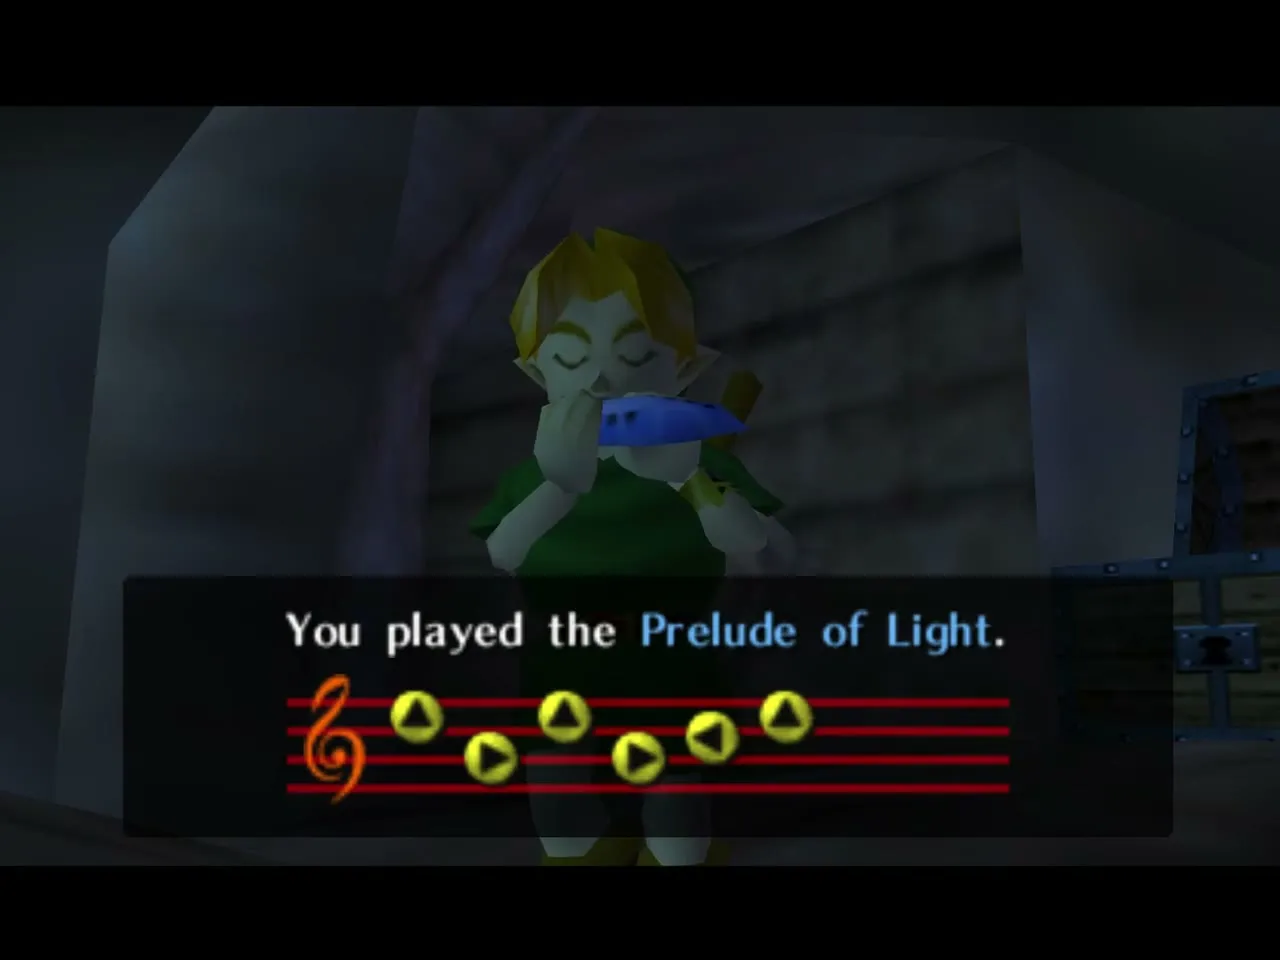
Play the Prelude of Light, put the Master Sword back to become an adult and warp to the Colossus with the Requiem of Spirit.
The adult half
Longshot ceiling target and the silver block
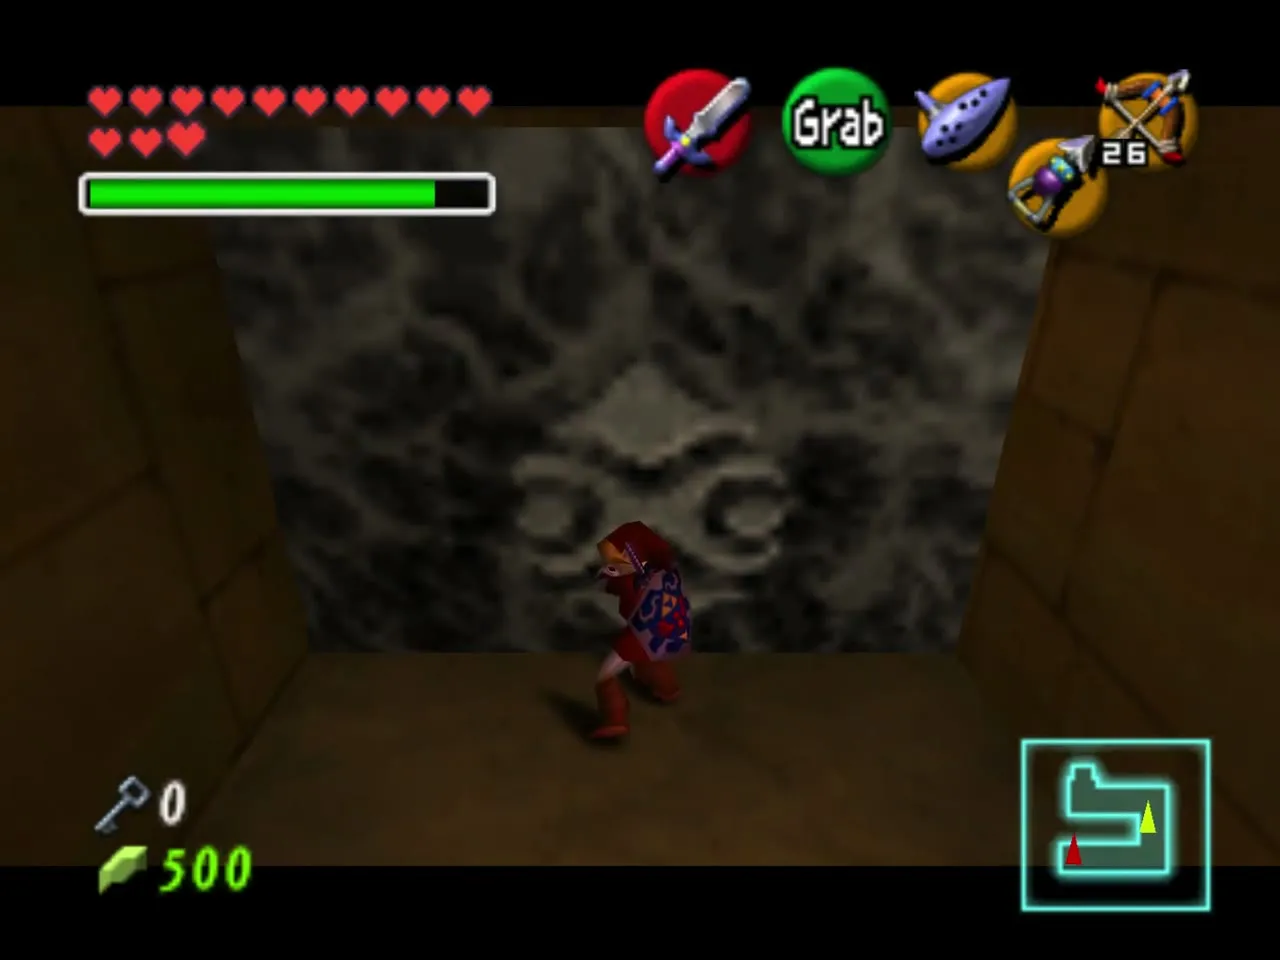
Climb the stairs and enter as adult Link. Look up at the ceiling above the chest area and you see a boulder hiding a Longshot target. Destroy it with a well-aimed Bombchu, Longshot up and, with the Silver Gauntlets, push the huge block until it drops into its place. Continue through the door into the statue room.
Statue room: Zelda’s Lullaby and the hand chests
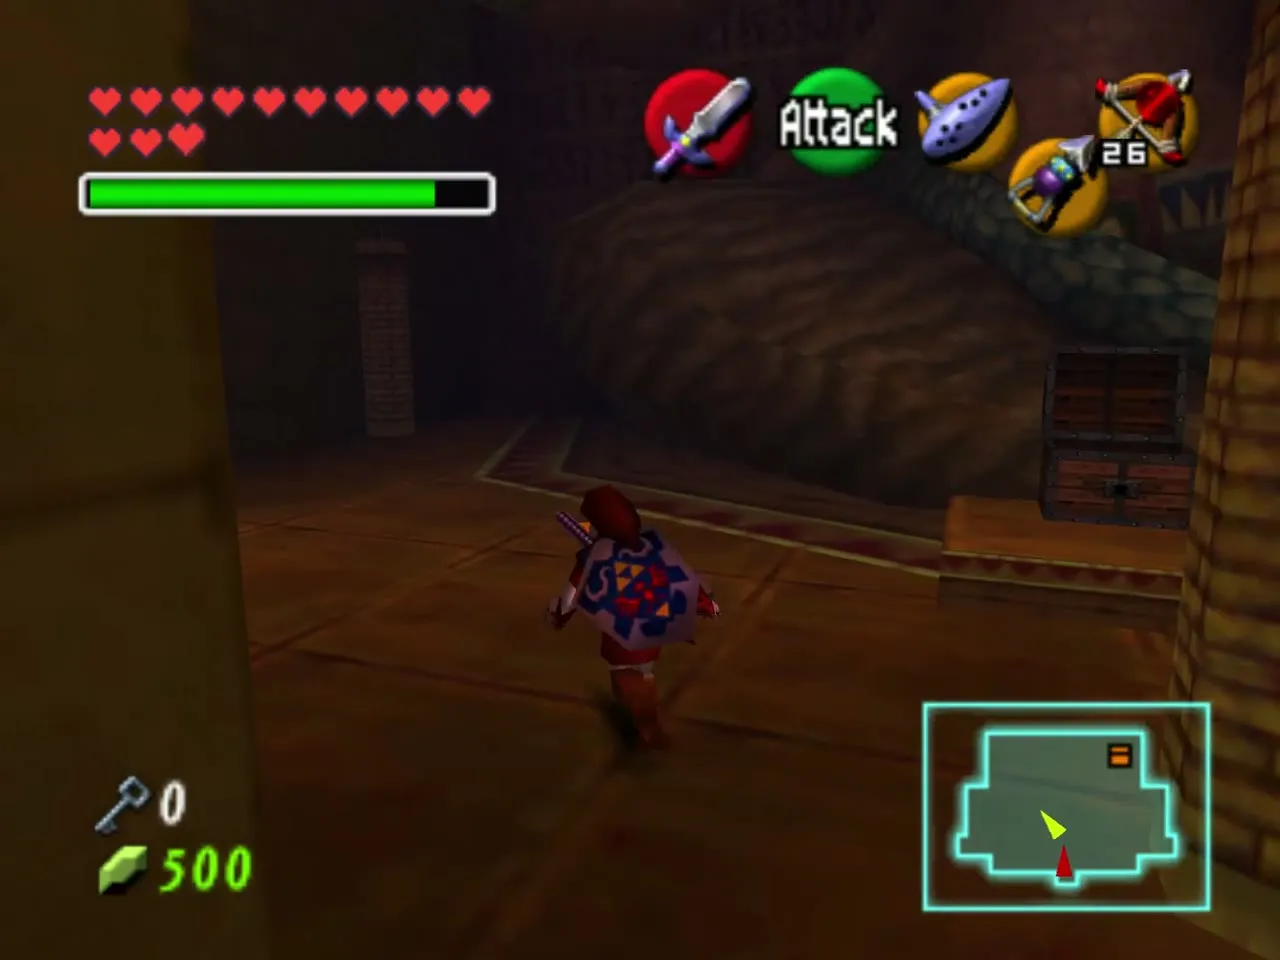
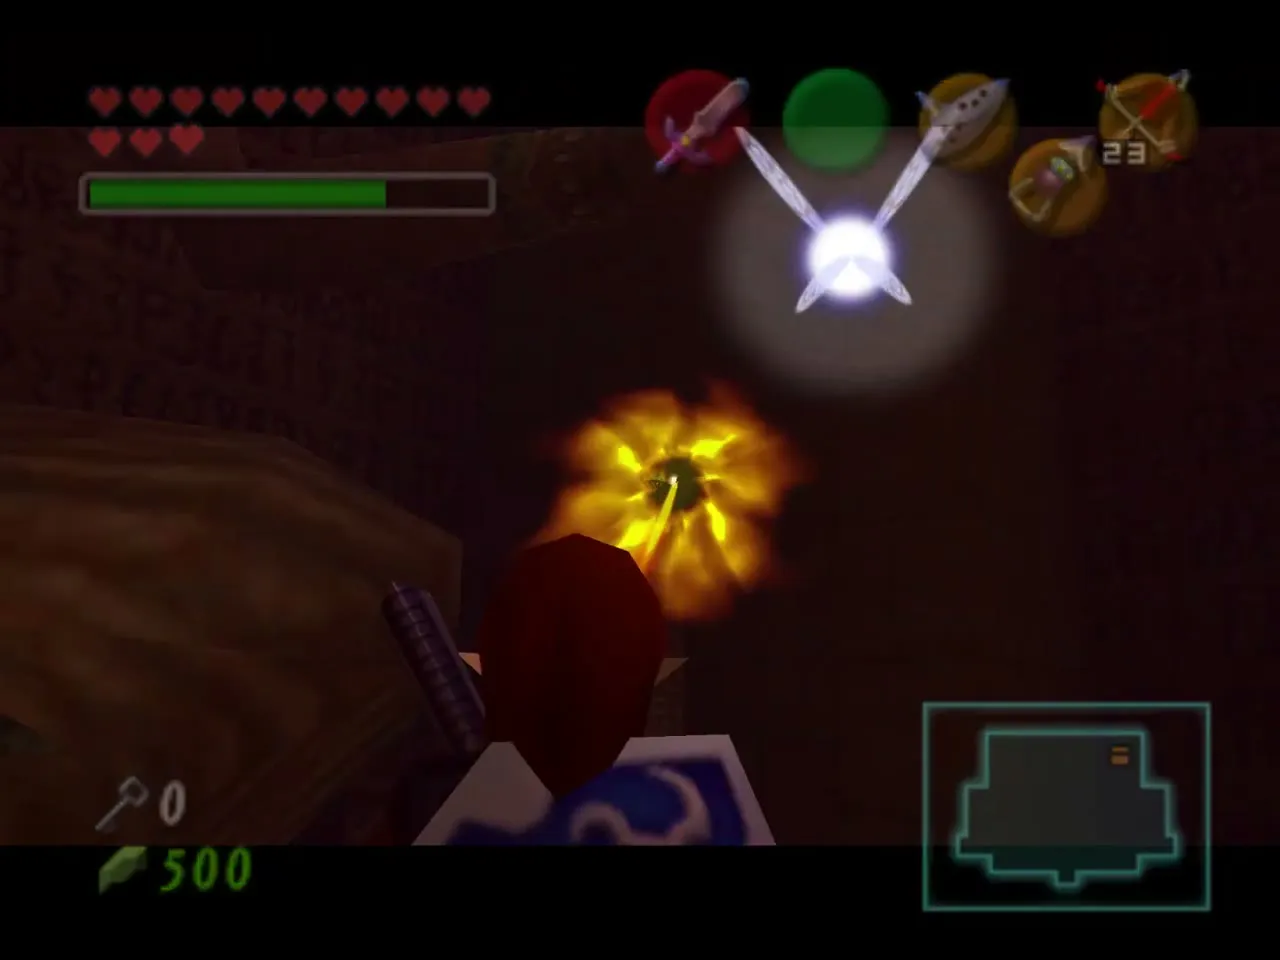
The huge statue room is the hub of the temple. Climb to the top of the stairs and jump onto the statue’s near hand with the Hover Boots. Stand on the Triforce symbol and play Zelda’s Lullaby, and a chest appears with a small amount of rupees.
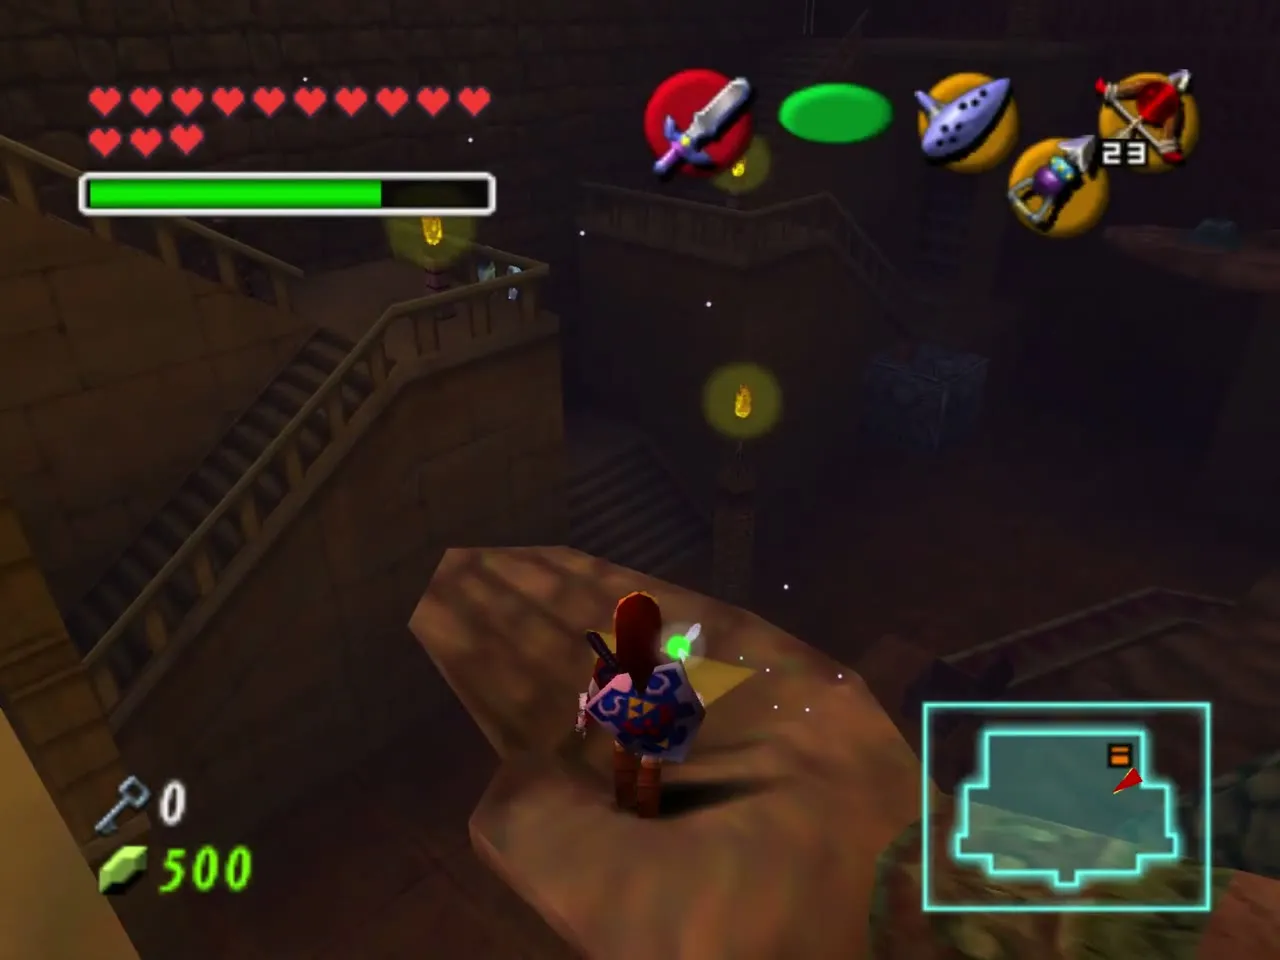
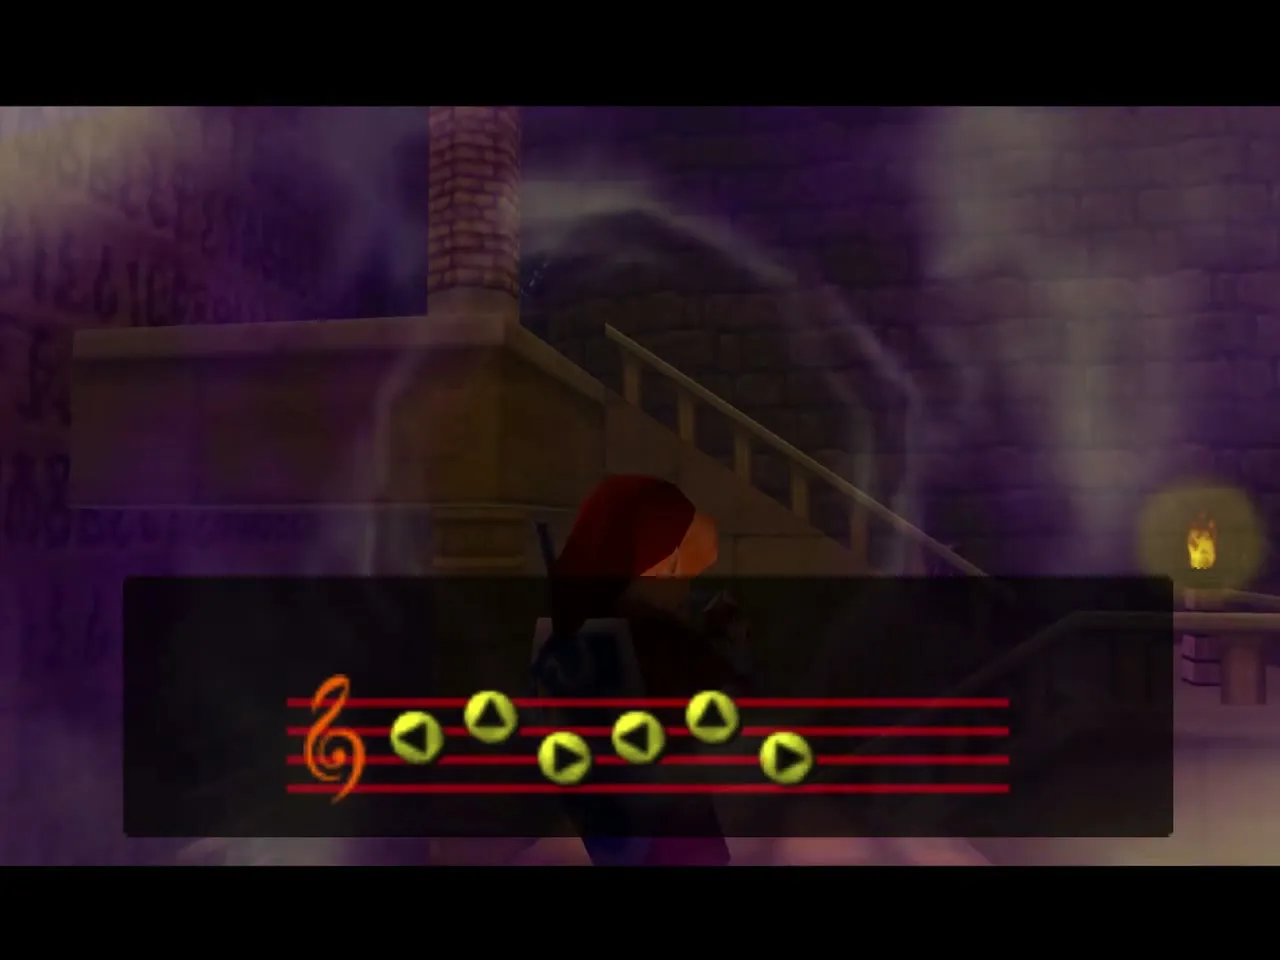
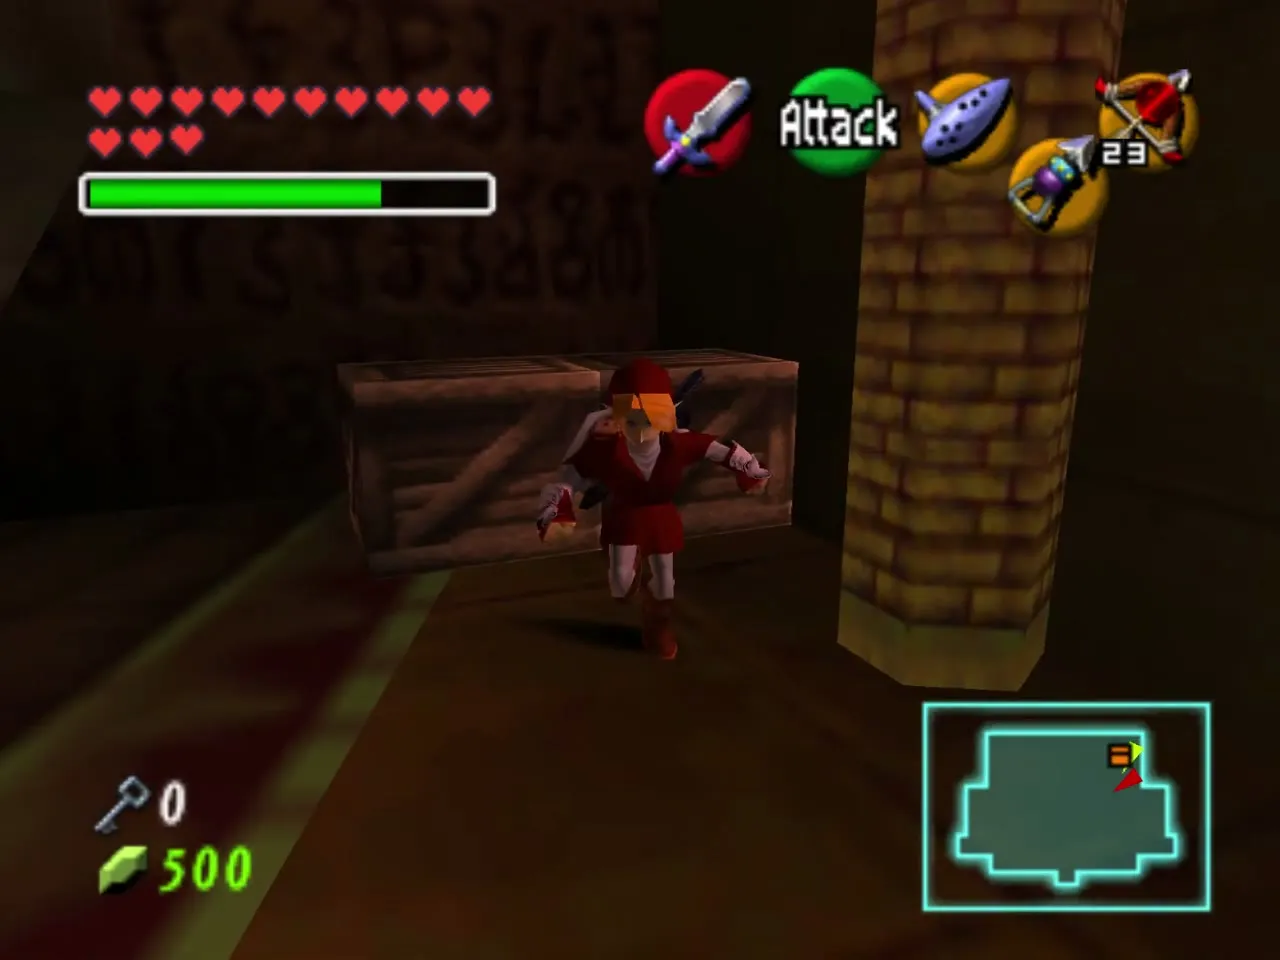
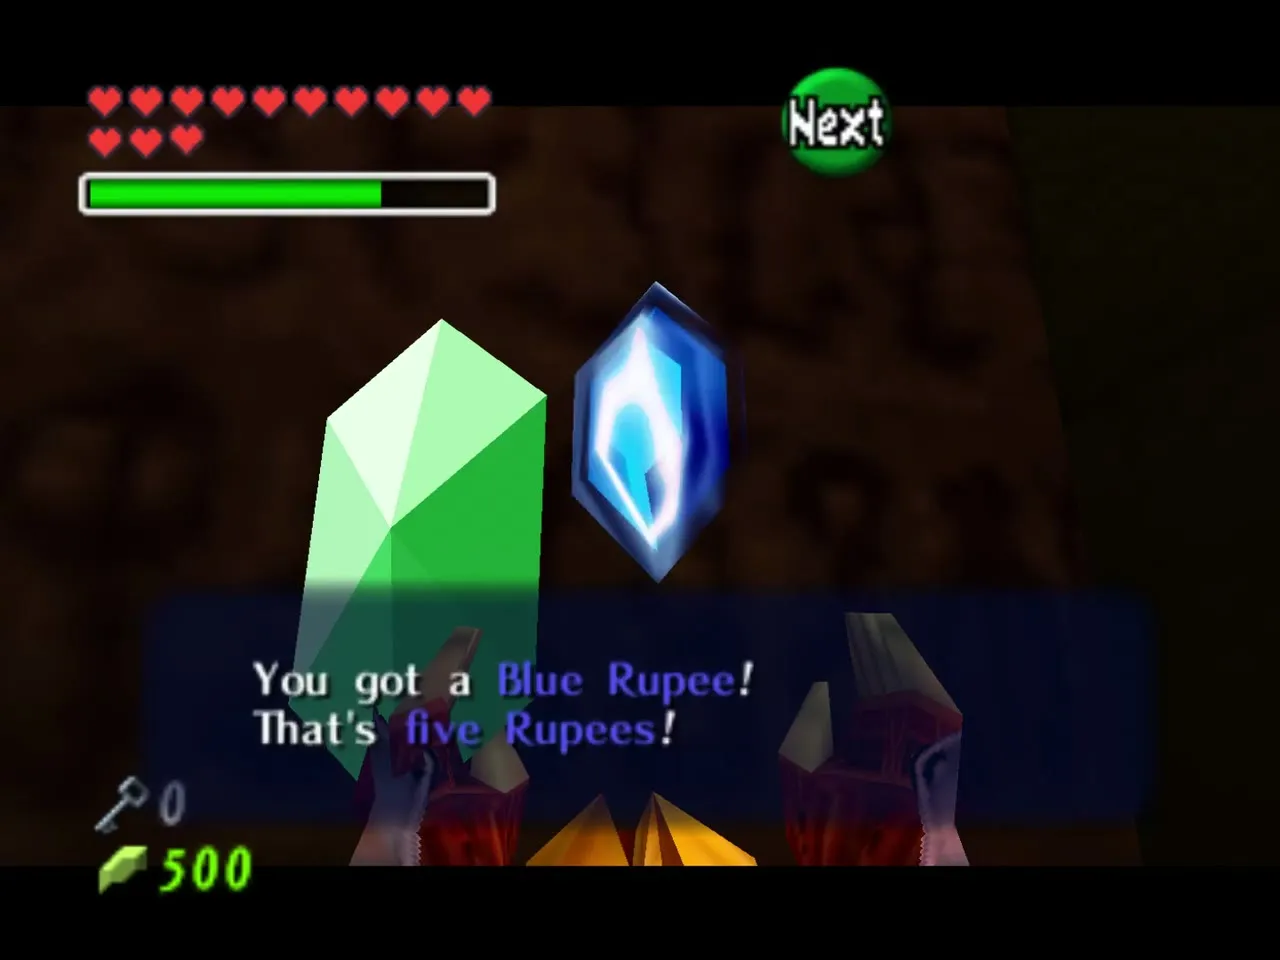
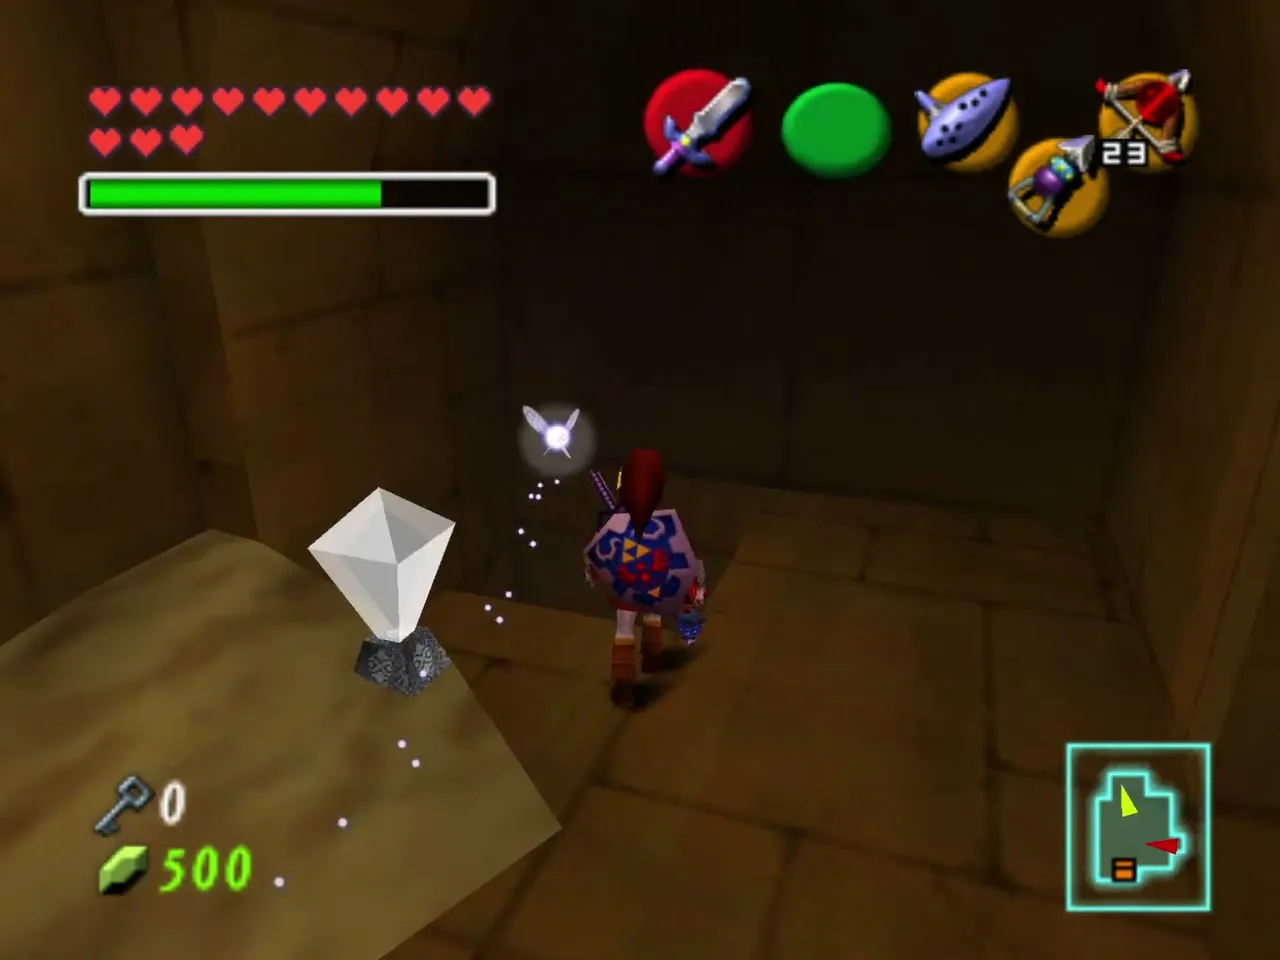
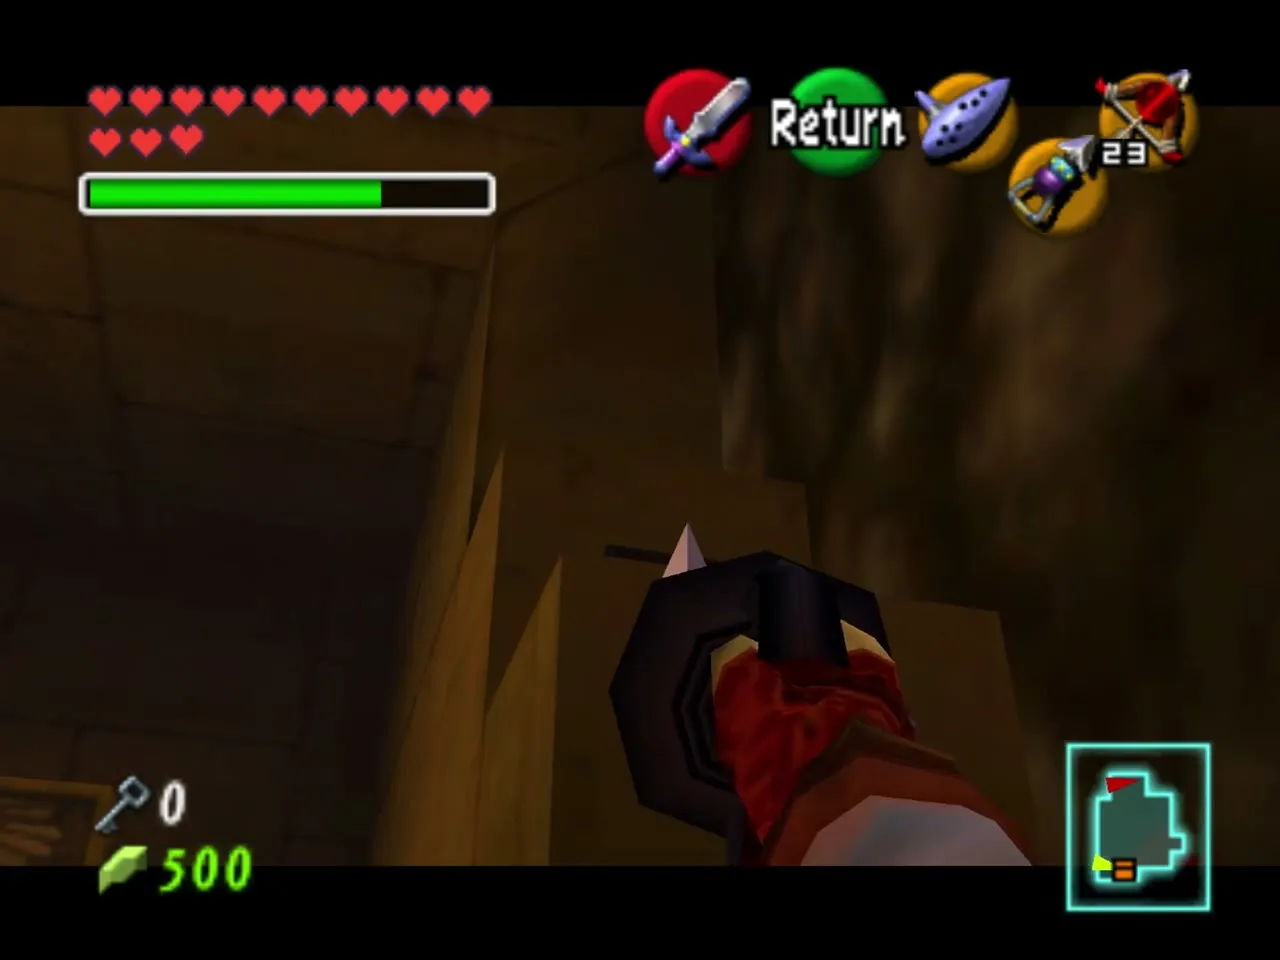
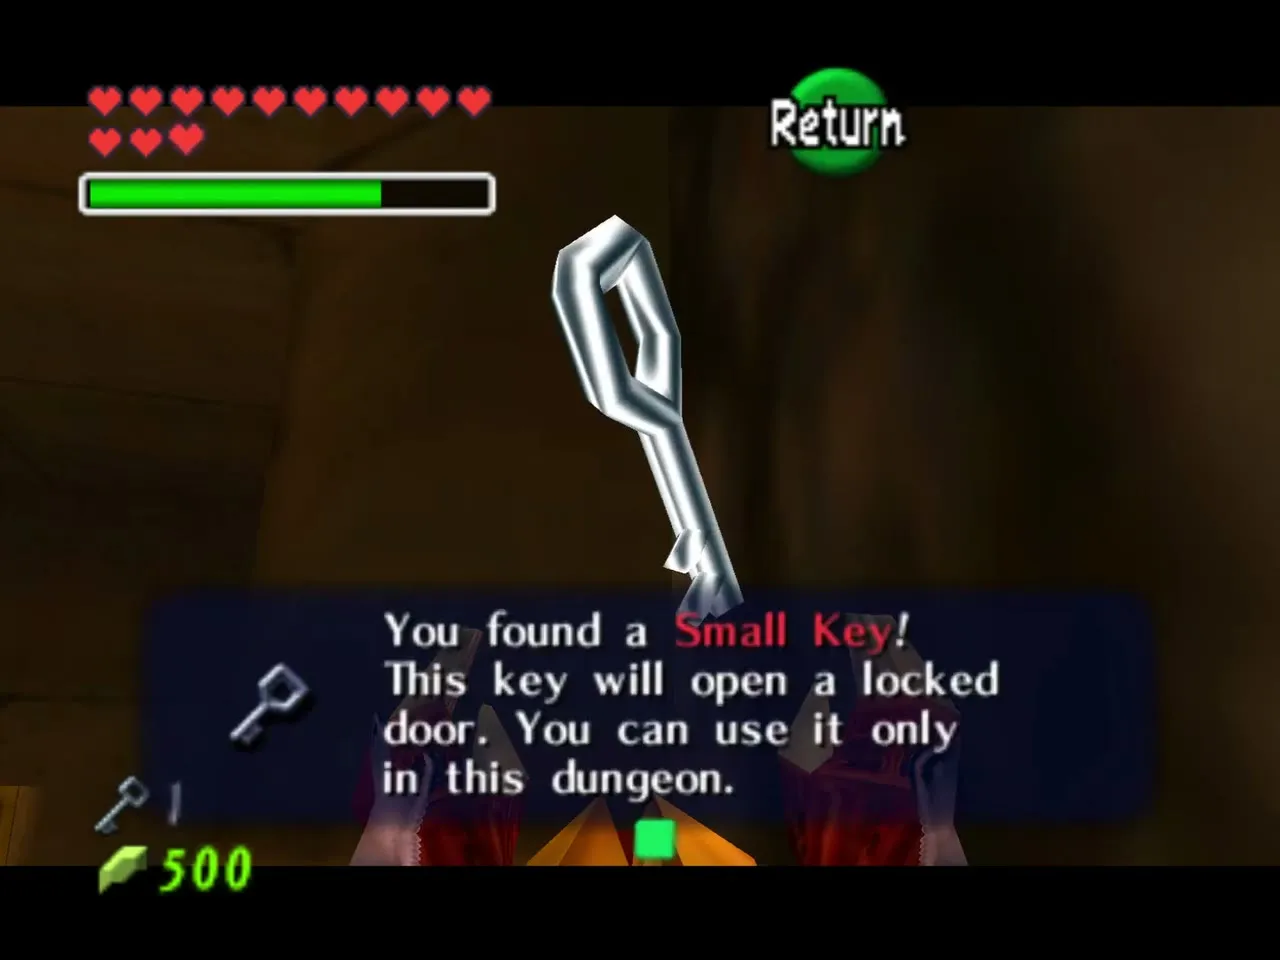
Leave through the west door and use the Longshot to reach the small chest you released as a child. It holds Small Key 4. Hit the crystal switch beside it, drop down and, through the next door, hit the rusty switch with the Megaton Hammer. A chest drops into the child area, which you open later.
Four Beamos and the time block crate
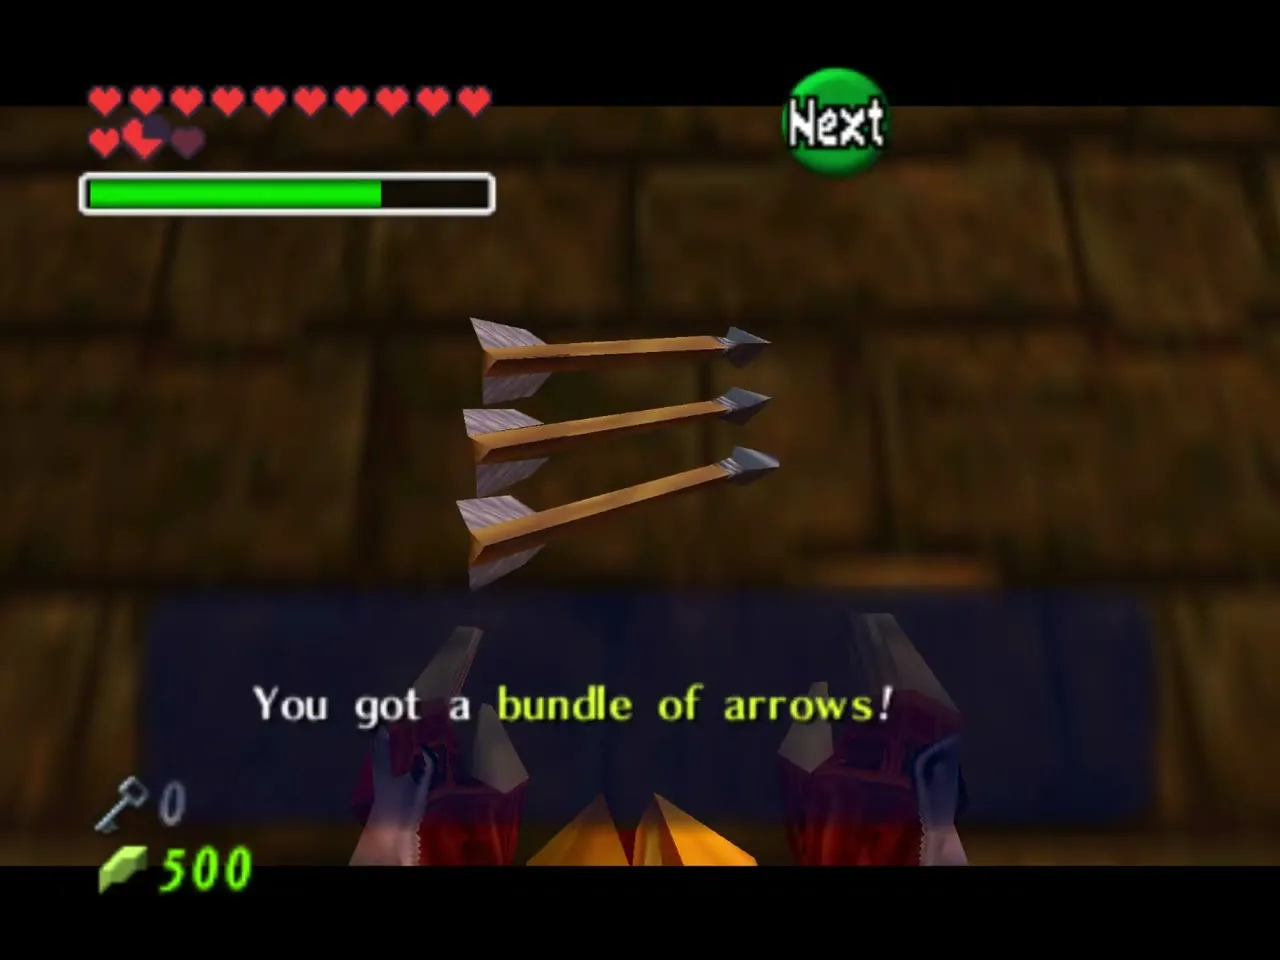
Climb the stairs on the east side and Longshot across to the torch. Use Small Key 4 on the locked door at the top and Longshot to the ceiling target to pass the fire-breathing statues. Destroy the four Beamos in the next room to open a chest with Arrows.
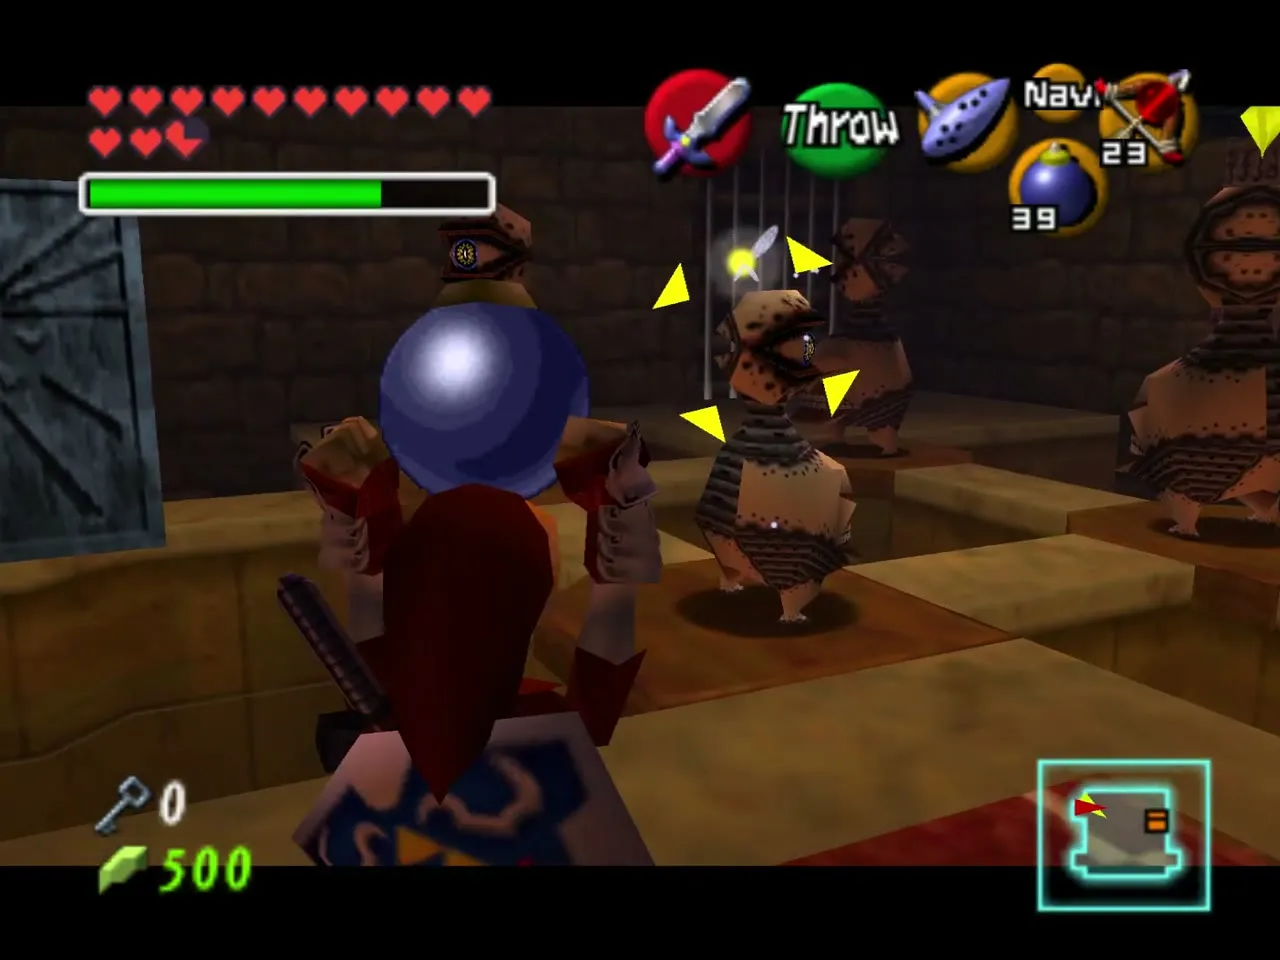
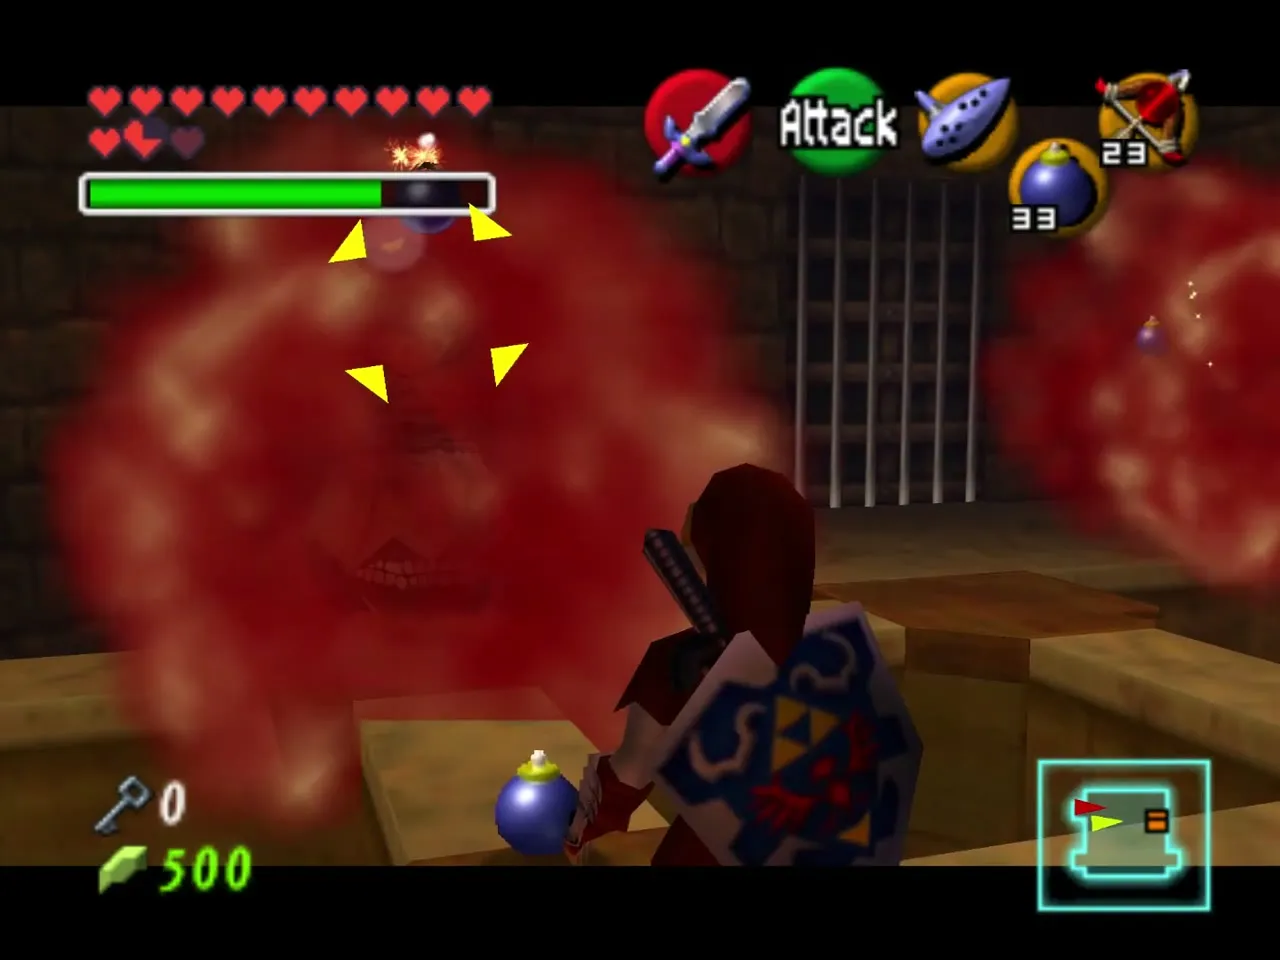
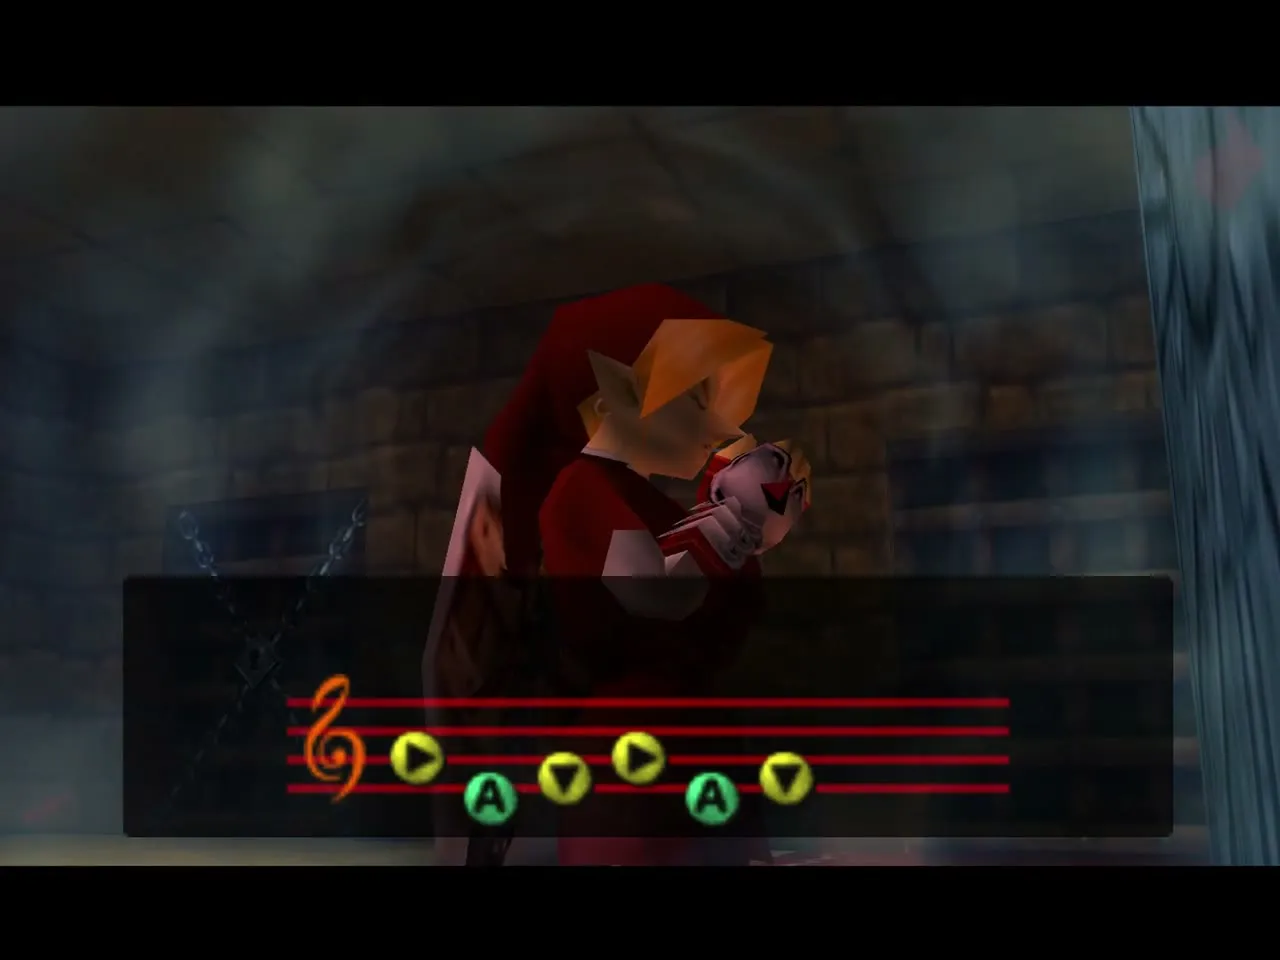
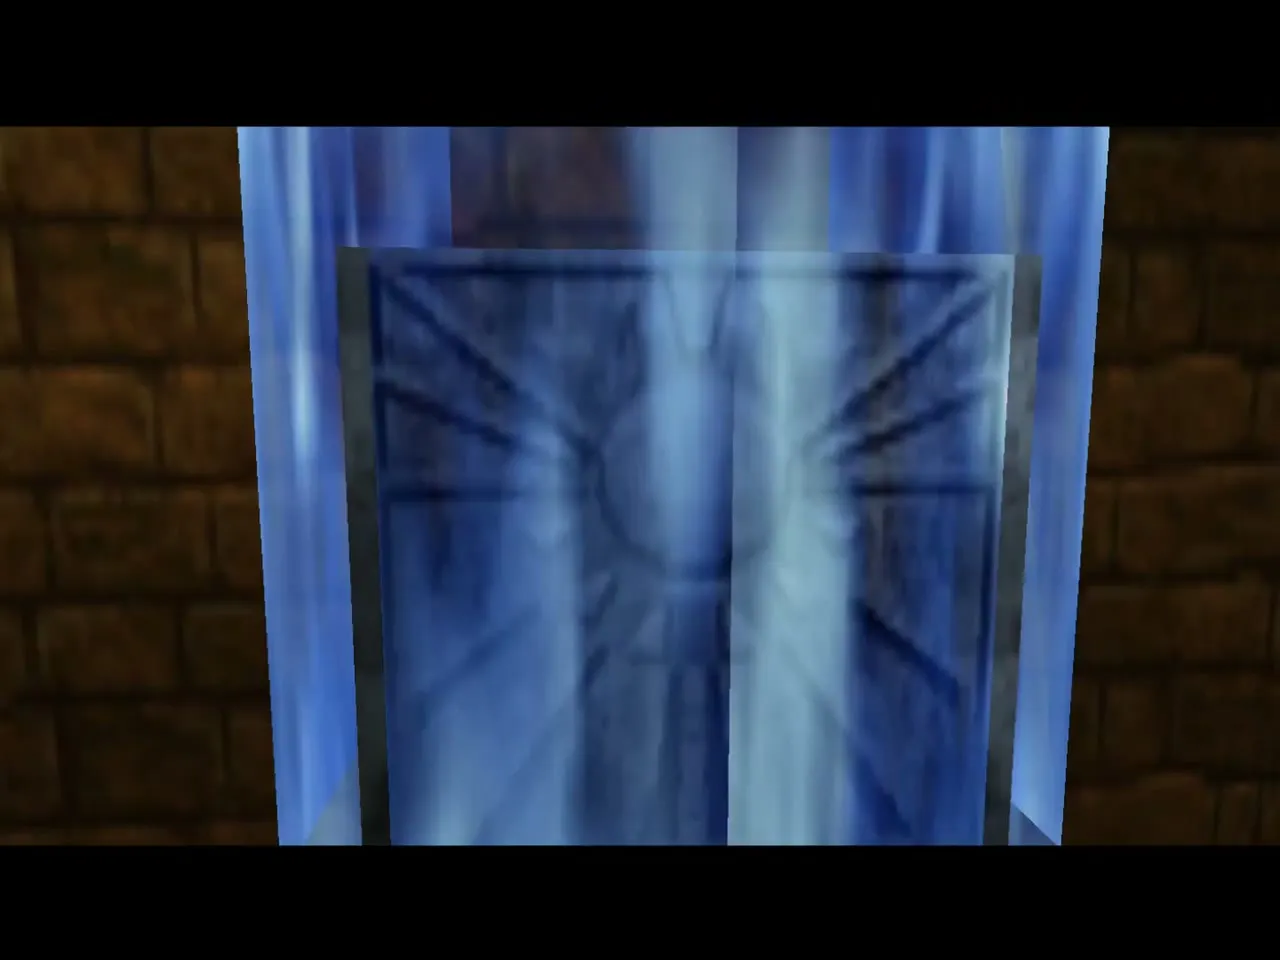
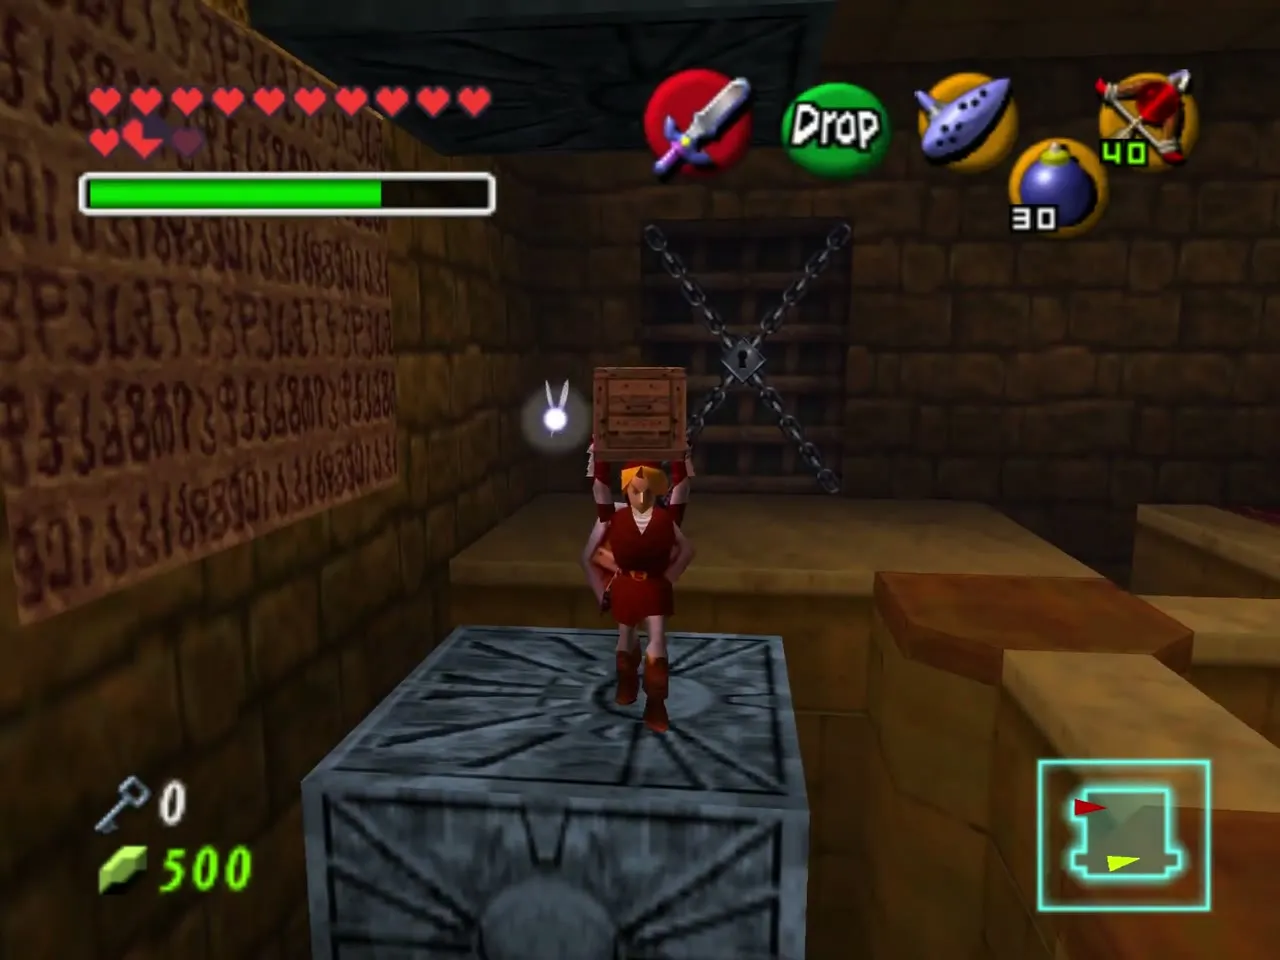
Play the Song of Time beside the Time block on the floor, and it appears on the other side of the room and uncovers a floor switch. Two Time blocks stack over a pit, each with a crate on top. Play the Song of Time twice to bring the crates down, then carry one to the switch to open the door.
Dinalfos and the trap chest
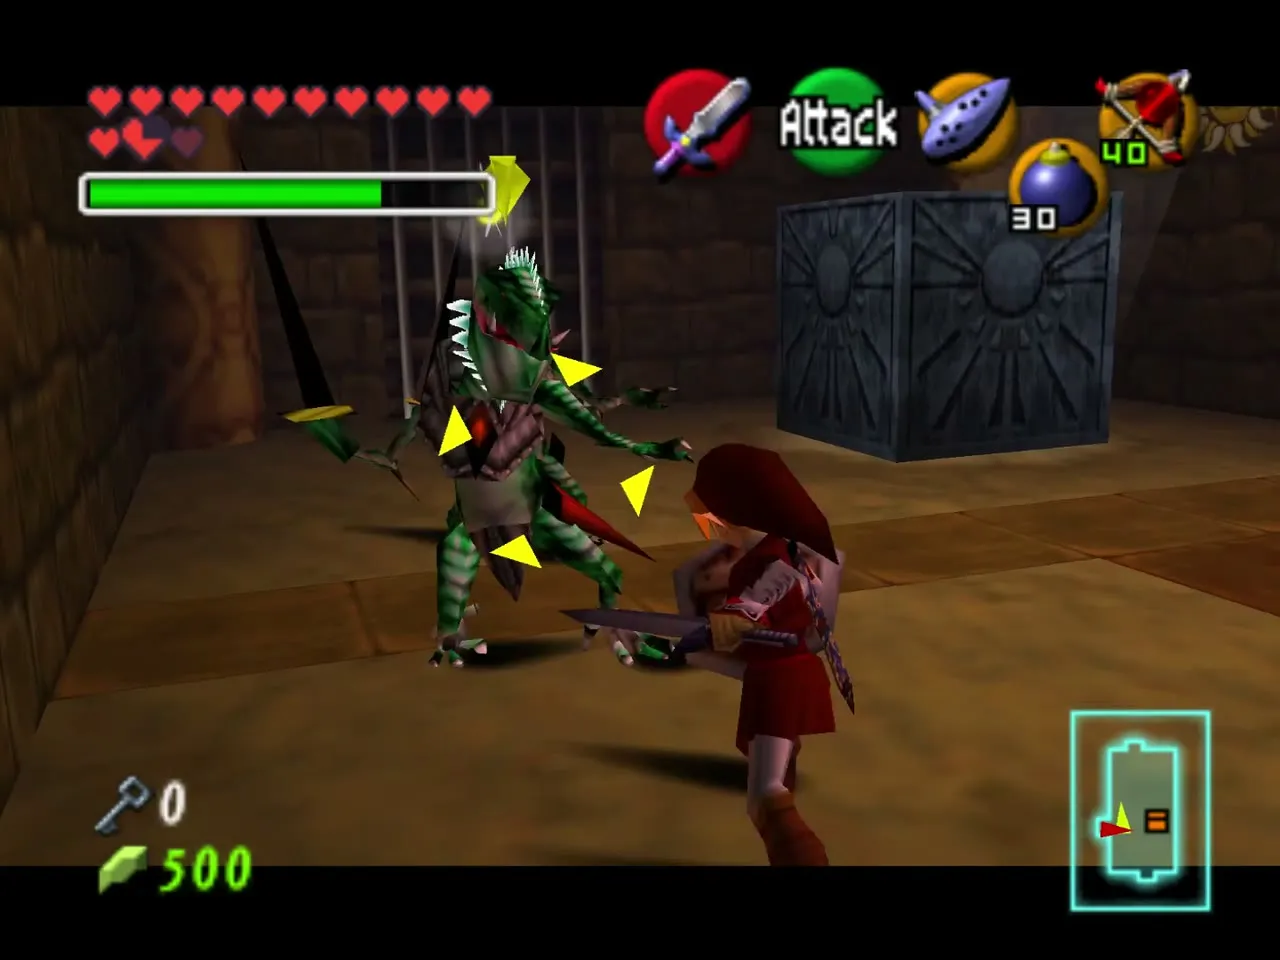
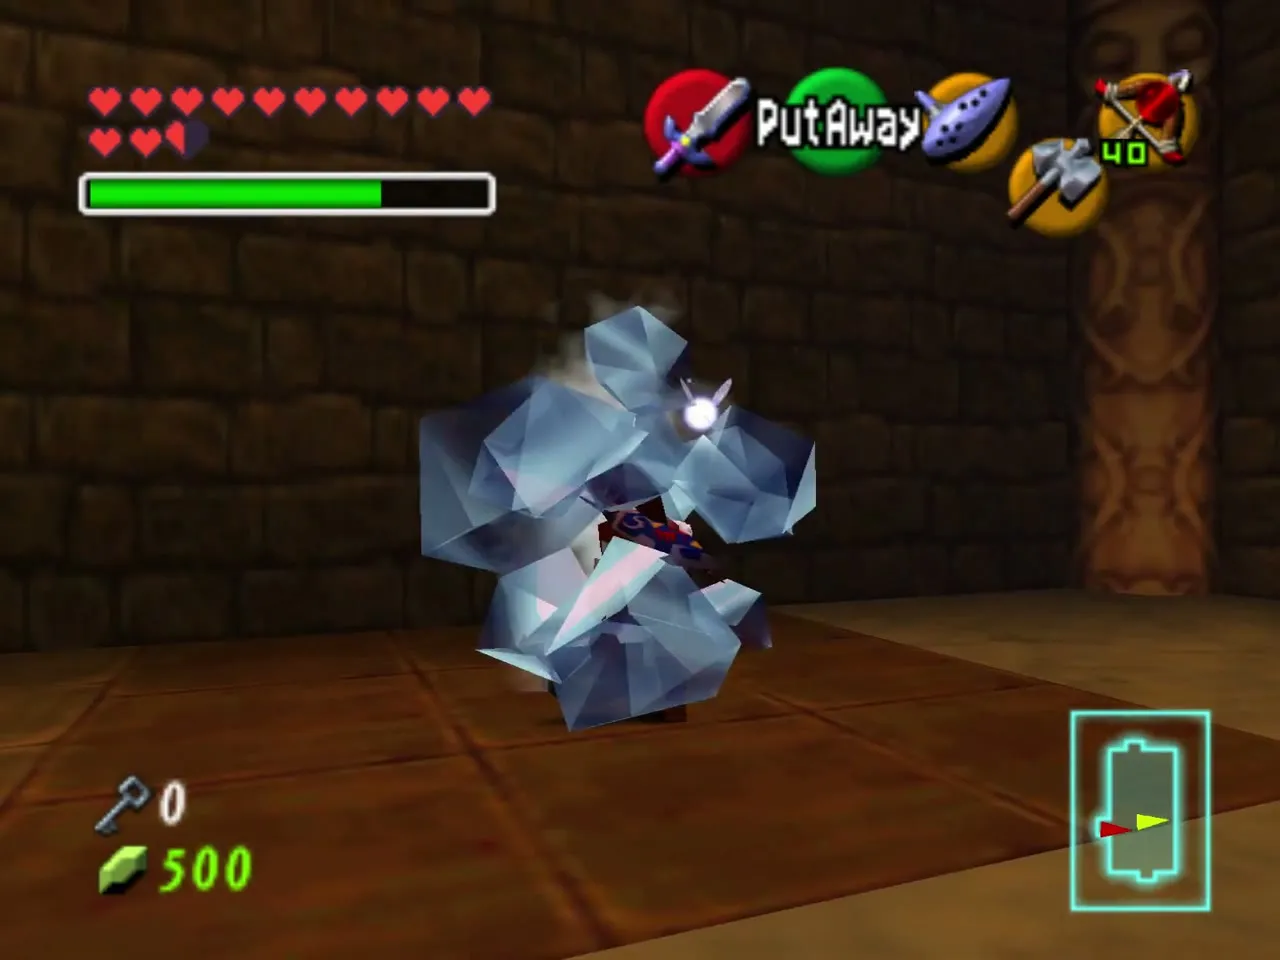
Two Dinalfos, which only appear in this version of the temple, attack in the next room. Stun them with Deku Nuts and finish them with your sword. A chest in the room is a trap that freezes you in ice. Mash the buttons to break free; it also gives a heart, so open it only if you want one. Go through the door past the Dinalfos.
Second Iron Knuckle and the Mirror Shield
In the corridor beyond, an invisible Floormaster stalks you: use the Lens of Truth and arrows on it, then turn the Lens off and burn the small hands with Din’s Fire. The door opens onto a second Iron Knuckle. Your adult sword makes him much easier than the child fight. The exit behind his throne leads to a chest.
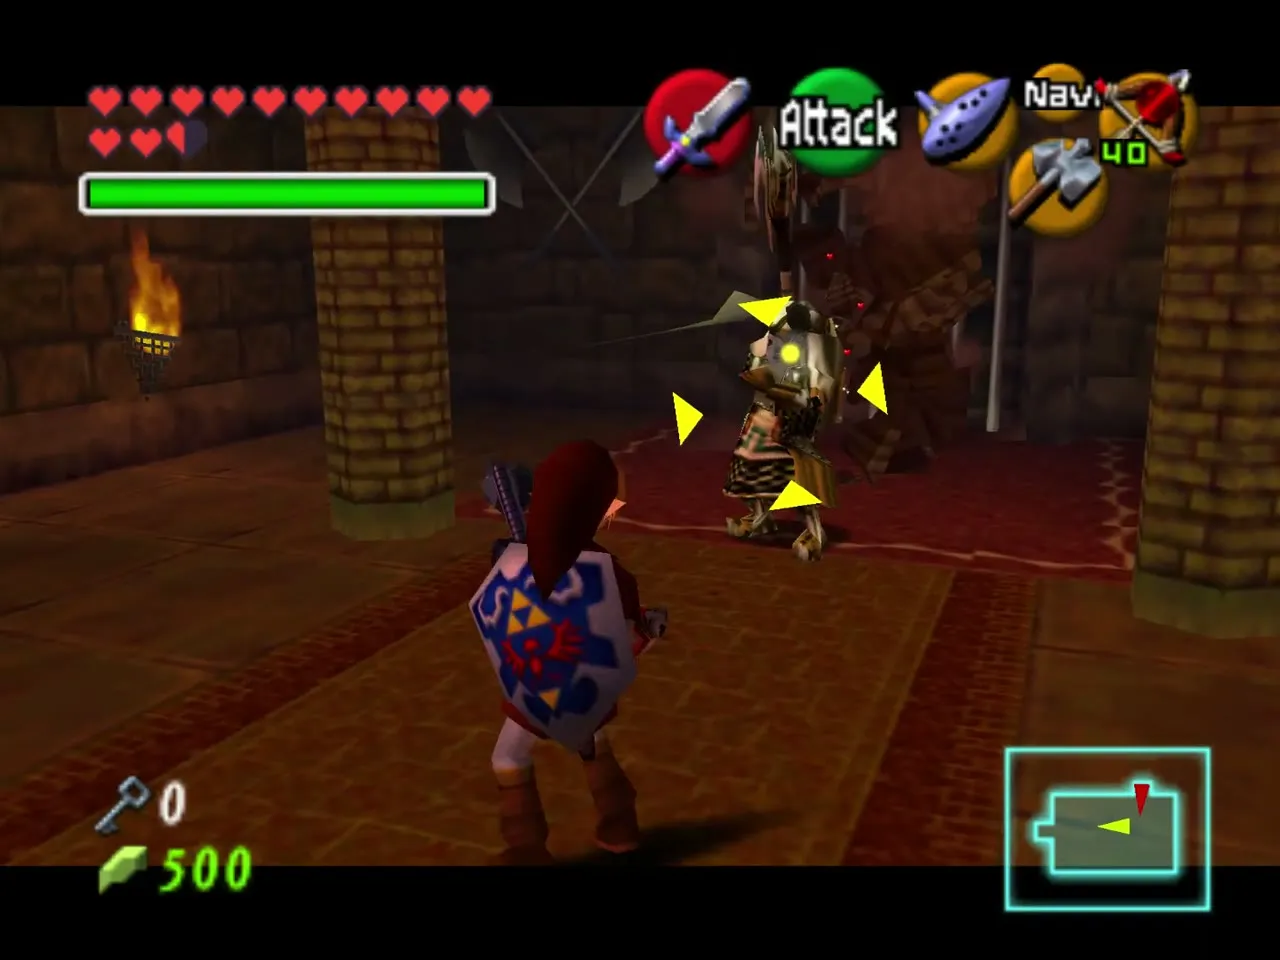
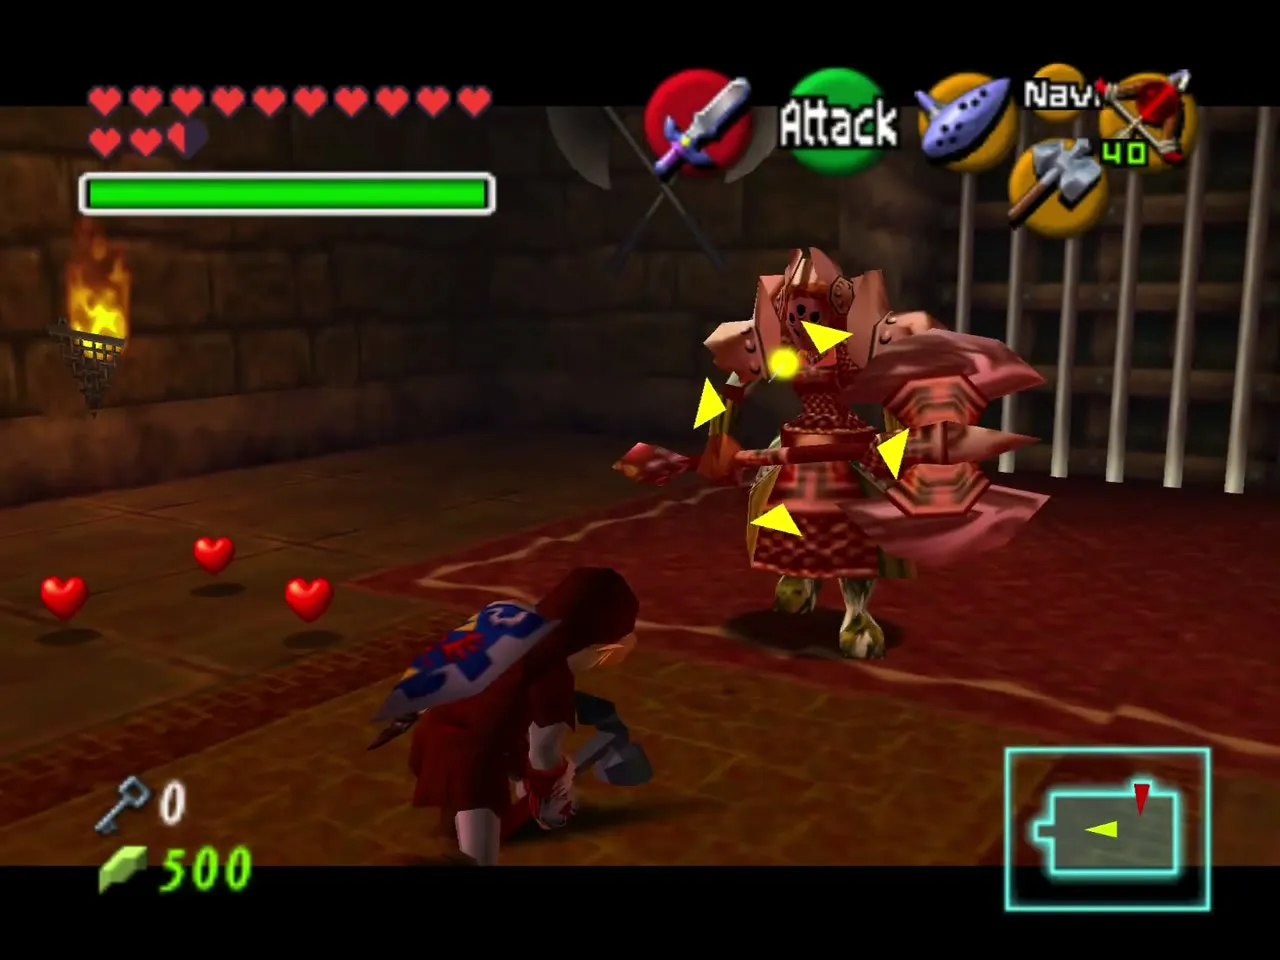
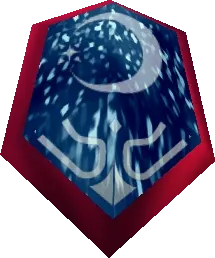
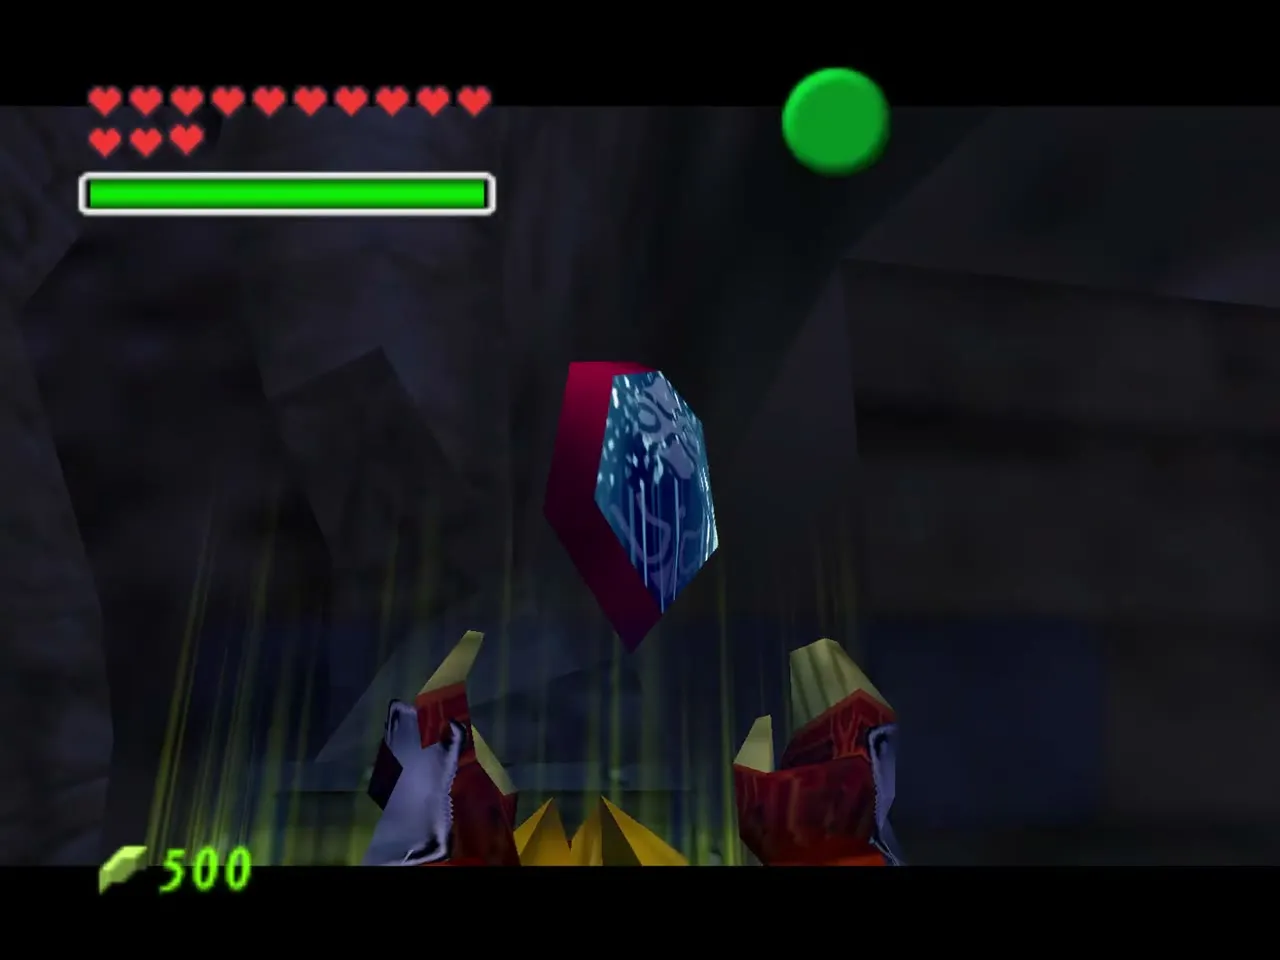
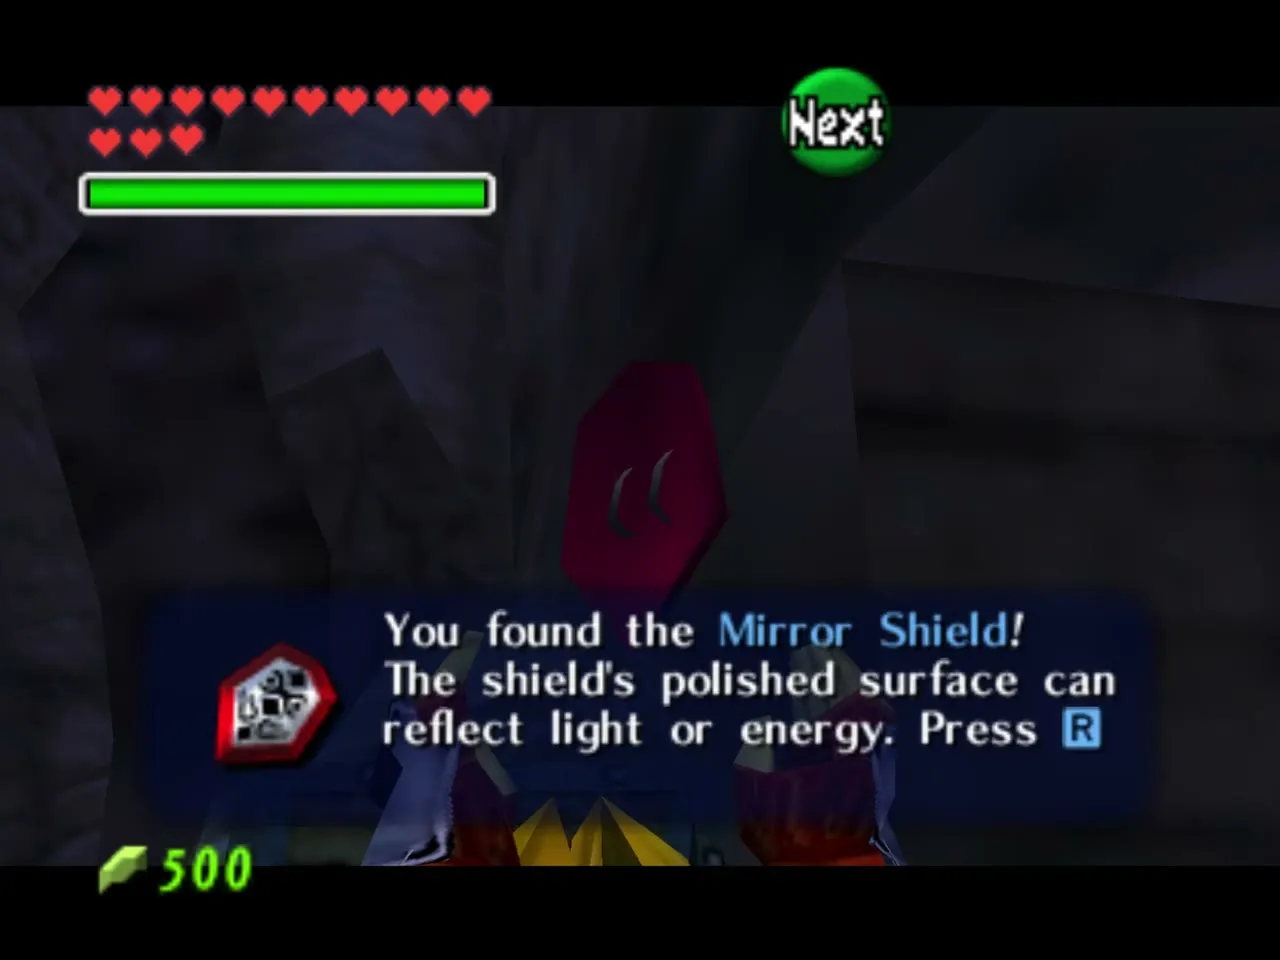
Open the large chest for the Mirror Shield, the second dungeon item of the temple. It reflects light and magic, and the rest of the dungeon depends on it. Equip it on the Equipment screen.
Sun face, the Gibdo and the Boss Key
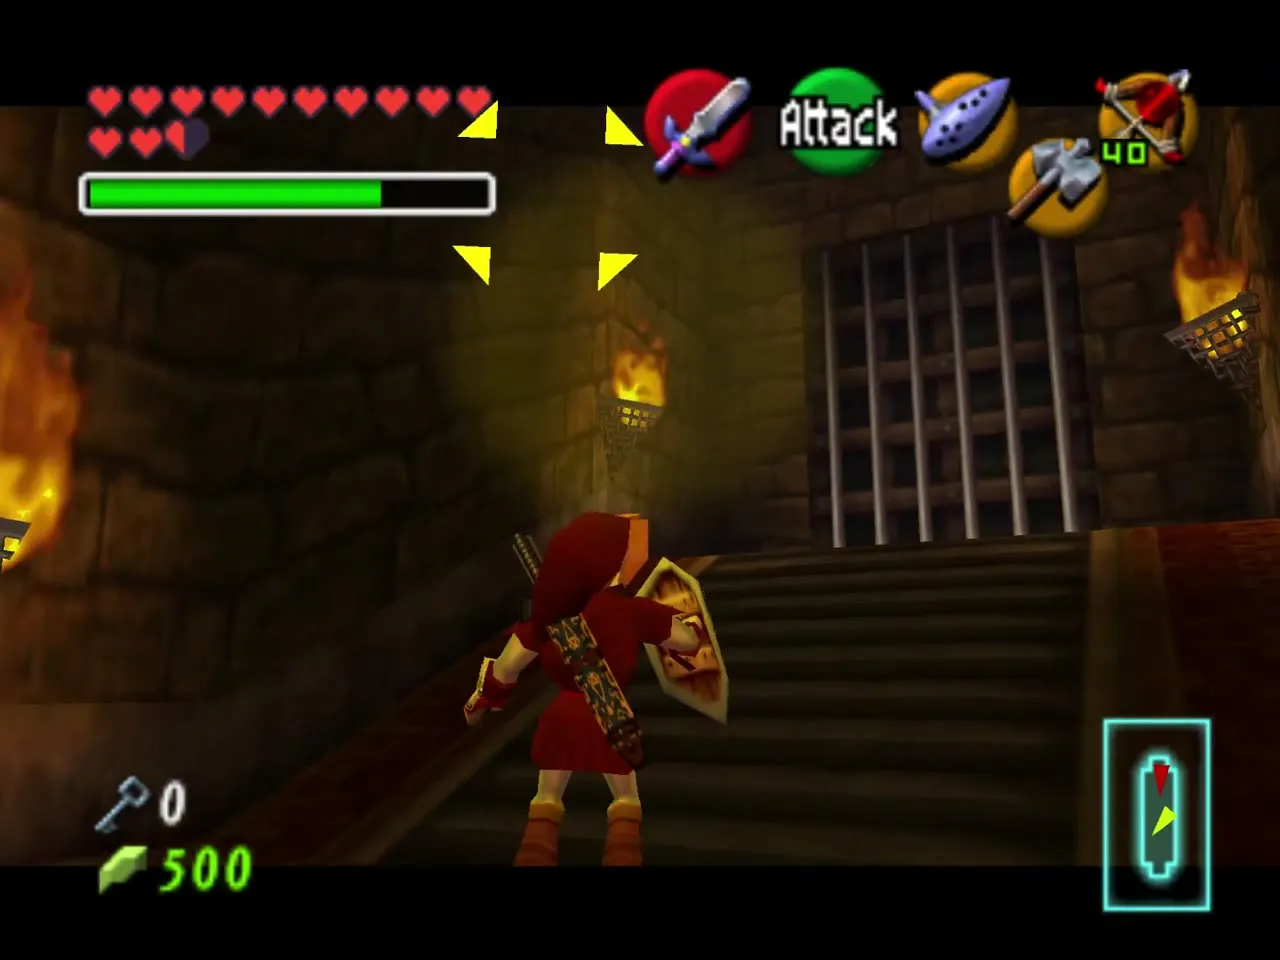
Return the way you came and kill the Dinalfos again. Climb onto the Time block on the side where sunlight falls and tilt the Mirror Shield to hit the sun emblem on the wall. The door opens onto a Gibdo. Play the Sun’s Song to freeze it, then strike.
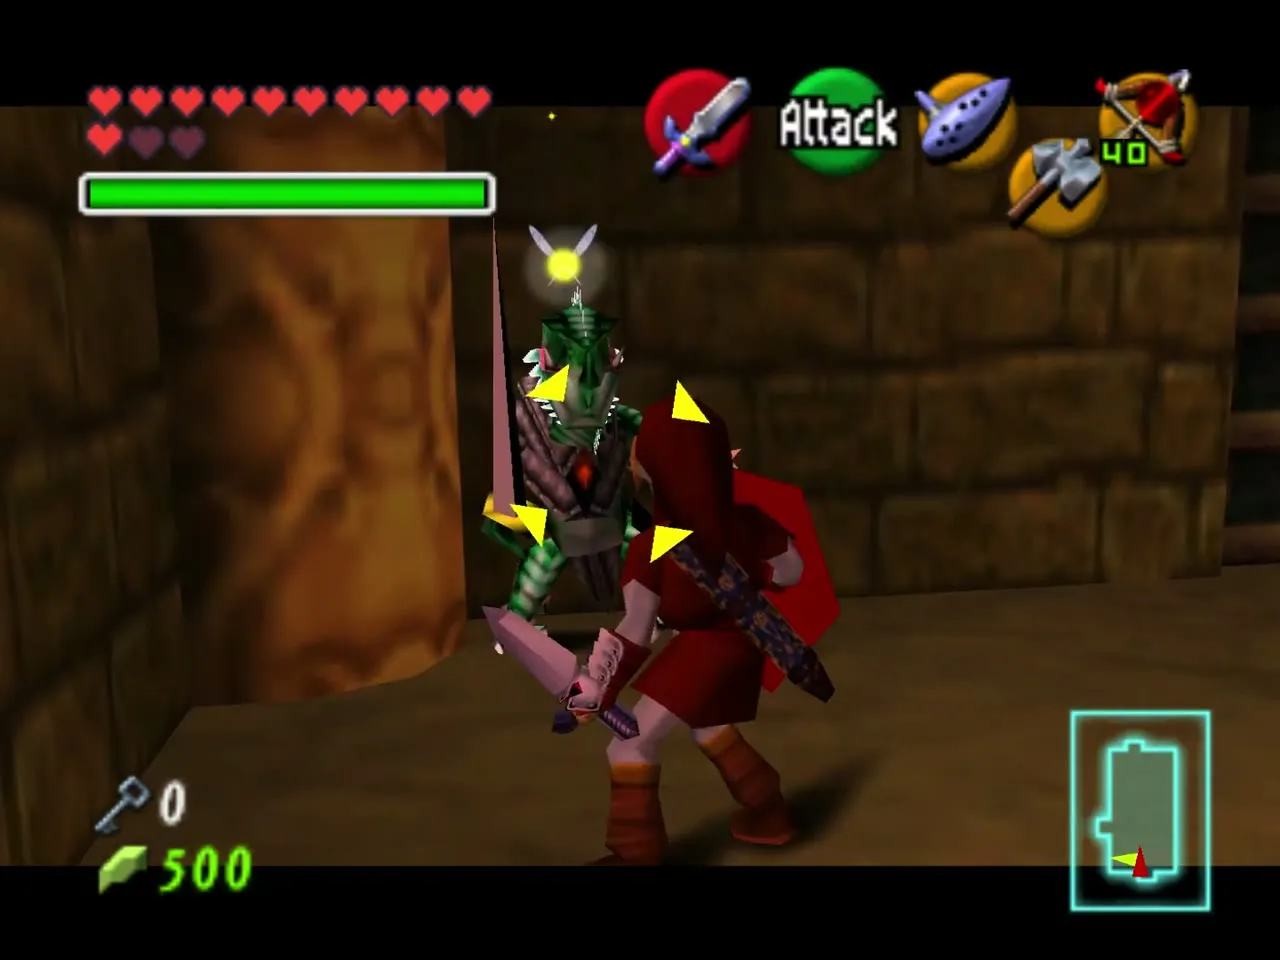
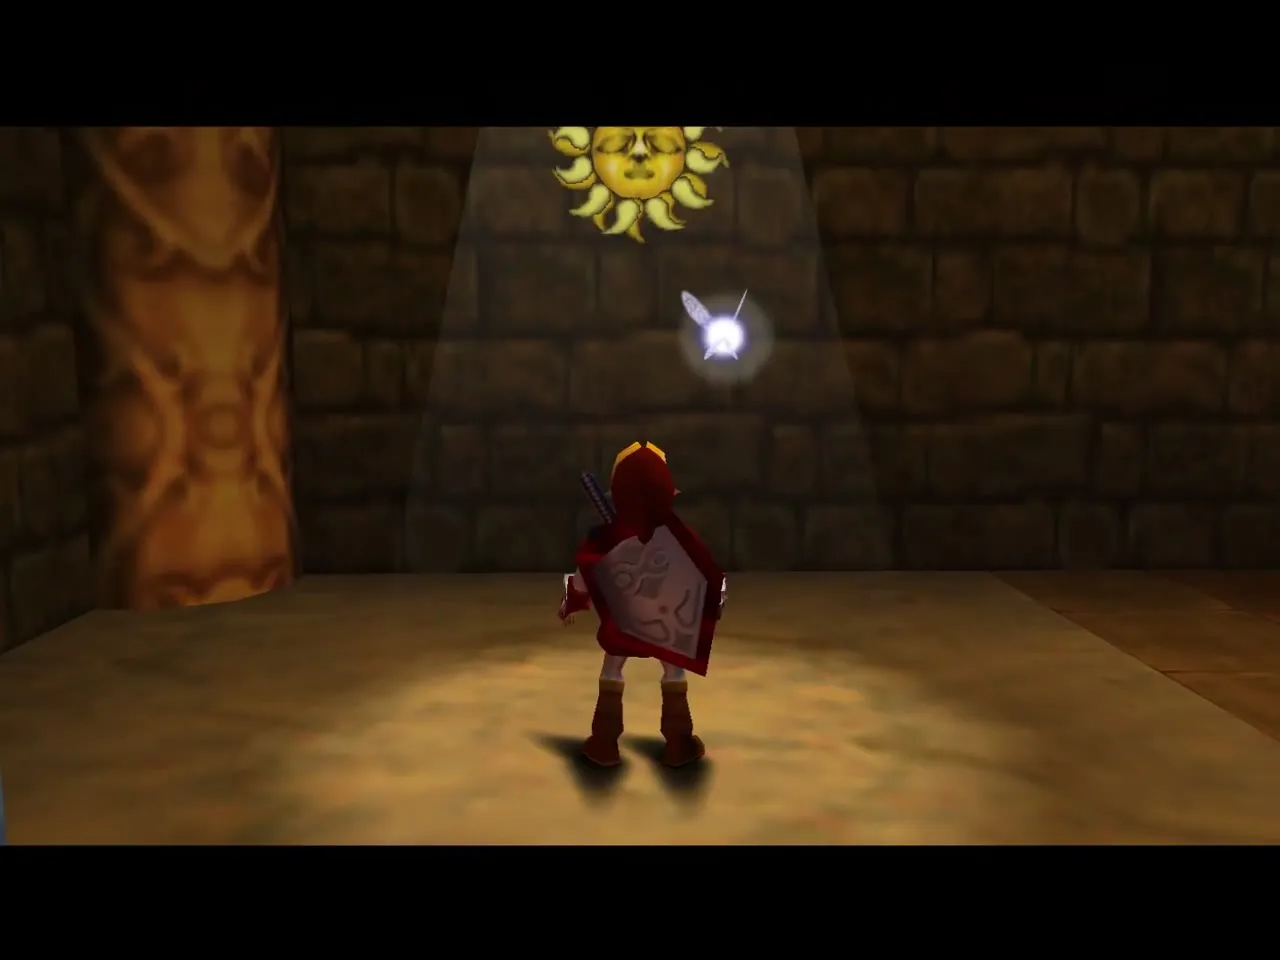
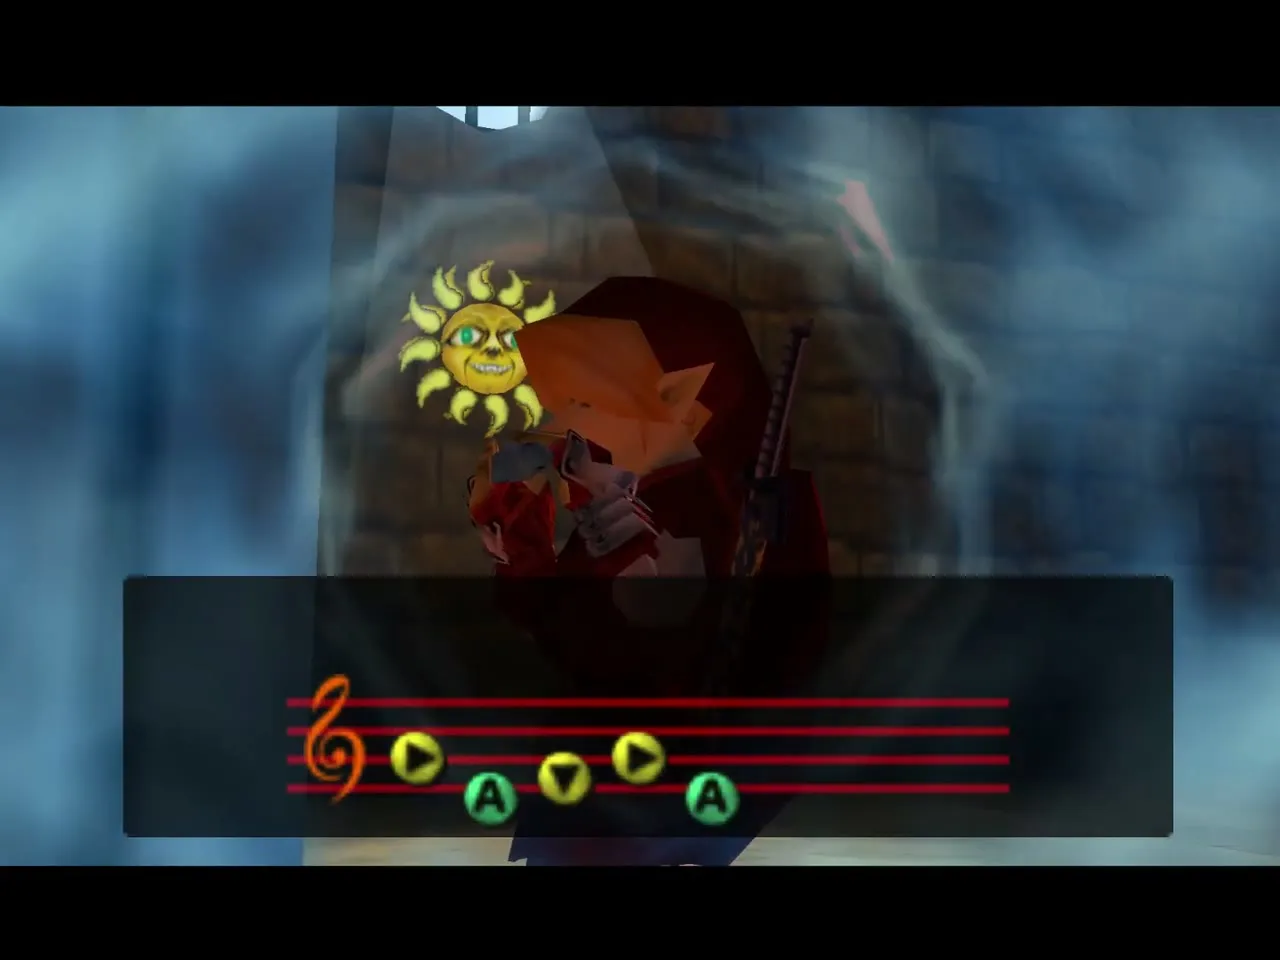
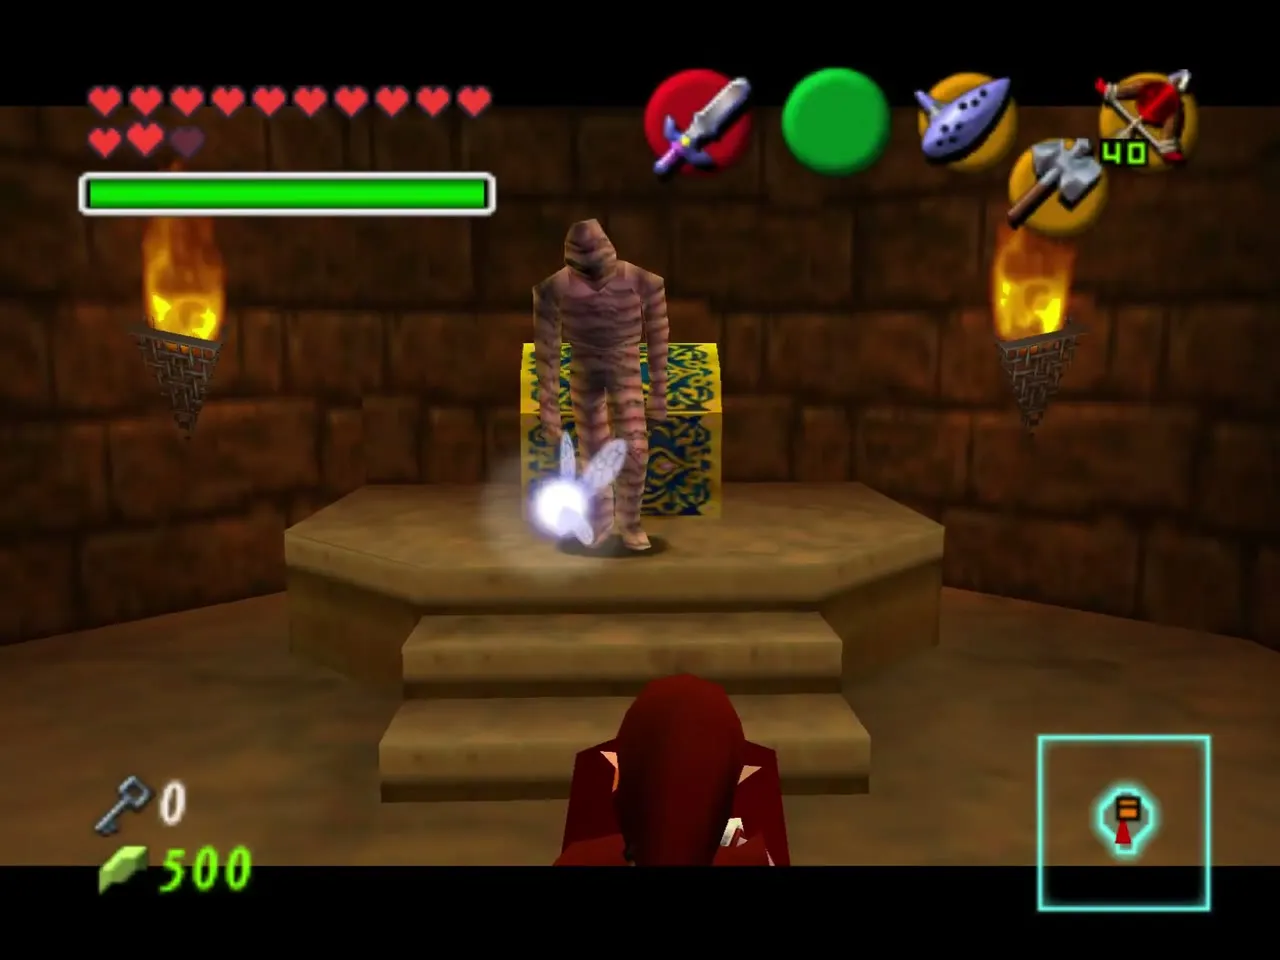
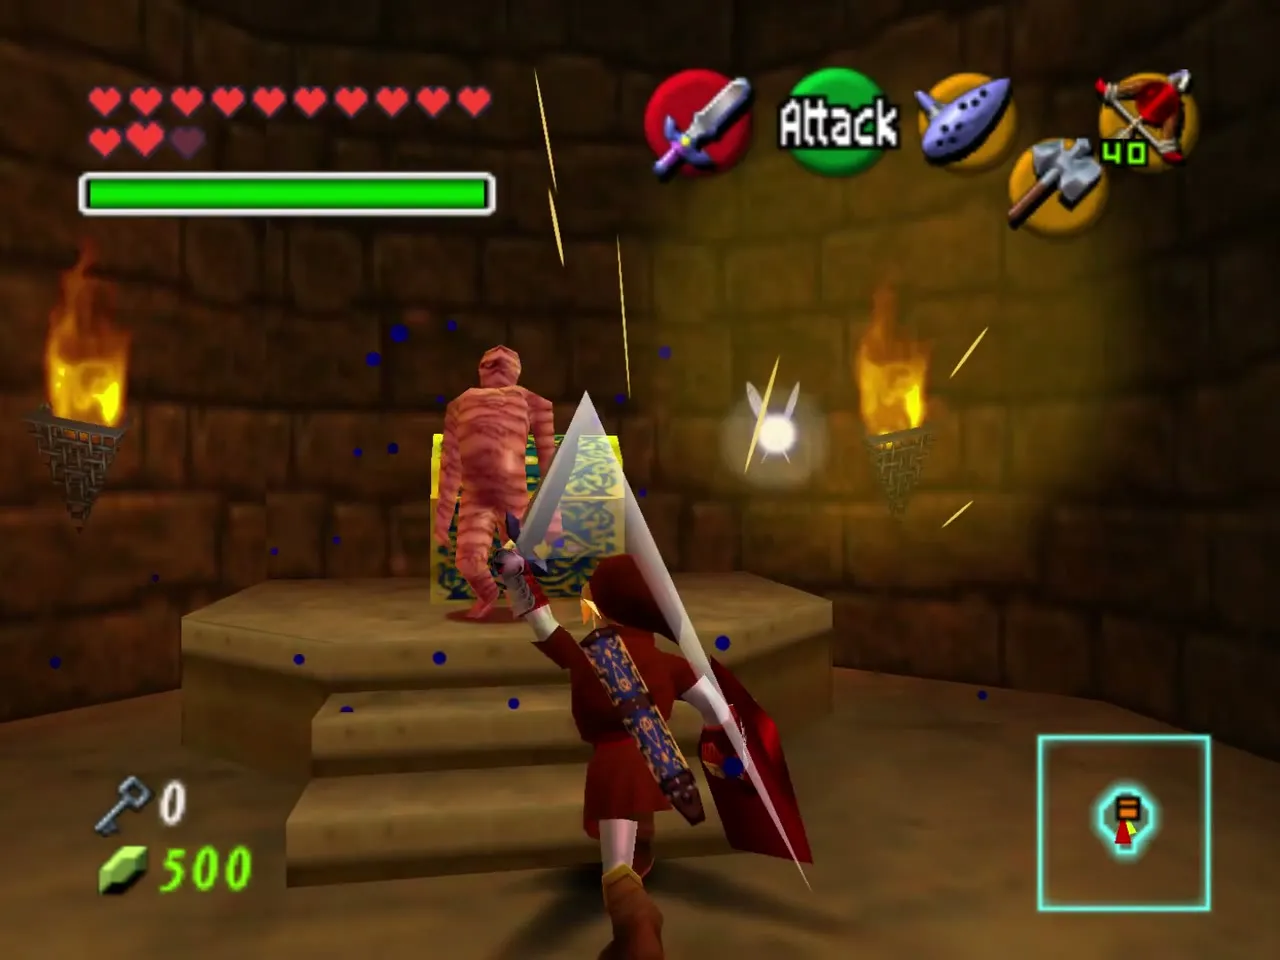
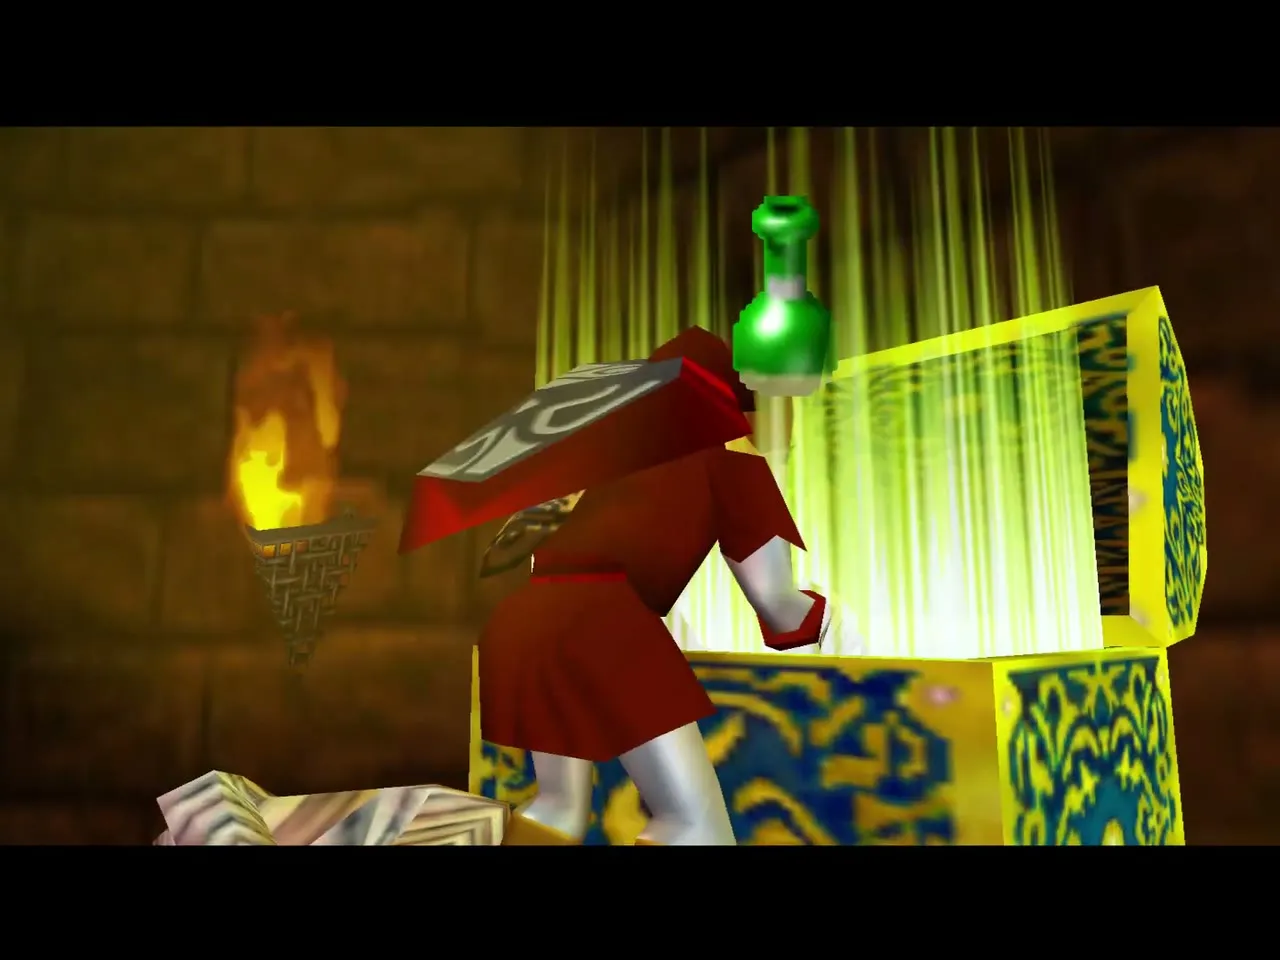
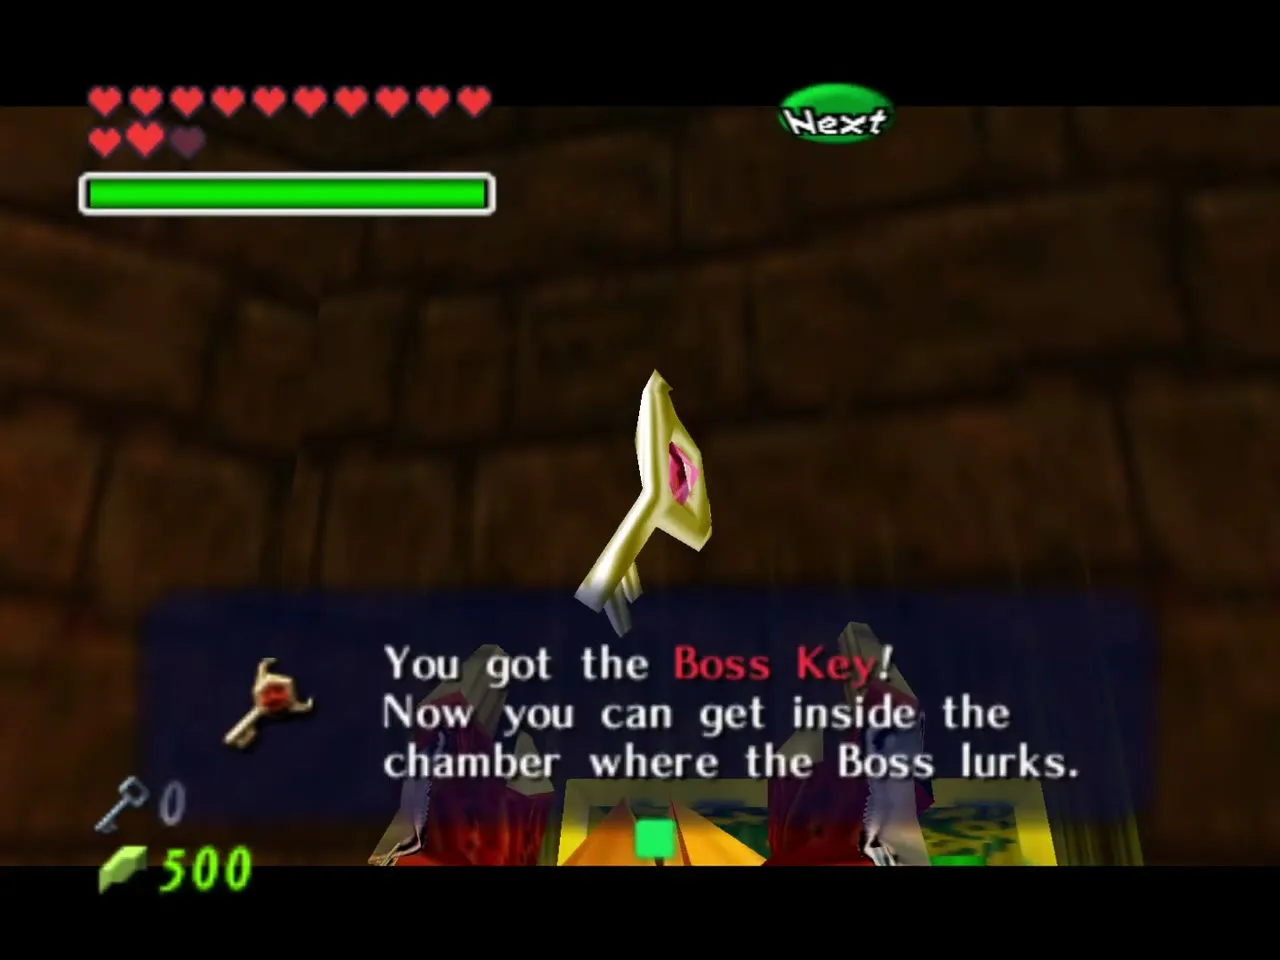
Open the large chest behind the Gibdo for the Boss Key.
Two Stalfos and the sun faces
Go back to the statue room and shoot three torches with Fire Arrows from a spot where all three are in sight: two beside the statue and one up on a ledge. The lower east door opens. Longshot across and enter. Two Stalfos and a Wallmaster attack here, so keep moving and use jump attacks.
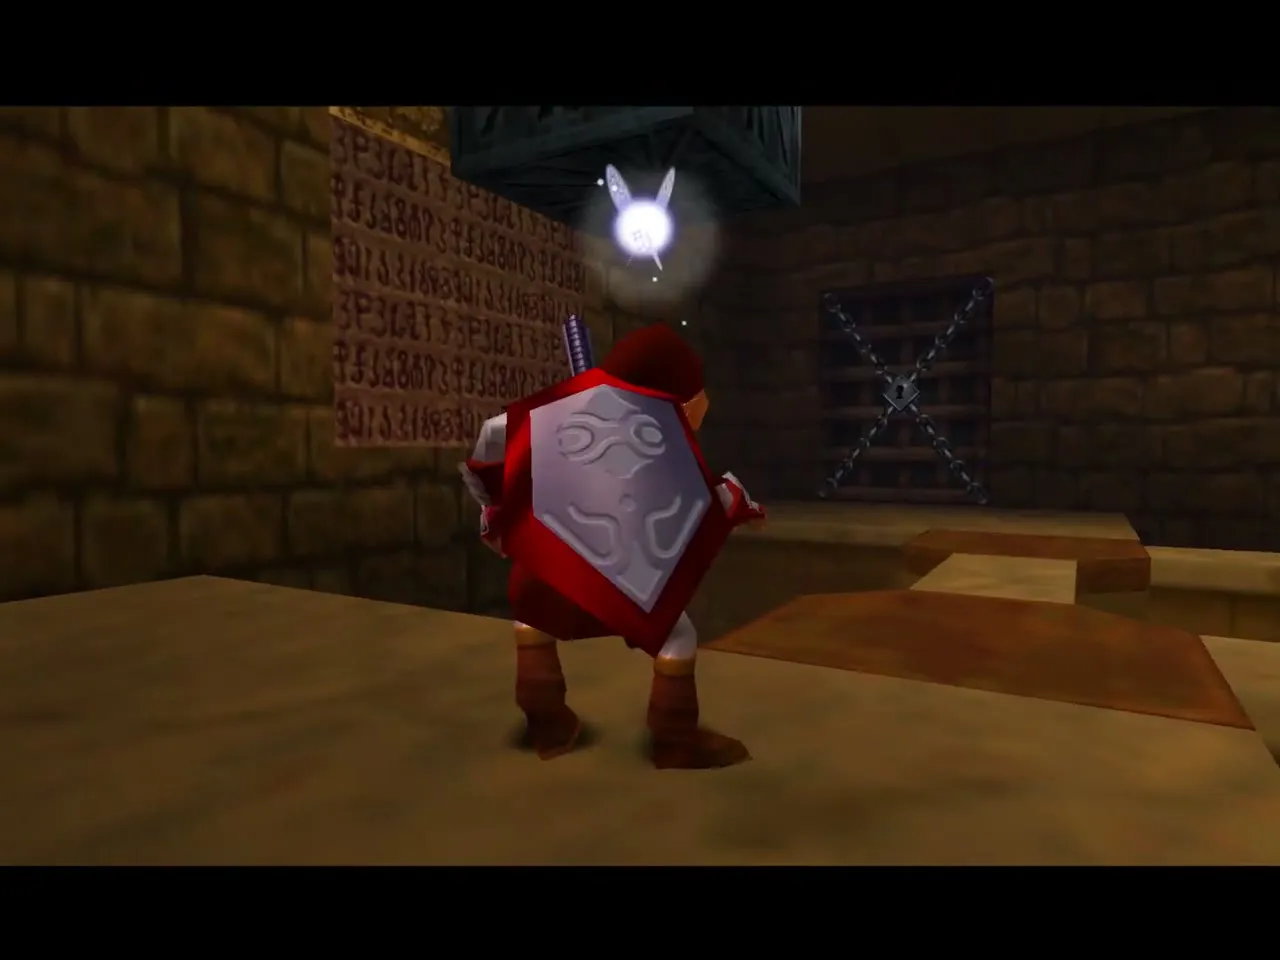
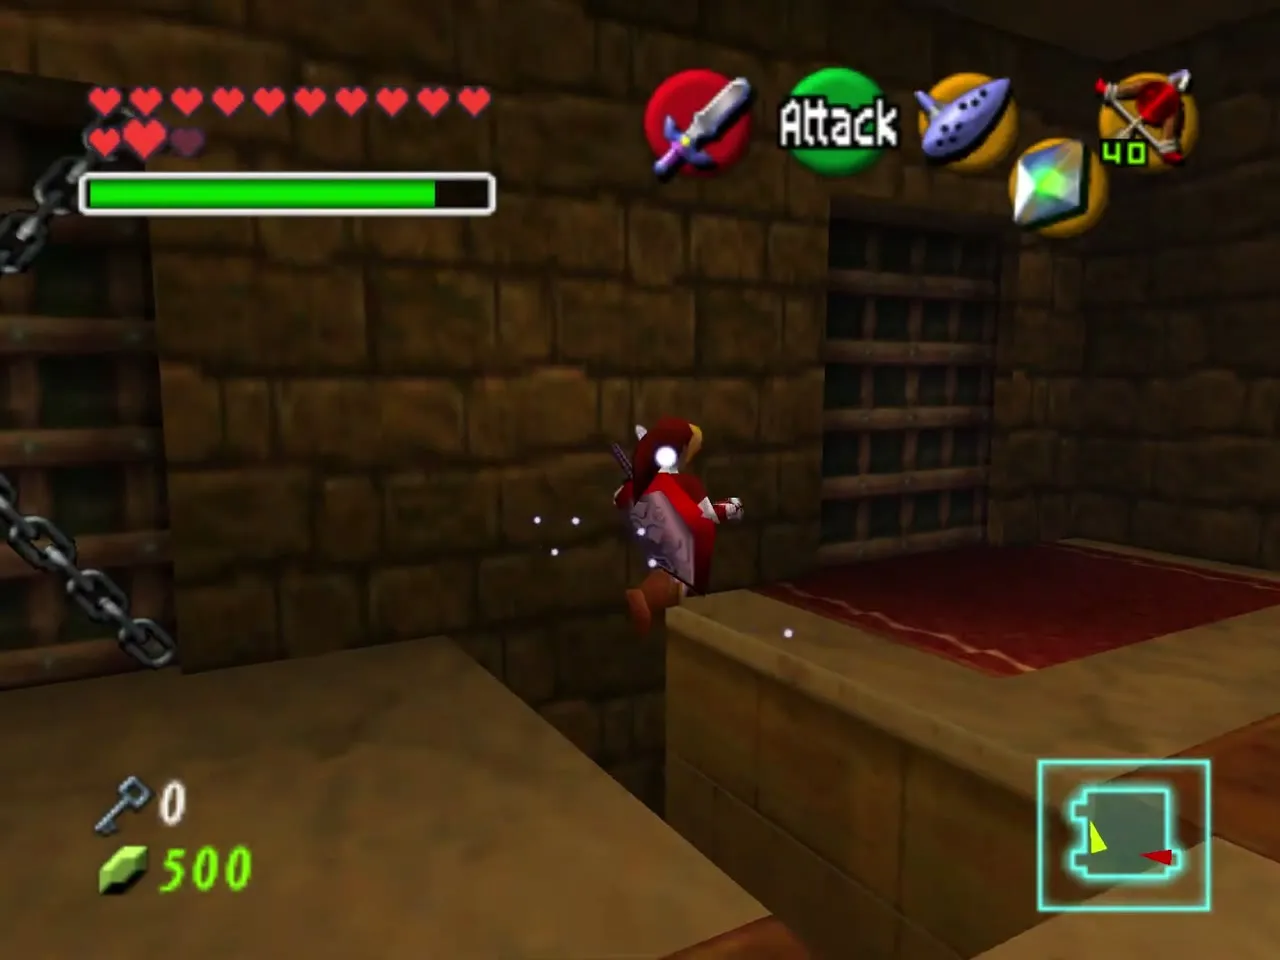
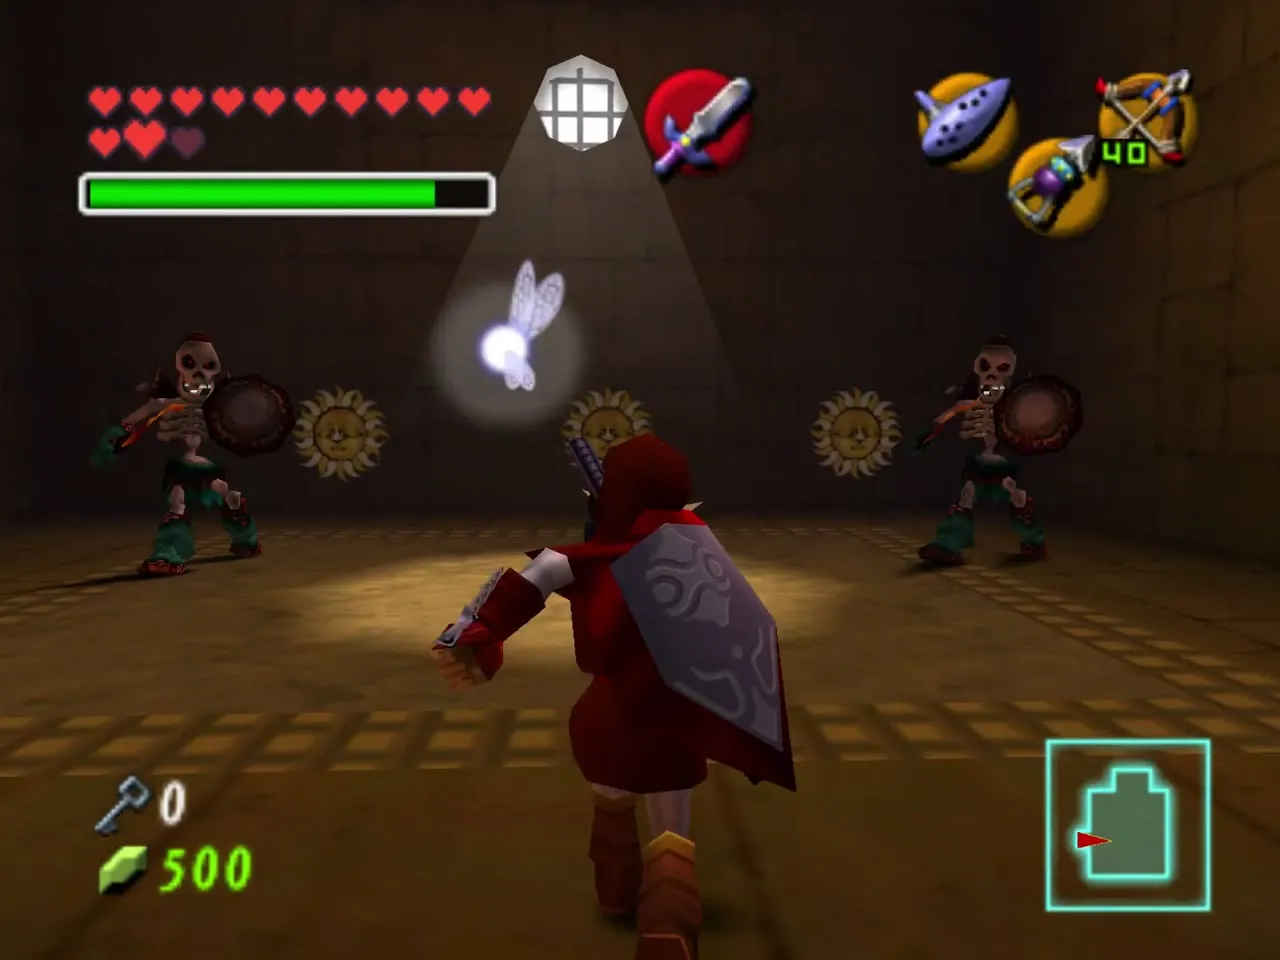
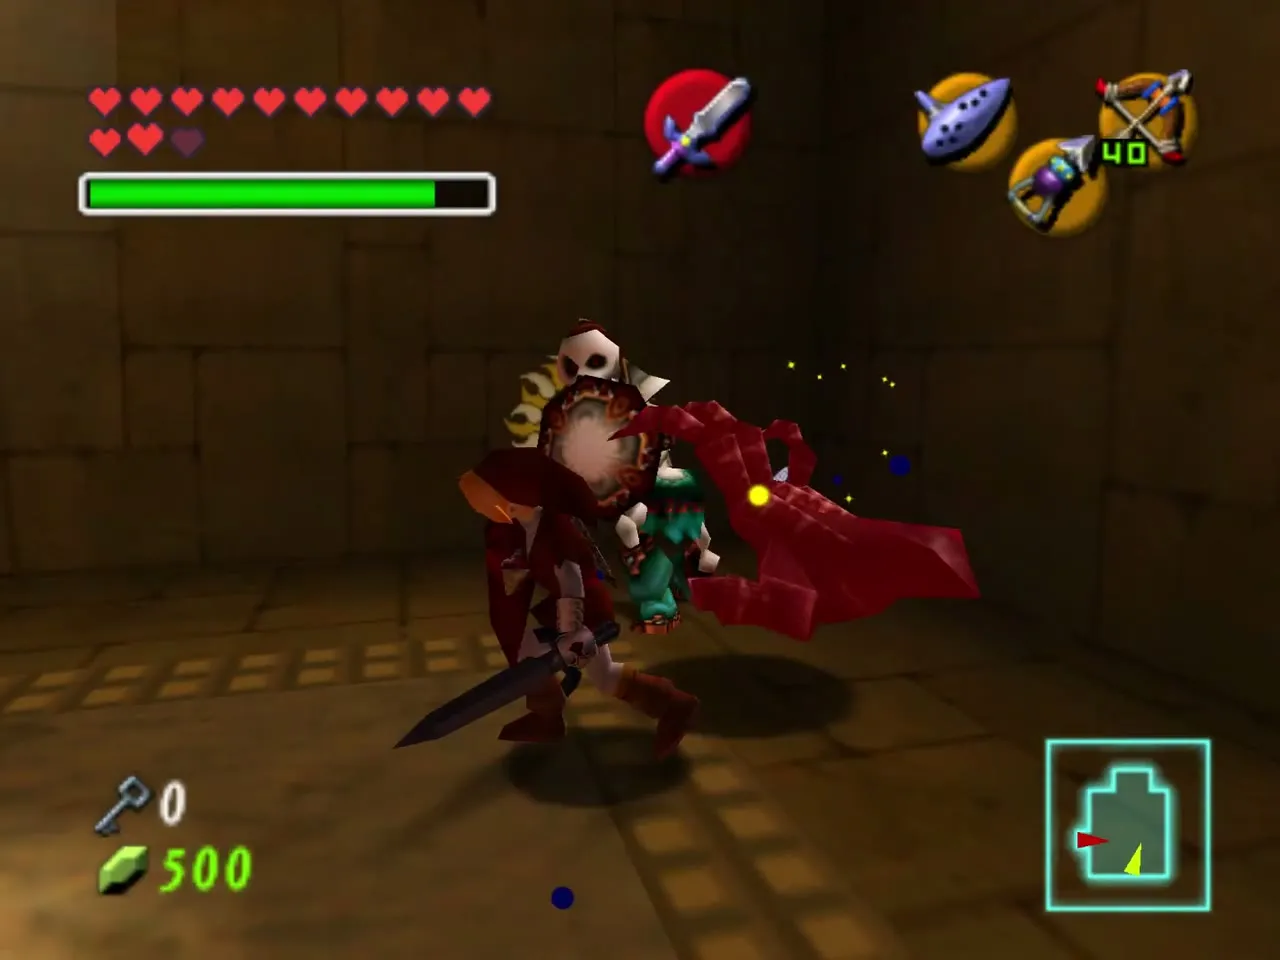
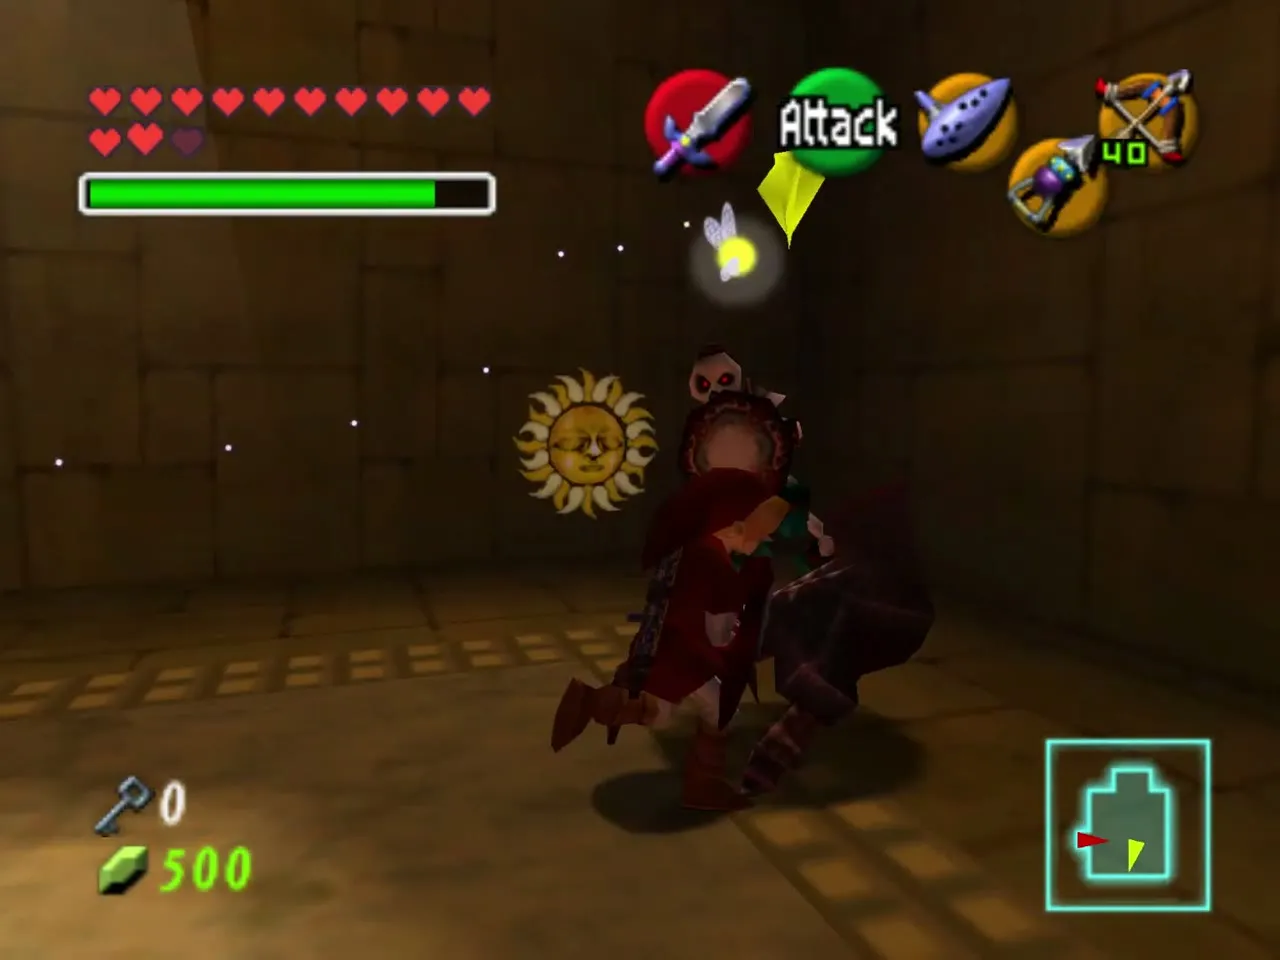
Shine light from the Mirror Shield onto the sun faces: all three are wrong and each sends a Wallmaster. Kill or dodge them to open the gate. Drop down, avoid the sliding blocks and go through the door.
Silver Rupees and Small Key 5
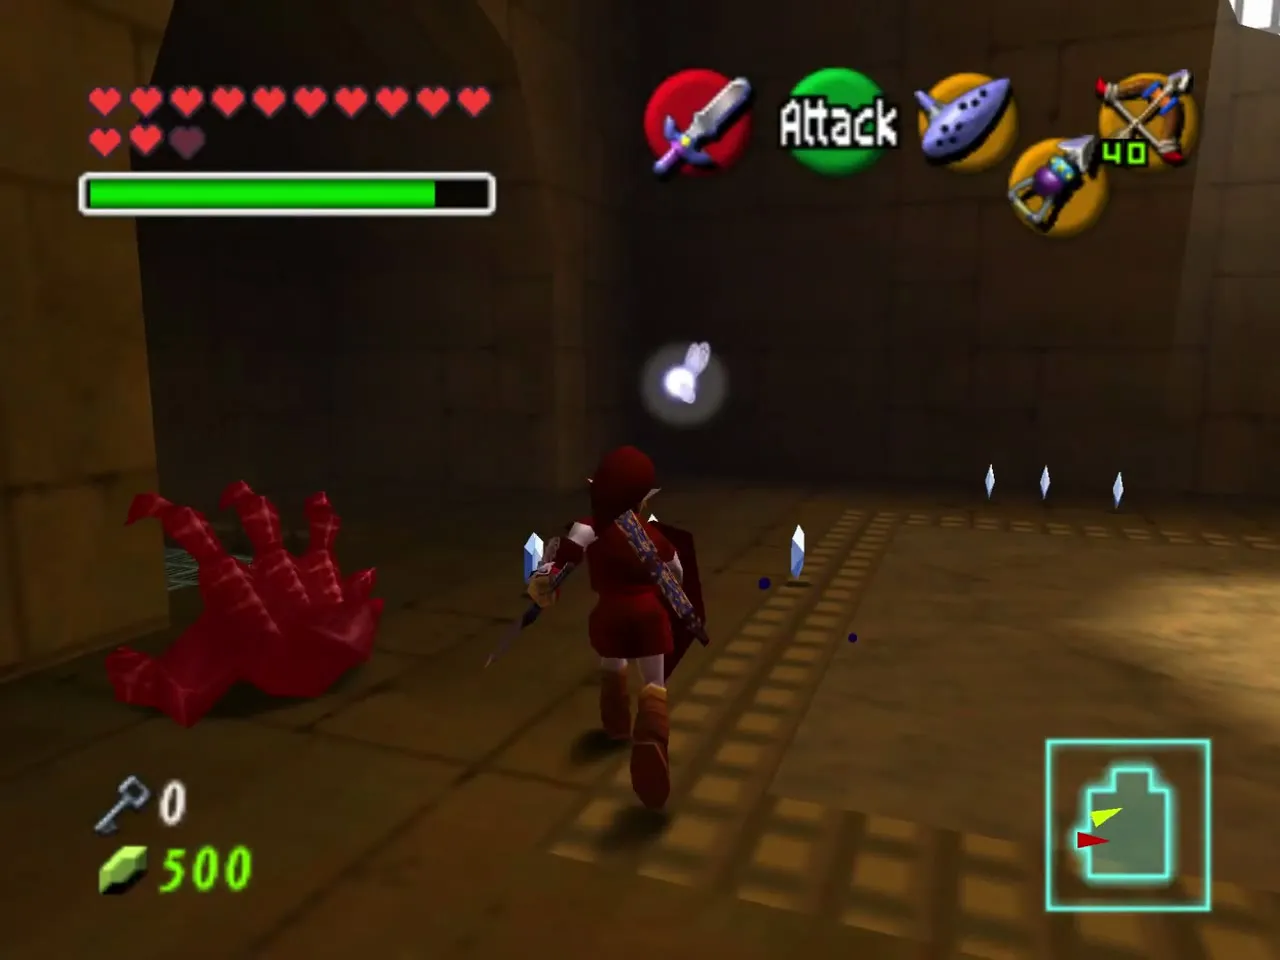
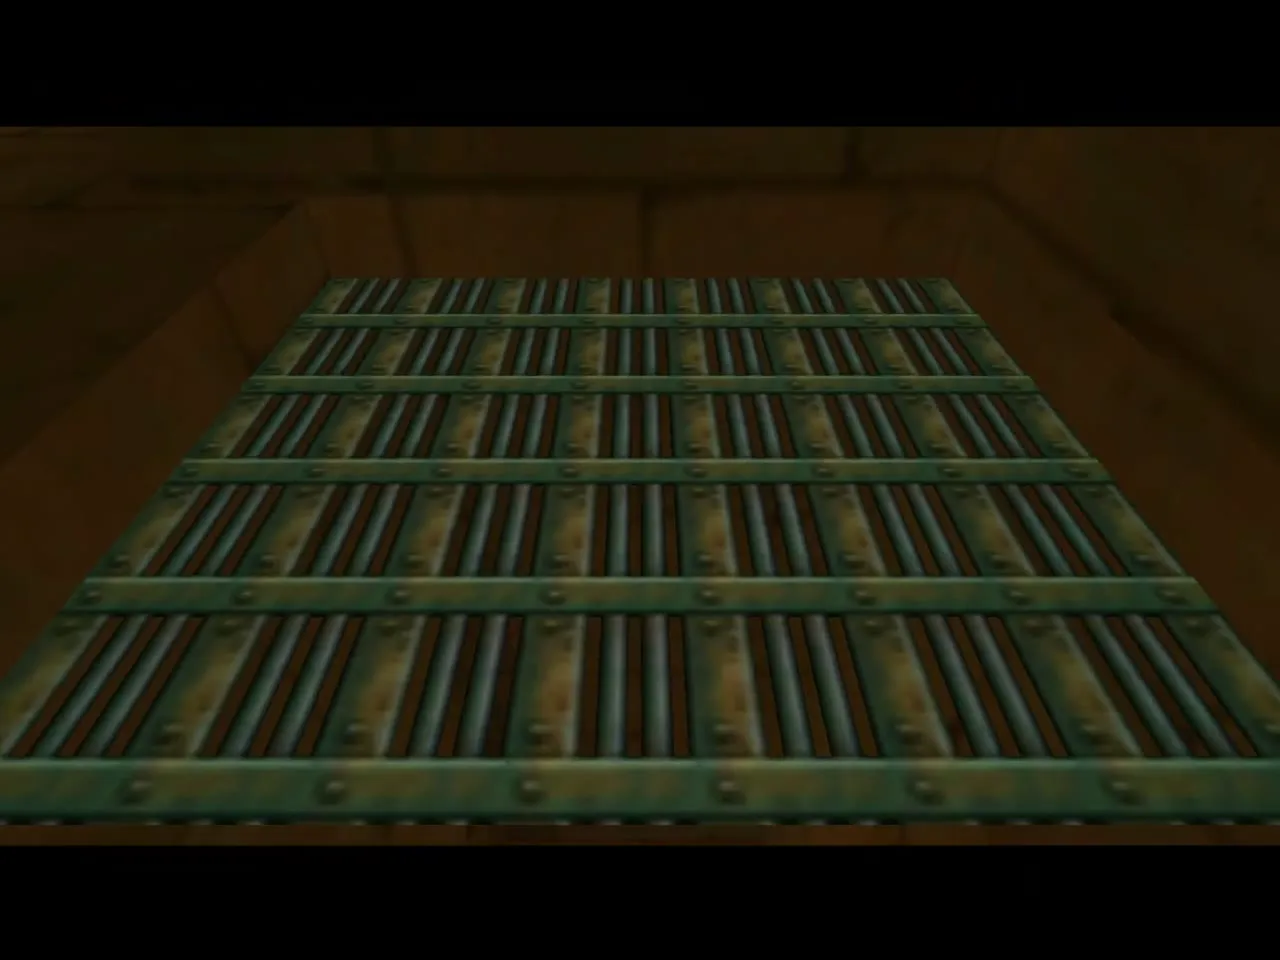
You come out on the far side of the entry hall water jet. Grab the Silver Rupee outside the door, then the one at the foot of the steps. Smash the boulder with the Megaton Hammer, hit the rusty switch to stop the water, and run across the gap for the third rupee. In the main room, hammer the two boulders by the snake statues for the last two, and a chest with Small Key 5 appears.
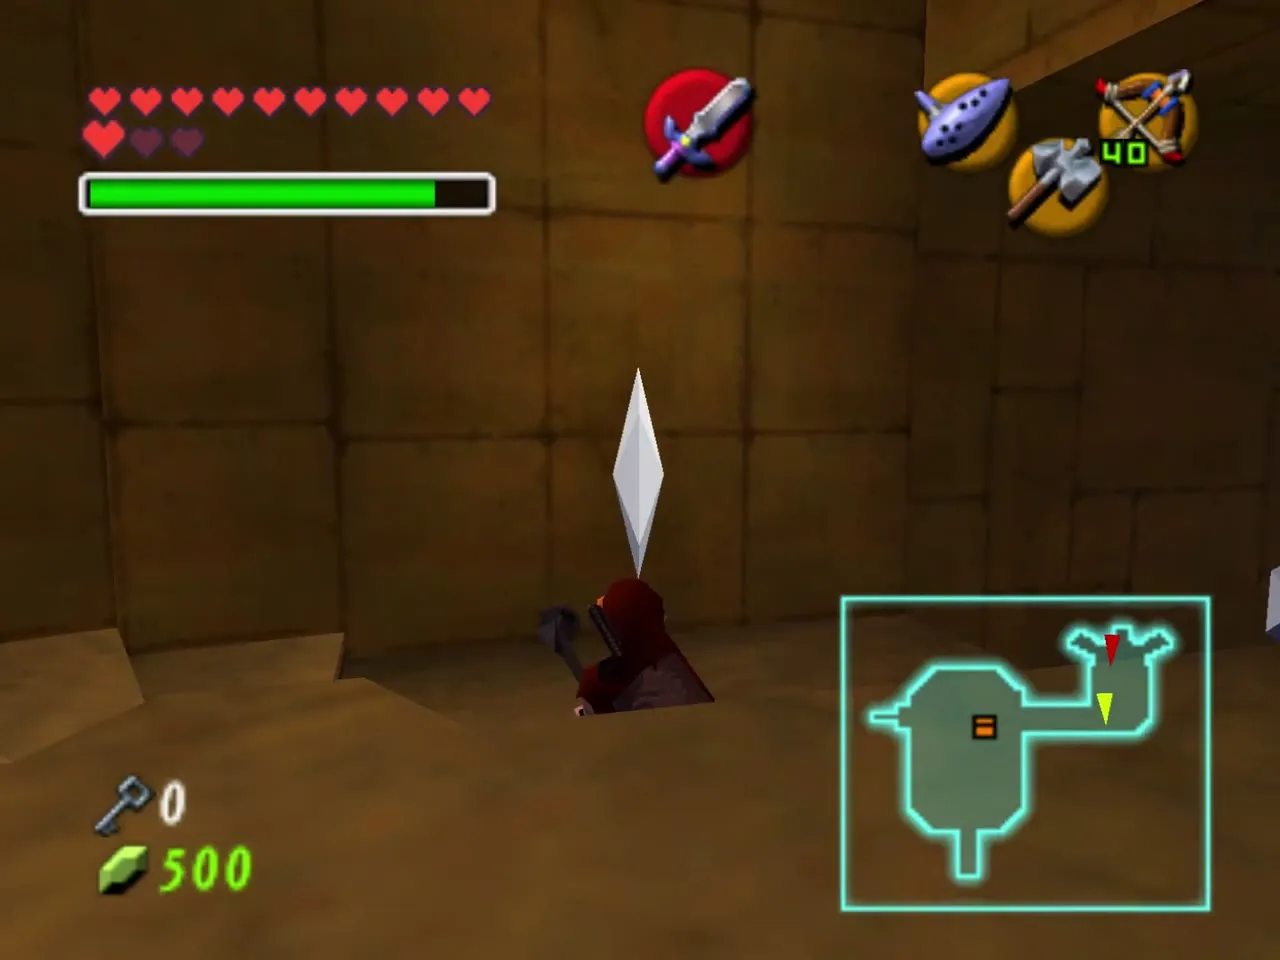
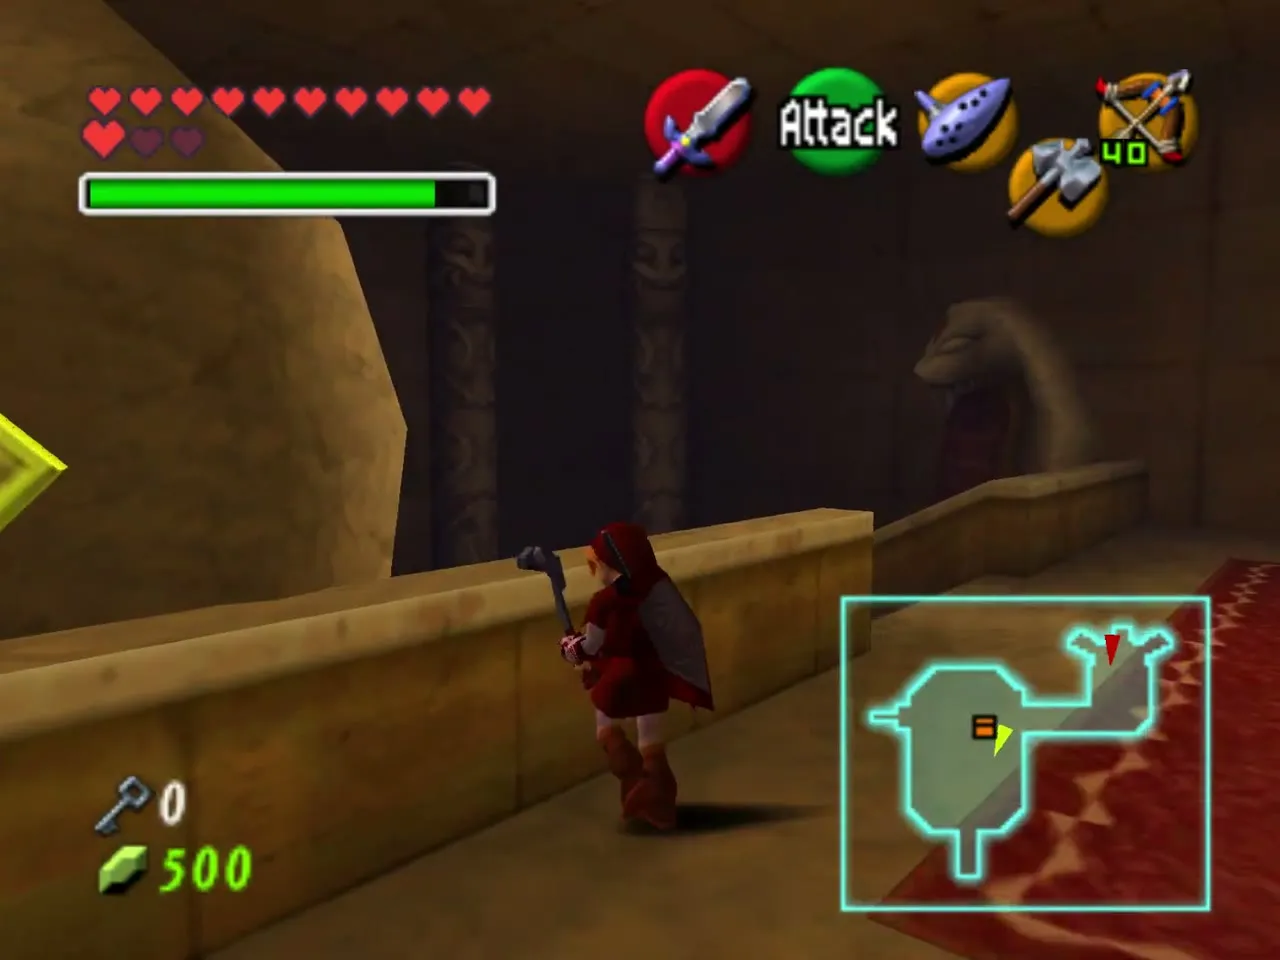
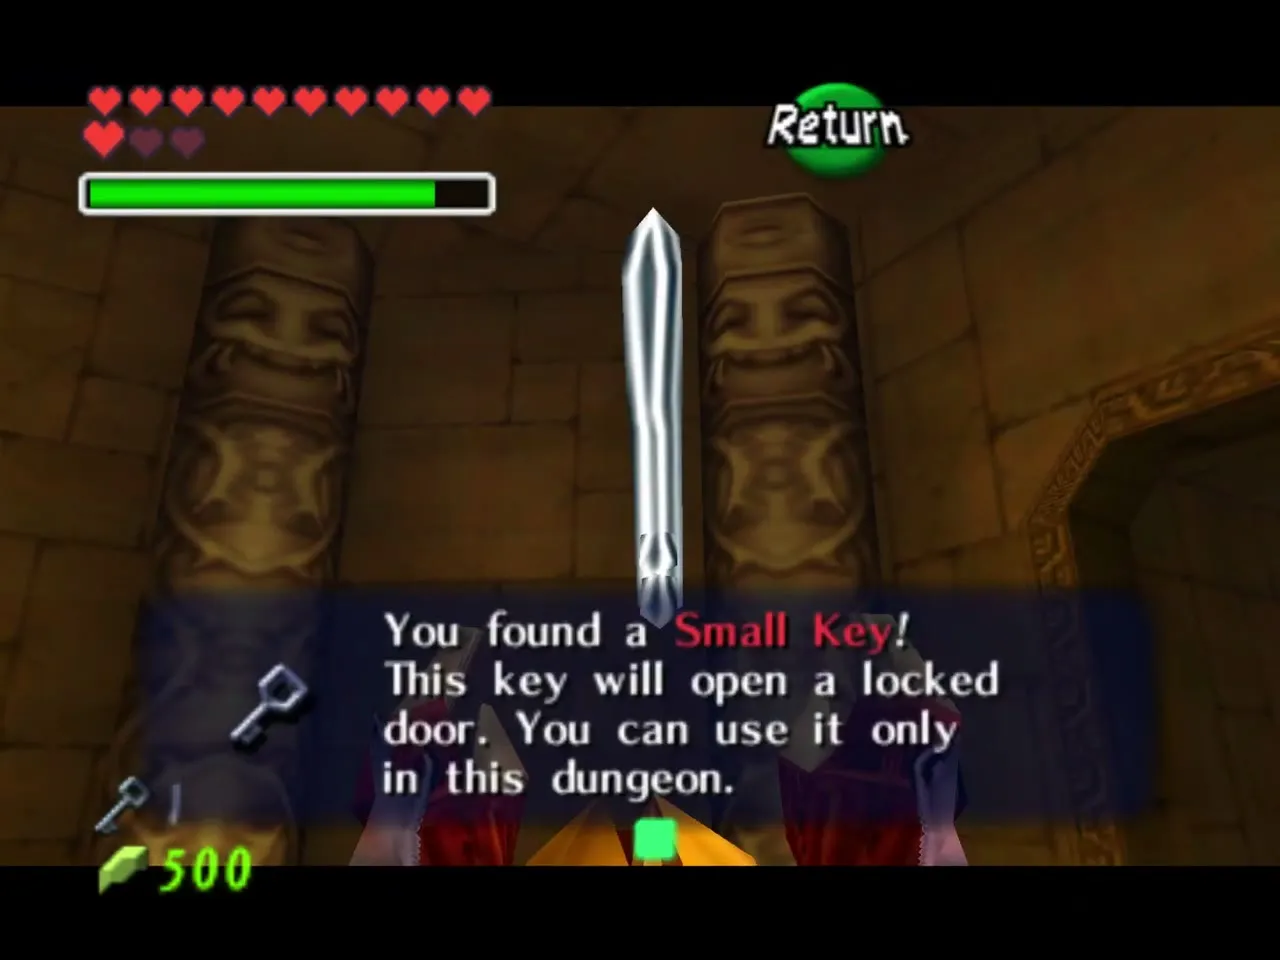
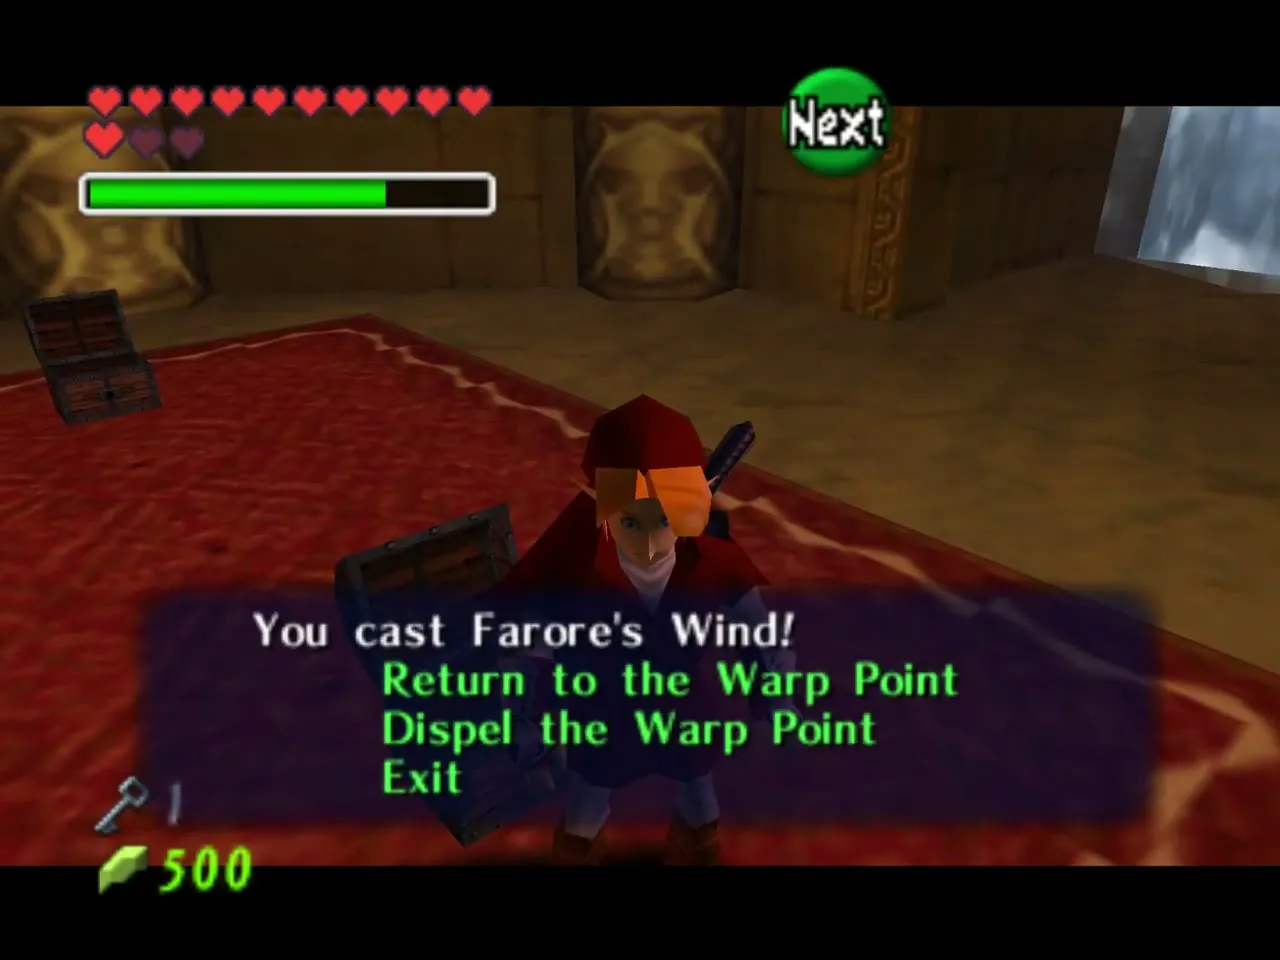
Cast Farore’s Wind before you leave and return to the warp point to get back across the water jet quickly.
The song alcoves and the Skulltula room
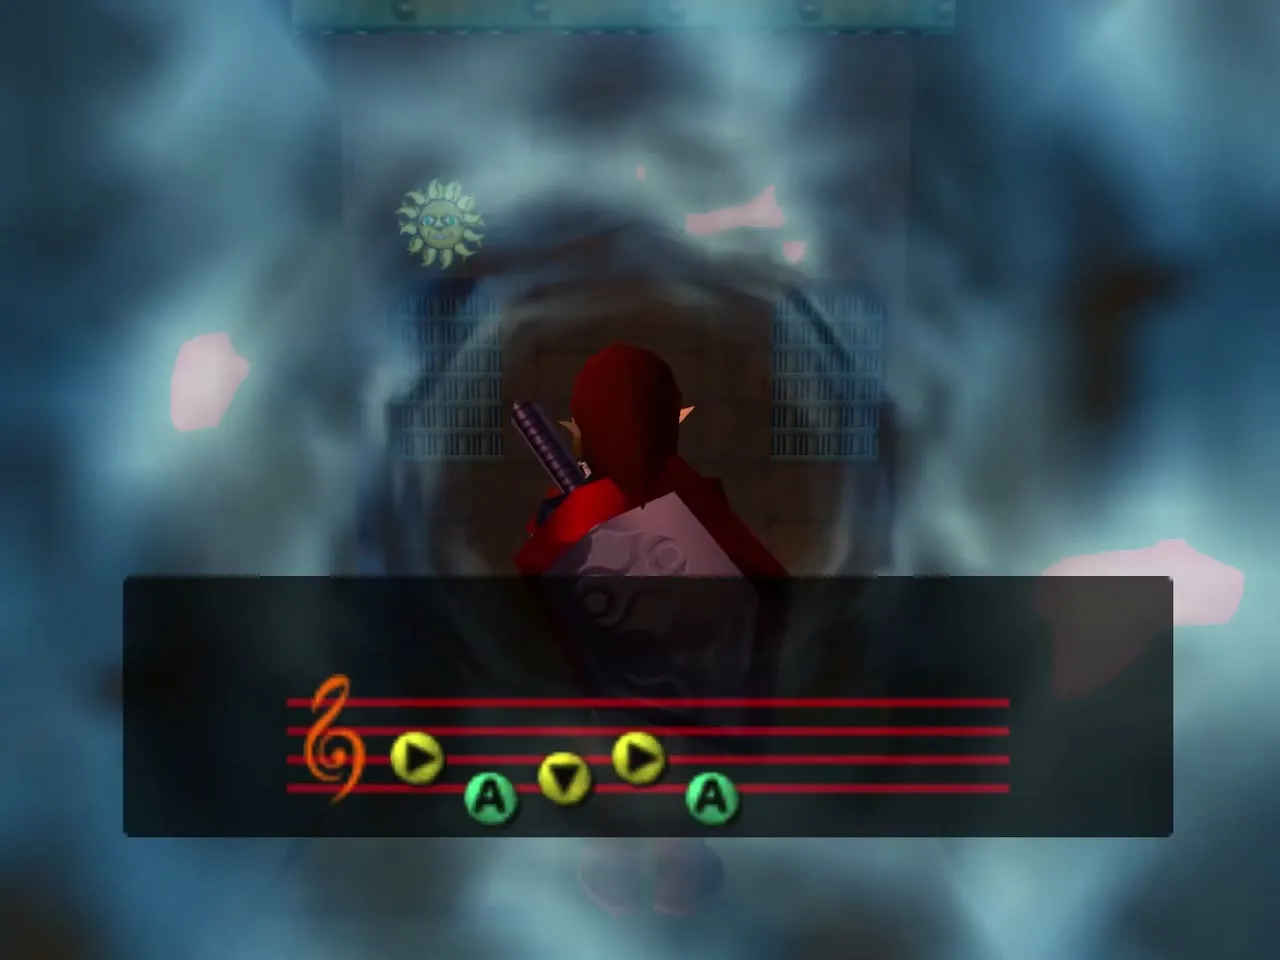
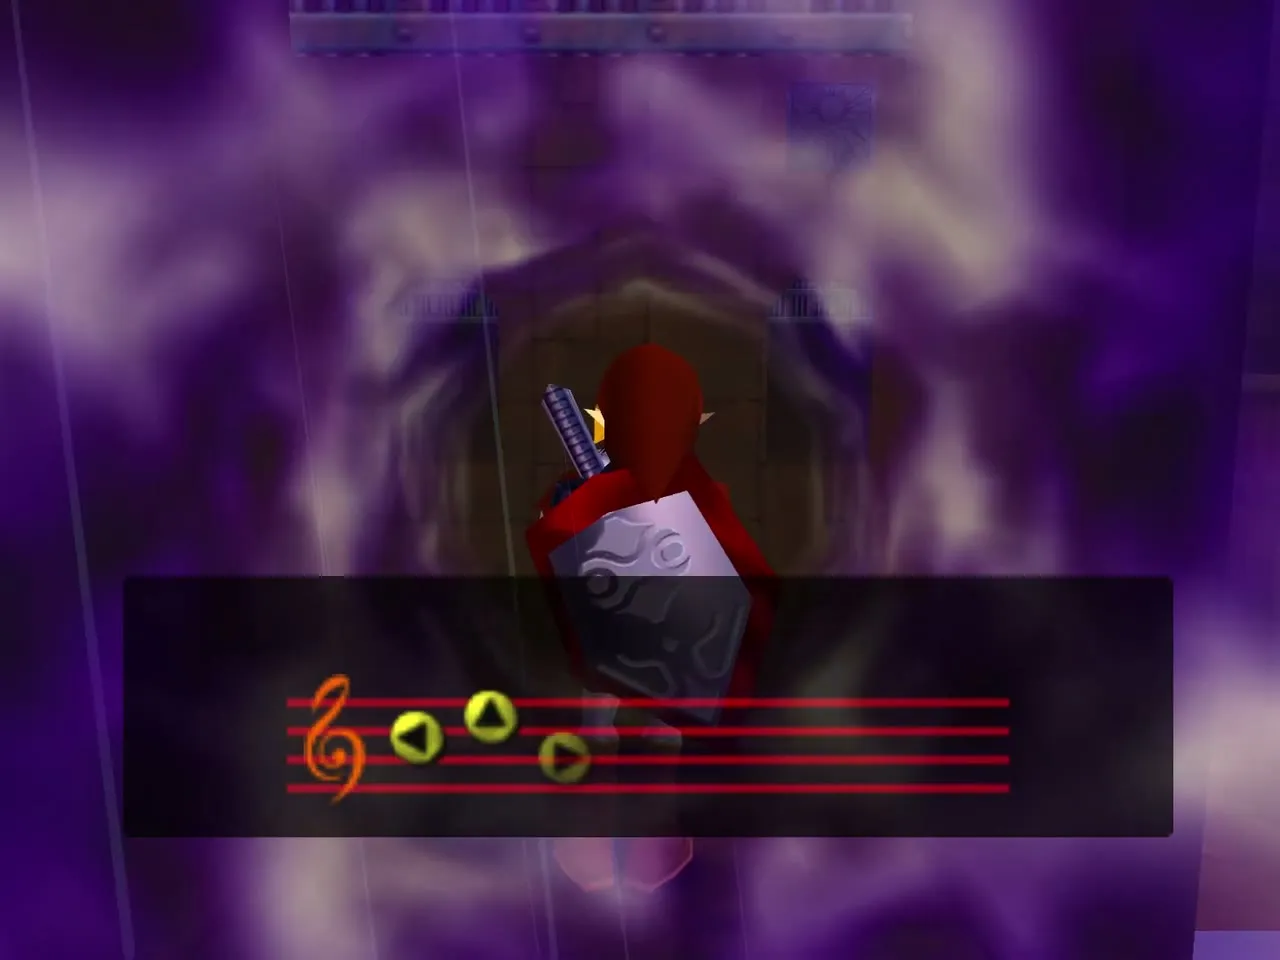
Use a key on the locked door in the east of the hall and hit the rusty switch with the Megaton Hammer. A Club Moblin guards the gates, so defeat him. The first gate has a Time block above it, so play the Song of Time. A Lon Lon Ranch crate is above the next gate: play Epona’s Song. The next alcove takes the Sun’s Song, the next takes the Song of Storms, and the last takes Zelda’s Lullaby, which opens the door the Moblin guarded.
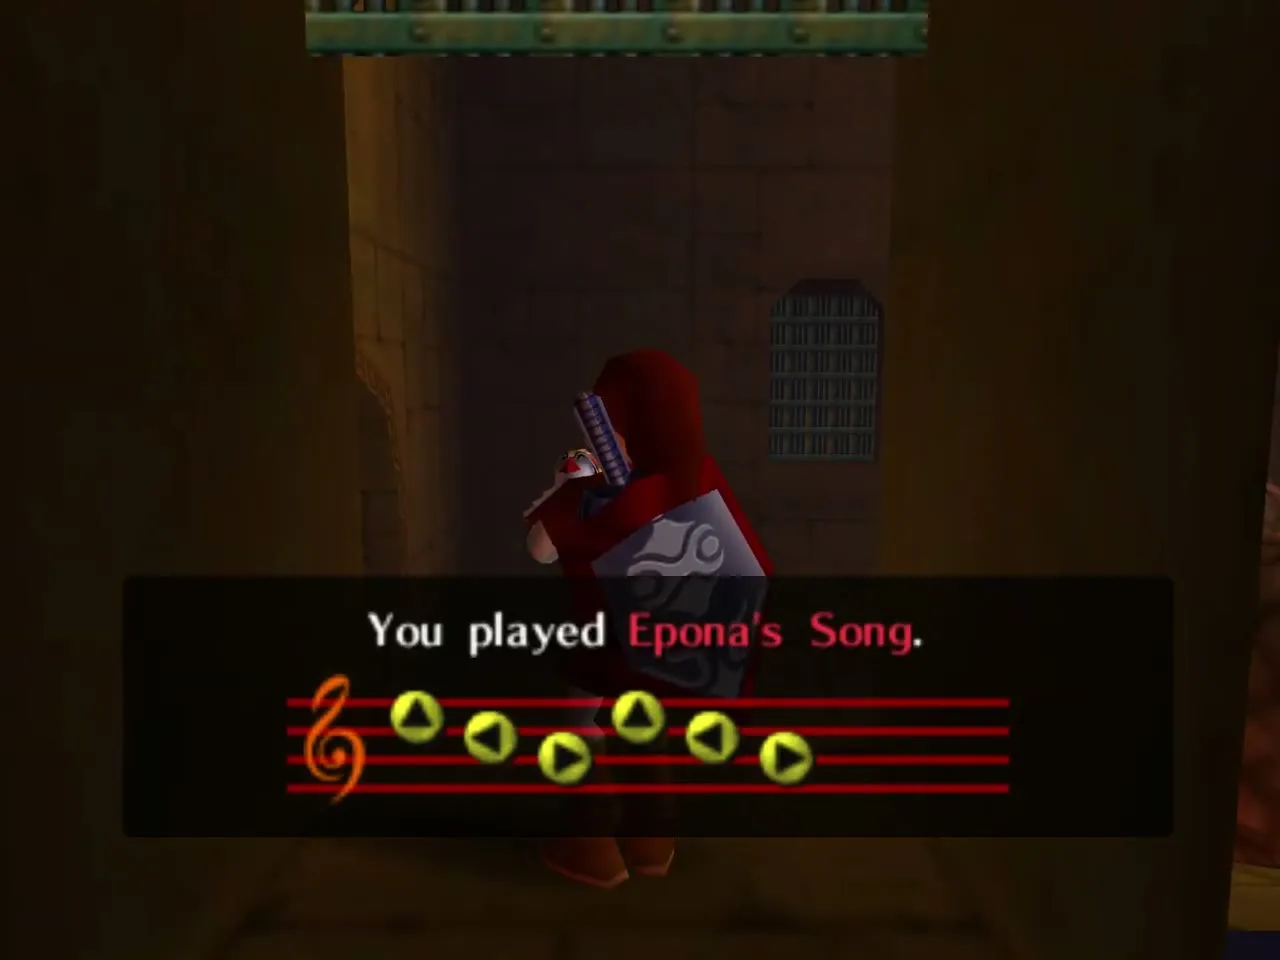
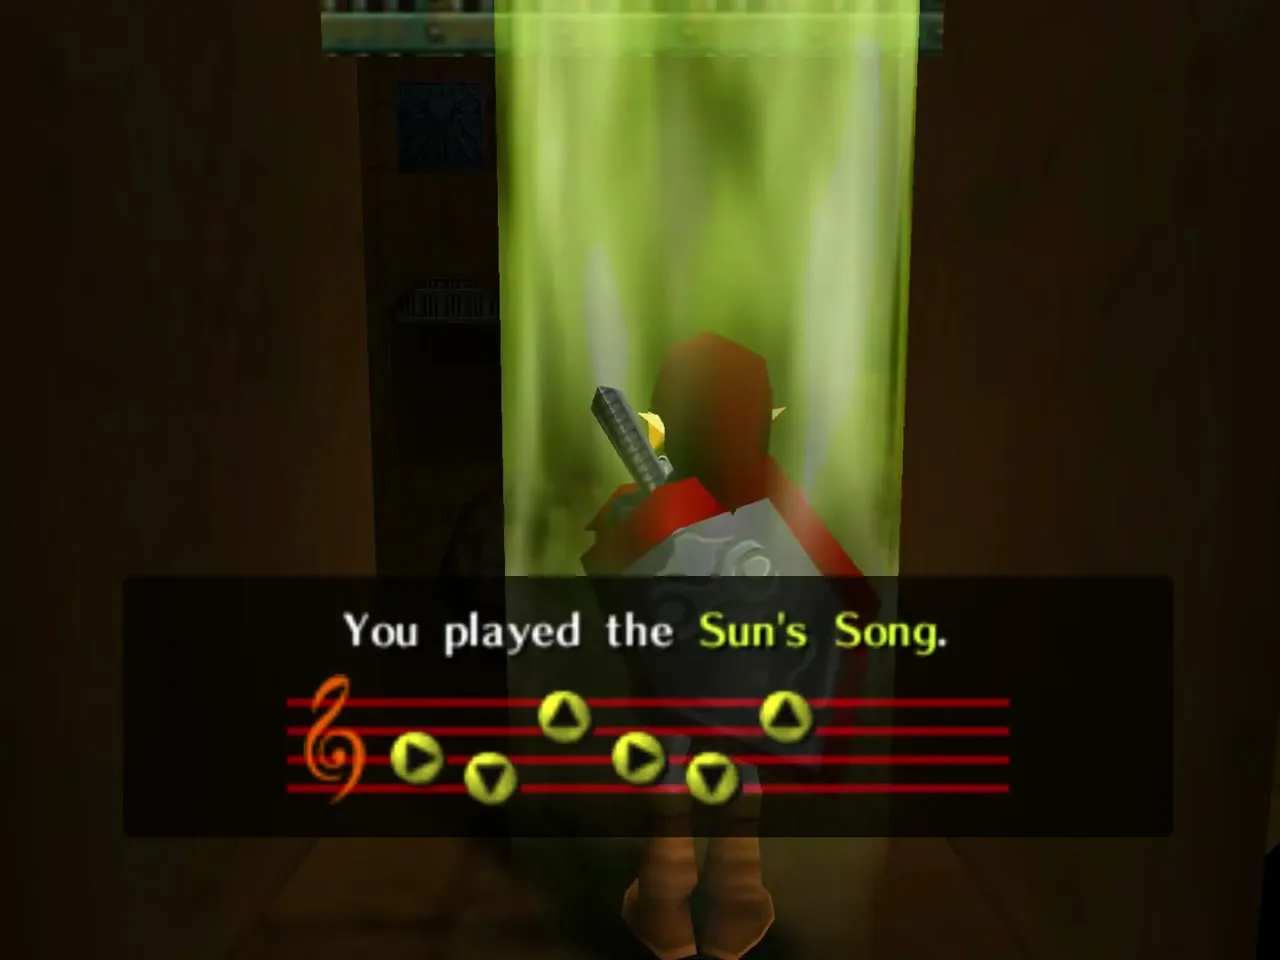
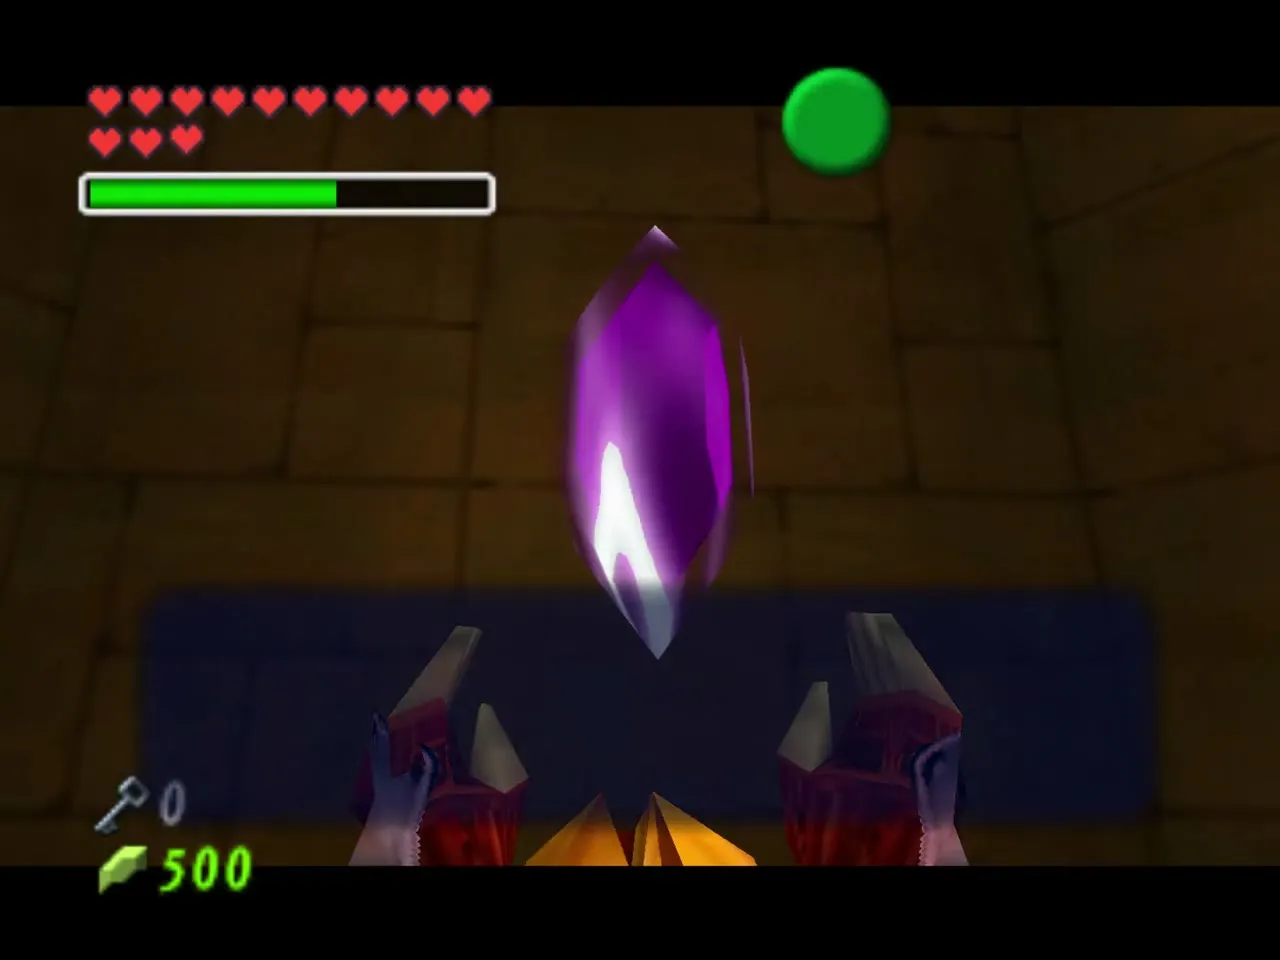
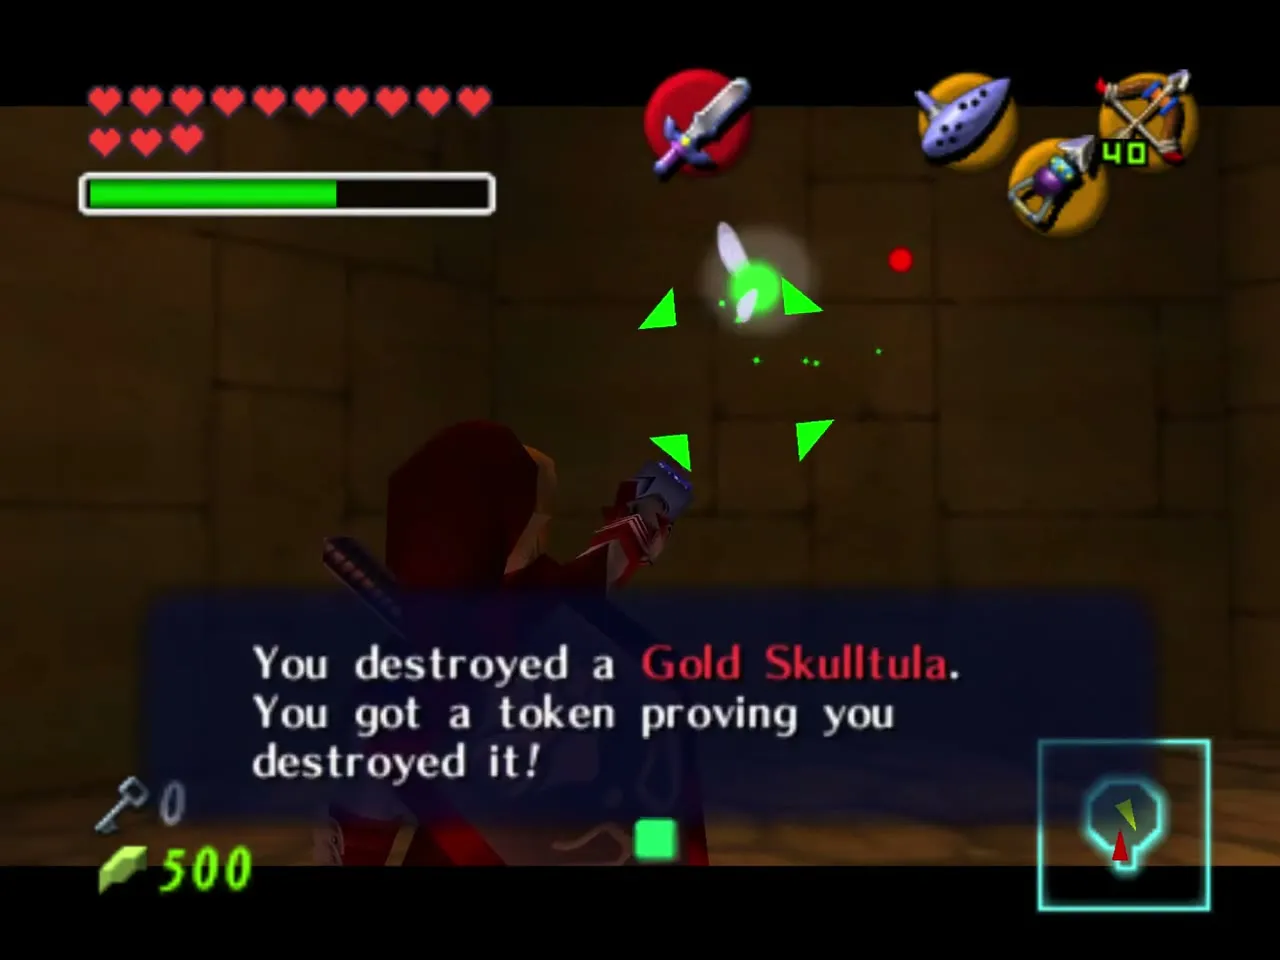
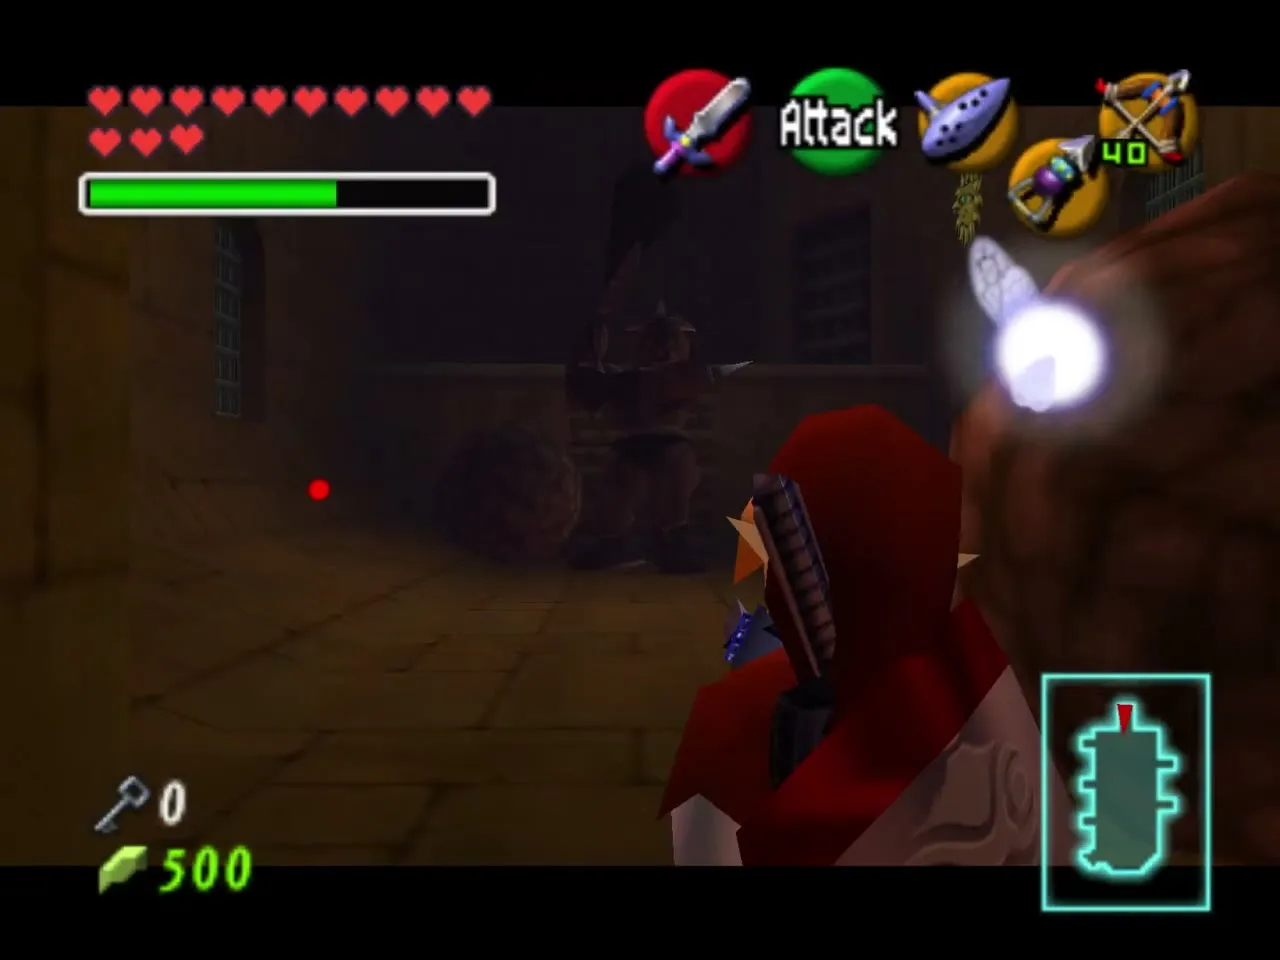
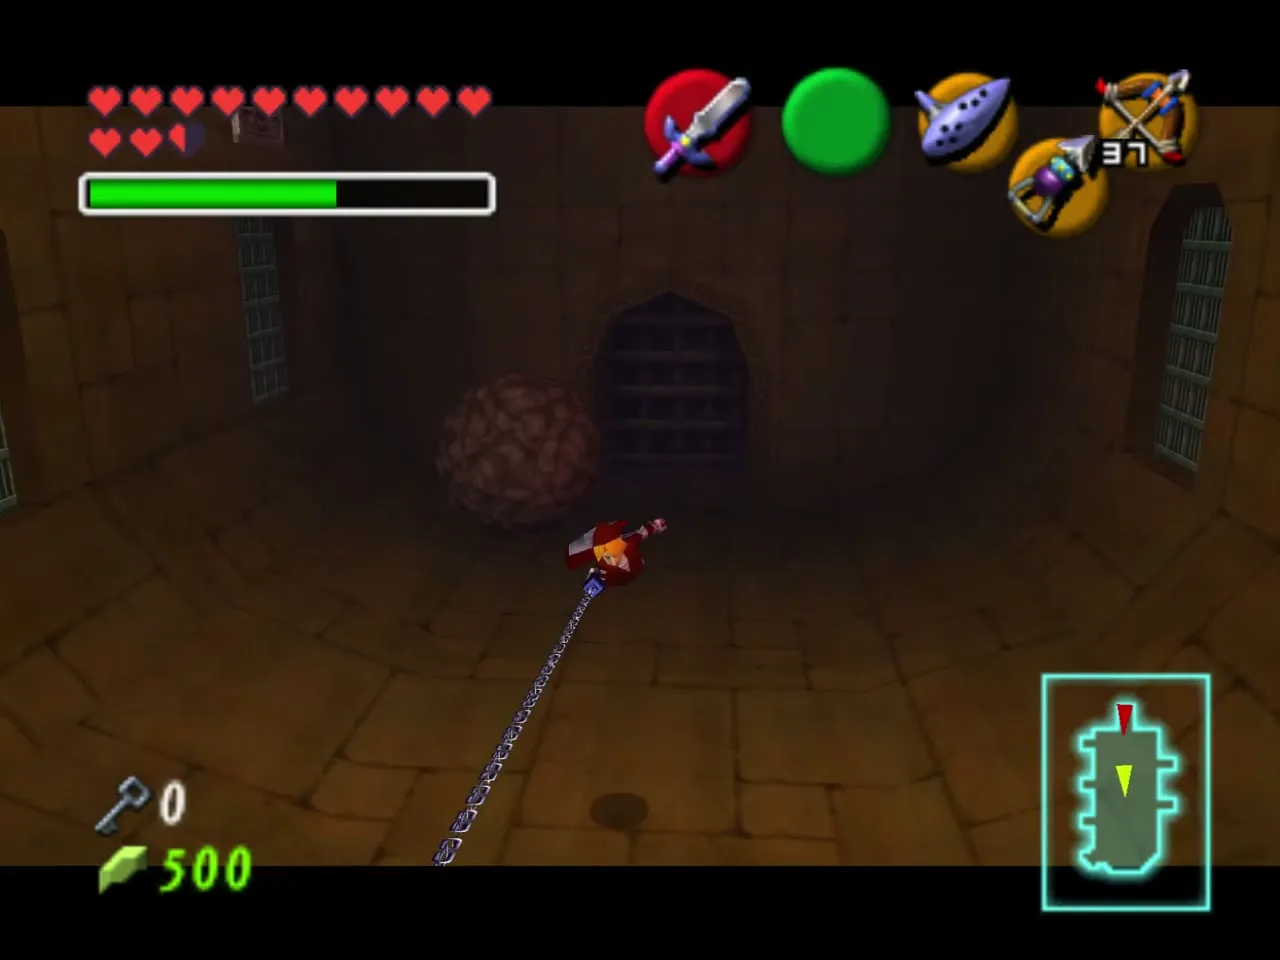
Ten Skulltulas swarm the room beyond, plus an invisible one above the chest. Use the Lens of Truth and shoot them all, then open the chest for a Purple Rupee. A Gold Skulltula hangs on the east wall: shoot it with the Longshot and take the token.
West door: ceiling Skulltula and the sand pit
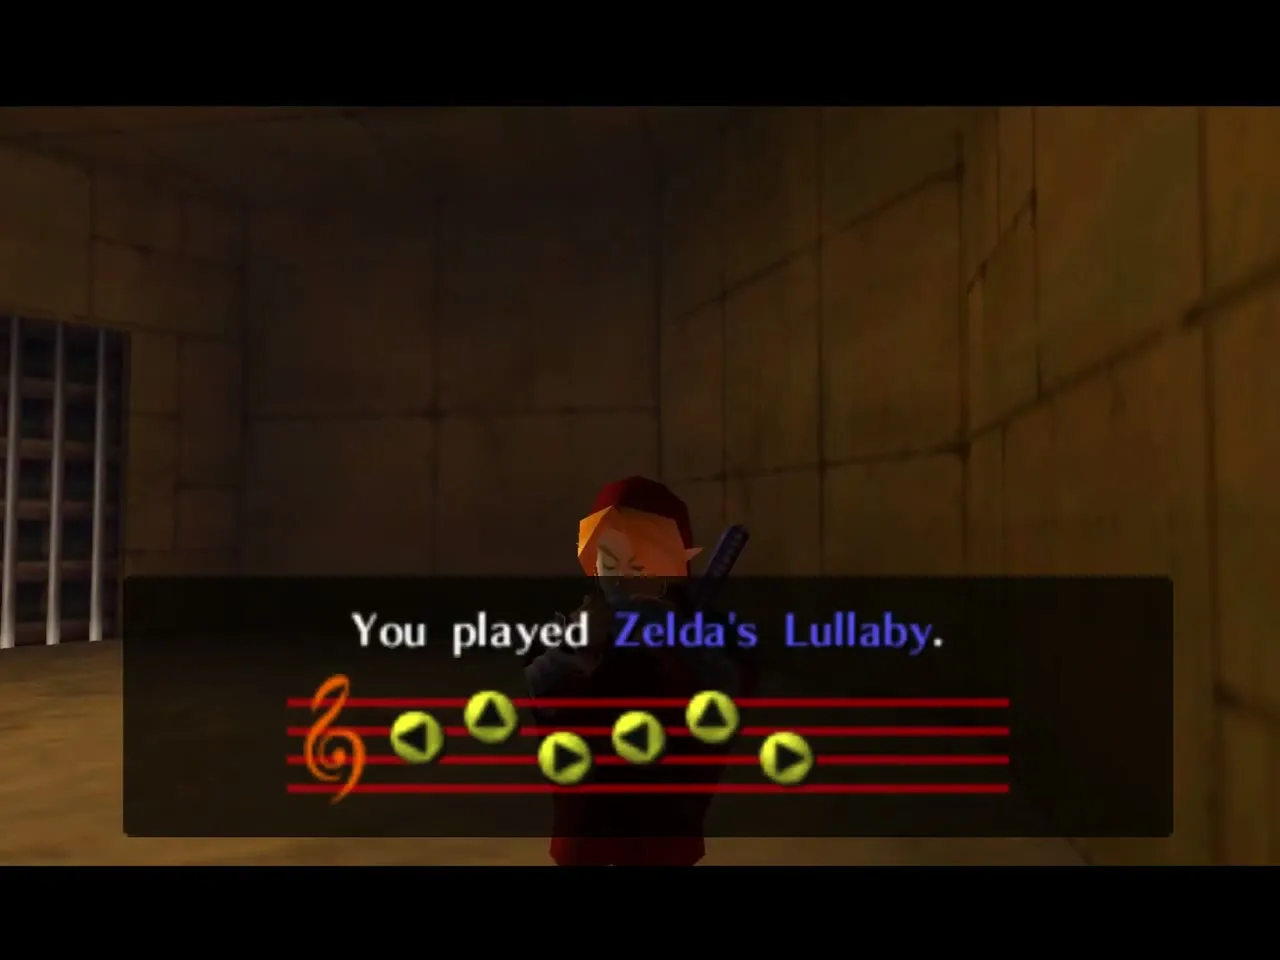
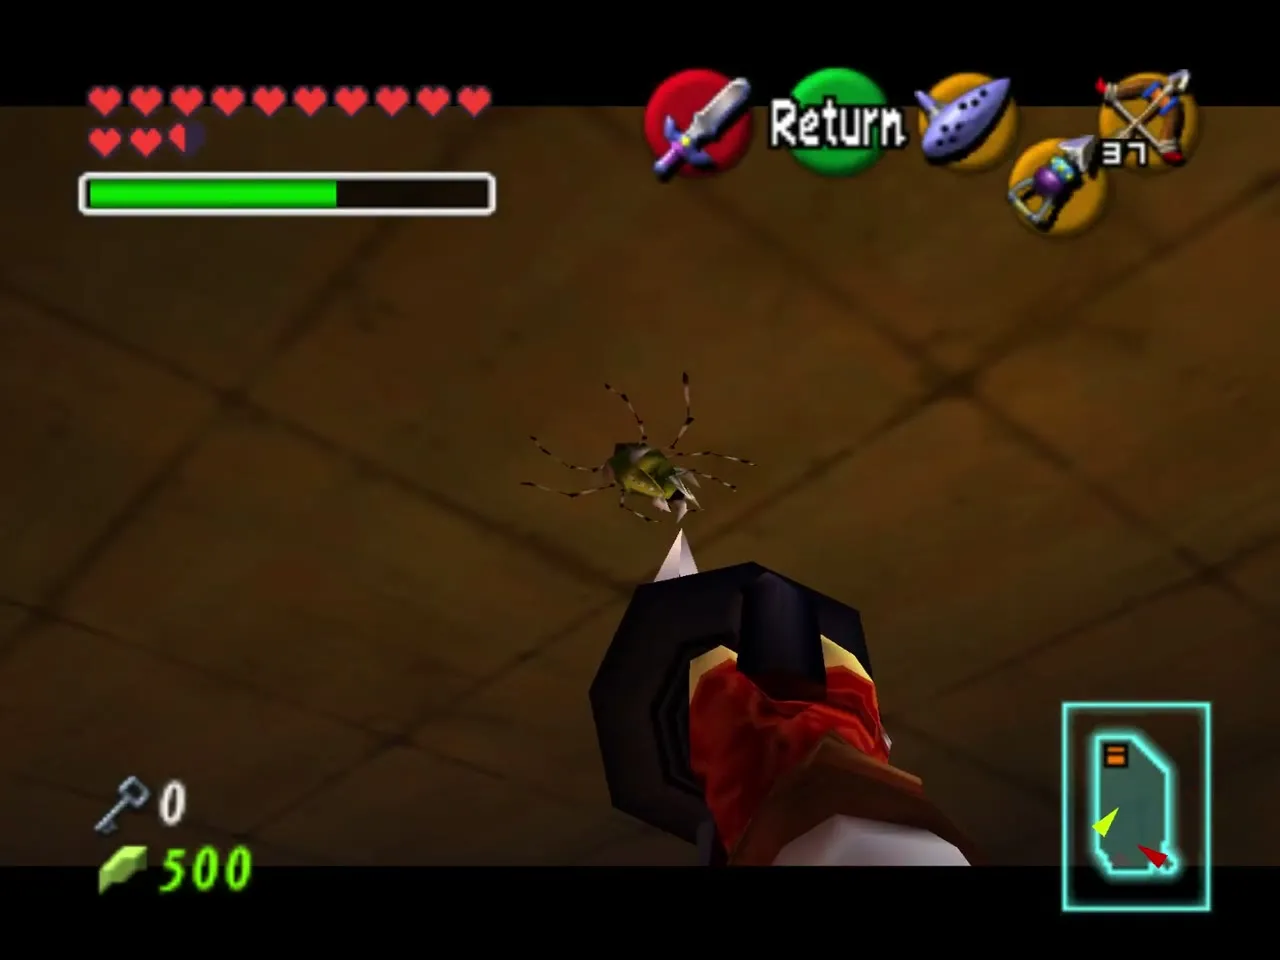
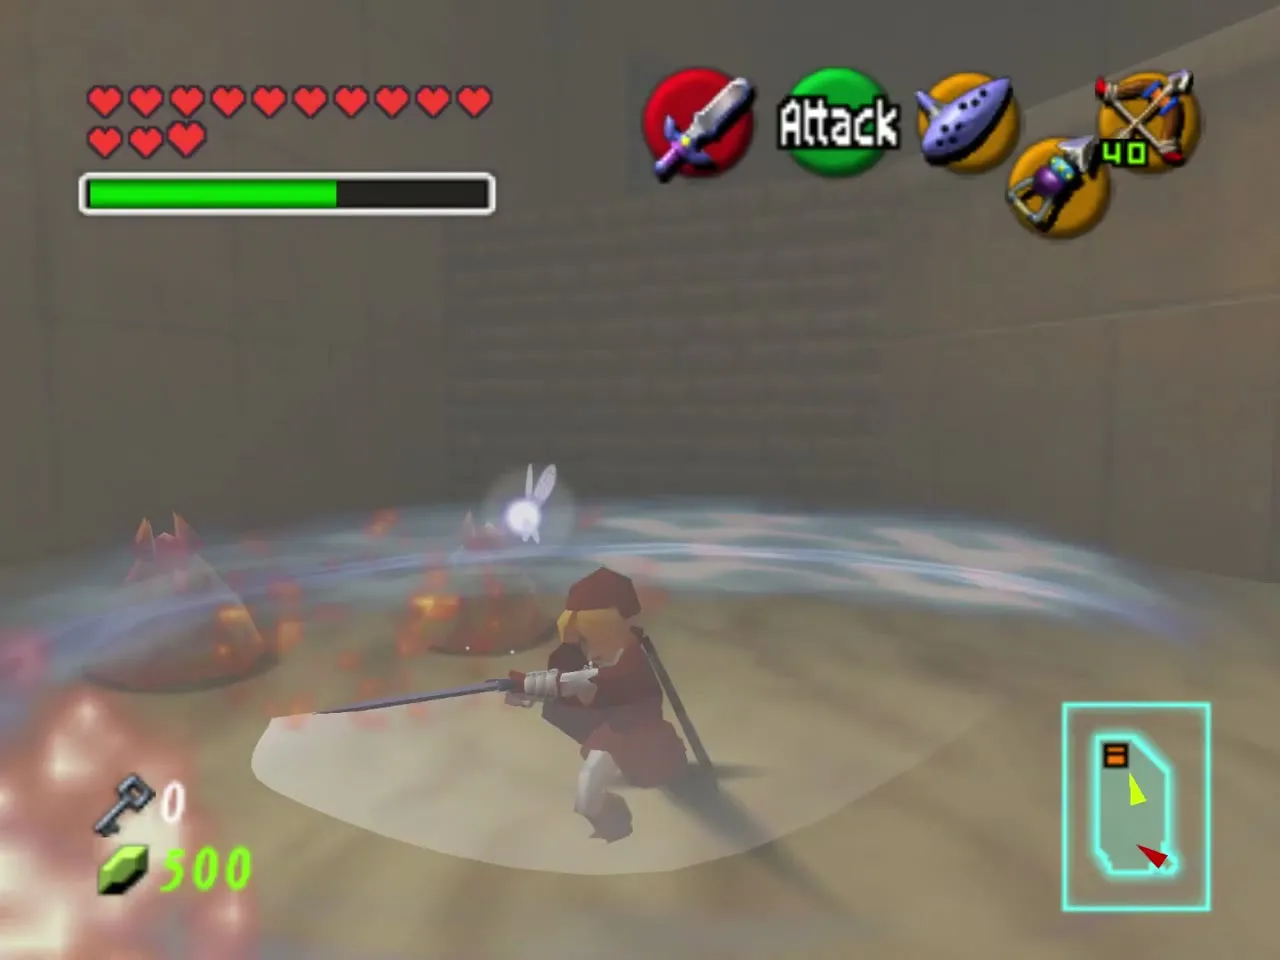
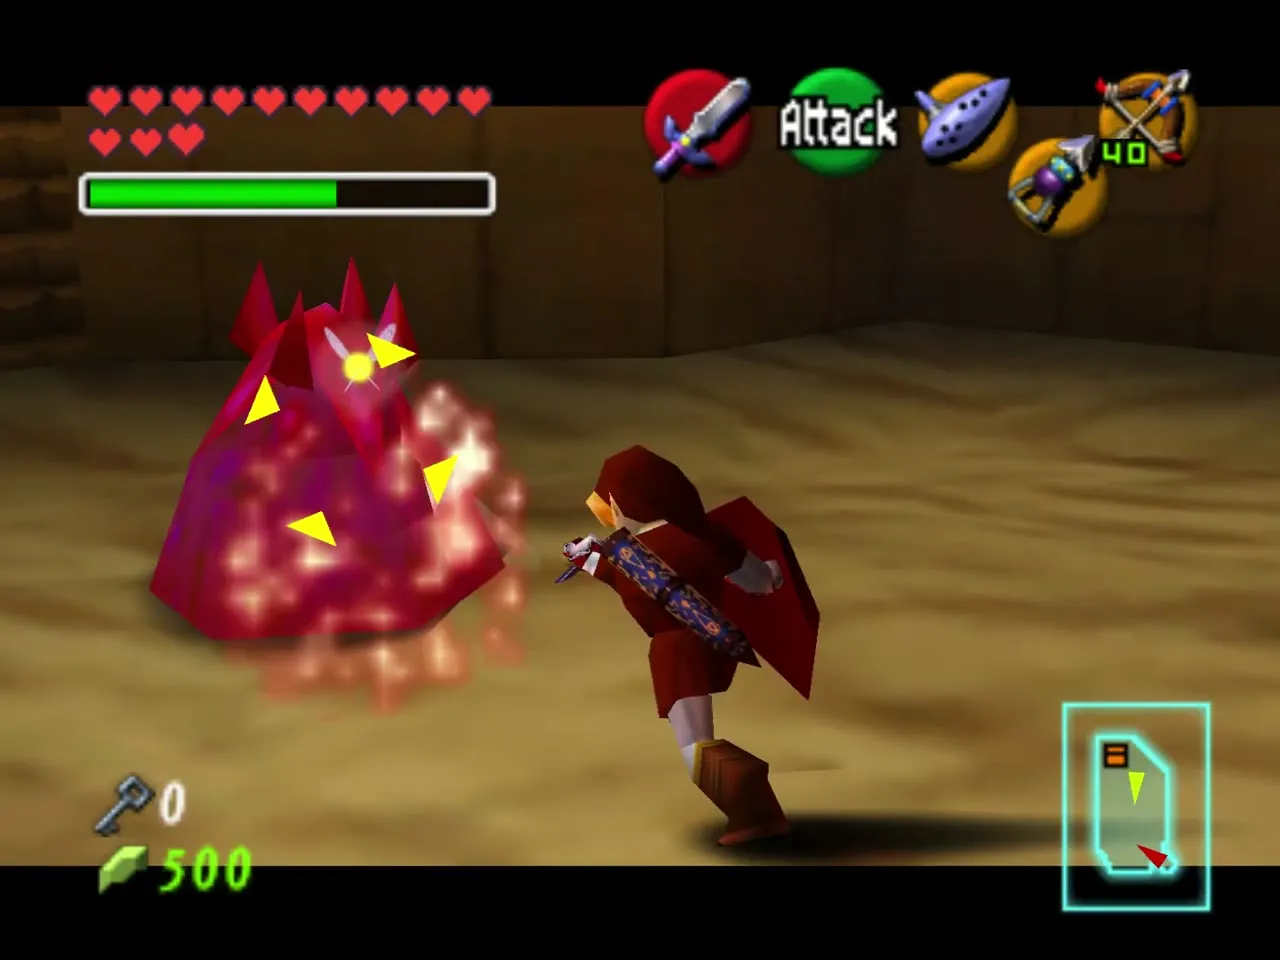
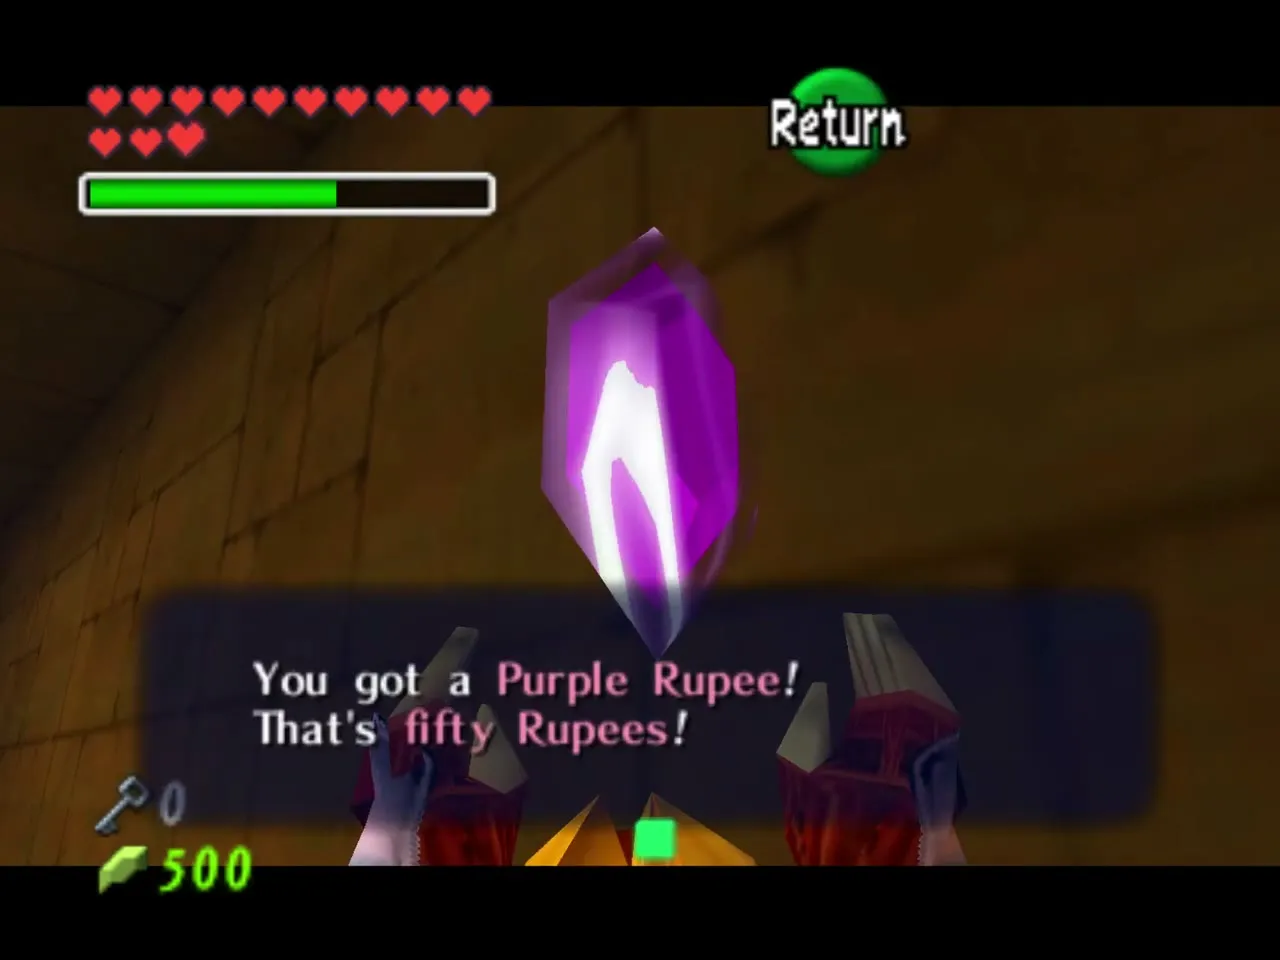
Take the west door of the Beamos room and look at the ceiling for a Gold Skulltula, which the Longshot reaches. Drop into the sand and spin attack the dozen Leevers that rise, moving constantly so you do not sink. A bigger, slower Leever appears when they are dead, and killing it makes a chest with a Purple Rupee. Play Zelda’s Lullaby on the Triforce symbol to open the exit.
Back as a child: the Hammer chest
Warp to the Temple of Time to become a child and warp straight back. Go through the left crawl hole to the Torch Slug room and open the chest you released with the Hammer for Small Key 6. Then play the Prelude of Light to grow up again and return by the Requiem of Spirit.
Moving wall and Silver Rupees
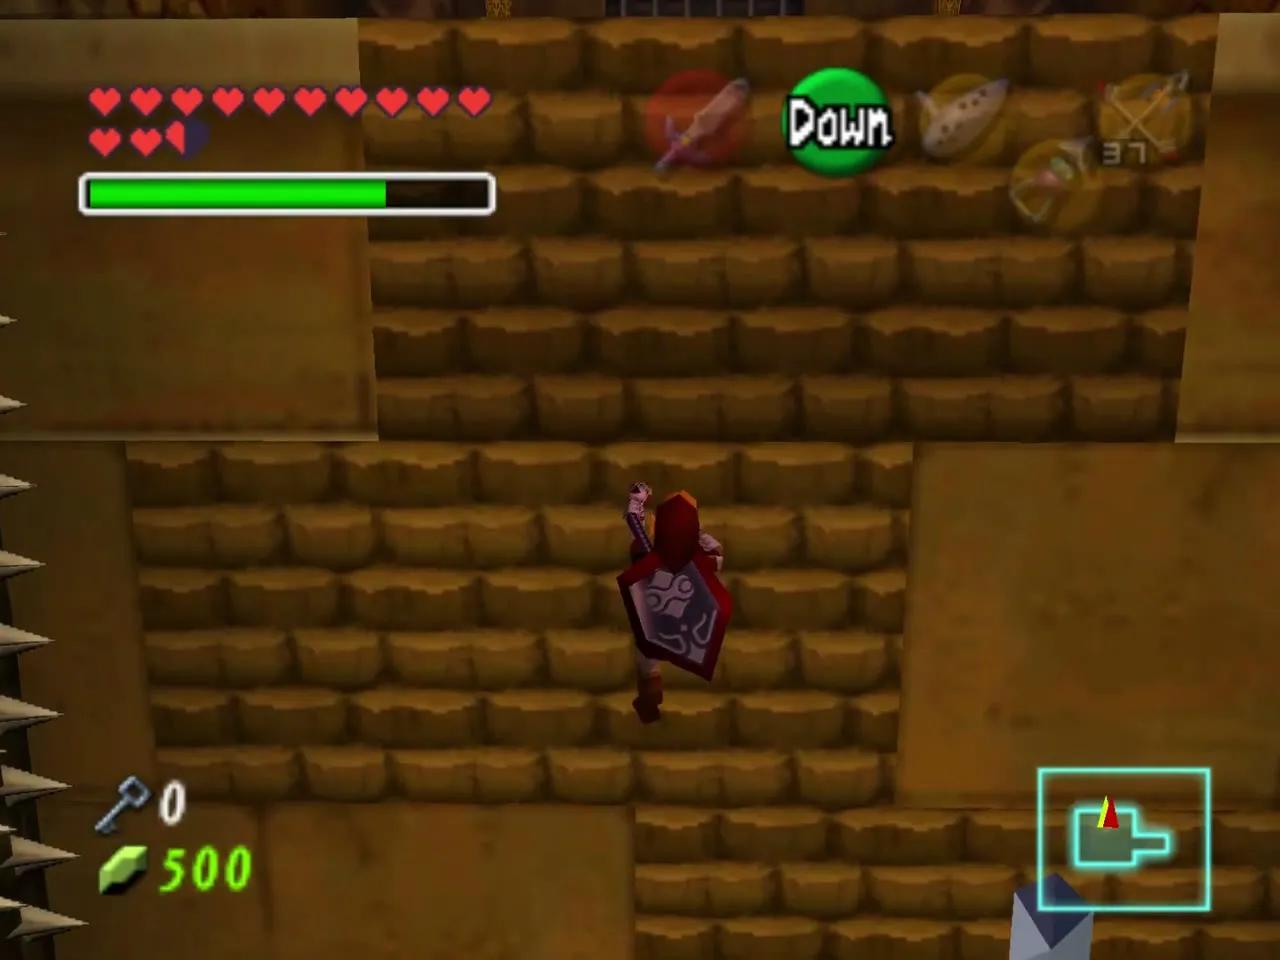
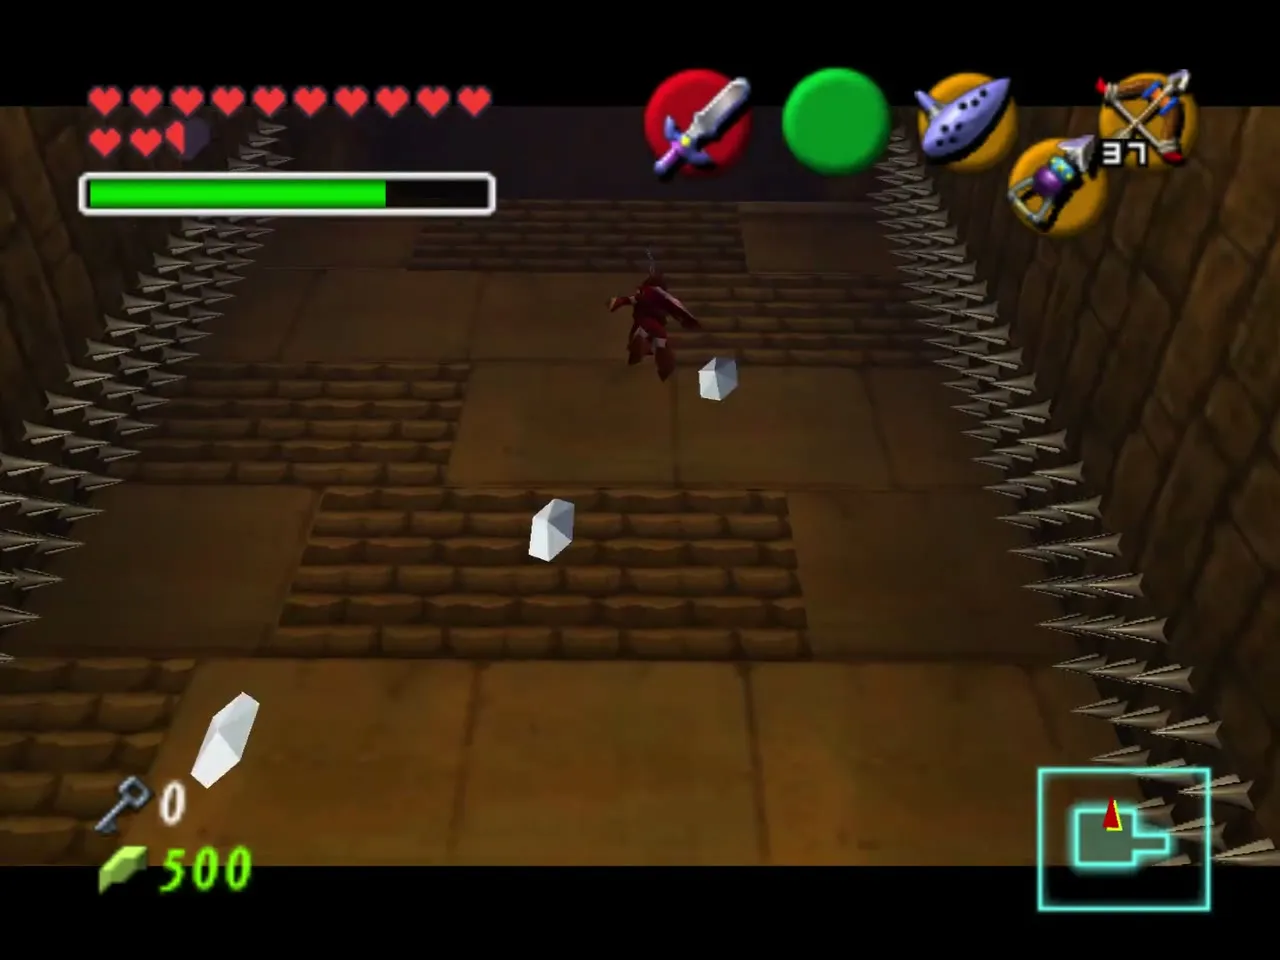
Return to the Beamos room and use a key on its locked door. Shoot the Keese in the next room, then time your climb up the sliding wall to collect the Silver Rupees. A Torch Slug patrols the top, so do not climb into it.
Triforce door, mirrors and Small Key 7
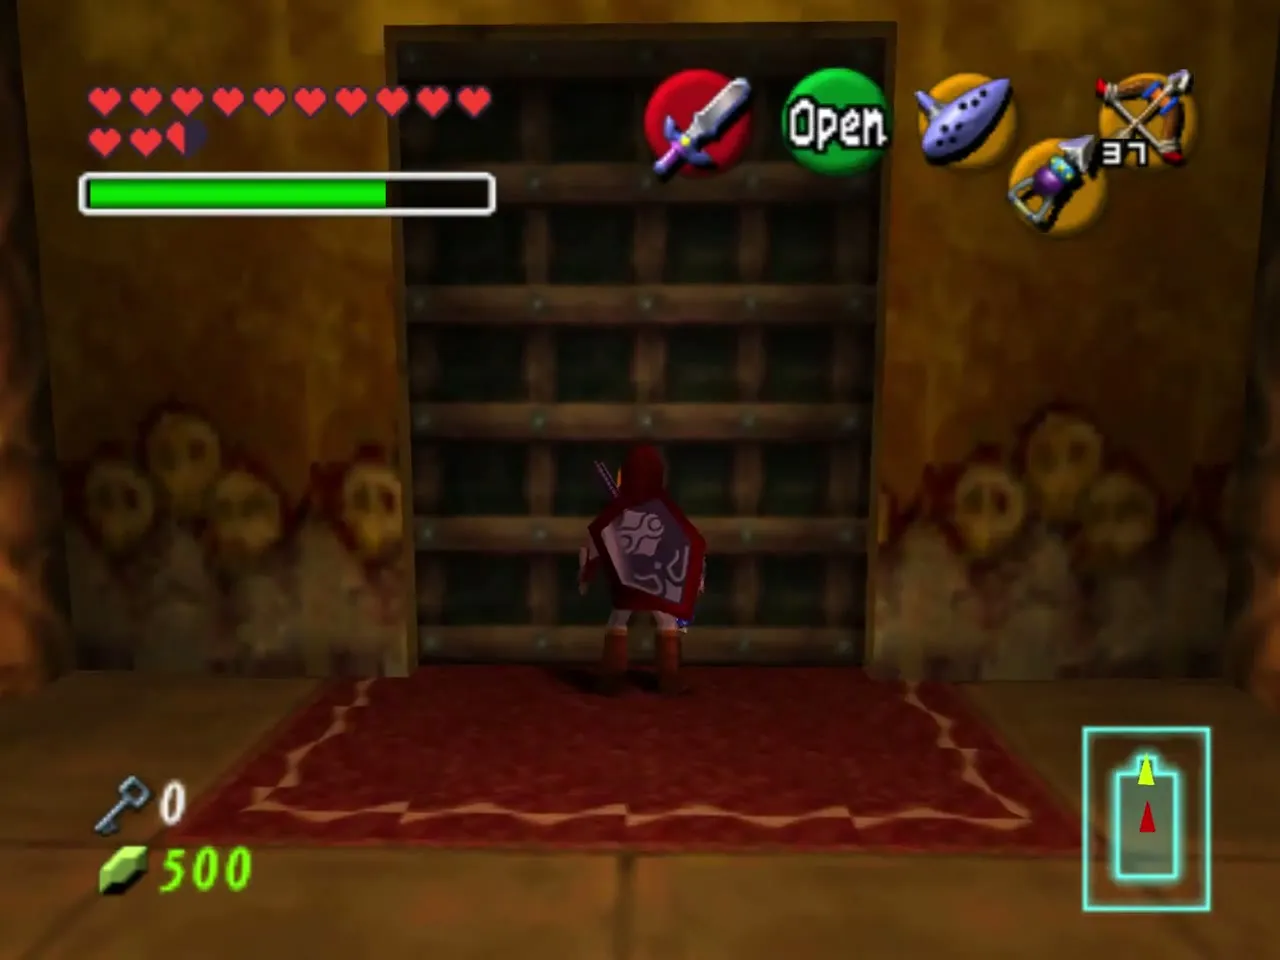
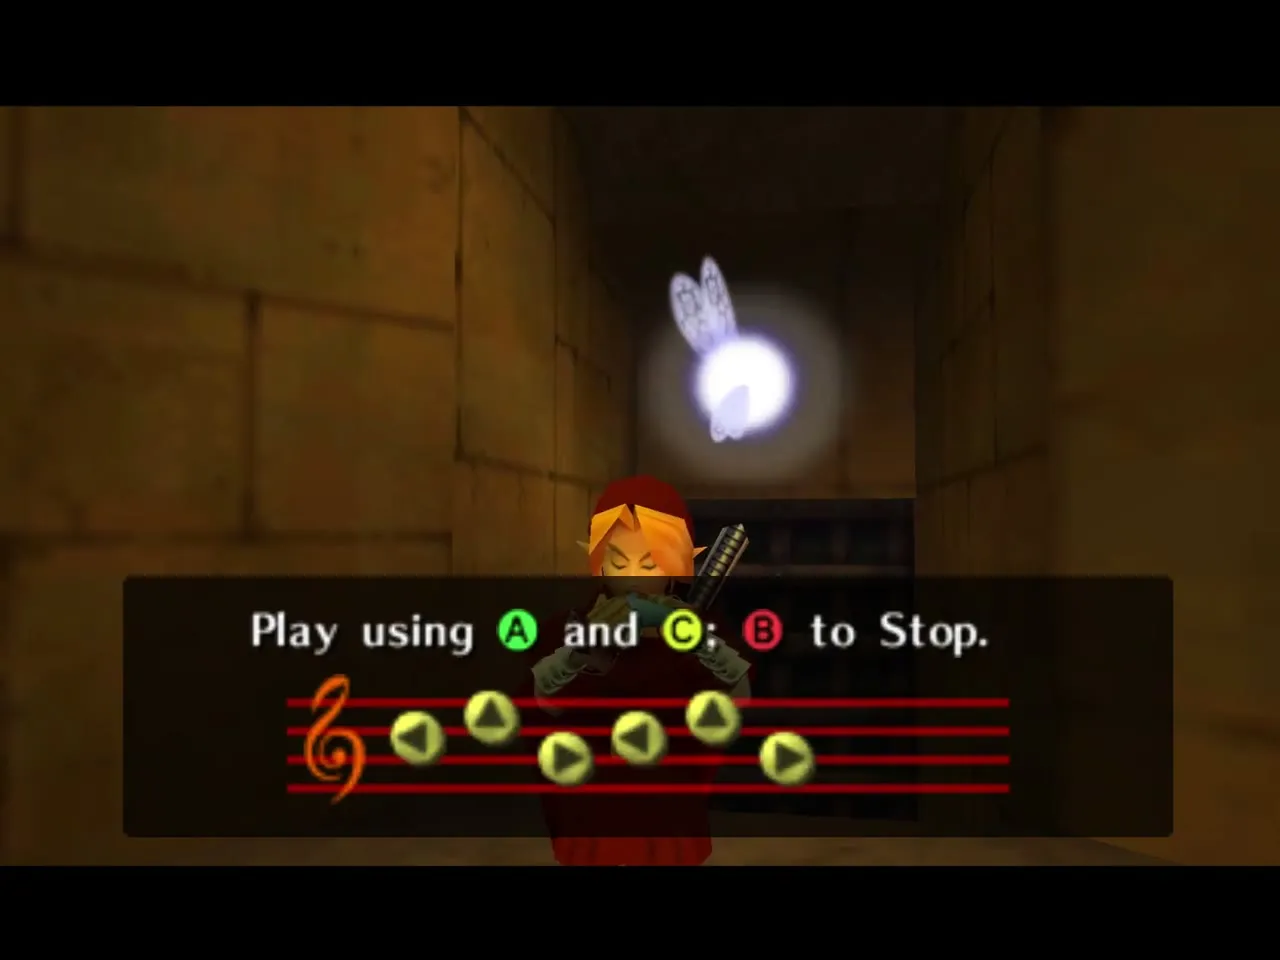
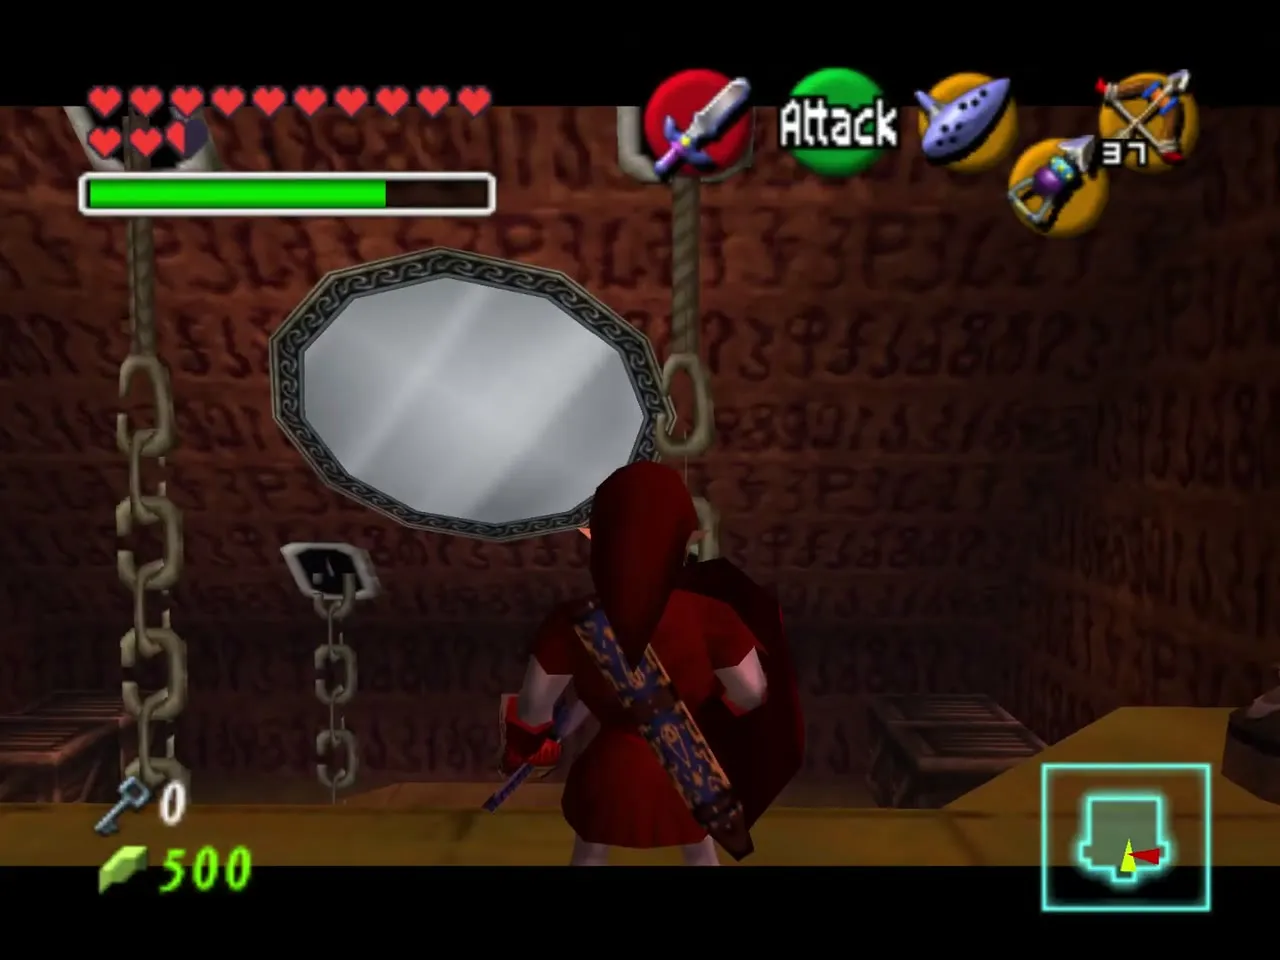
Play Zelda’s Lullaby on the Triforce symbol to open the barred door. Beyond are a Torch Slug, two large Green Bubbles and a Dinalfos. Clear them. In the first chamber, bounce light from the Mirror Shield onto the sun, run to the last mirror and turn it once clockwise, then turn the first mirror toward the second so light shines through the bars. Use the Lens of Truth in the beam to find a small chest with Small Key 7.
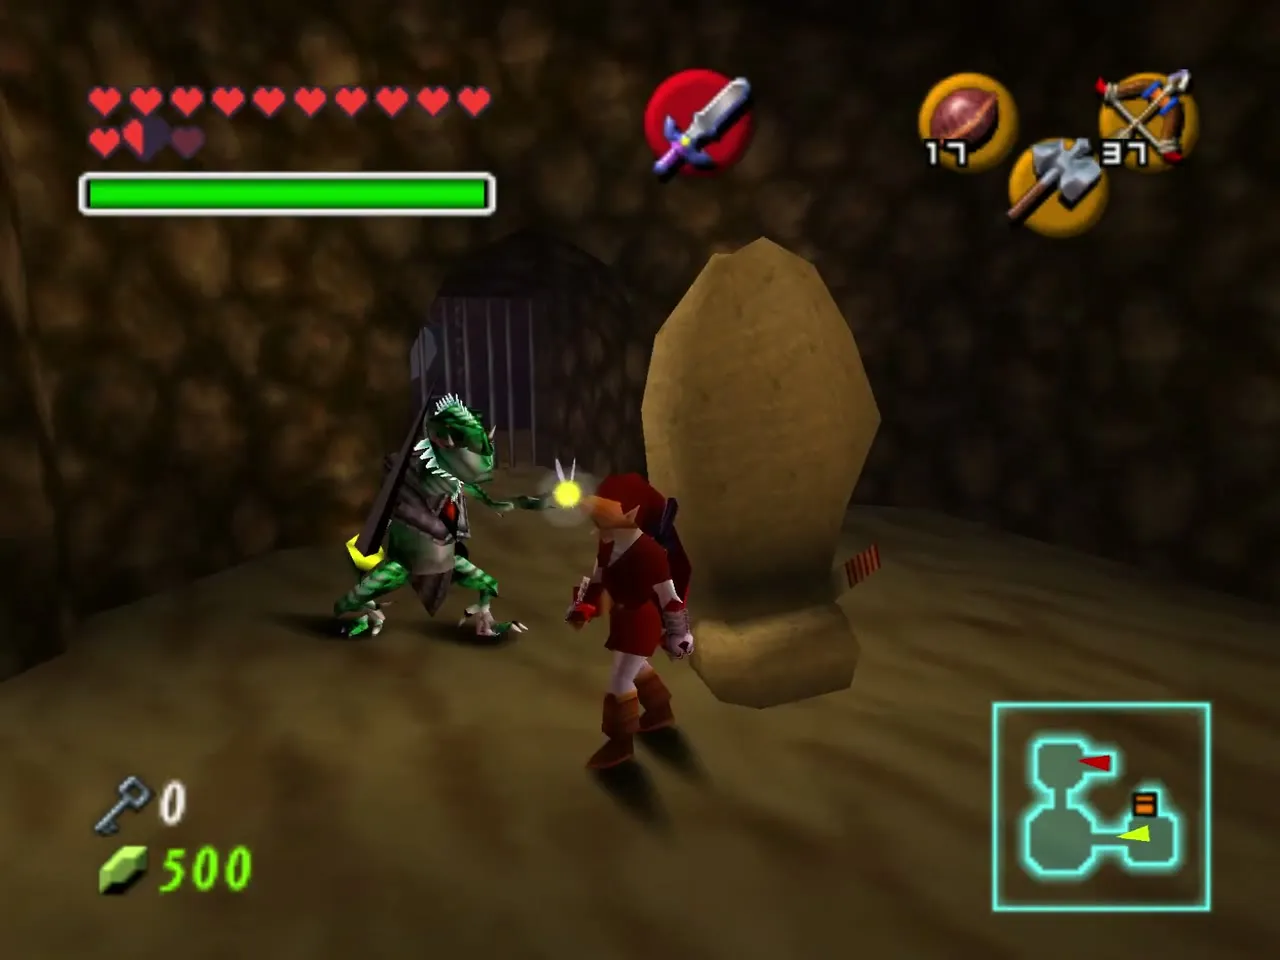
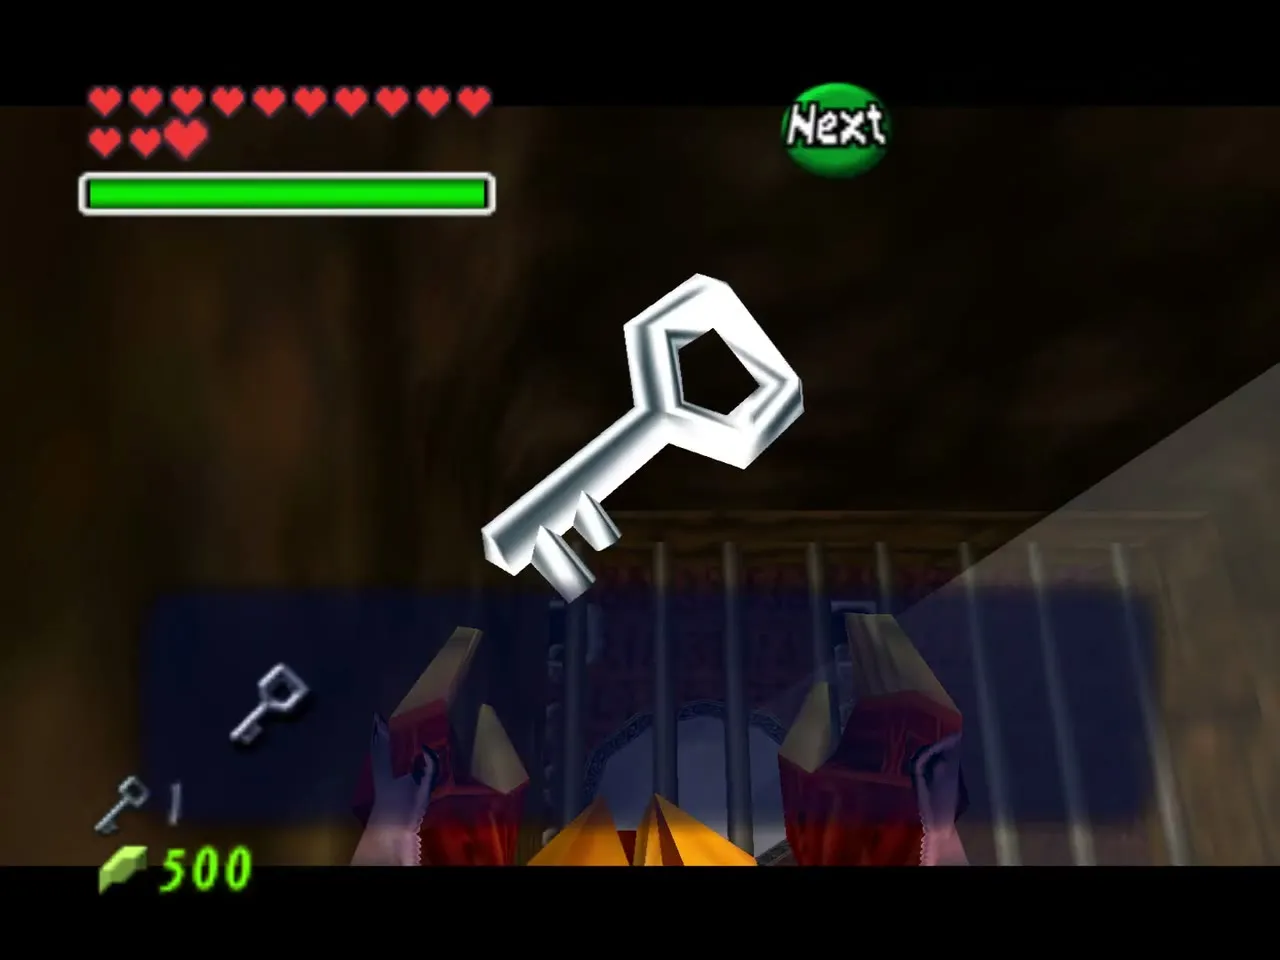
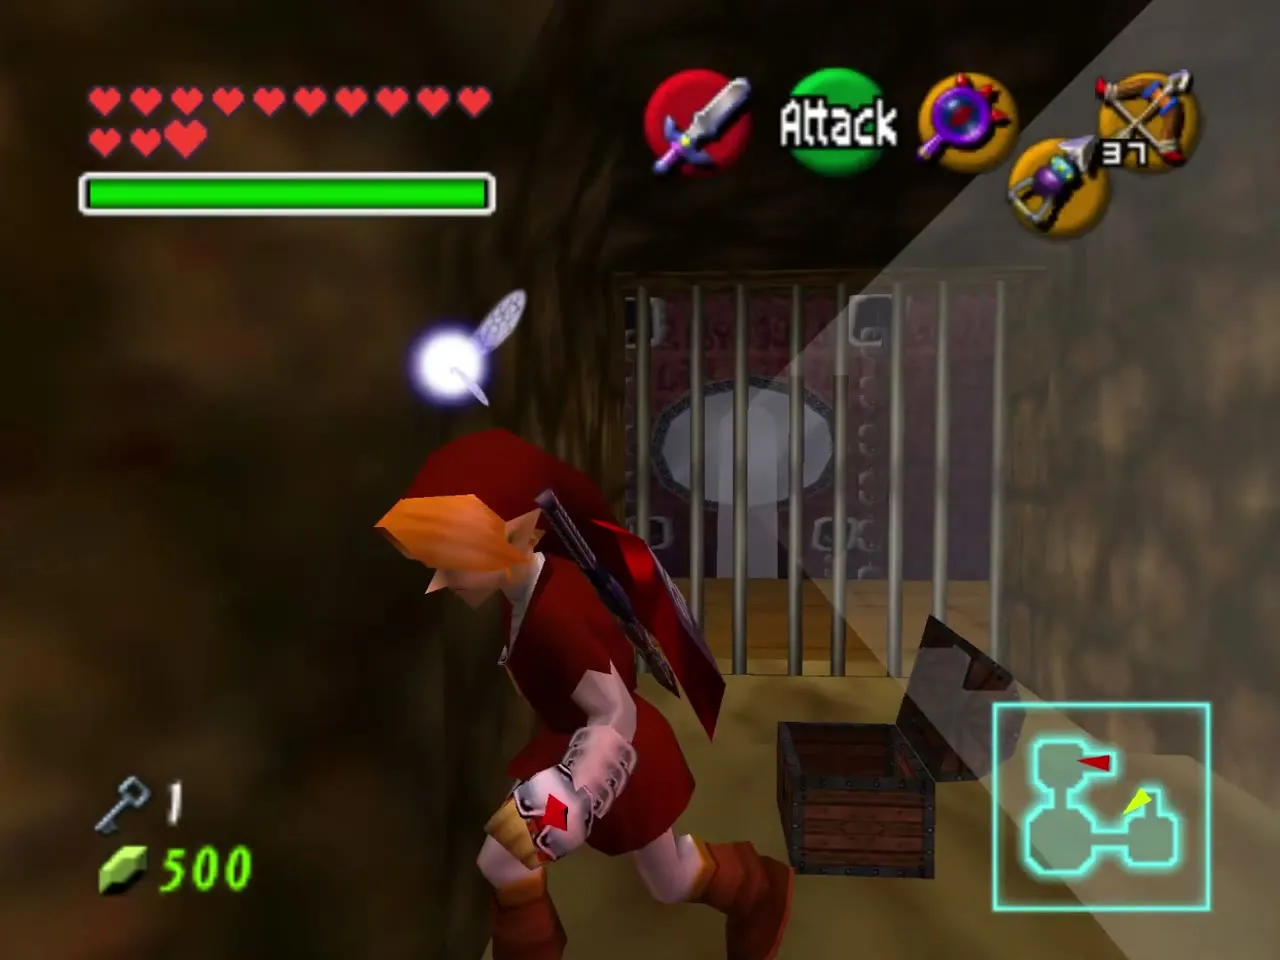
The third Iron Knuckle and two Gold Skulltulas
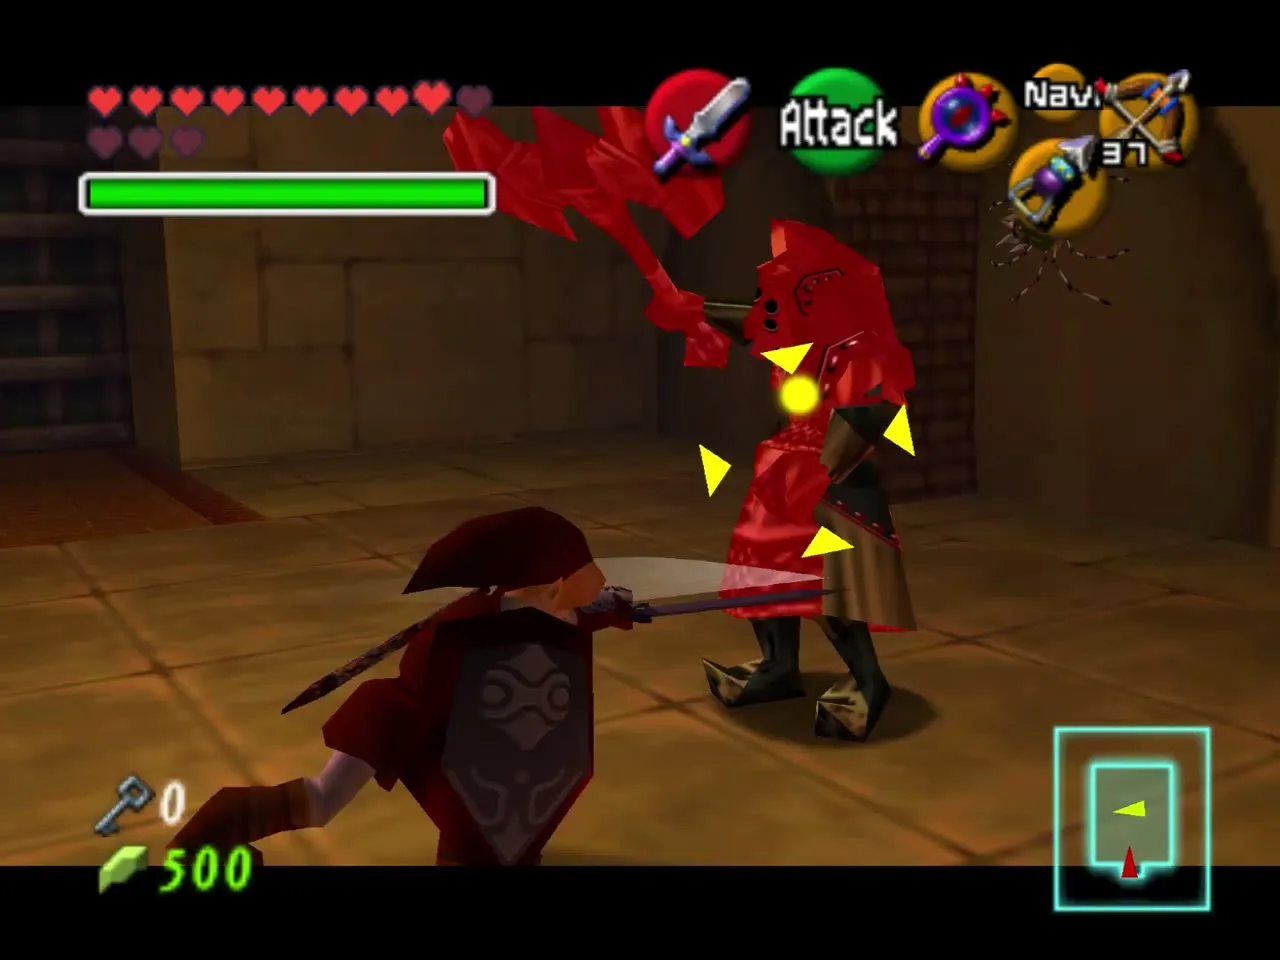
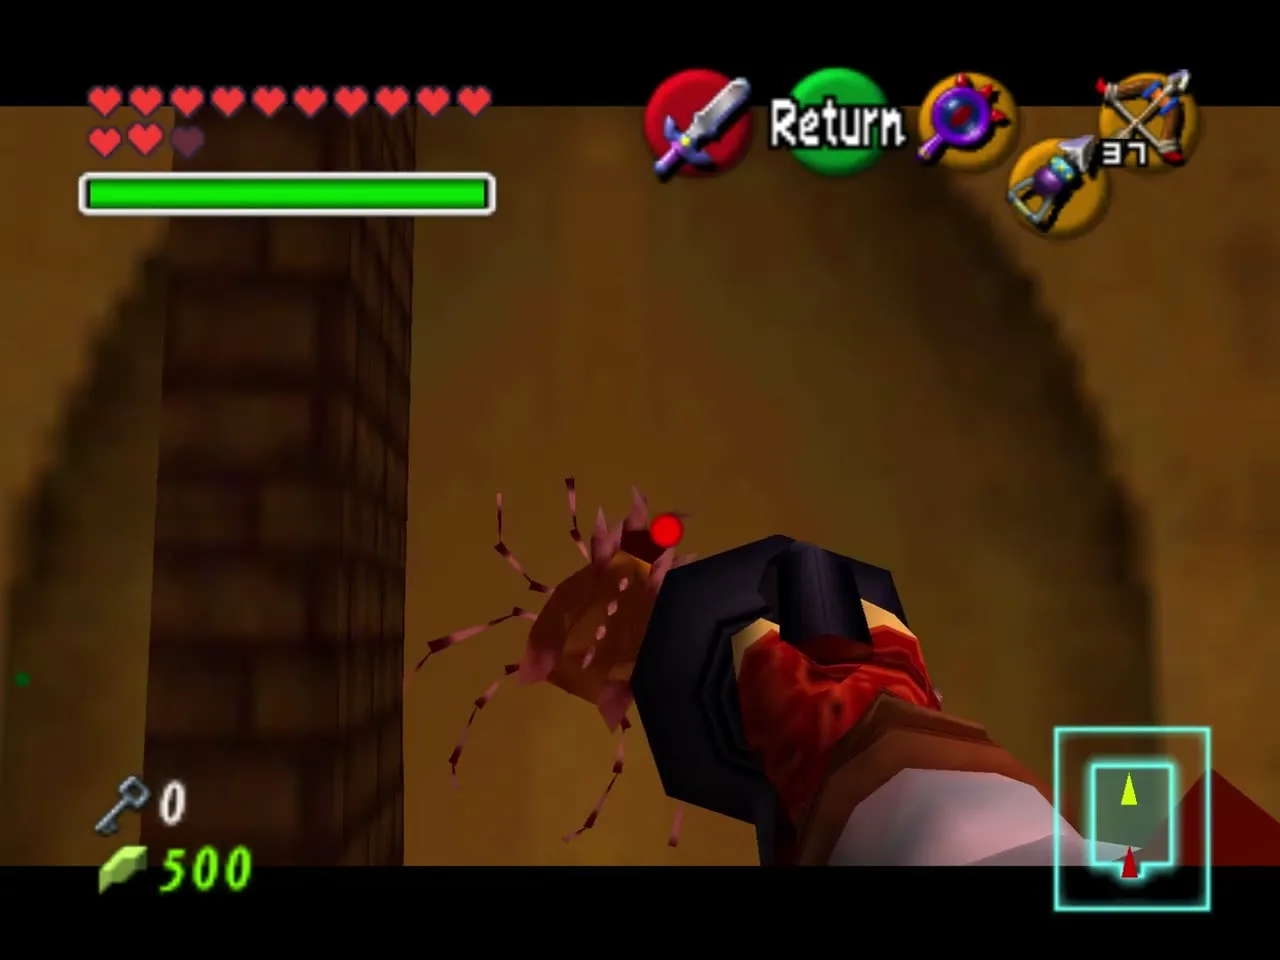
Back at the Triforce door, use the key on the locked door. This Iron Knuckle has two Gold Skulltulas hidden behind its thrones. Tempt it into swinging at the north and west thrones and collect both tokens. You do not need to kill it.
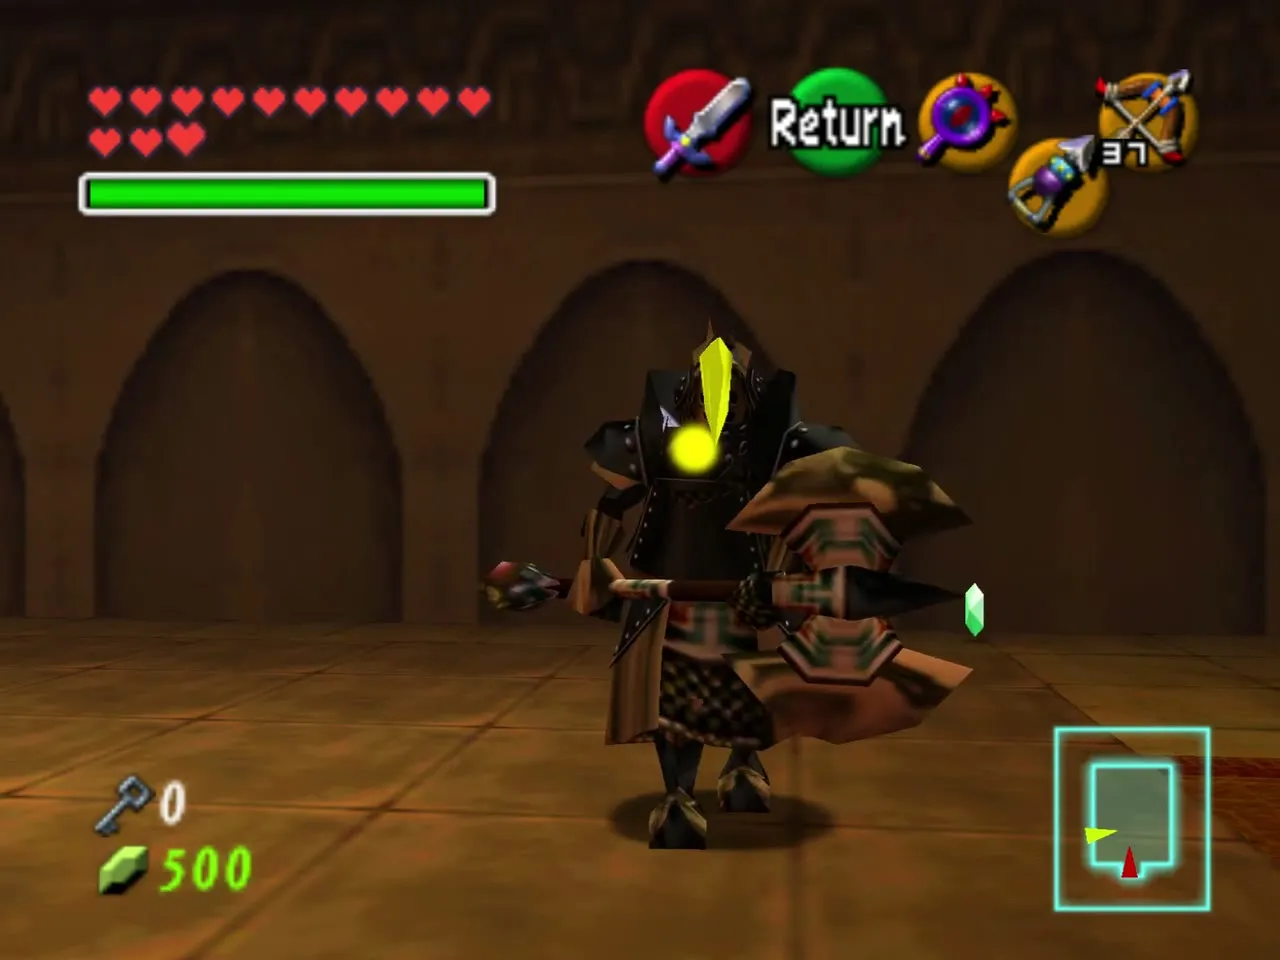
The elevator and the statue’s face
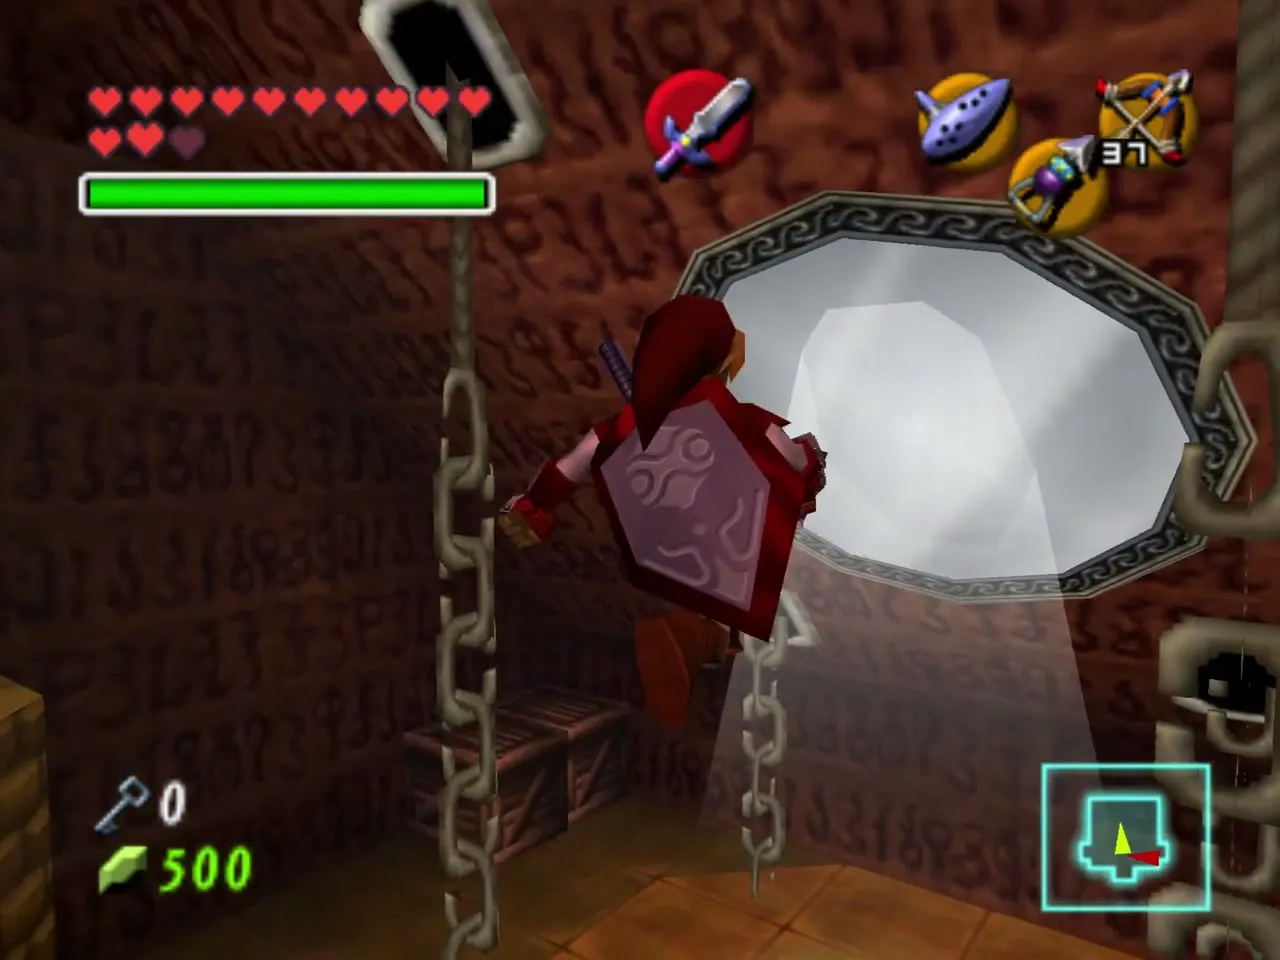
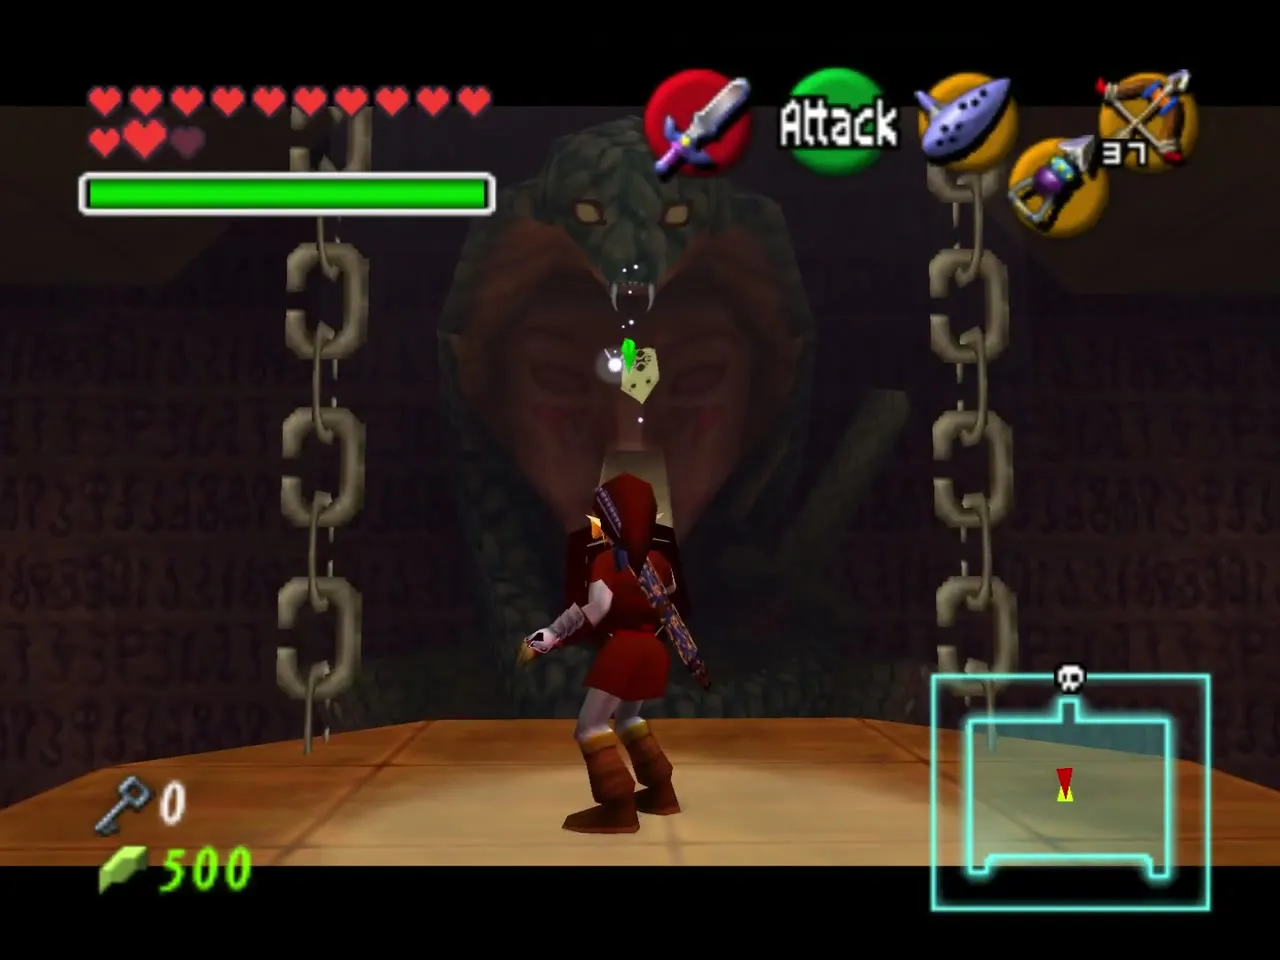
In the chain room, reflect light onto the sun to lower the platform. A Wallmaster attacks while you ride down, so fight it on the platform. In the statue room, bounce light onto the statue’s face so it crumbles, then Longshot to the gate, which opens the way to the boss door.
Mini-boss and boss
The last Iron Knuckle: Nabooru
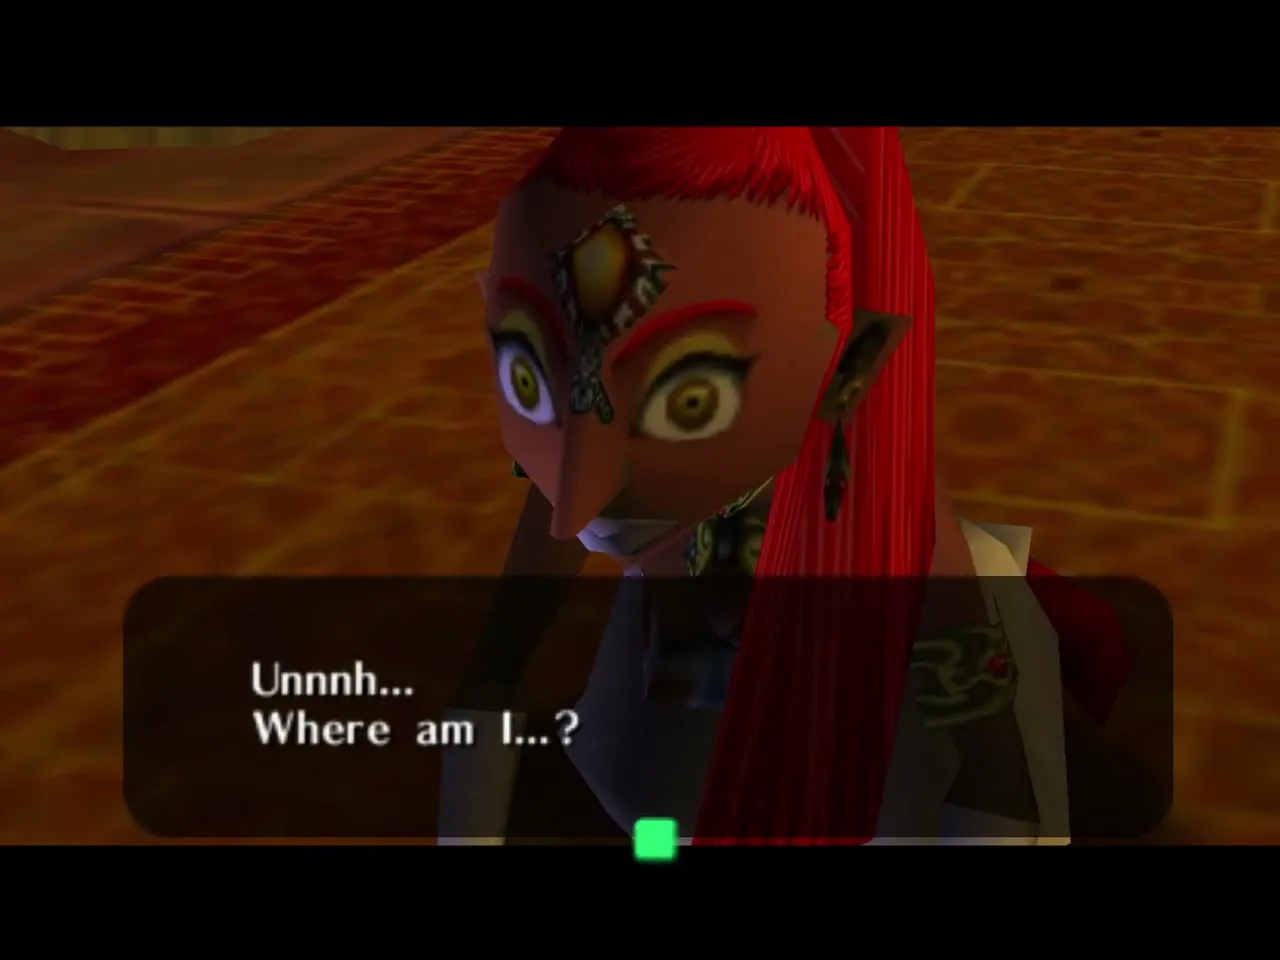
Koume and Kotake appear in the next room and set an Iron Knuckle on you. It fights like the others. When its armor falls off, Nabooru is inside, brainwashed by the witches. They whisk her away again and you continue through the door.
Twinrova, phase 1
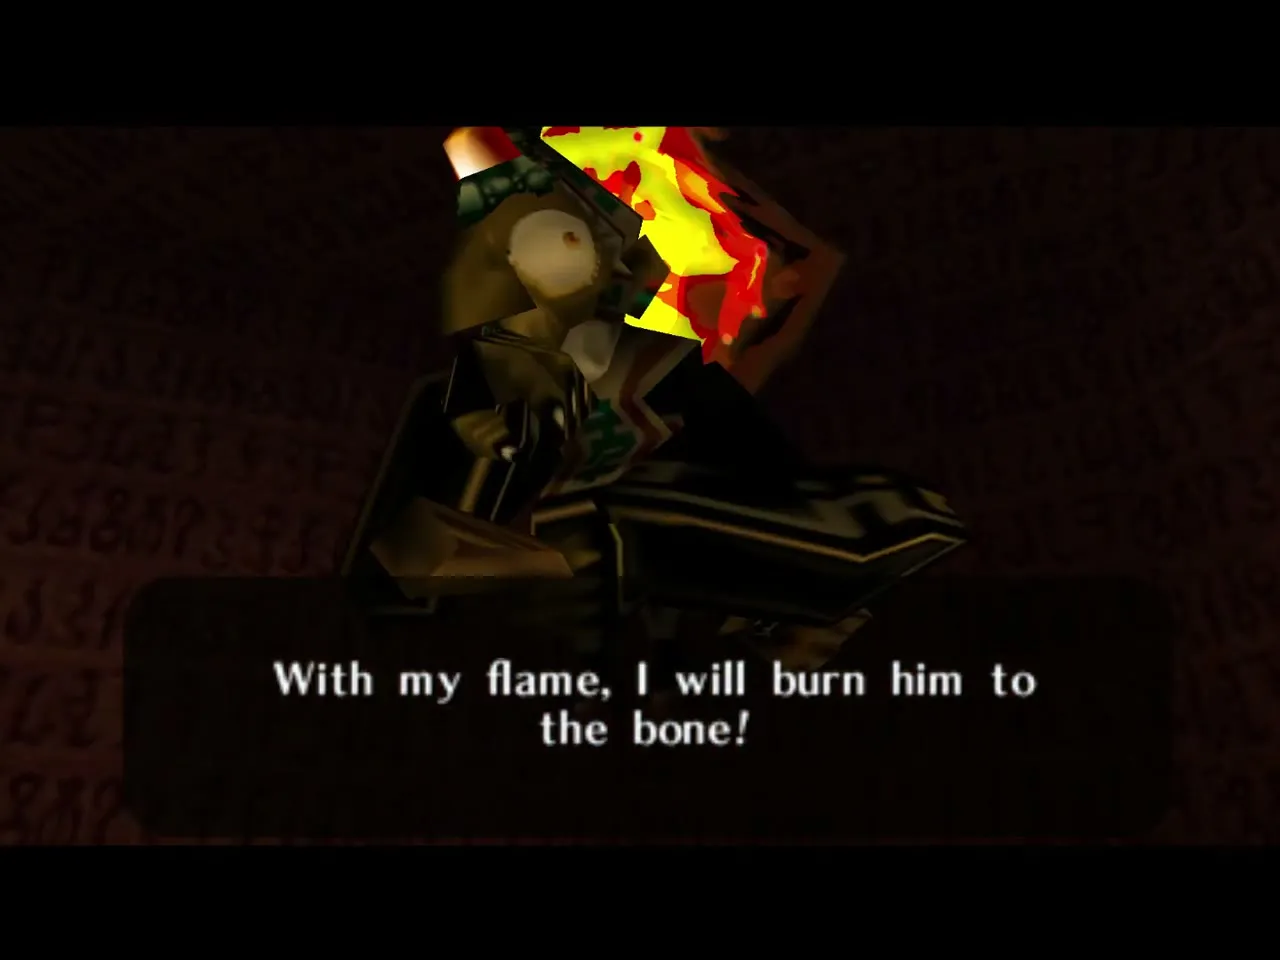
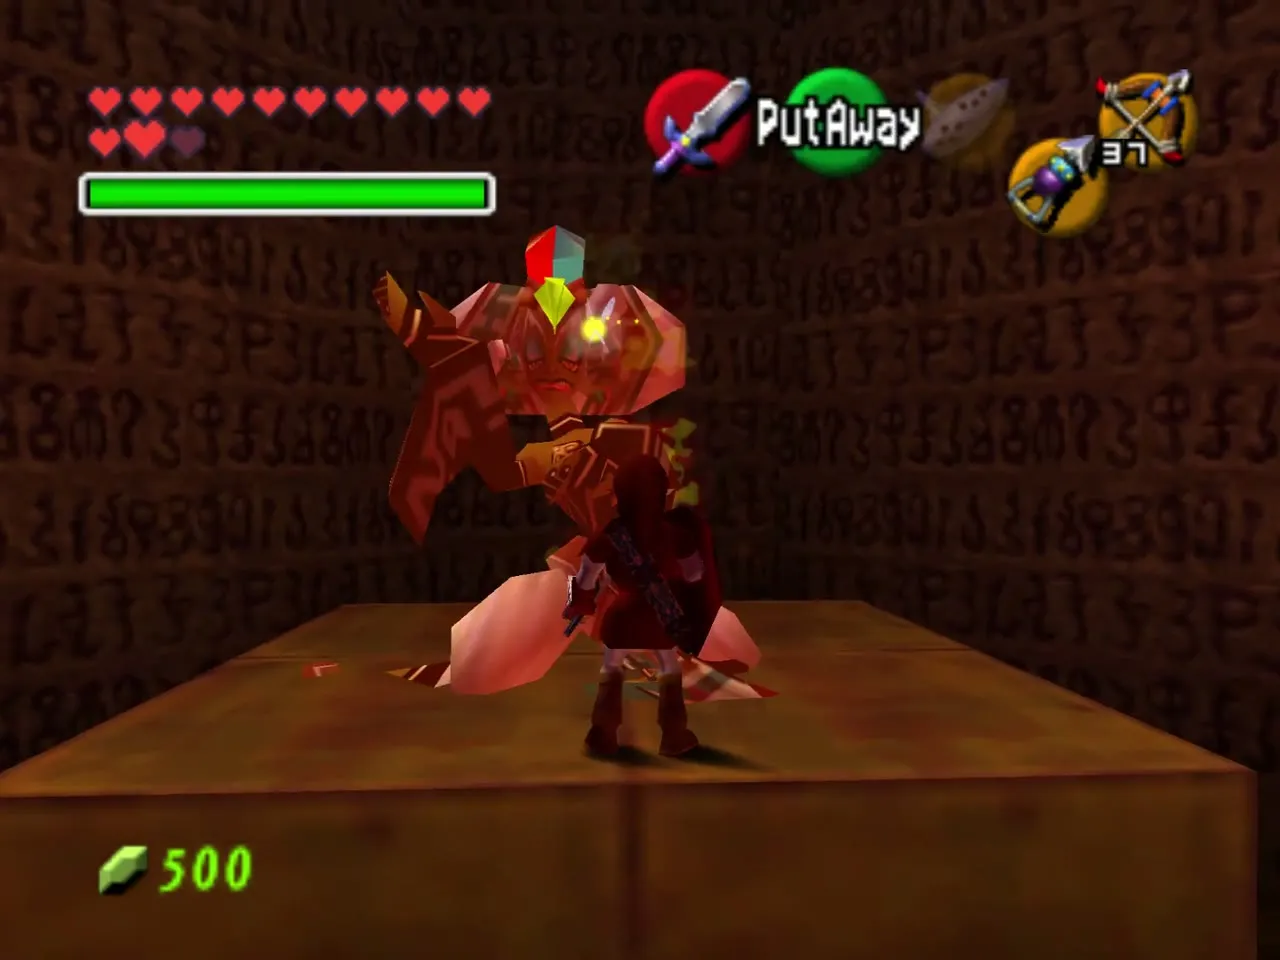
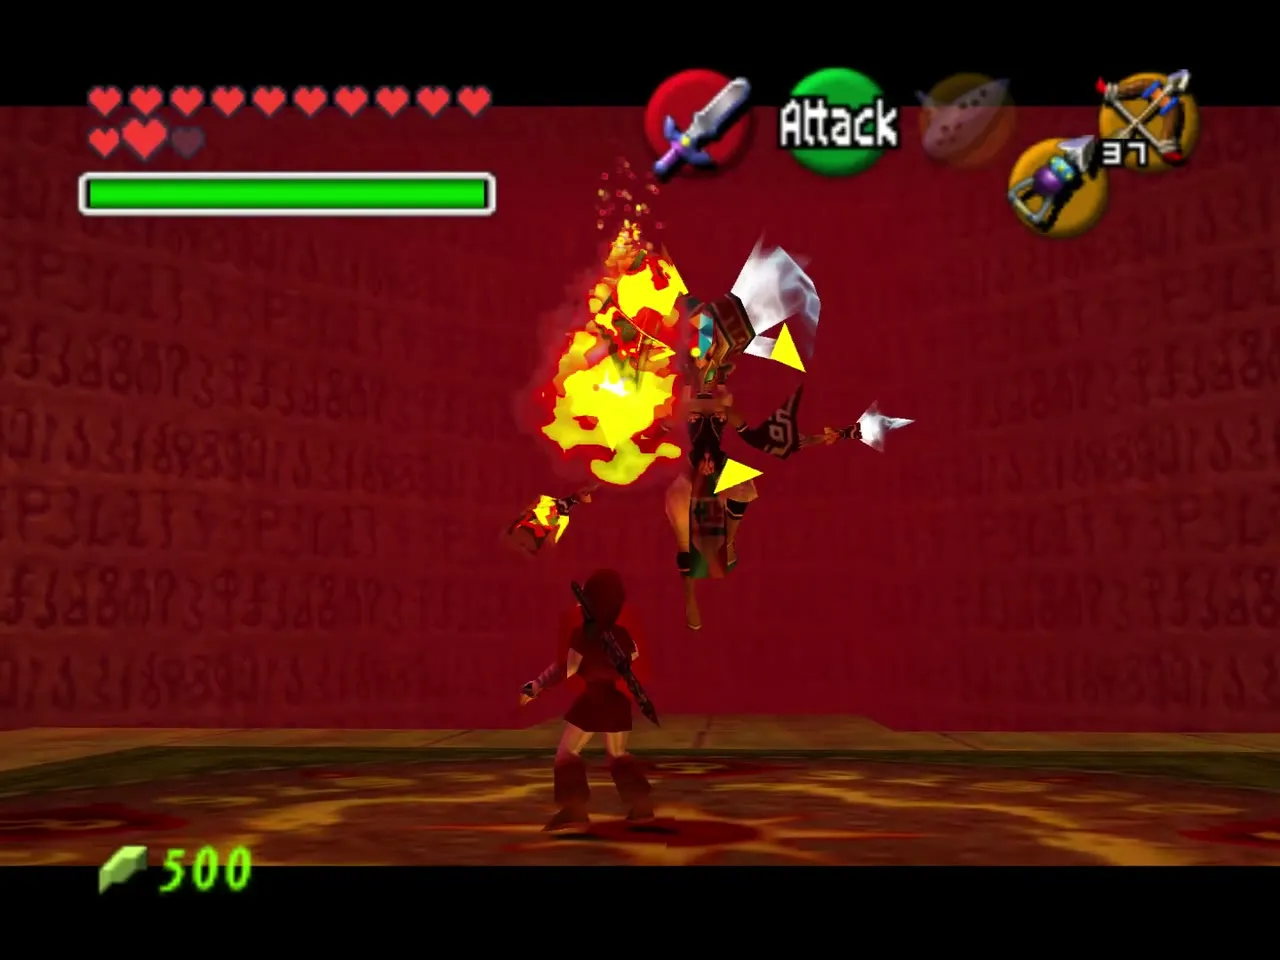
Climb the stairs to the arena. The sisters taunt you before the fight begins. Koume and Kotake circle the platform, one throwing slow fire beams and the other ice beams. Keep moving, because each beam leaves a patch that hurts, and the ice freezes you.
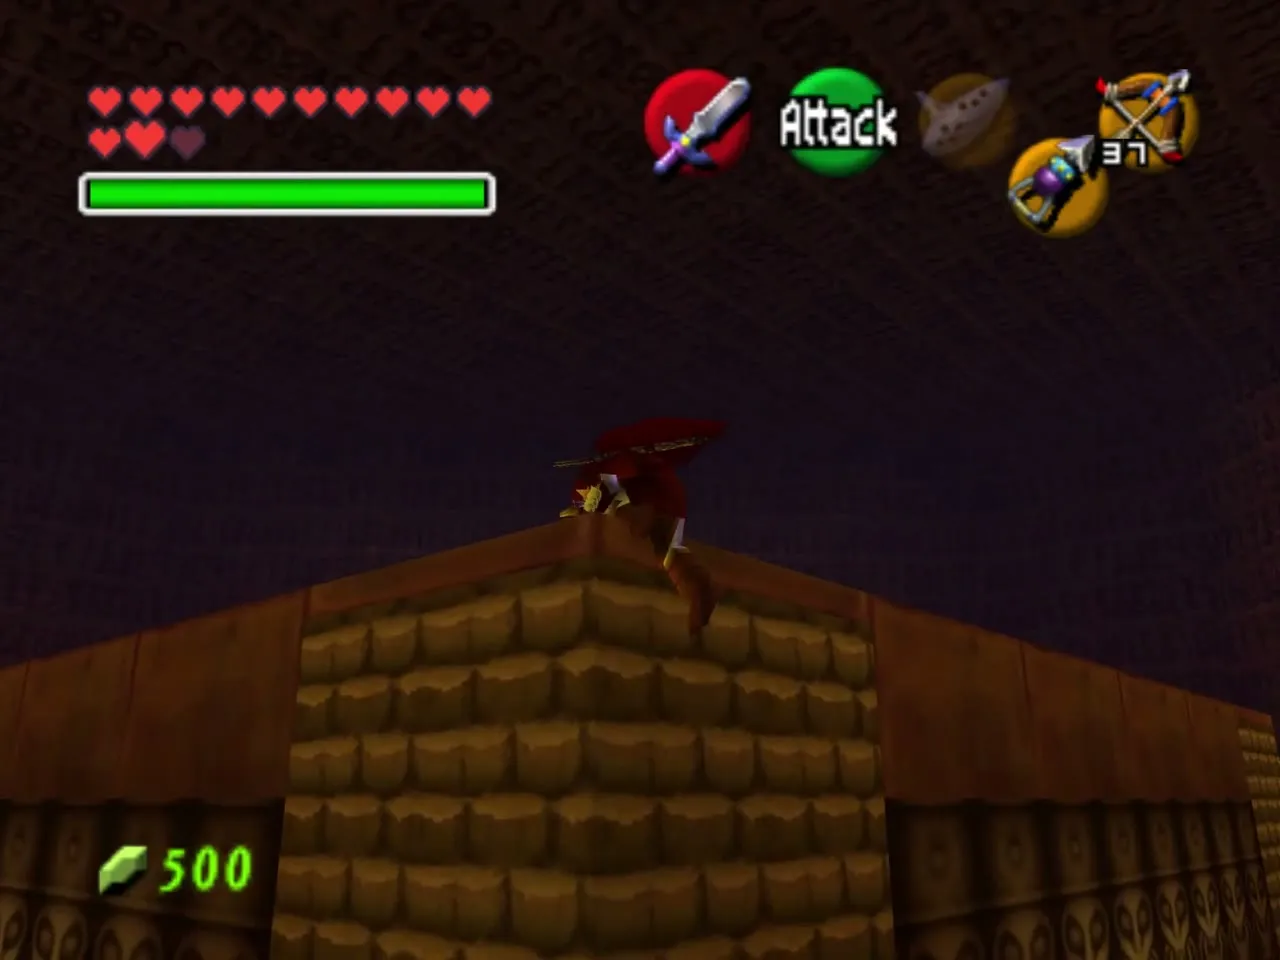
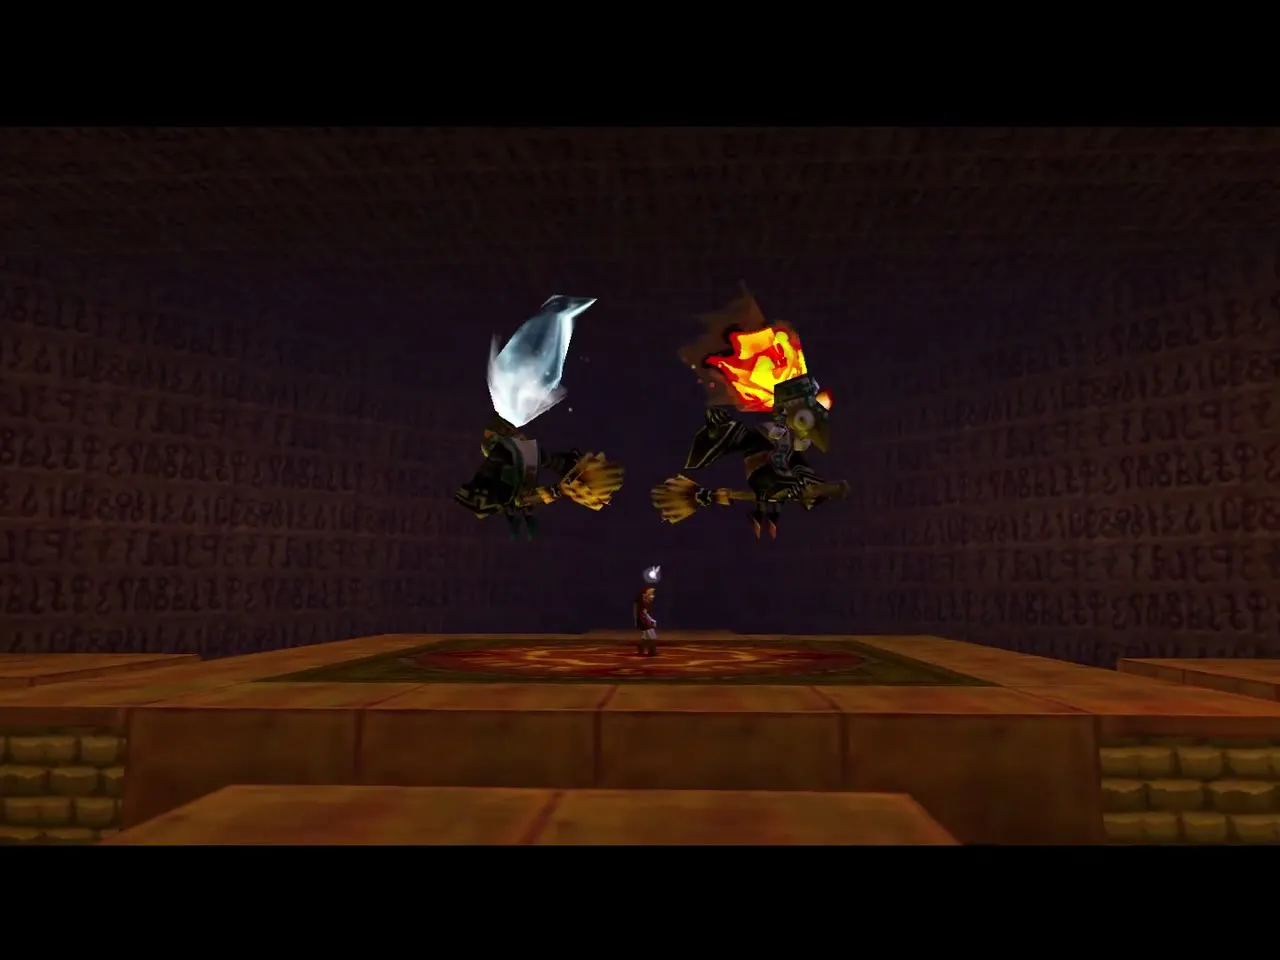
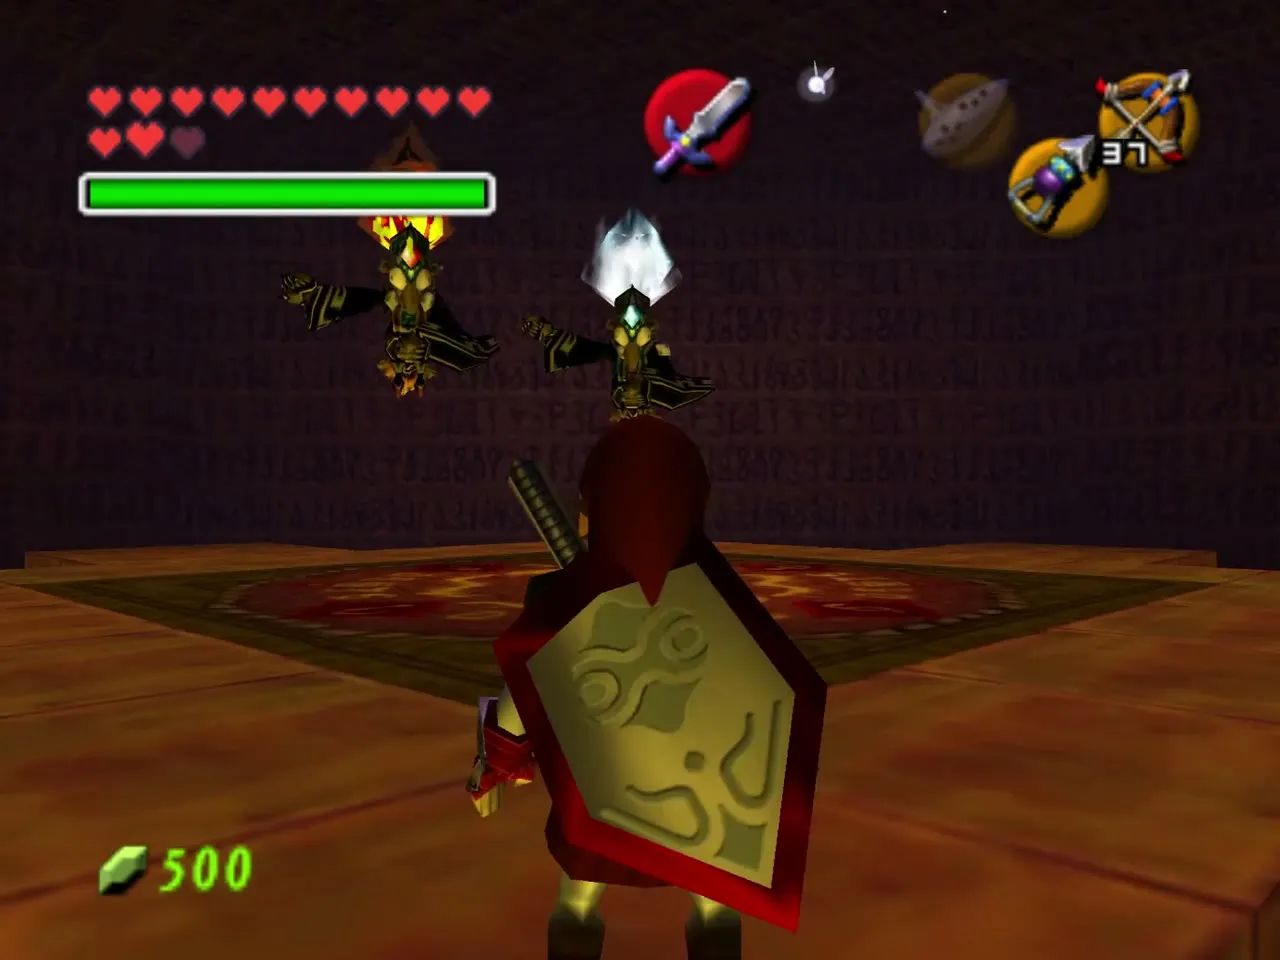
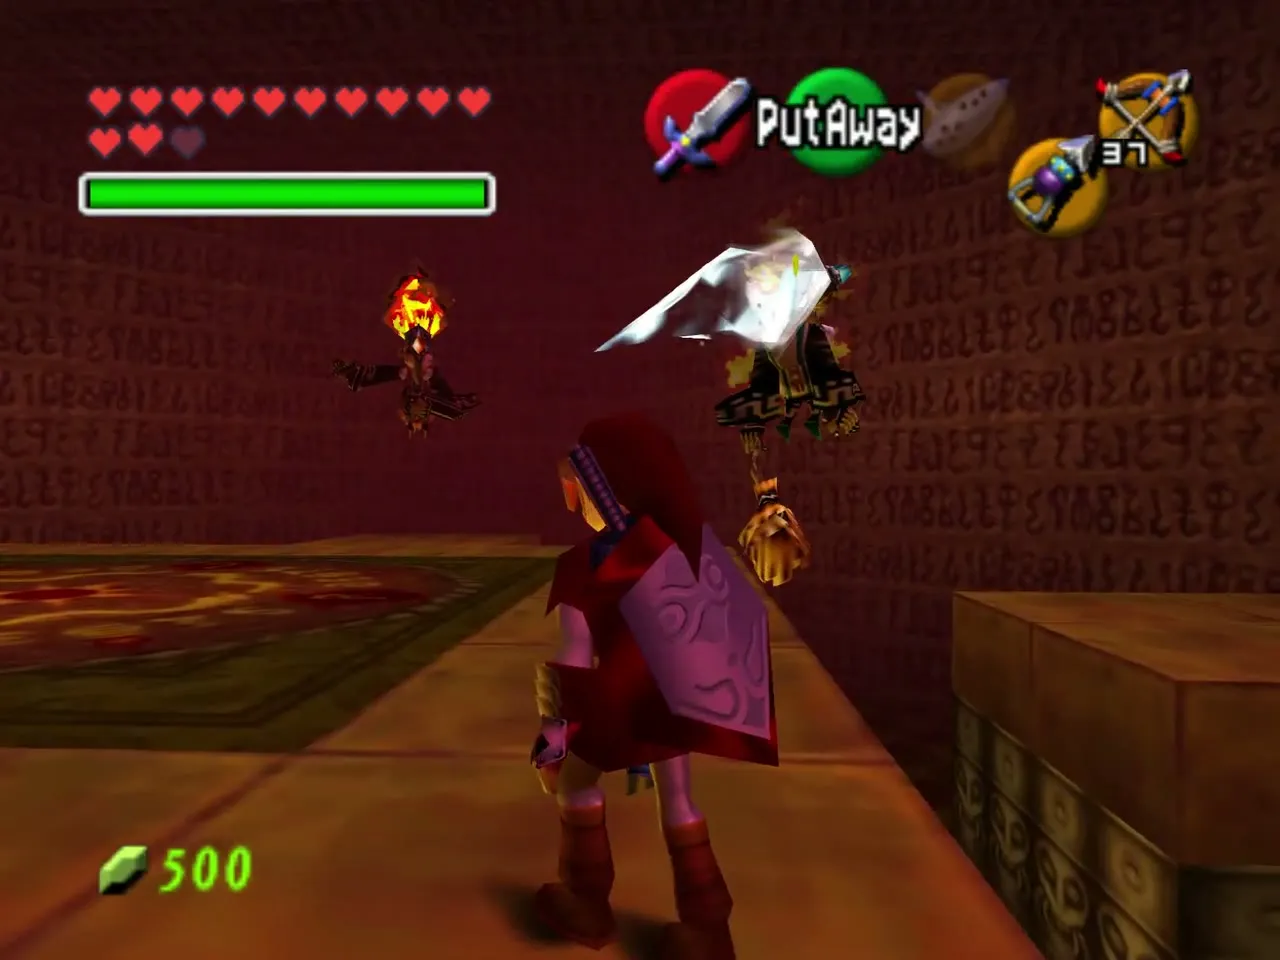
Raise the Mirror Shield and bounce each beam back at the other sister. Fire hurts the ice sister and ice hurts the fire sister. A few good hits and they merge.
Twinrova, phase 2
The merged Twinrova fires one element at a time, which charges your shield. Absorb the same element three times and the shield releases it. Point it at her and she drops onto one of the platforms. Take one element only: a different one makes your shield burst on you. Step up and slash her, then back off and repeat until she goes down.
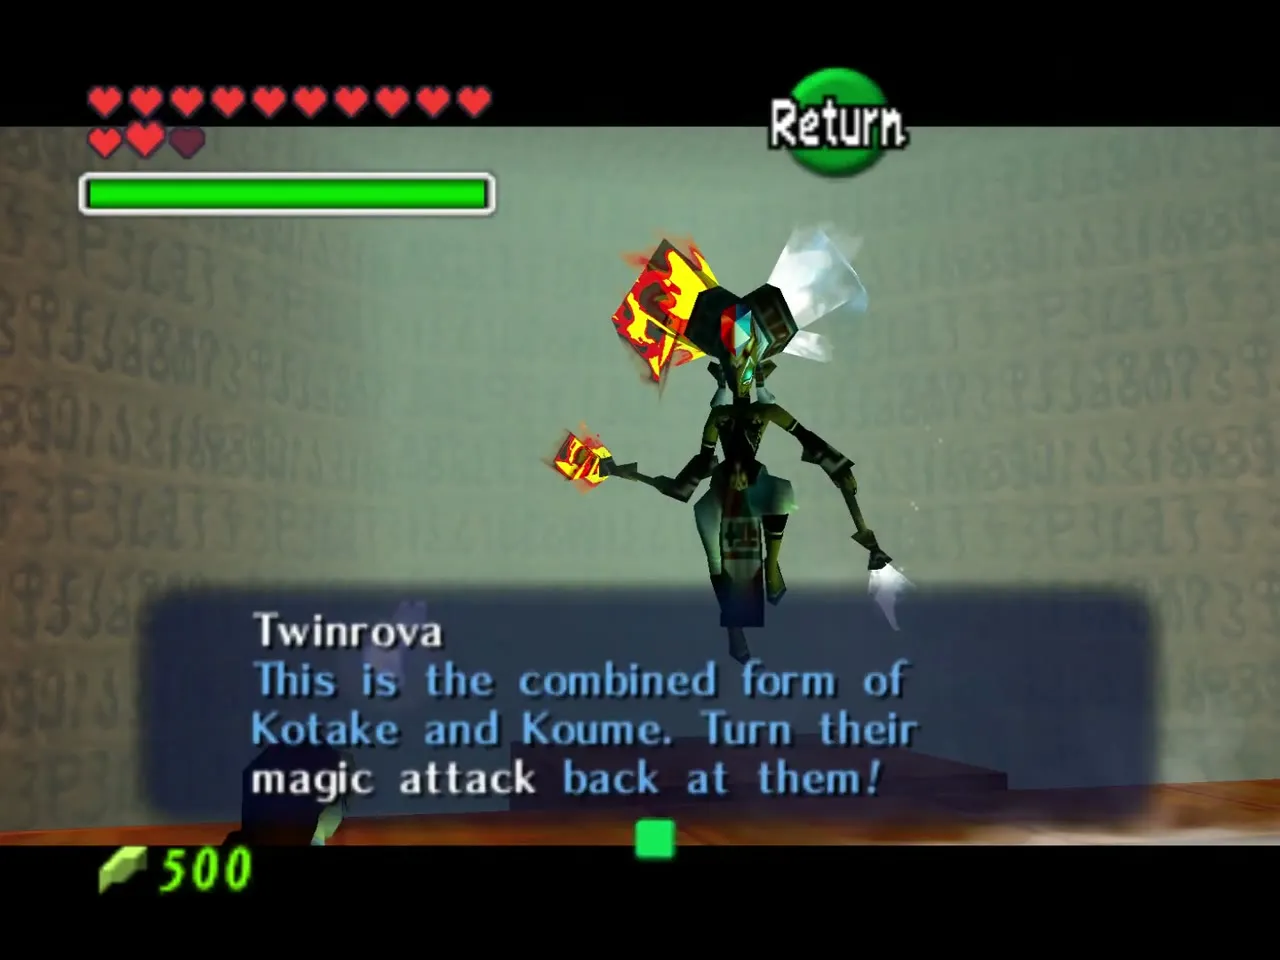
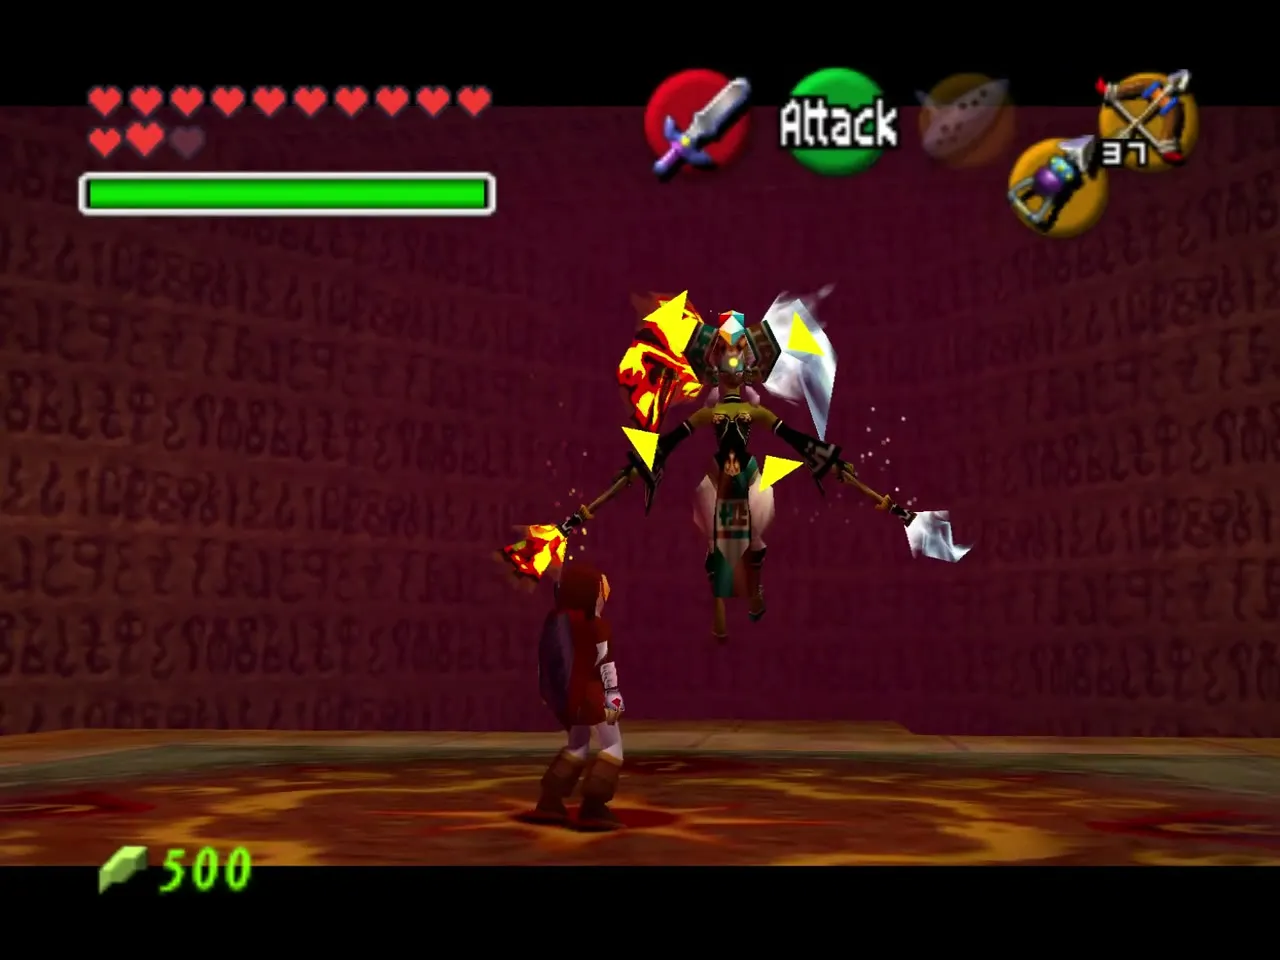
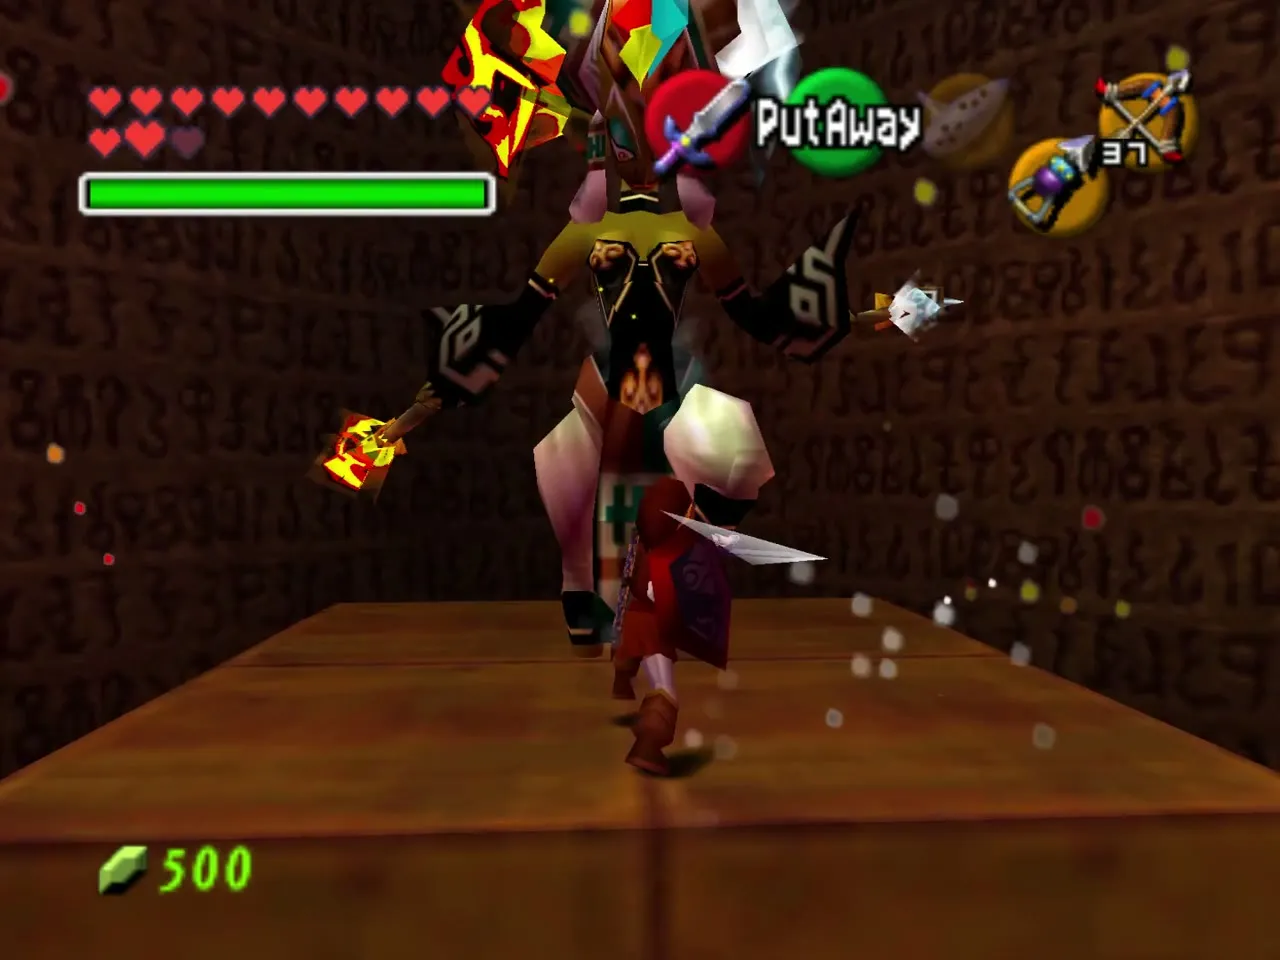
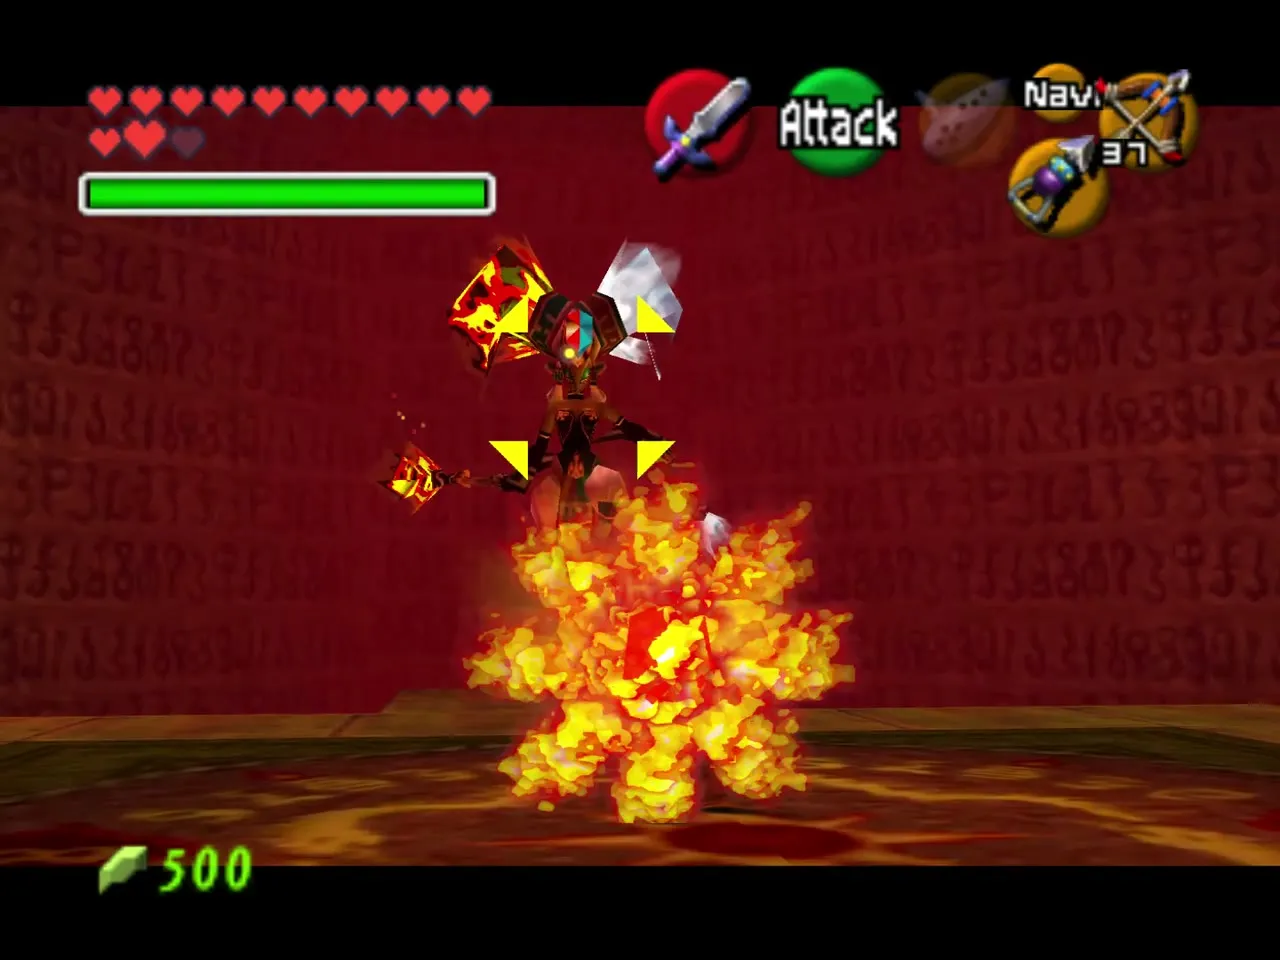
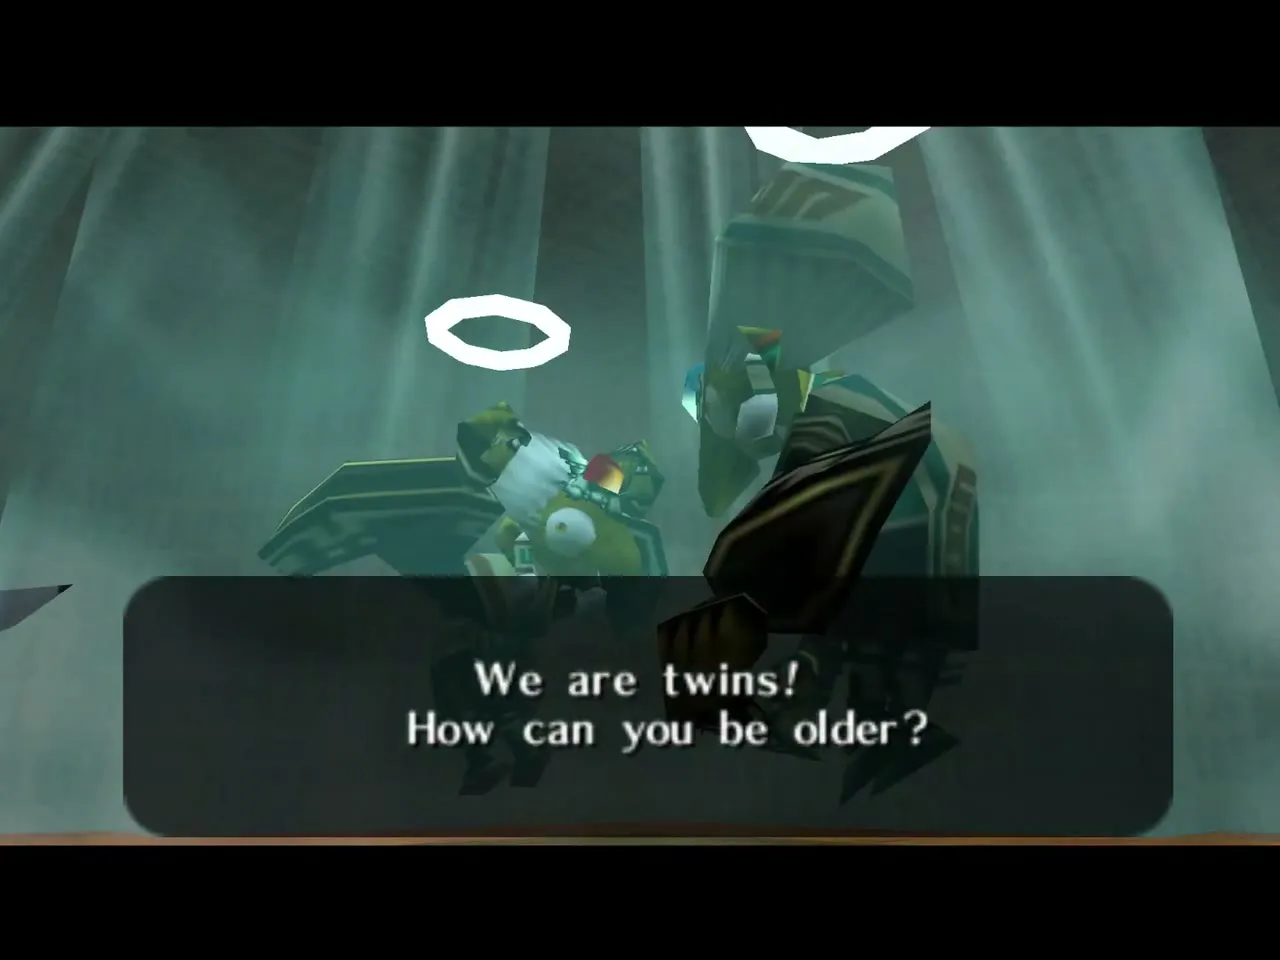
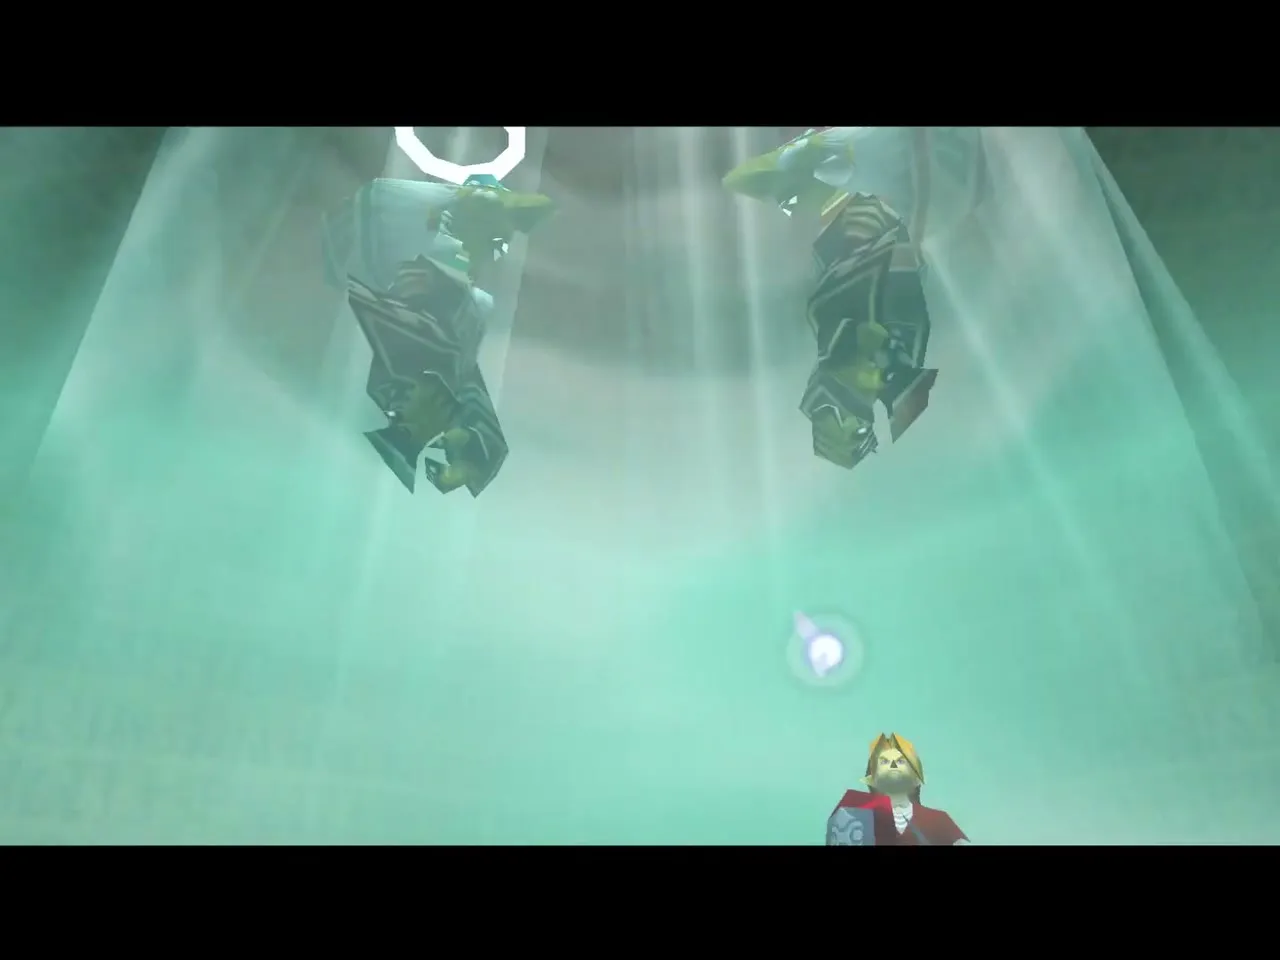
After her last stumble the sisters bicker over their age and vanish with a promise to return.
Heart Container and the Spirit Medallion
Take the Heart Container in the middle of the arena and step into the blue light.
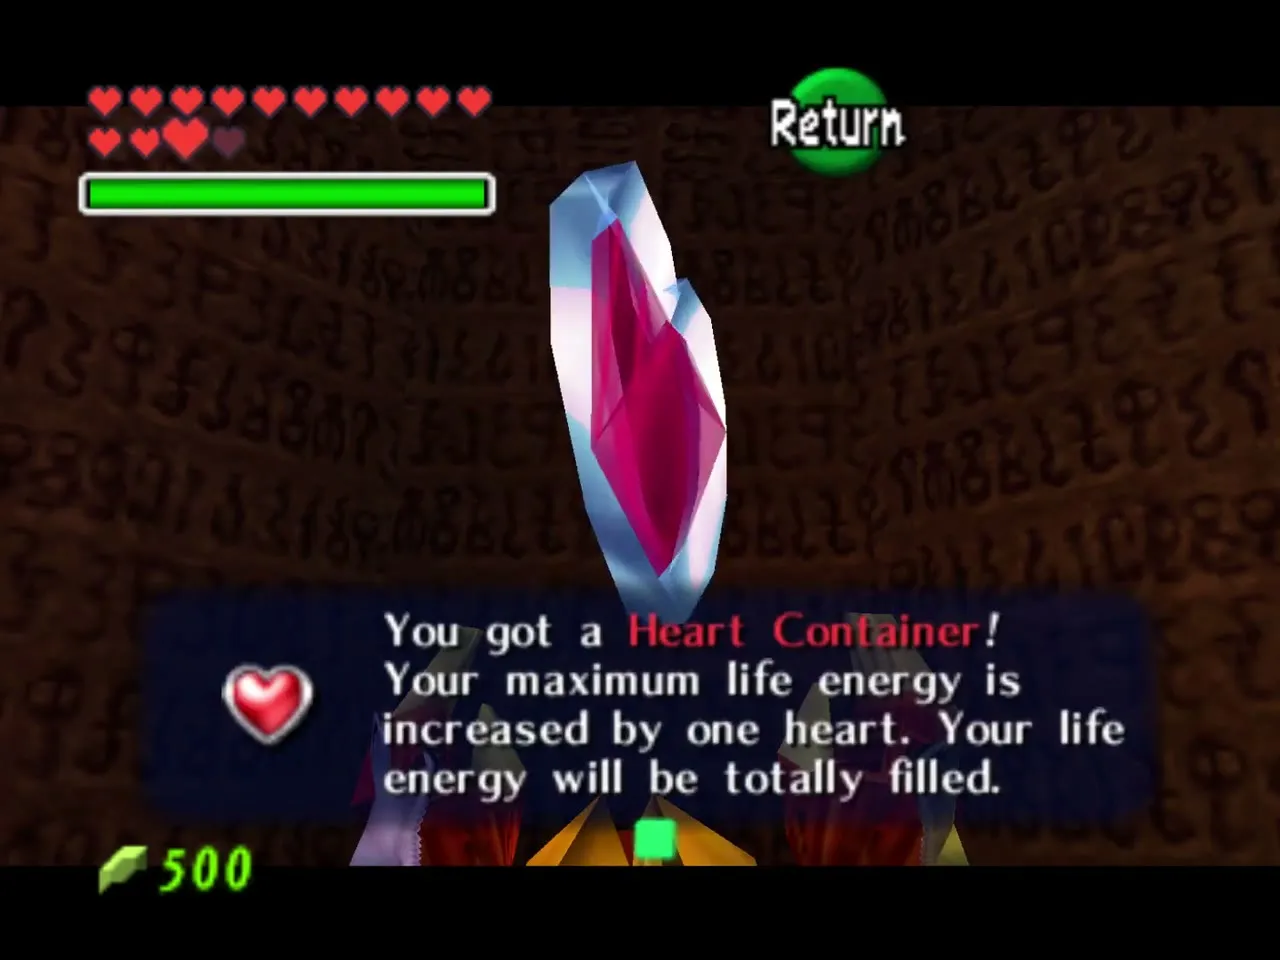
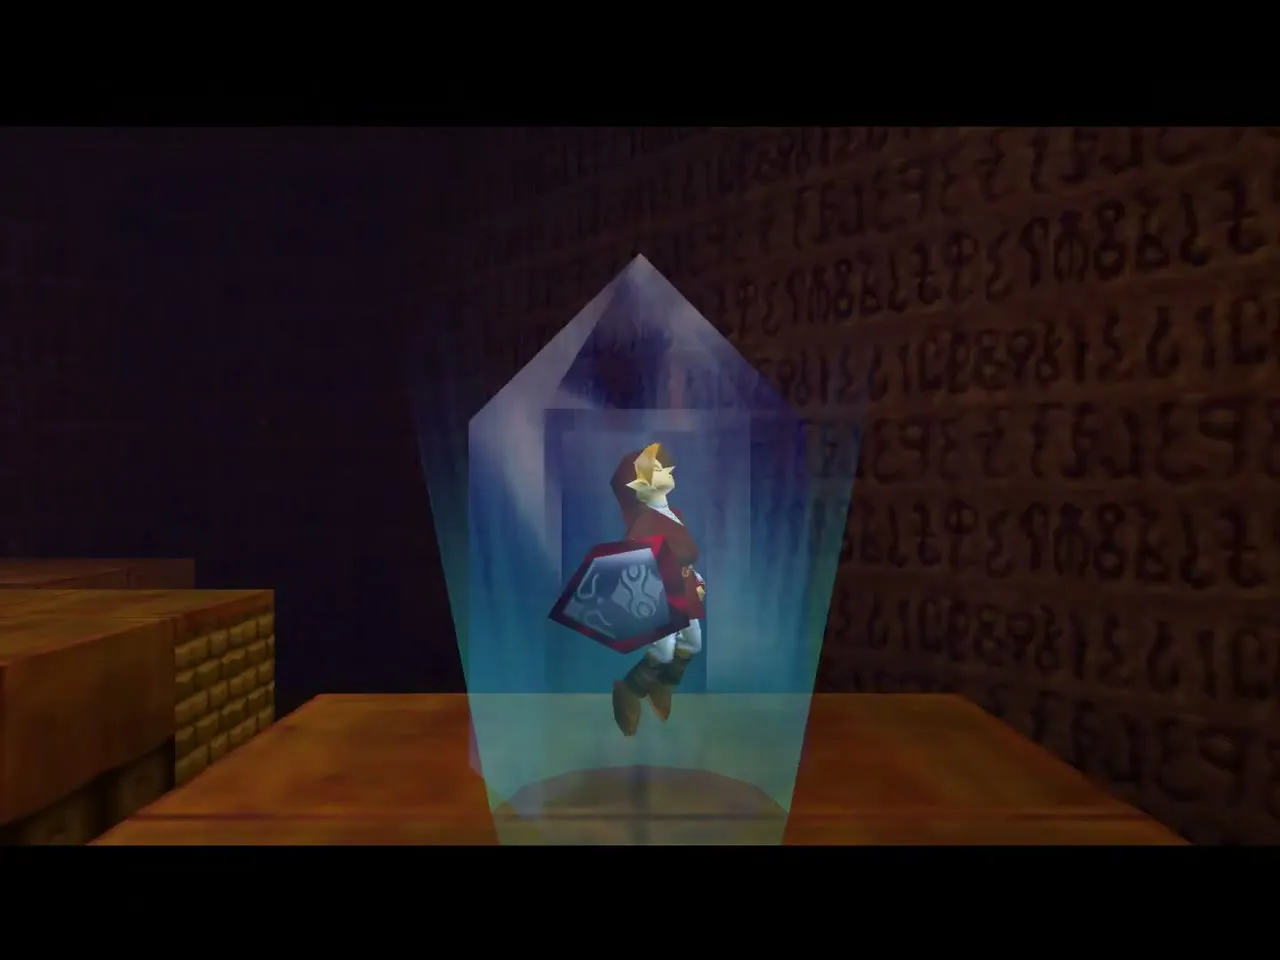
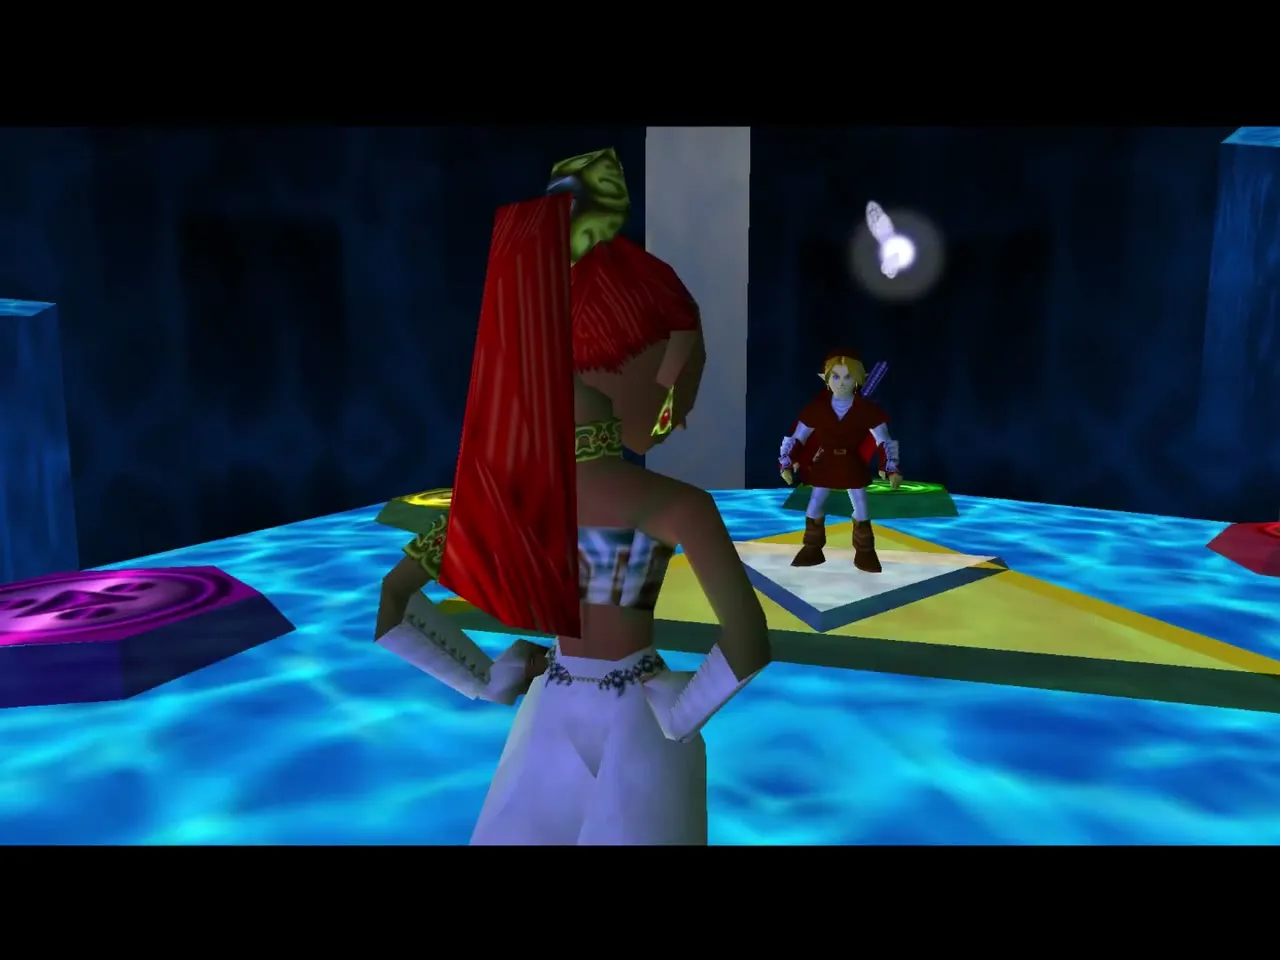
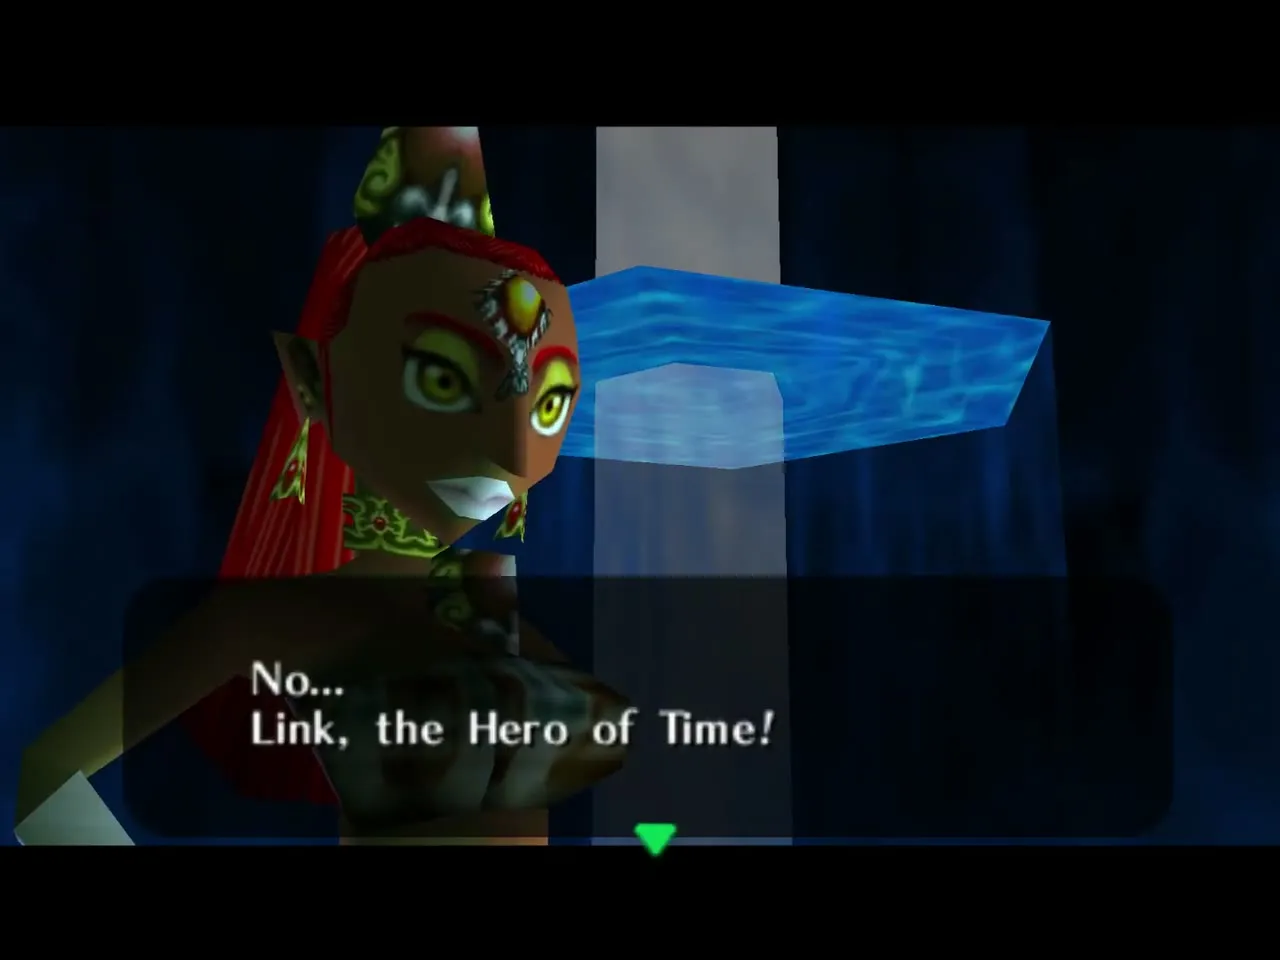
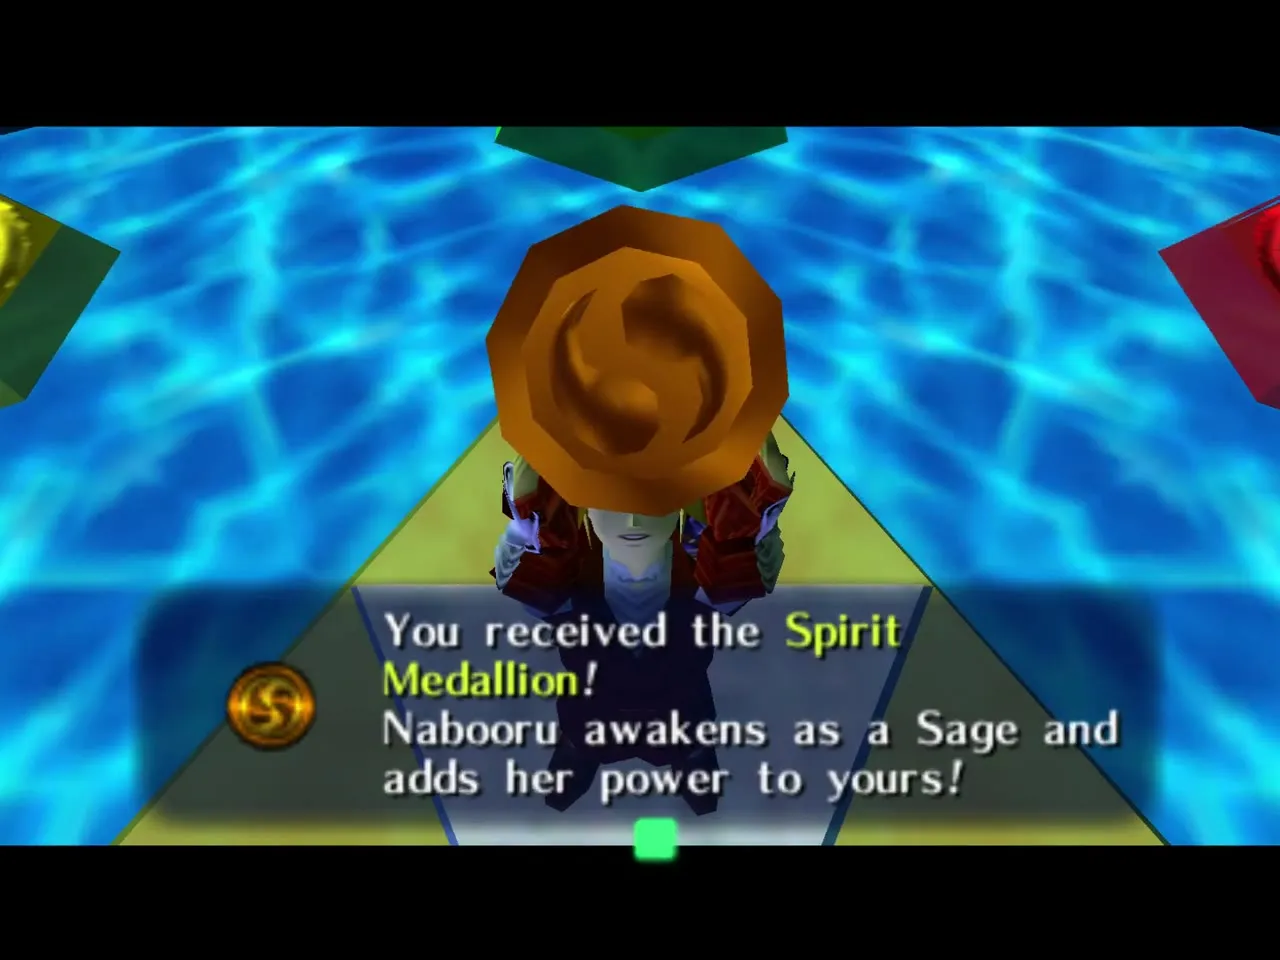
In the Chamber of Sages, Nabooru reveals that she is the Sage of Spirit. You receive the Spirit Medallion, and the sages’ final message tells you that Ganondorf waits.
How Master Quest changes the Spirit Temple
The Spirit Temple is almost completely rebuilt. A water jet blocks adult Link in the entrance hall and a Small Key hides behind a boulder there. Torch Slugs, Gibdos, Dinalfos and Wallmasters fill rooms that held Skulltulas and Beamos in the original. Song of Time and crate puzzles replace the block pushing, and a trap chest freezes you in ice. Two Gold Skulltulas sit behind an Iron Knuckle’s thrones. Compare it with the original on the Spirit Temple walkthrough.
Chapter checklist
| Type | Item | Where |
|---|---|---|
| Dungeon item | Dungeon Map | Chest just inside the right door of the Torch Slug room (child) |
| Dungeon item | Compass | Chest after shooting the eye on the statue’s leg (child) |
| Key item | Silver Gauntlets | Chest outside after the first Iron Knuckle |
| Key item | Mirror Shield | Chest after the second Iron Knuckle (adult) |
| Dungeon item | Boss Key | Chest behind a Gibdo and the sun emblem door |
| Small Key | 7 total | Entry boulder eye, gravestone room, pit eye, Longshot chest, silver rupee chest, Hammer chest, mirror room chest |
| Gold Skulltula | 5 in the temple | Sun block room, west door ceiling, Skulltula swarm room, two behind the third Iron Knuckle’s thrones |
| Silver Rupees | 15 (3 groups) | Entry hall and the moving wall |
| Heart Container | Twinrova | Boss arena |
| Medallion | Spirit Medallion | Chamber of Sages |
| Song | Requiem of Spirit | Sheik at the entrance |
| Magic | Nayru’s Love | Great Fairy, Desert Colossus |
Next come the optional Gerudo Training Ground and Ganon’s Castle. See Heart Pieces and Gold Skulltulas for the rest, and the Master Quest hub for the other dungeons.
