





















Ocarina of Time Master Quest Walkthrough12 chapters
- Inside the Great Deku Tree (Master Quest)Dungeon Map, Slingshot, Compass, Gold Skulltulas, Queen Gohma, Heart Container and Kokiri’s Emerald.
- Dodongo’s Cavern (Master Quest)Every room in order, Dungeon Map, Compass, Bomb Bag, silver rupees, Gold Skulltulas, King Dodongo and the Goron’s Ruby.
- Inside Jabu-Jabu’s Belly (Master Quest)Cow switches, Map, Compass, Boomerang, Big Octo, Barinade, Heart Container and Zora’s Sapphire.
- Forest Temple (Master Quest)Six Small Keys, Boss Key, Fairy Bow, the four Poe Sisters, five Gold Skulltulas and Phantom Ganon.
- Fire Temple (Master Quest)Five Small Keys, Din’s Fire puzzles, Iron Knuckle, Megaton Hammer, Boss Key, five Gold Skulltulas and Volvagia.
- Water Temple (Master Quest)Early Longshot, Map, Compass, both Small Keys, Dark Link, Boss Key and Morpha.
- Shadow Temple (Master Quest)Hover Boots, map, compass, Boss Key, Gold Skulltulas, Bongo Bongo and the Shadow Medallion.
- Spirit Temple (Master Quest)Every chest, 7 Small Keys, Silver Gauntlets, Mirror Shield, Boss Key, Skulltulas and Twinrova.
- Bottom of the Well (Master Quest)Map, Compass, two Small Keys, Dead Hand, the Lens of Truth and all three Gold Skulltulas.
- Ice Cavern (Master Quest)Blue Fire, Song of Time blocks, Stalfos, Iron Boots, Serenade of Water.
- Gerudo Training Ground (Master Quest)The remixed rooms in order, Small Keys, Silver Rupee puzzles and the Ice Arrows.
- Ganon’s Castle (Master Quest)Light Arrows, the rainbow bridge, all six remixed trials, Golden Gauntlets, Double Defense, the tower.
| Covers | Inside the Great Deku Tree in the Master Quest edition, from the open mouth to Queen Gohma, plus the Great Deku Tree’s farewell scene outside |
|---|---|
| Dungeon | Inside the Great Deku Tree (first dungeon). Dungeon items: Map, Compass, Fairy Slingshot. No small keys and no Boss Key. Boss: Queen Gohma. |
| You need | Kokiri Sword and Deku Shield equipped, and a few Deku Sticks. Everything else is found inside. |
| Rewards | Dungeon Map, Fairy Slingshot, Compass, Deku Nuts and Deku Seeds on the way, Heart Container, Kokiri’s Emerald, and 4 Gold Skulltula tokens (1 on this visit, 3 later) |
| Differences | Hostile Deku Babas, Gohma Larva eggs in almost every room, a new room order, and a Slingshot you earn by clearing a room instead of beating a Deku Scrub |
The Master Quest version of the Great Deku Tree keeps the same boss and the same reward but rebuilds every room. You collect the Dungeon Map first, climb to the Slingshot, use it to reach the Compass, then burn your way down through two layers of the basement to Queen Gohma. Only one of the four Gold Skulltulas can be taken on this visit; the other three wait for Bombchus, the Song of Time and the Boomerang.
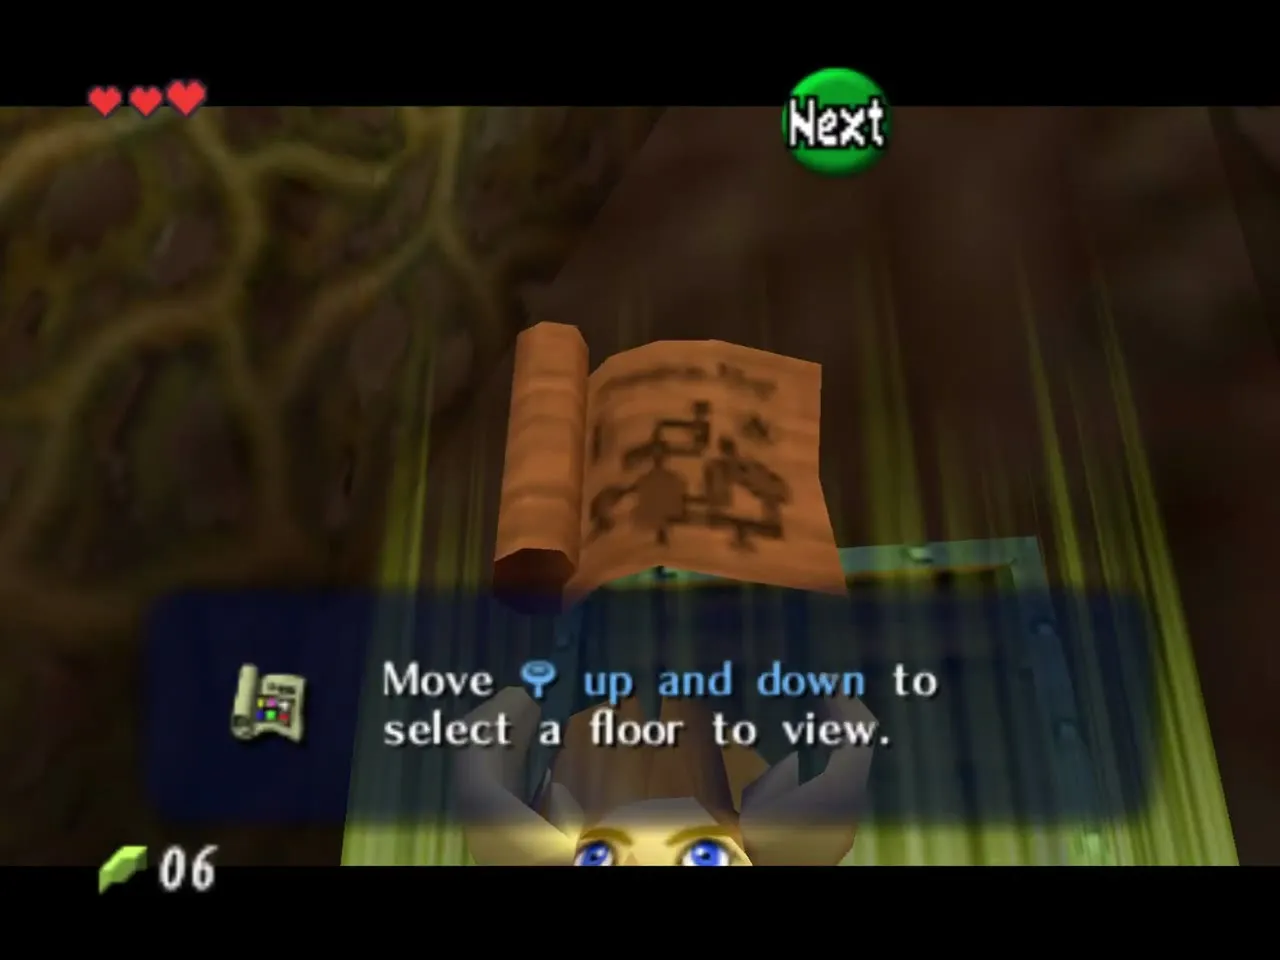
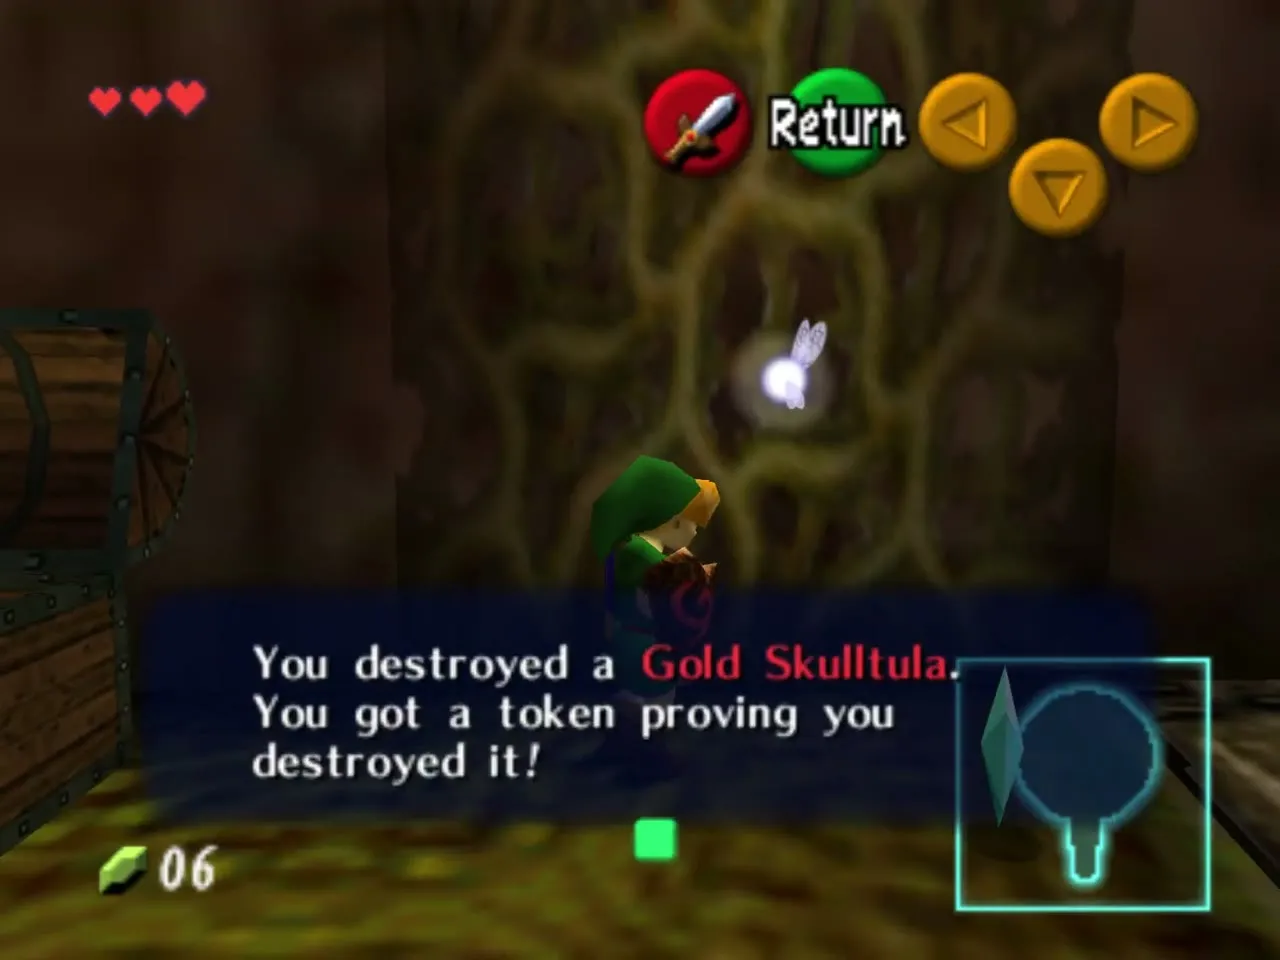
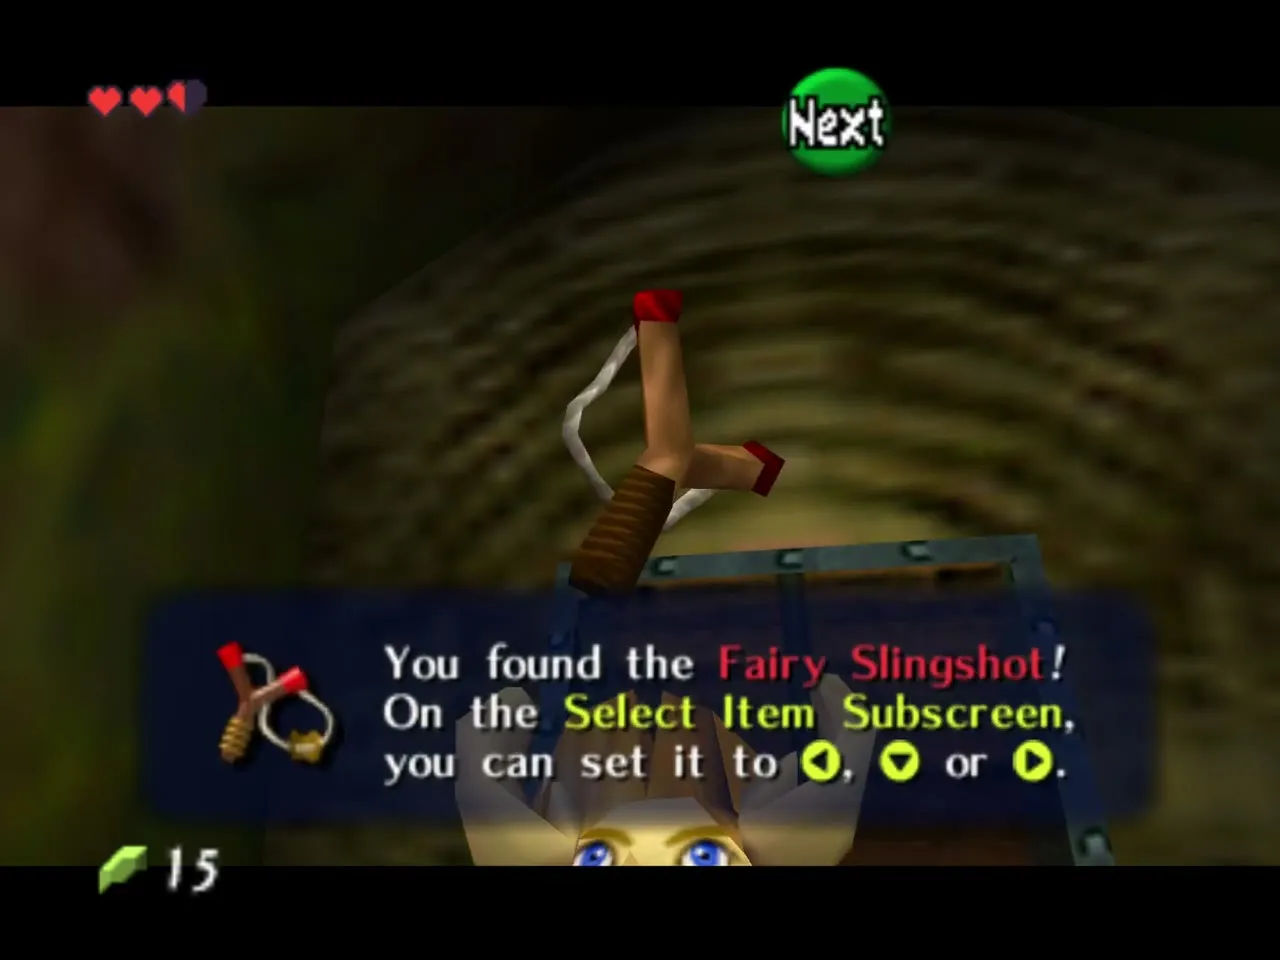
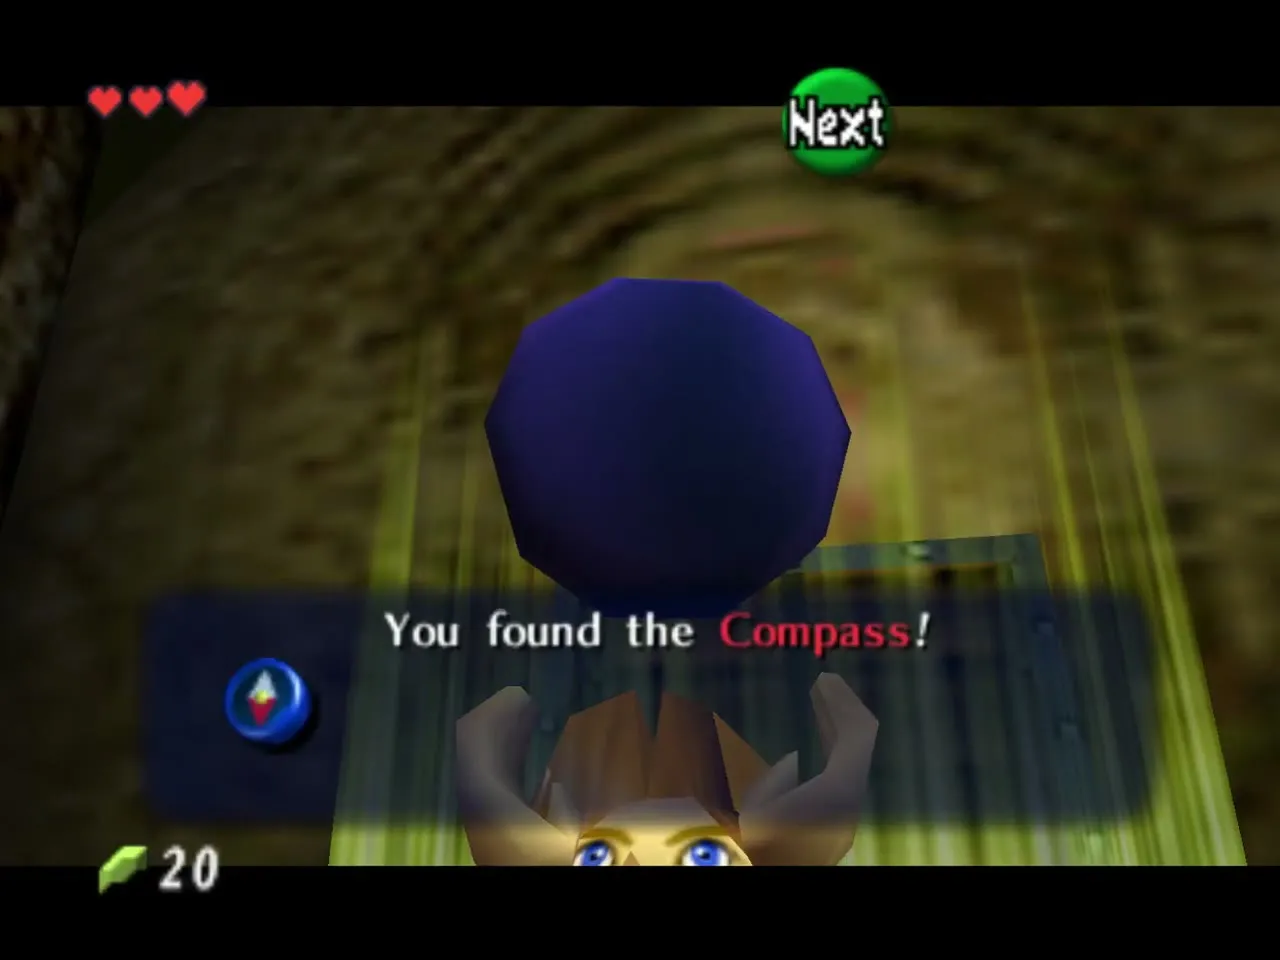
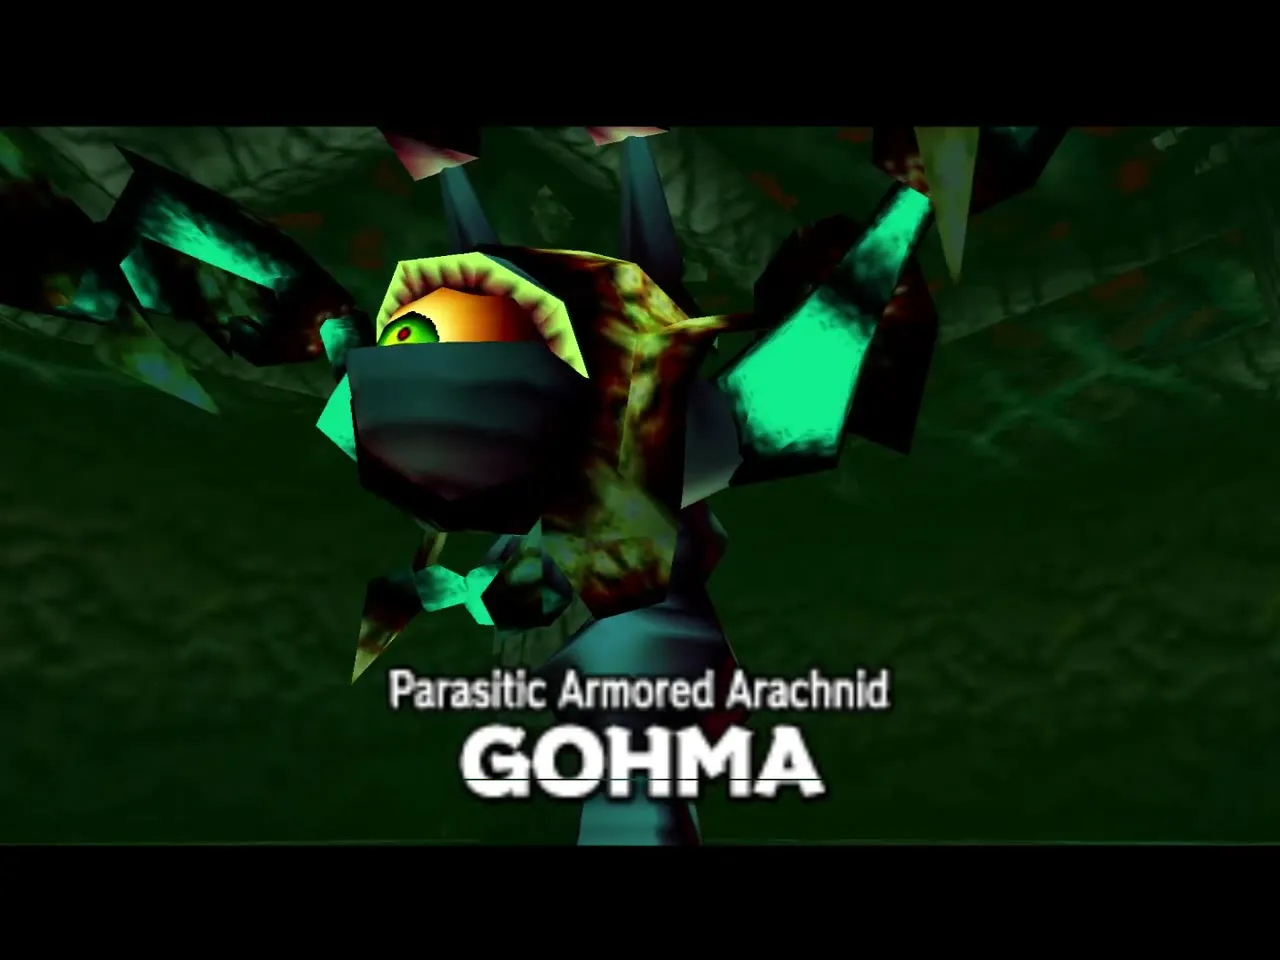
Table of Contents
Entering the tree
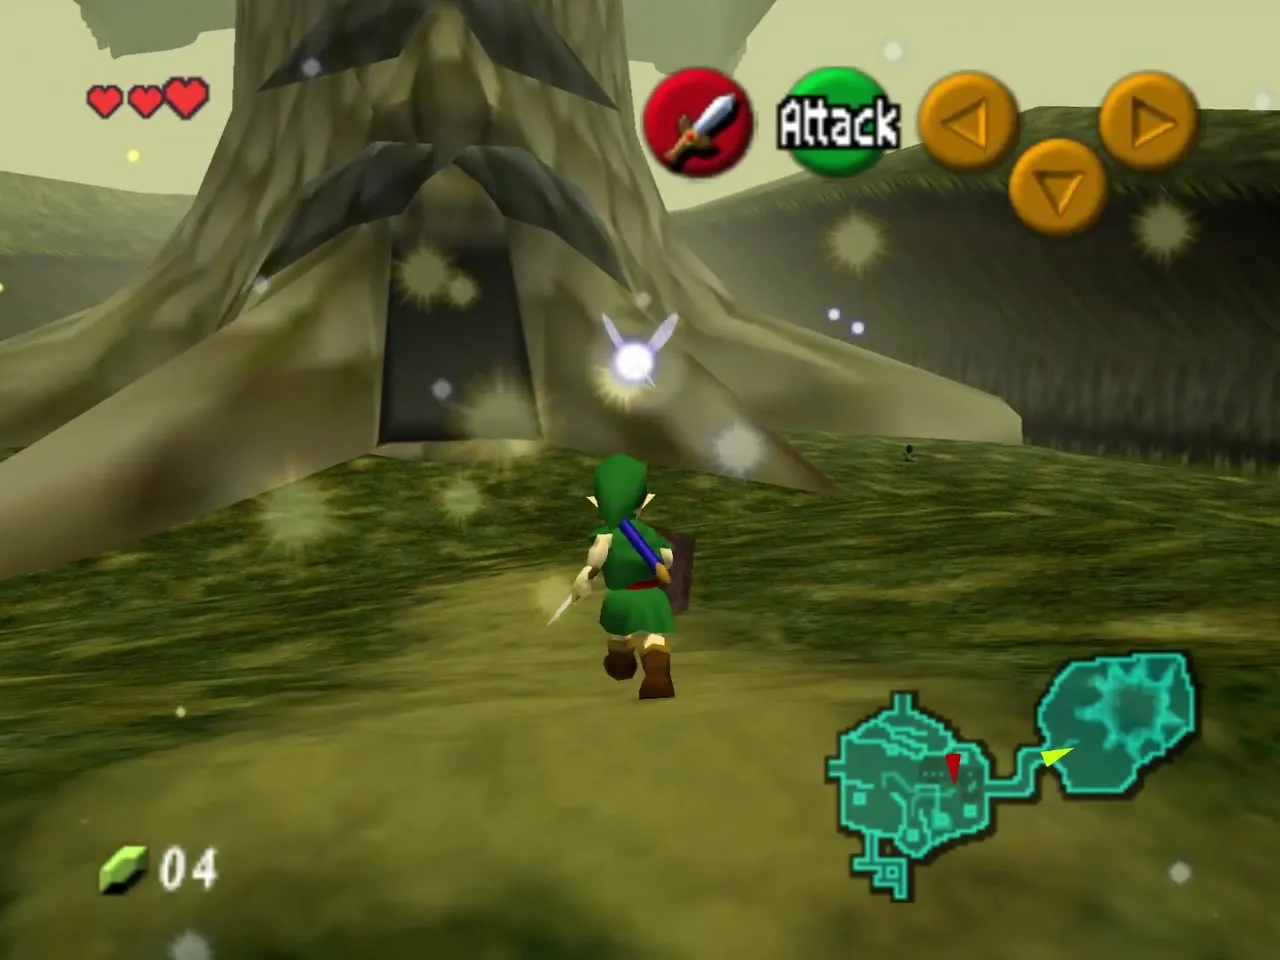
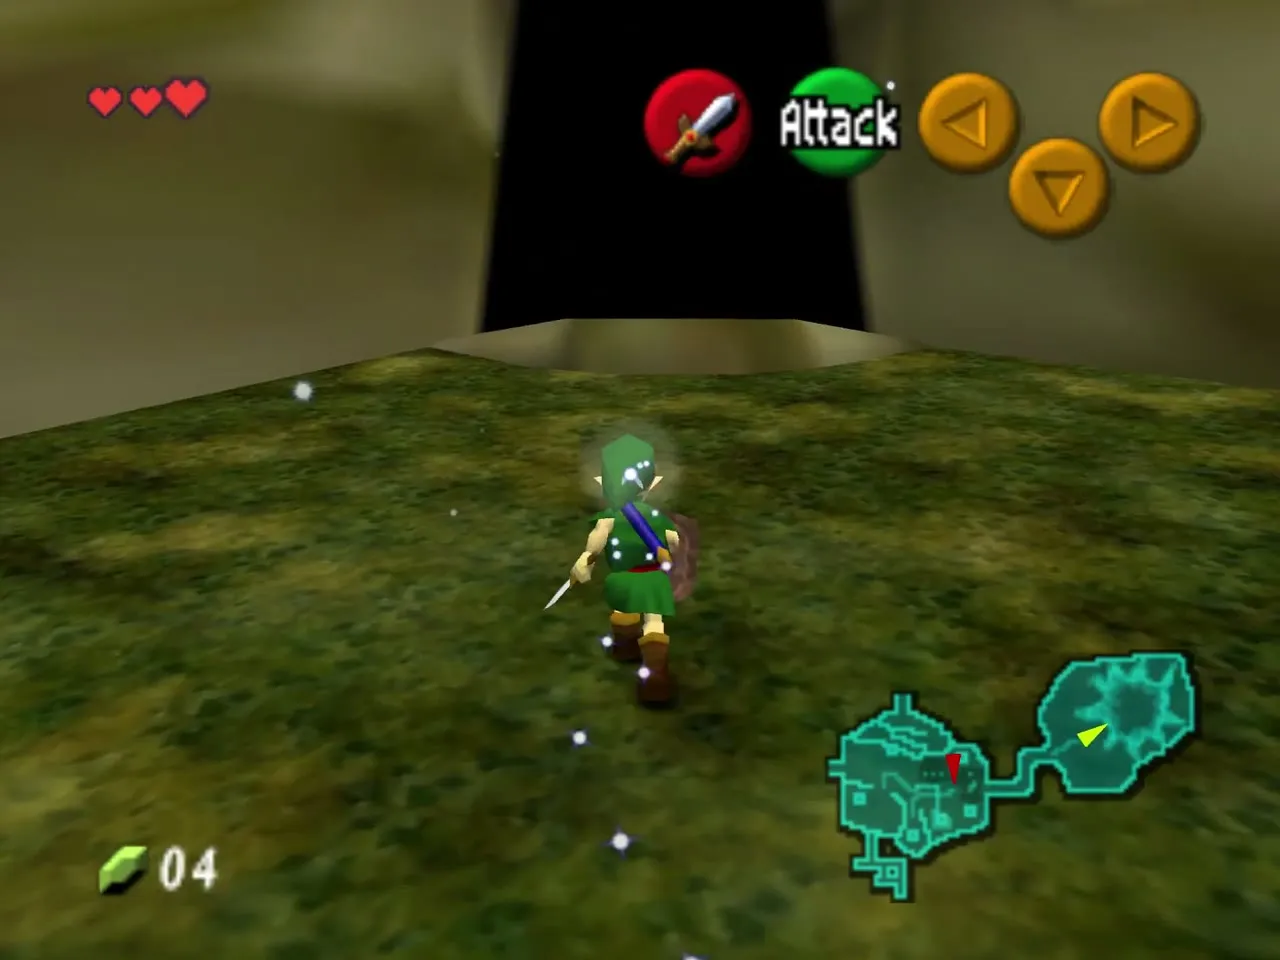
Walk up to the Great Deku Tree in his clearing and listen to what he asks of you. When the talking stops, walk straight into his open mouth. Navi gives hints whenever you press C-Up near something she can read, and in this dungeon she explains vine walls, doors and pushable blocks as you meet them.
The lobby and the Dungeon Map
Lobby
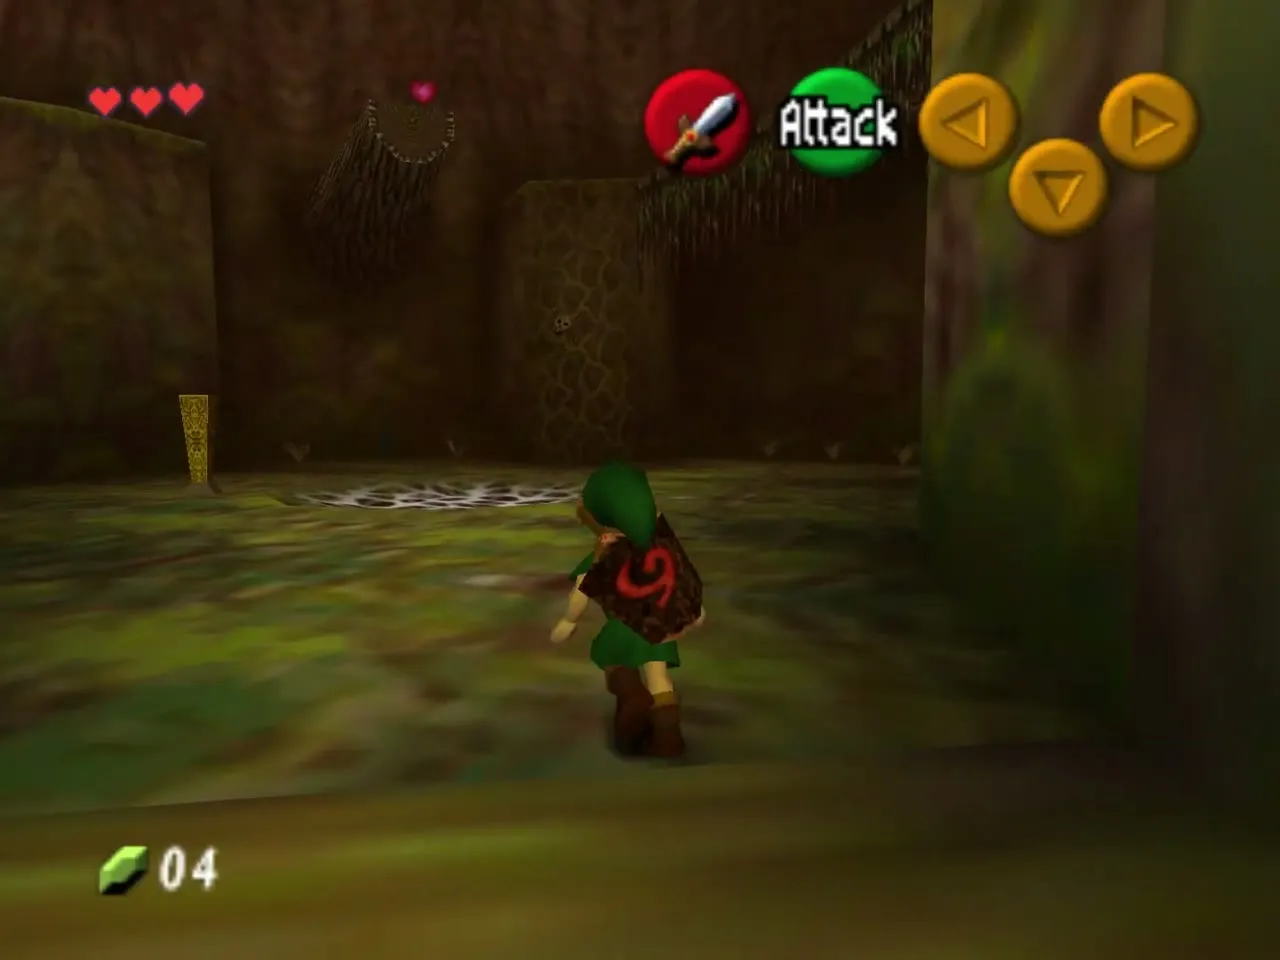
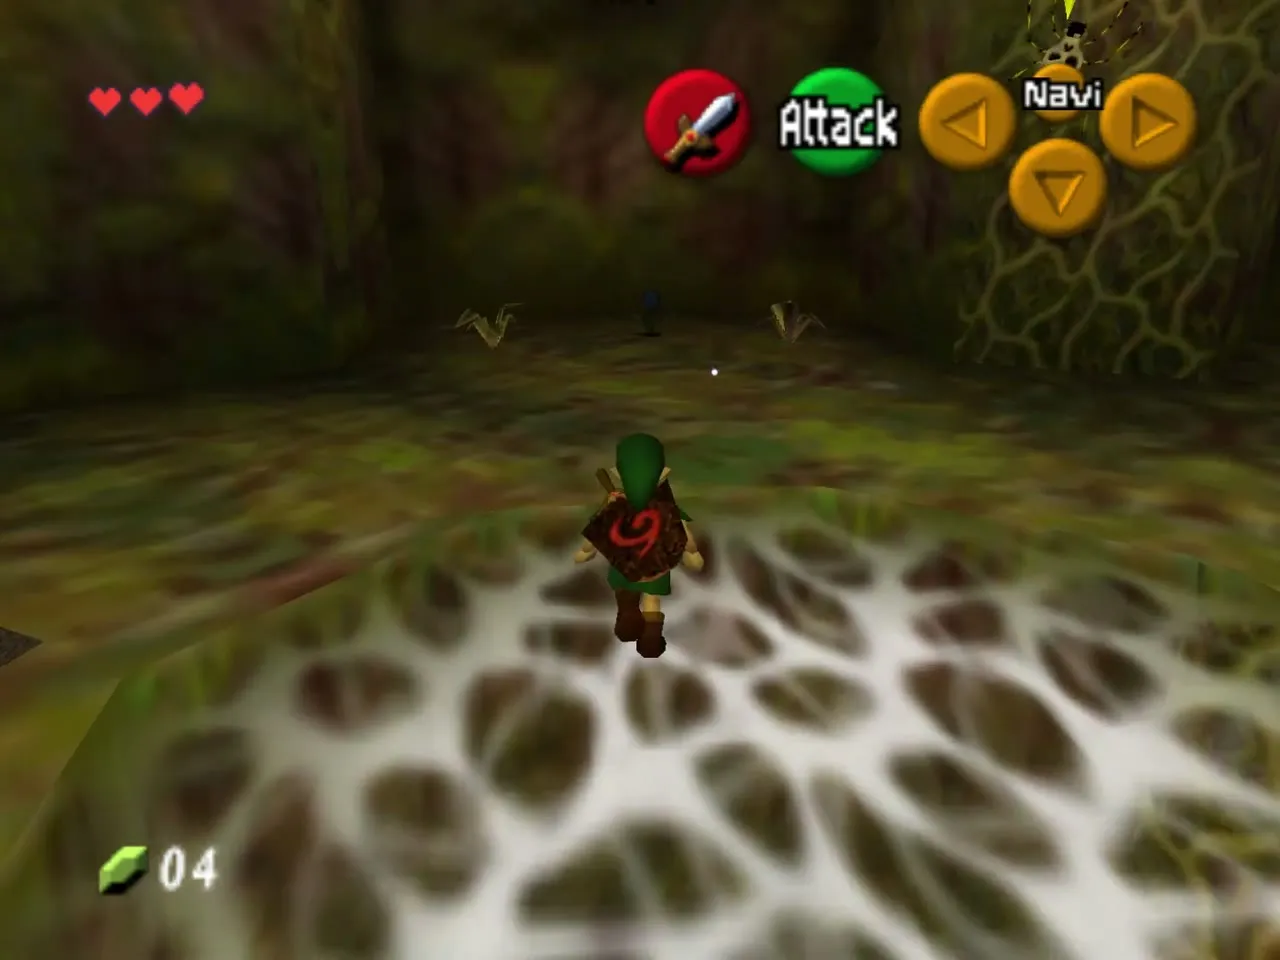
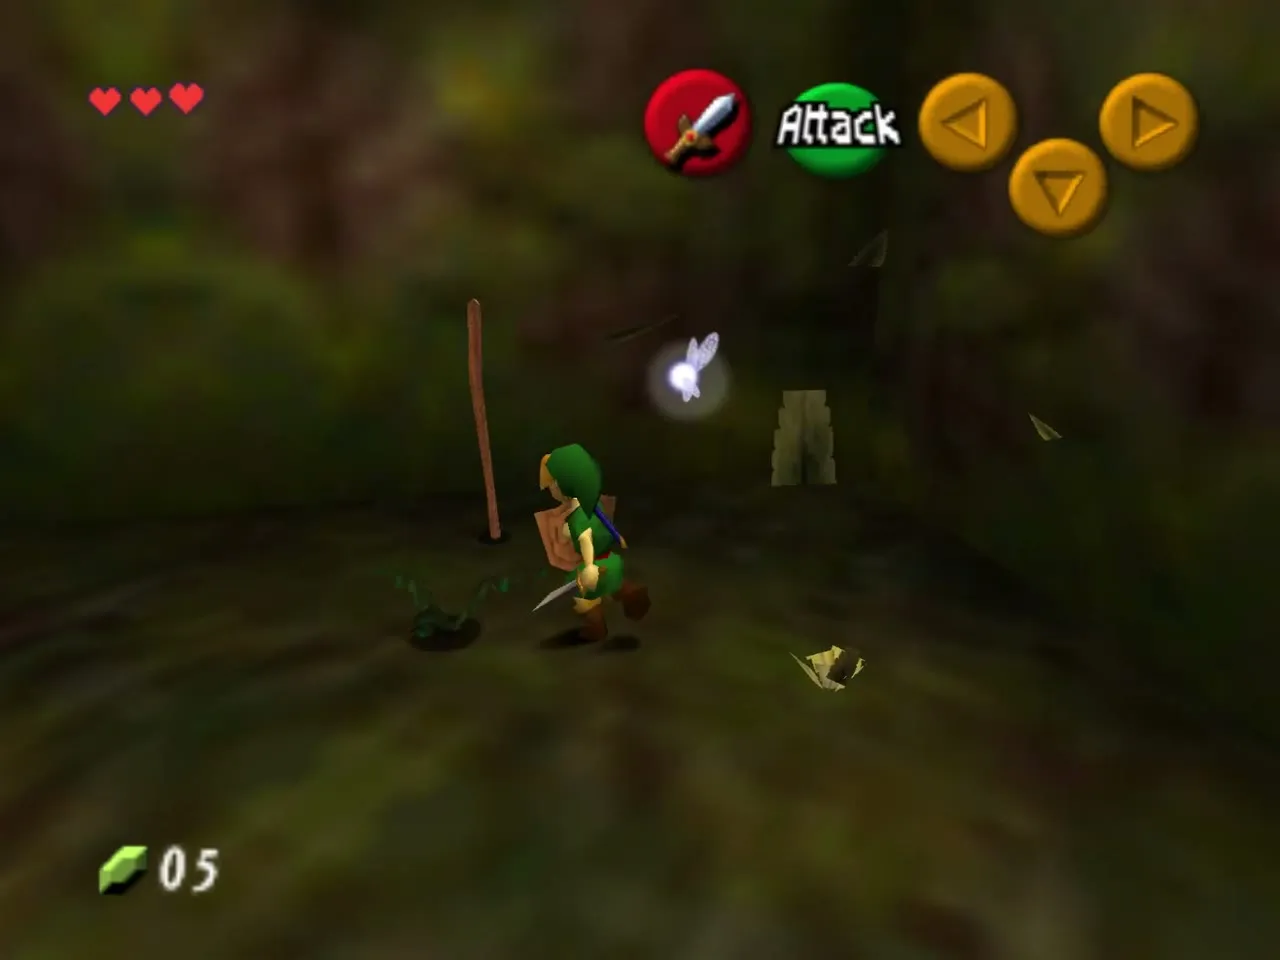
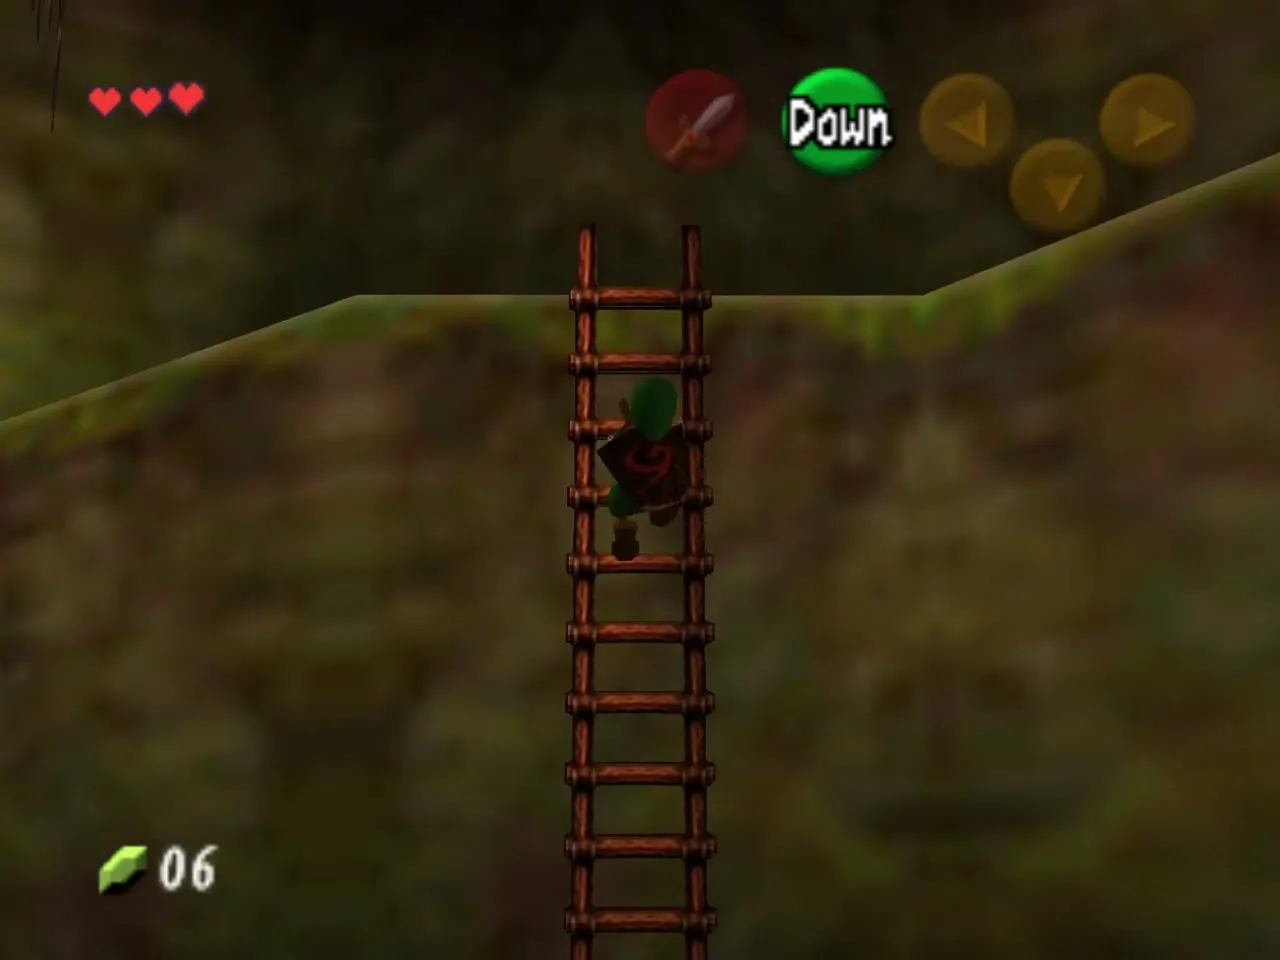
The first room is a large hall with a spider web stretched over a hole in the middle of the floor and an unlit golden torch beside it. A ladder stands against the wall on the left, and a vine wall ahead is patrolled by a Skullwalltula, so ignore the vines for now. Cut the grass and the withered Deku Baba here for Rupees and Deku Sticks, then take the ladder.
Walkway and chest ledge
The ladder leads to a wooden walkway along the wall with a log to jump over and several Keese flapping around. You have no ranged weapon yet, so keep running rather than fighting them. Burning Keese can set your Deku Shield alight if they touch you, which matters later.
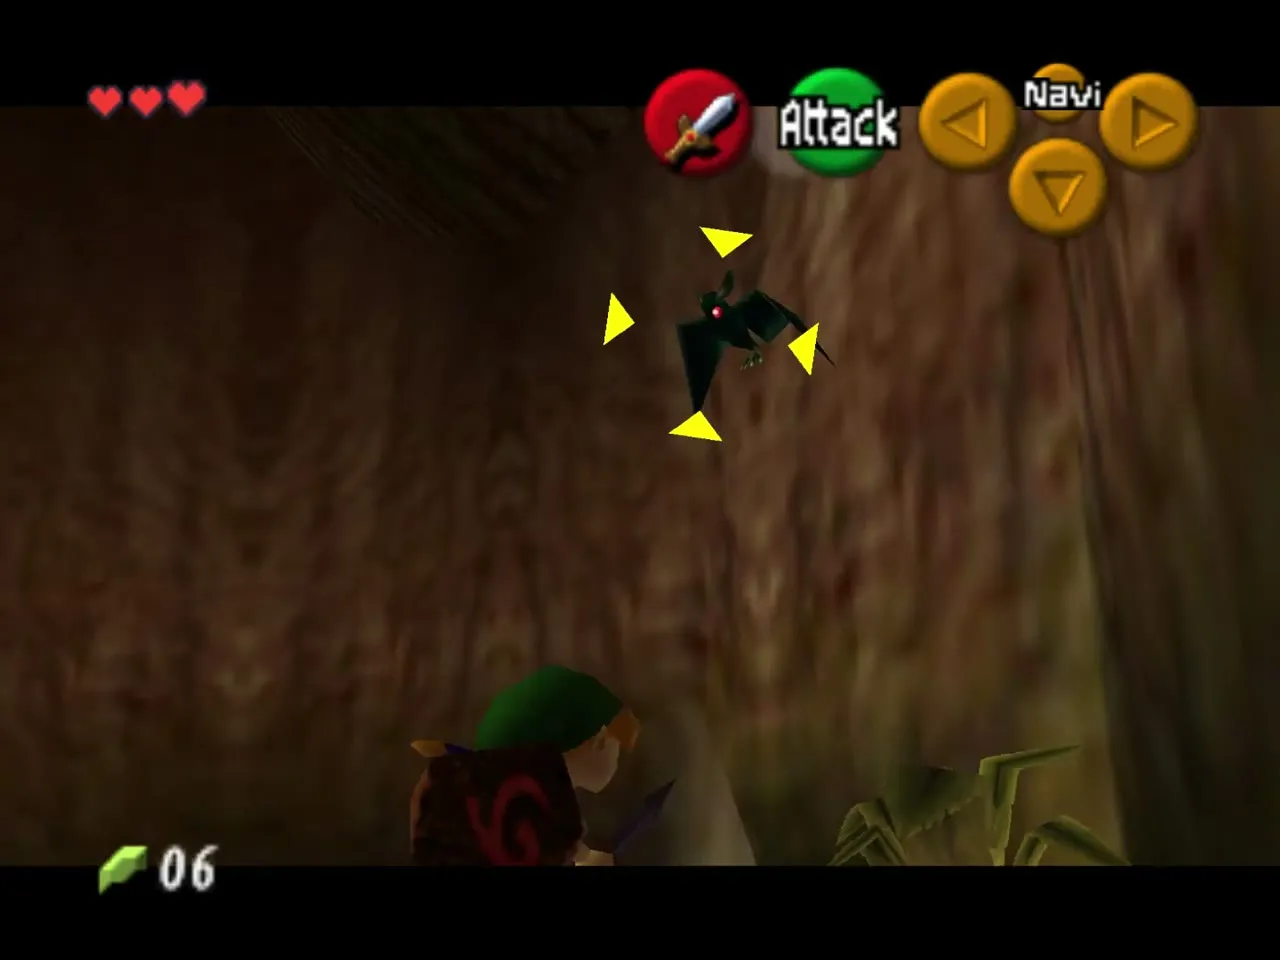
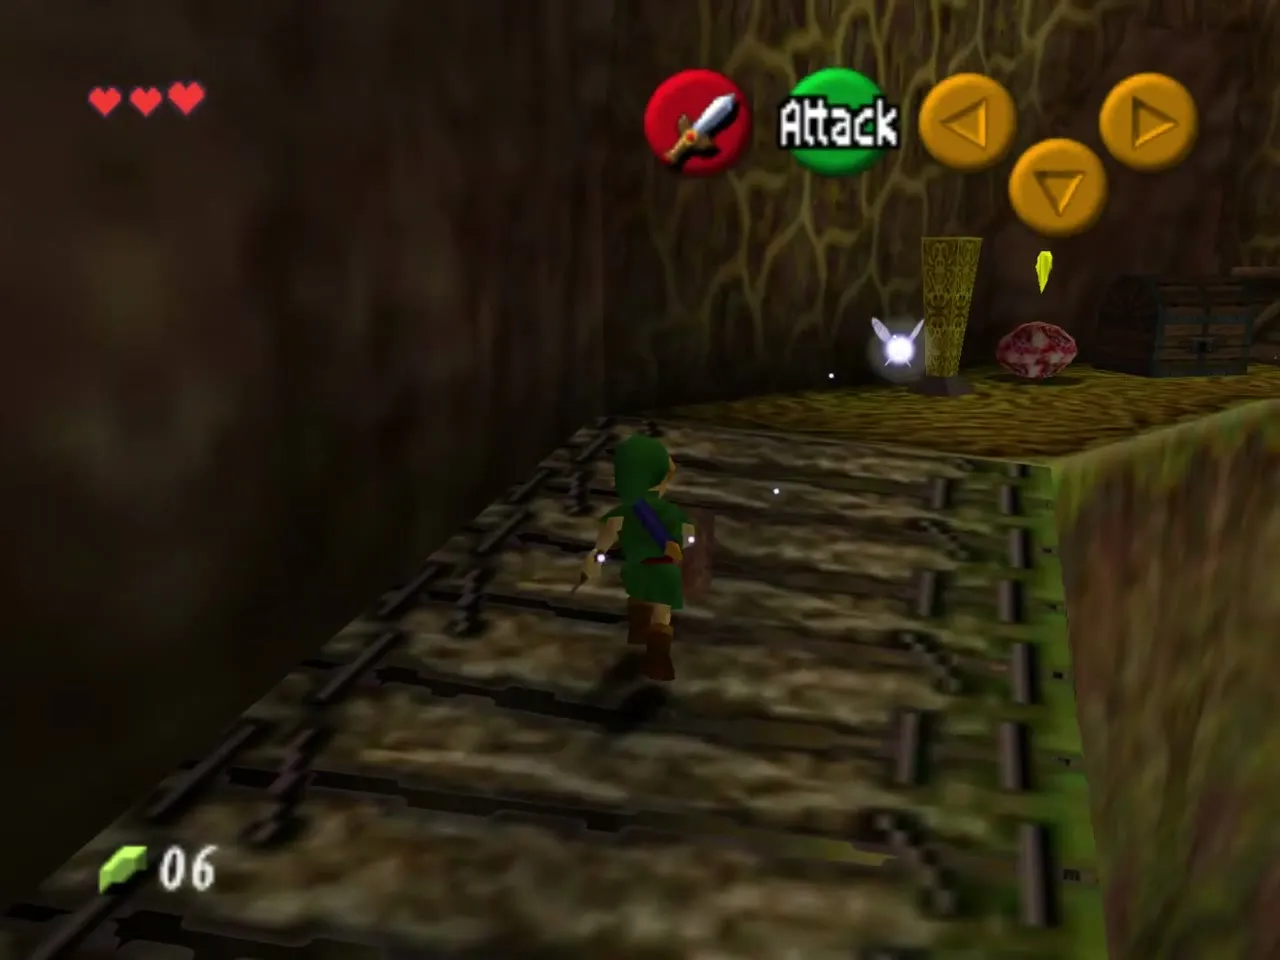
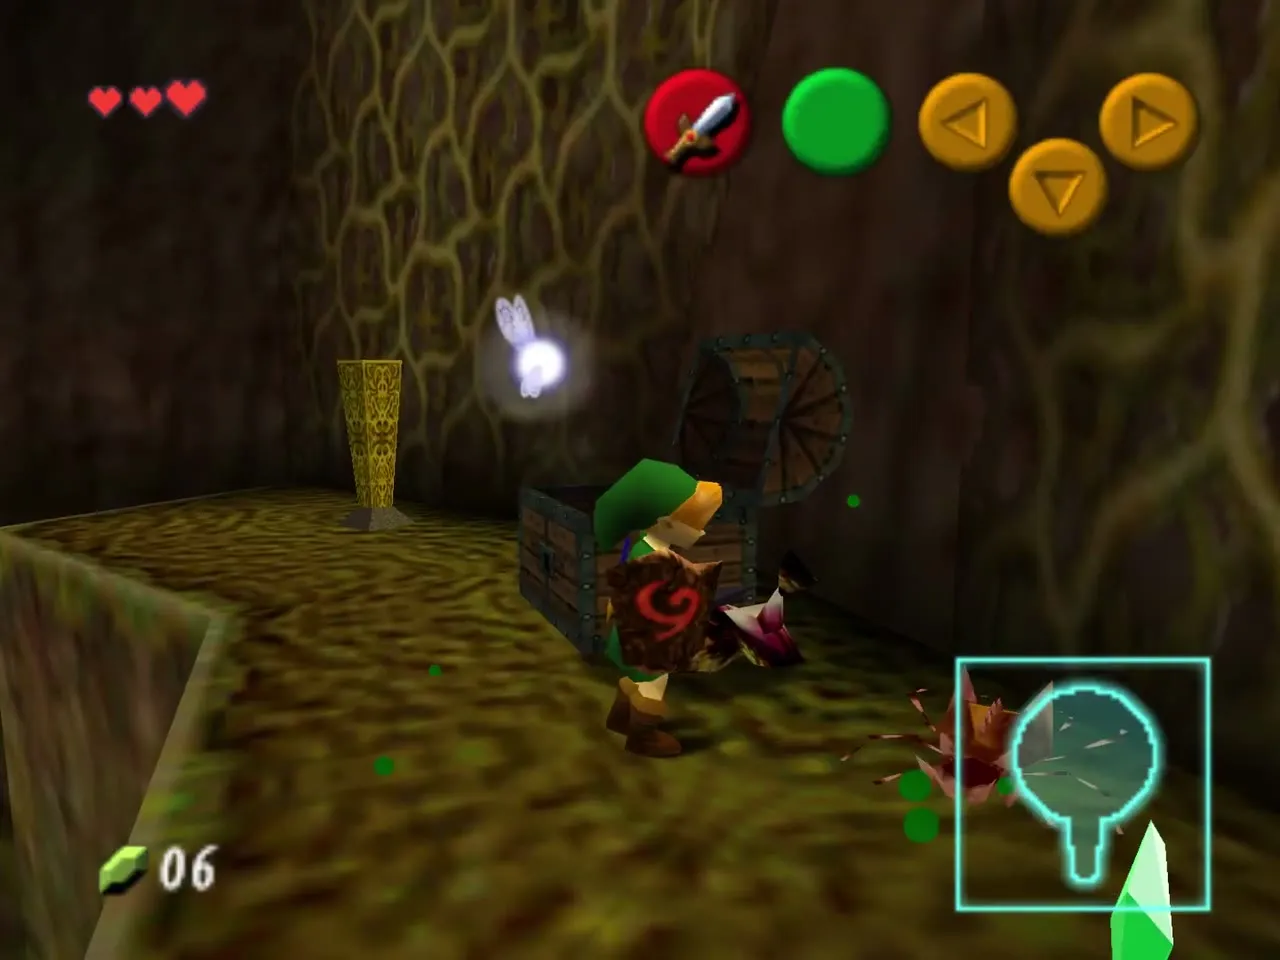
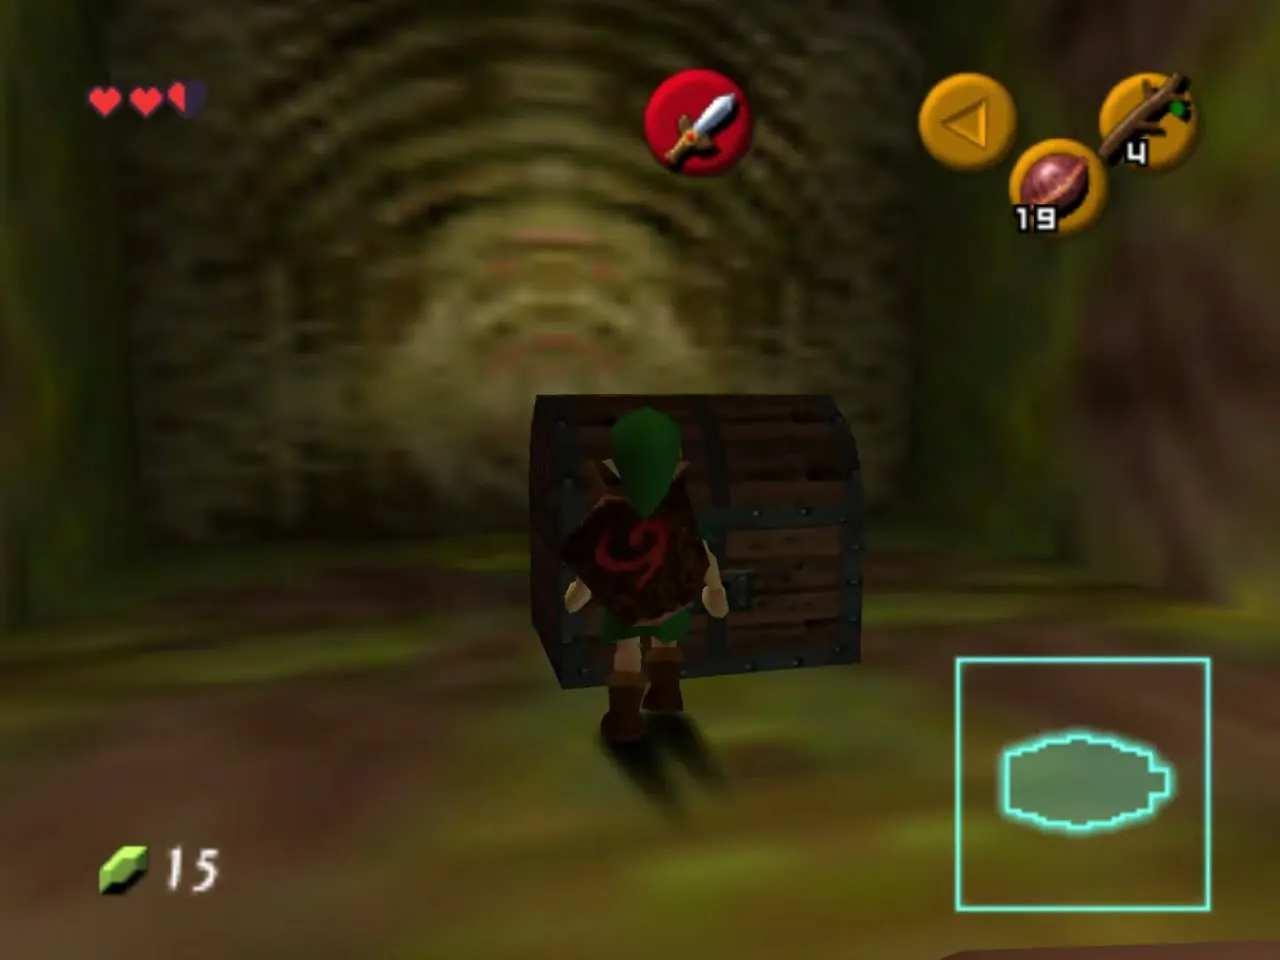
Near the end of the walkway you find a Gohma egg beside another unlit golden torch. Step close and it hatches into a Gohma Larva; kill it with two sword hits and open the large chest for the Dungeon Map. Be ready for a second Larva that drops from above while you stand at the chest.
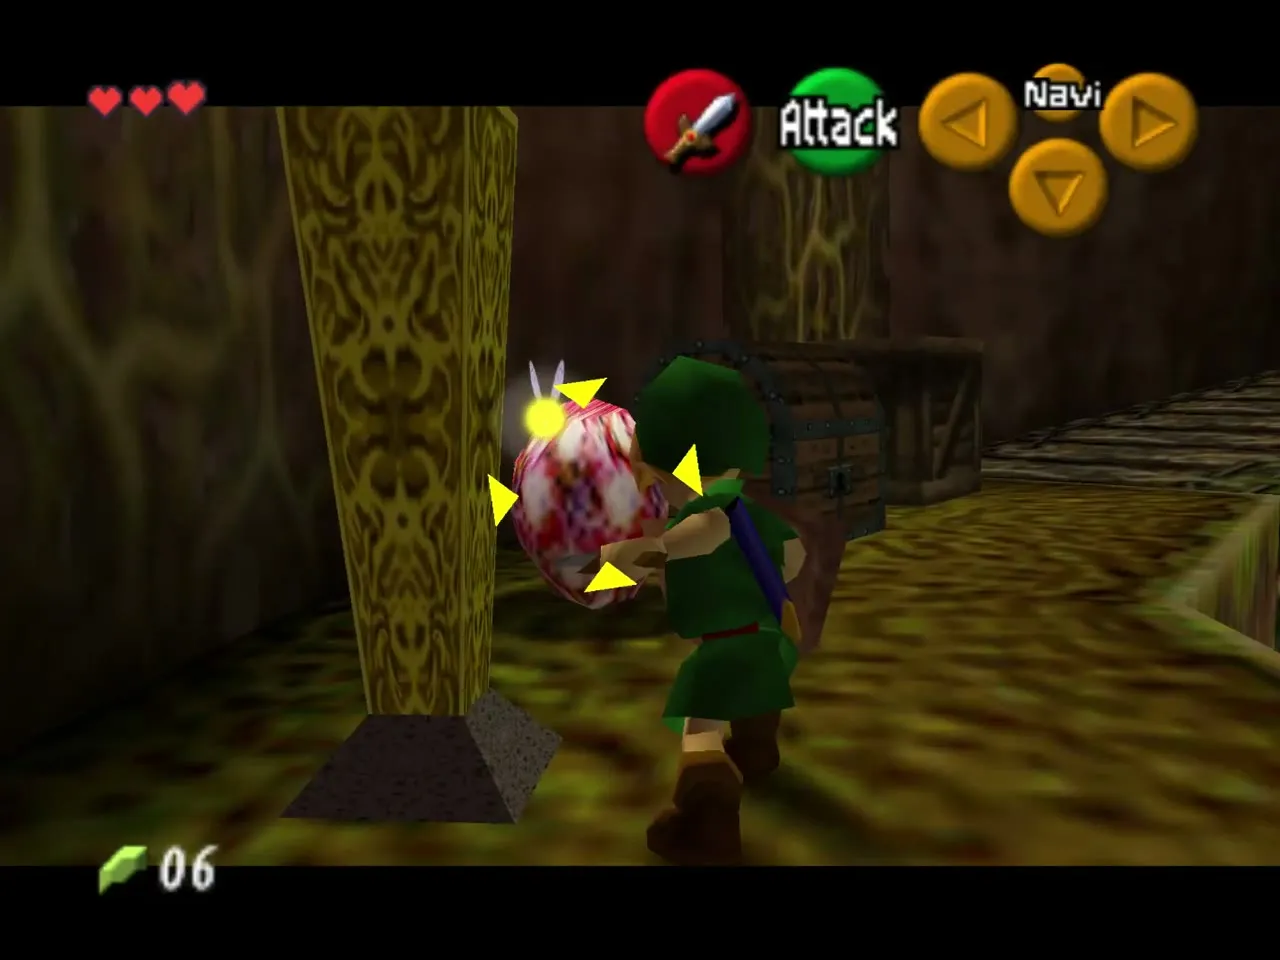
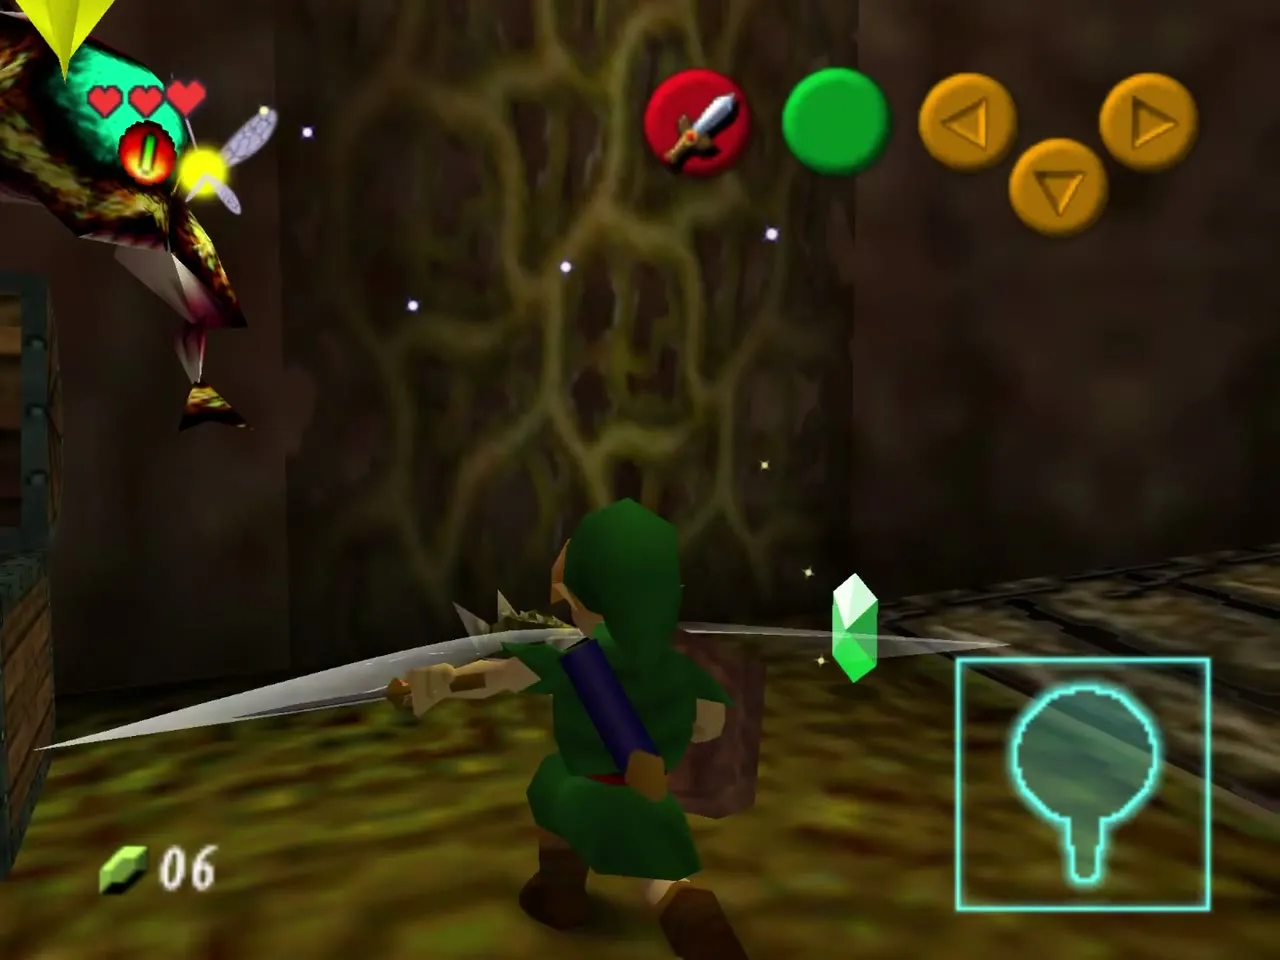
Roll into the oddly placed crate right beside the chest. It breaks and reveals the first Gold Skulltula of the dungeon, which you can take on the spot. This is the only token in the Deku Tree that needs no extra item.
Up the vines: Deku Nuts and the web door
Go back to the vine wall and climb to the highest floor of the hall. Walk around the ring to the far side, keeping an eye out for Keese.
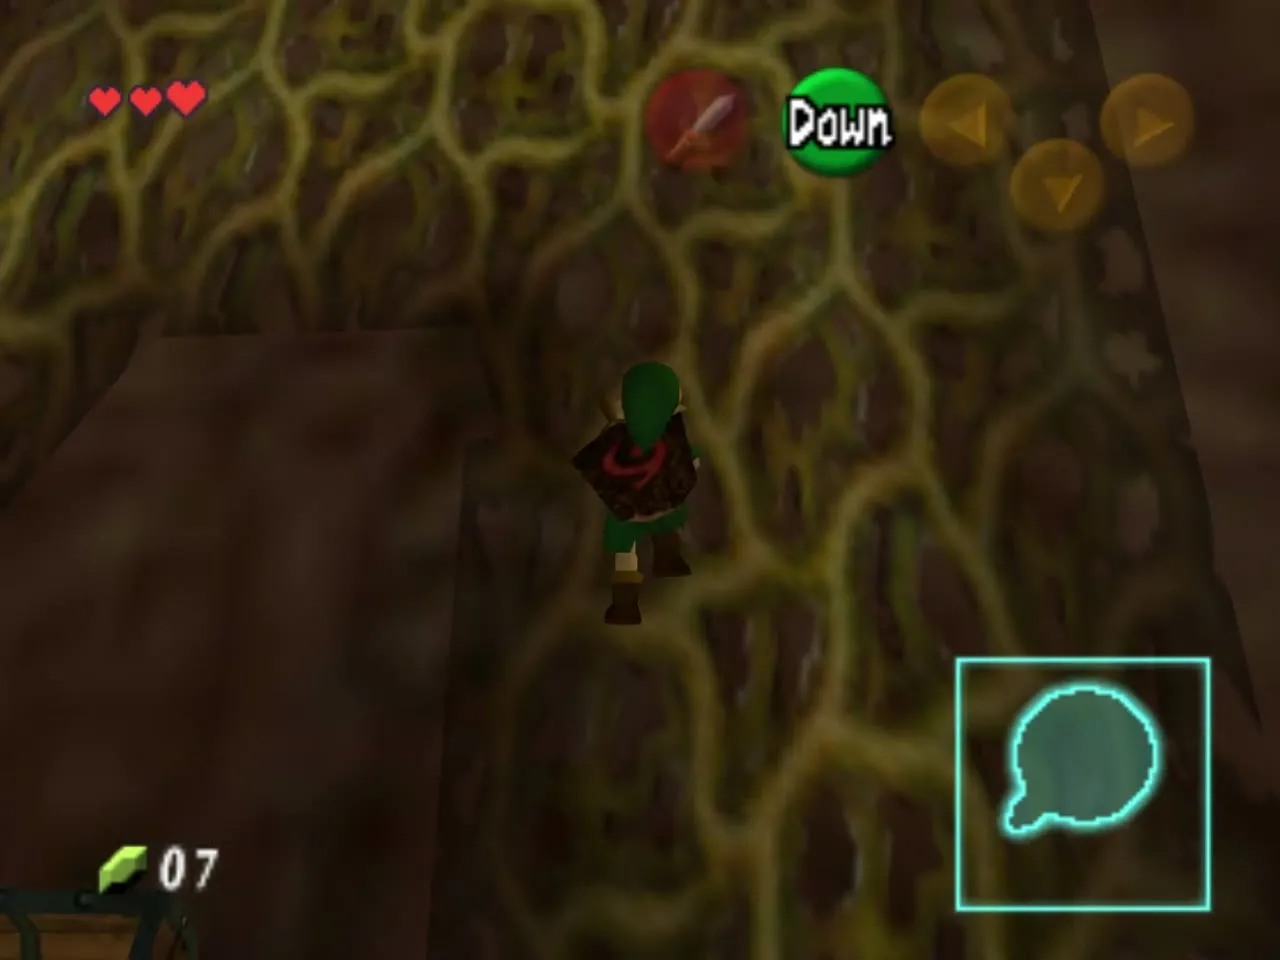
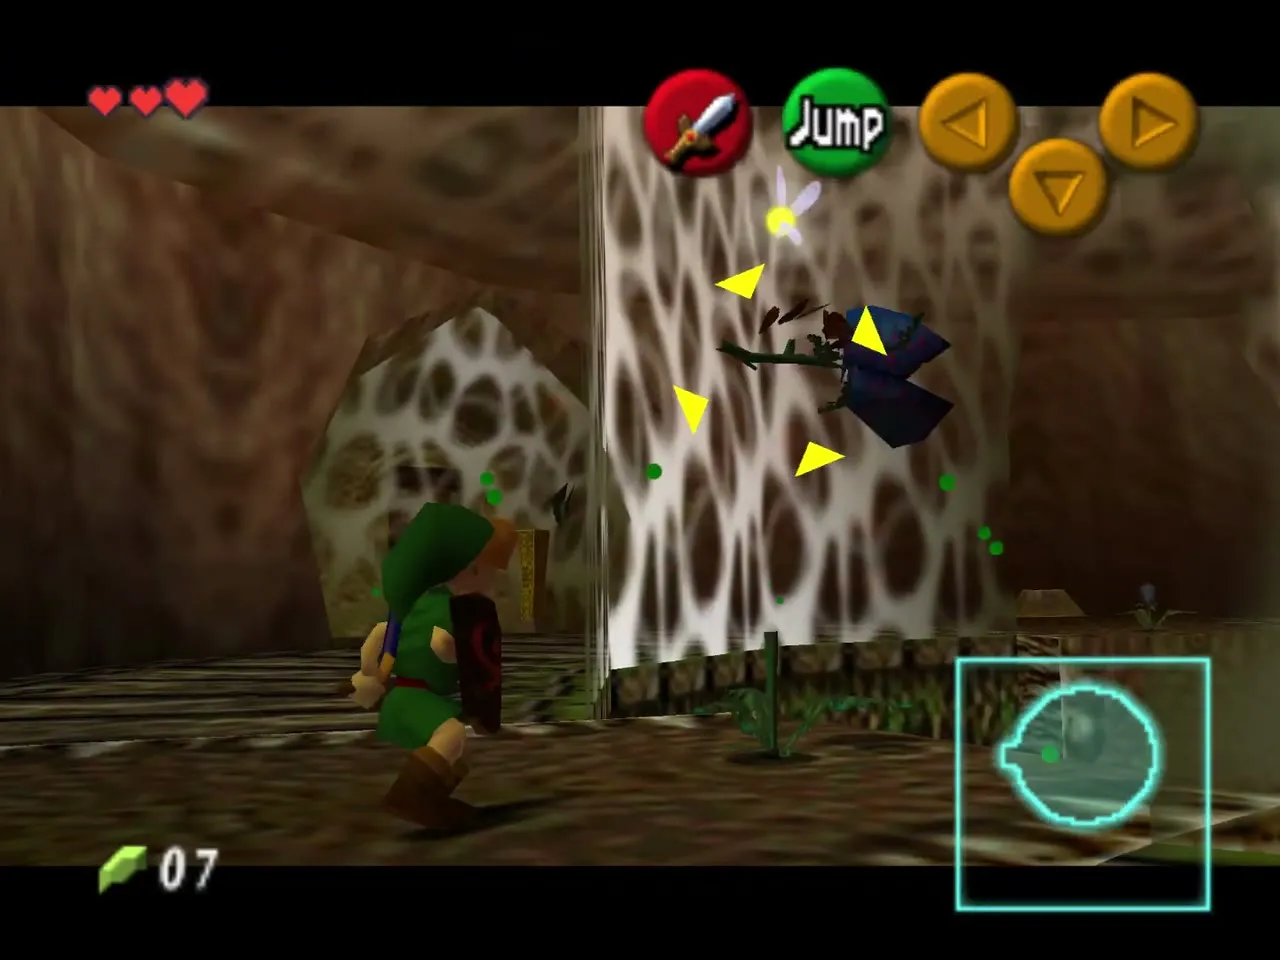
A Deku Baba waits on the upper floor. Let it lunge, step back, then cut it down. It leaves Deku Nuts, which you set on a C button to throw and stun enemies with a flash.
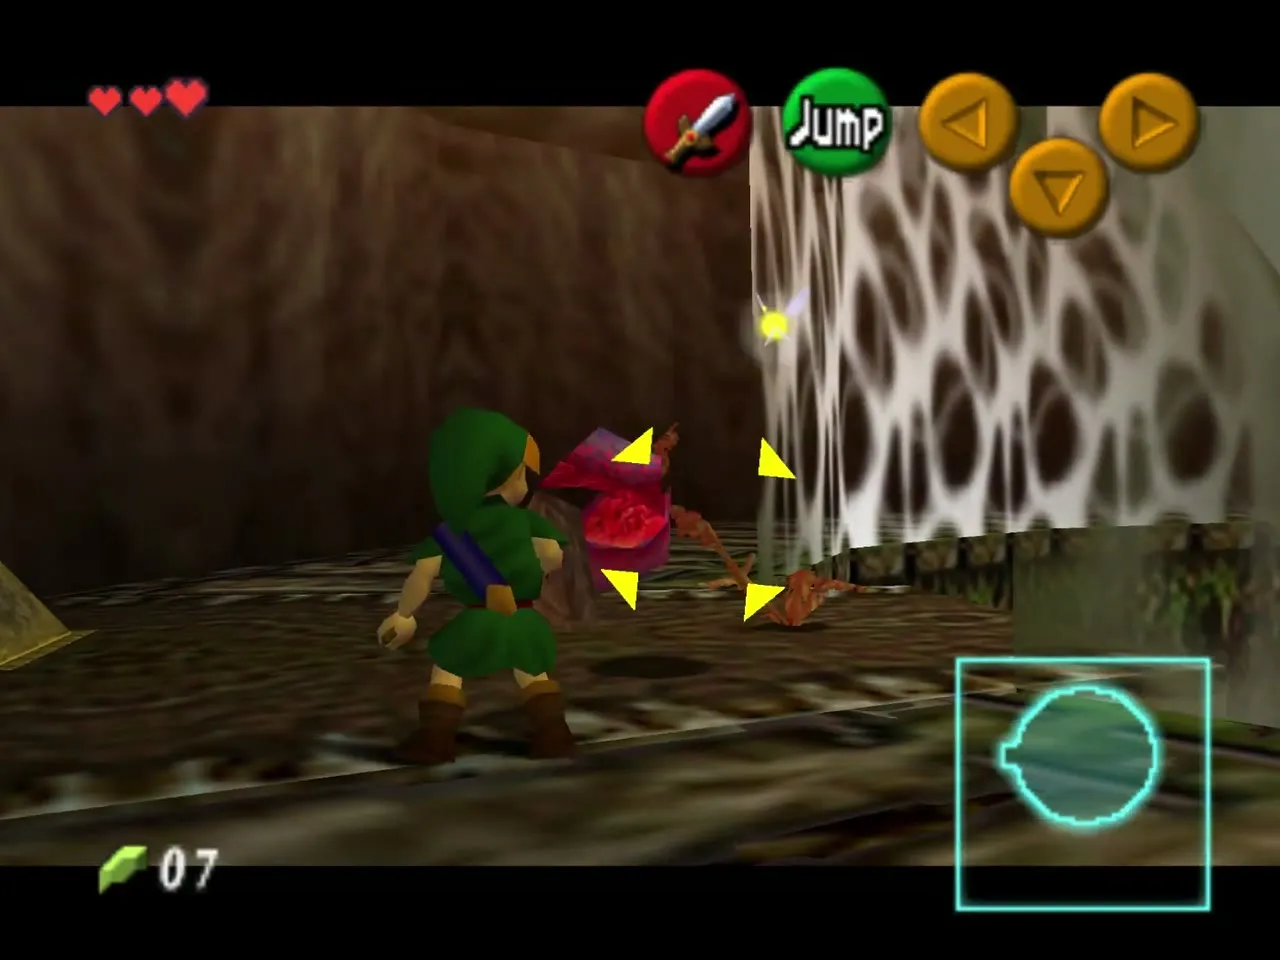
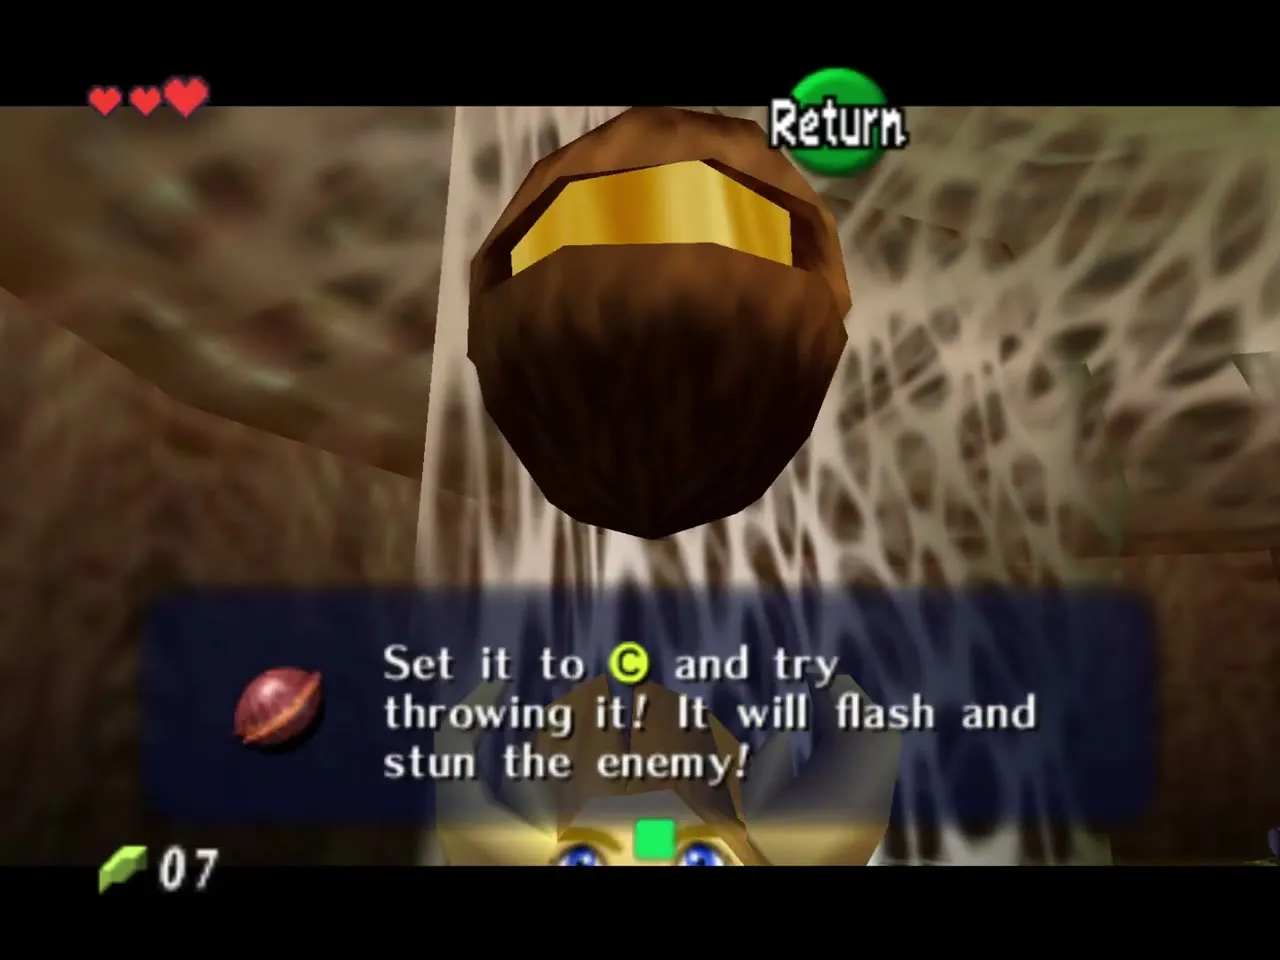
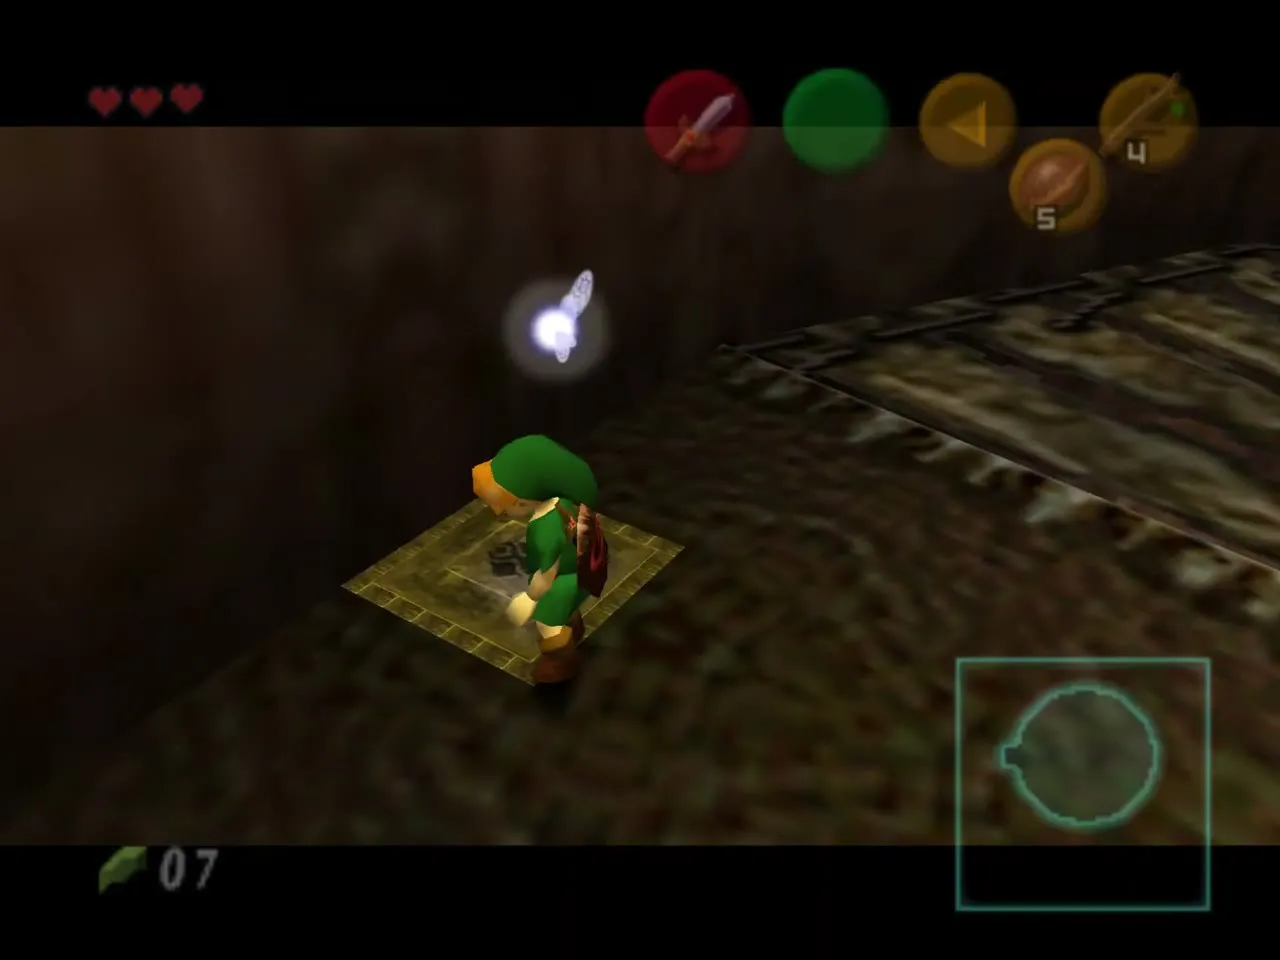
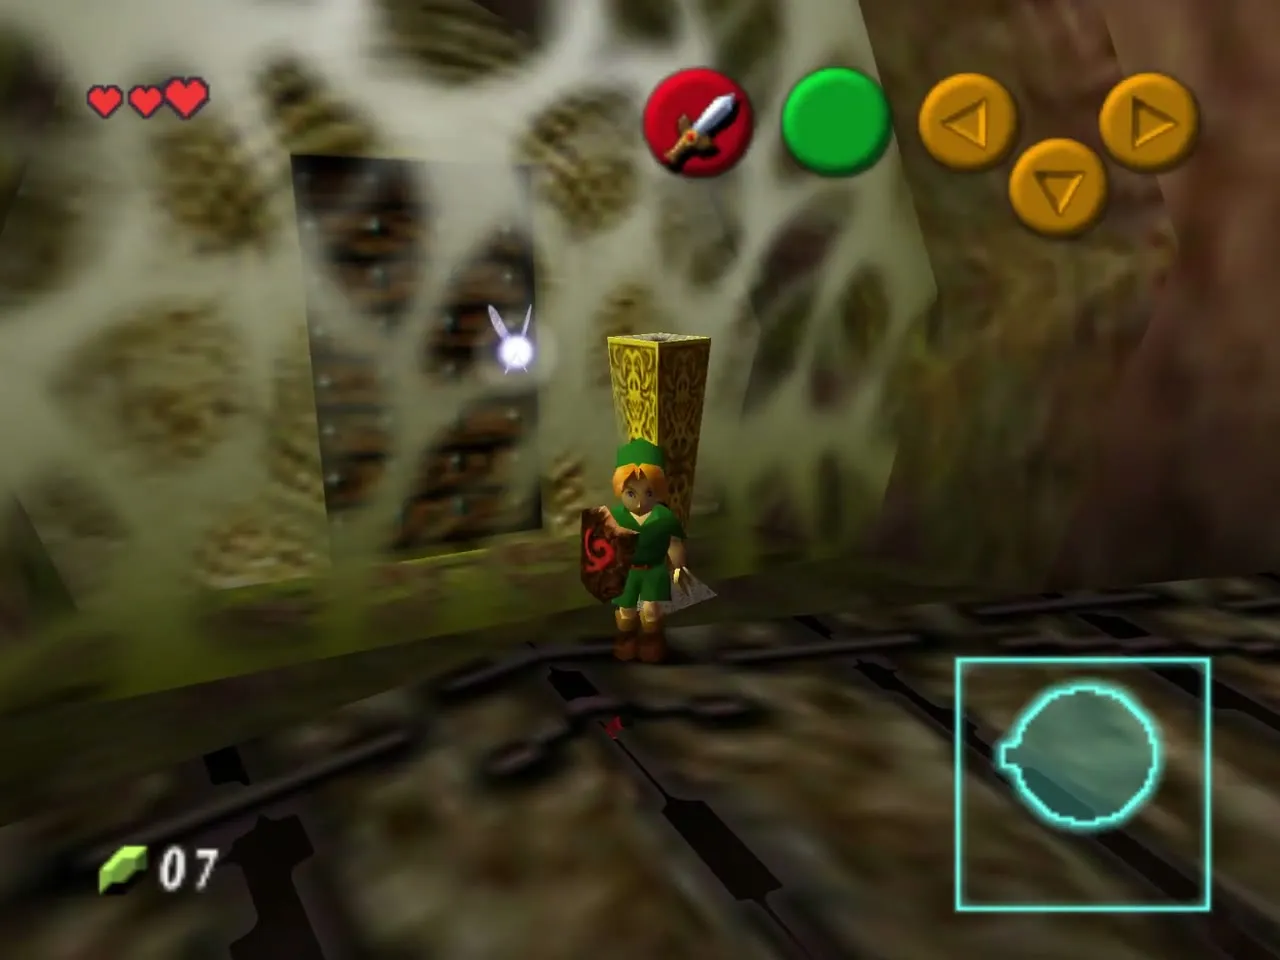
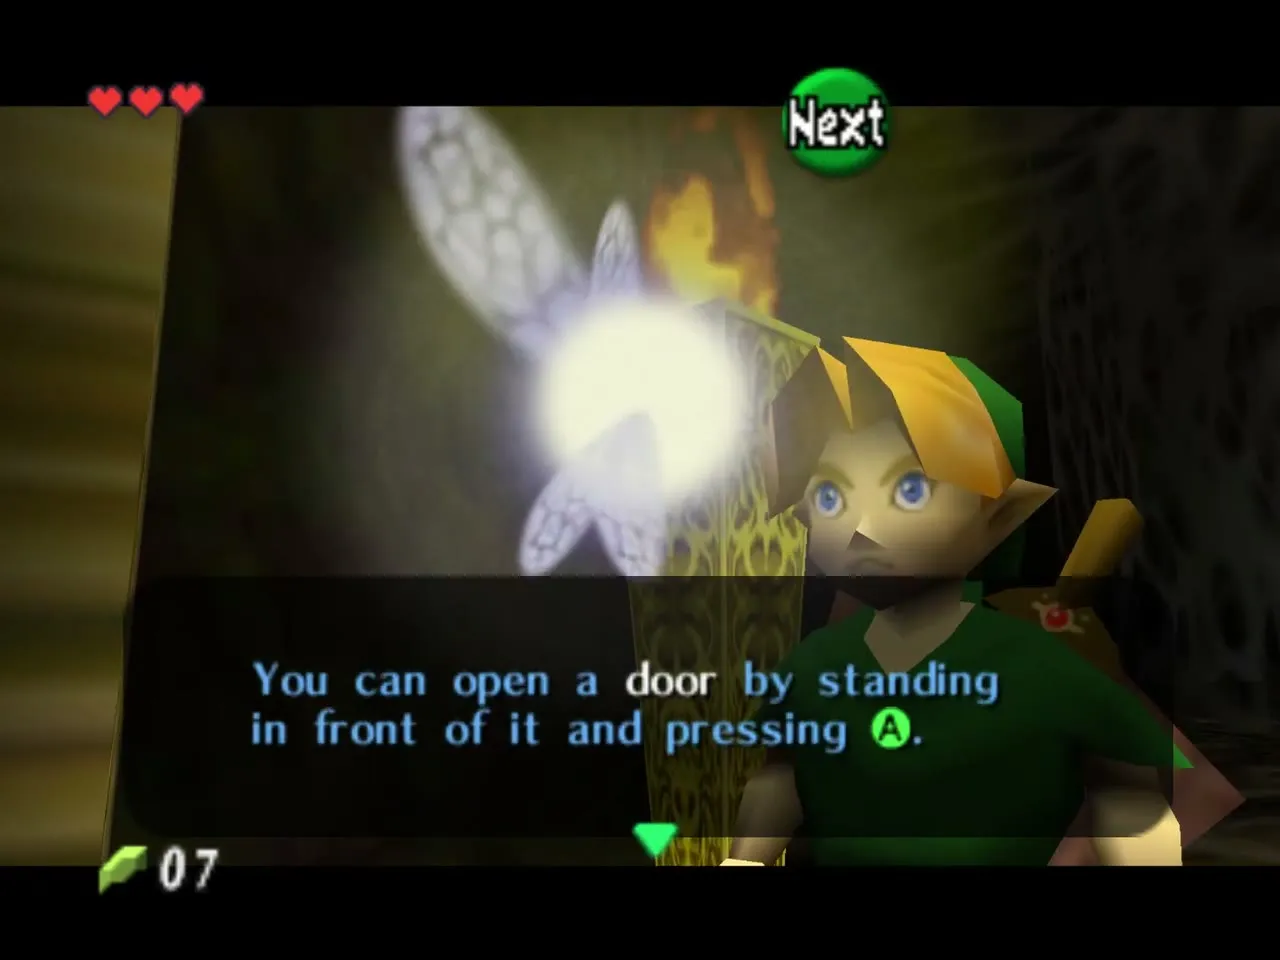
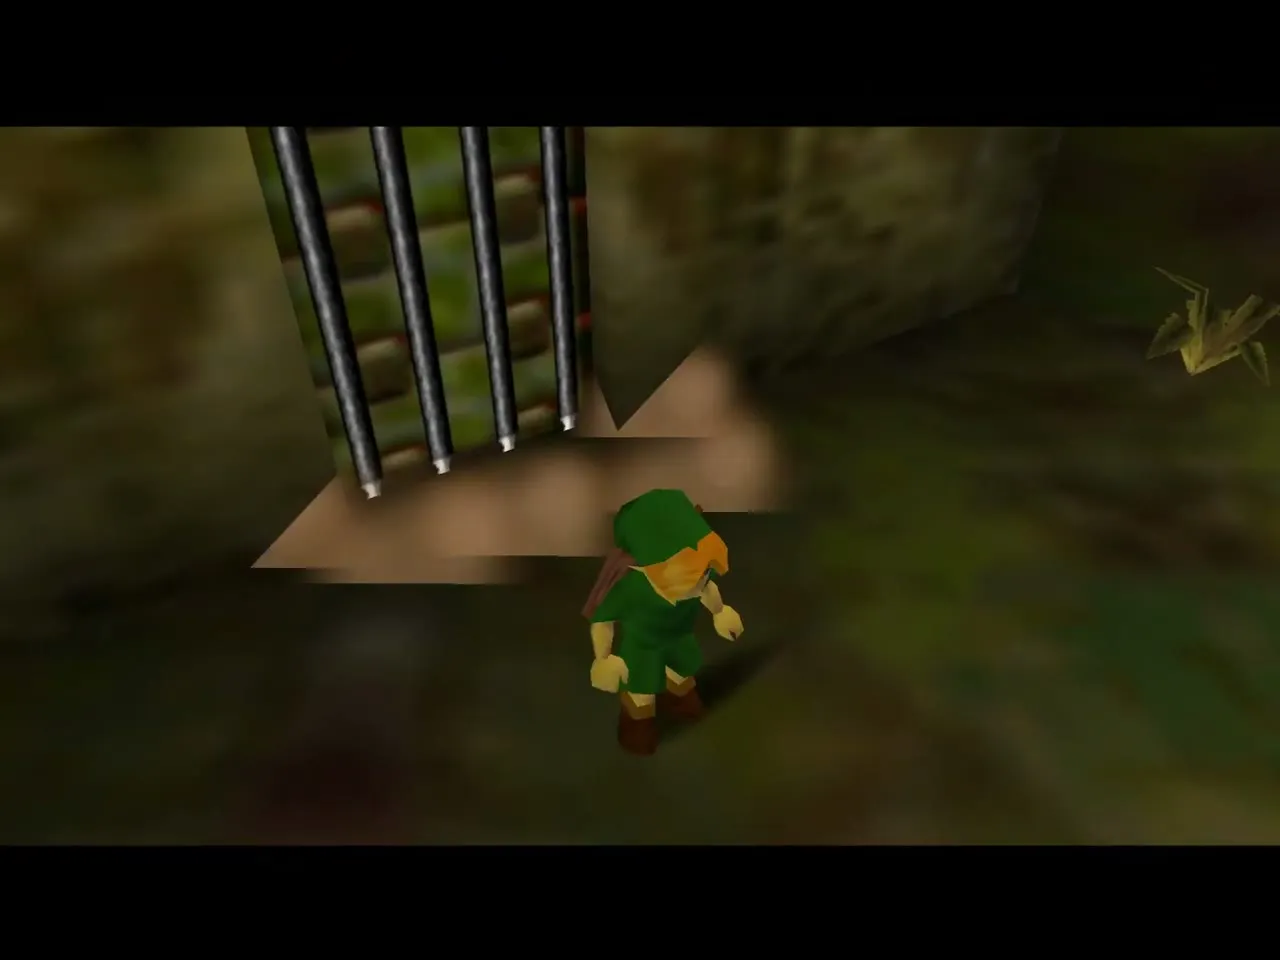
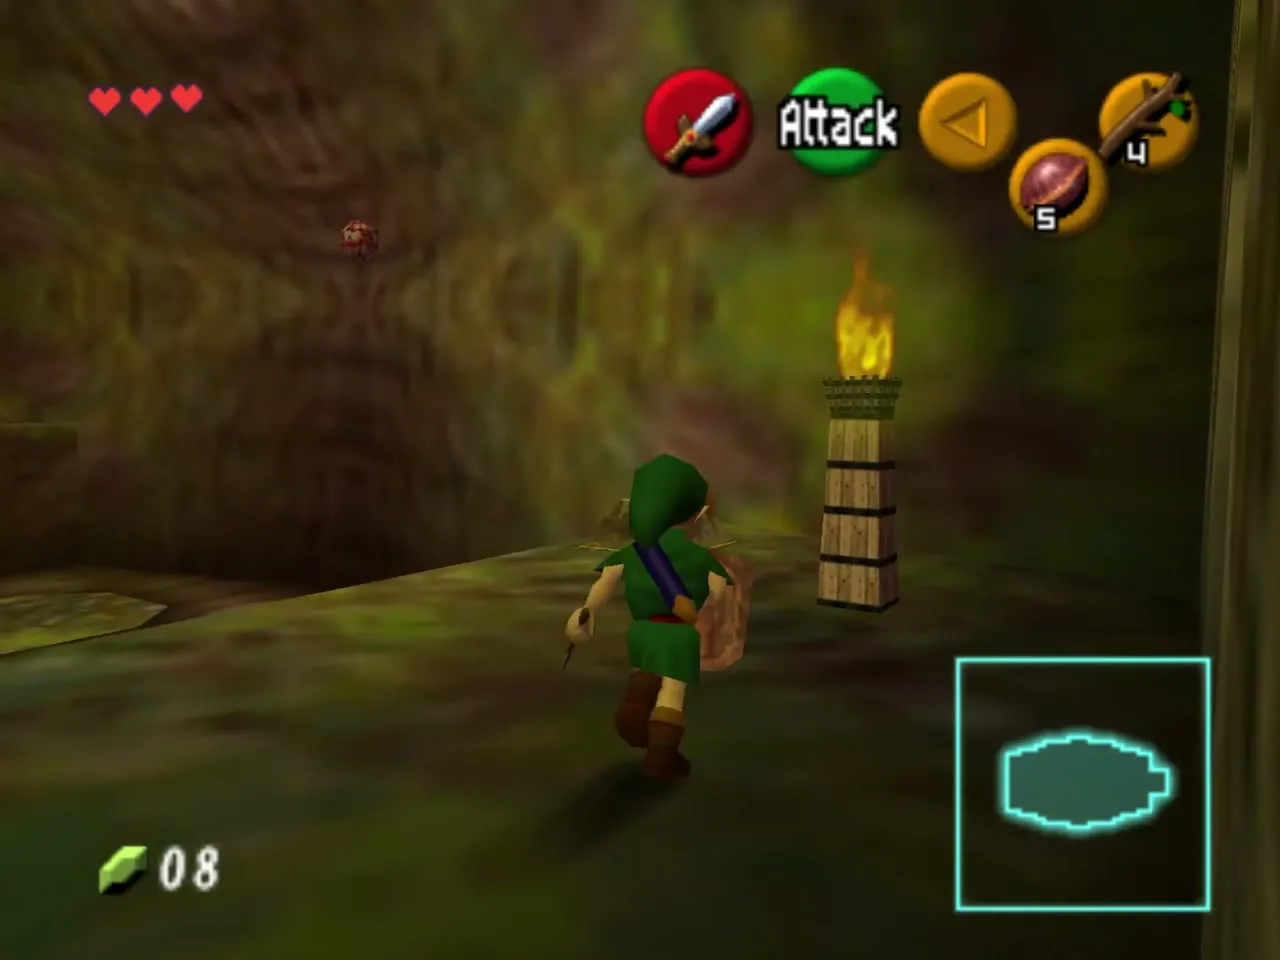
The only door on this floor is covered by a web, so walk to the golden torch and step on the nearby floor switch. The torch flares up, the other torches in the room light with it and the web burns away. Go through the door; Navi reminds you that a door opens when you press A while standing in front of it.
Platform room and the Fairy Slingshot
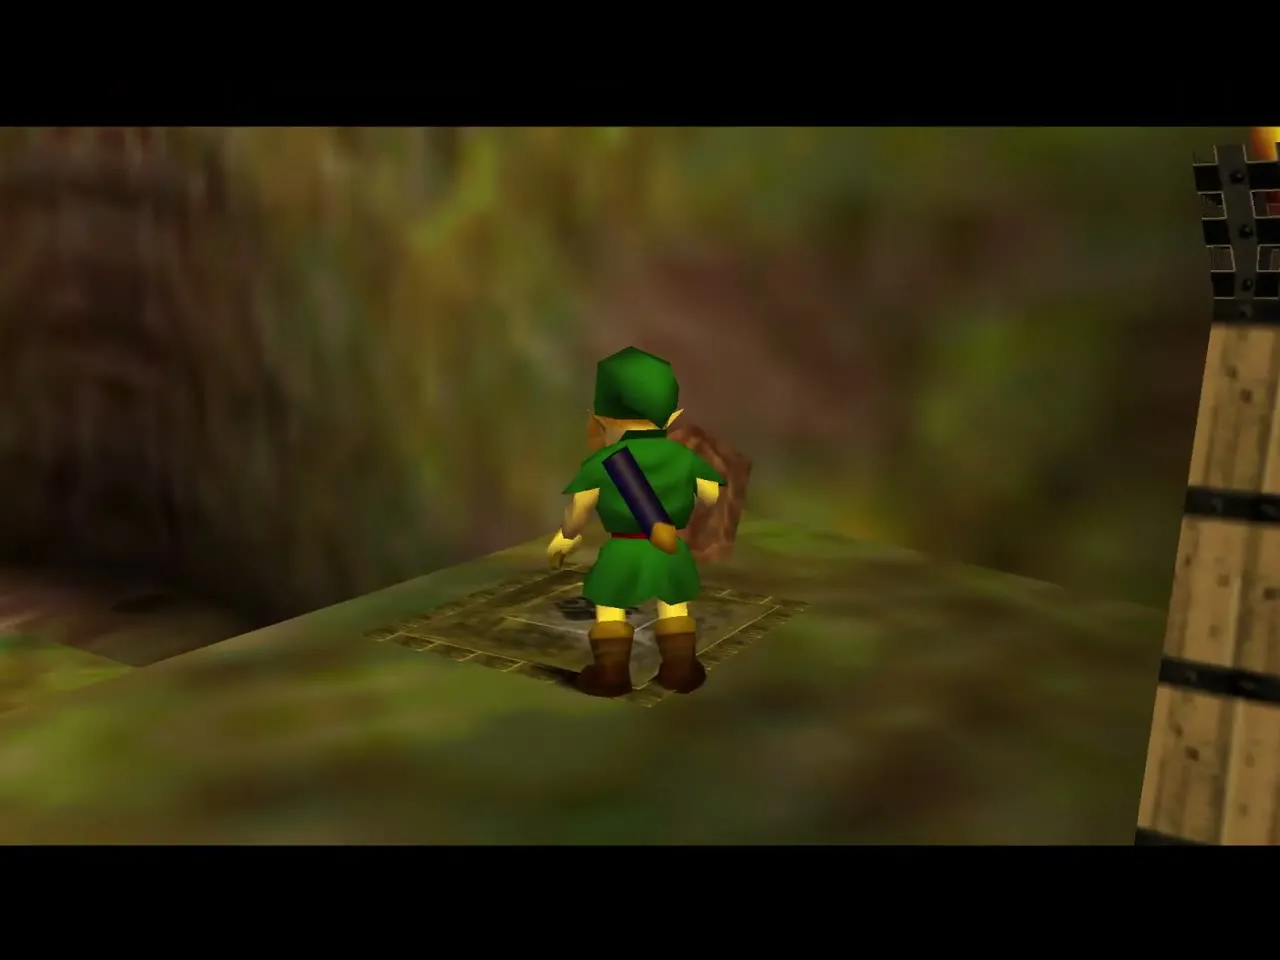
The room beyond is a stone cave with raised platforms, Gohma Larva, Deku Babas and Keese. Kill the enemies on the ground first. The switch next to the entry door raises three platforms to the high ledges, so cross them and clear the enemies up there too. An egg hangs near the top of the room and falls when you run under it, so be ready to kill the Larva that hatches.
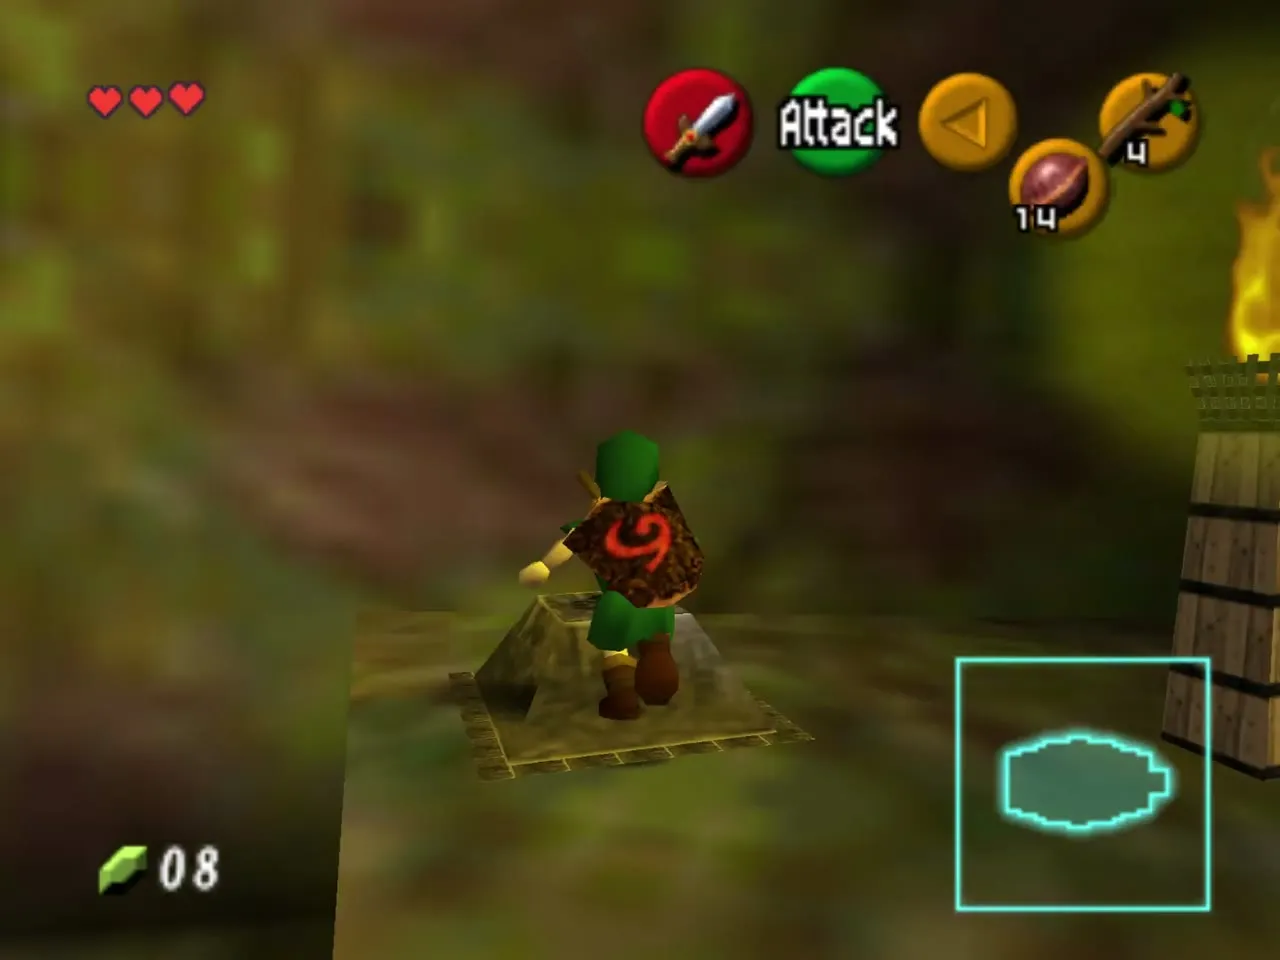
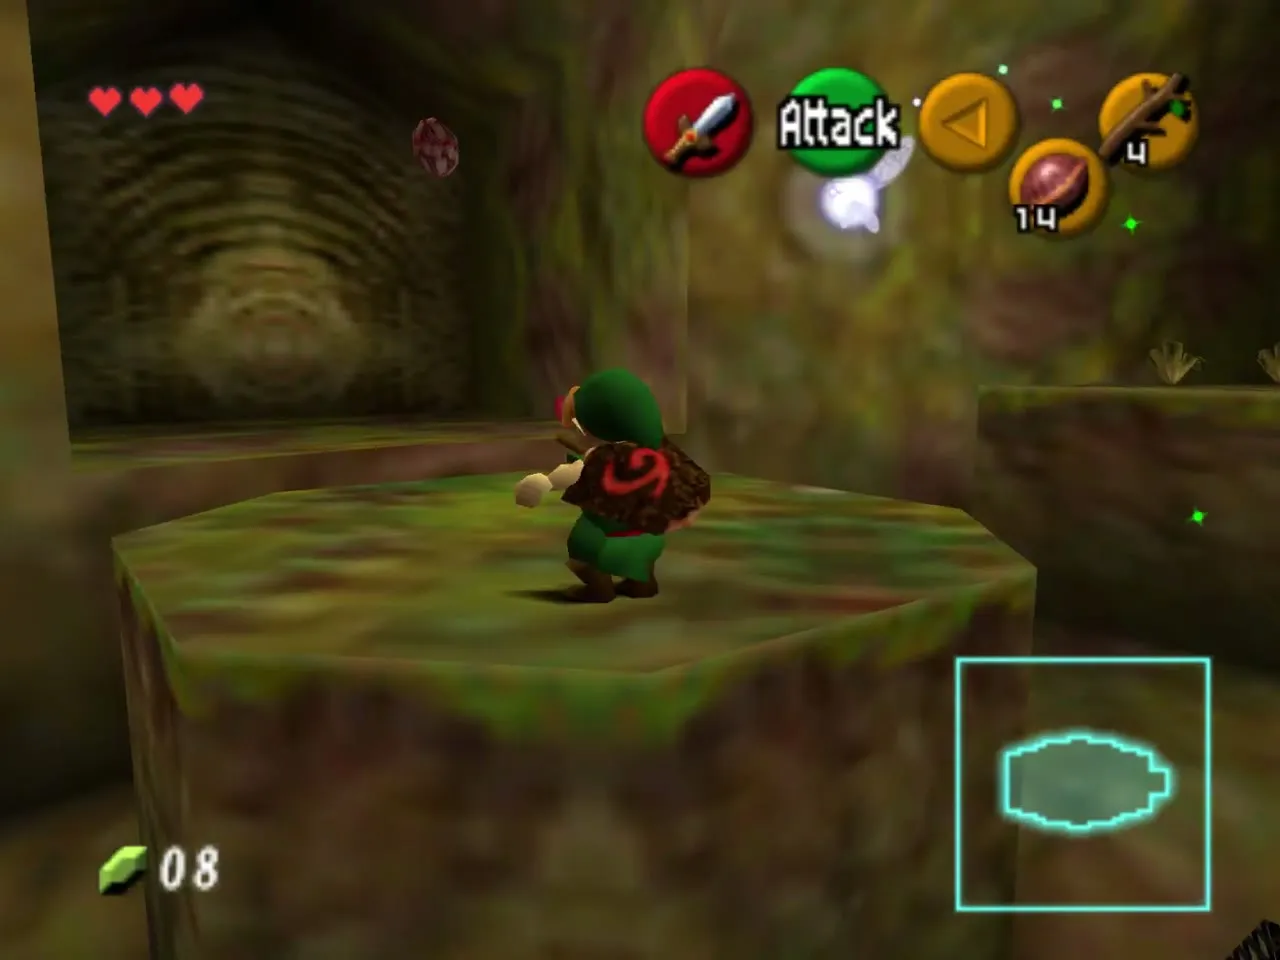
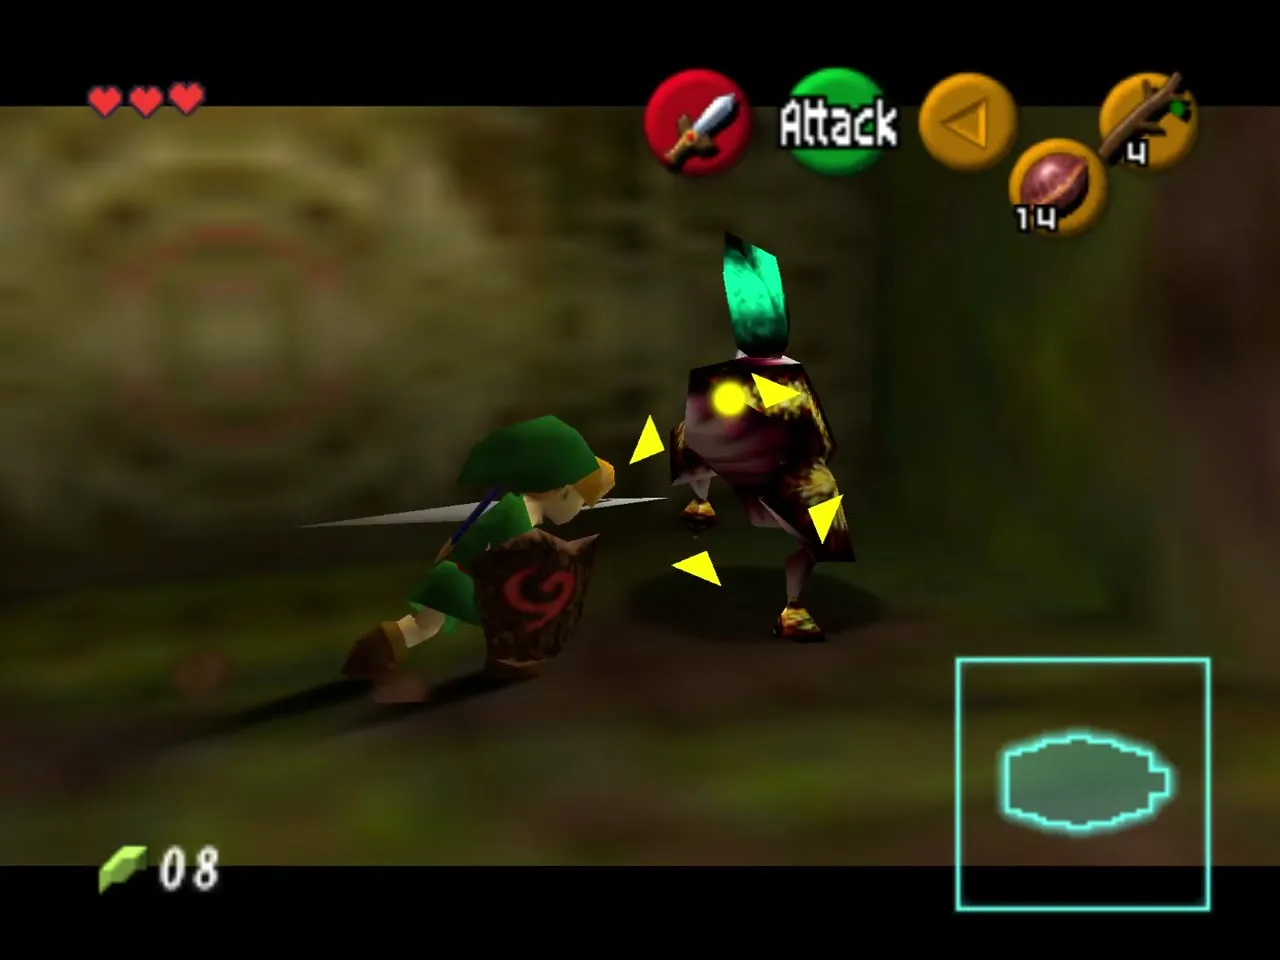
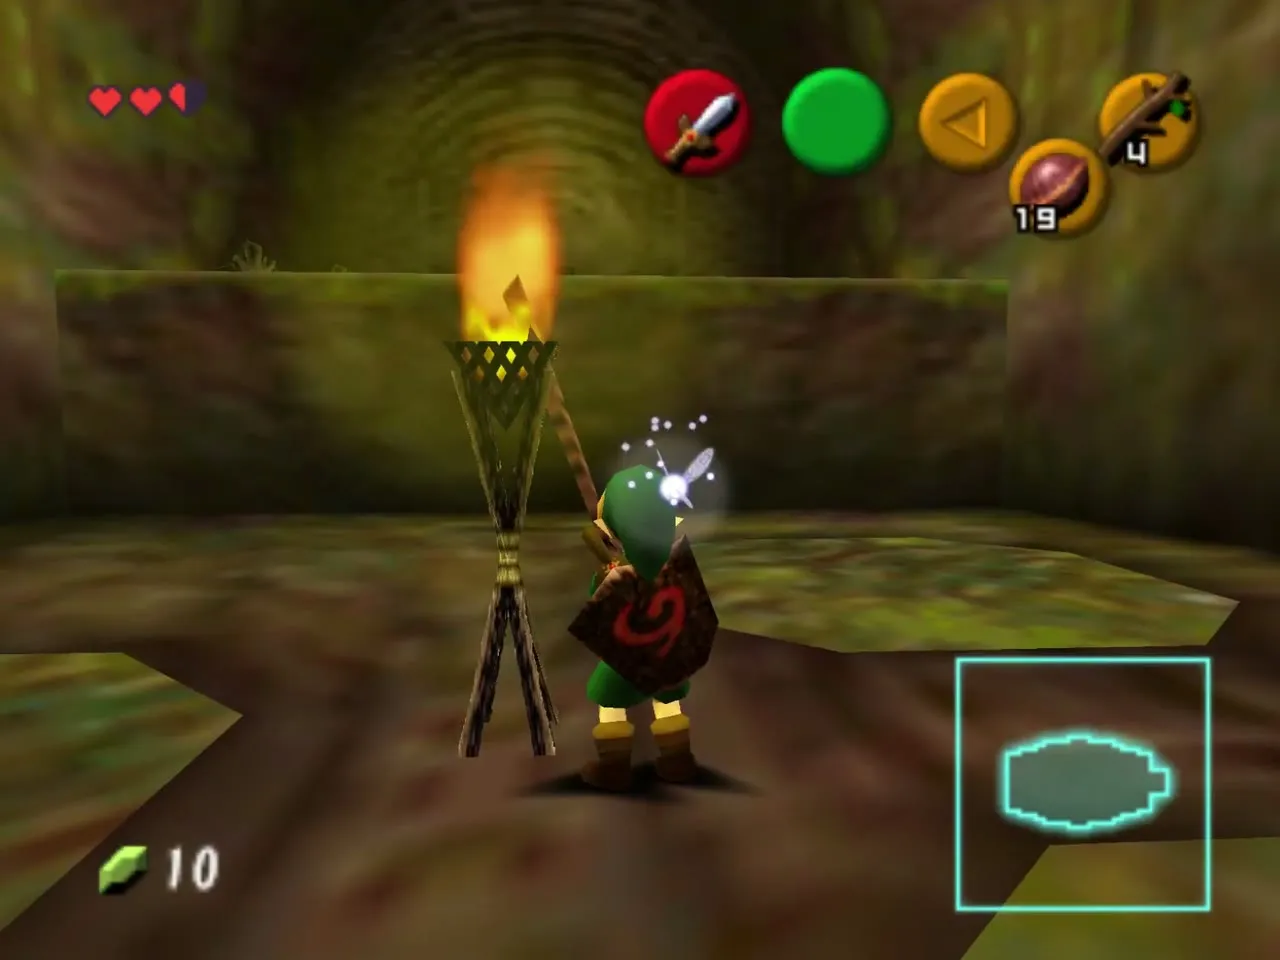
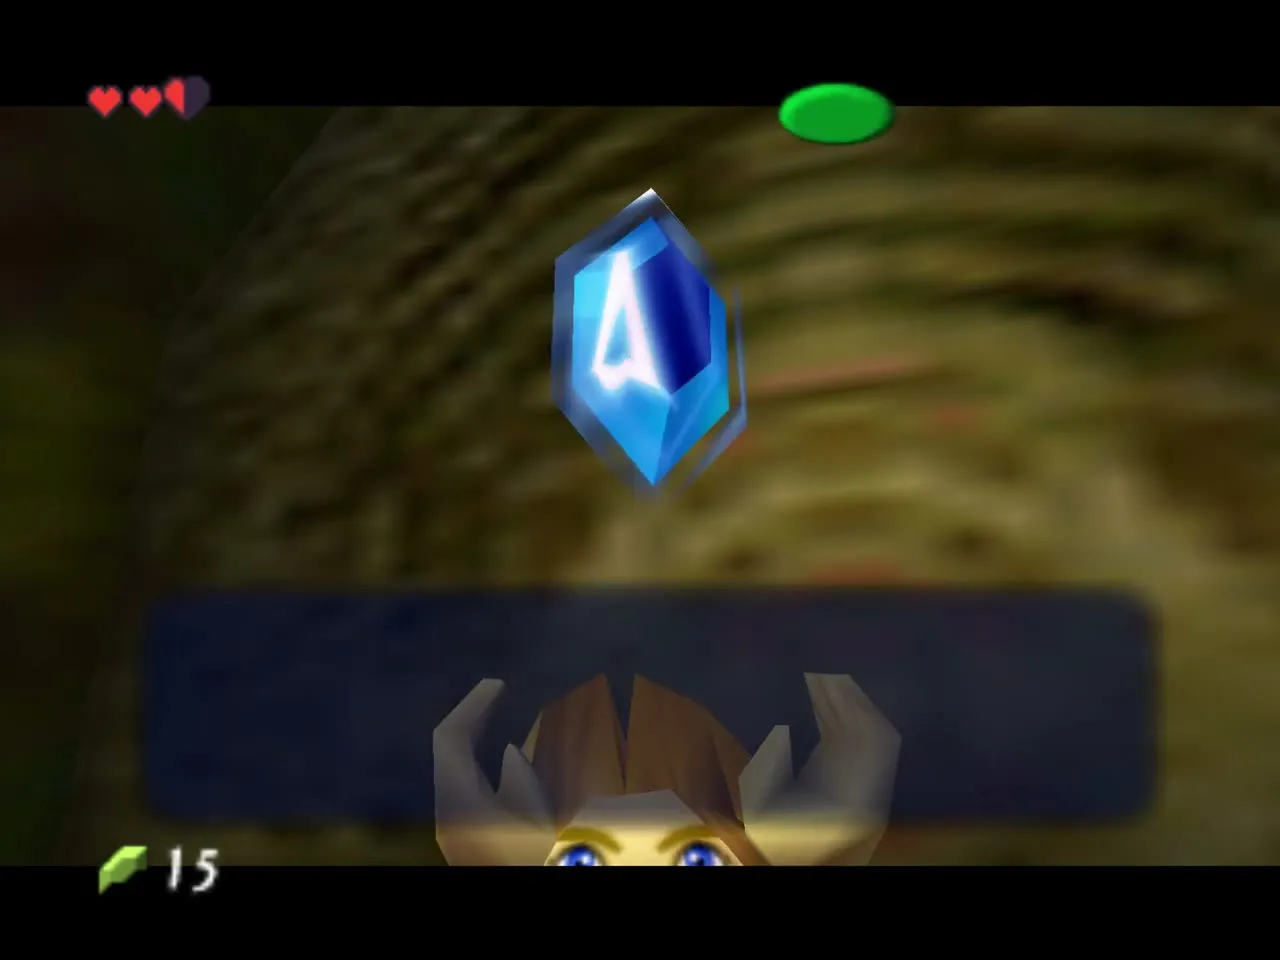
Light a Deku Stick from a lit torch and carry it to the unlit golden torch in the middle of the room. A chest falls from above. It holds a Deku Shield if yours has burned up, and a Blue Rupee (5) if you still have it, which is a good reason to guard the shield from fire.
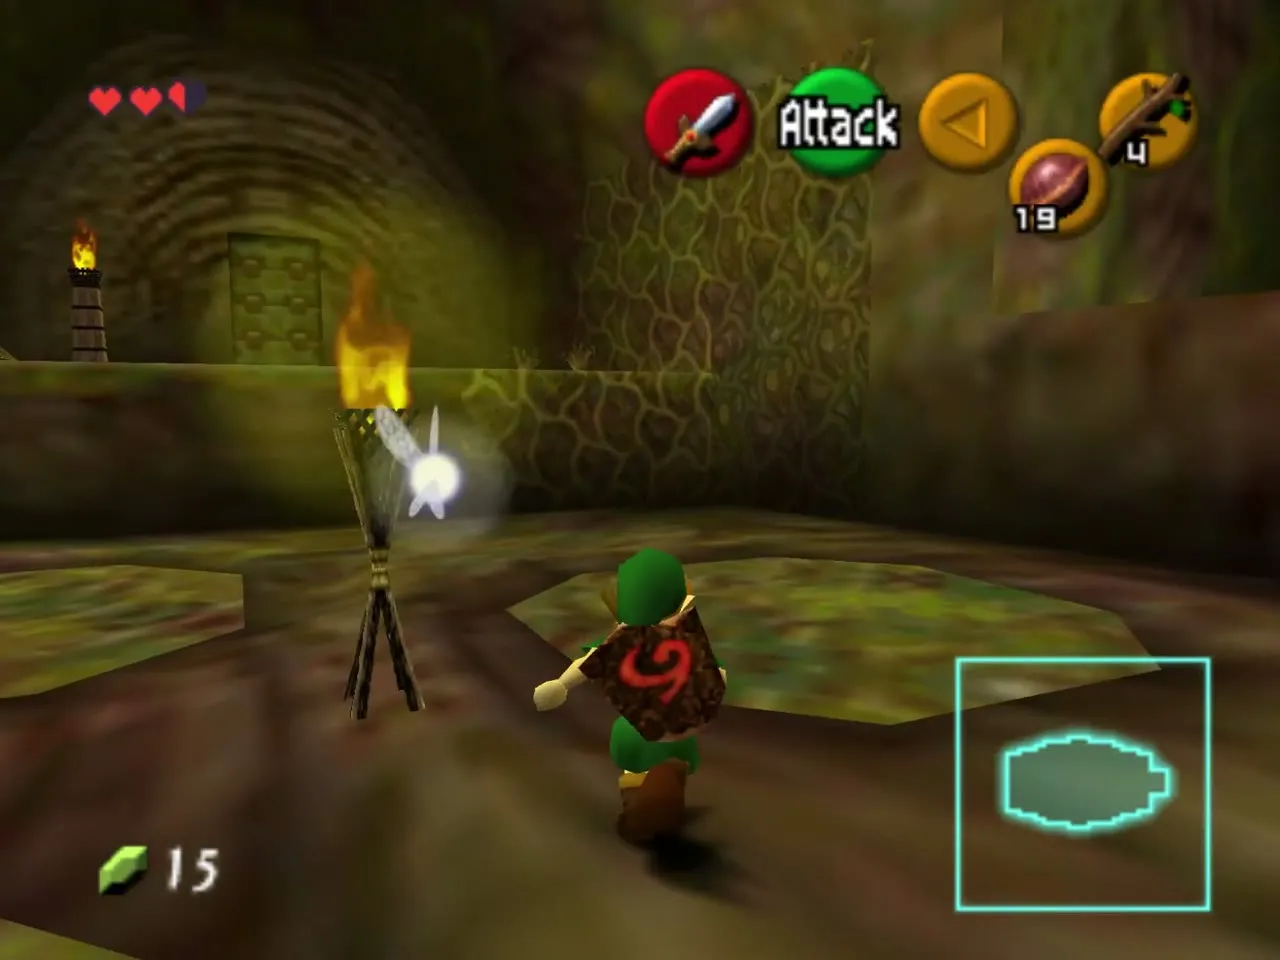
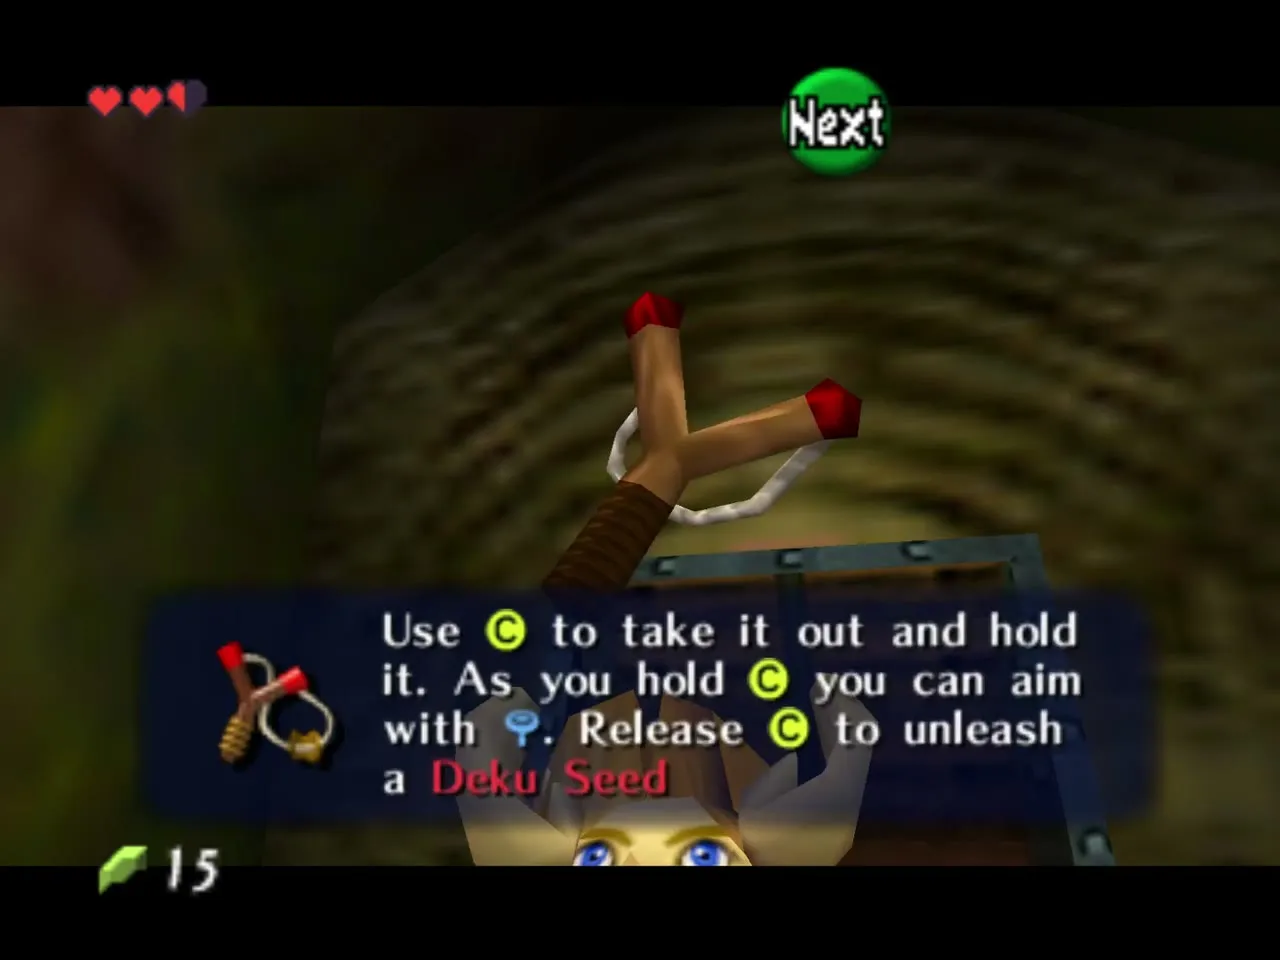
When every enemy in the room is dead, a chest appears in the side alcove. Open it for the Fairy Slingshot, your first ranged weapon, and refill your seed supply from grass and defeated Deku Babas. From here on, Keese, Skullwalltulas and Gohma eggs can be shot from a distance, so fire at eggs before you walk under them.
Down to the Compass
Climb down and burn the first web
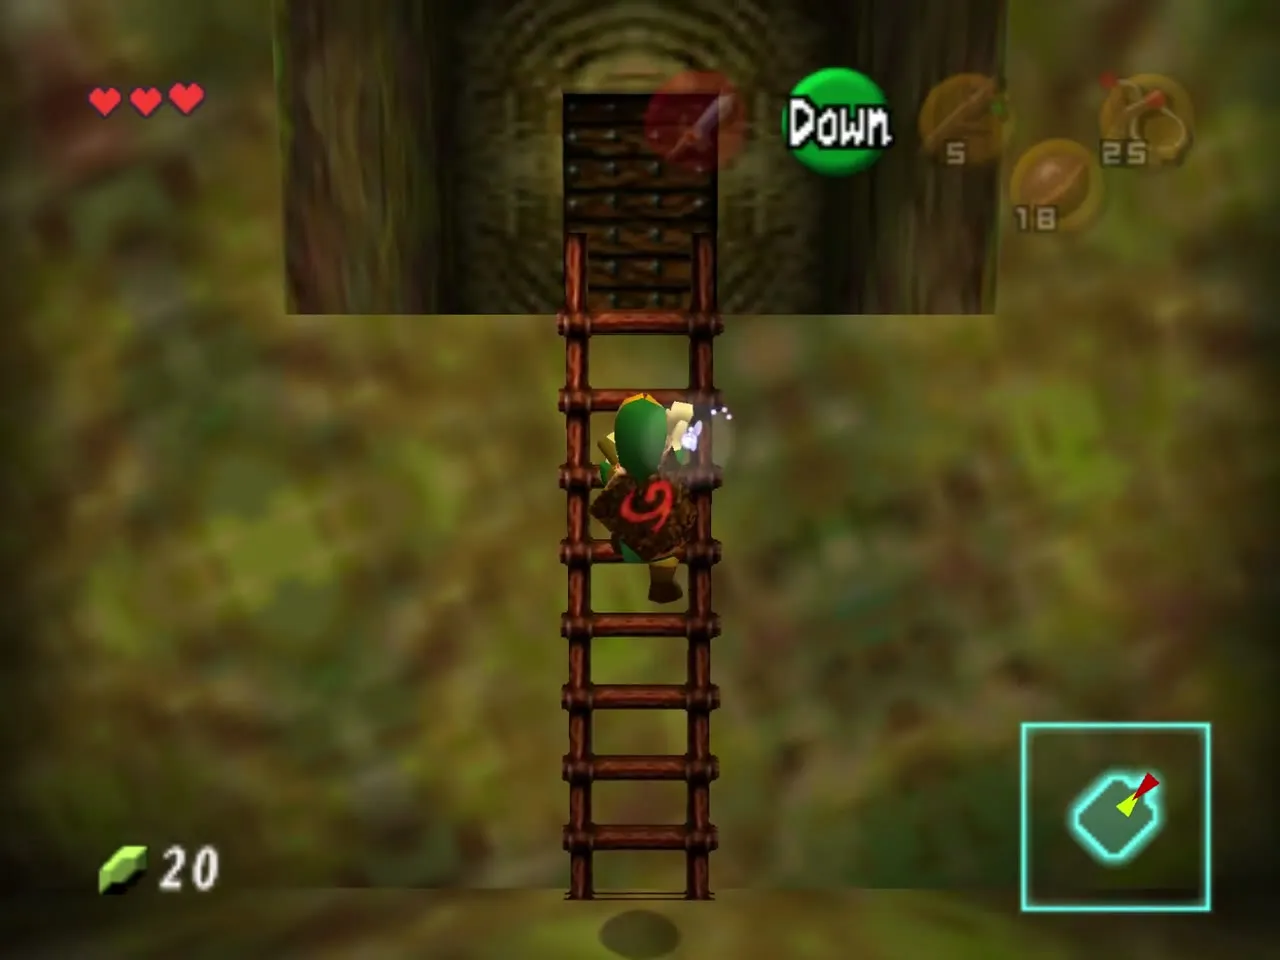
Leave the room and go back to the vines. Shoot the Keese that perch near them and the egg that hangs above, then climb down. Back on the walkway, light a Deku Stick at the torch and carry it to the web that covers the nearby door.
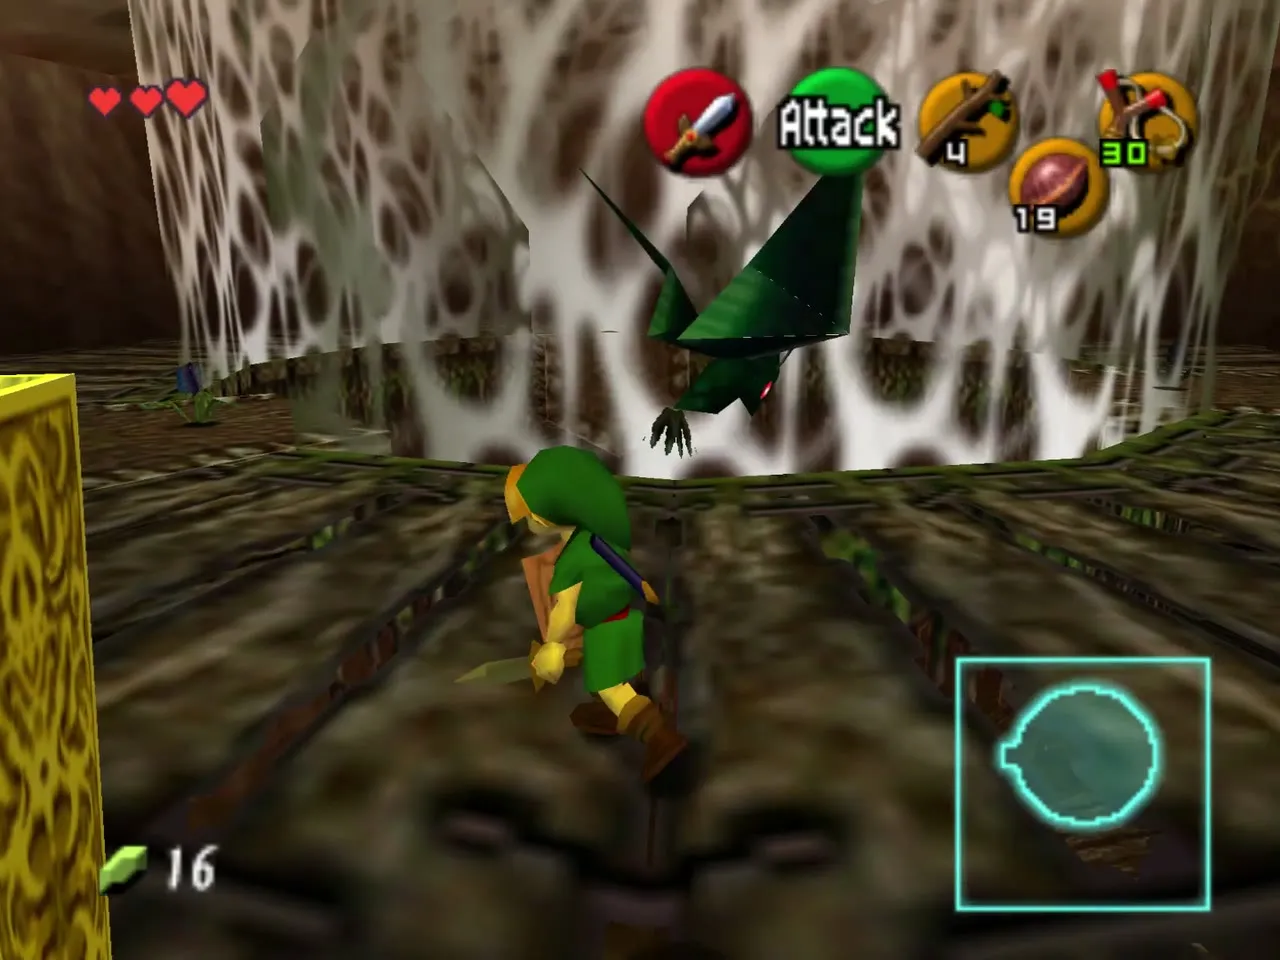
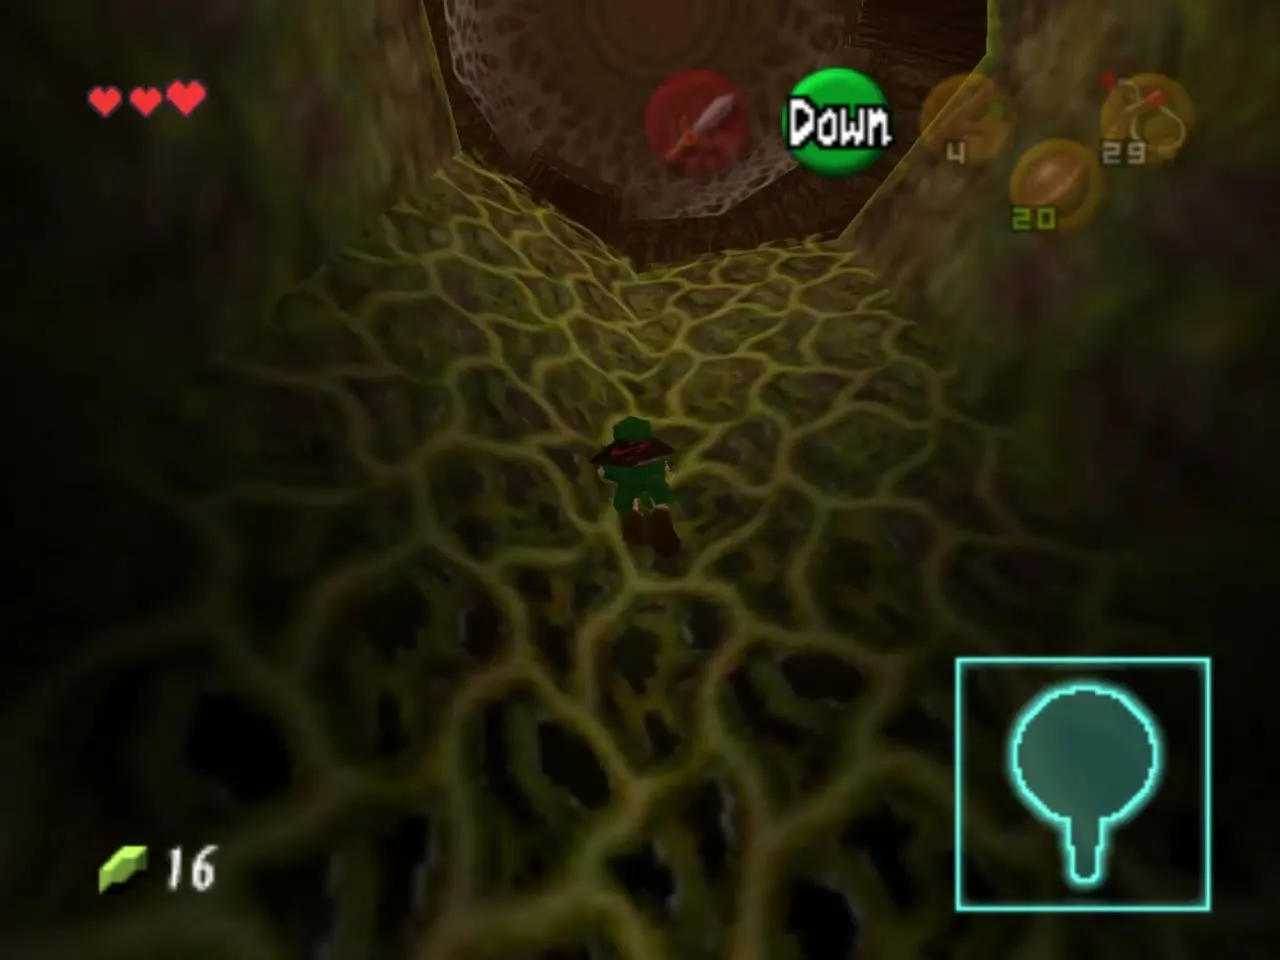
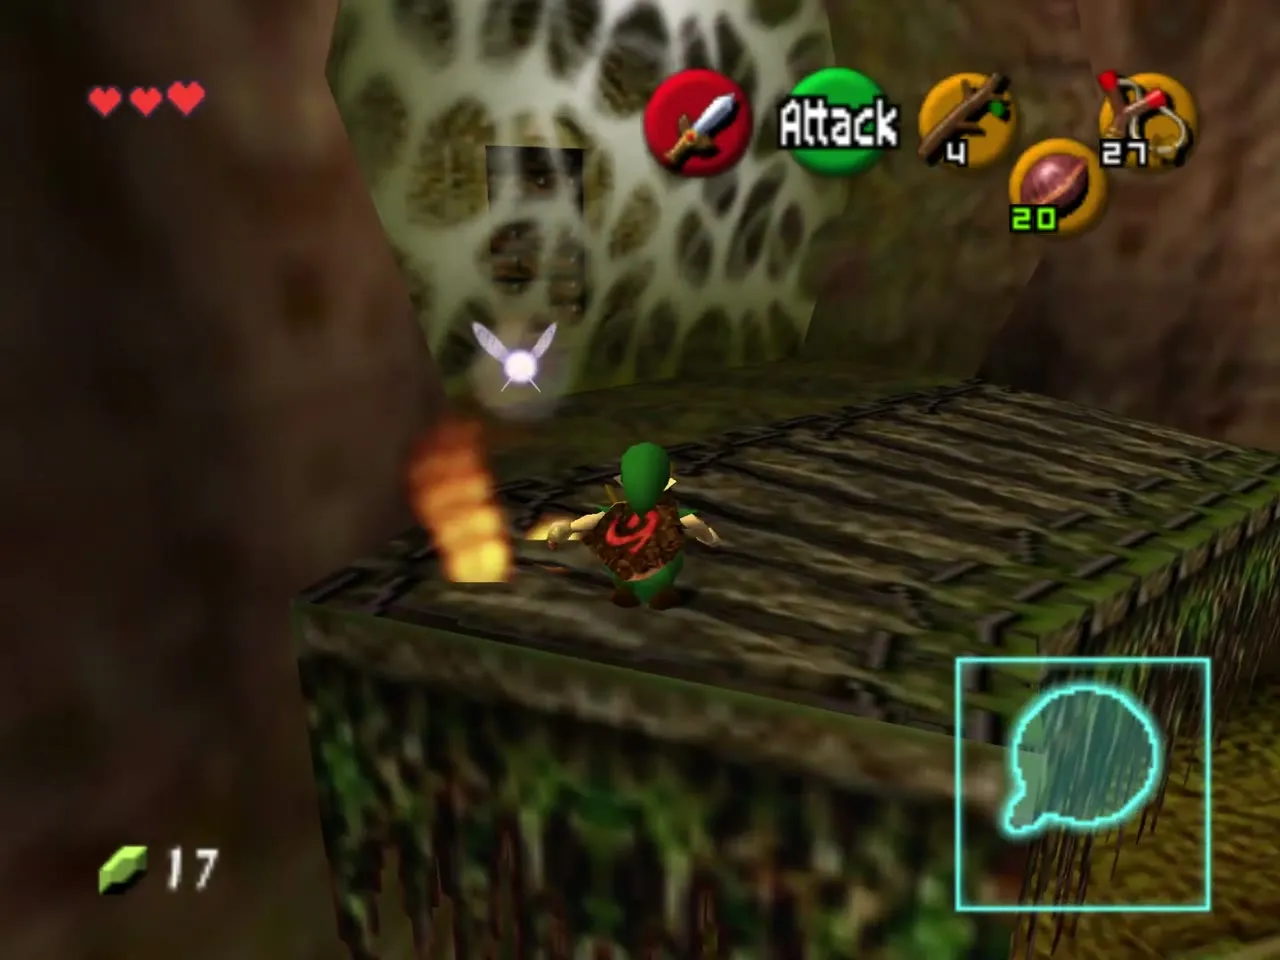
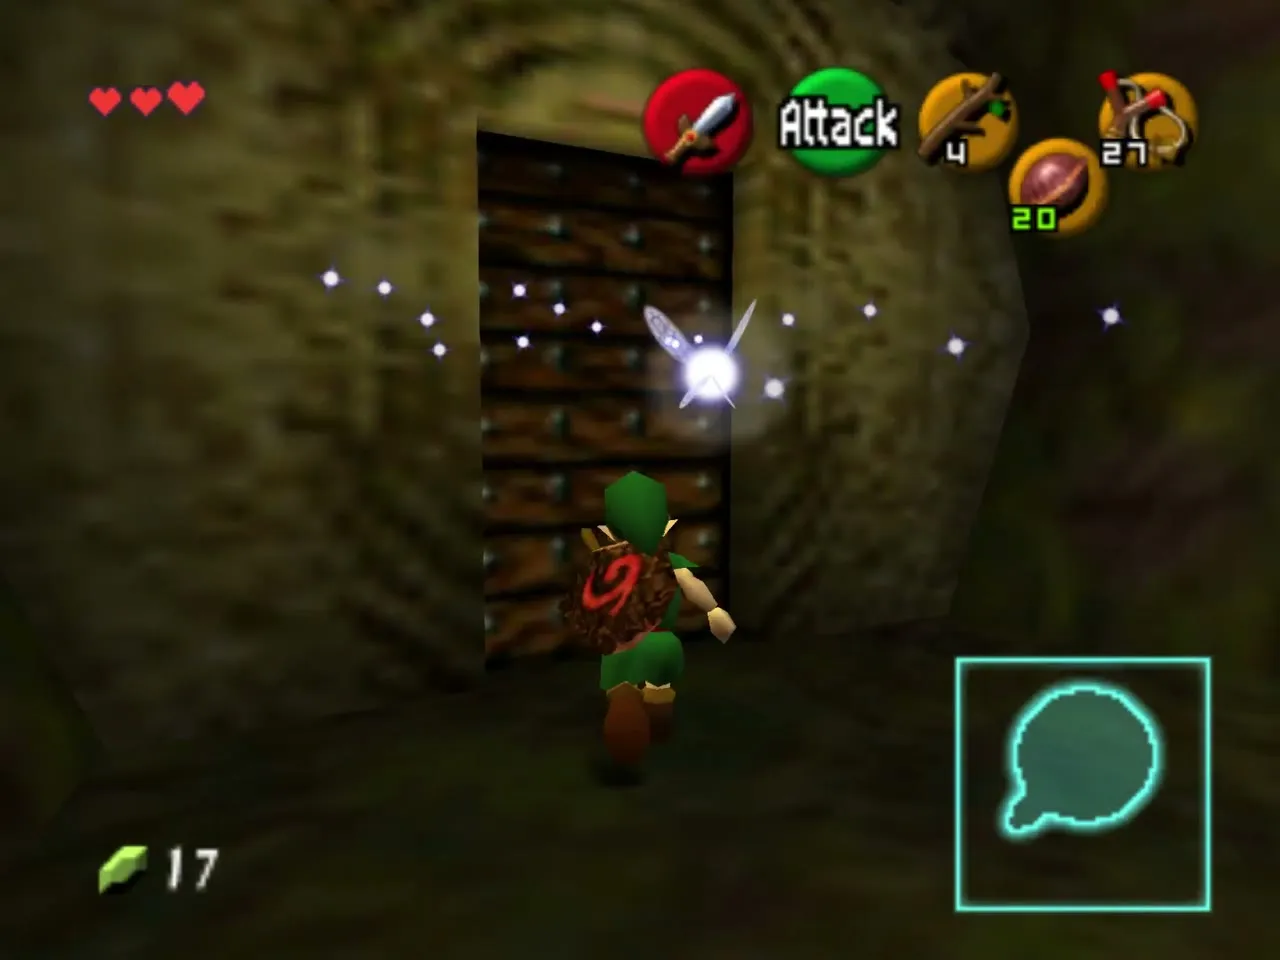
The room behind the web contains a Big Deku Baba, much taller than the ones before and with a long reach, plus a few Gohma eggs. Shoot the eggs first, then target the Baba from a distance and keep shooting until it falls. Collect the Deku Seeds it leaves behind.
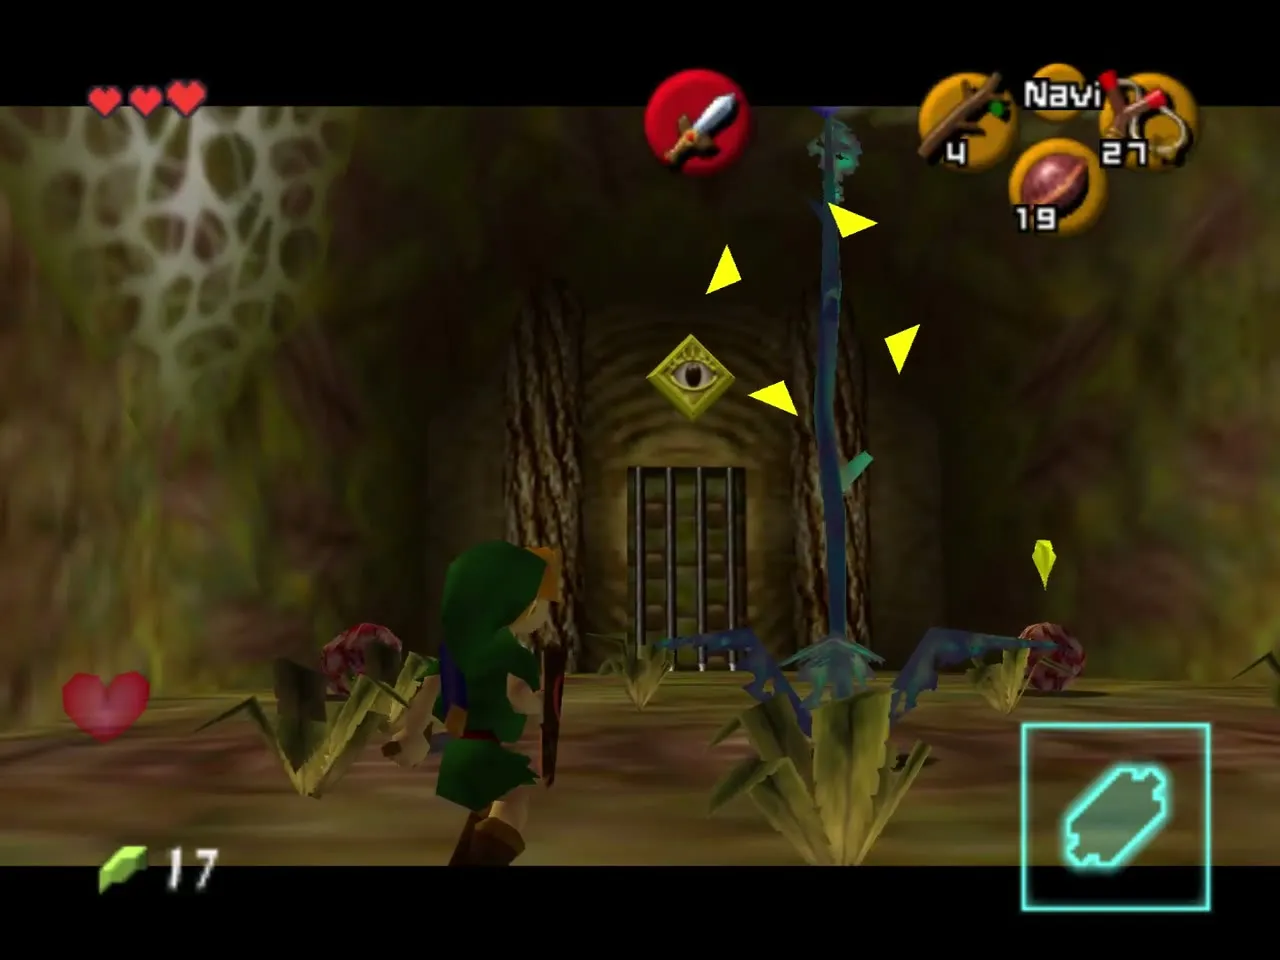
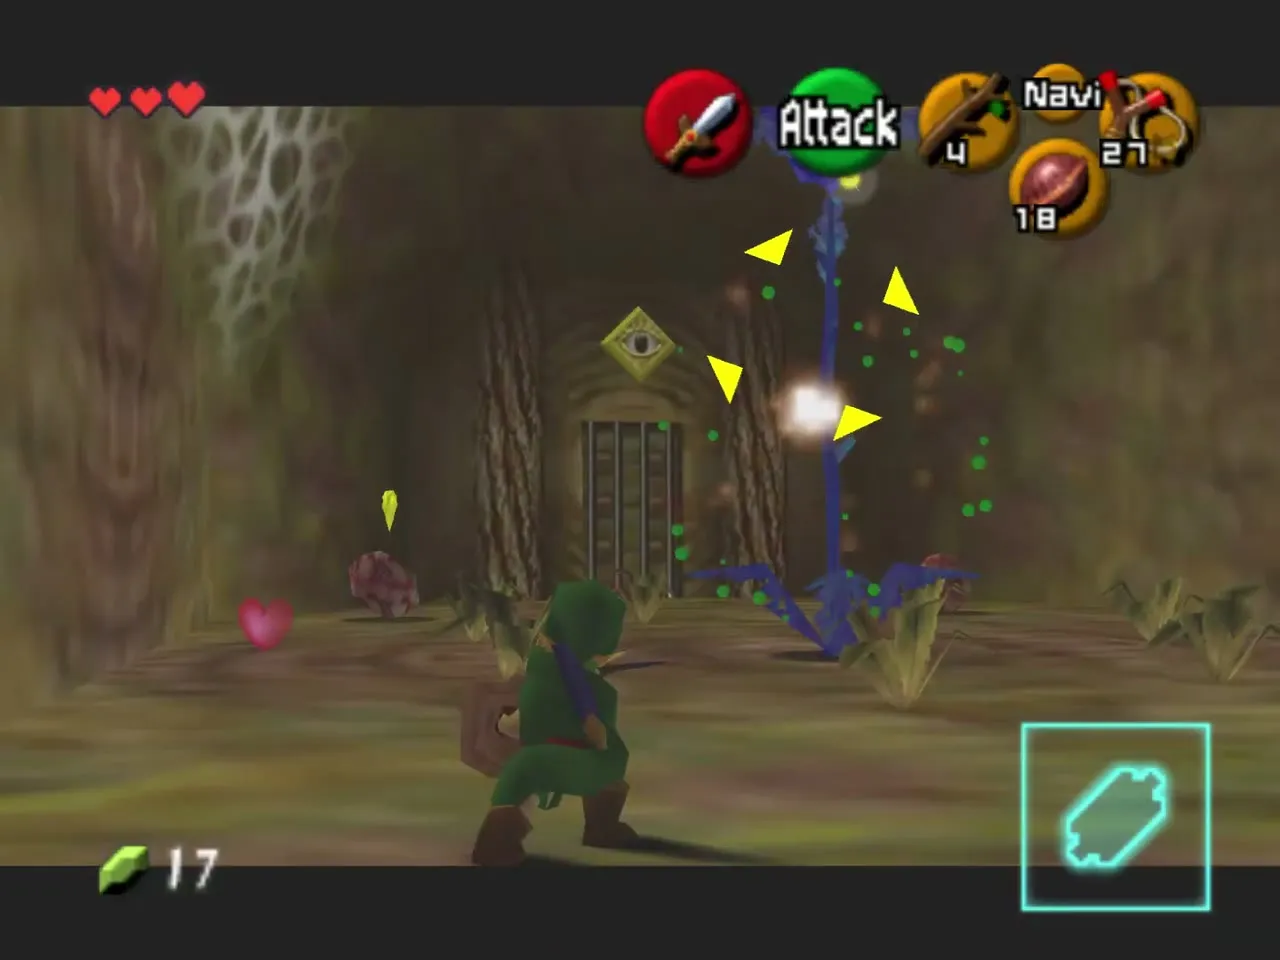
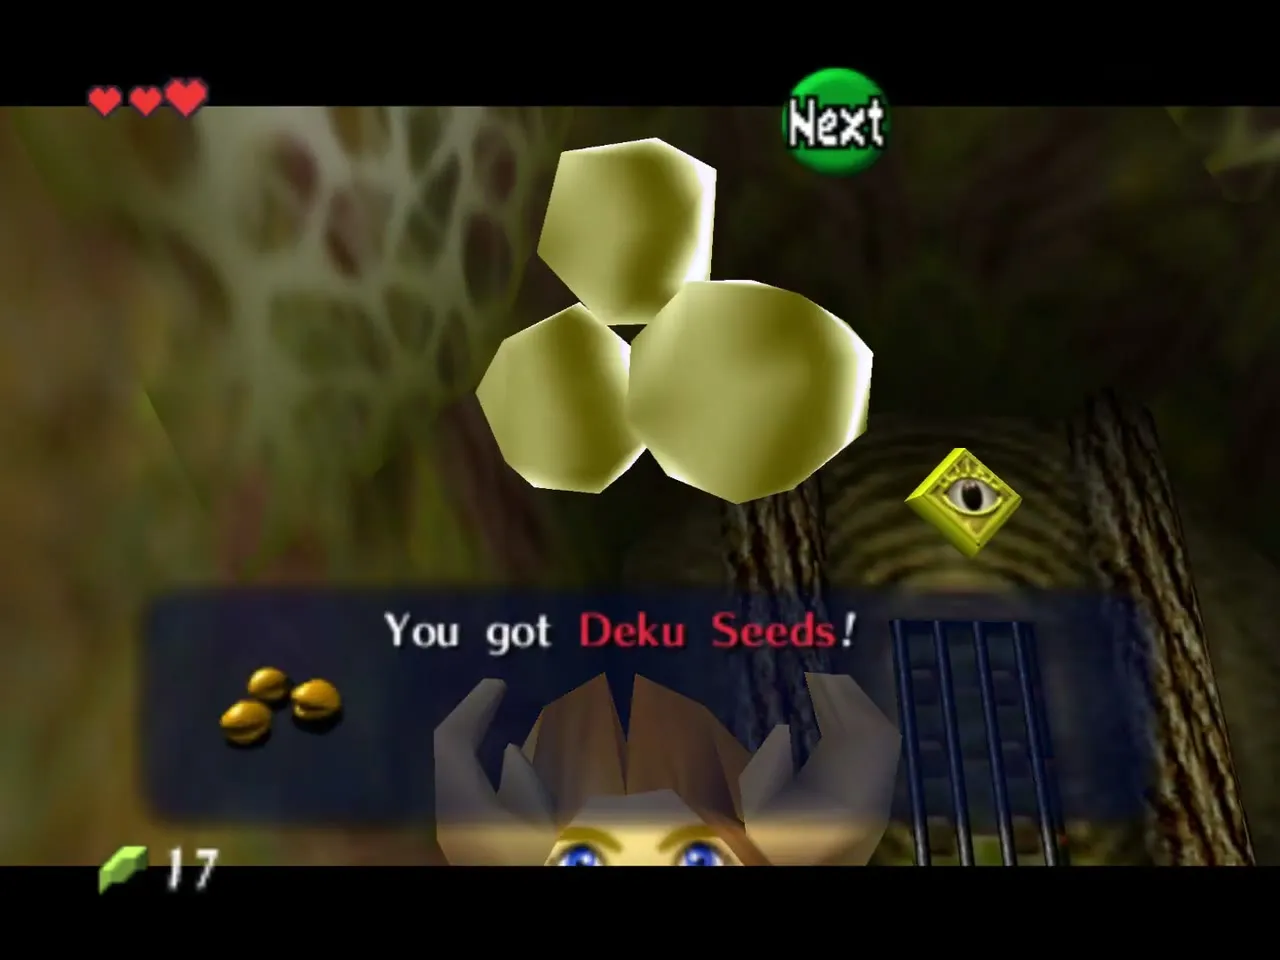
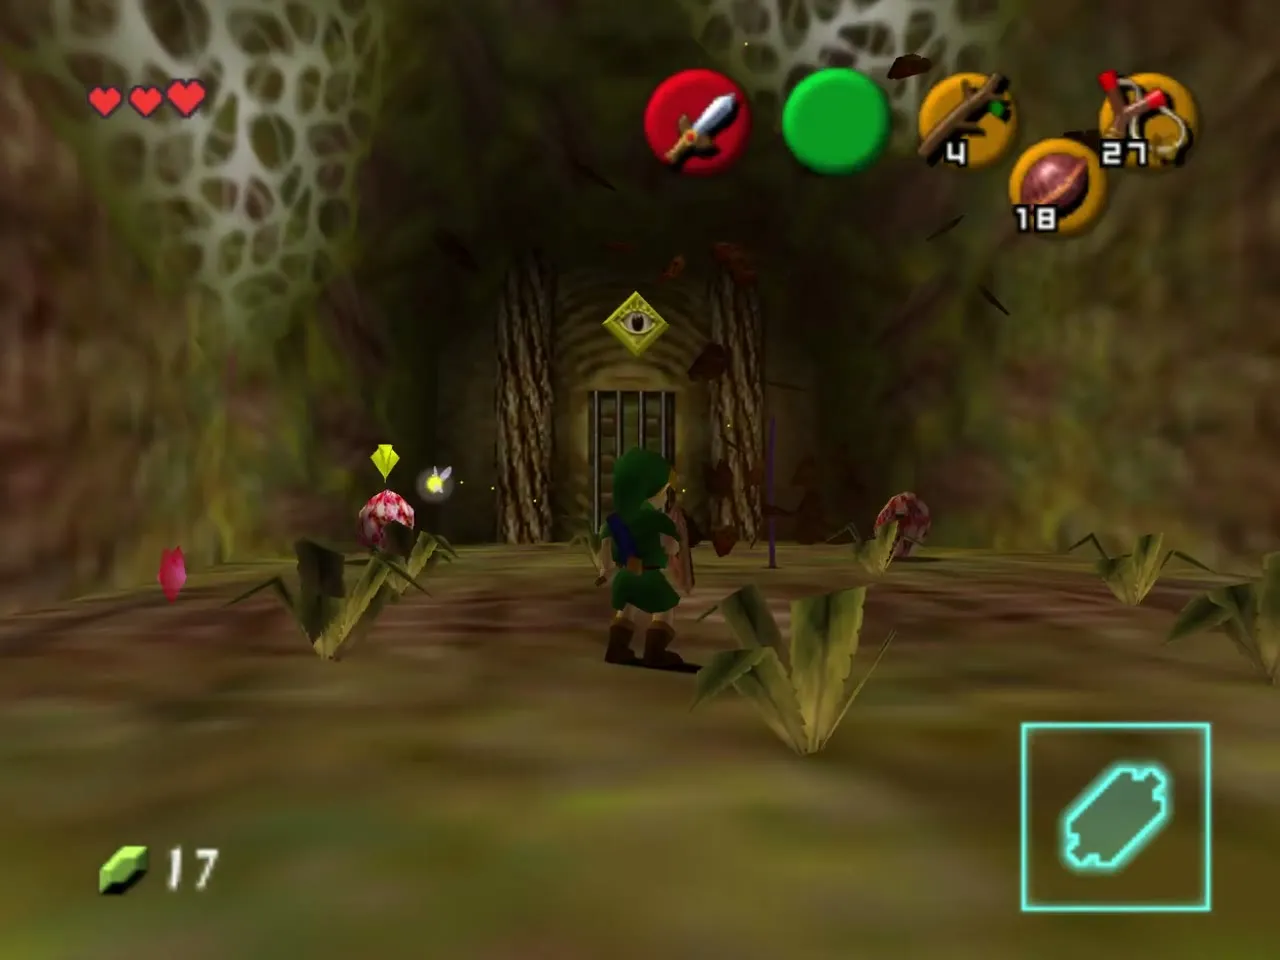
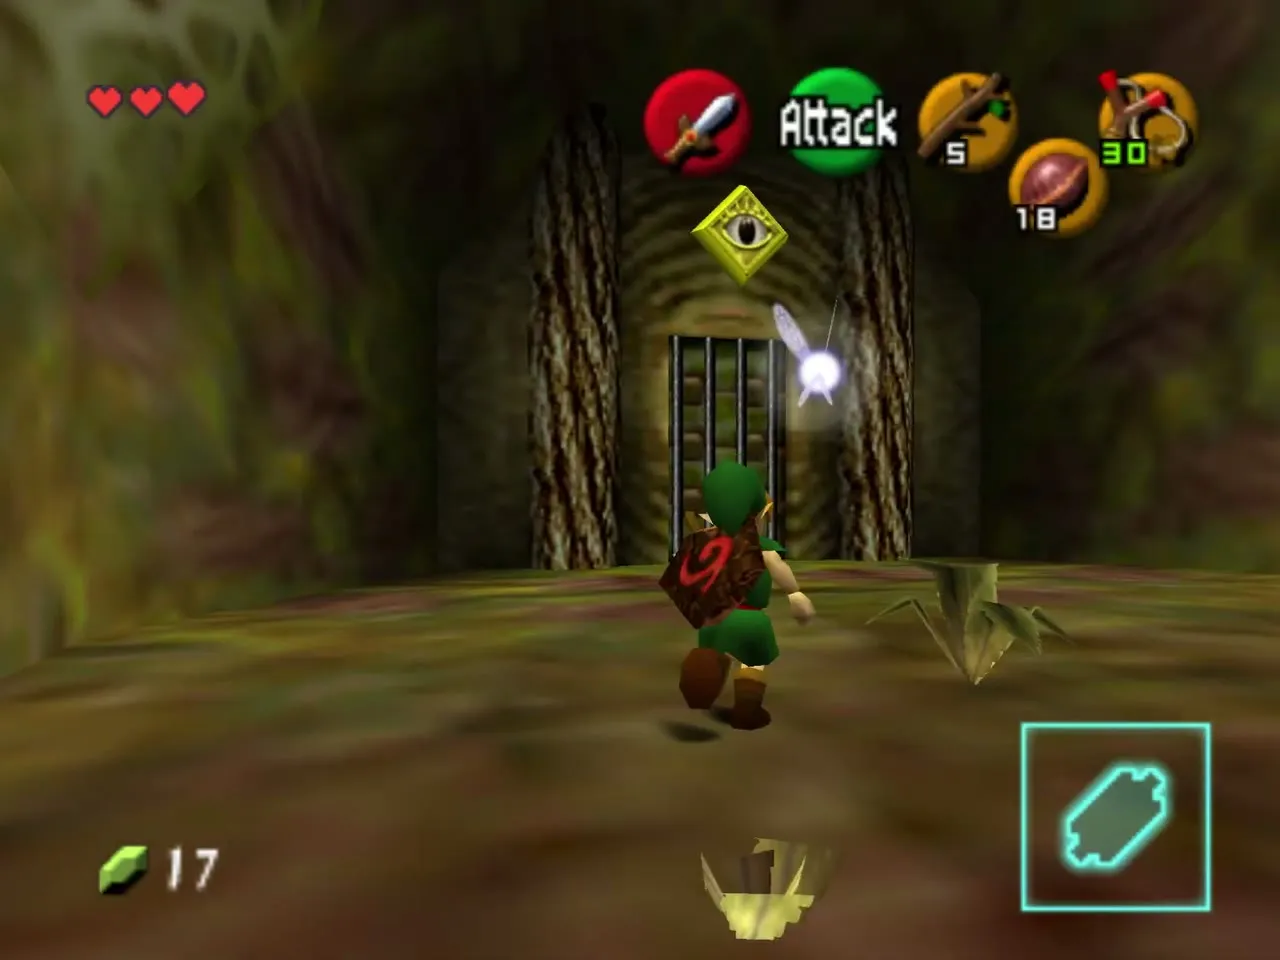
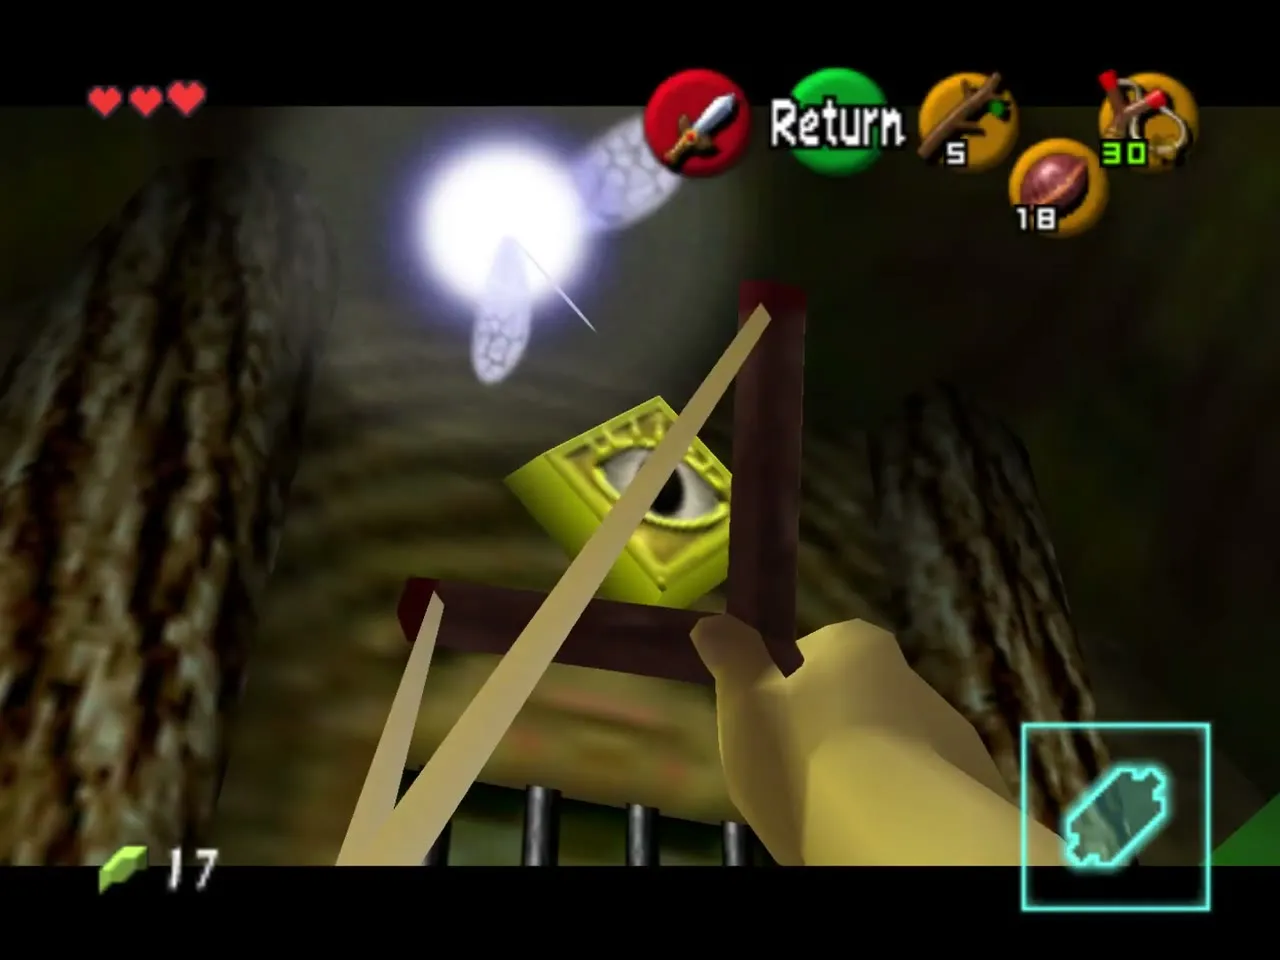
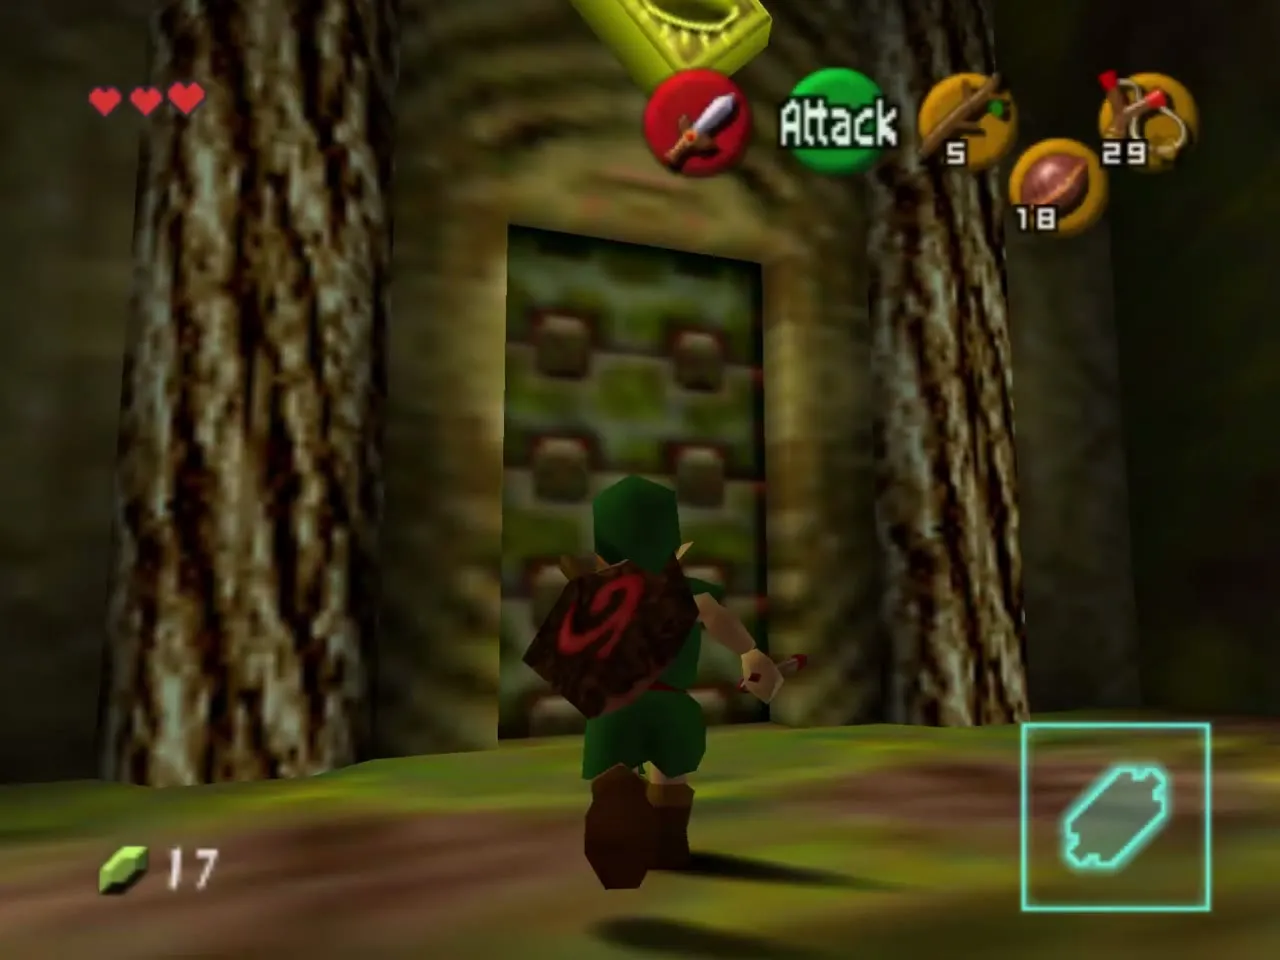
The door ahead is barred, with a painted eye above it. Aim the Slingshot at the eye switch and fire. The bars lift and you can walk through.
Compass chest room
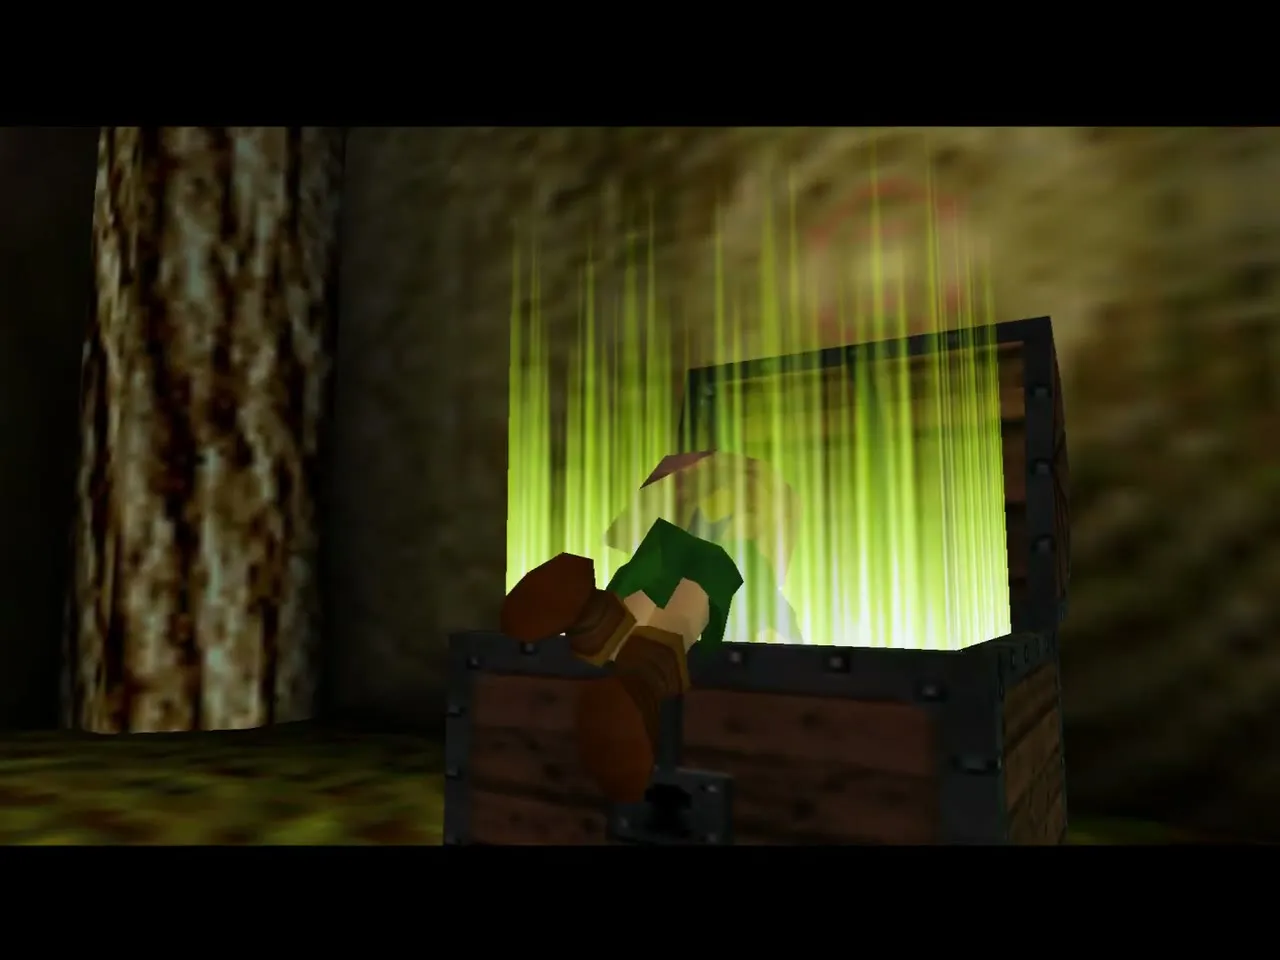
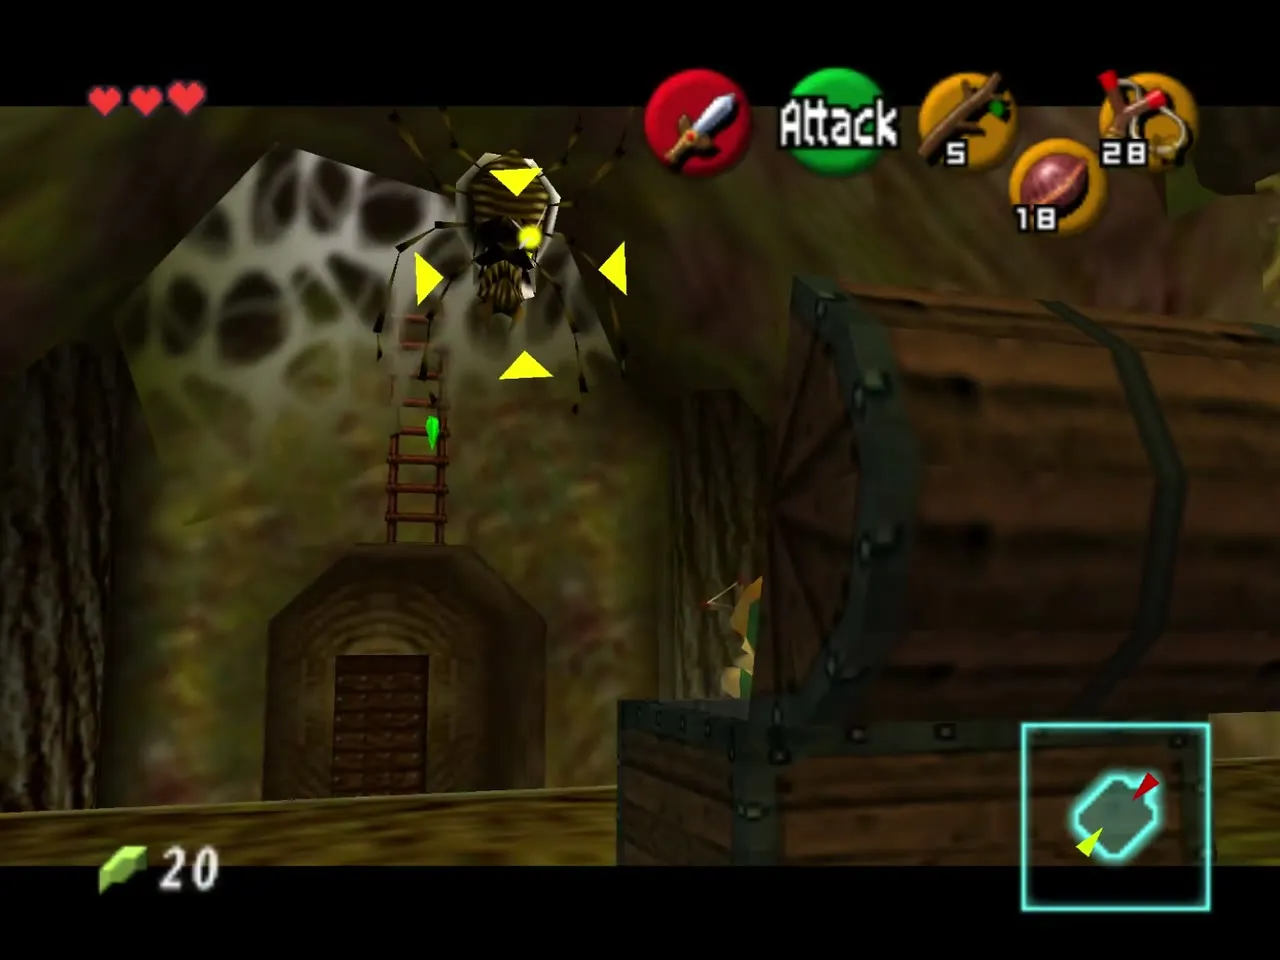
A floating wooden platform leads to the chest at the far end, but do not step on it: a Big Skulltula drops onto the platform and your weight sends it crashing. Shoot the egg in front of the chest, break the egg on the ground, and shoot a Skullwalltula off the vines before you climb them. Then slip behind the chest and shoot the Big Skulltula hanging from the ceiling in its back. Open the chest for the Compass.
A Gold Skulltula sits high on the wall beside the chest, hidden behind boulders that you cannot move yet. Come back with Bombchus, or with the Song of Time and a Bomb, to blast them away and claim the token.
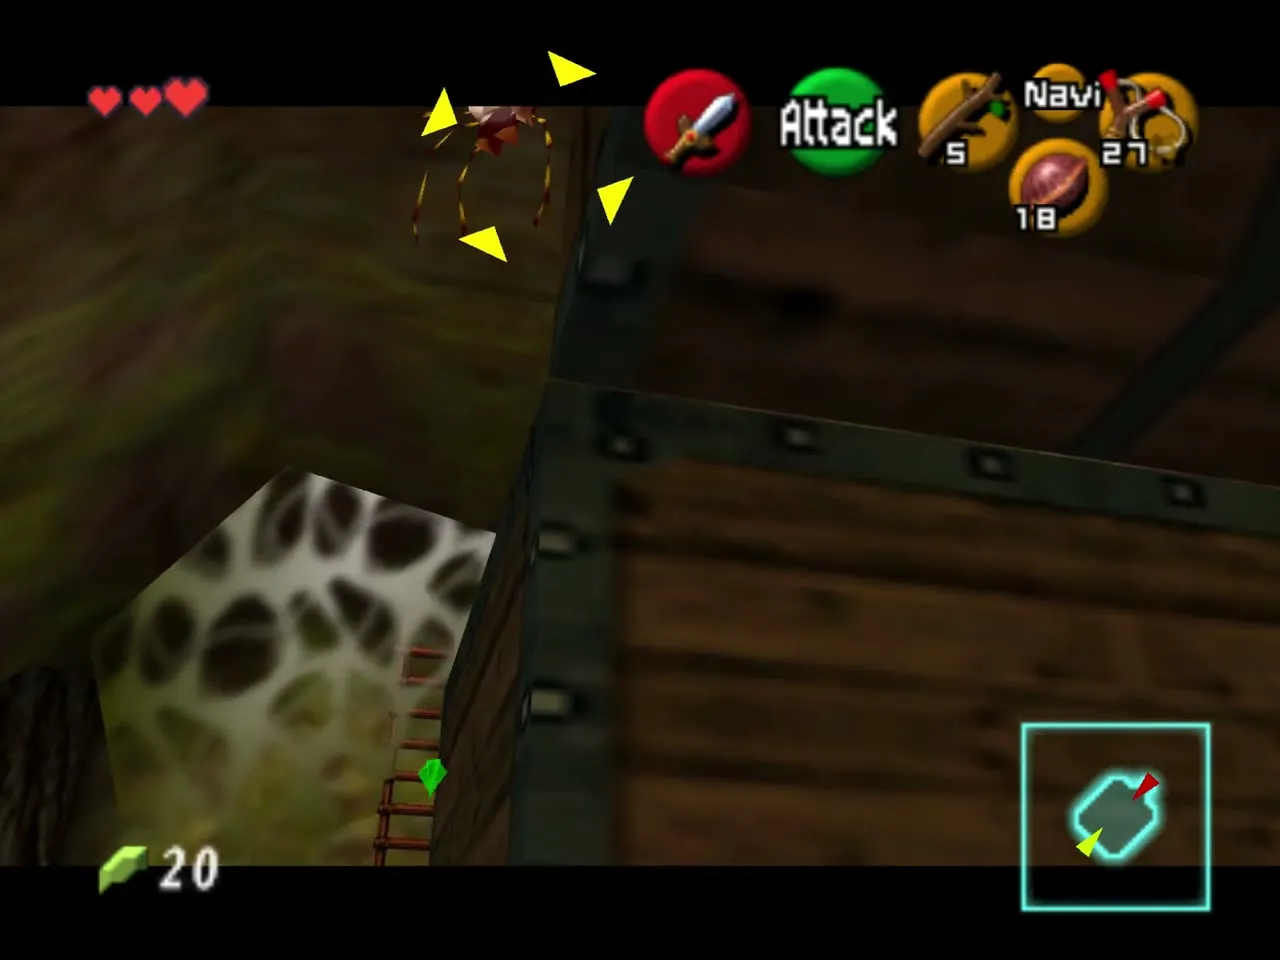
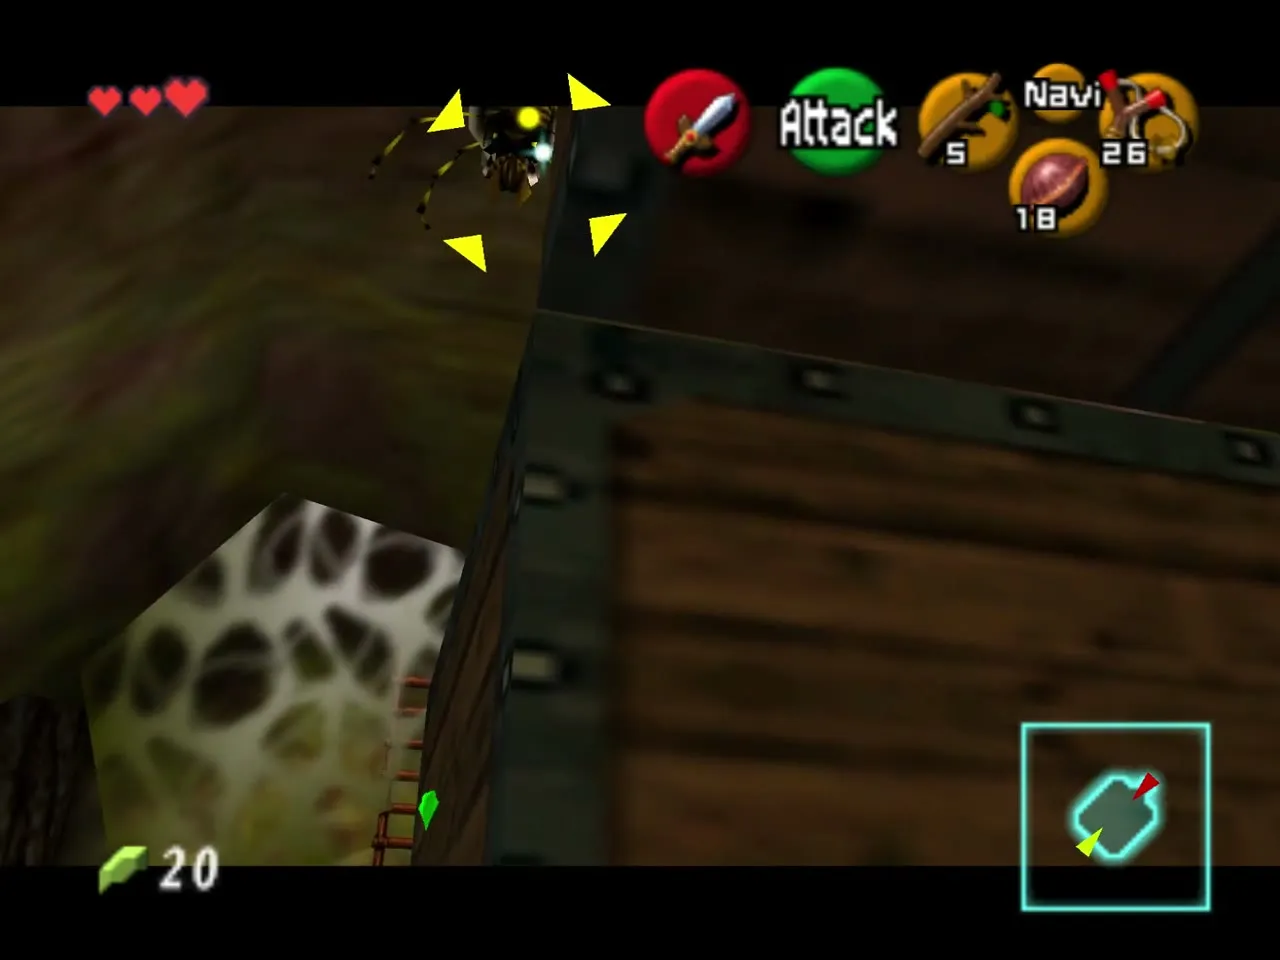
To leave, shoot the rolled-up ladder next to the door so it drops, or ride the floating platform back now that the spider is gone. Back in the main hall, go down to the ground floor and look at the big web over the hole near the lobby.
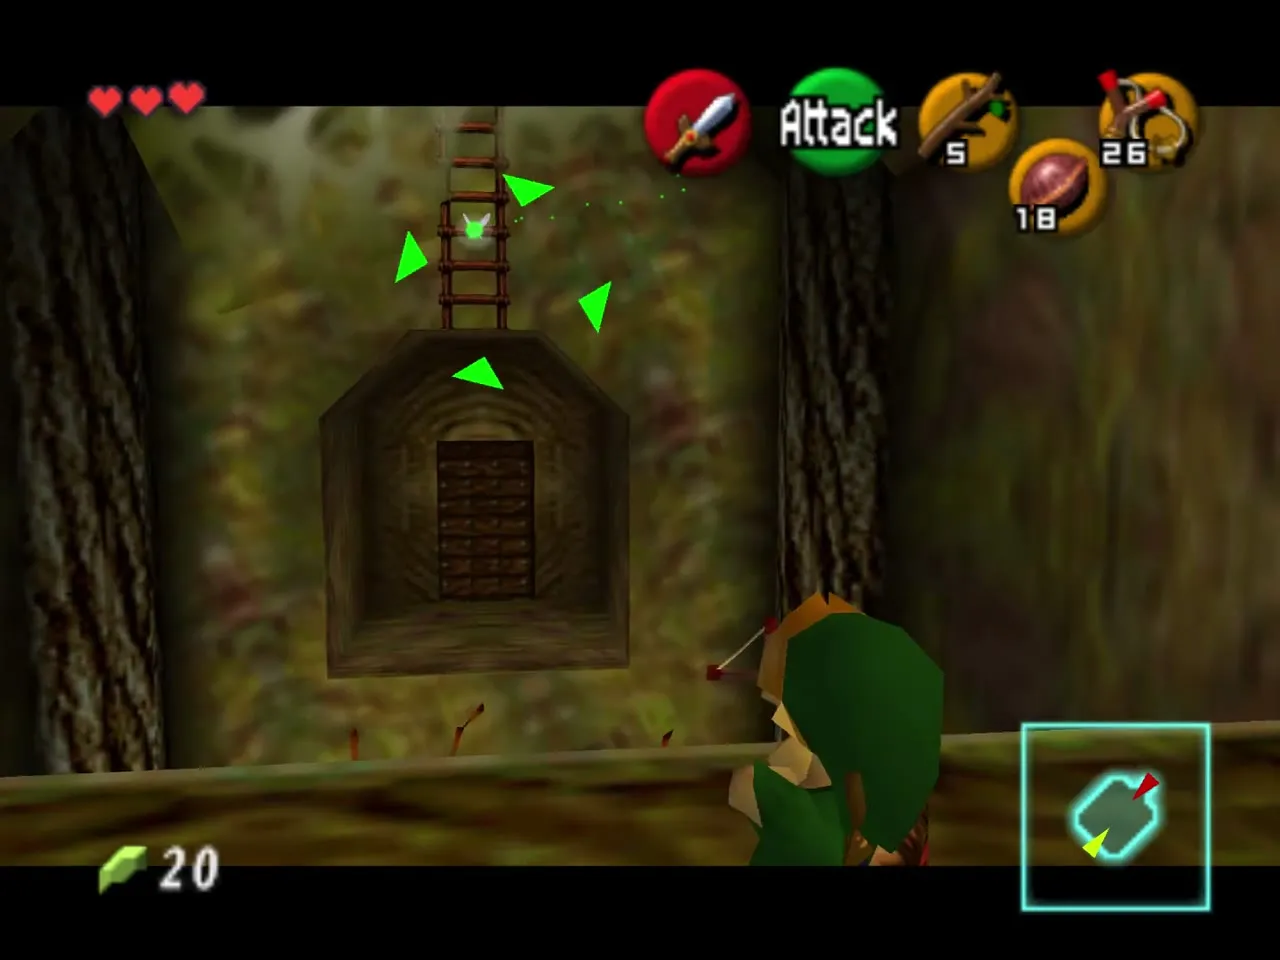
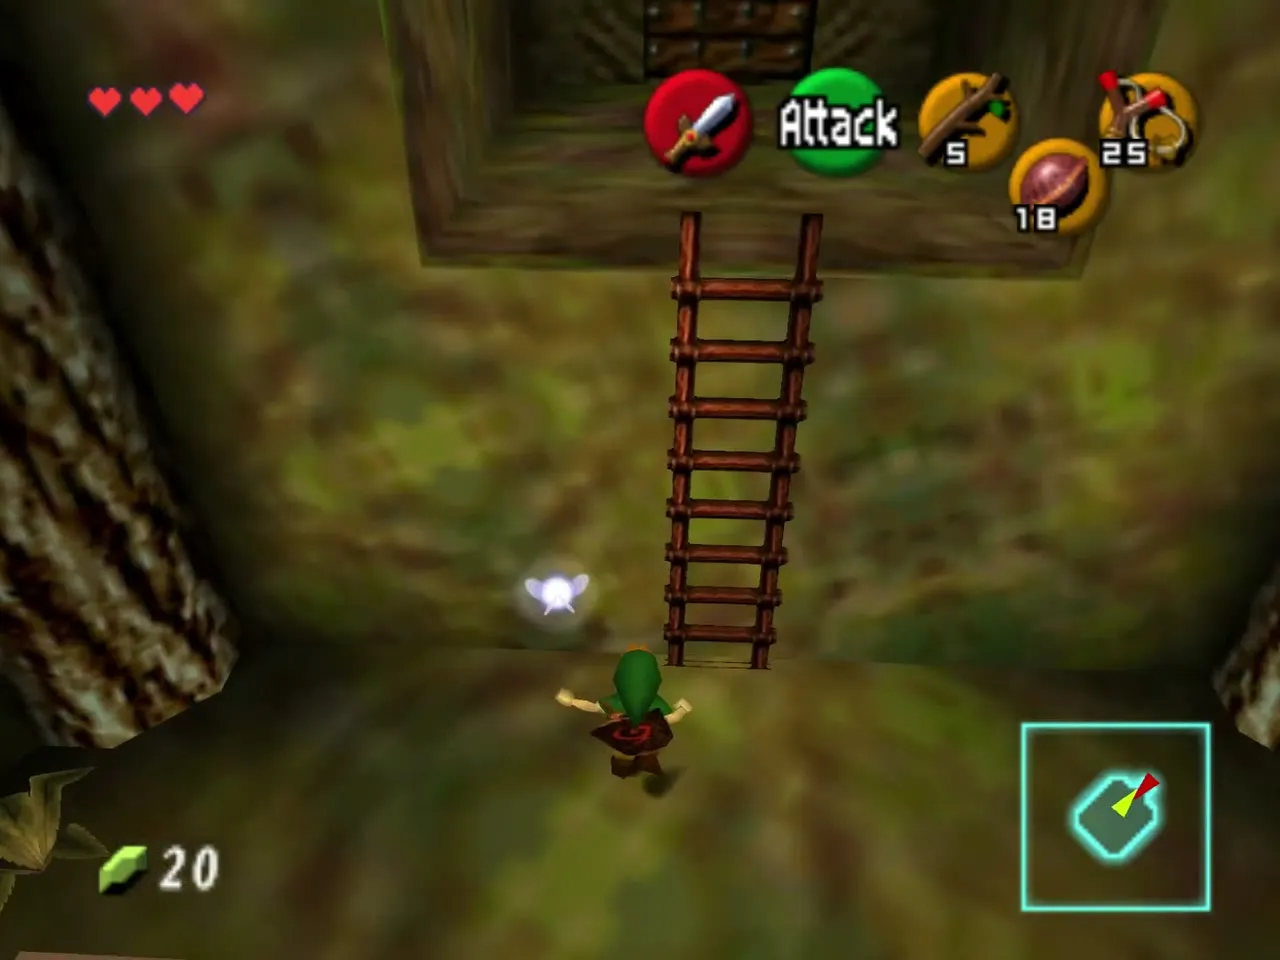
Basement
Drop through the web
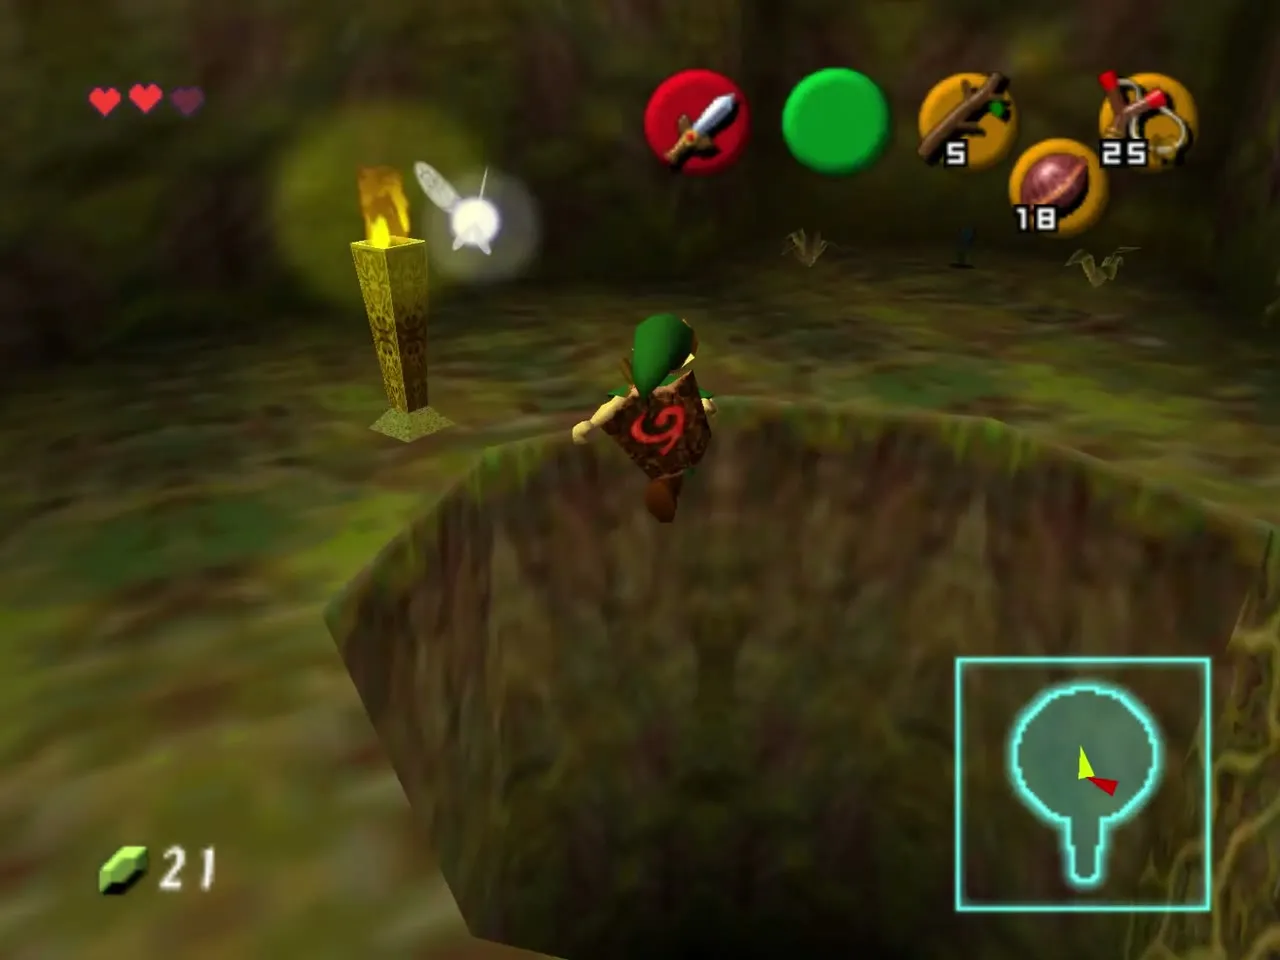
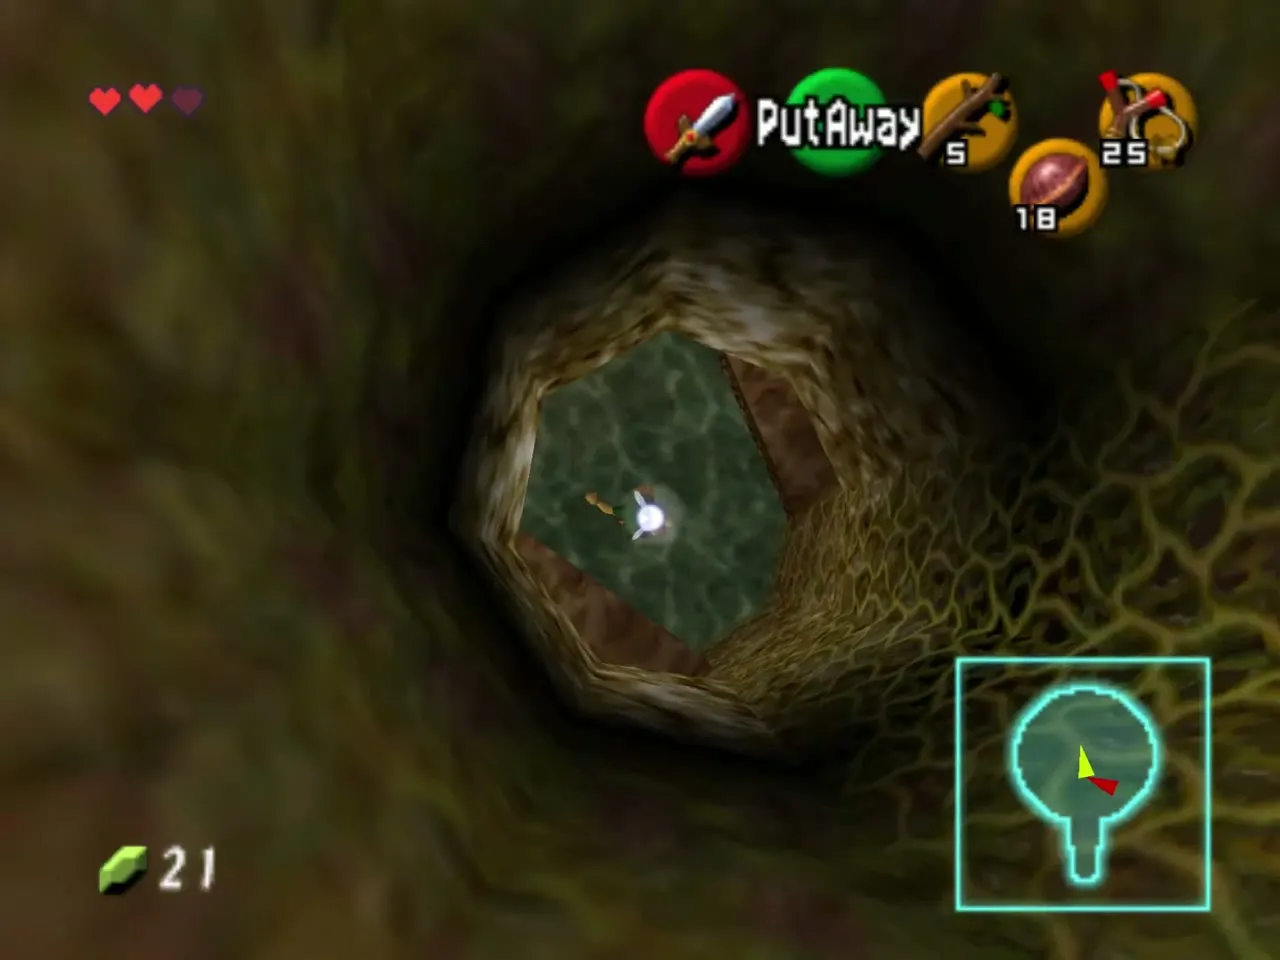
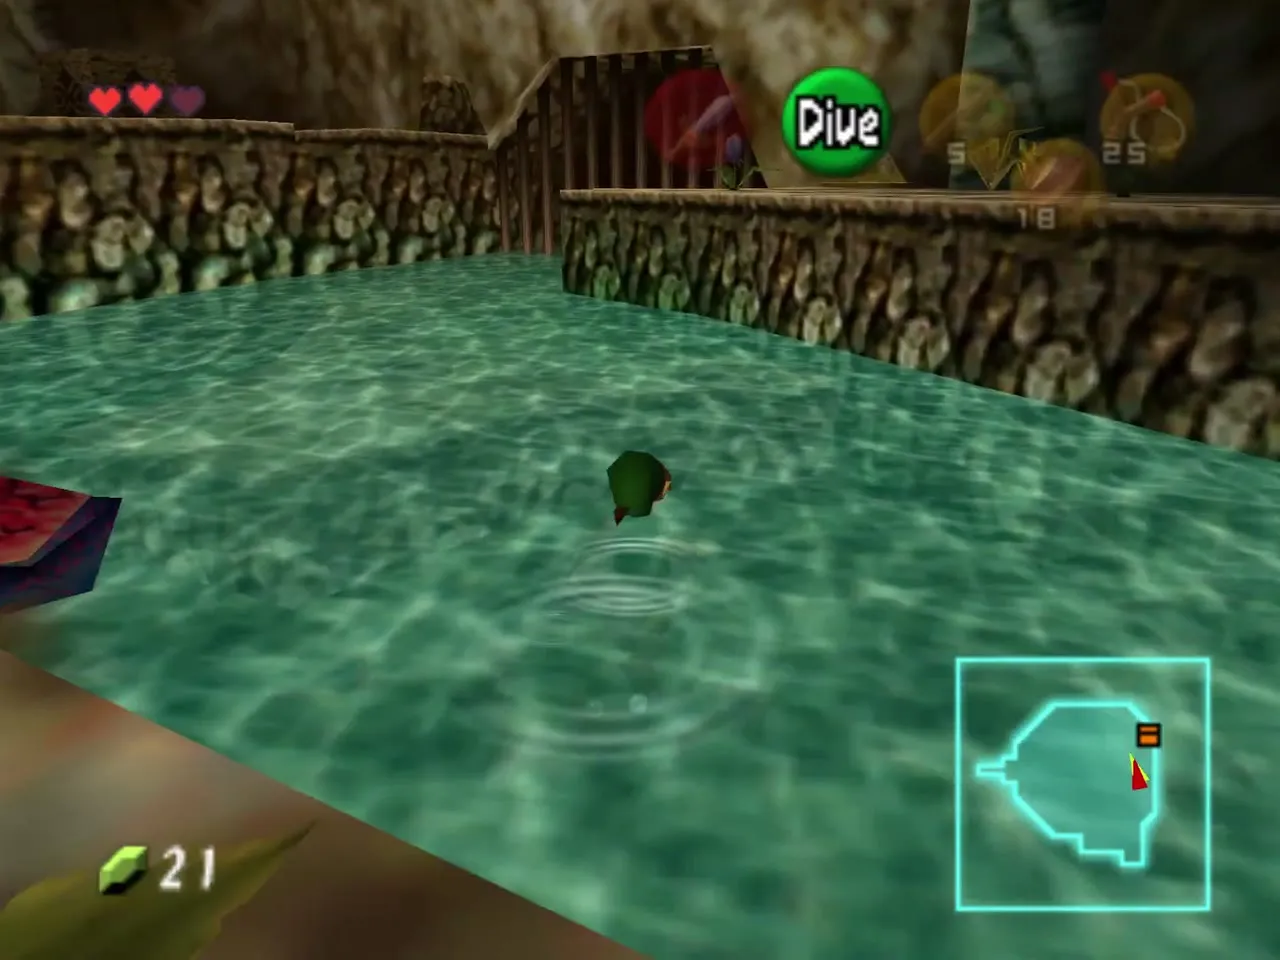
Light a Deku Stick at the golden torch on the ground floor and roll over the web so it catches fire. The web burns away and opens the hole in the floor. Drop in and you land in the water of the basement, then swim to the shore on the right.
Switch ledge
The ledge has two Deku Babas and a floor switch. Kill the Babas and step on the switch to light a distant torch. Swim to the lower level, light a Deku Stick, and burn the web that hides another switch. Pressing it makes a chest fall. It holds a Deku Shield if you need one and 5 Rupees otherwise. Go back up to the first ledge for the door.
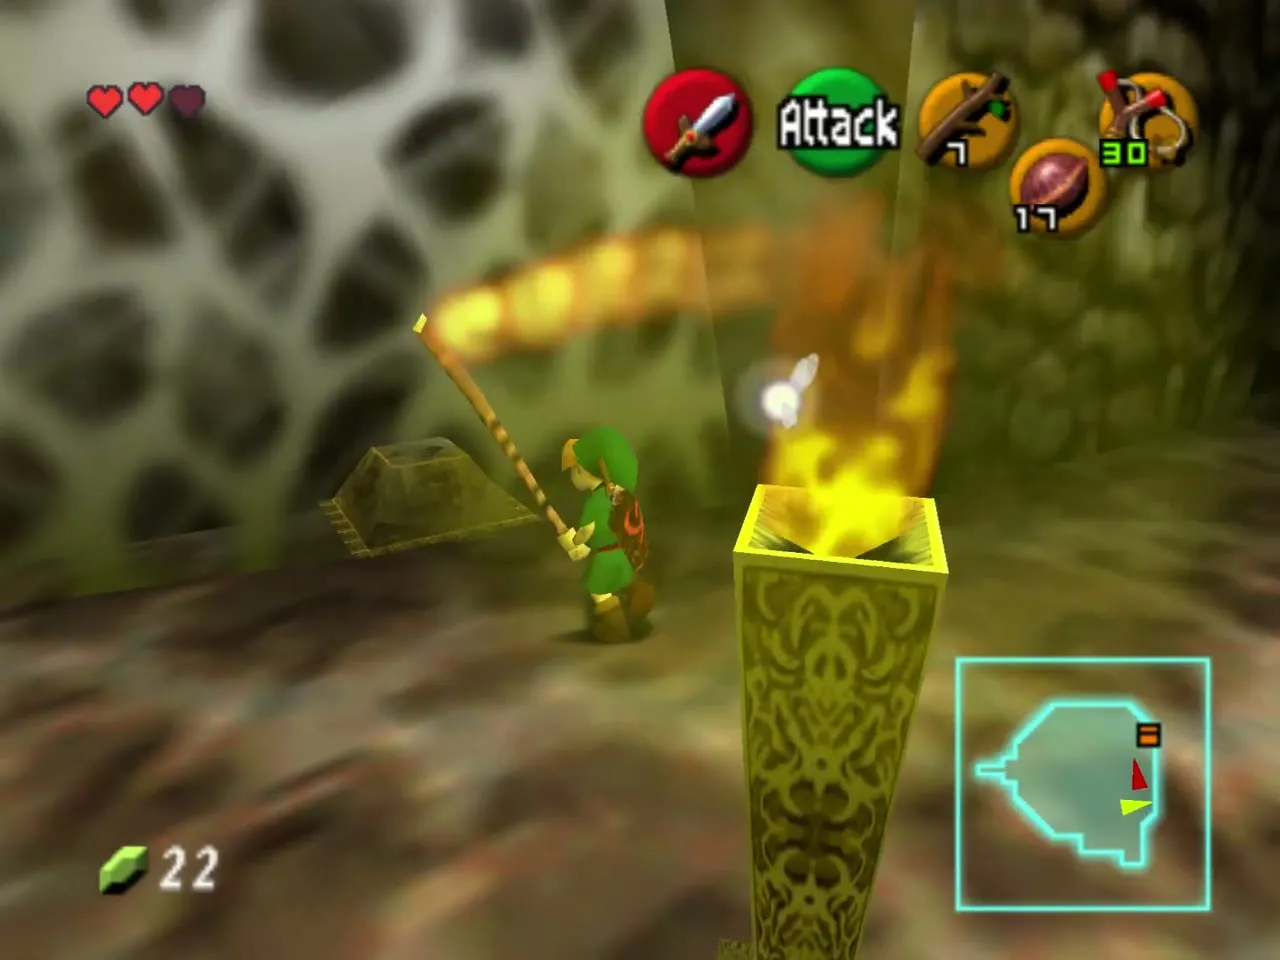
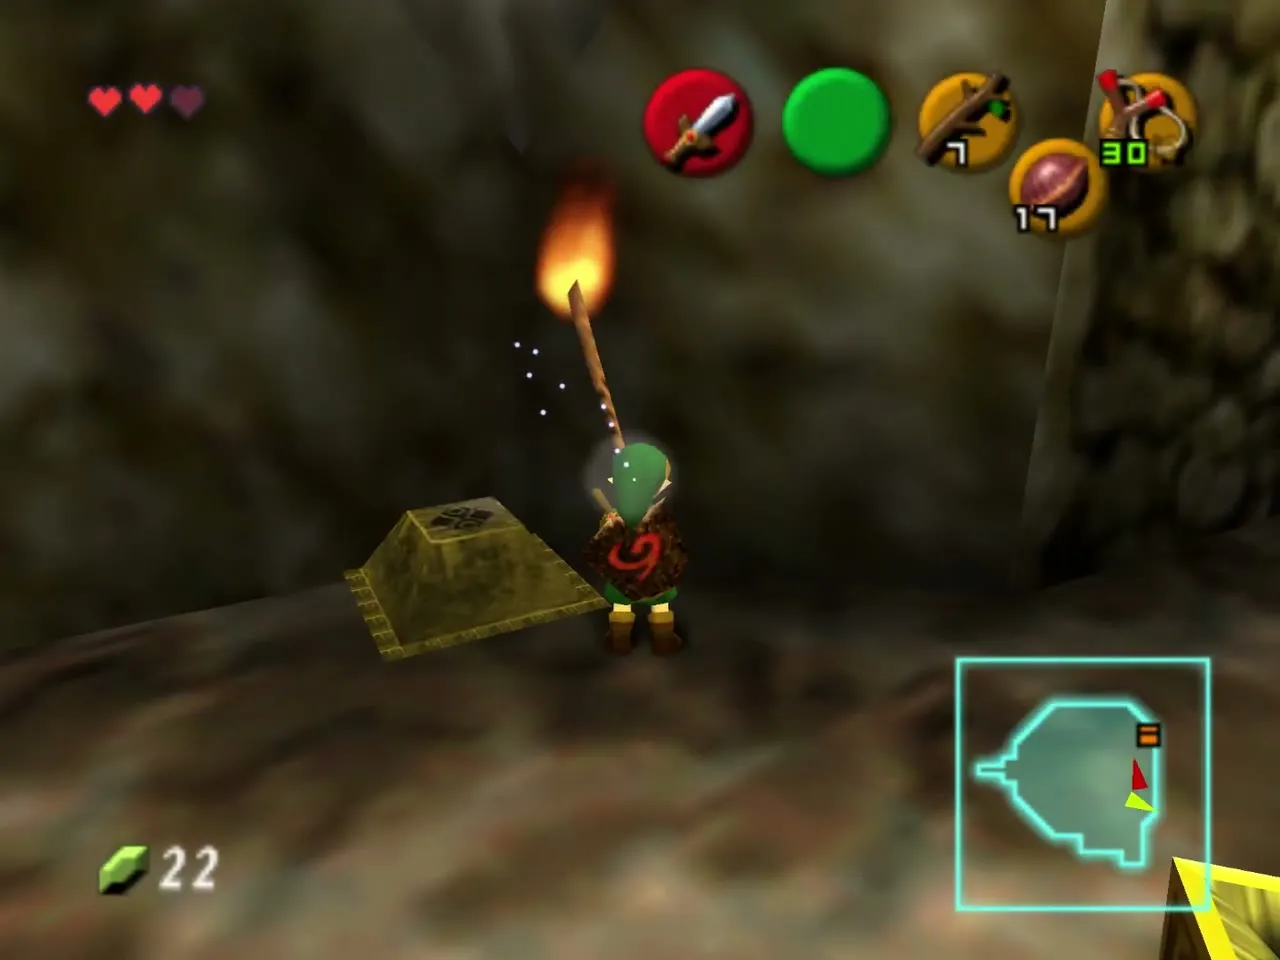
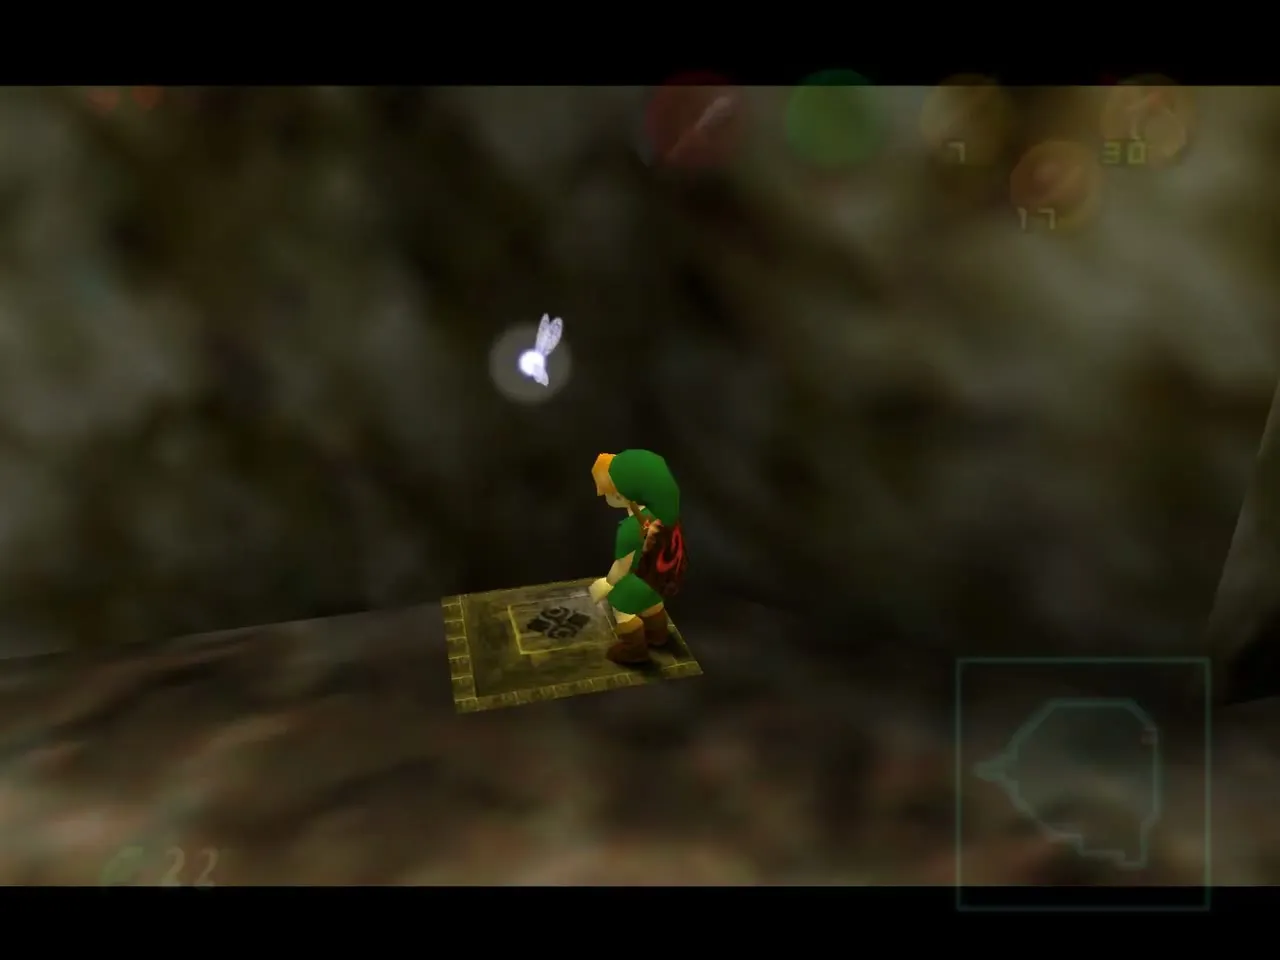
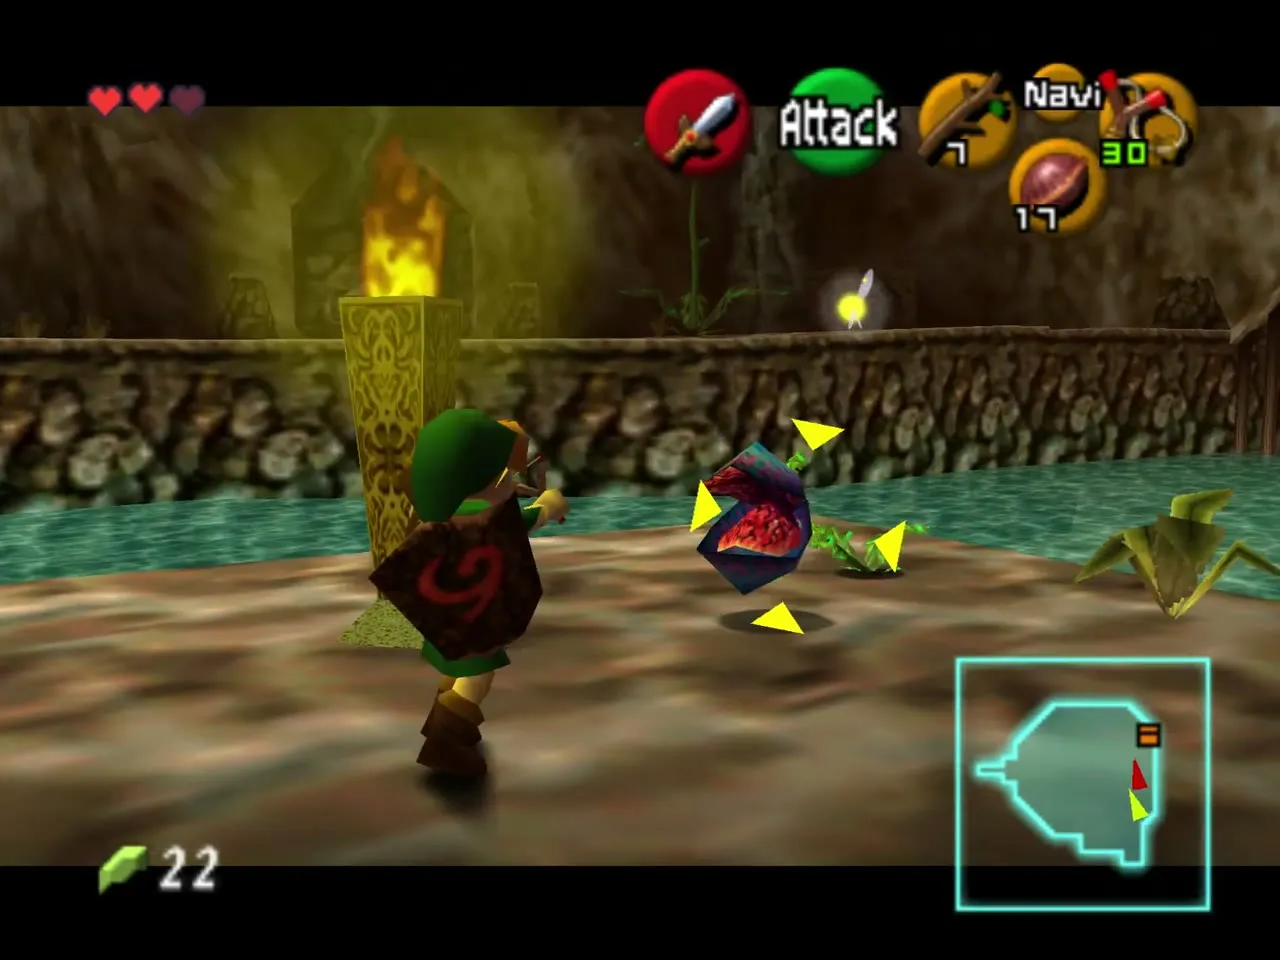
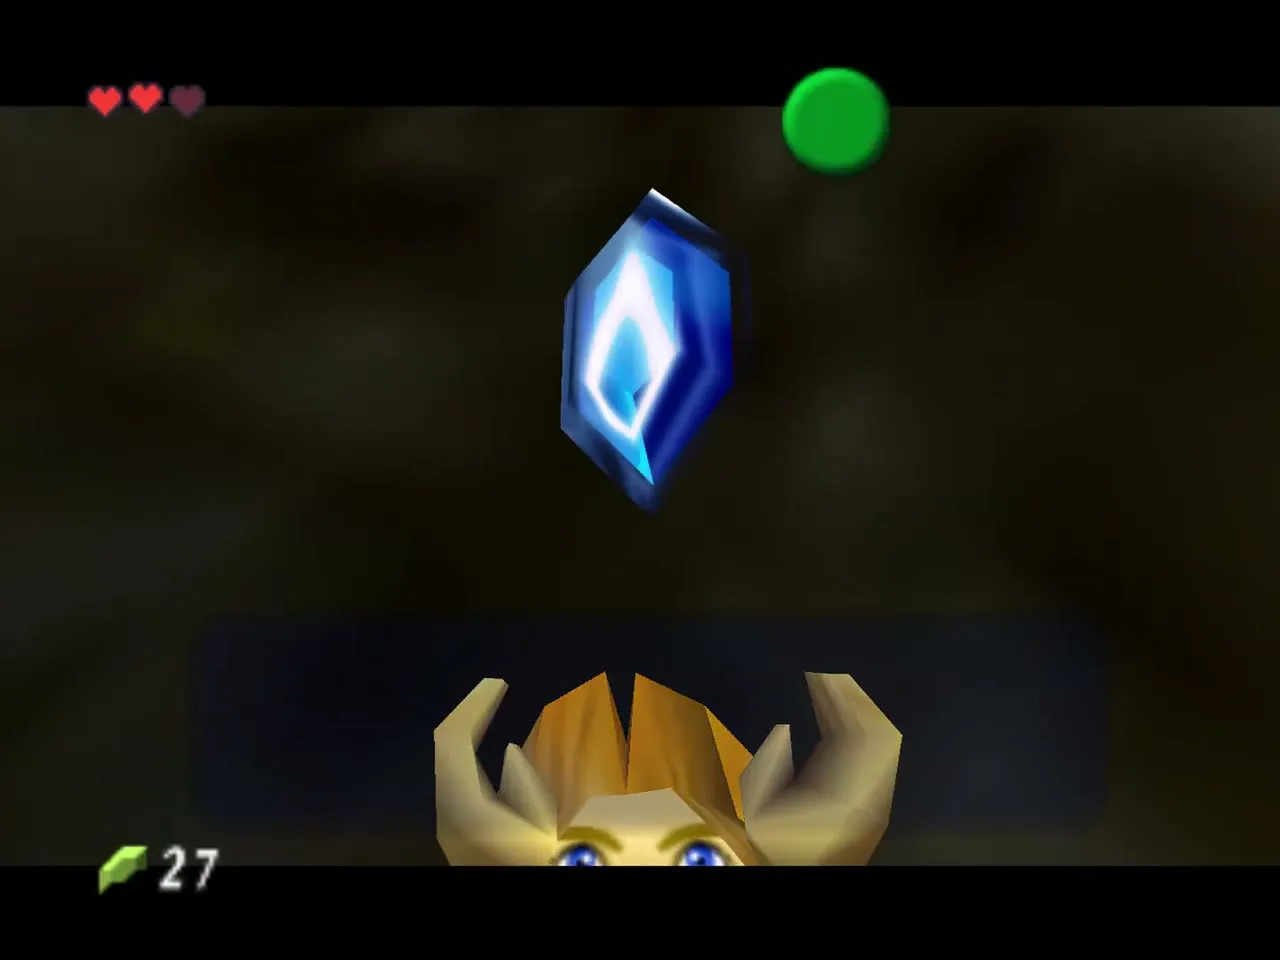
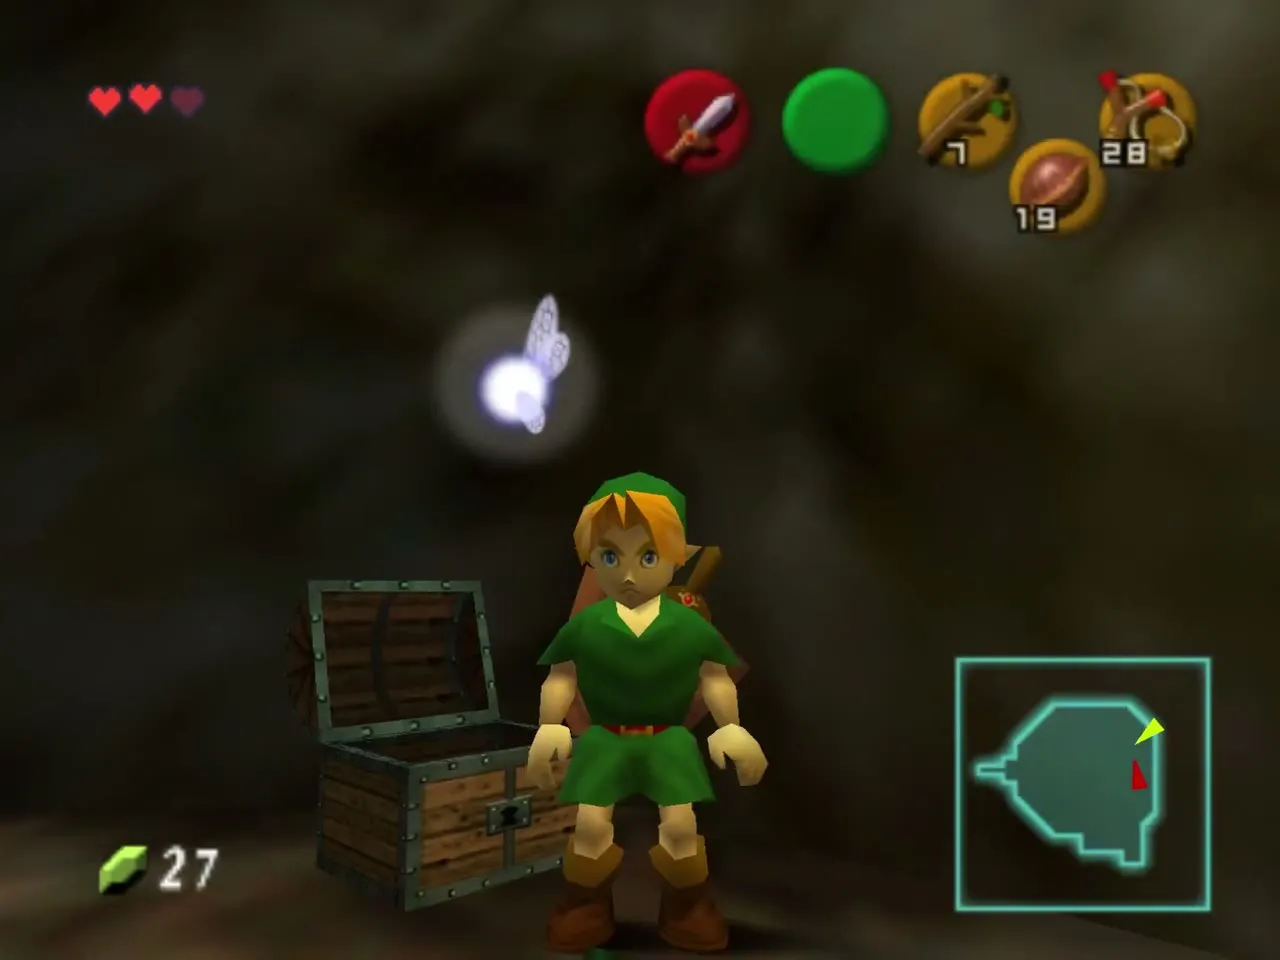
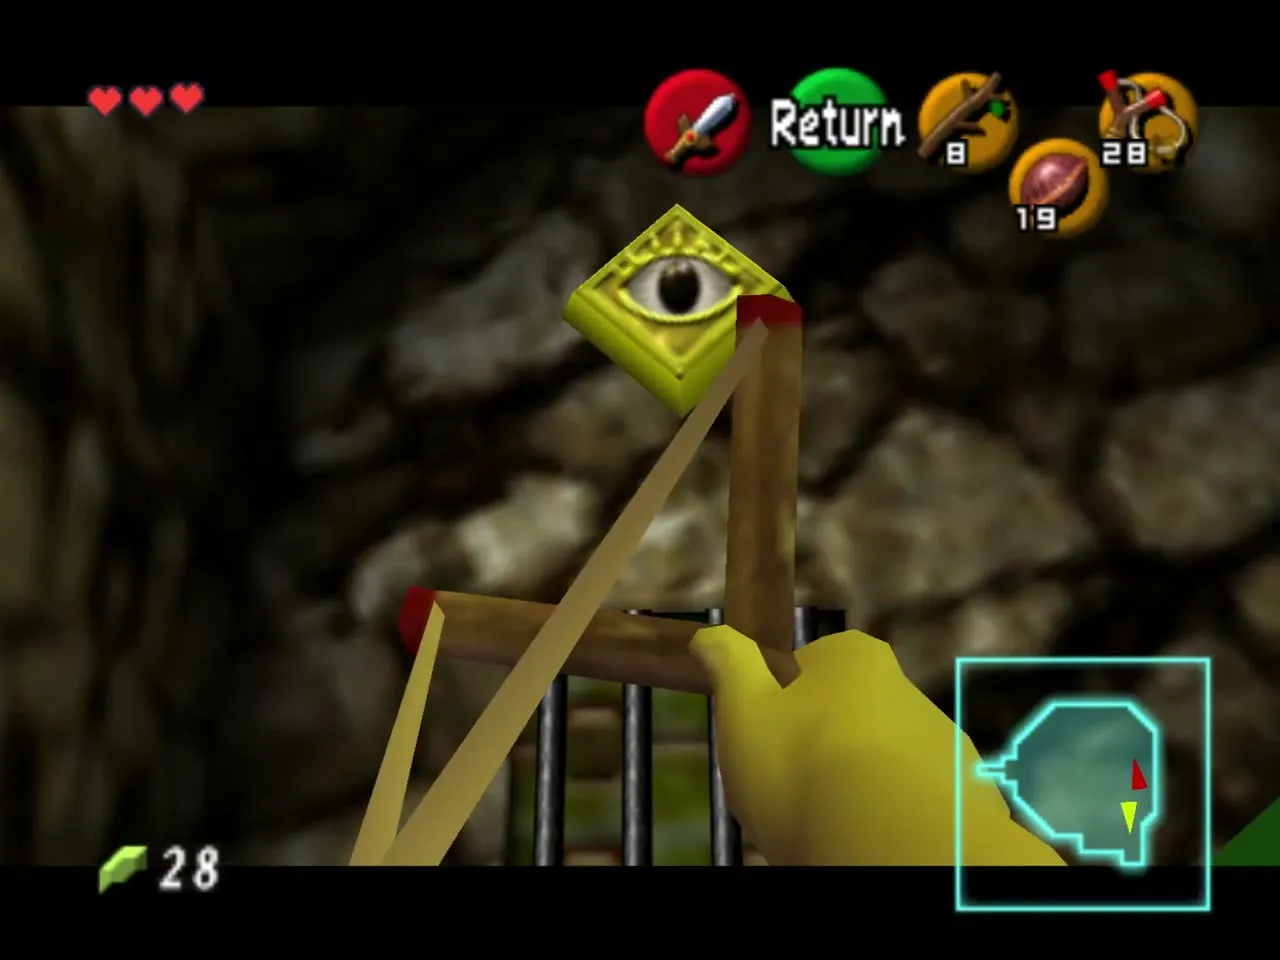
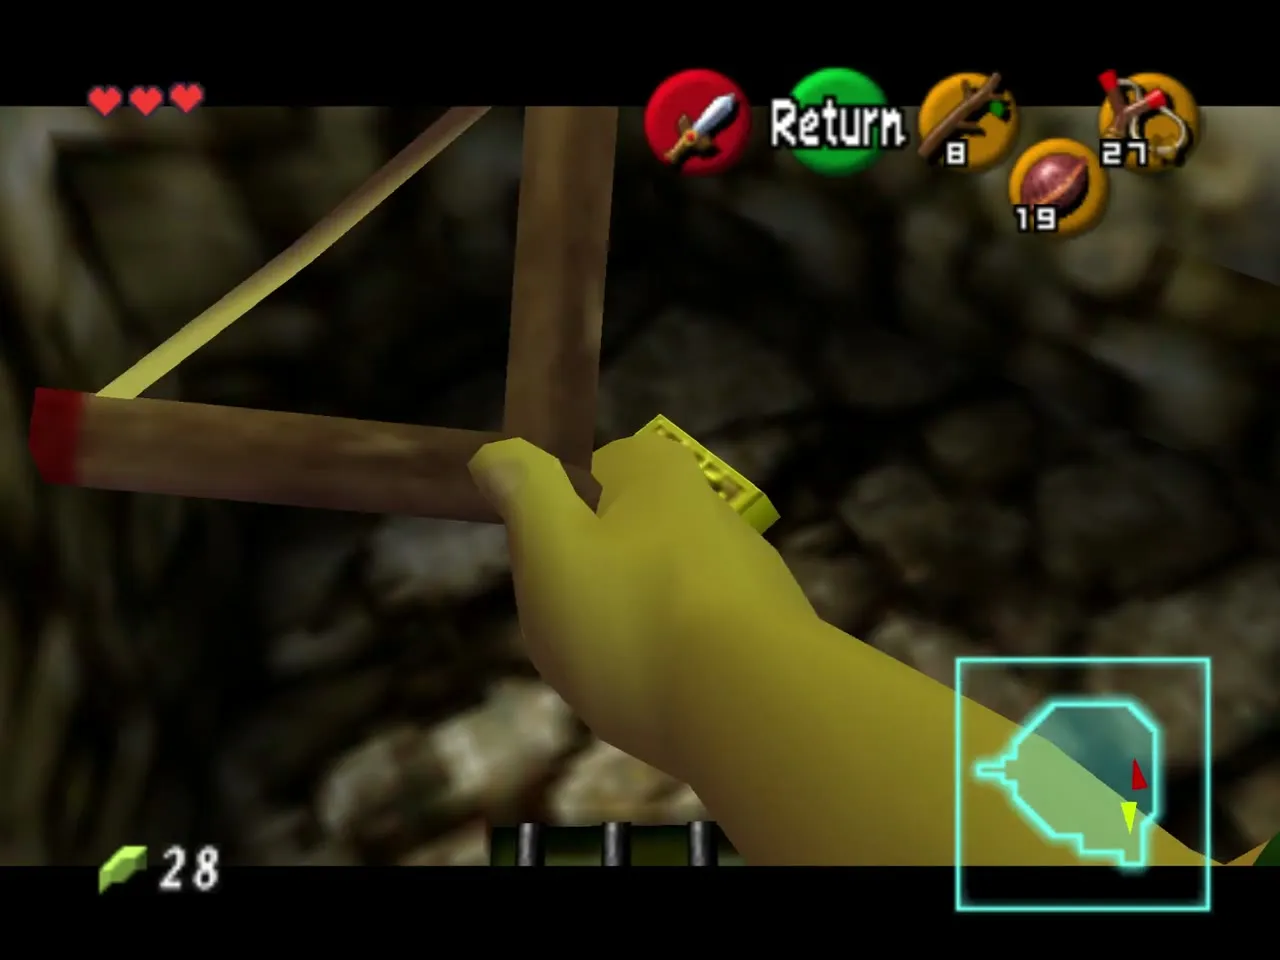
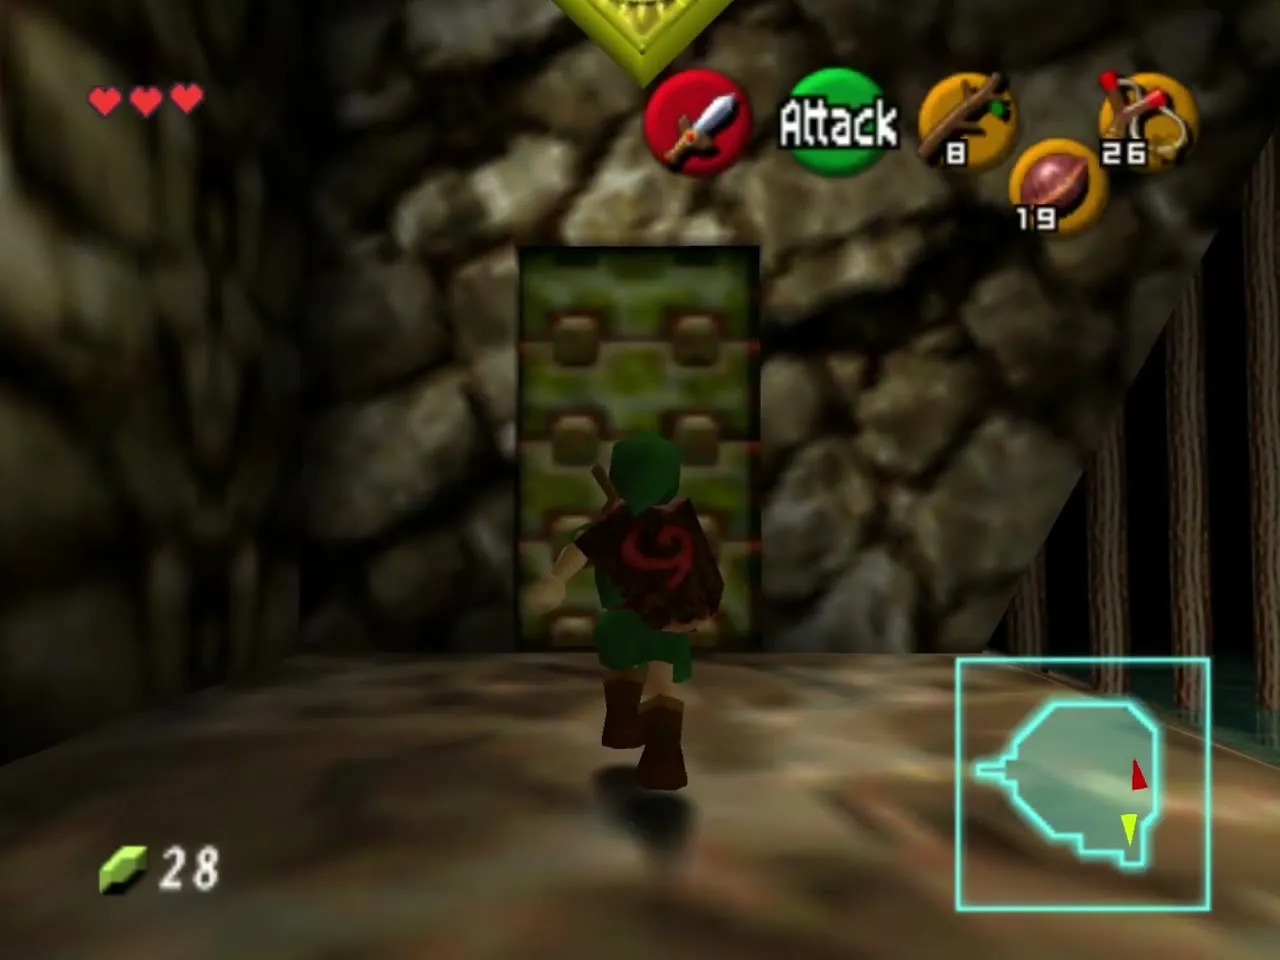
Above the door of this ledge there is a painted eye. Shoot it with the Slingshot and the door opens. It locks behind you once you pass, so check your hearts and seeds first.
Deku Scrub egg room
A Deku Scrub ambushes you in the next room, and eggs sit around the floor and on the ceiling. Hold up the Deku Shield (R) and send the Scrub’s nuts back, or shoot it from a distance. Throw a Deku Nut near the floor eggs to break several at once, and shoot the ceiling egg last. When everything is dead the door you came through unlocks, but the new door stays closed.
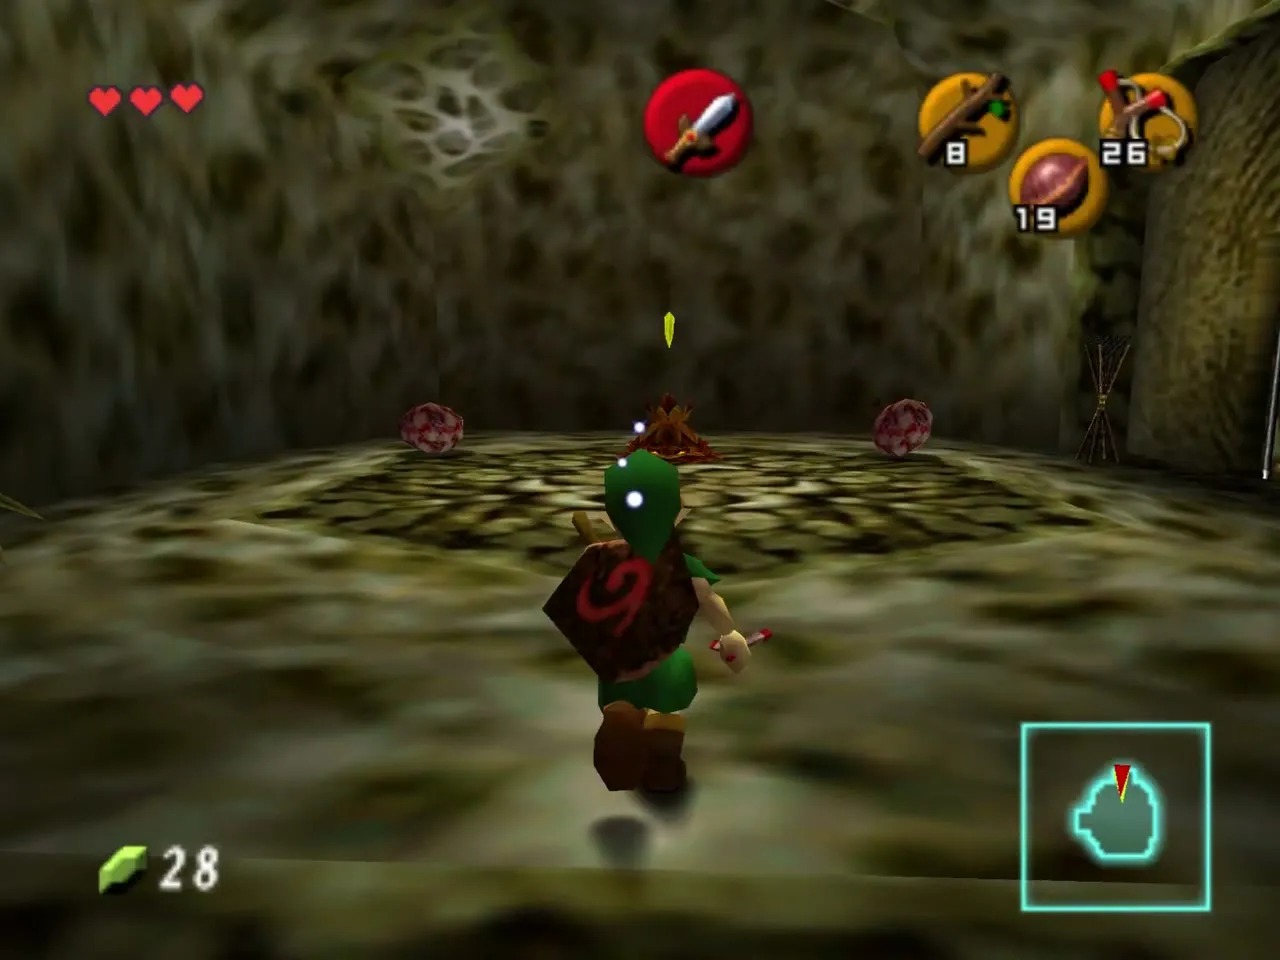
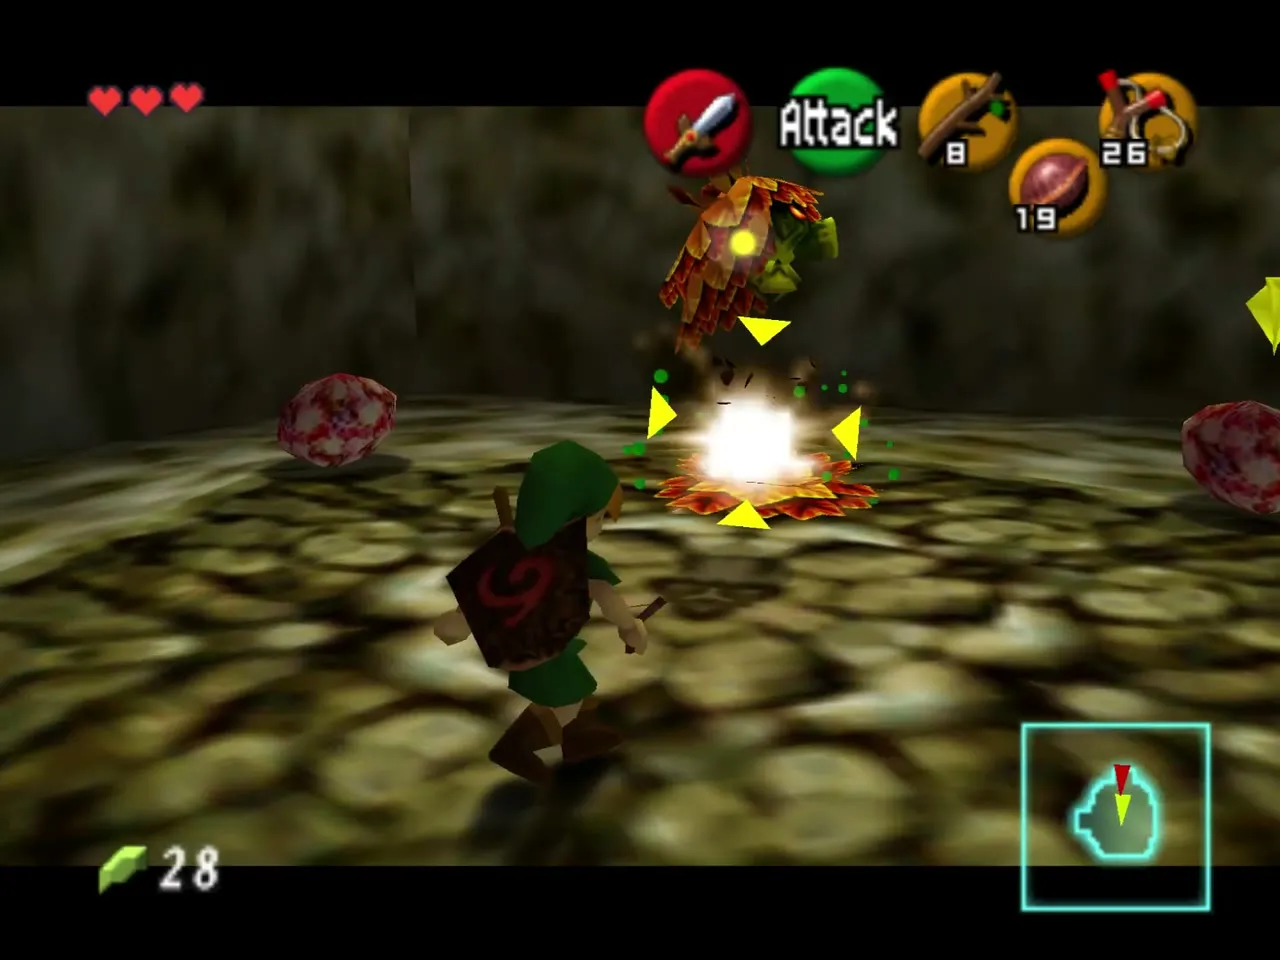
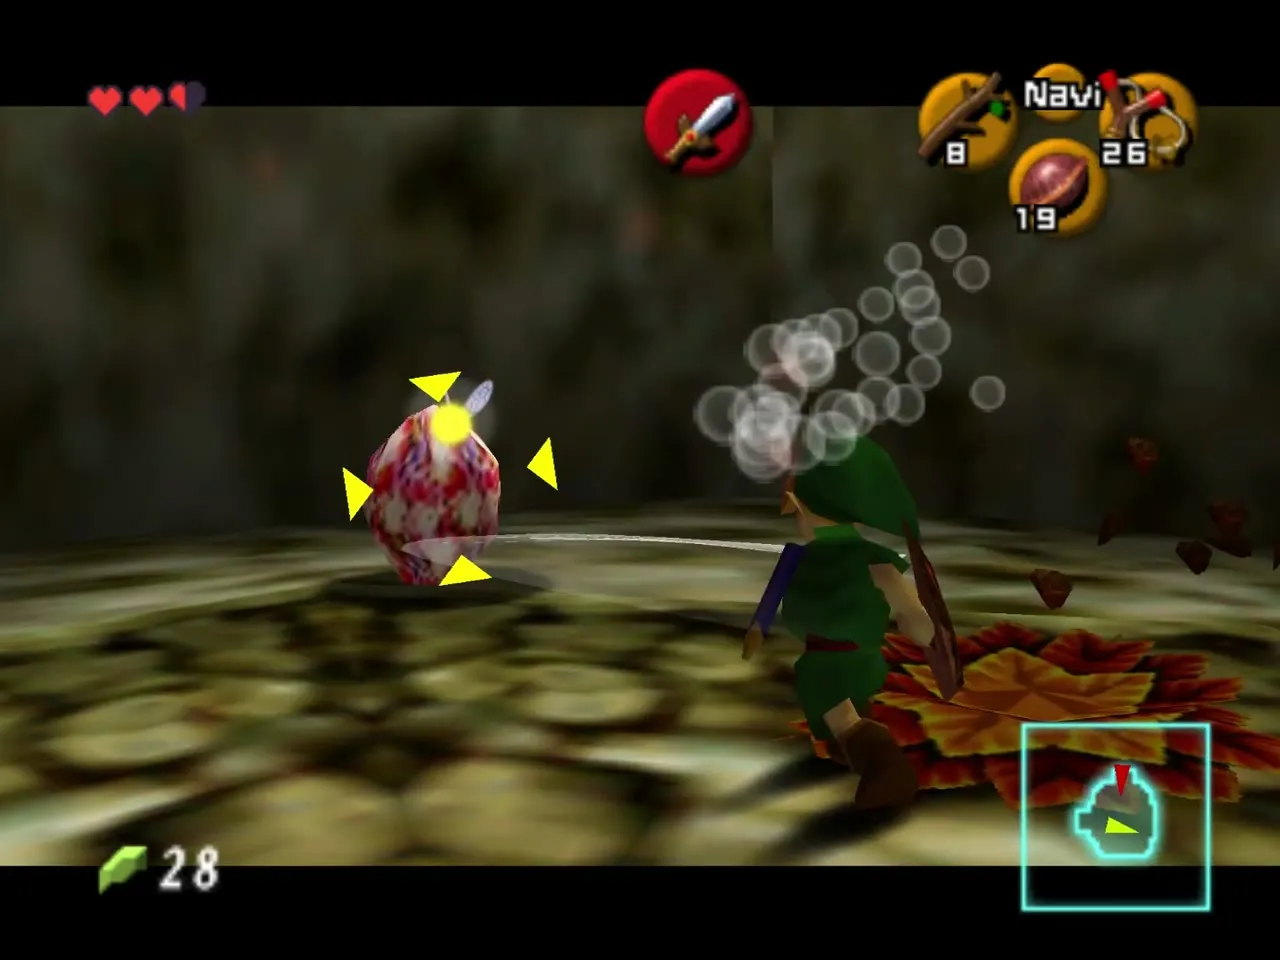
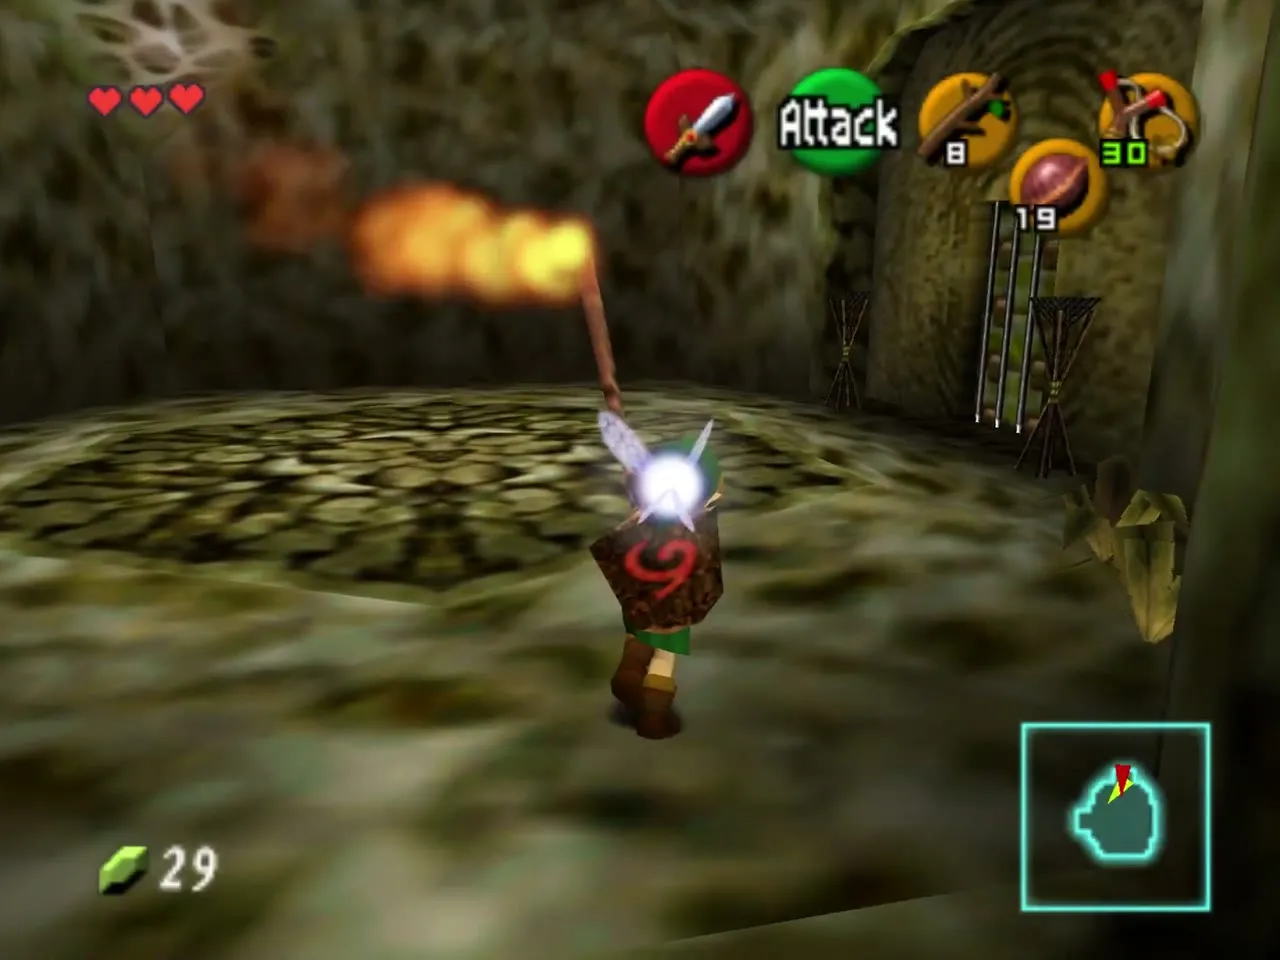
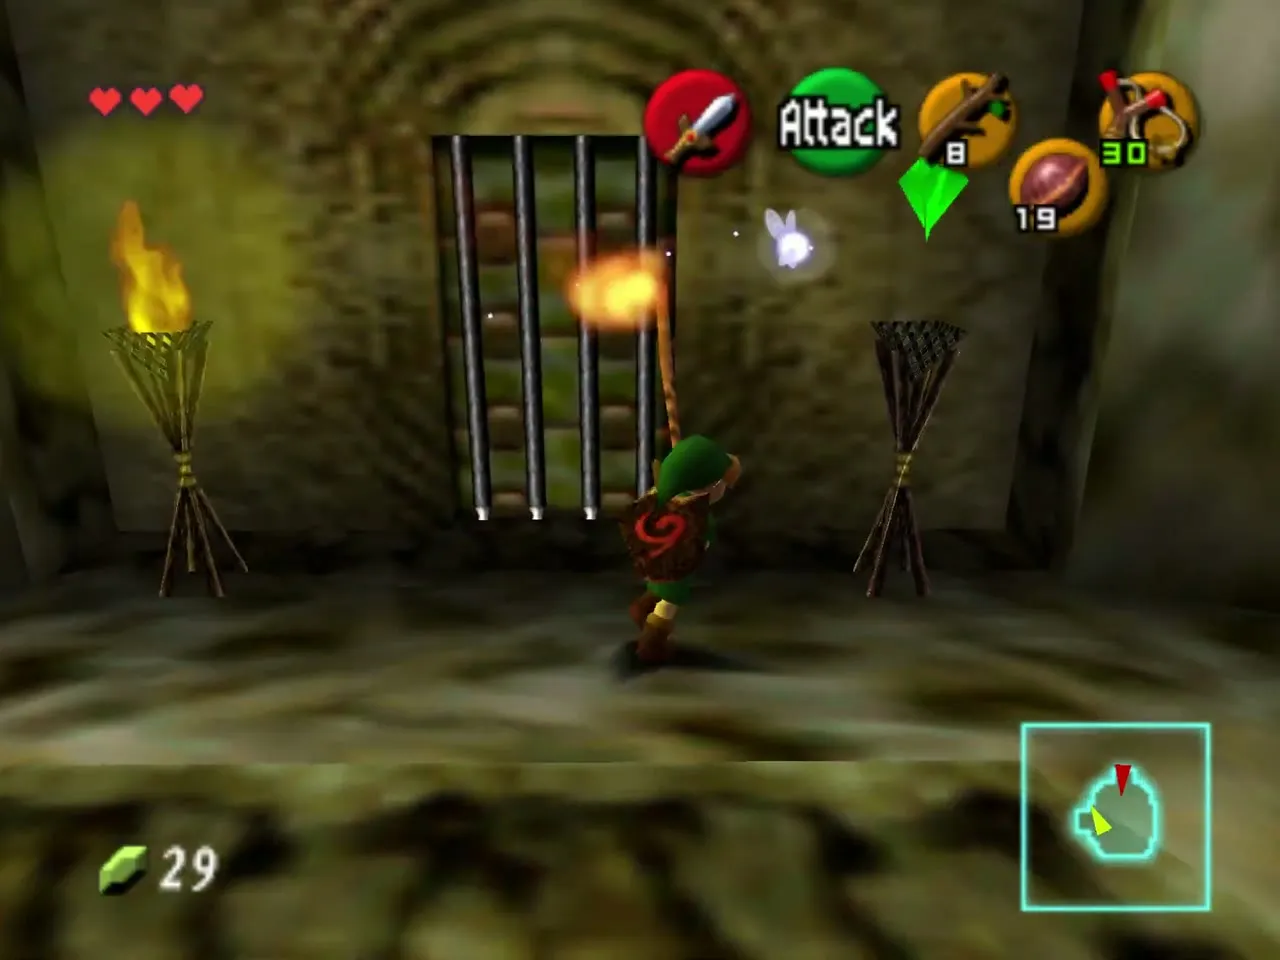
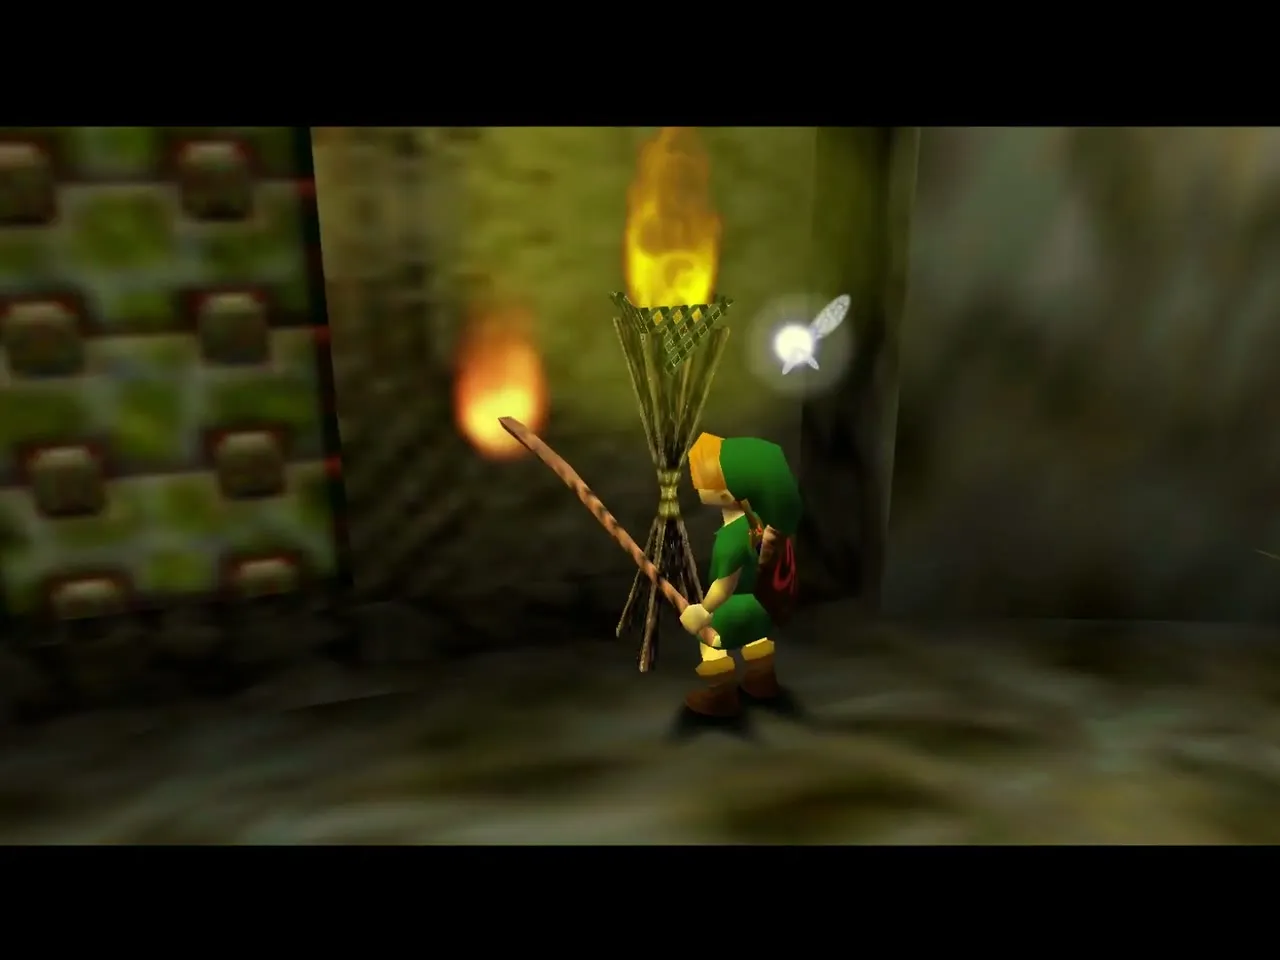
Go back out, light a Deku Stick on the torch there and carry it quickly through the door to the two unlit torches beside the sealed door. Light both and the second door opens. The enemies stay dead, so you can walk straight through.
Spiked log room
Next to the door is a chest holding a Recovery Heart. Shoot the egg on the ceiling, then step onto the blue switch. As long as you stand on it, the torch beside it burns, so light a Deku Stick from it right away.
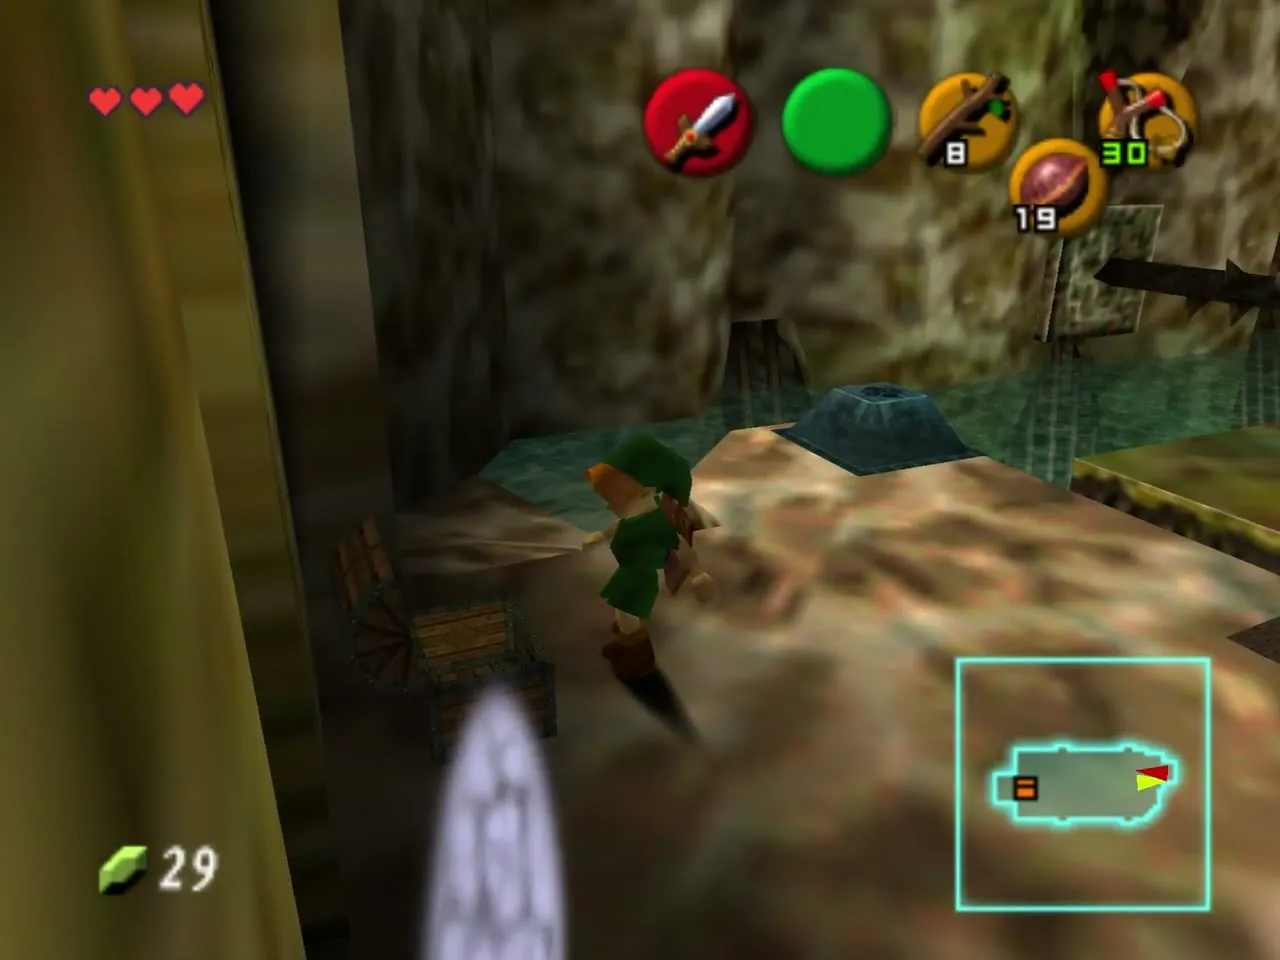
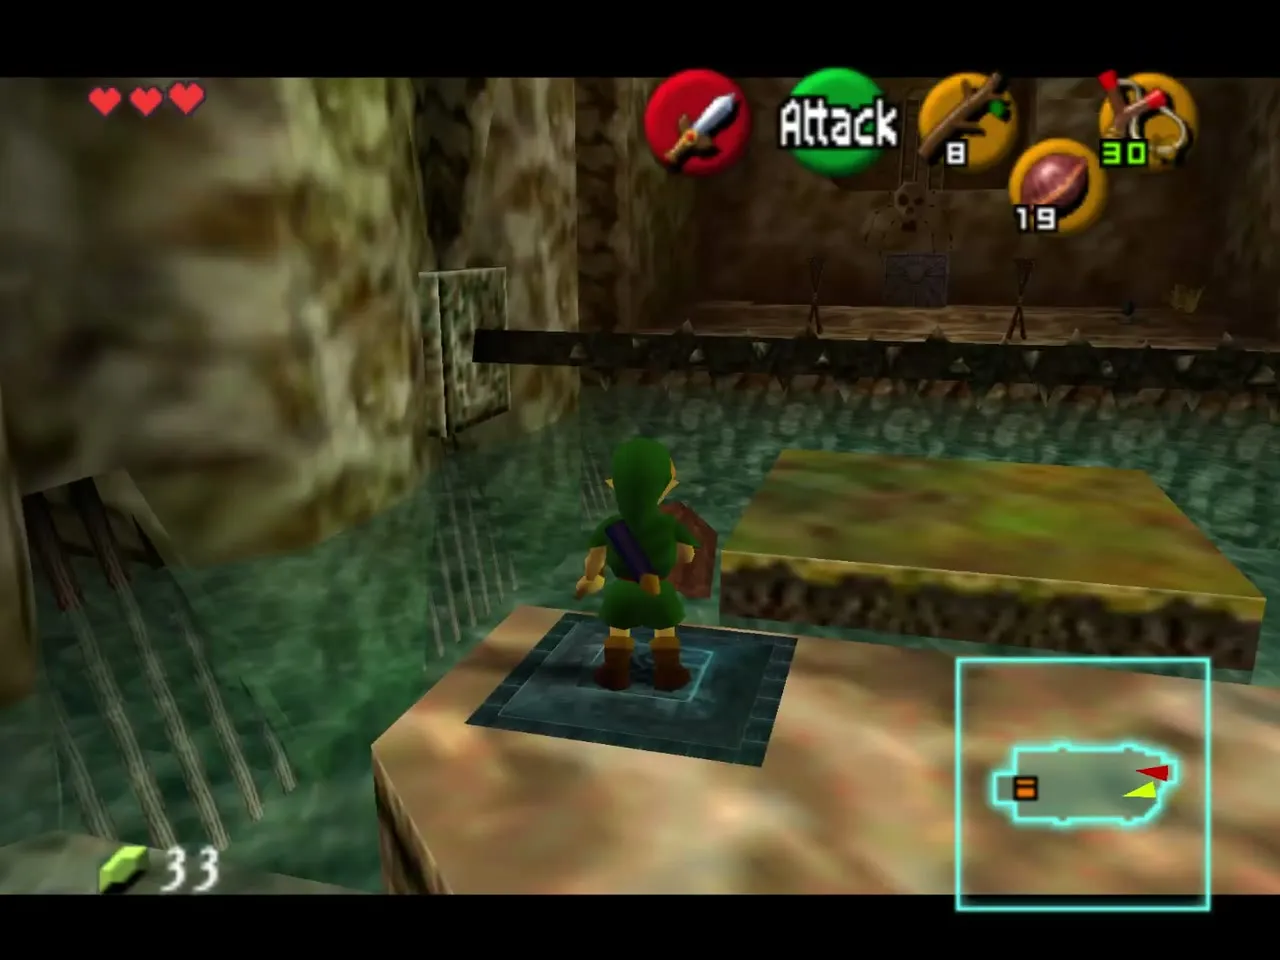
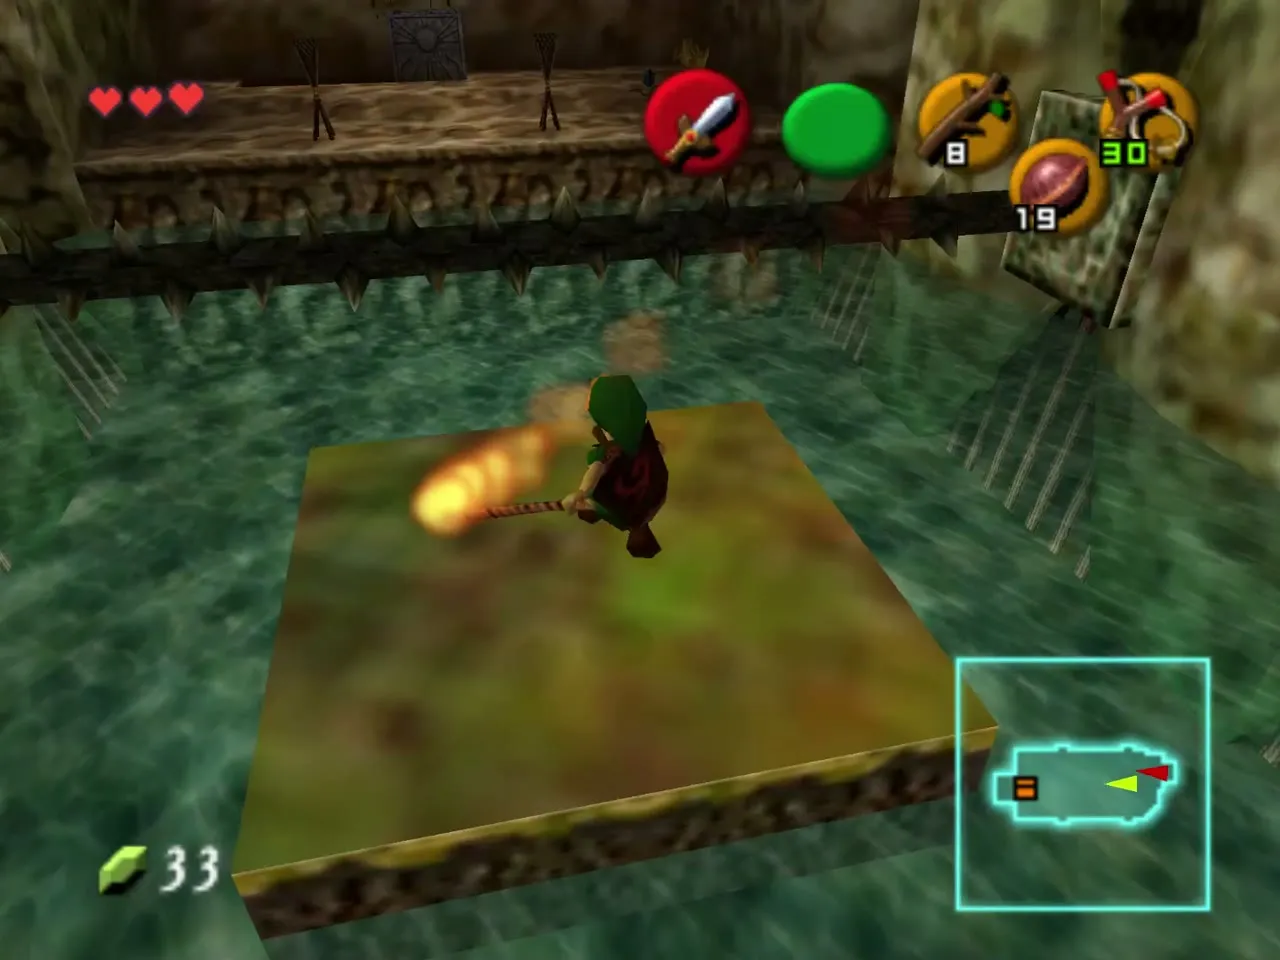
A wooden platform floats in the water beside the switch. Jump on it as it passes, hold the lit stick, and roll under the spiked log, or crouch behind your shield. Hop off at the far end and light the two unlit torches. There is a withered Deku Baba on that side if you need new sticks, and a second chest in this room that you cannot reach yet.
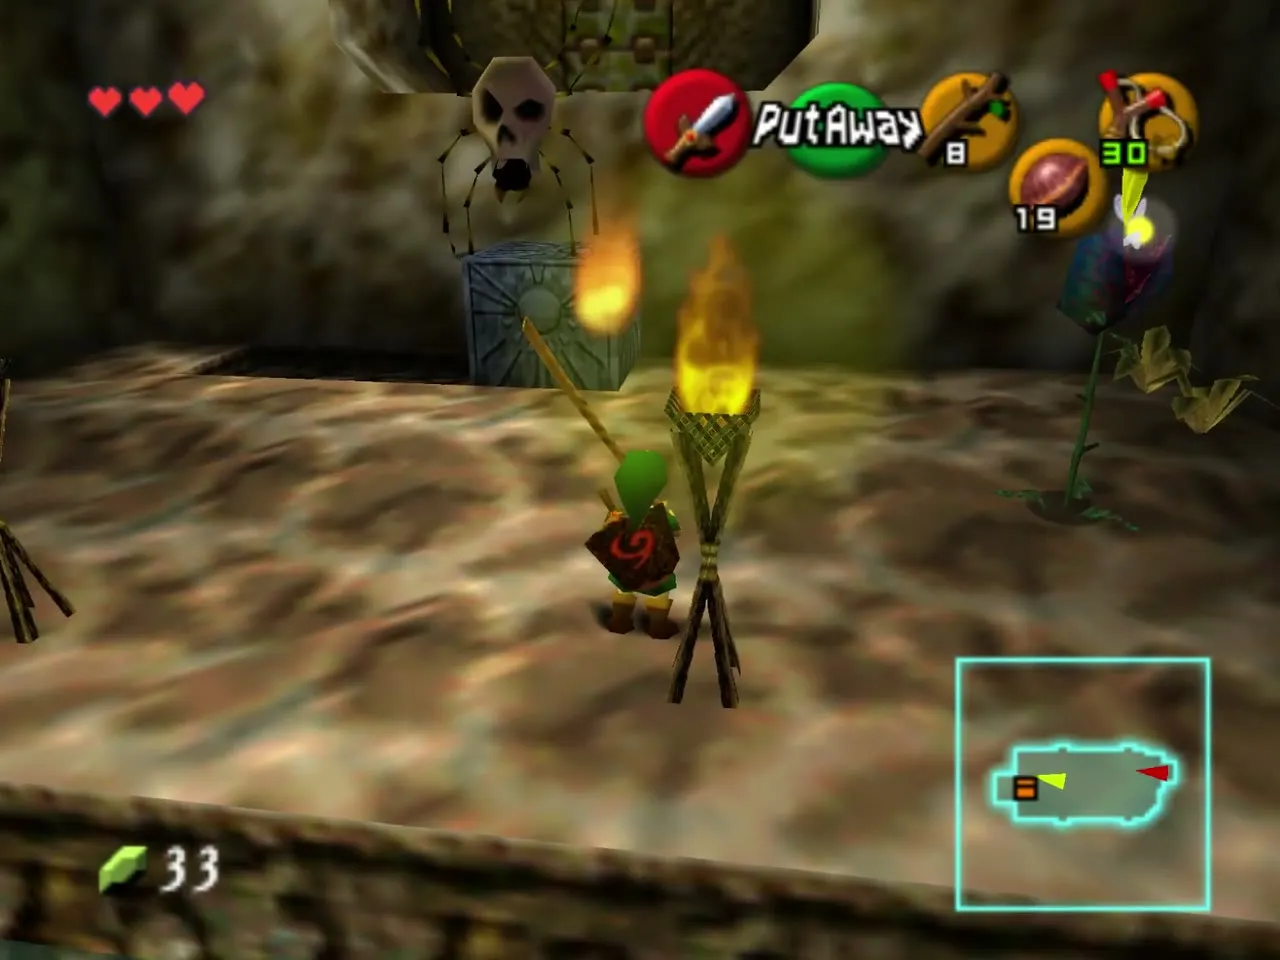
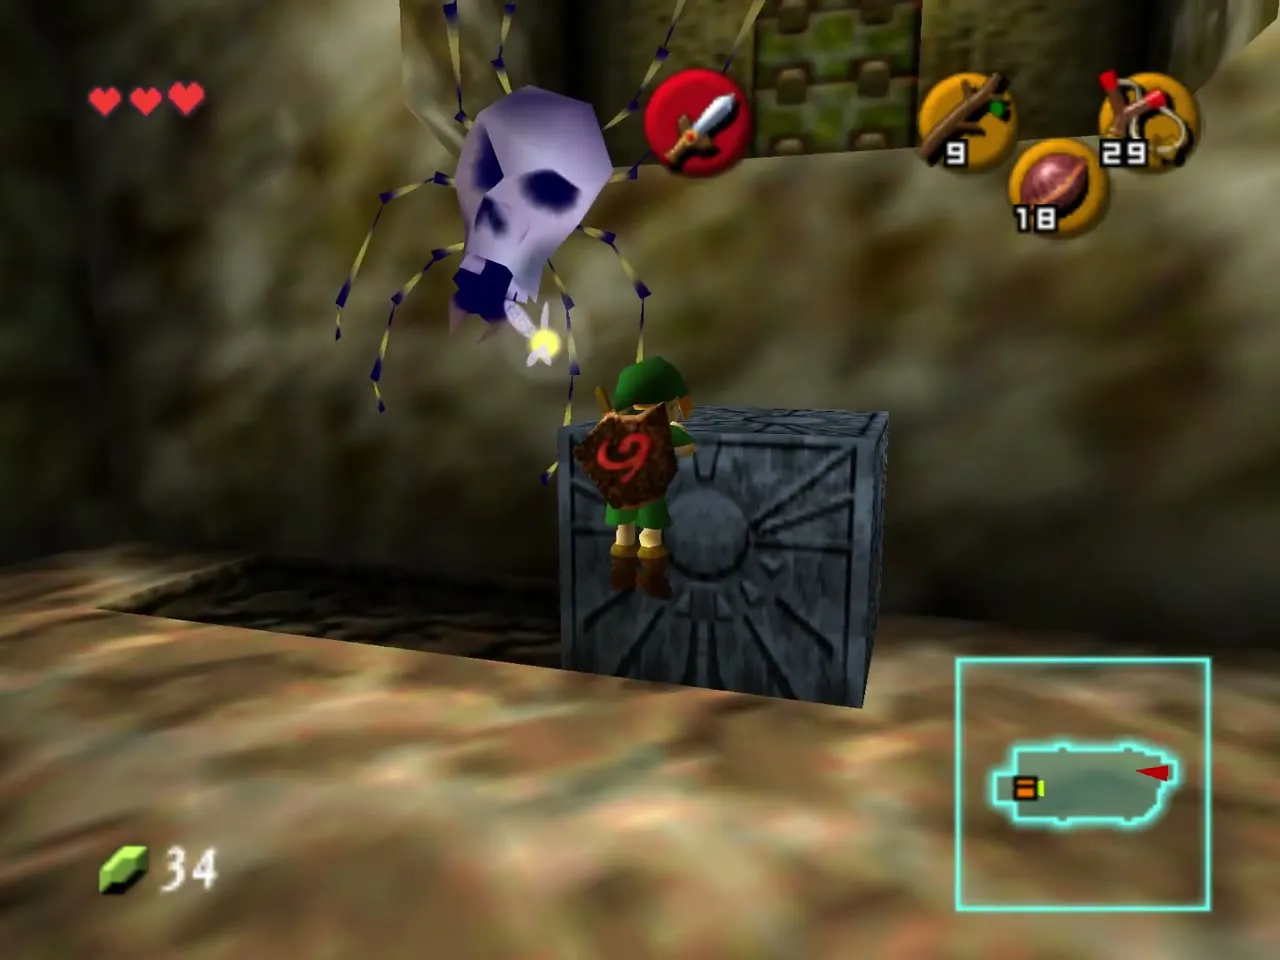
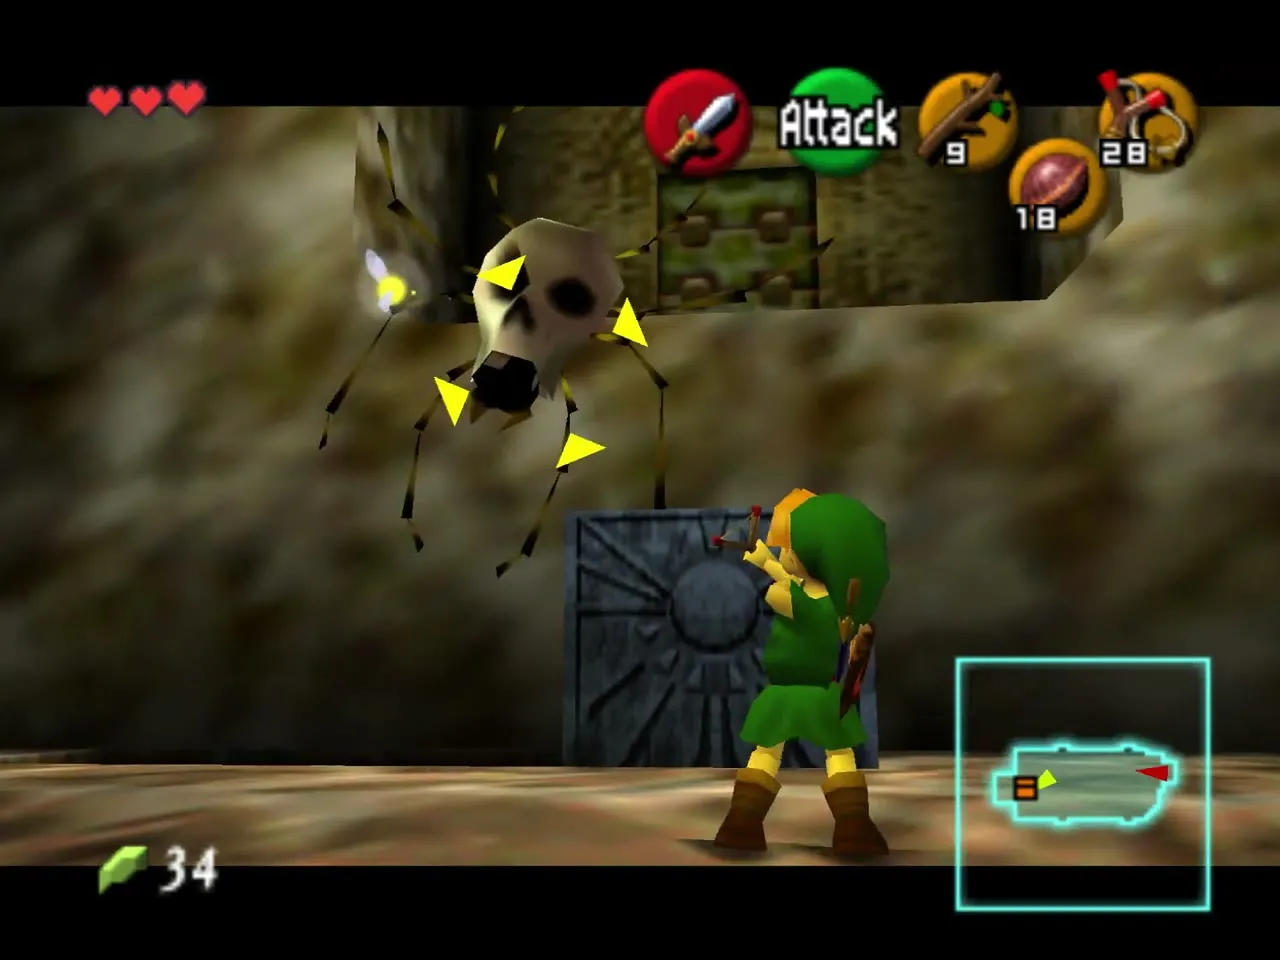
A Big Skulltula hangs from the ceiling near the exit. Throw a Deku Nut to stun it and sneak past, or walk behind it and shoot it. Climb the stone block under the doorway and go through.
Egg and Keese rooms
The next room is full of Keese and Gohma eggs on the ceiling. Do not walk into the middle, or all the eggs fall and hatch at once. Pick off the Keese and the eggs from the doorway with the Slingshot, then move on when it is clear.
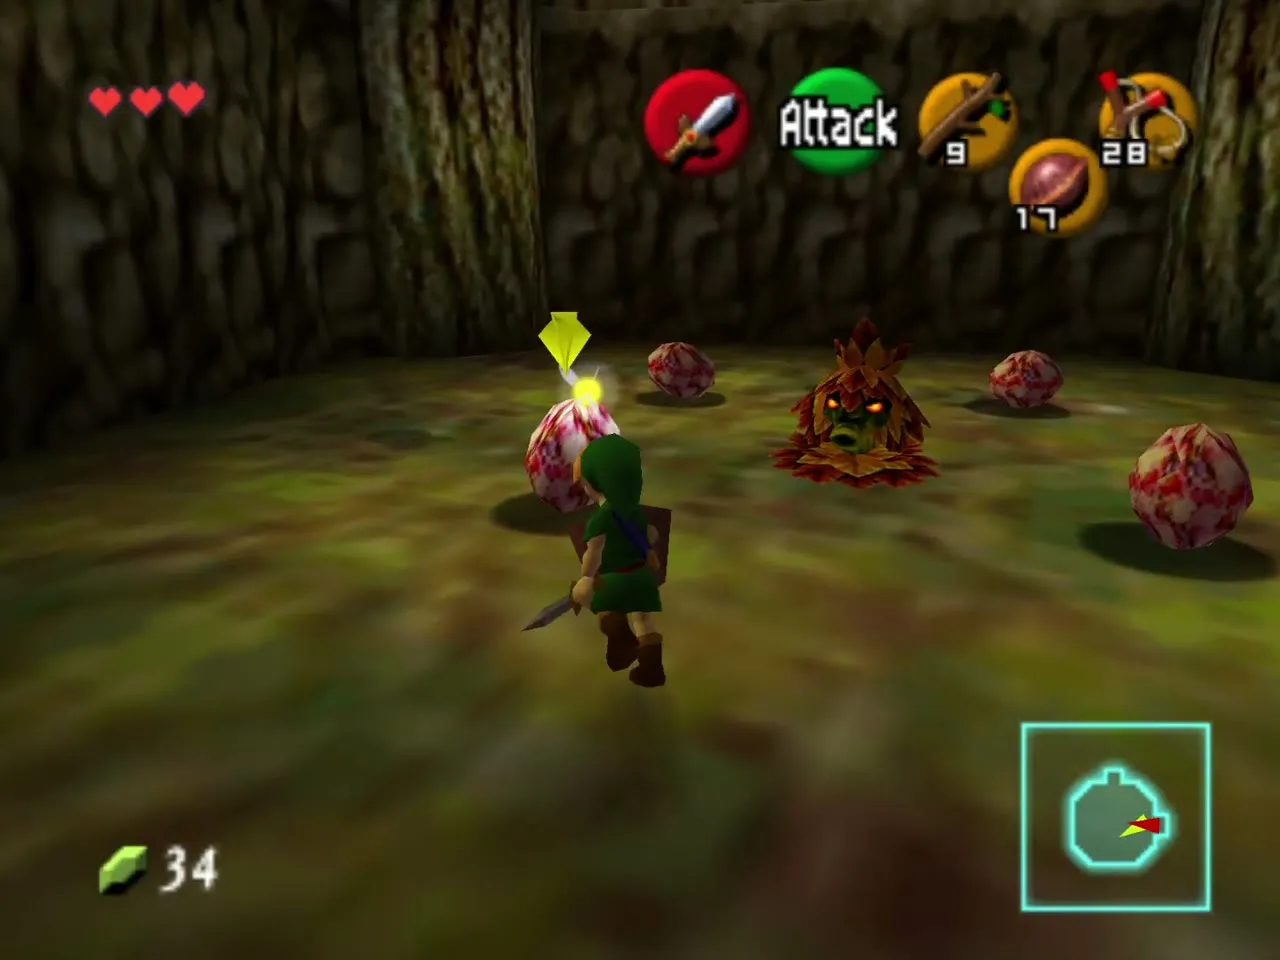
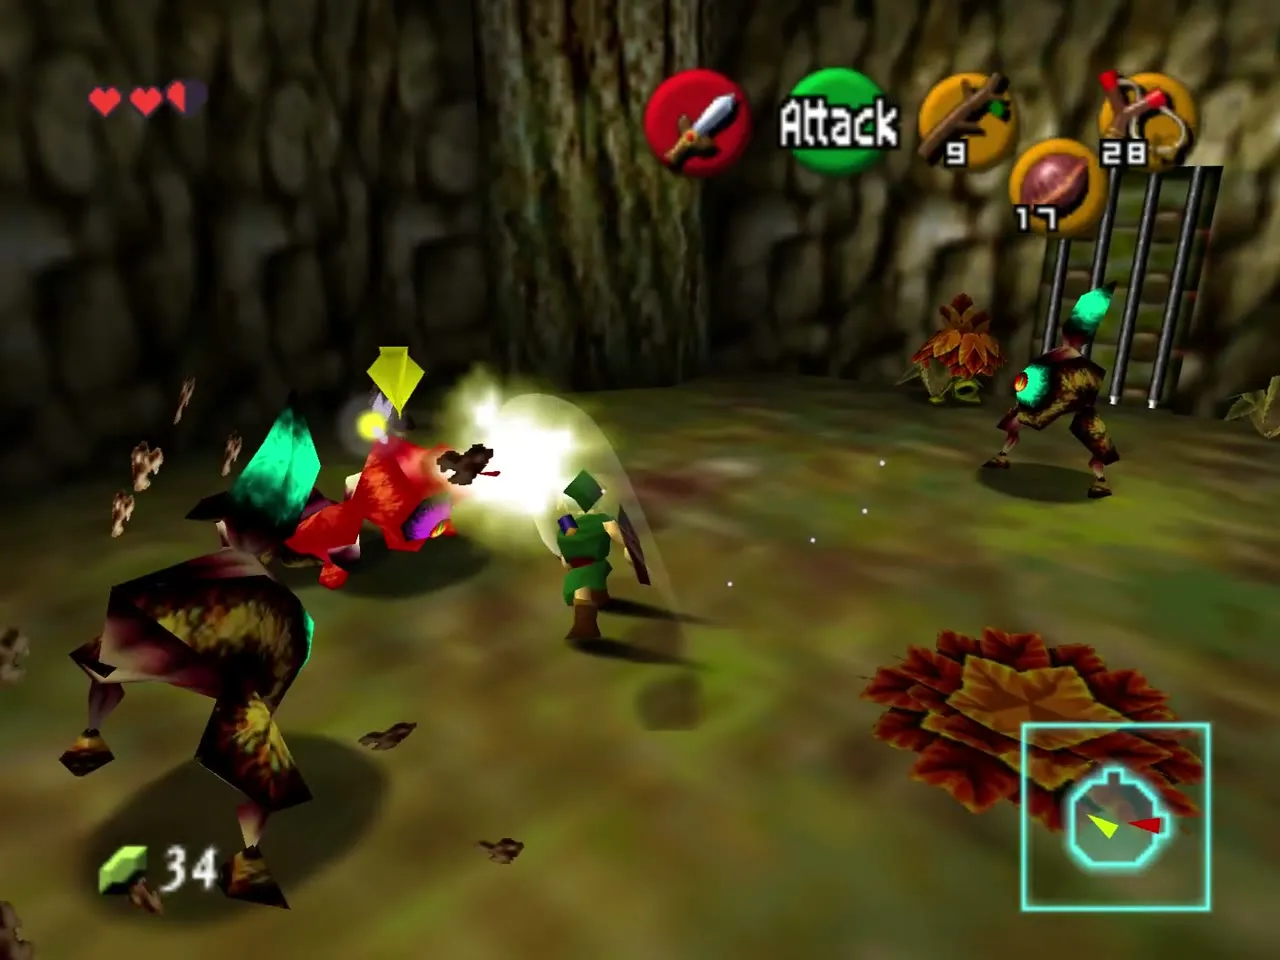
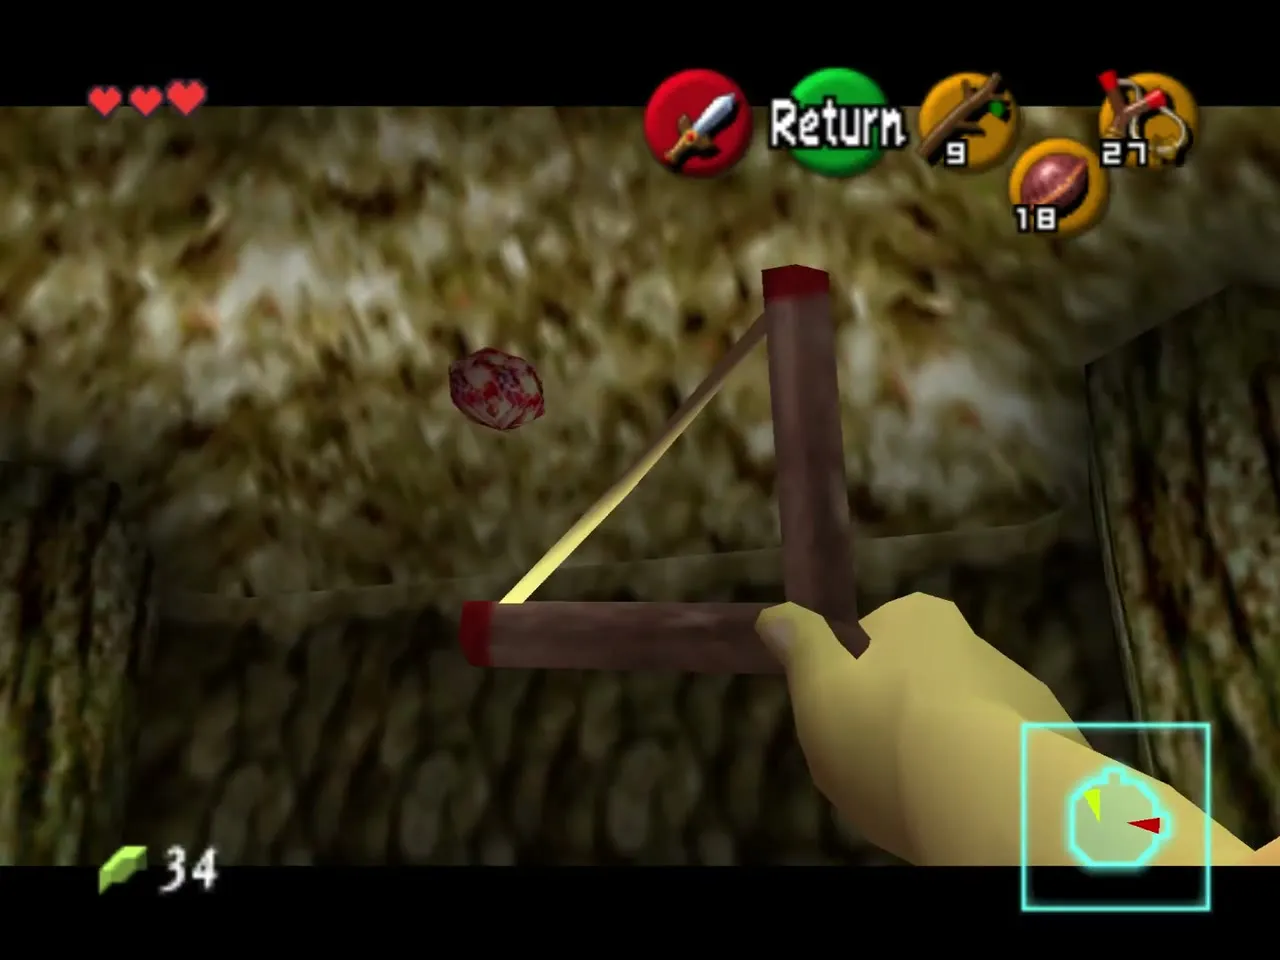
Keep shooting whatever is left on the ceiling until the next door opens, and pick up the Rupees lying around the doorway as you go through.
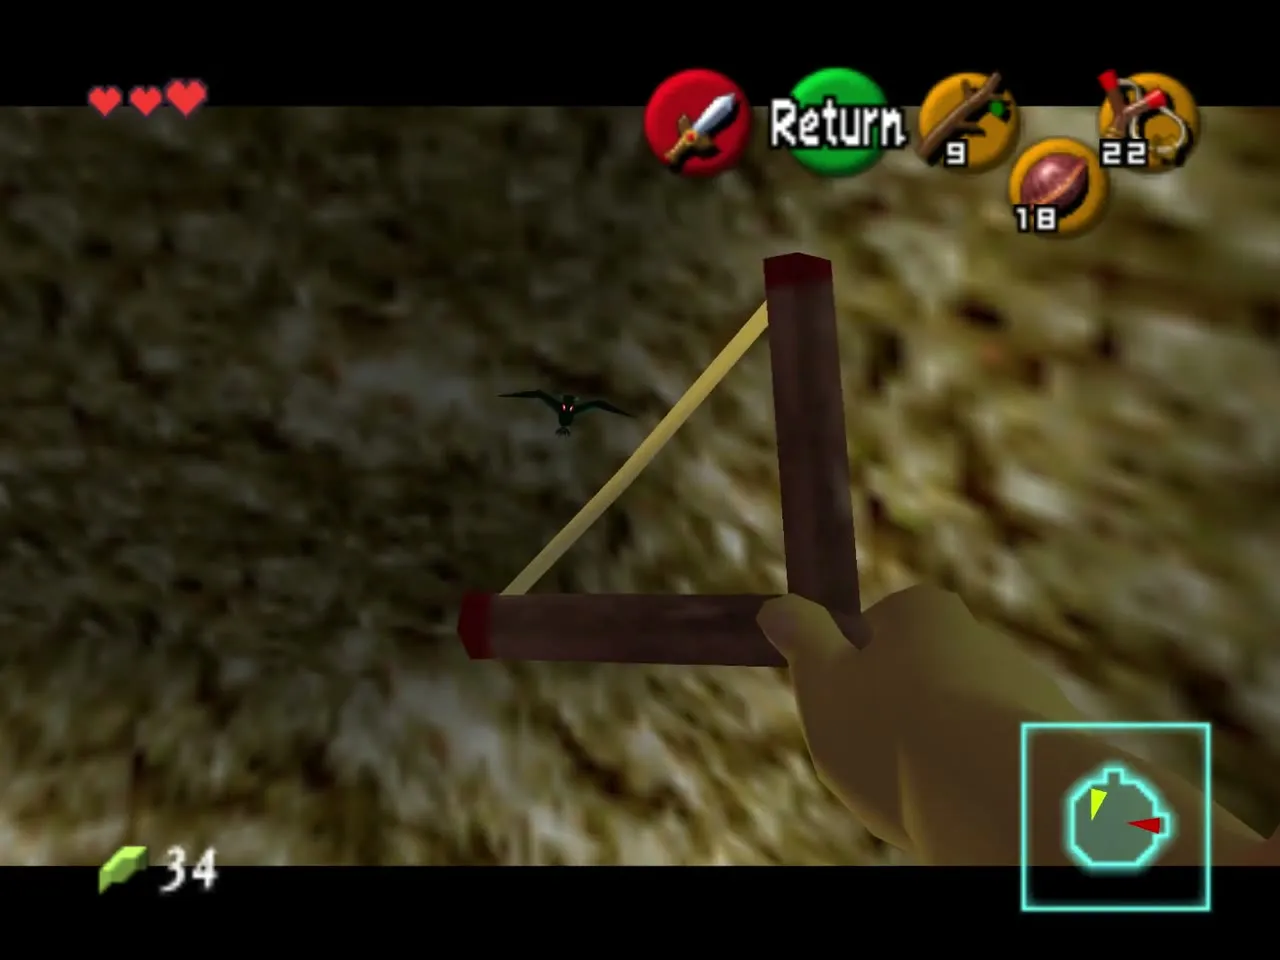
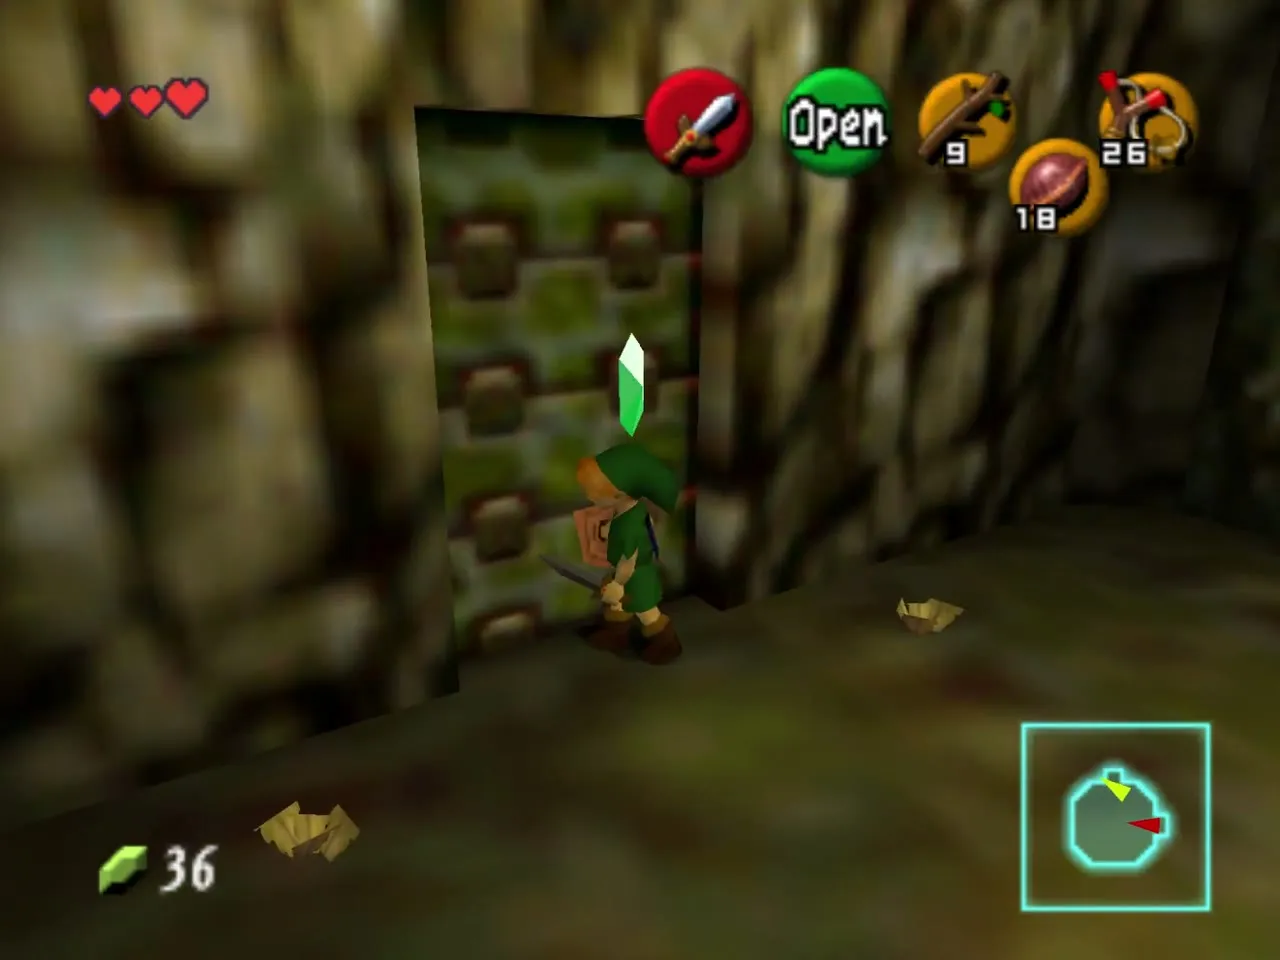
Four-torch room
The following room looks like a graveyard of golden torches. Shoot the Keese that sit on top of the torches, then kill the Deku Babas and the withered Baba on the ground. Step on the blue switch surrounded by torches: it lights all four of them at once.
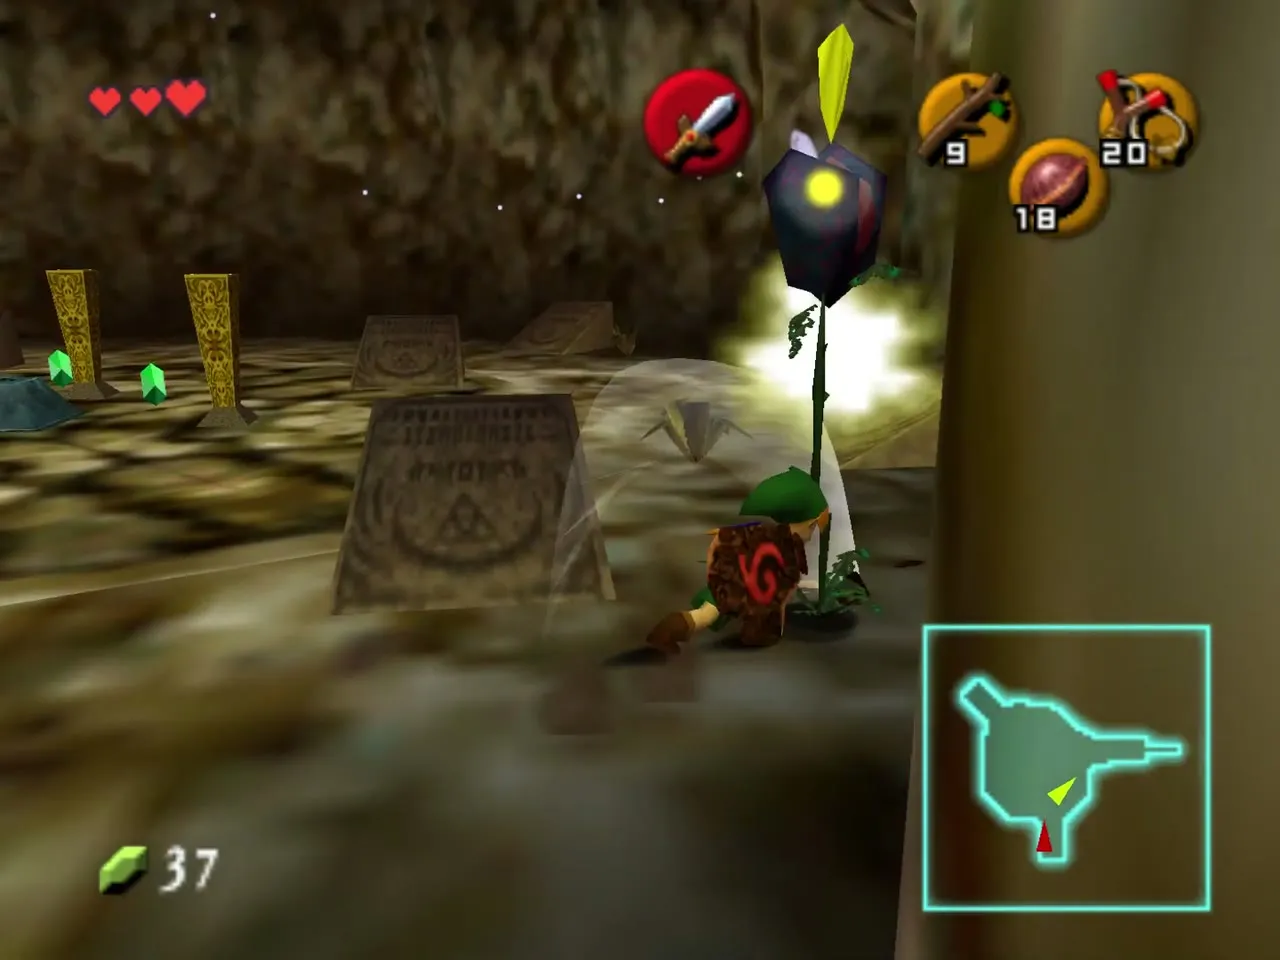
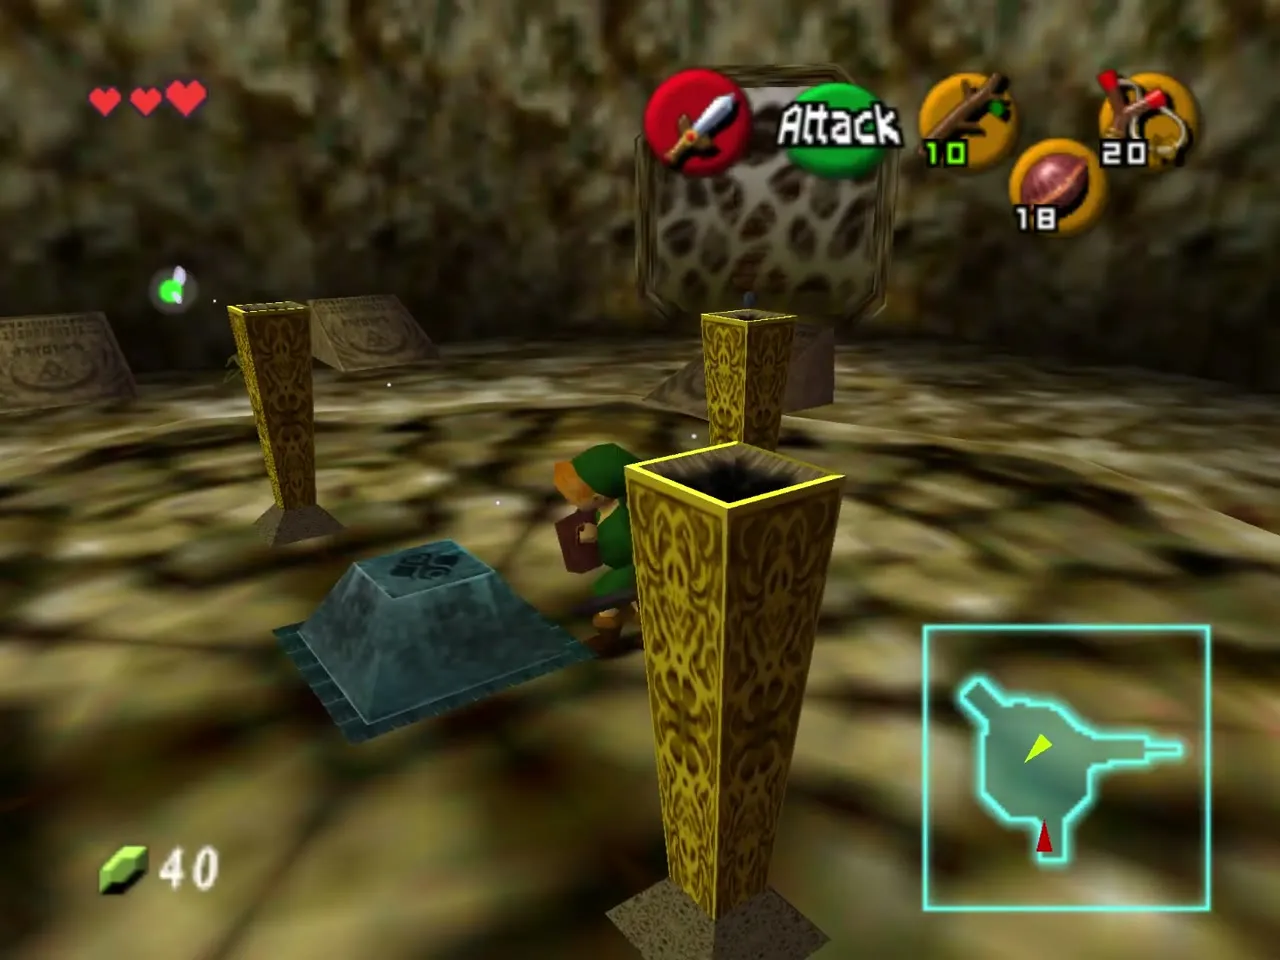
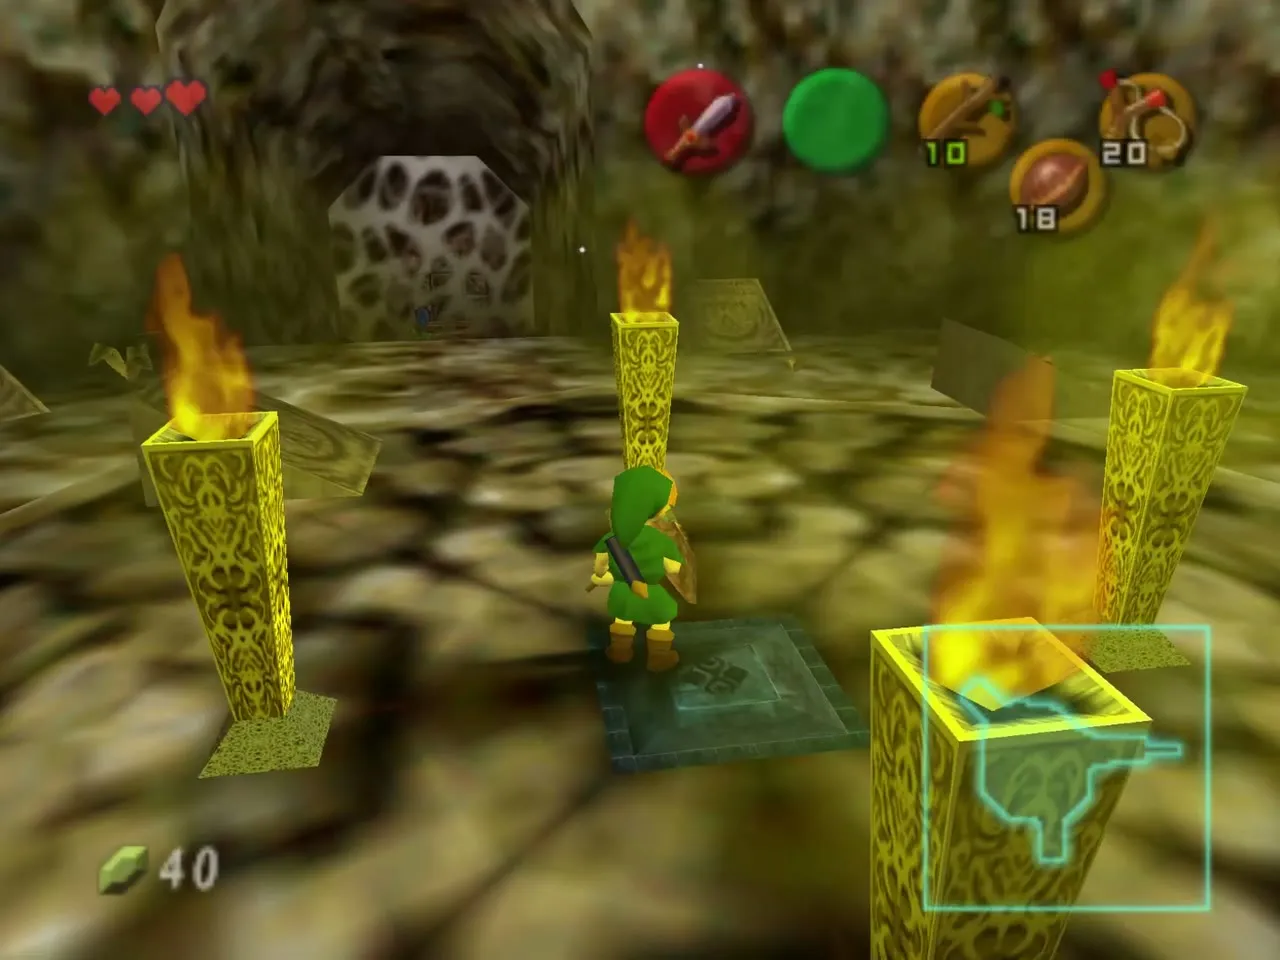
Two more Gold Skulltulas hide here. One is on the ceiling and needs the Song of Time to build time blocks up to it. The other is in a room to the north-east guarded by a Big Deku Baba, and needs the Boomerang. Note them and move on for now.
Burn the web
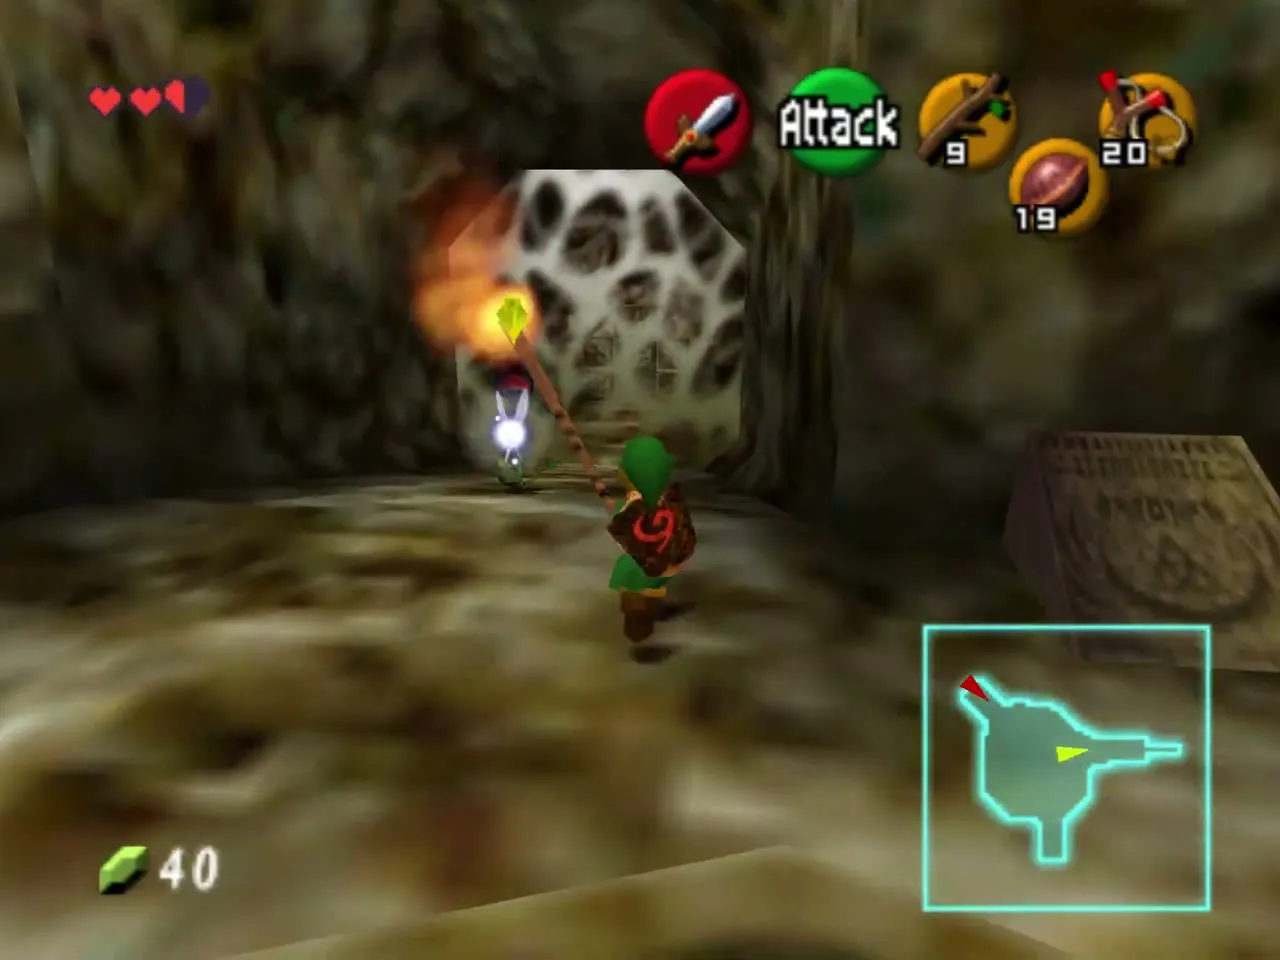
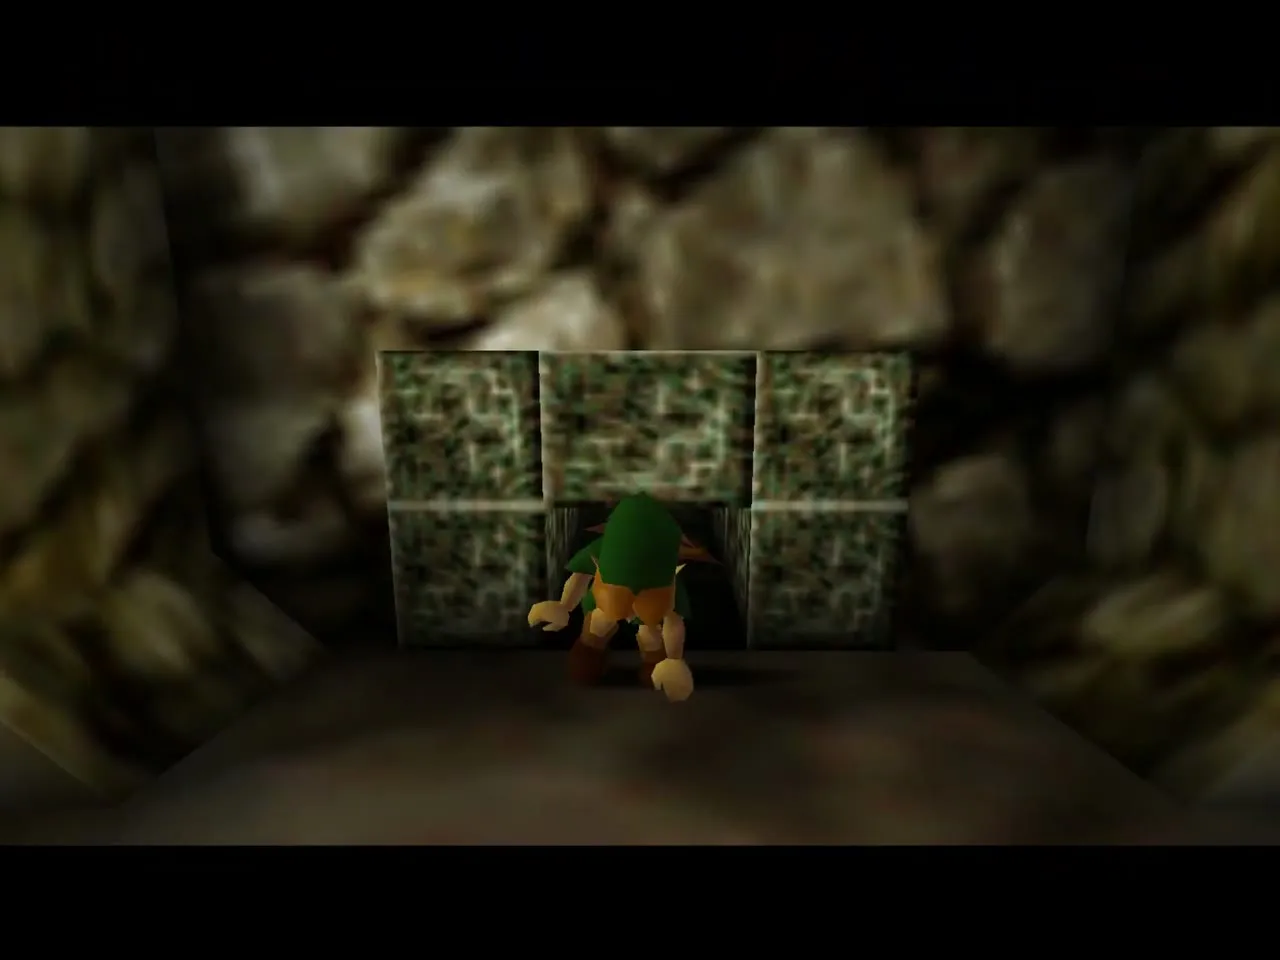
Use a flame from one of the torches to burn the web on the west wall, then crawl through the tunnel behind it. You come out on the high platform of the first basement room.
The last drop
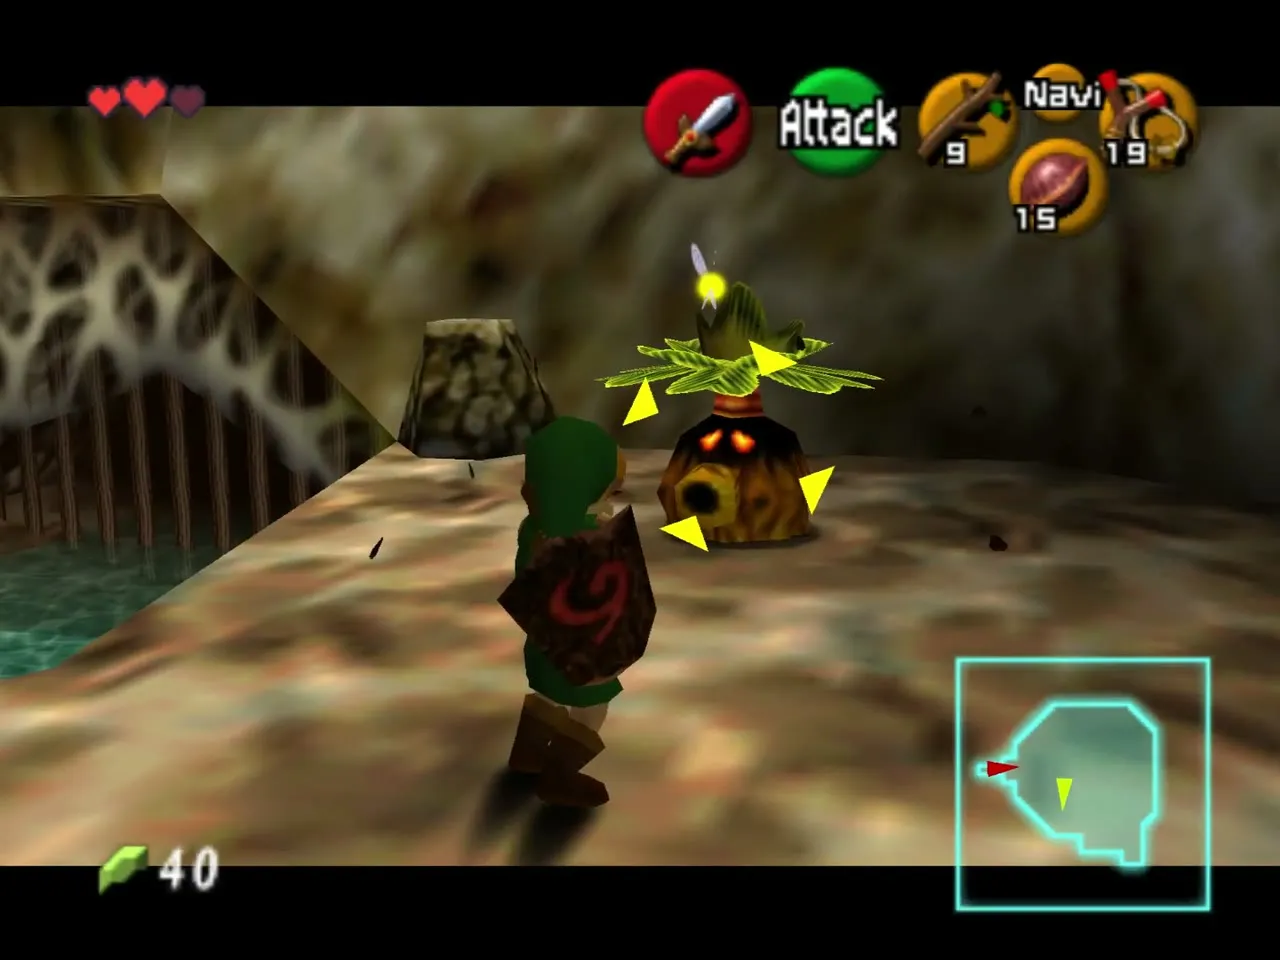
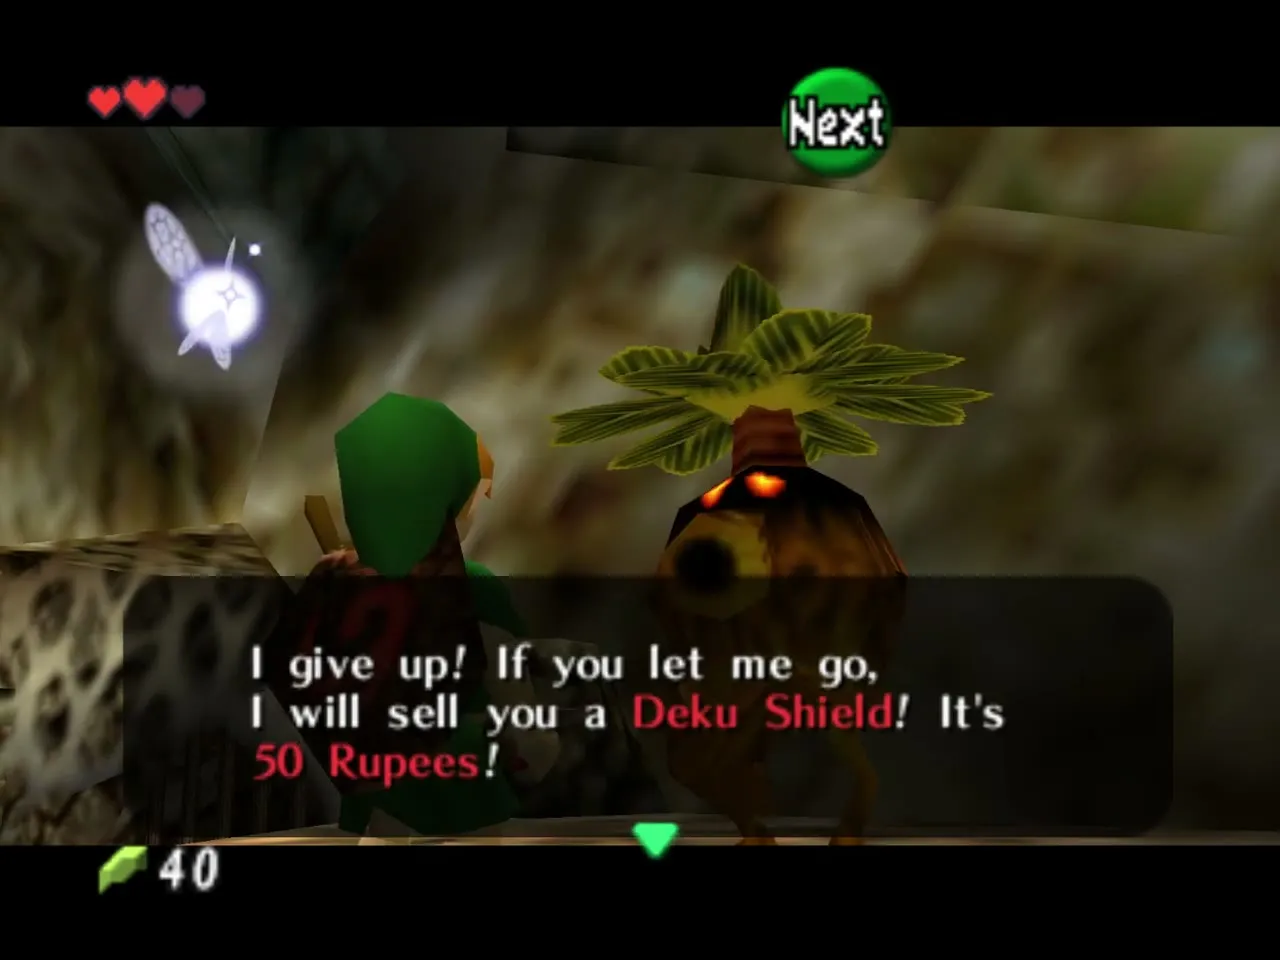
The Business Scrub on that platform sells a Deku Shield for 50 Rupees, which is useful if yours burned. Hit it with a nut or a seed to make it talk, then clear the enemies on your side of the room.
Push the stone block on the other side of the platform down into the water. It forms a step that lets you climb back up after you fetch a flame. Light a Deku Stick at a torch on the lower level, carry it up the block, and burn the web in the floor.
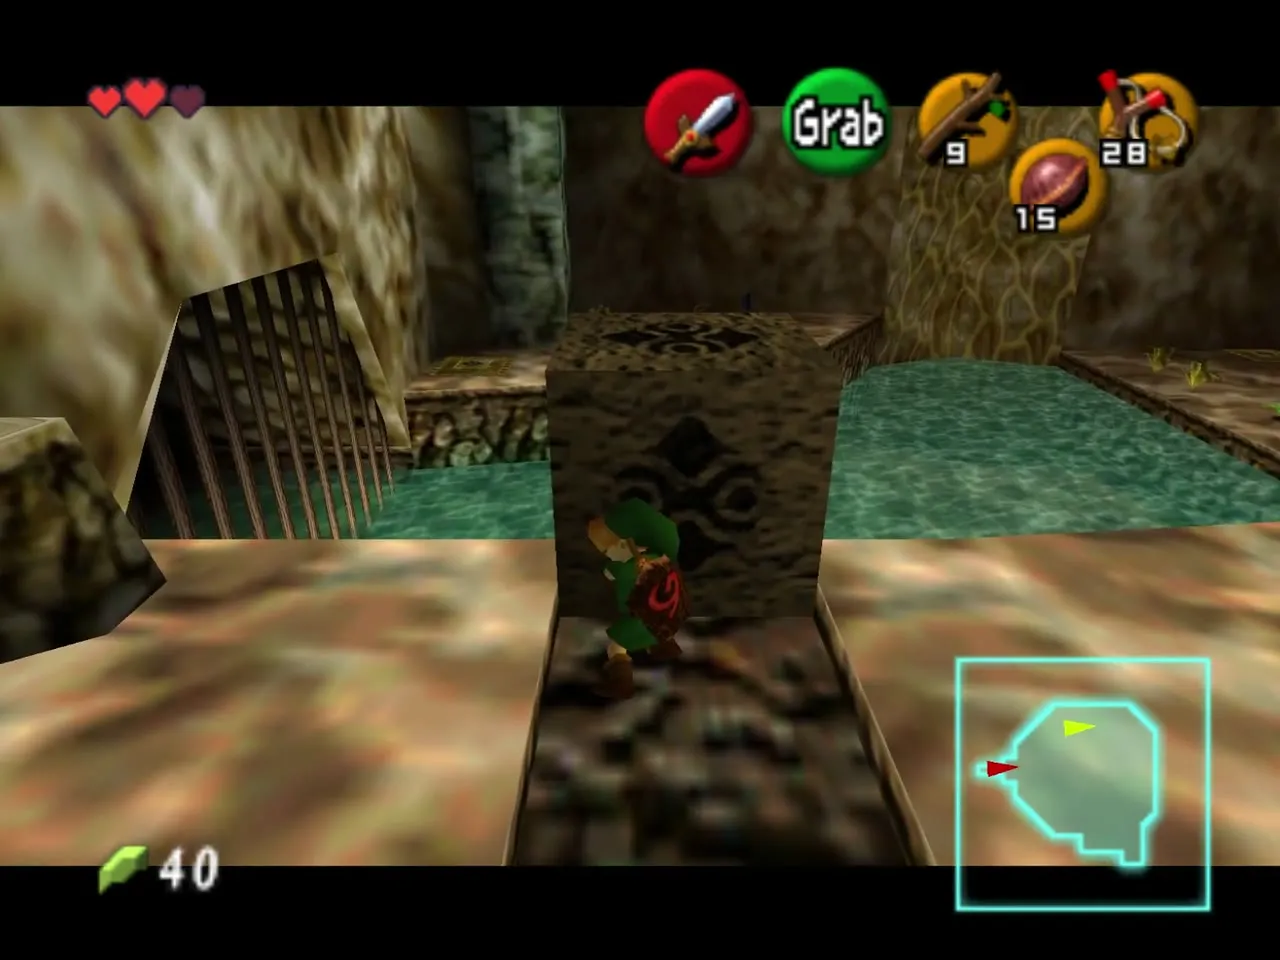
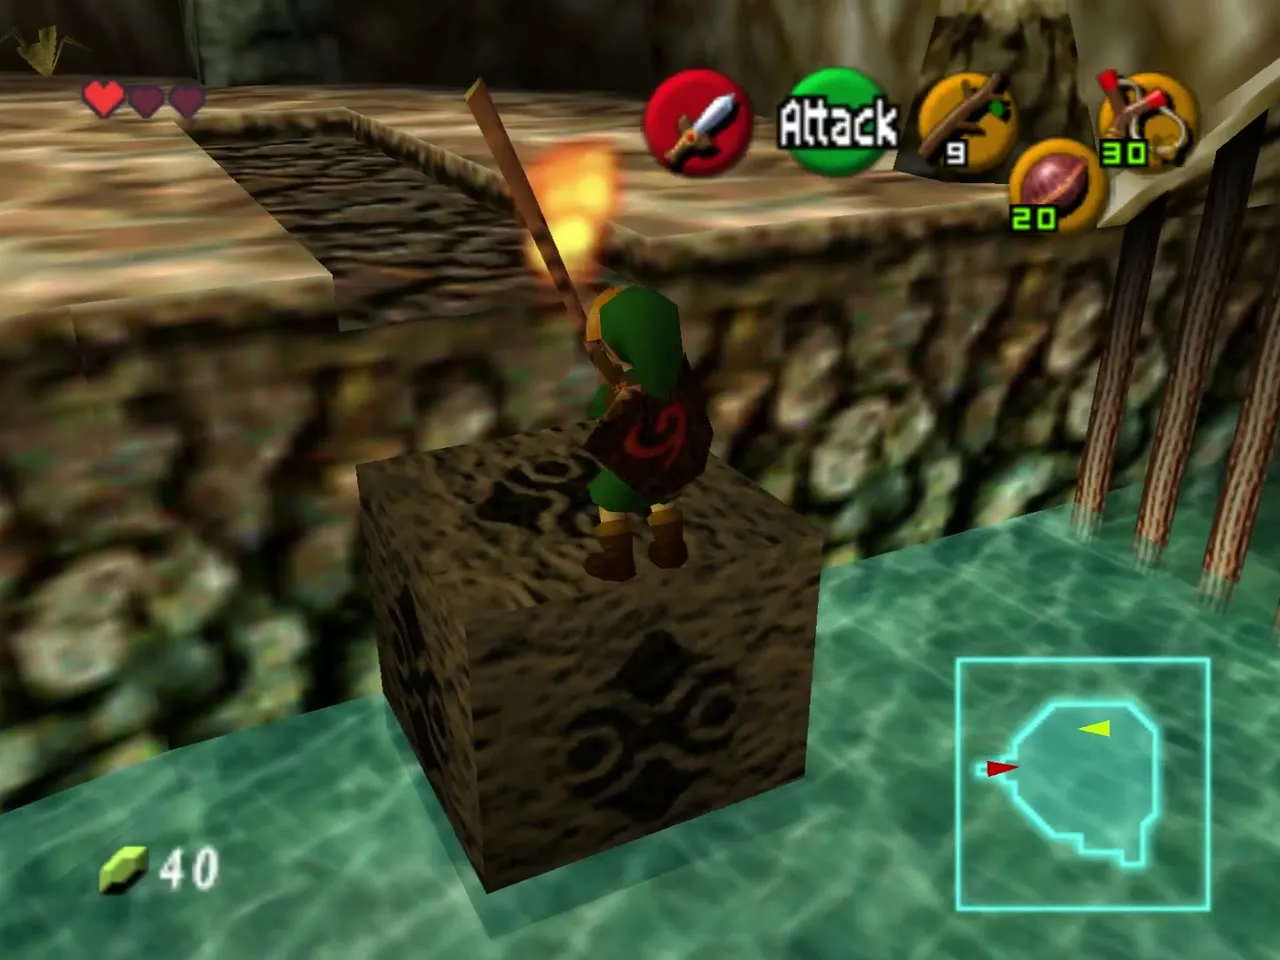
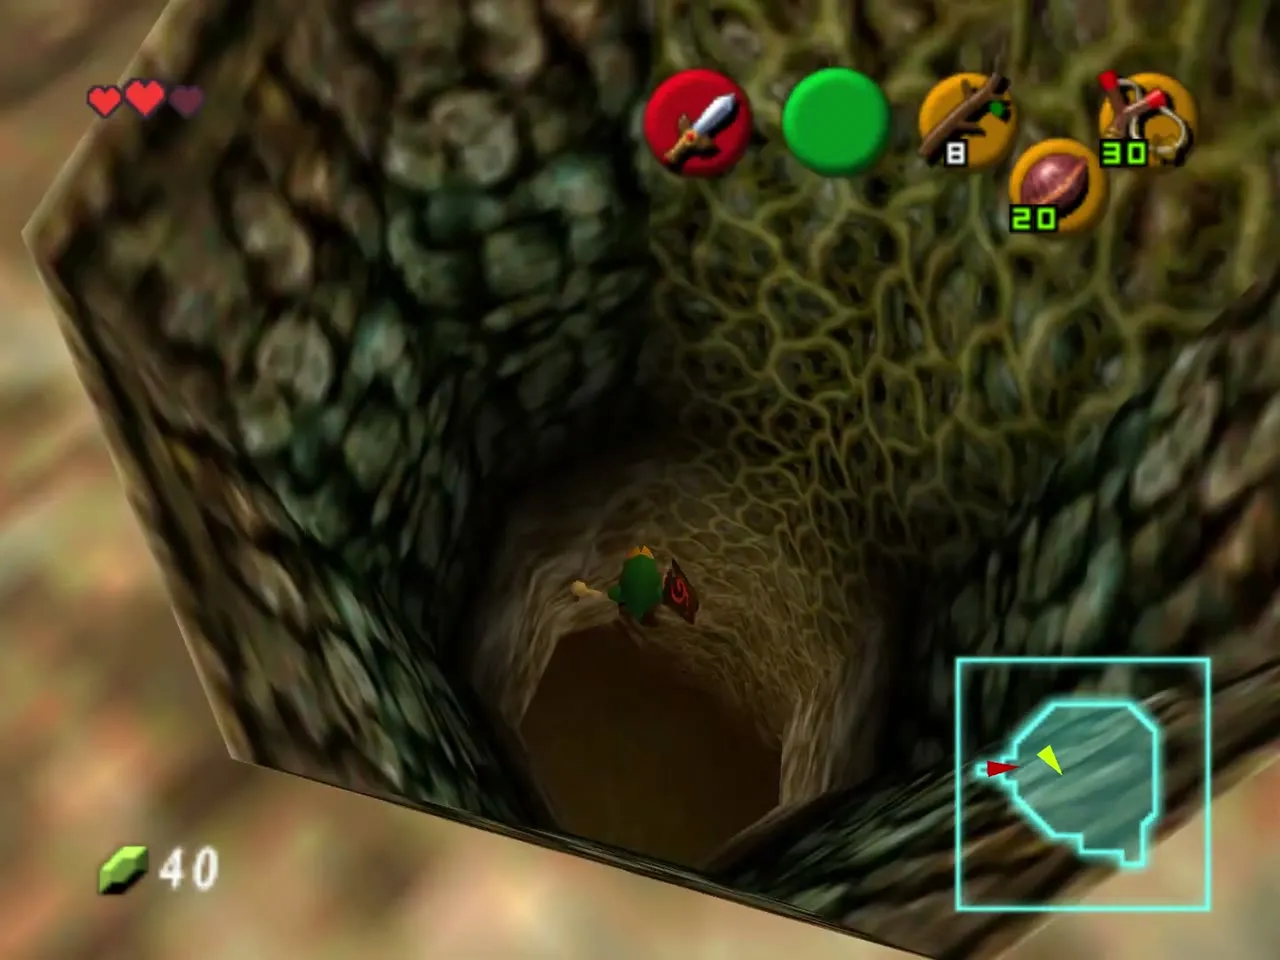
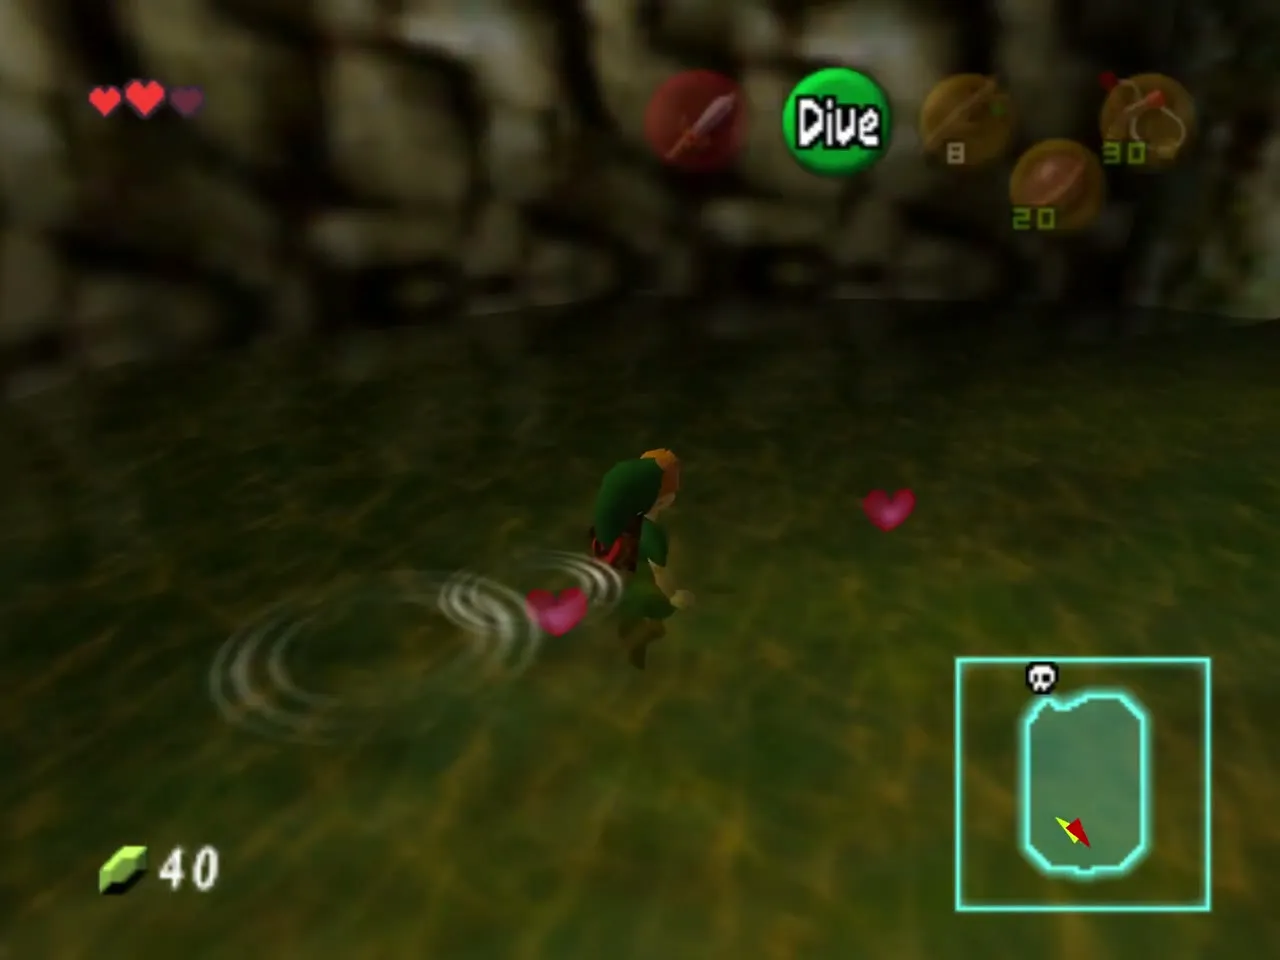
Drop through the burned hole. You land in the water of the lowest room, with the door to Gohma’s lair ahead of you.
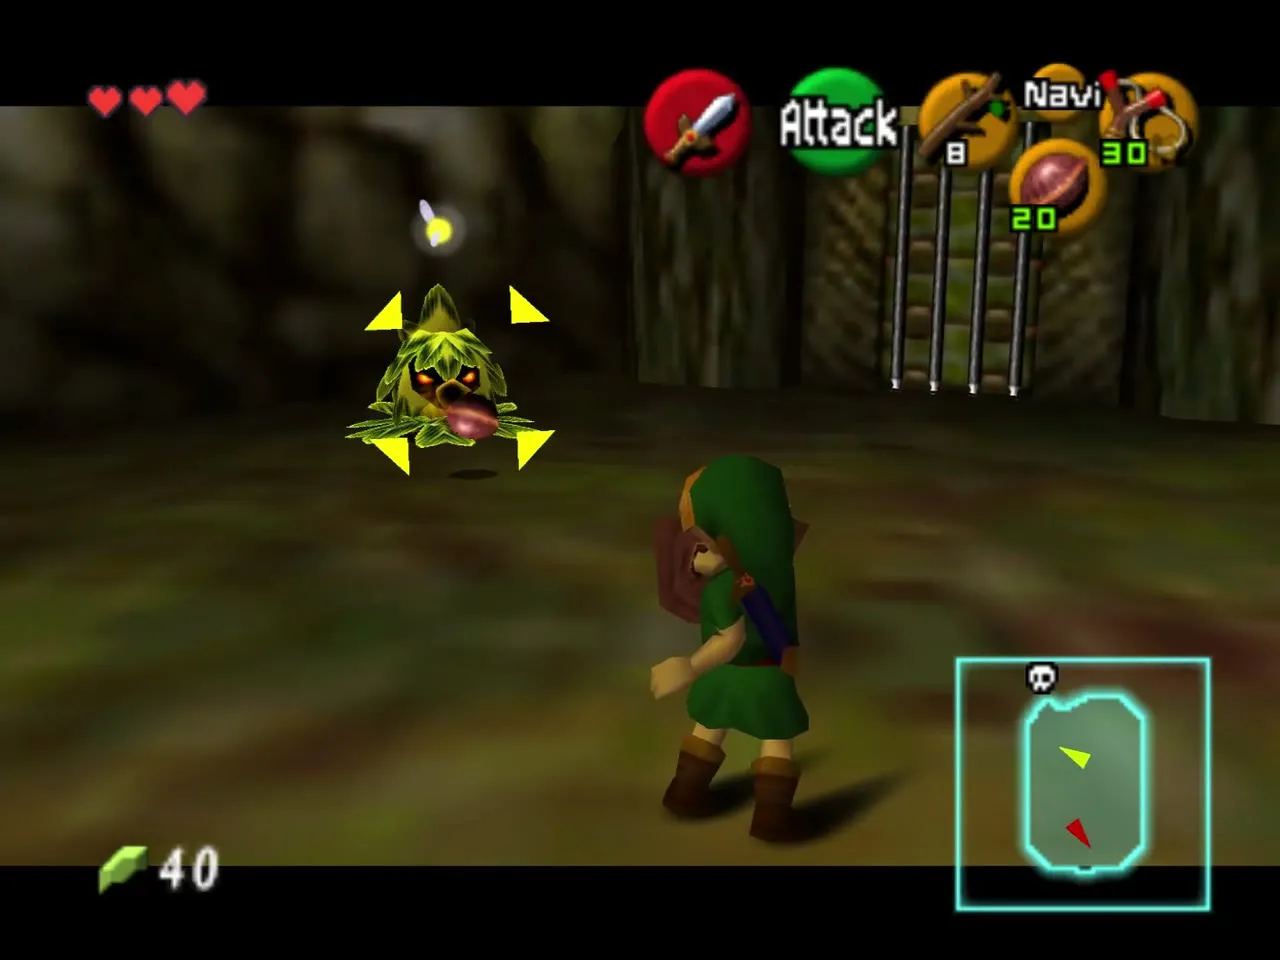
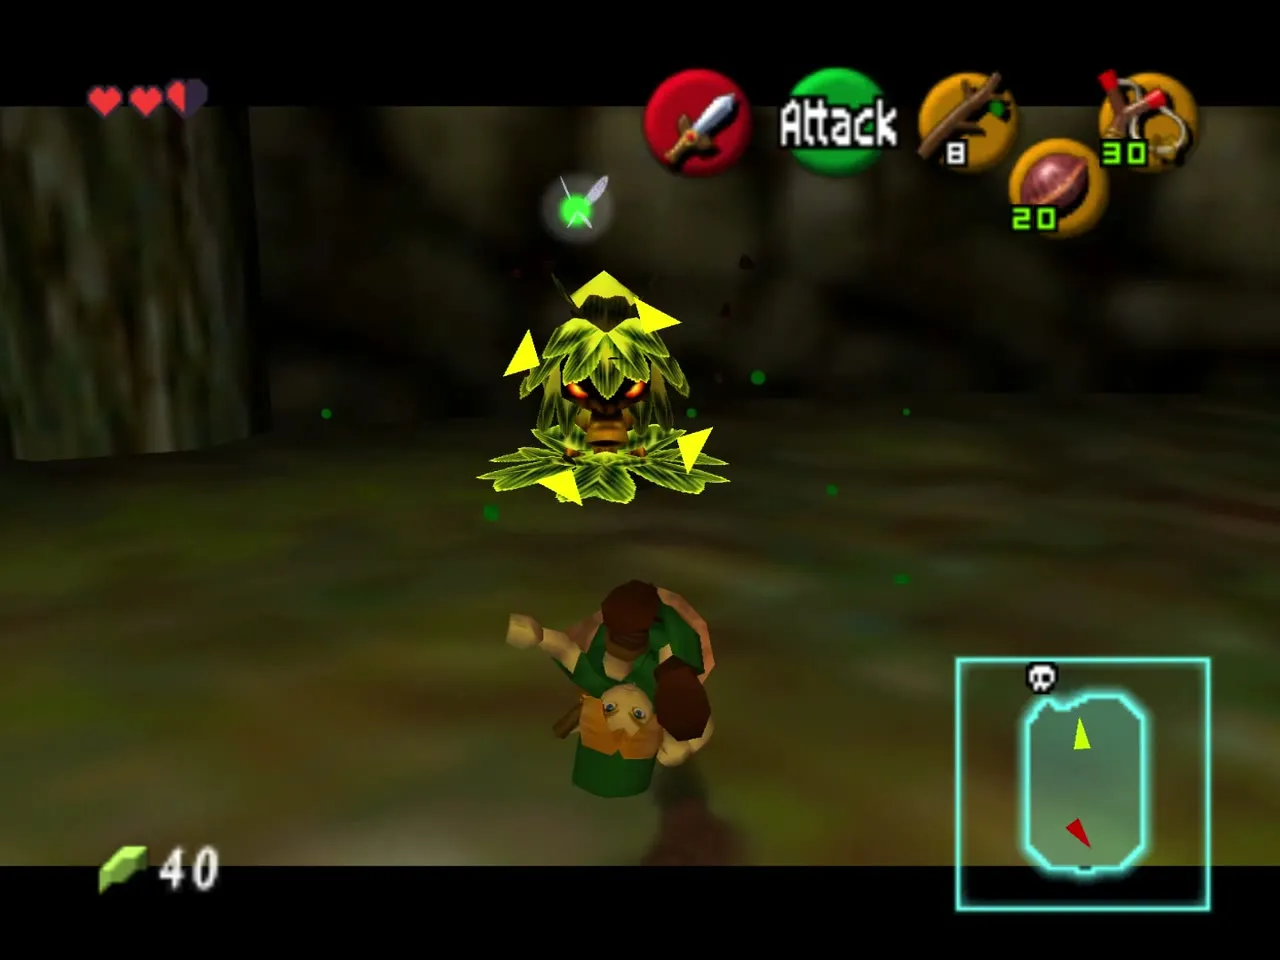
Three Deku Scrubs
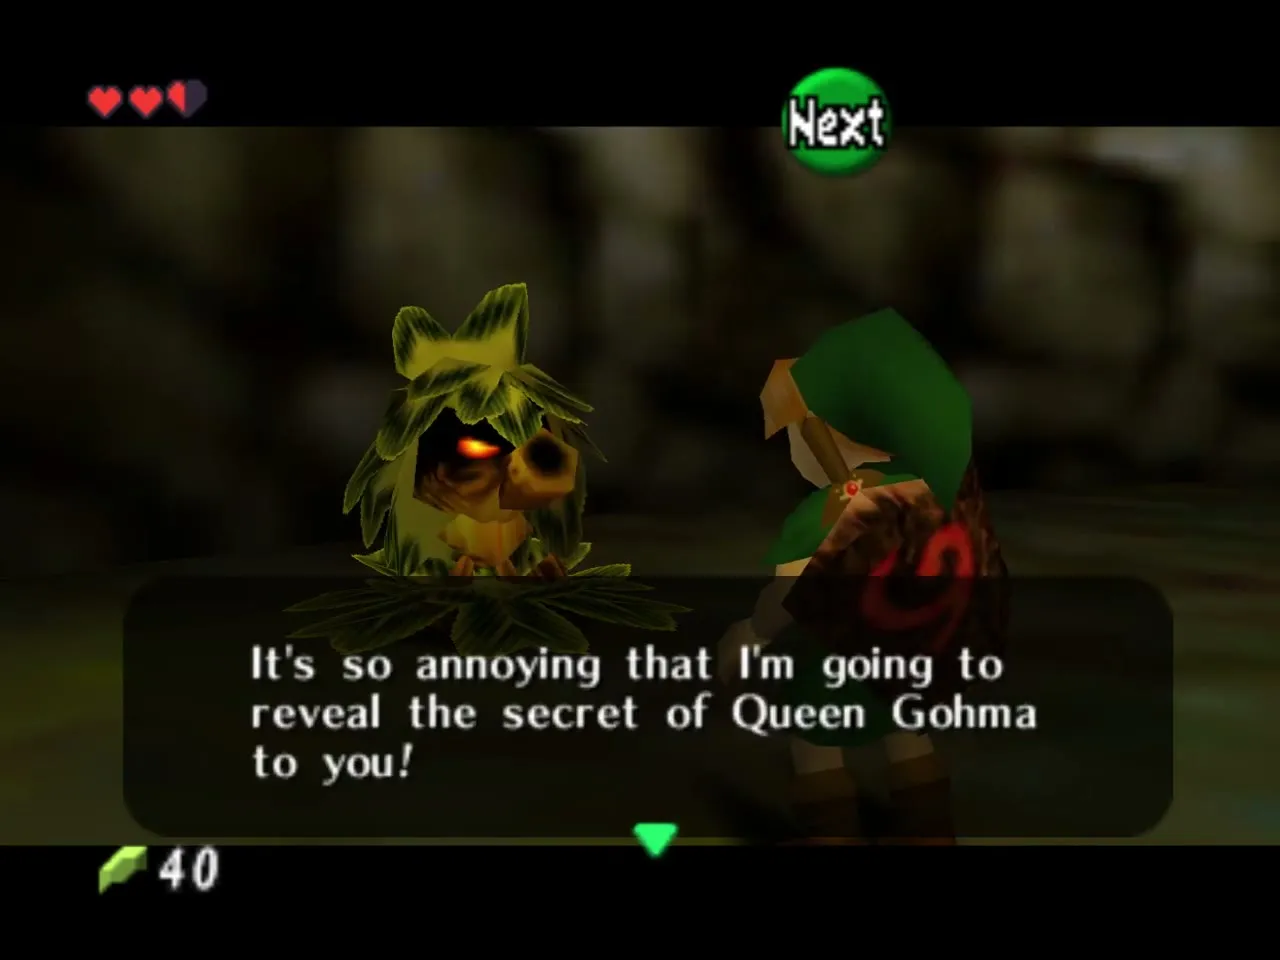
Three Deku Scrubs wait on the shore, each guarding the door. Deflect their nuts back at them with the Deku Shield, in this order: left, right, then the middle one, who hops around until you run into him. Recovery Hearts floating in the water in front of them hint at the order. The last Scrub explains that Gohma can only be hurt while stunned, drops a Recovery Heart and opens the door.
Boss: Queen Gohma
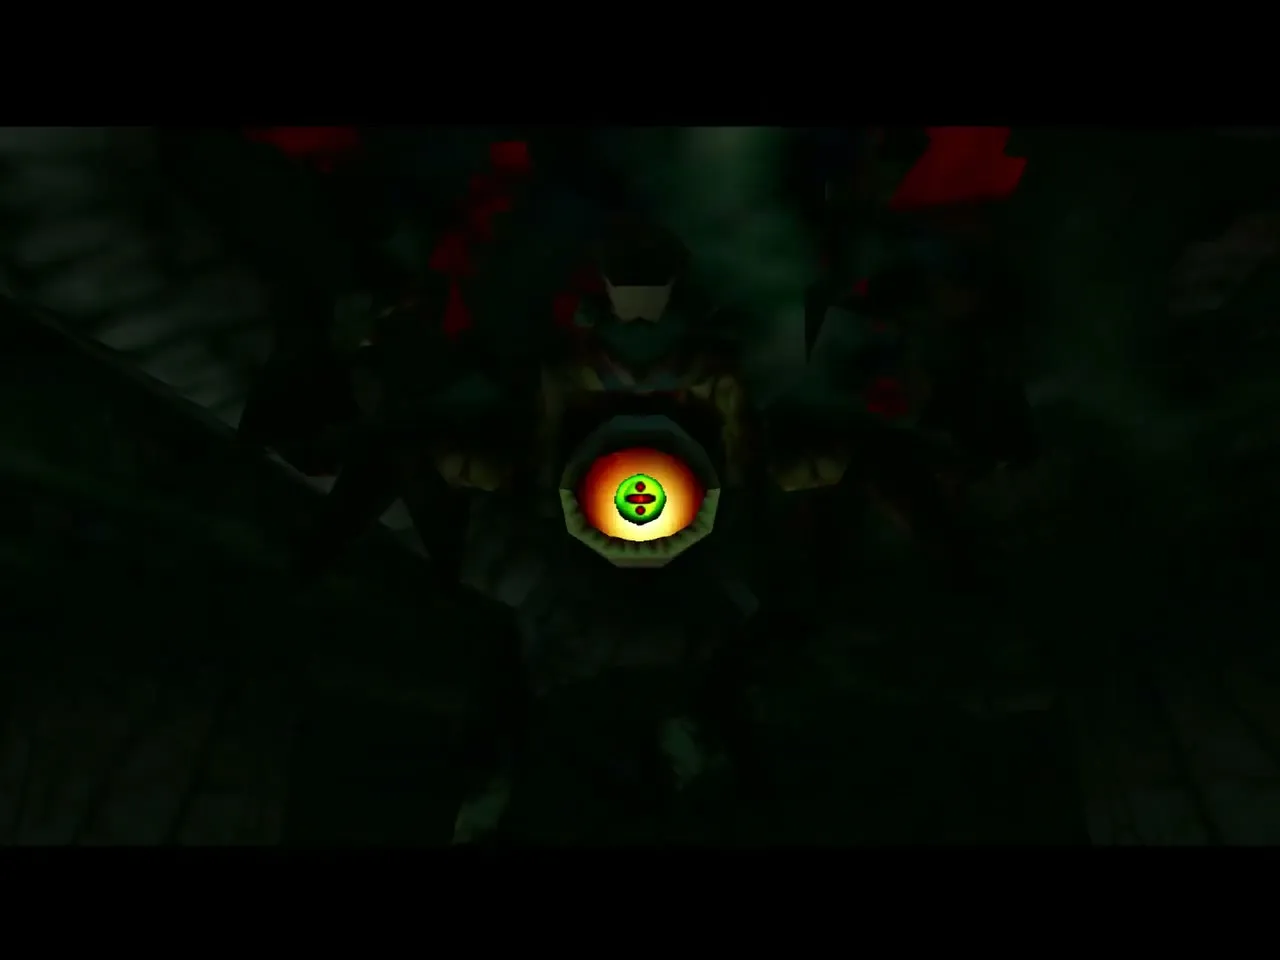
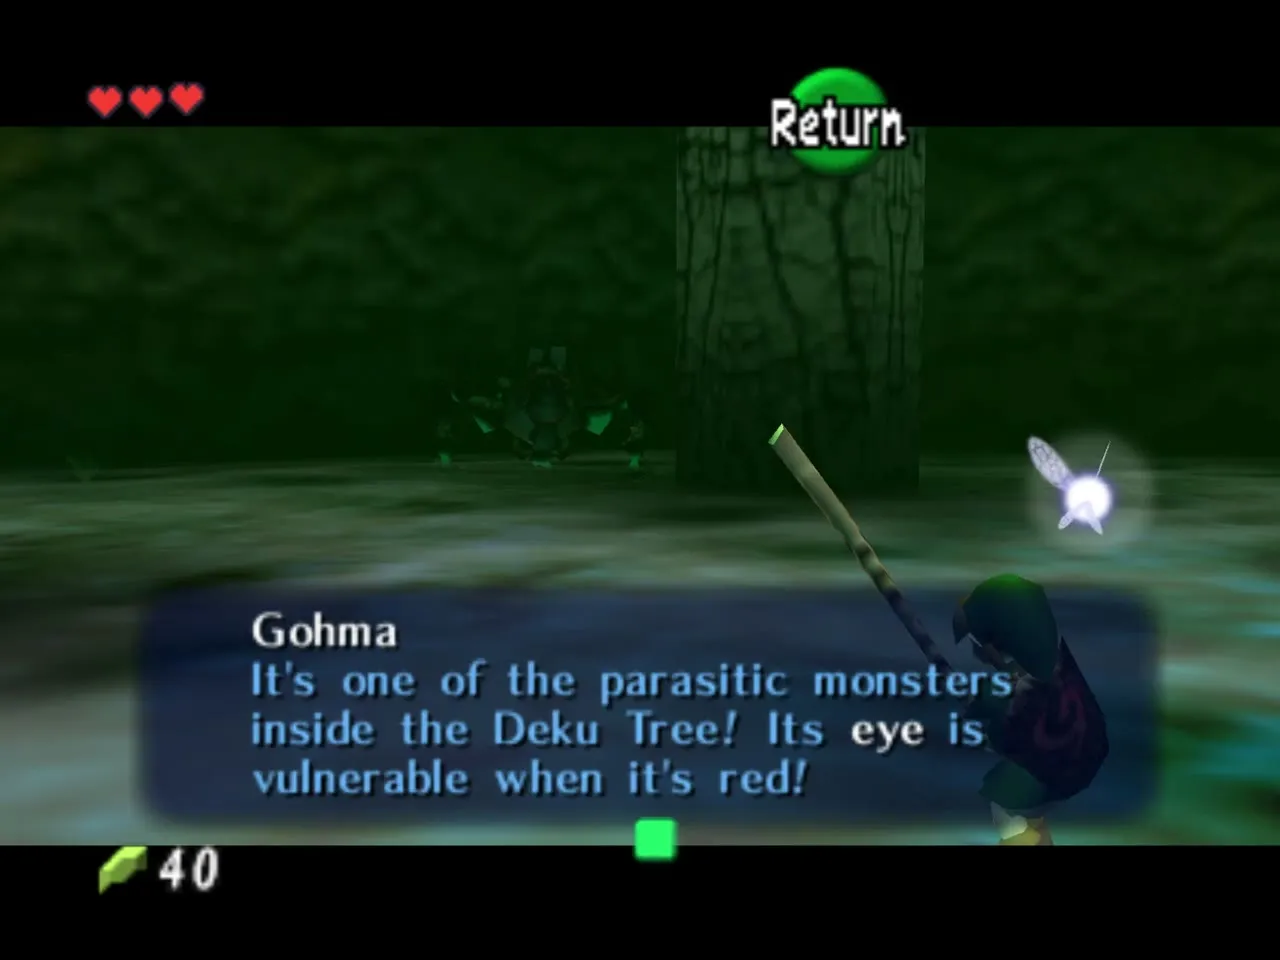
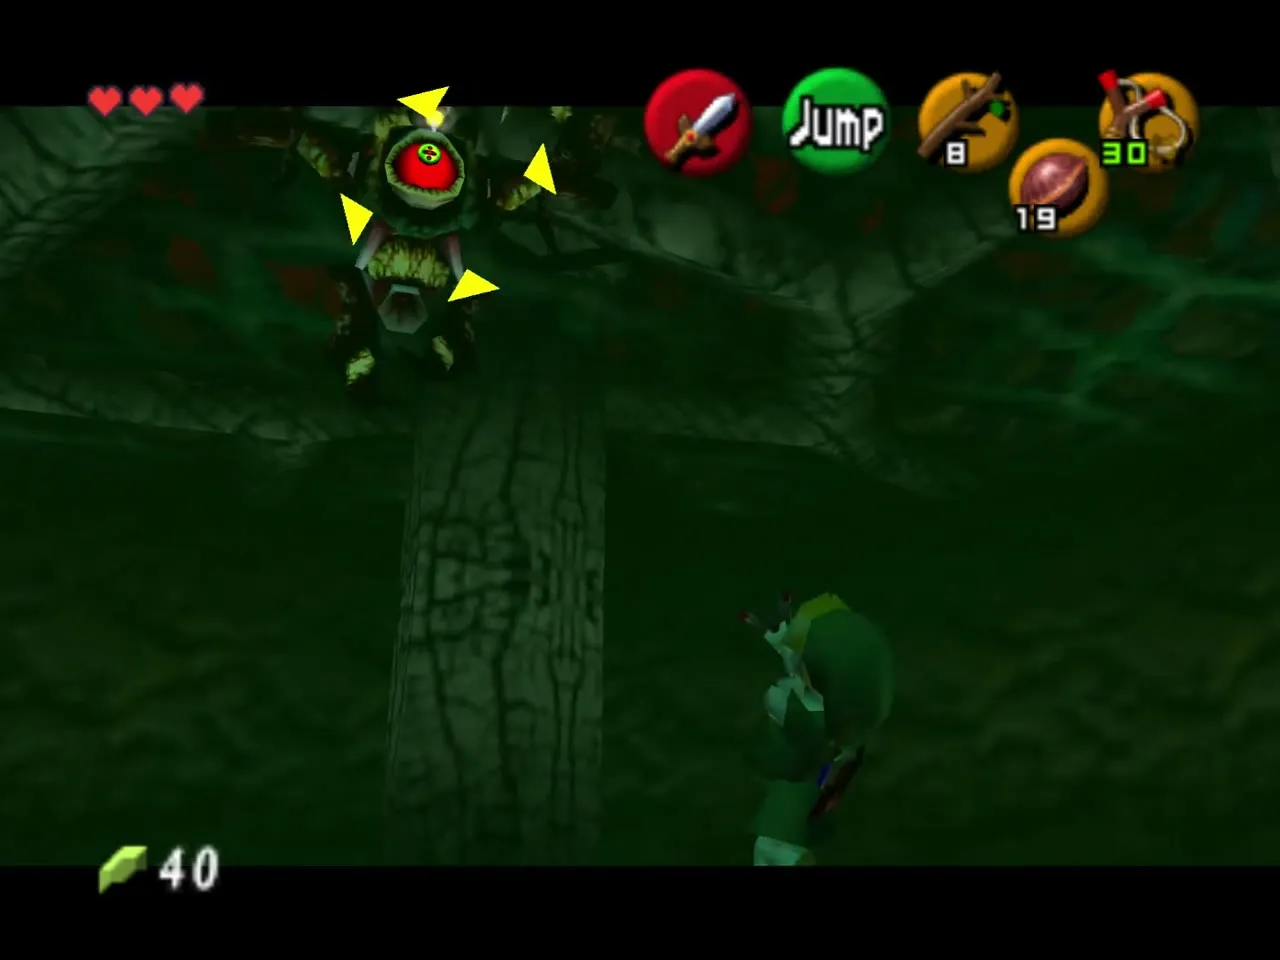
Walk into the dark arena and look up, using C-Up or the Slingshot, to find Gohma clinging to the ceiling. The door seals behind you. She can only be hurt through her eye, and only while it glows red.
Phase one: stun and slash
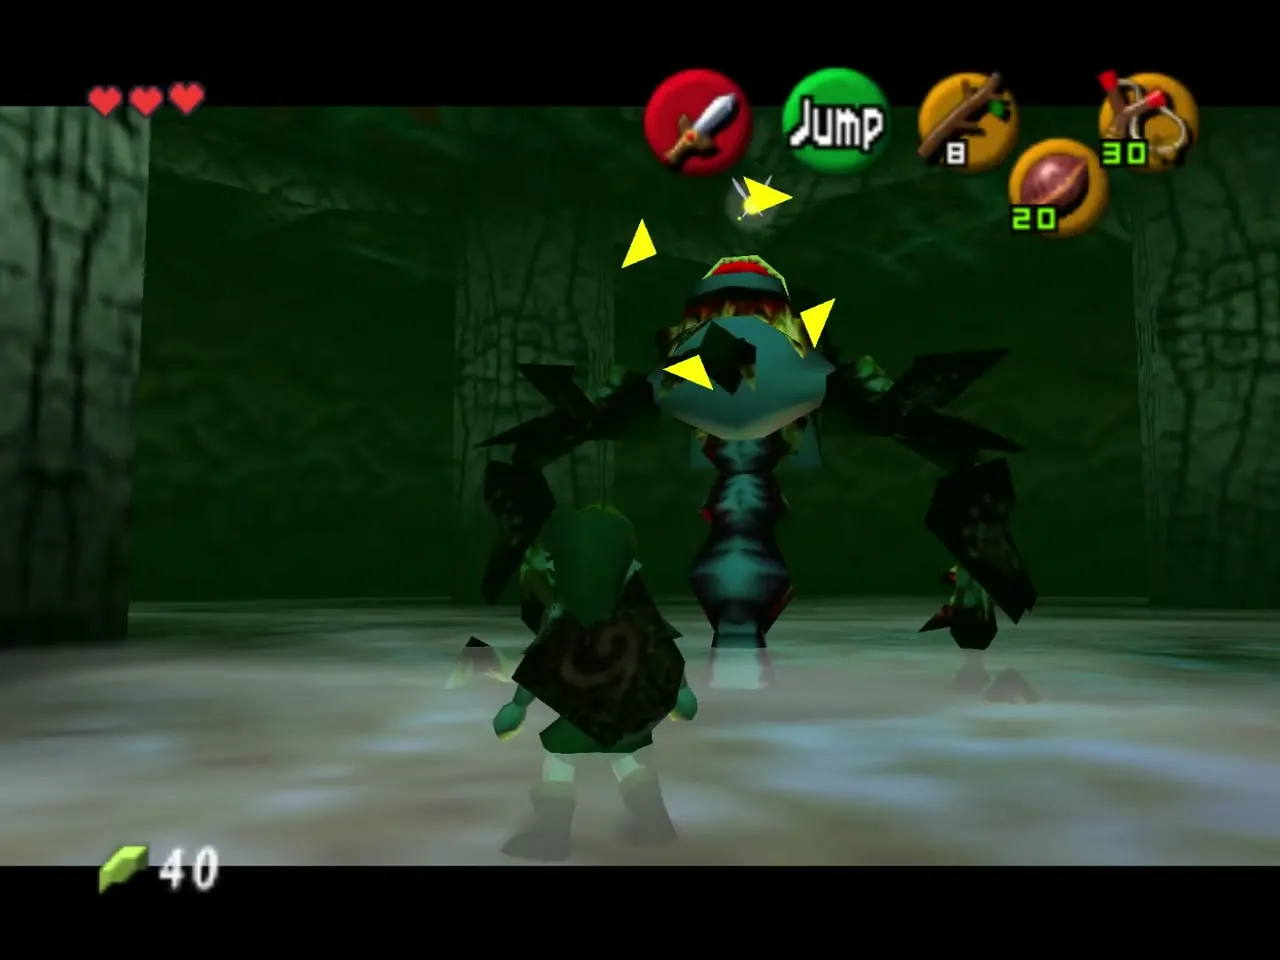
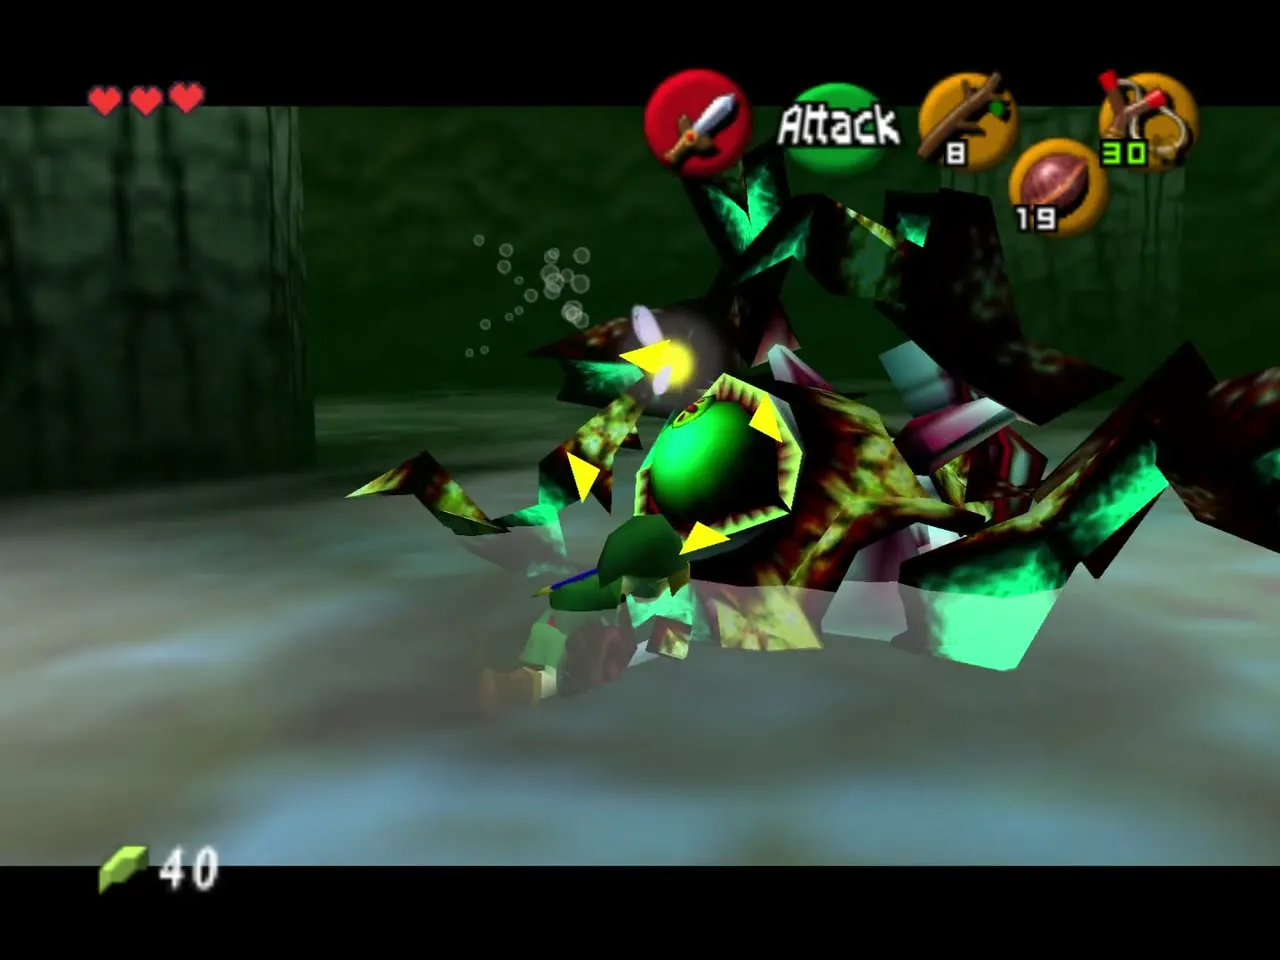
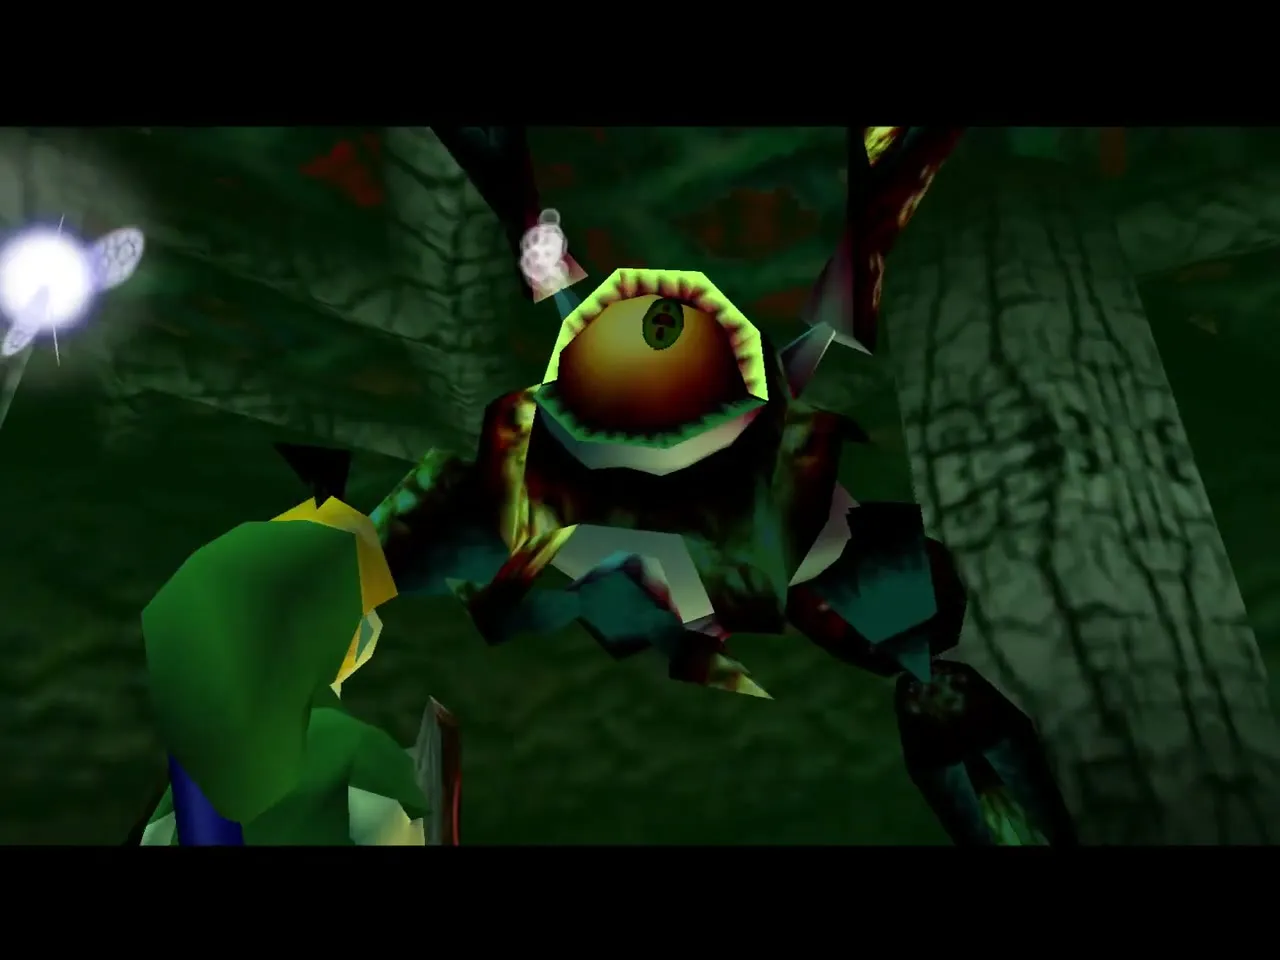
Gohma drops down, wobbles toward you and tries to fall on you. Step aside or raise your shield. When her eye turns red, shoot it with the Slingshot or throw a Deku Nut, then run up and slash her as often as you can while she lies stunned.
Phase two: the ceiling and the eggs
She climbs back up and lays three eggs, which hatch into Gohma Larva if you leave them. Slash or shoot the eggs before they hatch, or kill each Larva with two sword hits. The easiest stun comes when she is up on the ceiling: shoot her red eye there and she crashes down helpless without laying anything, and the stun lasts longer.
Defeat and Heart Container
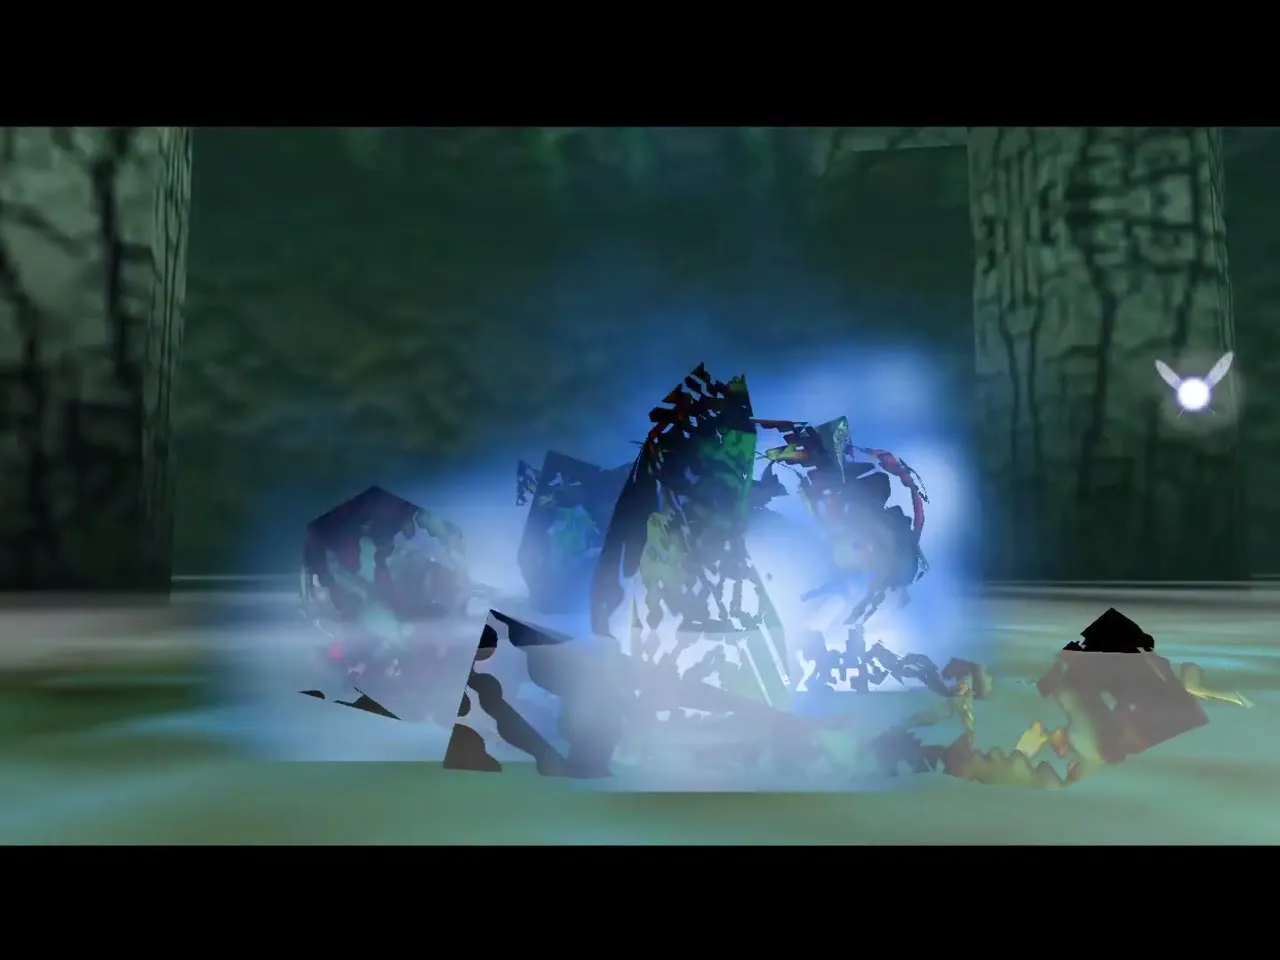
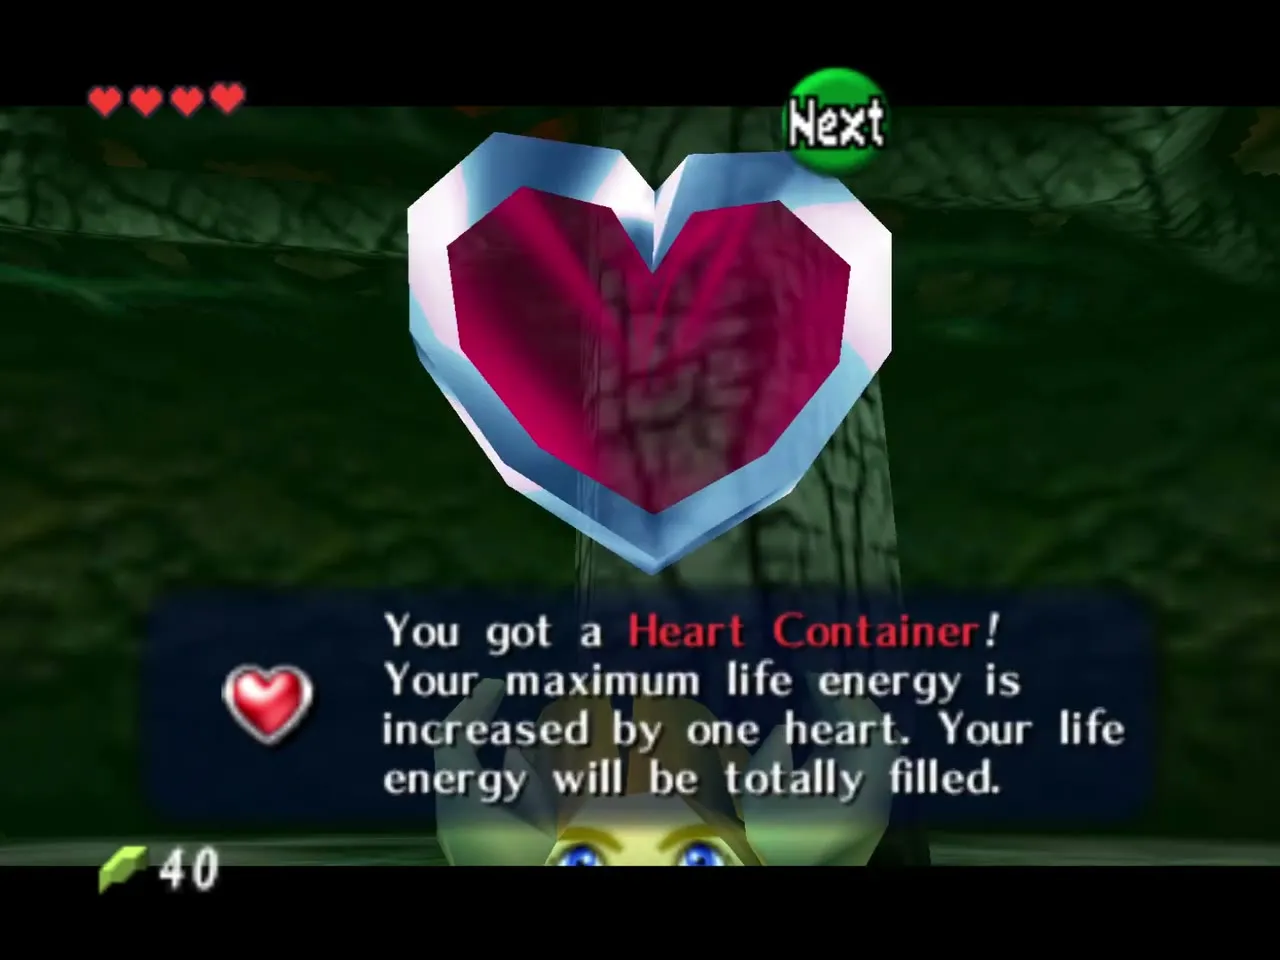
Keep repeating the stun and slash until she falls apart. She leaves a Heart Container, which raises your life from three hearts to four and fills your hearts. Take it, then step into the blue light to leave the dungeon.
After the fight: Kokiri’s Emerald
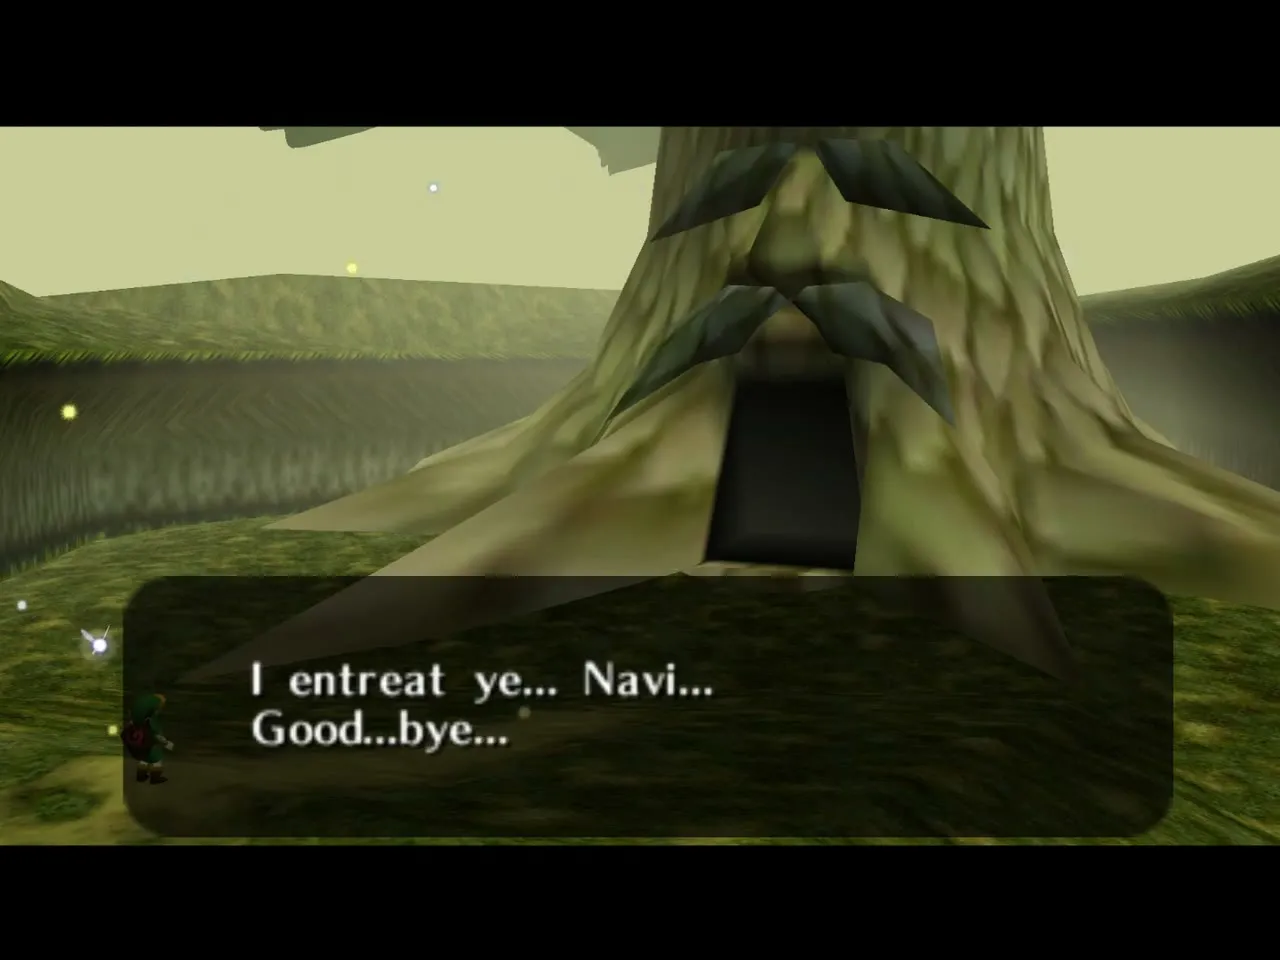
The warp drops you in front of the Great Deku Tree. He thanks you, explains who cursed him, and tells you about the Triforce and the Sacred Realm. He asks you to keep the desert man out of it and to find the Princess of Destiny.
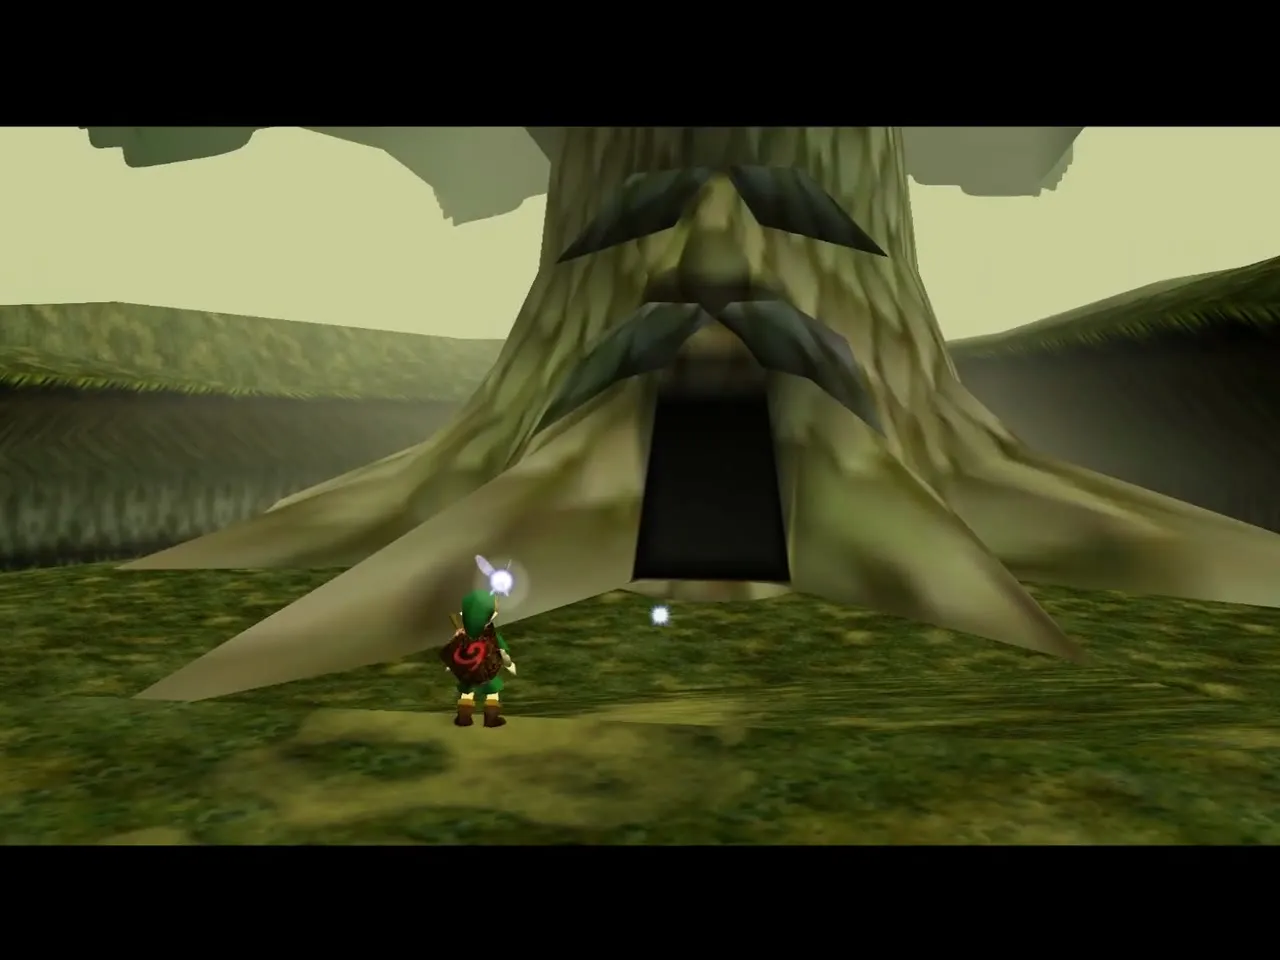
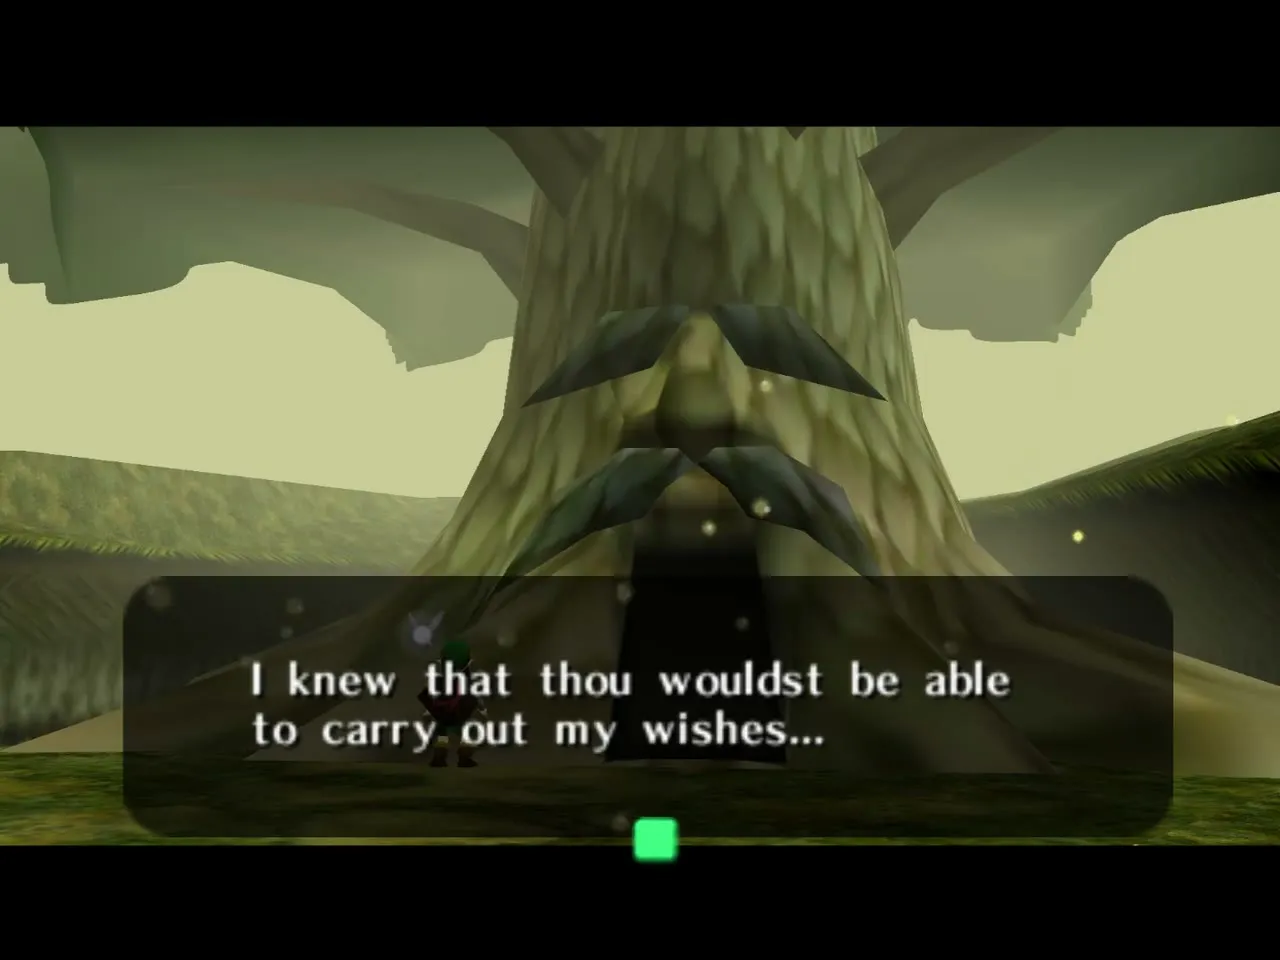
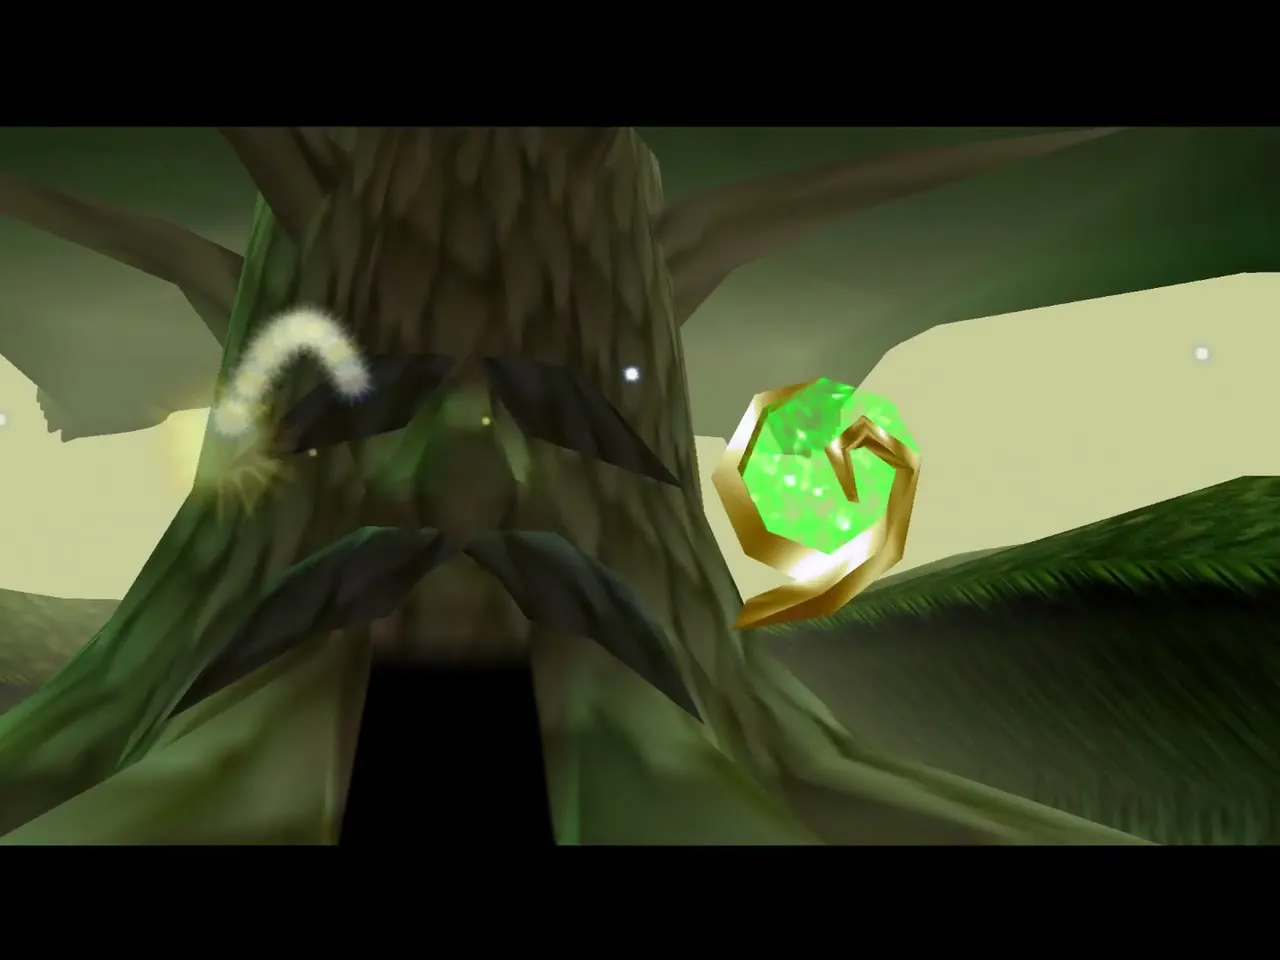
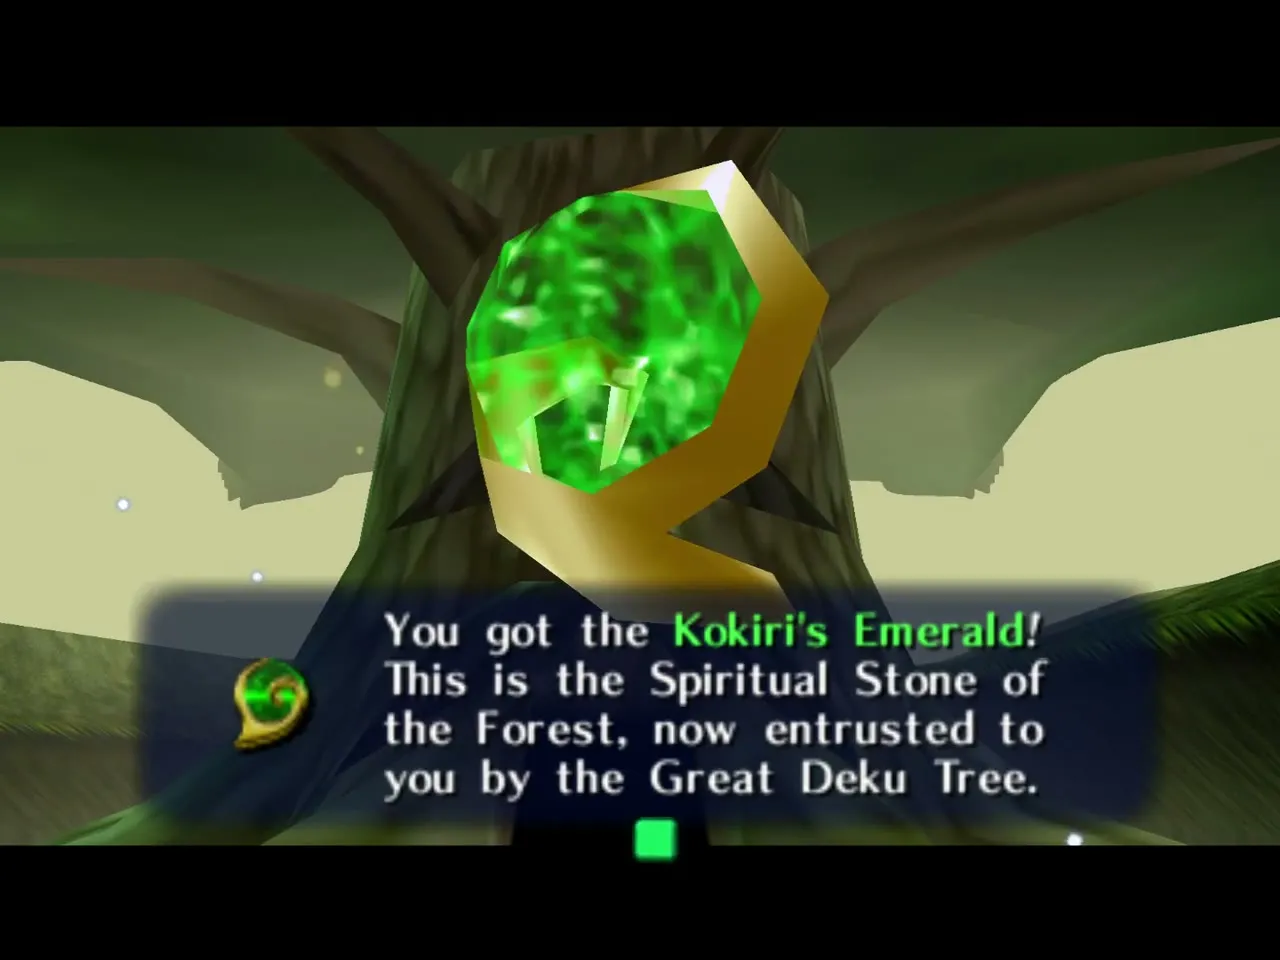
He then gives you the Kokiri’s Emerald, the Spiritual Stone of the Forest, and falls silent. Navi decides that it is time to head for Hyrule Castle. Everything outside the dungeon works exactly as in the original quest.
How Master Quest changes the Great Deku Tree
The tree is lighter on small tricks and harder on combat. Almost every room contains Gohma Larva eggs, Deku Babas lunge at you from the first room, and you burn your way forward with Deku Sticks far more often than in the original dungeon. The boss itself is unchanged.
| Topic | Original | Master Quest |
|---|---|---|
| Dungeon Map | Chest on the second floor of the hall | Chest at the end of the walkway above the lobby, with a Gold Skulltula crate next to it |
| Fairy Slingshot | Behind a Deku Scrub and a crumbling platform | In a cave on the top floor, after clearing every enemy in the room |
| Compass | Chest at the end of a platform room | Chest in a trapped room guarded by a Big Skulltula |
| Gold Skulltulas | Three available on the first visit | Only one on the first visit; the others need Bombchus, the Song of Time and the Boomerang |
| Enemies | Few eggs, passive Deku Babas | Eggs in every room, lunging Deku Babas, a Big Deku Baba |
| Basement | Spiked log, water, three Scrubs | Same elements in a new order, with extra torch and block puzzles |
| Boss | Queen Gohma | Queen Gohma, same fight |
Chapter checklist
| Type | Item | Where |
|---|---|---|
| Dungeon item | Dungeon Map | Large chest at the end of the lobby walkway |
| Item | Deku Nuts | Dropped by the Deku Baba on the top floor |
| Chest | Blue Rupee (5) | Falls when you light the torch in the platform room |
| Dungeon item | Fairy Slingshot | Side alcove chest after clearing the platform room |
| Item | Deku Seeds | Dropped by the Big Deku Baba |
| Dungeon item | Compass | Large chest in the Big Skulltula room |
| Chest | 5 Rupees (or Deku Shield) | Falls when you hit the switch behind the web in the first basement room |
| Chest | Recovery Heart | Beside the door of the spiked log room |
| Gold Skulltula | Lobby crate | Roll into the crate beside the Map chest |
| Gold Skulltula | Compass room | Behind boulders; Bombchus, or Song of Time and a Bomb |
| Gold Skulltula | Four-torch room ceiling | Song of Time |
| Gold Skulltula | Room north-east of the four-torch room | Boomerang |
| Boss reward | Heart Container | Queen Gohma |
| Spiritual Stone | Kokiri’s Emerald | Given by the Great Deku Tree after the fight |
