





















Ocarina of Time Master Quest Walkthrough12 chapters
- Inside the Great Deku Tree (Master Quest)Dungeon Map, Slingshot, Compass, Gold Skulltulas, Queen Gohma, Heart Container and Kokiri’s Emerald.
- Dodongo’s Cavern (Master Quest)Every room in order, Dungeon Map, Compass, Bomb Bag, silver rupees, Gold Skulltulas, King Dodongo and the Goron’s Ruby.
- Inside Jabu-Jabu’s Belly (Master Quest)Cow switches, Map, Compass, Boomerang, Big Octo, Barinade, Heart Container and Zora’s Sapphire.
- Forest Temple (Master Quest)Six Small Keys, Boss Key, Fairy Bow, the four Poe Sisters, five Gold Skulltulas and Phantom Ganon.
- Fire Temple (Master Quest)Five Small Keys, Din’s Fire puzzles, Iron Knuckle, Megaton Hammer, Boss Key, five Gold Skulltulas and Volvagia.
- Water Temple (Master Quest)Early Longshot, Map, Compass, both Small Keys, Dark Link, Boss Key and Morpha.
- Shadow Temple (Master Quest)Hover Boots, map, compass, Boss Key, Gold Skulltulas, Bongo Bongo and the Shadow Medallion.
- Spirit Temple (Master Quest)Every chest, 7 Small Keys, Silver Gauntlets, Mirror Shield, Boss Key, Skulltulas and Twinrova.
- Bottom of the Well (Master Quest)Map, Compass, two Small Keys, Dead Hand, the Lens of Truth and all three Gold Skulltulas.
- Ice Cavern (Master Quest)Blue Fire, Song of Time blocks, Stalfos, Iron Boots, Serenade of Water.
- Gerudo Training Ground (Master Quest)The remixed rooms in order, Small Keys, Silver Rupee puzzles and the Ice Arrows.
- Ganon’s Castle (Master Quest)Light Arrows, the rainbow bridge, all six remixed trials, Golden Gauntlets, Double Defense, the tower.
| Covers | The tunnel from Death Mountain Trail, every room of the Master Quest Dodongo’s Cavern in route order, King Dodongo, and Darunia’s reward outside |
|---|---|
| Dungeon | Dodongo’s Cavern, Master Quest version (child). You need the Goron’s Bracelet to lift Bomb Flowers, plus a Slingshot, Deku Sticks, Deku Nuts and a shield. No small keys and no Boss Key. |
| You need | Goron’s Bracelet from Darunia, Fairy Slingshot, a few Deku Sticks (more can be bought inside), Deku Nuts, Hylian Shield, an empty bottle if you want a Poe or a Fairy. You start with no bombs: the Bomb Flowers do that job until the Bomb Bag turns up late in the dungeon. |
| Rewards | Compass, Dungeon Map, Bomb Bag with 20 bombs, two Blue Rupee chests, a chest of bombs next to the boss, 5 silver rupees (door puzzle), up to 5 Gold Skulltula tokens (most need items you do not have yet), Heart Container, Goron’s Ruby. |
| Differences | The dungeon runs close to backwards: the Dungeon Map comes first on the lower level, the Compass sits in the Dodongo room, the Bomb Bag is the last big prize, and bomb chains and silver rupees replace many original puzzles. |
The Master Quest Dodongo’s Cavern keeps the lava, the giant dead Dodongo and King Dodongo, but nearly every room is rebuilt. You enter from the Death Mountain Trail with only Bomb Flowers to blow things open, climb to the upper floor first, take the Compass from the three-Dodongo room, work around the whole cavern, and collect the Bomb Bag from a chest you can see long before you can reach it. With the bag in hand you drop bombs into the skull’s eyes and walk into its mouth, where the boss door waits.
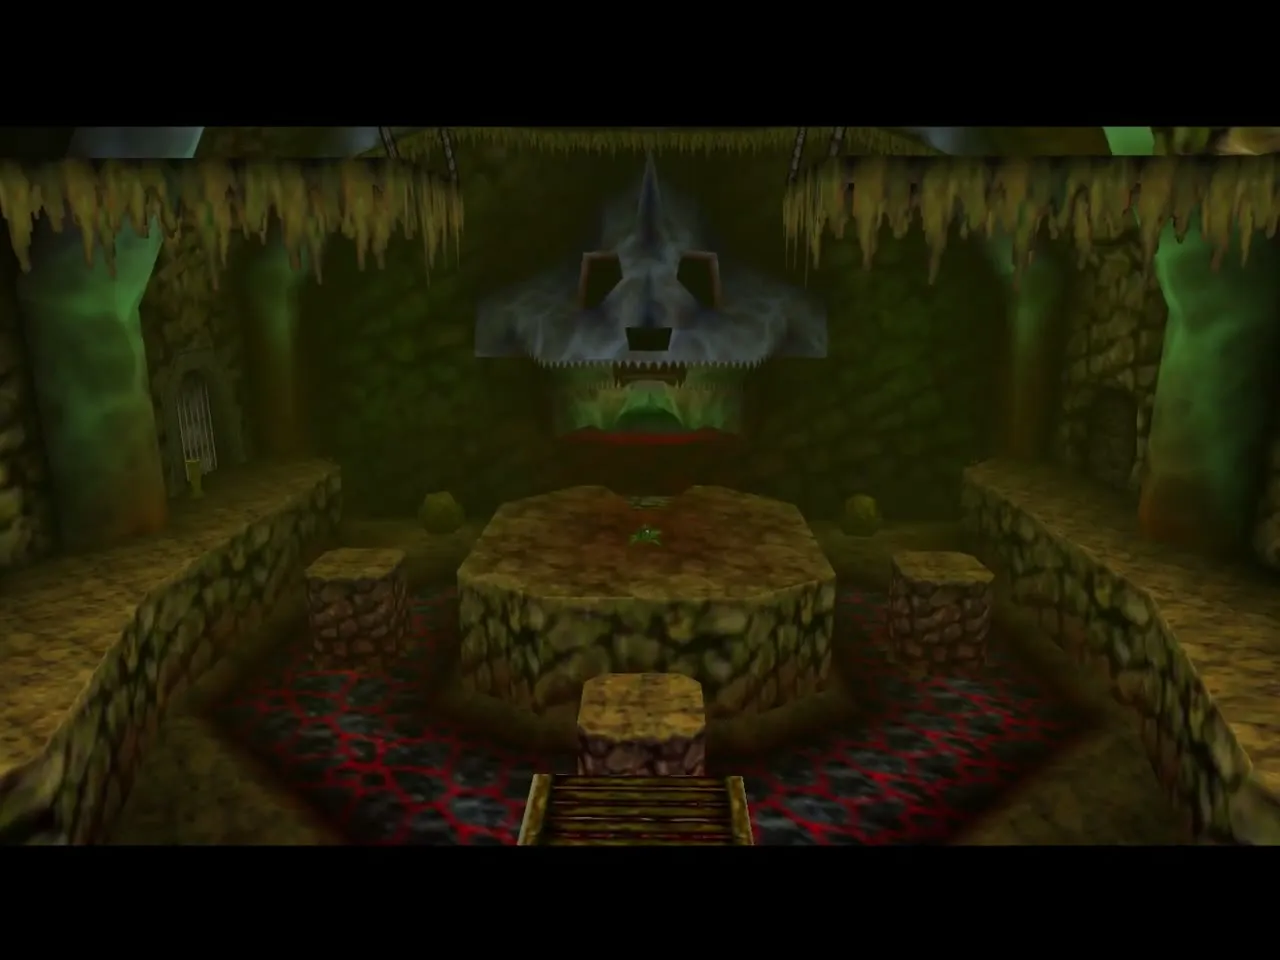
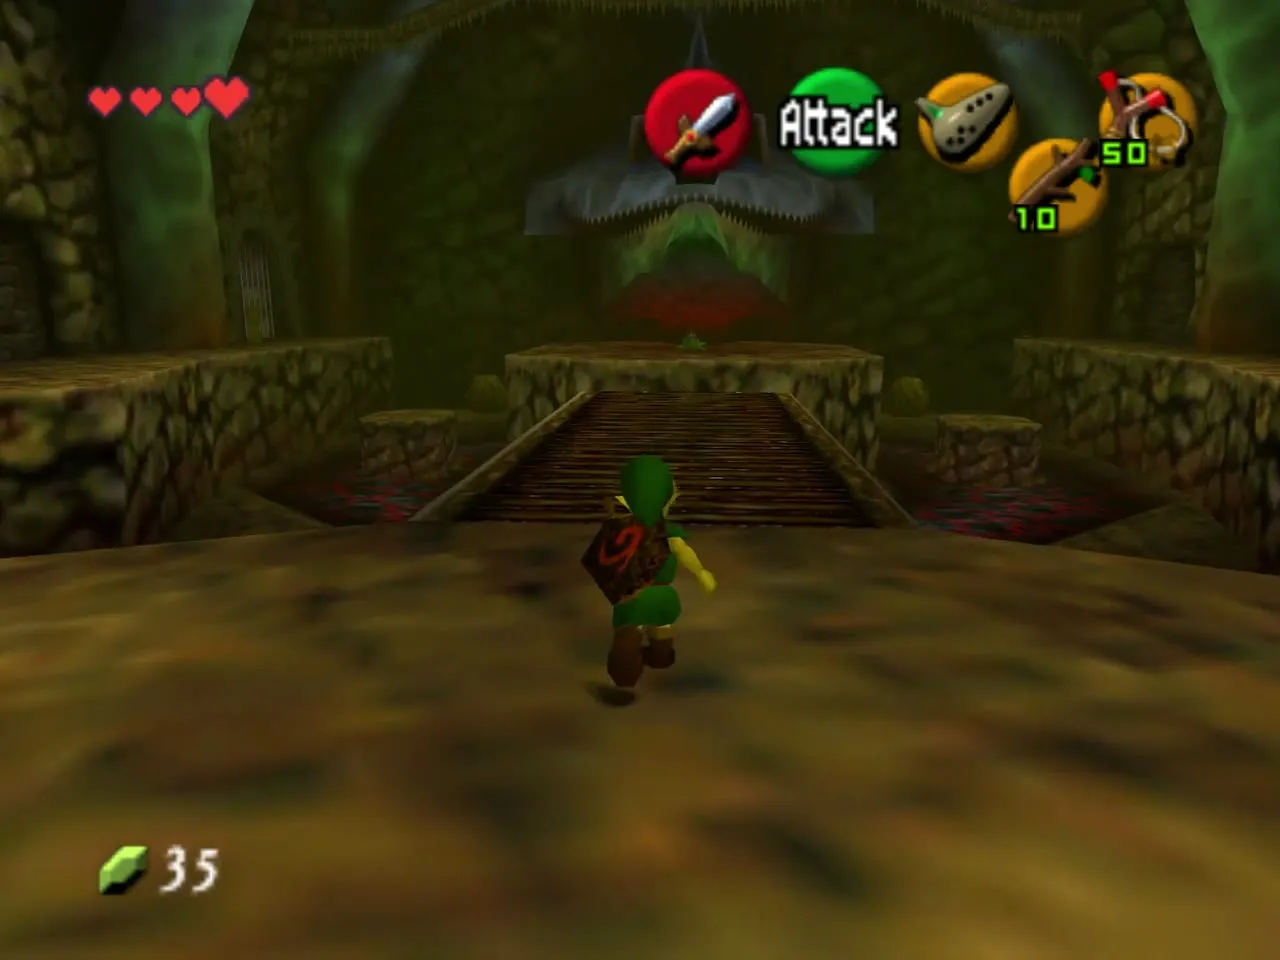
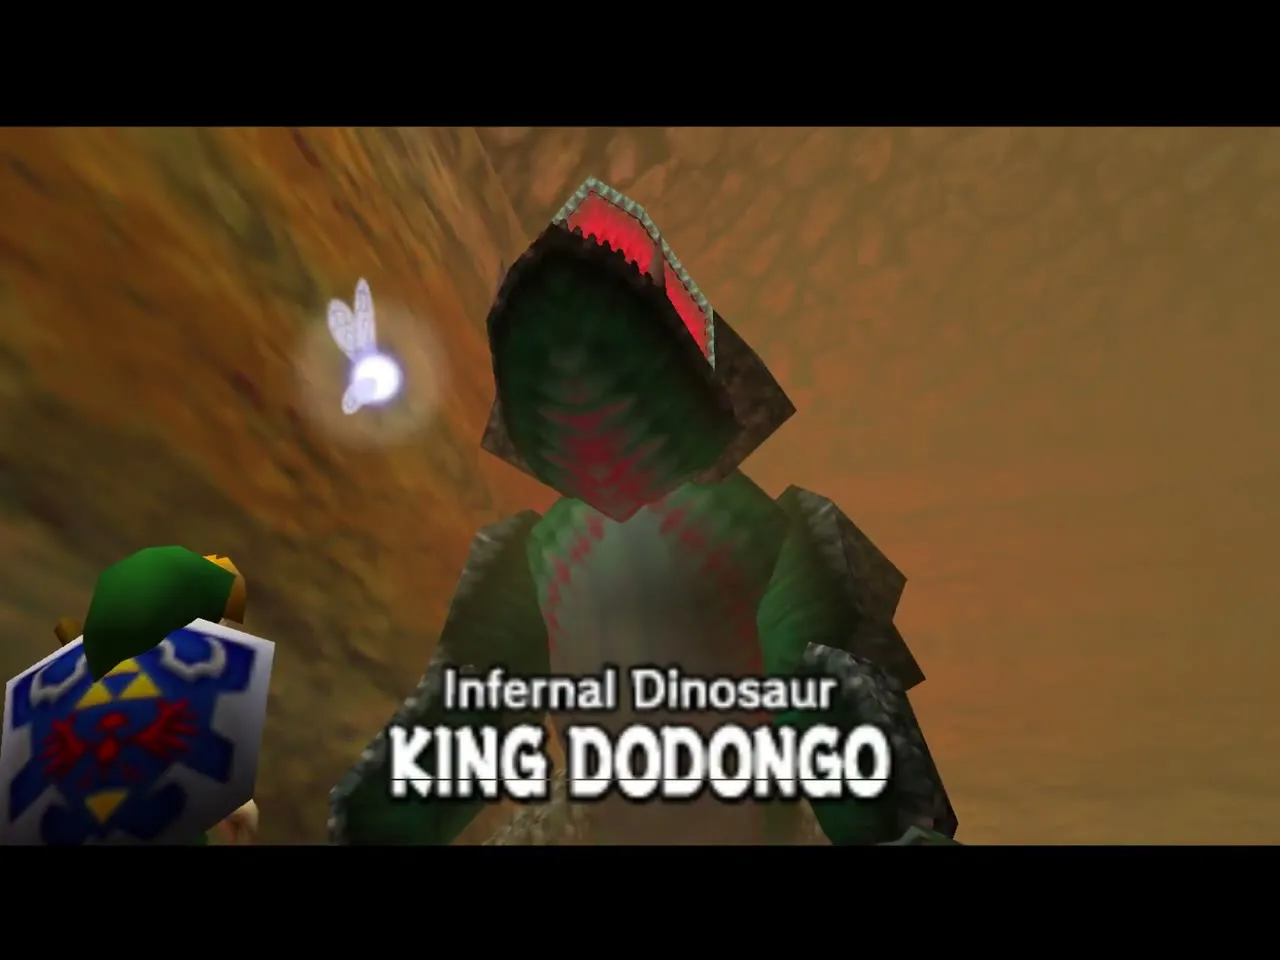
Table of Contents
Getting there
The tunnel on Death Mountain Trail
Talk to Darunia in Goron City first: you need the Goron’s Bracelet before the cavern can be opened at all, because every puzzle starts with a lifted Bomb Flower. Climb Death Mountain Trail past the bomb-flower fences and go through the long cave tunnel at the end, which leads straight into Dodongo’s Cavern.
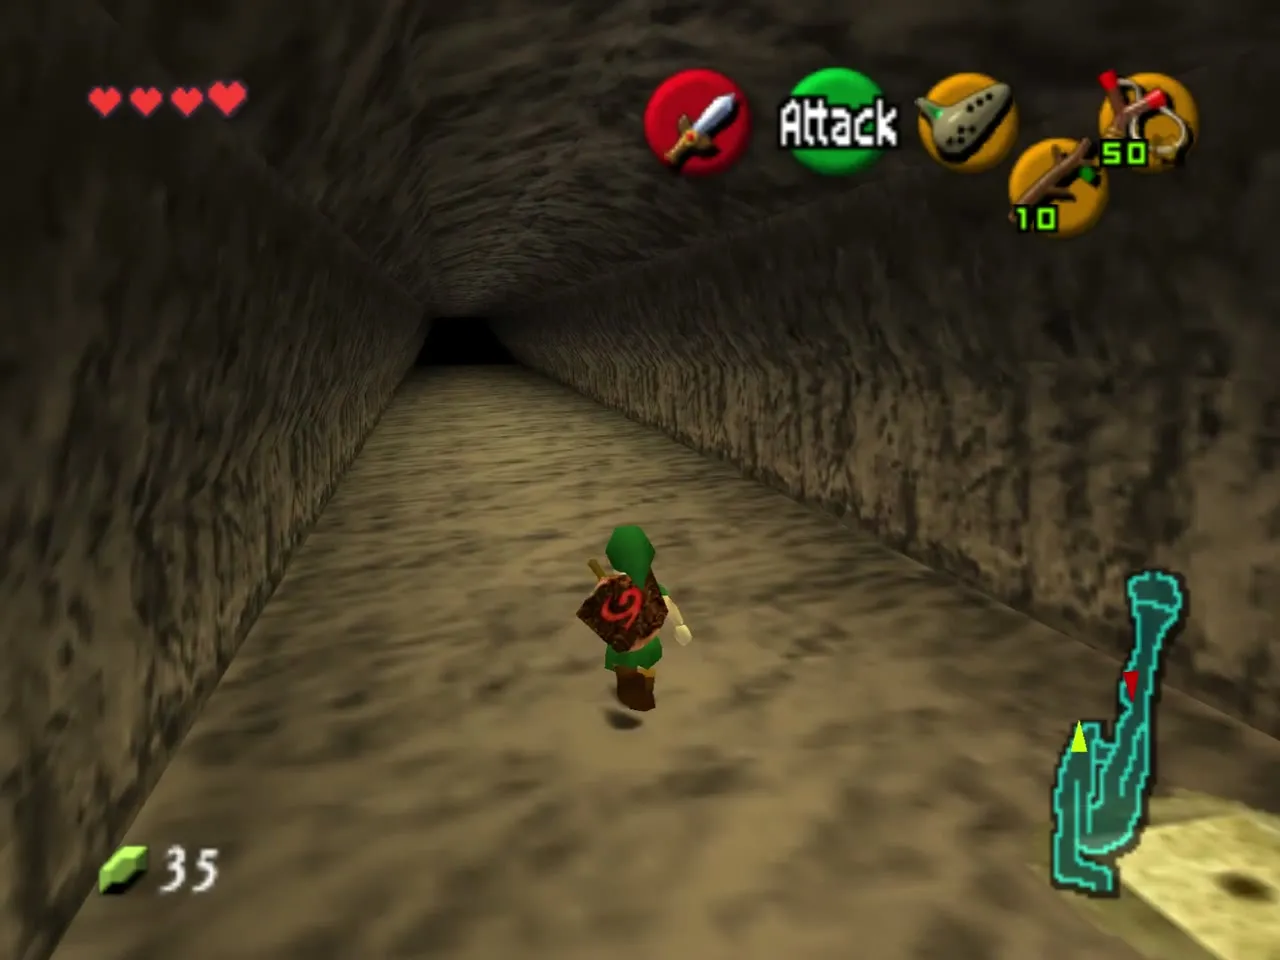
Open the wall in the entrance passage
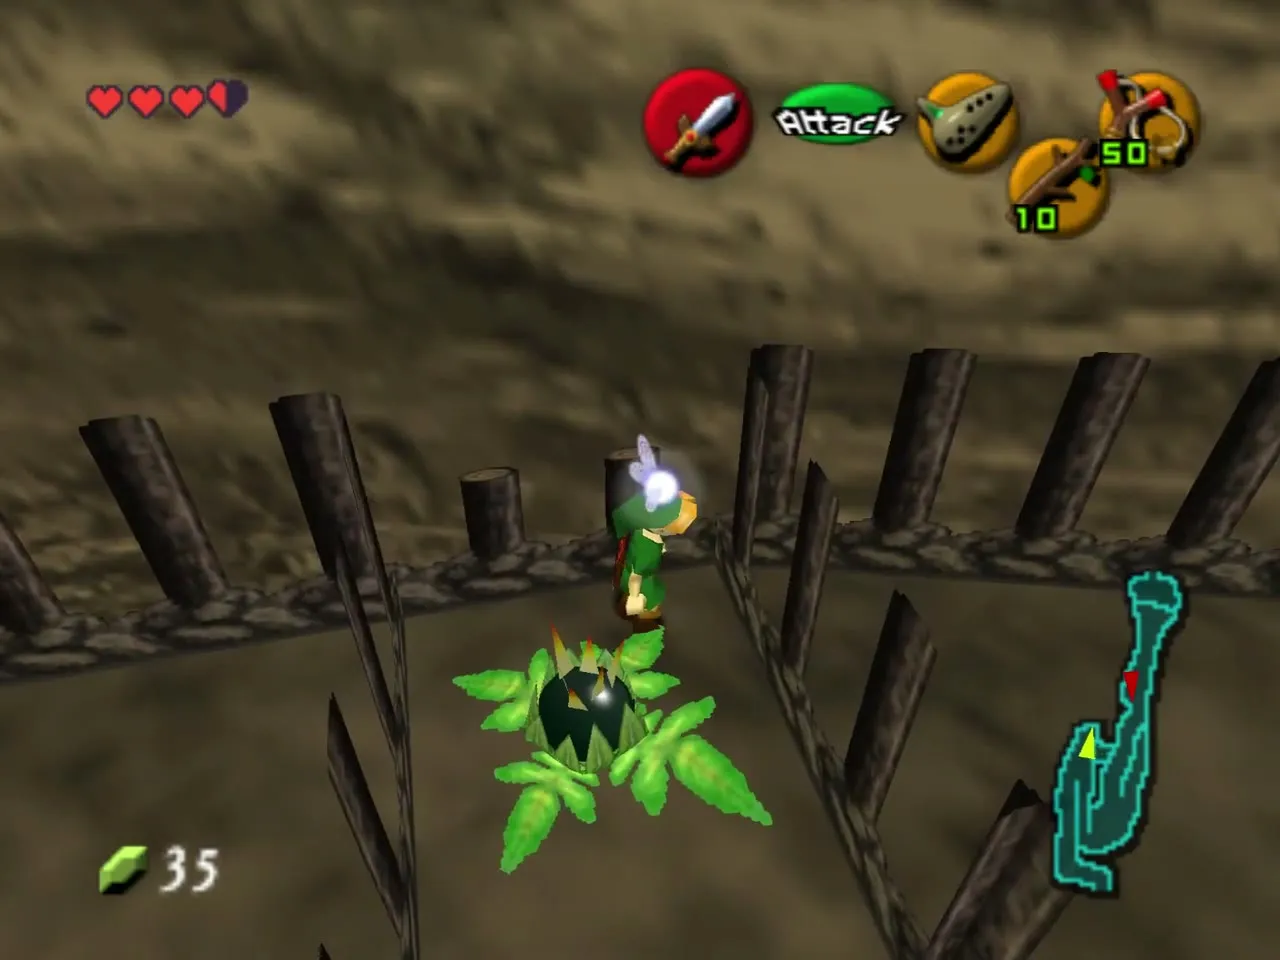
The first passage ends at a rubble wall with Bomb Flowers growing along it. Pull one up with the Goron’s Bracelet, carry it to the wall, set it down and step back. The blast opens the way into the main cavern.
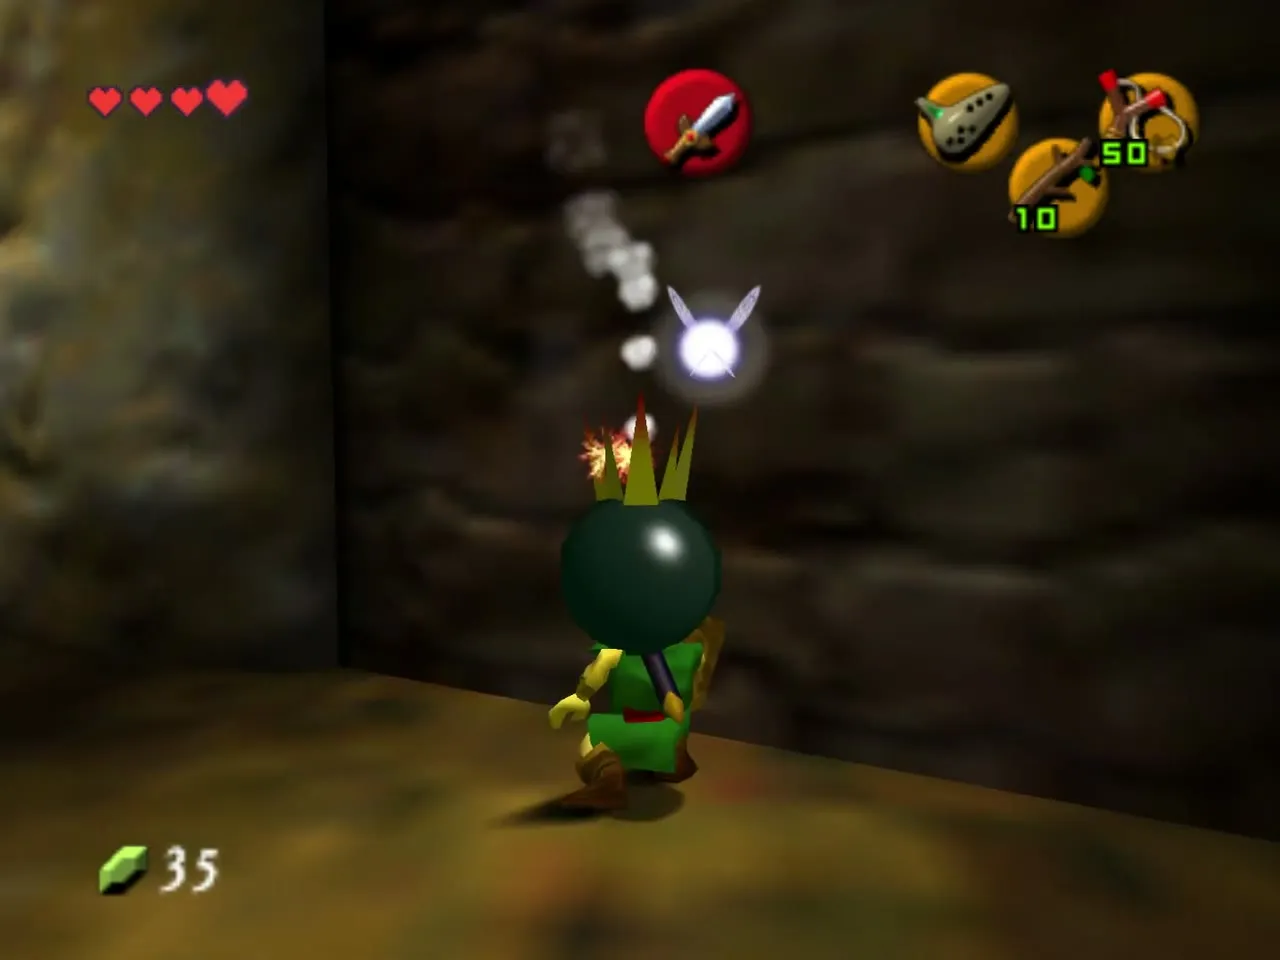
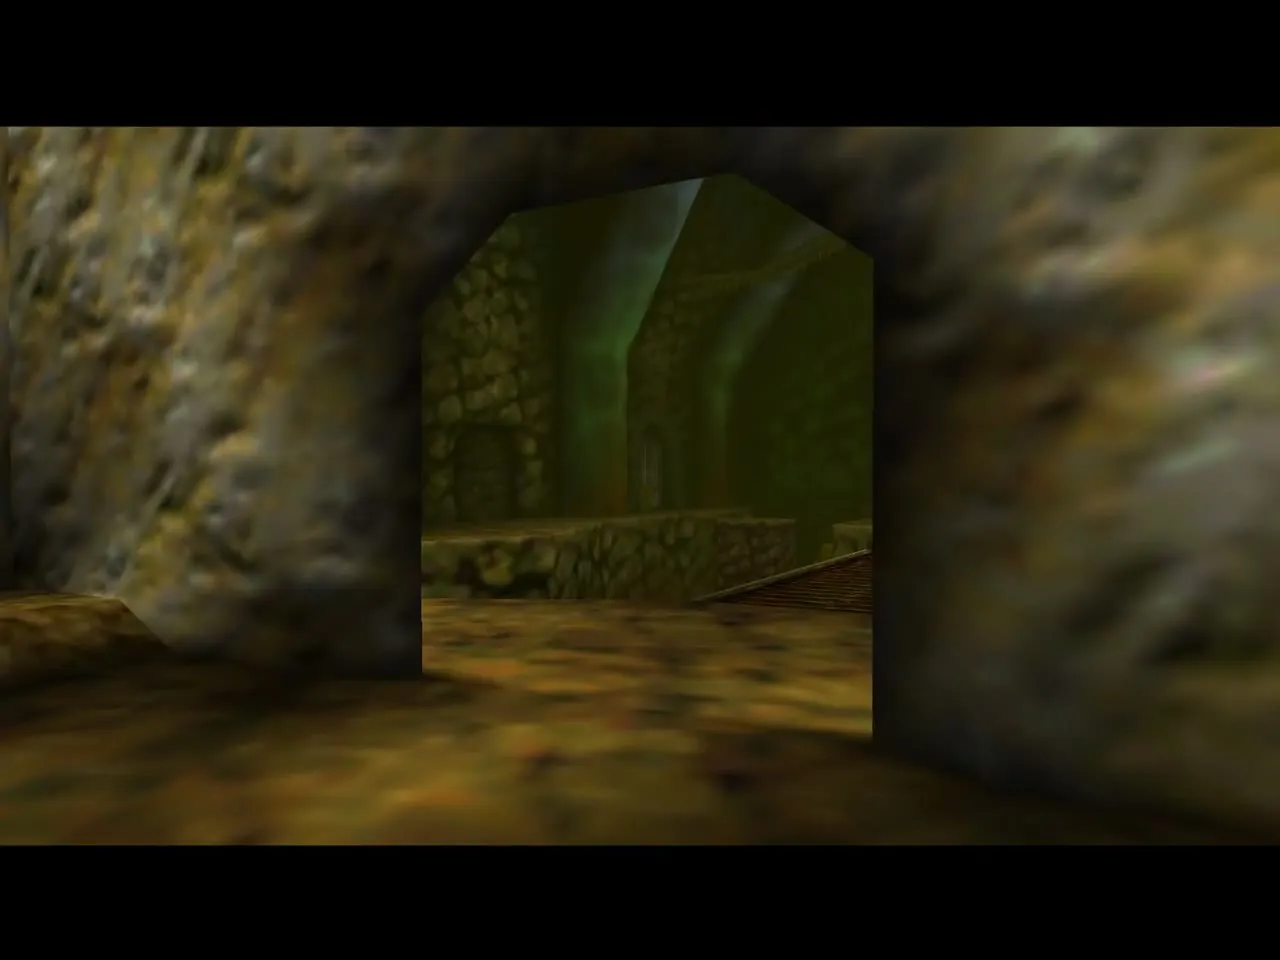
The main cavern and the upper floor
Lava, platforms and the dead Dodongo
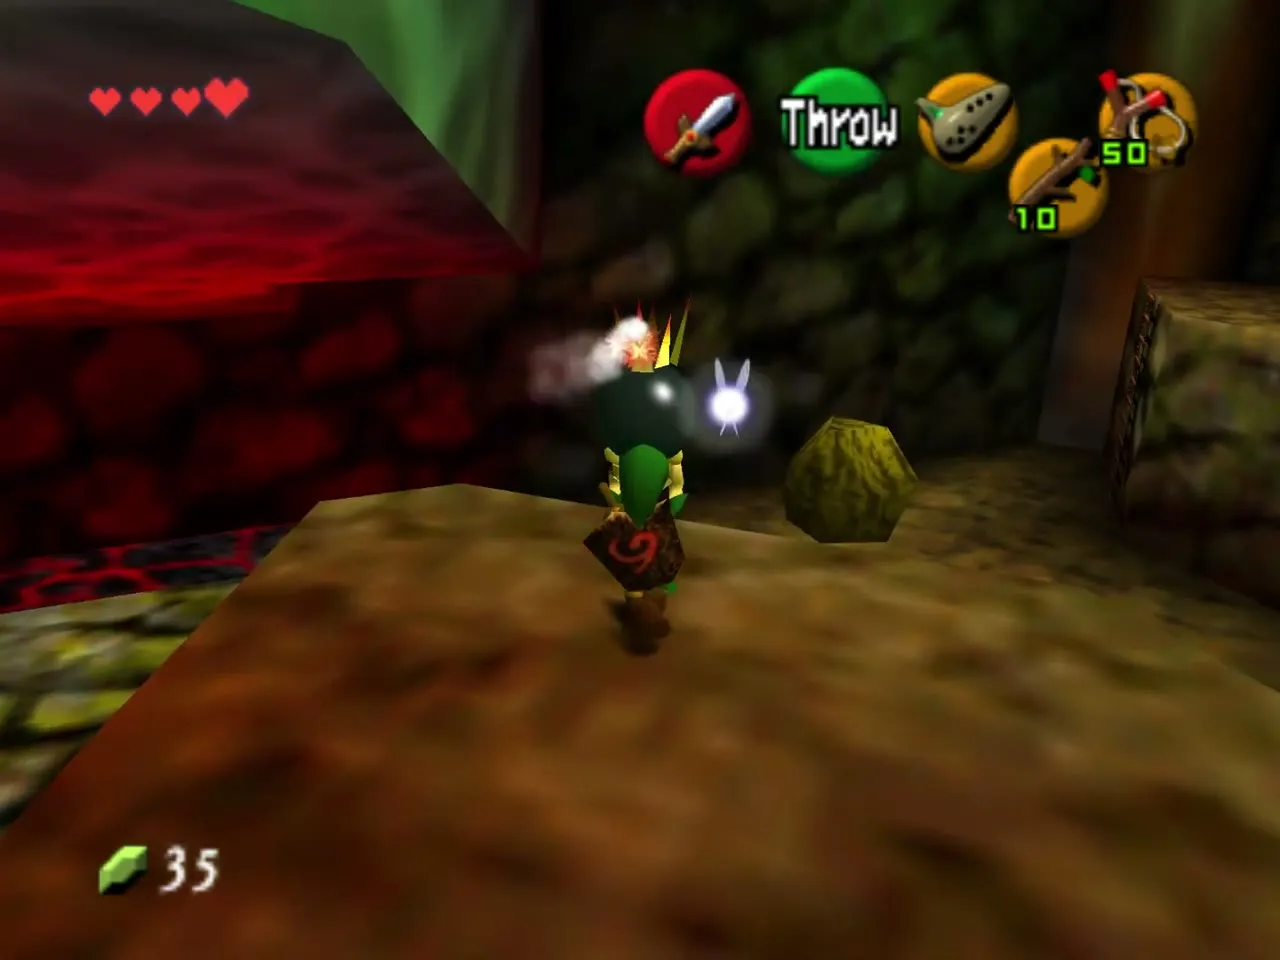
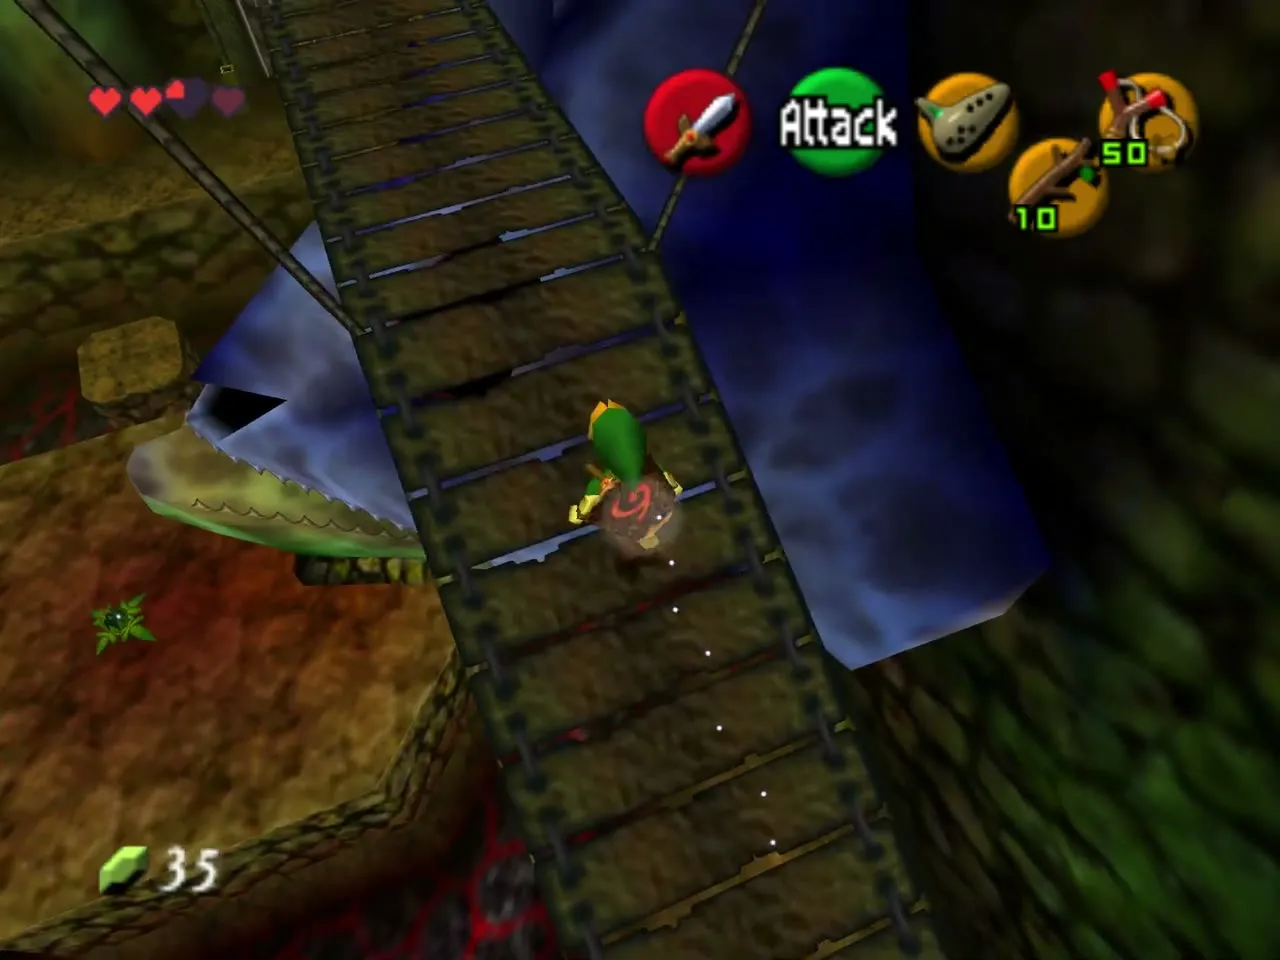
The first big room is a lava lake with stone platforms, wooden bridges high above and a huge carved Dodongo skull on the far wall. Almost everything here is a bomb puzzle, and the floor is lava, so stay on the platforms. One chest sits in a raised alcove that you cannot touch for now: it holds the Bomb Bag, and you will be back for it.
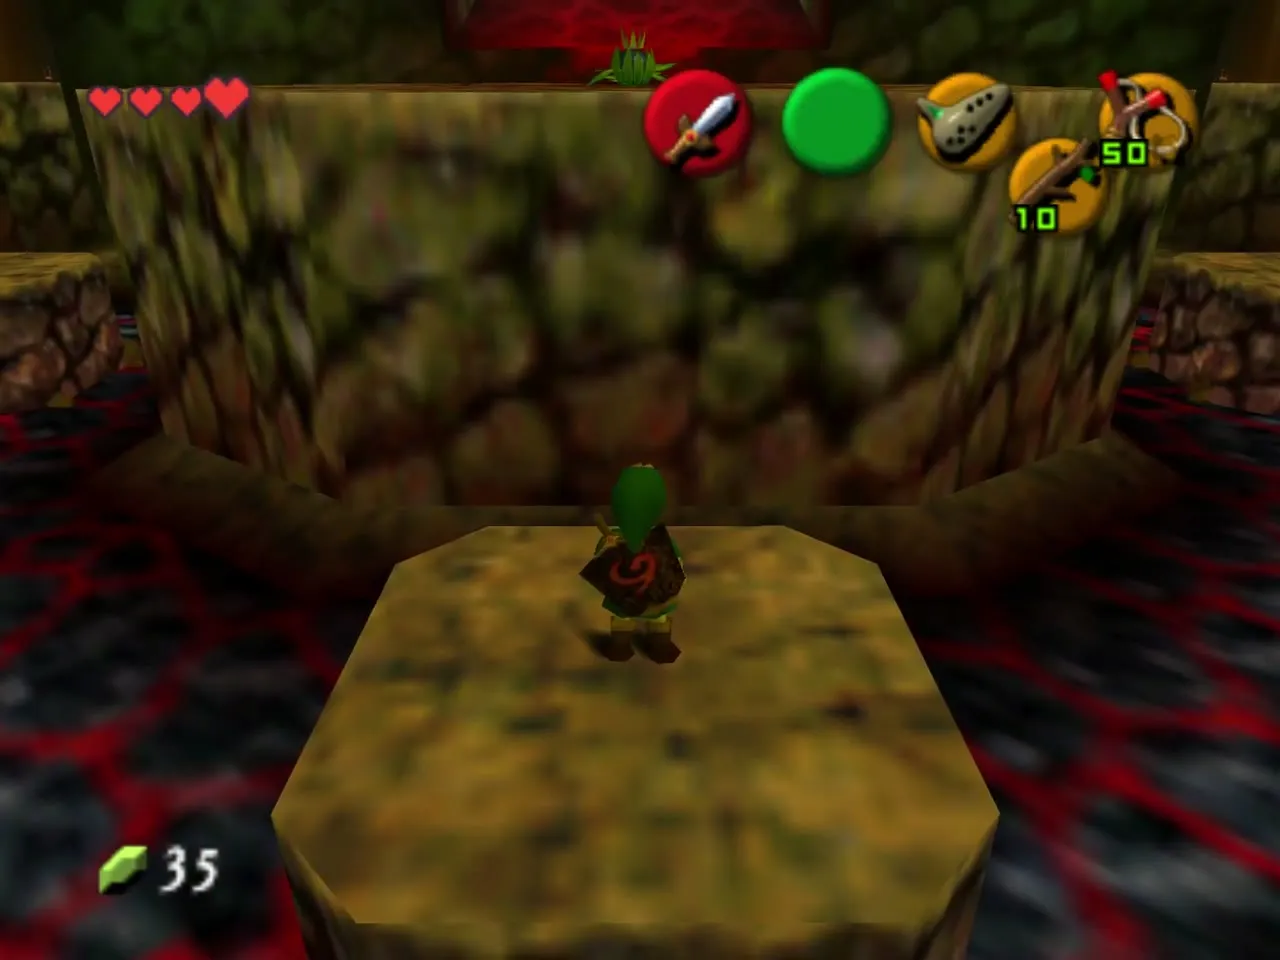
Switch for the upper floor
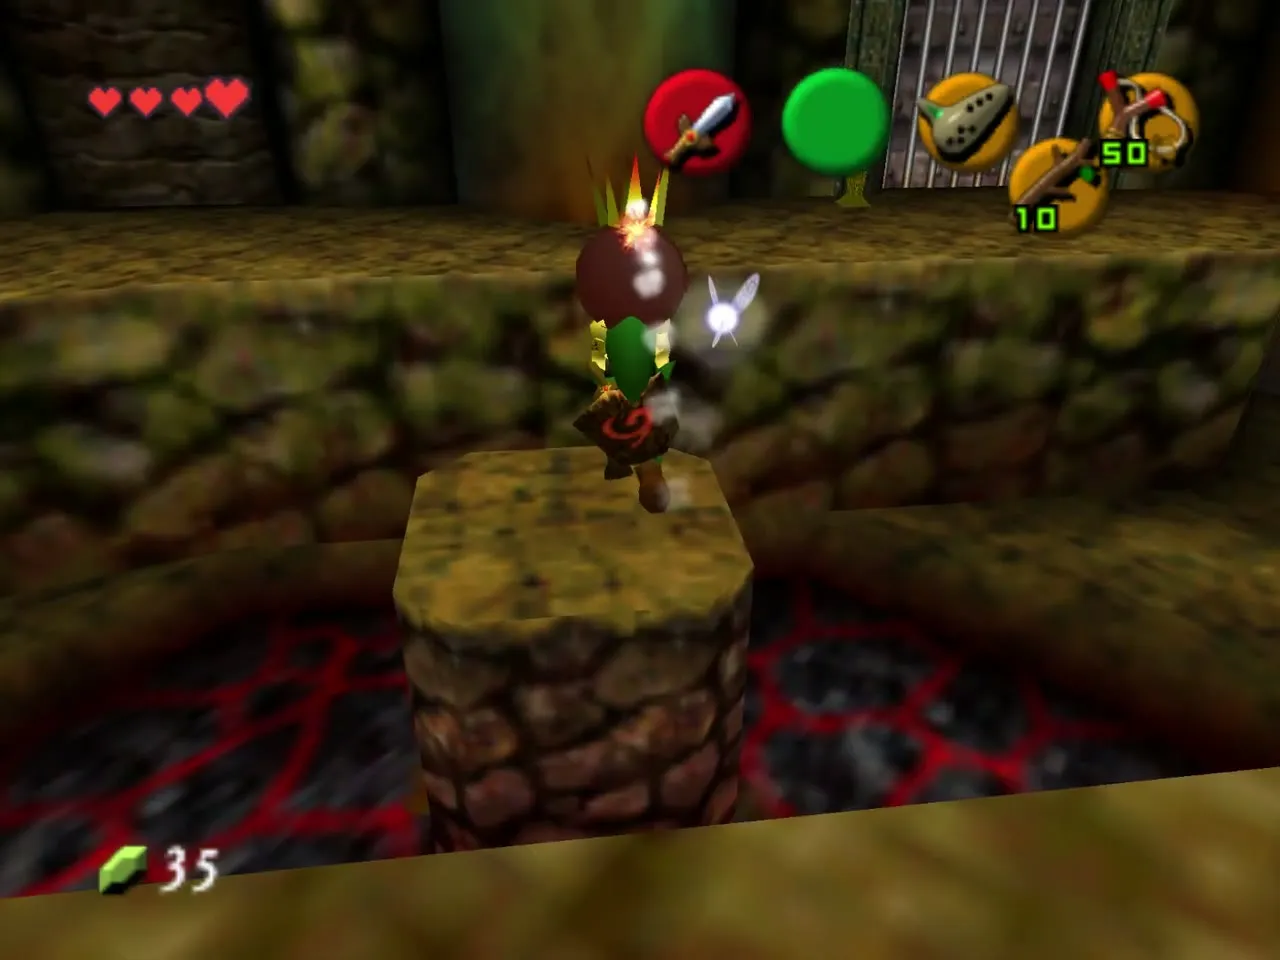
Hop to the platform in the middle and look down to the lower floor on the left for a lone boulder. Carry a Bomb Flower over and blow it up: a floor switch lies underneath. Step on it to start the nearby stone pillar rising and falling, then ride it to the second floor. The Dungeon Map is a separate prize and can wait, so for now go up.
Across the bridge to the barred door
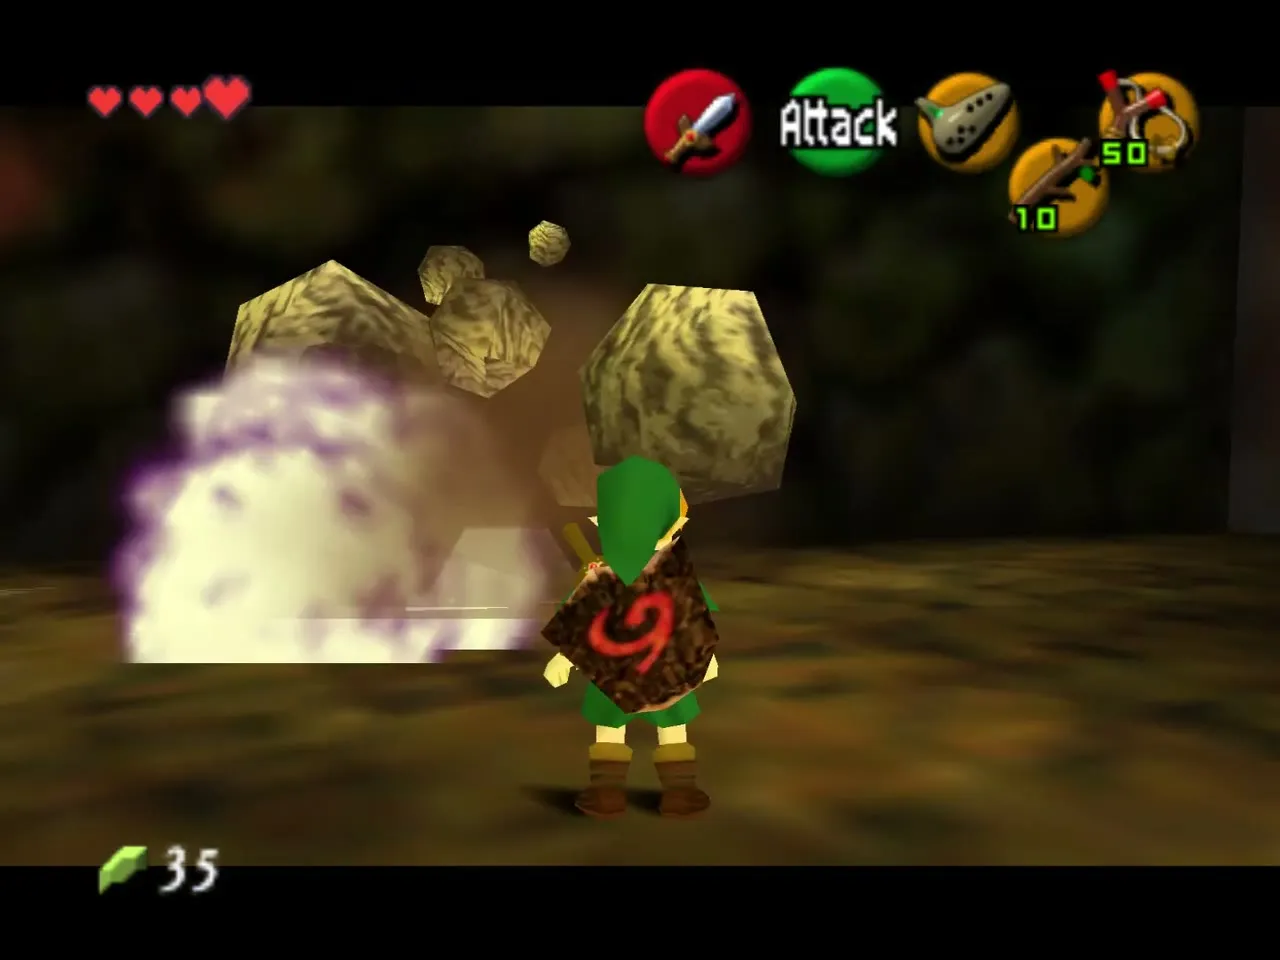
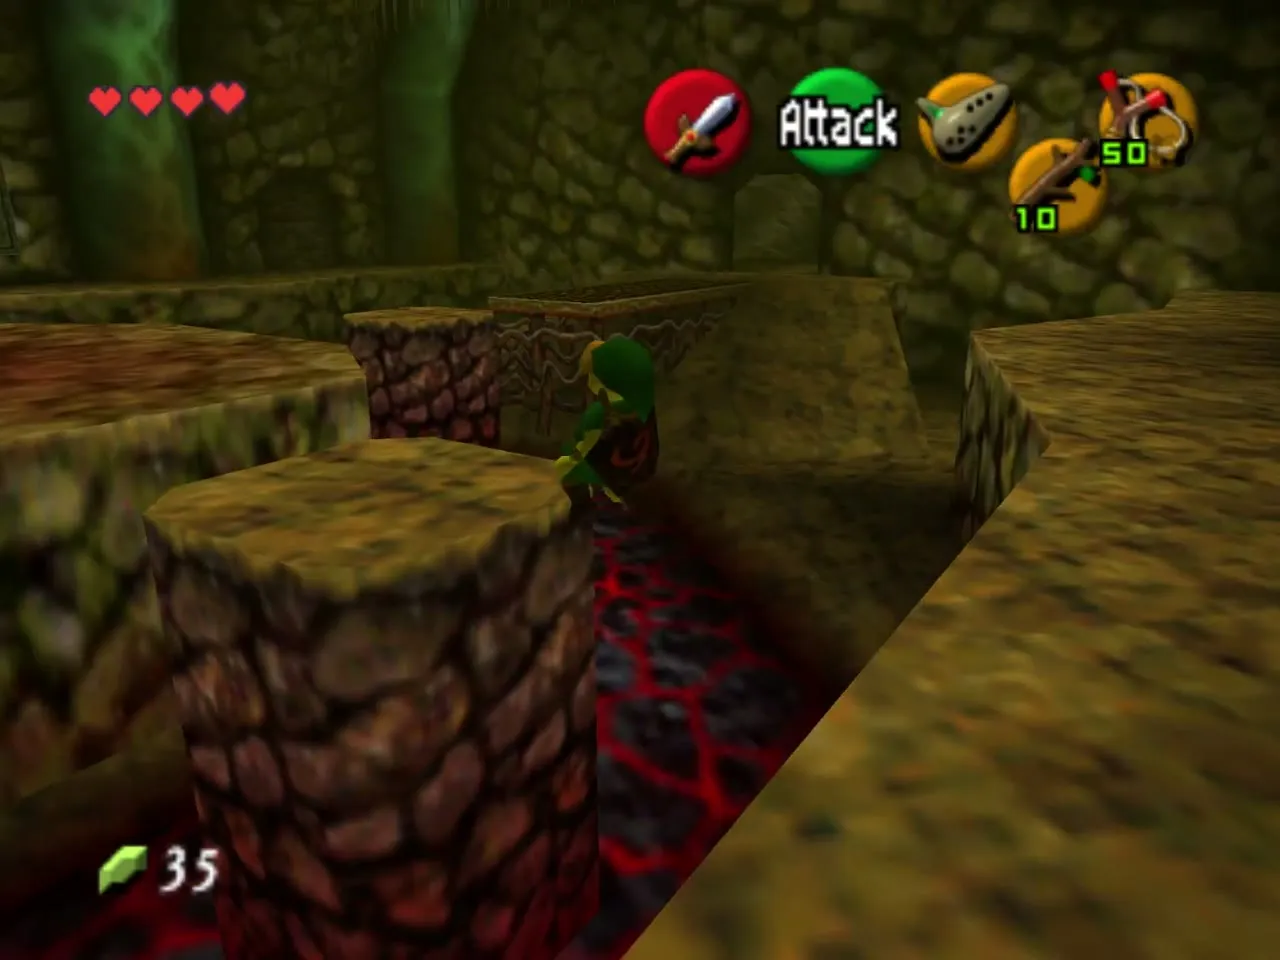
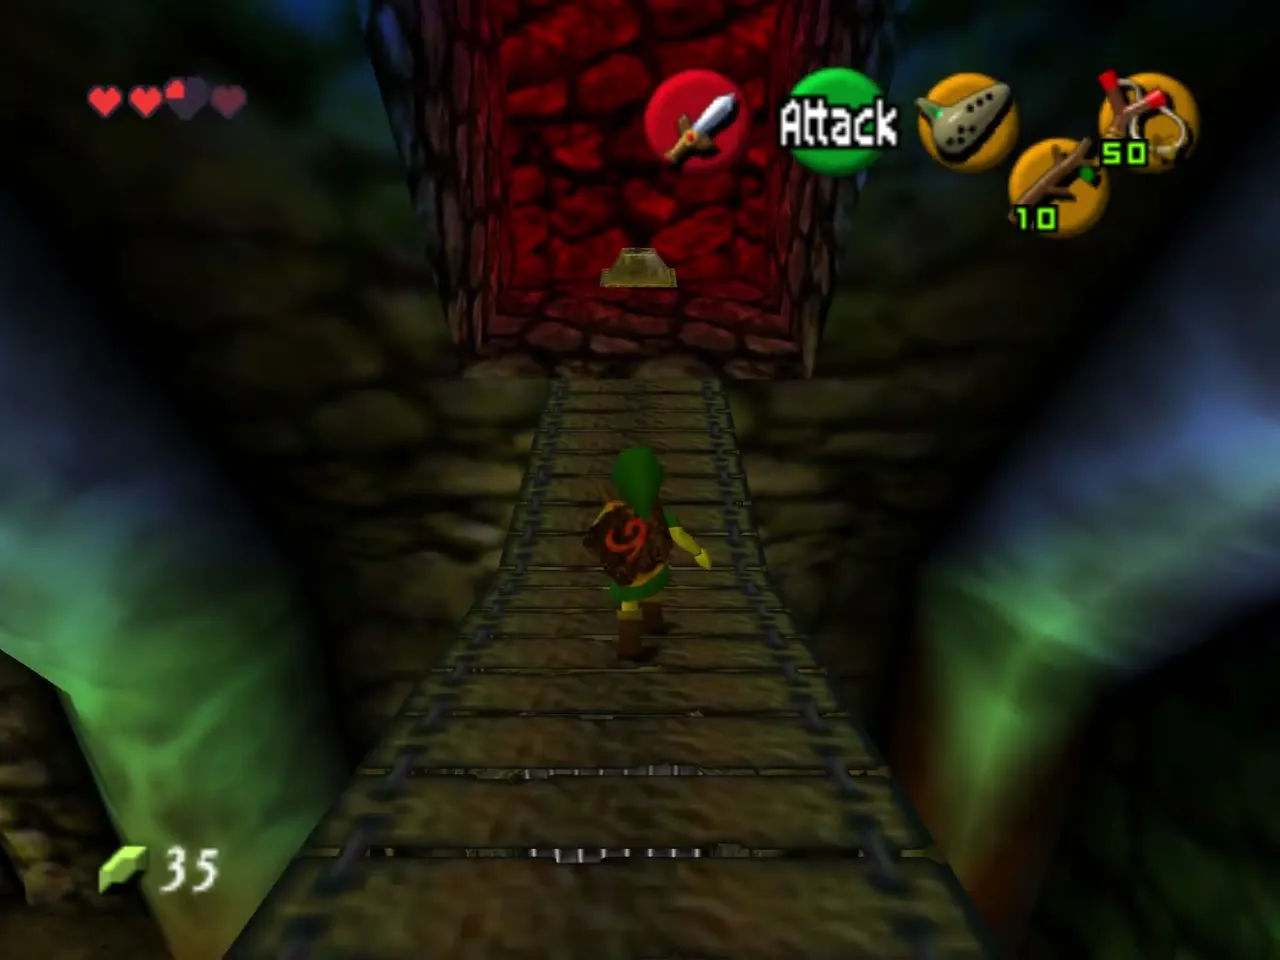
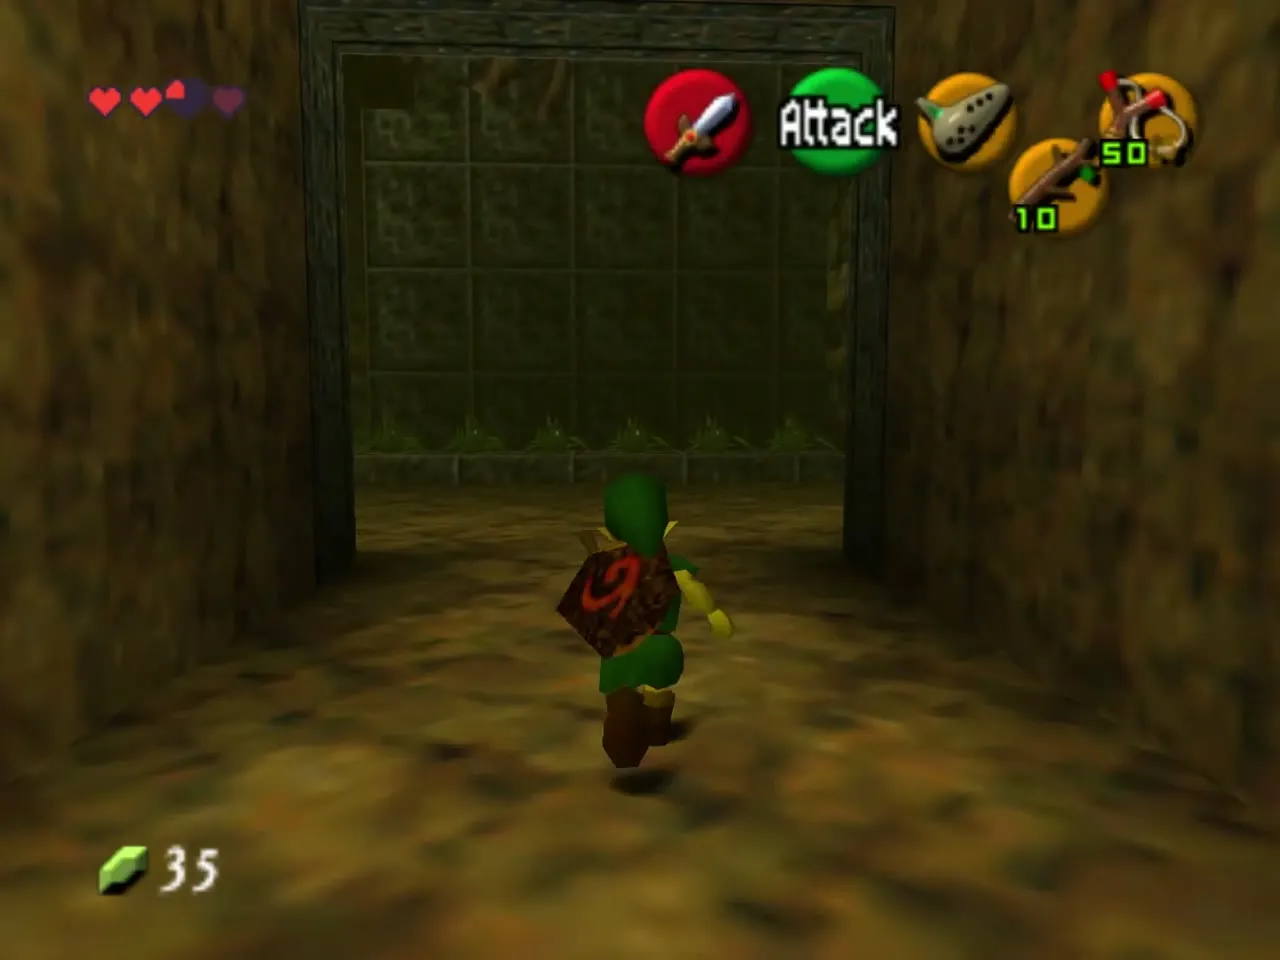
On the upper floor the way forward is blocked by boulders, so turn right and cross the wooden bridge that runs above the skull. A switch waits on the far side; press it and the barred door on the lower level opens. Ride the pillar down or simply jump down, then go through that door.
The giant pillar room: silver rupees
Beamos and the Bomb Flower chain
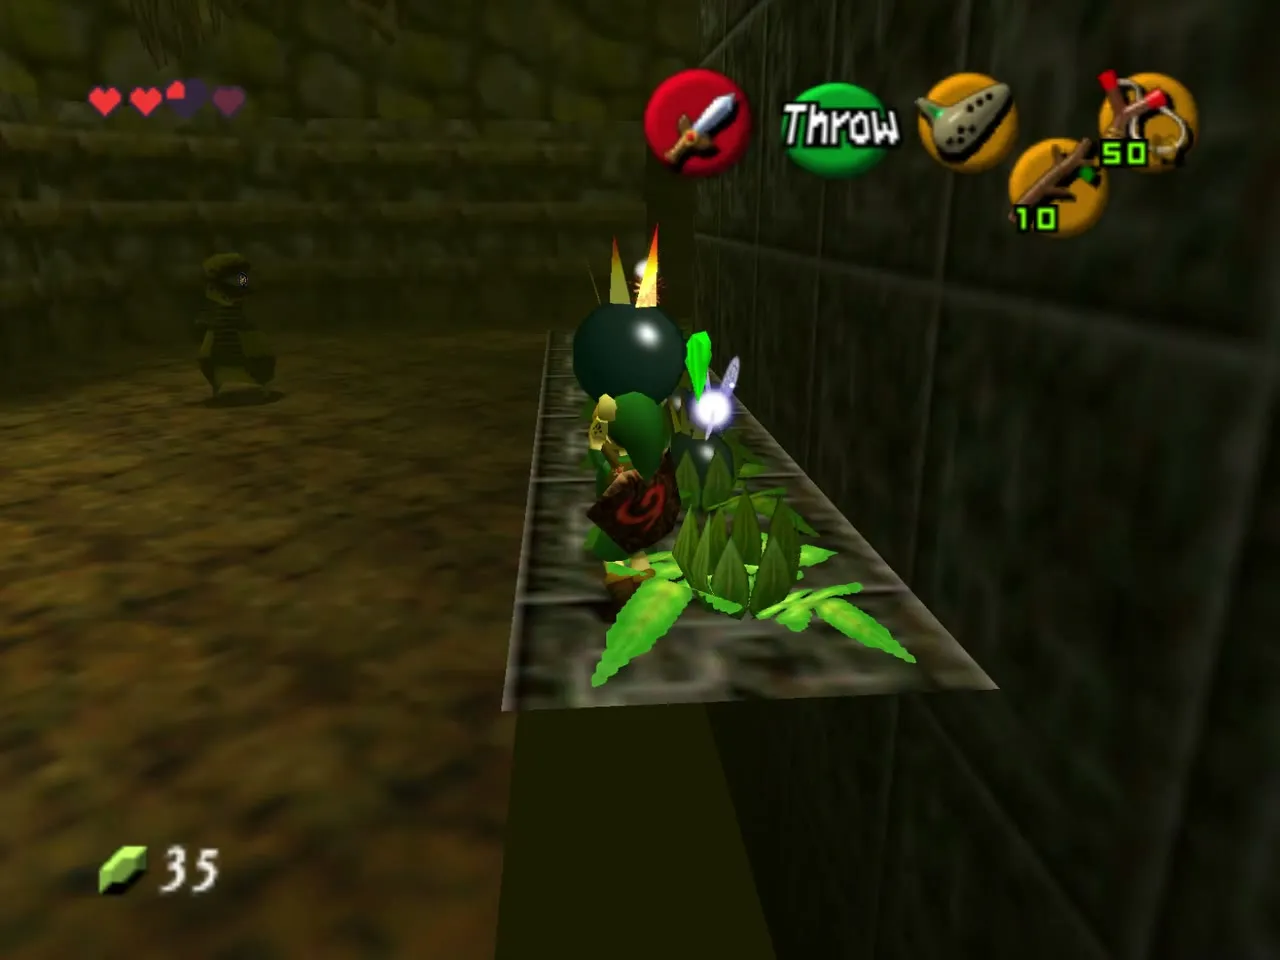
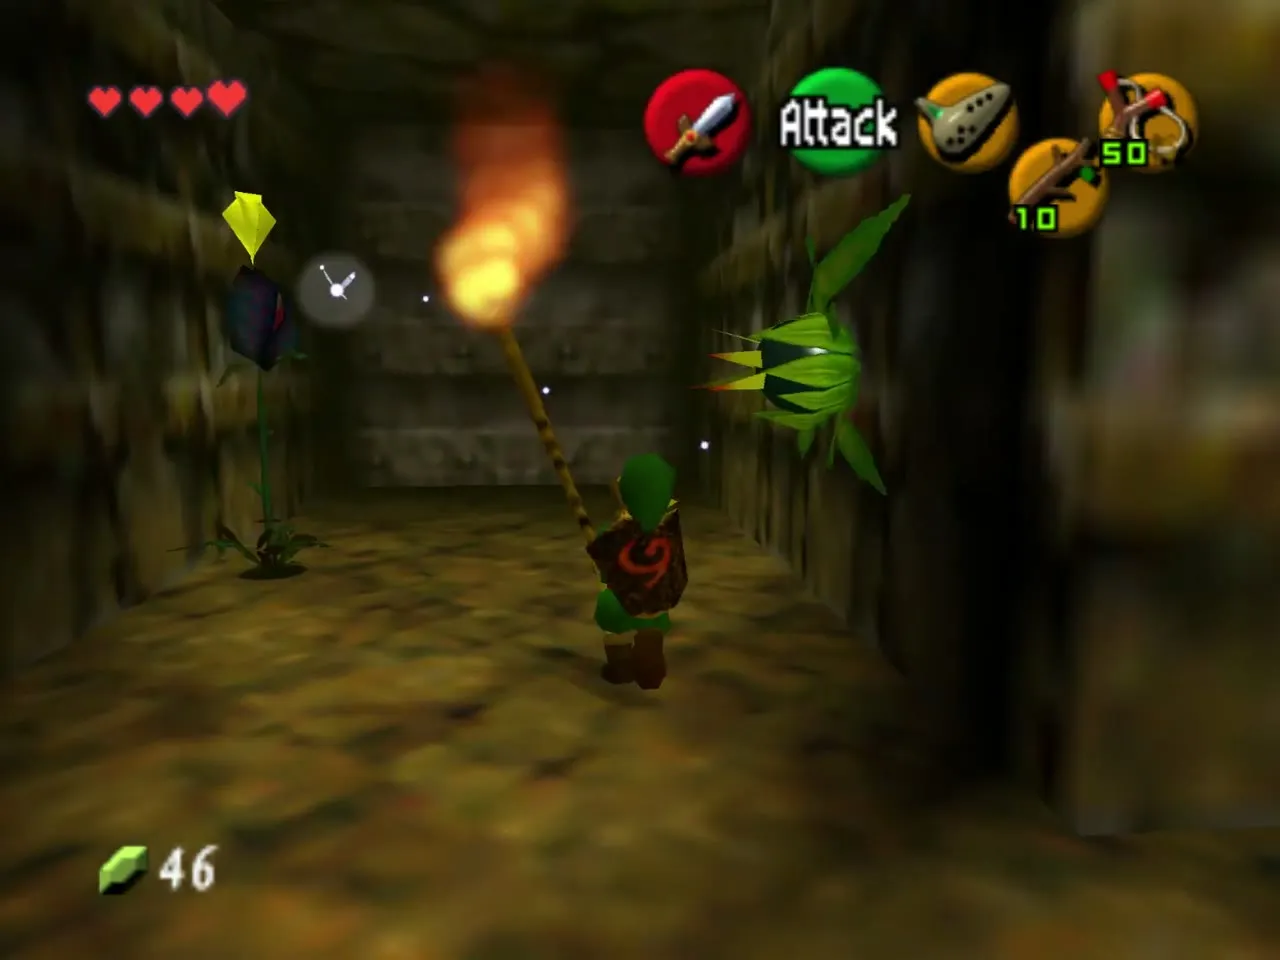
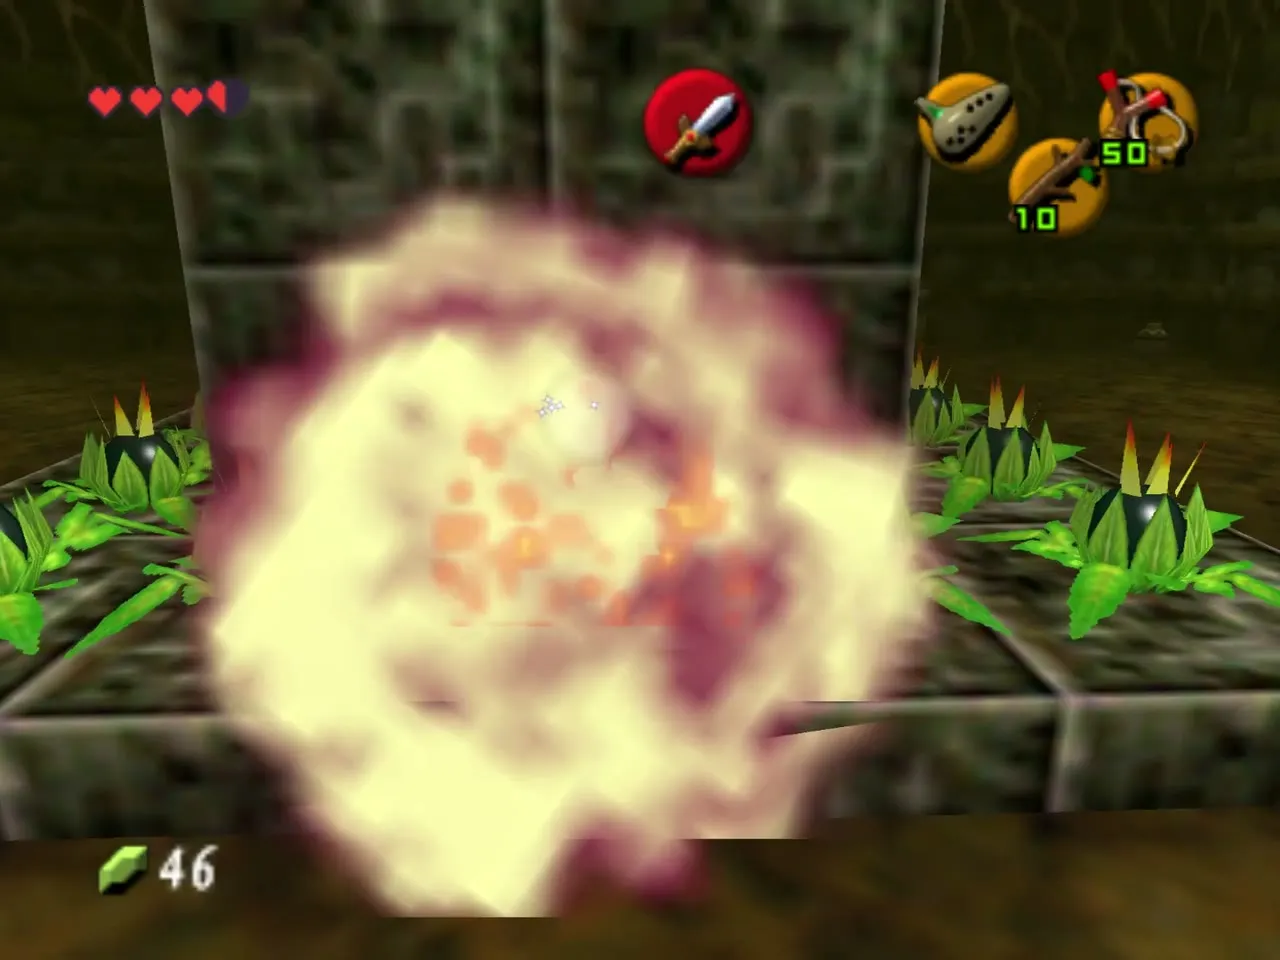
A huge stone pillar stands in the middle of this room, ringed by Bomb Flowers and guarded by Beamos. Pull up a Bomb Flower and throw it at each Beamos to destroy them. Another cracked wall conceals one more Bomb Flower; blow the wall, light a Deku Stick on the nearby torch, and set the hidden flower alight to carry it. Throw the burning flower into the gap in the row of Bomb Flowers around the pillar, and the chain reaction lowers the pillar into a staircase.
Collect all five silver rupees
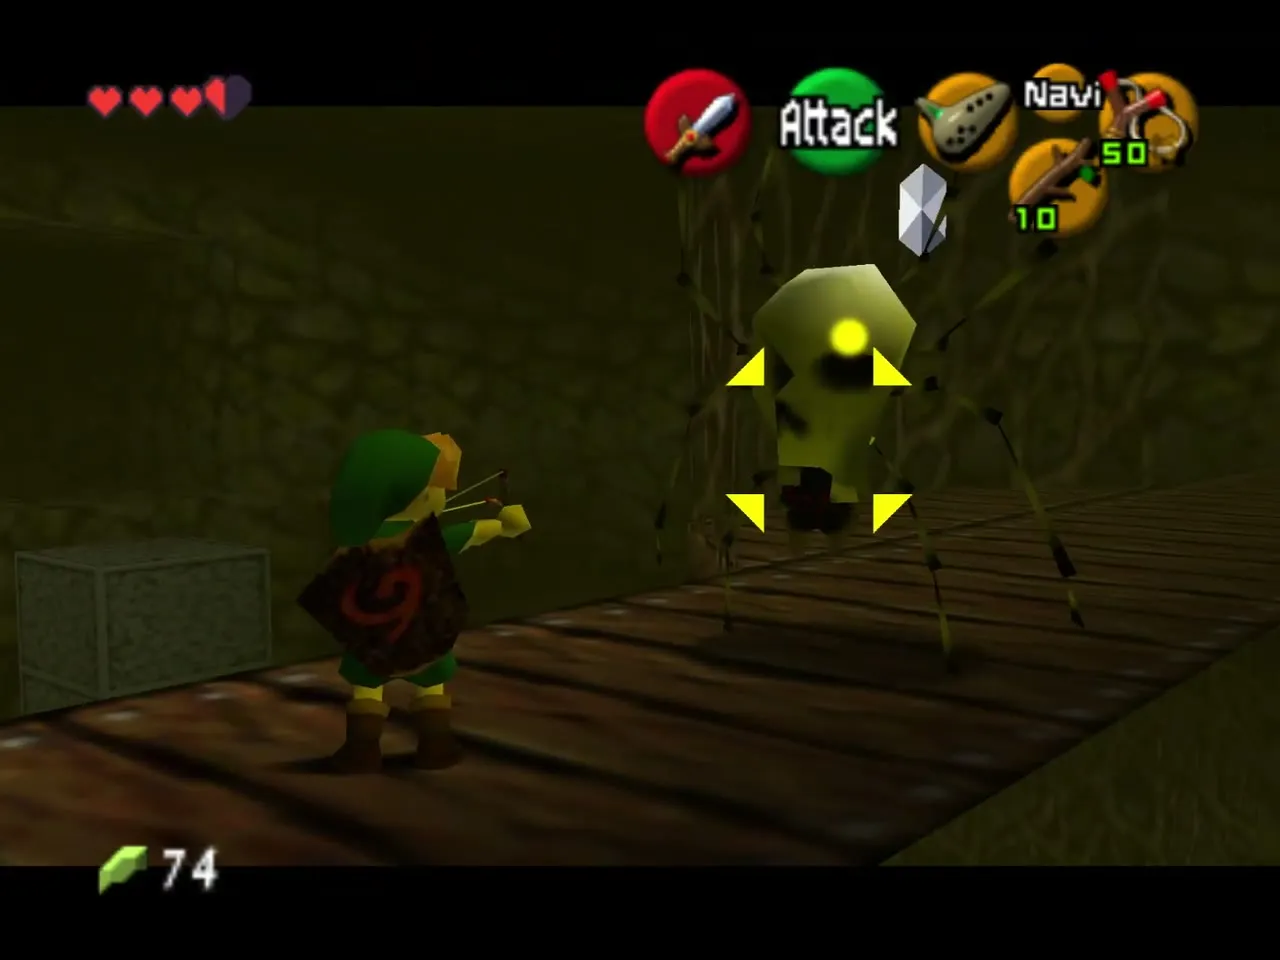
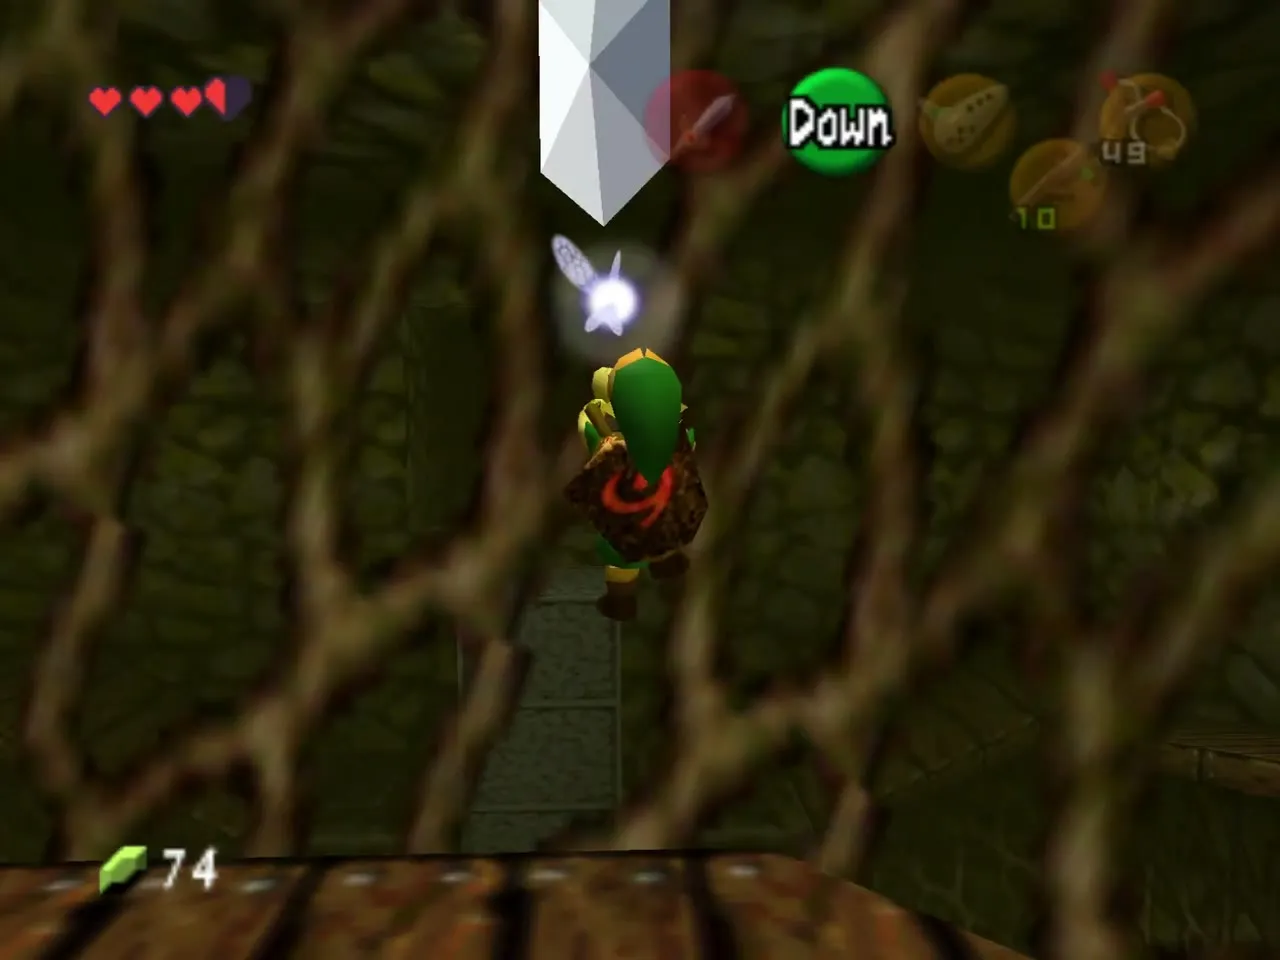
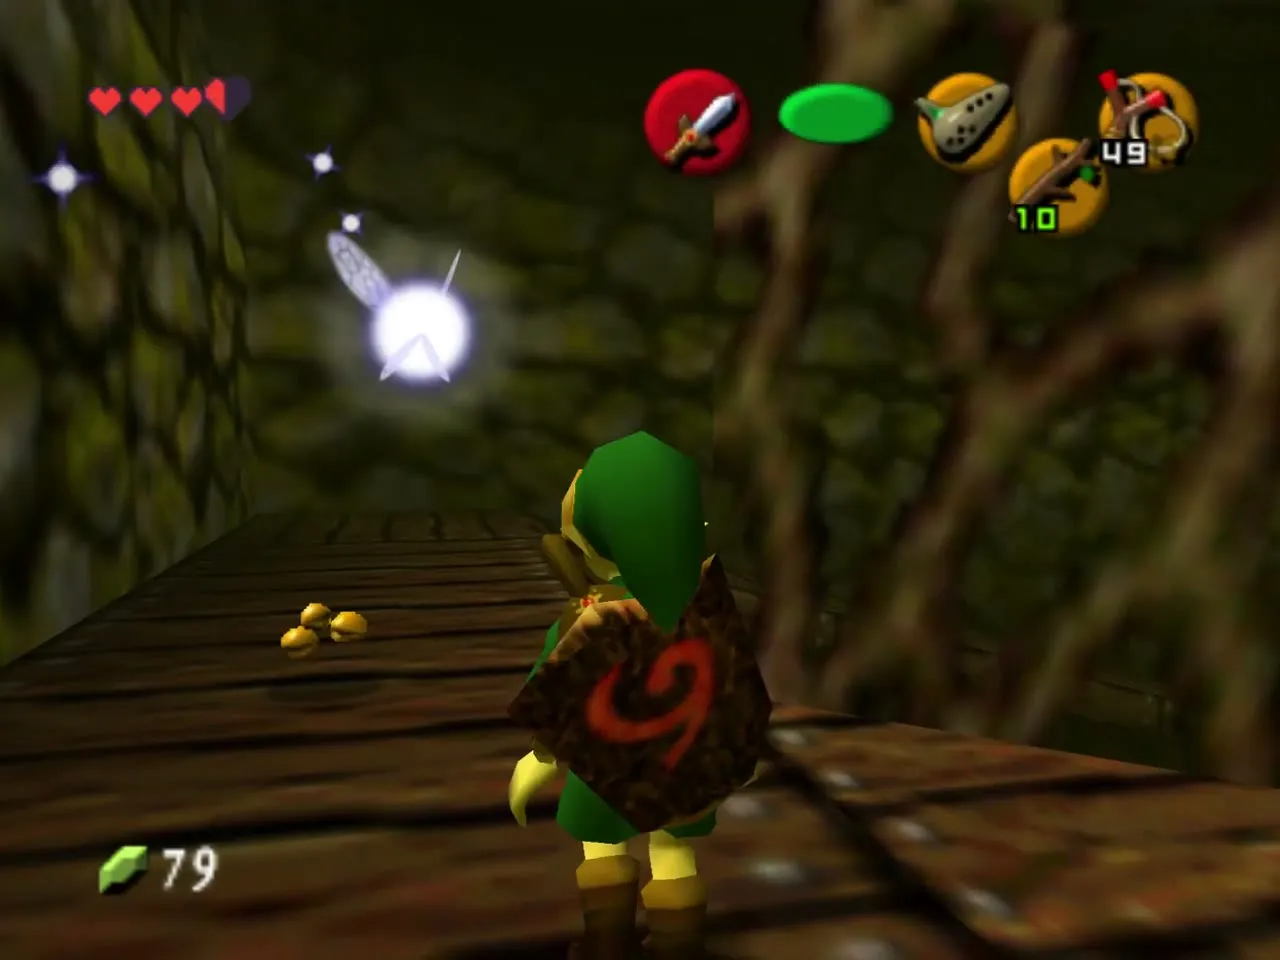
Five silver rupees are scattered through the room, and the door out stays shut until you have all of them. The first drops from the Beamos you blow up, the second is in the crate behind it (roll into it), and two more are in crates at the top of the stairs, one on each path. The fifth hangs among the vines at the very top where the two paths meet. Skulltulas patrol the top walkway, so shoot them from a distance before you climb.
The Deku Scrub at the top
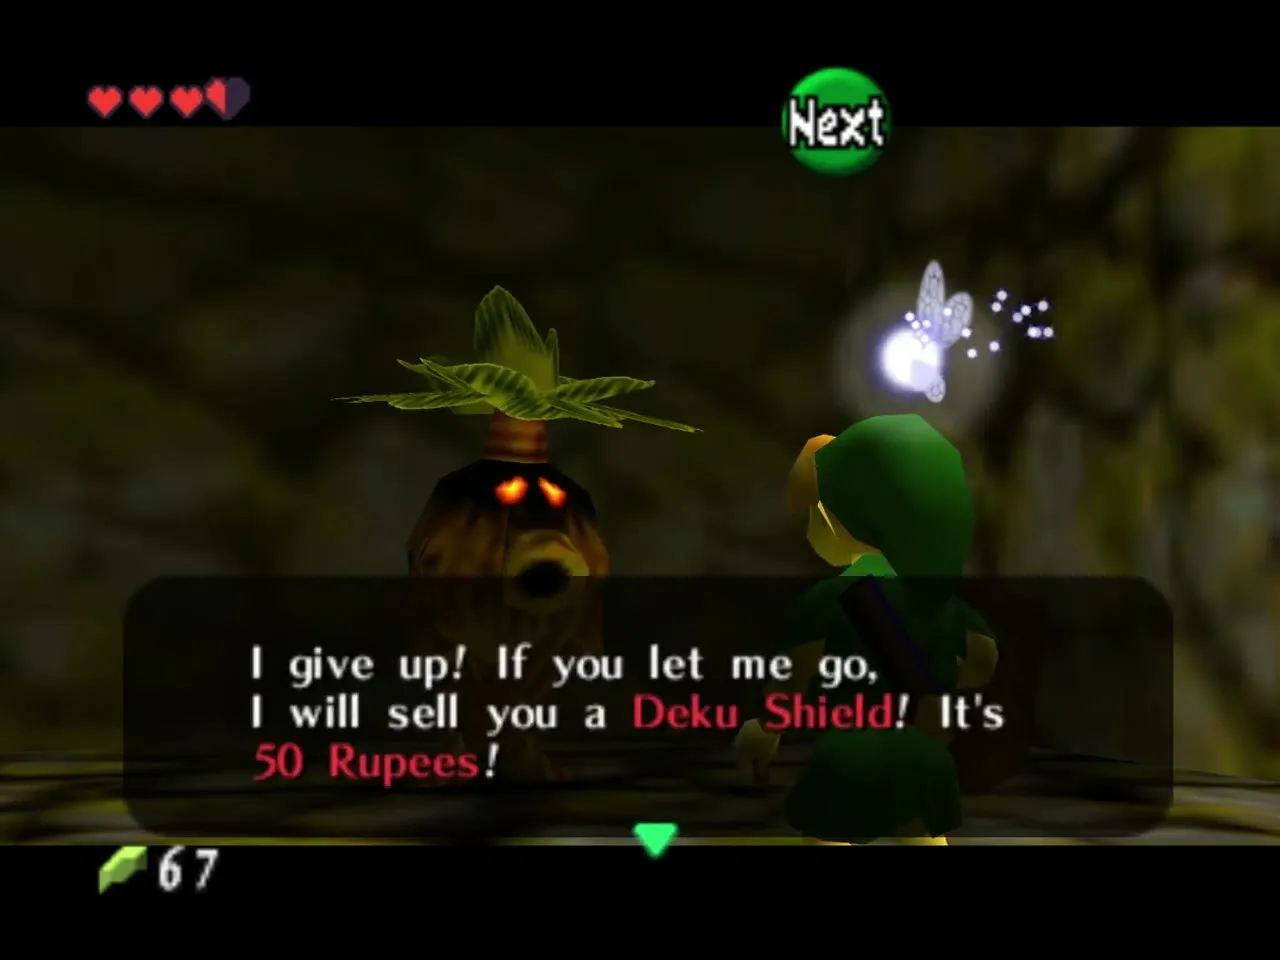
At the top of the stairs a Business Scrub sells a replacement Deku Shield, which is useful if Fire Keese or a Baby Dodongo have burned yours. A second bomb-wall in this room leads to a puzzle that needs the Song of Time, so leave it until you are older.
Three Dodongos and the Compass
Fight them from the ladder
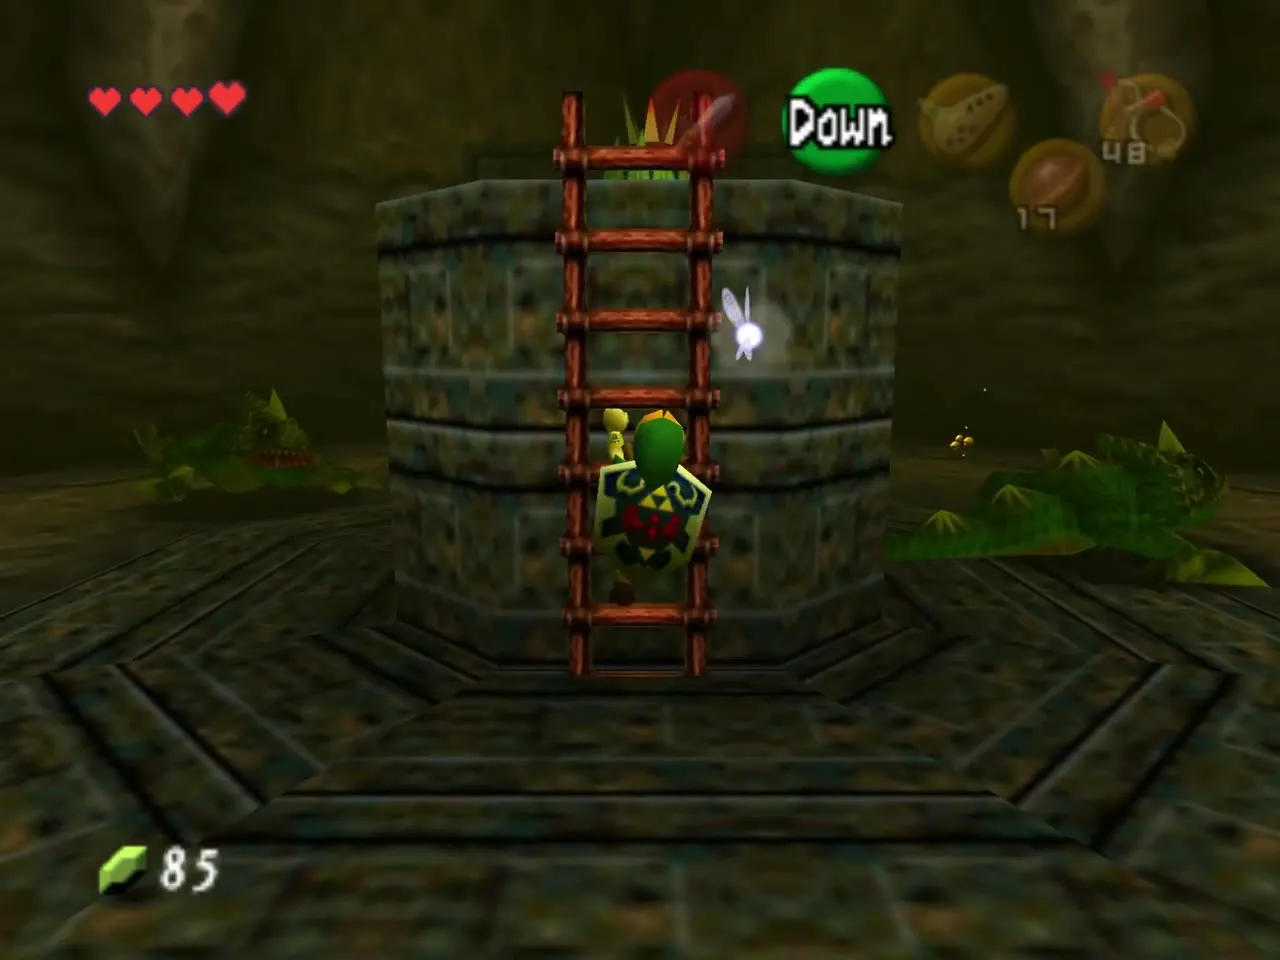
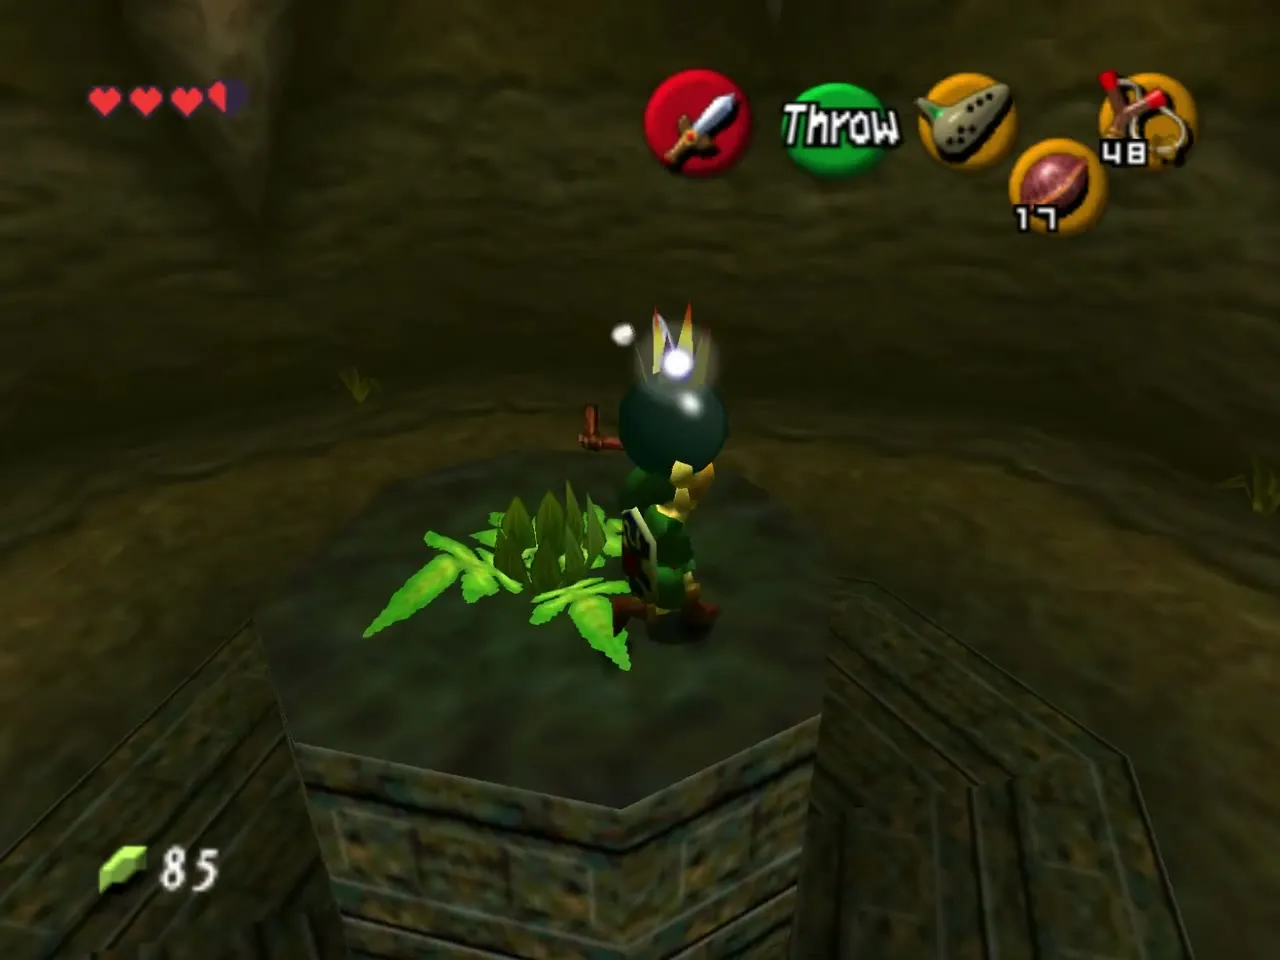
With all five silver rupees in hand the door opens into a small round room with three Dodongos prowling around a stone pillar. Swiping at their tails works, but the room is tight and their fire breath is painful. The safer route is the ladder up the central pillar: a Bomb Flower grows on top, so lift it and throw it down onto the Dodongos from above.
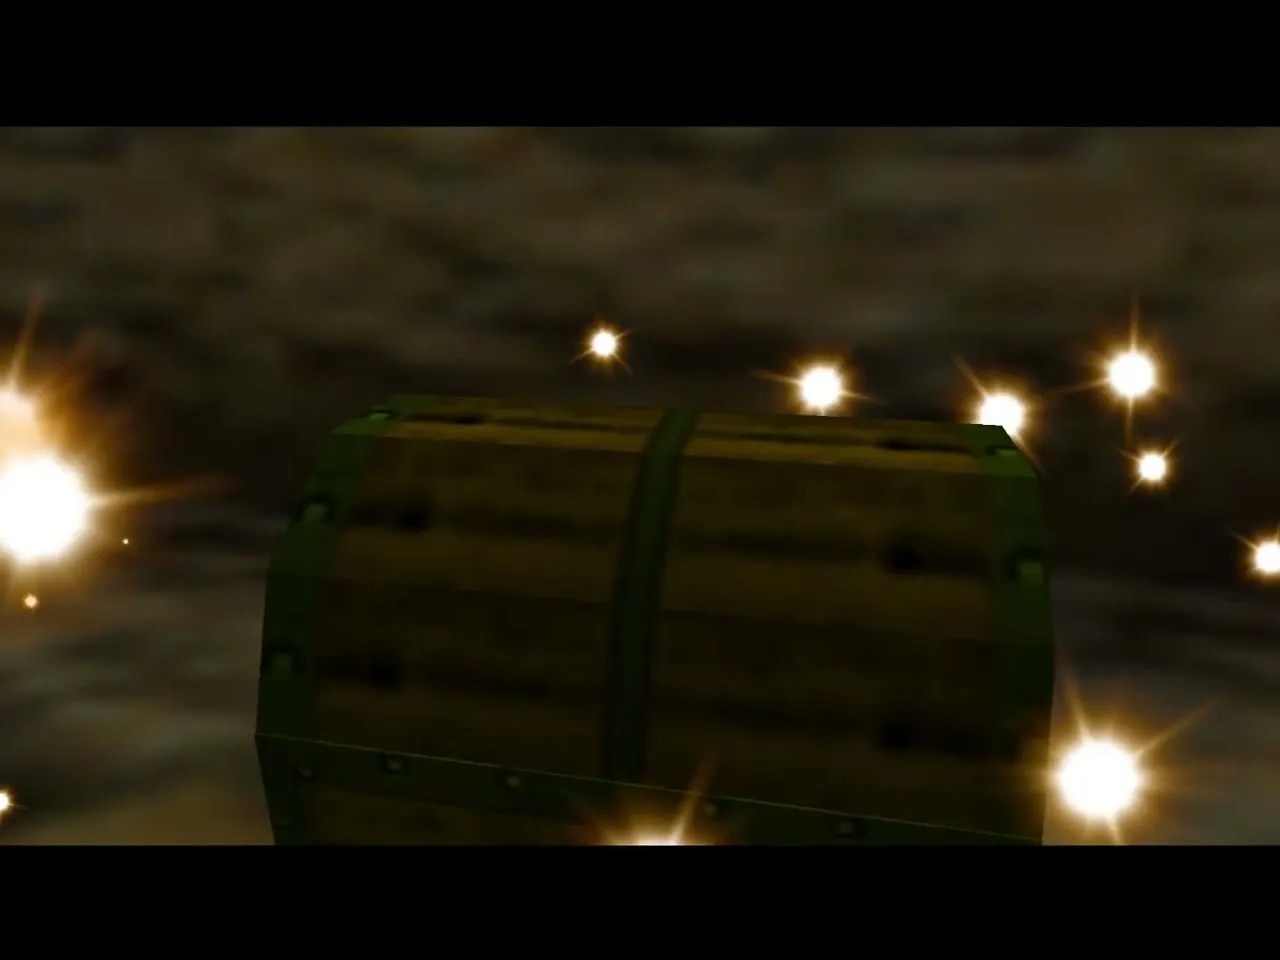
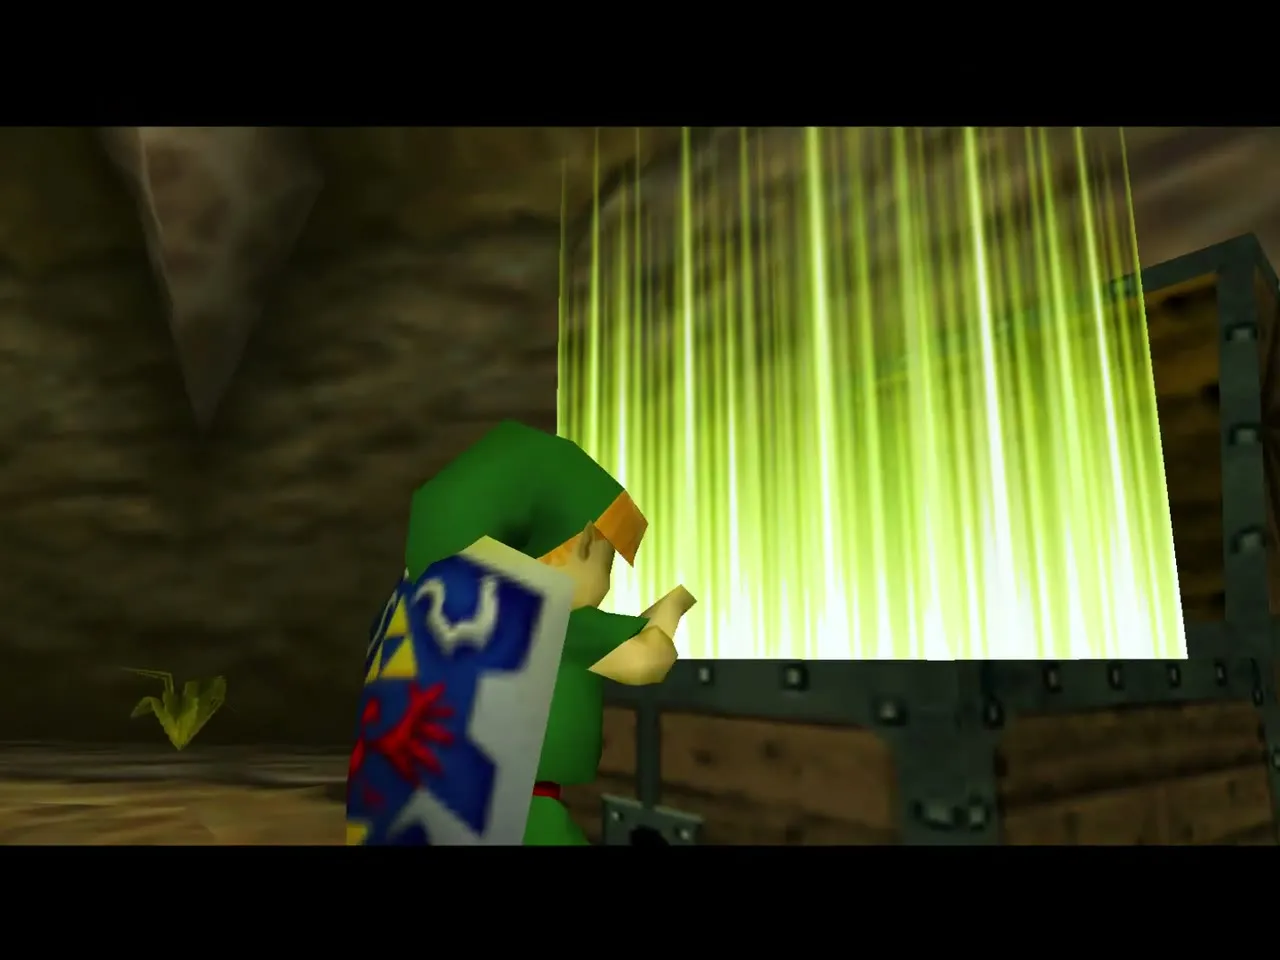
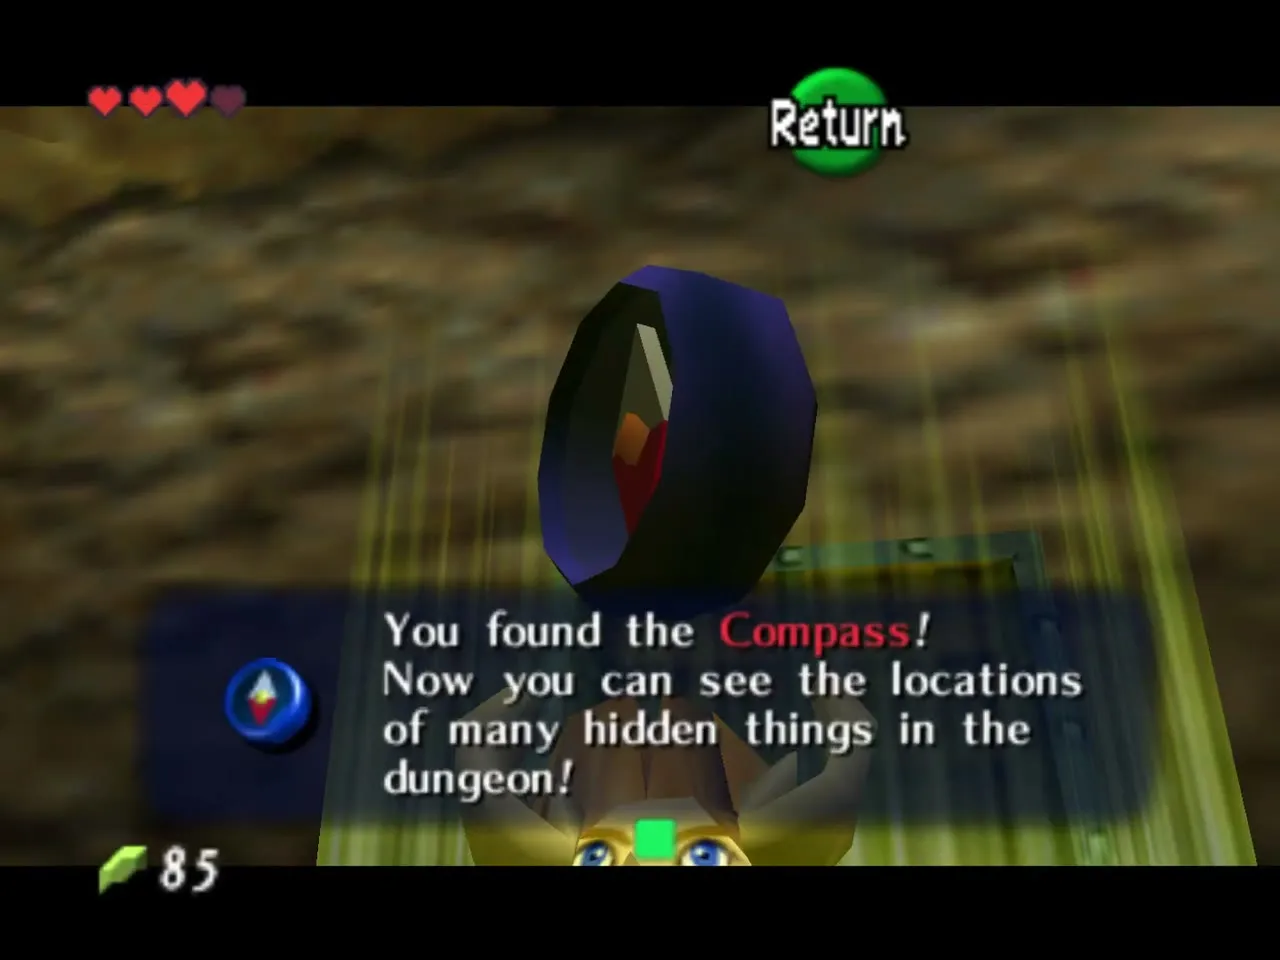
Compass chest
When the last Dodongo falls, a chest appears at the foot of the pillar. Open it for the Compass, which marks chests and the boss room on the map. Leave through the door on the far side to return to the main cavern’s upper level.
The upper floor: torches, eggs and the first Lizalfos
Three blocks under three torches
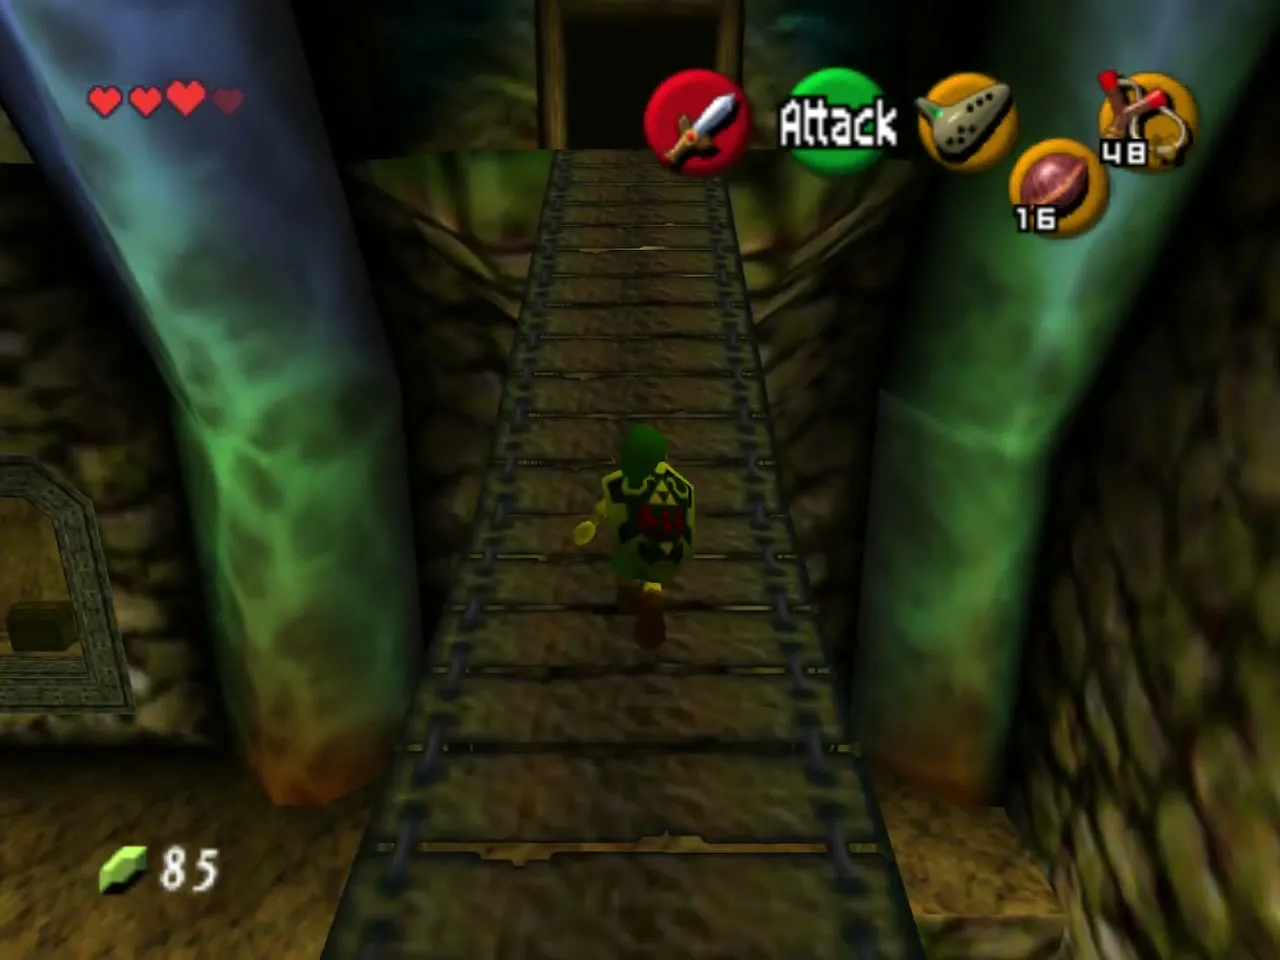
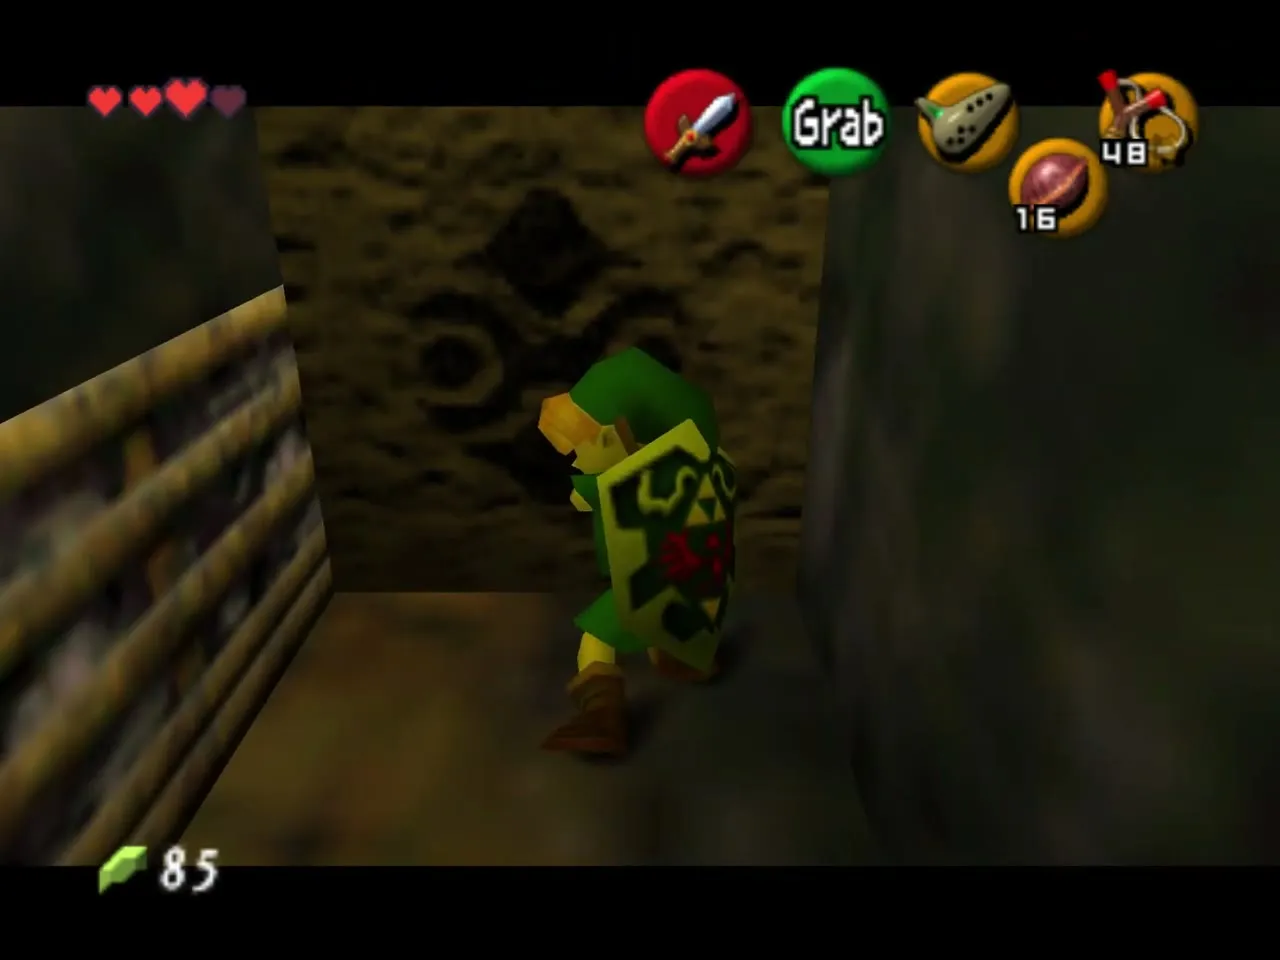
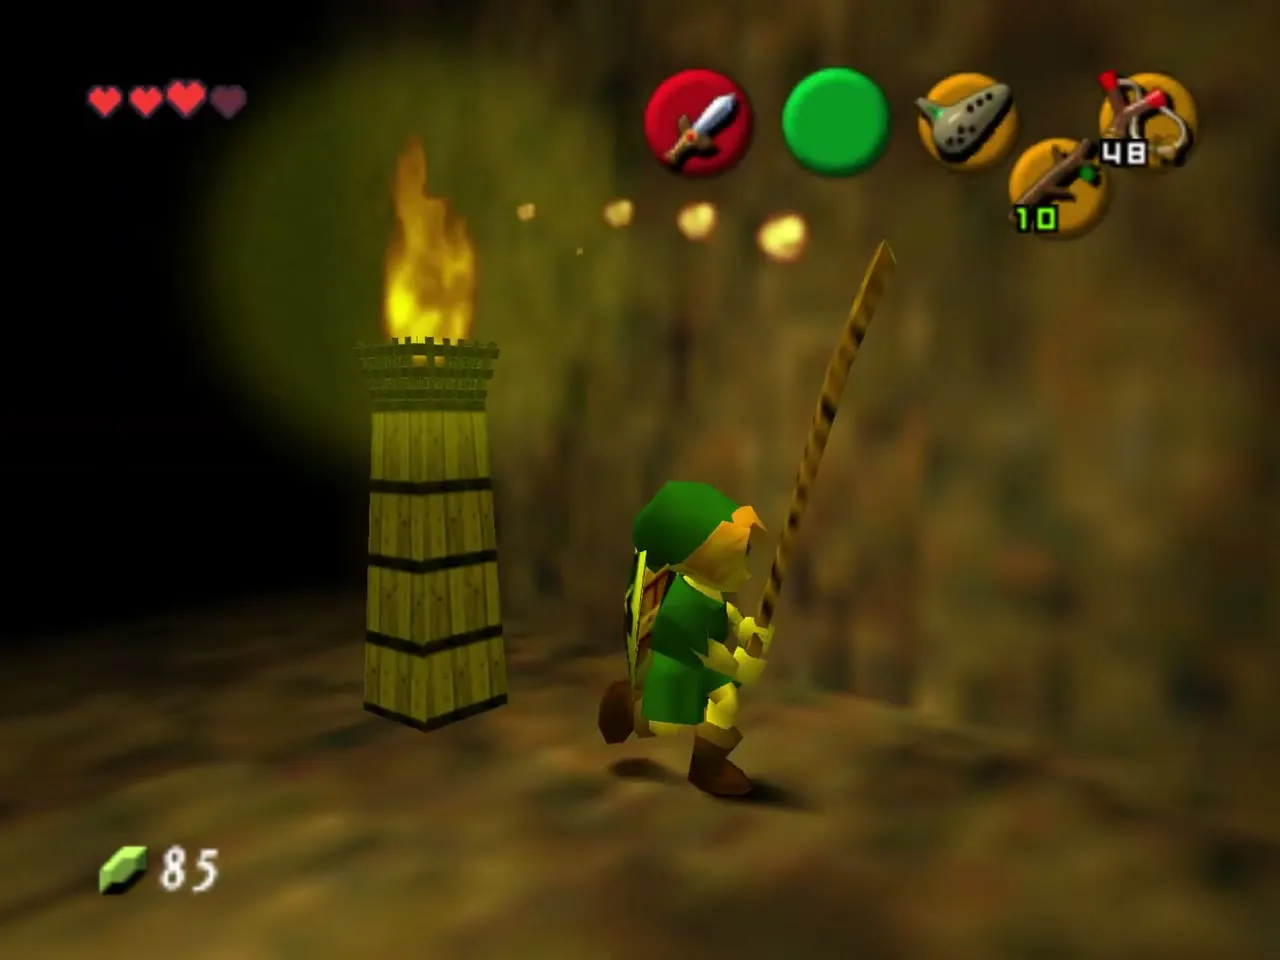
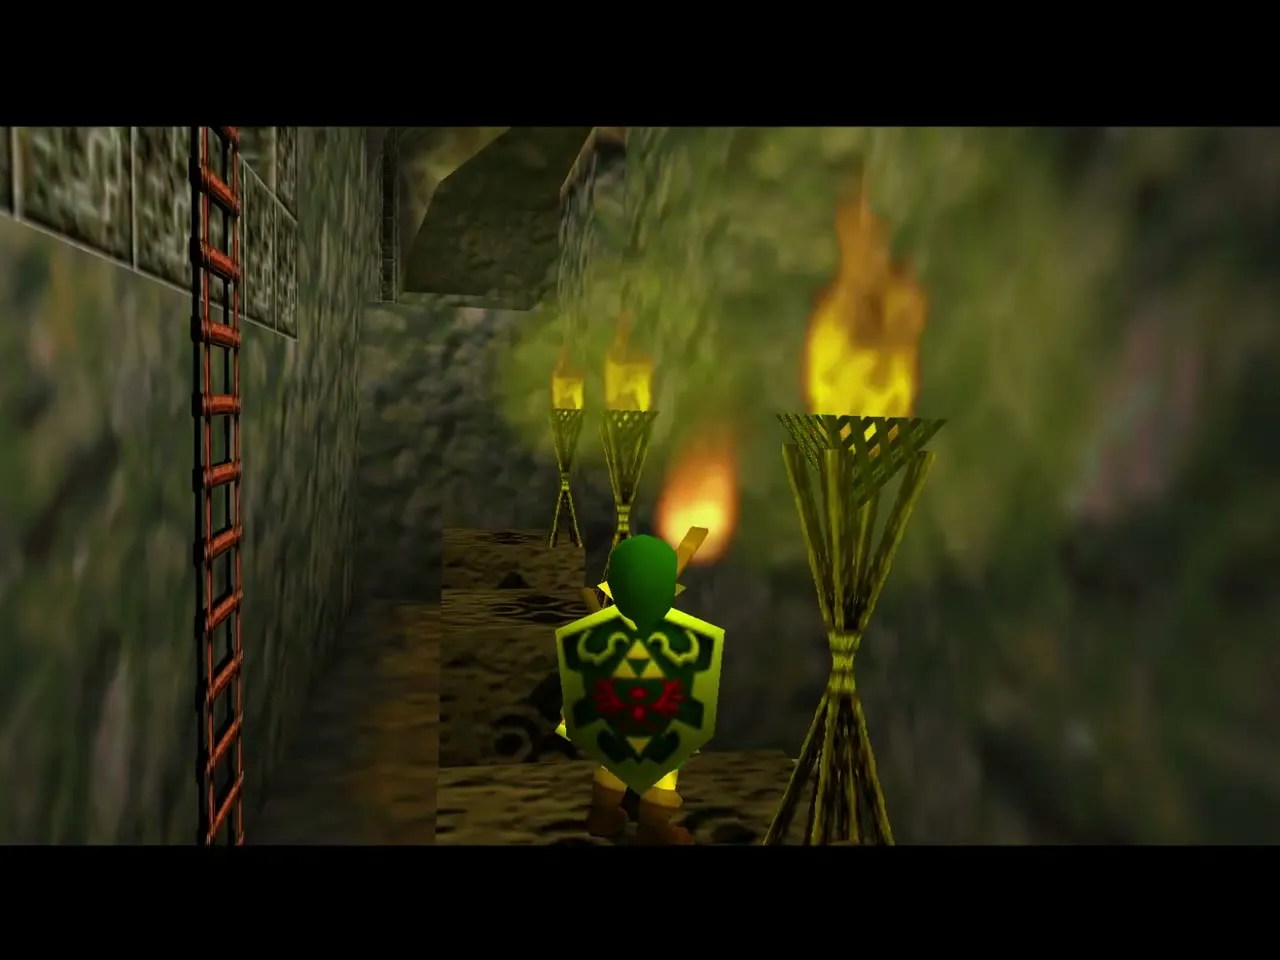
Cross the narrow bridge to the next door and drop to the floor of the torch room. Three movable blocks stand here, and three unlit torches hang from the pillars near the entrance. Push and pull each block until it sits under a torch. Then climb the ladder back to the start, light a Deku Stick on the burning torch there, and jump from block to block, lighting each torch. When the third one catches, the barred door on the right opens.
Eggs, crates and a Blue Rupee
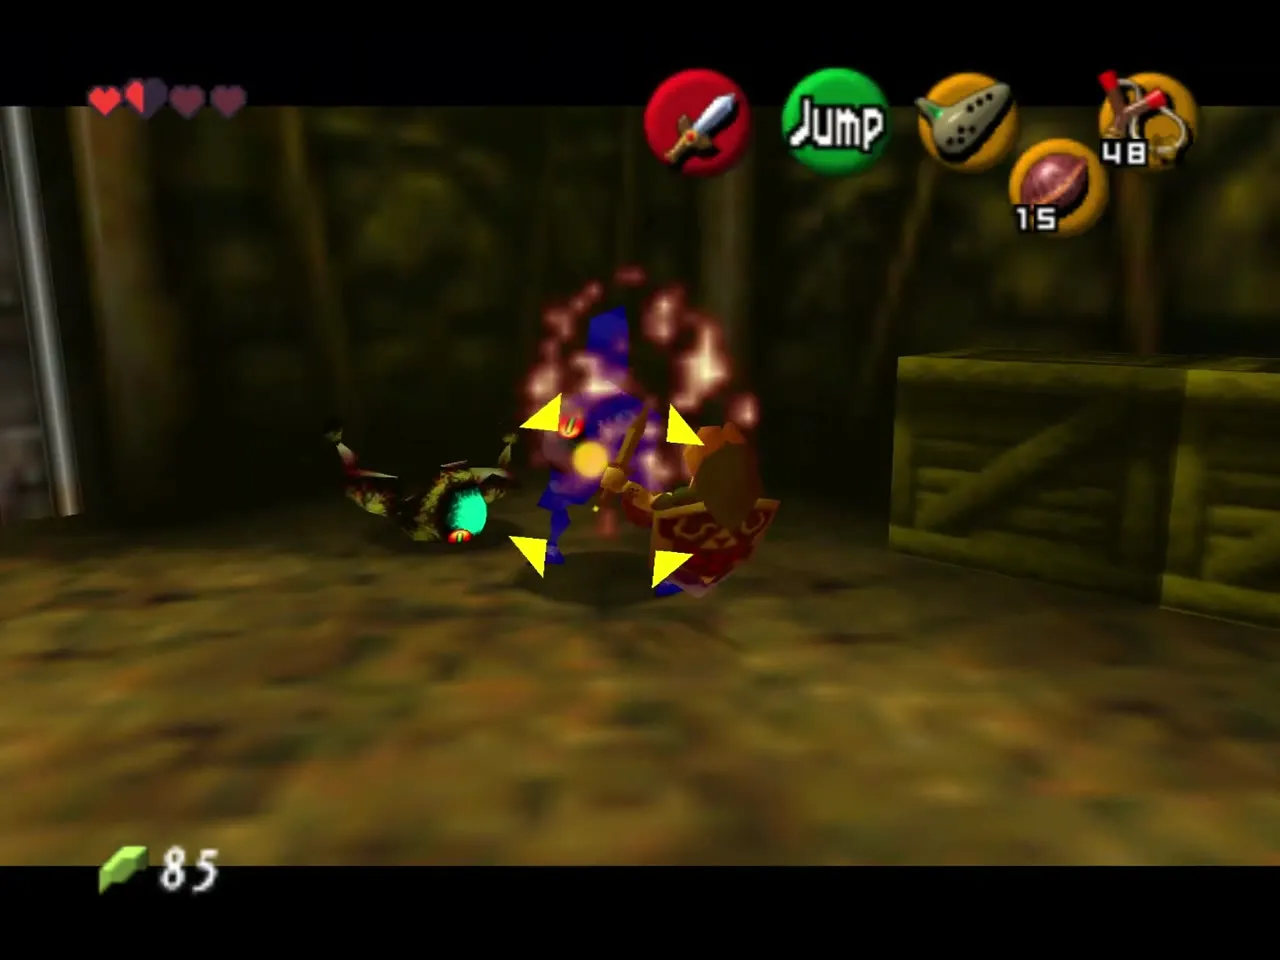
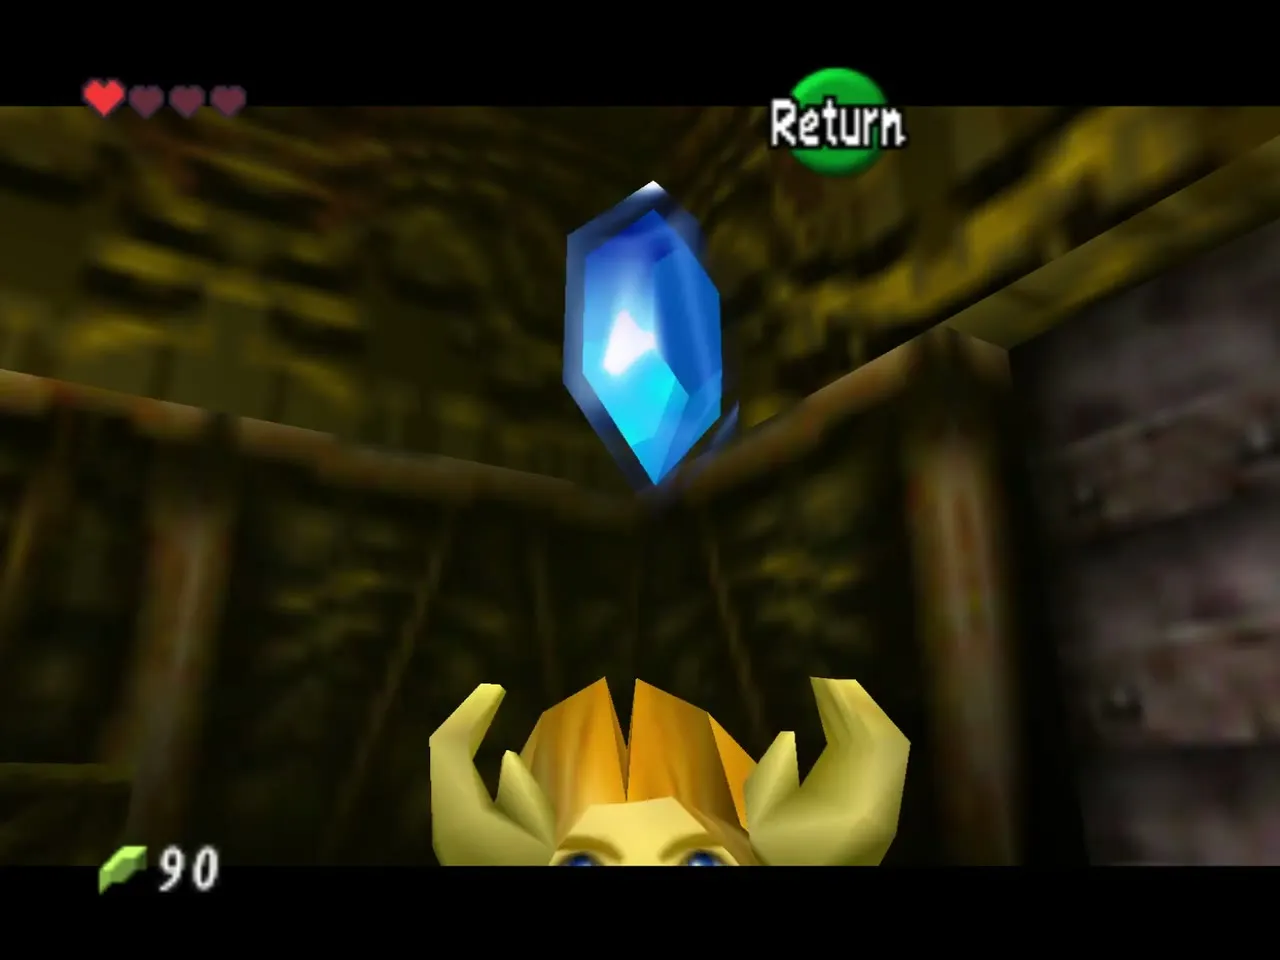
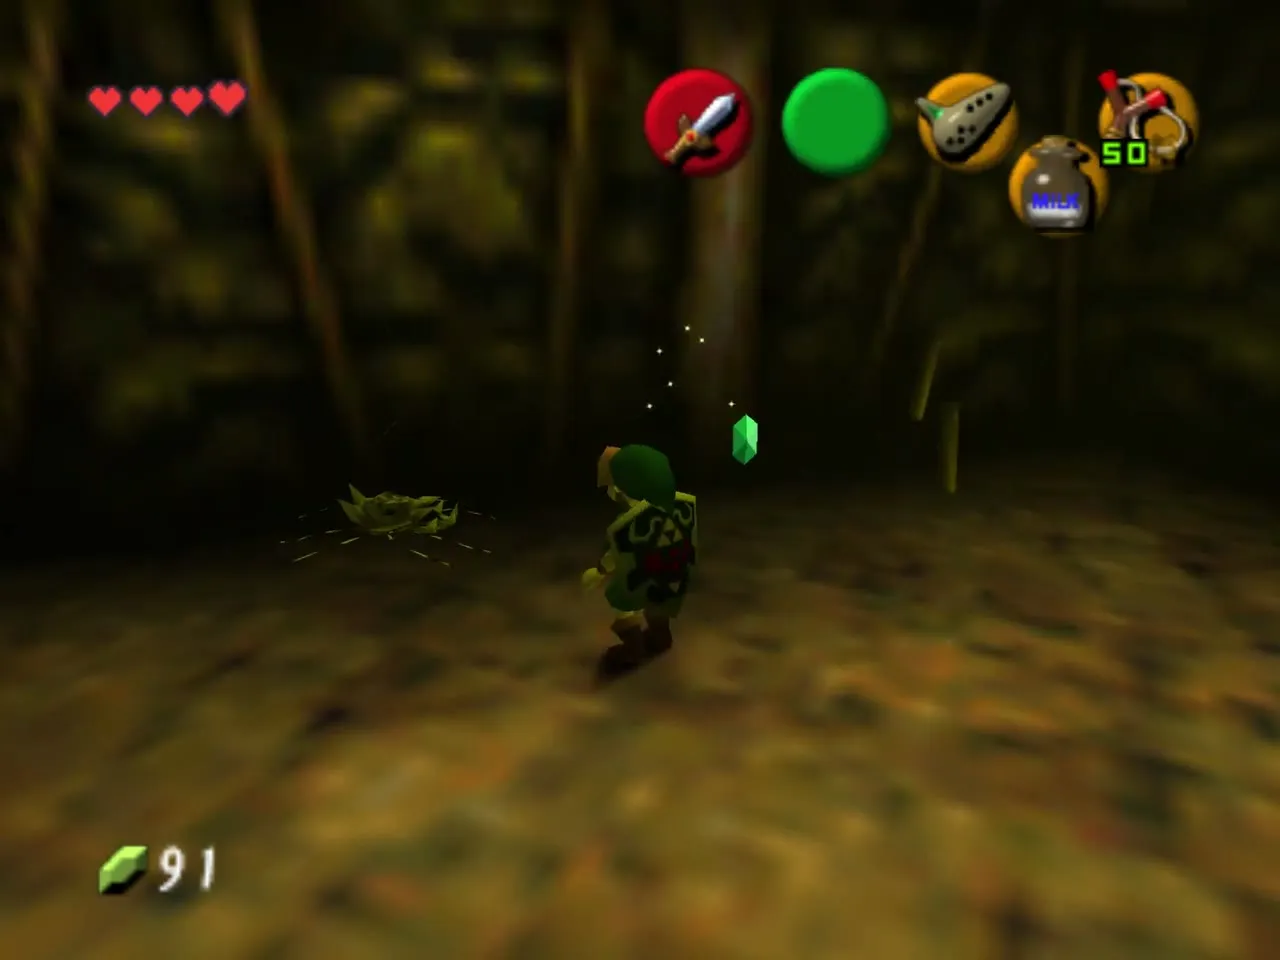
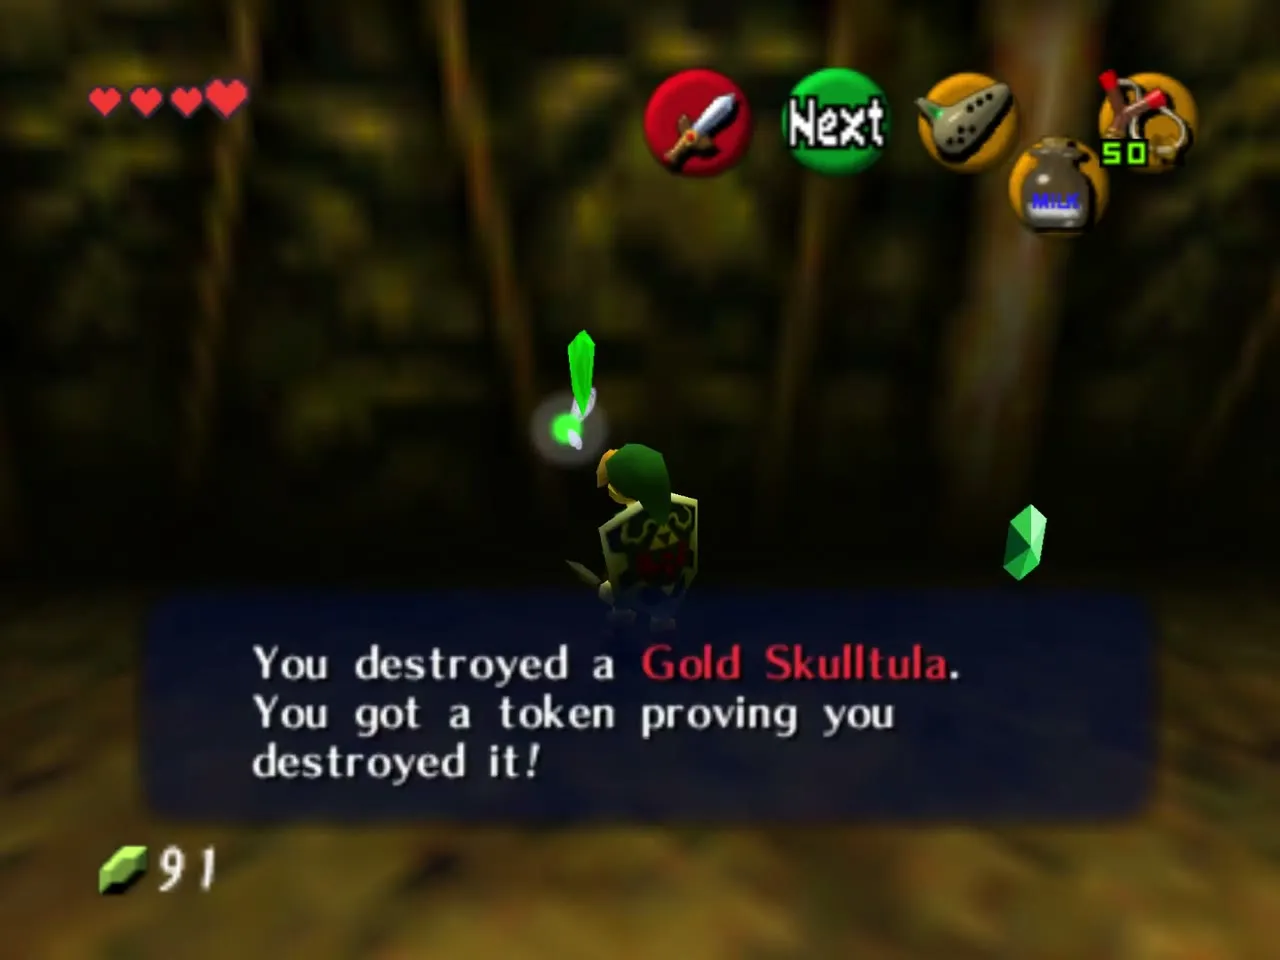
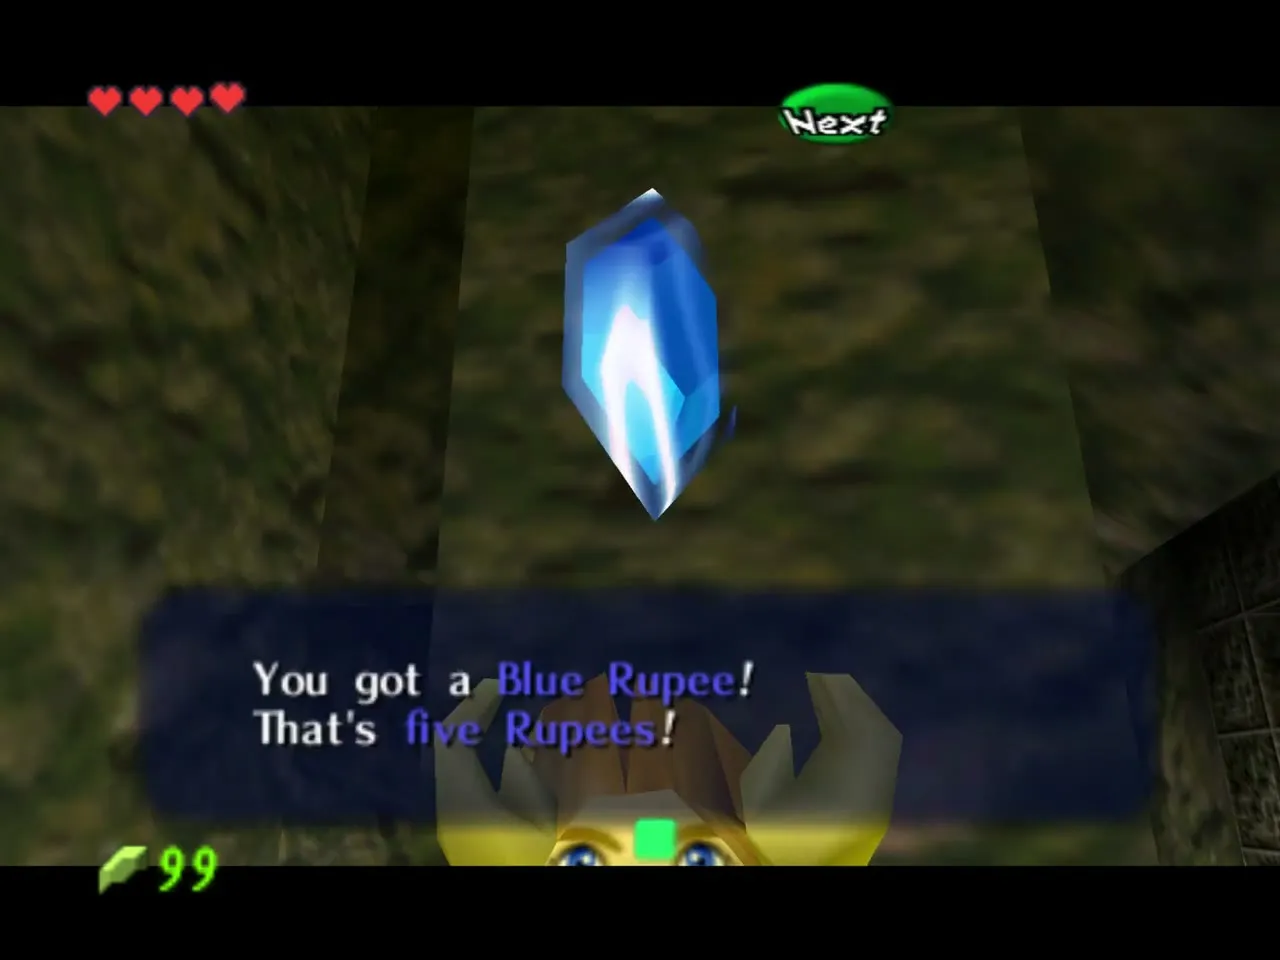
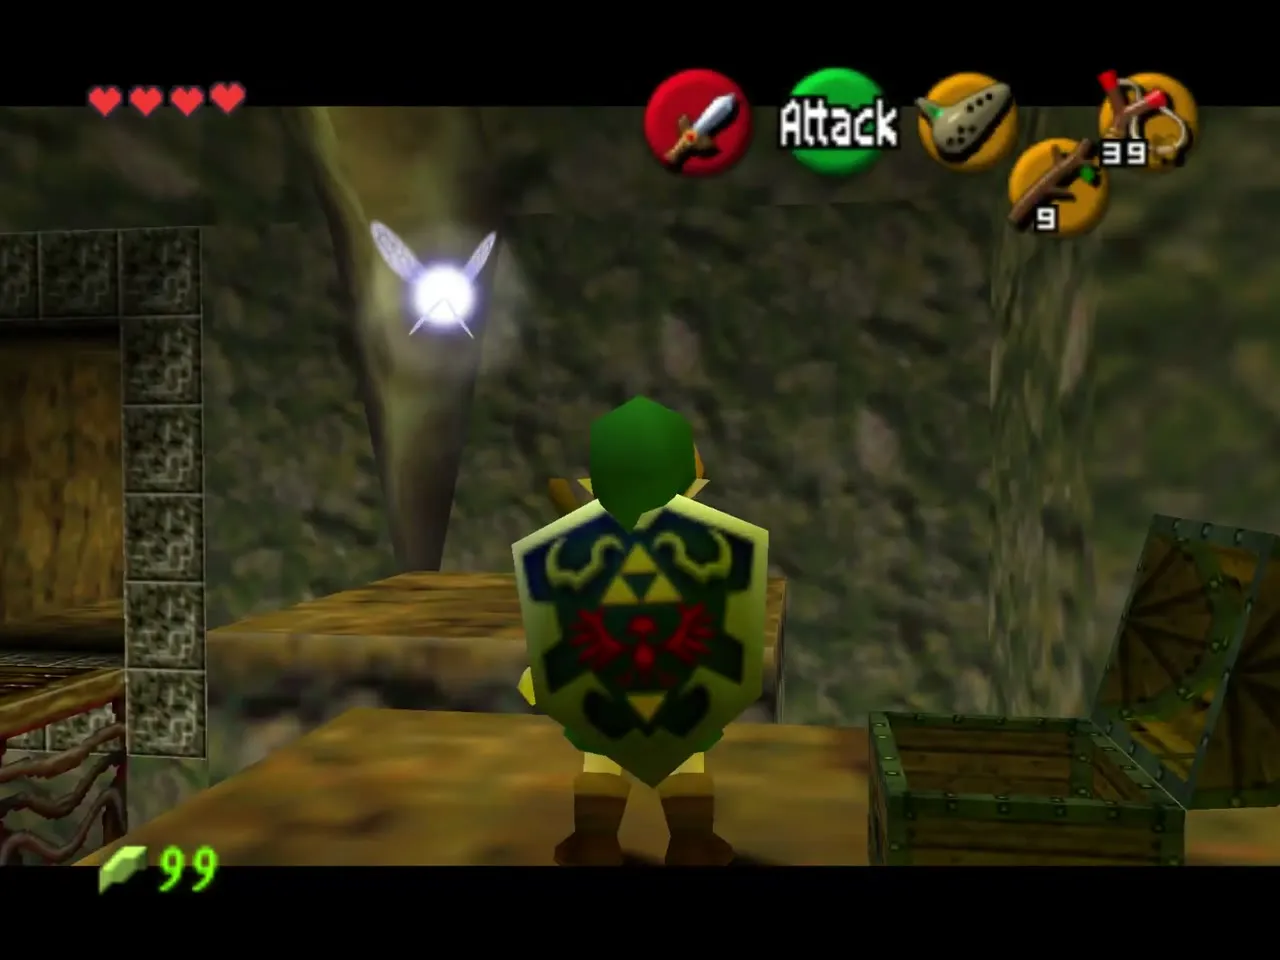
The room behind that door has egg sacs hanging from the ceiling and Skulltulas and a few other pests about. Equip the Slingshot, shoot the eggs from a distance and deal with whatever hatches. The wooden chest holds a Blue Rupee (5 rupees), and smashing the crates drops more rupees and hearts. One of the crates in this room is also home to a Gold Skulltula (see the Gold Skulltulas section).
Golden torches and the web
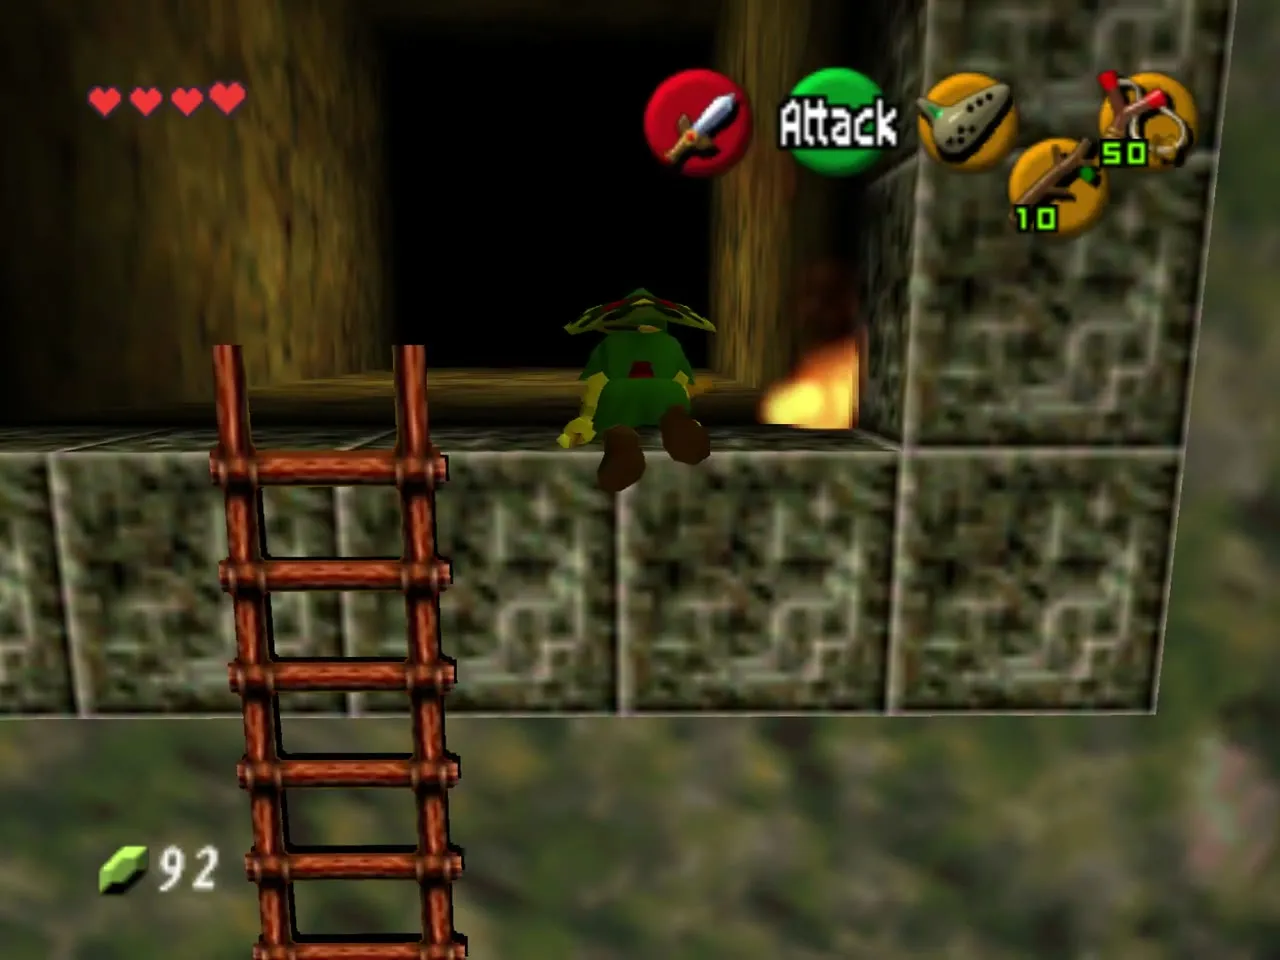
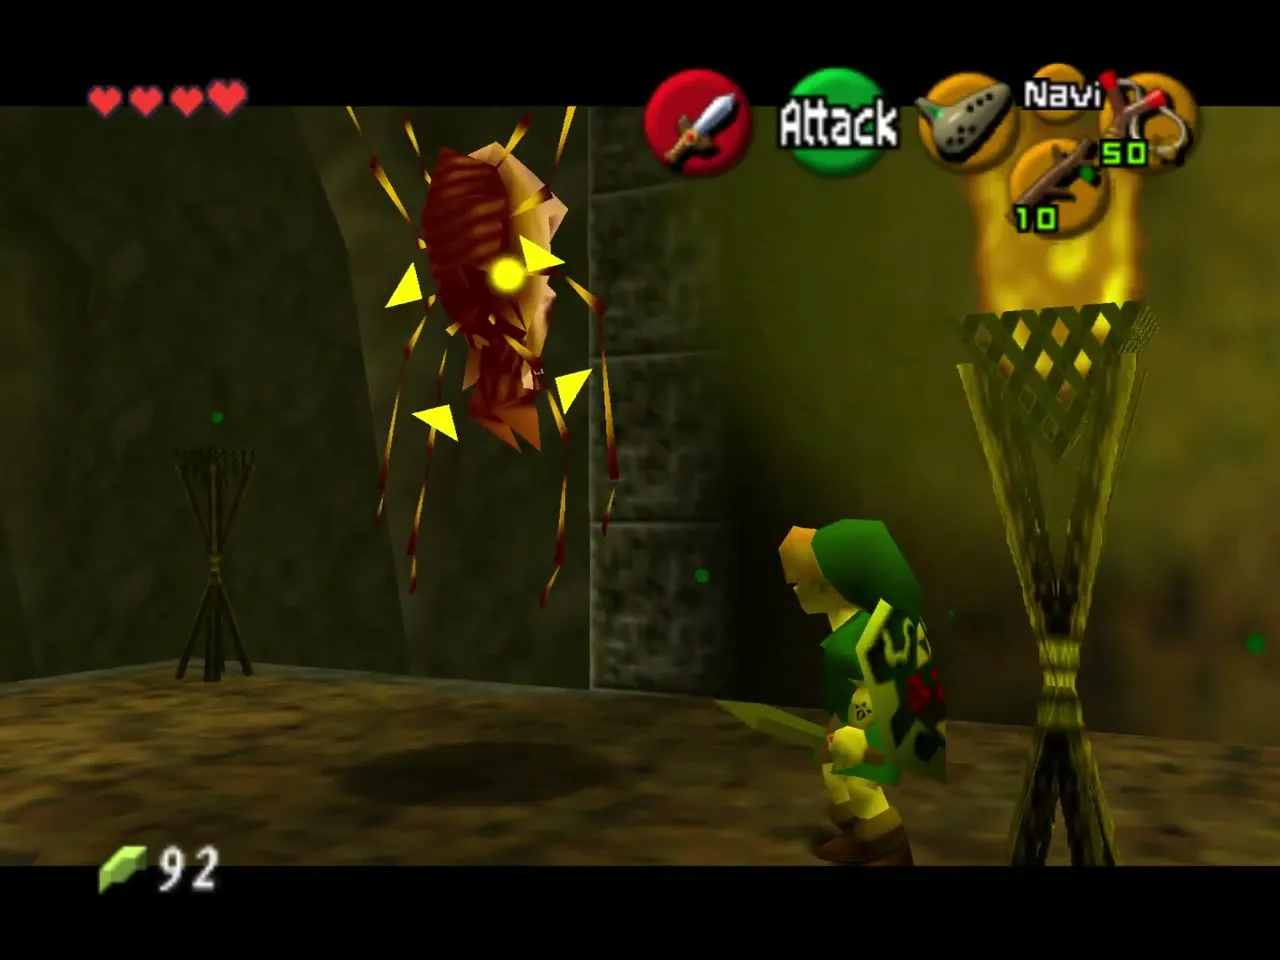
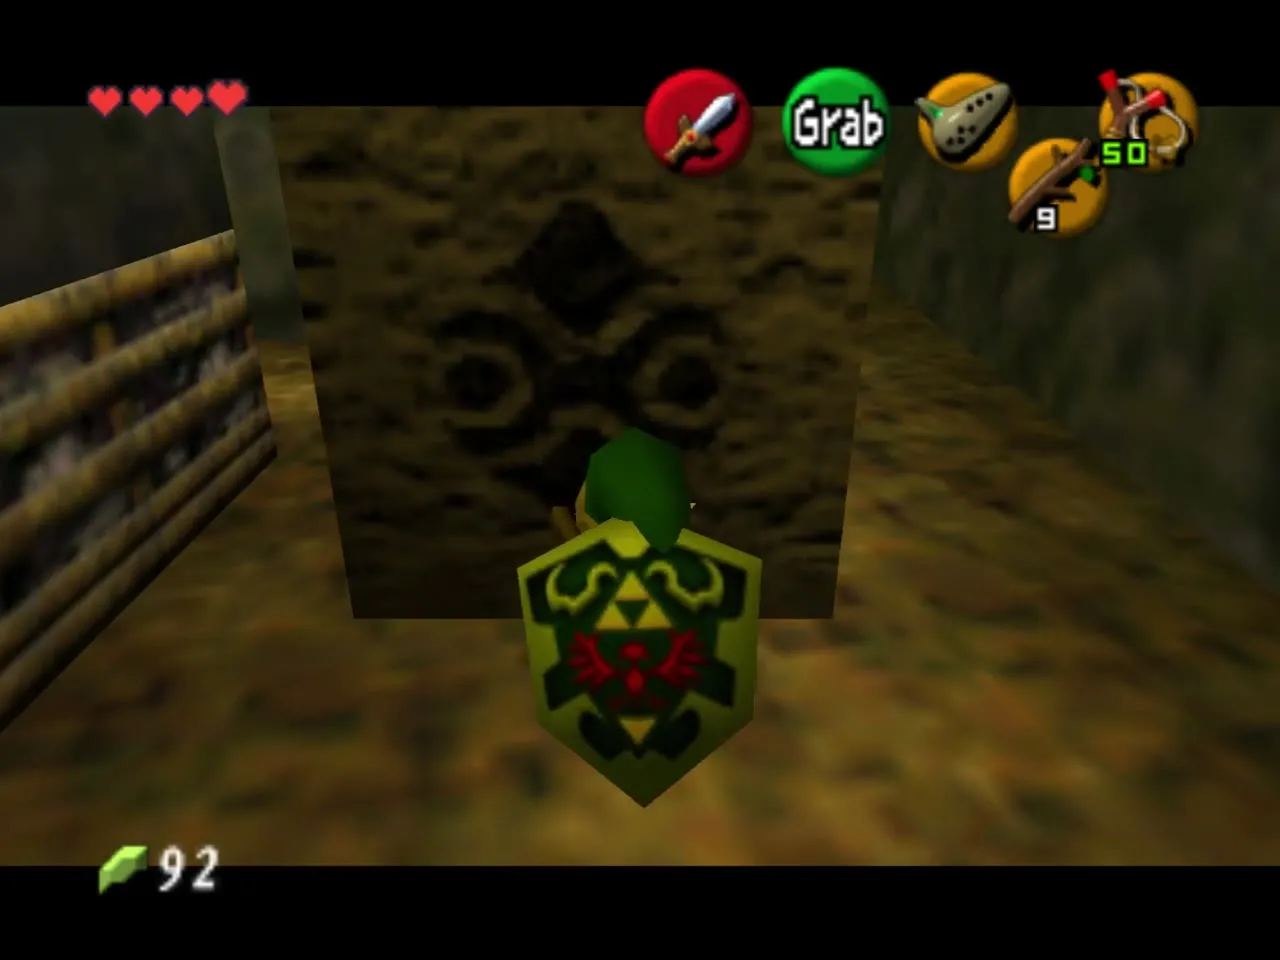
Back in the torch room a block in the right-hand wall can be pulled out far enough to climb a ladder. At the top, turn around: a golden torch burns across a gap. Jump over, light a Deku Stick, hop back and burn the web to one side, then light the torch behind it as a Skulltula drops down. Throw a Deku Nut first if you want it stunned. Relight your stick and carry the flame to the next torch to light another golden torch across the room.
Baby Dodongos and the long hall
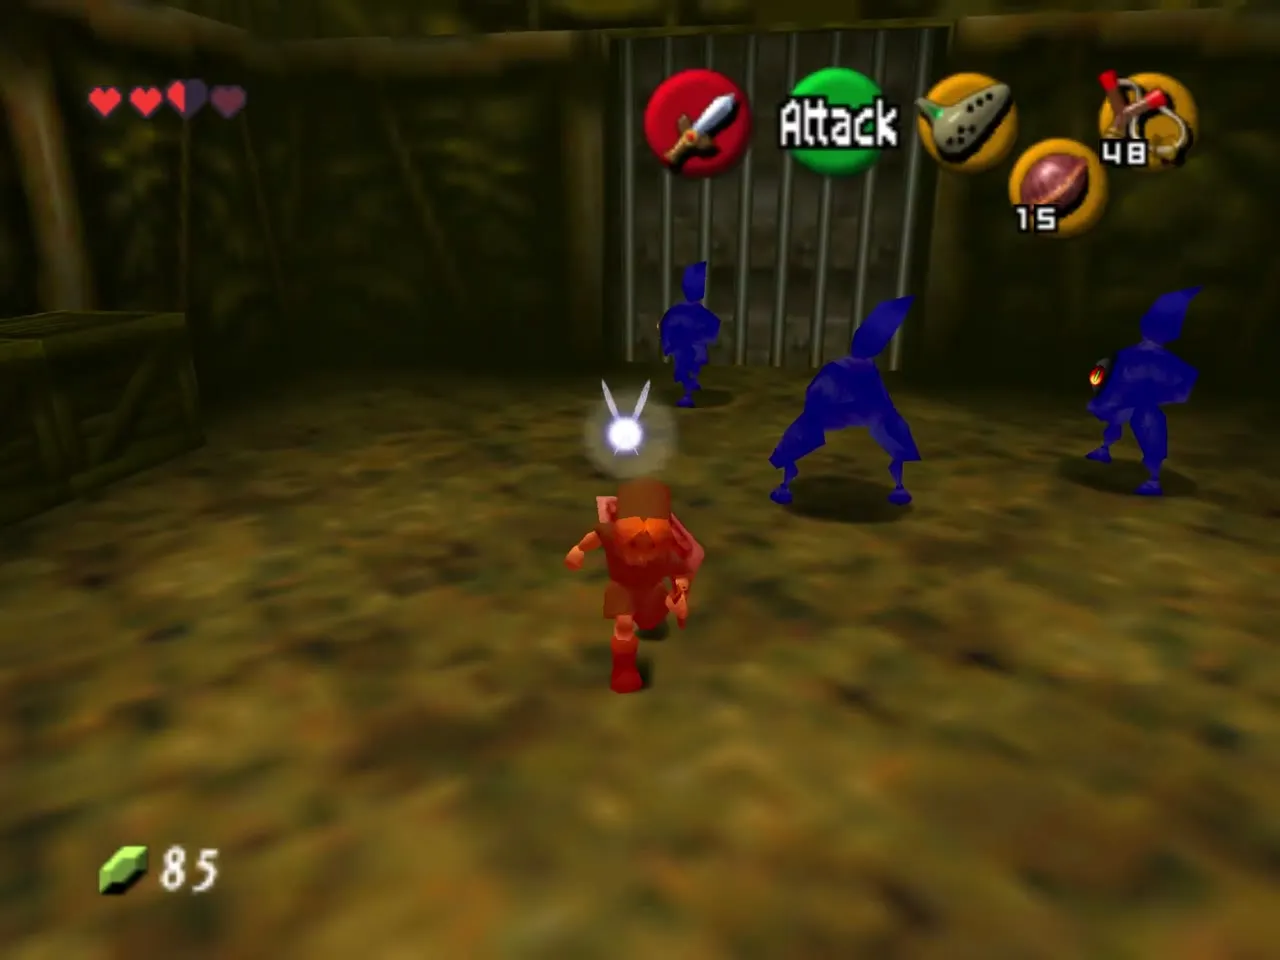
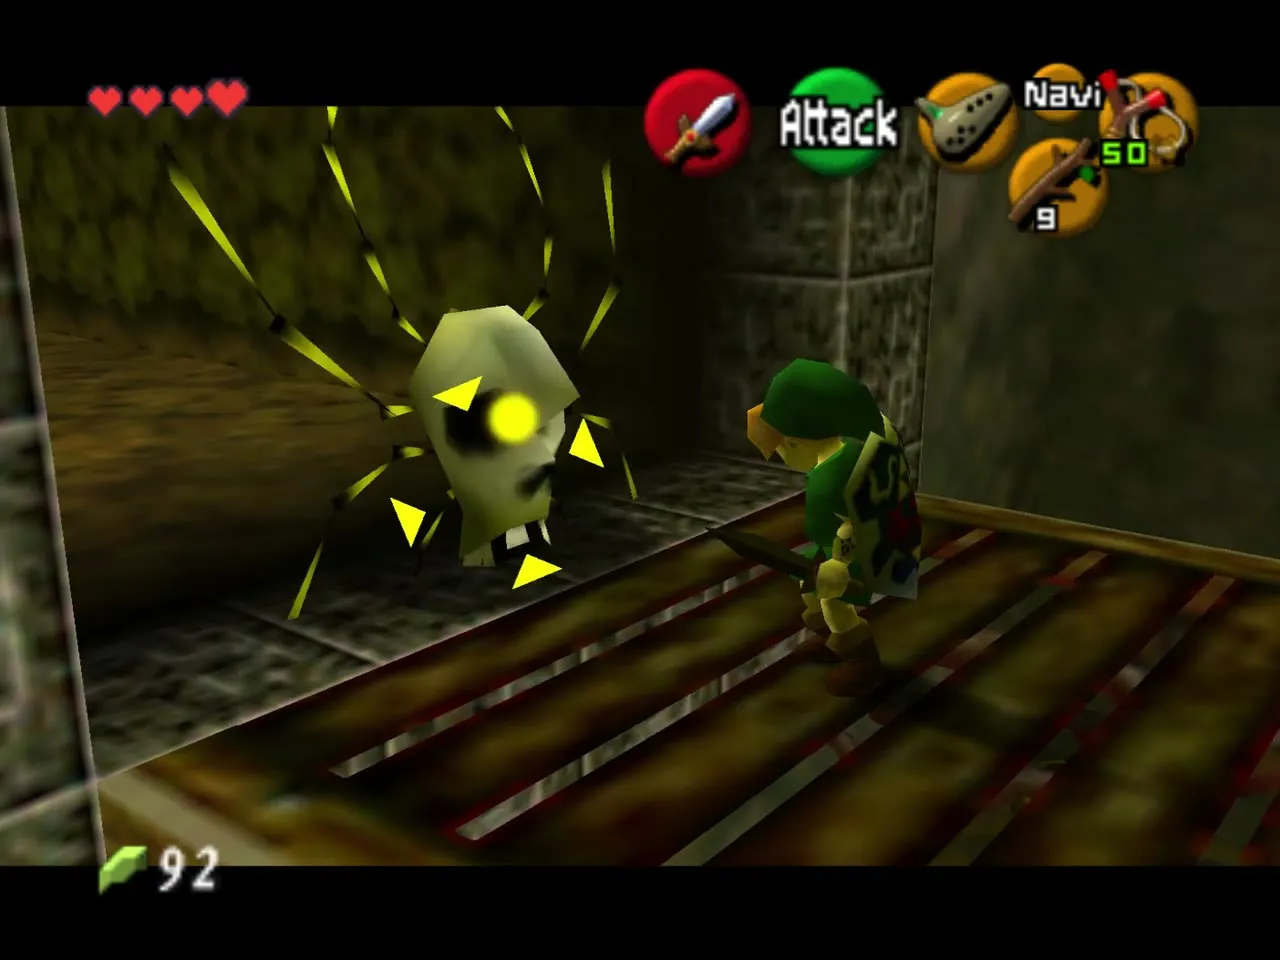
Drop down on the far side and kill the Baby Dodongos that burst out of the floor; hit them once and back away so that they blow themselves up. Drag the small block all the way around the room and climb onto it to reach the high platform on the far side. The hall beyond is full of Skulltulas and Keese: pick them off with the Slingshot from a distance.
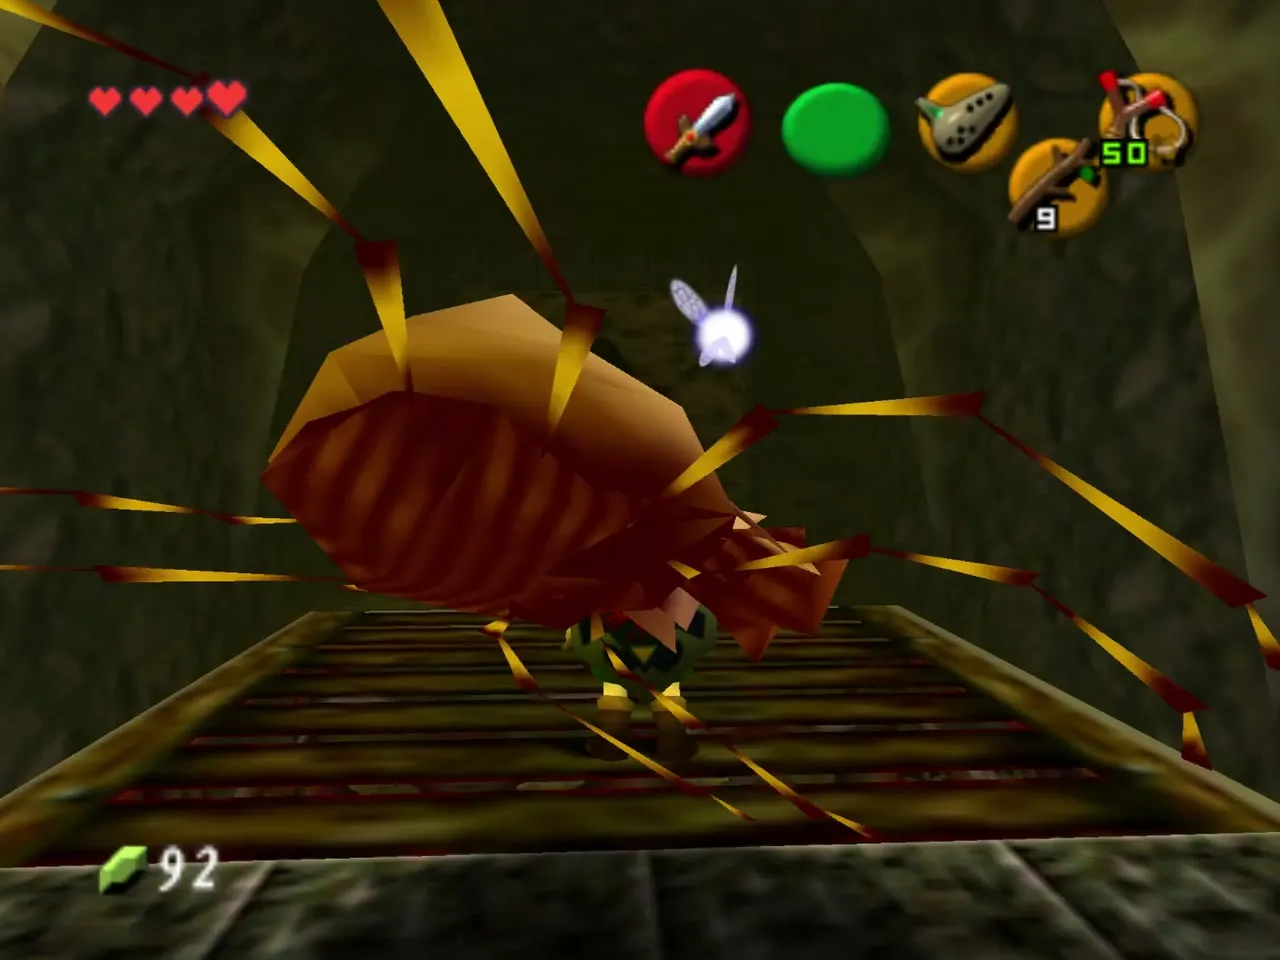
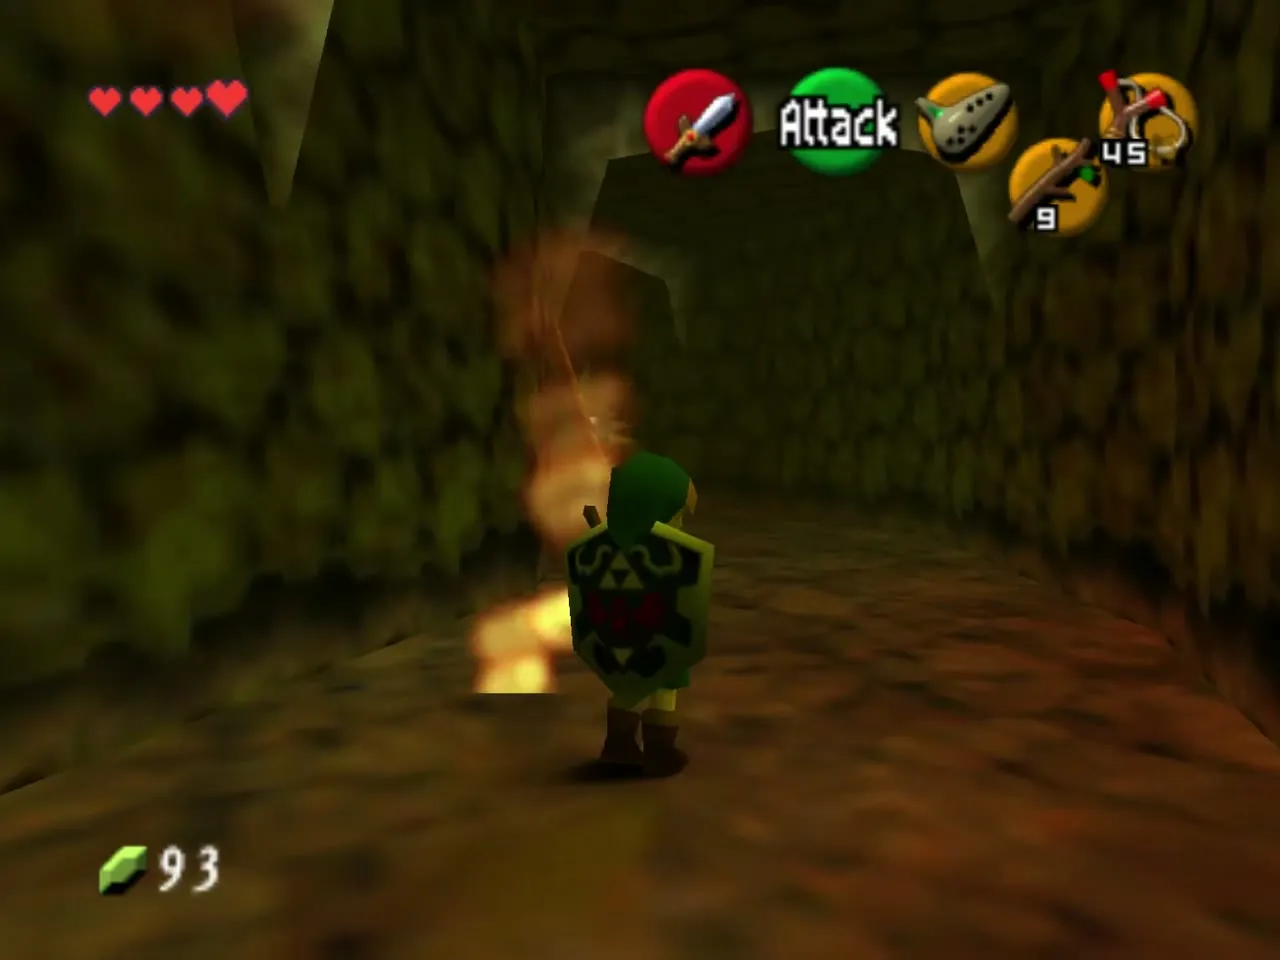
Light the Bomb Flower in the wall
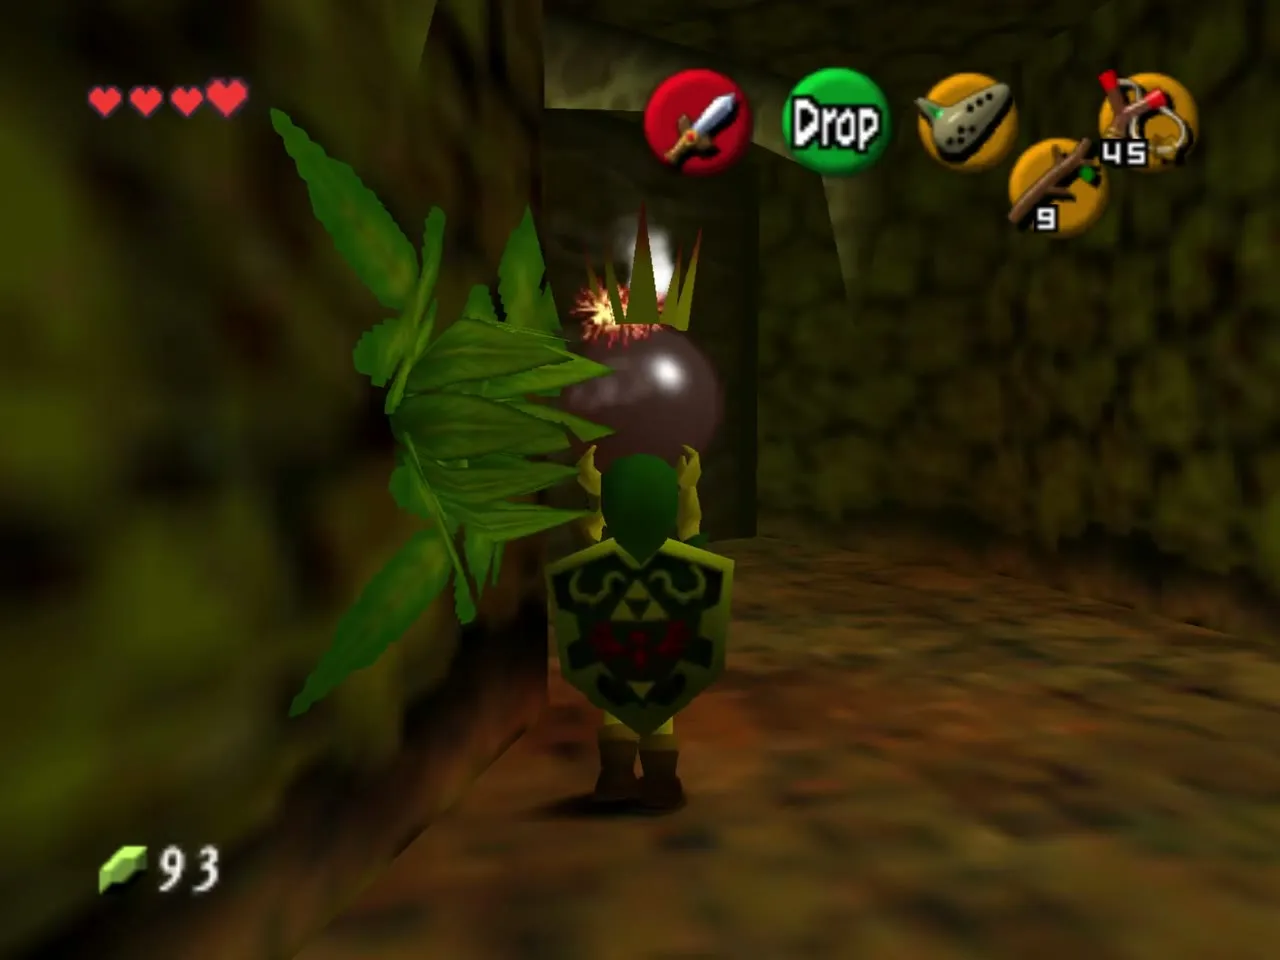
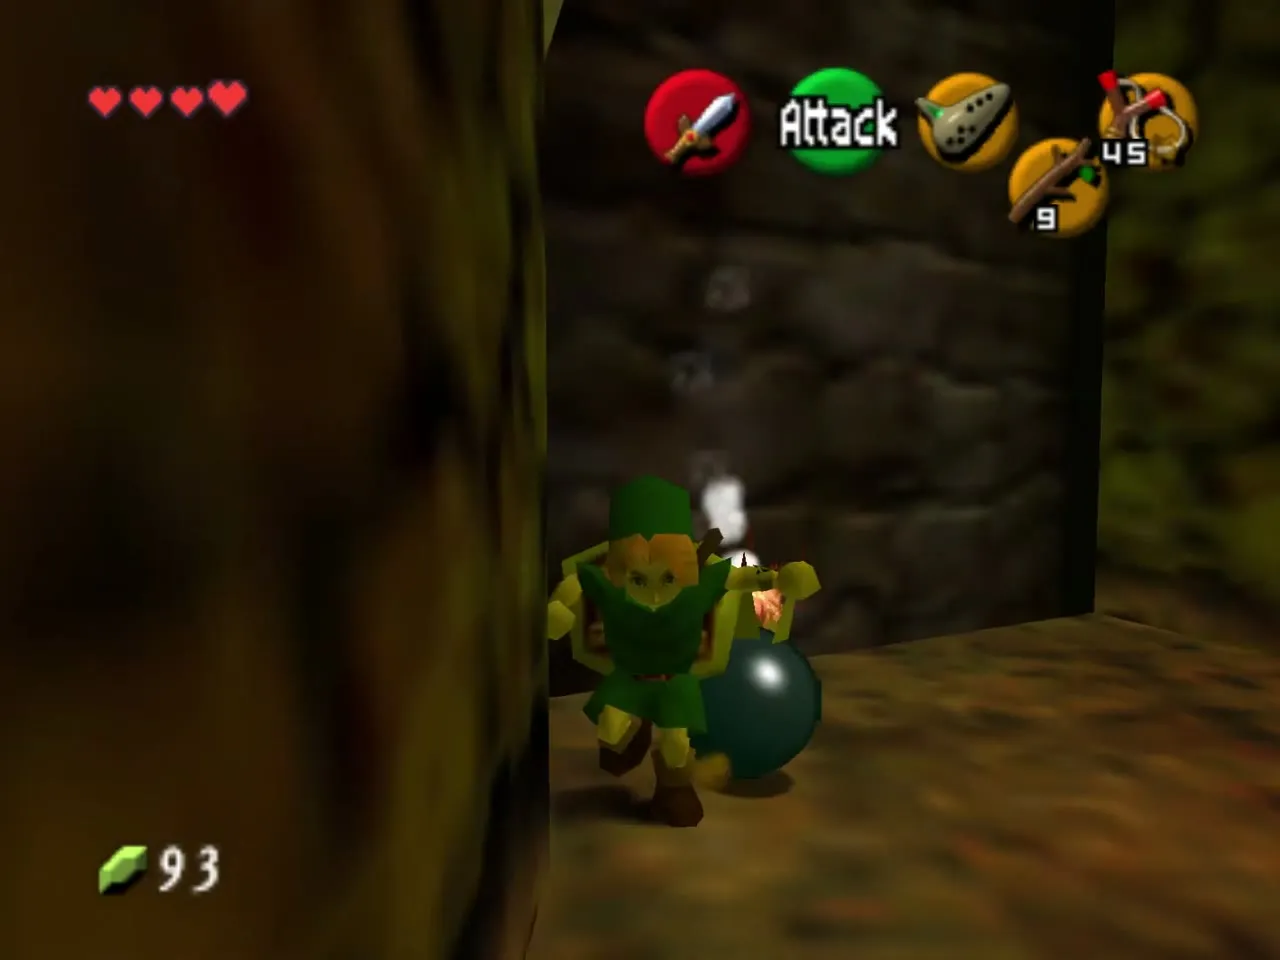
At the end of the hall a Bomb Flower grows in a gap in the wall. Light a Deku Stick on the nearest torch and carry the fire to it. Put the stick away, lift the burning flower and throw it at the rock wall opposite. The blast opens the door to the first Lizalfos.
First Lizalfos pair and the fire rings
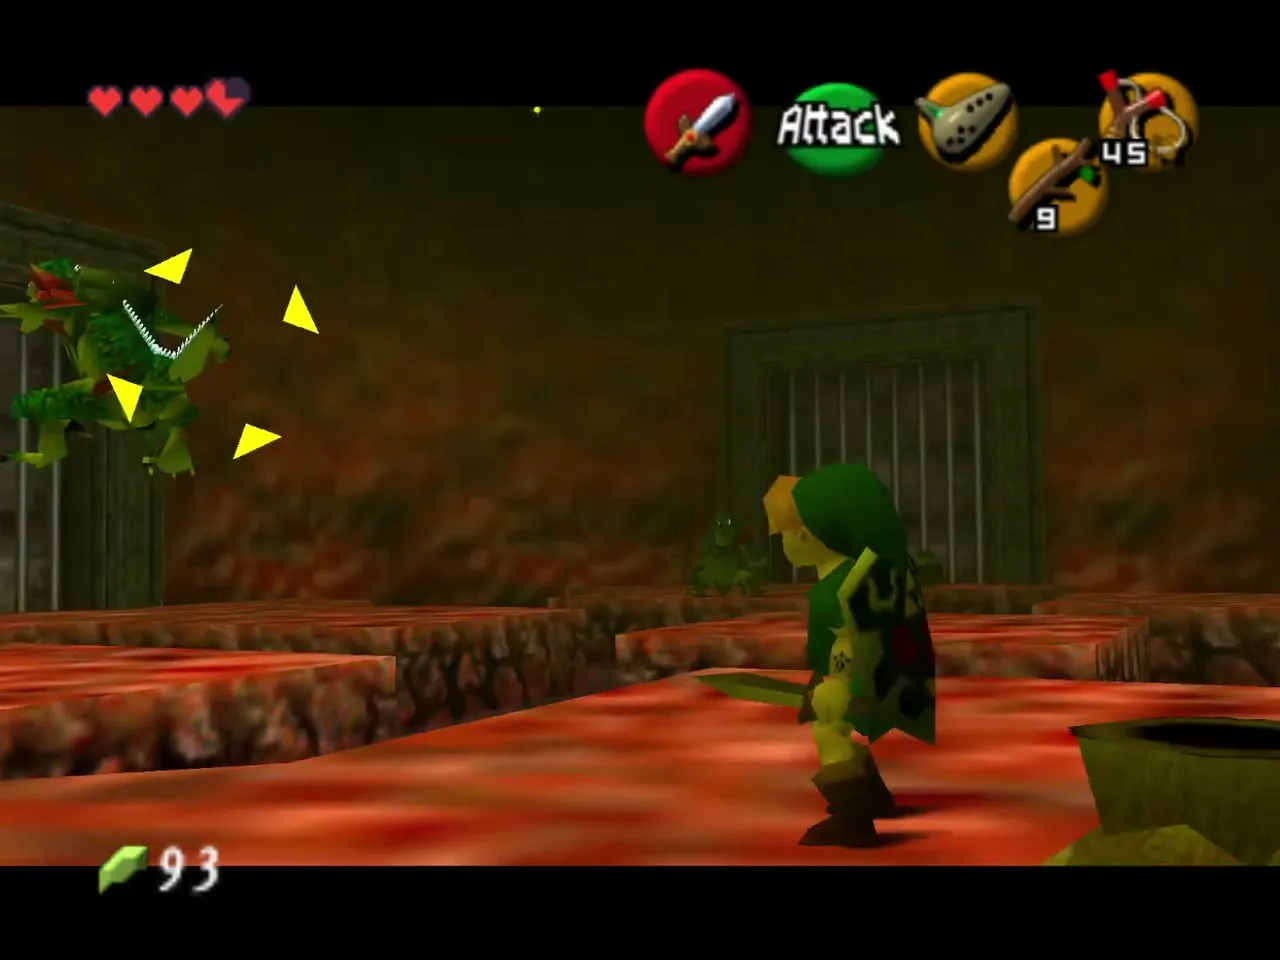
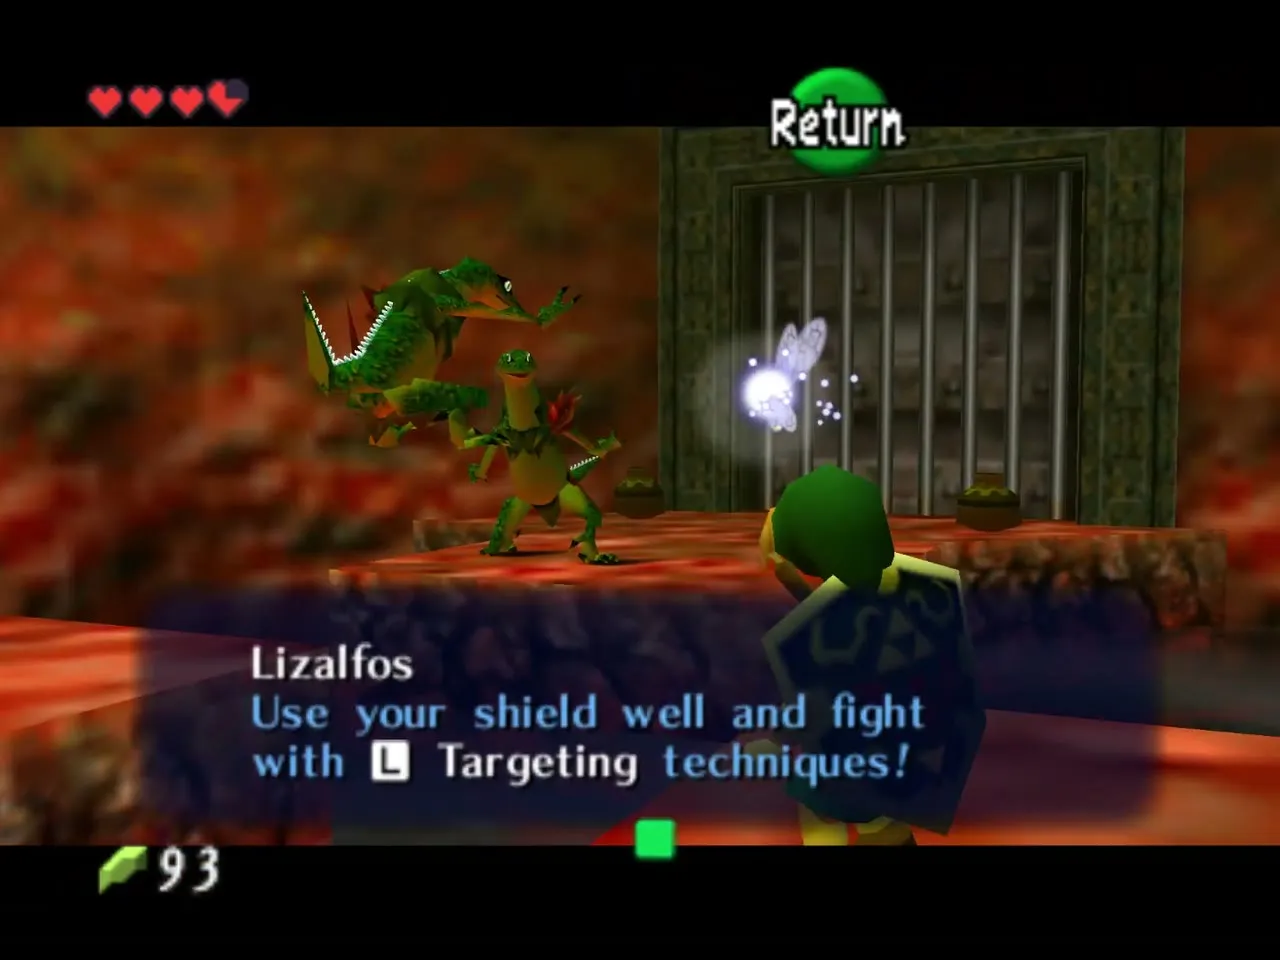
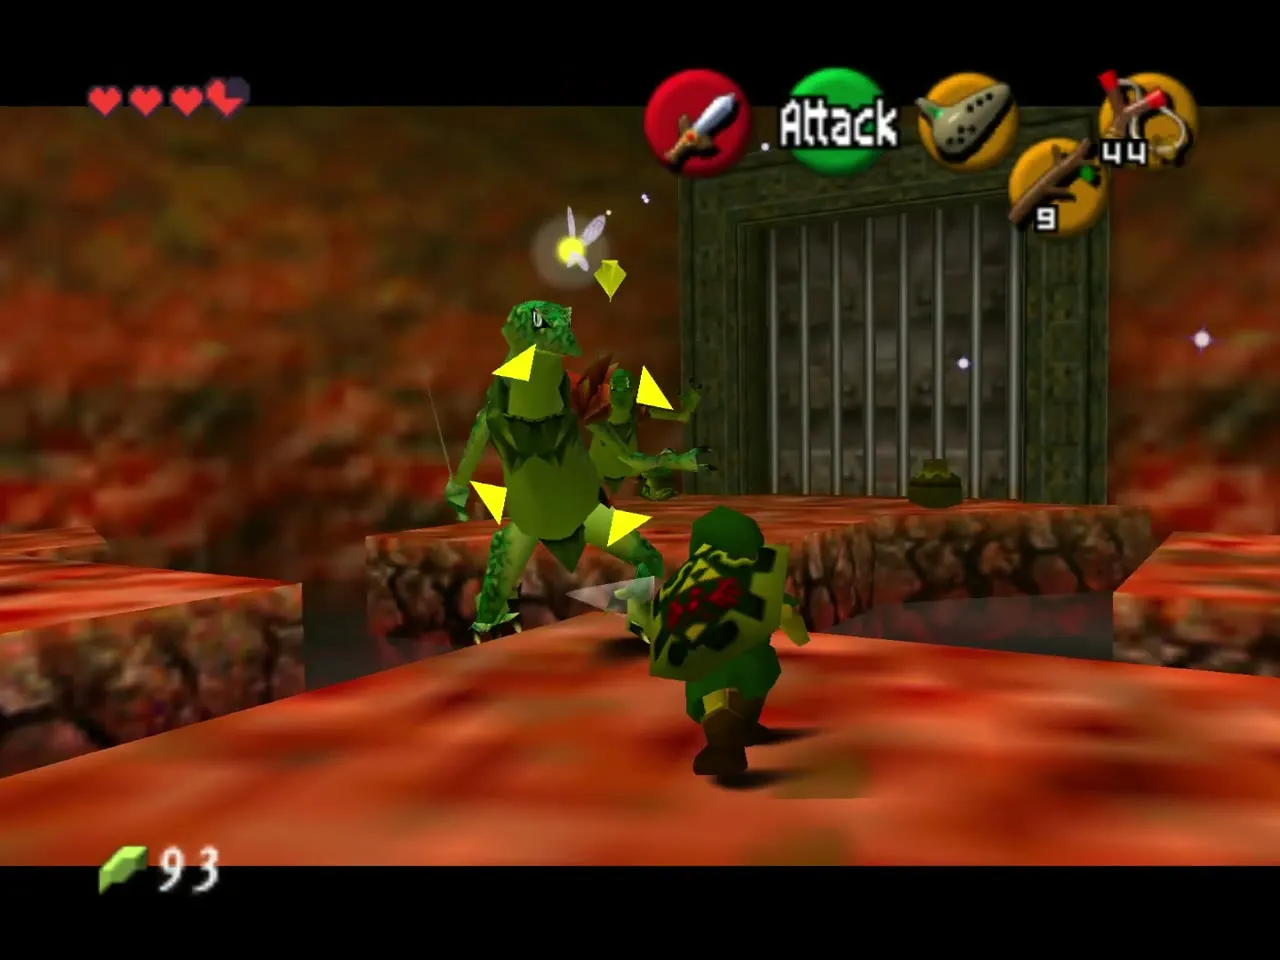
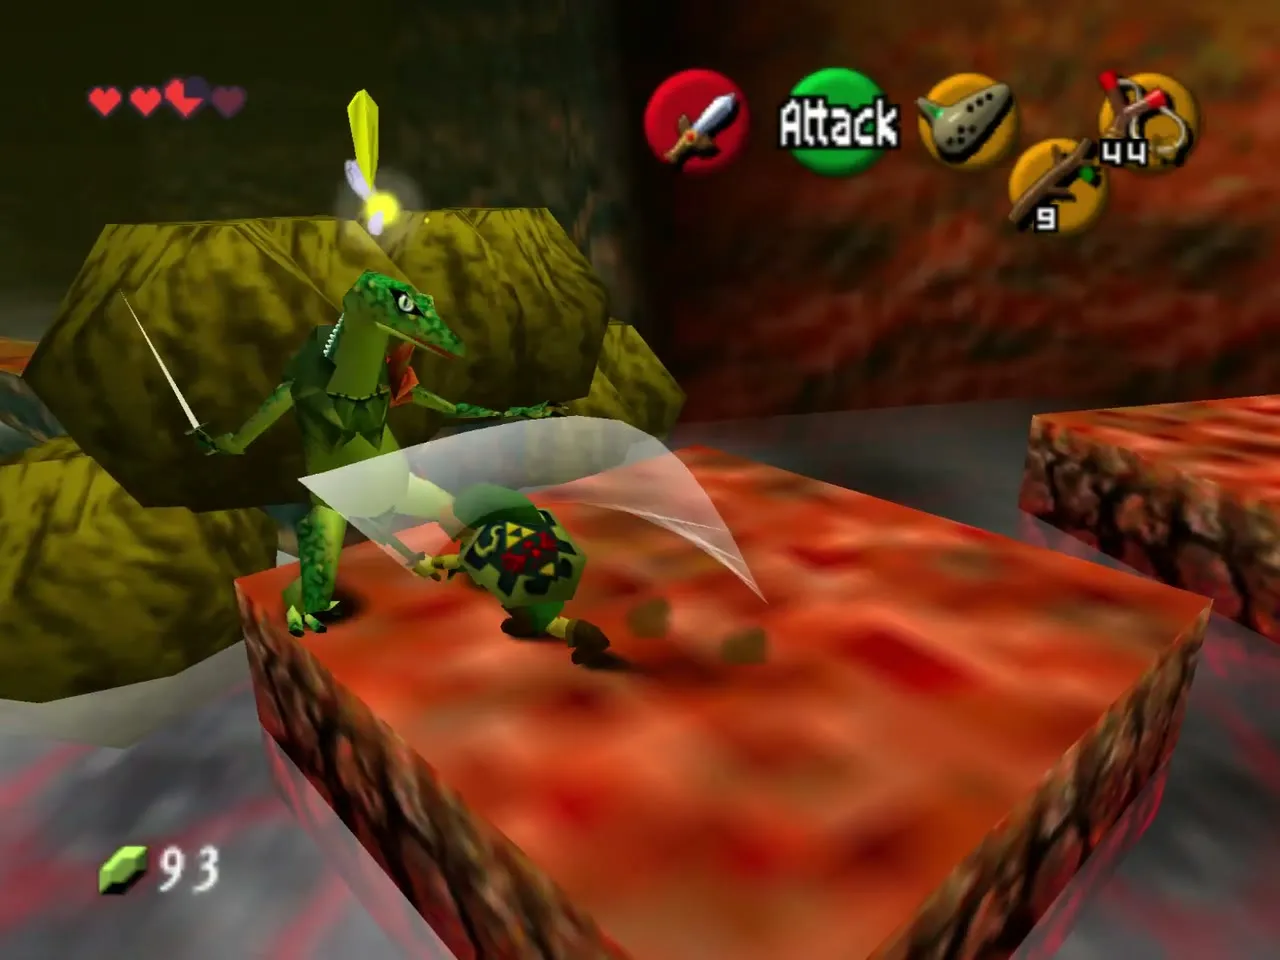
Two Lizalfos
Two Lizalfos wait on a platform in a lava room, and the door out stays closed until both are down. Lock on, hold your shield up as they leap and strike as soon as each one lands. When one retreats, the other comes at you from the opposite side, so keep turning. A boulder-lined ledge at the back of this room hides a Gold Skulltula that needs bombs; leave it for later.
Put out the rings of fire
The next room has fire rings burning on two platforms between you and the exit. Shoot the Keese beside you first. Roll into the crate by the door, and behind it you will find a crystal switch: do not hit it yet. Shoot the crystal switch from the entrance platform to put out the nearer ring, jump over and shoot the Keese in the alcove to your right, and lift the Bomb Flower from there.
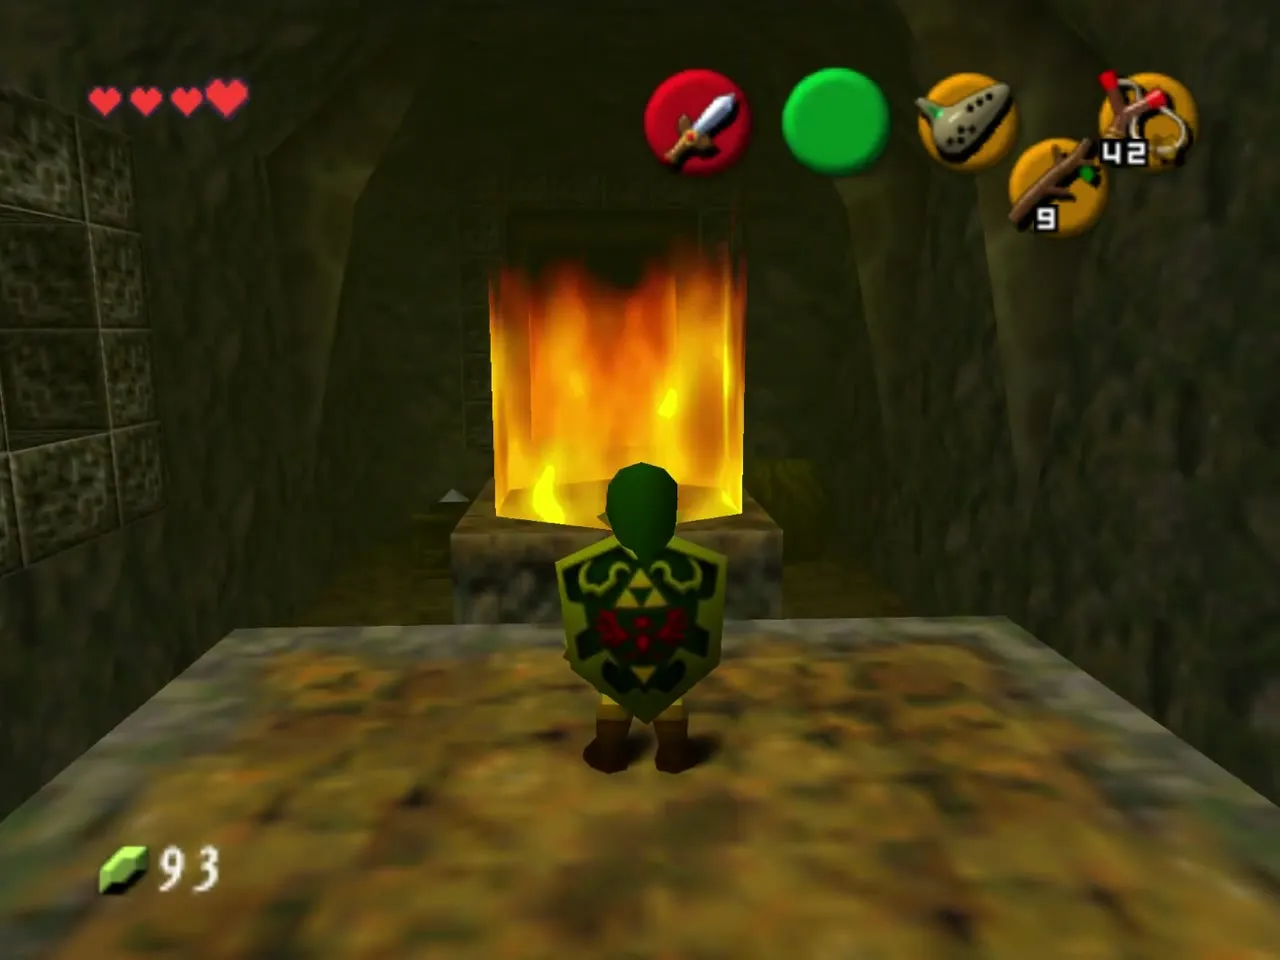
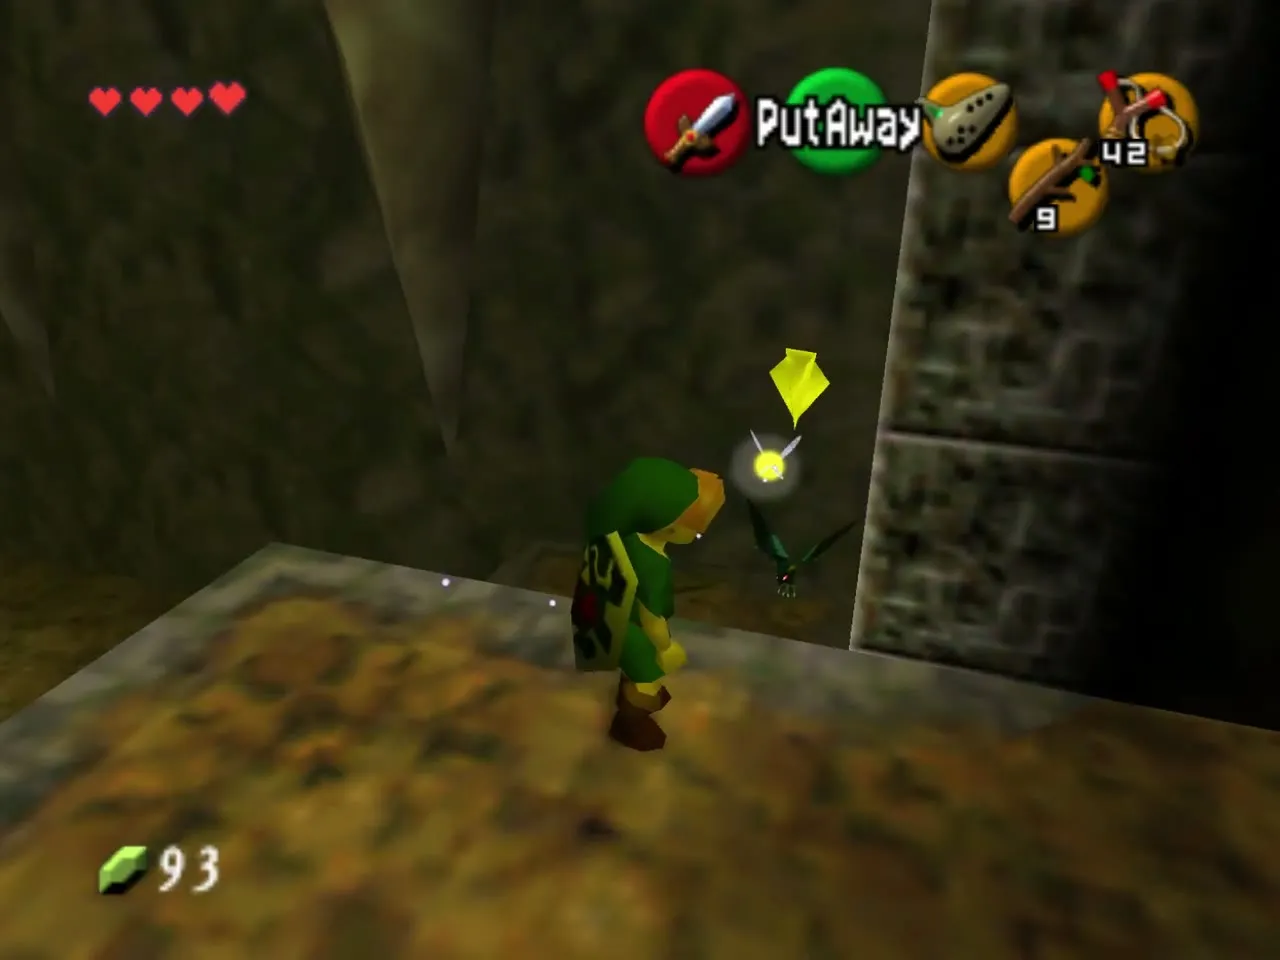
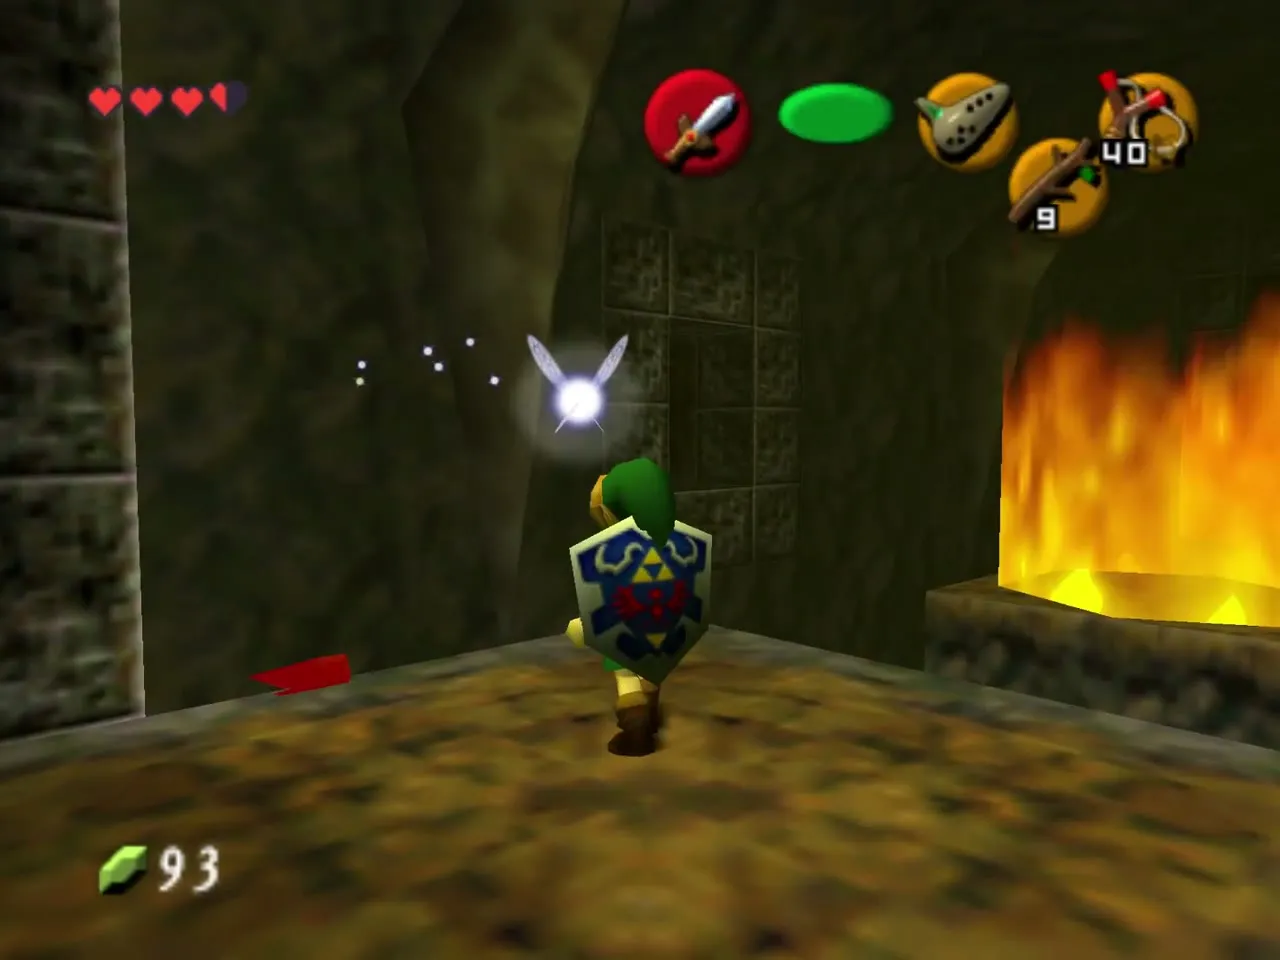
Carry that flower to the boulder next to the crystal switch and blow it up to reveal a floor switch. Hit the crystal switch again, step on the floor switch at once and then race back to the entrance platform and across the platforms before the flames return. On the far side a chest holds another Blue Rupee.
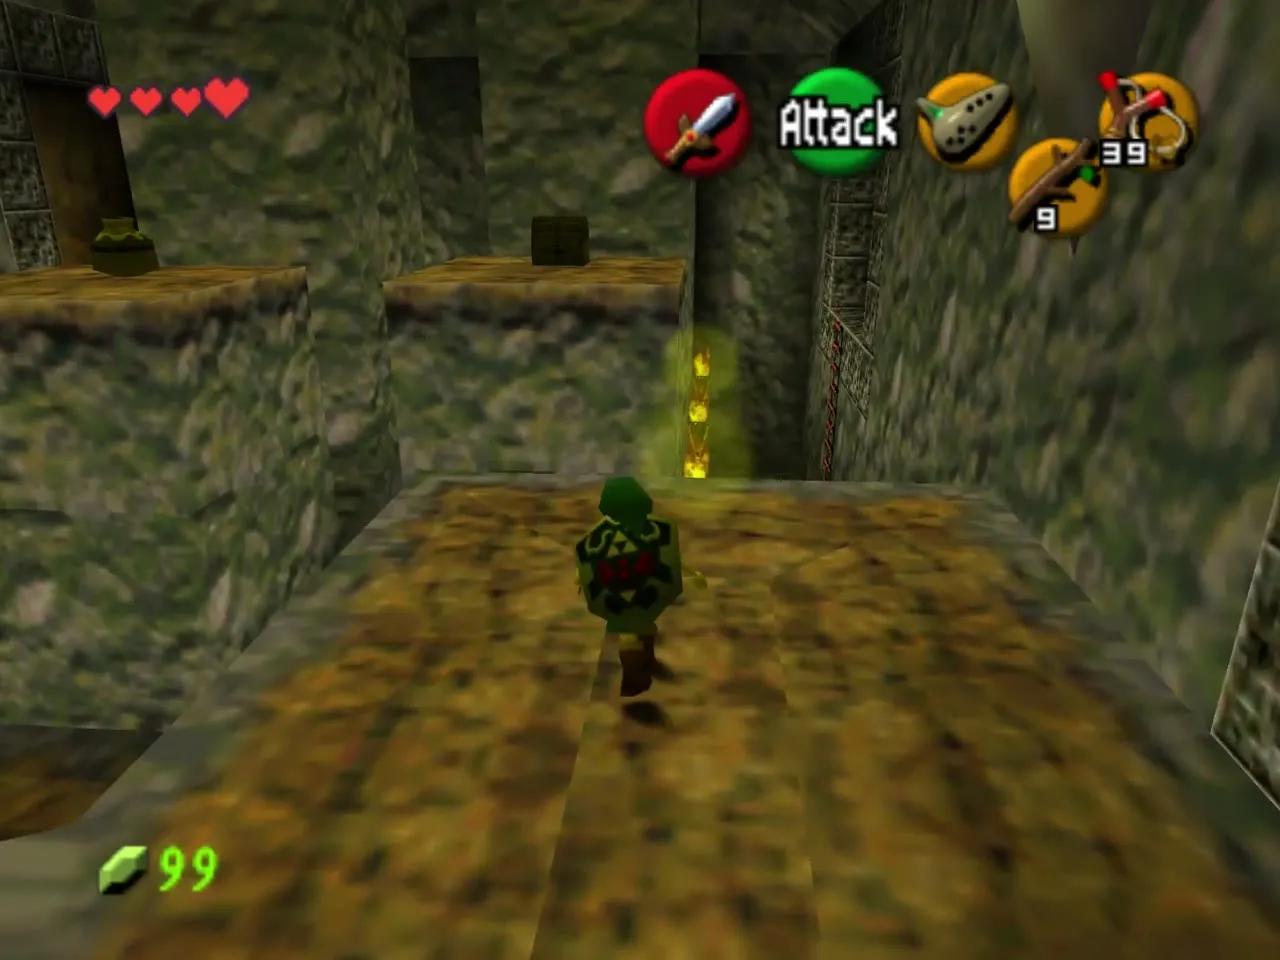
A shortcut and the Dungeon Map
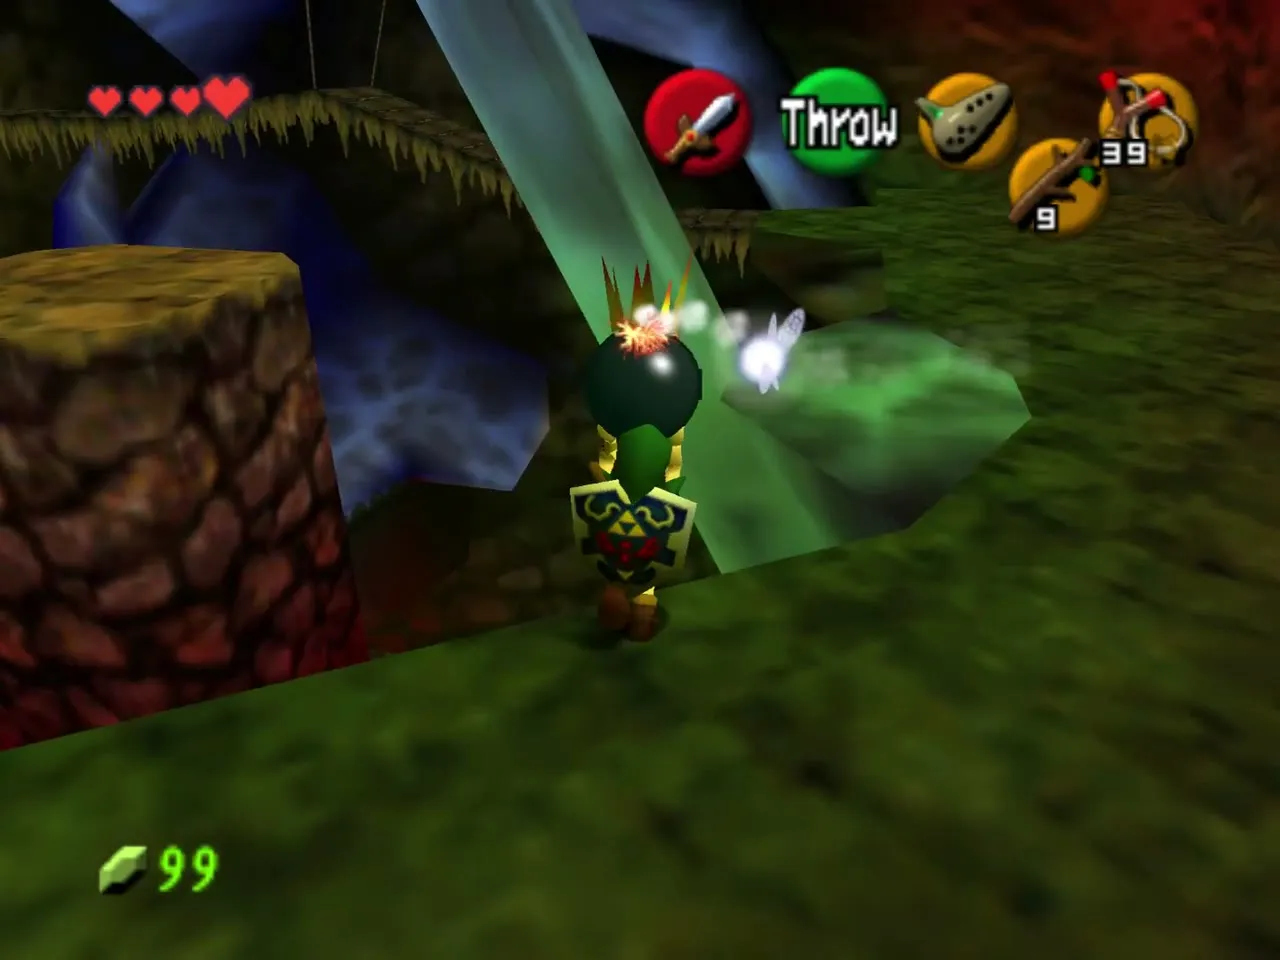
Jump straight across from the chest and use Bomb Flowers on the boulders. This opens a shortcut that drops you back onto the main cavern floor, so you will not need the long way round again. From here, throw a Bomb Flower into the cracked wall on the left side of the floor to open the alcove.
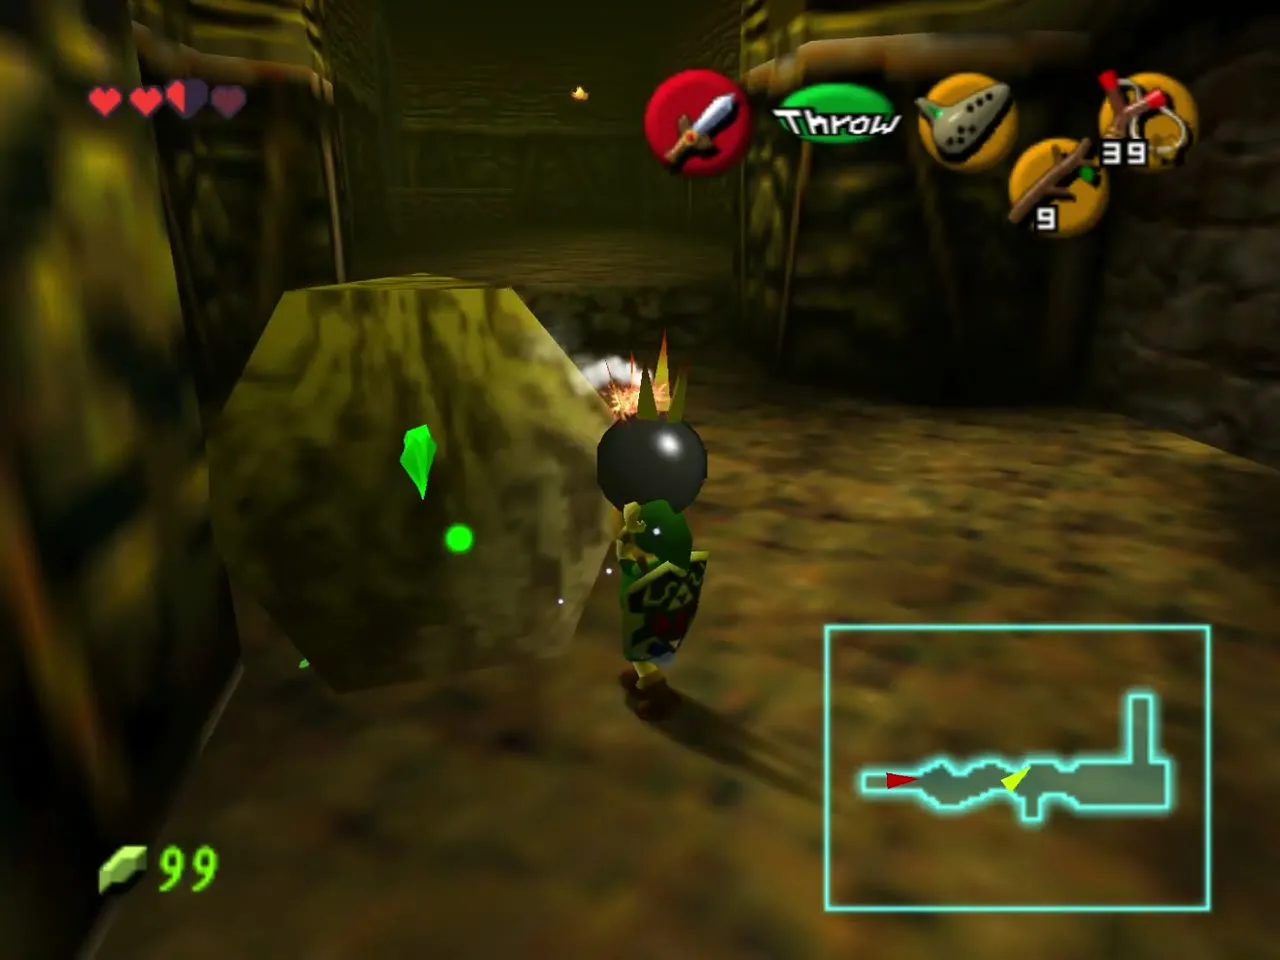
Open the chest inside for the Dungeon Map. It shows both floors and flashes the room you are in, and every chest you have not opened yet appears on it once you also hold the Compass.
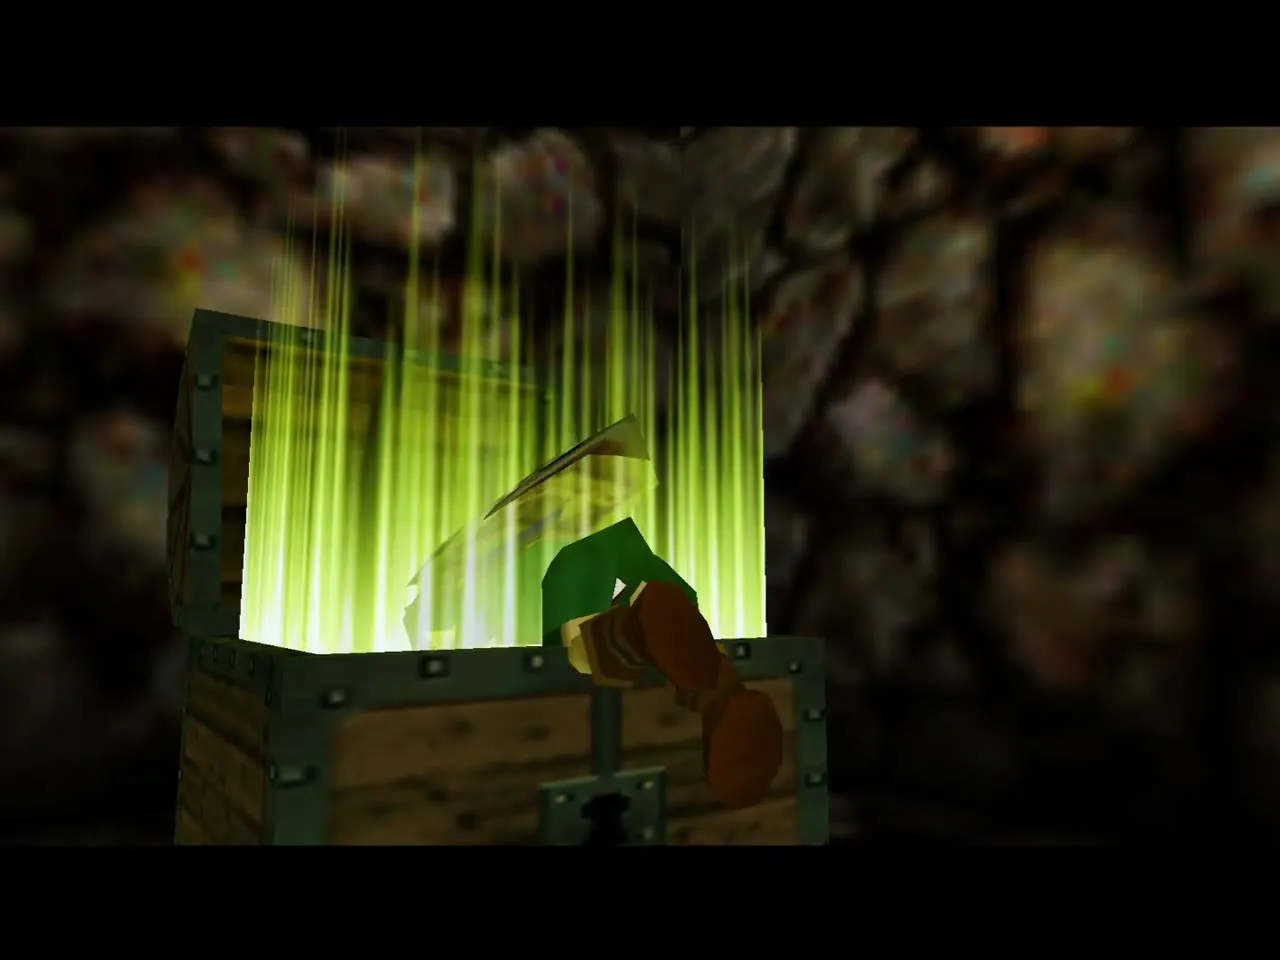
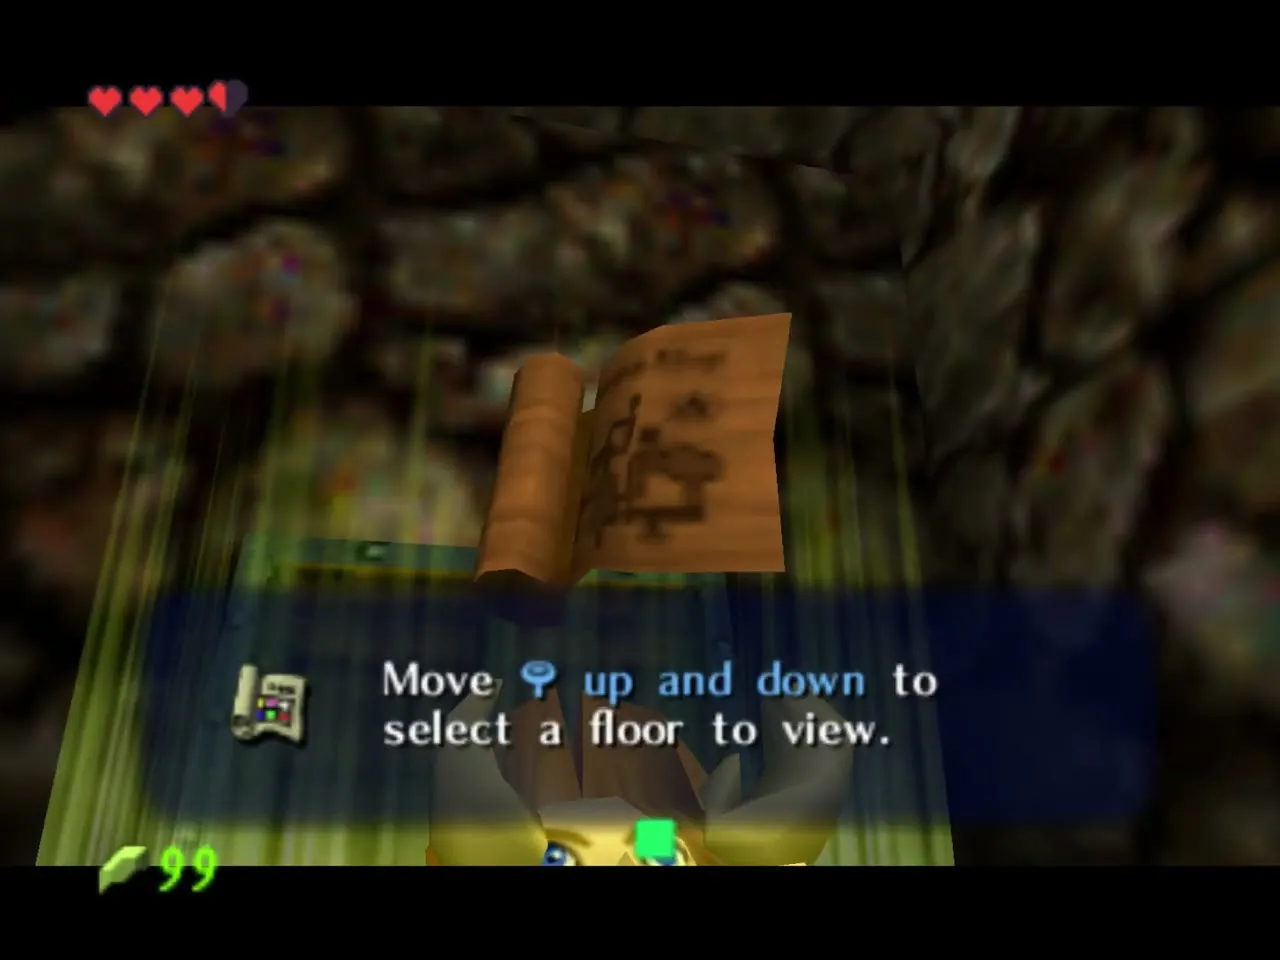
The lower floor: scrubs, chains and Lizalfos again
Blocks, boulders and a Red Potion scrub
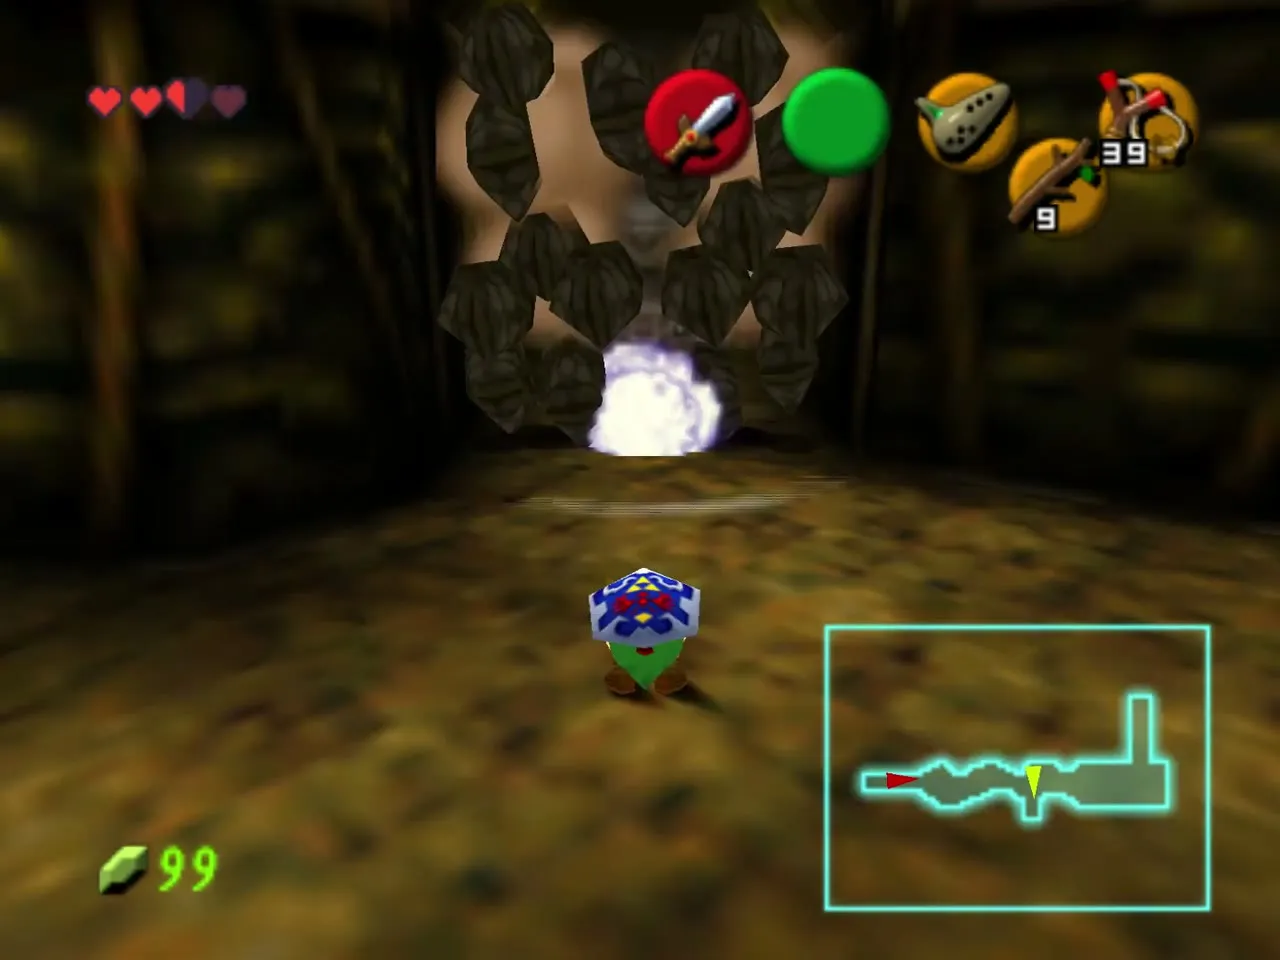
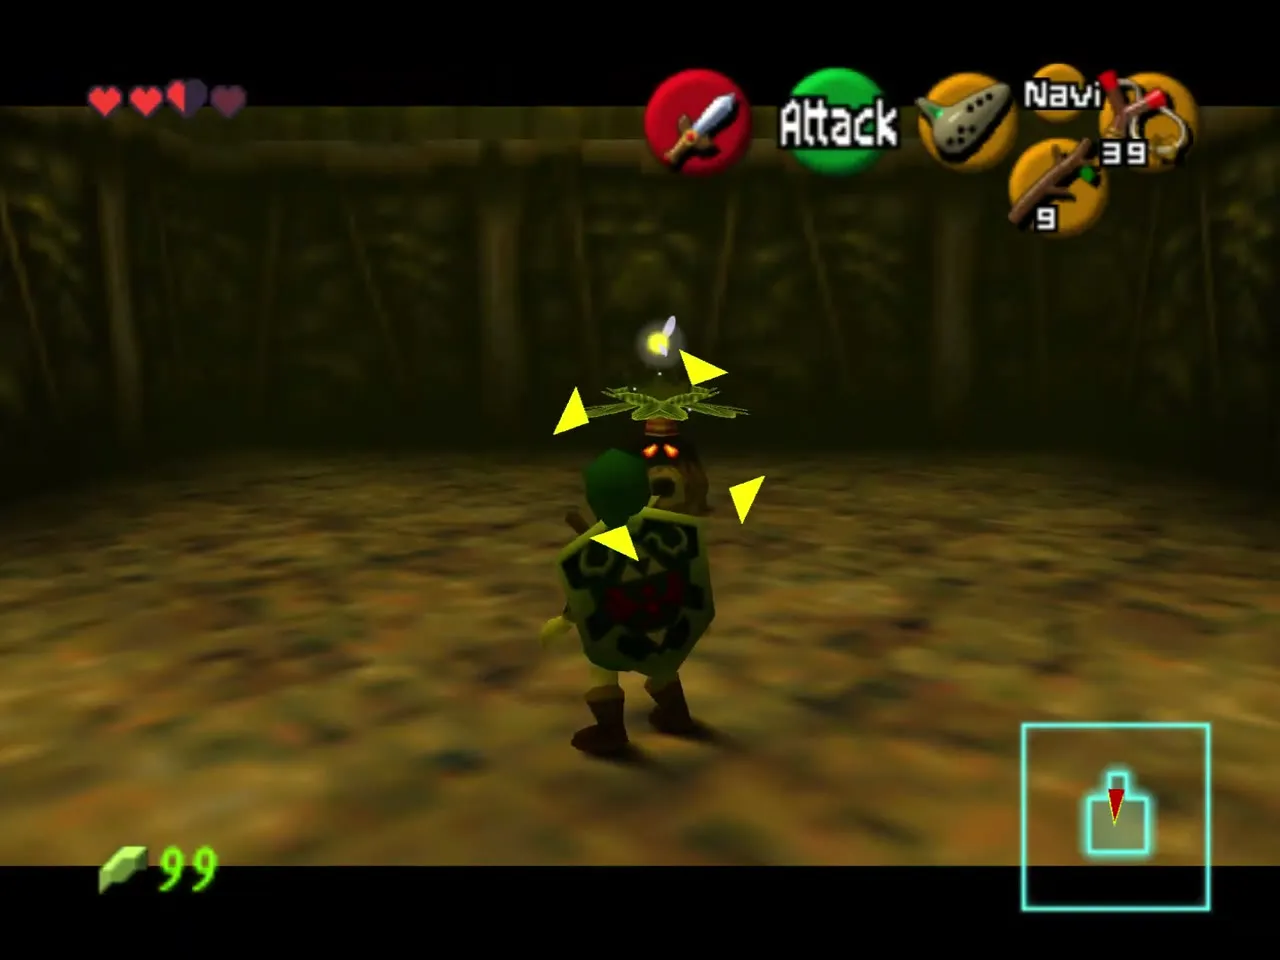
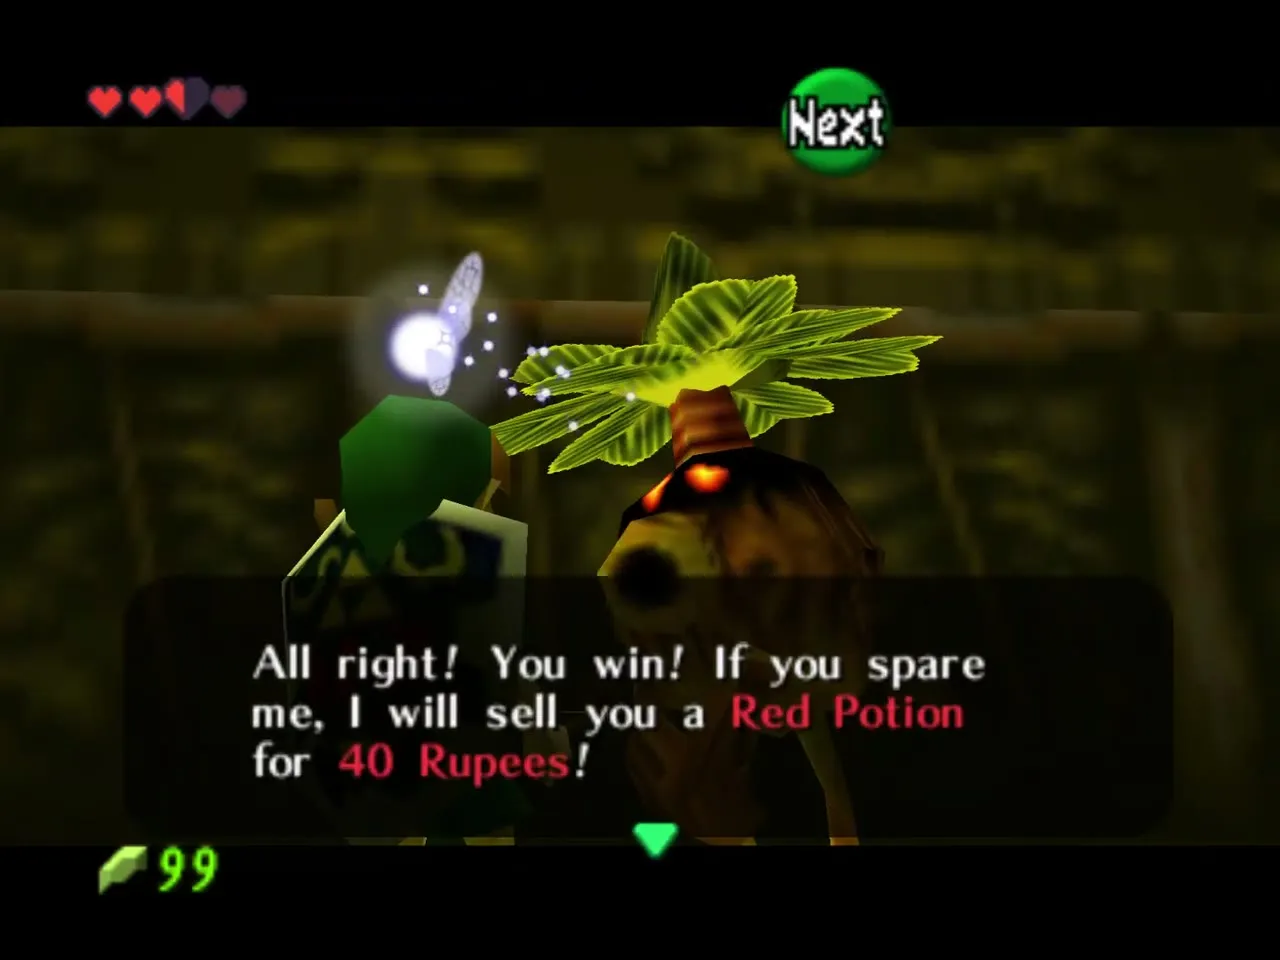
Pick up a Bomb Flower on the lower floor on the left, jump down and carry it, without throwing or dropping it, to the cracked wall ahead. In the passage two white blocks lie on the floor: one rises to reveal a Bomb Flower, and the other resets the first if you mistime it. Use the flower on the boulder further in; it reveals another Bomb Flower that opens a wall to a Business Scrub. Hit his nuts back and he sells a Red Potion for 40 rupees, which is worth it only if you need the potion.
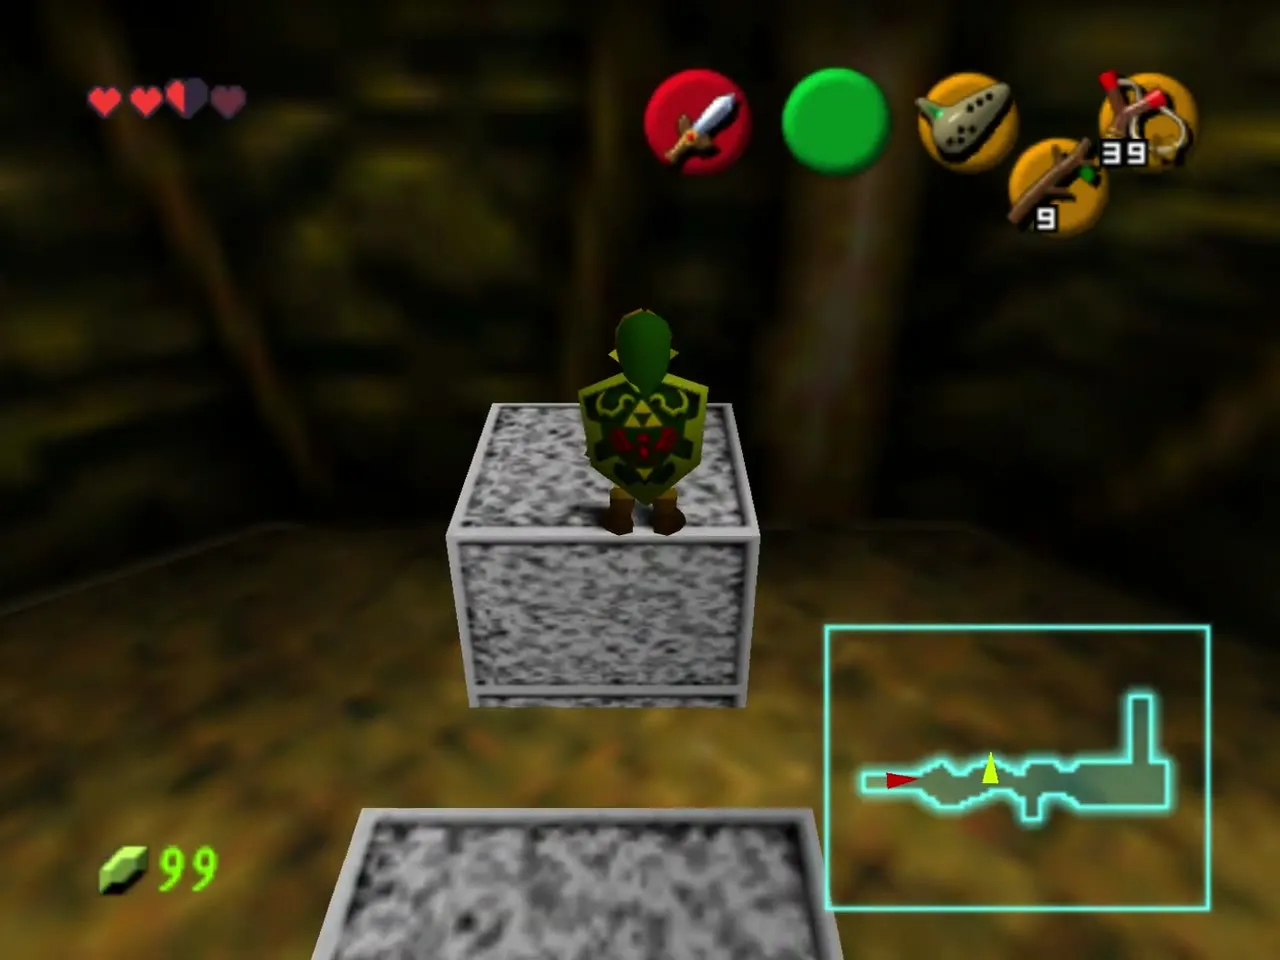
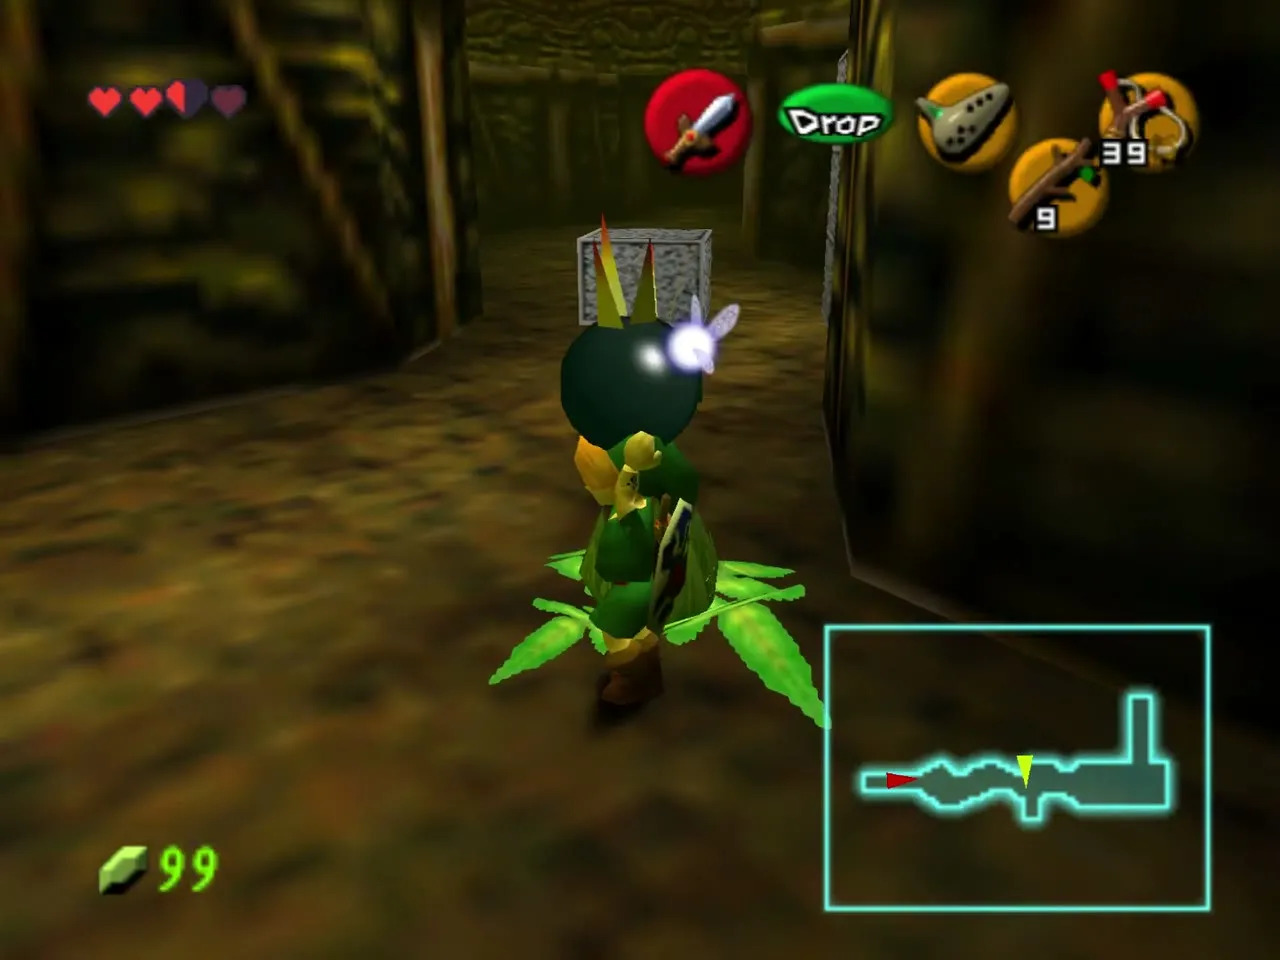
A bomb chain and the golden eye
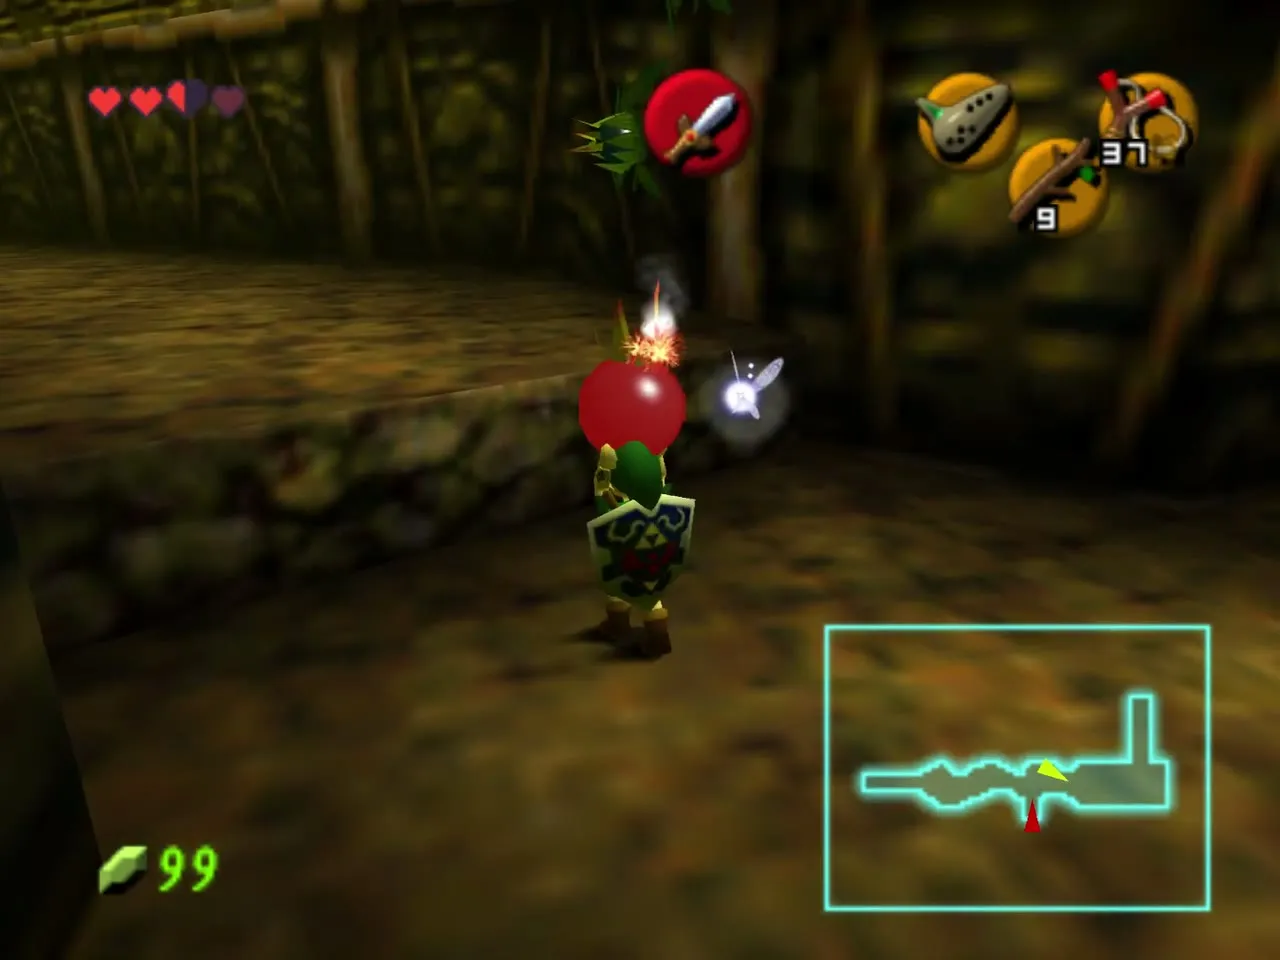
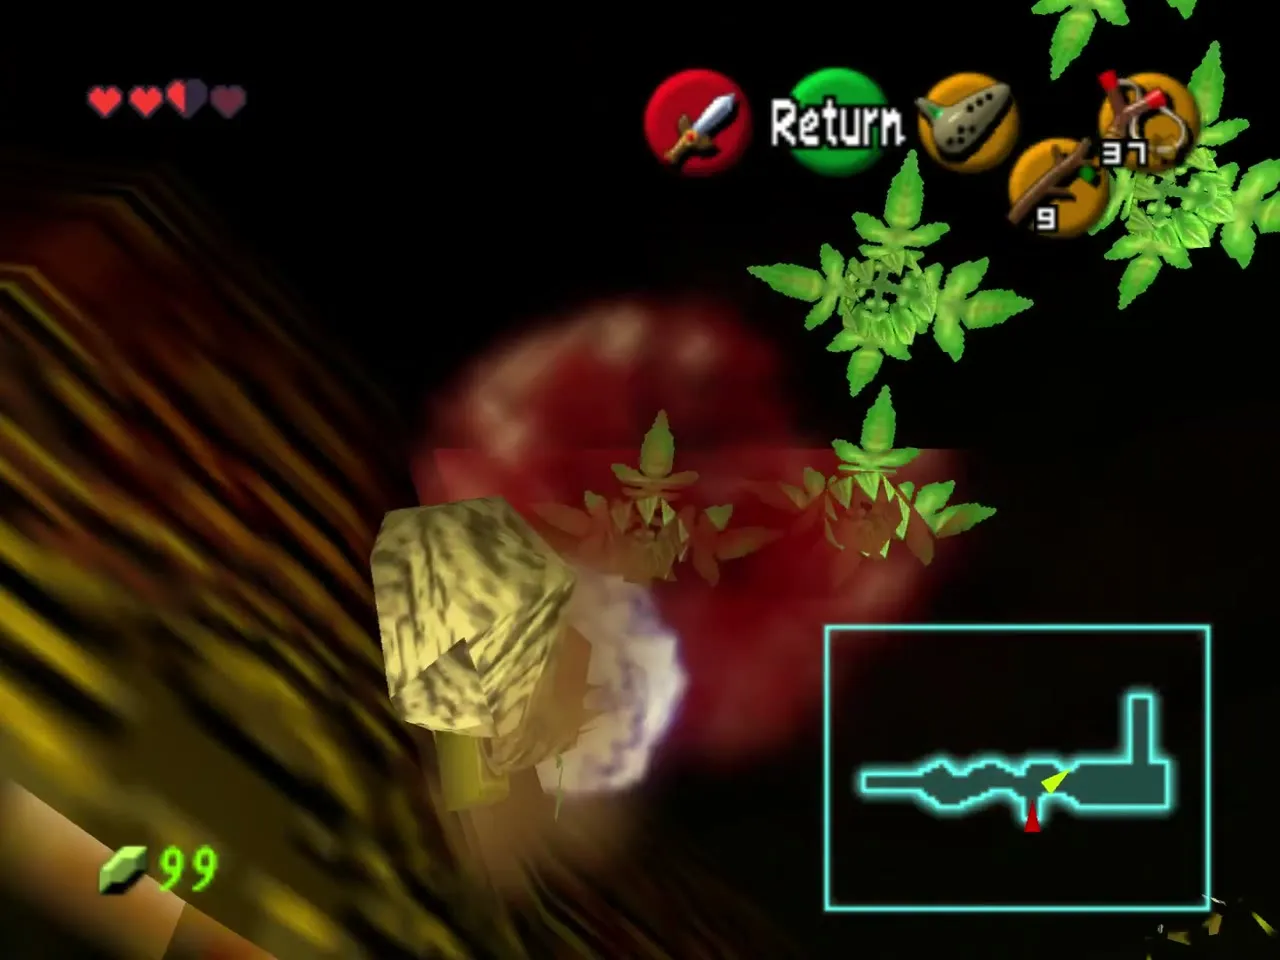
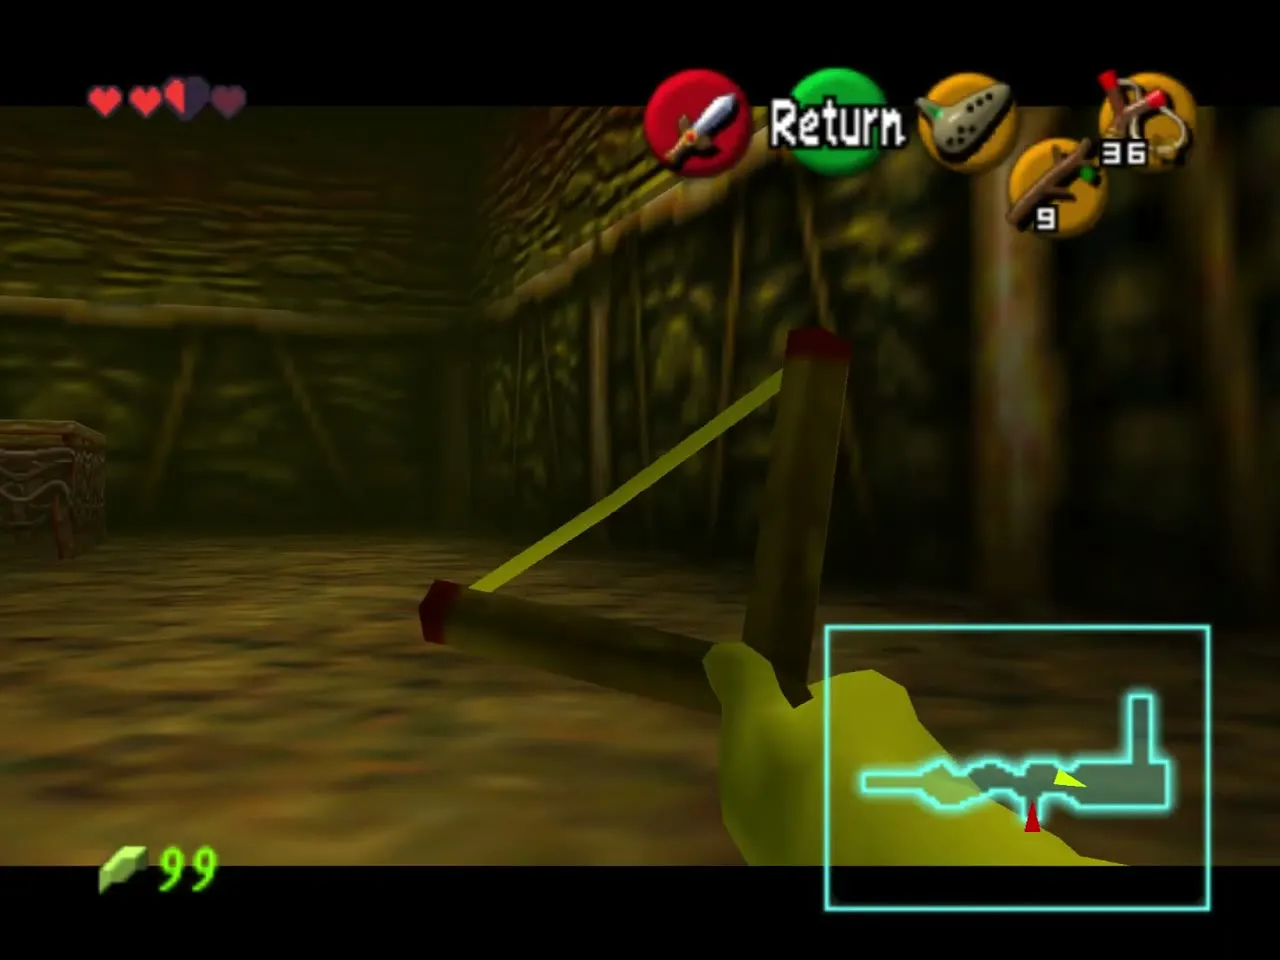
Just past the scrub a line of Bomb Flowers runs up the wall. Light the bottom one and throw a flower up the shaft, since you cannot climb while holding it. The chain reaction breaks a rock on the wall and uncovers a golden eye switch. Shoot it with the Slingshot and the door to the west opens.
Second Lizalfos pair
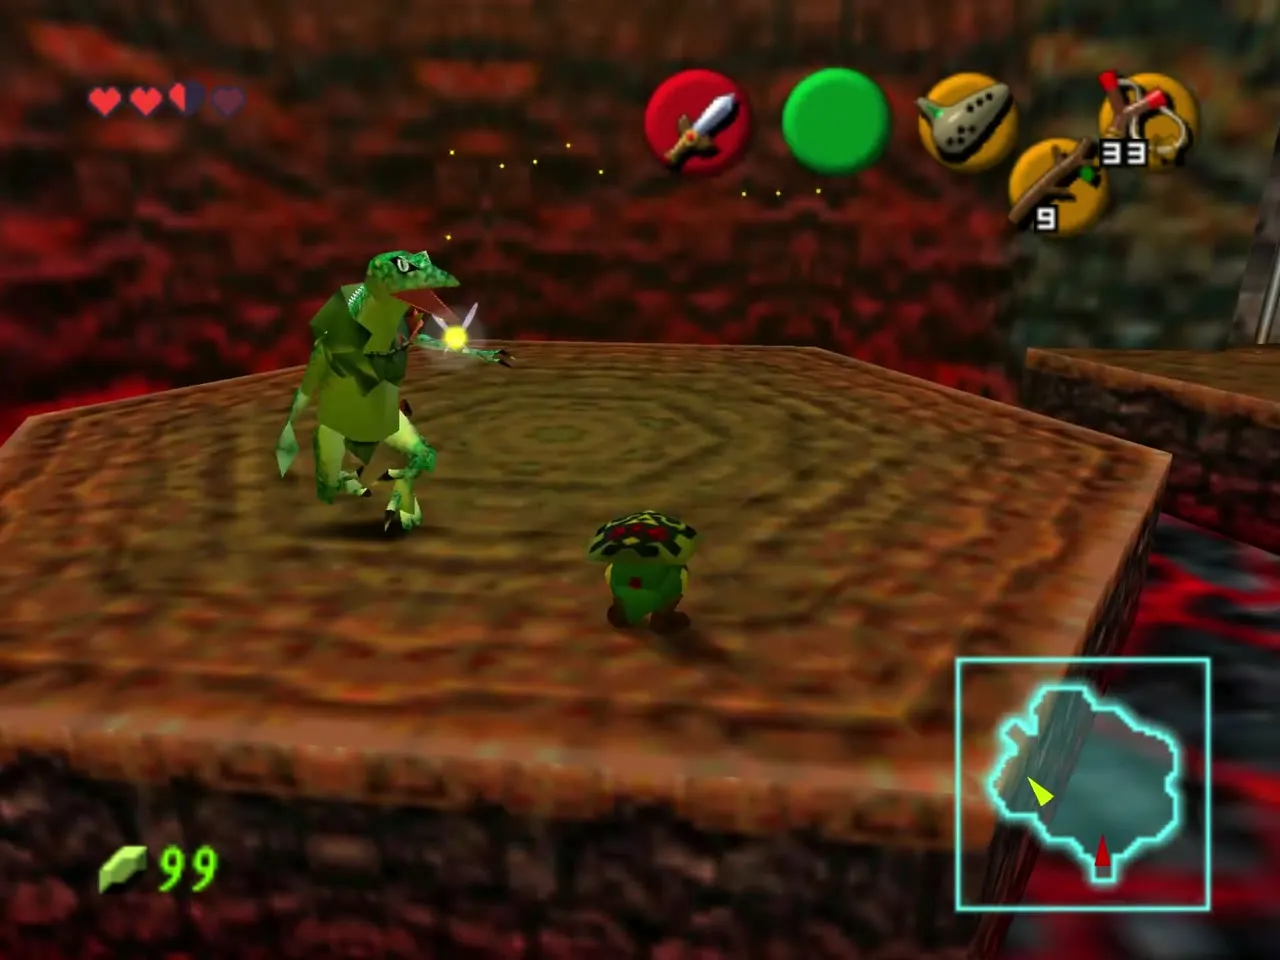
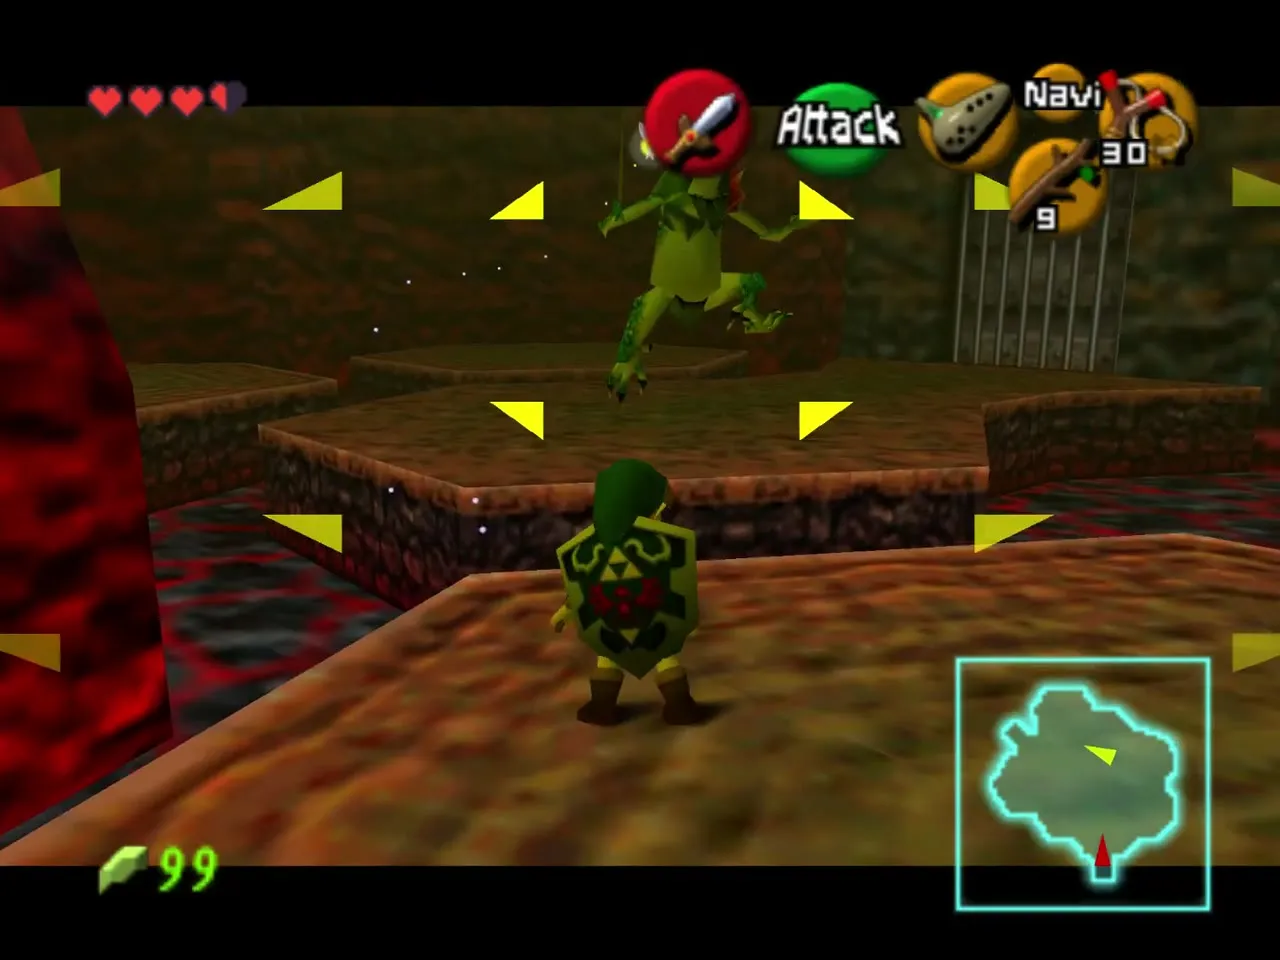
Fire Keese, a Skulltula and a few Baby Dodongos line the tunnel beyond, but you can duck past them if you are short of rupees and hearts. The next door leads to a larger lava room with a second pair of Lizalfos on platforms. Fight them as before: shield up while they jump, sword on the landing. Beating both opens the next door.
Poe room and the Bomb Bag
Three Poes float around the next room. They are slow and give nothing when beaten, so ignore them. The first Bomb Flower chain you find here opens a door to the north, but that room only holds a Gold Skulltula that needs the Boomerang, so move on. Smash the crates at the south end for a fresh Bomb Flower and light the chain running up the pillar in the middle of the room; it opens the door in the south corner.
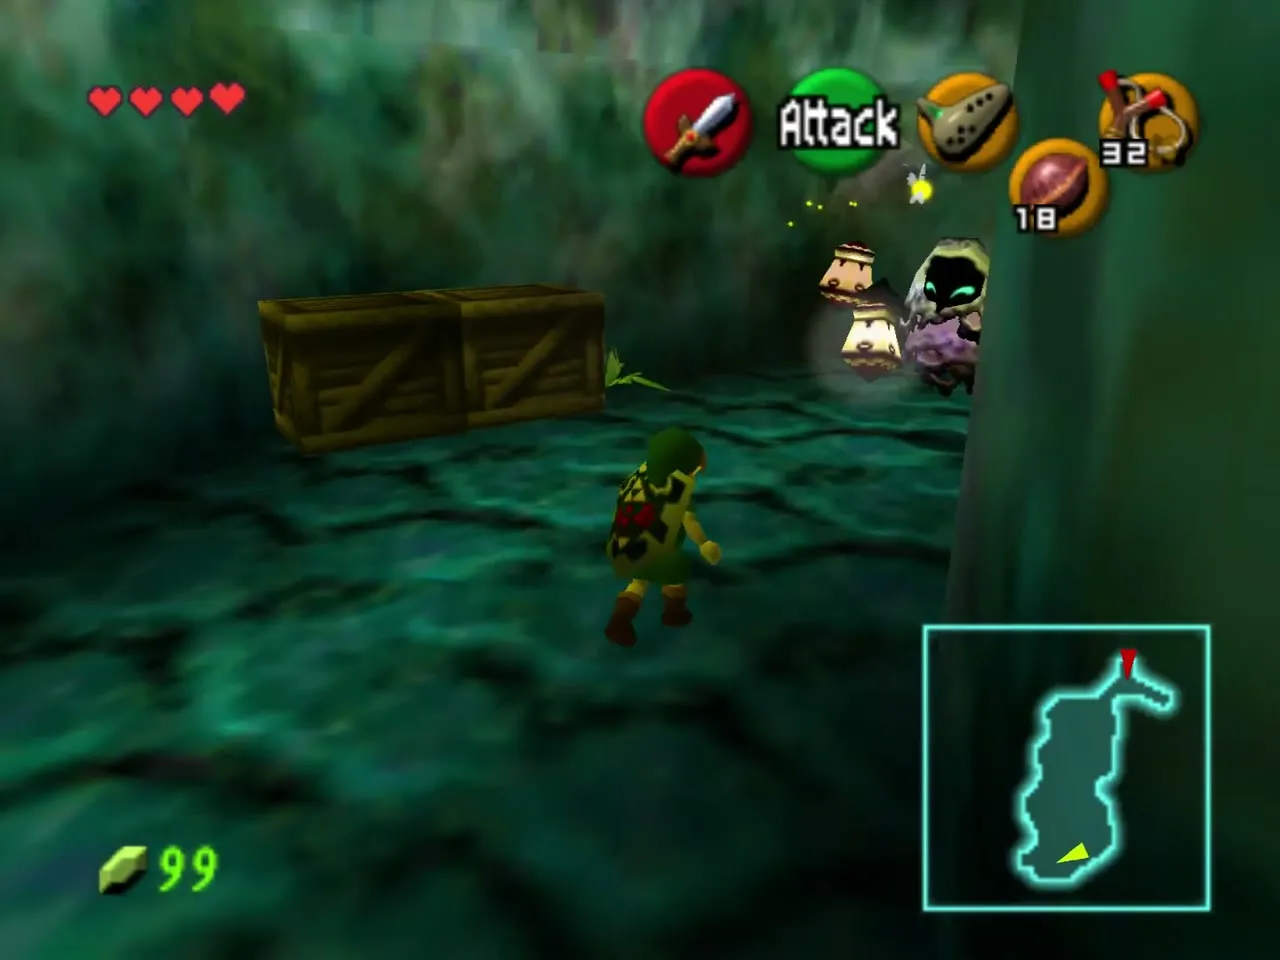
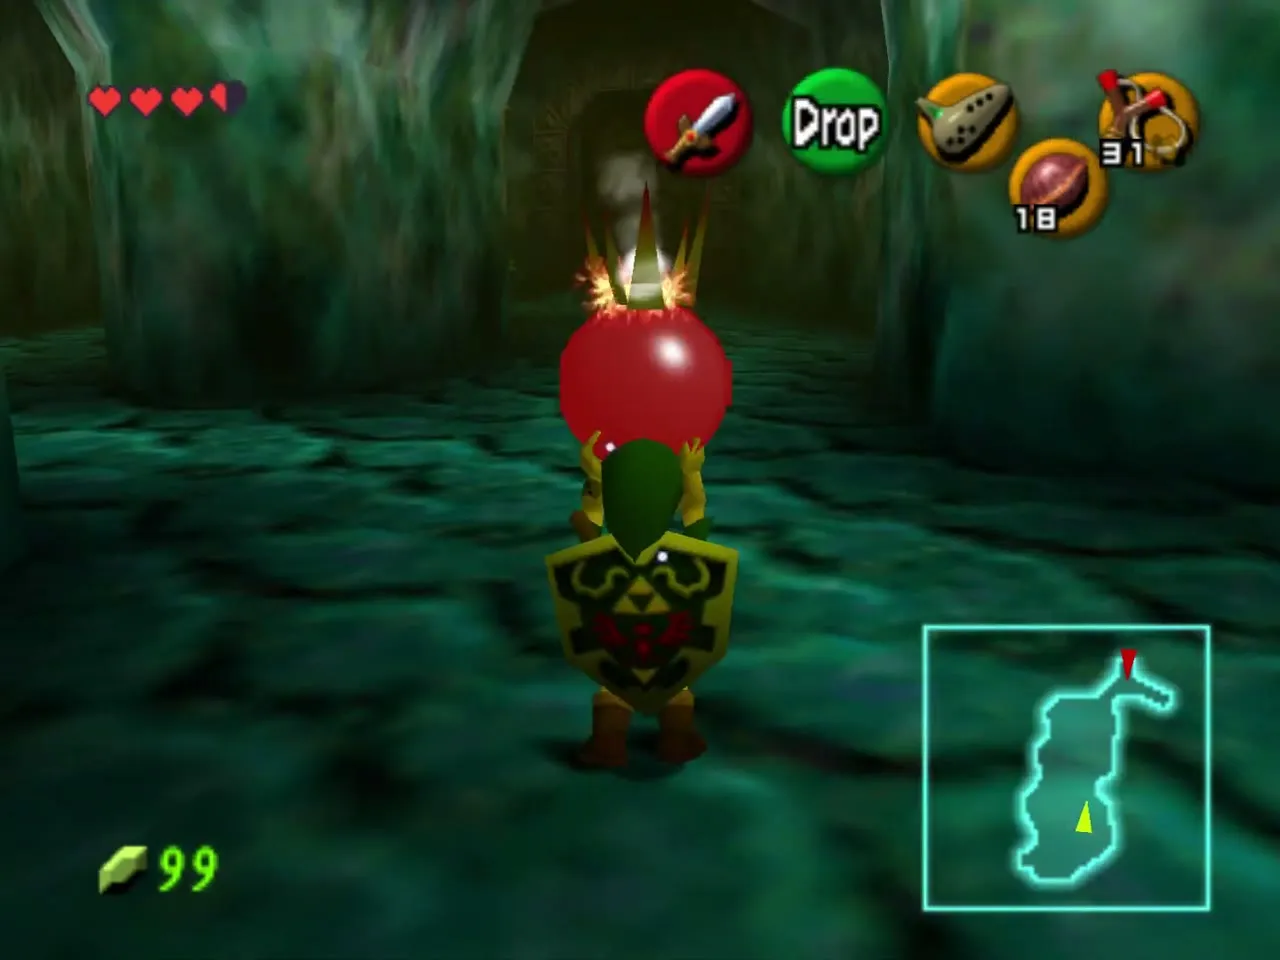
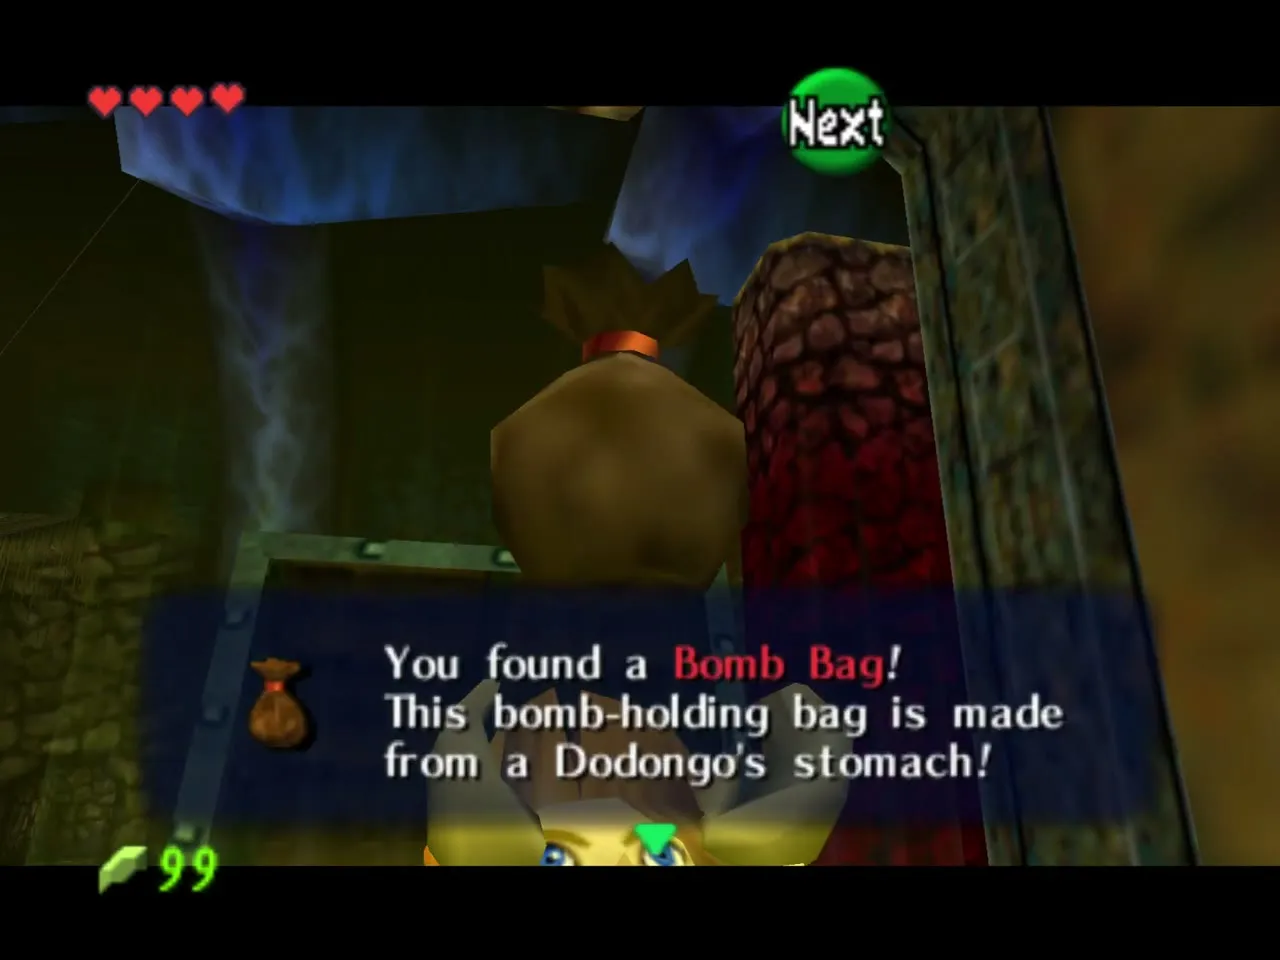
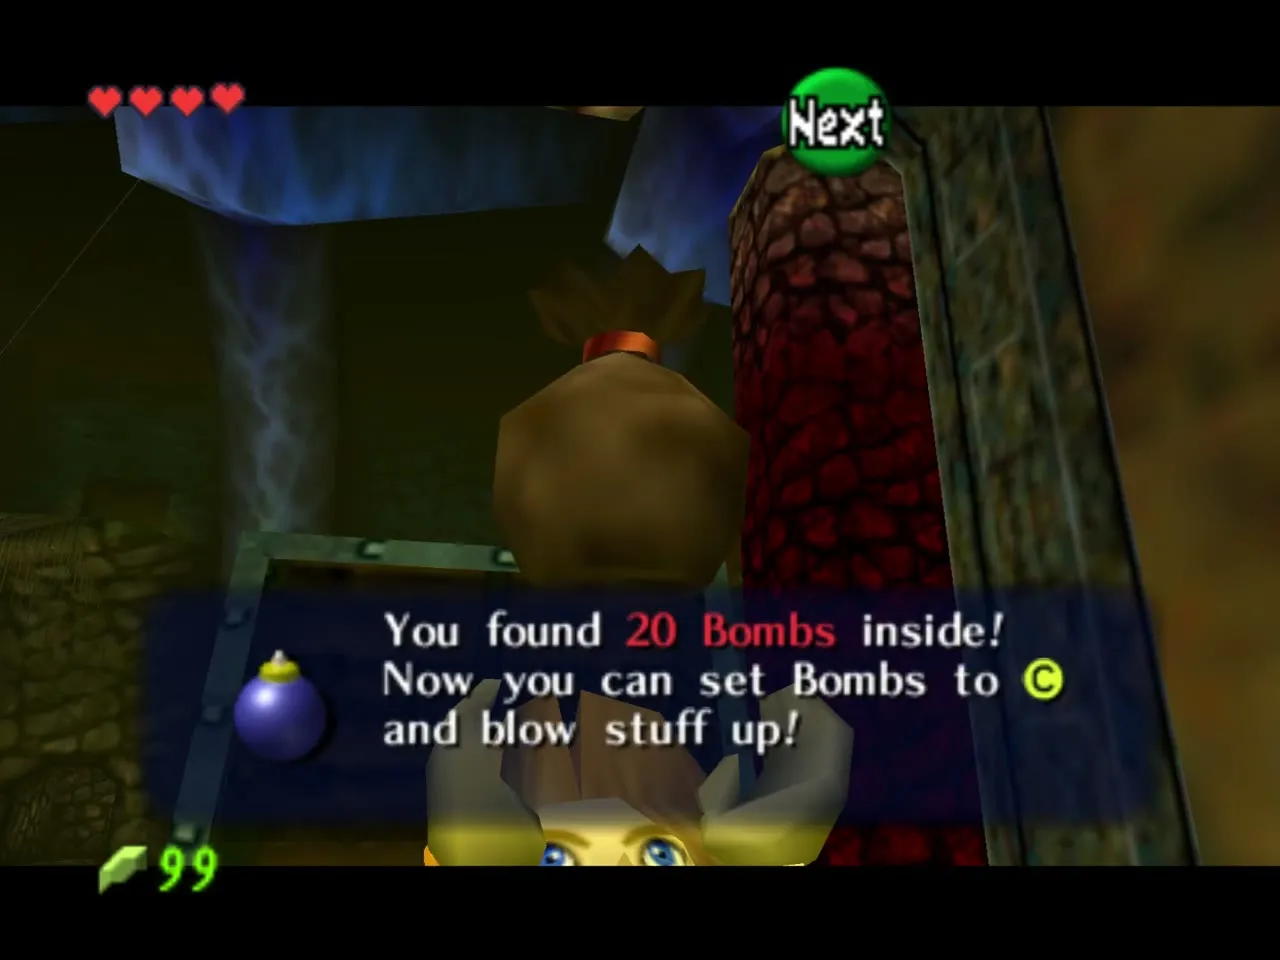
Go through the south door and open the chest: it holds the Bomb Bag with 20 bombs. This is the chest you saw in the raised alcove of the main cavern, and from here on you can set bombs on a C button instead of relying on flowers.
Into the skull’s mouth
Bomb both eyes
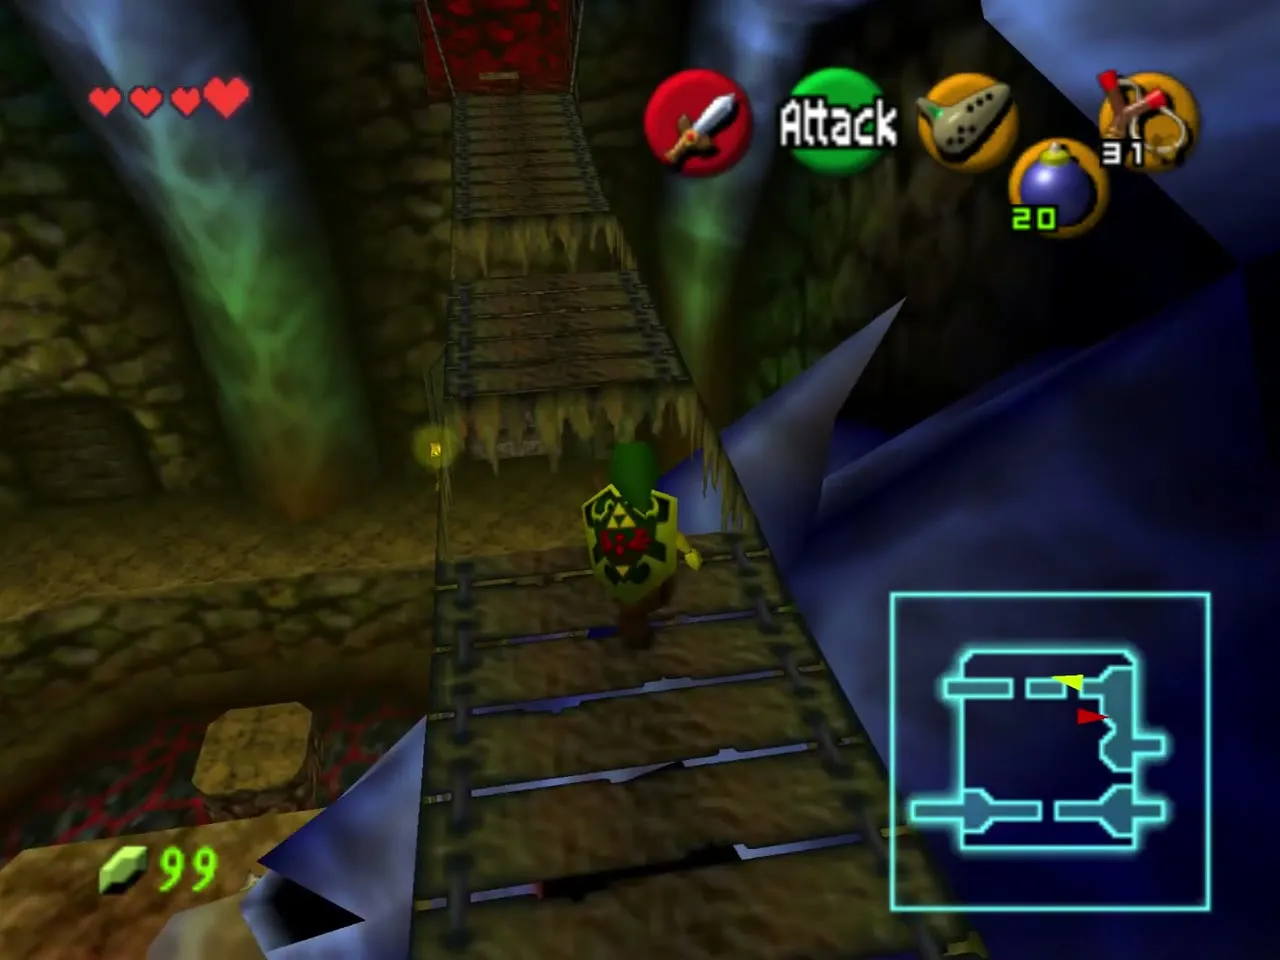
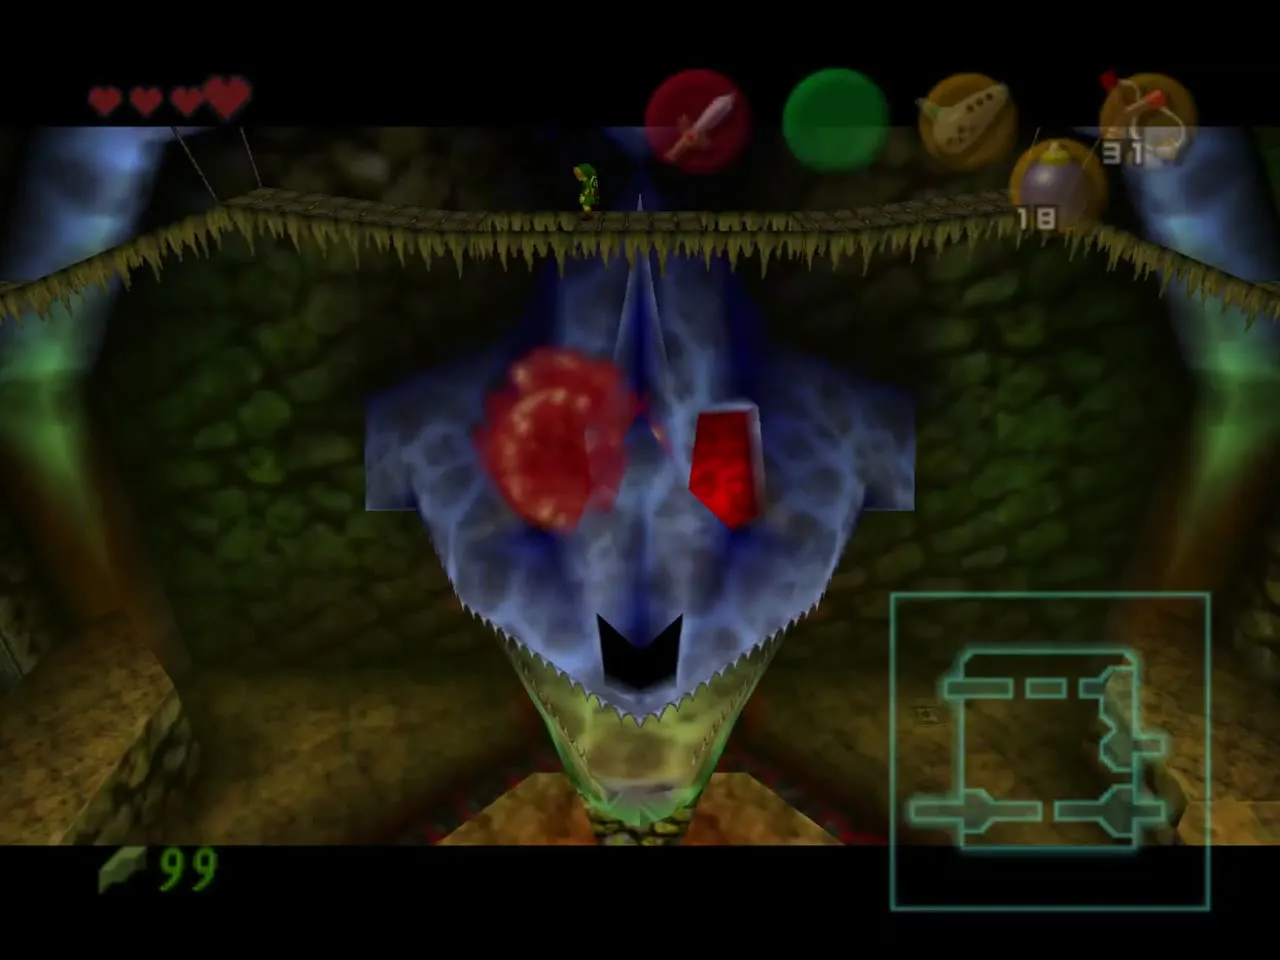
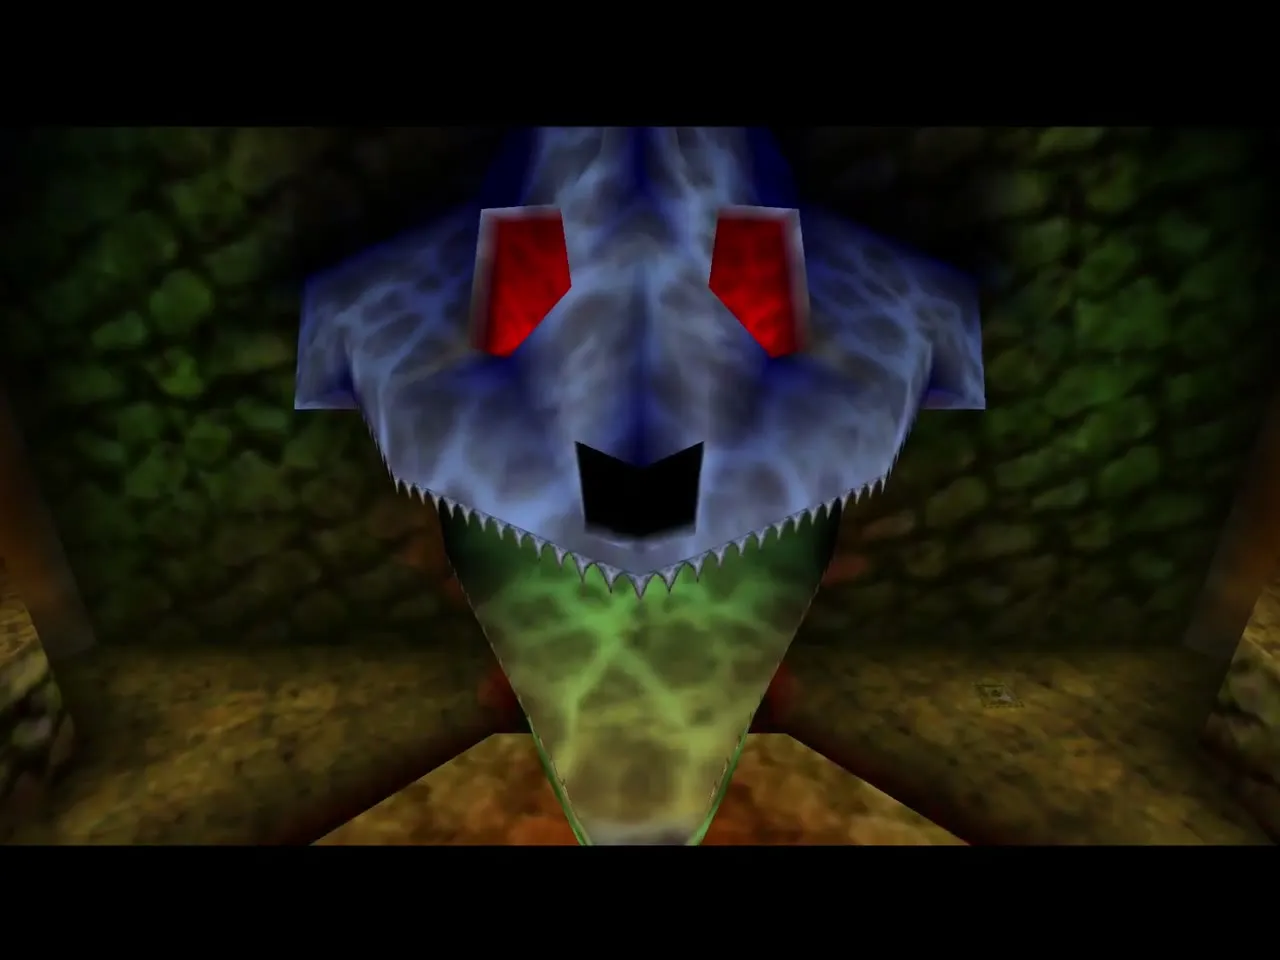
Return to the main cavern and ride the west pillar to the top floor. The wooden bridge above the skull has two gaps. Drop a bomb through each so it explodes inside an eye socket. The eyes glow red, the jaw swings open and a door appears in its mouth.
Fire and a Lizalfos
In the first room, ignore the Baby Dodongos at the bottom, jump up and take the passage on the left. Deal with the Baby Dodongos there, then fight a single Lizalfos. This one cannot run away, so it is easier than the pairs. Beyond it is a ring of fire around the room’s centre.
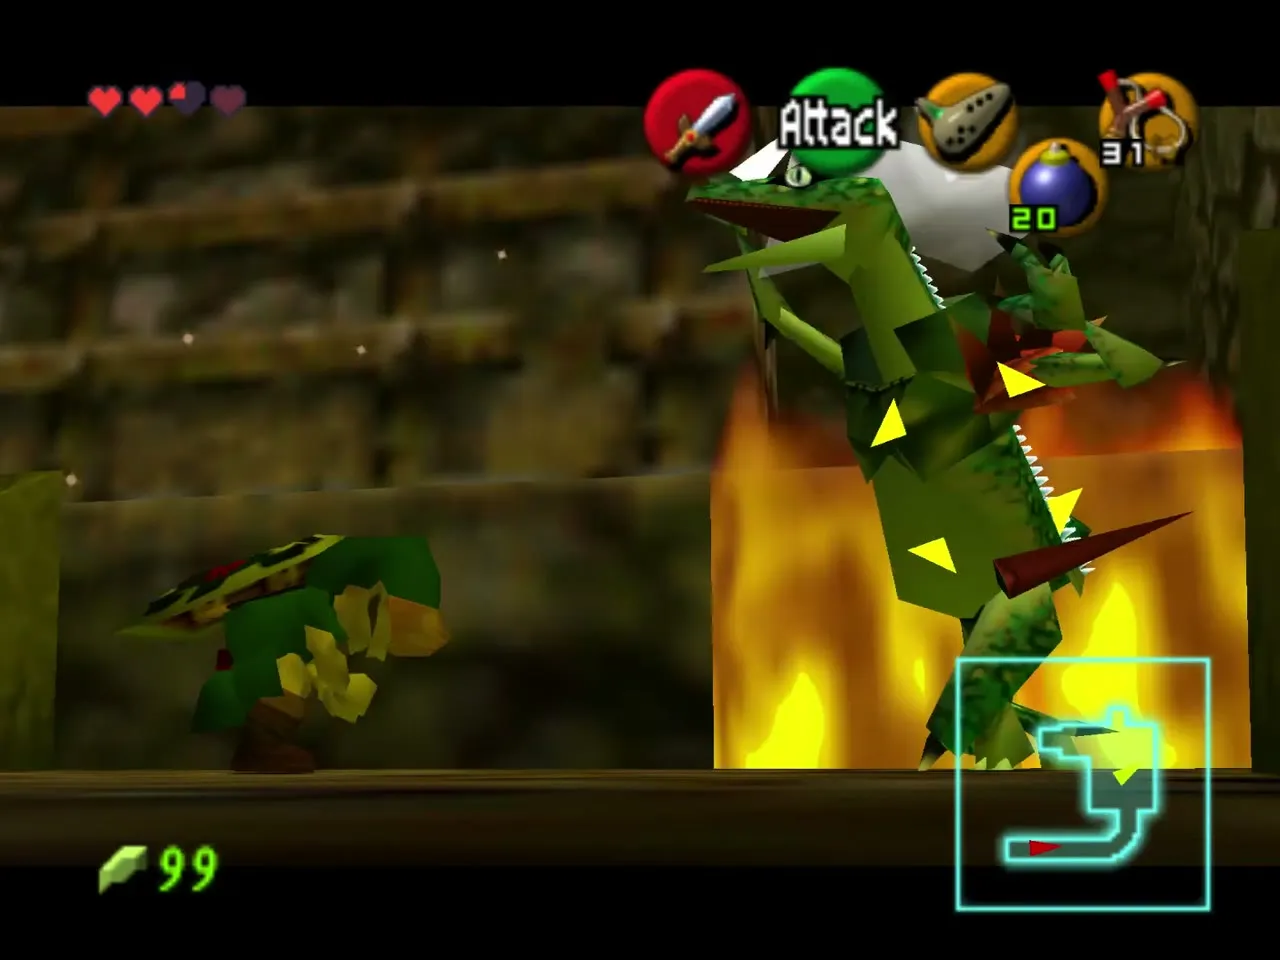
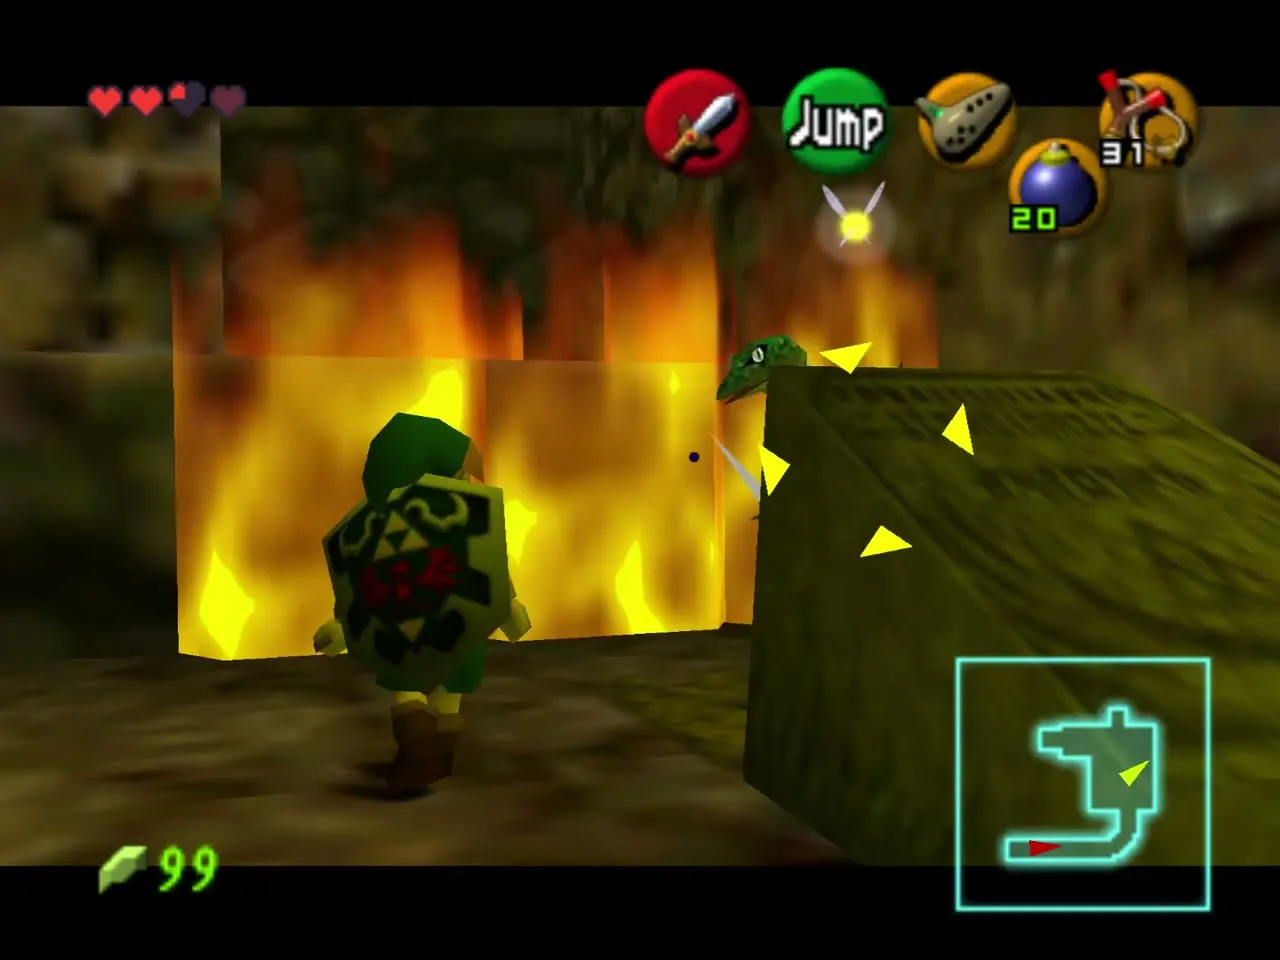
Tombstone puzzle and the Armos wall
Pull the tombstone nearest to the fire forward, climb on it and throw a bomb over the flames: it hits a crystal switch and the fire dies for a short time. Beyond lies a crowd of Armos statues with a chain of Bomb Flowers on the wall beside them. Aim a bomb at the top-left of the group; the Armos blow each other up in a chain and the Bomb Flower chain hits a crystal switch that raises a set of floating steps.
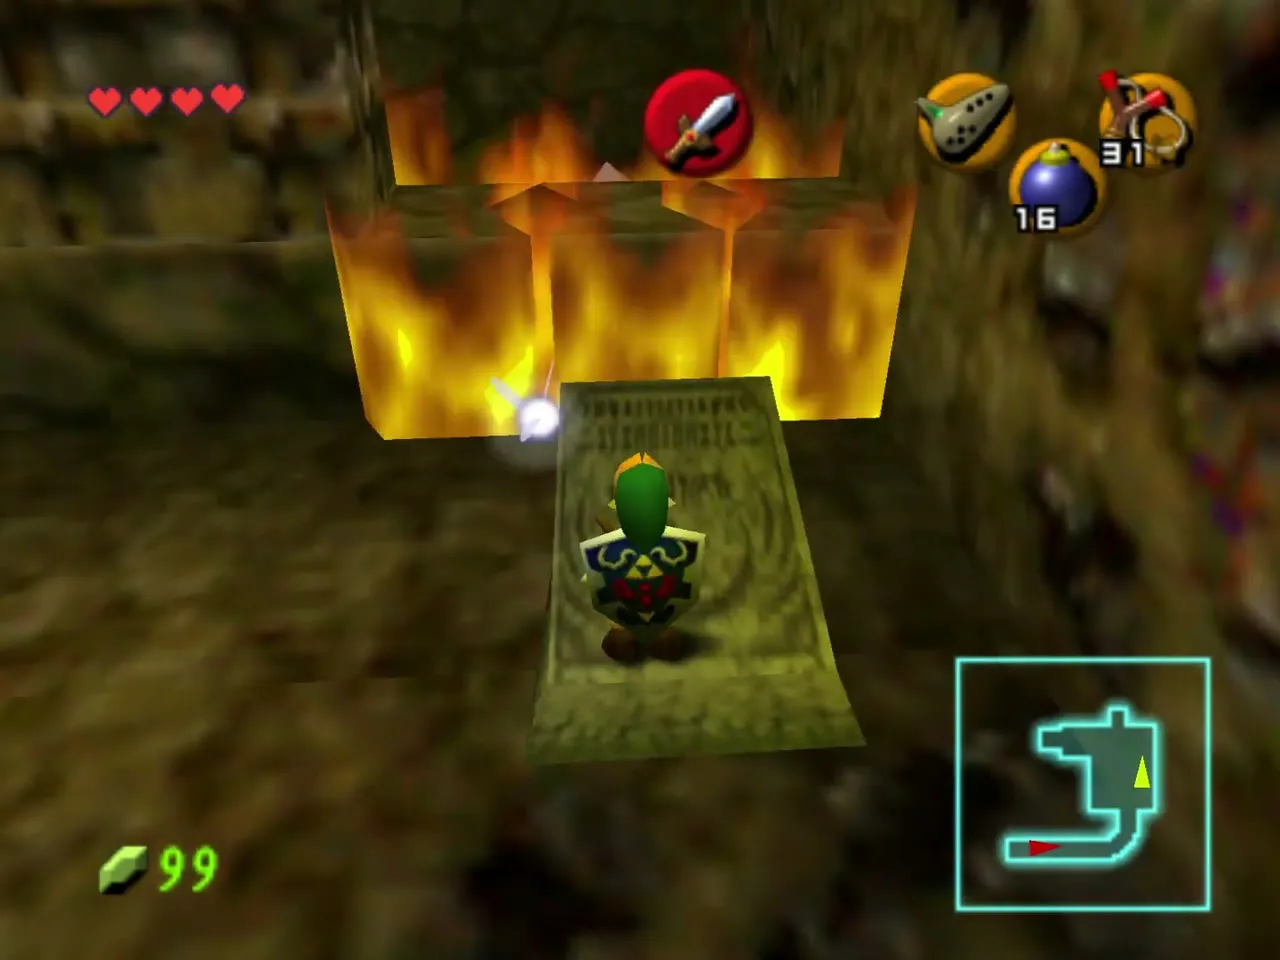
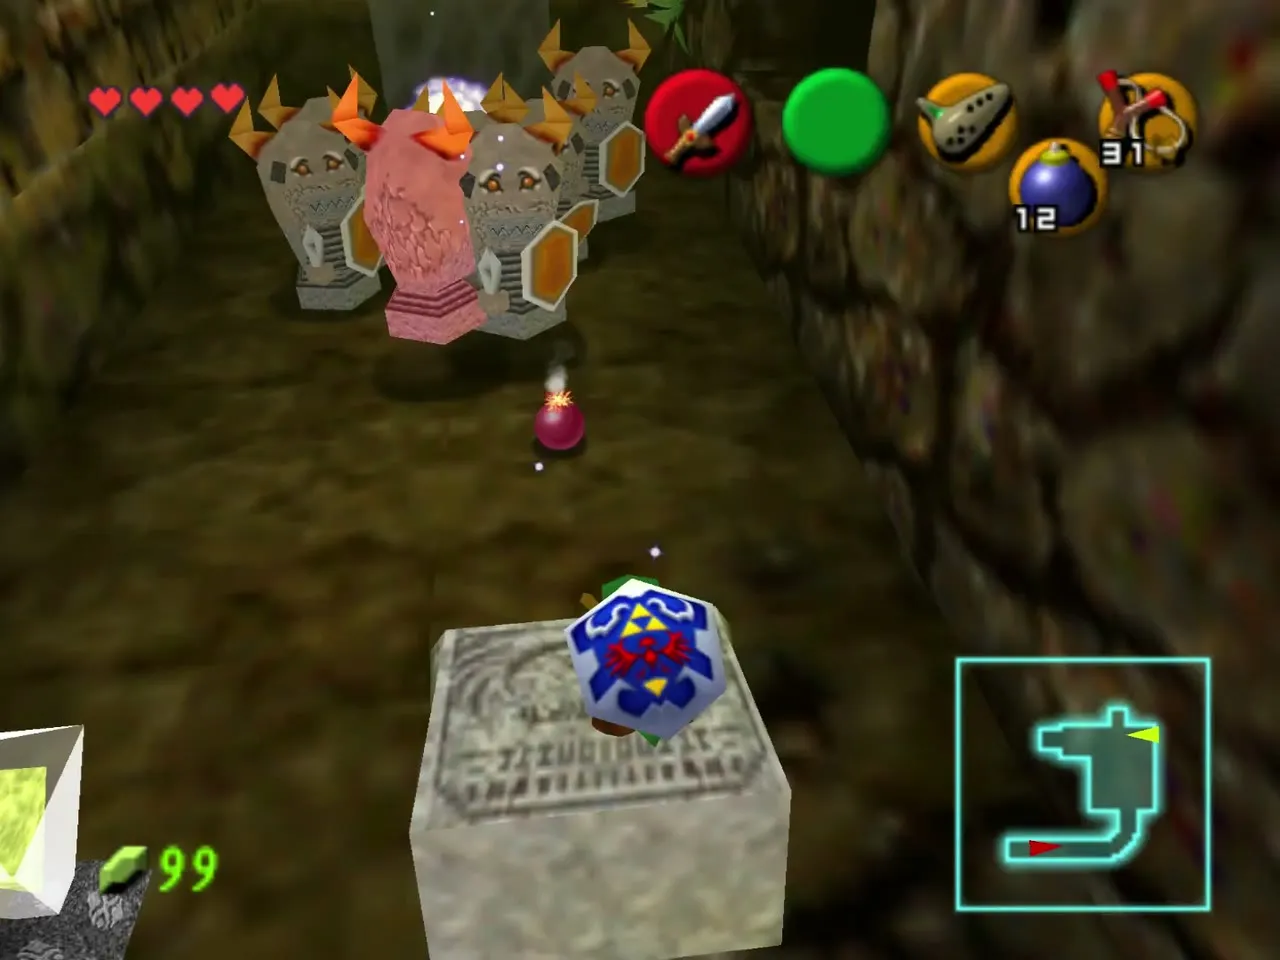
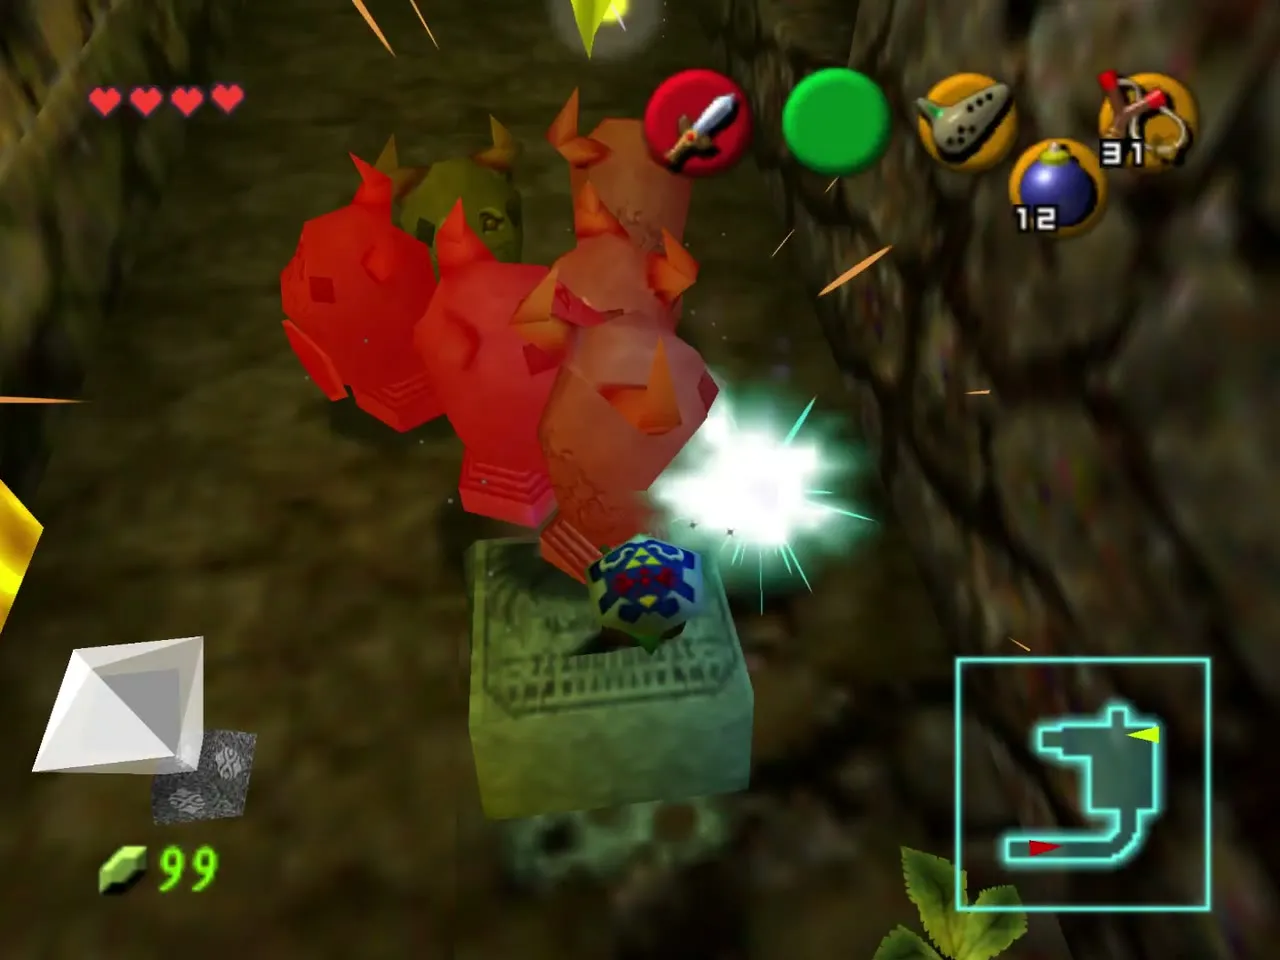
Climb the steps and onto the wall at the right, and follow the ledge to its end for another Gold Skulltula. Back down, a door in the west leads to a room with a single Poe that guards a small chest. It is a bonus: skip it, or catch the Poe in a bottle if you have one free.
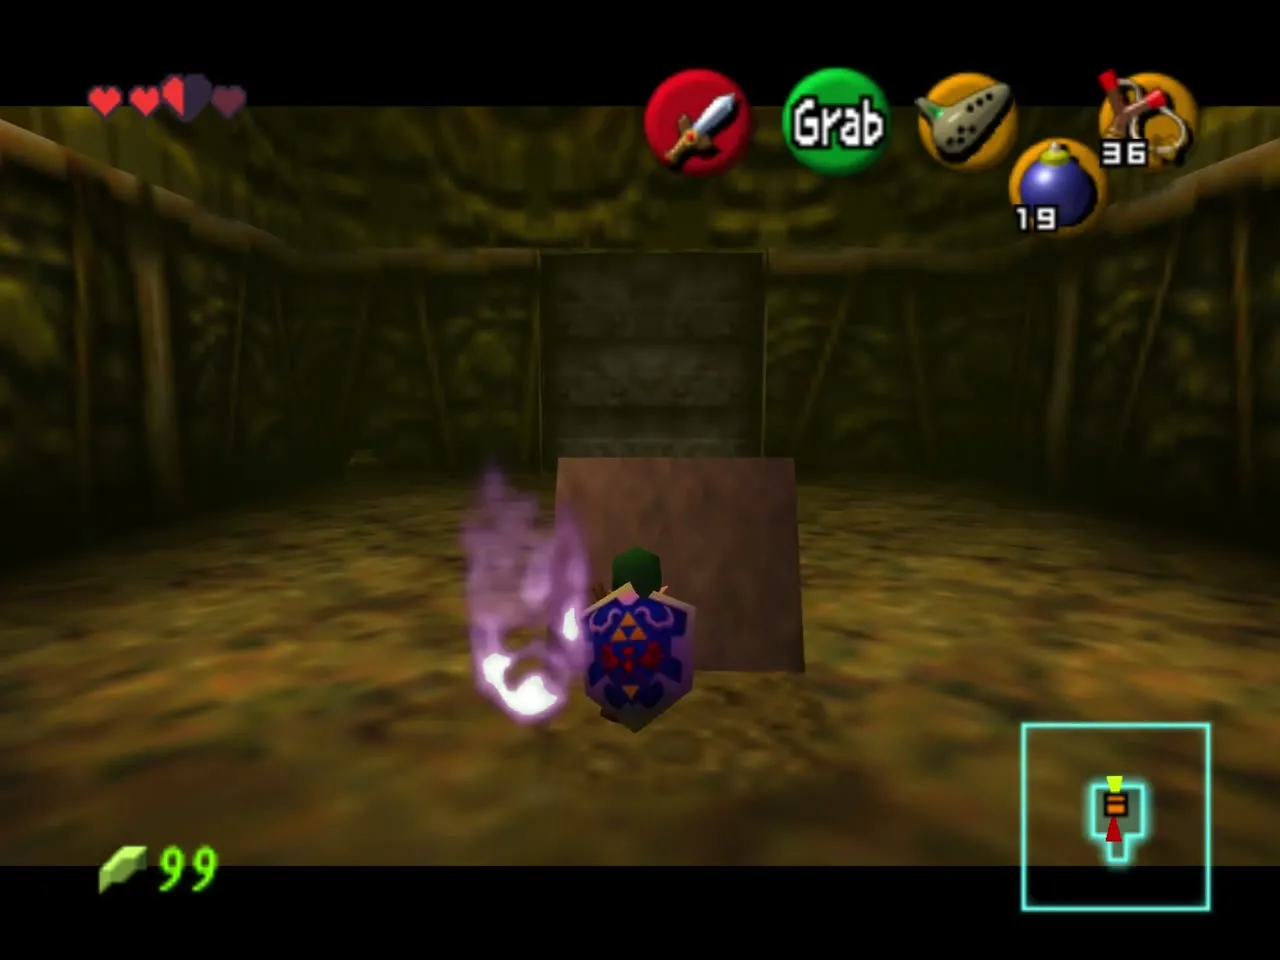
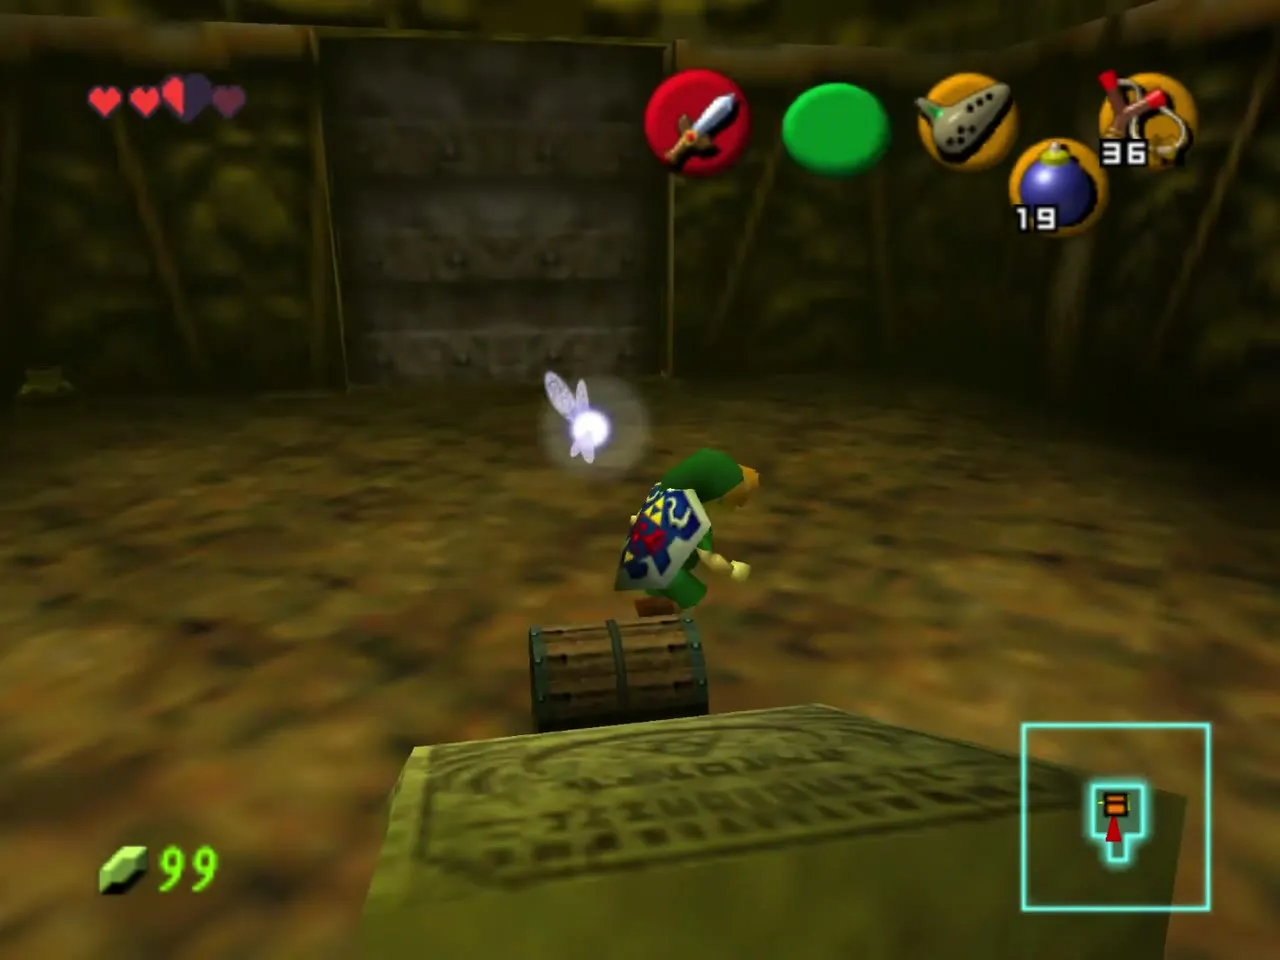
Open the boss door
In the upper alcove, drag the tombstone backward to reveal a yellow switch: step on it and the boss door unlocks. Jump back down and head east, ignoring the Baby Lizalfos, to the door at the end of the corridor.
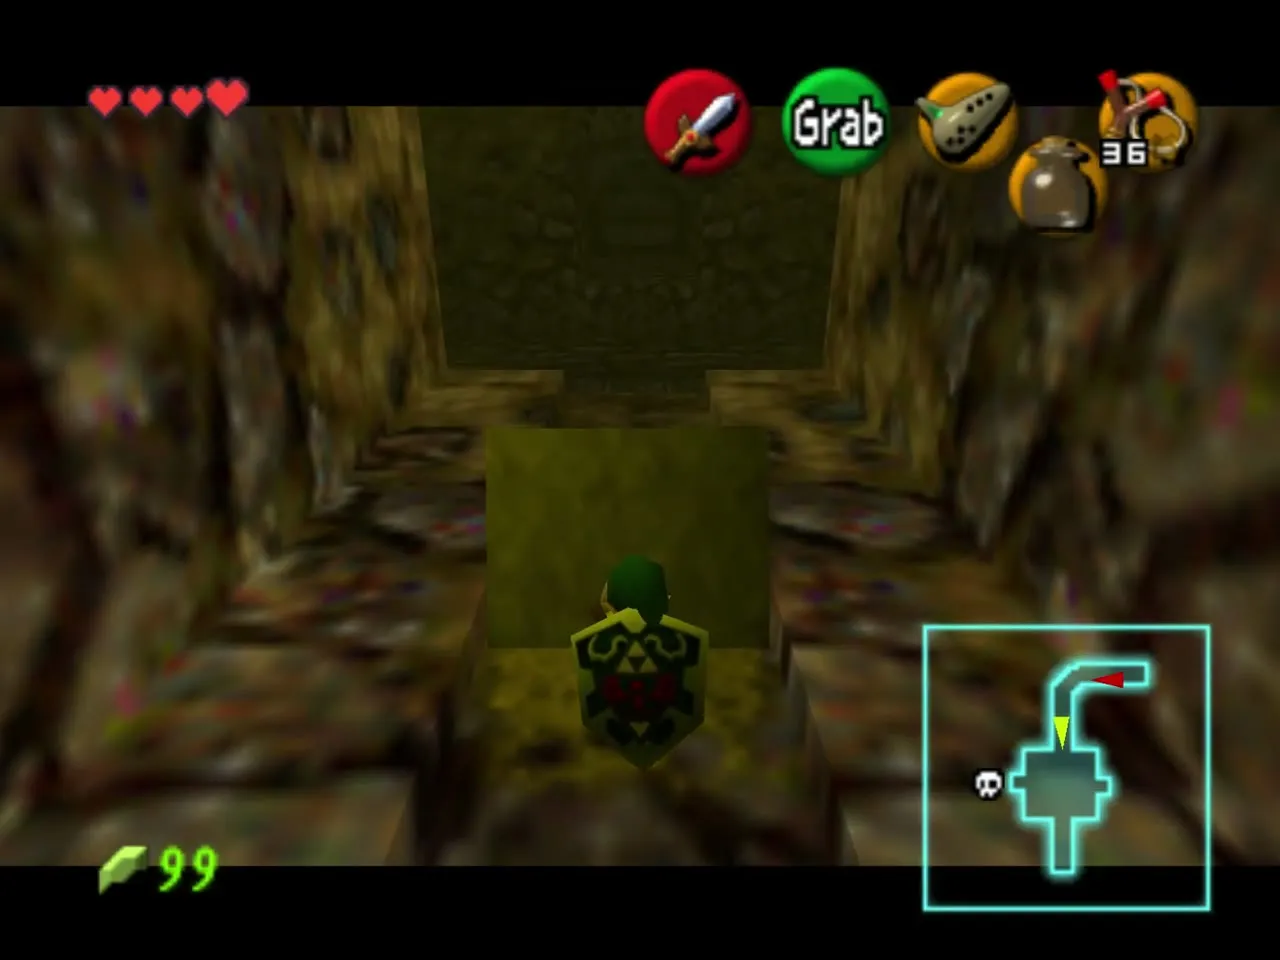
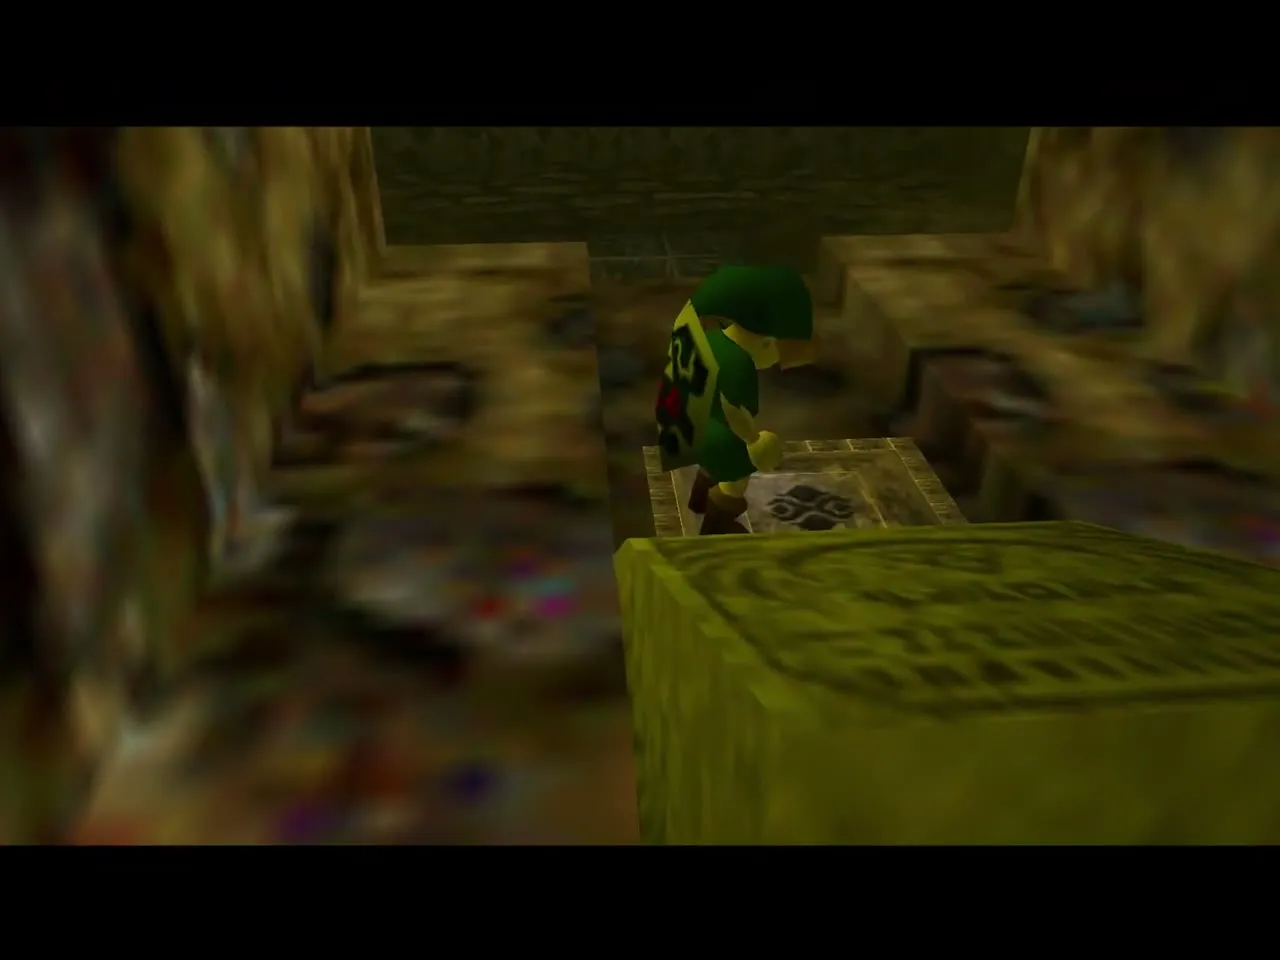
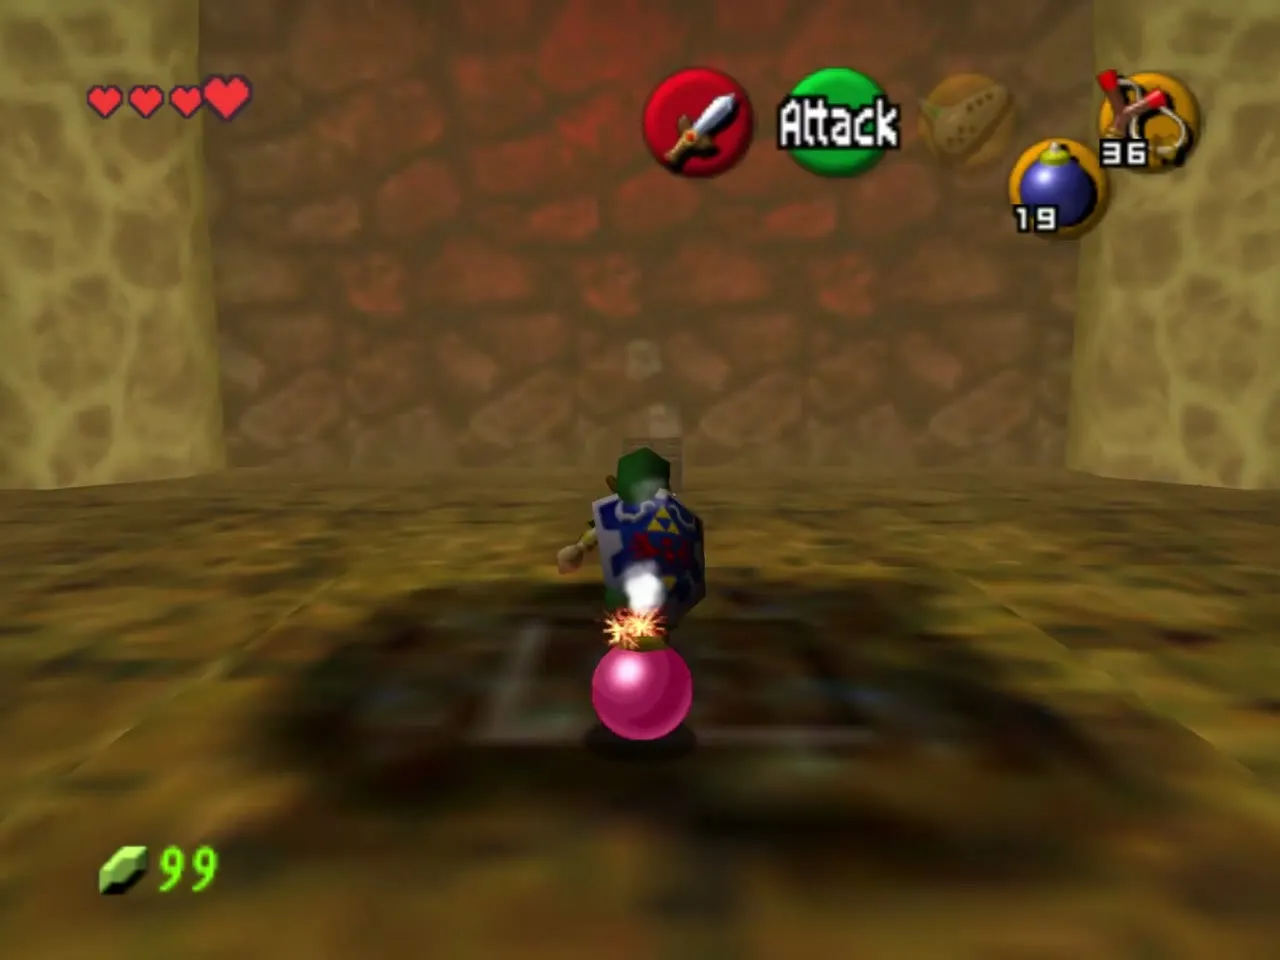
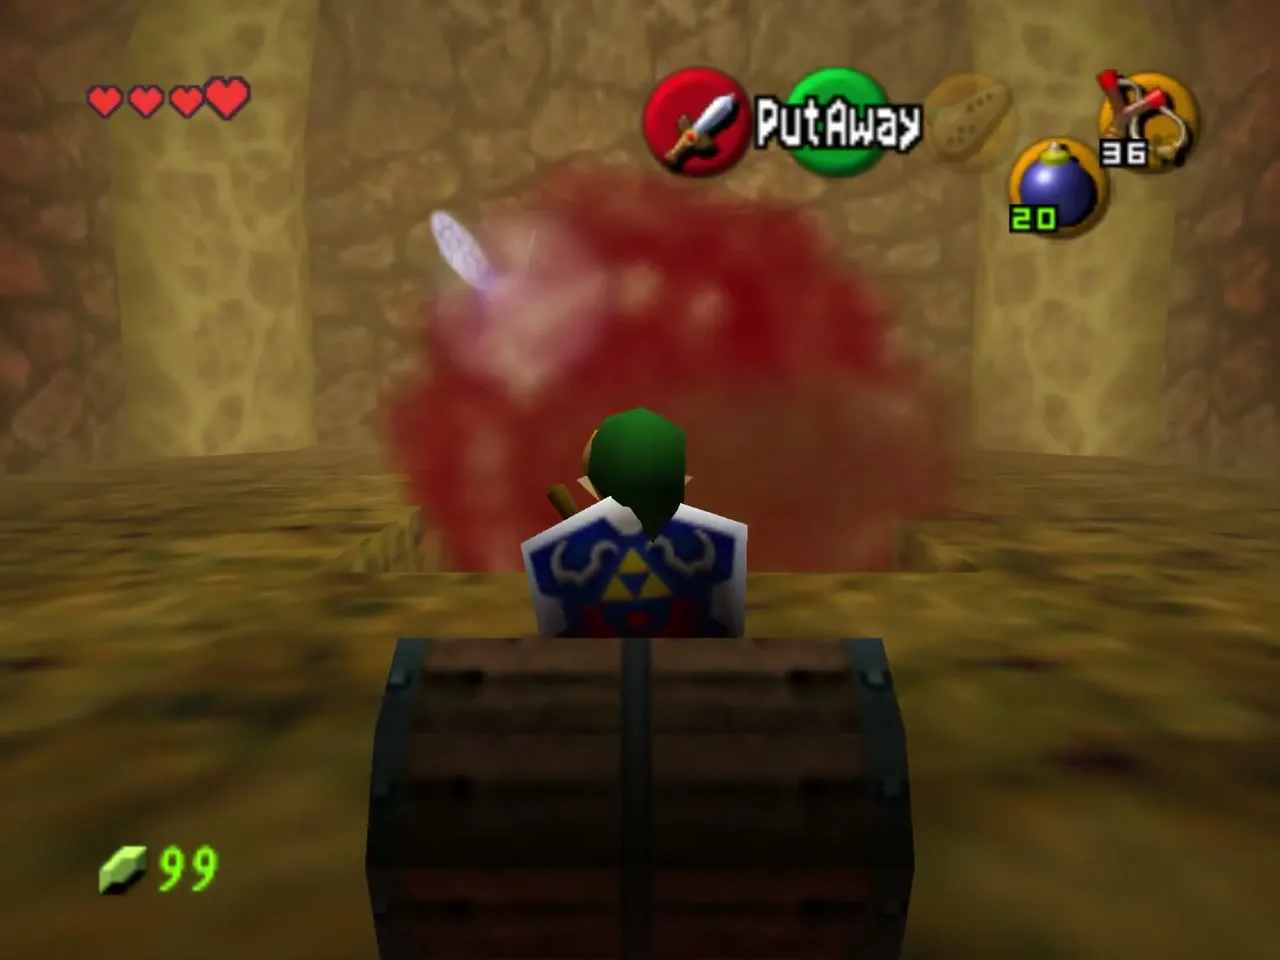
Inside the antechamber drop a bomb in the middle of the floor. A chest holds more bombs if you need them; fill your bag before you fall through the hole you made. King Dodongo is below.
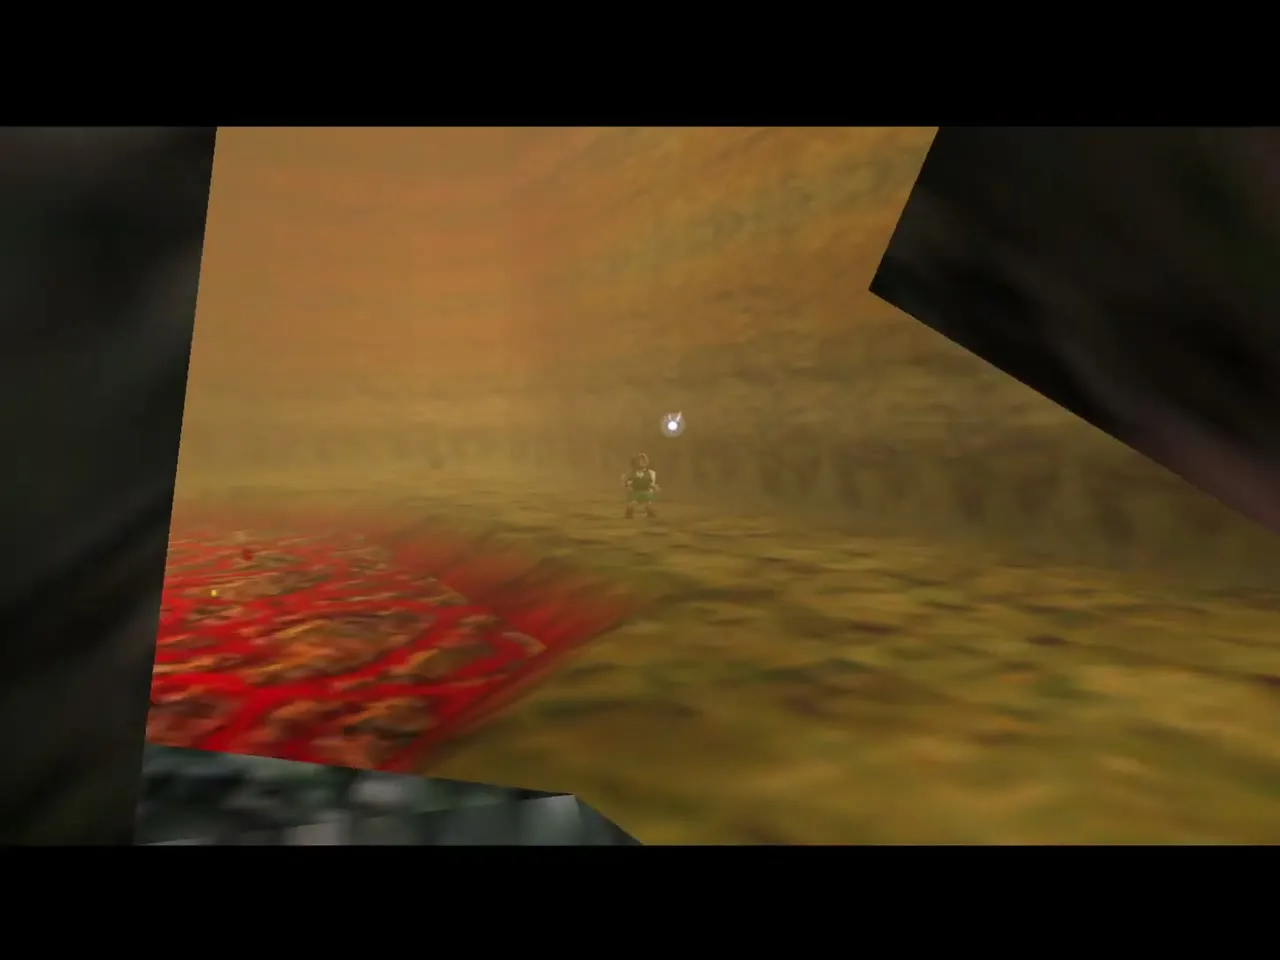
King Dodongo
The arena
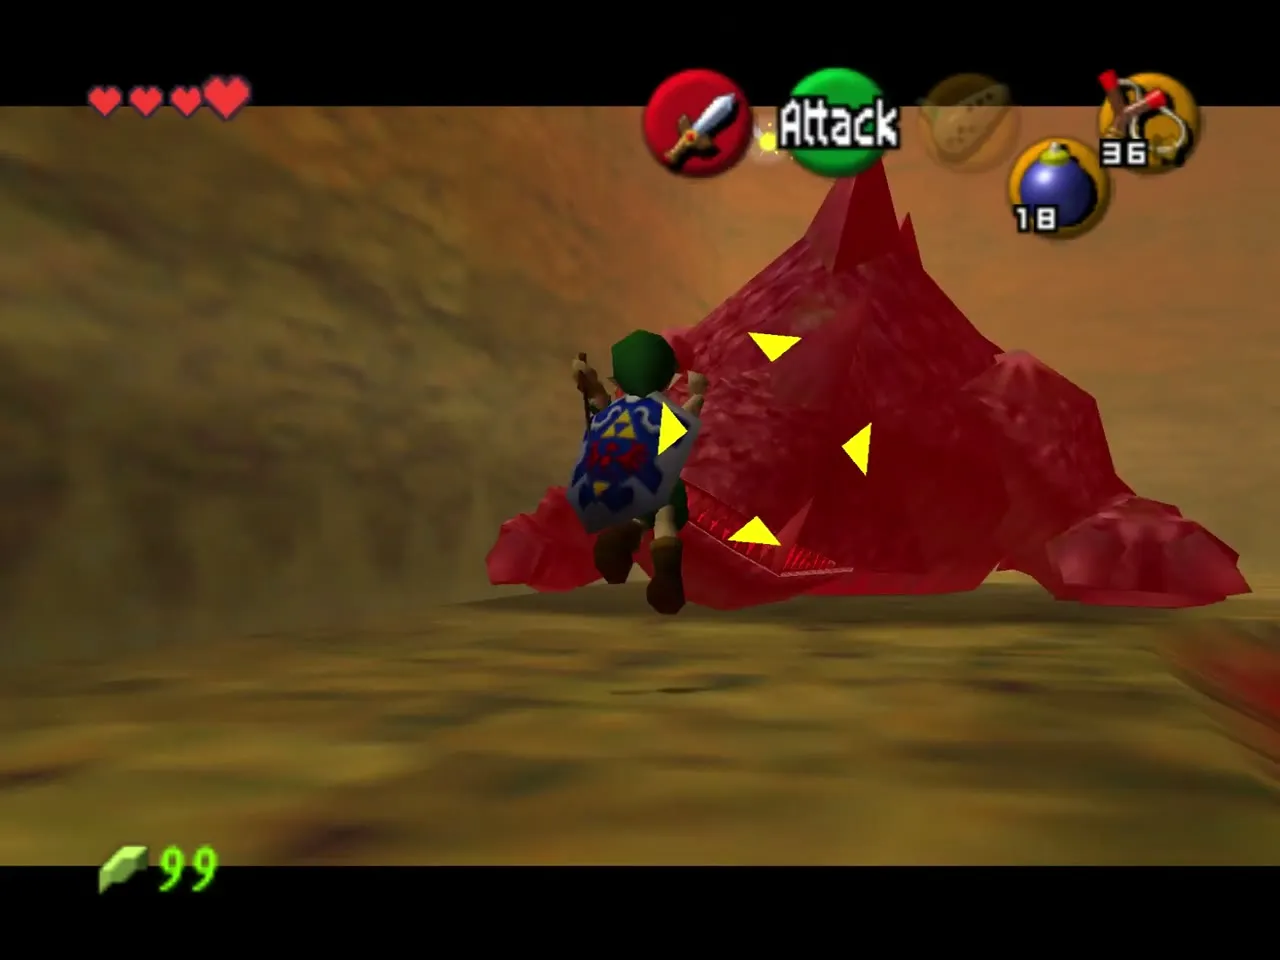
You land on a ring of ground around a lake of lava. King Dodongo walks toward you and stops to inhale before breathing fire. Keep a few bombs ready; if you are low, there are Bomb Flowers near the walls.
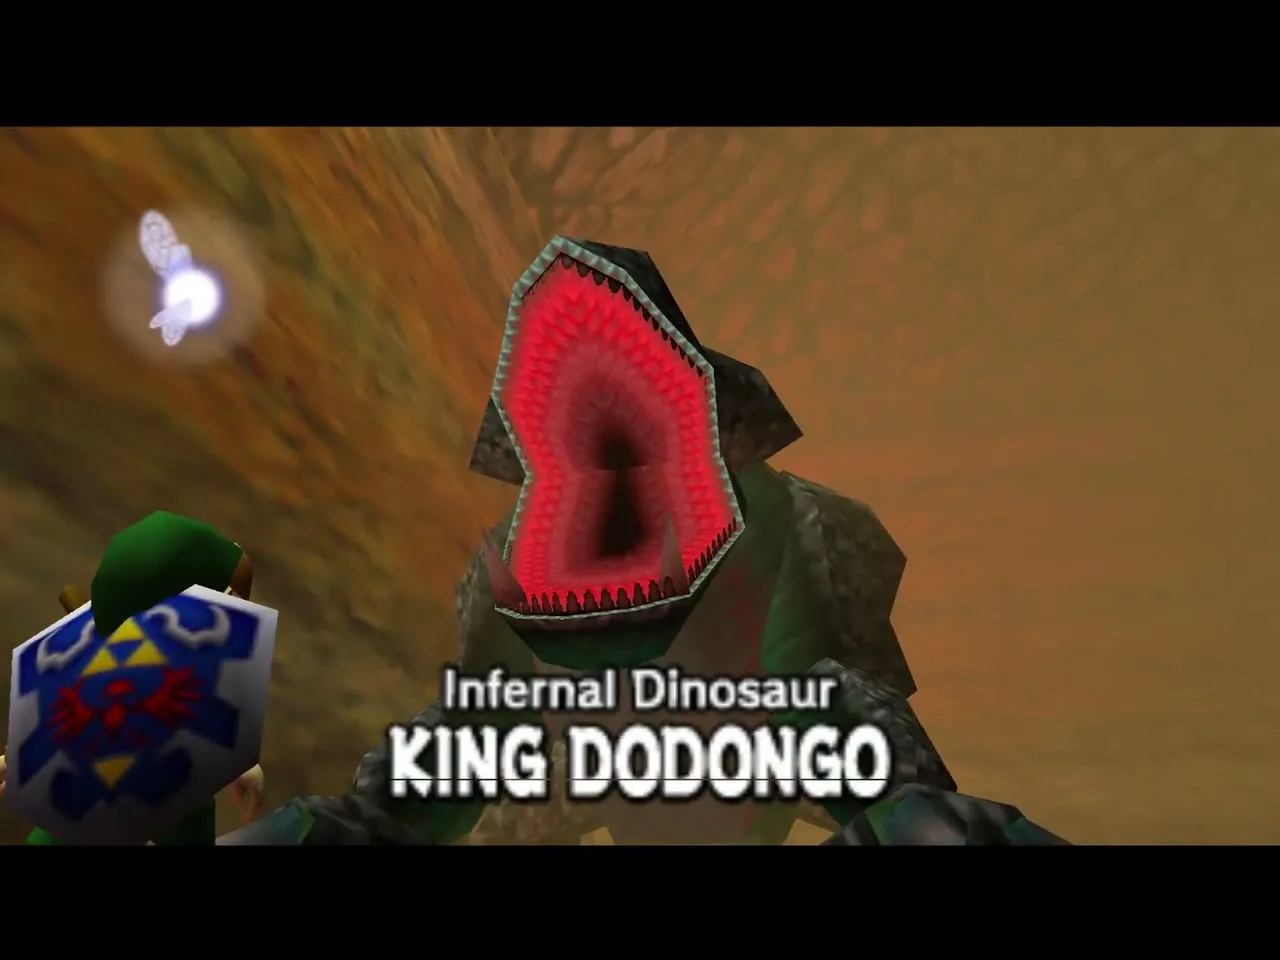
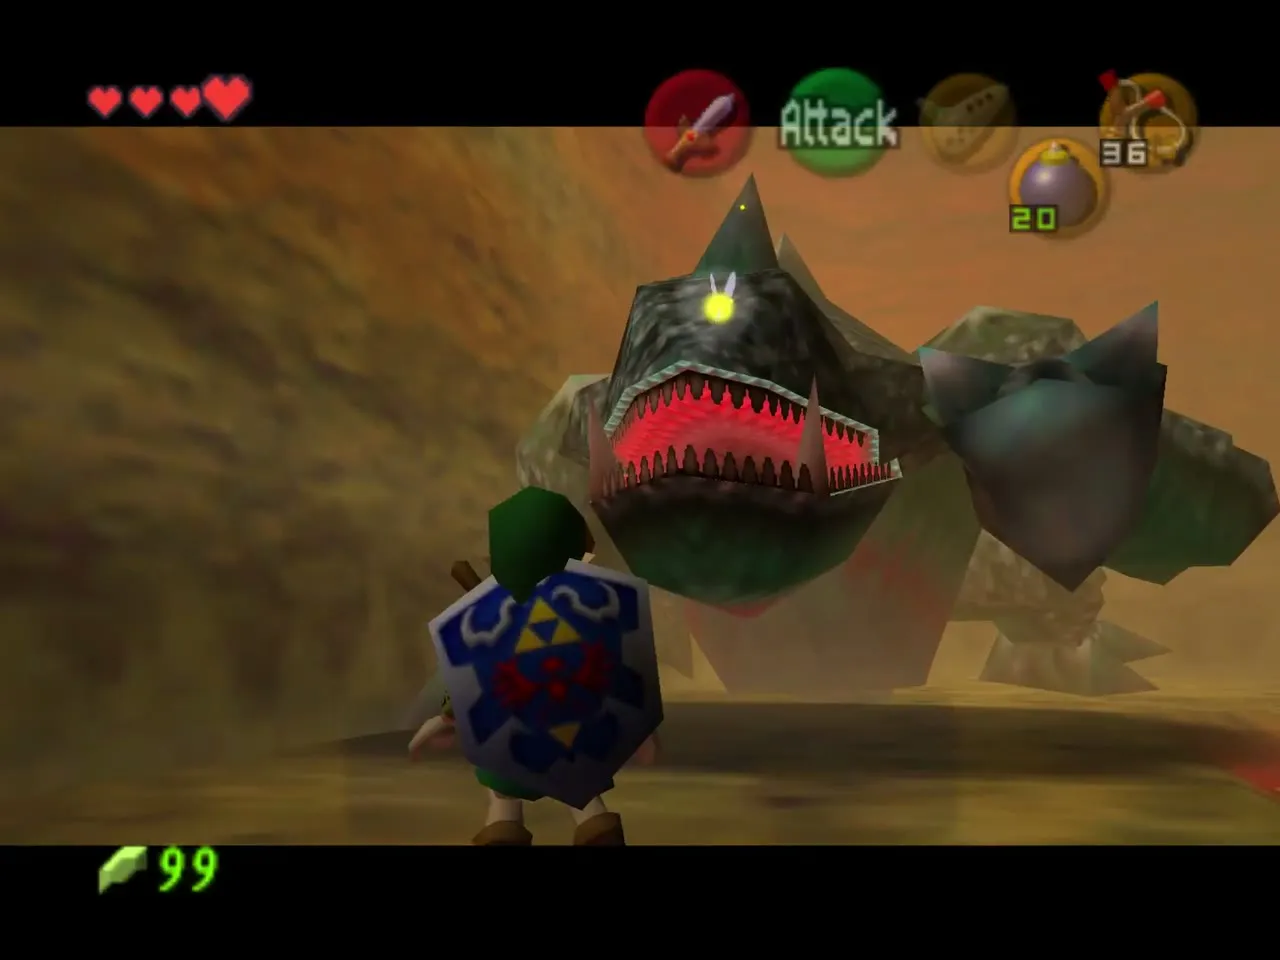
Bomb in the mouth, sword on the belly
As he opens his mouth to inhale, target him and throw a bomb into it. The explosion stuns him and he falls on his back. Run in and hit him with the Kokiri Sword; a jump attack as he lands does extra damage. Repeat the cycle about four times.
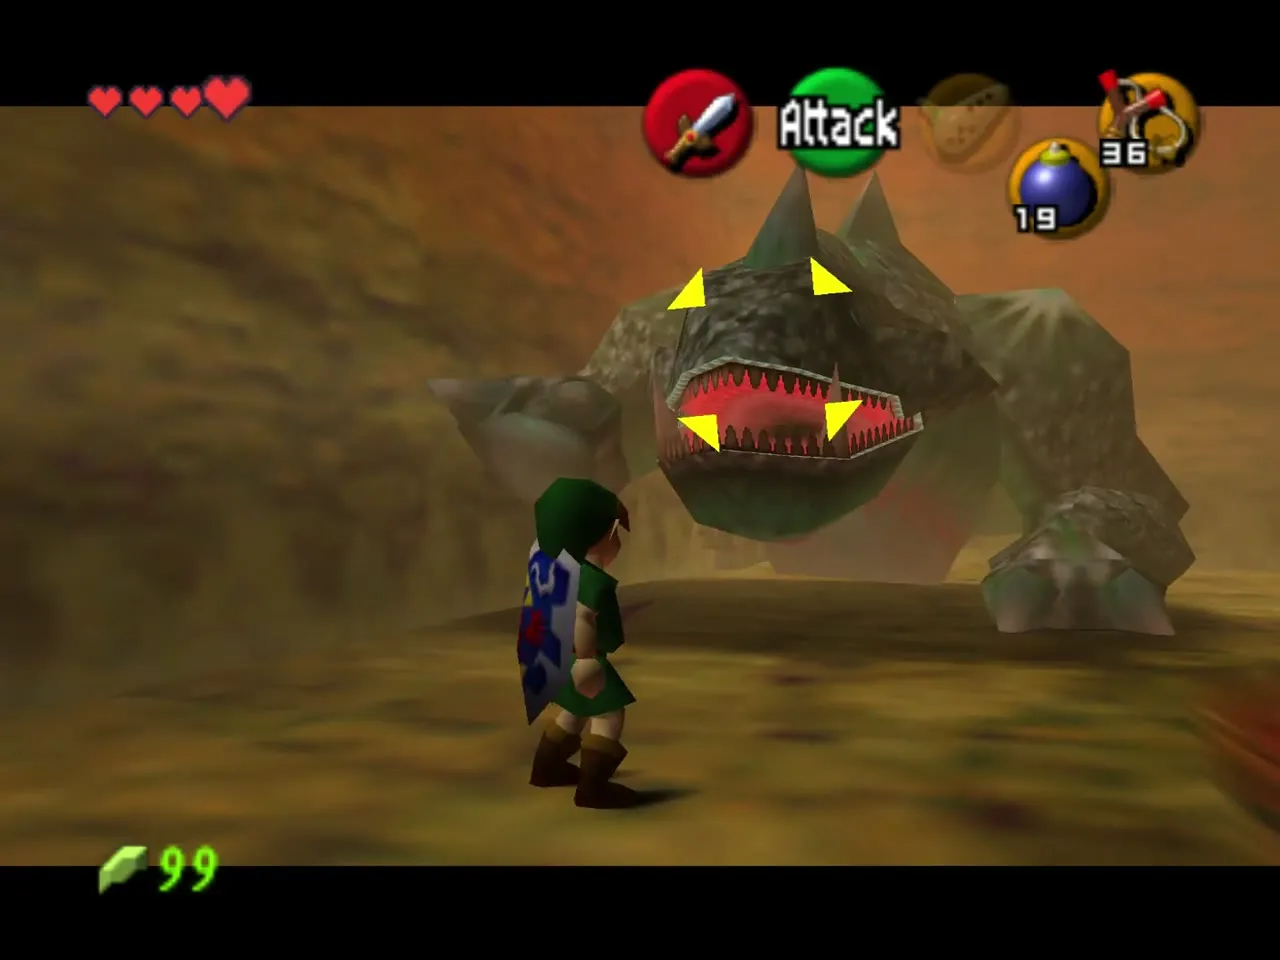
Rolls and the final blow
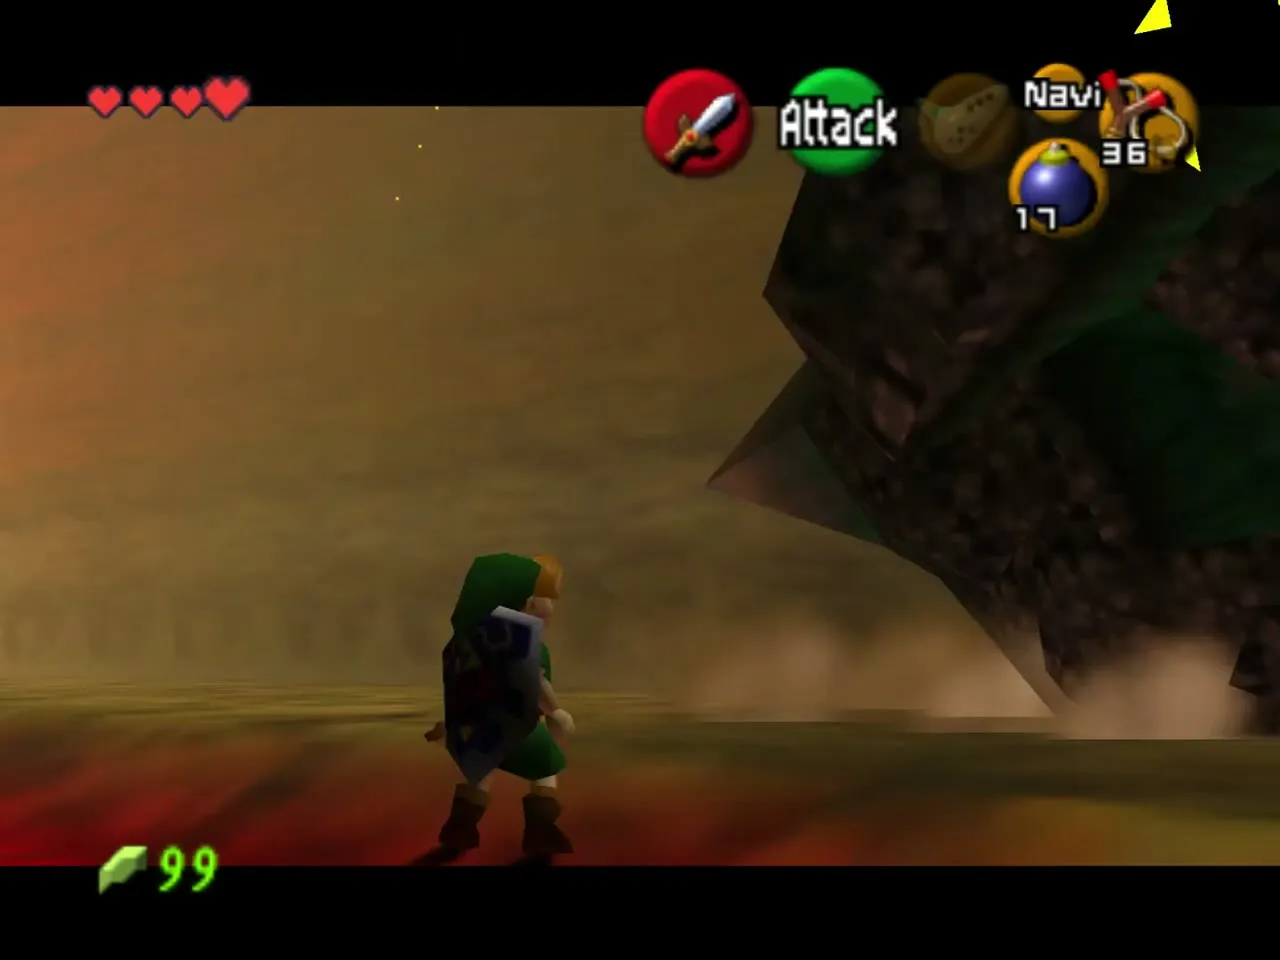
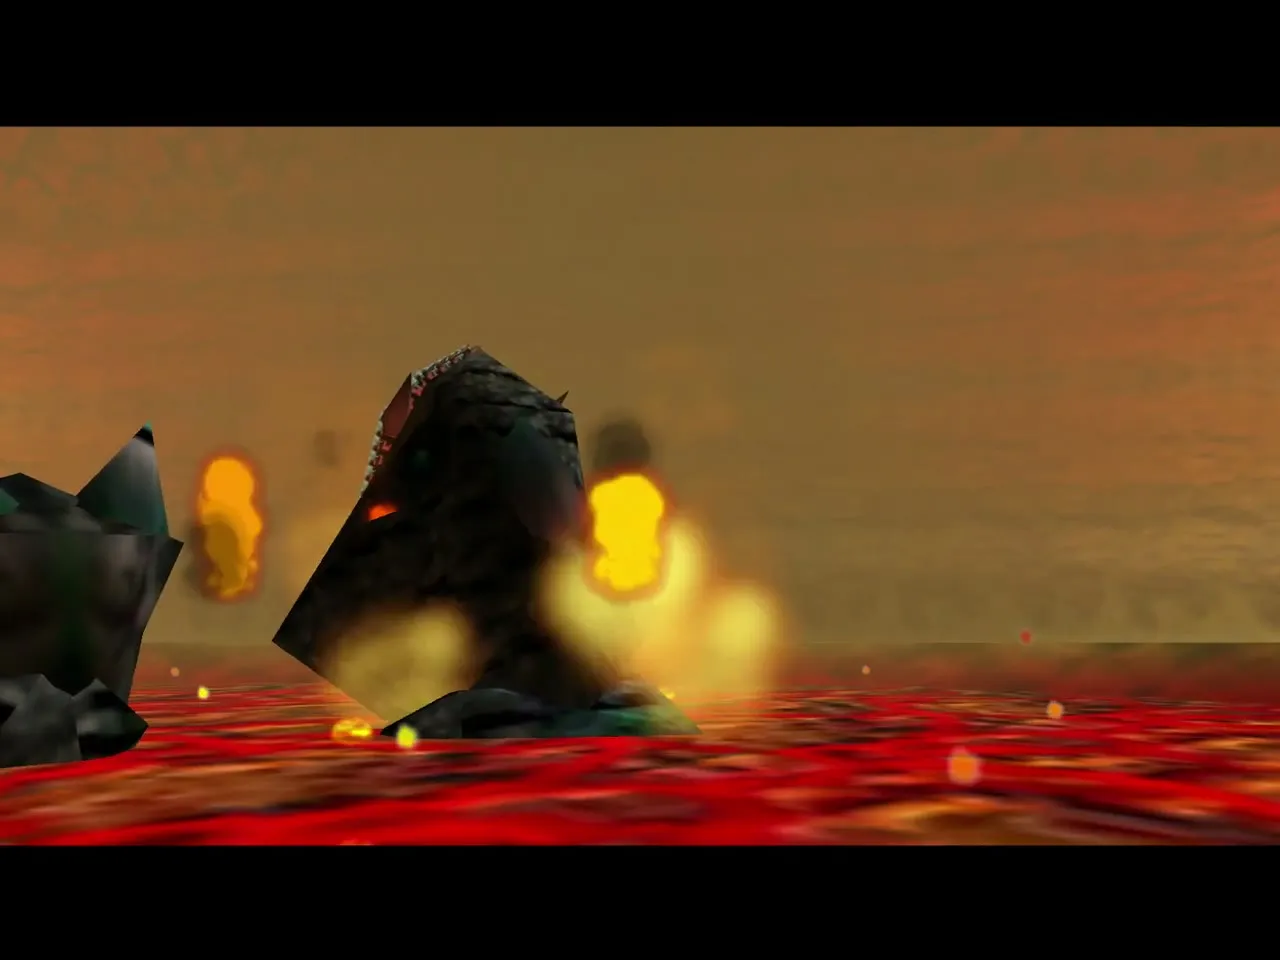
Between bomb hits he curls up and rolls around the arena. Stay close to the edge of the lava or in a corner, or hold your shield up. When he stops, start the cycle again. After the last stun he topples into the lava and burns up.
Heart Container and the Goron’s Ruby
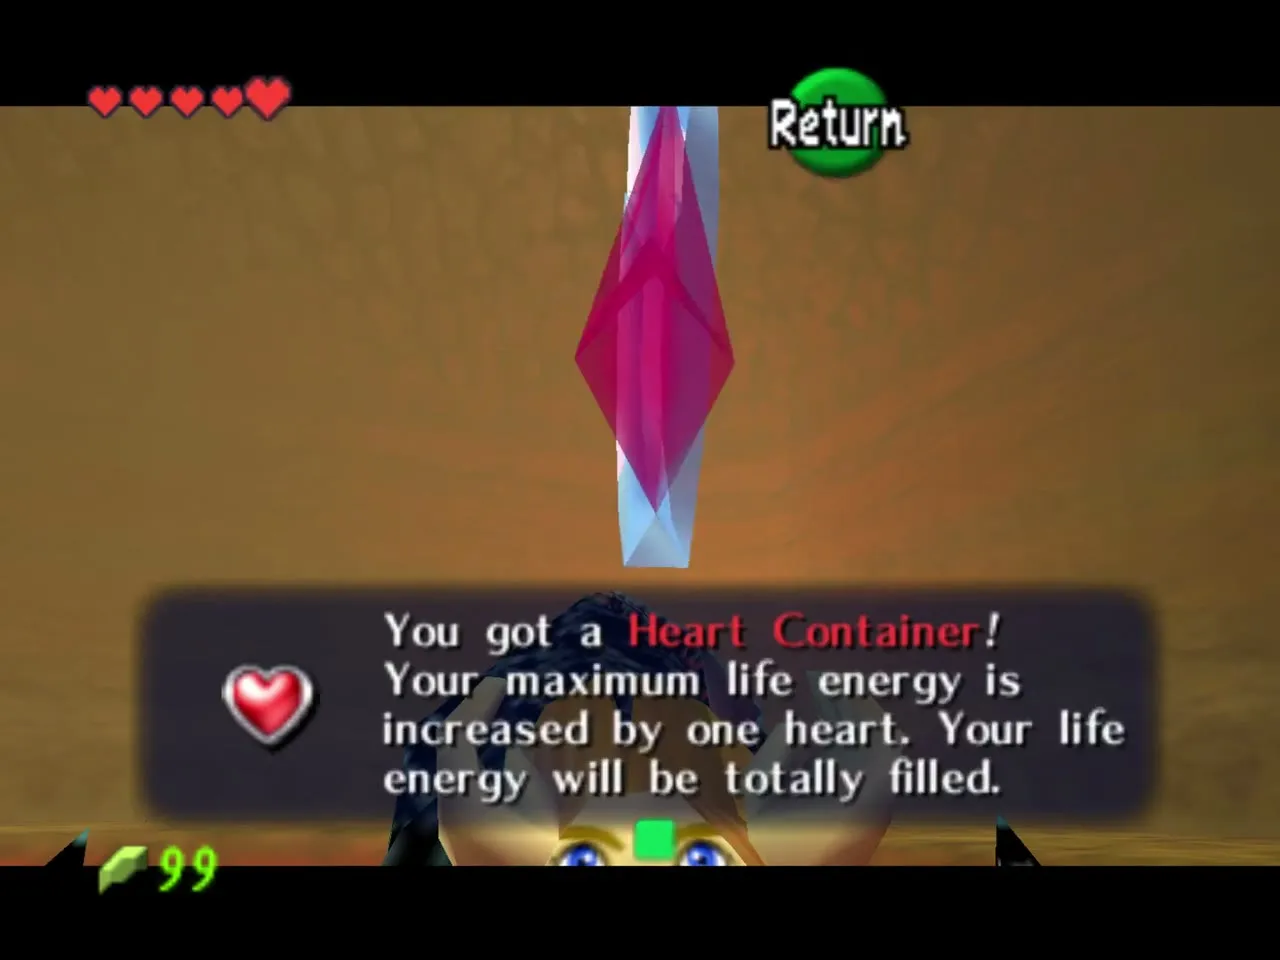
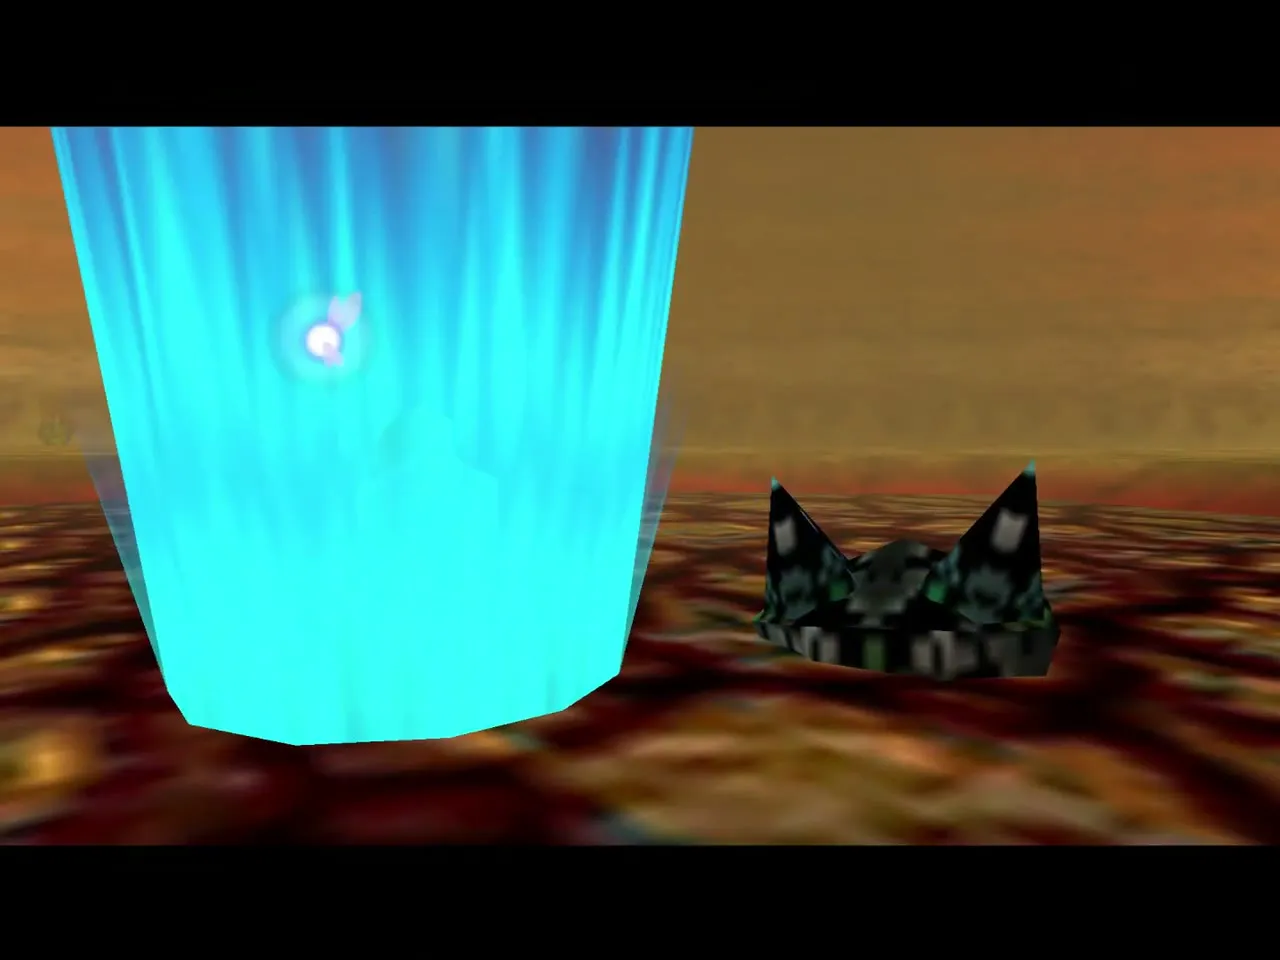
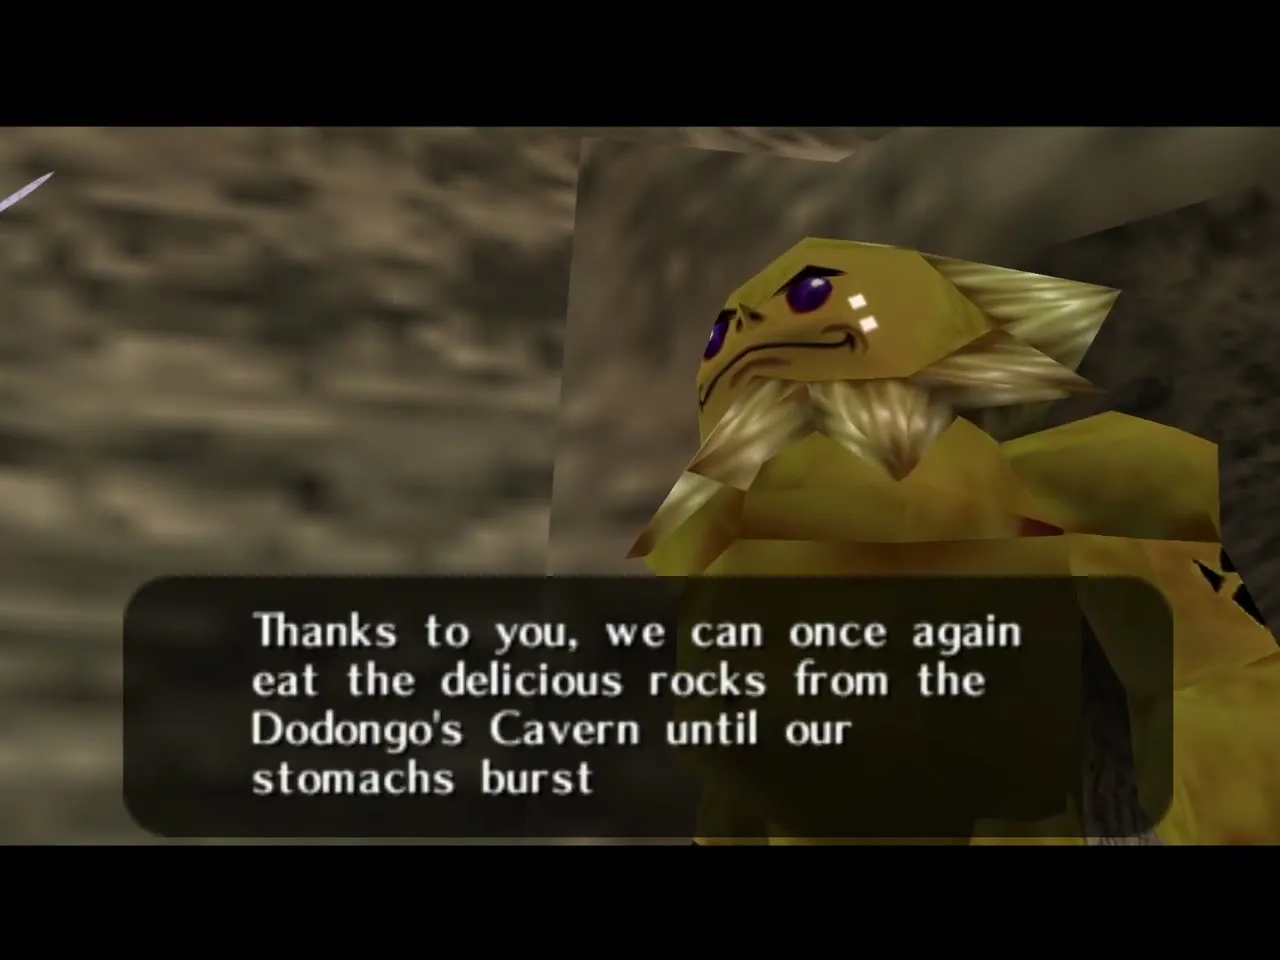
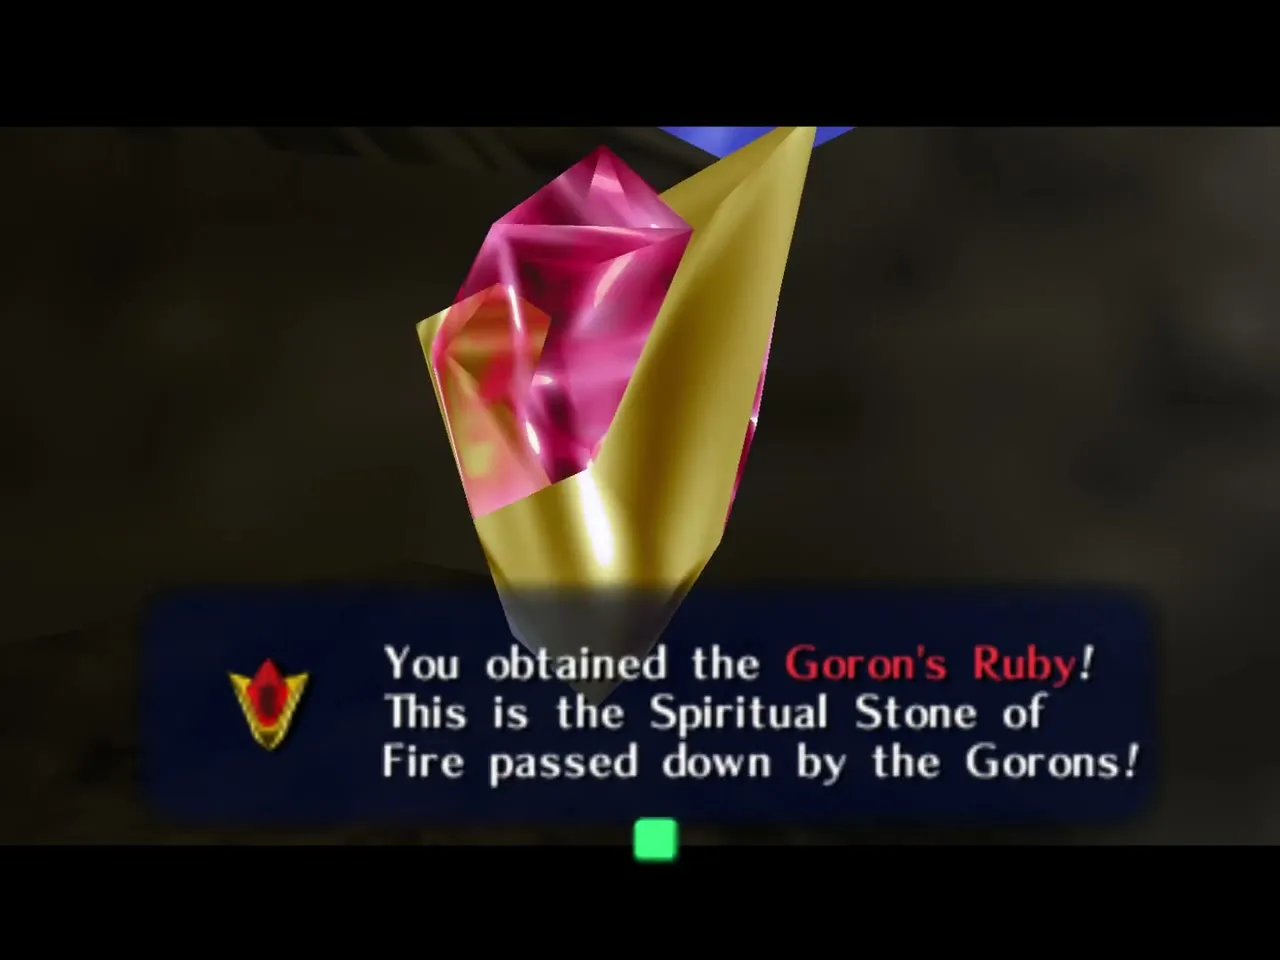
King Dodongo leaves a Heart Container: take it for a full heart refill and one extra heart. The blue warp outside brings you to Goron City, where Darunia thanks you, dances and gives you the Goron’s Ruby, the Spiritual Stone of Fire. He then points you to the Great Fairy at the top of Death Mountain. The original Dodongo’s Cavern chapter covers what to do next on the Trail.
How Master Quest changes the Dodongo’s Cavern
The dungeon is played largely in reverse. In the original you go right first and meet the Lizalfos pair on the lower floor; in Master Quest you go left to the upper floor first, and the Lizalfos appear on the upper floor before the lower floor. Dungeon items move: the Compass moves from the Armos room to the three-Dodongo room, and the Bomb Bag is no longer the prize for the spike-trap room but for the Poe room route.
Enemies are rearranged: far fewer Keese, many more Baby Dodongos, three Poes in a room of their own, a room with a mass of Armos, Gohma larvae and Business Scrubs where the original had Gold Skulltula rooms, and the three Dodongos live in a different room. Most puzzles are built from lines of Bomb Flowers on the walls, and silver rupees now guard one door. See the original chapter for the standard layout, and the dungeon items page for what each map item does.
| Item or room | Original | Master Quest |
|---|---|---|
| First direction | East side of the main cavern | Upper floor and the pillar room |
| Compass | Armos room off the Bomb Flower room | Chest in the three-Dodongo room |
| Dungeon Map | Behind the cracked west wall | Alcove reached with a Bomb Flower after the shortcut |
| Bomb Bag | Spike-trap room, upper level | Chest in the alcove opened from the Poe room |
| Mini-boss | Two Lizalfos pairs, no Poes | Two Lizalfos pairs plus one Lizalfos near the boss |
| Rupees | Red Rupee chest | Two Blue Rupee chests, five silver rupees |
| Boss | King Dodongo | King Dodongo, same strategy |
Gold Skulltulas
The Master Quest cavern has five Gold Skulltulas, and most of them need items you do not have on a first visit: one in a room behind the bomb wall in the pillar room (Song of Time blocks), one in the crates of the egg room, one on the boulder ledge in the first Lizalfos room (bombs), one in the Poe room’s corner (Boomerang), and one on the wall ledge past the Armos steps (jump from the clear box, or Boomerang). The Gold Skulltula page lists them with the other tokens.
Chapter checklist
| Type | Item | Where |
|---|---|---|
| Dungeon item | Compass | Chest in the three-Dodongo room, after silver rupees |
| Dungeon item | Dungeon Map | Alcove chest on the main cavern floor, opened with a Bomb Flower |
| Item | Bomb Bag (20 bombs) | Chest in the main cavern alcove, reached through the Poe room |
| Rupees | Blue Rupee | Chest in the egg room beyond the torch room |
| Rupees | Blue Rupee | Chest after the fire-ring platforms |
| Rupees | 5 silver rupees | Pillar room: Beamos, crate, two top crates, vines |
| Chest | Bombs | Antechamber before King Dodongo |
| Gold Skulltula | 5 tokens | See the Gold Skulltulas section above |
| Boss reward | Heart Container | King Dodongo |
| Spiritual Stone | Goron’s Ruby | Darunia, Goron City, after the boss |
