





















Ocarina of Time Master Quest Walkthrough12 chapters
- Inside the Great Deku Tree (Master Quest)Dungeon Map, Slingshot, Compass, Gold Skulltulas, Queen Gohma, Heart Container and Kokiri’s Emerald.
- Dodongo’s Cavern (Master Quest)Every room in order, Dungeon Map, Compass, Bomb Bag, silver rupees, Gold Skulltulas, King Dodongo and the Goron’s Ruby.
- Inside Jabu-Jabu’s Belly (Master Quest)Cow switches, Map, Compass, Boomerang, Big Octo, Barinade, Heart Container and Zora’s Sapphire.
- Forest Temple (Master Quest)Six Small Keys, Boss Key, Fairy Bow, the four Poe Sisters, five Gold Skulltulas and Phantom Ganon.
- Fire Temple (Master Quest)Five Small Keys, Din’s Fire puzzles, Iron Knuckle, Megaton Hammer, Boss Key, five Gold Skulltulas and Volvagia.
- Water Temple (Master Quest)Early Longshot, Map, Compass, both Small Keys, Dark Link, Boss Key and Morpha.
- Shadow Temple (Master Quest)Hover Boots, map, compass, Boss Key, Gold Skulltulas, Bongo Bongo and the Shadow Medallion.
- Spirit Temple (Master Quest)Every chest, 7 Small Keys, Silver Gauntlets, Mirror Shield, Boss Key, Skulltulas and Twinrova.
- Bottom of the Well (Master Quest)Map, Compass, two Small Keys, Dead Hand, the Lens of Truth and all three Gold Skulltulas.
- Ice Cavern (Master Quest)Blue Fire, Song of Time blocks, Stalfos, Iron Boots, Serenade of Water.
- Gerudo Training Ground (Master Quest)The remixed rooms in order, Small Keys, Silver Rupee puzzles and the Ice Arrows.
- Ganon’s Castle (Master Quest)Light Arrows, the rainbow bridge, all six remixed trials, Golden Gauntlets, Double Defense, the tower.
| Covers | The Kakariko Graveyard entrance, every room of the Master Quest Shadow Temple in route order, Bongo Bongo, the Heart Container and the Shadow Medallion |
|---|---|
| Dungeon | Shadow Temple (adult Link only): Lens of Truth, Longshot, Din’s Fire, Fairy Bow with Fire Arrows, Hover Boots (found inside), Iron Boots, Sun’s Song, Song of Time, Scarecrow’s Song and Zelda’s Lullaby; mini-bosses two Dead Hands; boss Bongo Bongo |
| You need | Nocturne of Shadow, the Lens of Truth from the Bottom of the Well, a full Magic Meter, Bombs and plenty of arrows |
| Rewards | Hover Boots, Dungeon Map, Compass, Boss Key, 6 Small Keys, 5 Gold Skulltulas, Heart Container, Shadow Medallion. No Piece of Heart |
| Differences | Remixed rooms, an extra Small Key, Fire Arrow torches, invisible chests, Song of Time blocks in place of some Silver Rupee groups, a ship voyage and a second Dead Hand |
The Master Quest Shadow Temple keeps the dark, trap-filled feel of the original but rearranges nearly every room. You still need the Lens of Truth almost constantly, but the Hover Boots come early, the Small Key chests are mostly invisible or tied to the Song of Time, and a second Dead Hand waits behind the Boss Key. This chapter follows one efficient route: the Hover Boots first, the guillotine and spike rooms next, then the ship, the invisible maze, the Boss Key and Bongo Bongo.
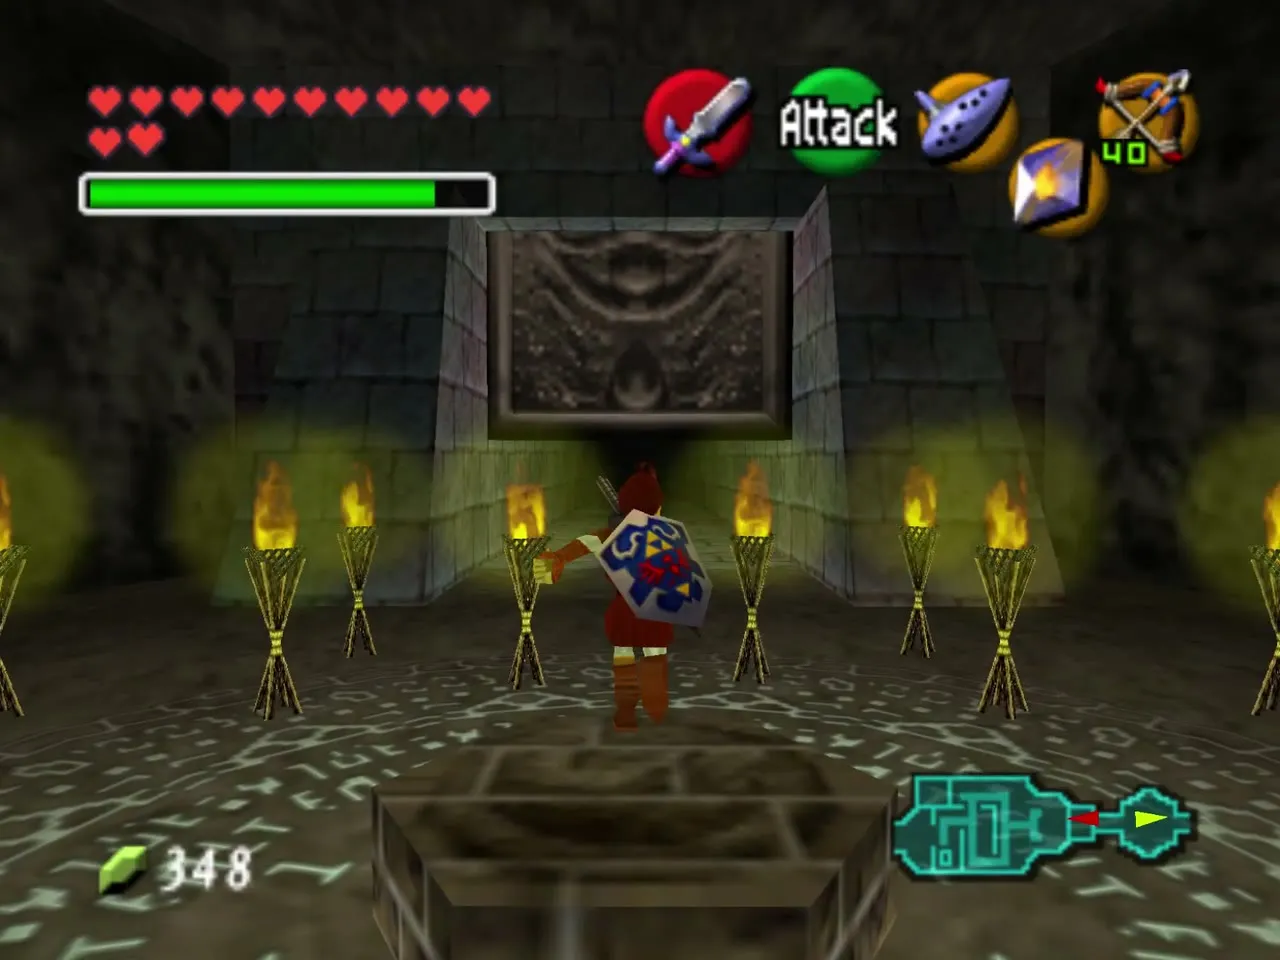
Table of Contents
Warping to the temple
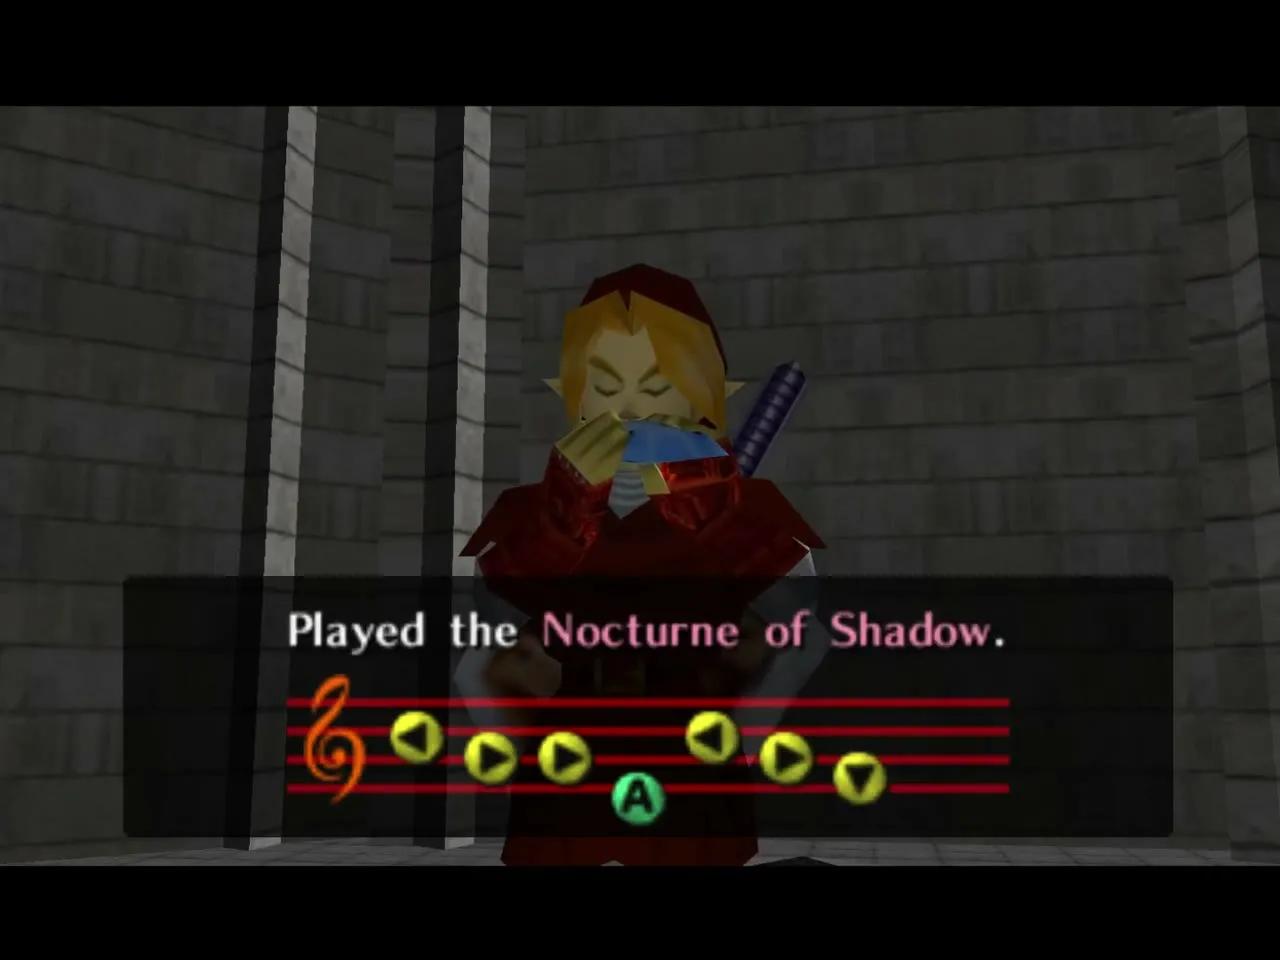
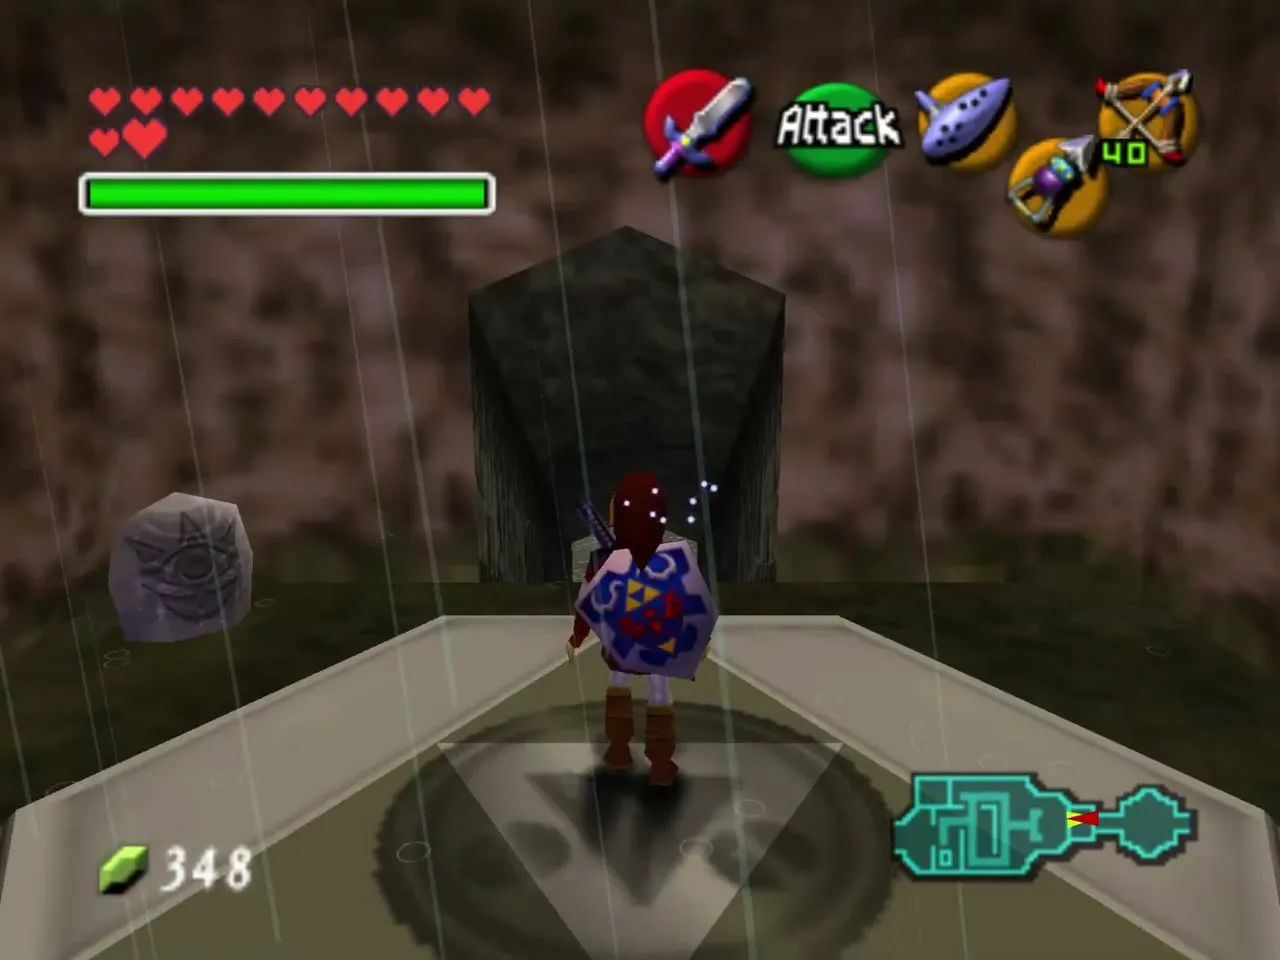
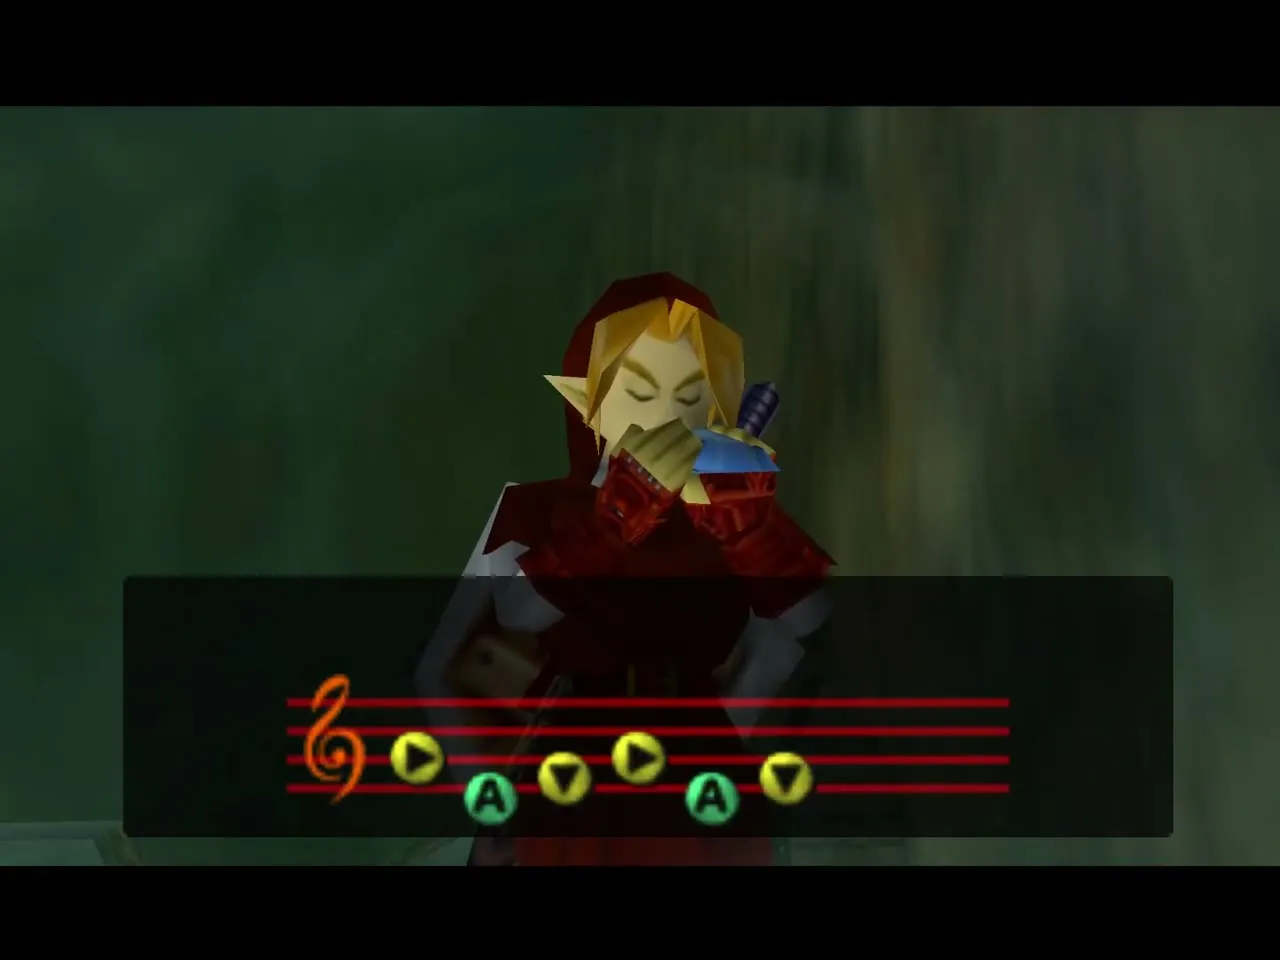
Play the Nocturne of Shadow as adult Link to warp to the ledge in Kakariko Graveyard. Walk the tunnel behind it to the round chamber, stand on the middle platform and cast Din’s Fire so that every torch burns. The gate at the end lifts and the temple corridor lies ahead.
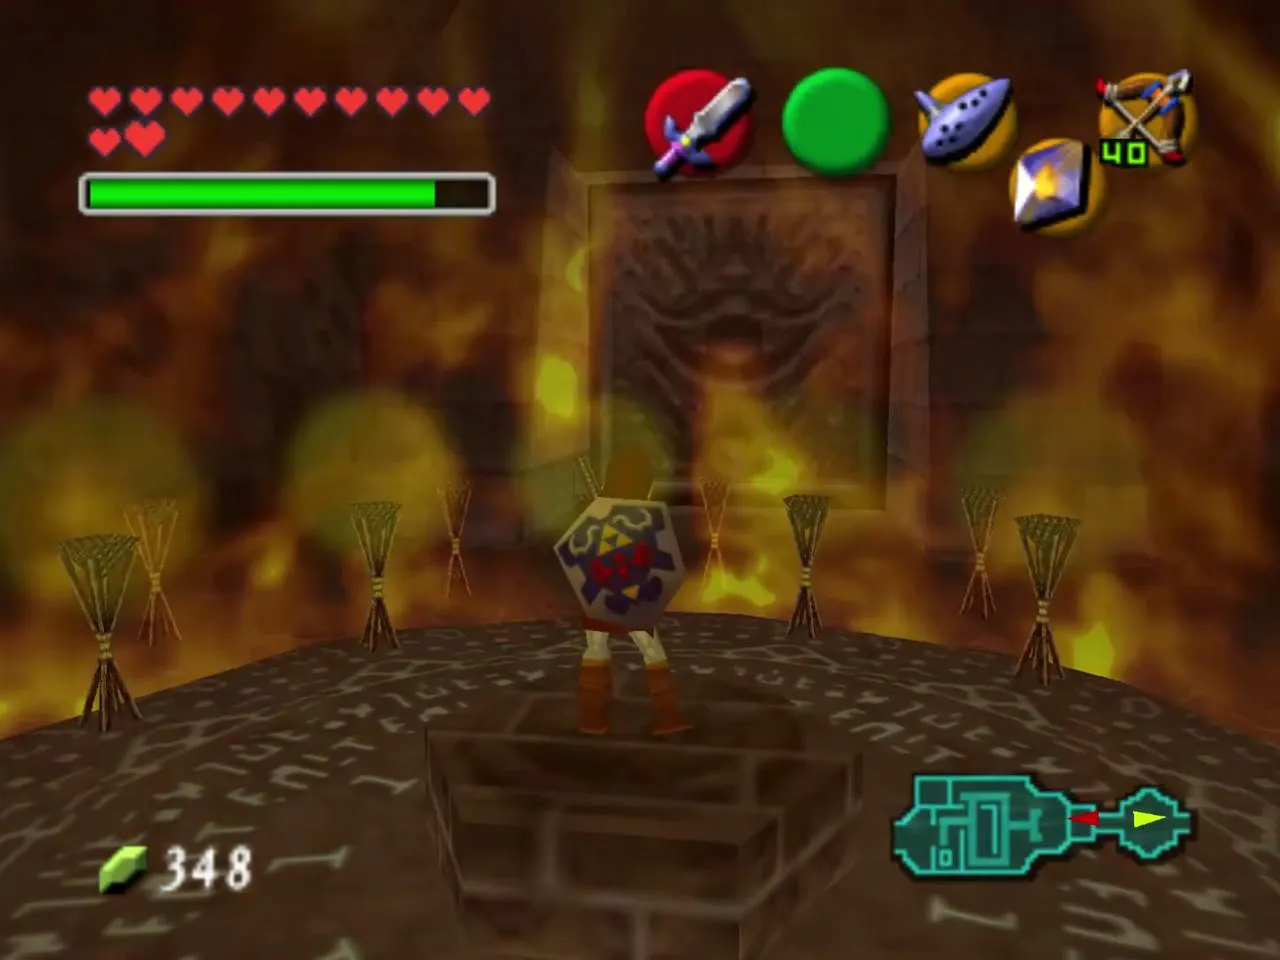
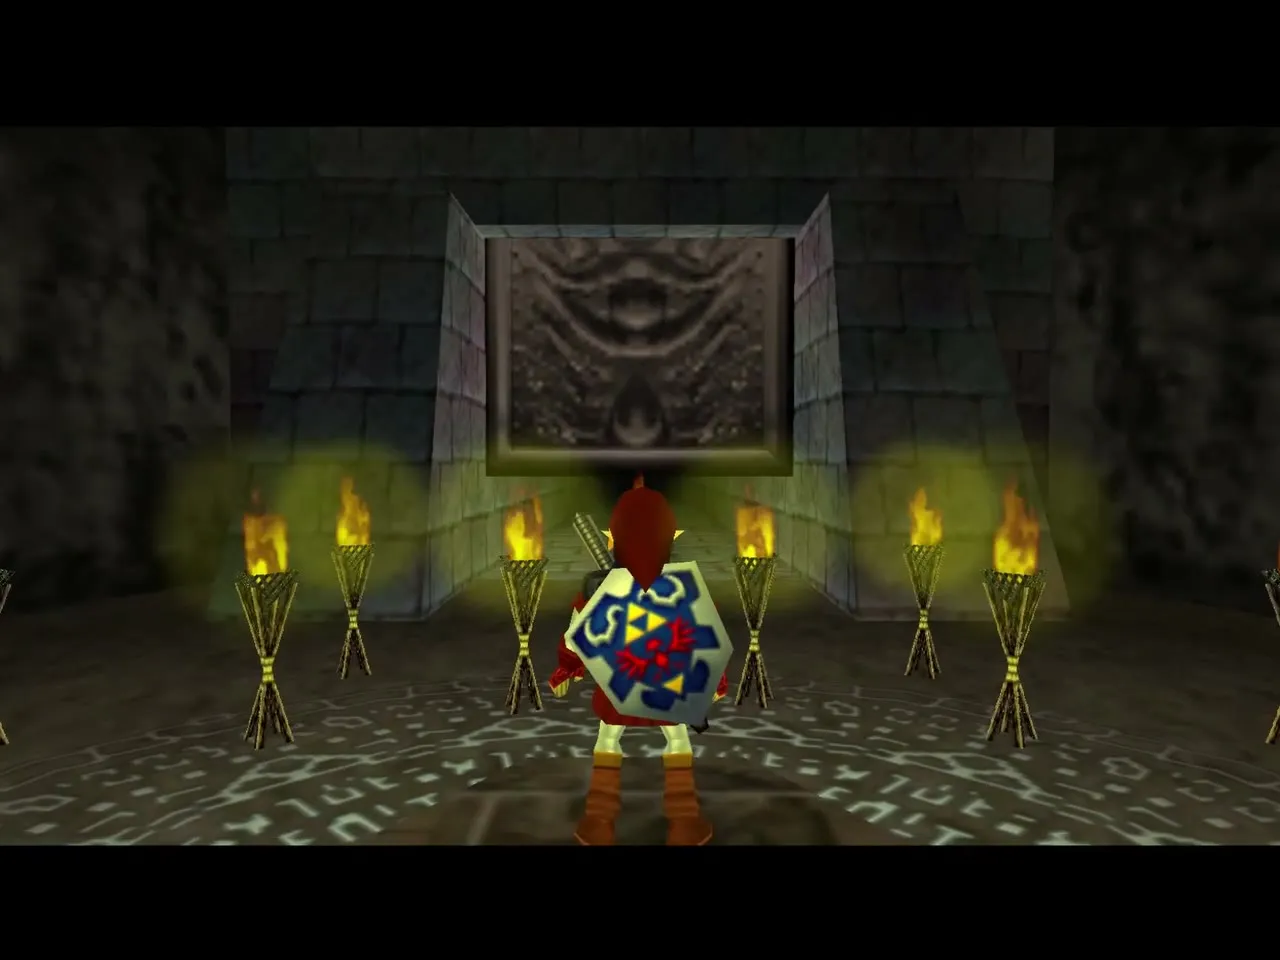
Entry rooms and the Fire Arrow torches
Chasm and the face in the wall
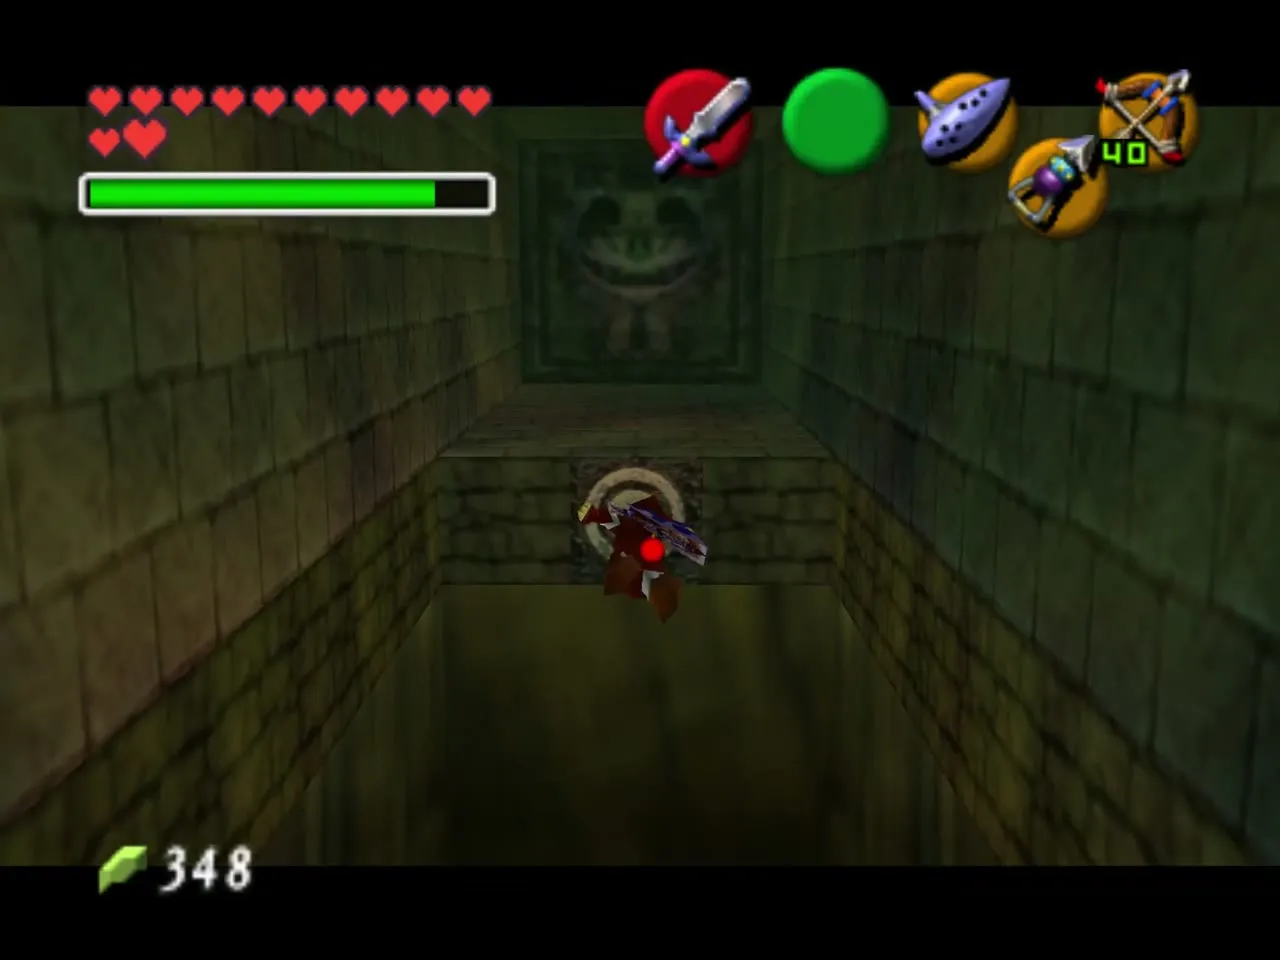
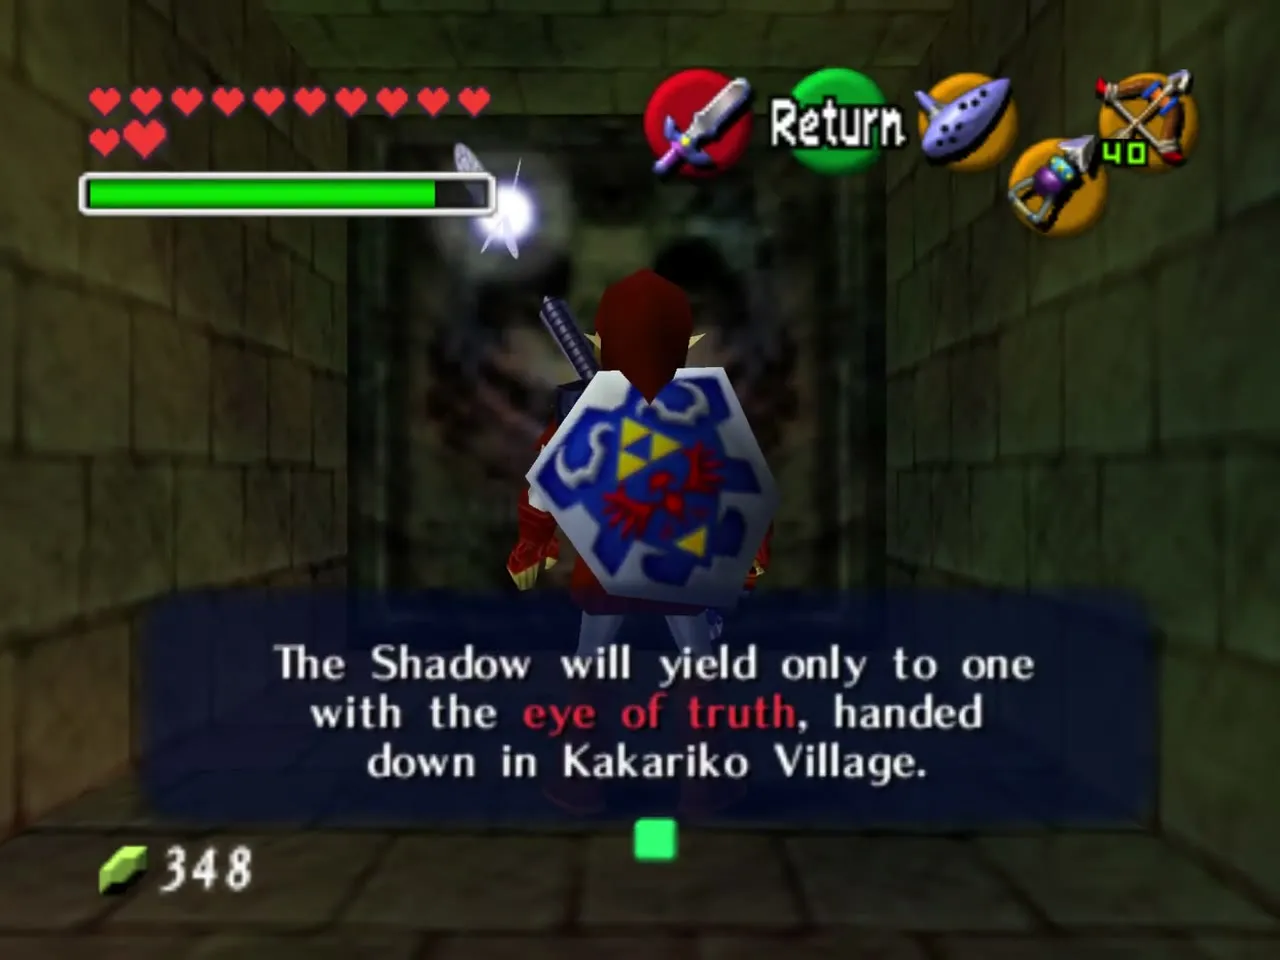
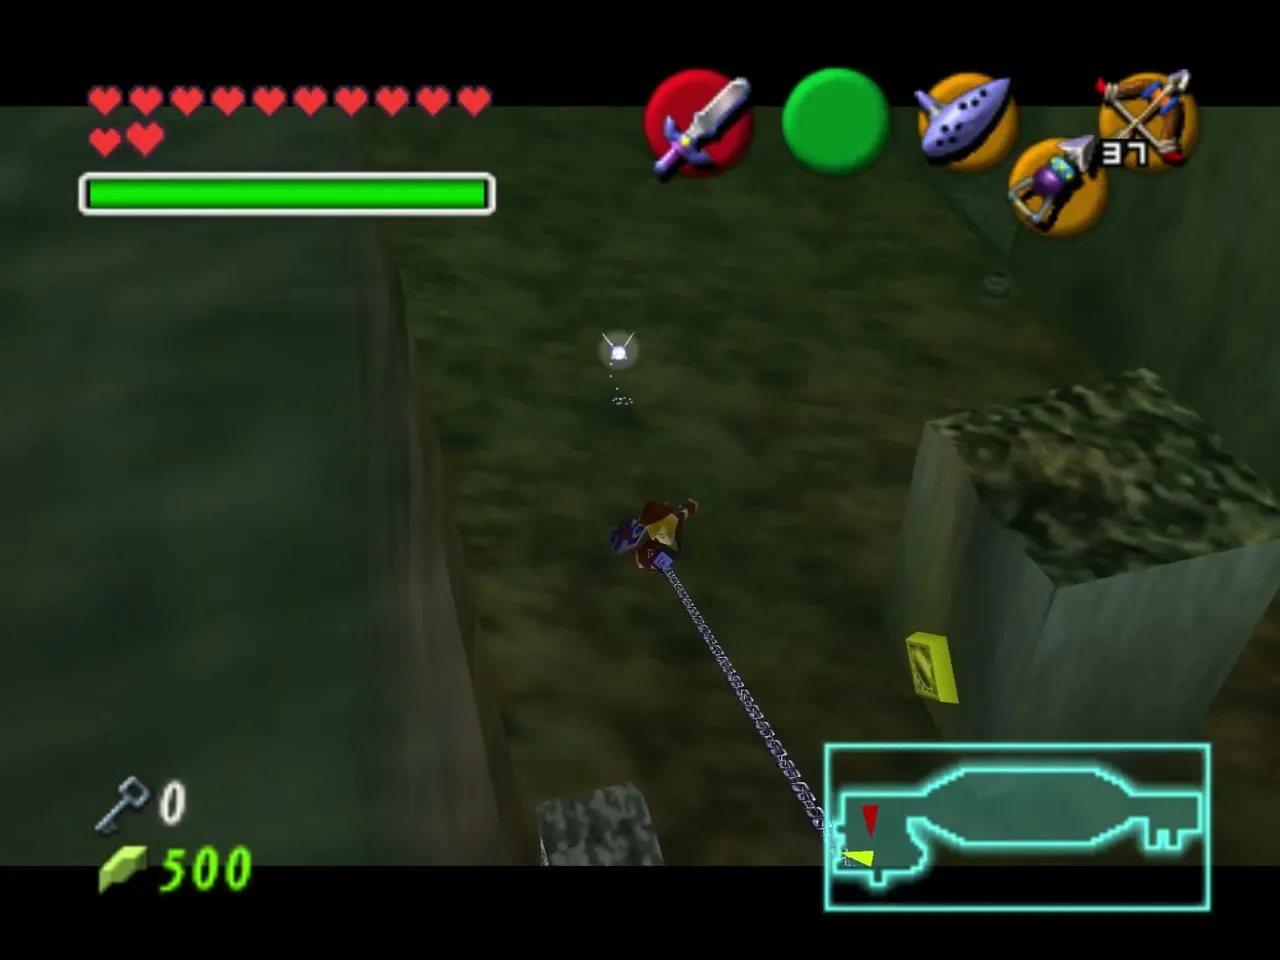
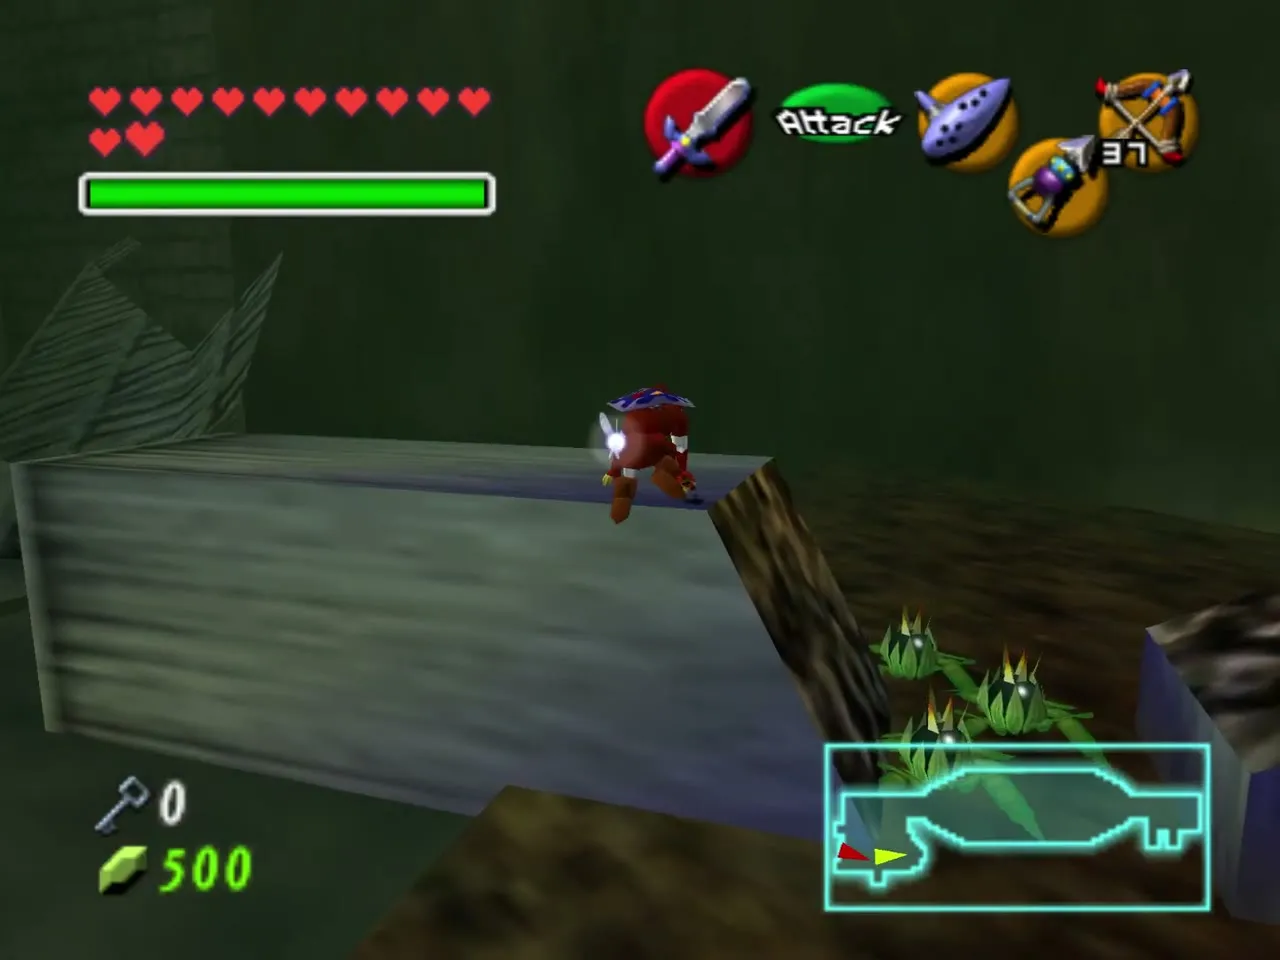
Run forward until the wall stops you, then aim the Longshot at the Hookshot target to the right and pull yourself across the pit. Beyond it, walk straight into the carved face to enter the next room. A sign reminds you that only the eye of truth reveals what the Shadow Temple hides.
The statue and the skulls
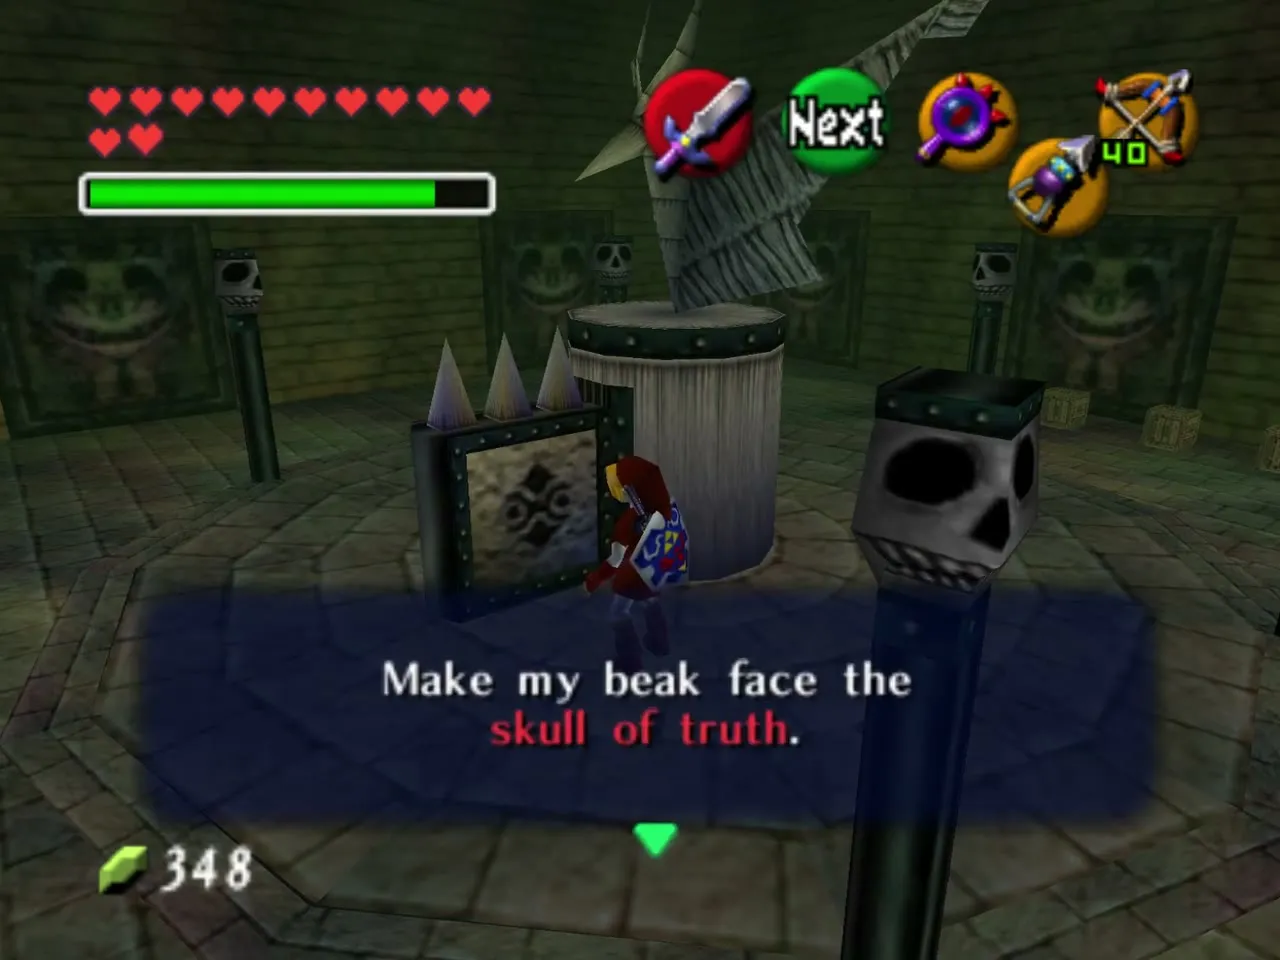
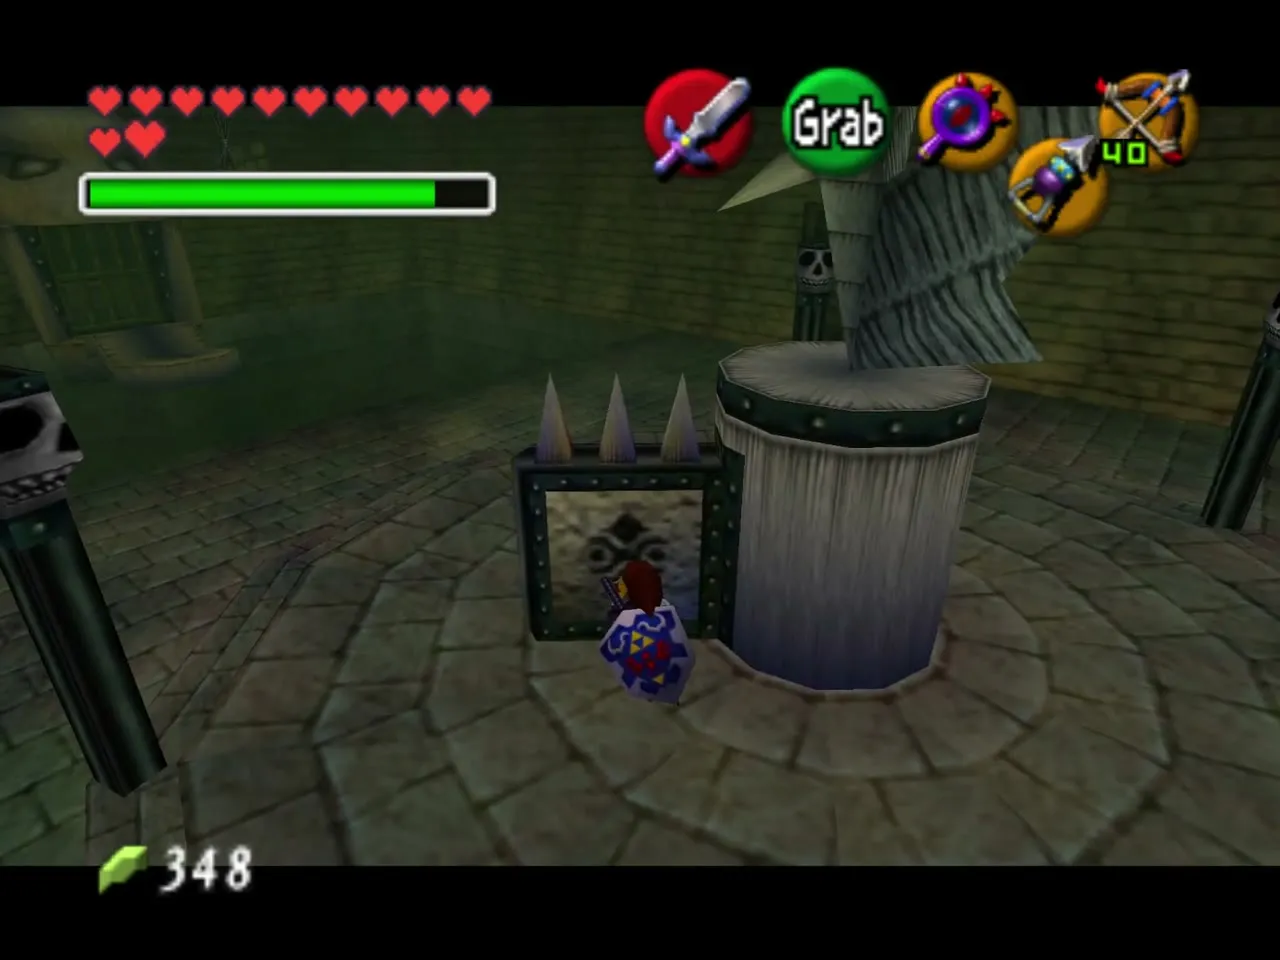
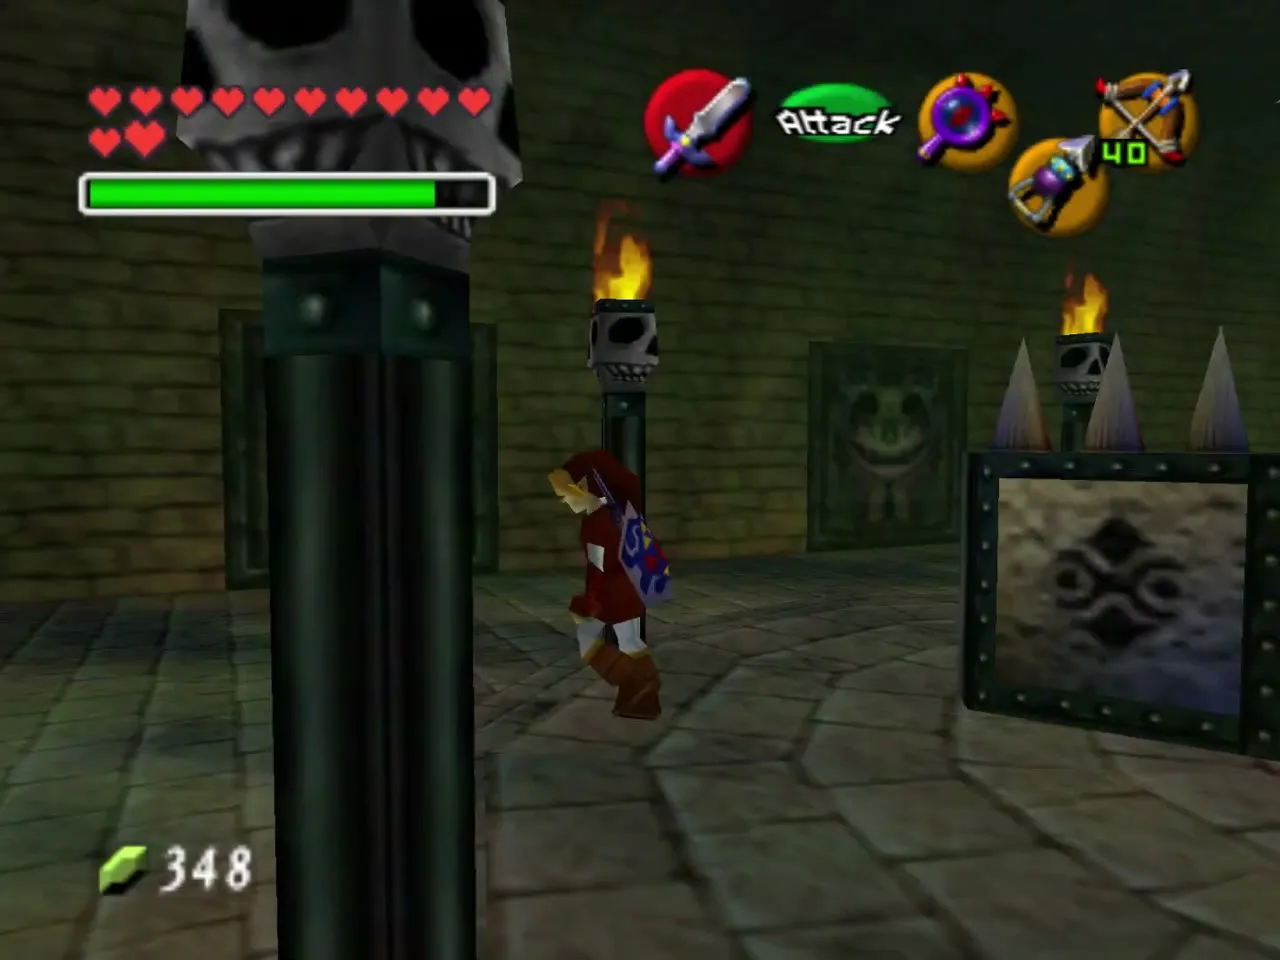
This room holds a statue among many skulls. With the Lens on, only one skull is real, so push the statue until it faces that one. A wrong choice opens a trapdoor under your feet. The way forward is sealed behind a grate that you cannot reach yet.
Shoot the torches
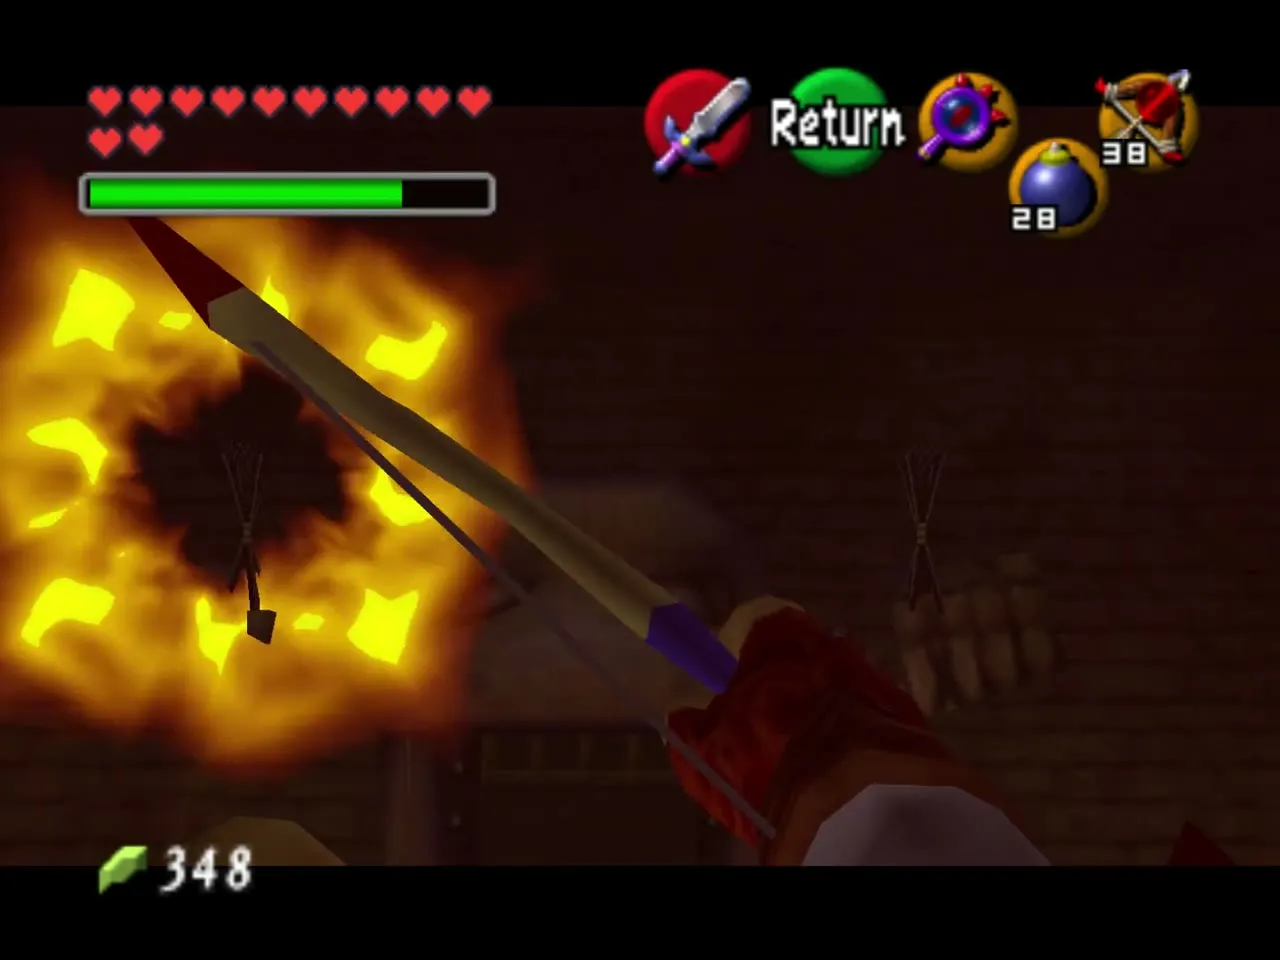
Look at the hands of the statue near the grate: each holds a torch. Light both with Fire Arrows (switch the Lens off first, because magic arrows cannot be fired while it is active). A platform appears and carries you across to the passage that leads on.
Scythe room: Dungeon Map
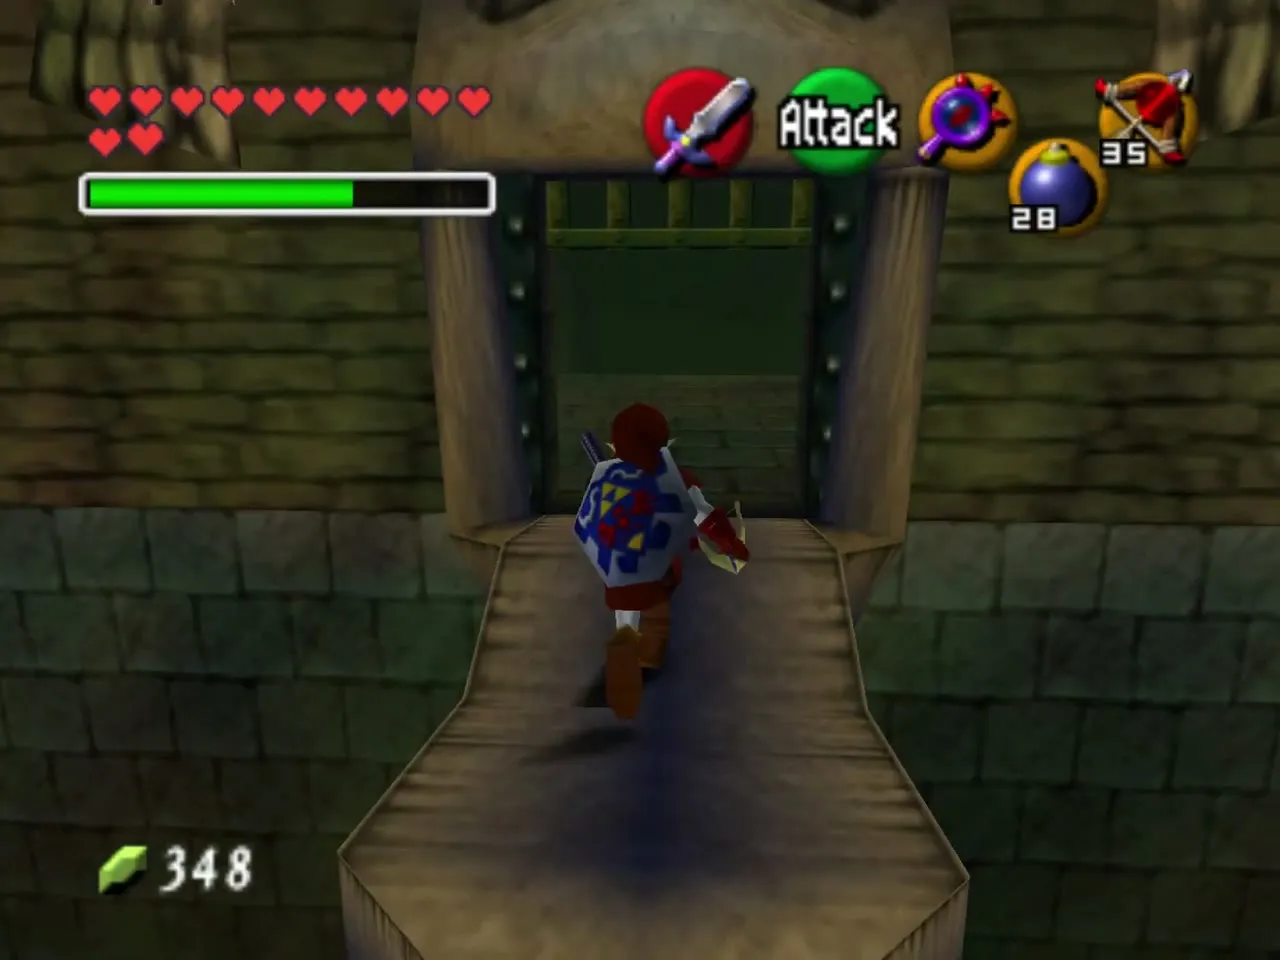
Follow the passage to the room with the sweeping scythe. Collect the five Silver Rupees while the blade is turned away: the two in the middle, the one floating in mid-air (jump off the nearby Hookshot target to reach it), and two guarded by Skulltulas, one of them in the left alcove. Kill the Skulltulas first. When the fifth rupee is yours, the grating lifts.
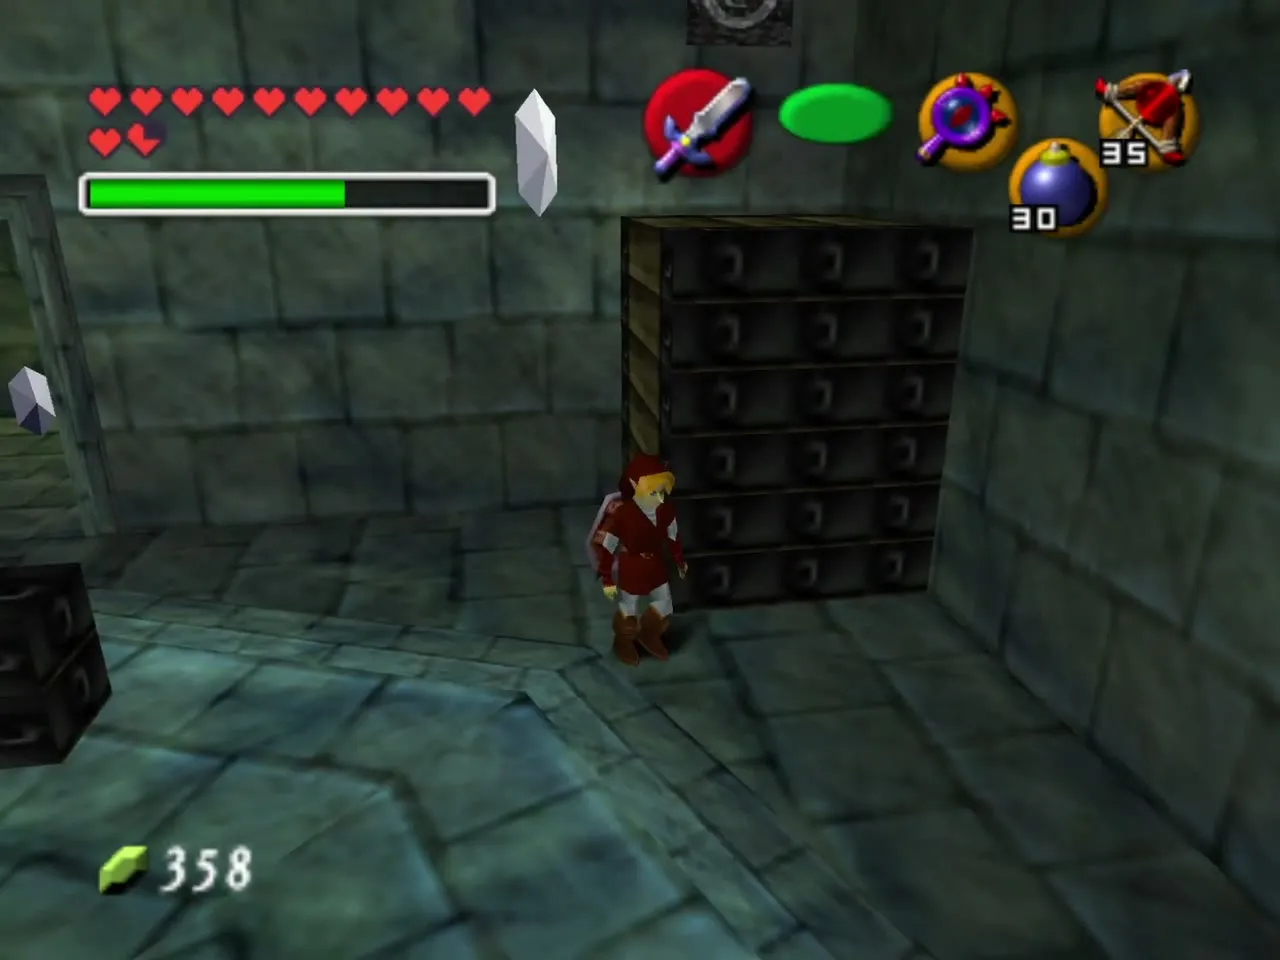
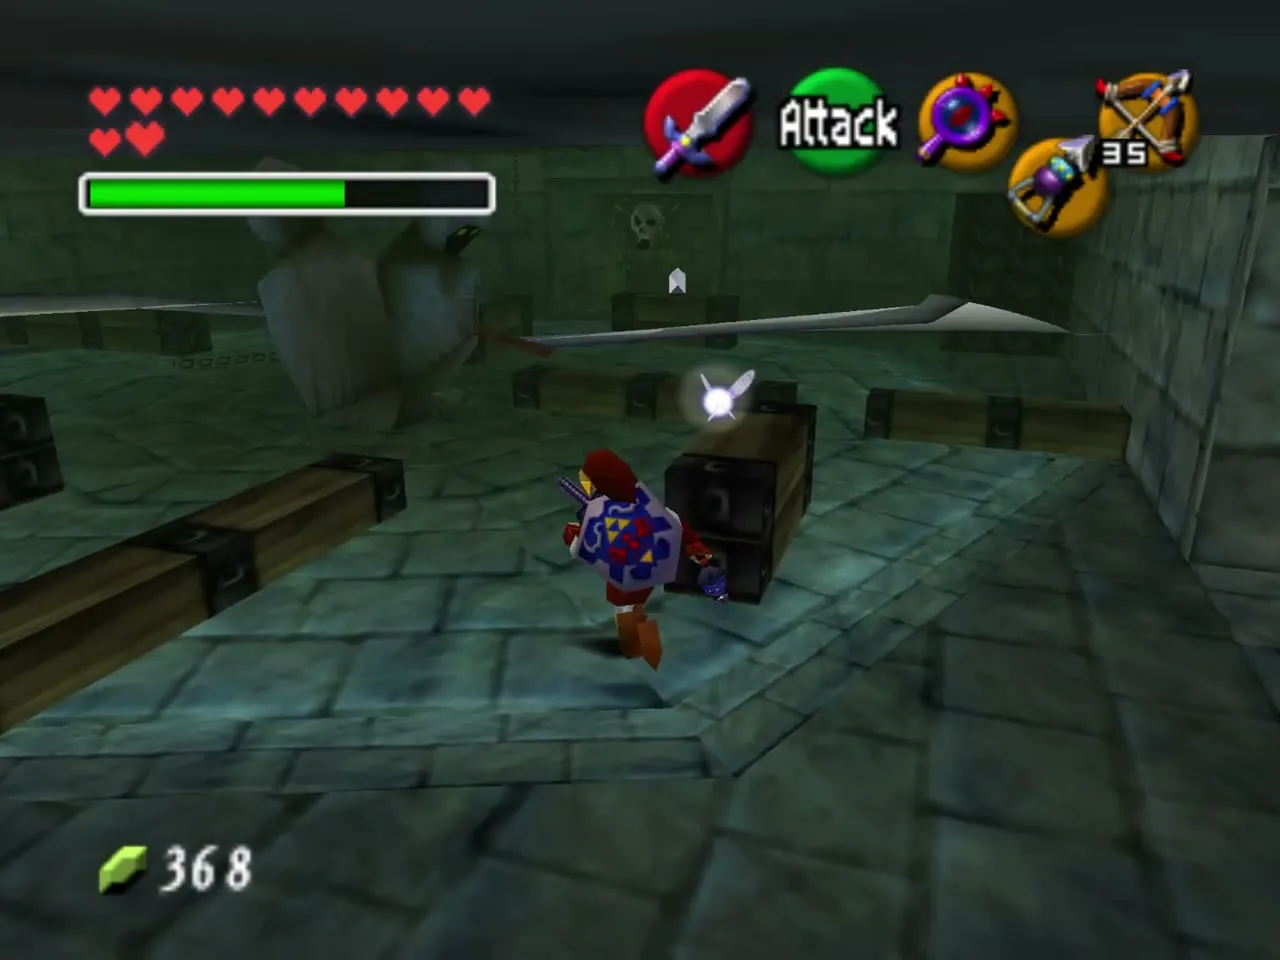
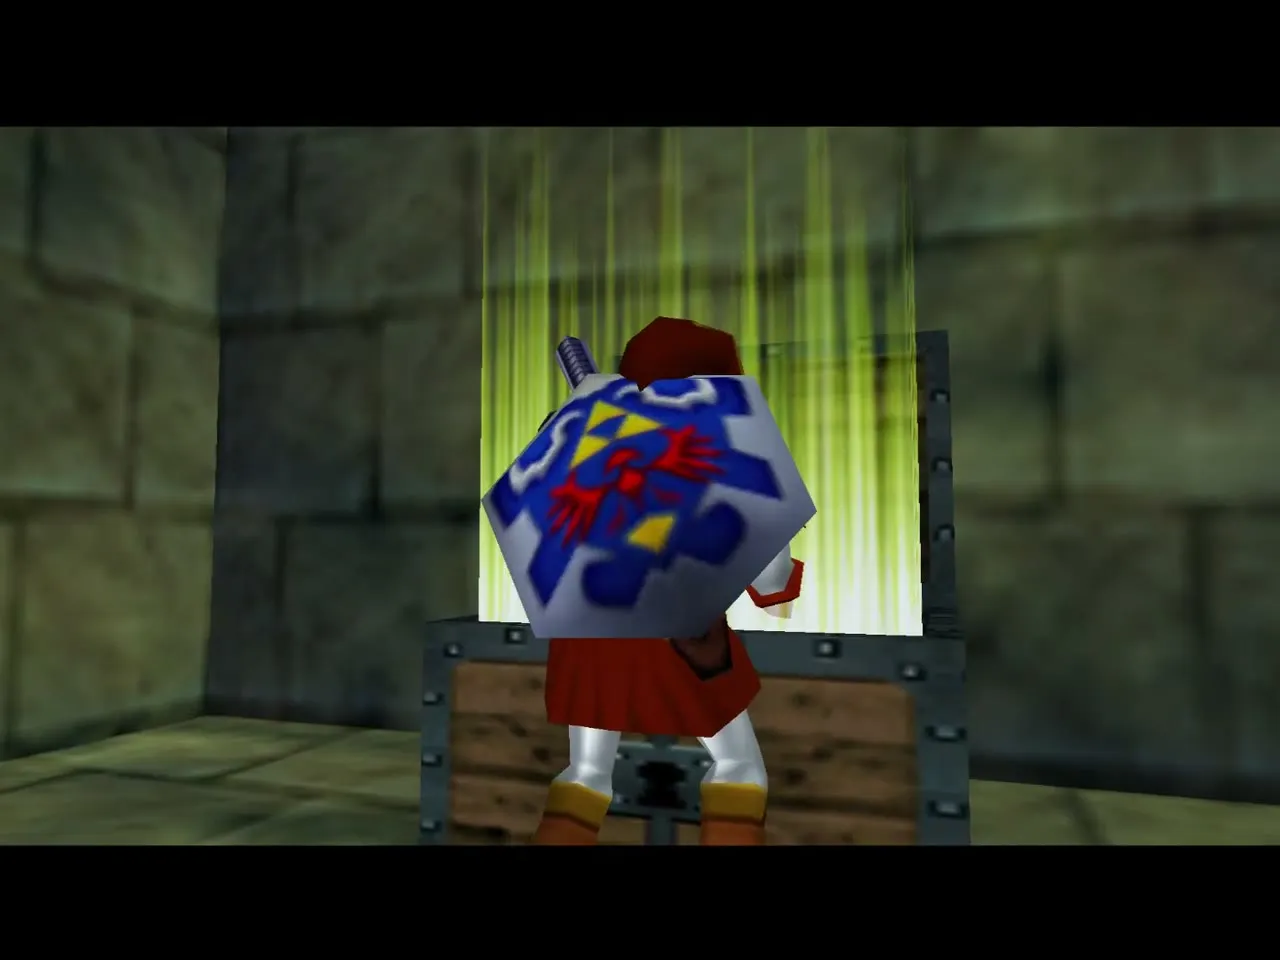
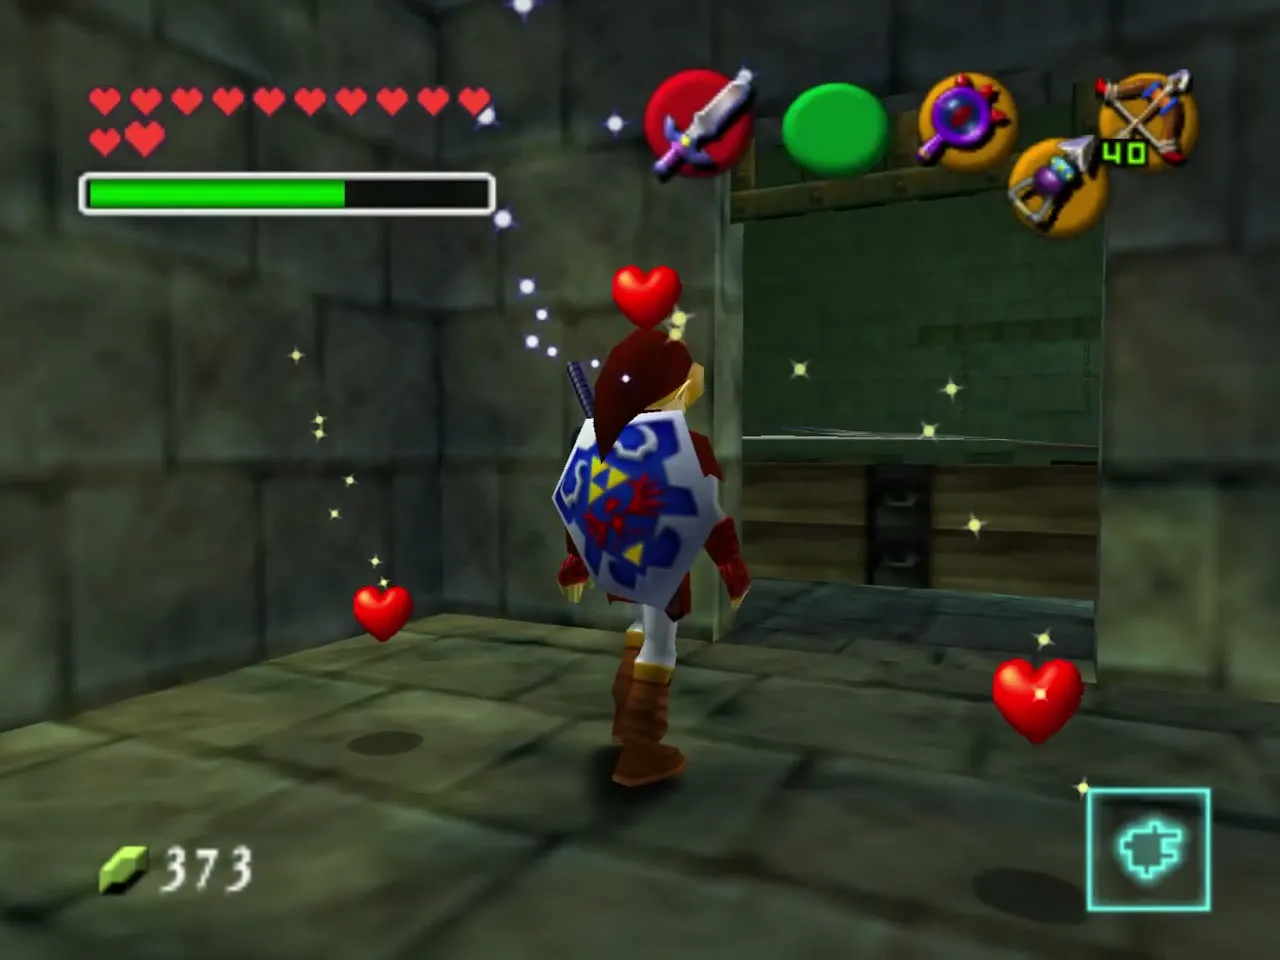
Inside the cell, kill the Skulltula and open the chest for the Dungeon Map. Pots in the corner hold Recovery Hearts if you took damage.
Beamos dead end and the first Small Key
Return to the small room with the single Beamos. It looks like a dead end, but the wall on the right is fake: walk through it with the Lens on and open the door. Bomb the Beamos if it is in your way, and play Sun’s Song whenever something undead approaches.
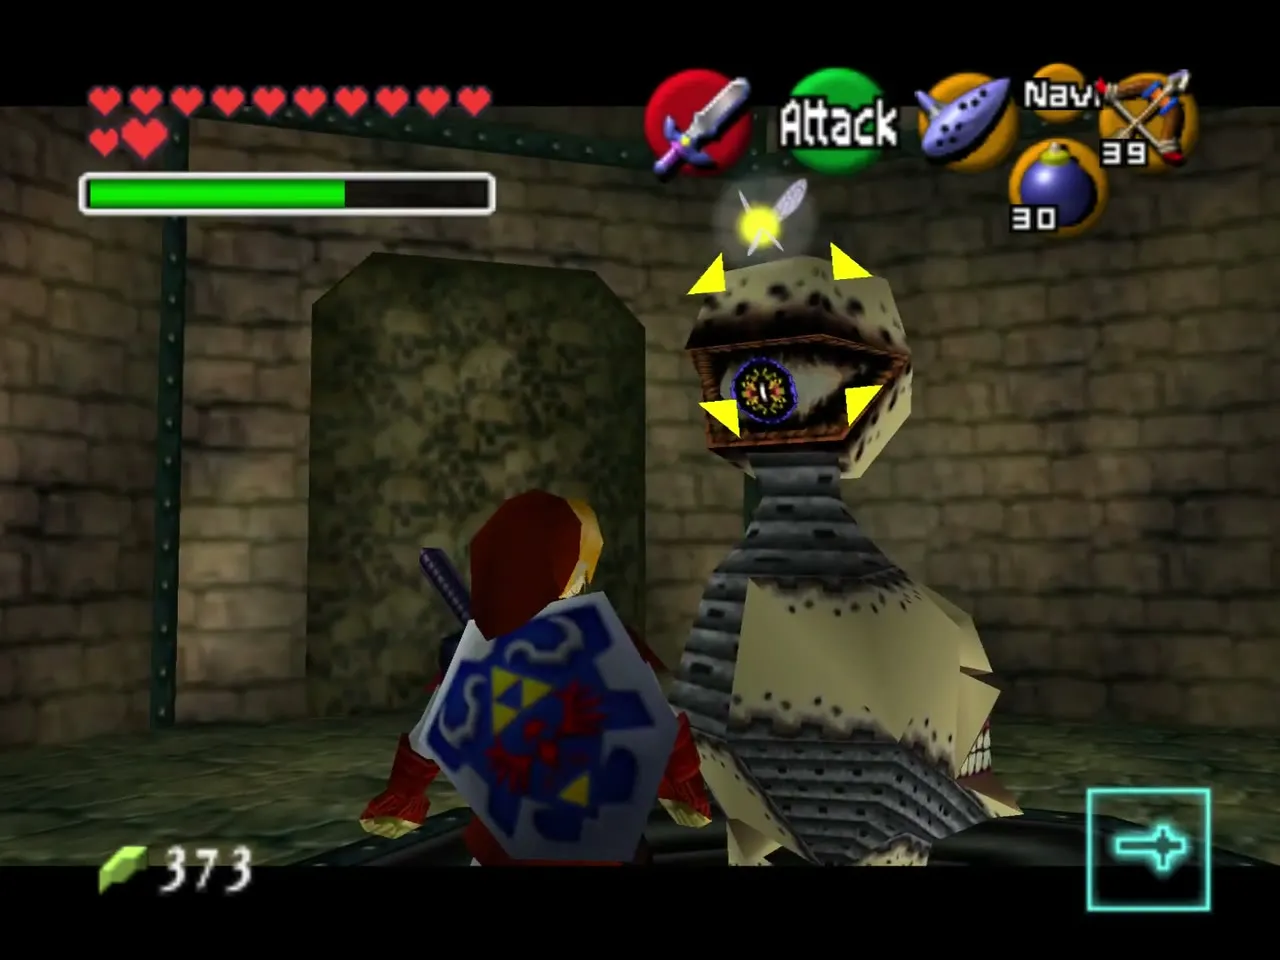
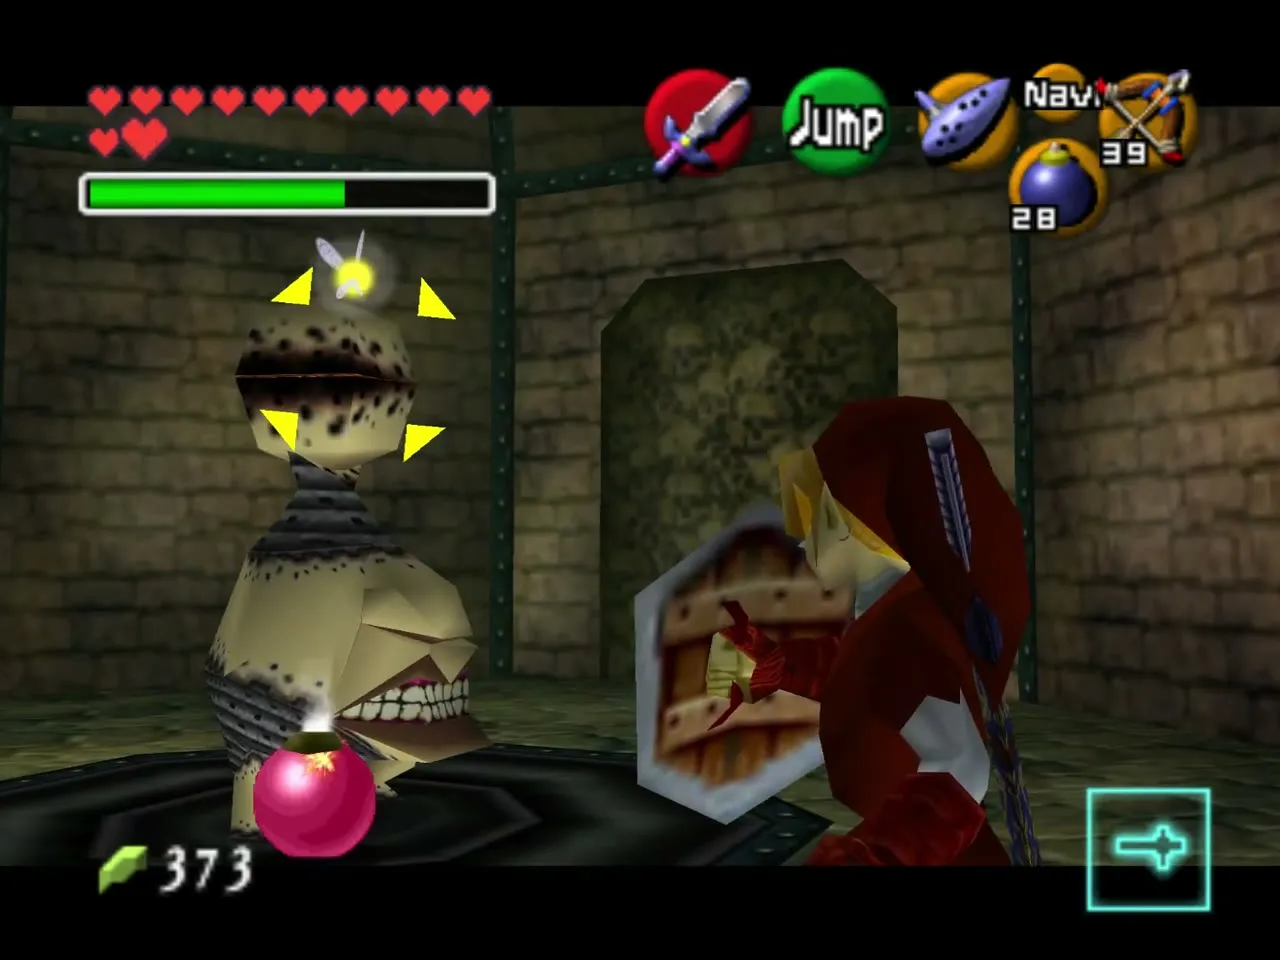
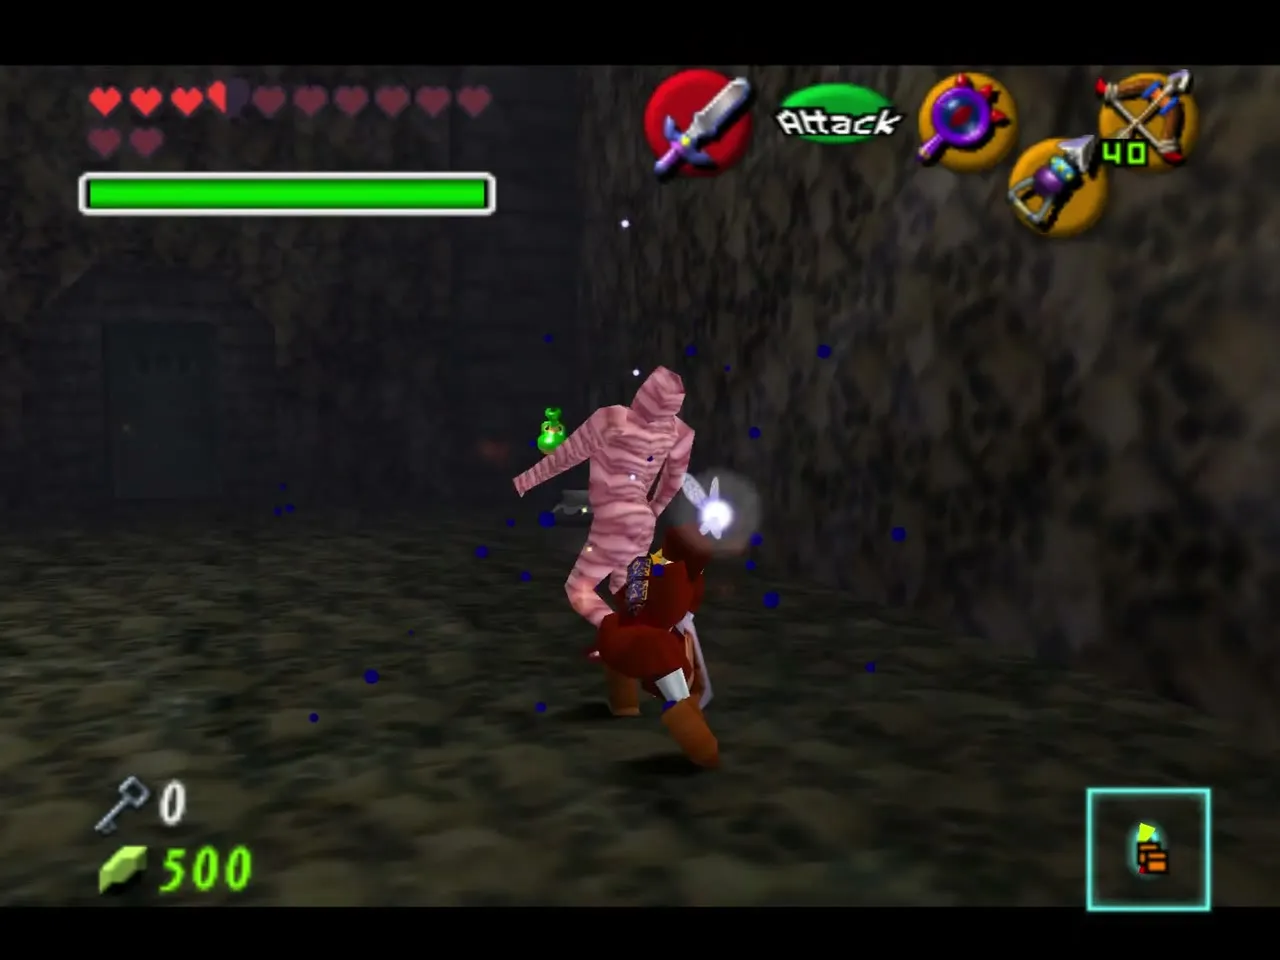
The room behind the door has two Gibdos. Freeze them with Sun’s Song and kill them one by one.
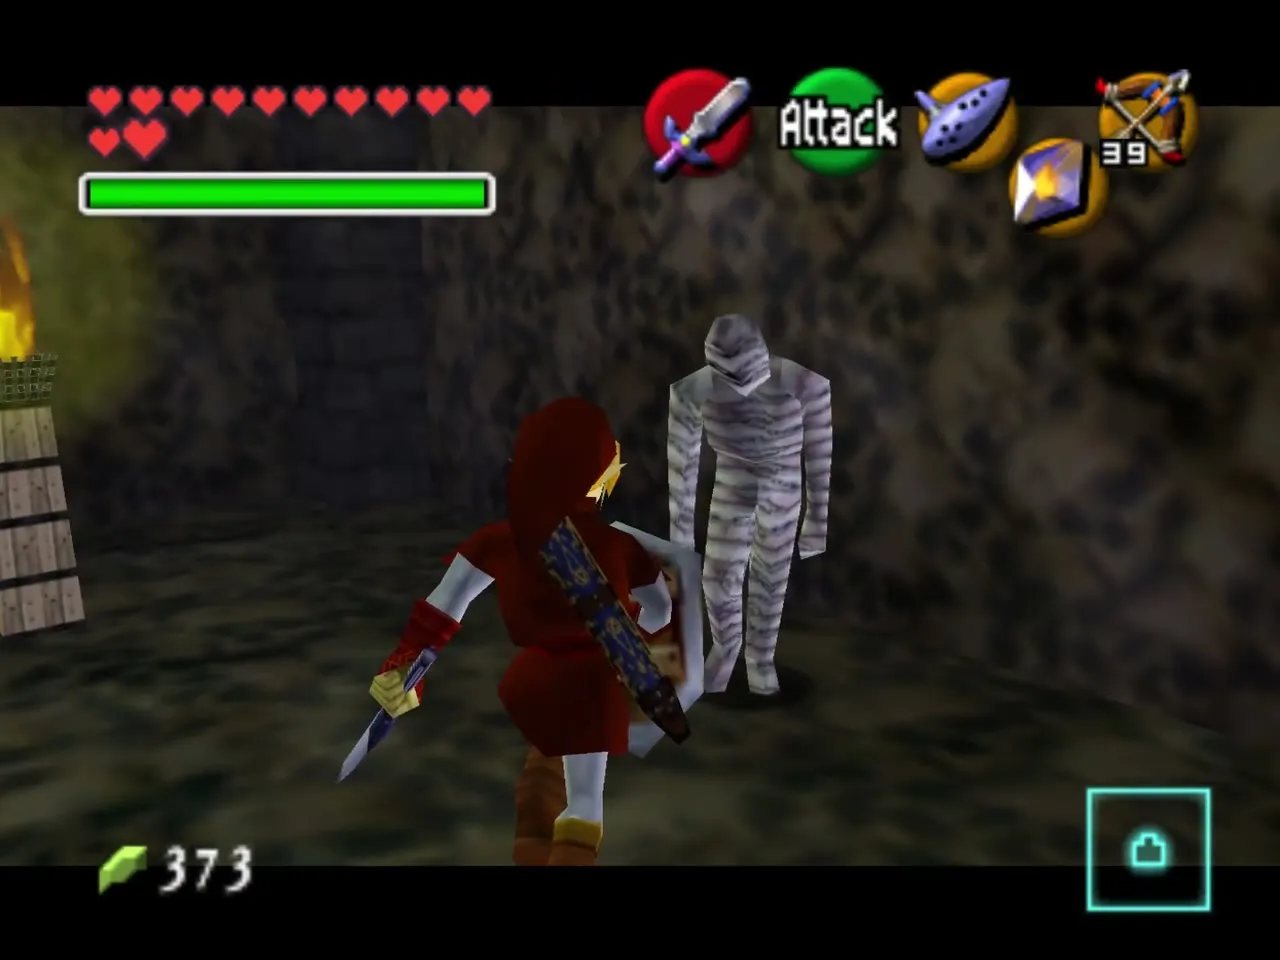
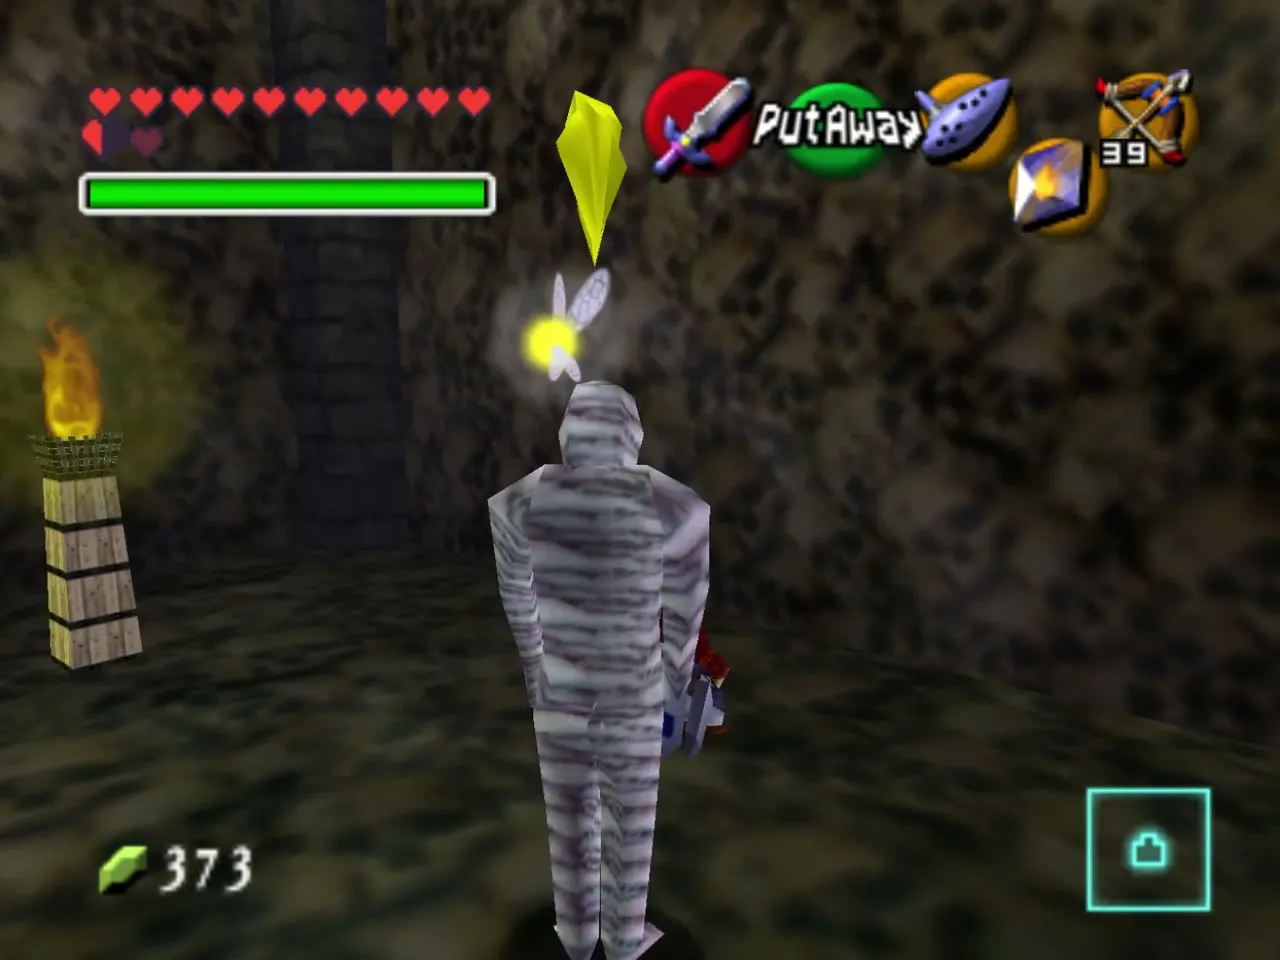
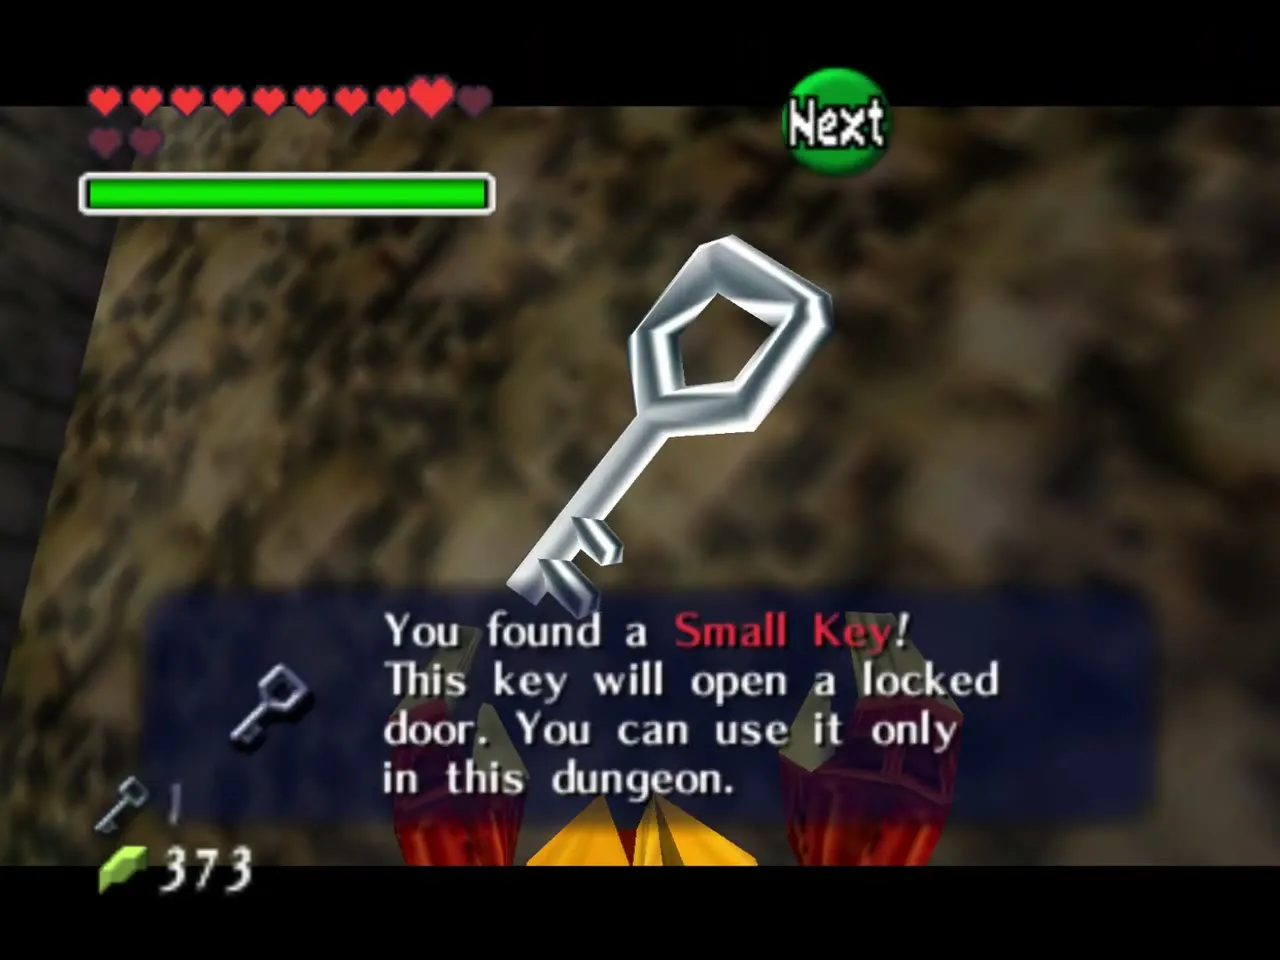
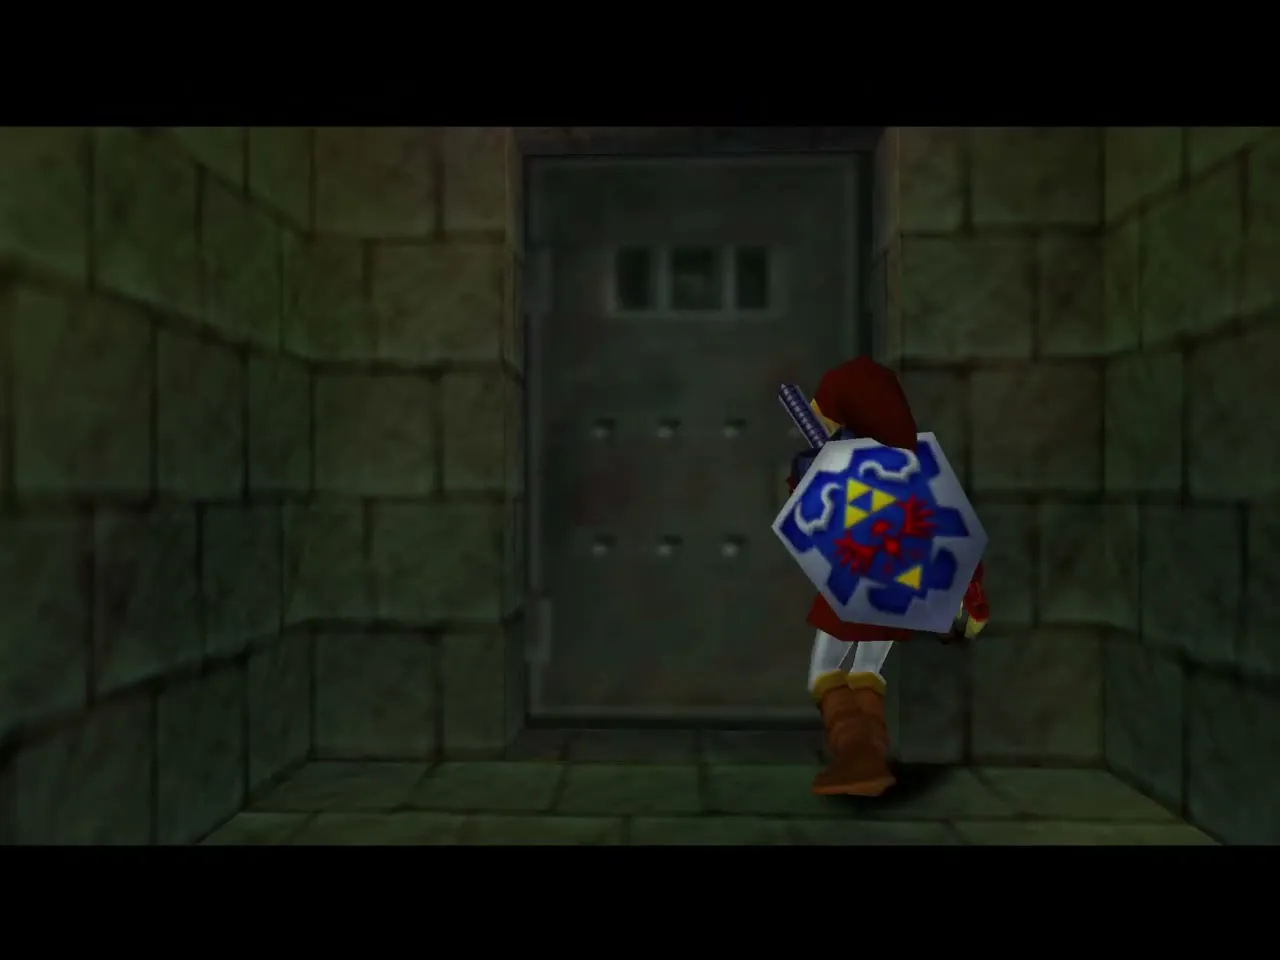
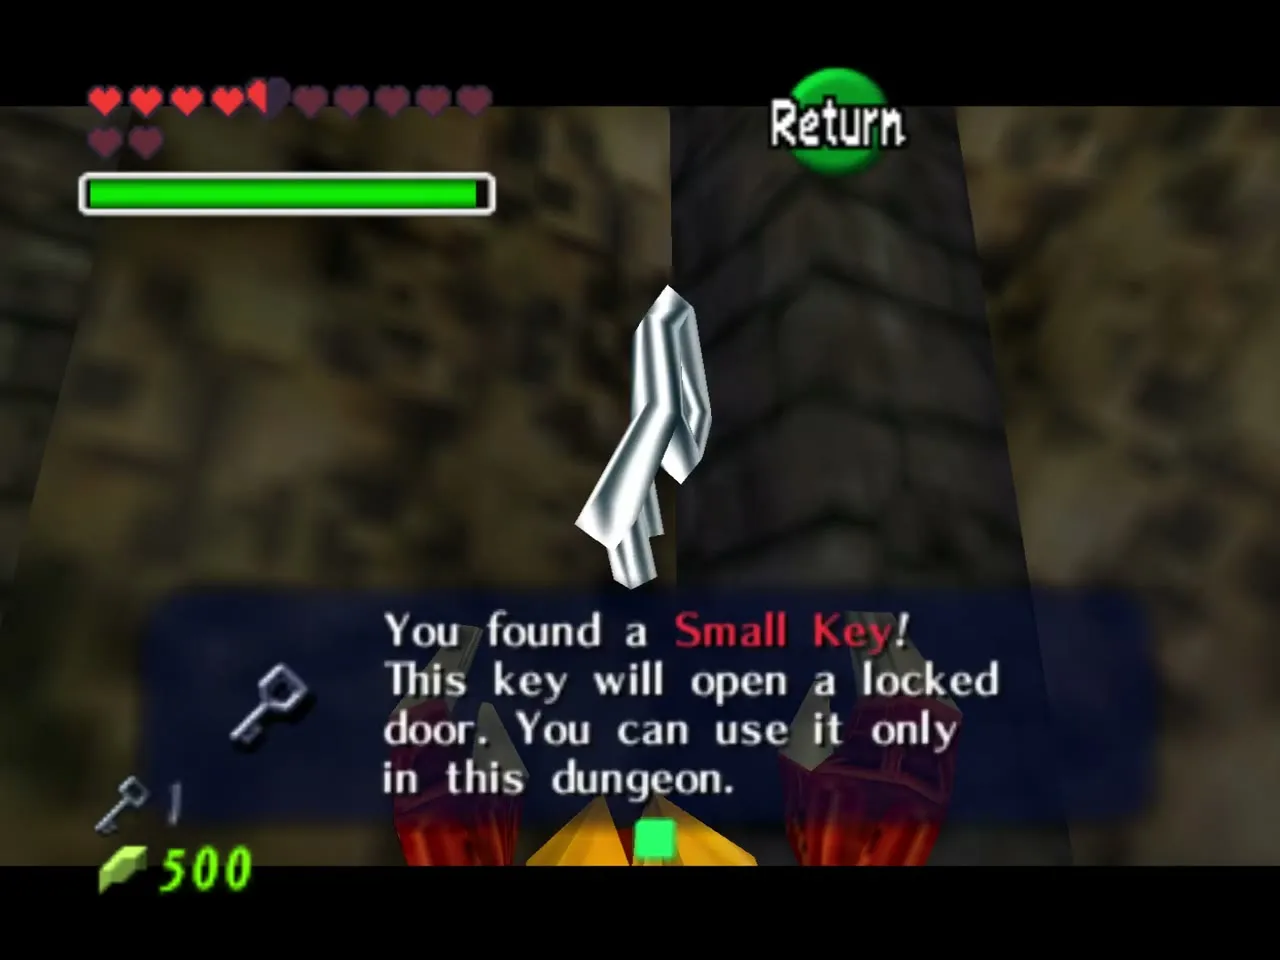
A chest appears with the first Small Key. Use it on the chained door in the corridor back toward the hall of skull faces.
Redead room: Compass and Song of Time block
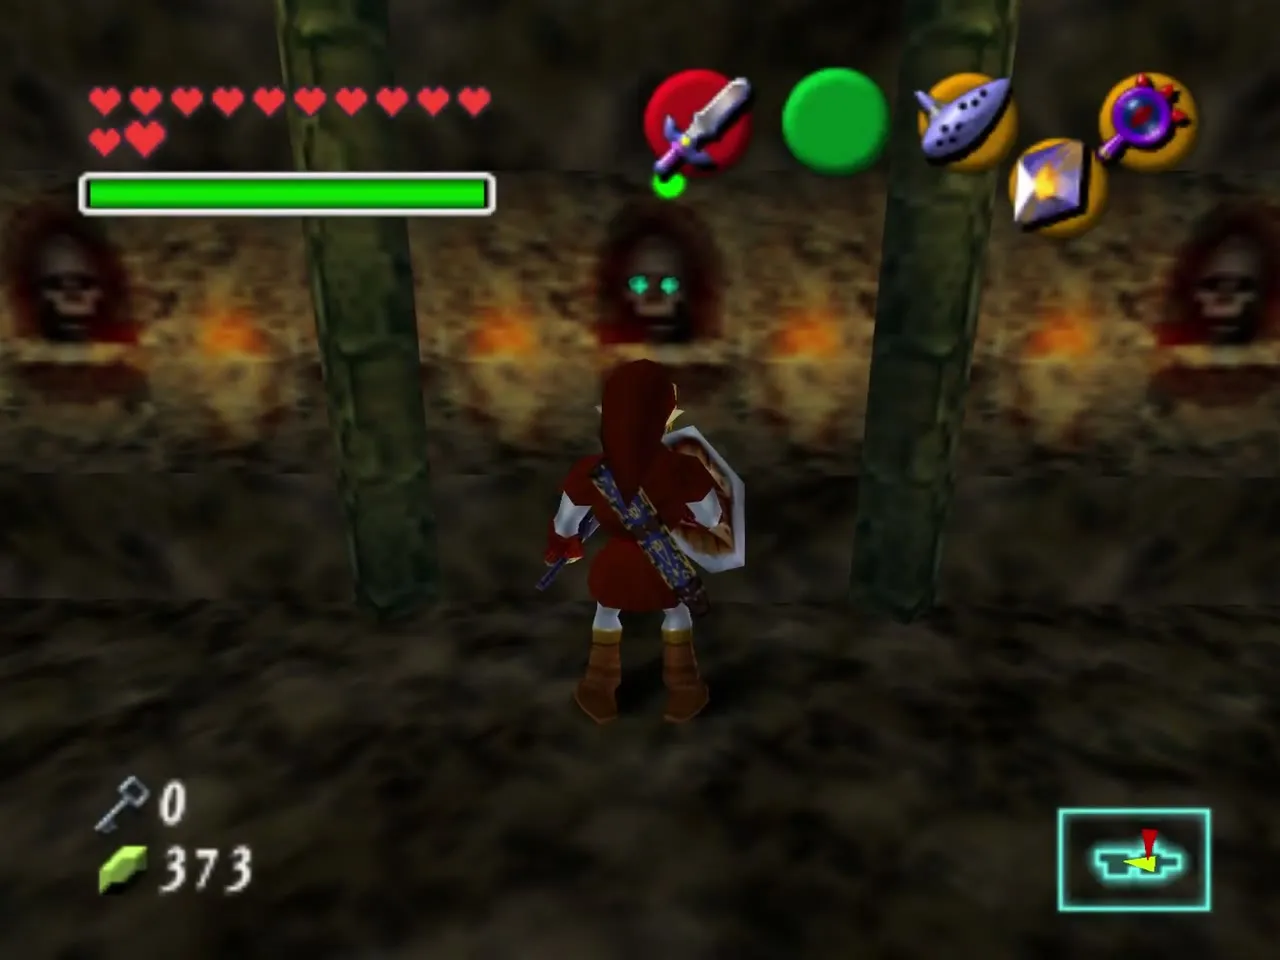
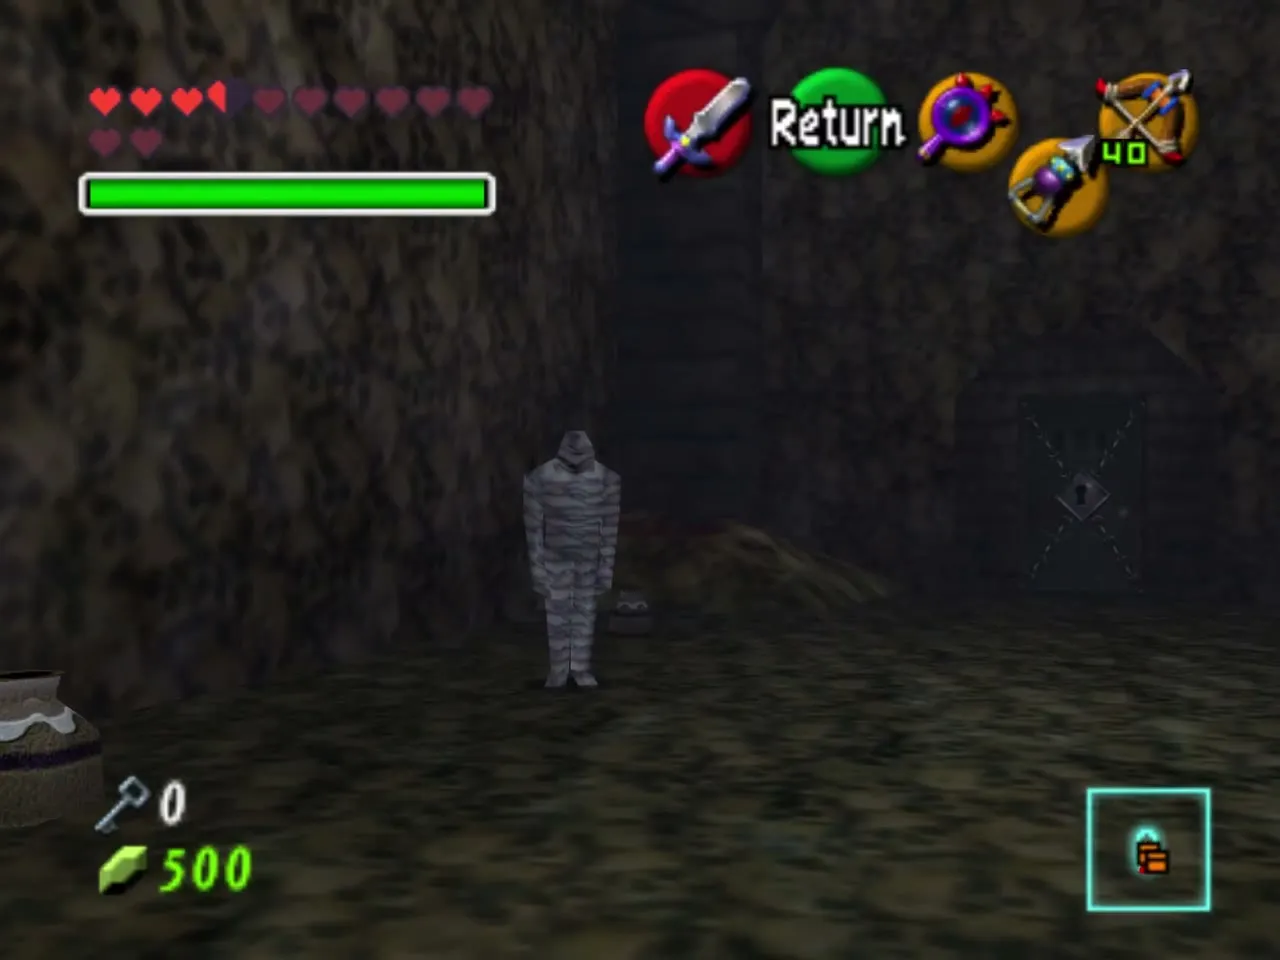
The hall beyond is full of fake walls. A fake wall has glowing eyes in its painted face, so you can spot them without the Lens. Take the first door on the right.
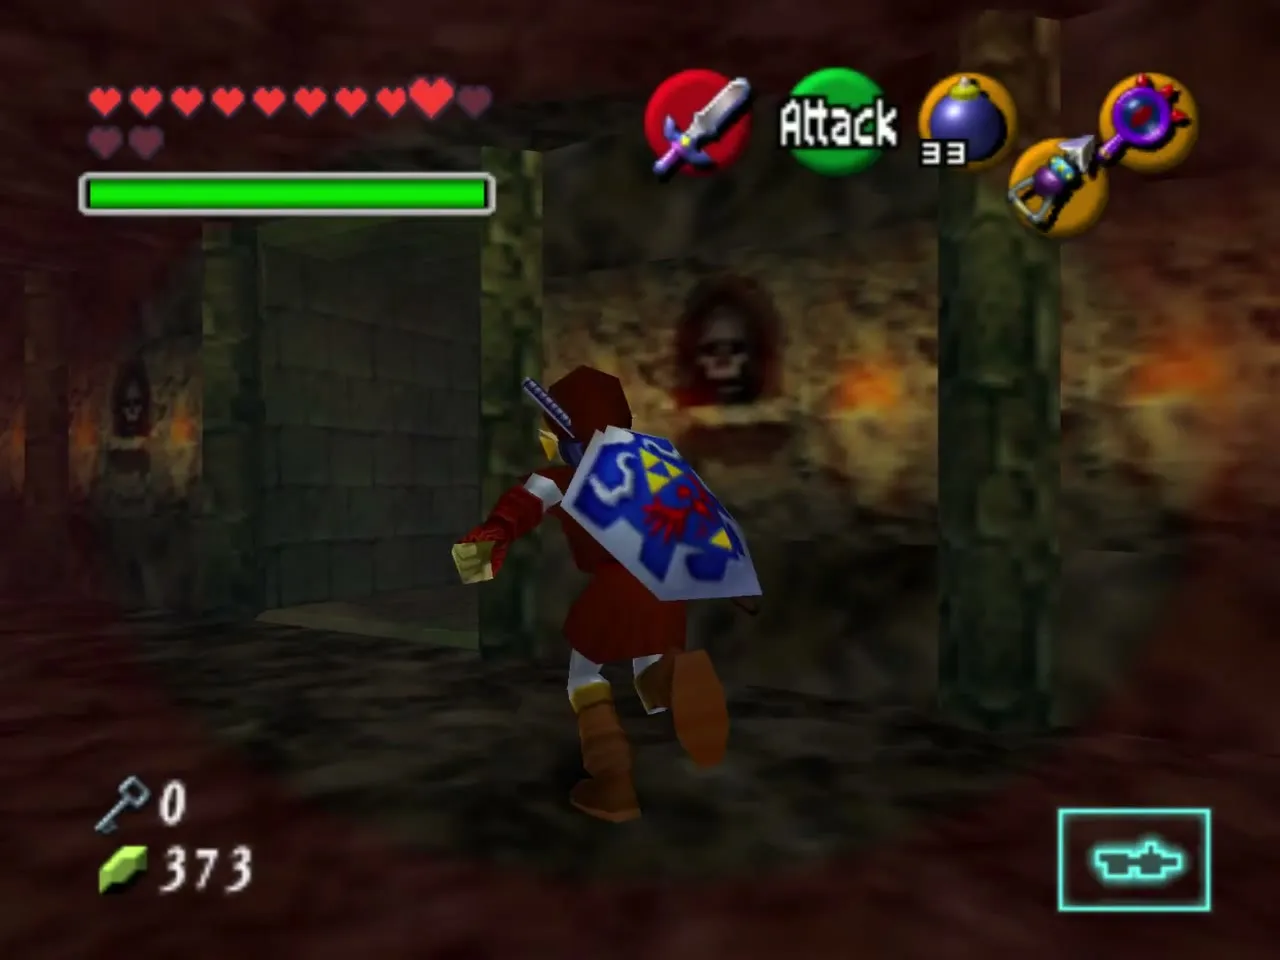
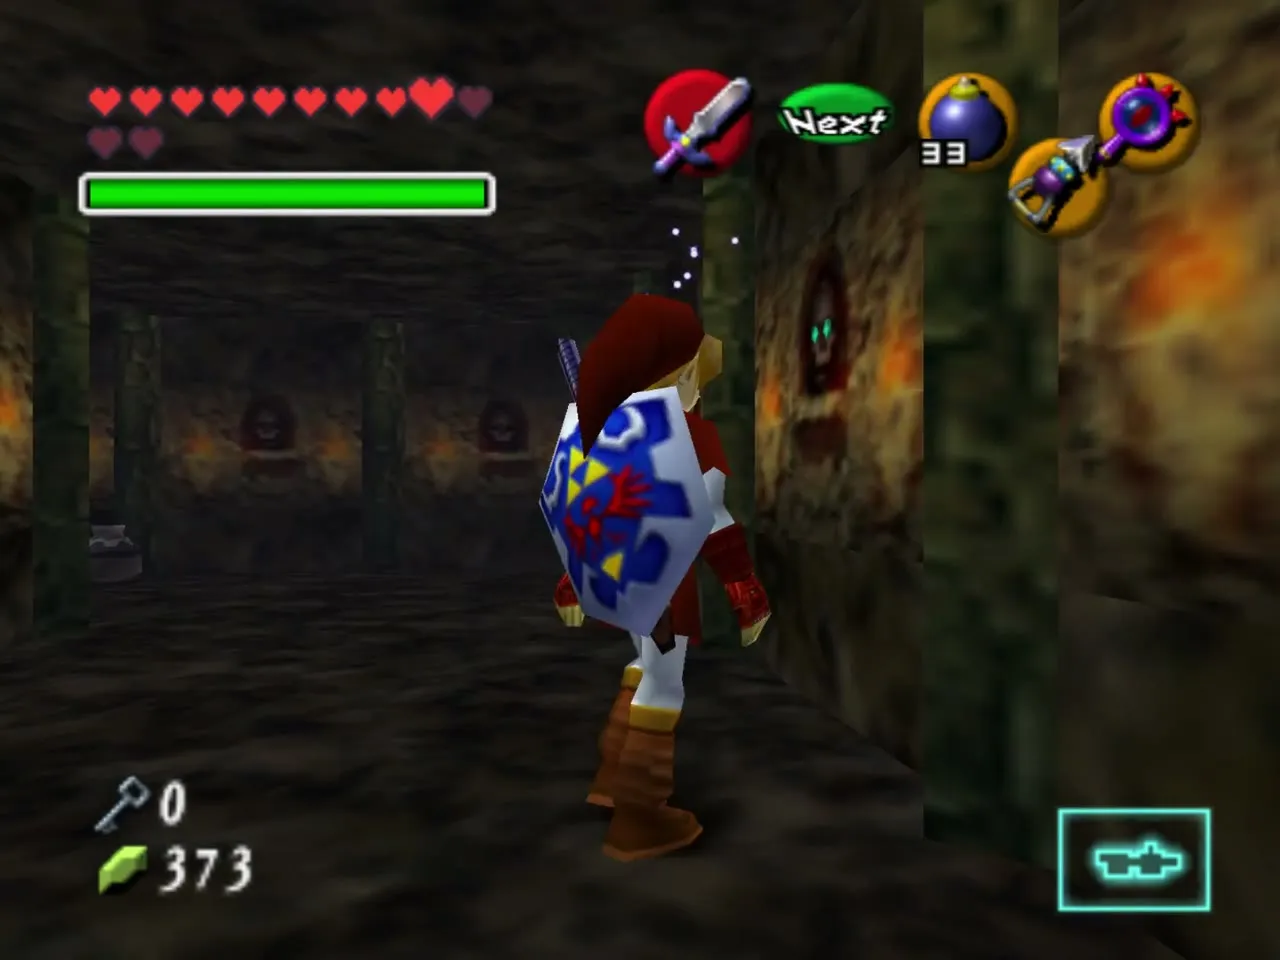
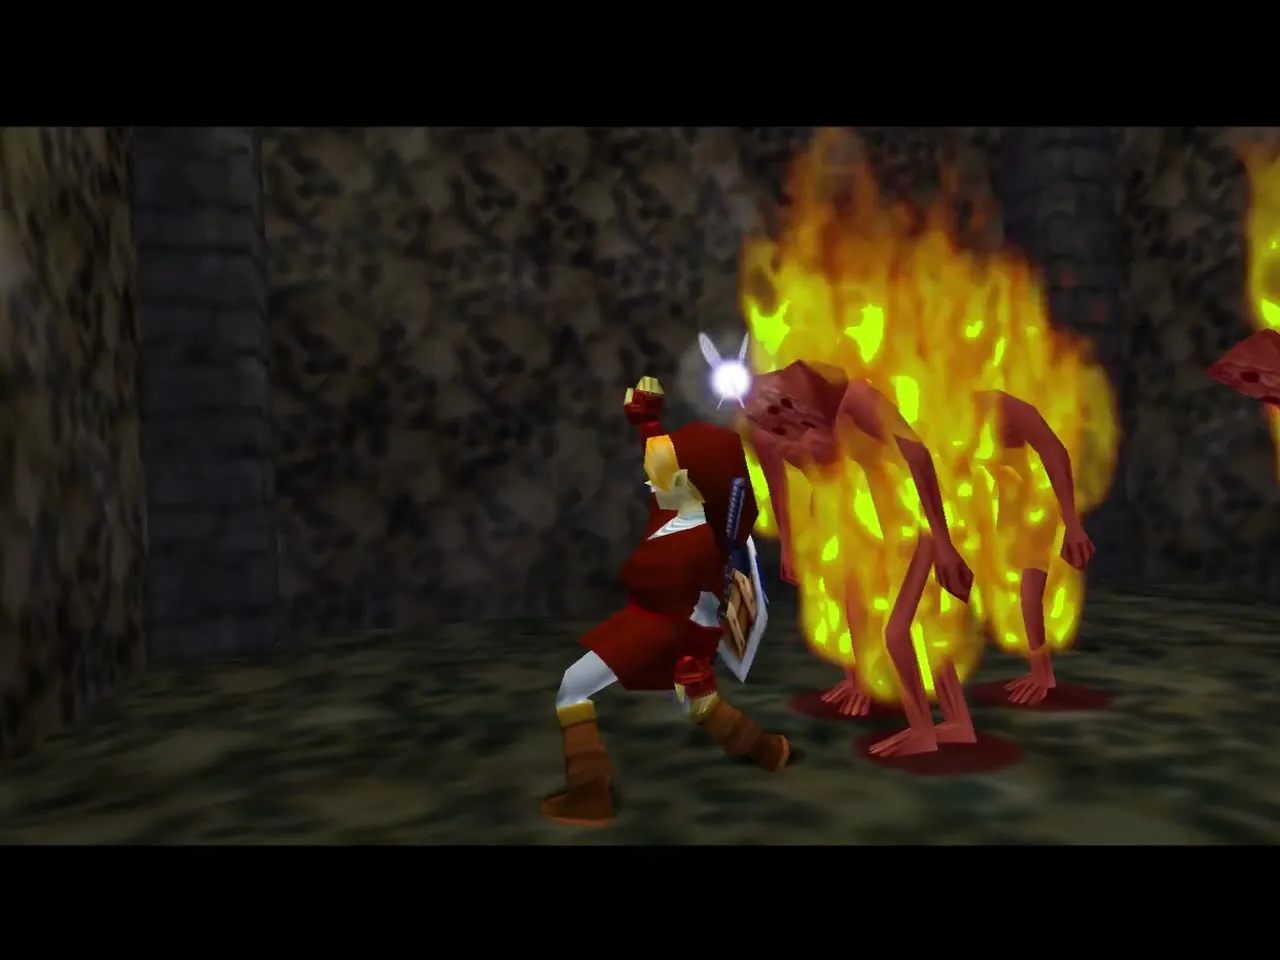
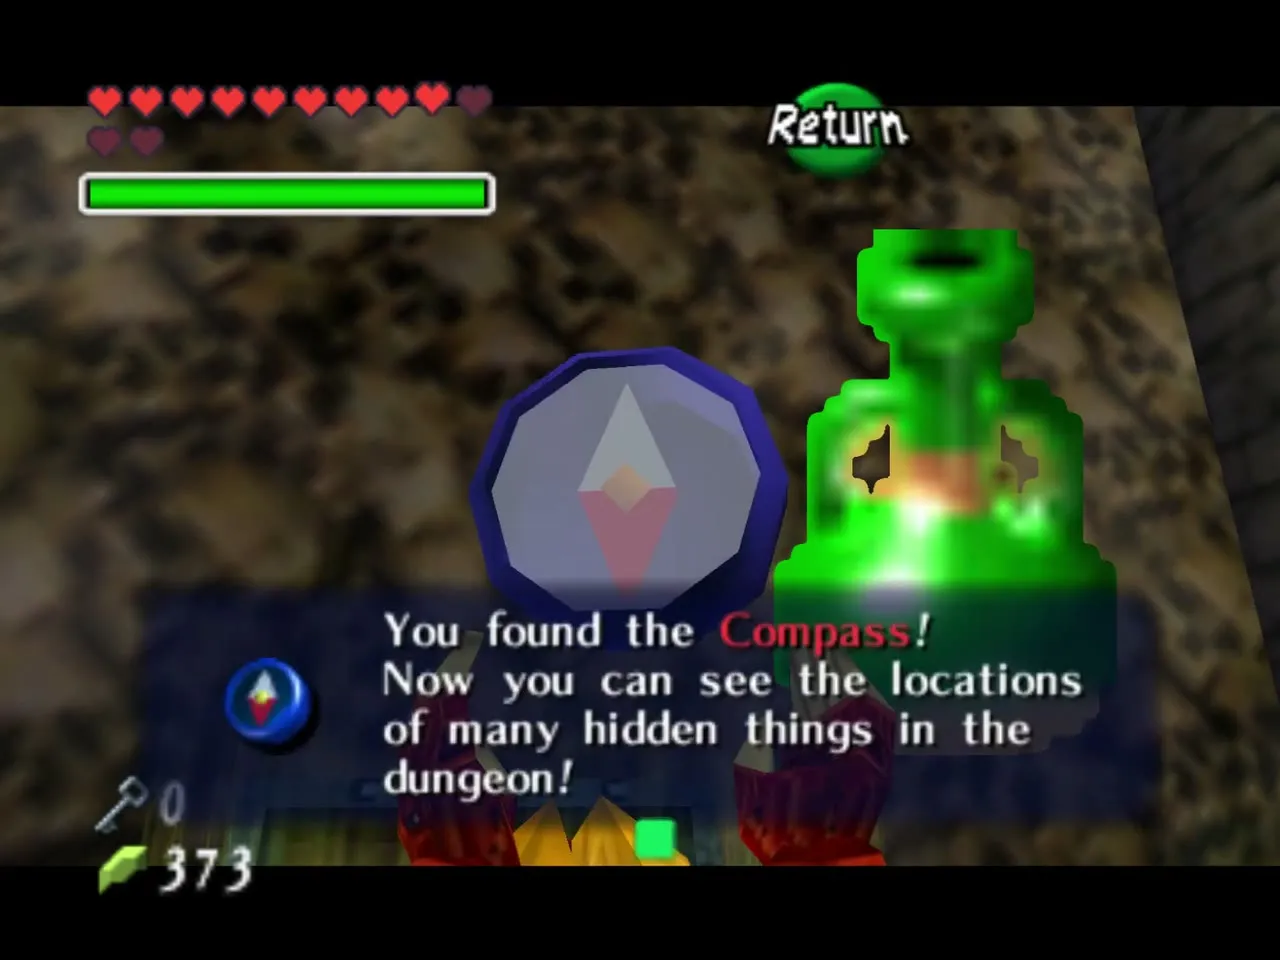
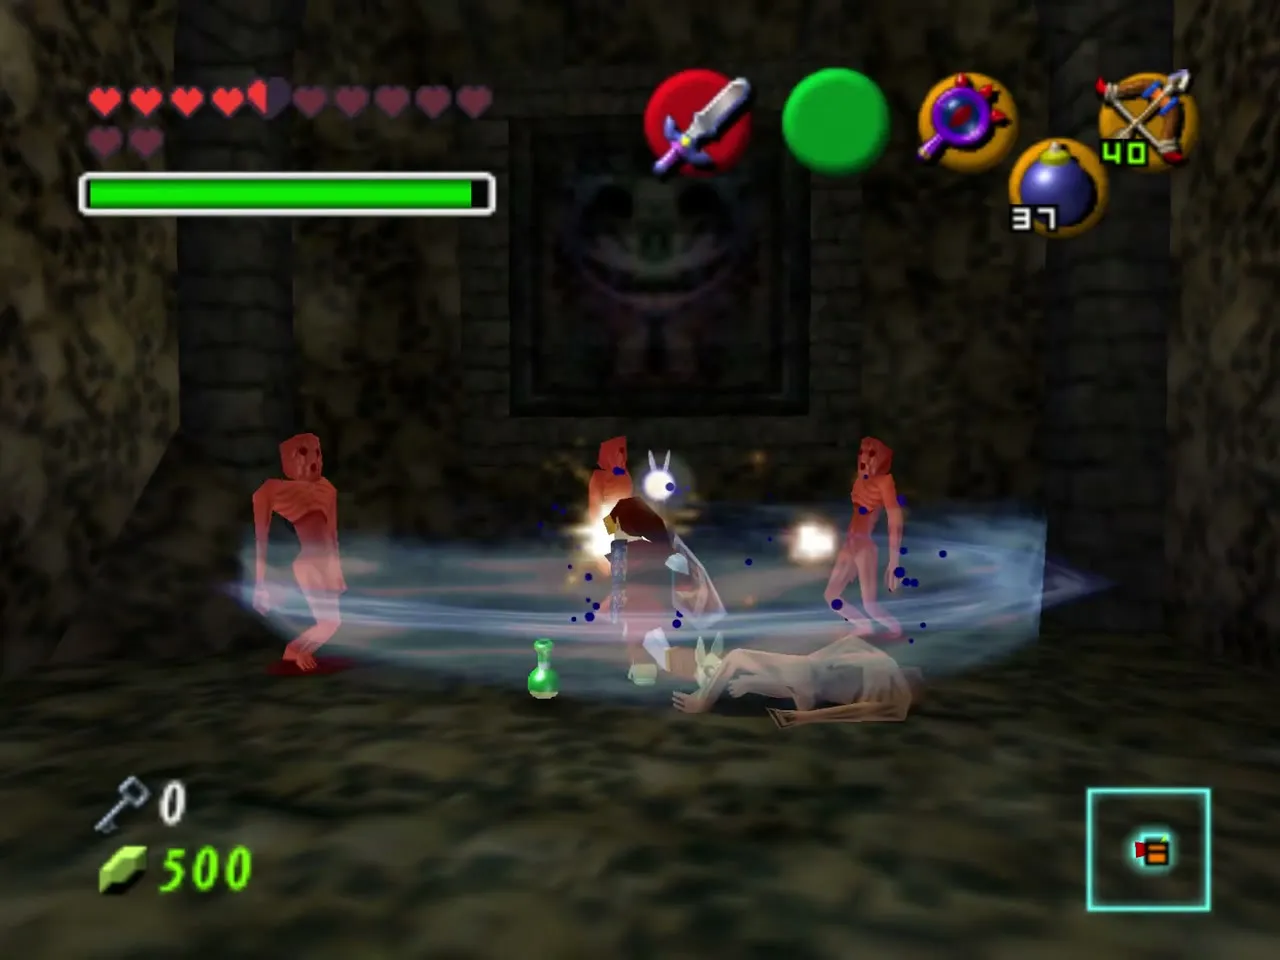
Four Redeads are inside. Sun’s Song freezes them, or Din’s Fire kills them all in one cast. When the last one falls, a chest appears with the Compass.
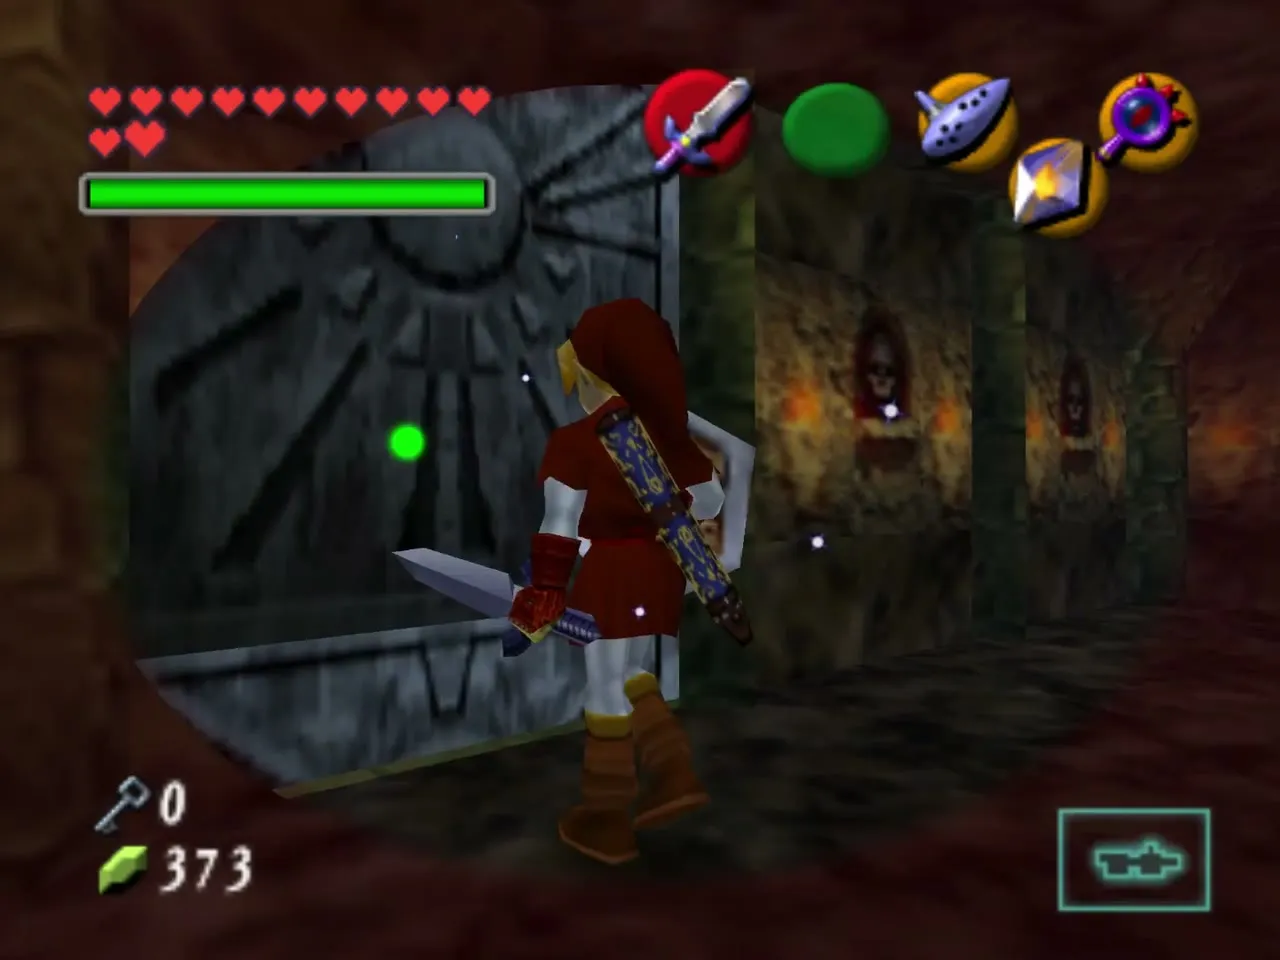
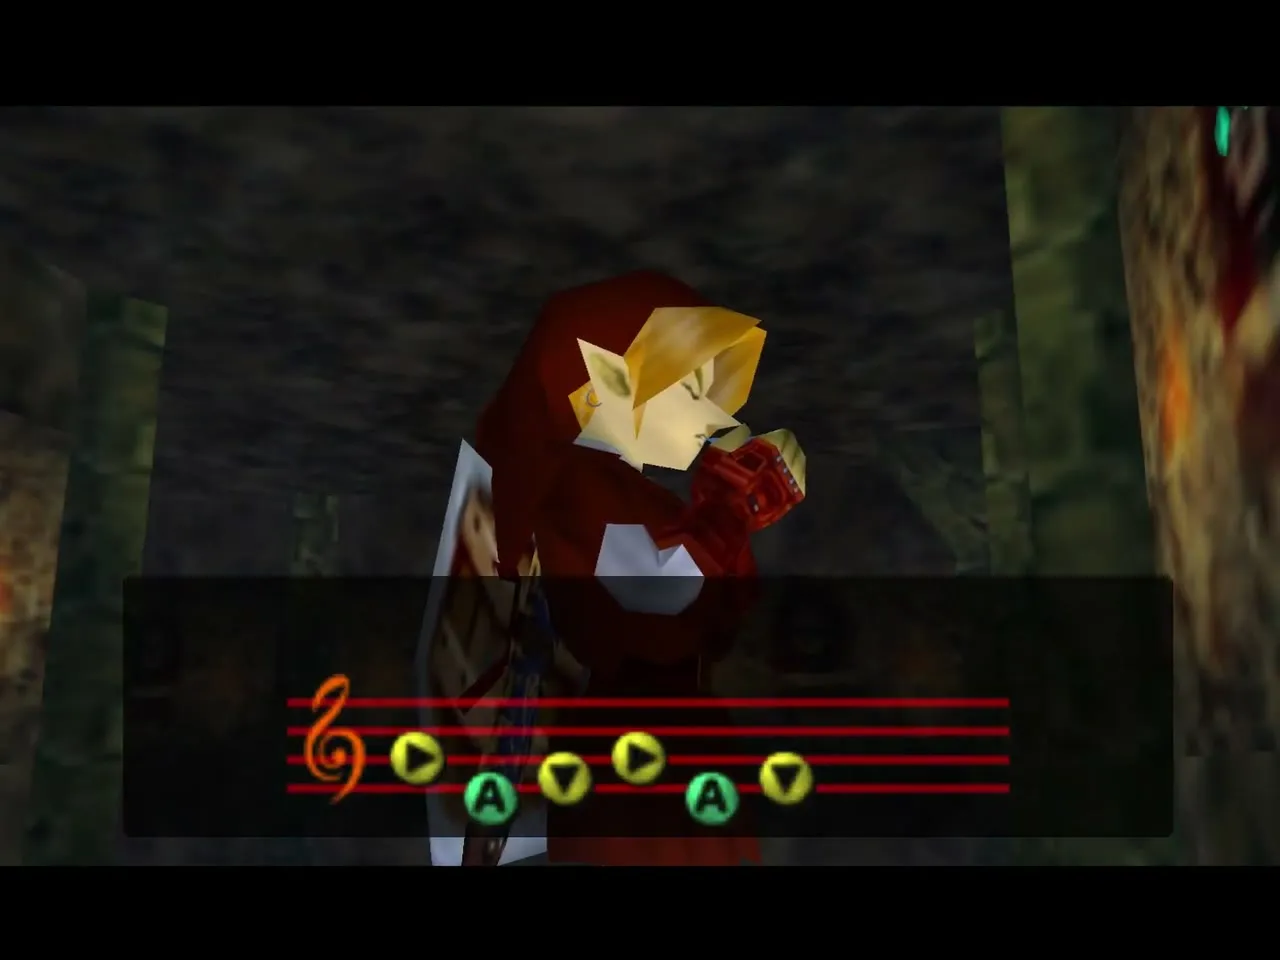
Outside, turn right and follow the wall until Navi glows green. Play the Song of Time here to make a block vanish. Beyond it, three eye switches face you; only the middle one is real, so shoot it. The fake wall in the northwest corner hides the door to the first Dead Hand.
Mini-boss: Dead Hand and the Hover Boots
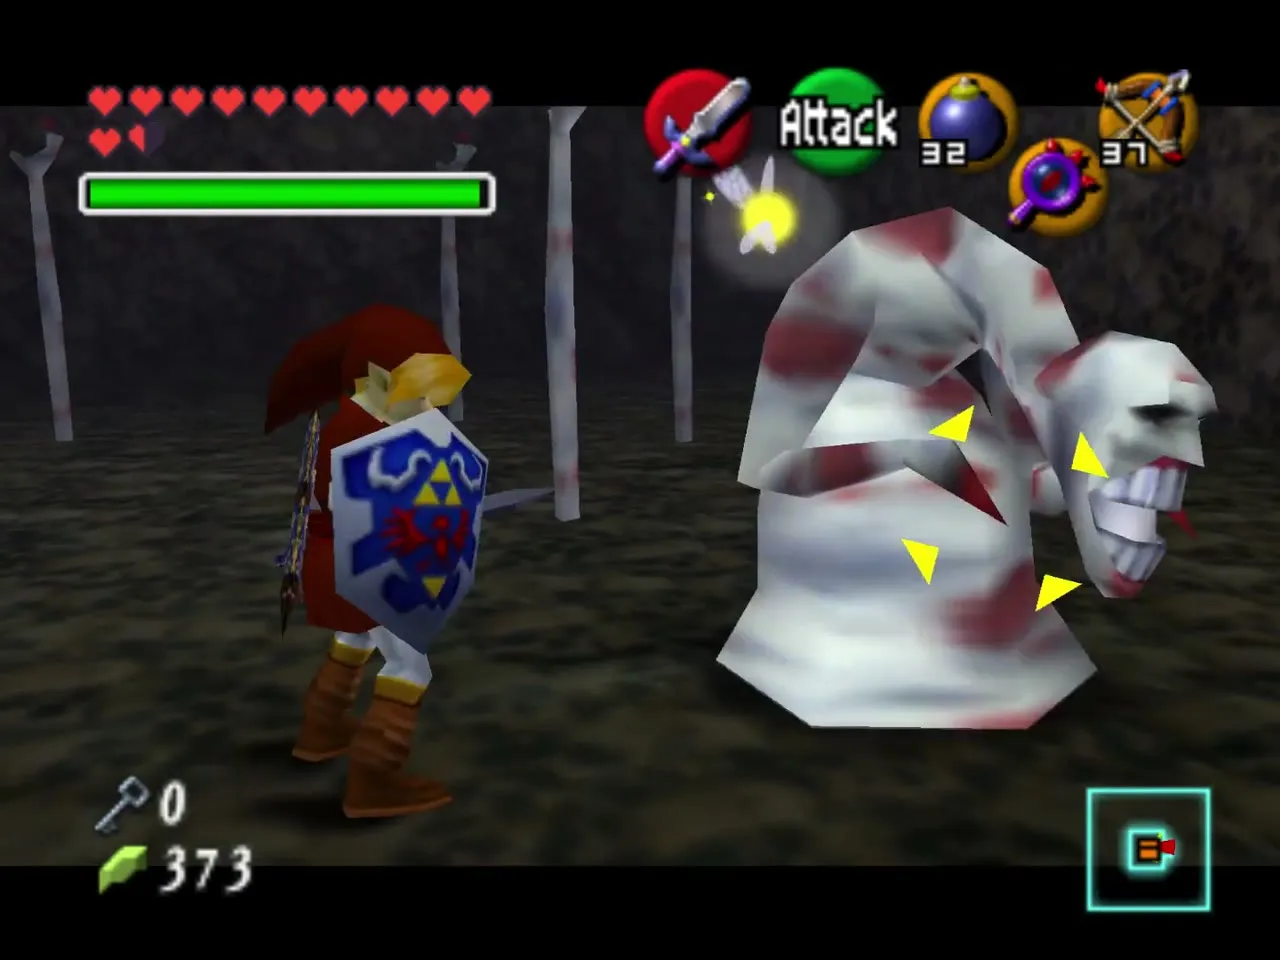
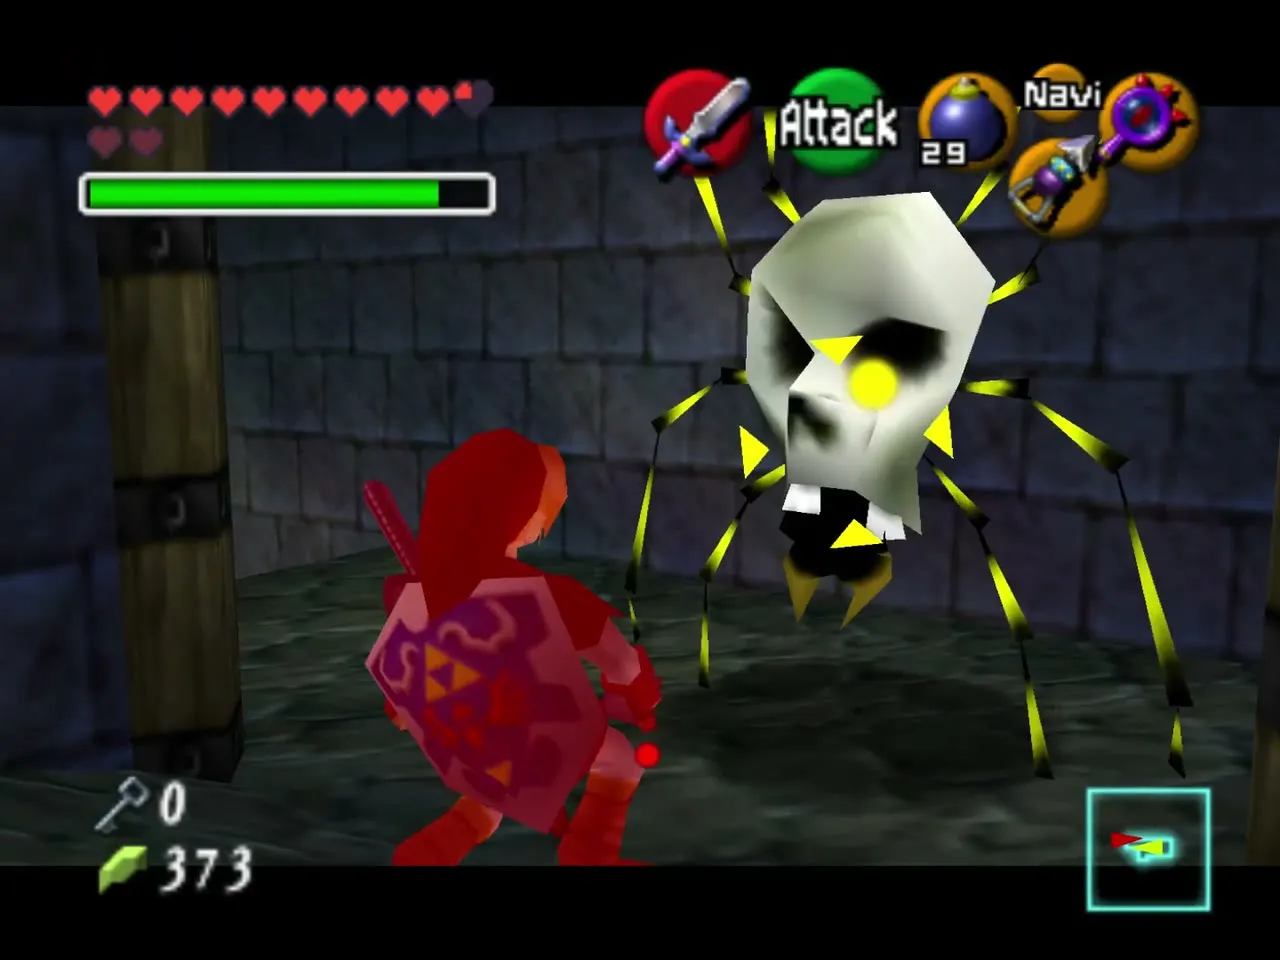
Dead Hand plays exactly as in the Bottom of the Well, but now you have the Lens. Look for the dark shadow on the floor: that is where his body hides. Walk to the hand farthest from it and let it grab you, break free, and hit him with a jump attack while his face is lowered. Repeat until he falls; the Biggoron‘s Sword ends the fight quickly.
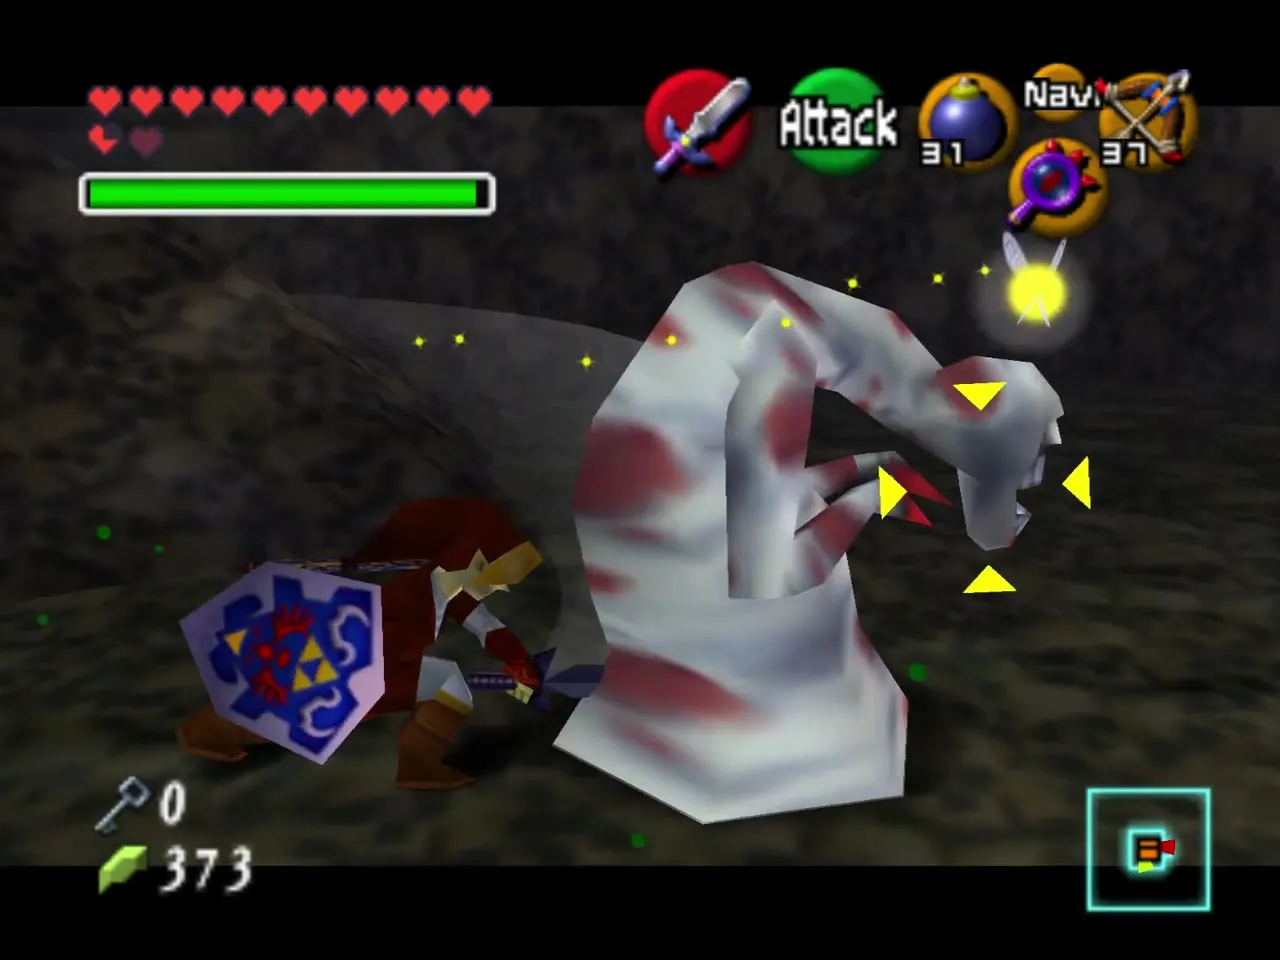
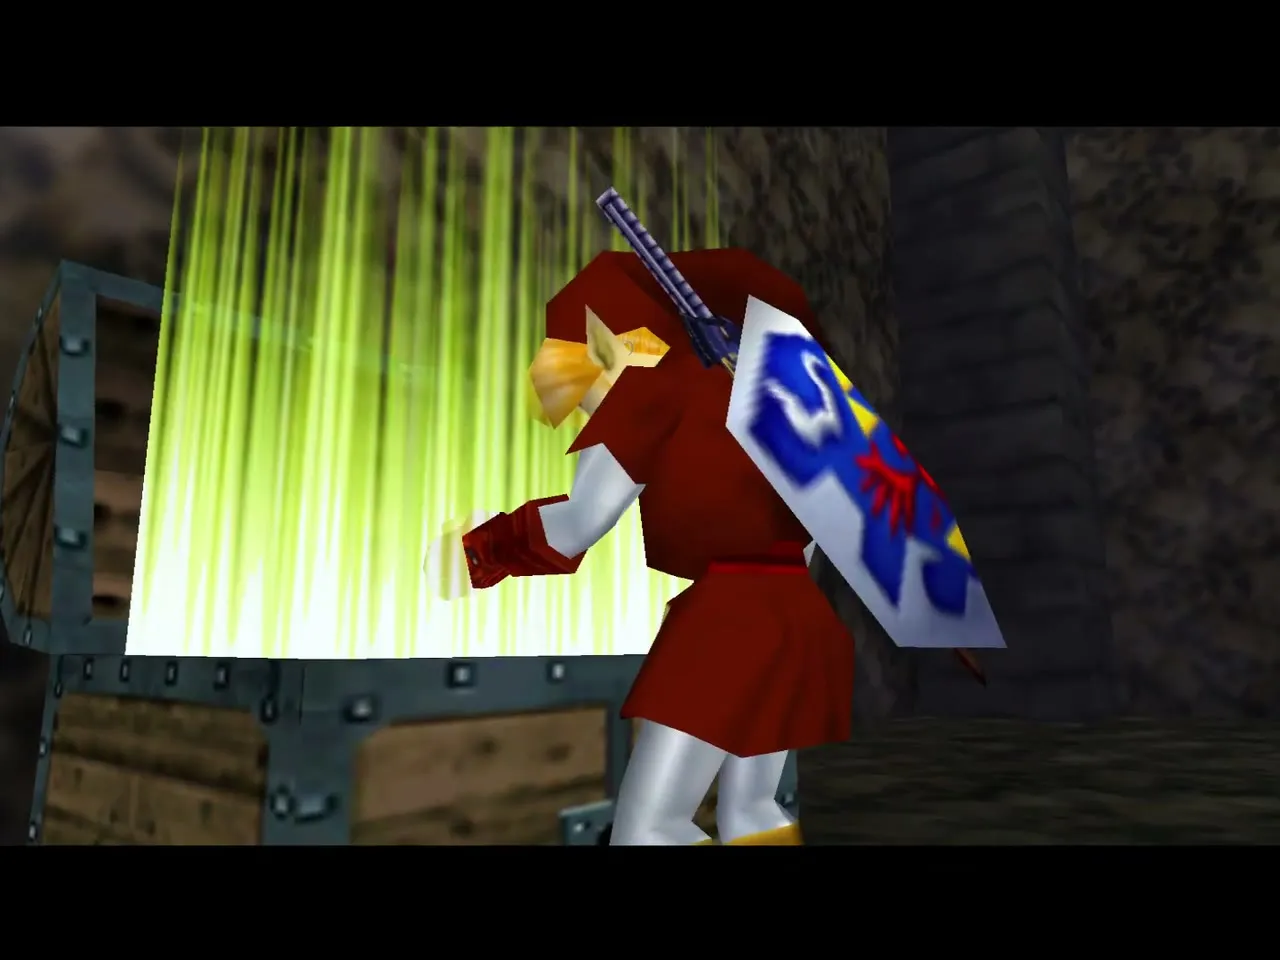
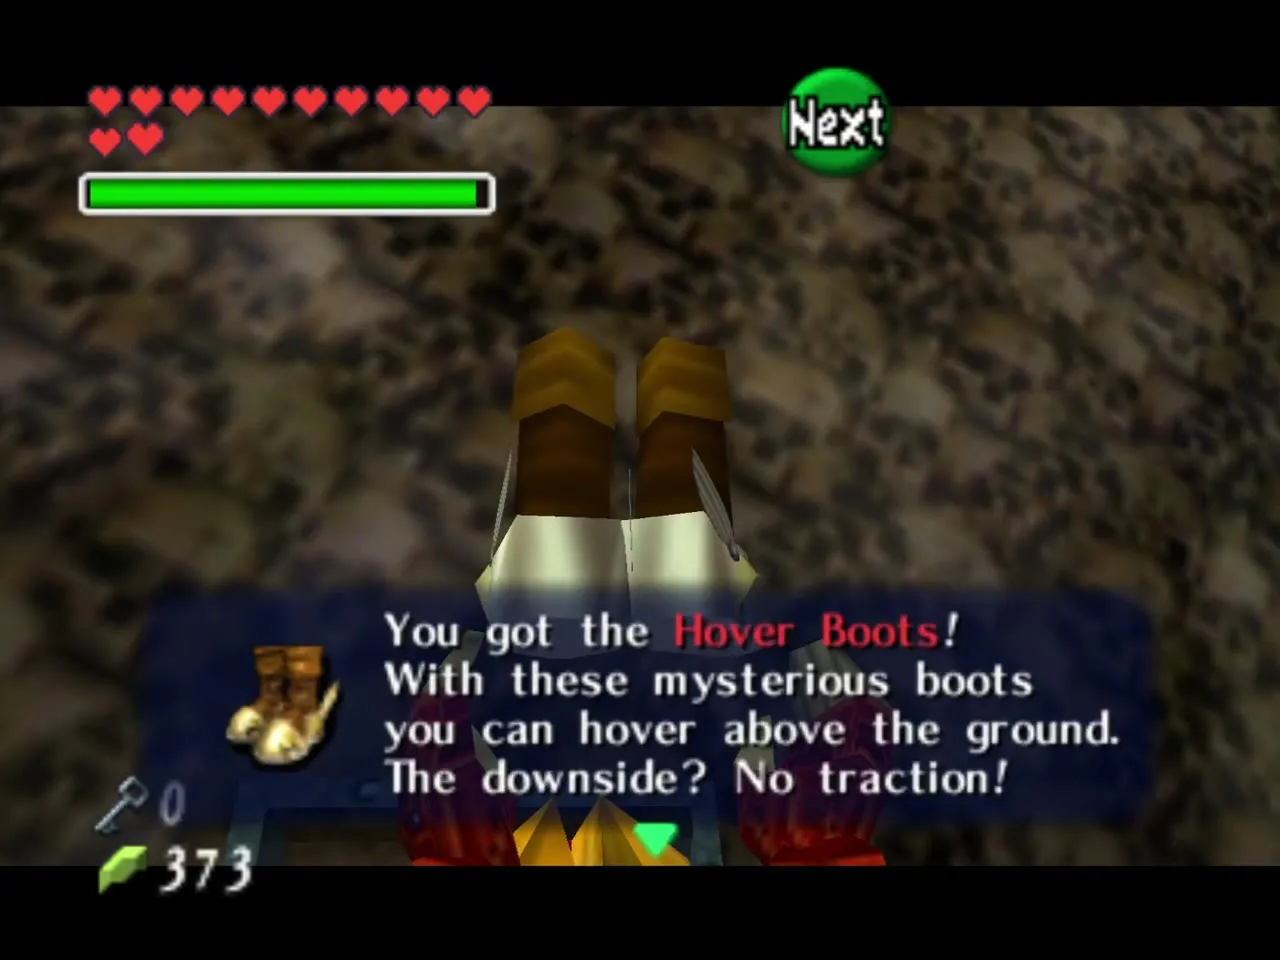
The chest he leaves holds the Hover Boots. They let you walk on air for a short time and cross invisible crystal spikes without harm, but give you almost no grip. Take them off for fighting and for narrow platforms.
Hidden hole, guillotines and invisible platforms
Second Small Key
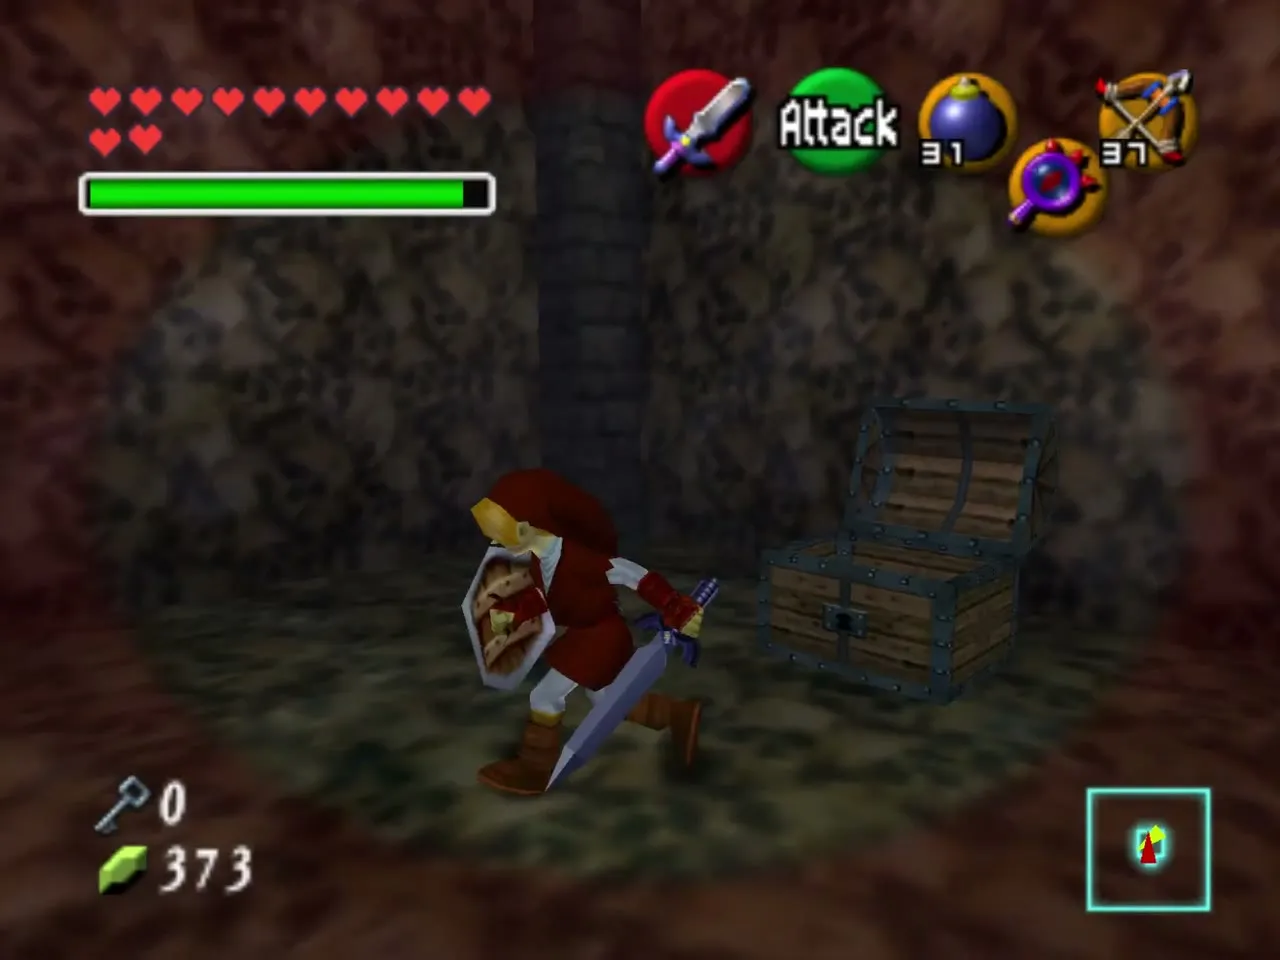
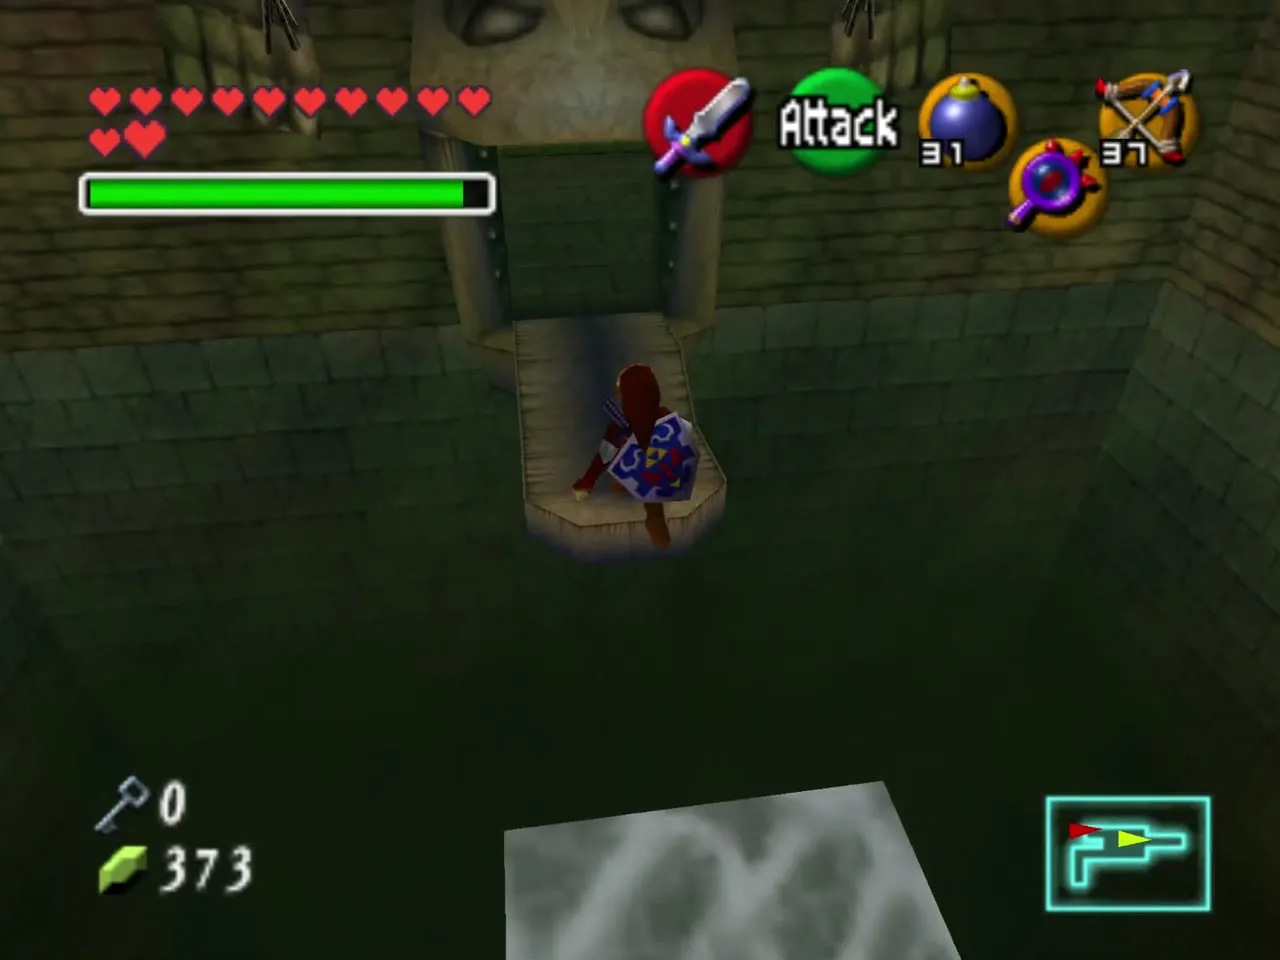
Back in the scythe room, step into the alcove with the face on the wall, which promises a ferry to another world. The floor opens and drops you into a room deeper in the temple. A large brown block blocks the way. Kill the invisible Skulltula near it with the Longshot, then open the invisible chest for the second Small Key.
Bombed wall and the guillotines
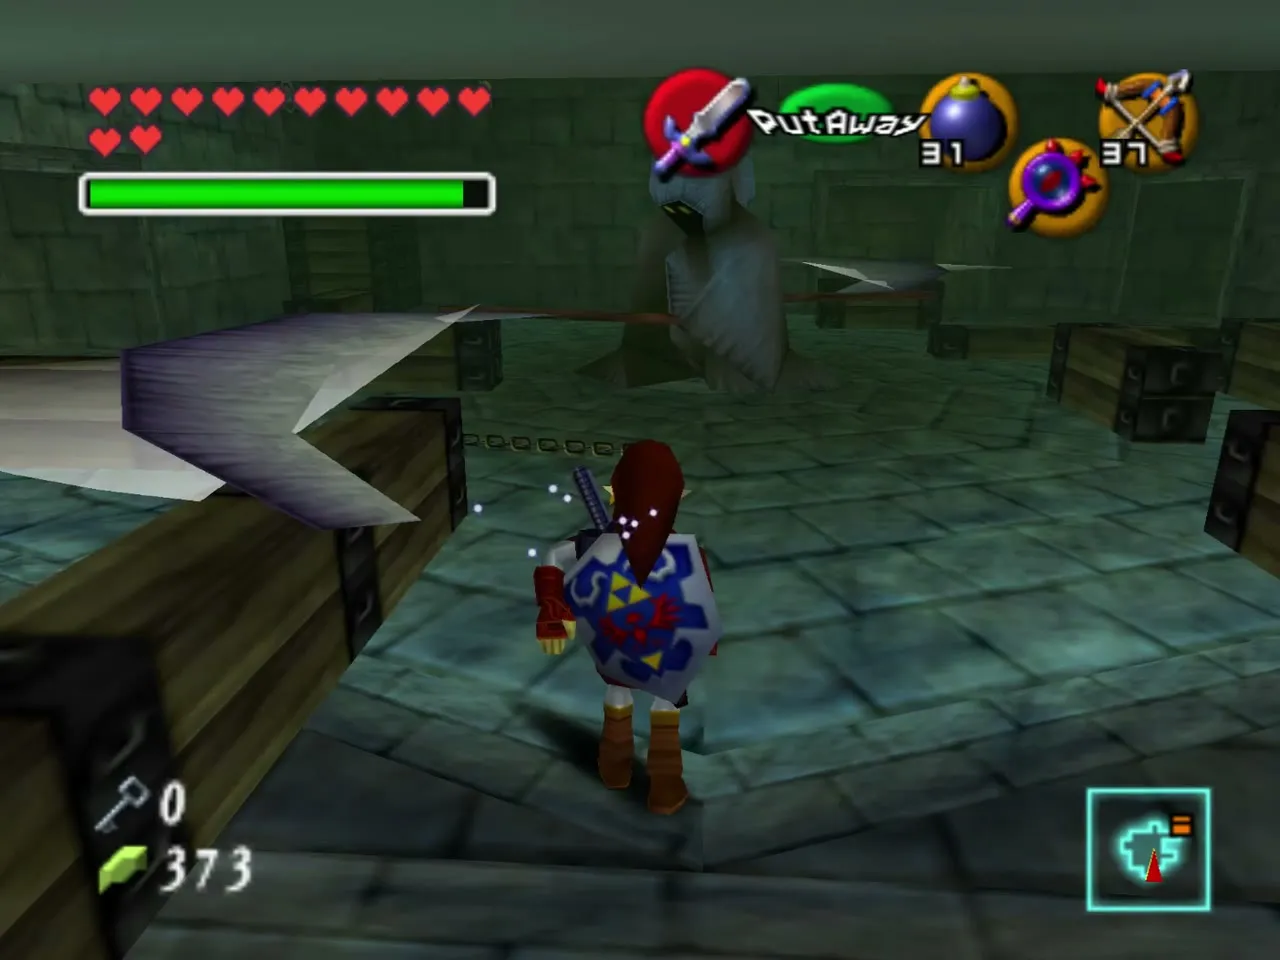
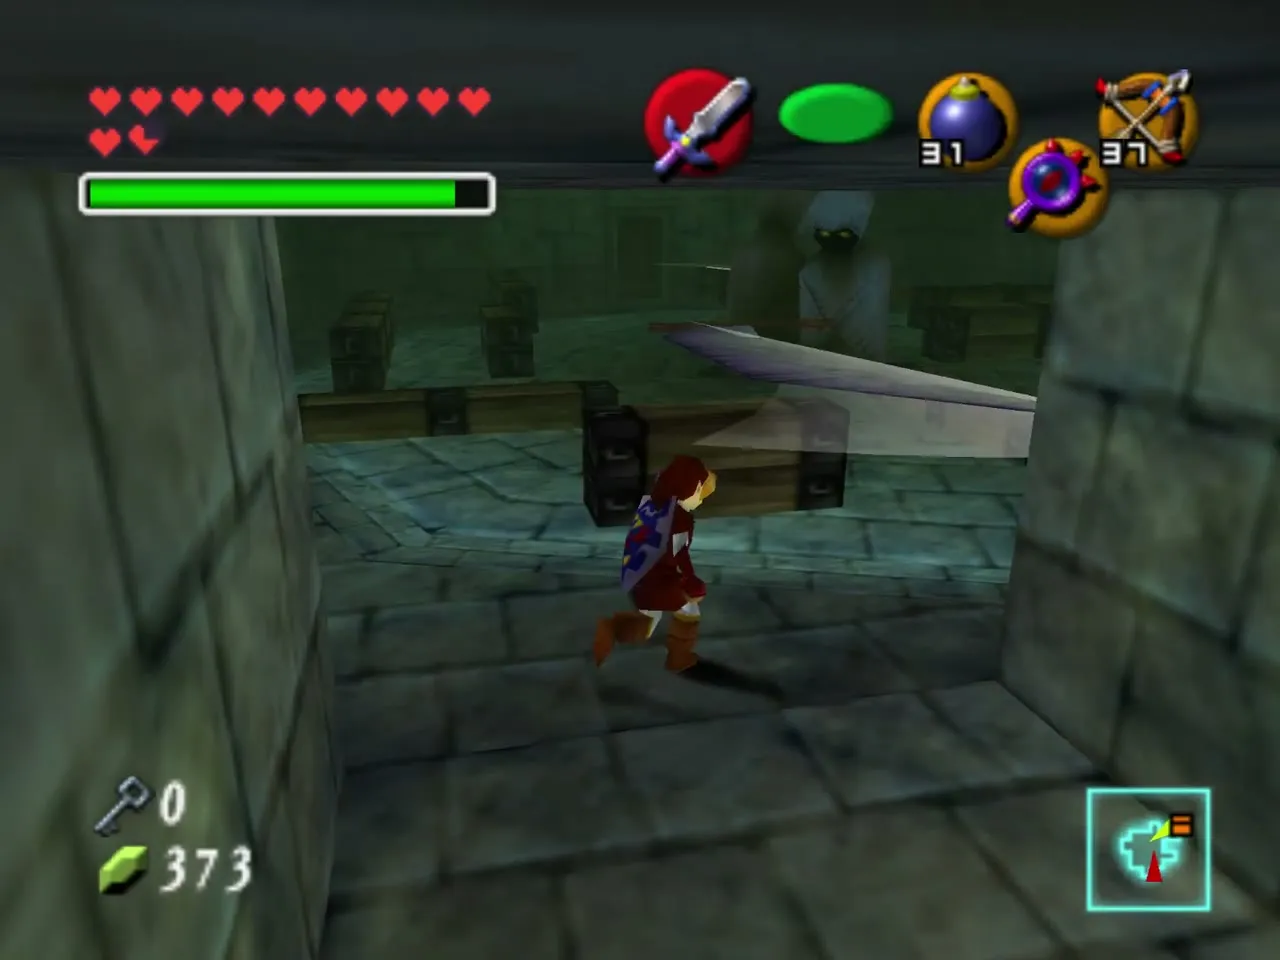
Return to the Beamos room and bomb the east wall. Unlock the door behind it and head down the passage, where a Beamos waits around the corner and a Skulltula drops from the ceiling beyond the floor spikes. At the bottom, bomb the Beamos between the guillotines, then cross when the blades are rising. The first guillotine of the large cavern is fast, so run through it quickly.
Bomb Flower and invisible platforms
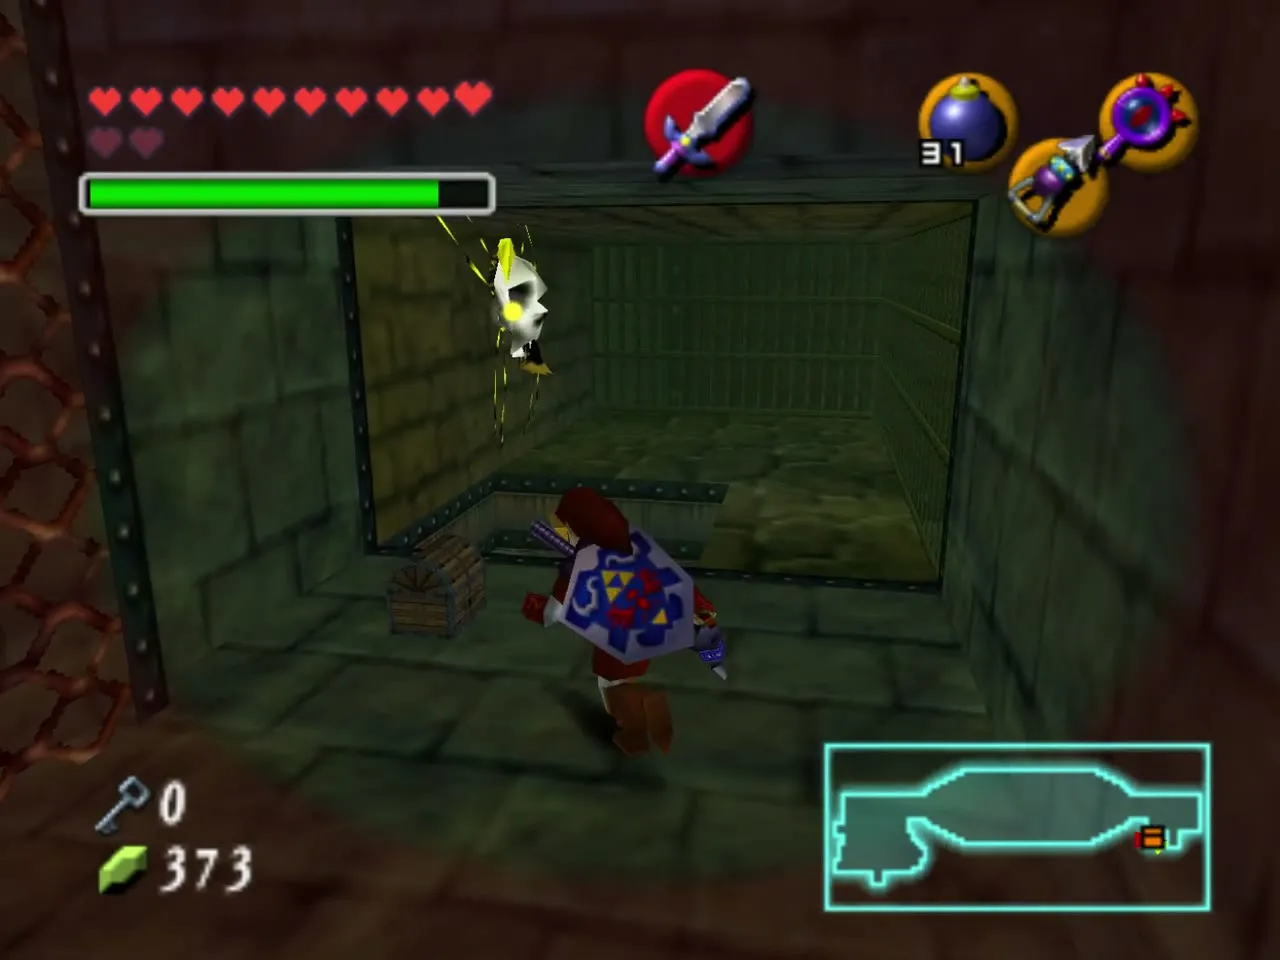
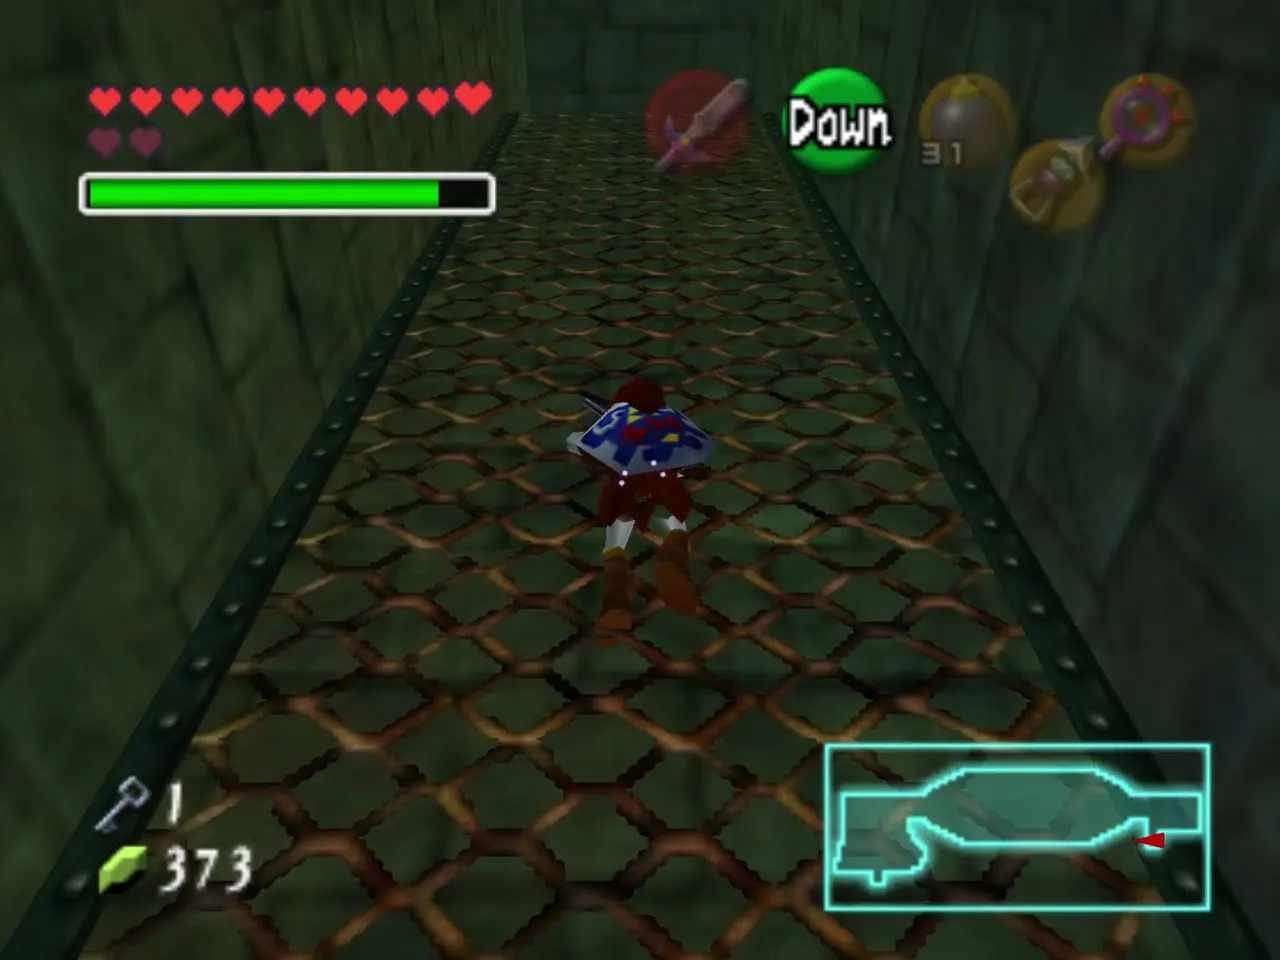
On the next level, shoot the Bomb Flower to destroy the two Beamos across the gap, and beware of a Red Bubble when you jump. At the flower, turn left and put on the Lens. Invisible platforms lead along the wall. Look down at the frozen eye switch on the way: turn the Lens off and thaw it with a Fire Arrow, then jump on to the next platform and open the far door.
Silver Rupees and the third Small Key
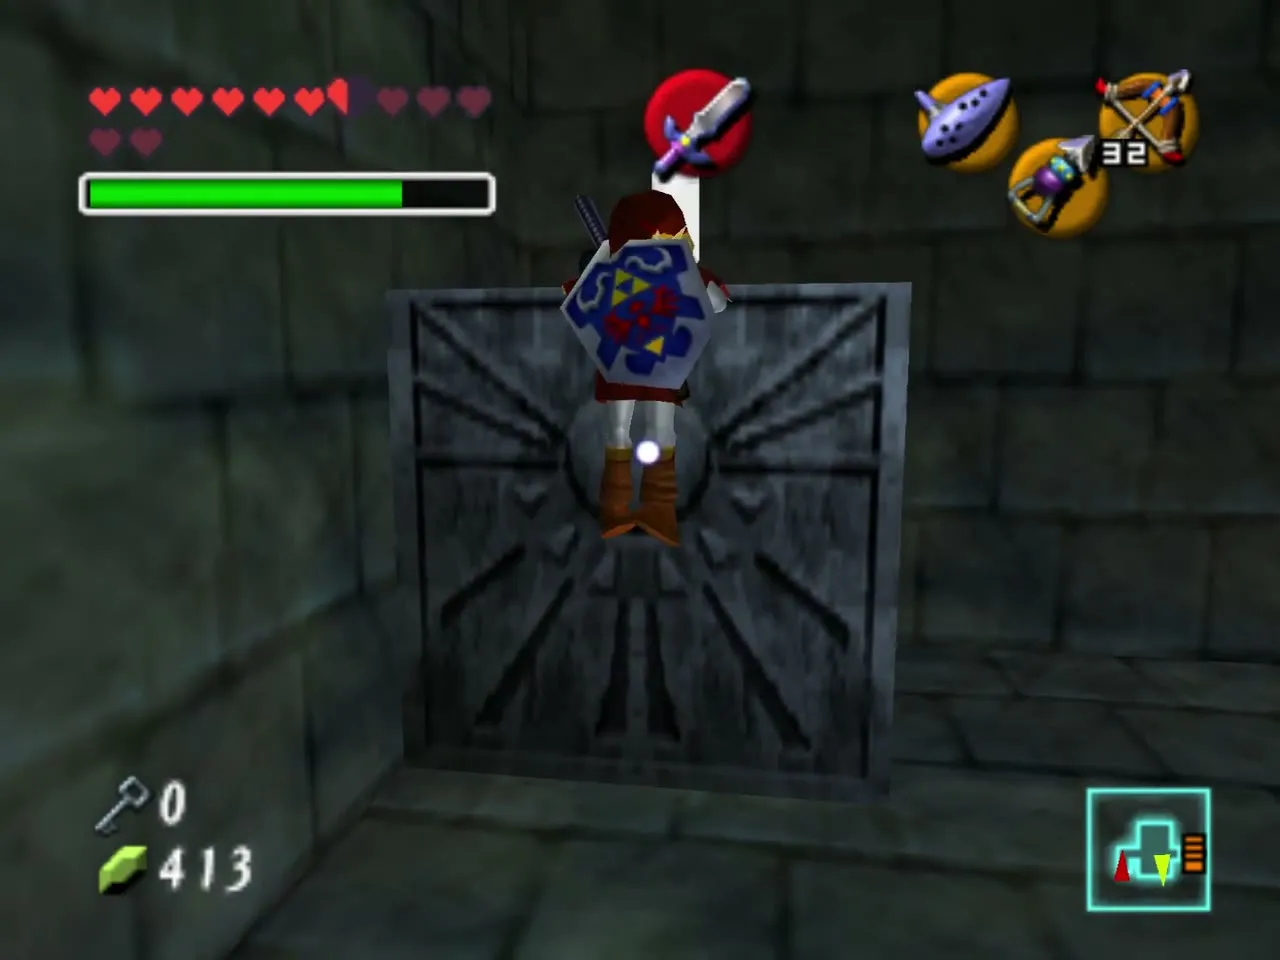
Kill the Like Like at the end of the path. Only five of the ten Silver Rupees on the floor are real: gather the ones in the middle, then play the Song of Time in the far corner so that a block appears and lets you reach the last one. The grating opens.
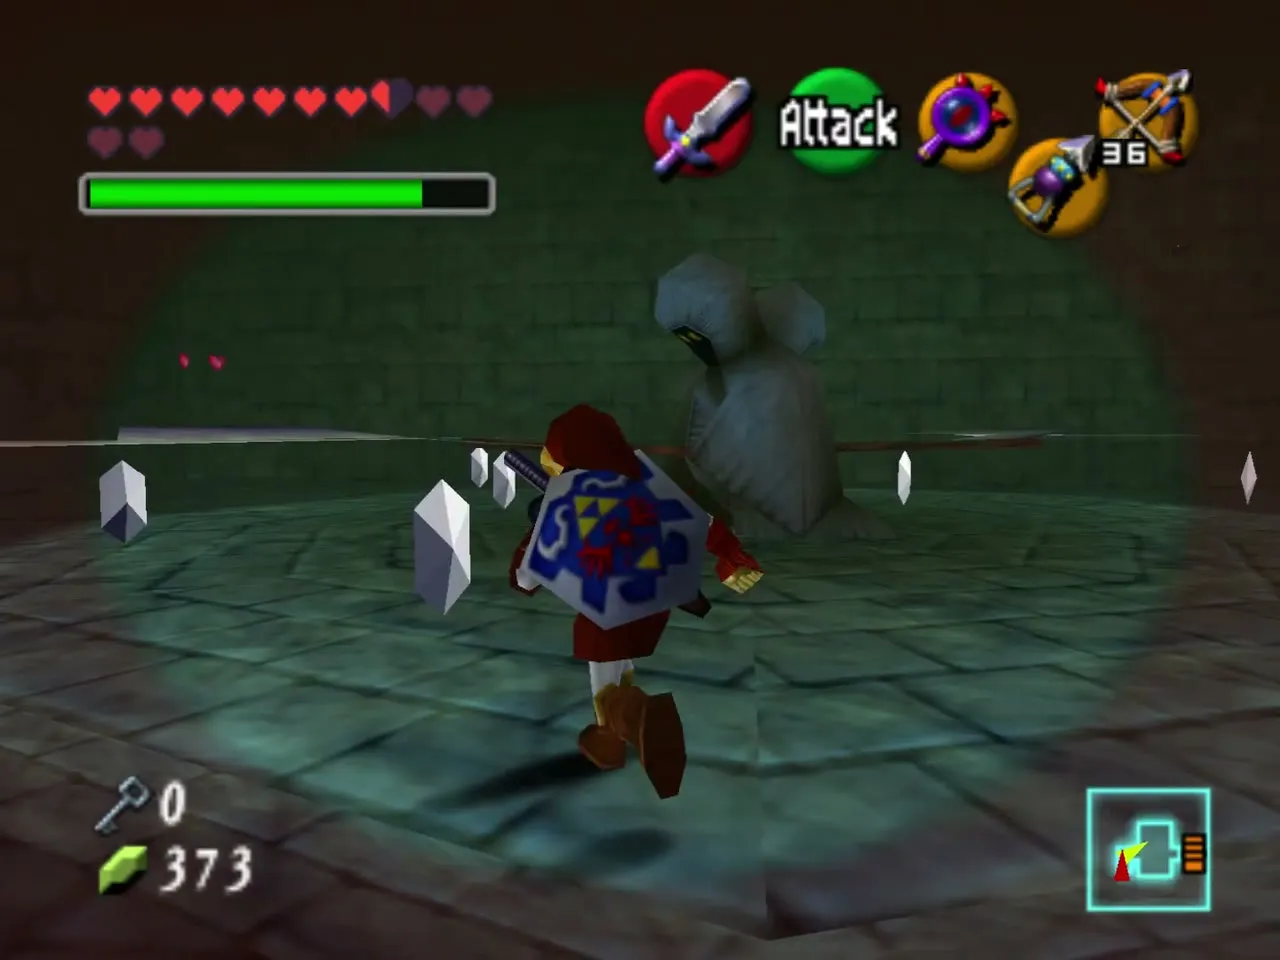
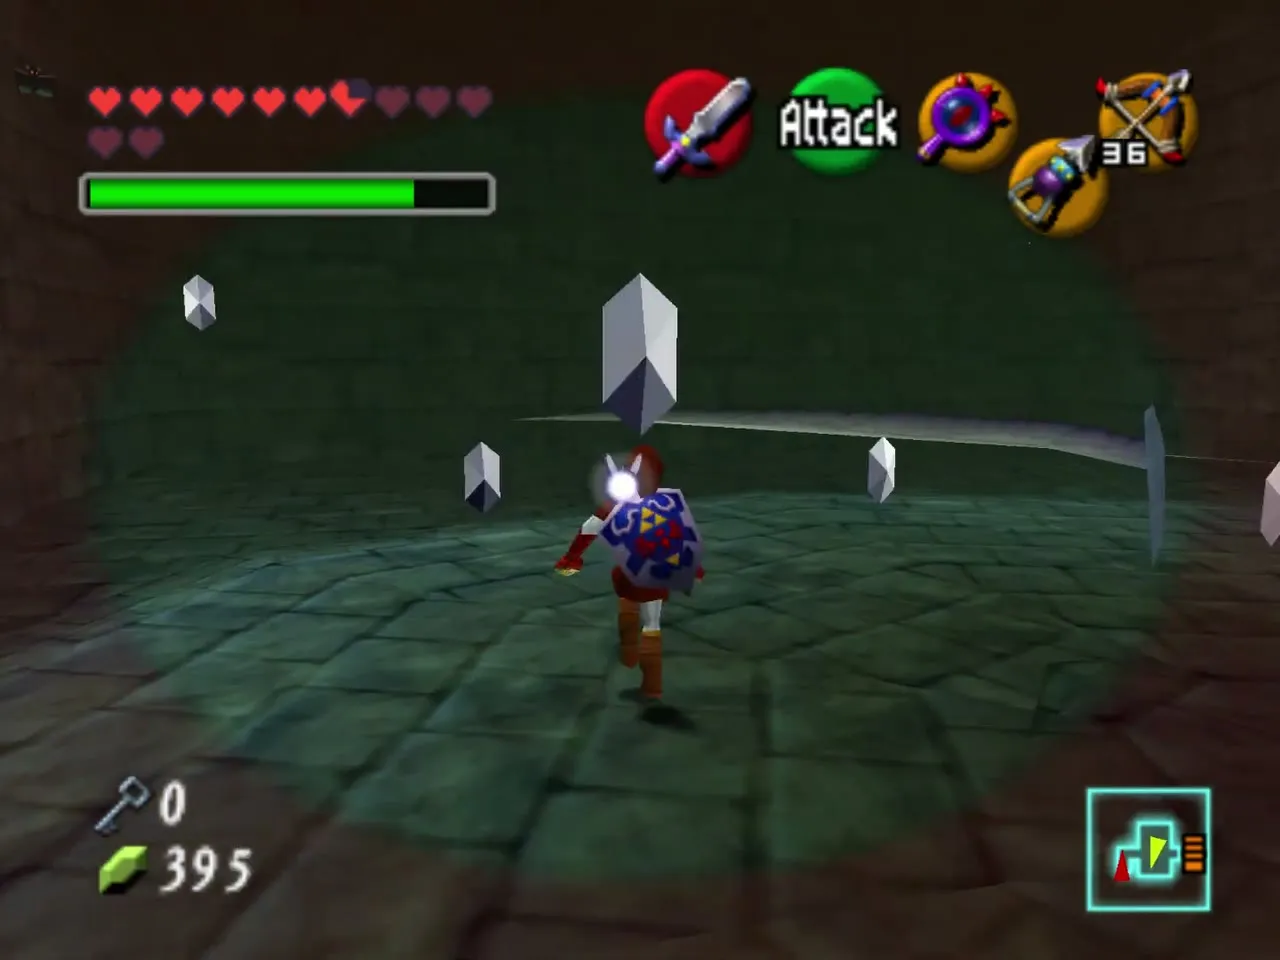
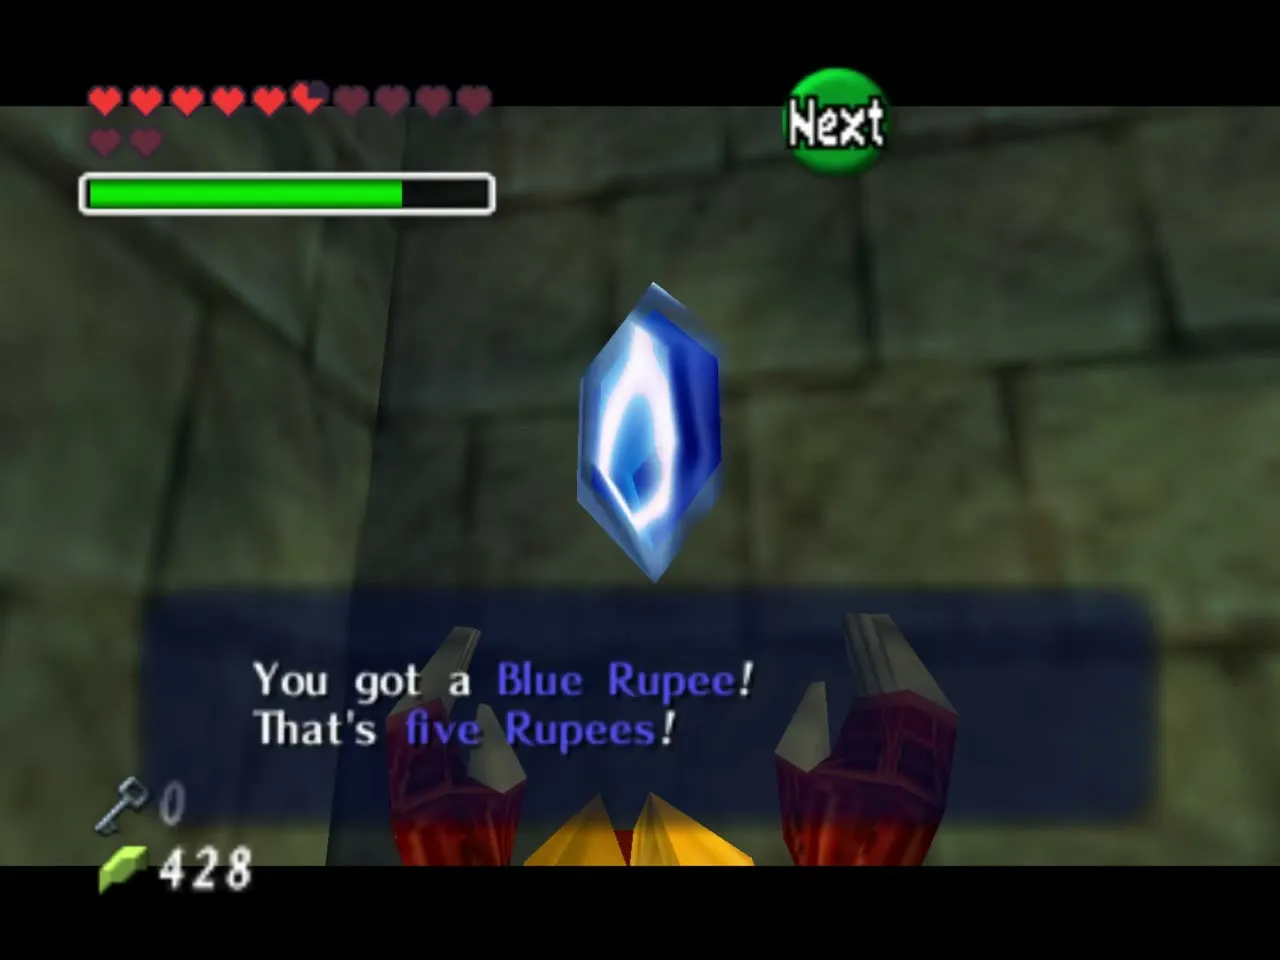
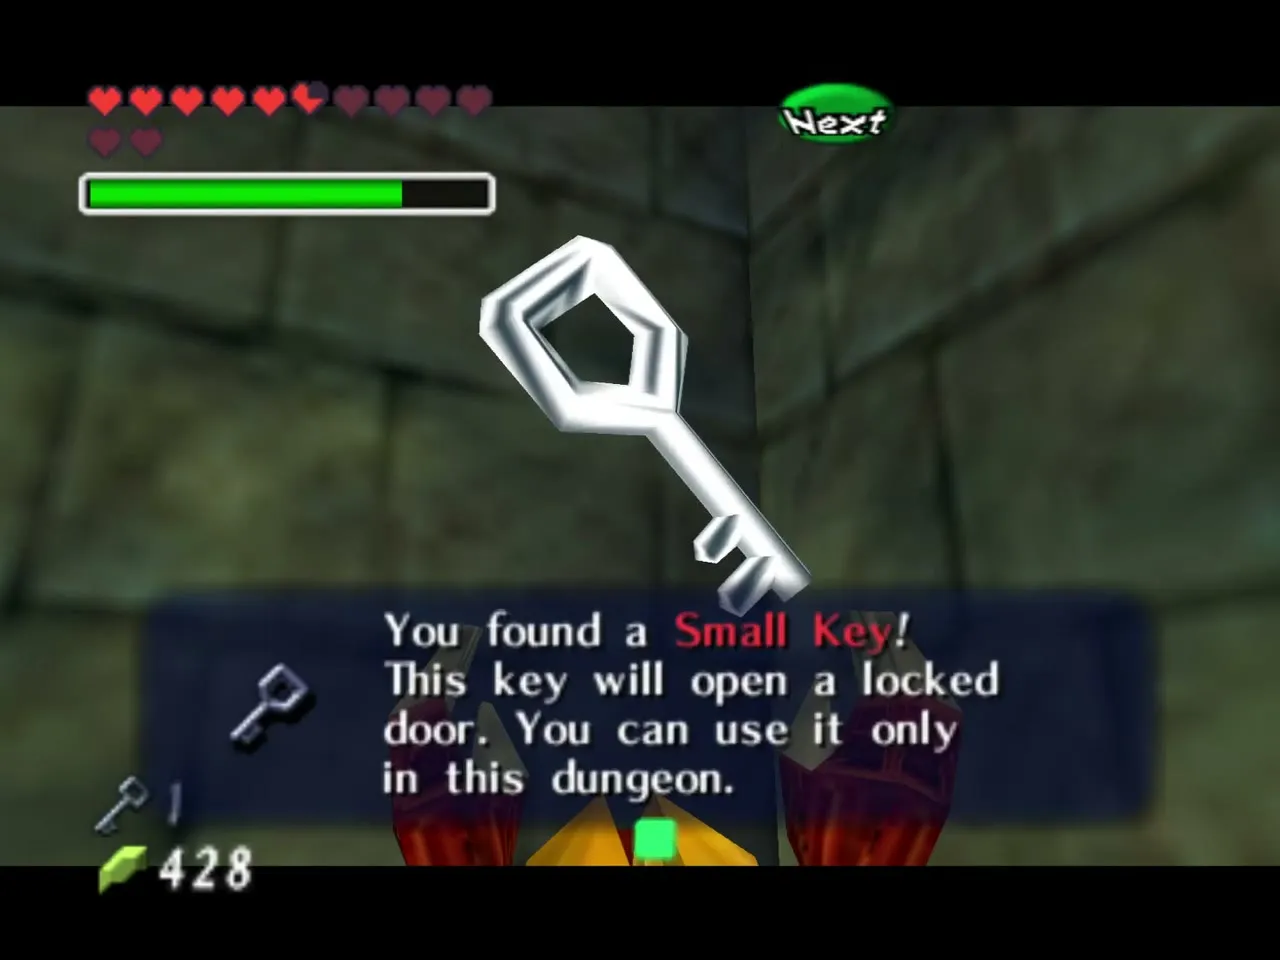
The visible chest contains a Blue Rupee. The invisible chest right beside it holds the third Small Key.
Falling spikes and the key chest
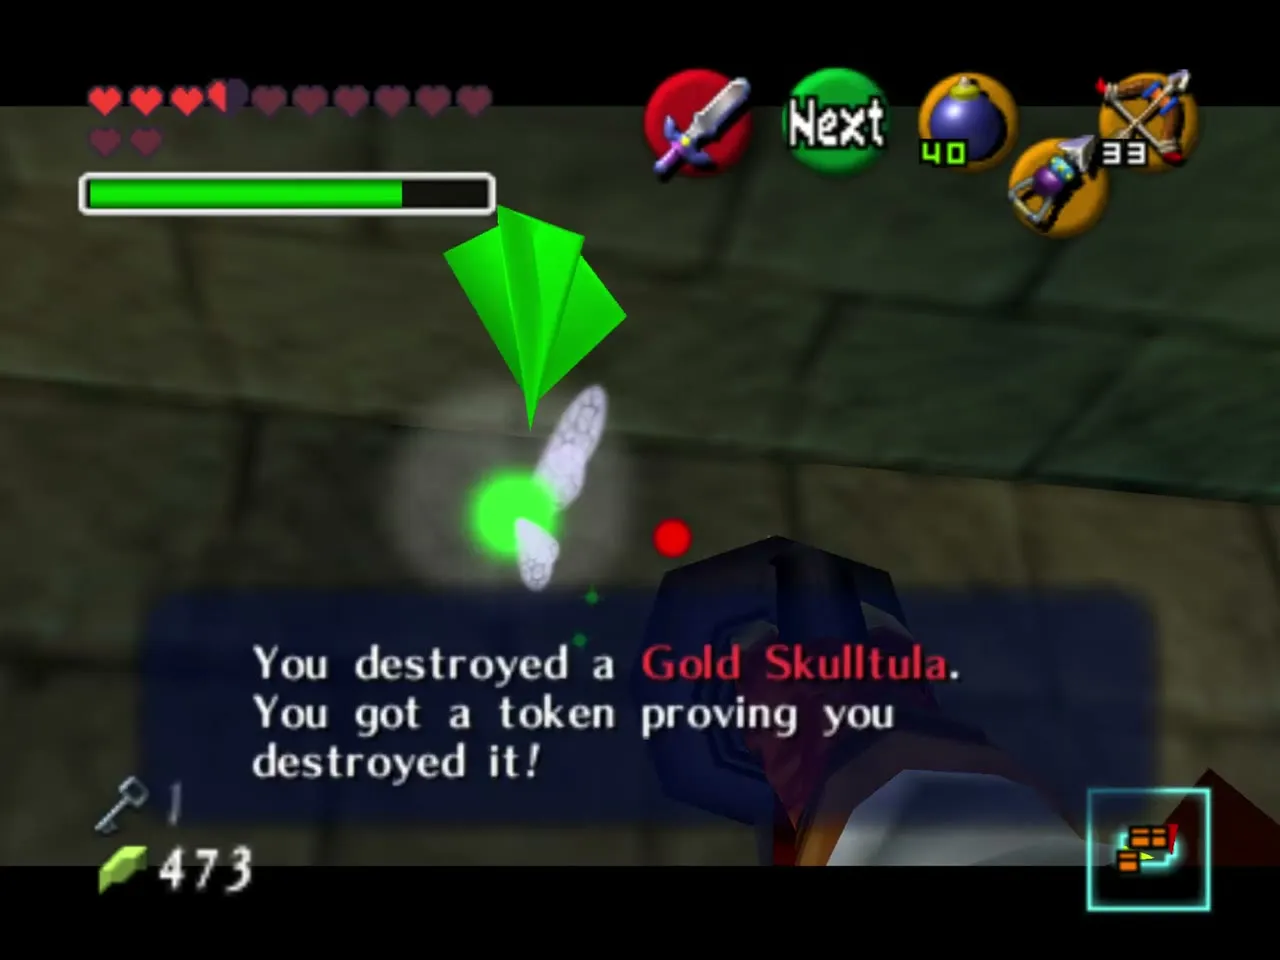
Spiked ceilings crash down in the next room, and a sign says that only the eye of truth finds the stone umbrella against the rain of blades. Use the Lens, find the block hidden in the wall, and push it onto the marked floor so that it holds the spikes up. Gold Skulltula number one is in the southern cell of this room; get inside and slash it.
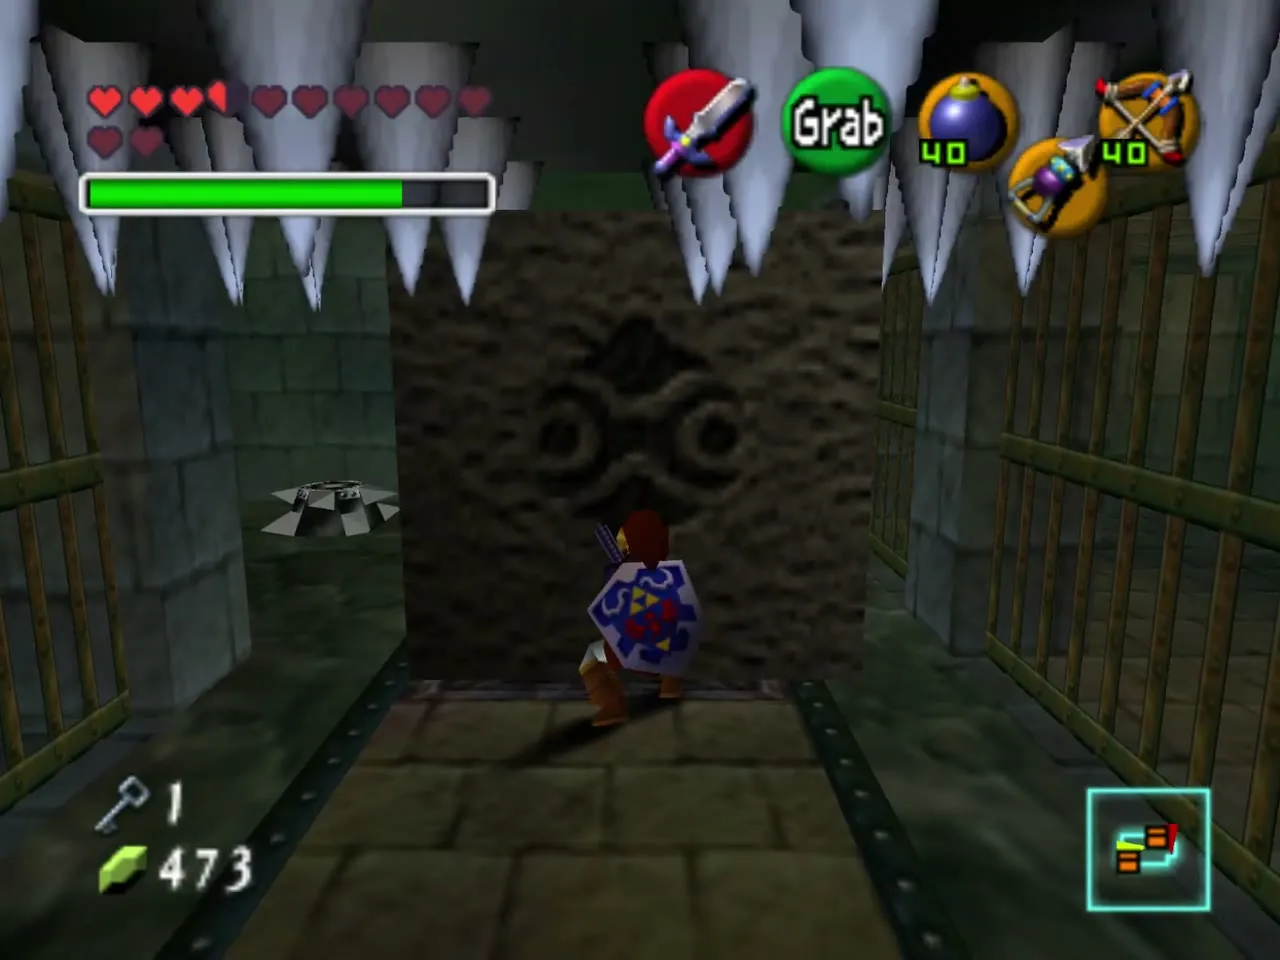
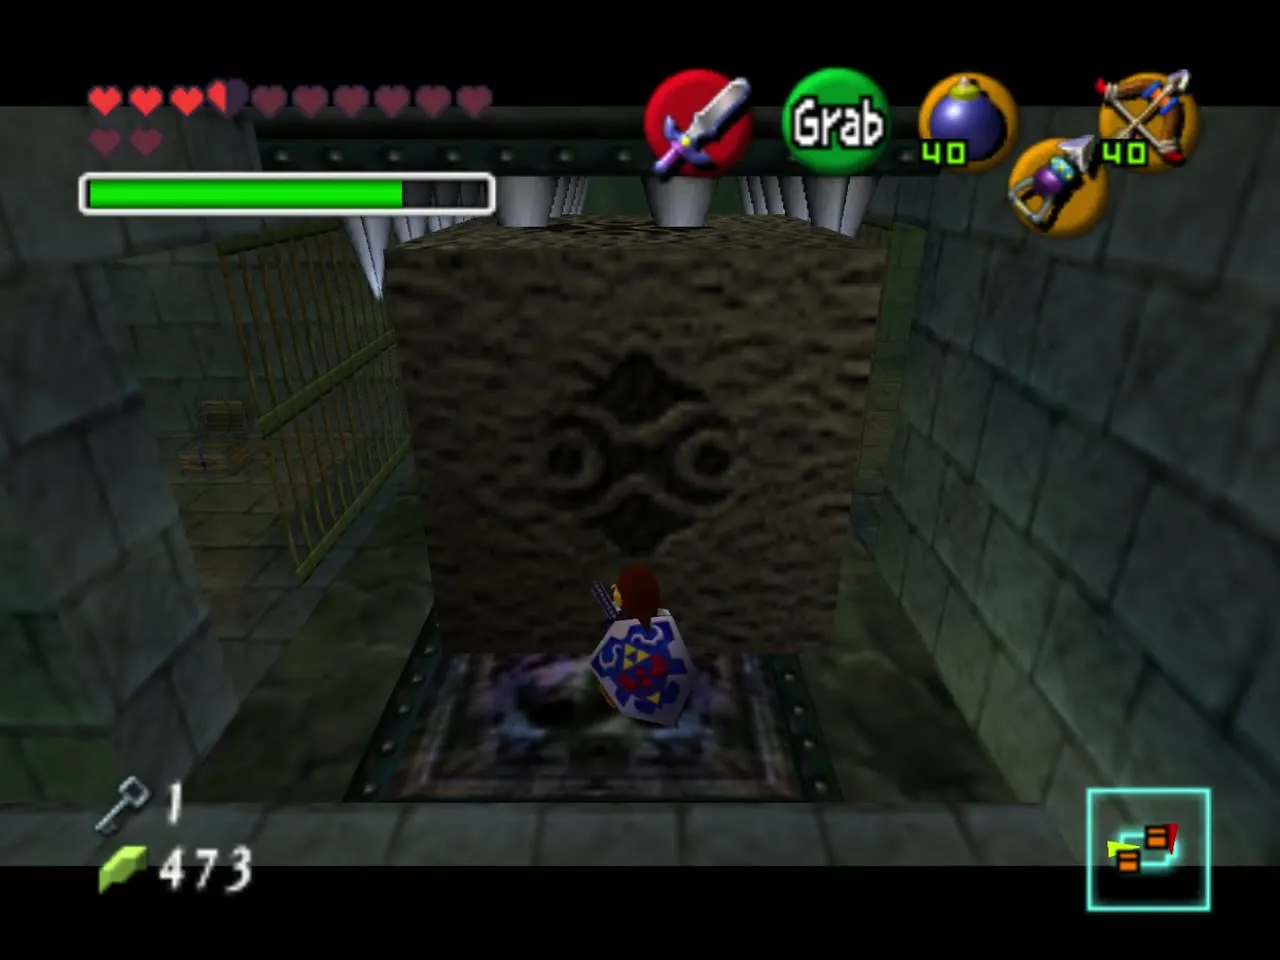
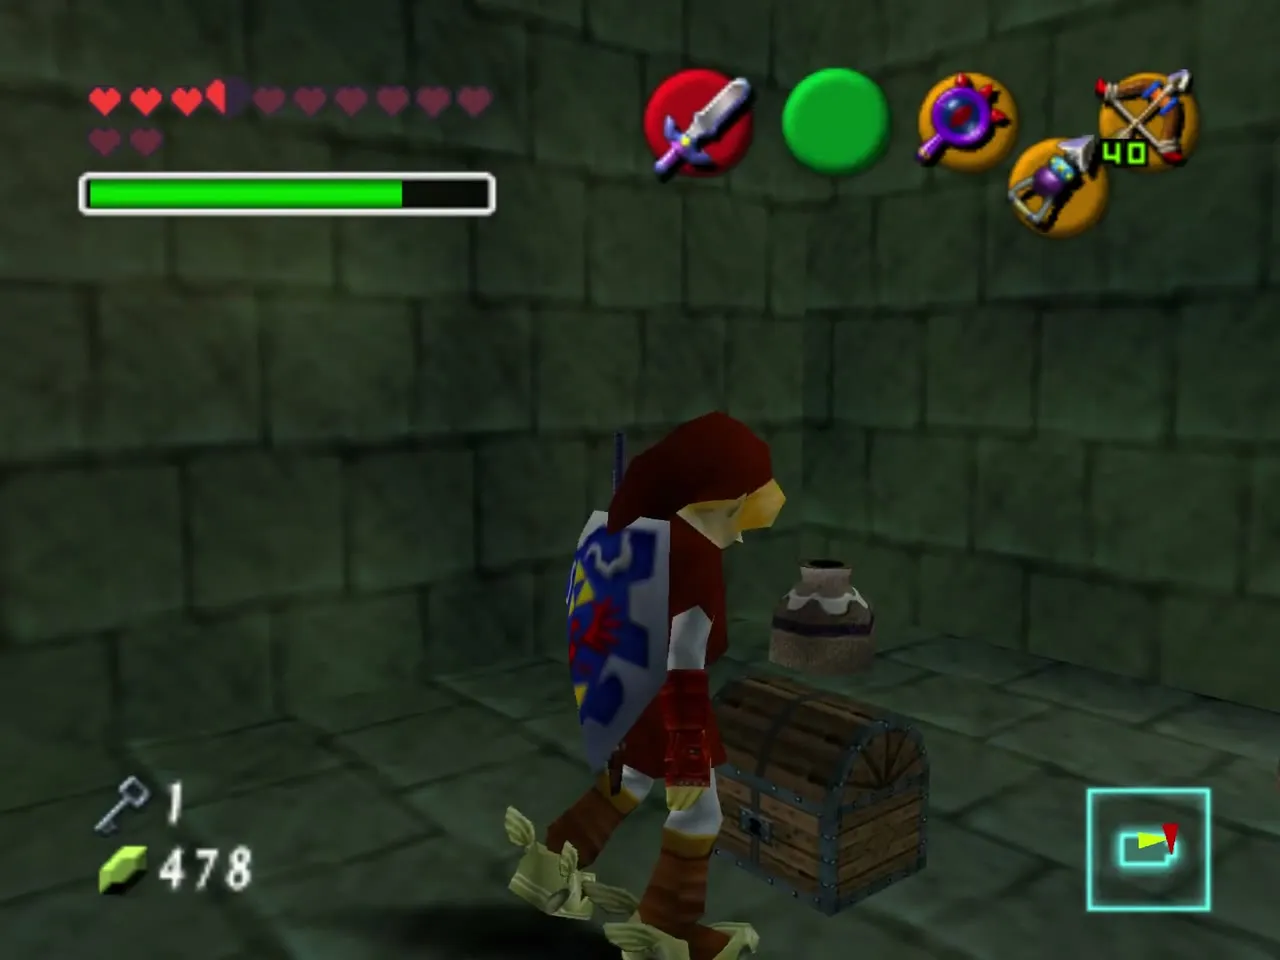
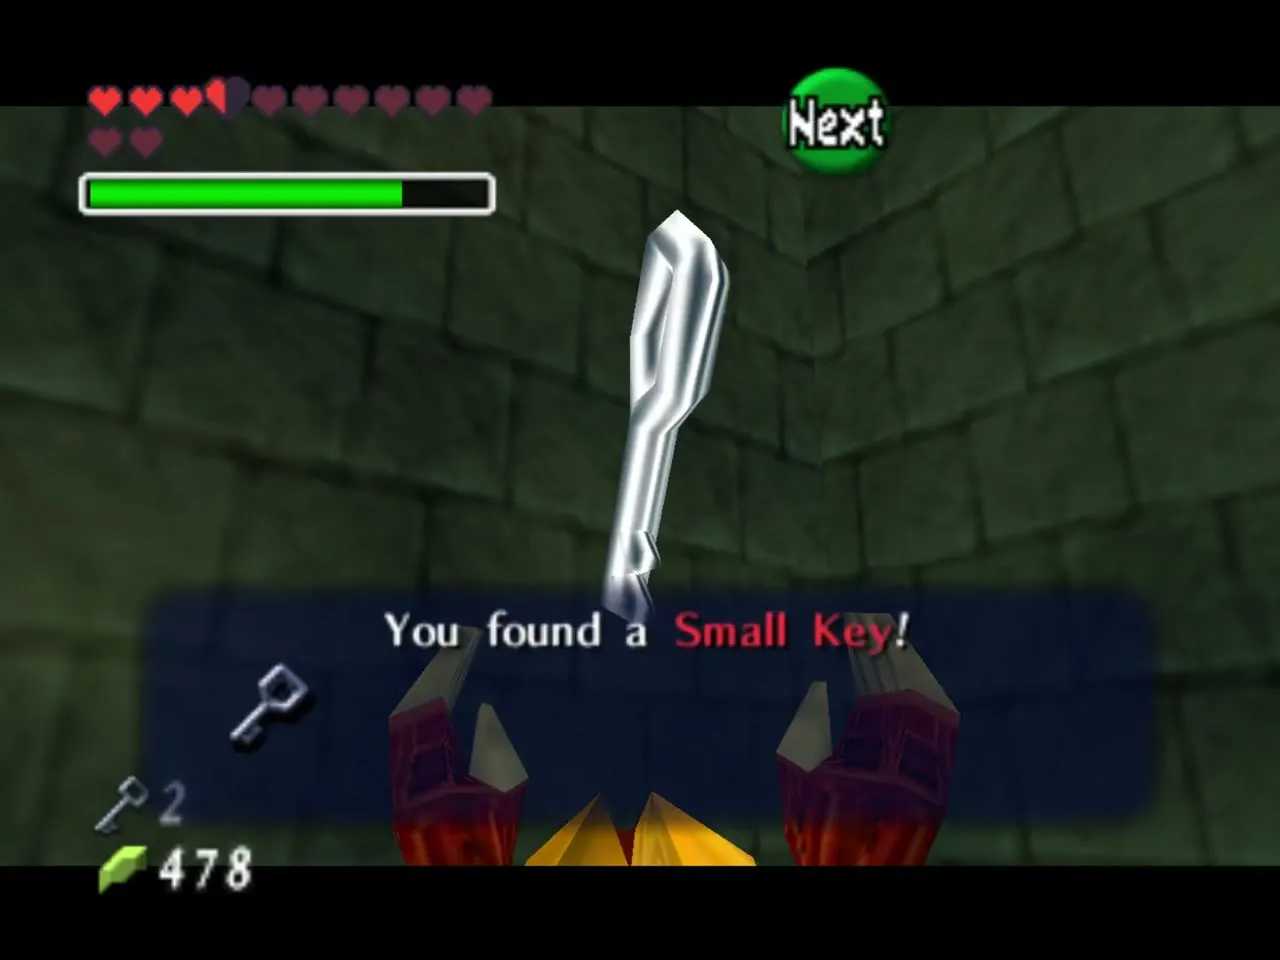
Cross the ice platforms to the grating and slash the crystal switch behind it. With the Lens, spot a brown block, pull it out and push it all the way forward, then climb it and step on the switch on the far side. A chest rises with the fourth Small Key. The other chest holds a Blue Rupee, and the chest in the northern cell holds arrows.
Spike corridor, locked door and Stalfos
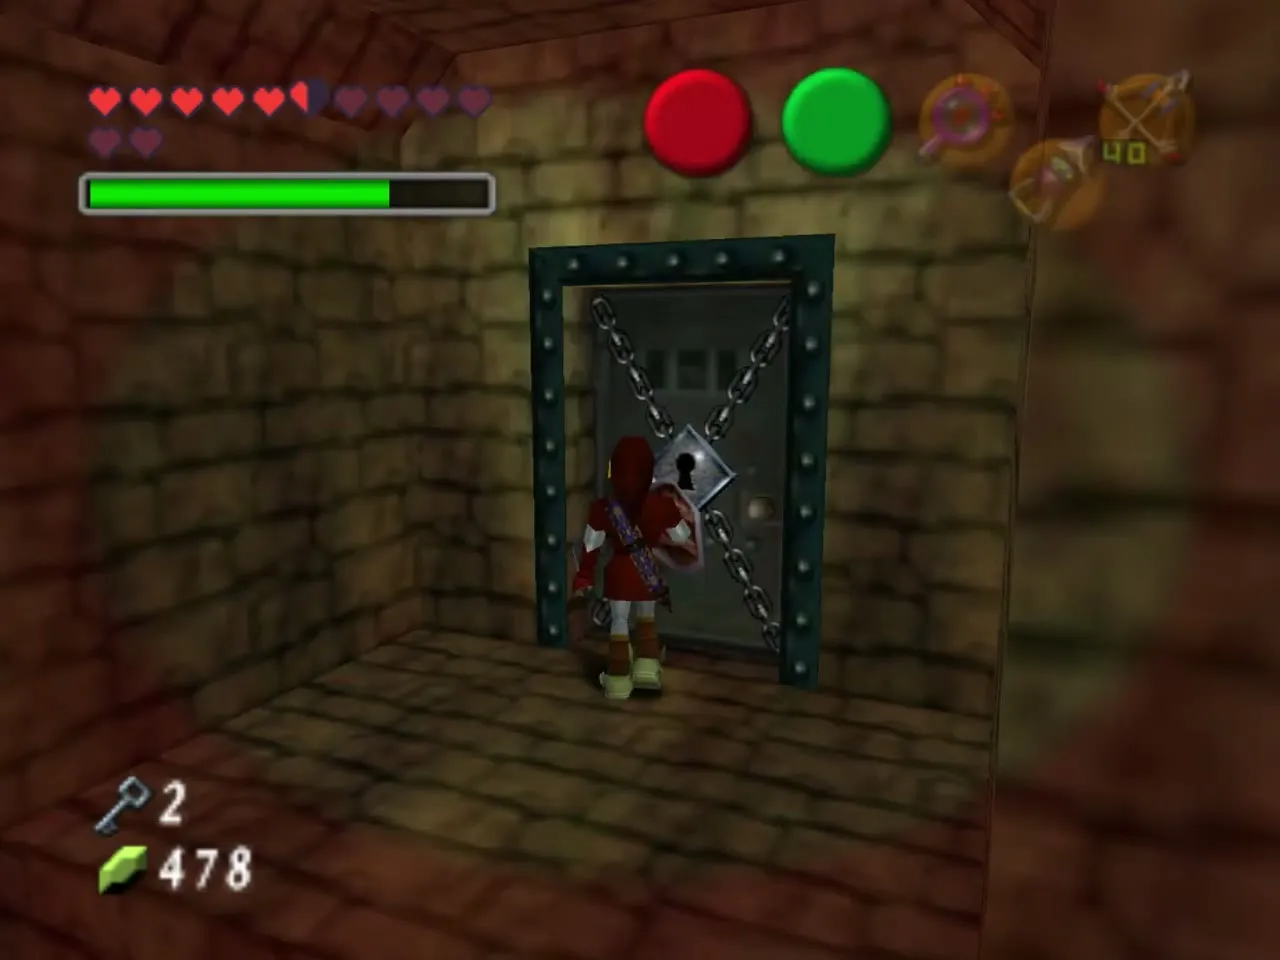
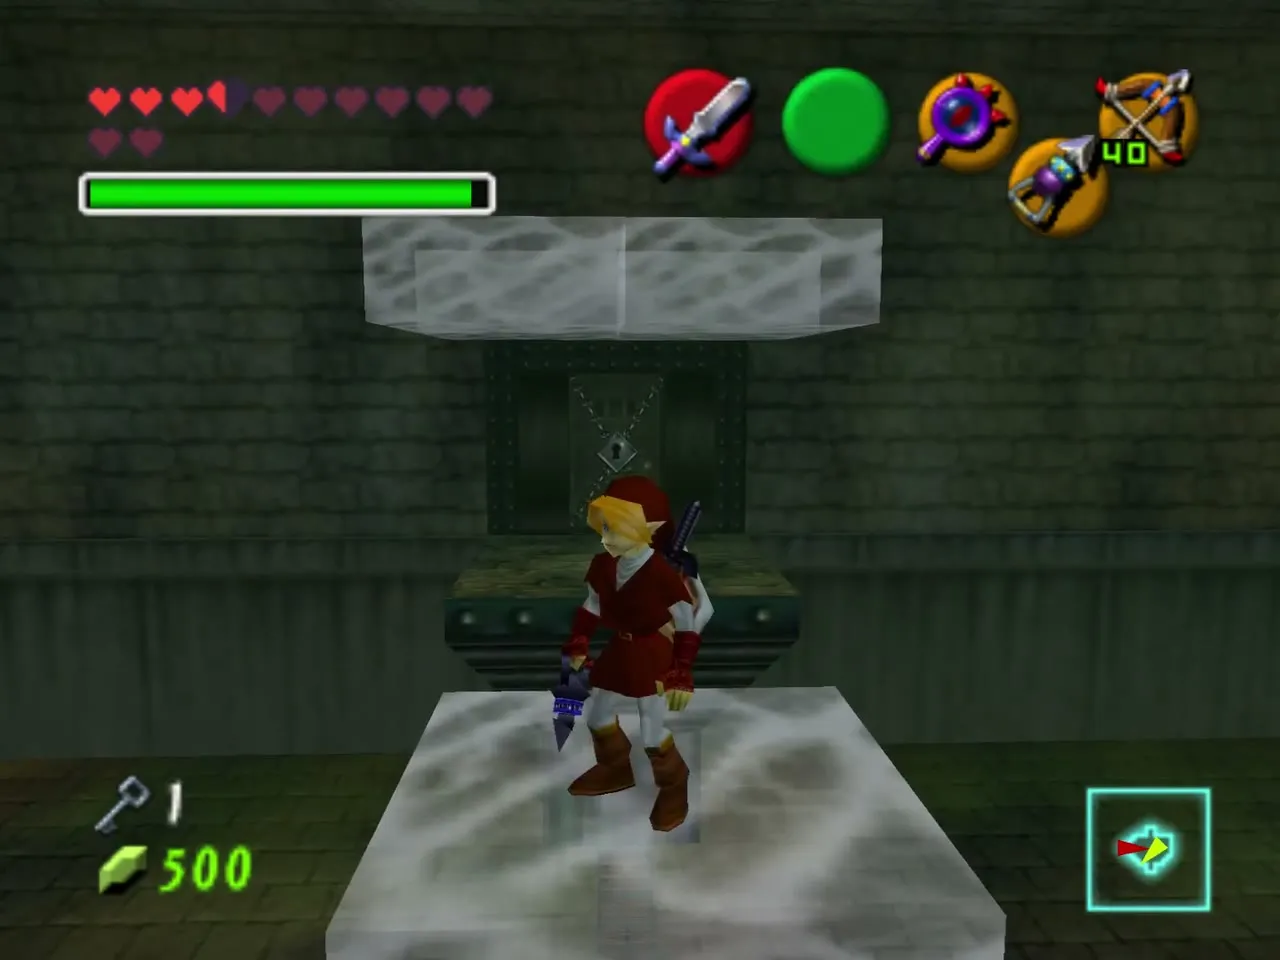
Walk the narrow path past the spinning spikes to the guillotine where the sign stands. Behind it, invisible platforms cross the pit, so use the Lens to find them. A locked door waits at the end of the corridor.
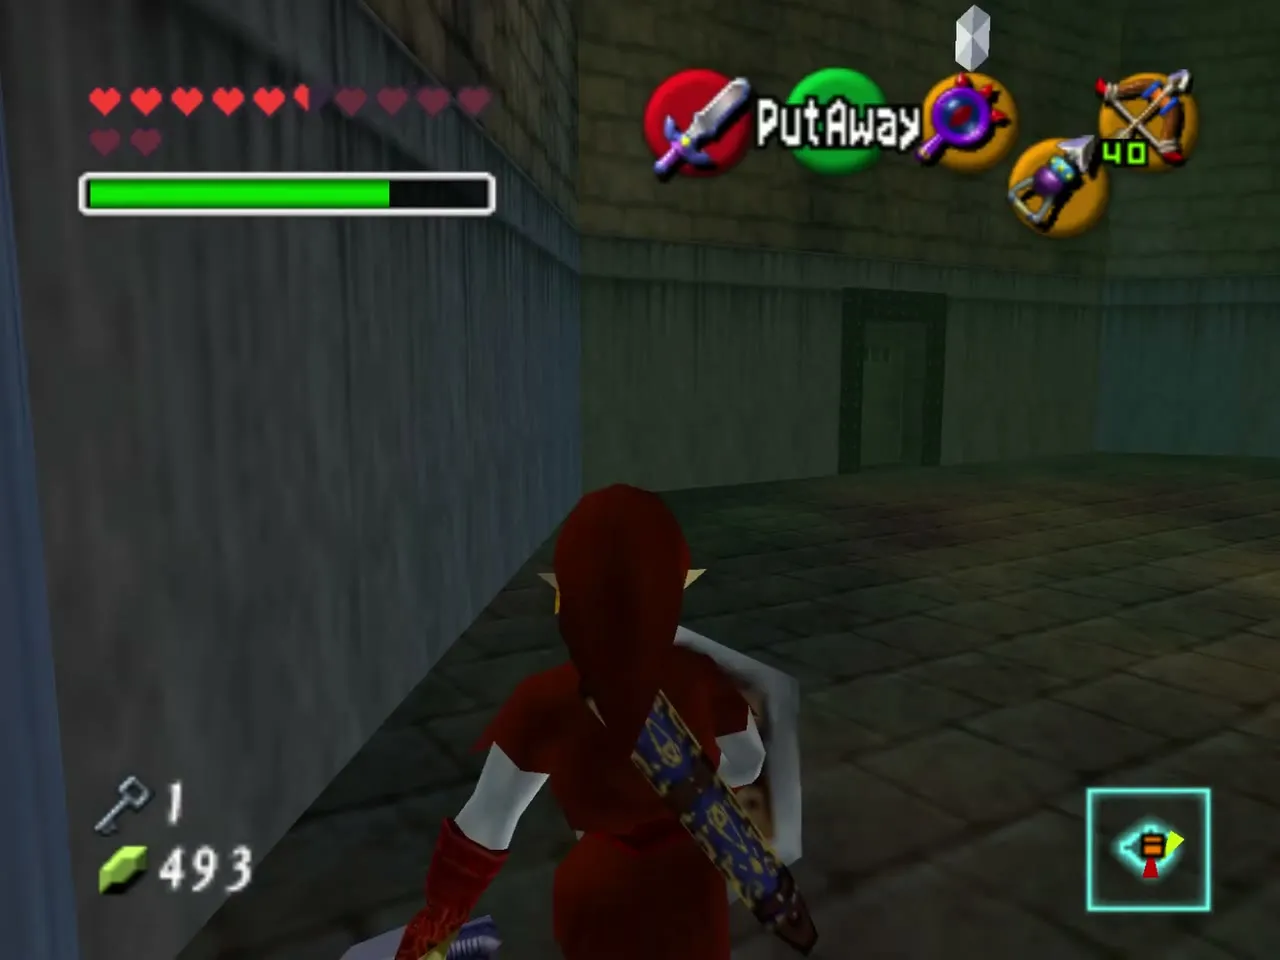
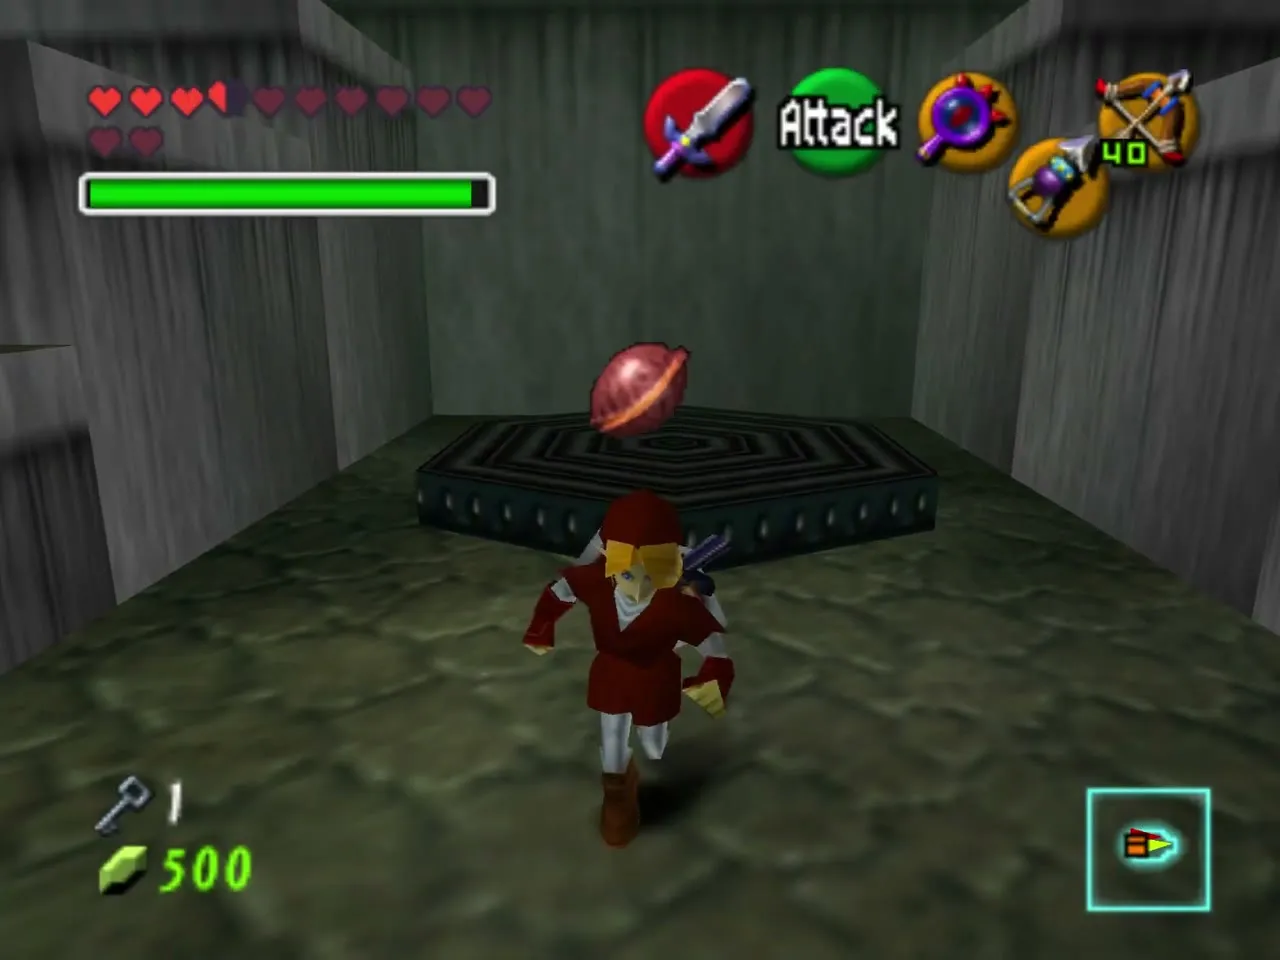
The room that follows is built around a hexagon pad. A pair of Stalfos attacks one at a time. Deal with each in turn, then collect the rupee chest.
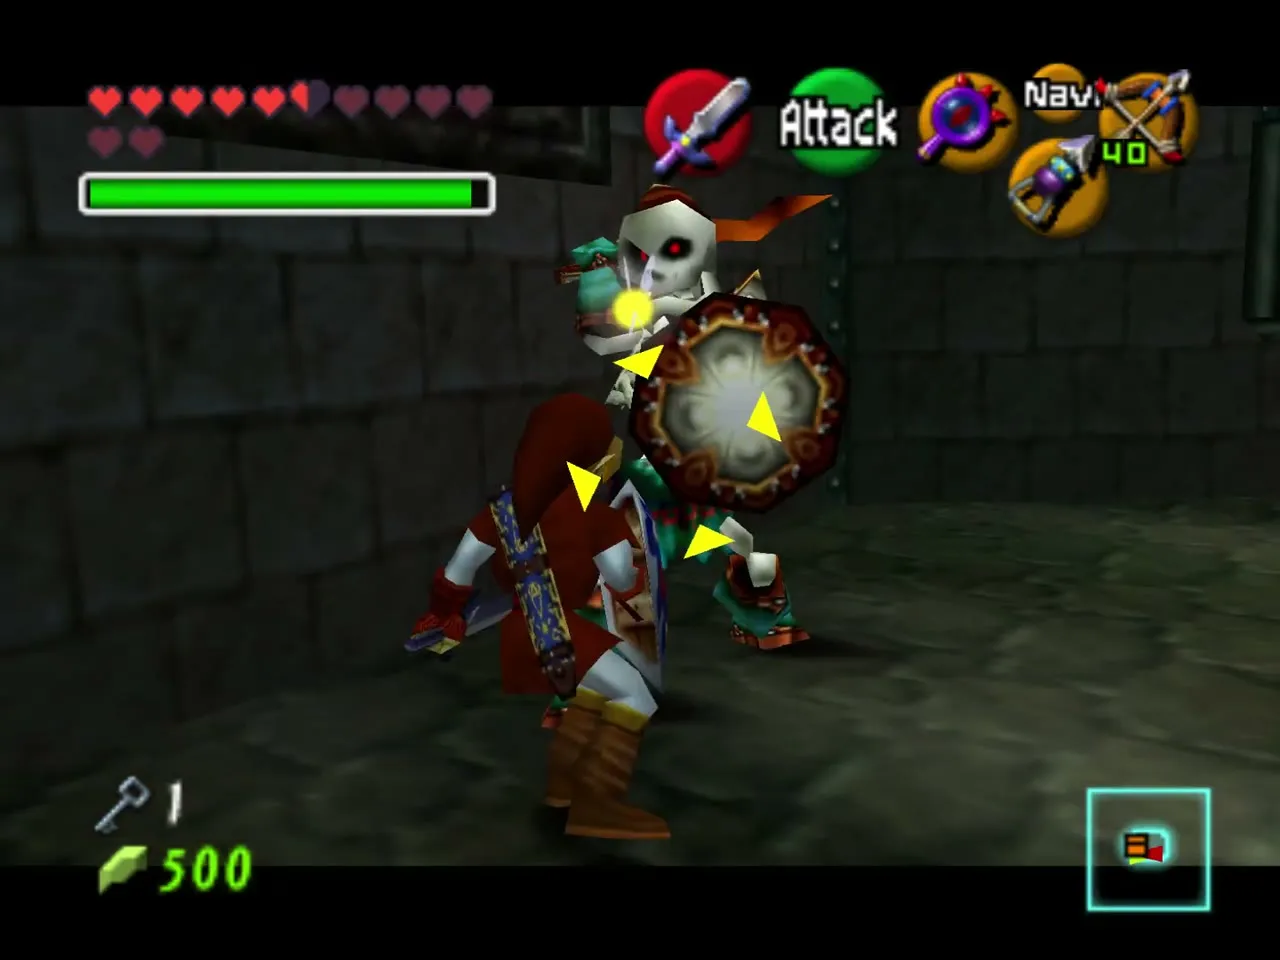
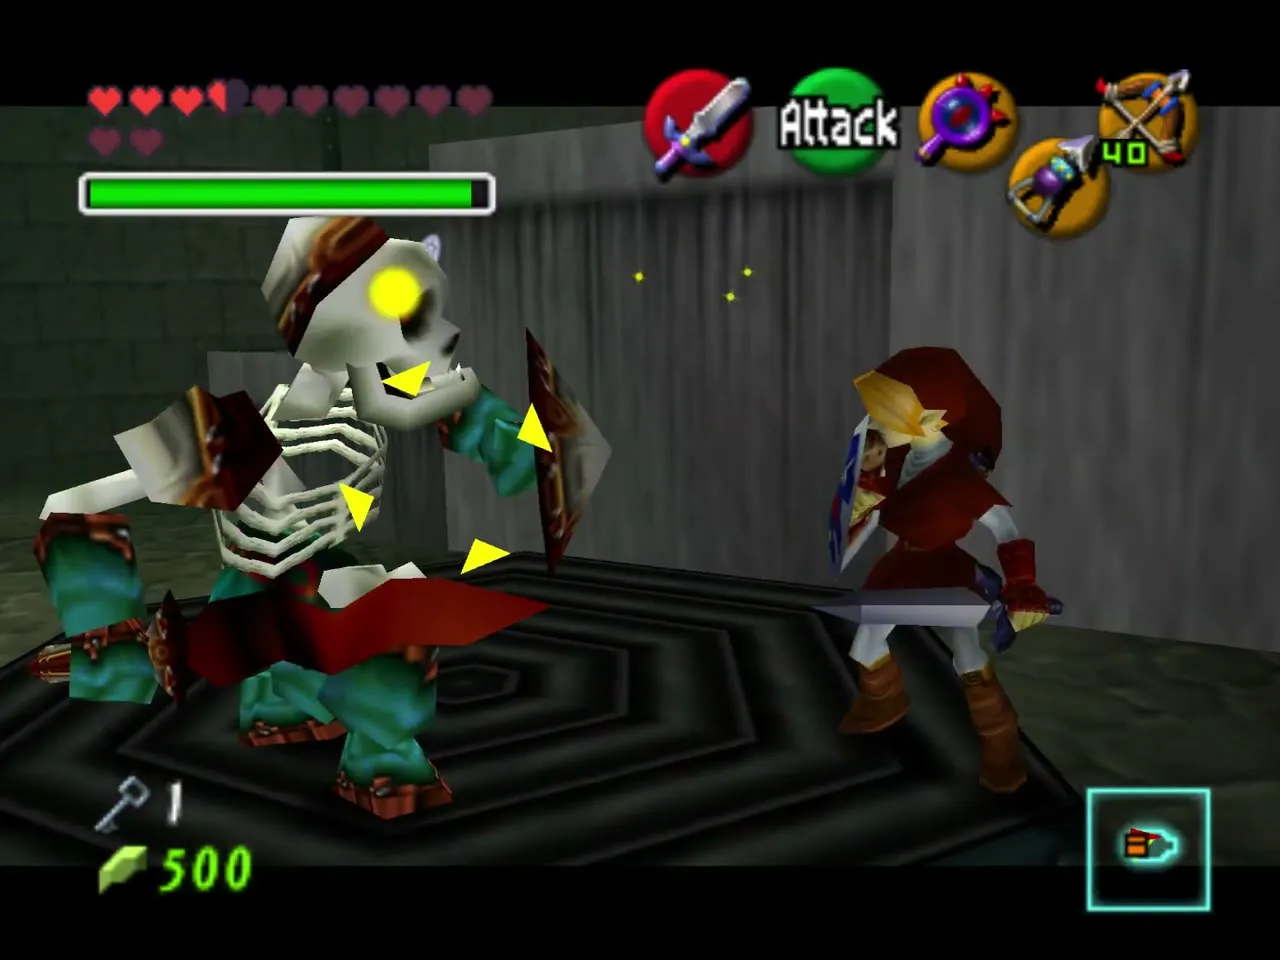
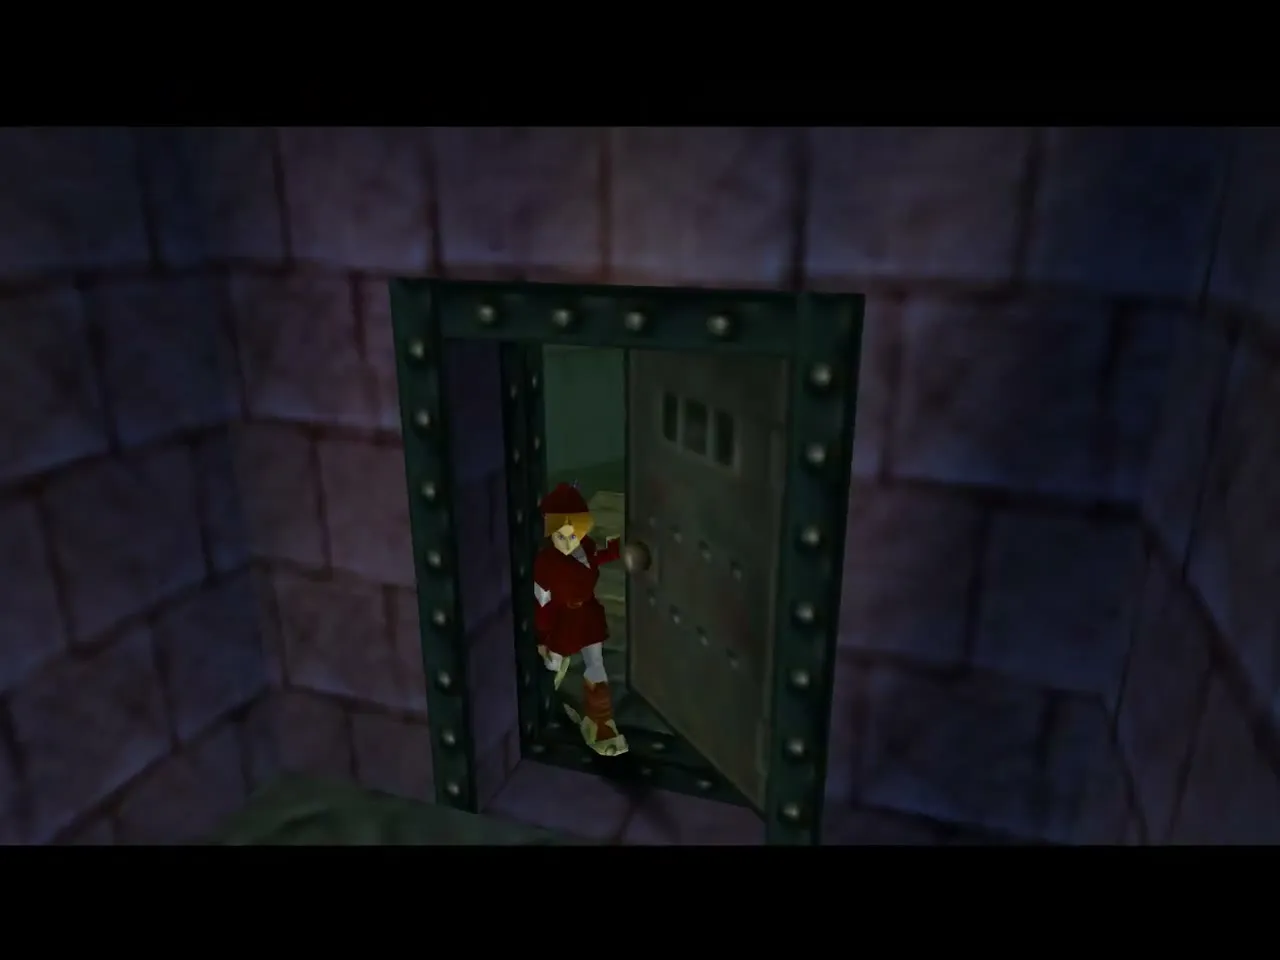
Equip the Hover Boots for the next passage: step onto the moving platform and run across to the locked door. Take the boots off again once you are through.
Redead room and the second Gold Skulltula
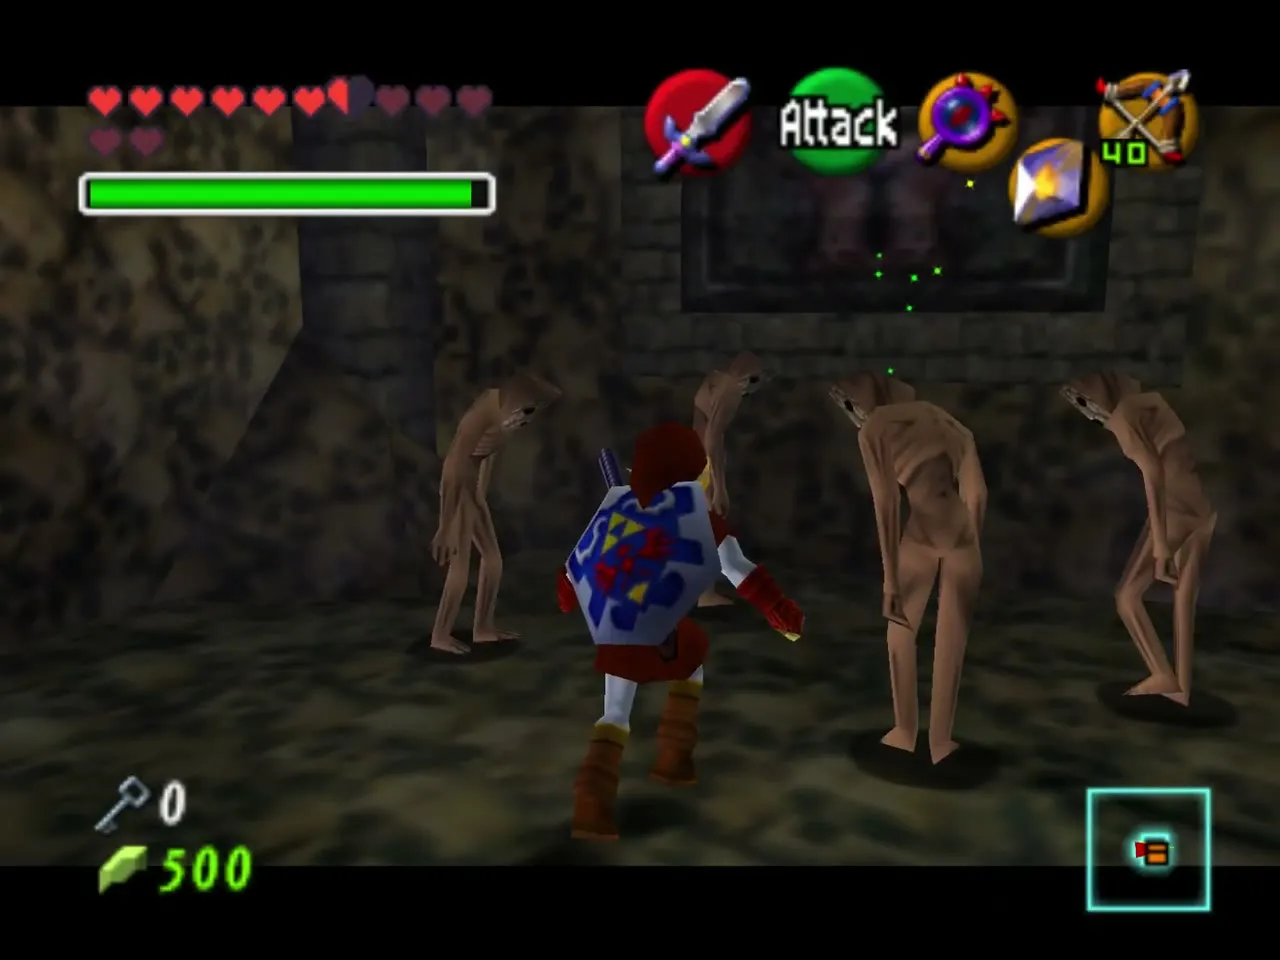
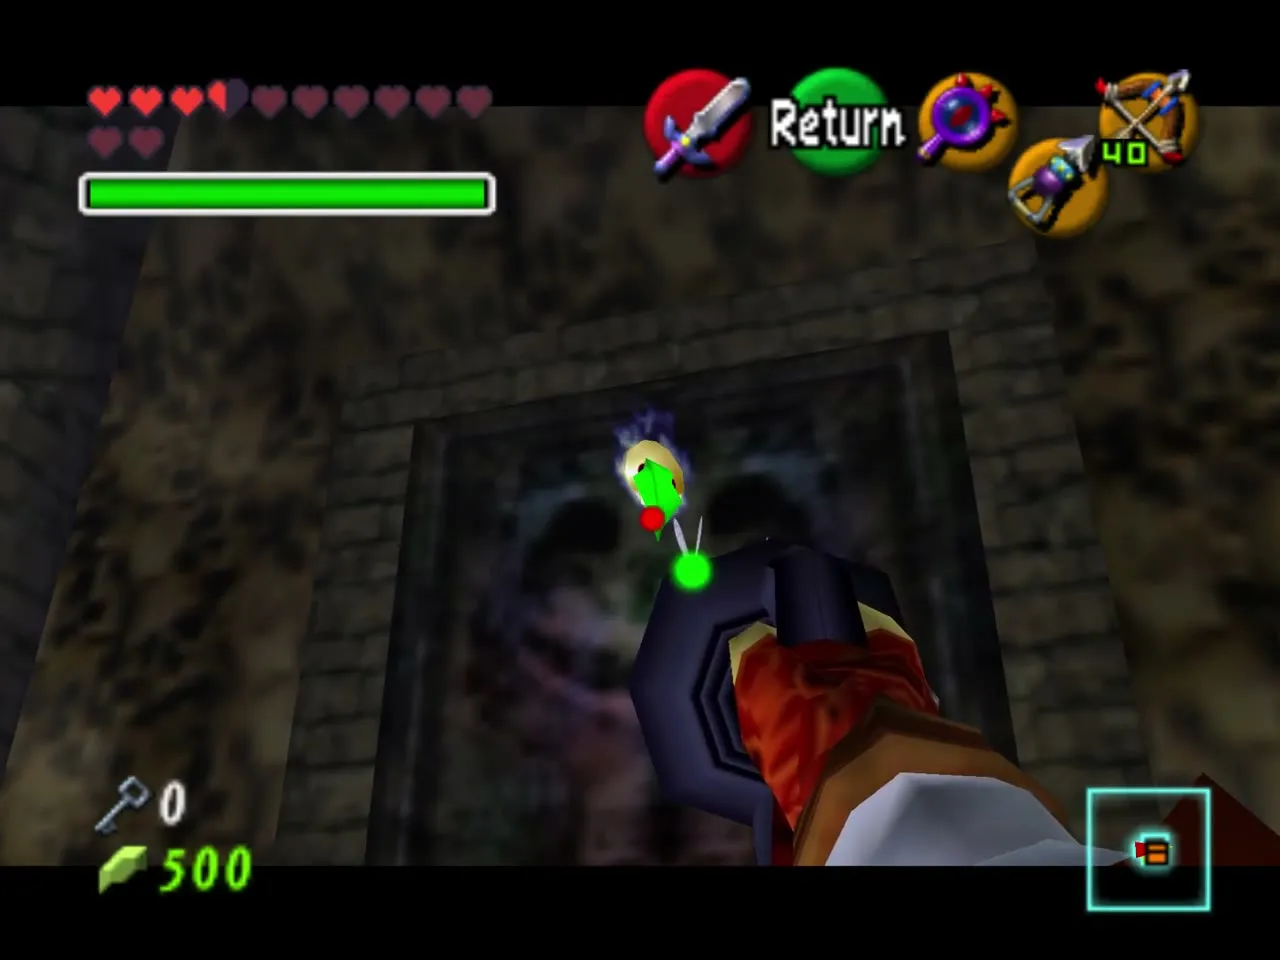
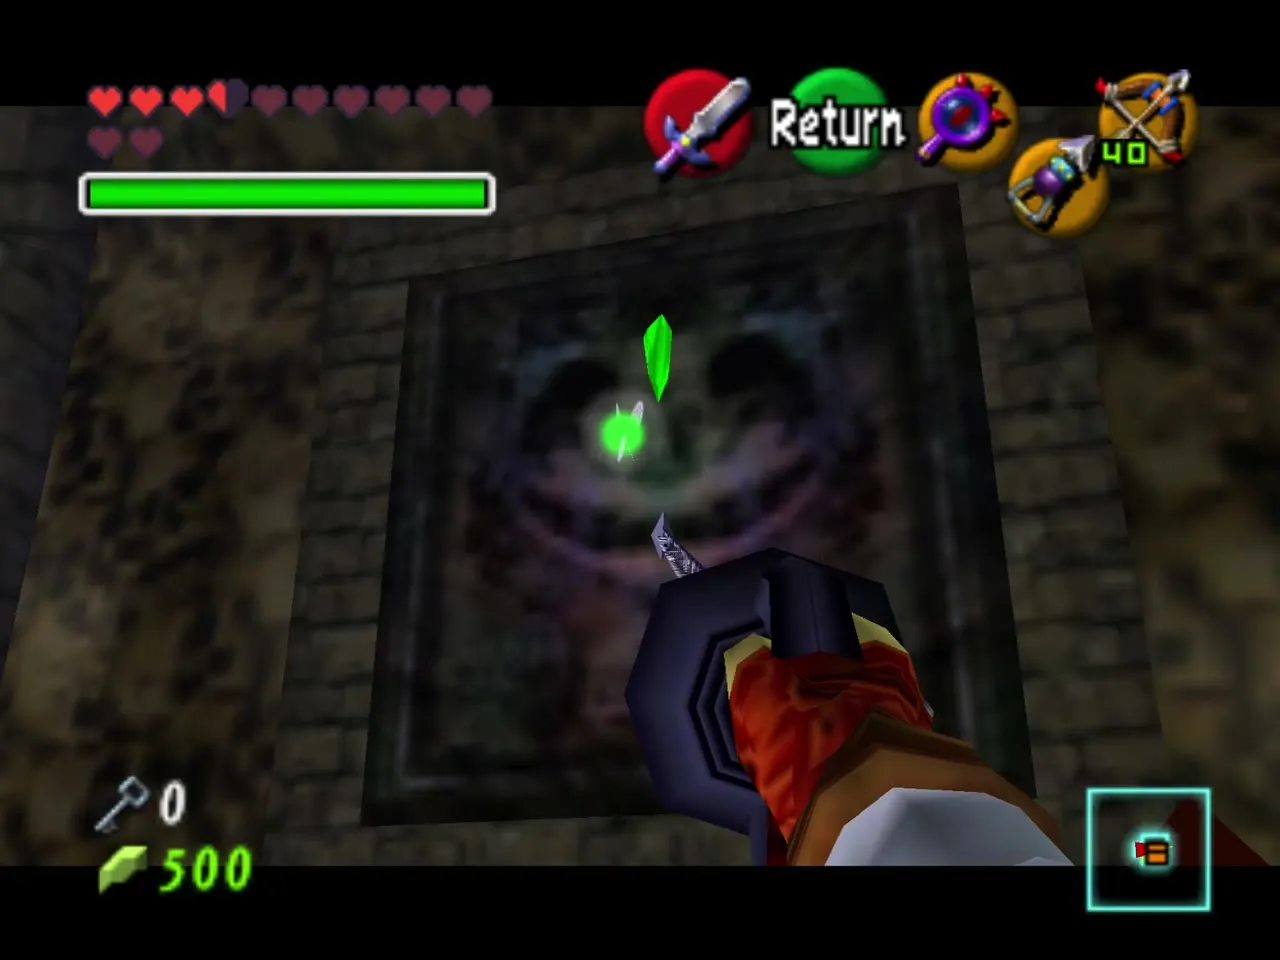
Inside the Redead room, stun and kill the enemies and a chest with a Blue Rupee appears. Gather the Silver Rupees on the floor, avoiding the invisible spikes (the Hover Boots make you immune). The two Hookshot targets on the wall and the two on the ceiling bring four of them within reach, and the Lens shows invisible targets for the rest.
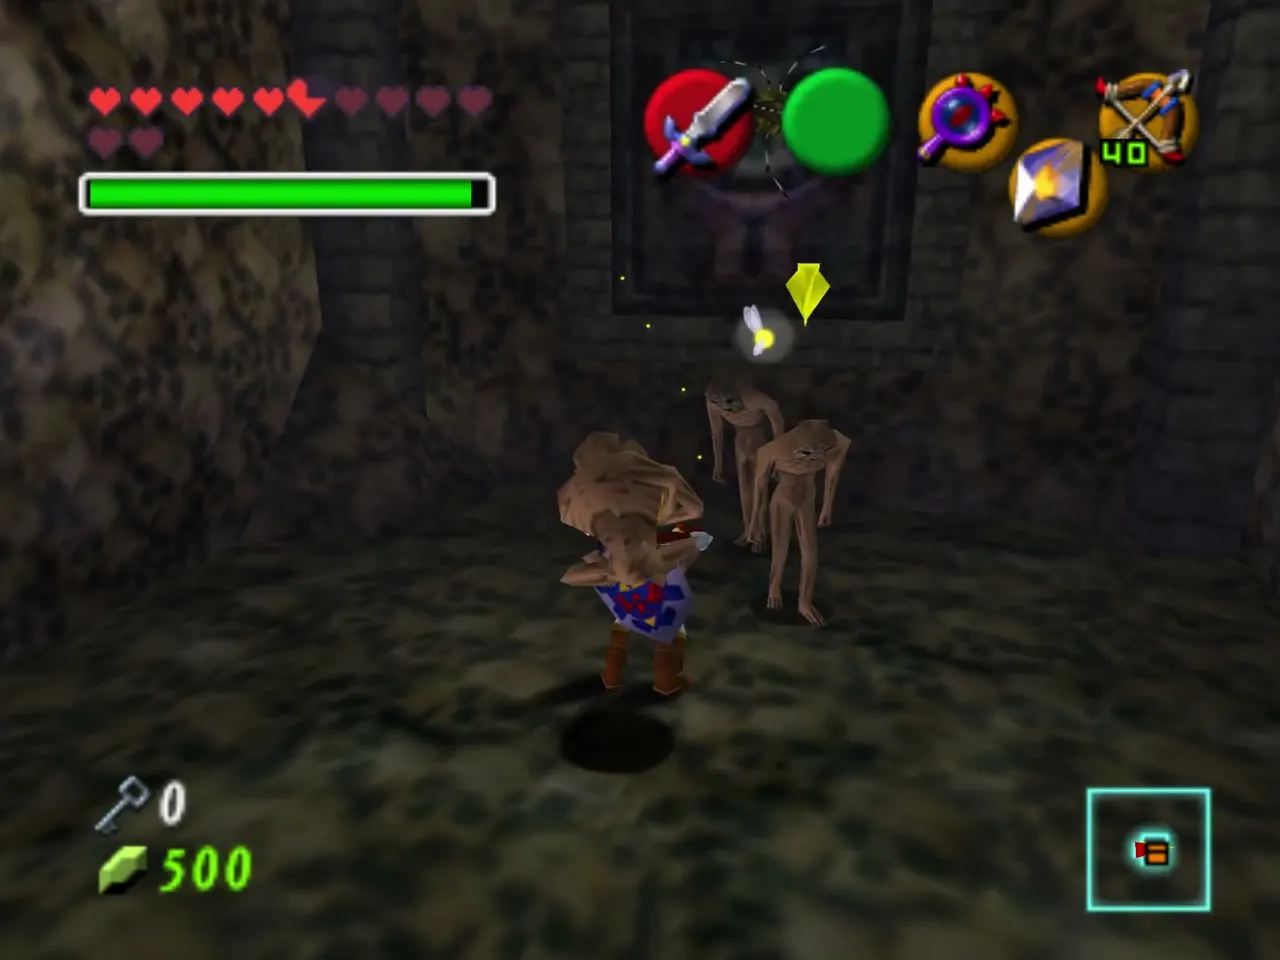
Gold Skulltula number two is crawling on the face on the wall; kill it with the Longshot. When the last Silver Rupee is yours, the doors unlock.
Fan corridor and the fifth Small Key
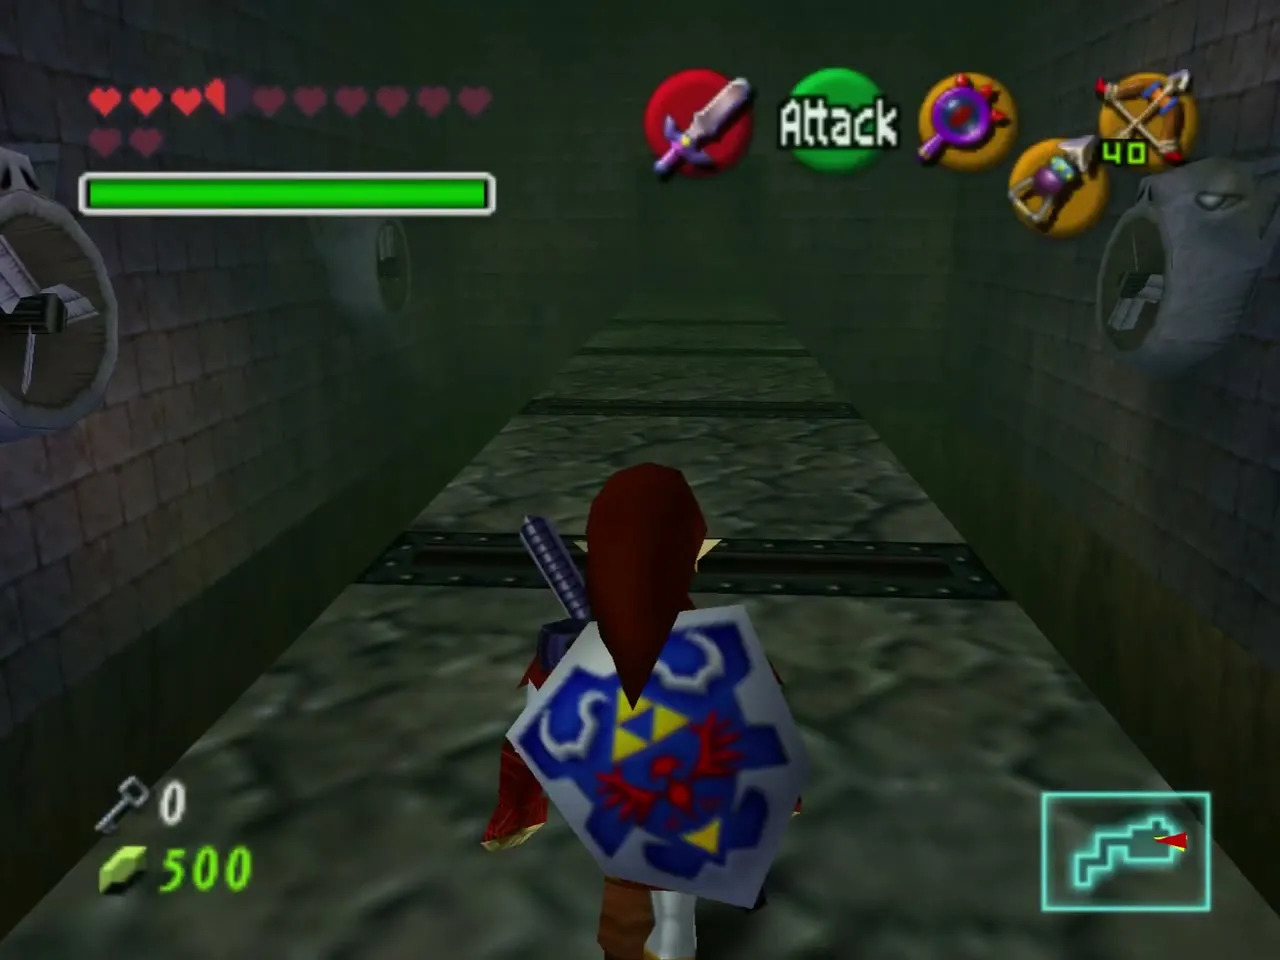
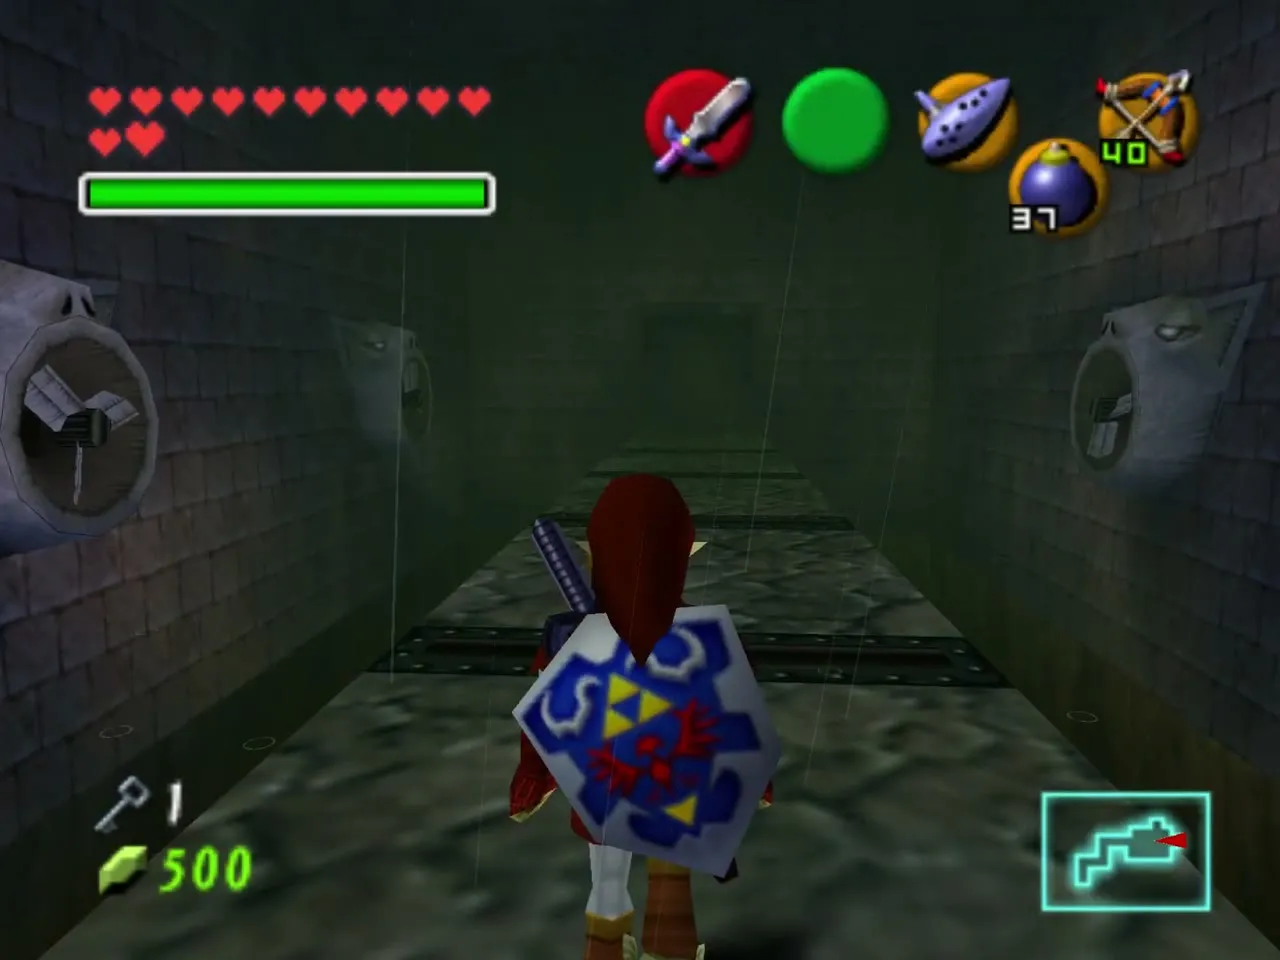
Beyond the locked door lies a corridor with fans. Run when the wind pauses, watch for the Skulltula on the way, and use the Longshot on the wooden bar to cross the gap. At the end, fans blow from the side: wear the Iron Boots to walk straight and open the door.
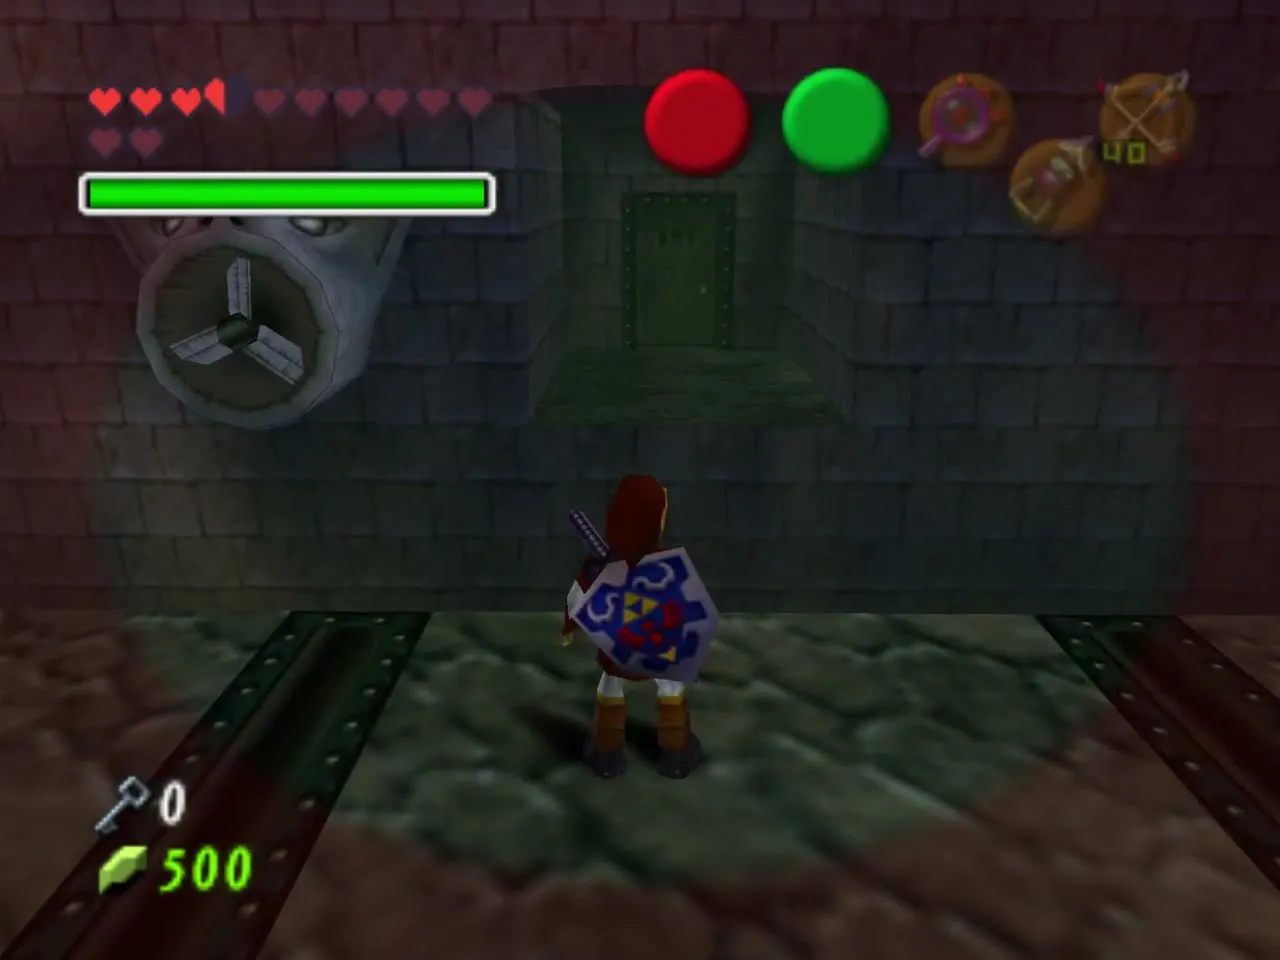
Four Redeads stand inside. Sun’s Song freezes them and you can kill them. Afterwards, open the invisible chest in the corner for the fifth Small Key.
Use the Lens to find the hidden passage on the right. Equip the Hover Boots and run when the fan is blowing toward the far side, so that the wind carries you across. The door opens into a room with two more Gibdos that reward you with a Blue Rupee. After you kill them, bomb the rubble in the northwest corner to uncover Gold Skulltula number three.
The ship and the brown block shortcut
Unlock the next door with a Small Key. This is the same room you dropped into earlier, but from the other side. Pull the brown block along its groove into the depression so that it sinks, creating a shortcut to the upper floor. Do this before you go up, or you cannot get back.
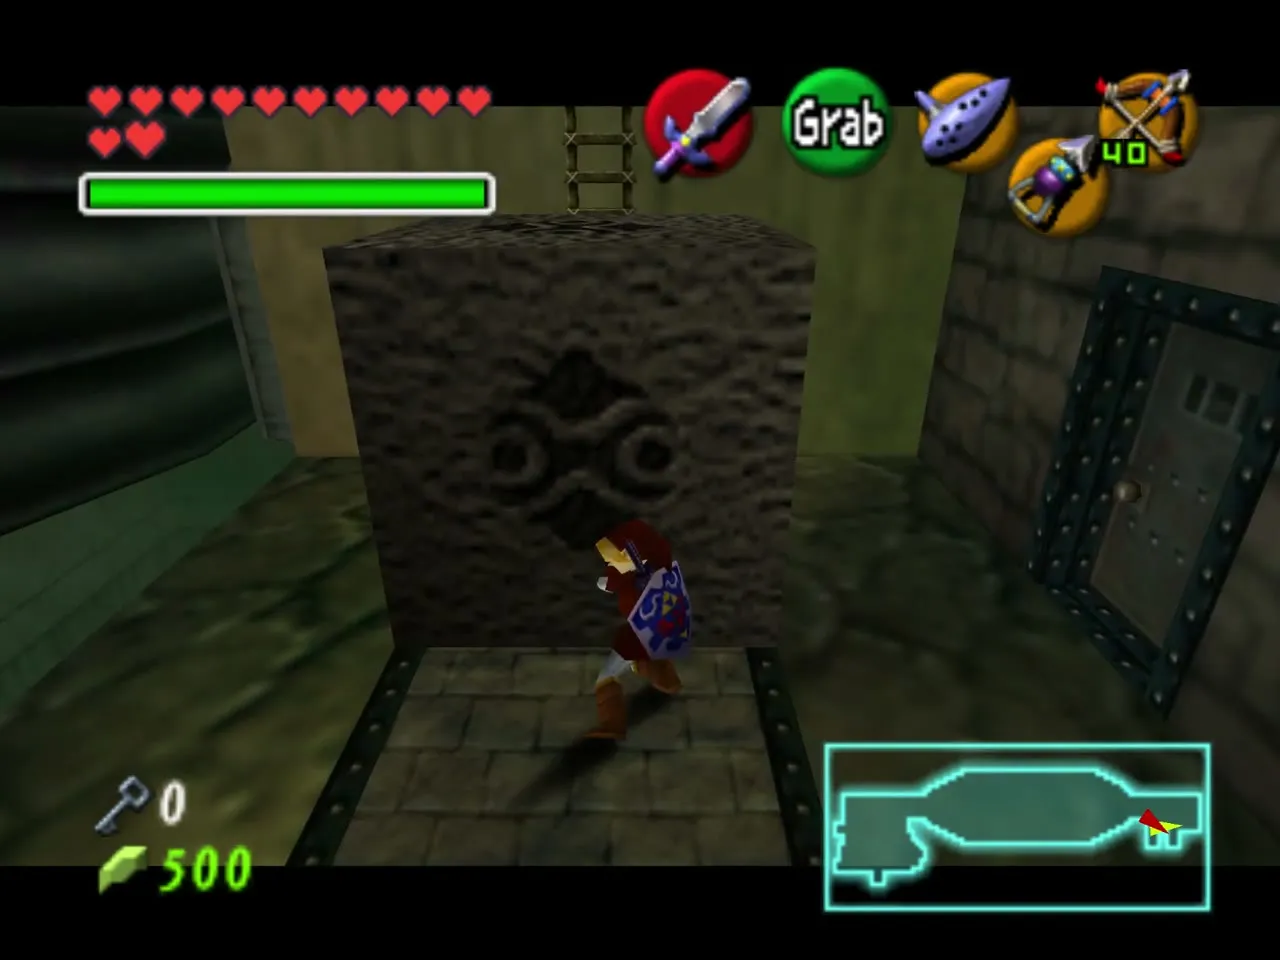
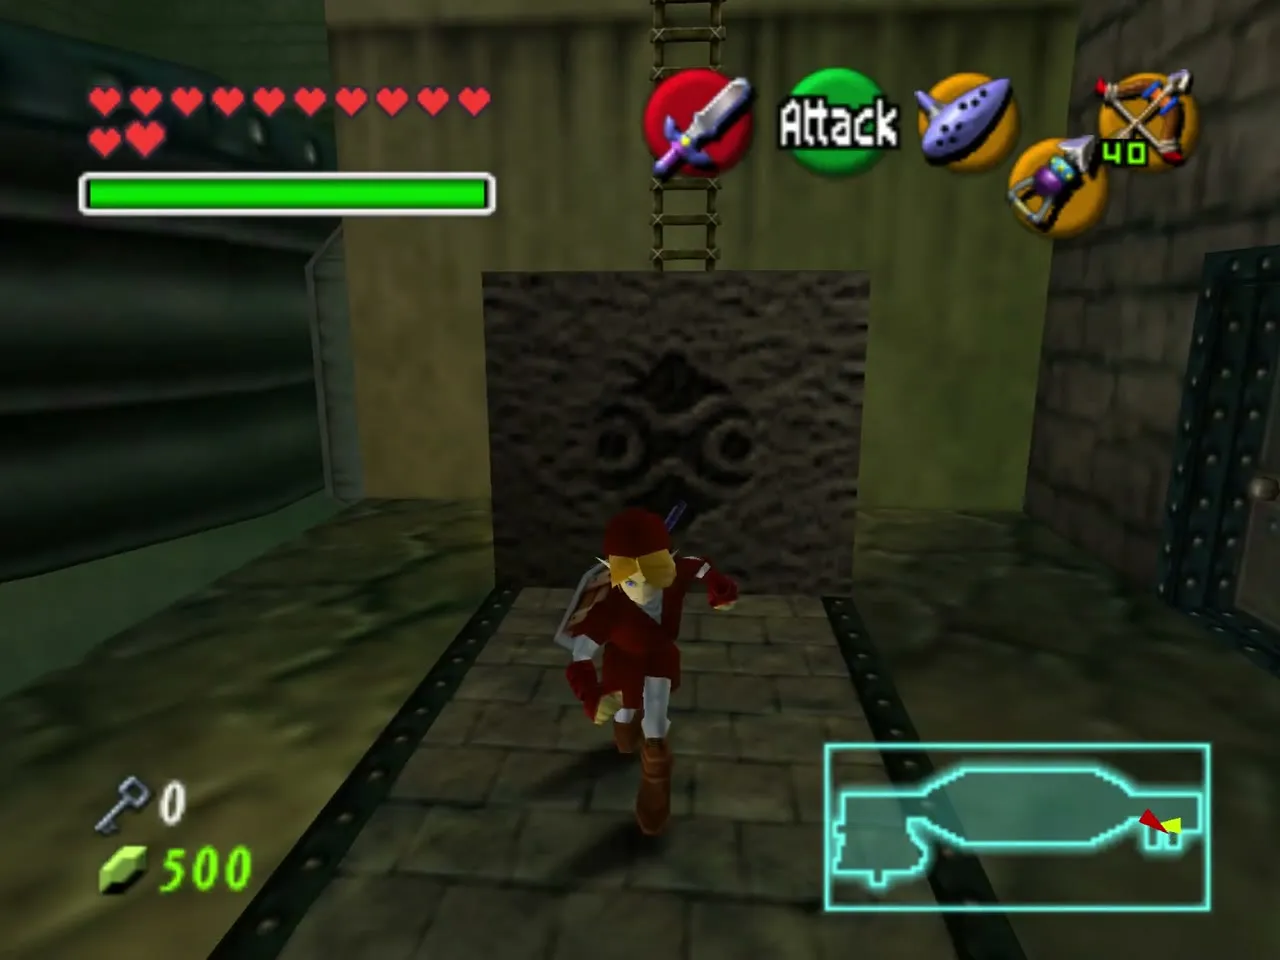
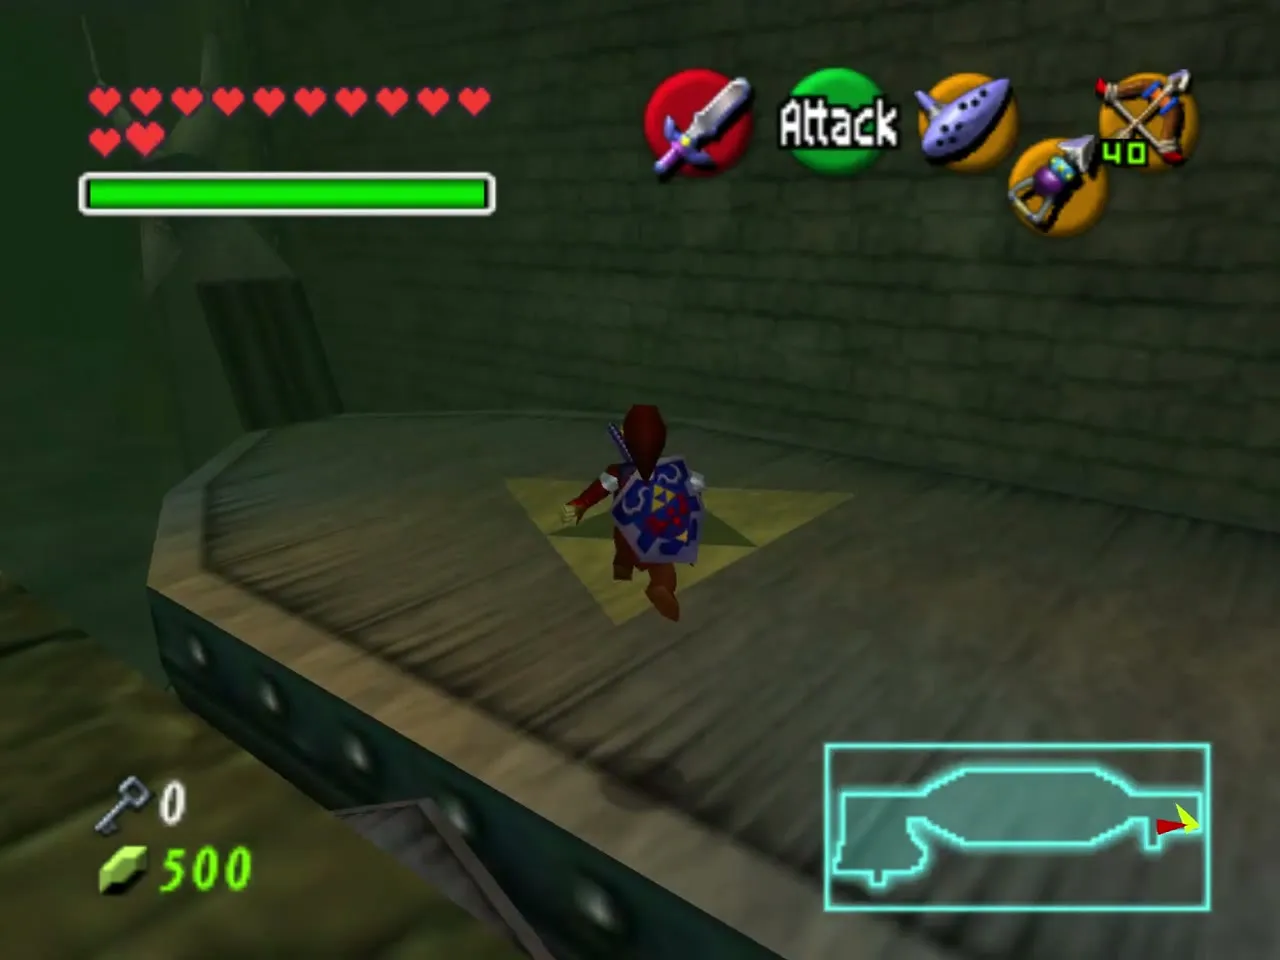
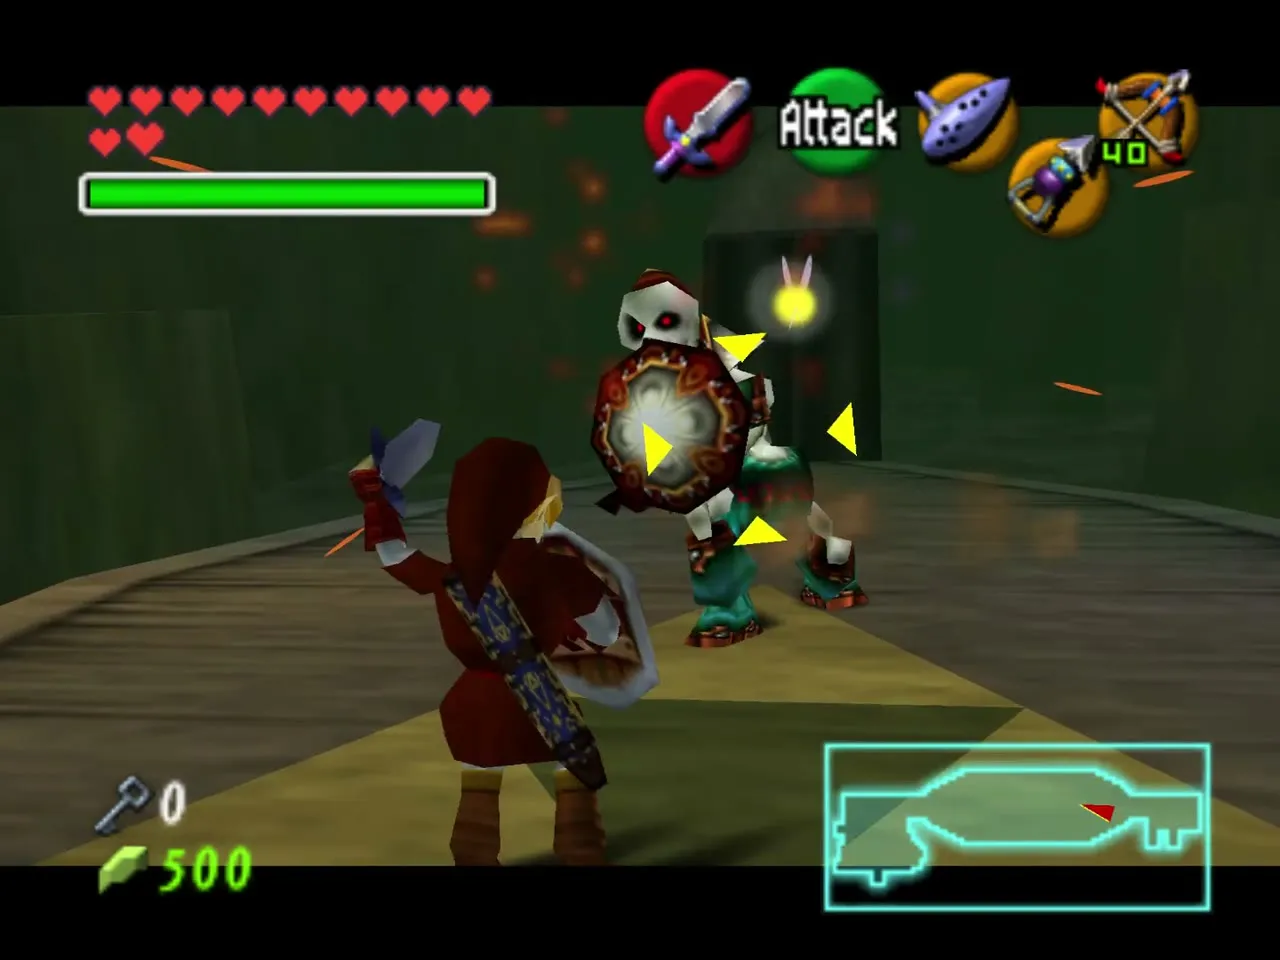
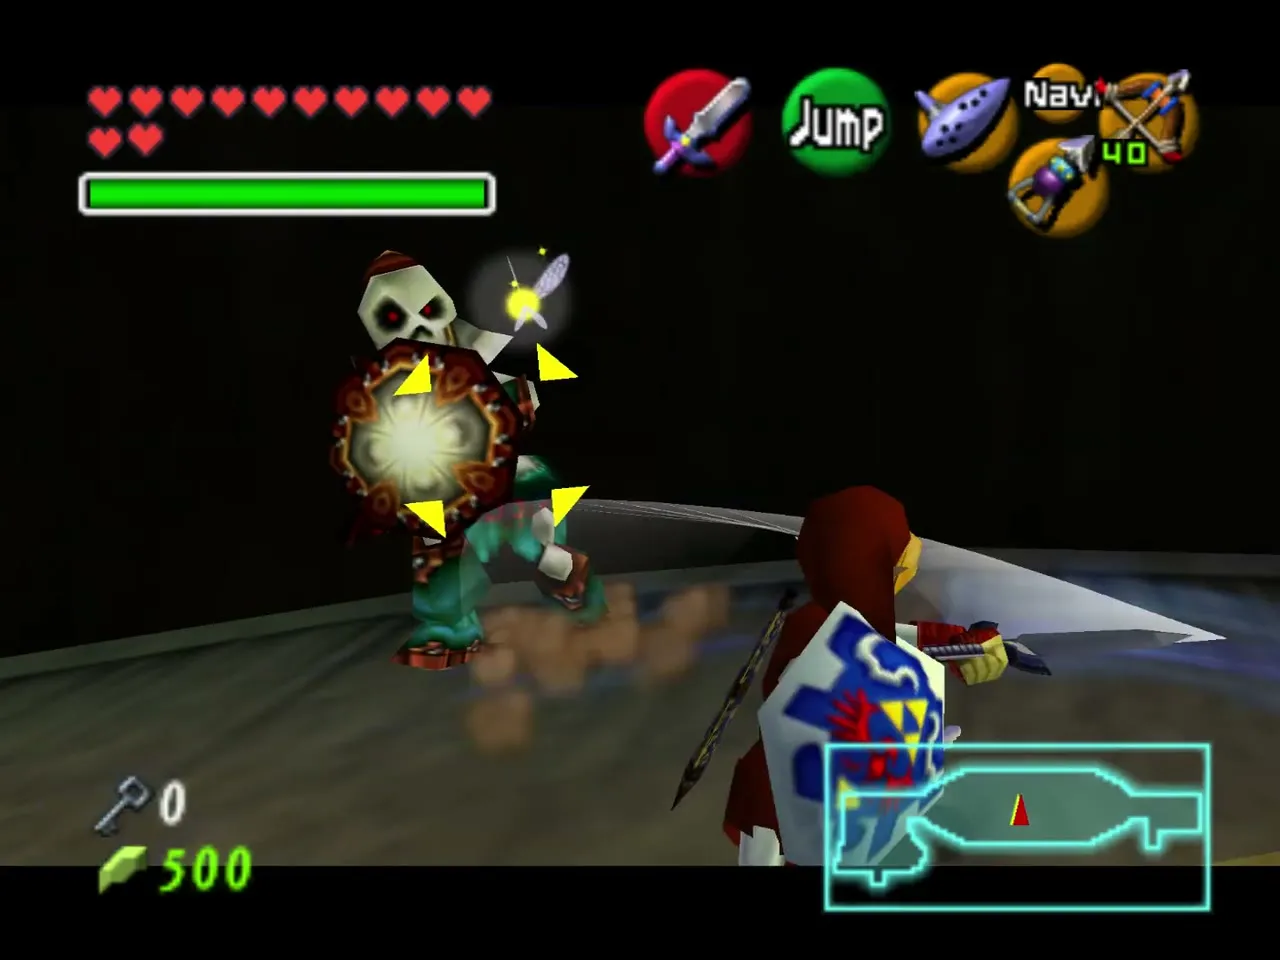
Climb the ladder to the ship, stand on the big Triforce mark on the deck and play Zelda’s Lullaby. The ship sets sail and Stalfos attack you on the way. Kill them or wait for them to fall off. When solid ground appears on your left, jump off before the ship sinks.
Bird statue bridge and the fourth Gold Skulltula
Walk halfway across the fallen bird statue, turn around and look into the pit: Gold Skulltula number four hides under it. Kill it with the Longshot.
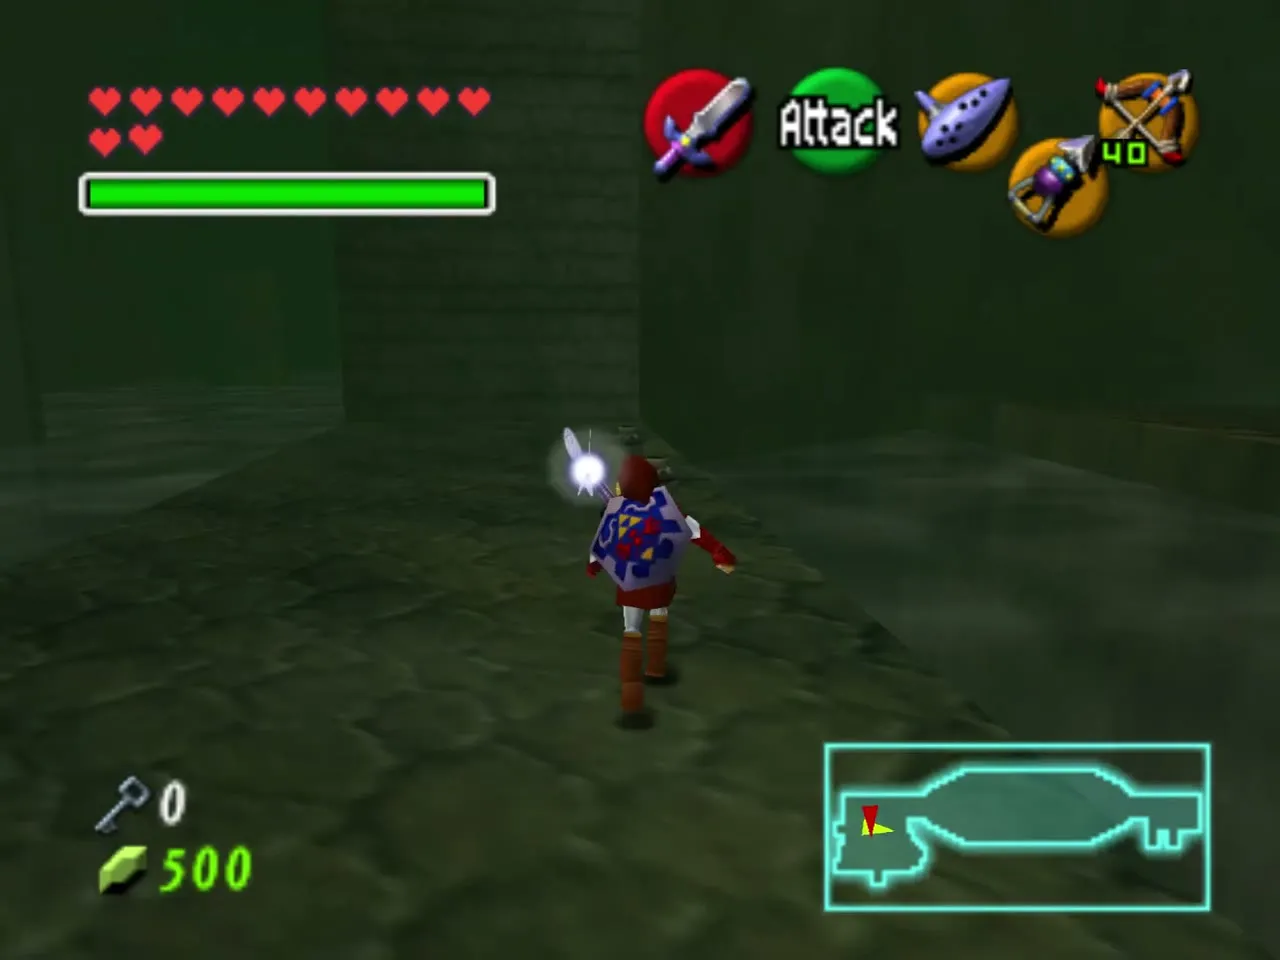
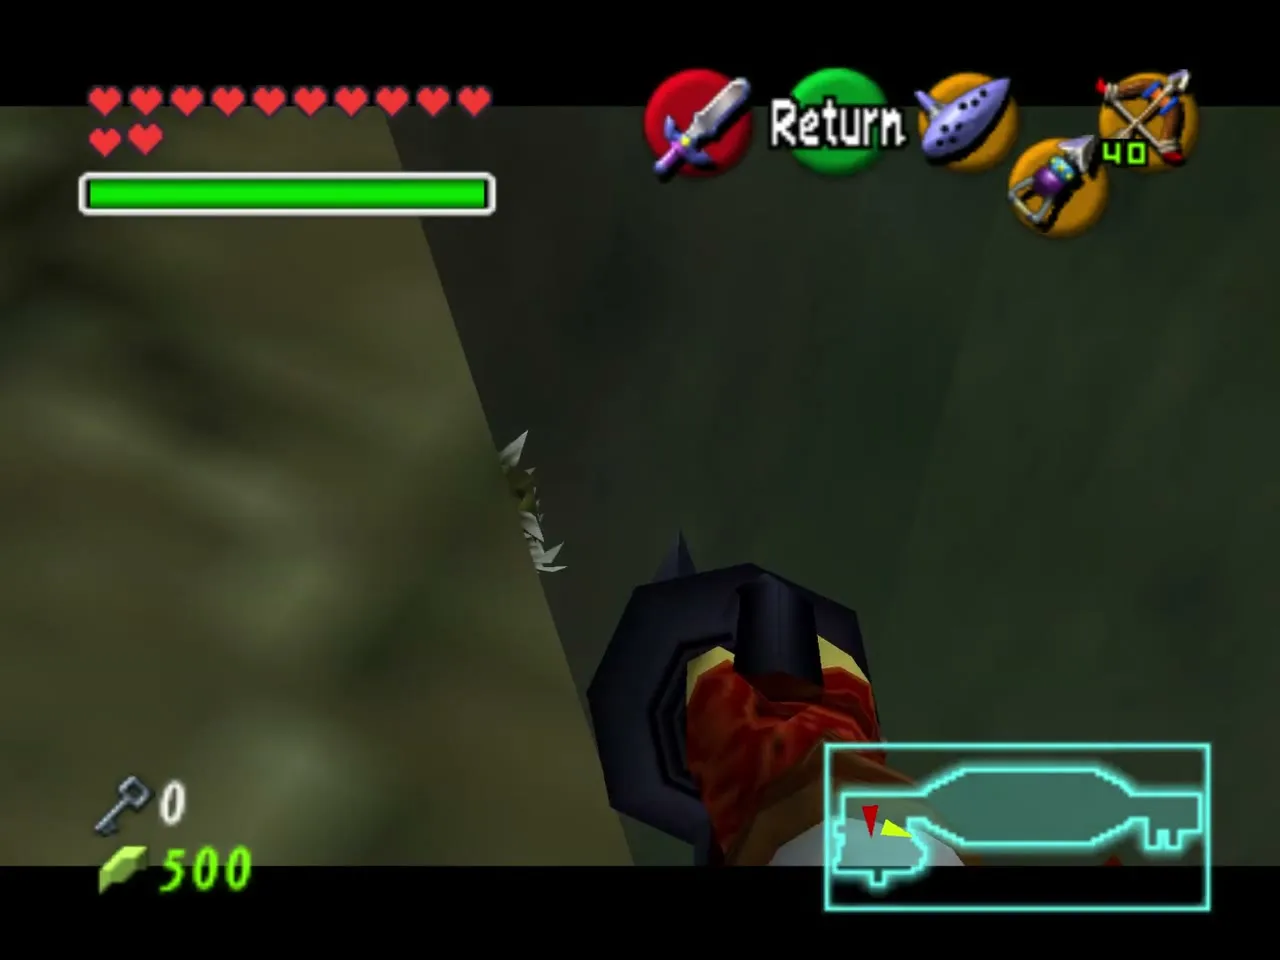
Across the pit stand several Bomb Flowers. Shoot them with an arrow so that the statue falls and forms a bridge. Cross it and look right to find a Song of Time block next to a grey block. Play the Song of Time, hit the eye switch that appears, and use the Hookshot platforms to reach the high switch, which unlocks the door. Cross the bridge again and go through the west door.
Invisible maze and the Boss Key
The next room looks empty until you use the Lens: it is a large maze. Walk north, round the corner, kill the Like Like and continue to the west door. Run behind the vases to collect the sixth Small Key. The south door leads to the second Dead Hand, found with the Lens, which you can lure out by shooting the nearest Bomb Flower. His chest holds arrows, and you will want them for the boss.
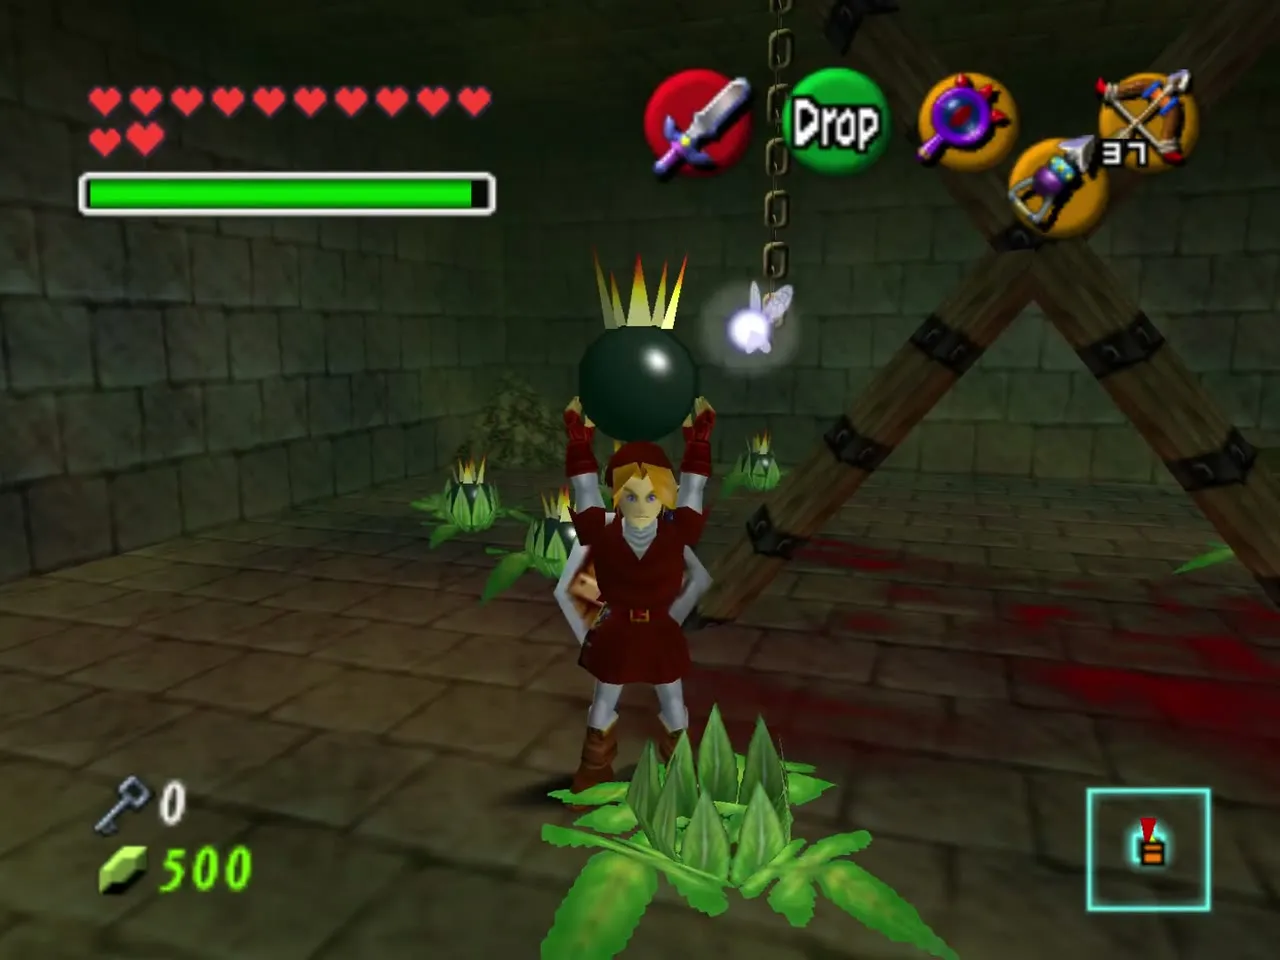
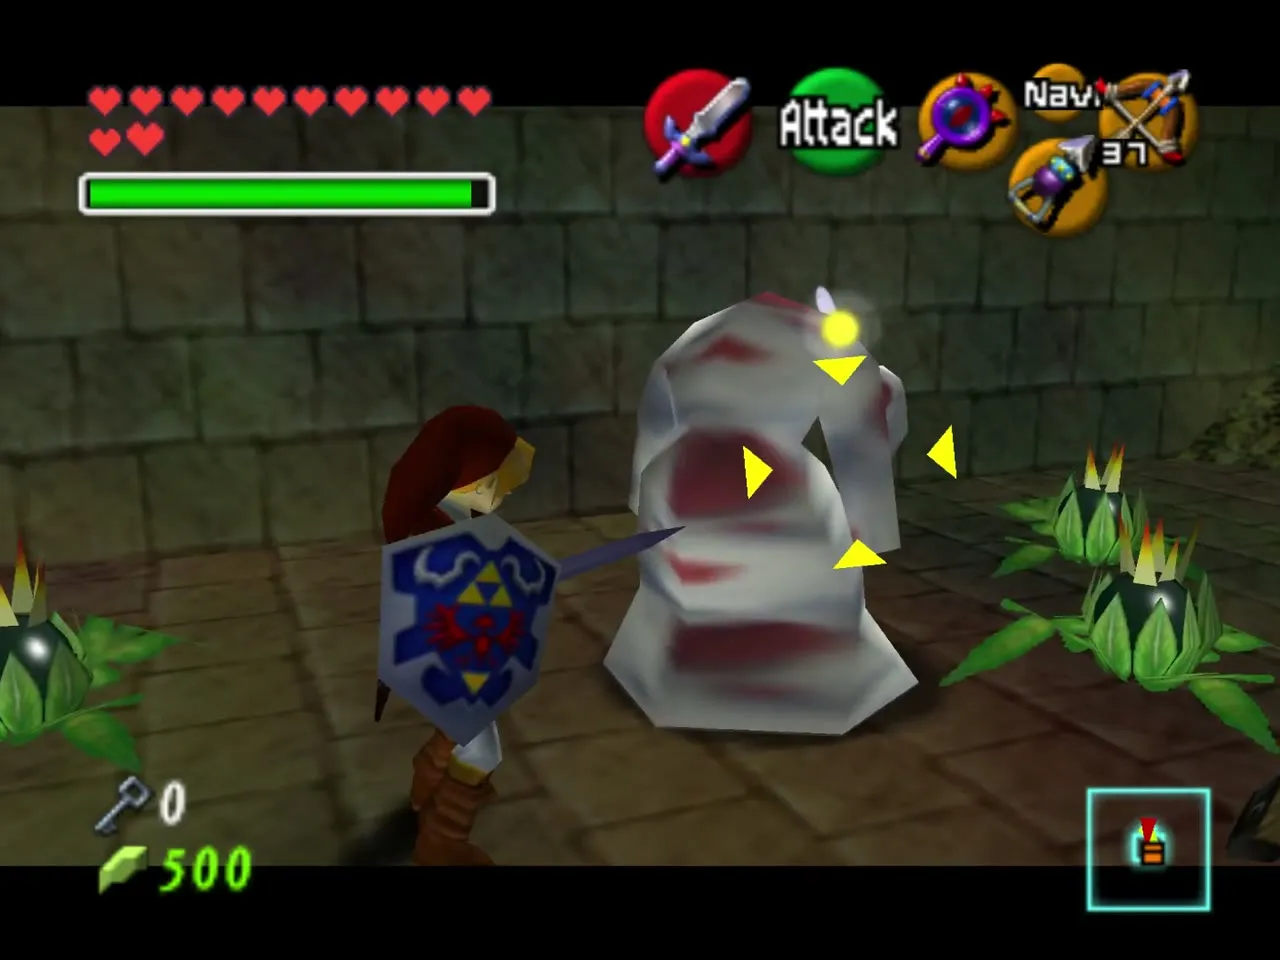
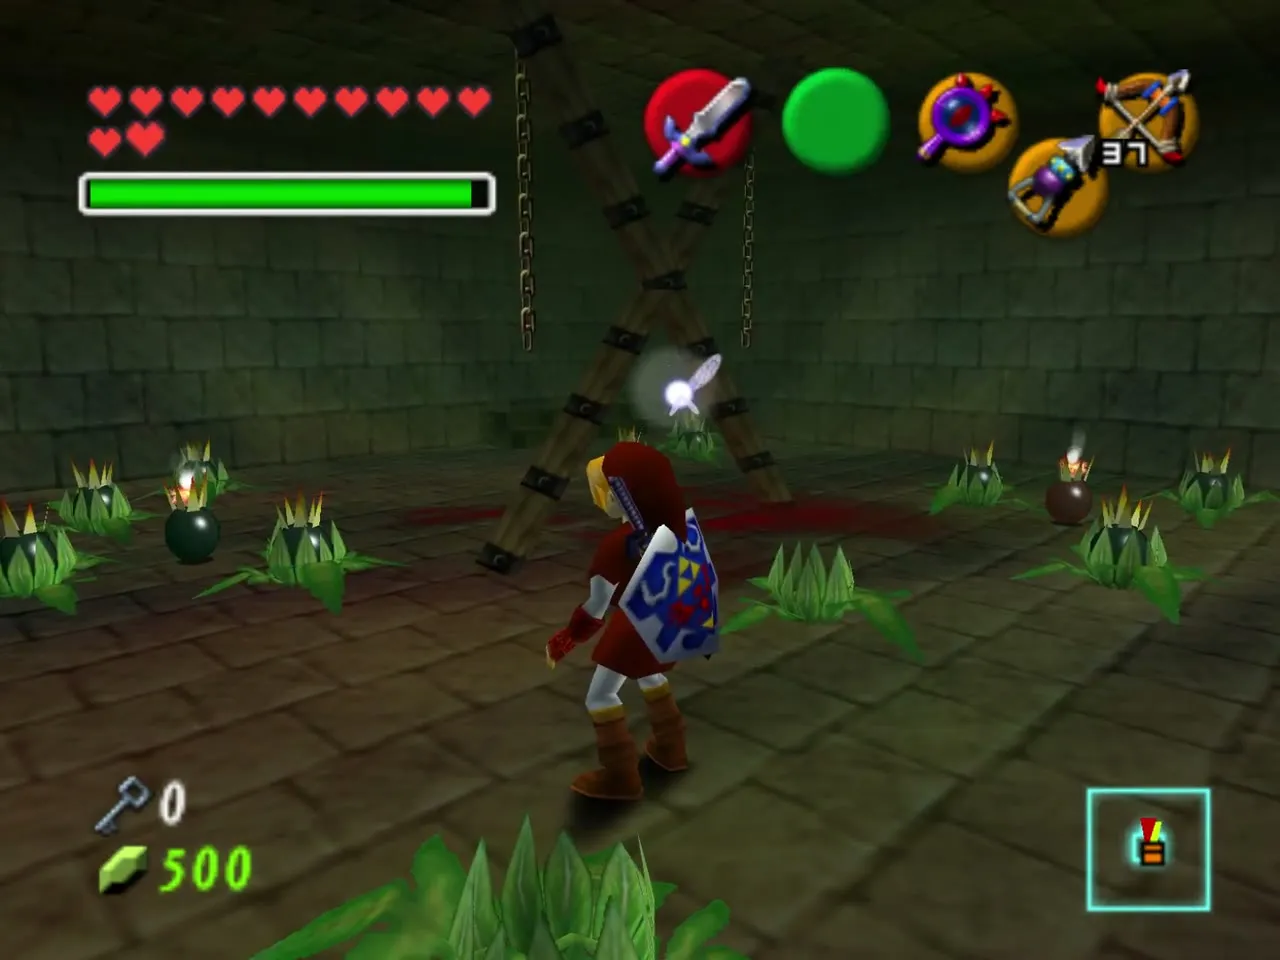
Go back into the maze and take the north door with the sixth key. Two wooden spiked walls close in together: burn them with Din’s Fire and kill the Fire Keese that follow. The chest on the right holds the Boss Key, and the other one only has a Blue Rupee. Watch out for the invisible Skulltula.
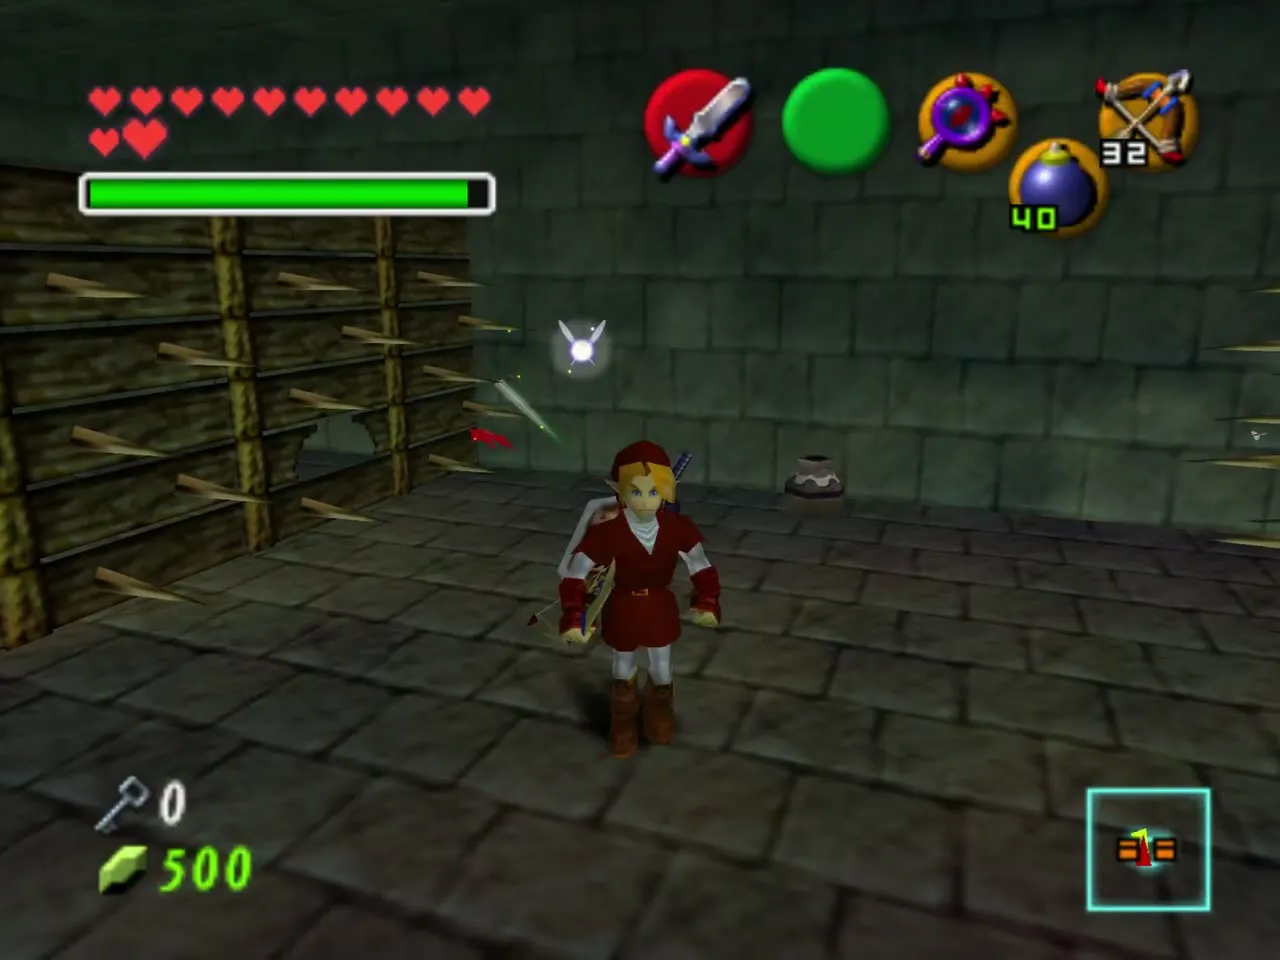
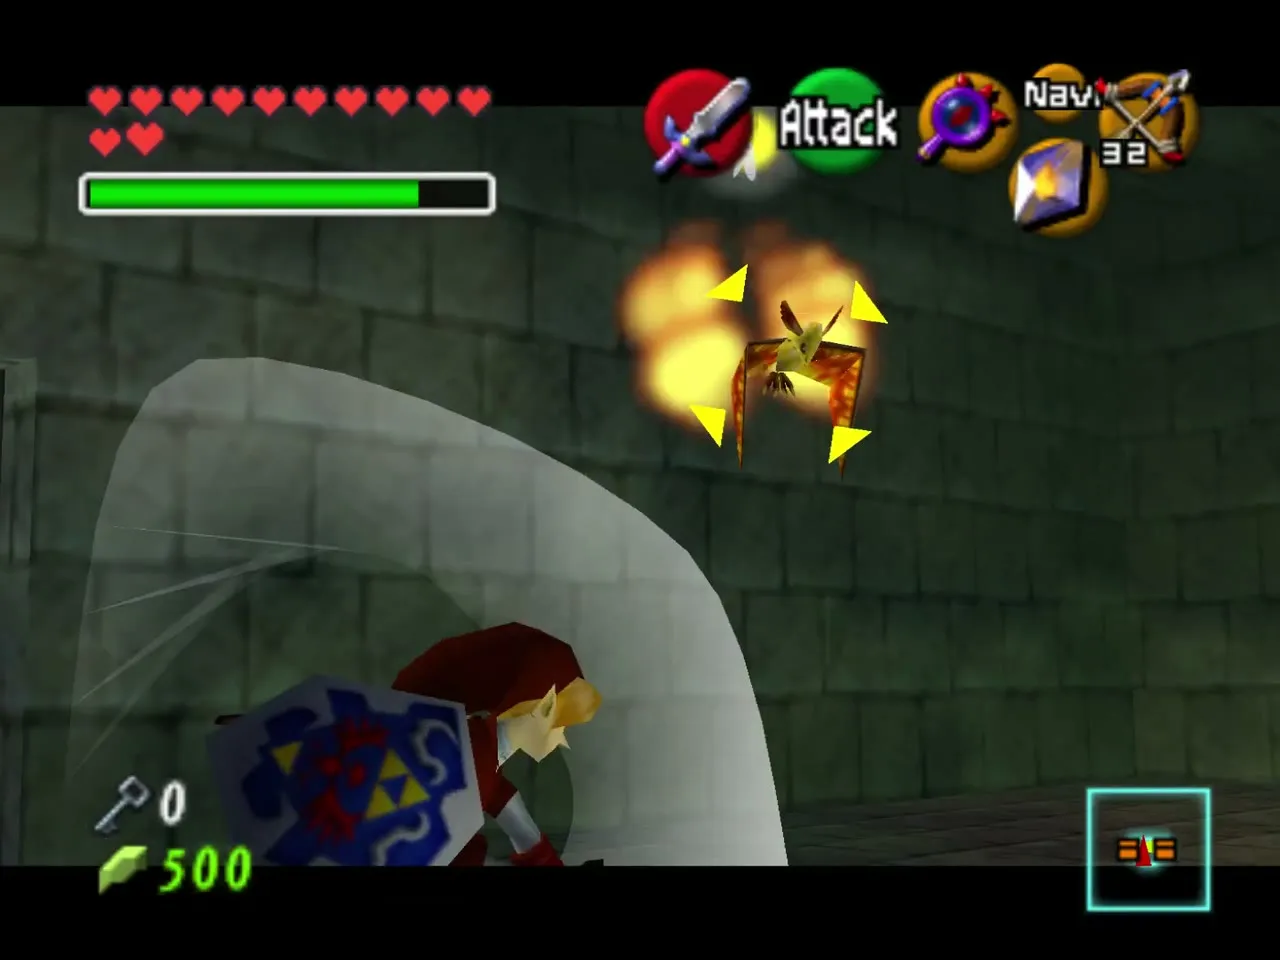
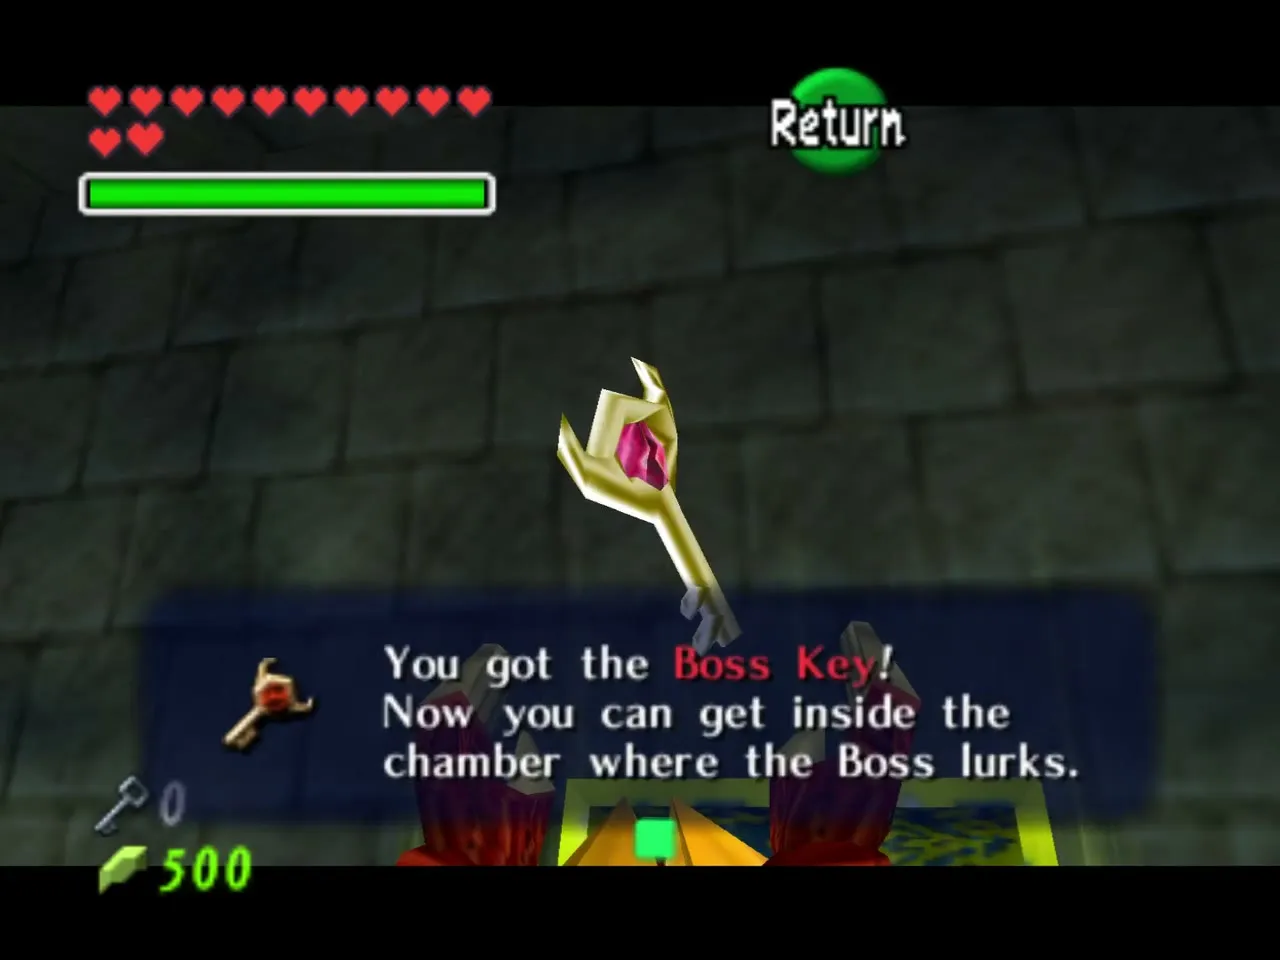
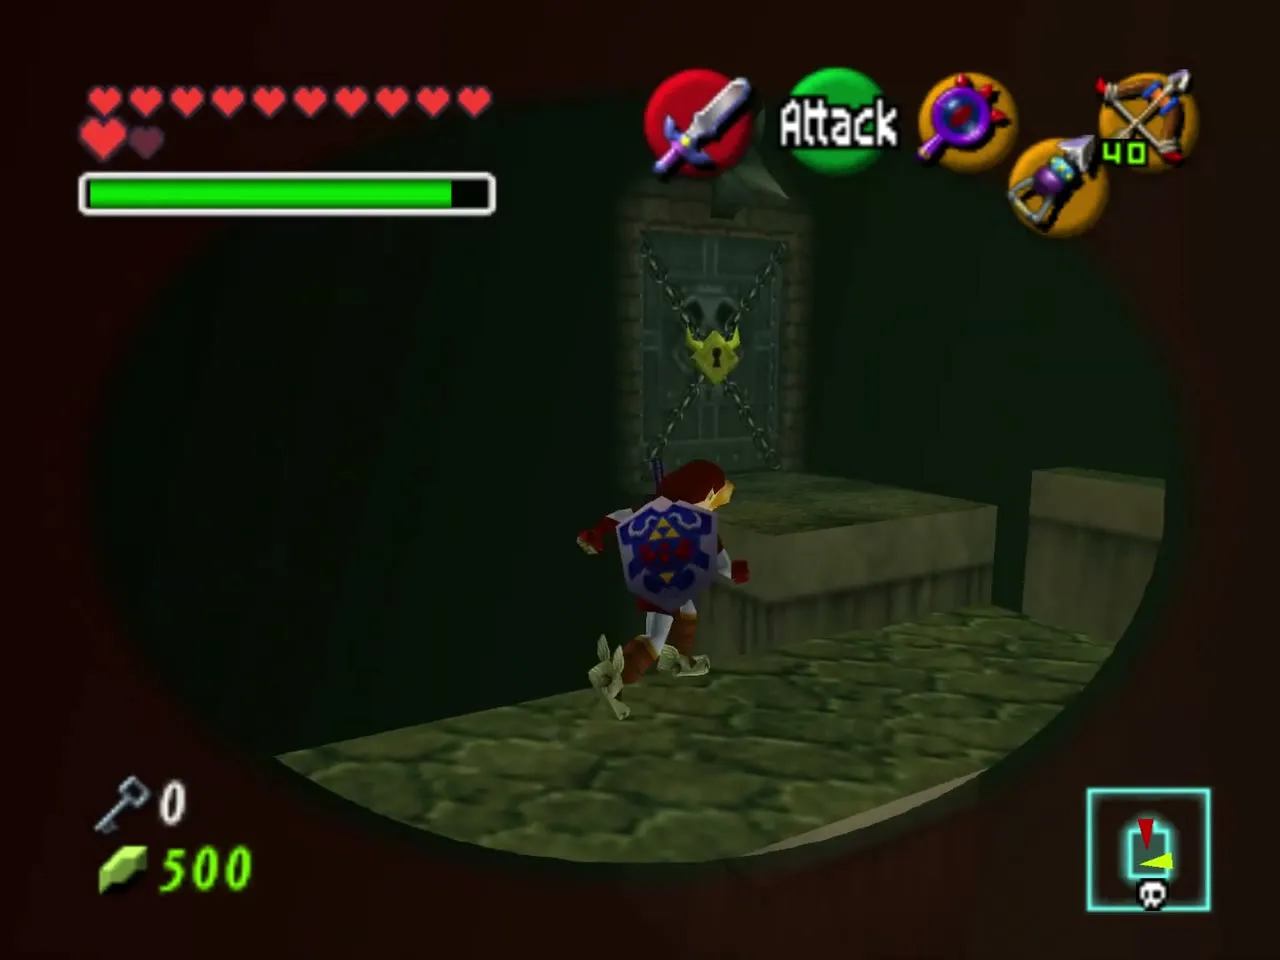
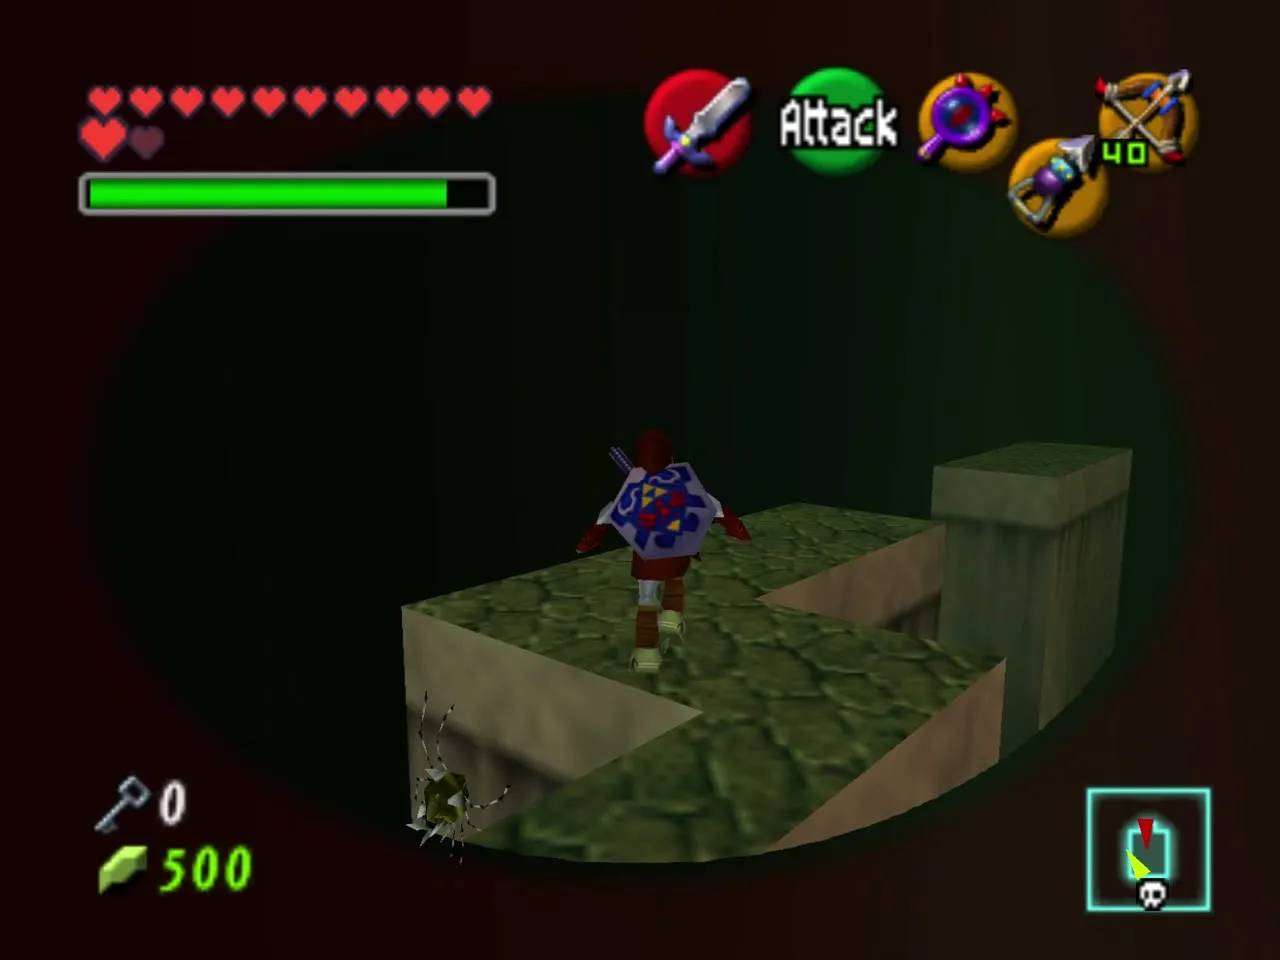
Return to the bird statue room, leave by the east exit of the maze and unlock the south door. The dark room before the boss door contains invisible platforms: use the Lens to cross them. Gold Skulltula number five hangs from the side of one platform, so climb above it and kill it from the top. Then open the boss door with the Boss Key.
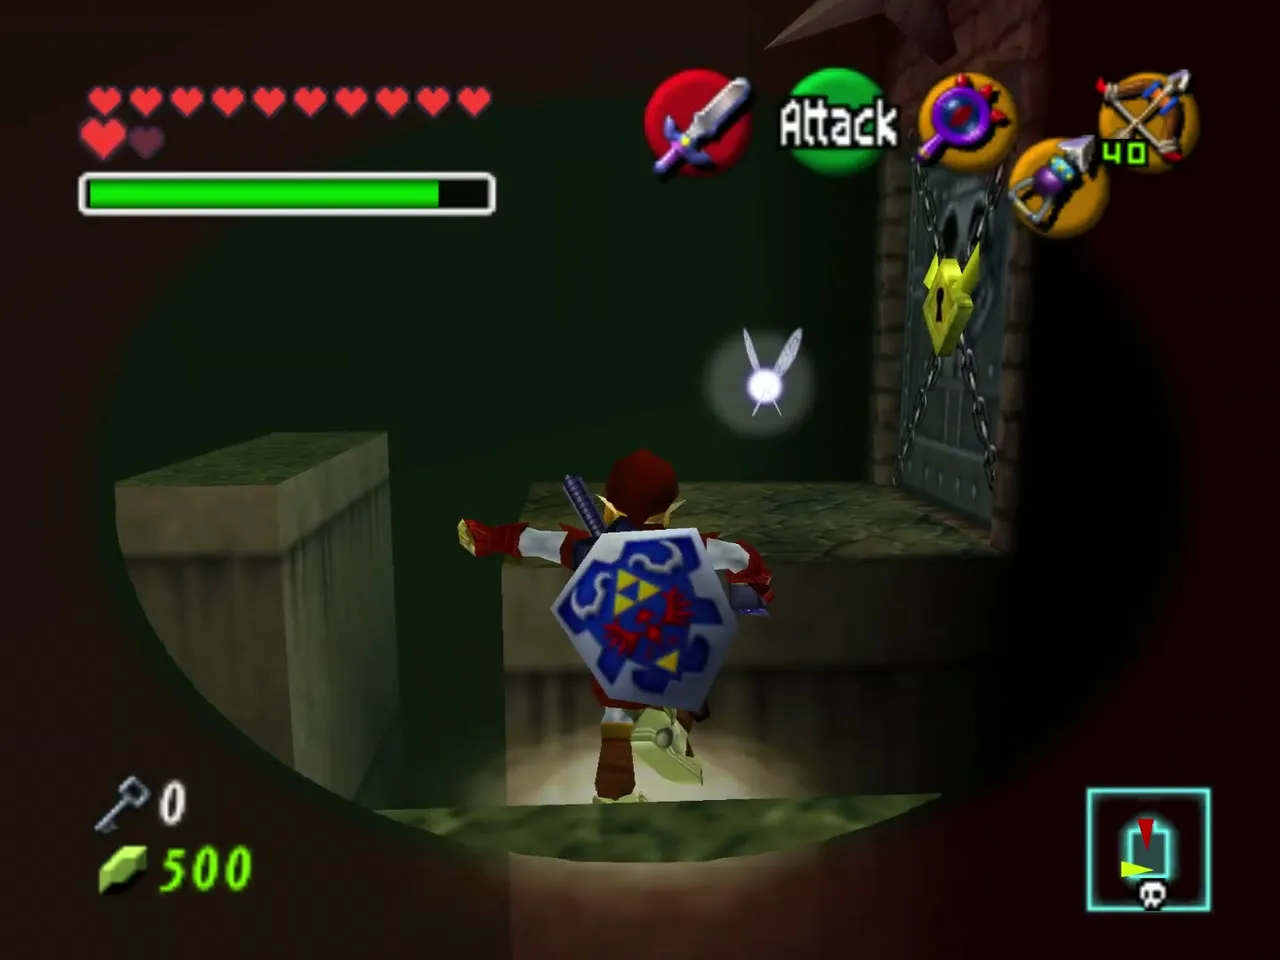
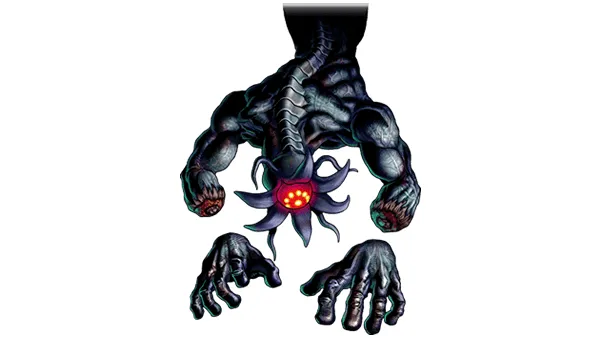
Boss: Bongo Bongo
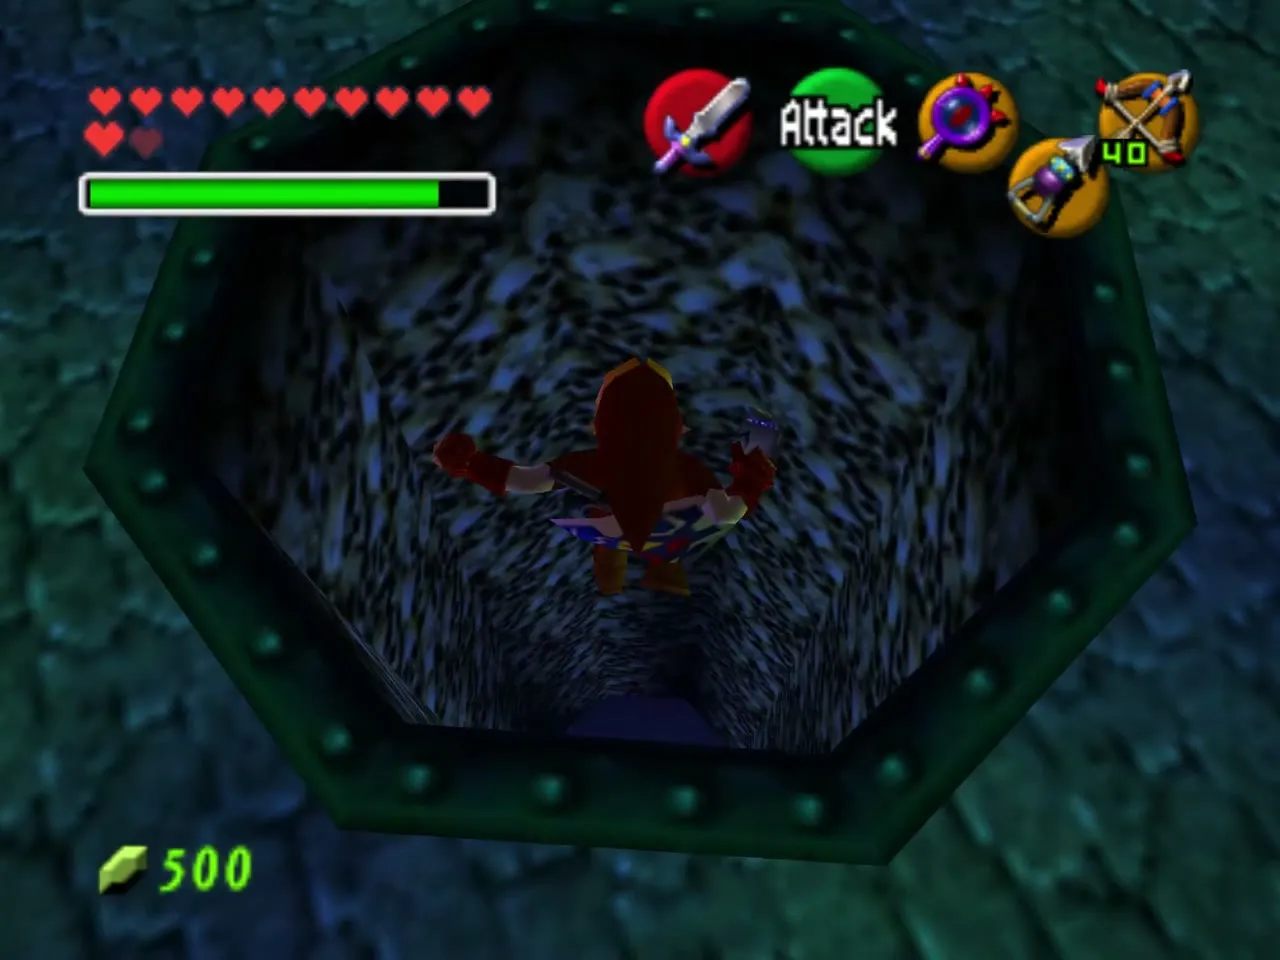
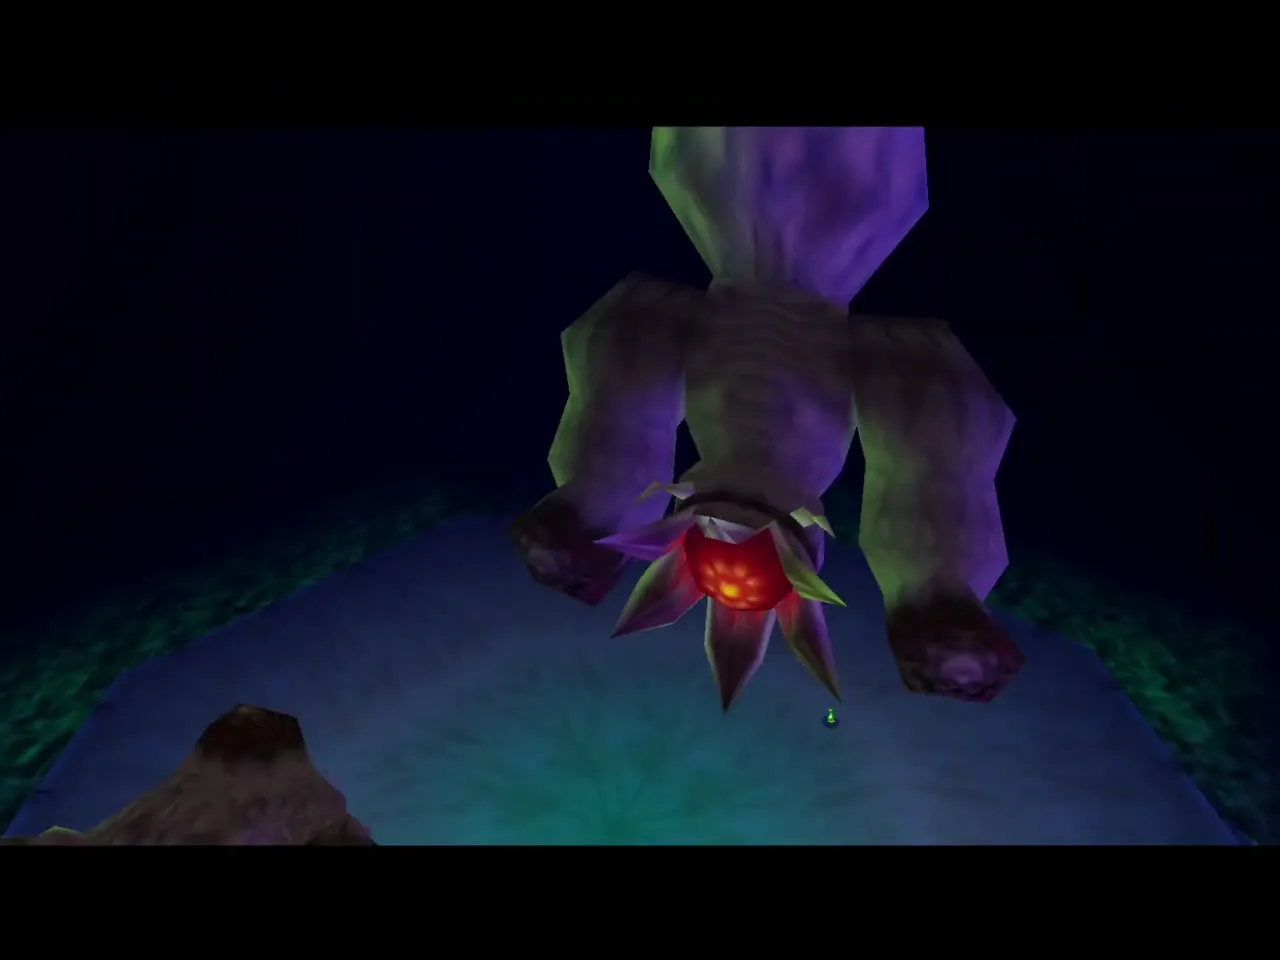
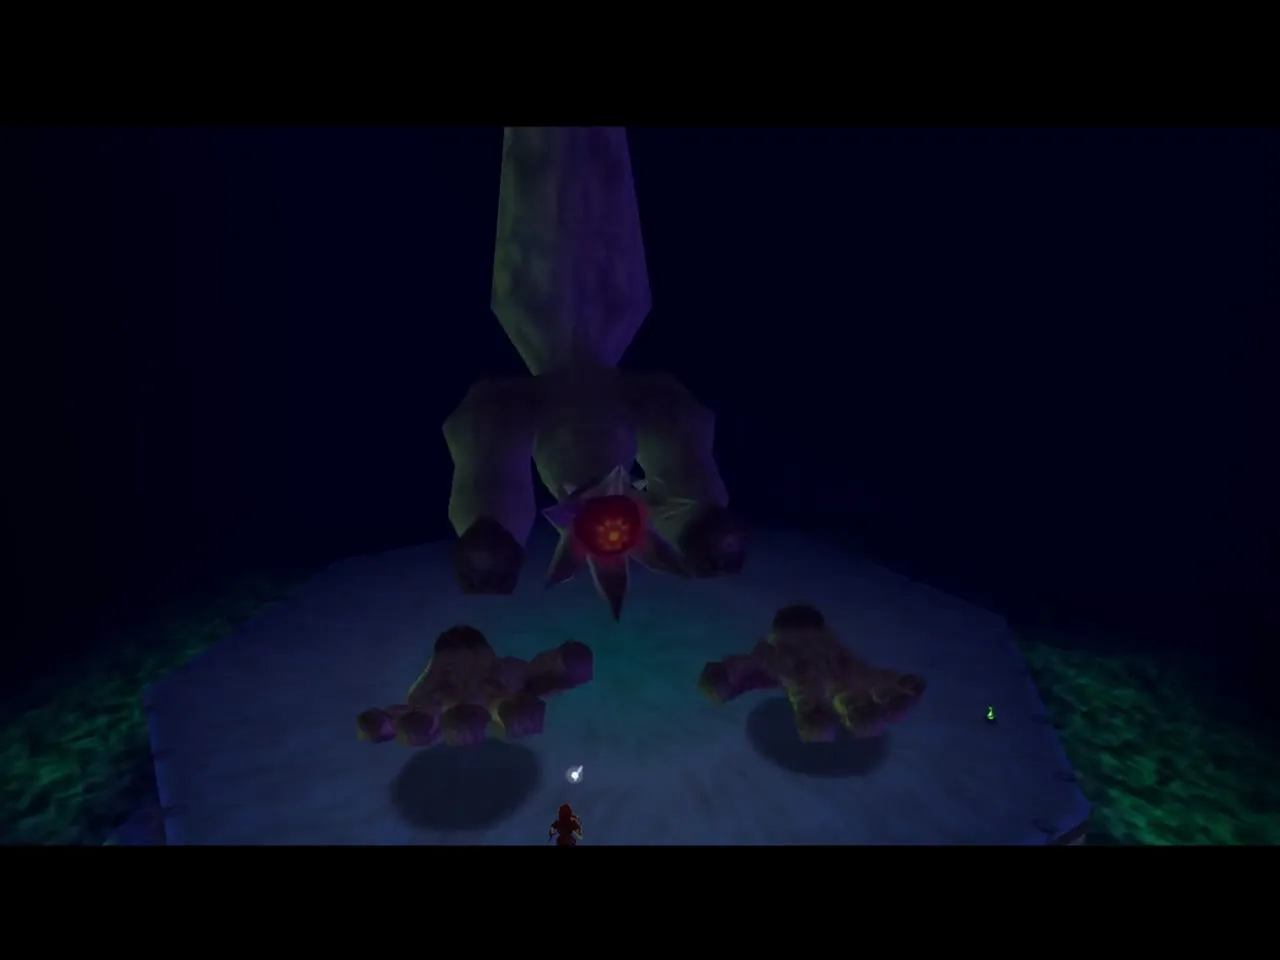
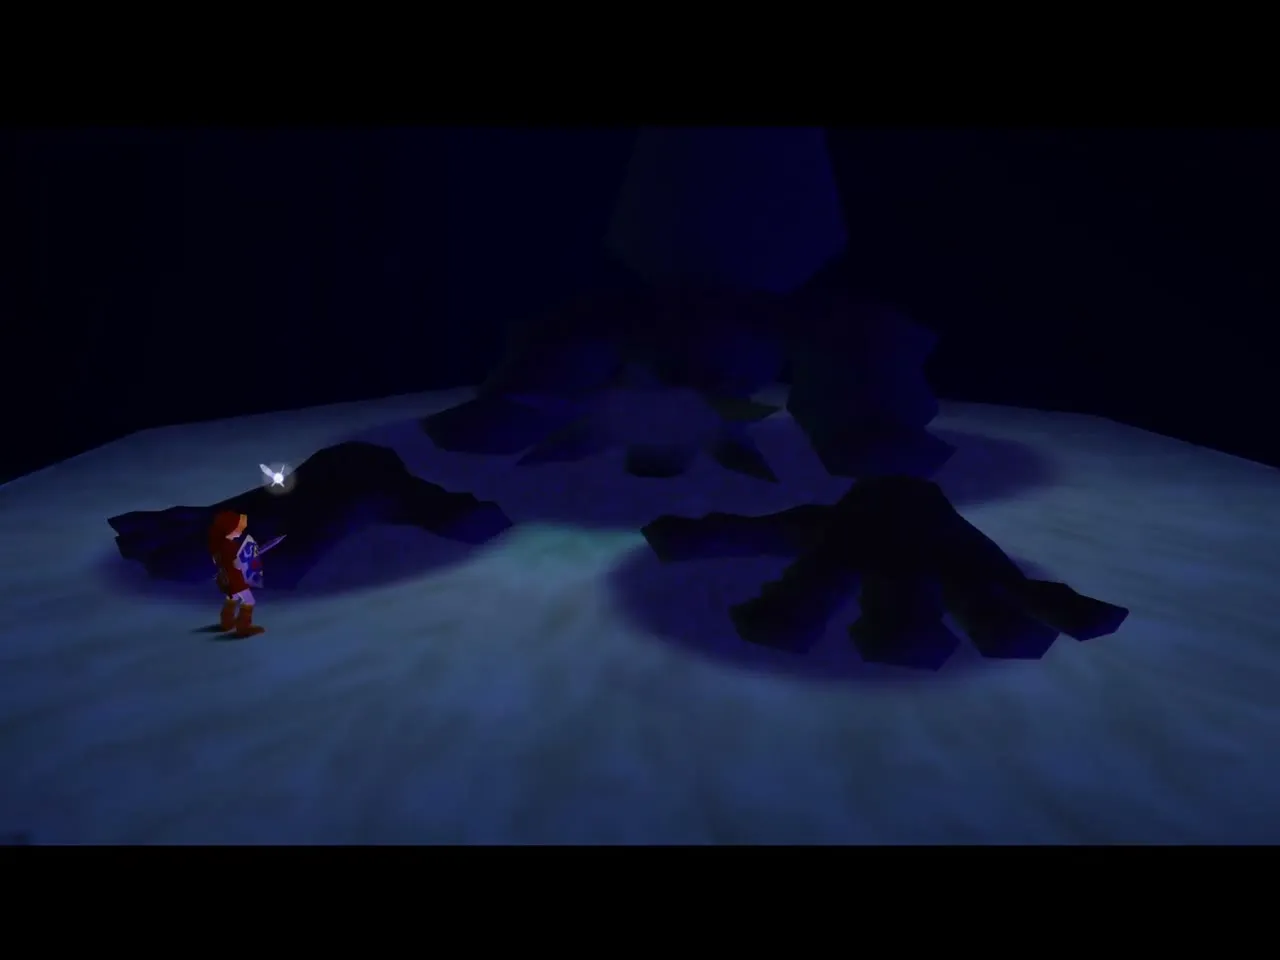
The boss room is a bone-filled chamber with a hole in the centre. Jump in. You land without damage on a large white drum above a pool of poison while two hands begin to pound it. Do not wear the Hover Boots here. Bring fairies and plenty of magic.
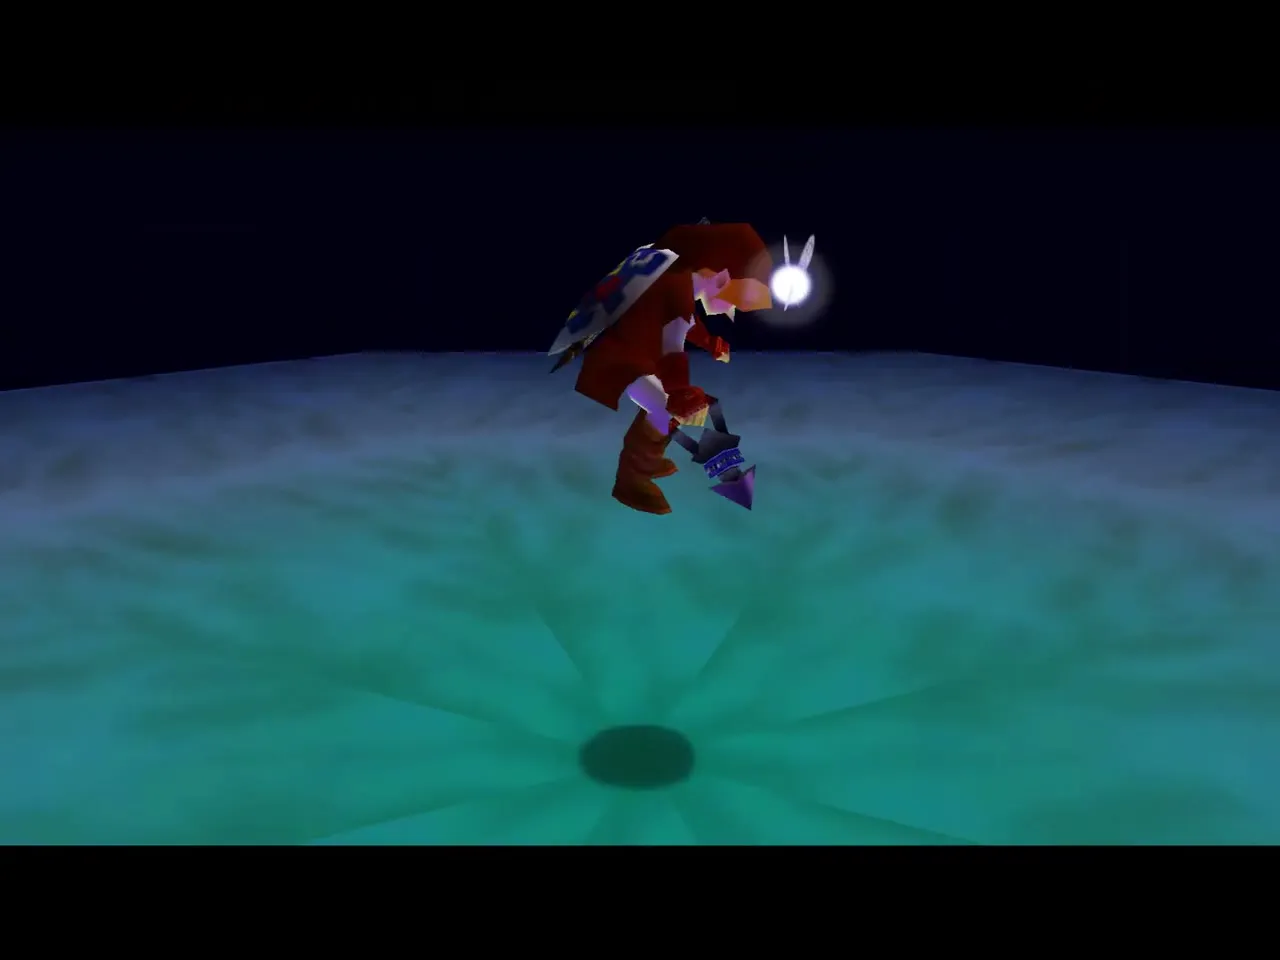
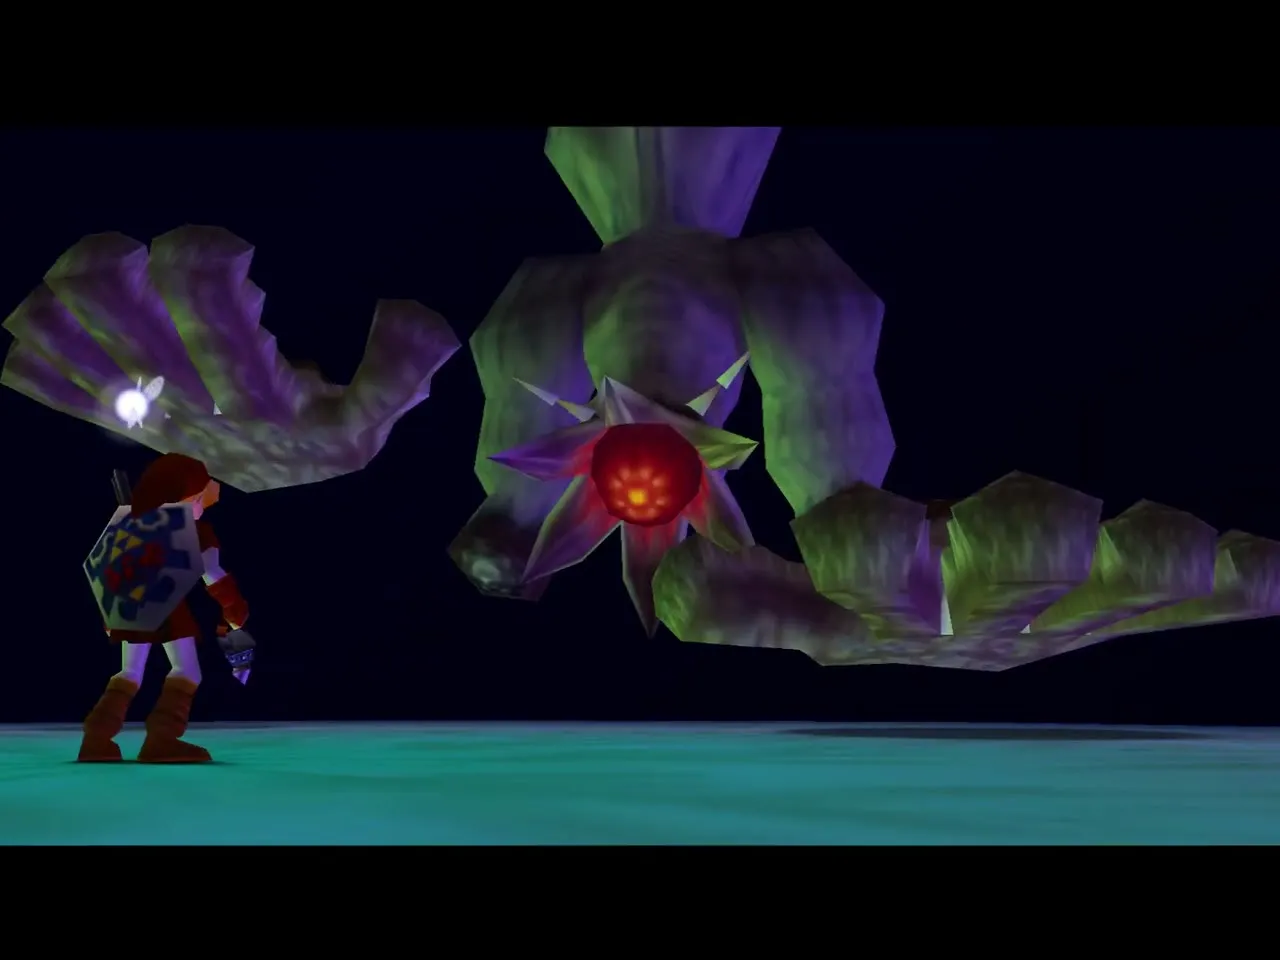
Stun the hands with the Fairy Bow, one at a time, aiming at a hand that is raised. They turn blue and drop to the drum. With Ice Arrows you only need to freeze one hand, because the other hammers it and loses its grip. Dodge the swipes while you wait for the second hand to come back.
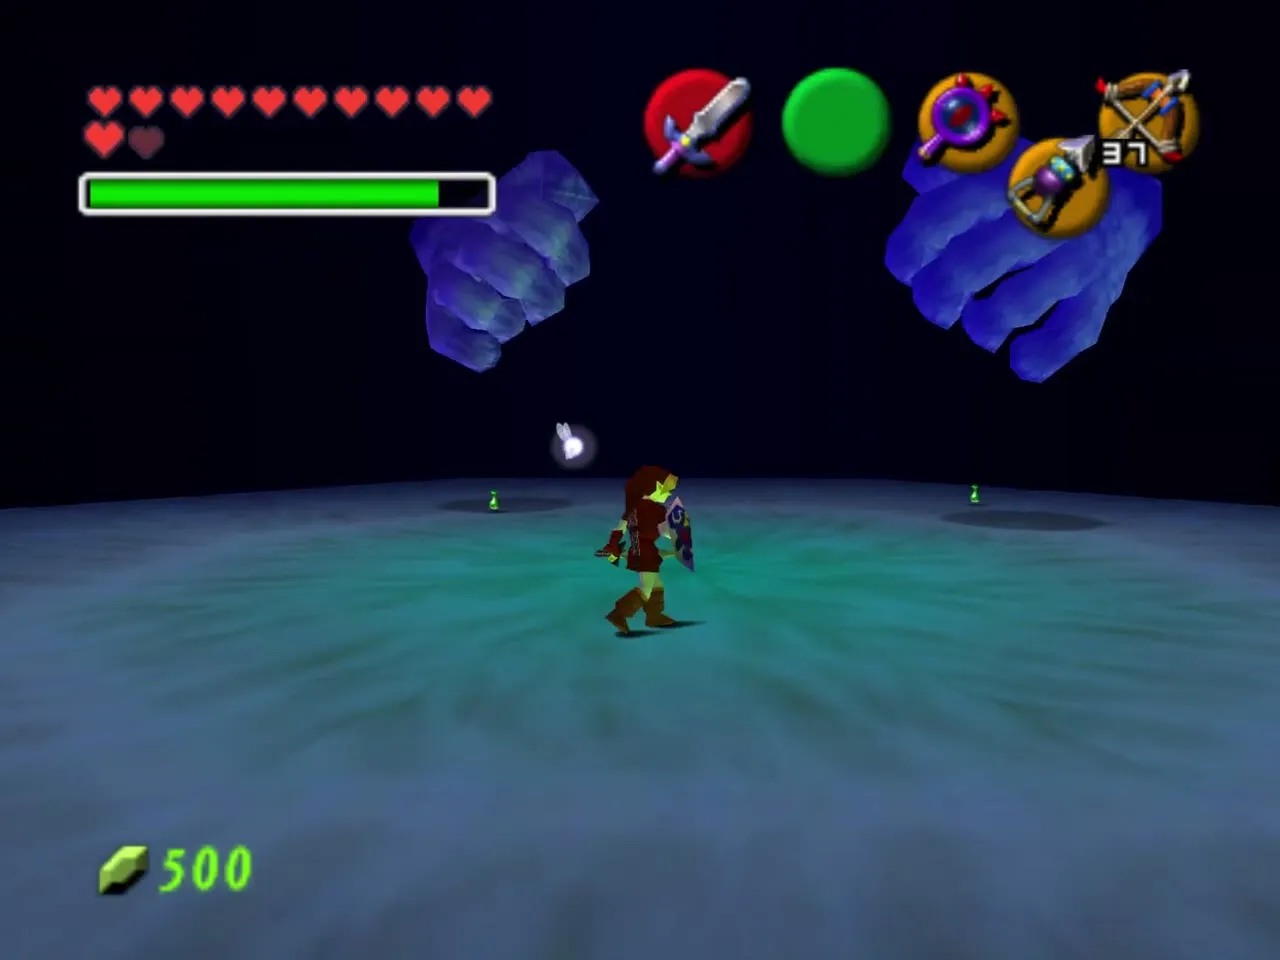
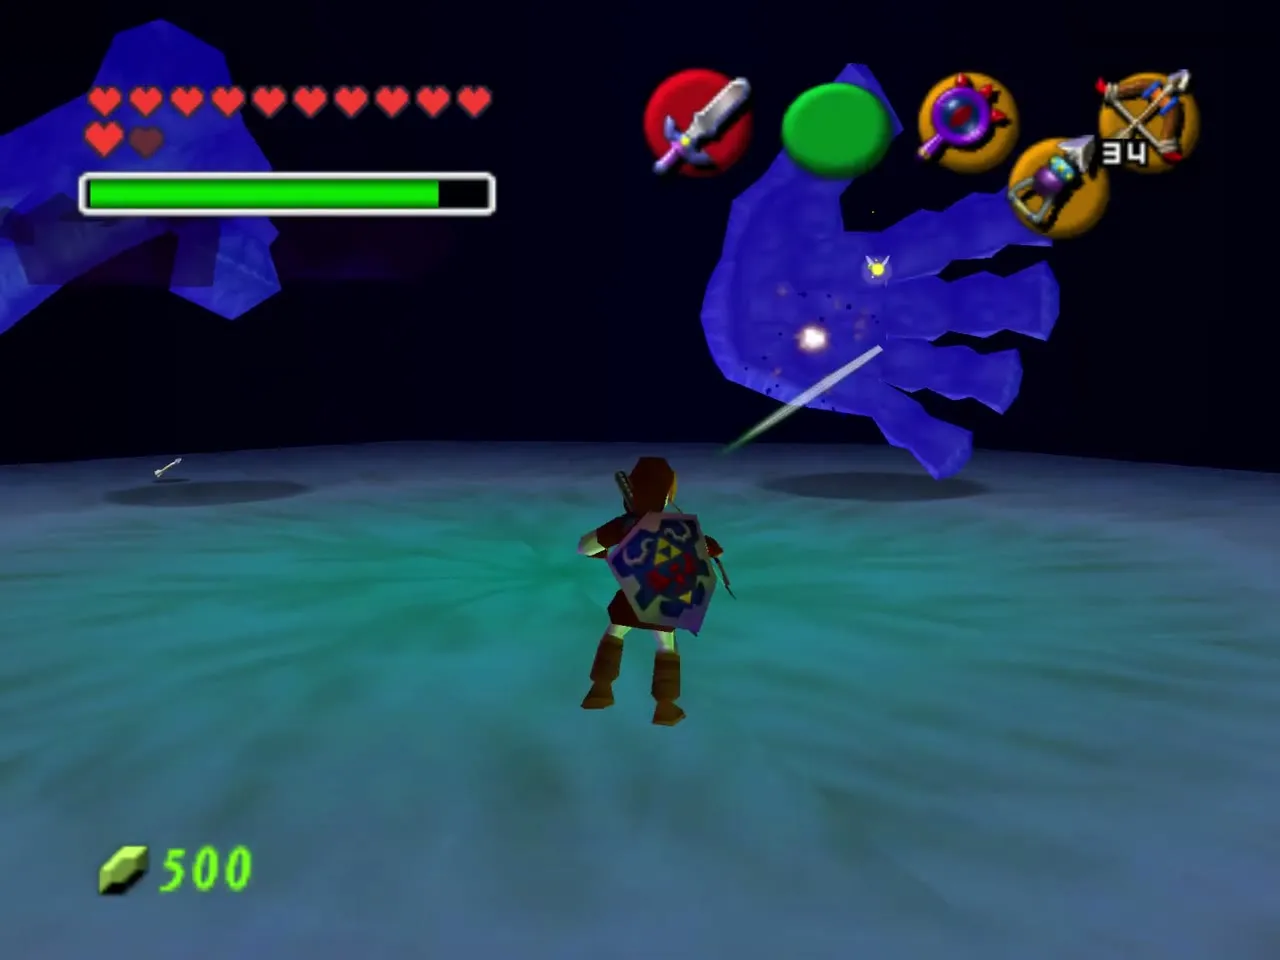
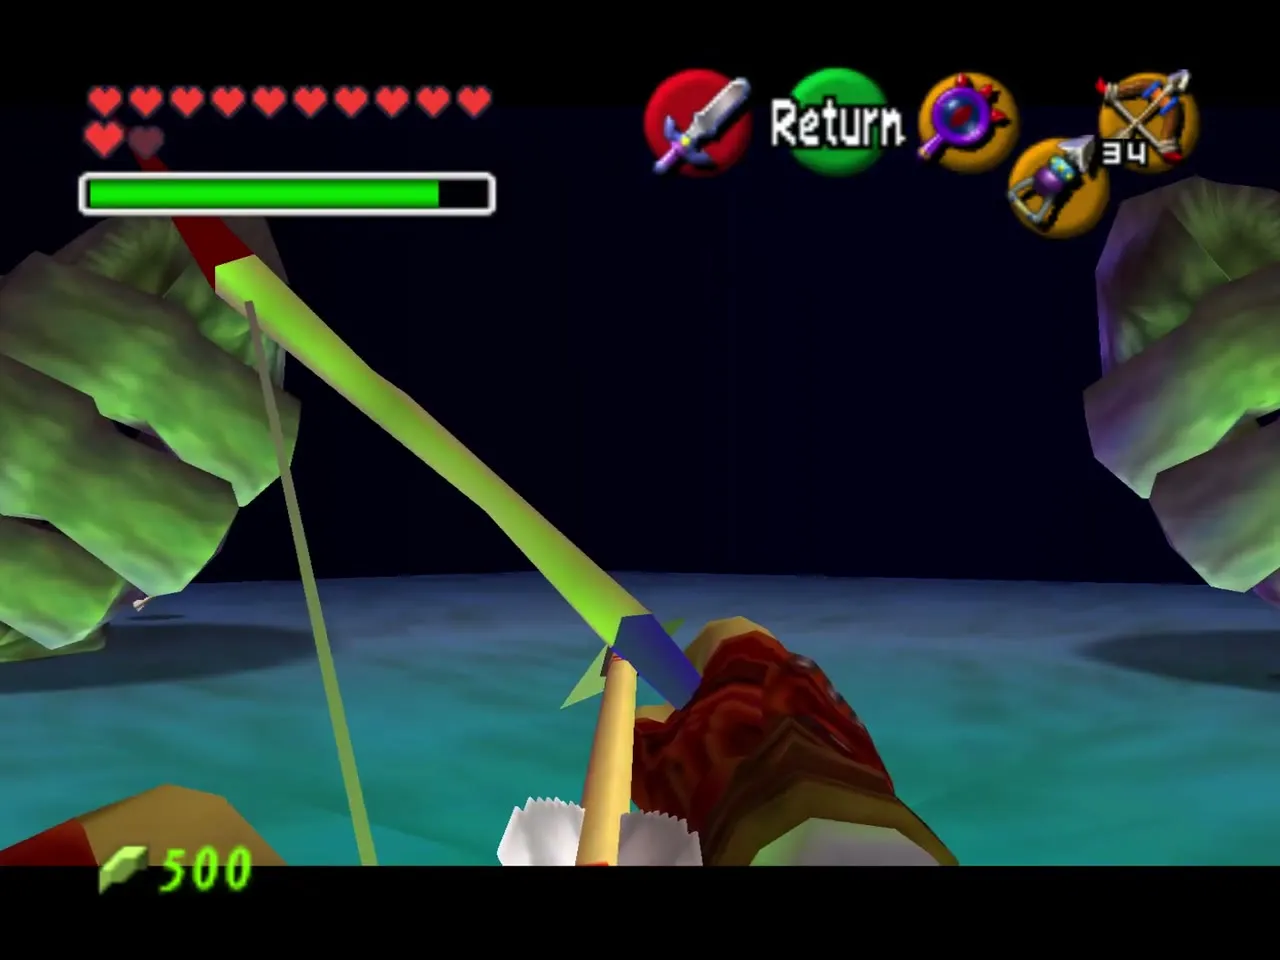
With both hands down, switch to the Lens and shoot the eye with a normal arrow (magic arrows cannot be fired while the Lens is active). Bongo Bongo falls, and you strike it with jump attacks until it recovers. Repeat the cycle until it dissolves into a puddle.
Heart Container and Shadow Medallion
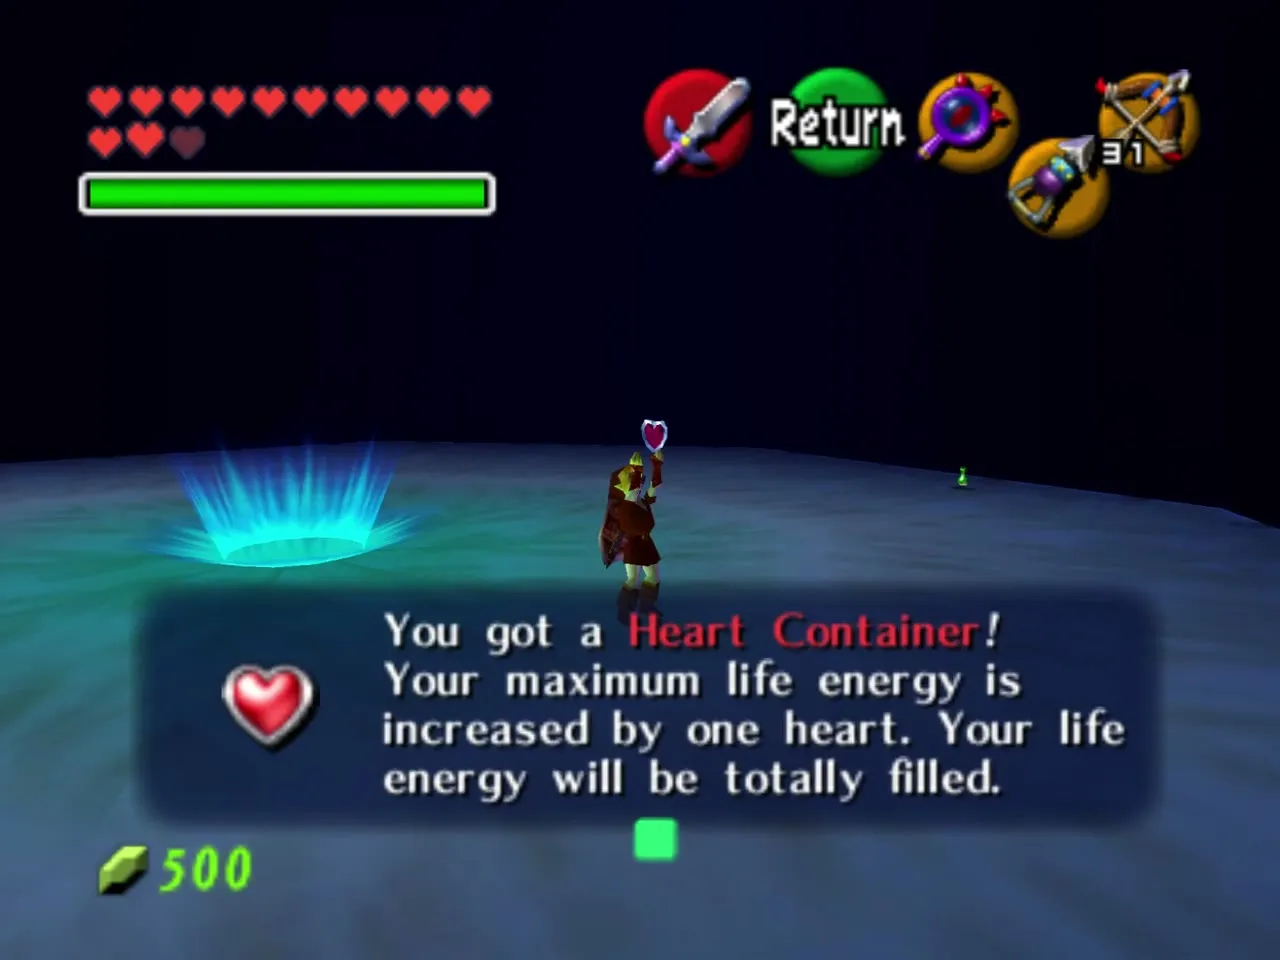
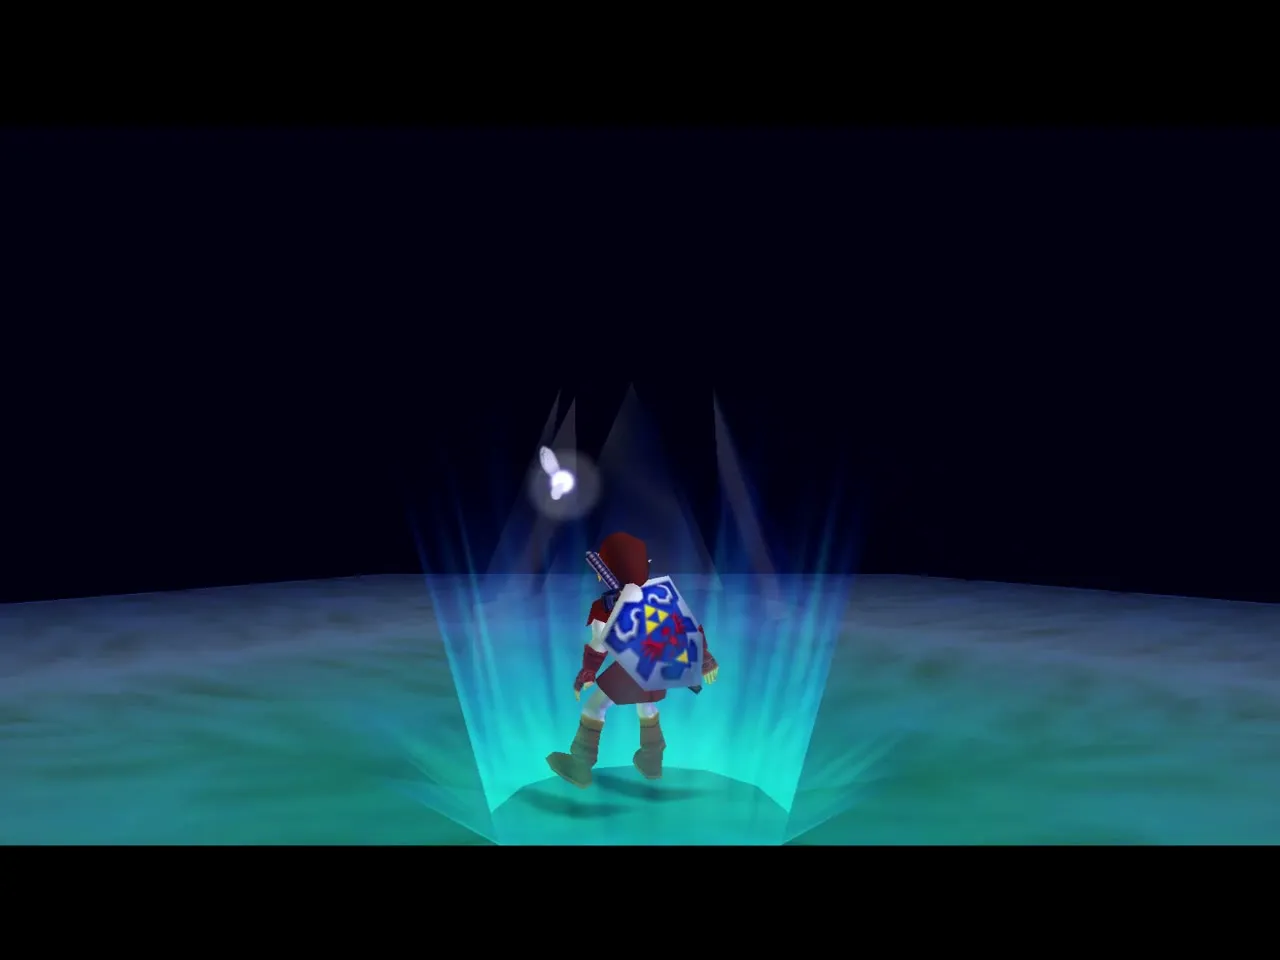
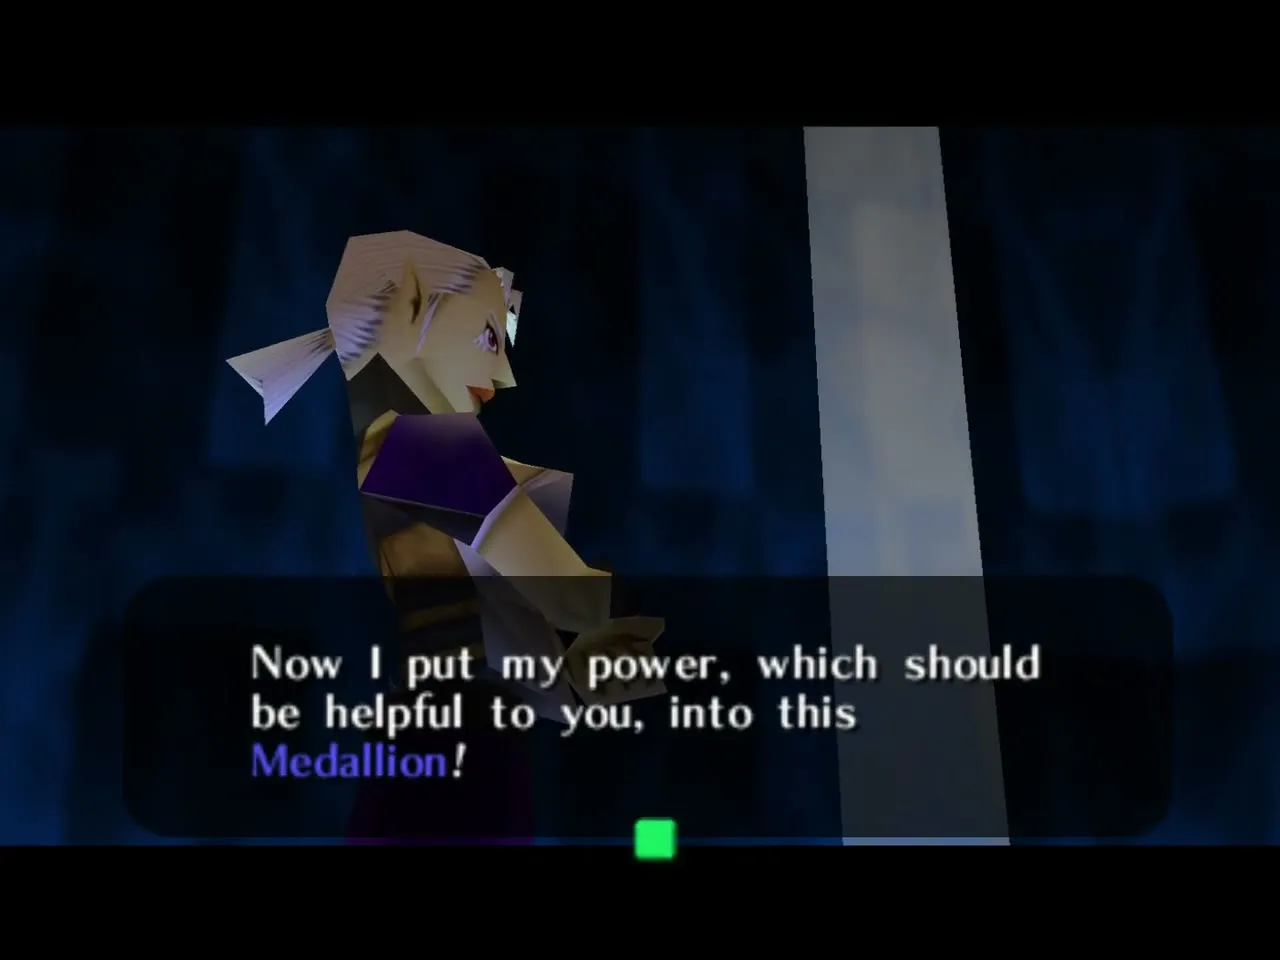
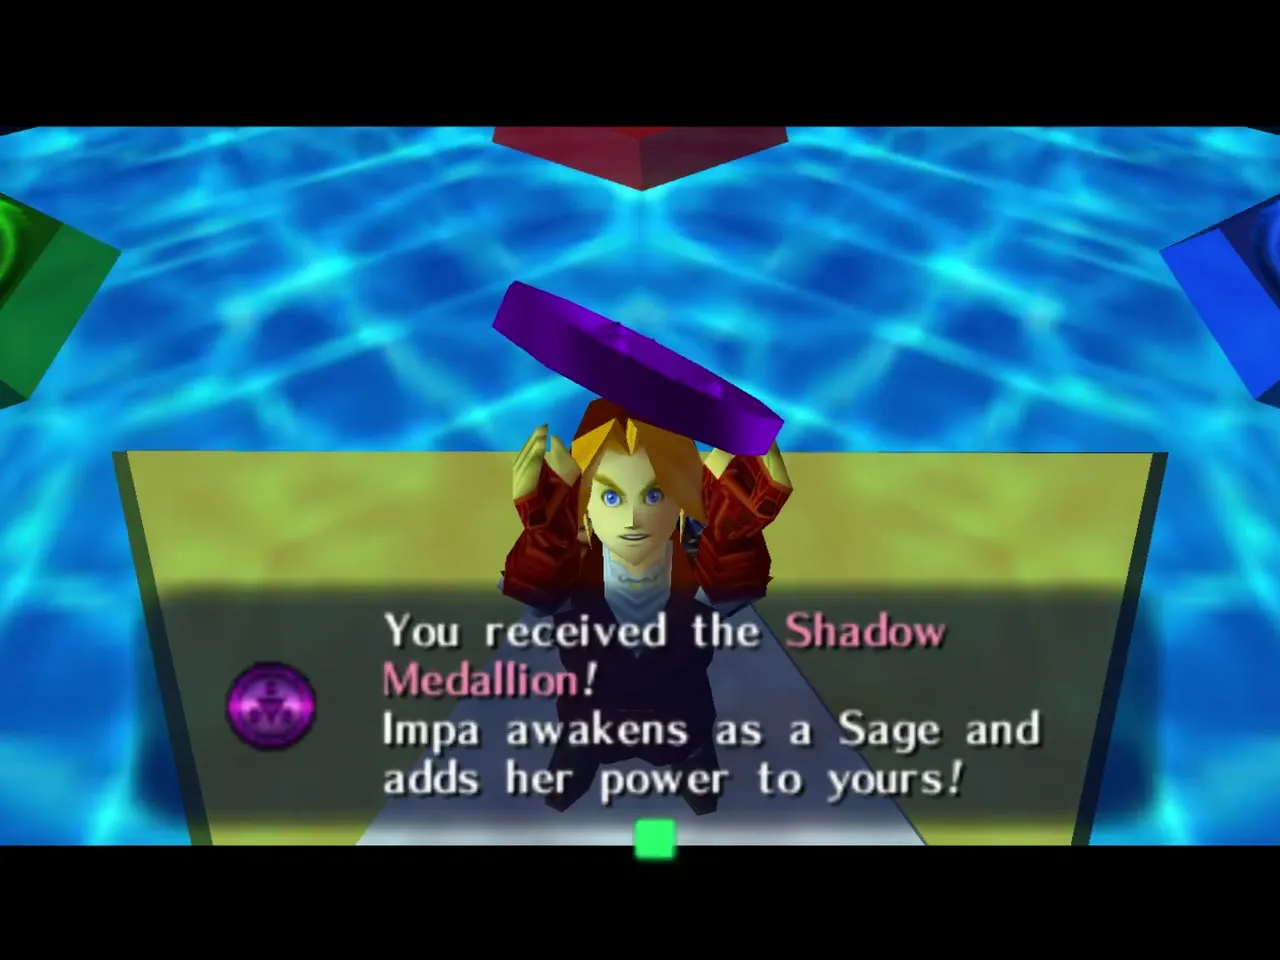
Take the Heart Container, then step into the blue light. In the Chamber of Sages, Impa gives you the Shadow Medallion. See Medallions and Spiritual Stones for what each one does.
How Master Quest changes the Shadow Temple
The original dungeon is covered in the standard Shadow Temple walkthrough. The Master Quest version has six Small Keys instead of five, puts the Hover Boots near the start and adds Fire Arrow torches and invisible chests. Song of Time blocks replace some of the original Silver Rupee puzzles, a second Dead Hand guards the arrows near the Boss Key, and the Gold Skulltulas sit in new places.
Chapter checklist
| Type | Item | Where |
|---|---|---|
| Dungeon item | Dungeon Map | Chest in the scythe room after the five Silver Rupees |
| Key item | Hover Boots | Chest after the first Dead Hand |
| Dungeon item | Compass | Chest in the room of four Redeads |
| Dungeon item | Boss Key | Right-hand chest in the room with burning spike walls |
| Small Key | Key 1 | Chest in the Gibdo room |
| Small Key | Key 2 | Invisible chest after the hidden hole |
| Small Key | Key 3 | Invisible chest beside the Blue Rupee chest |
| Small Key | Key 4 | Chest after the brown block switch |
| Small Key | Key 5 | Invisible chest in the room of four Redeads past the fans |
| Small Key | Key 6 | Behind the vases of the maze |
| Gold Skulltula | 1 of 5 | Southern cell of the falling spikes room |
| Gold Skulltula | 2 of 5 | Face on the wall of the Redead silver rupee room |
| Gold Skulltula | 3 of 5 | Rubble in the Gibdo room after the fans |
| Gold Skulltula | 4 of 5 | Under the fallen bird statue |
| Gold Skulltula | 5 of 5 | Side of an invisible platform before the boss door |
| Heart Container | Bongo Bongo | Boss room |
| Medallion | Shadow Medallion | Impa, Chamber of Sages |
