





















Ocarina of Time Master Quest Walkthrough12 chapters
- Inside the Great Deku Tree (Master Quest)Dungeon Map, Slingshot, Compass, Gold Skulltulas, Queen Gohma, Heart Container and Kokiri’s Emerald.
- Dodongo’s Cavern (Master Quest)Every room in order, Dungeon Map, Compass, Bomb Bag, silver rupees, Gold Skulltulas, King Dodongo and the Goron’s Ruby.
- Inside Jabu-Jabu’s Belly (Master Quest)Cow switches, Map, Compass, Boomerang, Big Octo, Barinade, Heart Container and Zora’s Sapphire.
- Forest Temple (Master Quest)Six Small Keys, Boss Key, Fairy Bow, the four Poe Sisters, five Gold Skulltulas and Phantom Ganon.
- Fire Temple (Master Quest)Five Small Keys, Din’s Fire puzzles, Iron Knuckle, Megaton Hammer, Boss Key, five Gold Skulltulas and Volvagia.
- Water Temple (Master Quest)Early Longshot, Map, Compass, both Small Keys, Dark Link, Boss Key and Morpha.
- Shadow Temple (Master Quest)Hover Boots, map, compass, Boss Key, Gold Skulltulas, Bongo Bongo and the Shadow Medallion.
- Spirit Temple (Master Quest)Every chest, 7 Small Keys, Silver Gauntlets, Mirror Shield, Boss Key, Skulltulas and Twinrova.
- Bottom of the Well (Master Quest)Map, Compass, two Small Keys, Dead Hand, the Lens of Truth and all three Gold Skulltulas.
- Ice Cavern (Master Quest)Blue Fire, Song of Time blocks, Stalfos, Iron Boots, Serenade of Water.
- Gerudo Training Ground (Master Quest)The remixed rooms in order, Small Keys, Silver Rupee puzzles and the Ice Arrows.
- Ganon’s Castle (Master Quest)Light Arrows, the rainbow bridge, all six remixed trials, Golden Gauntlets, Double Defense, the tower.
| Covers | The optional Gerudo Training Ground in Master Quest, from the gate in Gerudo’s Fortress to the Ice Arrows, every room in route order |
|---|---|
| Dungeon | Gerudo Training Ground (optional, adult Link only): Gerudo Membership Card and 10 Rupees per entry; Fairy Bow with Fire Arrows, Bombs, Longshot, Silver Gauntlets, Lens of Truth, Hover Boots, Iron Boots, Zora Tunic, Din’s Fire, an empty bottle for Blue Fire and the Song of Time; no boss, no medallion |
| Rewards | Ice Arrows, three Small Keys, three Silver Rupee puzzles, Rupee and ammo chests. No Piece of Heart and no Gold Skulltula |
| Differences | Rooms are reordered and rebuilt around Fire Arrows and timed fights; three keys are enough instead of seven, and the middle treasure area is a caged maze of doors |
The Master Quest version of the Gerudo Training Ground keeps the idea of the original, a ring of trial rooms around a treasure area, but remixes every room. You clear it with three Small Keys, plenty of Fire Arrows and several timed fights, and the Ice Arrows wait at the end of a caged maze behind a lava hall. The route below takes the left door of the entrance hall first and works round the ring.
Table of Contents
Getting in
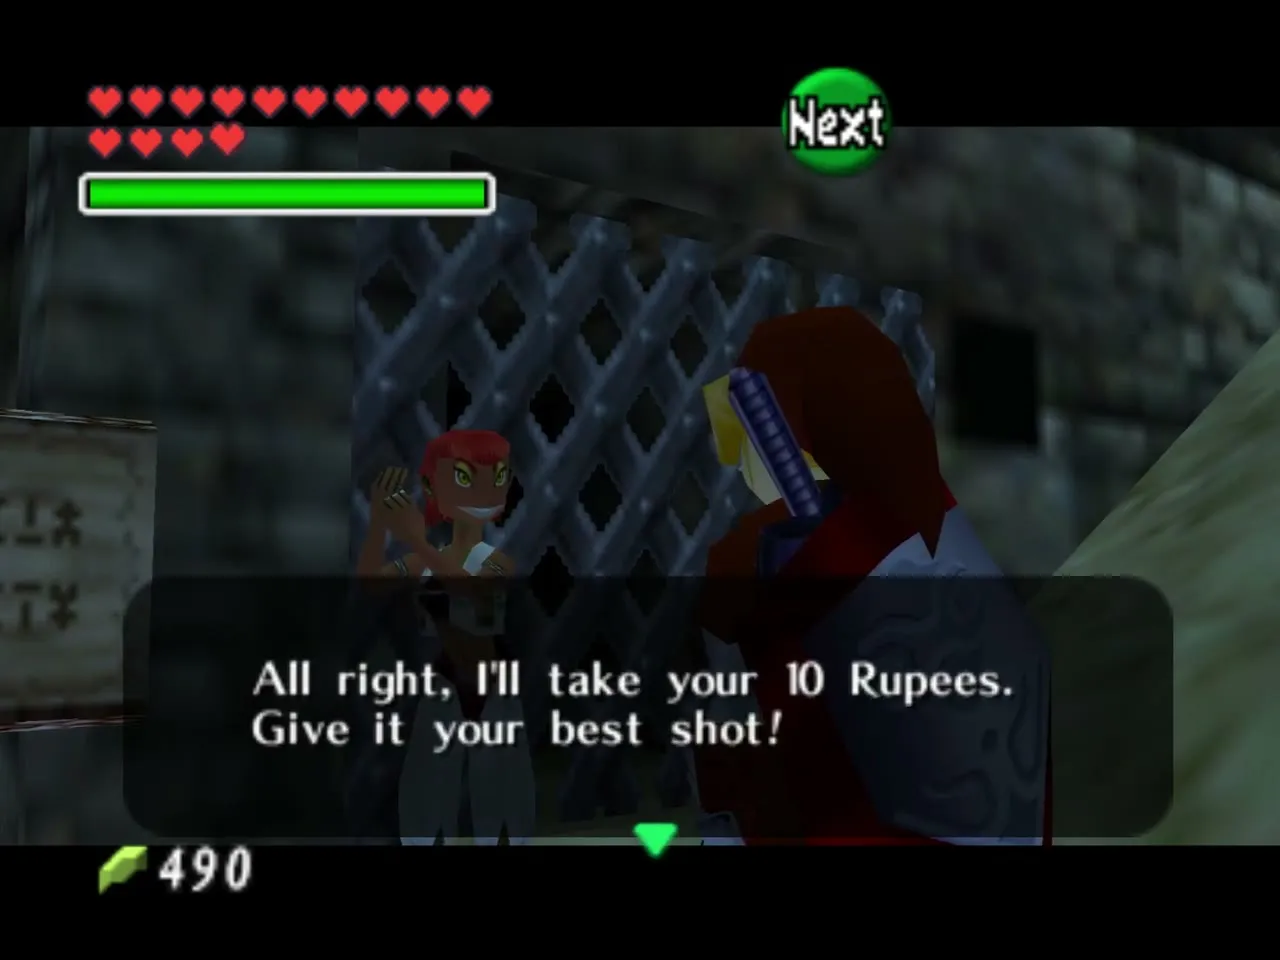
Free the carpenters in Gerudo’s Fortress to earn the Gerudo Membership Card, then talk to the Gerudo in white at the small barred gate. Pay her 10 Rupees and walk down the stairs. You pay again every time you leave and return, so bring every item and finish in one visit.
Entrance hall
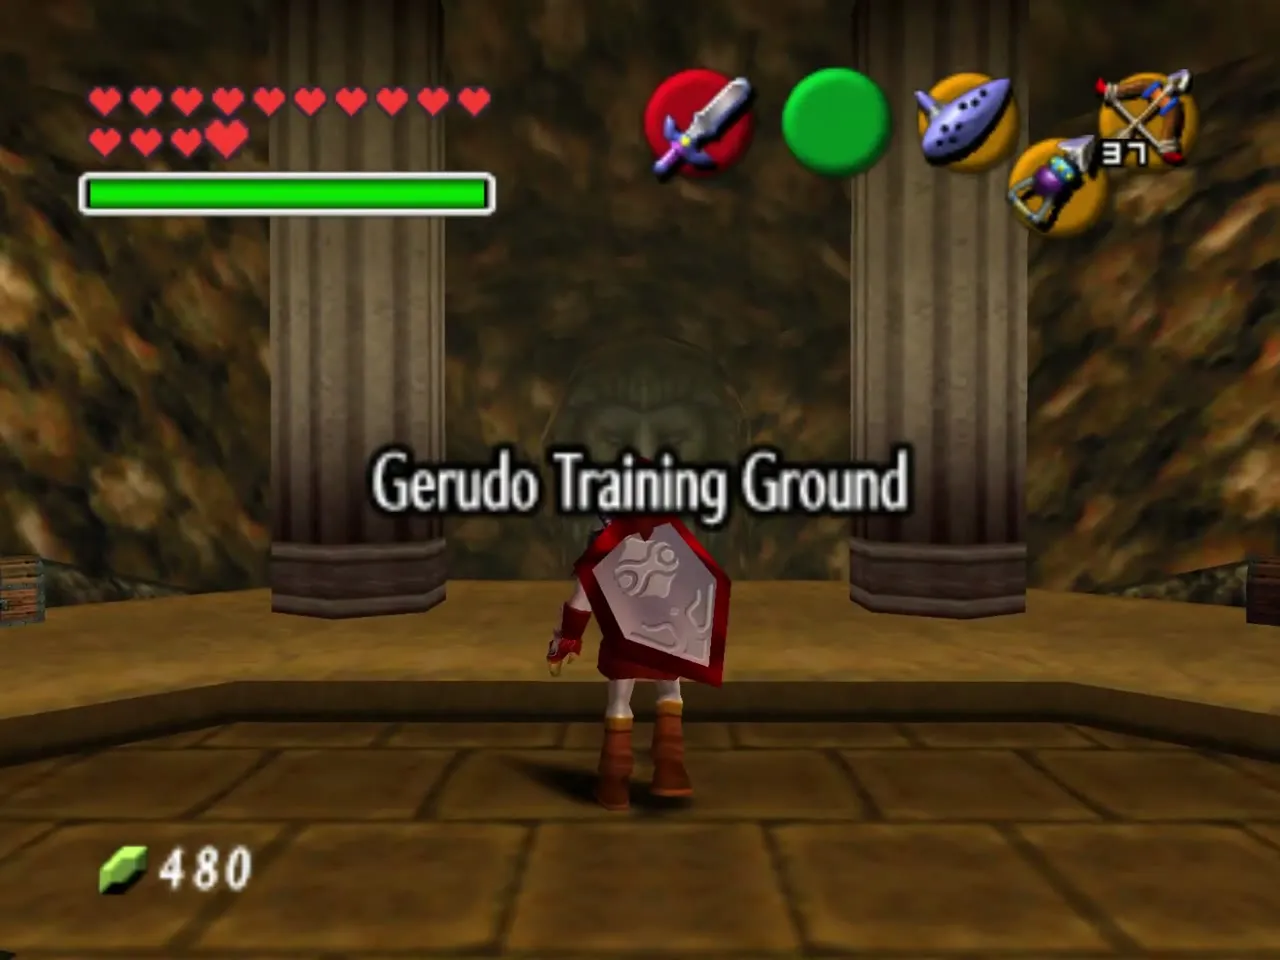
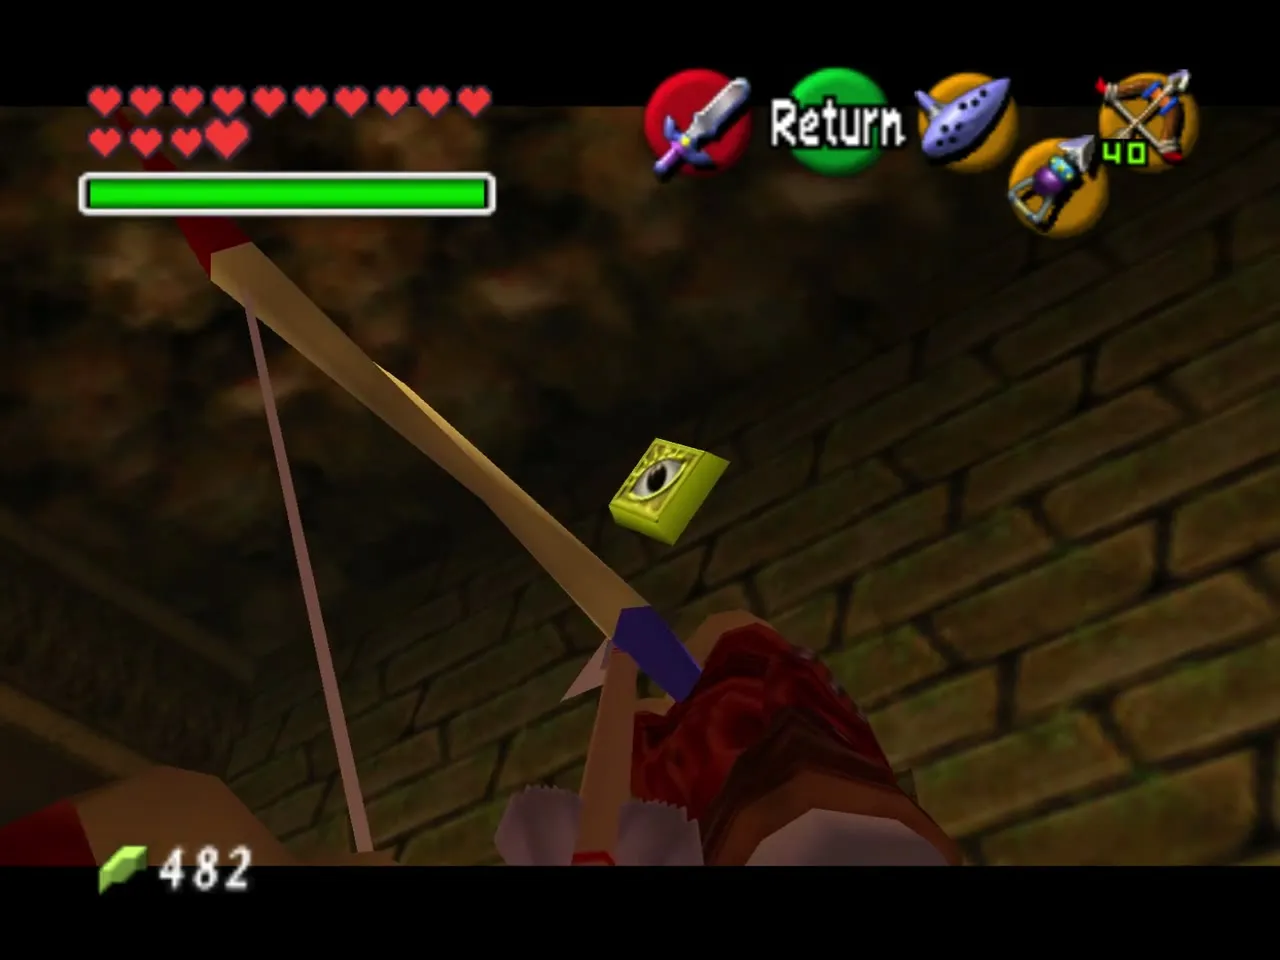
Besides the exit, the hall has three doors. The middle one is the treasure area and stays locked for now. Shoot the gold eye switch above the door you came in by to open the door on the right. Switch to Fire Arrows and light the two torches in the hall to open the lion-mouth door on the left, which is where this route starts.
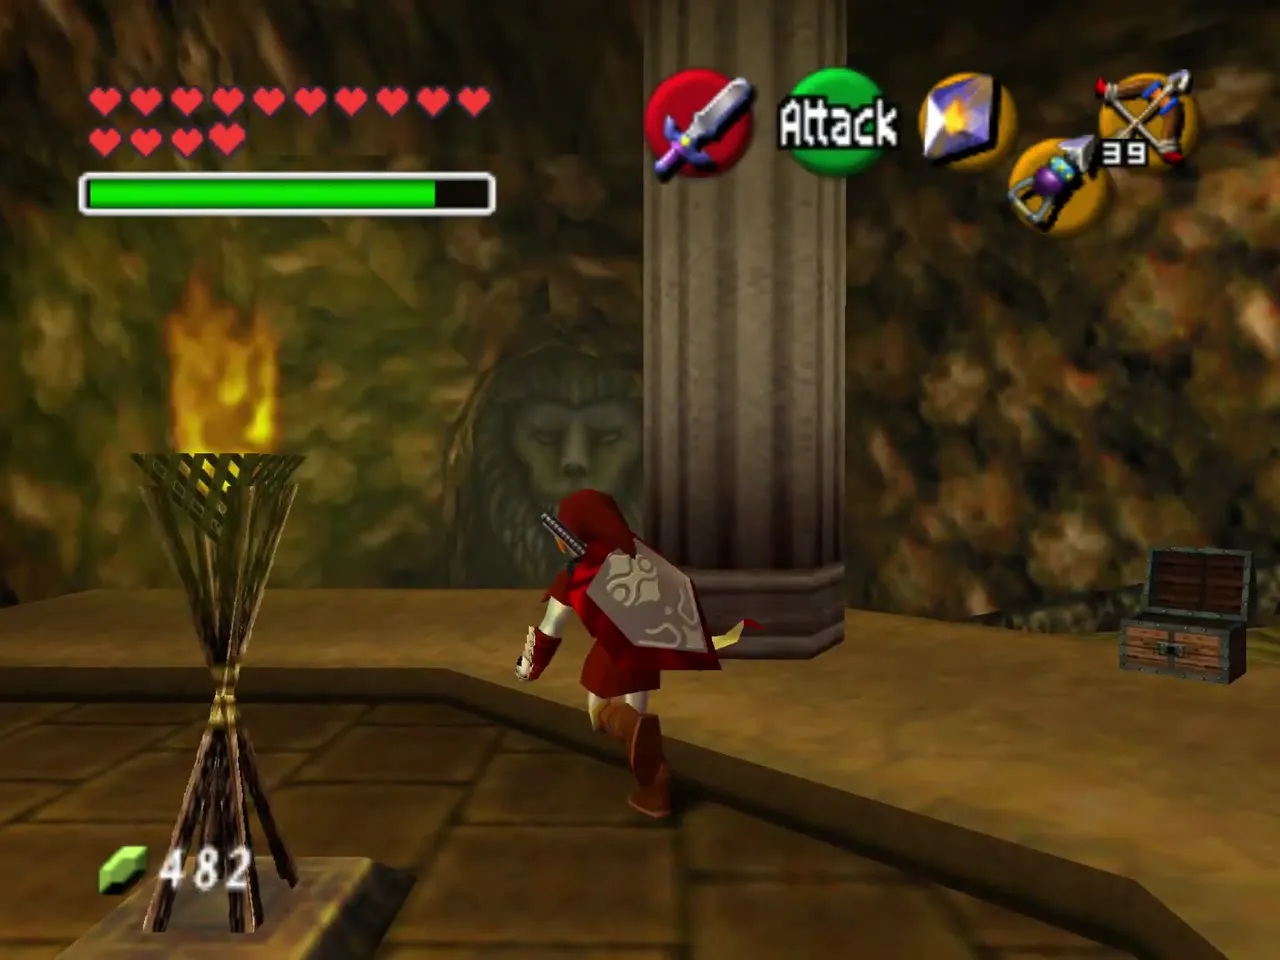
Left route: sand room and Silver Rupee corridor
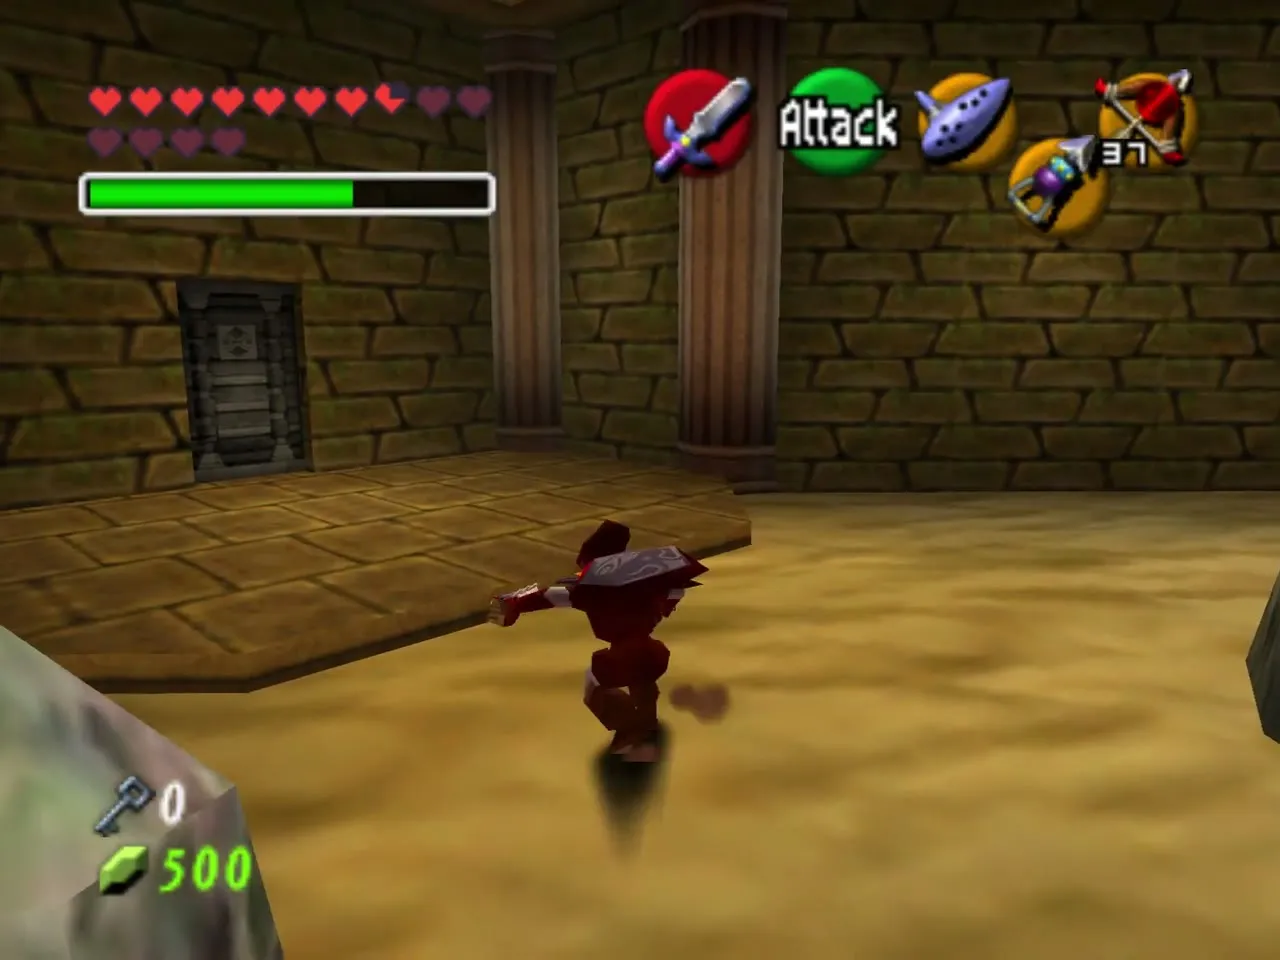
Iron Knuckle in the sand
The left door leads to a sandy room where you have one minute to beat an armored Iron Knuckle. Stay off the sand where you can, because it slows you down. Strike it with the sword between its swings, or soften it up with Bombs first. When it falls, the bars lift and a chest appears with a Blue Rupee.
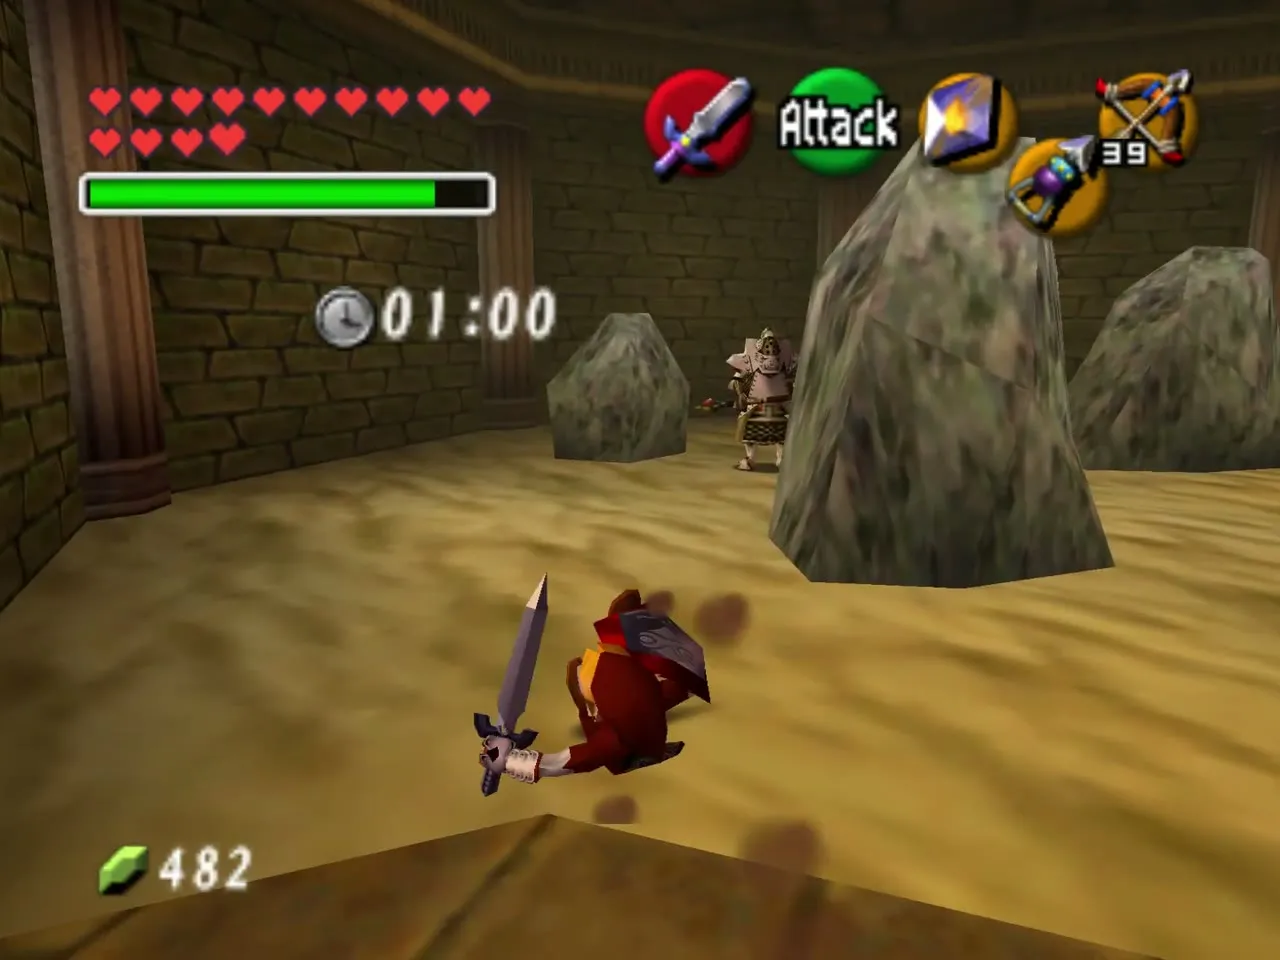
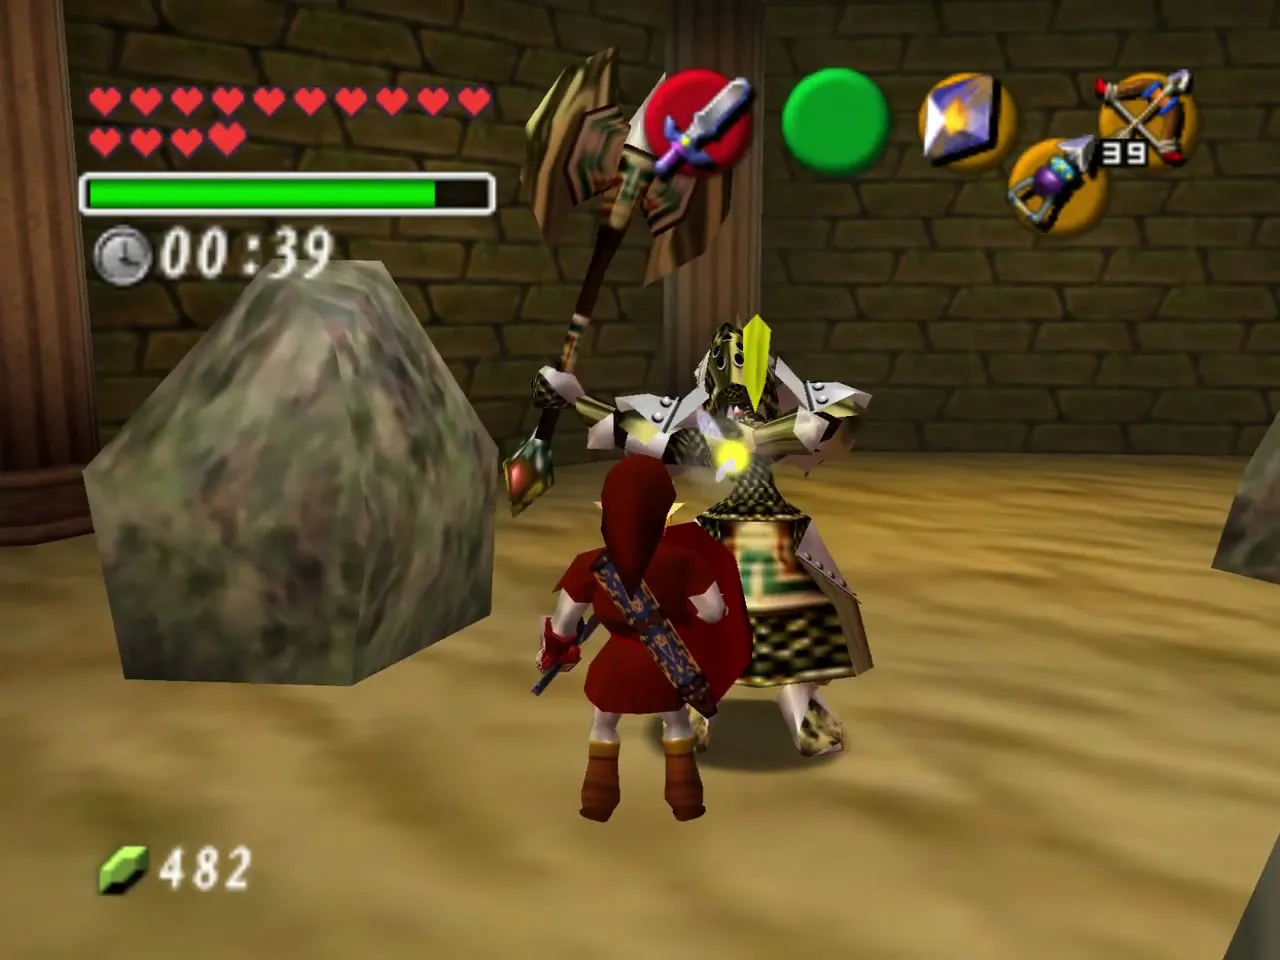
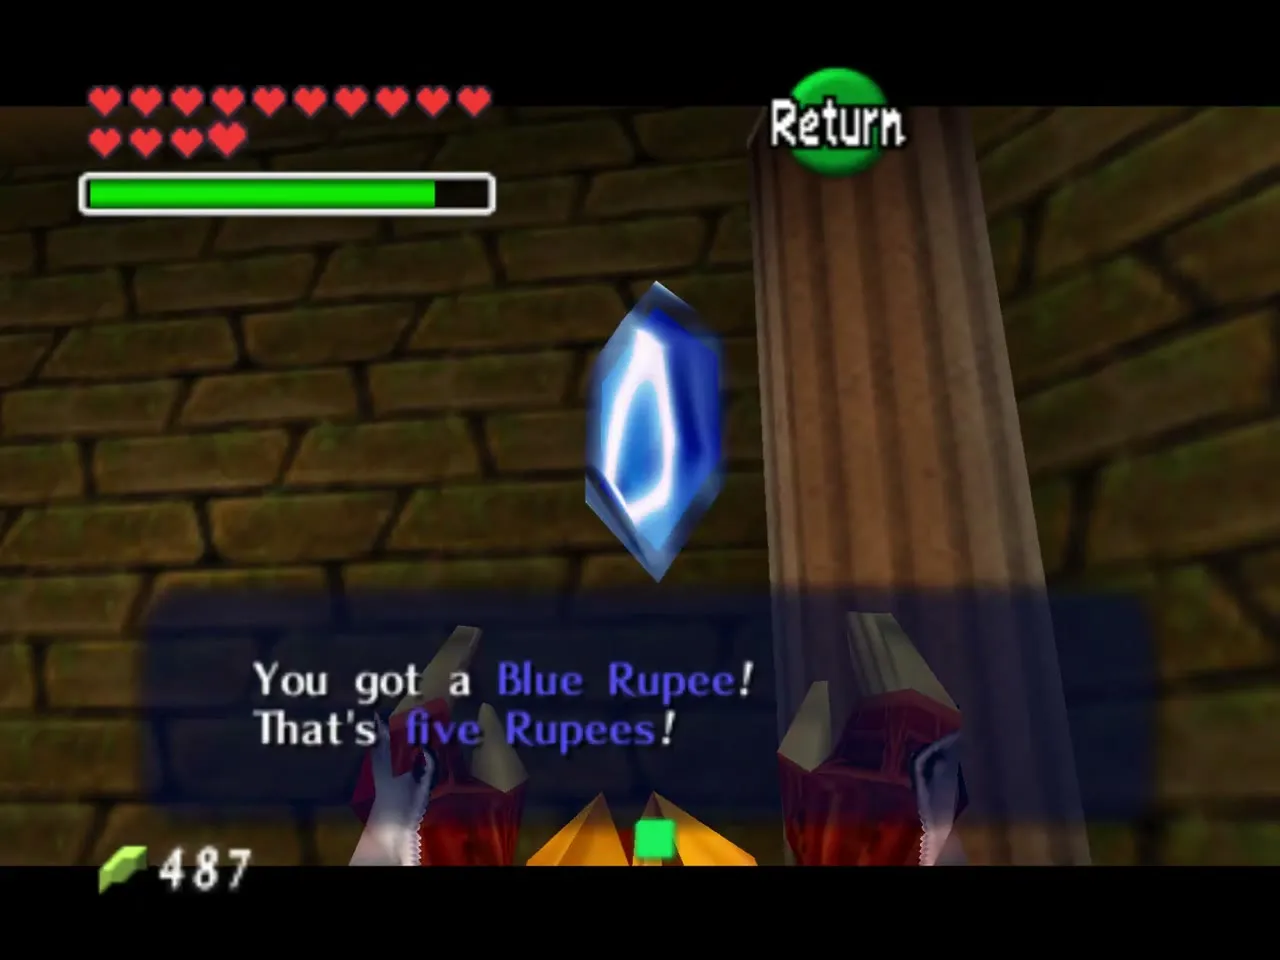
Timed corridor of white jewels
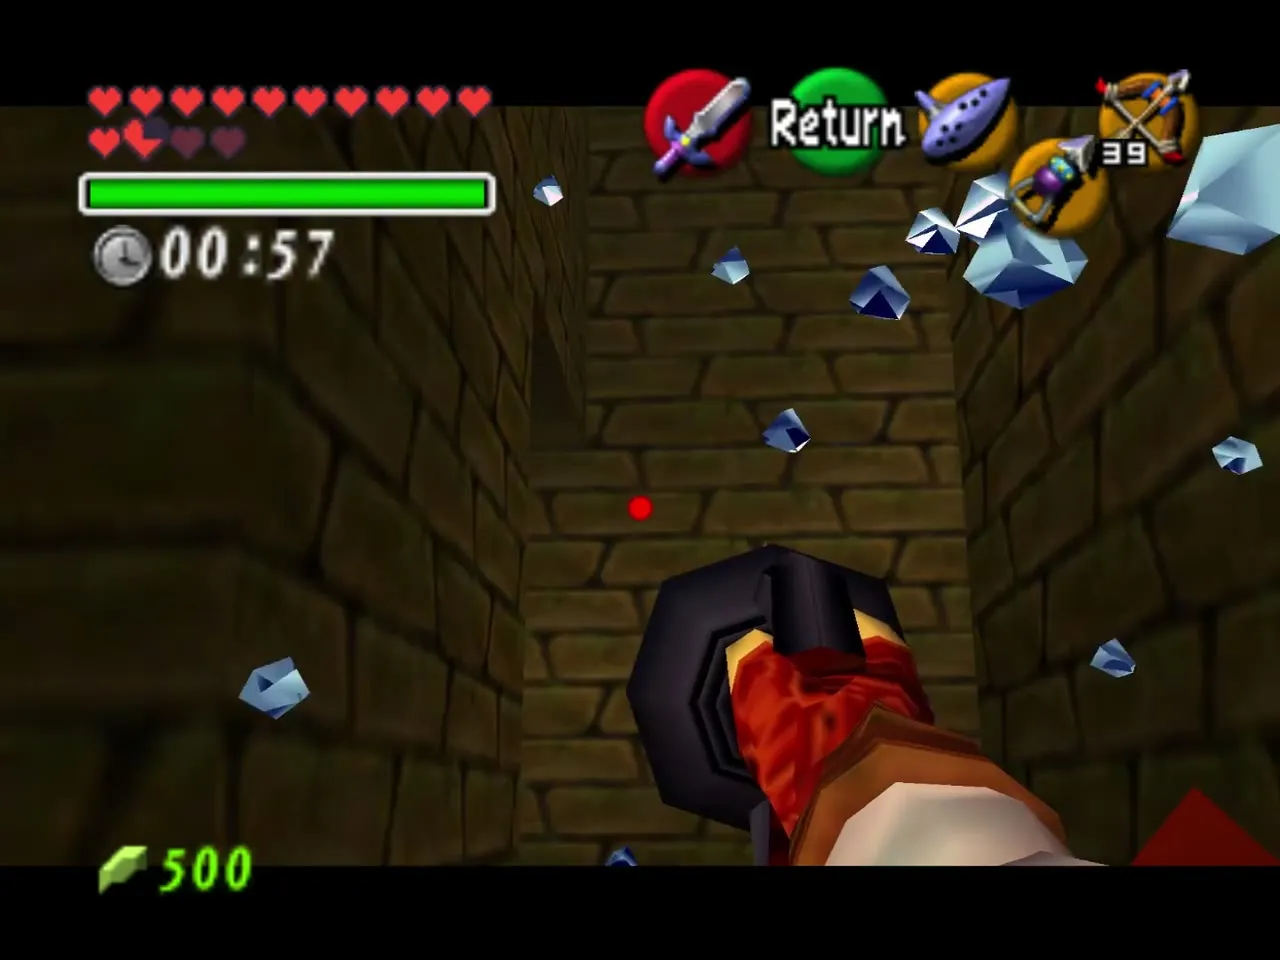
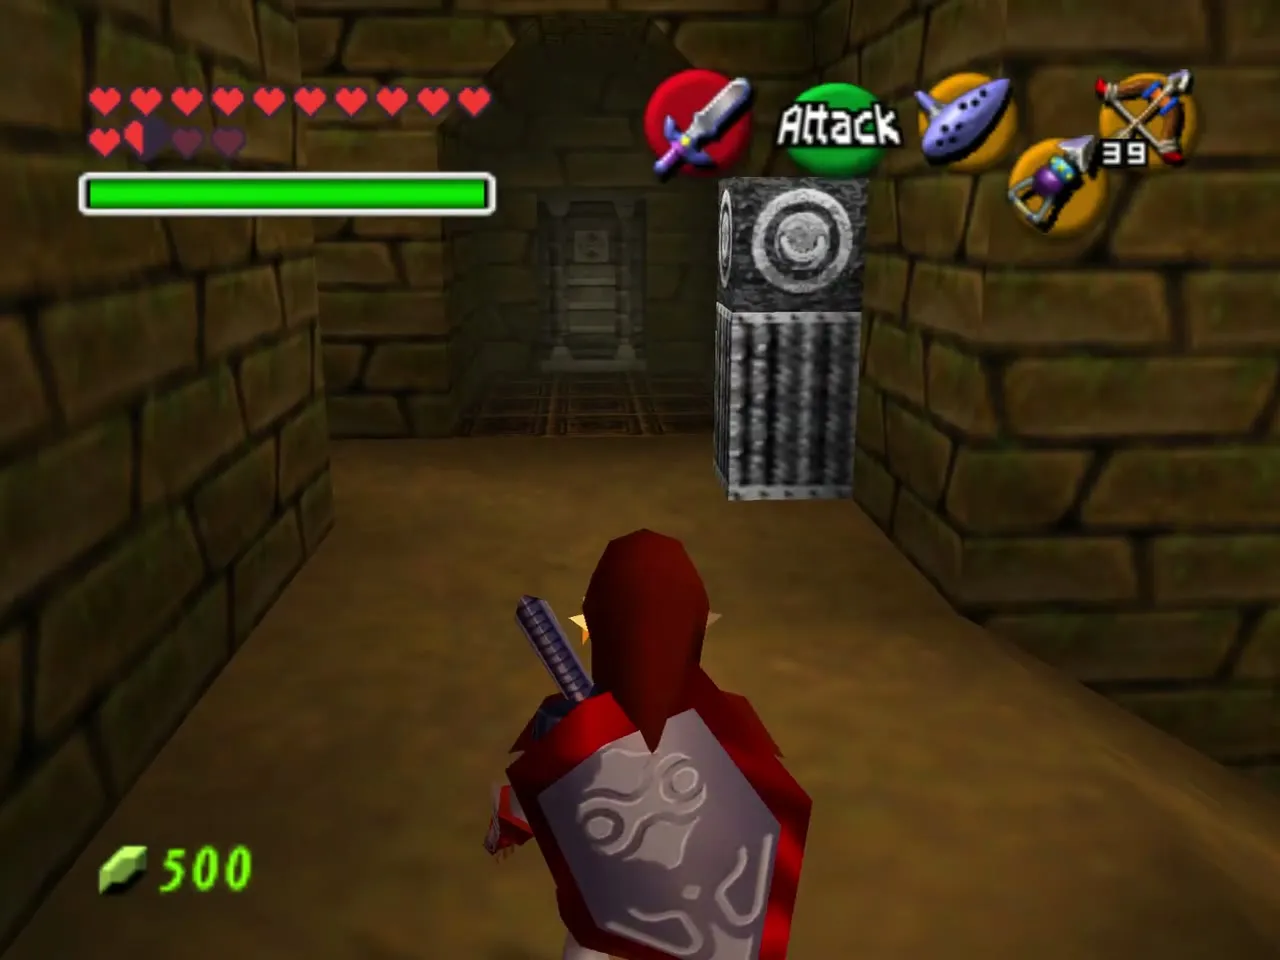
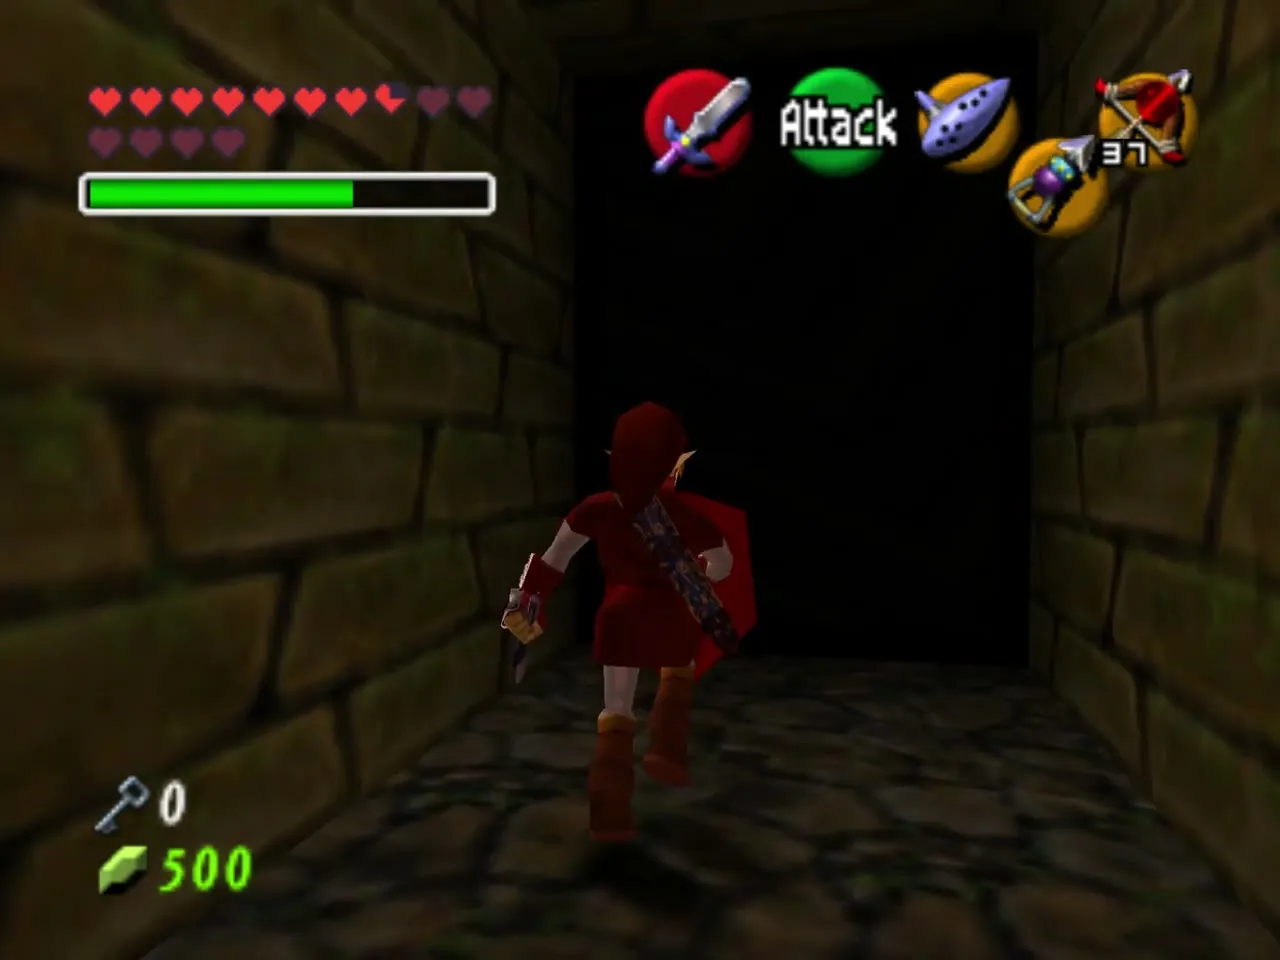
A plaque in the next room tells you to gather the jewels of white while avoiding traps. This is a timed Silver Rupee puzzle, roughly a minute and a half for five rupees, inside a brick maze full of icicles, flame jets and other hazards. Keep moving, and never fight what you can walk around.
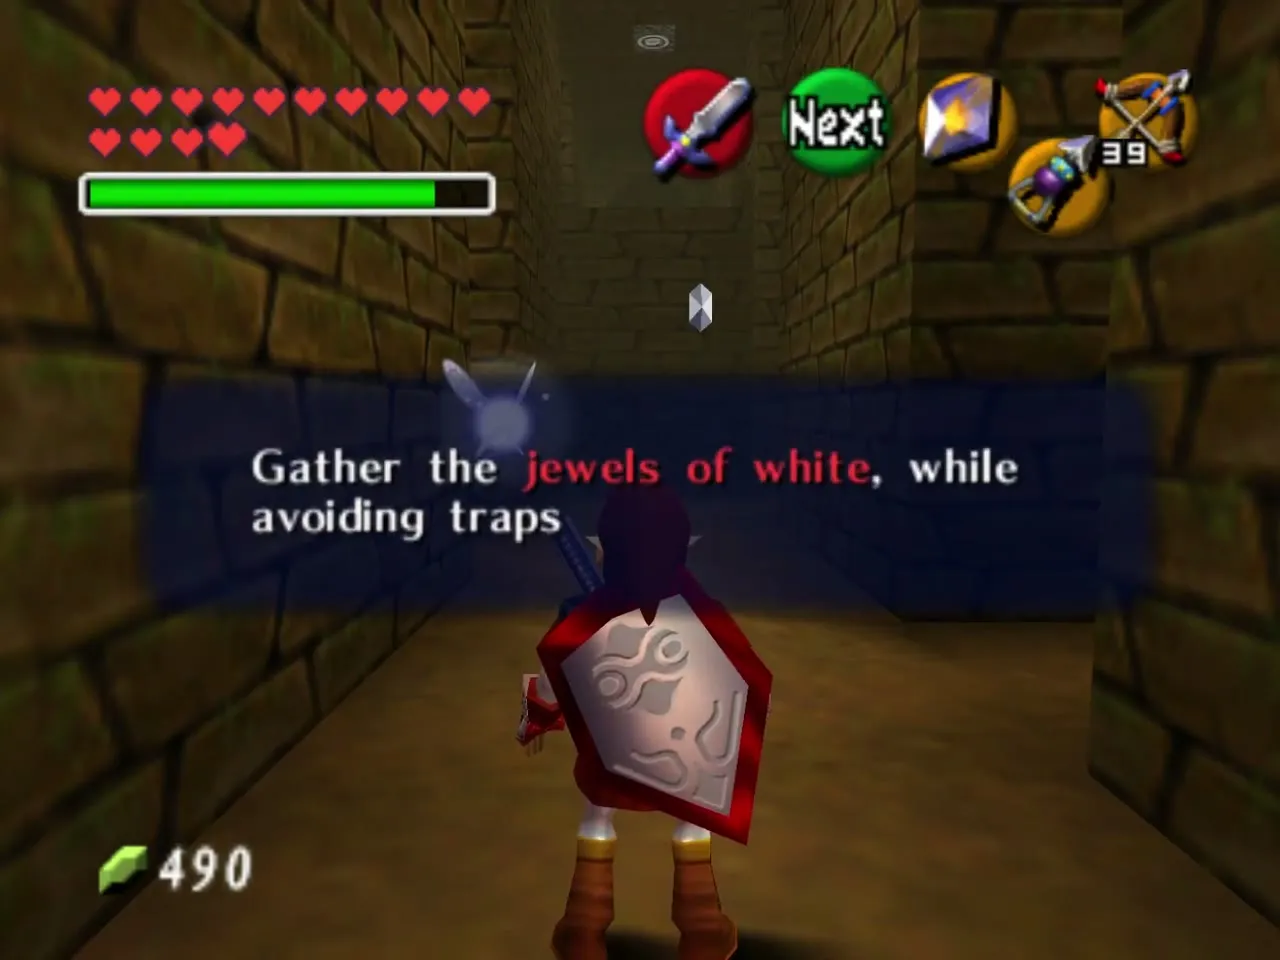
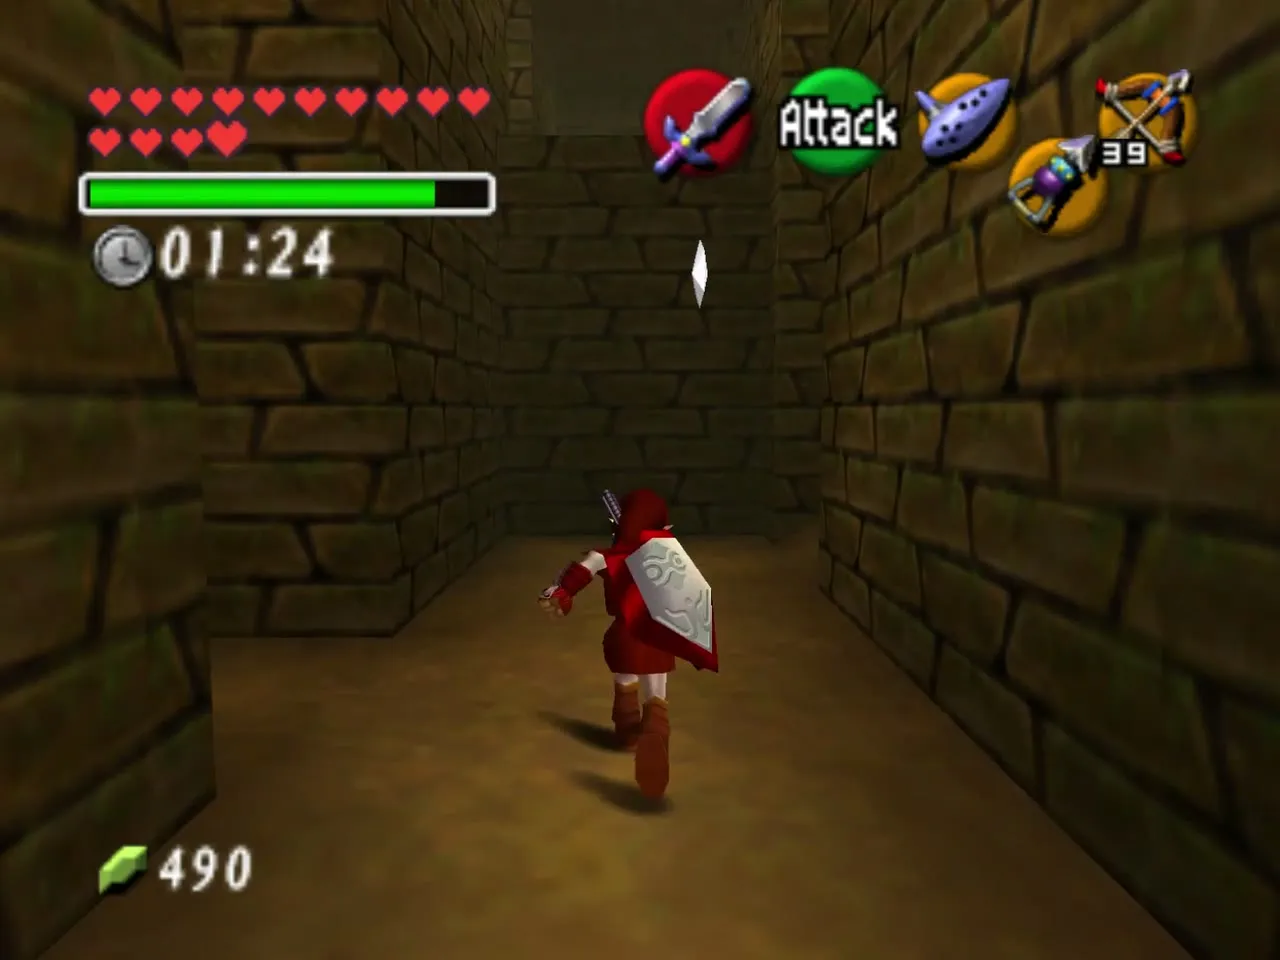
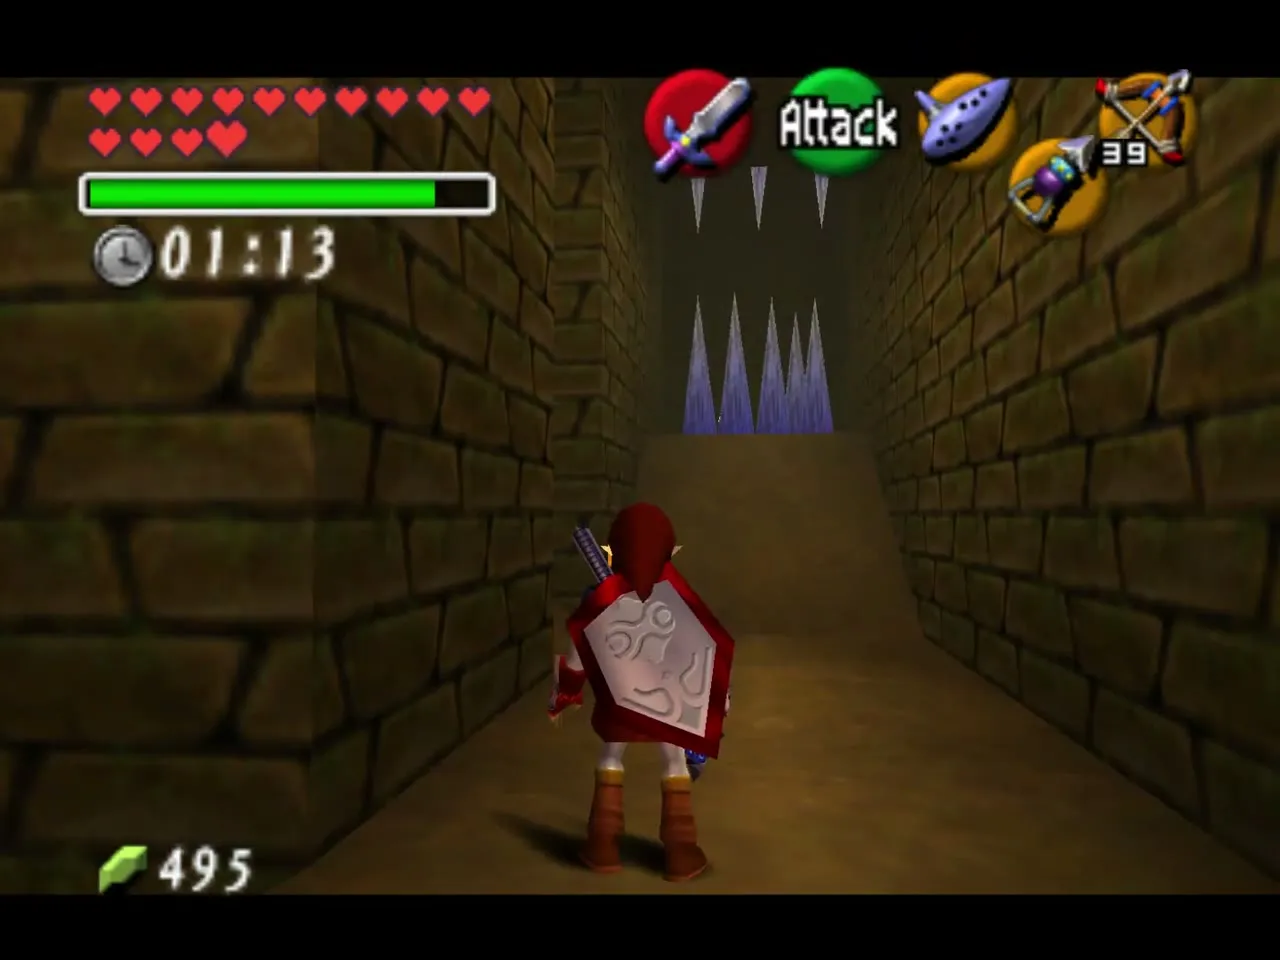
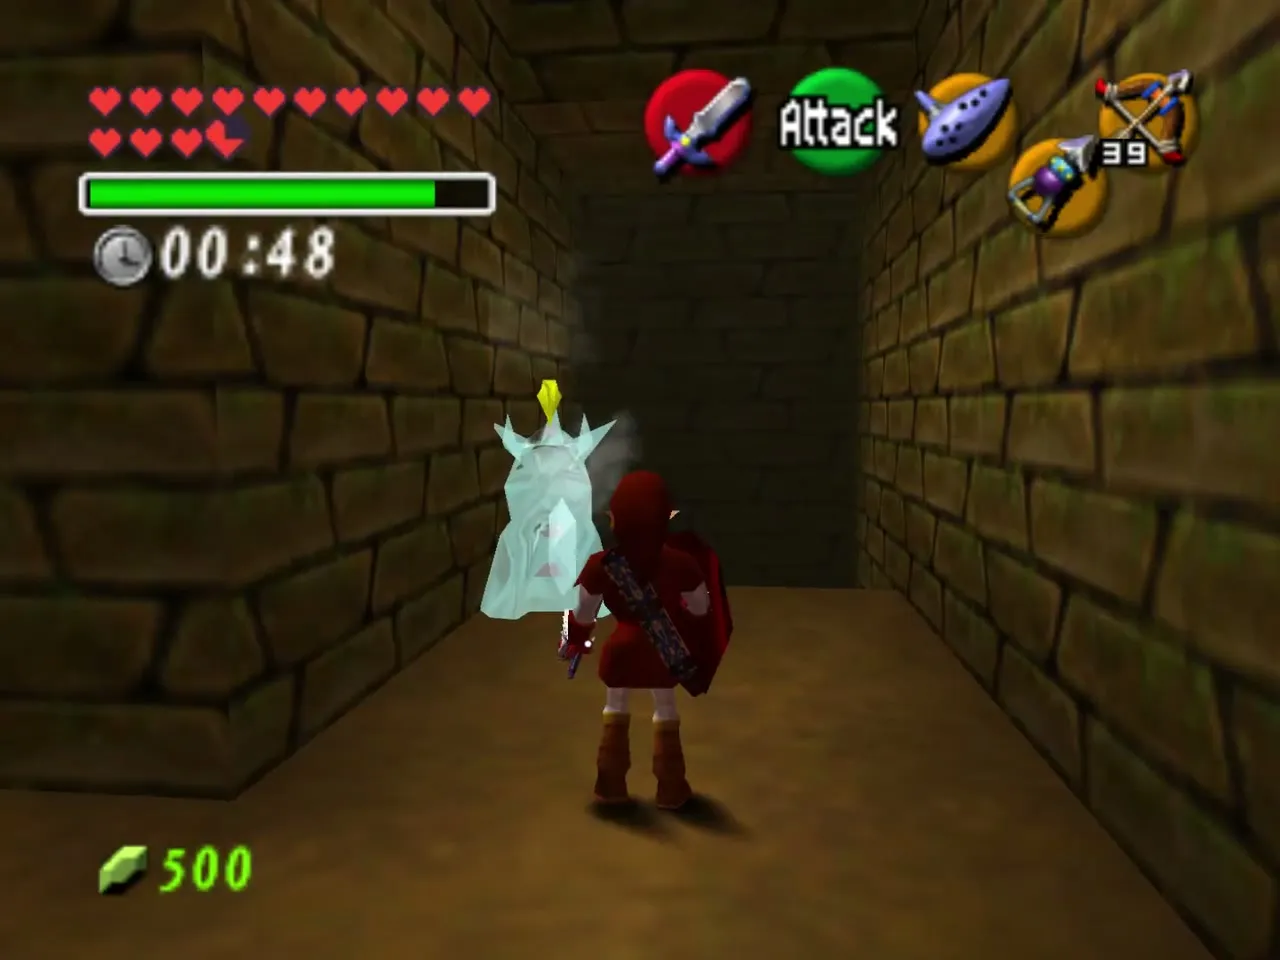
Stab the Freezard in the left passage before it ambushes you for the first rupee. Float out on the Hover Boots to the rupee above the pit, smash the icicles to reach the one behind them, and Longshot the rupee that hangs in front of a target past a flame wall. For the last one, Longshot the target at the top of the ledge by the entrance and drop onto the rupee in mid-air. The door opens. Climb to the ledge and use the statue target to get over the flame wall.
Skulltulas and Stalfos
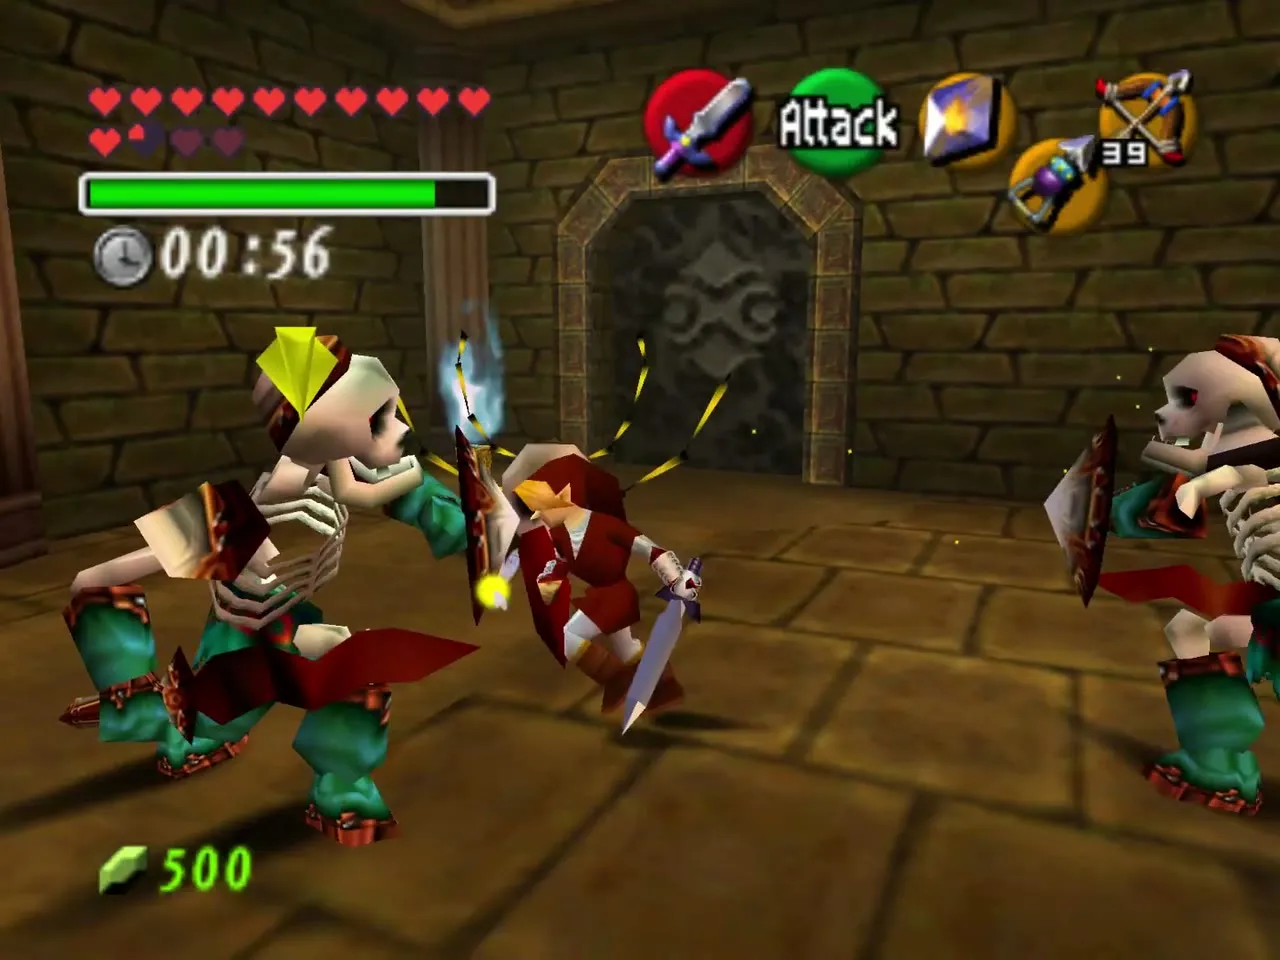
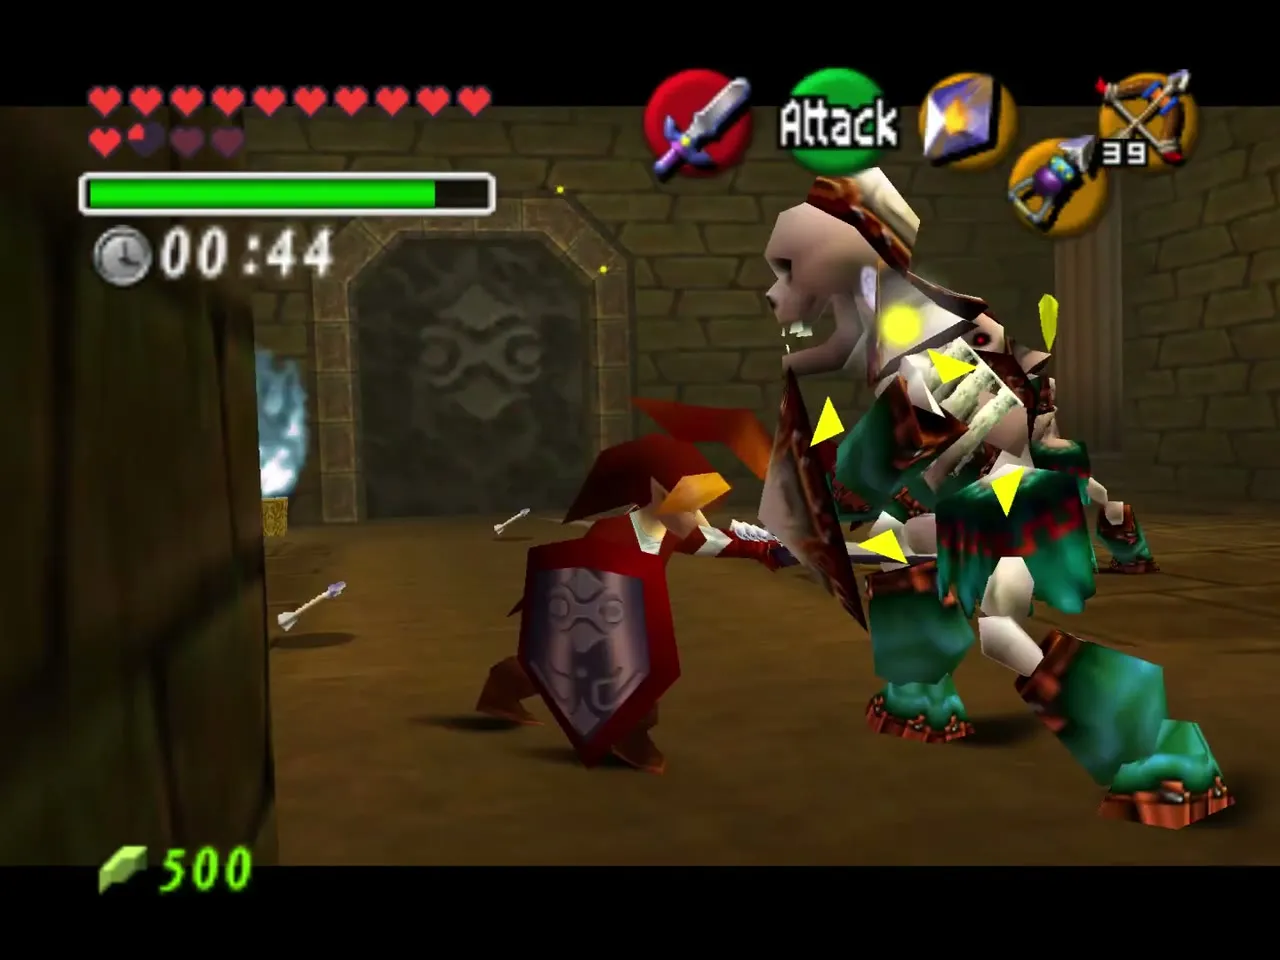
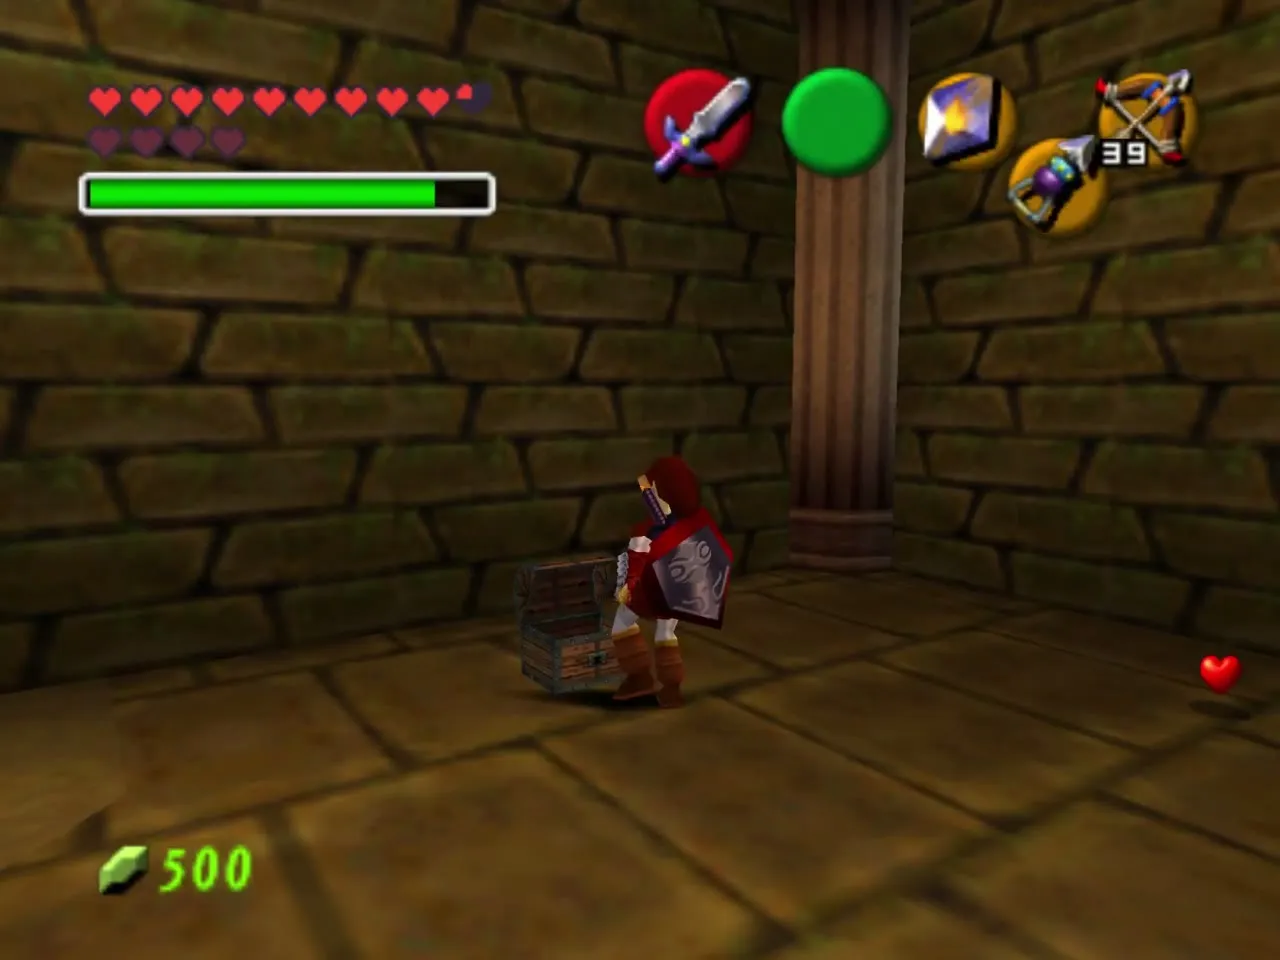
The next room is another one-minute fight. Shoot the Skulltulas hanging from the ceiling with the Longshot, then take on the two Stalfos aggressively. When every enemy is down, the door opens and a chest of arrows appears, and a Recovery Heart drops nearby.
Song of Time and Blue Fire rooms
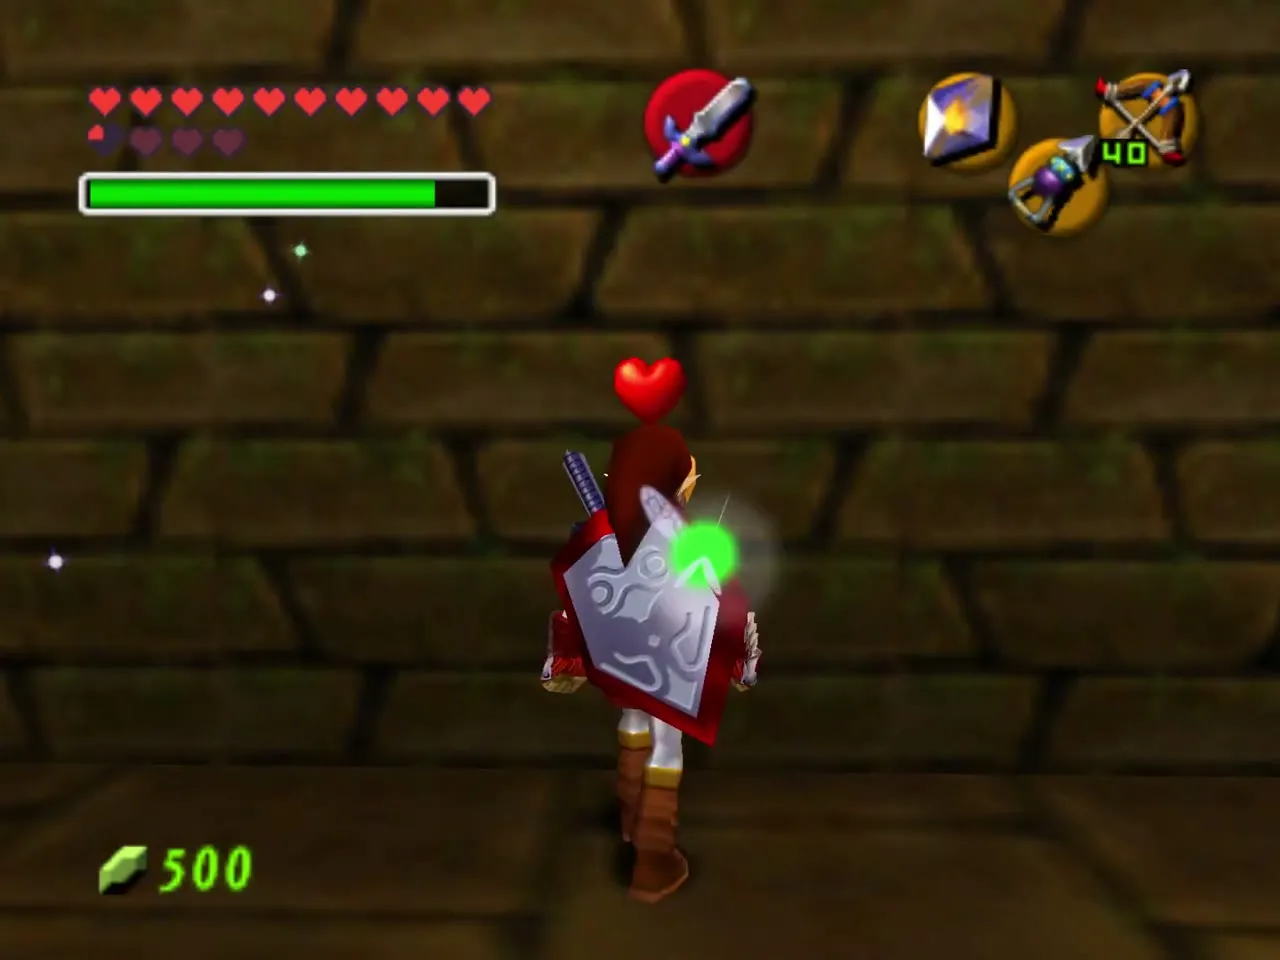
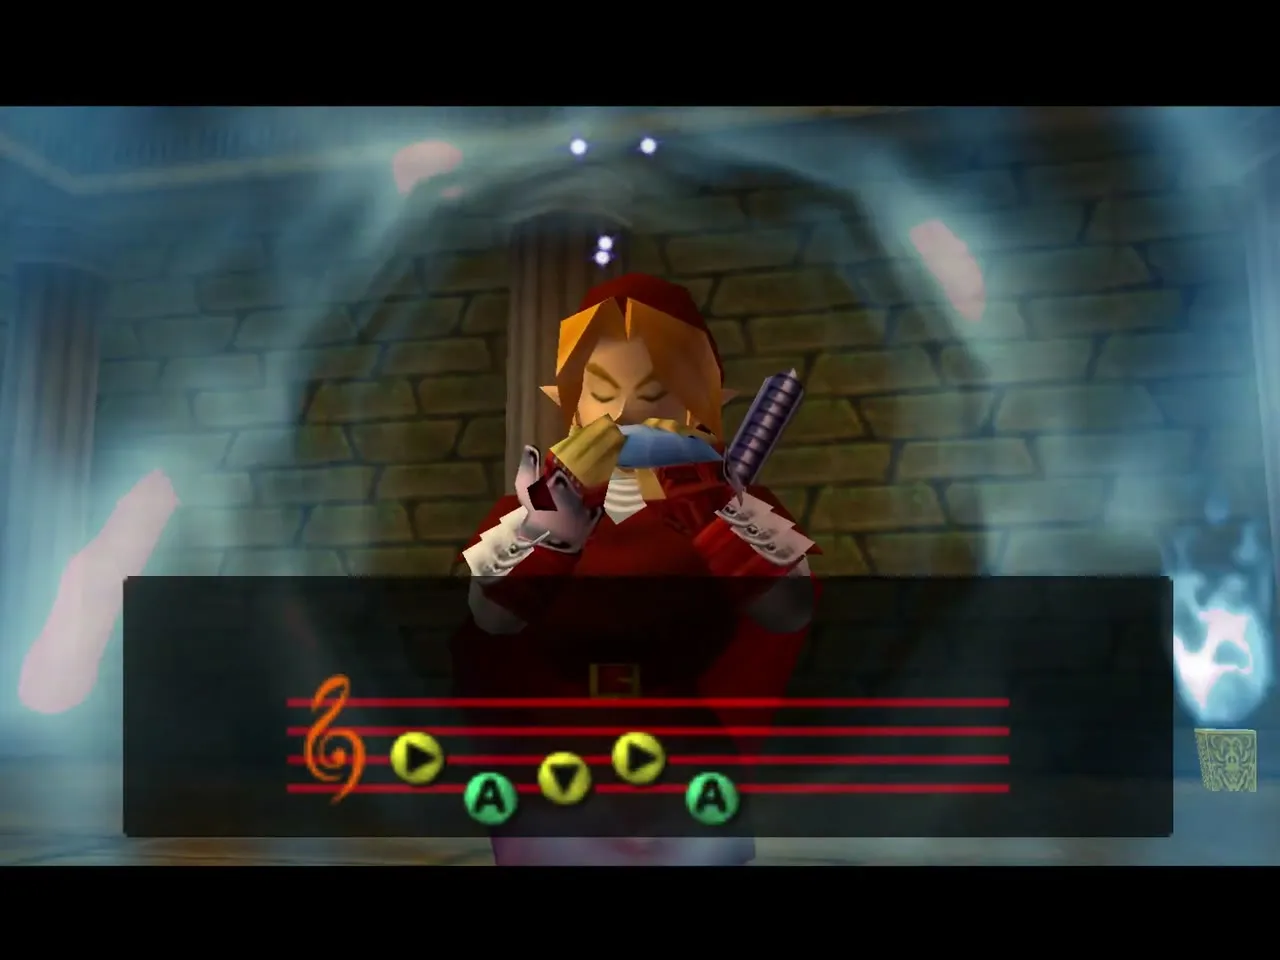
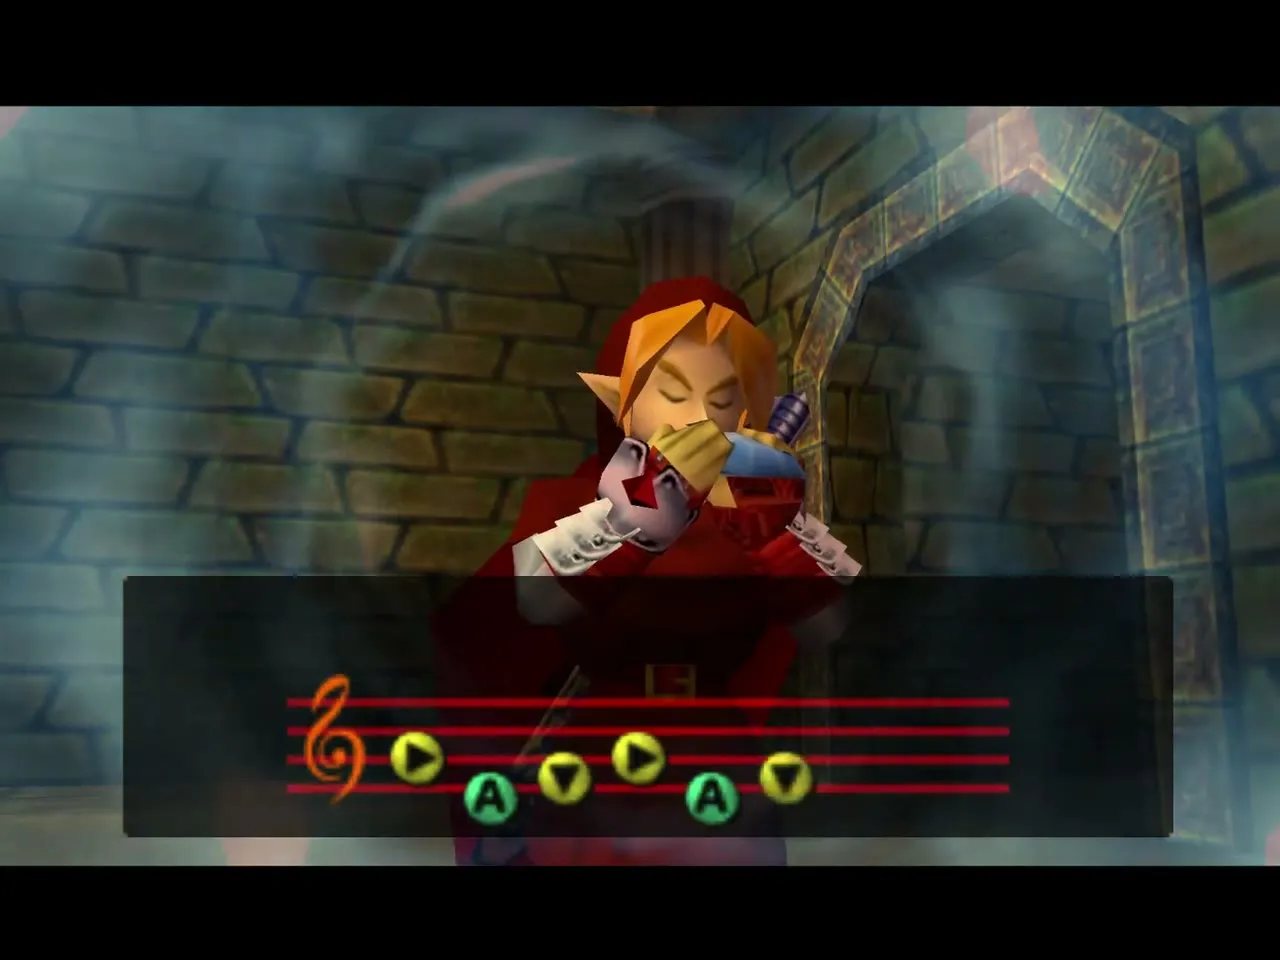
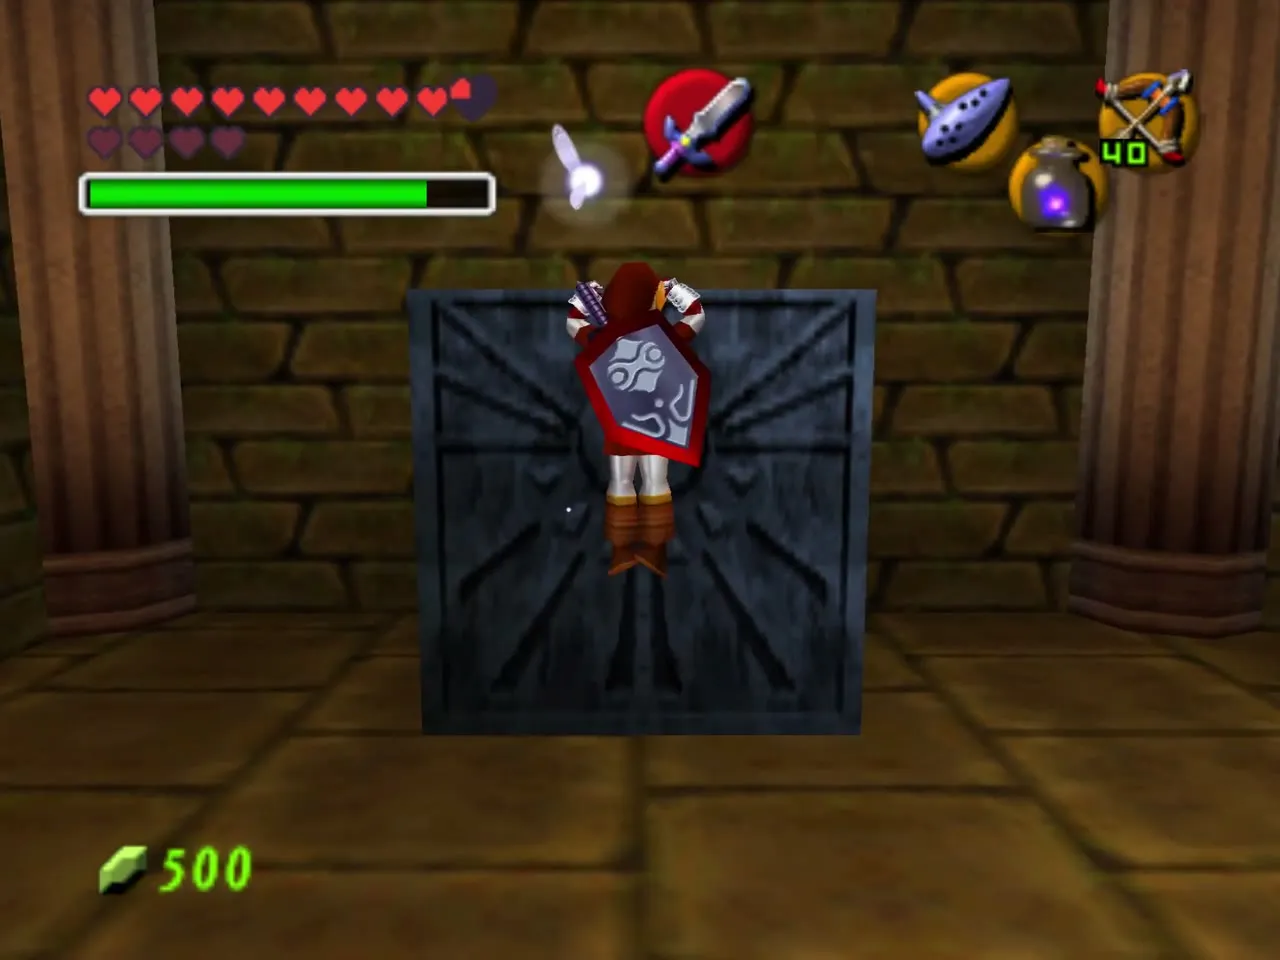
Push the heavy block here with the Silver Gauntlets and take the door behind it. In the next room a torch burns with blue fire, so fill an empty bottle from it. Go to the wall beside the chest, where Navi turns green, and play the Song of Time to bring out a block you can climb.
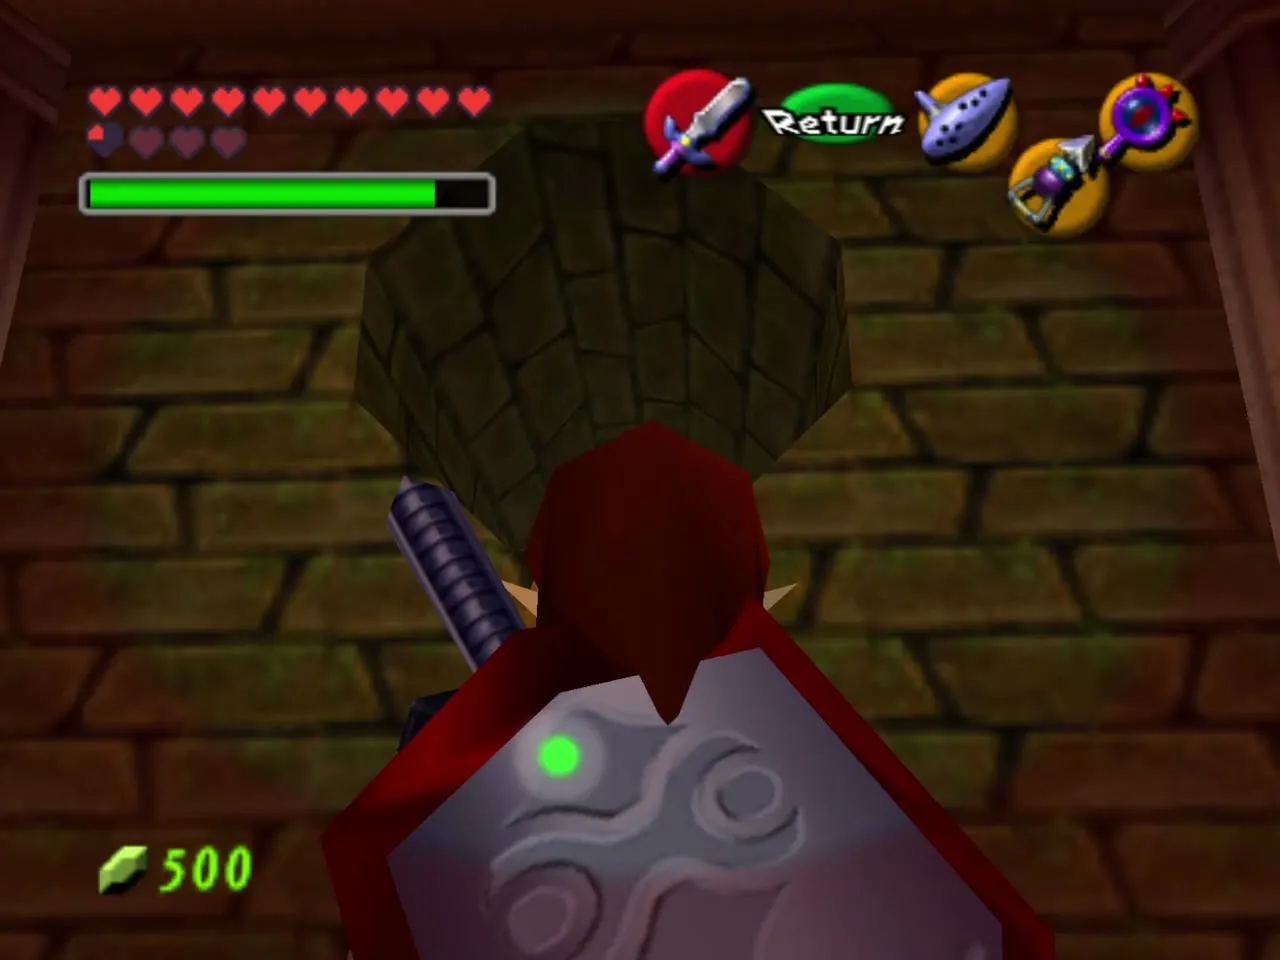
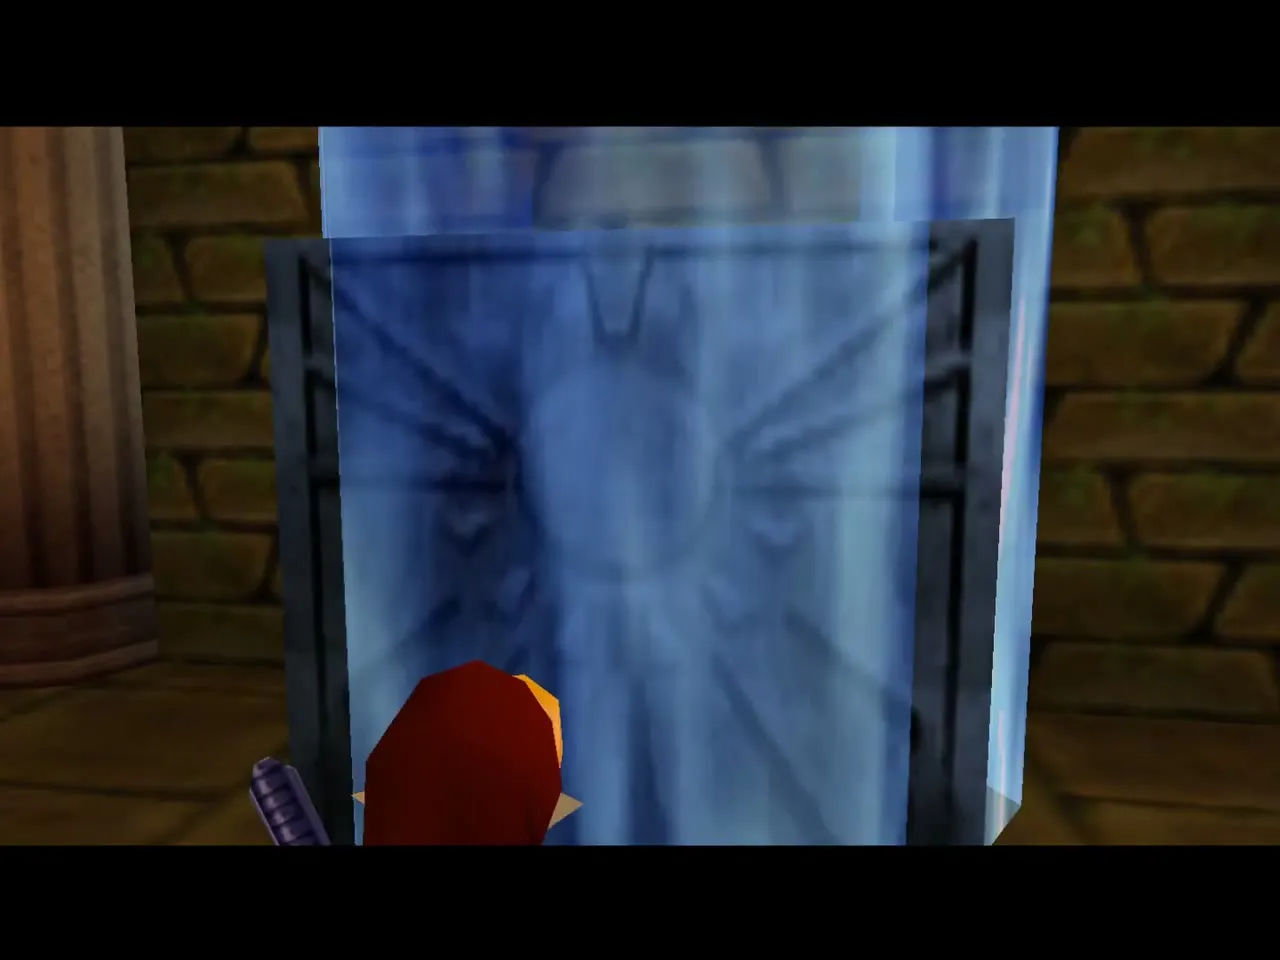
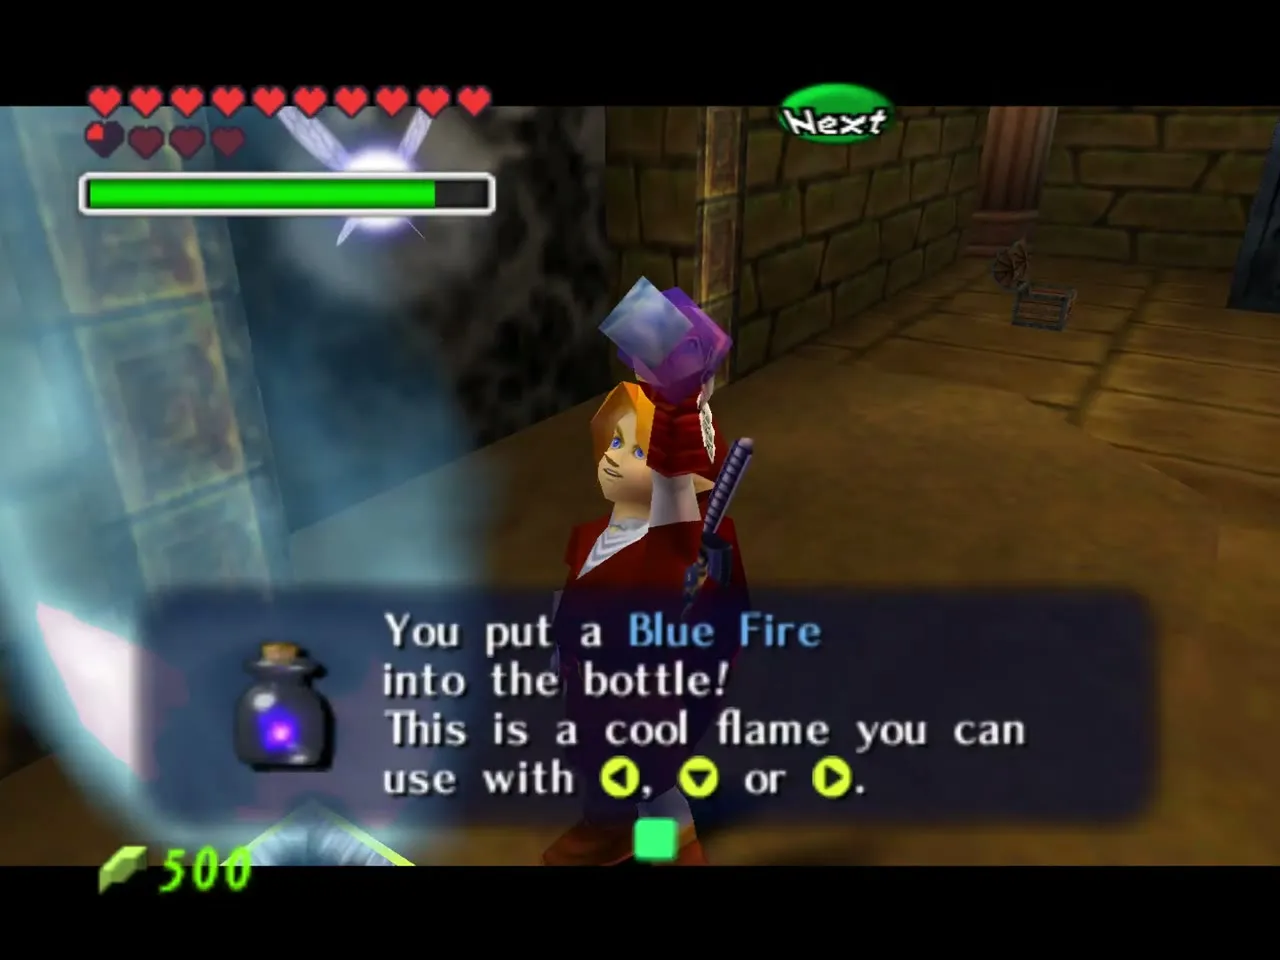
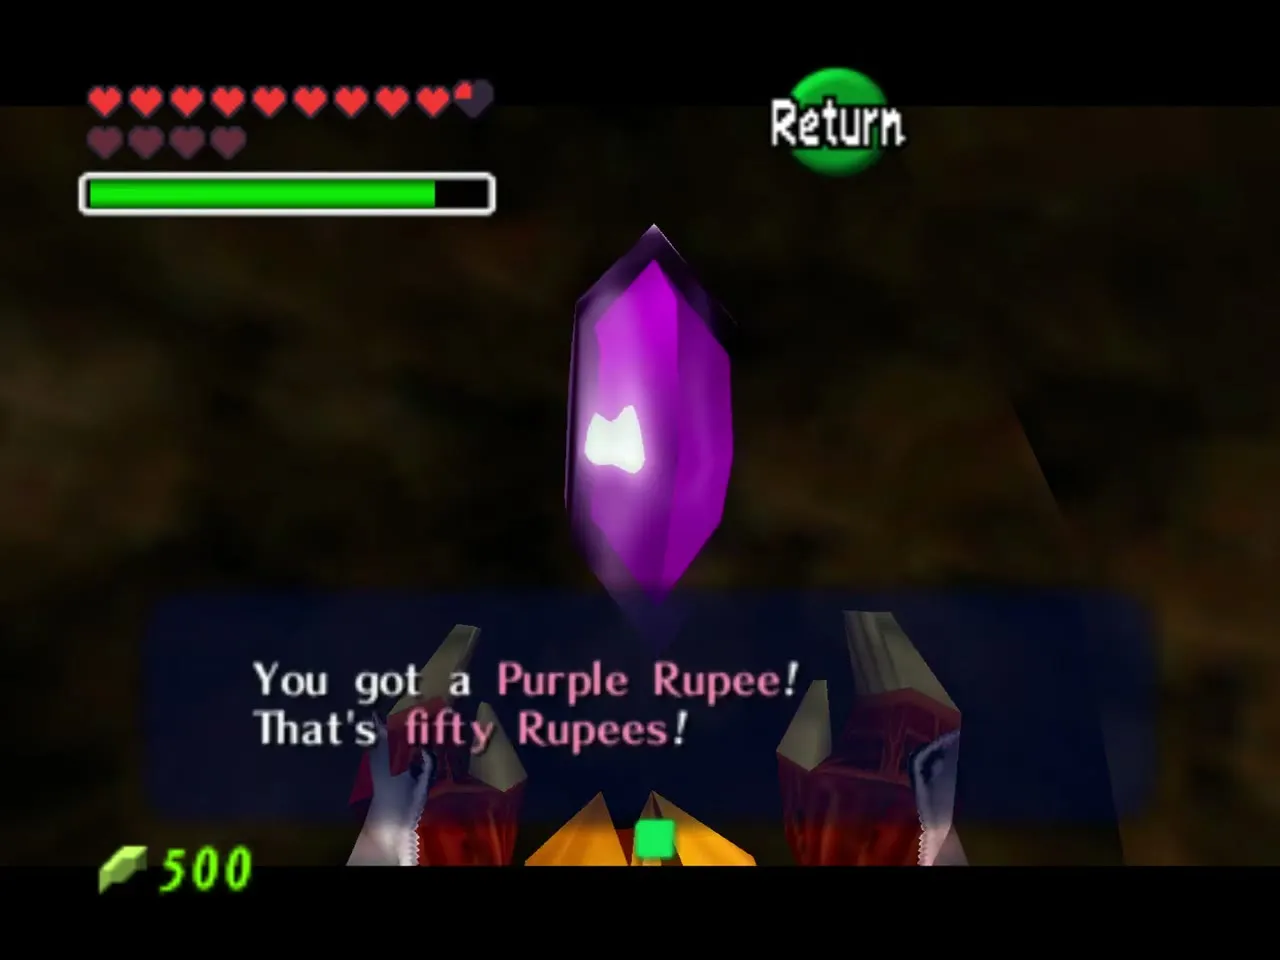
Climb the block and pass through the fake wall above, then pour the Blue Fire over the red ice that blocks the next door. The room beyond is full of spiked enemies that cannot leave their pits, and Freezards that are best shot with Fire Arrows. A chest appears when the room is clear, and it holds a Purple Rupee worth 50 Rupees.
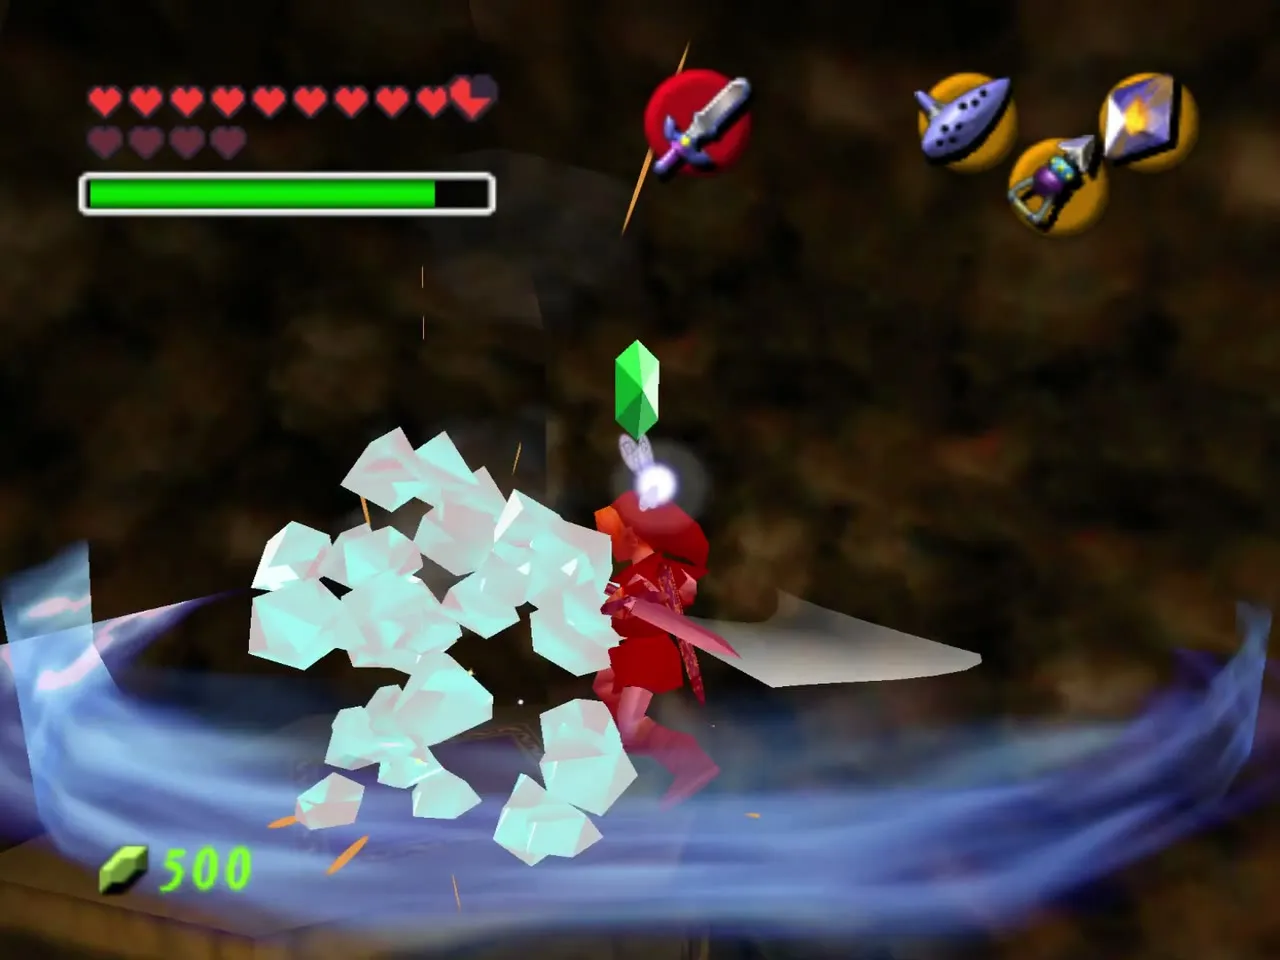
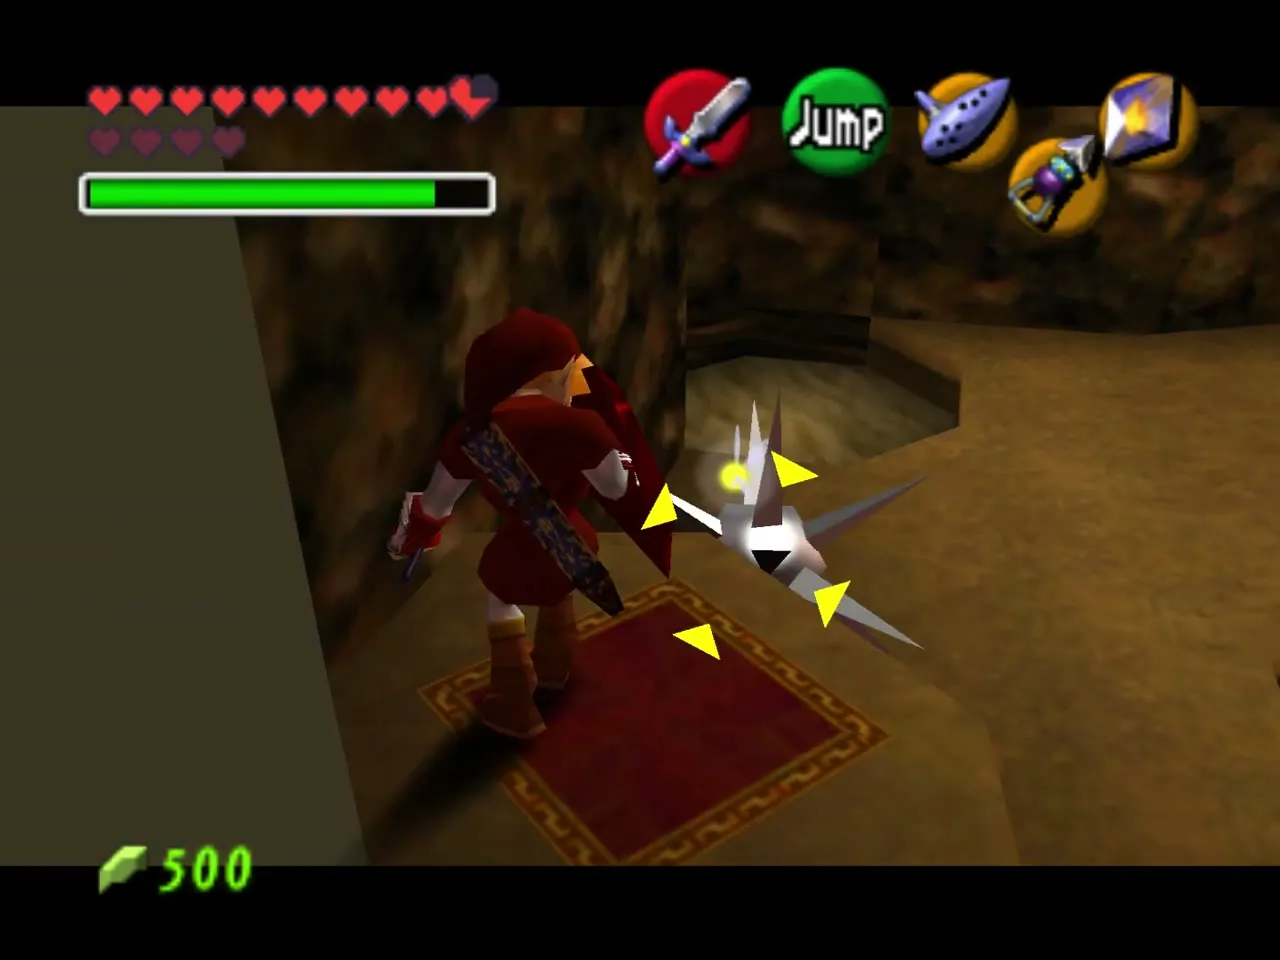
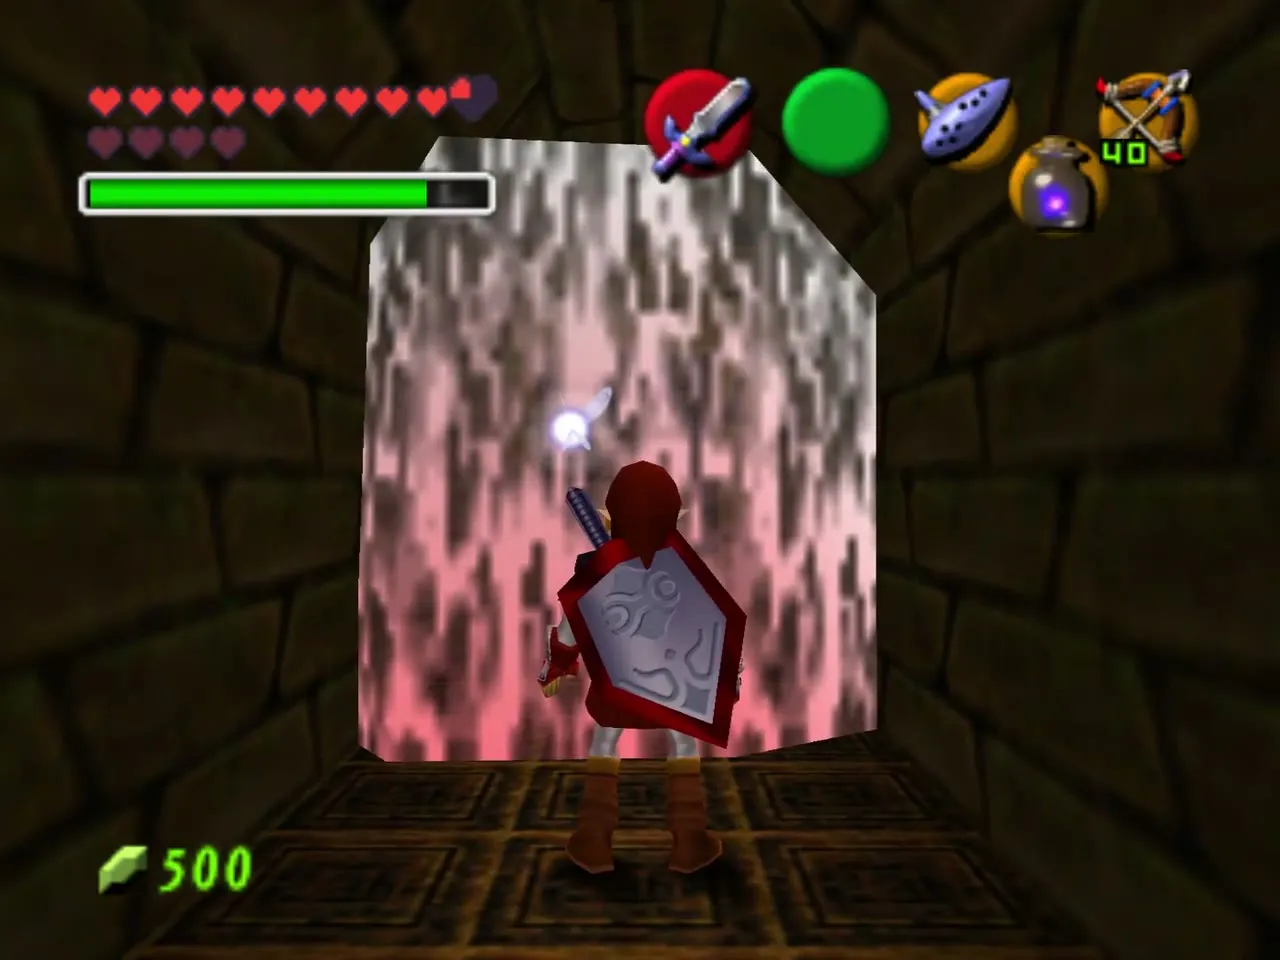
Back in the previous room, use the Lens of Truth where it is dark. Another Song of Time call raises a second block, and a pink wall hides the way on. Walk through it into a circular room of fire and stone pillars.
Statue and fire rooms
You enter on a high ledge, then drop to a revolving platform around a statue. Shoot an arrow into each of the statue’s eyes so that all of them are lit at the same time, which can take several attempts. When all are lit, the door opens and a chest appears, which holds Bombchus. A crystal switch is hidden in one of the fire pillars, and it only opens a high door to an empty room, so you can ignore it.
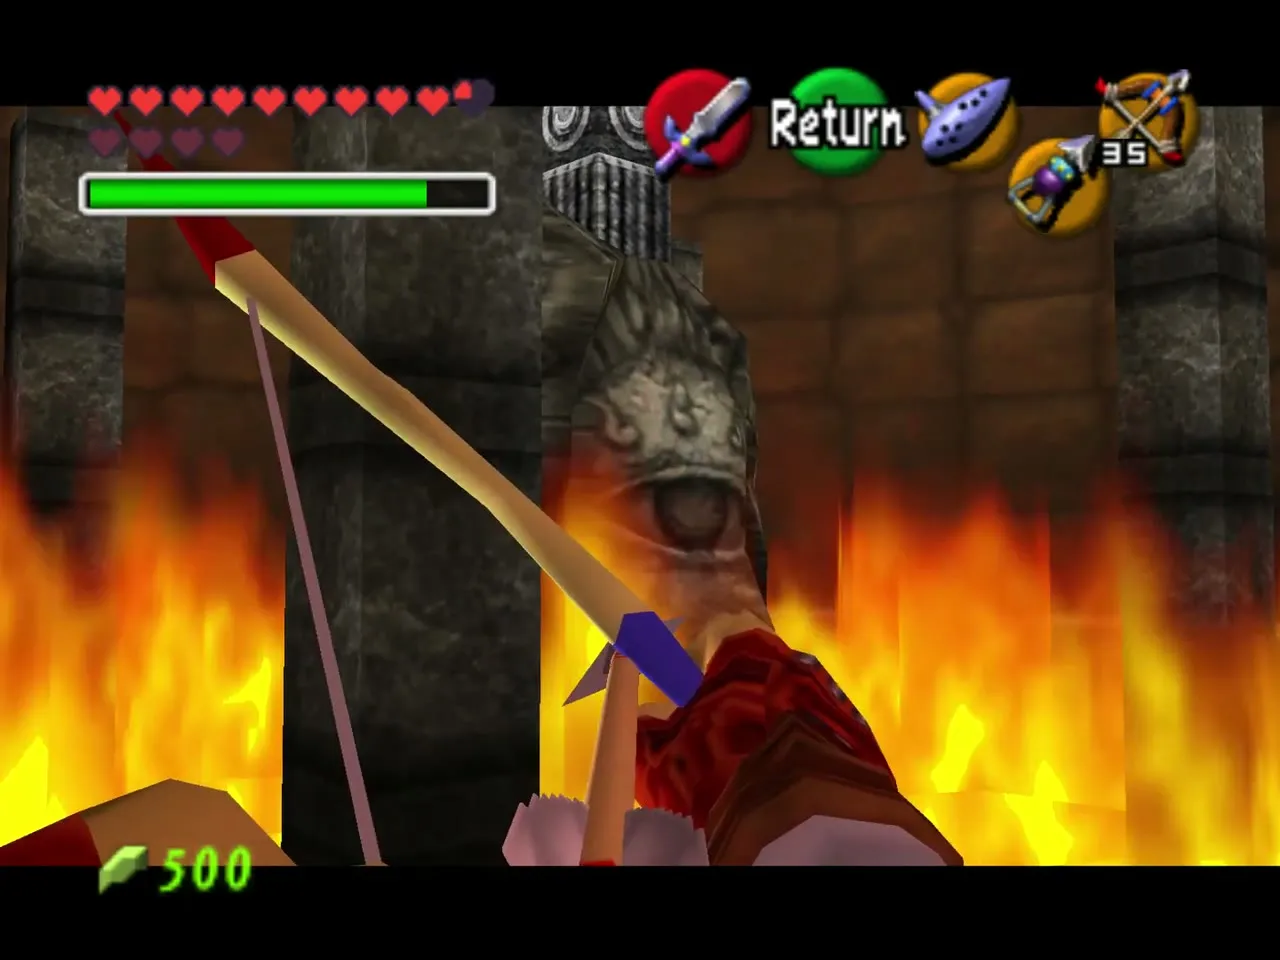
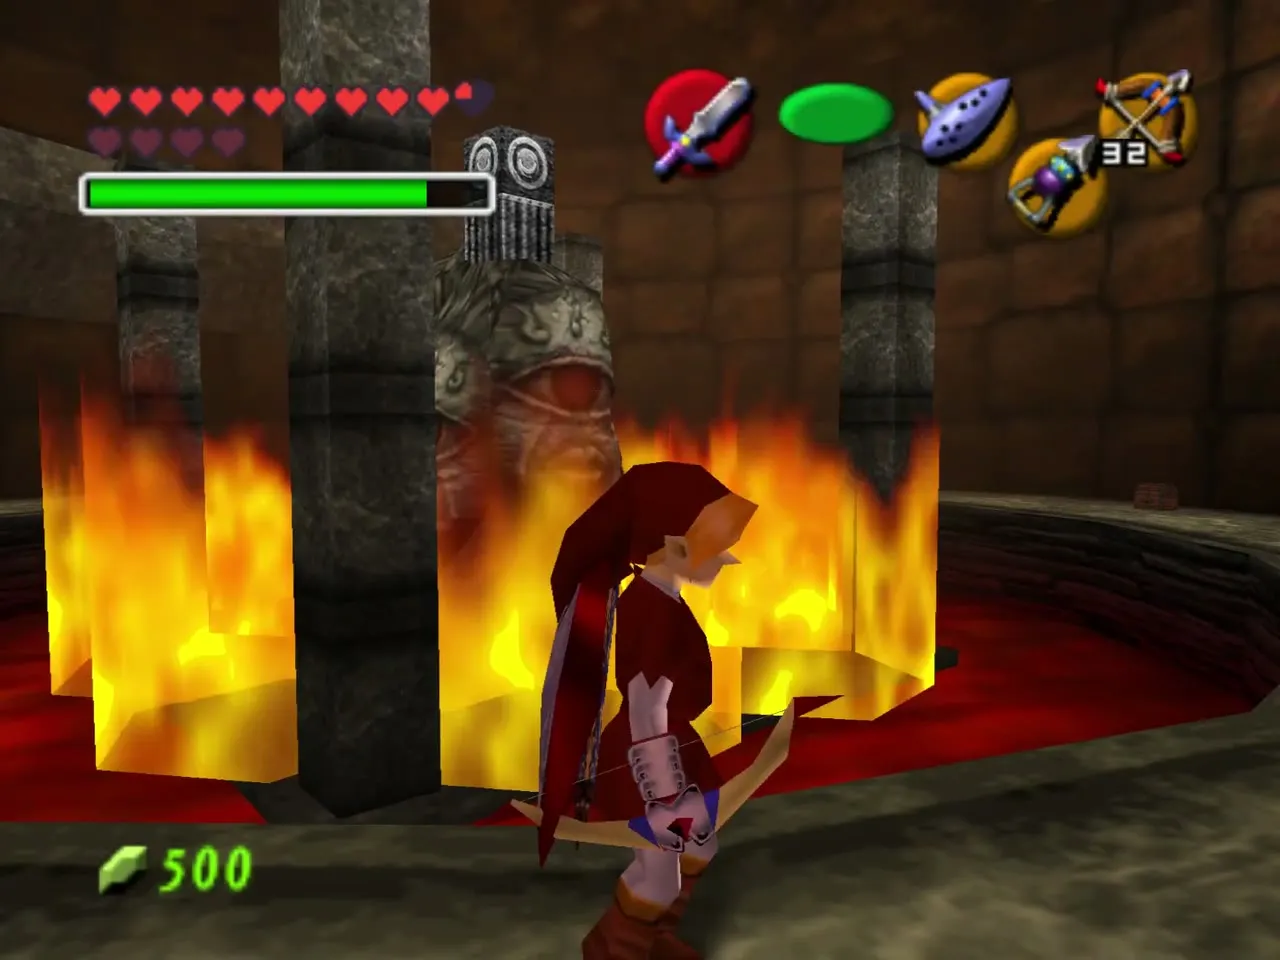
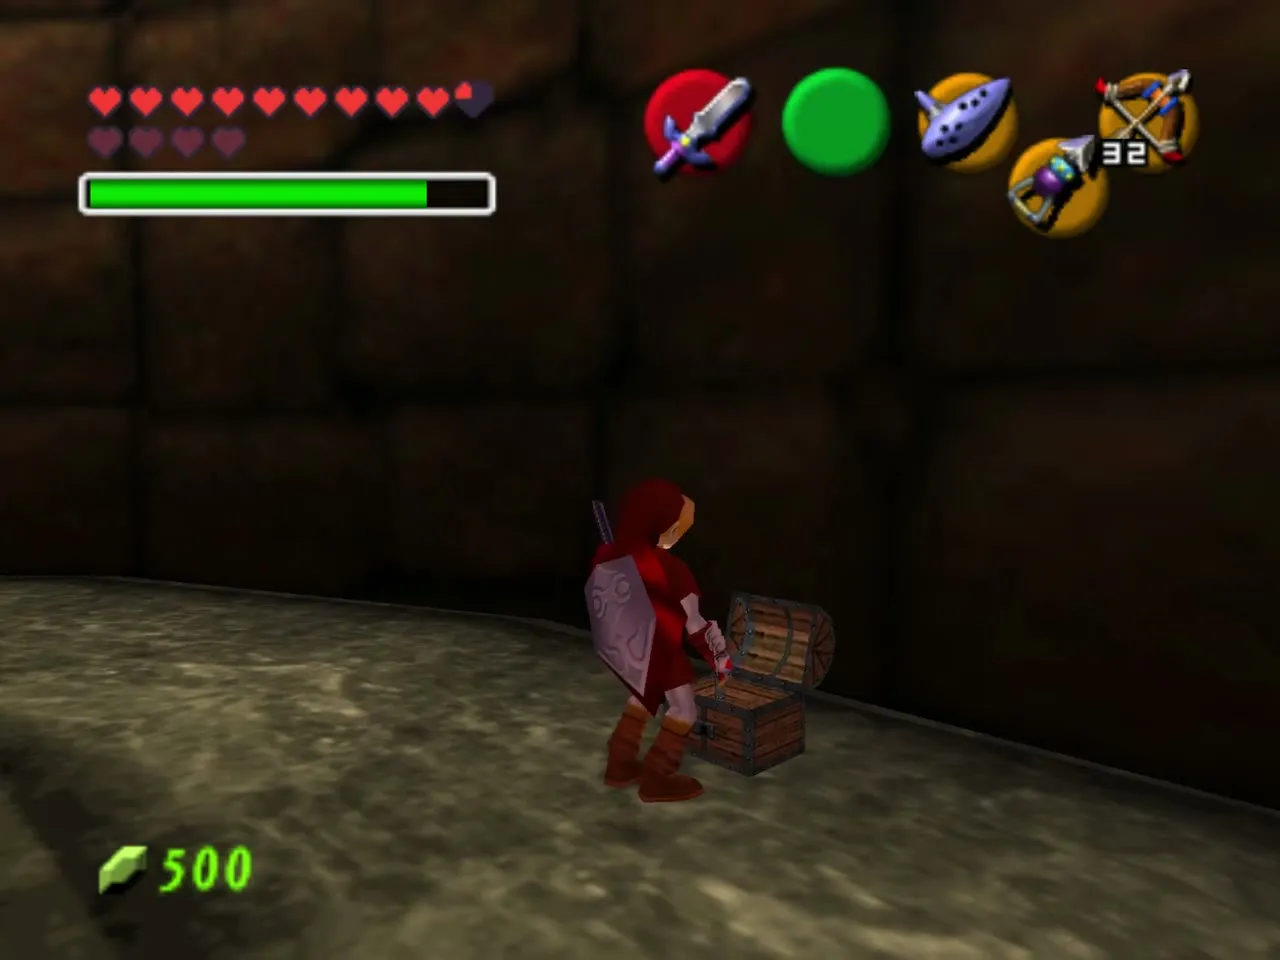
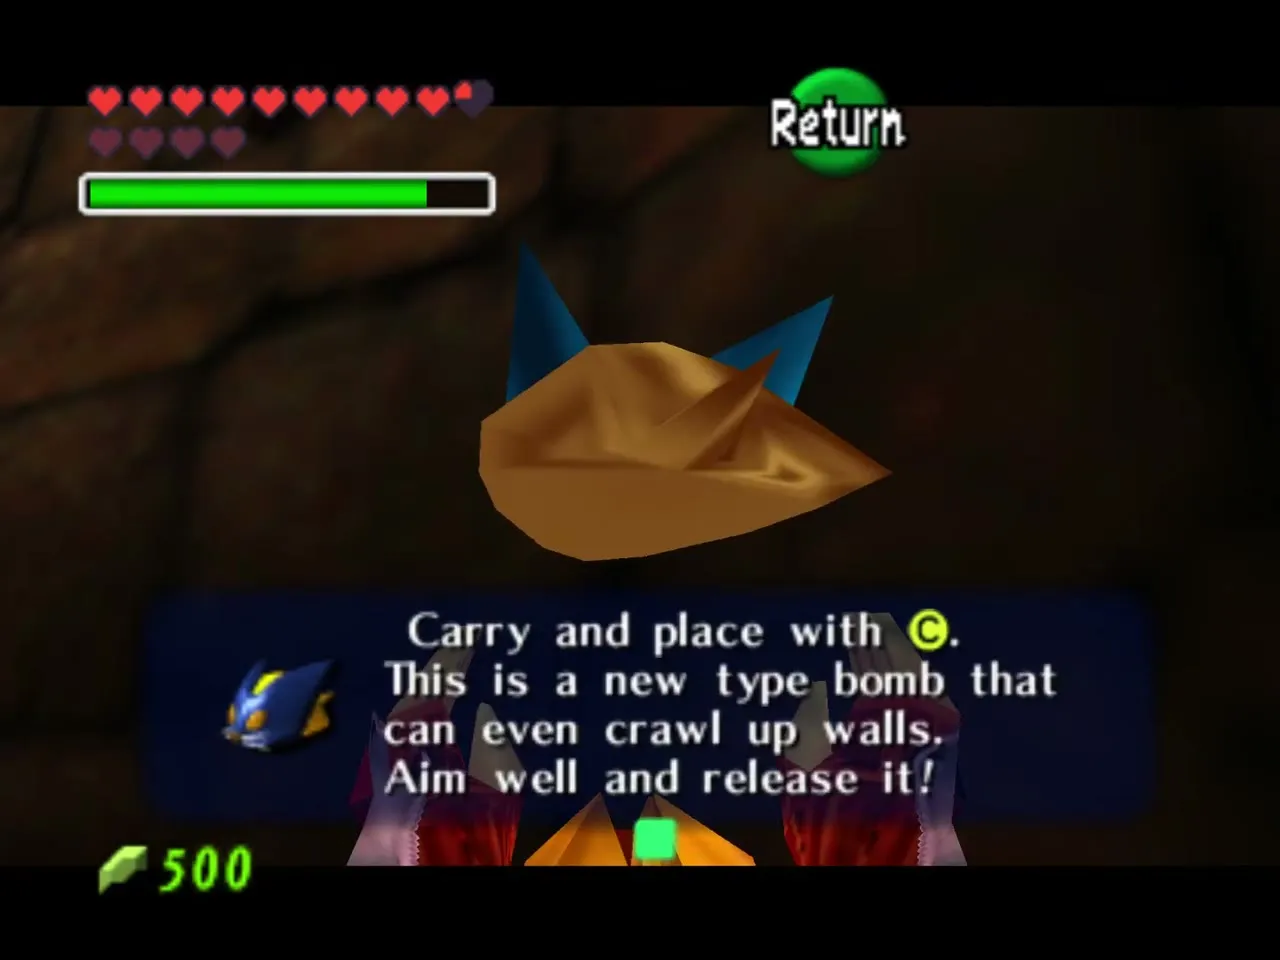
Take the lower door into a room with an Iron Knuckle and two Torch Slugs, and you have one minute. Kill the Iron Knuckle first, then the Torch Slugs, with Din’s Fire if you like. The door unlocks and a chest of arrows appears.
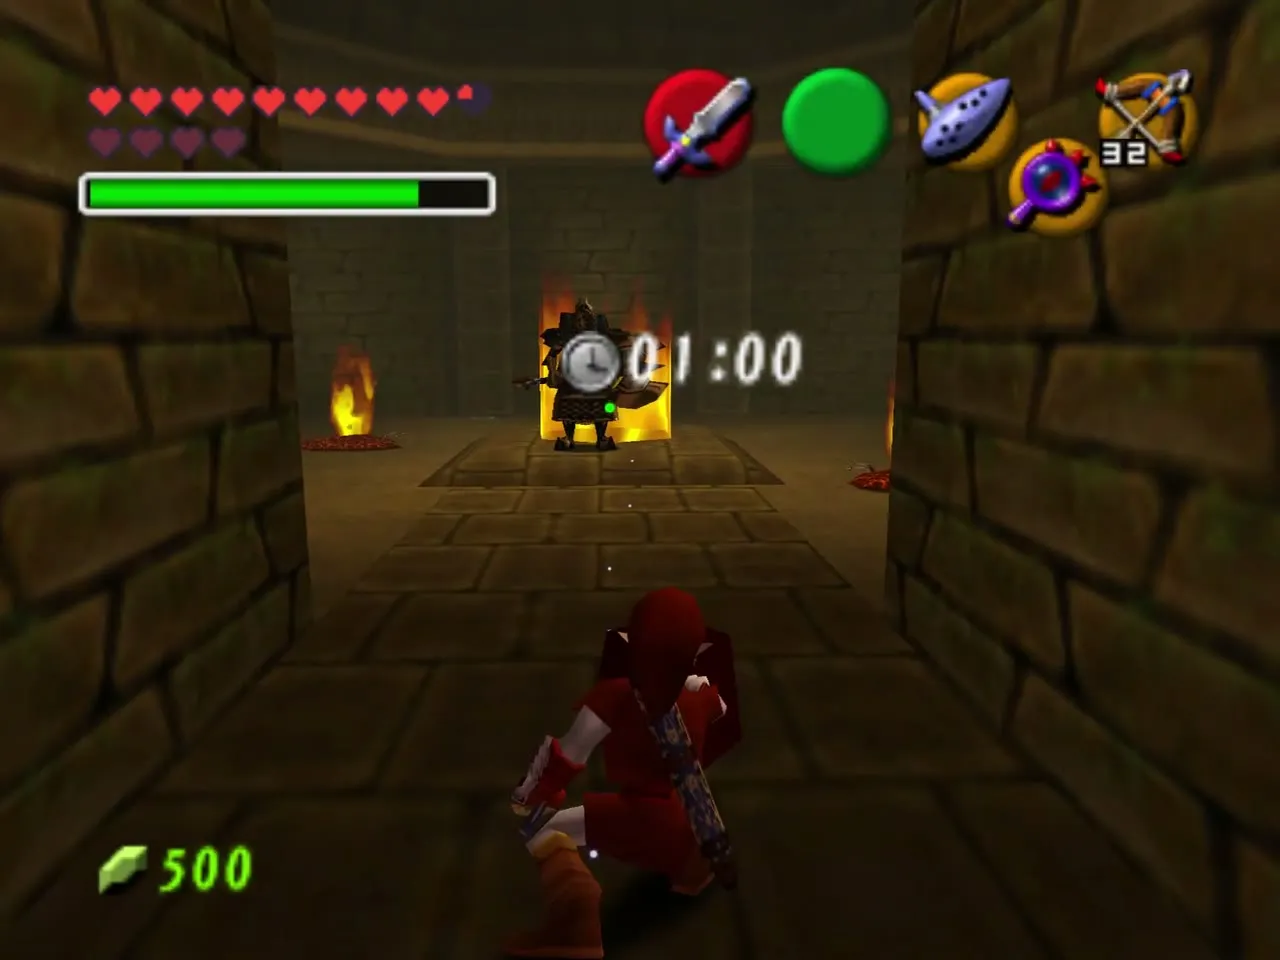
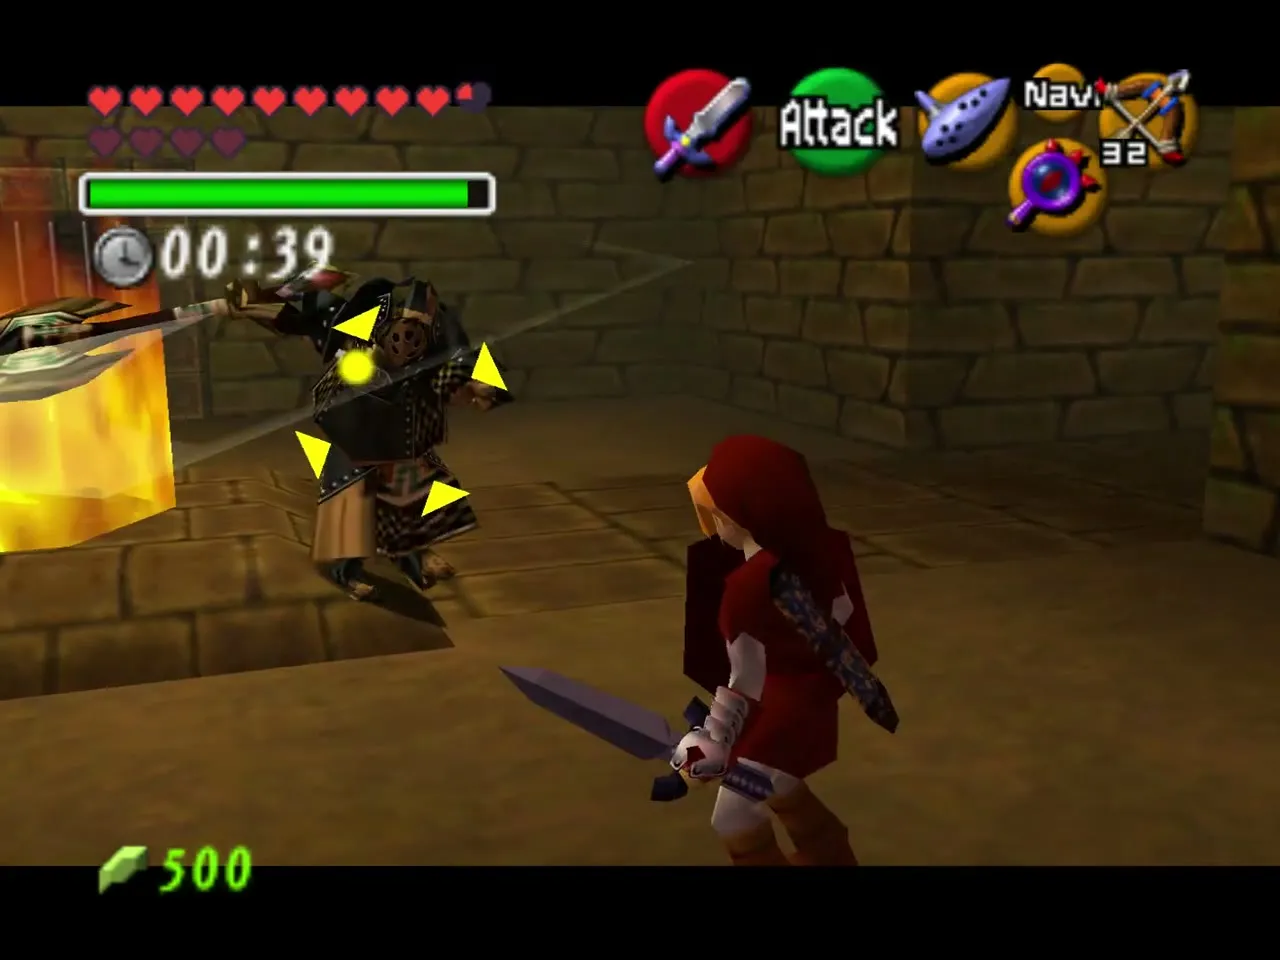
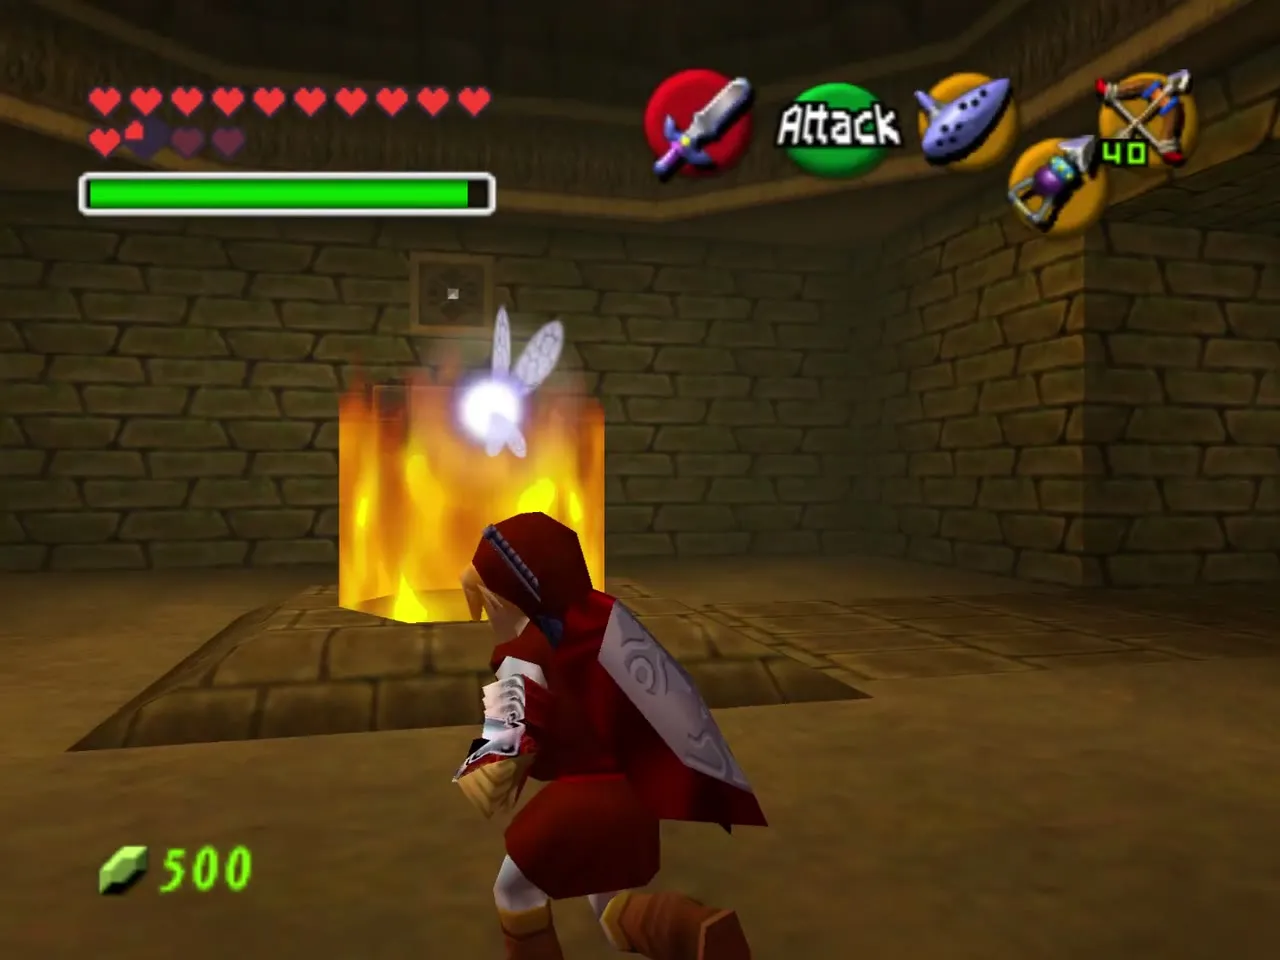
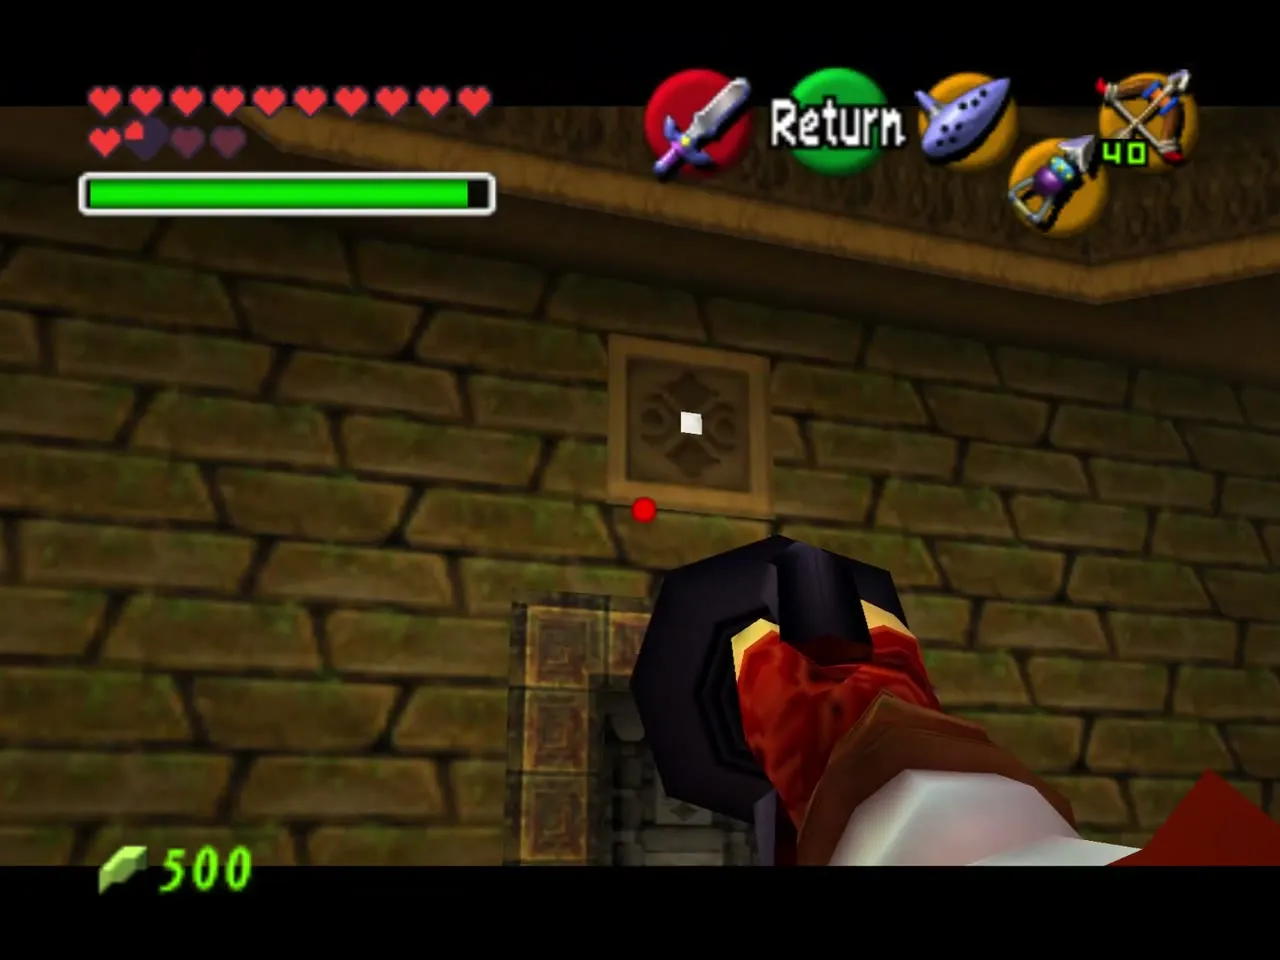
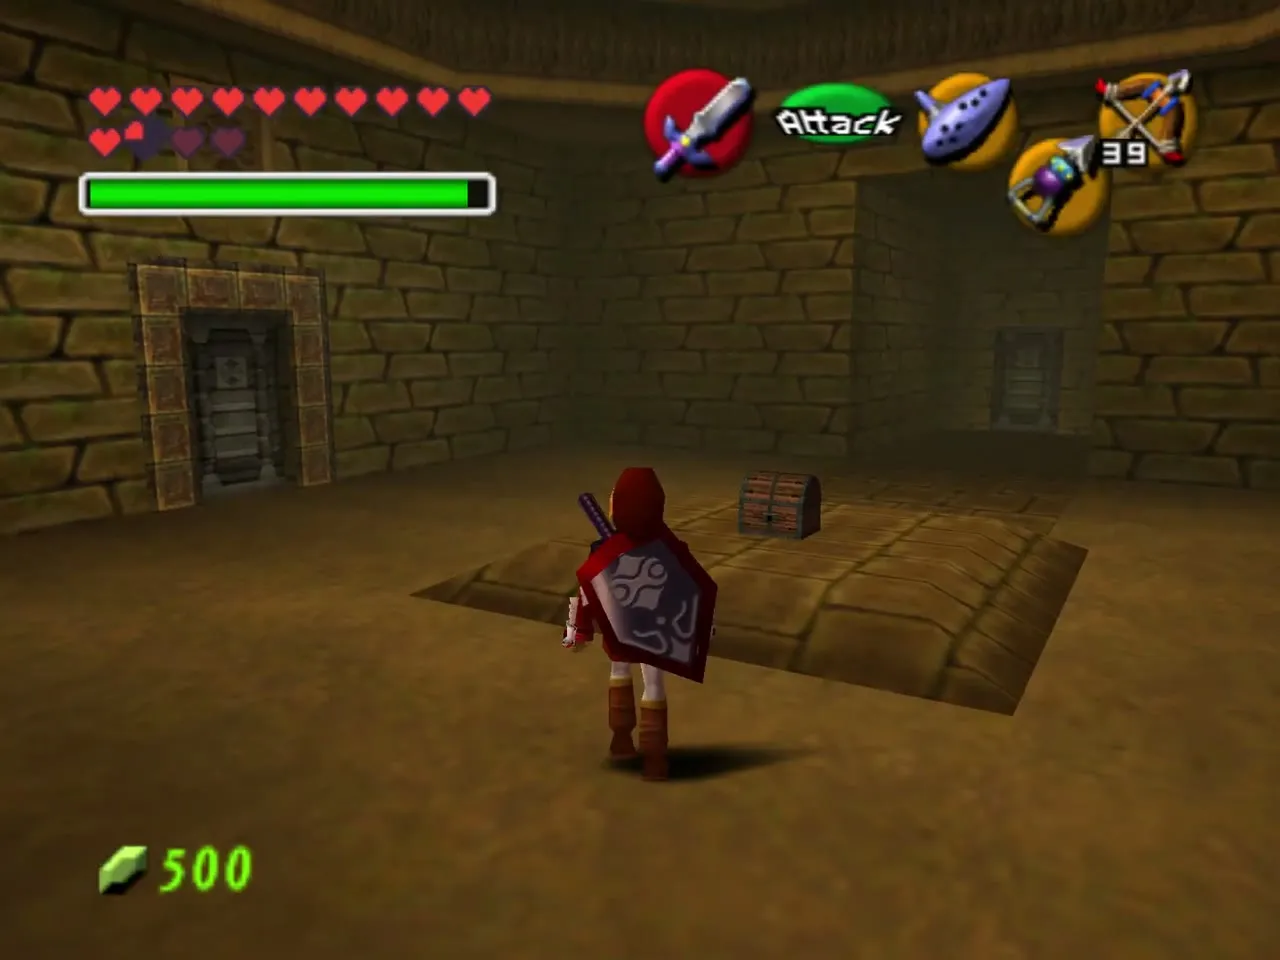
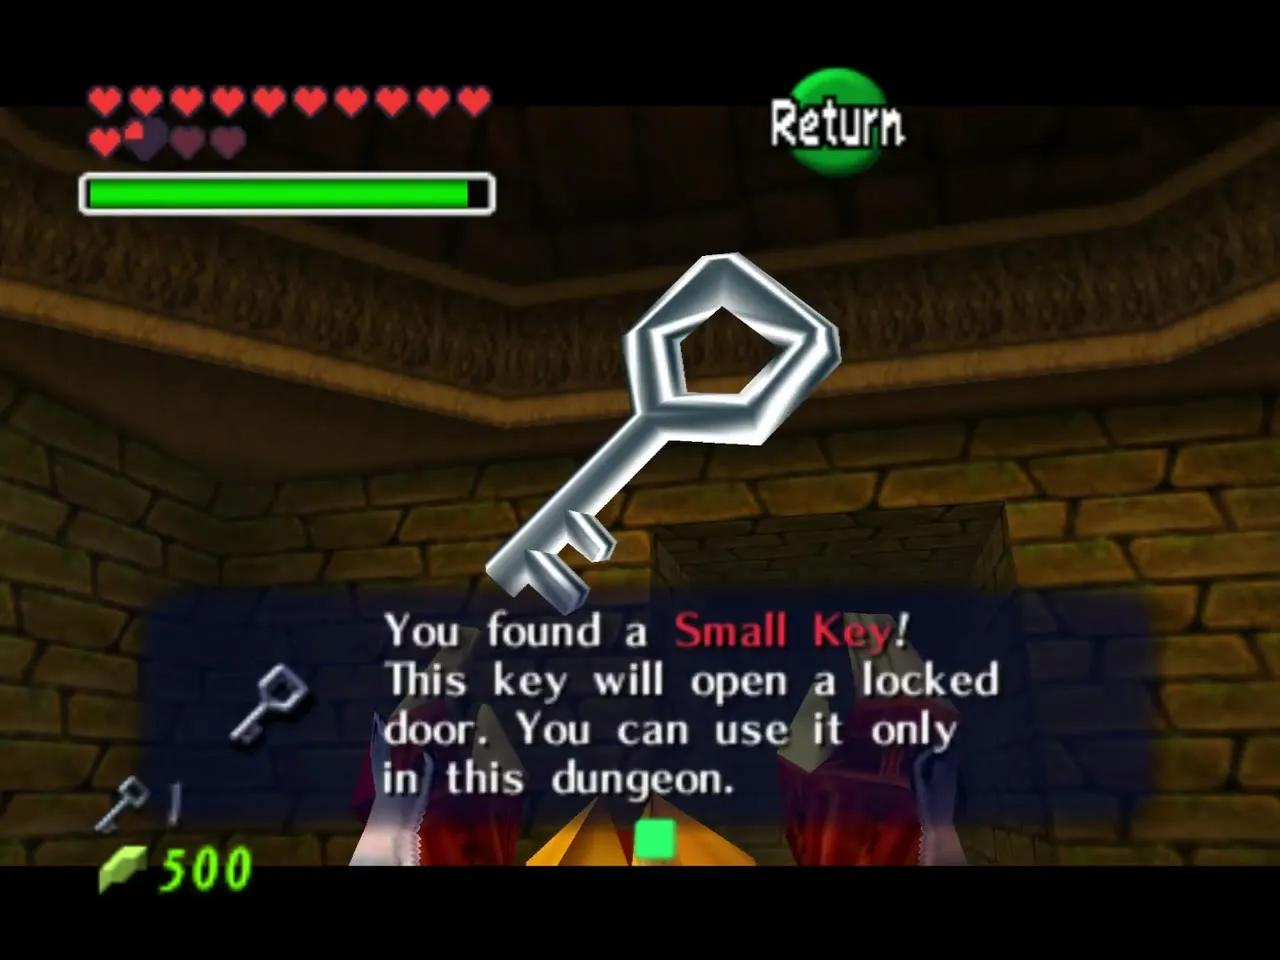
Shoot the symbol above the door, and a second chest appears inside a pillar of fire. Run around the edge of the room to find a floor switch and step on it to put the flames out, then open the chest to take your first Small Key.
Lava room: Silver Rupees with the Hover Boots
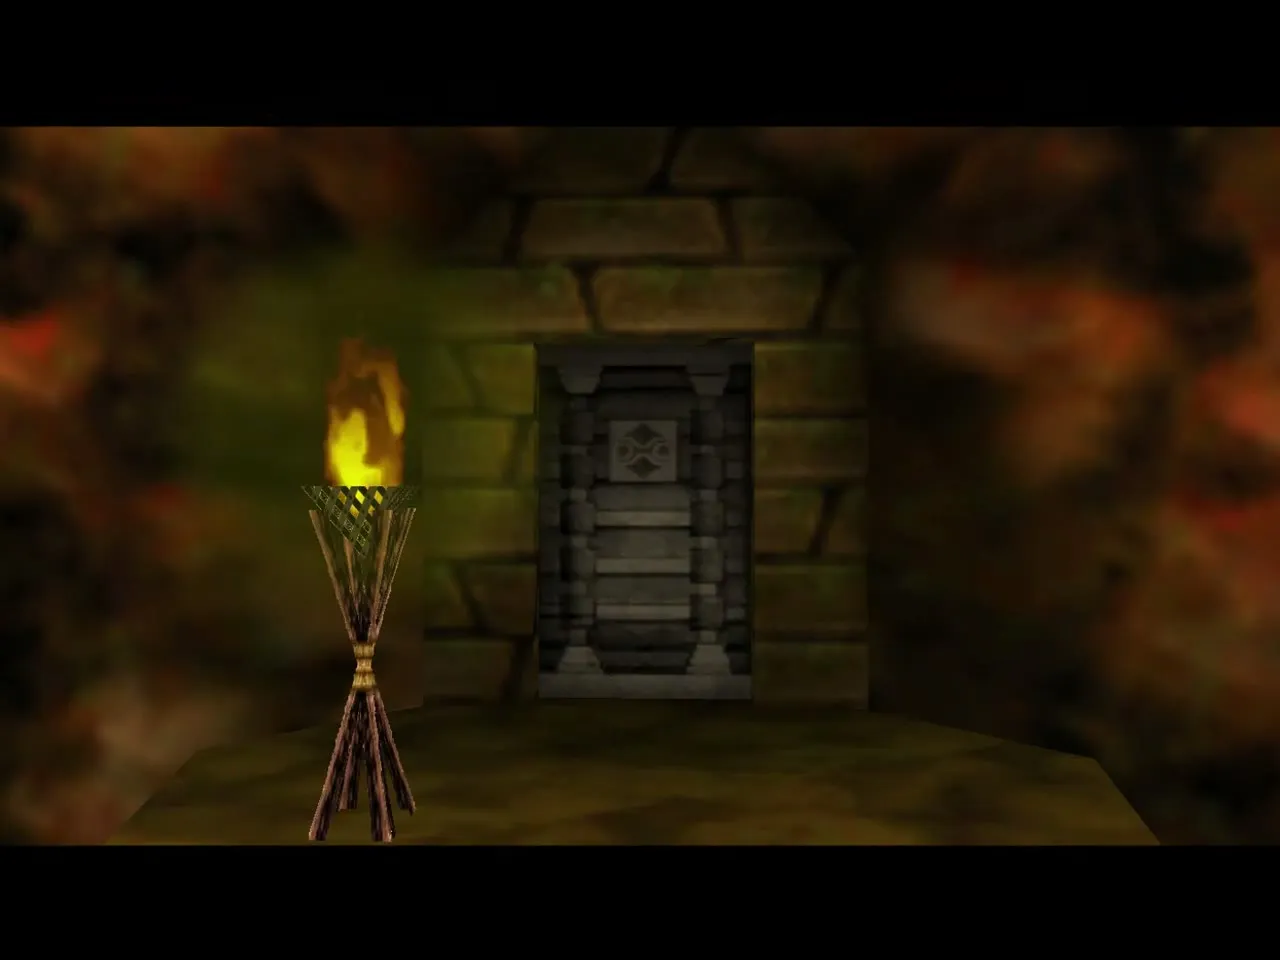
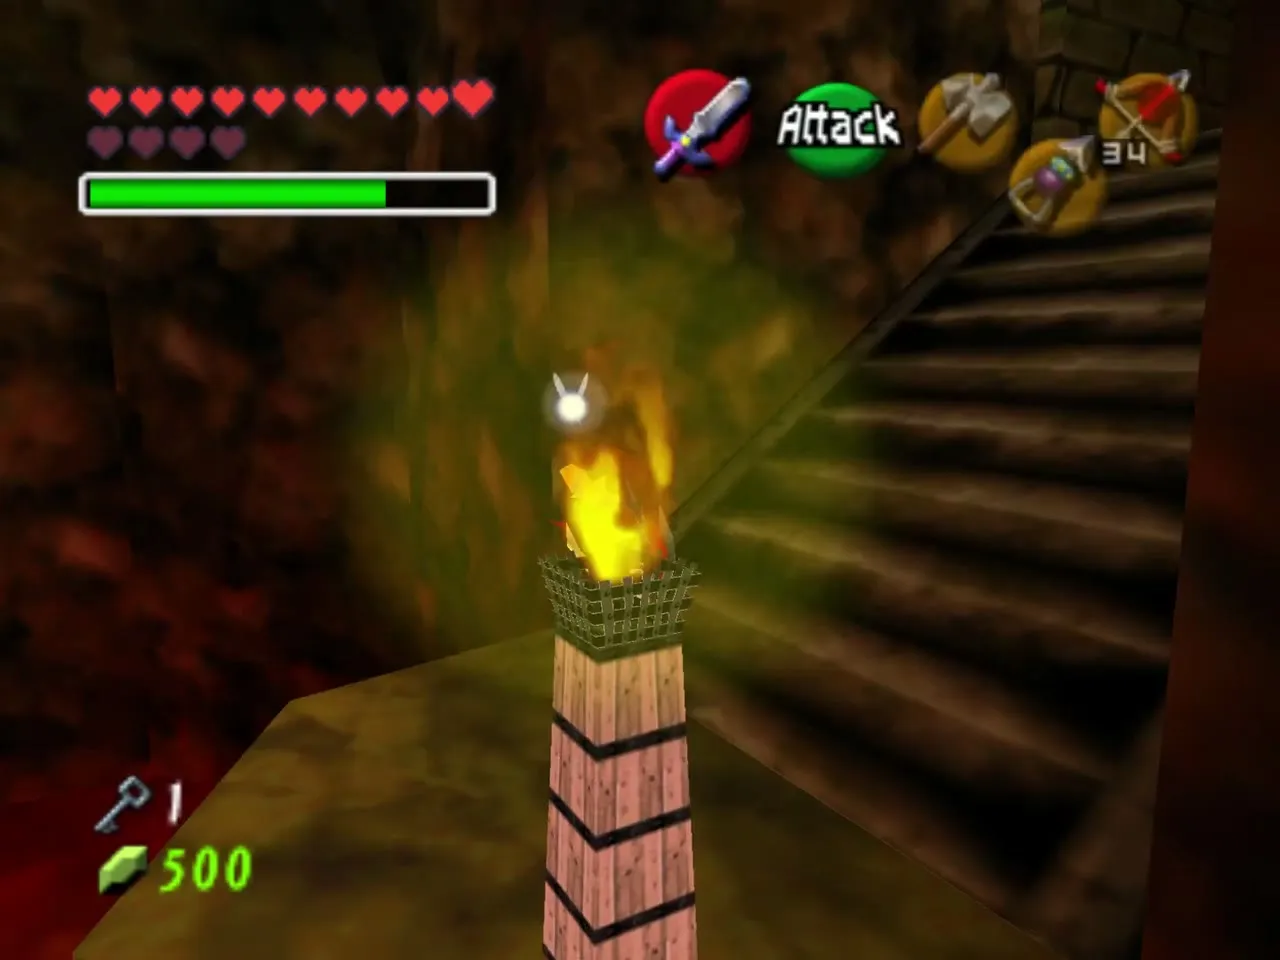
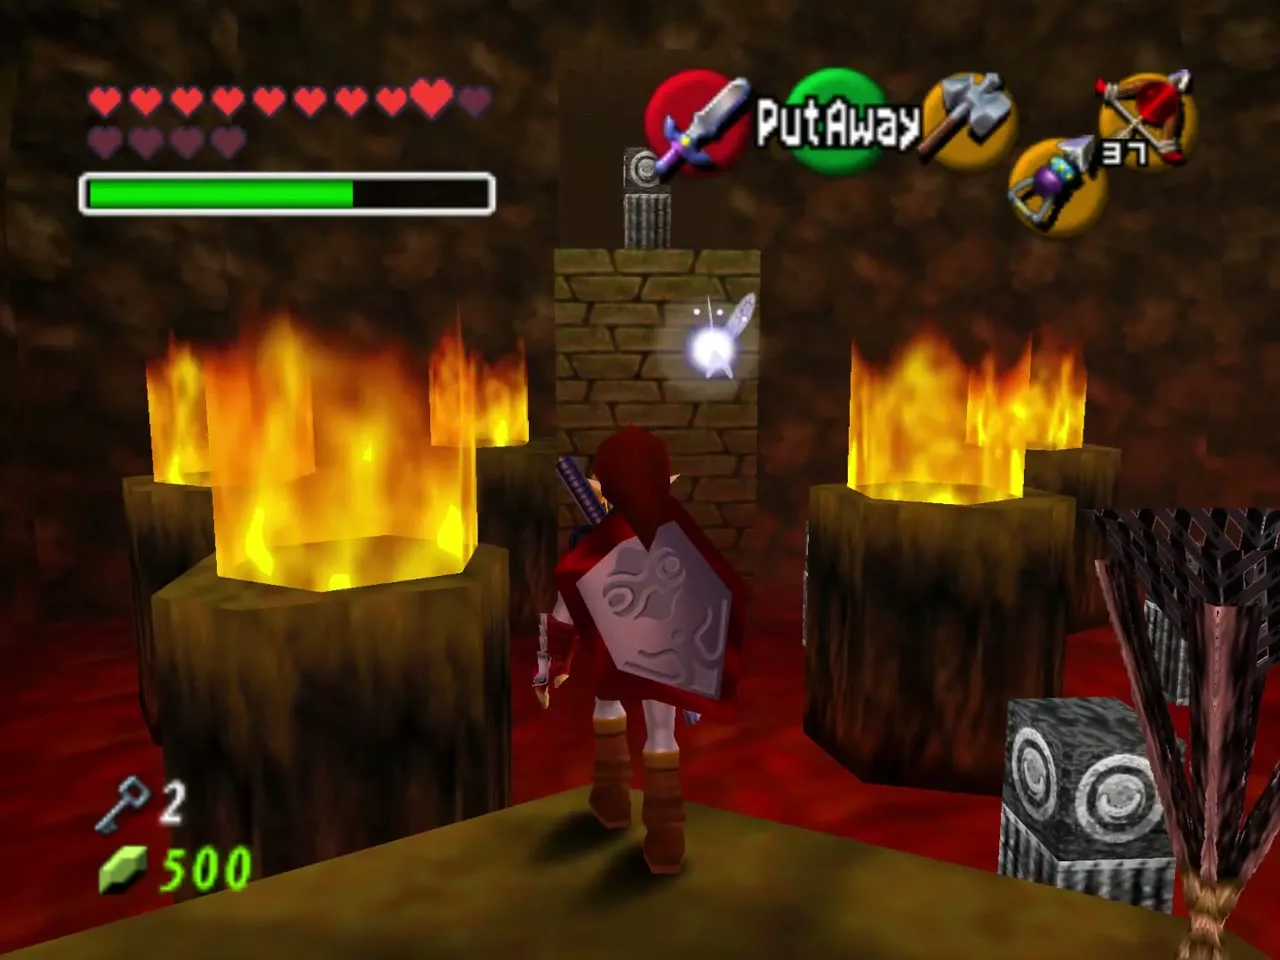
Falling into the lava resets the room, so this Silver Rupee puzzle is easiest in the Hover Boots. The silver rupees sit on stump platforms wrapped in flames. Burn the torch beside you with a Fire Arrow, which makes the fire go out for a short time, and take the first rupees near the start.
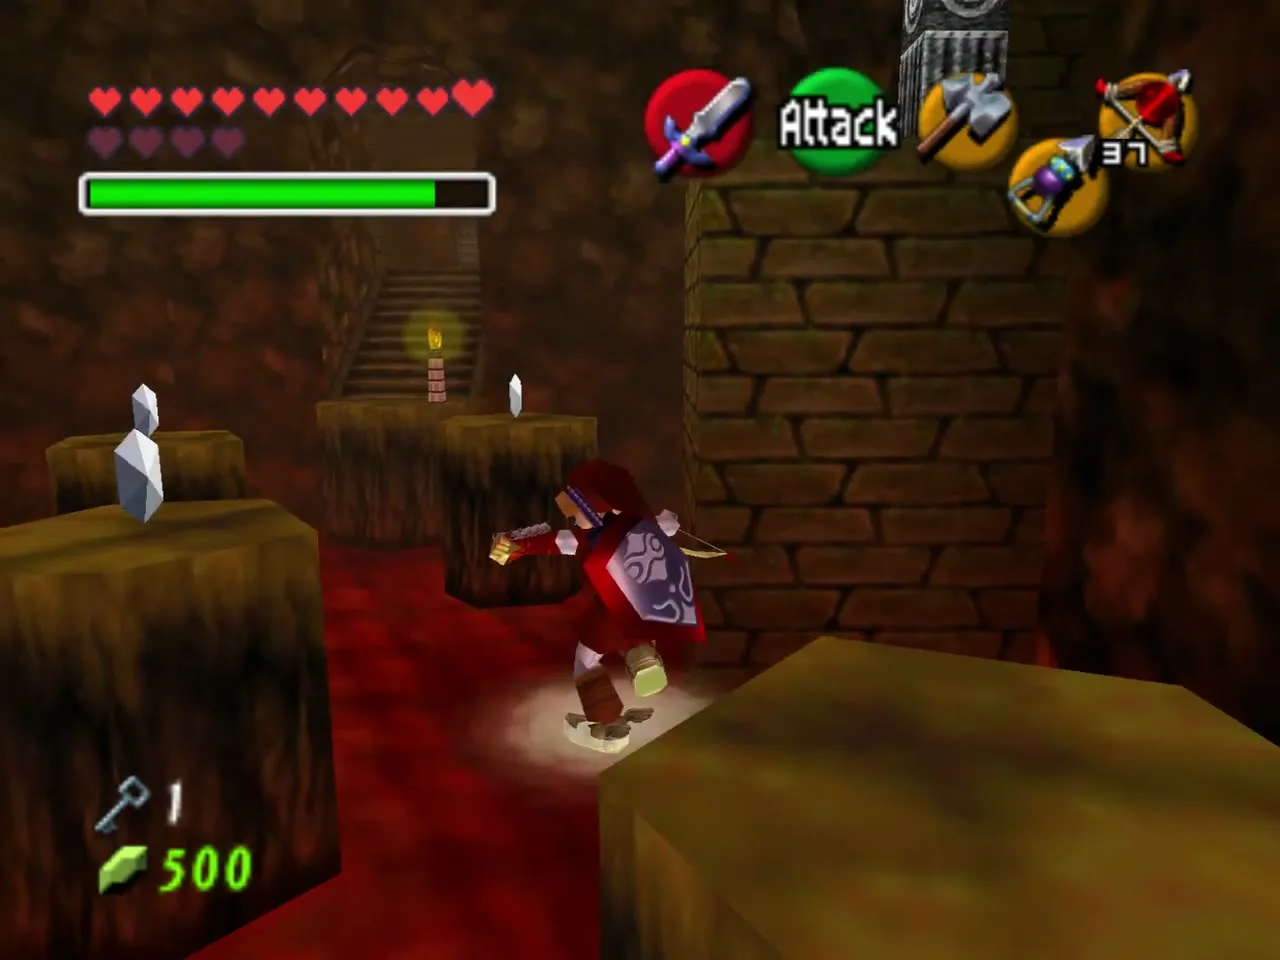
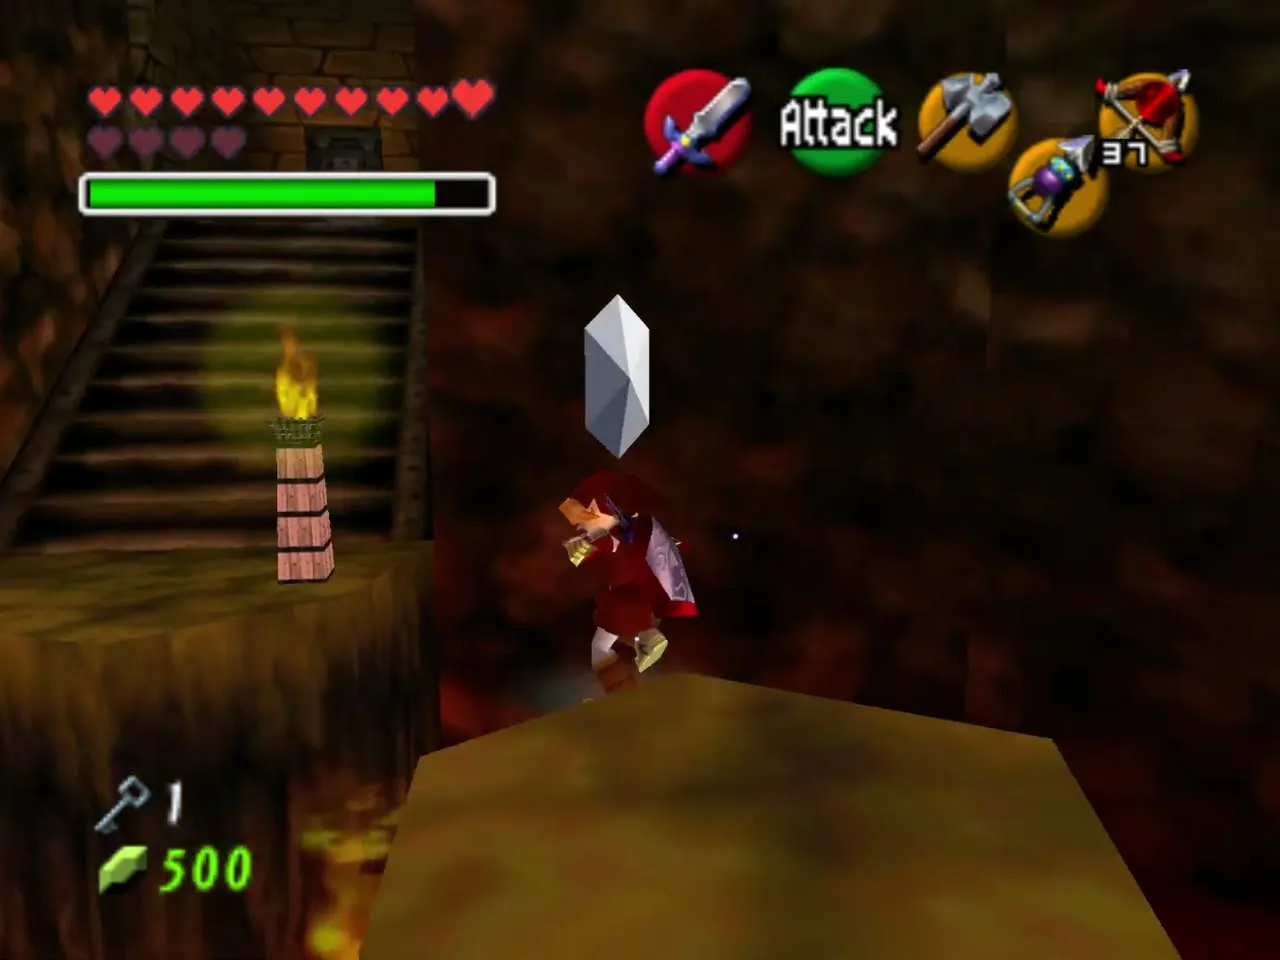
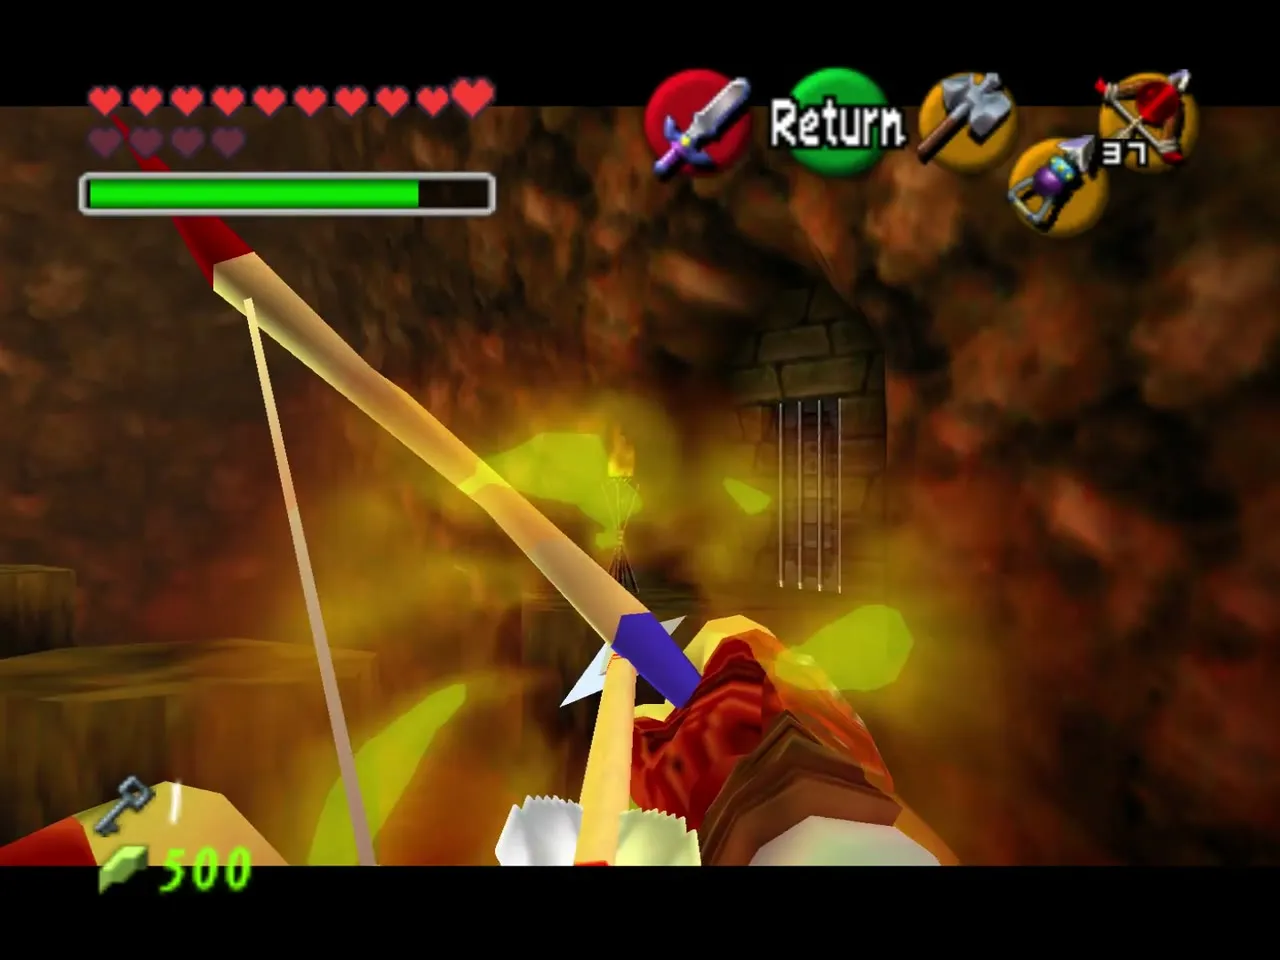
Come back to the start, light the torch again, and collect the remaining rupees while the fire is out. When all five are yours, a side door opens. Take off the Hover Boots when you leave the room.
Water room: Silver Rupees and the second key
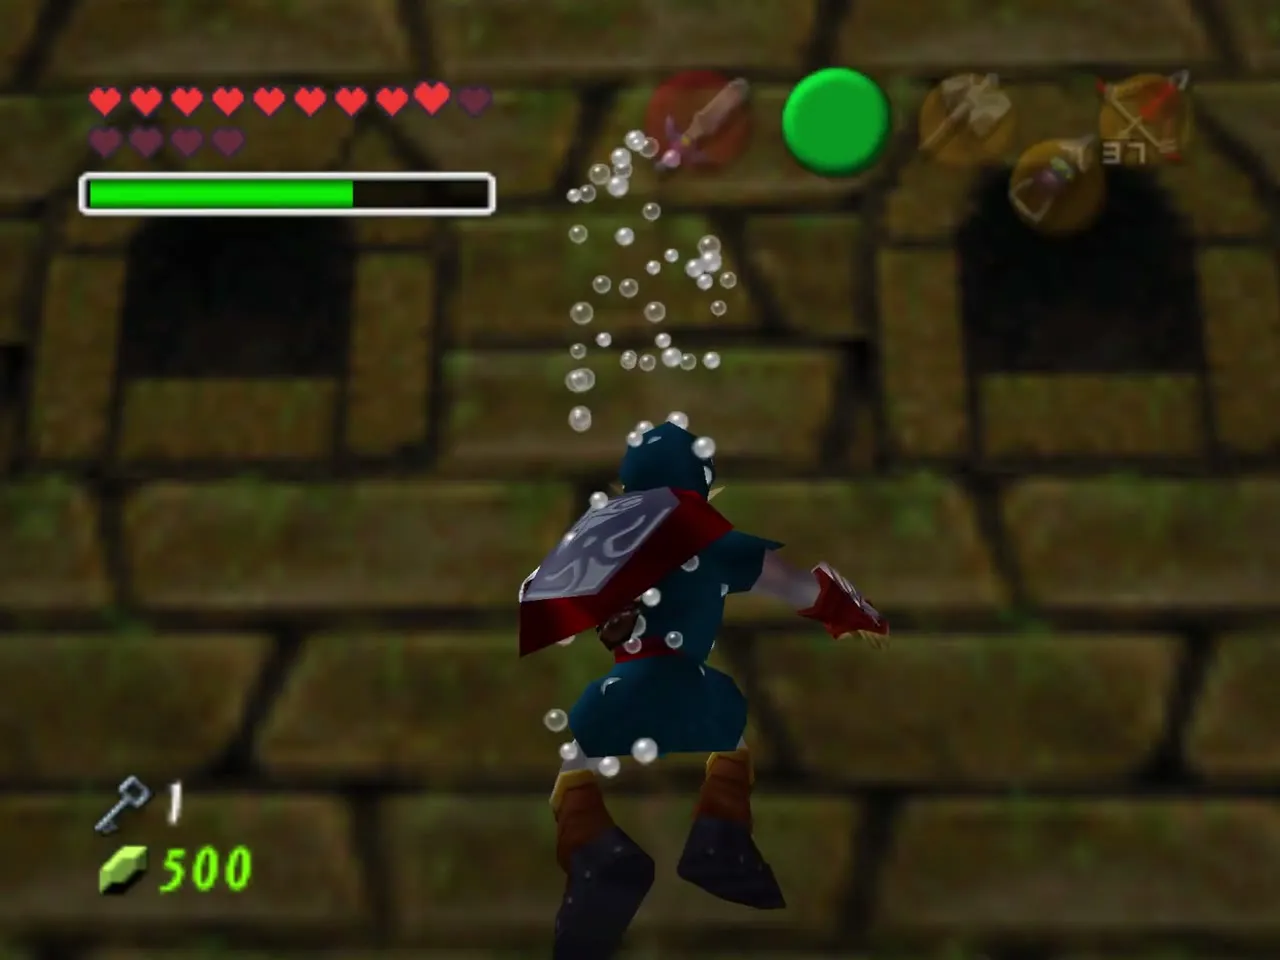
A Bari drops on you as you enter, so cut it down. Burn the spider web with a Fire Arrow, put on the Iron Boots and Zora Tunic, and sink into the pool. Enemies lurk below, so deal with them from a distance.
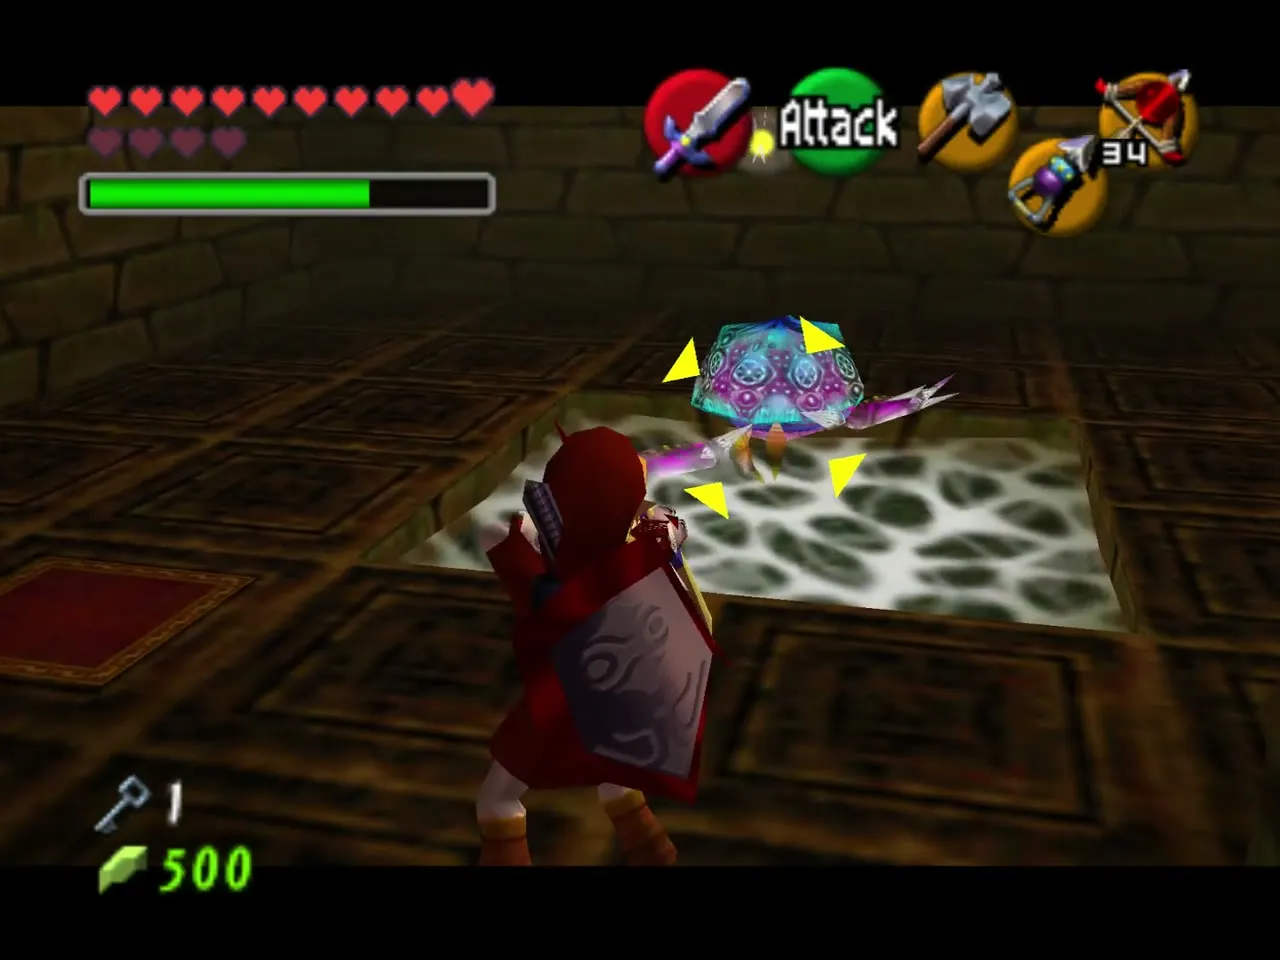
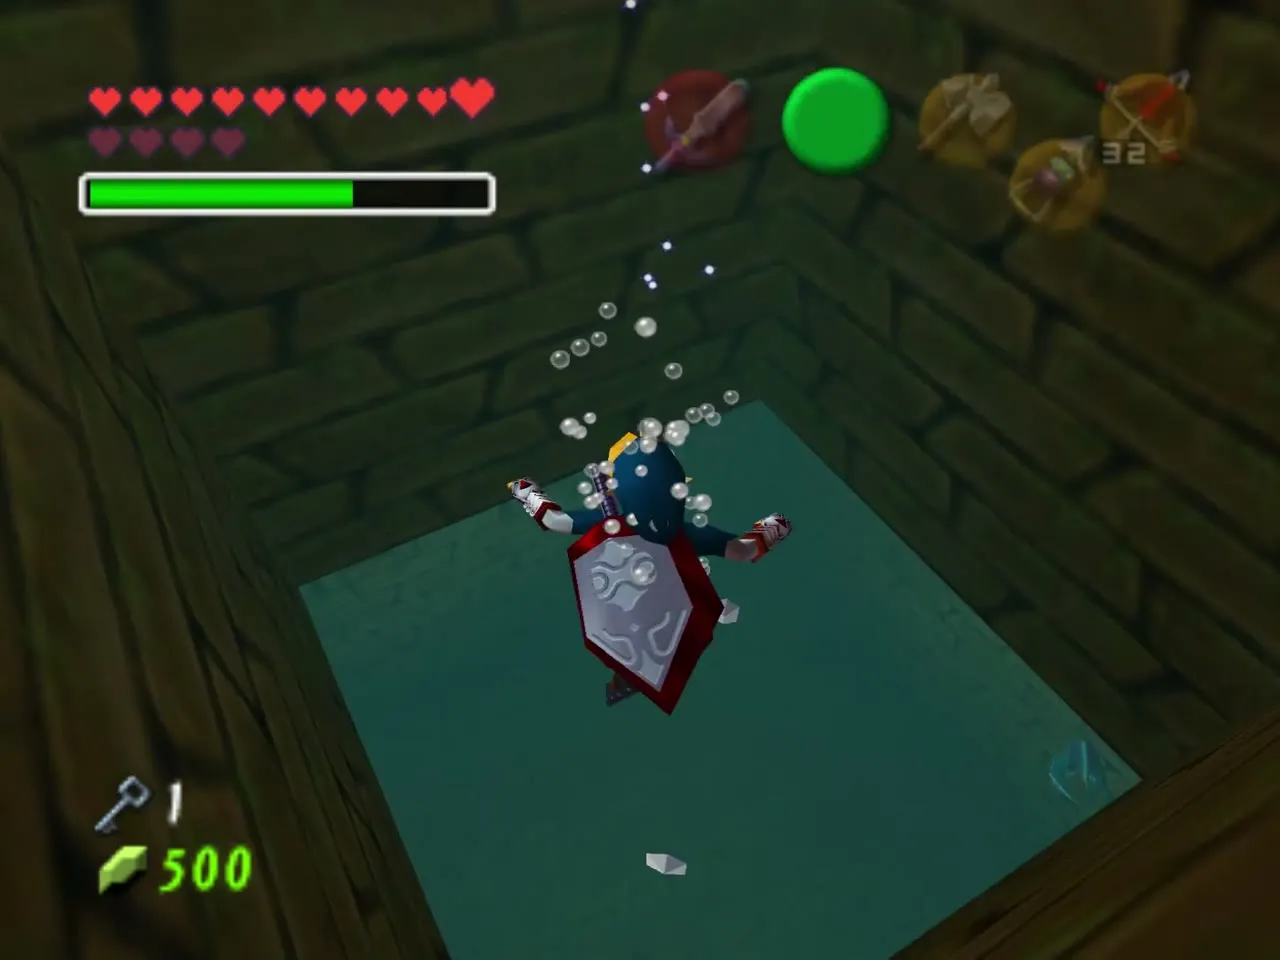
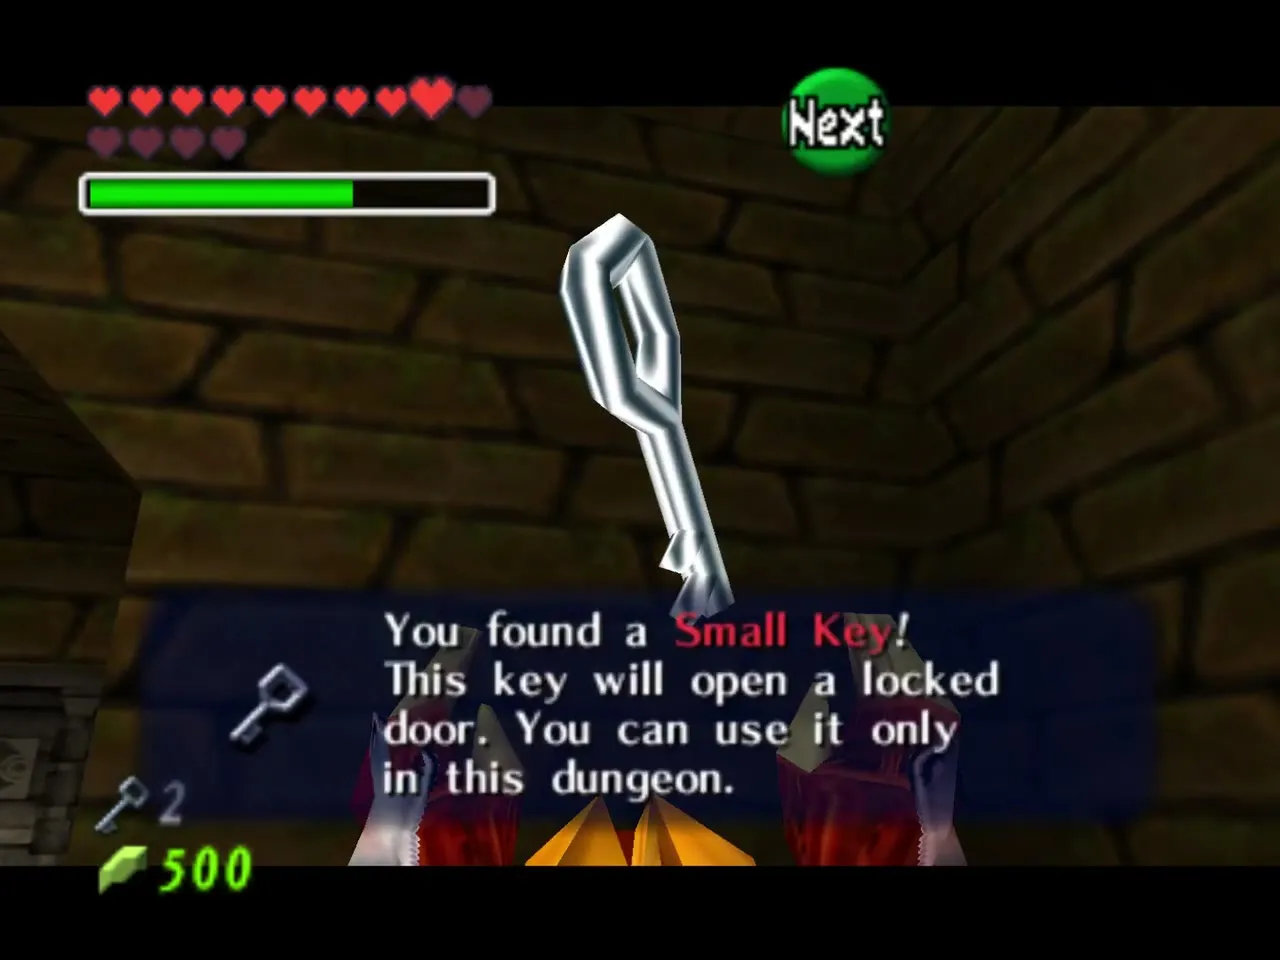
Collect every silver rupee in the pool, taking off the Iron Boots when you must float up to one. When the last rupee is yours, a chest appears at the top of the room. Surface and open it to get the second Small Key.
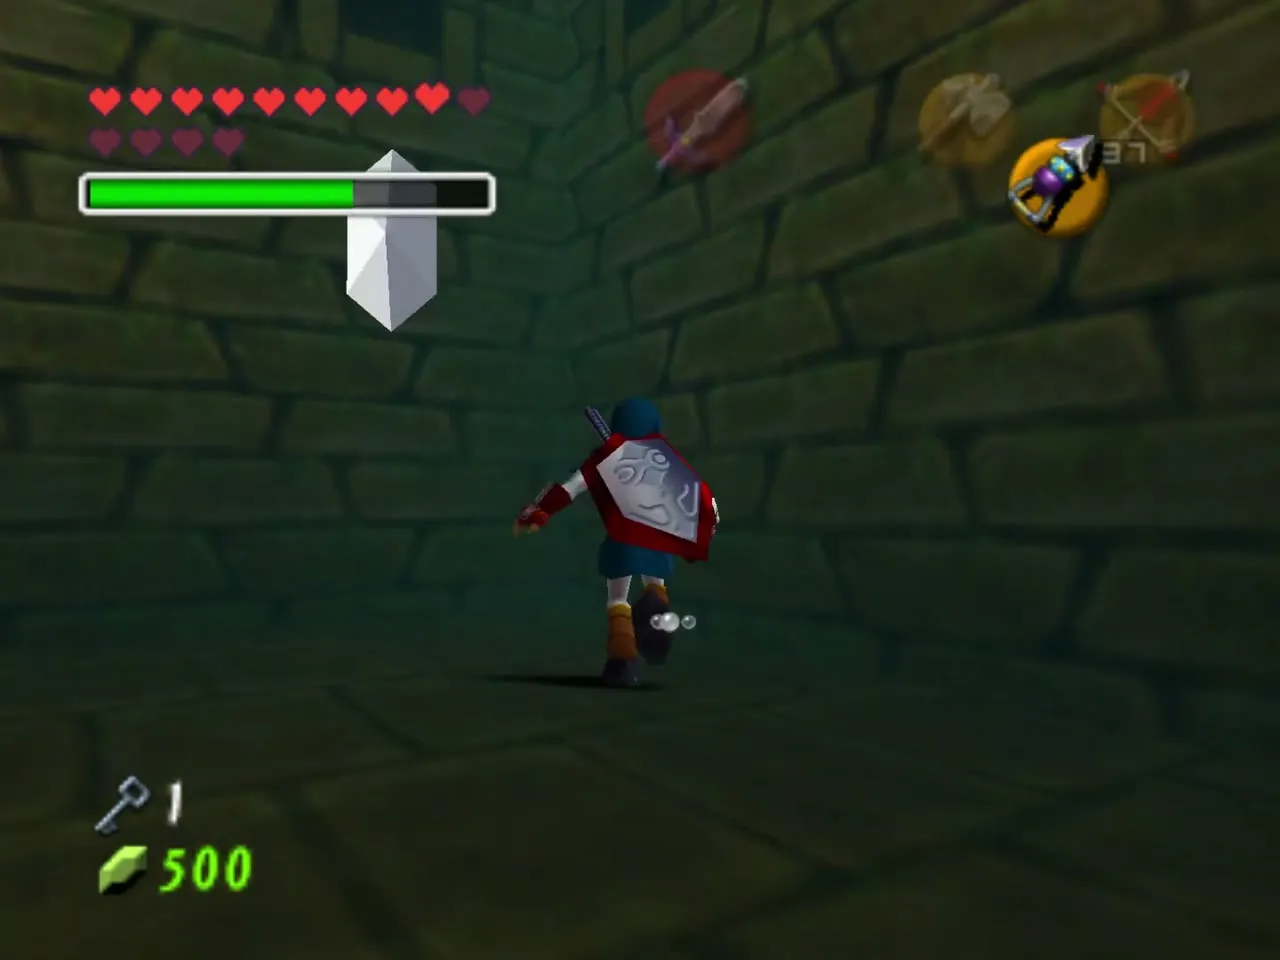
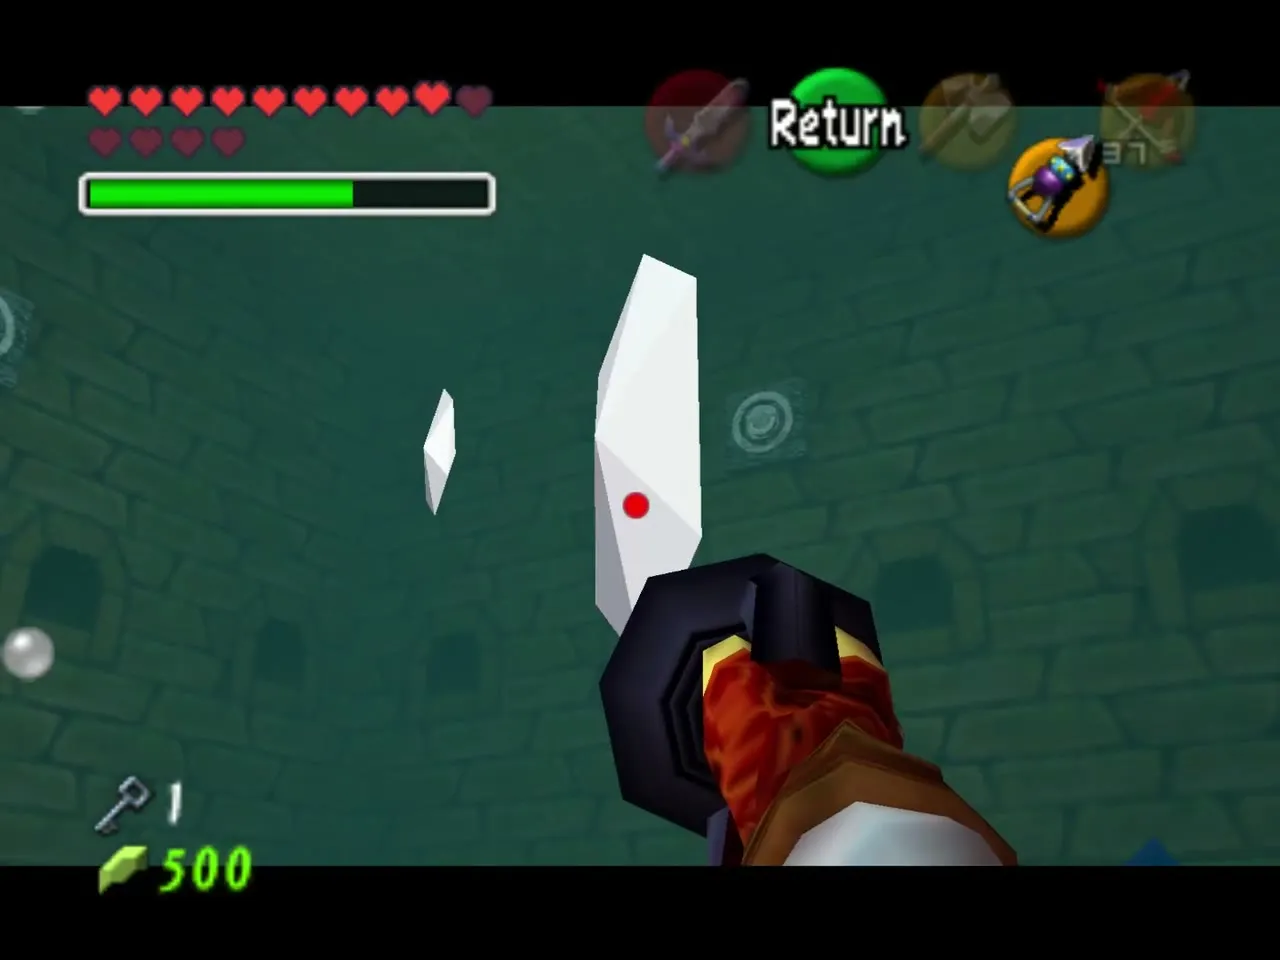
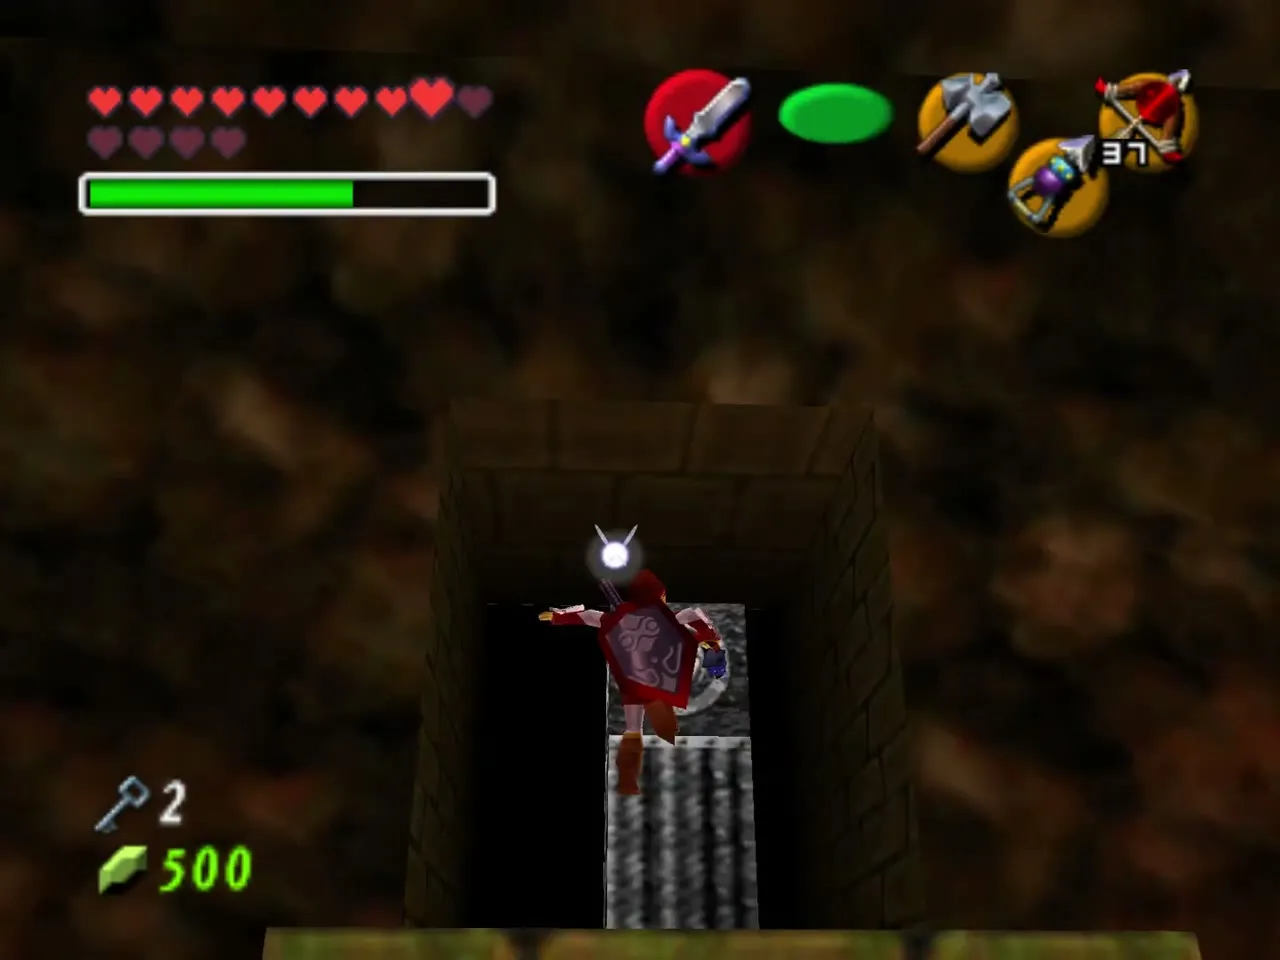
Go back to the lava hall and use the Longshot to reach the high ledge on the way to the treasure area.
Treasure area: caged maze
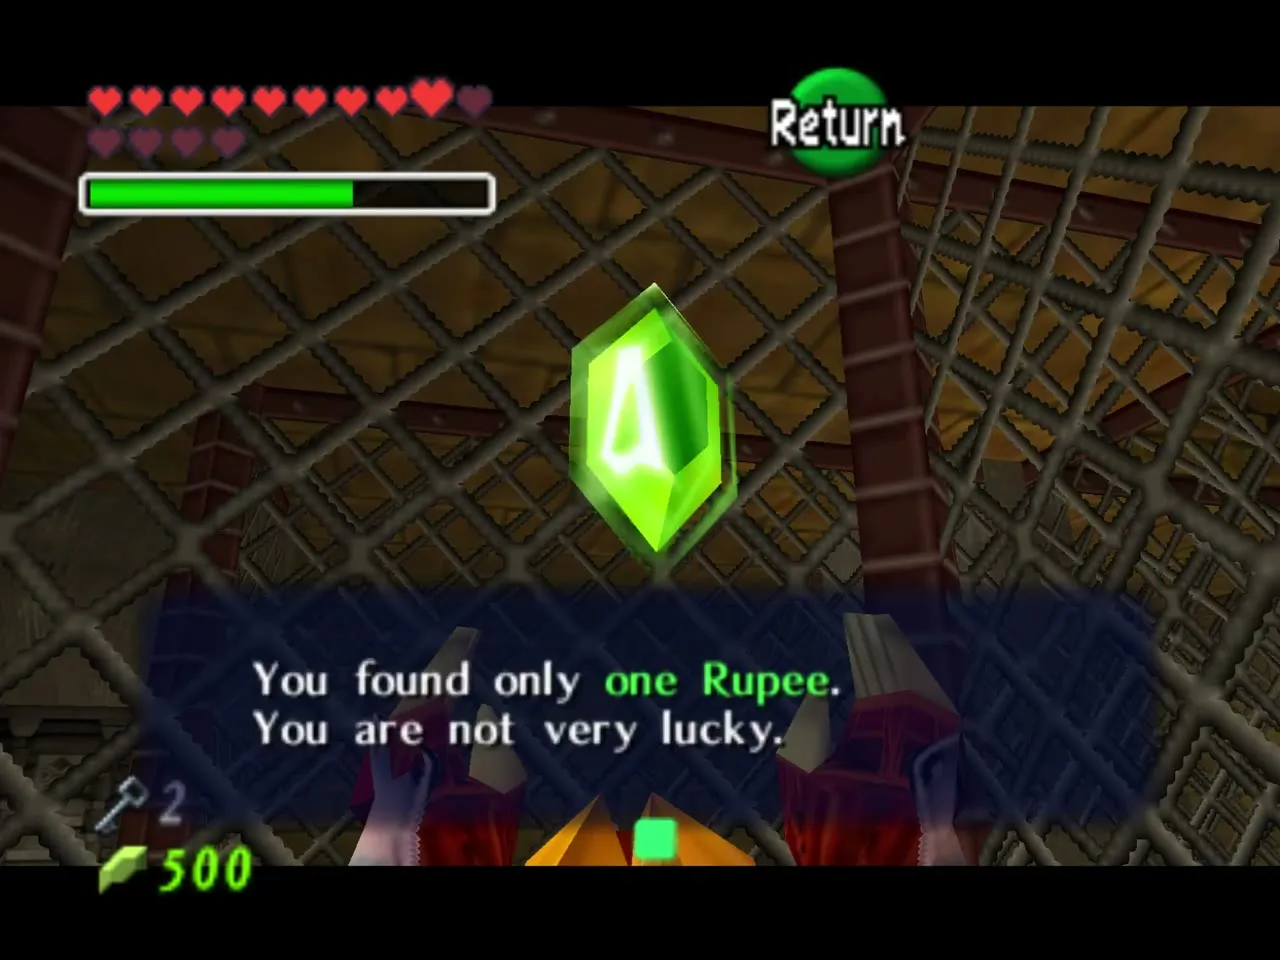
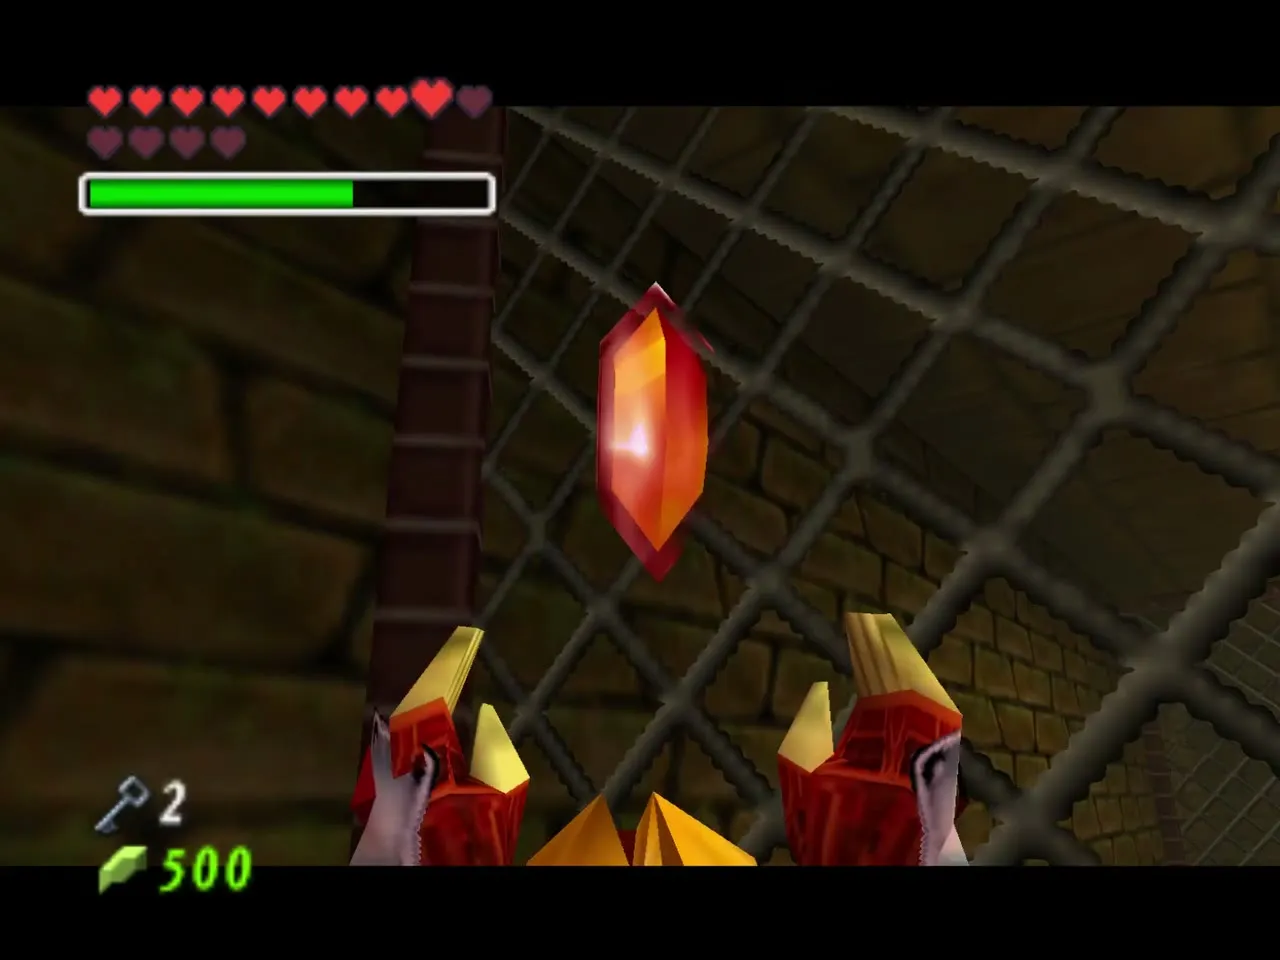
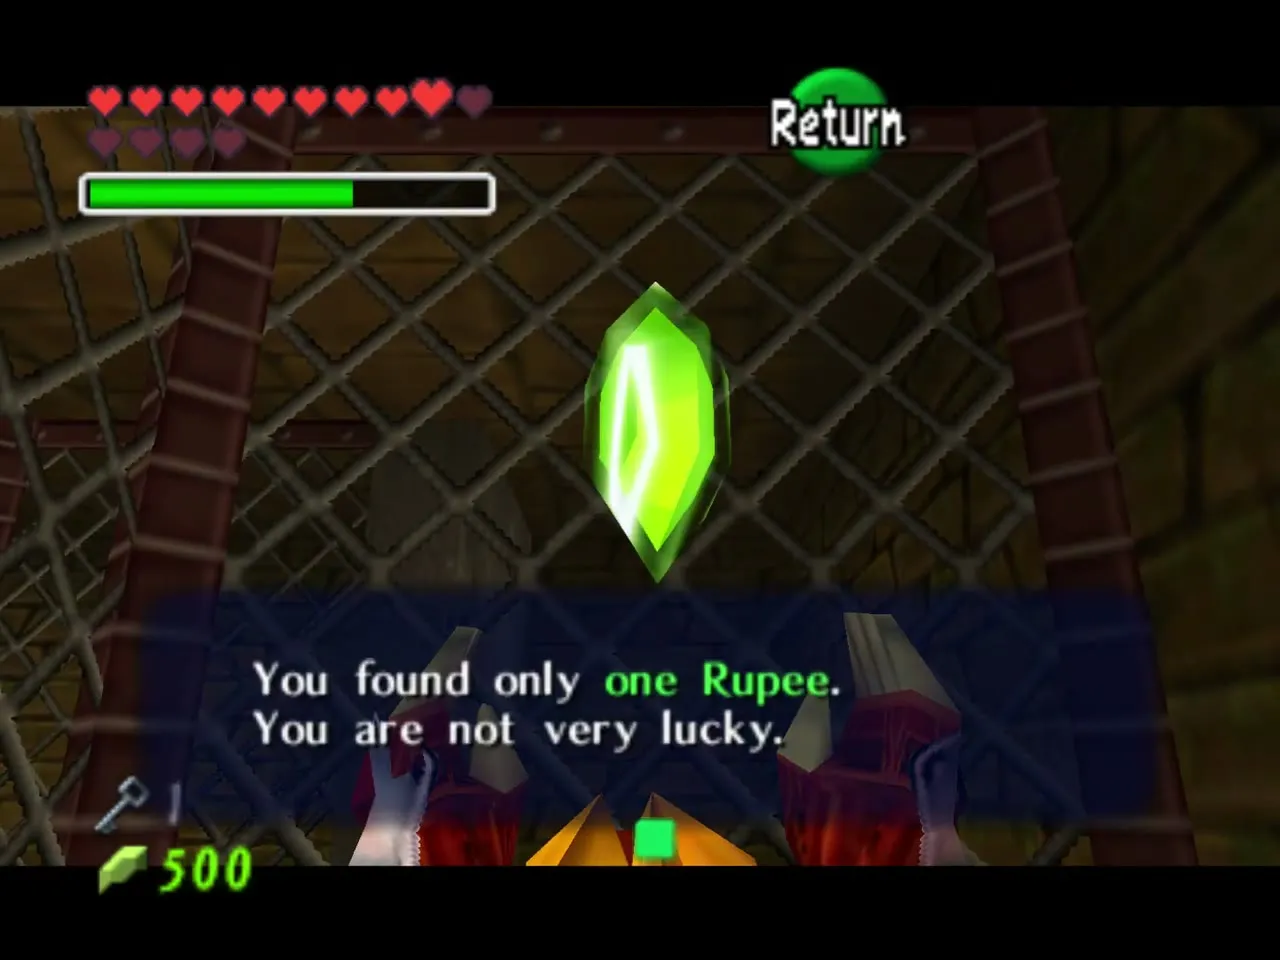
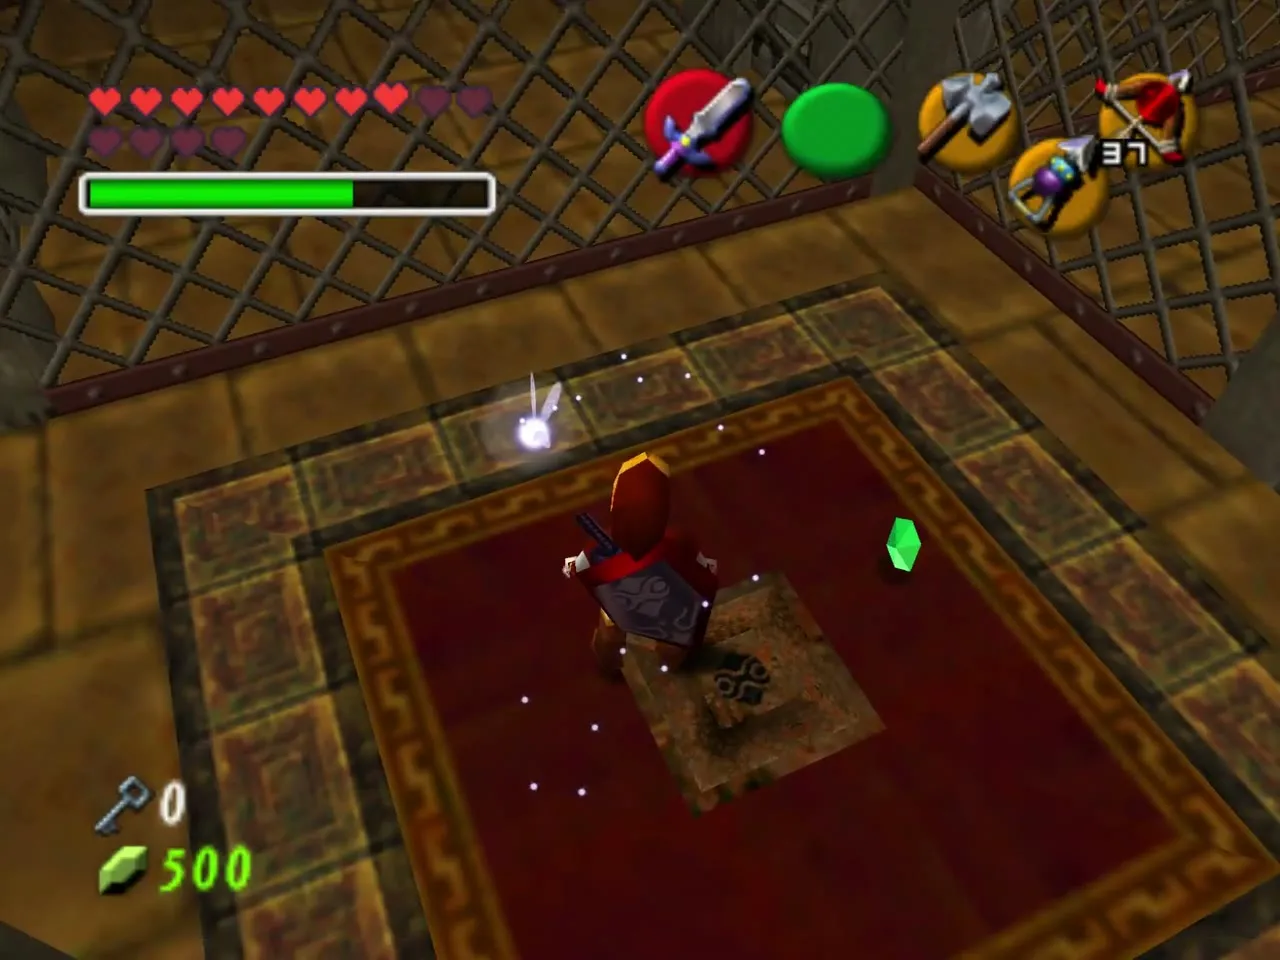
The treasure area is a maze of wire cages and carpeted floors. Chests along the way hold small prizes: a Green Rupee, a Red Rupee worth 20 and another Green Rupee. The unlucky message with the Green Rupee is just a joke, so check every dead end.
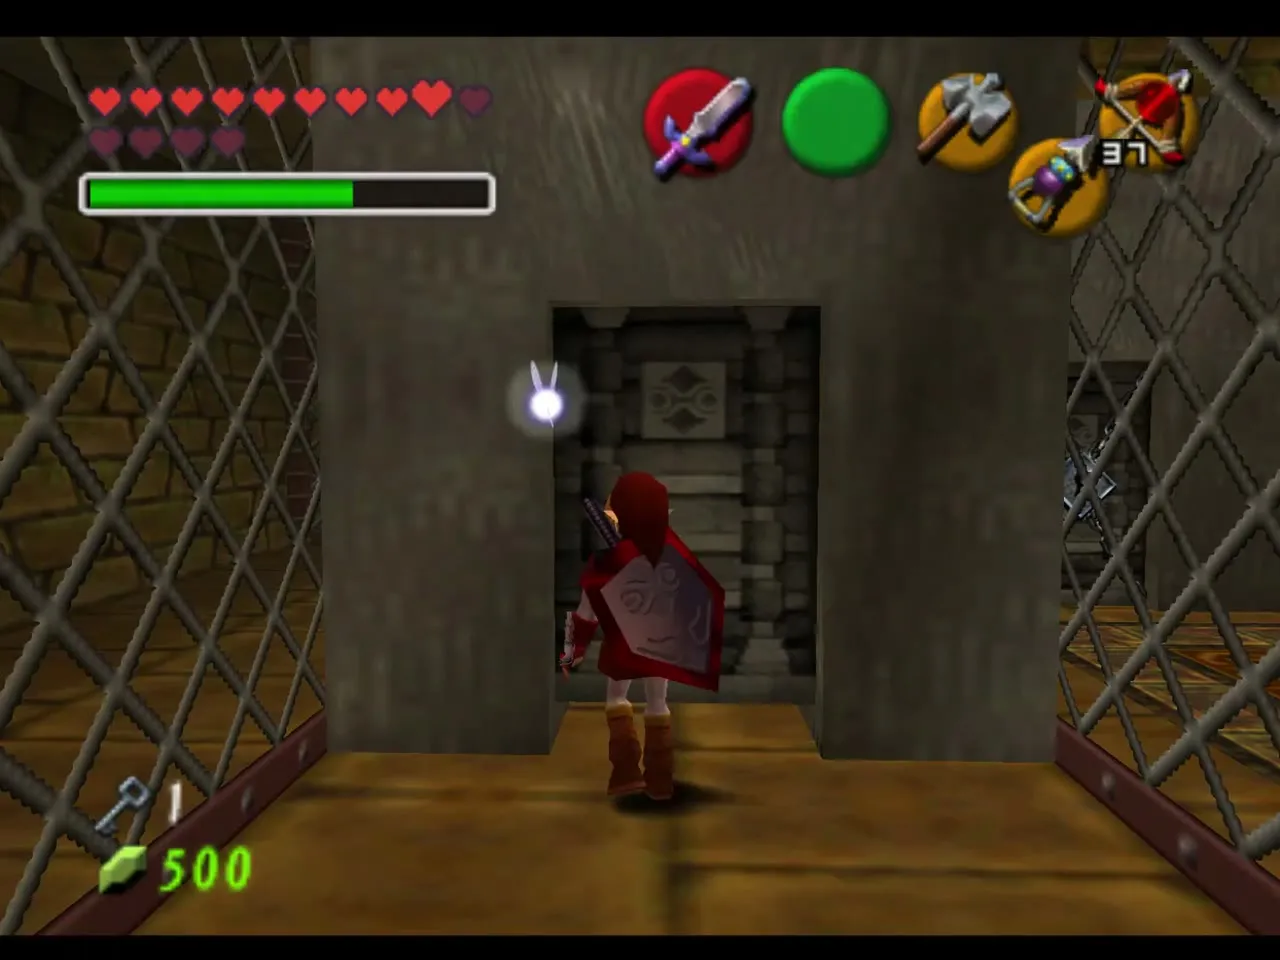
The first locked door in the maze takes one Small Key. Behind it, a lion-mouth door leads to a room where you have one minute to defeat all the enemies.
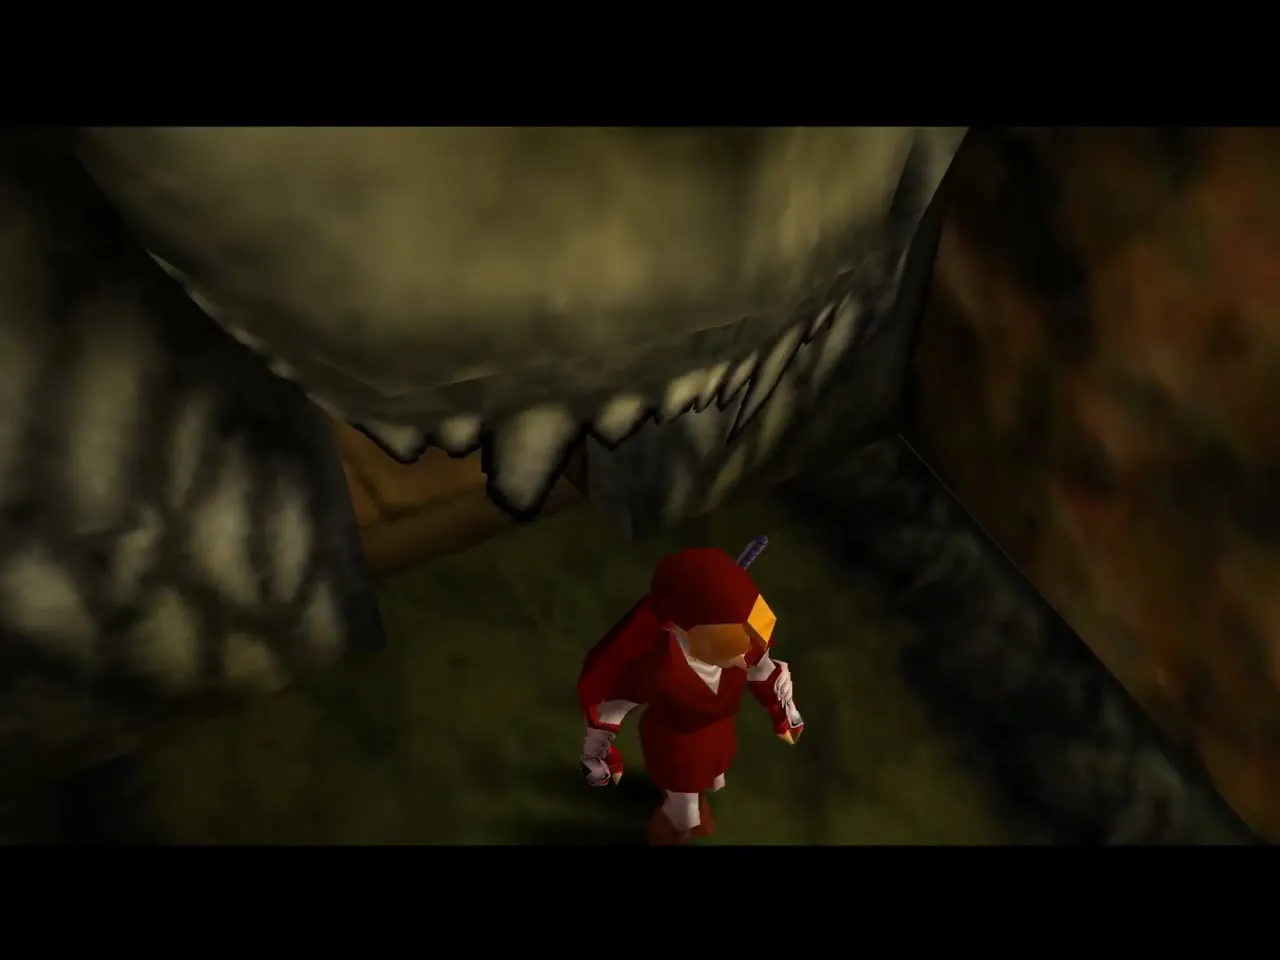
Lizalfos room and the third key
The fight is against Lizalfos, Dinolfos and a Dodongo, on a one-minute timer. Throw a Bomb so the Dodongo explodes among the lizards, then press the attack on the rest while they are weakened.
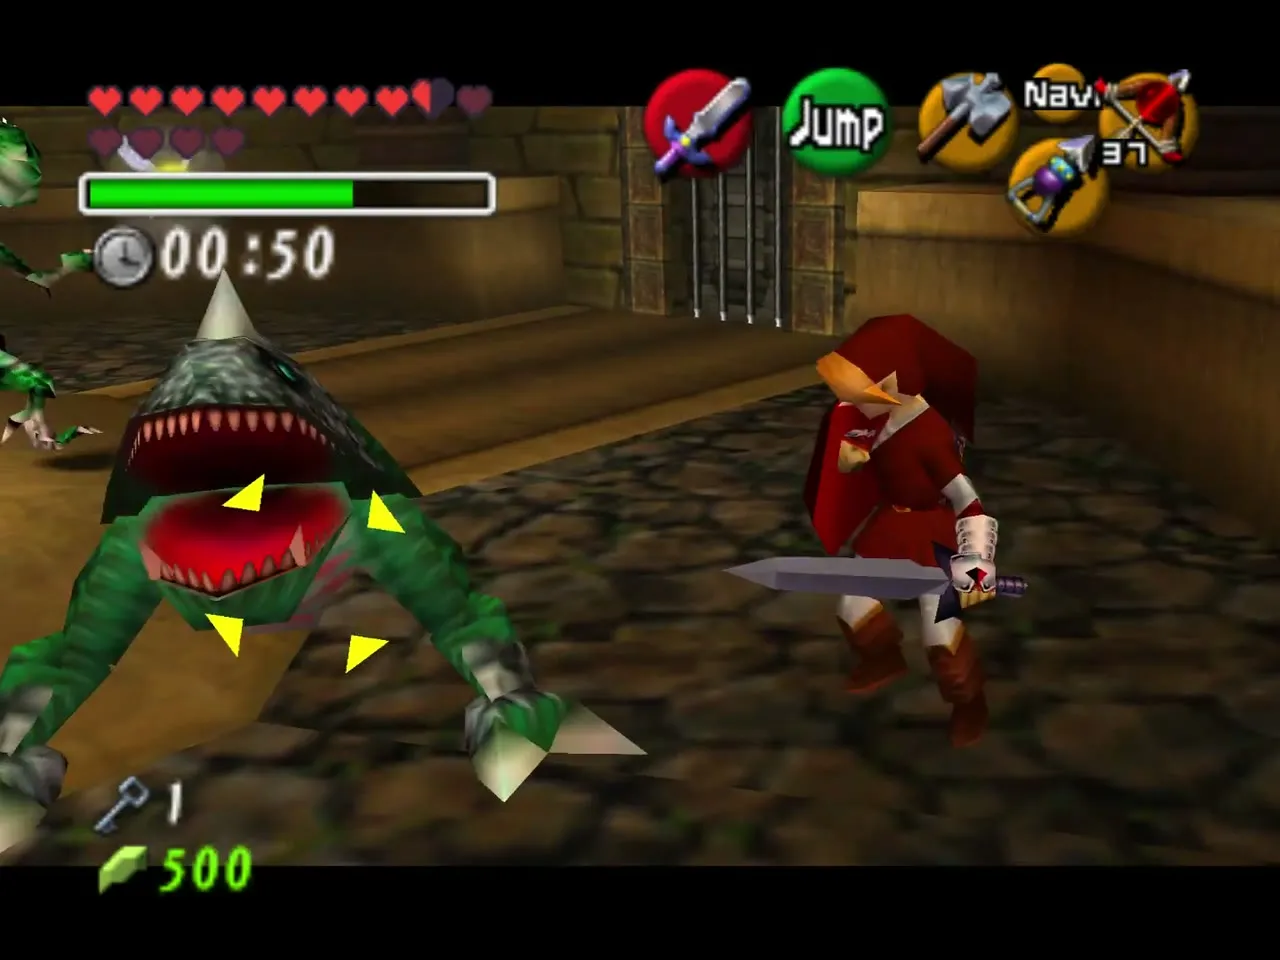
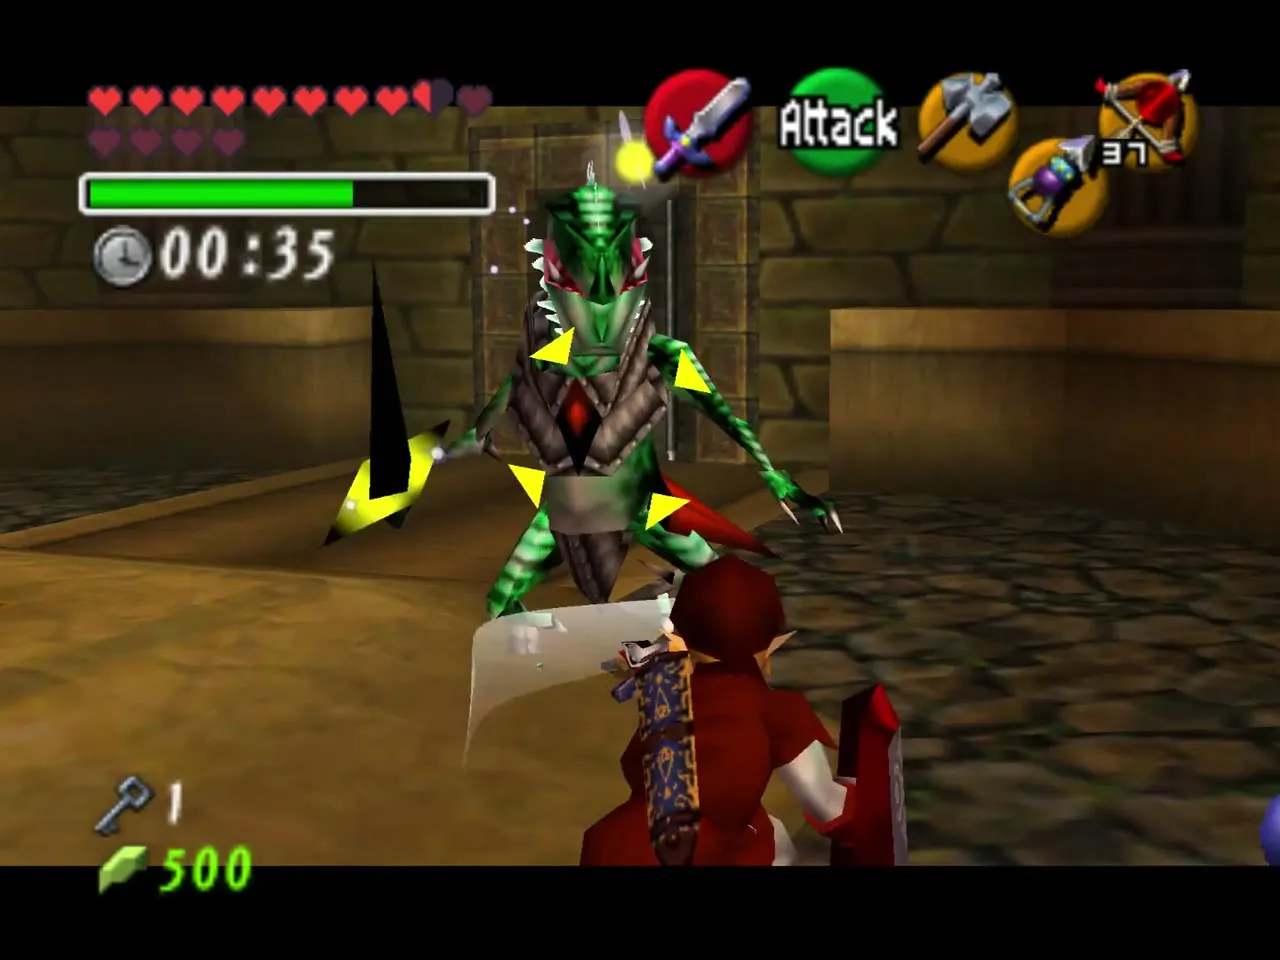
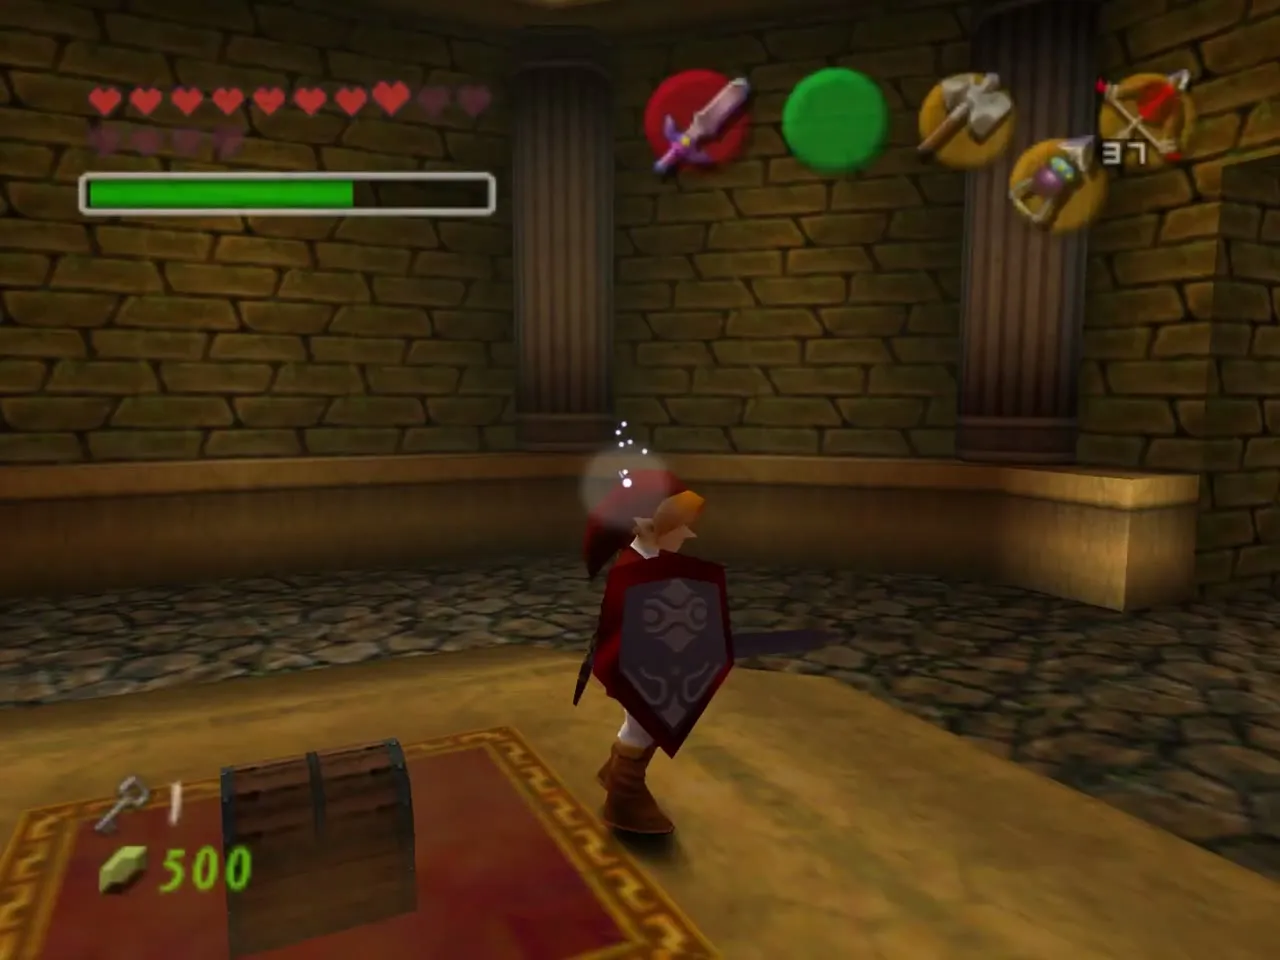
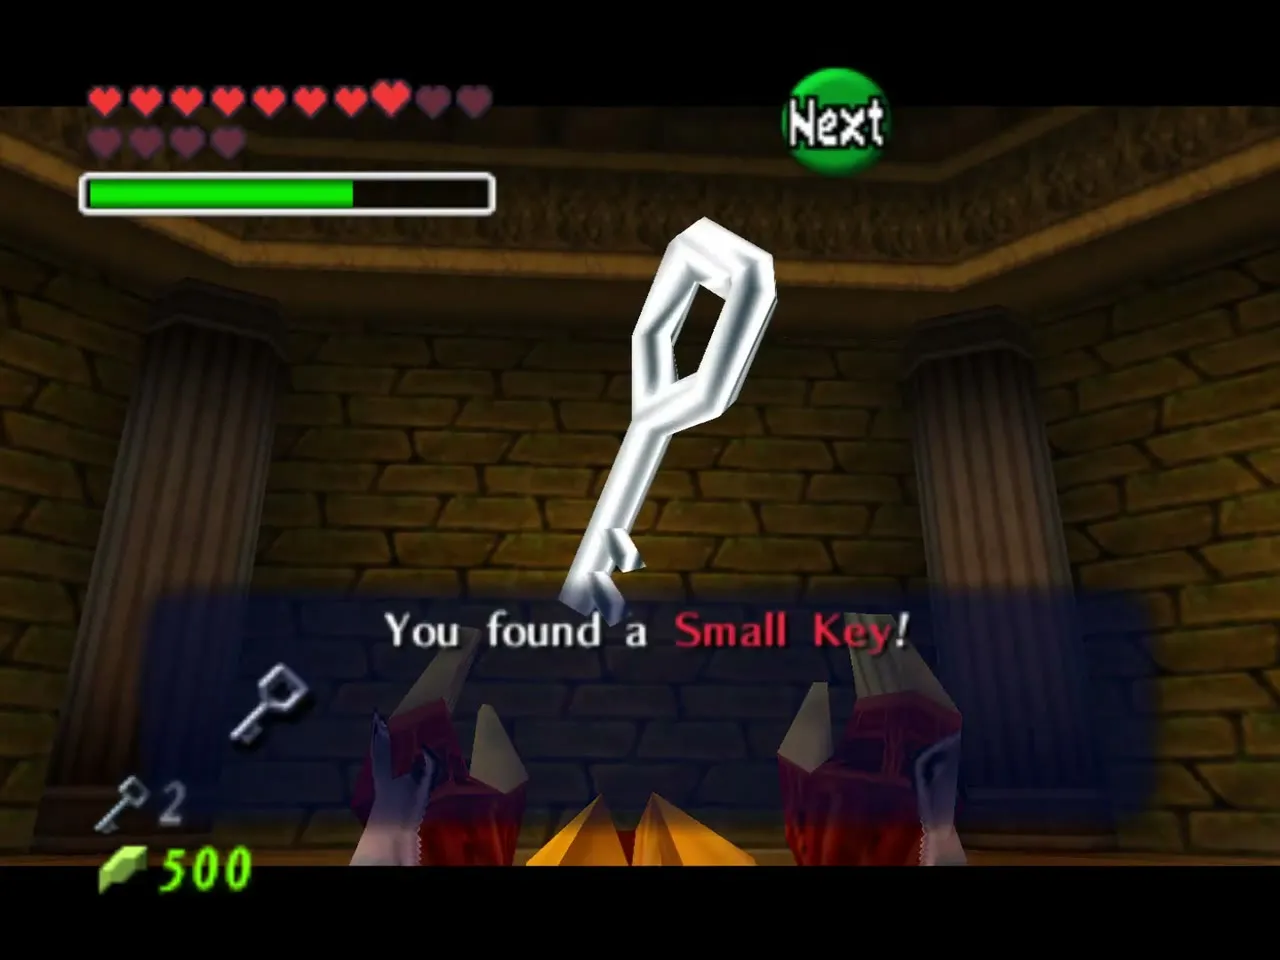
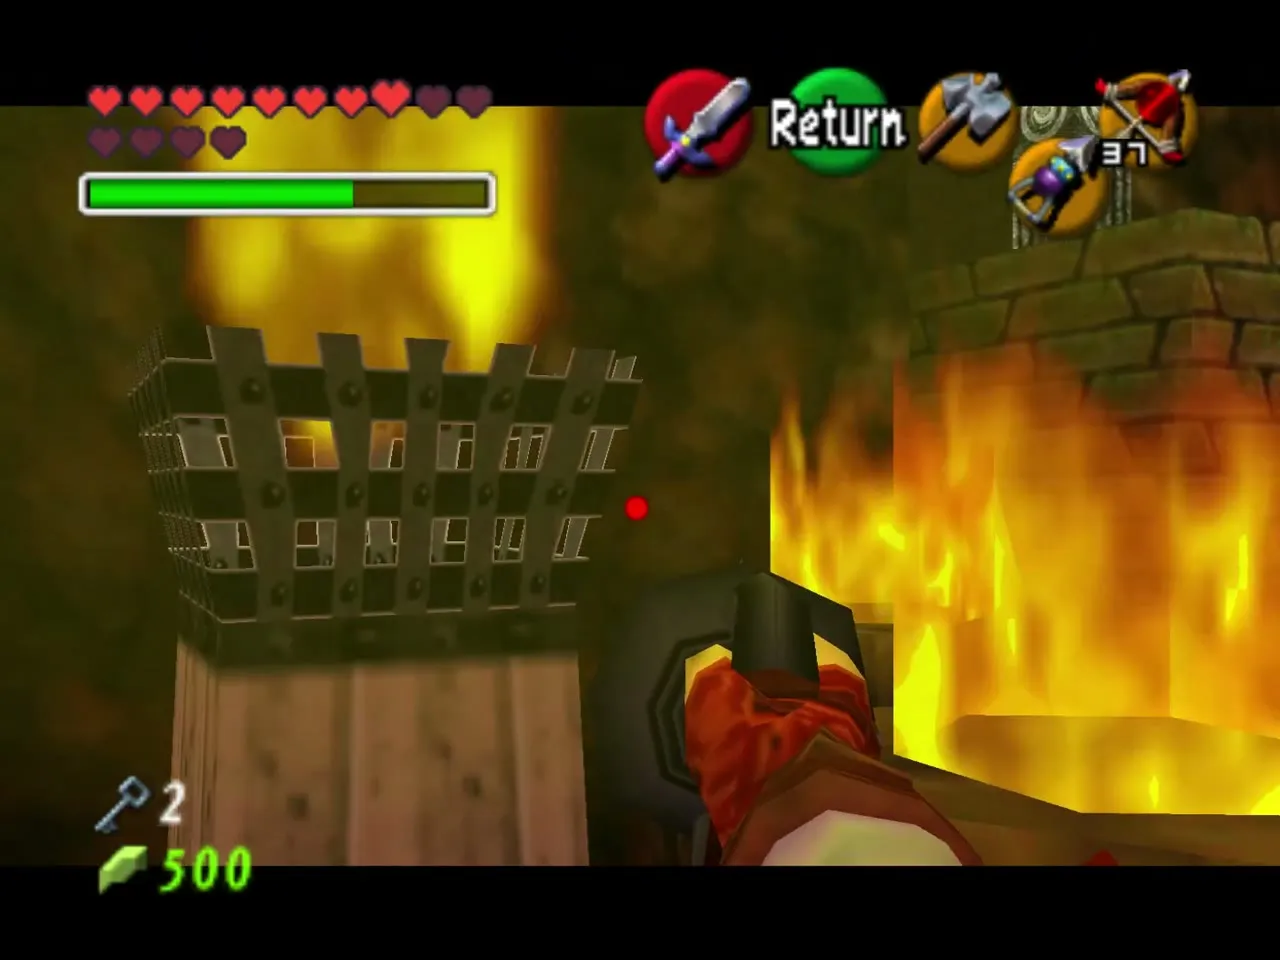
When the last lizard is down, a chest appears on a red carpet, and it holds your third Small Key. A corridor then leads to a hall of lava, where you are told to cross the sea of fire. An arrow shot at the cage over the flames clears the way.
Maze doors and flame halls
Back in the maze, two more locked doors take the remaining keys, ending with a chained door. Push the crate in the hall and keep going through the rows of cages until the corridor opens onto dark passages and a lion-faced chamber.
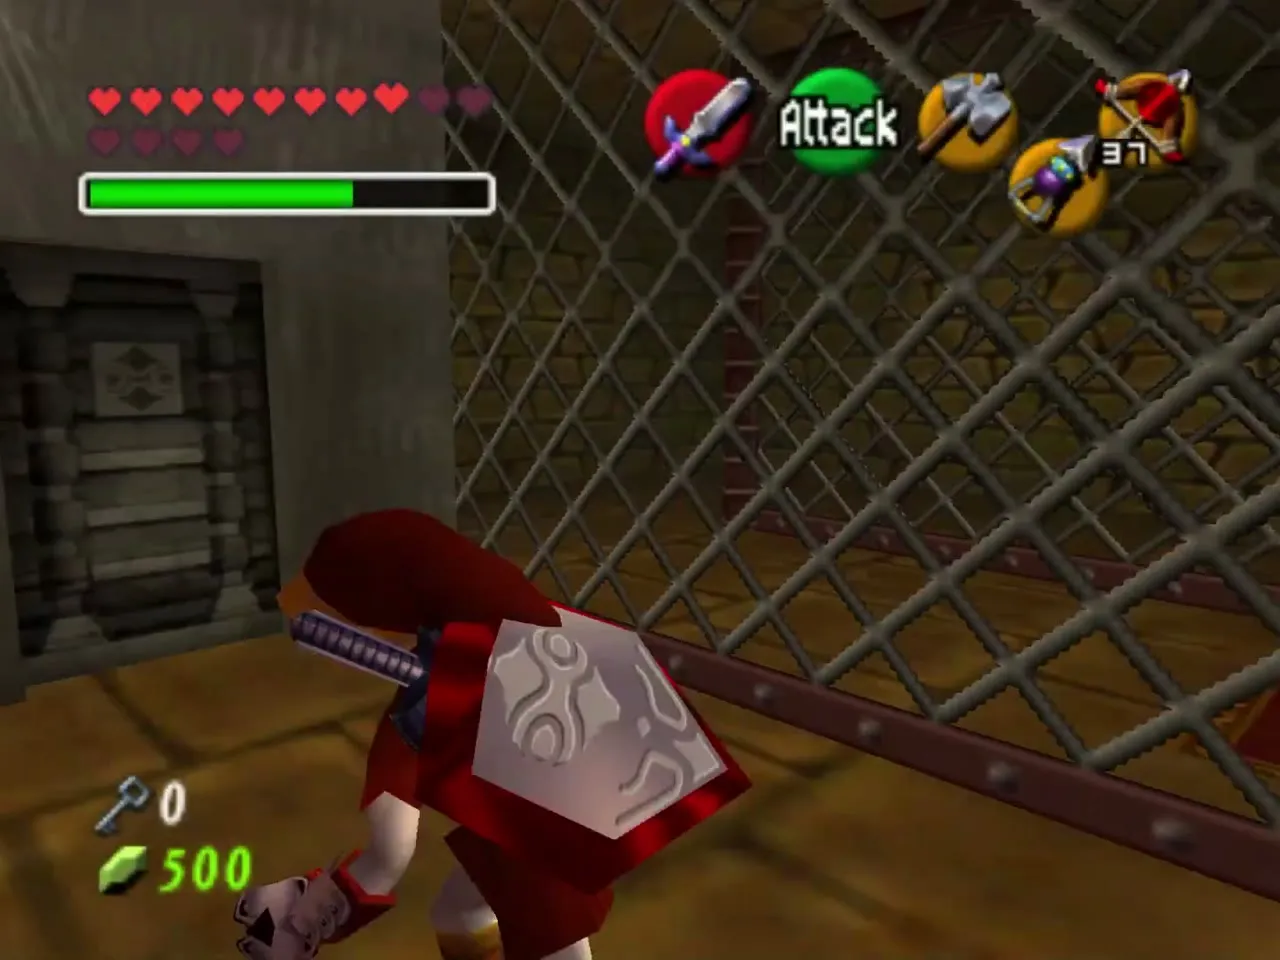
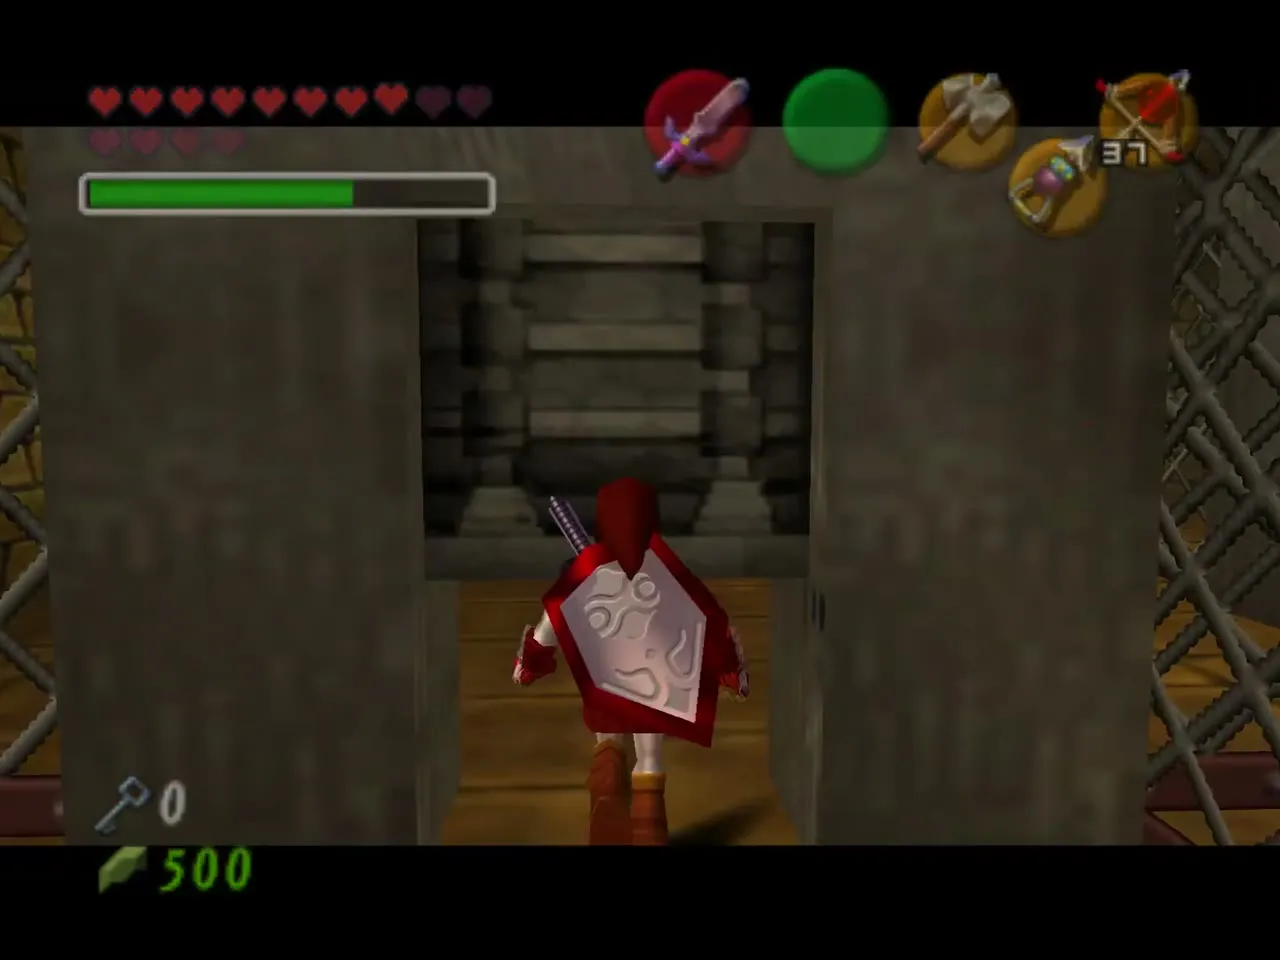
A sandy room, a corridor of torches and a flame wall guard the end of the maze. An arrow at the eye switch puts out the flames, and the door to the next hall opens.
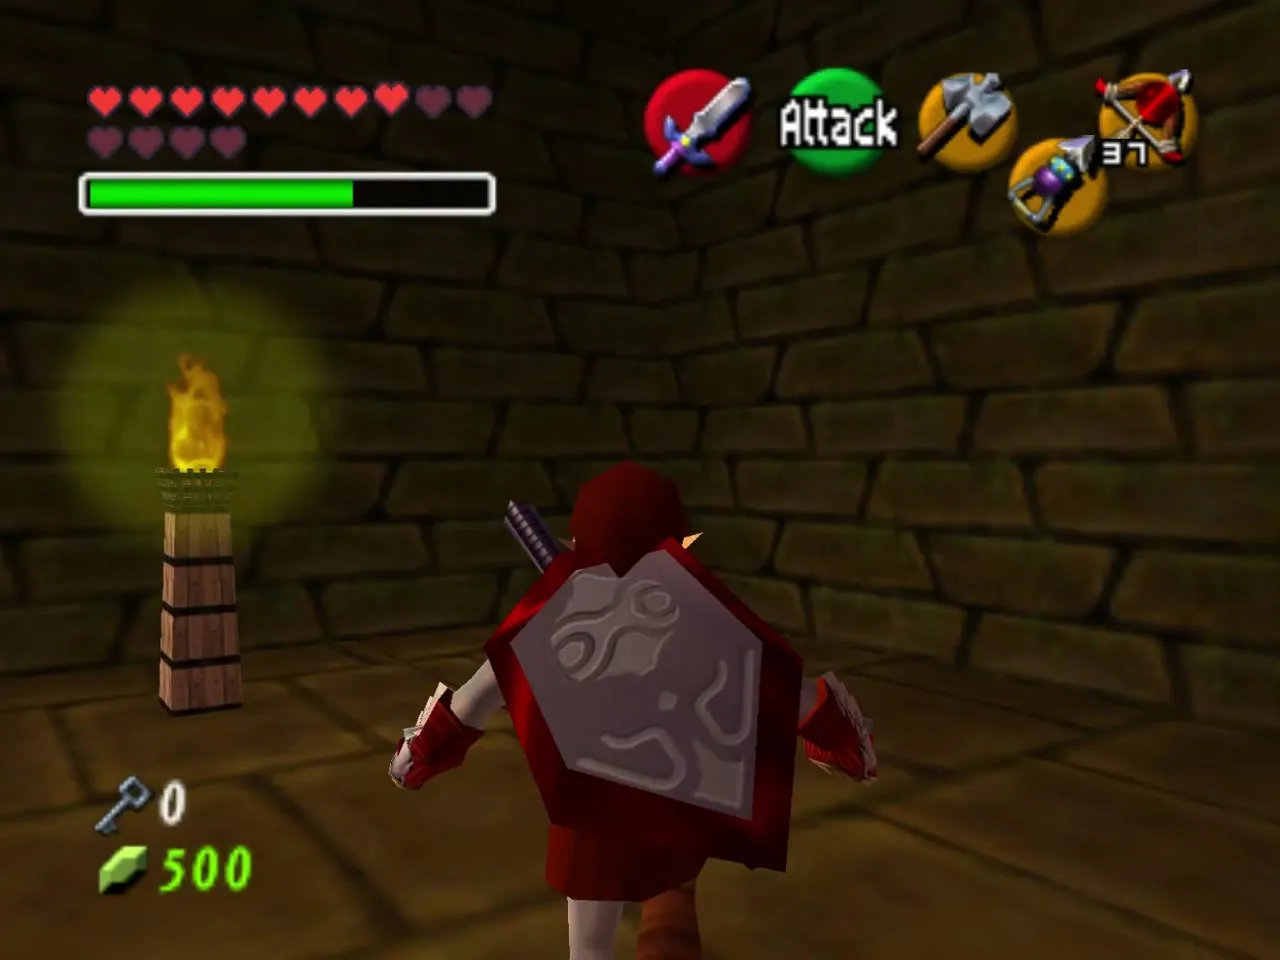
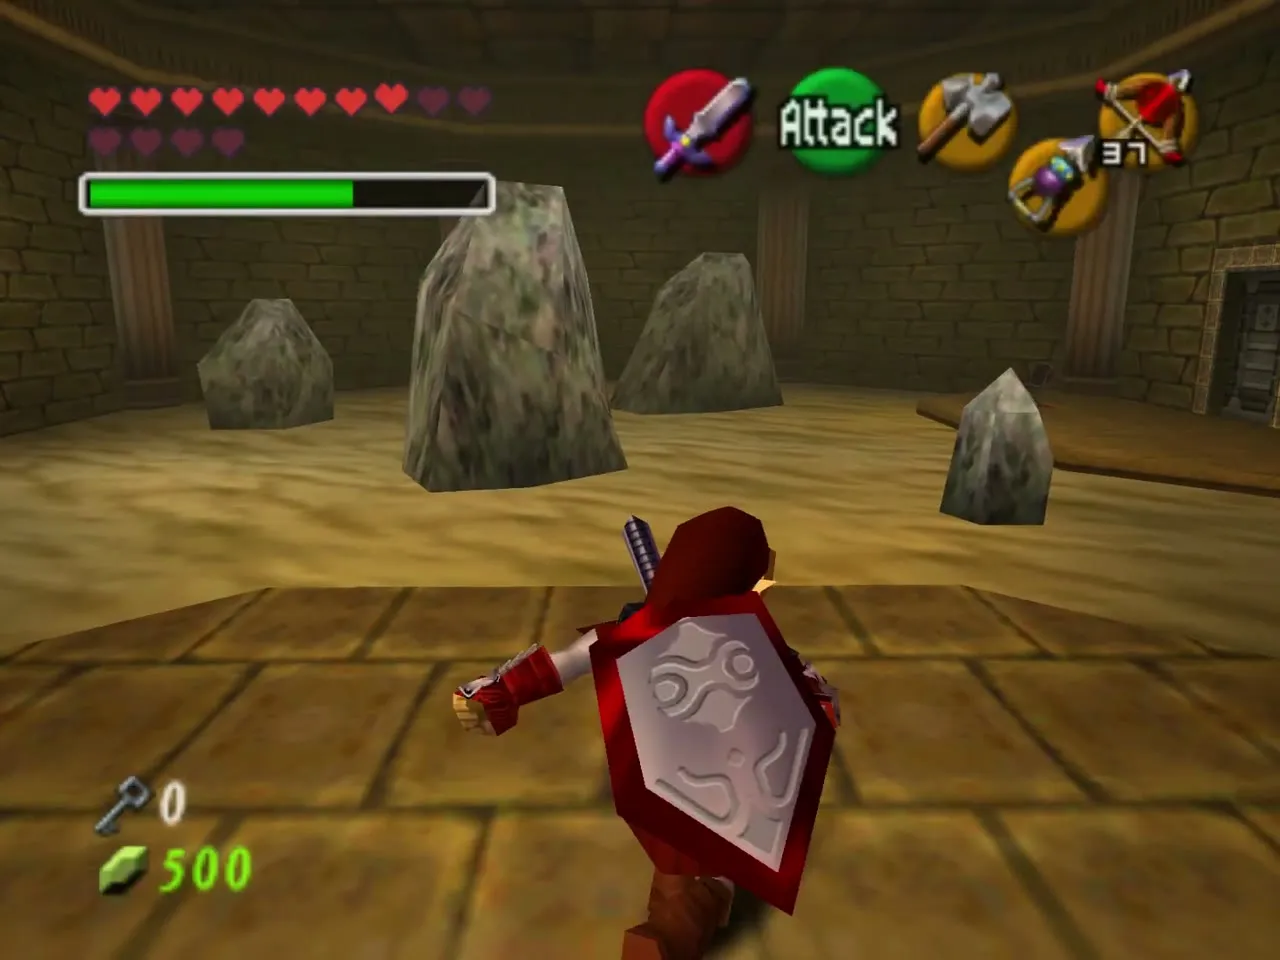
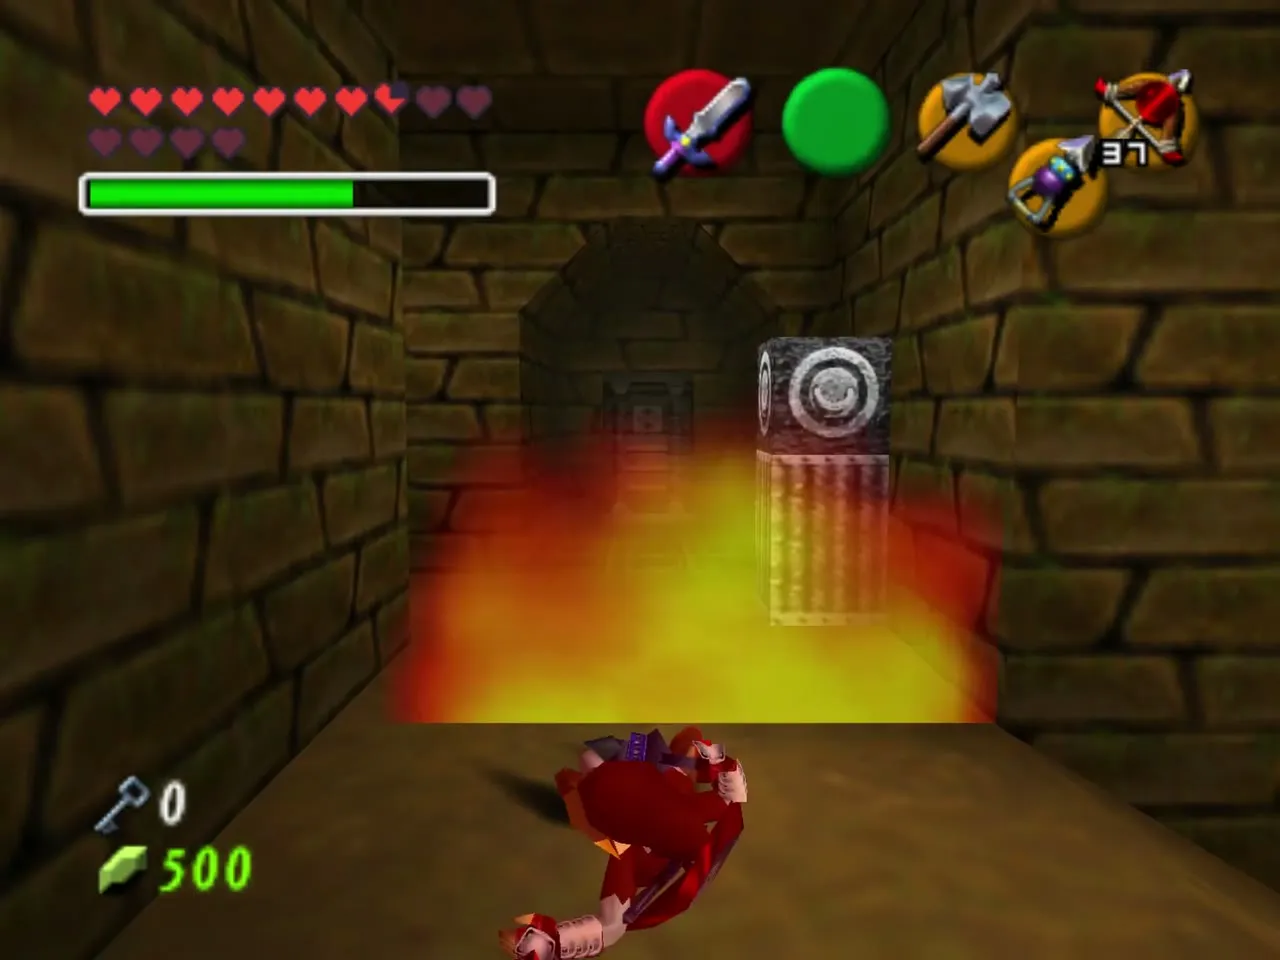
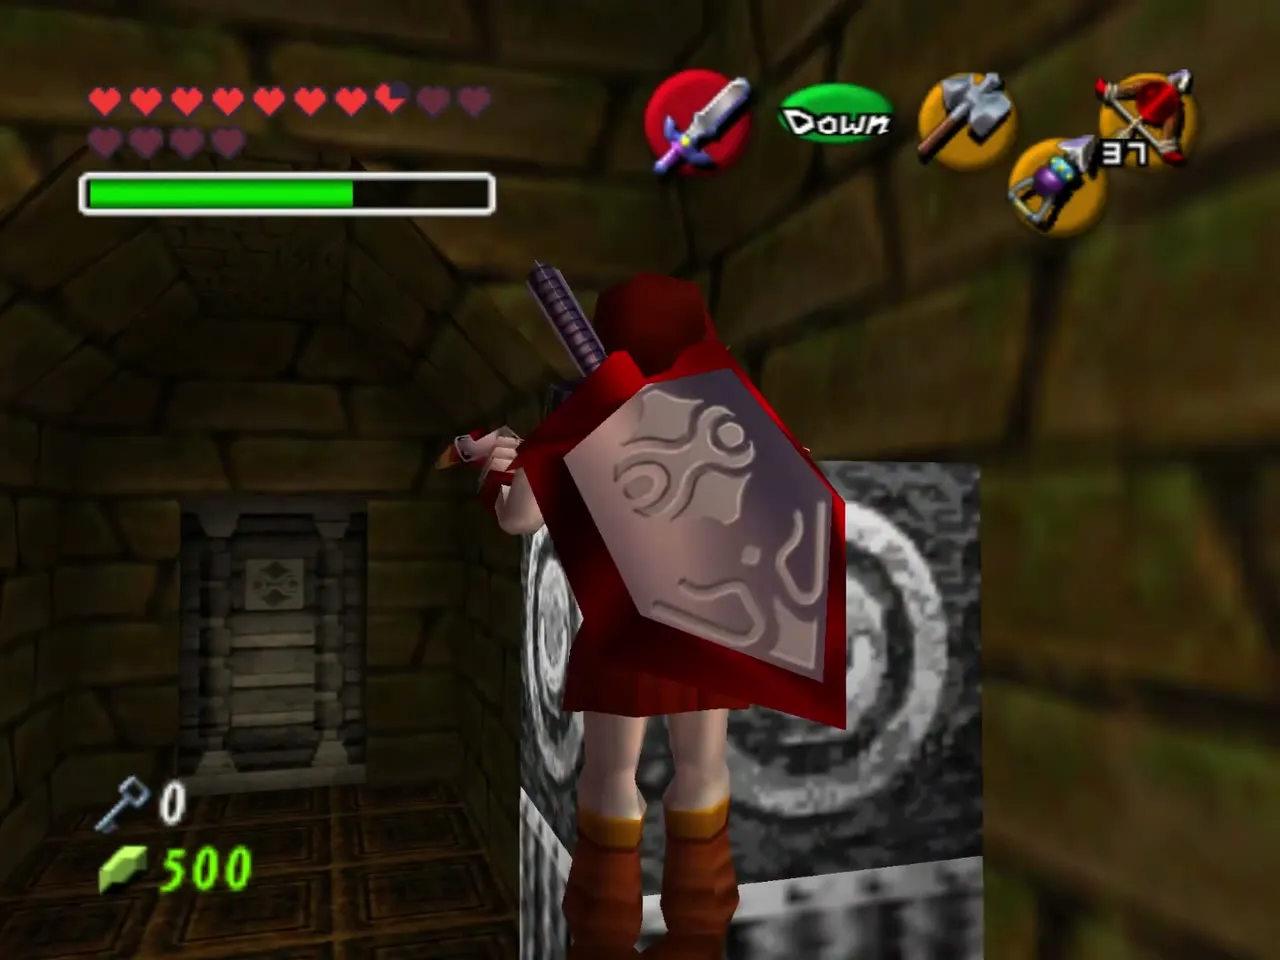
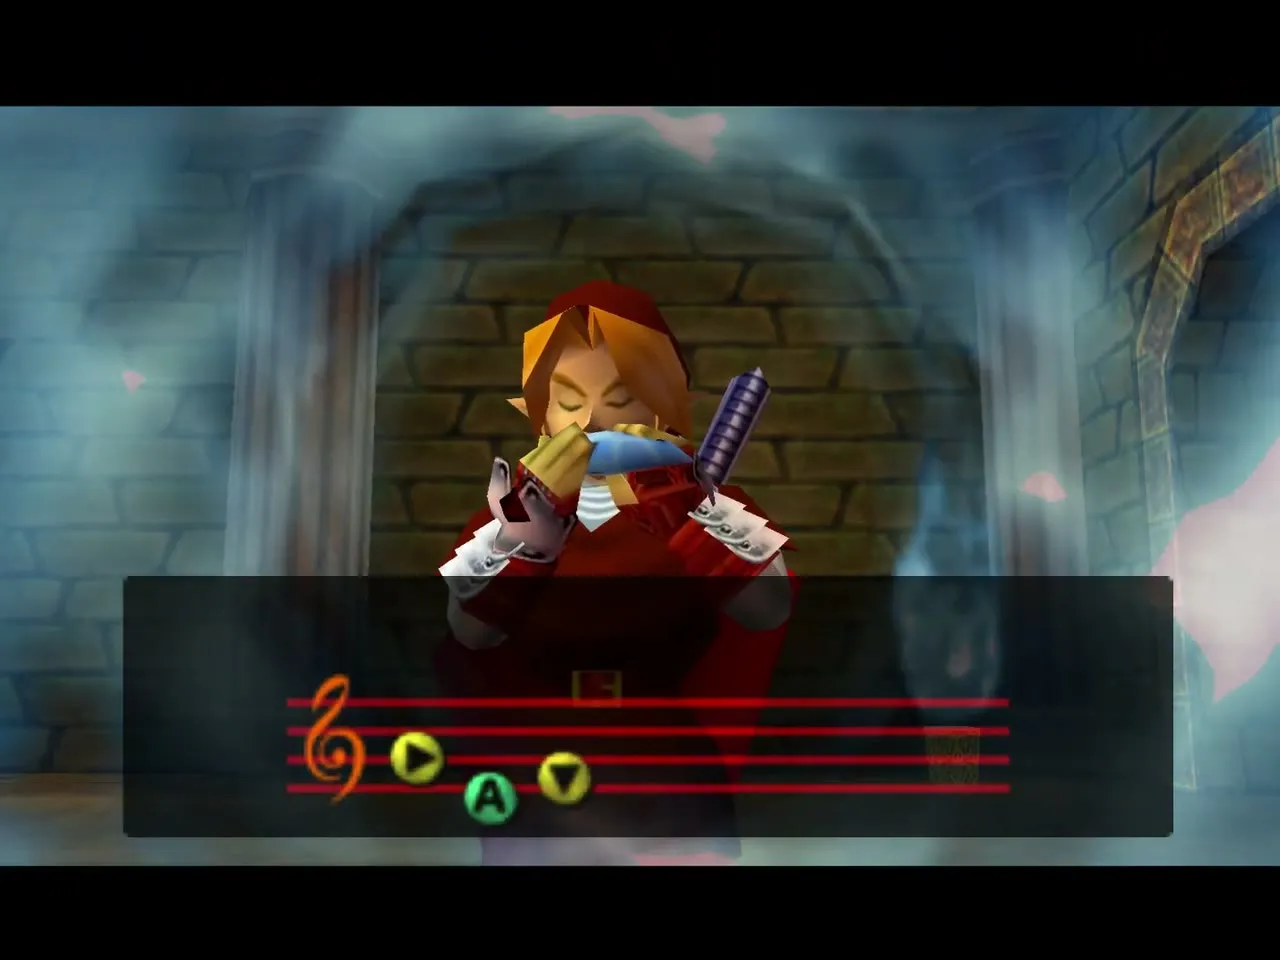
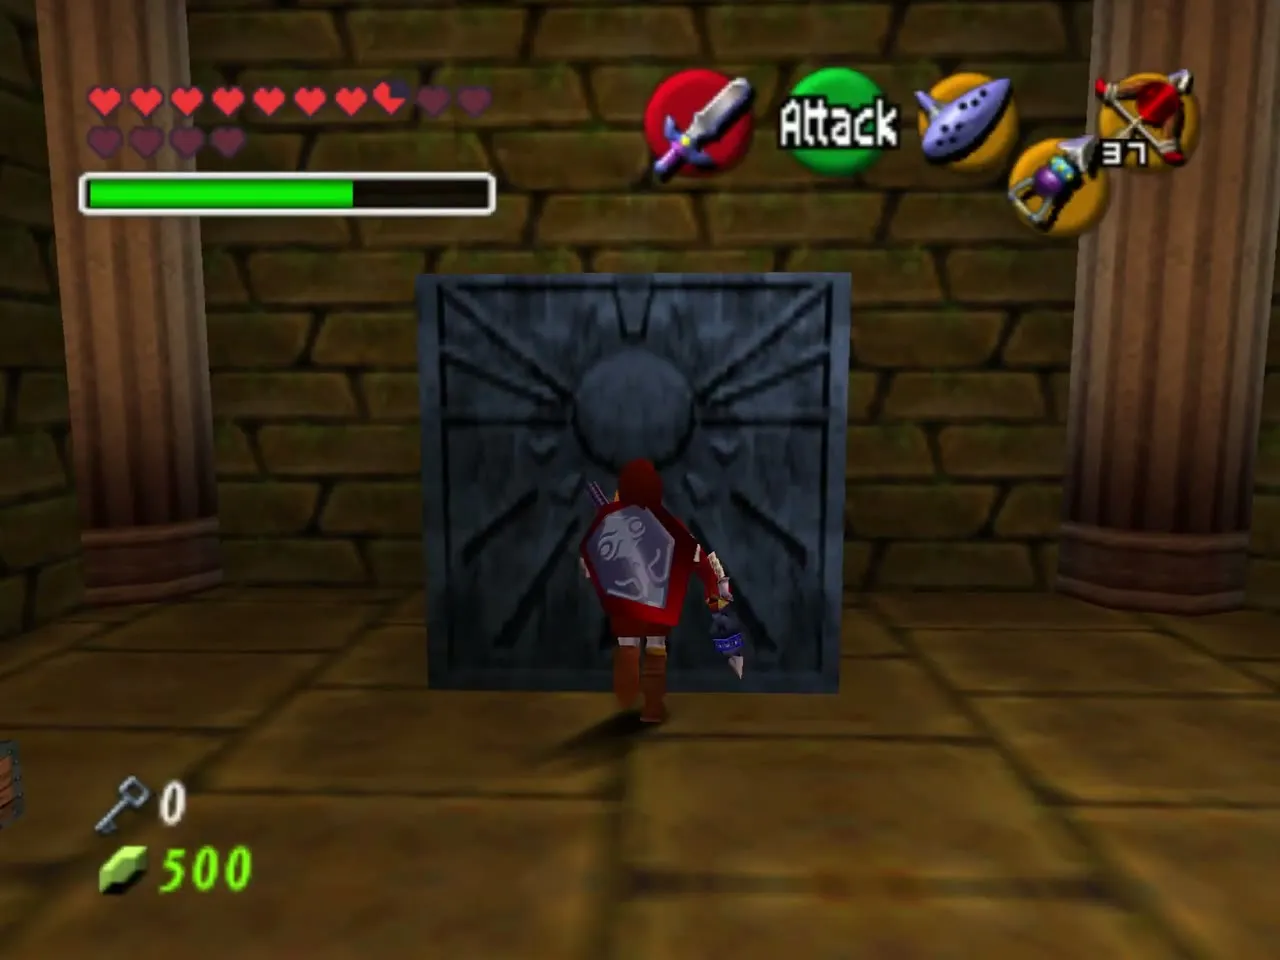
In the hall, a gray block carved with a sun blocks the way. Play the Song of Time beside the blue flame to raise a Time Block, then push the sun block aside and go through the passage.
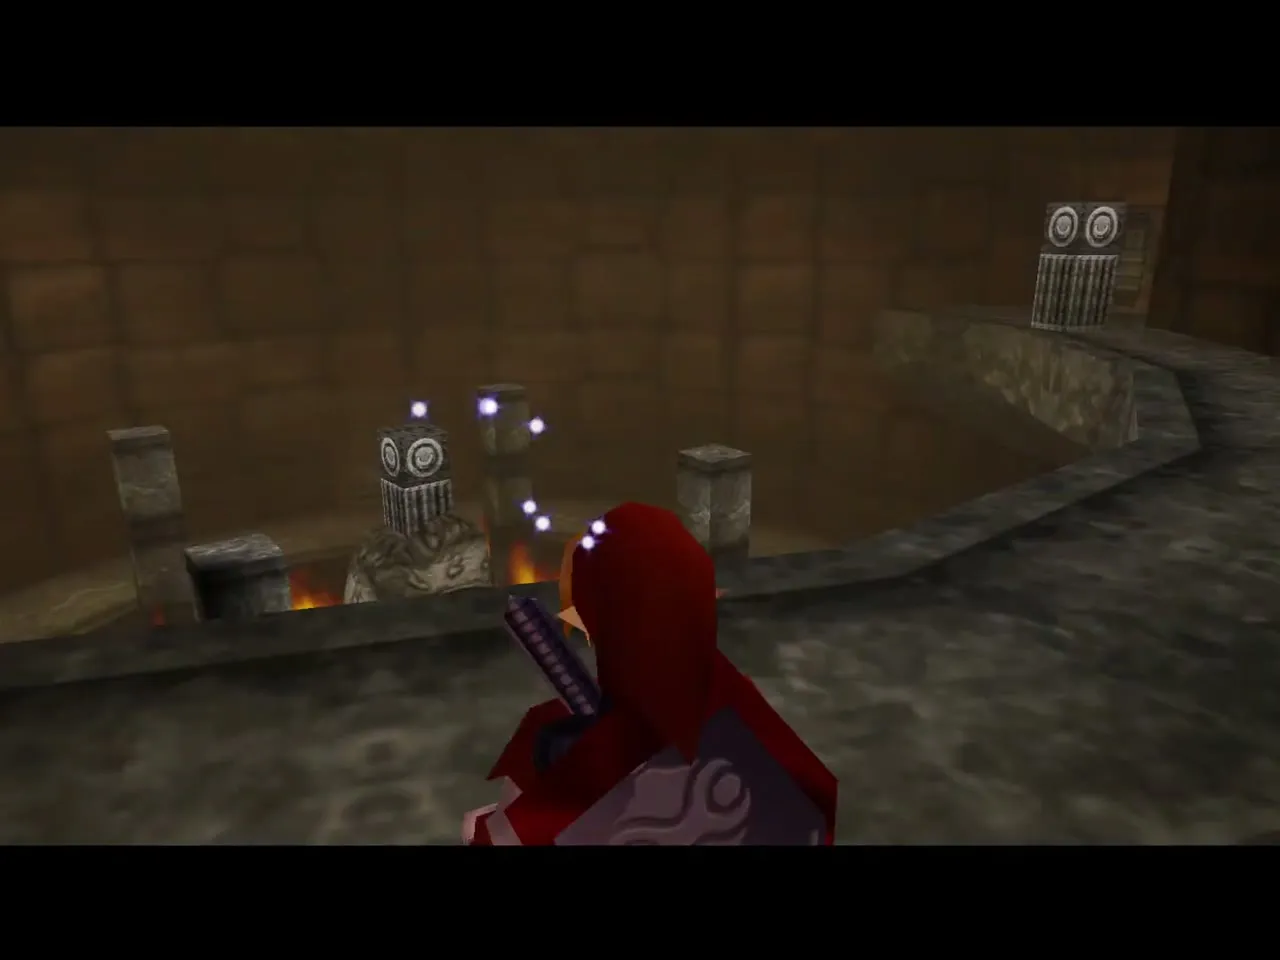
The last stretch is a hall with a ring of lava and stone pillars. Walk along the ledges around the lava and into a small room lit by two pink torches.
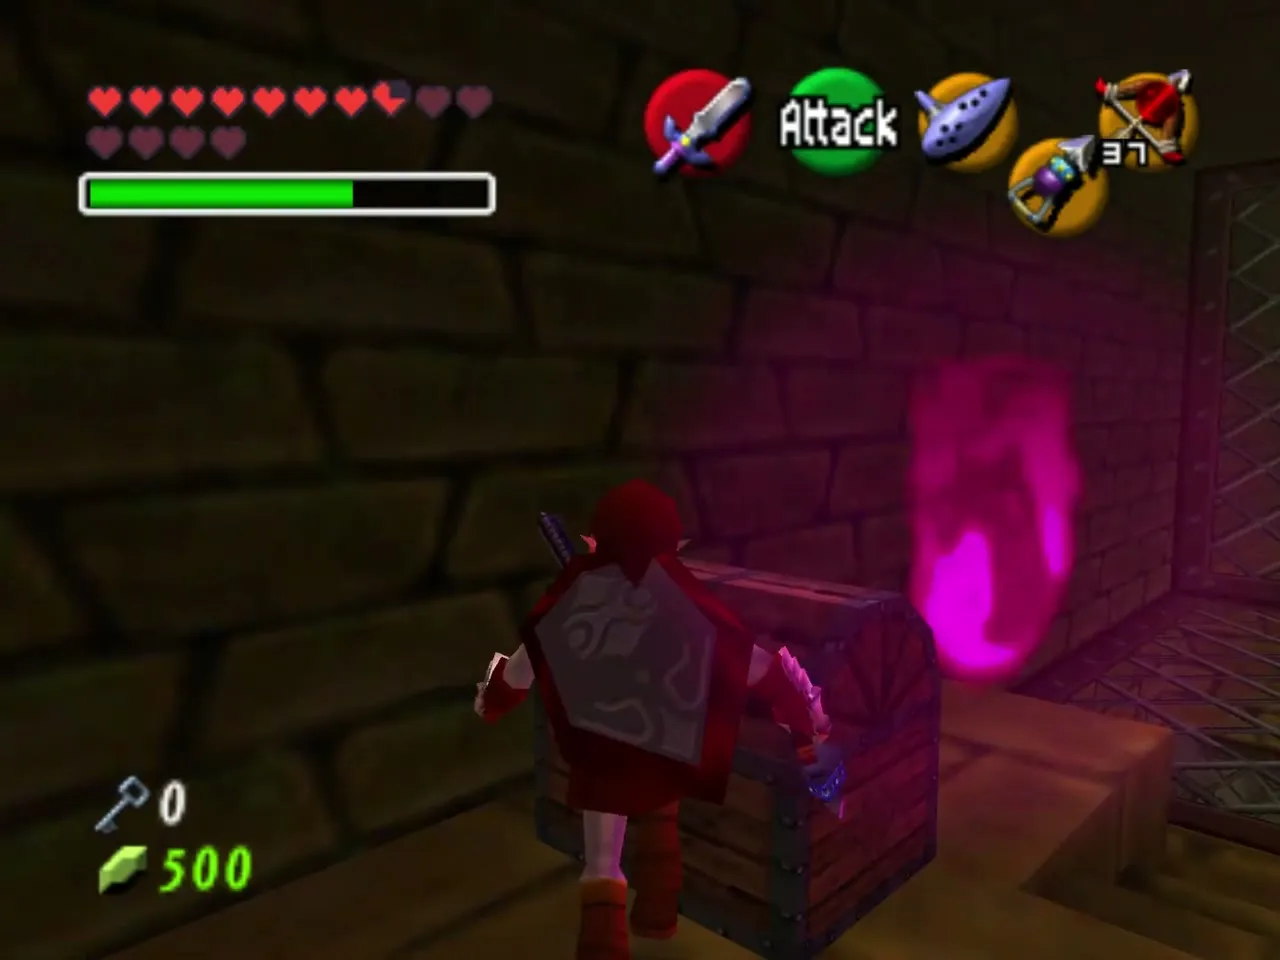
Ice Arrows
The chest in the pink-lit room holds the Ice Arrows. Set them to a C button and your arrows freeze what they hit, using magic. The Gerudo grant them to anyone who completes the training.
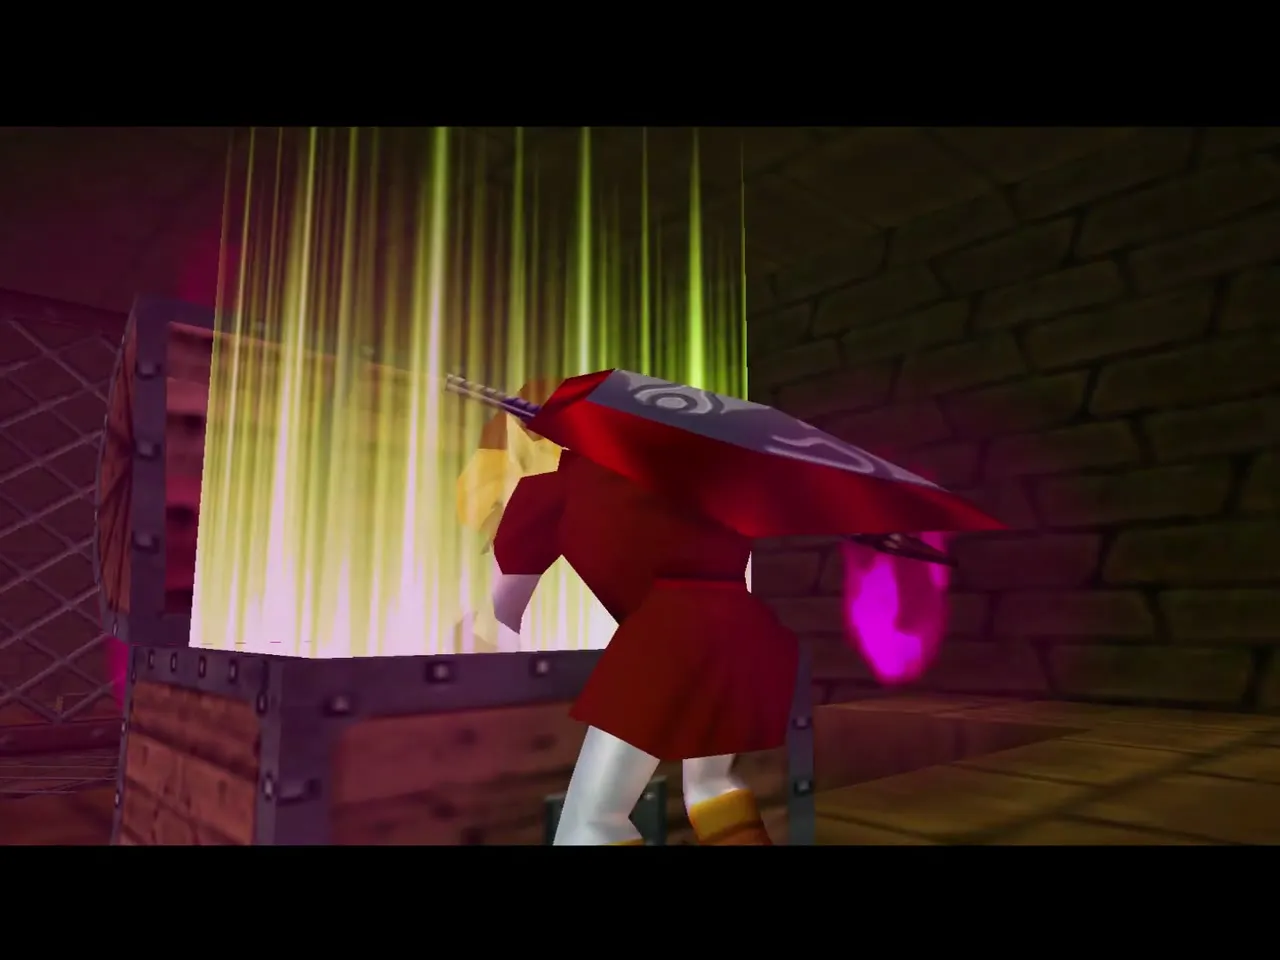
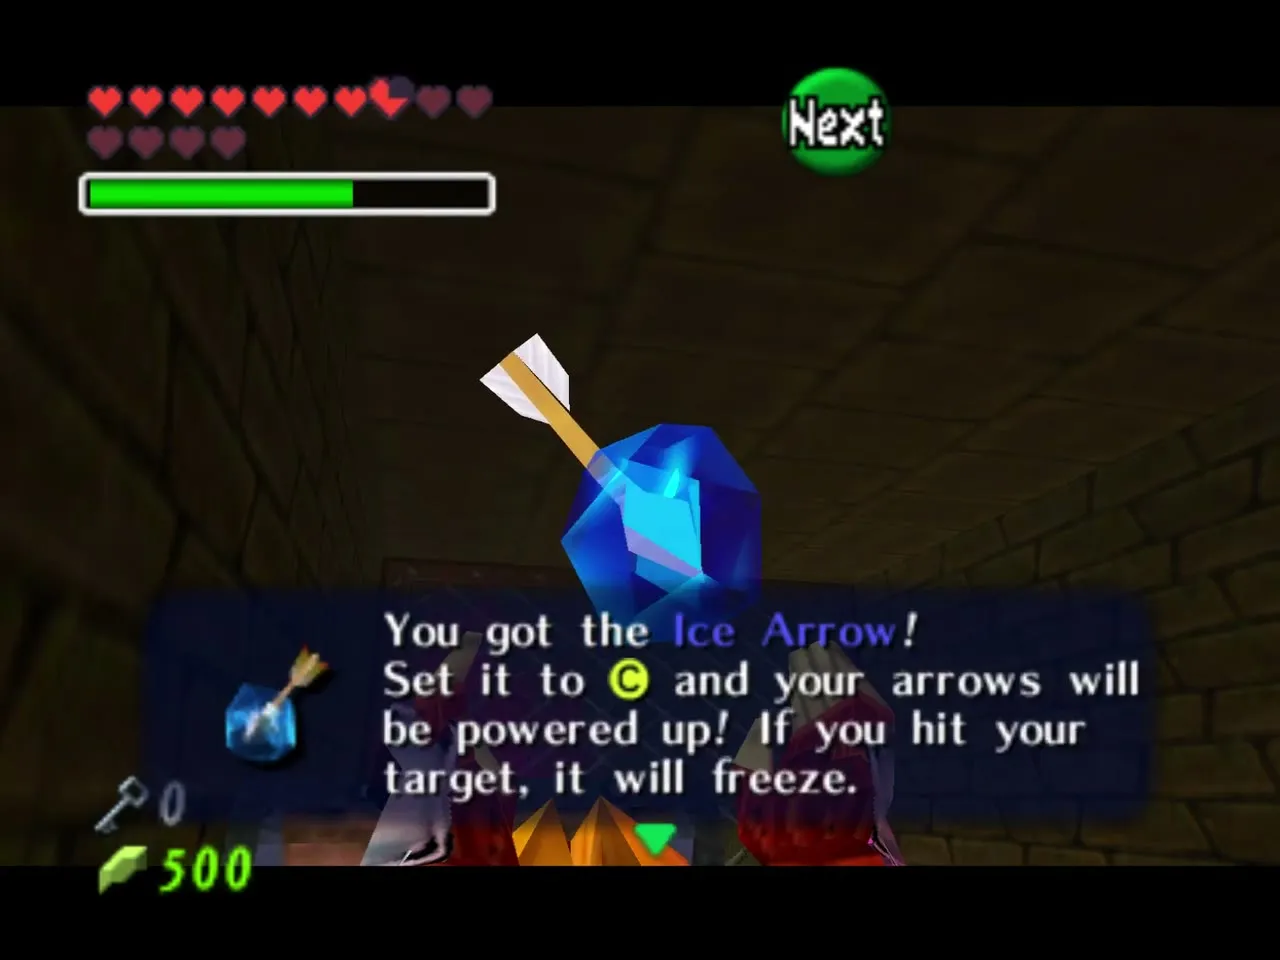
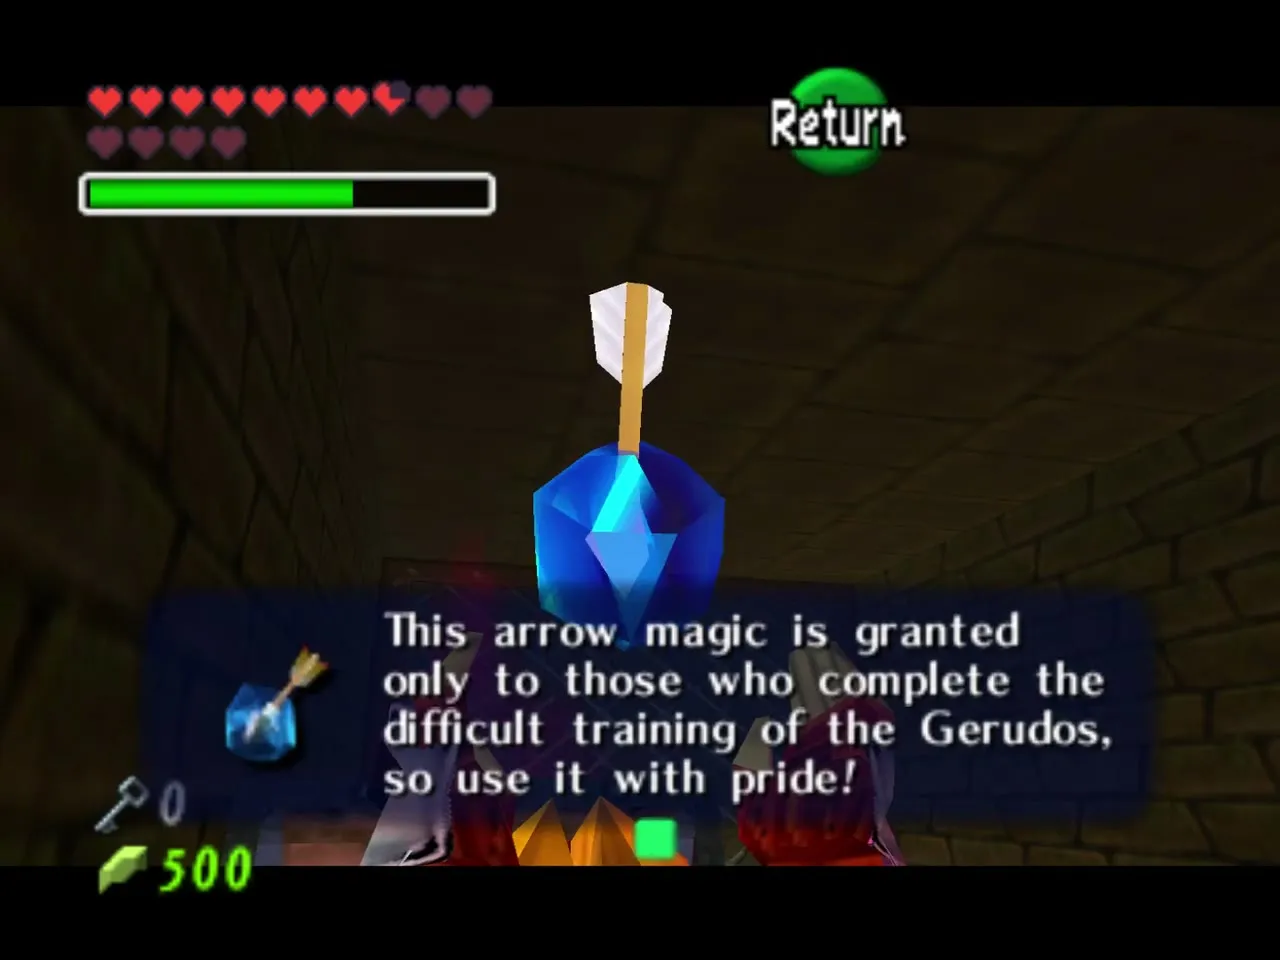
Retrace your steps through the maze, the sand room and the final stairs to leave. You will pay 10 Rupees again if you want to return.
How Master Quest changes the Gerudo Training Ground
The original dungeon has nine keys and needs seven of them to reach the Ice Arrows, but Master Quest asks for only three: from the fire pillar chest, the water room and the Lizalfos room. The corridor and lava Silver Rupee puzzles are rebuilt around Fire Arrows, Freezards and the Hover Boots. Compare with the original Gerudo Training Ground.
| Room | Original | Master Quest |
|---|---|---|
| First timed fight | Two Stalfos on sand | Iron Knuckle on sand |
| Silver Rupee corridor | Boulders and flames | Freezard, icicles and flames |
| Key count | Nine keys, seven needed | Three keys |
| Treasure area | Room of locked doors | Caged maze |
Chapter checklist
| Type | Item | Where |
|---|---|---|
| Entry | Membership Card, 10 Rupees | Gate in Gerudo’s Fortress |
| Chest | Blue Rupee | Sand room with the Iron Knuckle |
| Chest | Arrows | After the Skulltula and Stalfos room |
| Chest | Purple Rupee (50) | Room of pit spikes and Freezards |
| Small Key | Key 1 | Fire pillar chest in the Torch Slug room |
| Small Key | Key 2 | Chest after the underwater Silver Rupees |
| Chest | Green Rupee, Red Rupee (20), Green Rupee | Caged maze |
| Small Key | Key 3 | Chest after the Lizalfos room |
| Key item | Ice Arrows | Chest in the pink-lit room |
| Silver Rupees | Three puzzles | Corridor, lava room, water room |
| Heart Piece, Gold Skulltula | None | Not in this dungeon |
