





















Ocarina of Time Master Quest Walkthrough12 chapters
- Inside the Great Deku Tree (Master Quest)Dungeon Map, Slingshot, Compass, Gold Skulltulas, Queen Gohma, Heart Container and Kokiri’s Emerald.
- Dodongo’s Cavern (Master Quest)Every room in order, Dungeon Map, Compass, Bomb Bag, silver rupees, Gold Skulltulas, King Dodongo and the Goron’s Ruby.
- Inside Jabu-Jabu’s Belly (Master Quest)Cow switches, Map, Compass, Boomerang, Big Octo, Barinade, Heart Container and Zora’s Sapphire.
- Forest Temple (Master Quest)Six Small Keys, Boss Key, Fairy Bow, the four Poe Sisters, five Gold Skulltulas and Phantom Ganon.
- Fire Temple (Master Quest)Five Small Keys, Din’s Fire puzzles, Iron Knuckle, Megaton Hammer, Boss Key, five Gold Skulltulas and Volvagia.
- Water Temple (Master Quest)Early Longshot, Map, Compass, both Small Keys, Dark Link, Boss Key and Morpha.
- Shadow Temple (Master Quest)Hover Boots, map, compass, Boss Key, Gold Skulltulas, Bongo Bongo and the Shadow Medallion.
- Spirit Temple (Master Quest)Every chest, 7 Small Keys, Silver Gauntlets, Mirror Shield, Boss Key, Skulltulas and Twinrova.
- Bottom of the Well (Master Quest)Map, Compass, two Small Keys, Dead Hand, the Lens of Truth and all three Gold Skulltulas.
- Ice Cavern (Master Quest)Blue Fire, Song of Time blocks, Stalfos, Iron Boots, Serenade of Water.
- Gerudo Training Ground (Master Quest)The remixed rooms in order, Small Keys, Silver Rupee puzzles and the Ice Arrows.
- Ganon’s Castle (Master Quest)Light Arrows, the rainbow bridge, all six remixed trials, Golden Gauntlets, Double Defense, the tower.
| Covers | the Lake Hylia entrance, Ruto, the early Longshot, Dungeon Map and Compass, the water-level songs, the Small Keys, Dark Link, the Boss Key, Morpha and the Water Medallion |
|---|---|
| Dungeon | Water Temple, Master Quest version (adult Link only): Dark Link as the mini-boss, Morpha as the boss |
| You need | Adult Link, Iron Boots, Zora Tunic, Hookshot, Din’s Fire, Fairy Bow, Zelda’s Lullaby, Song of Time, Sun’s Song and Song of Storms; the Megaton Hammer makes Dark Link easy |
| Rewards | Longshot, Dungeon Map, Compass, 2 Small Keys, Boss Key, a Gold Skulltula token, Heart Container, Water Medallion |
| Differences | The Longshot, Map and Compass come in the first minutes, most chests are revealed by Hookshotting wall panels, and Din’s Fire opens many doors; see the comparison below |
The Master Quest Water Temple is shorter and more direct than the original. You collect the Longshot almost at once, light torches with Din’s Fire to open doors, change the water level at the Triforce marks with Zelda’s Lullaby, fight Dark Link on a fog-covered pond and finish with Morpha. This chapter follows one efficient route from the lake floor to the Water Medallion.
Table of Contents
Entering the temple
Dive to the lake floor
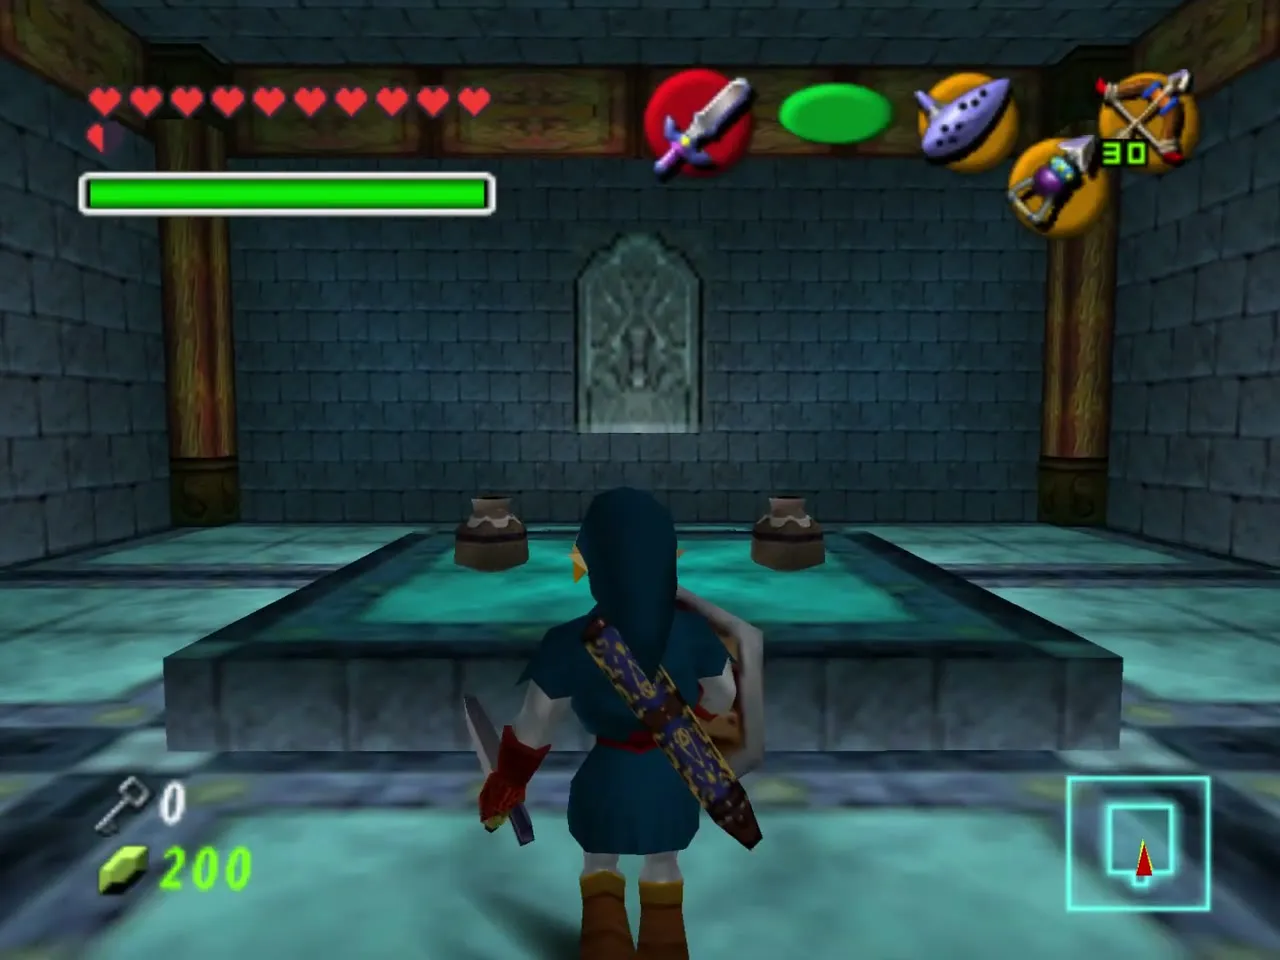
Wear the Zora Tunic, equip the Iron Boots and sink to the bottom of Lake Hylia, where the temple’s entrance waits. Take the boots off to float into the central chamber, then put them back on to sink to the bottom level on the right wall of the room.
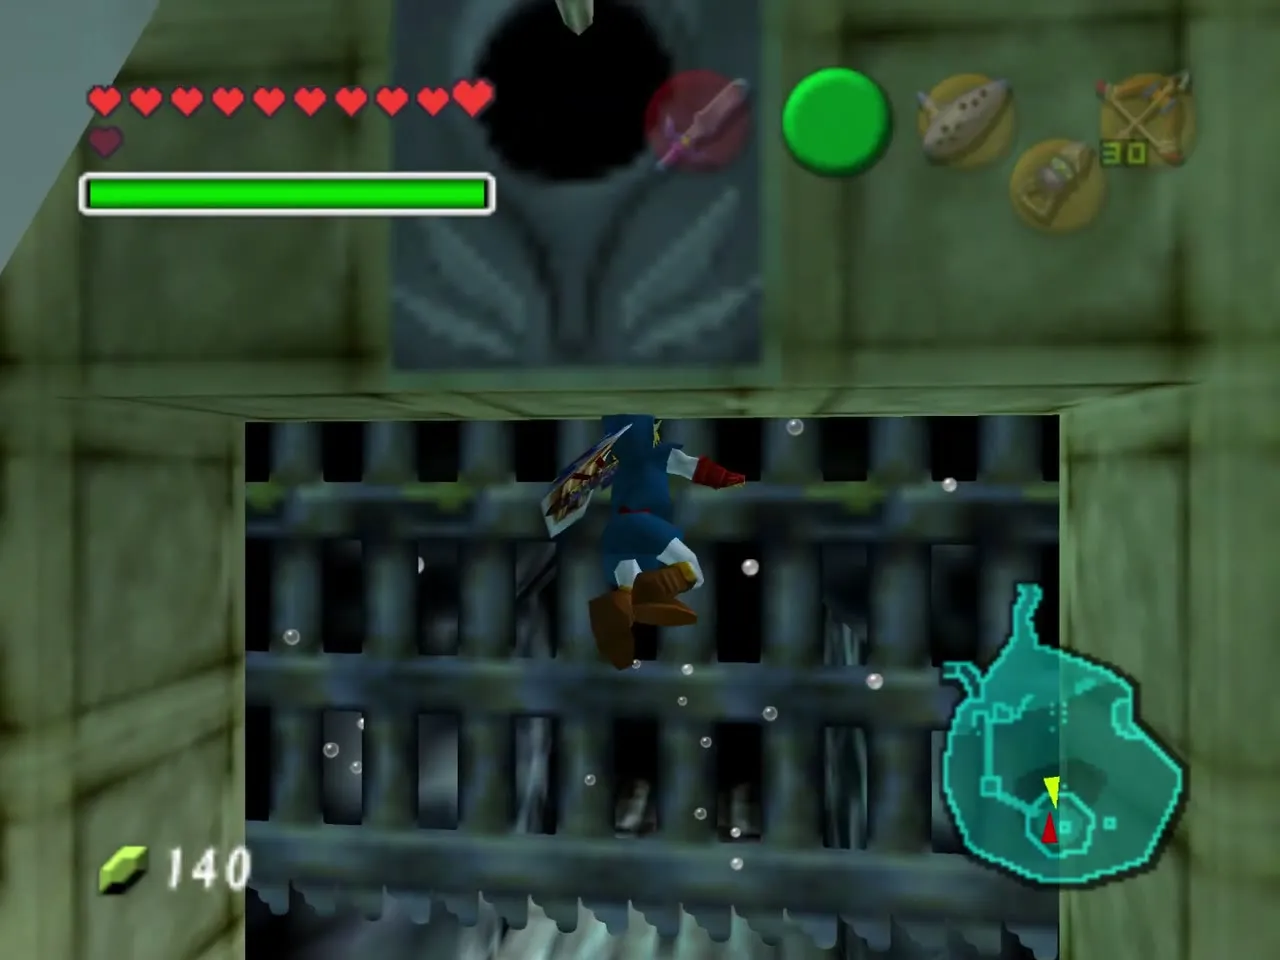
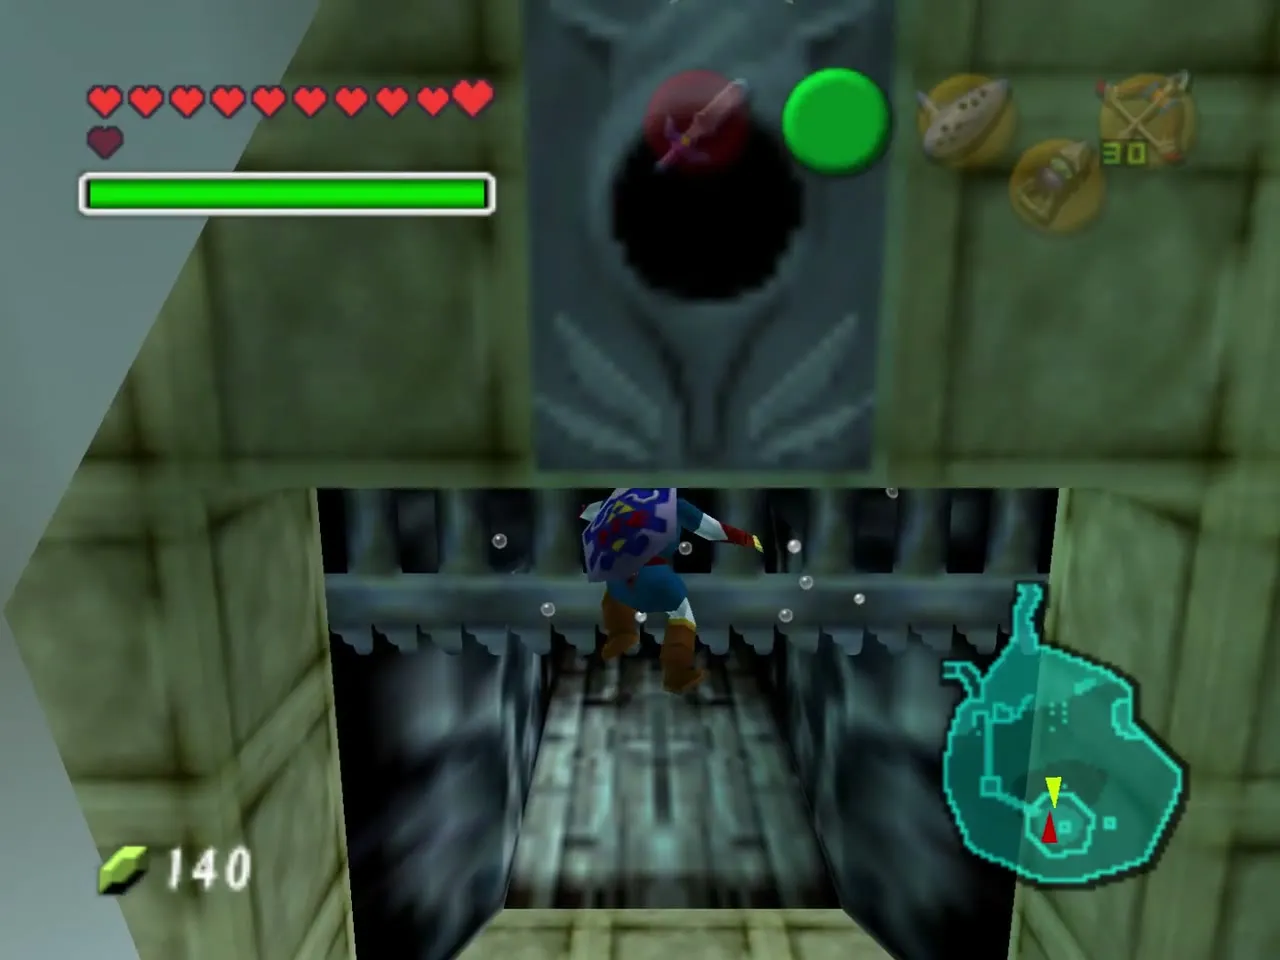
Princess Ruto
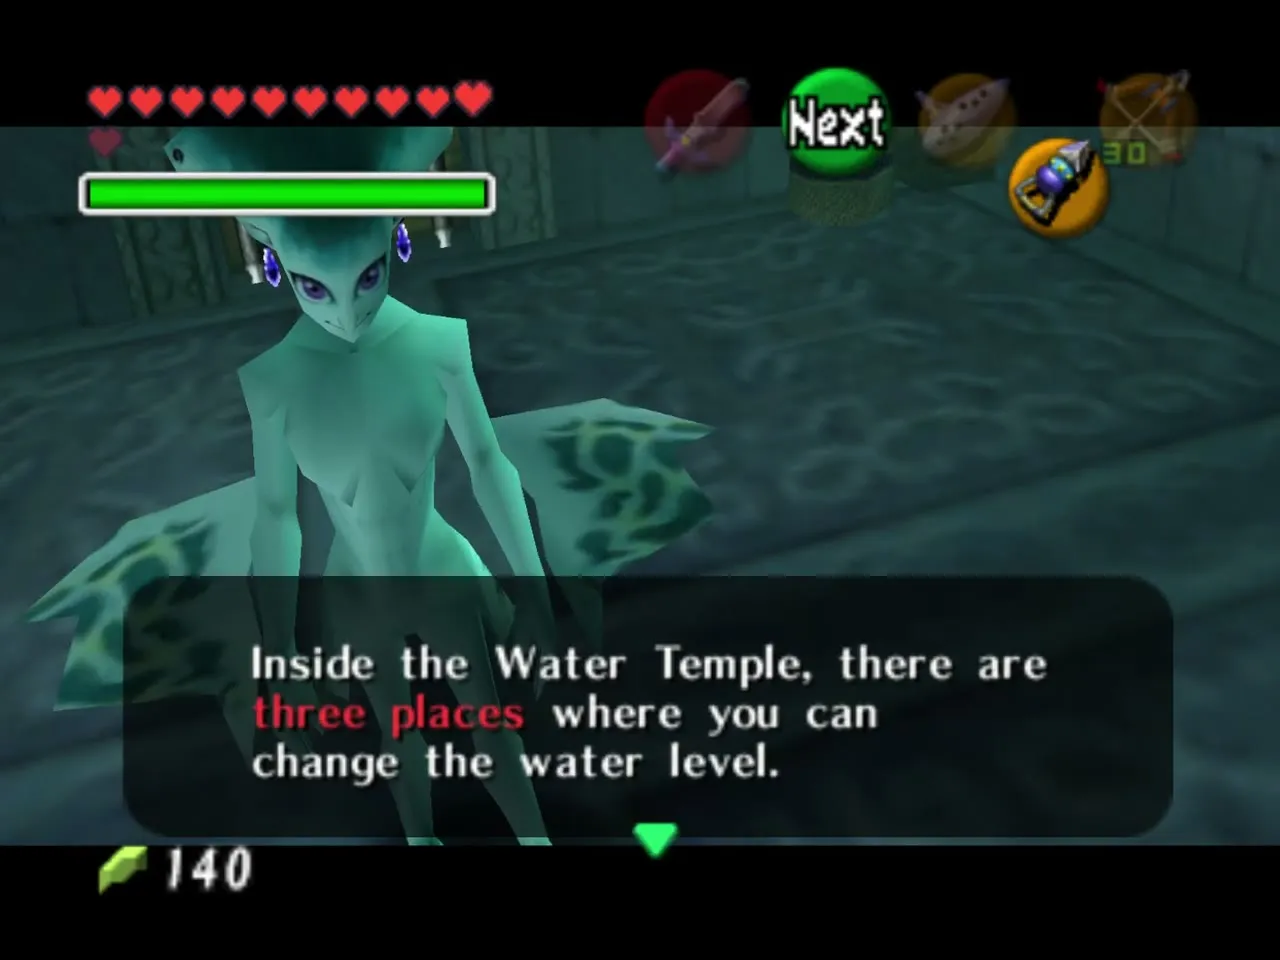
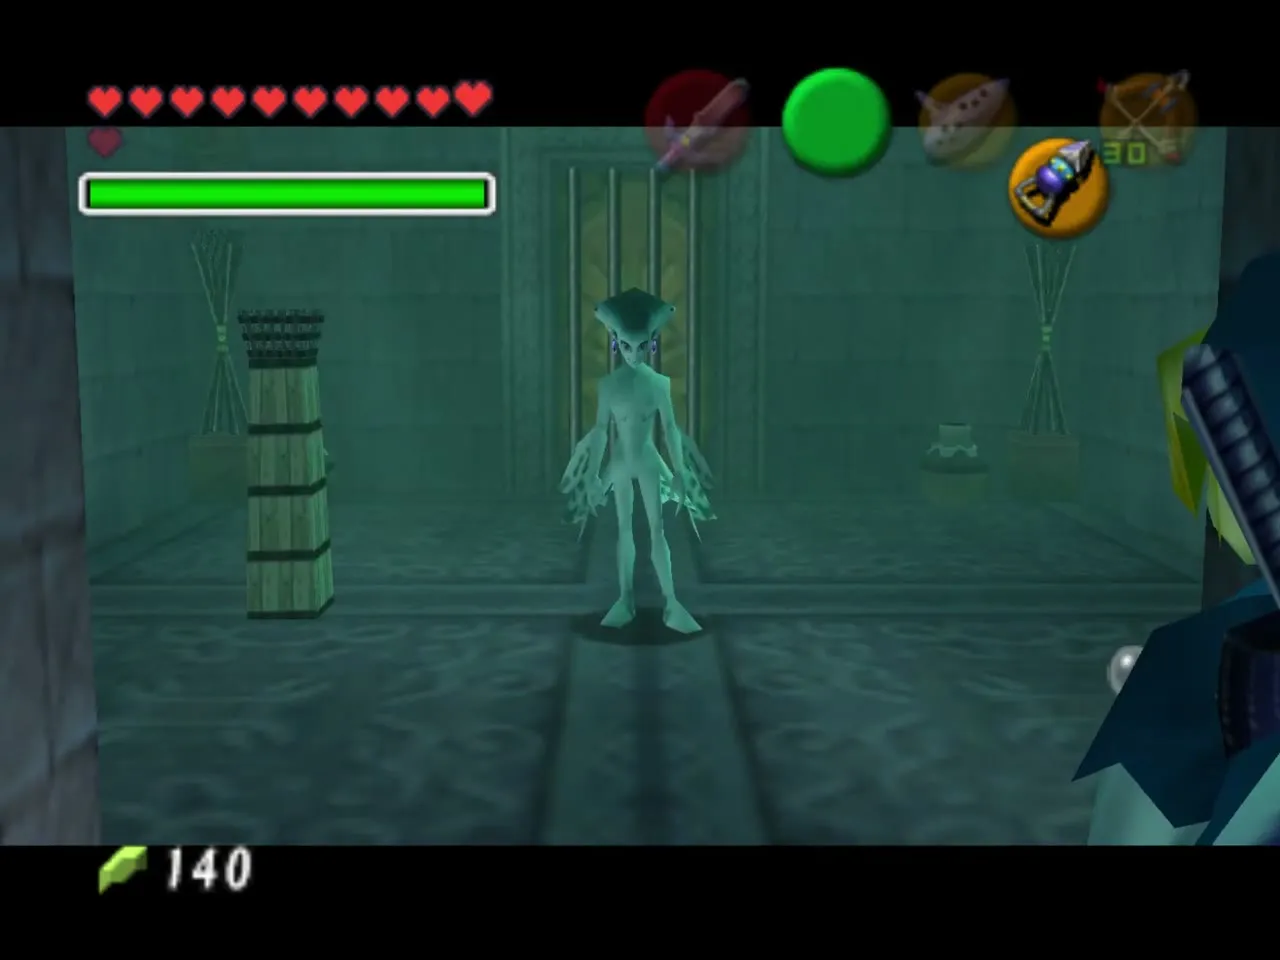
Follow the passage at the bottom to find Princess Ruto, who greets you as her fiancee and tells you the temple holds places where the water level can be changed. She floats off ahead of you. Swap back to your regular boots and carry on.
The early Longshot
Open the Longshot chest
Swim through the first flooded rooms to the small chamber with the chest, aiming the Hookshot at the wall panel to make the chest accessible. It holds the Longshot, an upgraded Hookshot with twice the reach. Wall panels like this are how Master Quest hides most of its treasure, so use the Hookshot or Longshot on every panel you see.
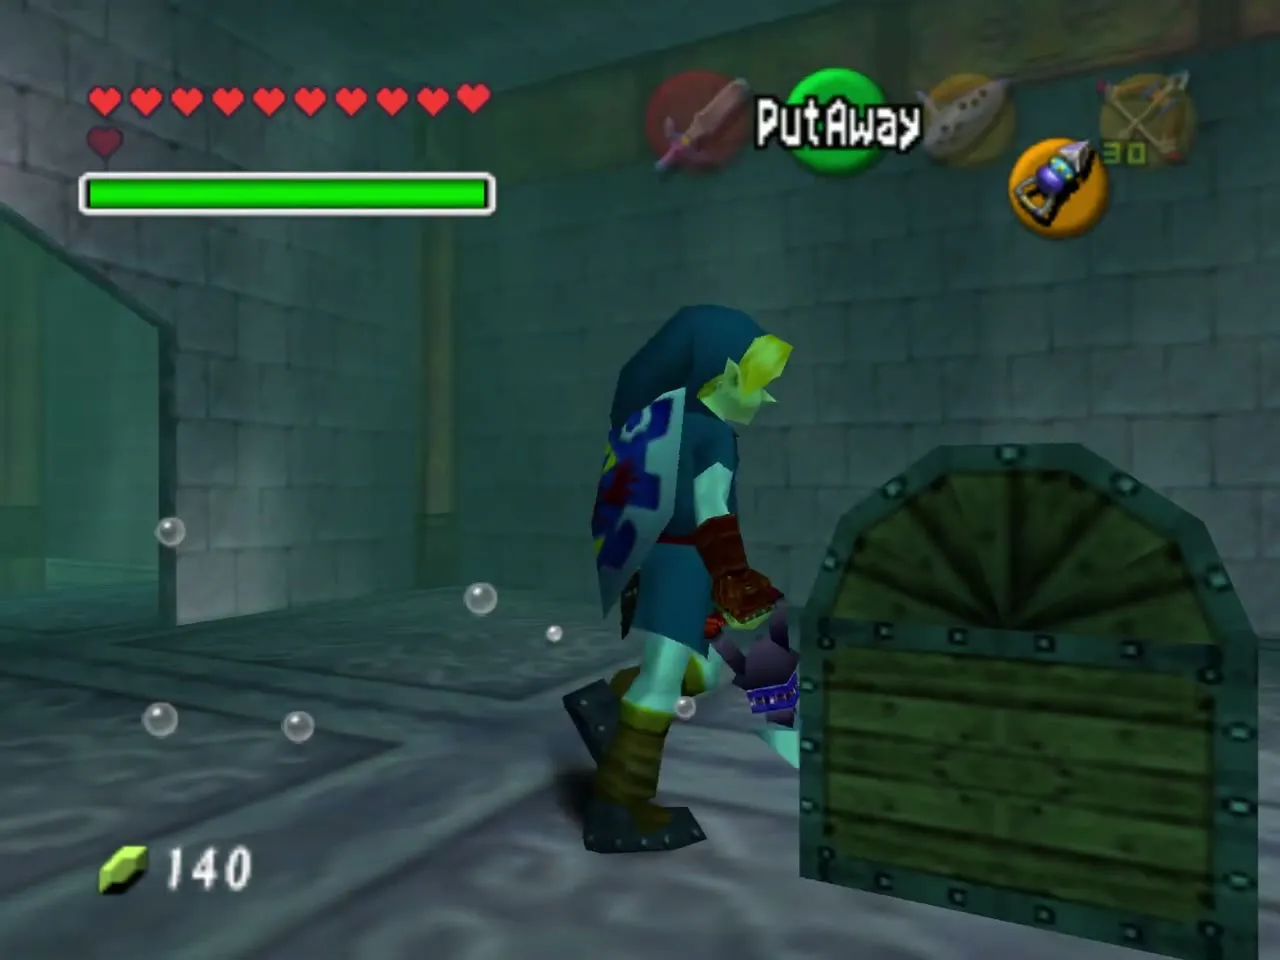
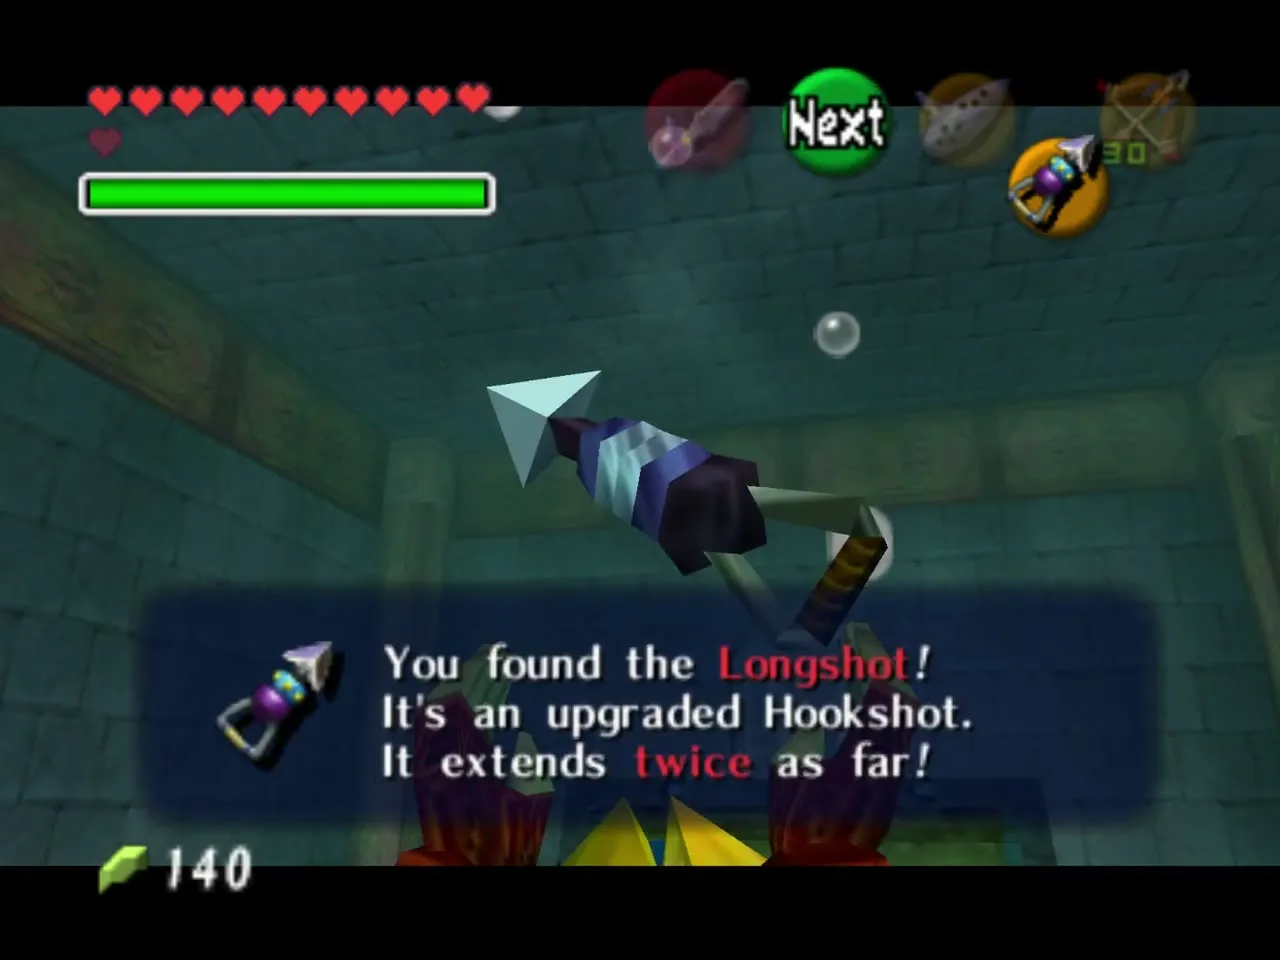
The first Triforce mark: lower the water
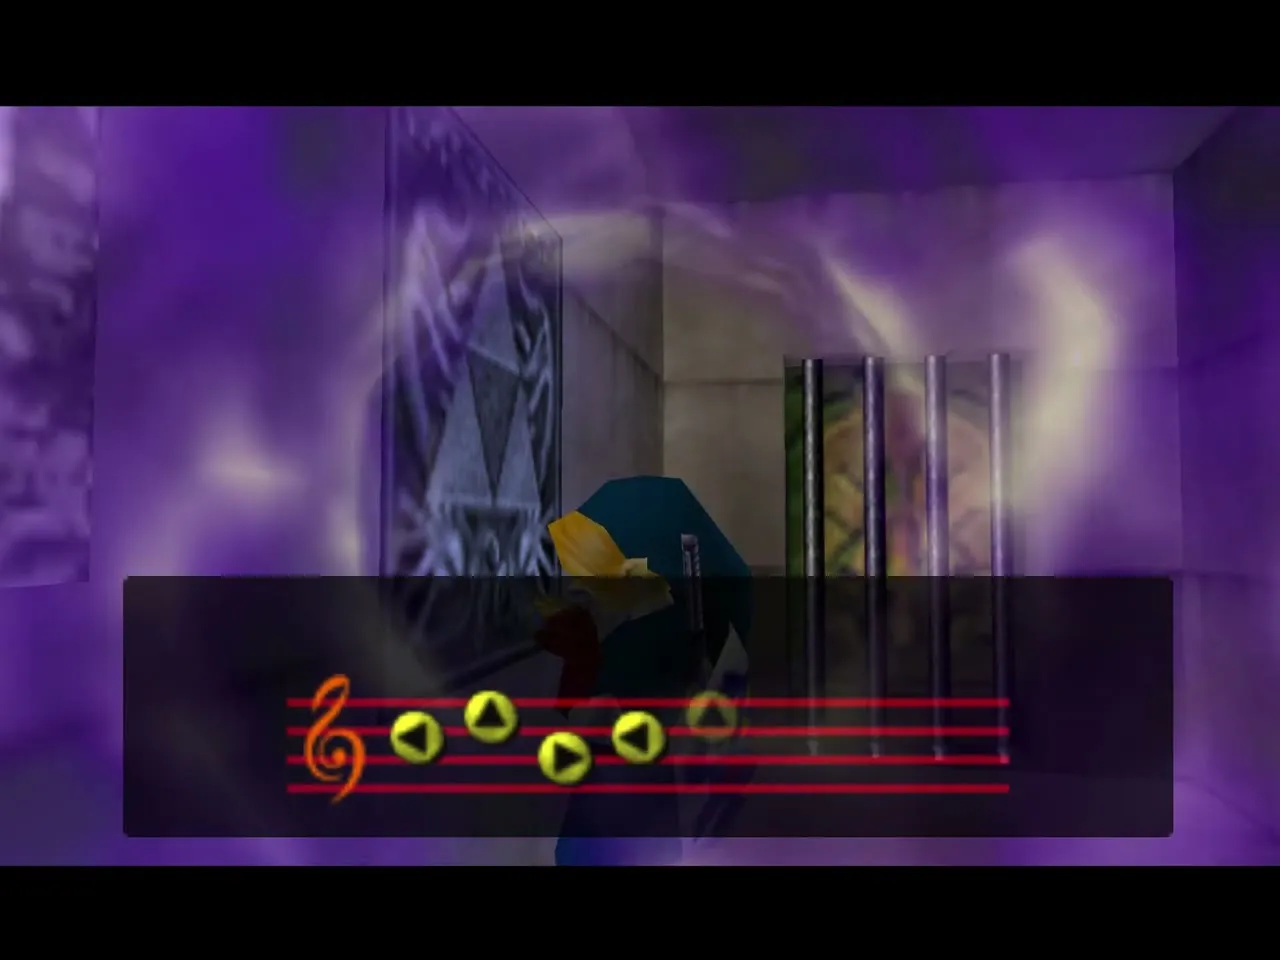
Return to the central chamber and surface. A Triforce mark is set into the wall; stand in front of it and play Zelda’s Lullaby to lower the temple’s water and open its lowest floor.
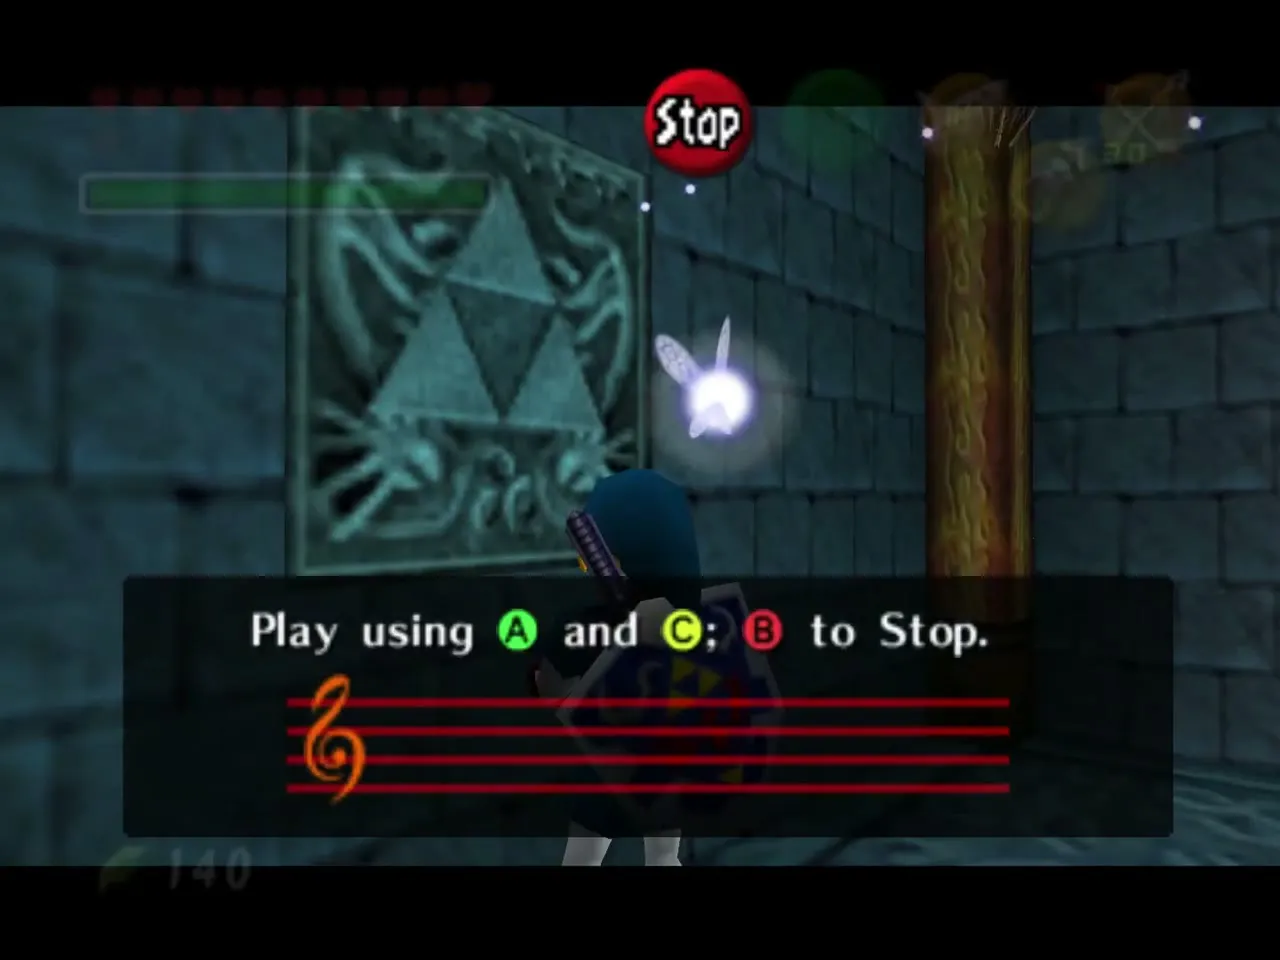
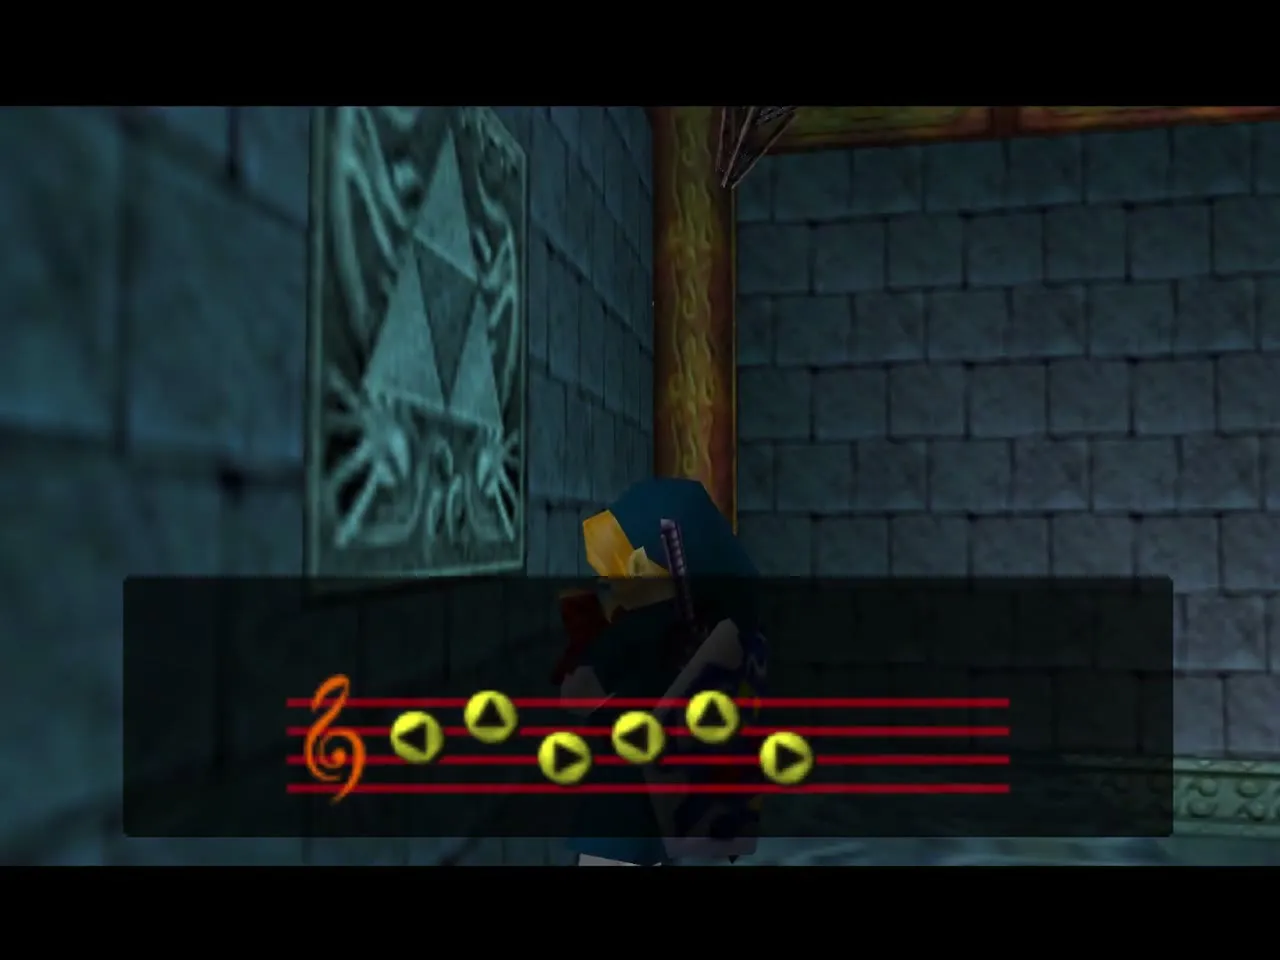
Dungeon Map and Compass
Din’s Fire and the Stalfos: Dungeon Map
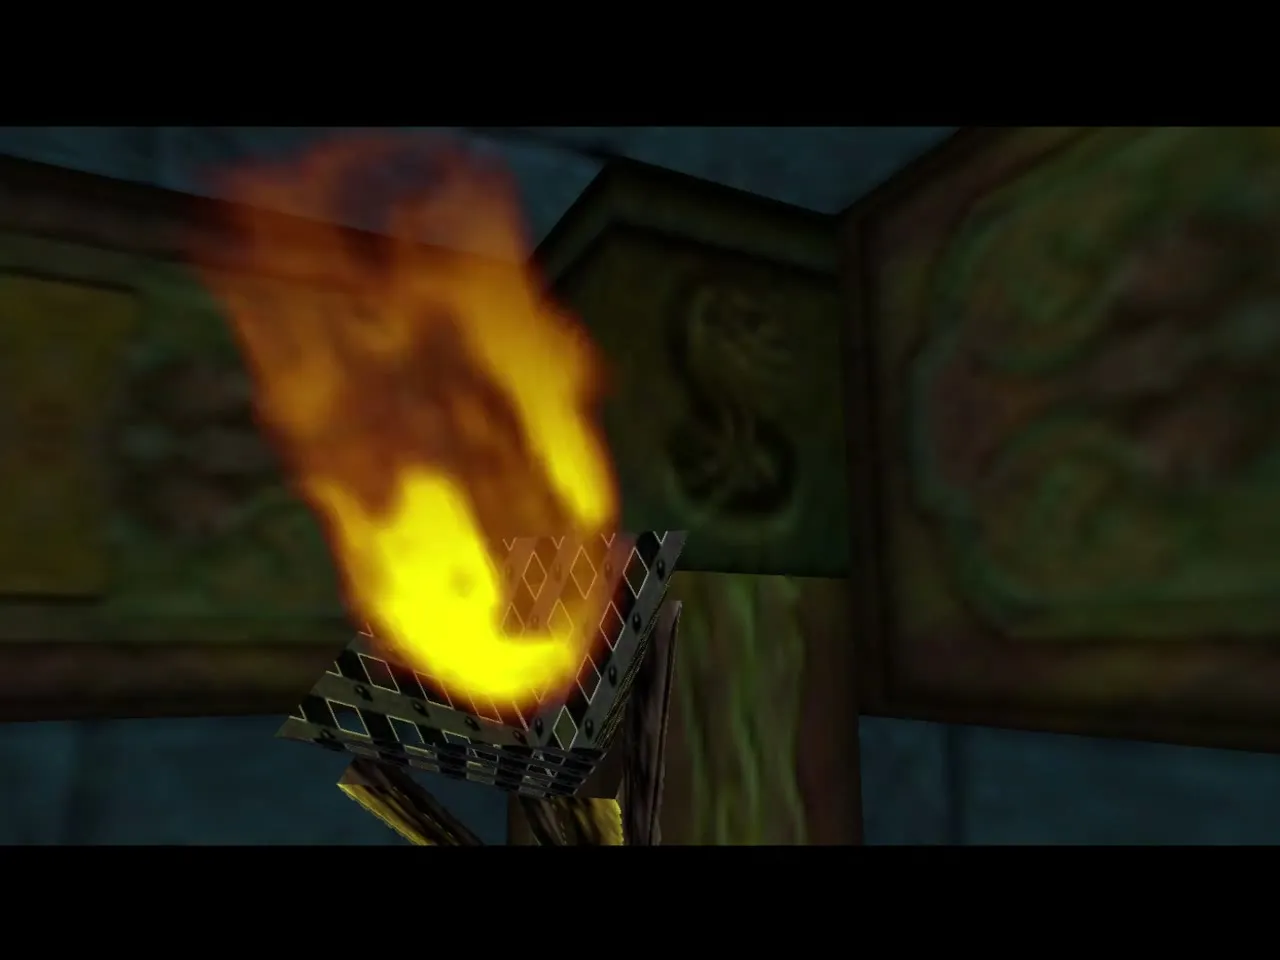
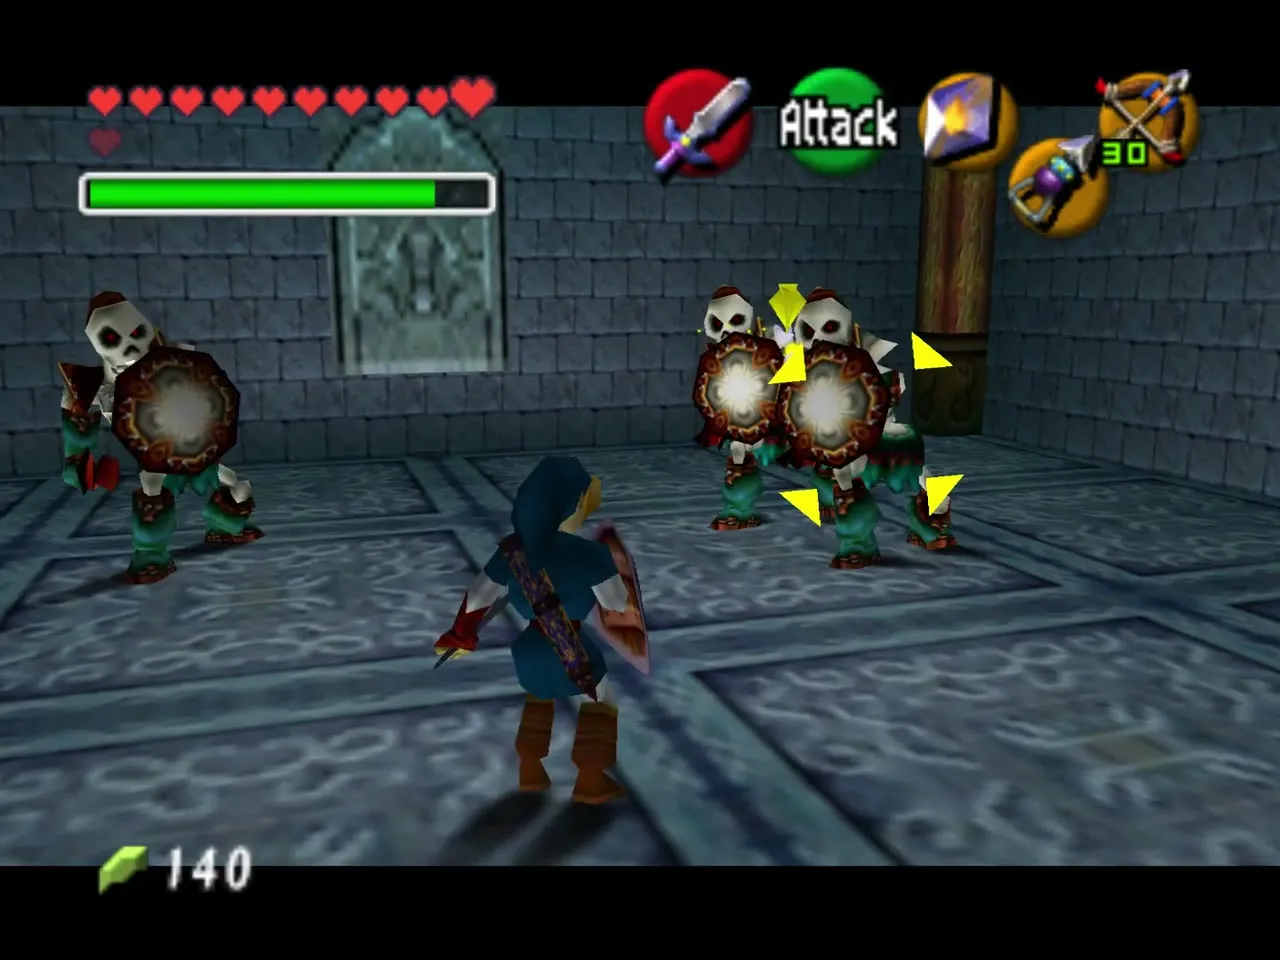
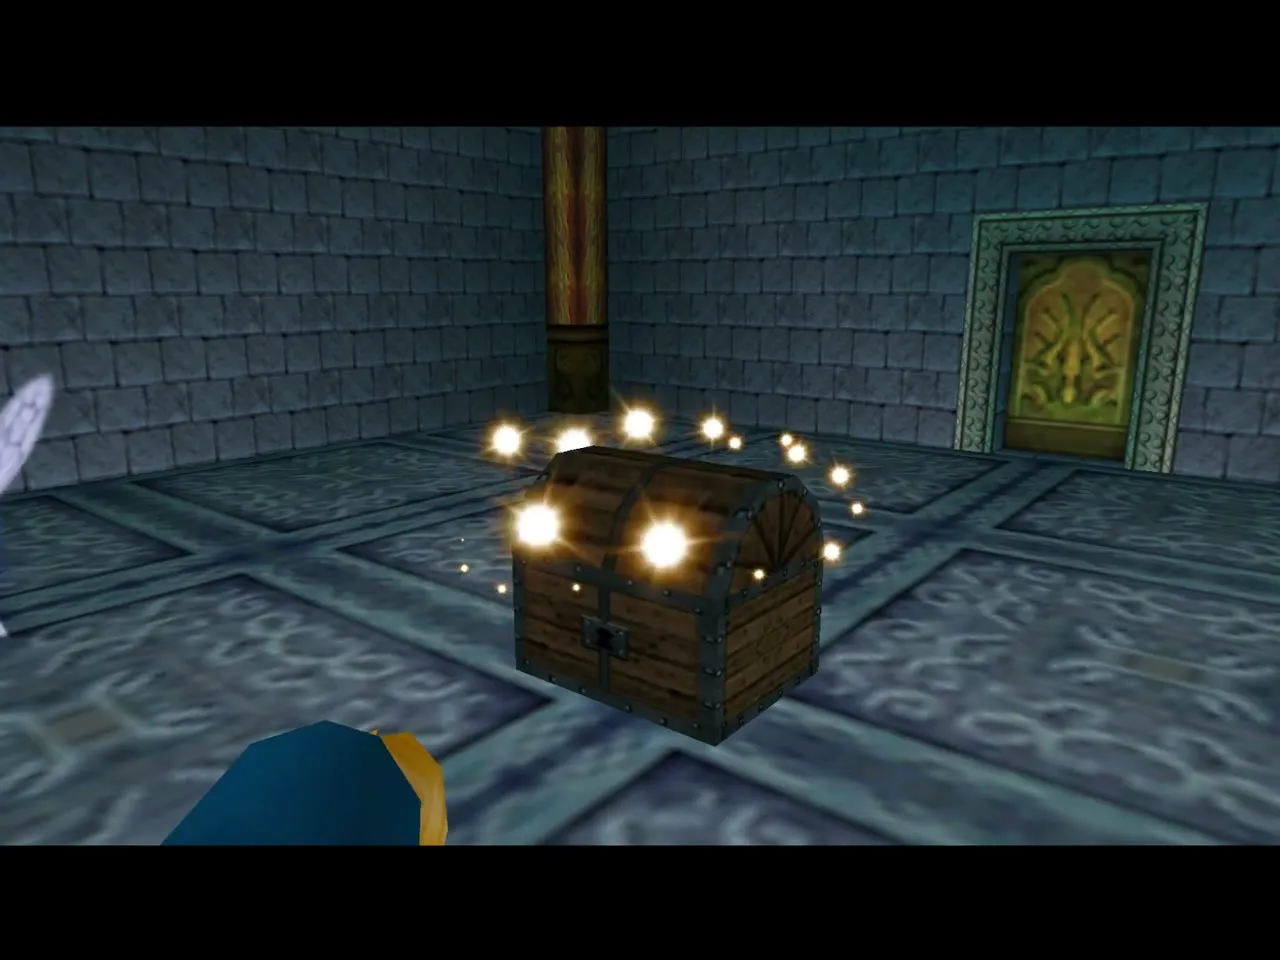
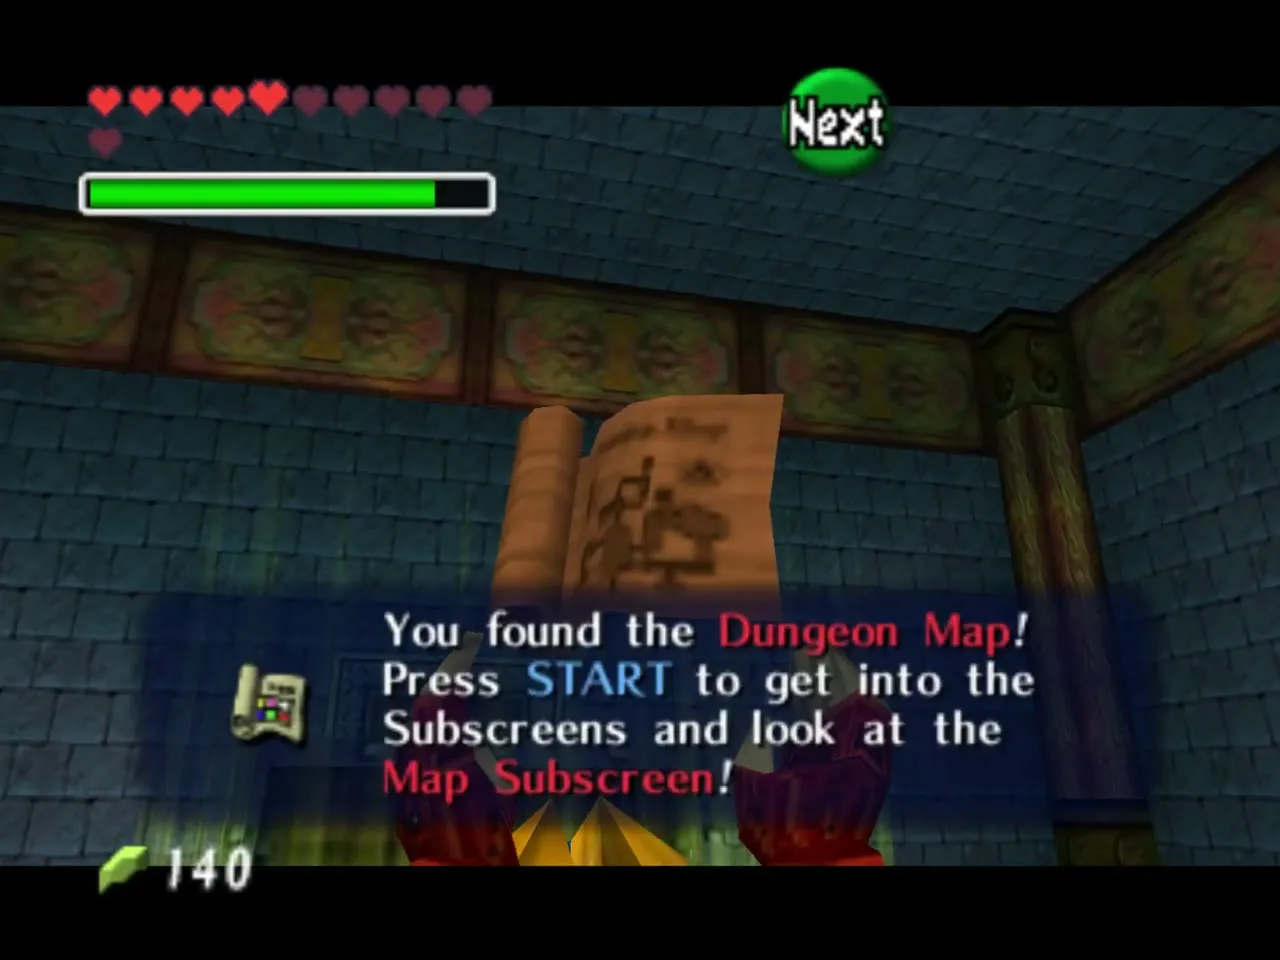
Before dropping down, stand in the middle of the chamber and cast Din’s Fire to light the torches around it. This unlocks a barred door behind you. Go in and defeat the Stalfos, then Hookshot the wall panel to reveal the chest with the Dungeon Map.
Lizalfos and the Compass
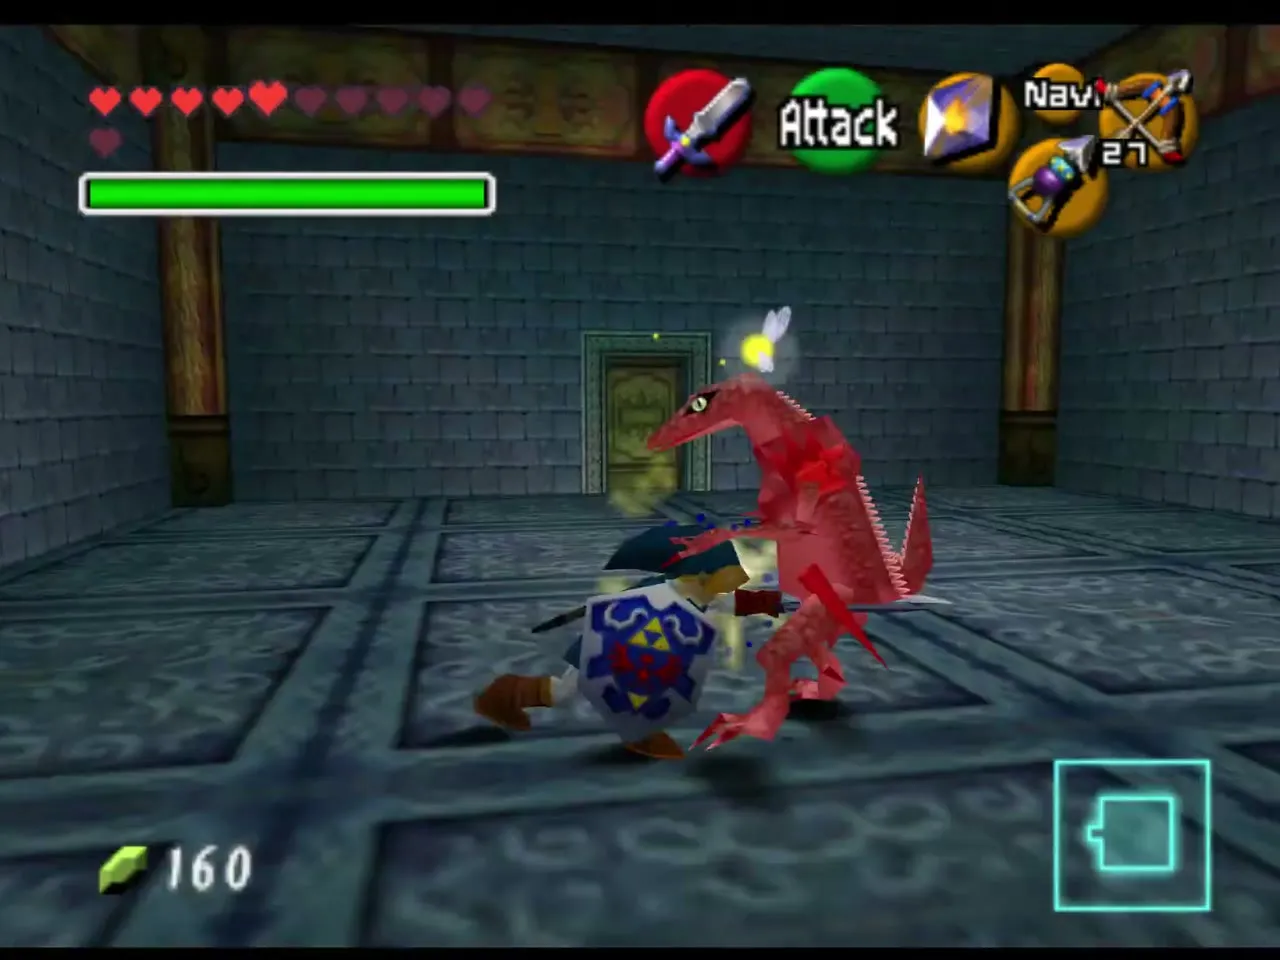
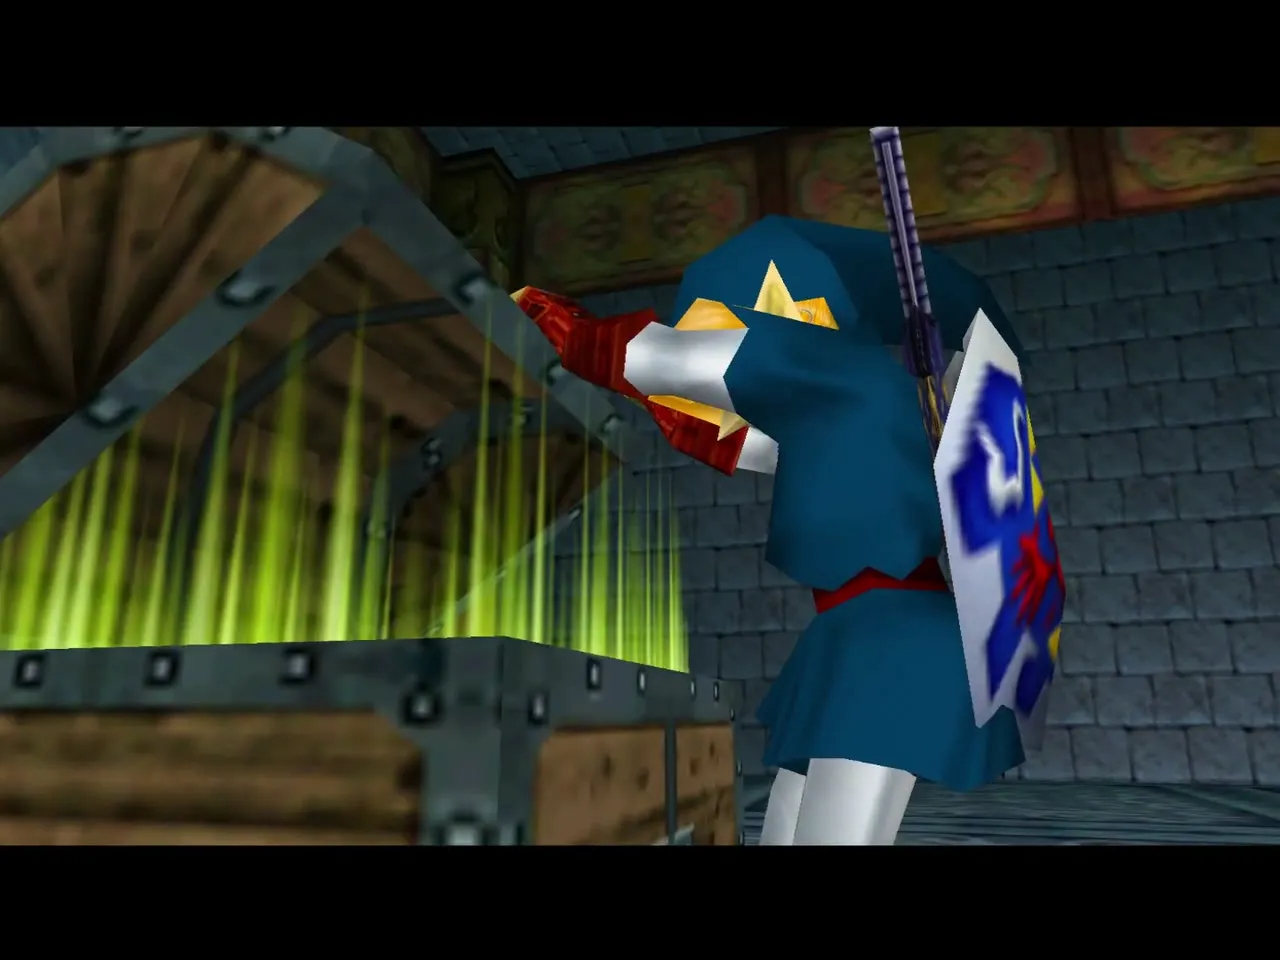
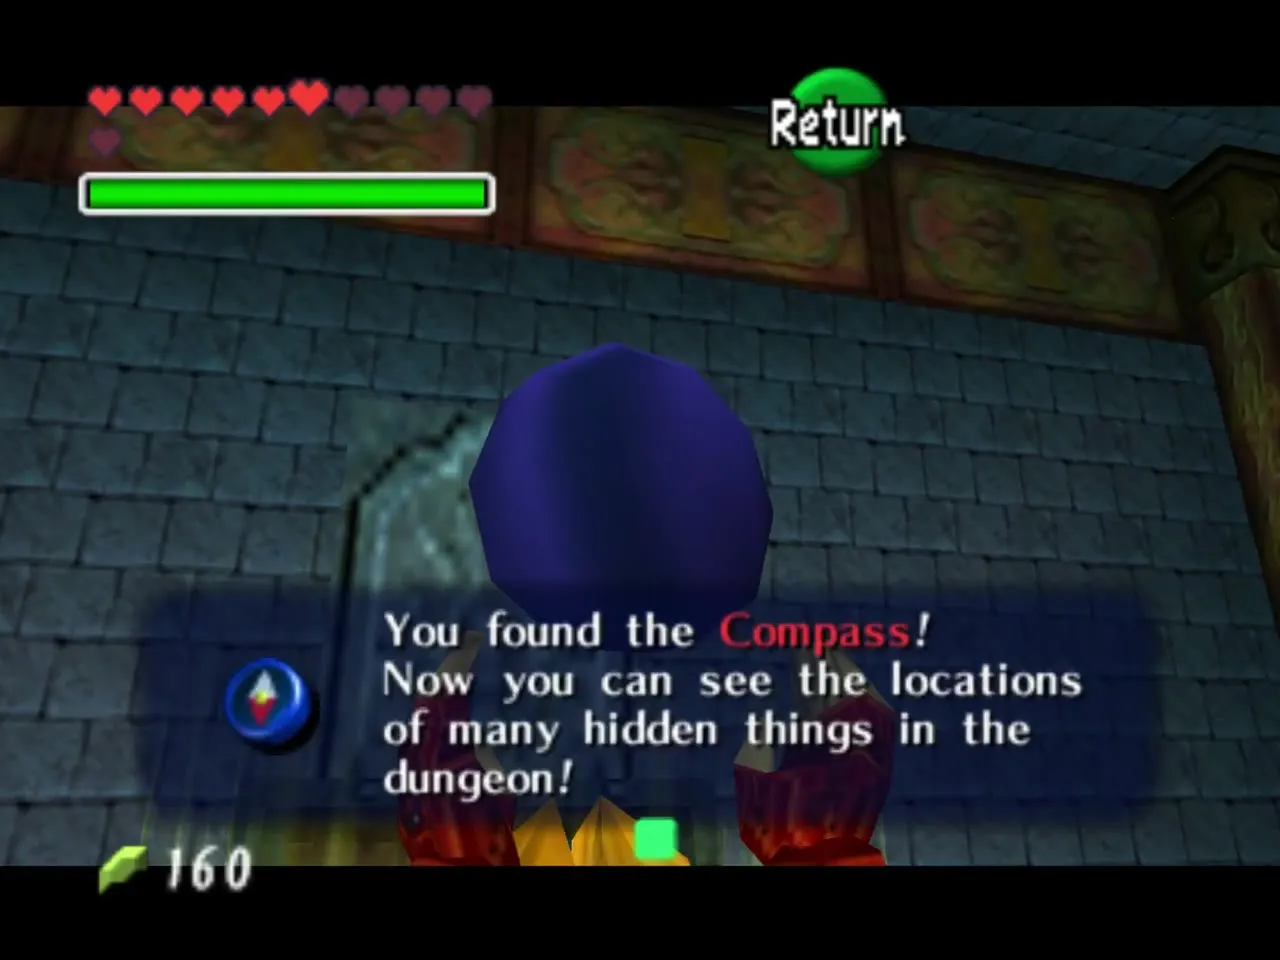
Drop to the bottom level and use Din’s Fire on the torches there. Beyond the door, defeat the Lizalfos and then Hookshot the wall panel. The chest that appears holds the Compass.
The central pillar
Reaching the middle level
Back in the main room, Hookshot one of the two pillars to pull yourself up to the middle level, where a wall is already blown open. Cross the cube-shaped Longshot targets in the next rooms and keep aiming at anything that glints.
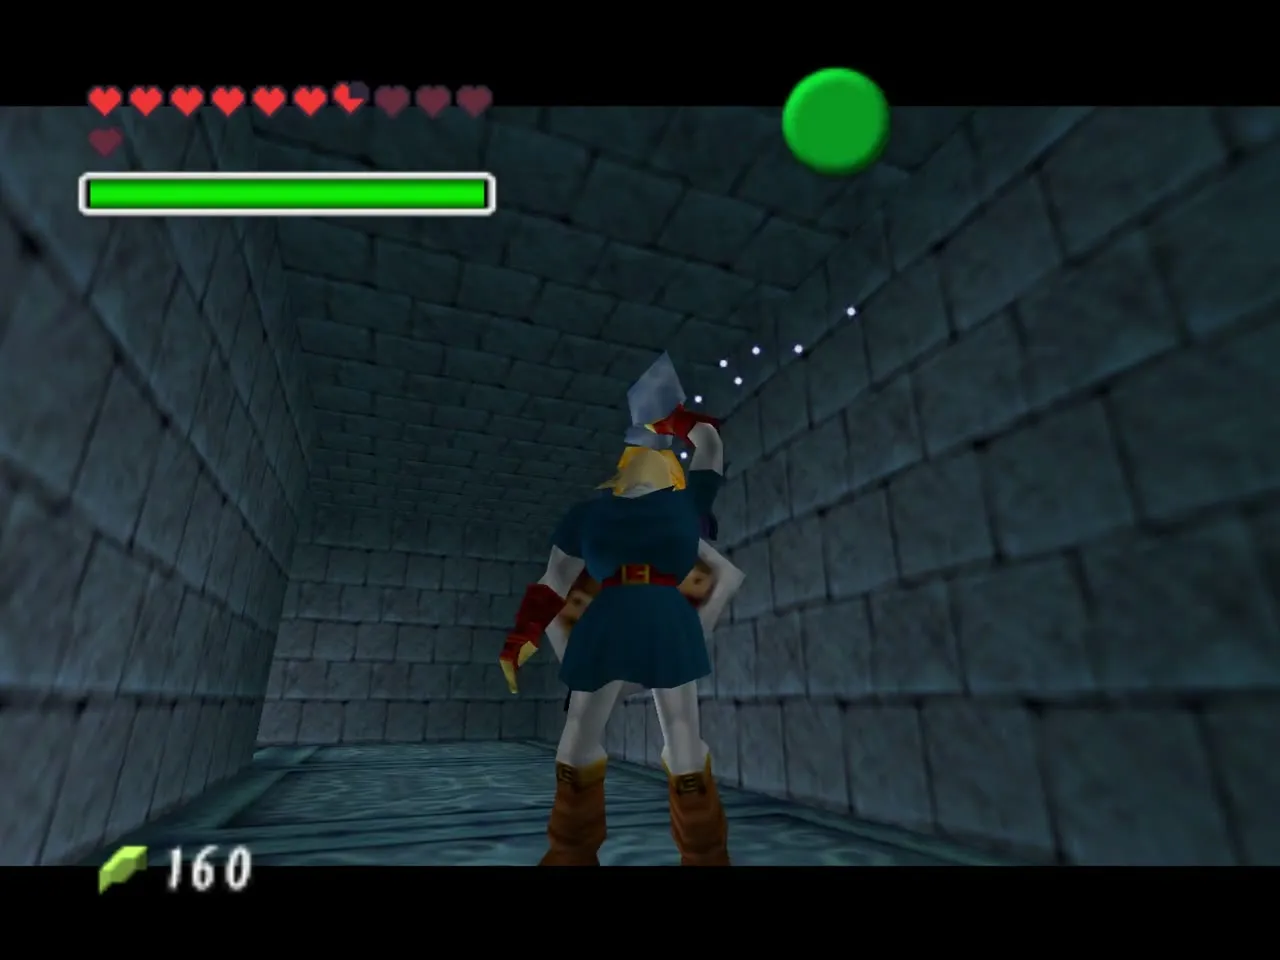
Song of Time and Din’s Fire in the pillar
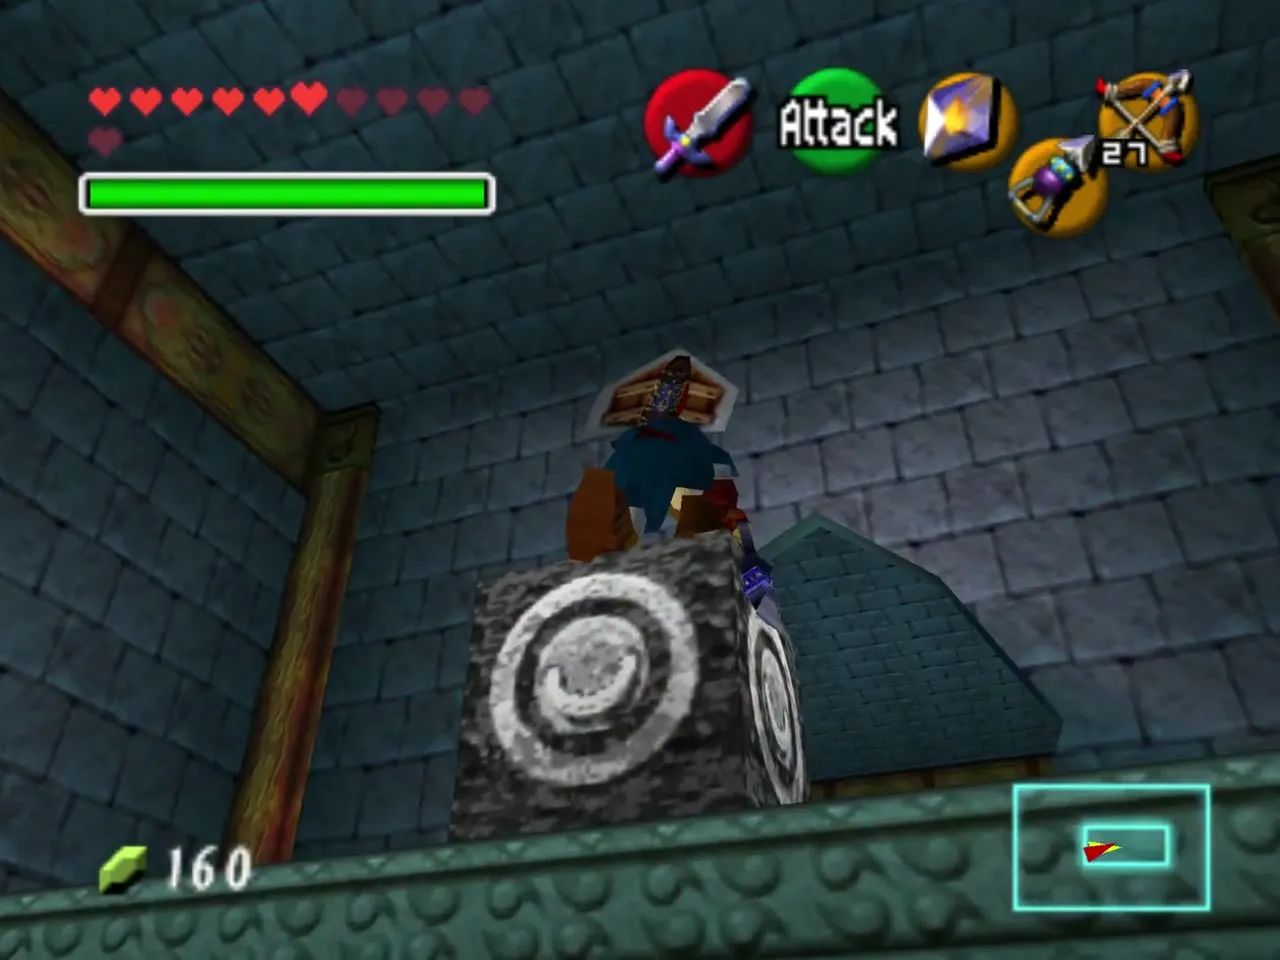
Enter the pillar through the south doorway and climb to its top level with the Longshot. Play the Song of Time where Navi turns green to make a block appear in the middle of the shaft, jump onto it and cast Din’s Fire to light the torches. This unlocks the chamber at the bottom of the pillar.
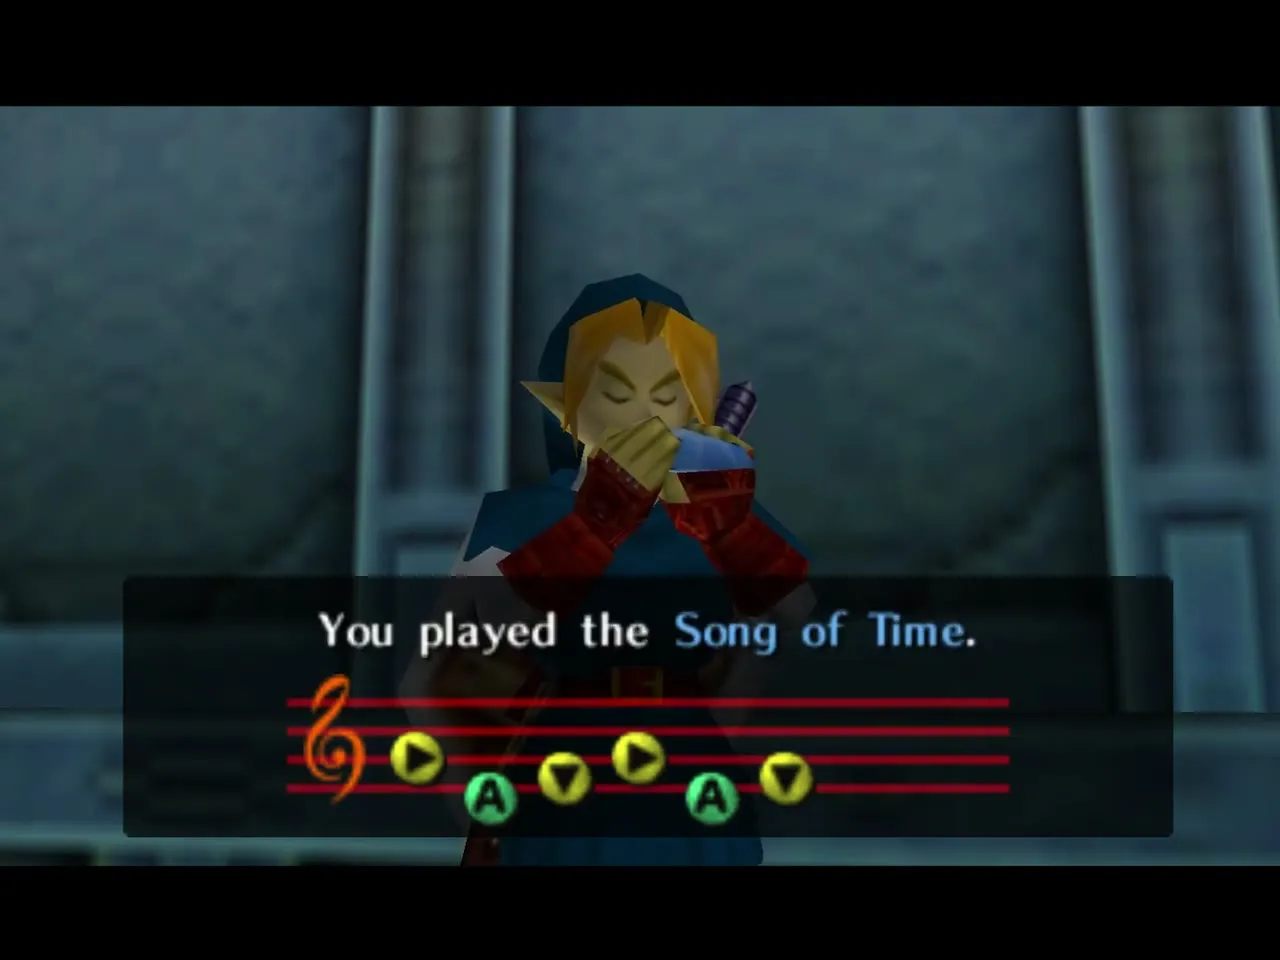
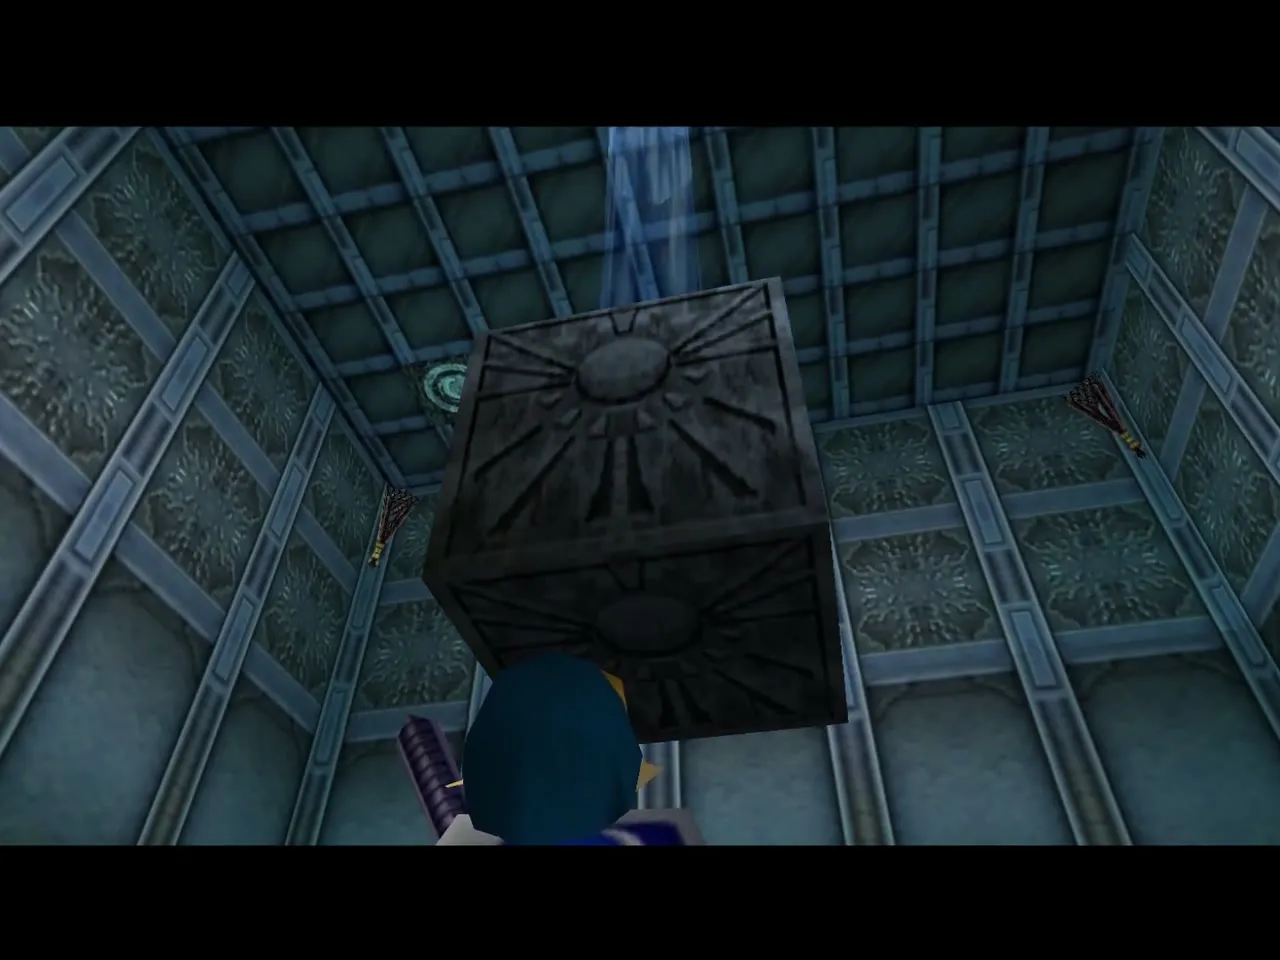
Raise the water
From the south-west side of the platform, Longshot across to the nearby platform with a second Triforce mark and play Zelda’s Lullaby to raise the water to its top level. Put on the Iron Boots whenever you need to sink in the flooded passages.
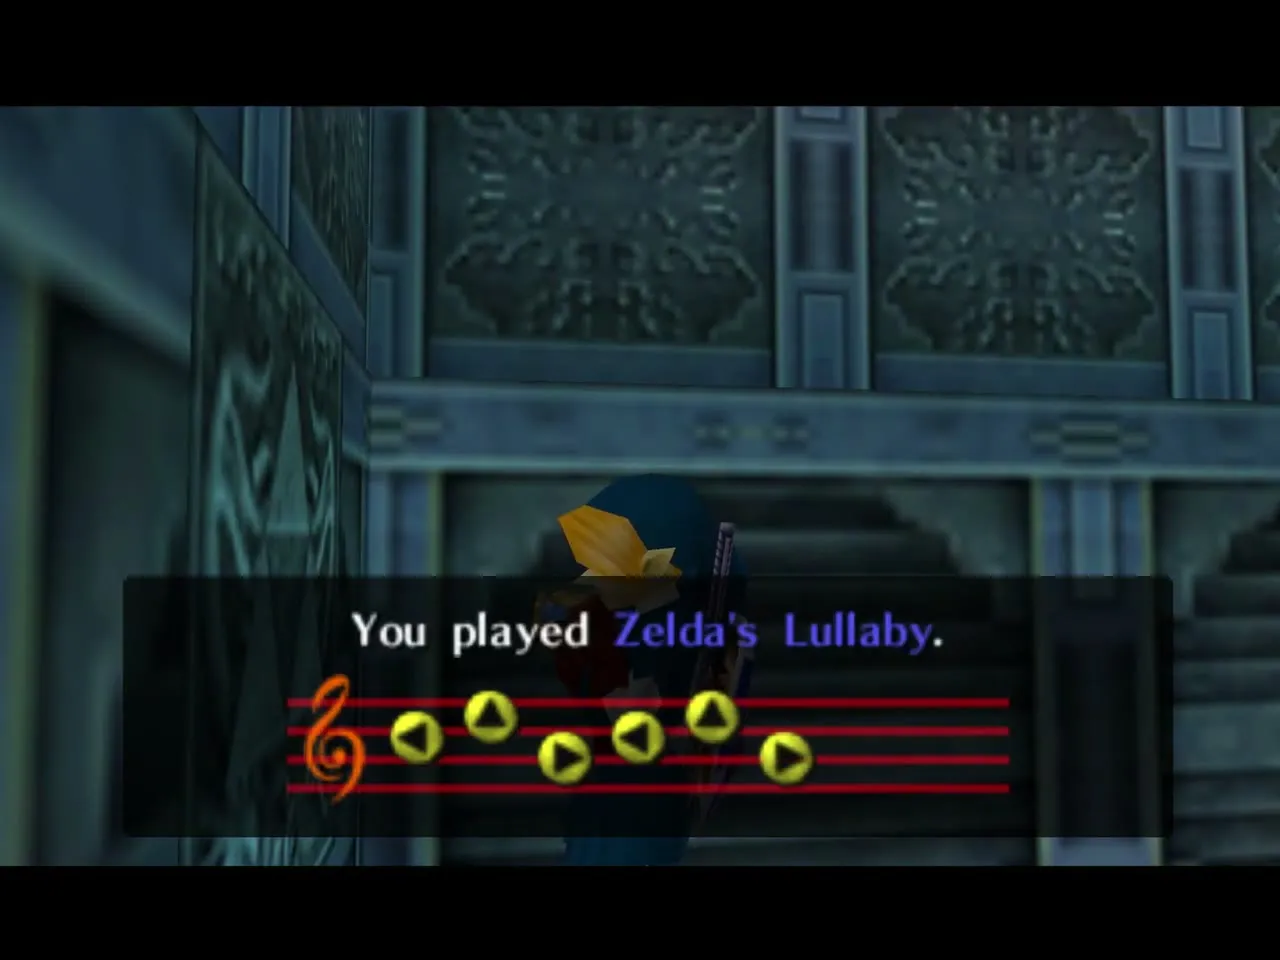
Small Key 1
The stone room with the hidden switch
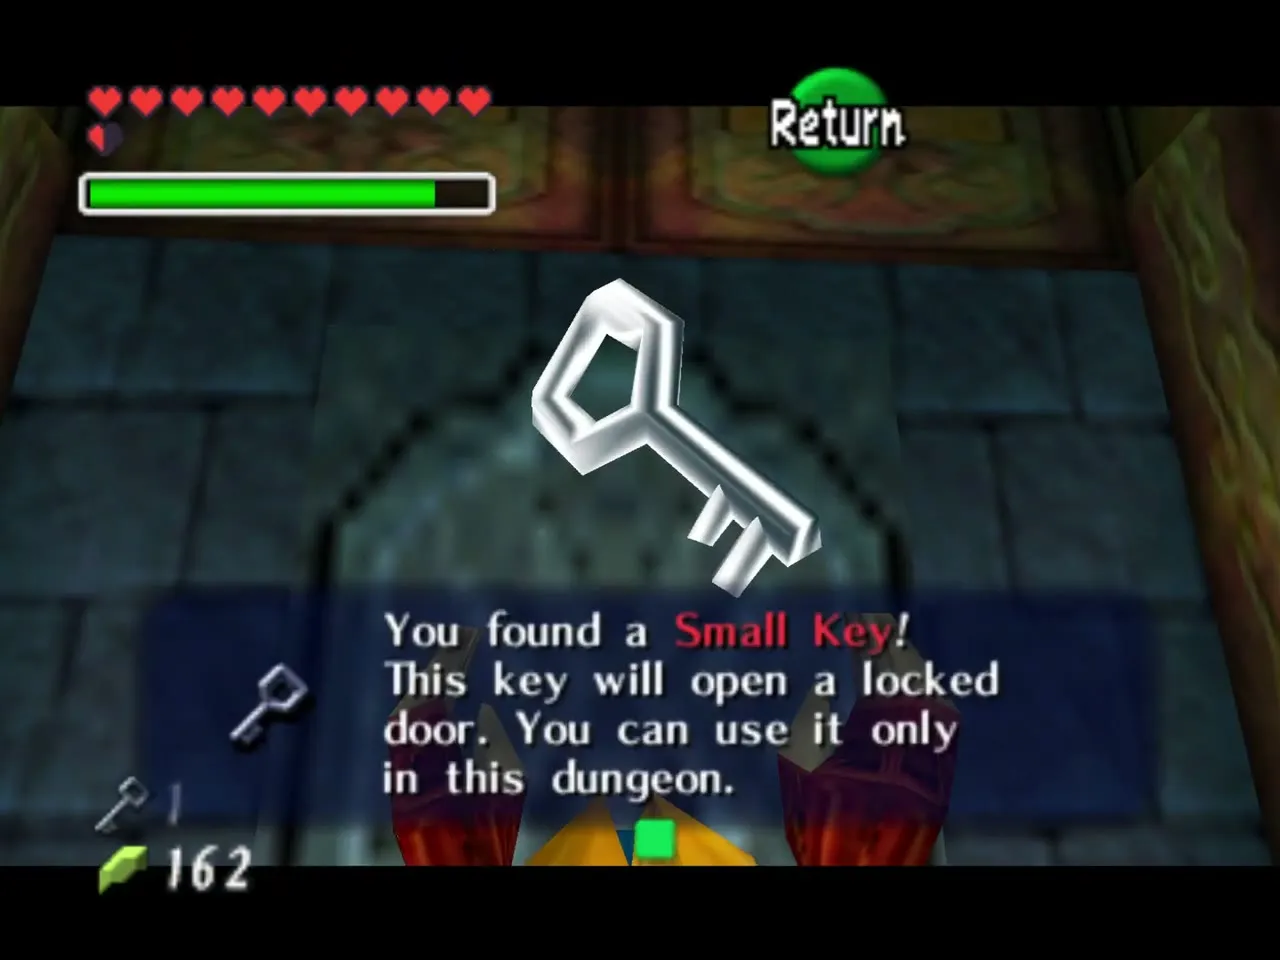
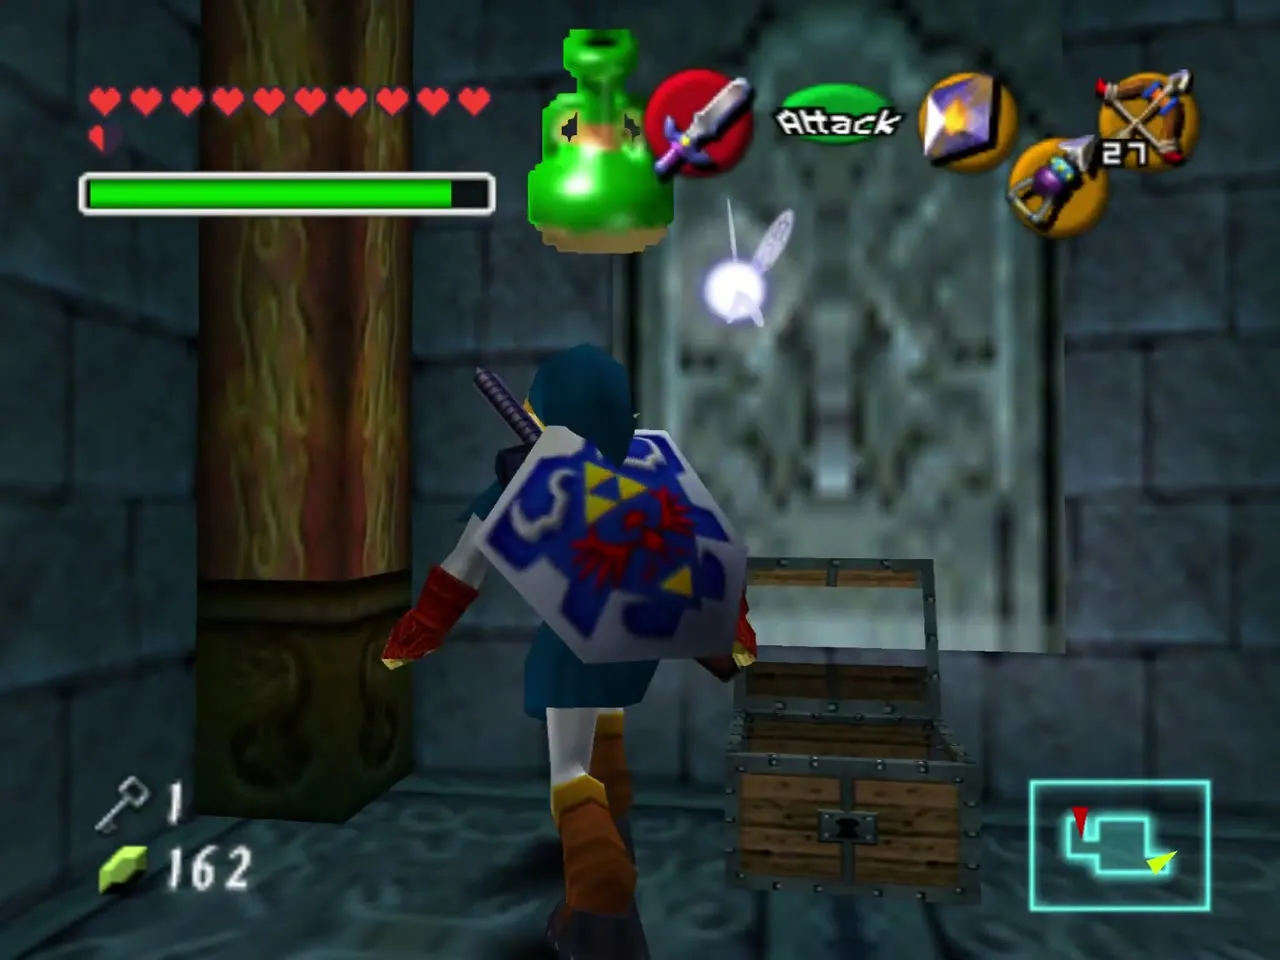
Sink to the bottom of the pillar in the Iron Boots and follow the passage to a room of stone walls and crates. Two silver switches are here: ignore the obvious one and look in the corner between two half-high walls for the hidden one, then hit it. Take the boots off, swim into the room it opens and Longshot the paneled wall to reveal the chest. It holds a Small Key.
Crate corridors and the Gold Skulltula
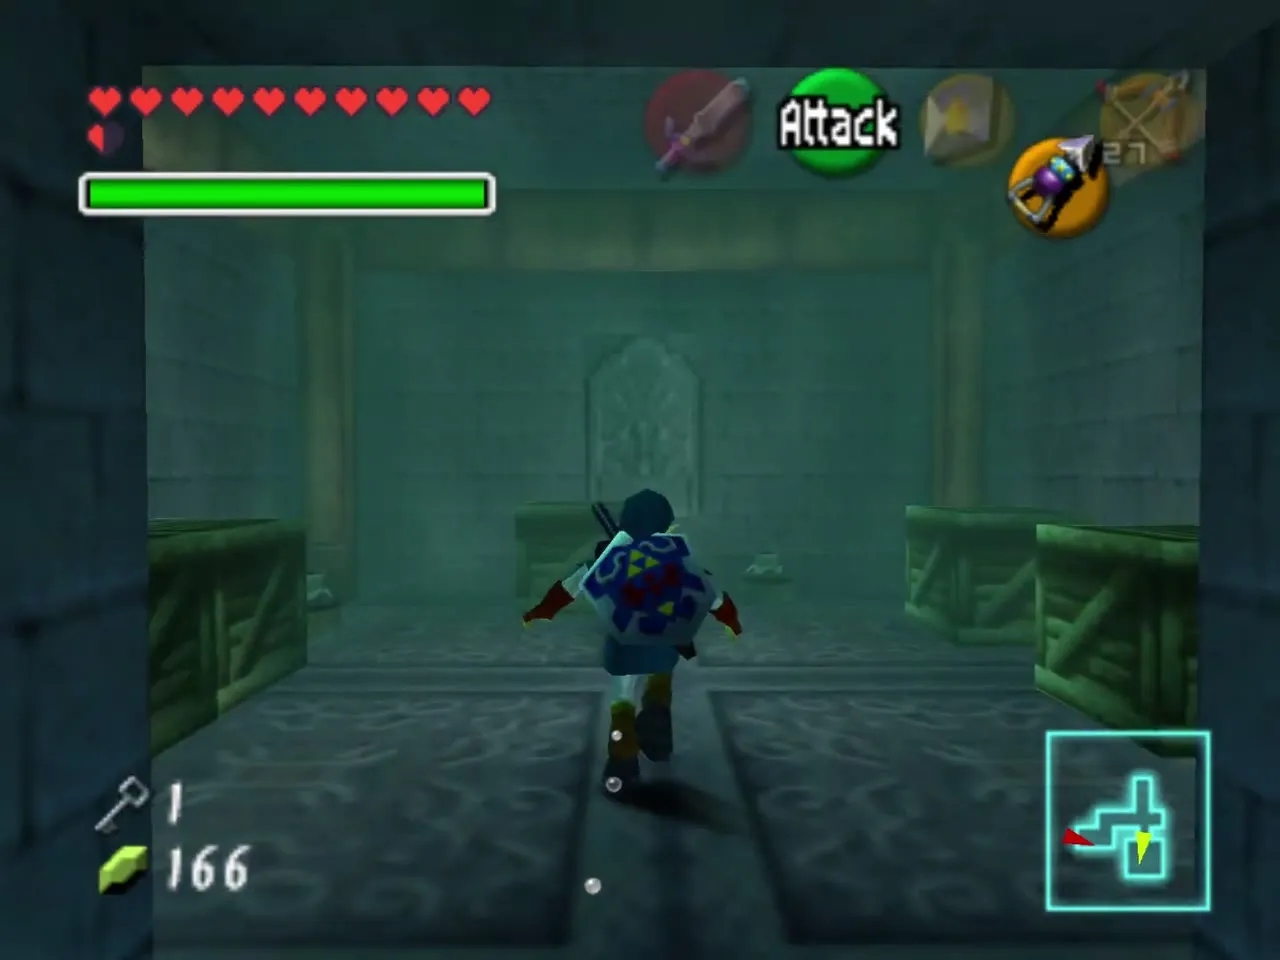
Continue through the flooded crate corridors and the sand-floored tower halls, switching boots as the water requires and Longshotting the ceiling and wall targets. Smash crates for rupees as you go; you will also pass a bookshelf shaft and a torch room.
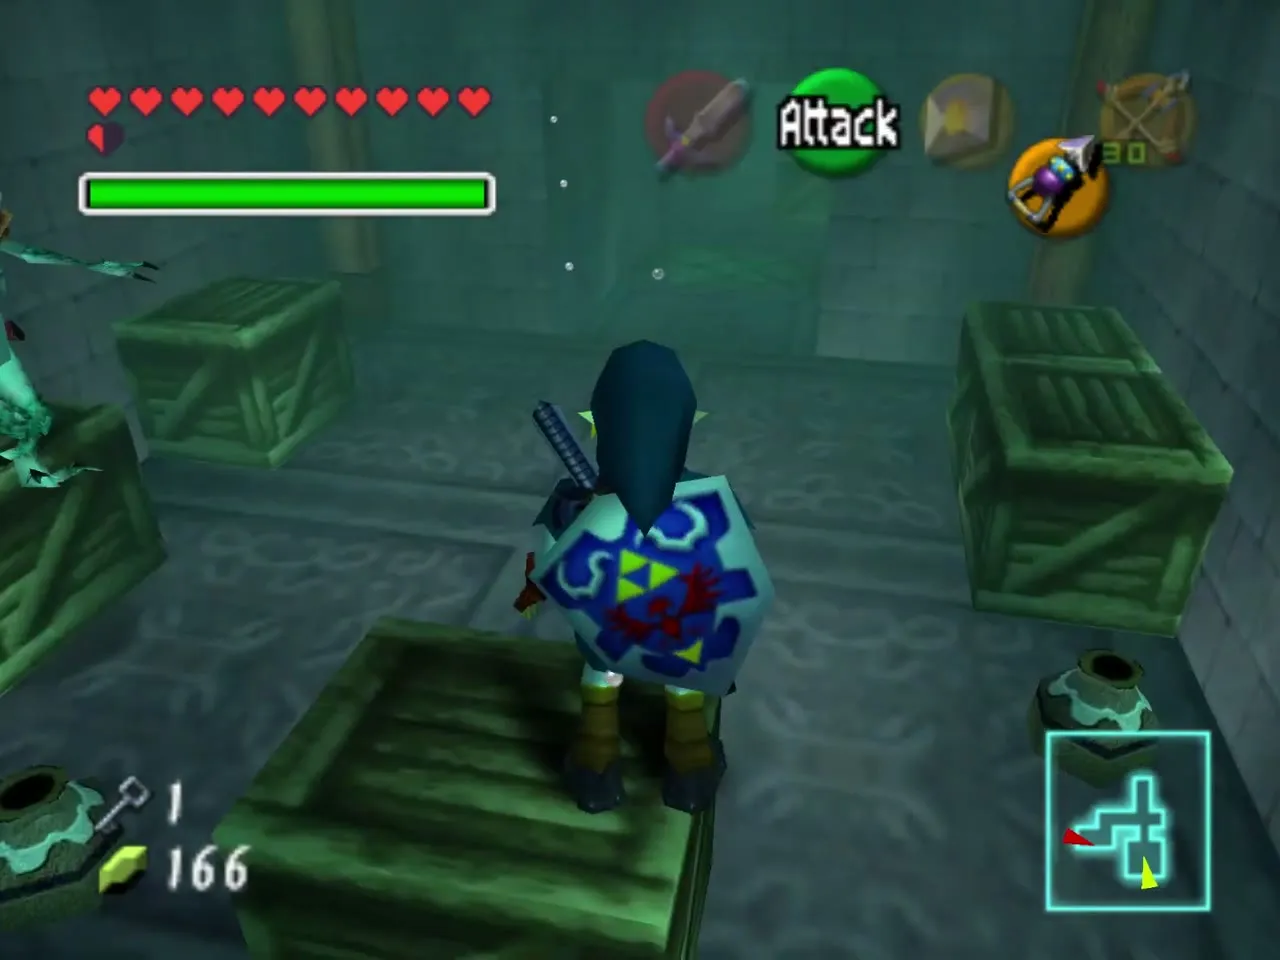
In a small crate room off the sand-coloured tower, Longshot the wall target and climb onto the teal block to reach a Gold Skulltula on the wall. A ghost-like enemy haunts the crates nearby, so deal with it first.
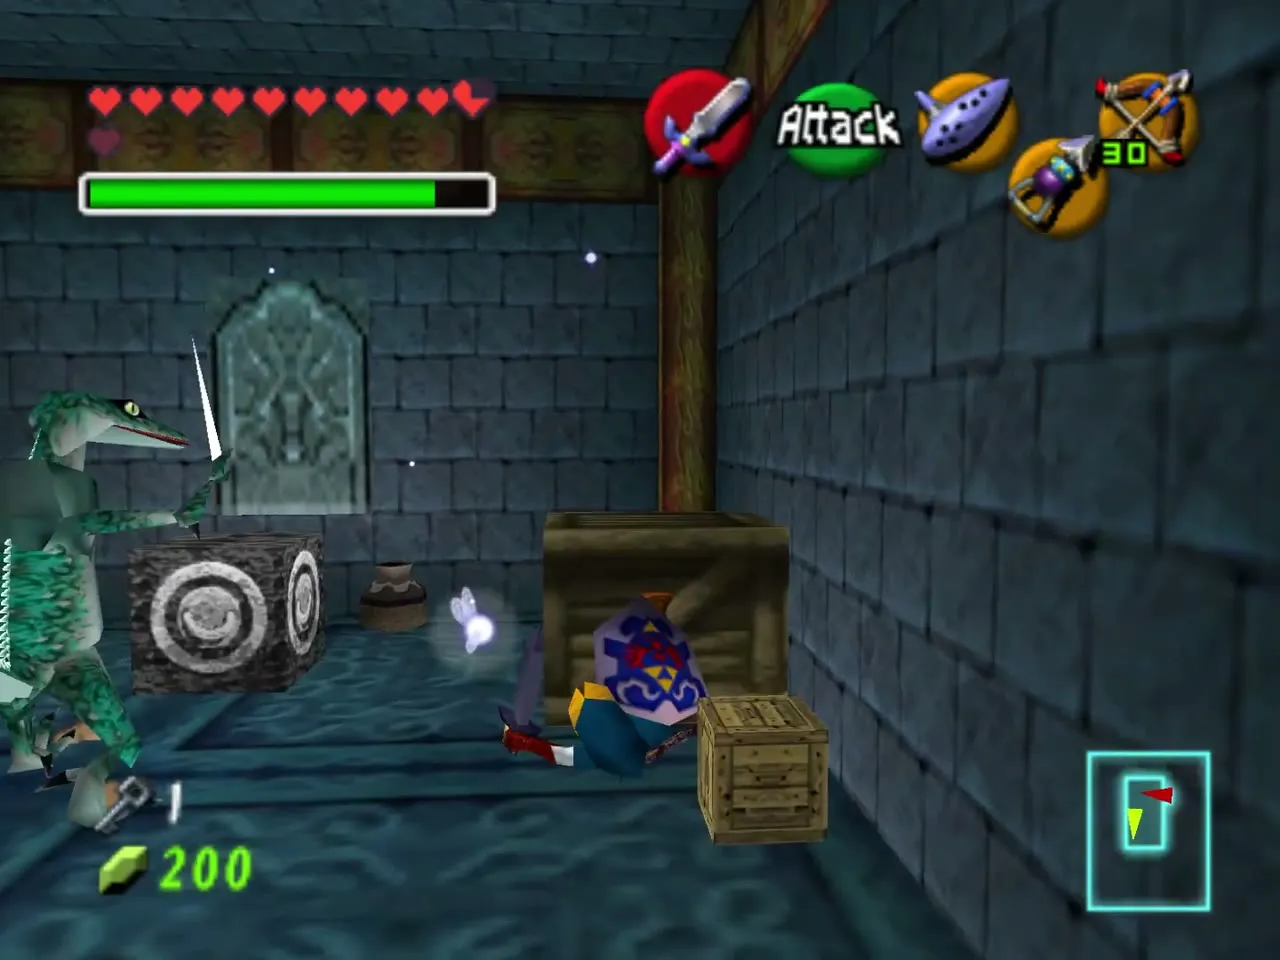
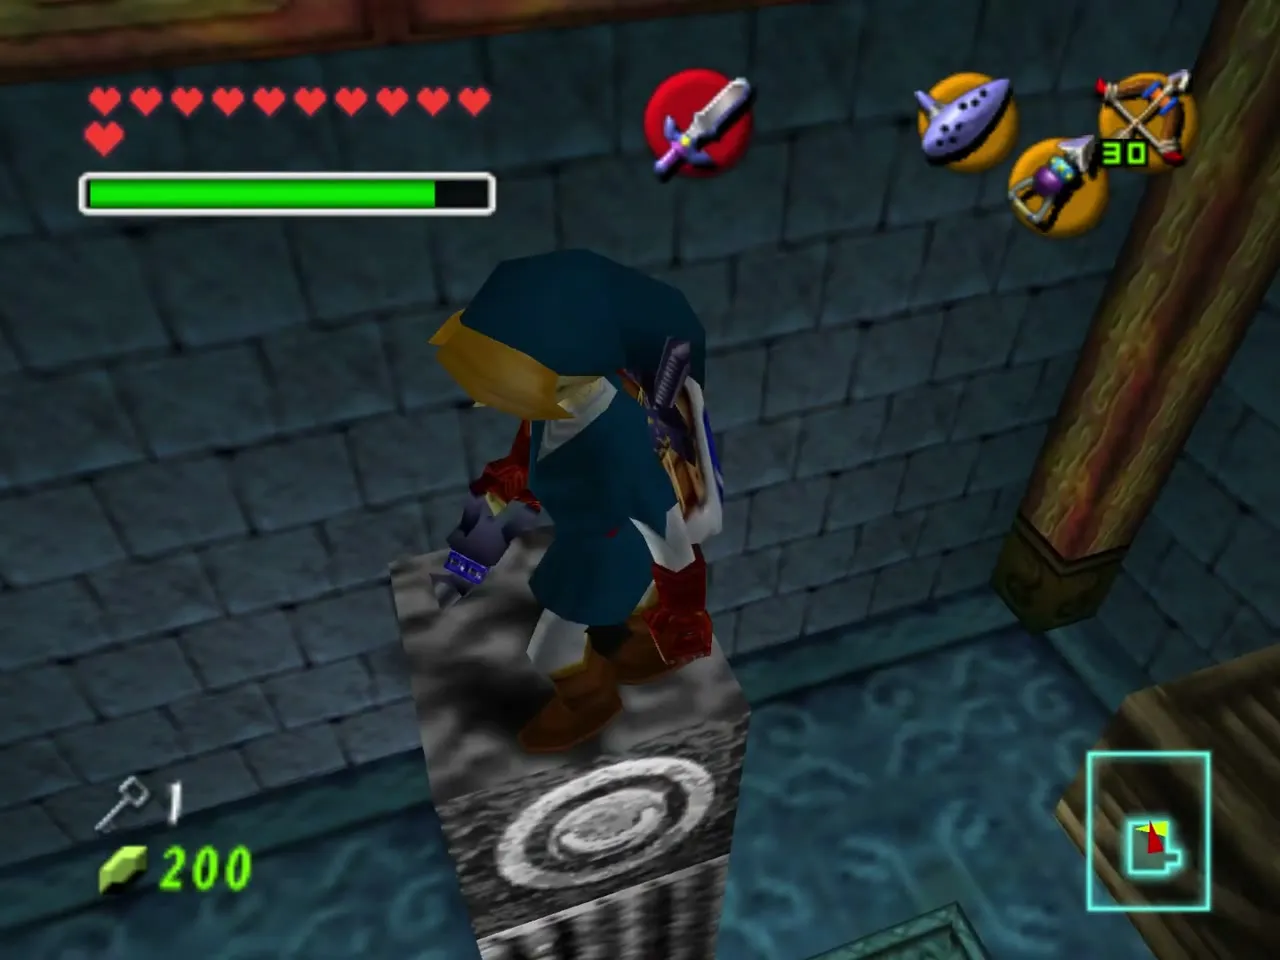
The locked door
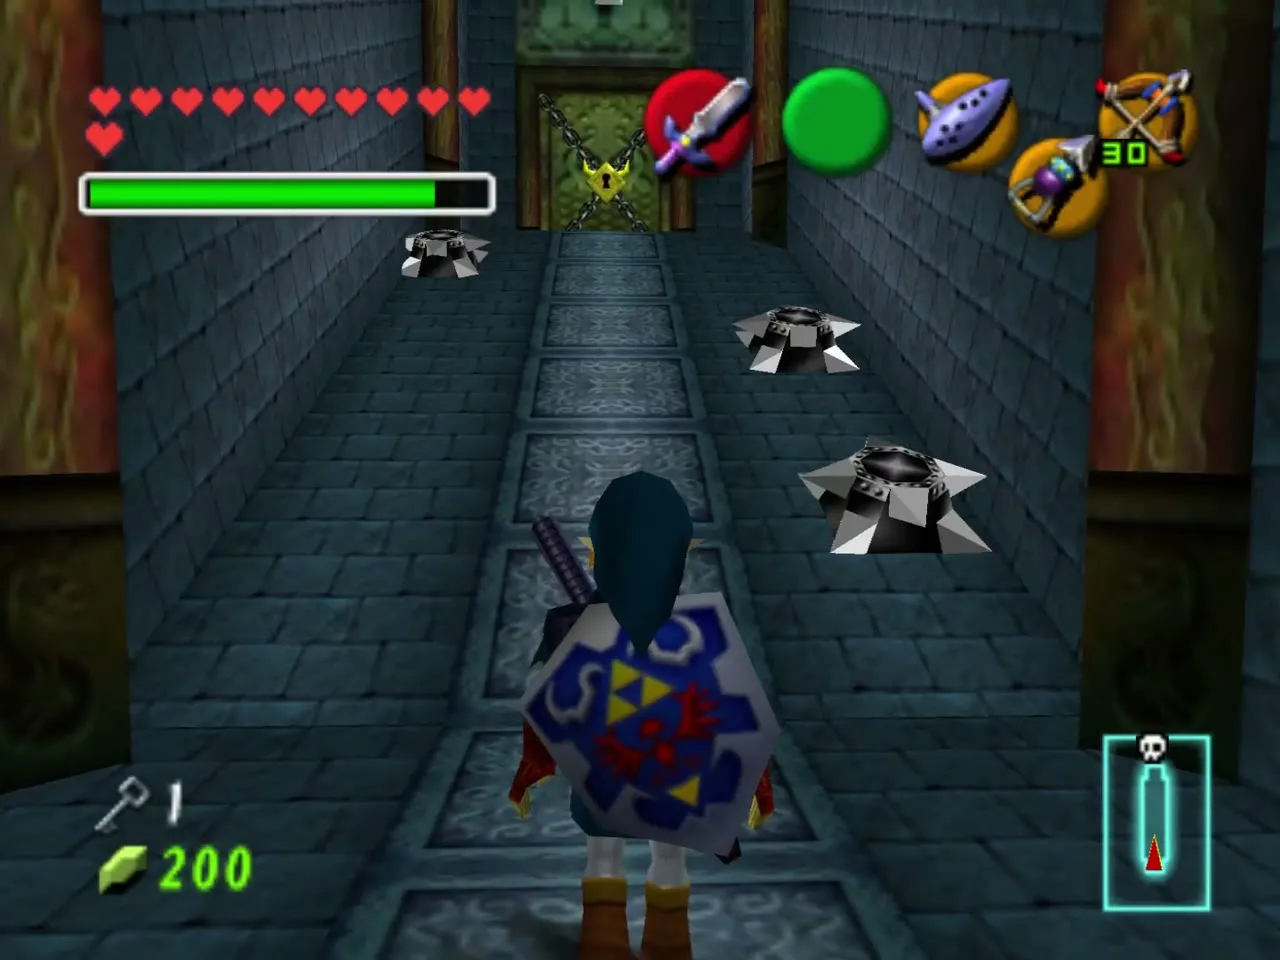
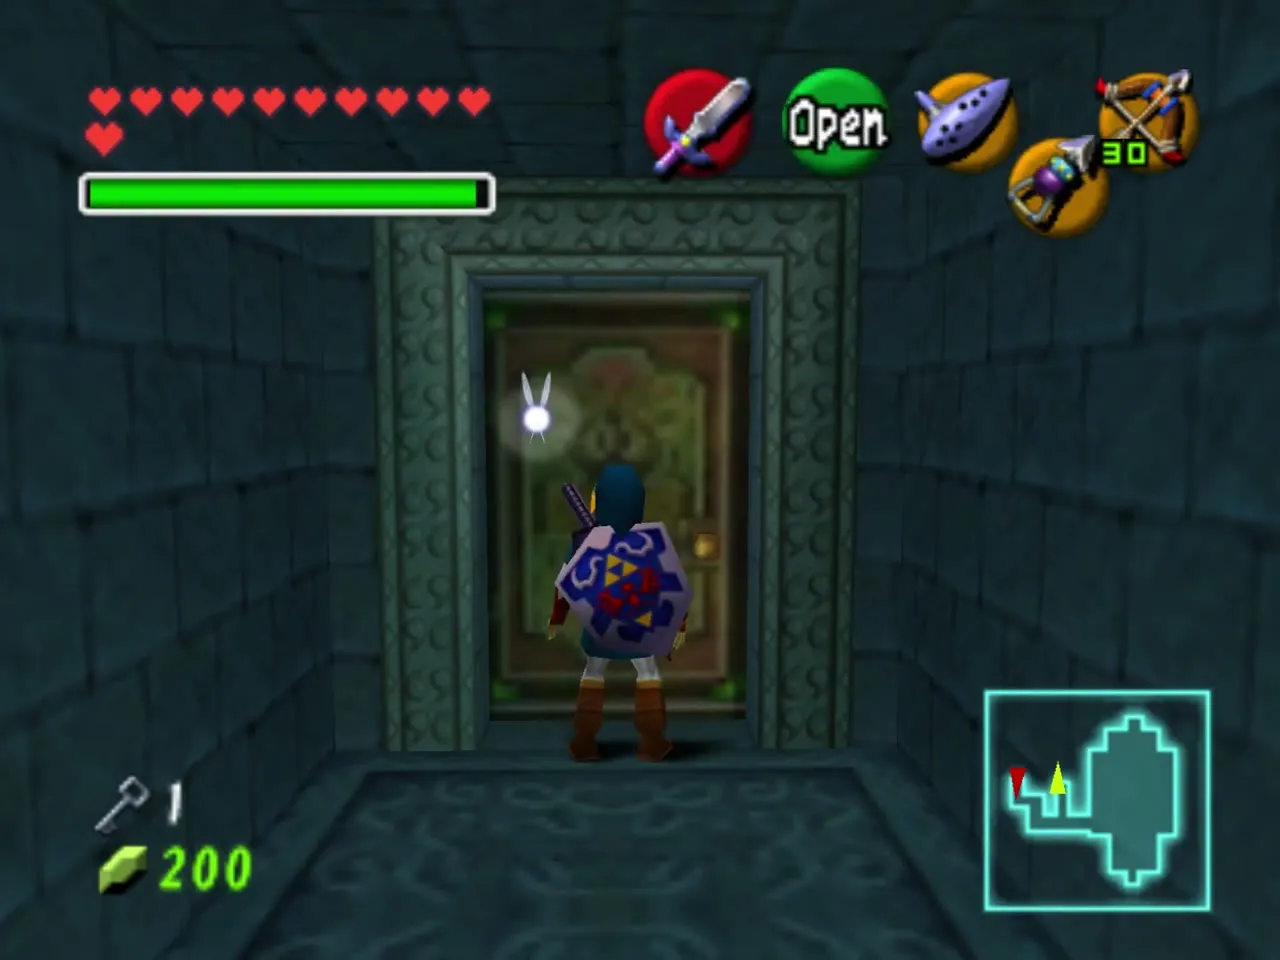
Walk the corridor with spinning blade traps to the locked door and open it with the Small Key. Cross the wooden bridge over the pool into the water room with the waterfall, then Longshot the silver block targets in turn to climb through it and cross the block room beyond.
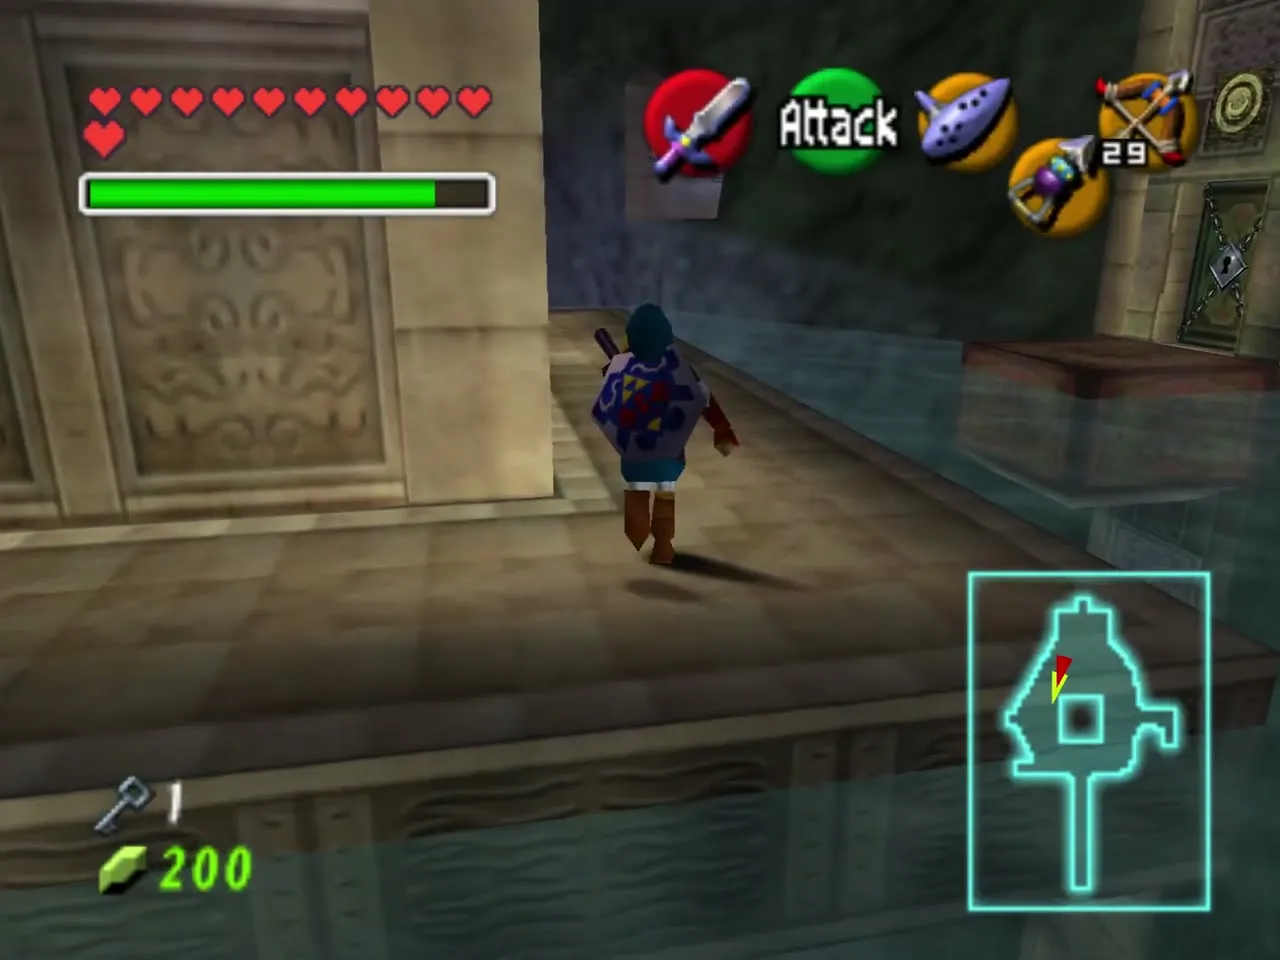
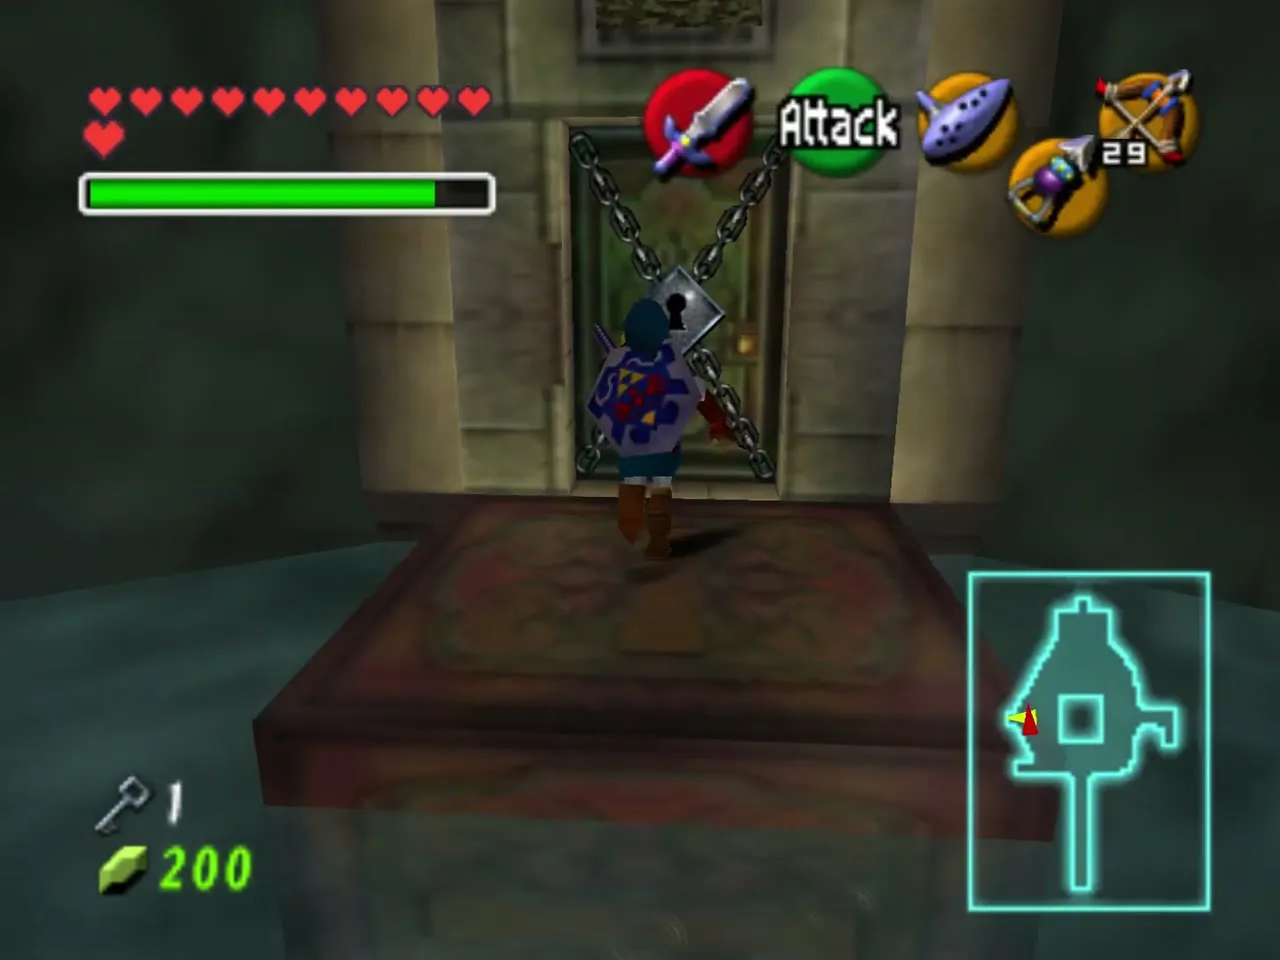
Stalfos, dragon statues and fairies
The Stalfos trio
In the next large room, hit the silver switch from the platform’s edge with the Longshot, drop onto the moving platform and chain Longshot shots across the targets, using a wall panel to raise the topmost one. Jump down into the room with the dragon-head statues and defeat the Stalfos; their defeat raises the statues.
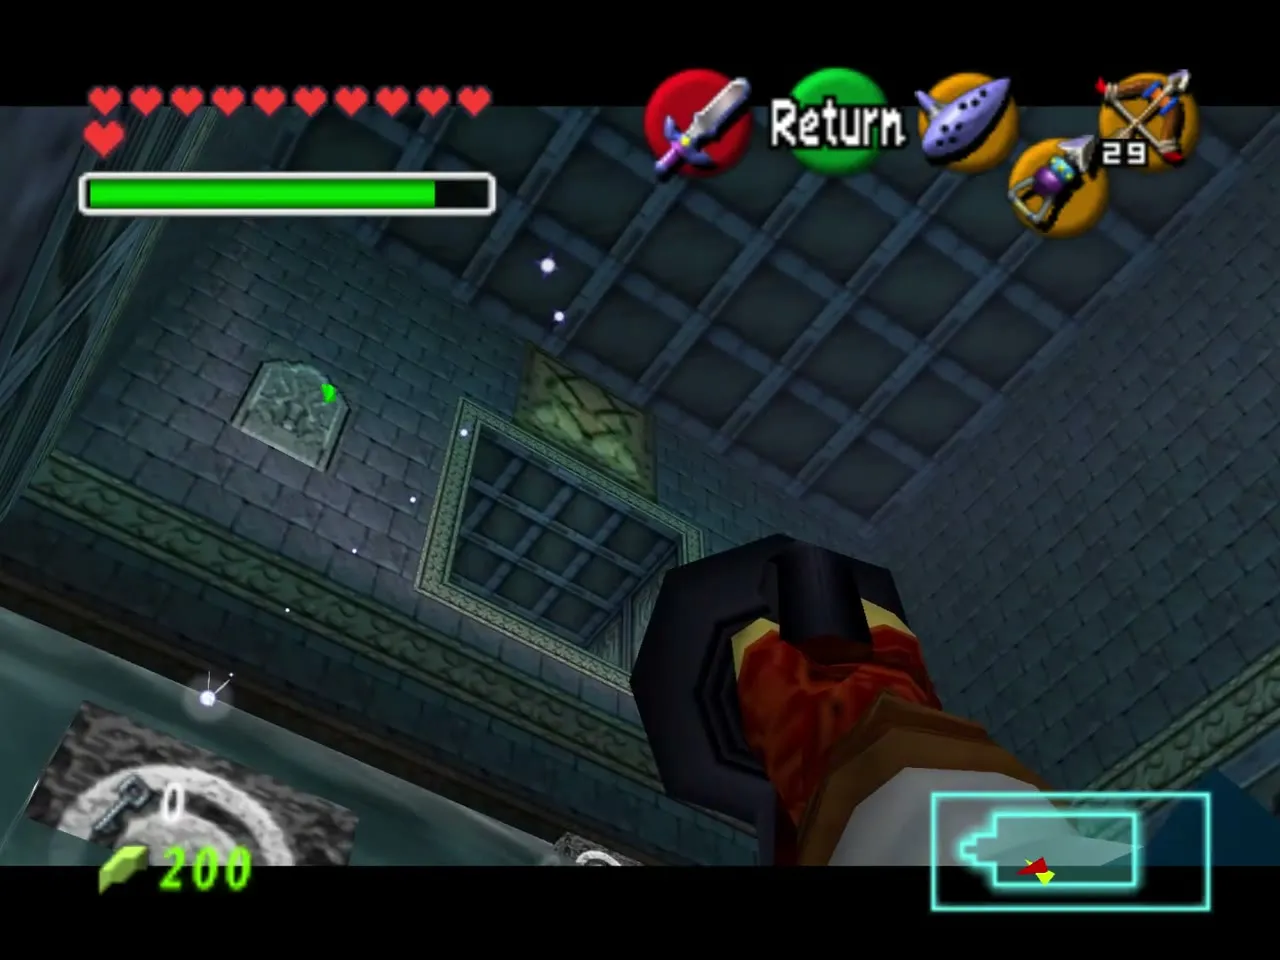
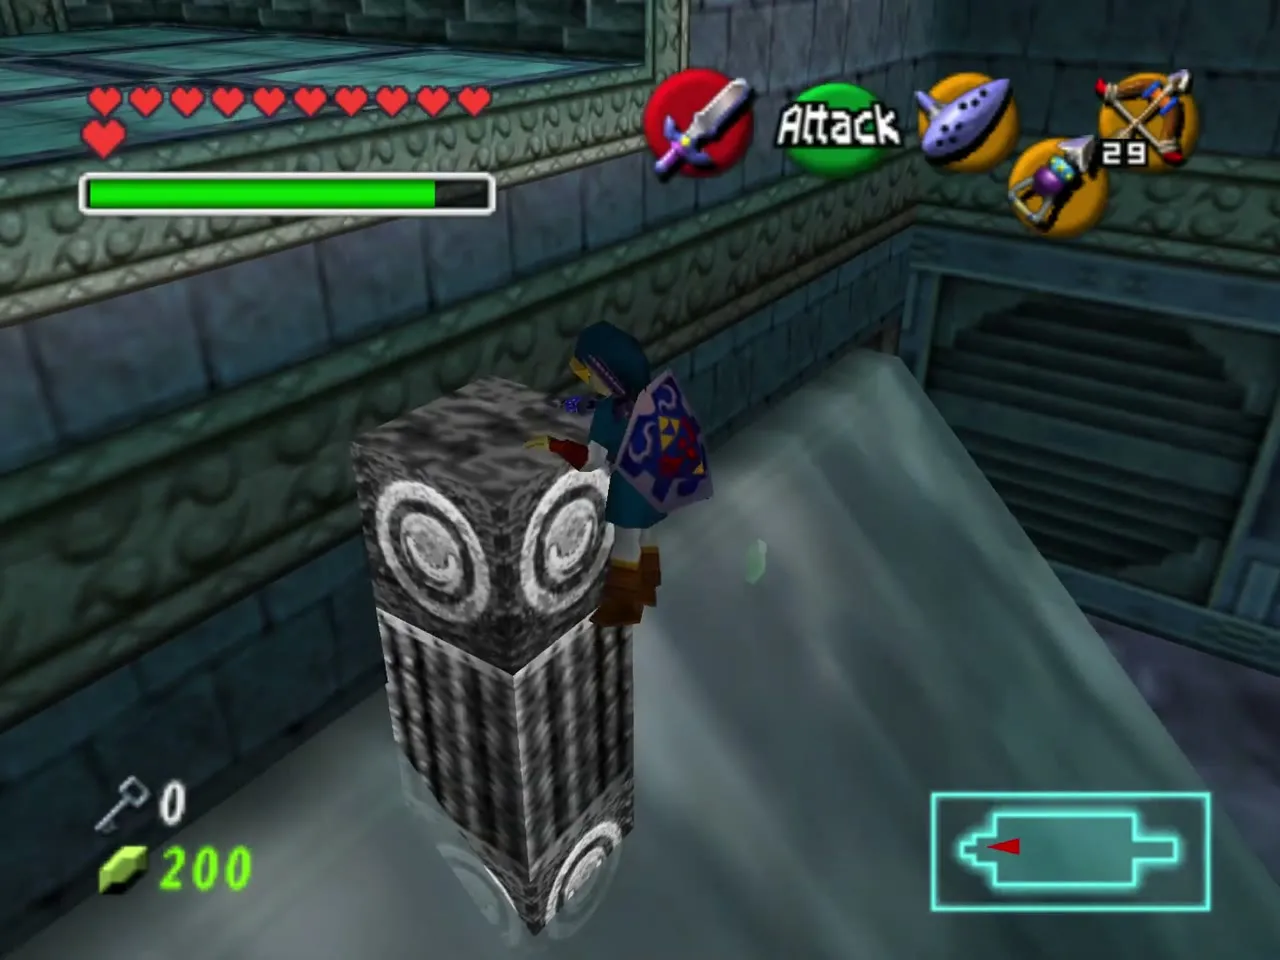
Songs for fairies
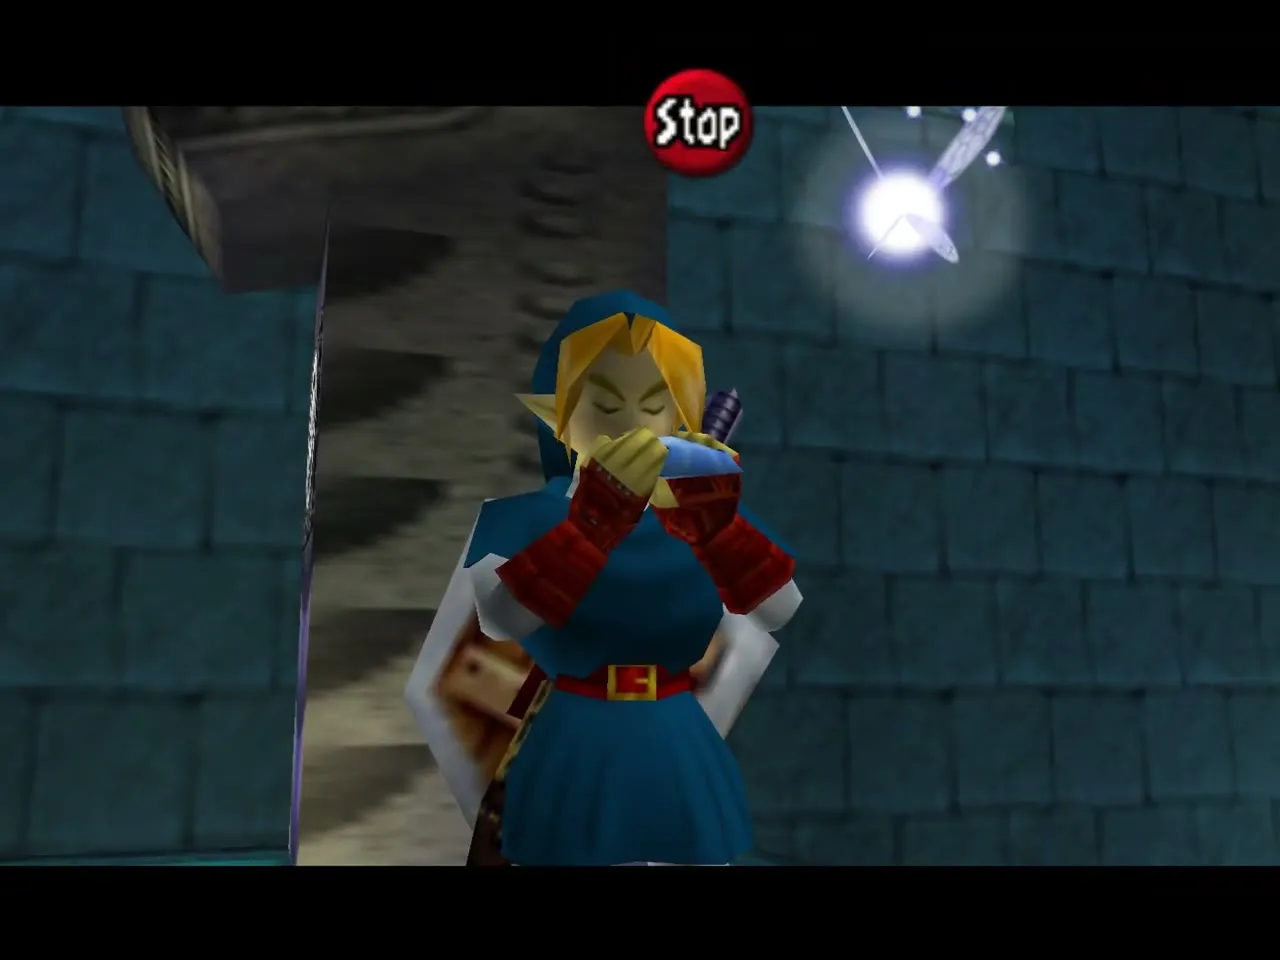
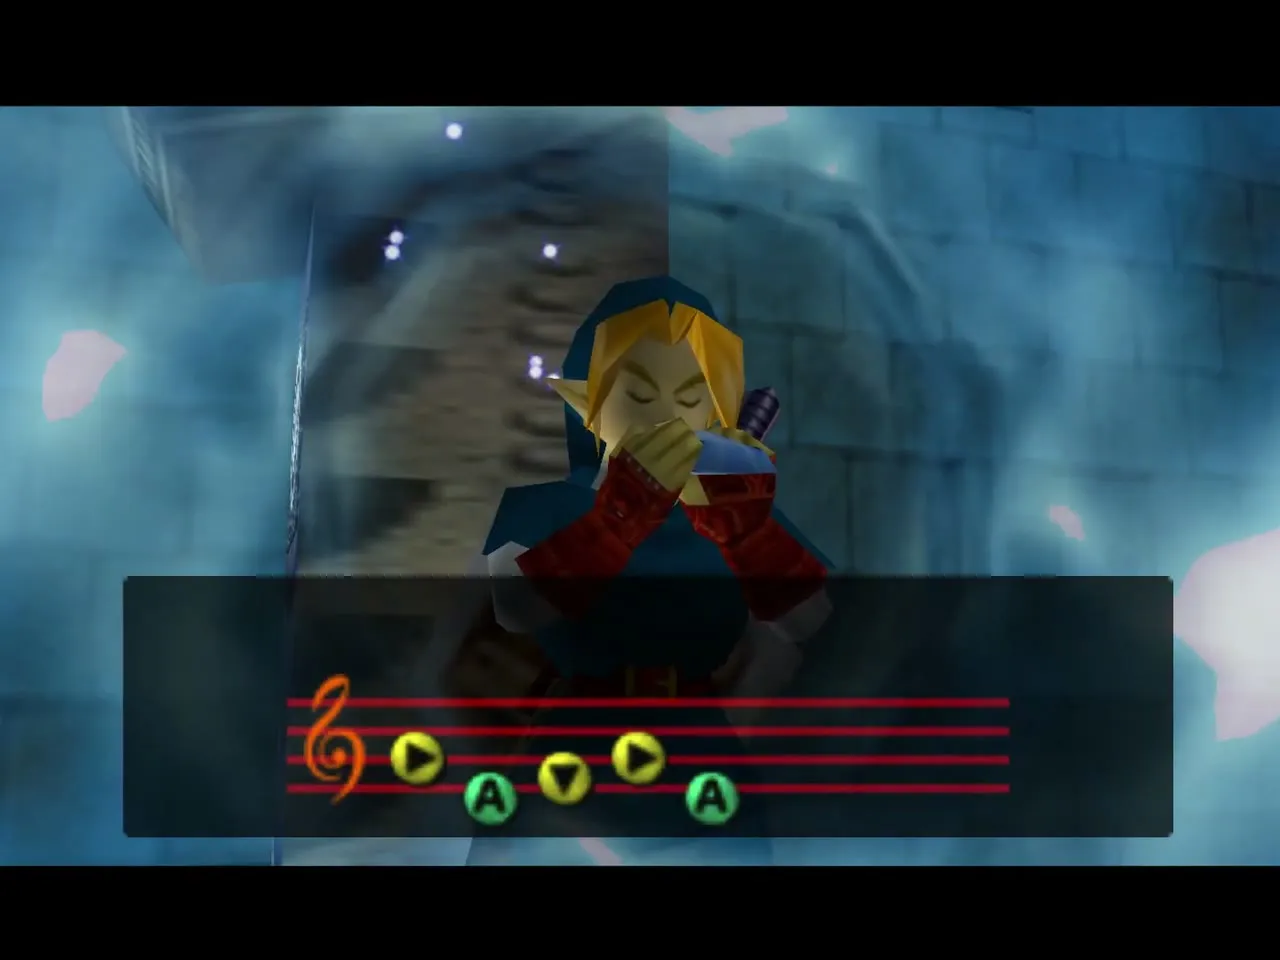
Longshot to the statue on your right and look for the spots where Navi turns green. The Sun’s Song at one and the Song of Storms at another call fairies, and more hide in the pots on the far ledge. If you use them up, leave the room and come back to bring them back; stock a bottle before Dark Link.
Mini-boss: Dark Link
The foggy pond
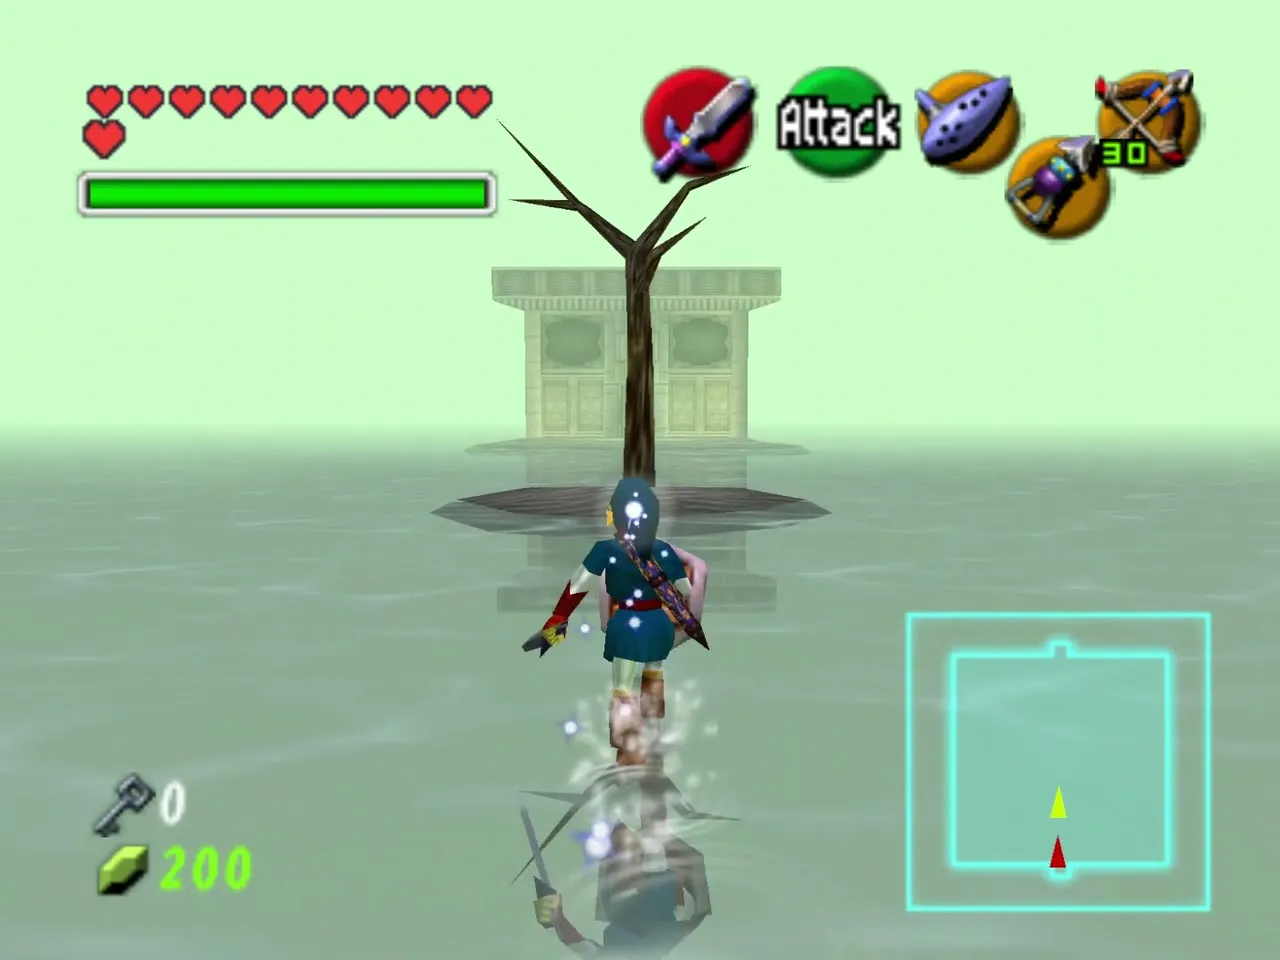
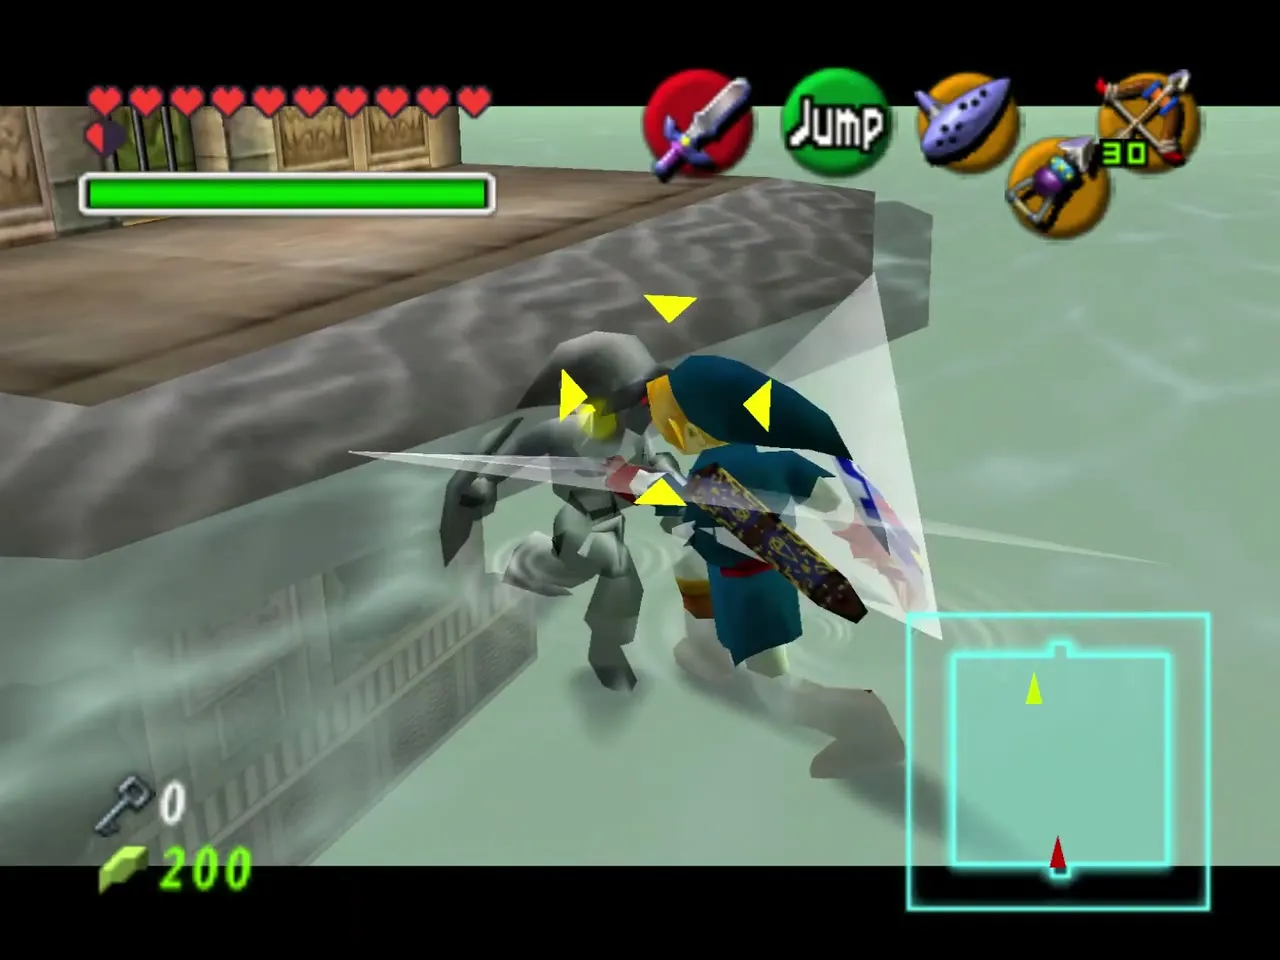
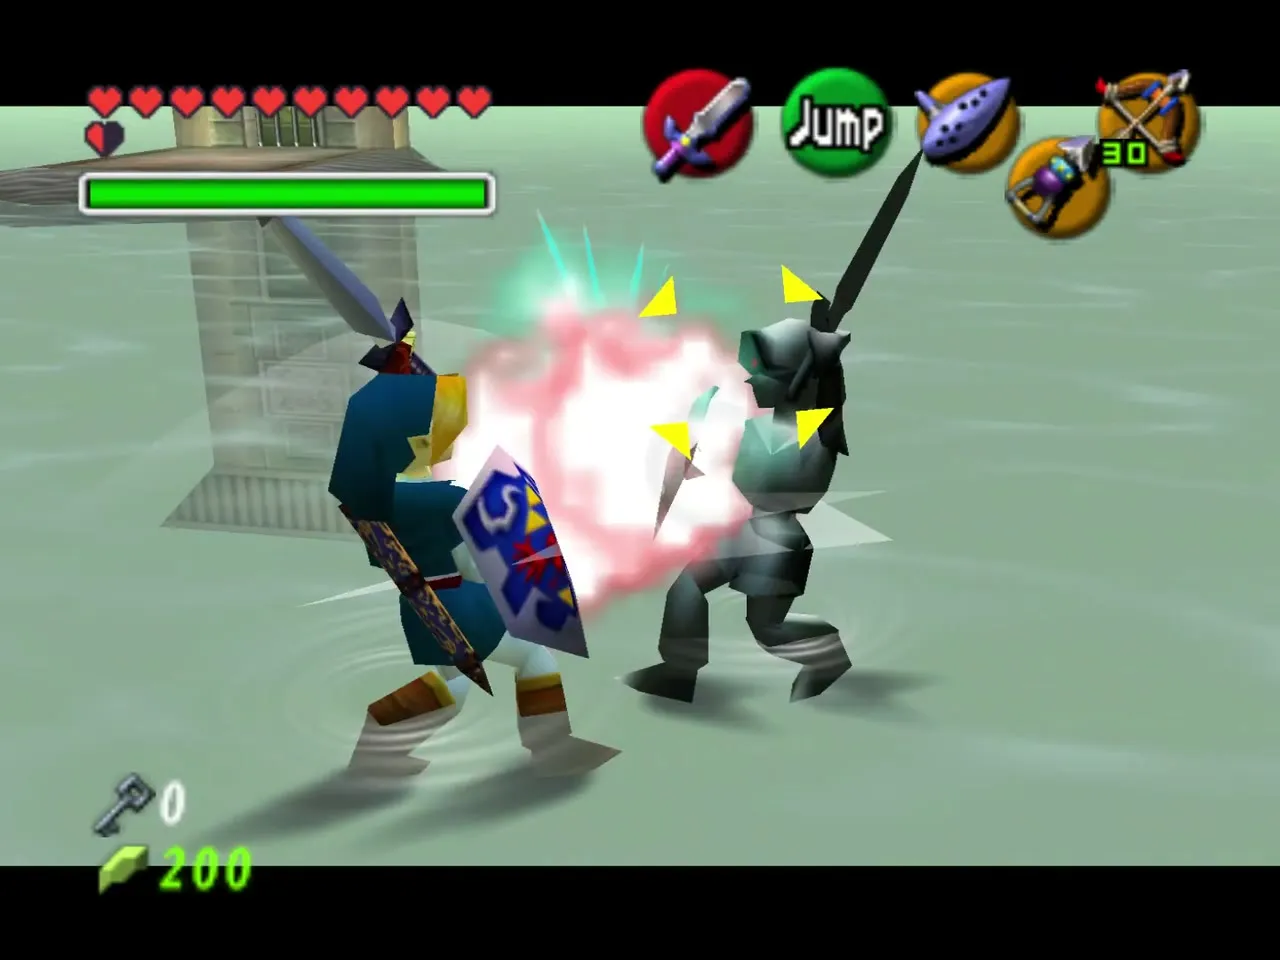
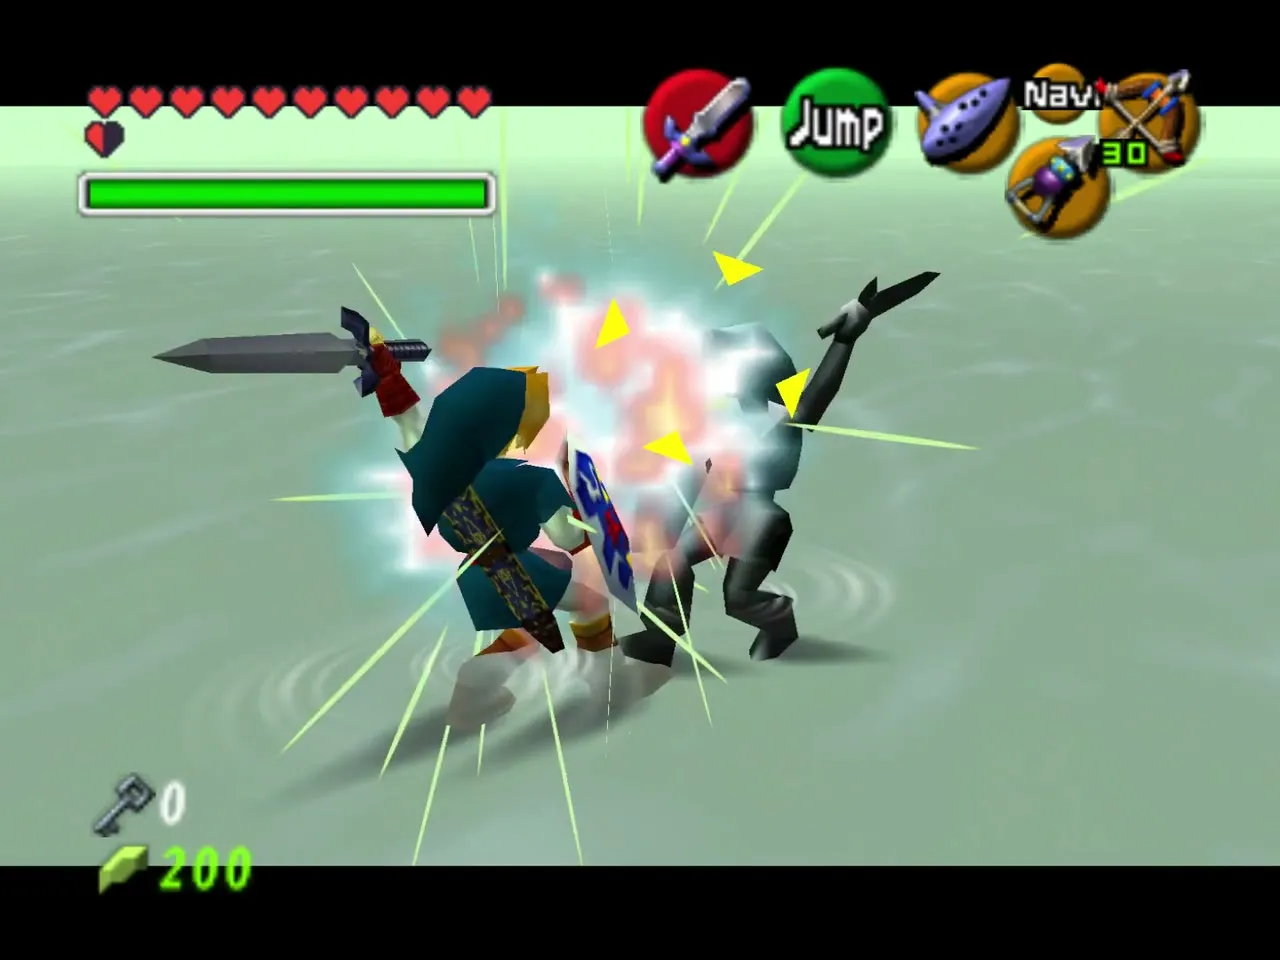
Step through the barred door into a misty room with a lone dead tree on an island. Walk across the water to the far side and back toward the island: Dark Link rises out of the pond and attacks. He mirrors your moves and blocks most sword attacks.
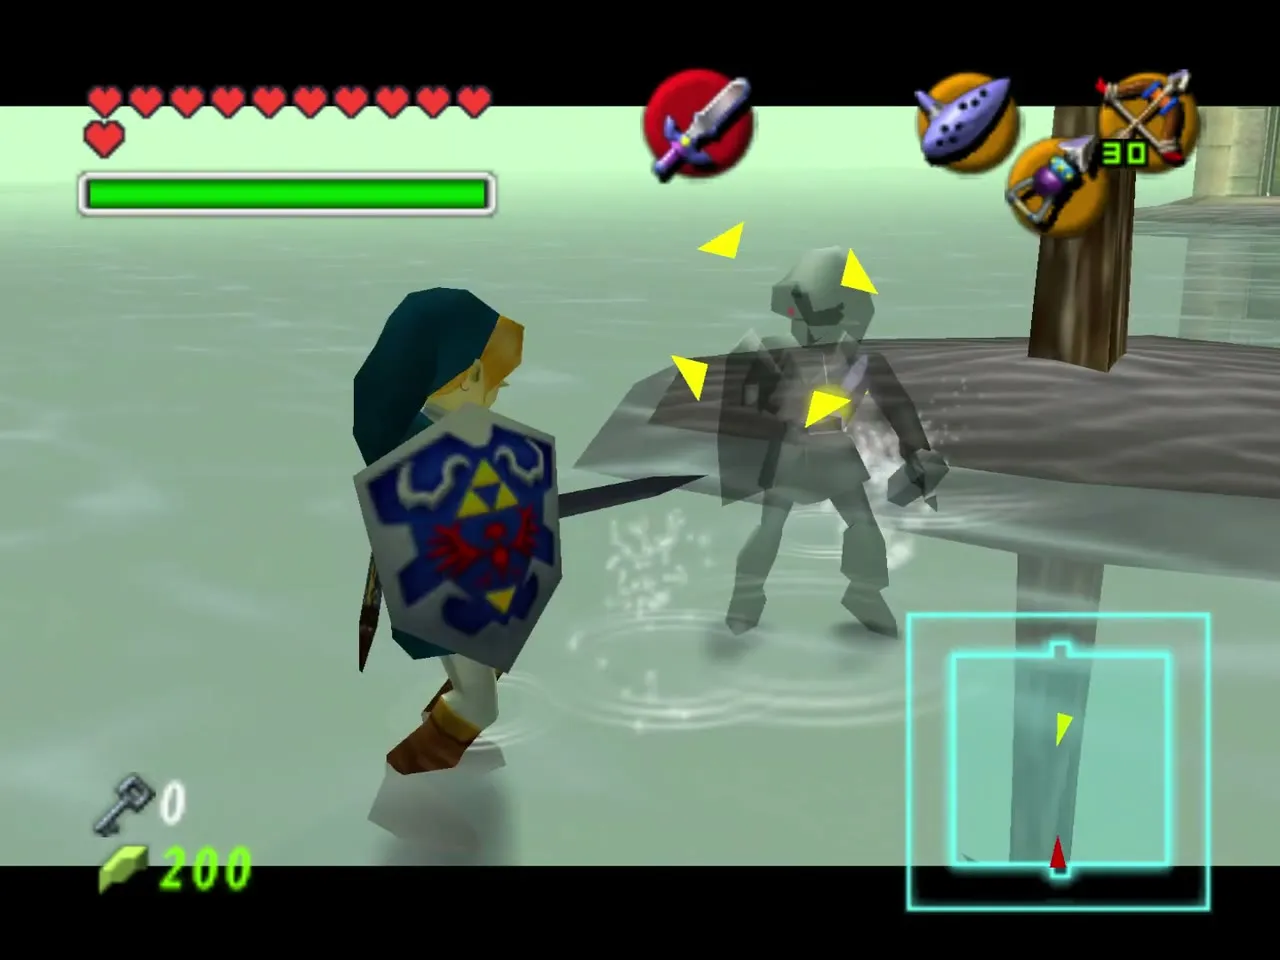
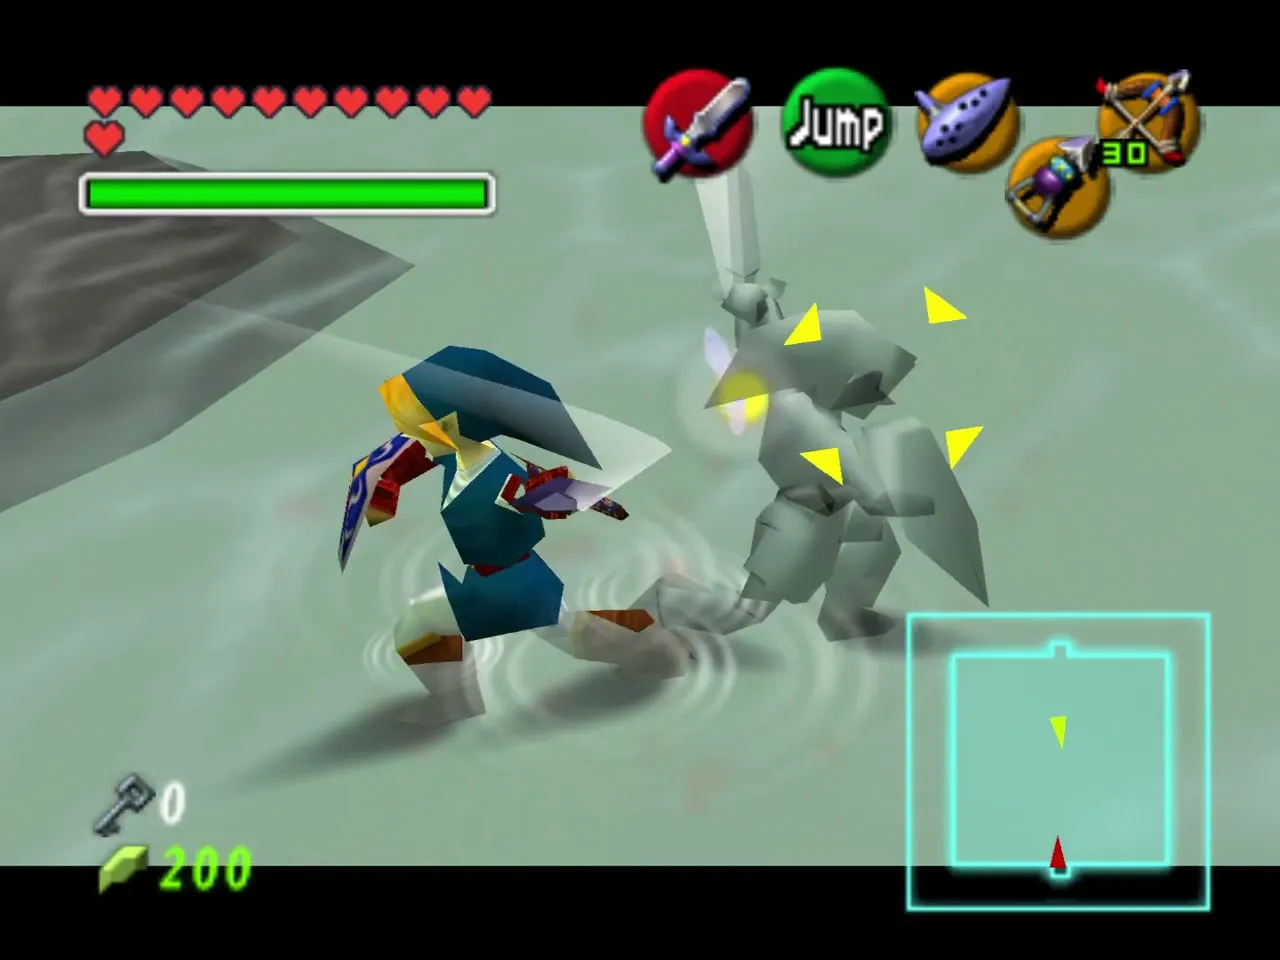
The Megaton Hammer is the easiest weapon because he cannot guard against it well. Din’s Fire also gets through his defences, so keep some magic. When he falls, the fog lifts and the room turns ordinary.
The river and the Boss Key
Hookshot the panel and swim
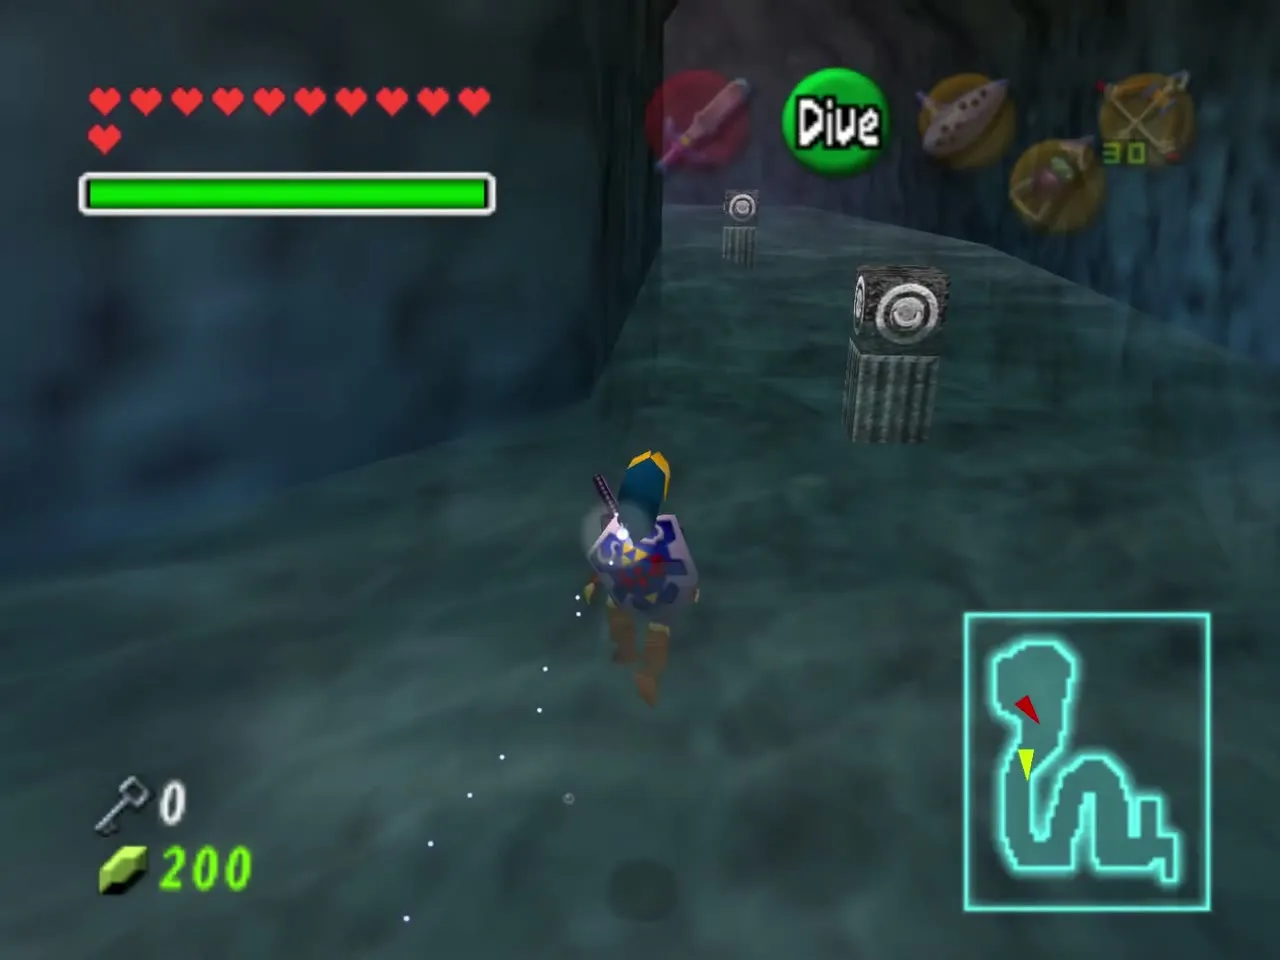
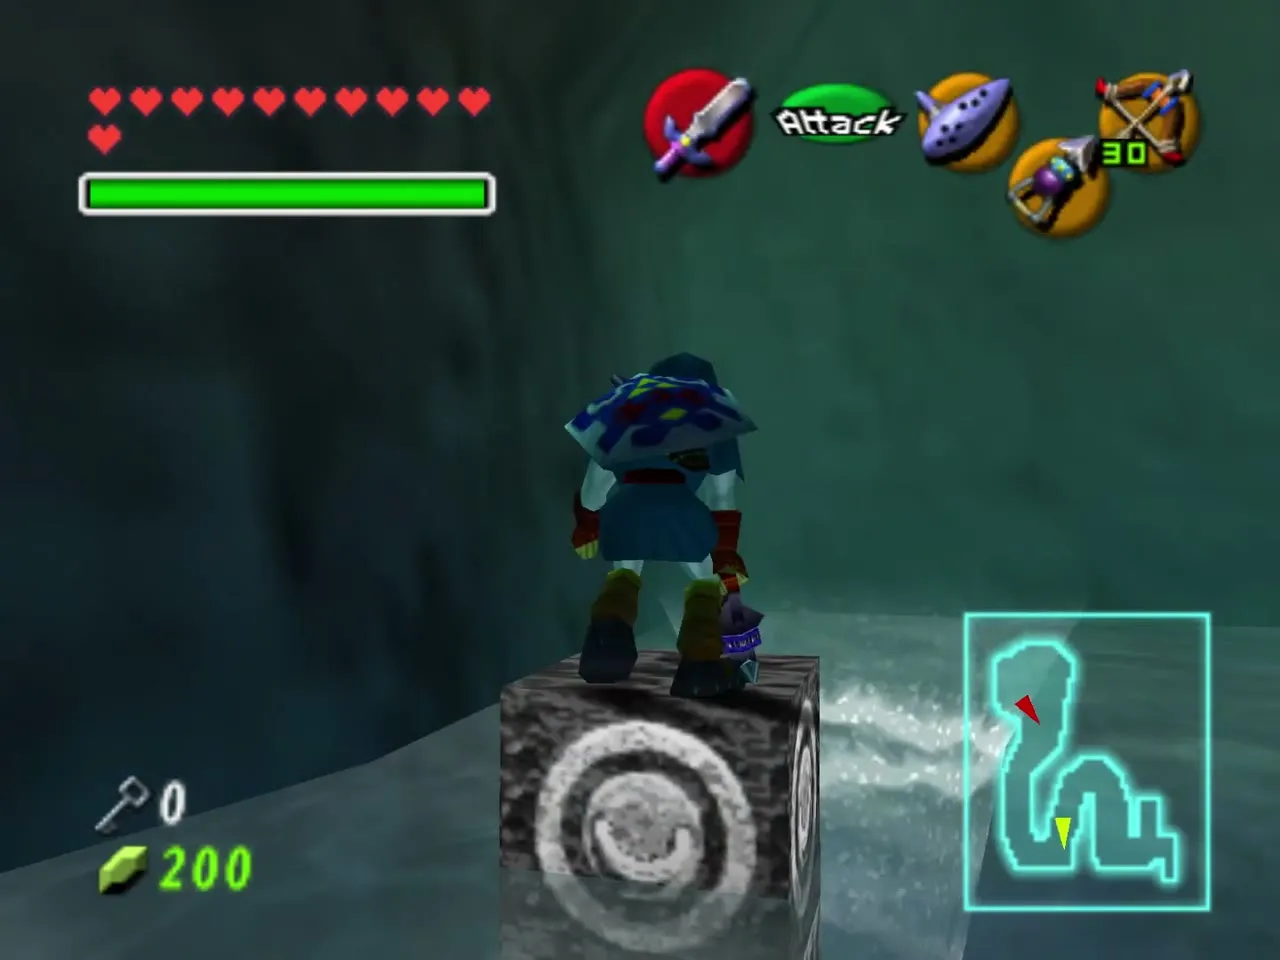
Go through the door in the plain room and Longshot the wall panel to open the grate in the floor. Drop to the river below and swim it, steering around the whirlpools, then Longshot up to the doorway at its end. Water corridors with crates and sand floors follow; wear the Iron Boots where the water is deep.
The underwater alcove
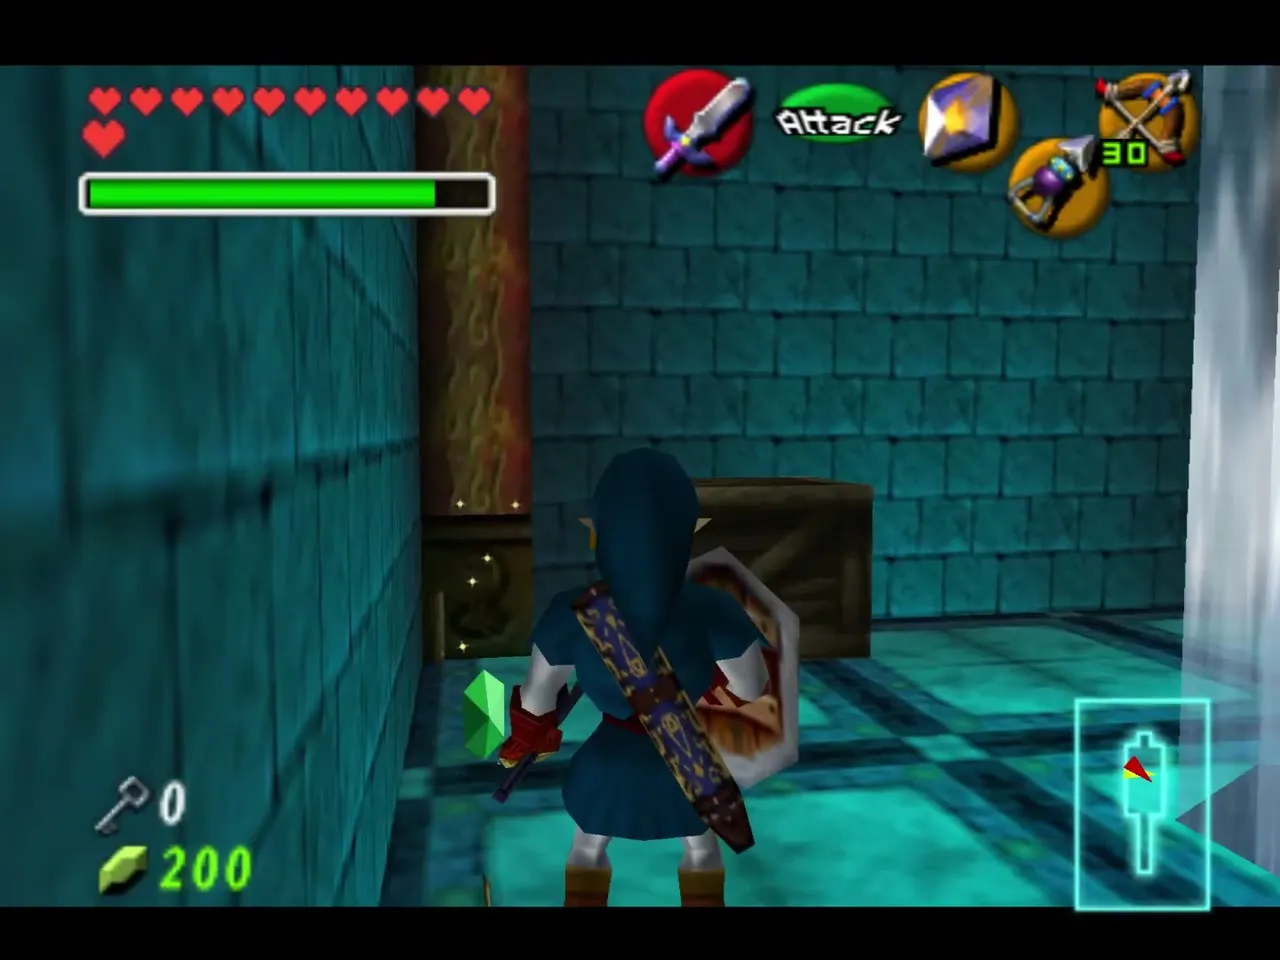
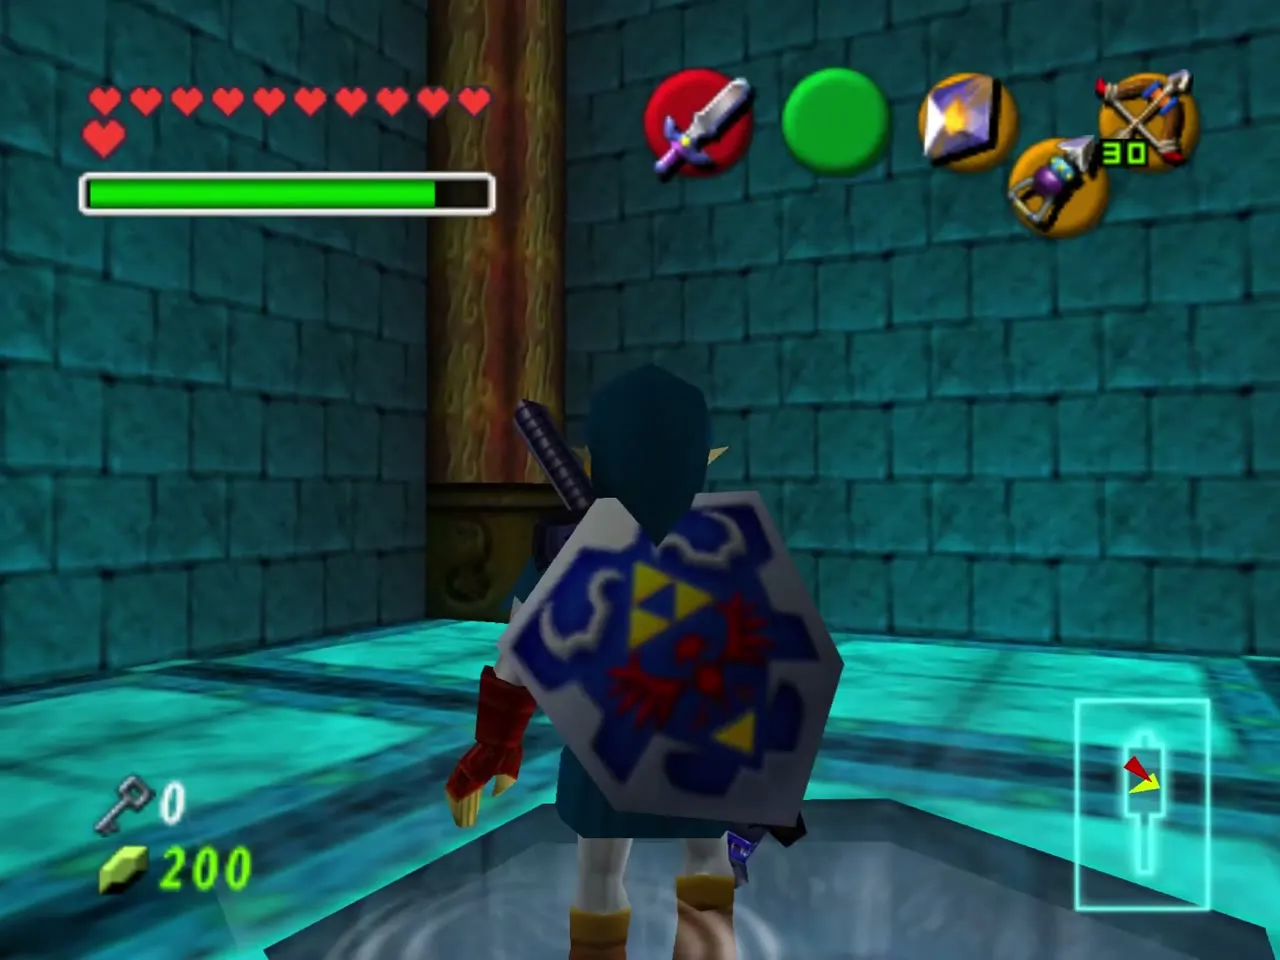
Put on the Iron Boots and Longshot into the small underwater room beside the dragon-head statue. Remove the boots and swim up to the alcove, where another wall panel waits. Cast Din’s Fire to light the torches there, which unlocks the door to the Boss Key room.
Boss Key
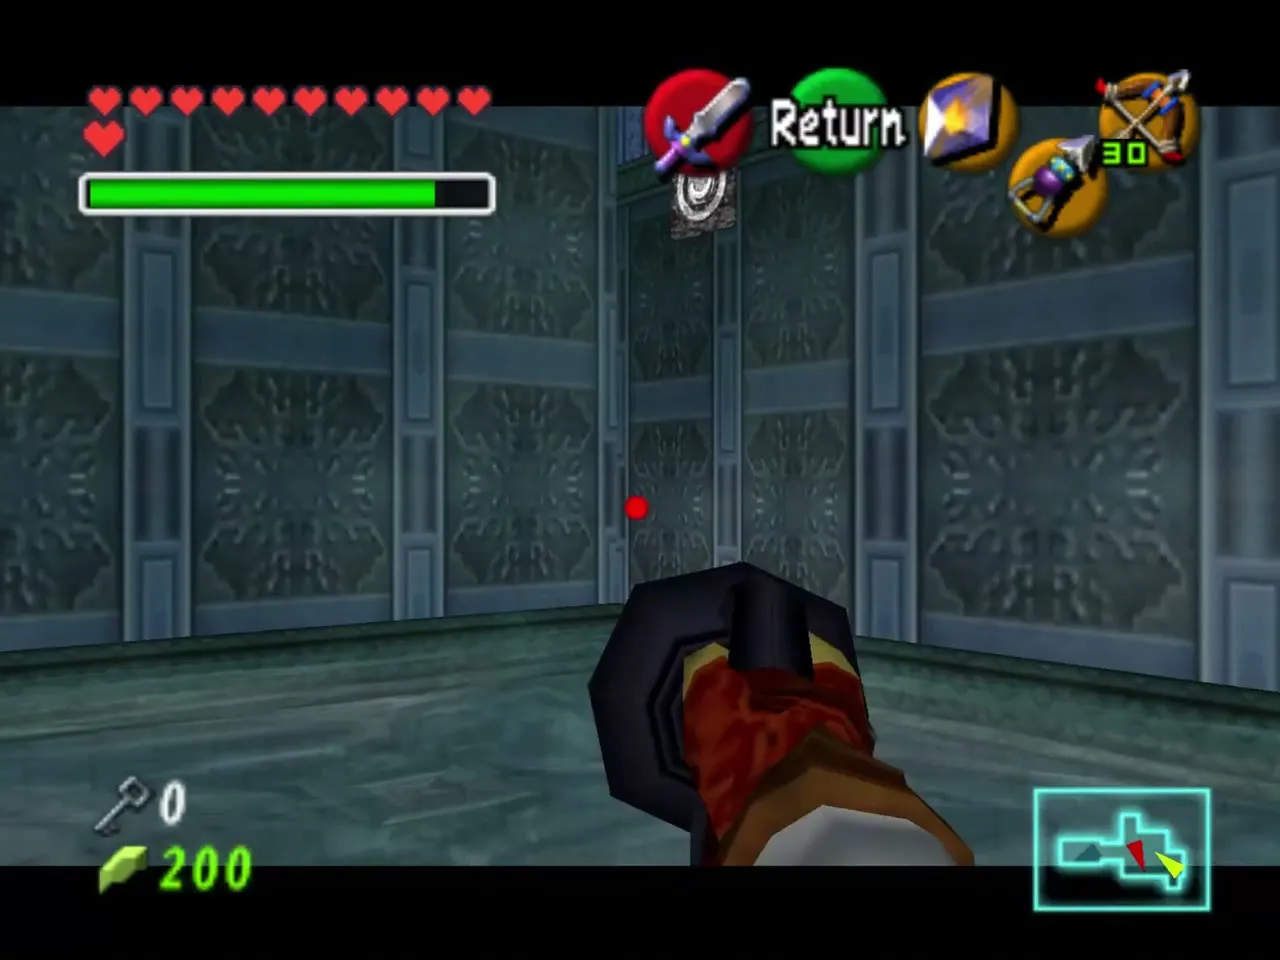
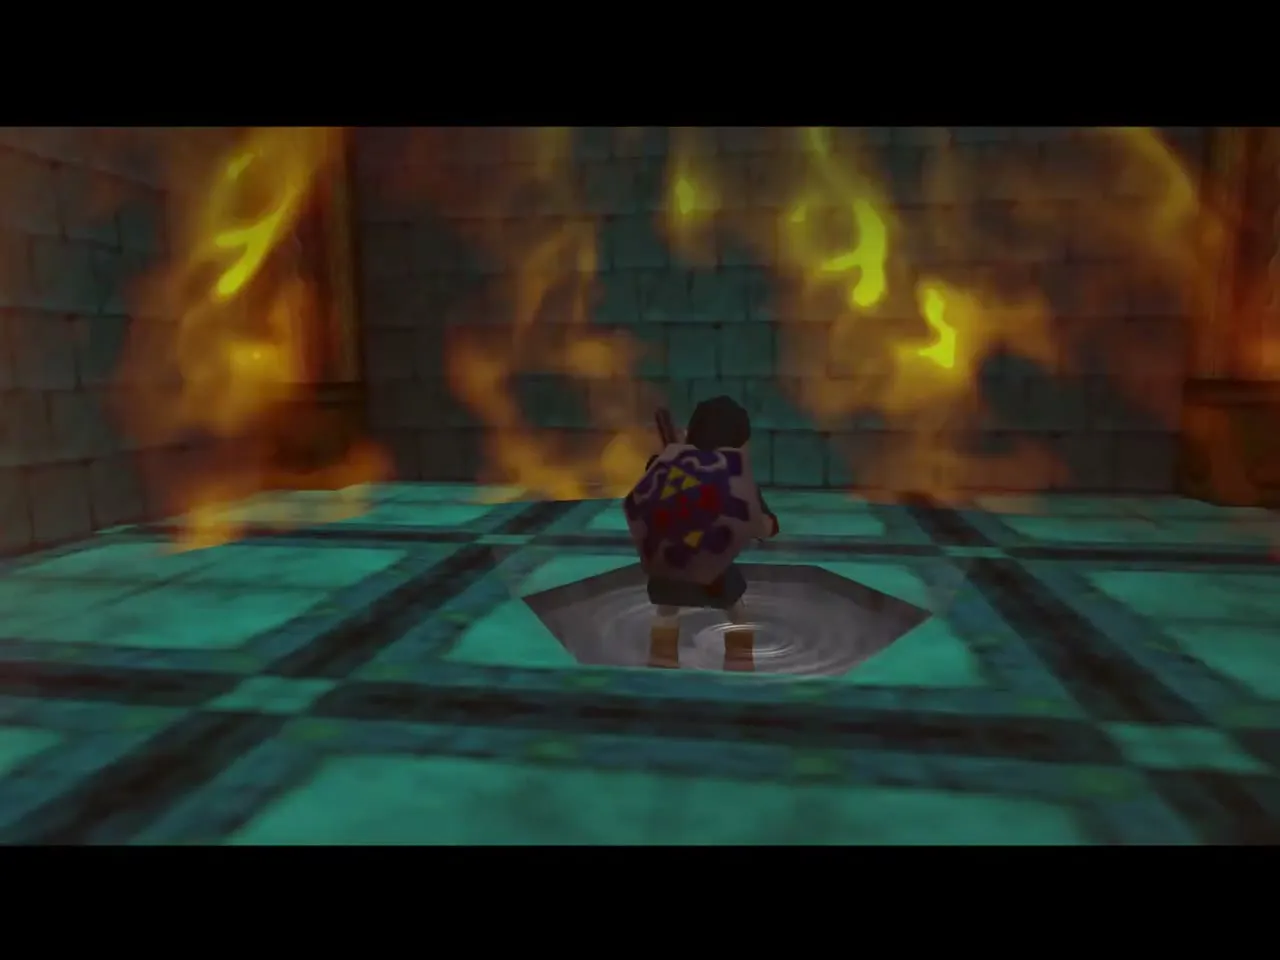
In the torch room, hit the silver switch to raise the water platform, climb onto it and cast Din’s Fire at the torches to lift the gate. Beyond it is a large chest containing the Boss Key.
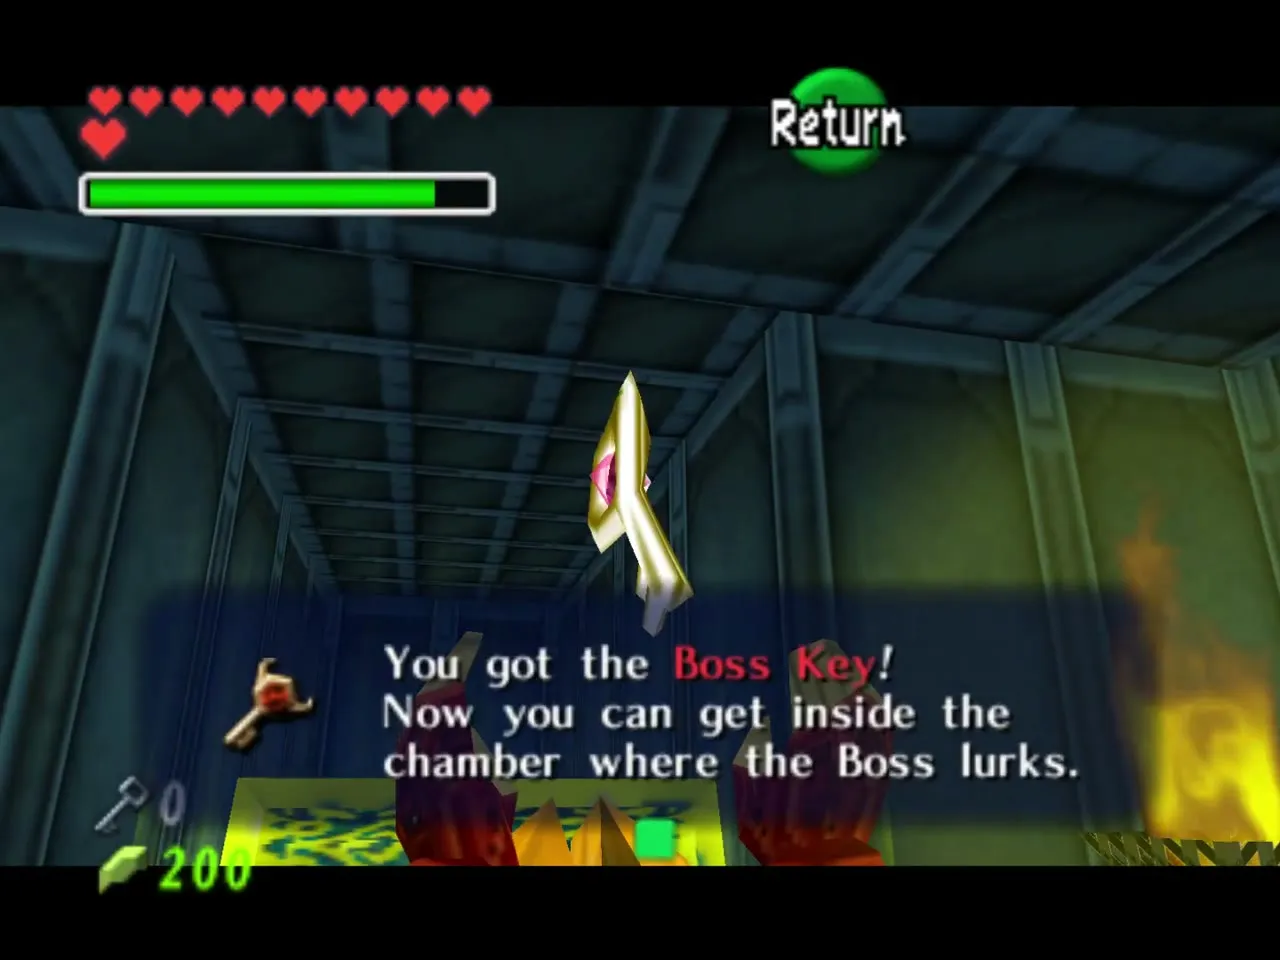
Back to the boss door
Stalfos and the second Small Key
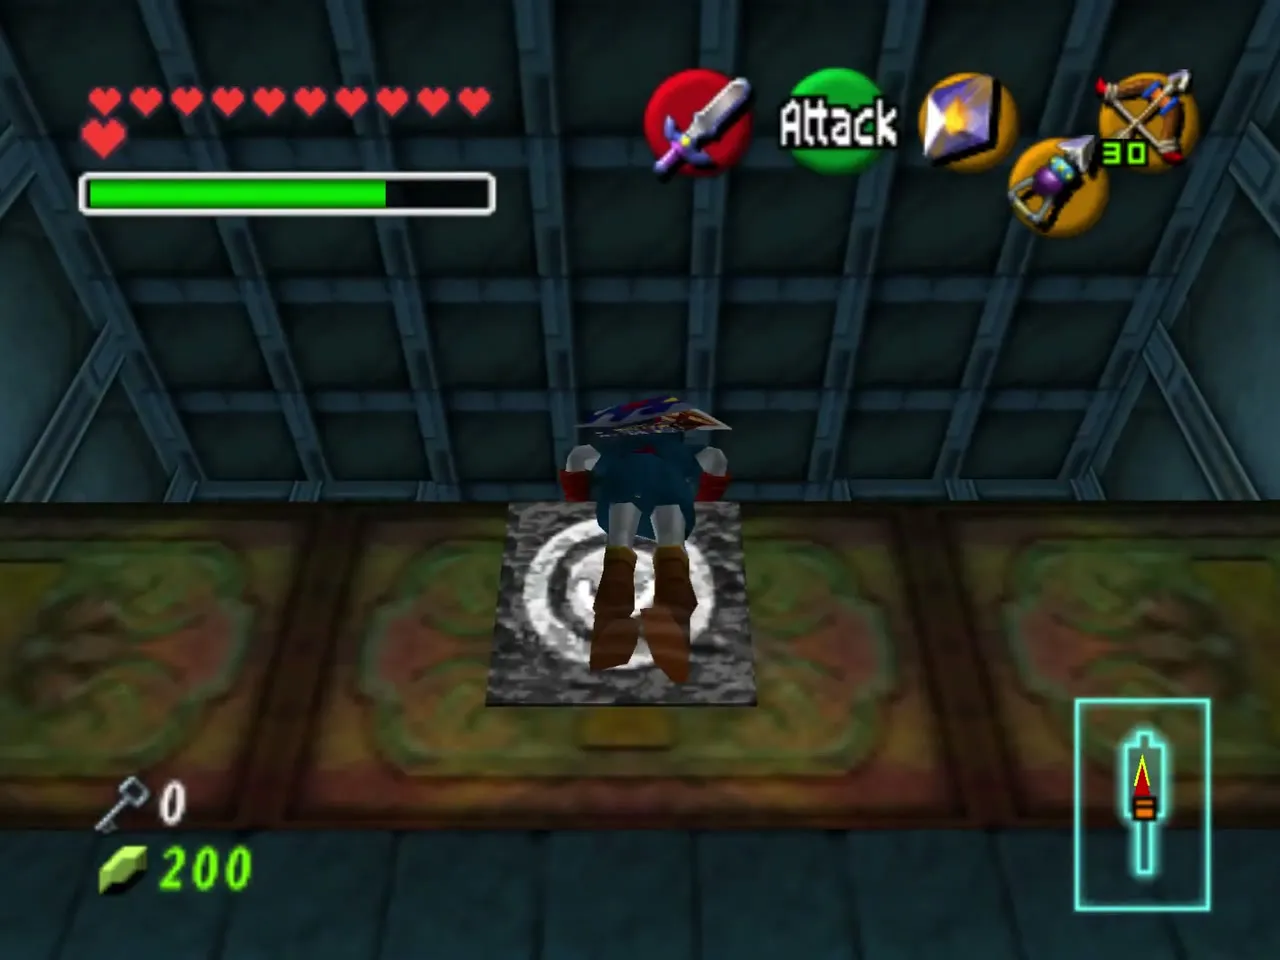
Leave by the passage and sink in the Iron Boots to head back toward the central chamber. In the library rooms on the way, fight the Stalfos and shoot the bookshelves with arrows. A later Stalfos fight in a side hall leaves you with a second Small Key.
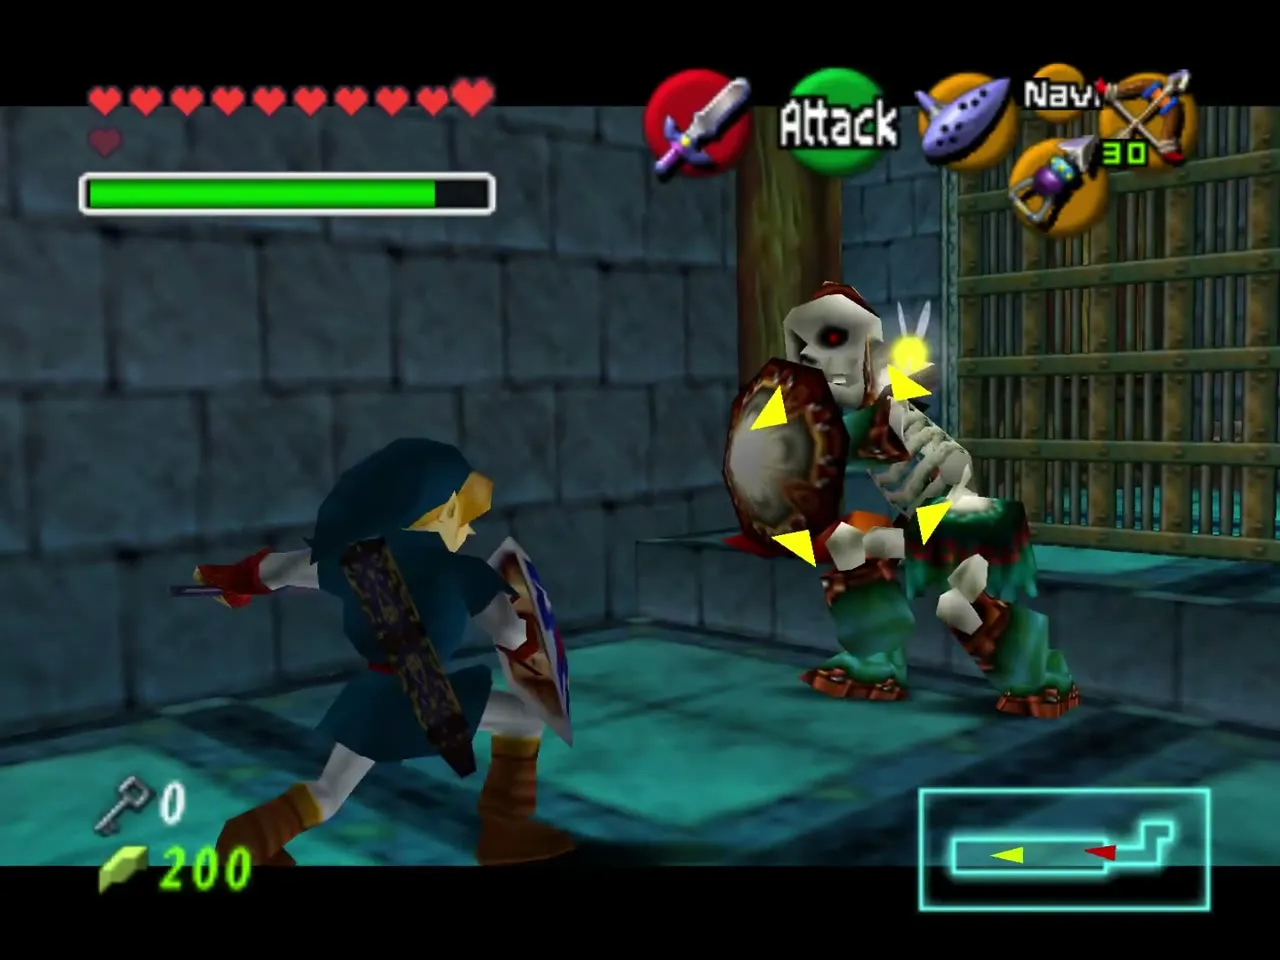
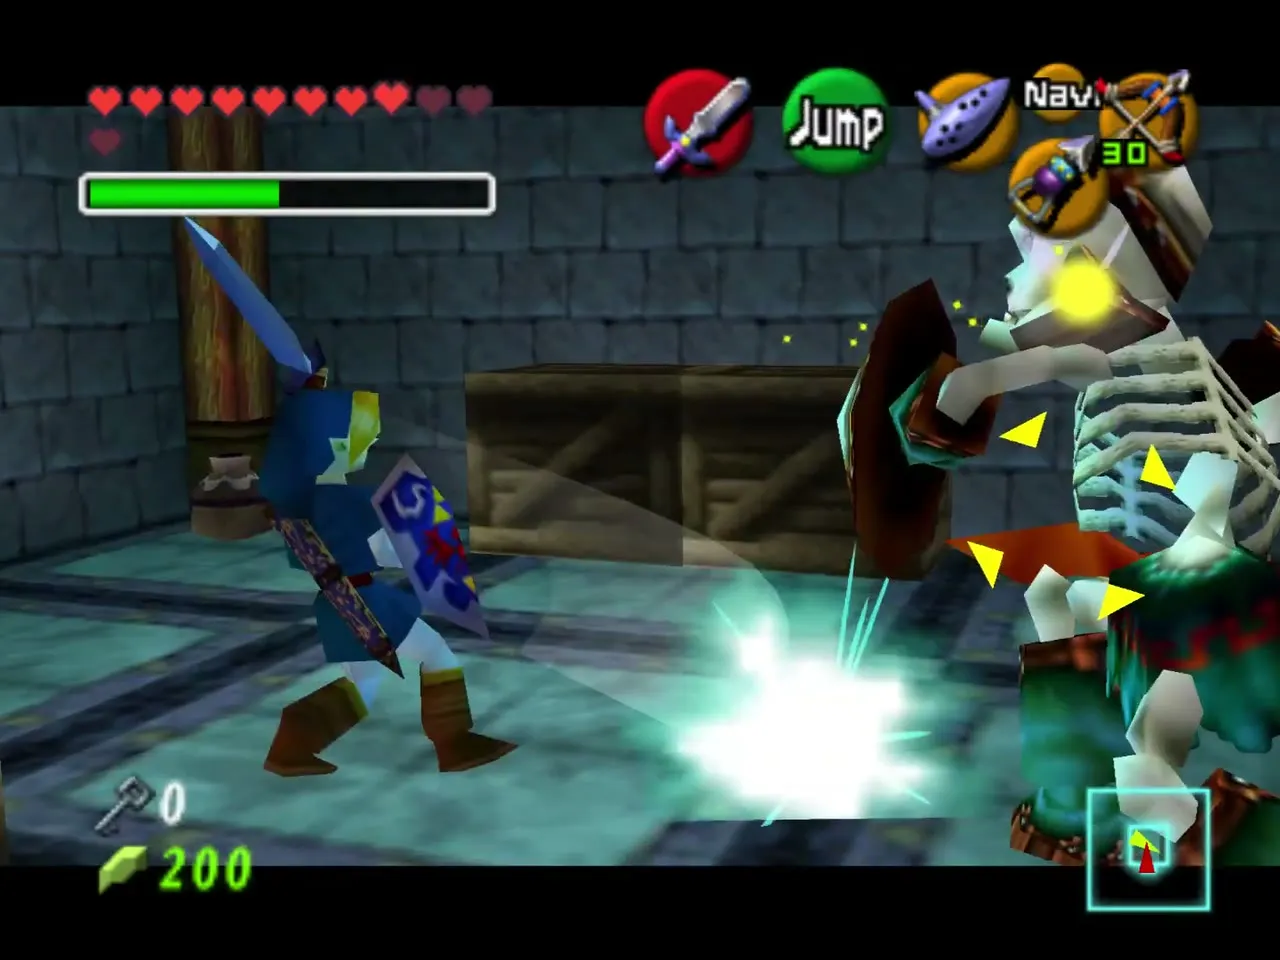
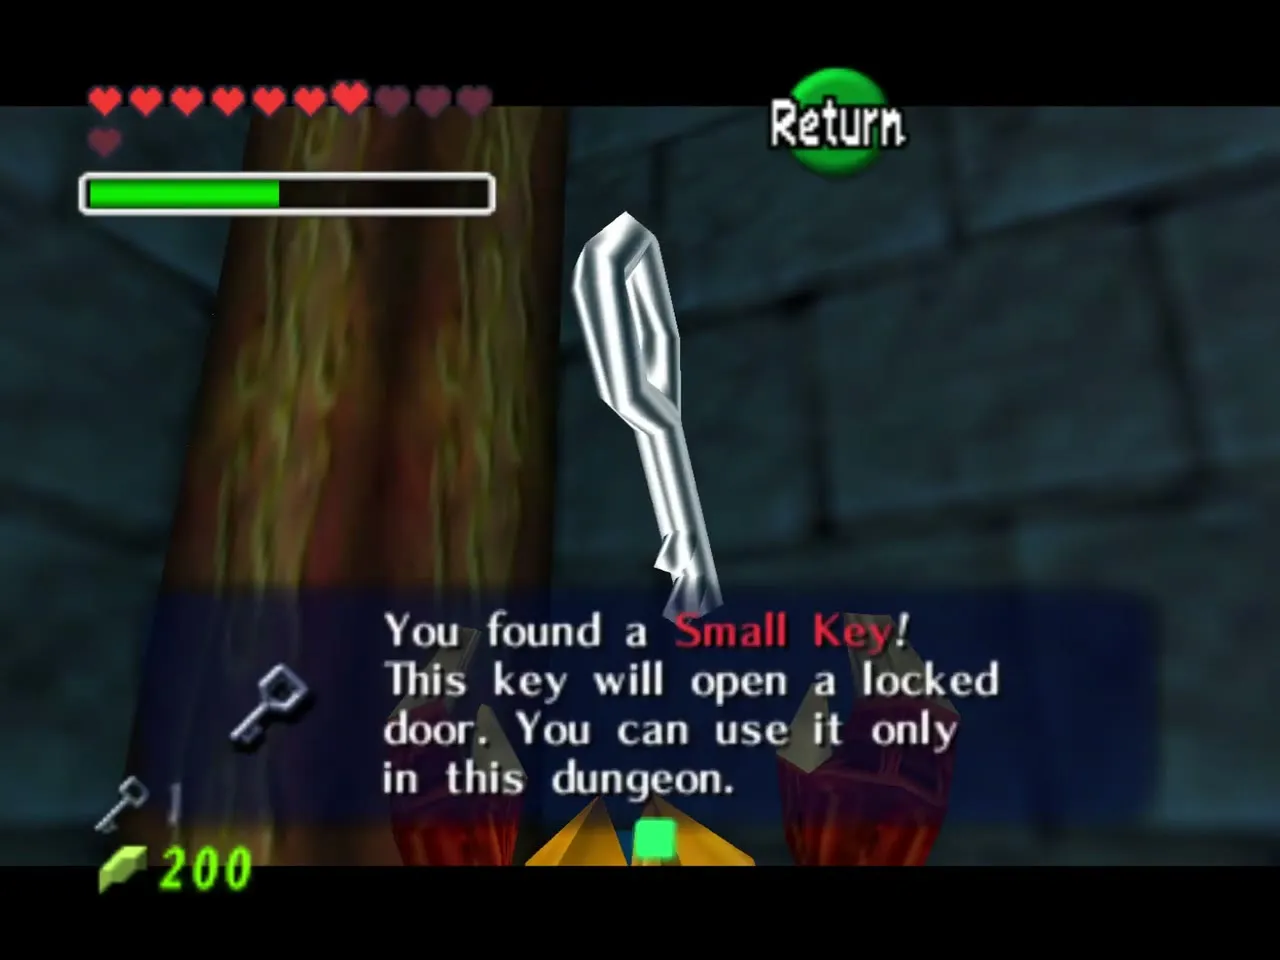
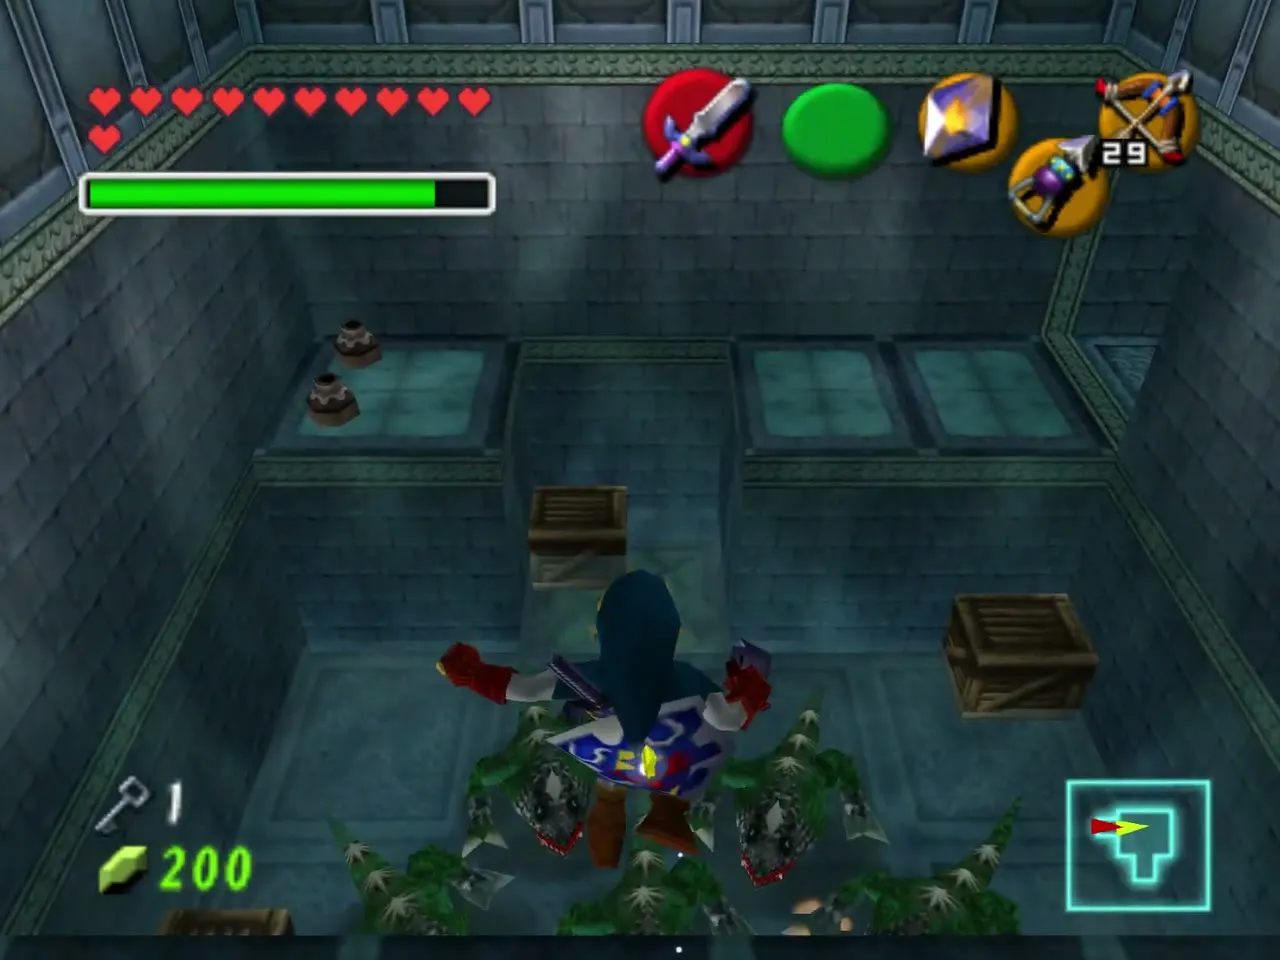
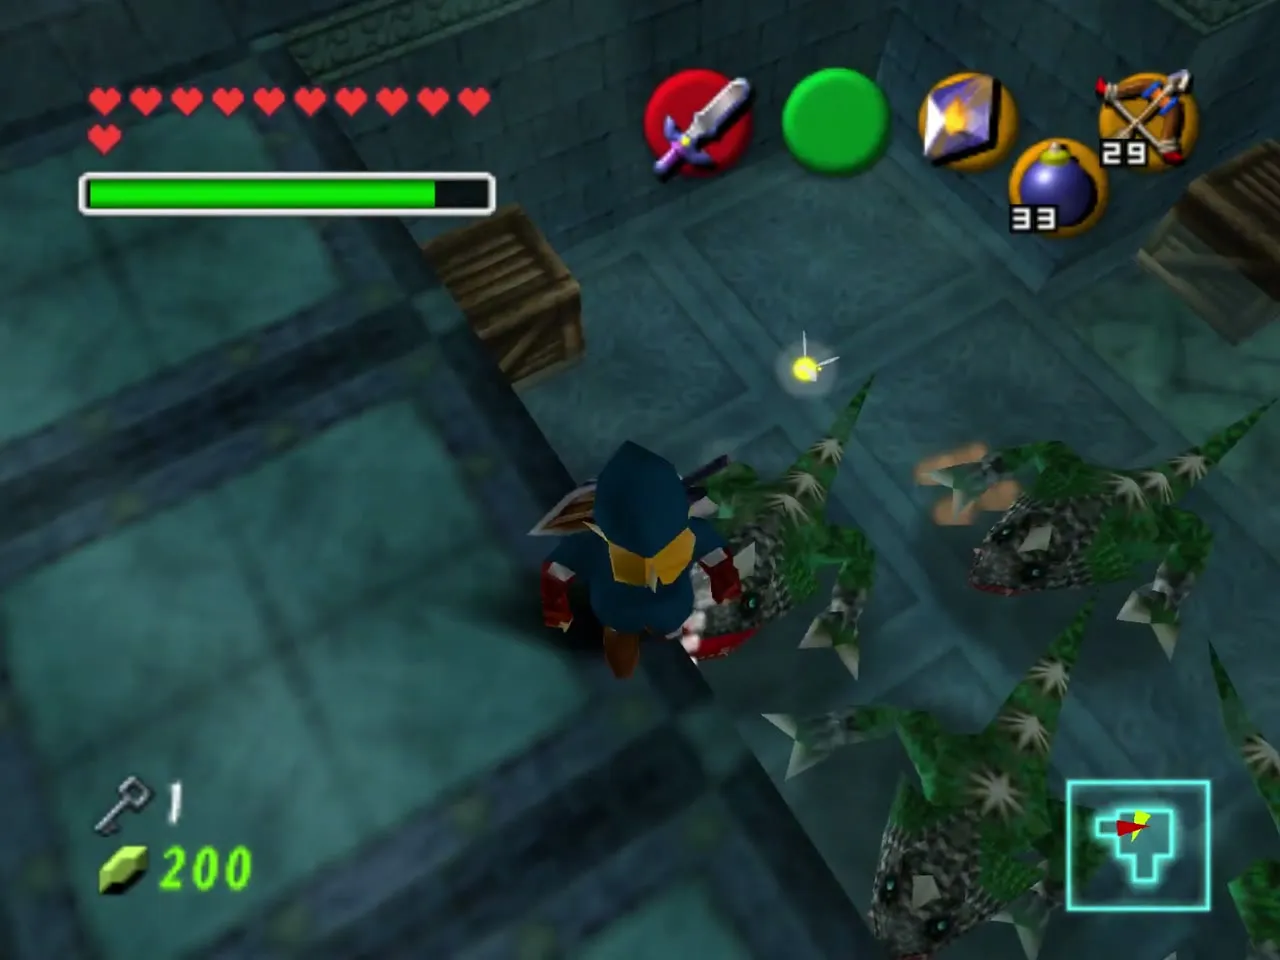
Use that key on the golden locked door. Beyond is a hall with a crystal switch; hit it with the Longshot to open the path. Clear the pack of spiked enemies in the next room, using Bombs if they swarm you.
The dragon head statue
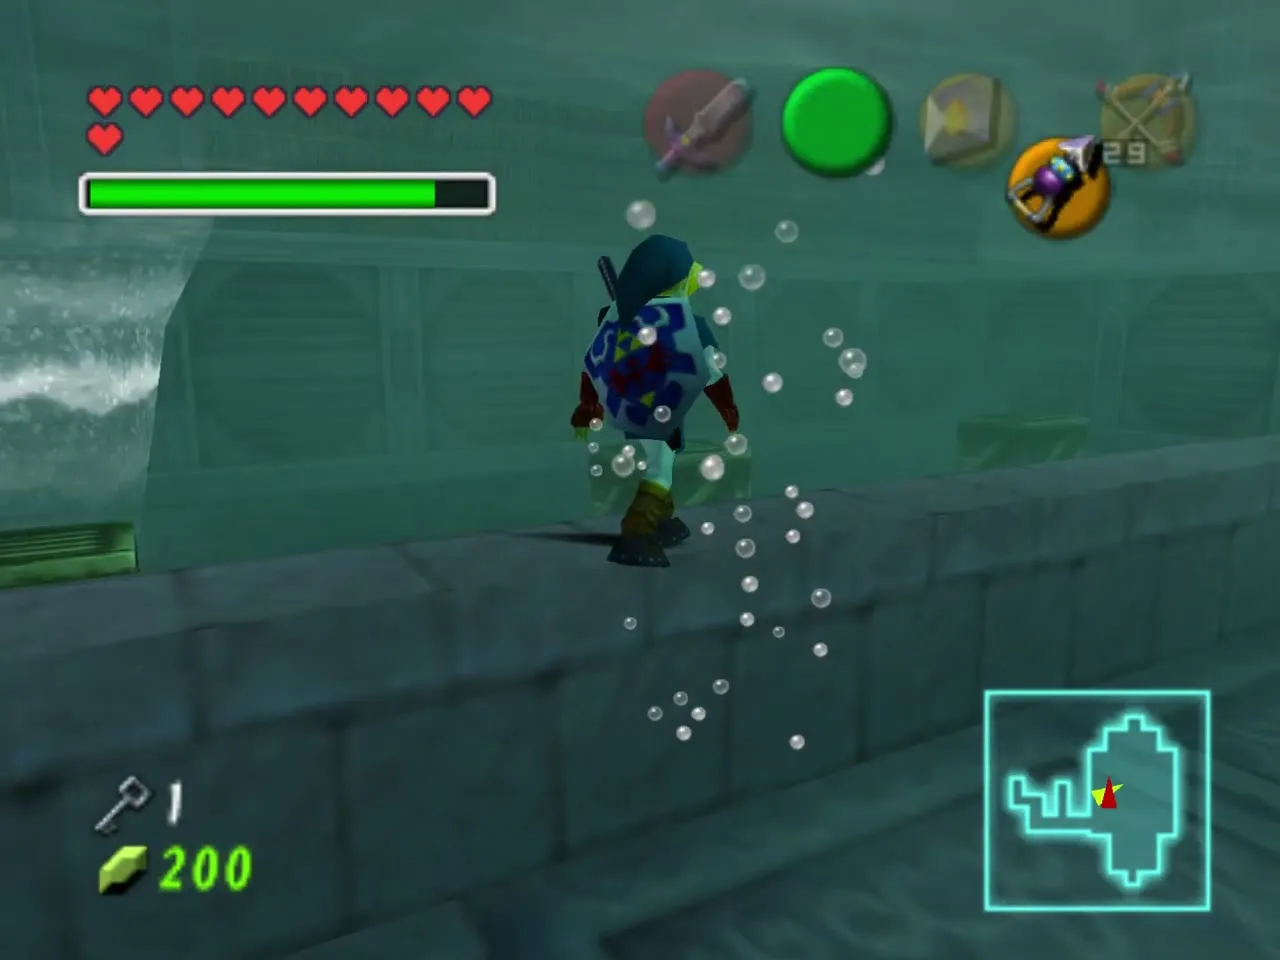
Longshot up through the ceiling-target rooms to the exit of the central room. Step on the switch to unlock the gate, take the boots off and swim up to the surface. Longshot to the dragon head statue and go through the door behind it.
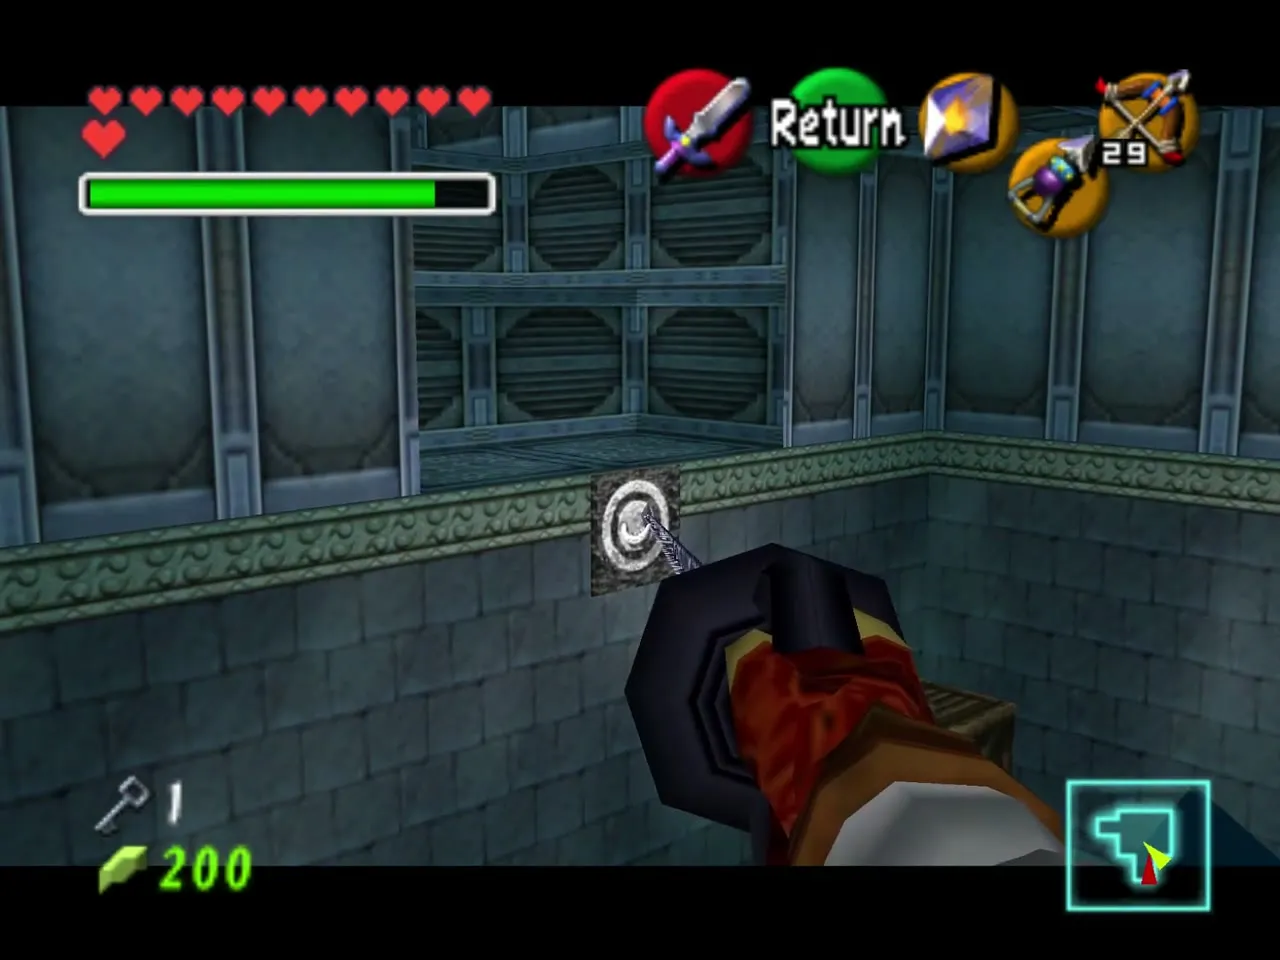
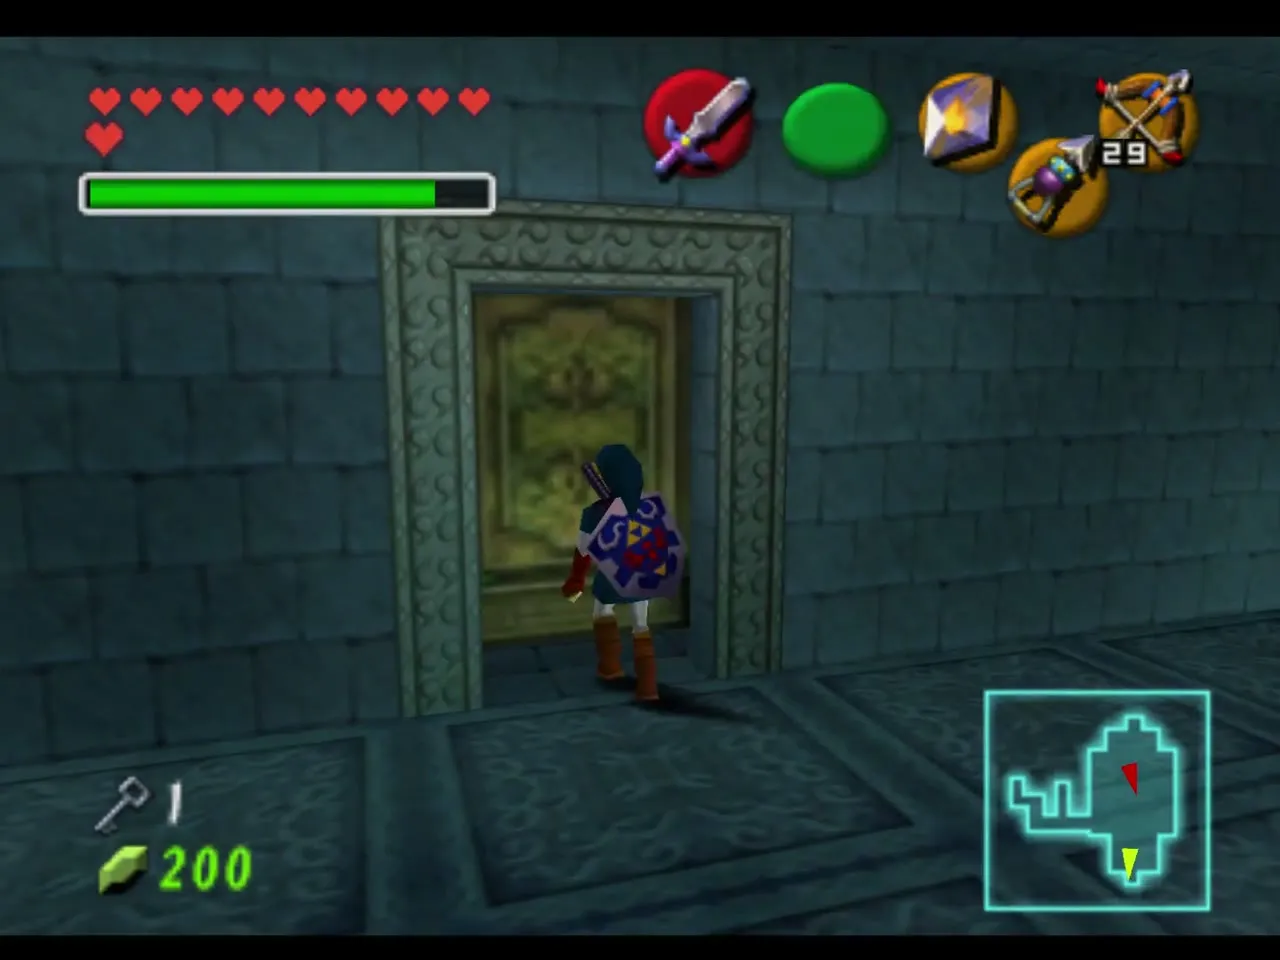
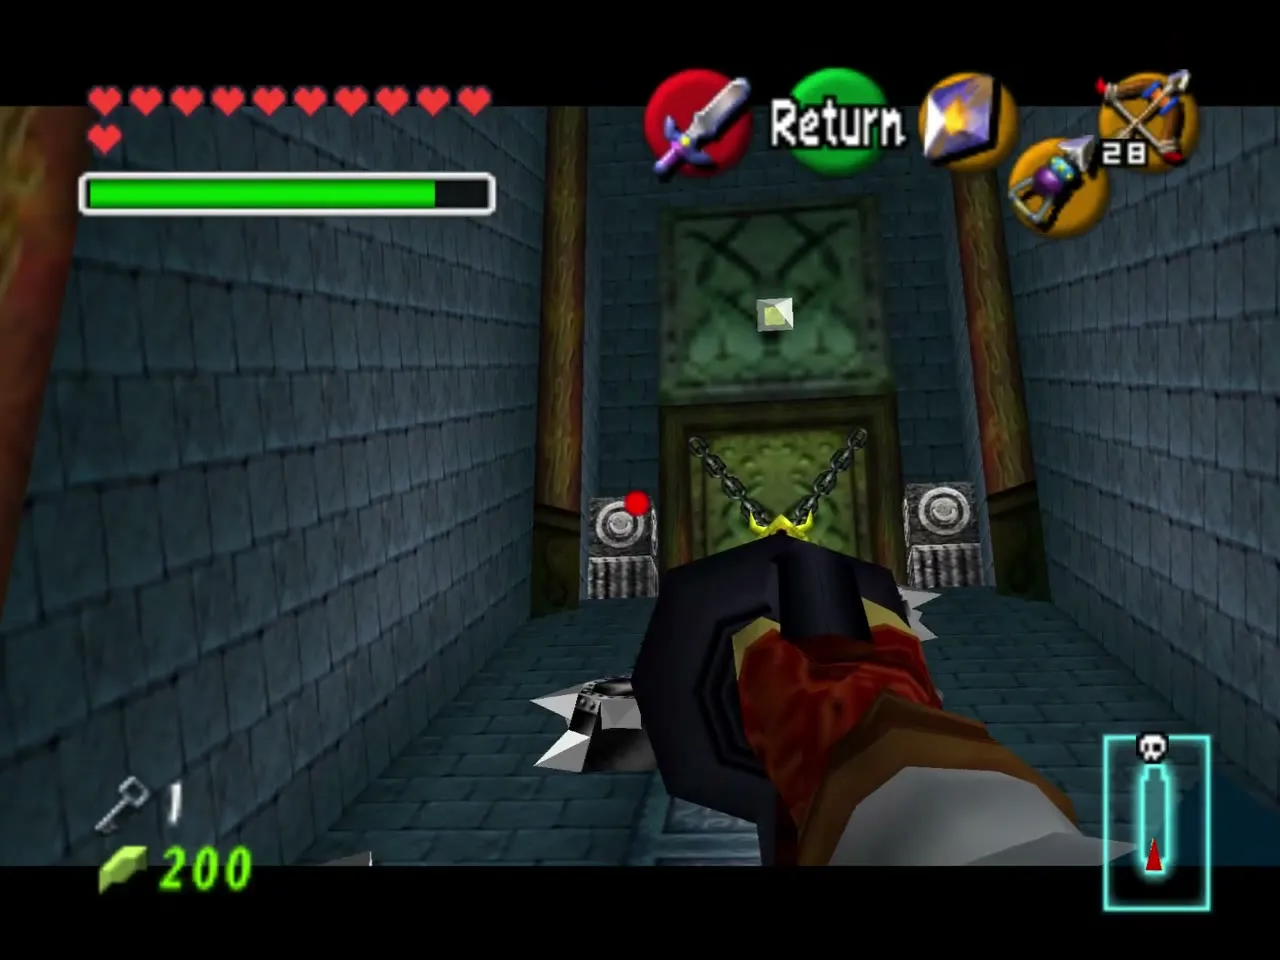
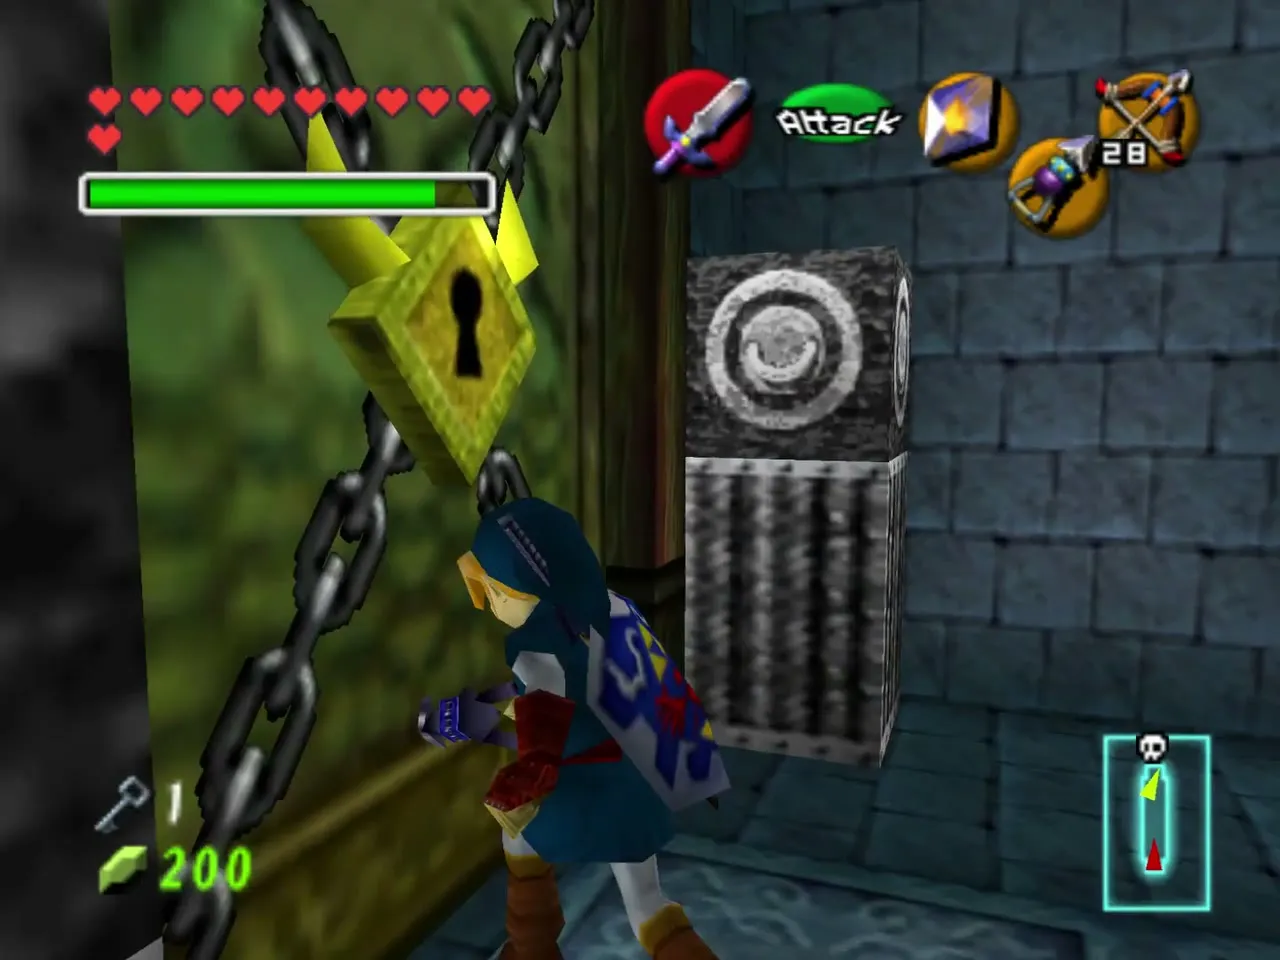
Shoot the switch above the boss door to raise a Longshot target, then Longshot over to the door and enter. Keep your hearts full: Morpha waits beyond.
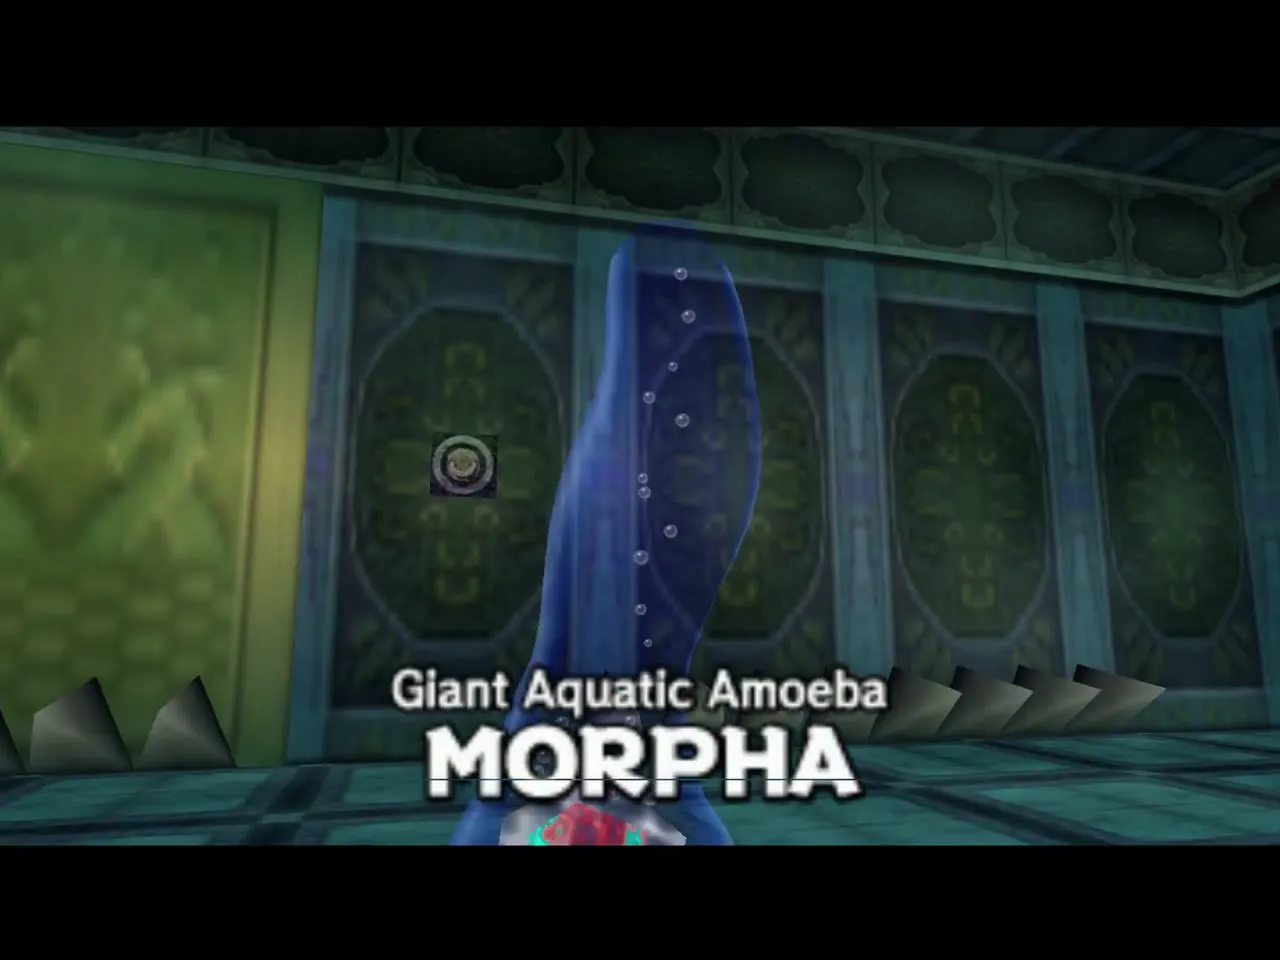
Boss: Morpha
Start the fight
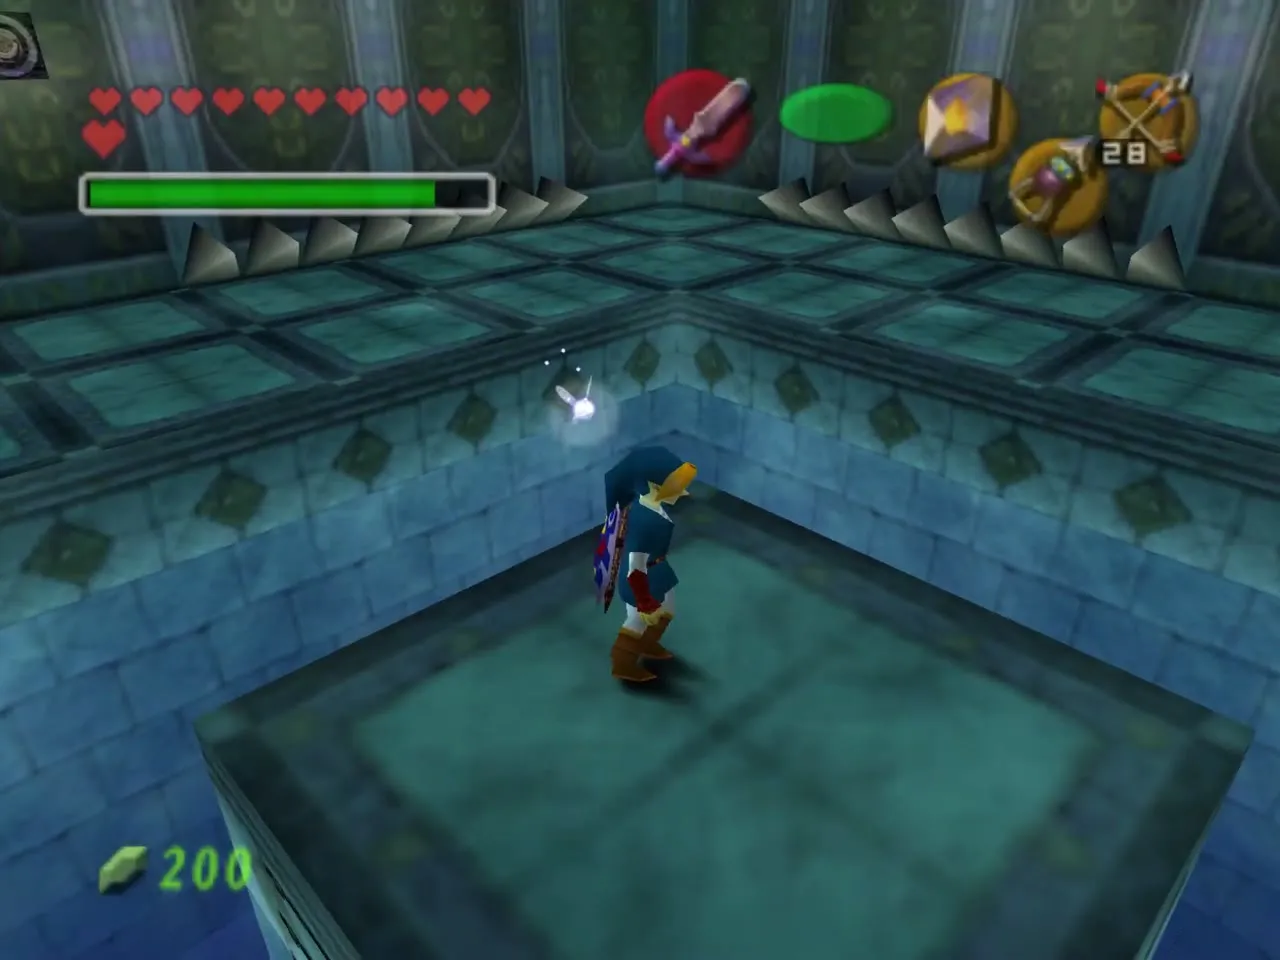
Jump onto one of the platforms in the water-filled arena to wake Morpha, the giant aquatic amoeba. Its weak spot is the red nucleus inside the water; Navi tells you to pull it out and strike it.
Pull the nucleus
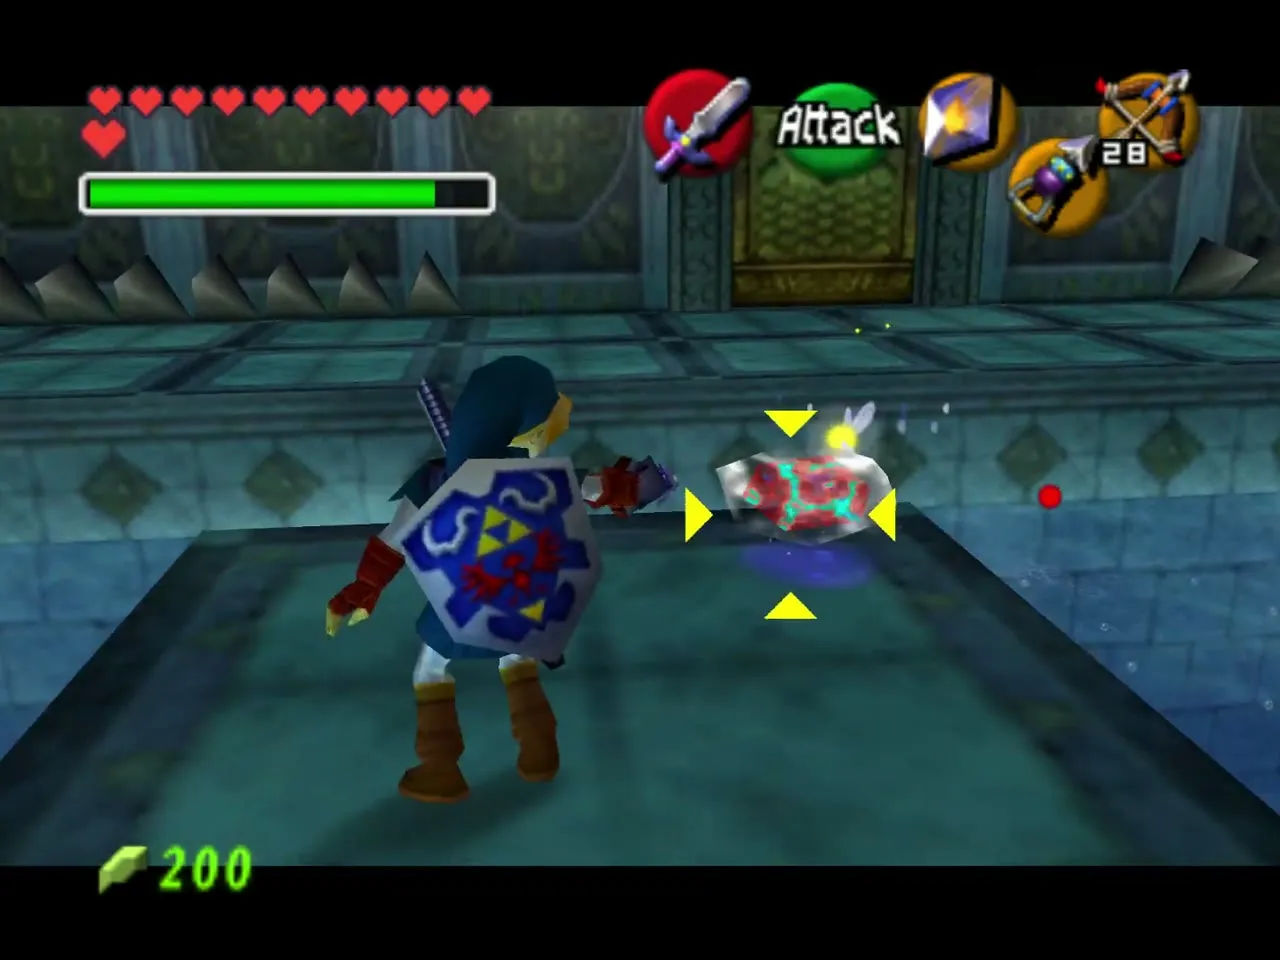
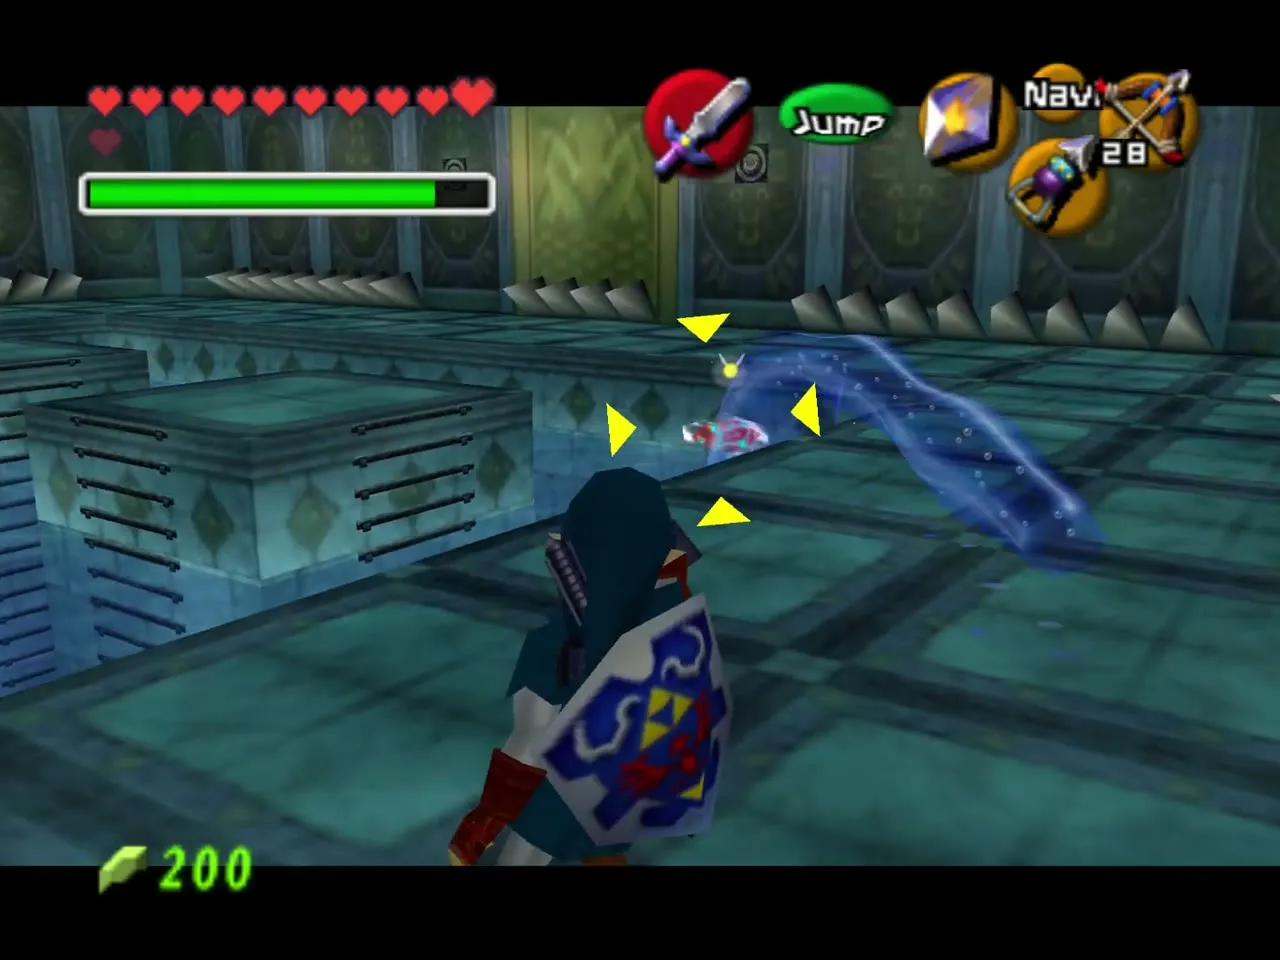
Stay in a corner and wait for Morpha to conjure a tentacle. Run to the next corner, aim at the nucleus and fire the Longshot to pull it out of the water, then slash it. Do not jump into the water.
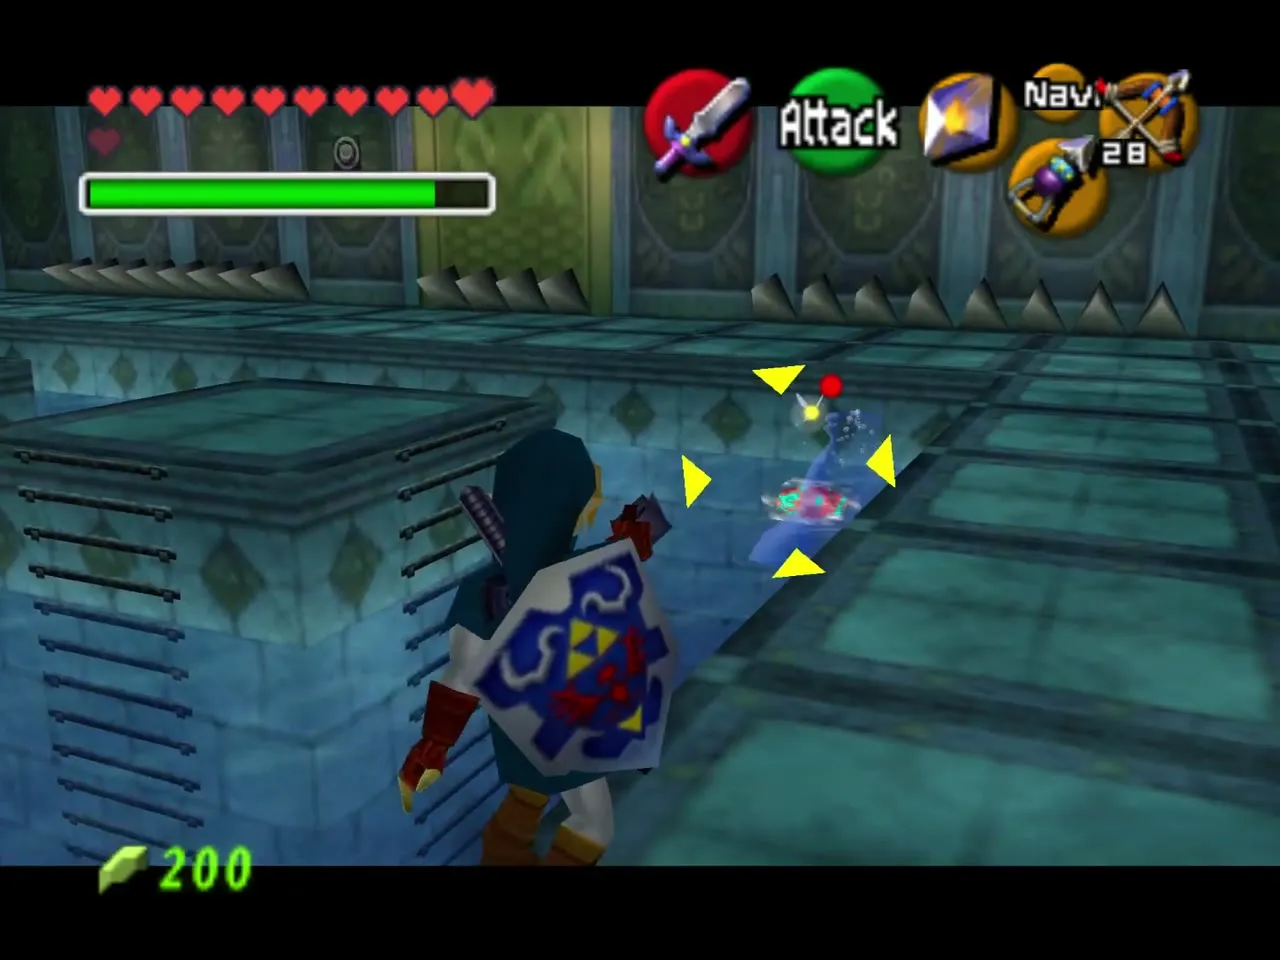
Finish it
Repeat the corner-to-corner routine a few times. When the last blow lands, Morpha dissolves and the water drains from the arena.
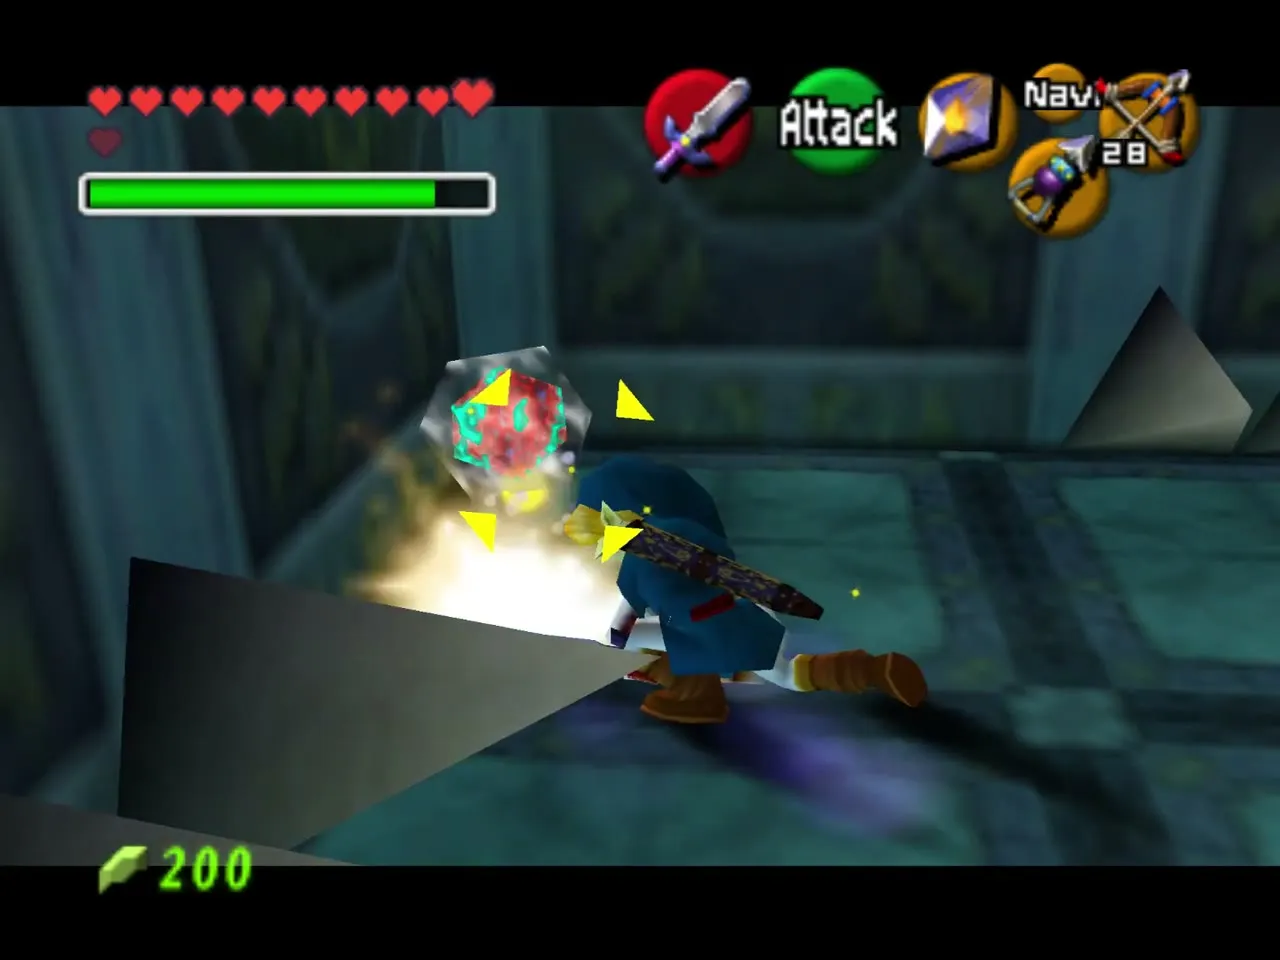
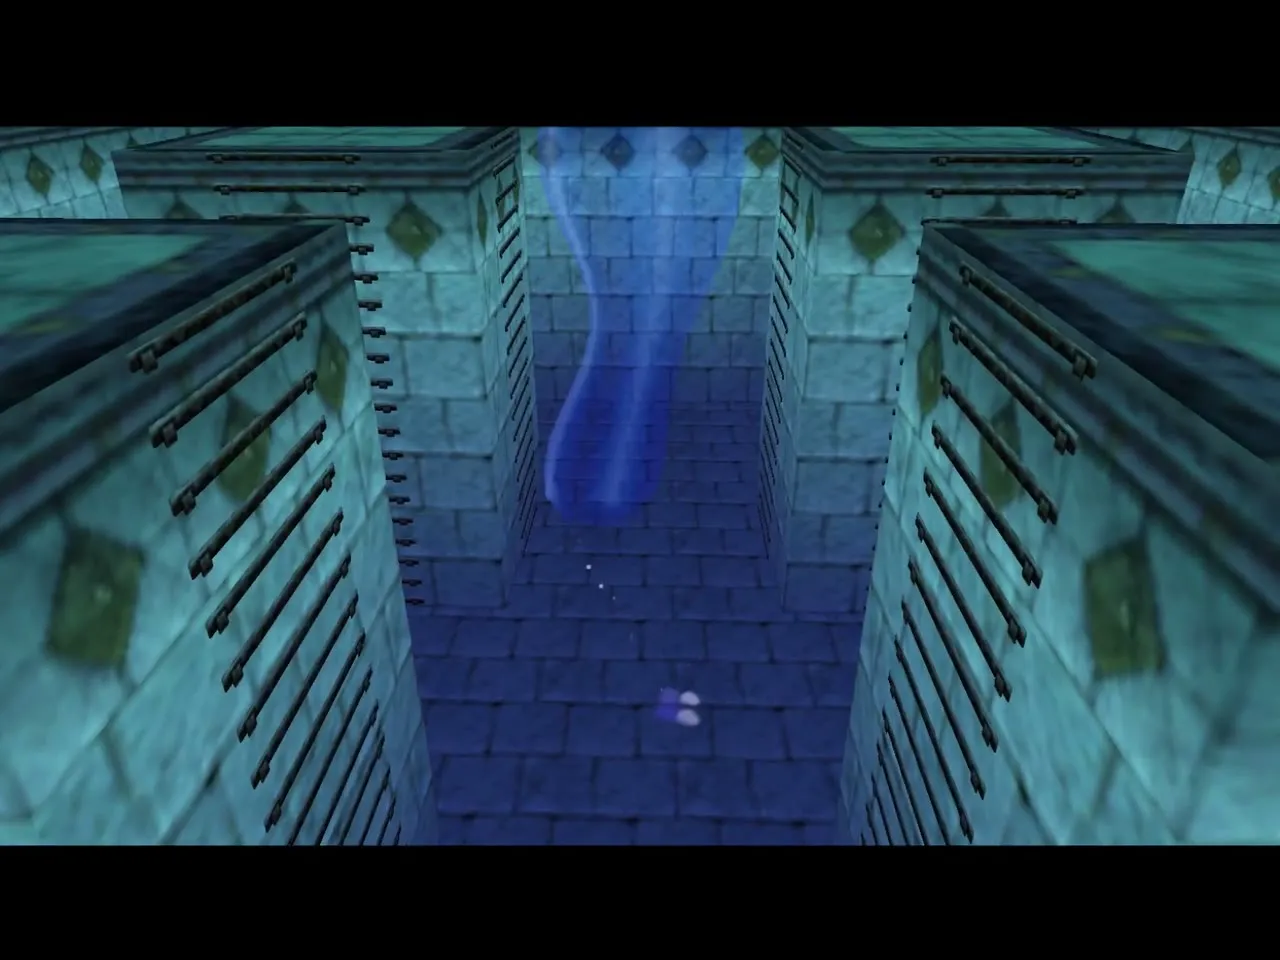
Heart Container and Water Medallion
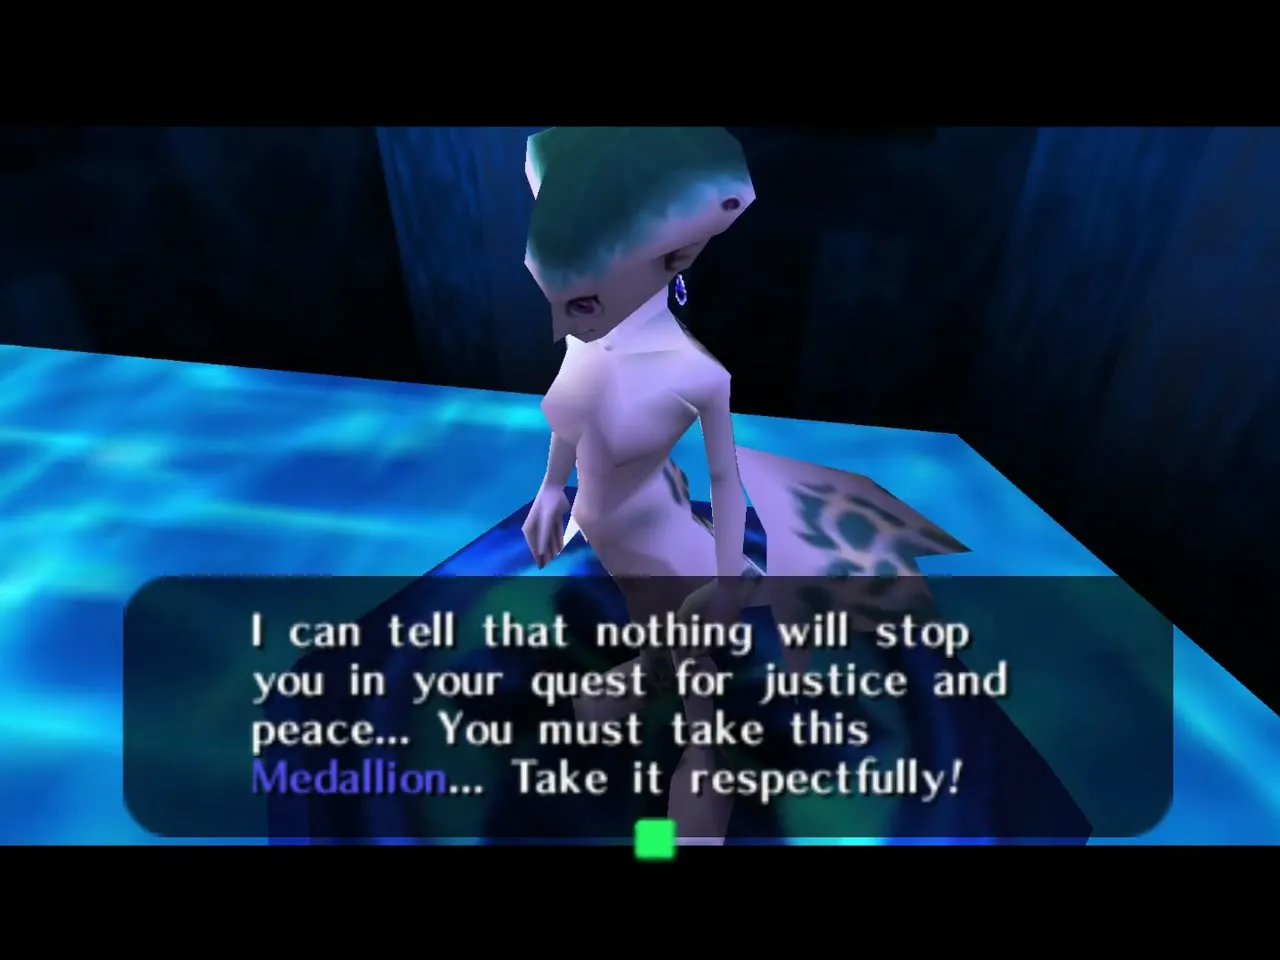
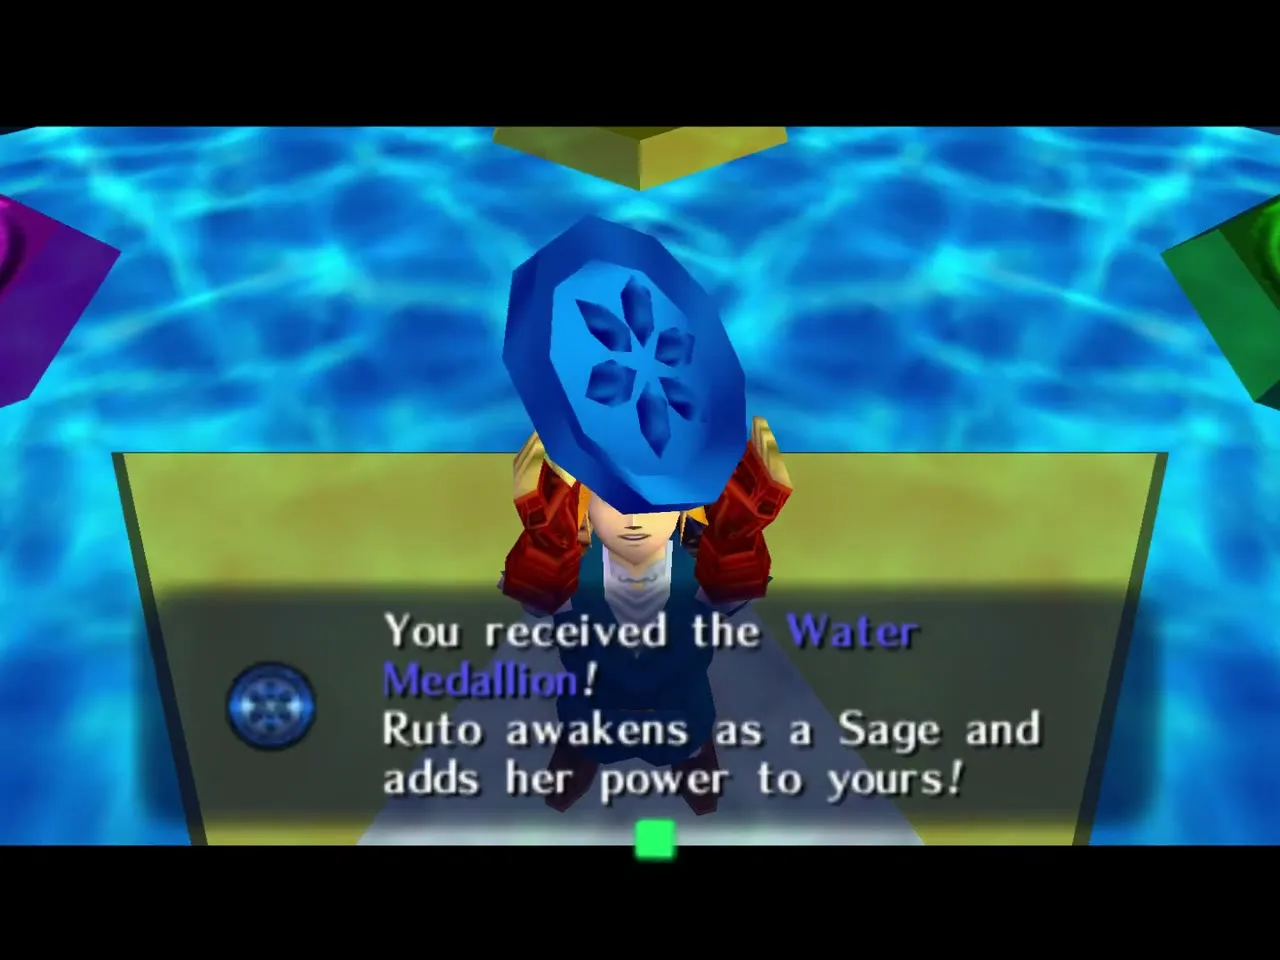
Collect the Heart Container that appears, then step into the blue light. In the Chamber of the Sages, Ruto gives you the Water Medallion; read about it on Medallions and Spiritual Stones.
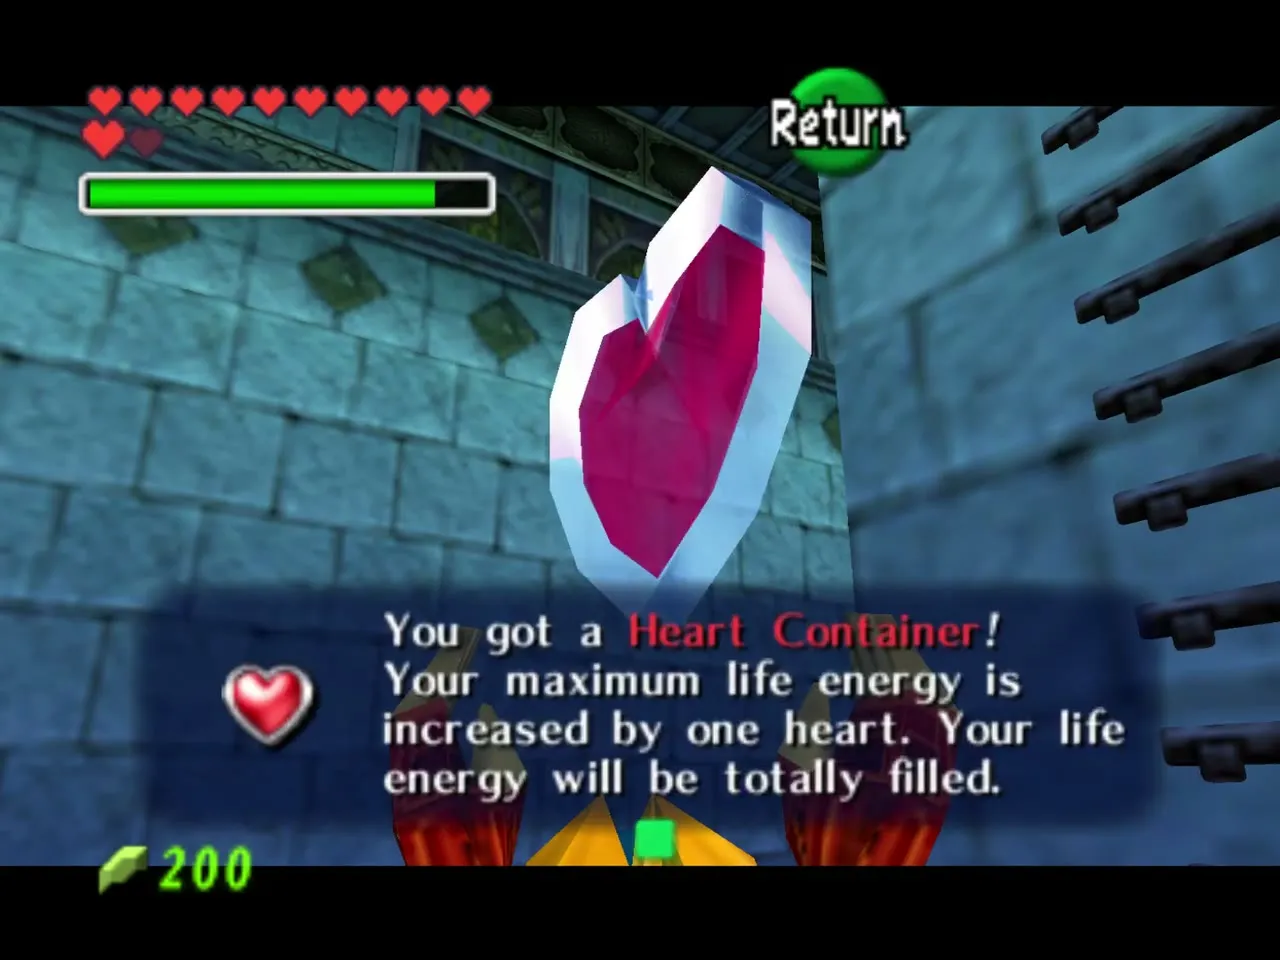
How Master Quest changes the Water Temple
The original dungeon, described in the standard Water Temple chapter, hides the Longshot behind Dark Link and needs six Small Keys. The Master Quest version hands you the Longshot first and needs only two keys.
| Aspect | Original | Master Quest |
|---|---|---|
| Longshot | Chest after Dark Link | Chest in the first flooded rooms |
| Map and Compass | Spike room and geyser room | Din’s Fire torch rooms with Stalfos and Lizalfos |
| Small Keys | 6 | 2 |
| Chests | Appear after combat or switches | Revealed by hitting wall panels with the Hookshot or Longshot |
| Dark Link | Before the Longshot | Before the river; Megaton Hammer recommended |
Chapter checklist
| Type | Item | Where |
|---|---|---|
| Key item | Longshot | Chest in the first flooded rooms |
| Dungeon item | Dungeon Map | Stalfos room unlocked by Din’s Fire in the central chamber |
| Dungeon item | Compass | Lizalfos room on the bottom level |
| Small Key | Small Key 1 | Chest in the stone room under the central pillar |
| Gold Skulltula | Token | Wall of a small crate room in the sand tower |
| Small Key | Small Key 2 | Stalfos fight after the Boss Key |
| Dungeon item | Boss Key | Chest behind the gate raised by Din’s Fire |
| Boss reward | Heart Container | Morpha |
| Dungeon reward | Water Medallion | Ruto, Chamber of the Sages |
