Ocarina of Time Master Quest Walkthrough12 chapters
- Inside the Great Deku Tree (Master Quest)Dungeon Map, Slingshot, Compass, Gold Skulltulas, Queen Gohma, Heart Container and Kokiri’s Emerald.
- Dodongo’s Cavern (Master Quest)Every room in order, Dungeon Map, Compass, Bomb Bag, silver rupees, Gold Skulltulas, King Dodongo and the Goron’s Ruby.
- Inside Jabu-Jabu’s Belly (Master Quest)Cow switches, Map, Compass, Boomerang, Big Octo, Barinade, Heart Container and Zora’s Sapphire.
- Forest Temple (Master Quest)Six Small Keys, Boss Key, Fairy Bow, the four Poe Sisters, five Gold Skulltulas and Phantom Ganon.
- Fire Temple (Master Quest)Five Small Keys, Din’s Fire puzzles, Iron Knuckle, Megaton Hammer, Boss Key, five Gold Skulltulas and Volvagia.
- Water Temple (Master Quest)Early Longshot, Map, Compass, both Small Keys, Dark Link, Boss Key and Morpha.
- Shadow Temple (Master Quest)Hover Boots, map, compass, Boss Key, Gold Skulltulas, Bongo Bongo and the Shadow Medallion.
- Spirit Temple (Master Quest)Every chest, 7 Small Keys, Silver Gauntlets, Mirror Shield, Boss Key, Skulltulas and Twinrova.
- Bottom of the Well (Master Quest)Map, Compass, two Small Keys, Dead Hand, the Lens of Truth and all three Gold Skulltulas.
- Ice Cavern (Master Quest)Blue Fire, Song of Time blocks, Stalfos, Iron Boots, Serenade of Water.
- Gerudo Training Ground (Master Quest)The remixed rooms in order, Small Keys, Silver Rupee puzzles and the Ice Arrows.
- Ganon’s Castle (Master Quest)Light Arrows, the rainbow bridge, all six remixed trials, Golden Gauntlets, Double Defense, the tower.
| Covers | the floe crossing in Zora’s Fountain and every room of the Master Quest Ice Cavern, from the entrance tunnel to the Iron Boots and Sheik’s song |
|---|---|
| Dungeon | Ice Cavern (optional mini-dungeon, adult Link): no Small Keys, no Boss Key; a Stalfos guards the Iron Boots |
| You need | Adult Link, the Ocarina with the Song of Time, the Fairy Bow, the Hookshot, Bombs and at least one empty bottle for Blue Fire (two make it easier) |
| Rewards | Iron Boots, Serenade of Water, Dungeon Map, Compass, 3 Gold Skulltulas, 1 Heart Piece |
| Differences | No spinning ice blade hub and no block-pushing puzzle; Song of Time blocks, hidden switches, two White Wolfos, rolling boulders and a Stalfos in place of the White Wolfos mini-boss |
The Master Quest Ice Cavern keeps the idea of the original, a frozen maze where Blue Fire thaws the red ice, but rebuilds the route around Song of Time blocks and hidden switches. You collect the Dungeon Map and Compass, beat a Stalfos for the Iron Boots, and learn the Serenade of Water from Sheik. Bring an empty bottle, the Fairy Bow, the Hookshot and Bombs.
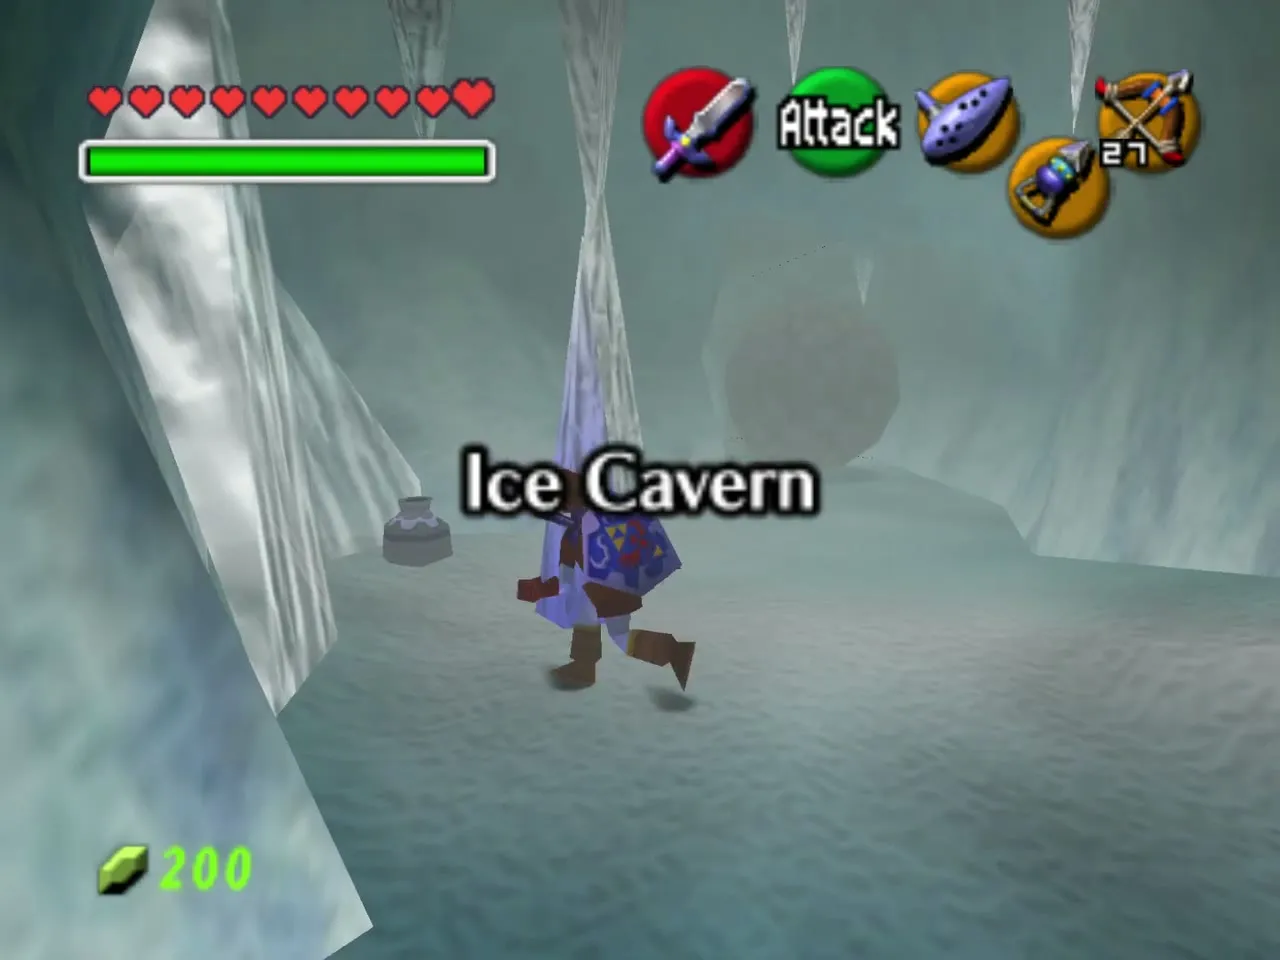
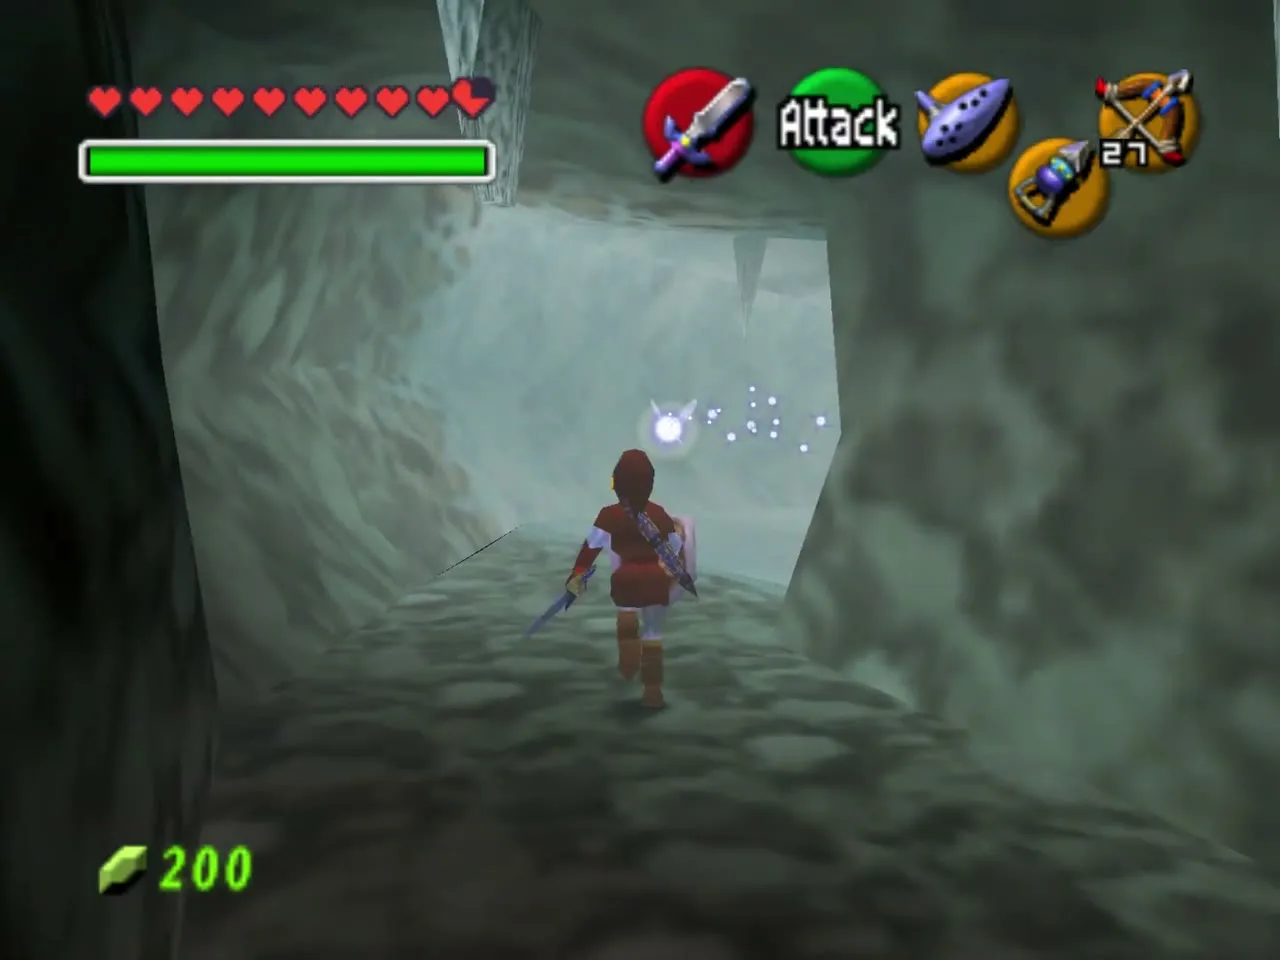
Table of Contents
Getting to the Ice Cavern
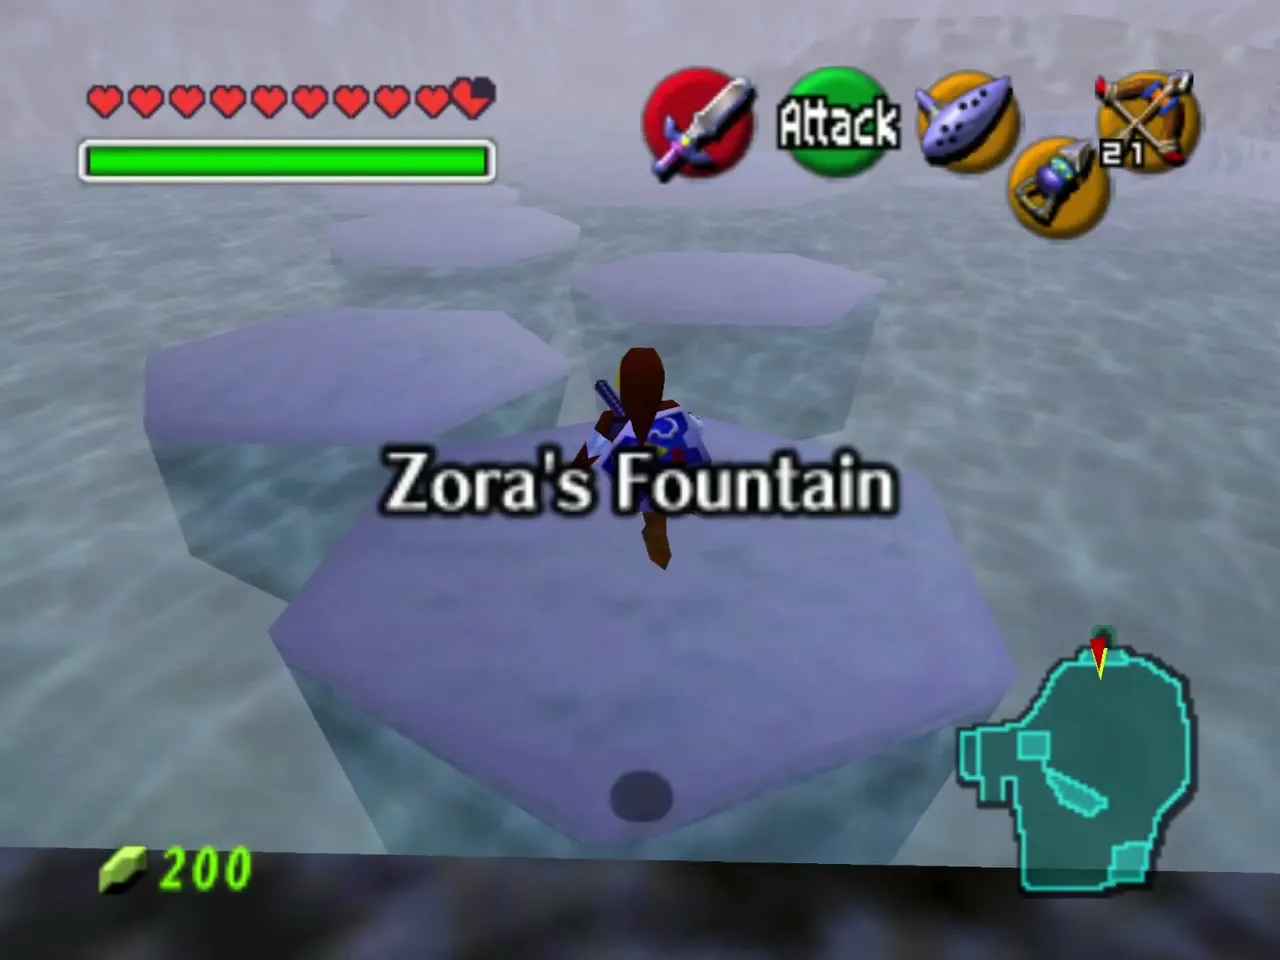
Cross Zora’s Fountain
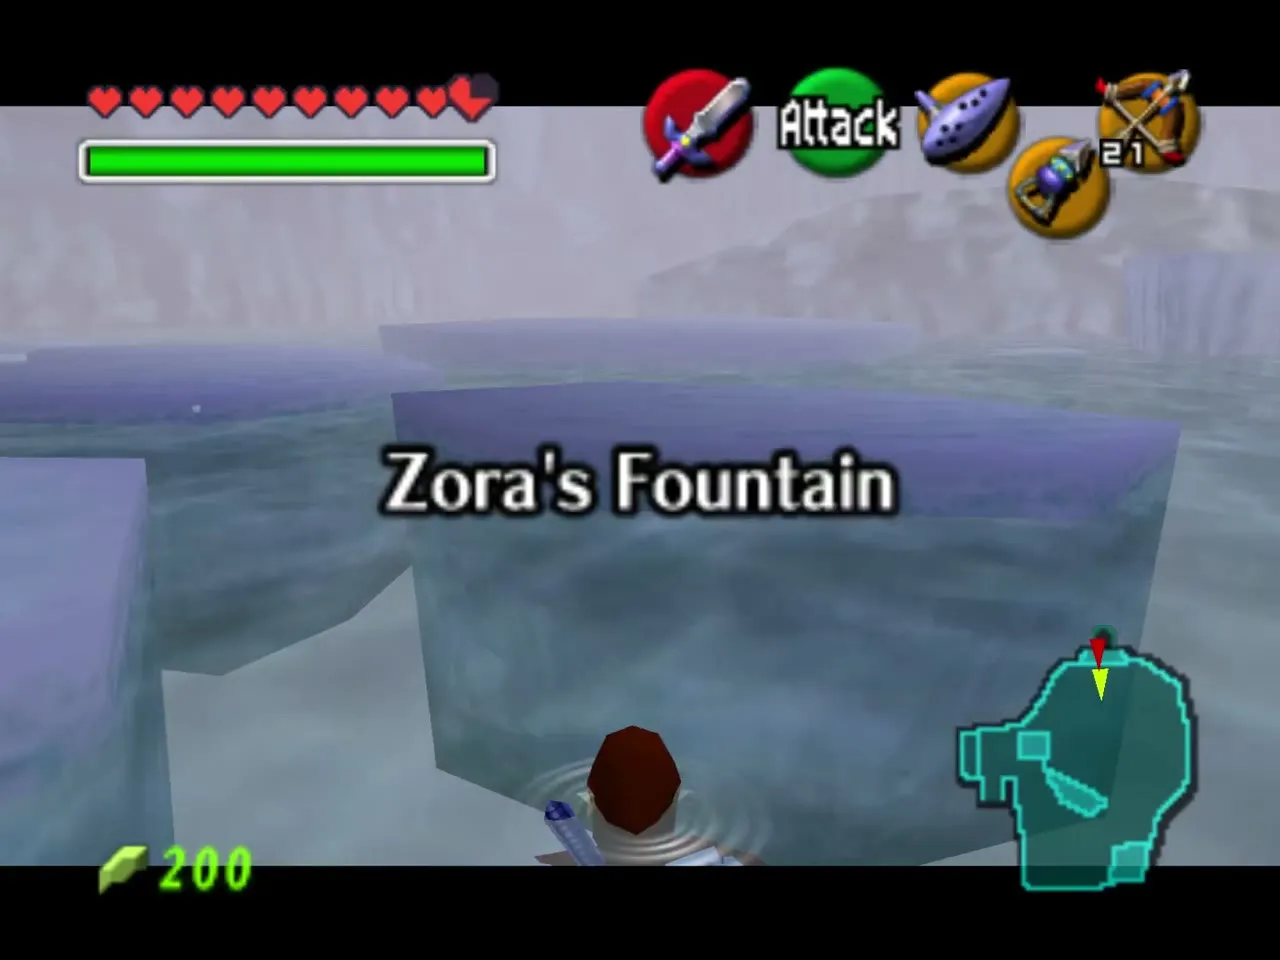
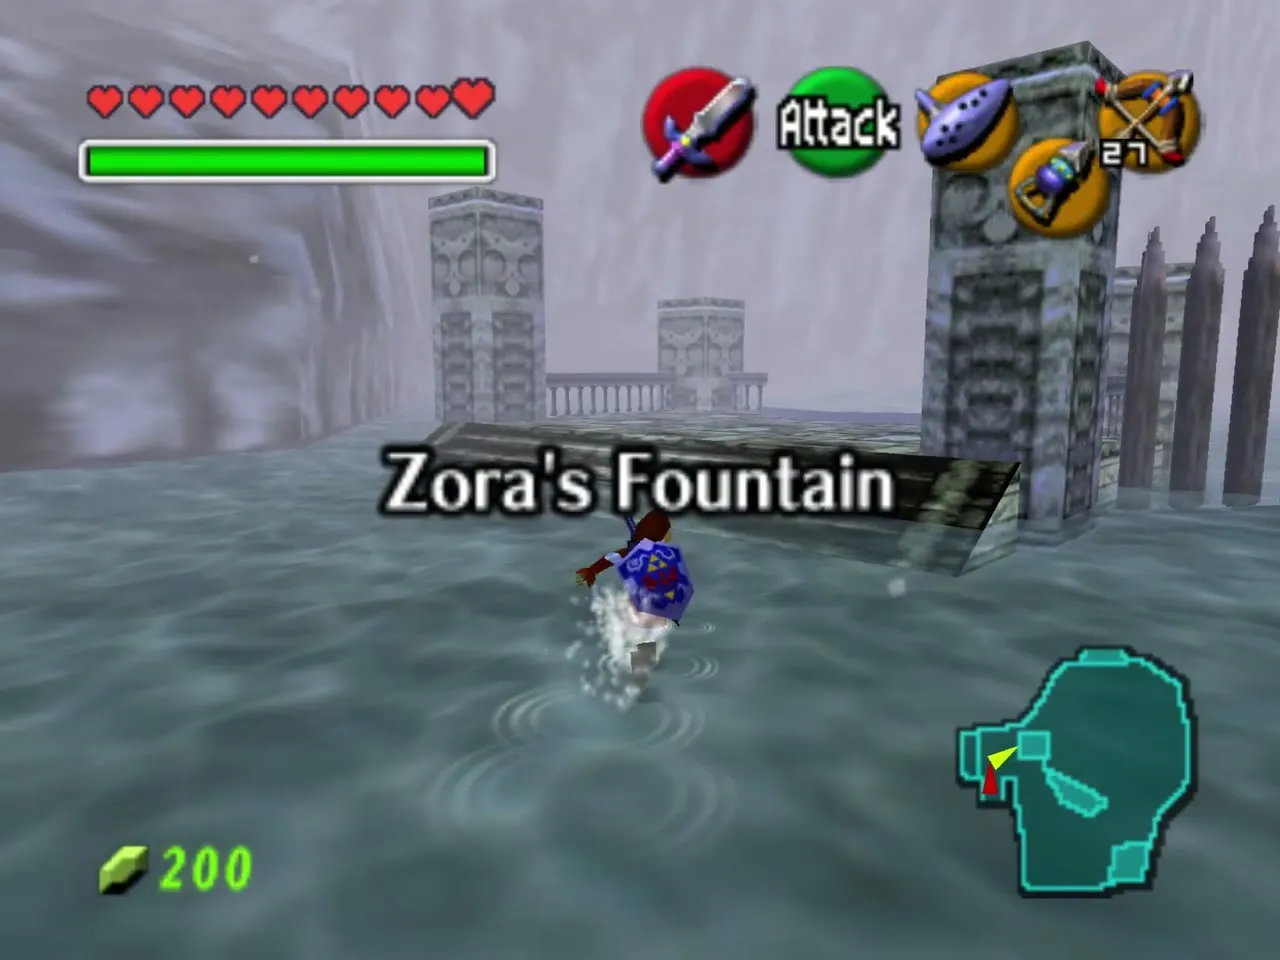
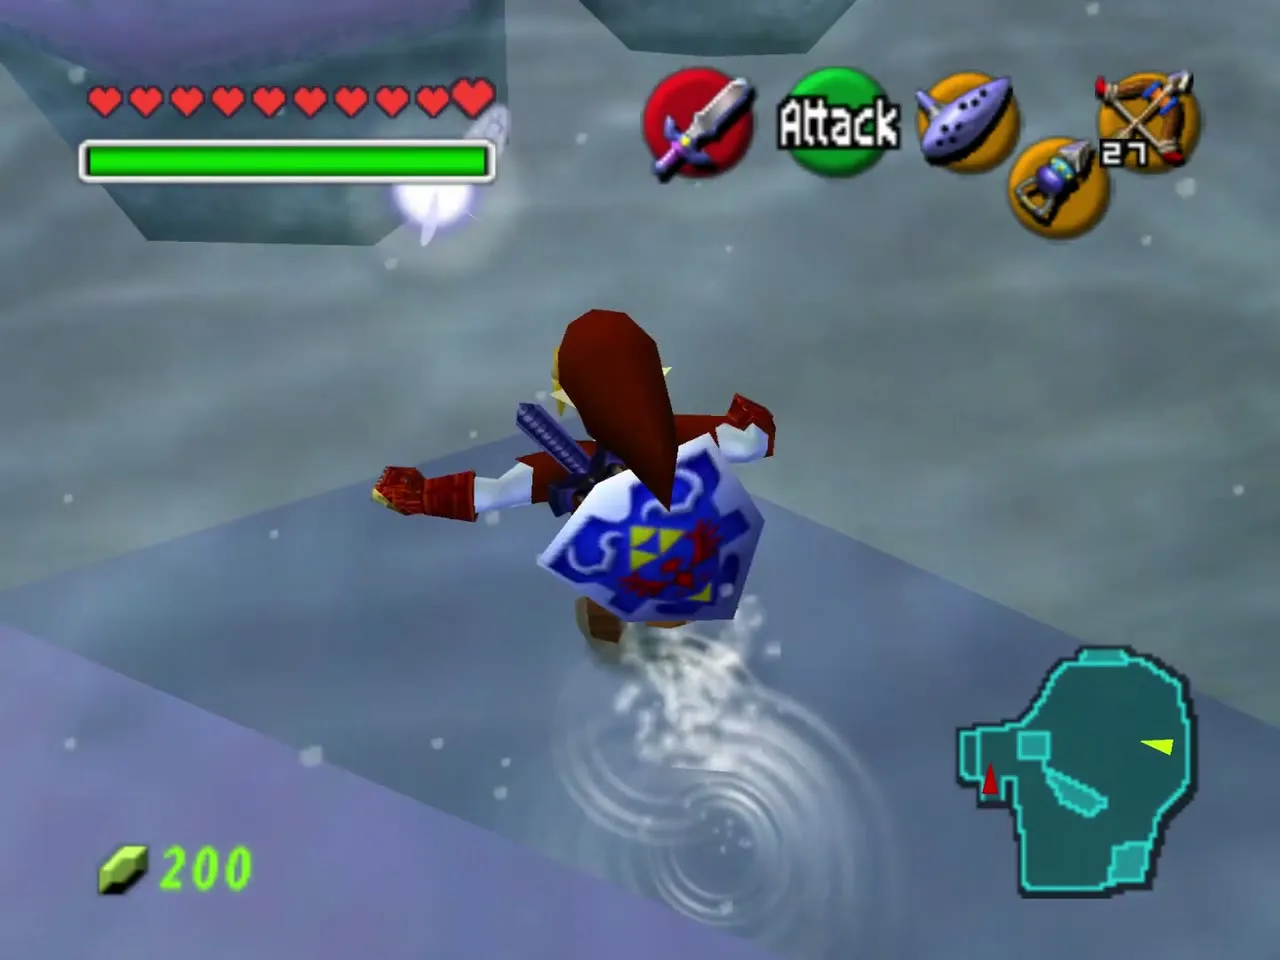
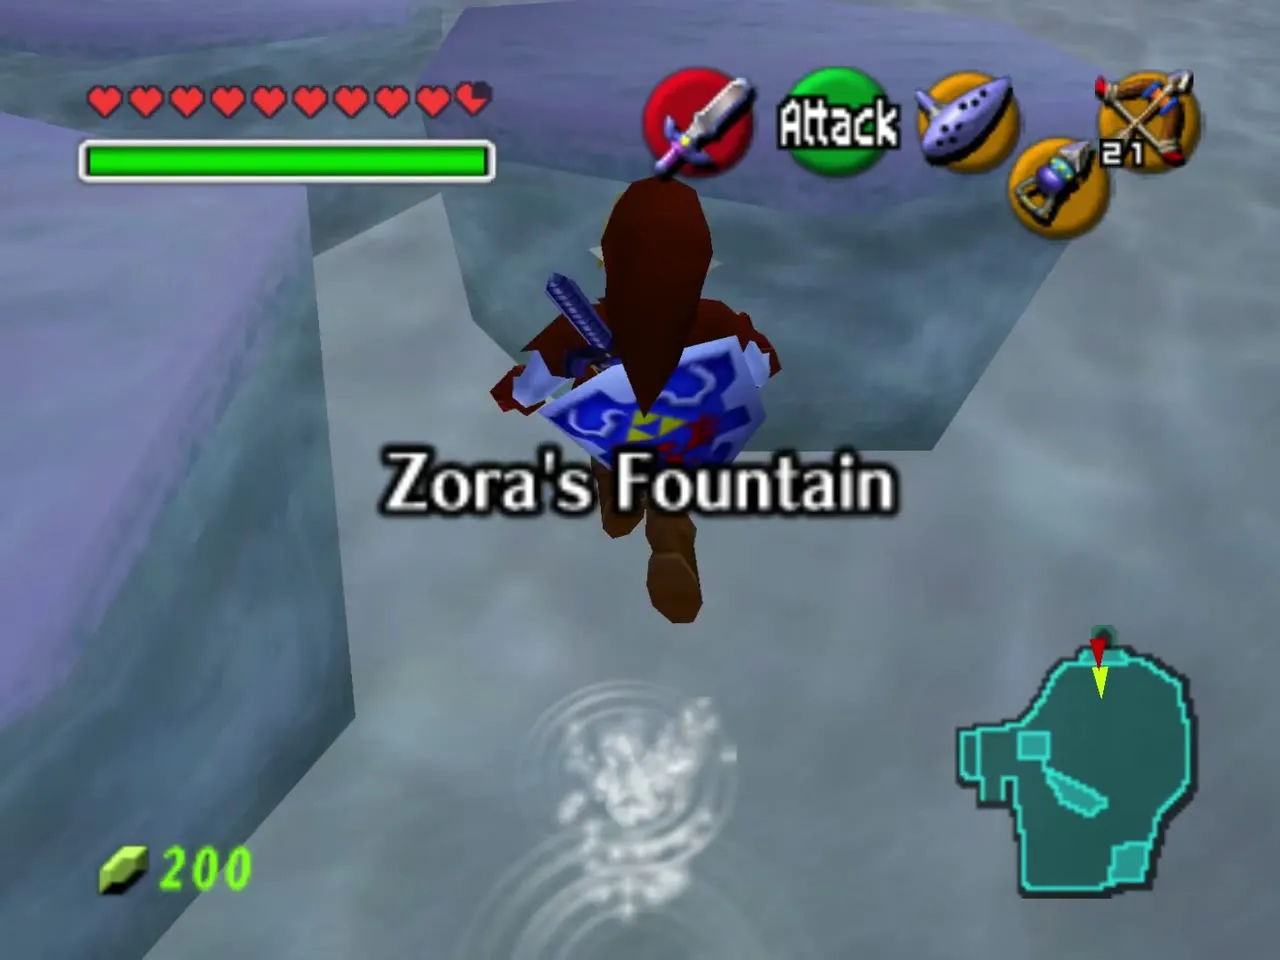
Leave Zora’s Domain through the passage that leads to Zora’s Fountain. Jabu-Jabu is gone and the lake is a misty field of ice. Hop across the drifting floes toward the cave mouth in the fog; a slip drops you into the water, which only costs time. Climb onto the far ledge and enter the cave.
Ice Cavern: room by room
Entrance tunnel and the first boulders
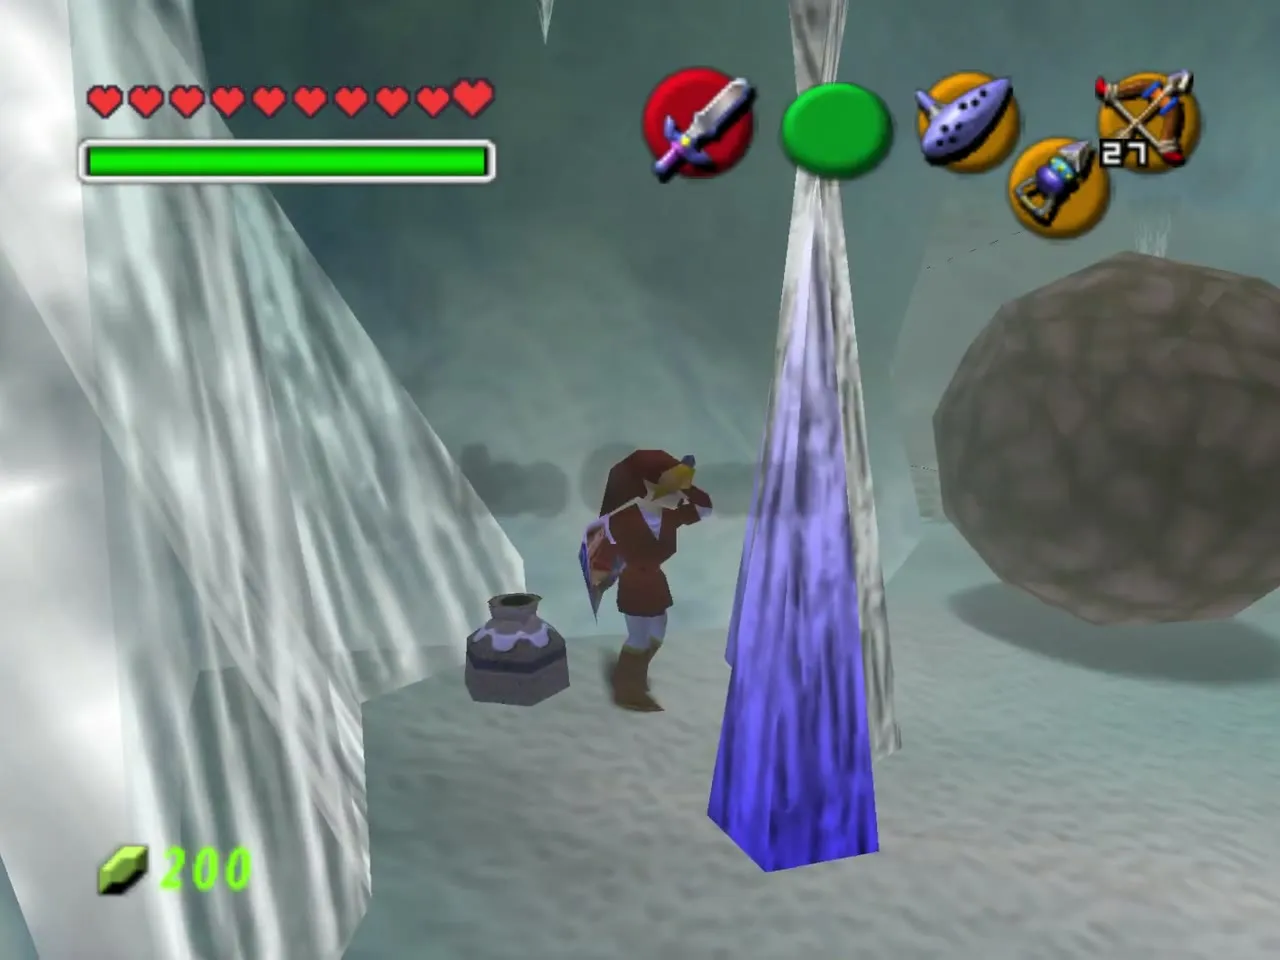
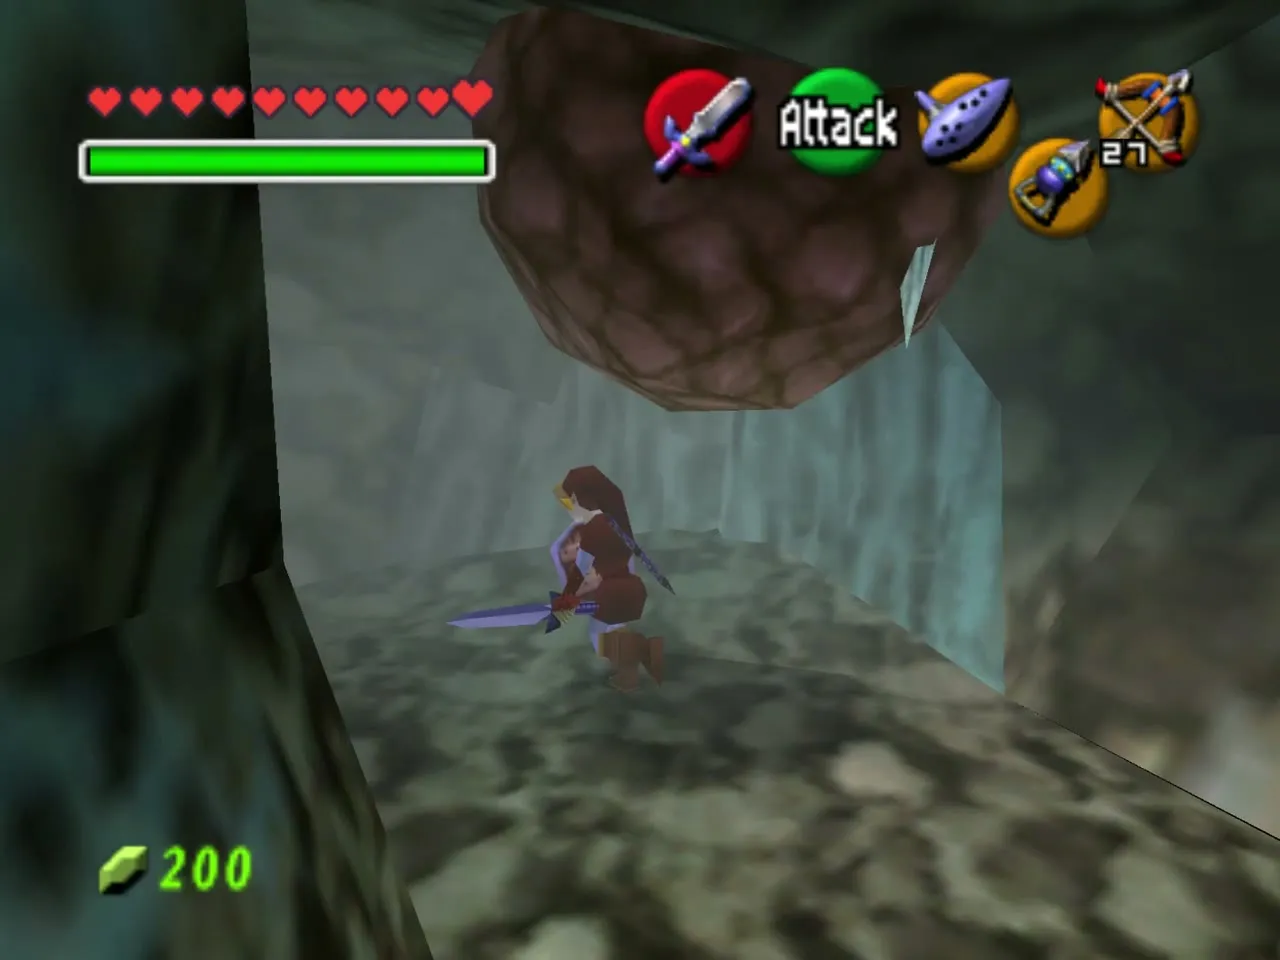
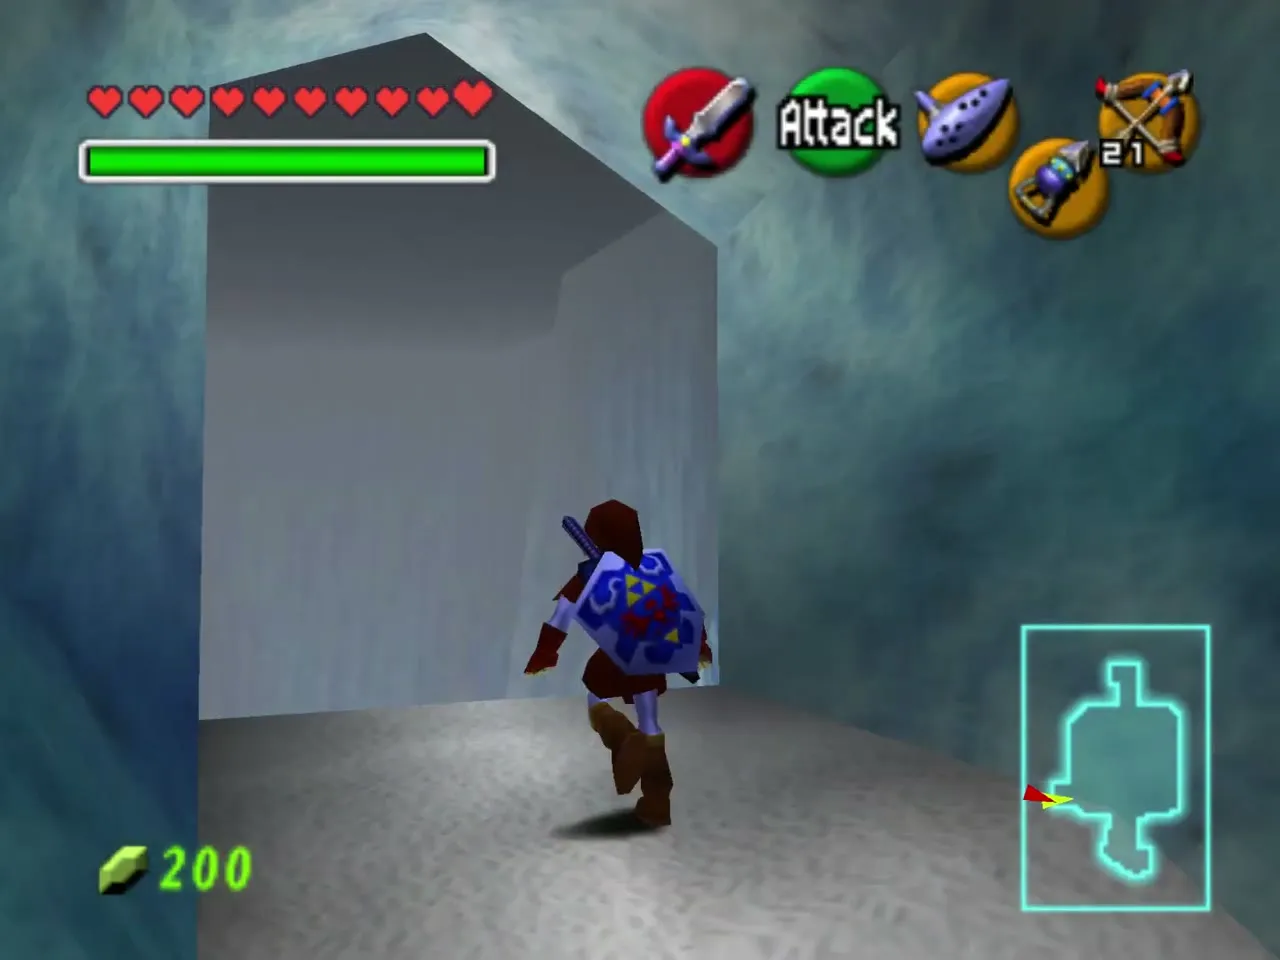
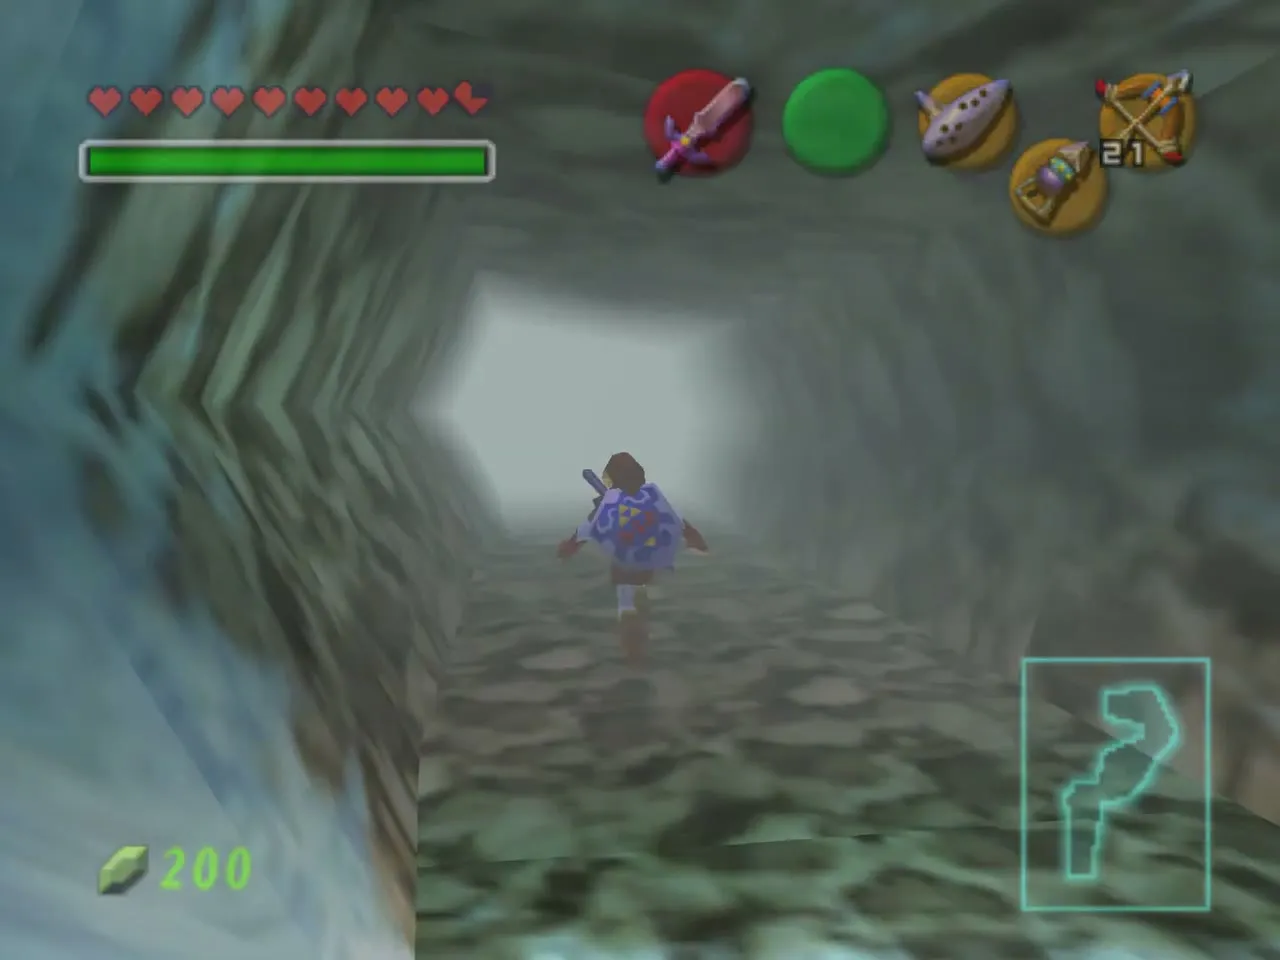
The entrance tunnel is lined with icicles and has a large boulder on one side. Rolling boulders patrol these connecting corridors in Master Quest, so keep out of their path and sidestep as they pass. Defeat the enemies in the tunnel, then continue into the first room with a blue, icy floor.
Crystal room and the first White Wolfos
Cross the blue-floored rooms by hopping between the ice ledges. Use the Hookshot on the crystal walls where its target appears to pull yourself over gaps. Watch for icy blasts that freeze you in a block; mash the buttons to break free.
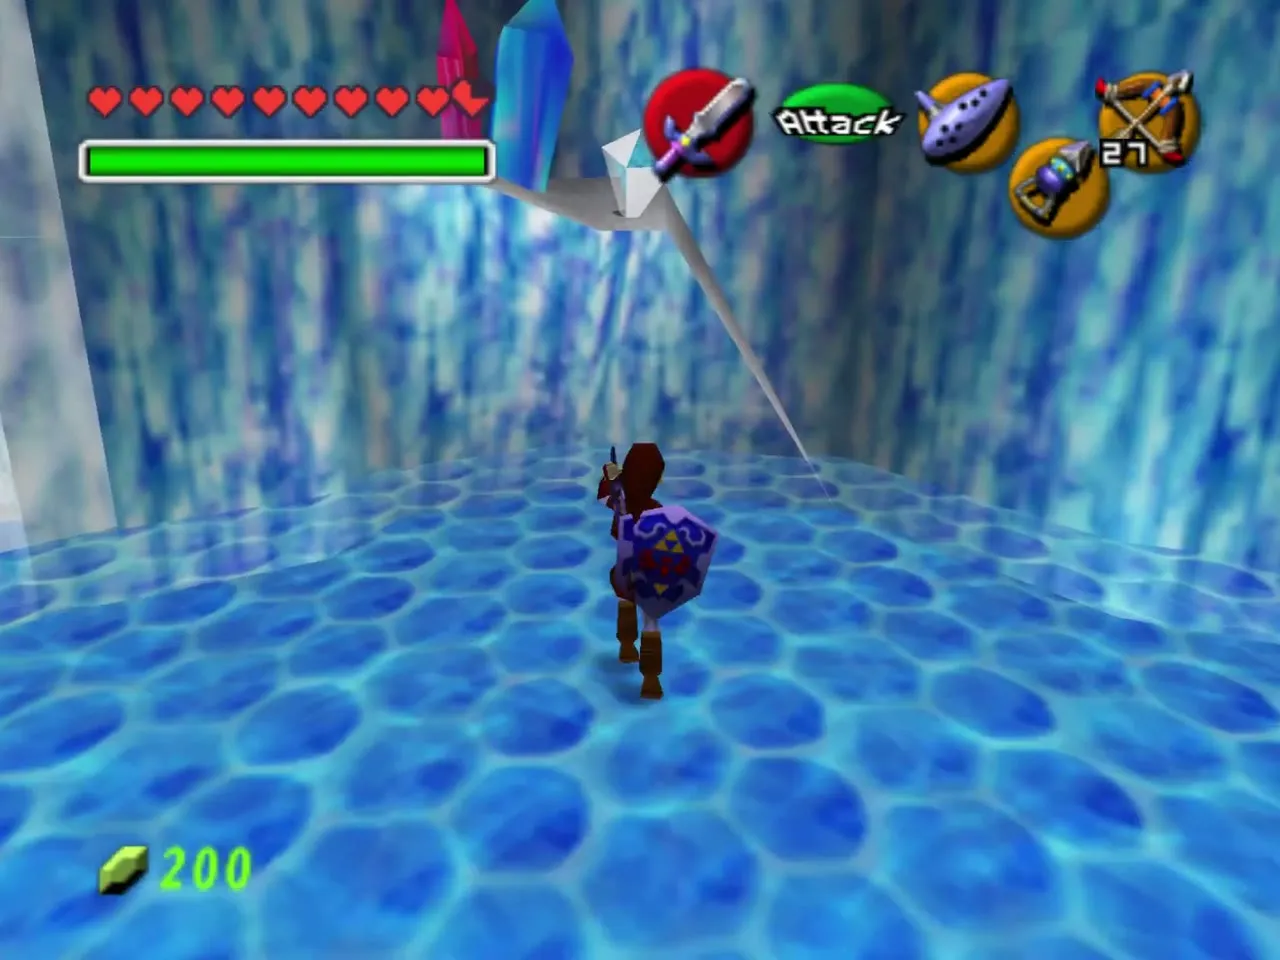
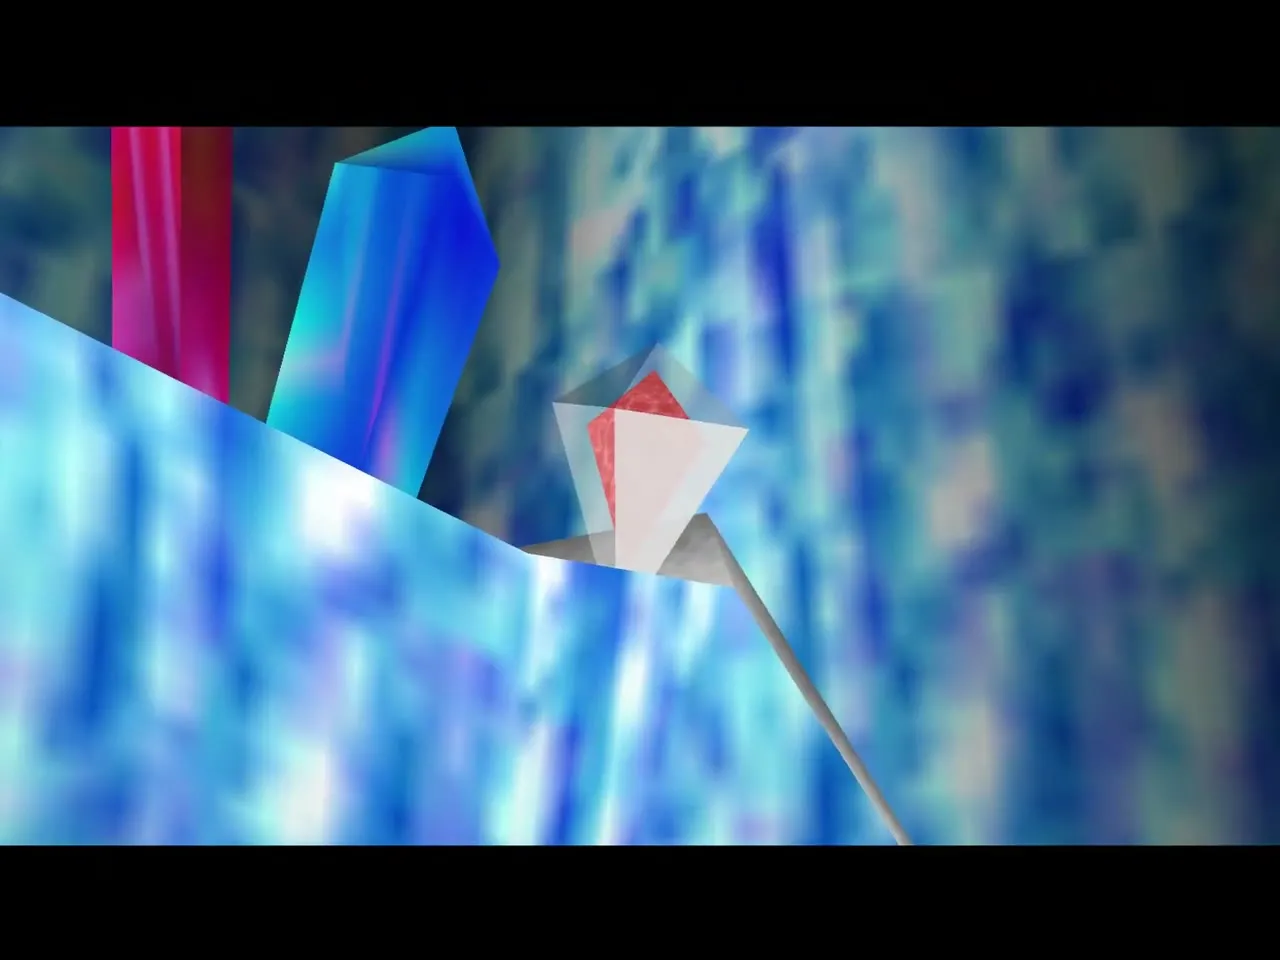
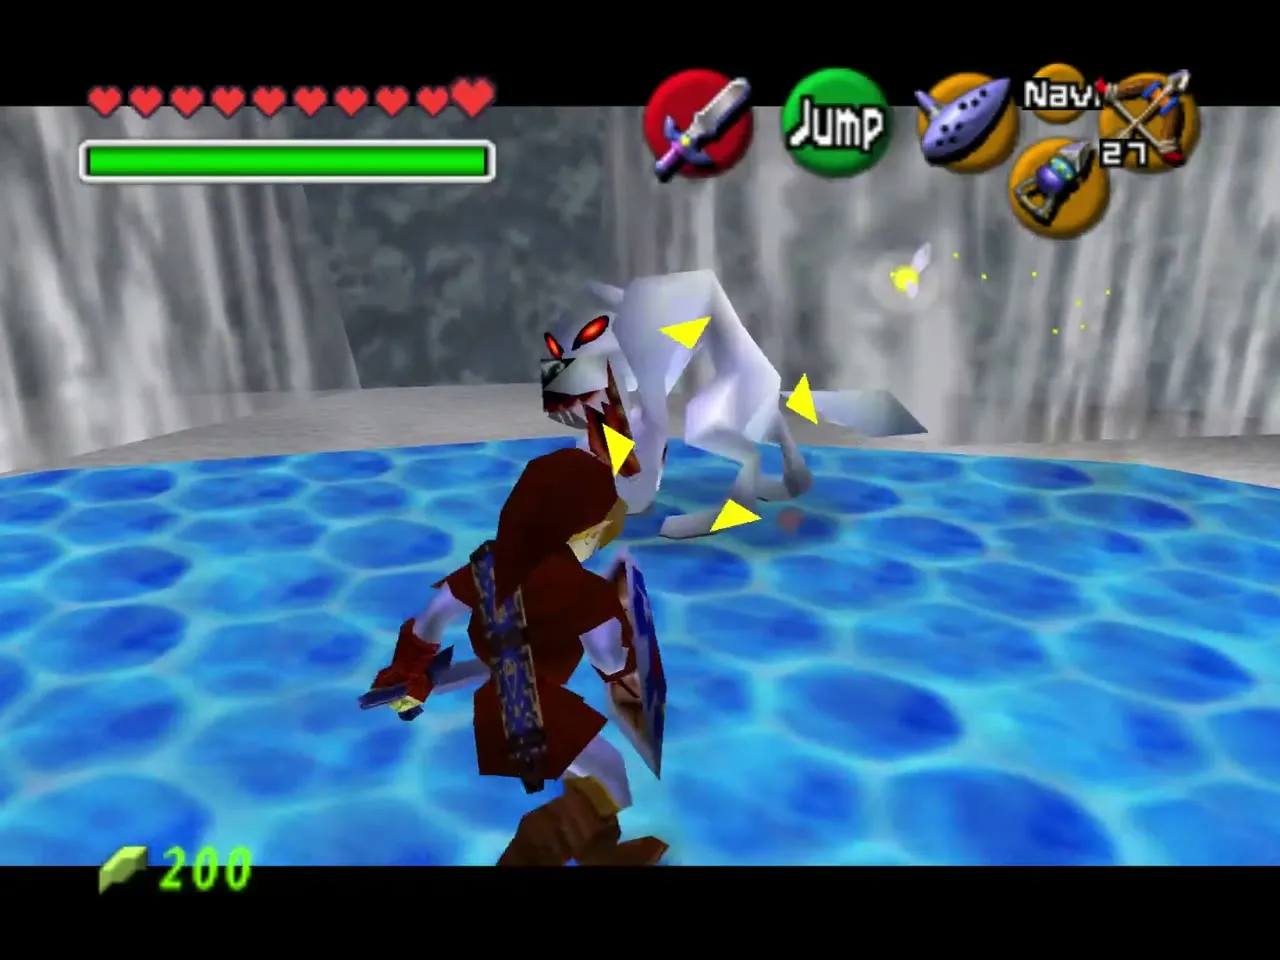
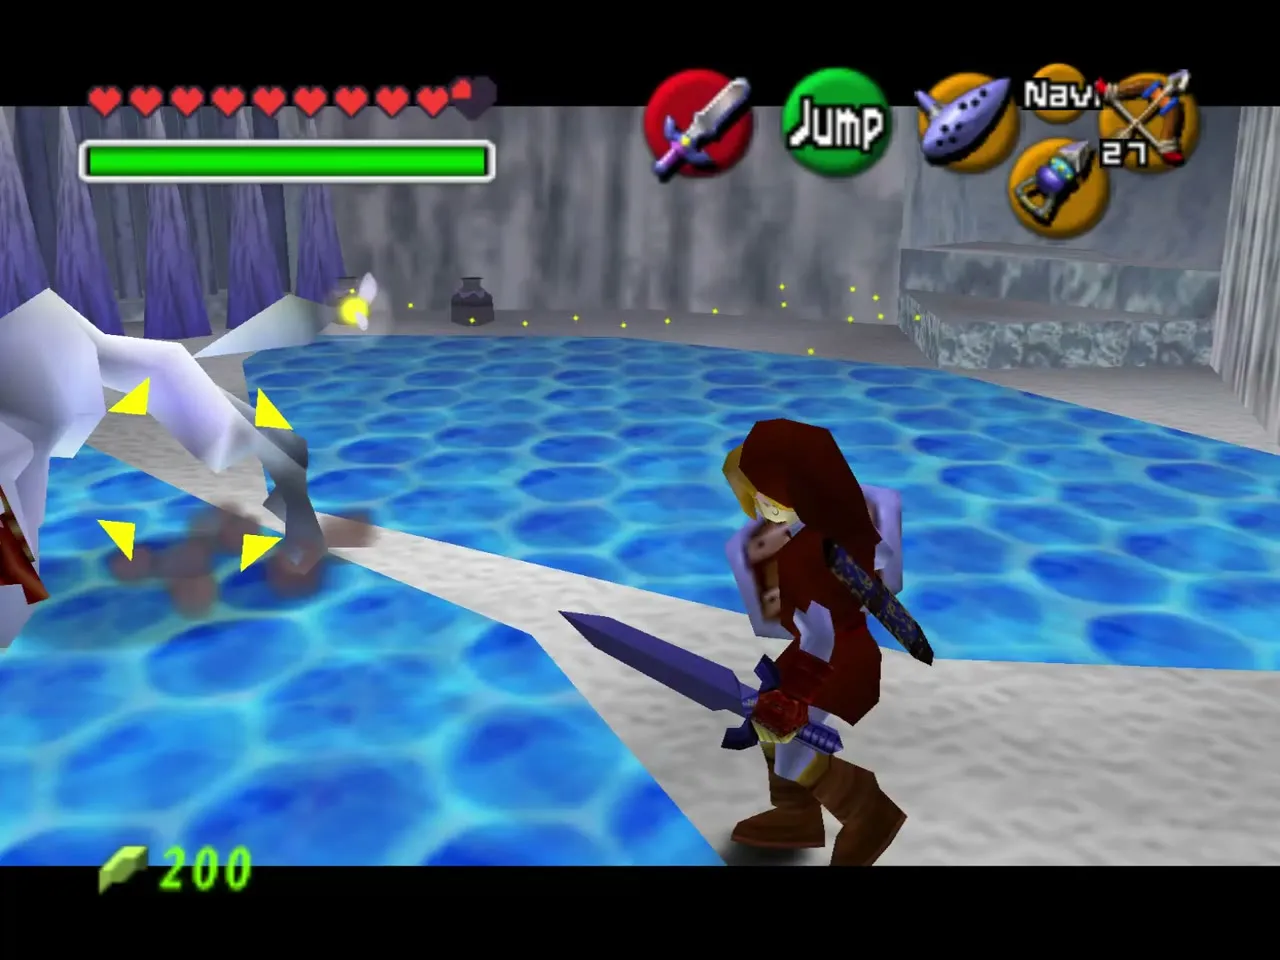
Two regular White Wolfos patrol the dungeon instead of one boss. The first attacks in the corridor beyond the crystal room, and the second near a red ice crystal in the pool room. Keep your shield up against the lunge, then strike when it is left open.
Gold Skulltula, Blue Fire and the Dungeon Map
In the icicle room, fight the monsters with the sword and bow while icicles fall. A Gold Skulltula waits on the ceiling here: kill it with an arrow or the Hookshot and collect the token.
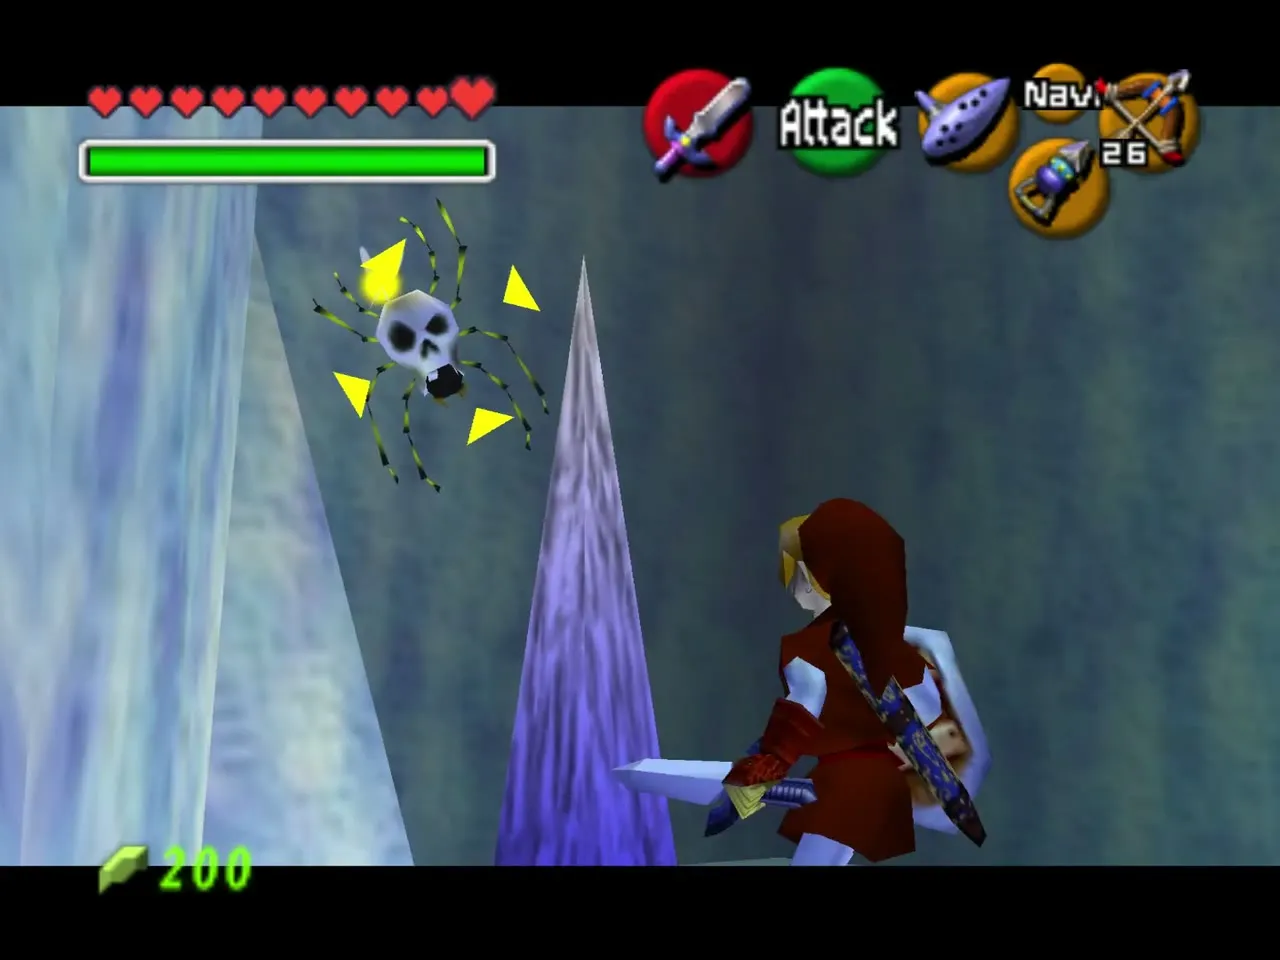
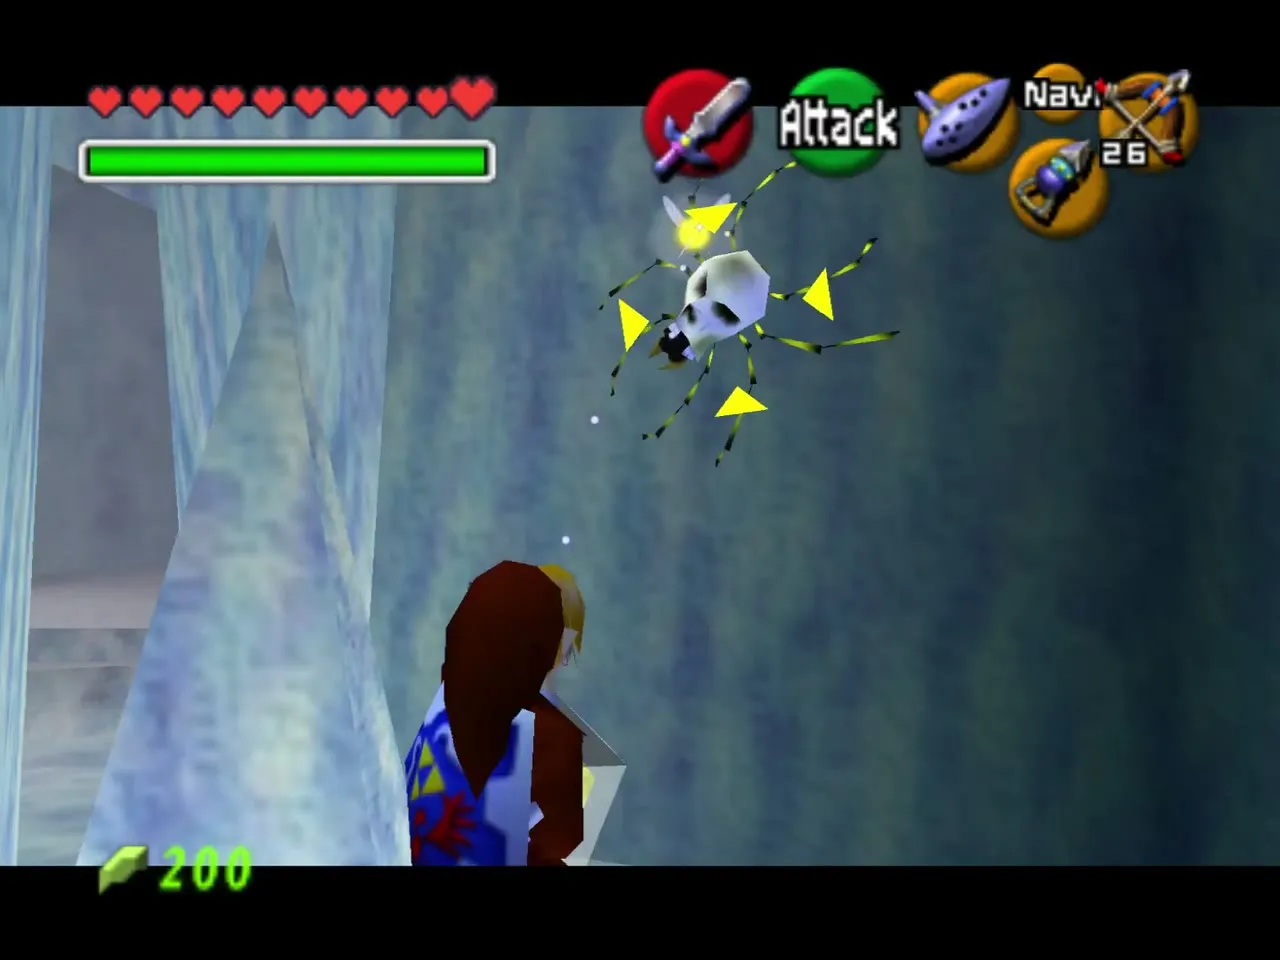
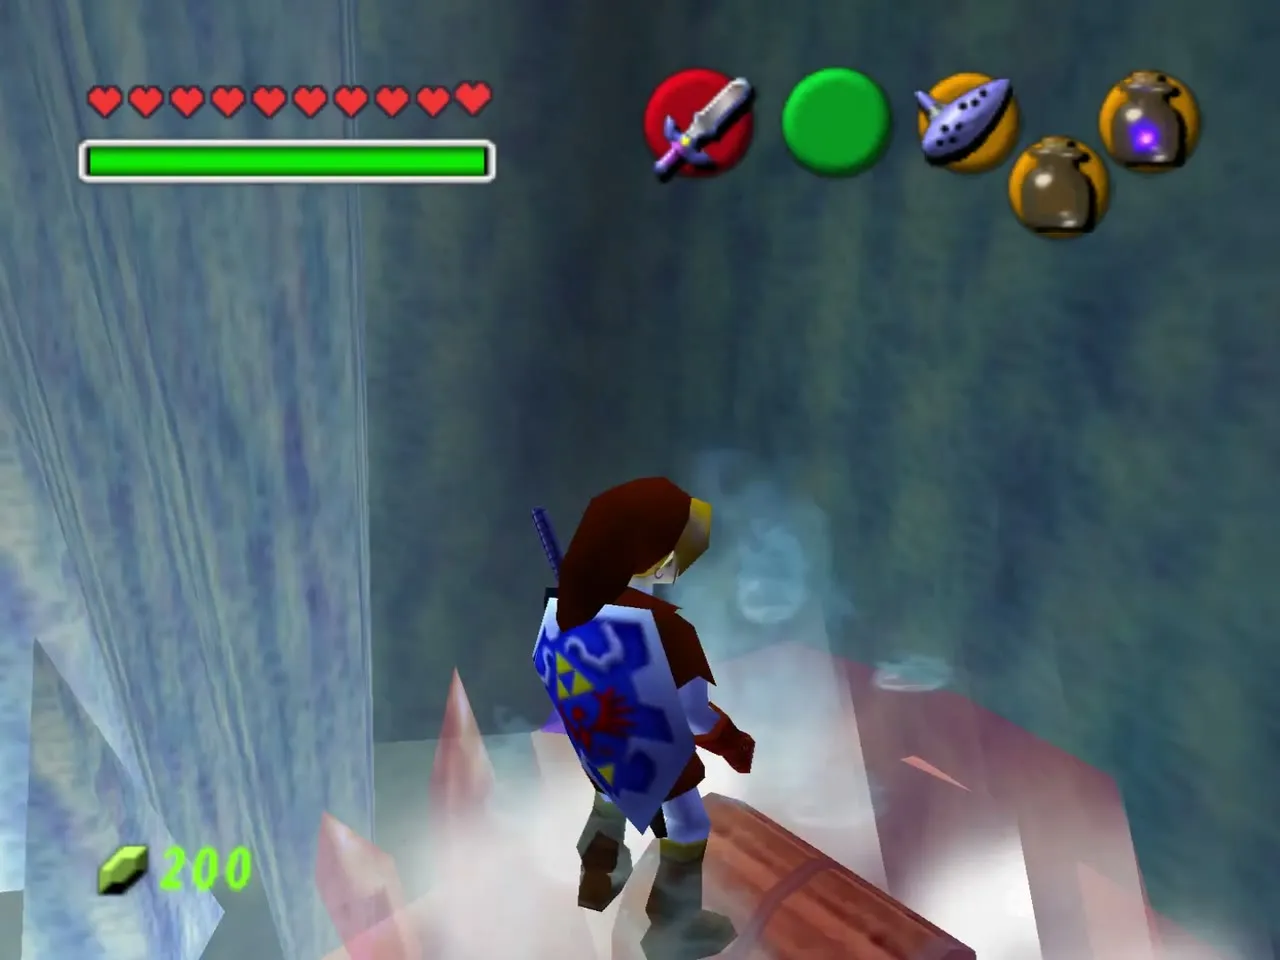
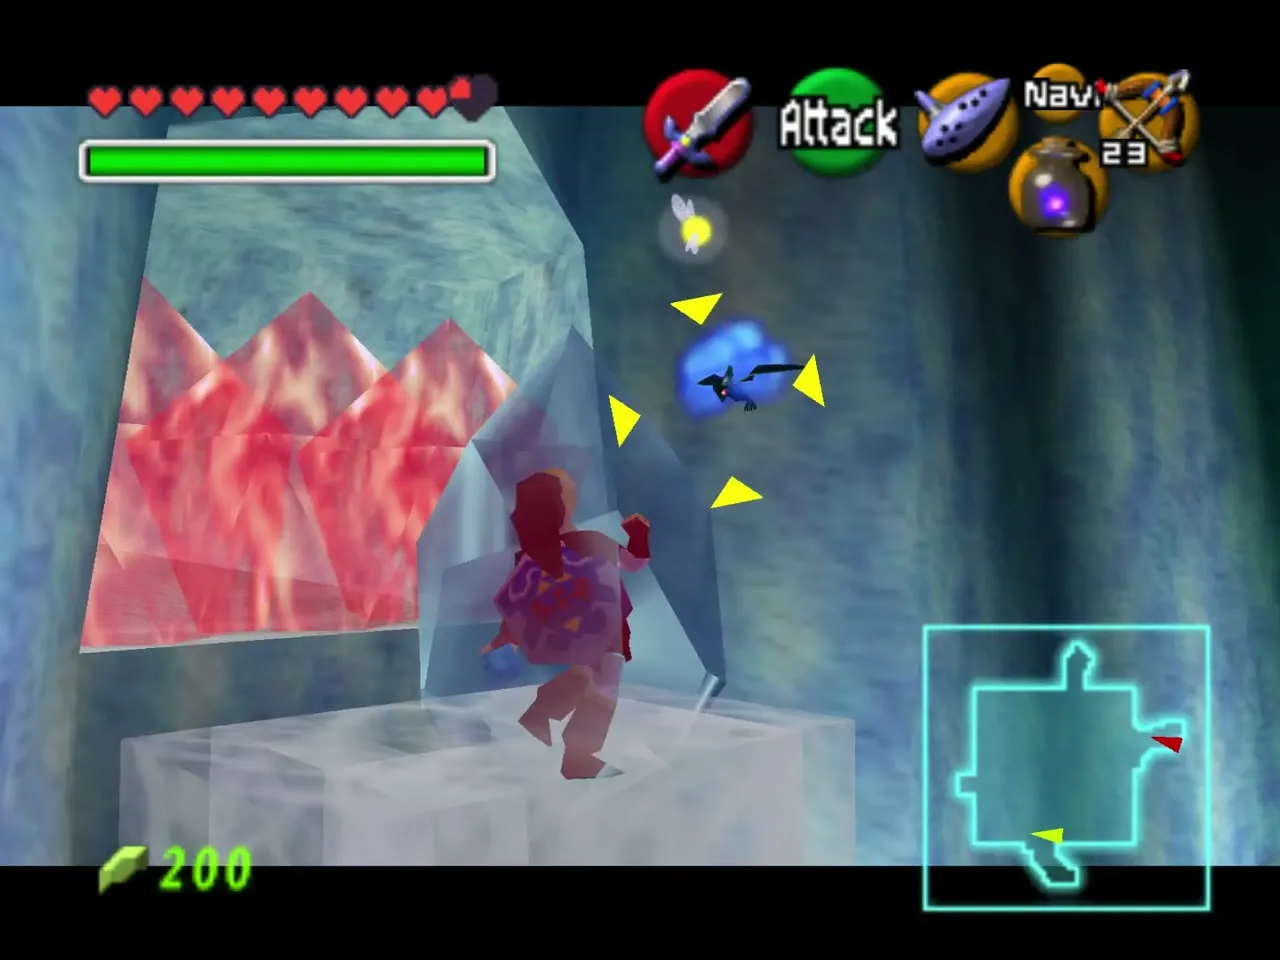
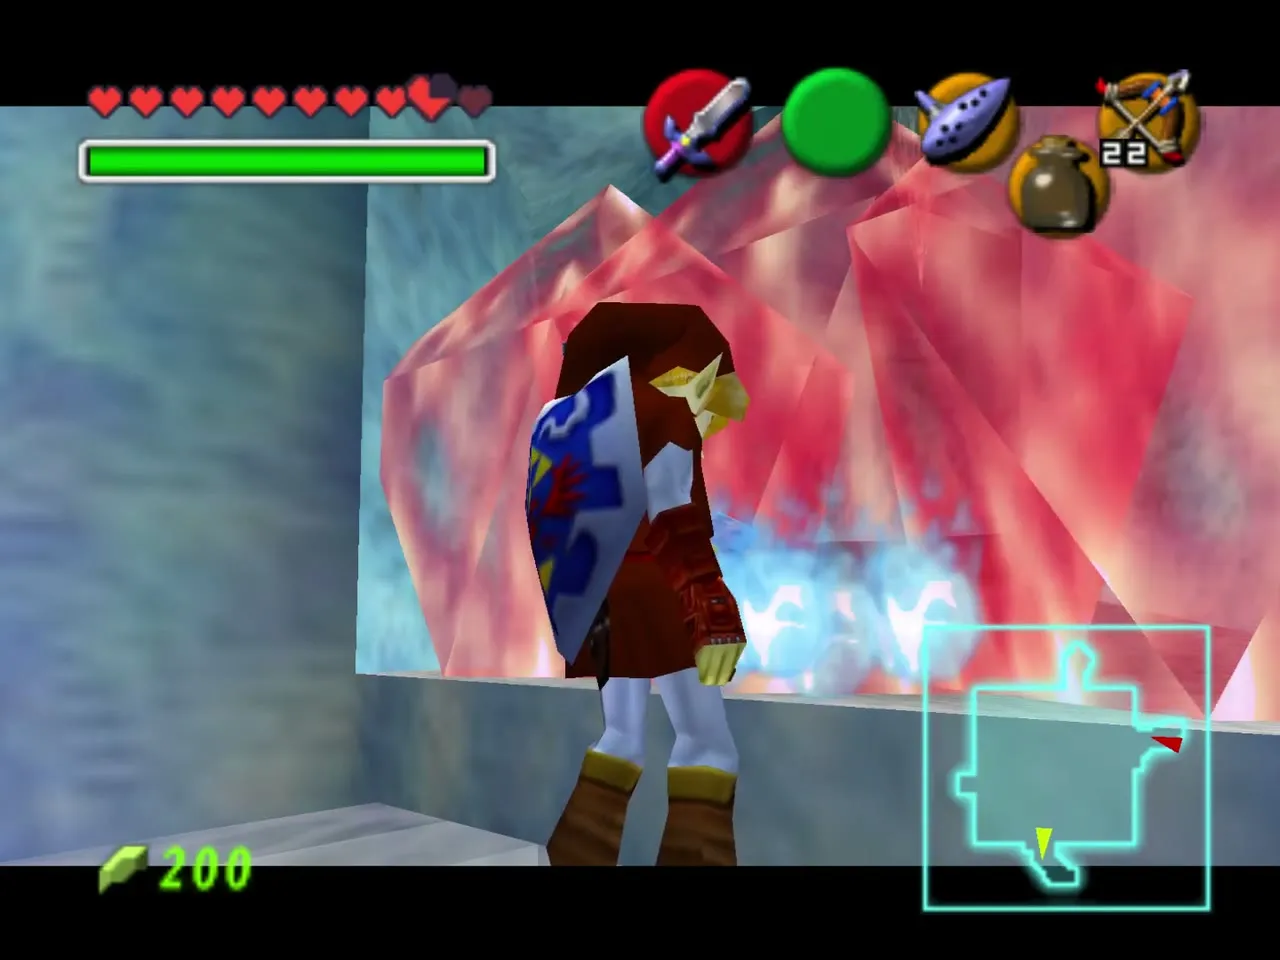
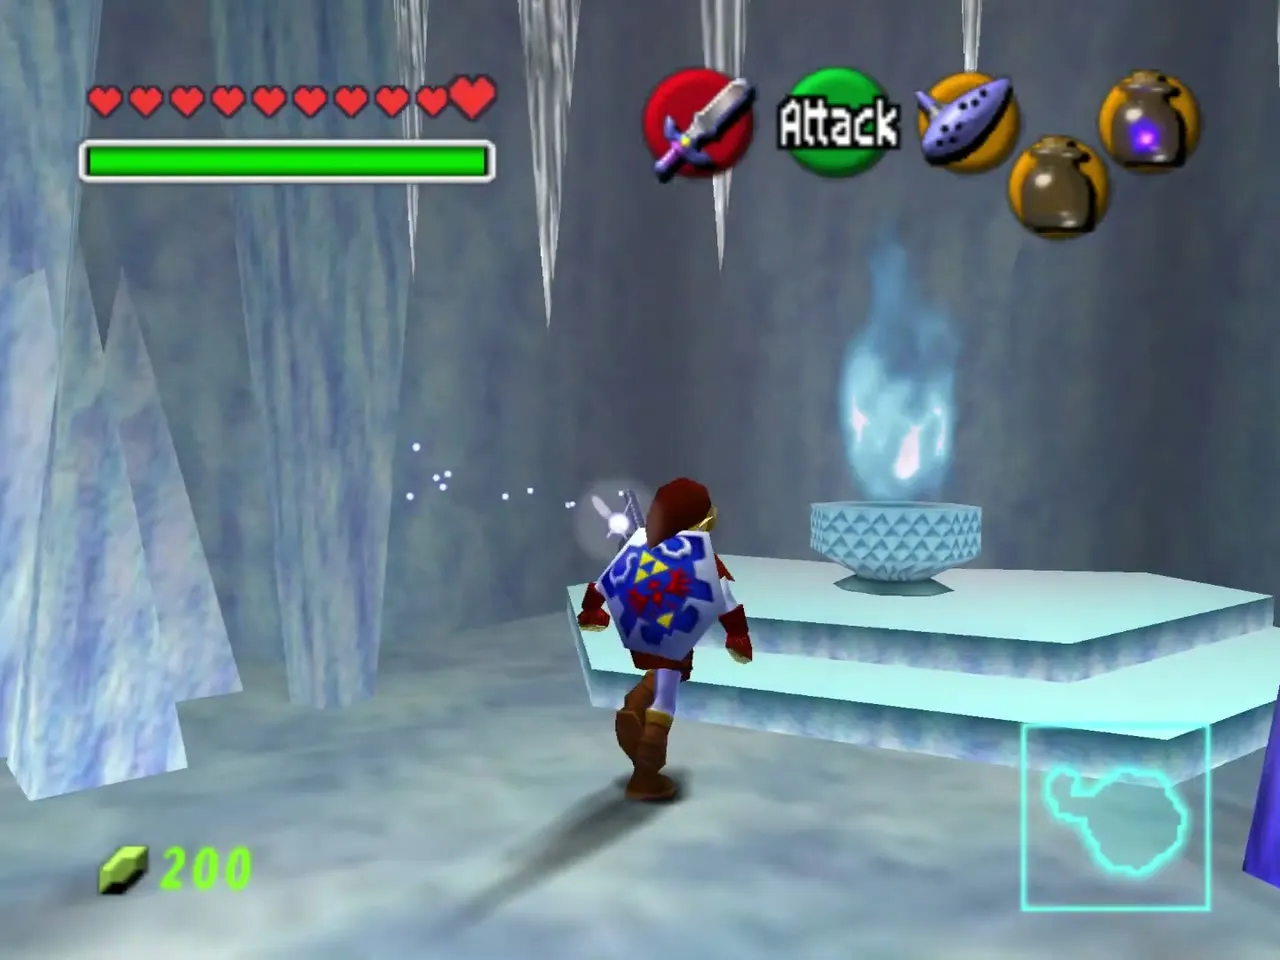
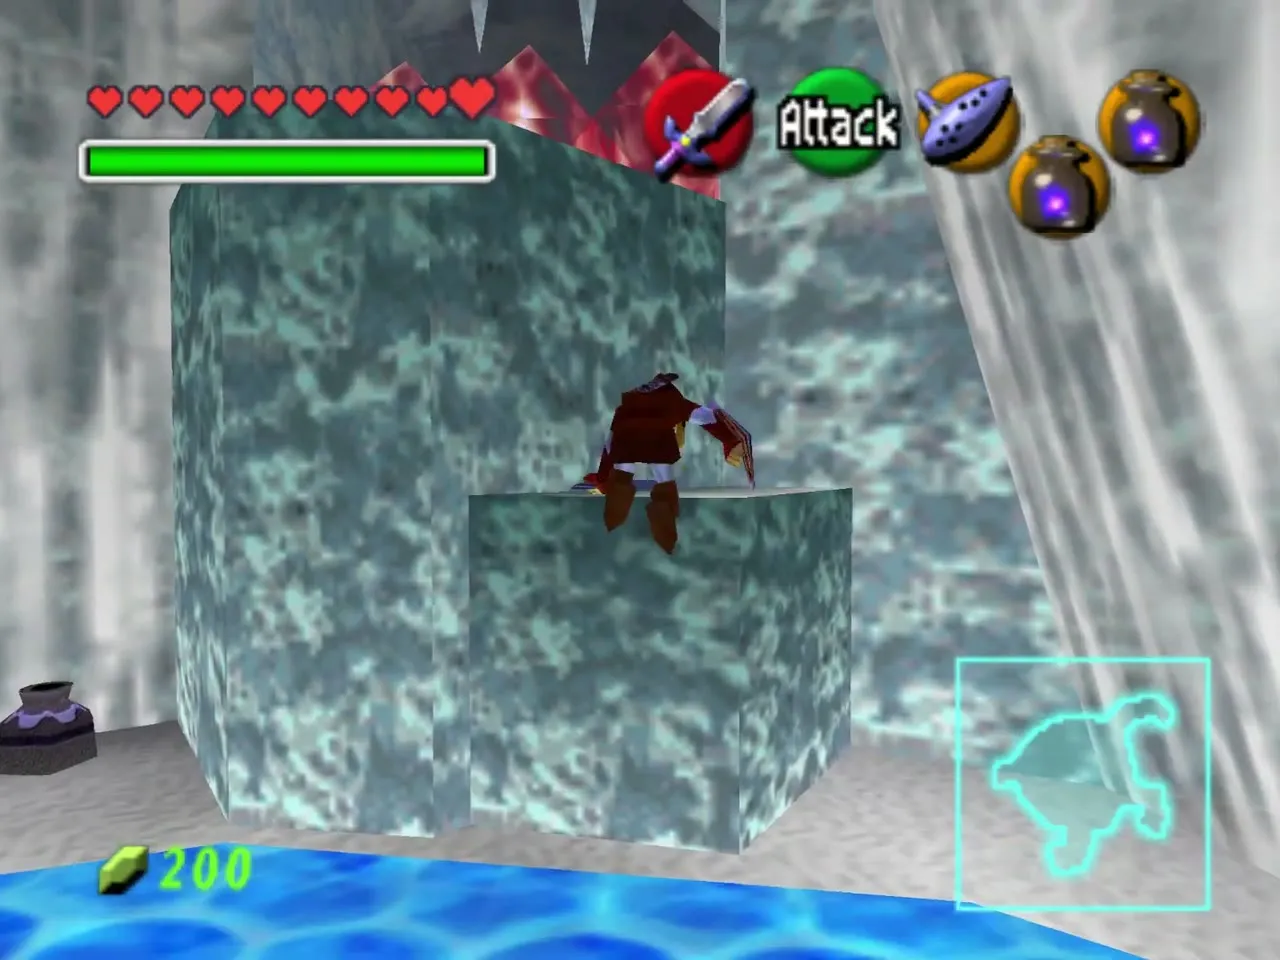
A large chest sits locked inside a giant block of red ice. Hold an empty bottle up to the Blue Fire nearby to fill it; Navi warns you that only this flame melts red ice.
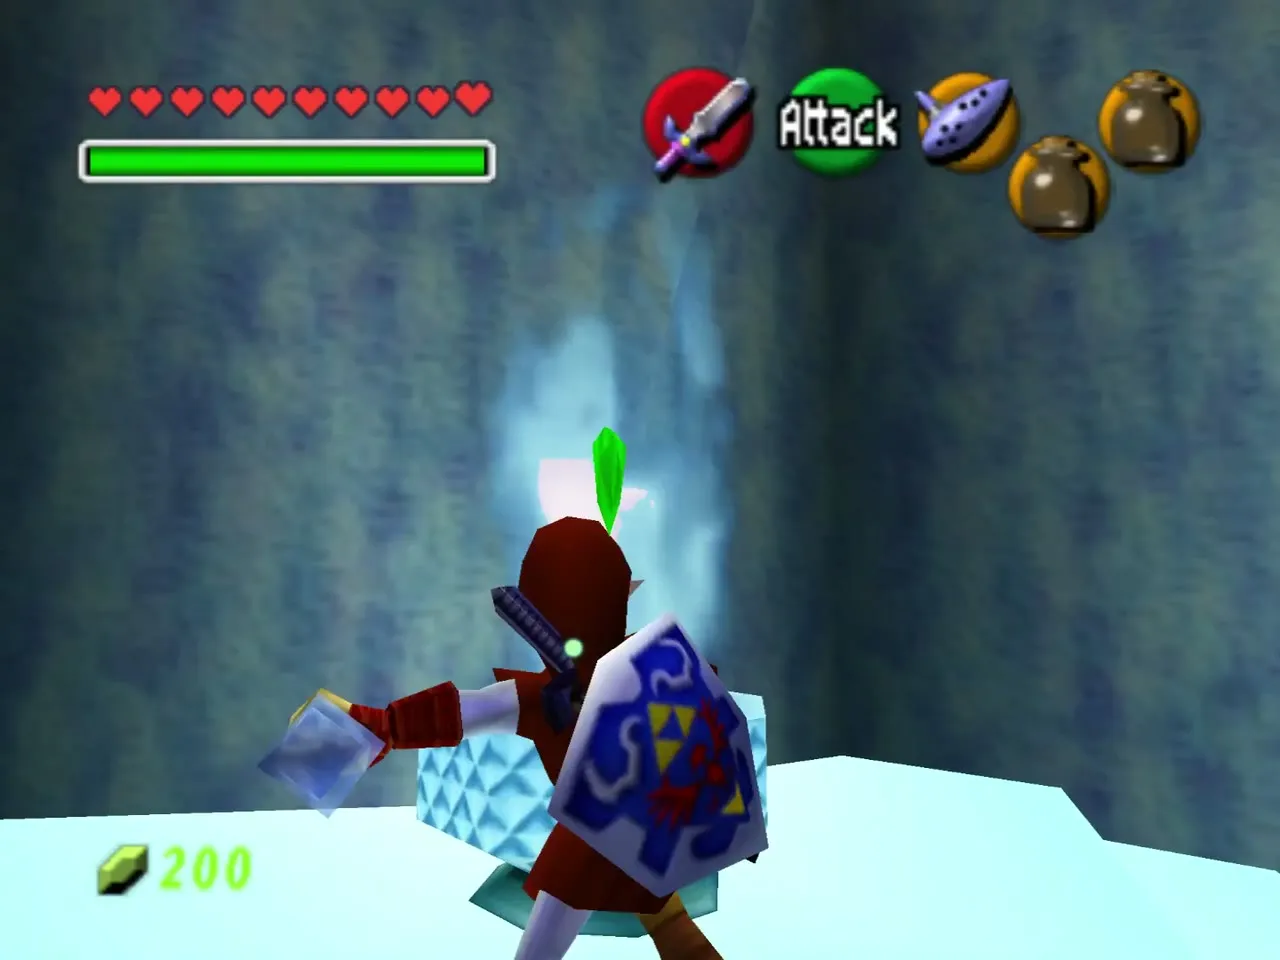
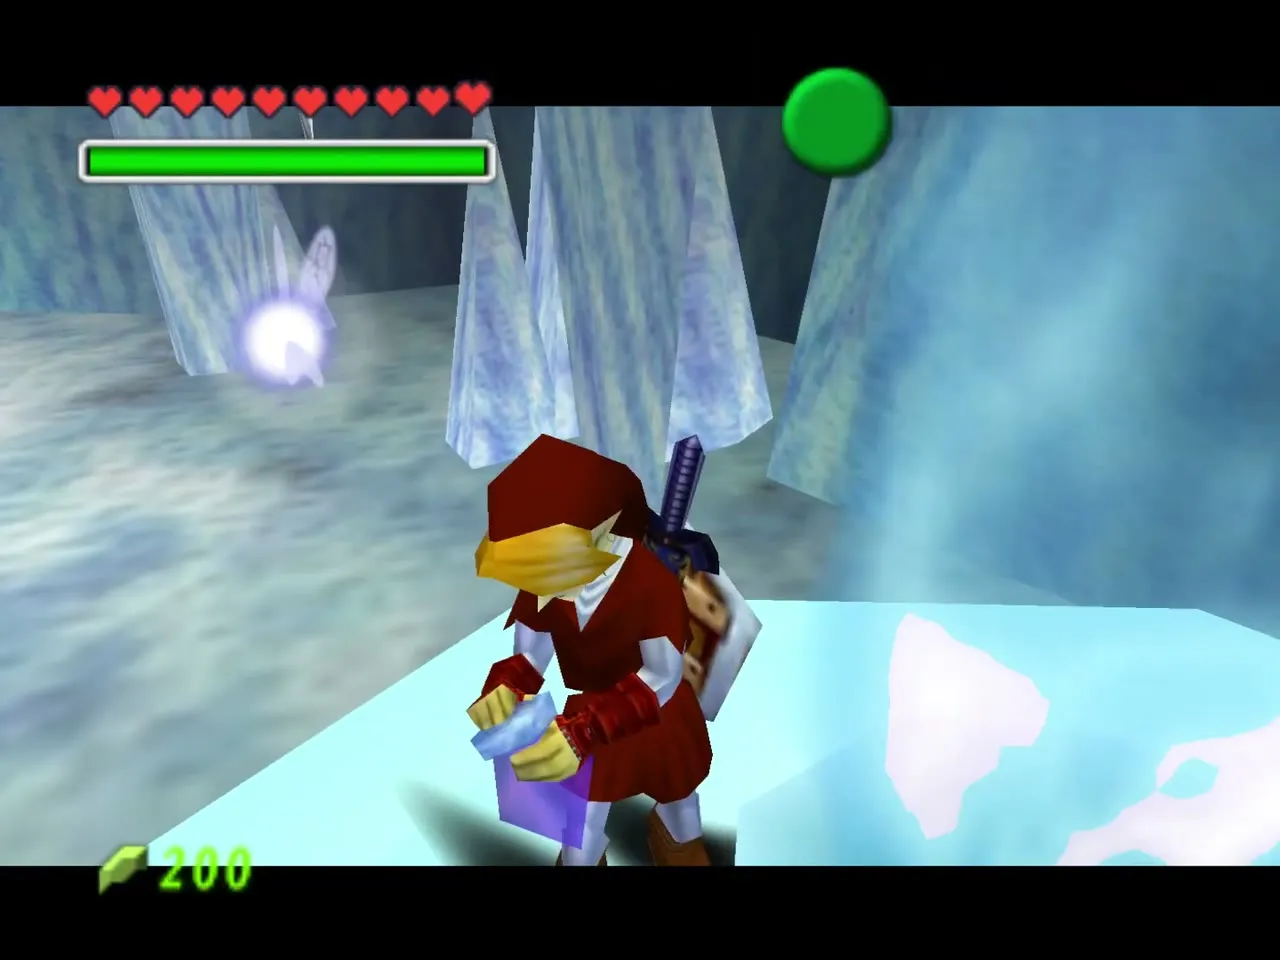
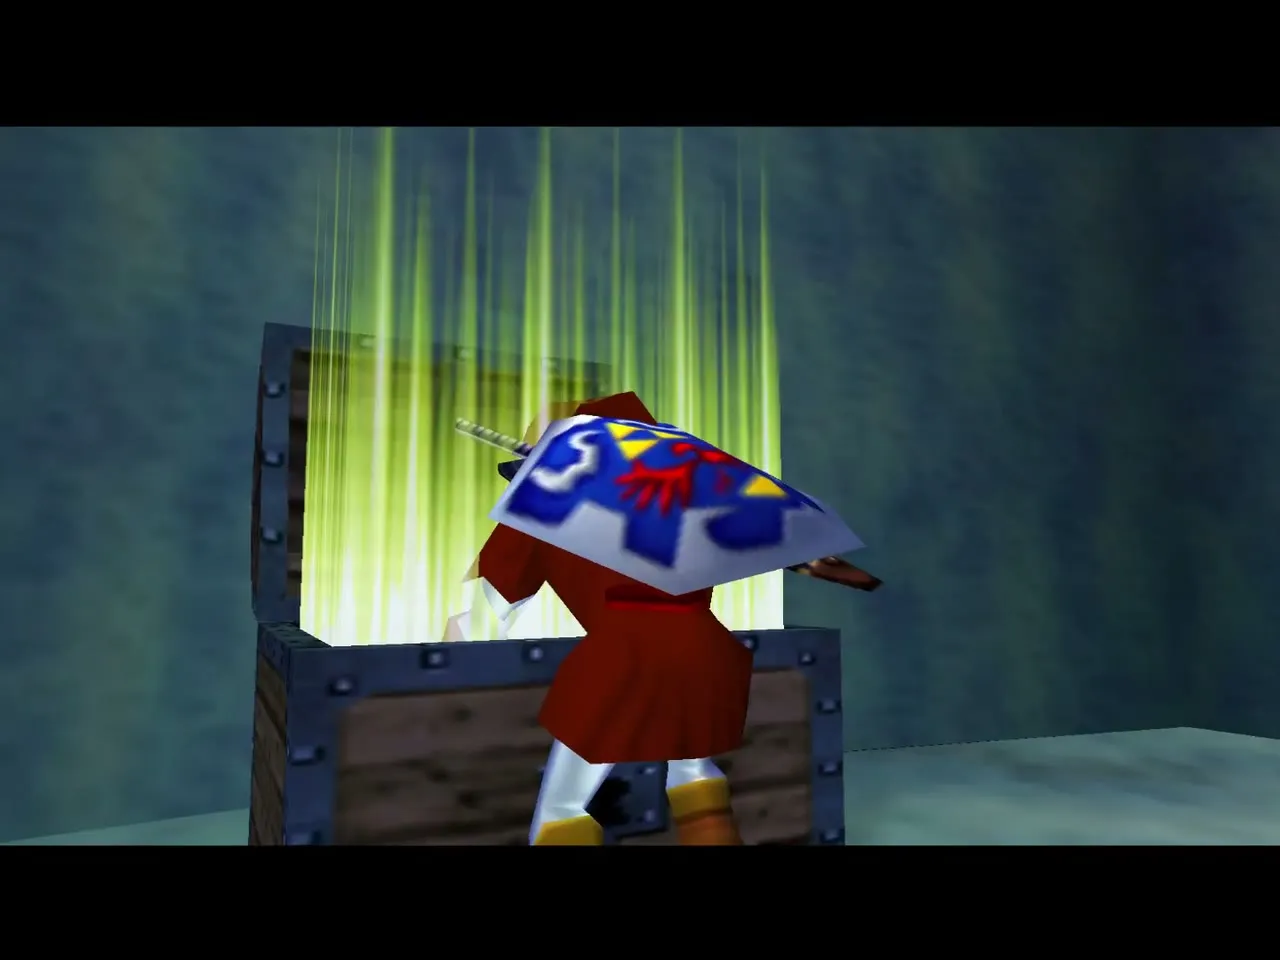
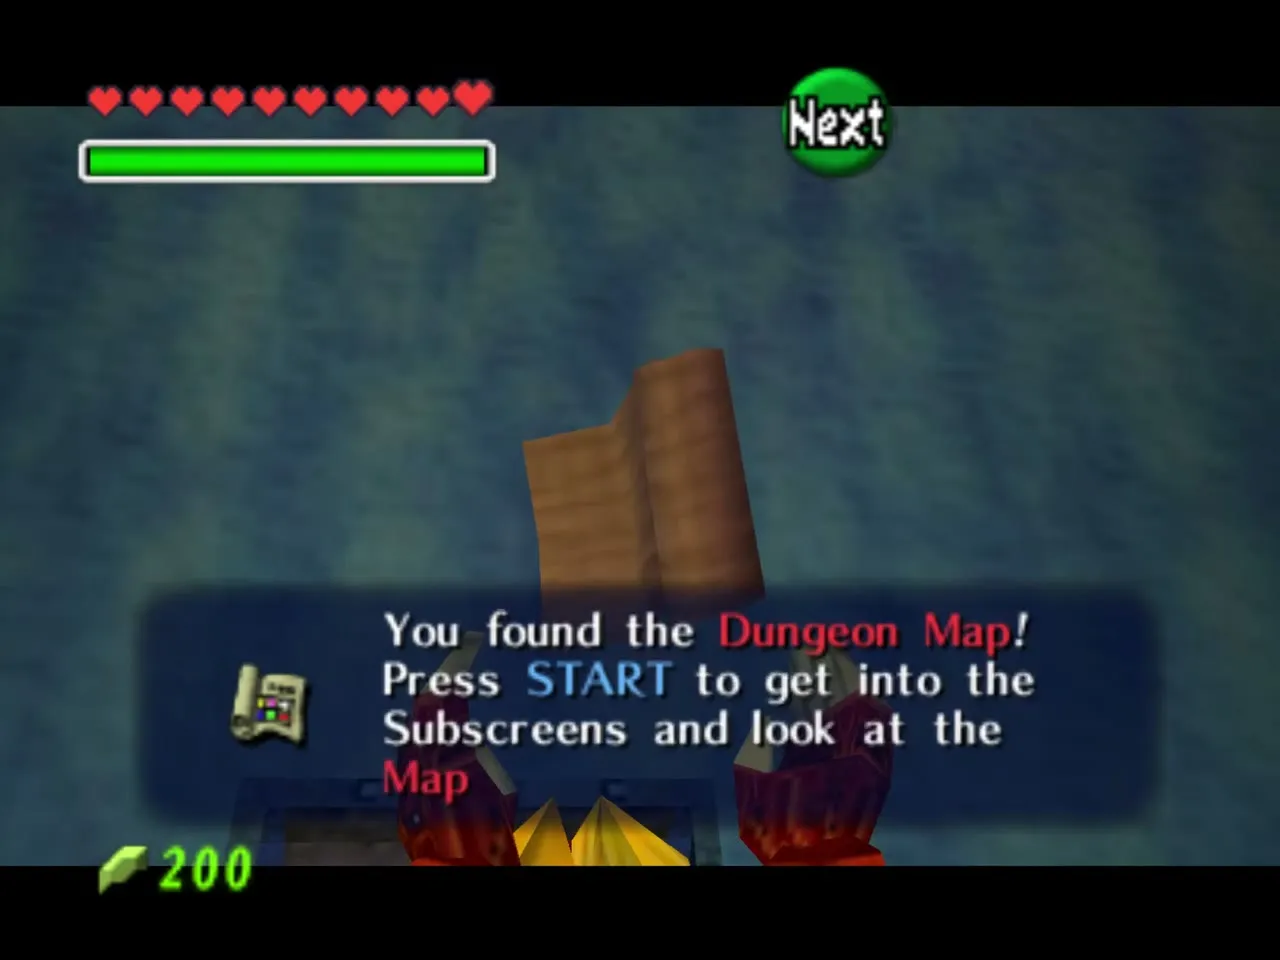
Throw the Blue Fire at the red ice around the chest, then open it for the Dungeon Map. The first Blue Fire you find is in the spot where the Heart Piece sat in the original dungeon.
Red ice, a stone block and the Time blocks
Back in the blue-floored rooms, climb on the pushable stone block to reach the higher ledges. More red ice stands in your way: refill your bottle at the Blue Fire and melt it.
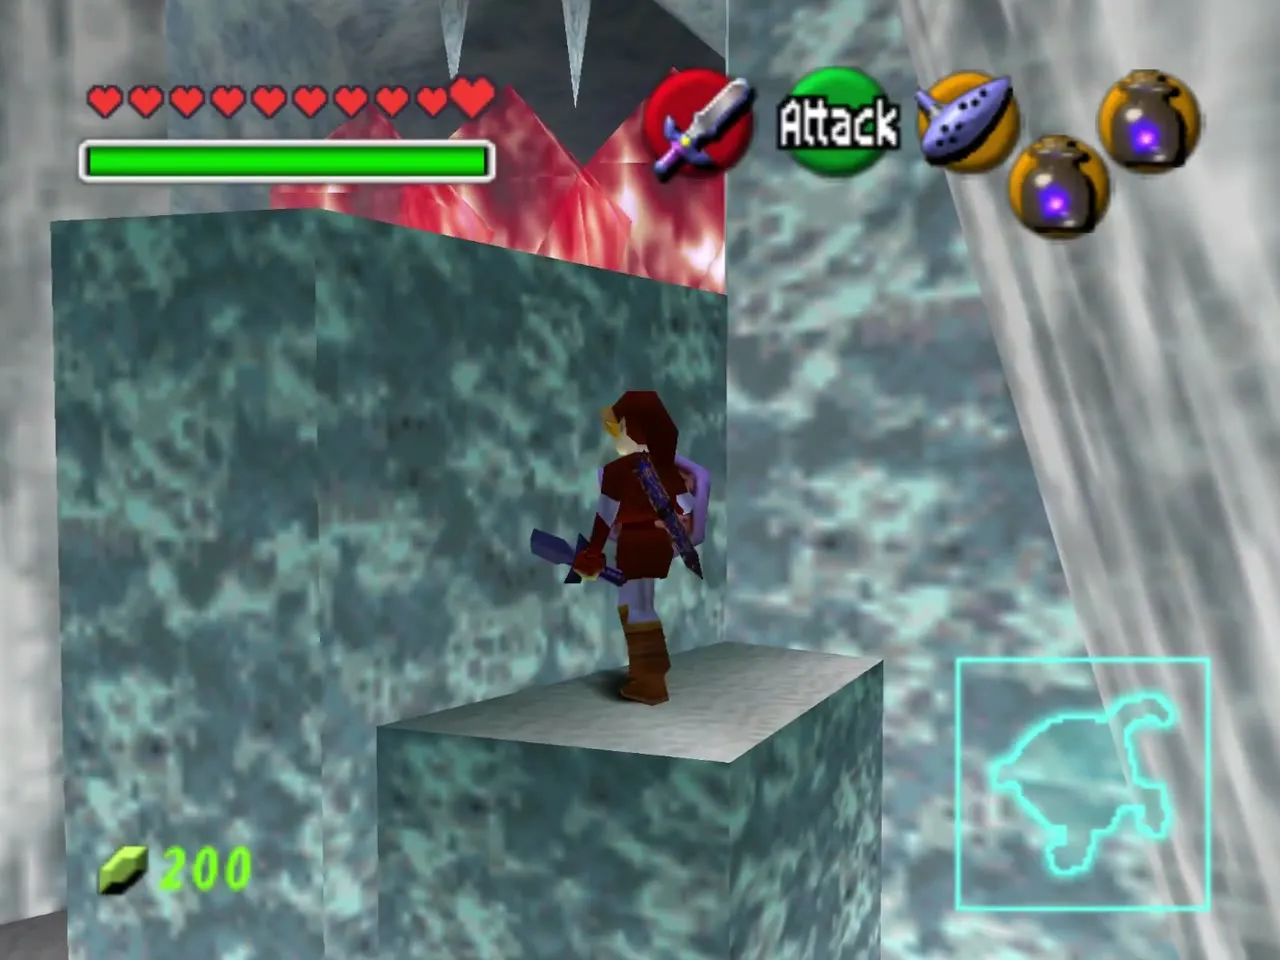
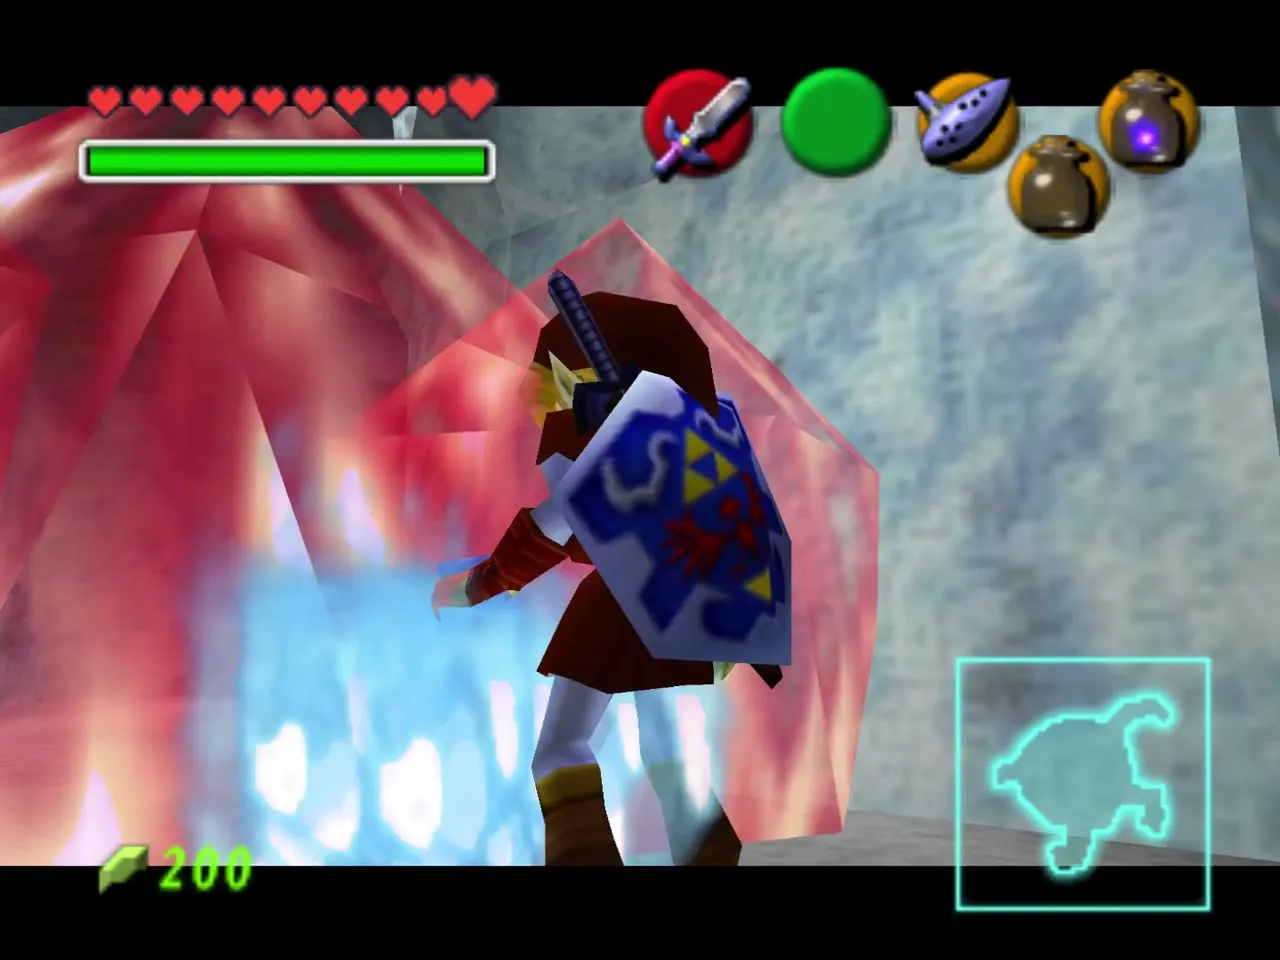
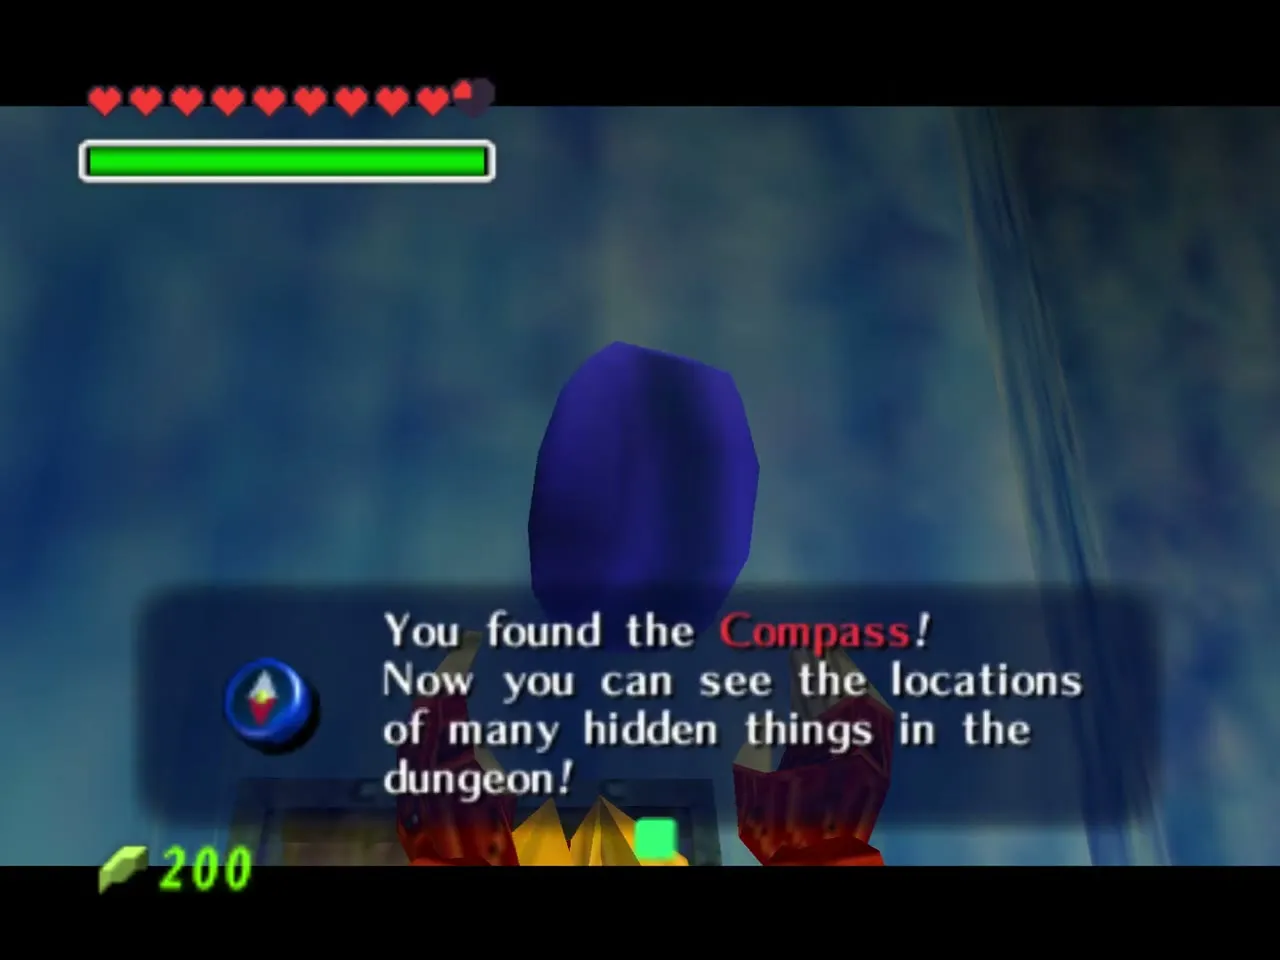
Jump along the white ice walkway into the pillar room, where spiked ice crystals line the path and another Blue Fire basin stands on a pillar. A chest sits on a white platform. Open it for the Compass.
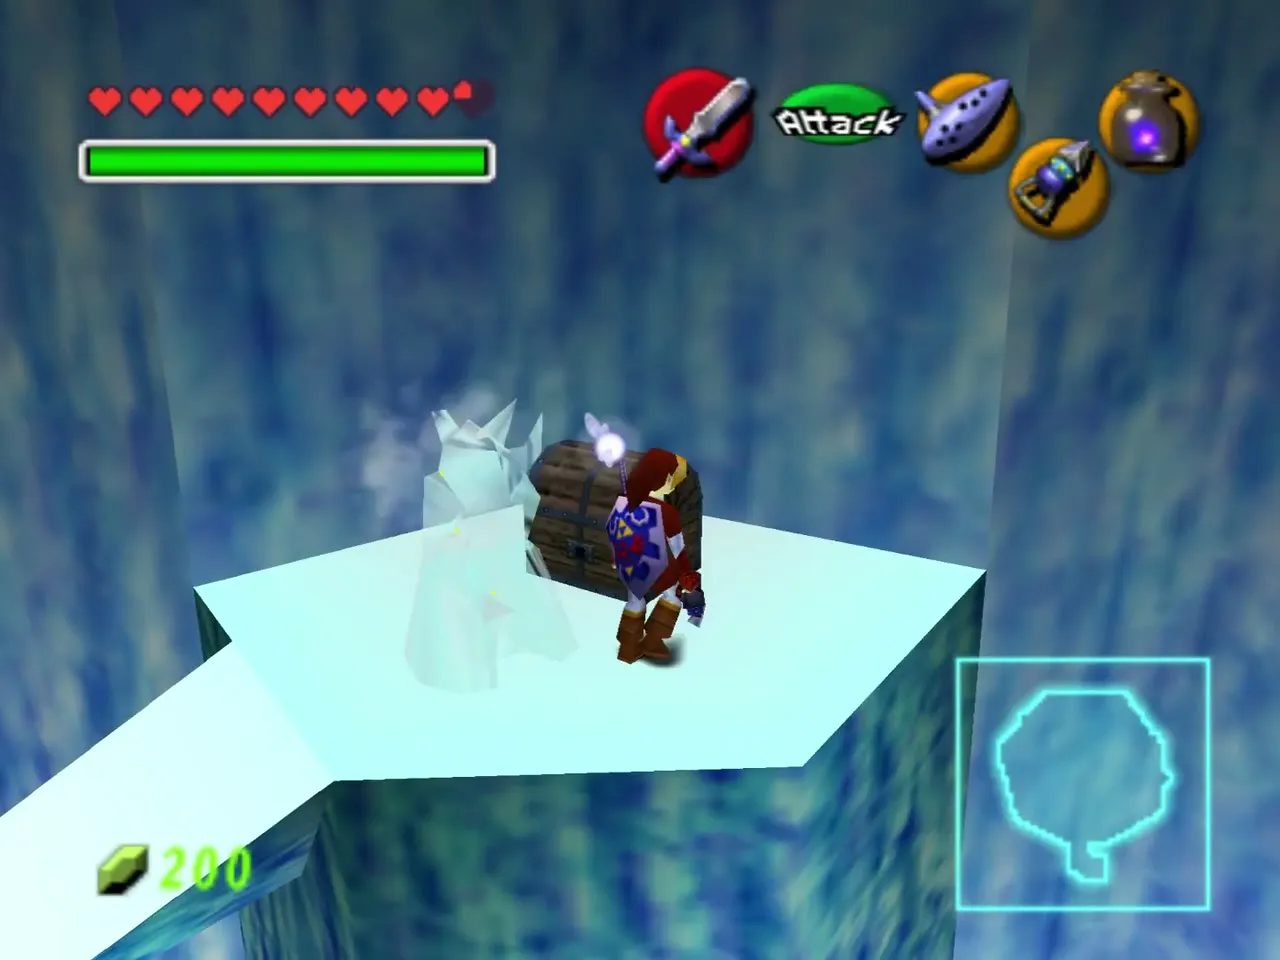
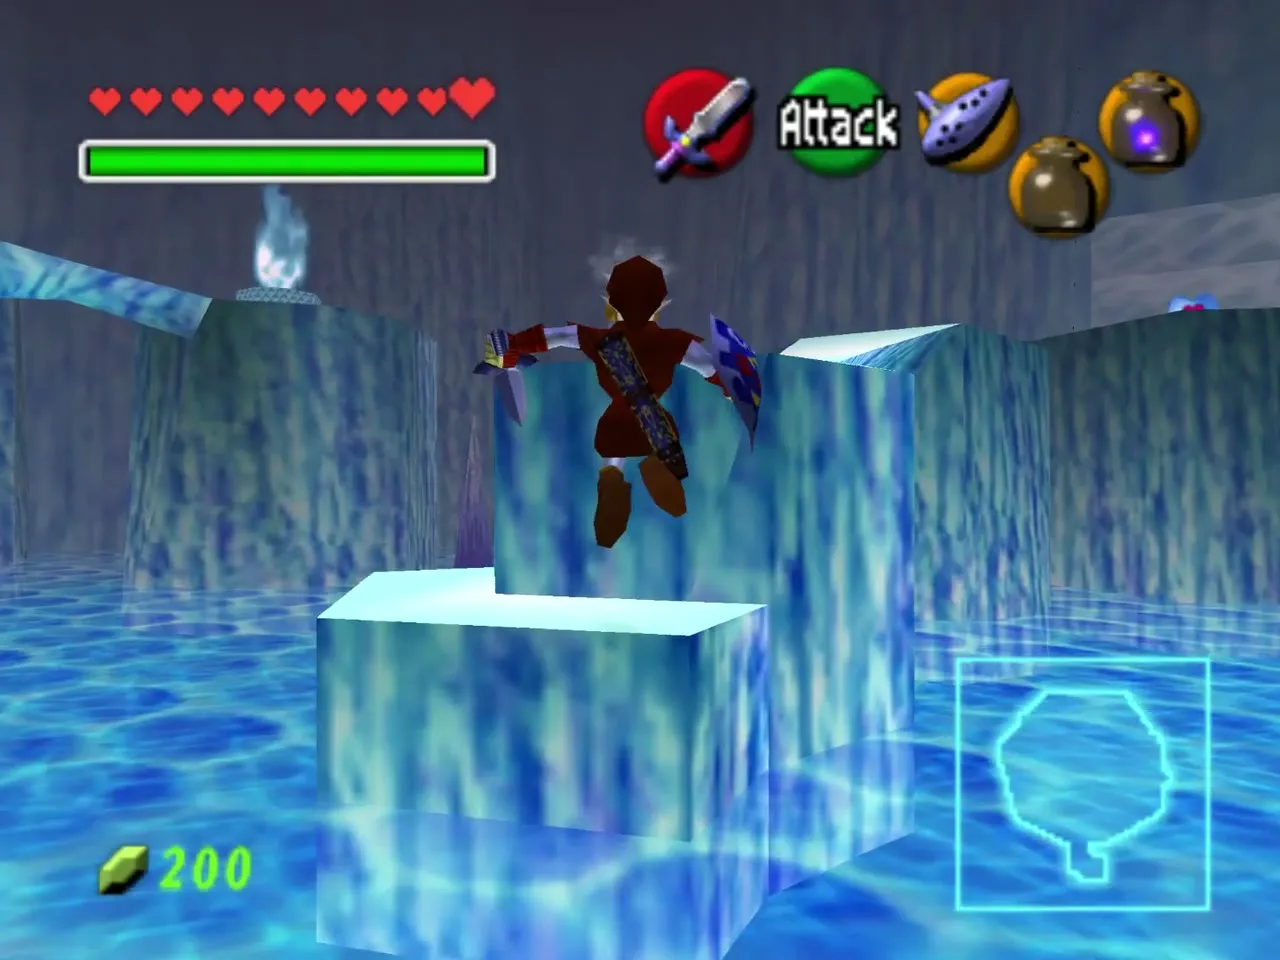
Nearby is a Triforce crest on a stone block. Stand before it and play the Song of Time to summon a Time block, which you climb to cross gaps and to reach the Blue Fire. The block replaces the original block-pushing puzzle.
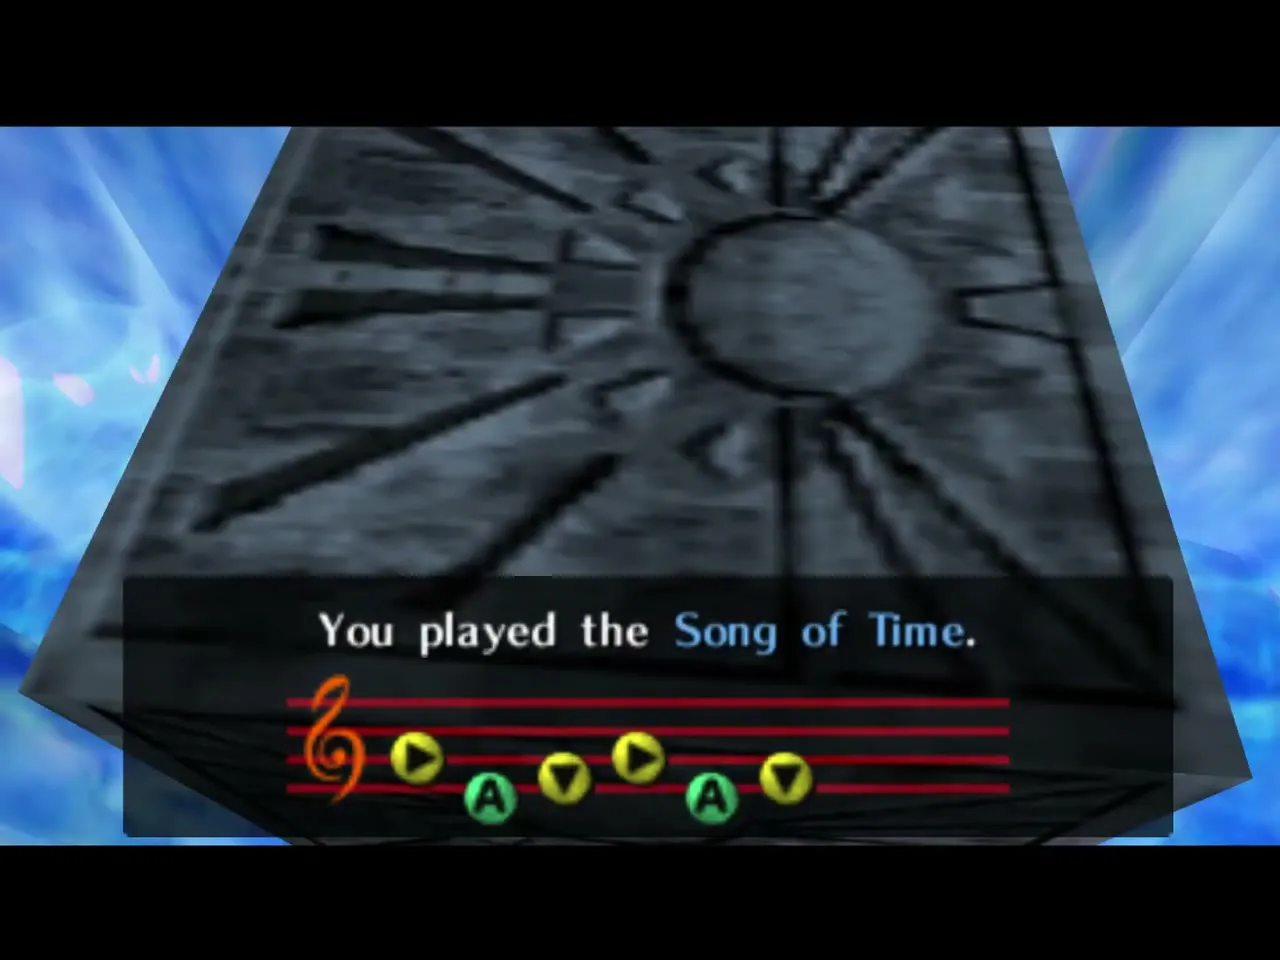
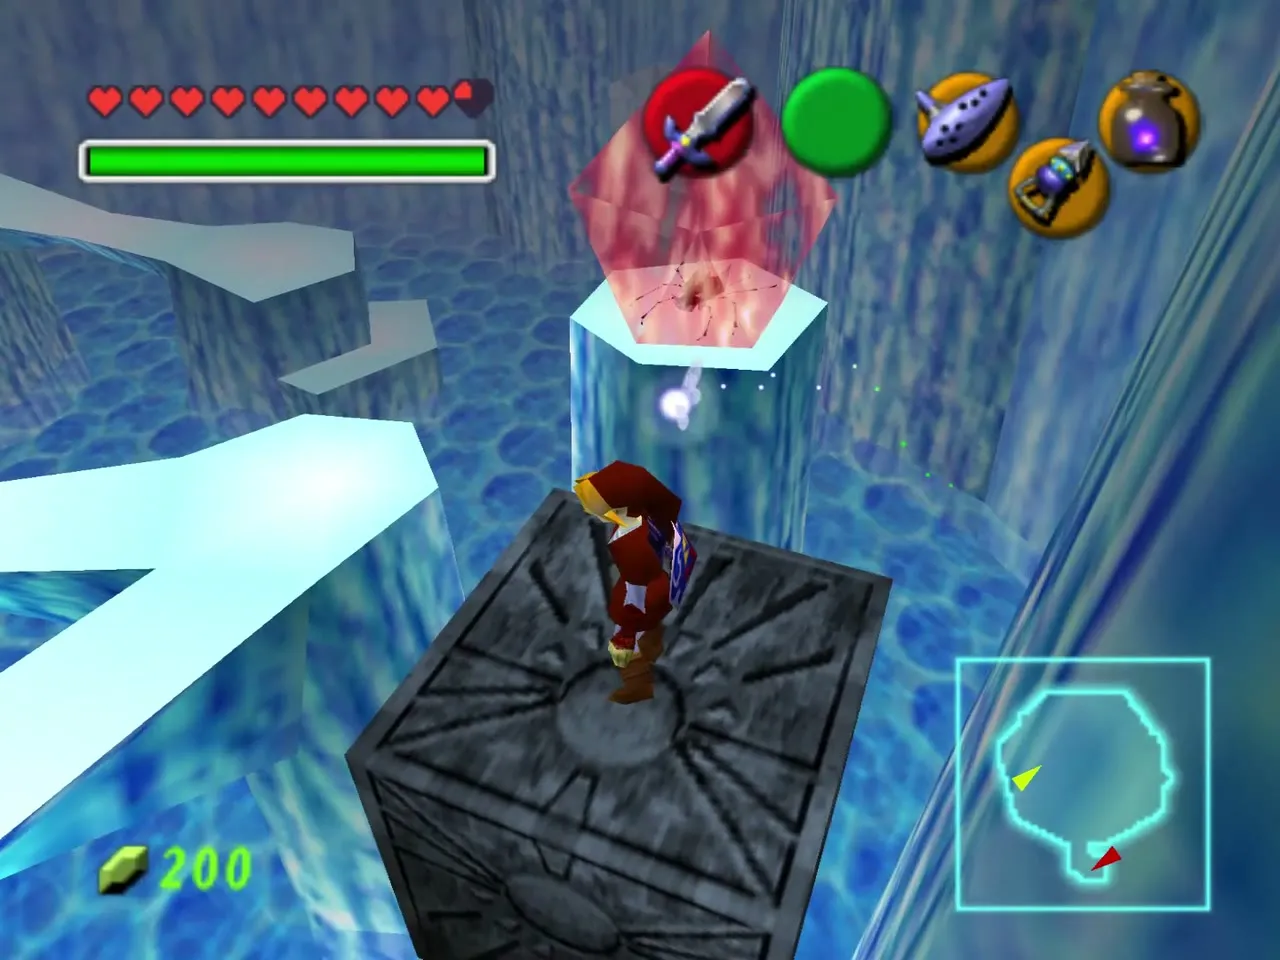
Use the Time block as a step up to a white platform. A second Gold Skulltula hangs on a black block in this room: kill it and take the token. Melt the red ice crystal that blocks the platform with Blue Fire.
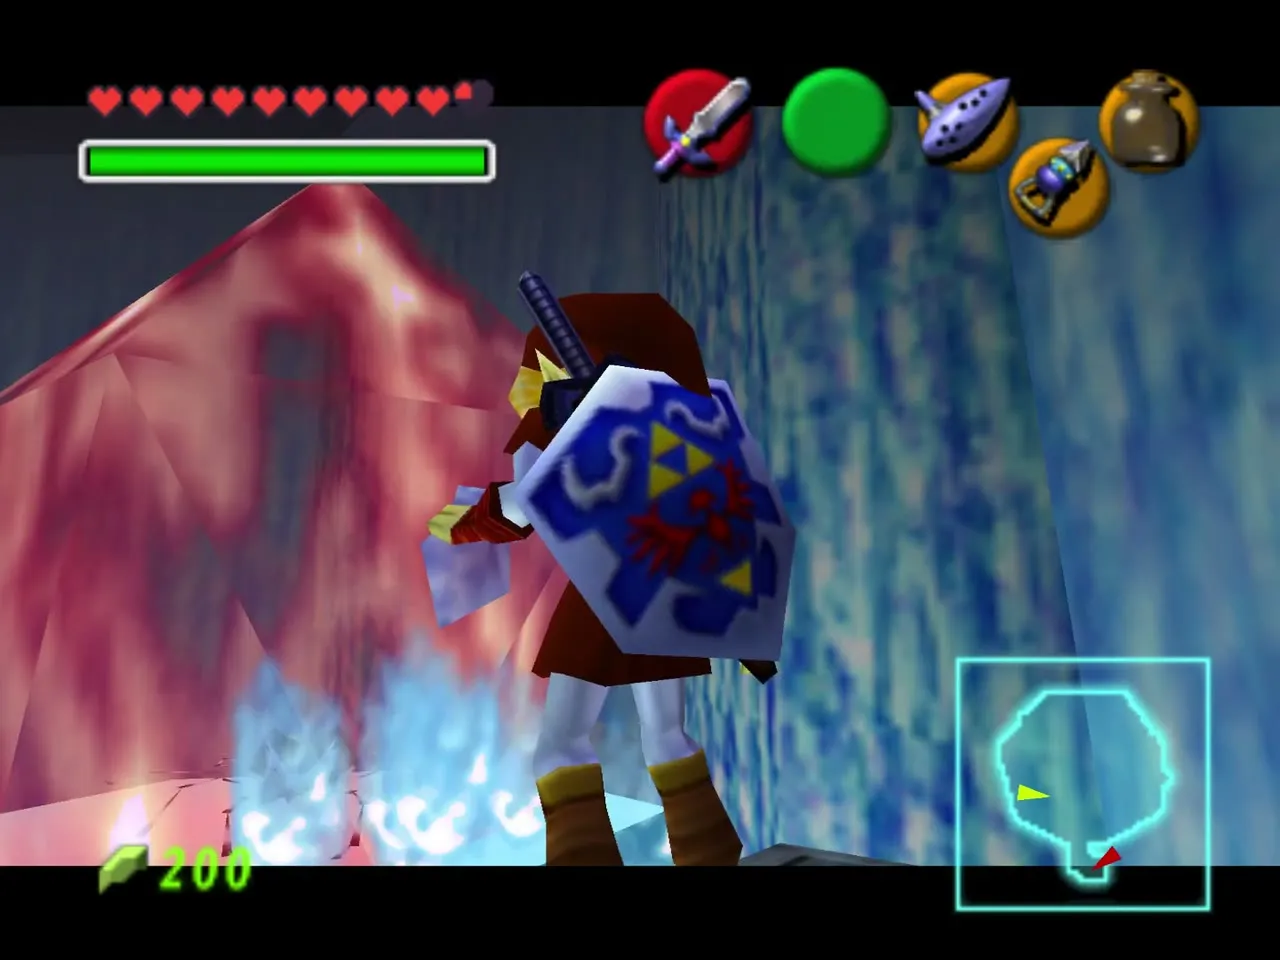
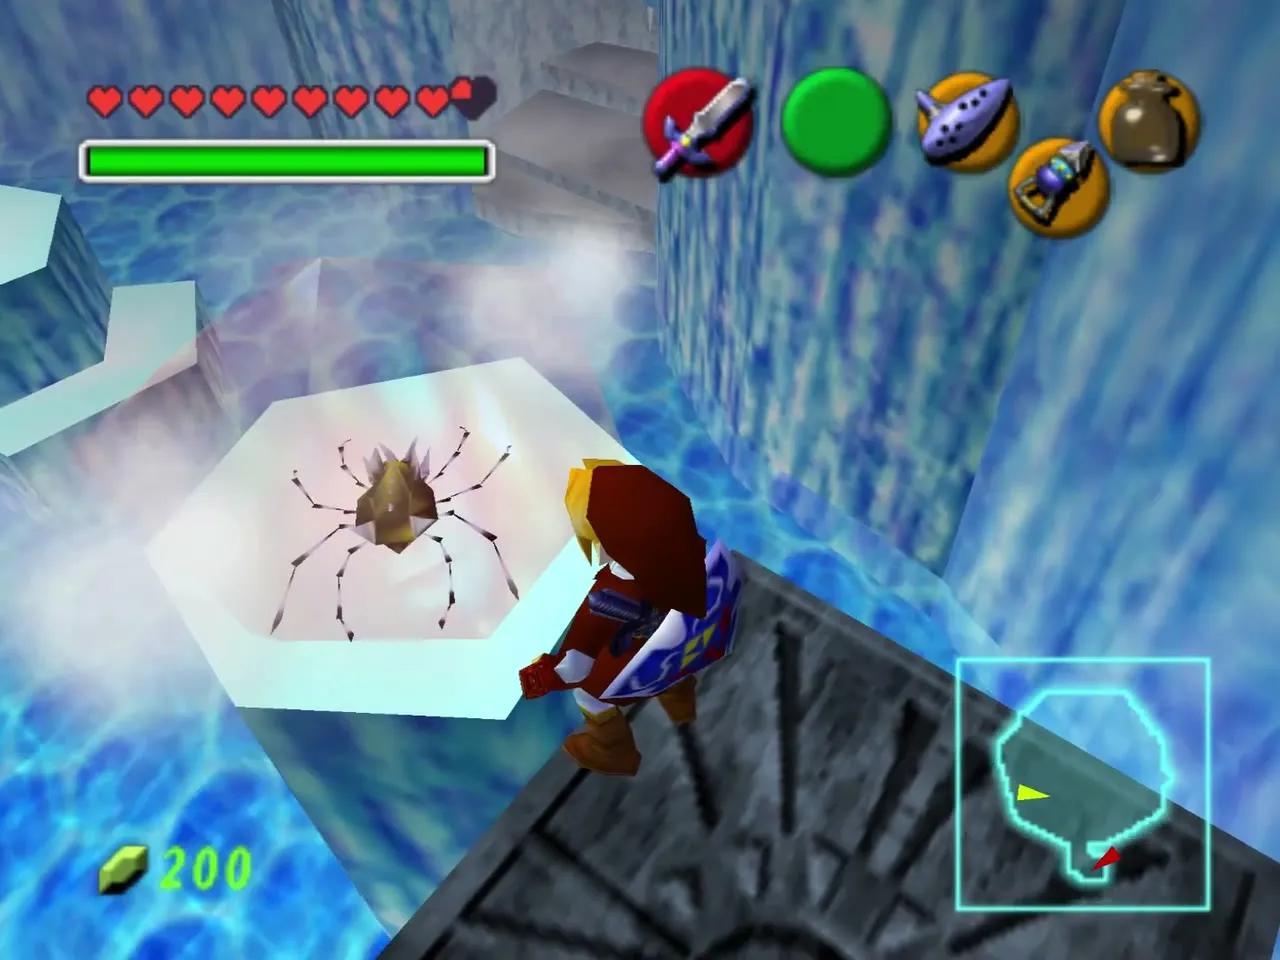
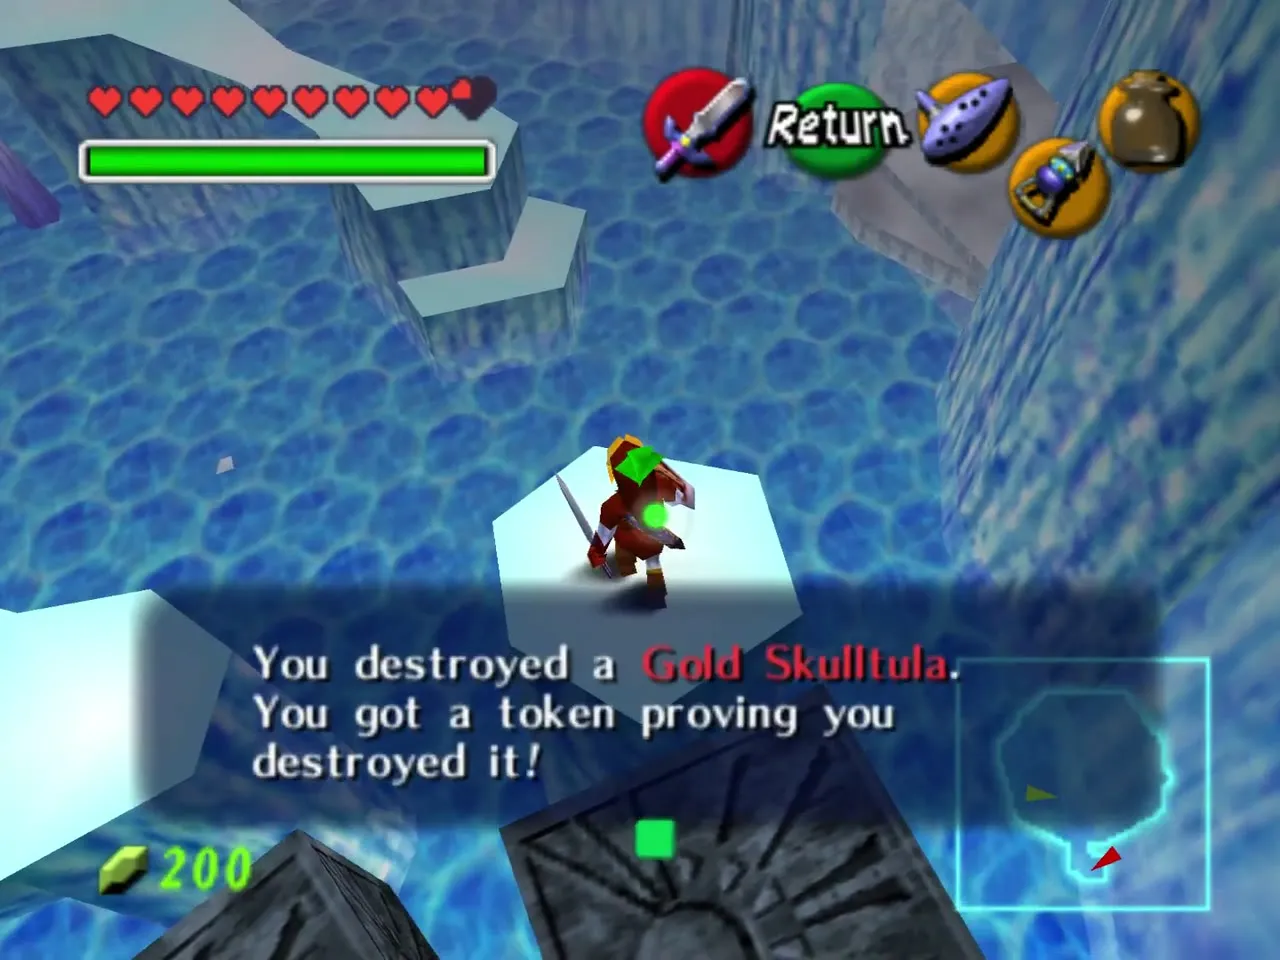
The Heart Piece belongs to the dungeon’s other Blue Fire room, the central octagon platform ringed by ice steps in the pillar area. Refill your bottle at the central basin before you move on.
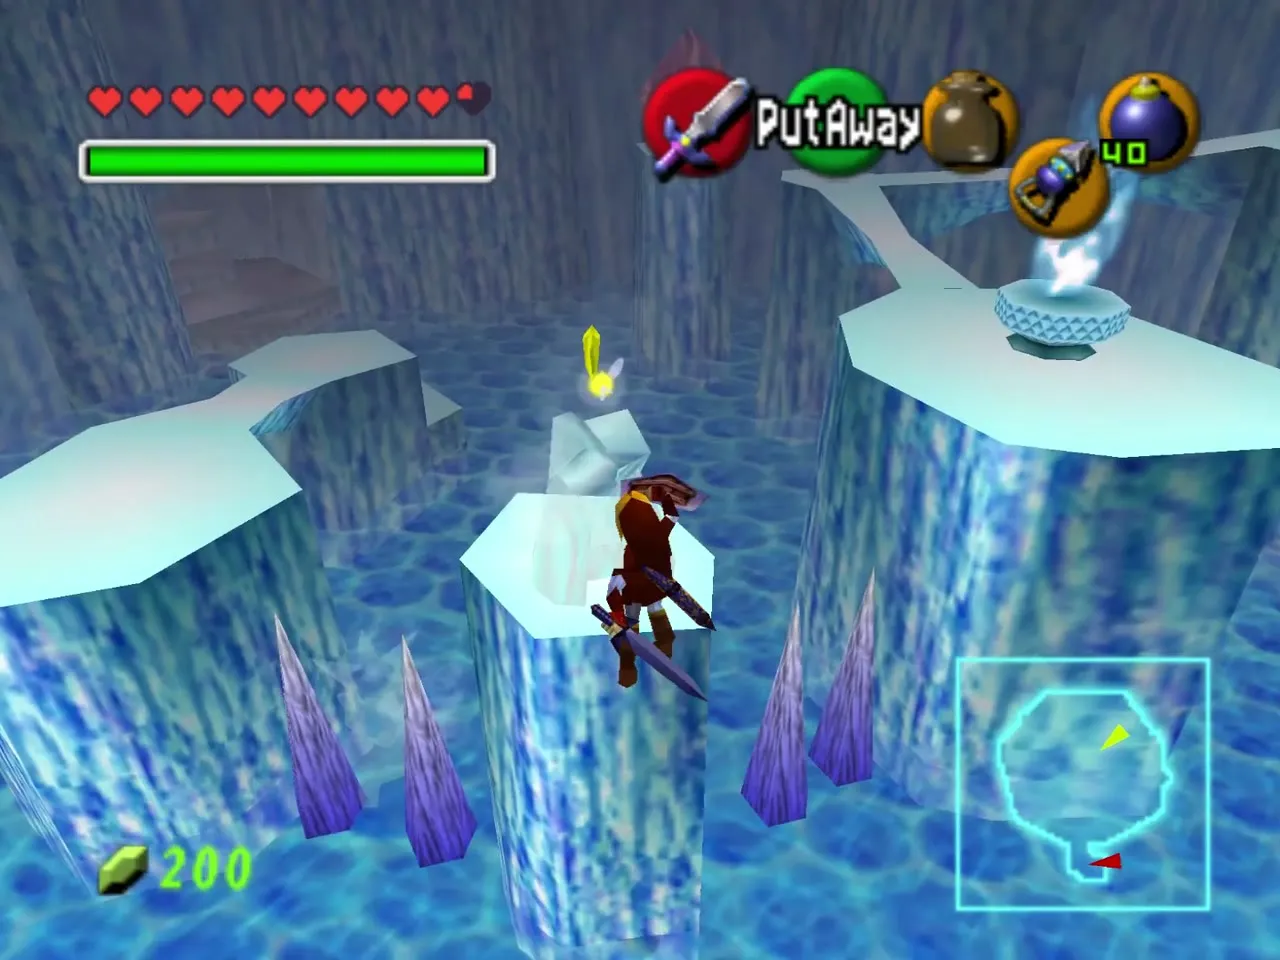
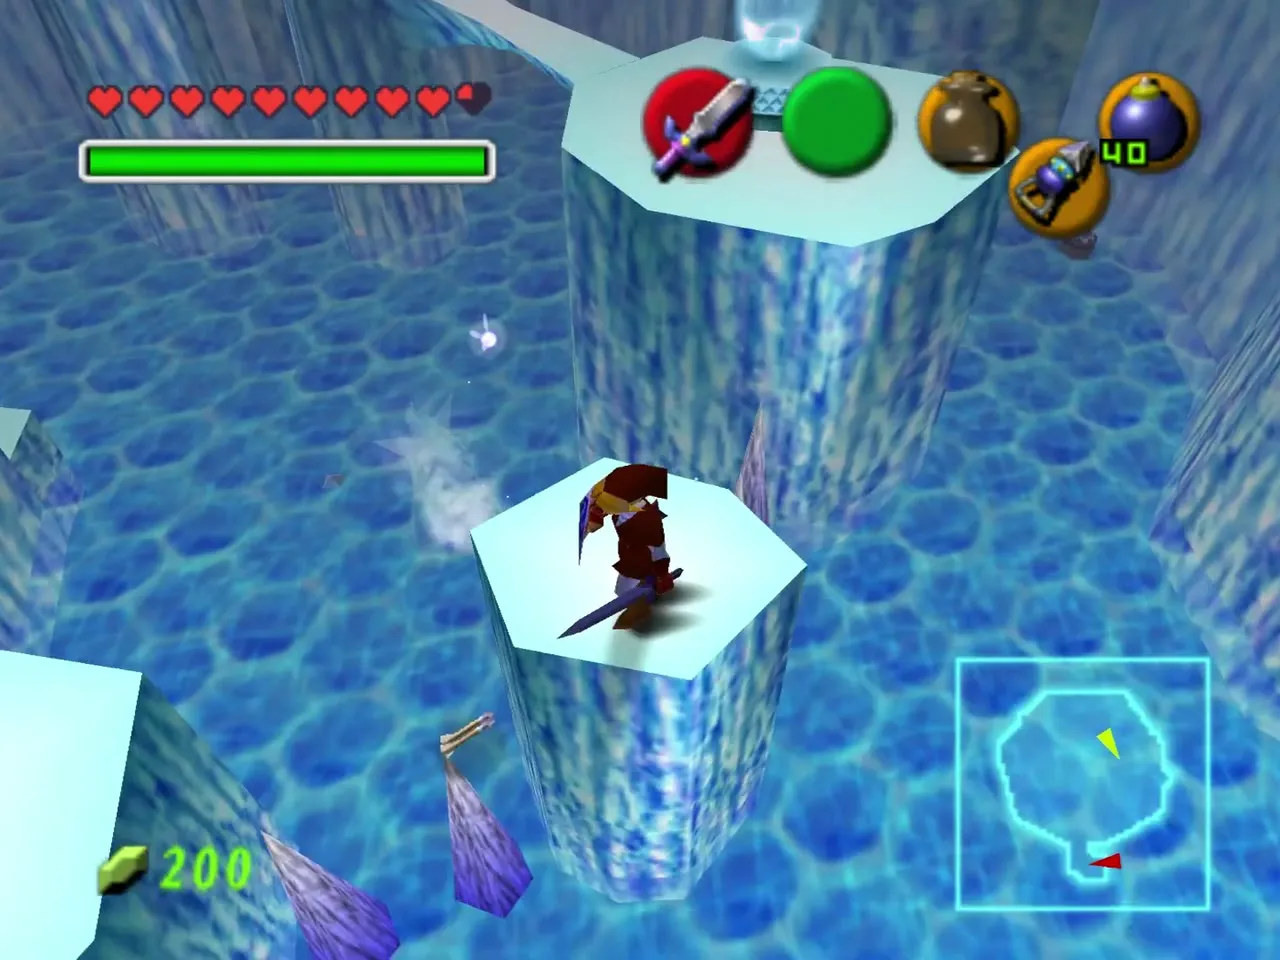
Pillar room and the second White Wolfos
Roll or jump across the white ice bridge. A boulder rolls down the corridor beyond, so sidestep it. Skip across the white blocks and the icy plateaus to reach the next tiled room.
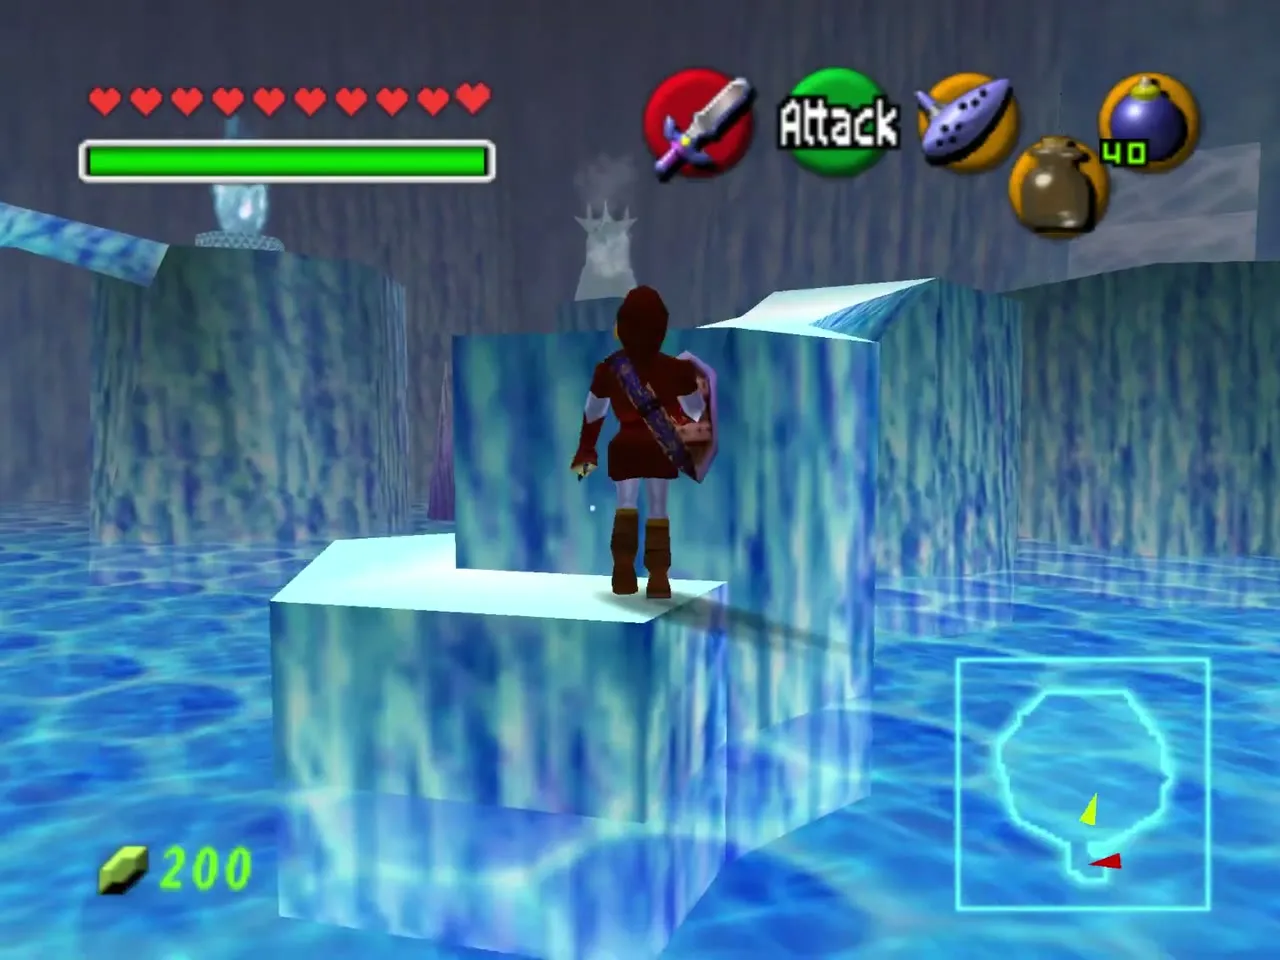
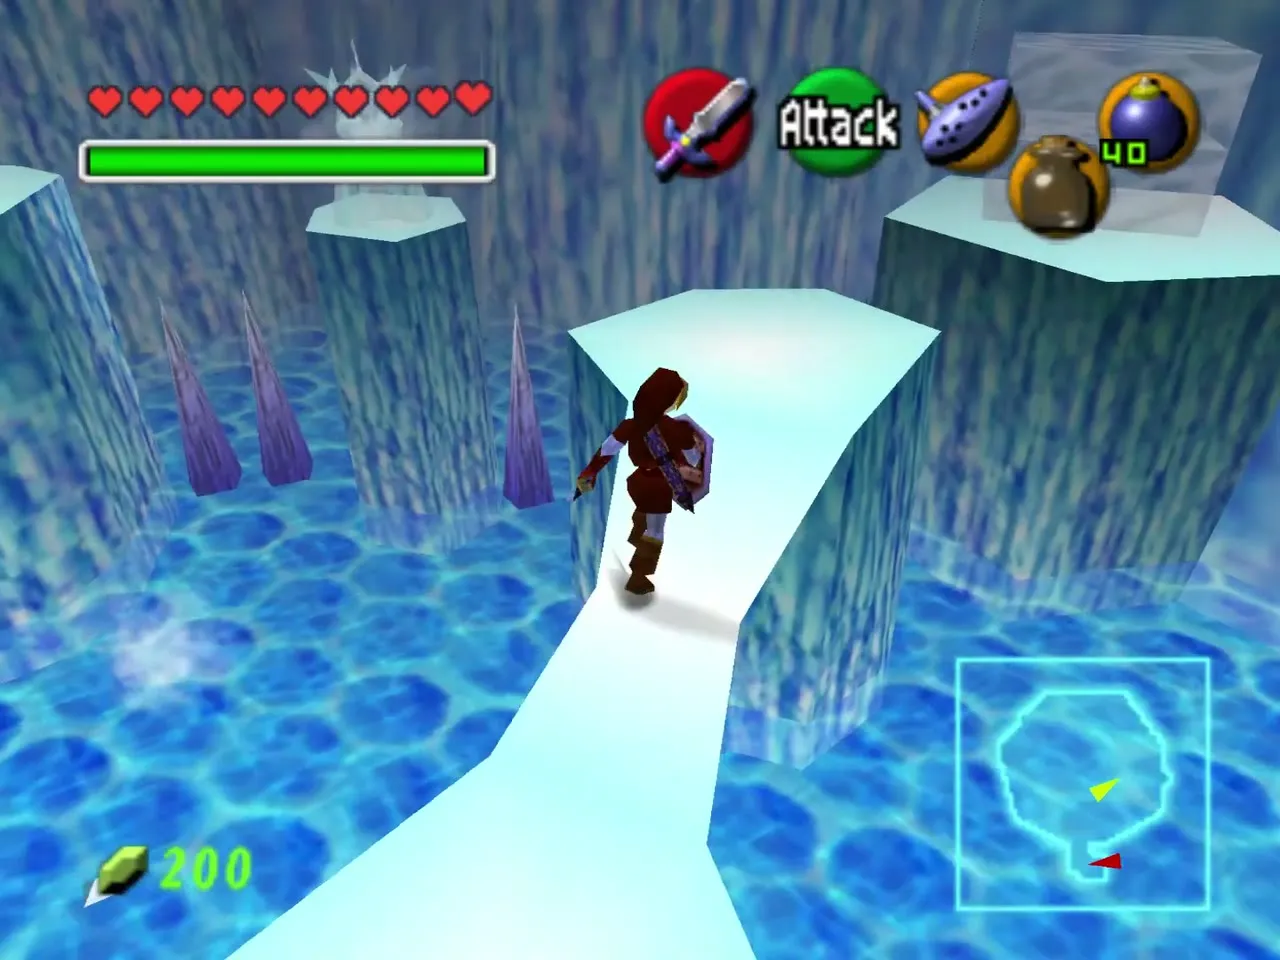
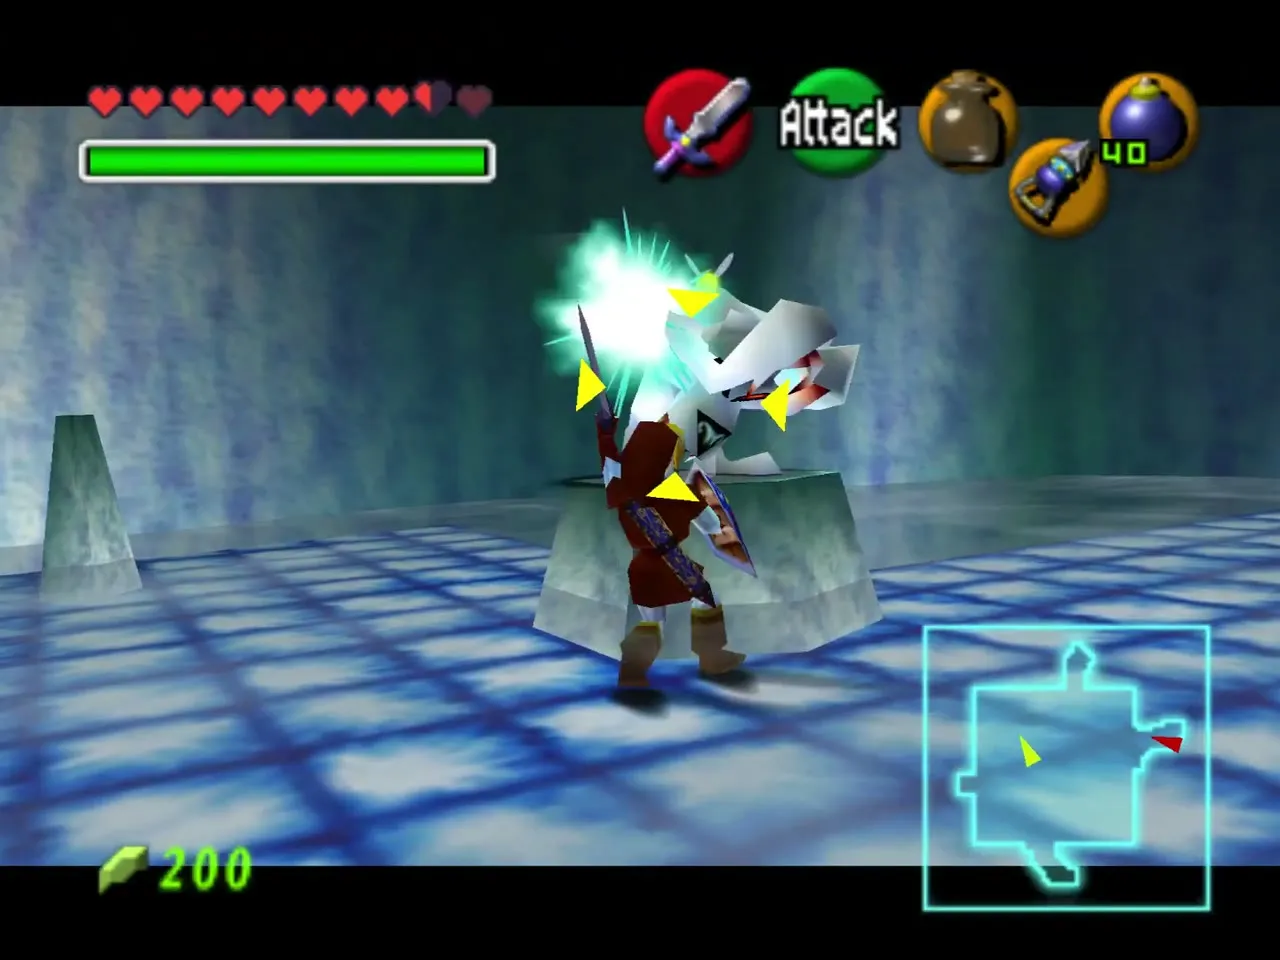
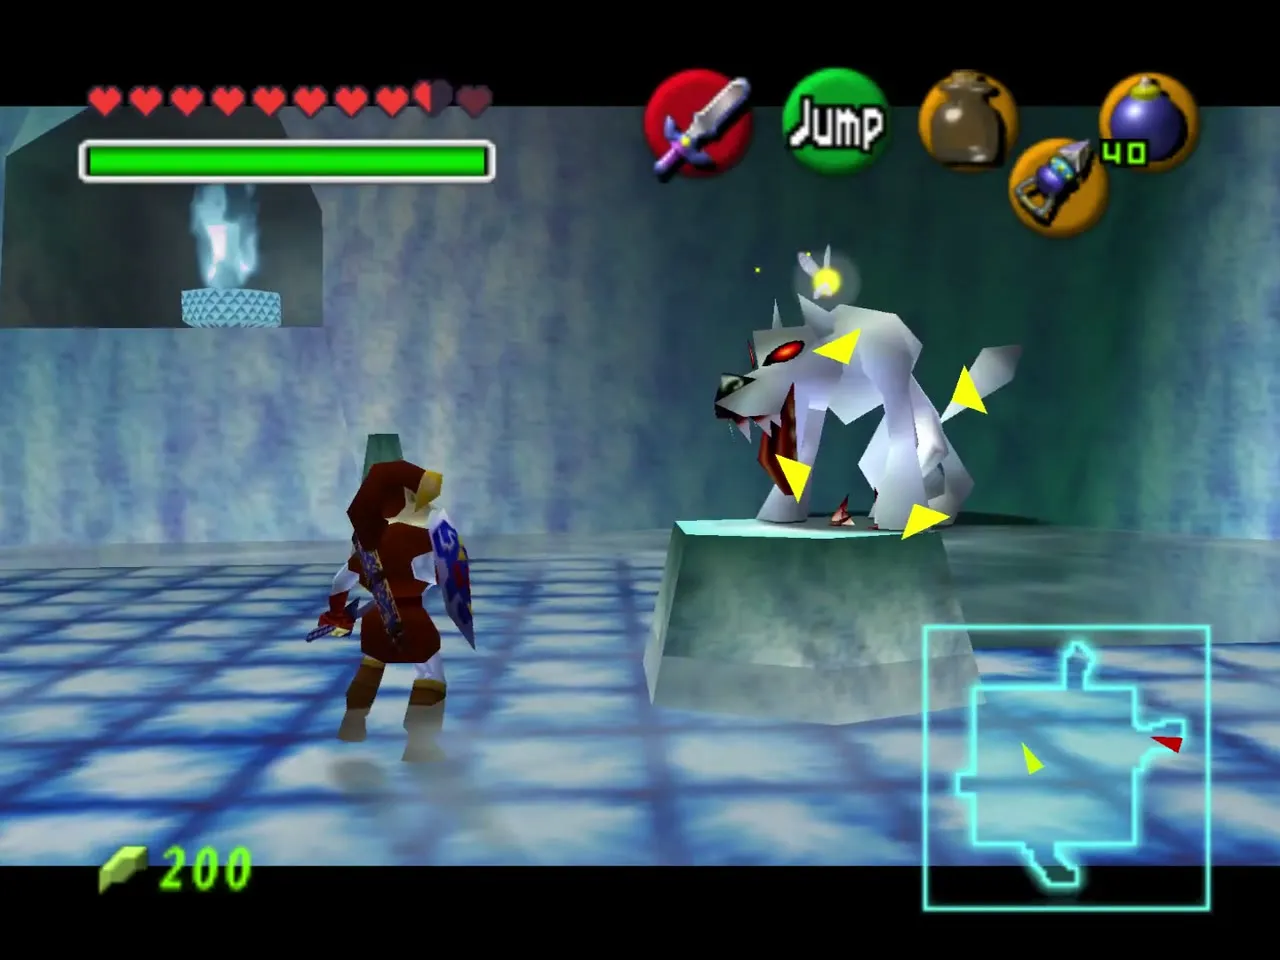
Three pillars stand in a tiled hall. A White Wolfos attacks you here, so fight it from one of the pillars where its charges can only reach you from limited angles.
Hidden switches and the Fairy Bow
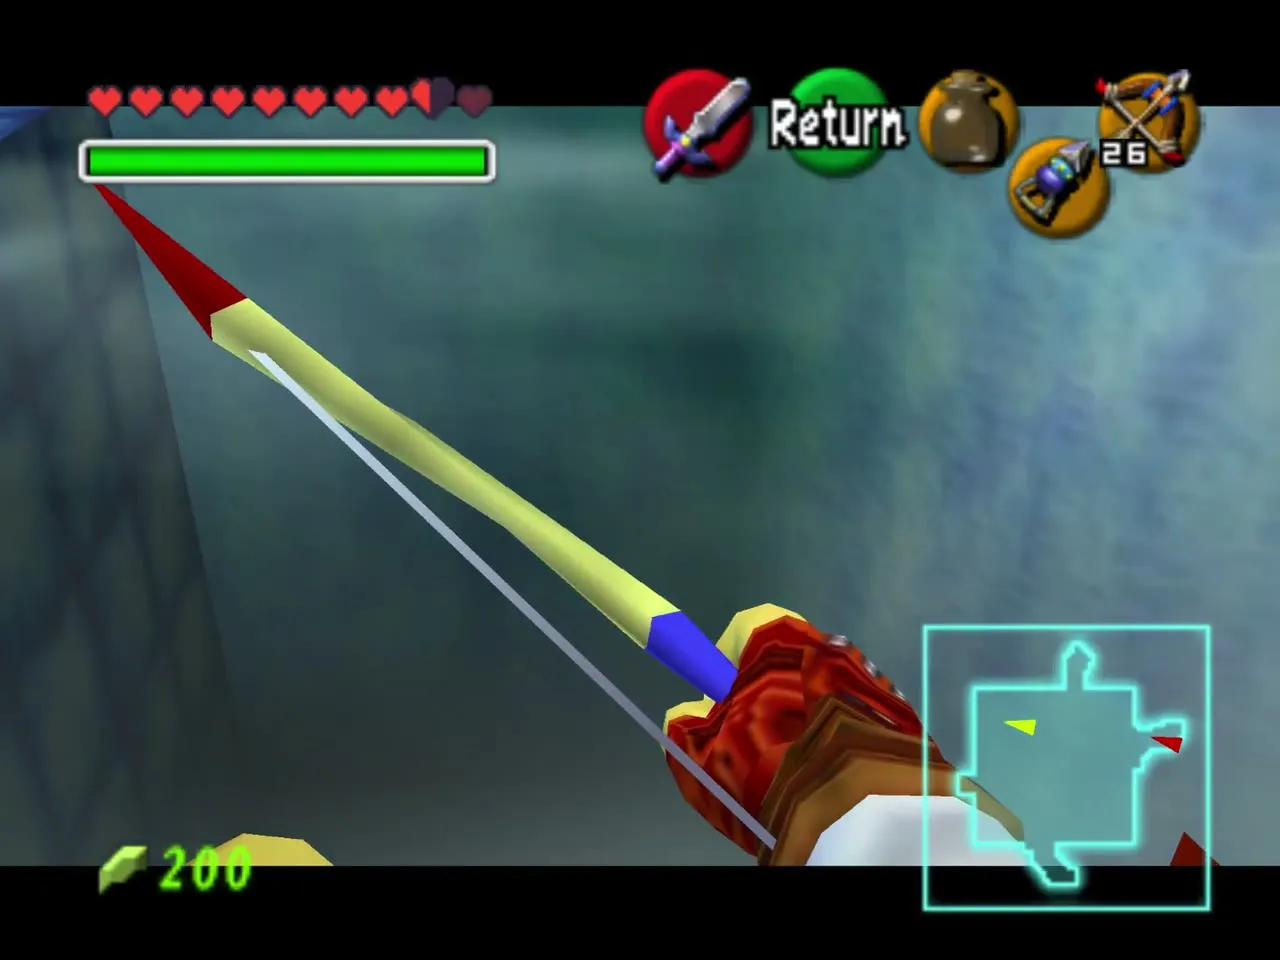
Master Quest hides several switches in this part: one in a diamond pattern on the wall, one behind a stalactite, one poking up from the floor. Select the Fairy Bow and shoot the far target; if it sits across a gap, step to the nearest ledge before you aim.
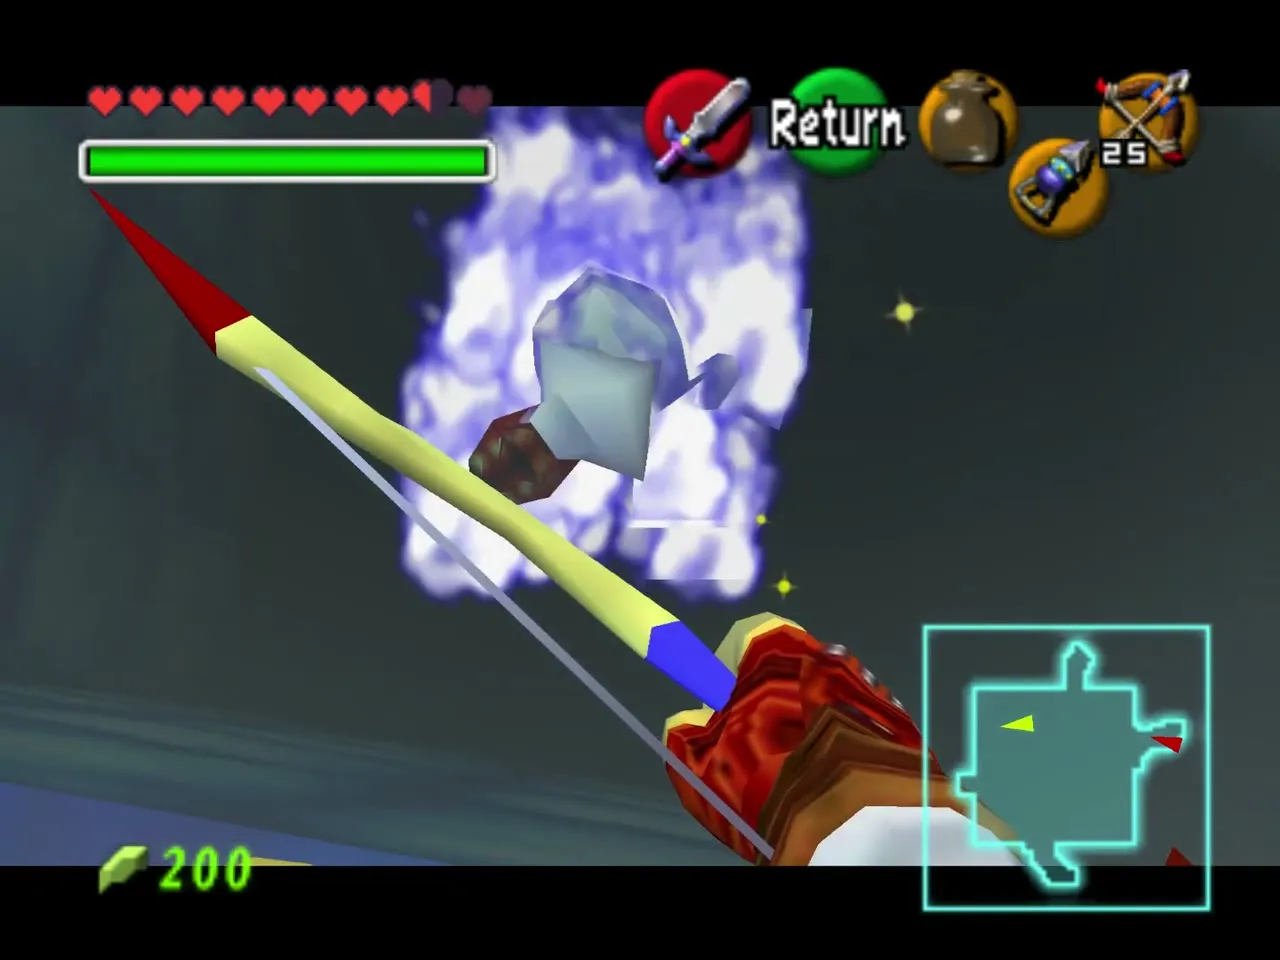
Stand at the stone Time block crest and play the Song of Time to make another block appear, then push the black block up to the ledge with the Blue Fire basin.
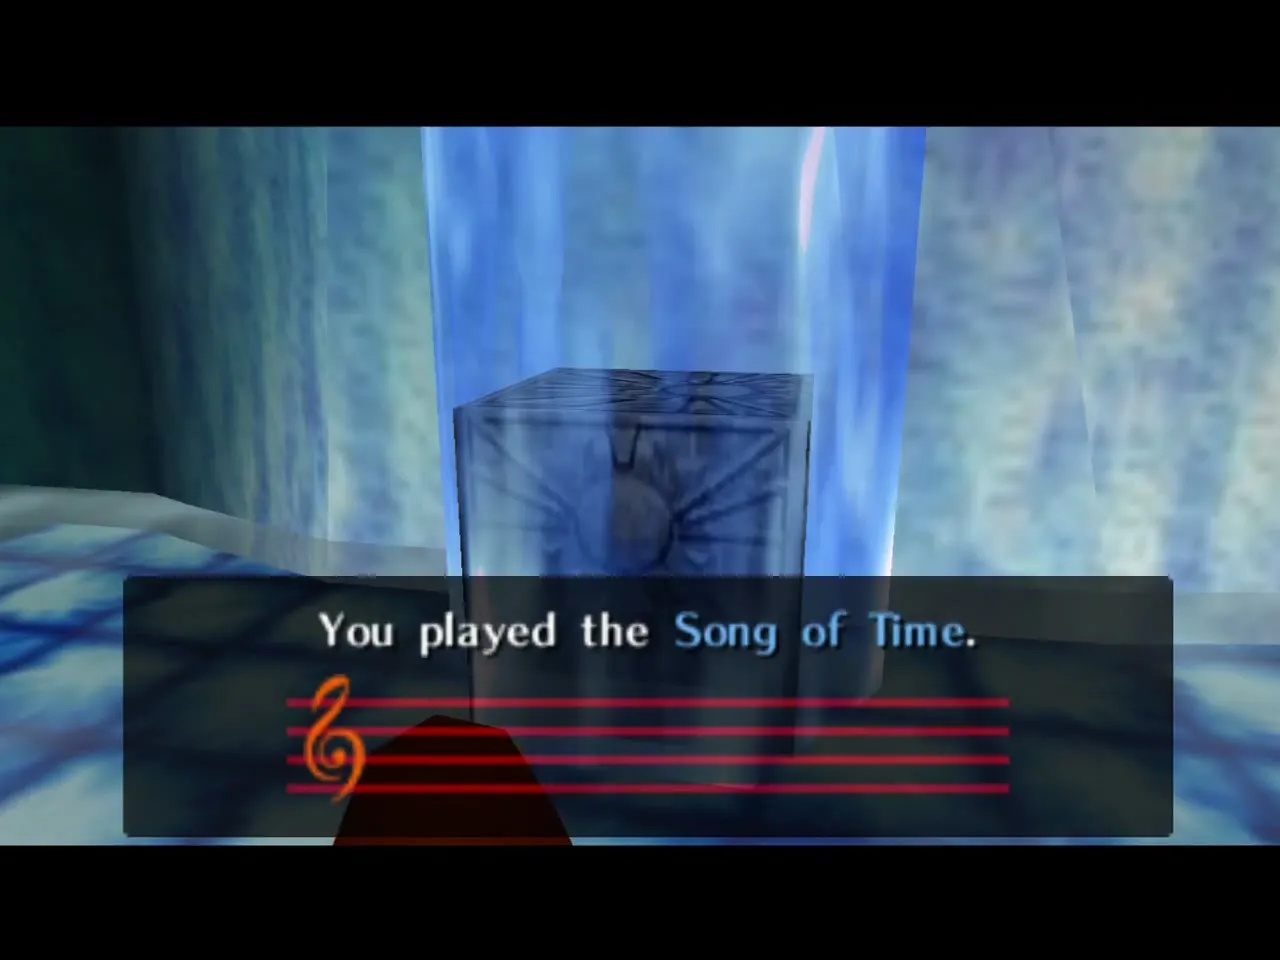
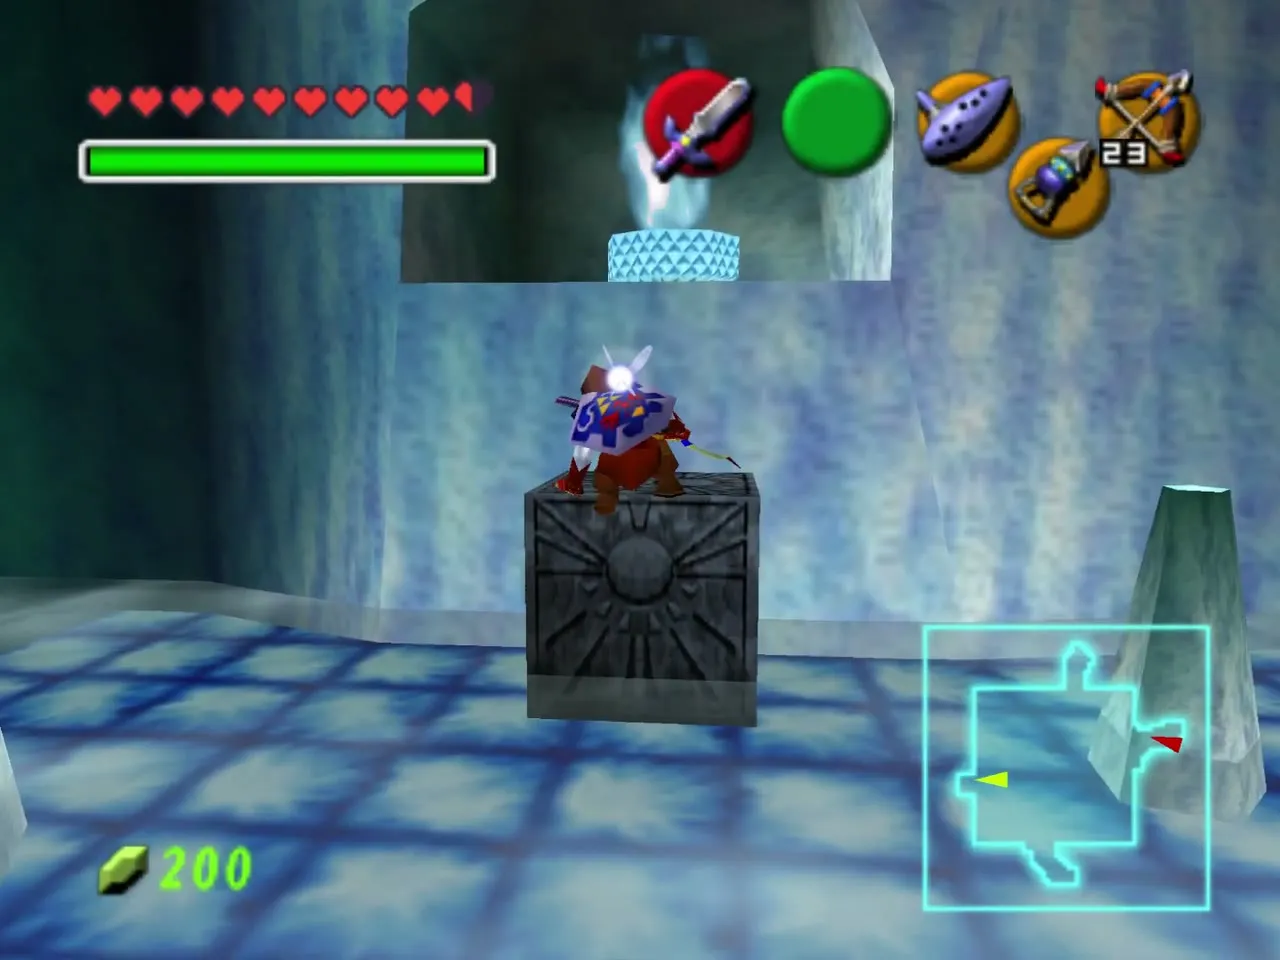
Play the Song of Time again where the block has to change position. A third Gold Skulltula sits on an ice block along the way; defeat it and collect the token. Melt the red ice on the wall ahead with Blue Fire to open the way.
The Stalfos and the Iron Boots
Hop over the pushable black block to the ledge basin and refill your bottle. Continue along the ice-block corridor, using the Hookshot on the corner crystal switch, to the long icicle hallway. A final dose of Blue Fire clears the last red ice before the boots room.
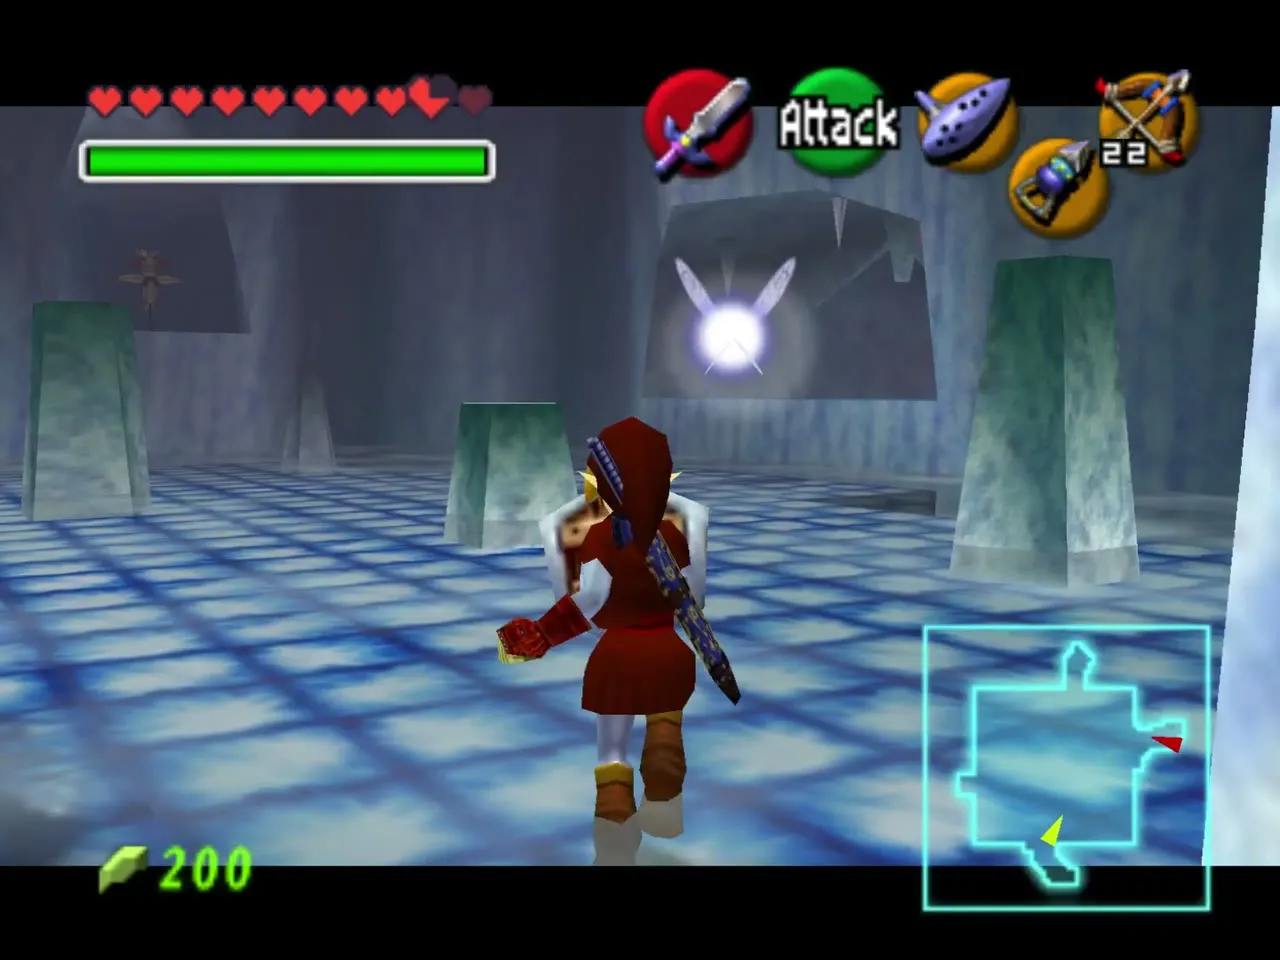
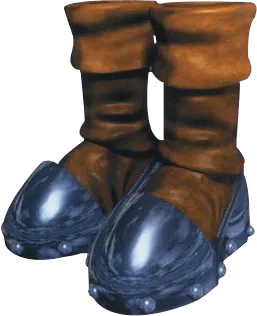
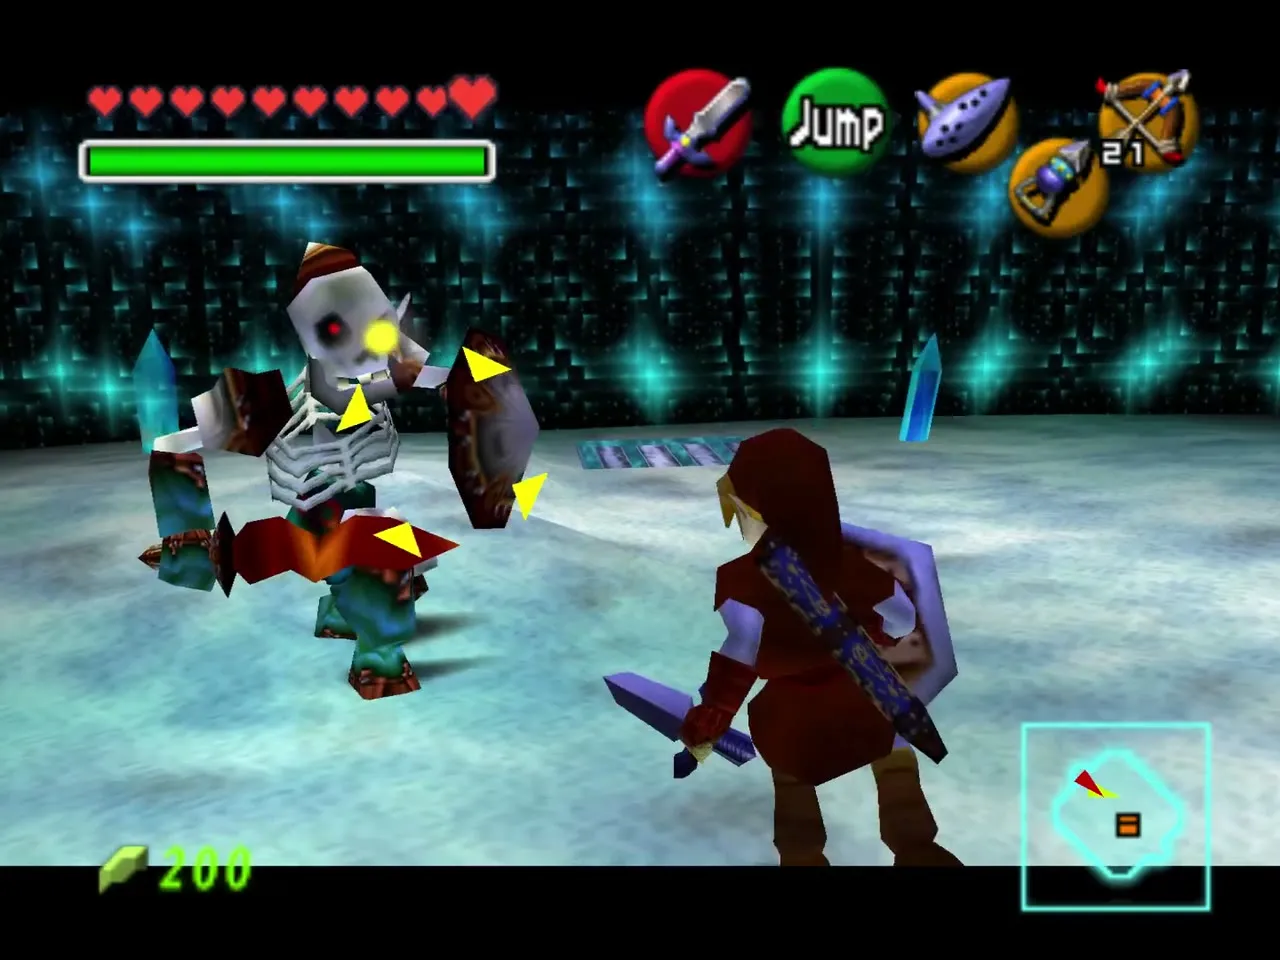
The mini-boss is a Stalfos, not the White Wolfos of the original. Circle it, block its slashes with the shield, and hit it when it is open. When it falls a big chest appears; open it for the Iron Boots.
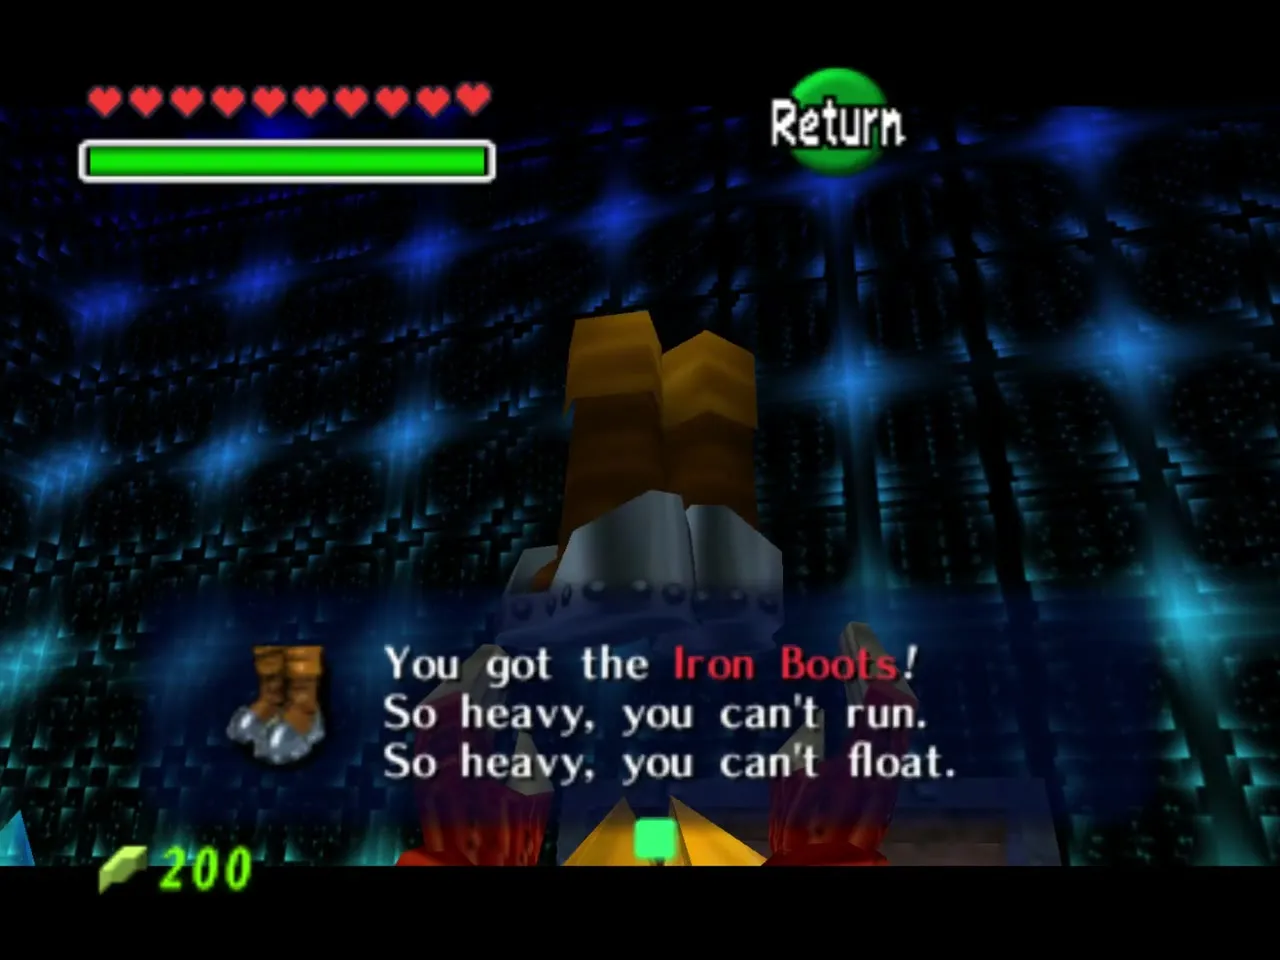
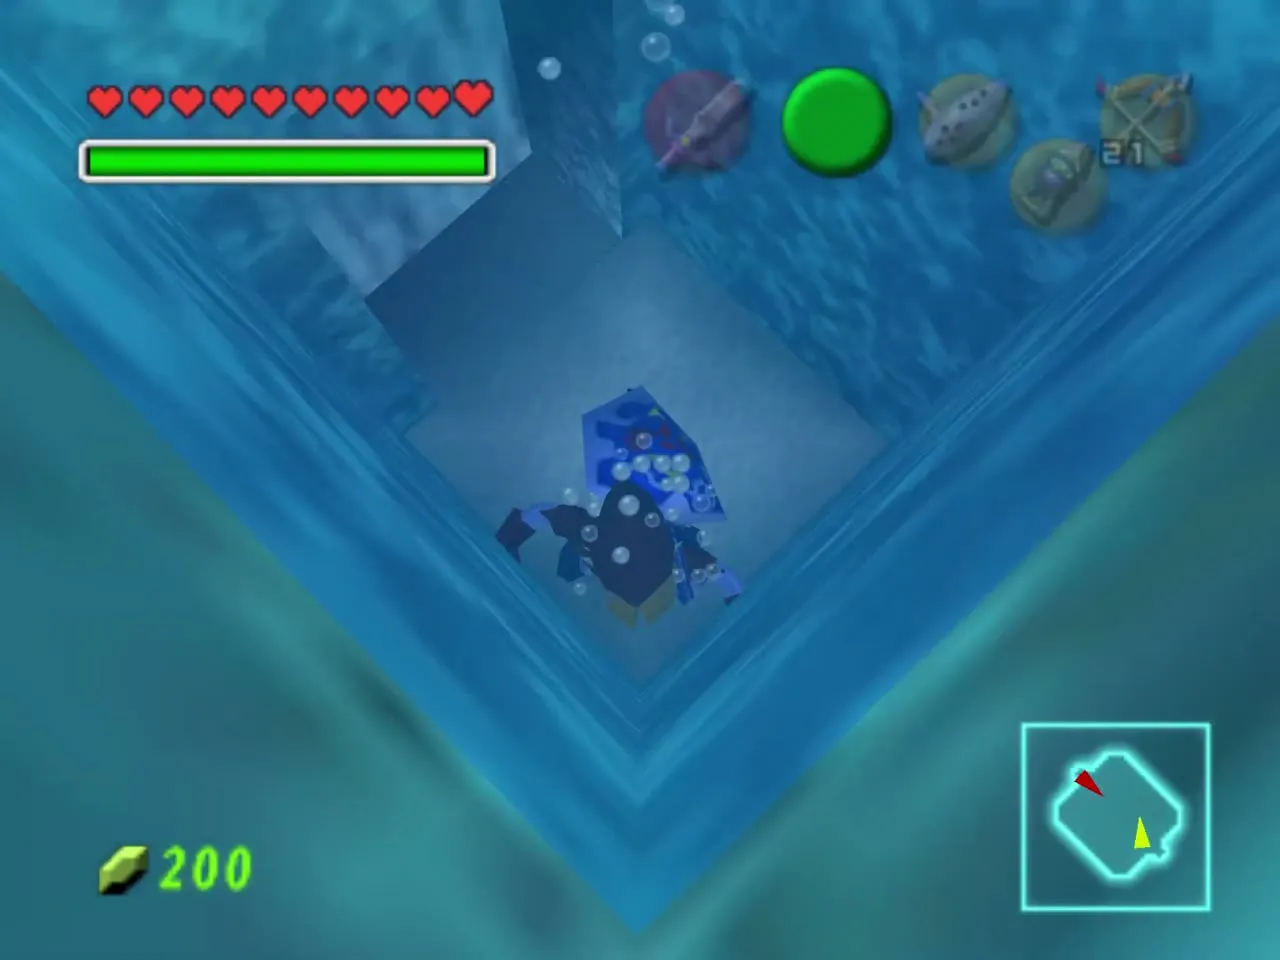
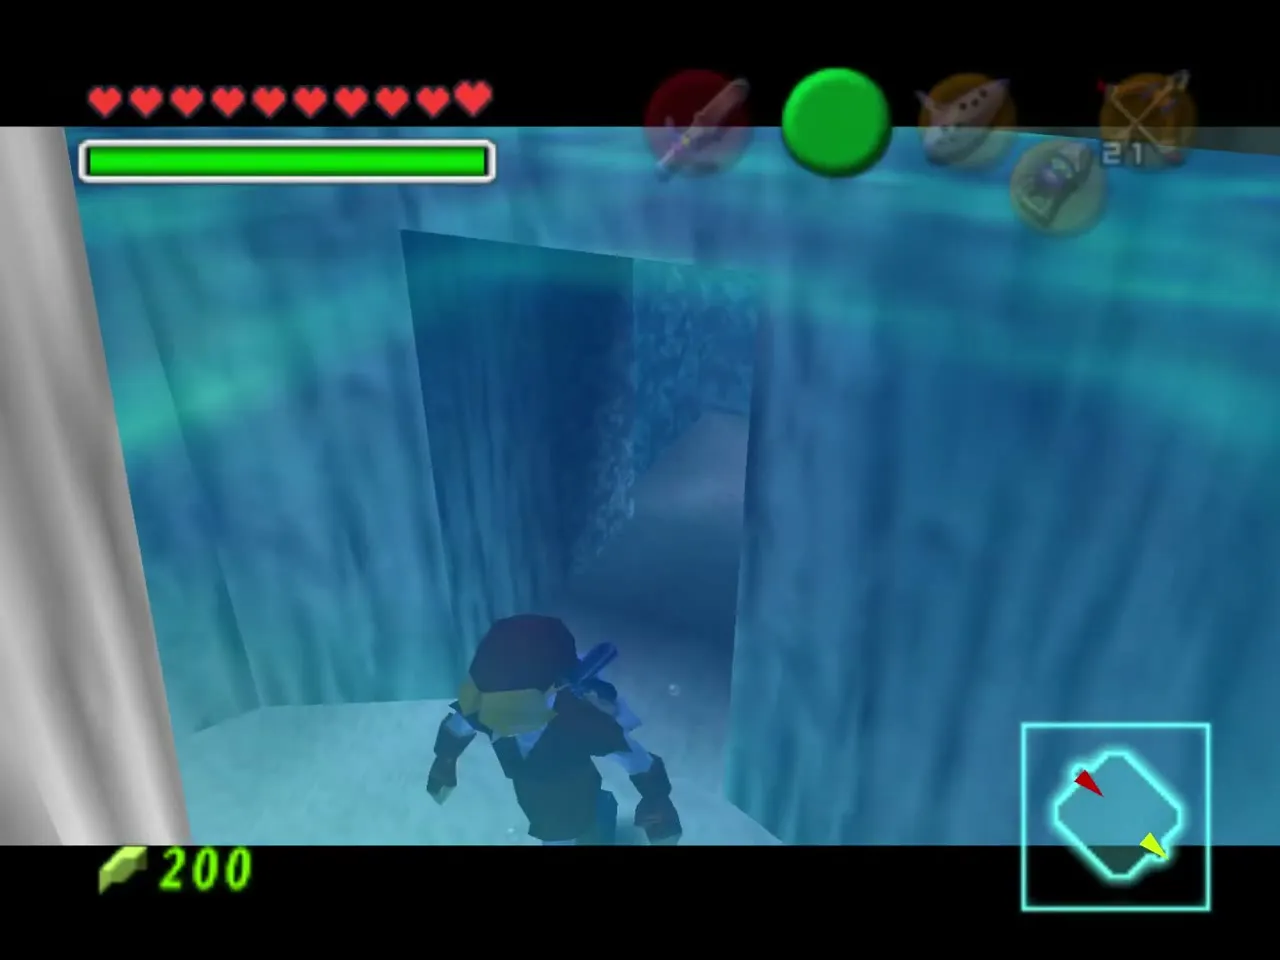
Open the Equipment subscreen to wear the Iron Boots. They sink you in water and keep you from being swept away, but they are slow on land, so press the same button to take them off.
Sheik and the Serenade of Water
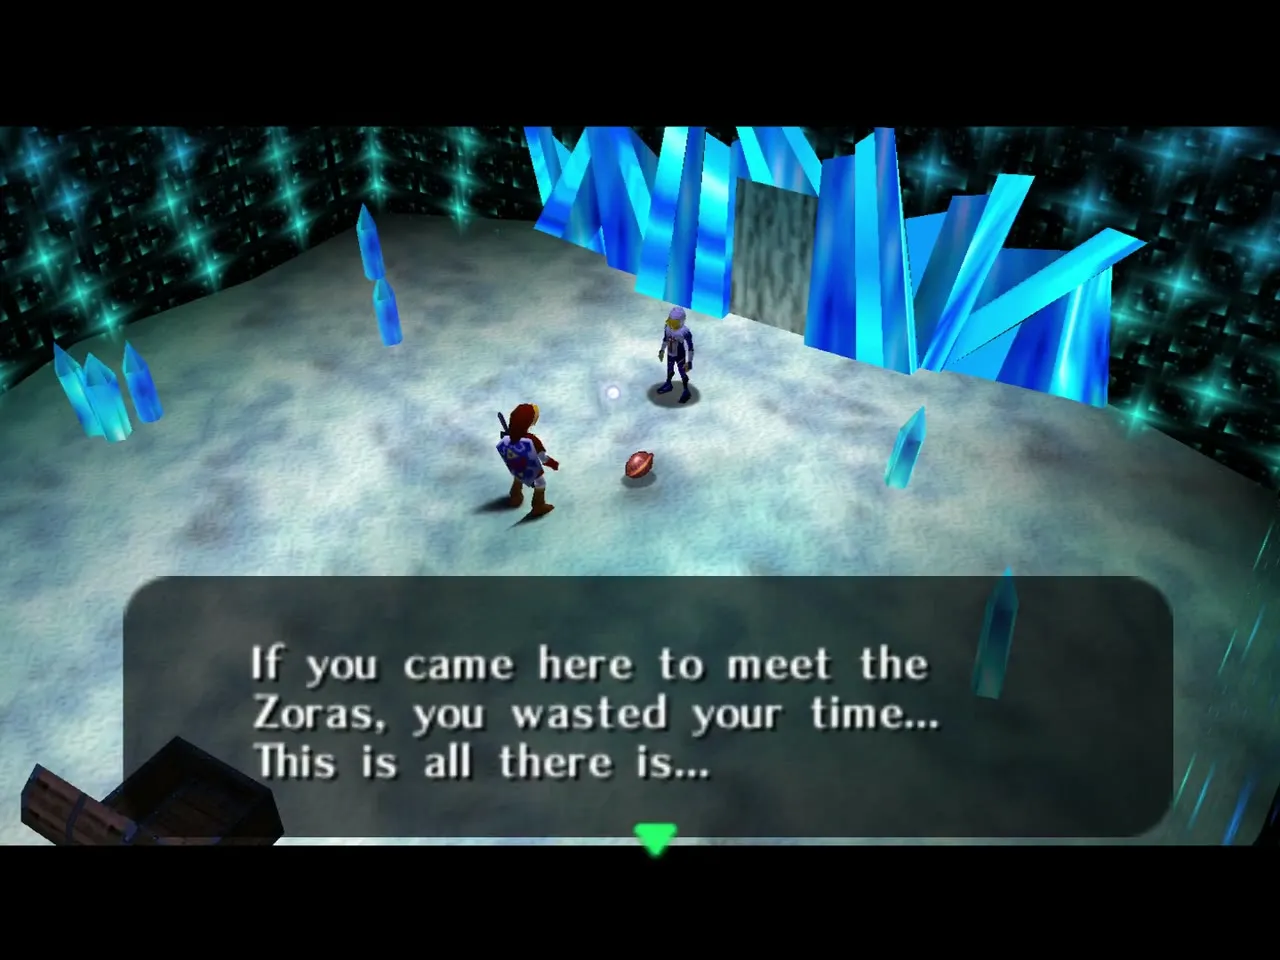
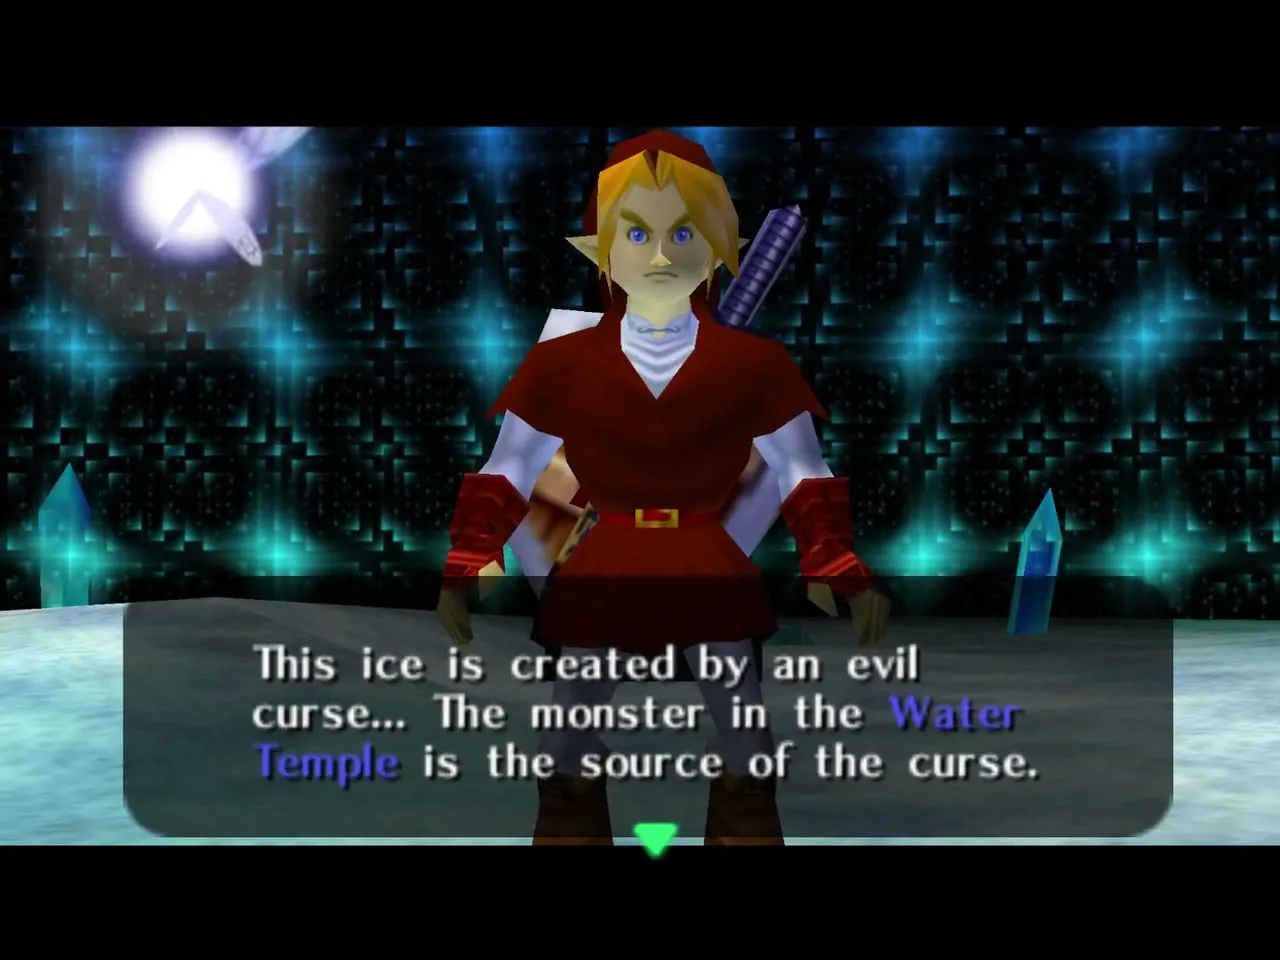
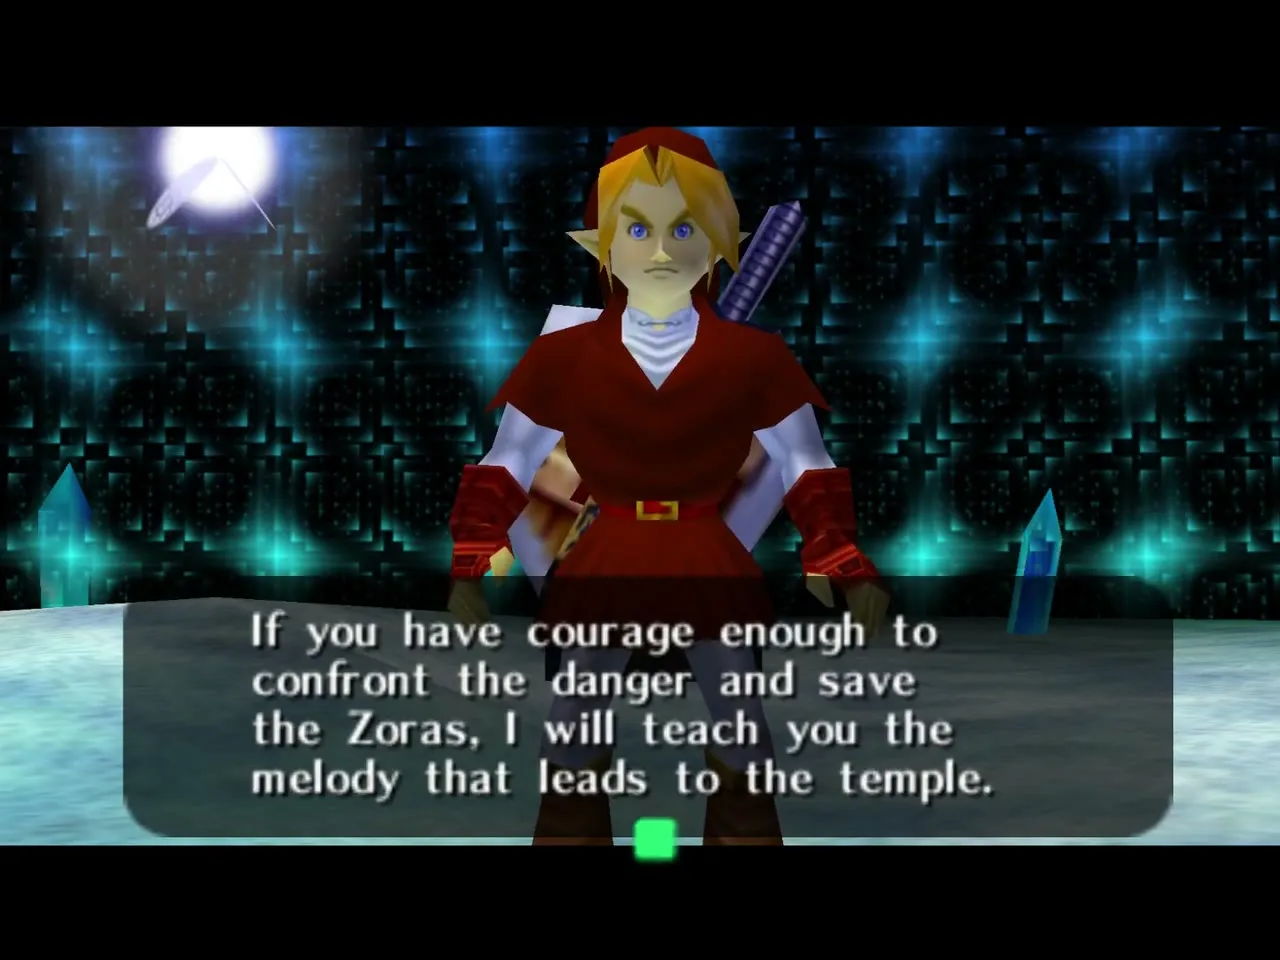
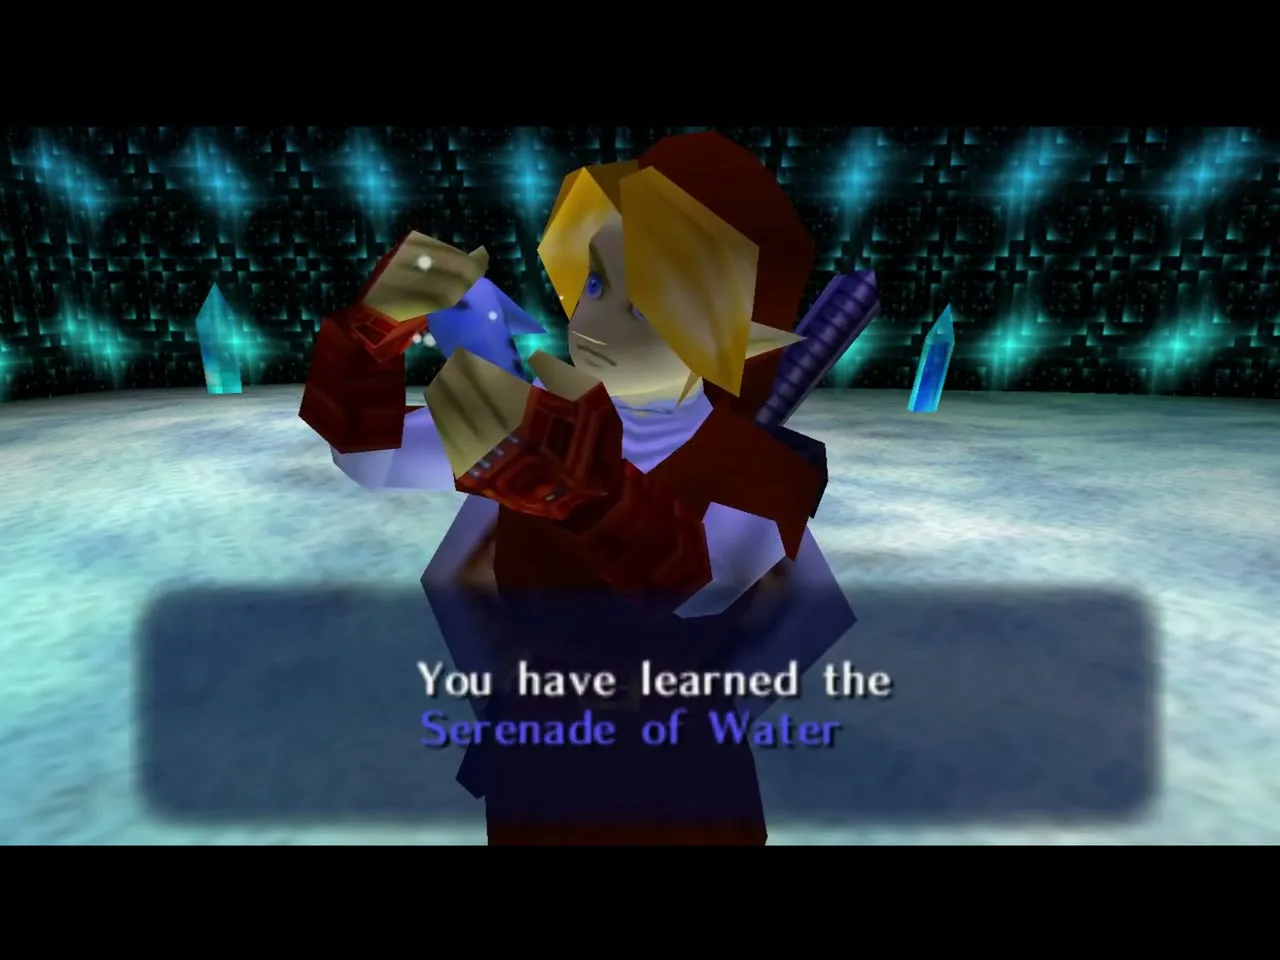
Sheik appears as soon as you take the boots. She says an evil curse created the ice, and she will teach the melody that leads to the Water Temple if you have the courage to save the Zora. Repeat the Serenade of Water on the Ocarina to learn it; it warps you to the pad at Lake Hylia.
Leaving the cavern
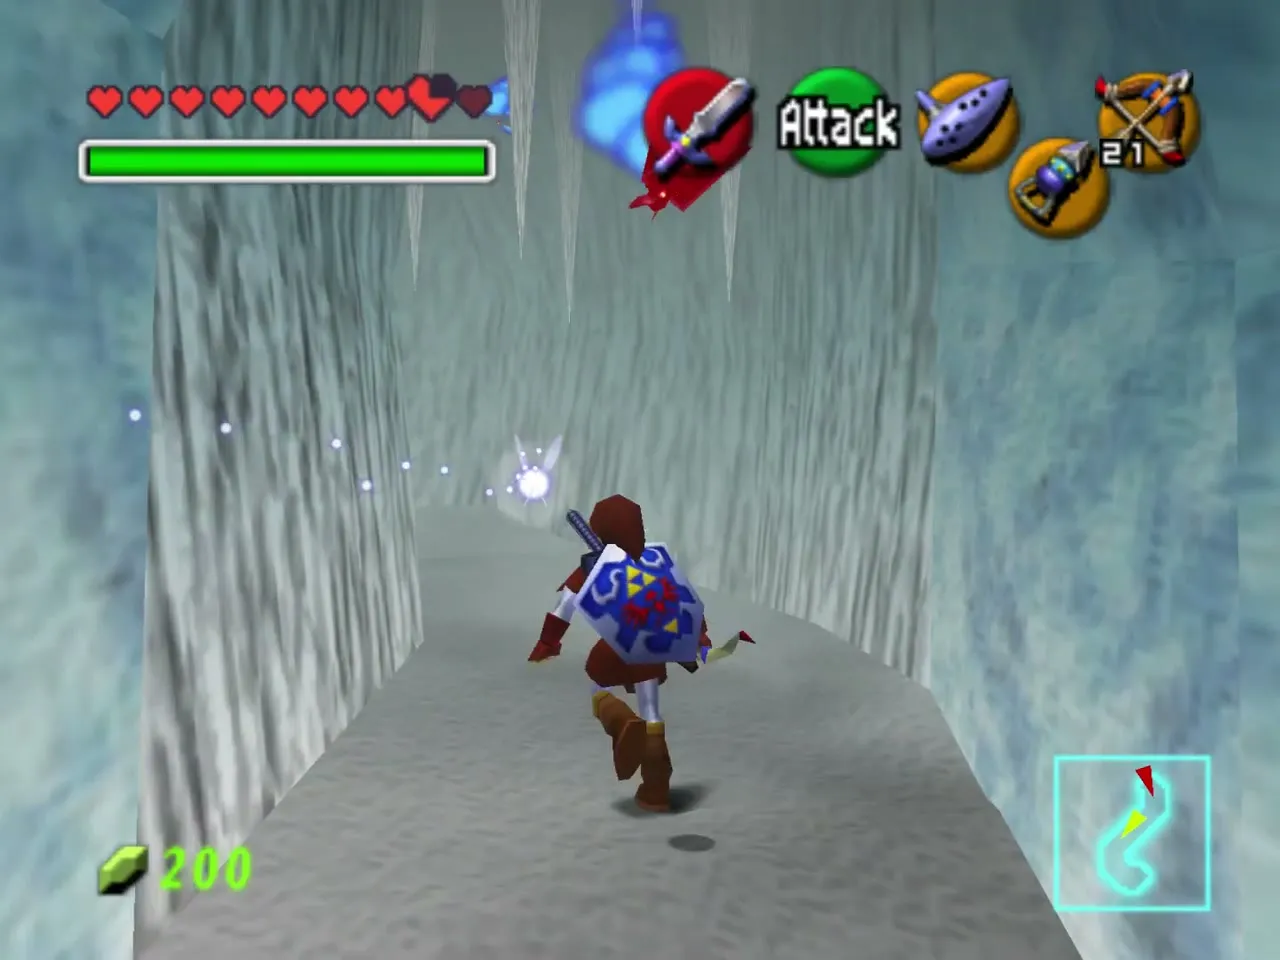
Run back through the icy passage and the entrance tunnel, avoiding the rolling boulder. Outside you are back at the misty fountain. Fill any empty bottle with Blue Fire before you go, as King Zora’s ice in Zora’s Domain also needs it.
How Master Quest changes the Ice Cavern
The biggest change is the missing hub: there is no spinning ice blade and no block-pushing puzzle. Song of Time blocks and hidden switches take their place. The first Blue Fire sits where the Heart Piece was, and the Heart Piece moves to the other Blue Fire room. Freezards and Ice Keese are rare, two White Wolfos roam as regular enemies and rolling boulders patrol the corridors. A Stalfos replaces the White Wolfos as the mini-boss. Compare the original on the Ice Cavern walkthrough.
Chapter checklist
| Type | Name | Where |
|---|---|---|
| Dungeon Map | Dungeon item | Chest frozen in red ice beside the first Blue Fire |
| Compass | Dungeon item | Chest on a white ice platform in the pillar room |
| Gold Skulltula 1 | Icicle room | Ceiling of the icicle room |
| Gold Skulltula 2 | Pillar room | On a black block near the Time block |
| Gold Skulltula 3 | Tiled hall | On an ice block near the red ice wall |
| Heart Piece | Heart Piece | The dungeon’s other Blue Fire room |
| Iron Boots | Key item | Chest after the Stalfos |
| Serenade of Water | Song | Taught by Sheik after the Iron Boots |
The next dungeon is the Water Temple. See Heart Pieces and Gold Skulltulas for the rest, and the Master Quest hub for the other dungeons.