





















Zelda II 100% Completion Walkthrough15 chapters
- Starting the AdventureSave, North Castle, first Life level, Shield in Rauru, the Parapa Desert Heart Container and the way to Parapa Palace.
- Palace 1Enter the first palace, collect its four keys and the Candle, defeat Horsehead and place the first crystal.
- Ruto, the Trophy and the Jump SpellThe first Magic Container, the Trophy from the Tantari Desert cave, Jump in Ruto Town, then the caves.
- Saria and the Life SpellFind the Mirror in Saria, learn Life, follow the river guard, and walk on toward Death Mountain in Zelda II.
- Death Mountain and the HammerEnter the caves, take the Hammer from the lava room, and collect the Magic Container and Link Doll on the way to Mido.
- Mido Town, the Water of Life and the Fairy SpellLearn Downward Thrust in the church, get the Water of Life from Moruge Swamp and unlock the Fairy spell.
- Palace 2Reach the palace from the swamp, get the Handy Glove, beat Helmethead and place the second crystal in route order.
- Palace 3Reach it from King’s Tomb, use Fairy, get the Raft, find the P-Bags and keys, beat Rebonack and place the third crystal.
- Nabooru and the Fire SpellReach Nabooru from the eastern desert, learn Fire in the town basement, find the 500 P-Bag and reach Magic level 6.
- Darunia, the Kidnapped Child and the Reflect SpellLearn Upward Thrust, rescue the kidnapped child on Maze Island and get Reflect.
- Palace 4Enter with Reflect, find the keys and P-Bags, beat Carock by reflecting his waves, and place the fourth crystal.
- Palace 5The fake wall, the Flute behind Iron Knuckles, keys, Attack level 7 and the Gooma boss in this green-brick palace.
- New Kasuto, Old Kasuto and the Thunder SpellThe Magic Container, Spell and Magical Key in the hidden town, Attack 8, Thunder.
- Palace 6Reach the palace with the Flute, climb the red-brick floors, defeat Barba, and place the crystal at the statue.
- Final PalaceCross the Valley of Death, beat Thunderbird and Dark Link, and claim the Triforce of Courage for the ending.
| Covers | Saria, the river crossing and the forest path east of town |
|---|---|
| Palace | None in this stretch: no palace is entered |
| Rewards | Life spell, Mirror (key item, needed for Life); no Heart or Magic Containers, P-Bags or crystals. Optional: a Link Doll in the swamp square south-west of the boulder in front of the Water of Life cave (see Link Dolls) |
This stretch takes you from the stone fence path into Saria, where you pick up the Mirror, learn the Life spell and get past the river guard. Life costs more magic than Shield or Jump, so plan your Magic level before you rely on it. The shortest route is: cross the fence path, enter Saria, find the Mirror, return it to the woman in purple, learn Life from the man in her basement, then leave town and head east through the forest.

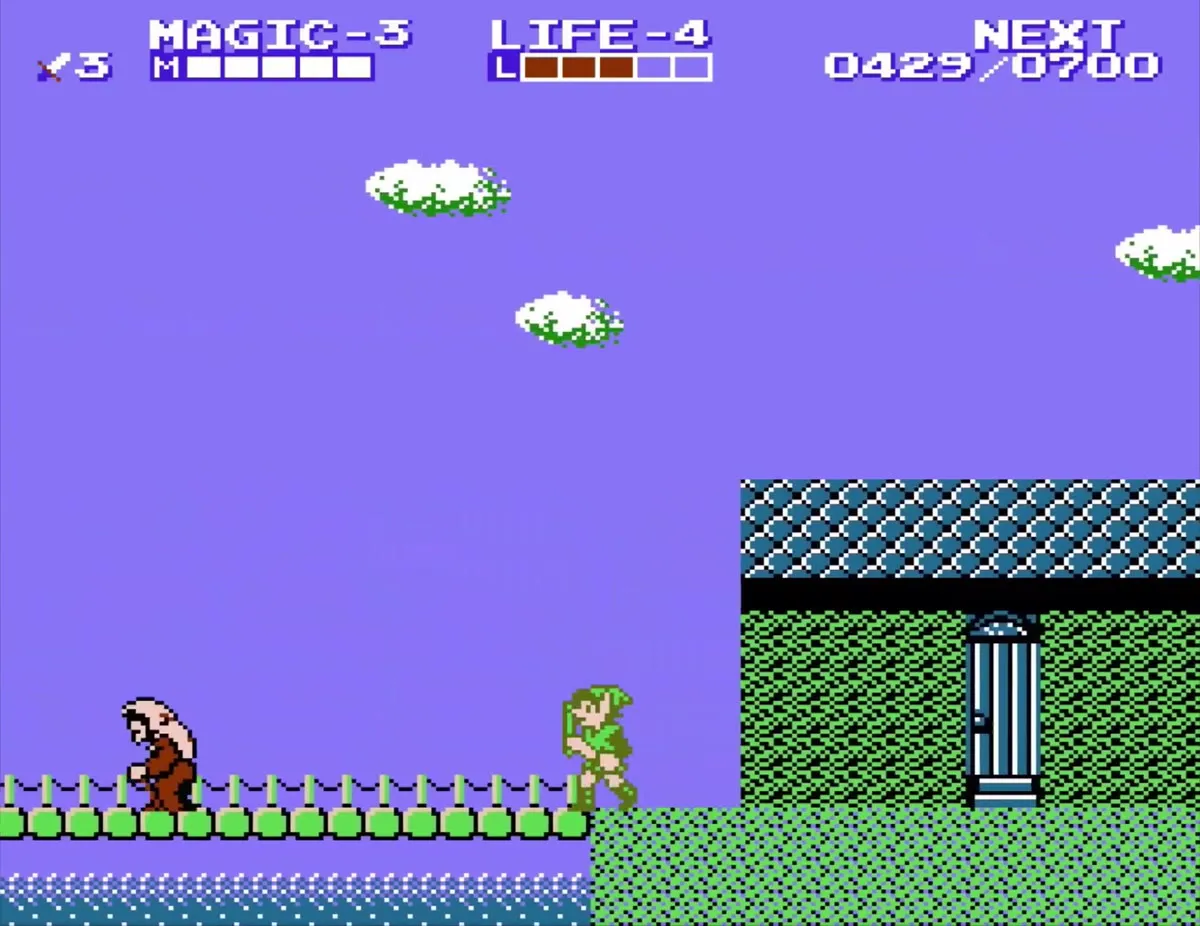
Table of Contents
Saria: the Mirror and the Life spell
Reach Saria
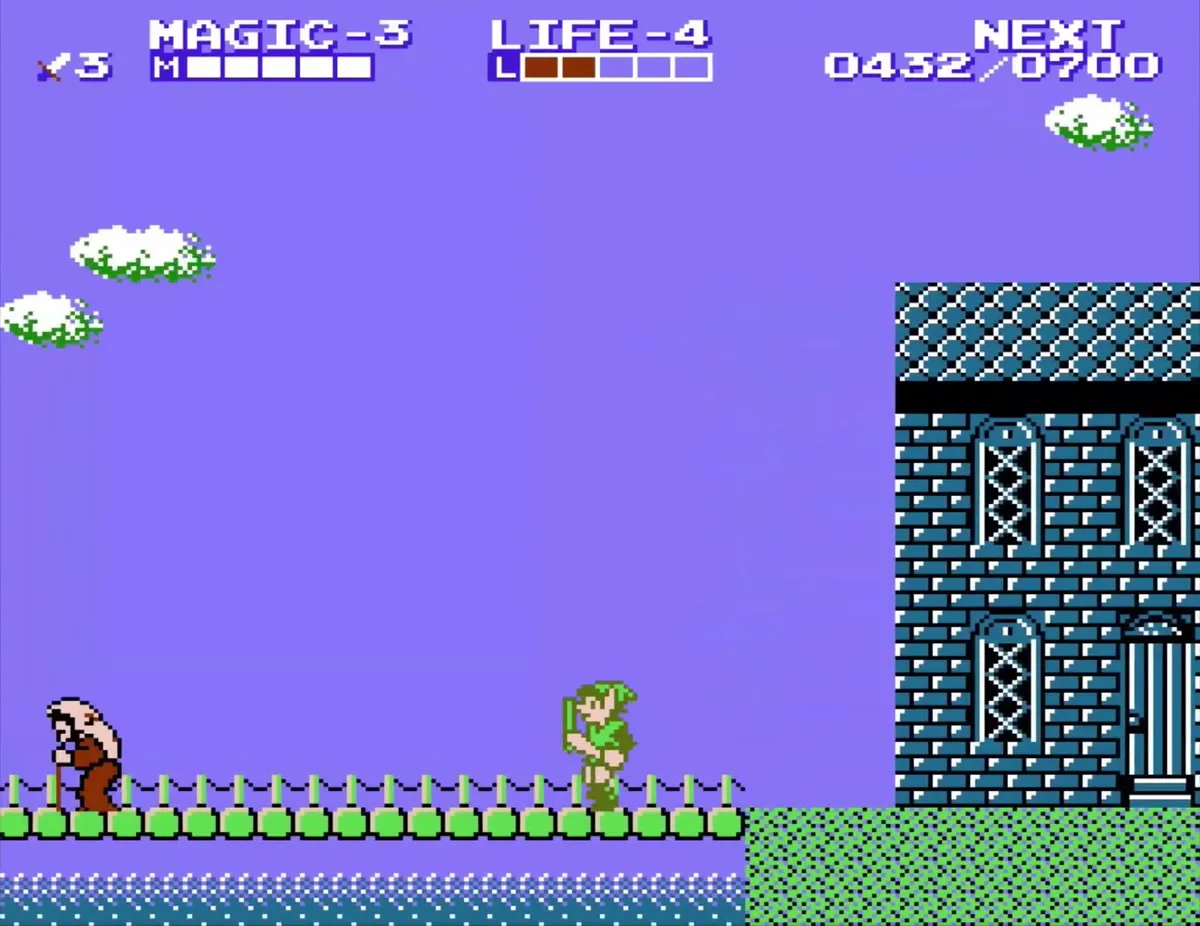
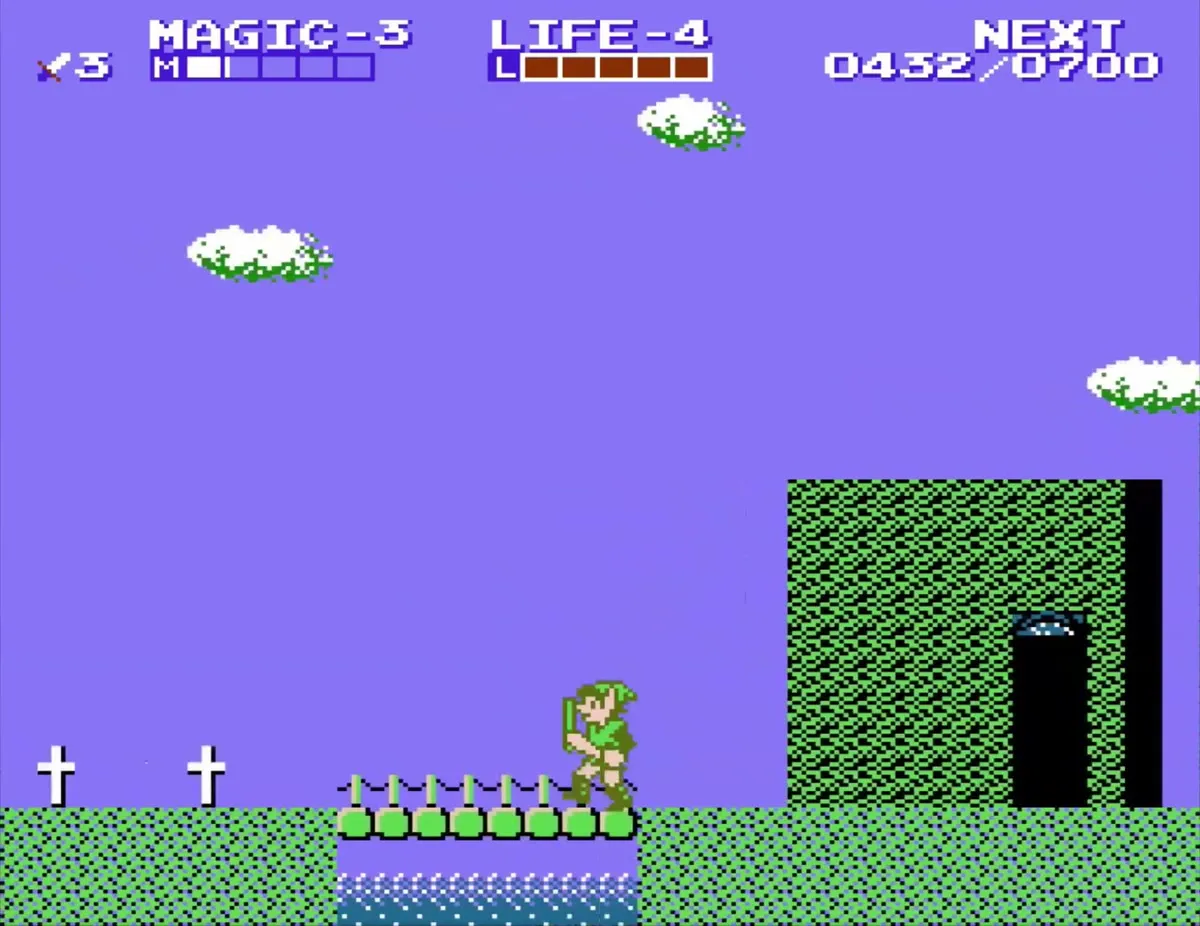
Walk along the stone fence path and keep going east until you reach the blue-brick buildings of the town. Enter the houses you pass and talk to the townspeople, since several of them give hints about the area ahead. Do not worry about the grave markers yet; the hint they share is covered below.

Find the Mirror
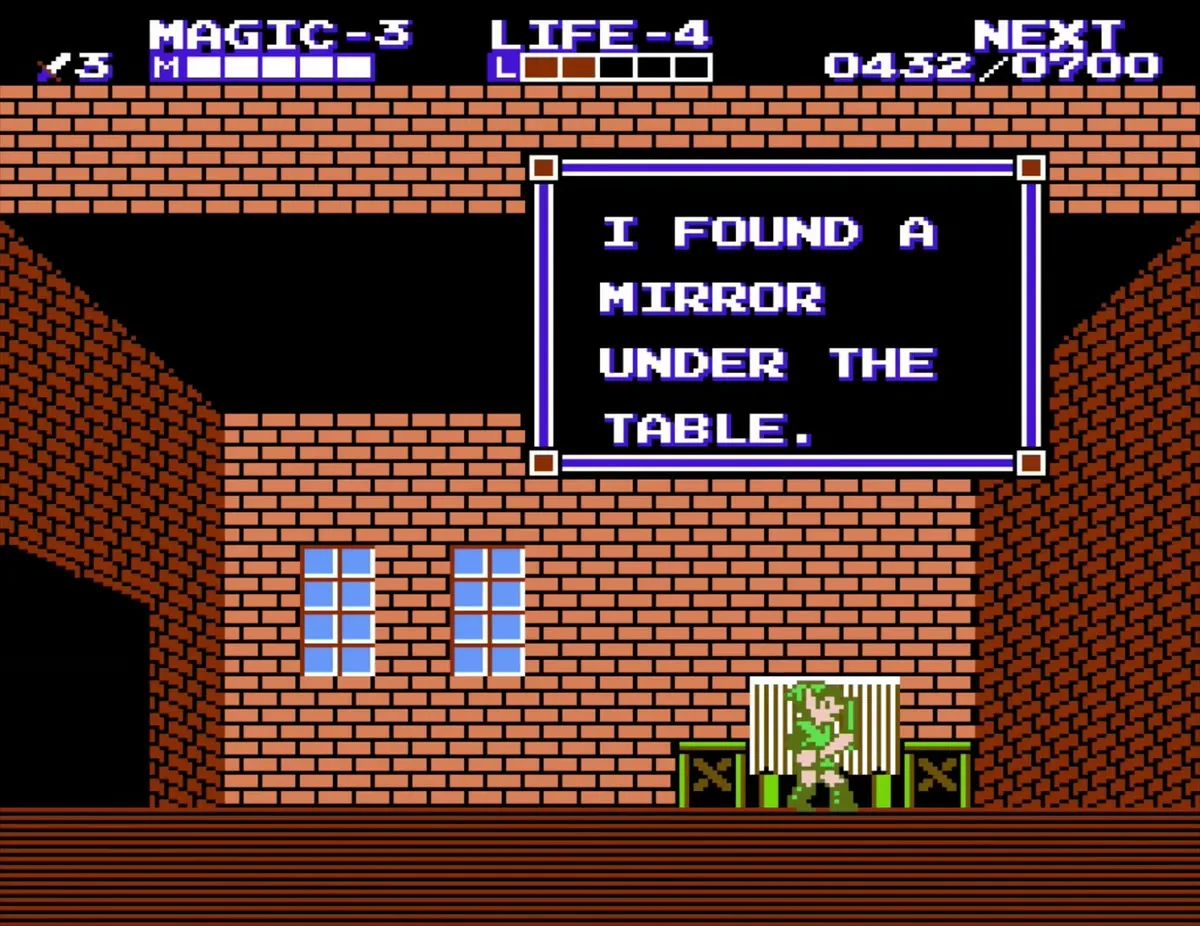
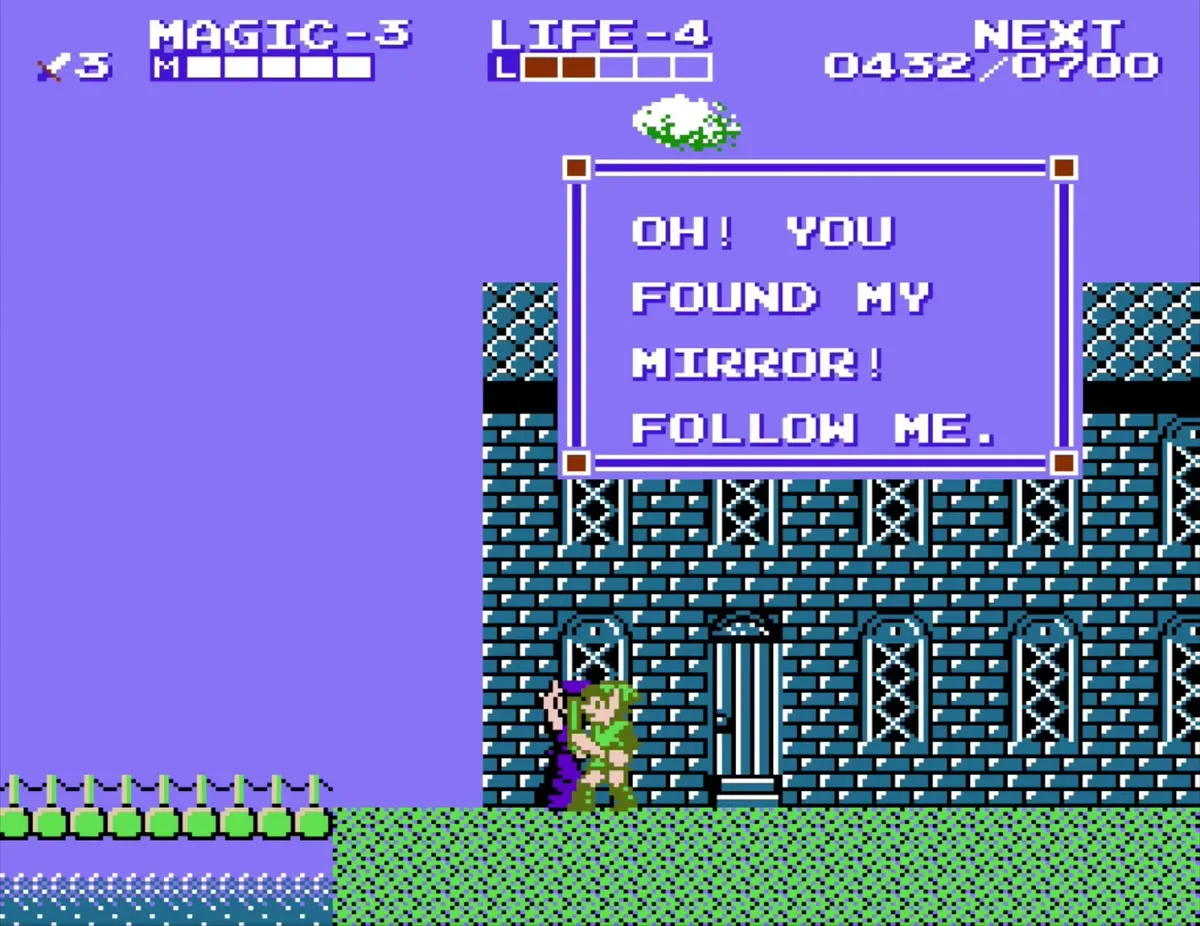
The Mirror is hidden under a table in an empty house on the second screen of Saria. Stand beside the table and attack the space beneath it with your sword to reveal the item. Take the Mirror back to the woman in purple who lives near her house on the first screen, and she will let you in.

Learn the Life spell
The man in the basement of the purple-dress woman’s house teaches you Life. Life restores three life points, which makes it the healing spell to use between fights when you have enough magic. At Magic level 1 or 2 it costs 70 MP, at Magic level 3 or 4 it costs 60 MP, and it drops to 50 MP from Magic level 5 onward. The magic menu lists Life next to Shield and Jump once you have learned it.


Read the graveyard hint
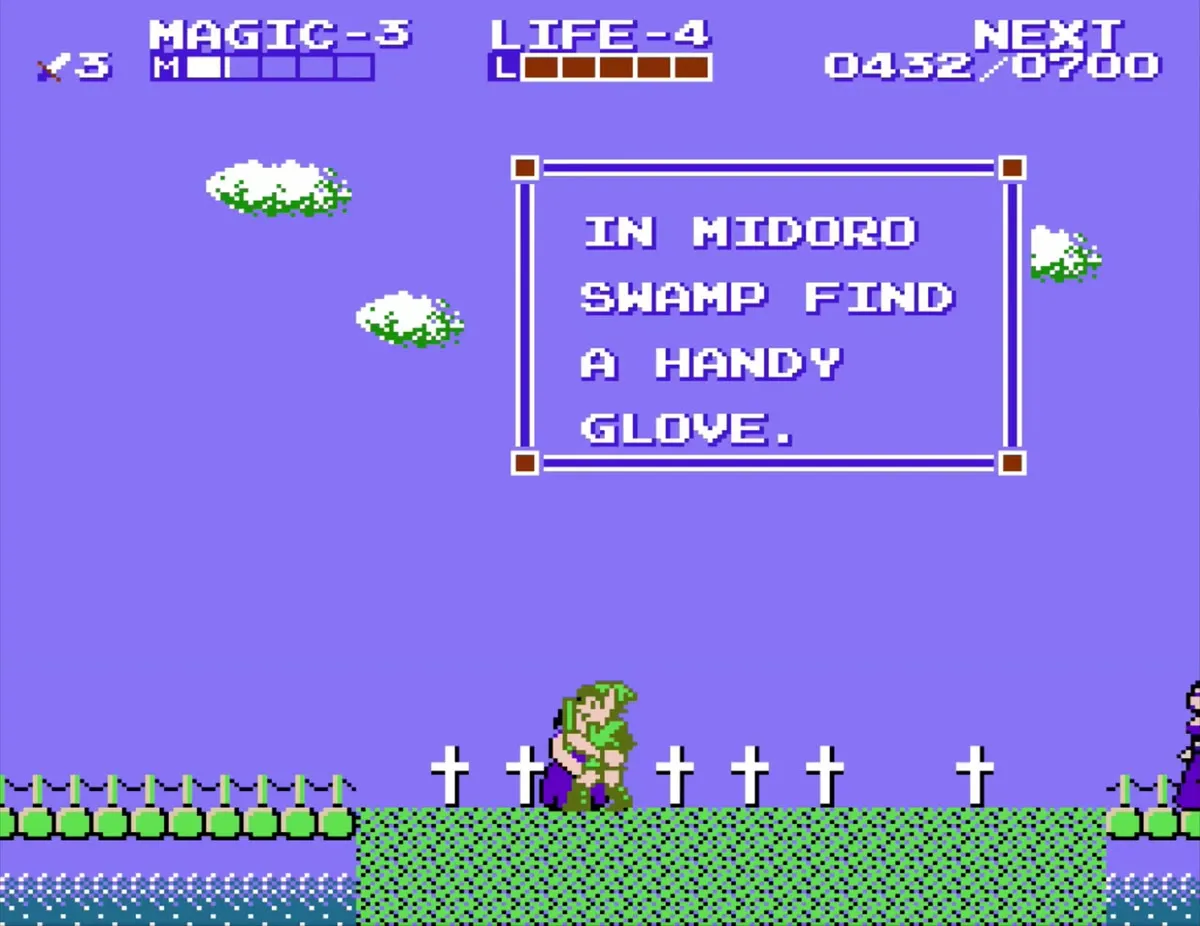
Between the houses is a graveyard marked with crosses. Read the message here, which points you toward Midoro Swamp. You will head there later, so note the name now and keep the swamp in mind as you explore. Beware of ordinary townsfolk here: after you talk to some of them, they turn into bats and attack. Anyone with something useful to say, such as a healer, is safe.
Accept the magic refill offer
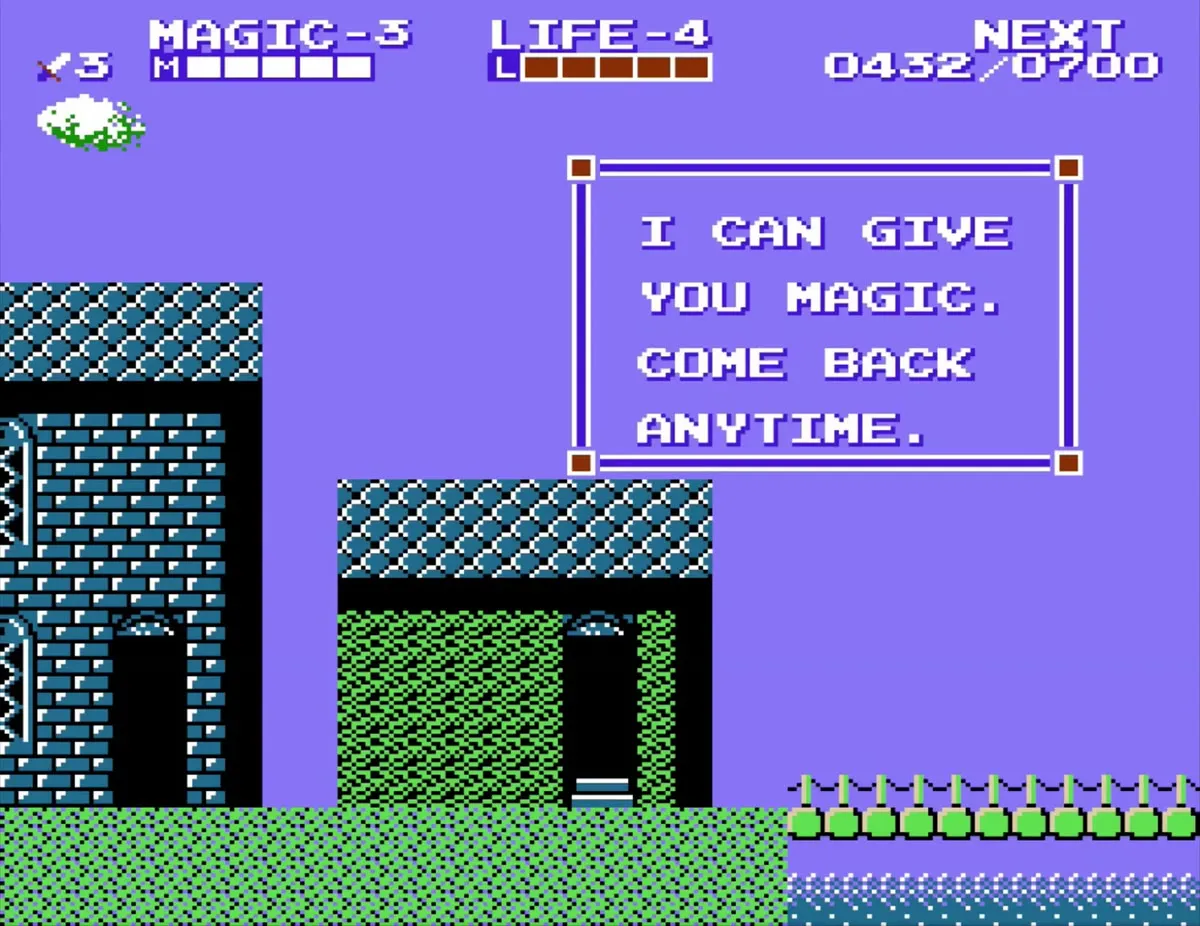
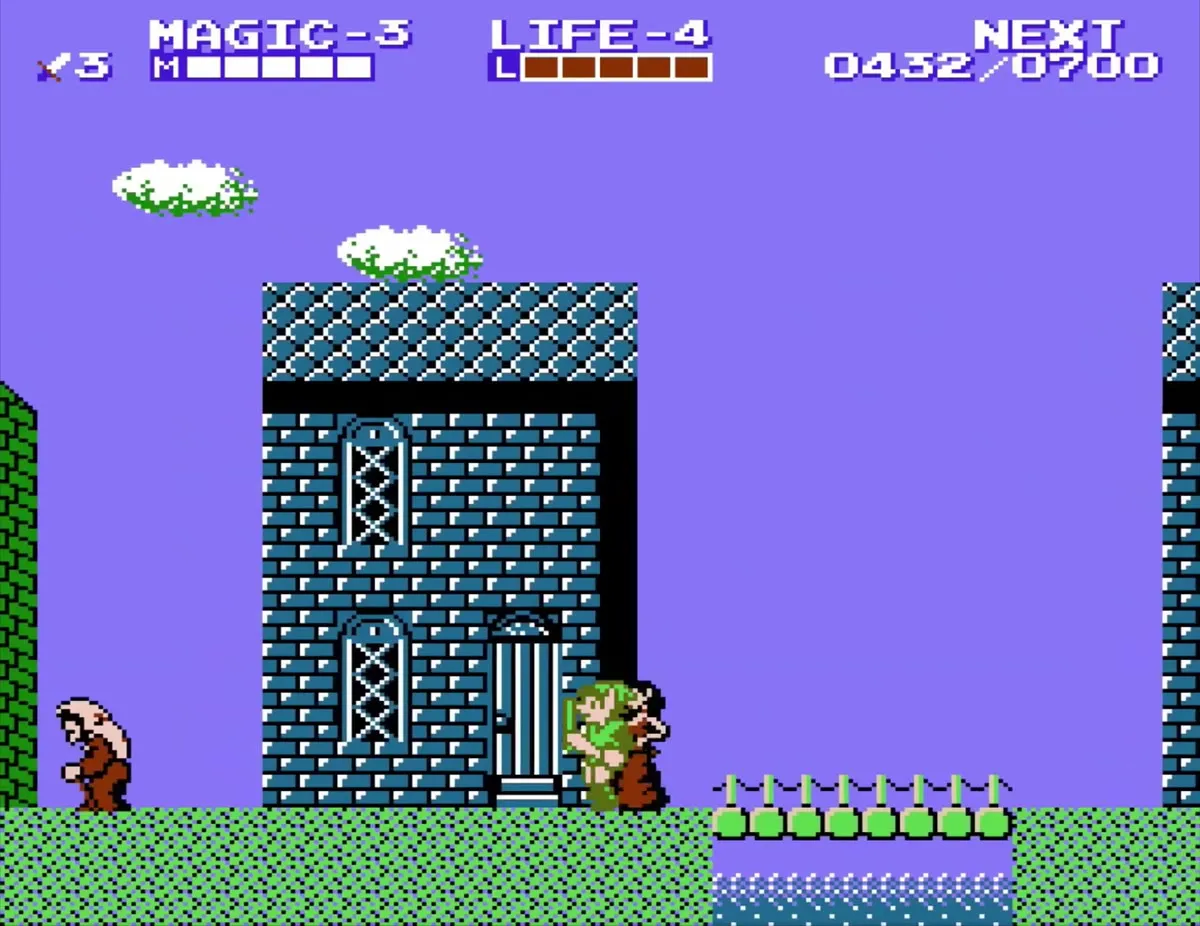
A townsperson near a blue-brick house offers to give you magic if you come back later. Take the offer when your magic is low, since the magic refill is a free way to top up before a dangerous stretch. Keep this in mind when you plan your next leg of the trip.
The river guard and the forest path
Pass the river guard
The far side of Saria is cut off by a river, and the guard at the bridge will not lower it without the proper credentials. In an empty house in town a sleeping Bot will finally wake if you talk to him enough times, and he sends you to his master Bagu, who lives in a cabin in the woods north of the bridge before you reach Saria. Bagu gives you a note. Bring it to the guard (the River Man), and the bridge is built so you can continue east.


Walk through the forest
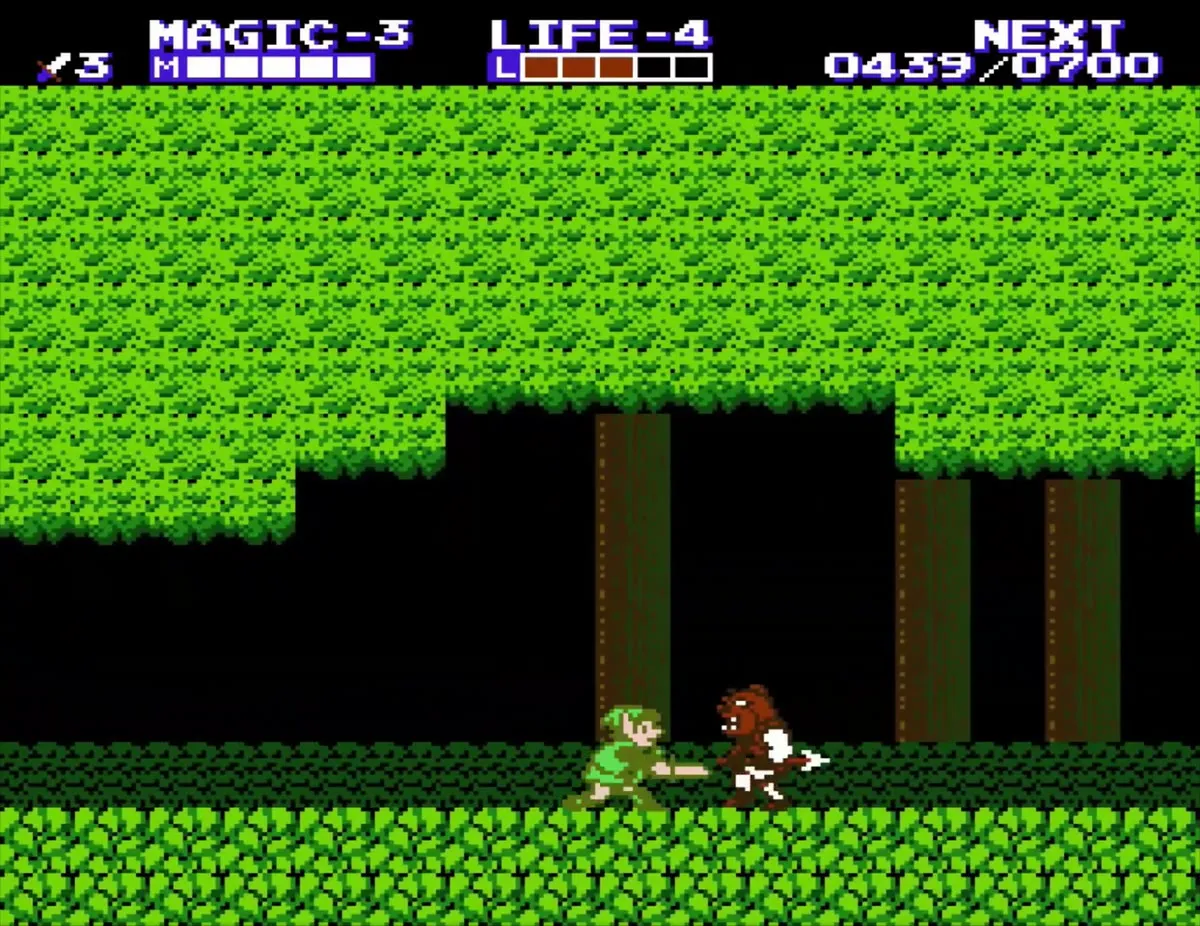
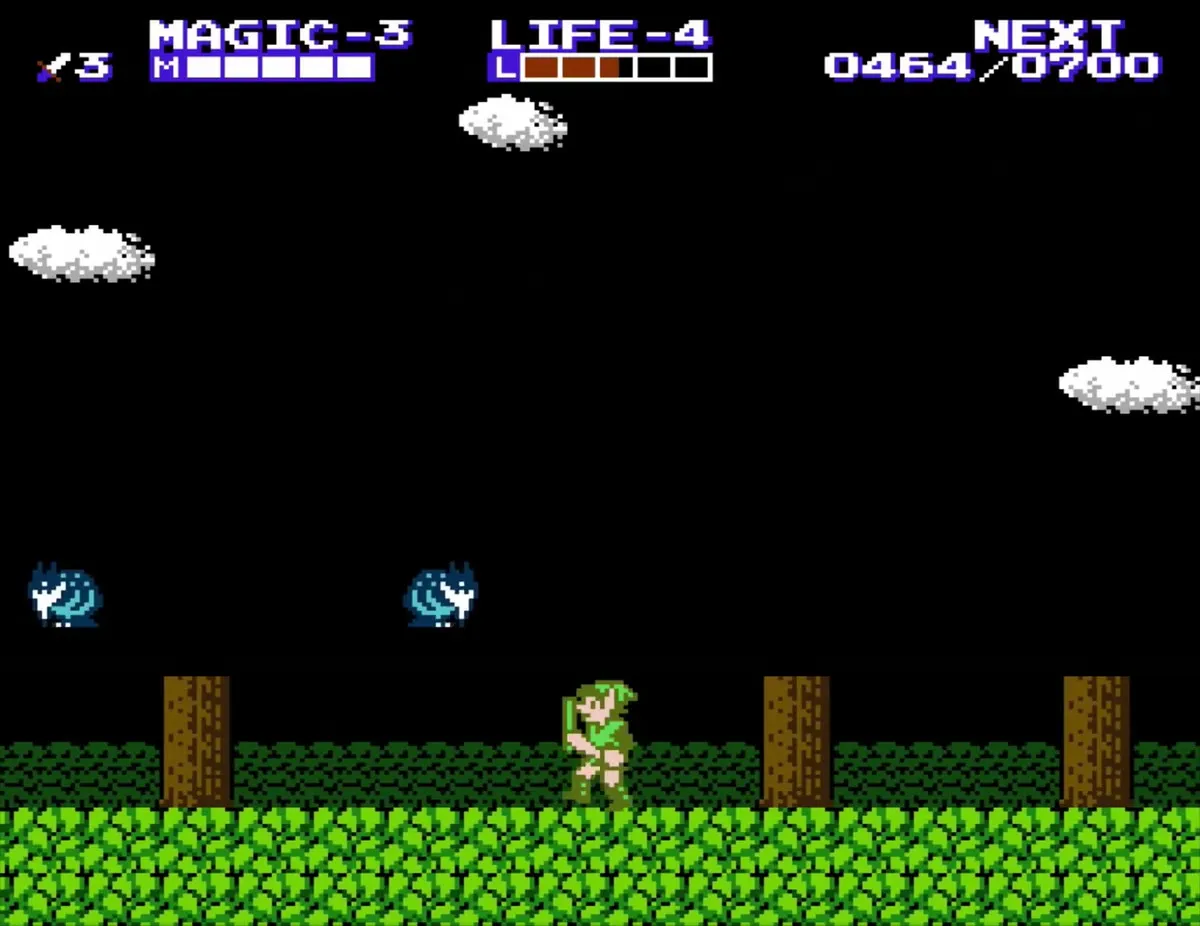
Once across the river, follow the grassy path into the forest. Orange enemies throw projectiles from the trees, and blue bubbles drift in from the sides, so keep your shield up and watch the ground. Jump over the tree stumps and past the white cloud, then keep walking east. The forest continues until the path opens onto the rocky ground that leads to the brown caves of Death Mountain.
Chapter checklist
| Type | Name | Where |
|---|---|---|
| Spell | Life | Saria, from the man in the basement of the purple-dress woman’s house, after you return the Mirror |
| Key item | Mirror | Saria, under a table in an empty house on the second screen; needed to enter the purple-dress woman’s house |
| Link Doll (optional) | Link Doll 1 of 6 | Moruge Swamp square south-west of the boulder in front of the cave entrance; one-time pickup |
| Key item (used here) | Bagu’s note | Picked up earlier at Bagu’s cabin; given to the River Man in Saria to build the bridge |
