





















Ocarina of Time Master Quest Walkthrough12 chapters
- Inside the Great Deku Tree (Master Quest)Dungeon Map, Slingshot, Compass, Gold Skulltulas, Queen Gohma, Heart Container and Kokiri’s Emerald.
- Dodongo’s Cavern (Master Quest)Every room in order, Dungeon Map, Compass, Bomb Bag, silver rupees, Gold Skulltulas, King Dodongo and the Goron’s Ruby.
- Inside Jabu-Jabu’s Belly (Master Quest)Cow switches, Map, Compass, Boomerang, Big Octo, Barinade, Heart Container and Zora’s Sapphire.
- Forest Temple (Master Quest)Six Small Keys, Boss Key, Fairy Bow, the four Poe Sisters, five Gold Skulltulas and Phantom Ganon.
- Fire Temple (Master Quest)Five Small Keys, Din’s Fire puzzles, Iron Knuckle, Megaton Hammer, Boss Key, five Gold Skulltulas and Volvagia.
- Water Temple (Master Quest)Early Longshot, Map, Compass, both Small Keys, Dark Link, Boss Key and Morpha.
- Shadow Temple (Master Quest)Hover Boots, map, compass, Boss Key, Gold Skulltulas, Bongo Bongo and the Shadow Medallion.
- Spirit Temple (Master Quest)Every chest, 7 Small Keys, Silver Gauntlets, Mirror Shield, Boss Key, Skulltulas and Twinrova.
- Bottom of the Well (Master Quest)Map, Compass, two Small Keys, Dead Hand, the Lens of Truth and all three Gold Skulltulas.
- Ice Cavern (Master Quest)Blue Fire, Song of Time blocks, Stalfos, Iron Boots, Serenade of Water.
- Gerudo Training Ground (Master Quest)The remixed rooms in order, Small Keys, Silver Rupee puzzles and the Ice Arrows.
- Ganon’s Castle (Master Quest)Light Arrows, the rainbow bridge, all six remixed trials, Golden Gauntlets, Double Defense, the tower.
| Covers | The whole Master Quest Bottom of the Well: the drained main hall, the pit-room key, the coffin room, the Dead Hand crypt, the bottom floor with the Lens of Truth and the three Gold Skulltulas |
|---|---|
| Dungeon | Bottom of the Well (child Link only, mini-dungeon): no boss, no Boss Key, no medallion; mini-boss Dead Hand |
| You need | Fairy Slingshot, Bombs, Deku Sticks, Zelda’s Lullaby, Sun’s Song, an Empty Bottle (for a fairy) and a well drained with the Song of Storms |
| Rewards | Dungeon Map, Compass, Lens of Truth, 2 Small Keys, 3 Gold Skulltulas, one fairy for a bottle. No Heart Piece and no Heart Container |
| Differences | Hidden switches and crystals do most of the work, fake walls are visible, the Lens of Truth moves to the bottom floor, and Dead Hand now guards the Compass |
The Master Quest well keeps the same mood as the original (dark crypts, ReDeads, Skulltulas hanging from the ceiling) but rebuilds the puzzles around switches and gates. The route below drains the well, takes the Dungeon Map and the first Small Key, passes the coffin room, beats Dead Hand for the Compass, and finishes on the bottom floor with the Lens of Truth.
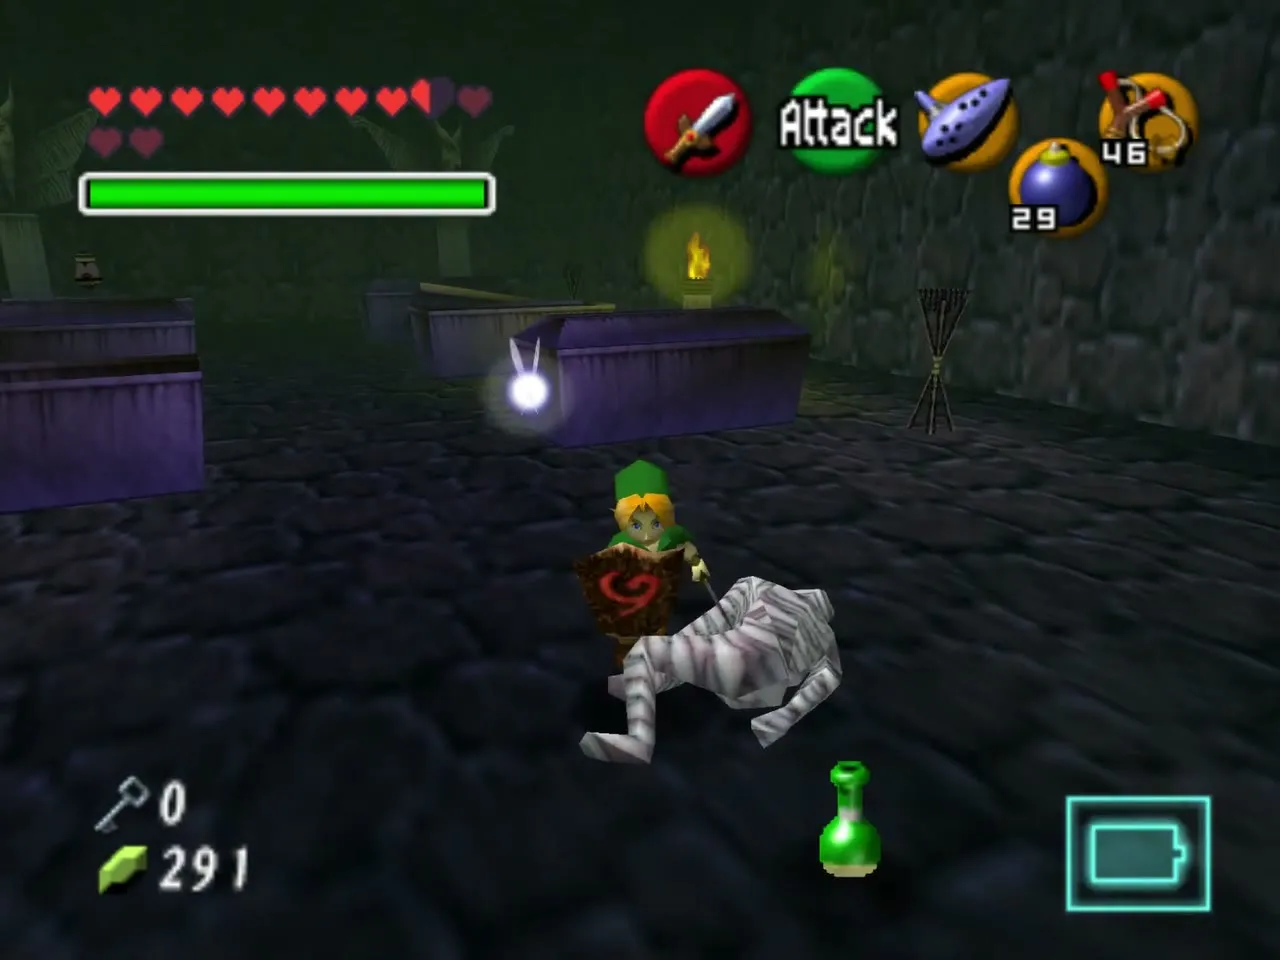
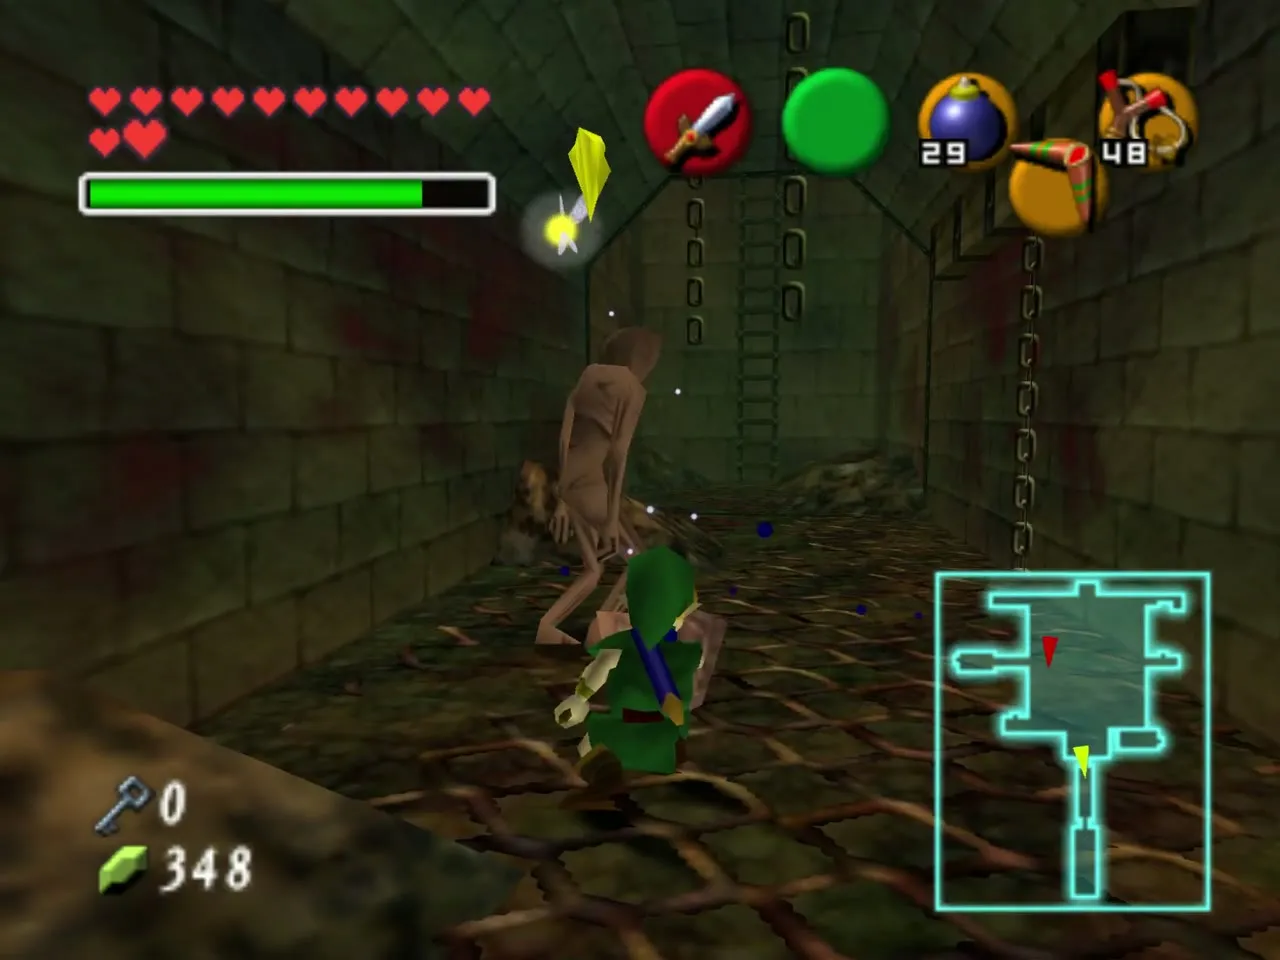
Table of Contents
Getting in
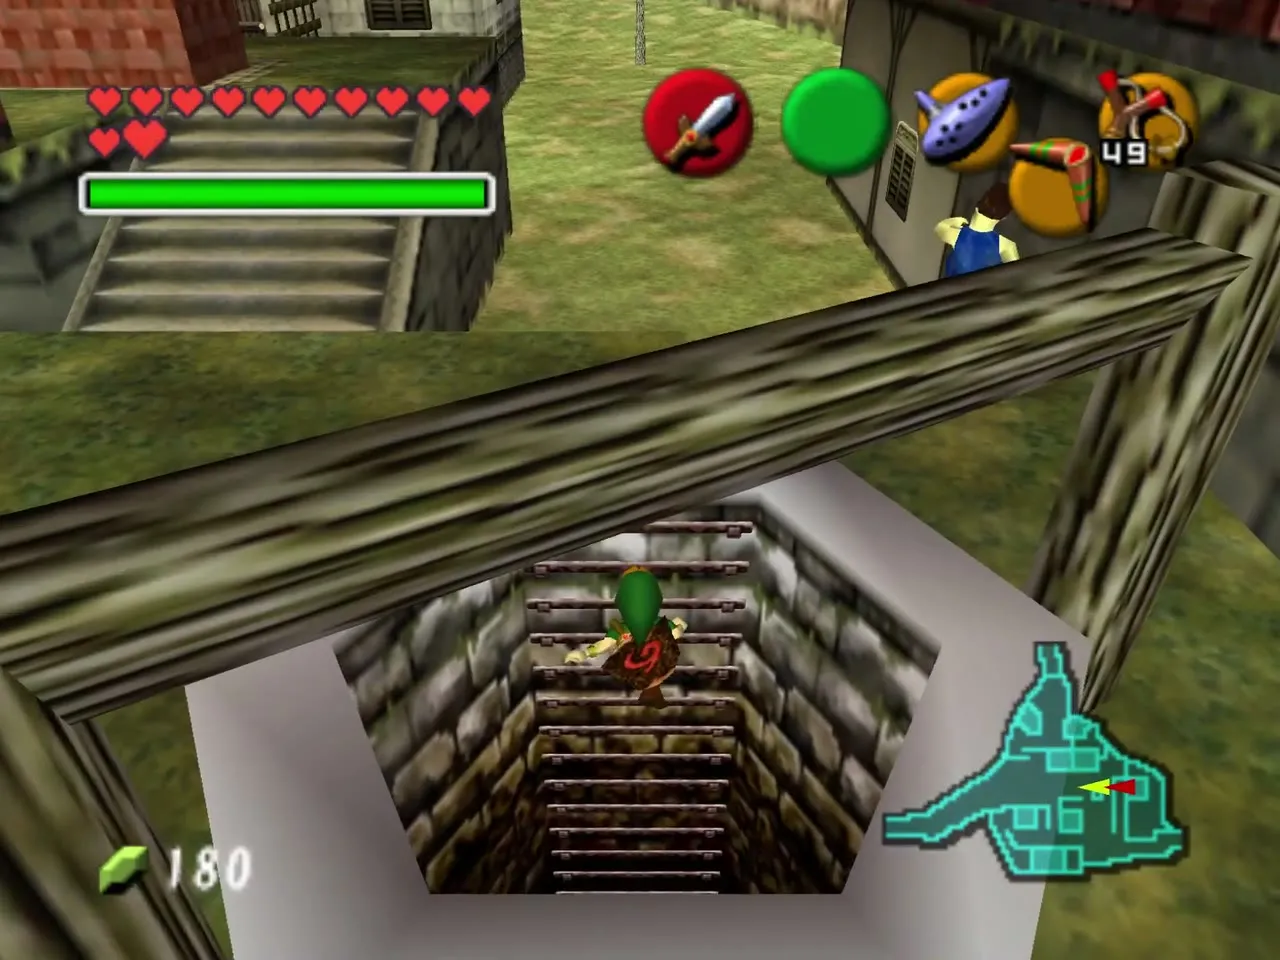
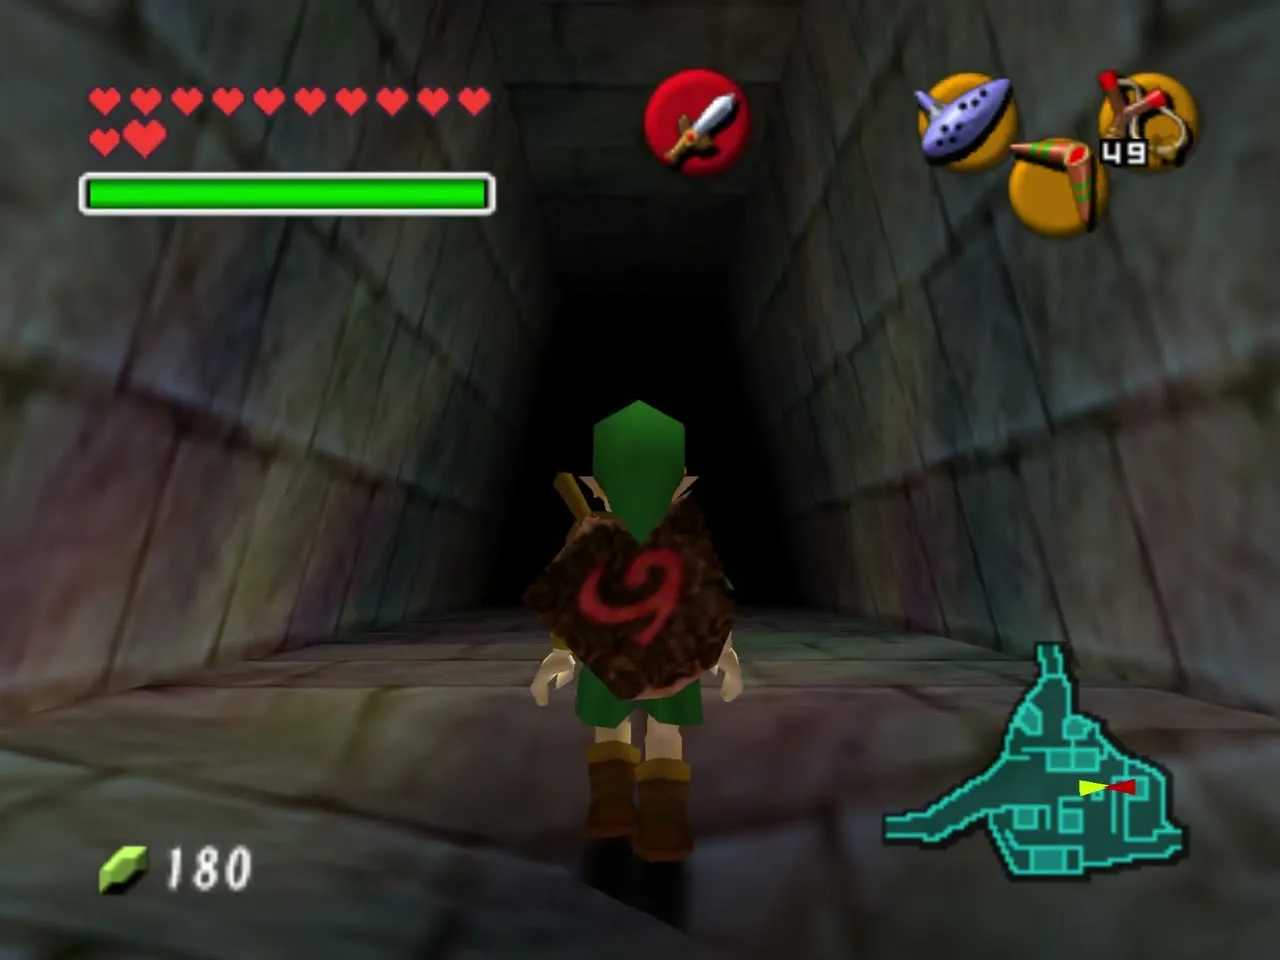
Enter as child Link through the well in the middle of Kakariko Village. Play the Song of Storms in the windmill beforehand so that the water level drops, as in the regular game, then crawl through the small tunnel at the bottom of the shaft. The entrance is the same in Master Quest, so you only need to arrive with Bombs, the Slingshot and a few Deku Sticks.
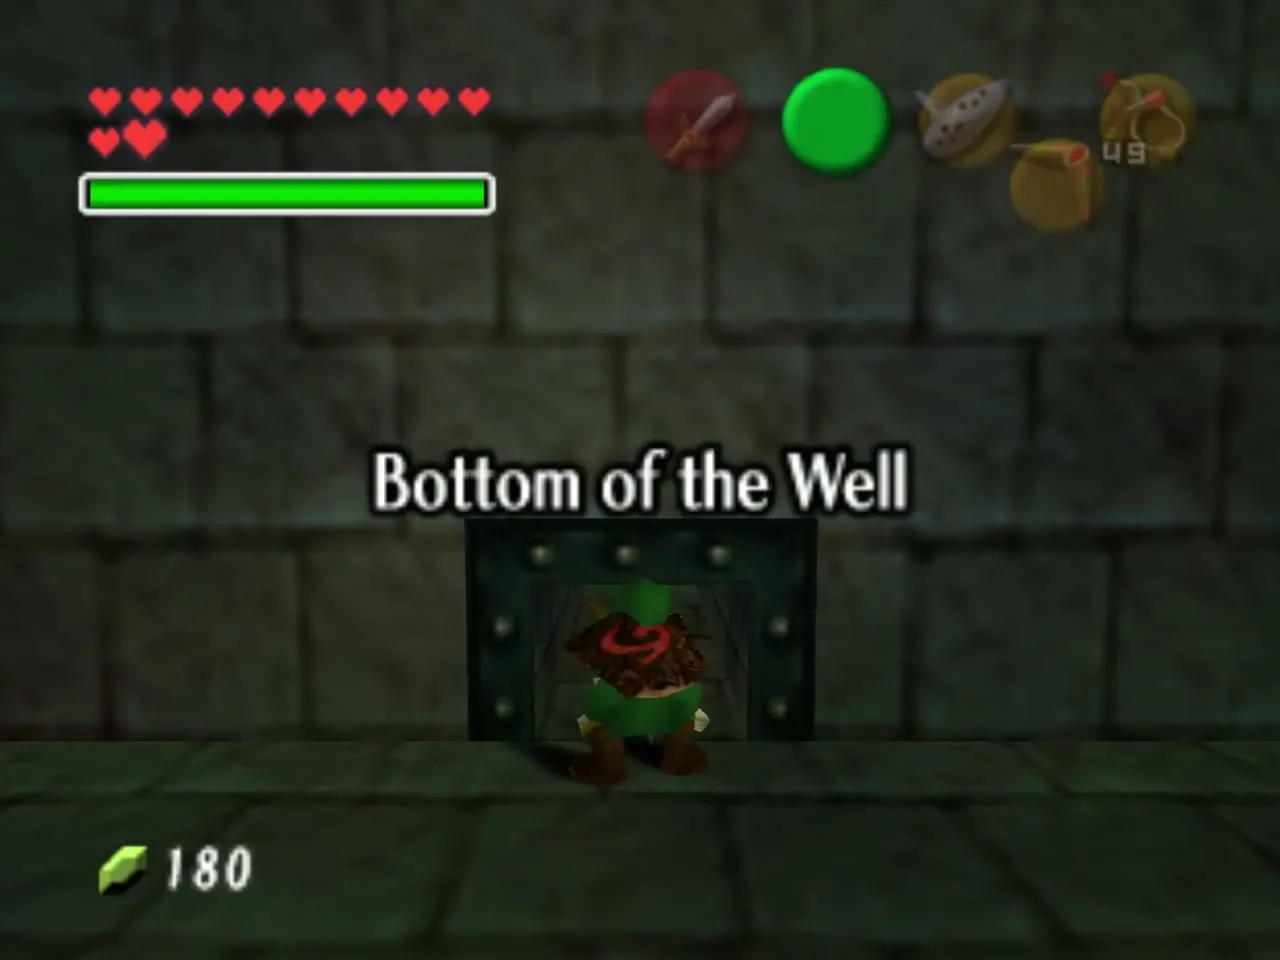
The main hall and the drained water
Down the ladder
Climb down the ladder at the end of the first corridor. A ReDead stands near its foot, so get behind it and cut it down, or move around it if you want to save your health. Then walk on to the large, ring-shaped main hall.
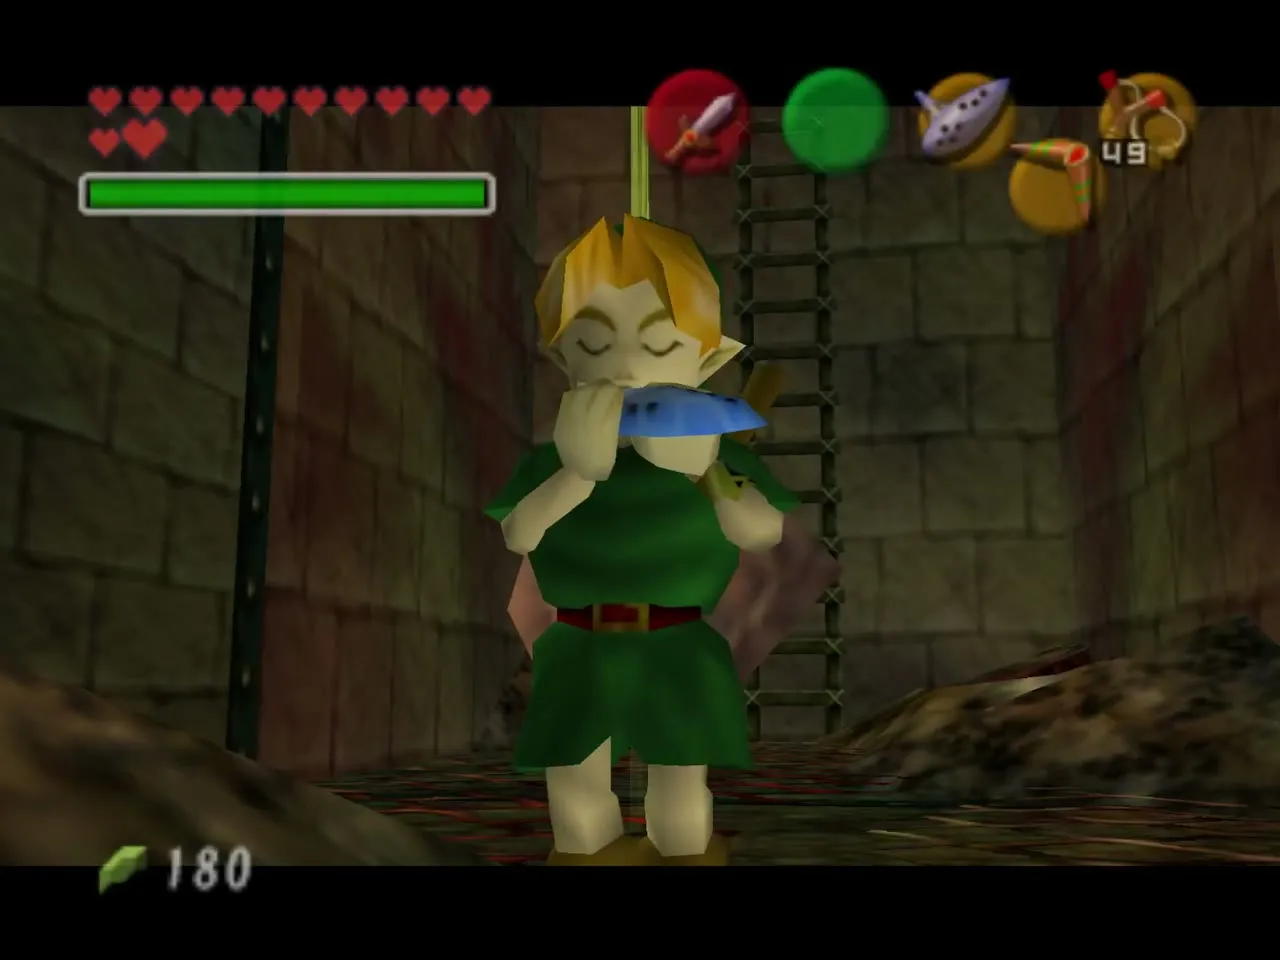
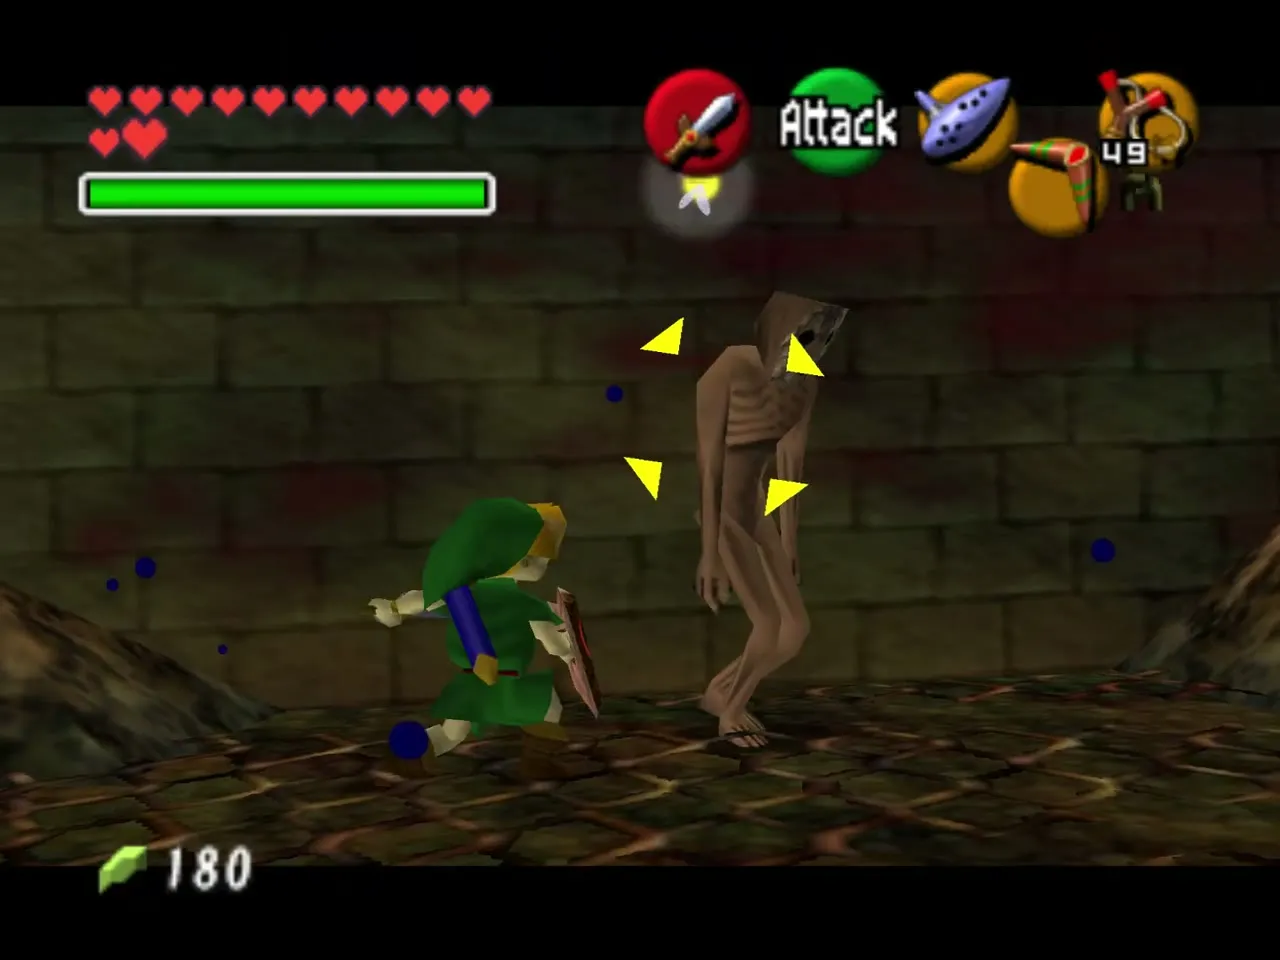
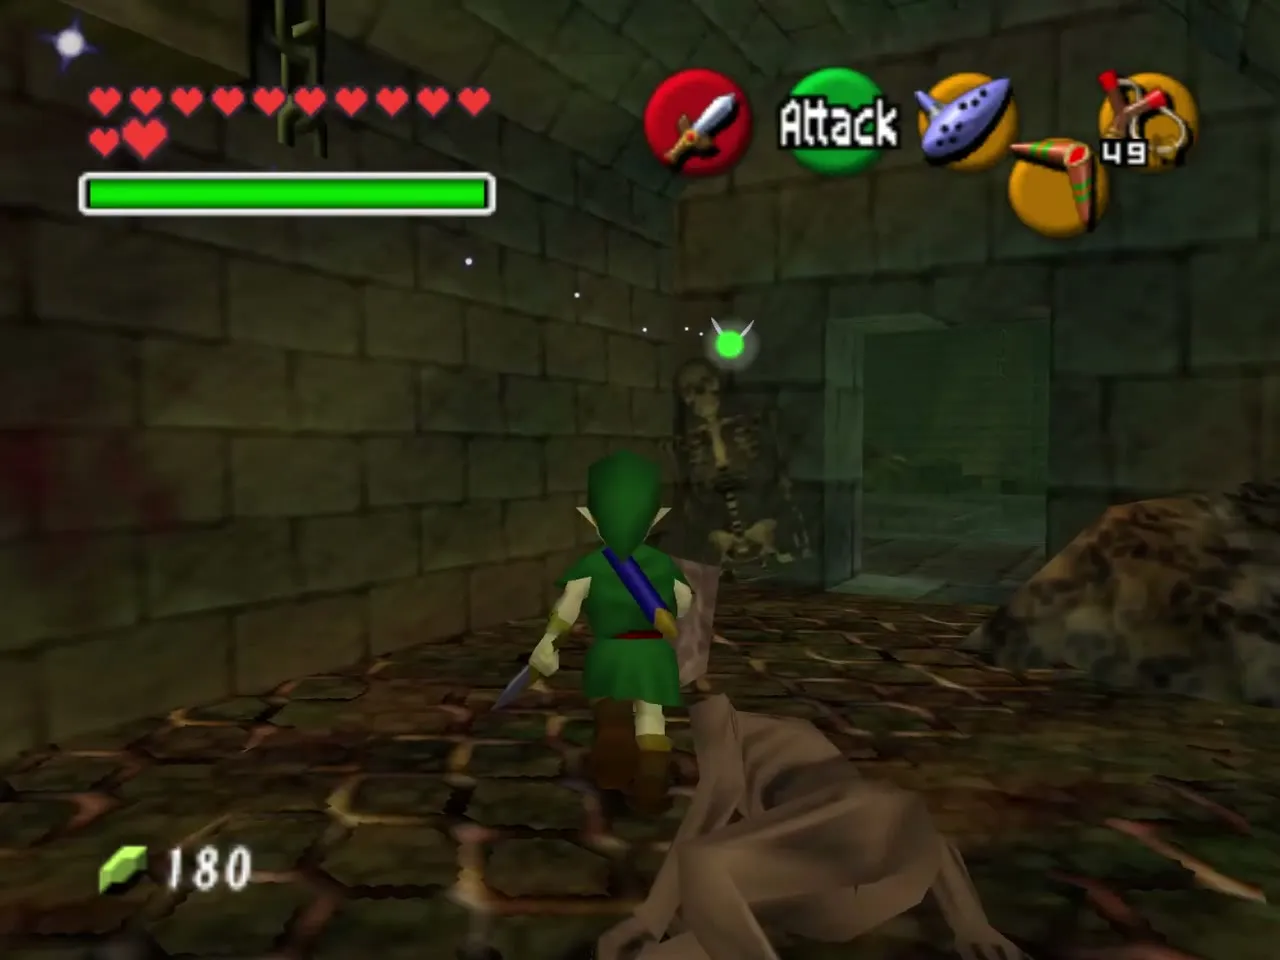
Rubble, eye switch and floor switch
Bomb the rubble to the left of the barred passage to open a small cave filled with Recovery Hearts, which is worth remembering for later. Walk into the first alcove on the left and bomb the rock to uncover an eye switch. Hit it with the Slingshot and a grate opens elsewhere in the hall.
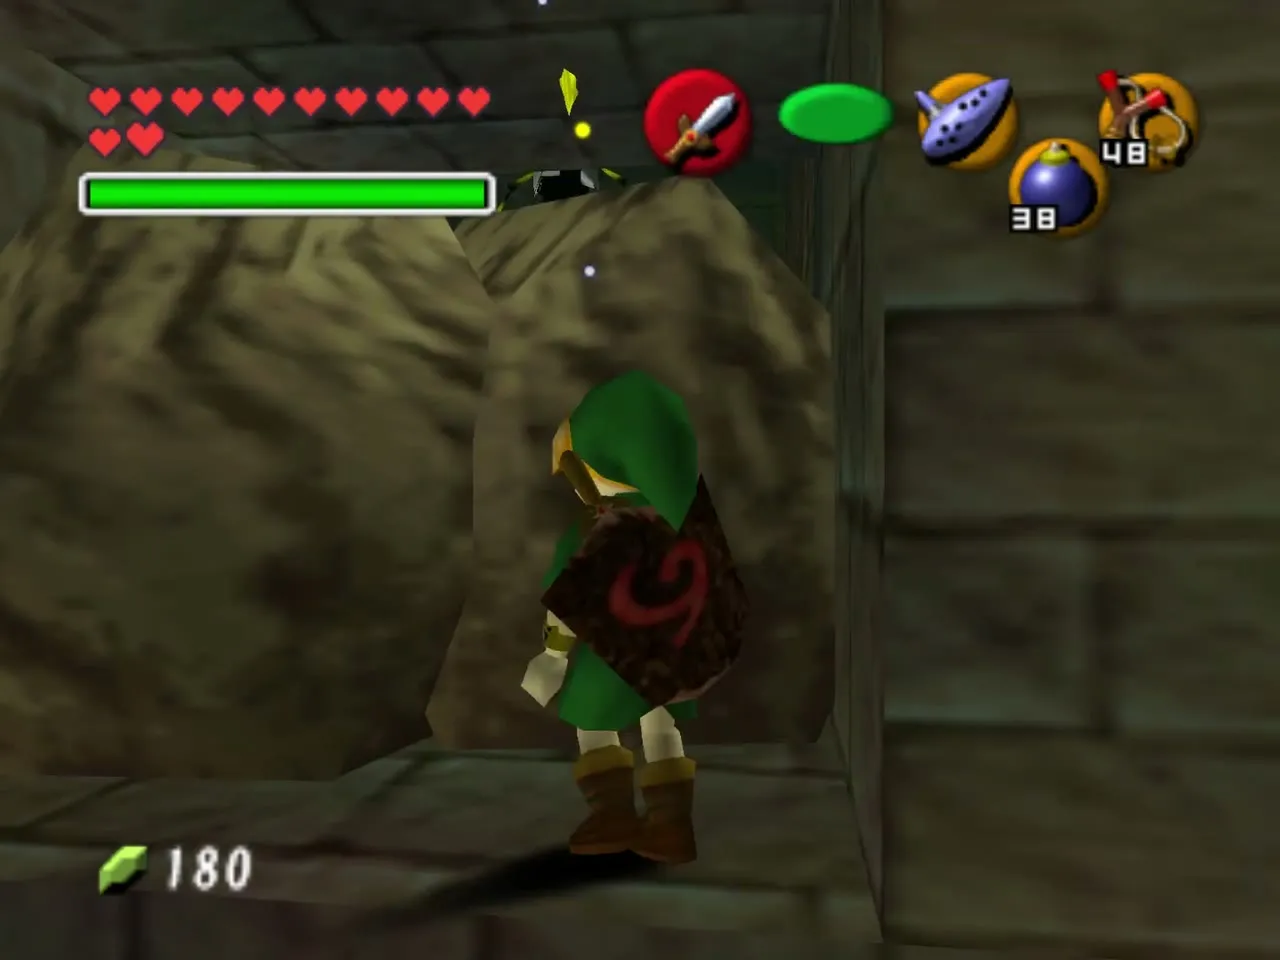
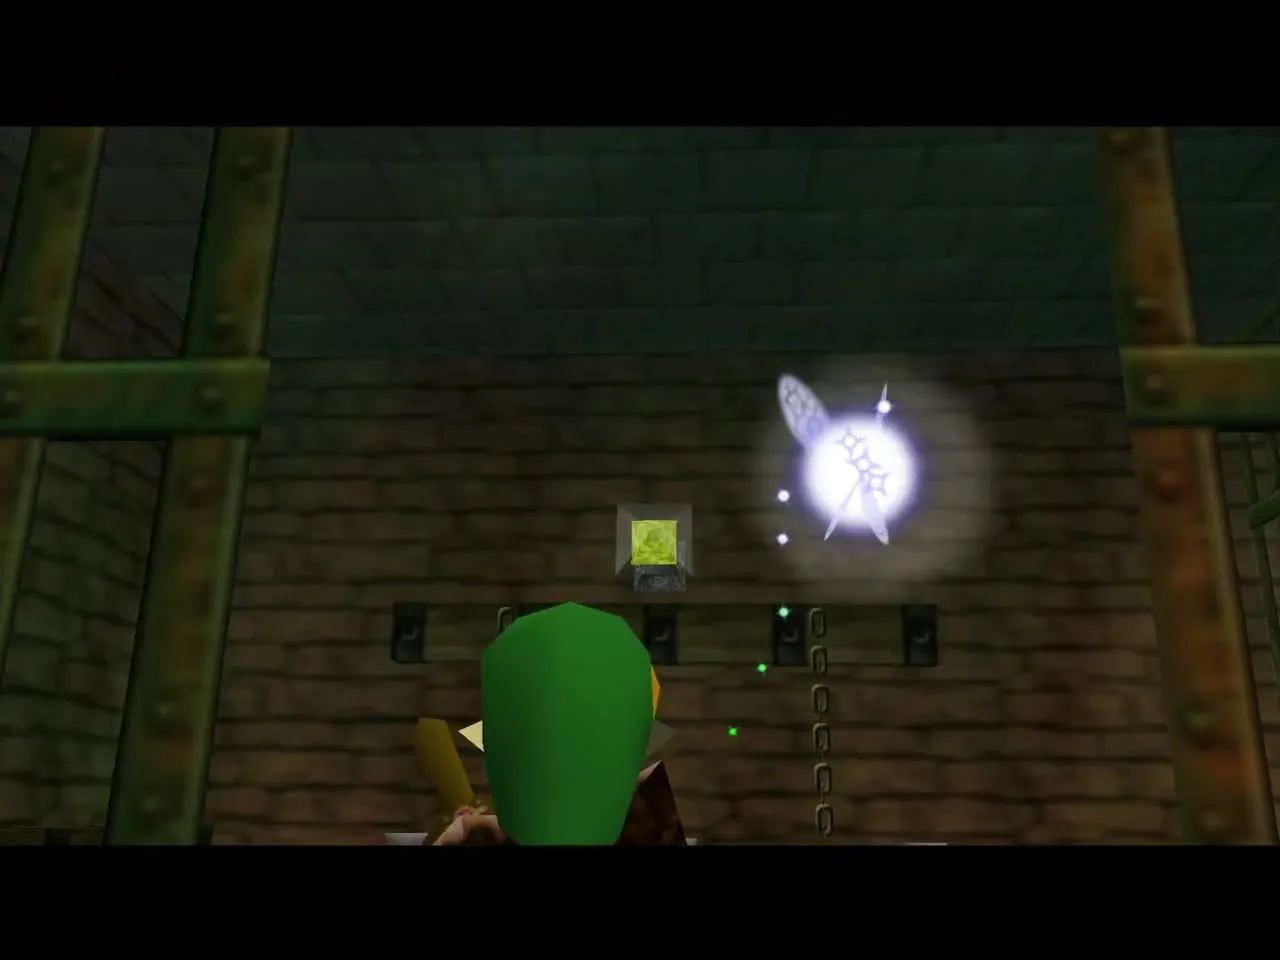
Follow the water around the hall until you see two rocks on your right. Blow them up with a Bomb, then throw a second one to kill the Skulltula hanging from the ceiling just behind them. Run through to find a floor switch and step on it to open more gates.
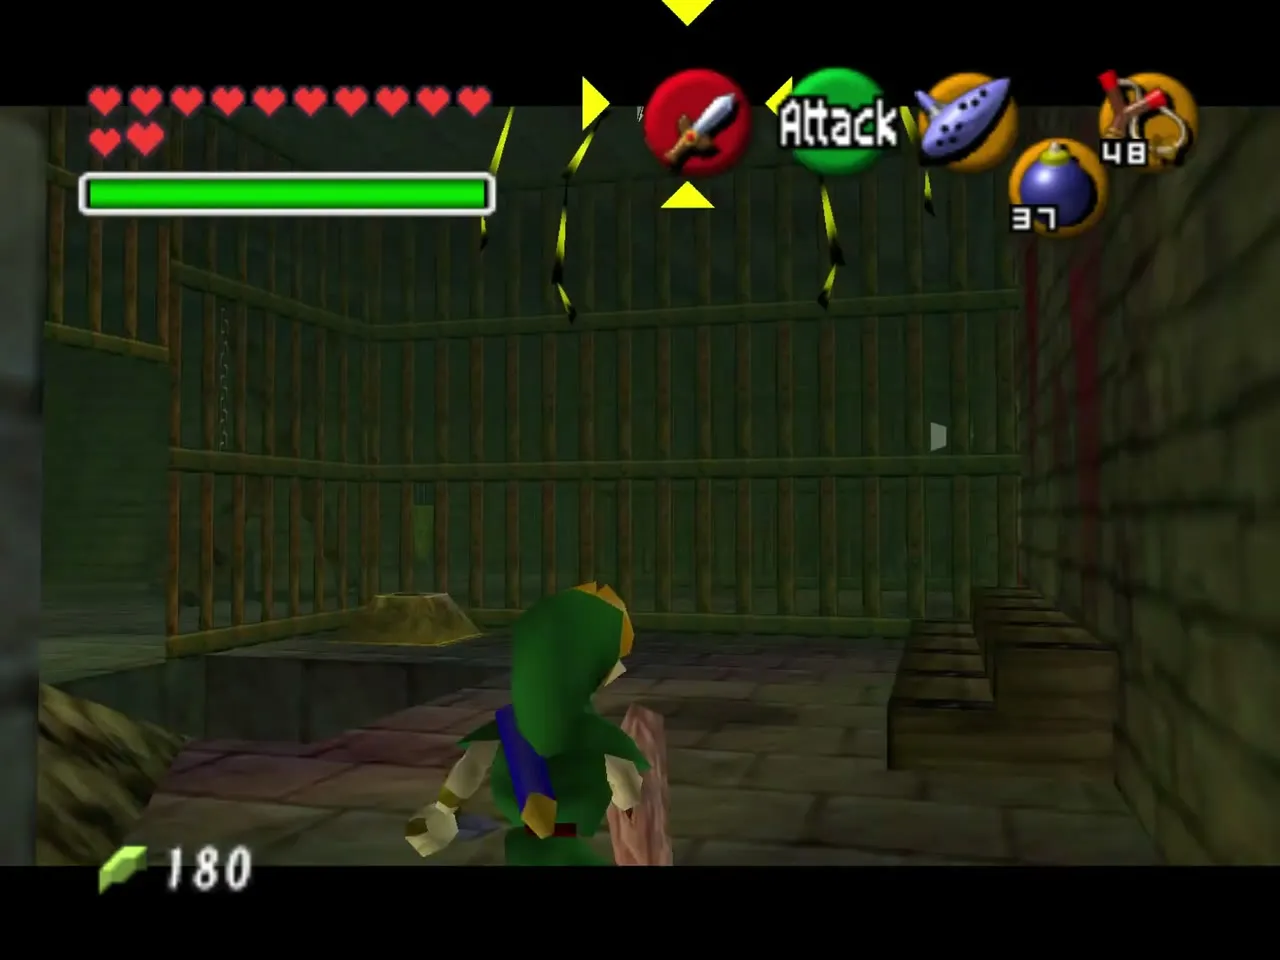
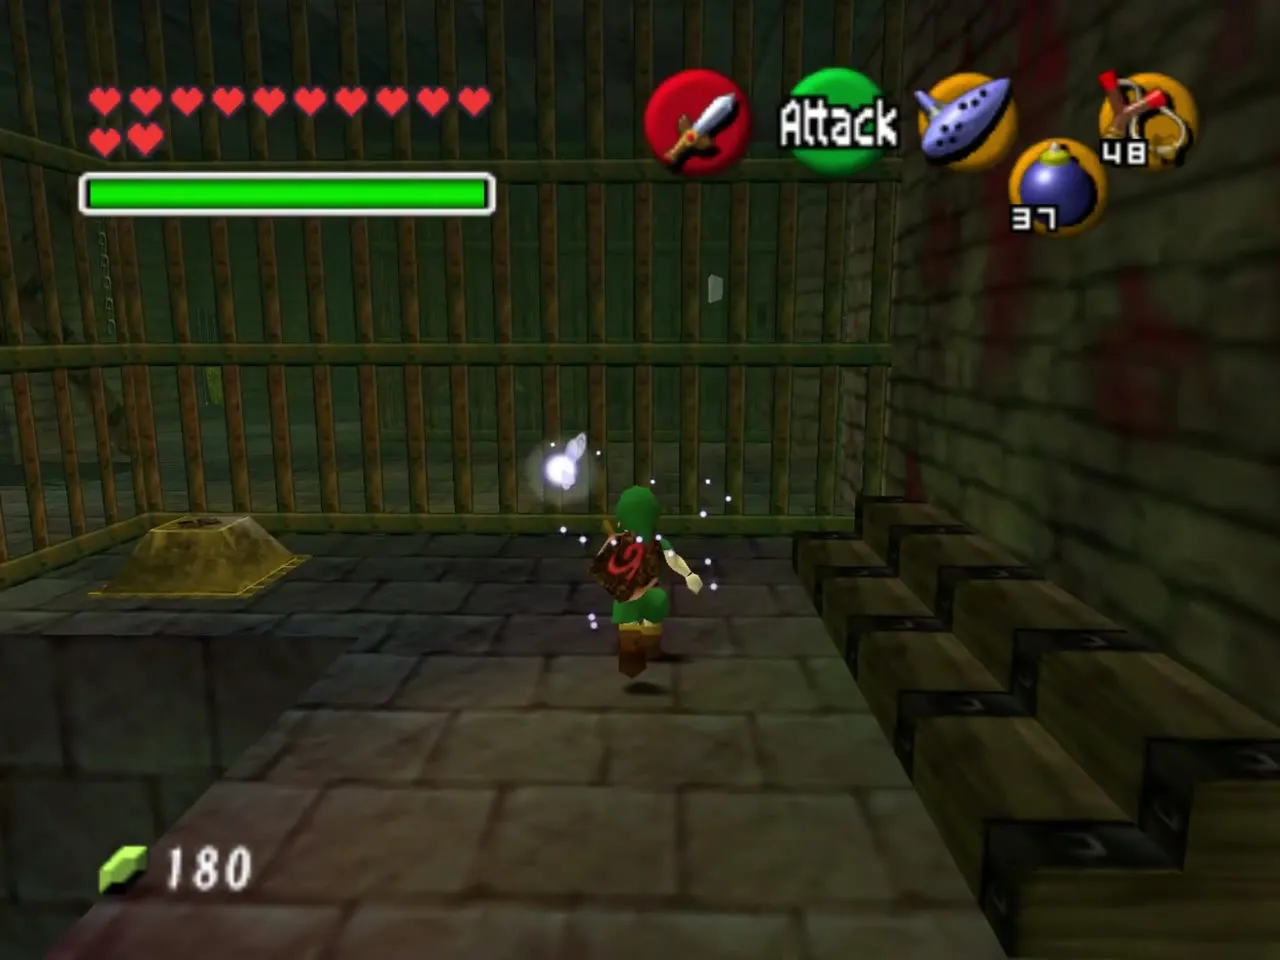
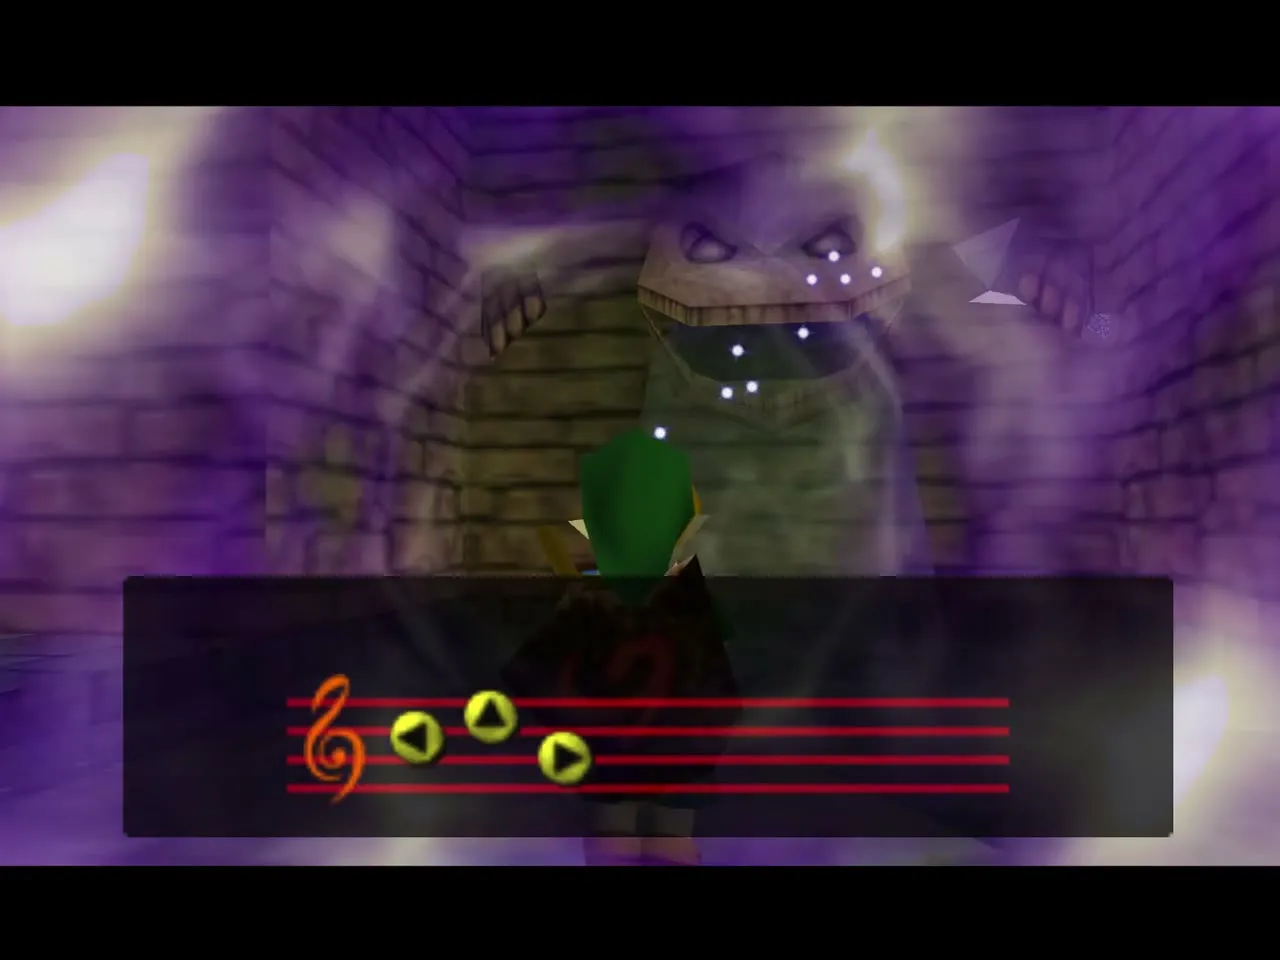
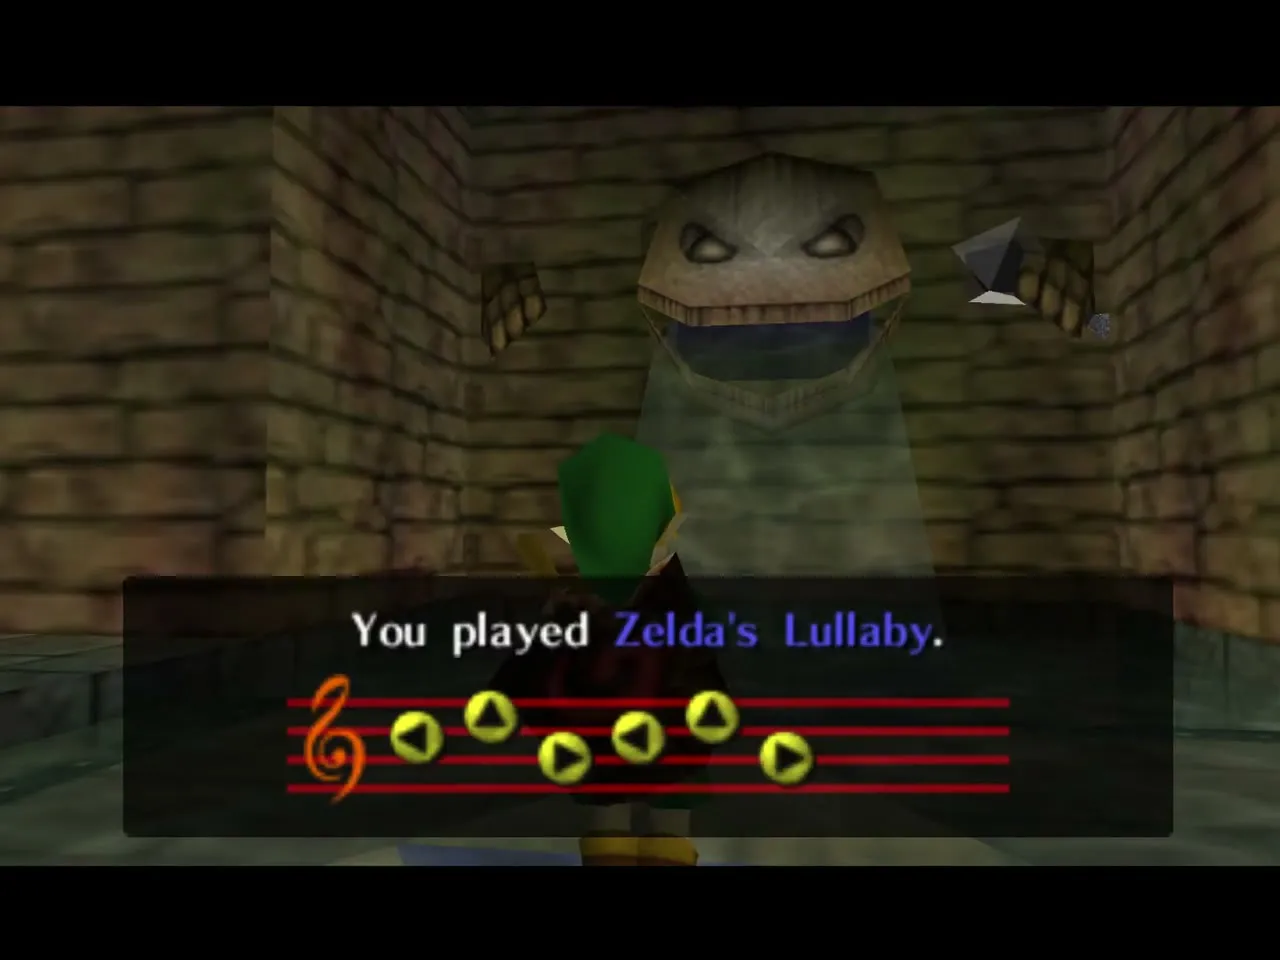
Zelda’s Lullaby on the Triforce
Keep walking clockwise until you reach a large Triforce symbol on the floor and play Zelda’s Lullaby on it. This opens the remaining gates. Look at the statue beside it: a crystal switch sticks out of its right hand. Hit it and the well drains.
Chest: Dungeon Map
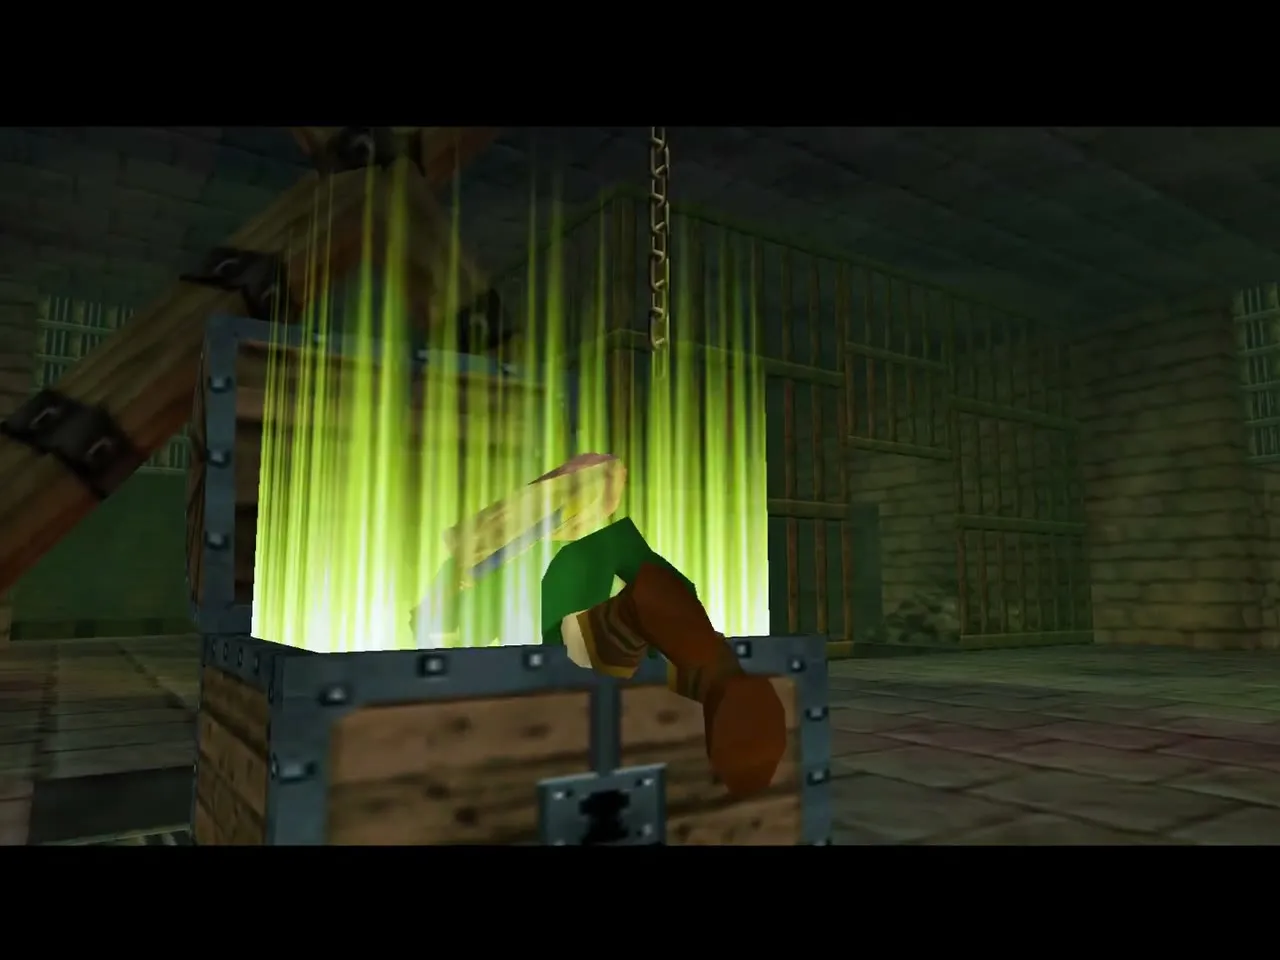
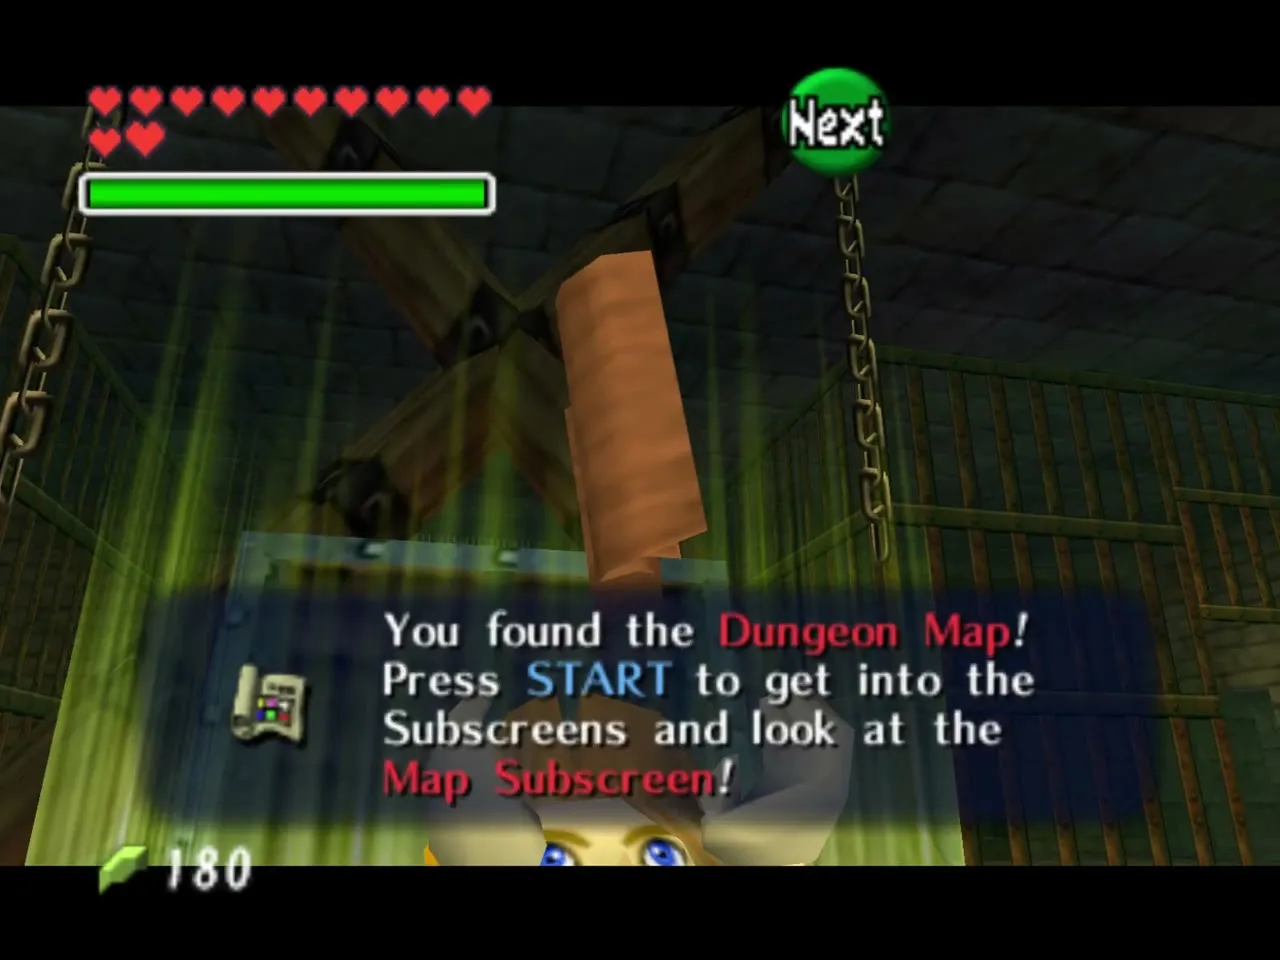
Turn around and walk straight to the treasure chest. It holds the Dungeon Map, and the pause screen now shows the three floors, B1 to B3. Go left to the open cell nearby and hit the crystal switch inside it to unlock a door on the opposite side. Leave that door for now.
Pit room and the first Small Key
Rubble and hearts
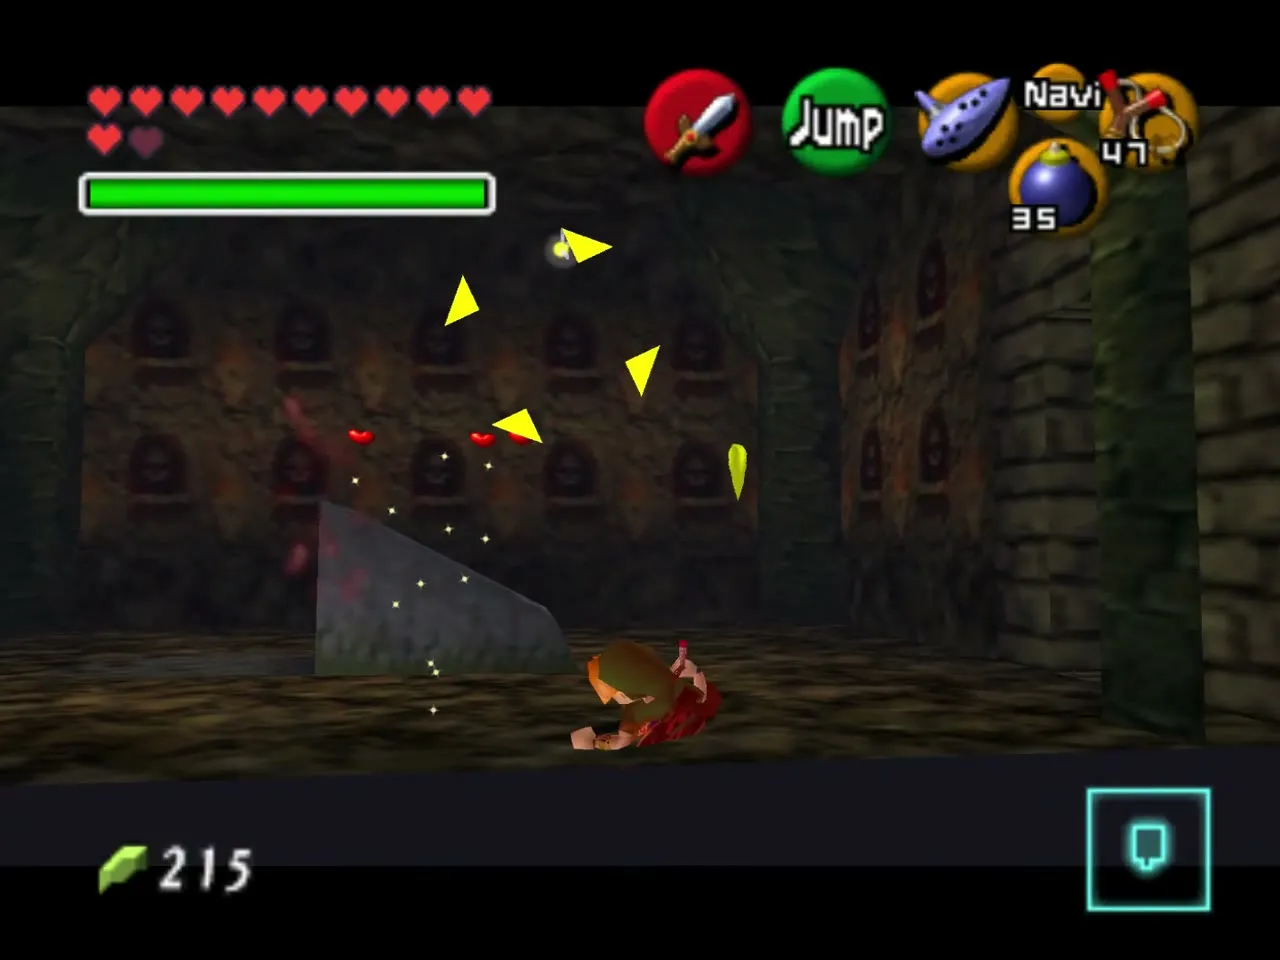
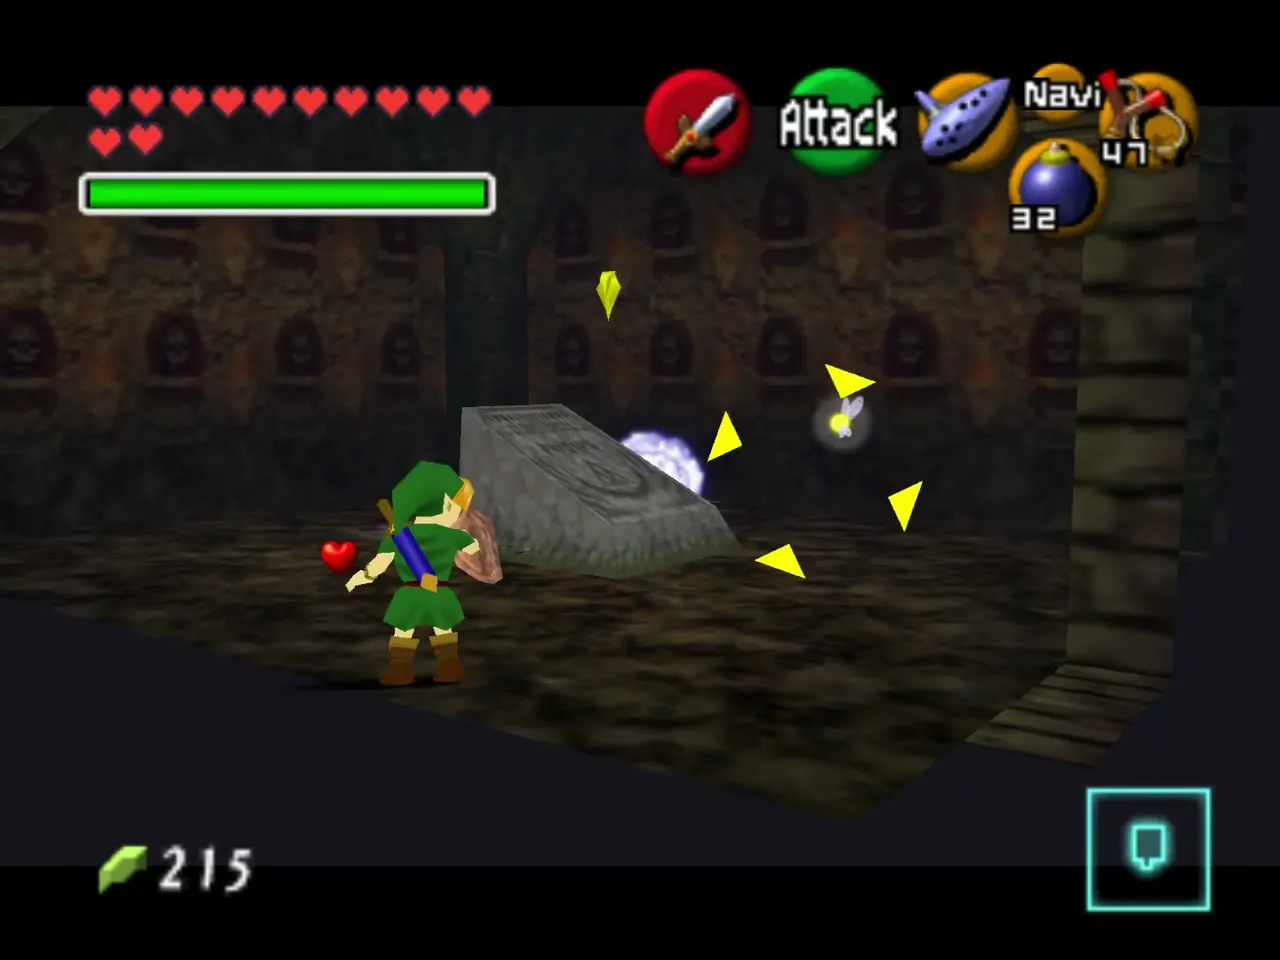
Drop through the opened way beside the Map chest to the lower level and bomb the rubble. It hides hearts, so take them if you are hurt. Continue to the door that the cell switch unlocked.
The safe path across the pit
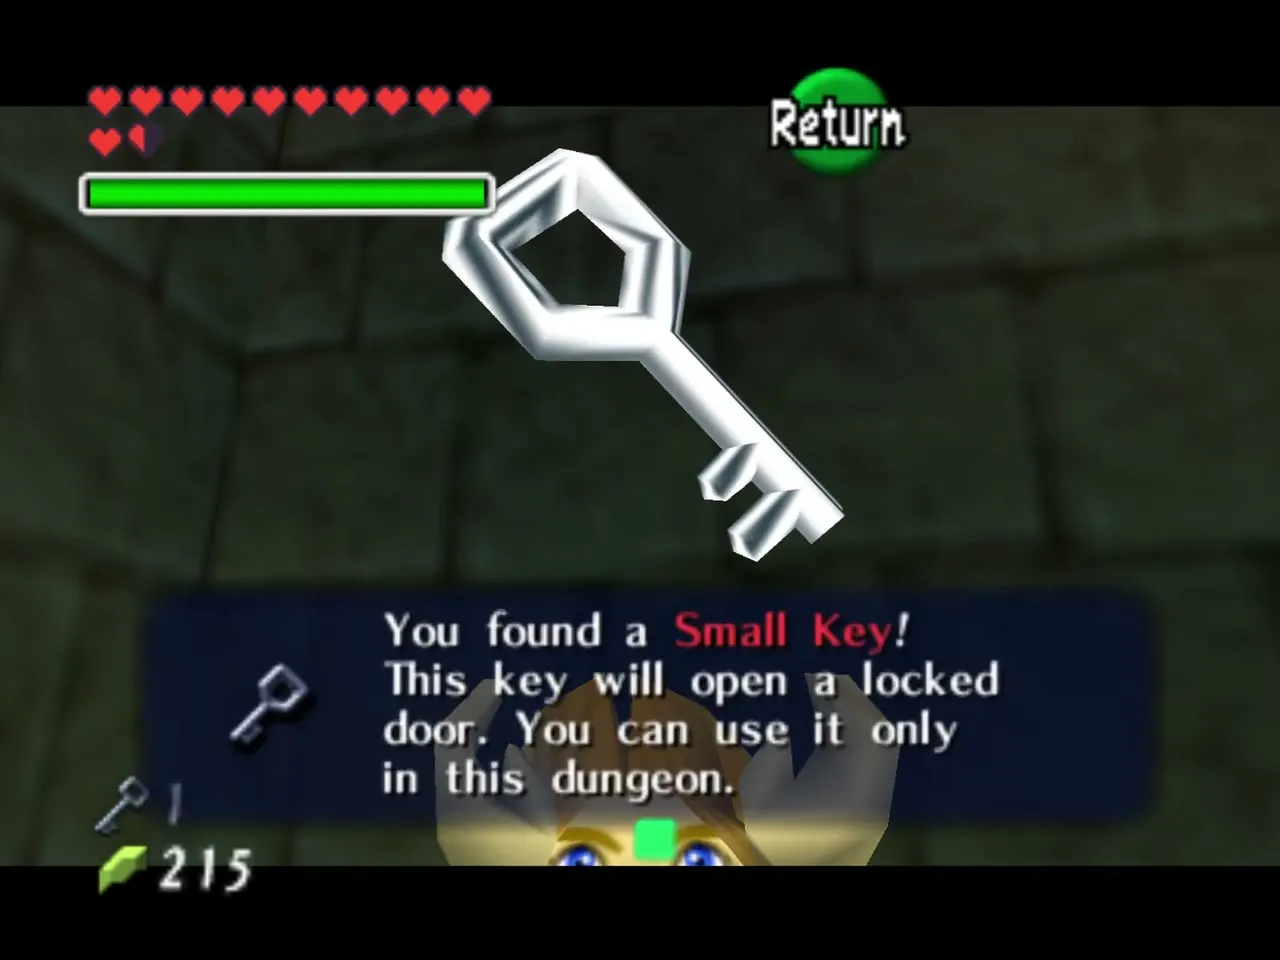
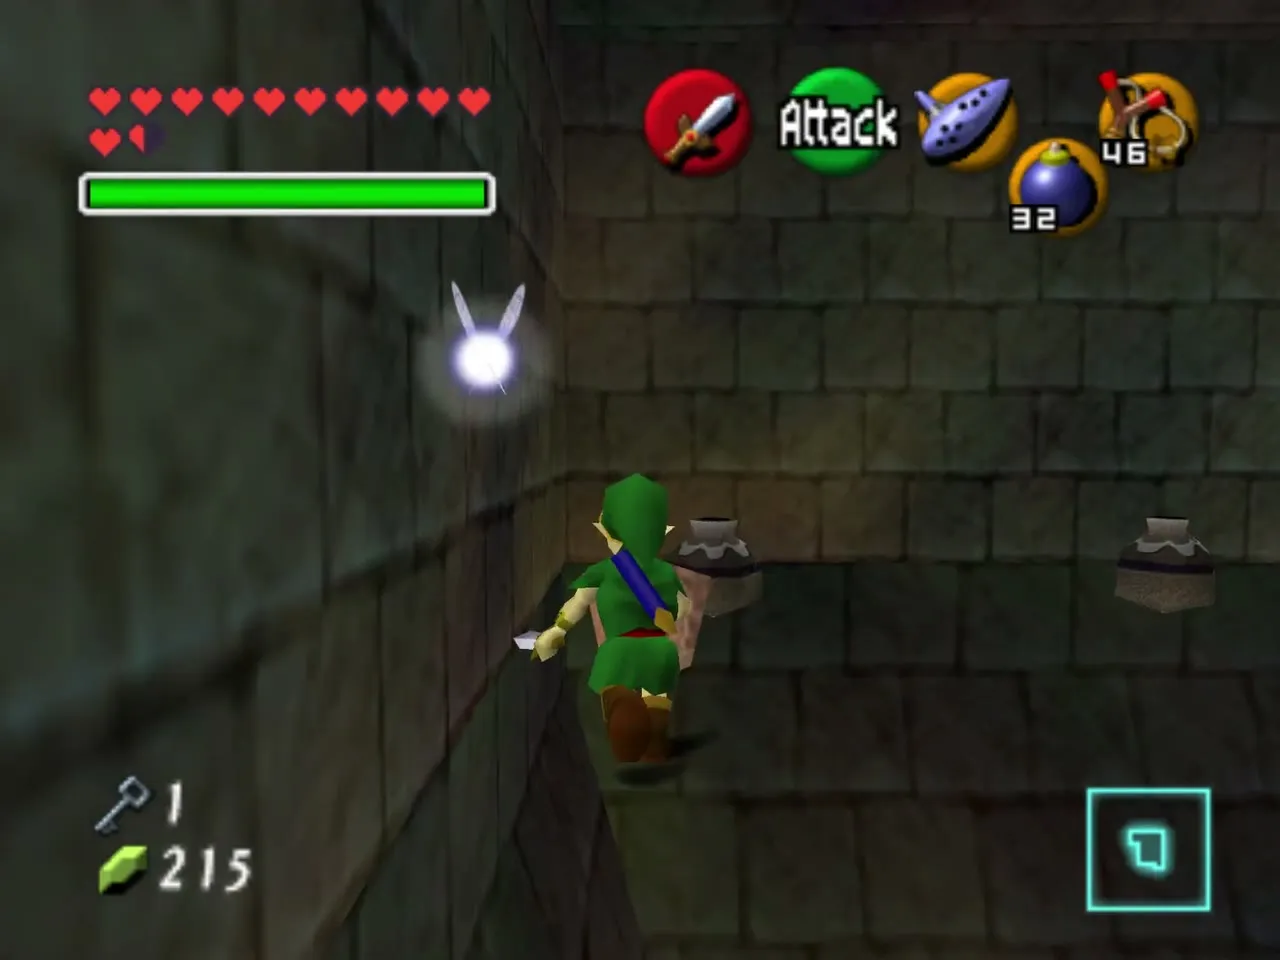
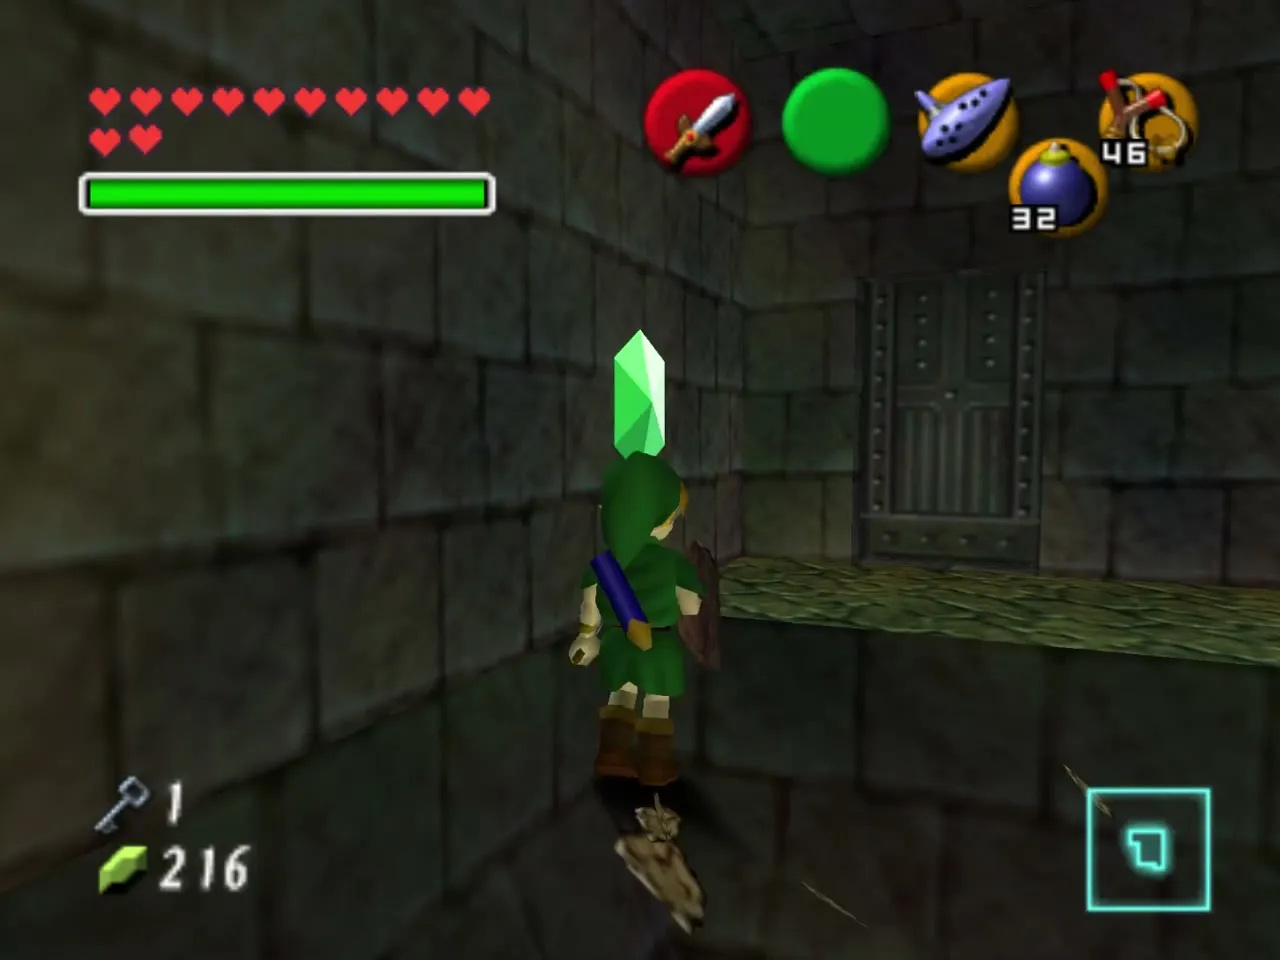
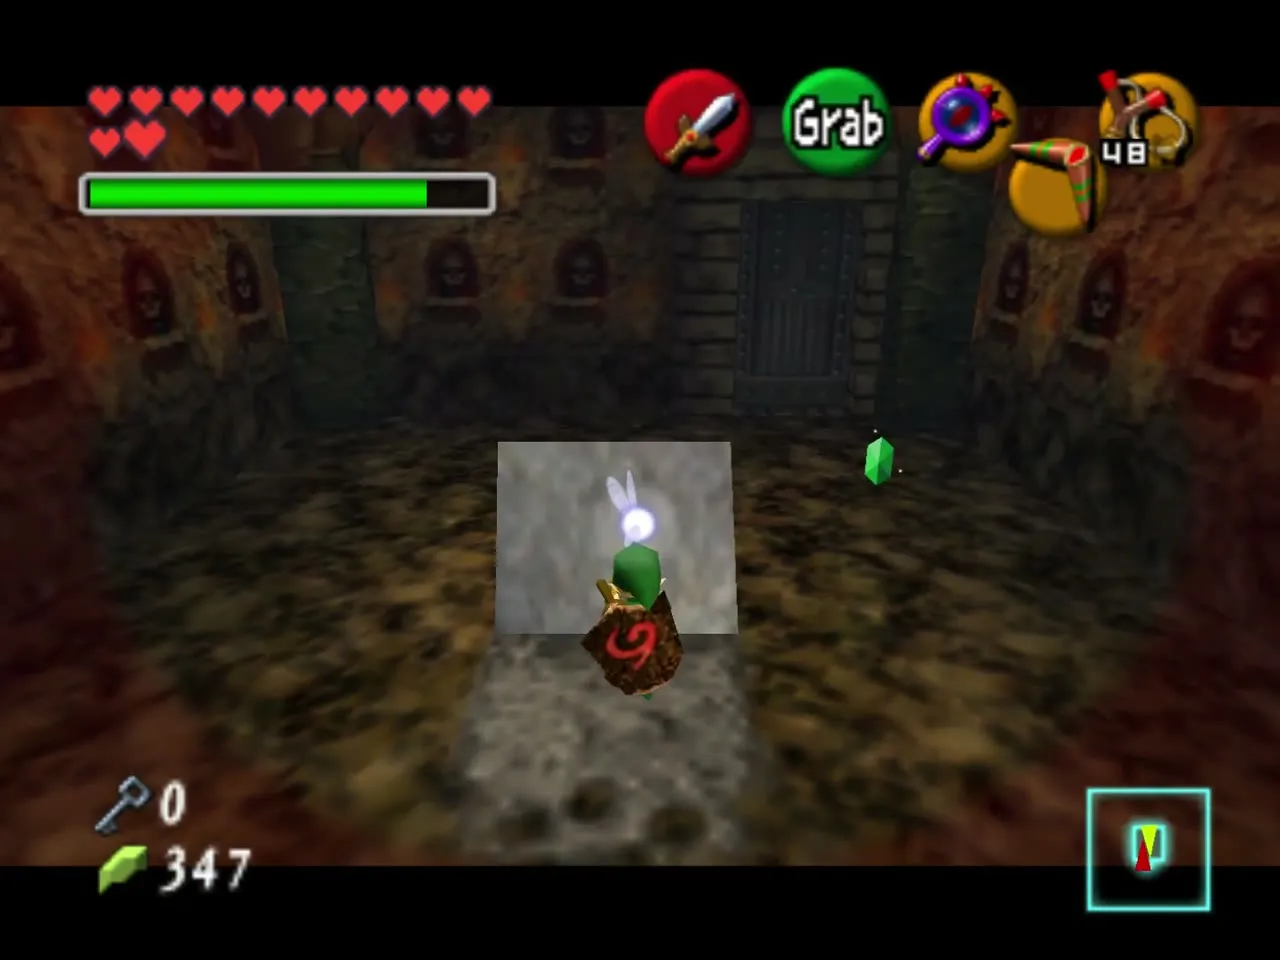
The room looks like one giant pit. The Lens of Truth is not required here, because the path across is visible in this edition; follow it to the far wall. A Small Key lies at the end. Take it and go back to the main hall.
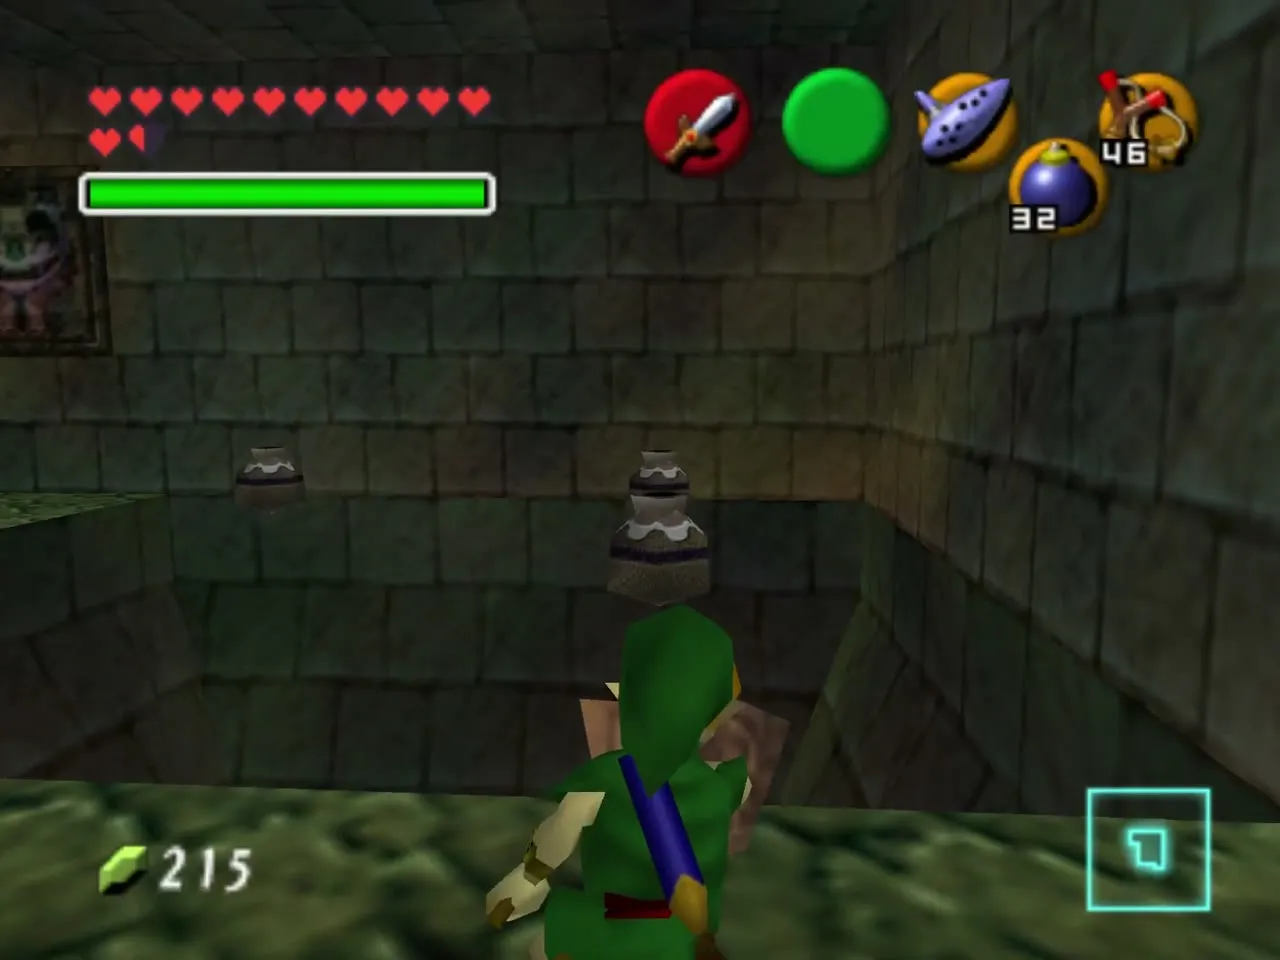
On the way back, smash the pots in the corridors for Rupees. The minimap now reveals the floors you are about to use, so check it before moving on.
The coffin room and a Gold Skulltula
Chained door and Gibdo
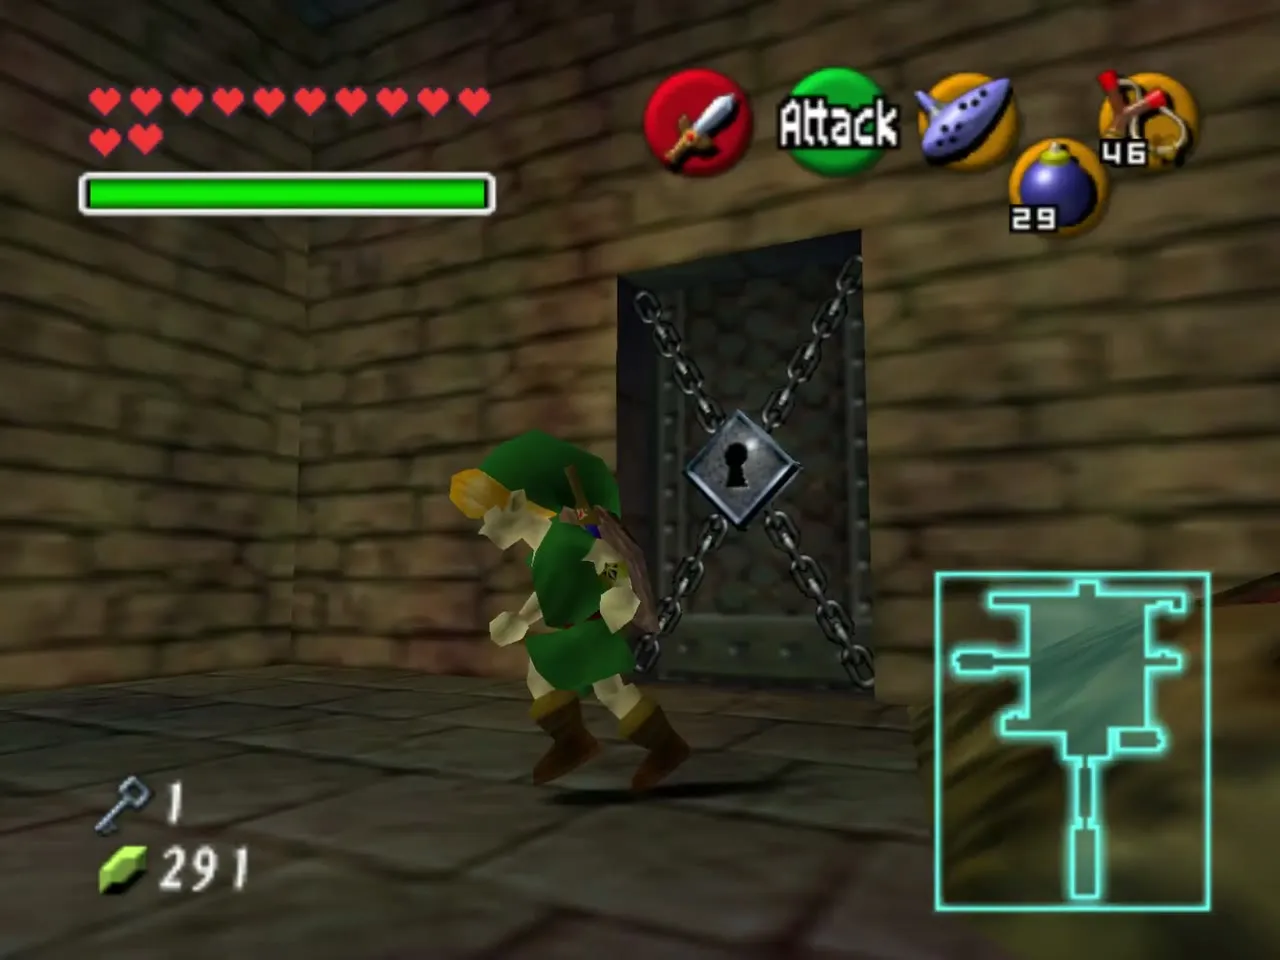
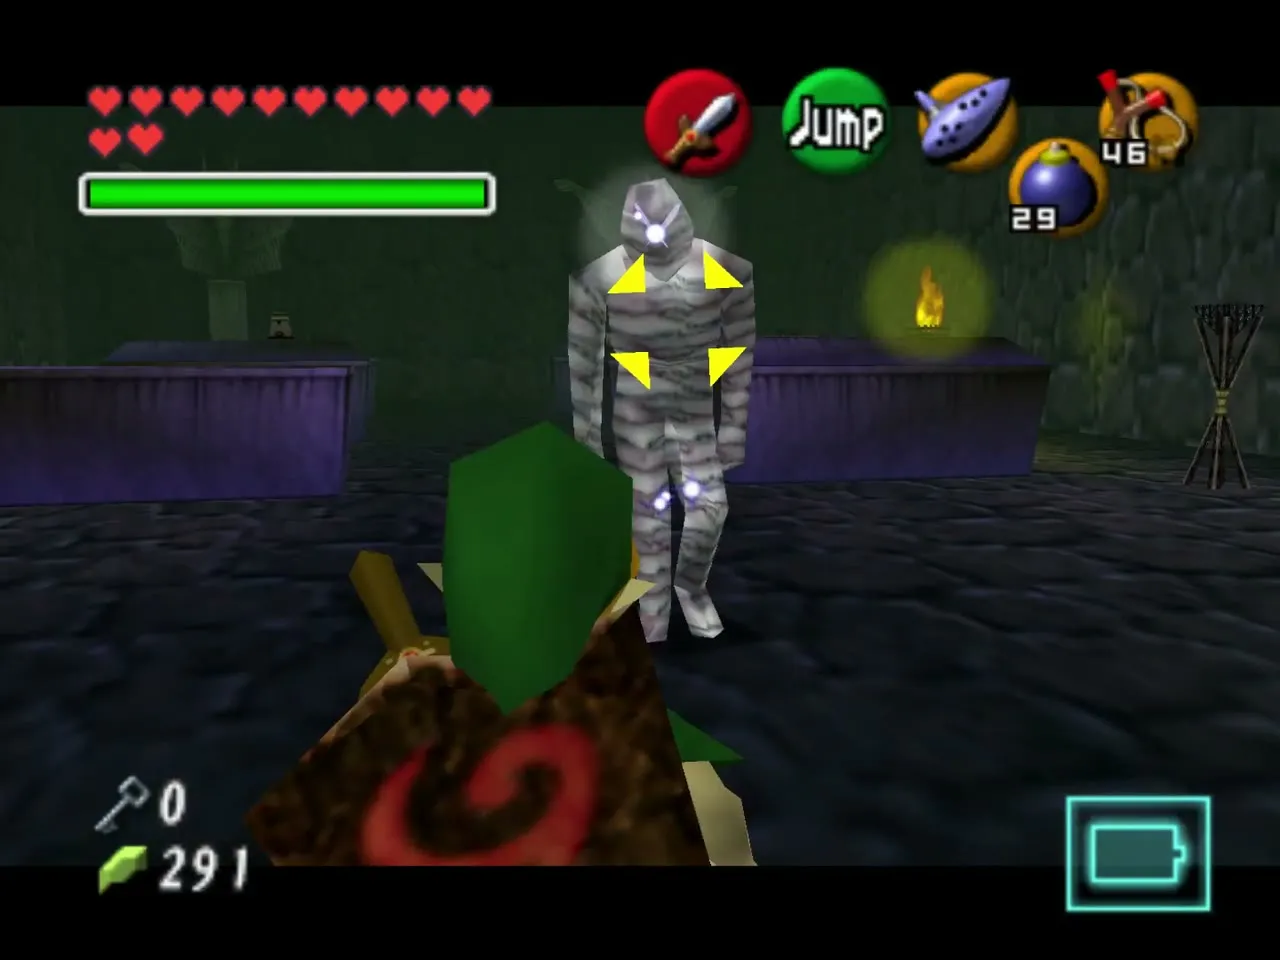
Go to the west passage, drop down, climb the vines and use your Small Key on the locked door. A Gibdo waits right behind it, so pause and play the Sun’s Song to freeze it, then cut it down.
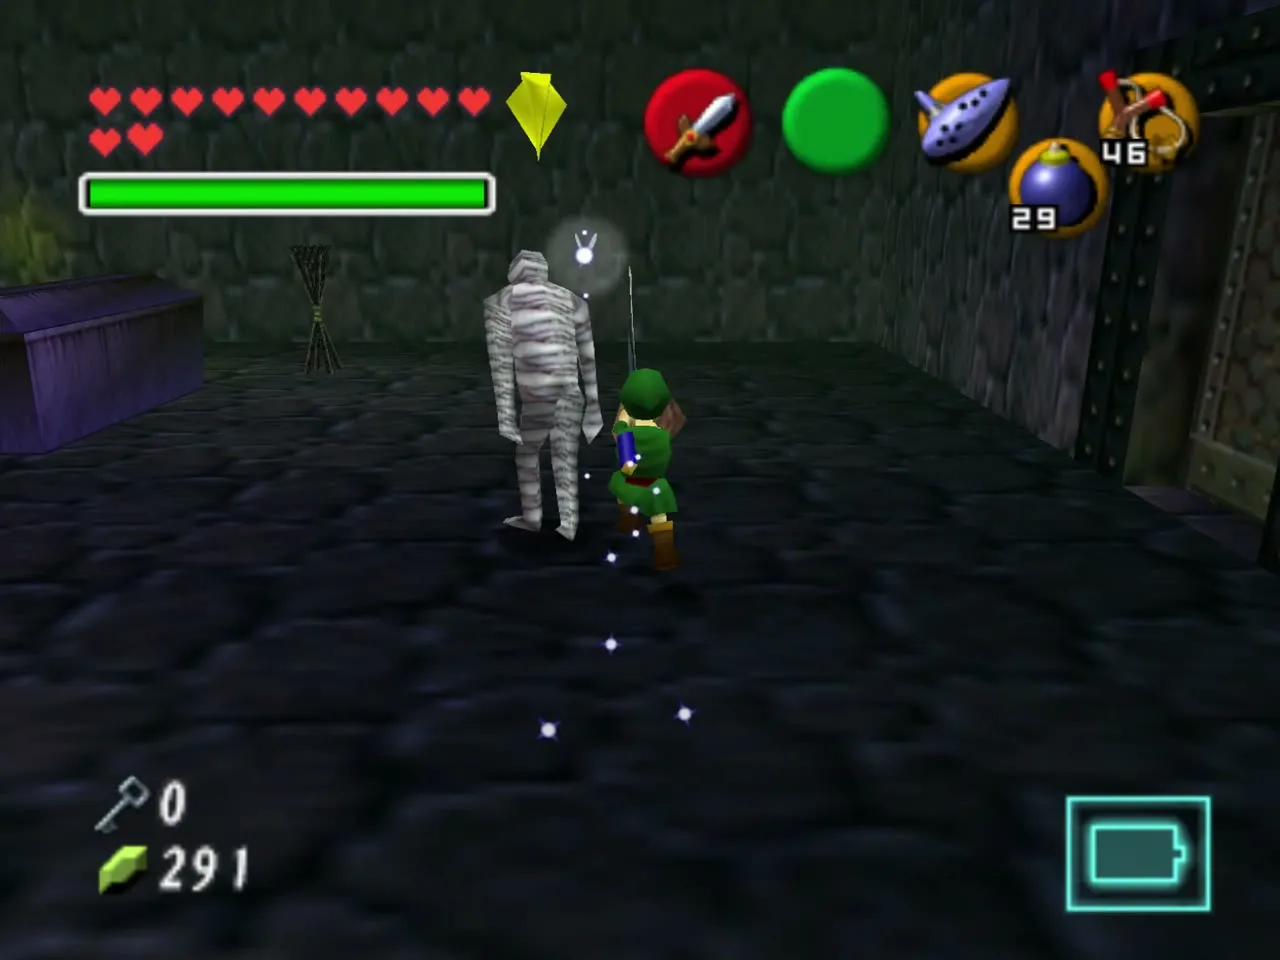
Gold Skulltula behind the bird statue
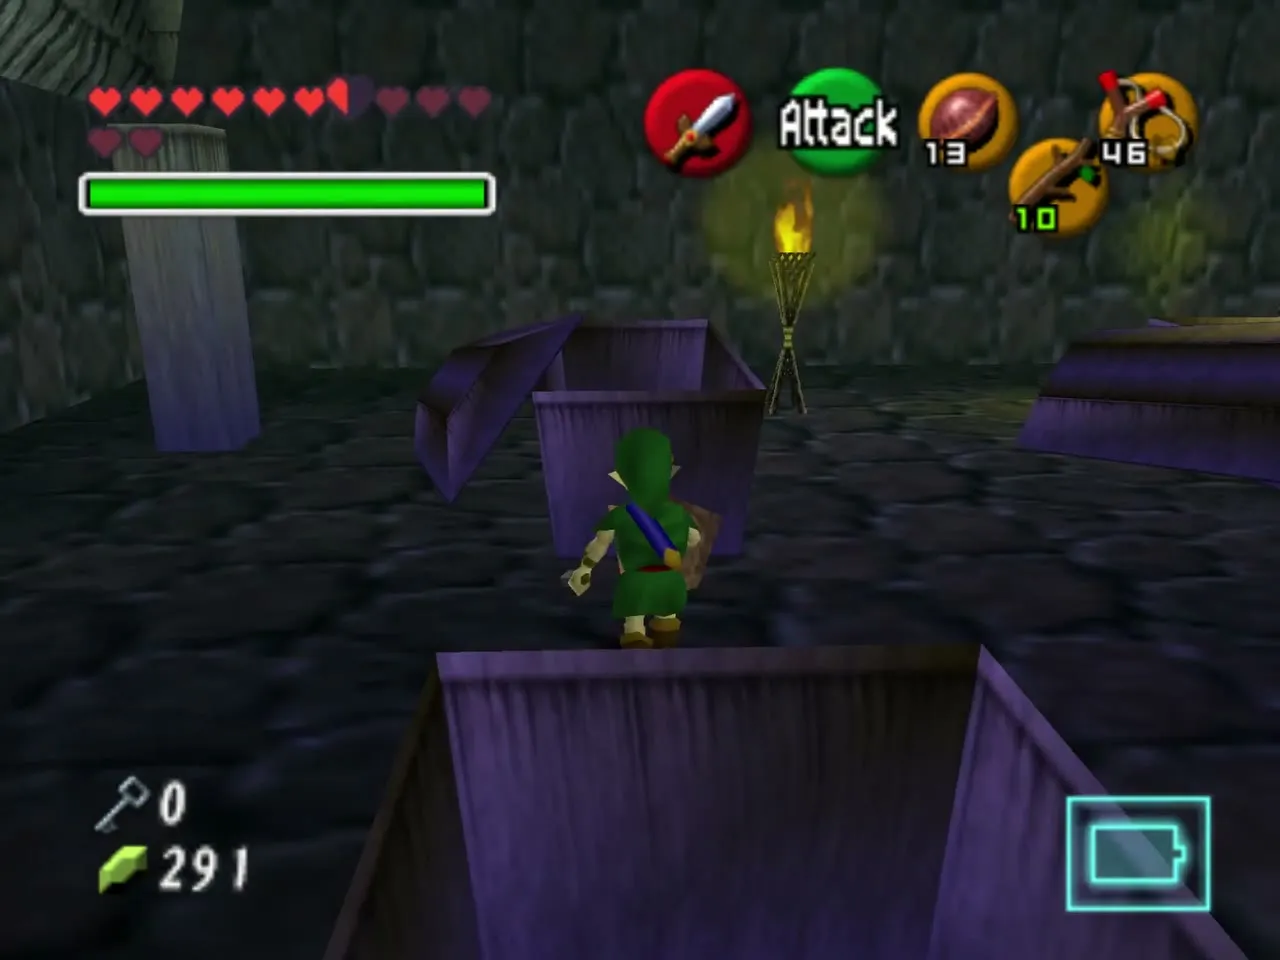
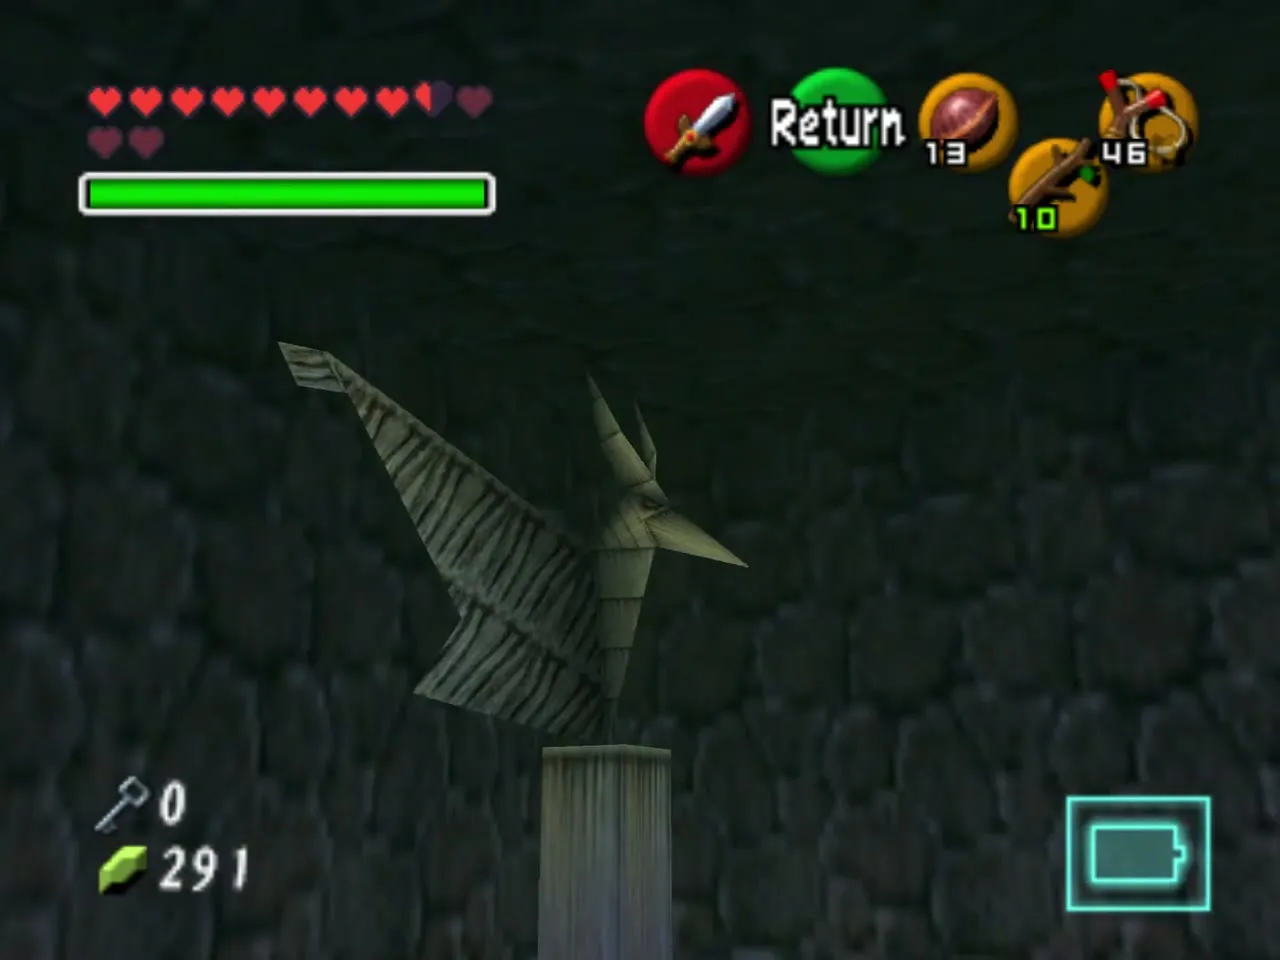
This large crypt is optional except for one prize: a Gold Skulltula behind the right-hand bird statue at the back. The torches around the room open the coffins when lit, which releases more Gibdos, so leave them alone unless you want a fight. If you do light them with a Deku Stick, freeze the mummies with the Sun’s Song and take them one by one.
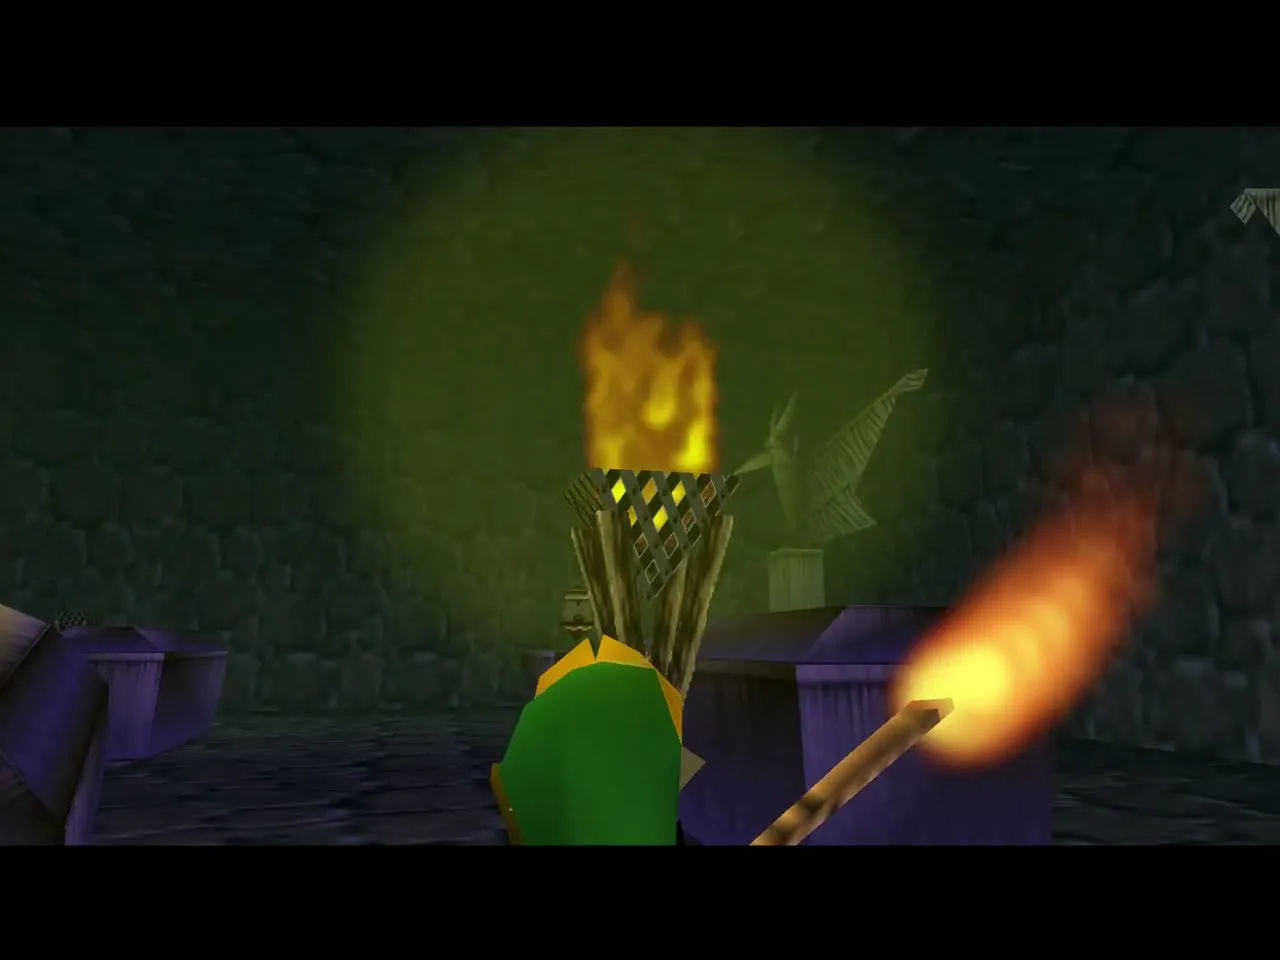
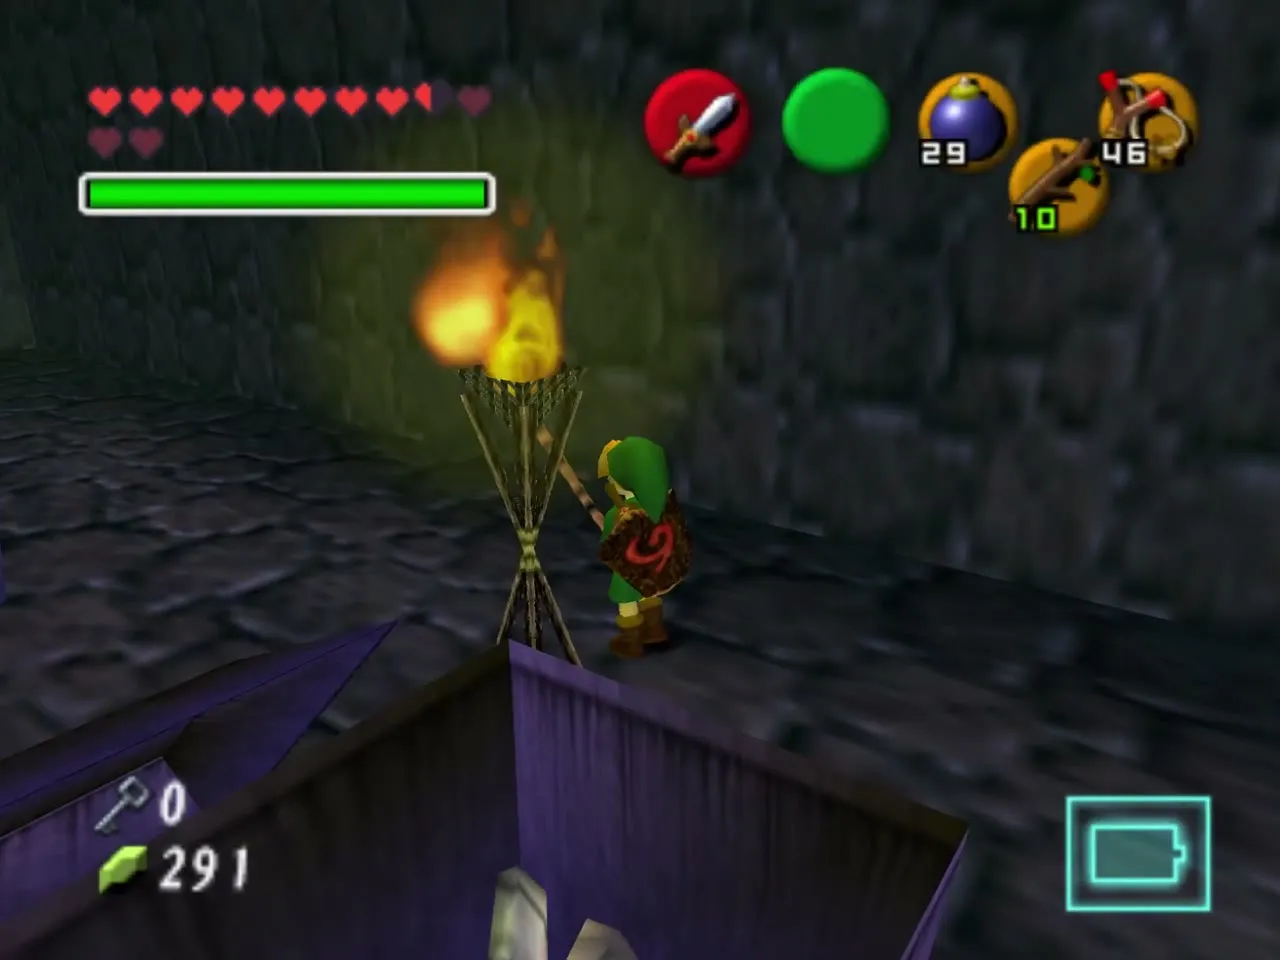
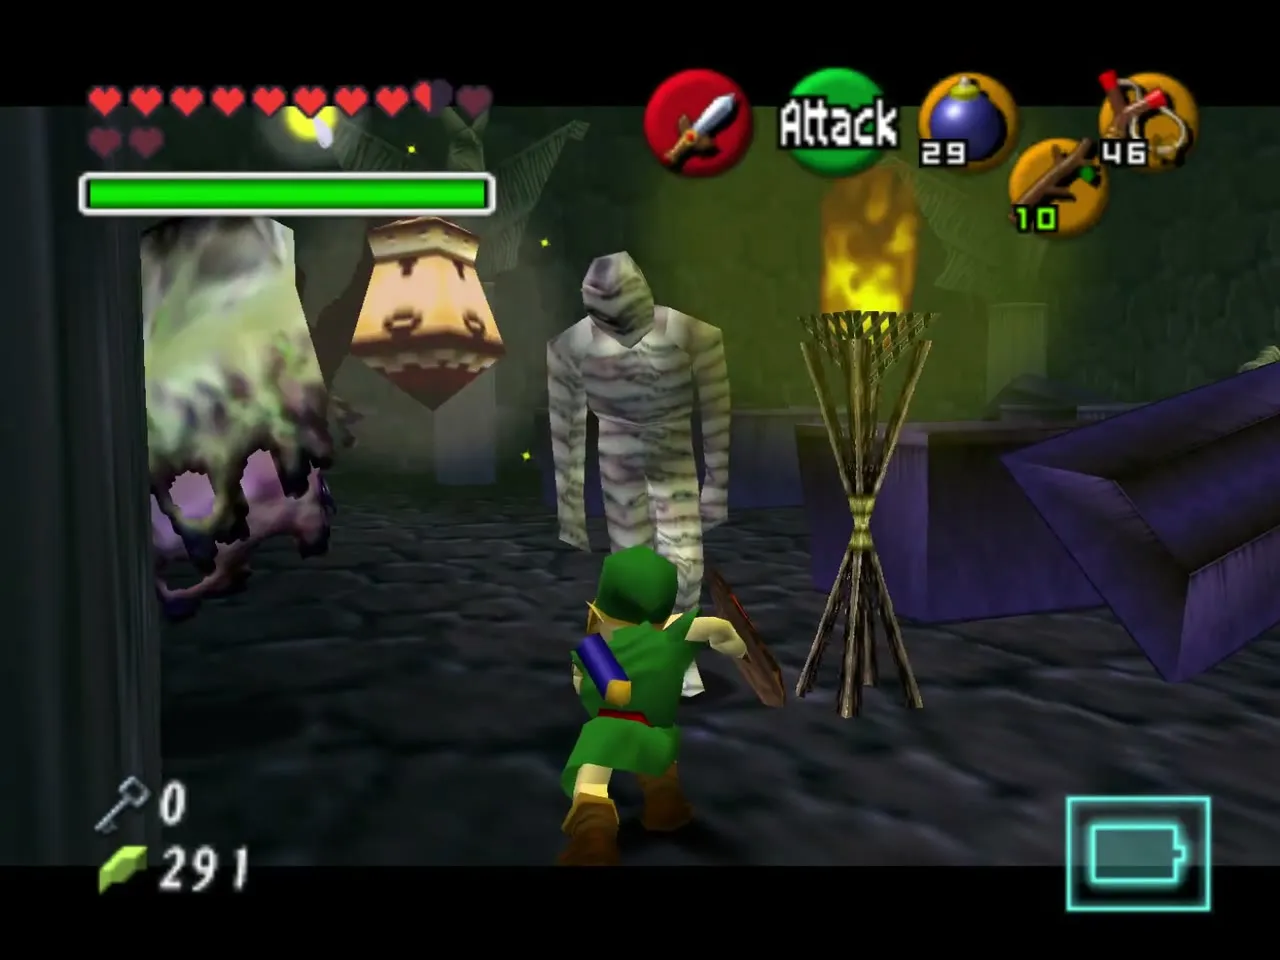
Cross the room along the coffins to the statue, collect the token with the Boomerang or by slashing it, and return to the entrance. Nothing else in this room is needed.
Crystal face and the Floormaster room
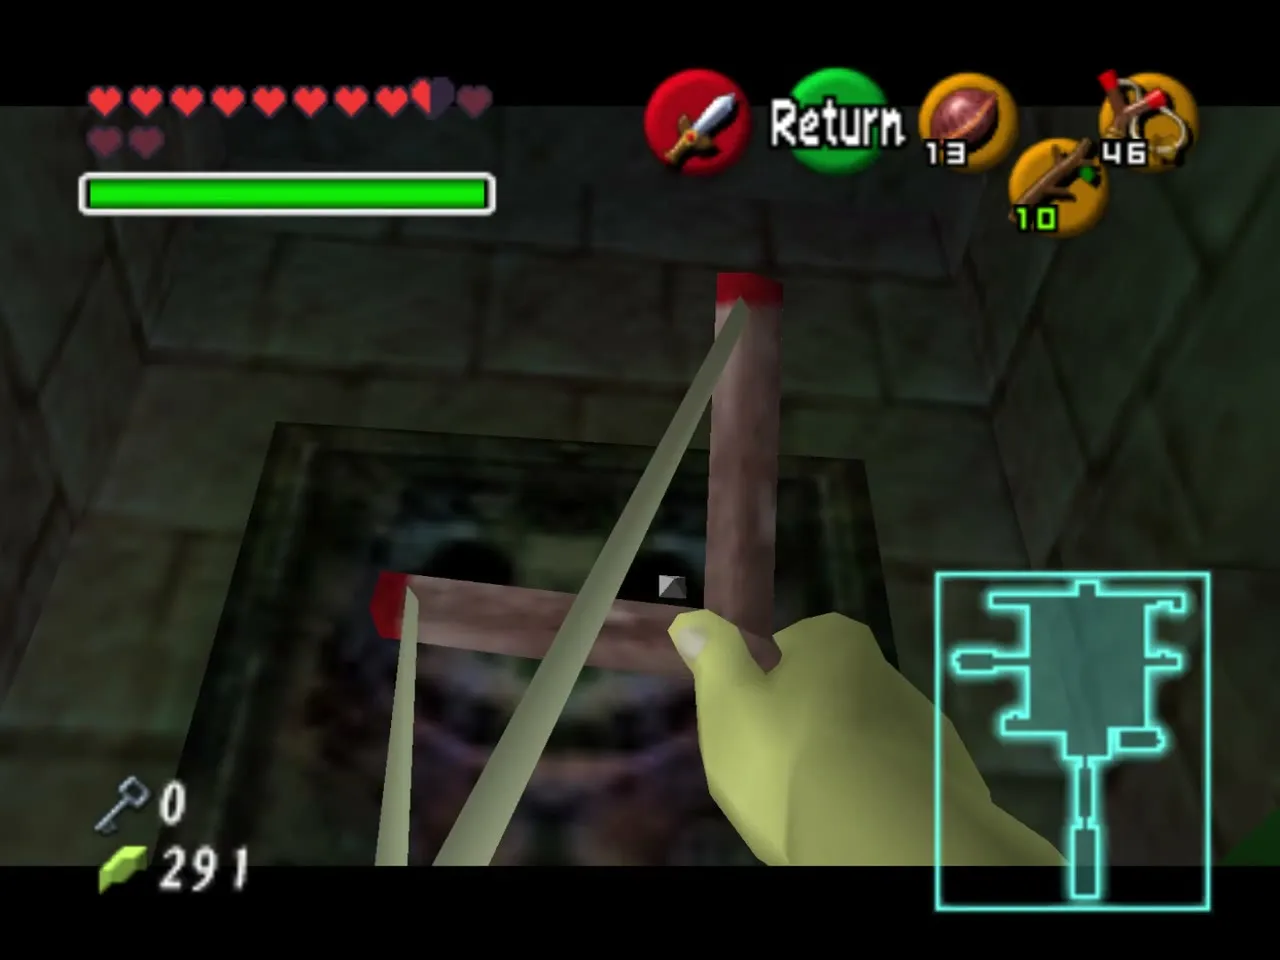
Shoot the face
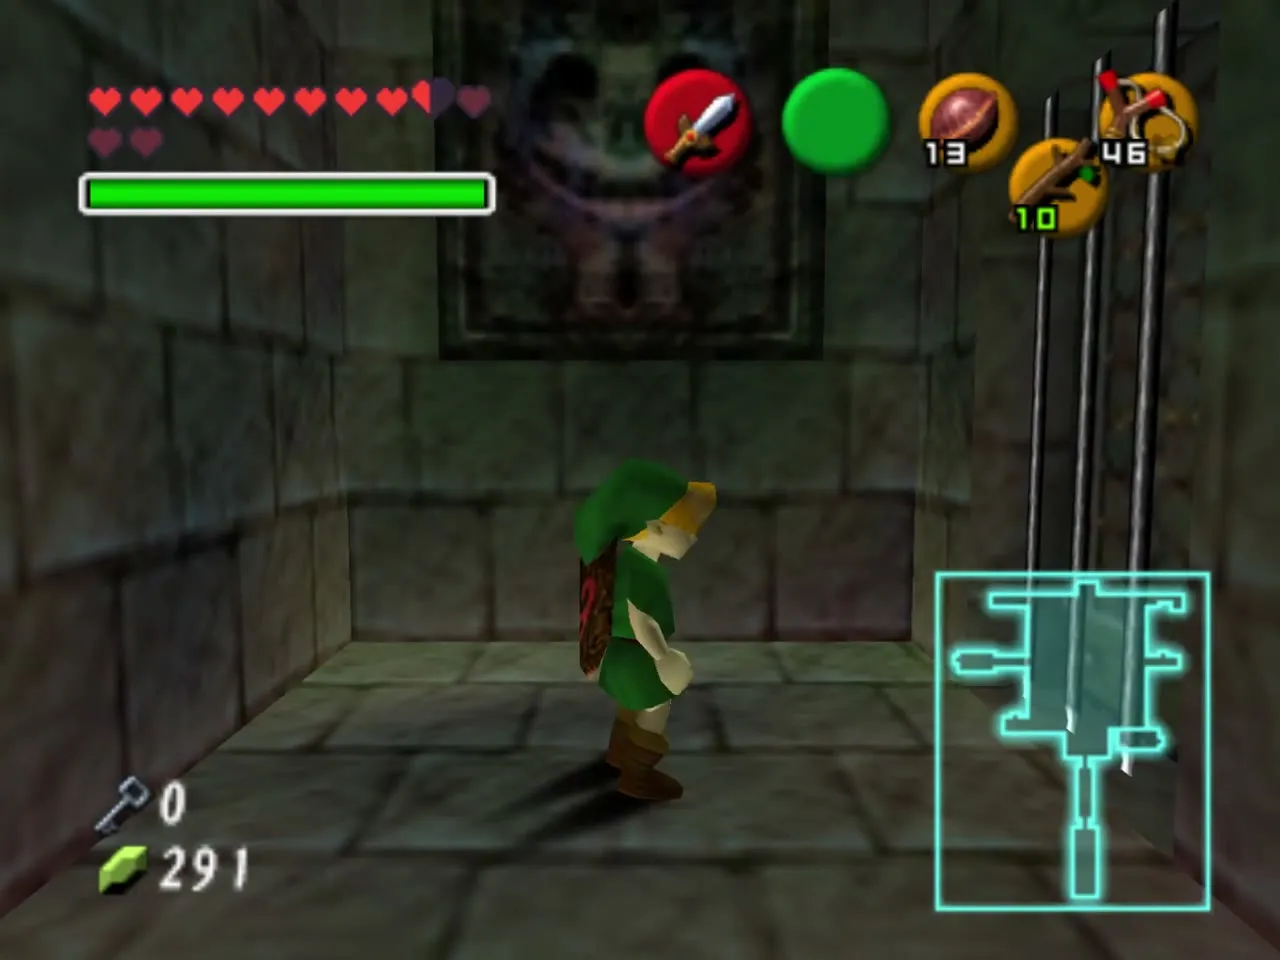
Return to the main hall and crawl through the hole in the northeast corner. The door beyond looks permanently locked, but a sliver of crystal switch sticks out of the stone face on the wall. Shoot it with the Slingshot to unlock the door, then go through it.
Floormaster and Wallmaster
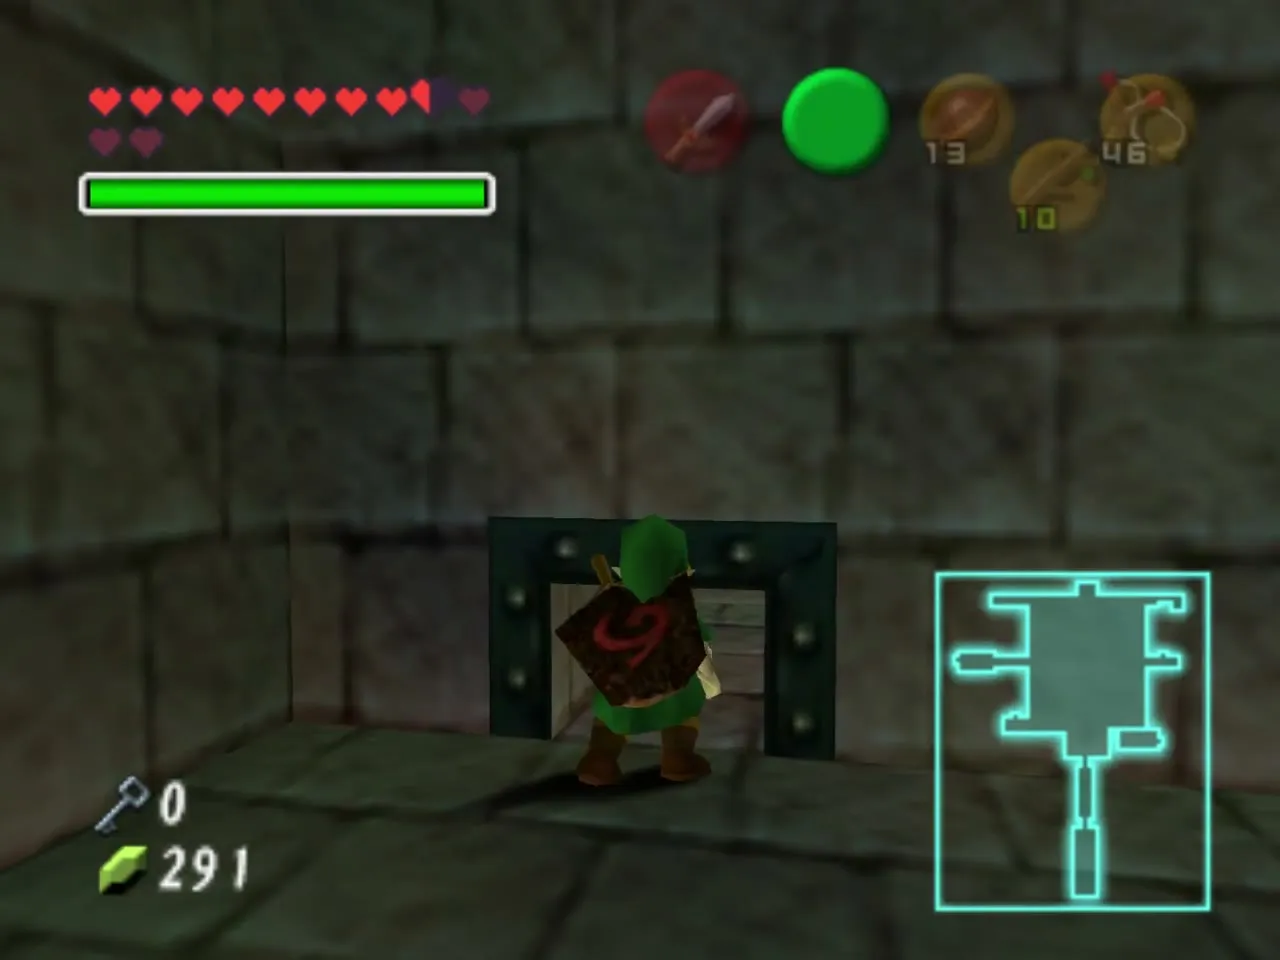
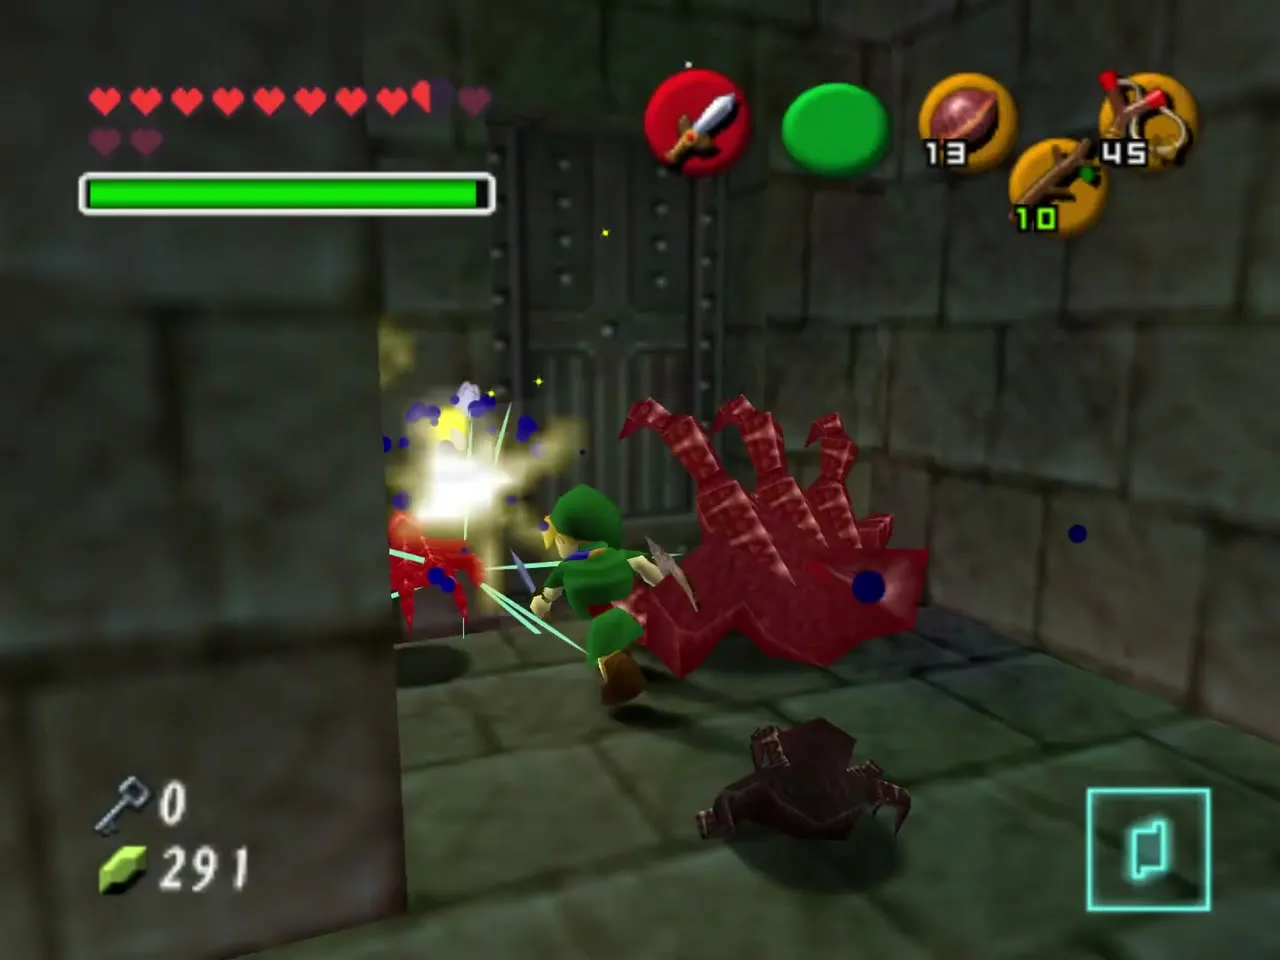
The next room holds the new Floormaster and a Wallmaster. Keep moving, hit the Floormaster before it splits and walk along the grates to the door at the end. It needs a Small Key, which you will not have until Dead Hand. Bomb the rubble beside it to reveal a switch and step on it to open another grate, then turn back.
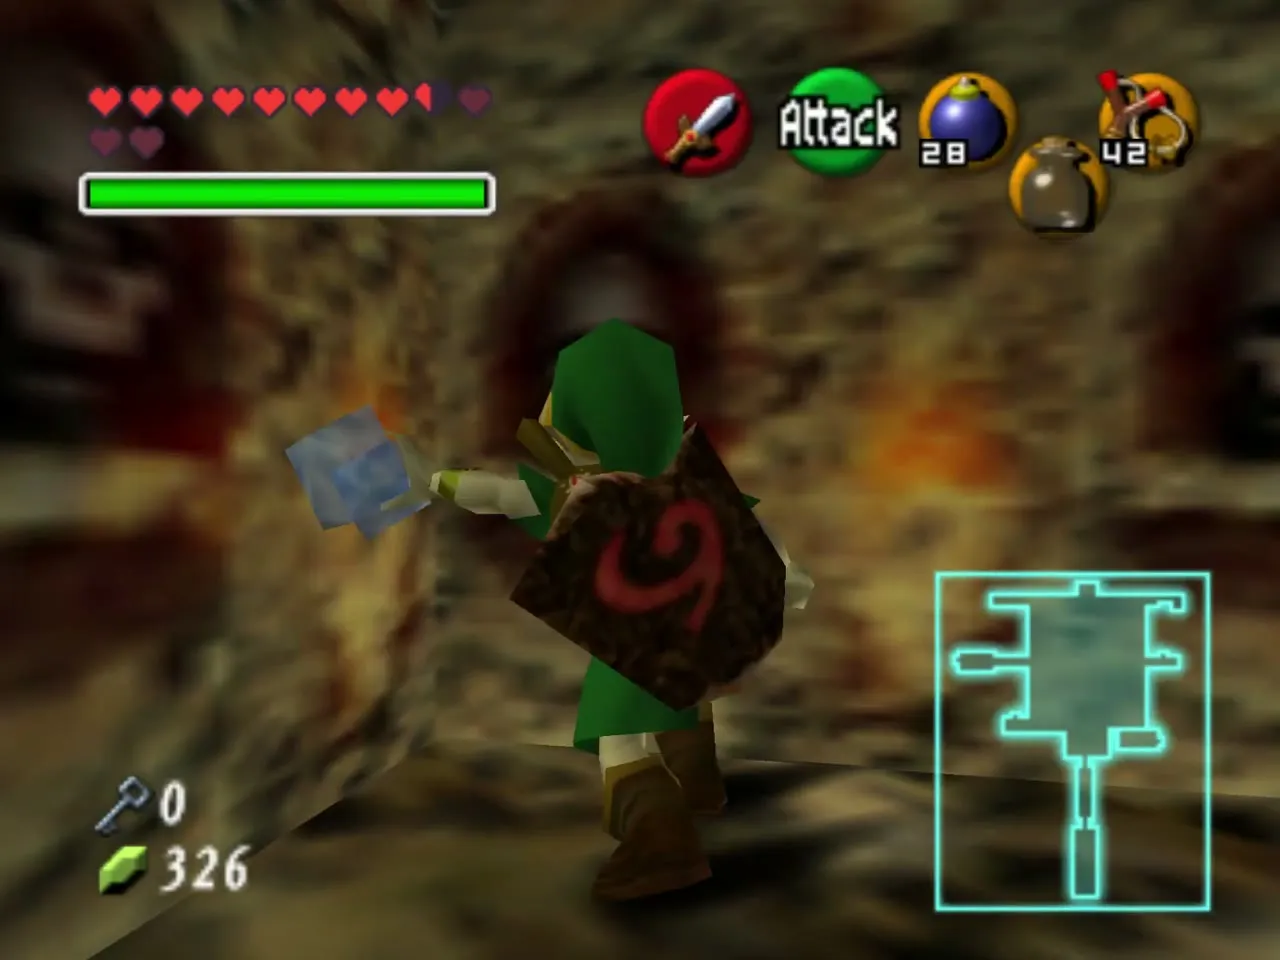
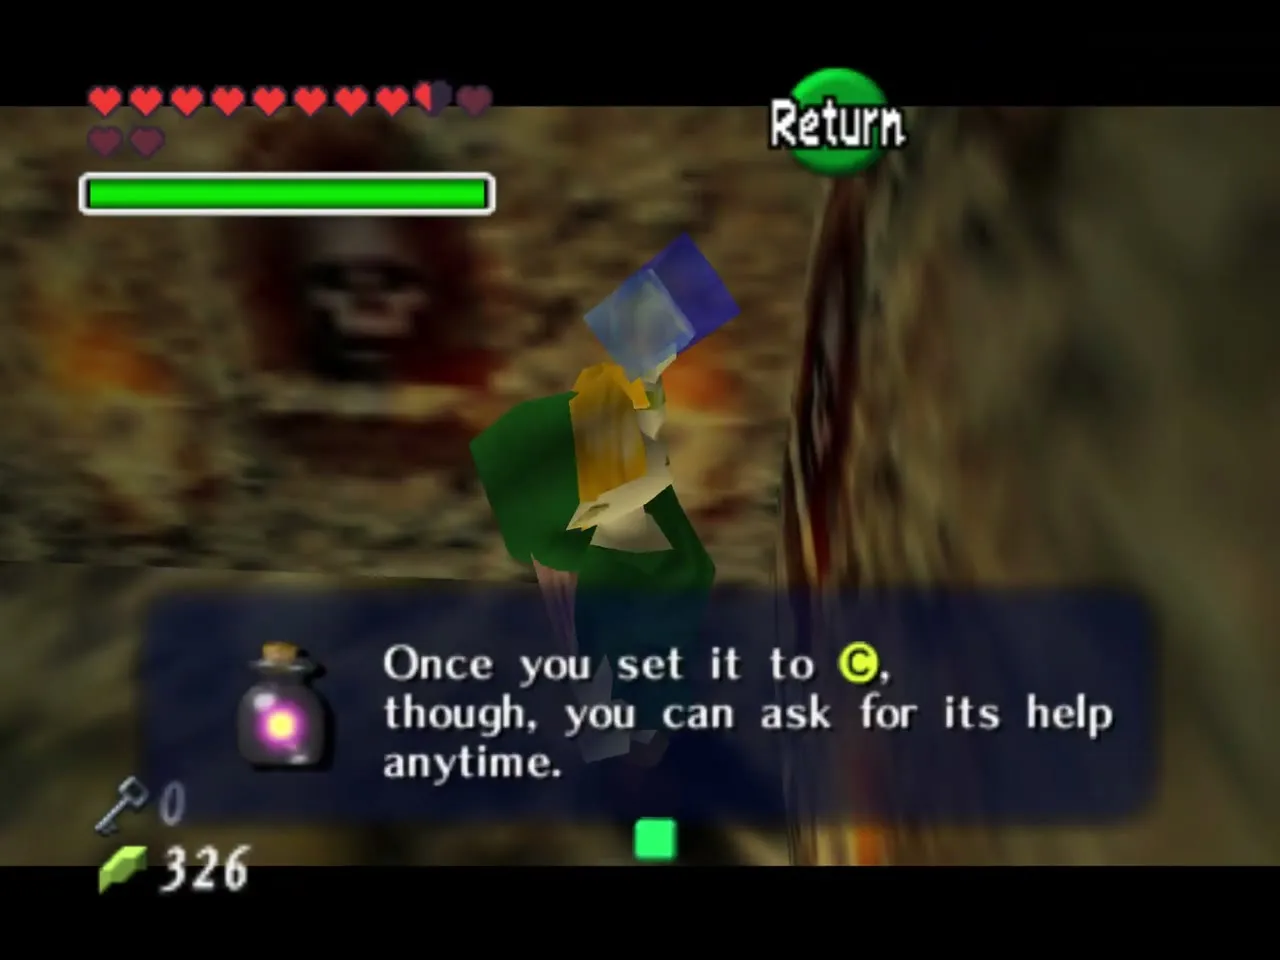
Catch a fairy
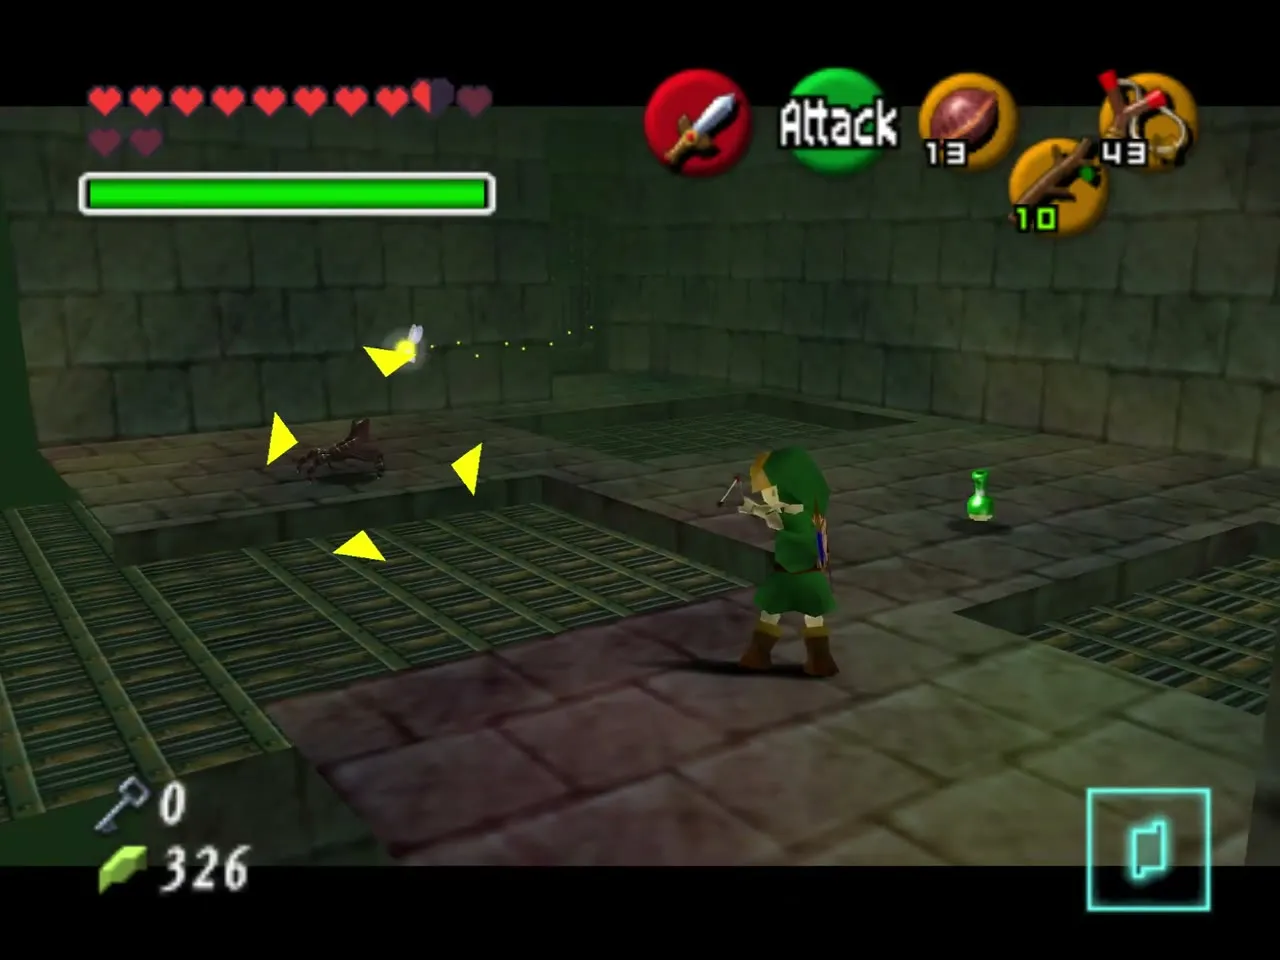
On the way back, a wall of skull niches has a fairy hovering near it. Pick the Empty Bottle in the pause menu and swing at the fairy to catch it. Set the bottle to a C button and the fairy revives Link whenever he runs out of hearts.
Dead Hand and the Compass
Down the drained pit
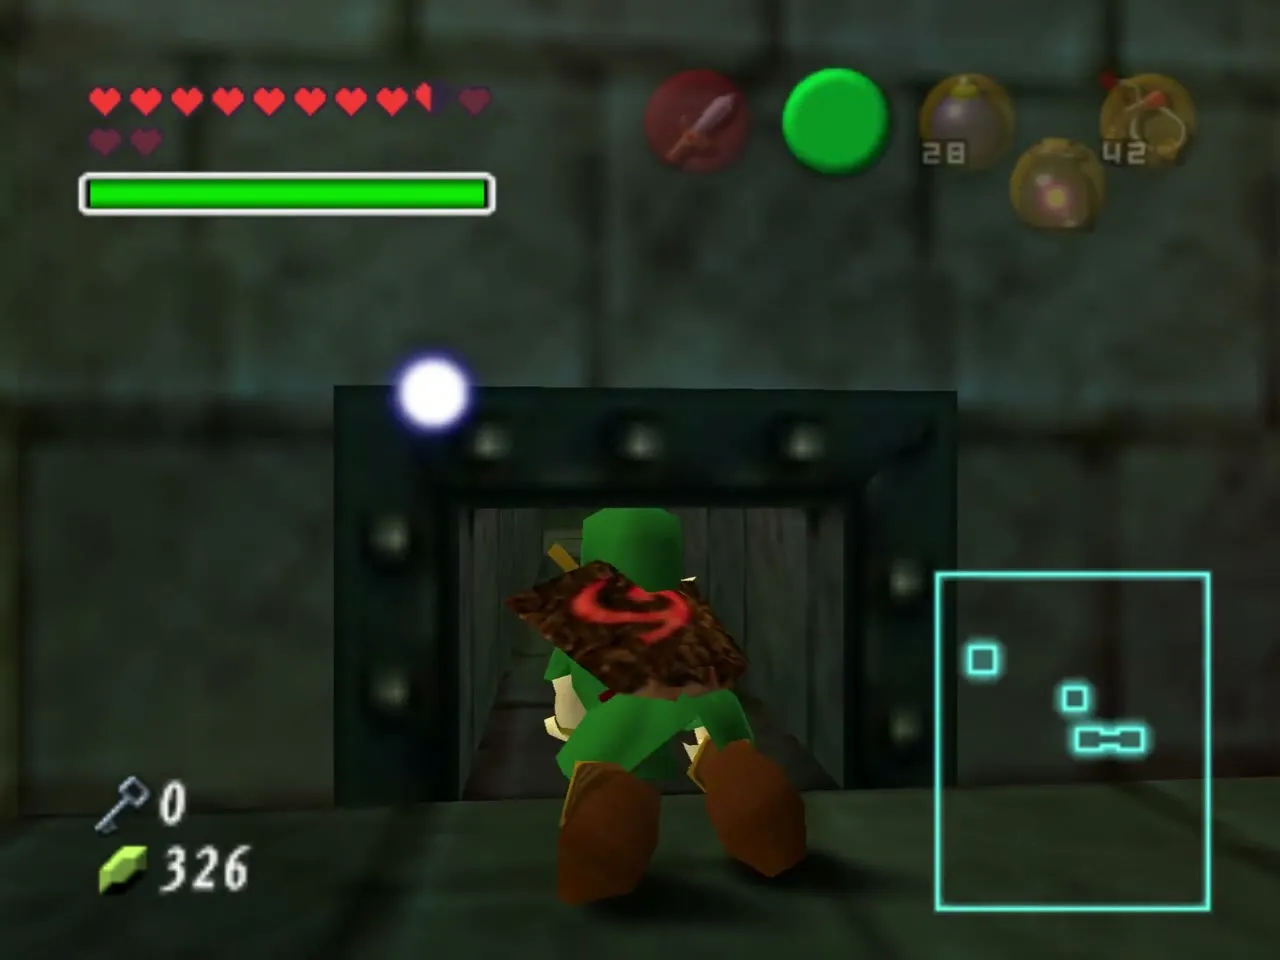
Return to the start of the main hall. The pool you passed is now a pit, so drop in and crawl through the hole. Climb the vines on the other side and go through the door at the top into a dark crypt.
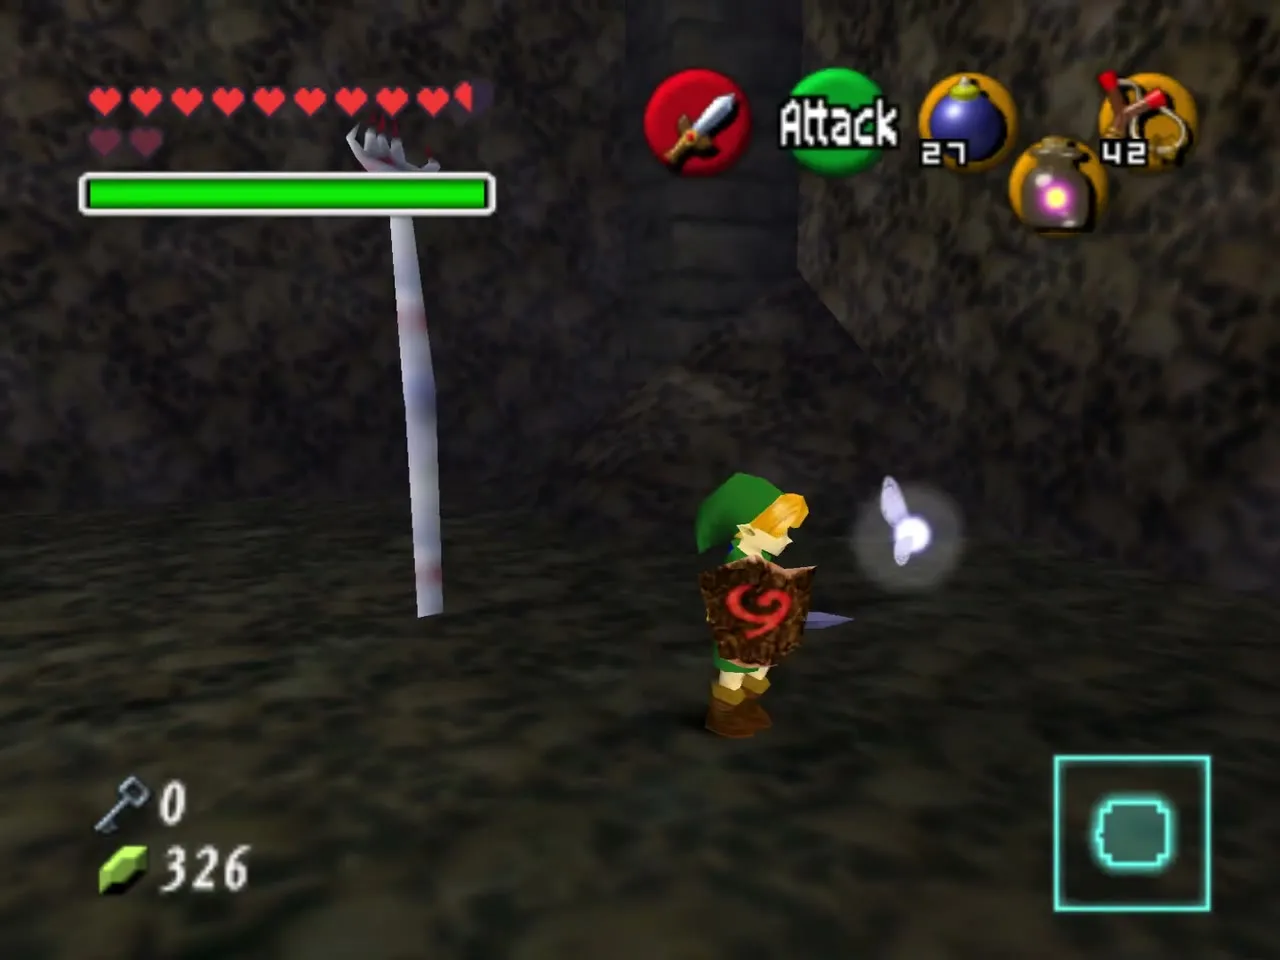
Mini-boss: Dead Hand
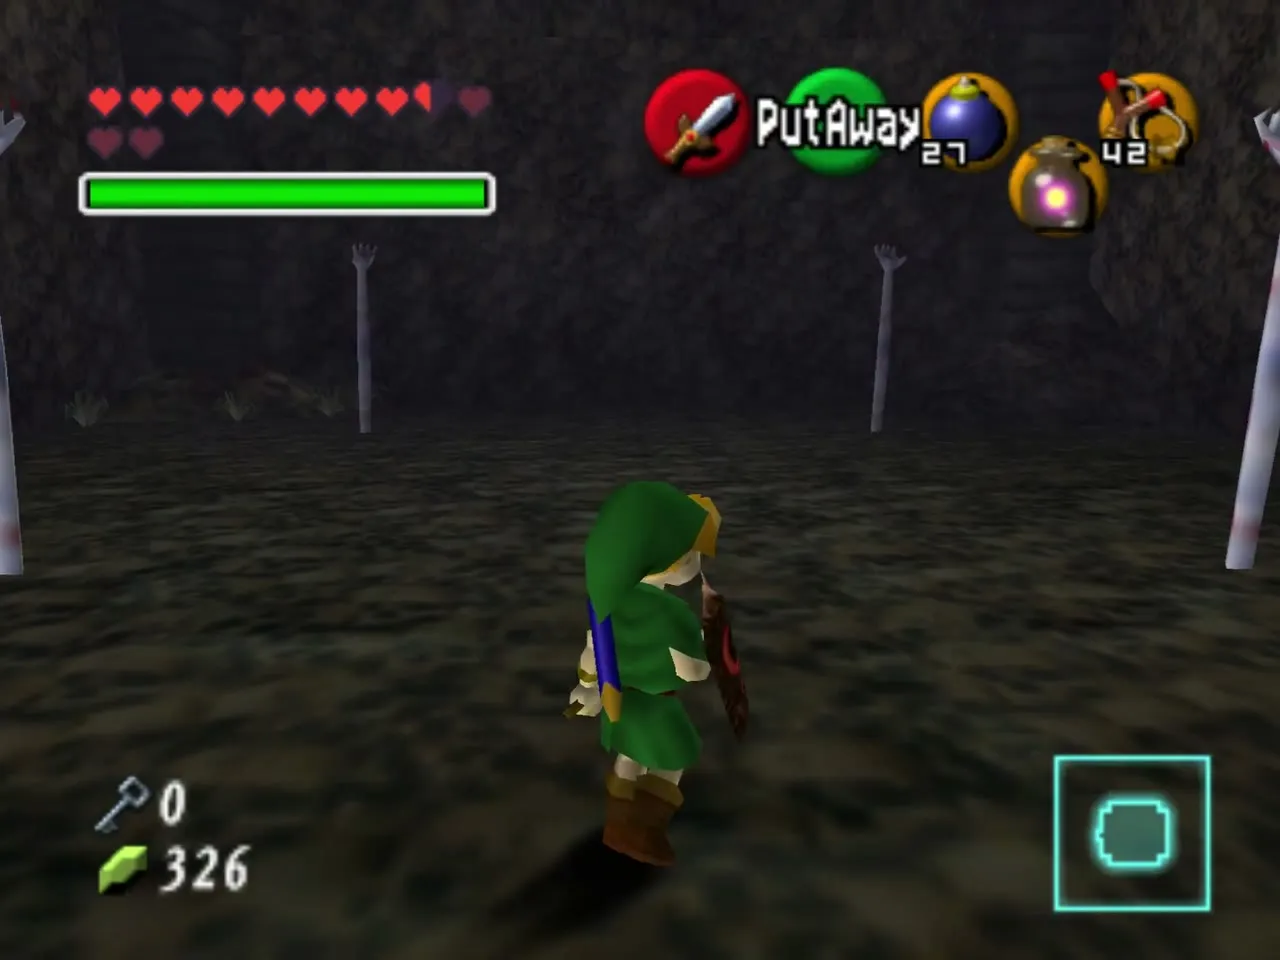
The crypt is lined with pale arms. When Link steps close one of them grabs him and Dead Hand’s body rises out of the floor. Mash the buttons to break free, then stand in front of it and slash its face when it leans in to bite. After a few hits it sinks and sends a shockwave through the dirt, so jump or guard. Walk next to an arm to draw it up again, and repeat until it falls.
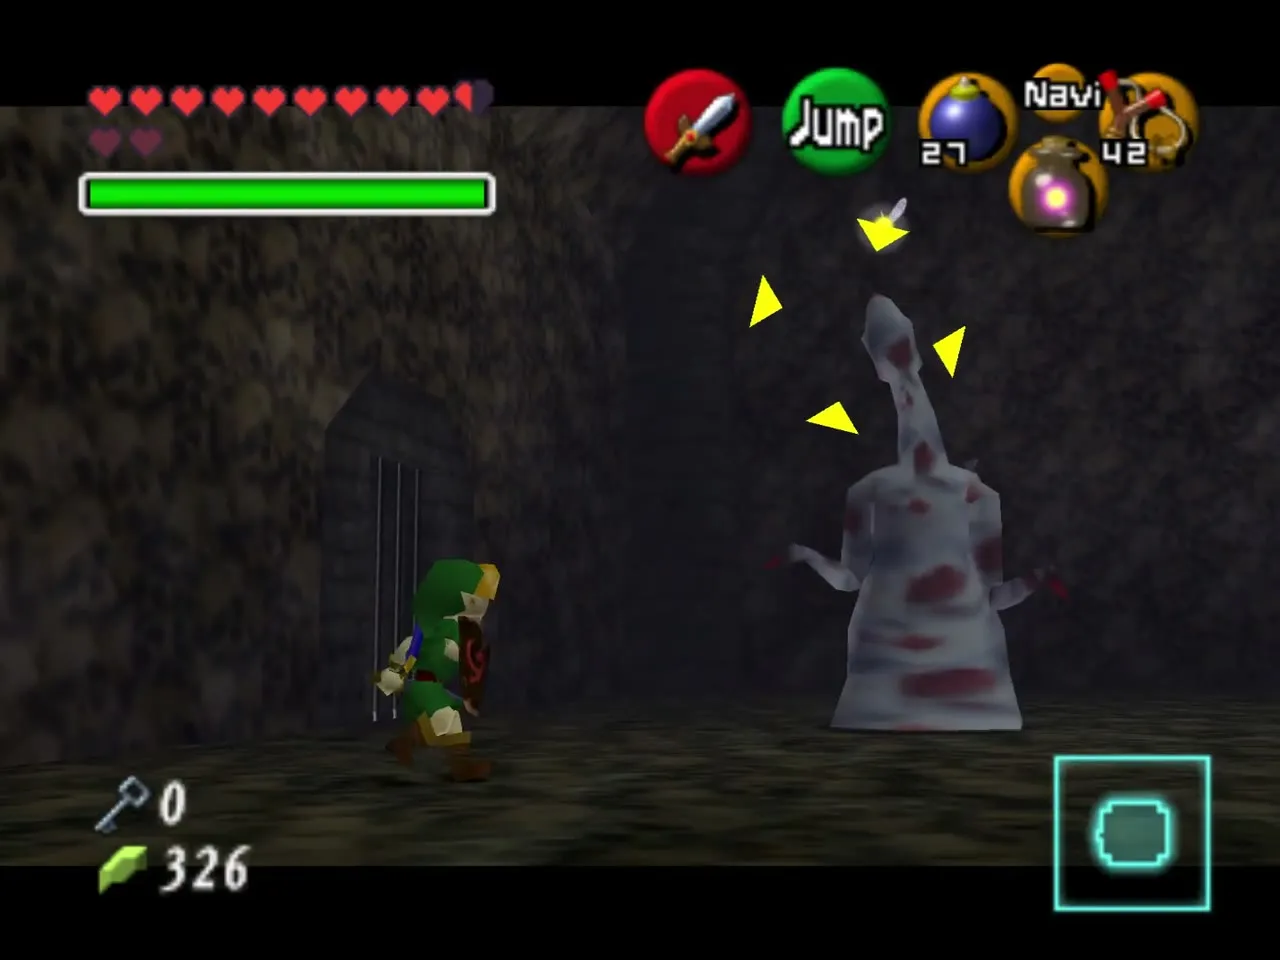
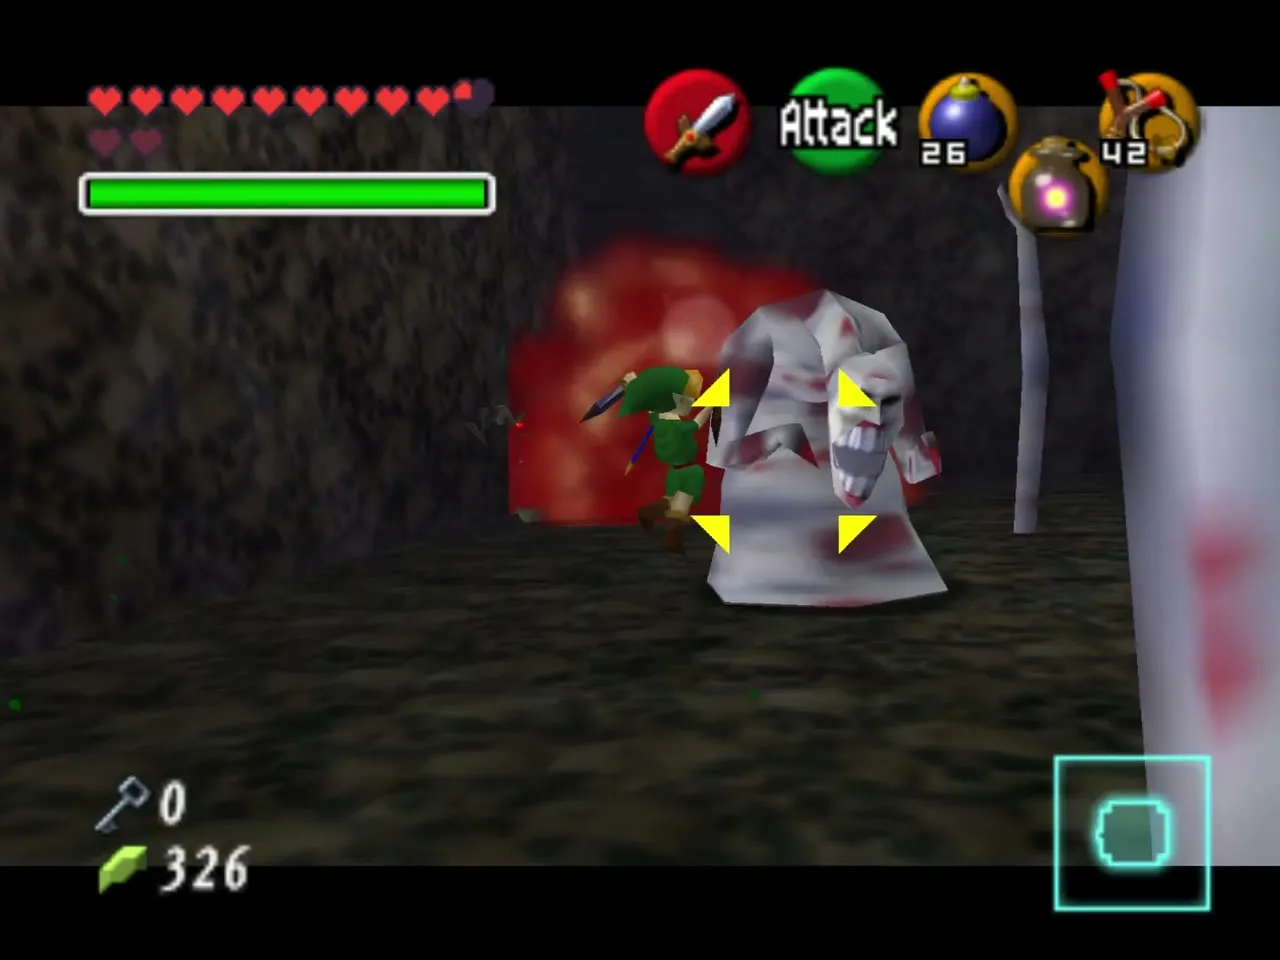
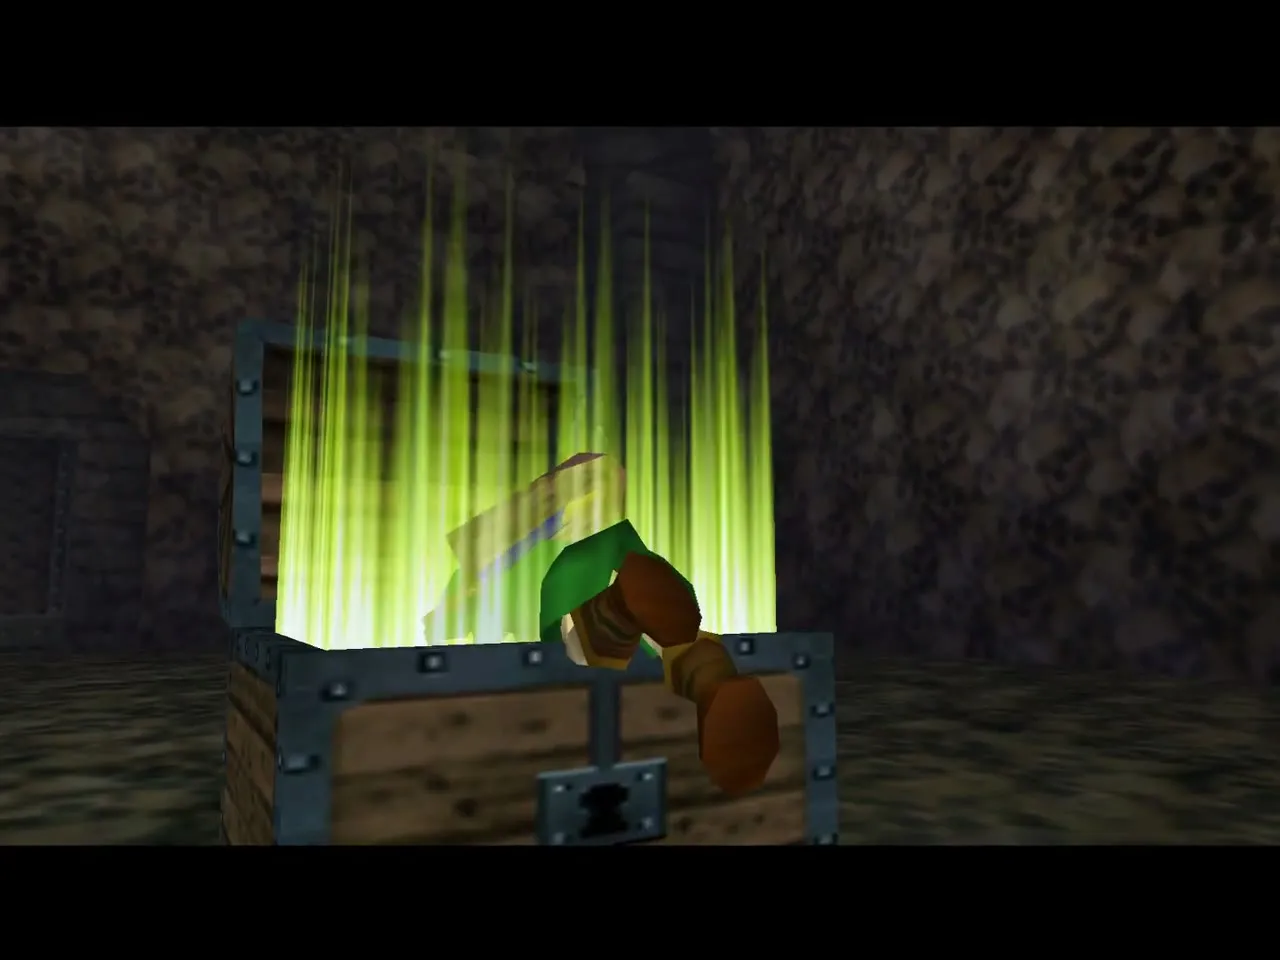
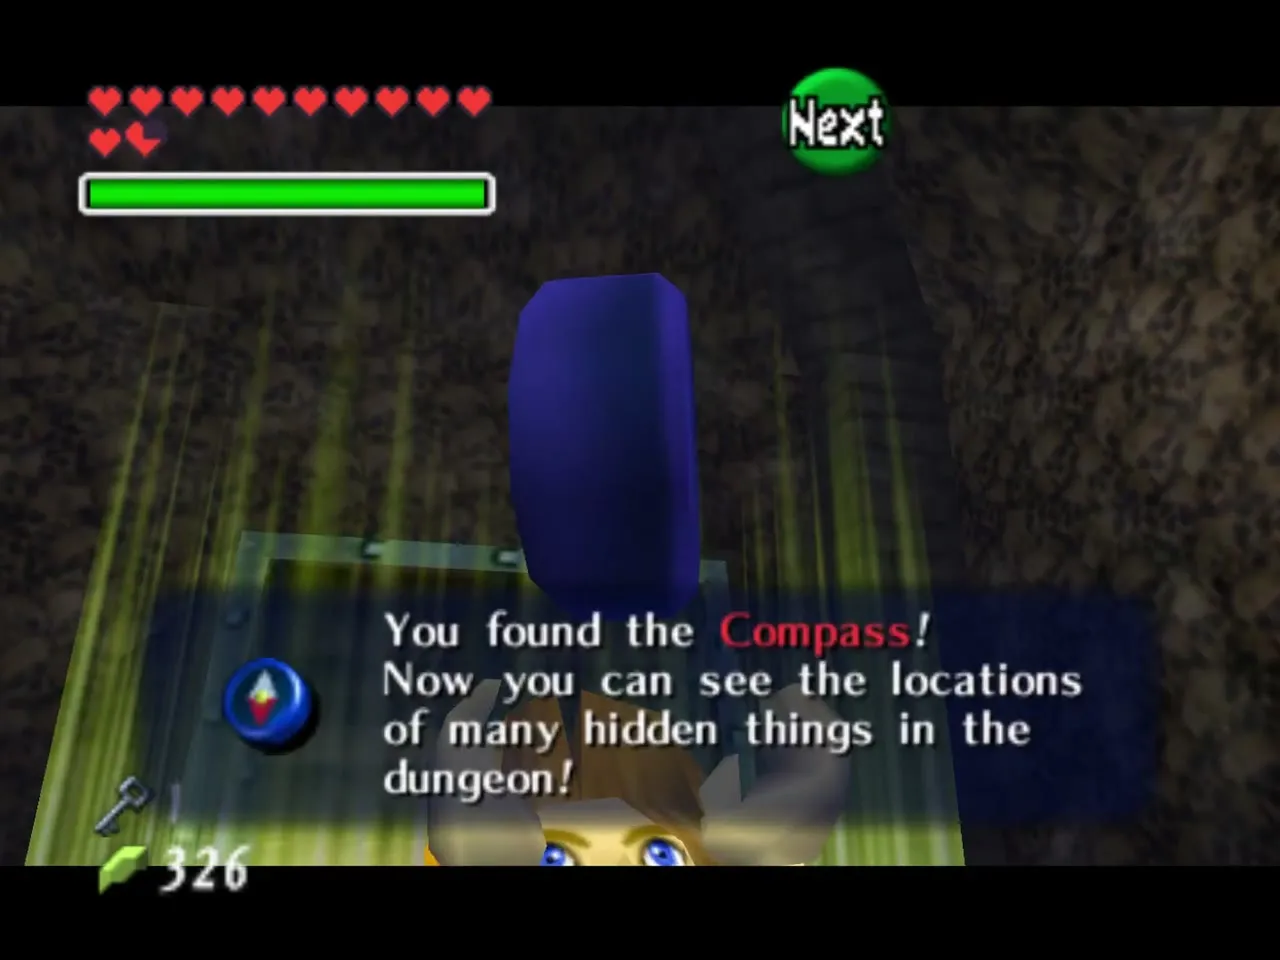
Chest: Compass and a Small Key
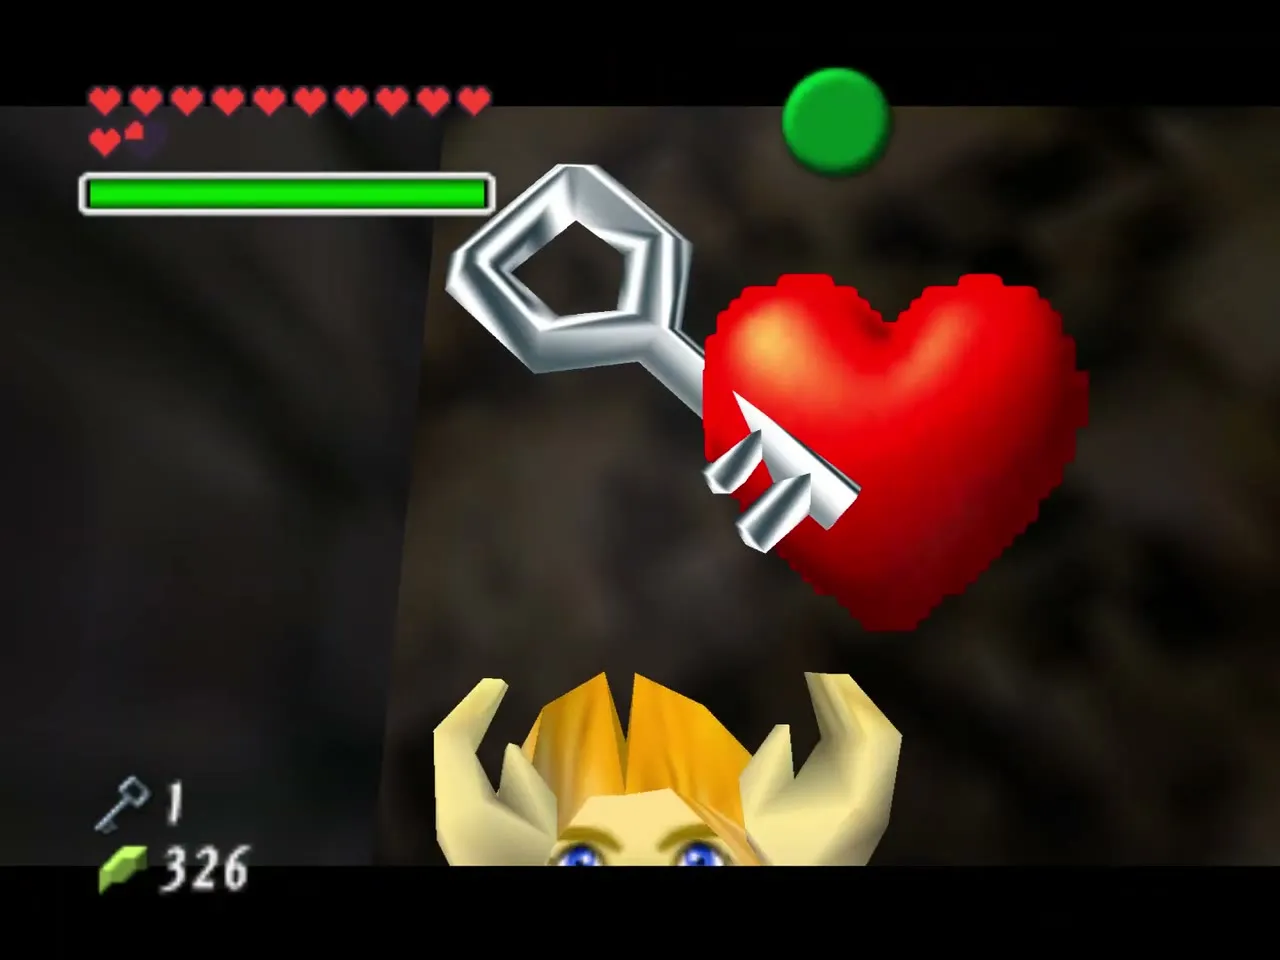
When Dead Hand dies, a chest appears with the Compass. In Master Quest this is the mini-boss prize. Before leaving, bomb the rubble in the top-left corner of the room to uncover a Small Key. Collect it, then take the drops from the pots and bones.
Bottom floor: Lens of Truth
The locked door and the drop
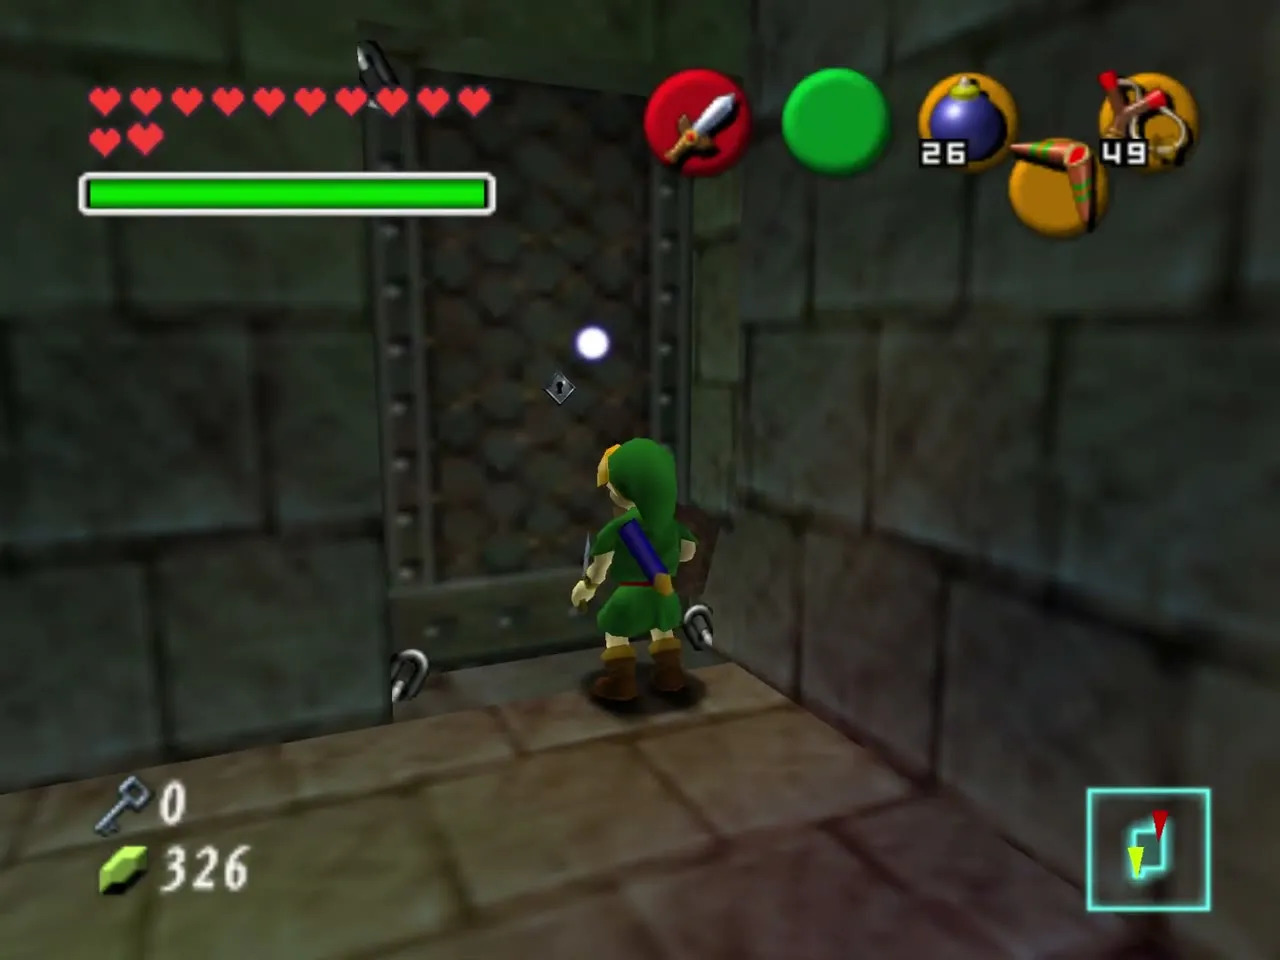
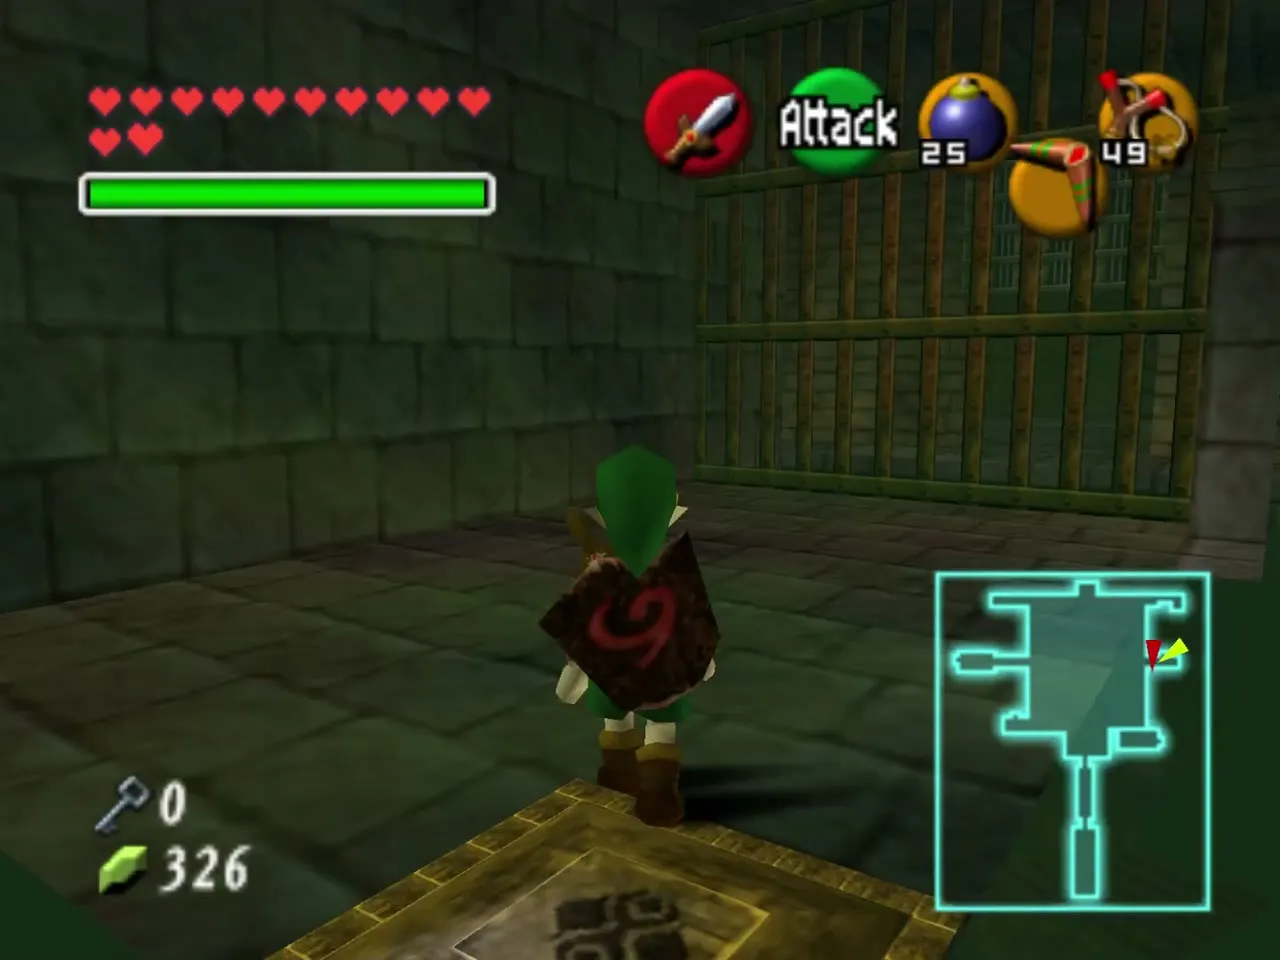
Go back to the locked door at the end of the Floormaster room and open it with the new key. Return to the Dungeon Map chest and drop through the hole that opened behind it. Step on the switch on this platform to make a chest appear, then jump off the platform.
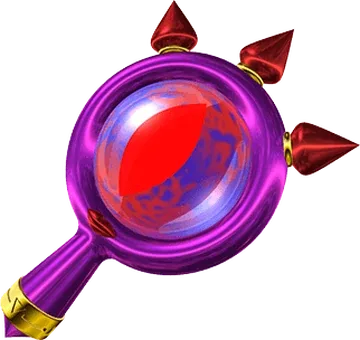
Chest: Lens of Truth
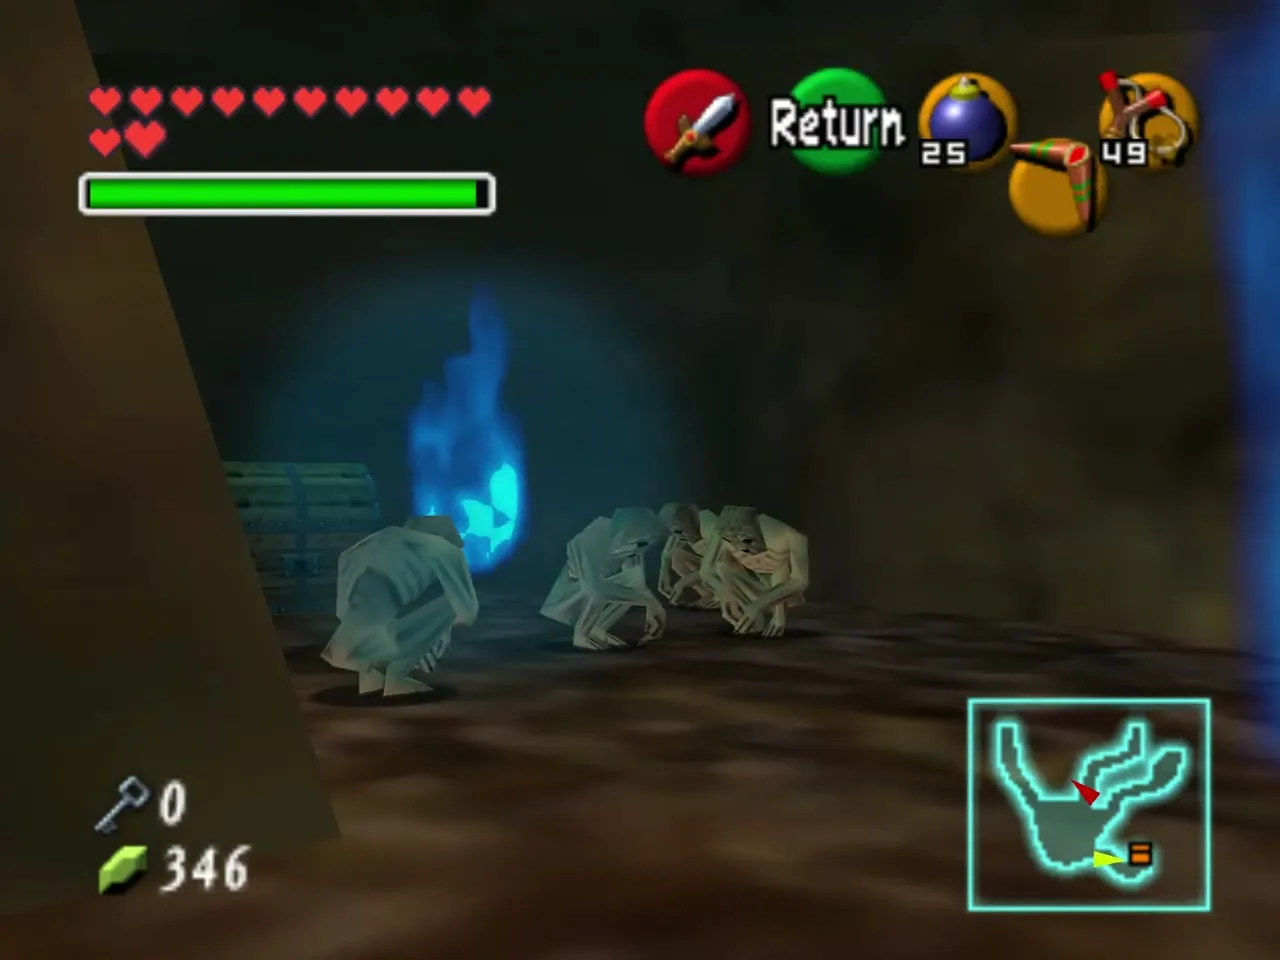
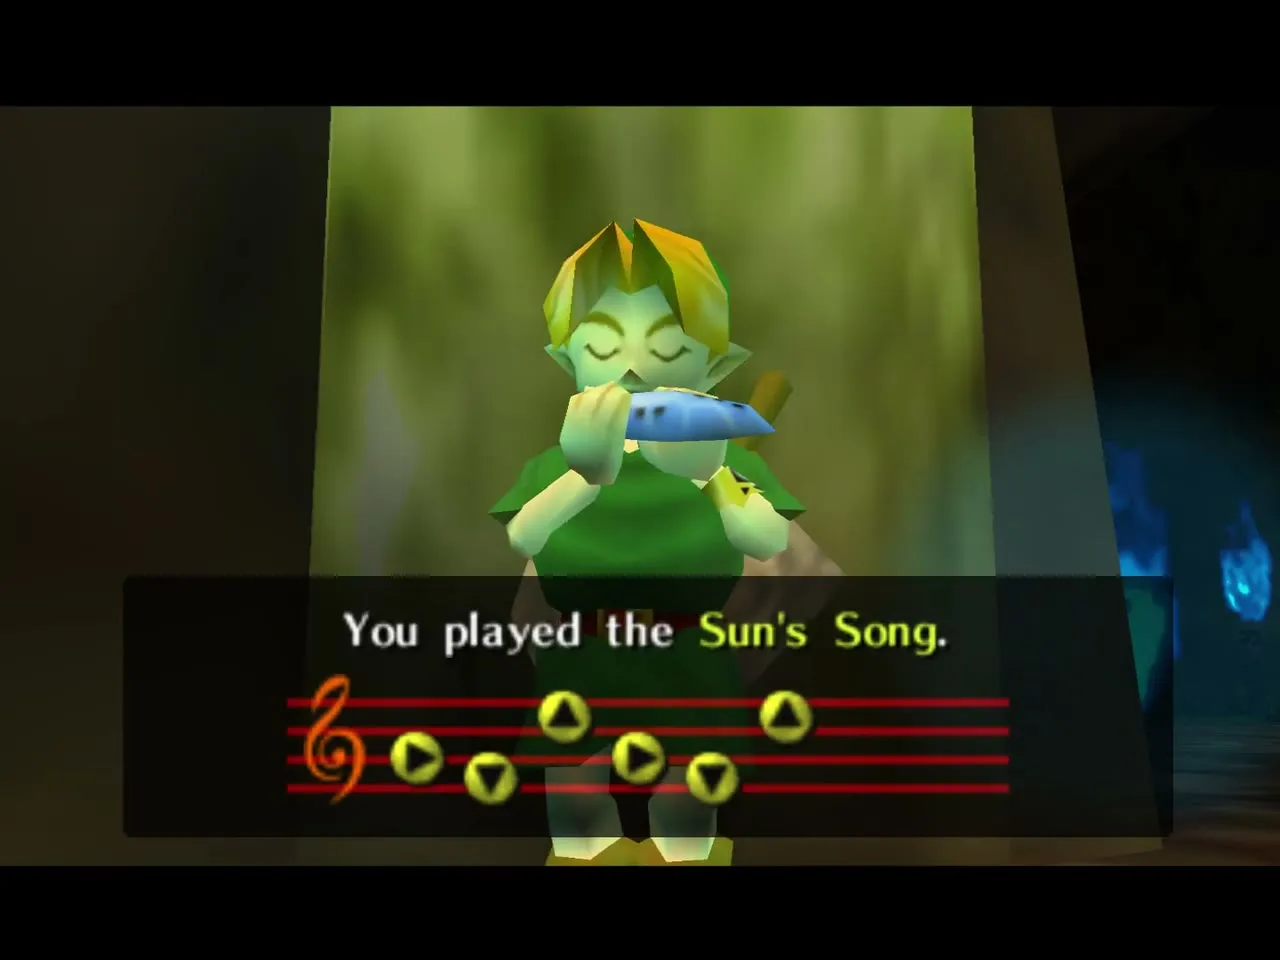
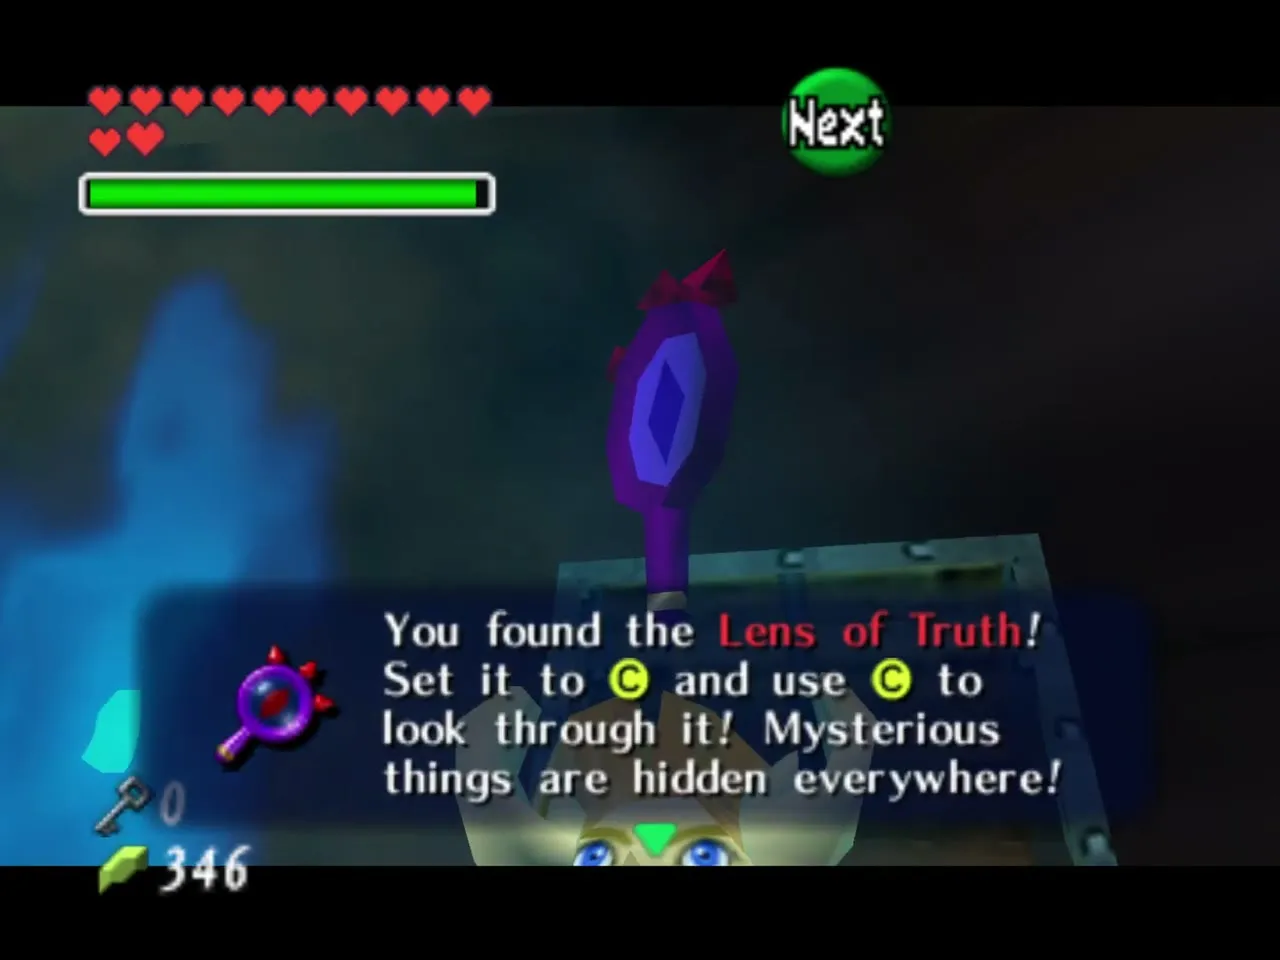
Take the southeast passage. ReDeads hide in the corner near blue flames, so play the Sun’s Song and ignore them. Run to the treasure chest and open it for the Lens of Truth. You do not need the lens inside this dungeon, but it opens the Shadow Temple and many hidden spots later.
Boulders back to the ladder
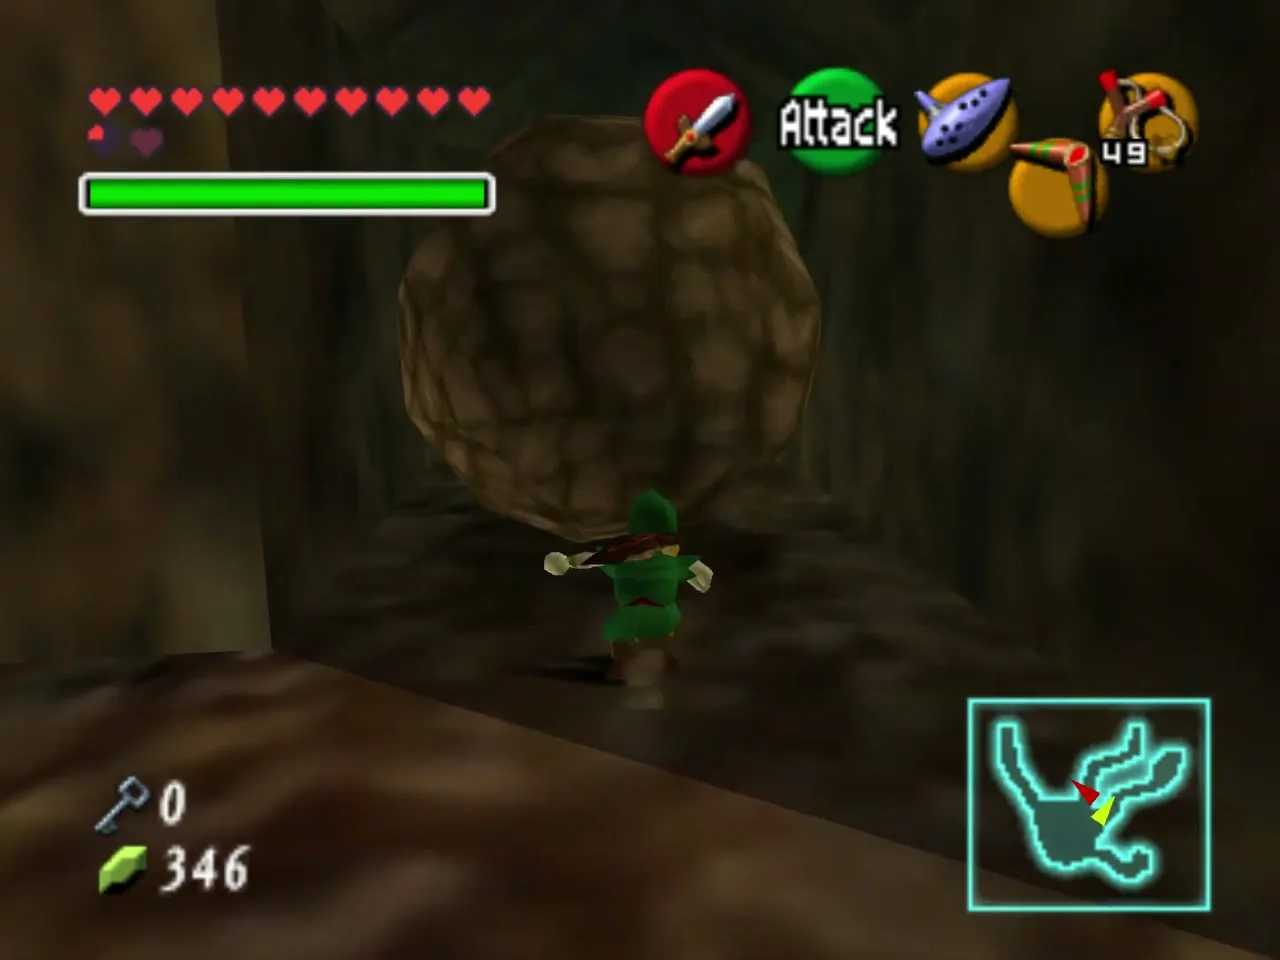
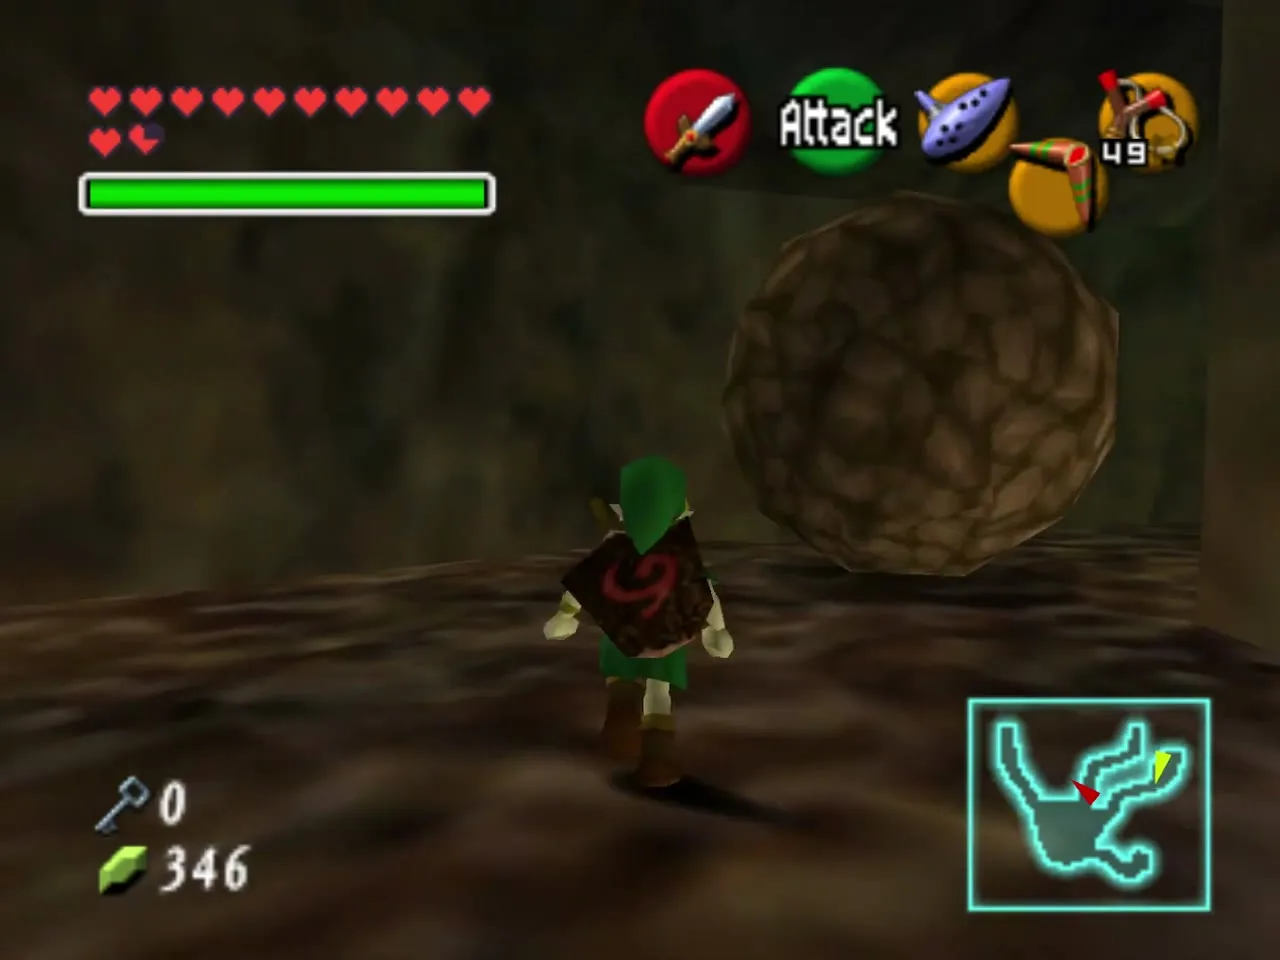
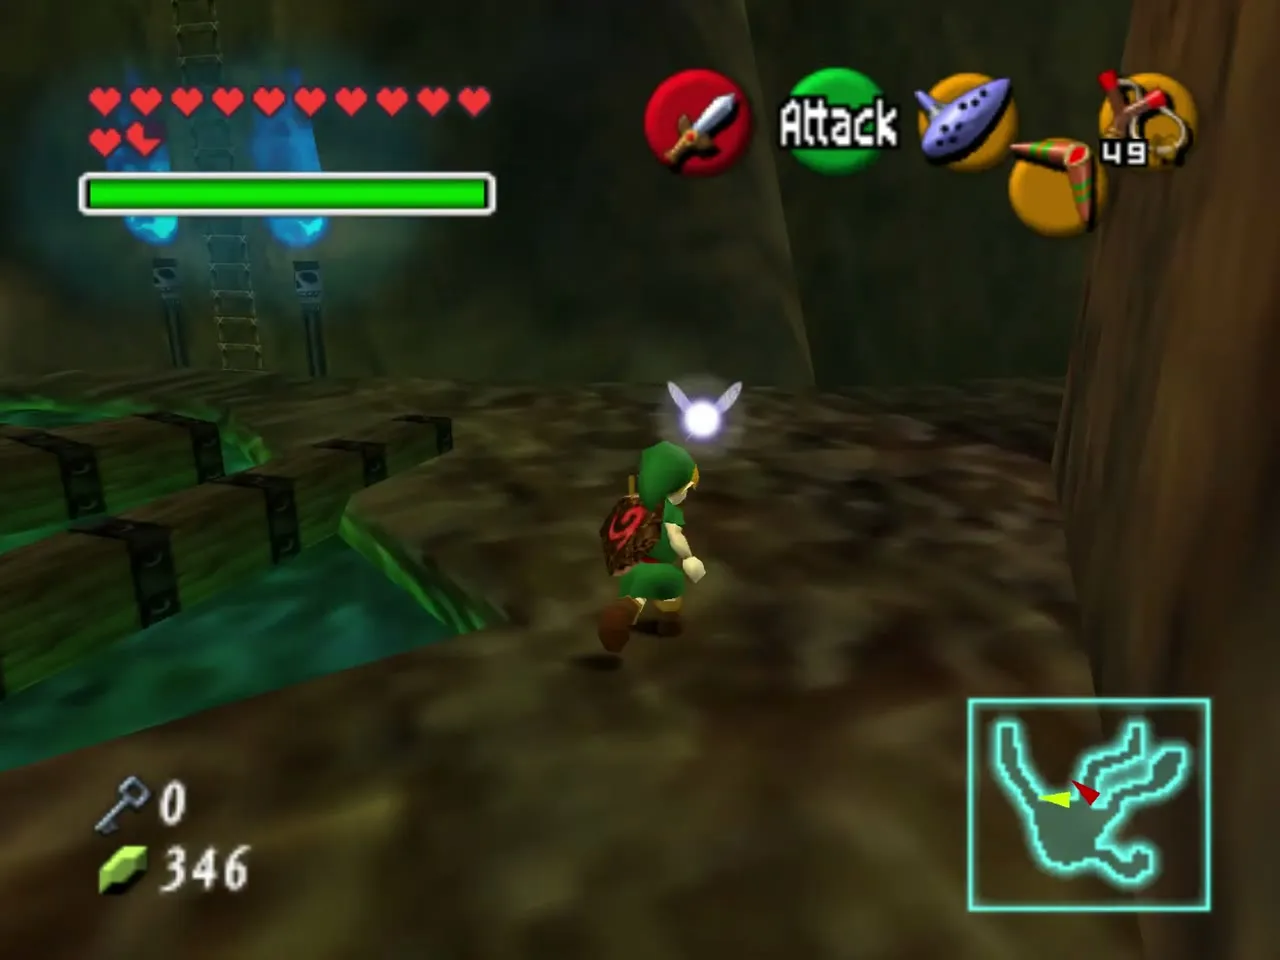
The bottom floor is full of big rolling boulders, so keep to the sides of the narrow passages and run when one comes at you. Follow the passage to the ladder, climb all the way up and return to the main hall.
The other two Gold Skulltulas
Northeast passage
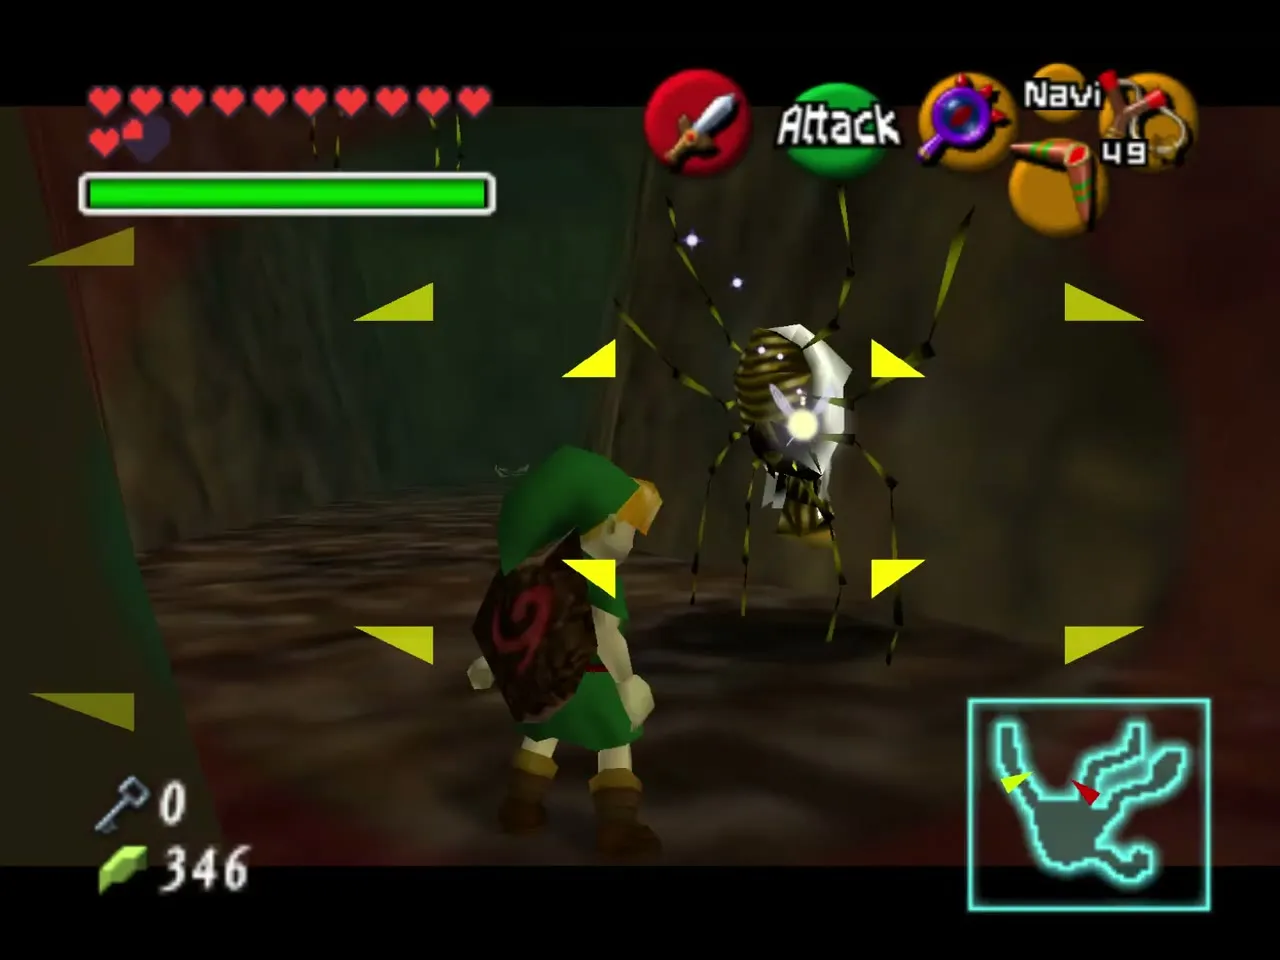
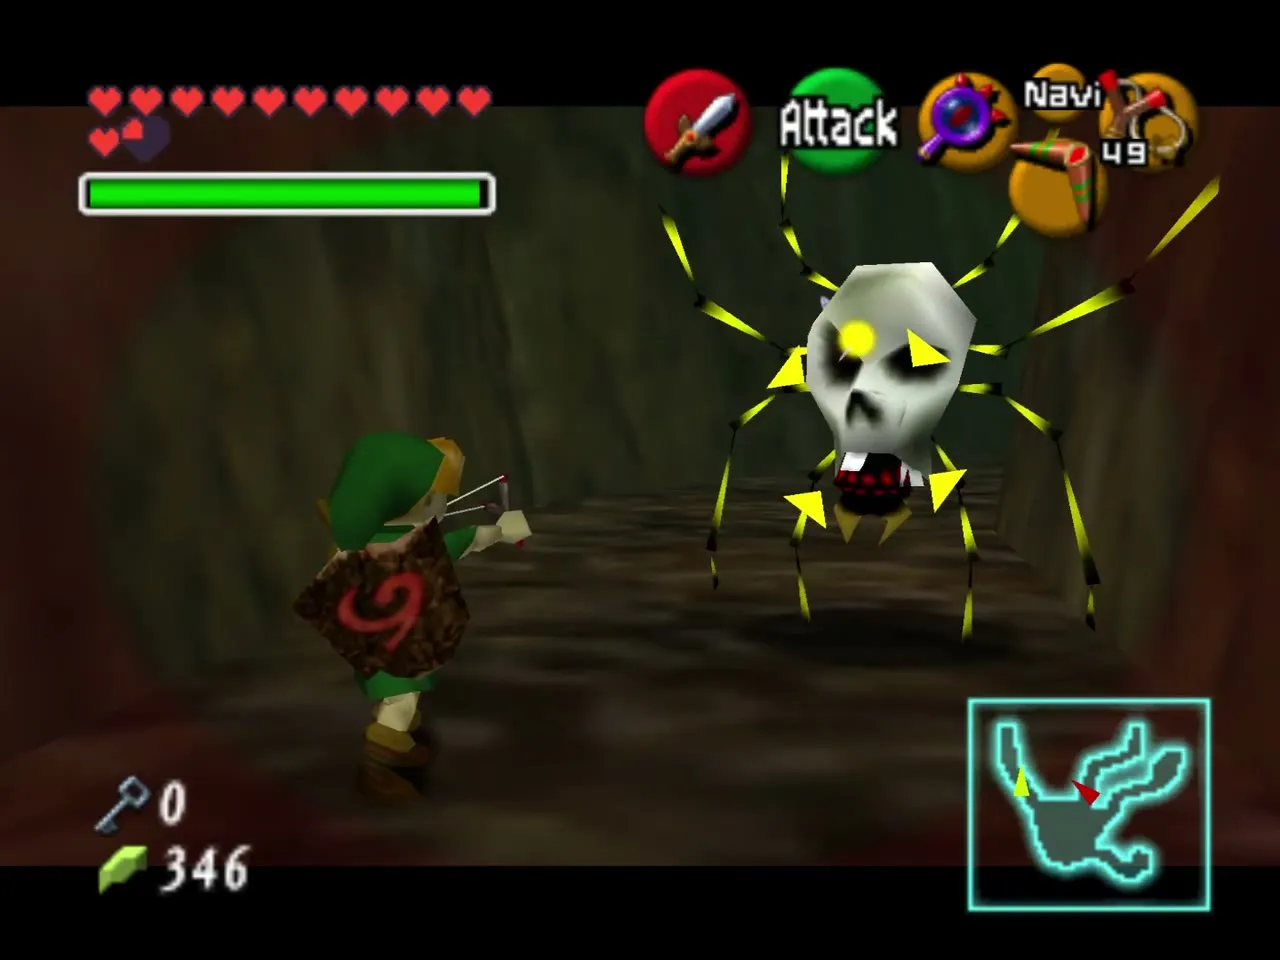
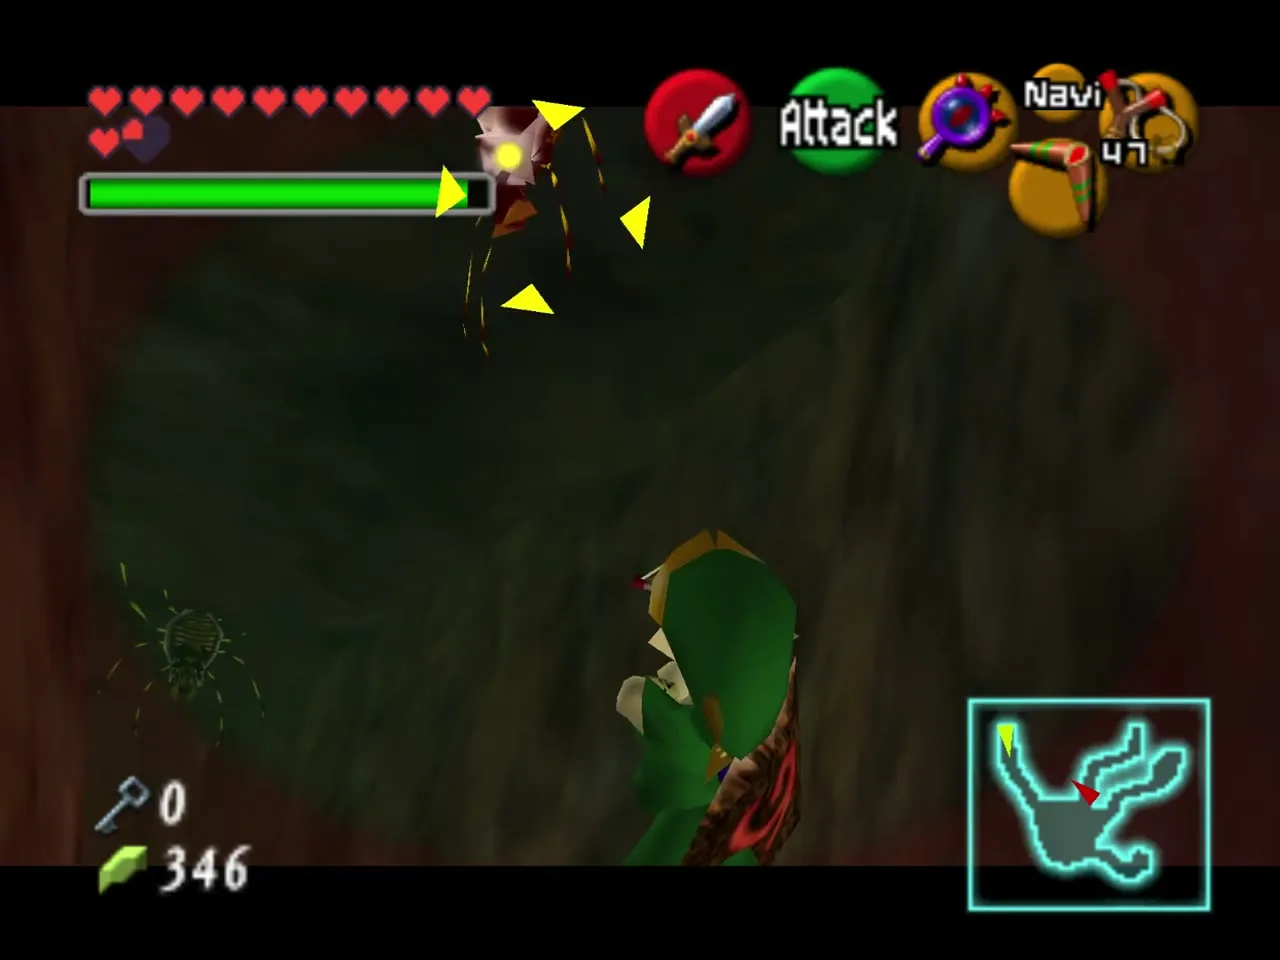
With the lens on, take the northeast passage of the main hall. It is lined with Skulltulas hanging from the ceiling, many of them hard to see. A Gold Skulltula sits at the end of the passage.
The grave west of the Map
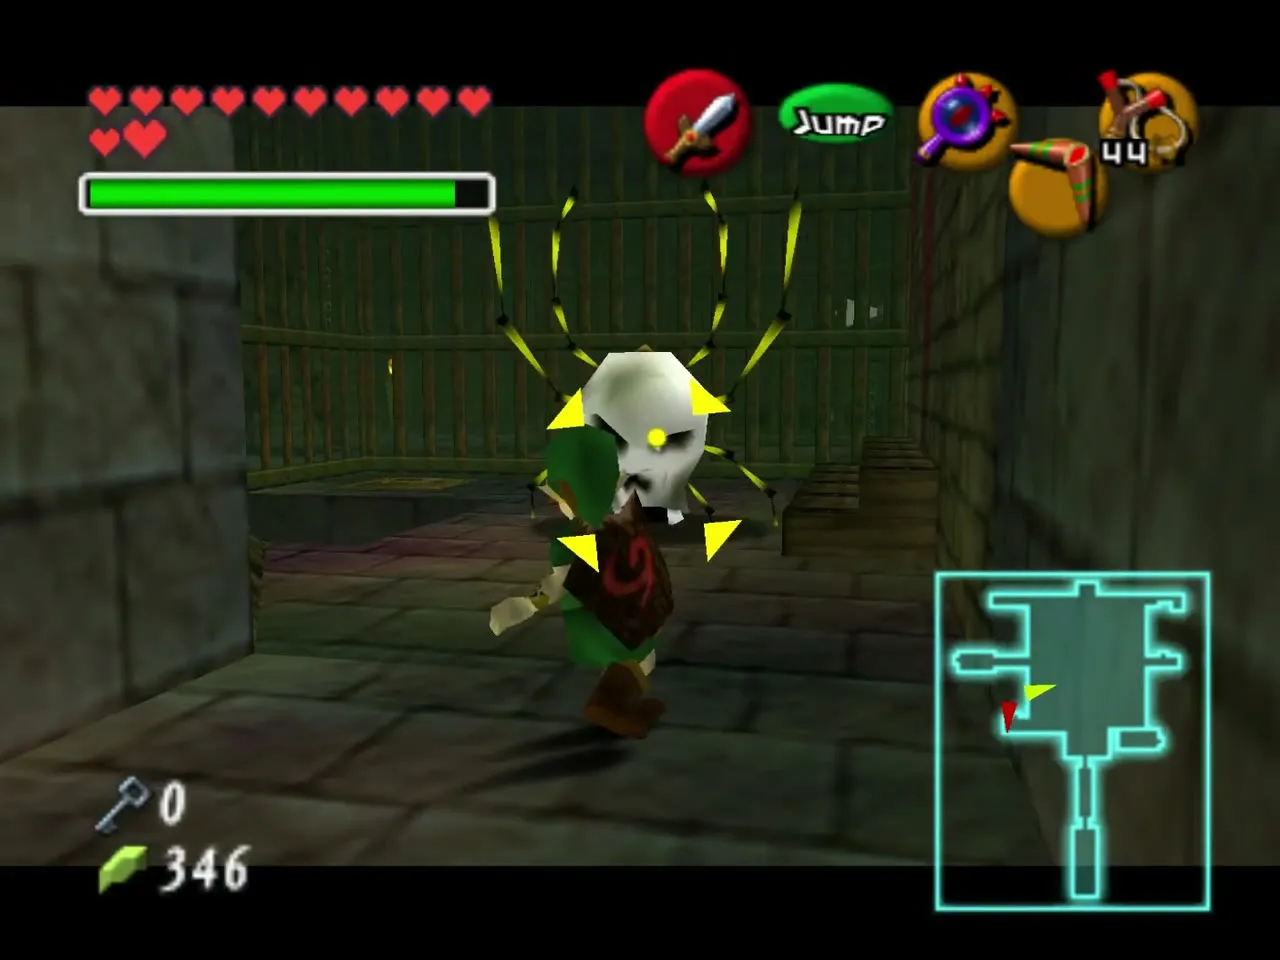
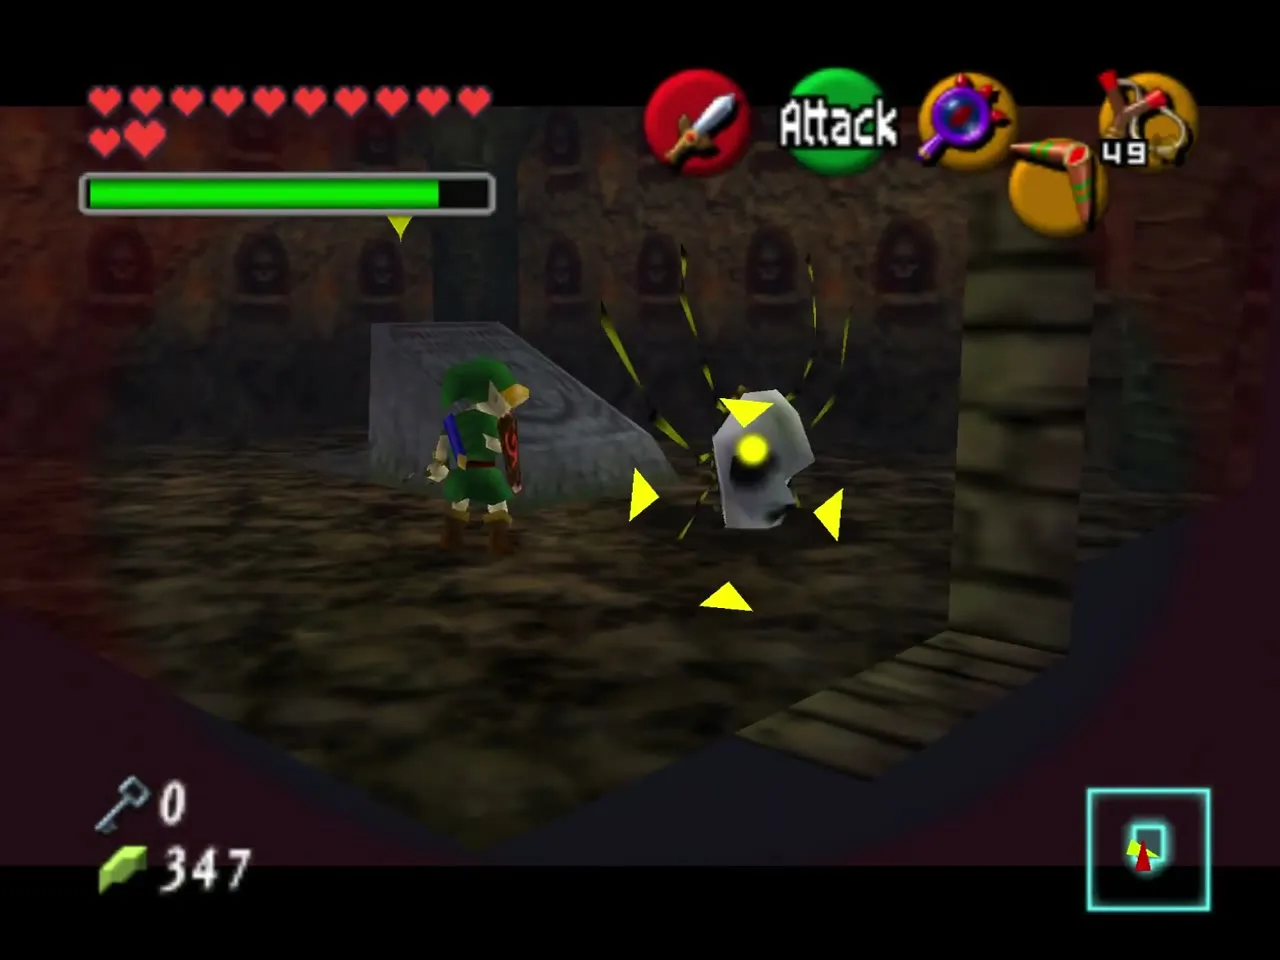
Walk to the door west of the Map chest. The crypt behind it is full of hidden monsters, with Bubbles and Skulltulas dropping in from the niches. Pull the gravestone aside to reveal the second Gold Skulltula, and pick up the green Rupee beneath it. Together with the coffin room token, that makes three Gold Skulltulas in the Well.
Leaving the Well
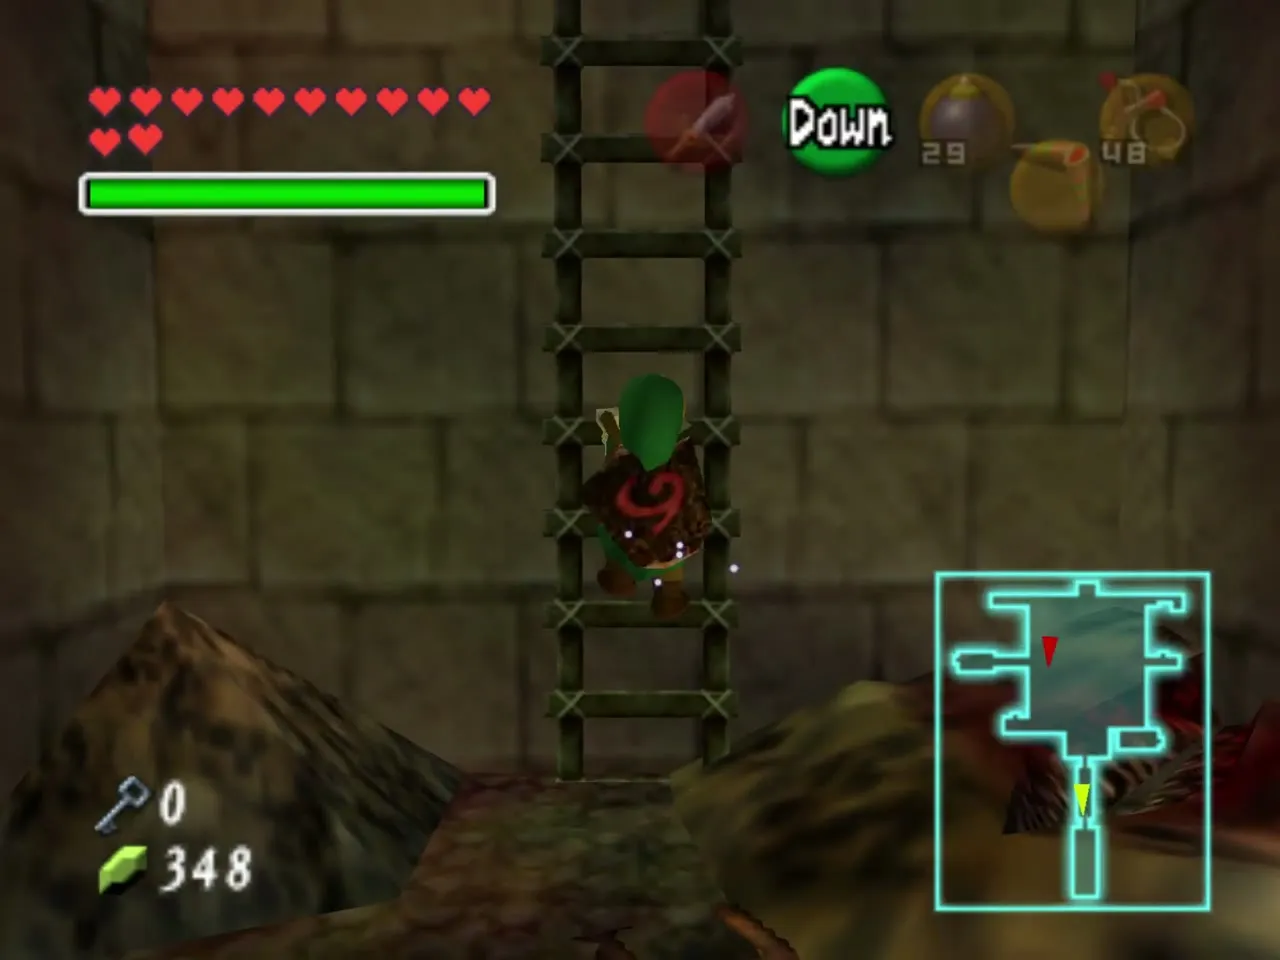
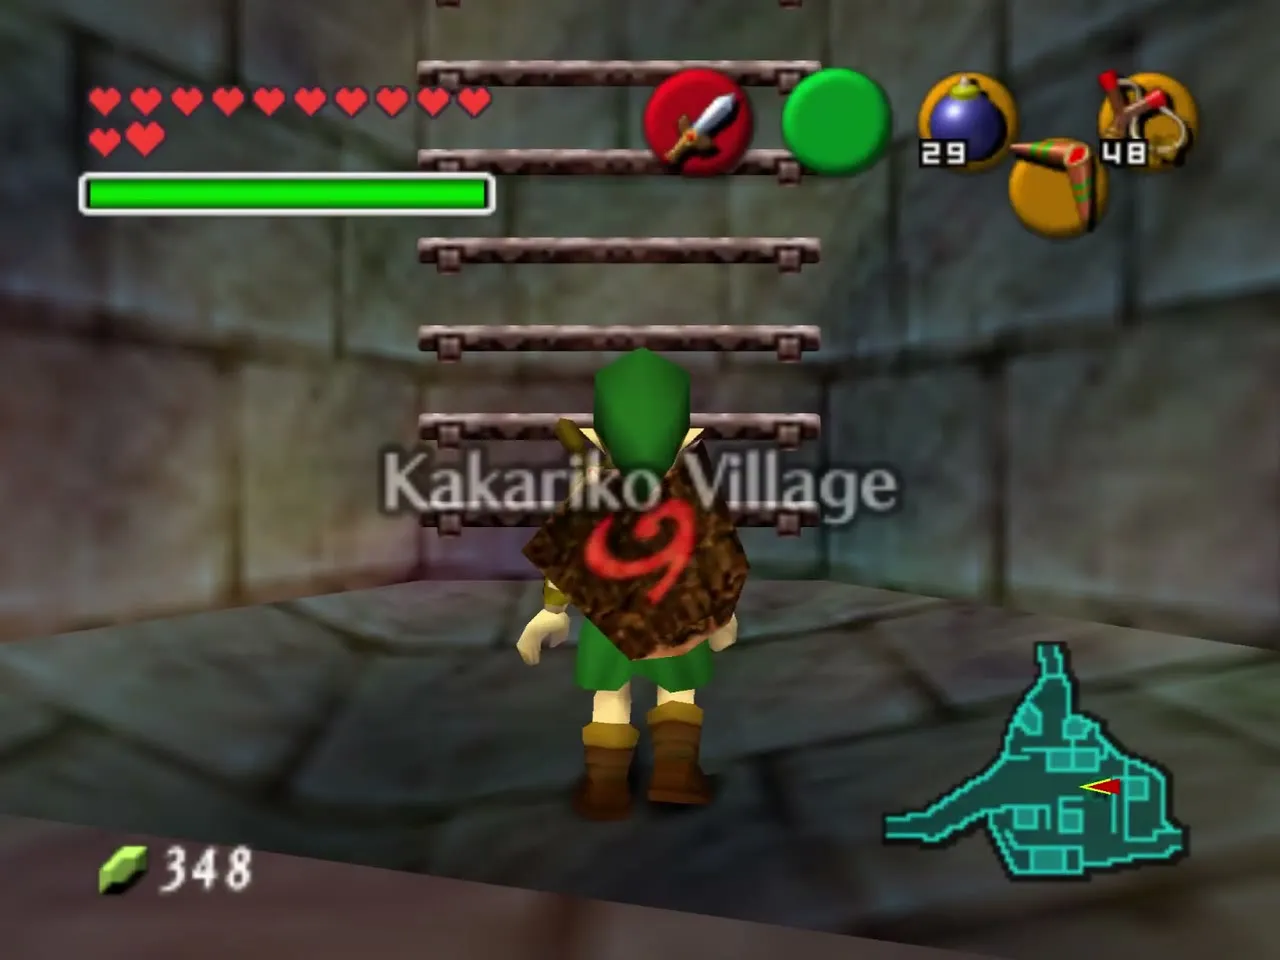
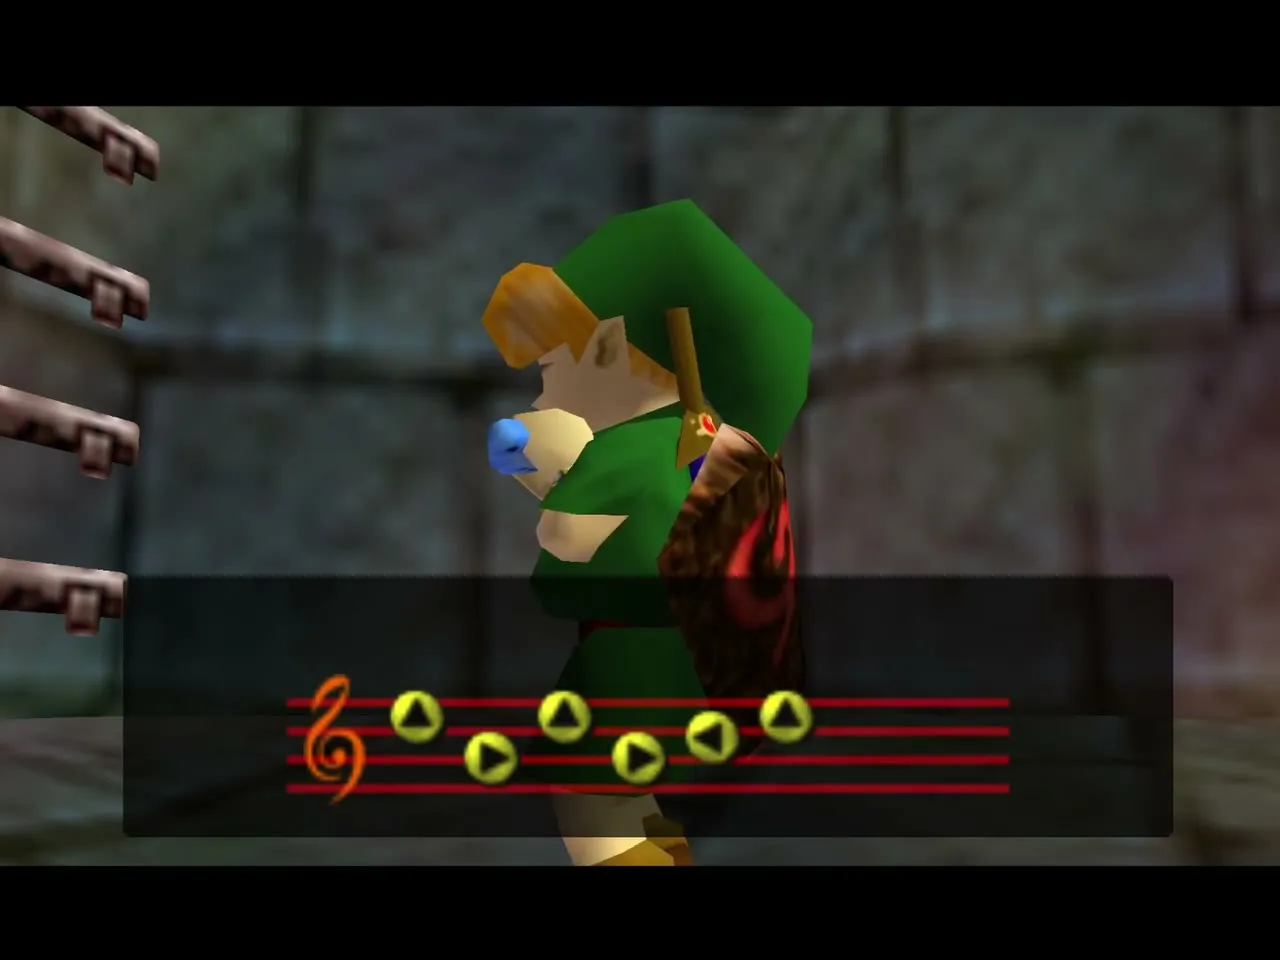
Climb the ladder out. There is no boss and no medallion: the Lens of Truth and Compass are your rewards. From Kakariko, the Prelude of Light takes you straight to the Temple of Time.
How Master Quest changes the Bottom of the Well
The regular dungeon is explained in its own chapter. The table lists what changes in the Master Quest edition.
| Topic | Original | Master Quest |
|---|---|---|
| Lens of Truth | Chest after Dead Hand; needed for fake walls and floors | Chest on the bottom floor; fake walls and floors are visible, so it is optional here |
| Compass | Chest in a cell of the central room | Dead Hand’s reward |
| Small Keys | Three, one in the coffin room | Two: pit room and Dead Hand’s room |
| Coffin room | Holds a Small Key | Optional; holds only a Gold Skulltula |
| Enemies | Green Bubble, Like Like, Beamos | Green Bubble, Like Like and Beamos are gone; a Floormaster appears |
| Puzzles | Mostly Lens and fake walls | Hidden switches in walls, Zelda’s Lullaby opens gates, Slingshot and bombs |
Chapter checklist
| Type | Item | Where |
|---|---|---|
| Dungeon item | Dungeon Map | Large chest after the Lullaby on the Triforce |
| Small Key | Key 1 of 2 | End of the safe path in the pit room |
| Gold Skulltula | Coffin room | Behind the right-hand bird statue |
| Bottle | Fairy | Fairy near the skull-niche wall |
| Dungeon item | Compass | Chest after Dead Hand |
| Small Key | Key 2 of 2 | Rubble in the top-left of the Dead Hand crypt |
| Key item | Lens of Truth | Chest on the bottom floor |
| Gold Skulltula | Northeast passage | End of the passage lined with Skulltulas |
| Gold Skulltula | Grave crypt | Under the pulled gravestone west of the Map chest |
