





















Majora's Mask 100% Completion Walkthrough11 chapters
- PrologueDeku curse, Clock Town, Bombers’ code, Moon’s Tear, first Heart Piece, Ocarina, Song of Time and the Deku Mask.
- Clock Town, Termina Field and Romani RanchGreat Fairy’s Mask, Notebook, Adult Wallet, Heart Pieces, Epona’s Song and Bunny Hood.
- Southern Swamp and Deku PalaceKoume, the Pictograph Box, the monkey, Sonata of Awakening and every Heart Piece.
- Woodfall TempleAll 15 Stray Fairies, Hero’s Bow, Boss Key, Odolwa, the Great Fairy’s spin attack and the Deku Princess.
- Snowhead RegionMountain Village, Lens of Truth, Goron Mask, Goron Lullaby, Powder Keg trial, Goron Race and sword upgrades.
- Snowhead TempleAll 15 Stray Fairies, 3 small keys, Fire Arrows, Boss Key, Goht boss fight and the Great Fairy’s reward.
- Great Bay RegionGet the Zora Mask, the Hookshot, all seven Zora eggs and the New Wave Bossa Nova before Great Bay Temple.
- Great Bay Temple15 Stray Fairies, water pipe puzzles, Wart, Ice Arrows, Gekko, Boss Key, Gyorg and the Double Defense reward.
- Ikana Canyon and Ancient Castle of IkanaCaptain’s Hat, Song of Storms, Gibdo Mask, Beneath the Well, Mirror Shield, Ancient Castle, Elegy of Emptiness.
- Stone Tower TempleClimb the tower, find all 15 Stray Fairies, win the Light Arrows and Giant’s Mask, and beat Twinmold.
- Final ConfrontationPlay the Oath to Order, clear the four Moon dungeons, earn the Fierce Deity’s Mask and beat Majora’s three forms.
| Covers | Great Bay Temple, from the turtle ride on Zora Cape to Gyorg and the Great Fairy fountain |
|---|---|
| You need | Zora Mask, Hookshot, Hero’s Bow, Fire Arrows, New Wave Bossa Nova, Great Fairy’s Mask (strongly advised), Deku Sticks, and a bomb or the Blast Mask for the fountain |
| Rewards | Dungeon Map, Compass, 1 Small Key, Boss Key, Ice Arrows, Heart Container, Gyorg’s Remains, all 15 Great Bay Stray Fairies, Double Defense from the Great Fairy; a Heart Piece in the Fisherman’s jumping game opens afterwards |
Great Bay Temple is a water maze: colored spigots open pipelines, and each pipeline changes which currents carry you where. The shortest route is to clear the entrance area, take the Map, Compass and Small Key, beat Wart for the Ice Arrows, freeze and burn your way through the red, yellow and green pipe puzzles, beat Gekko for the Boss Key, defeat Gyorg, and then take the 15 Stray Fairies to the fountain for Double Defense. The fairies are also listed on the Stray Fairies page.
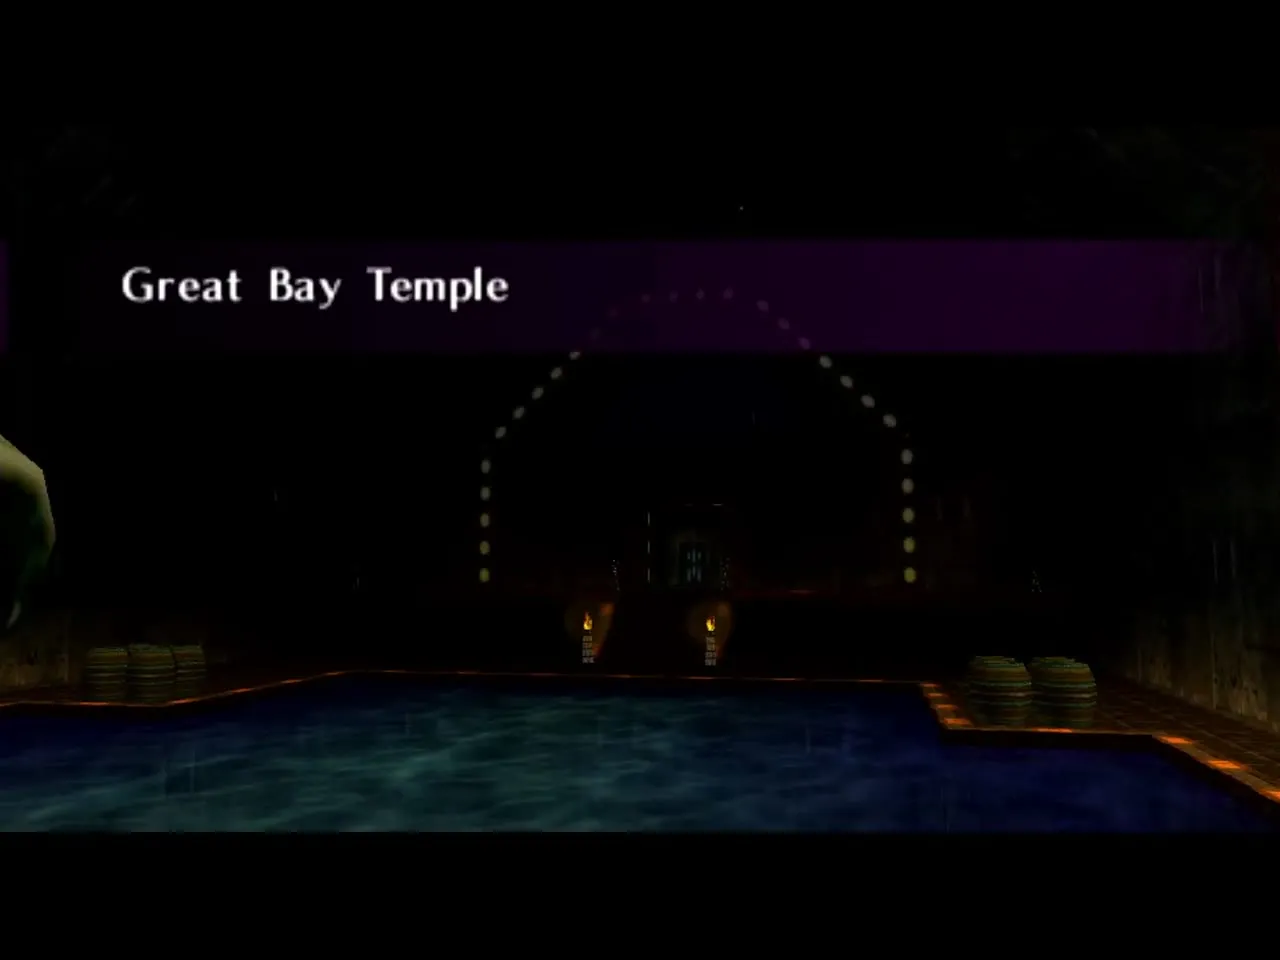
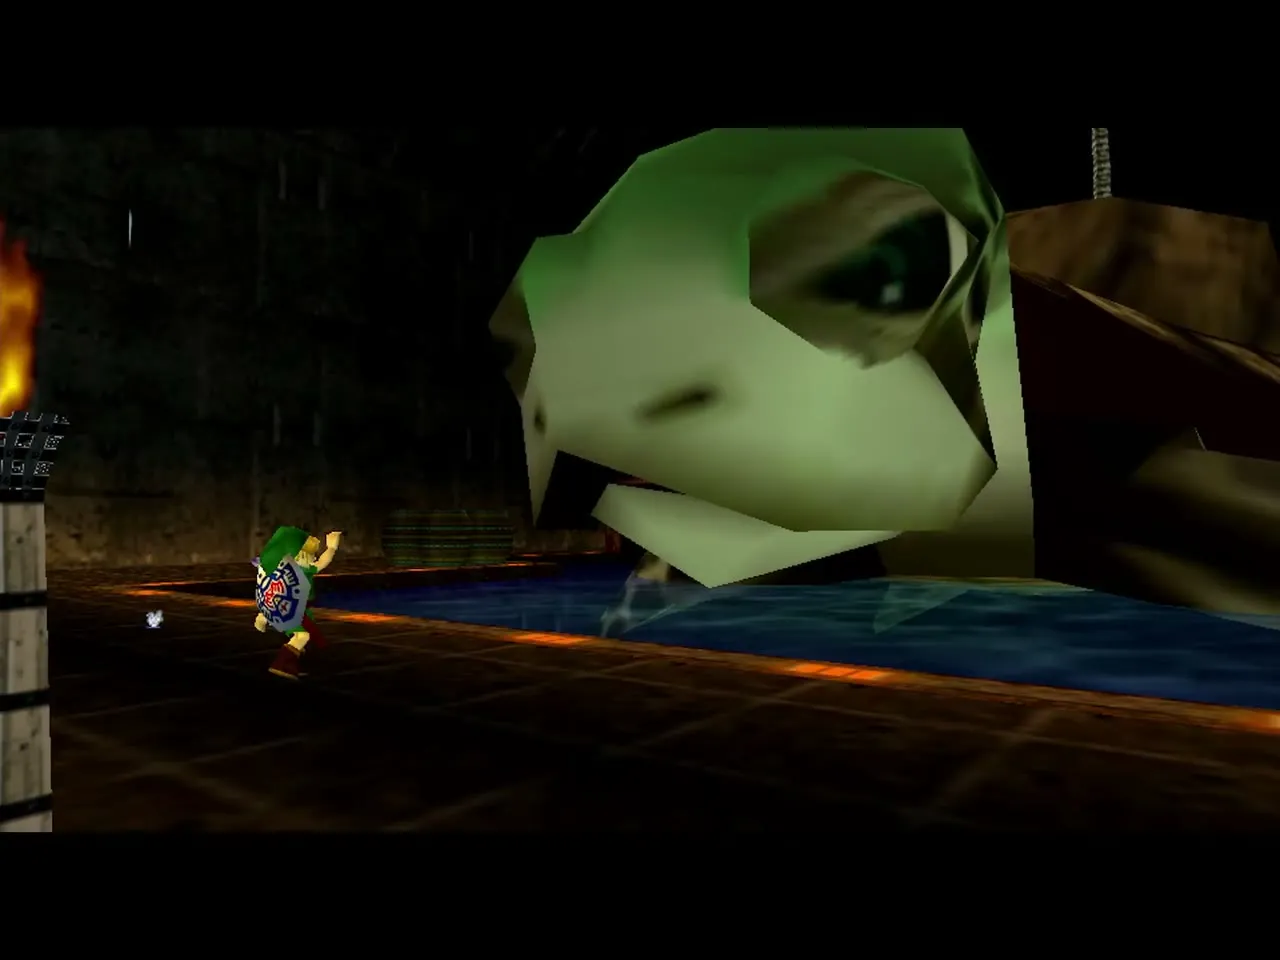
Table of Contents
Before you enter the temple
What to bring
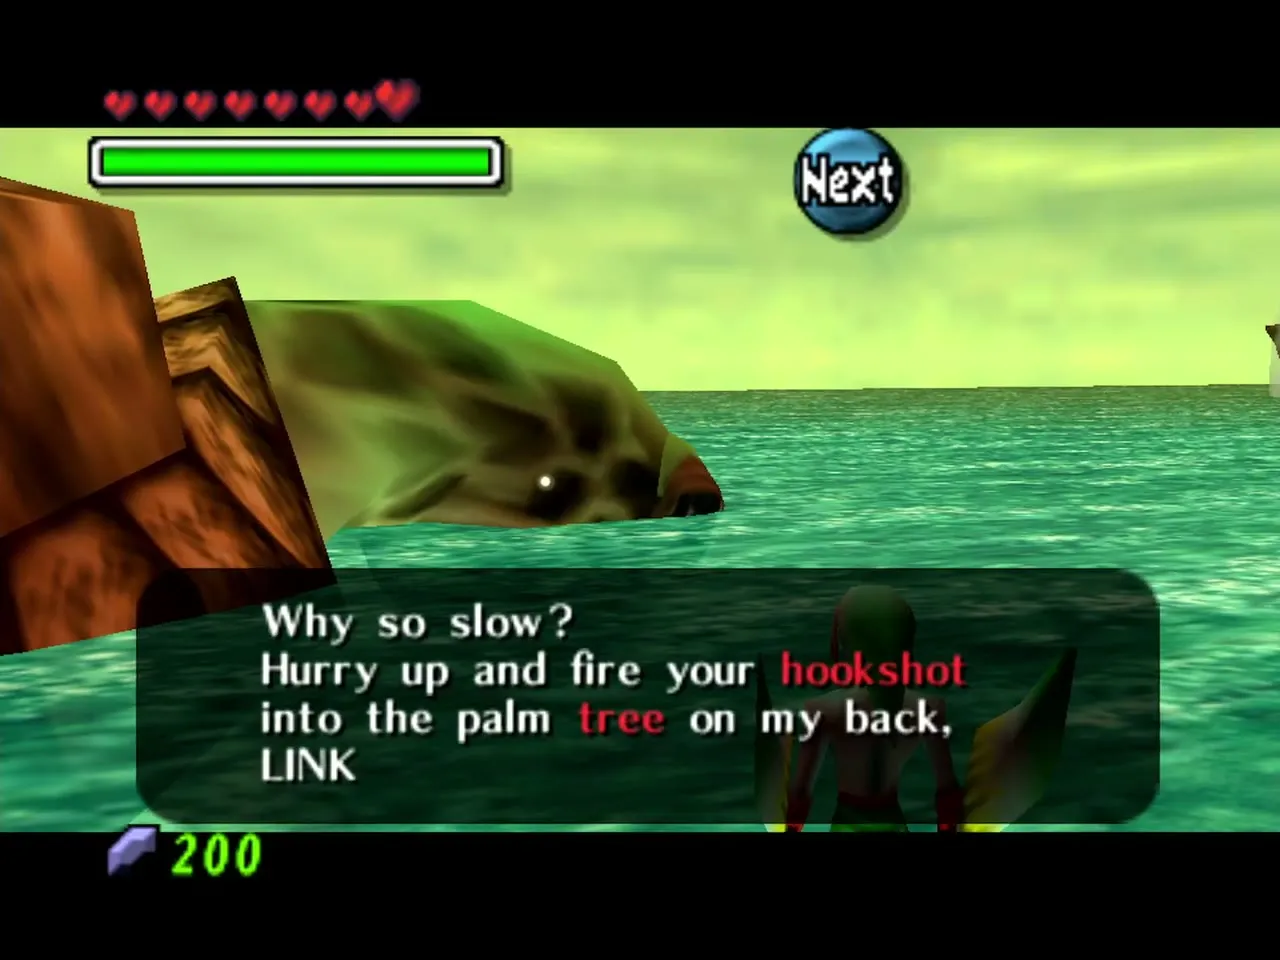
You reach the temple by playing the New Wave Bossa Nova to the giant turtle on Zora Cape, as covered in the Great Bay chapter. Bring the Hookshot from the Pirates’ Fortress, the Hero’s Bow, and the Fire Arrows from Snowhead Temple, plus the Zora Mask. Wear the Great Fairy’s Mask whenever you free a Stray Fairy: it pulls the fairy straight to you and saves a lot of swimming.

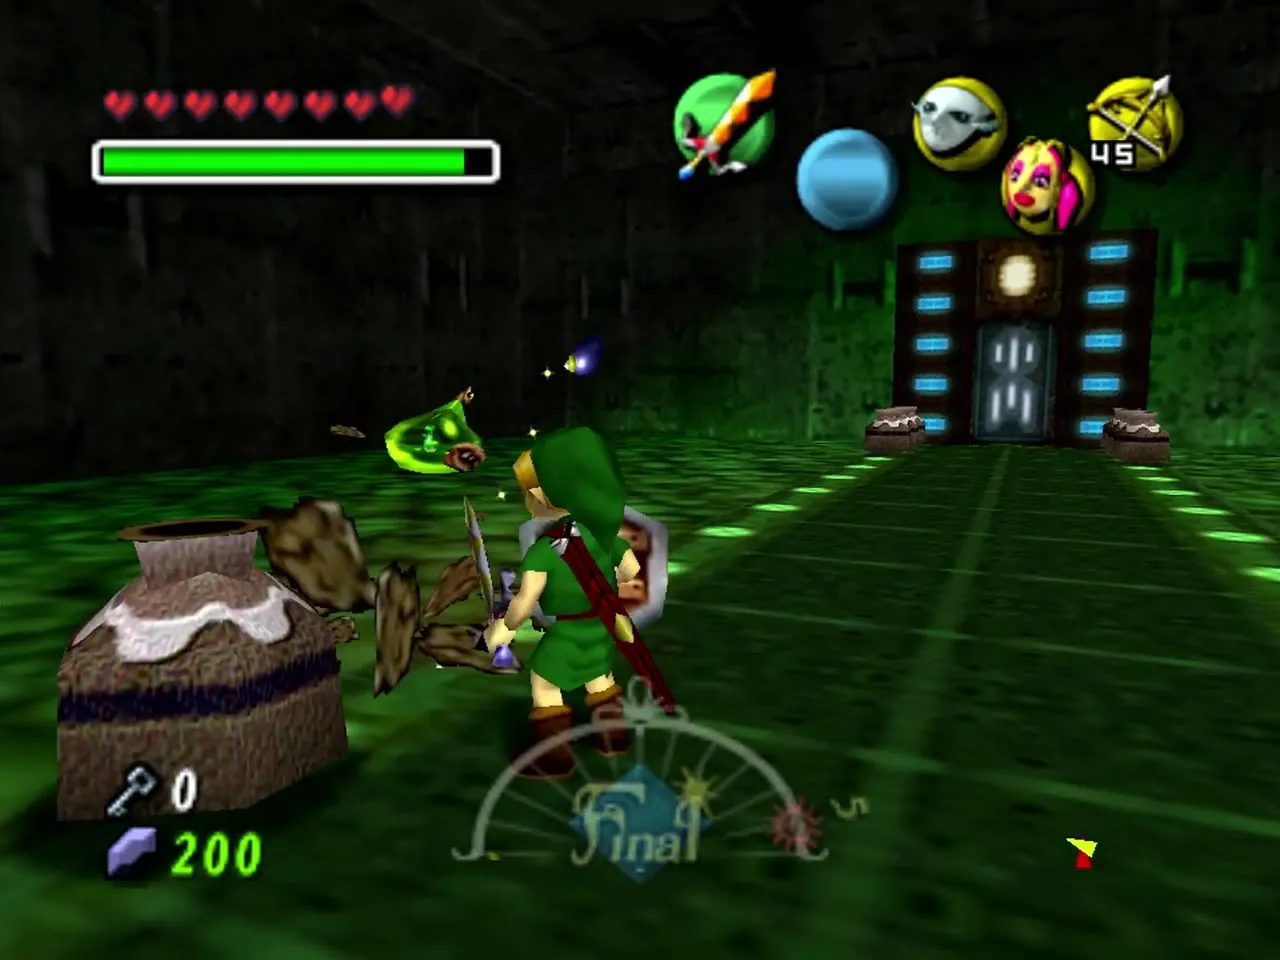
Stock up before the ride: fill your magic meter and quiver, because you will fire a lot of Ice Arrows and Fire Arrows, and carry a few Deku Sticks for the first torch puzzle. A bottle holding a Red Potion or a Fairy is wise for Gyorg. The temple has plenty of breakable pots, jars and crates that refill arrows, magic and bombs, so you do not need to hoard.

How the temple works
Swap between Link and Zora Link freely. Zora Link swims and uses his fin boomerangs and electric barrier, while Hylian Link fires the arrows the temple demands. Many puzzles need an Ice Arrow to turn water or an enemy into a platform, and a Fire Arrow to melt ice again. Magic matters, so smash pots whenever a room offers them.
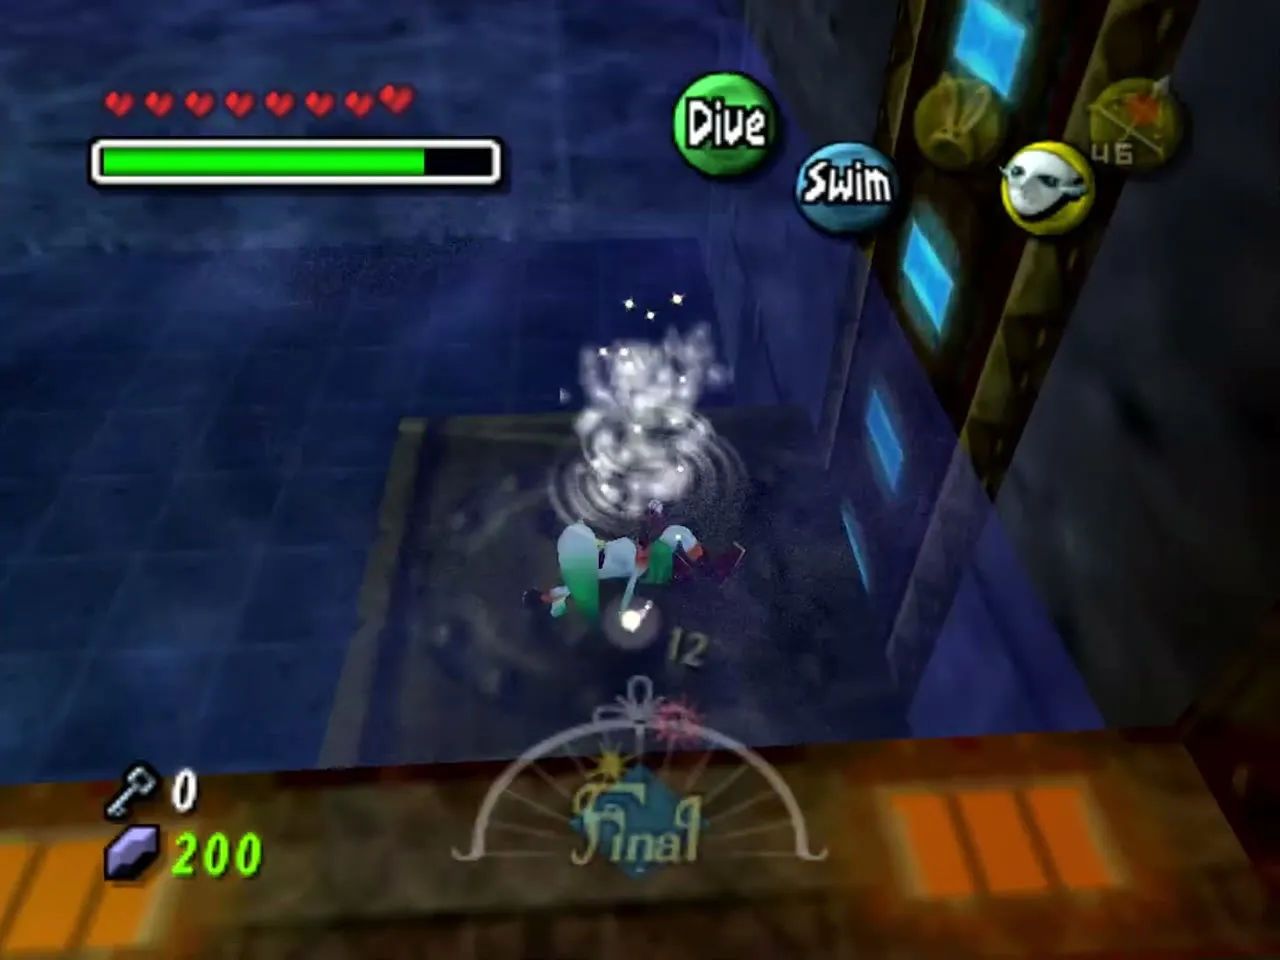

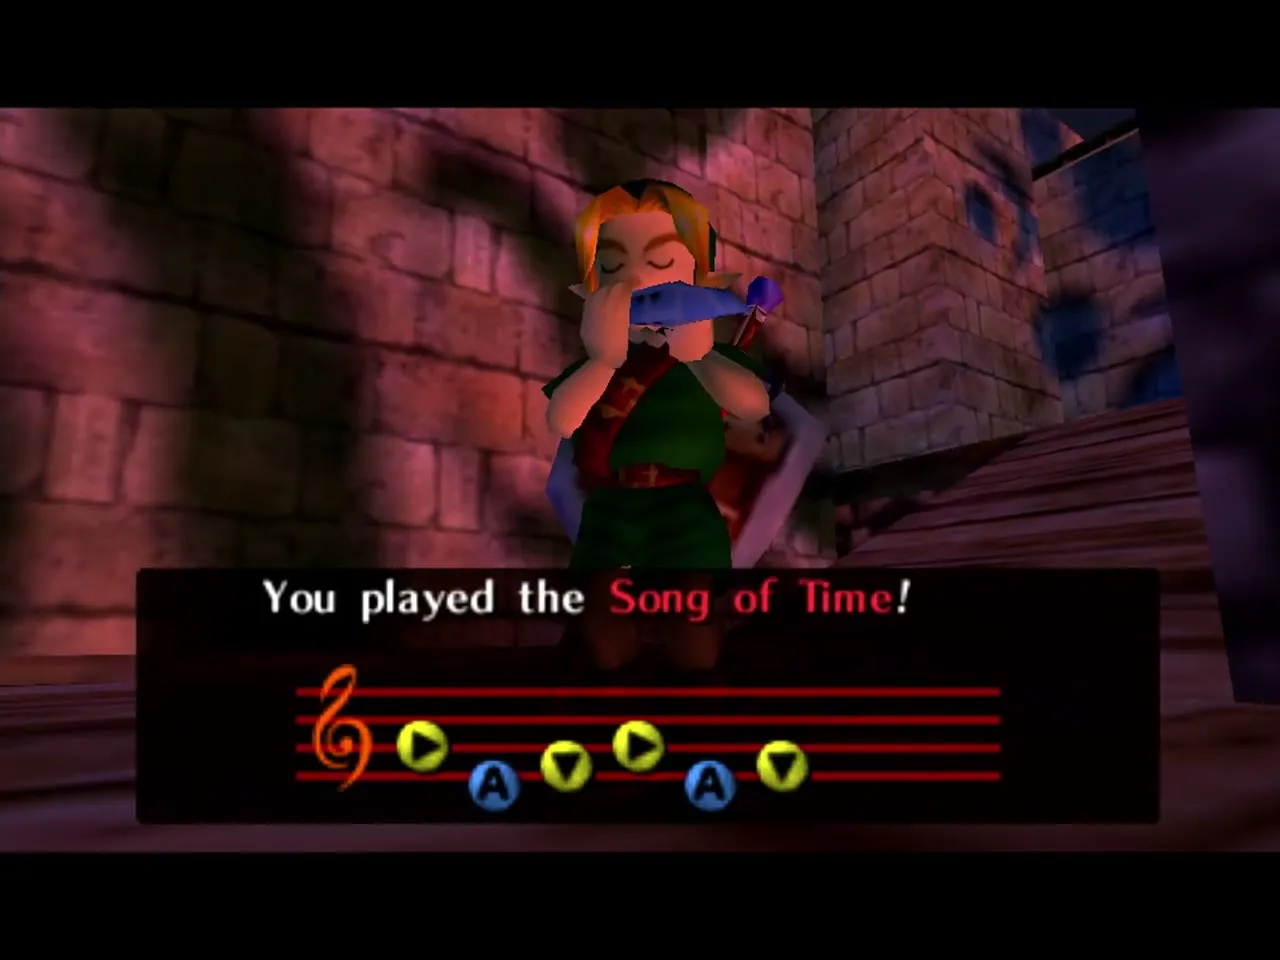
The temple has no timed event, but the three-day clock keeps running, so enter with a full day or more in hand. If you must play the Song of Time and start over, you go back to the dawn of the first day and lose your rupees and most of your ammunition, but masks, songs, upgrades and the Ice Arrows you win from Wart stay with you. Treat a reset as a last resort in the middle of the temple.

Entrance and Waterwheel Room
Stray Fairy 1: light the four torches
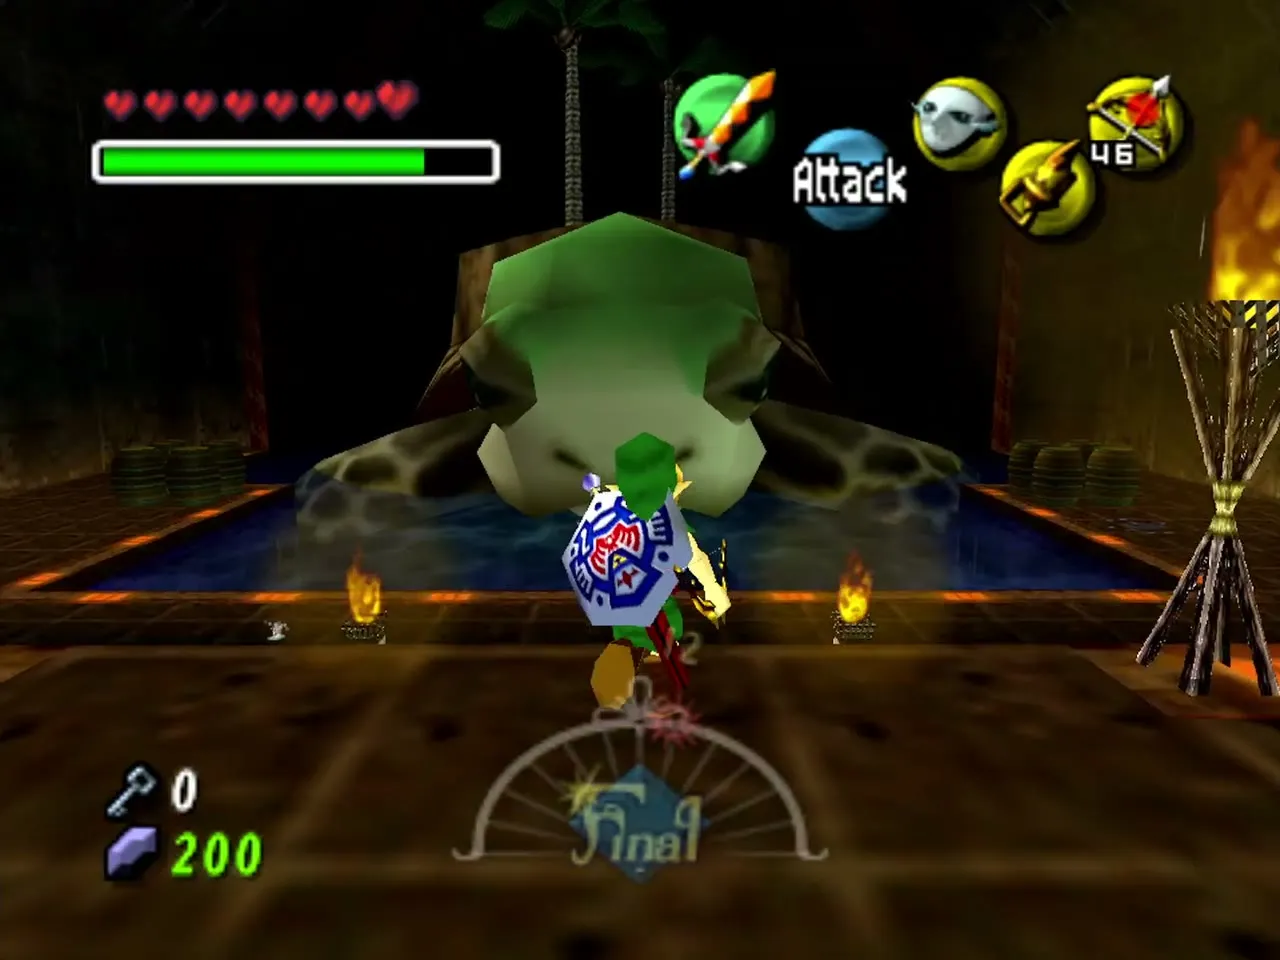
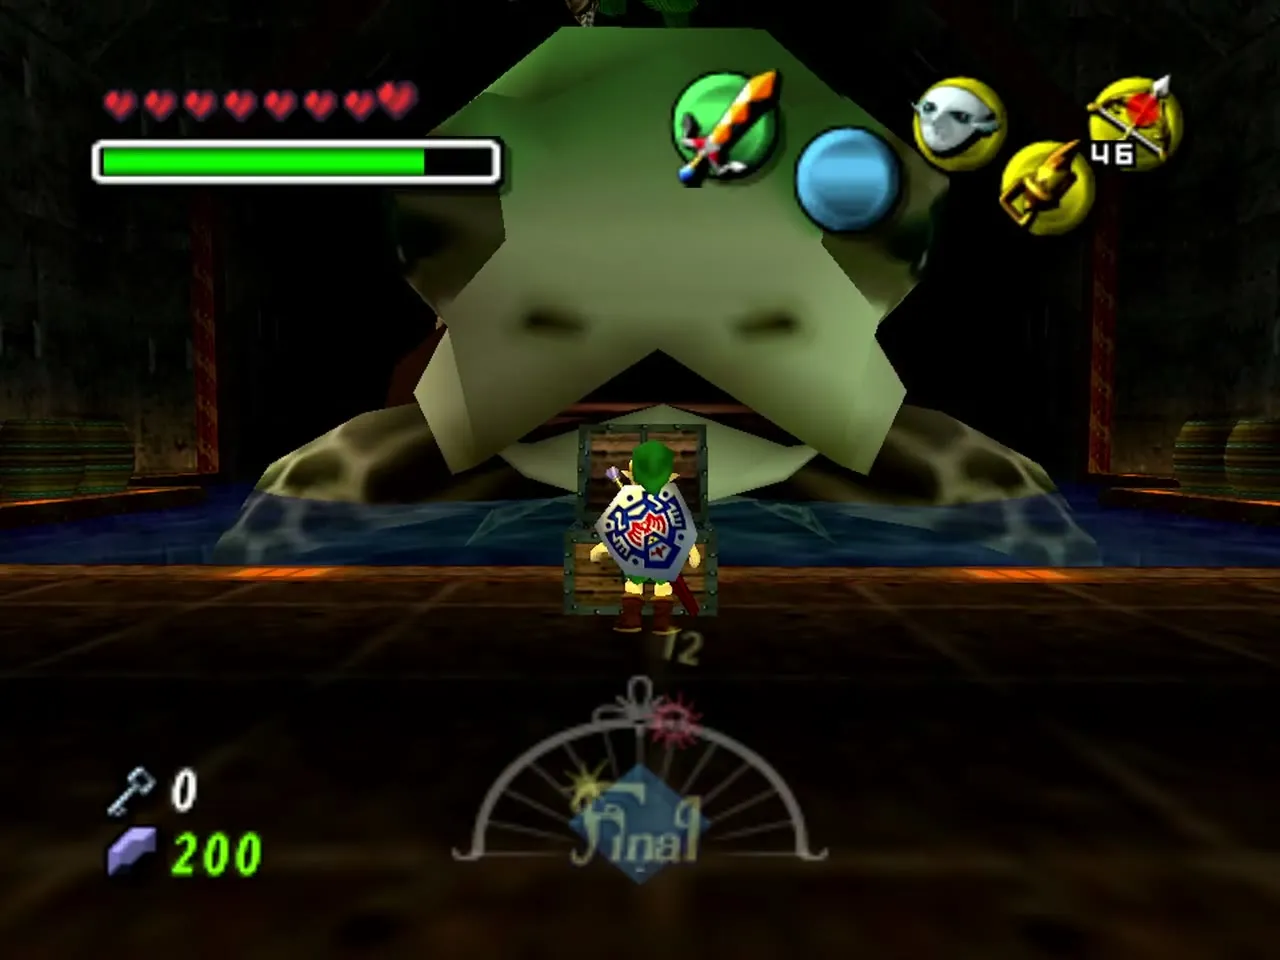
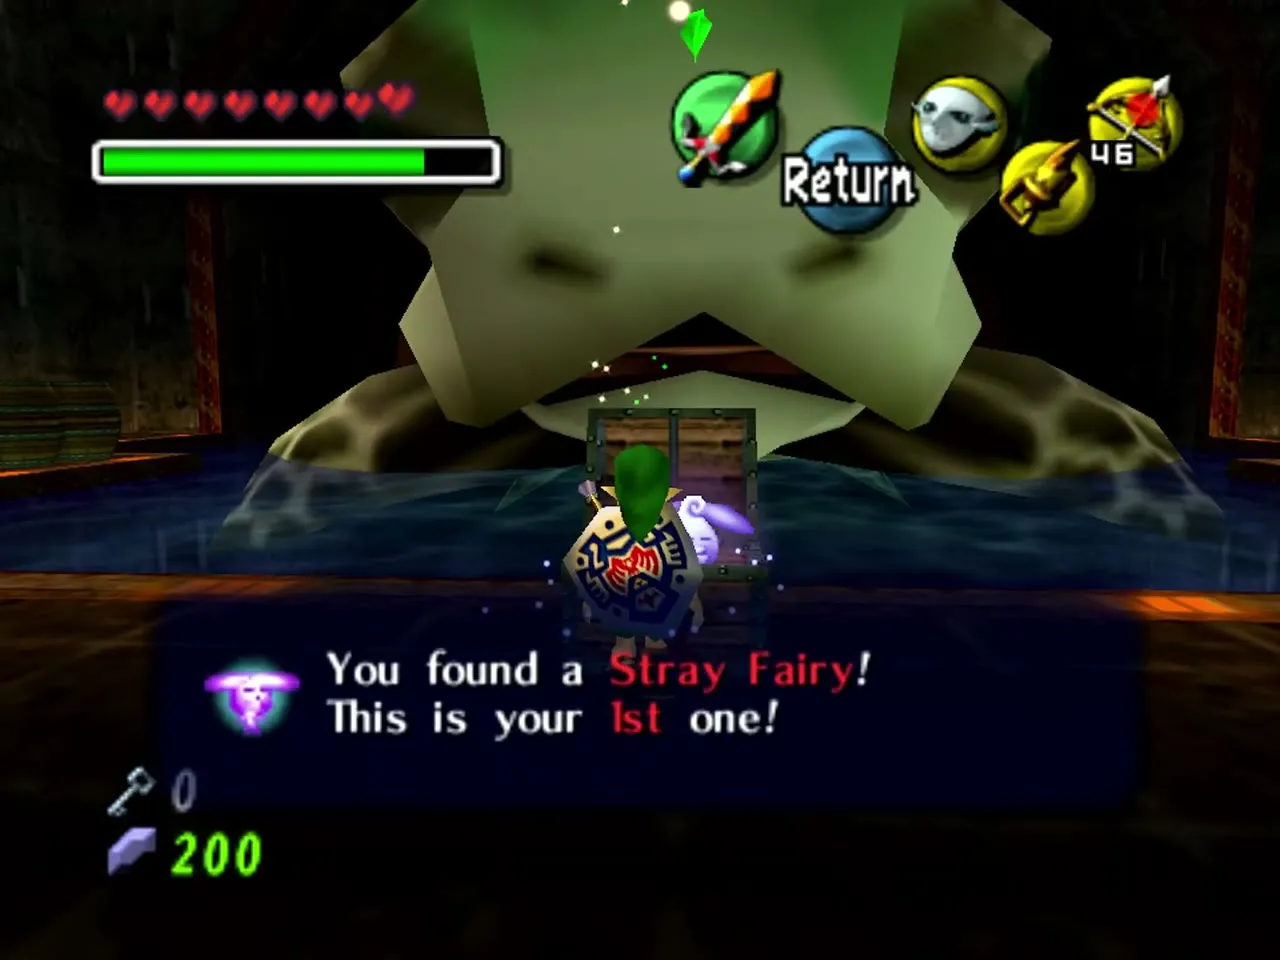
You arrive in a room with a ledge above the water, four unlit torches on it and a lit torch below. Break the crates for arrows, magic and bombs. Light a Deku Stick from the lit torch, then ignite all four torches before the first one goes out, or shoot them with a Fire Arrow. A chest appears and holds Stray Fairy 1.
Waterwheel Room: Stray Fairies 2 and 3
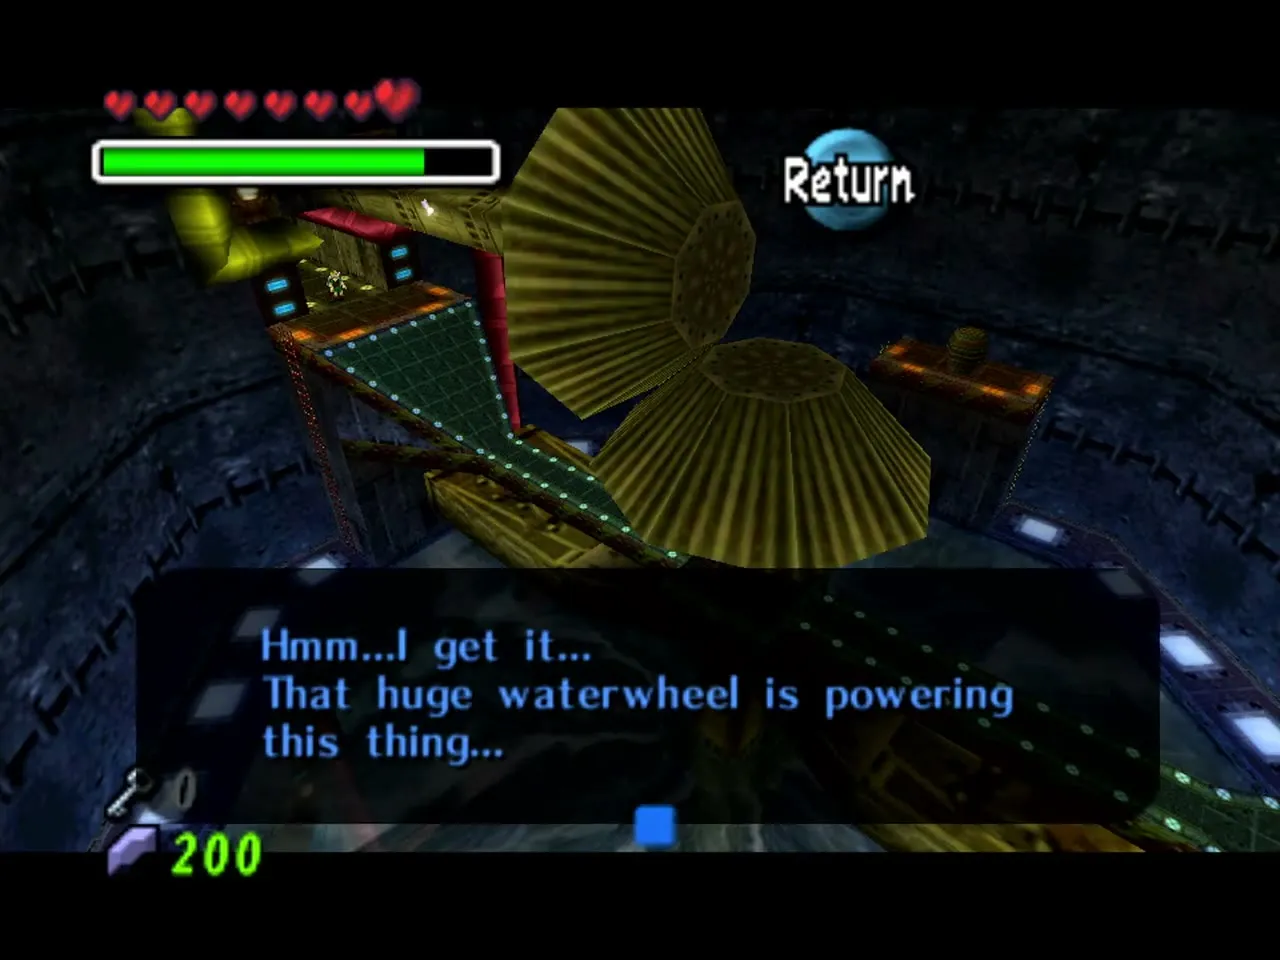
Go through the door to the Waterwheel Room, dive in as Zora Link and swim to the back right corner. On the bottom sits a yellow platform with a fish-shaped switch. Operate it and the yellow pipeline starts flowing, which makes a water spout you will use shortly. Leave the surface-level yellow spigot alone for now, because turning it stops the wheel.

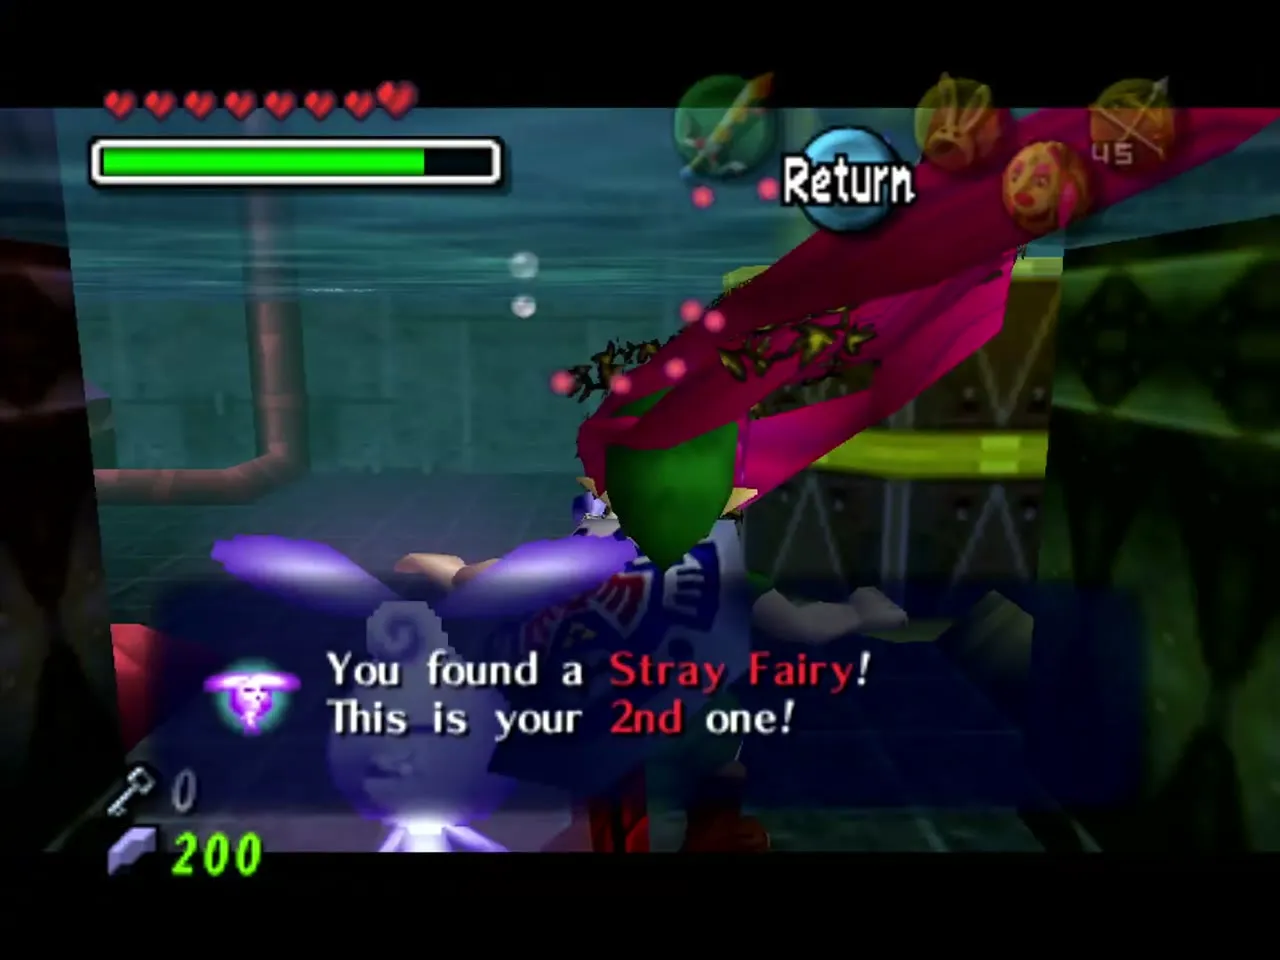
Swim back to the ledge where you came in and look under it for a bubble. Pop it with a fin boomerang to release Stray Fairy 2.

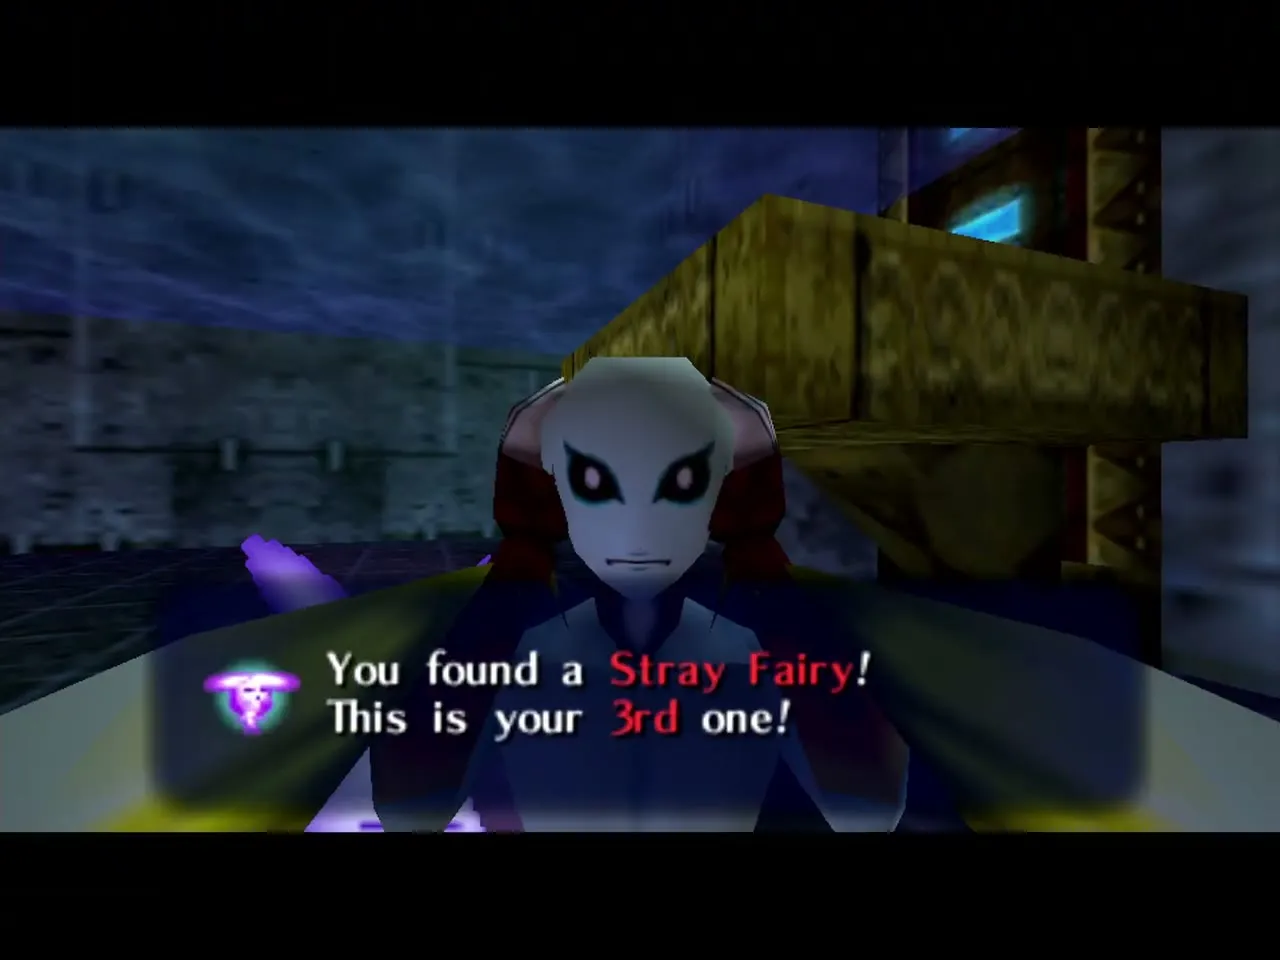
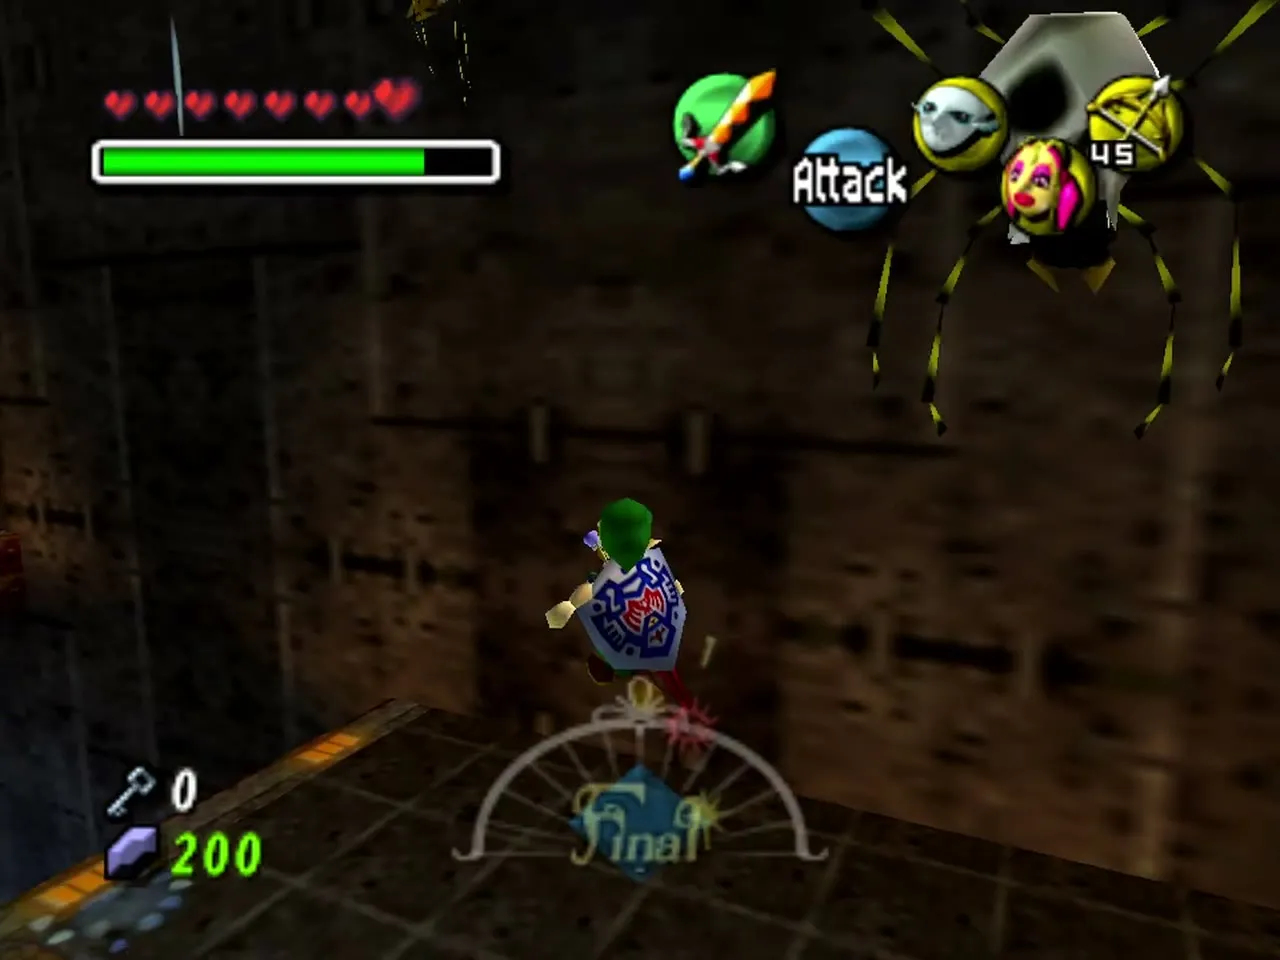
Take the left lift up to the ledge with the rupees. A Skulltula hangs near them: shoot it with an arrow and use the Great Fairy’s Mask to bring the fairy to you. That is Stray Fairy 3. Jump back down, ride the right lift to the platform with two more Skulltulas (fighting them is optional), jump onto the yellow water pump when it is at its lowest, and ride it to the ledge across the room.
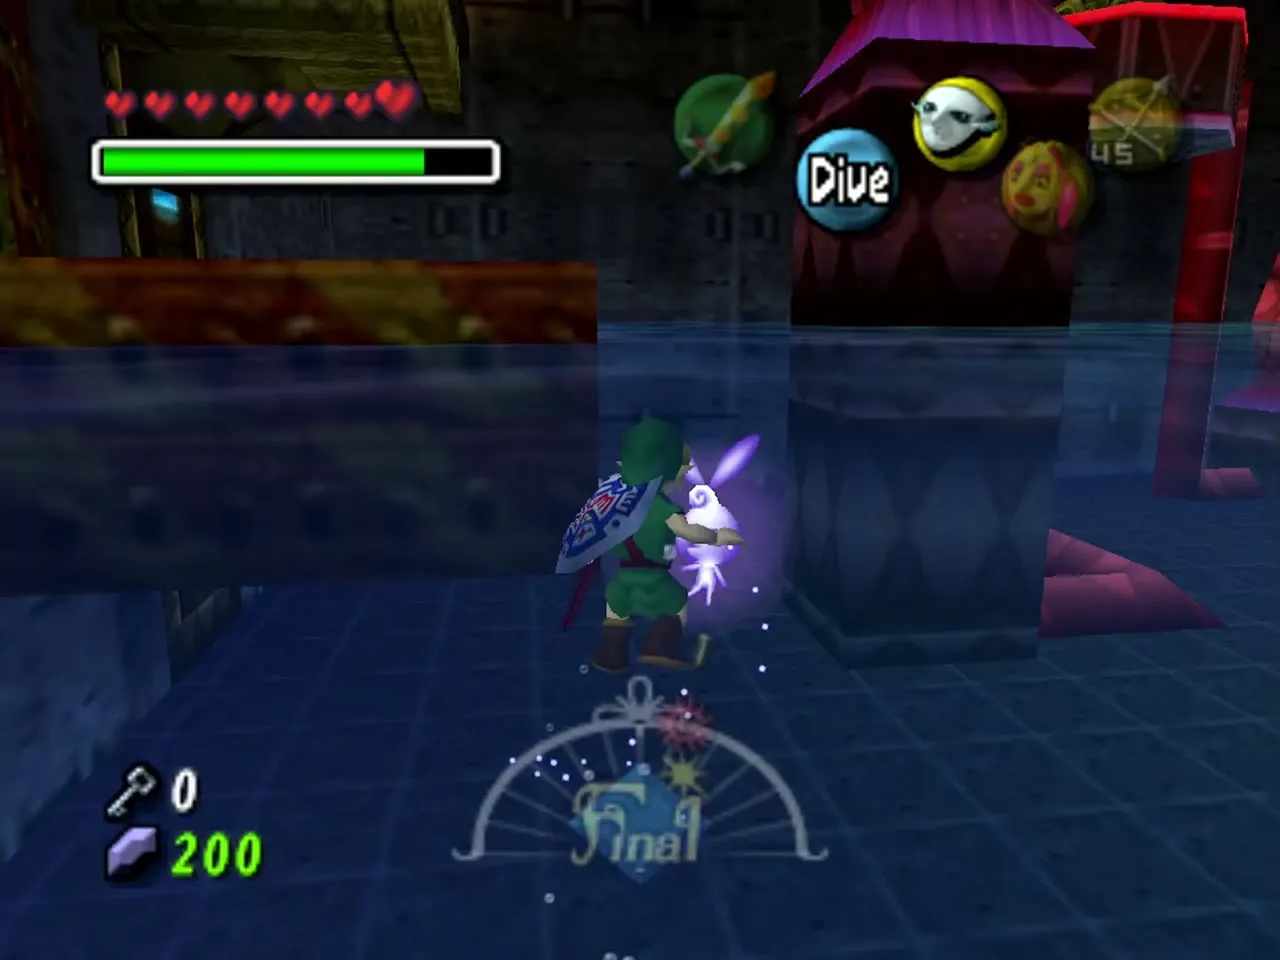
Stray Fairy 4: the barrel above the spout
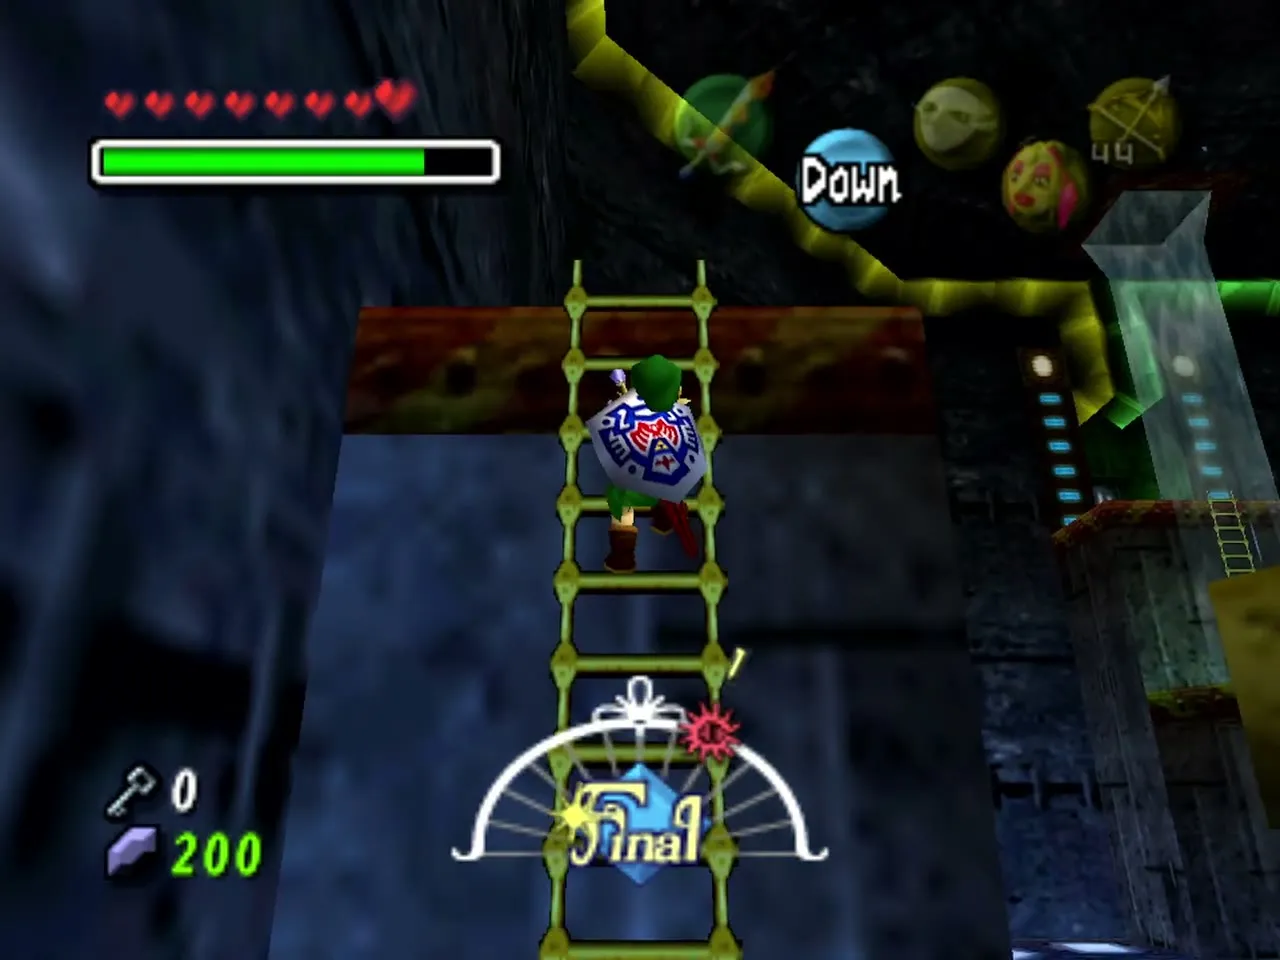
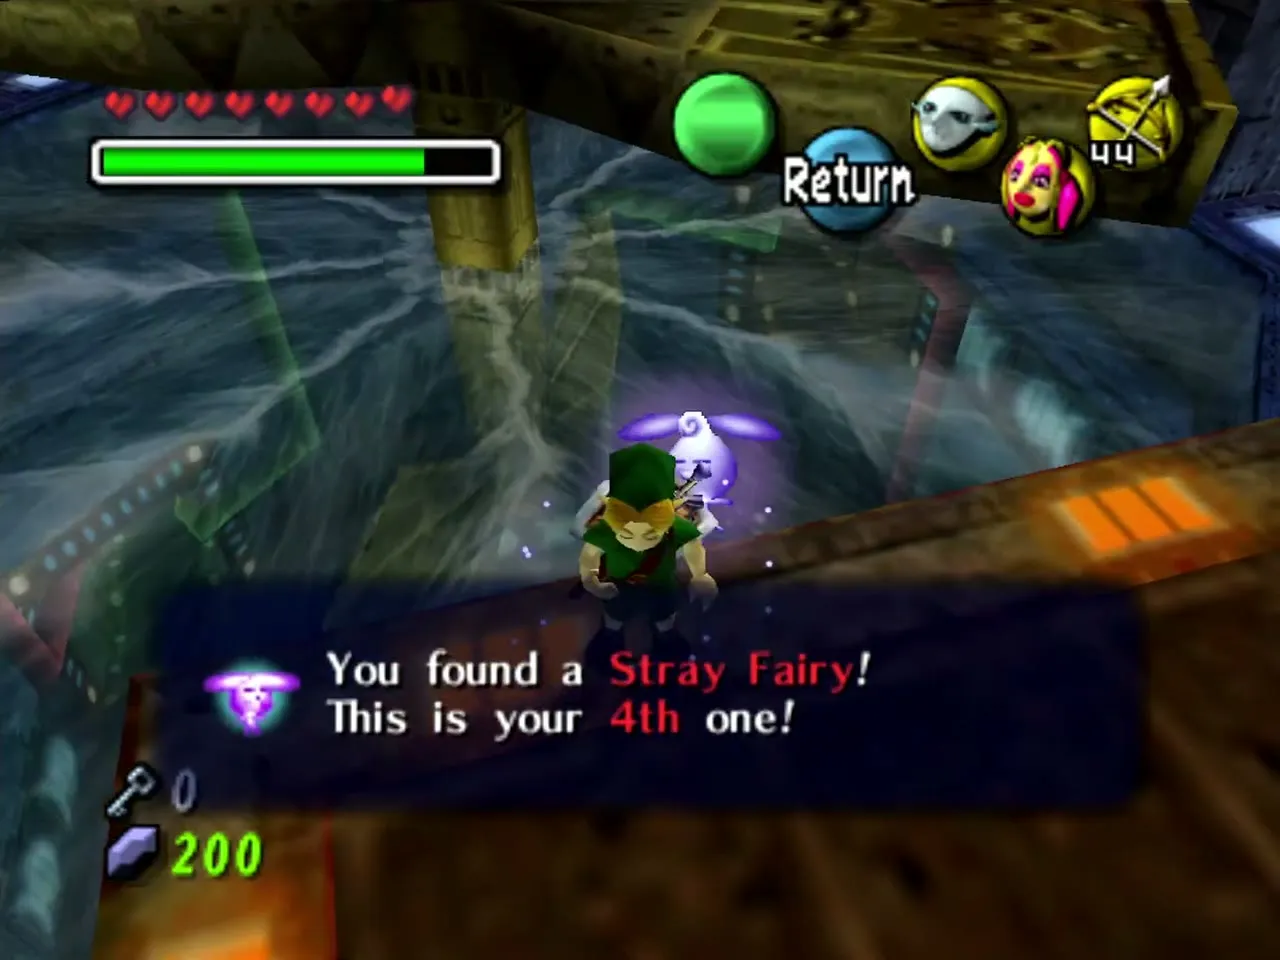
The new spout carries you into the next chamber. Go through the door with the two pipes beside it, follow the ledge to the ladder and climb. Break the barrel at the top to free Stray Fairy 4.
Turbine Room and Stray Fairy 5
Stray Fairy 5: the jar in the vortex
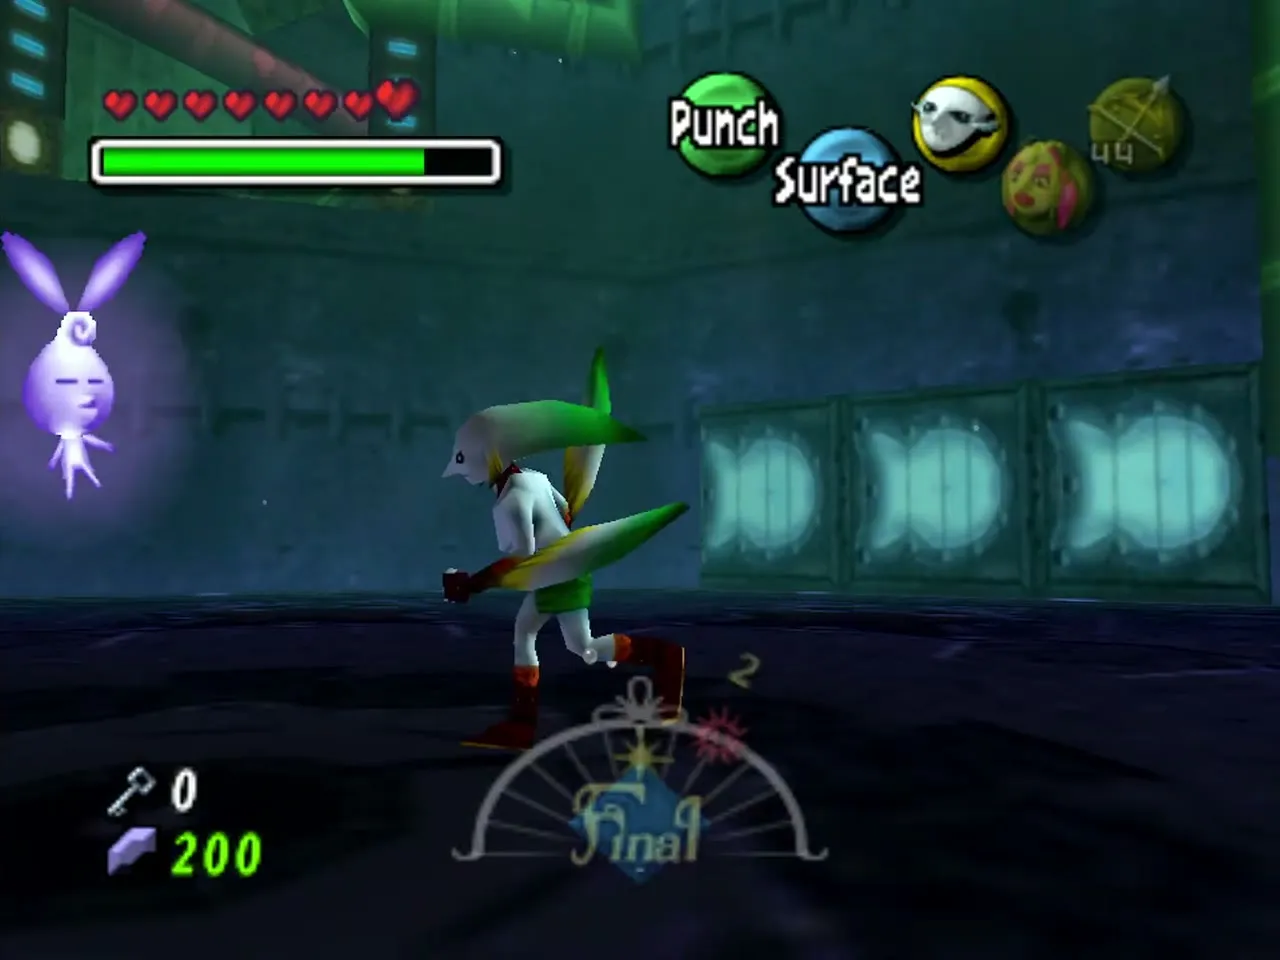
The Turbine Room holds a giant propeller that drives a strong current. As Zora Link, dive to the bottom and break the lone jar in the center of the whirlpool with a fin boomerang, then use the Great Fairy’s Mask to collect Stray Fairy 5. The colored pipes show where each current leads: the tunnel with a red and a green pipe goes to the Map, and the tunnel with a single red pipe leads to the Compass area and, later, to Wart.
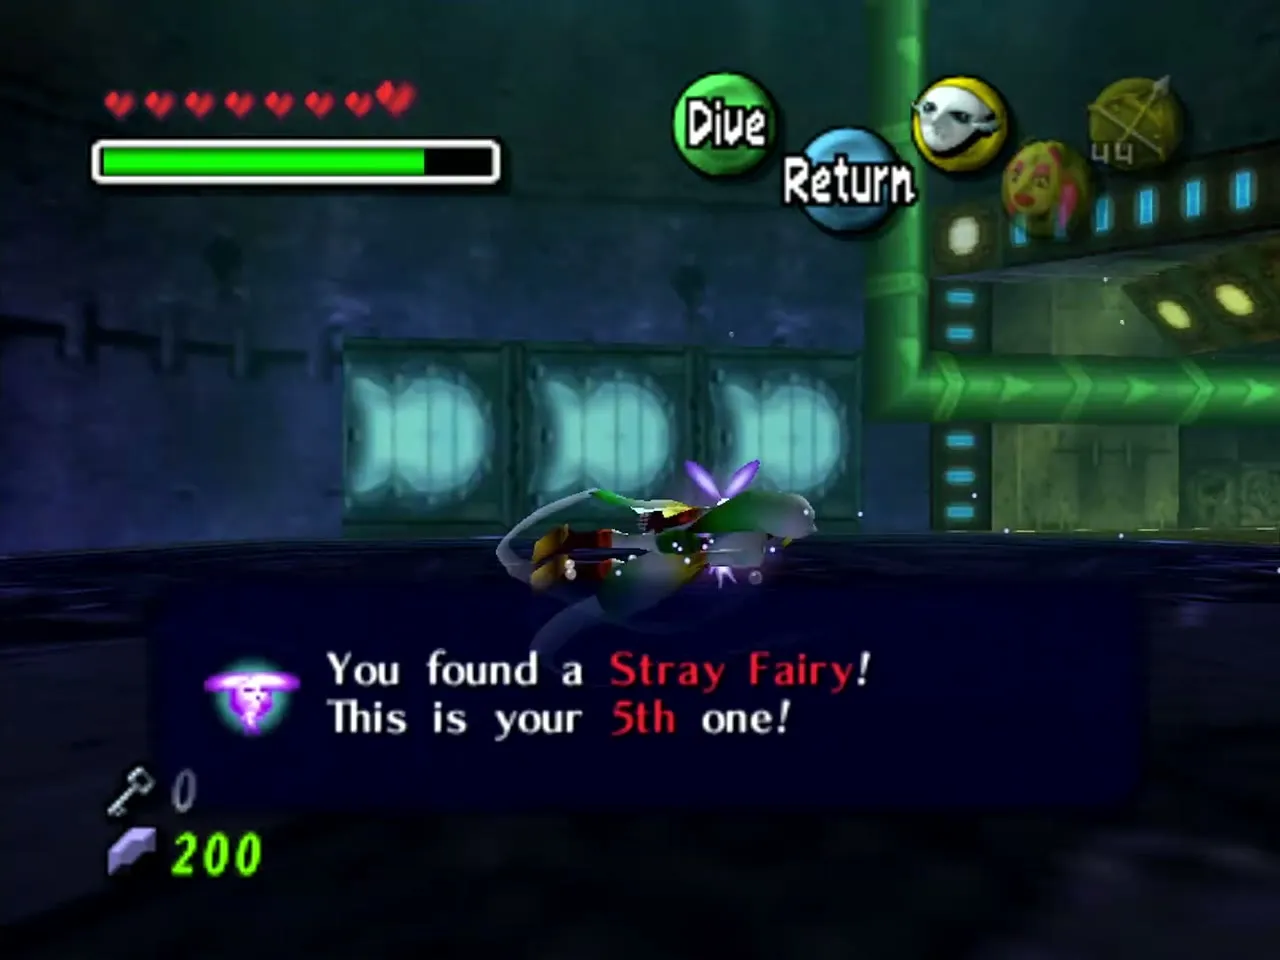
Dungeon Map and Stray Fairy 6
Map Room
Take the tunnel with the red and green pipes to the Skullfish room. Defeat the Skullfish with Zora Link’s R button attack, surface and climb onto the lowest ledge. Turn around and use the Hookshot on the big chest to get the Dungeon Map.
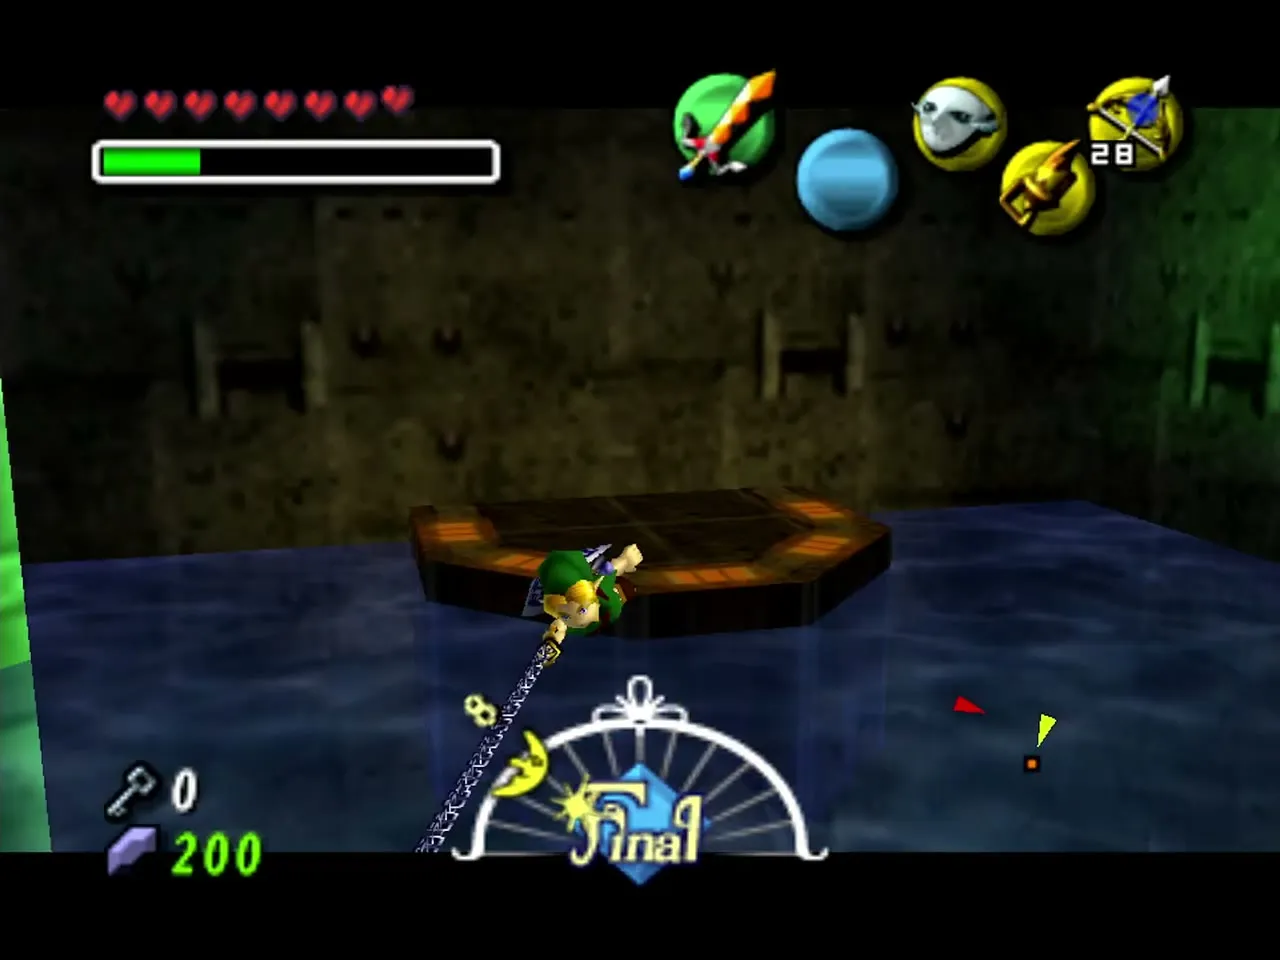

Opposite the chest is a platform with two pots. Smash them and a fairy comes out: Stray Fairy 6. Pull it in with the Great Fairy’s Mask.

Compass, Small Key and Stray Fairies 7 and 8
Bio Deku Baba hall: Stray Fairy 7
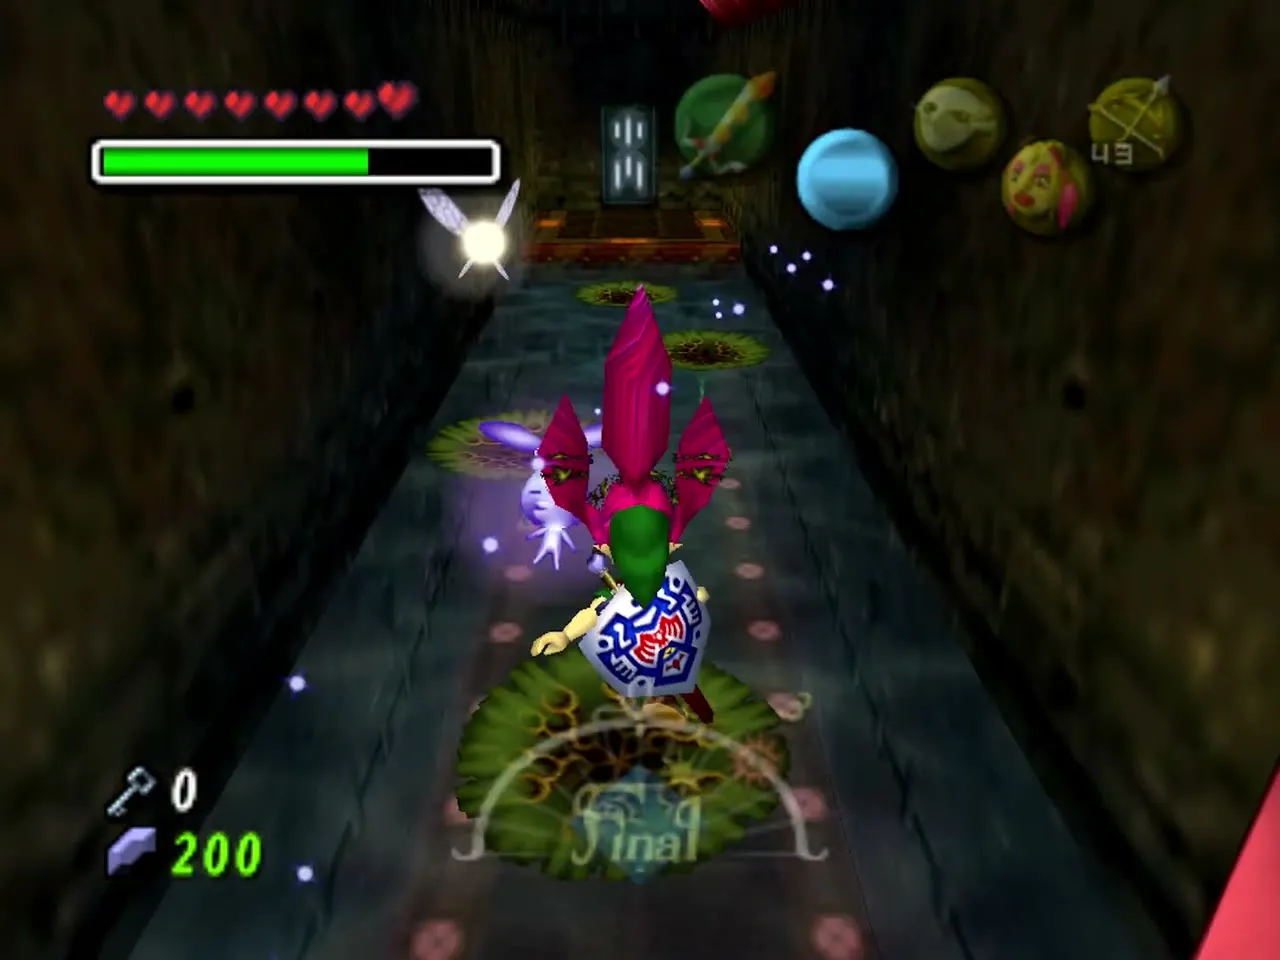
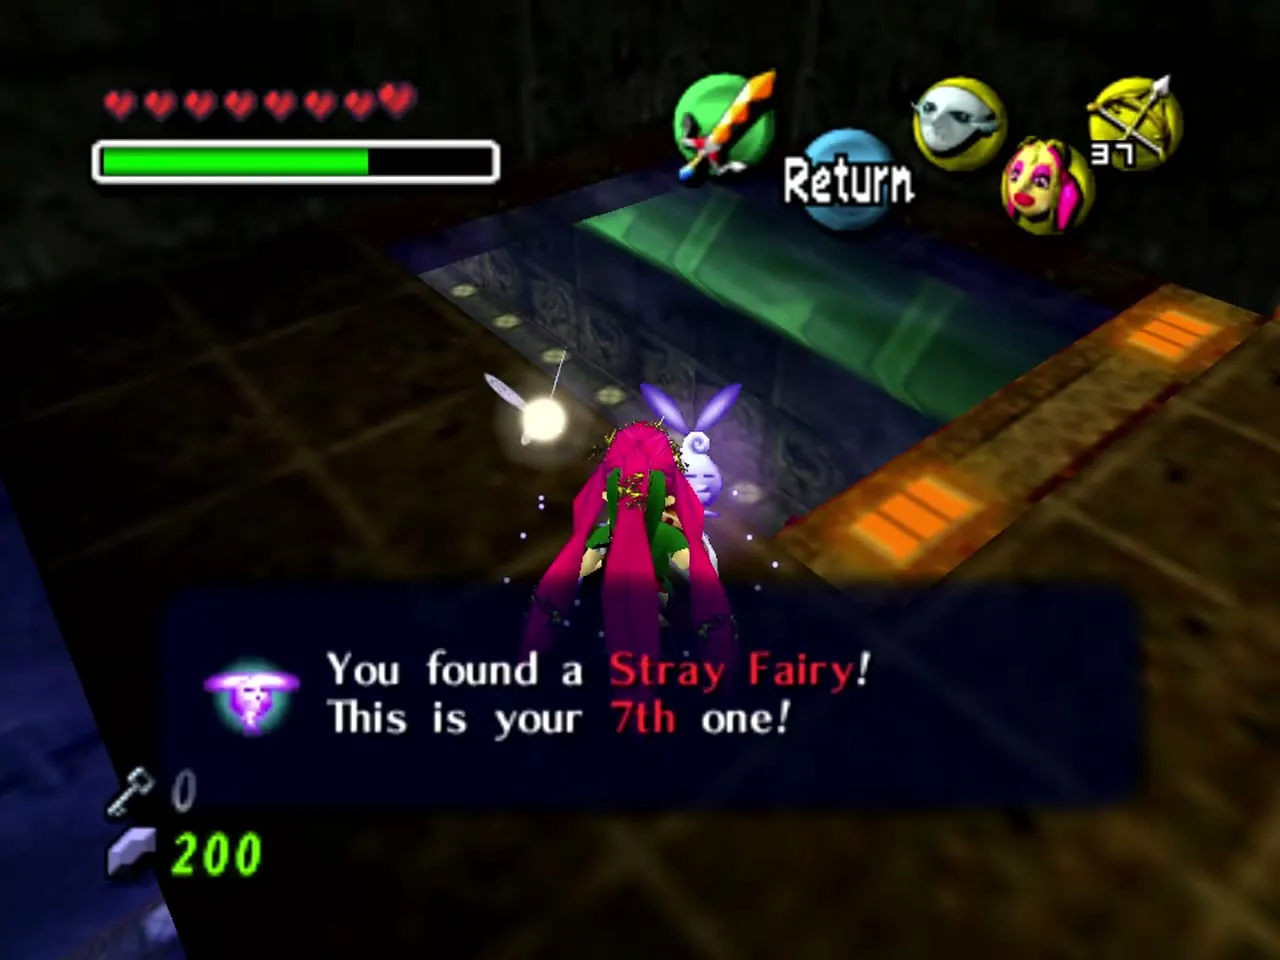
Return to the Turbine Room and swim into the bottom outflow that carries a single red pipe. Dexihands guard it: charge a fin boomerang or swim through them while holding R. In the hall beyond, Bio Deku Babas hang upside down. Stand under each and hit it with a fin boomerang, then cross the lily pads and kill the last Baba on the far platform. A large chest rises and gives Stray Fairy 7. Leave by the door at the end of the hall.

Compass room
The next room is a pool with lily pads and a chest on a high ledge. A Real Bombchu patrols the ledge, so deal with it first. Wear the Zora Mask, hop across the pads and use the Hookshot on the chest to claim the Compass, which marks the remaining Stray Fairies on your map.
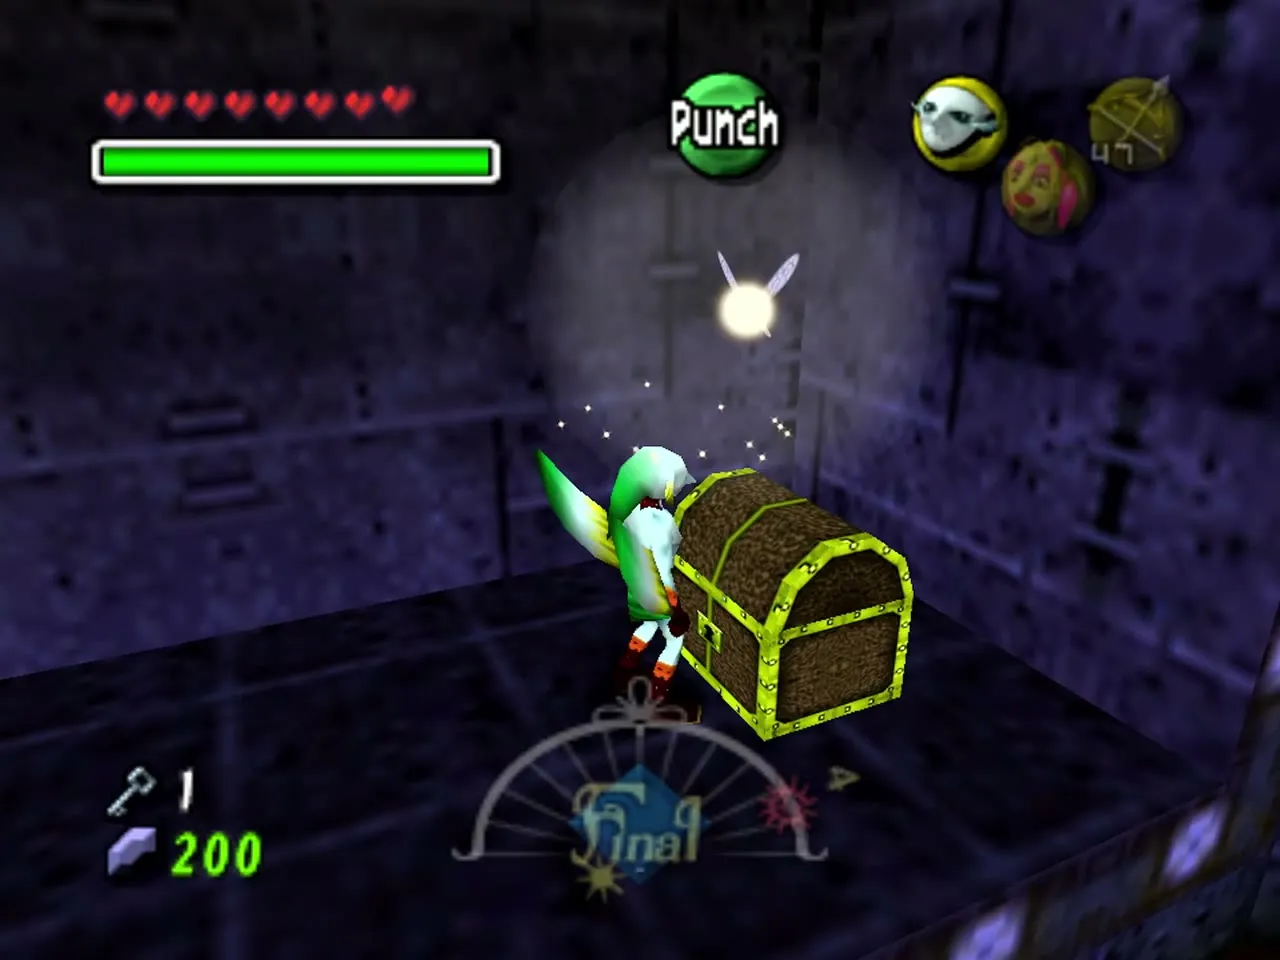

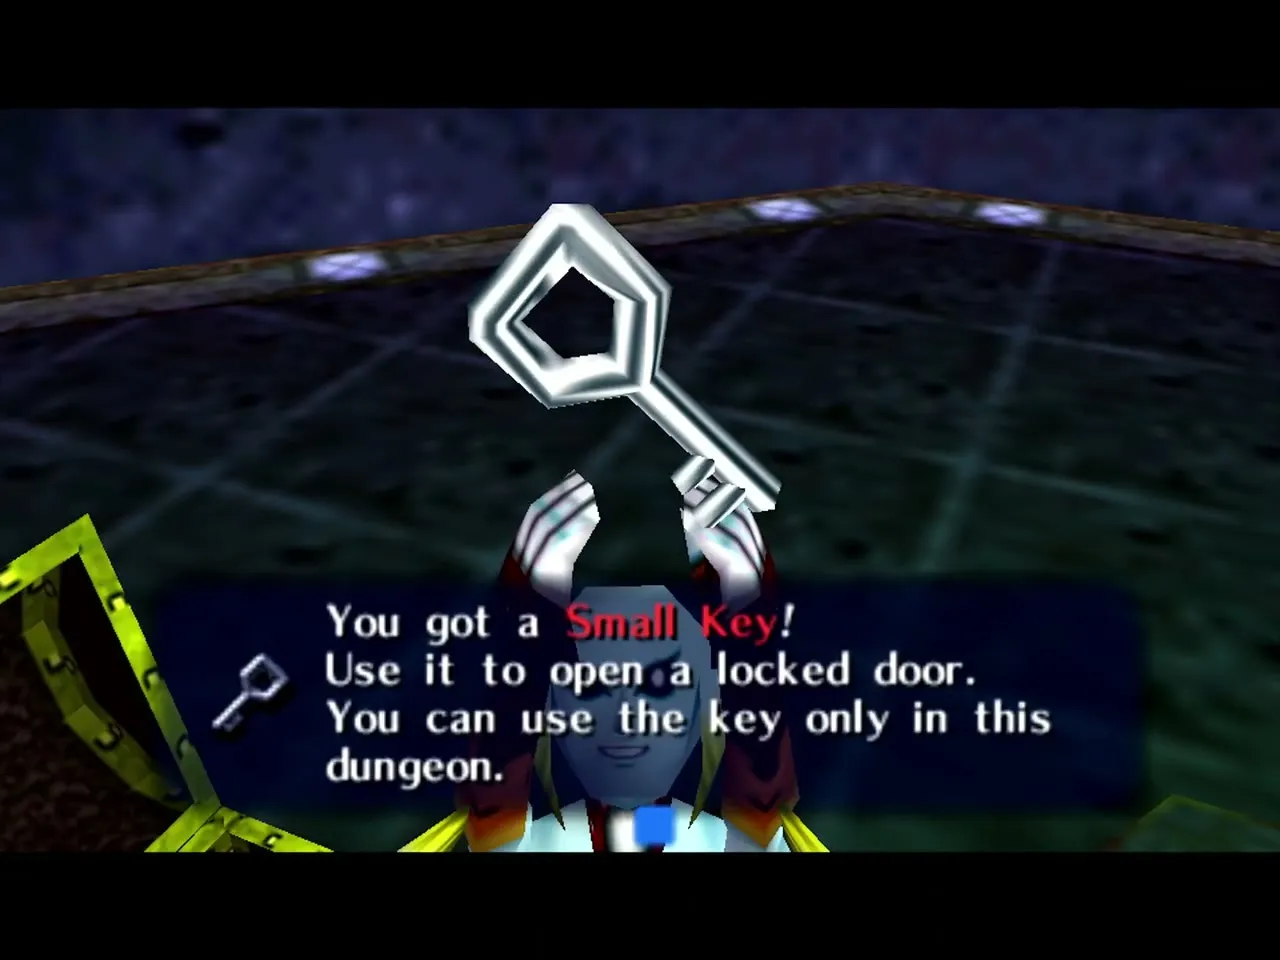
Dive to the bottom, defeat the Bio Deku Babas and the Dexihand guarding the chest there, and open it for the Small Key. Smash the jars on the way for arrows and magic.
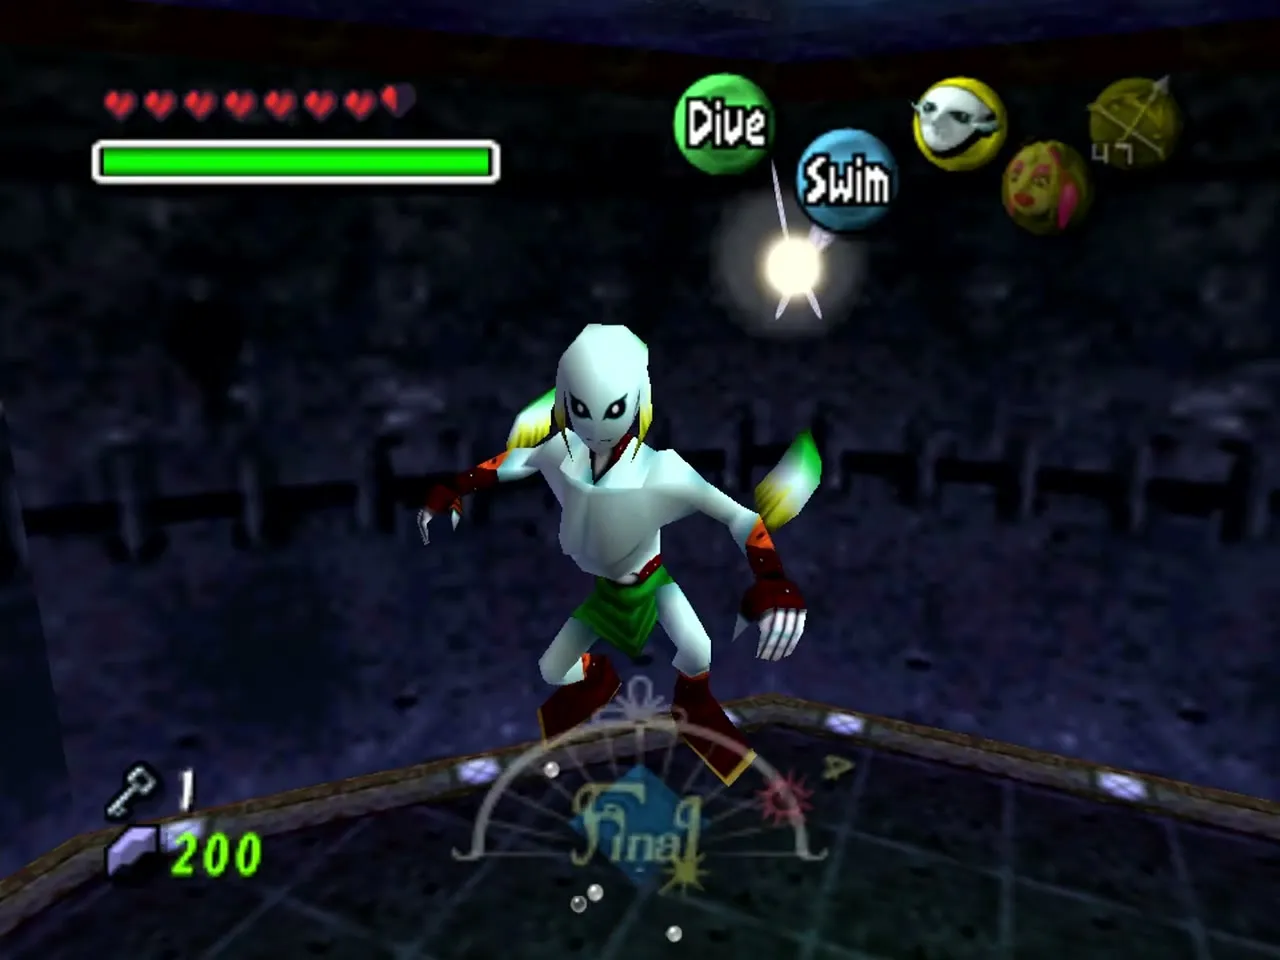
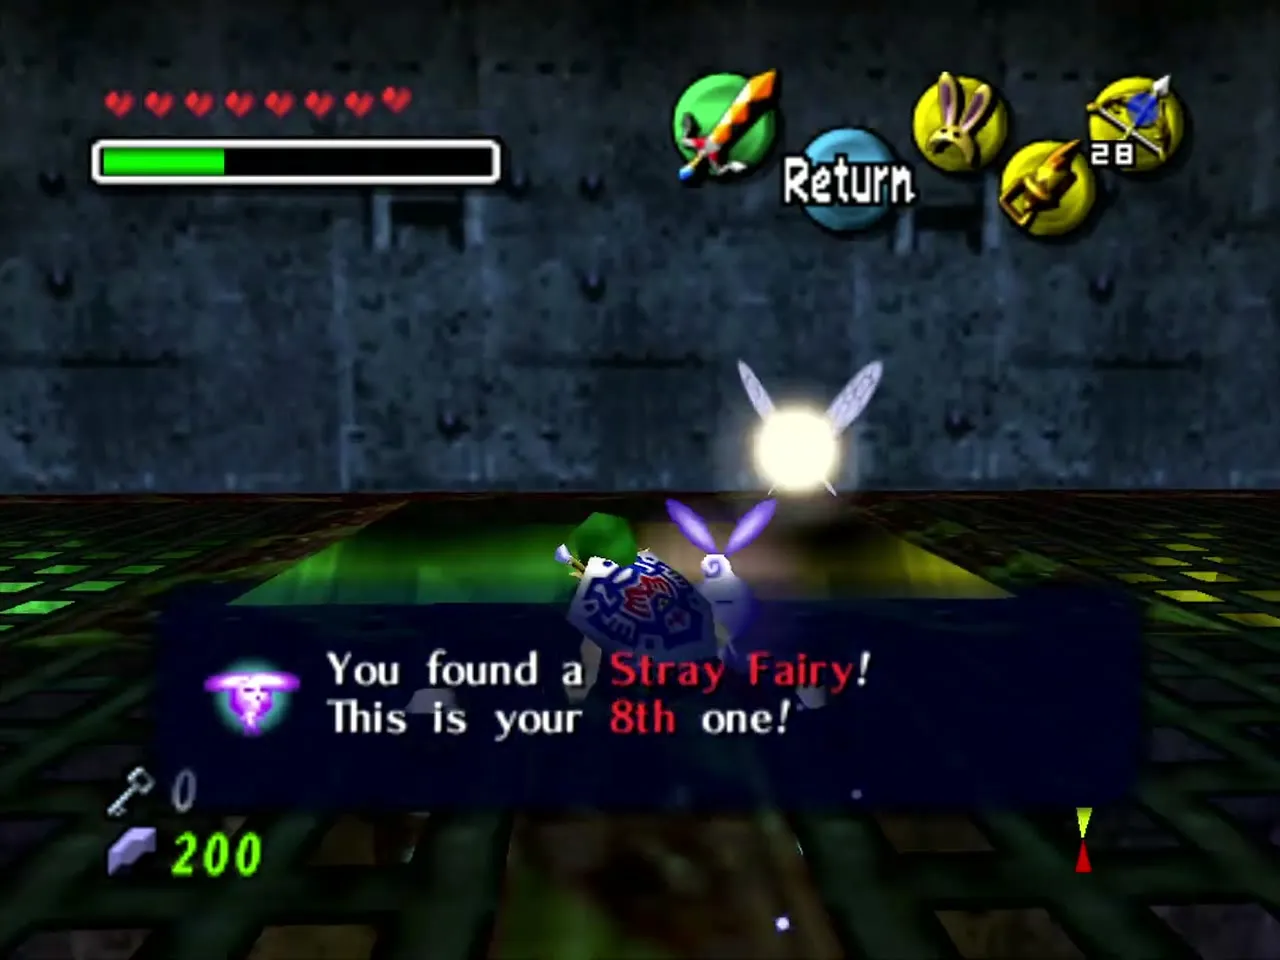
Climb out beside the door where the current flows. A few Dexihands crowd the water, and a jar sits between them. Shoot it from the ledge with an arrow, put on the Great Fairy’s Mask, and Stray Fairy 8 flies to you. Without the mask, step into the current and let the hands shake you toward the fairy. Then ride the flow back to the Turbine Room.
Wart and the Ice Arrows
The red pipe to the locked door
Swim to the surface in the Turbine Room and ignore the Shell Blades, Skullfish and the Octorok for now. Climb onto the red pipe and follow it, shooting the Real Bombchu that patrols it with an arrow or a fin boomerang. At the end is a locked door; use your Small Key.
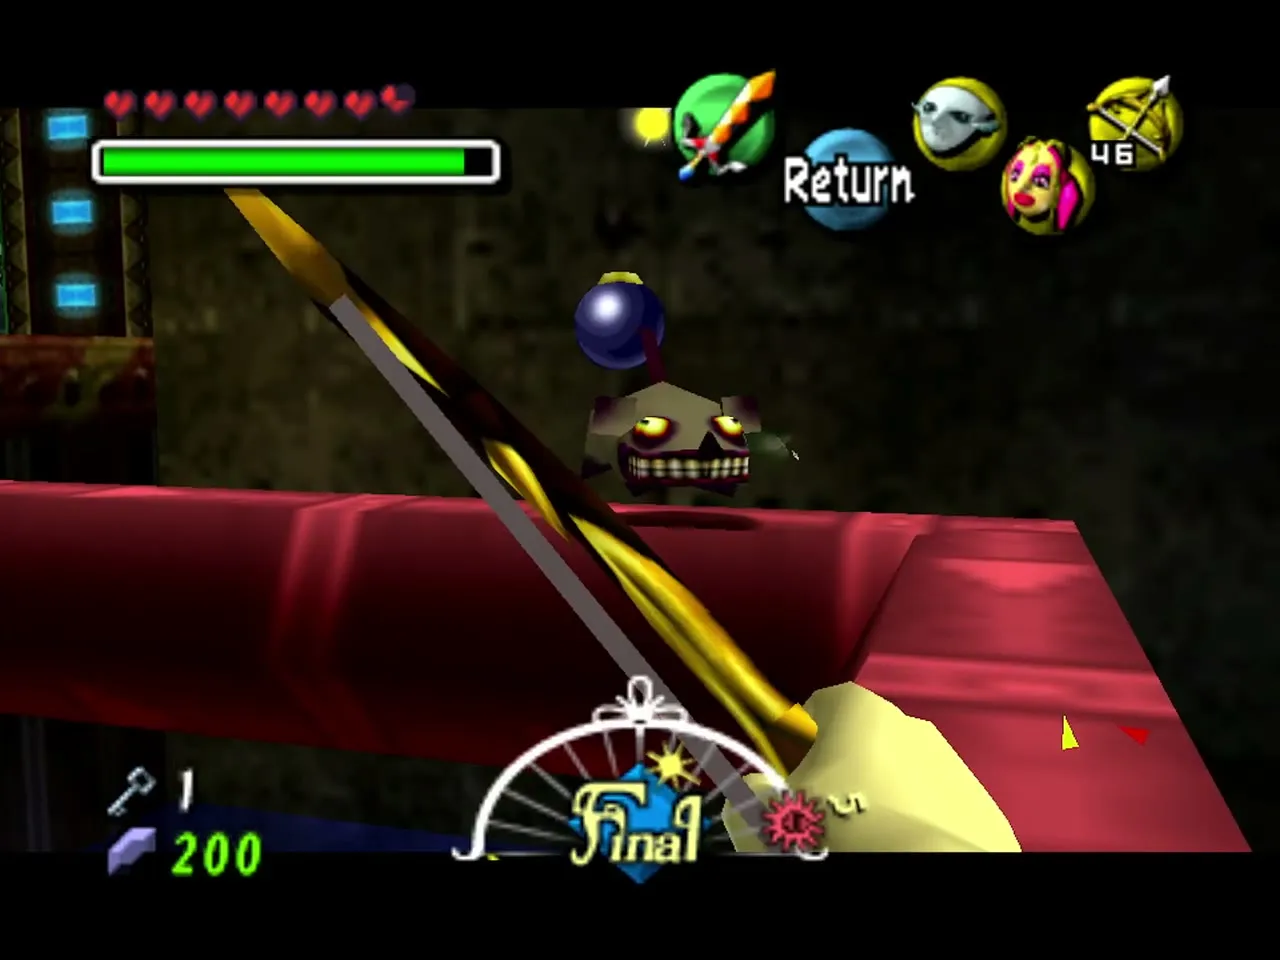


Wart mini-boss fight
The room behind the door has pots and Chuchus that keep returning, so refill arrows and magic here. Wart hangs from the ceiling. Use the Hookshot or arrows to pull away the pink eyes that orbit its body, then shoot each loose eye. When every eye is gone Wart drops and its small eyes roll around the floor. Cut them down with your sword, then slash the large central eye when it opens. Wart leaves a chest with the Ice Arrows.

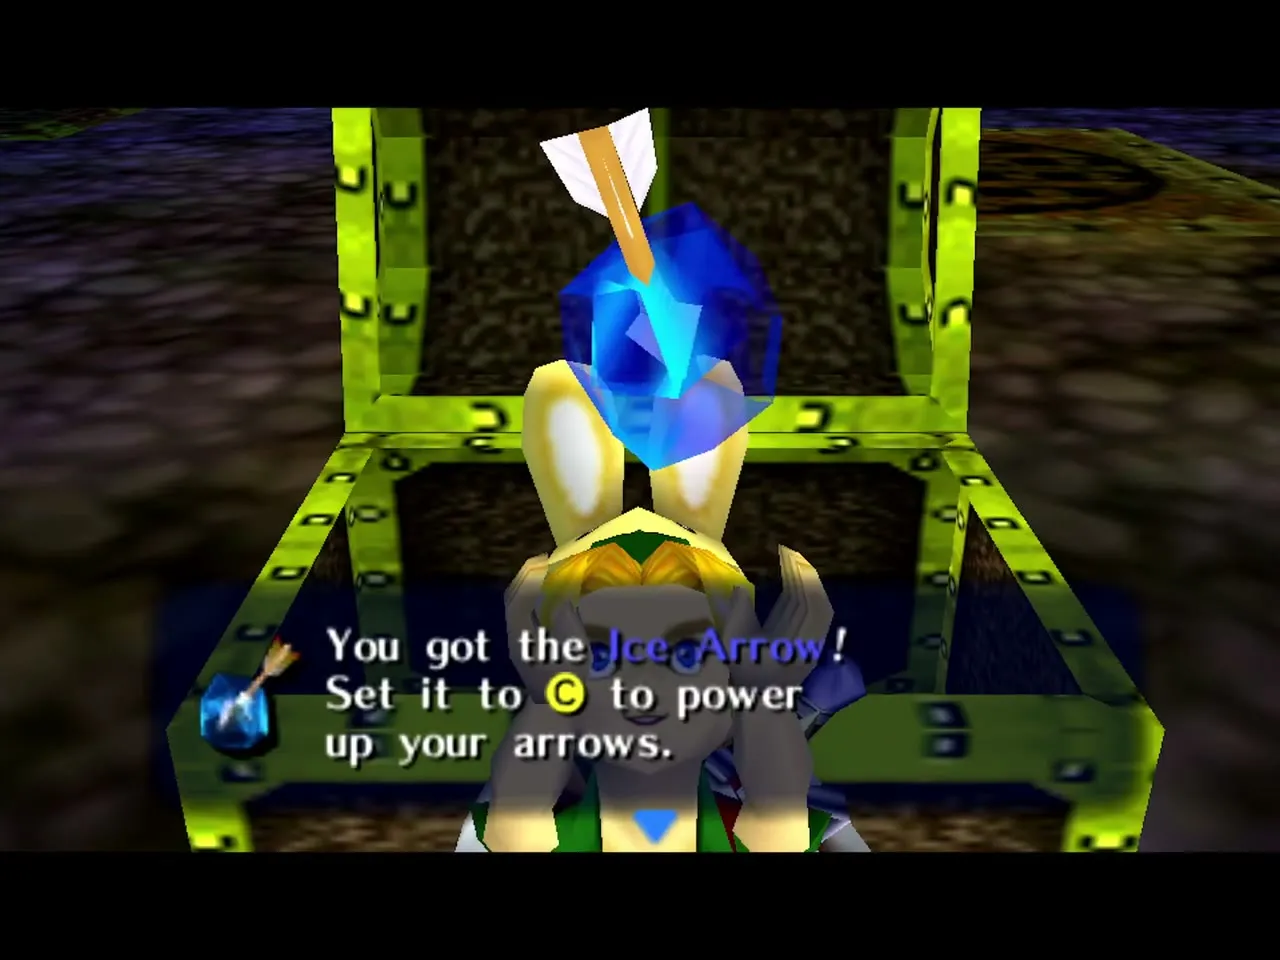
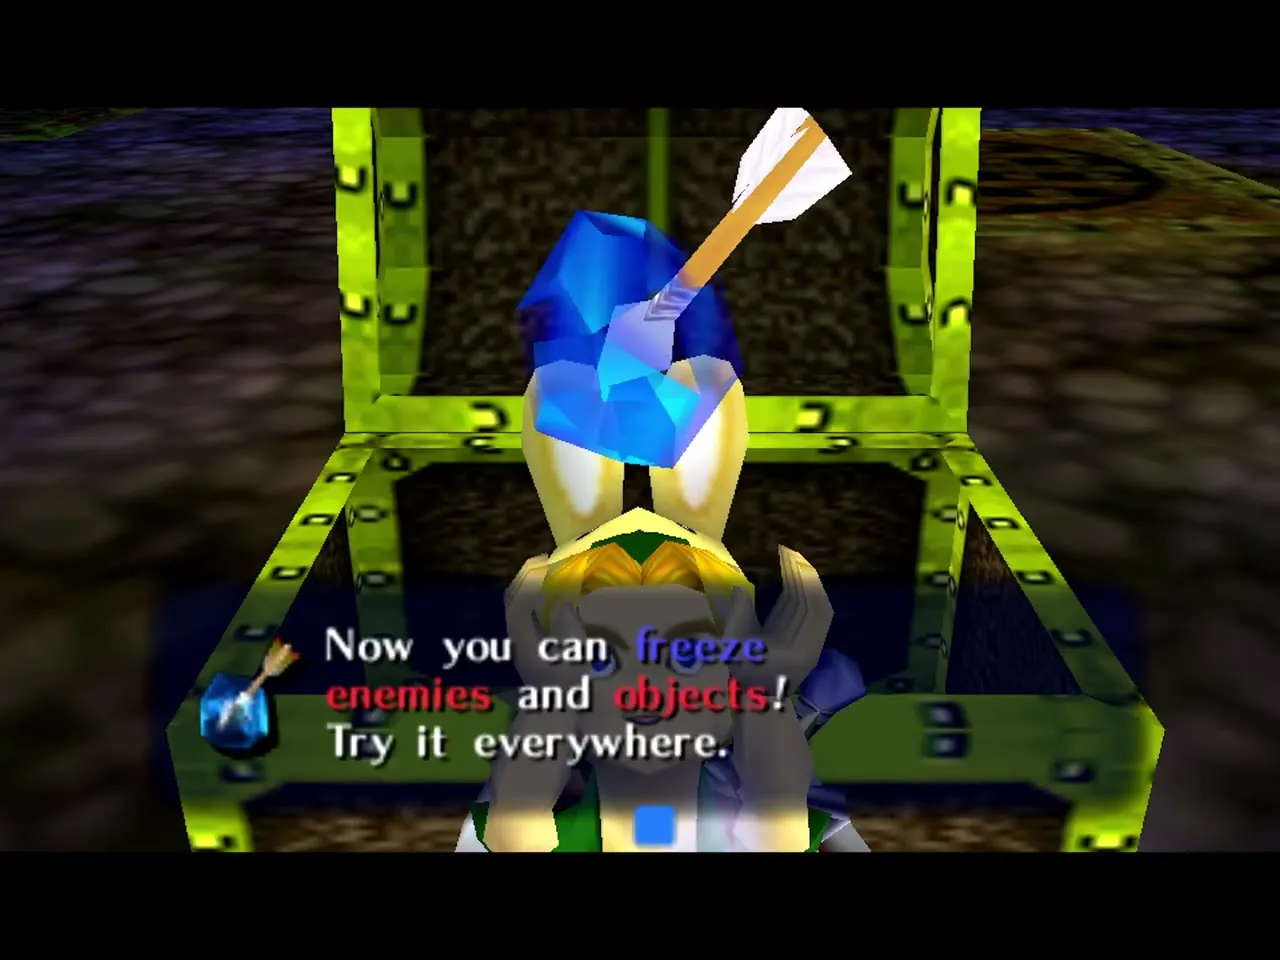
Red pipeline: ice platforms and the red spigots
The central red spigot
Go back to the red pipe in the Turbine Room. Freeze one of the Octoroks with an Ice Arrow and use the block as a stepping stone to the large red spigot in the middle of the room. Turn it a quarter turn so red water flows through more of the temple.


The second red spigot
Return to the Turbine Room by the other outflow and enter the tunnel with the red and green pipes again. Climb out on the far side and use Ice Arrows on the water to build a line of blocks to the door across the gap. Go through the door.
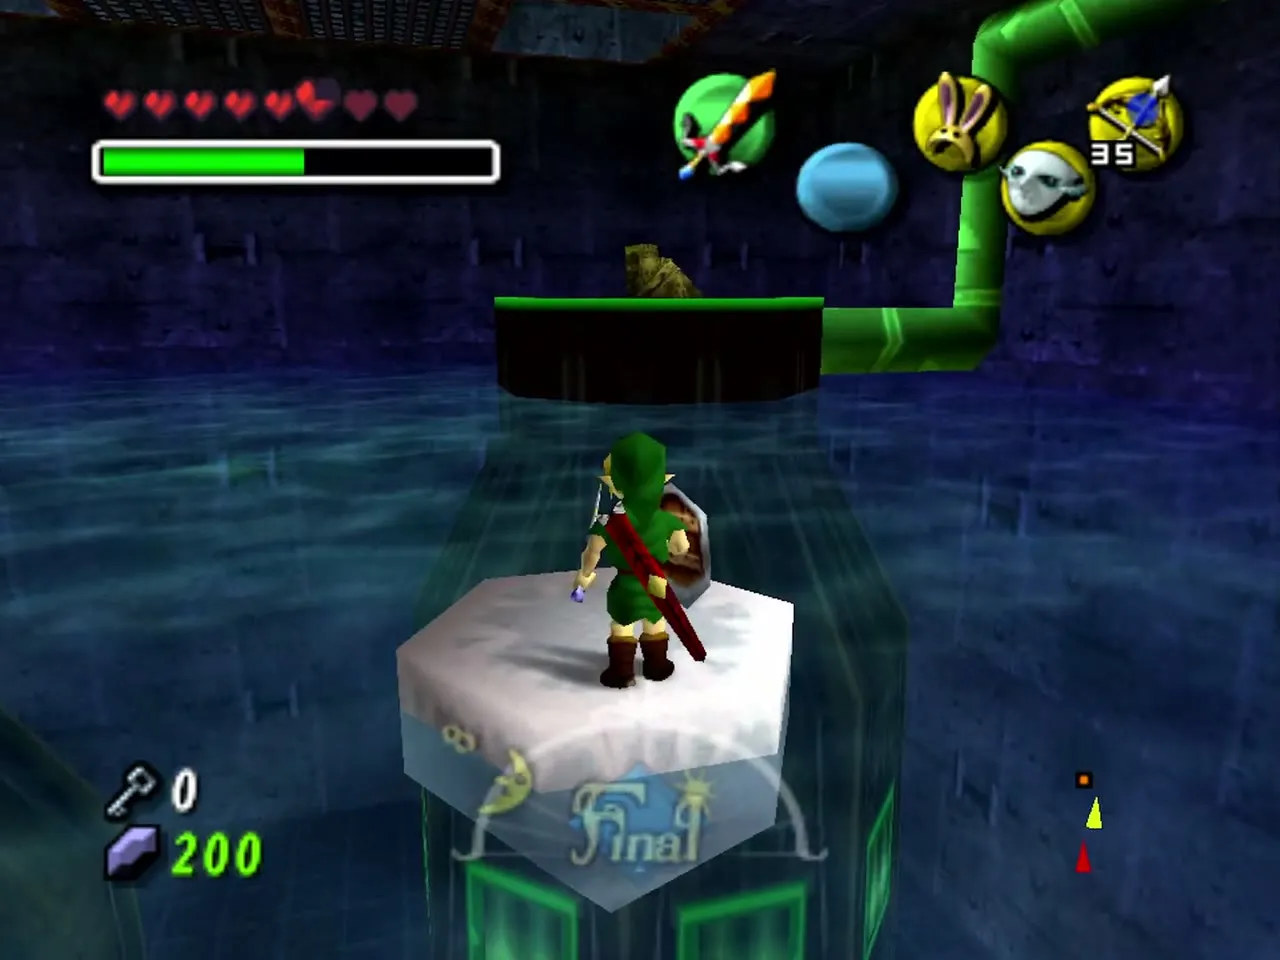
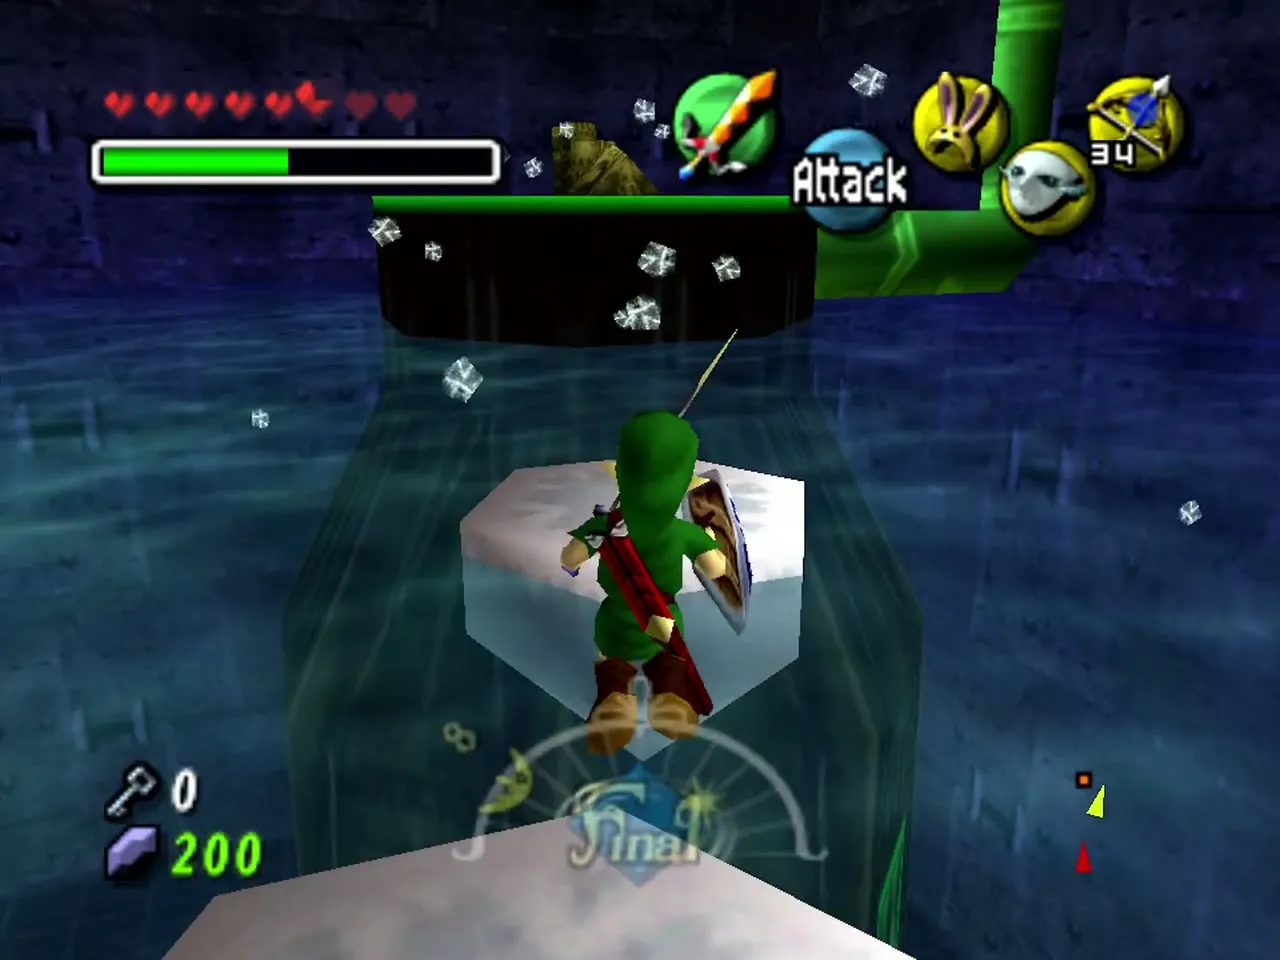
In this room freeze a White Chuchu with an Ice Arrow, push the block against the red spigot to climb up, and turn the spigot. Every red pipe in the temple now carries water.

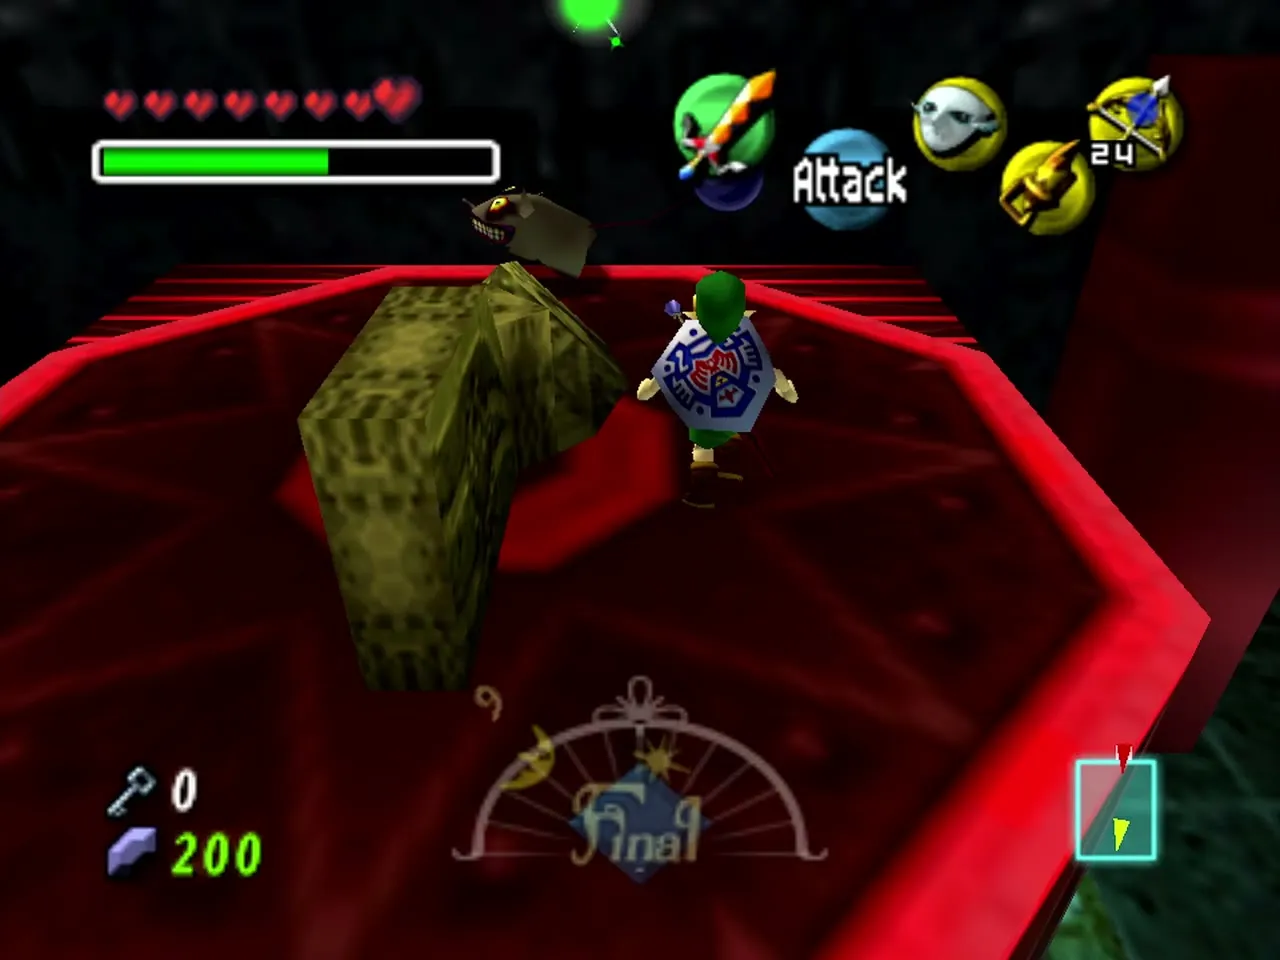
Gekko and the Boss Key
The icicle hall
Return to the Compass room by the red pipeline. Use Ice Arrows to build a path across the water to the passage lined with icicles, then melt the icicles and the block of ice at the end with a Fire Arrow. Gekko waits inside.
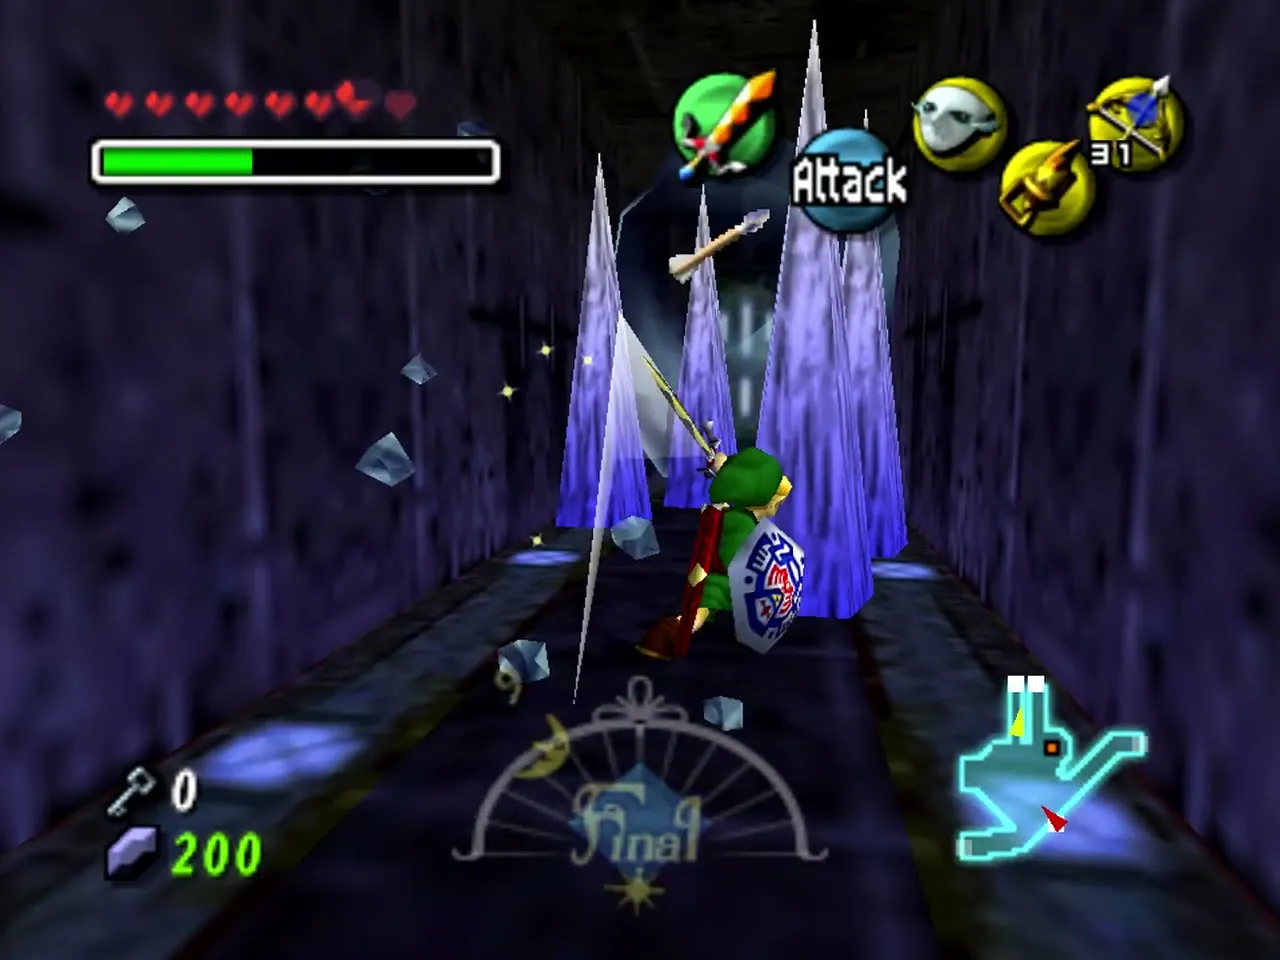
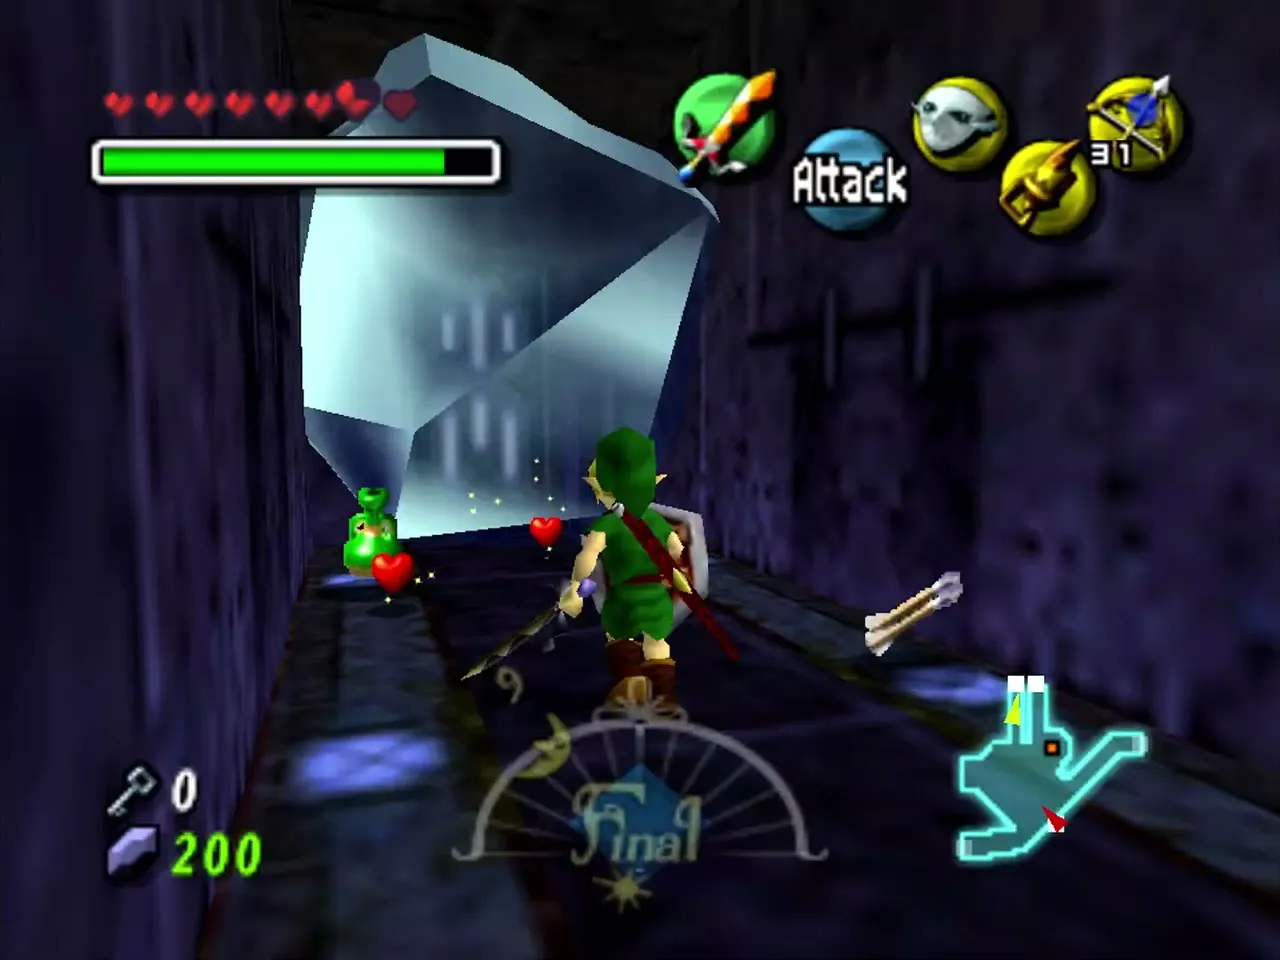

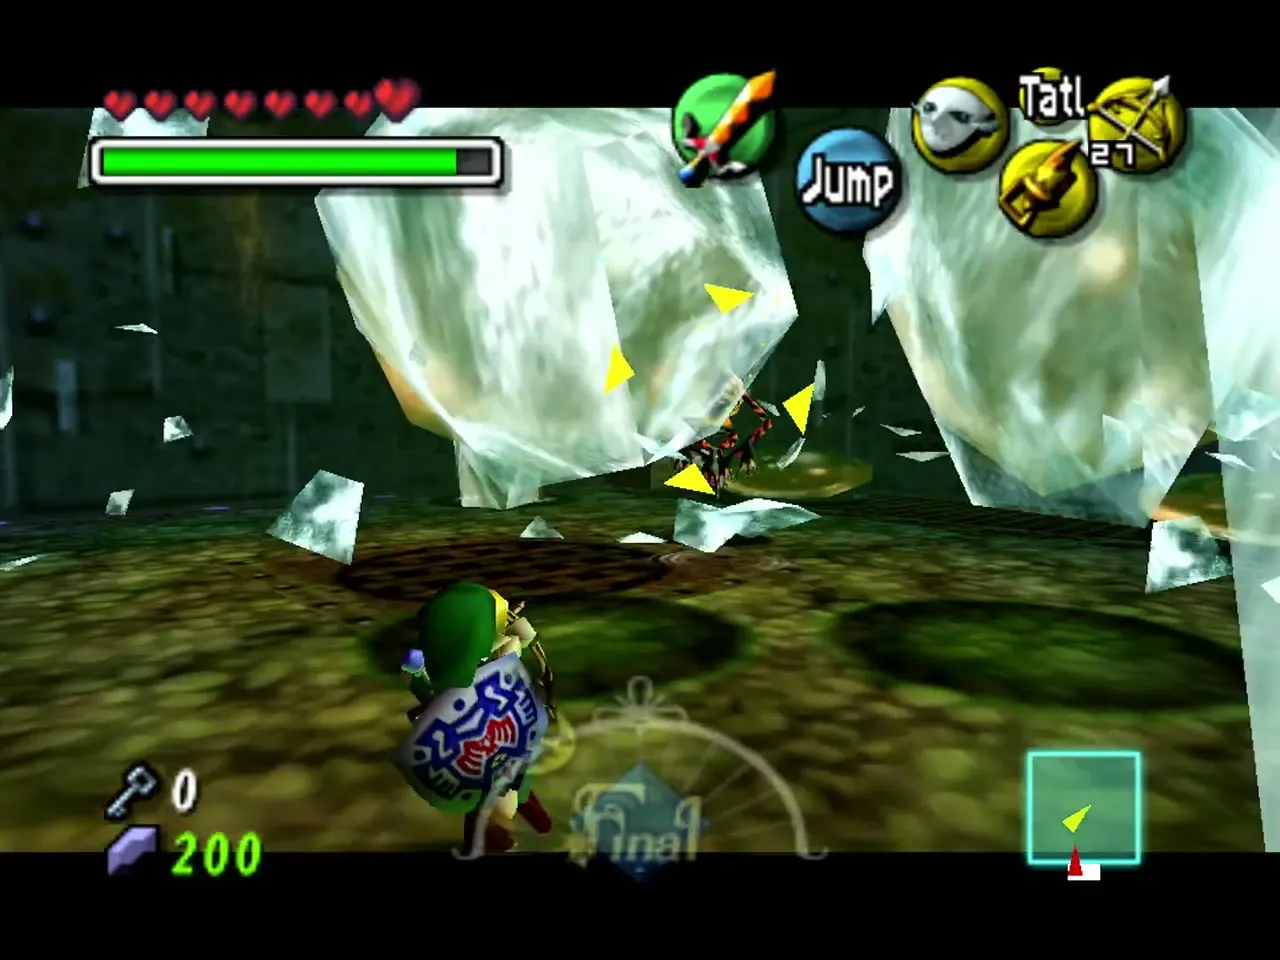
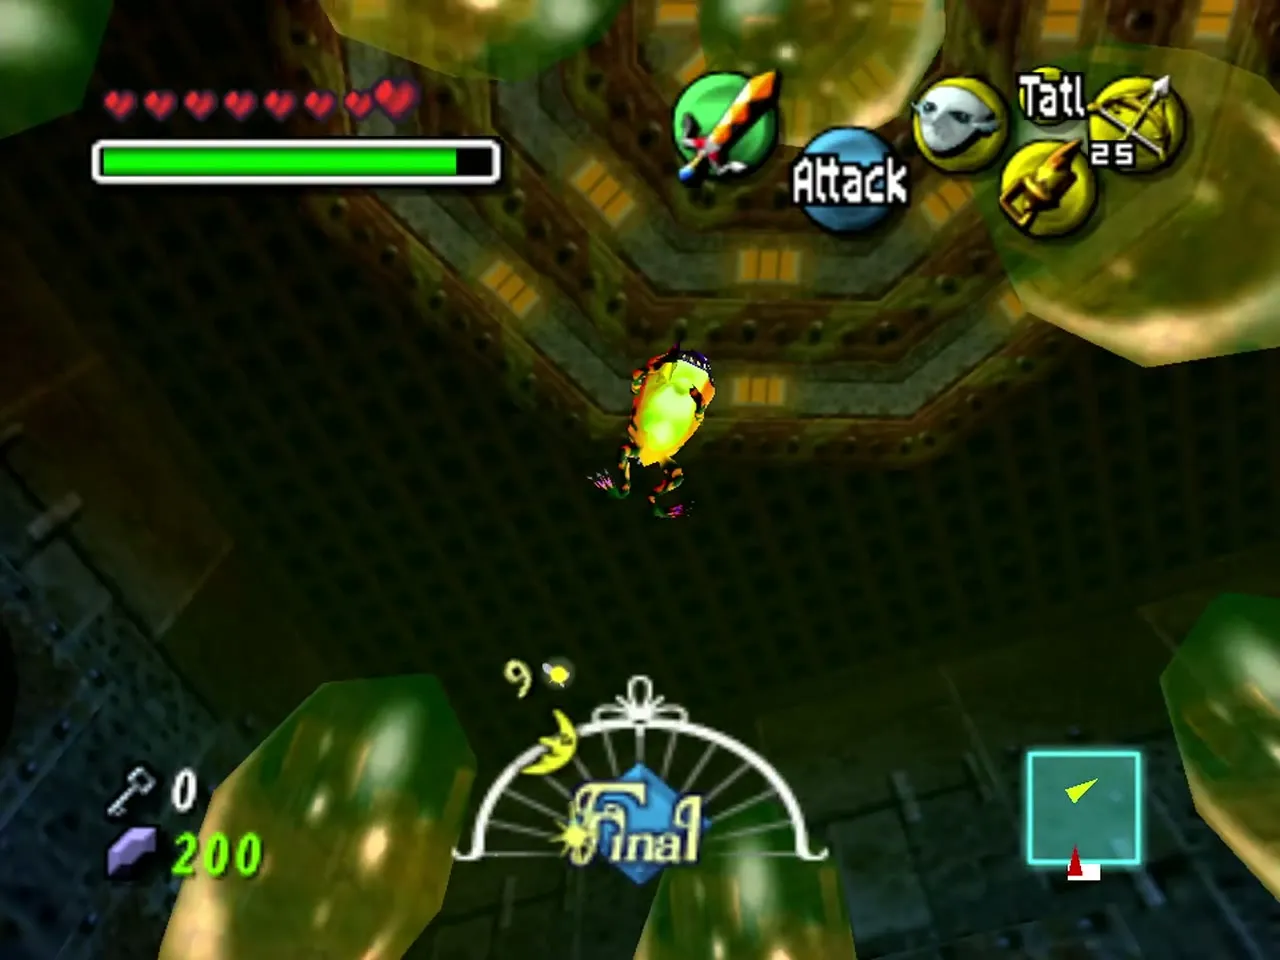
Gekko mini-boss fight
Hit Gekko with your sword while it is on the floor. It then shields itself with a mass of Mad Jelly; when the jelly gathers, freeze it with an Ice Arrow and hit Gekko again. Repeat until it is beaten.
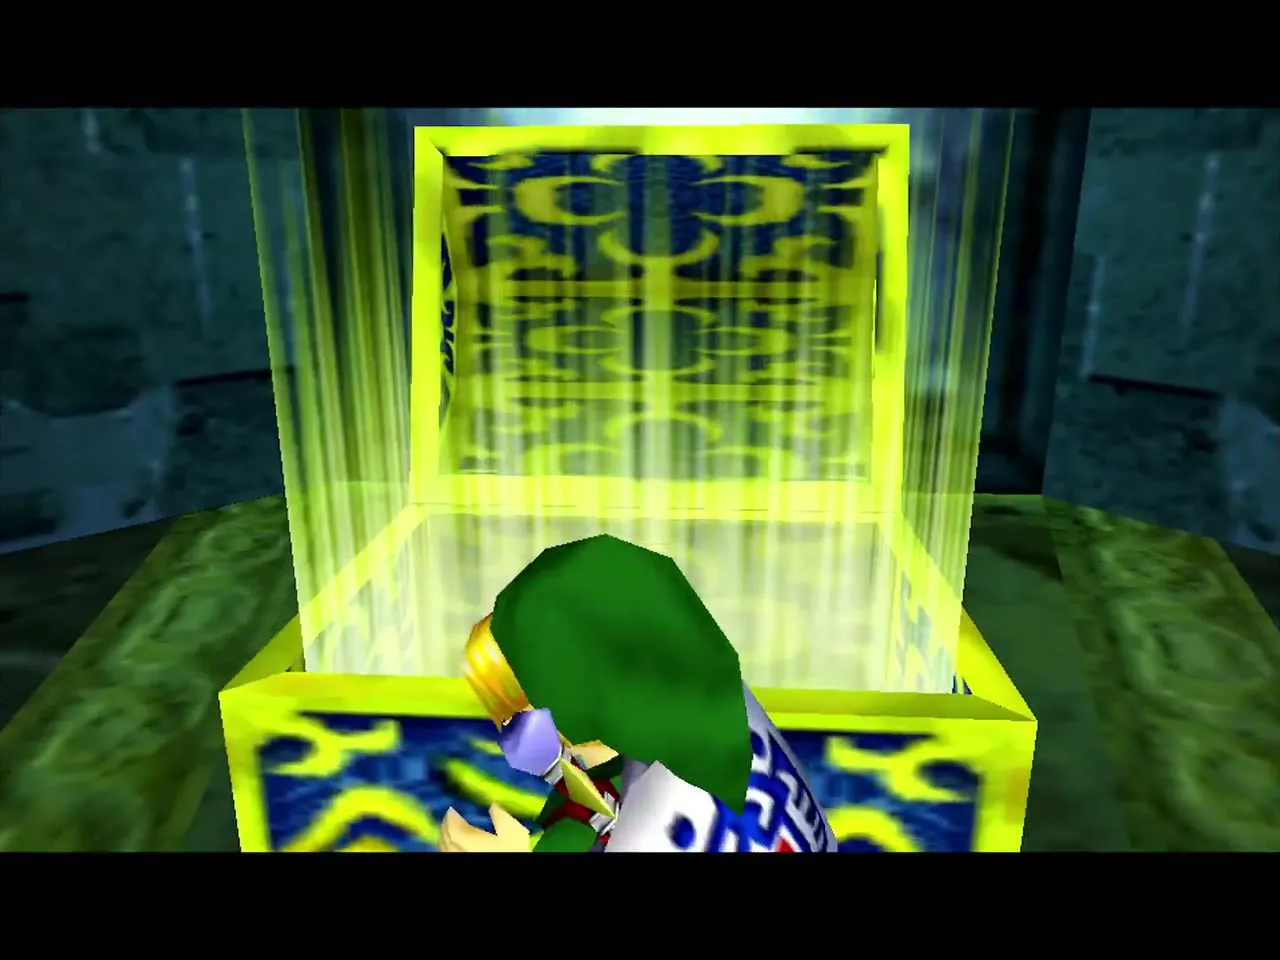
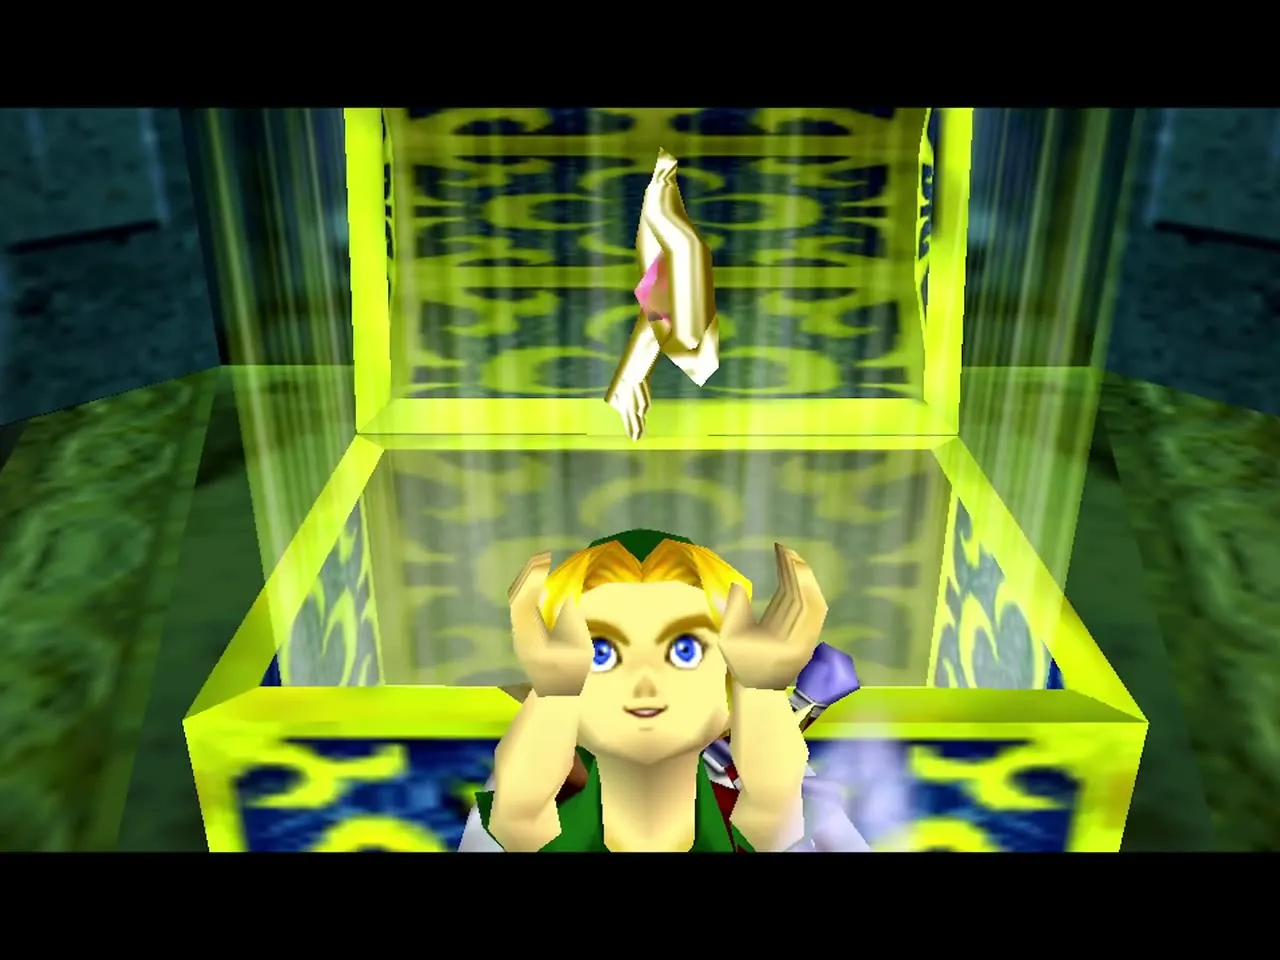
Leave by the leftmost door on the south side and open the chest at the end for the Boss Key.
Yellow and green pipelines
Stray Fairy 9: the upper floor
Climb back to the Waterwheel Room by riding the Turbine Room’s spinning blades to the south bridge. Use the Hookshot on the ceiling target above the red water pillar to reach the last red spigot and turn it. Then turn the yellow spigot at surface level a quarter turn to reverse the wheel, and take the left lift up.

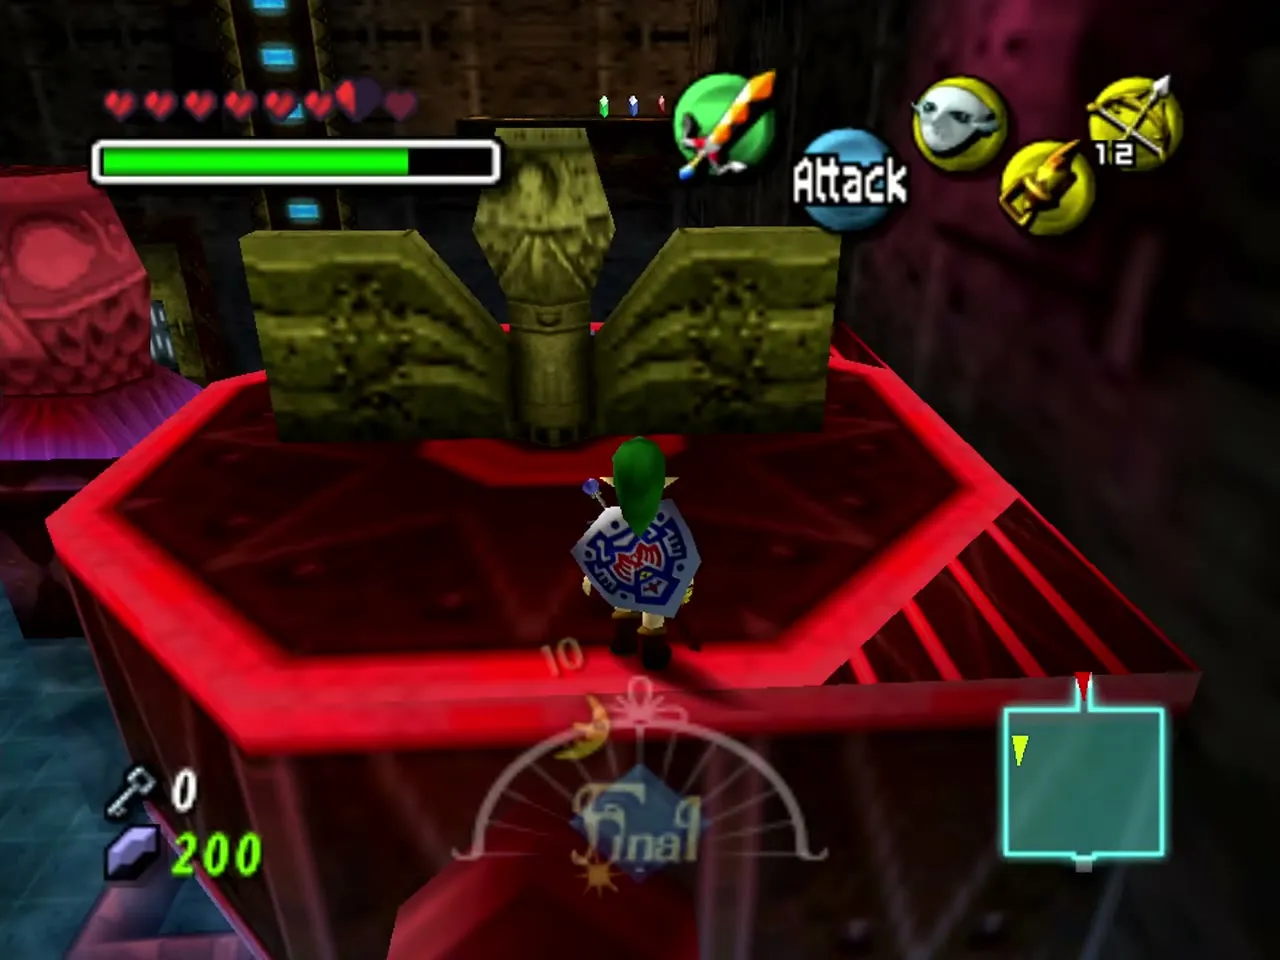
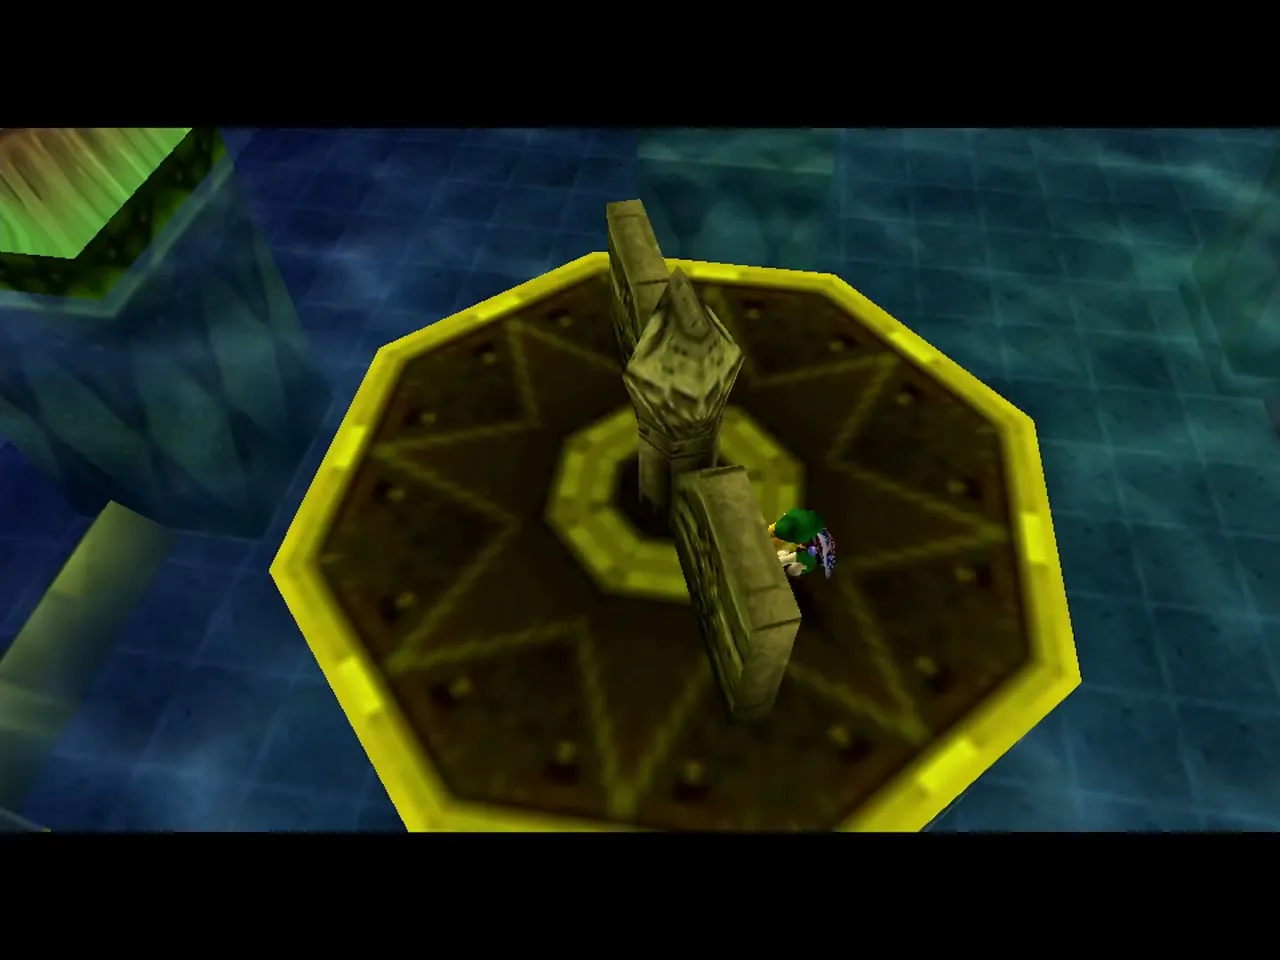
Back in the Turbine Room, freeze the waterfall that blocks the ladder with an Ice Arrow and climb up. Hookshot up to the target on the far side, then shoot Ice Arrows to make platforms over to the chest. The chest there holds Stray Fairy 9.


The green spigot and Stray Fairies 10 and 11
Go to the far platform of the Turbine Room, freeze the waterfall with an Ice Arrow and climb the ladder behind it. In the next room, make Ice Arrow blocks to reach the green spigot and turn it. Now dive into the tunnel with the green and red pipes, ride the current and come to a room with a second propeller and a rising platform.
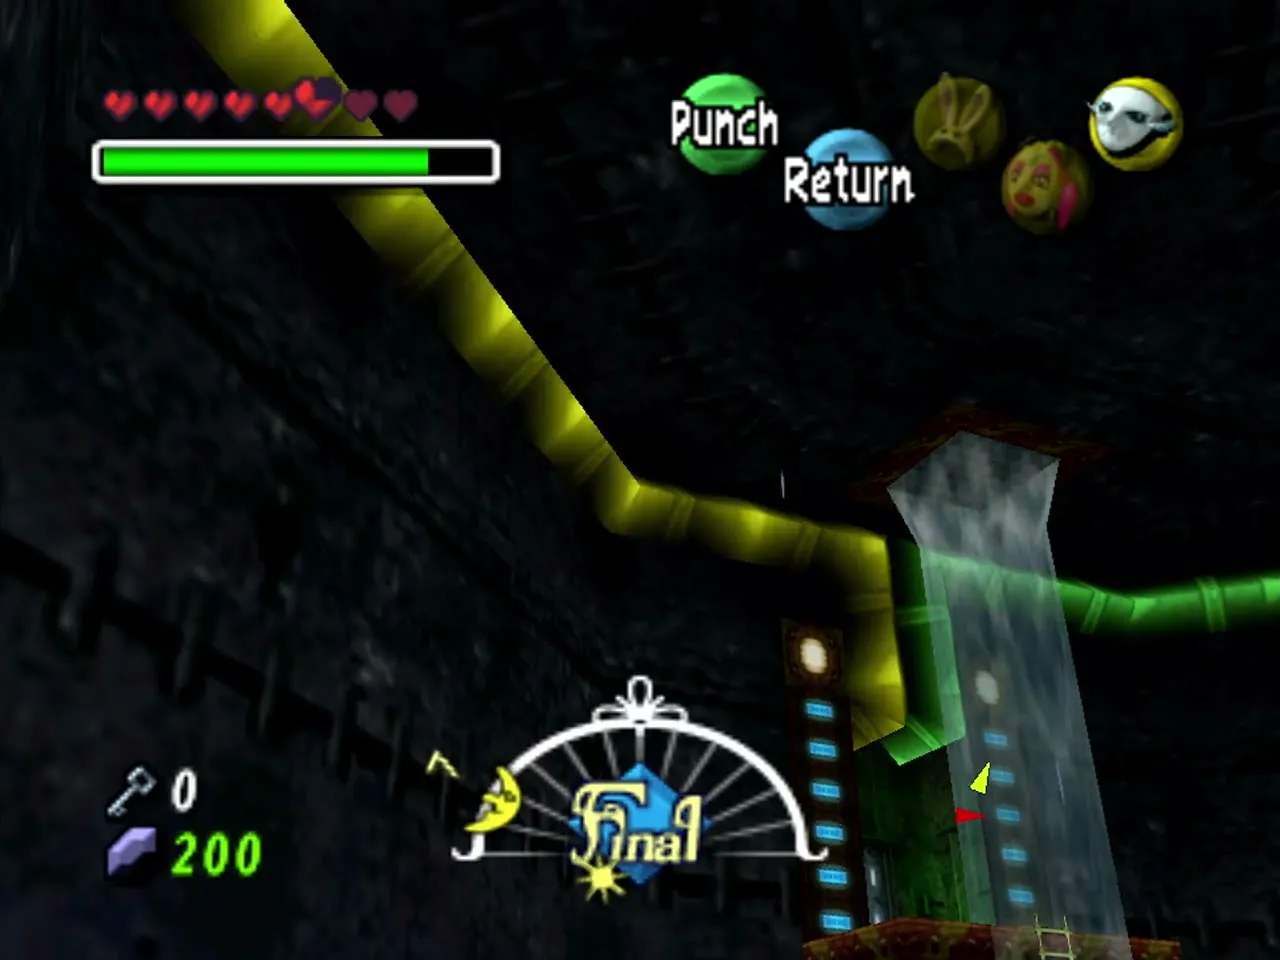

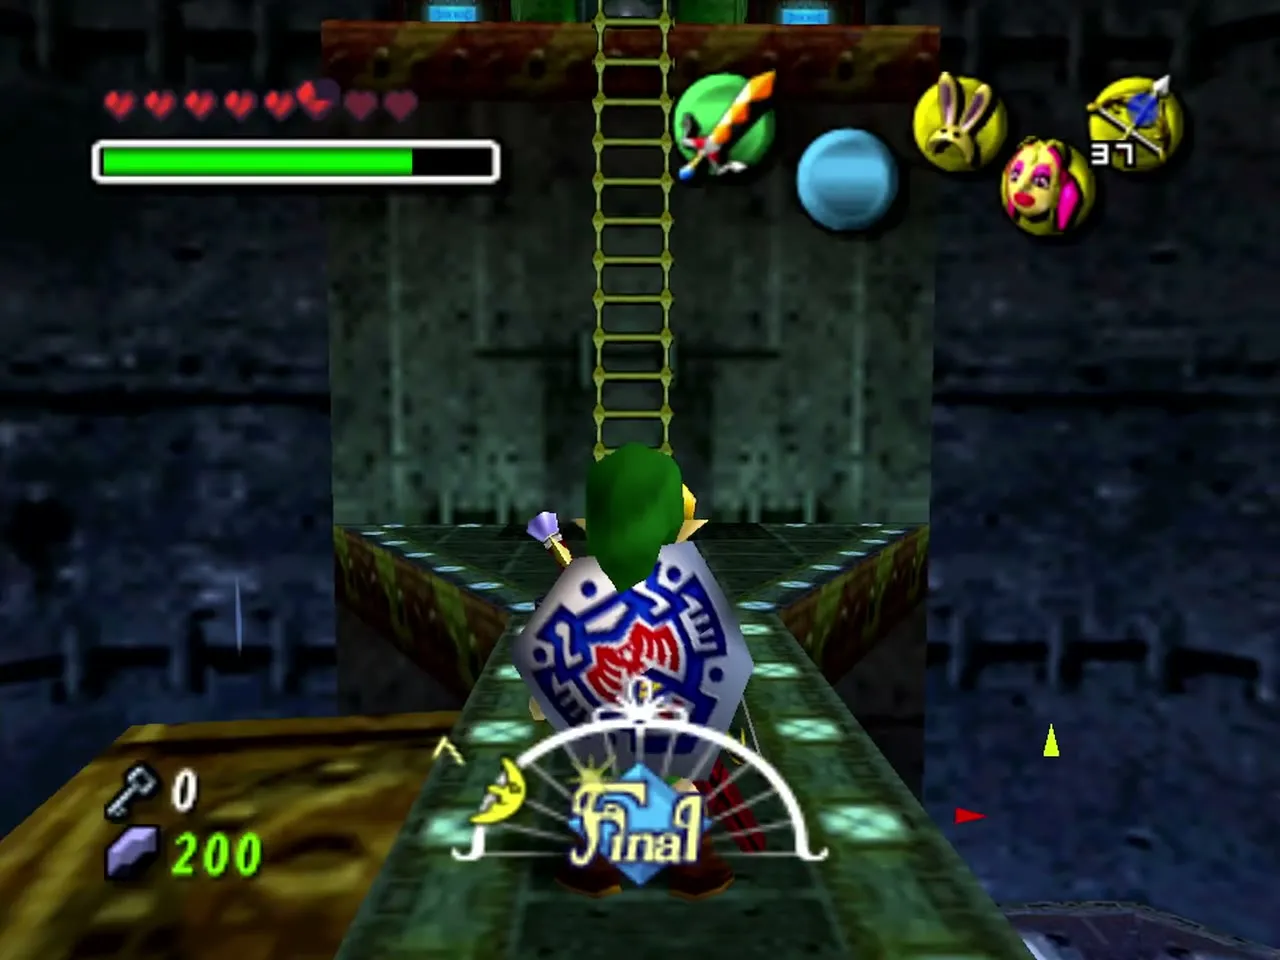
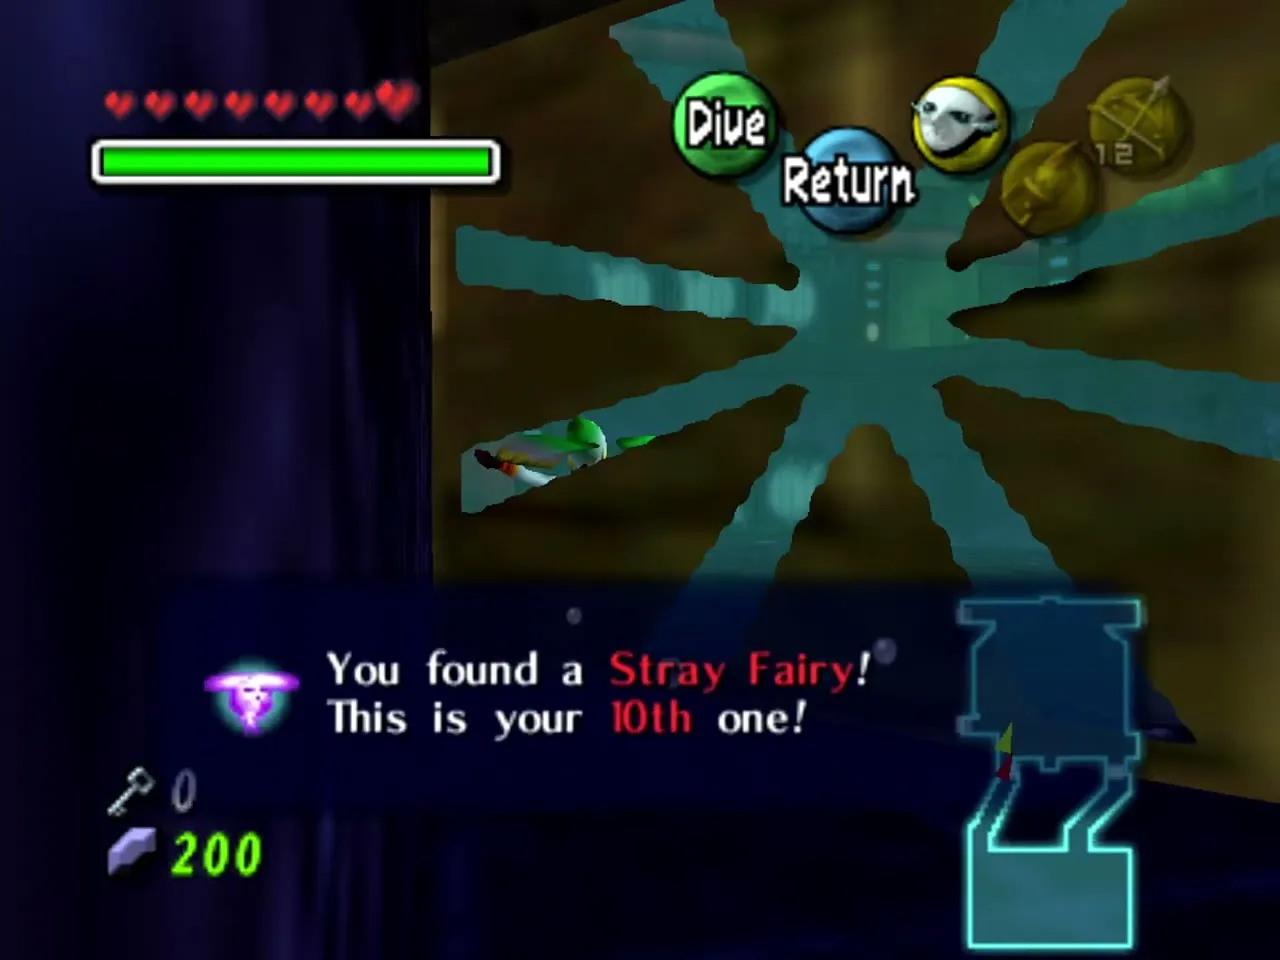
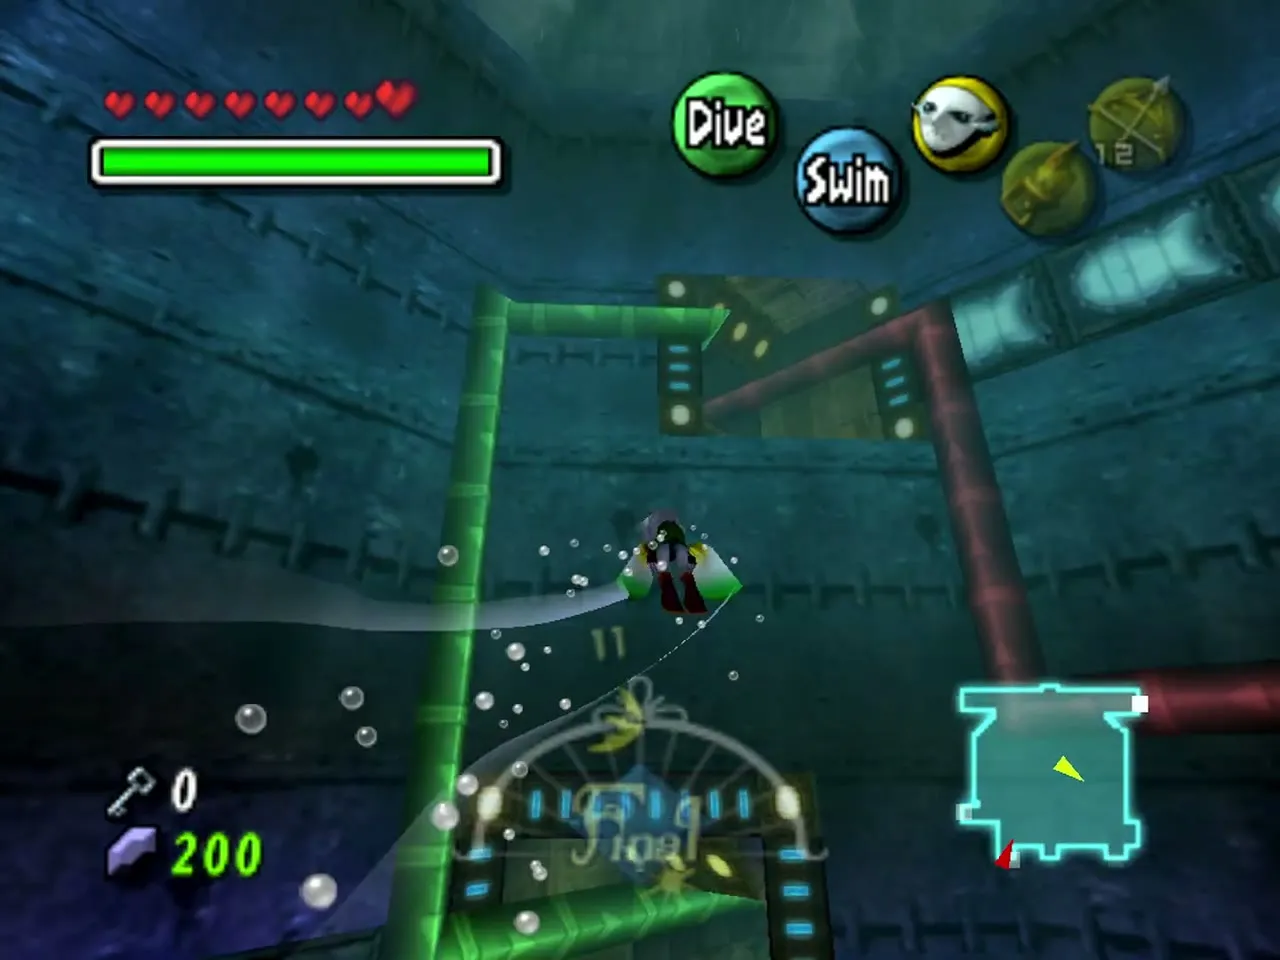
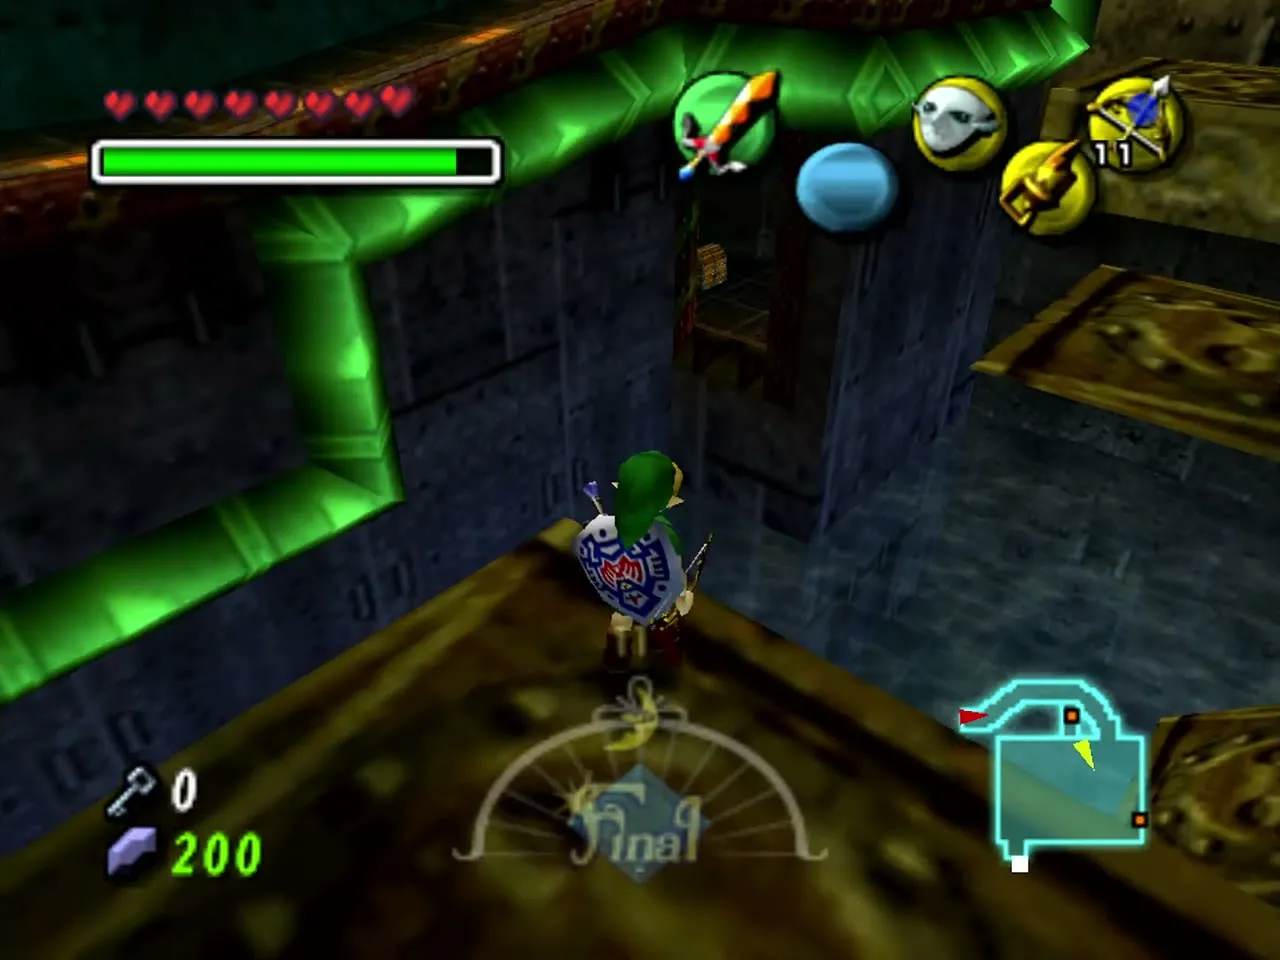
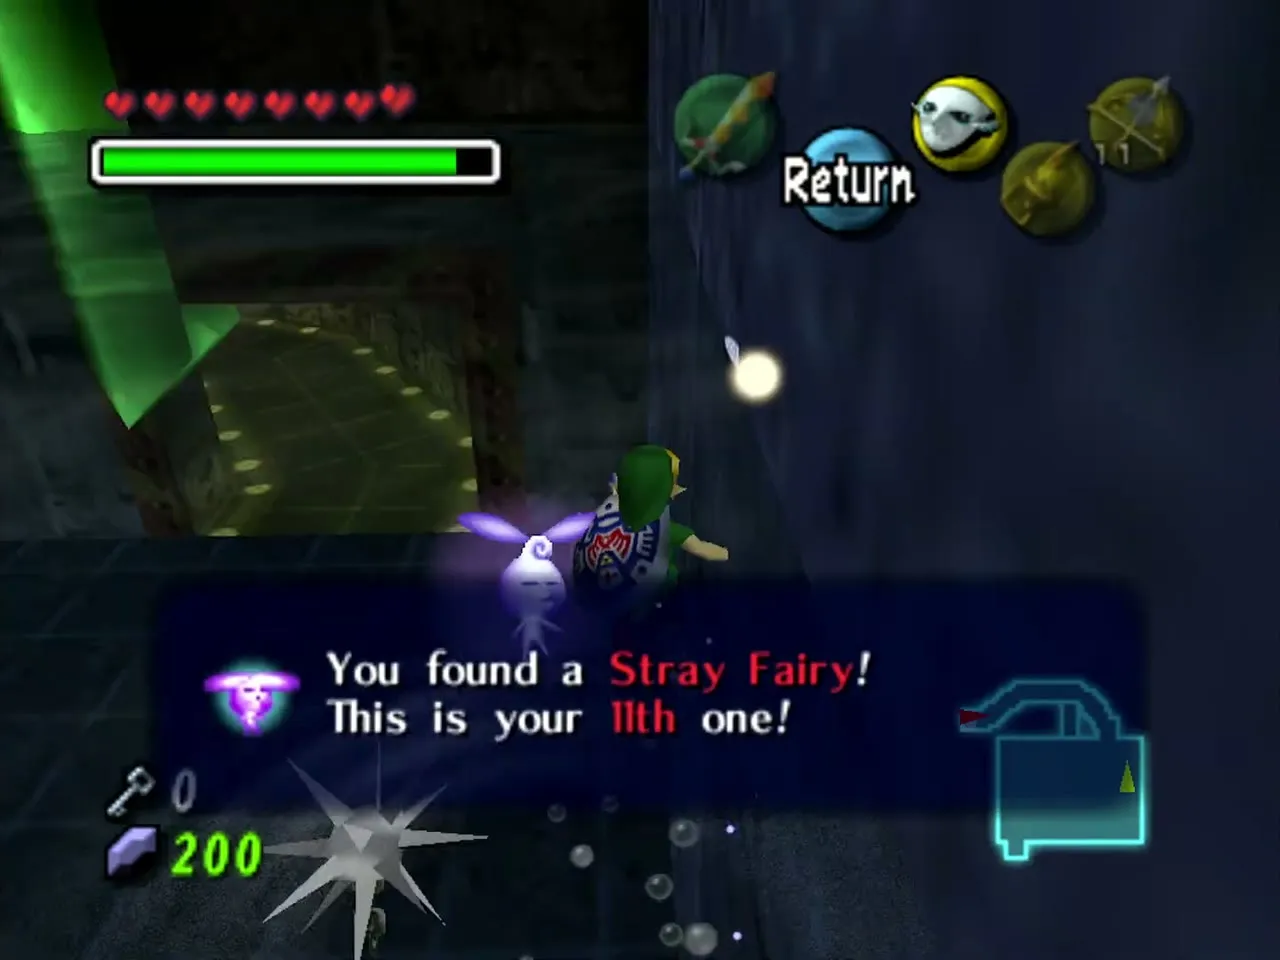
Ride the platform up to the spiked-mine room. Use the Hookshot on the torch in the small alcove above the water to reach the chest that holds Stray Fairy 10. Then freeze the waterfall with an Ice Arrow to stop the propeller. Climb onto the stopped propeller, turn around, and you will see another alcove above the gears. Hookshot to that chest for Stray Fairy 11. Continue to the next room.
Seesaw Room: Stray Fairies 12 and 13
The Seesaw Room has frozen waterfalls and teeter-totters. Stand on the low end of a seesaw and shoot a Fire Arrow at the ice on the high end, and the weight drops it, which lifts you up. Mix Fire and Ice Arrows on the waterfalls to reach the green spigot and turn it.
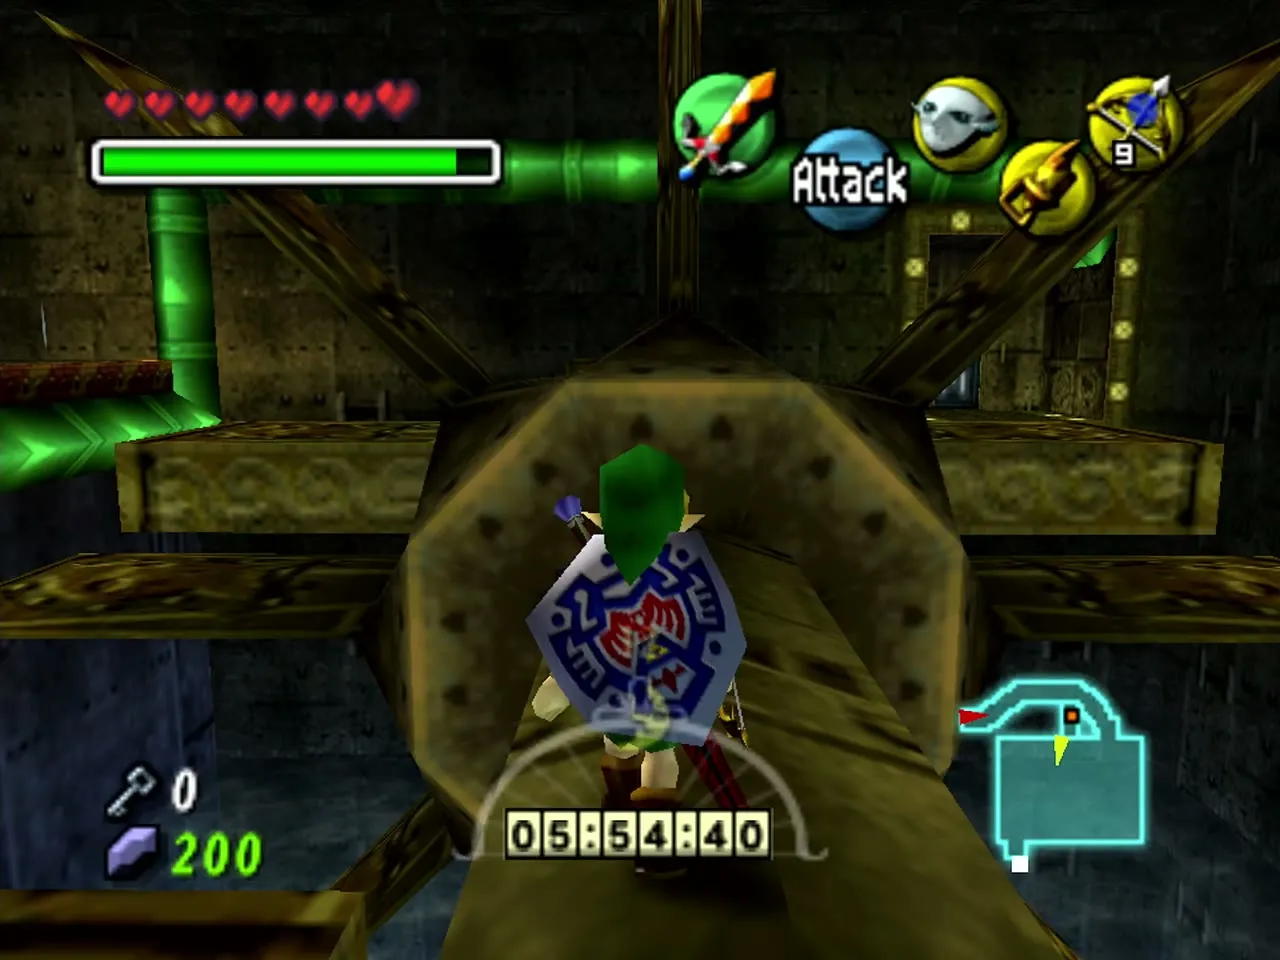

Beneath the seesaw directly in front of the entrance is a hidden area. Melt the ceiling ice with a Fire Arrow first, then drop in as Zora Link and use your electric barrier on the big barrel inside to release Stray Fairy 12.
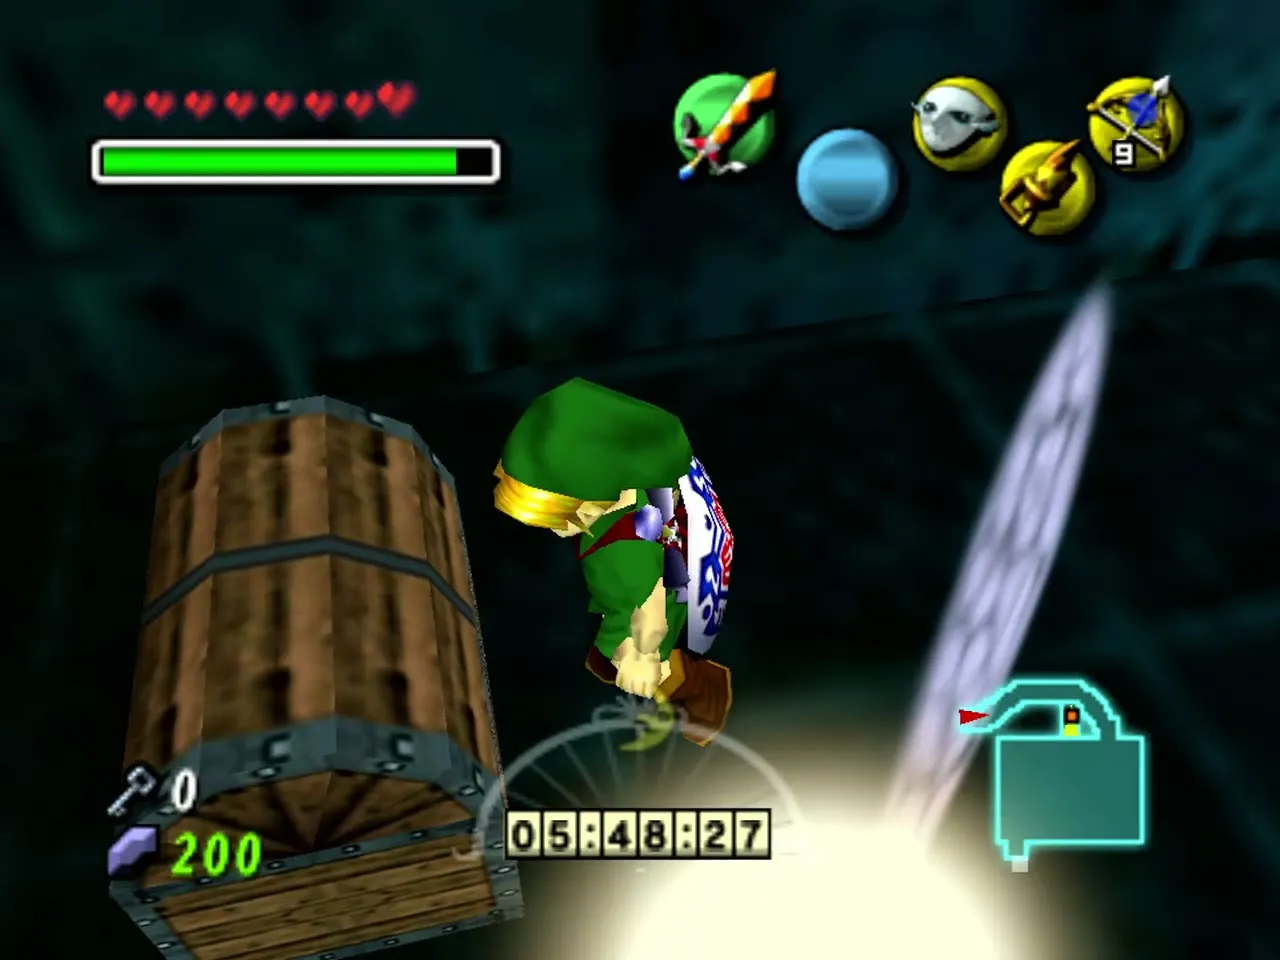

Go to the seesaw on the far side. Climb the green pipe, work around the barrier and open the chest to take Stray Fairy 13. The door ahead leads to the boss door room.
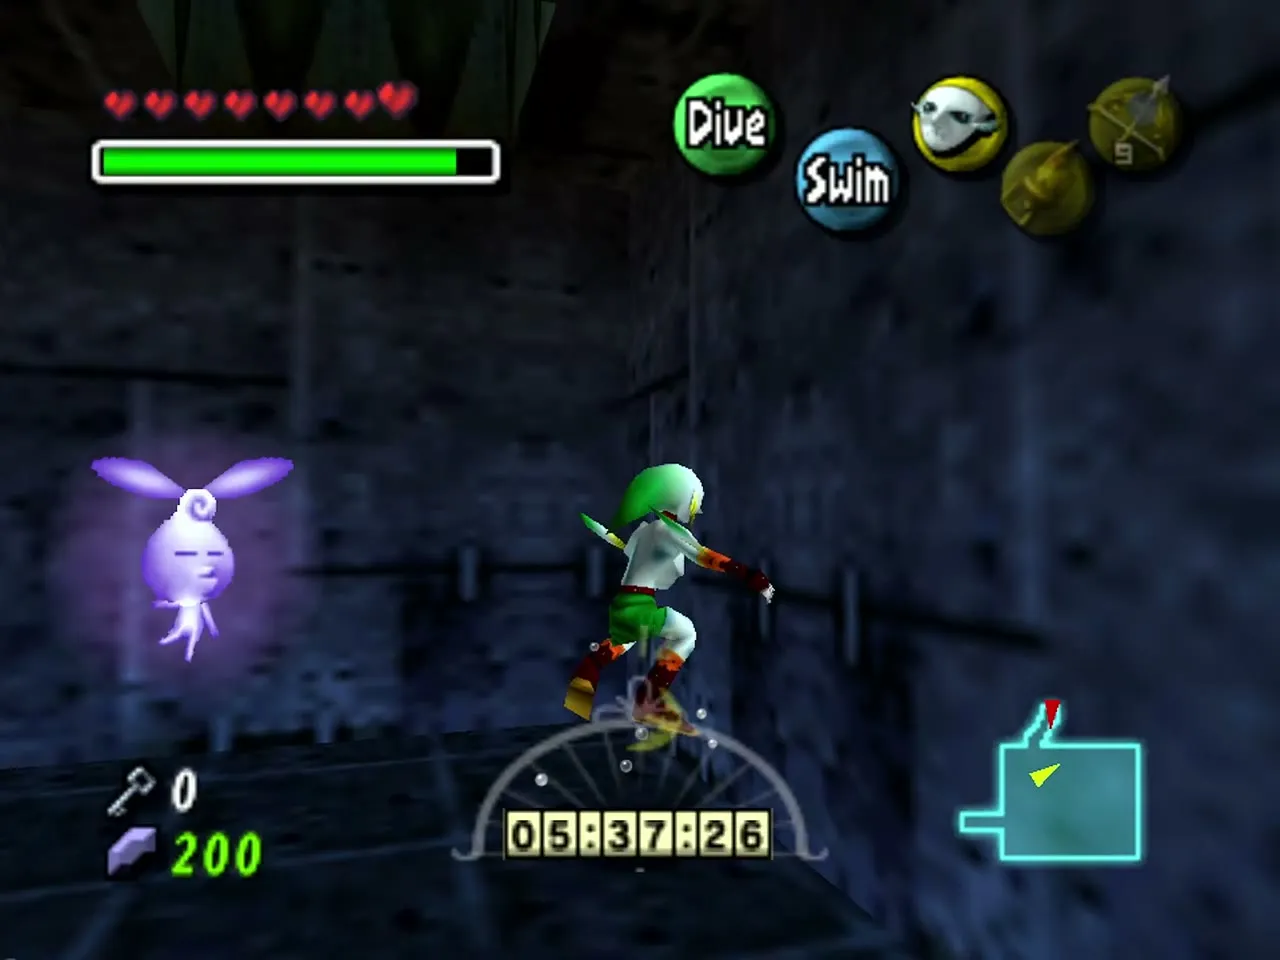

Boss door room: Stray Fairies 14 and 15
Climb the platforms in this room to reach a crank and turn it. A waterspout rises to the boss door. Do not go through yet.
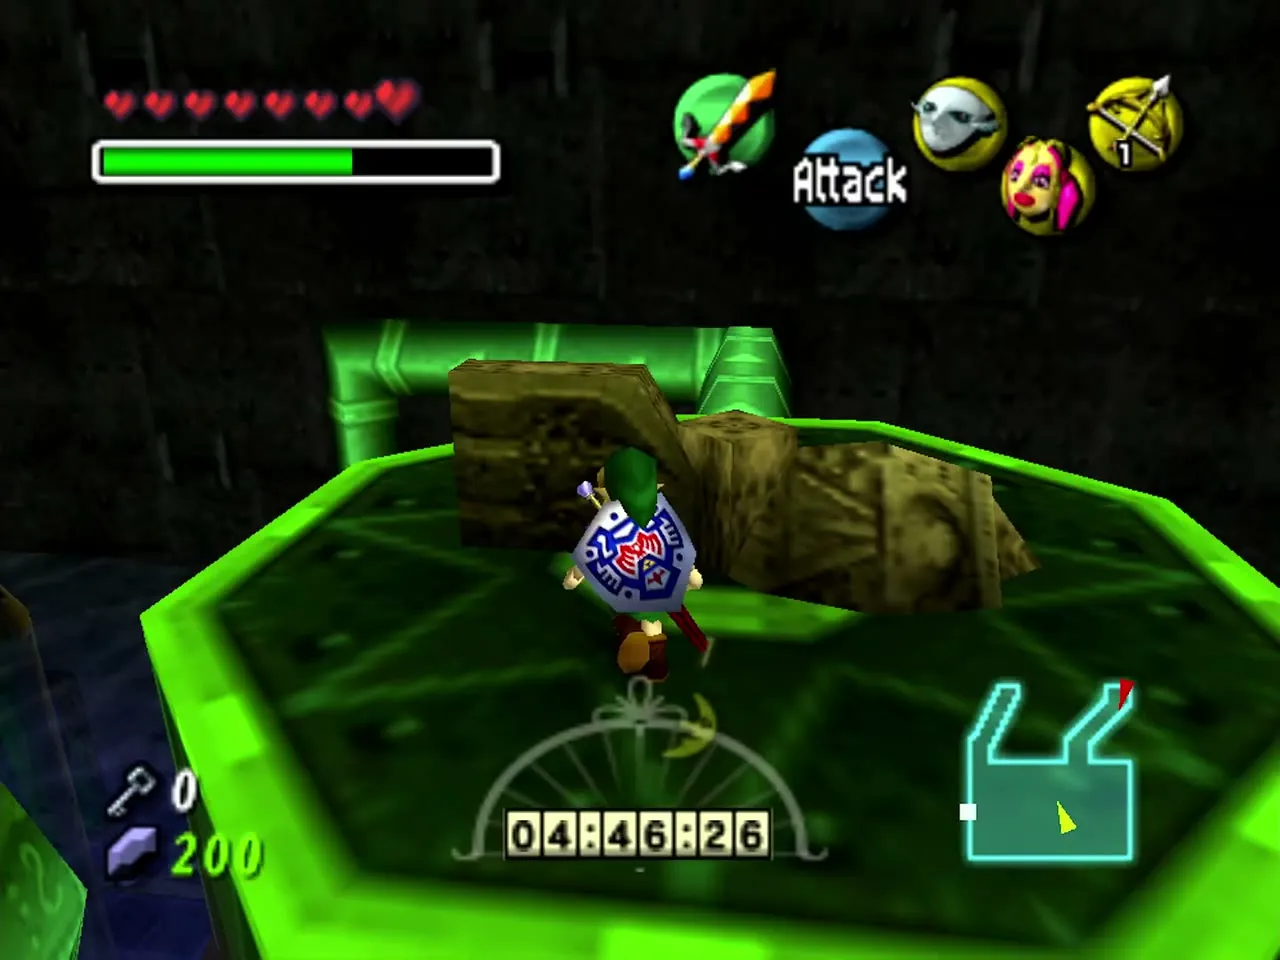

Shoot the bubble tucked under the green platform and use the Great Fairy’s Mask to collect Stray Fairy 15.
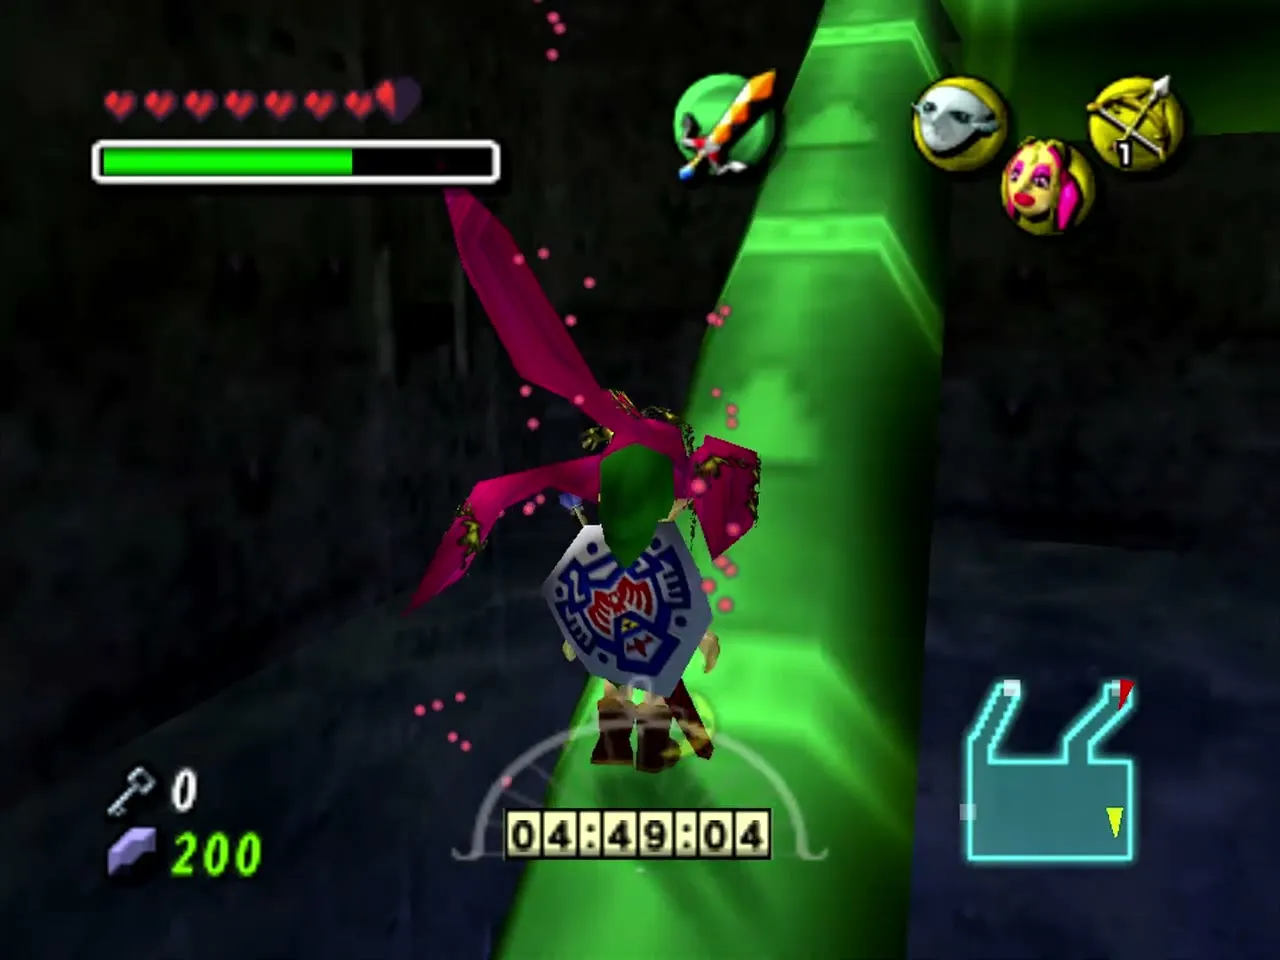
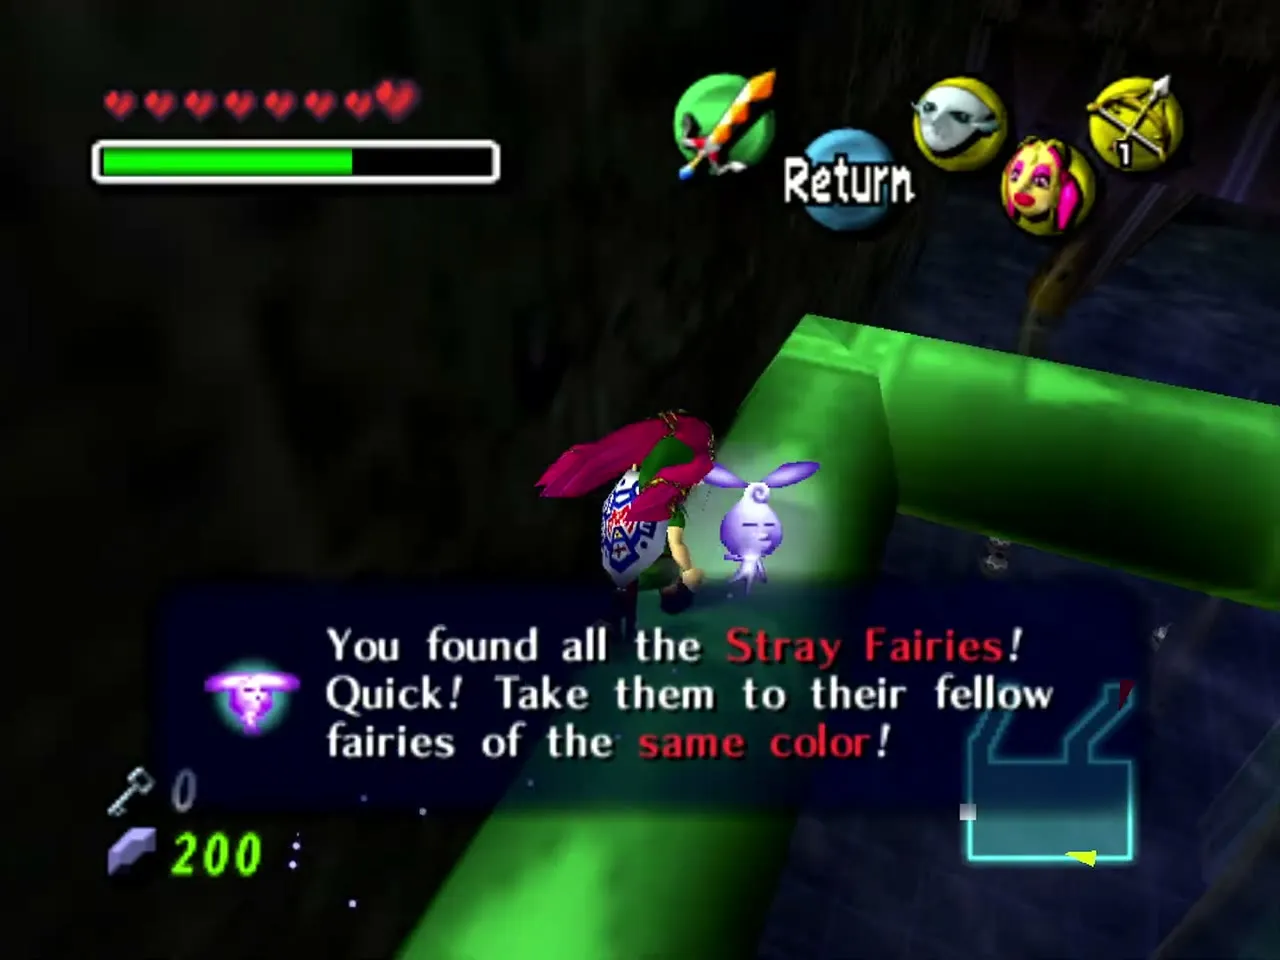
Sink to the bottom of the same room and take the last passage back toward the Turbine Room. A bubble floats inside. Pop it with a fin boomerang and lure Stray Fairy 14 out with the Great Fairy’s Mask. With this one, all 15 fairies are yours.


Gyorg boss fight
Before the fight
Use the Boss Key on the door, ride the spout up and drop into the hole to reach the arena. A title card announces Gyorg, the Gargantuan Masked Fish. It circles in a large pool around a central platform, and you can tell where it is by the ripples. Refill your magic and arrows first and keep the Zora Mask handy.

Gyorg phases
Stand on the platform as Link and shoot Gyorg with an arrow as it swims past to stun it. Dive in as Zora Link and hit it with your electric barrier while it is stunned, then climb back before it recovers. Stay out of its path in the water.

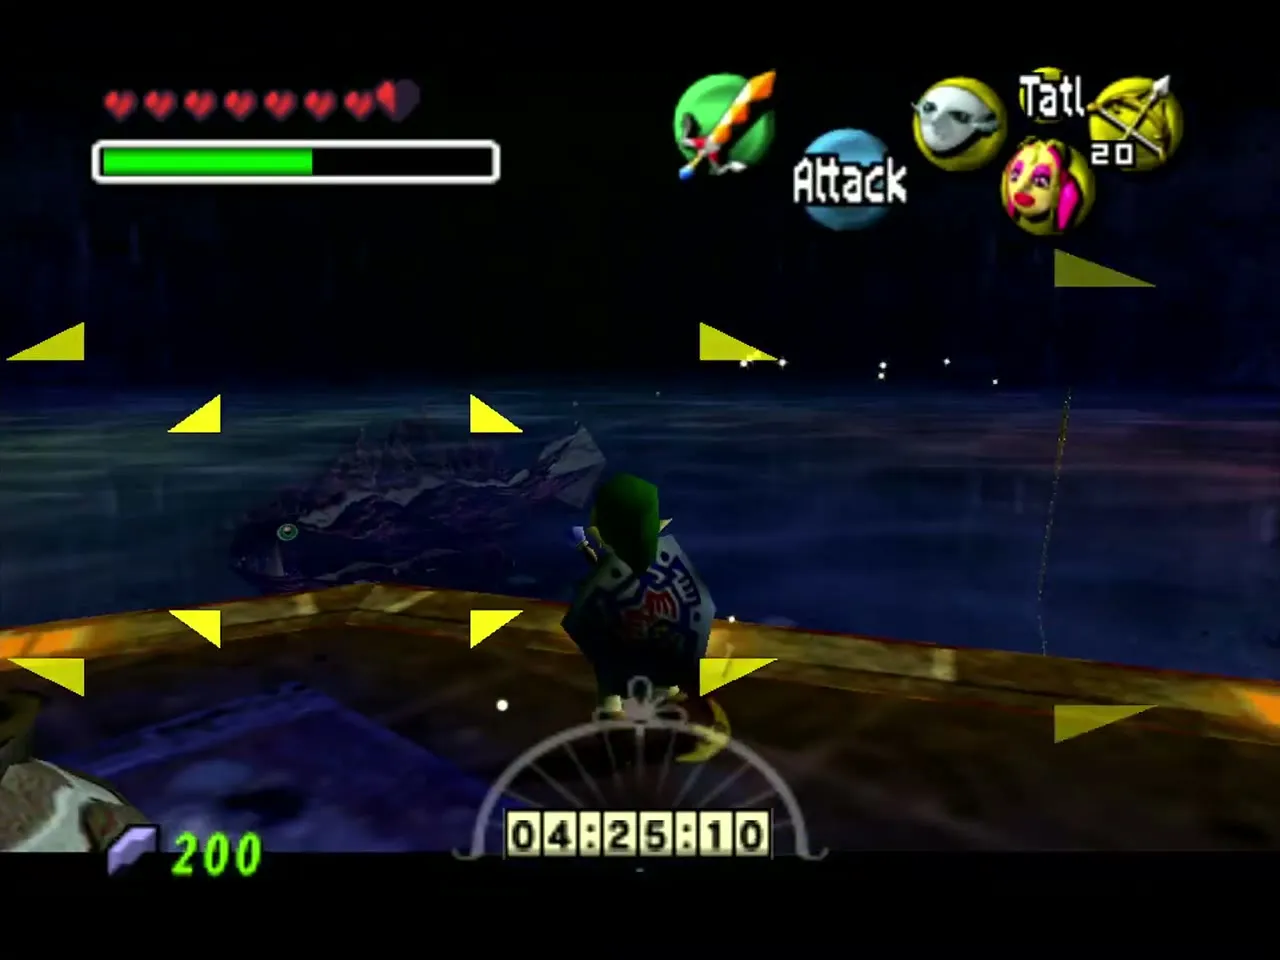

After some hits it releases swarms of small Gyorg that chase you. Hold R for the electric barrier to clear them, then repeat the stun and attack until it falls.
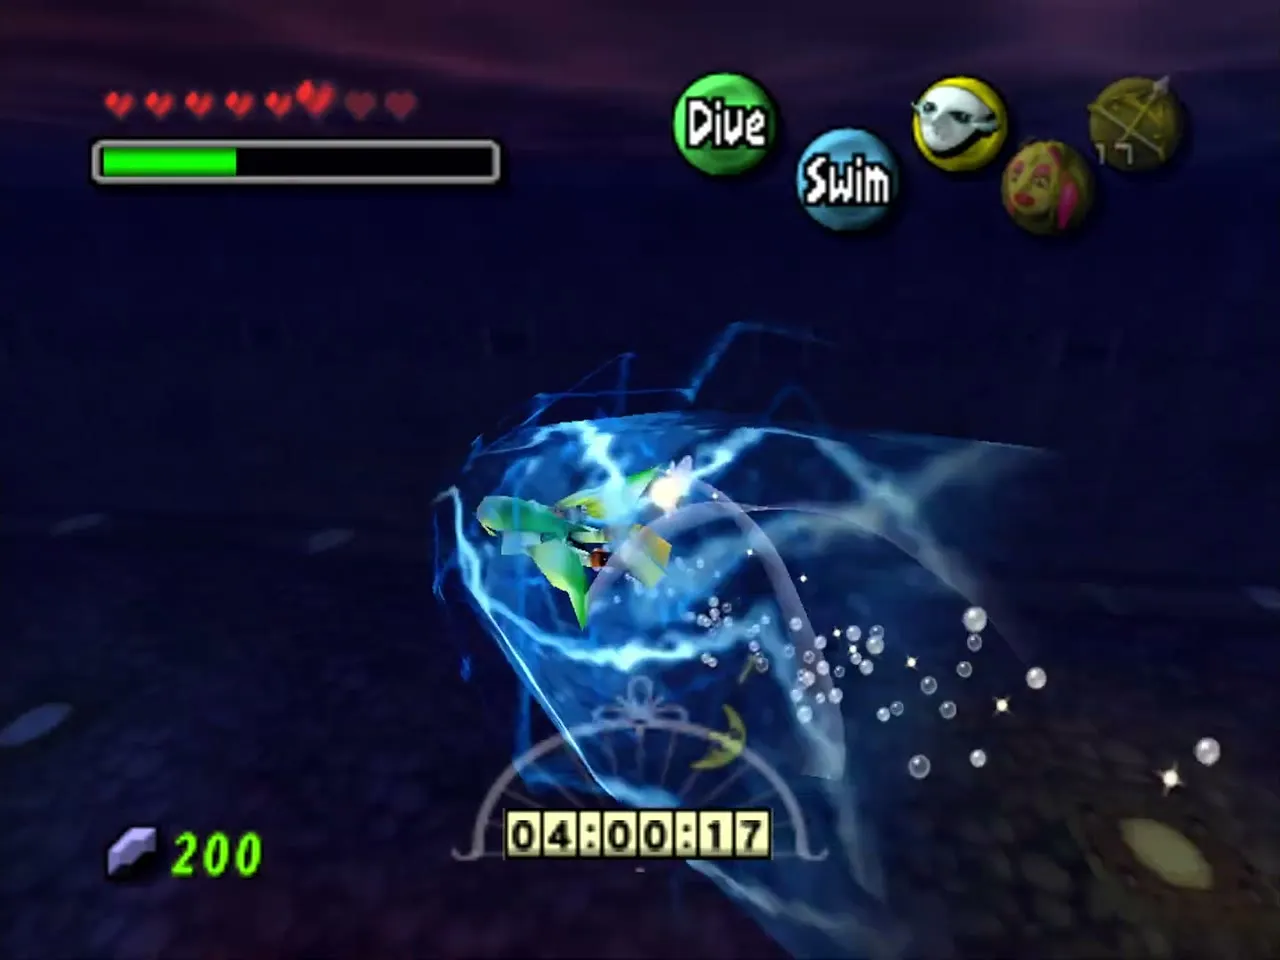

Heart Container and Gyorg’s Remains
When Gyorg breaks apart, take the Heart Container, then step into the light for Gyorg’s Remains, which frees the Giant from its prison. The Zora Mask is already yours, so there is no new mask this time.
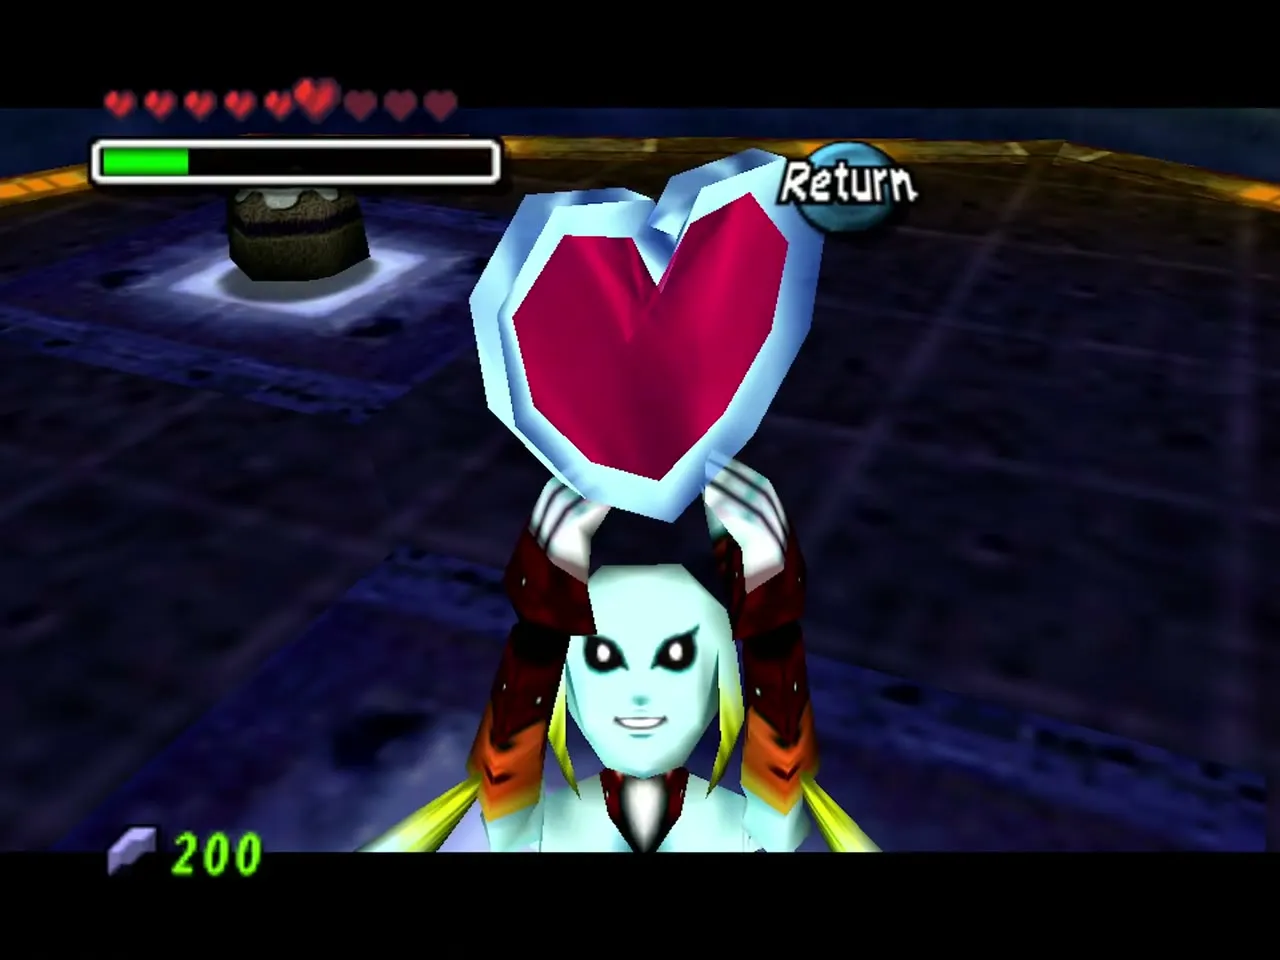


Great Fairy reward: Double Defense
Reaching the Great Fairy fountain
With all 15 Stray Fairies, go to the Great Fairy fountain, reached from Zora Cape. Jump across the rocks south of the beach, using the Hookshot on the palm trees to reach the farther ones. Blast the boulders at the cave with bombs or the Blast Mask and walk in.
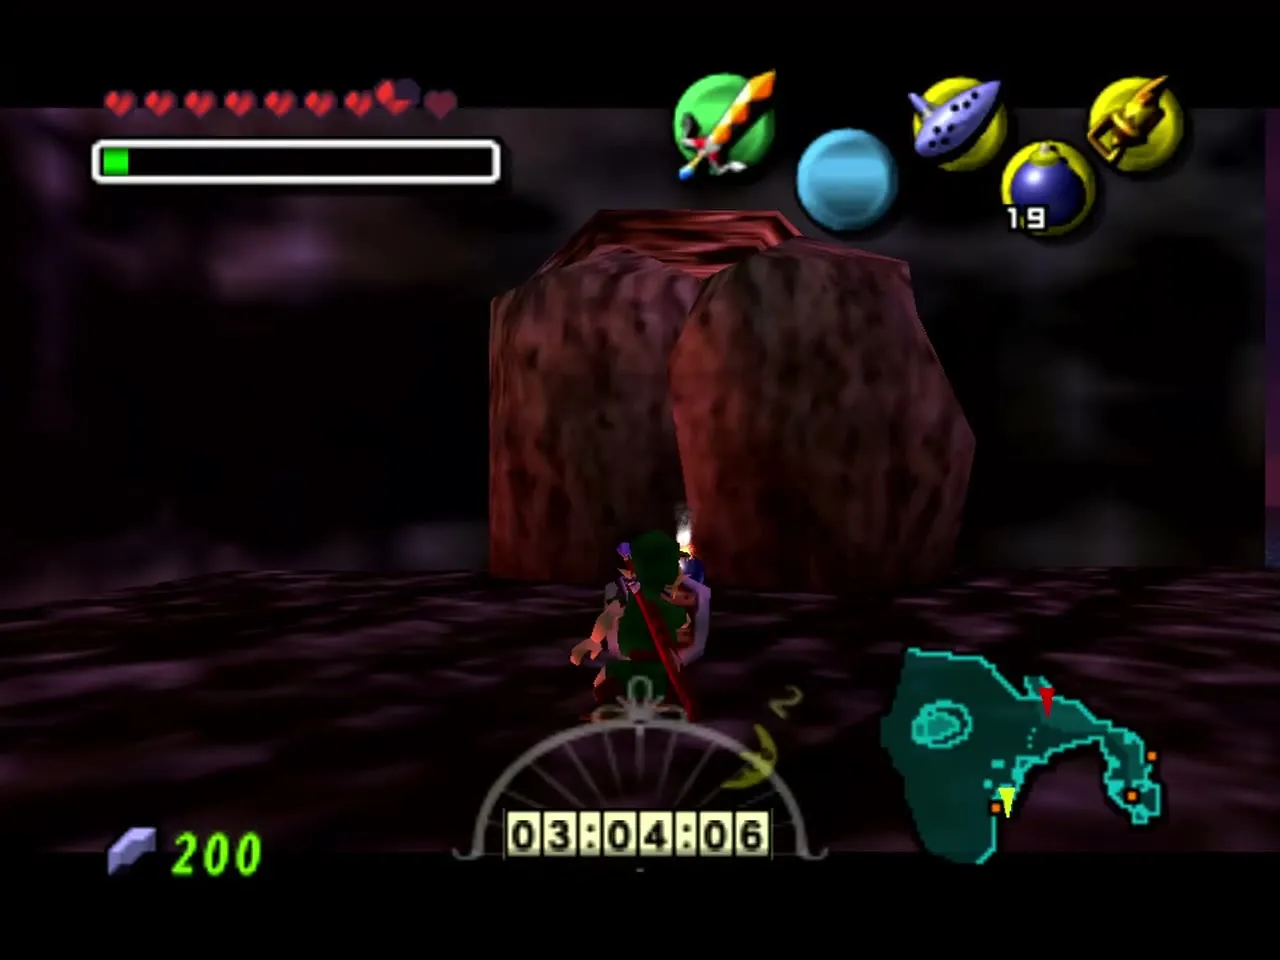
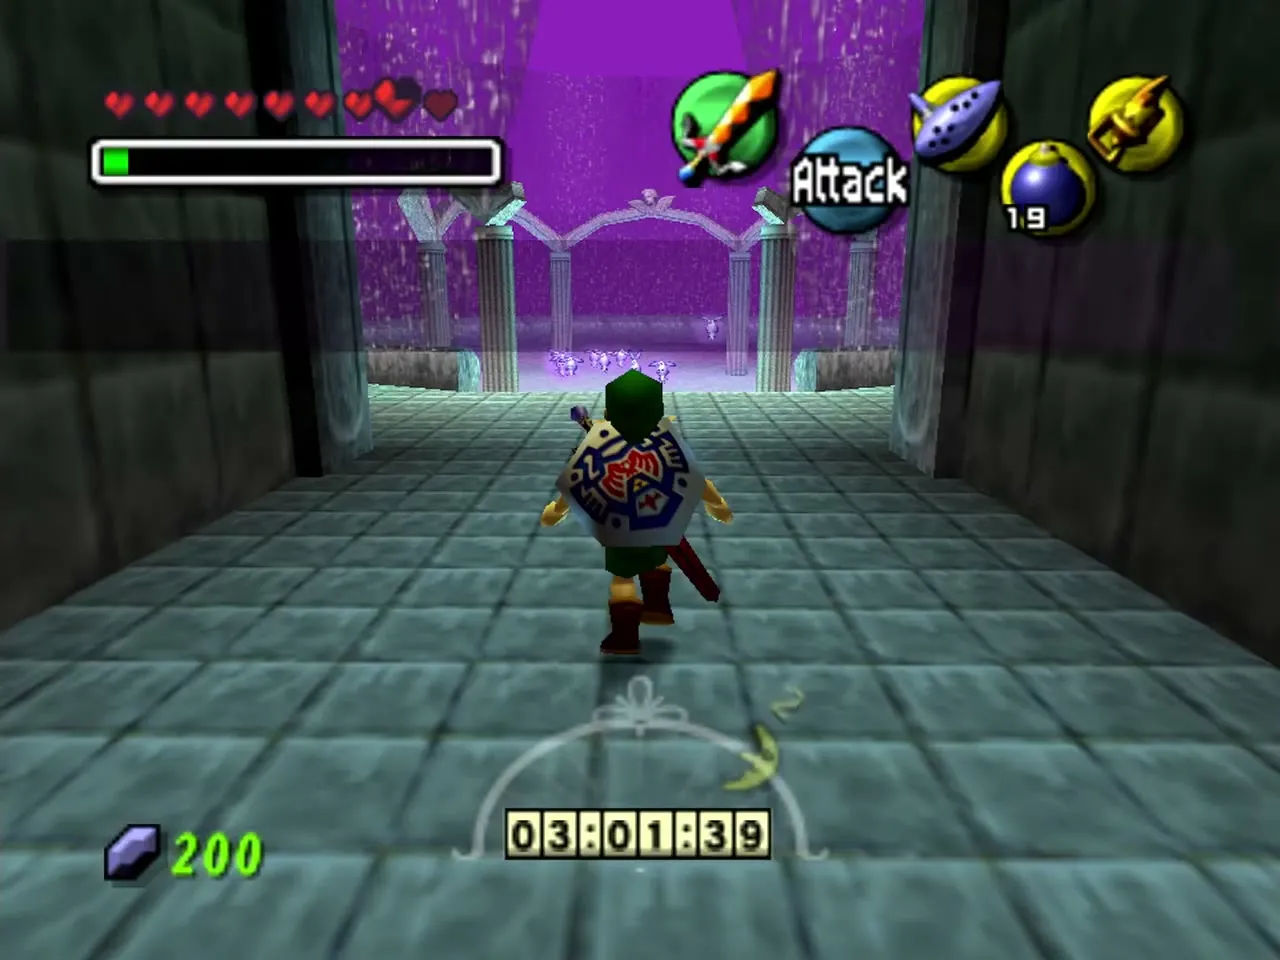
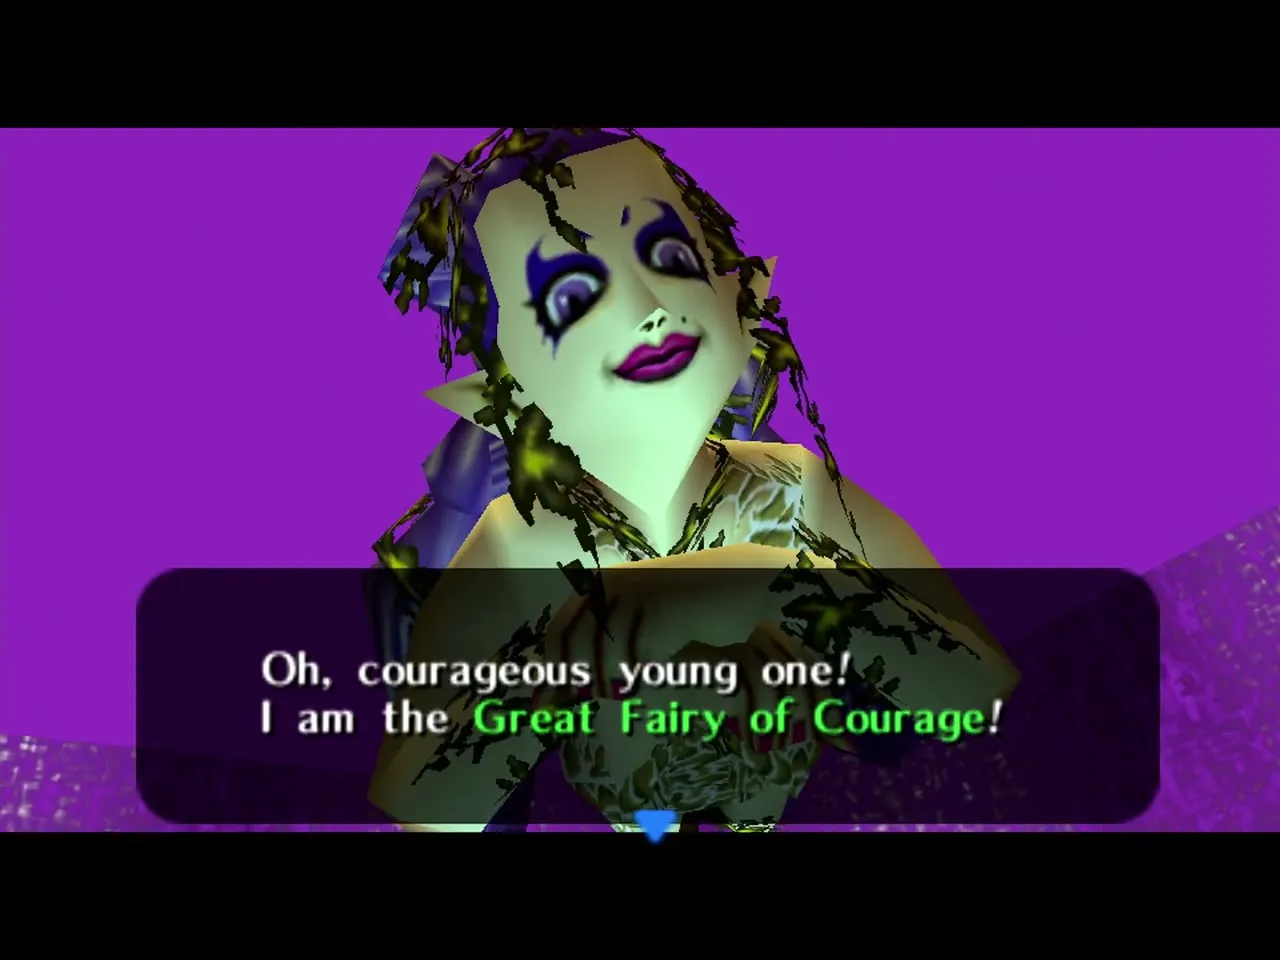
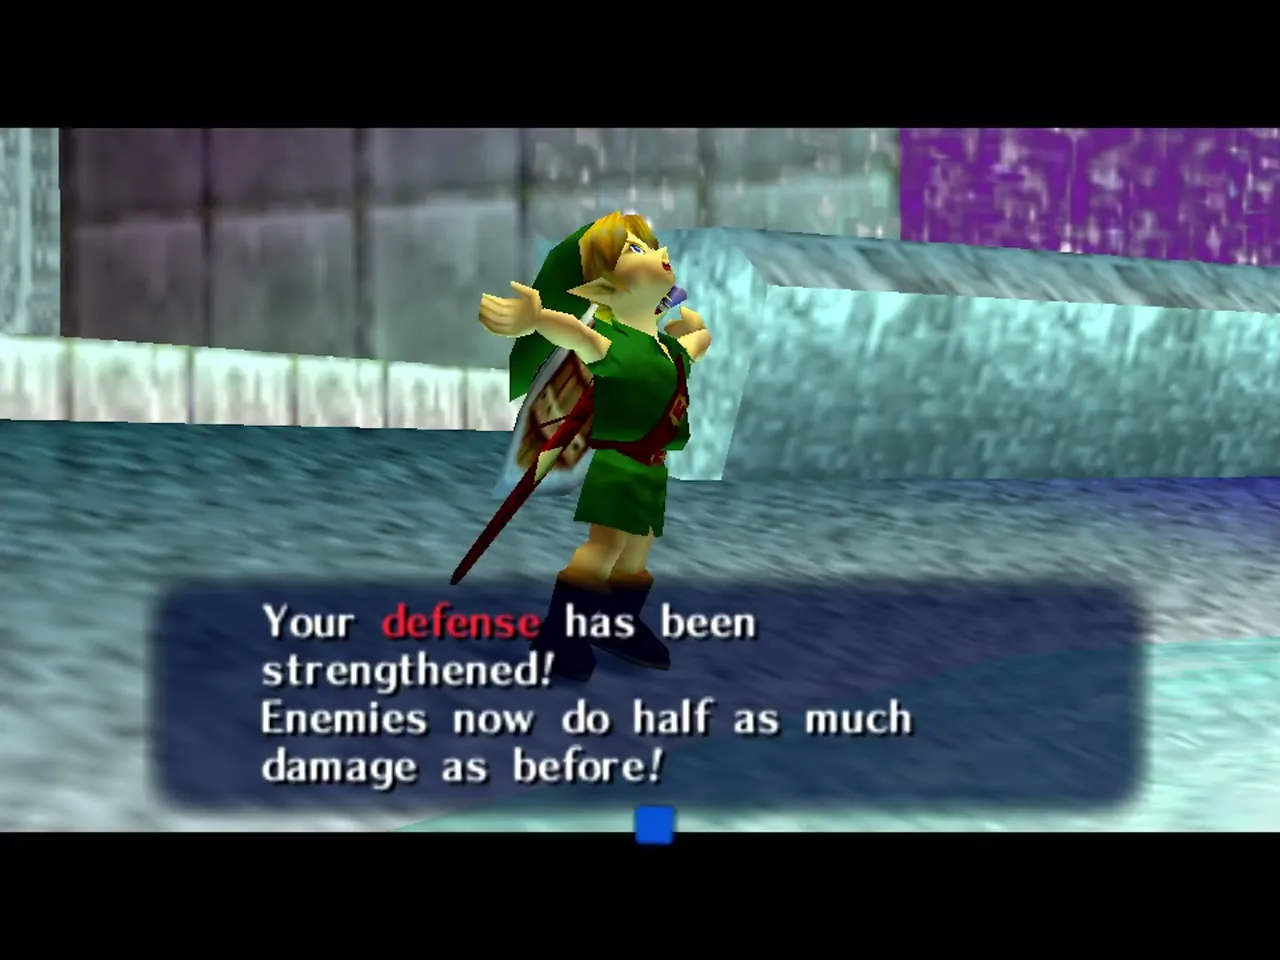
The Great Fairy of Courage tells you how brave you are and rewards you with Double Defense: enemies now do half as much damage as before.

After the temple
Once the temple is cleared, the Fisherman’s jumping game opens on the Great Bay coast. Pay 20 rupees a try and score high enough within the time limit for a Heart Piece. It only runs in daylight. The rest of the region’s Heart Pieces are covered in the Great Bay chapter.
Creatures of Great Bay Temple

Gyorg
Where: the arena behind the Boss Key door. Stun it with an arrow from the platform, then punish it in the water as Zora Link. See the bosses page and the fight above.

Skullfish
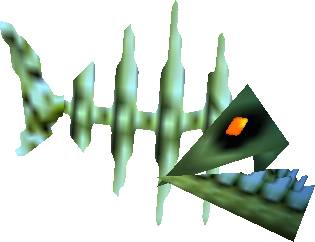
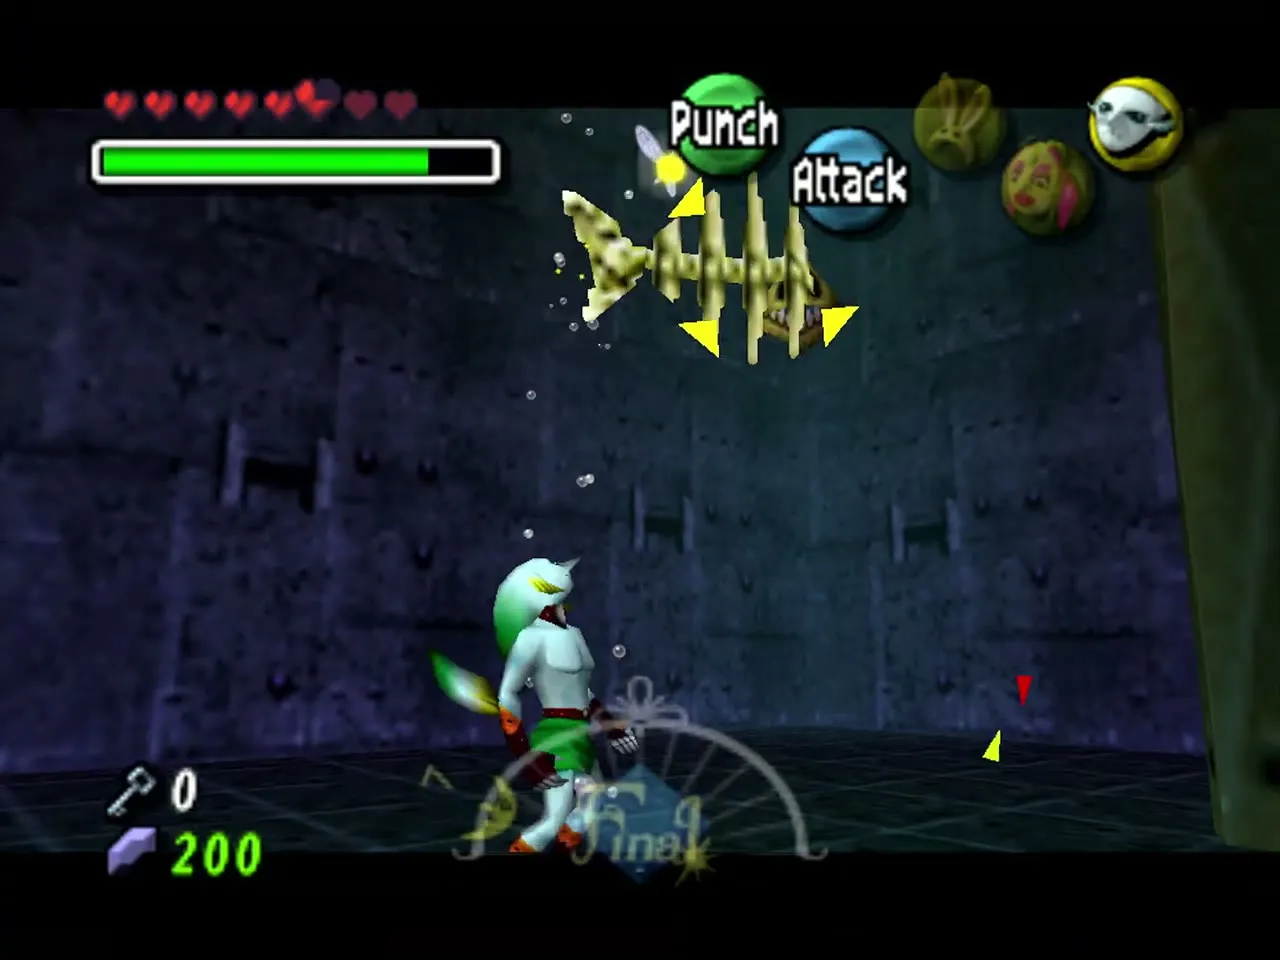
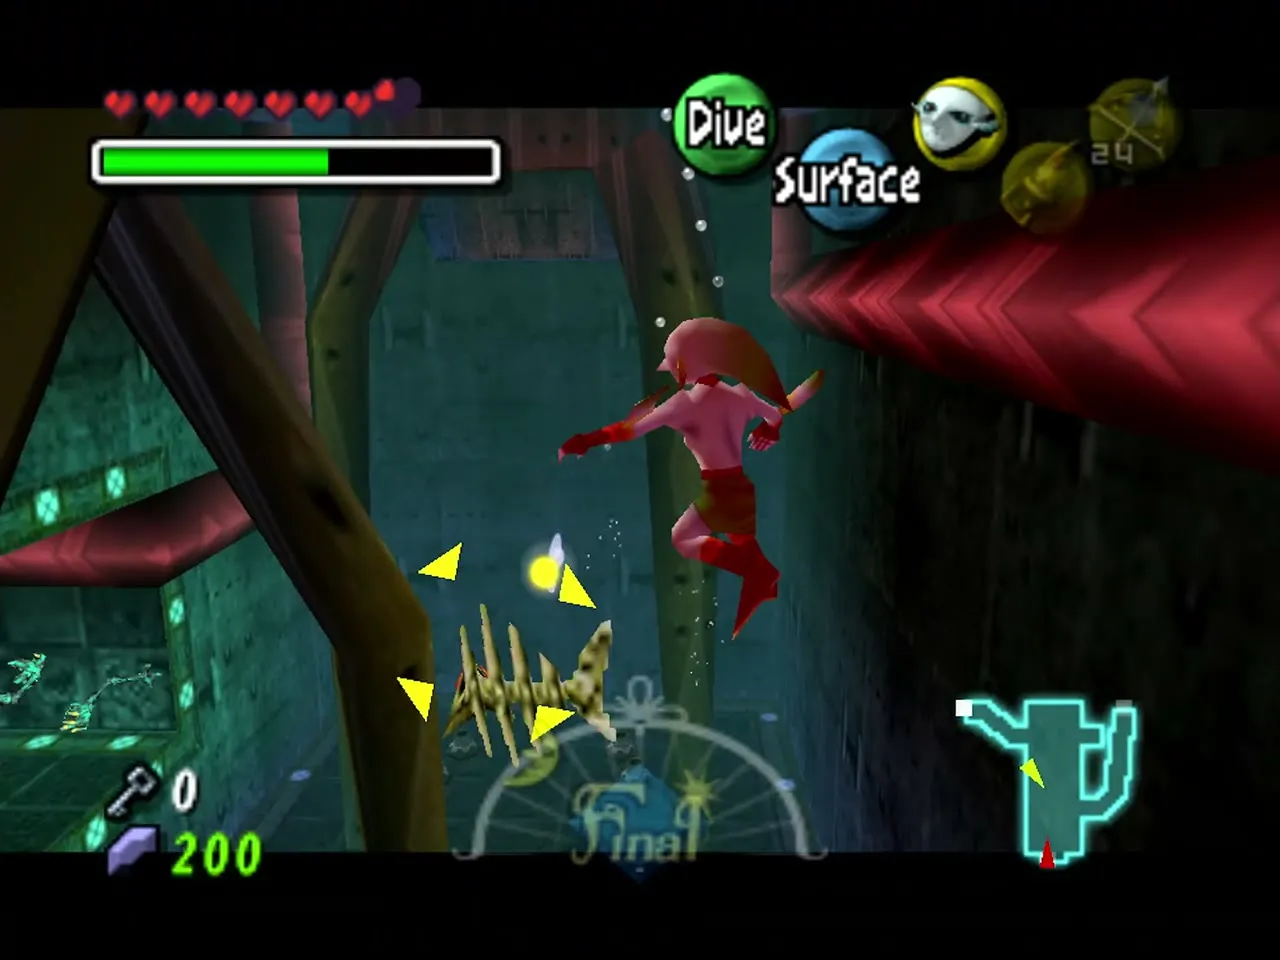
Where: the Map Room pool and the water around the Turbine Room. Zora Link’s attack or electric barrier destroys them. More on the enemies page.
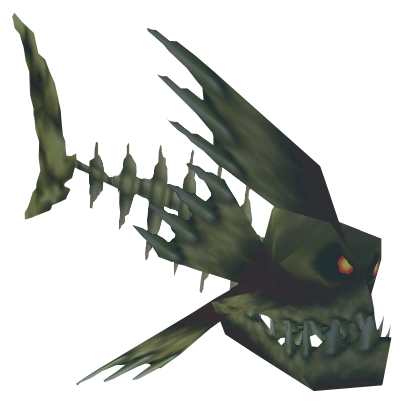
Desbreko
Where: the water of the temple. They bite in packs; boomerang fins, the Hookshot and arrows all work. More on the enemies page.

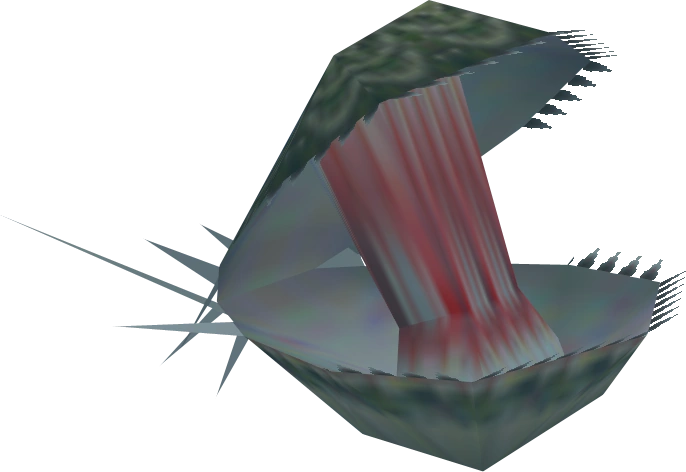
Shell Blade
Where: the Turbine Room water. Hit it when its shell opens and ignore it otherwise. More on the enemies page.
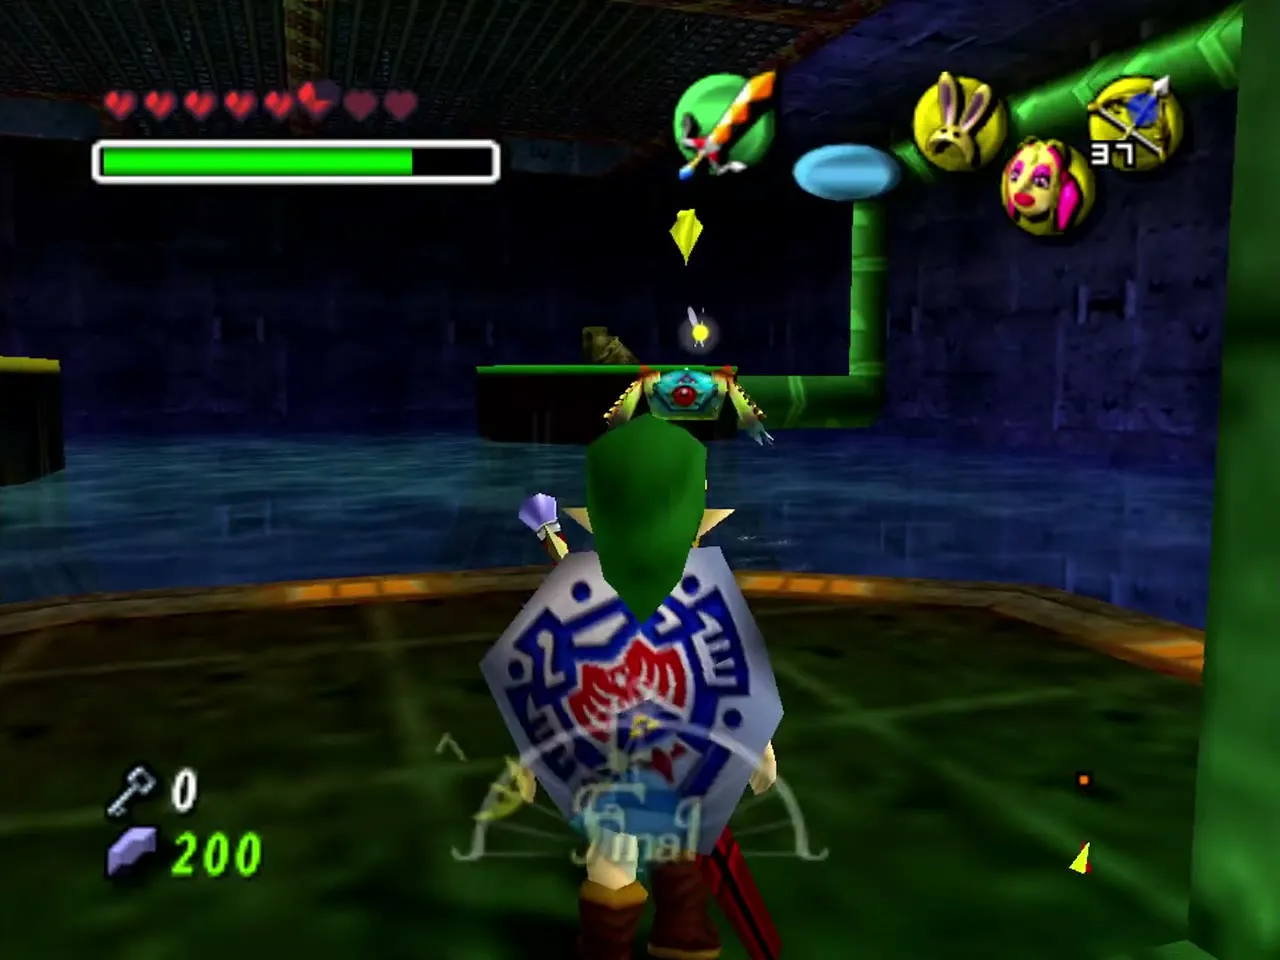
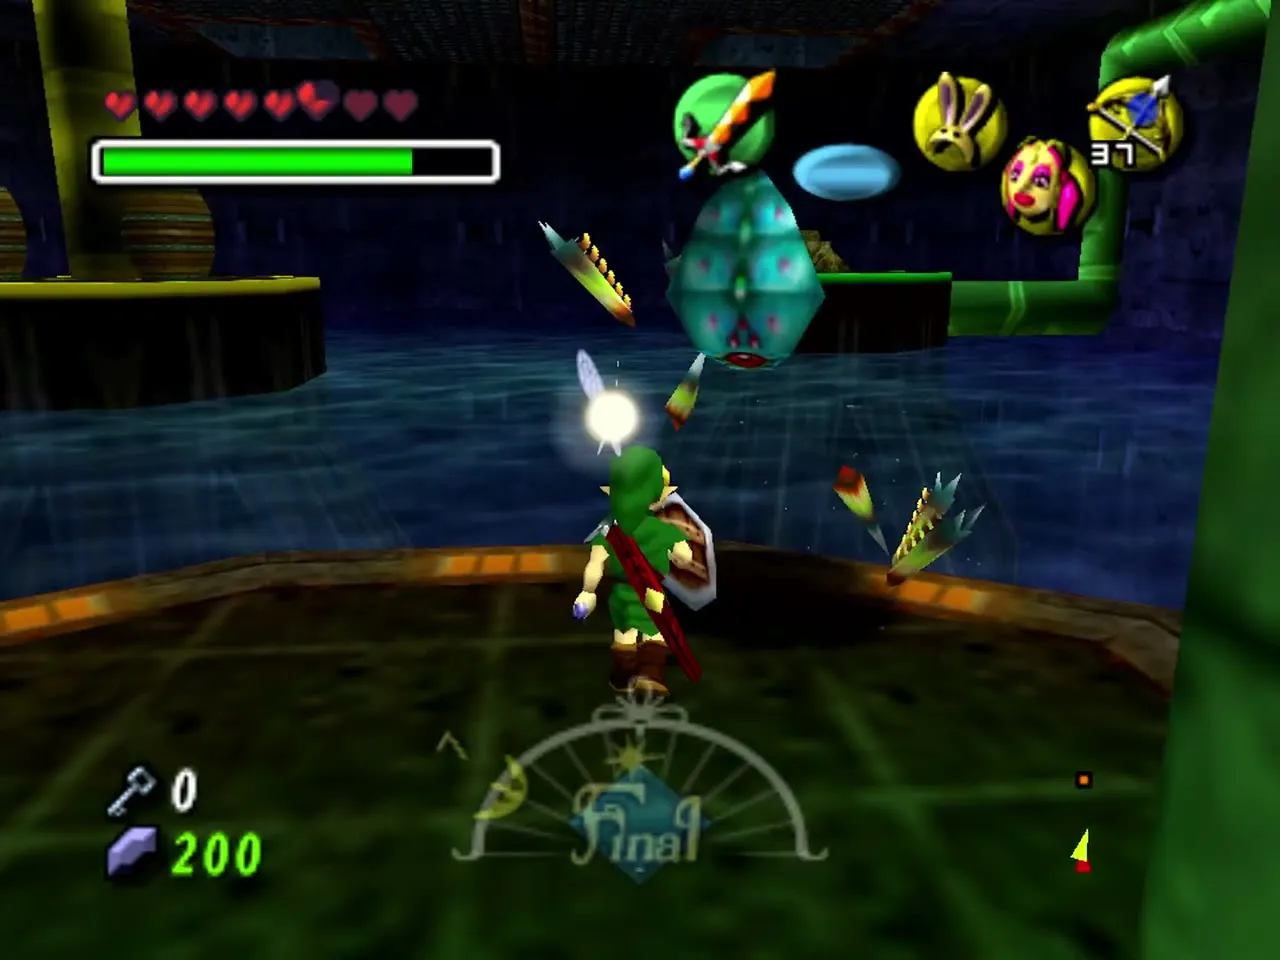
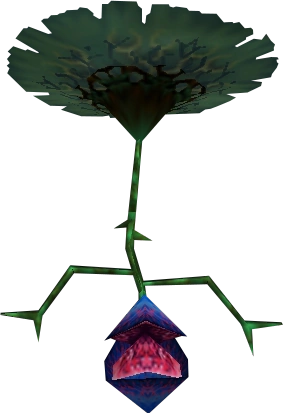
Bio Deku Baba
Where: the hanging hall and the Compass room pool. Stand under one as Zora Link and hit it with a fin boomerang. More on the enemies page.
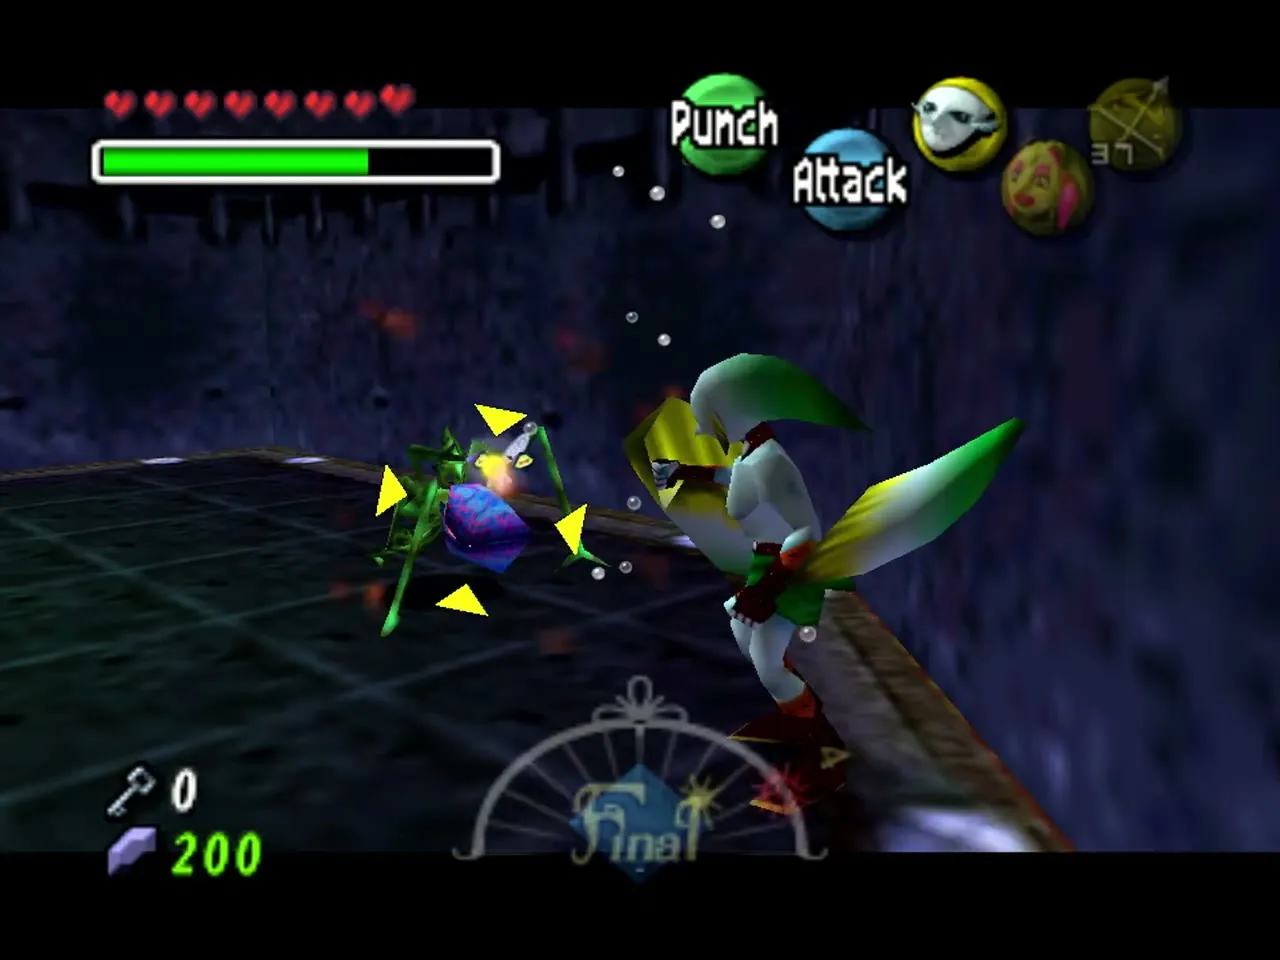

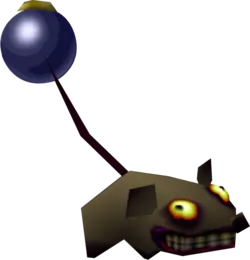
Real Bombchu
Where: the Compass room ledge and the red pipe to the locked door. Shoot it with an arrow or a fin boomerang before it reaches you. More on the enemies page.
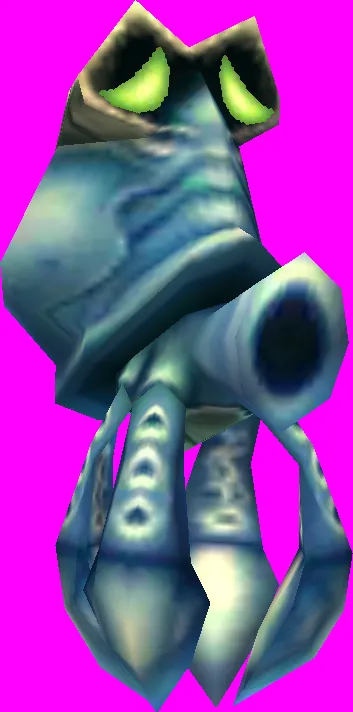
Octorok
Where: the Turbine Room, on and beside the red pipe. Freeze one with an Ice Arrow and use the ice as a stepping stone to the central spigot. More on the enemies page.
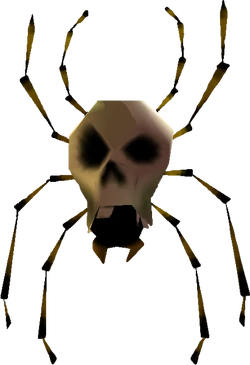
Skulltula
Where: the rupee ledge and the platform with two more in the Waterwheel Room. Shoot the one on the rupee ledge for Stray Fairy 3. More on the enemies page.

Chapter checklist
| Collectible | Type | Where |
|---|---|---|
 Stray Fairy 1 | Stray Fairy | Chest after lighting the four entrance torches |
| Stray Fairy 2 | Stray Fairy | Bubble under the entrance ledge, Waterwheel Room |
| Stray Fairy 3 | Stray Fairy | Skulltula on the rupee ledge reached by the left lift |
| Stray Fairy 4 | Stray Fairy | Barrel at the top of the ladder past the spout |
| Stray Fairy 5 | Stray Fairy | Jar in the vortex, Turbine Room |
| Dungeon Map | Dungeon item | Big chest on the north platform, Map Room |
| Stray Fairy 6 | Stray Fairy | Pots opposite the Map chest |
| Stray Fairy 7 | Stray Fairy | Chest after the last Bio Deku Baba |
 Compass | Dungeon item | Chest on the lily pad ledge |
| Small Key | Key | Chest at the bottom of the Compass room pool |
| Stray Fairy 8 | Stray Fairy | Jar among the Dexihands by the door |
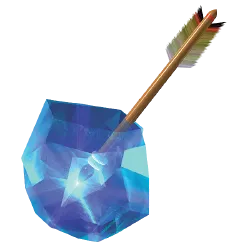 Ice Arrows | Item | Chest after Wart |
| Boss Key | Key | Chest past Gekko |
| Stray Fairy 9 | Stray Fairy | Chest on the upper floor, Hookshot target |
| Stray Fairy 10 | Stray Fairy | Alcove chest by the vertical propeller |
| Stray Fairy 11 | Stray Fairy | Alcove chest above the stopped propeller gears |
| Stray Fairy 12 | Stray Fairy | Barrel under the front seesaw |
| Stray Fairy 13 | Stray Fairy | Chest on the green pipe, Seesaw Room |
| Stray Fairy 14 | Stray Fairy | Bubble in the passage back to the Turbine Room |
| Stray Fairy 15 | Stray Fairy | Bubble under the green platform before the boss door |
 Heart Container | Heart Container | Gyorg |
 Gyorg’s Remains | Remains | Gyorg |
| Double Defense | Great Fairy reward | Great Fairy fountain, Zora Cape |
 Heart Piece (jumping game) | Heart Piece | Fisherman’s jumping game, after Gyorg, 20 rupees a try |
Next, travel east to Ikana Canyon and begin the Ikana chapter.
