
























Majora's Mask 100% Completion Walkthrough11 chapters
- PrologueDeku curse, Clock Town, Bombers’ code, Moon’s Tear, first Heart Piece, Ocarina, Song of Time and the Deku Mask.
- Clock Town, Termina Field and Romani RanchGreat Fairy’s Mask, Notebook, Adult Wallet, Heart Pieces, Epona’s Song and Bunny Hood.
- Southern Swamp and Deku PalaceKoume, the Pictograph Box, the monkey, Sonata of Awakening and every Heart Piece.
- Woodfall TempleAll 15 Stray Fairies, Hero’s Bow, Boss Key, Odolwa, the Great Fairy’s spin attack and the Deku Princess.
- Snowhead RegionMountain Village, Lens of Truth, Goron Mask, Goron Lullaby, Powder Keg trial, Goron Race and sword upgrades.
- Snowhead TempleAll 15 Stray Fairies, 3 small keys, Fire Arrows, Boss Key, Goht boss fight and the Great Fairy’s reward.
- Great Bay RegionGet the Zora Mask, the Hookshot, all seven Zora eggs and the New Wave Bossa Nova before Great Bay Temple.
- Great Bay Temple15 Stray Fairies, water pipe puzzles, Wart, Ice Arrows, Gekko, Boss Key, Gyorg and the Double Defense reward.
- Ikana Canyon and Ancient Castle of IkanaCaptain’s Hat, Song of Storms, Gibdo Mask, Beneath the Well, Mirror Shield, Ancient Castle, Elegy of Emptiness.
- Stone Tower TempleClimb the tower, find all 15 Stray Fairies, win the Light Arrows and Giant’s Mask, and beat Twinmold.
- Final ConfrontationPlay the Oath to Order, clear the four Moon dungeons, earn the Fierce Deity’s Mask and beat Majora’s three forms.
| Covers | Woodfall Temple, the Odolwa boss fight, the Woodfall Great Fairy Fountain and the Deku Princess’s trip back to the palace |
|---|---|
| You need | Deku Mask, Great Fairy’s Mask (strongly recommended), Sonata of Awakening, Song of Soaring, Deku Sticks, and an empty bottle for the princess; the Hero’s Bow is found inside the temple |
| Rewards | 15 Stray Fairies, Small Key, Dungeon Map, Compass, Hero’s Bow, Boss Key, Heart Container, Odolwa’s Remains, Oath to Order, the Spin Attack from the Great Fairy of Power, the Deku Princess in a bottle and, afterwards, the Mask of Scents; no Heart Pieces or Bombers’ Notebook entries inside the temple |
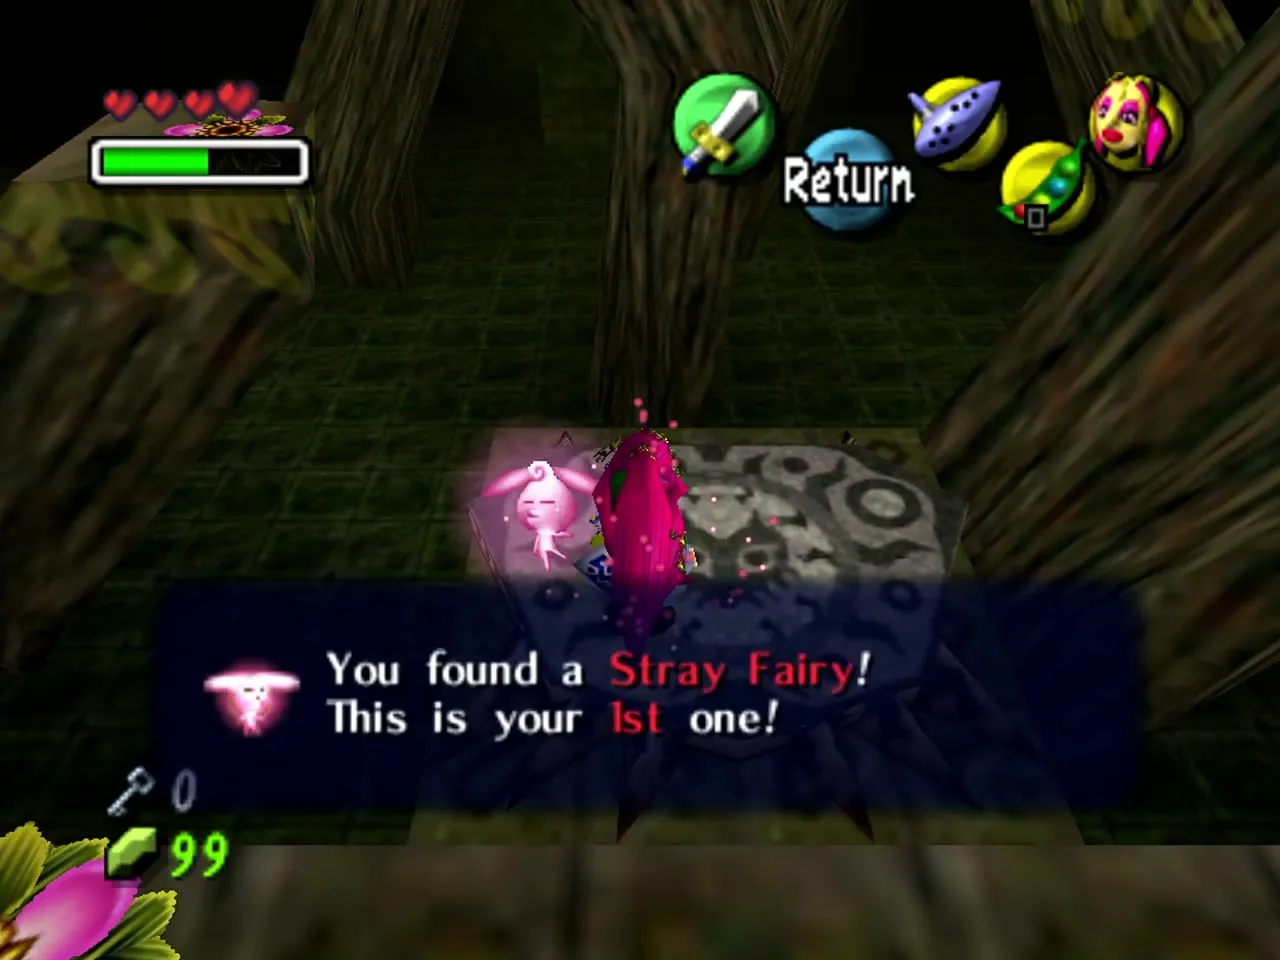
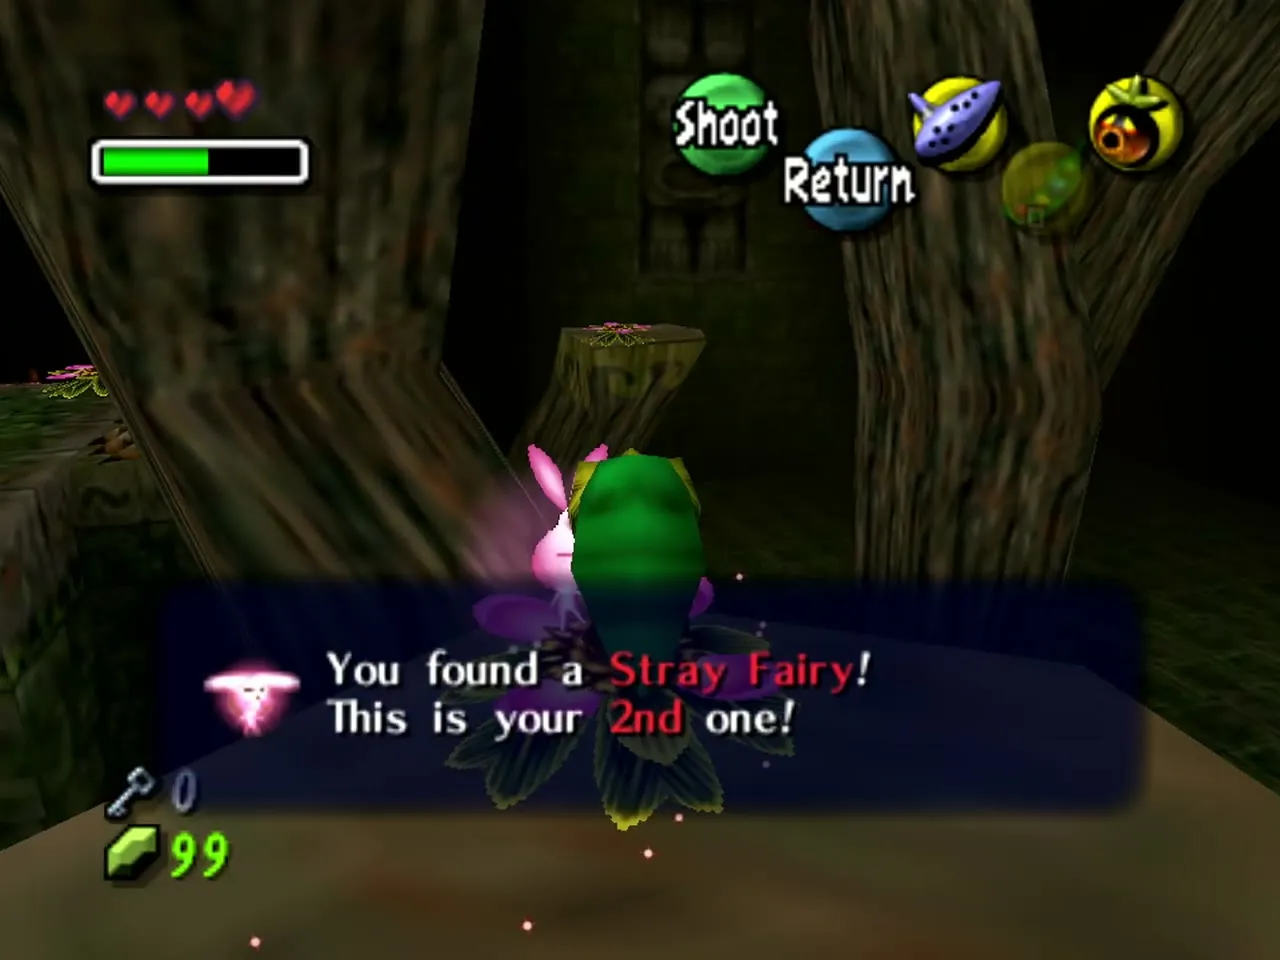
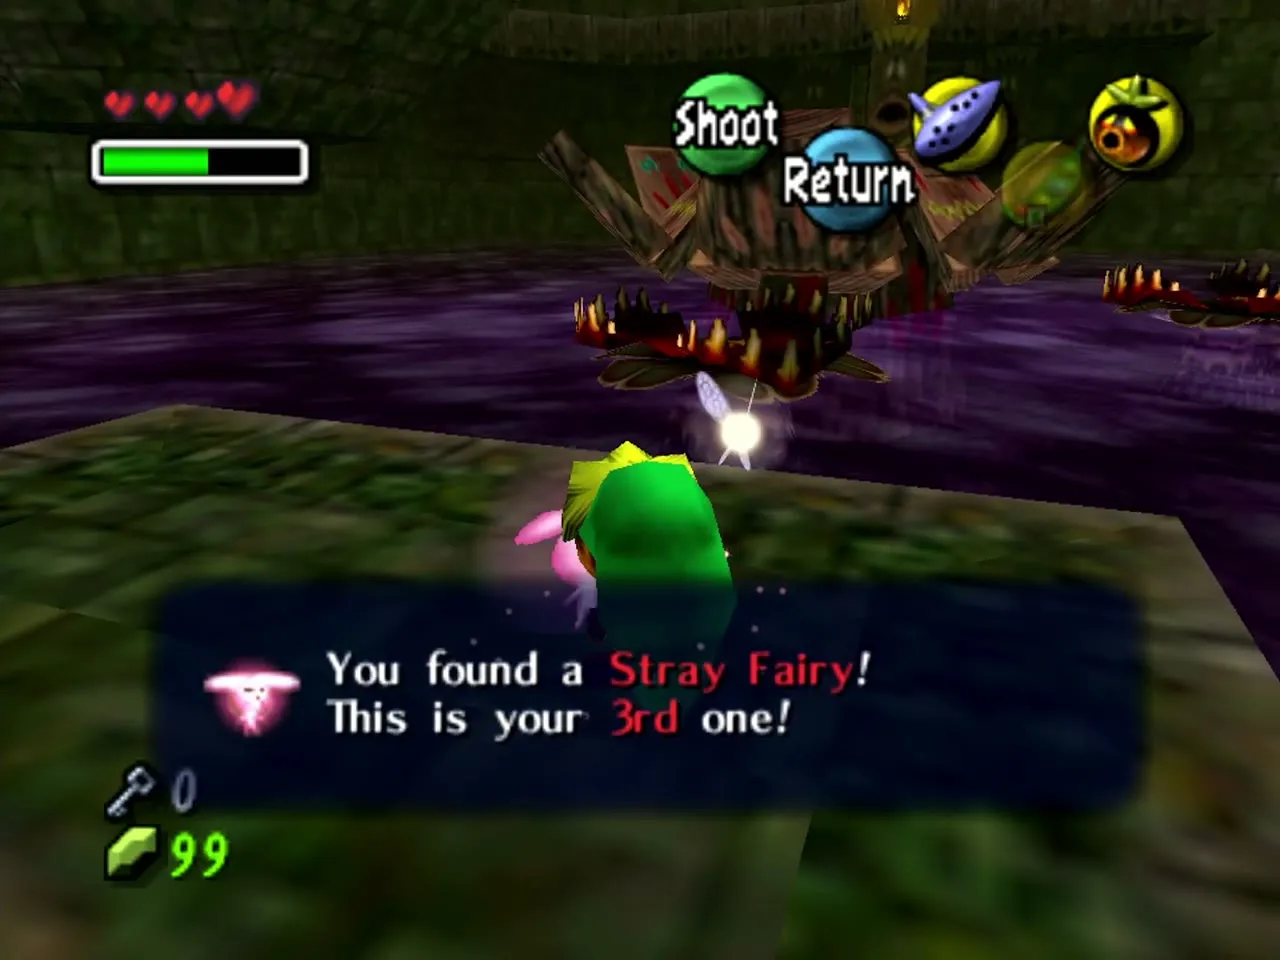
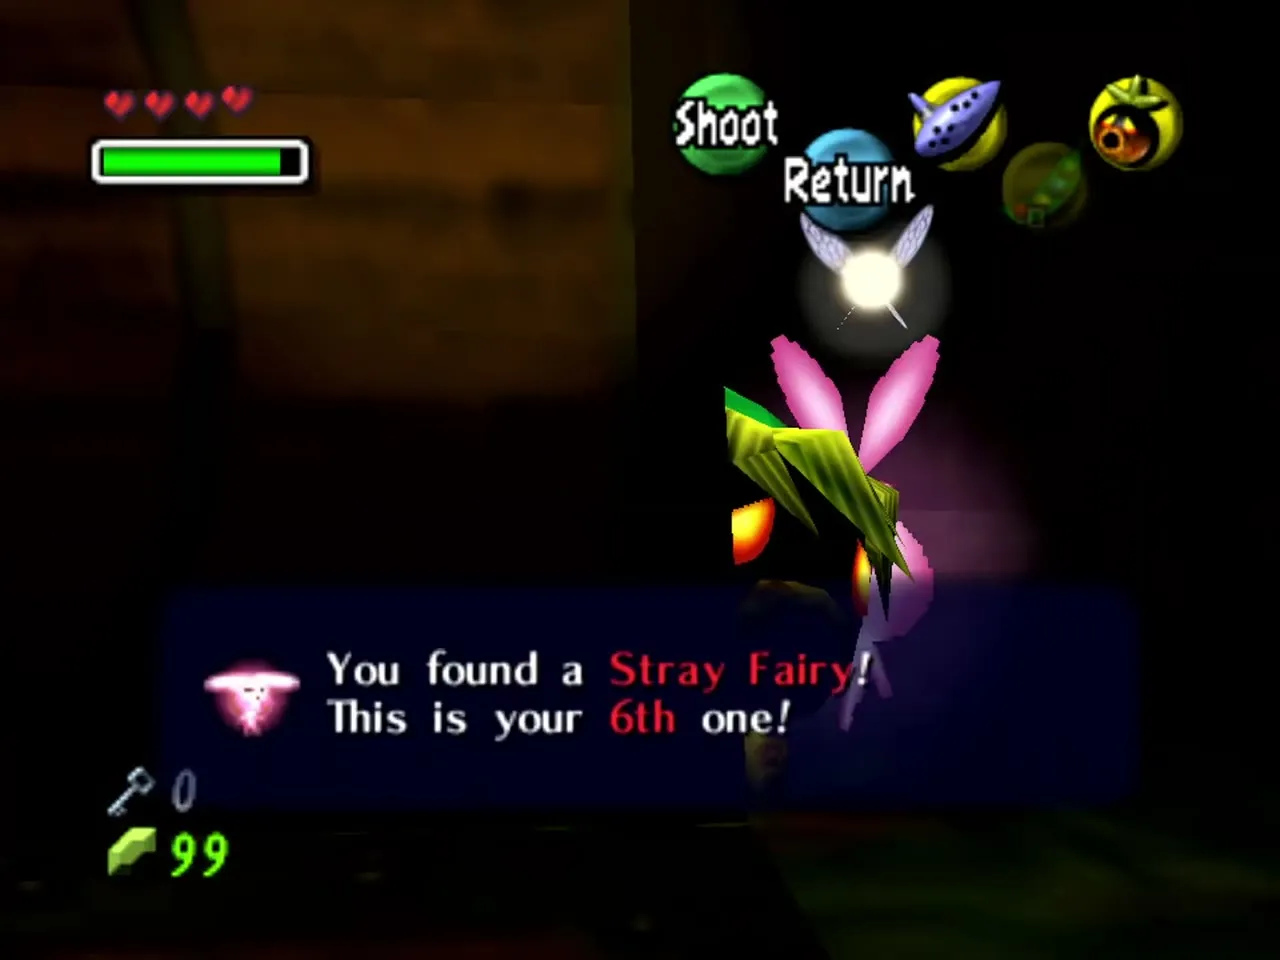
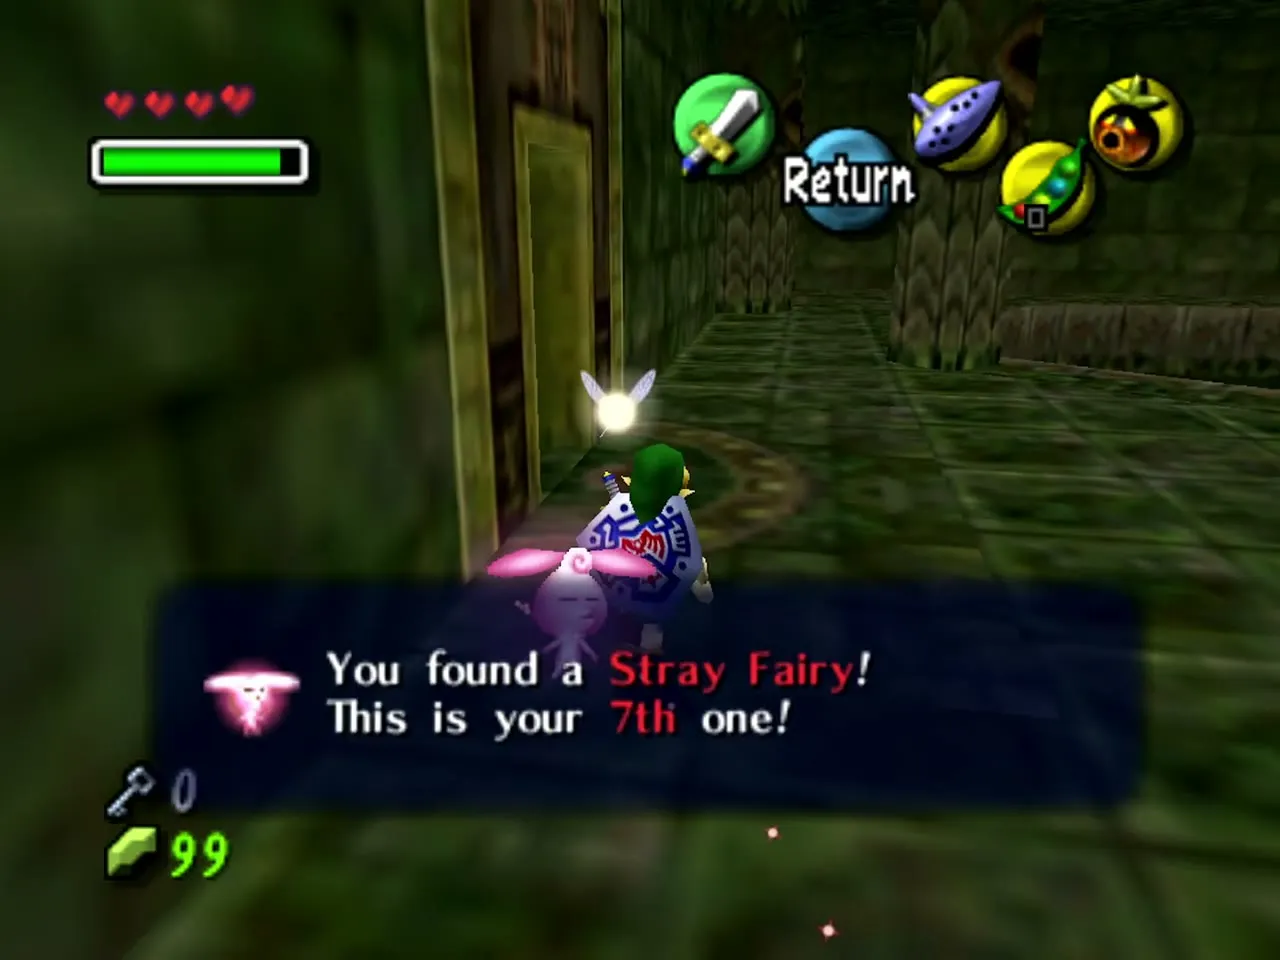
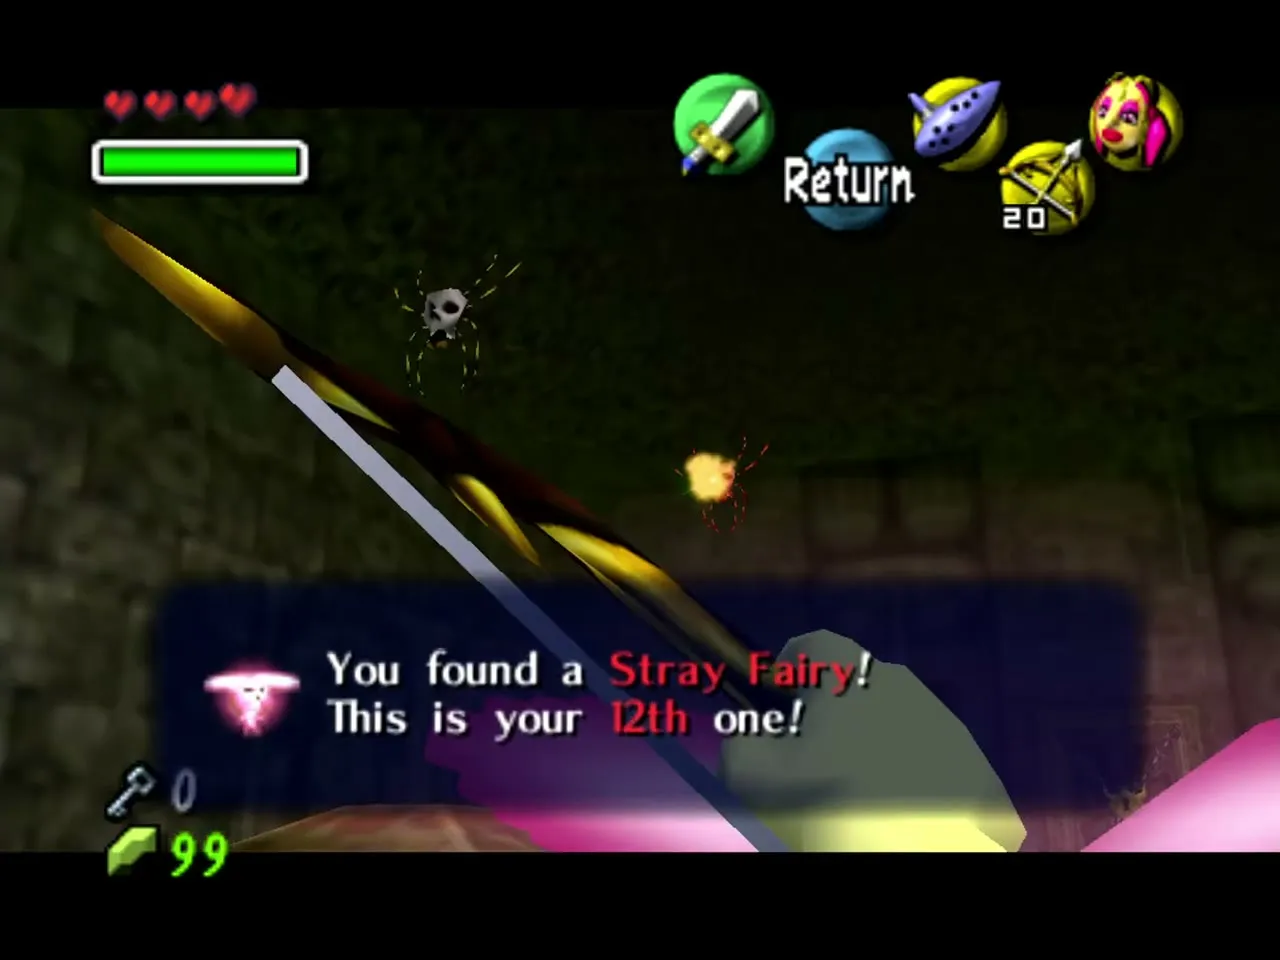
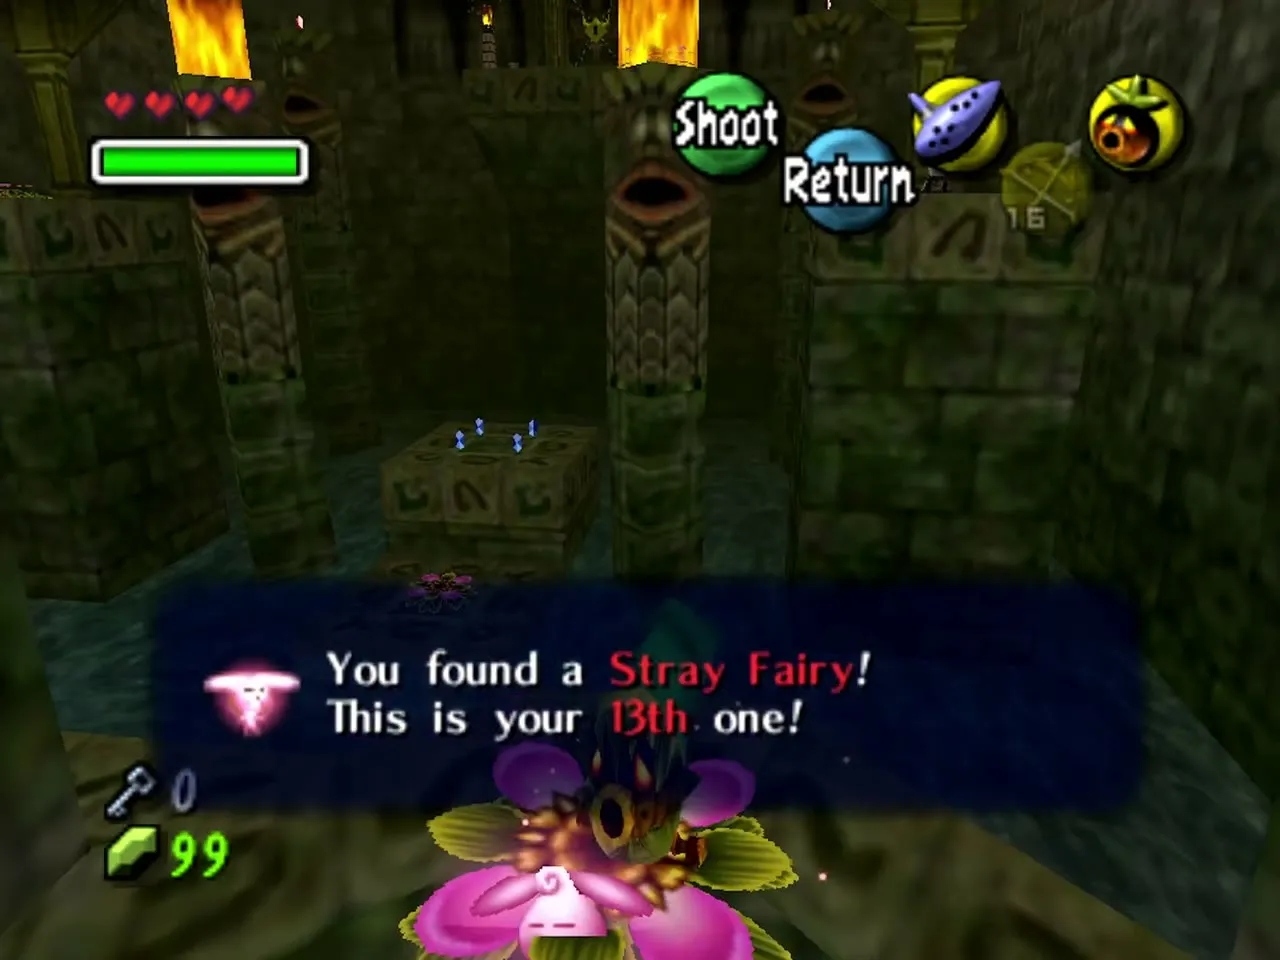
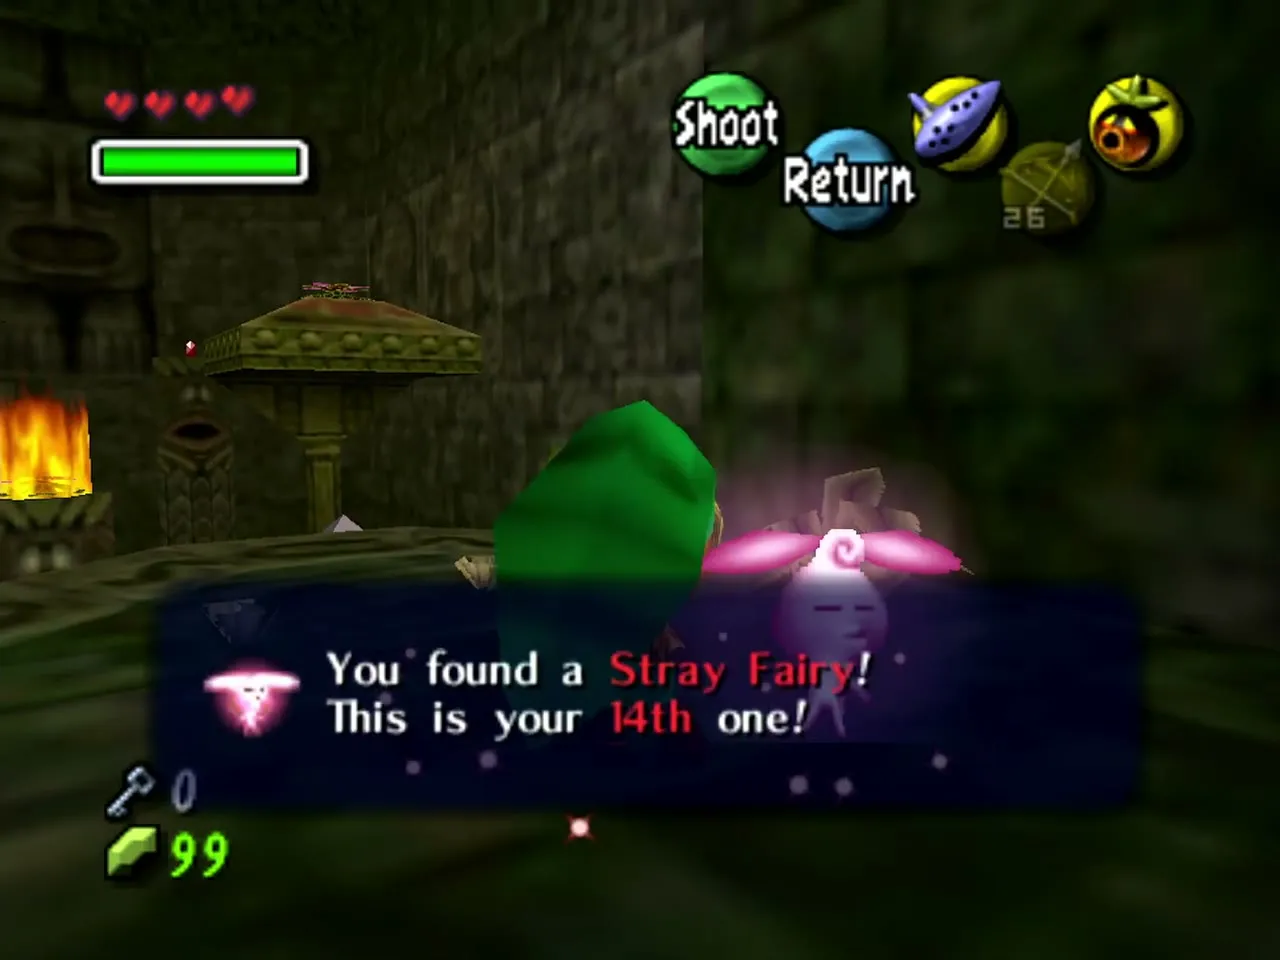
Woodfall Temple is the first dungeon of the game. You hop between Deku Flowers, collect fifteen Stray Fairies, win the Hero’s Bow from a Dinolfos, take the Boss Key from a Gekko and then fight the masked warrior Odolwa. The route below clears the temple in one three-day cycle, returns the fairies to the Great Fairy of Power for the spin attack, and carries the Deku Princess home. The game counts your Stray Fairies in the order you find them (“You found a Stray Fairy! This is your 7th one!”), so the number in the message box can differ from the numbers used here, which follow the room-by-room list on the Stray Fairies page. Either way you need all fifteen, and the pause-menu map shows your running total.
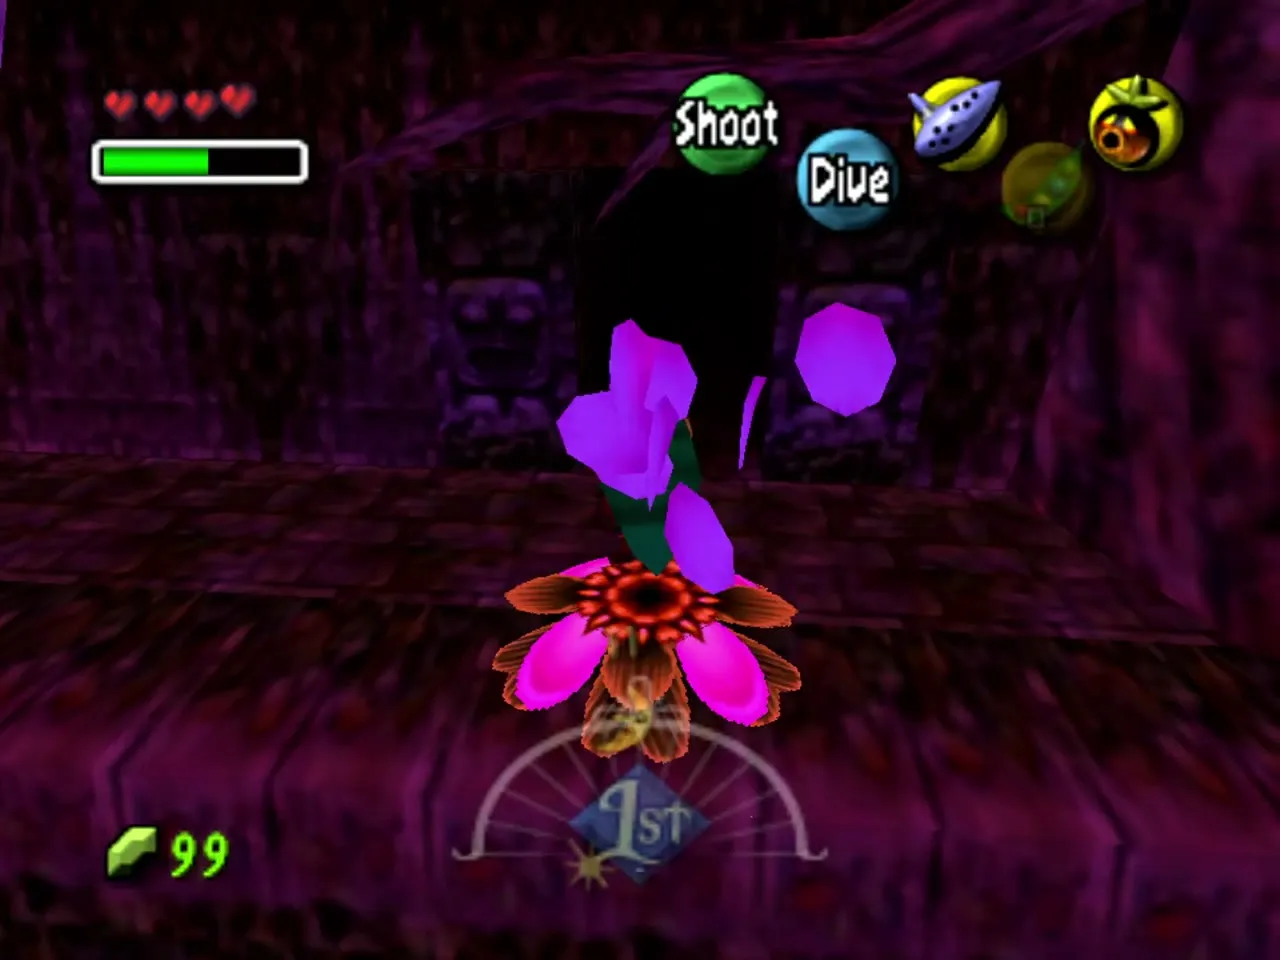
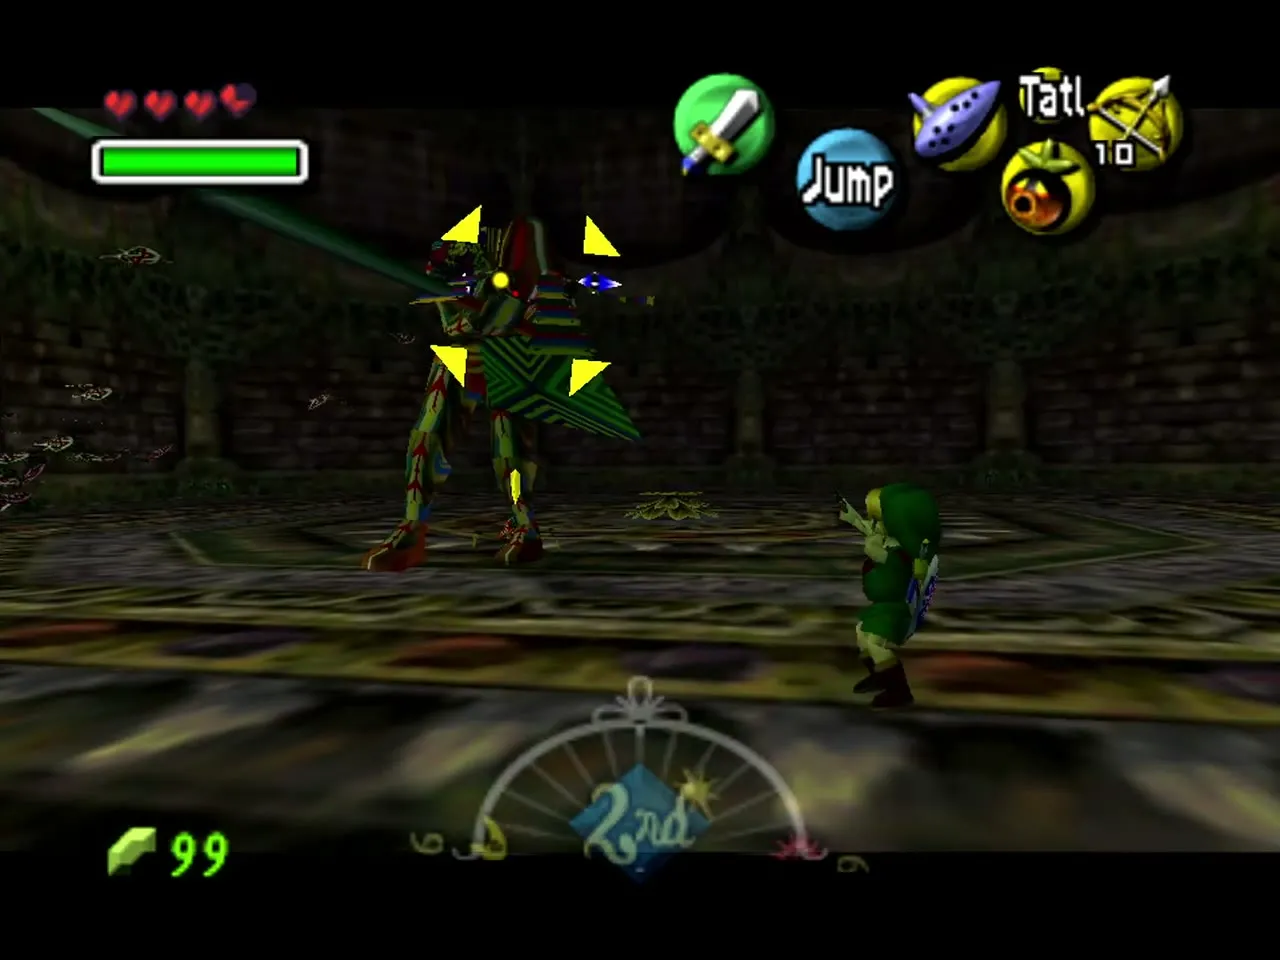
Table of Contents
The route at a glance
The temple is a loop around one big poisoned hall, and most rooms open only after you have the Small Key, the Hero’s Bow or clean water. This is the order the rest of the chapter follows.
| Step | Room | What you get |
|---|---|---|
| 1 | Entrance room | Stray Fairies 1 and 2 |
| 2 | Main hall (poison water) | Stray Fairies 3 and 4 |
| 3 | Launcher flower room |  Small Key (chest); Stray Fairy 5 waits for the bow |
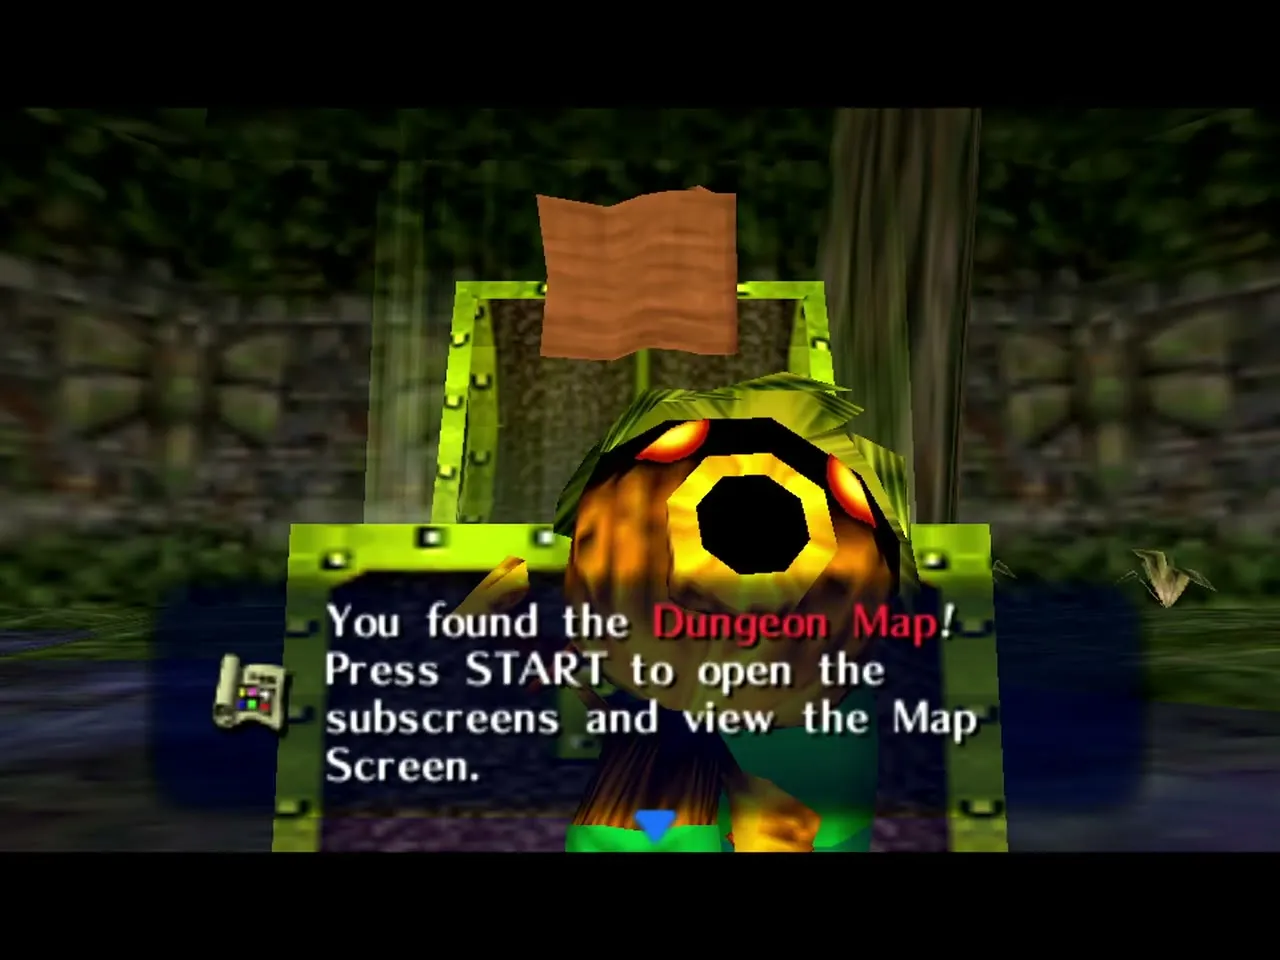
| 4 | Snapper room |  Dungeon Map |
| 5 | Block room (locked door) | Stray Fairies 6 and 8 |
| 6 | Dragonfly room |  Compass |
| 7 | Black Boe room and upper hall | Stray Fairies 9 and 10 |
| 8 | Flower room, then the Dinolfos | Hero’s Bow, then Stray Fairy 5 |
| 9 | Gekko and Snapper chamber |  Boss Key |
| 10 | Main hall torches, then the block room | Stray Fairies 11 and 7 |
| 11 | Final room | Stray Fairies 12 to 15, then the boss door |
| 12 | Boss chamber | Odolwa, Heart Container, Odolwa’s Remains |
Before you enter Woodfall Temple
What to bring
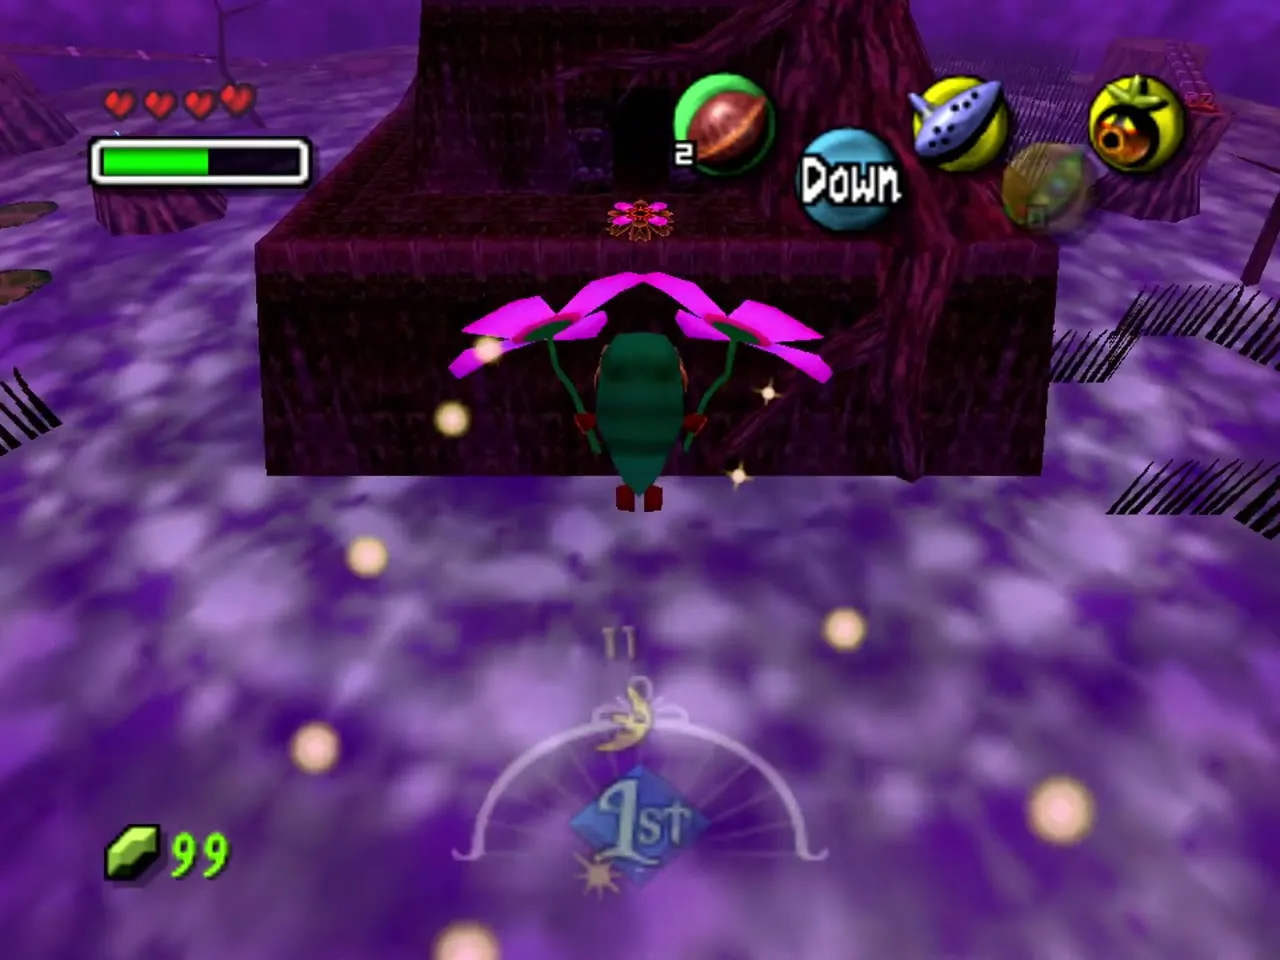
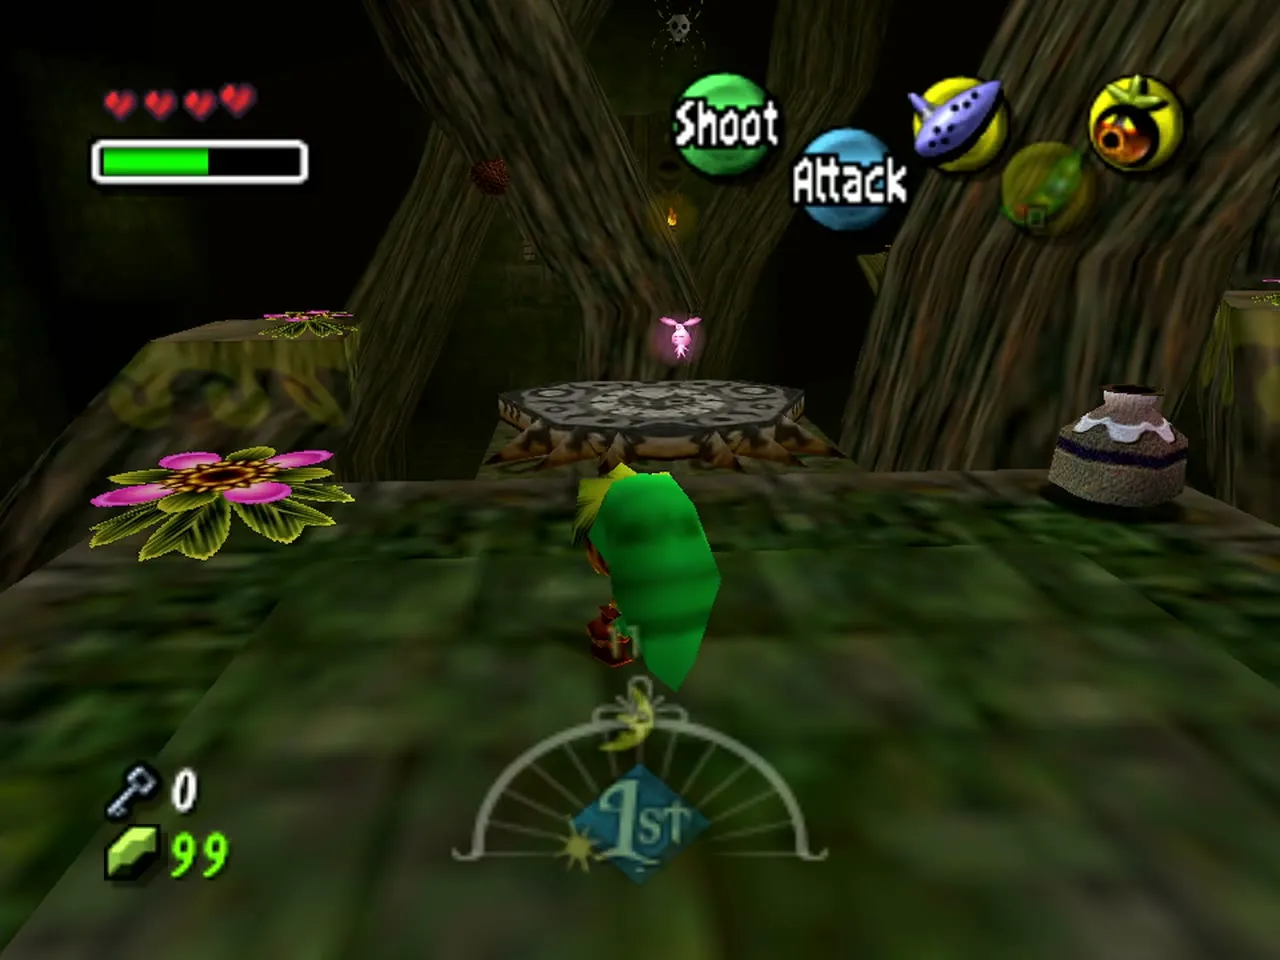
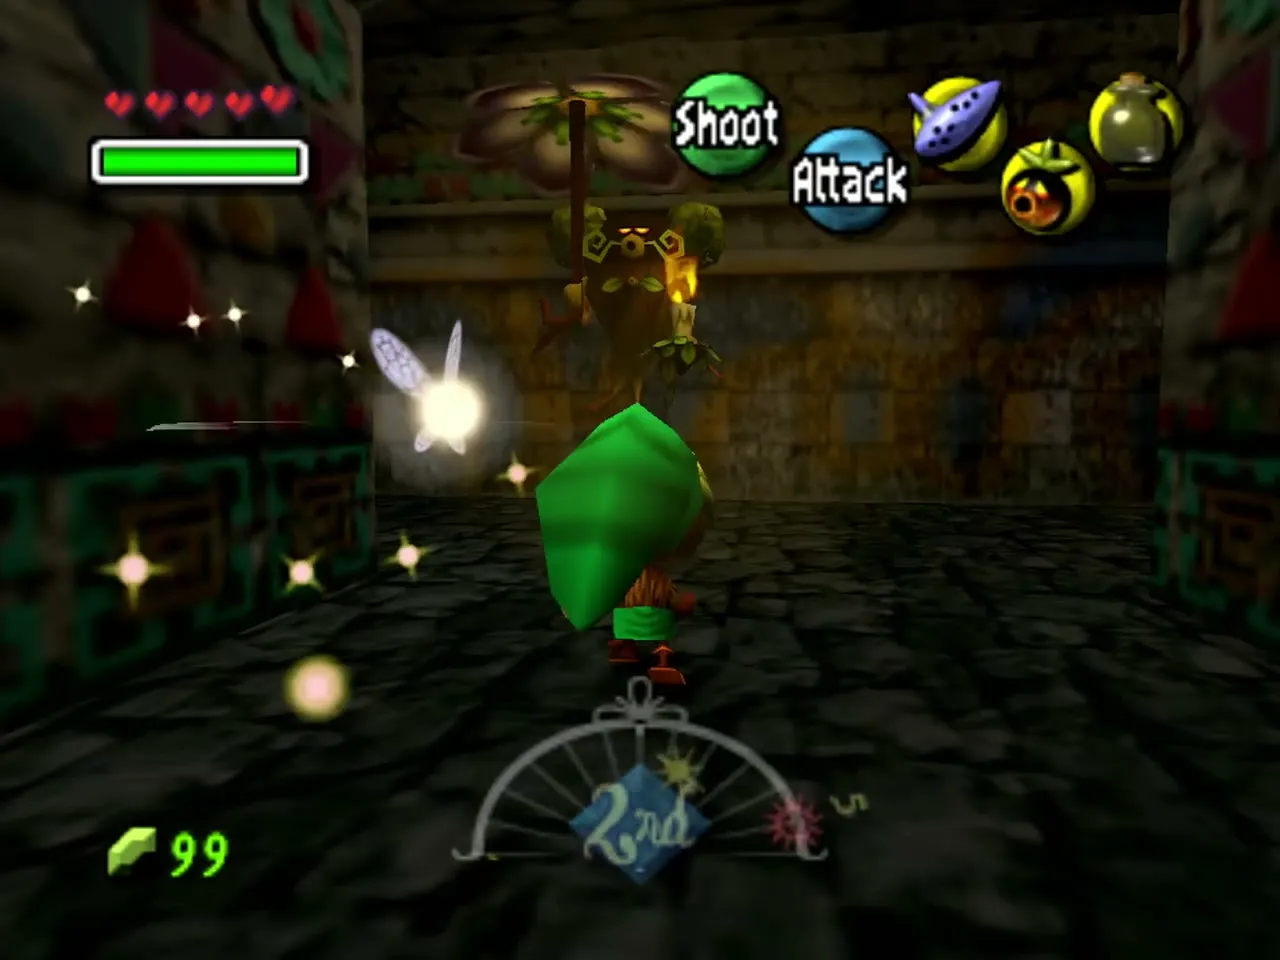
Fly across from the Woodfall owl statue once the temple has risen; the Southern Swamp and Deku Palace chapter covers that approach. Wear the Great Fairy’s Mask whenever you hunt for fairies, because it pulls loose Stray Fairies toward you. A fairy sealed in a bubble or a beehive must be freed first. Carry Deku Sticks for the torches and webs, and keep one bottle empty for the princess. Before you go in, carry a Red Potion or a fairy if you have one, because the Dinolfos and Odolwa both hit hard. Torches throughout the temple can be lit with a Deku Stick.

Time and the Song of Time
The whole temple fits inside one cycle, so a reset is optional. If you play the Song of Time inside the dungeon, the Dungeon Map and Compass stay with you, but keys, the Boss Key, solved puzzles and any Stray Fairies you have not yet delivered go back to the start. Masks, songs, the Hero’s Bow and a Heart Container you have already won all stay. Free the fairies within a single cycle. The three-day cycle page lists everything a reset keeps and loses.
Keys, map and fairy count
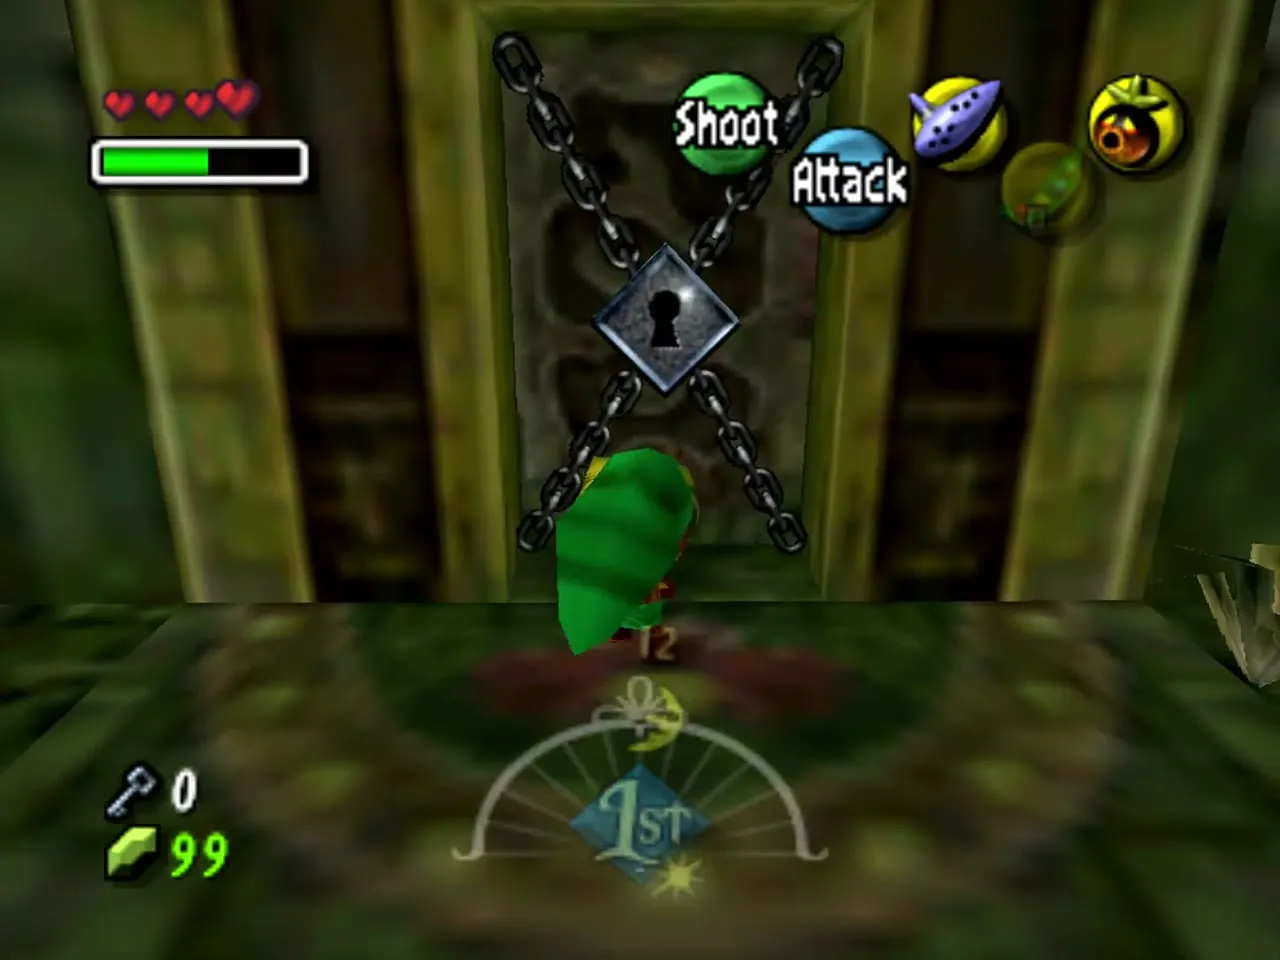
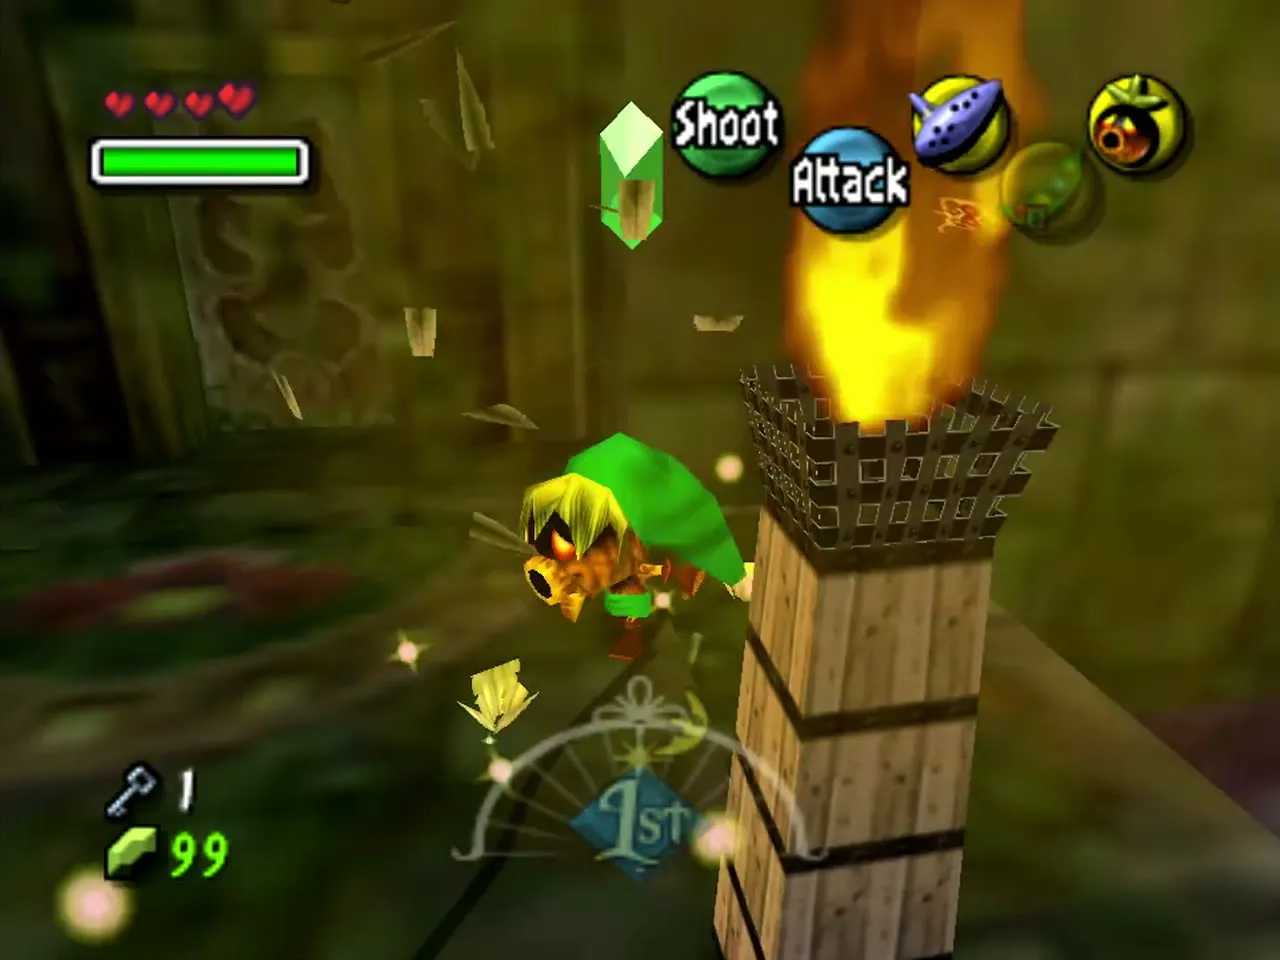
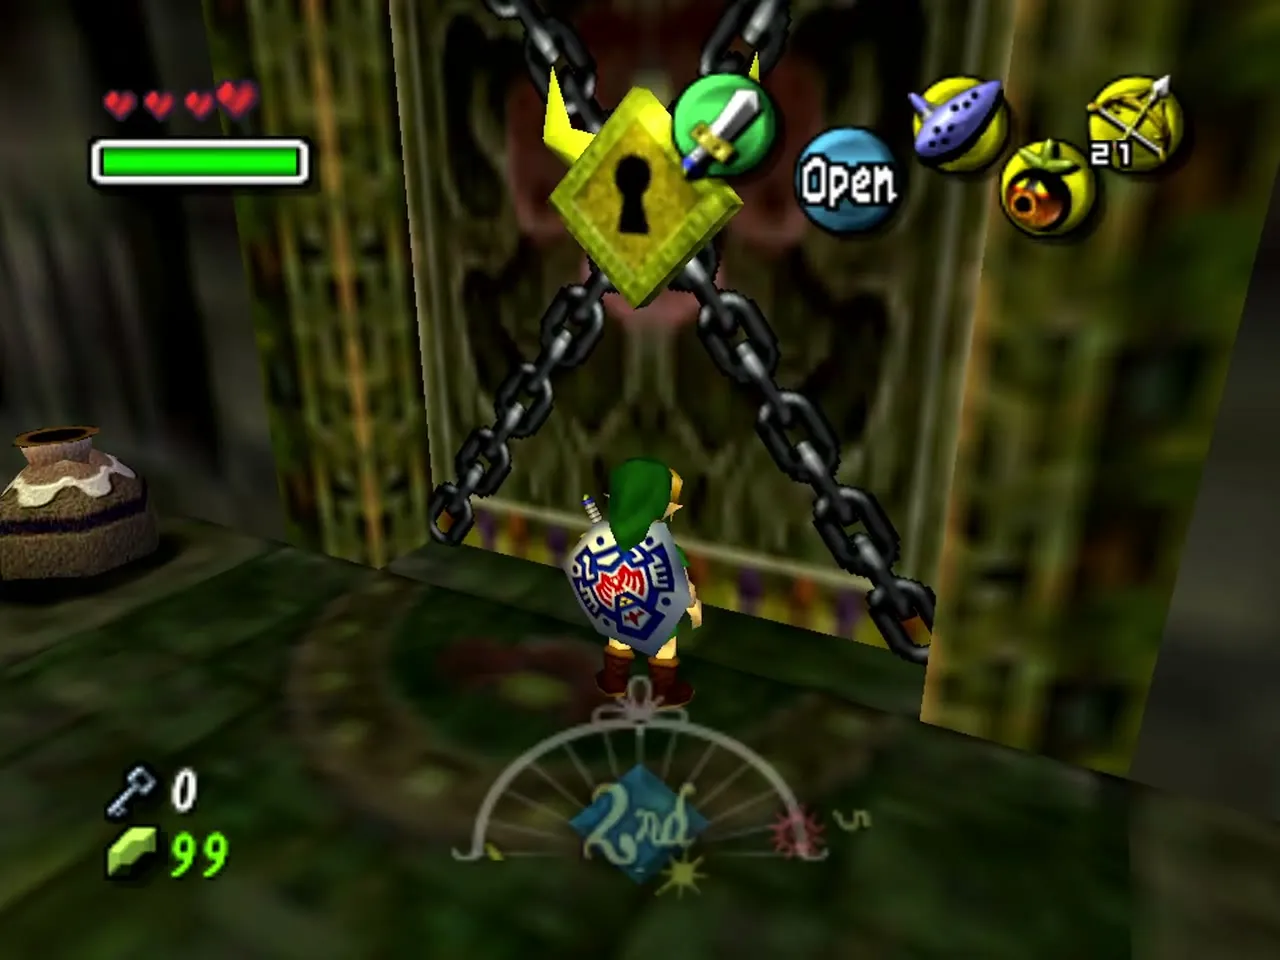
Woodfall Temple has exactly one Small Key. A little key icon with a counter appears beside your hearts once you pick it up, and the counter drops back to 0 when the lock takes it. Until then the chained door in the main hall only tells you “You don’t have the key!” The Boss Key is separate and does not use that counter. Open the pause menu and look at the map: once you hold the Dungeon Map and Compass it shows the temple floor by floor, and it lists your Stray Fairies out of fifteen, so you can check your progress after every room.
Entrance room and main hall: Stray Fairies 1 to 4
Woodfall Temple Stray Fairies 1 and 2
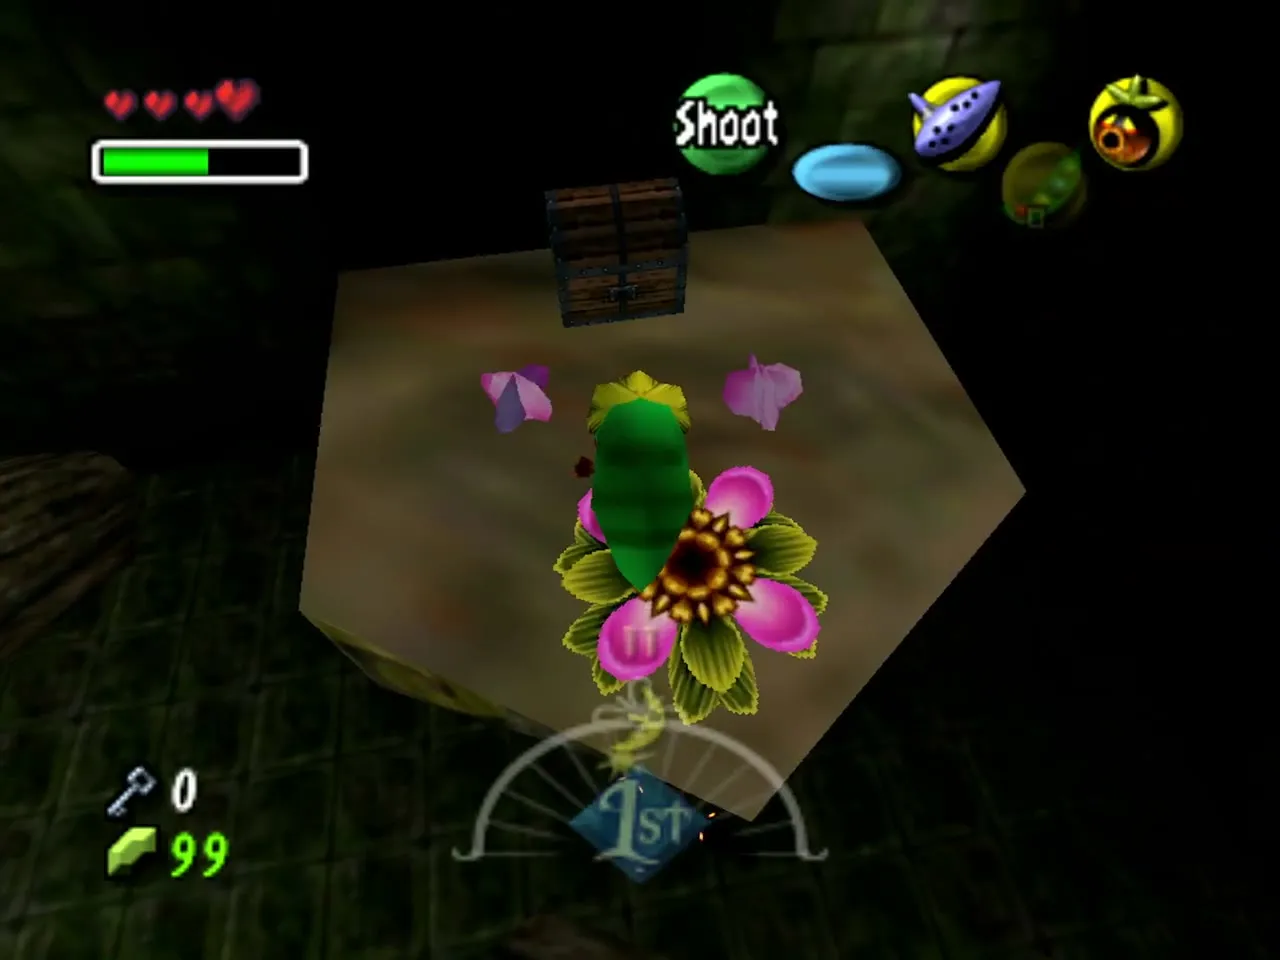
The first Stray Fairy floats in the entrance room, above the round stone platform with the Deku Flower. Put on the Great Fairy’s Mask and it drifts to you (Stray Fairy 1). The second is in the chest on the platforms across the room. As Deku Link, hop from flower to flower to the platform on the right, open the chest and take the fairy (Stray Fairy 2). Each time you free one, the game announces which number it was. Then fly back and take the passage on the left into the main hall.
Woodfall Temple Stray Fairies 3 and 4
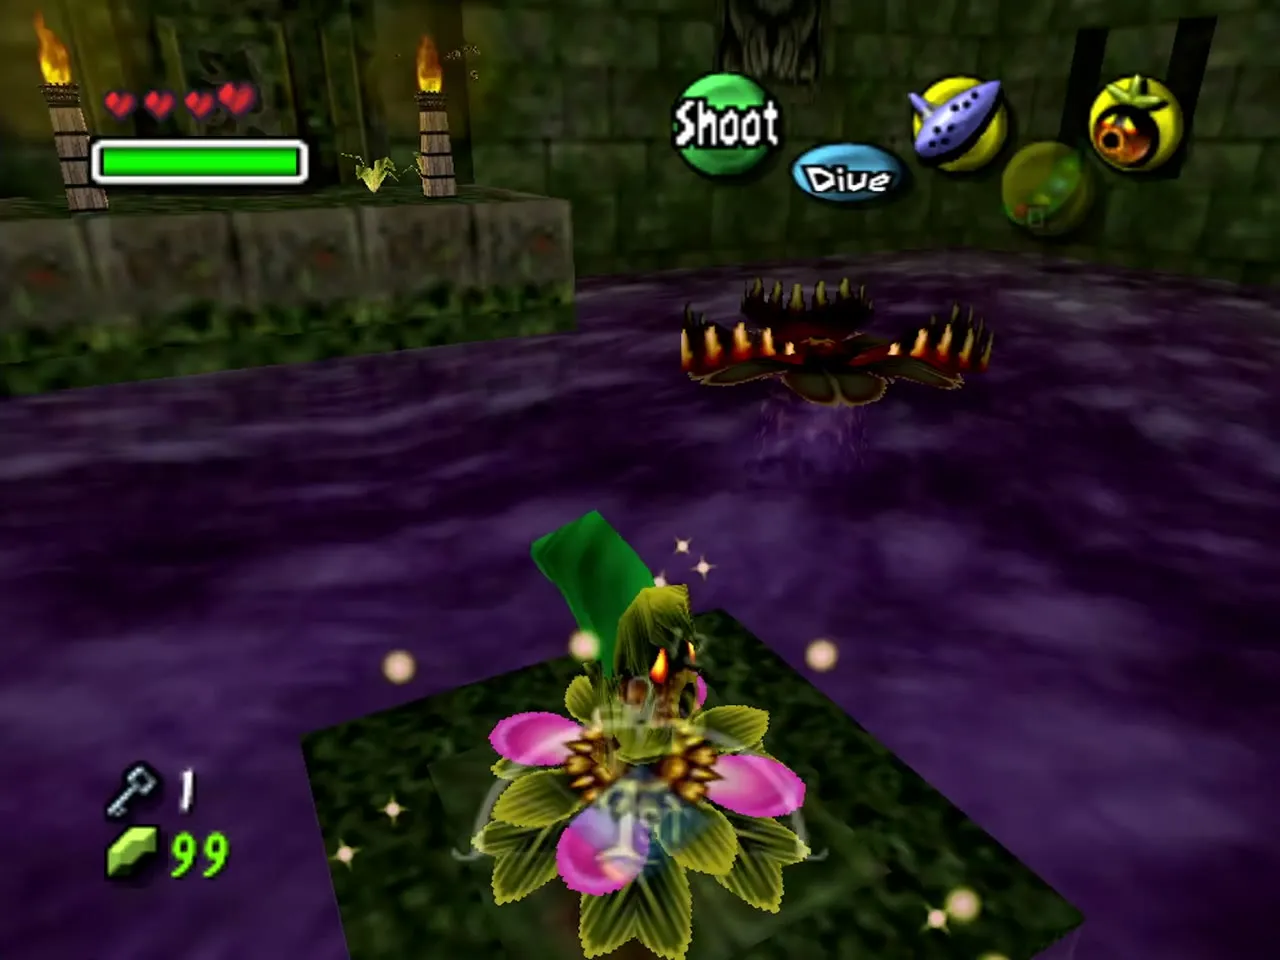
The main hall is a poison-water chamber with a large wooden flower mechanism in the middle. Walk down the ramp and defeat the Deku Baba at the bottom to free Stray Fairy 3. Next, as Deku Link, hop across the Carnivorous Lily Pads to the corner platform on the far side and smash the stack of jars there, starting with the one nearest the corner, to find Stray Fairy 4. The poison hurts Hylian Link and the lily pads eat him, so cross in Deku form, where you can skip across the water a few times before you sink. Keep moving from root to root and do not stand still on a lily pad.
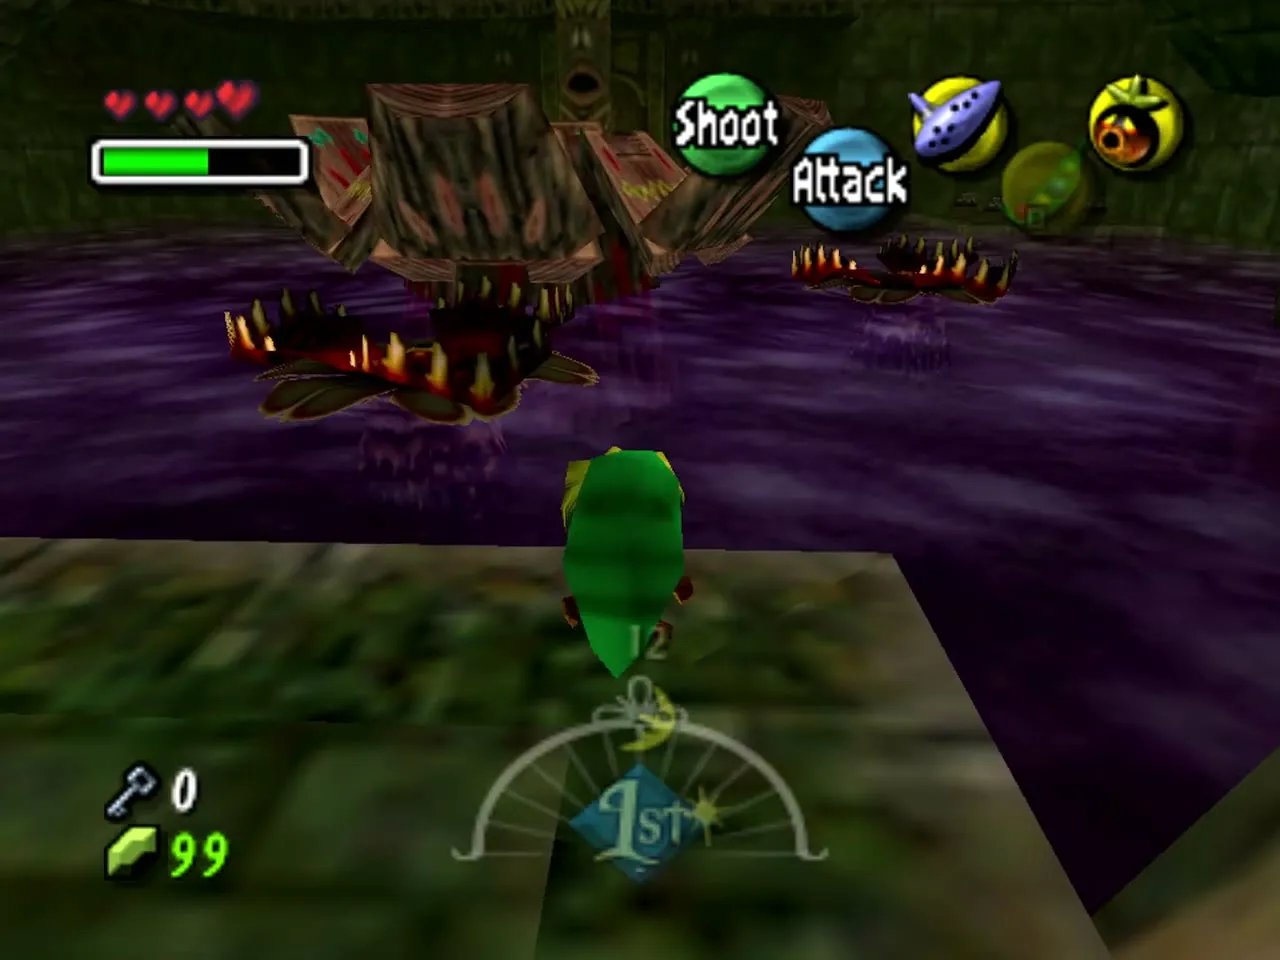
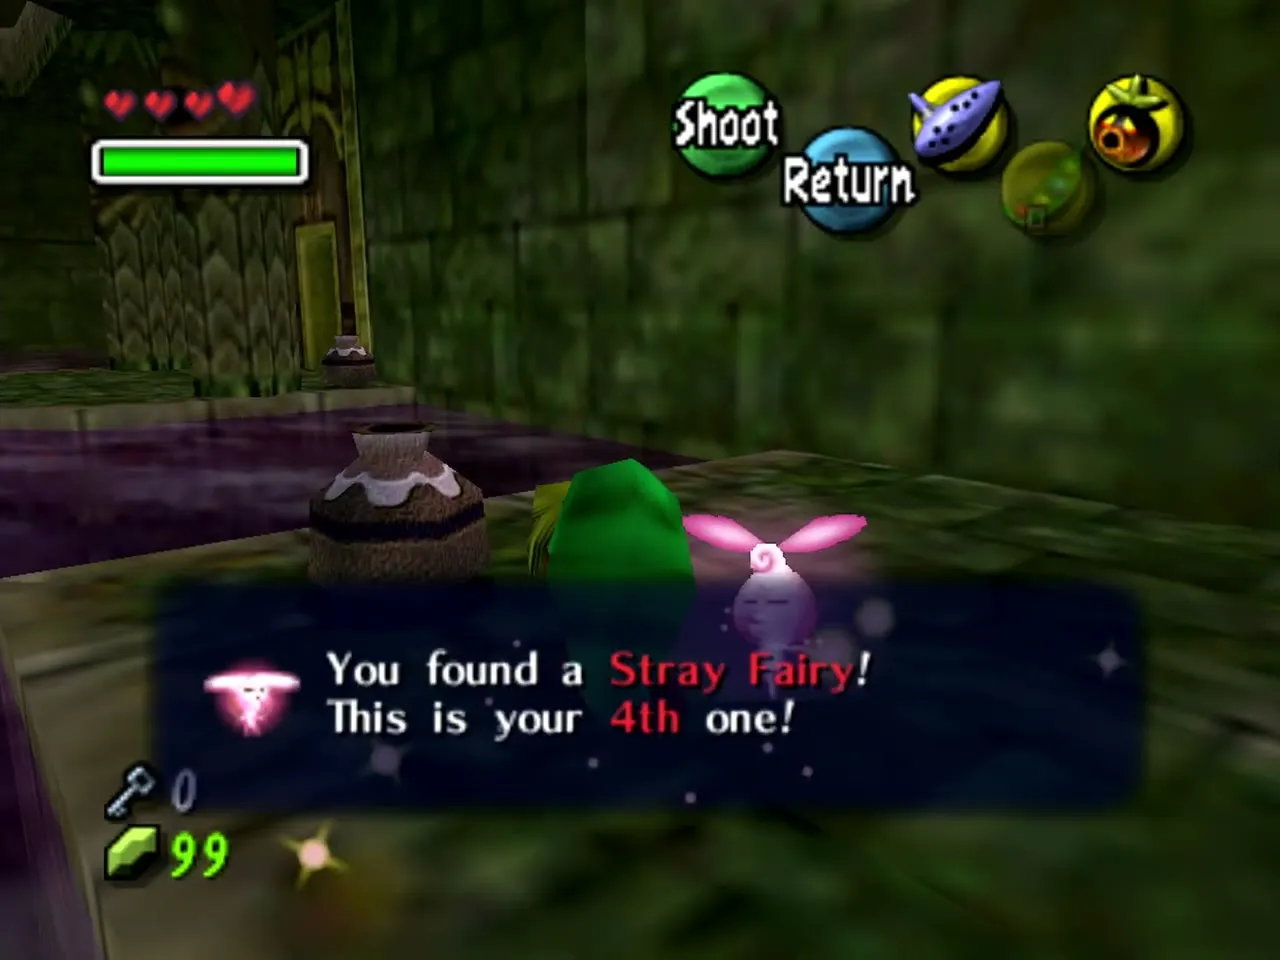
Small Key and Dungeon Map
How to get the Small Key
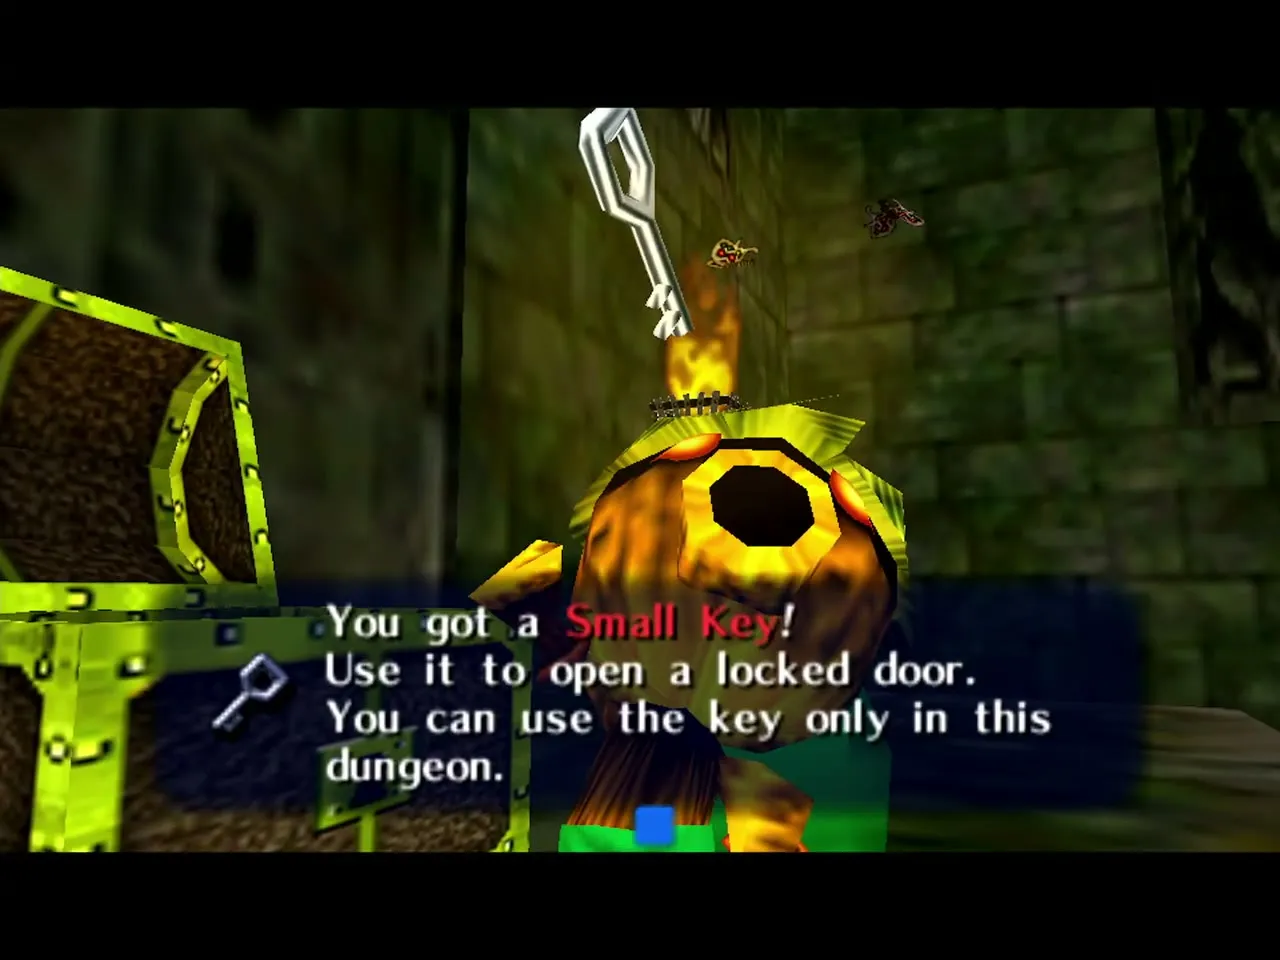
Leave the hall for the next chamber, where purple water is crossed by stone platforms and red lily pads. As Deku Link, hop across them, then use the launcher Deku Flower in the middle of the room to fly up to the gold-trimmed chest. It holds the temple’s Small Key (“Use it to open a locked door. You can use the key only in this dungeon”), which you will use on the chained door in the main hall. A beehive hangs on the wall just left of that chest; it holds Stray Fairy 5, which you free later.
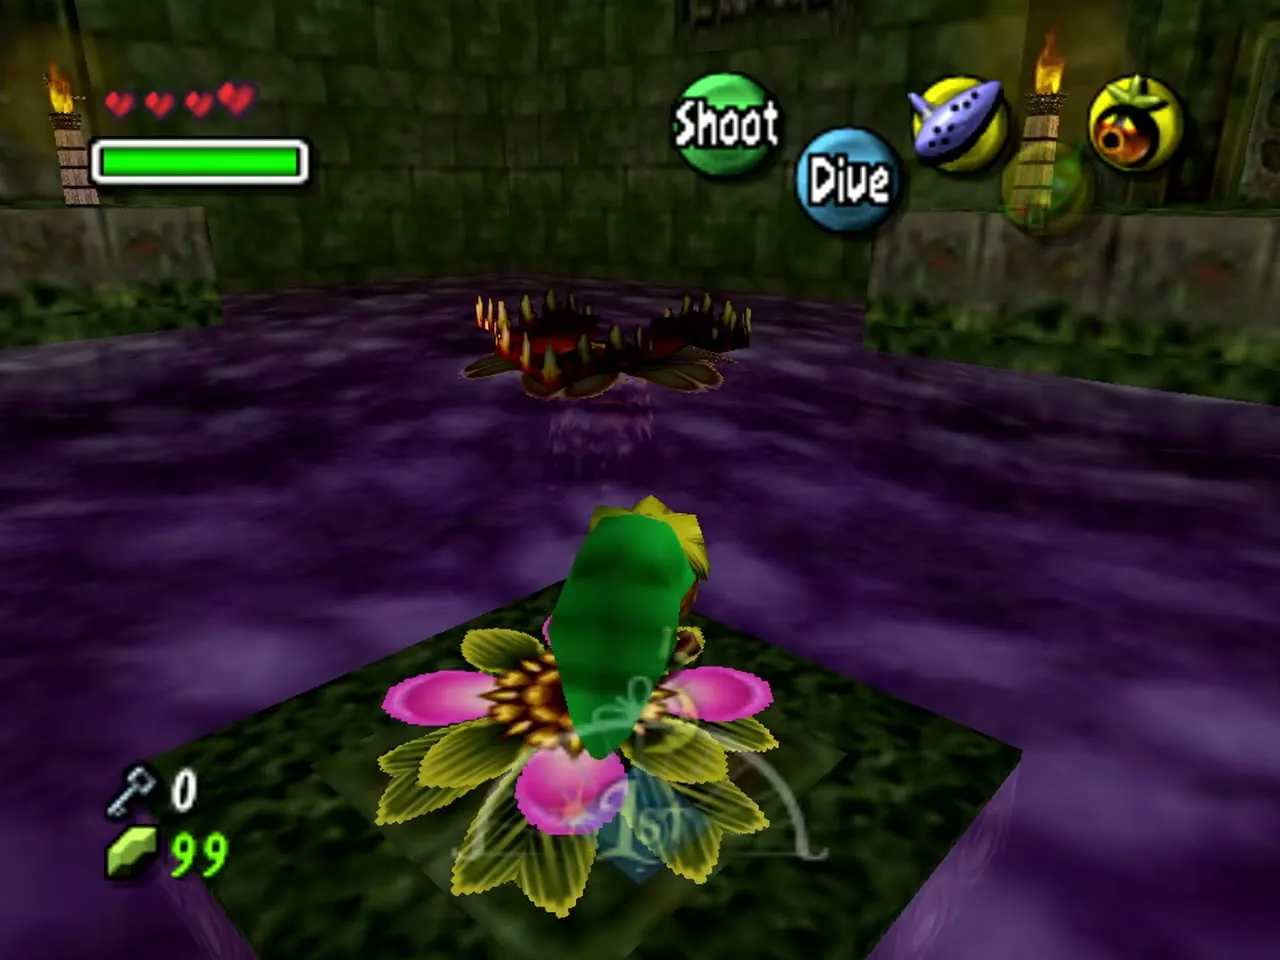
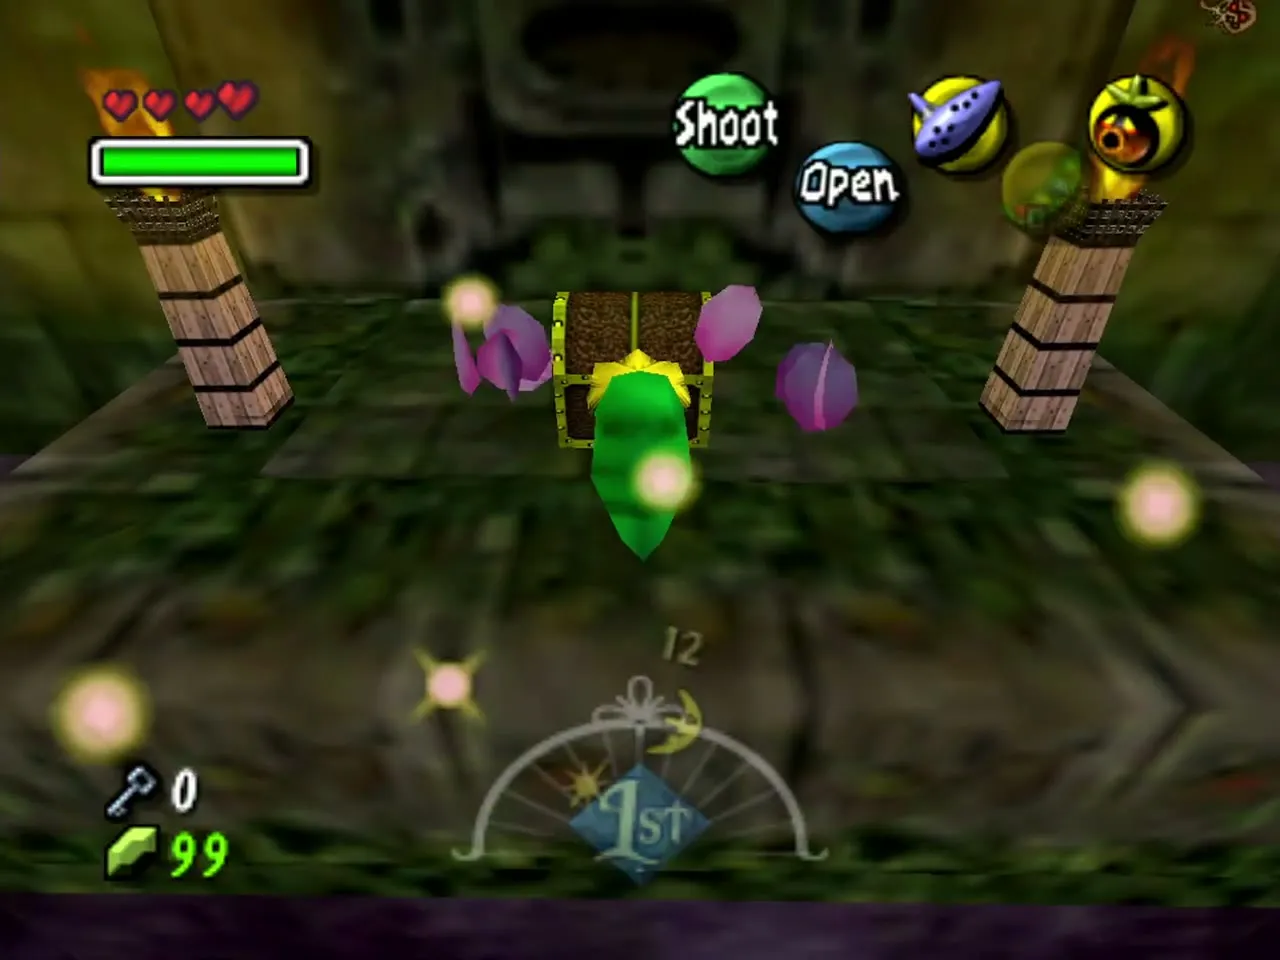
How to get the Dungeon Map
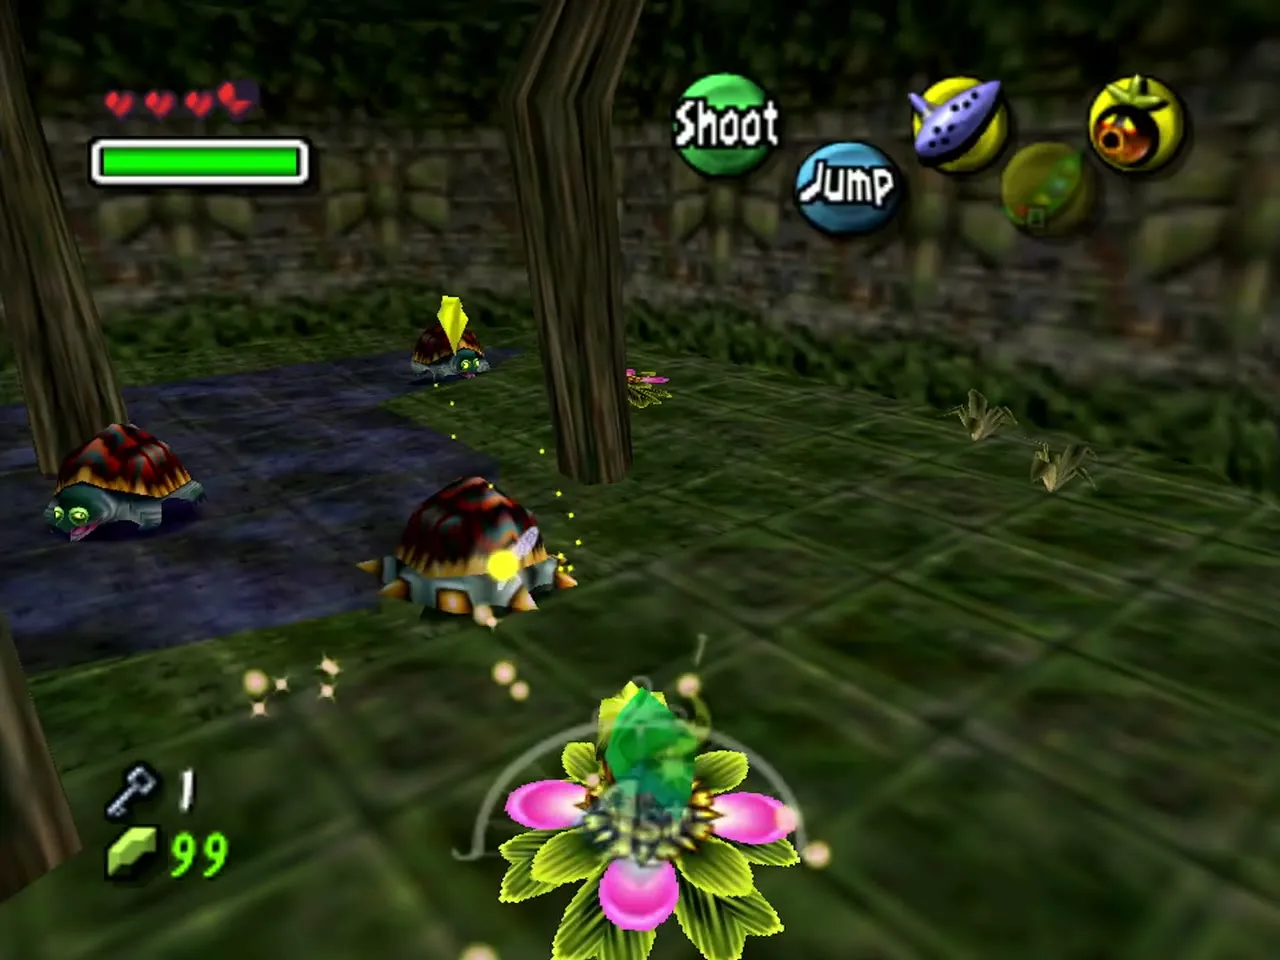
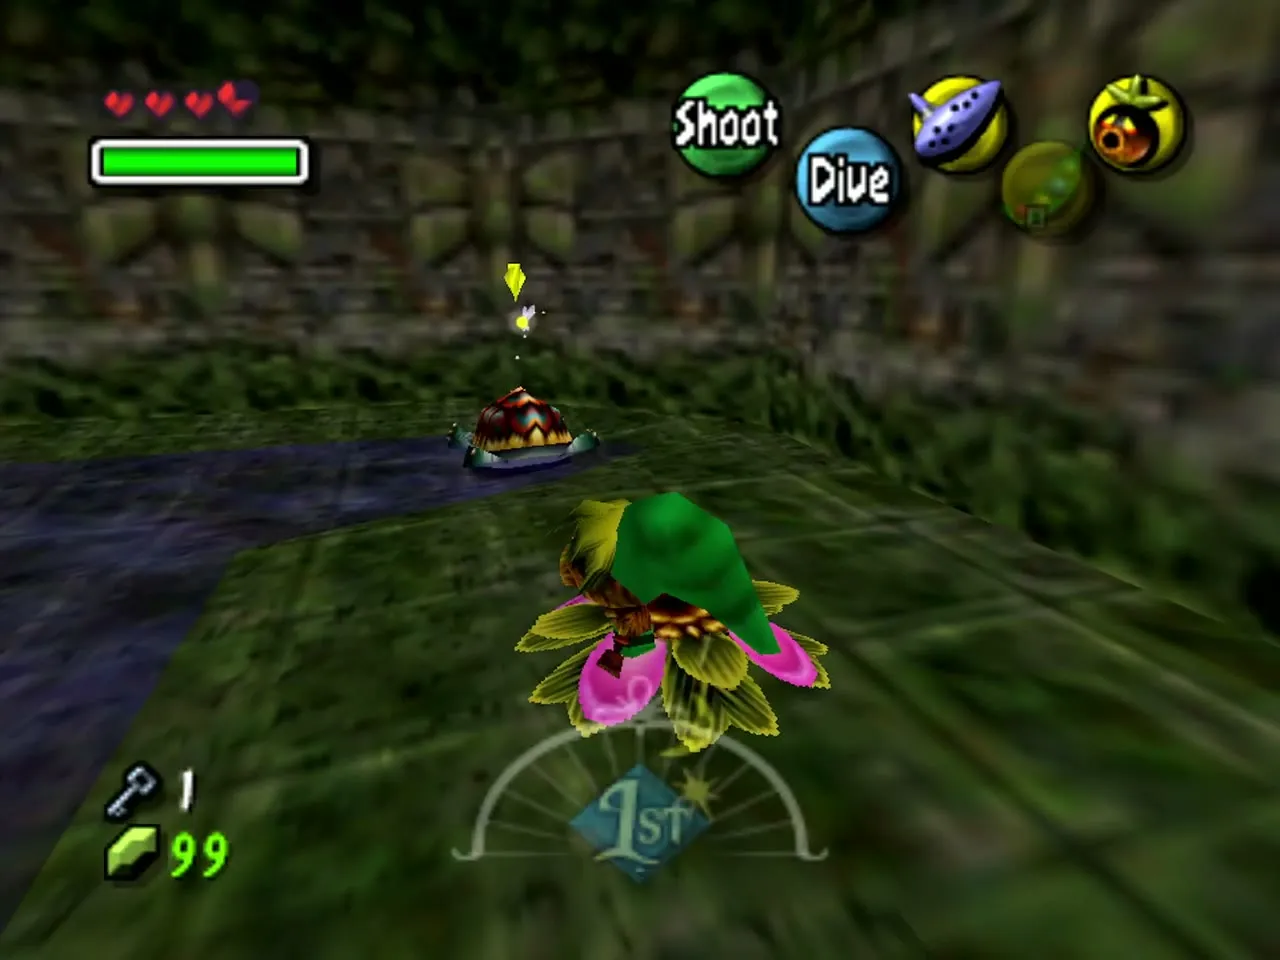
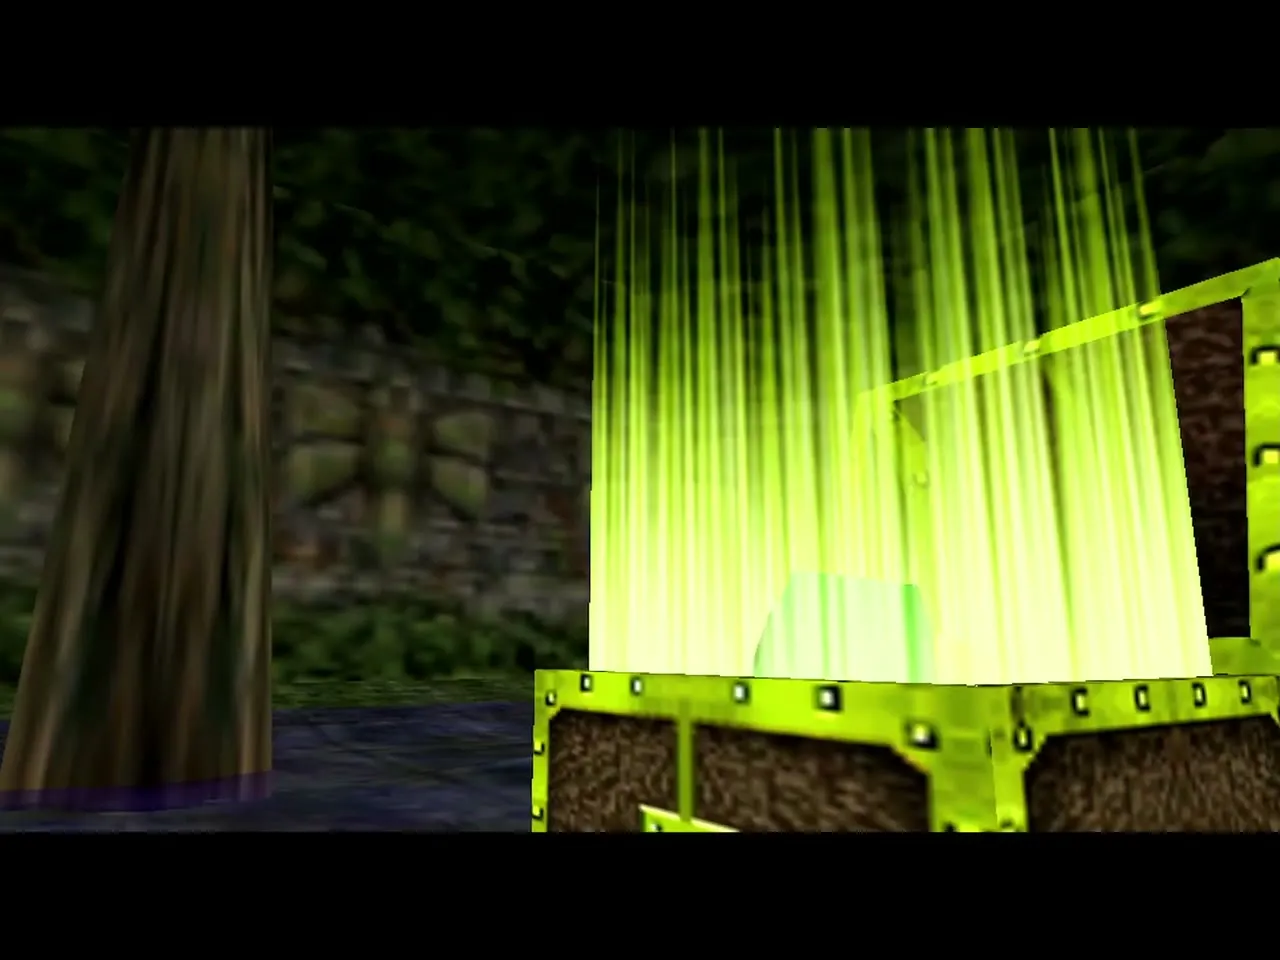
The path on leads into a room of Snappers, armoured swamp turtles that keep their weak spot hidden. Use the Deku Flowers to launch yourself up into them as they pass overhead and strike them from below. Tatl warns you that the way they move, Snappers never expose the weak part of their body, so this is how you get at them: a Snapper flipped onto its back stays helpless long enough for a few sword hits. Once they are beaten, the way to the Dungeon Map chest opens.
Block room, Skulltula, beehive and Compass
The locked door and the stone block
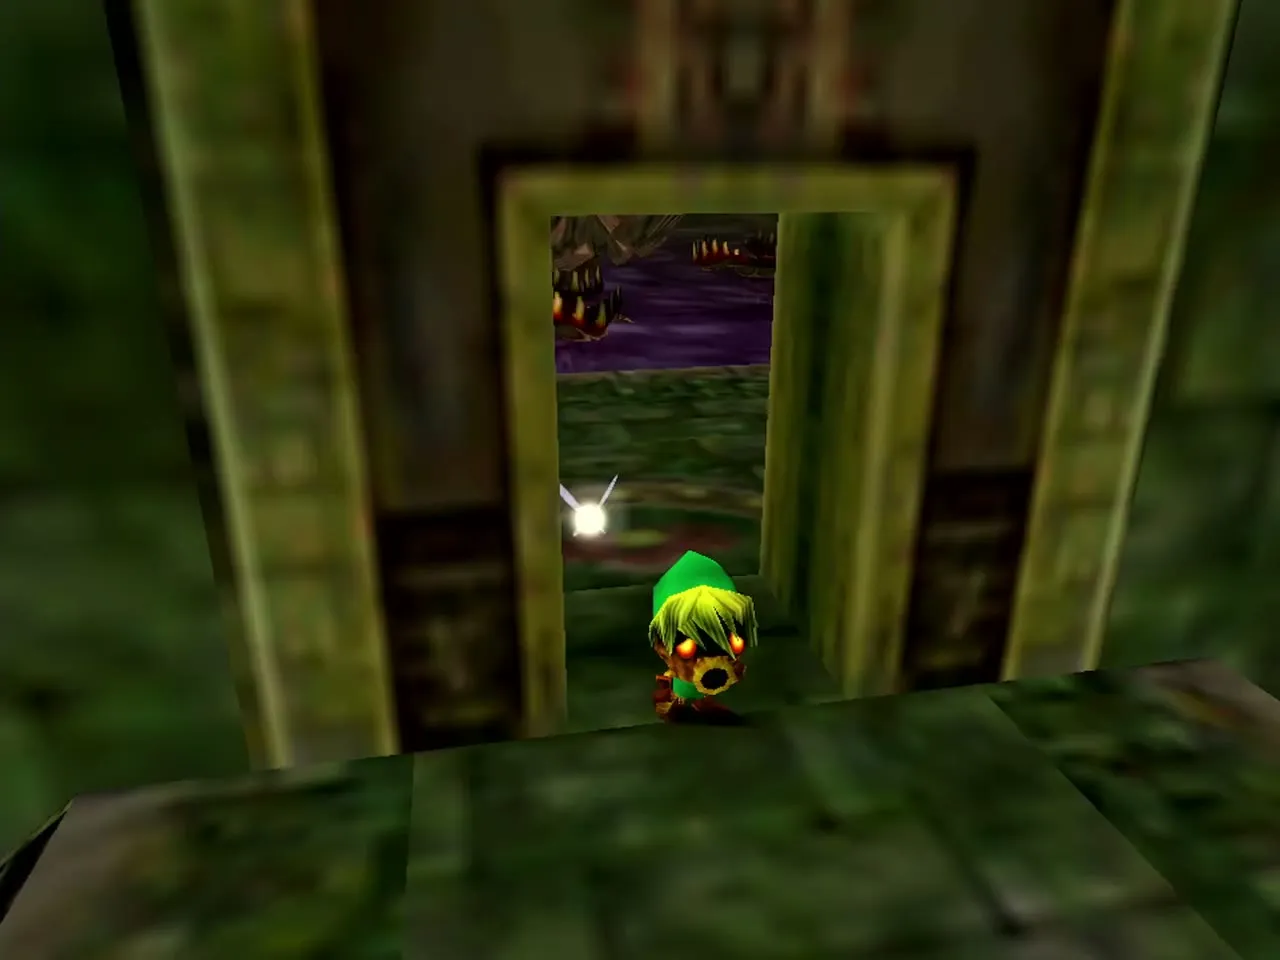
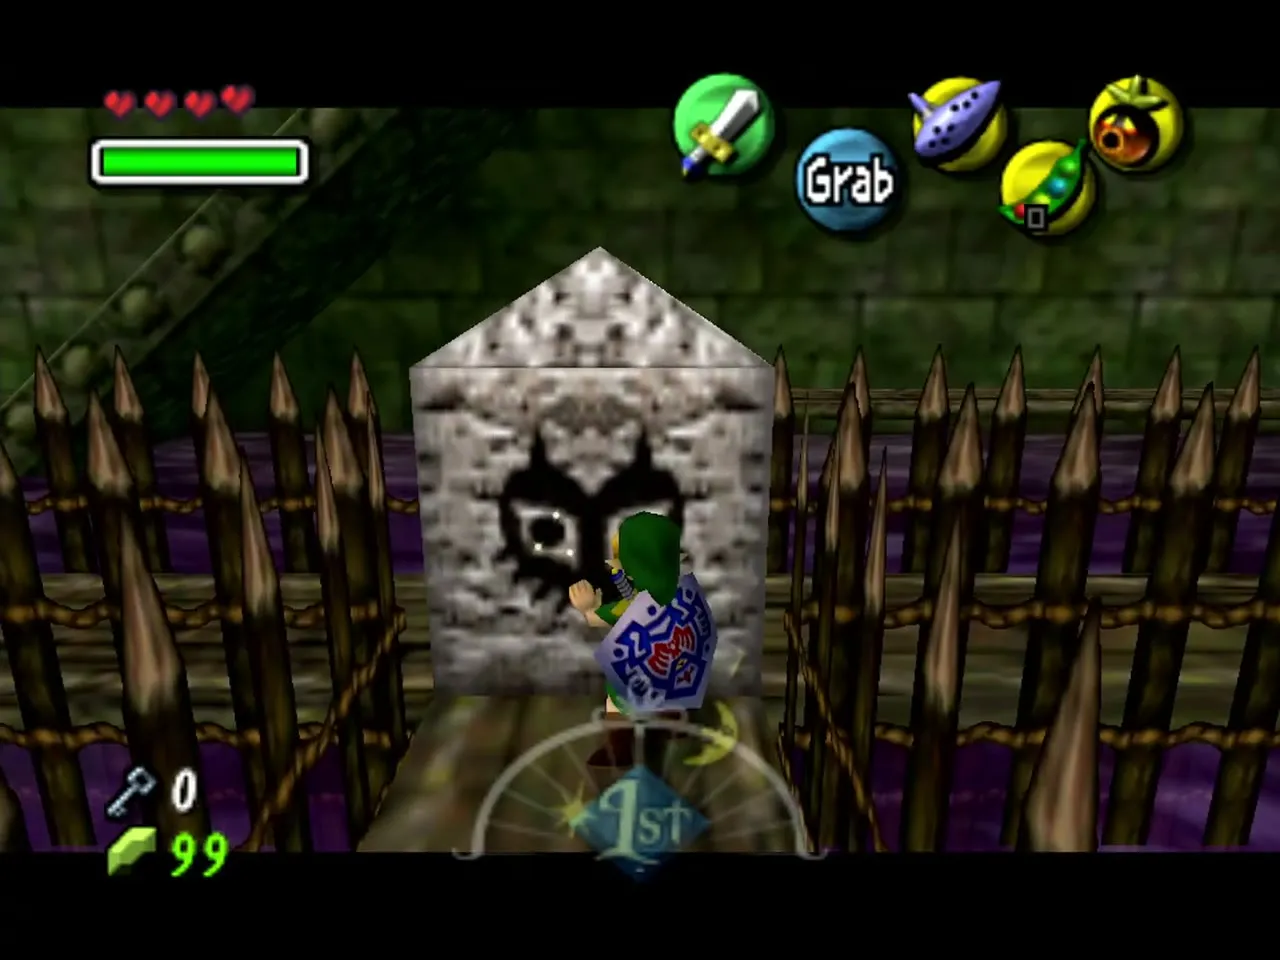
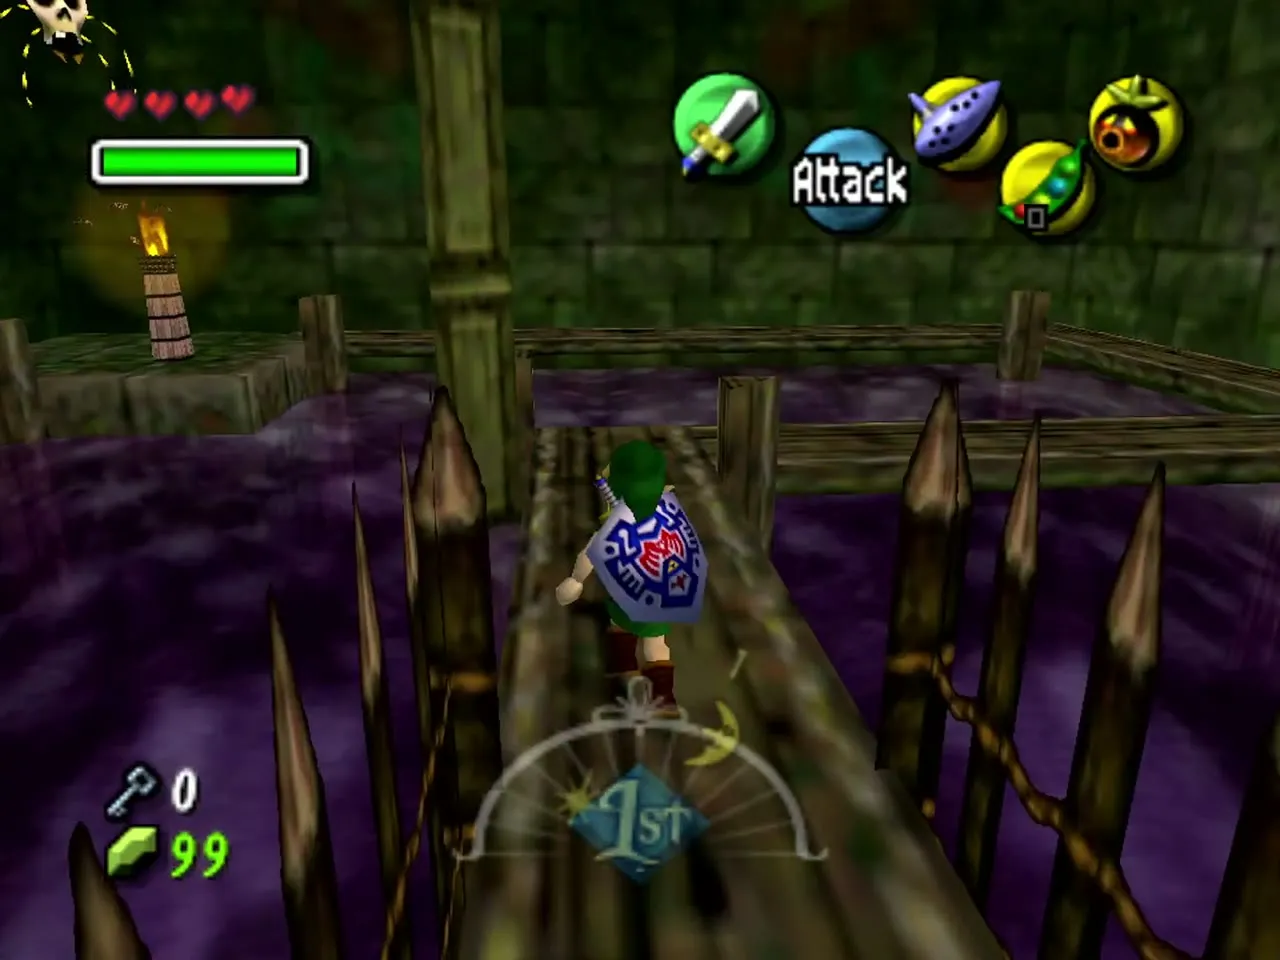
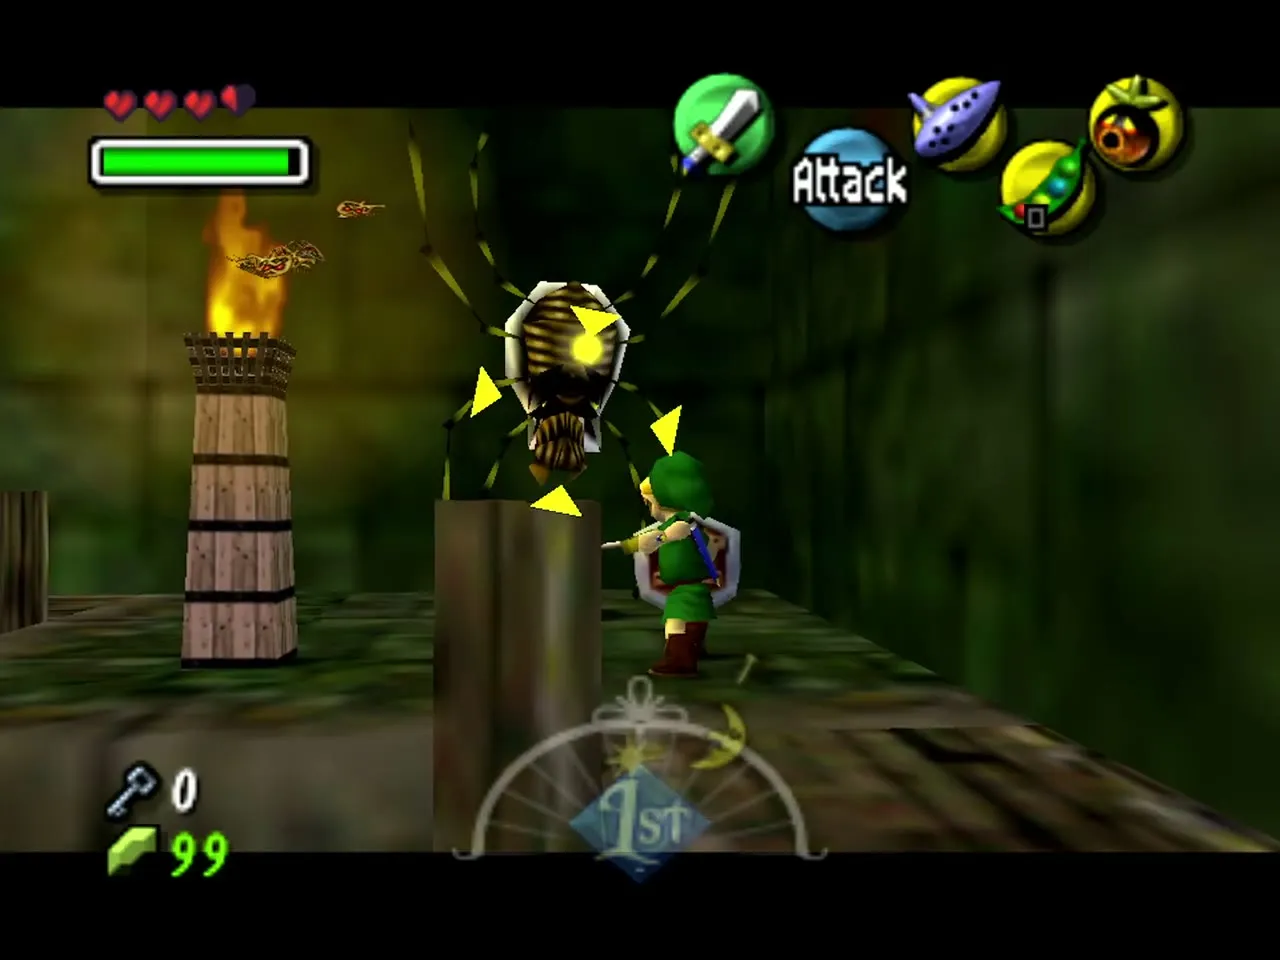
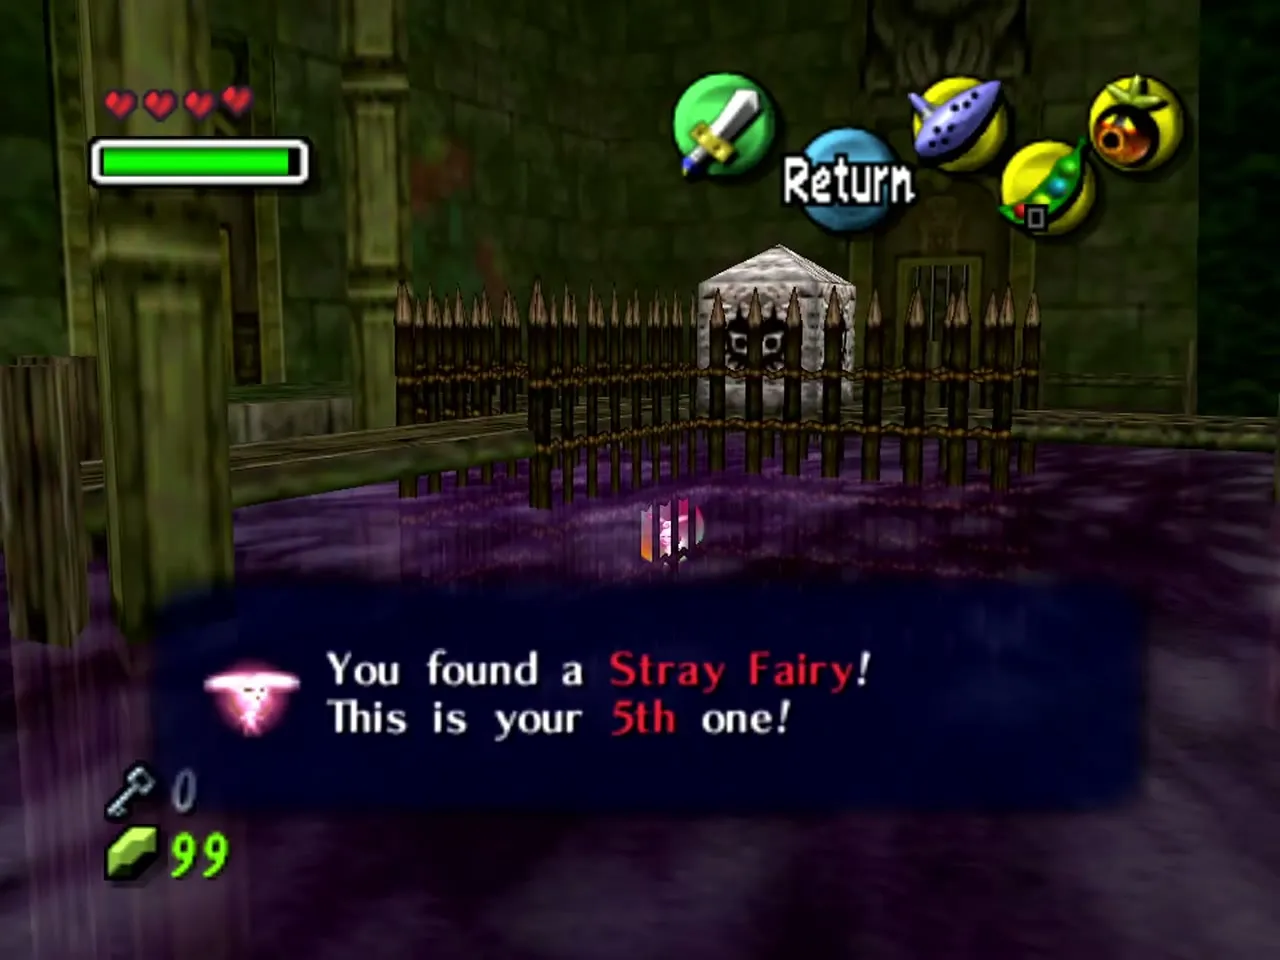
Return to the main hall and unlock the chained door with the Small Key. In the room beyond, a stone block carved with a face stands beside a spiked fence. Grab it with A and push it forward along the fence to open the path on the right. The key counter beside your hearts drops to 0 as the door opens.
Woodfall Temple Stray Fairy 6
A Skulltula hangs near a torch on the right-hand branch past the block. Hit it from behind with a Deku bubble, or a sword strike, when its back is turned, to defeat it and release Stray Fairy 6. The fairy flies out at the spot where the Skulltula falls, on the path beside the spiked fence, so wear the Great Fairy’s Mask and walk up to it.
Woodfall Temple Stray Fairy 8
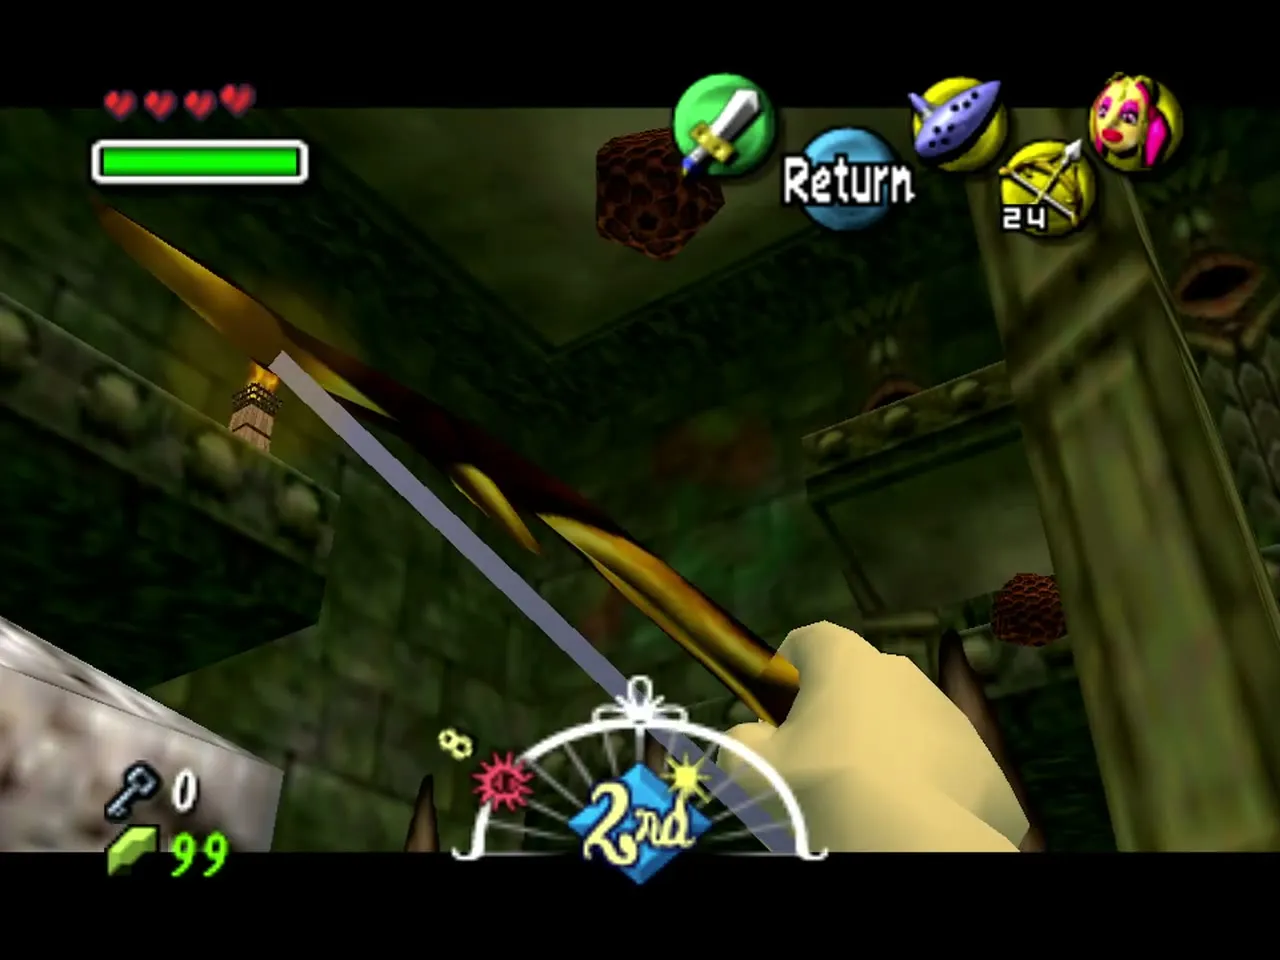
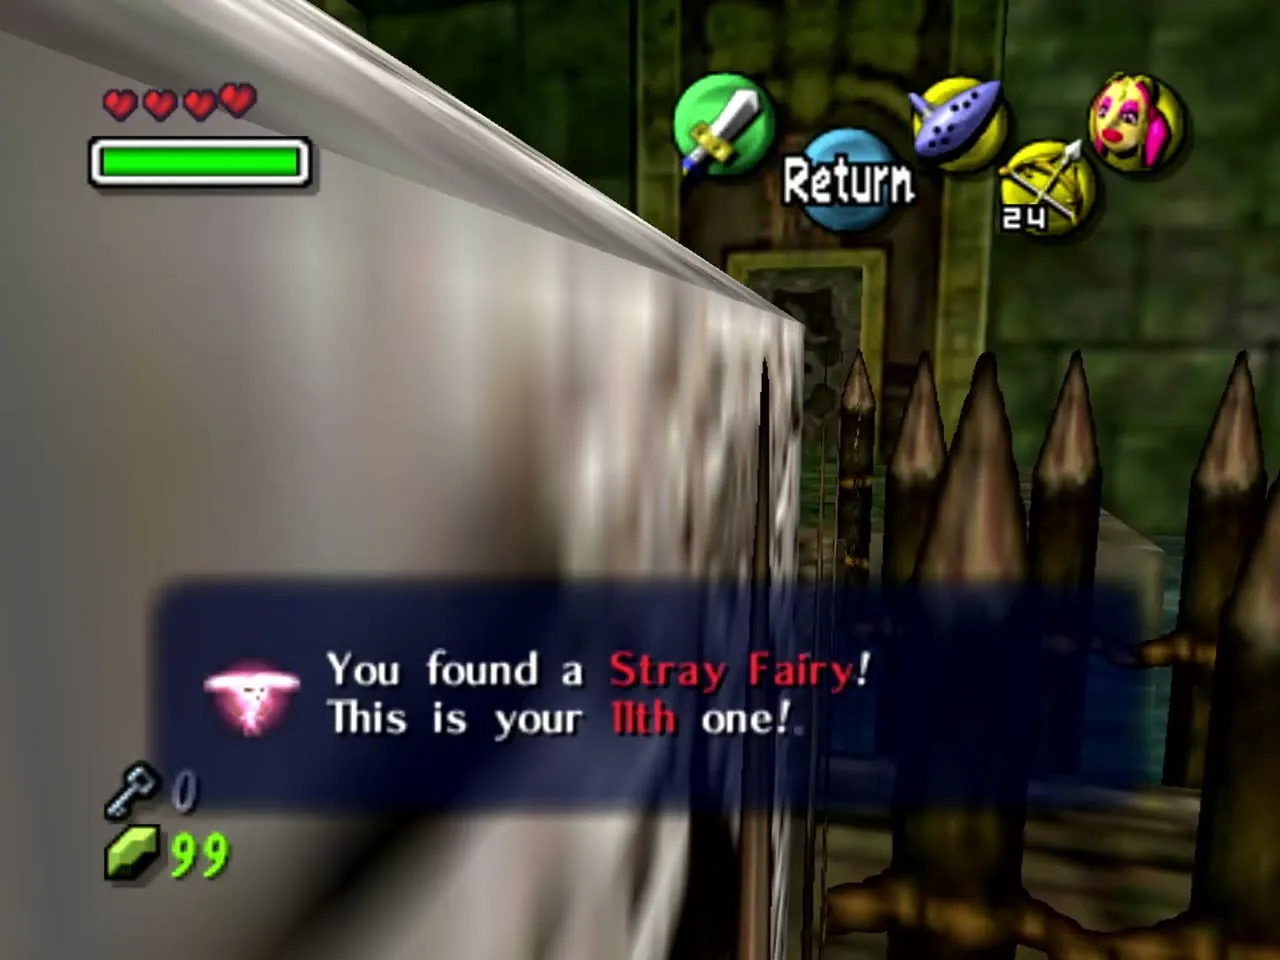
A beehive hangs on the ceiling above the stone block. Knock it down with a Deku bubble, or with an arrow once you hold the Hero’s Bow, and Stray Fairy 8 flies out. Use the Great Fairy’s Mask to pull it in.
How to get the Compass
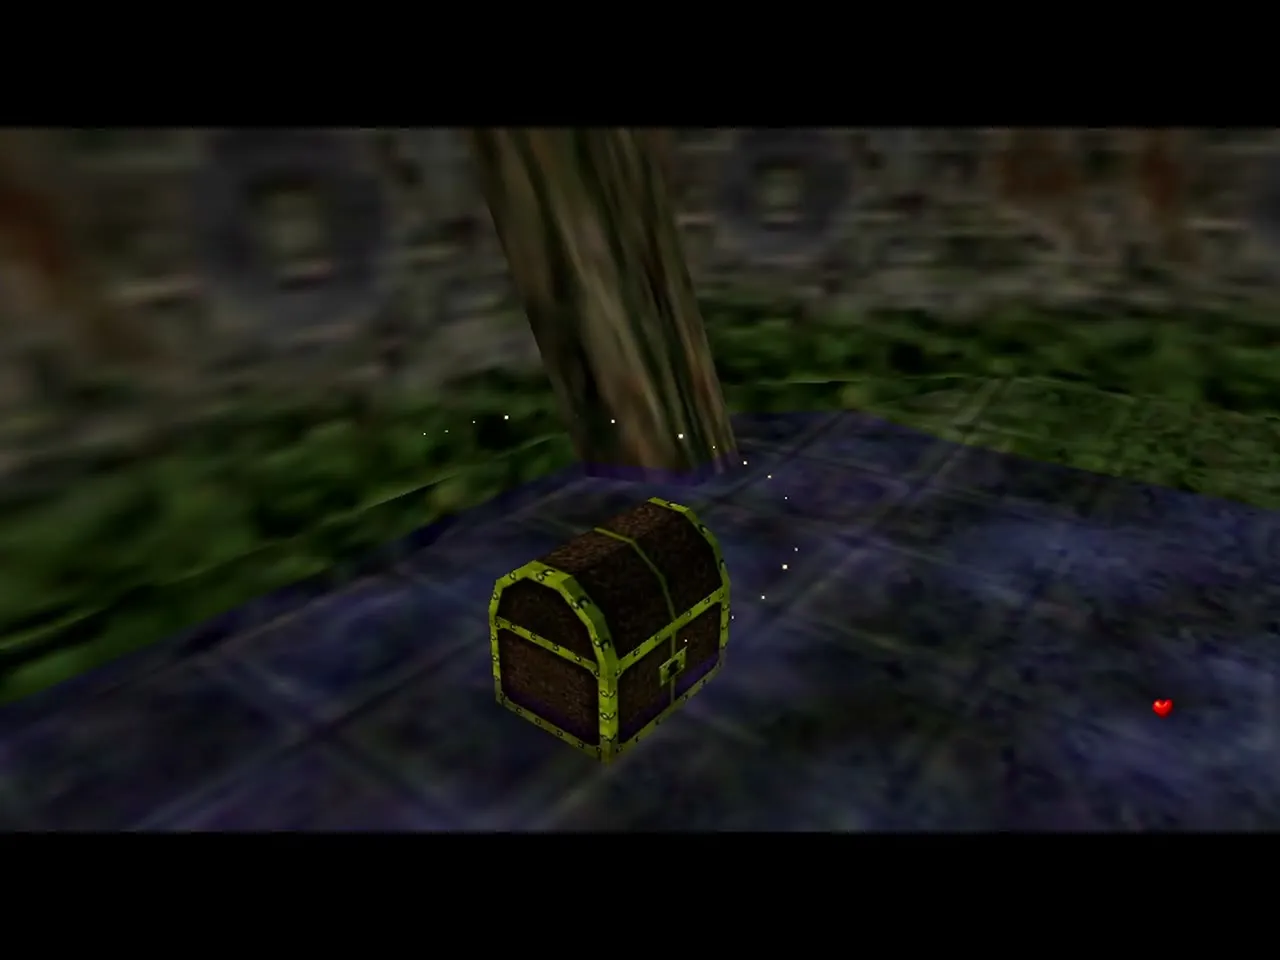
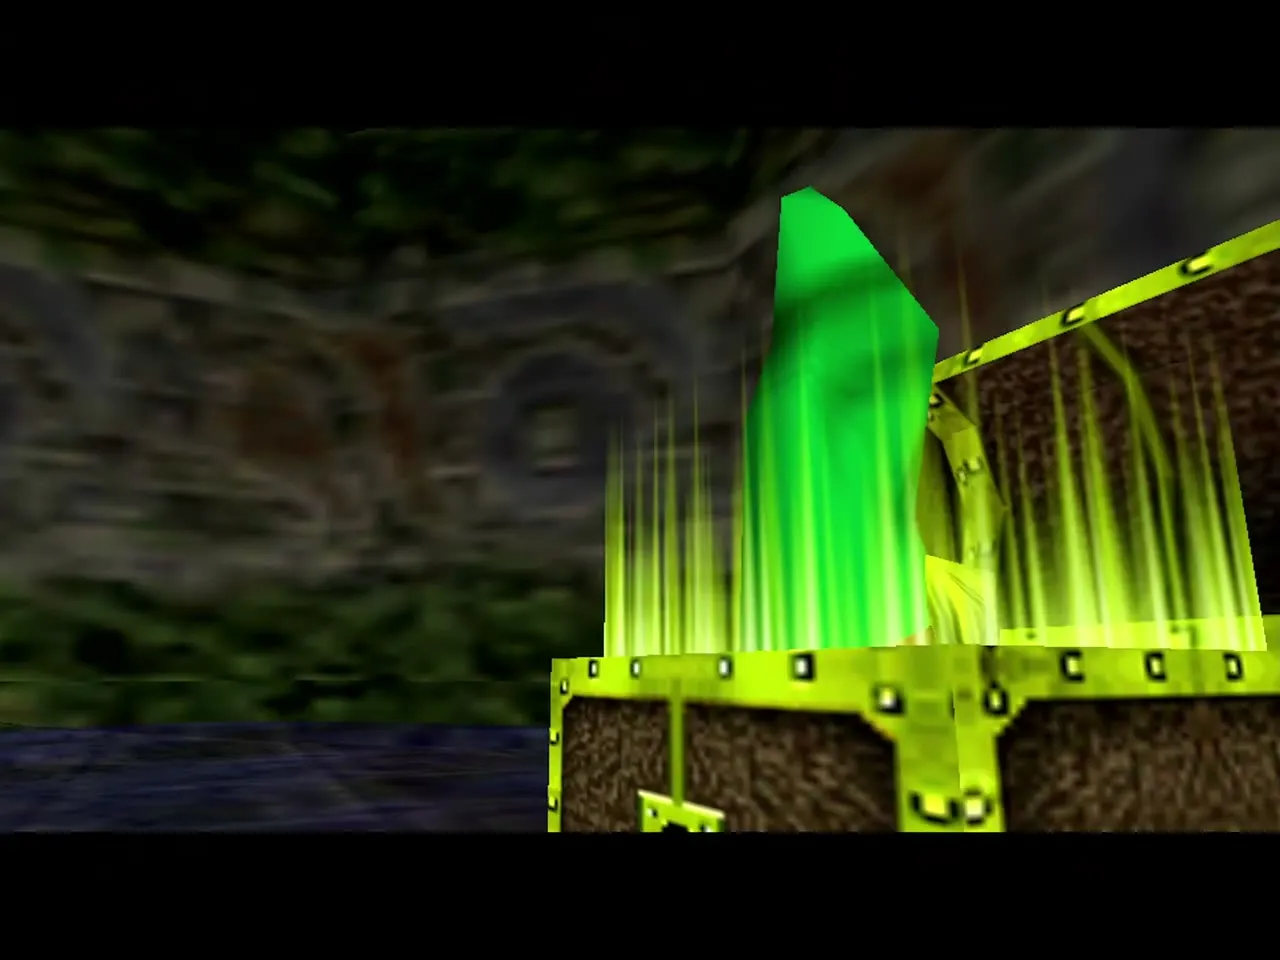
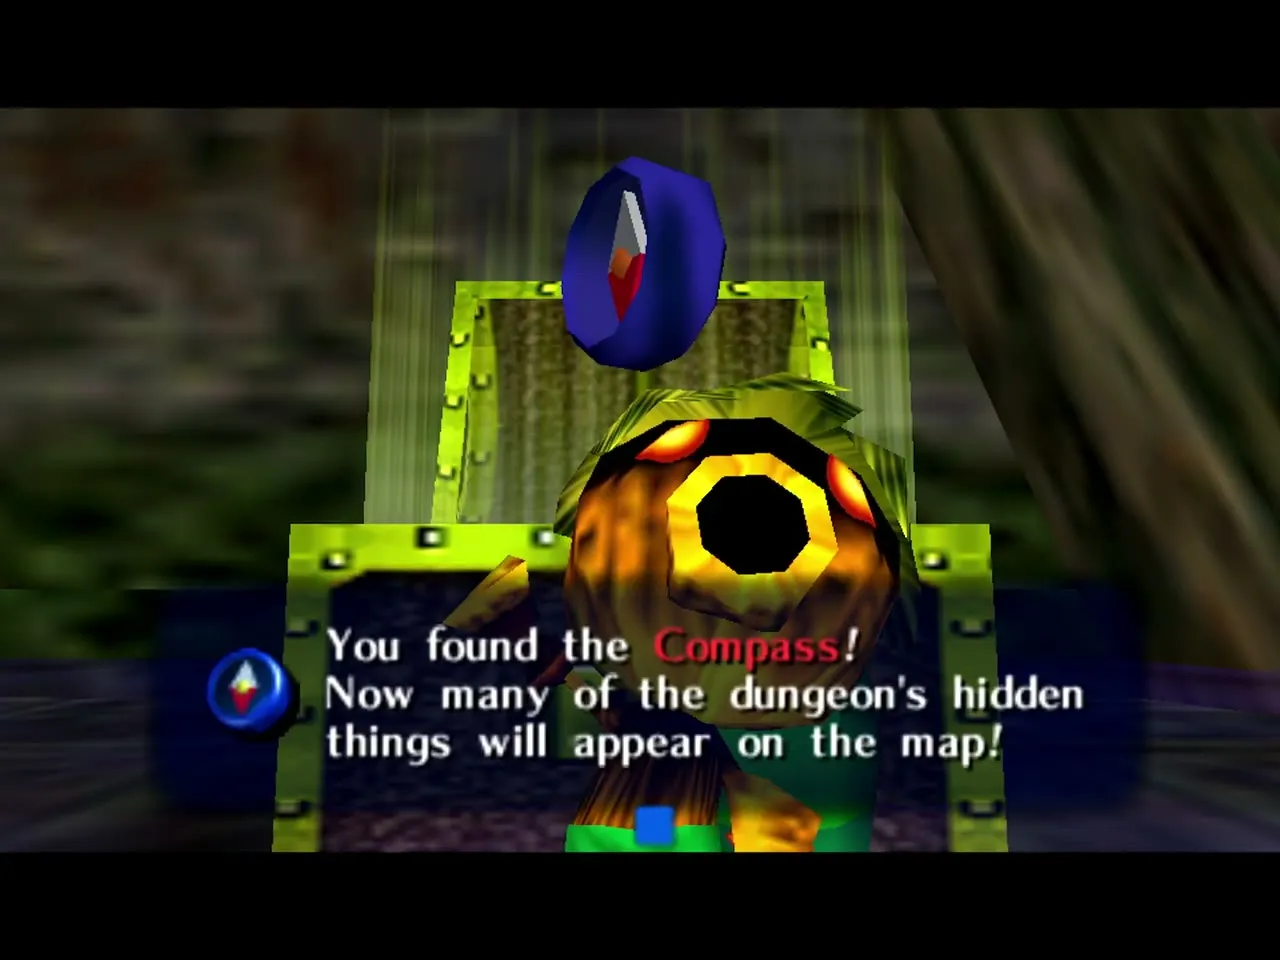
Take the other route out of the block room and light the torches along it with a Deku Stick to open the next door. The room beyond holds Dragonflies. Defeat them and a chest opens with the Compass, which marks chests and hidden things on your map (“Now many of the dungeon’s hidden things will appear on the map!”). A lit Deku Stick burns out quickly, so light the torches one after another without stopping.
Upper floor: Black Boes and the north bubble

Woodfall Temple Stray Fairy 9: the Black Boes room
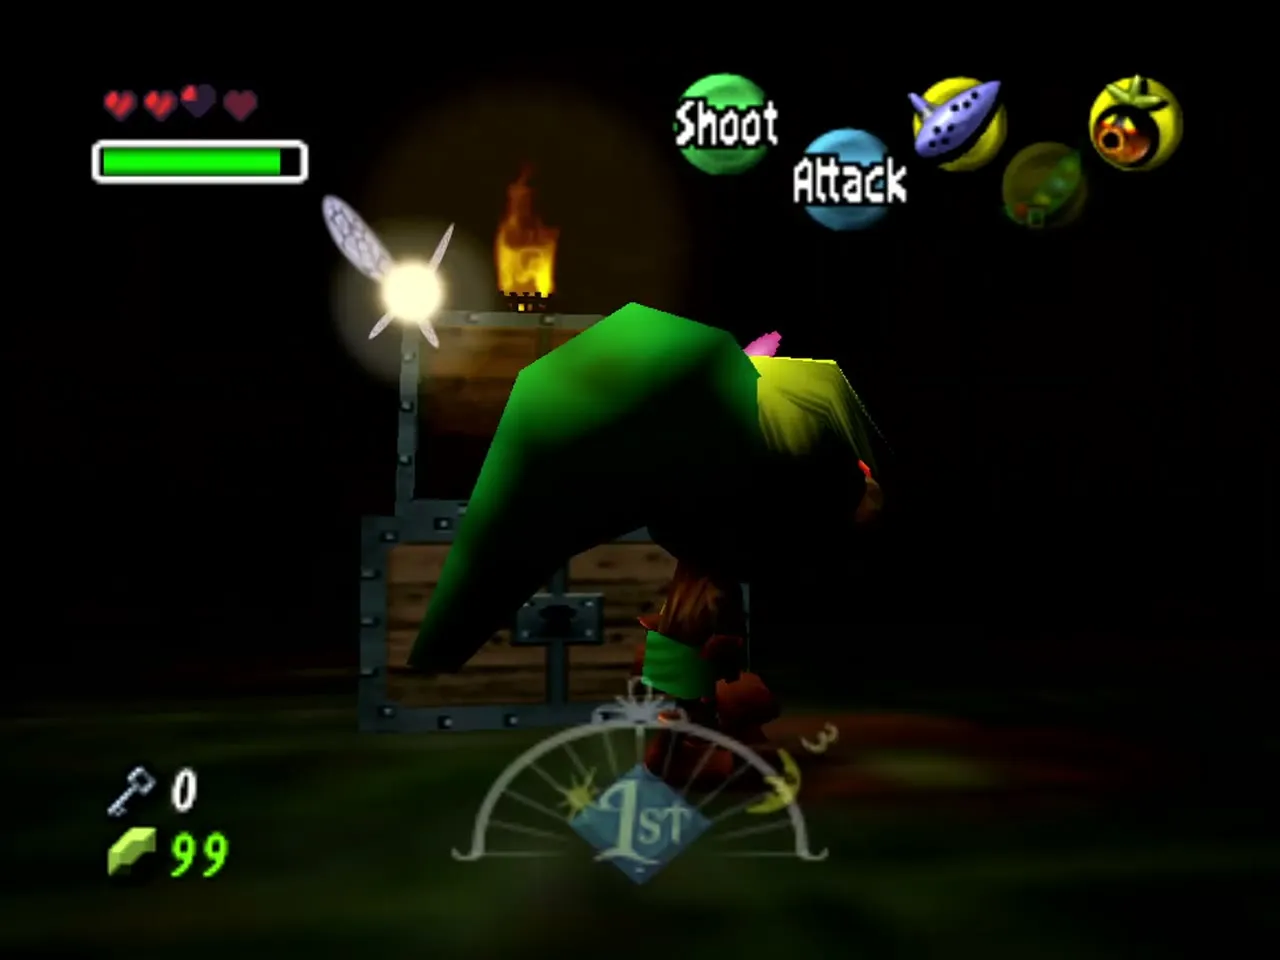
From the block room, carry a lit Deku Stick up the stairs, burn through the webbing and enter the dark room, where Black Boes lurk. Defeat all of them and a chest appears with Stray Fairy 9. Stay in Hylian form here, use the spin attack when two Boes close in, and keep the torch lit so you can see them coming; light the torches afterwards to open the way on.
Woodfall Temple Stray Fairy 10
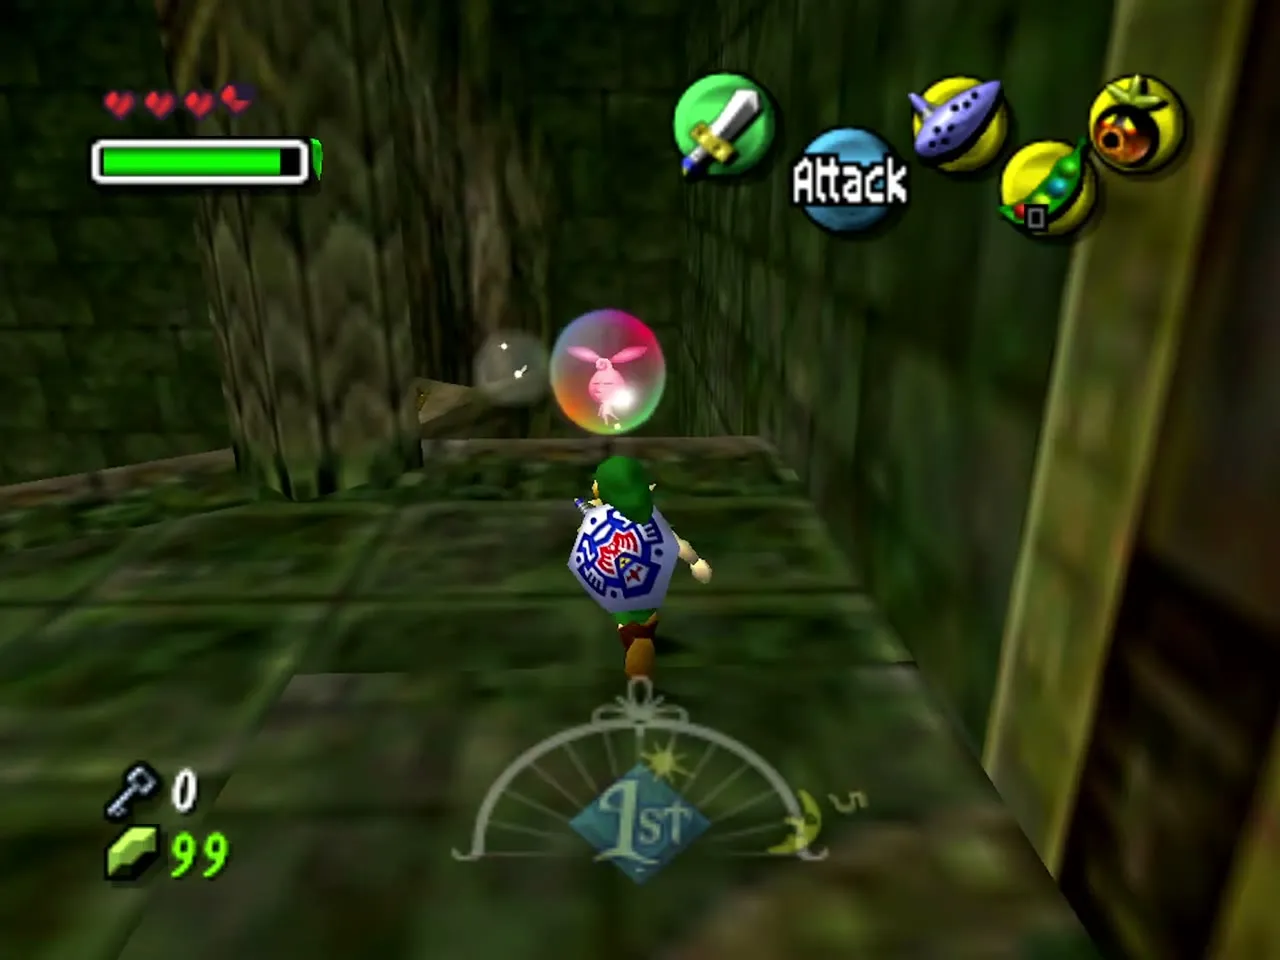
Back in the main hall, climb to the upper level and look near the corner of the platform for a bubble that traps Stray Fairy 10. Pop it with your sword and collect the fairy with the mask. You now hold eight of the fifteen (1 to 4, 6, 8, 9 and 10).
Hero’s Bow and the Dinolfos
The way to the east room
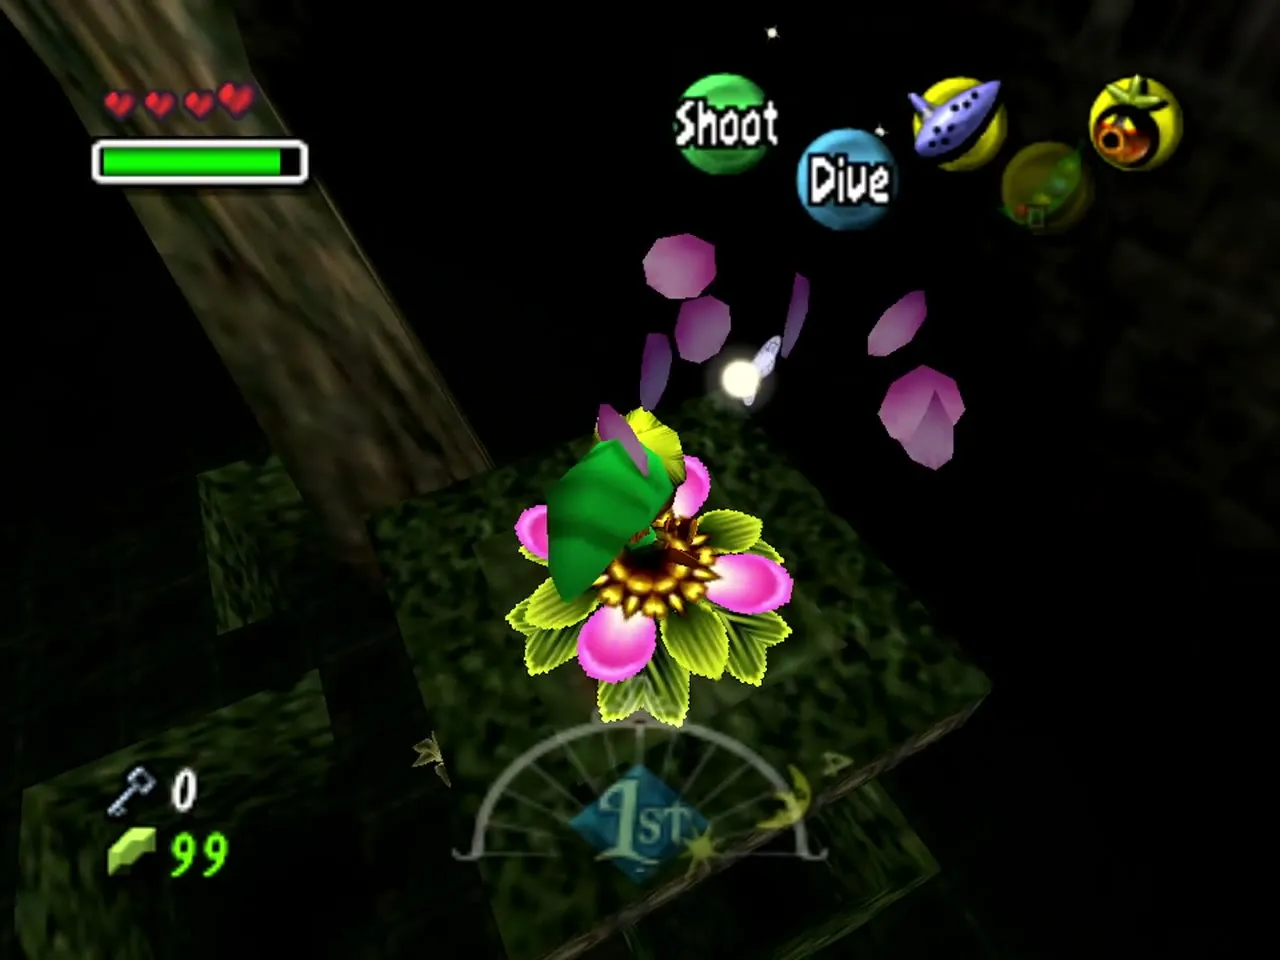
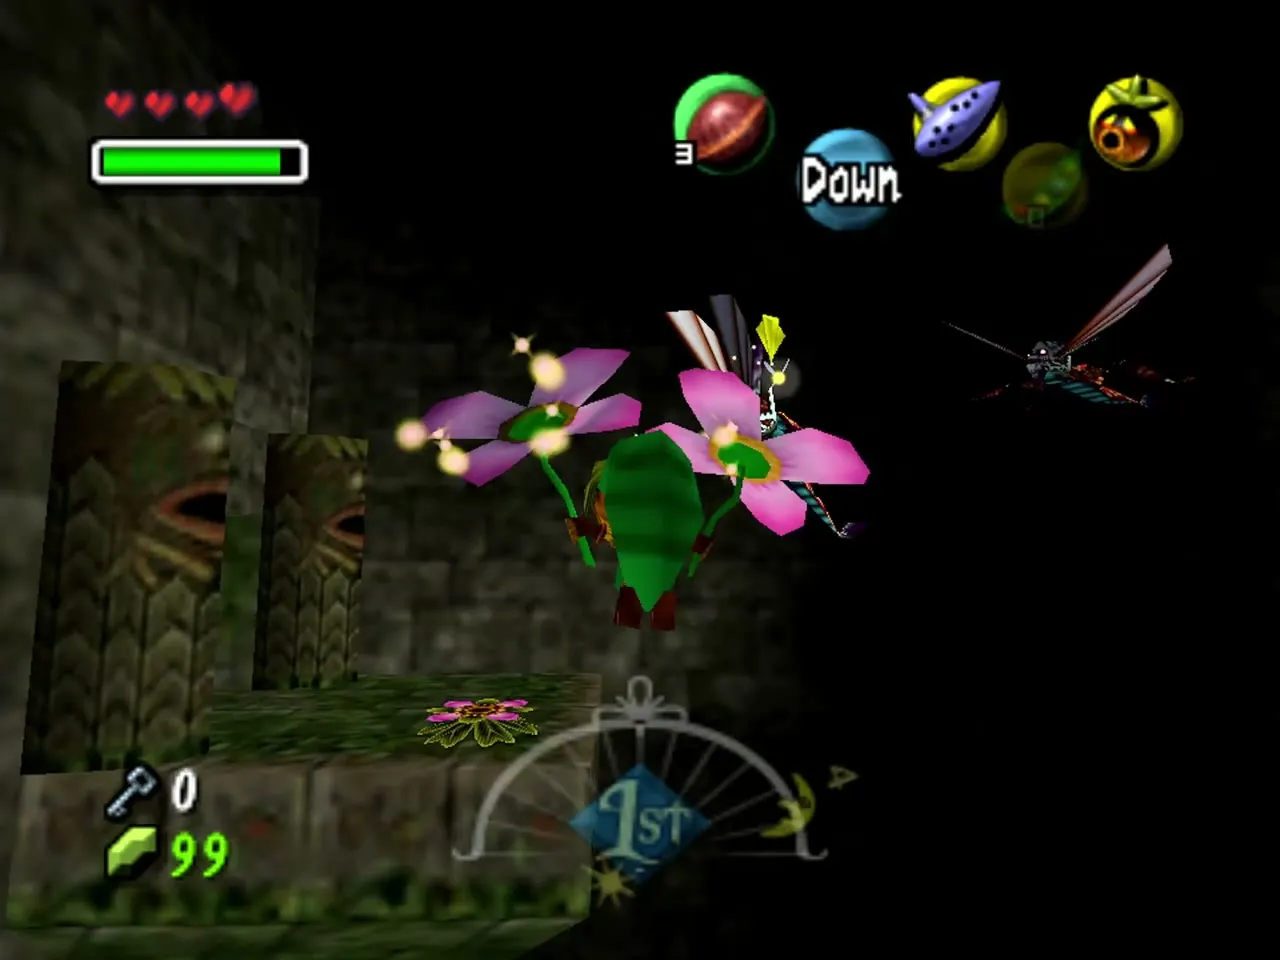
Light the torches to open the door into the large flower room, then use the launcher flowers to reach its upper level. Go through the eastern door and press the switch to open a shortcut. The next door leads to a Dinolfos.
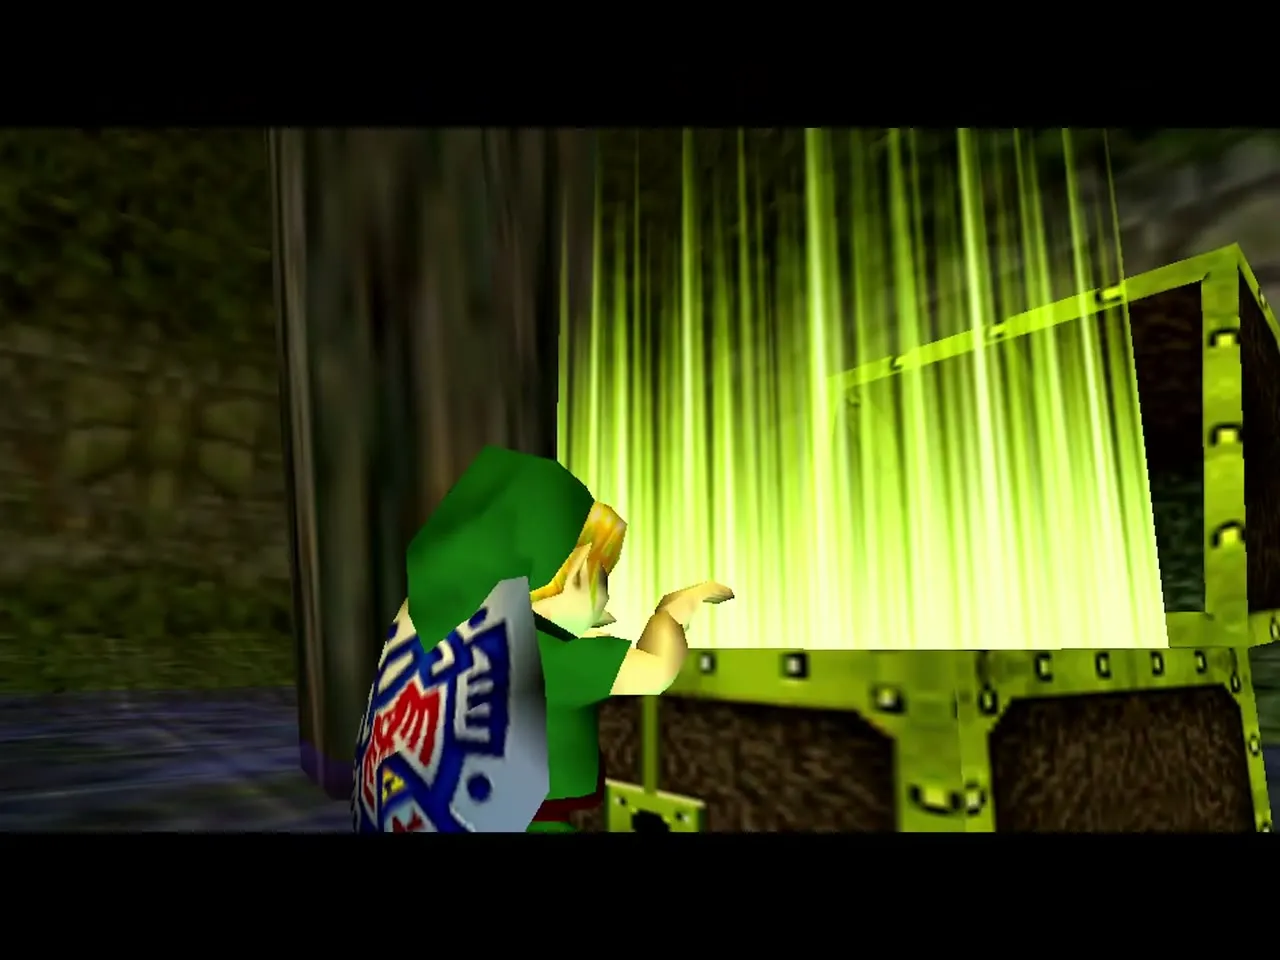
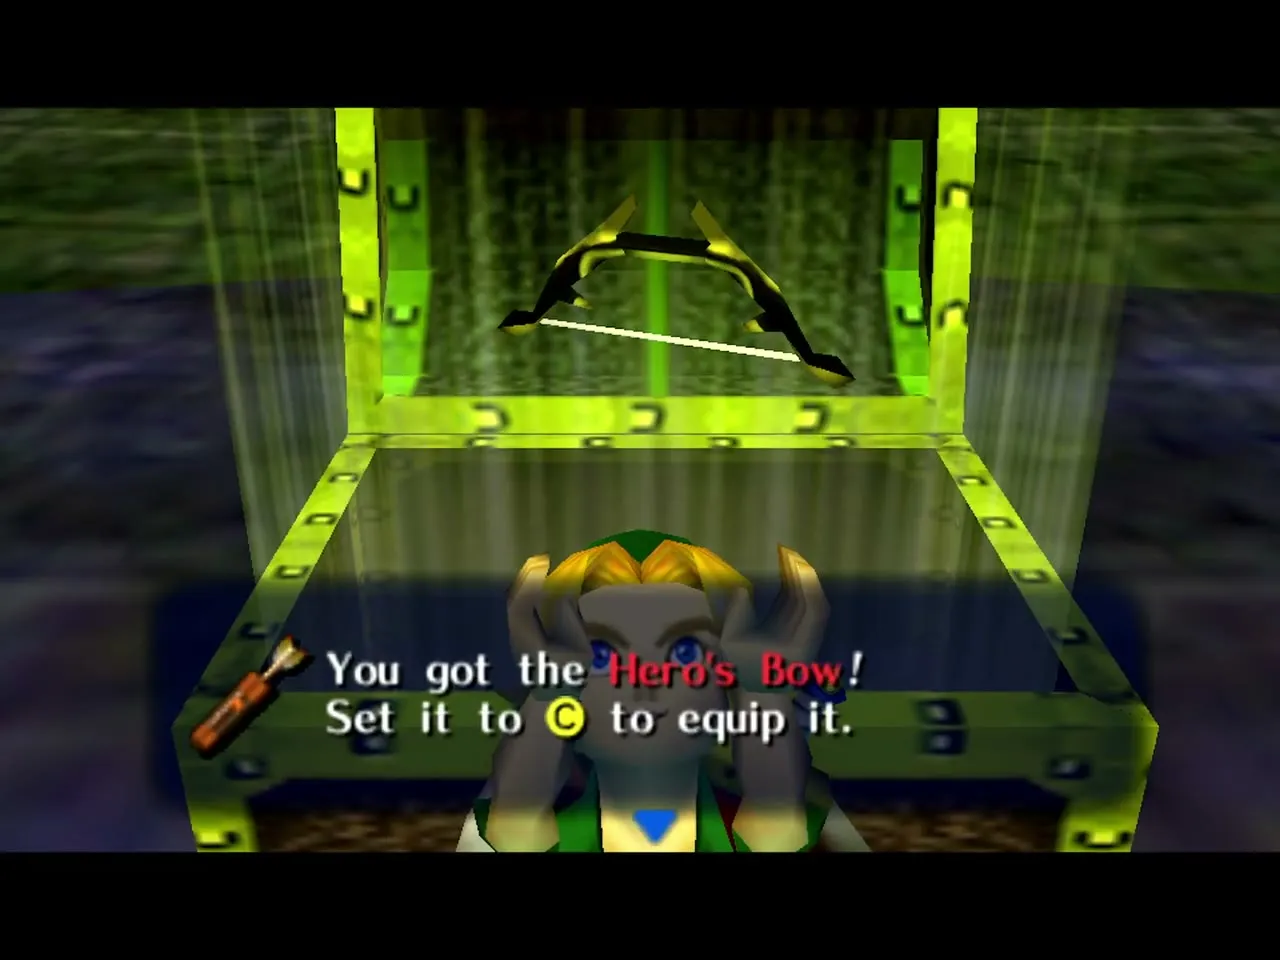
How to beat the Dinolfos and get the Hero’s Bow
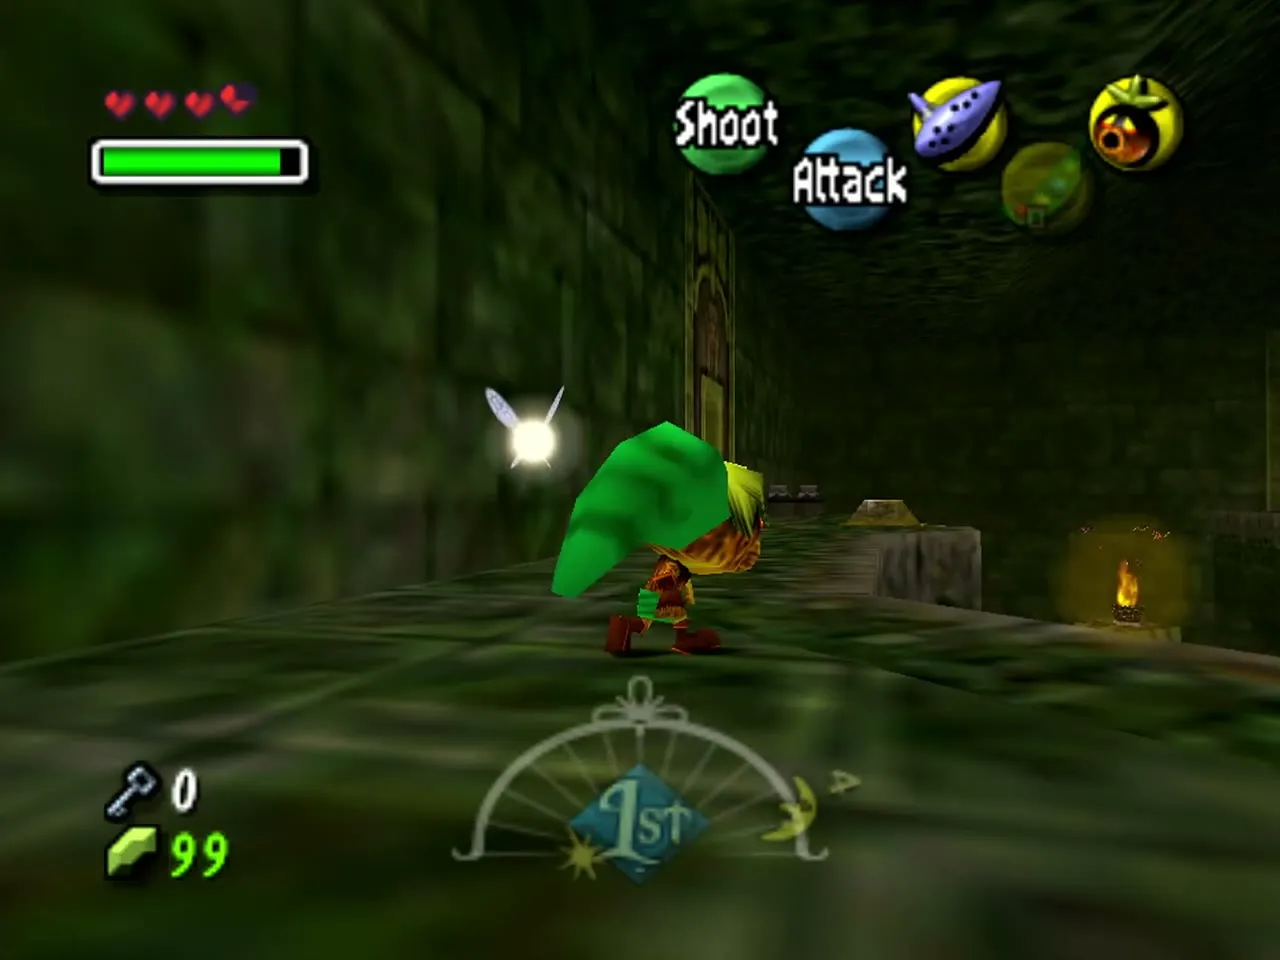
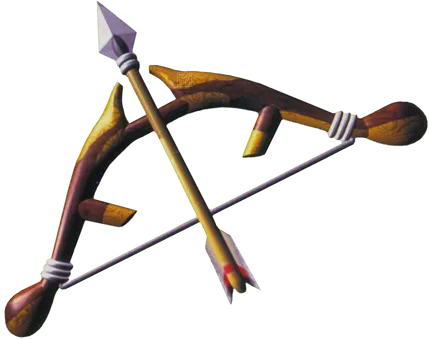
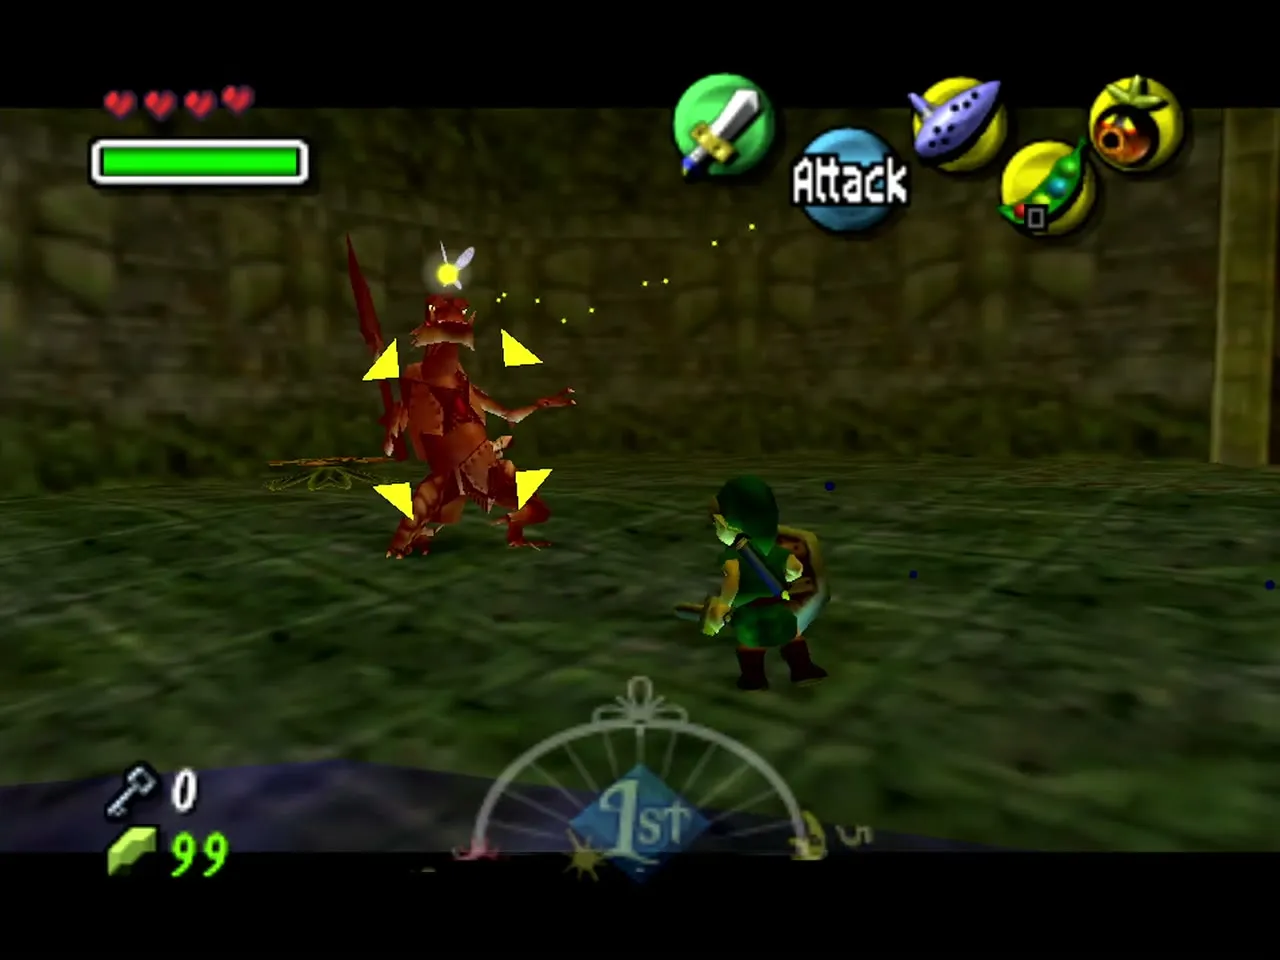
The Dinolfos is a fast lizard warrior that breathes fire. Block its attacks with your shield, back away from the flames and strike when it leaves itself open. Its chest then holds the Hero’s Bow, which comes with a quiver of 30 arrows (“Set it to C to equip it”). Set it to a C button next to the Deku Mask; you need it for the rest of the temple, and the arrow count beside the button shows how many shots you have left. Hold the bow up with Z-targeting to line up the shot, and let go of the button to fire.
Woodfall Temple Stray Fairy 5
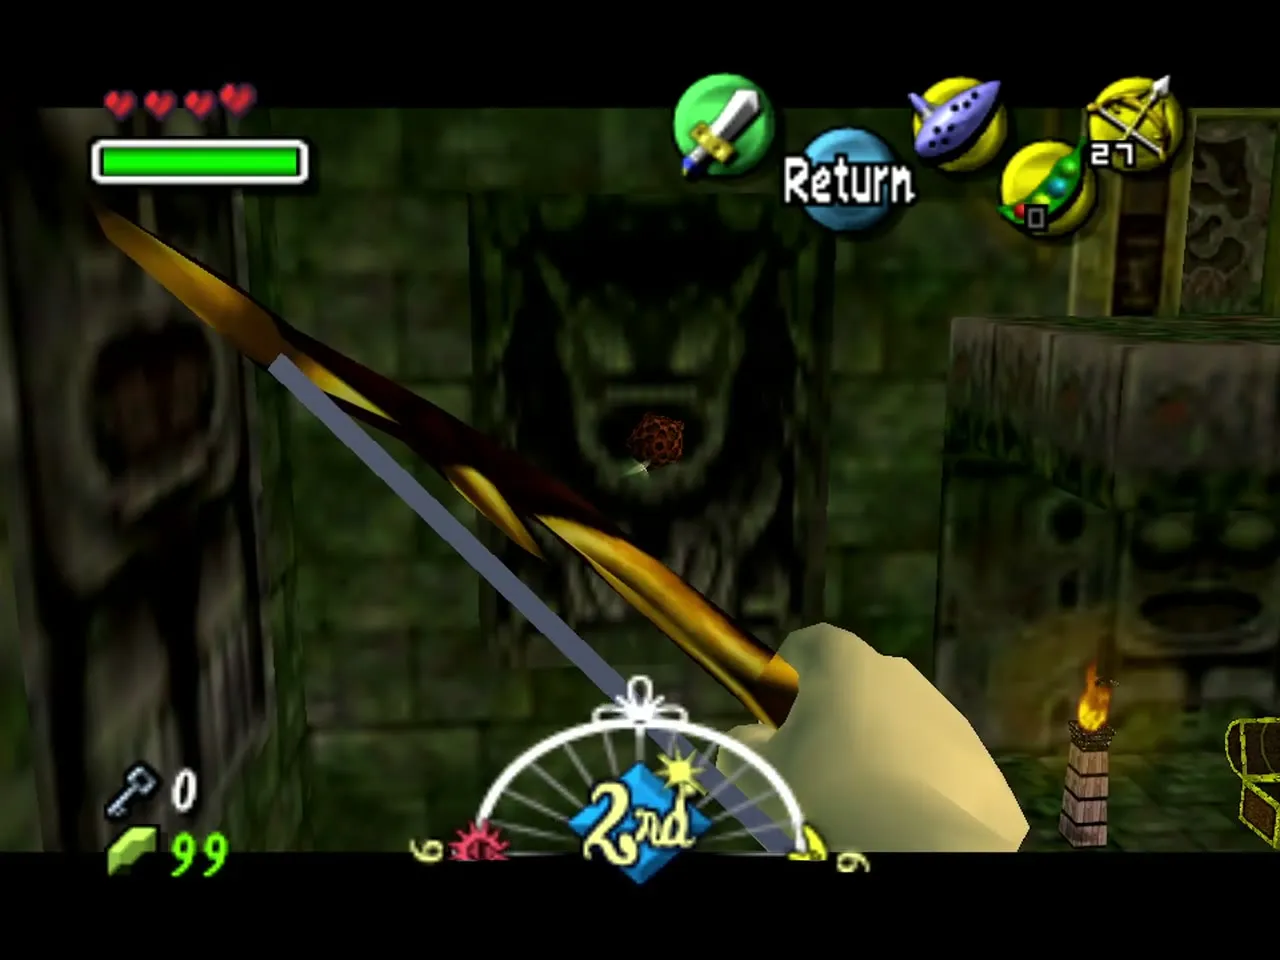
Now that you hold the bow, go back to the room with the Small Key chest. Shoot the beehive on the wall to the left of the chest with an arrow, or pop it with a Deku bubble so it falls into the water, then call the fairy in with the Great Fairy’s Mask for Stray Fairy 5.
Gekko, Snapper and the Boss Key
Shoot the eye switch
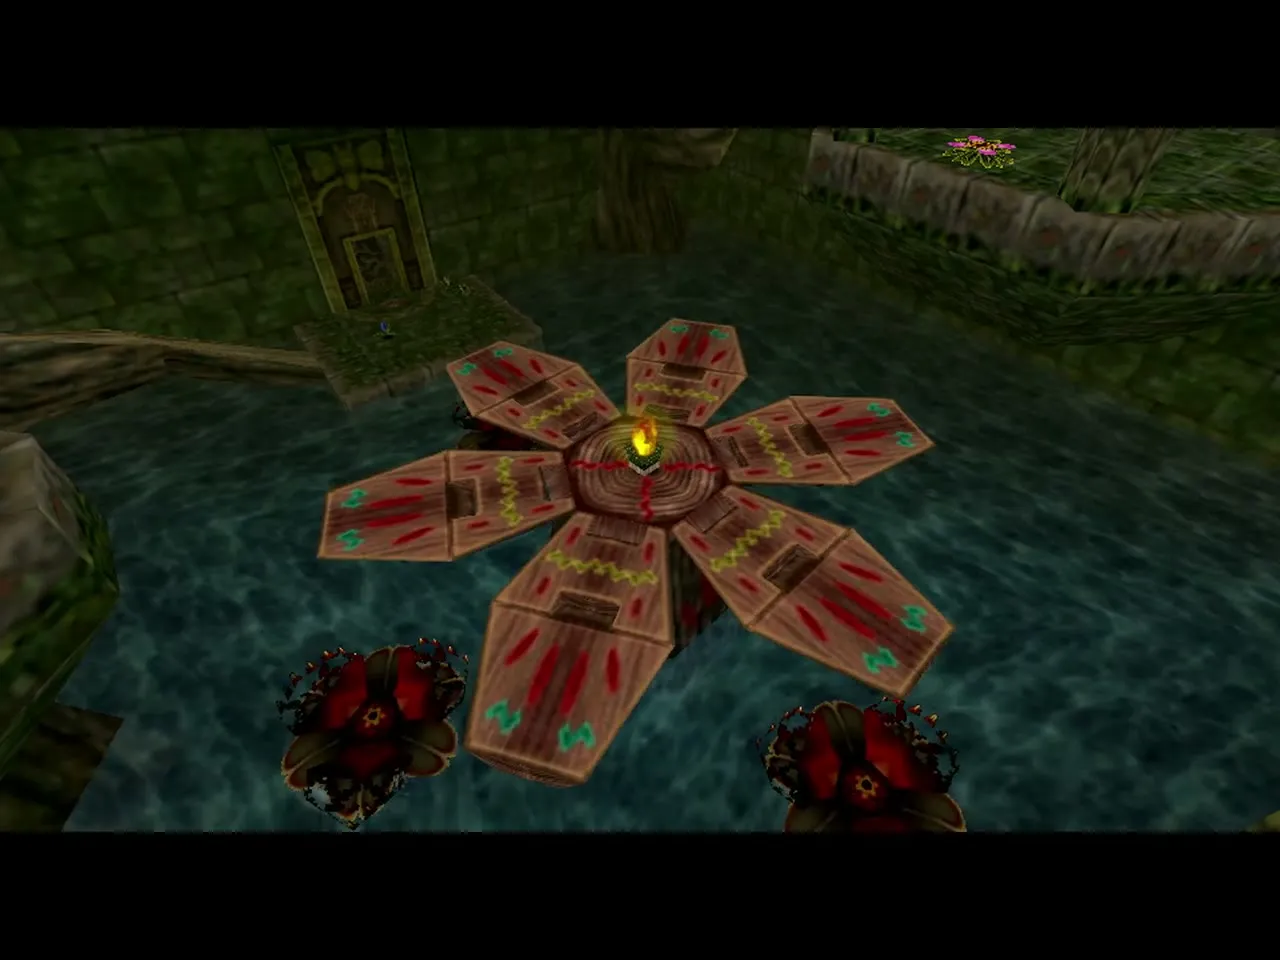
Return to the flower room and shoot the diamond-shaped eye switch with an arrow. The central flower rises; use it to reach the next passage, which leads to the mini-boss chamber.

Gekko and Snapper mini-boss fight
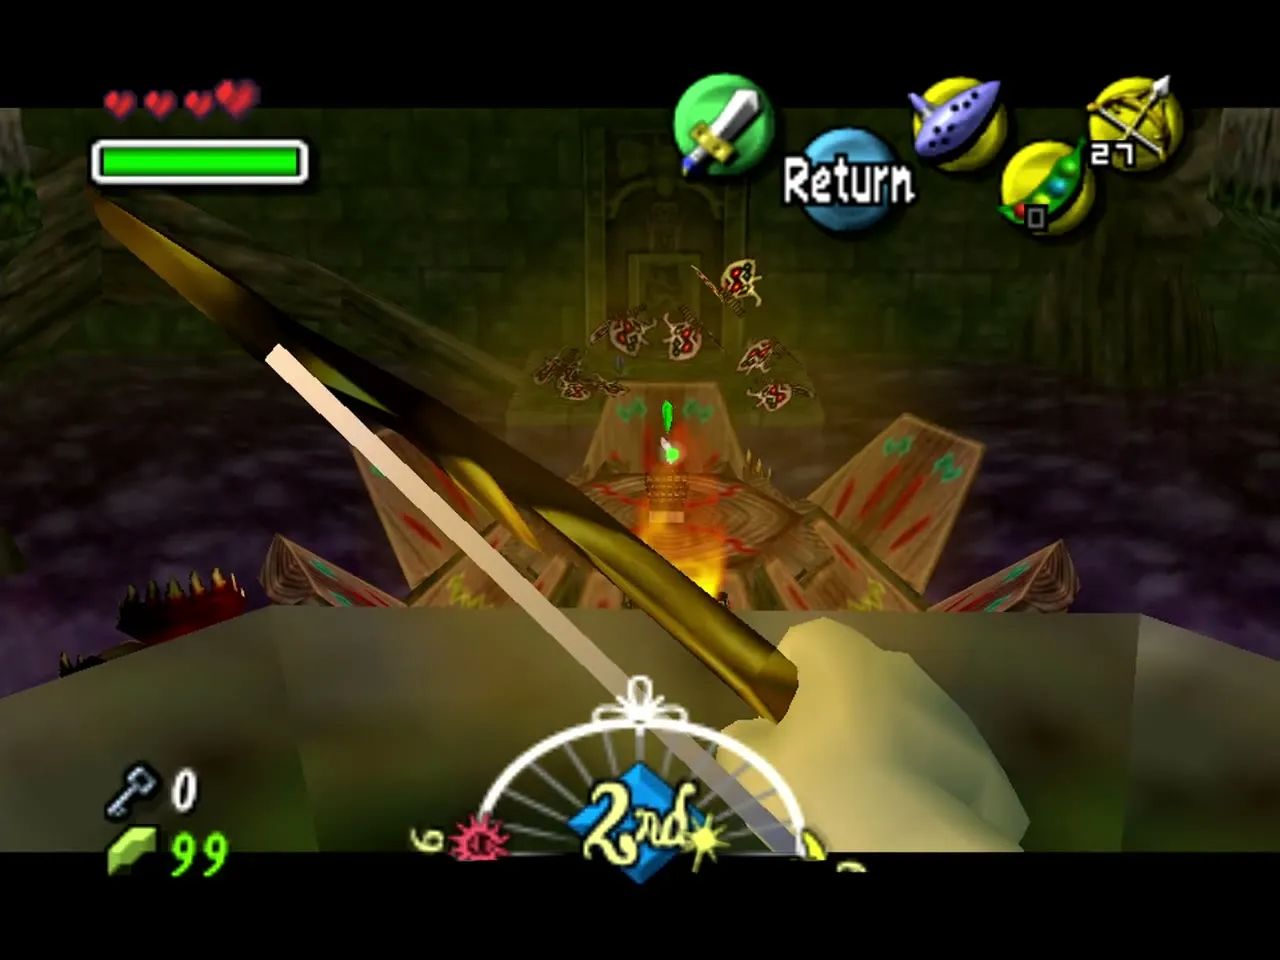
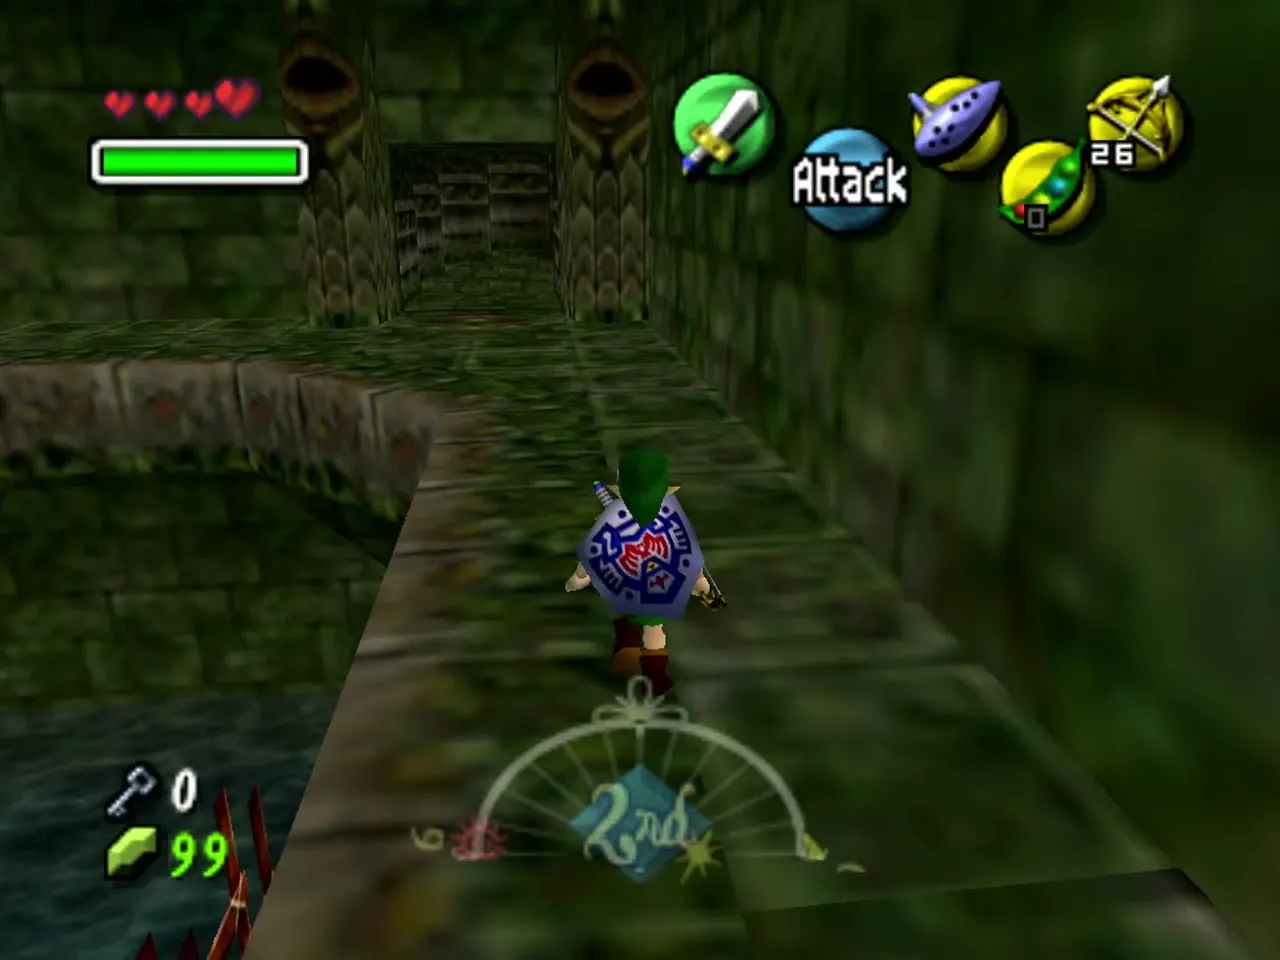
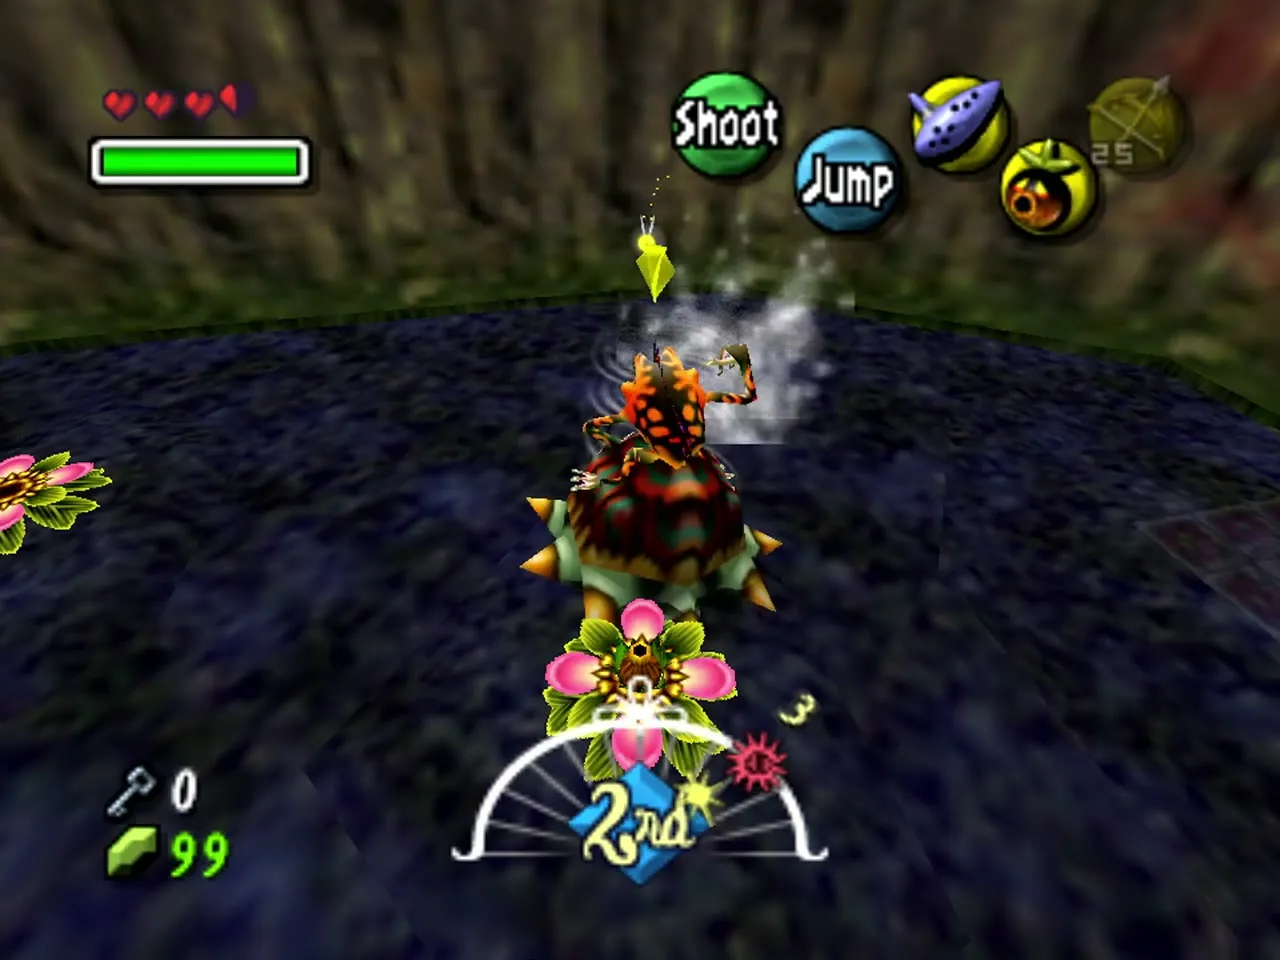
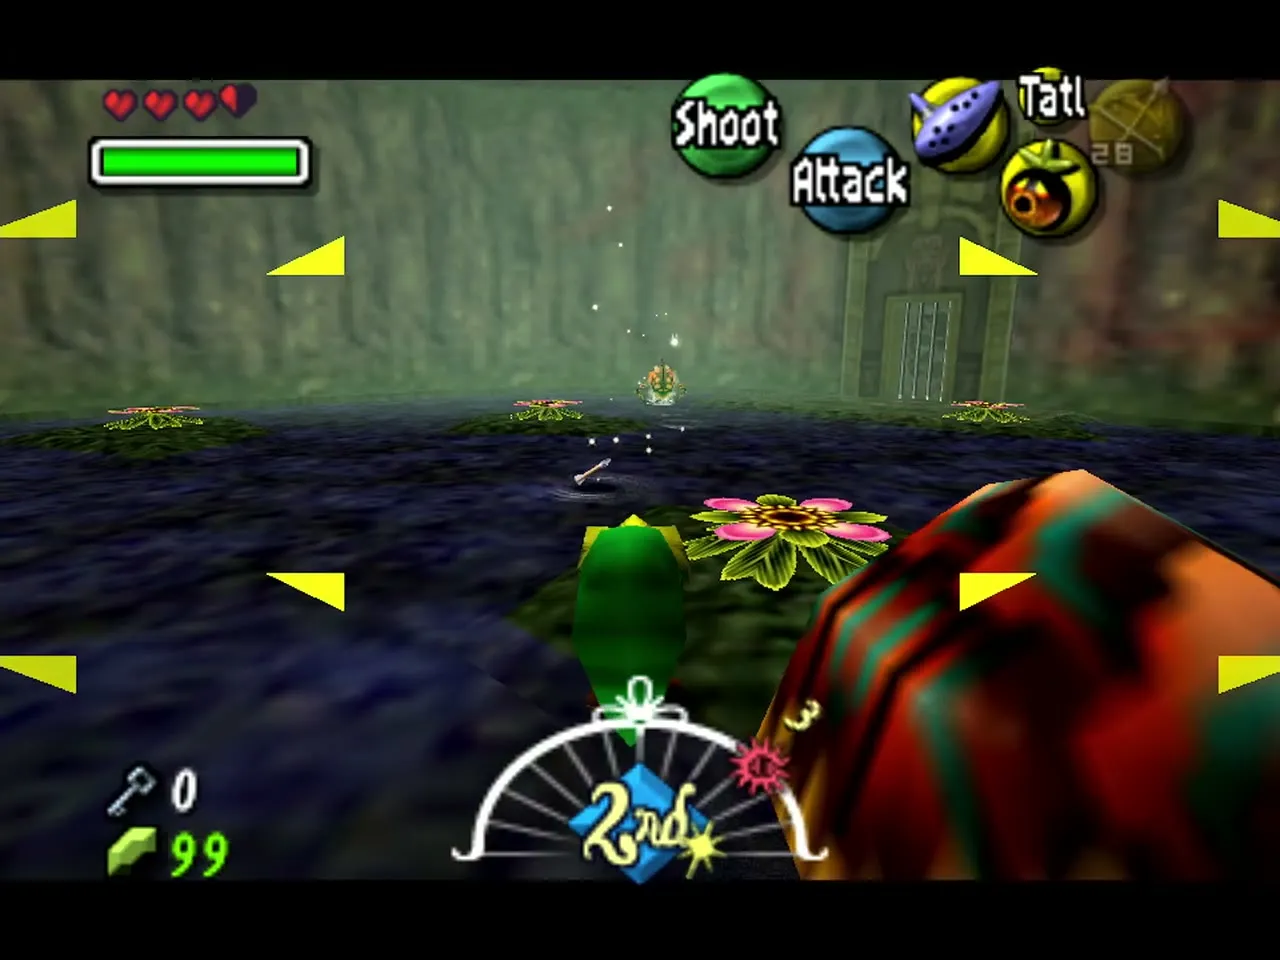
Gekko is a lizard that rides a Snapper. When it calls the Snapper in, switch to Deku Link and launch from a flower into the Snapper to knock Gekko off. Change back to Hylian Link and shoot Gekko with an arrow while it is exposed. Repeat until it falls.
How to get the Boss Key
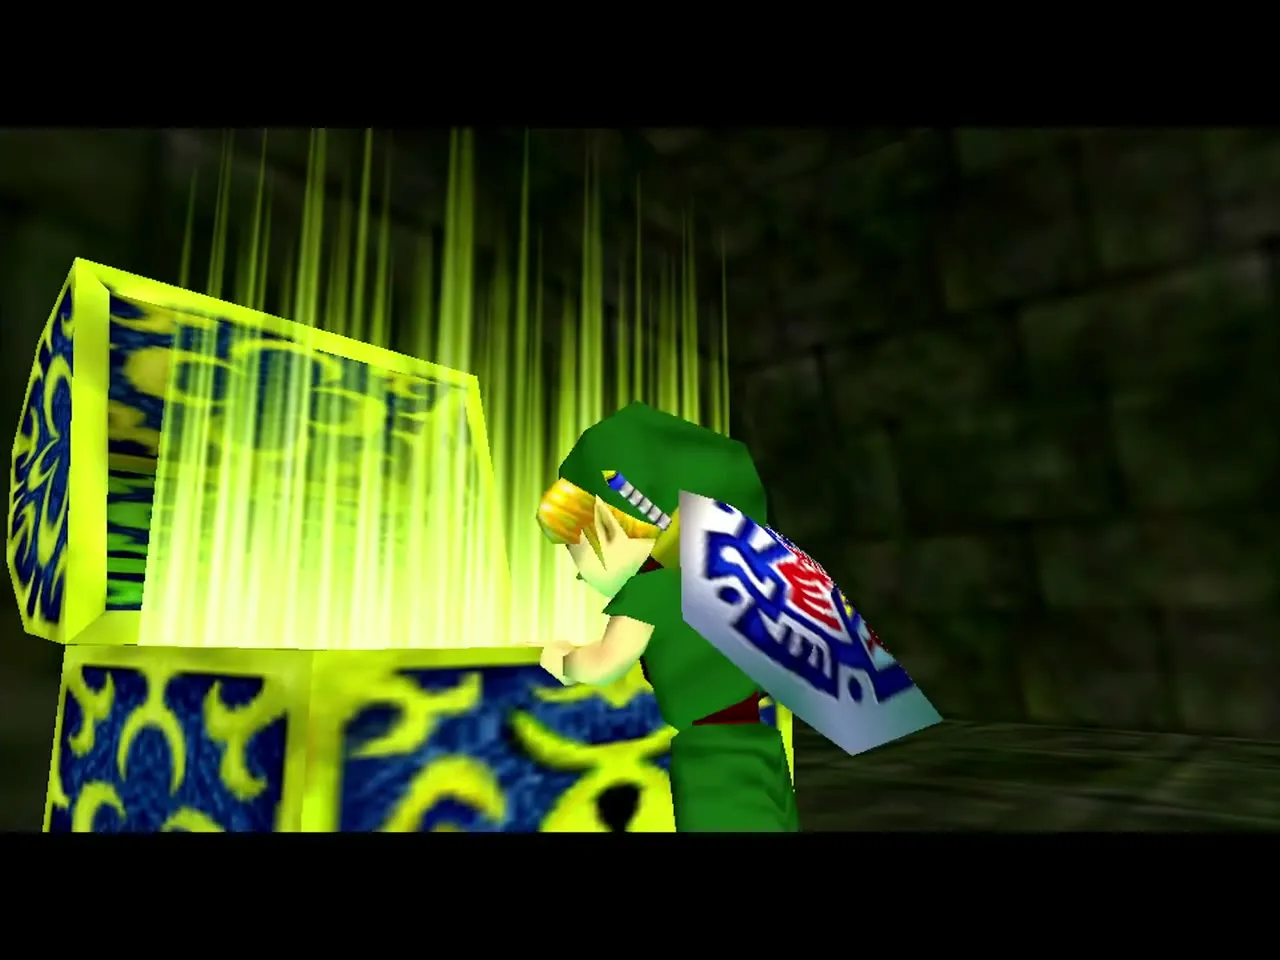
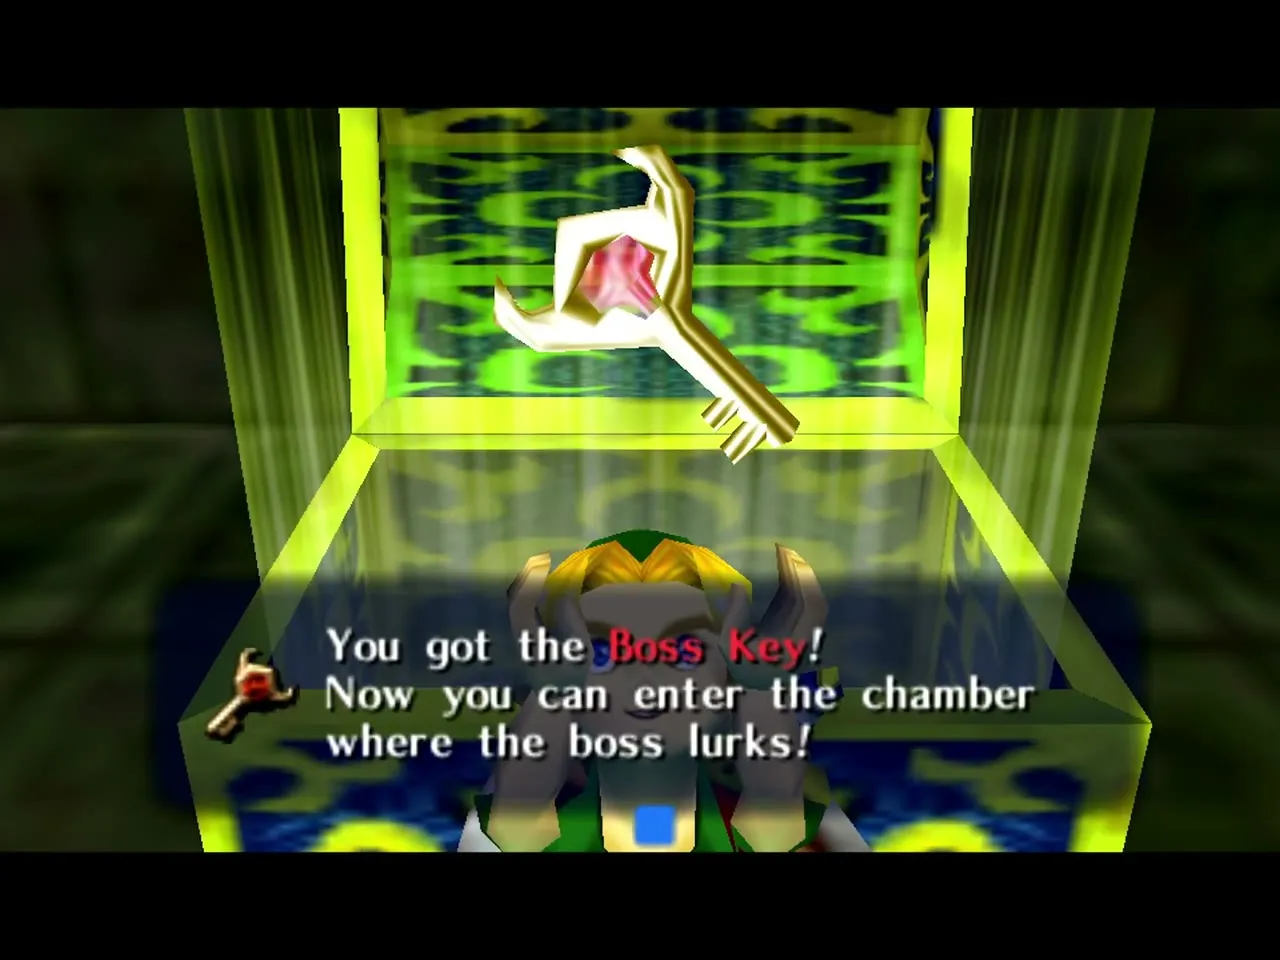
When Gekko is beaten, open the blue-and-gold chest that appears beside a blue crystal to take the Boss Key (“Now you can enter the chamber where the boss lurks!”). It opens the chained door to Odolwa’s chamber.
Cleansing the poison: Stray Fairies 7 and 11
Light the torches around the central flower
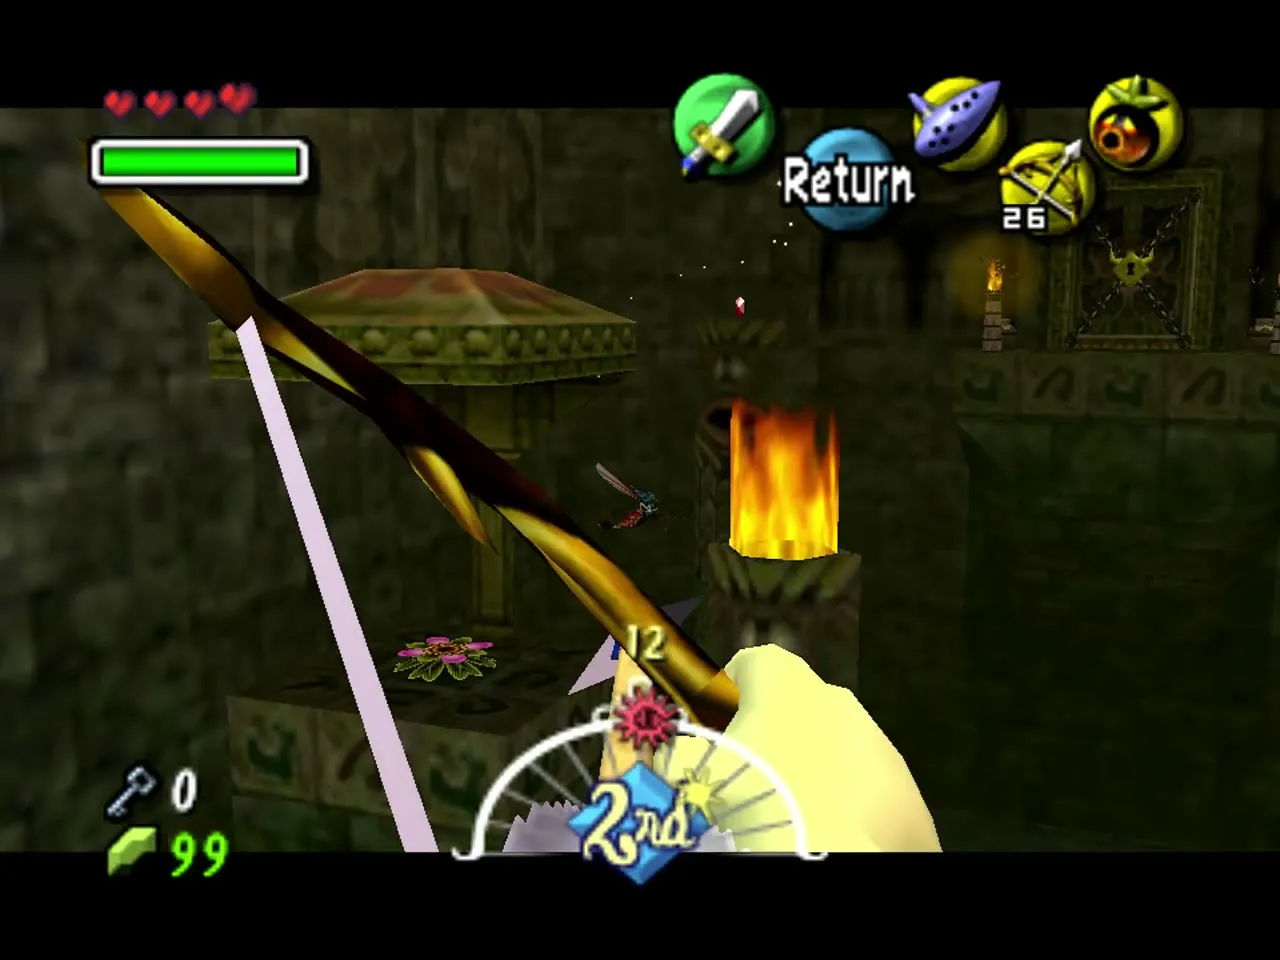
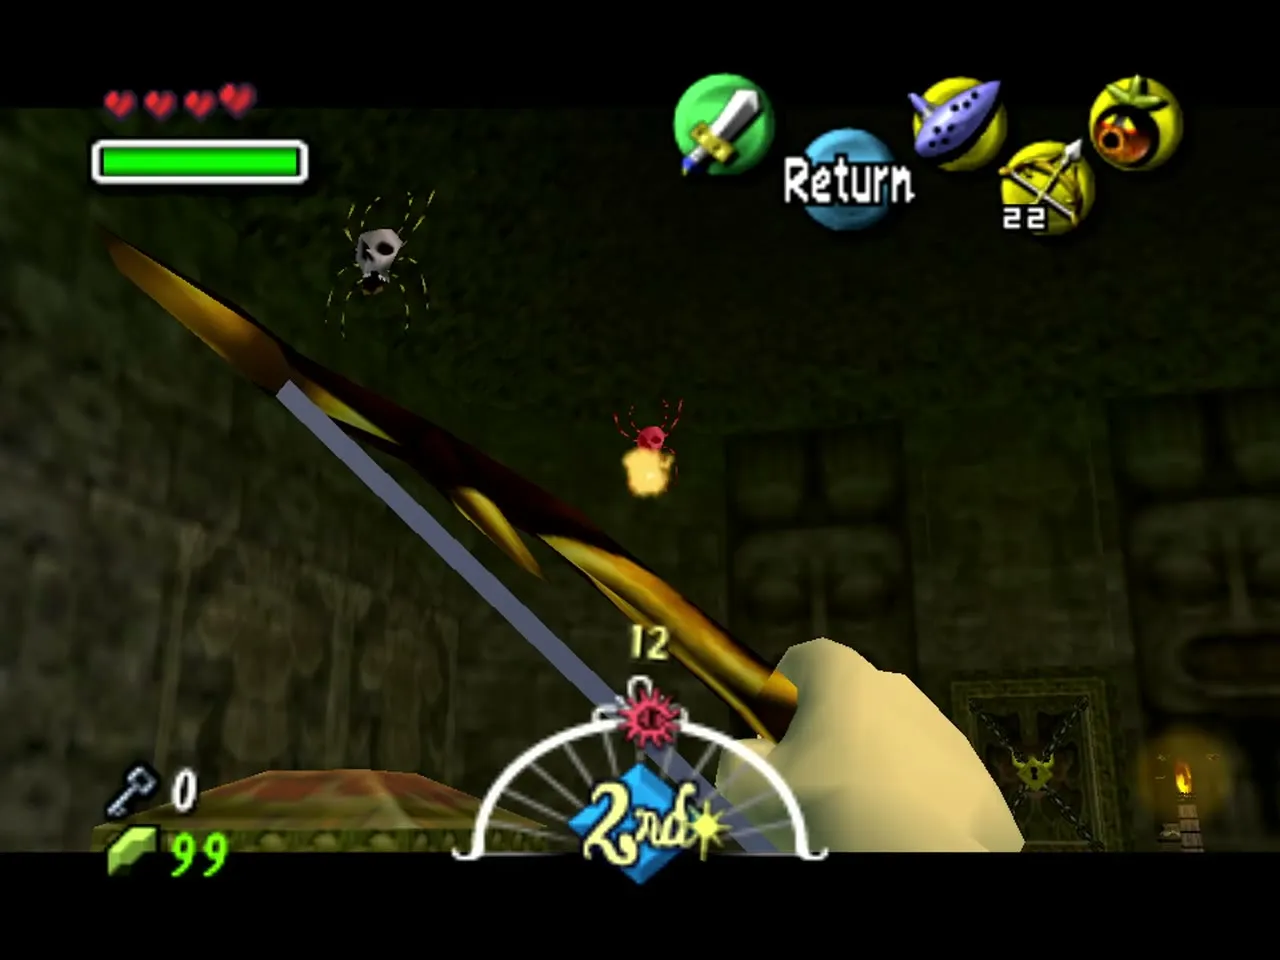
Return to the main hall and light the torches around the central flower mechanism. Draw an arrow, aim it through the flame of a lit torch so the arrowhead catches fire, then shoot it into each unlit torch. The flower turns, the poison drains from the water and the north door opens. Places that were harmful before can now be crossed or entered.
Woodfall Temple Stray Fairy 11
Use a launcher flower to fly to the small platform on the north-west side, then switch back to Hylian Link and step on the floor switch. A chest appears across the room; swim over and open it for Stray Fairy 11.
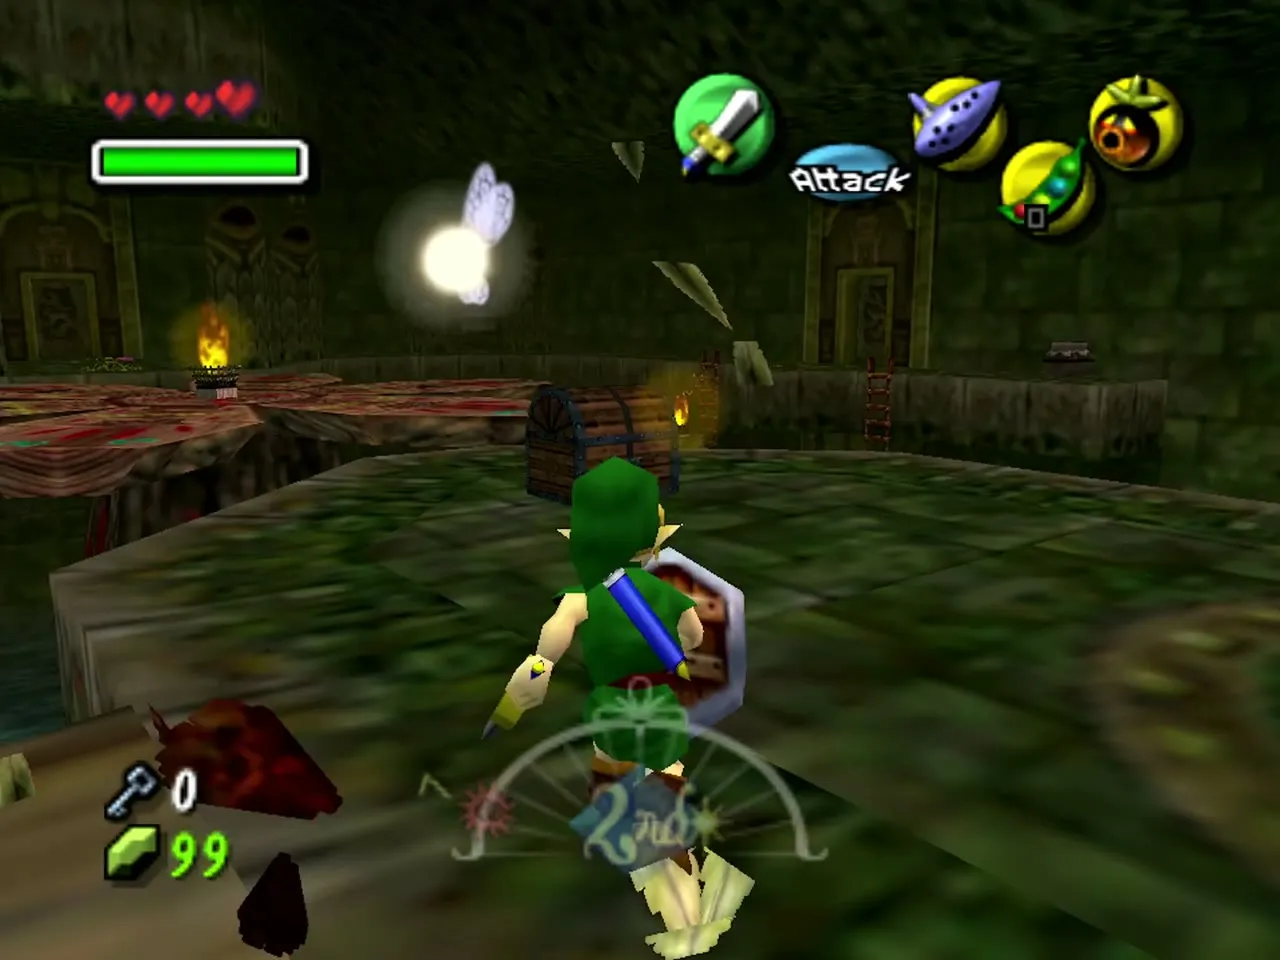
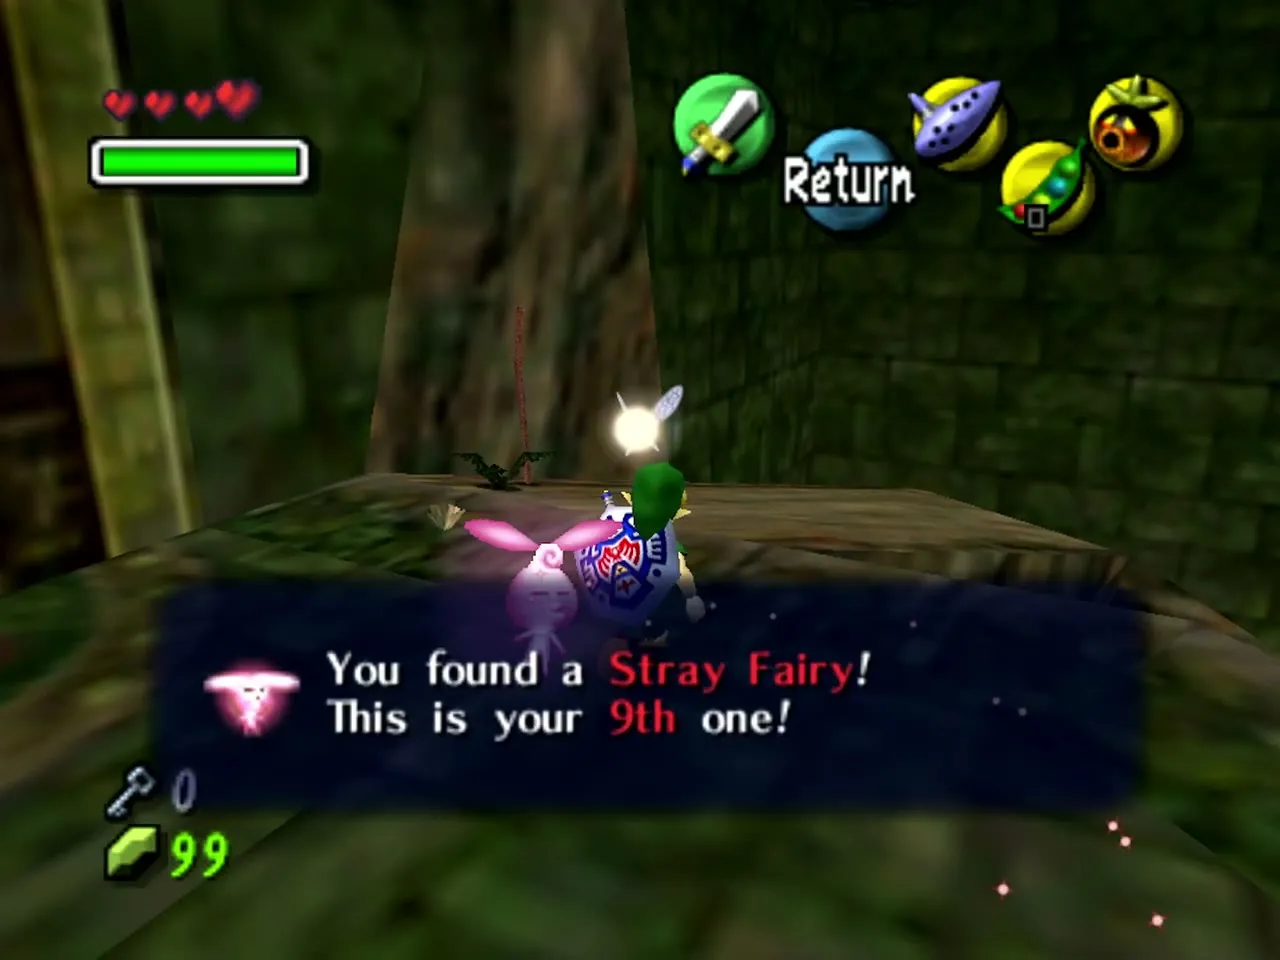
Woodfall Temple Stray Fairy 7
With the water cleared, go back to the block room and look under the bridge, just beneath the block. Pop the bubble there with an arrow or a Bomb, or simply swim into it, and collect Stray Fairy 7. You now hold eleven fairies.
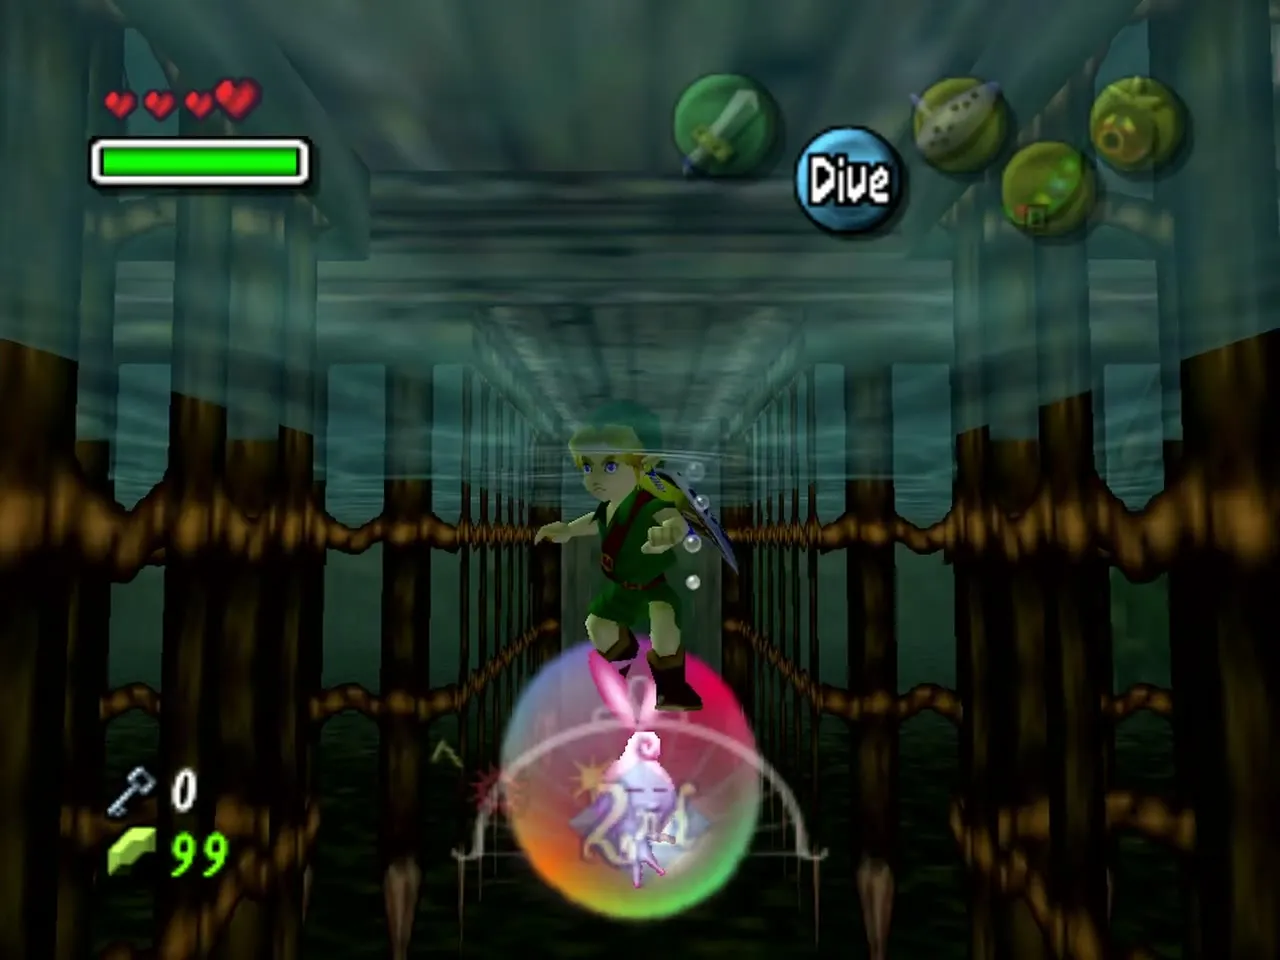
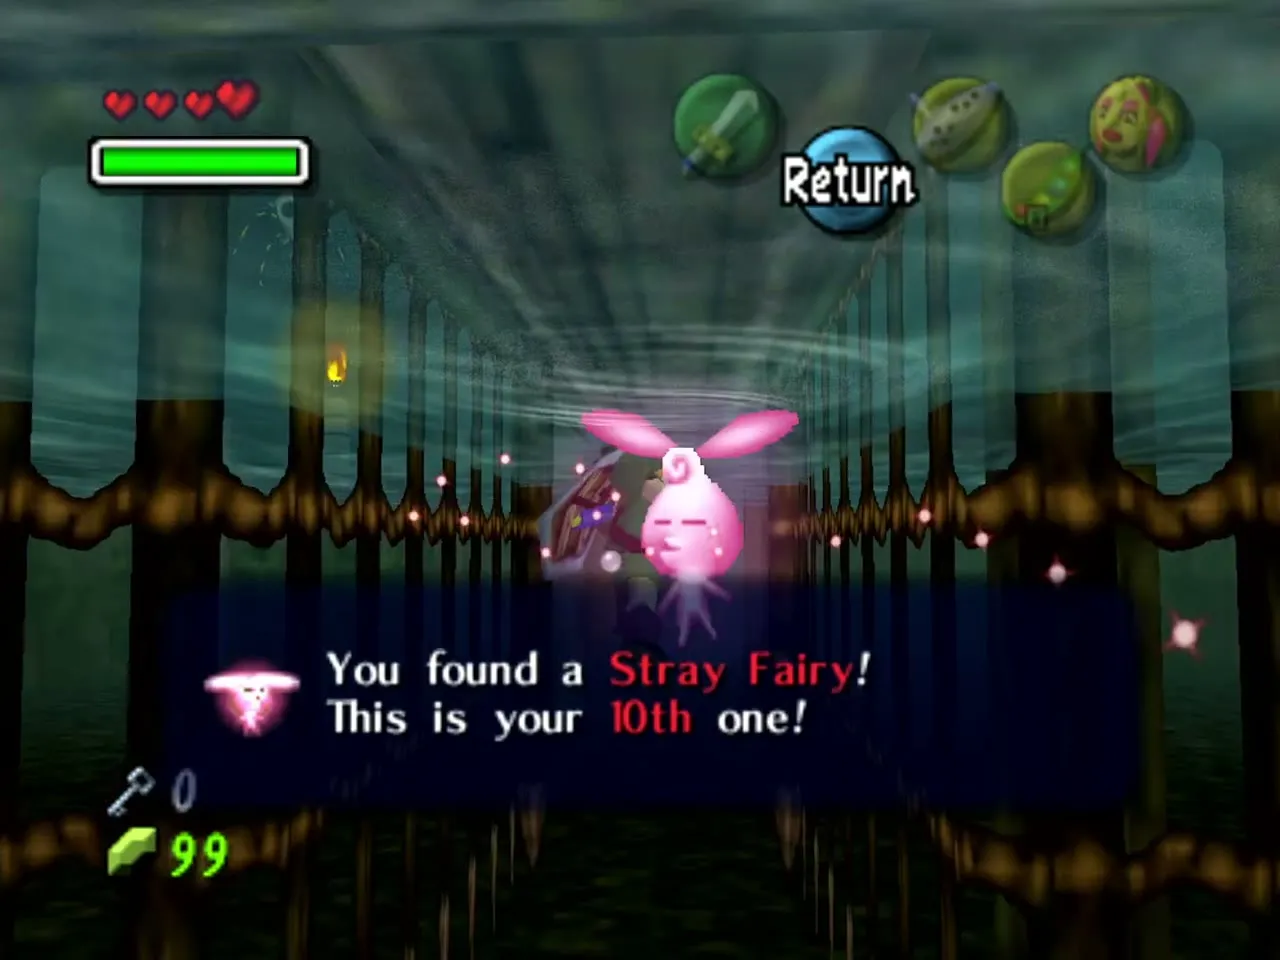
Final room: Stray Fairies 12 to 15
Reach the room before the boss door
Go through the north door that the central flower opened. This room is built of ledges and alcoves around the boss door. Defeat the Dragonflies and the Skulltulas first so they do not harass you while you climb.
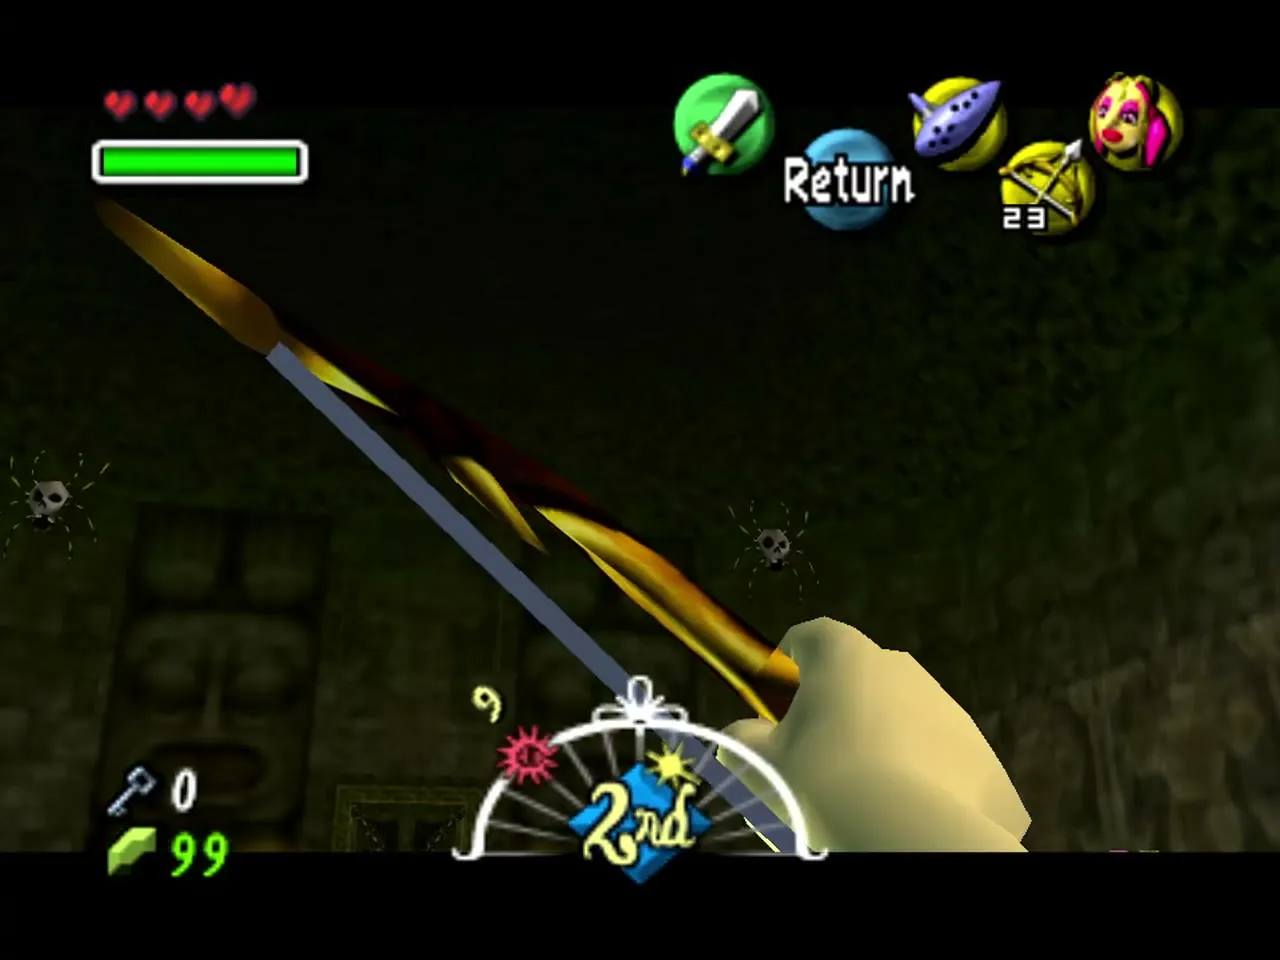
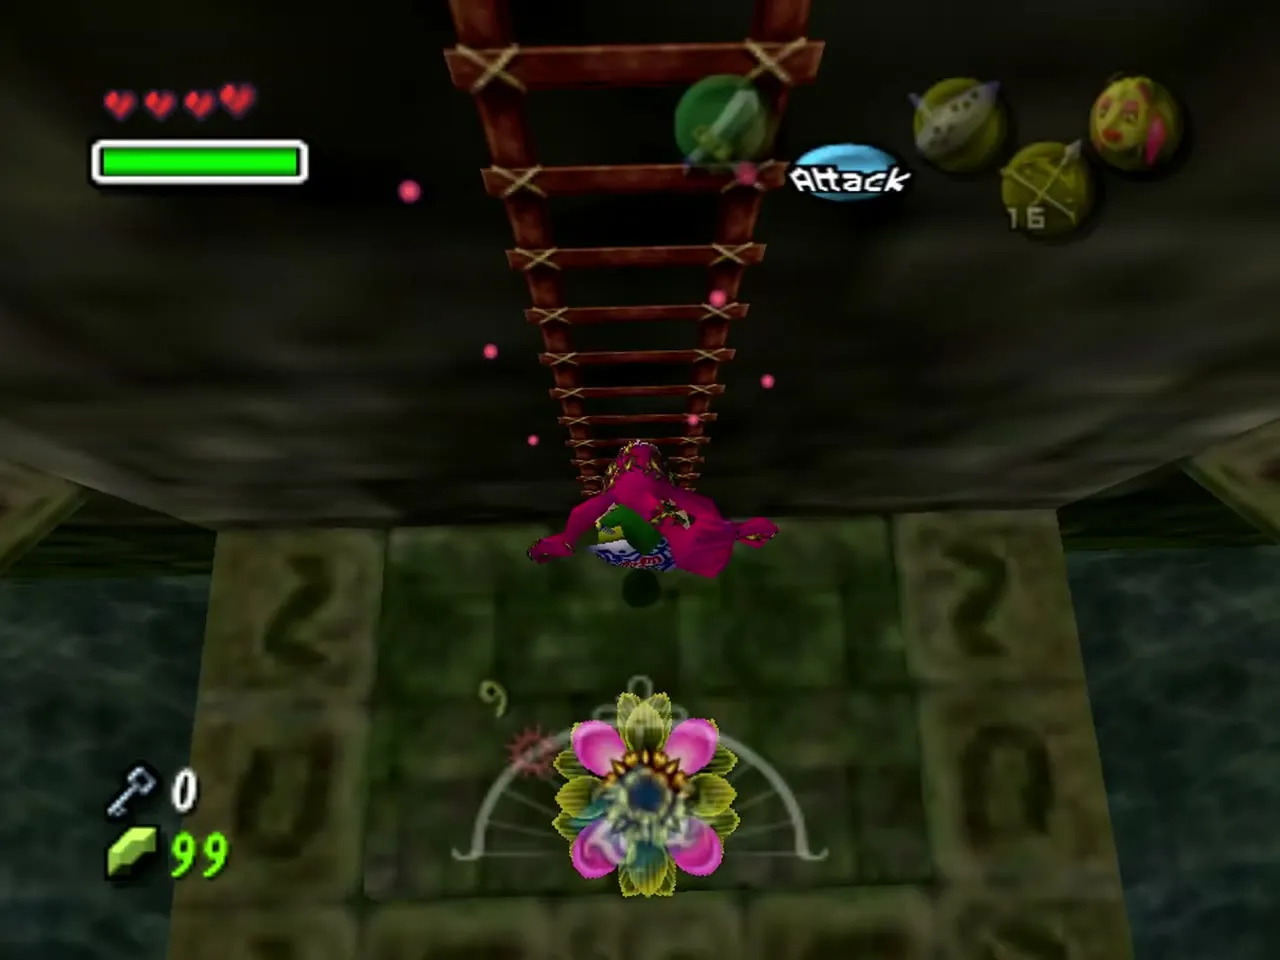
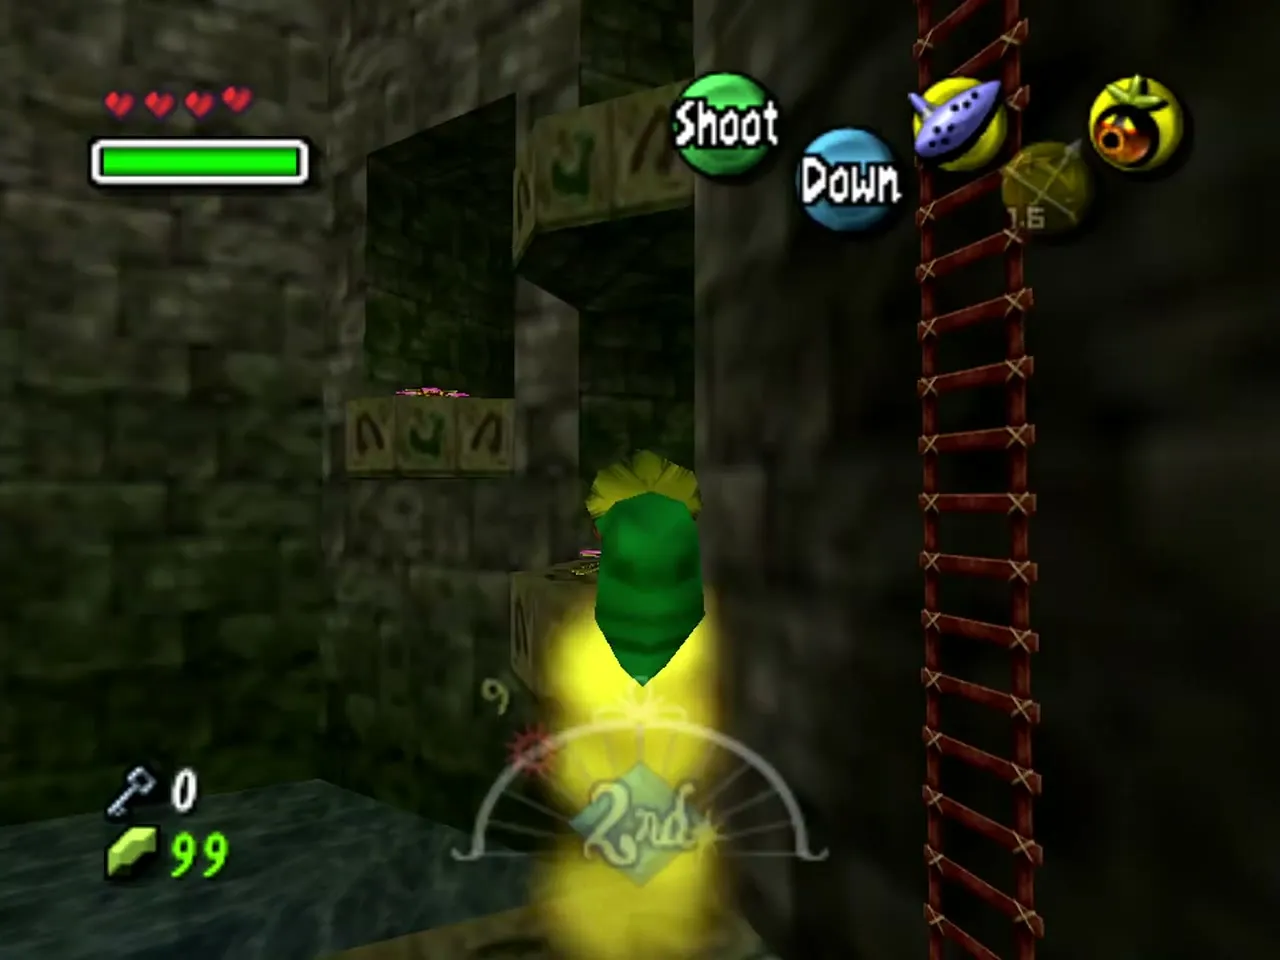
Woodfall Temple Stray Fairies 12 and 13
Switch to Deku Link and use the Deku Flowers to climb the alcoves along the west (left) wall. The bubble in the lower alcove holds Stray Fairy 12, and the one in the alcove above it holds Stray Fairy 13.
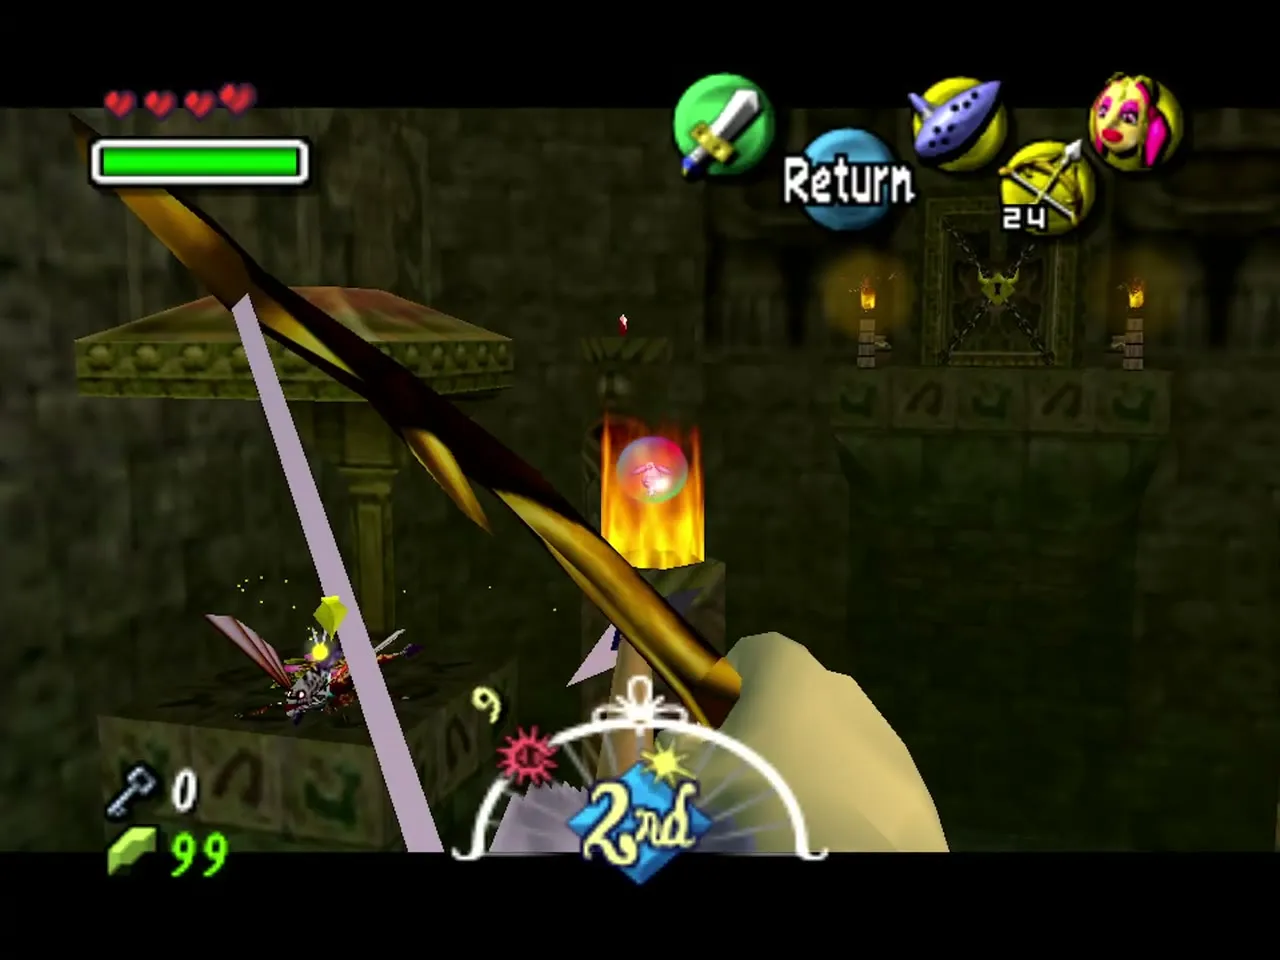
Woodfall Temple Stray Fairies 14 and 15
Return to the bottom of the ladder and glide along the east (right) wall from the first Deku Flower. The bubble in that alcove holds Stray Fairy 14. The last fairy is in a bubble on top of a pillar on the left side of the room, ringed with fire. Shoot the bubble with an arrow and wear the Great Fairy’s Mask to draw out Stray Fairy 15. The game tells you that all fifteen are found.
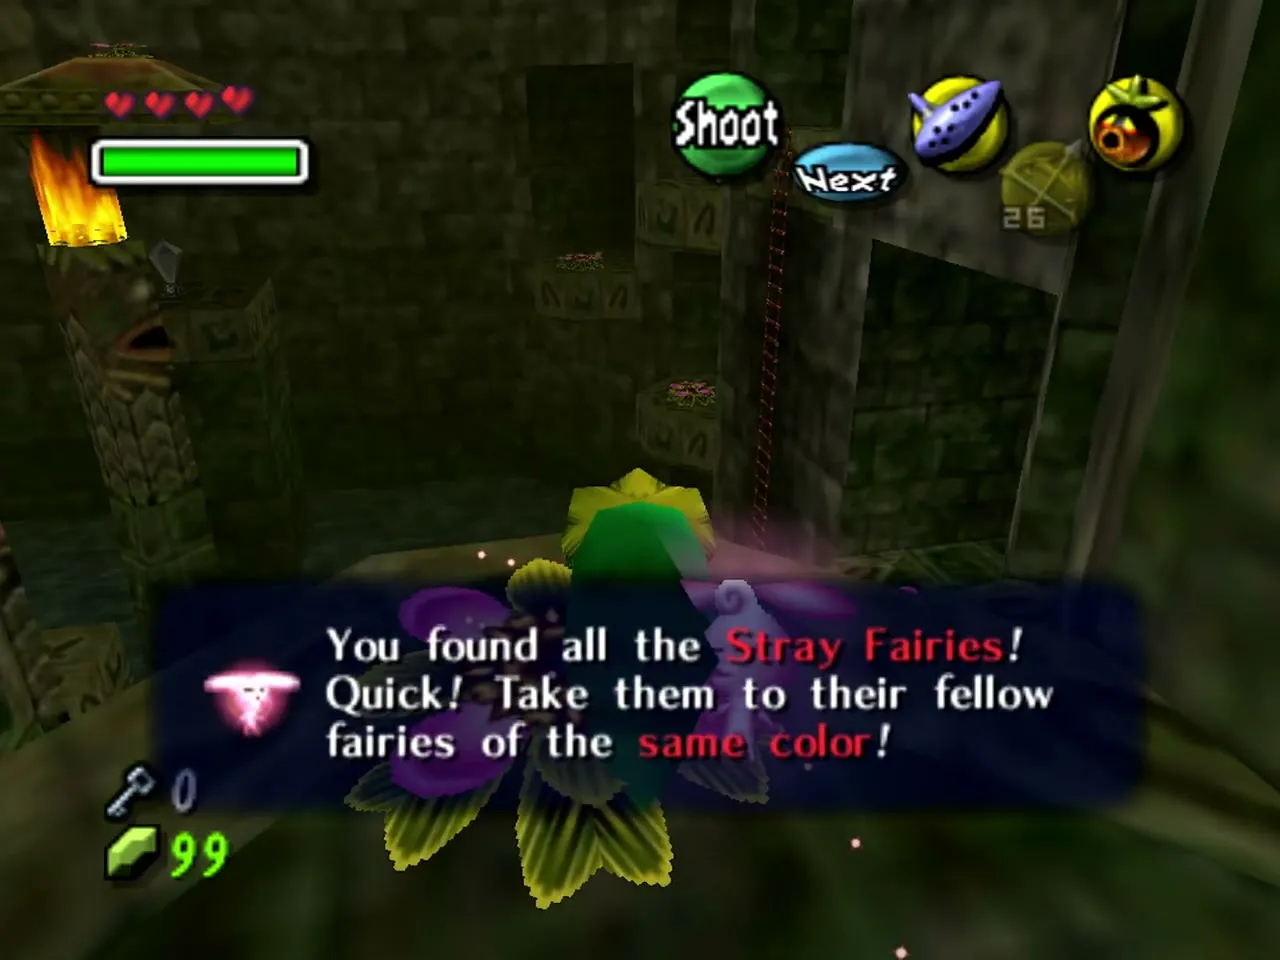
Reach the Boss Door
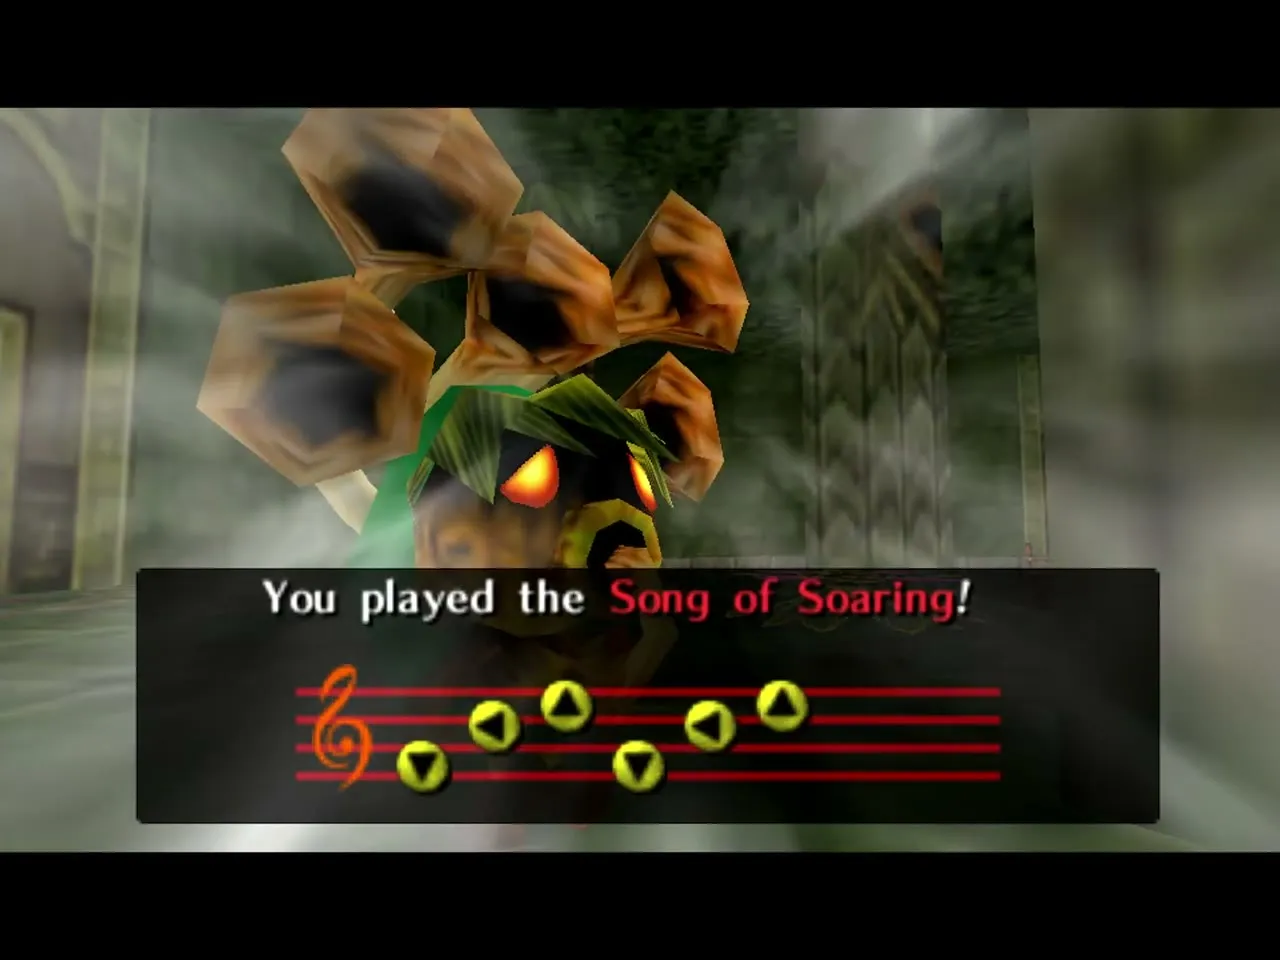
Shoot the crystal switch to put out the flames around the pillar. Use the revealed flower to fly to the boss door, and open it with the Boss Key. If you want the spin attack before the fight, return the fairies first, as described in the Great Fairy section; otherwise go straight in. Either way, check your arrows and hearts at the door, because you cannot restock once you step inside. If you want to leave the temple quickly, play the Song of Soaring at the temple’s owl statue and answer yes when the game asks “Soar to Entrance?”; it drops you in the courtyard outside.
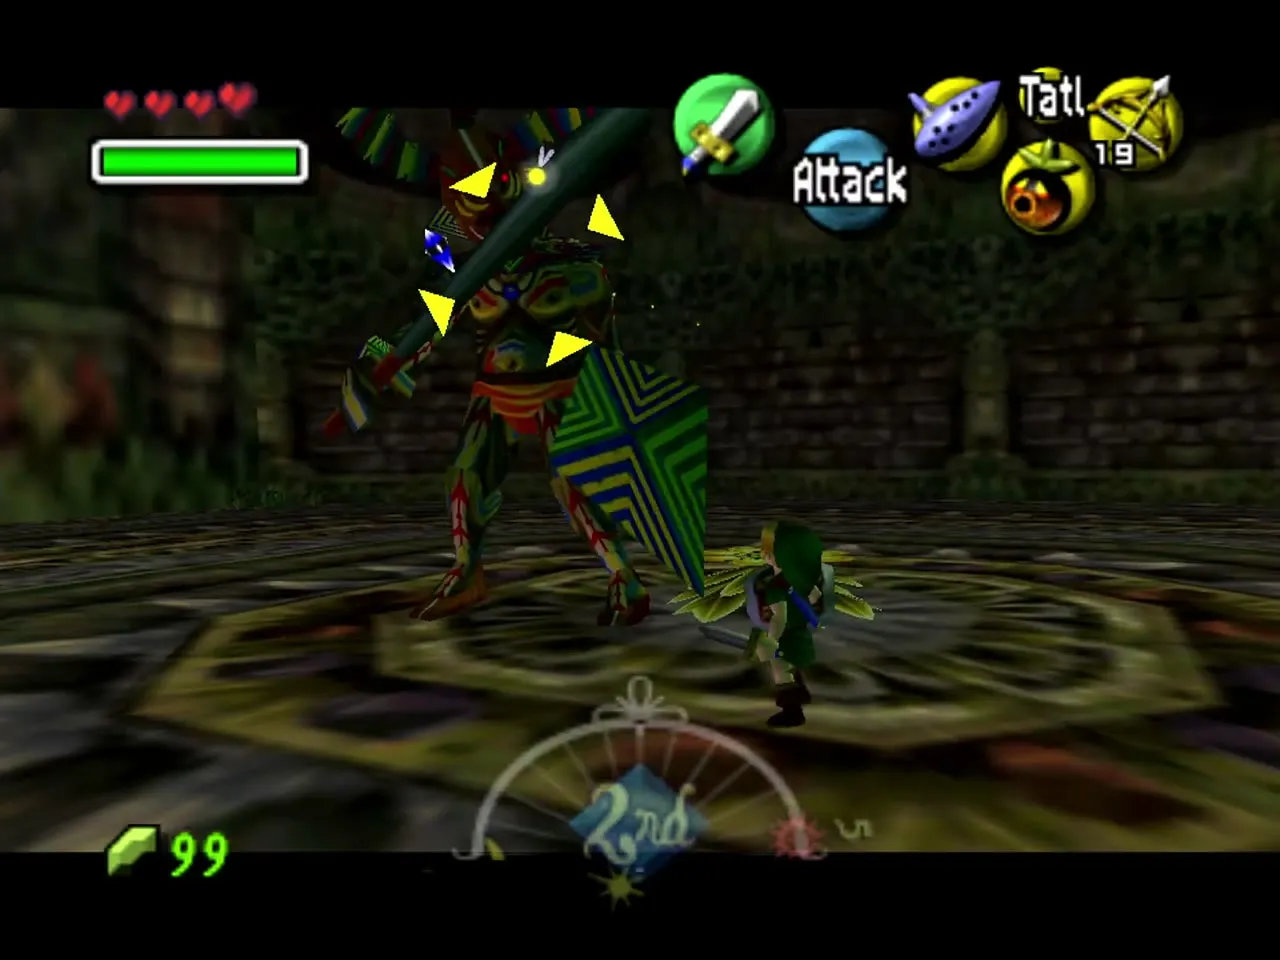
Odolwa boss fight
Odolwa phase one: sword and shield
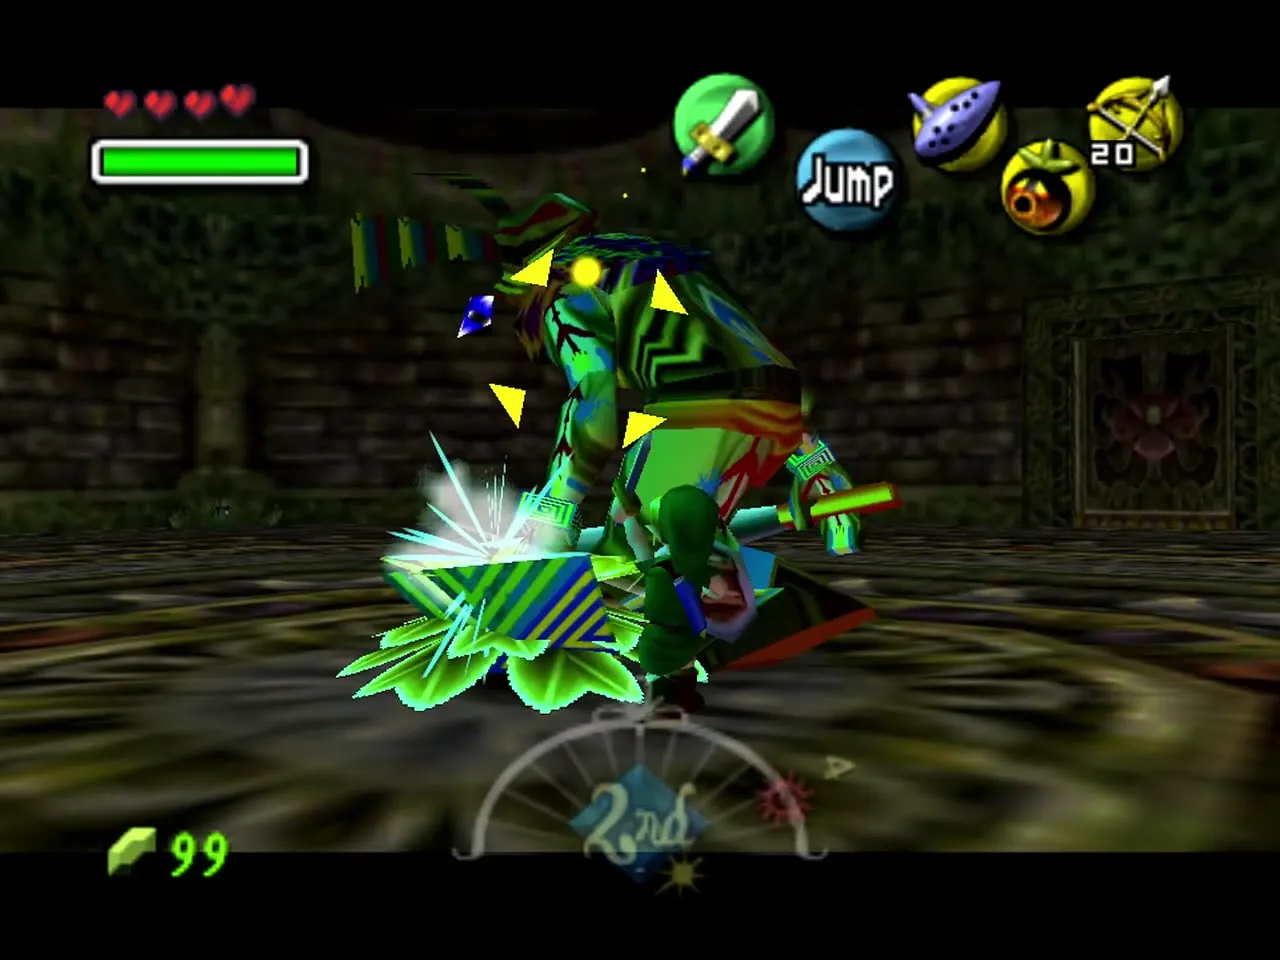
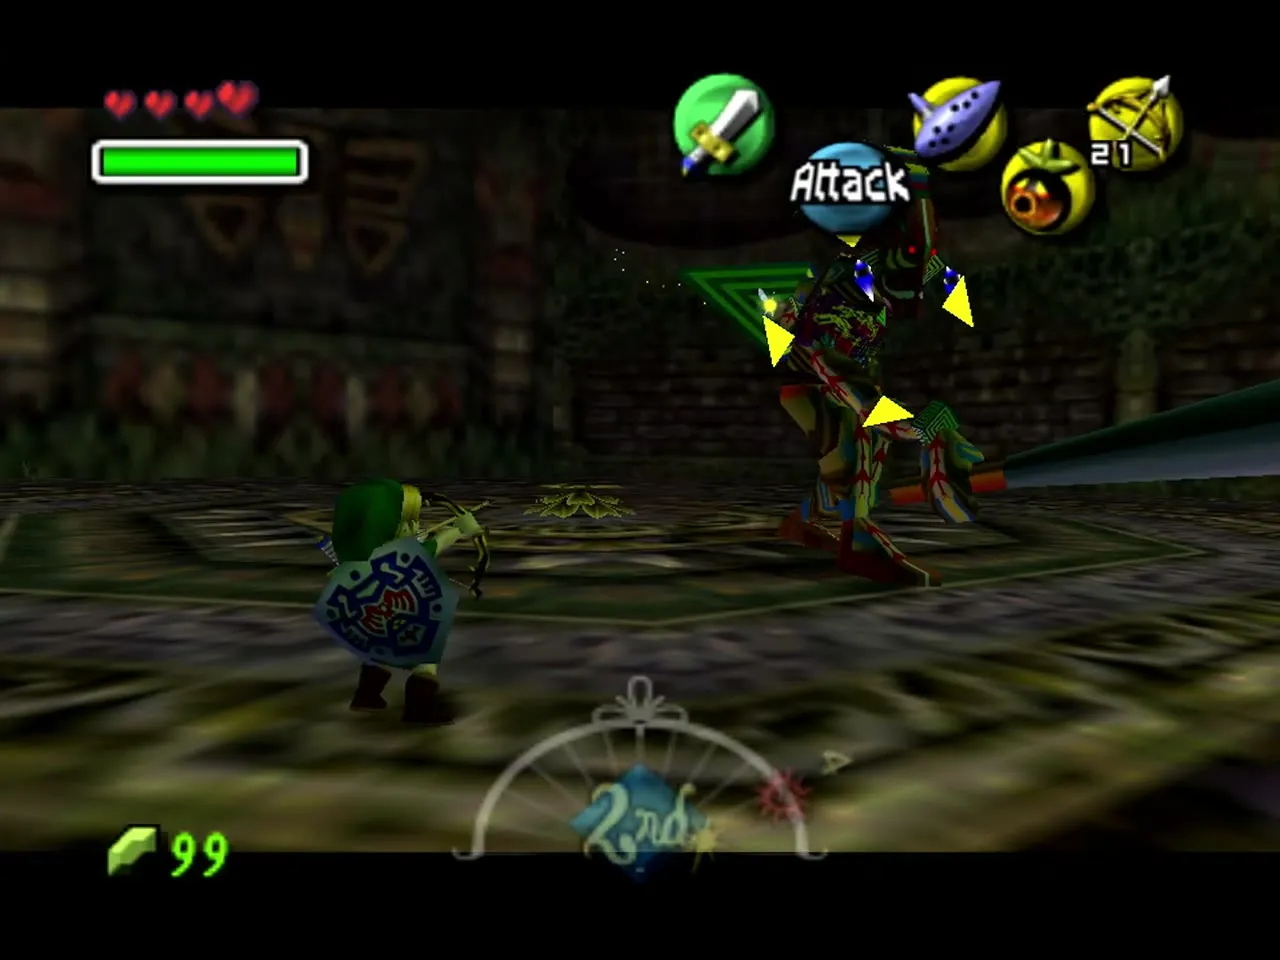
Masked Jungle Warrior Odolwa fights with a sword and shield and attacks with slashes and a dash. Z-target him and stay on the move. An arrow or a Deku Nut stuns him, and then you run in and slash at him with the sword. The title card names him the Masked Jungle Warrior. Besides slashes he leaps at you with a thrust, kicks and bumps you if you stand too close, and can wrap you in a ring of flames, so roll out the moment it appears. As Deku Link you can dive into a Deku Flower in the arena and drop Deku Nuts onto him.
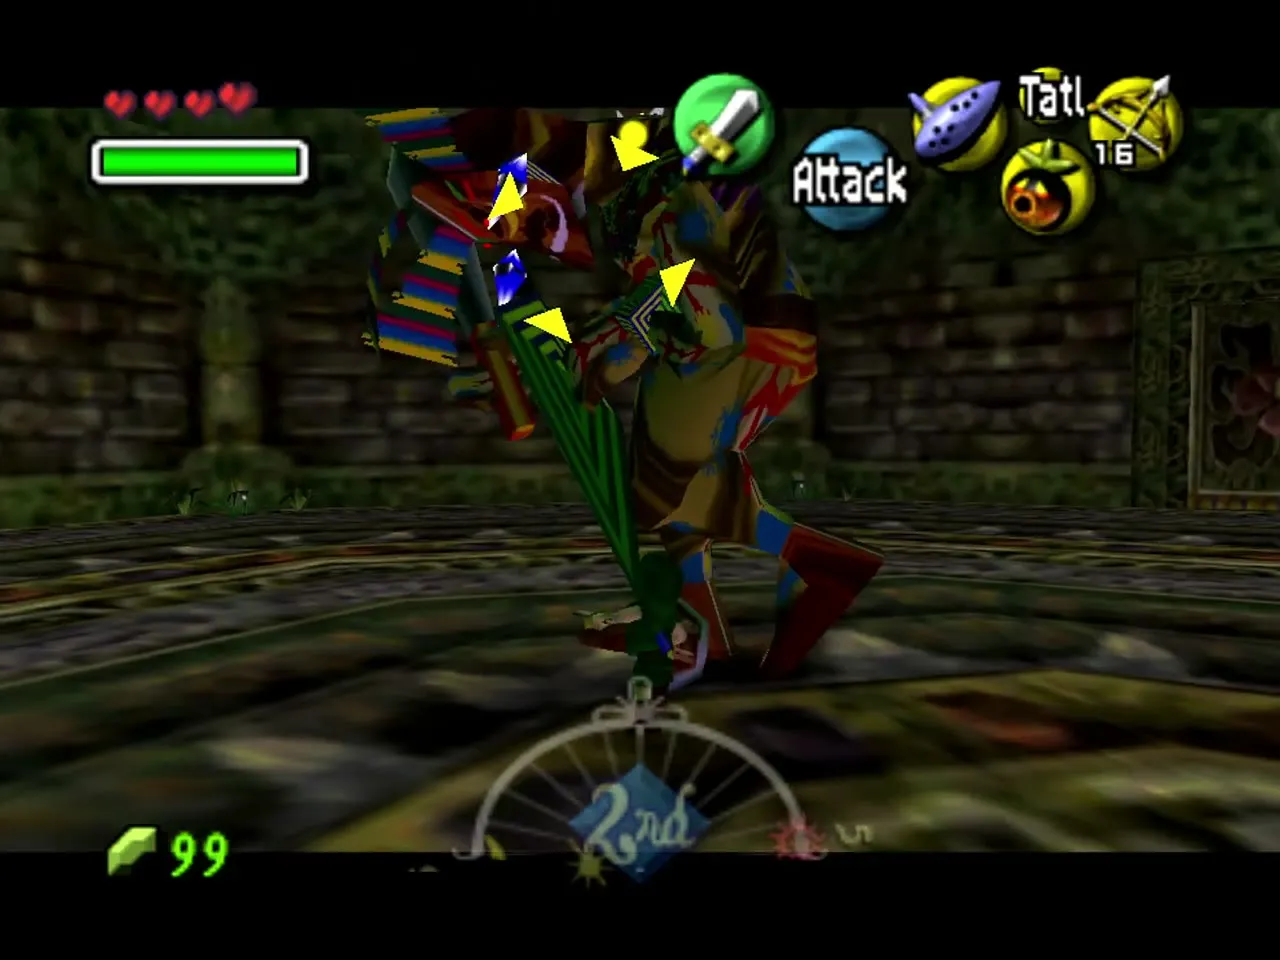

Odolwa phase two: the dance
When Odolwa dances, he summons swarms of insects to attack you. Cut them down or blow them up with a bomb. Keep stunning and cutting him until he drops.
Heart Container and Odolwa’s Remains
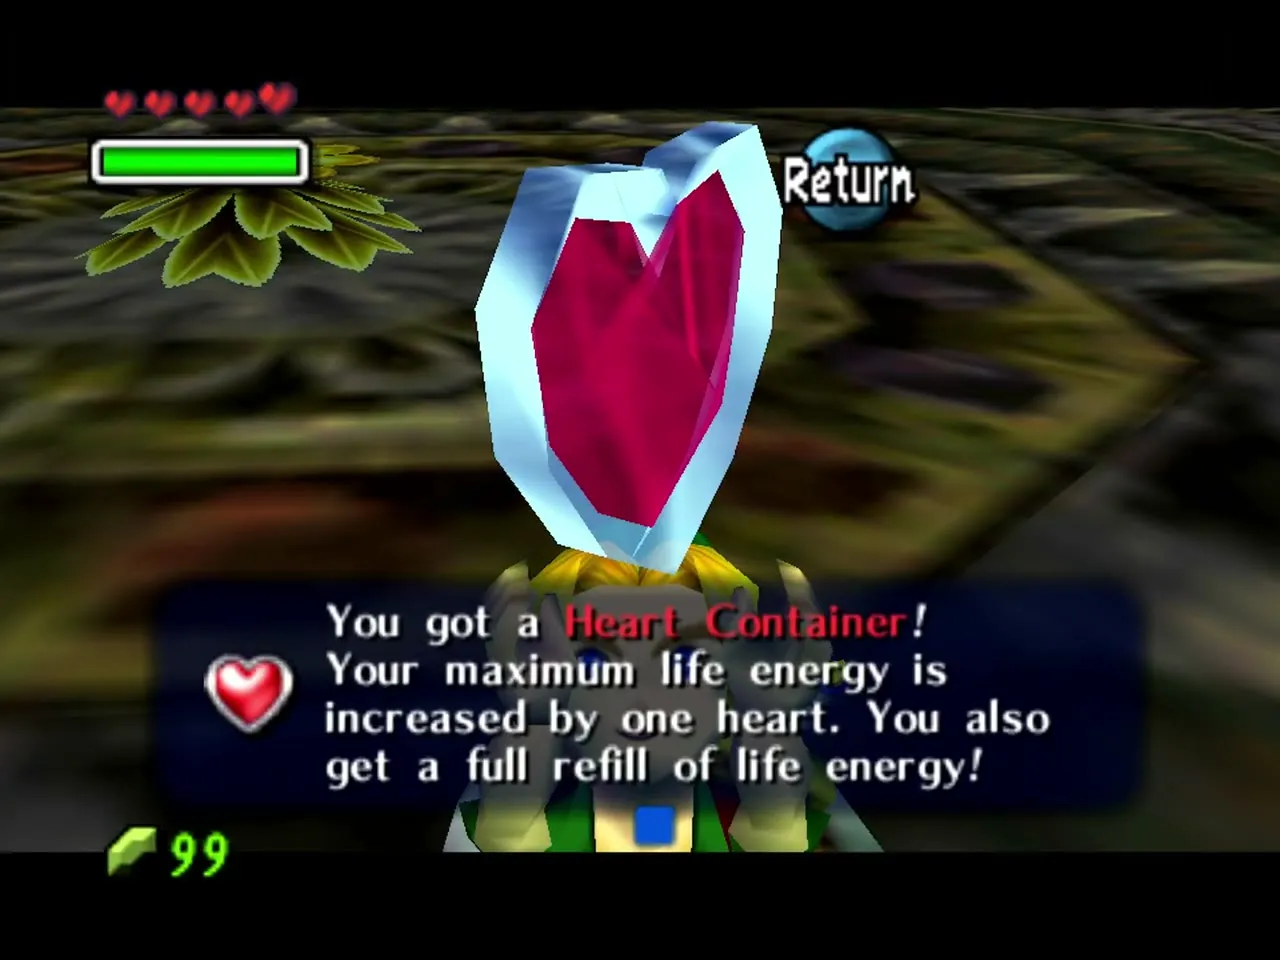
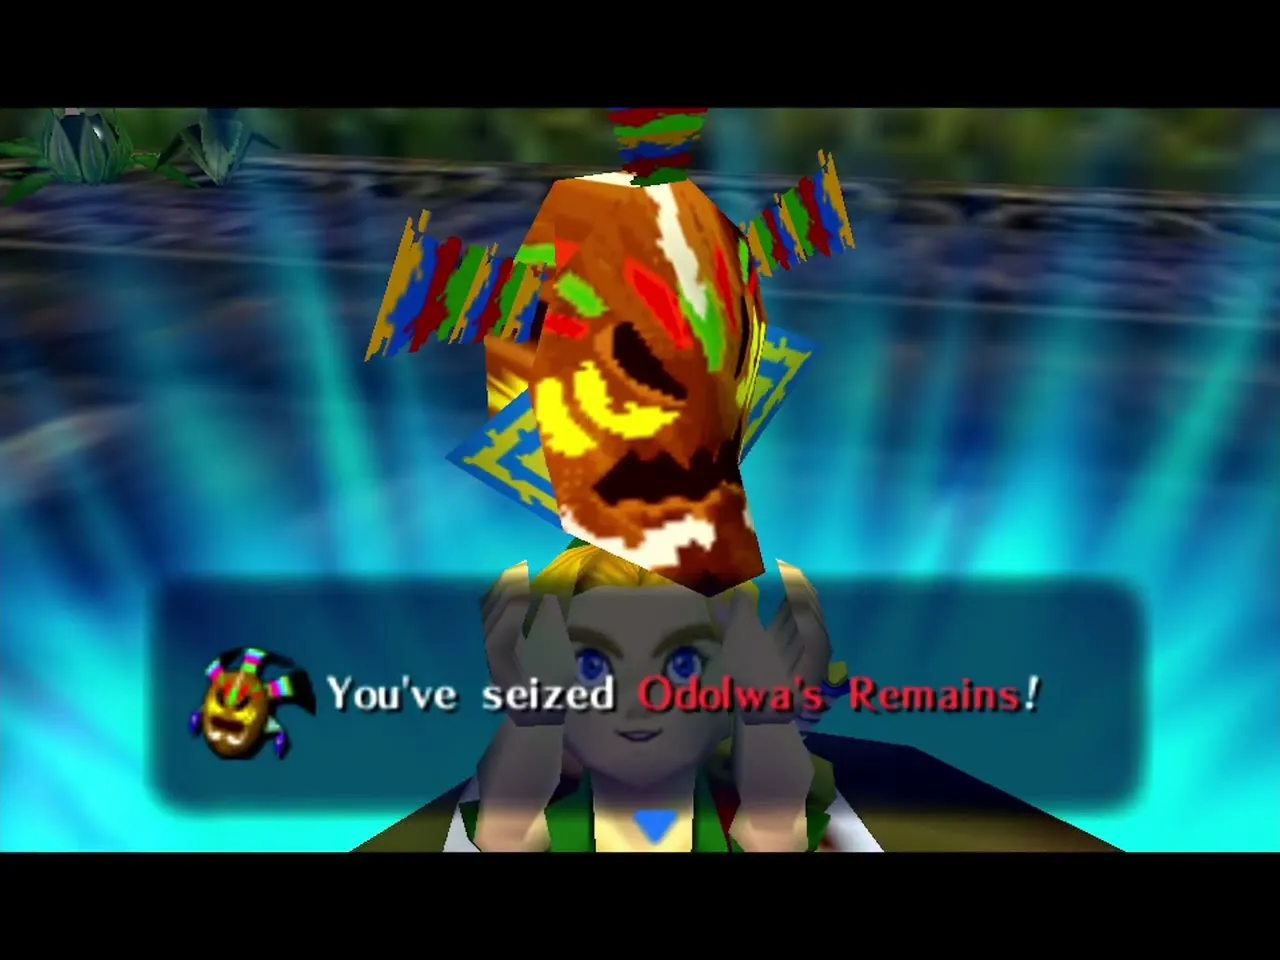
Defeating Odolwa gives you a Heart Container, which adds a heart and refills your life. Walk into the glowing light to seize Odolwa’s Remains (“You’ve seized Odolwa’s Remains!”).

Oath to Order
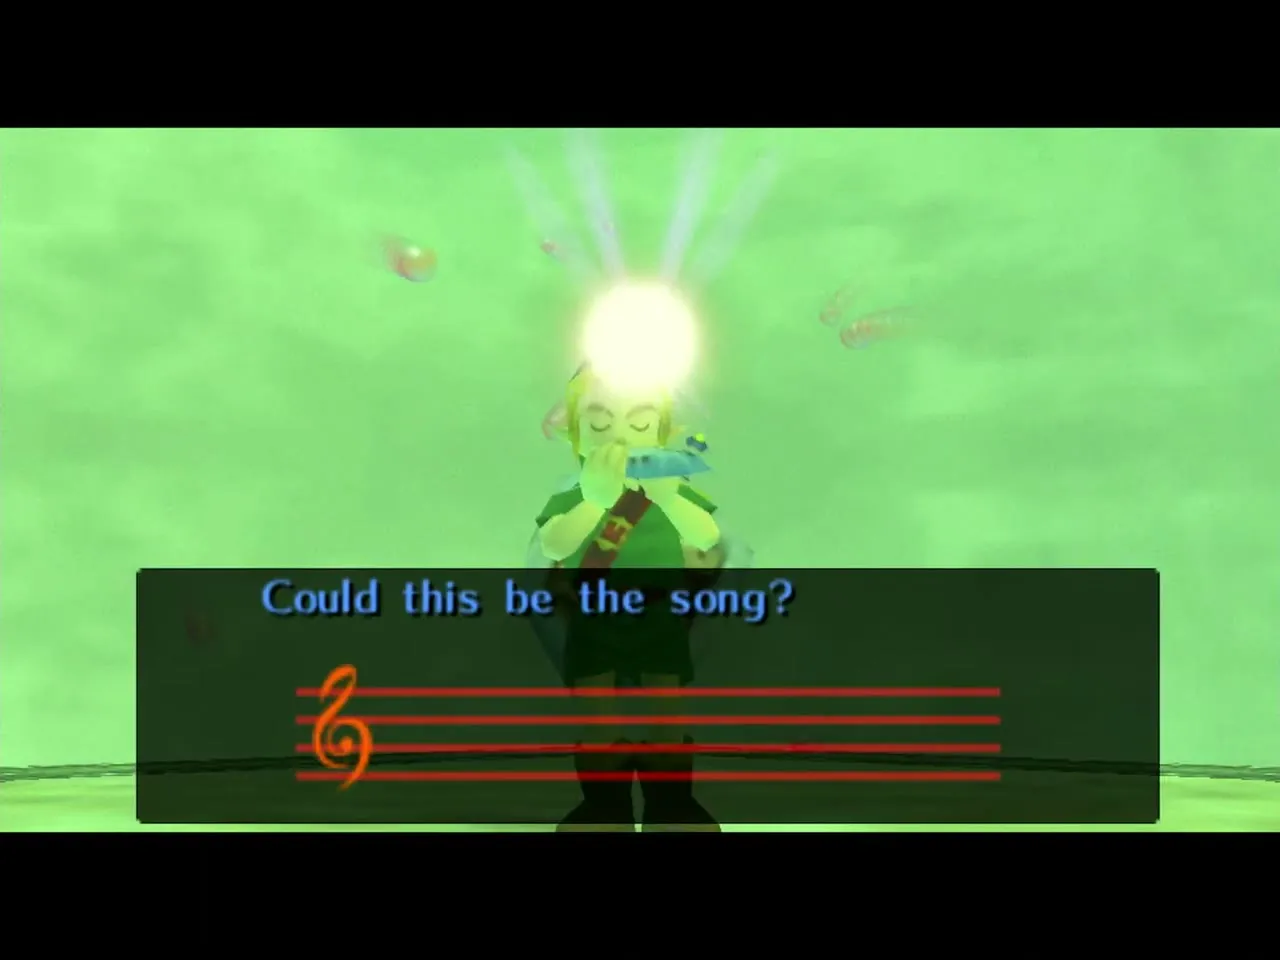
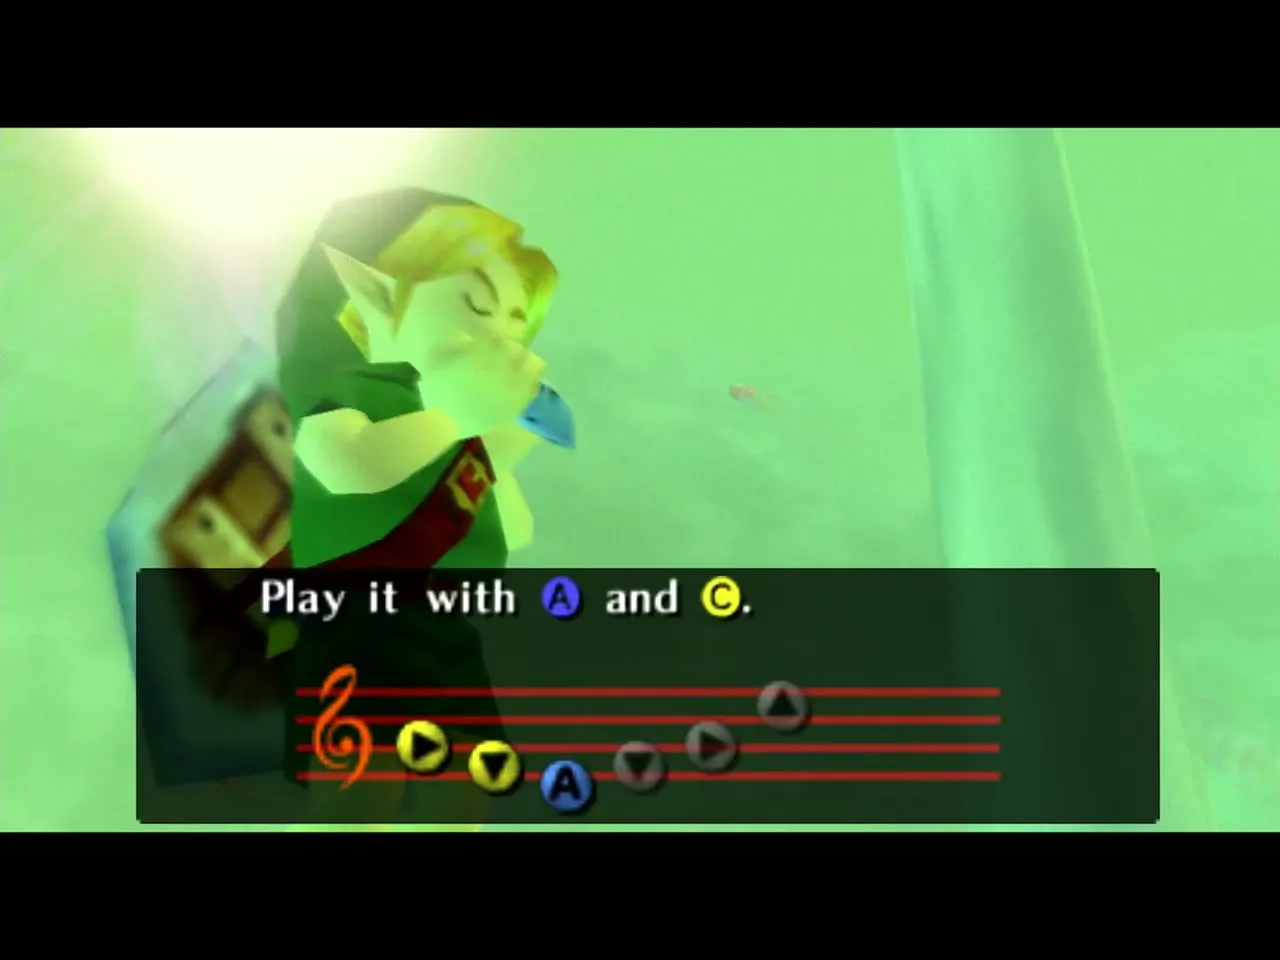
The mask that held the spirit shatters, and you find yourself in a green, dreamlike place where the freed spirit is crying. Tatl wonders whether the crying is a way of teaching you a melody and tells you to get your instrument. The Giant of the swamp then teaches you the Oath to Order; play it back with A and the C buttons to learn it, and listen for what the Giant says: “Call us.” It is the song you will play at the Clock Tower on the final night to call the Giants. The swamp’s poison clears now that the temple is cleansed.
Great Fairy of Power: the spin attack
Return the Stray Fairies
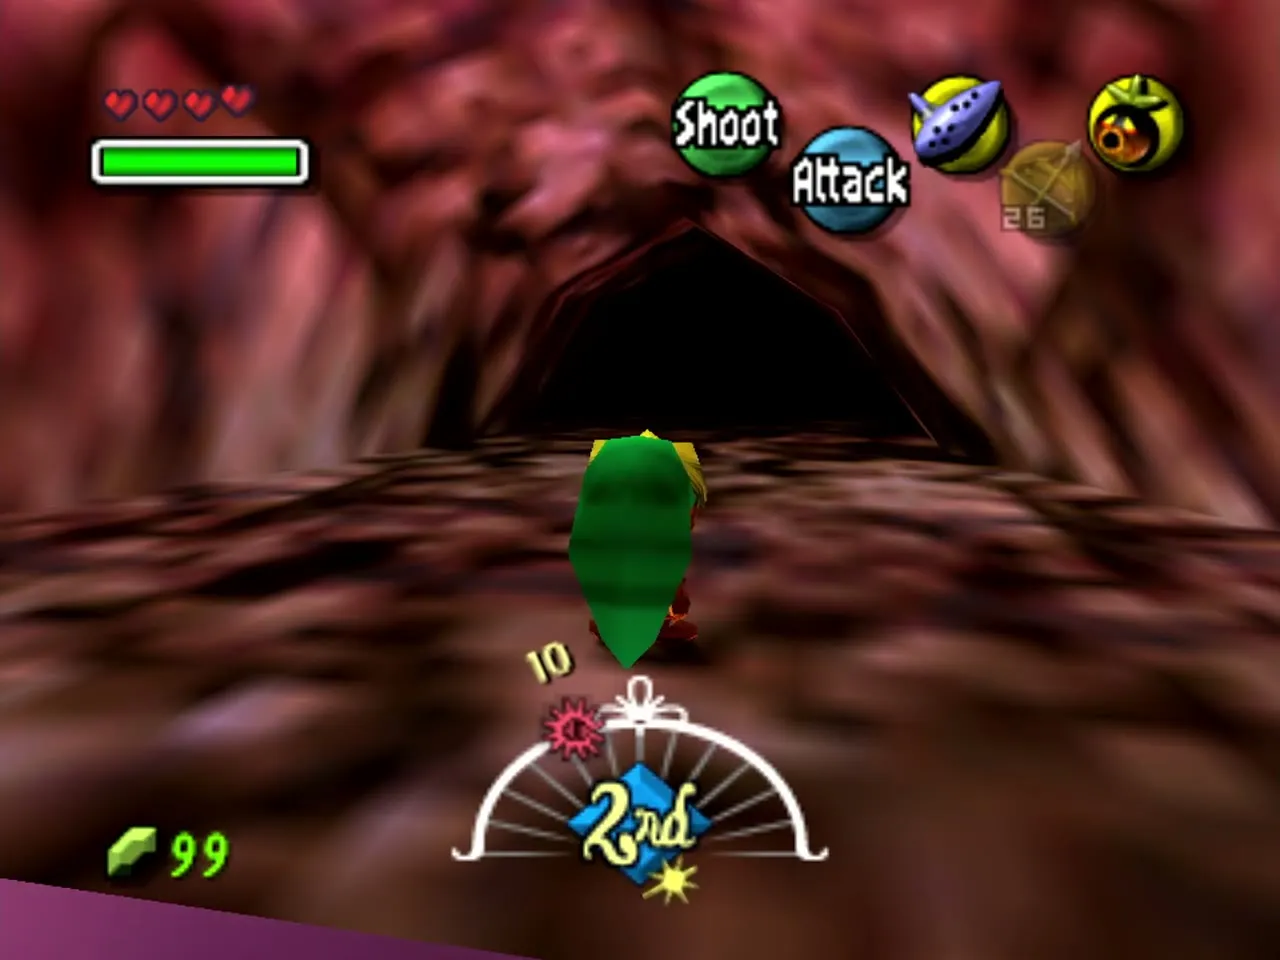
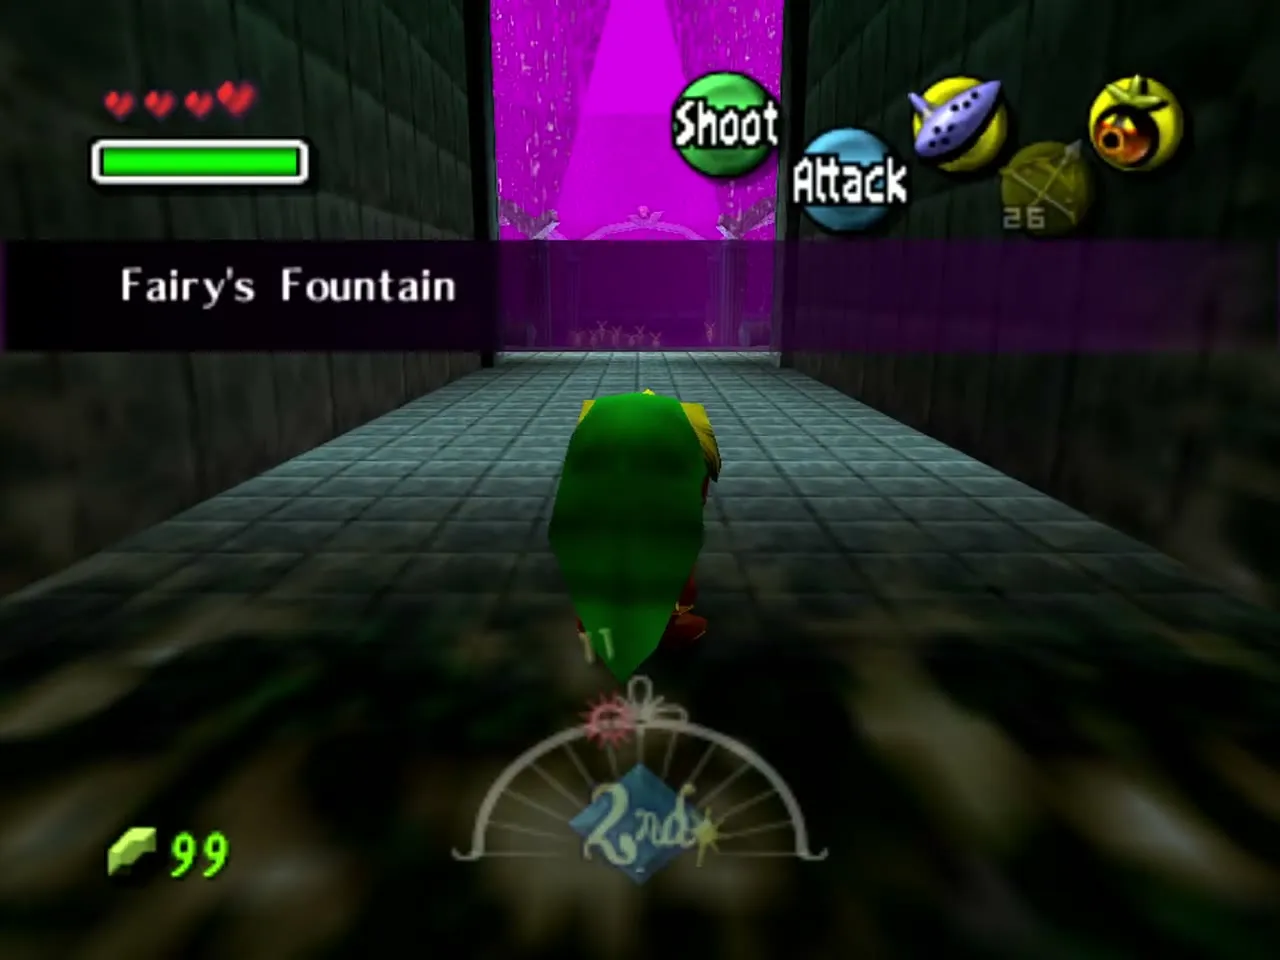
With all fifteen Stray Fairies (the game says “You found all the Stray Fairies! Quick! Take them to their fellow fairies of the same color!”), play the Song of Soaring and answer yes to “Soar to Entrance?” to land in the Woodfall courtyard. From the courtyard, hop the Deku Flowers past the tree stumps to the ledge beyond them and follow the long, winding red tunnel into the Great Fairy Fountain, a cave in the west wall of the Woodfall area. You must deliver the fairies in the same cycle in which you found them. If you come back to the fountain later, the Song of Soaring also works from the owl statue in the swamp.

Great Fairy of Power reward
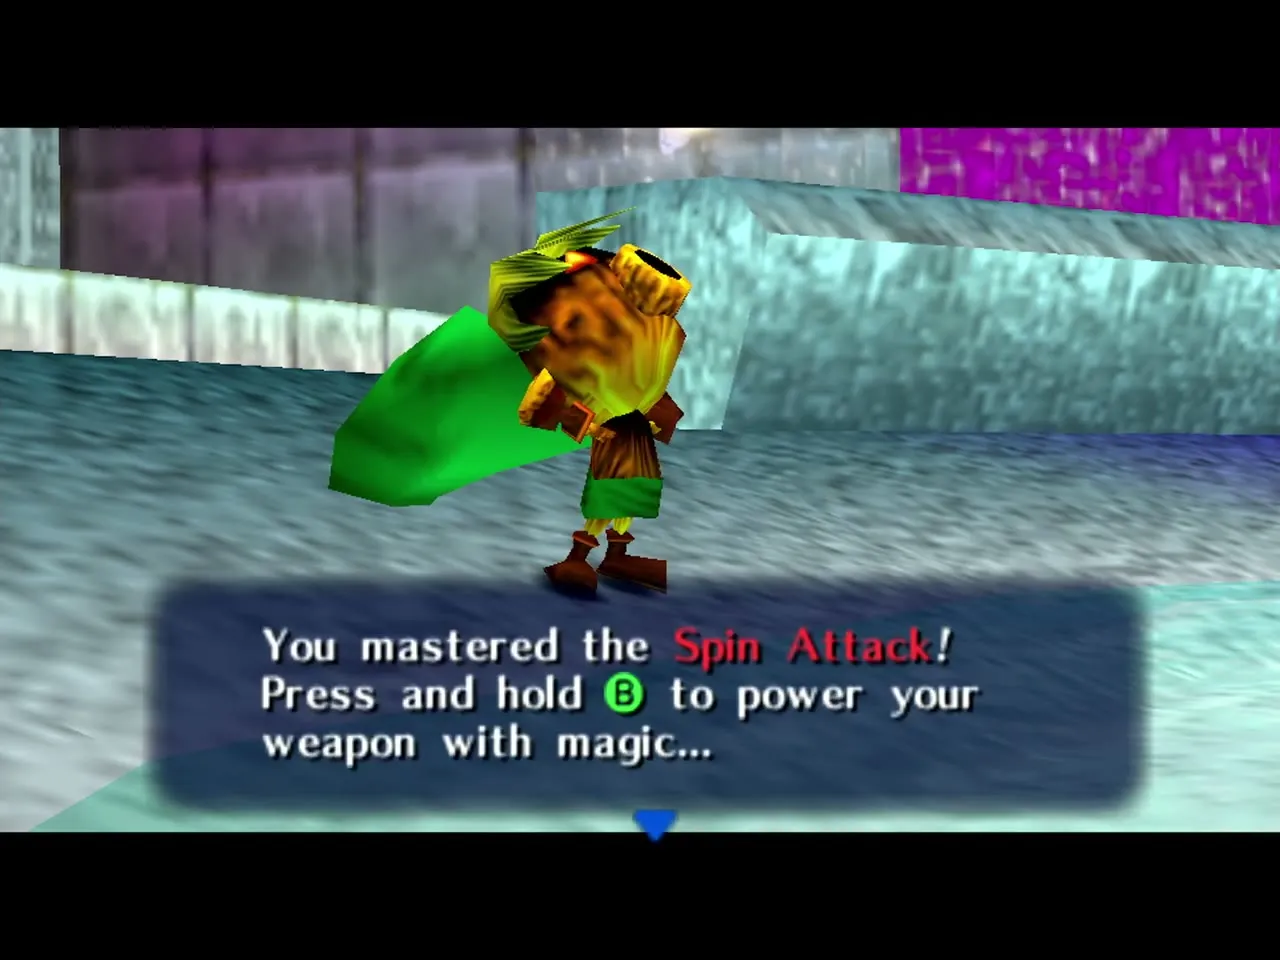
The Great Fairy of Power greets you (“Oh, strong young one!”), thanks you for putting her back together and grants you “prowess with this new sword technique”. The game announces that you have mastered the Spin Attack, a charged sword whirlwind. Hold B to power your sword with magic and release it for a whirlwind slash. For a quick spin without waiting, rotate the stick once and press B. It uses magic. In the Nintendo 3DS remake this fairy gives the larger magic meter instead, but the original game teaches the Spin Attack here.

Deku Princess and the way home
Meet the Deku Princess
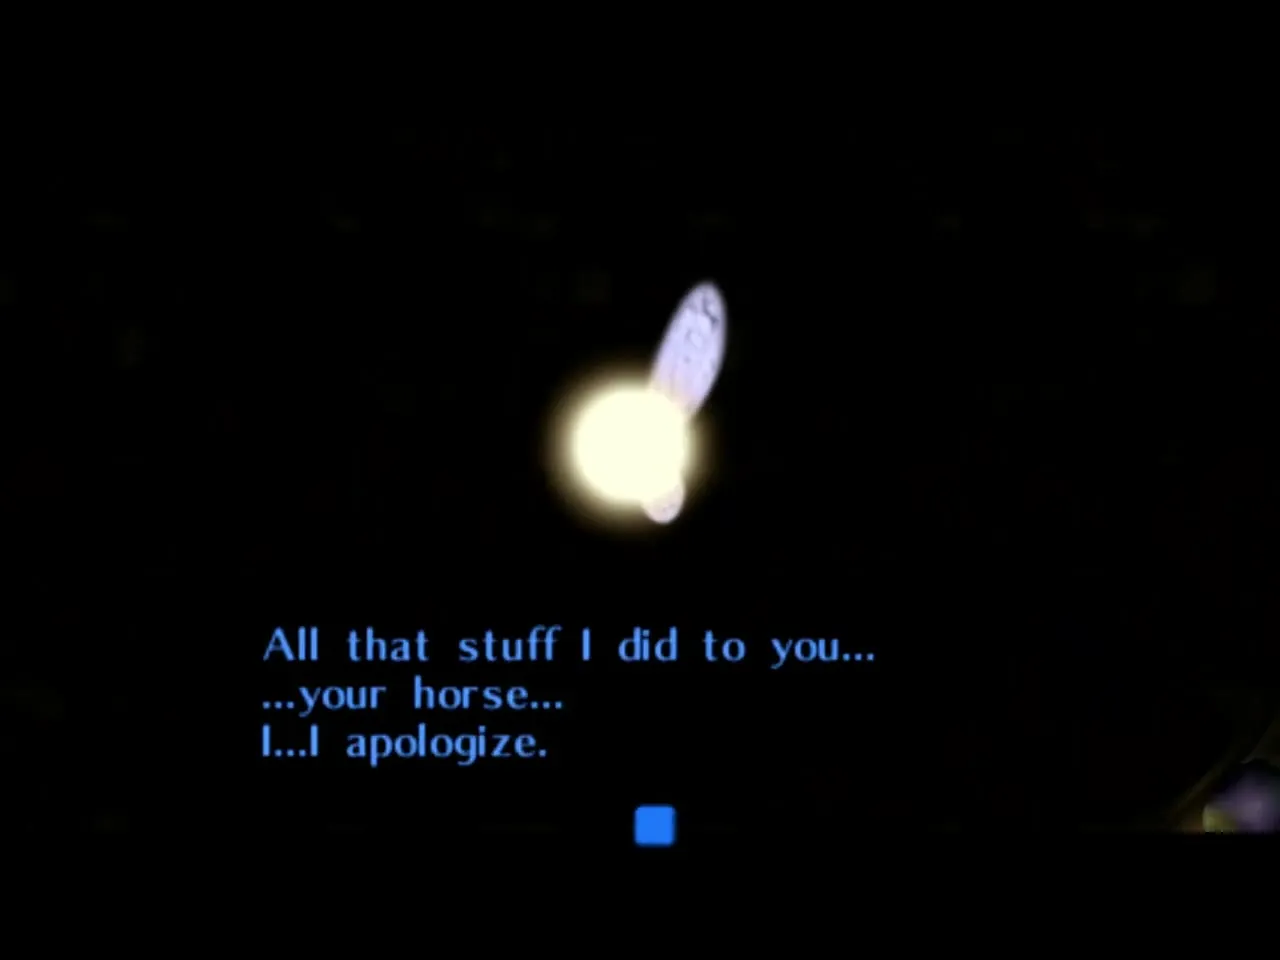
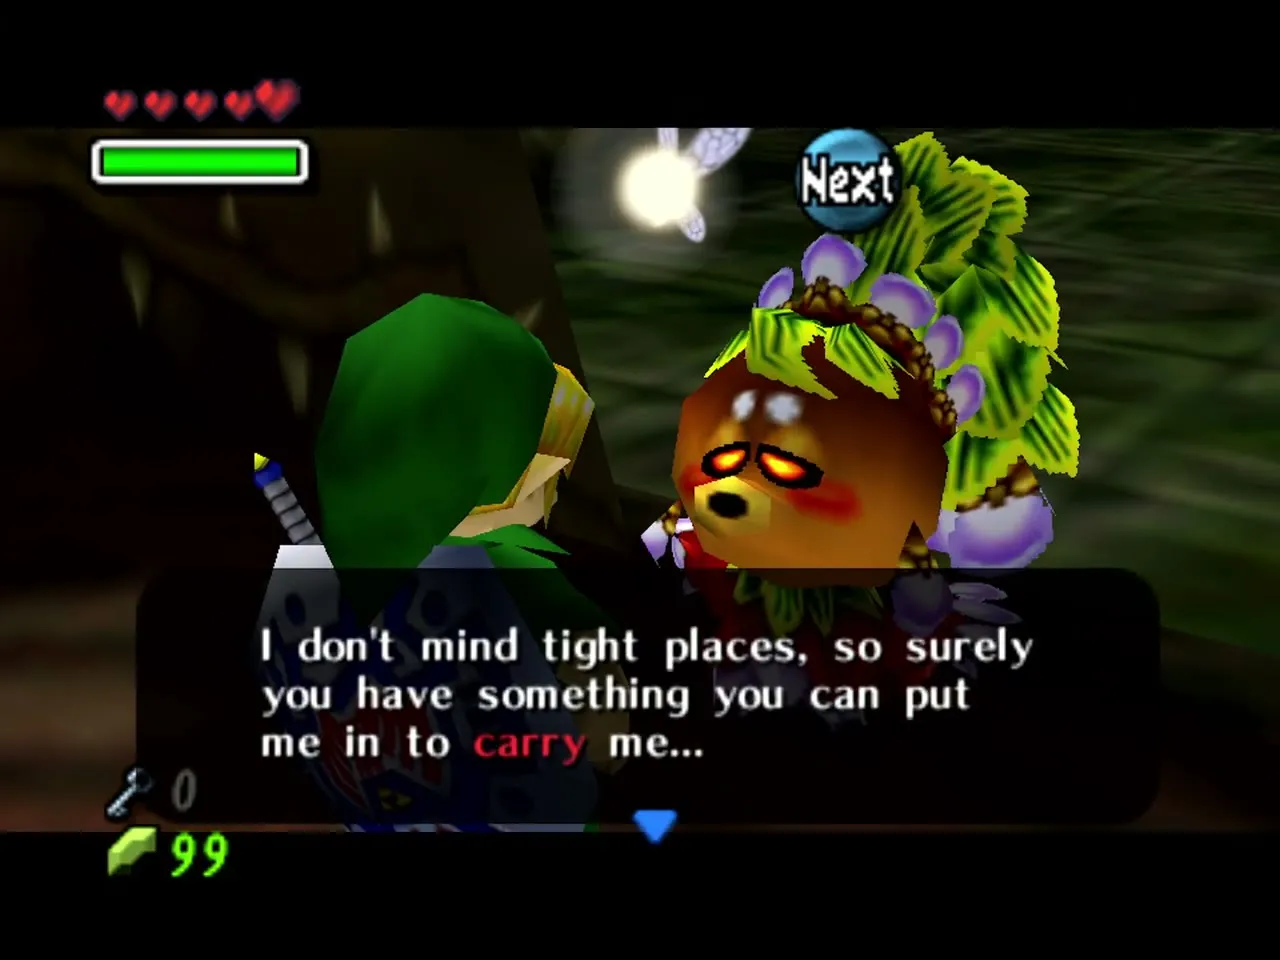
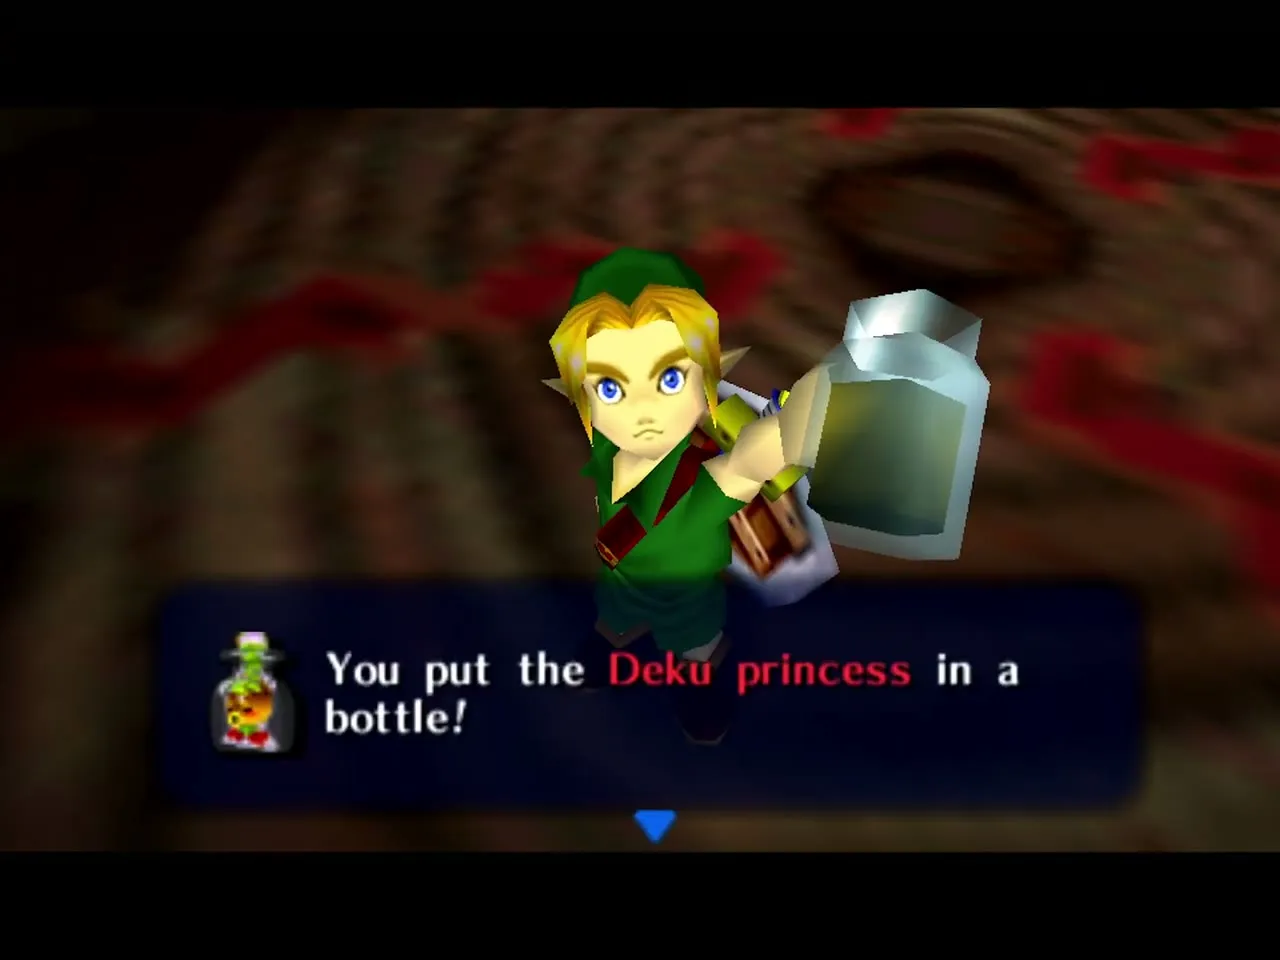
After Odolwa you wake in the temple area, where Tael apologises for how he treated you (“All that stuff I did to you… your horse… I apologize”) and tells you to keep up the pace and save the other three. The Deku Princess is nearby. She wonders who you are, says your body smells a little like monkey, and worries that her father will punish the poor monkey. She asks you to find something to carry her in so you can take her to the palace. Open the menu and use an empty bottle to put her inside; she says she does not mind tight places.

Return the princess to the Deku Palace
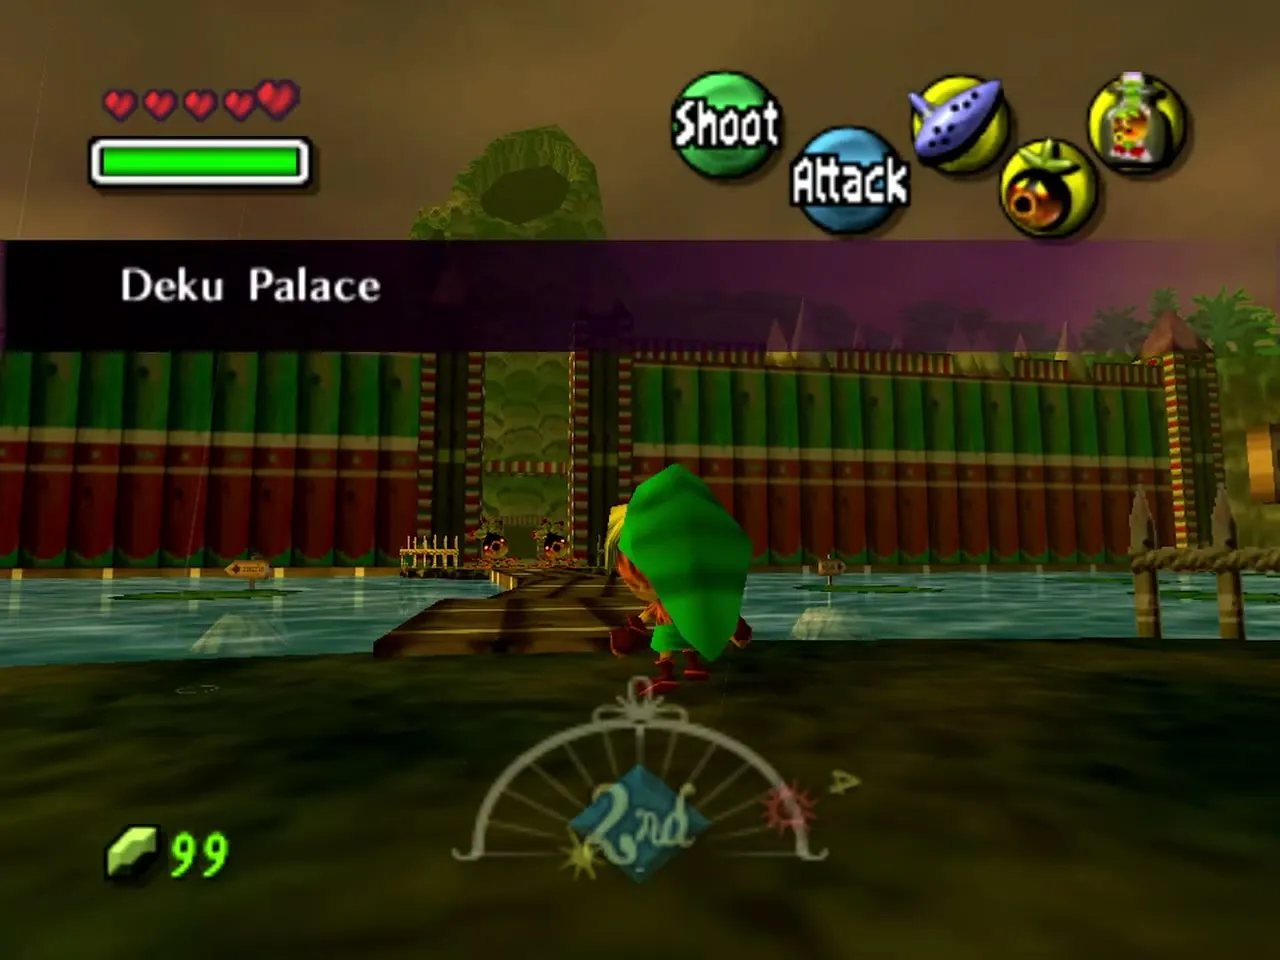
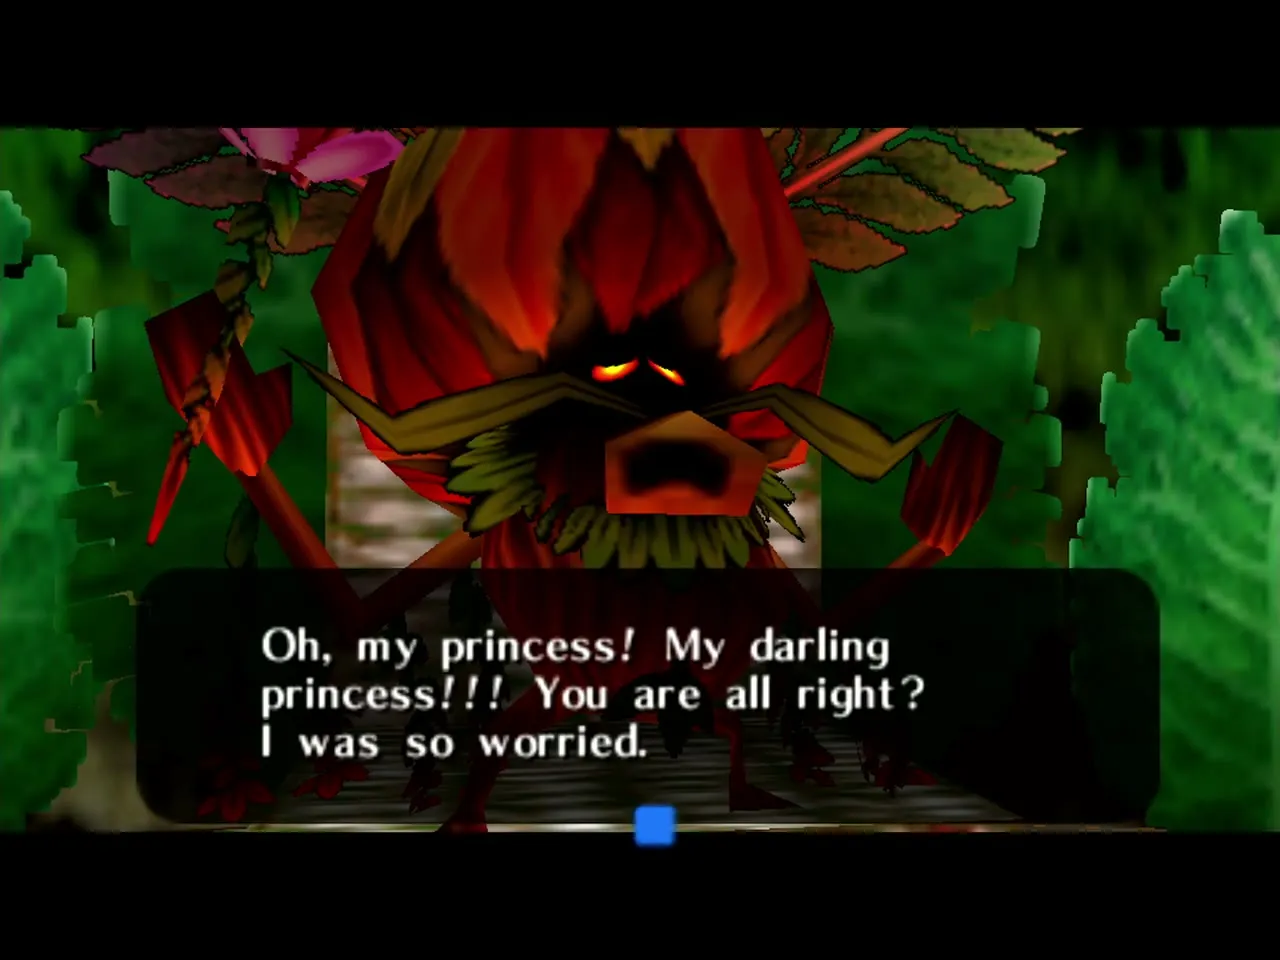
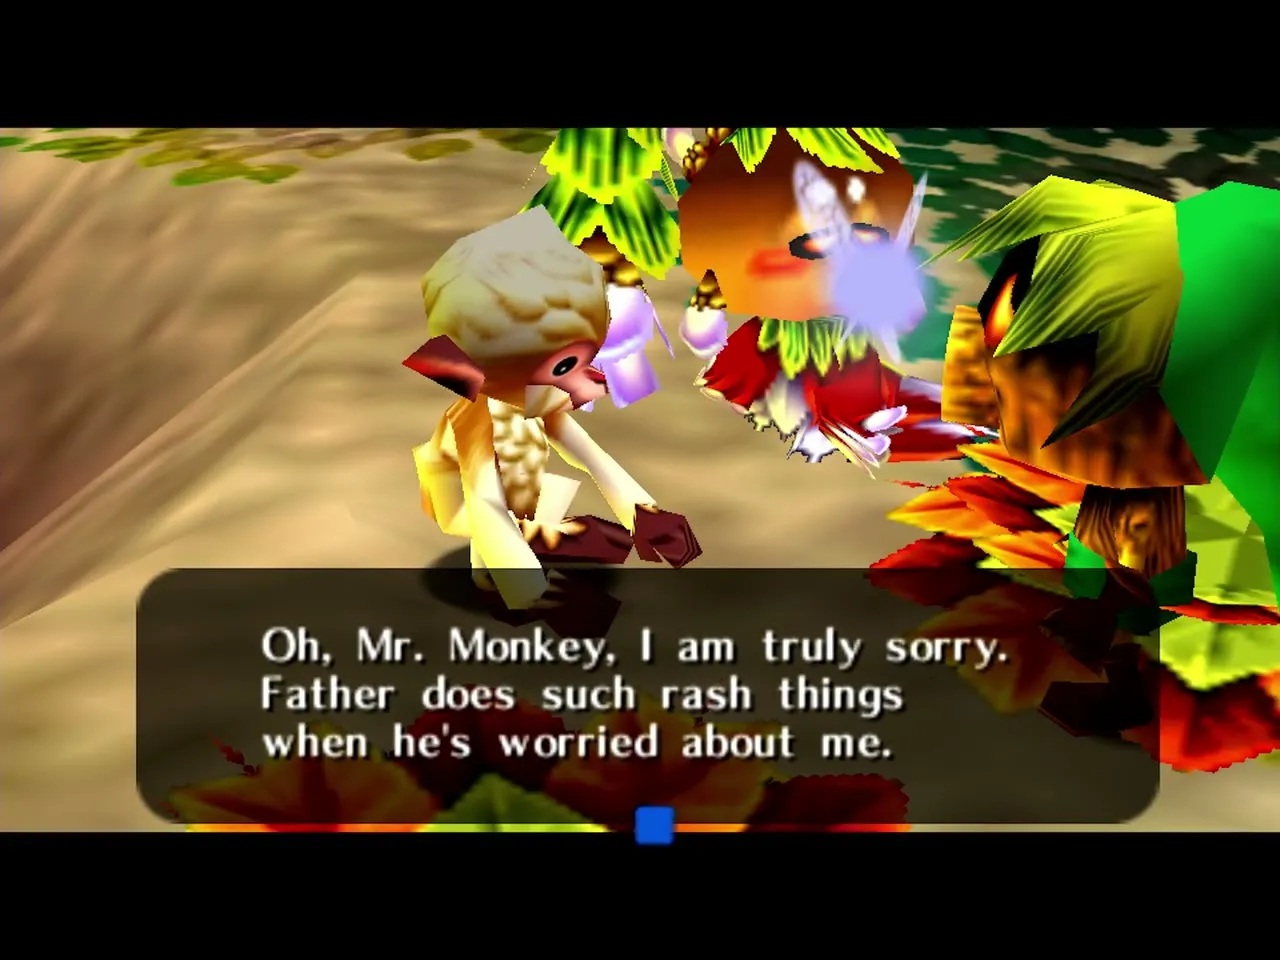
Take the wooden Deku path back to the palace, hop across the pond, and walk through the palace to the throne room. Use the bottle in front of the Deku King; she tells you to open it right where her father is standing. The King shouts that you should not have wandered anywhere but the Royal Chamber, until he sees his daughter. He cries out for joy, then orders the monkey let go. The princess apologises to the monkey, asks whether the temple has been returned to normal and thanks you. The palace scenes before this point are in the Southern Swamp and Deku Palace chapter.
After the princess: Mask of Scents and boat archery
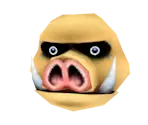
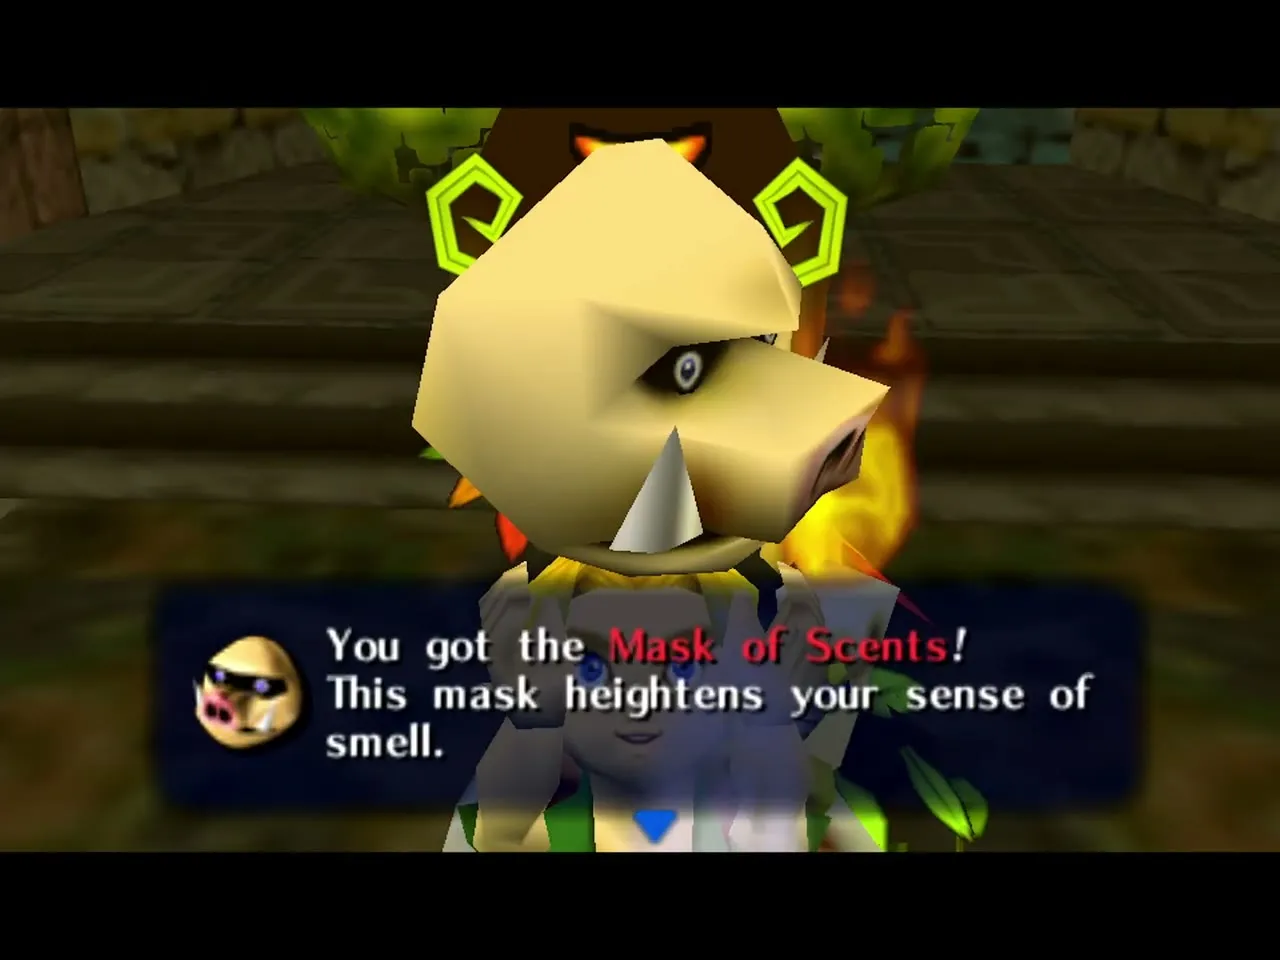
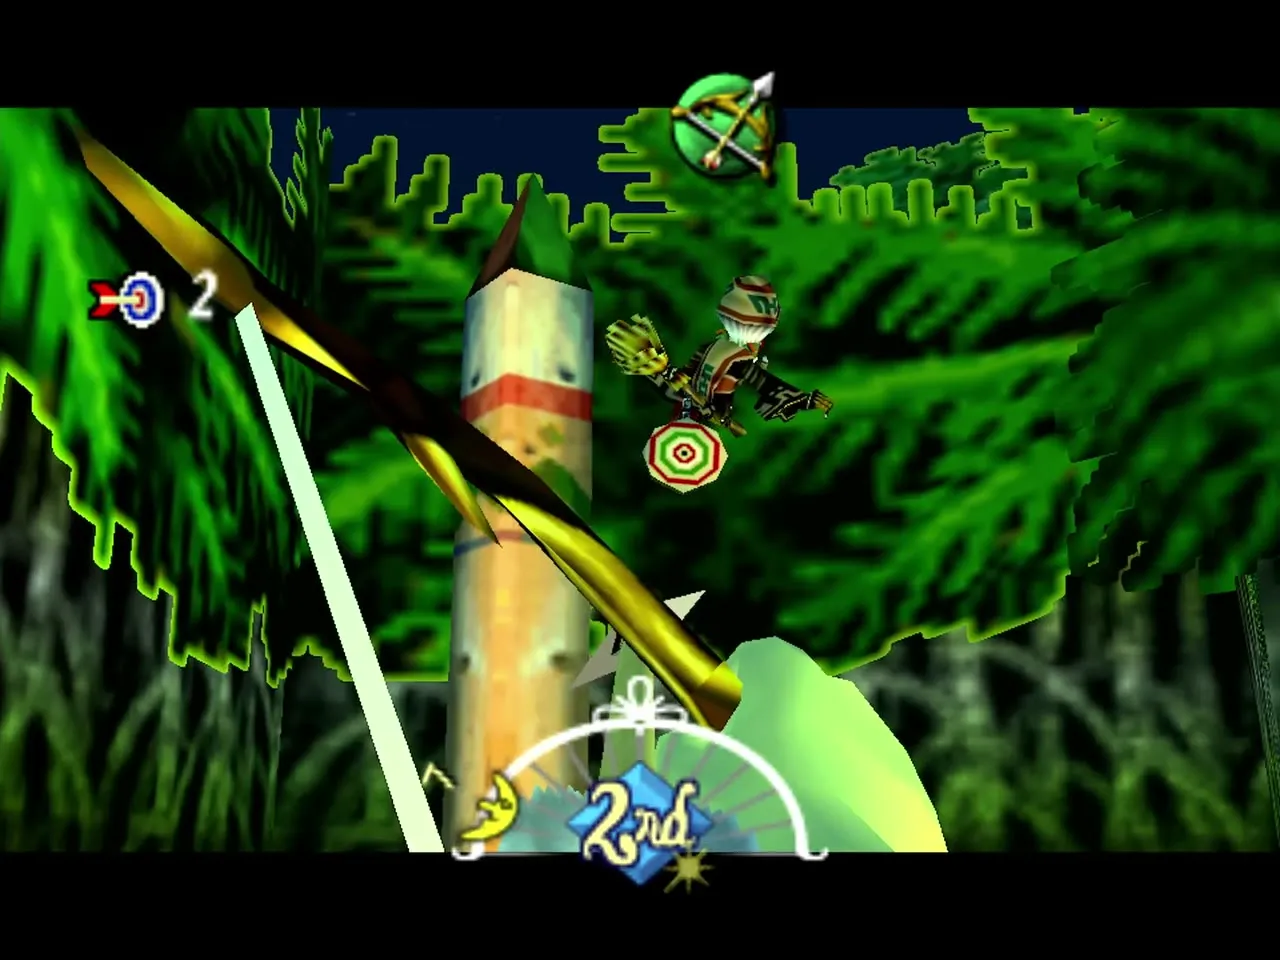
Once the princess is home, the Deku King thanks you and leads you to the Deku Shrine, where the Deku Butler’s race earns you the Mask of Scents (“Wear it with C to sharpen your olfactory perception”). He tells you that you remind him of his son, whom he used to race. With the bow in hand, the Swamp Tourist Center also offers Koume’s boat game, which pays a Piece of Heart for twenty target hits (a score of 21 earned one); the mini-games page has the rules.
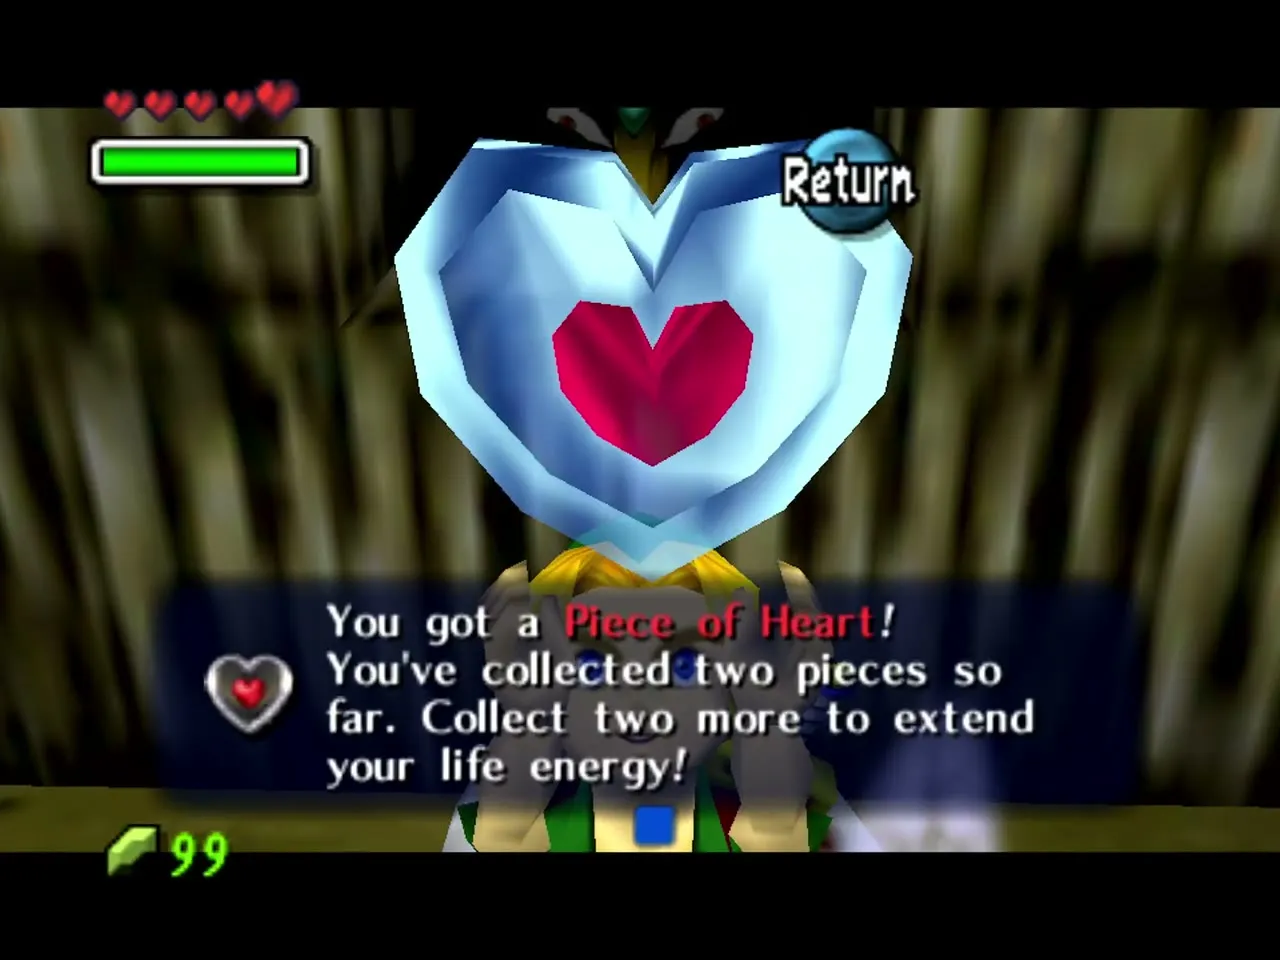
Chapter checklist
| Collectible | Type | Where |
|---|---|---|
 Stray Fairy 1 | Stray Fairy | Floating in the entrance room |
| Stray Fairy 2 | Stray Fairy | Chest on the platforms across the entrance room |
| Stray Fairy 3 | Stray Fairy | Main hall, bottom of the ramp, freed by the Deku Baba |
| Stray Fairy 4 | Stray Fairy | Jars on the corner platform of the main hall |
| Small Key | Key | Chest reached by the launcher flower beyond the main hall |
| Dungeon Map | Dungeon item | Chest after the Snapper room |
| Stray Fairy 6 | Stray Fairy | Block room, released by the Skulltula |
| Stray Fairy 8 | Stray Fairy | Beehive above the stone block |
| Compass | Dungeon item | Chest after the Dragonfly room |
| Stray Fairy 9 | Stray Fairy | Chest in the dark room after the Black Boes |
| Stray Fairy 10 | Stray Fairy | Bubble on the upper level of the main hall |
| Hero’s Bow | Item | Chest after the Dinolfos fight |
| Stray Fairy 5 | Stray Fairy | Beehive on the wall left of the Small Key chest |
| Boss Key | Key | Chest after the Gekko and Snapper fight |
| Stray Fairy 11 | Stray Fairy | Chest revealed by the north-west floor switch |
| Stray Fairy 7 | Stray Fairy | Bubble under the bridge in the block room |
| Stray Fairies 12 to 15 | Stray Fairy | Final room: two west alcoves, the east alcove and the bubble on the flame-ringed pillar |
 Heart Container | Heart | Odolwa |
 Odolwa’s Remains | Boss remains | Odolwa |
 Oath to Order | Song | Taught by the Giant after Odolwa |
| Spin Attack | Upgrade | Great Fairy of Power, for all 15 Stray Fairies |
| Deku Princess | Bottle contents | Woodfall, carried to the Deku Palace |
| Mask of Scents | Mask | Deku Shrine, after the princess is home |
Your next stop is the cold north, in the Snowhead region chapter.
