
























Majora's Mask 100% Completion Walkthrough11 chapters
- PrologueDeku curse, Clock Town, Bombers’ code, Moon’s Tear, first Heart Piece, Ocarina, Song of Time and the Deku Mask.
- Clock Town, Termina Field and Romani RanchGreat Fairy’s Mask, Notebook, Adult Wallet, Heart Pieces, Epona’s Song and Bunny Hood.
- Southern Swamp and Deku PalaceKoume, the Pictograph Box, the monkey, Sonata of Awakening and every Heart Piece.
- Woodfall TempleAll 15 Stray Fairies, Hero’s Bow, Boss Key, Odolwa, the Great Fairy’s spin attack and the Deku Princess.
- Snowhead RegionMountain Village, Lens of Truth, Goron Mask, Goron Lullaby, Powder Keg trial, Goron Race and sword upgrades.
- Snowhead TempleAll 15 Stray Fairies, 3 small keys, Fire Arrows, Boss Key, Goht boss fight and the Great Fairy’s reward.
- Great Bay RegionGet the Zora Mask, the Hookshot, all seven Zora eggs and the New Wave Bossa Nova before Great Bay Temple.
- Great Bay Temple15 Stray Fairies, water pipe puzzles, Wart, Ice Arrows, Gekko, Boss Key, Gyorg and the Double Defense reward.
- Ikana Canyon and Ancient Castle of IkanaCaptain’s Hat, Song of Storms, Gibdo Mask, Beneath the Well, Mirror Shield, Ancient Castle, Elegy of Emptiness.
- Stone Tower TempleClimb the tower, find all 15 Stray Fairies, win the Light Arrows and Giant’s Mask, and beat Twinmold.
- Final ConfrontationPlay the Oath to Order, clear the four Moon dungeons, earn the Fierce Deity’s Mask and beat Majora’s three forms.
| Covers | Snowhead Temple from the entrance to the Goht fight, then the Snowhead Great Fairy fountain |
|---|---|
| You need | Goron Mask, Deku Mask, Hero’s Bow, Lens of Truth, Goron Lullaby, Great Fairy’s Mask, bombs; Bunny Hood and Blast Mask help |
| Rewards | Dungeon Map, Compass, Fire Arrows, Boss Key, 3 Small Keys, 15 Stray Fairies, Heart Container, Goht’s Remains, doubled Magic Meter from the Great Fairy |
Snowhead Temple is the second dungeon: climb through four floors as Goron Link, win the Fire Arrows from the first Wizzrobe, raise and lower the central pillar, take the Boss Key from the second Wizzrobe and finish Goht. Rescue all 15 Stray Fairies on the way and the Great Fairy at the foot of the mountain doubles your Magic Meter.
The order that works best is: first floor and the lava basement, the Dungeon Map and the Compass with the first Small Key, the icicle room with the second key, the first Wizzrobe and the Fire Arrows, then every ice-covered room on the way back for fairies and the third key, then the central pillar, the Eeno and Dinolfos rooms, the second Wizzrobe and the Boss Key. The table below shows that chain, and the checklist at the end lists every chest and fairy.
| Step | Where | You get |
|---|---|---|
| 1 | Yellow-framed door, first floor | Small Key 1 |
| 2 | Locked door off the entrance room | Compass, then the cracked wall to the upper floors |
| 3 | Second floor map room | 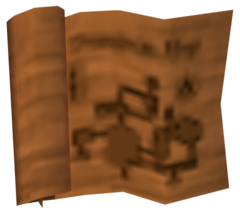 Dungeon Map |
| 4 | Third floor icicle room | Small Key 2 |
| 5 | Switch room, first Wizzrobe | Fire Arrows |
| 6 | Broken bridge room by the entrance, after melting the ice | Small Key 3 |
| 7 | Eeno room, Dinolfos room, second Wizzrobe | Stray Fairies 12 to 14 and the Boss Key |
| 8 | Top of the central pillar | Boss door, then Goht |
Table of Contents
Before you enter Snowhead Temple
What to carry in
Wear the Goron Mask for most of the climb, because the lava, the ice slabs and the floor switches all need Goron strength, and keep the Deku Mask handy for the flowers that catch you when you fall. Fill your arrows and bombs first, keep the Lens of Truth ready because some of the fairies hide from the naked eye, and bring the Great Fairy’s Mask, which pulls every freed Stray Fairy straight to you. If you are still short of the Goron Lullaby, the Elder and his son in the Snowhead region teach it, and it is the song that puts the giant Goron to sleep and ends the blizzard on the path to the door.
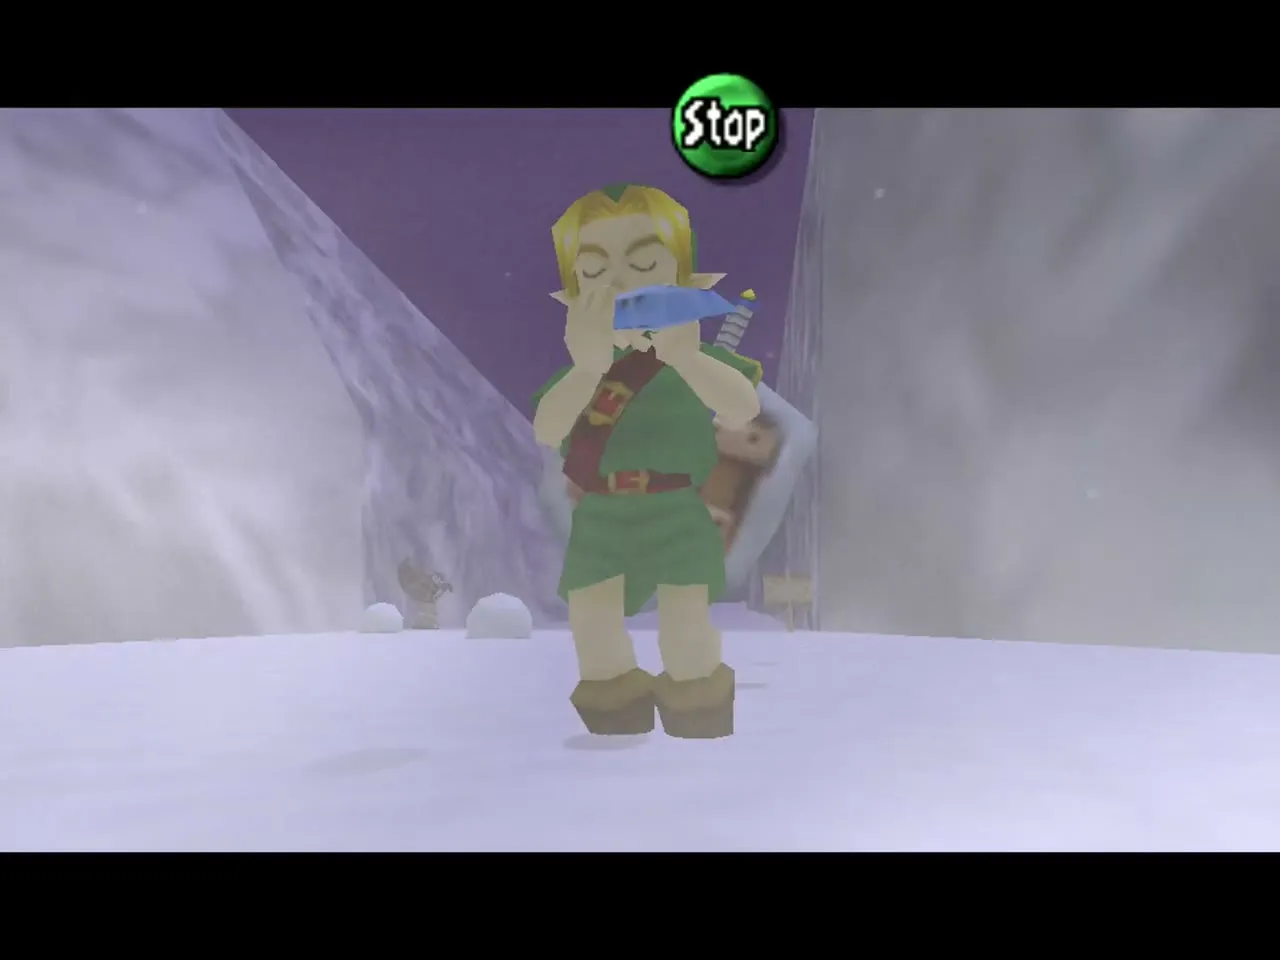
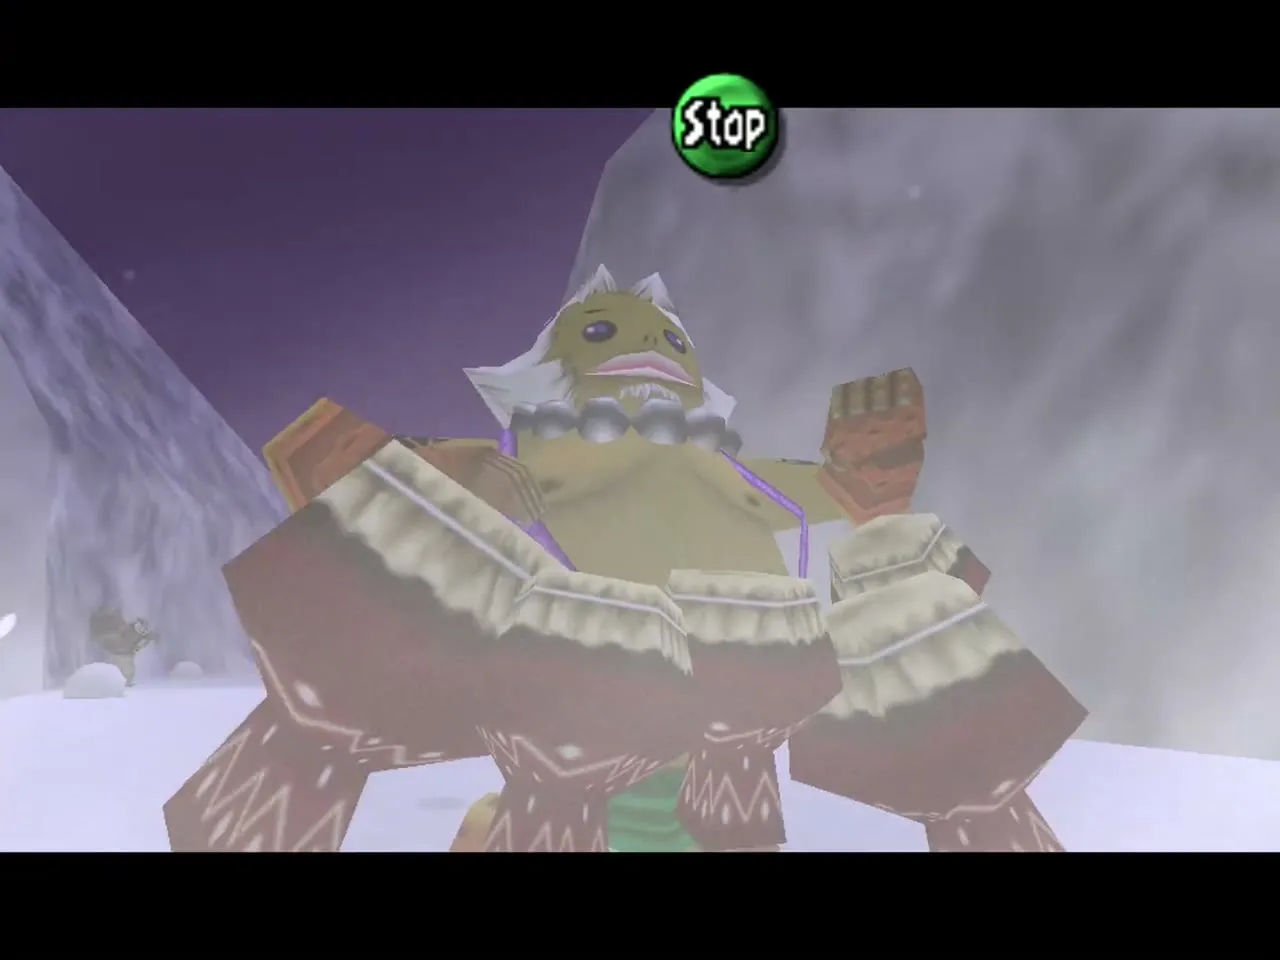

Song of Time resets in the temple
Plan to clear the temple within one three-day cycle. A Song of Time reset keeps your masks, songs and the Dungeon Map and Compass, but you lose small keys, the Boss Key and any Stray Fairies you have not yet delivered. If the clock runs low while you are in the middle of a floor, slow time with the Inverted Song of Time rather than resetting.
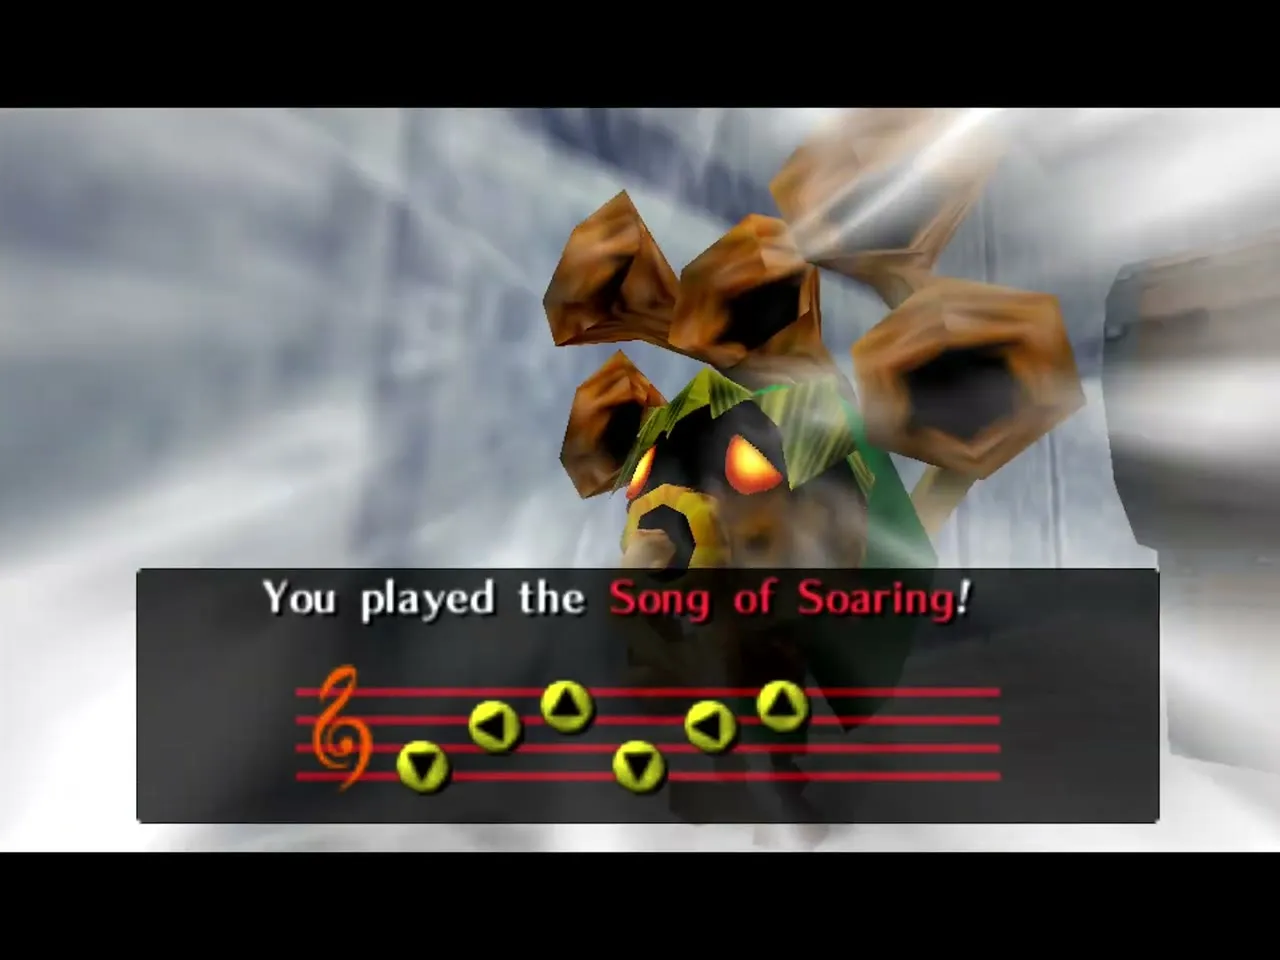
You can leave the temple at any time without walking back. Play the Song of Soaring inside and the game offers to “Soar to Entrance”; say yes and you appear in the doorway, ready to visit the Great Fairy, warp elsewhere or deliver fairies. That is handy when the night is coming and you want to deliver fairies, visit Goron Village or reset the cycle without the long walk back down the corridors.
Snowhead Temple entrance and first Stray Fairies
Entrance room and the icy gap
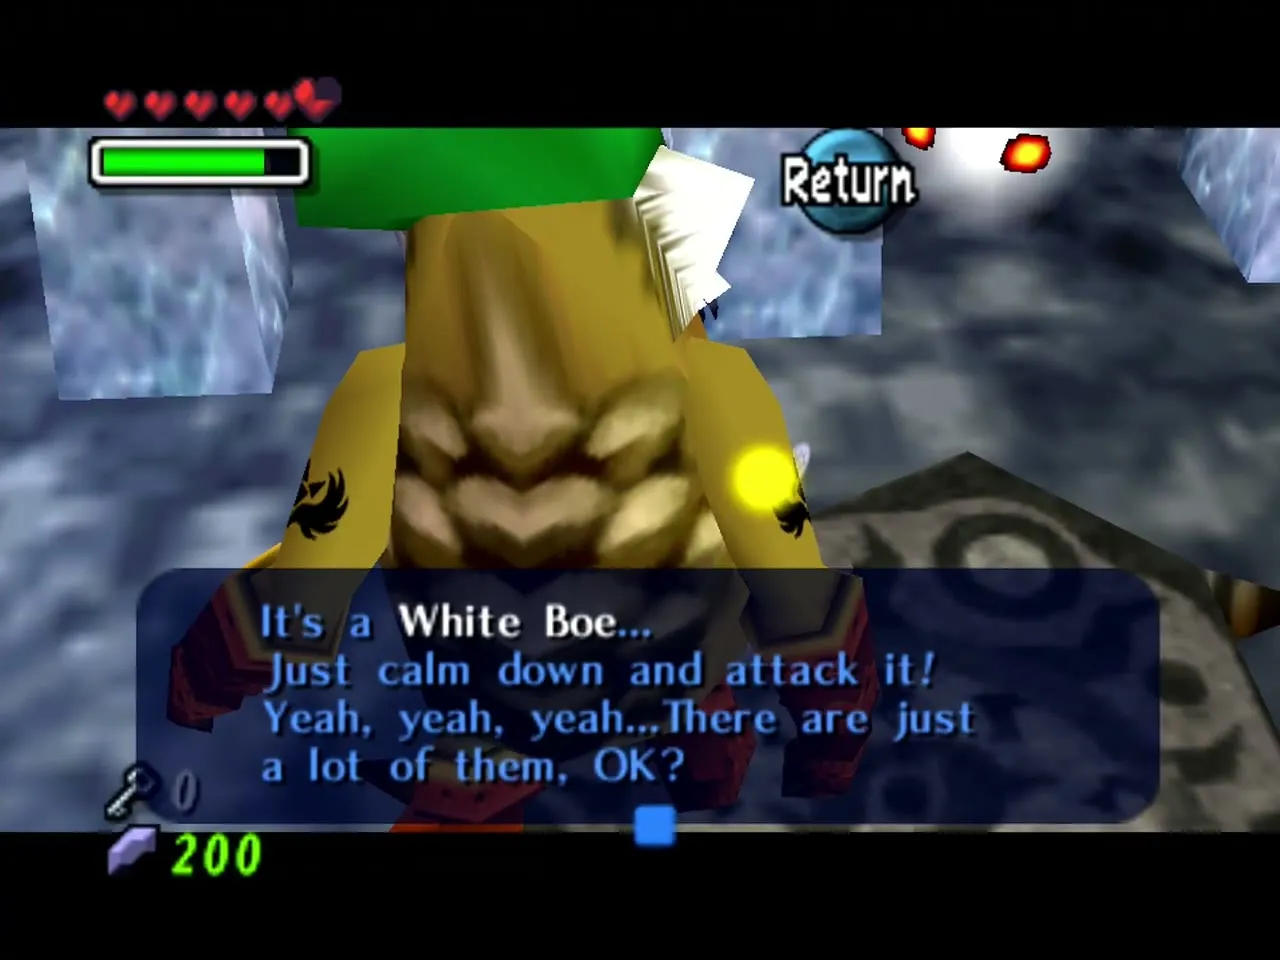
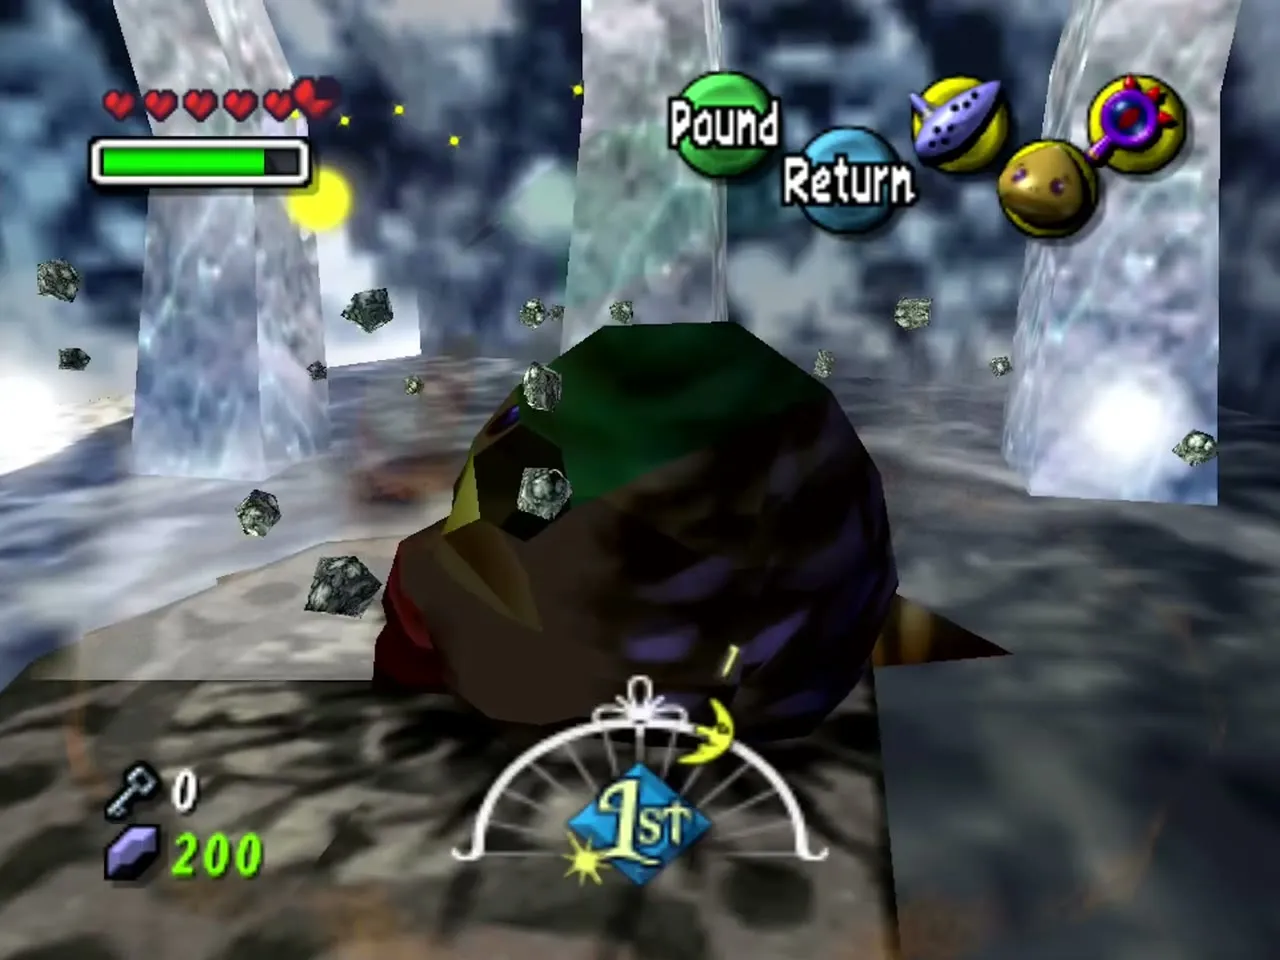
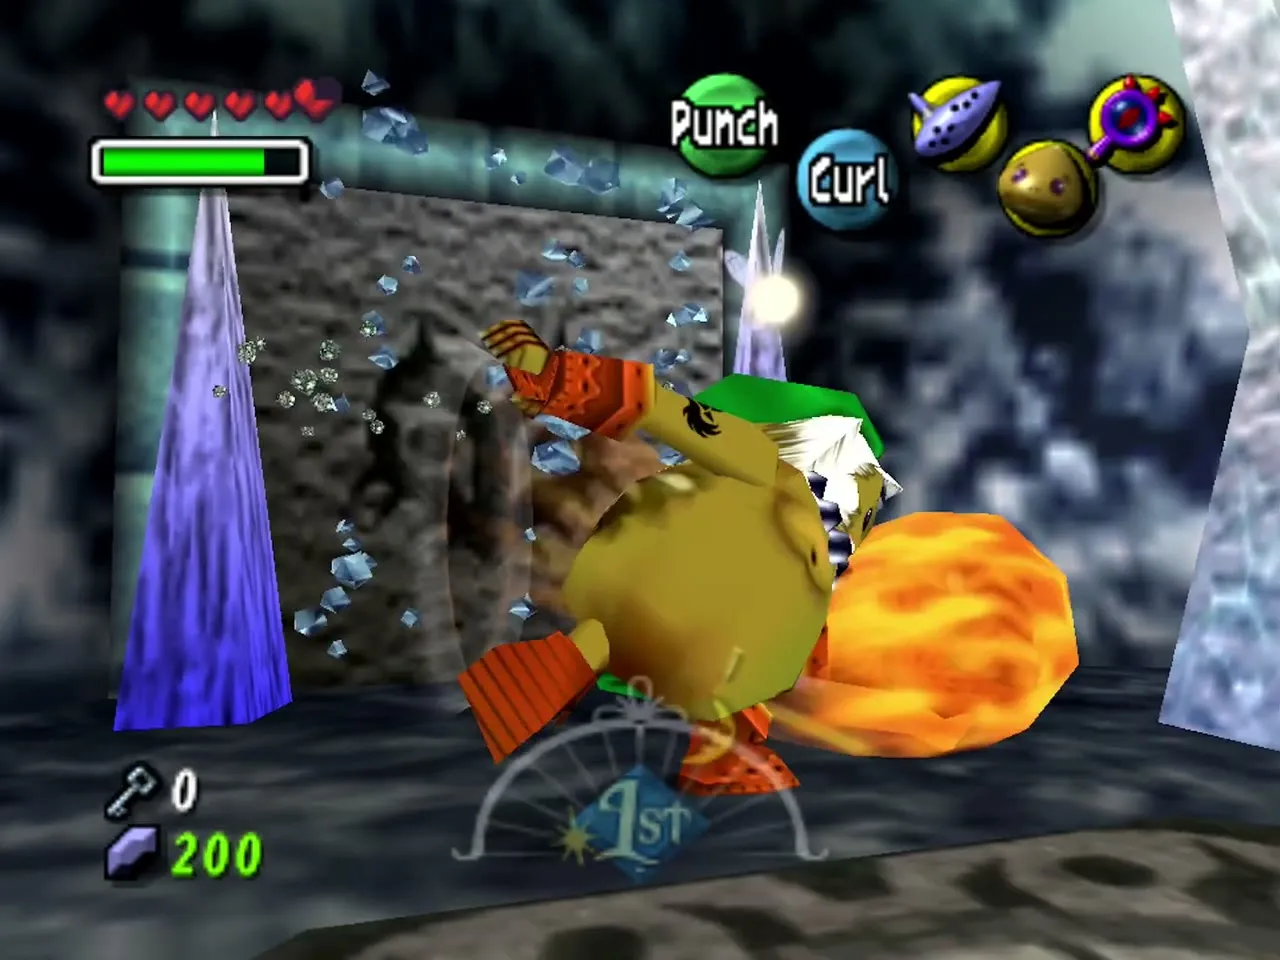
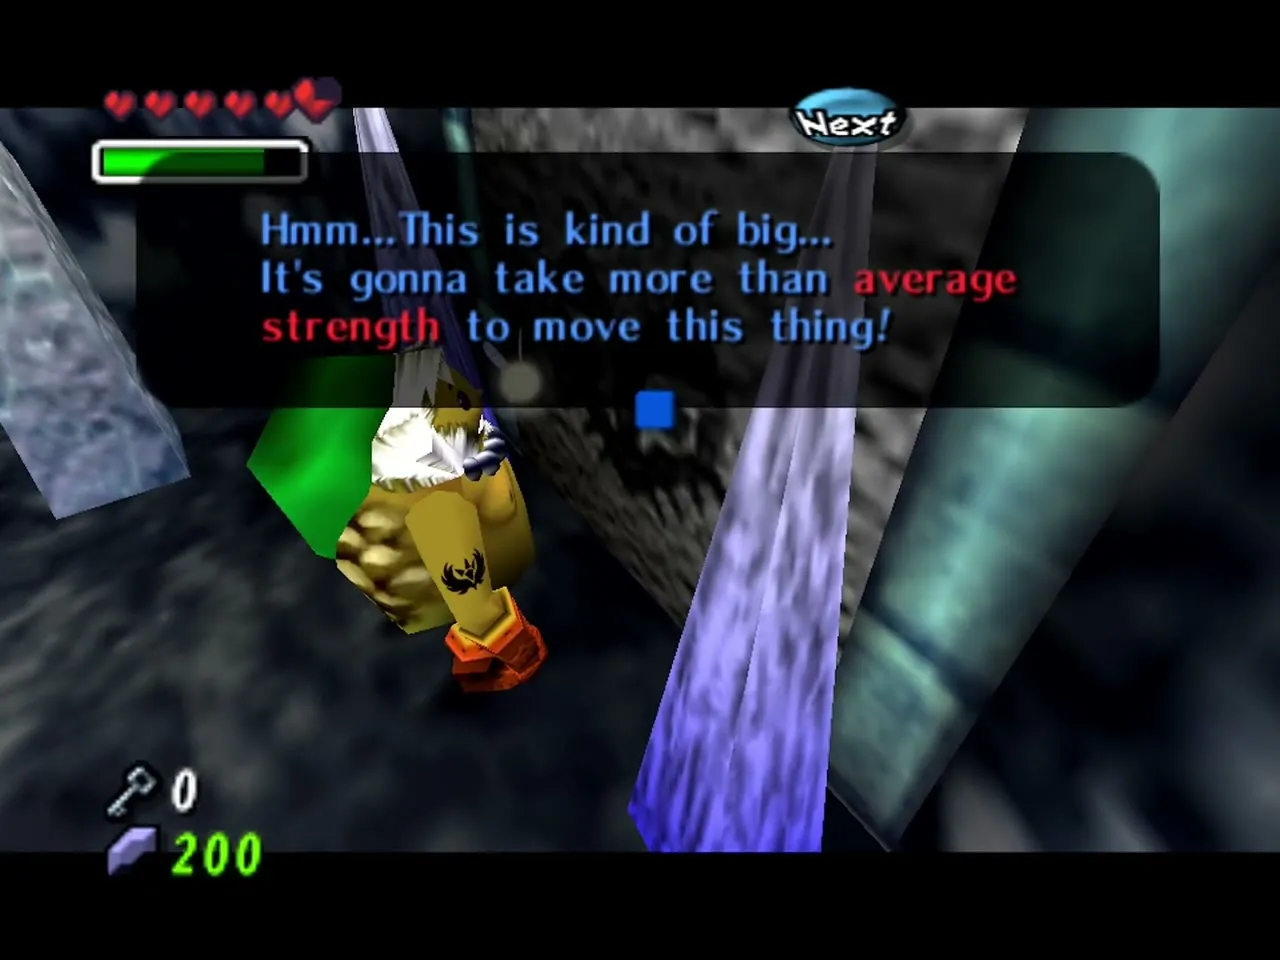
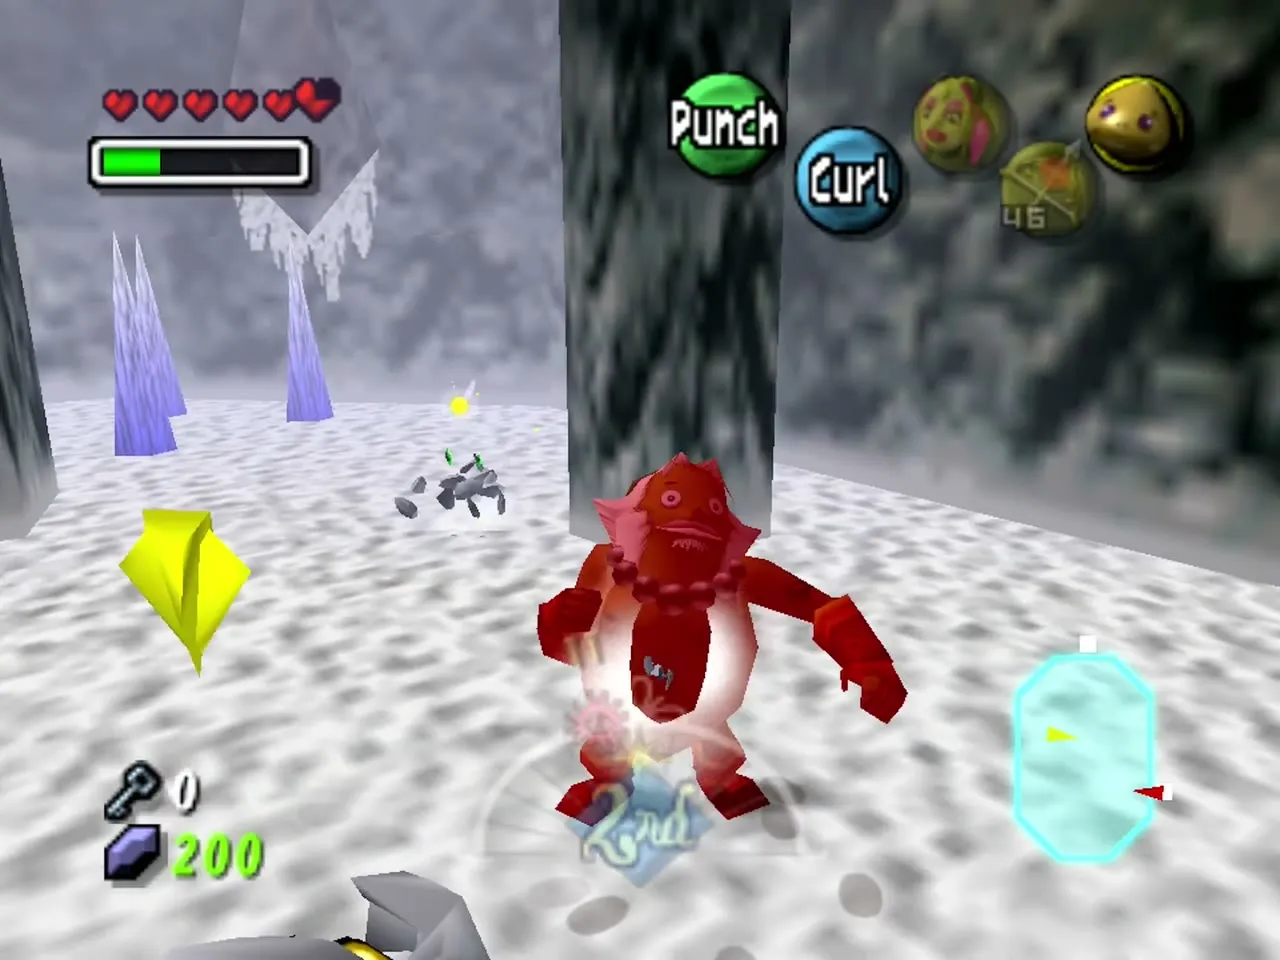
The temple door opens on a frozen room. Tatl warns you about the White Boes here. Defeat the White Boes in the first room with Goron pounds, then punch through the ice that blocks the way and push the heavy grey block forward as Goron Link. A White Wolfos waits beyond it; kill it or run past and head east into the room with the broken bridge.
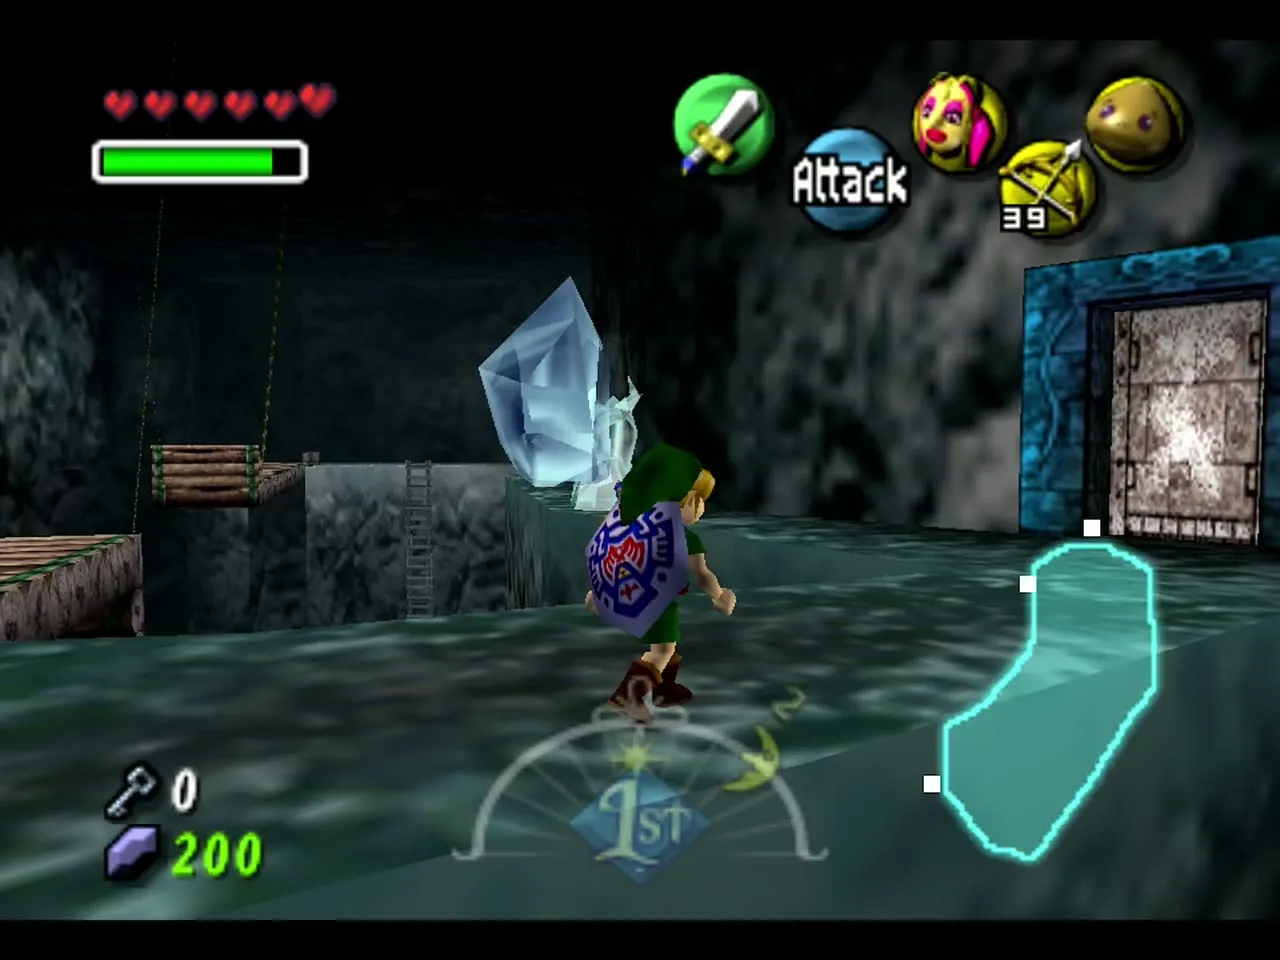
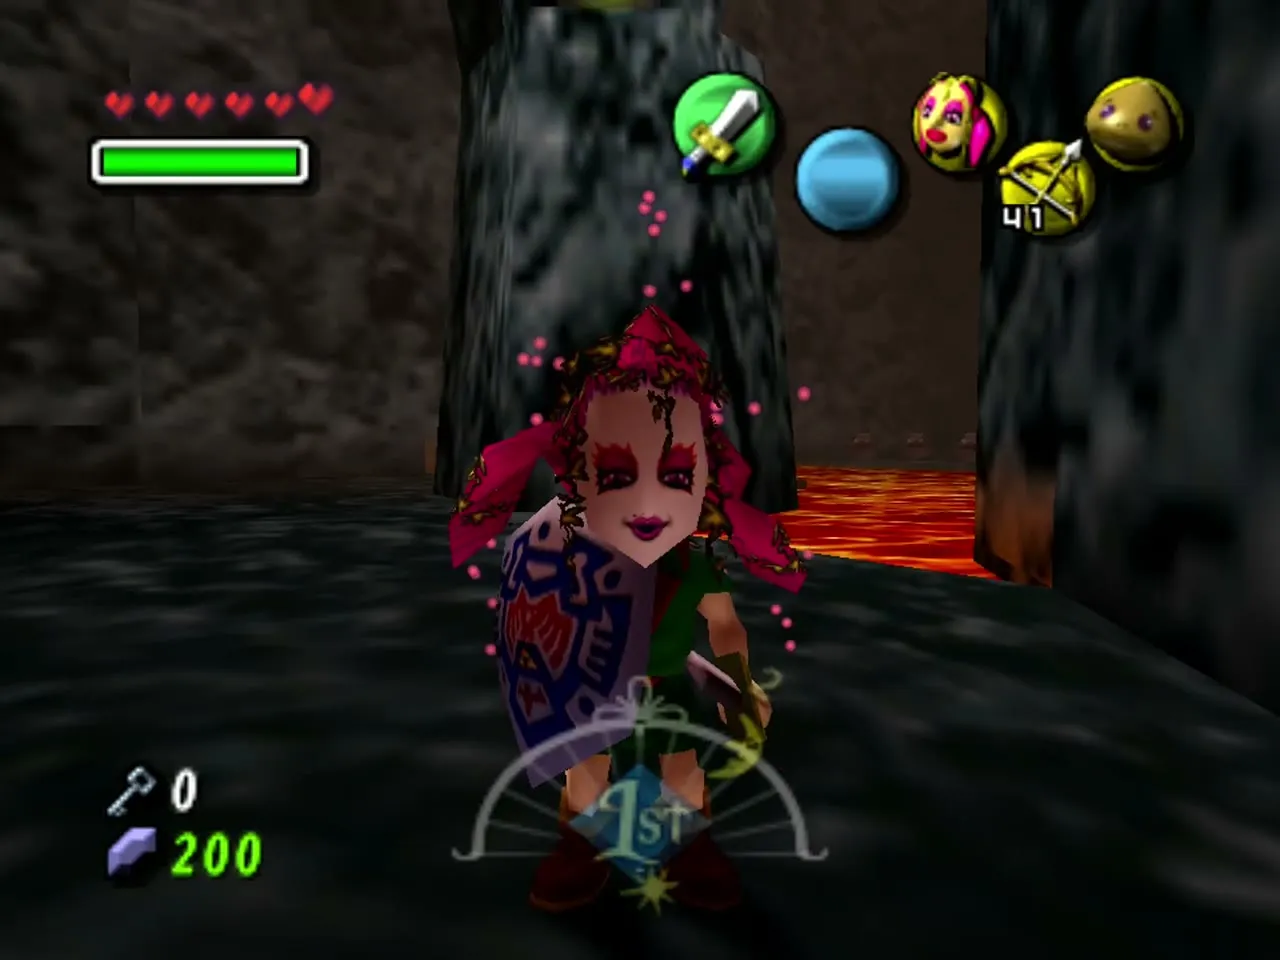
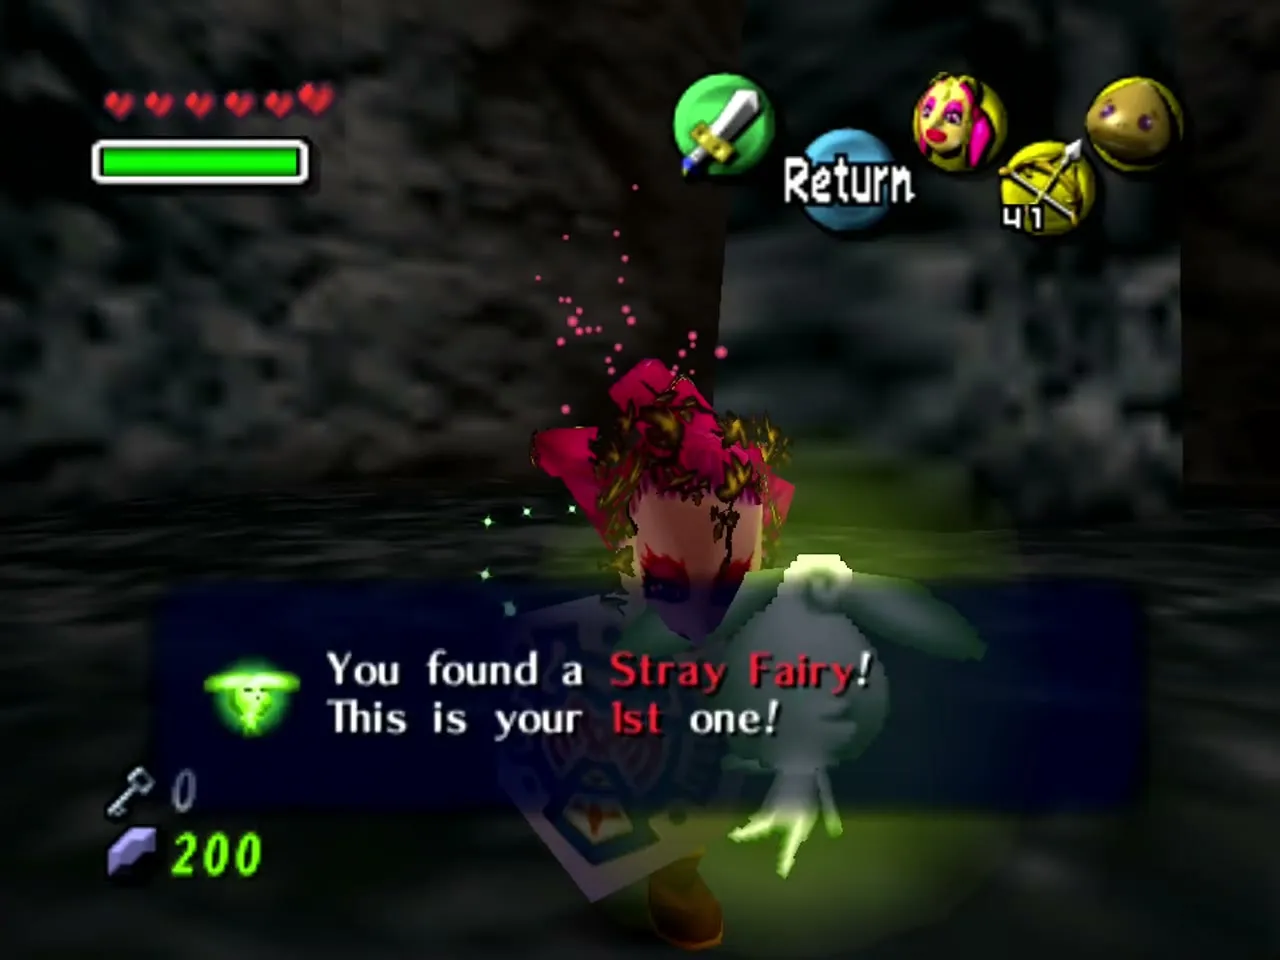
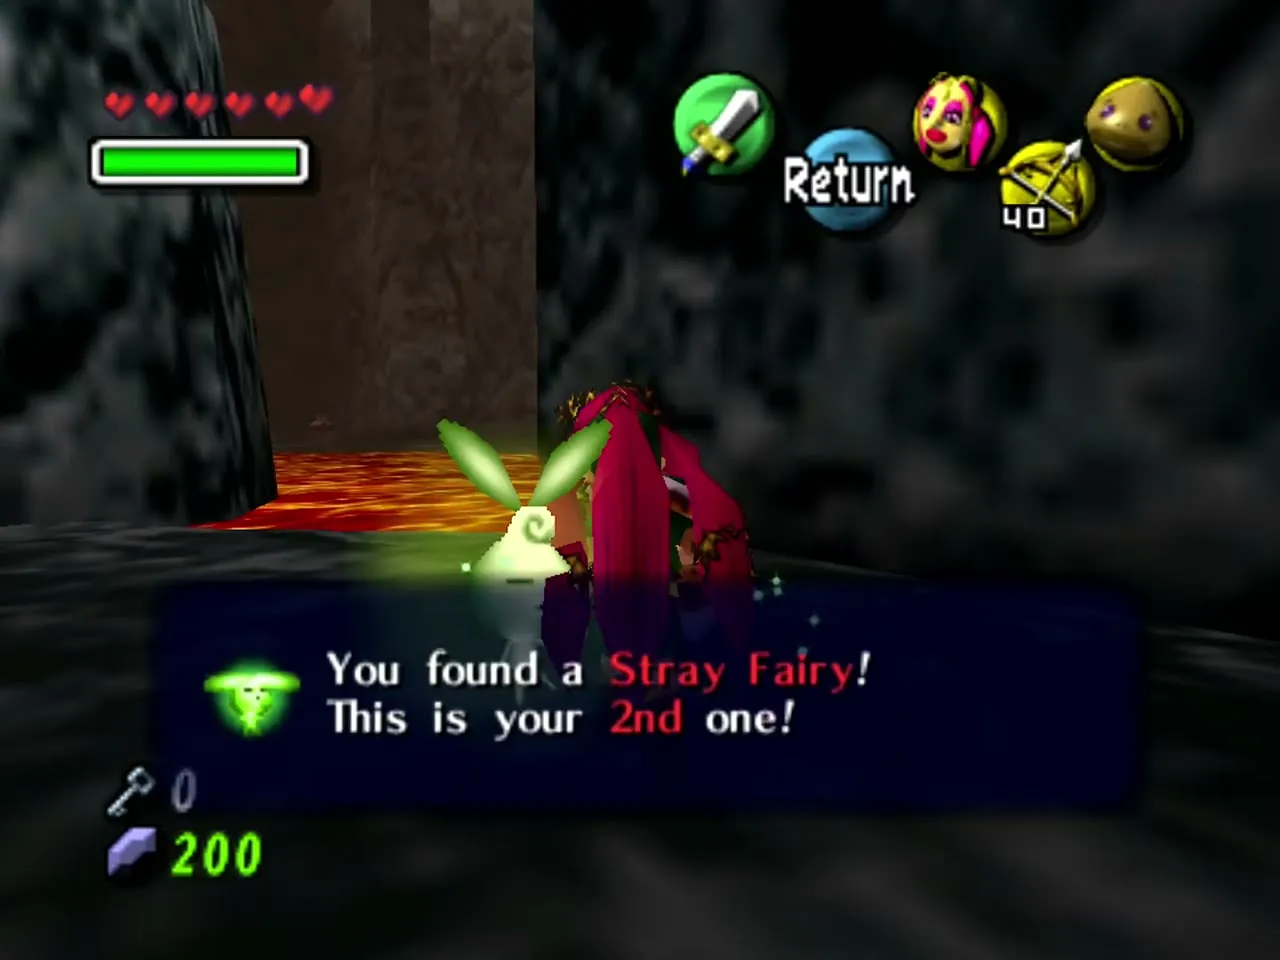
Wear the Great Fairy’s Mask and go down the ladder into the broken-bridge room, where lava glows below. Roll across the icy floor as a Goron to carry enough speed to clear the gap. Stray Fairy 1 is in a bubble in an alcove of the stone pillar in the middle of the room, below the bridge: pop it with an arrow and let the mask bring the fairy to you. Stray Fairy 2 is in a second bubble under a small platform nearby. Shoot it the same way. Climb the ladder back up if you fall.

Dungeon Map and Stray Fairy 3
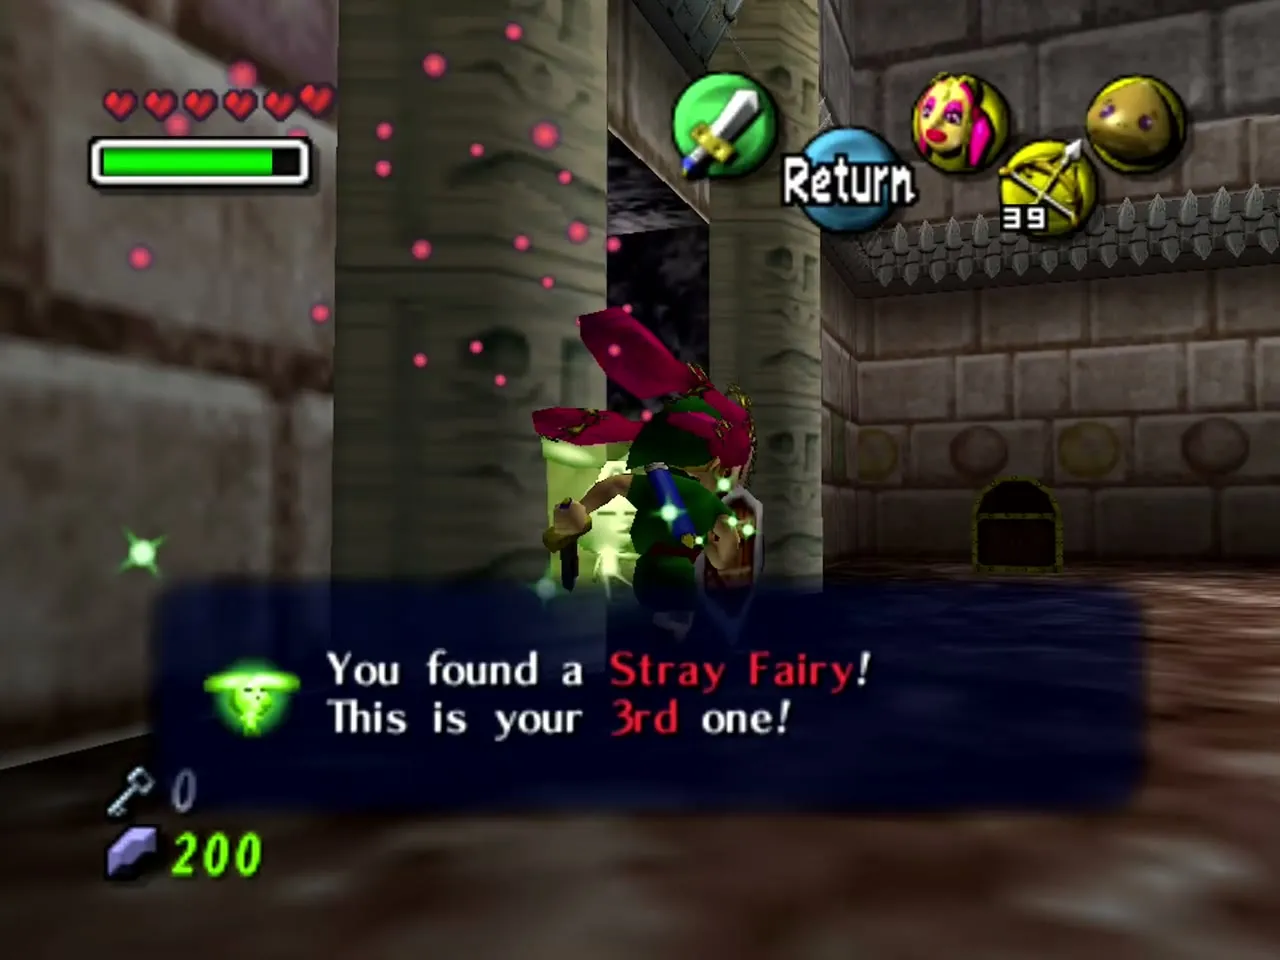
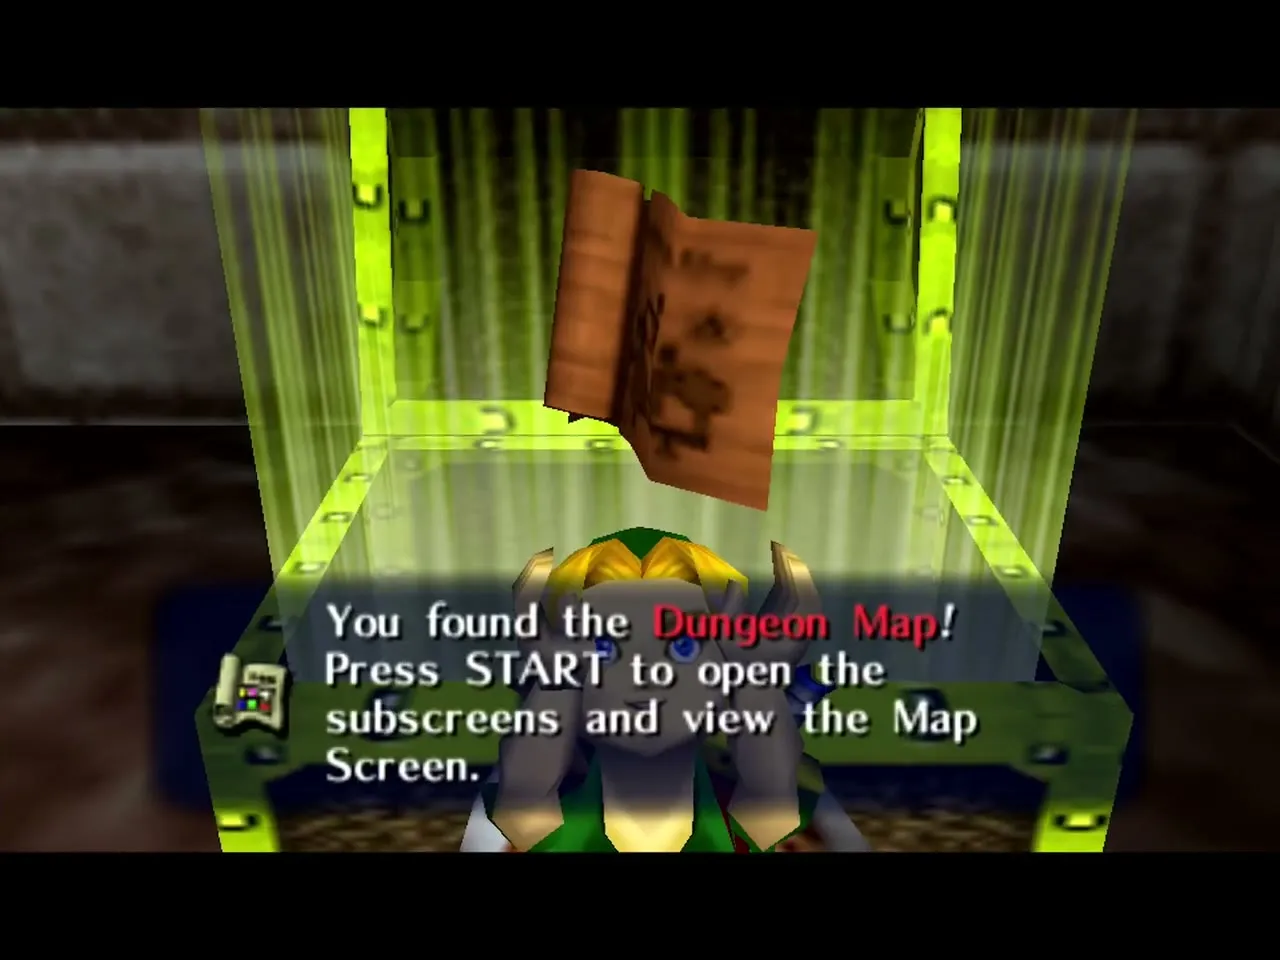
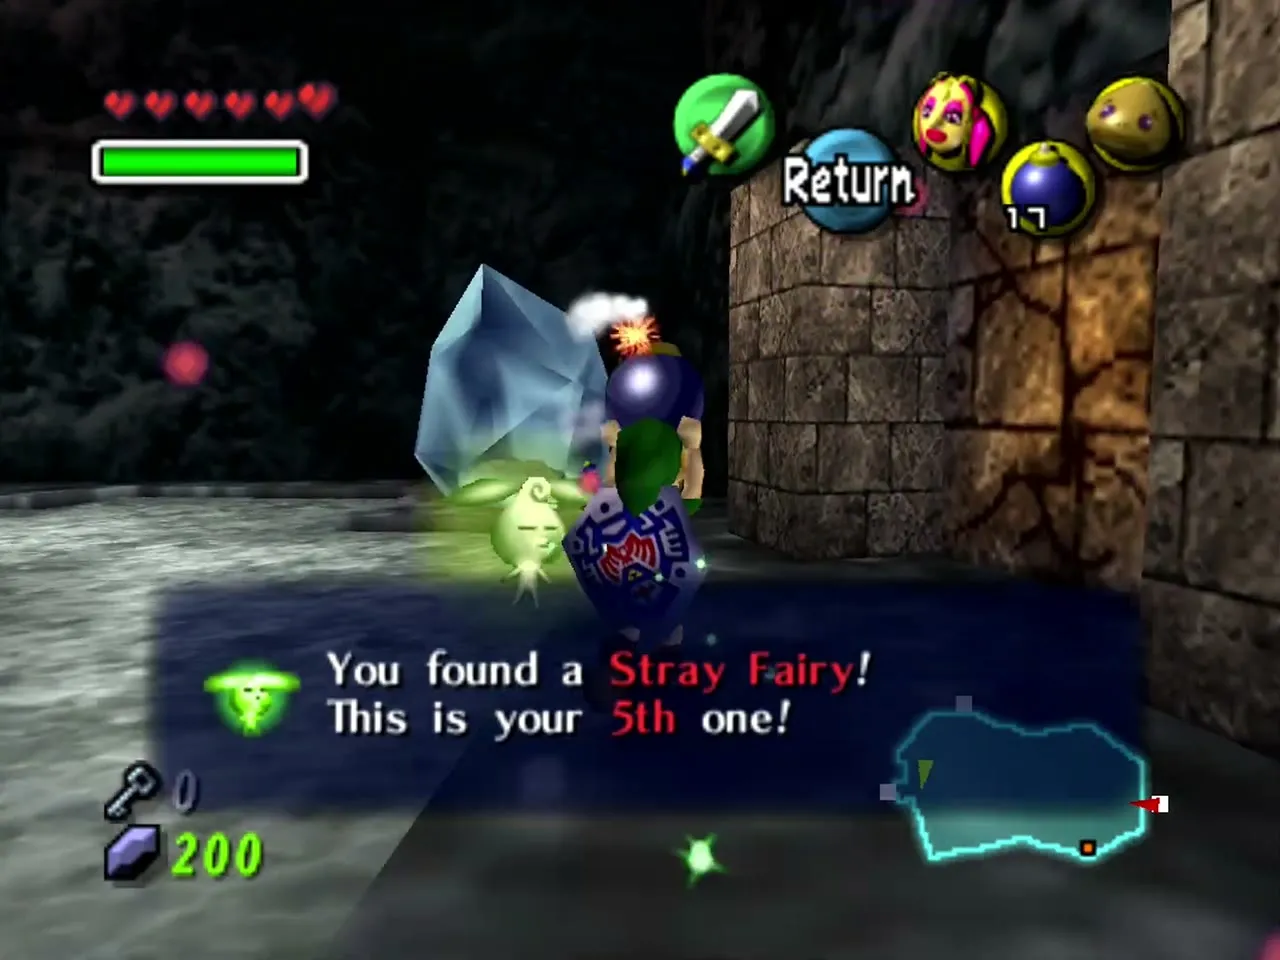
Go up the stairs to the second floor. Shoot the Real Bombchu from a distance, or let it blow up against your shield, then defeat the Freezard and open the chest for the Dungeon Map. Stray Fairy 3 drifts beside the door in this same room, so walk into it or call it in with the Great Fairy’s Mask. You will return to this room later with Fire Arrows for Stray Fairy 11.
Lava basement and Stray Fairy 6
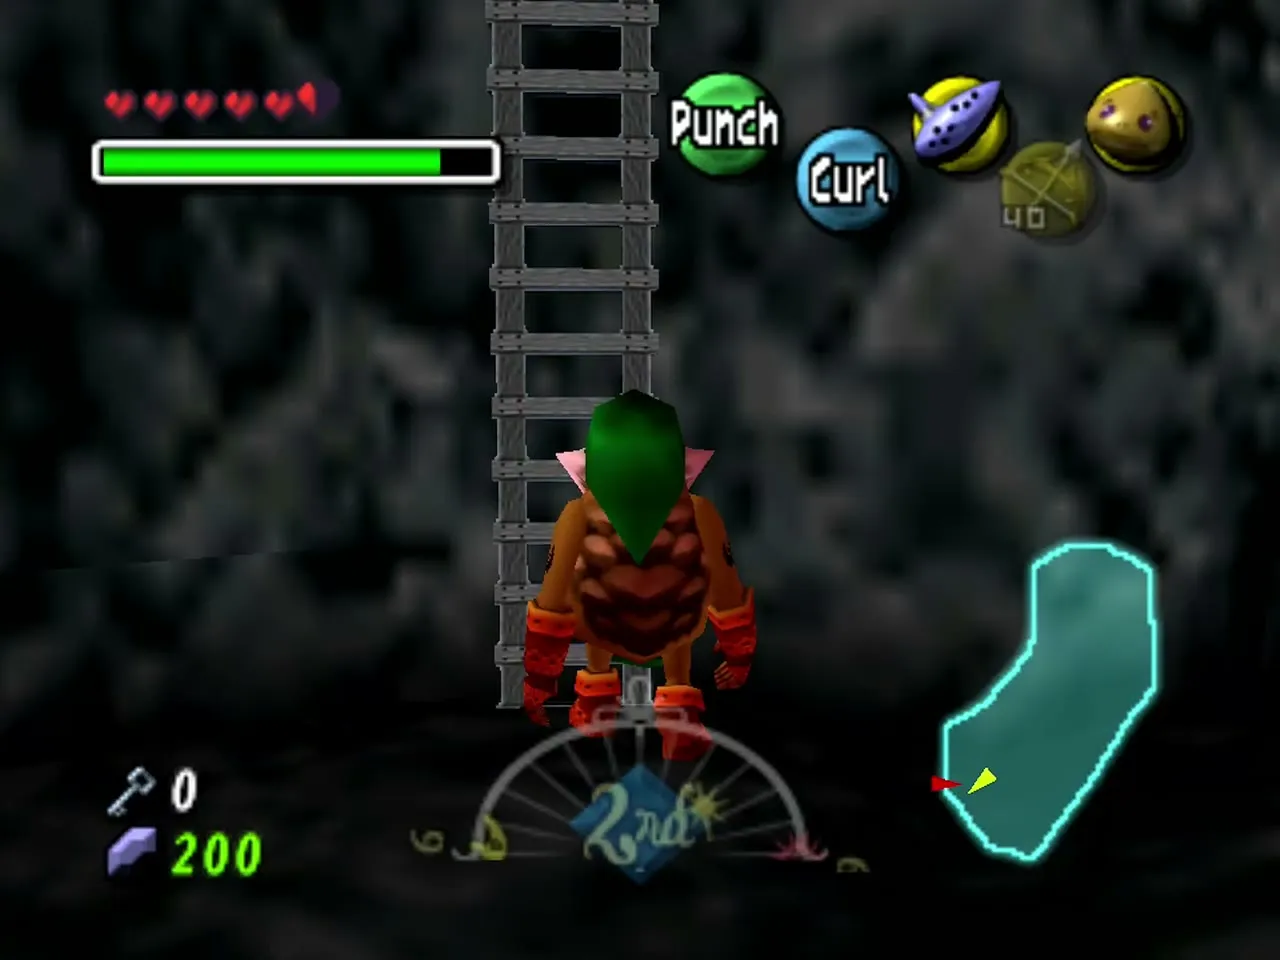
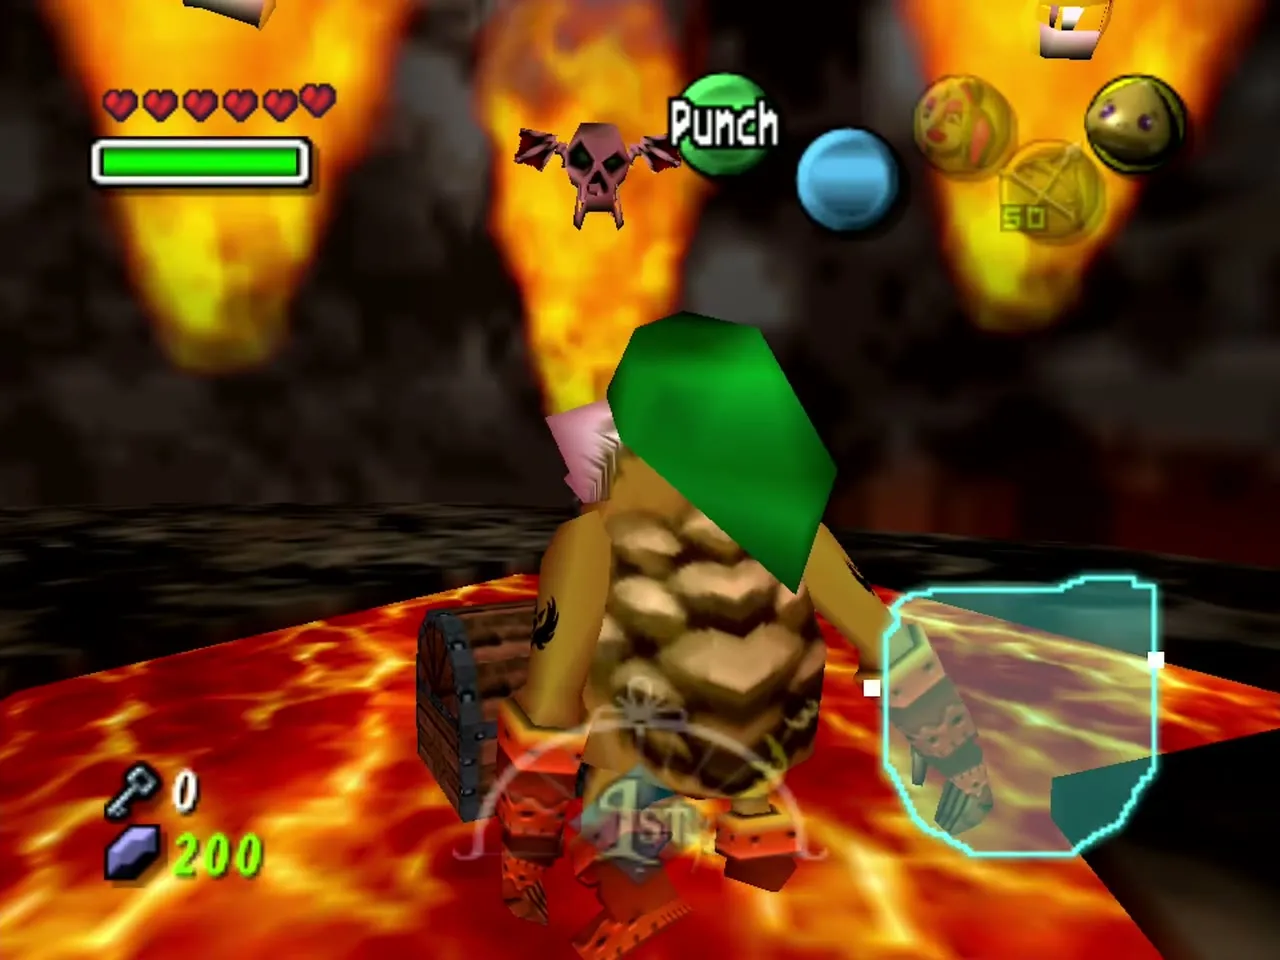
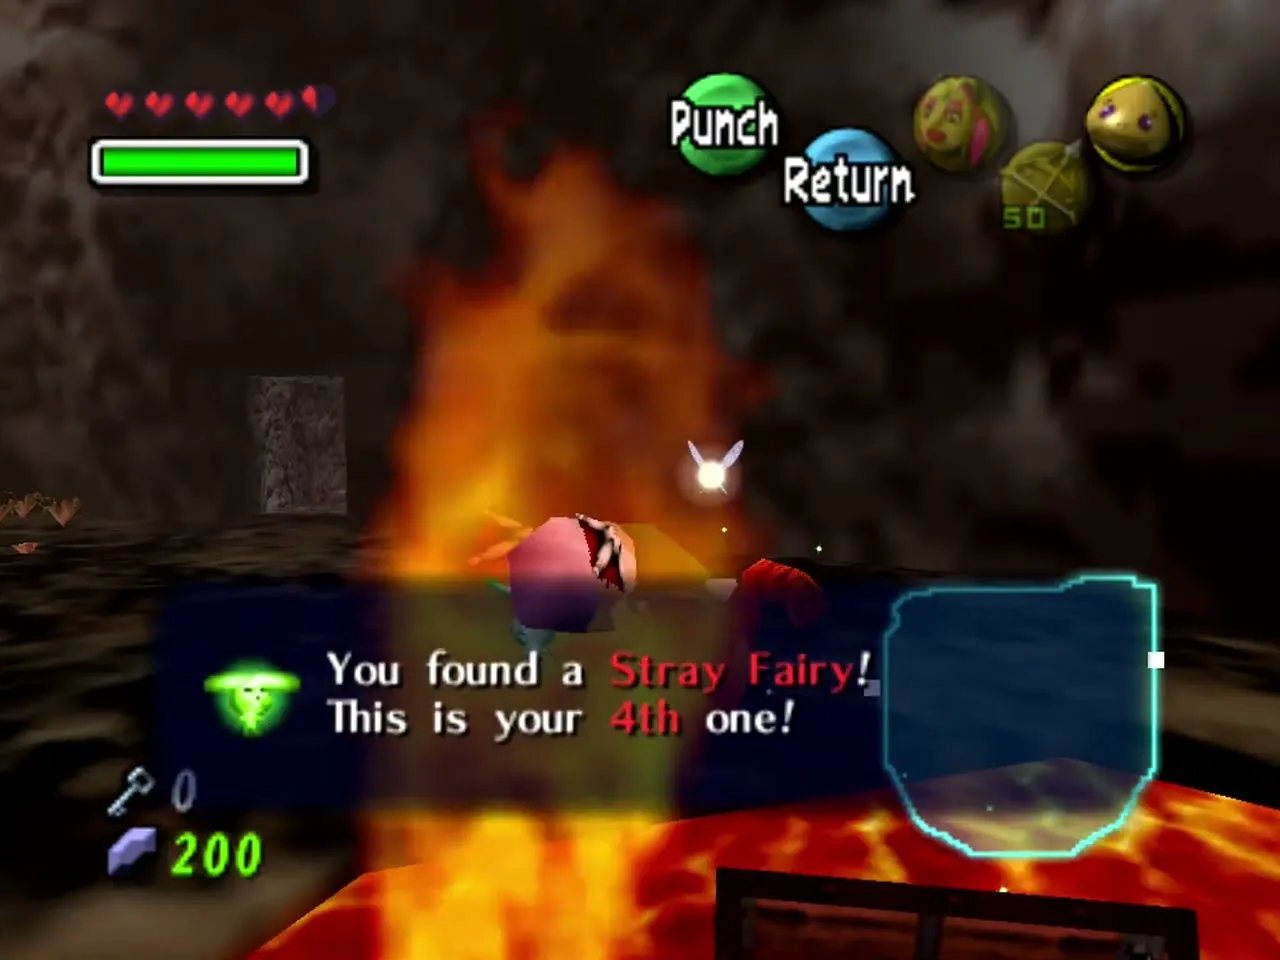
Return to the hub room and take the stairs down to the basement. Roll off the ledge in the central chamber to land safely on the basement floor, and keep clear of the Red Bubble drifting there. Goron Link is immune to lava, so walk across the pools to the large floor switch set in the lava and step on it. A chest rises out of another pit and holds Stray Fairy 6. Shoot an arrow through the torch near the exit to melt the ice and open a shortcut back to the entrance.
Snowhead Temple small keys and the Compass

Small Key 1 and the stacked blocks
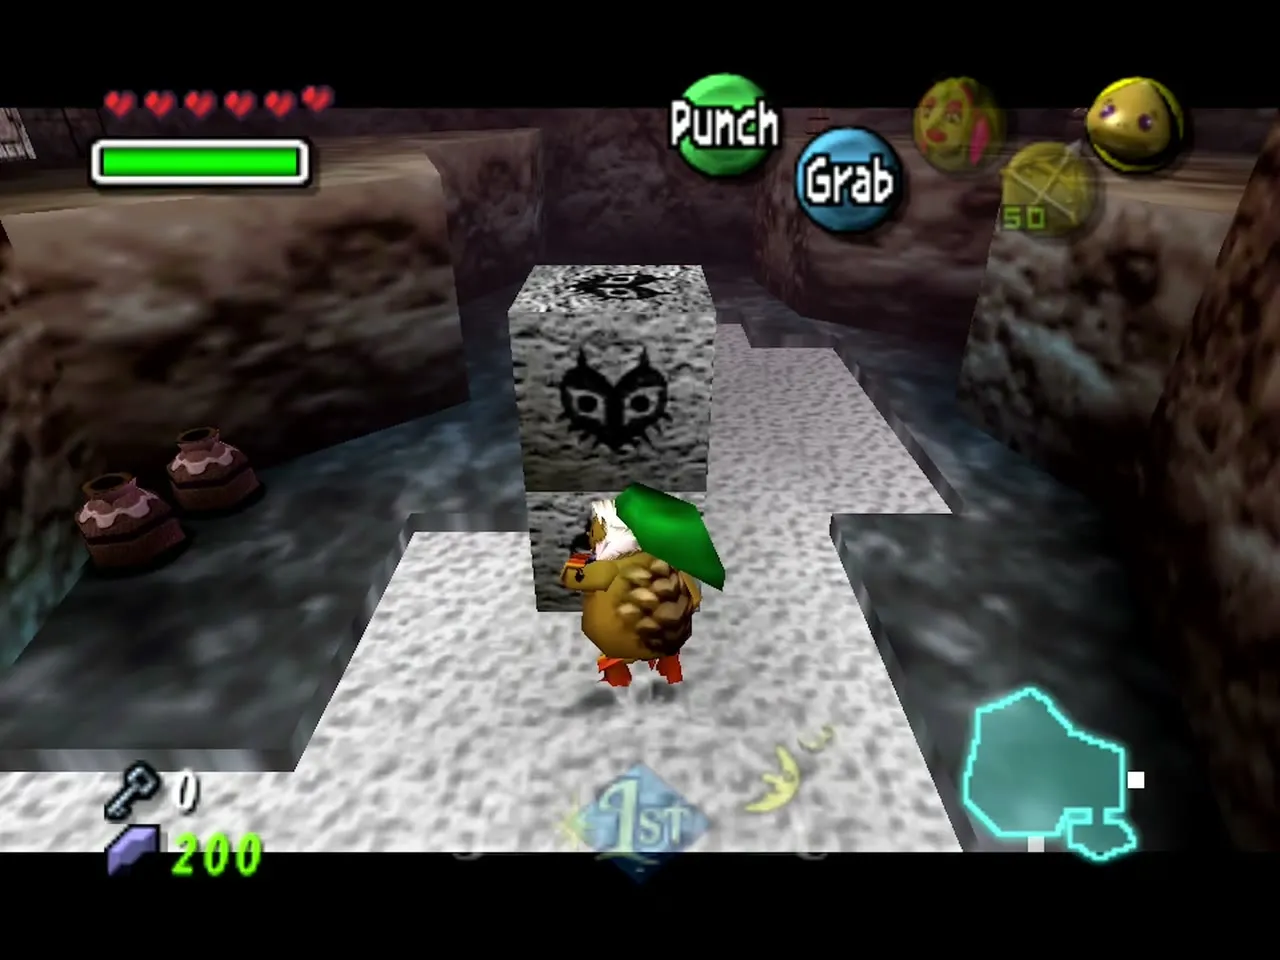
Through the yellow-framed door on the first floor, pull the two stacked grey blocks aside as Goron Link and open the chest hidden behind them for the first Small Key. Then push the blocks to the far west end of the room so they sink; a chest appears on a ledge high above, and you will be able to reach it later.
Compass, cracked wall and Stray Fairy 8
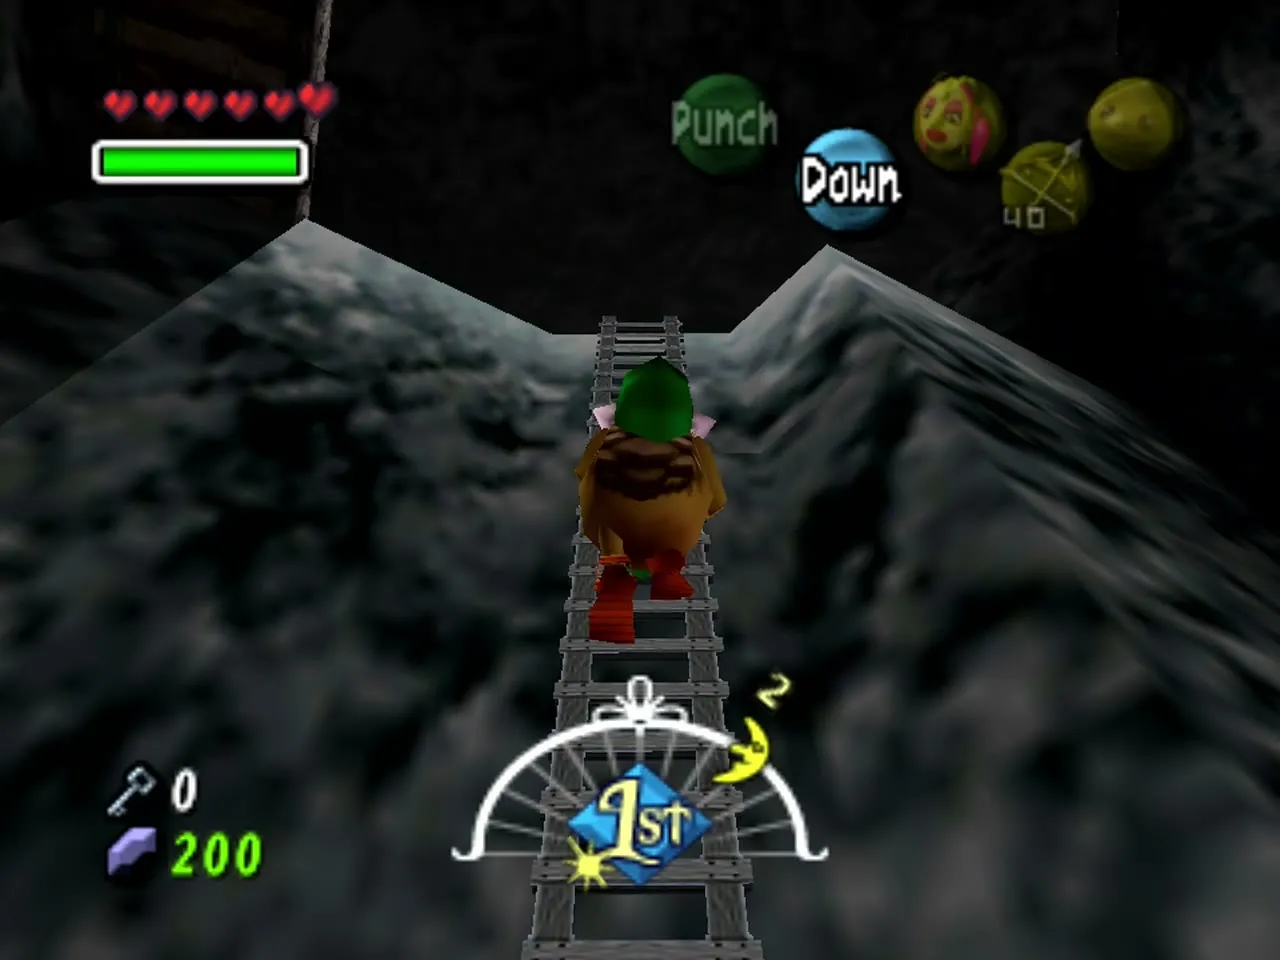
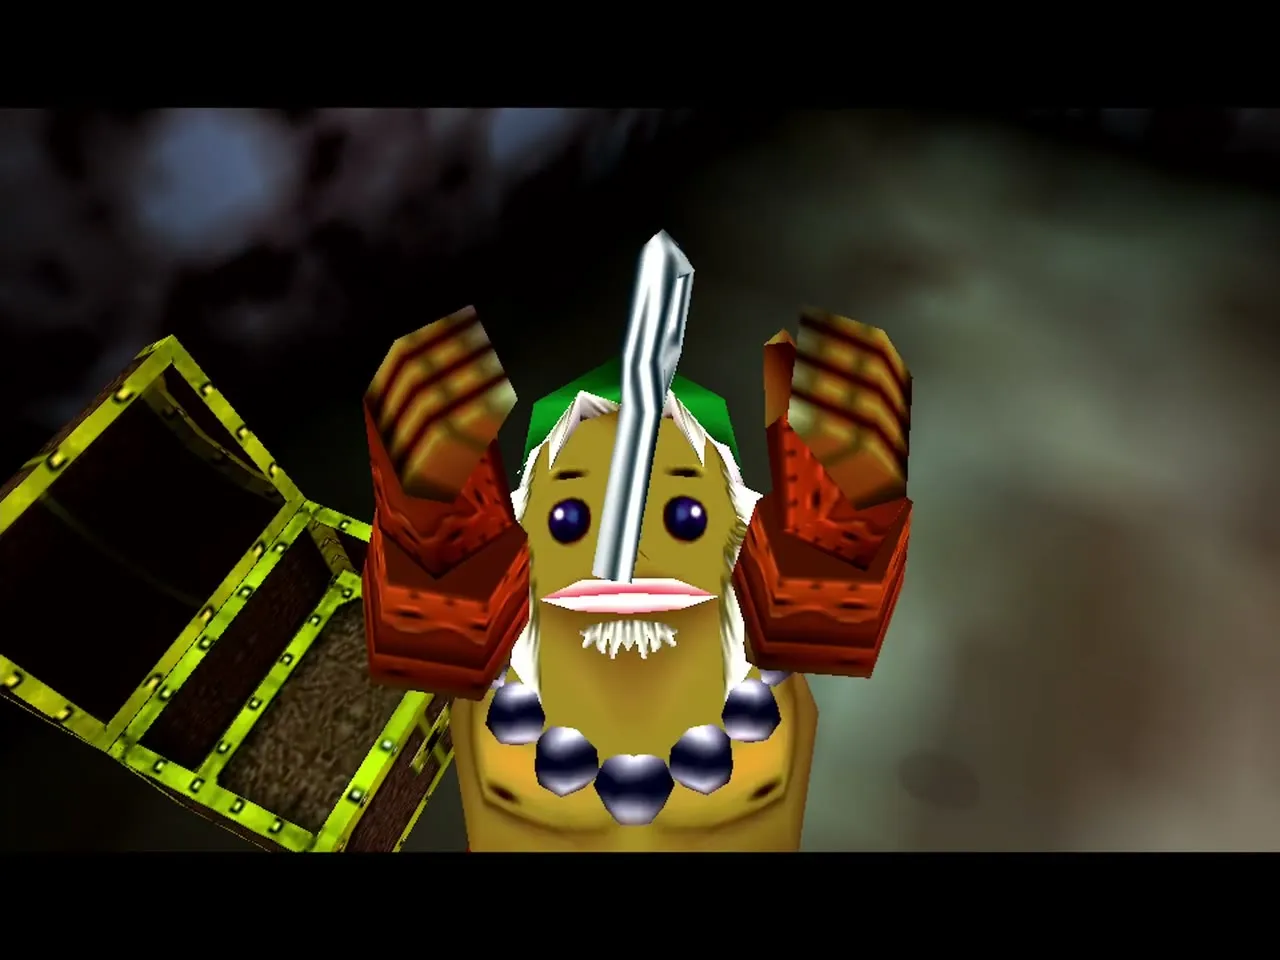
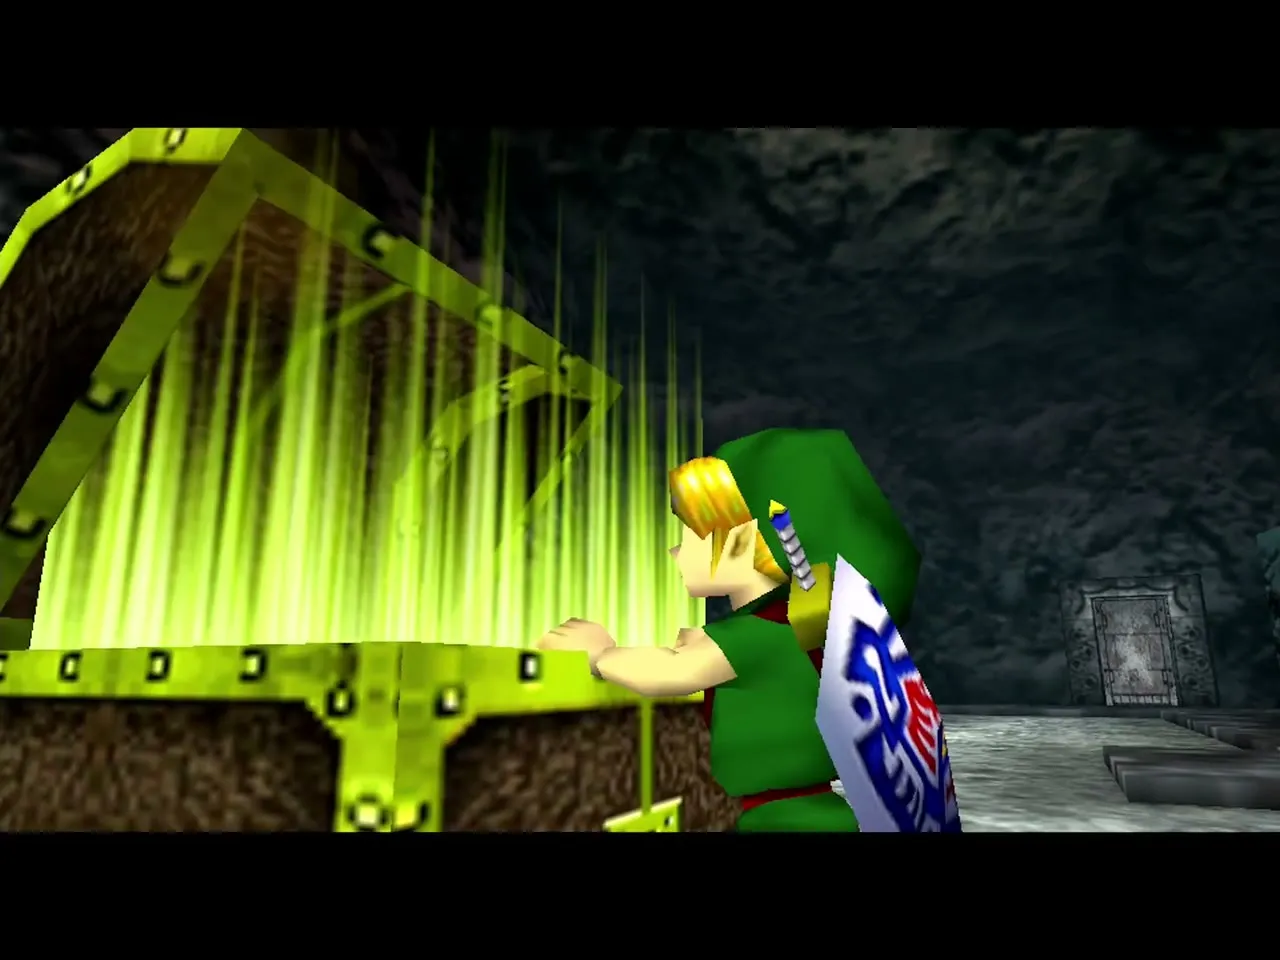
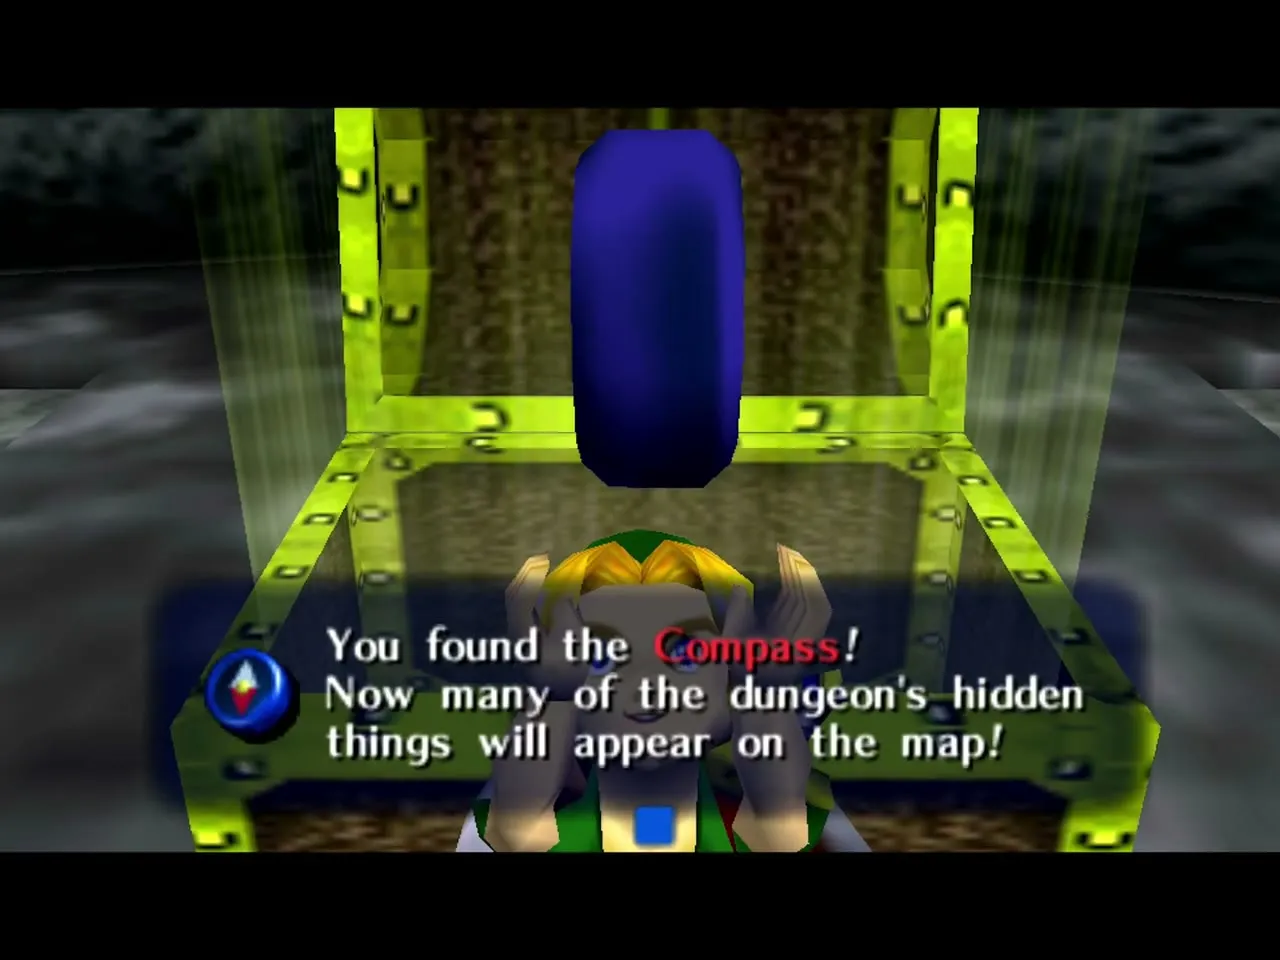
Use the Small Key on the locked door in the entrance area and kill the two White Wolfos behind the ice. Once both are dead a golden chest appears; open it for the Compass. Take off the Goron Mask, bomb the cracked section of the western wall and climb the staircase it uncovers. Throw a bomb at the crate on top of the nearby pillar to break it, then call in the fairy with the mask. That is Stray Fairy 8.
Fire Arrows and the first Wizzrobe
Stalactite room, Small Key 2 and Stray Fairy 4
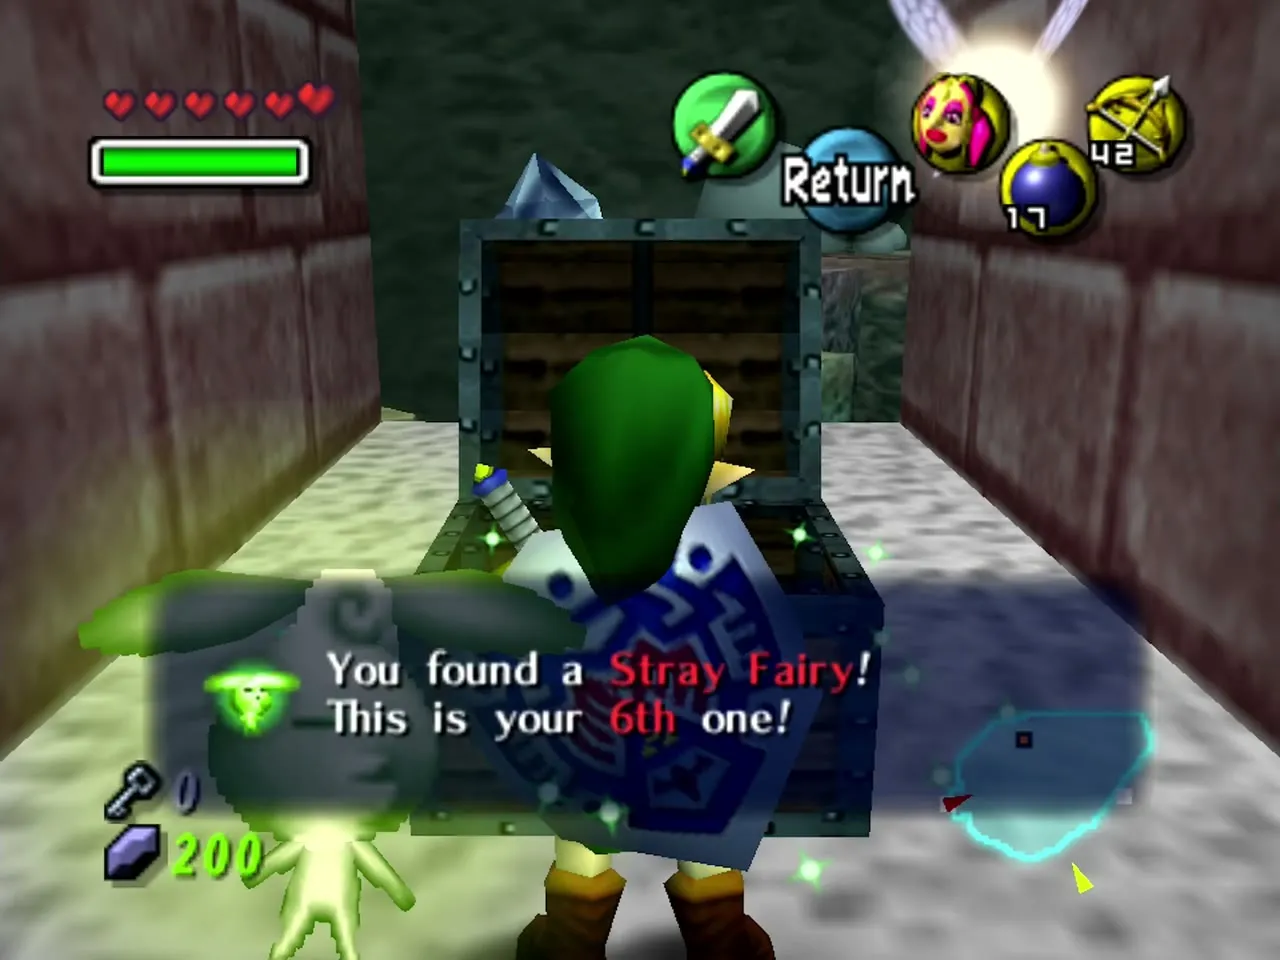
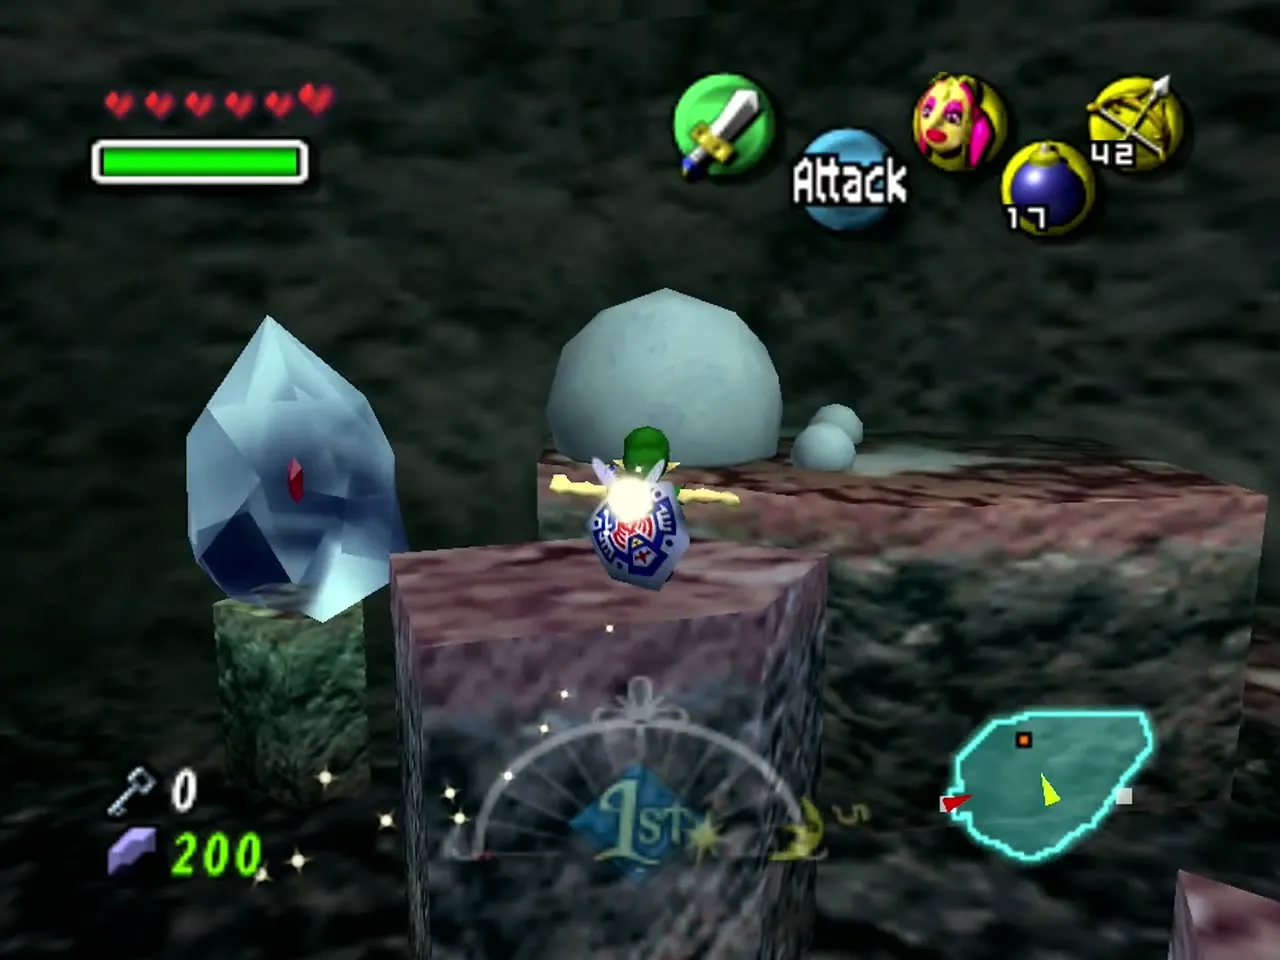
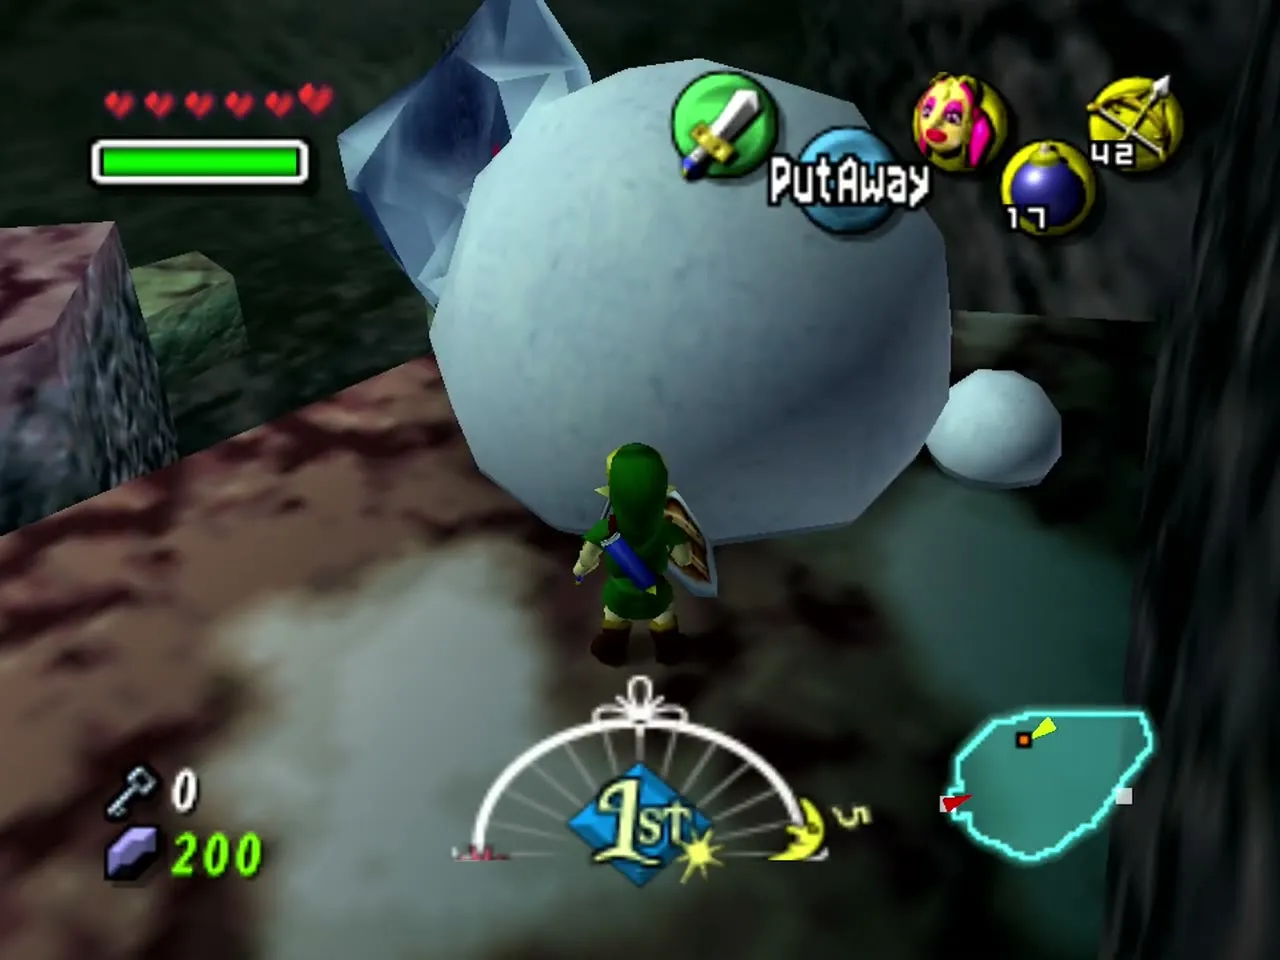
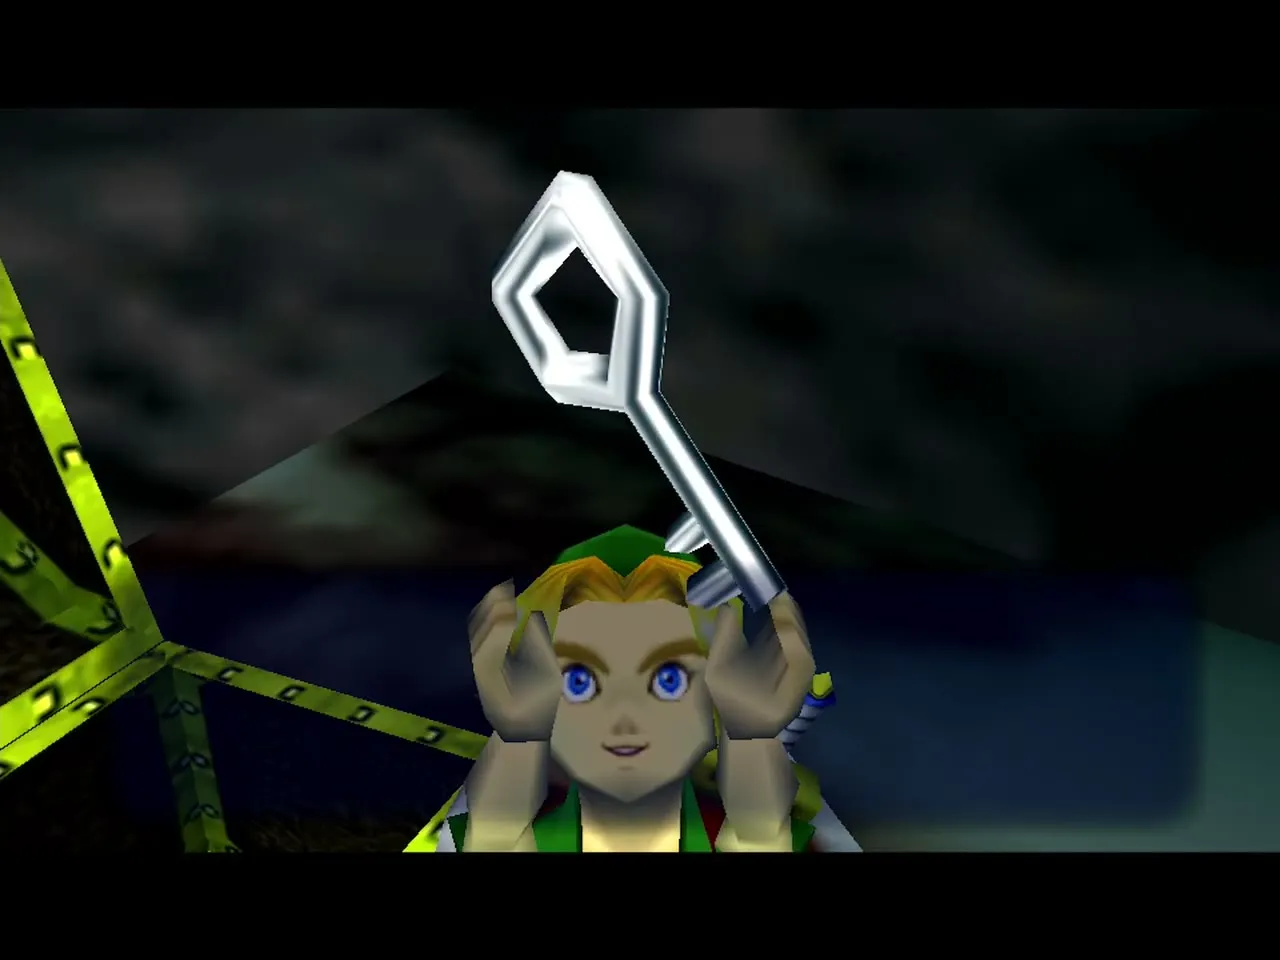
On the third floor, shoot the icicles on the ceiling to drop ice on the frozen pillars and clear them; some hide Red Rupees. Jump from pillar to pillar to the northern ledge, ram the giant snowball with a charged Goron roll and open the chest inside for Small Key 2. Switch to the Lens of Truth on the discoloured wall to the south and an alcove with a chest appears. Jump across the pillars into it for Stray Fairy 4. The Bunny Hood makes that jump easier.
Timed switch room and Stray Fairy 5
Unlock the south-eastern door with Small Key 2. White Boes keep appearing in the snowy lower part of this room, so work quickly. Wear the Great Fairy’s Mask, look up with the Lens of Truth and shoot the bubble in the middle of the ceiling to collect Stray Fairy 5.
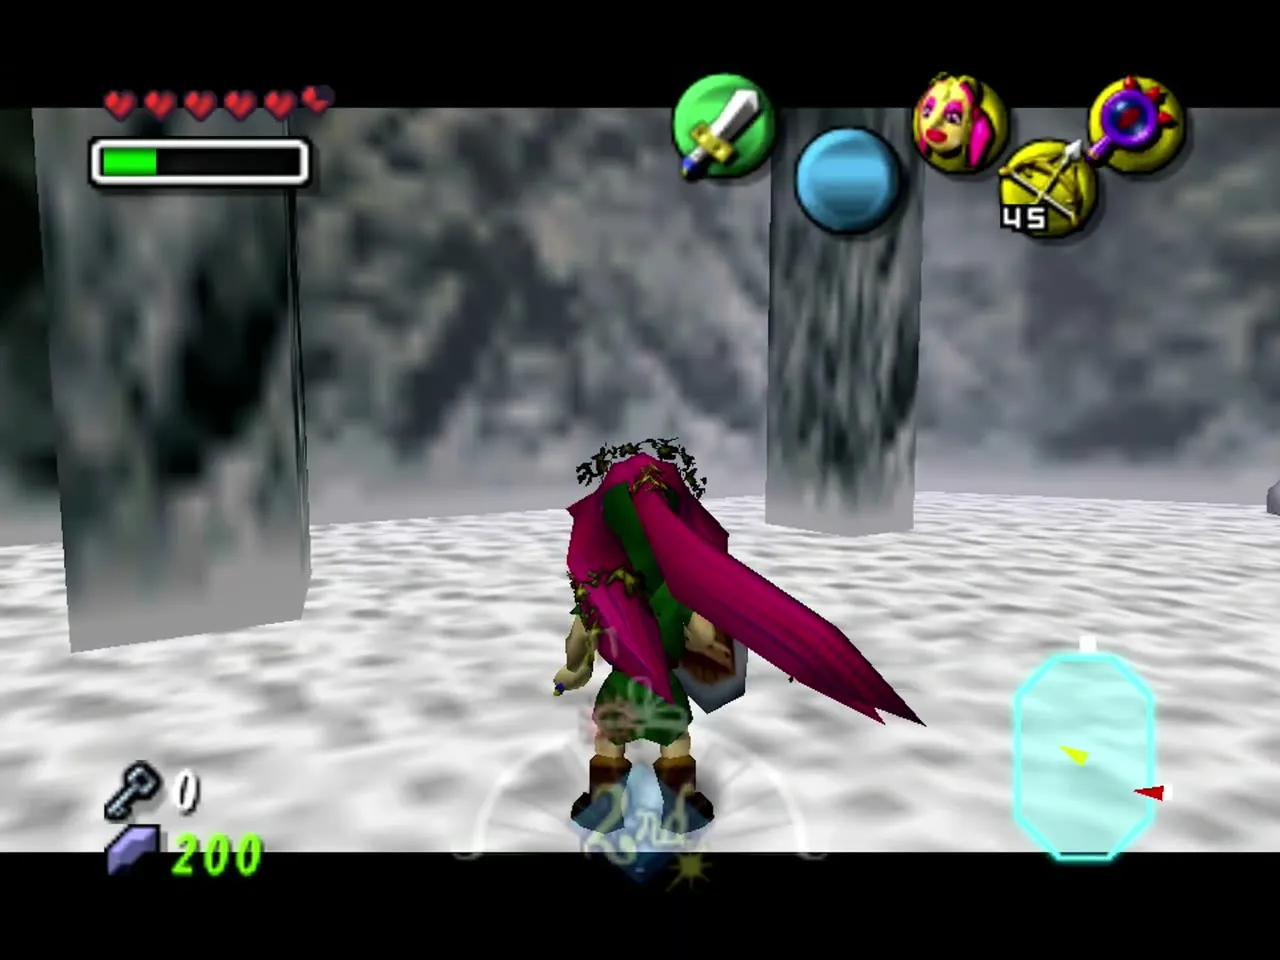
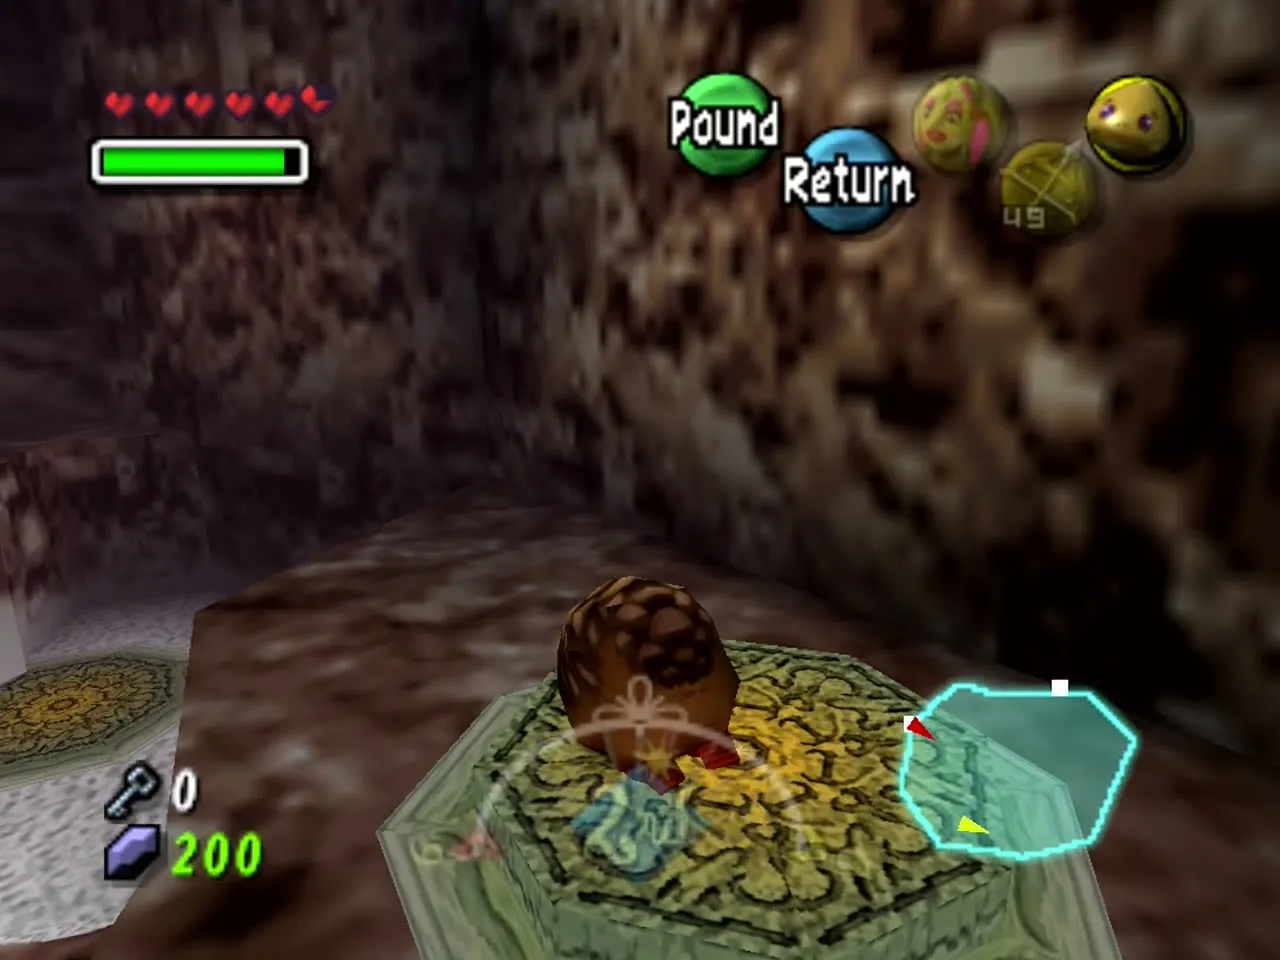
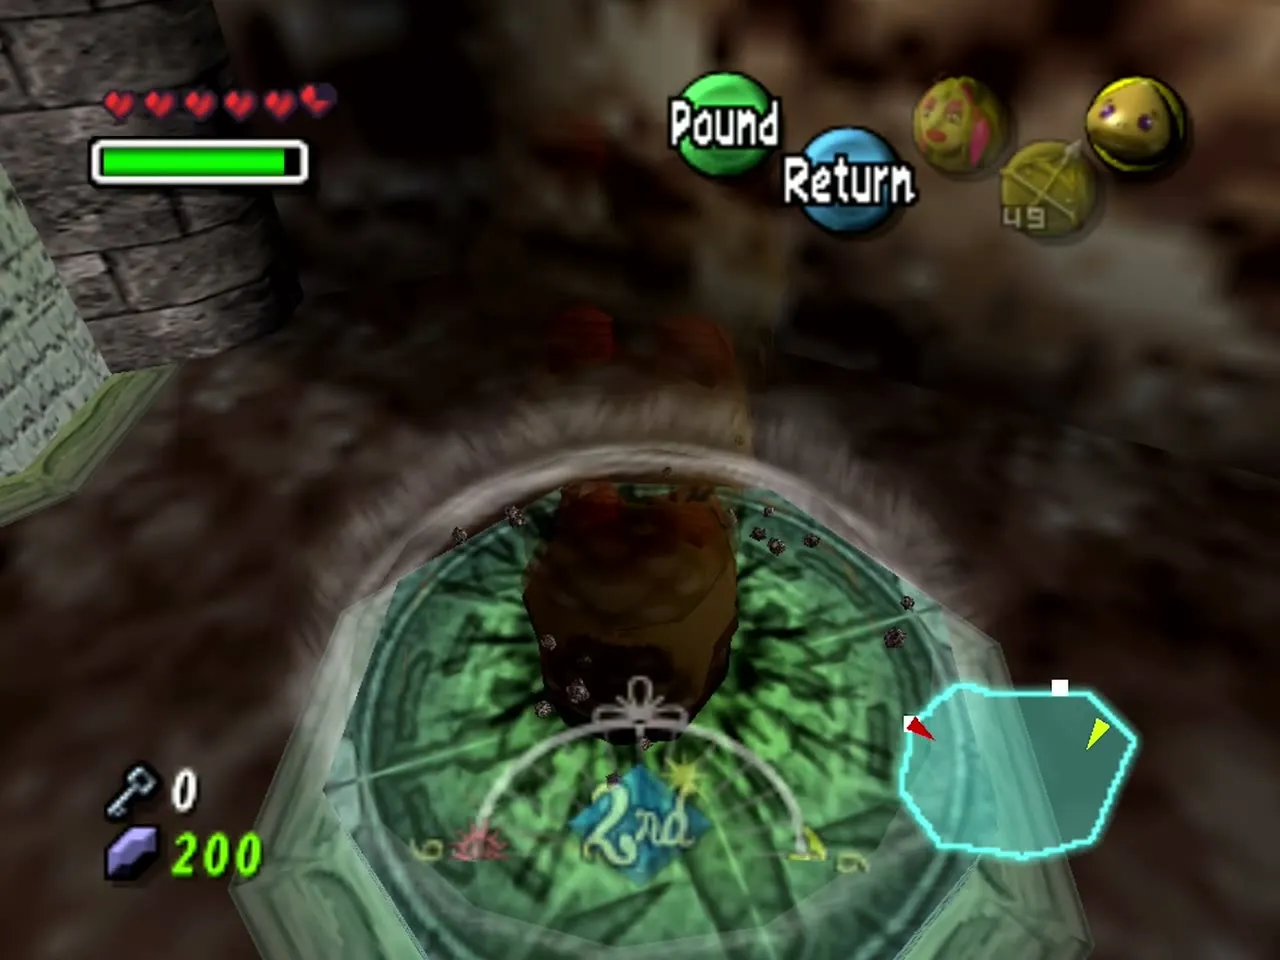
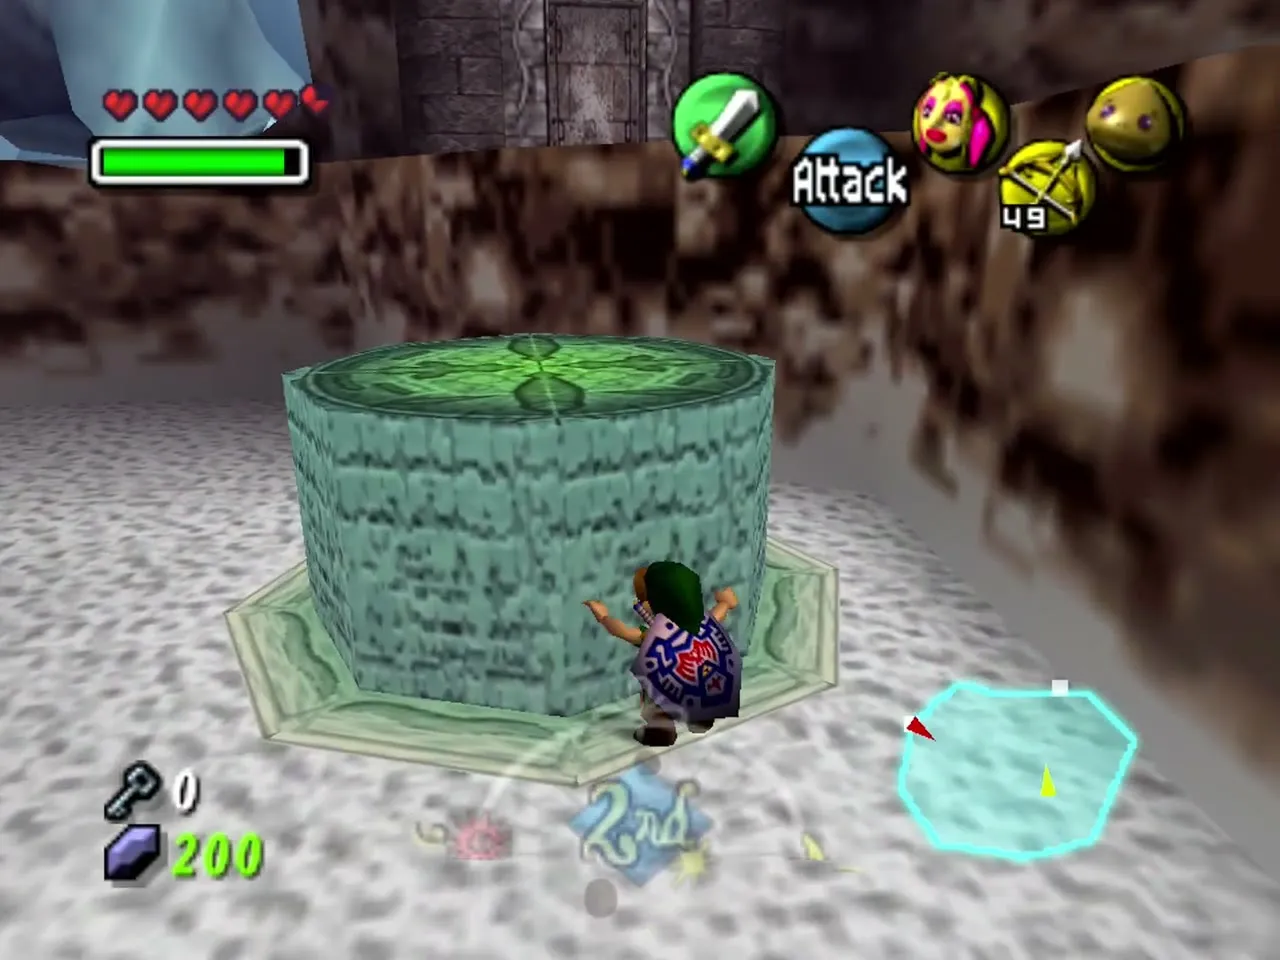
For the switch puzzle, pound the first yellow switch as Goron Link to raise the platform, remove the mask and jump to the eastern ledge, then switch back and pound the green switch to raise a green pillar for a few seconds. Run to the yellow pillar and pound it down to unblock the north exit, then climb the green pillar back to the ledge before it sinks and go through the door.

Wizzrobe mini-boss and the Fire Arrows
Cross the gap to the sloped track by building speed as a Goron roll, roll slowly over the slope, and cross the next gap east to west to reach the door. Wizzrobe teleports between the tiles around the room, so stand in the middle and hit him with a sword slash or an arrow when he starts to attack, not while he is still fading in. After several hits he splits into copies; Tatl highlights the real one, and a few more hits finish it.
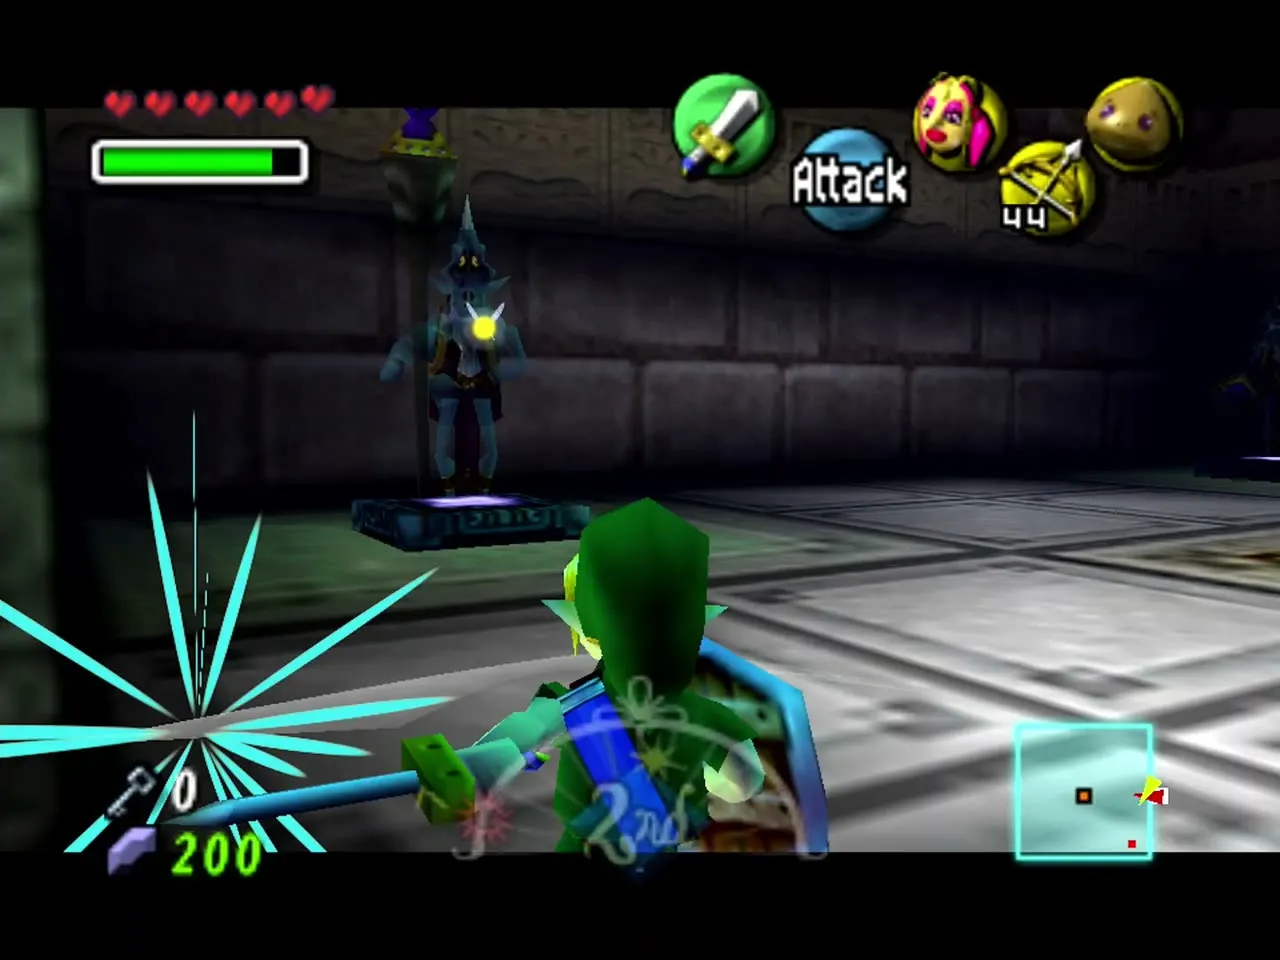
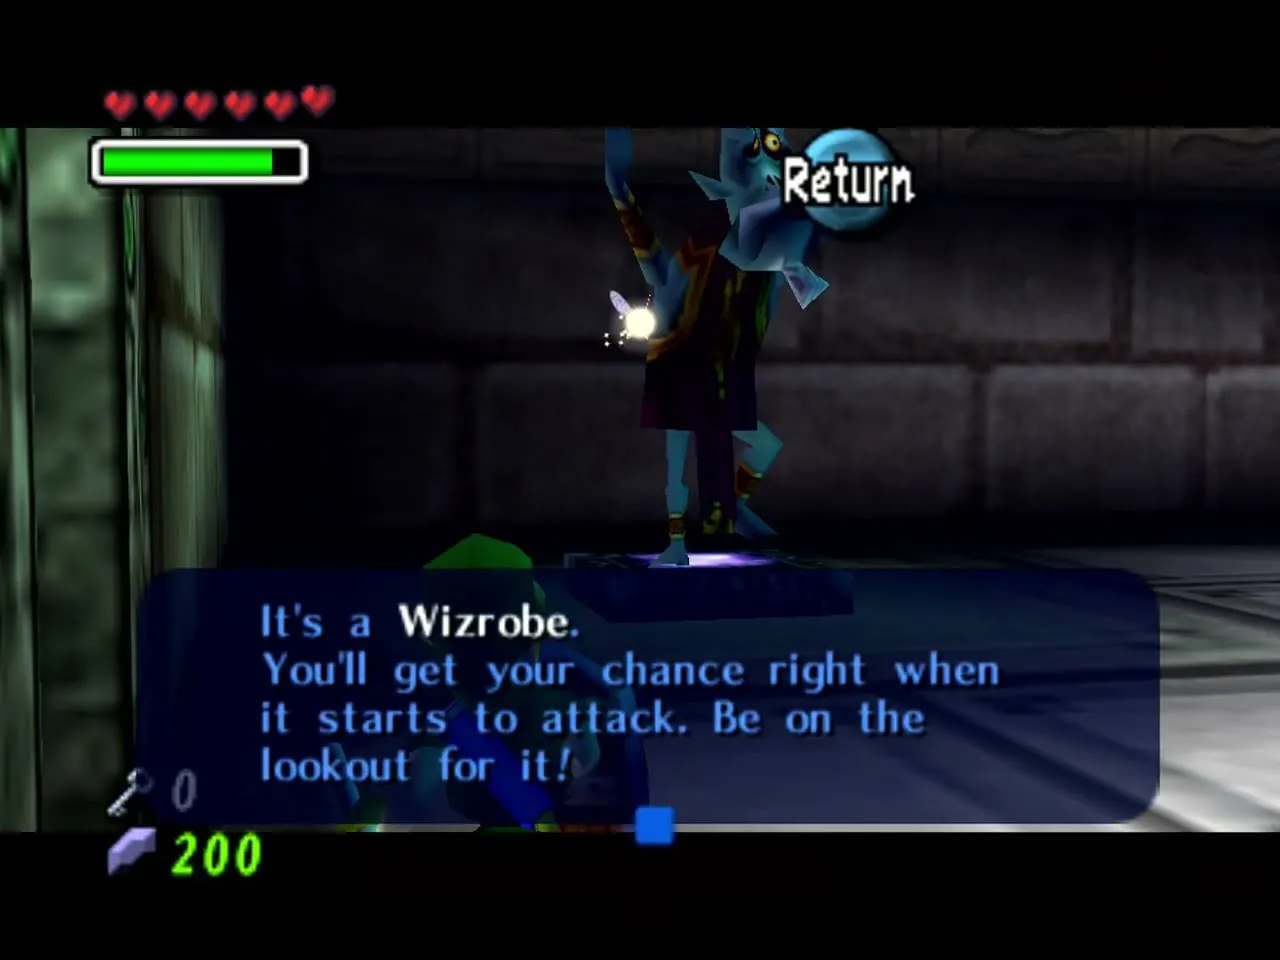
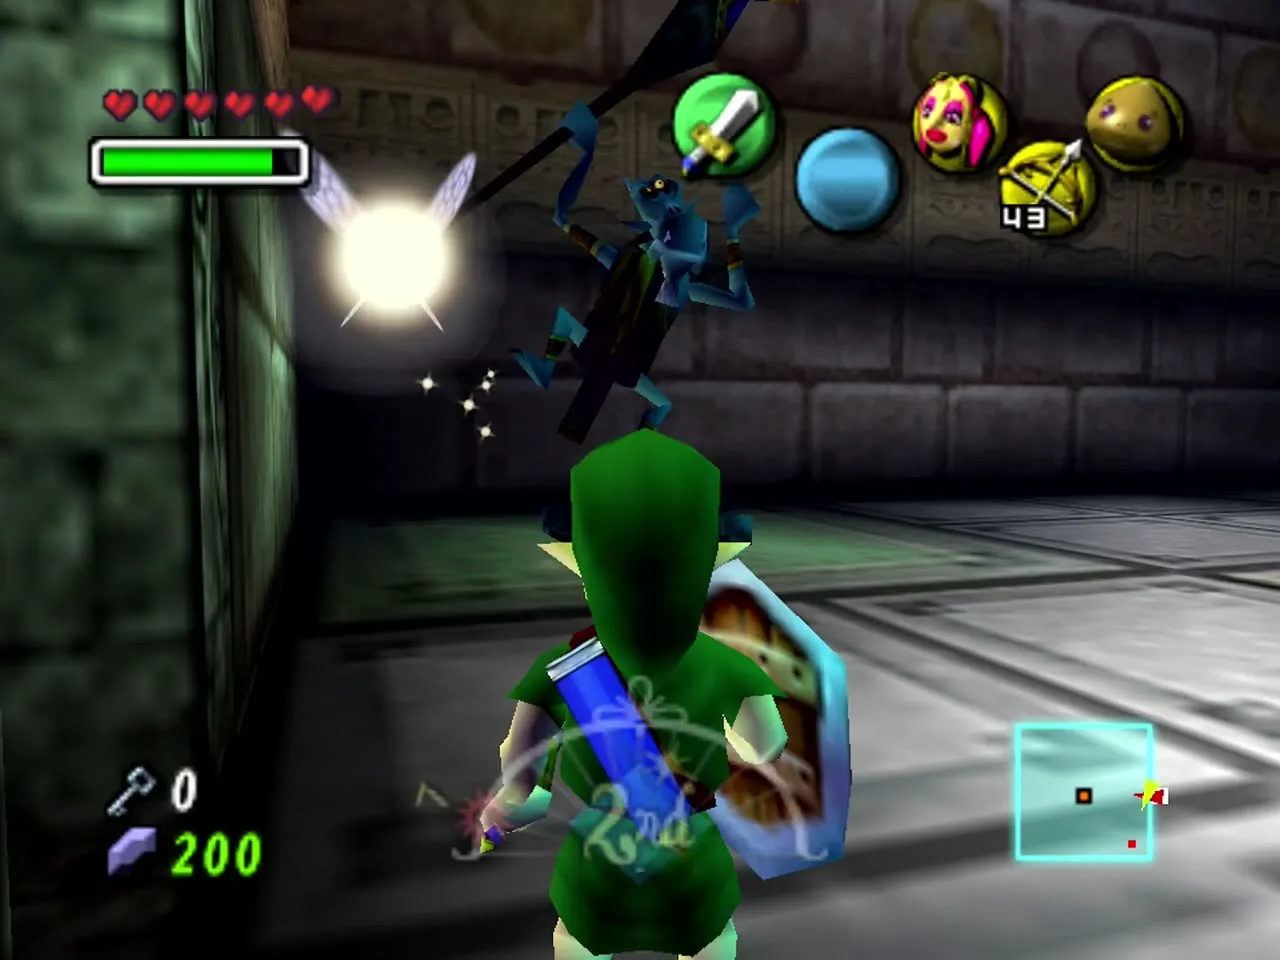
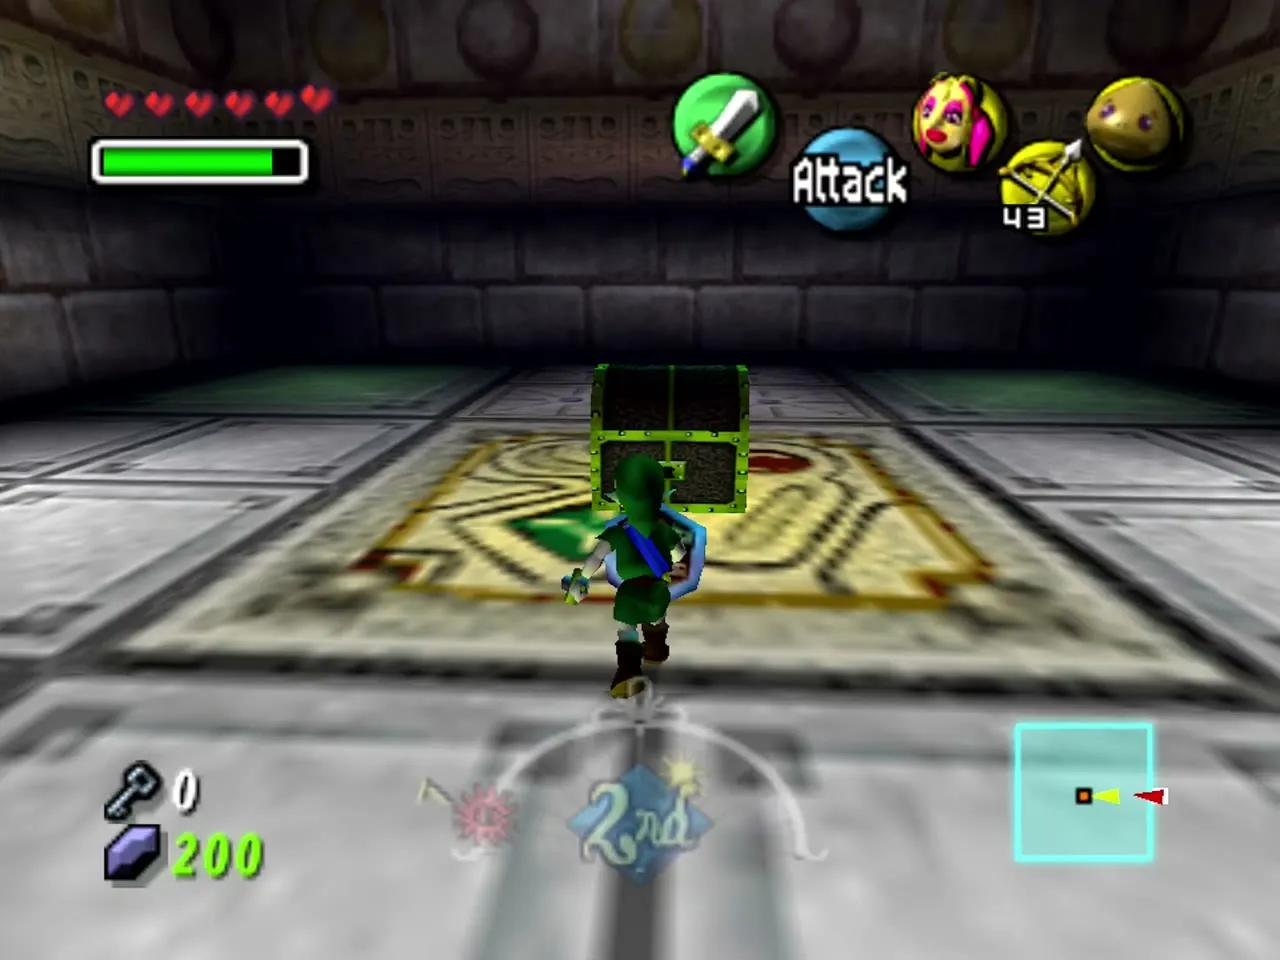
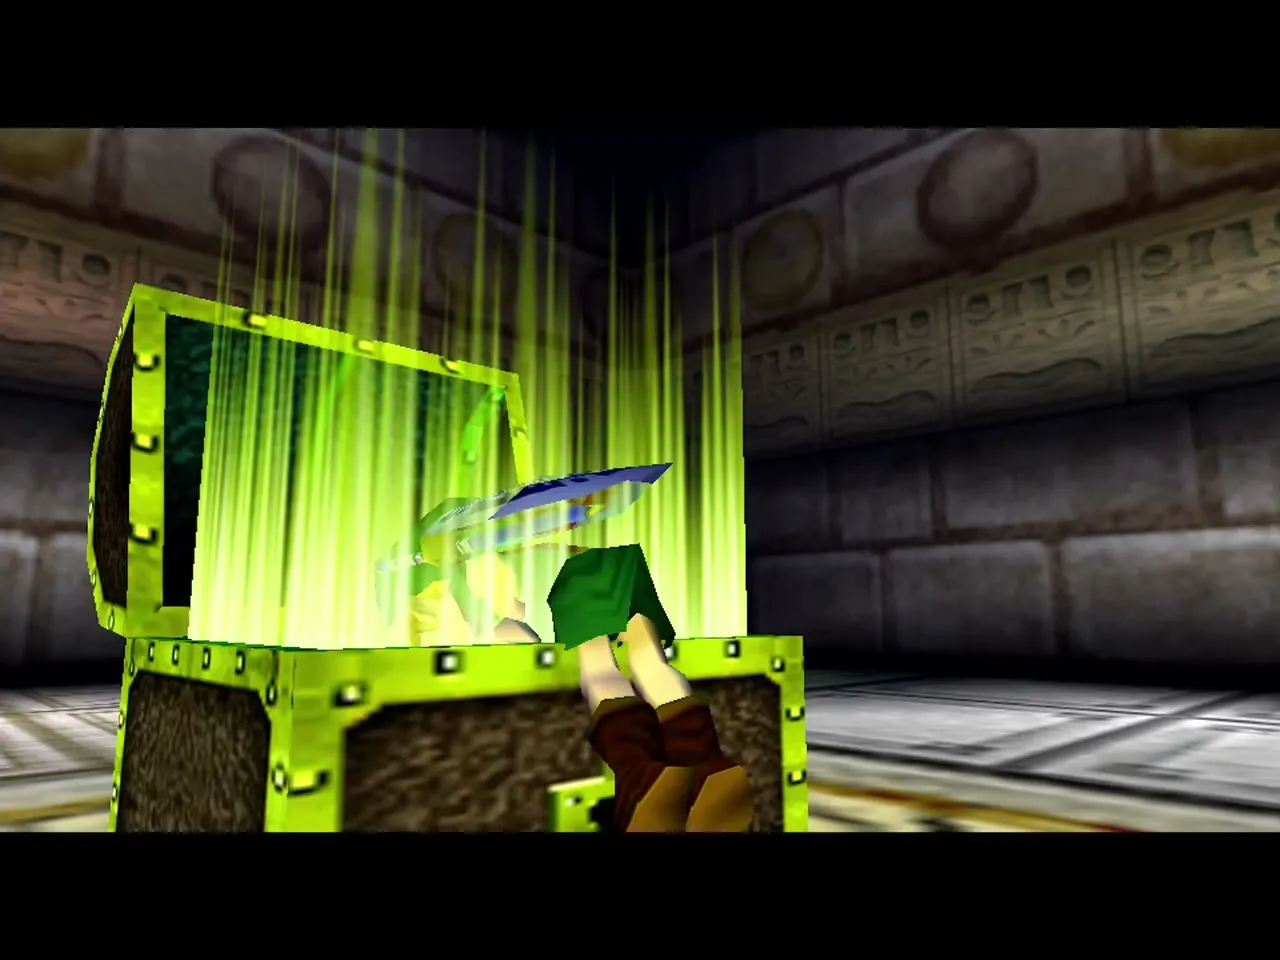
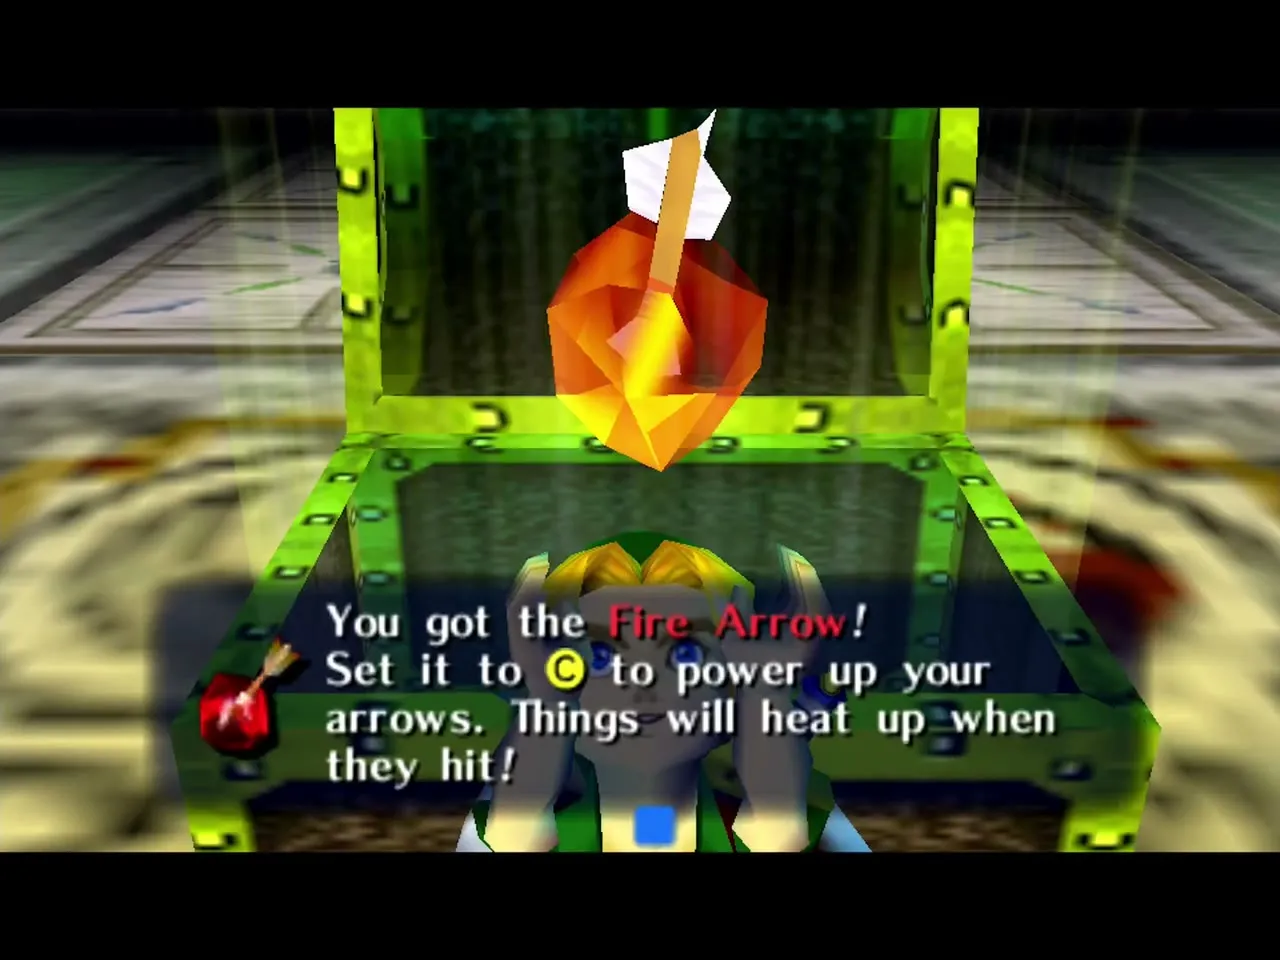
Open the chest that appears to take the Fire Arrows. Assign them to a C button and spend magic to melt ice and light torches. Each shot uses Magic, so refill from the pots and jars around the temple before you go on. The rest of the temple is built around them: green-framed doors, three torches, frozen switches and a frozen stairwell all open with fire.
Central pillar and the remaining Stray Fairies
Real Bombchu room and Stray Fairy 11
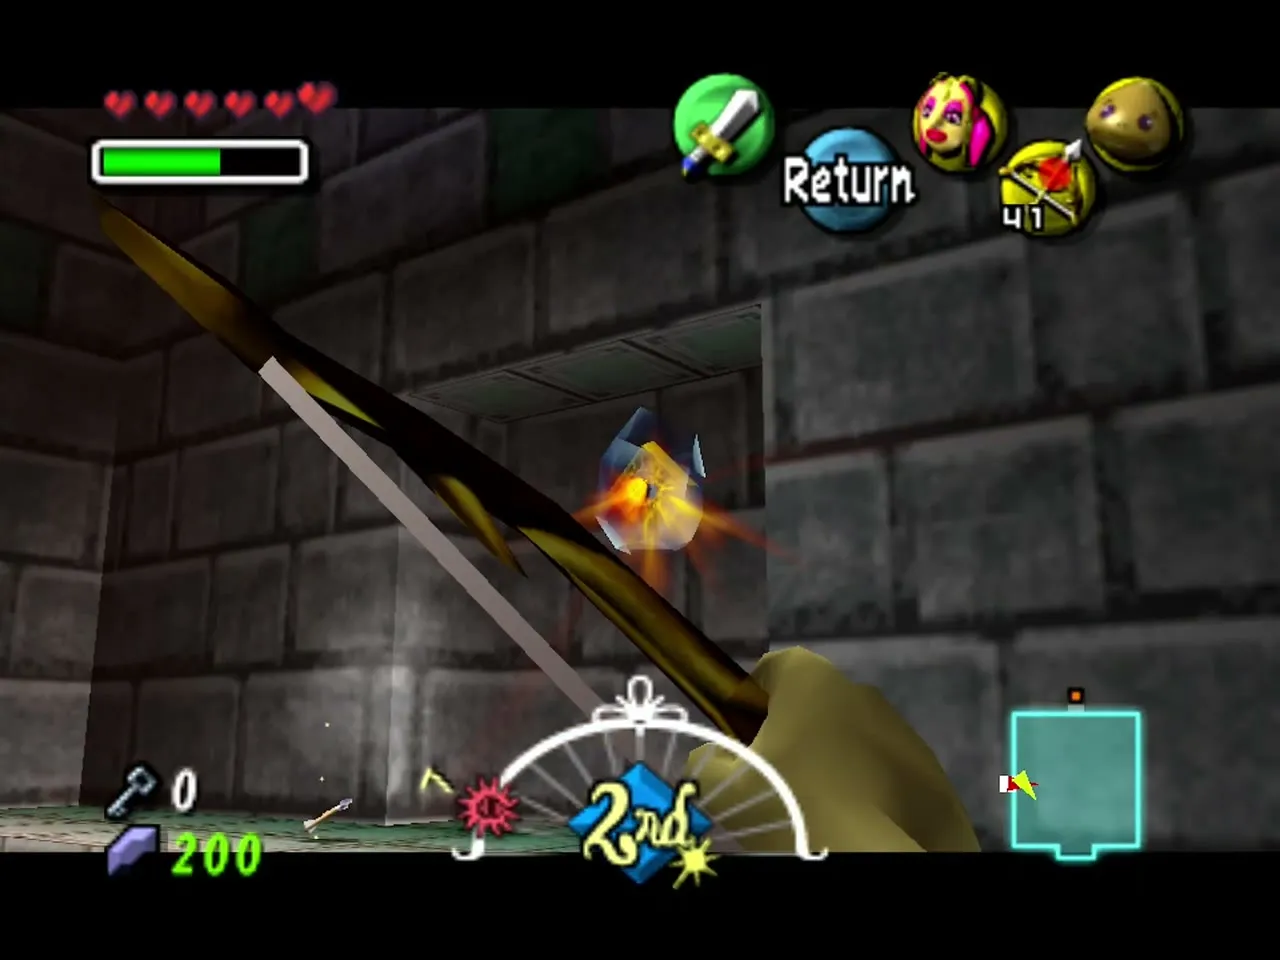
Go back across the gap and into the room where you met the Real Bombchu. Stand on the stone in the middle and shoot a Fire Arrow at the frozen eye switch above it to raise it and give yourself a shortcut to the second floor. Climb up, use the Lens of Truth to find the invisible platforms along the far wall and follow them, without the Bunny Hood, to the chest in the wall ledge with Stray Fairy 11.
Ice block puzzle and Stray Fairies 9 and 10
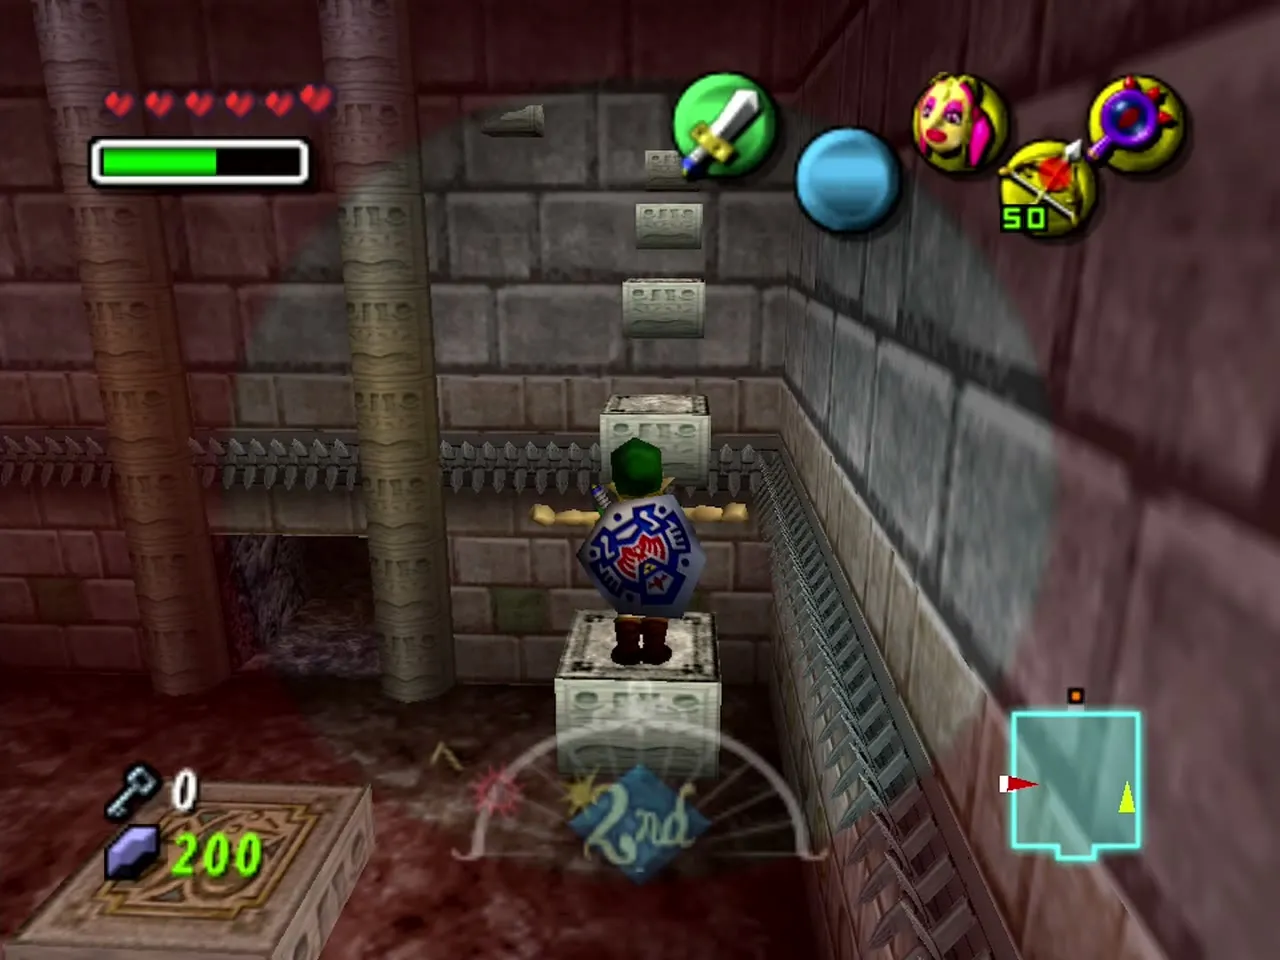
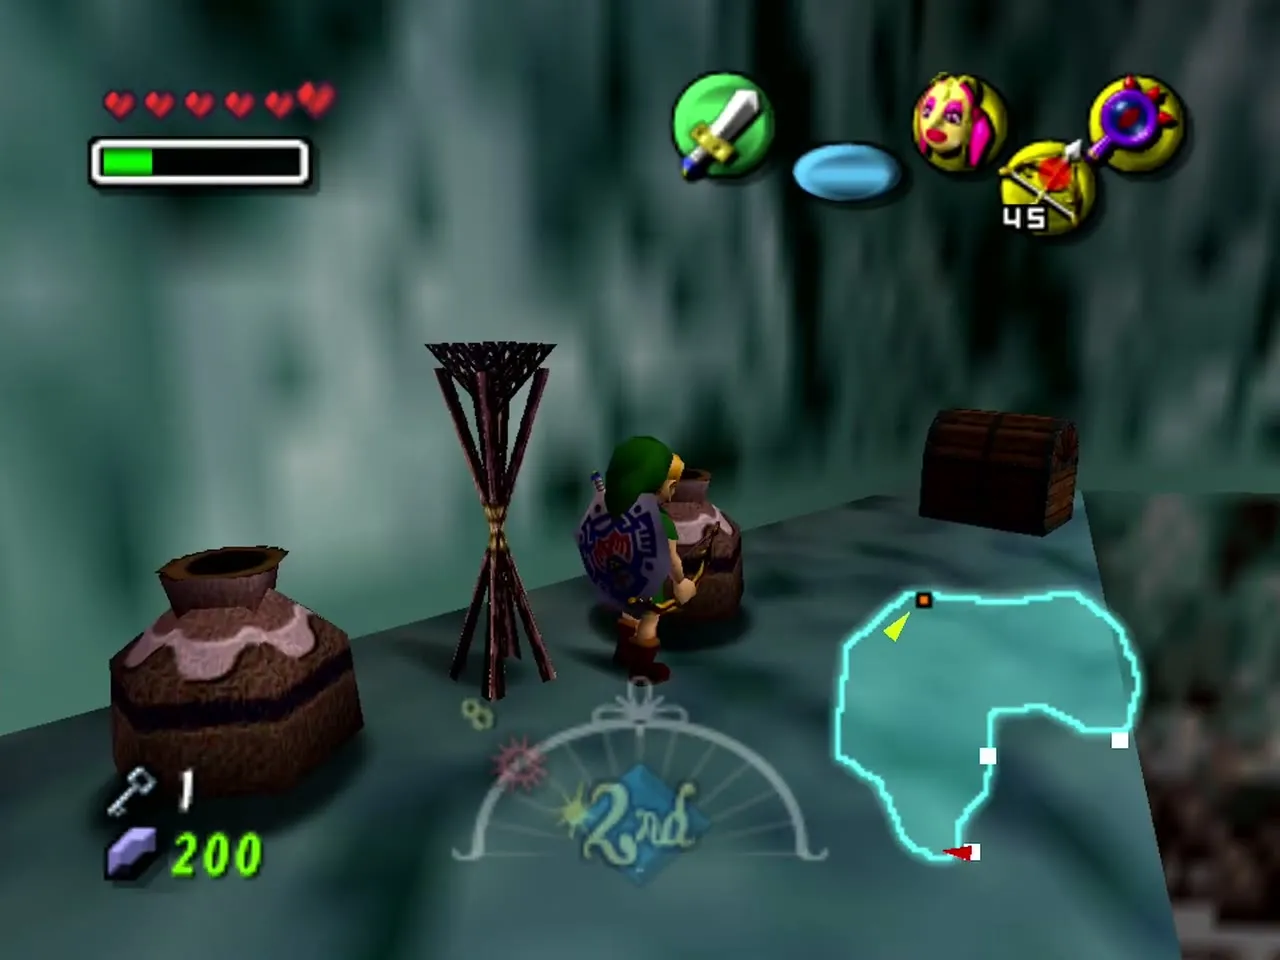
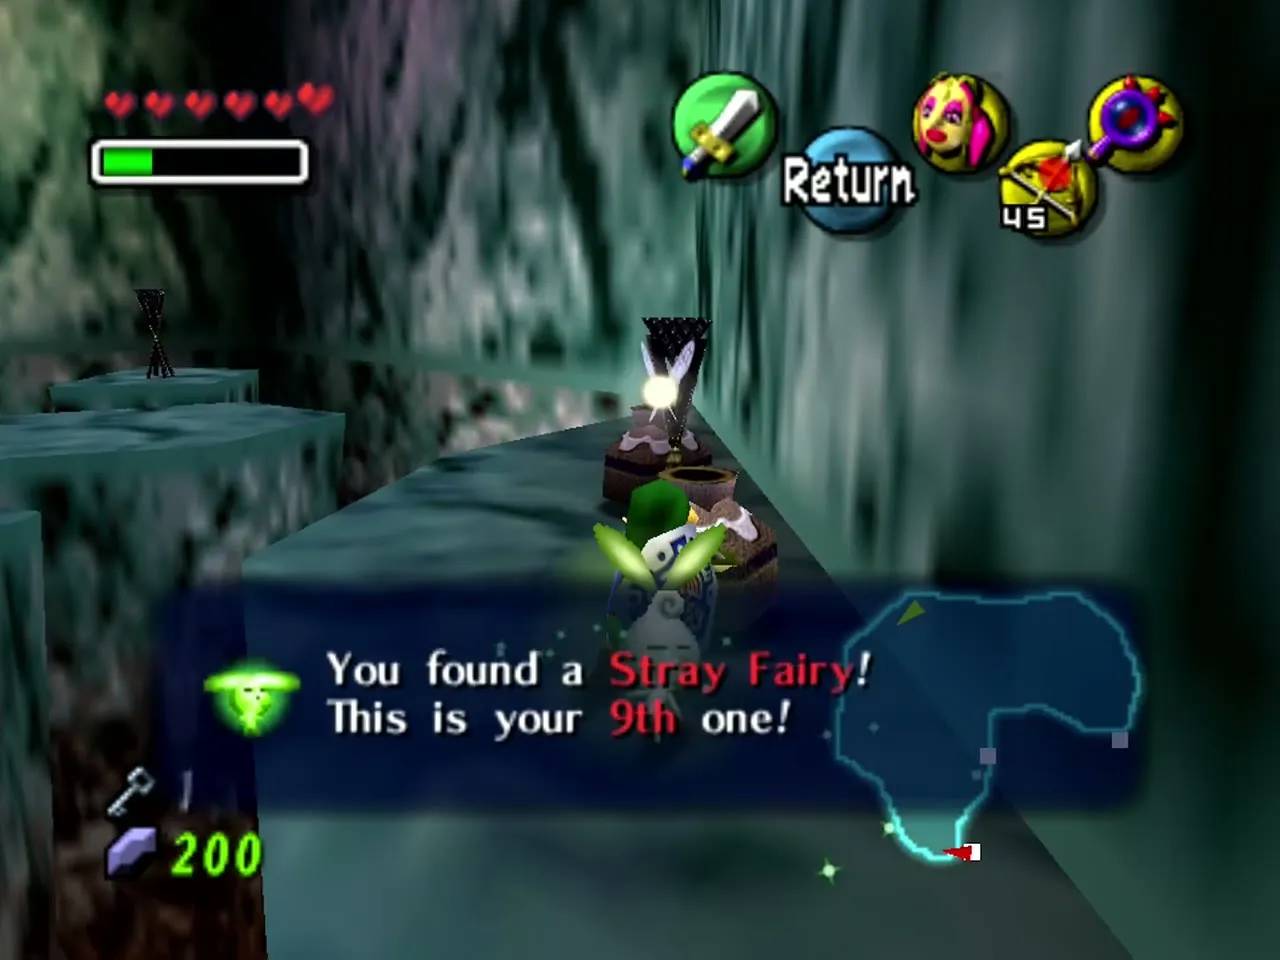
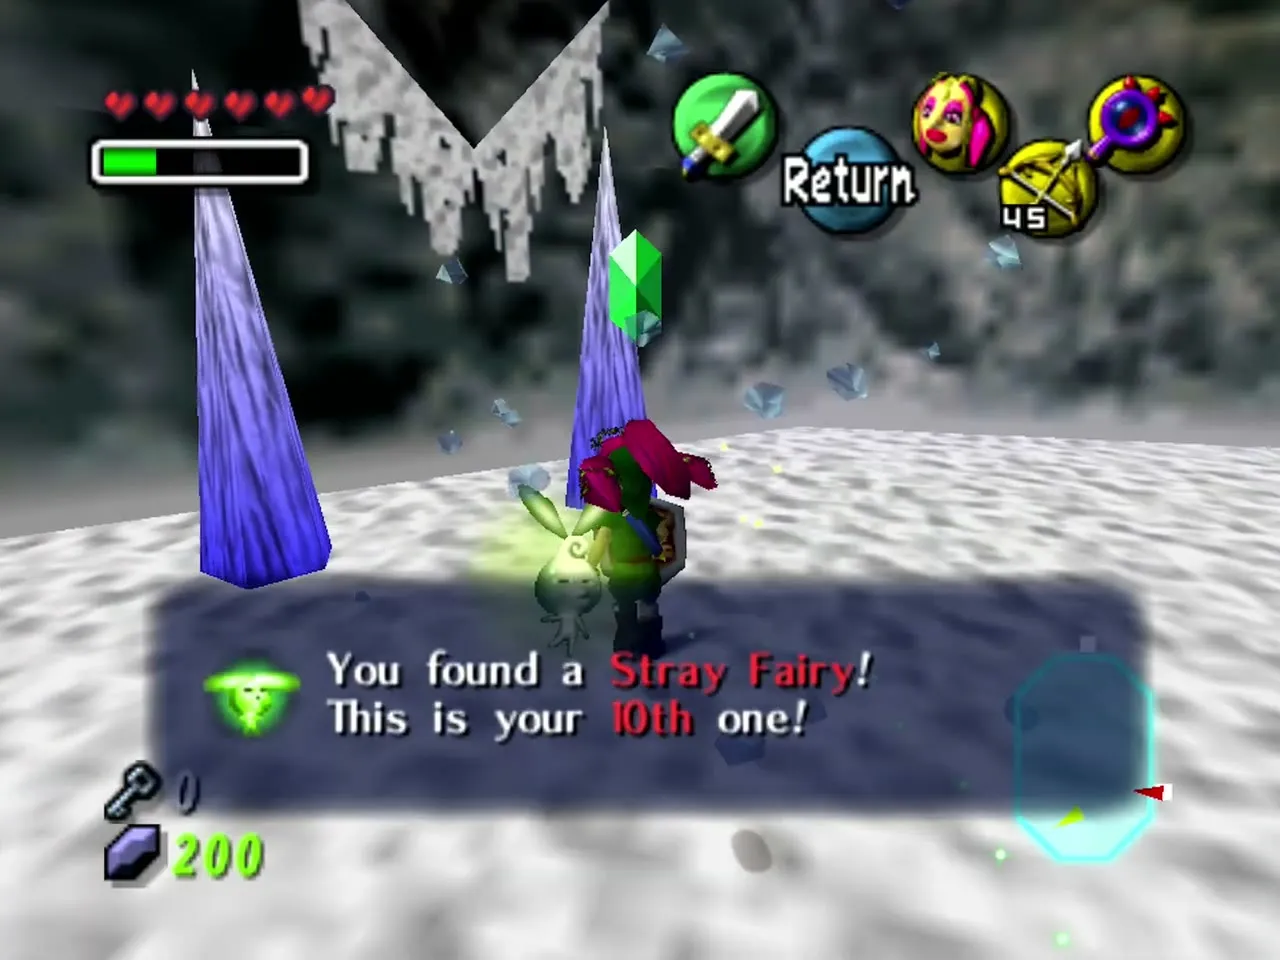
Return to the Compass room and melt the ice around the floor switch; stepping on it makes a chest appear on a high ledge. Melt the sliding block, push it north, east and then south, climb onto it and jump to the chest for Stray Fairy 9. Push the block west, north and west again, climb it and go through the north door. In the next room, use the stacked blocks as a bridge to the chest holding Stray Fairy 10.
Green-framed door, torches and Stray Fairy 7
Melt the ice over the green-framed door in the northwest room of the ground floor with a Fire Arrow. Burn the three Freezards, then hop the narrow platforms to the chest with Stray Fairy 7. If you fall, melt the ice around the Deku Flower and use it to get back.
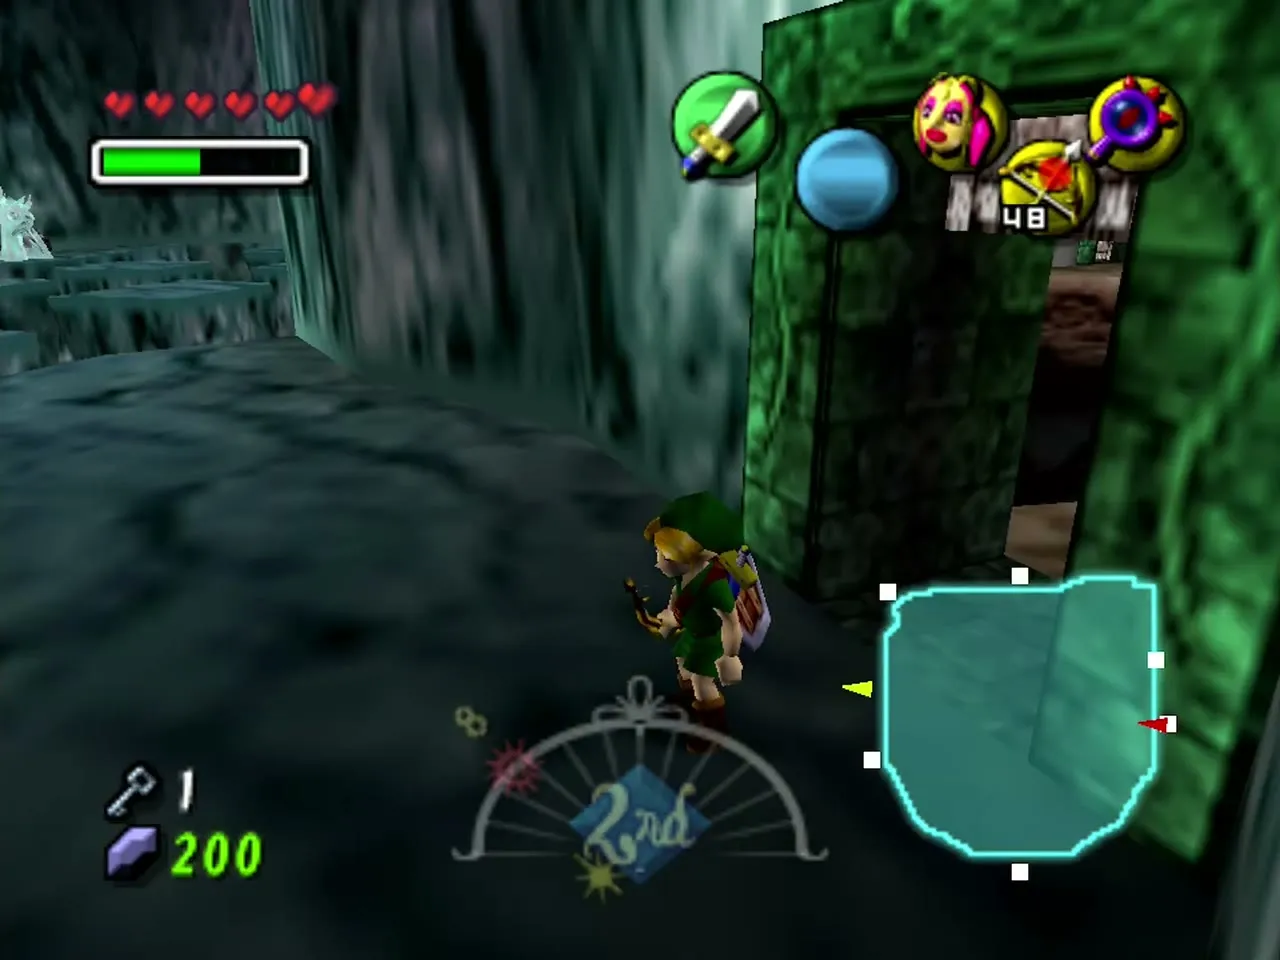
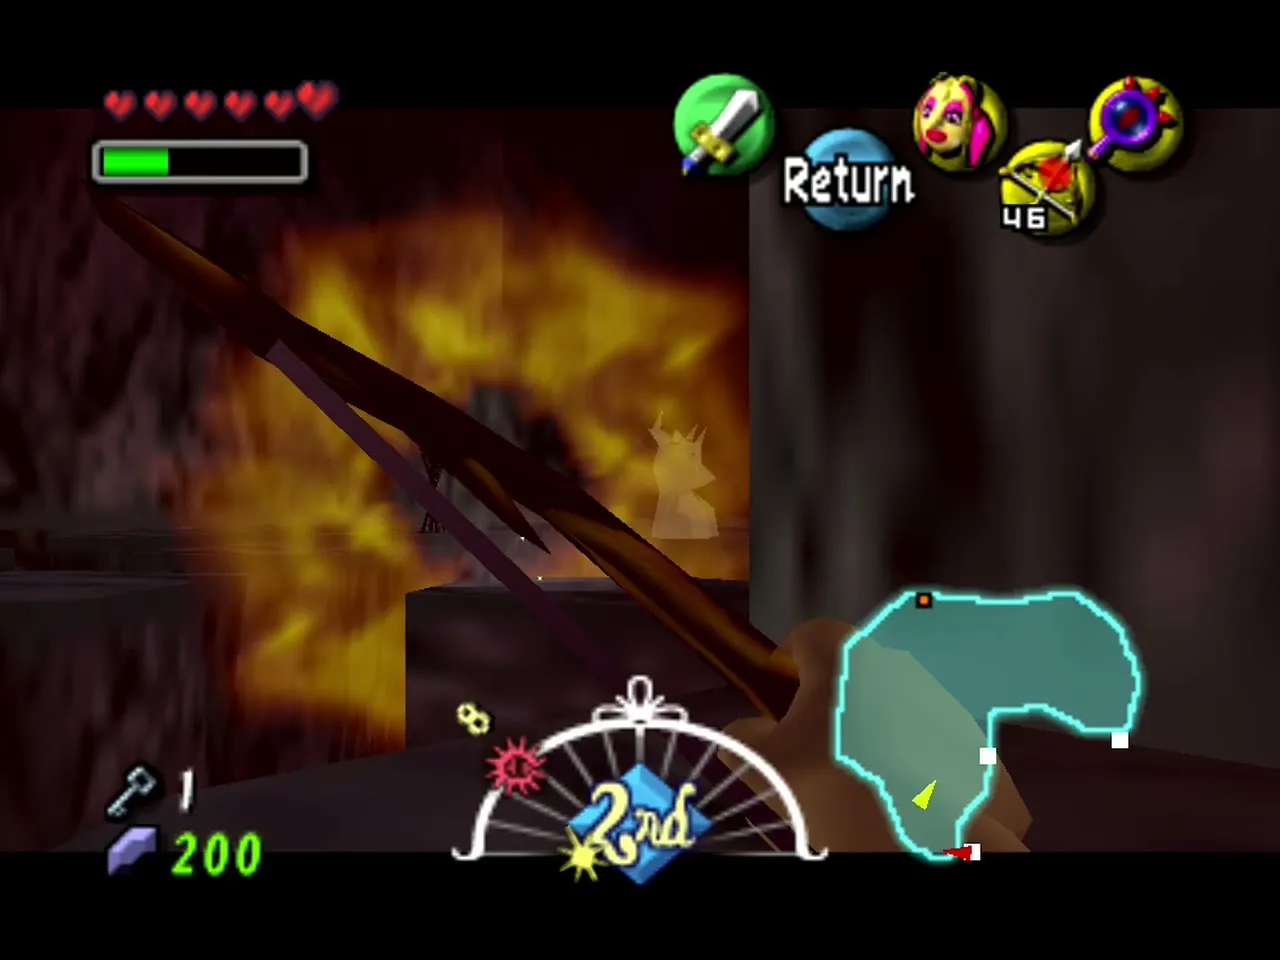
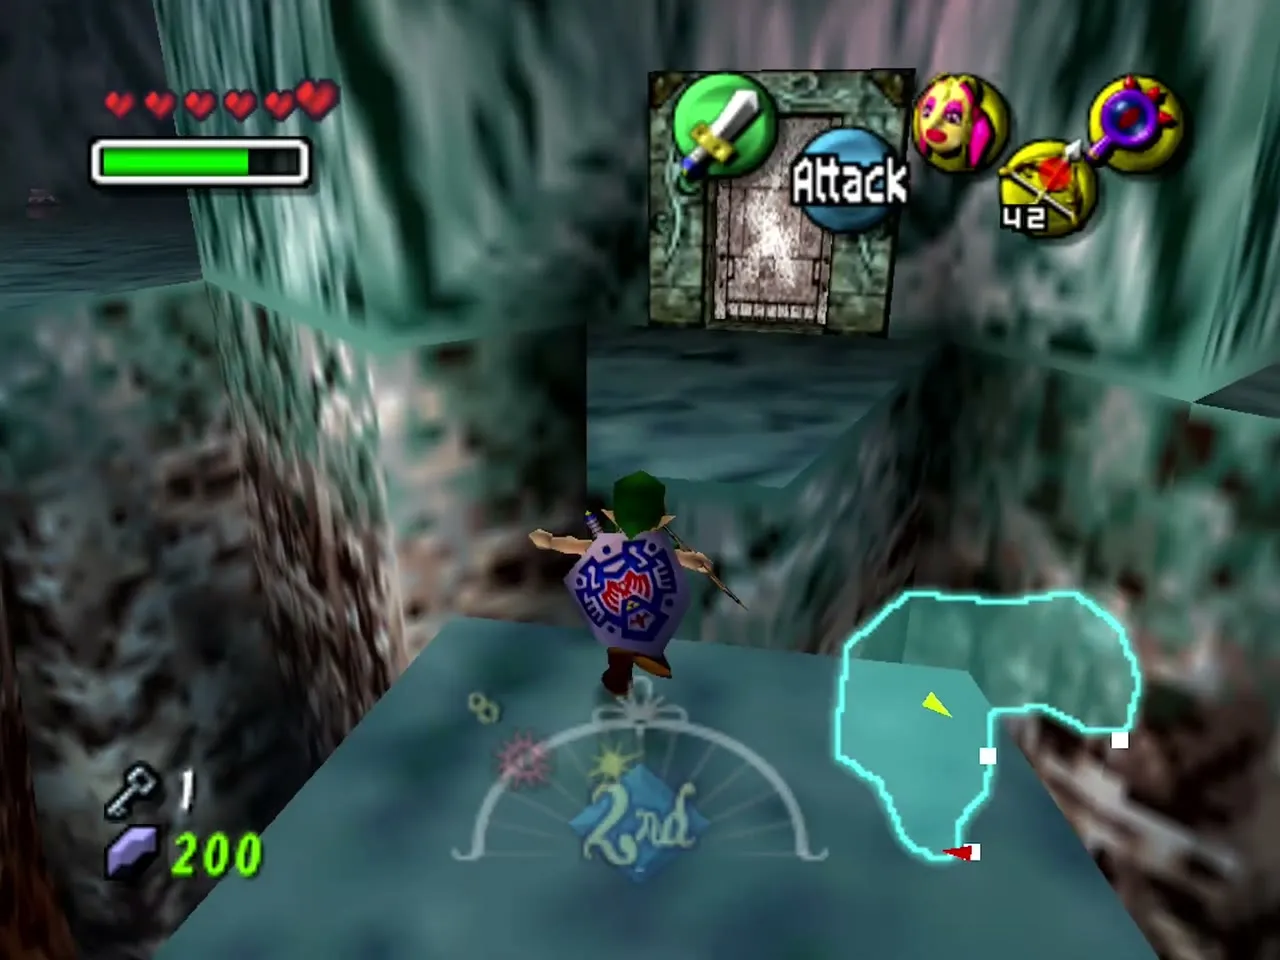
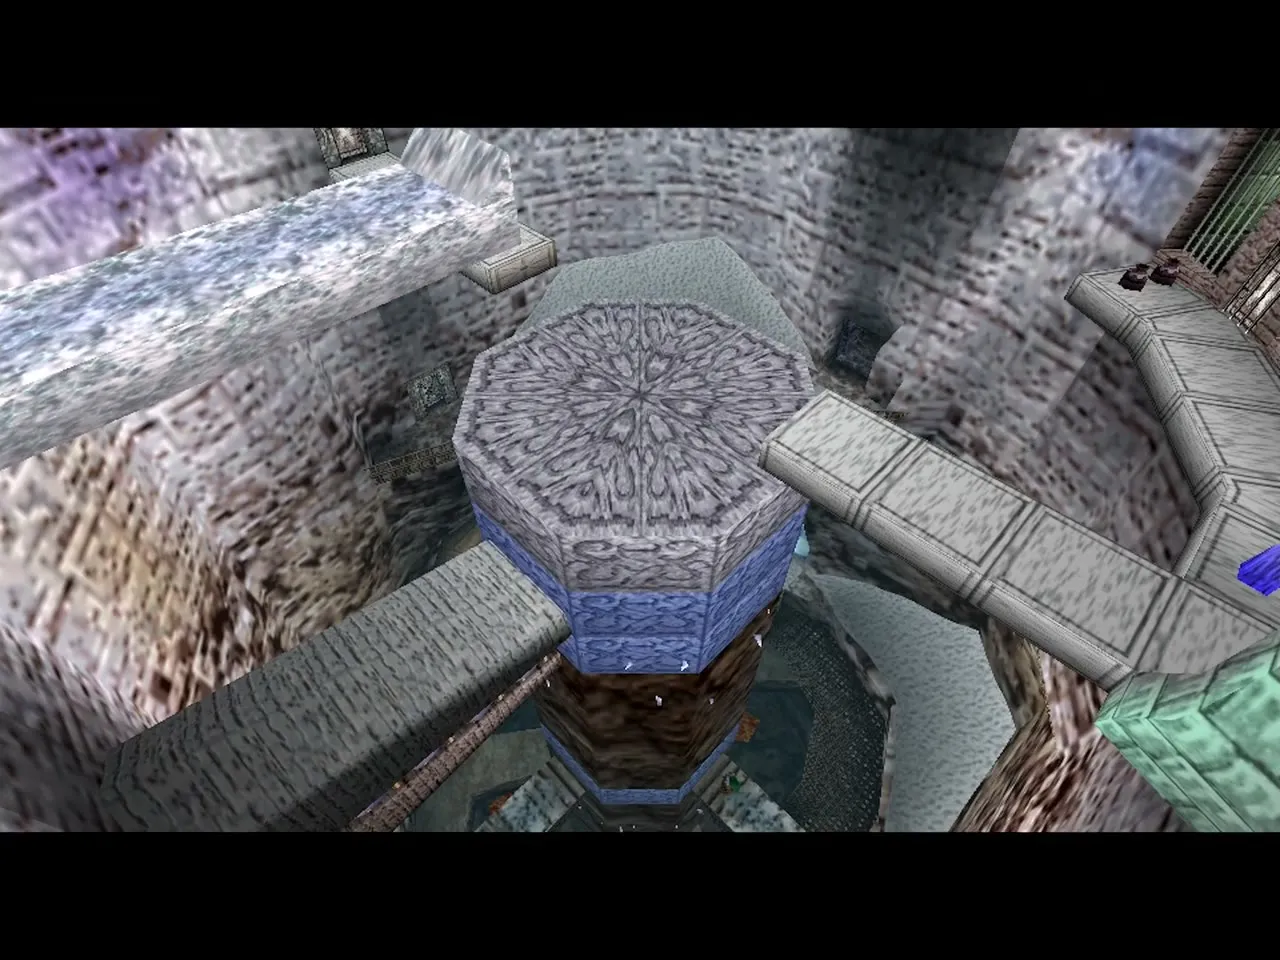
Light all three torches with Fire Arrows to open the door in the centre of the room, go through and pound the large switch as Goron Link. The central pillar rises to the top of the temple.
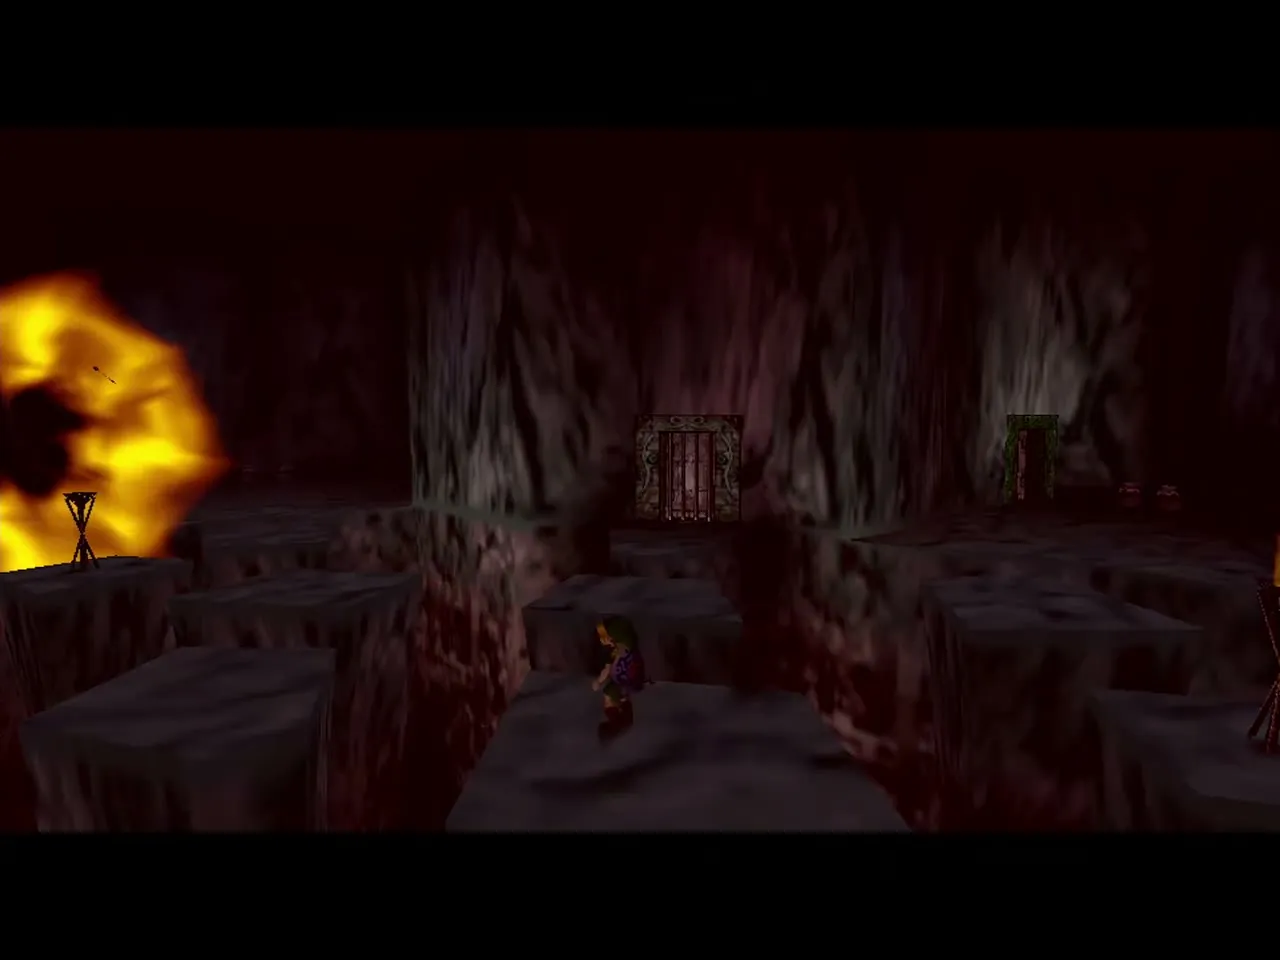
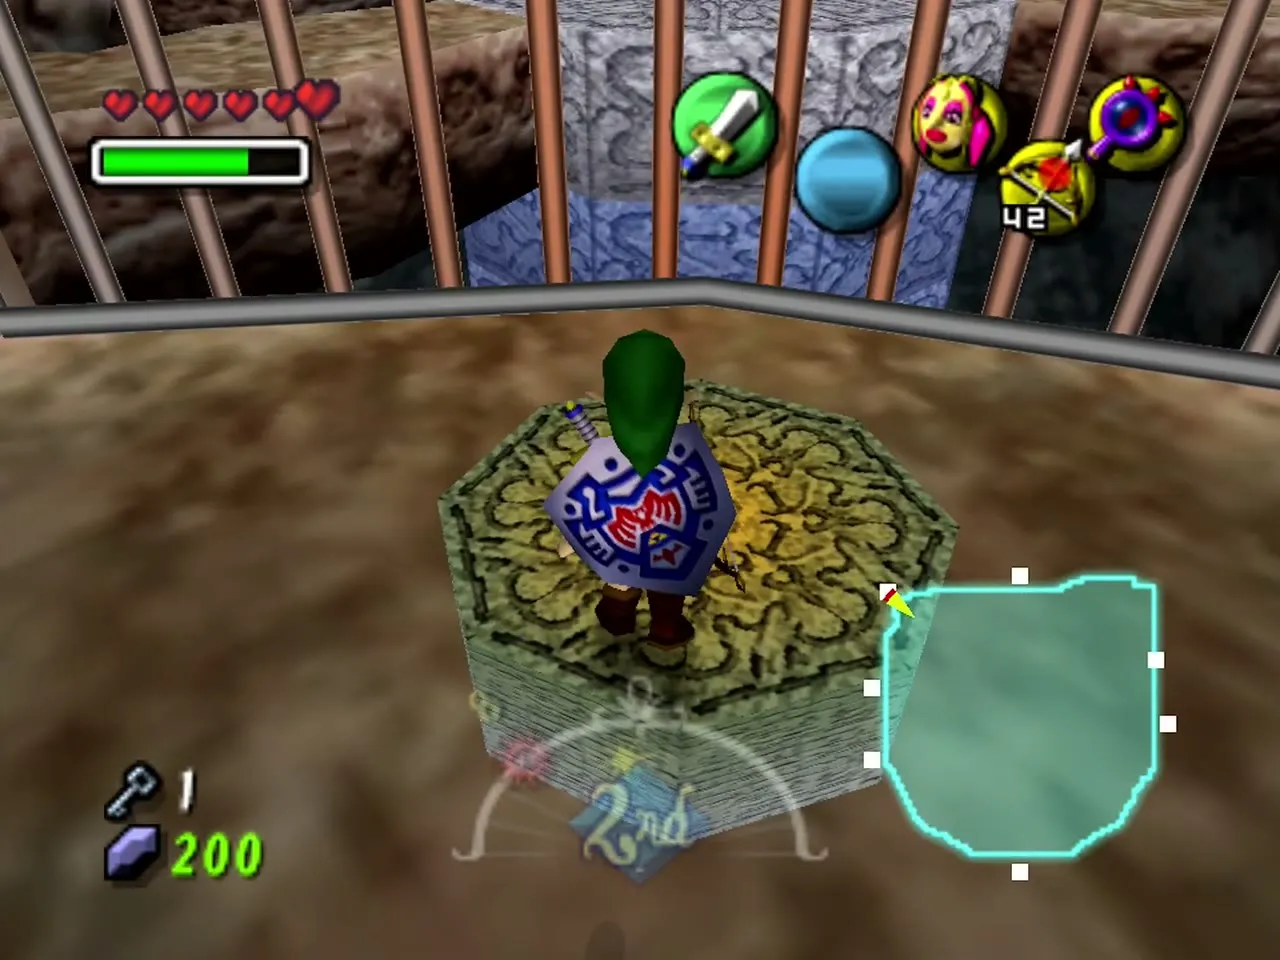
Small Key 3 and the broken bridge room
Go back to the broken bridge room by the entrance, burn the Freezards with Fire Arrows and melt the ice around the western chest. Cross the gap as Goron Link and open it for Small Key 3.
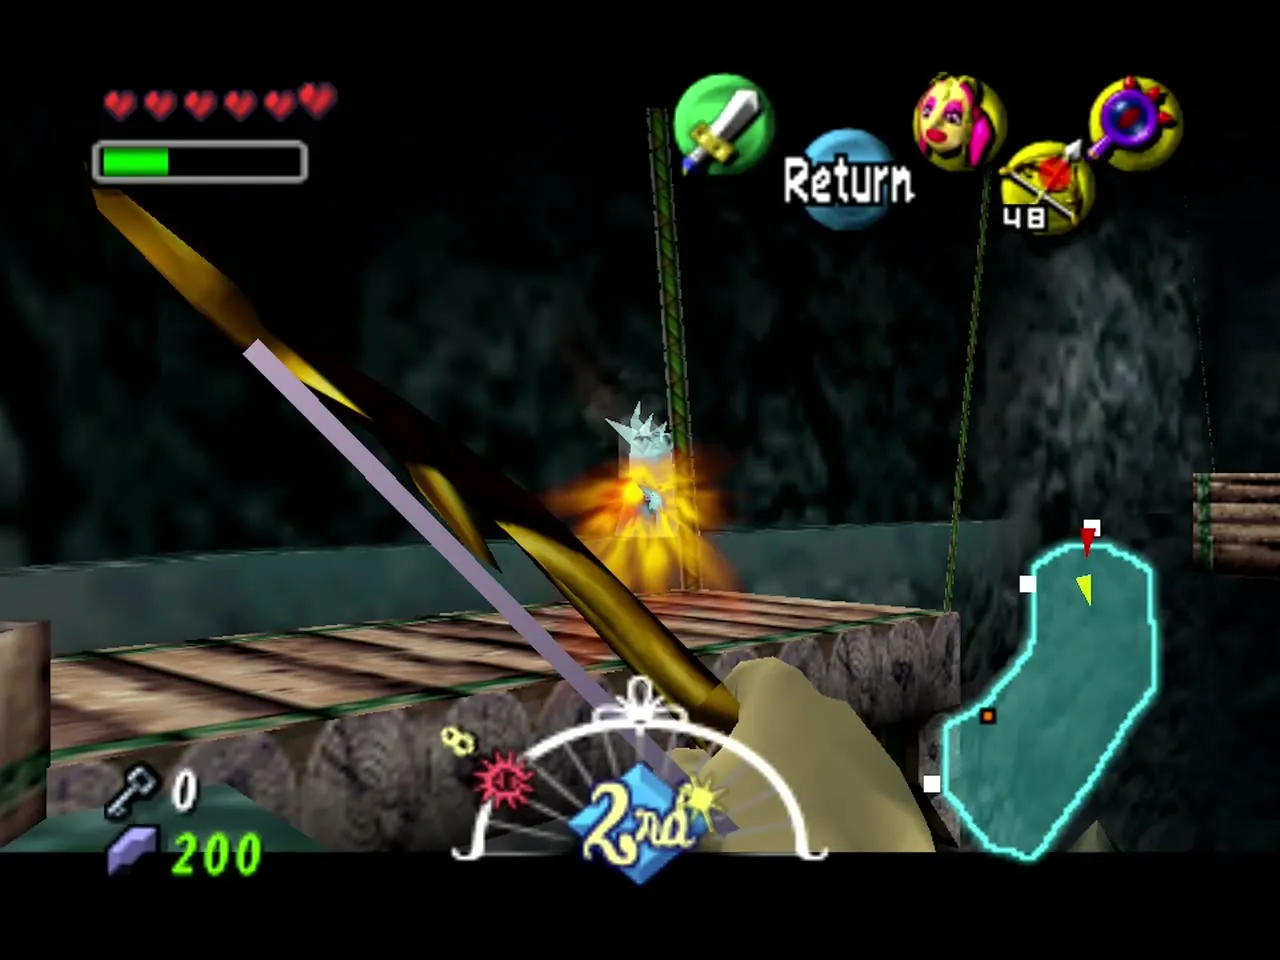
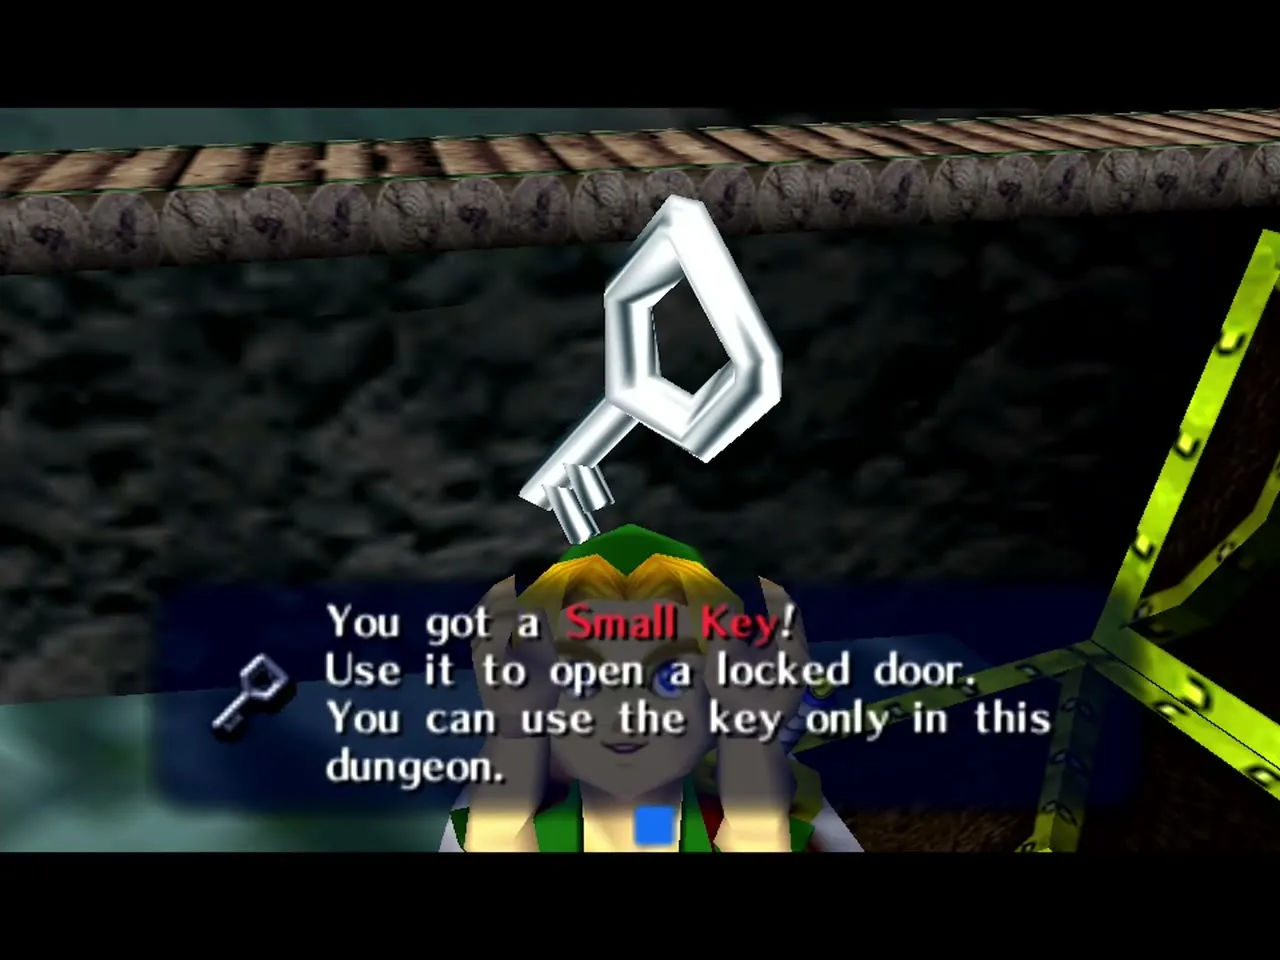
Lowering the central pillar
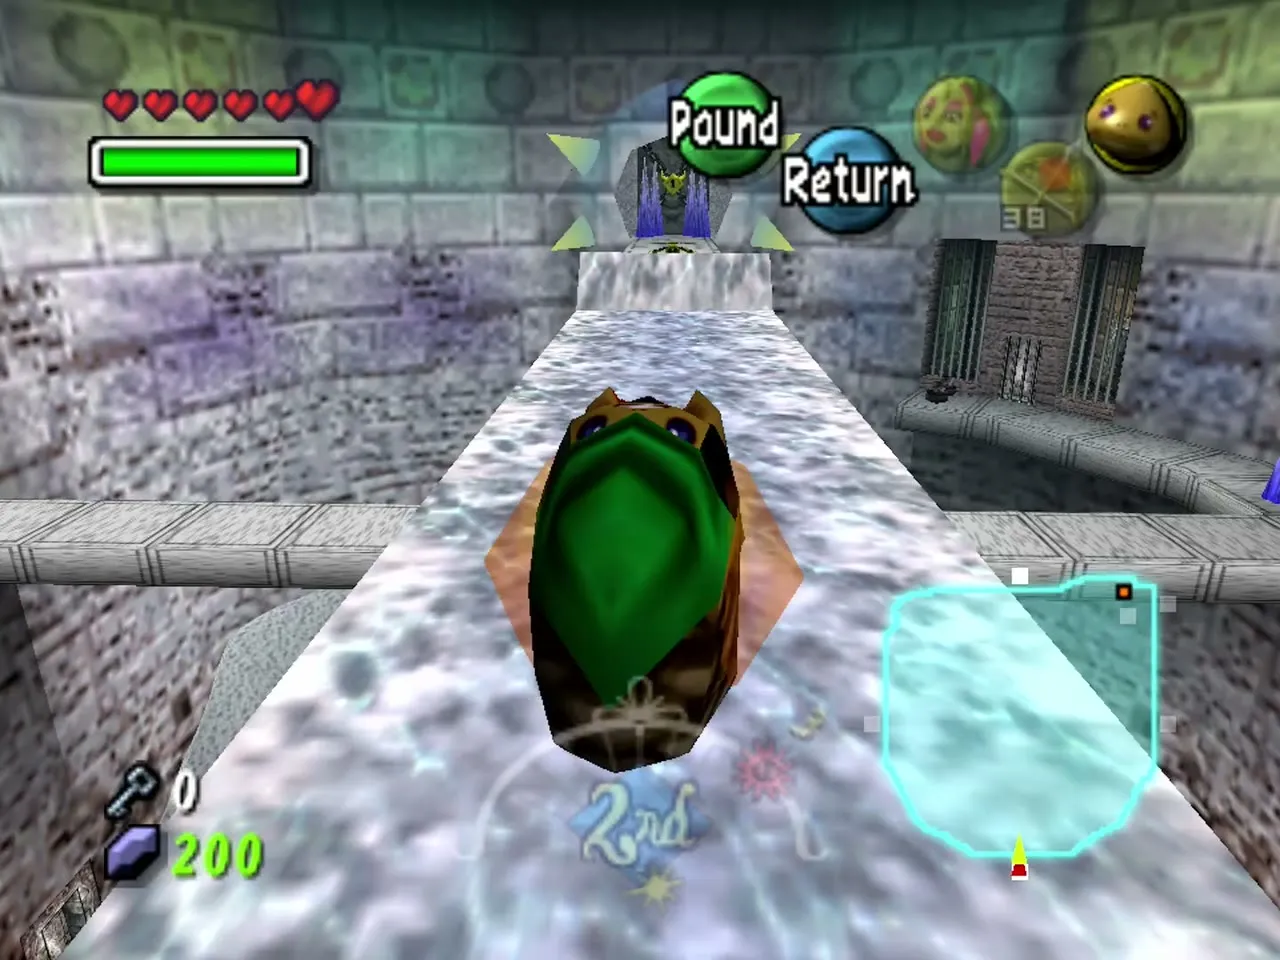
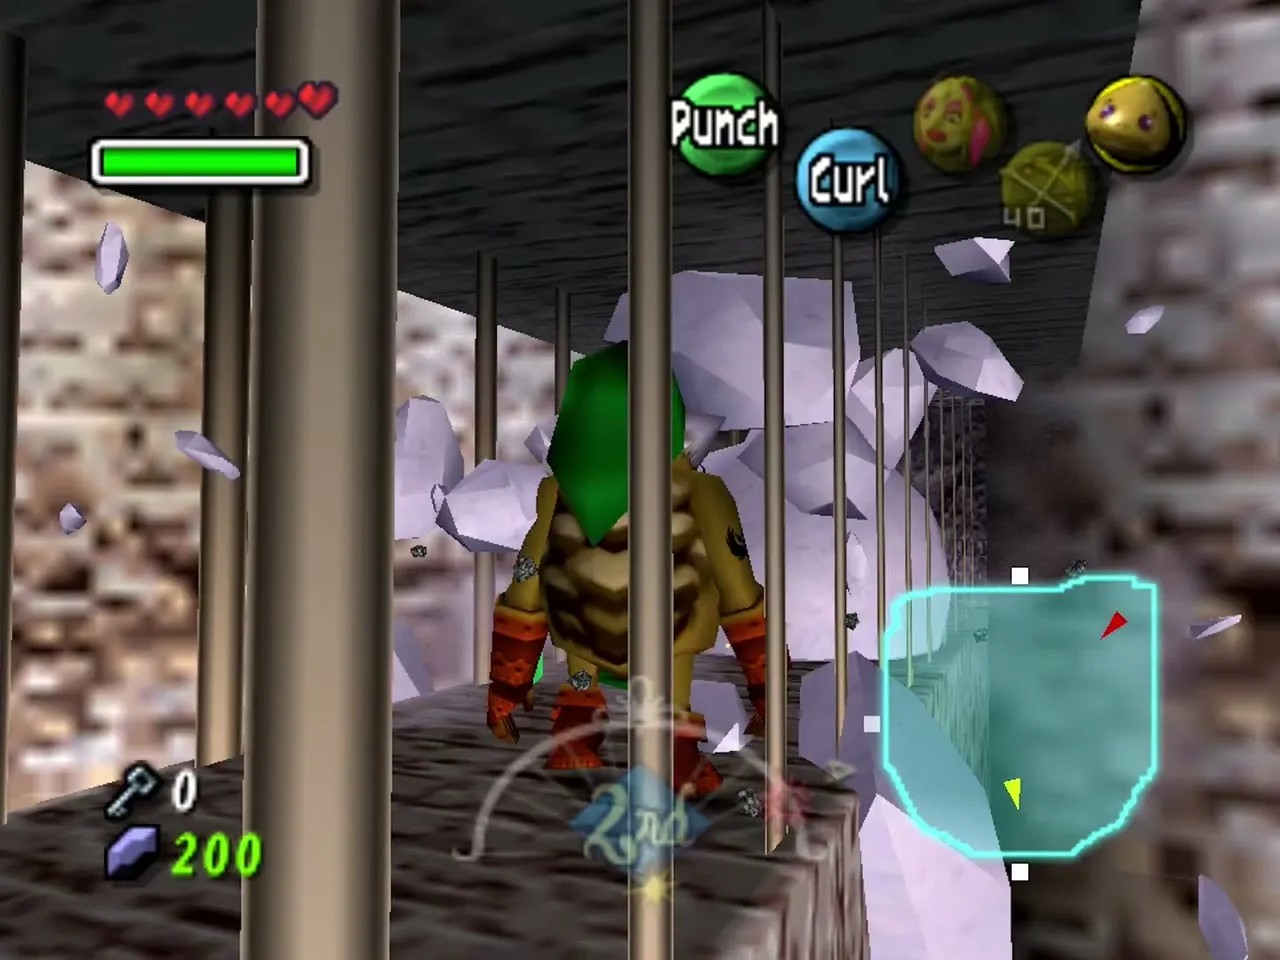
Use the Bombchu room shortcut to reach the second floor and enter the central hub. Punch the two blue ice slabs in the pillar as Goron Link to lower it, then roll round the snowbank on the east side, melt the ice over the stairwell with a Fire Arrow and climb to the third floor.
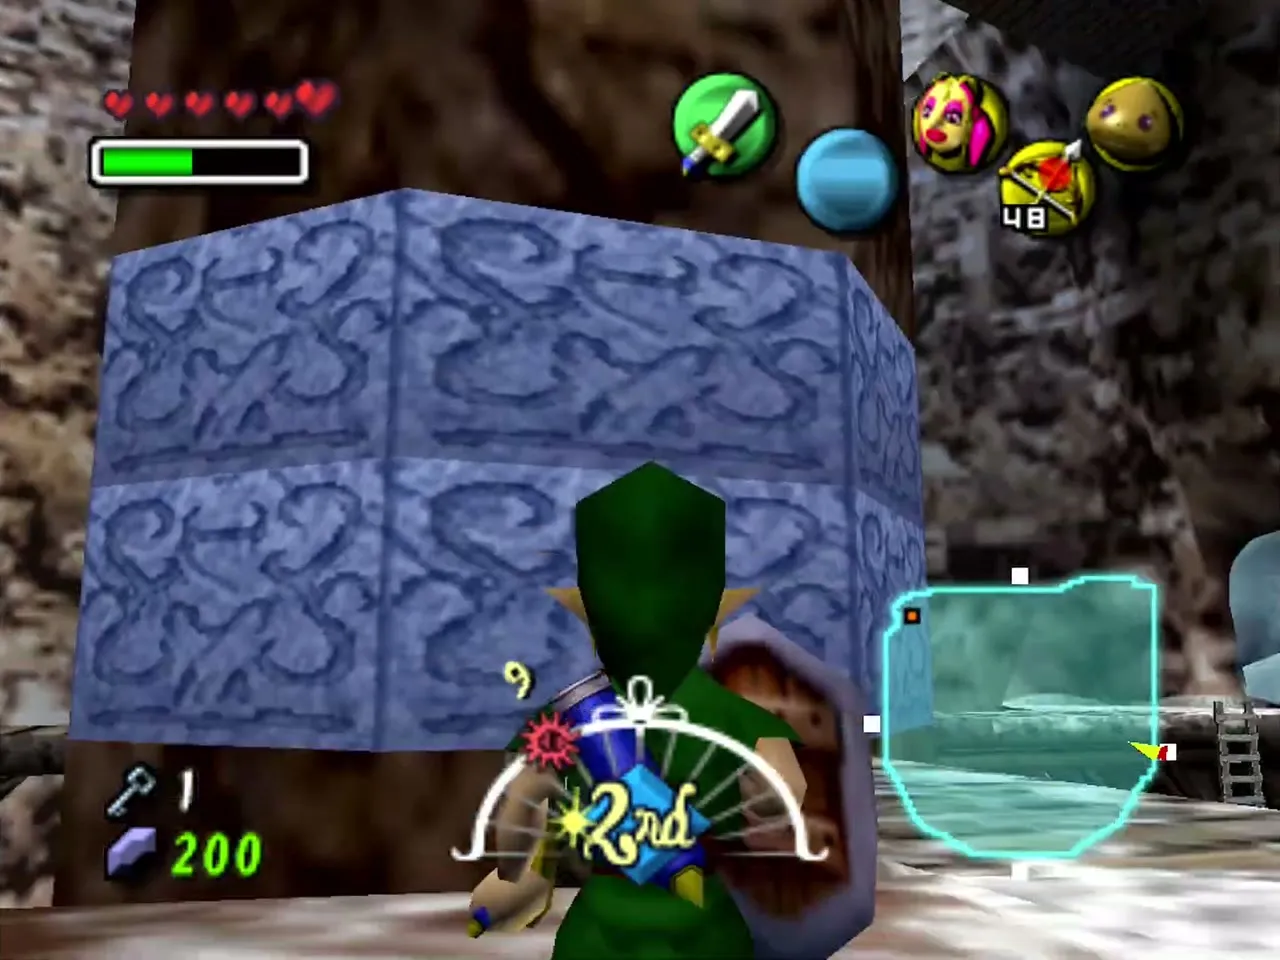
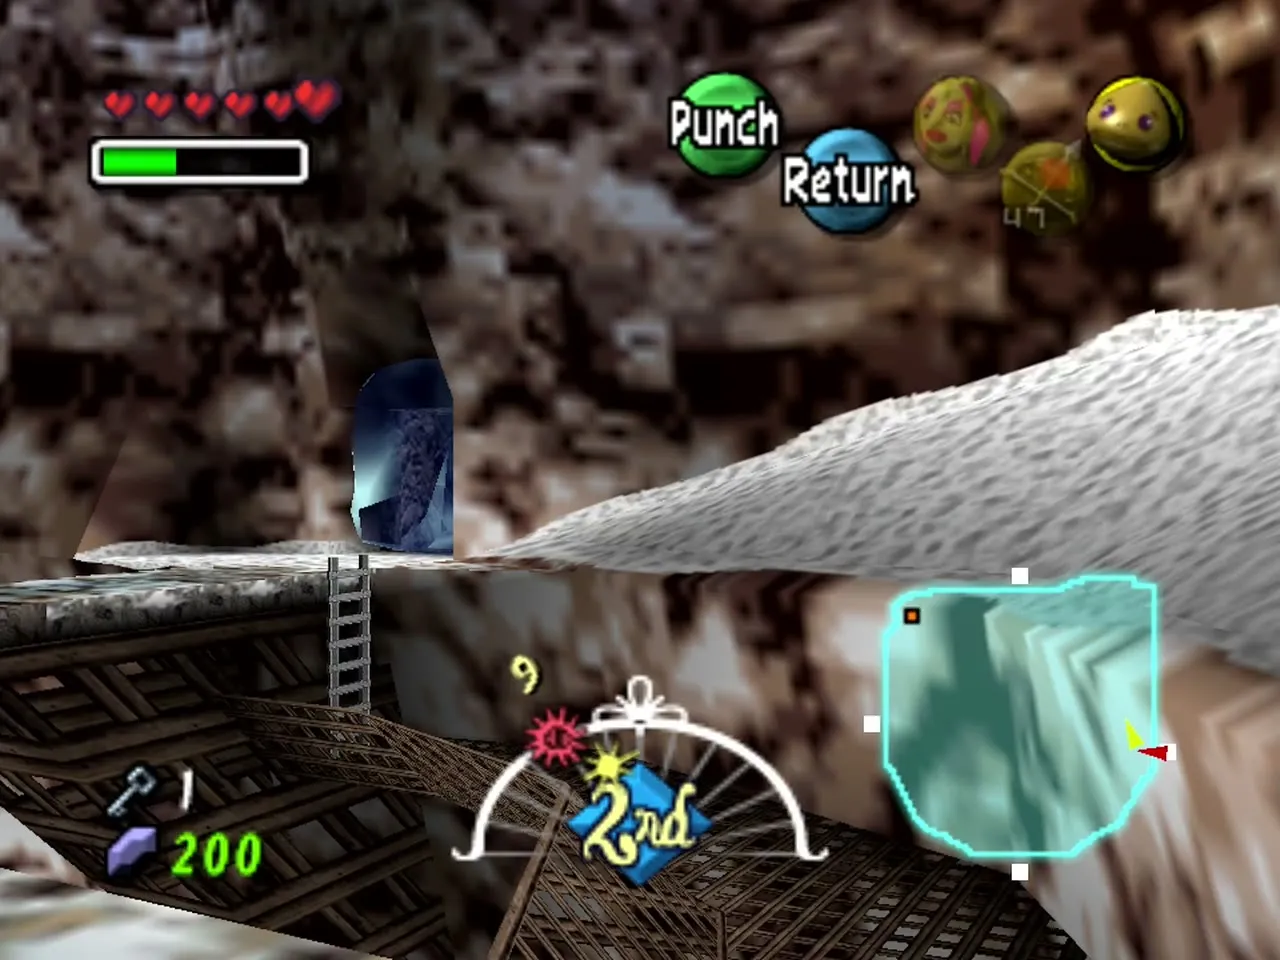
Roll down the western snowbank on the third floor to the locked door, and punch the slabs here and on the upper floor to lower the pillar fully. That door is the way to the Eeno room.
Eenos, Dinolfos and the Boss Key
Eeno room and Stray Fairy 12
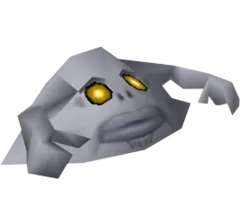
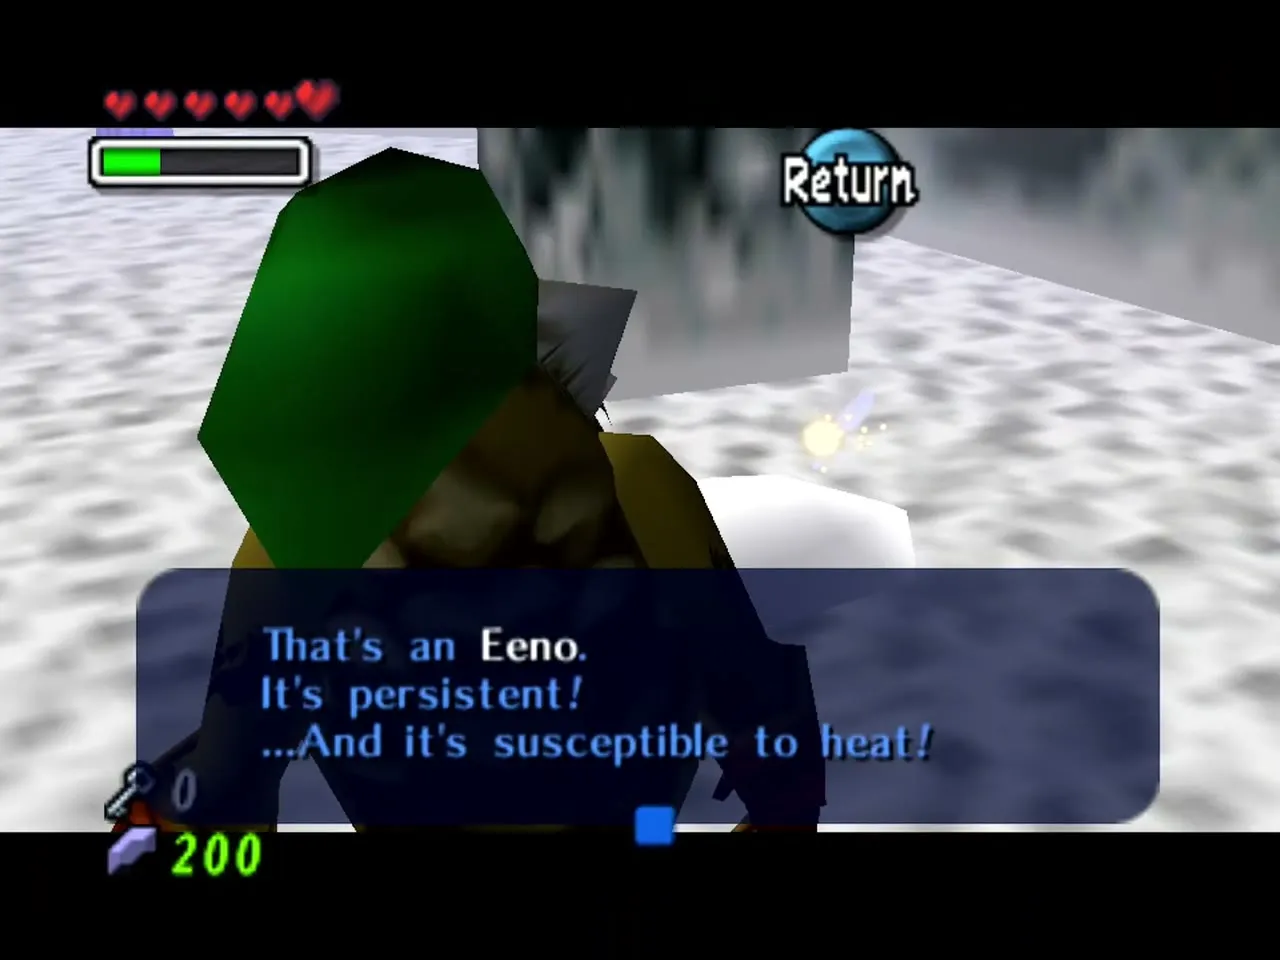
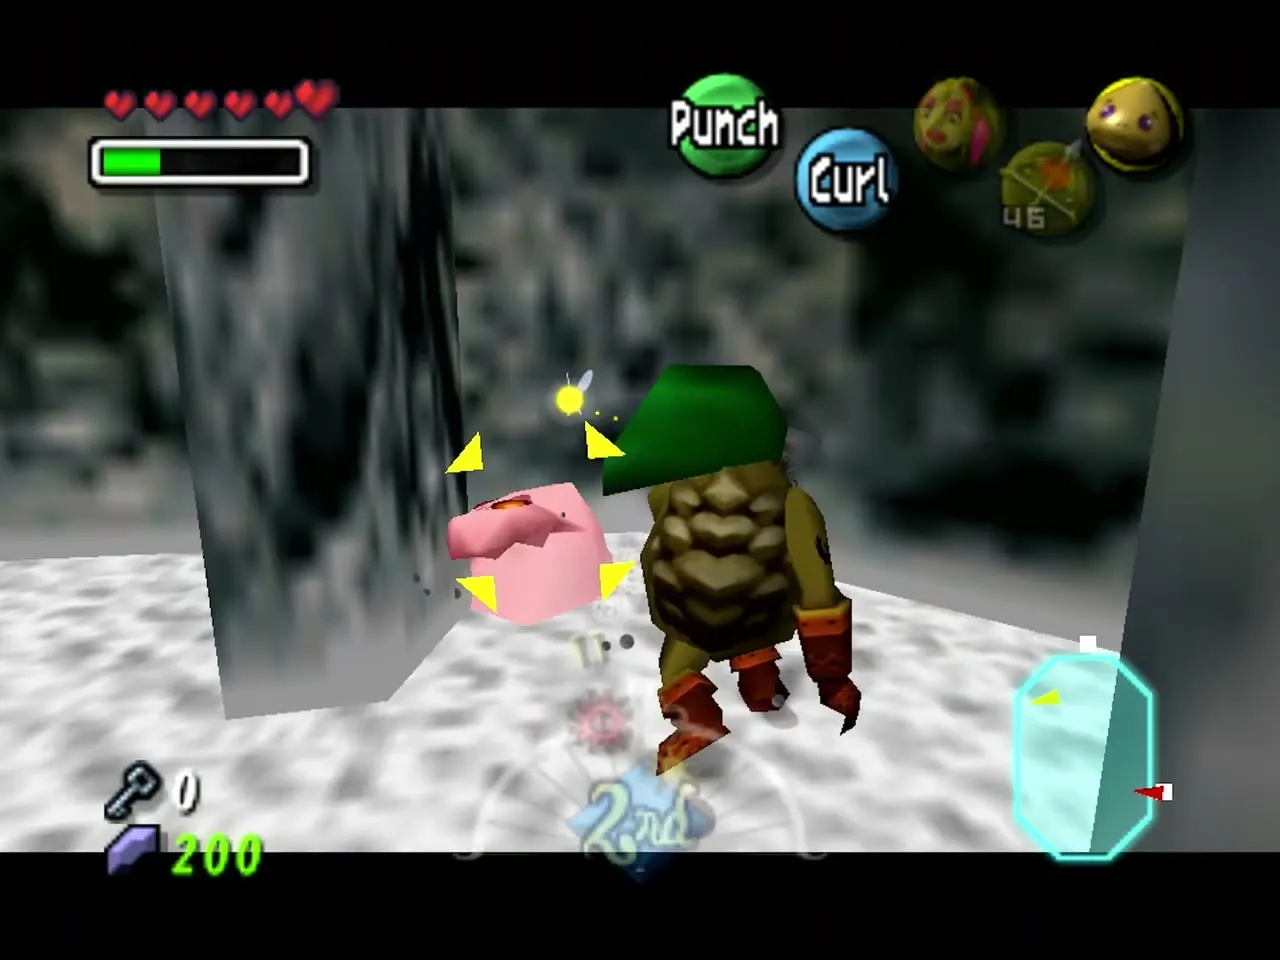
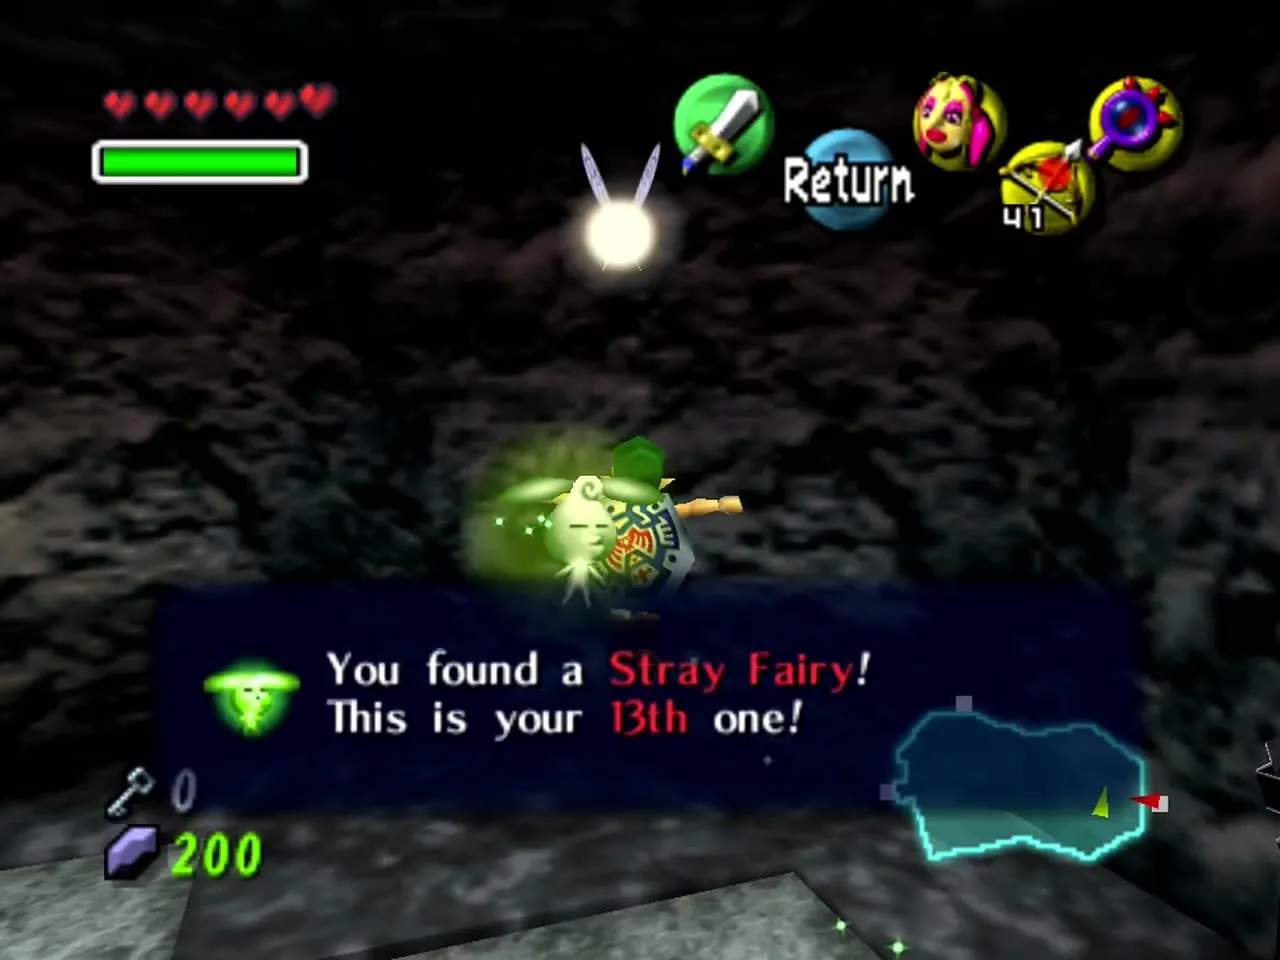
Unlock the west door on the third floor with Small Key 3. Cut down the small Eenos with your sword and use Fire Arrows on the big ones, which split when hit. See Eeno for more. With the Lens of Truth, find the bubble on the icy ledge against the south-west wall and shoot it to collect Stray Fairy 12. Melt the ice over the north stairs to continue up.

Dinolfos pair and Stray Fairies 13 and 14
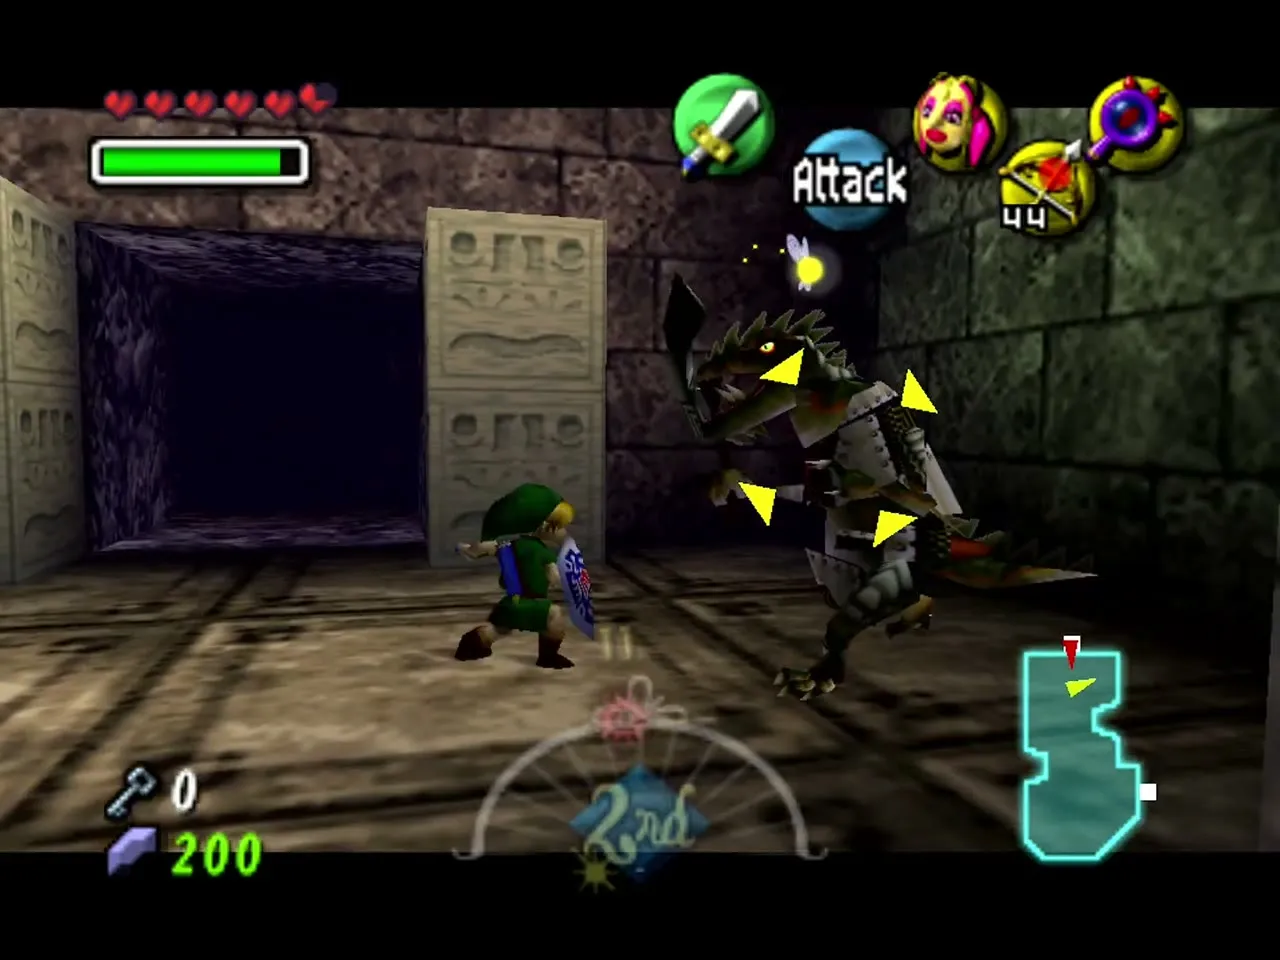
On the fourth floor, fight the two Dinolfos, dodging their fire breath and their jumps. Each one releases a Stray Fairy when it dies, which gives you Stray Fairies 13 and 14. A Goron punch or a Goron Pound finishes a Dinolfos quickly, and you can step back and hold up your shield when it rears to breathe fire. See the Snowhead Dinolfos for details.
Second Wizzrobe, the Boss Key and Stray Fairy 15
Drop onto the central pillar and smash or burn the snowballs on its southern walkway, then return to the fourth floor. Roll across the slippery floor to the northern walkway, glide down to the lower east walkway with the Deku Flower and enter the unbarred door.
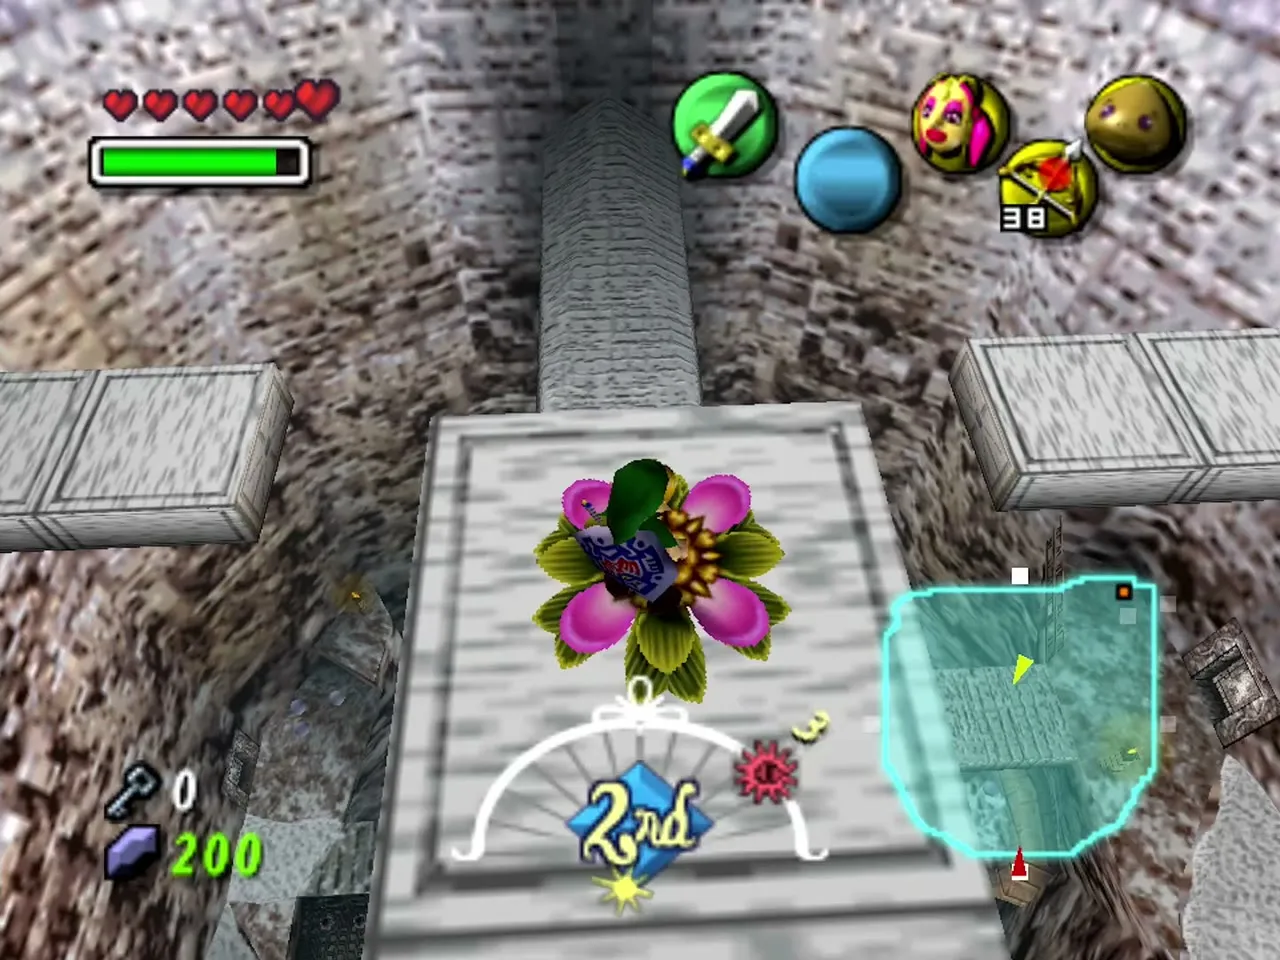
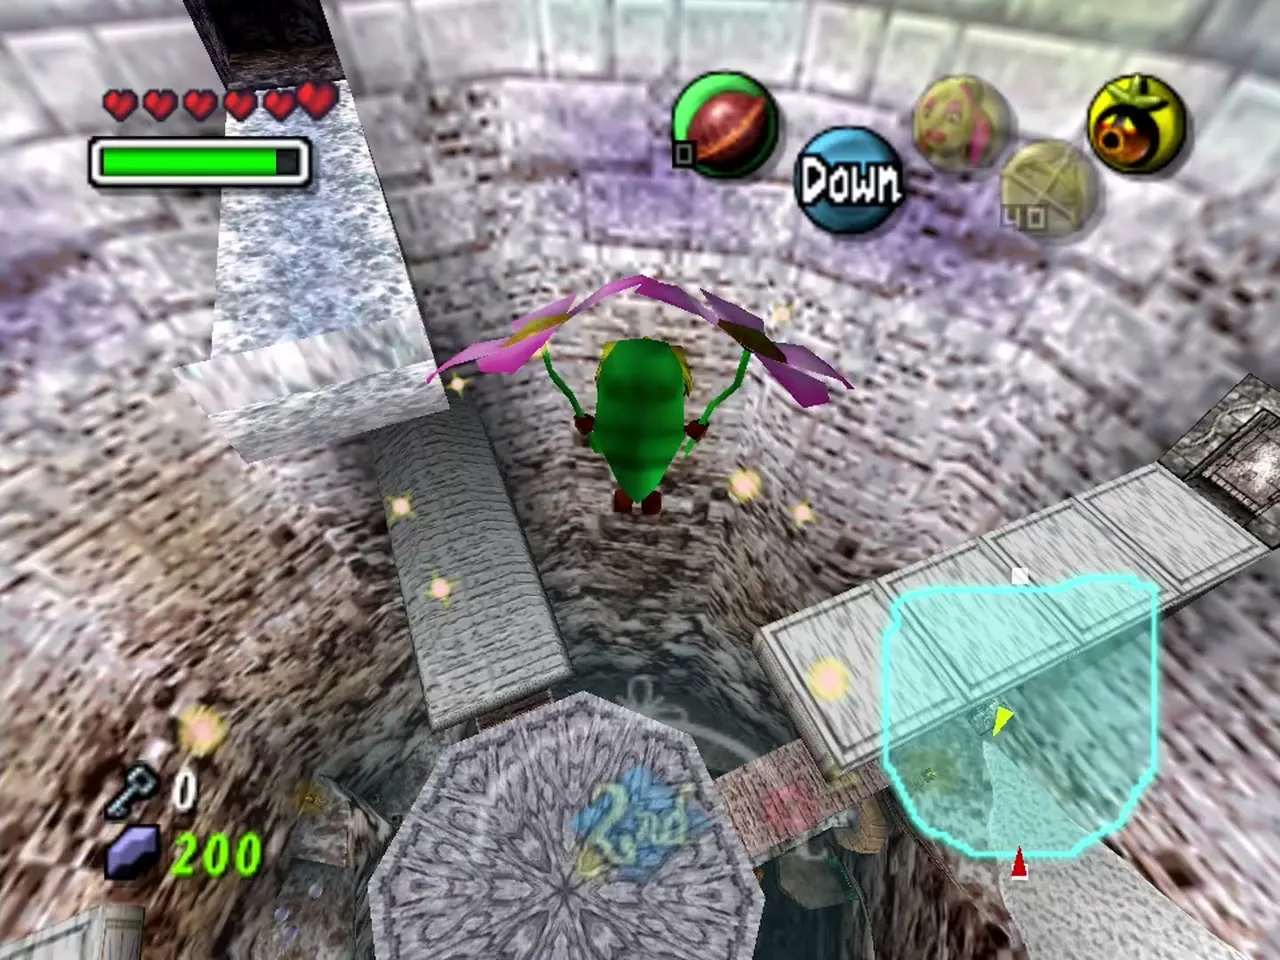
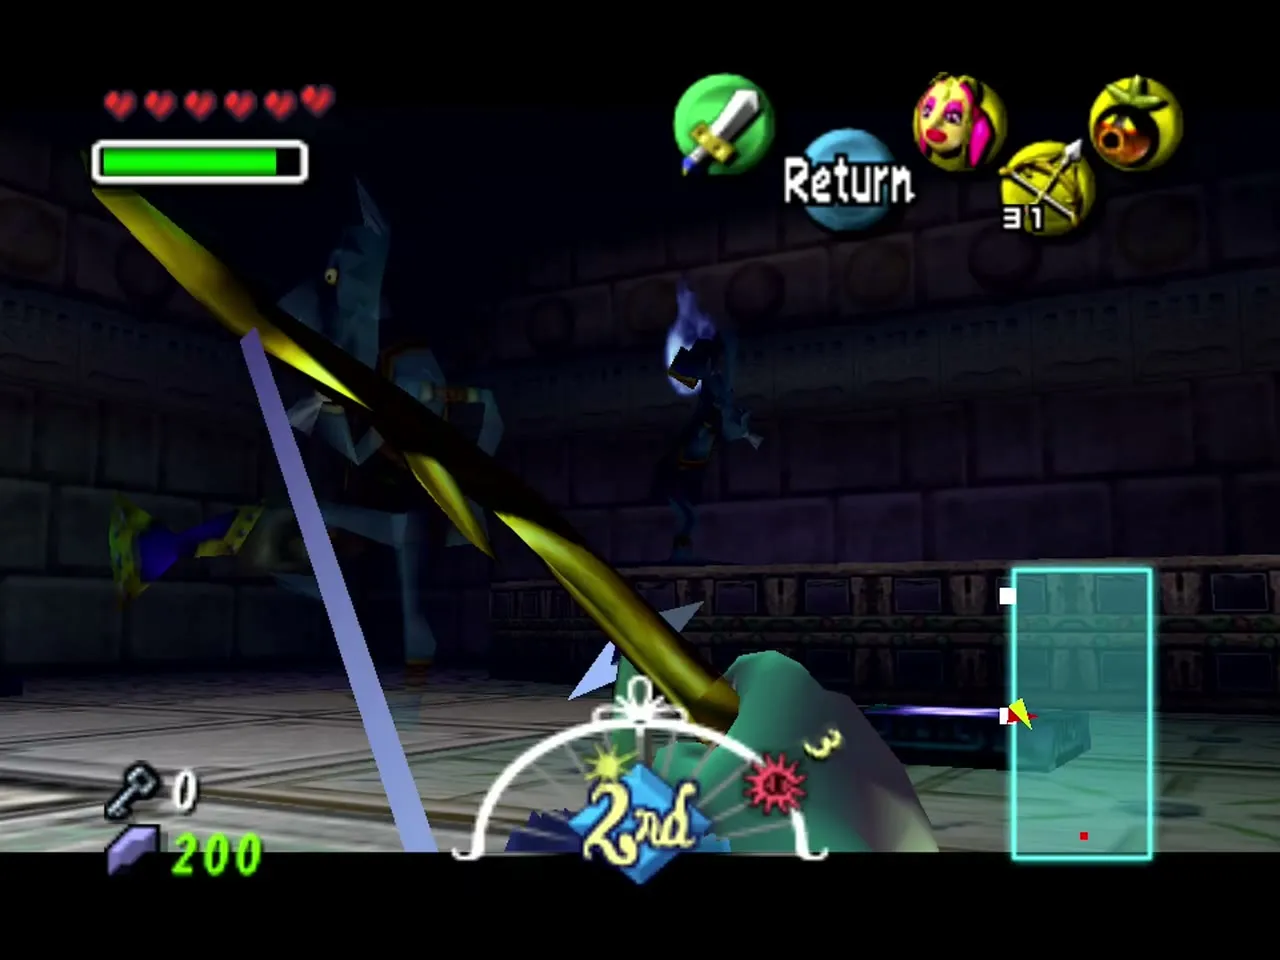
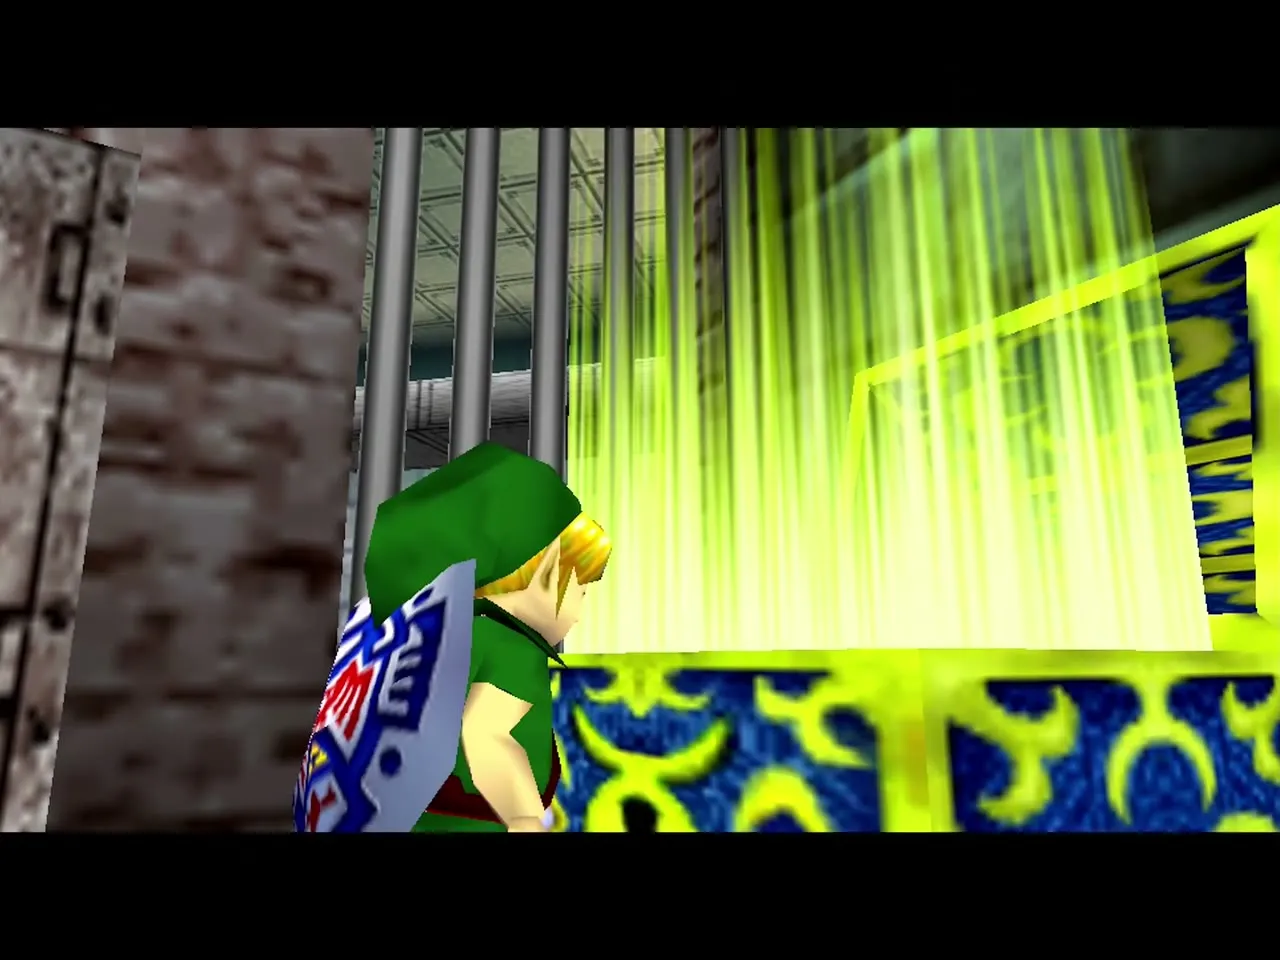
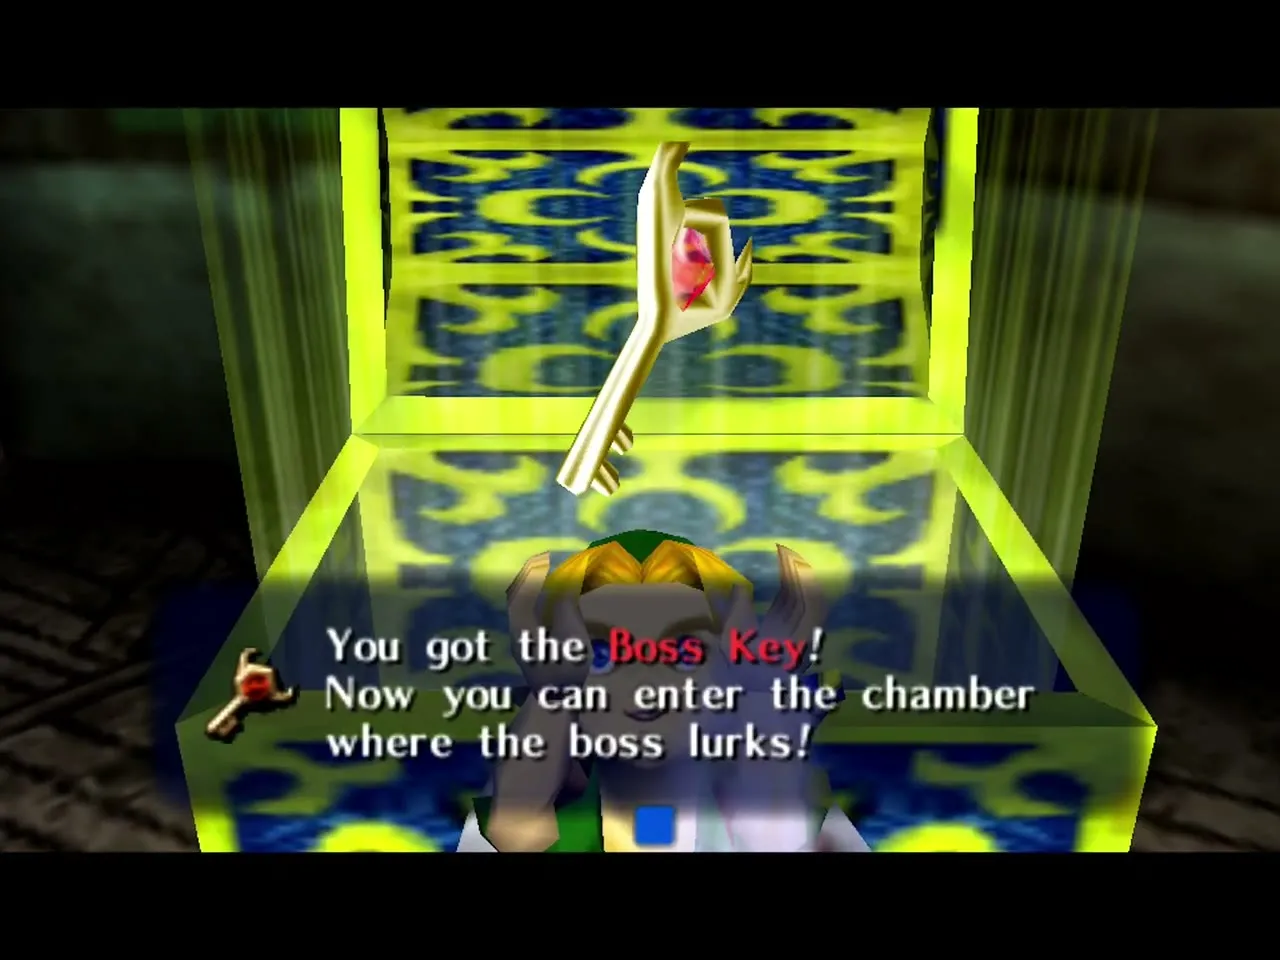
This is the second Wizzrobe. The rules are the same as before. Defeat him to open the large chest and take the Boss Key. The last fairy is on your way: from the top of the central pillar, face the northwest wall of the second floor and use the Lens of Truth to see a hidden alcove. Roll off the pillar as Goron Link, letting go of the button before you hit the wall, or glide over as Deku Link, and open the chest for Stray Fairy 15. That makes all 15.
Goht boss fight
Reach the boss door
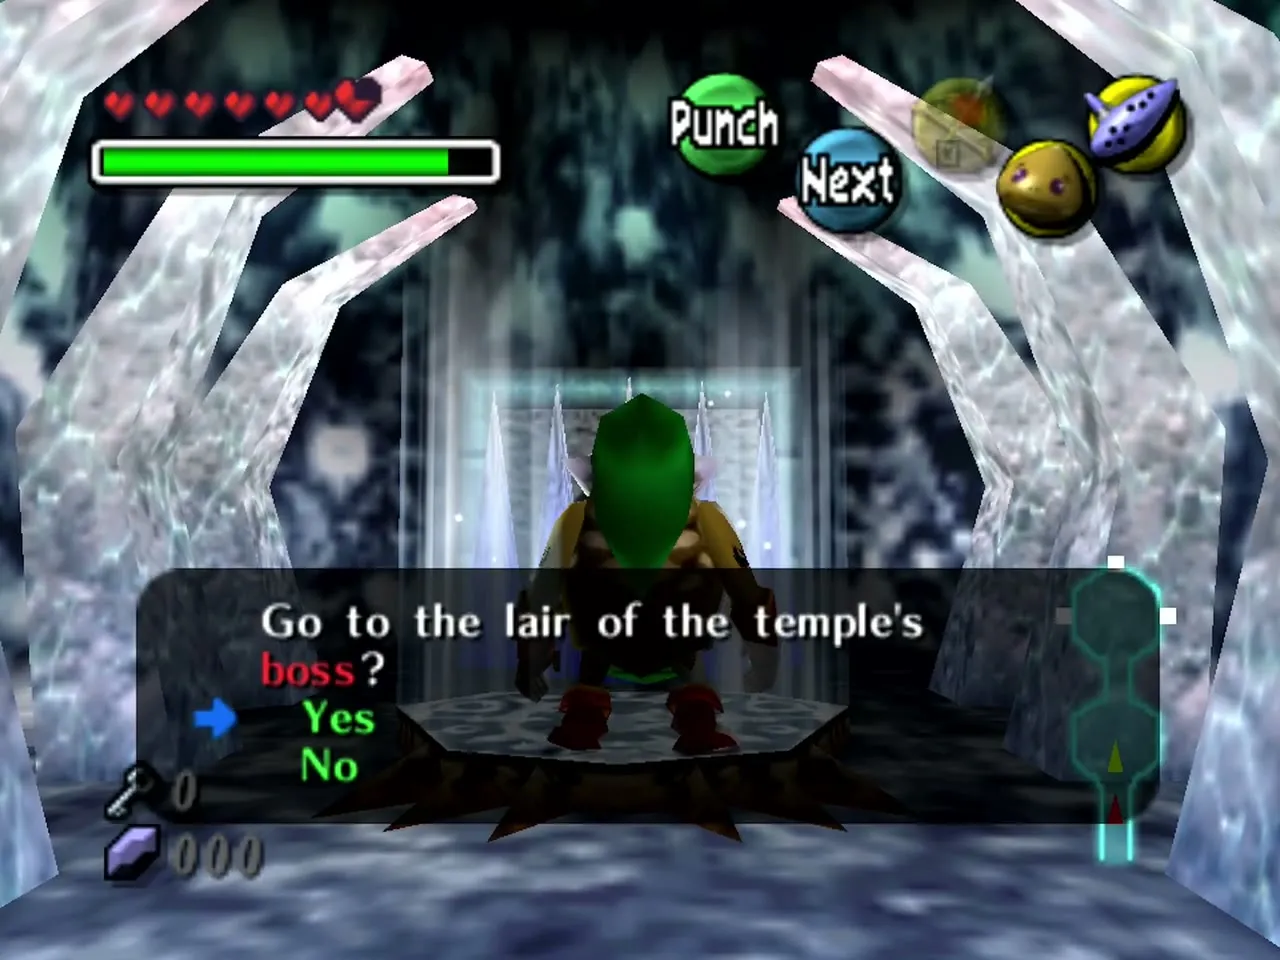
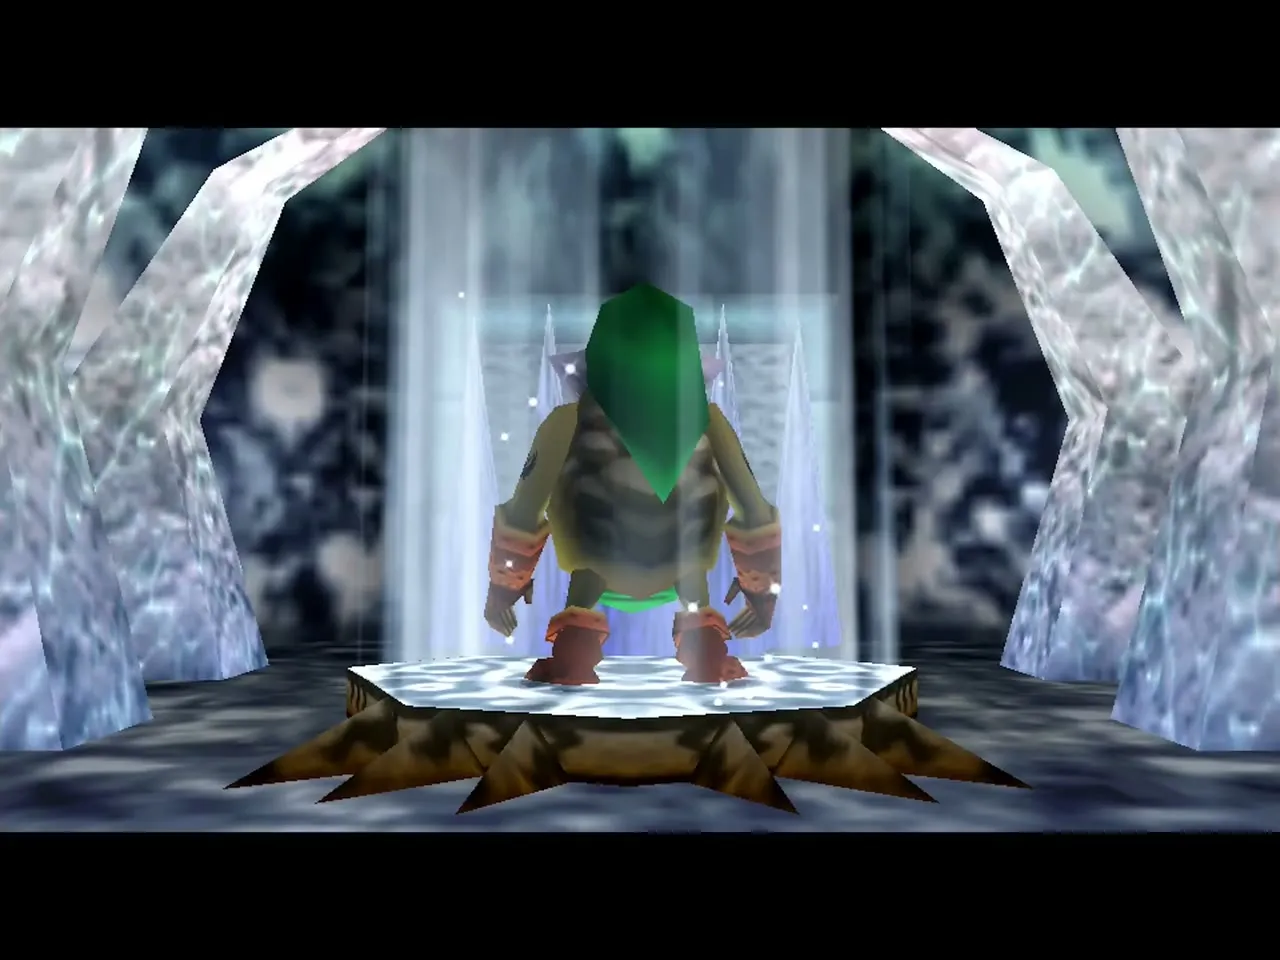
Return to the hub, drop onto the central pillar and roll across the gap to the boss door. Open it with the Boss Key and confirm that you want to enter: the game asks whether you want to go to the lair of the temple’s boss. Save your magic for the fight, because charged rolls use it. A short icy corridor leads to the arena, where Goht stands frozen inside a block of ice, and a title card announces the Masked Mechanical Monster, Goht.
How to defeat Goht
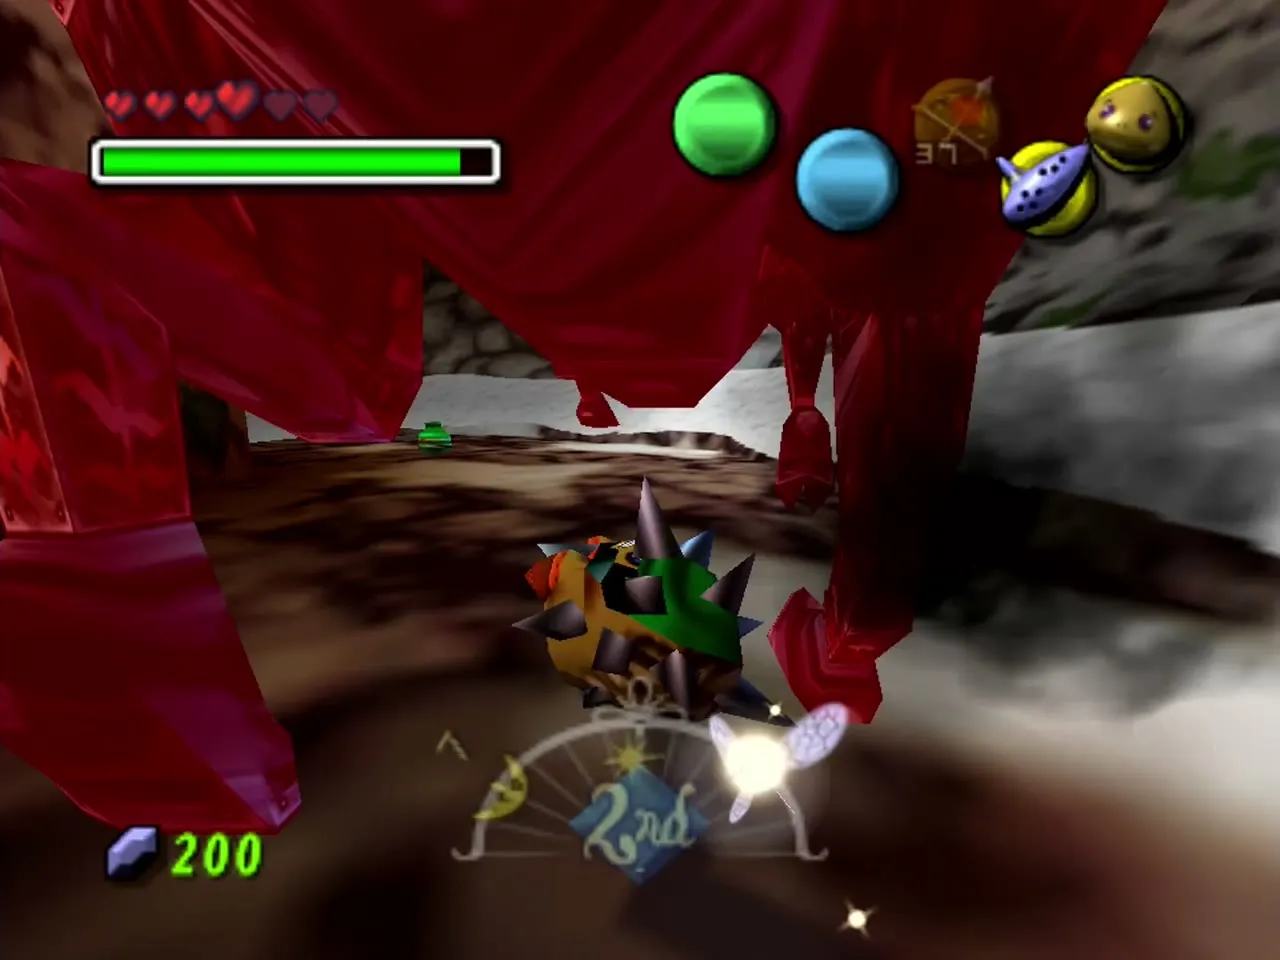
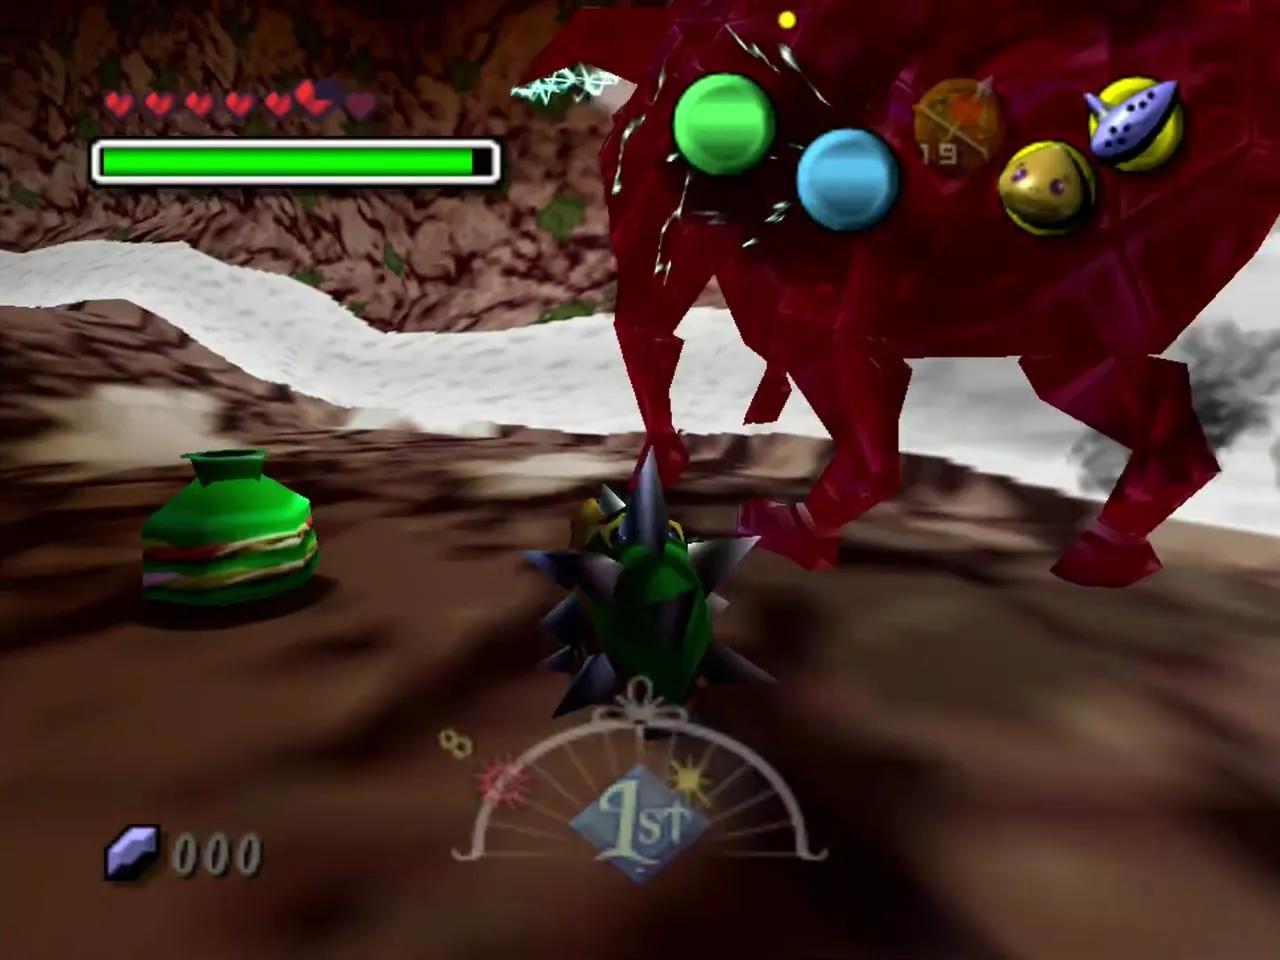
Goht begins frozen in ice. Shoot a Fire Arrow at it to free it, then put on the Goron Mask at once. The arena is a circular track, and Goht runs around it, so start a charged roll and ram it with the spikes until it flips over.
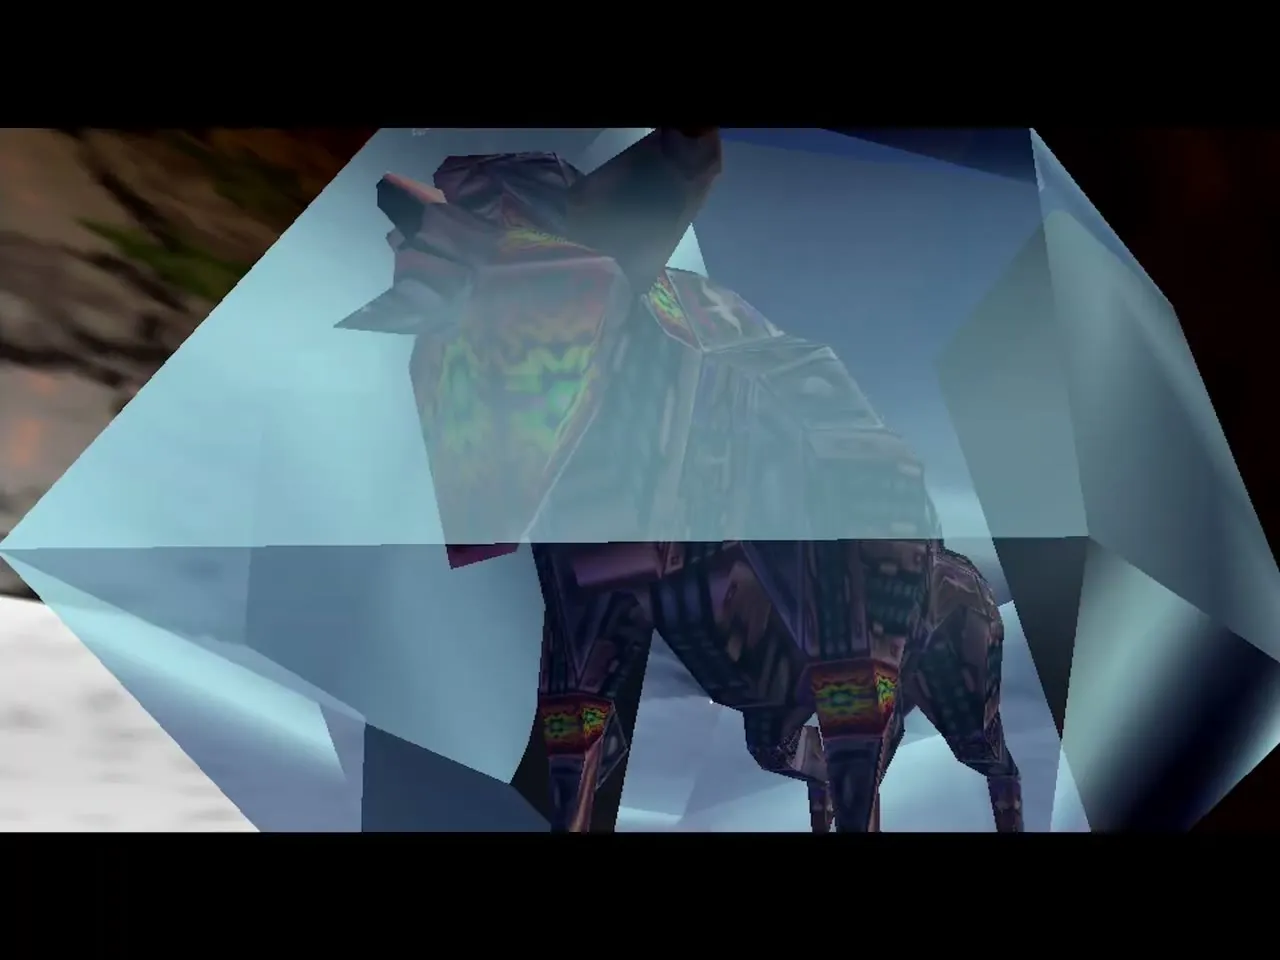
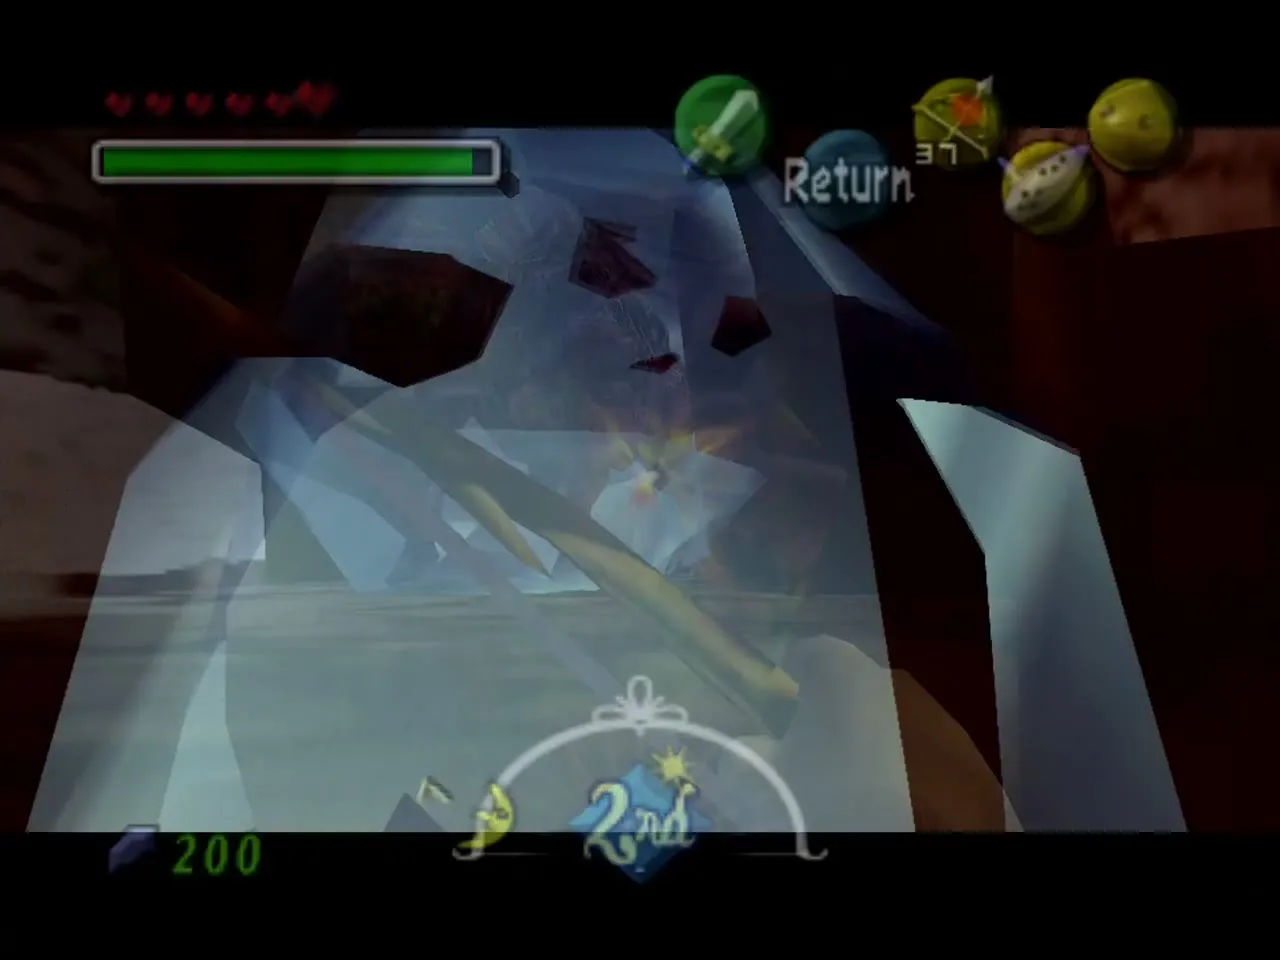
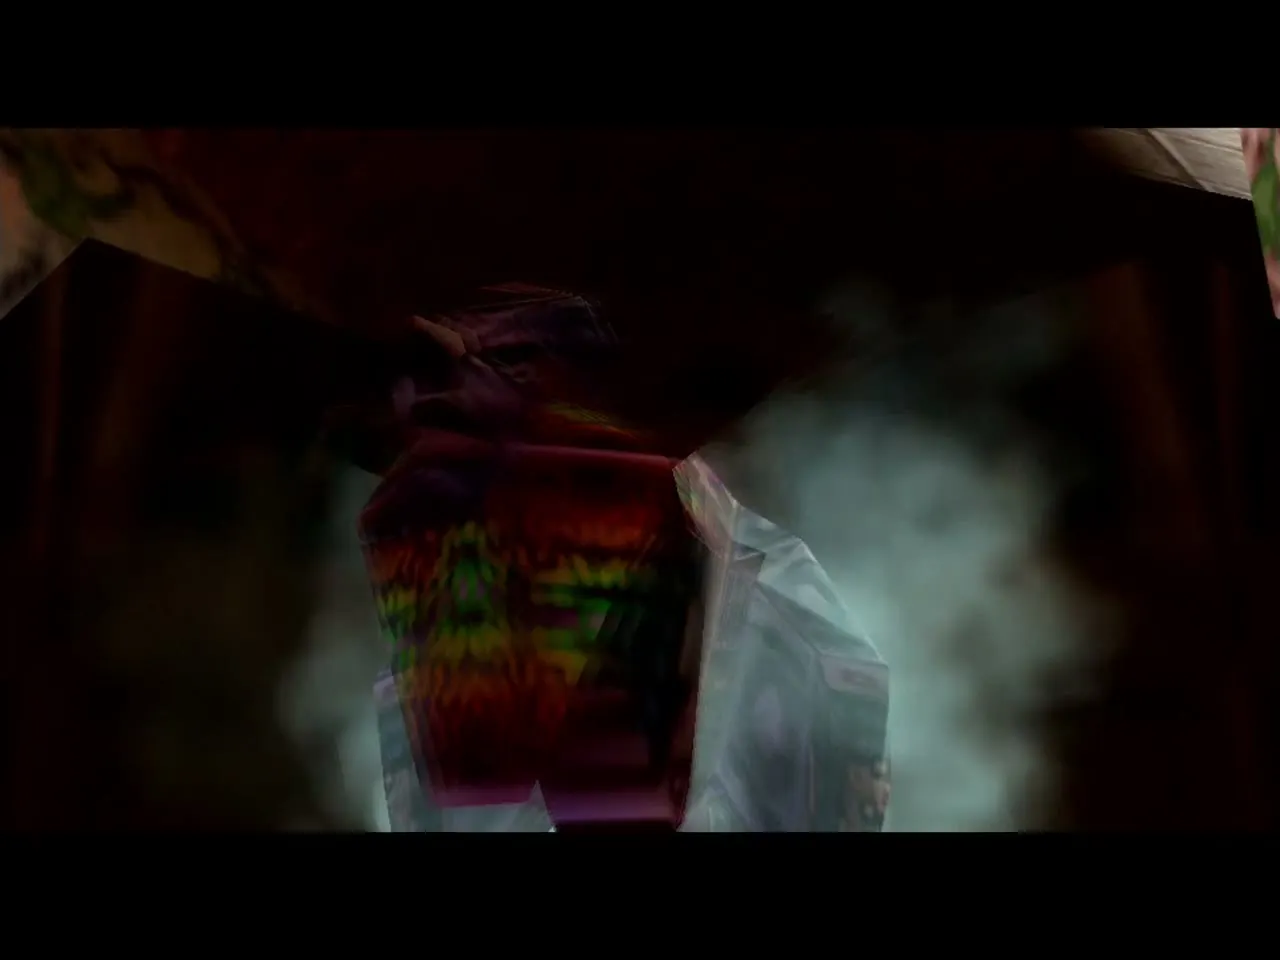
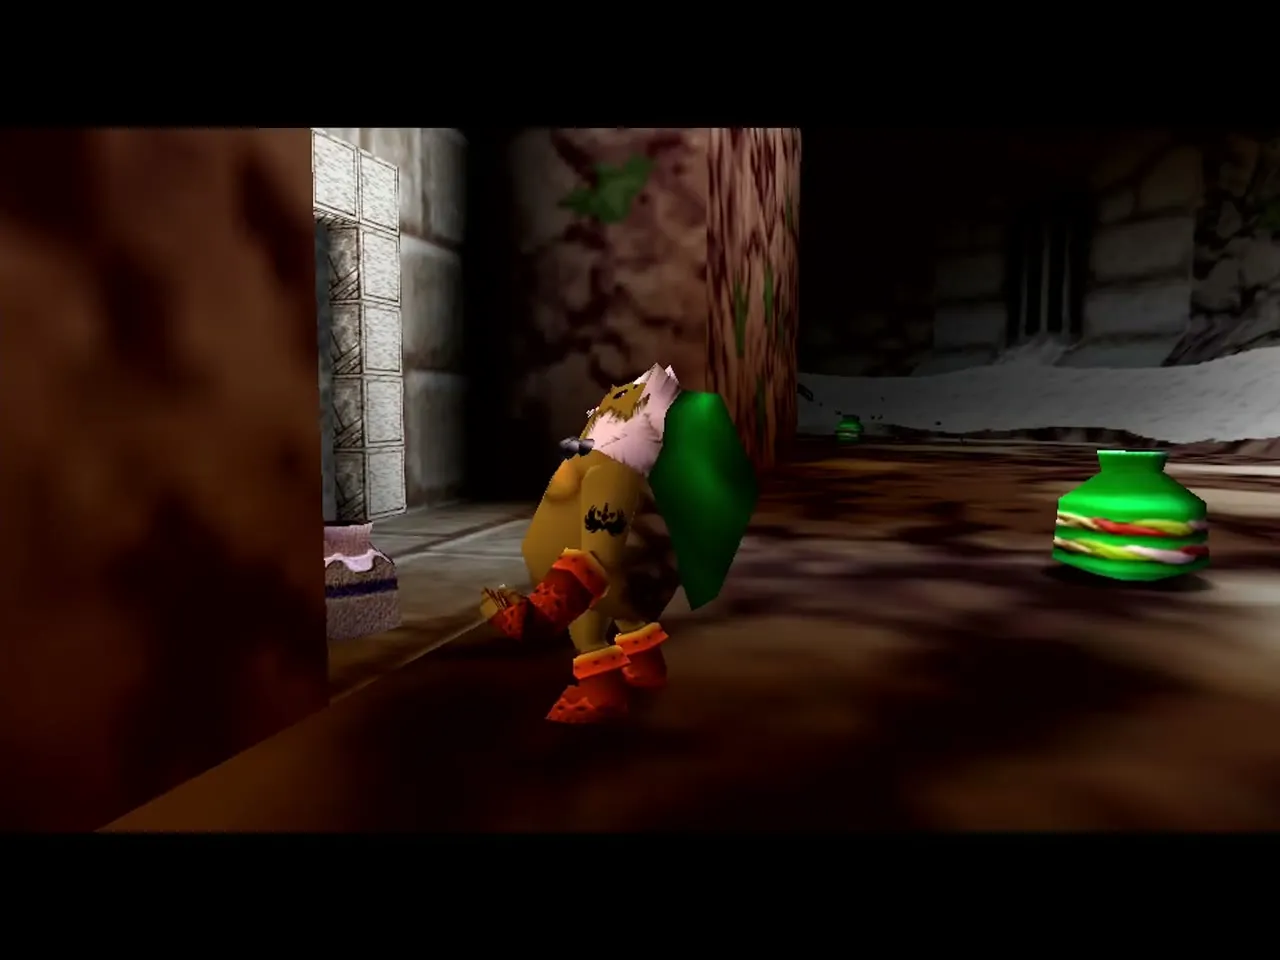
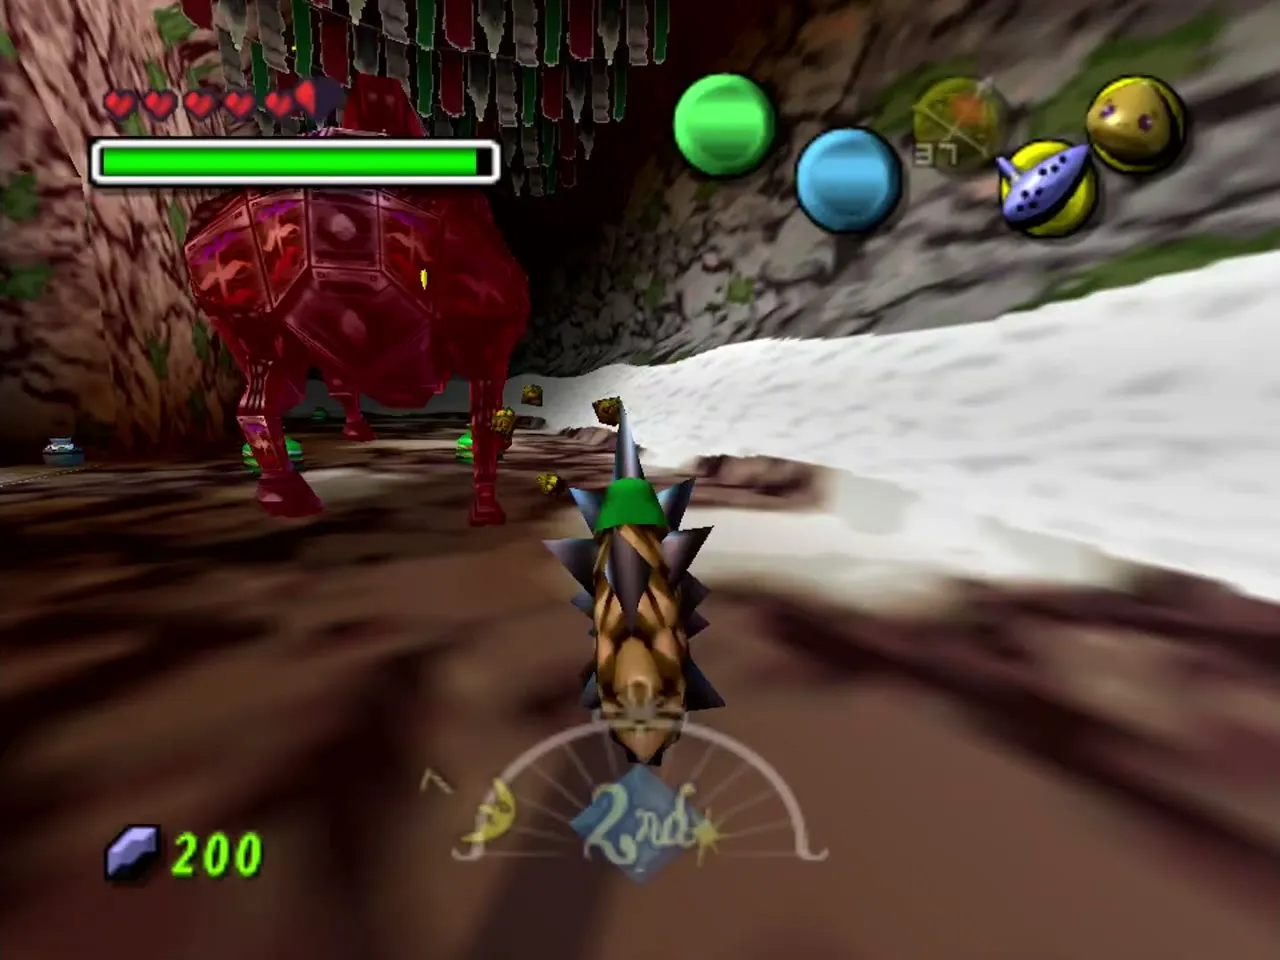
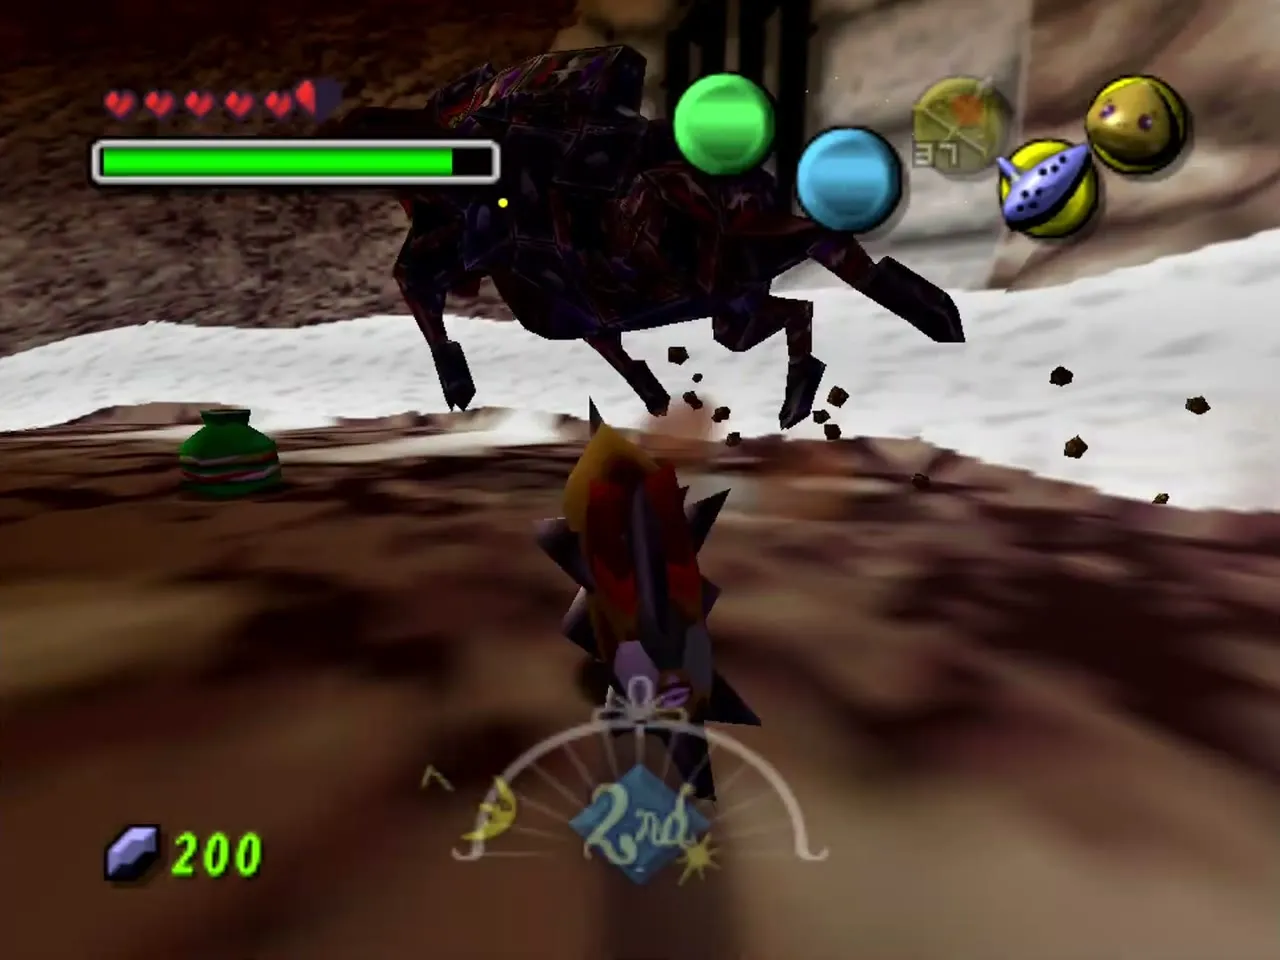
Keep pace with Goht and watch for its attacks: stalactites and rocks fall around the track and it fires orbs of crackling energy. Roll through the green jars that line the track and break the pots to restore magic and collect arrows. As it weakens it speeds up and drops bombs behind it, so keep the pressure on until it falls.
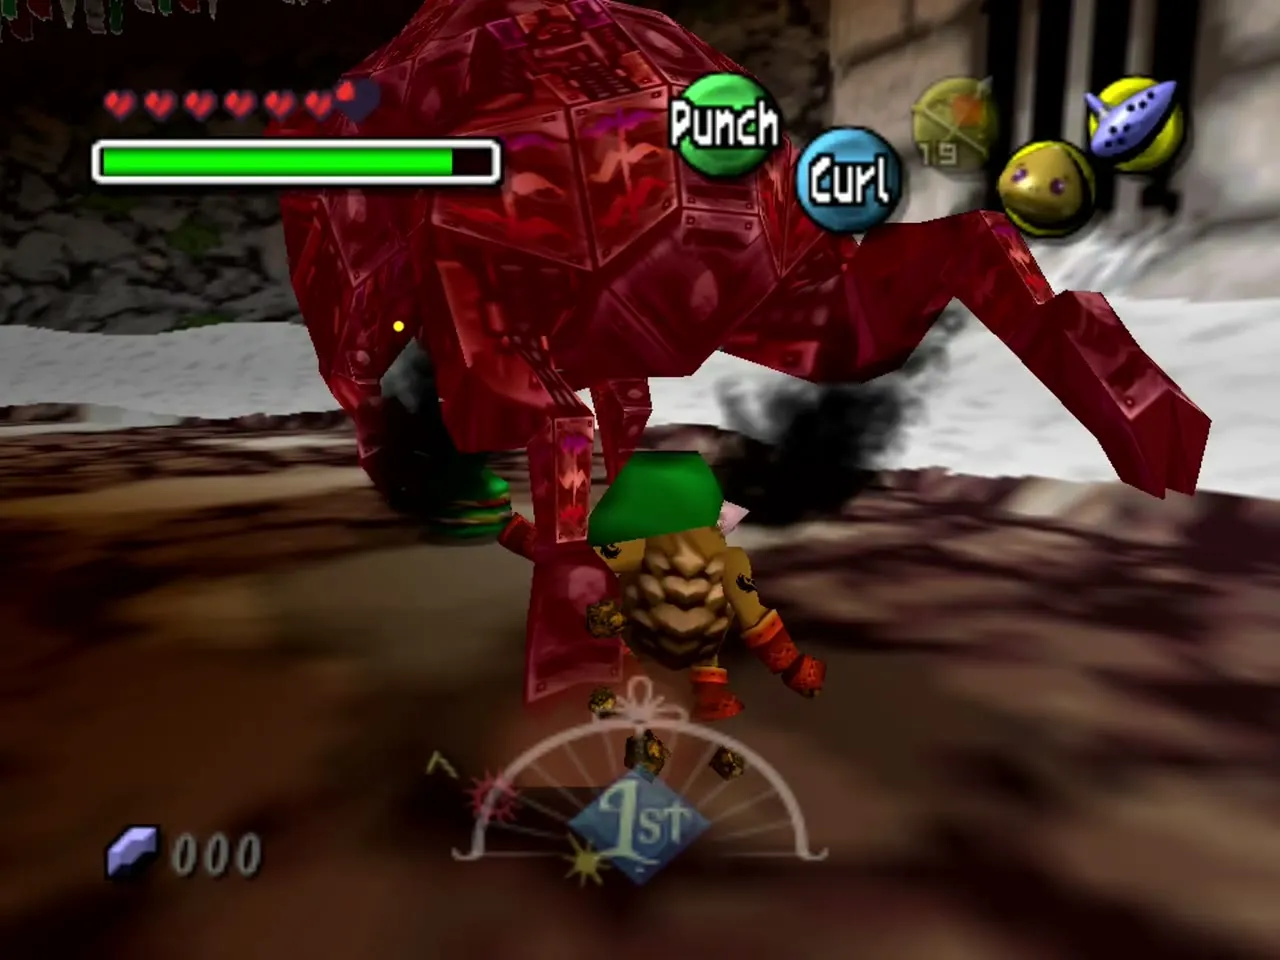
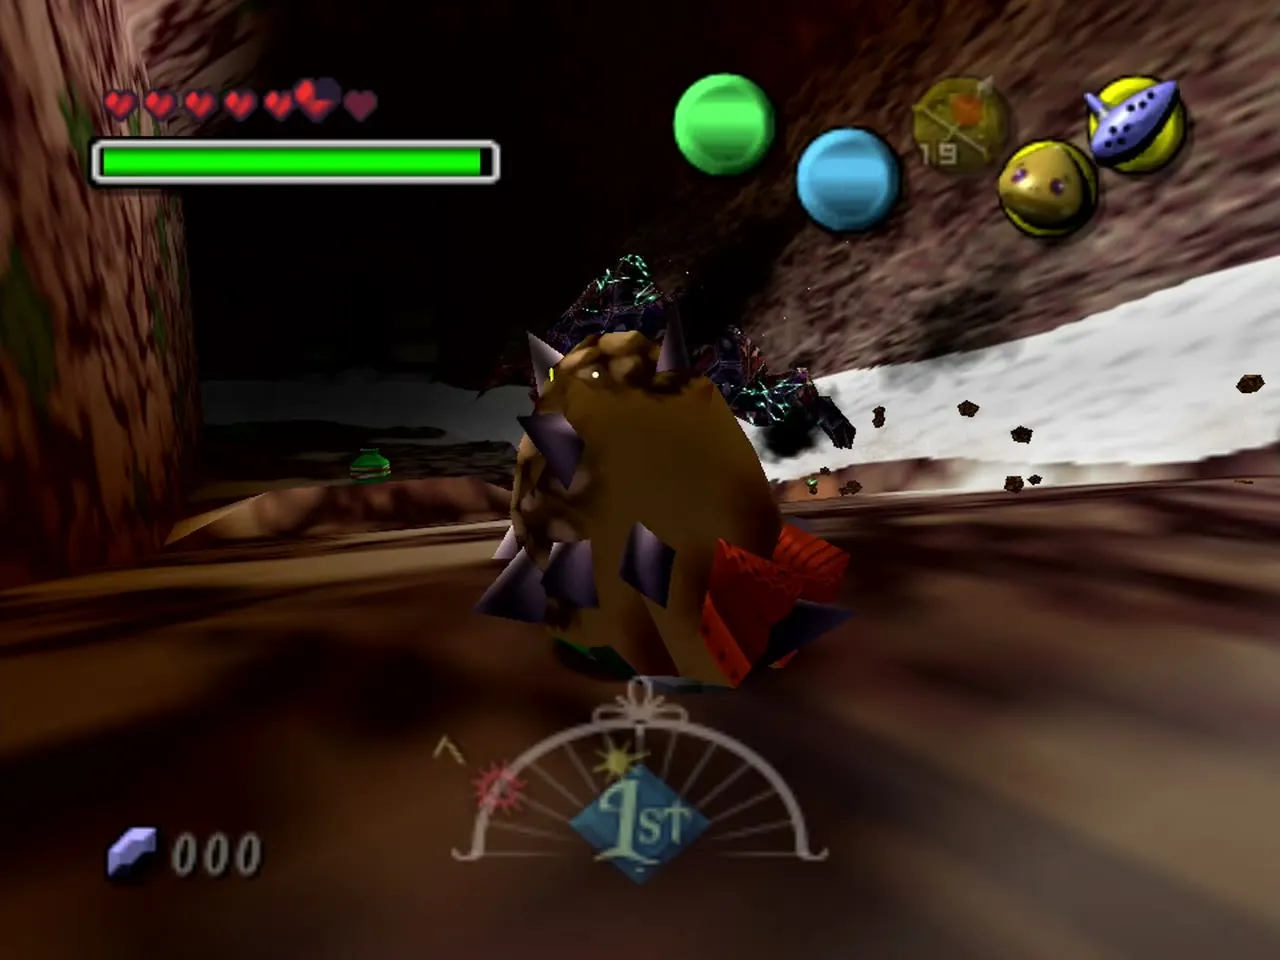
When a spiked roll flips Goht onto its back, take off the mask and shoot Fire Arrows at its exposed eye. It recovers after a short time, so get back into the Goron roll and repeat until it collapses. Bombs and Fire Arrows alone can also bring it down.

Heart Container and Goht’s Remains
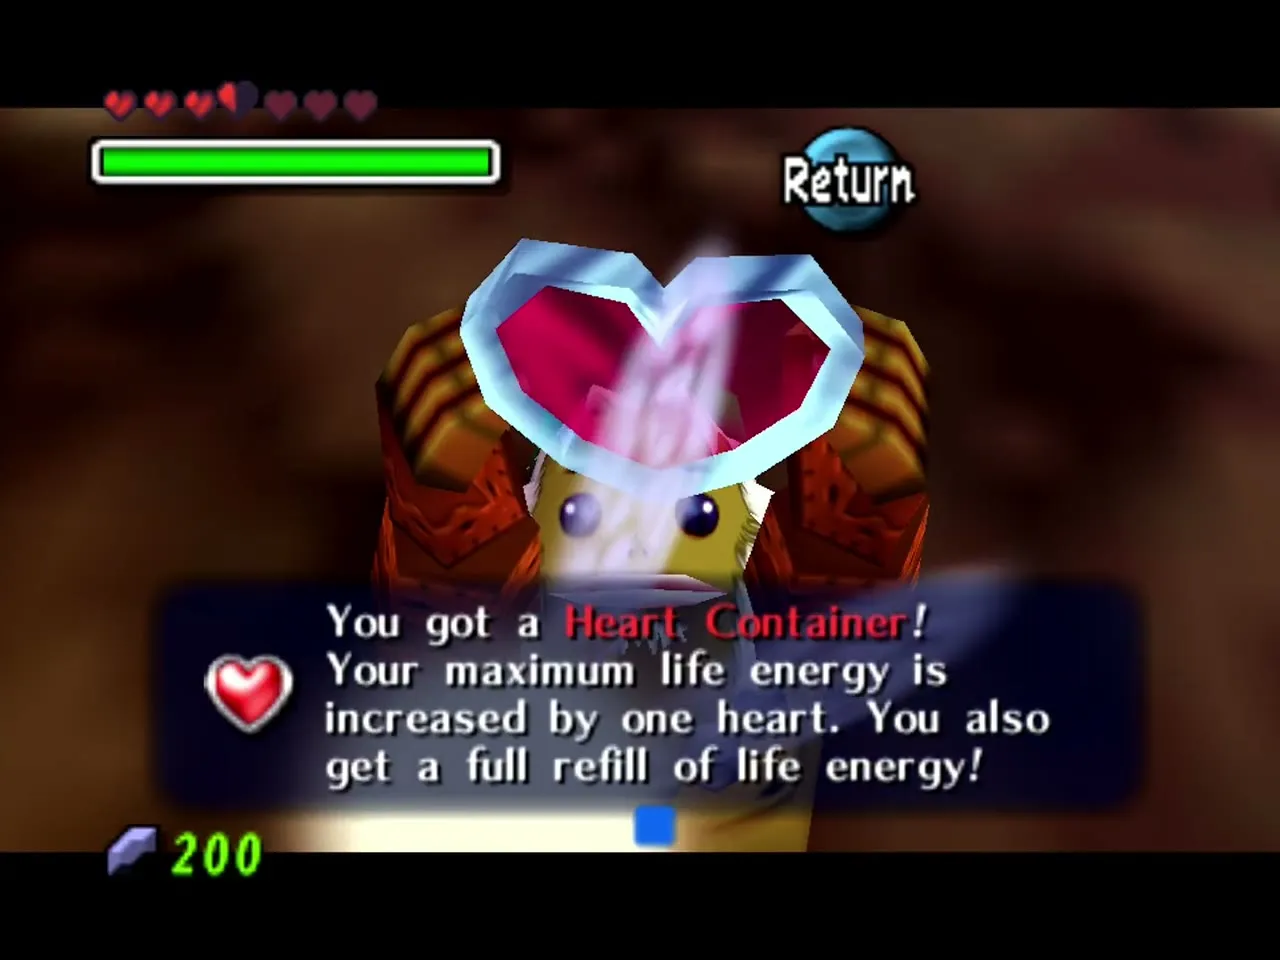
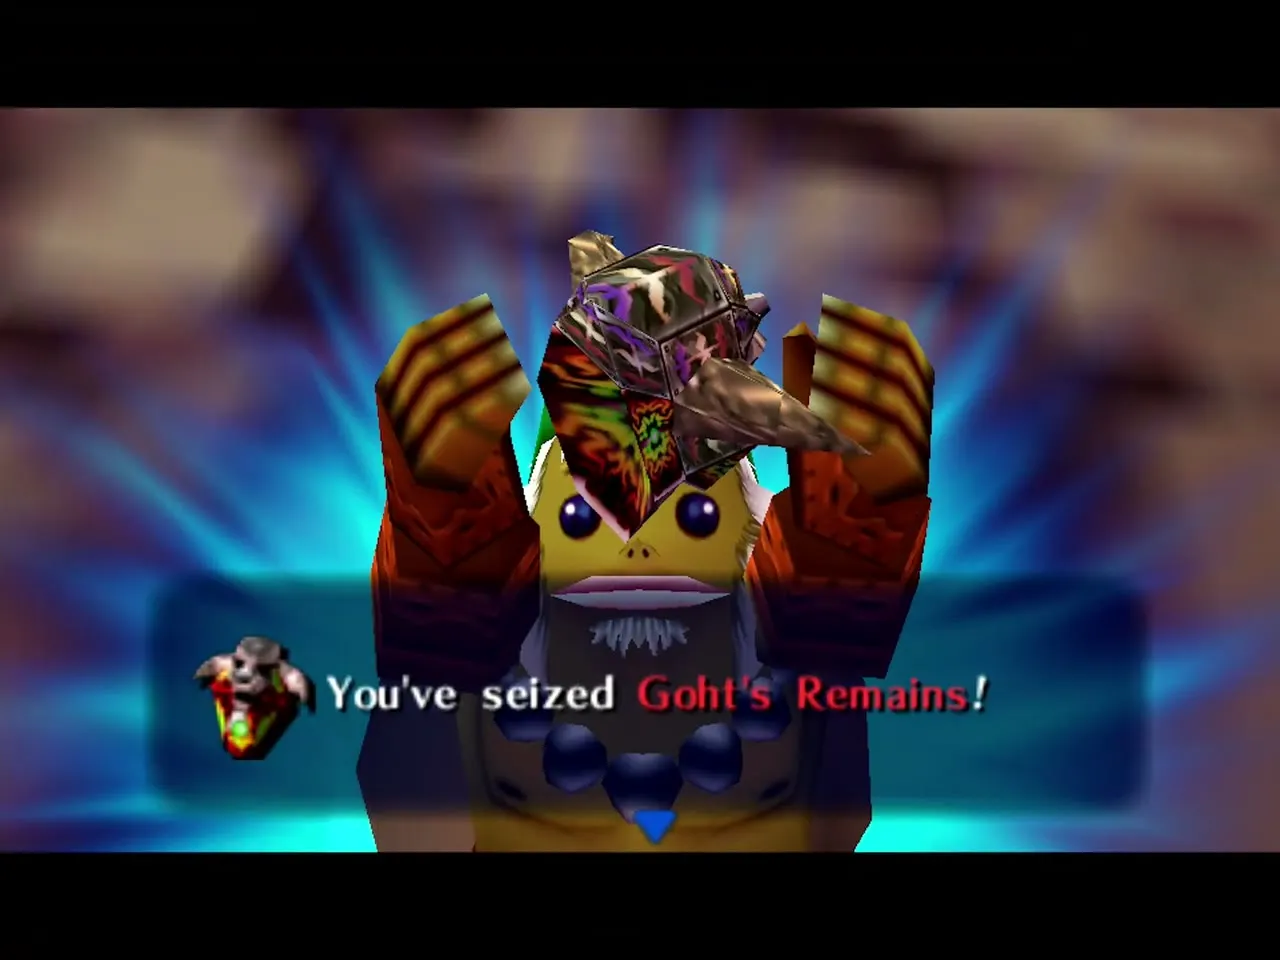
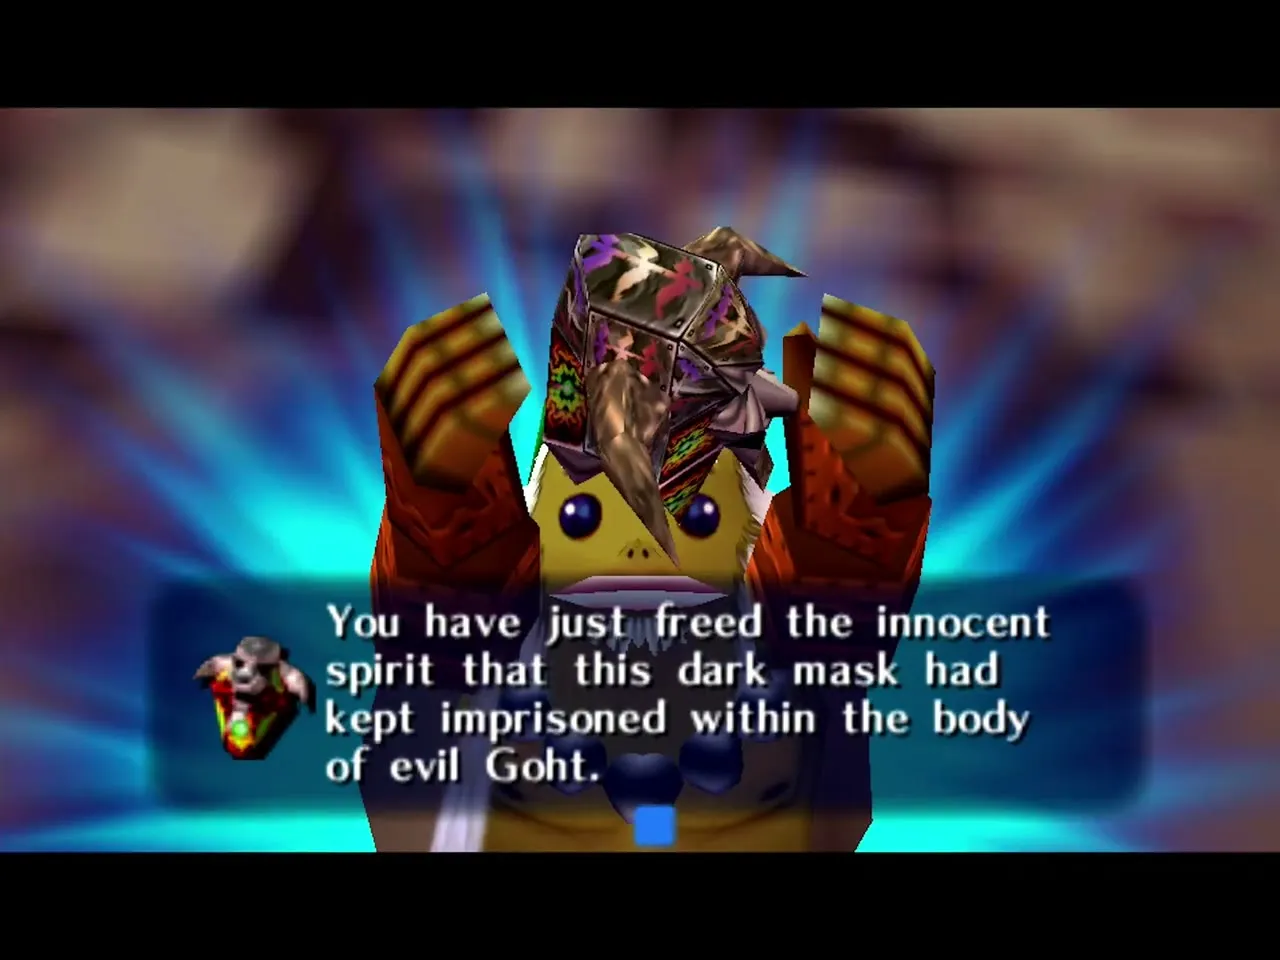
Pick up the Heart Container the boss leaves behind. It adds a heart to your maximum life and refills all of your hearts. Then step into the blue light to take Goht’s Remains and free the innocent spirit that the dark mask had kept imprisoned inside the body of evil Goht. The blizzard ends and spring comes to the mountain. Read more about the boss on the Bosses page.
Snowhead Great Fairy reward
Where to deliver the Stray Fairies
Take the Song of Soaring to the Snowhead owl statue, or walk back down the path, and go through the doorway at the foot of the mountain on the east side to reach the Great Fairy fountain. You can deliver the fairies once you hold all 15, even before Goht falls. Walk in as Hylian Link, with the Goron Mask off. The Stray Fairies page has the full list of Great Fairy rewards.
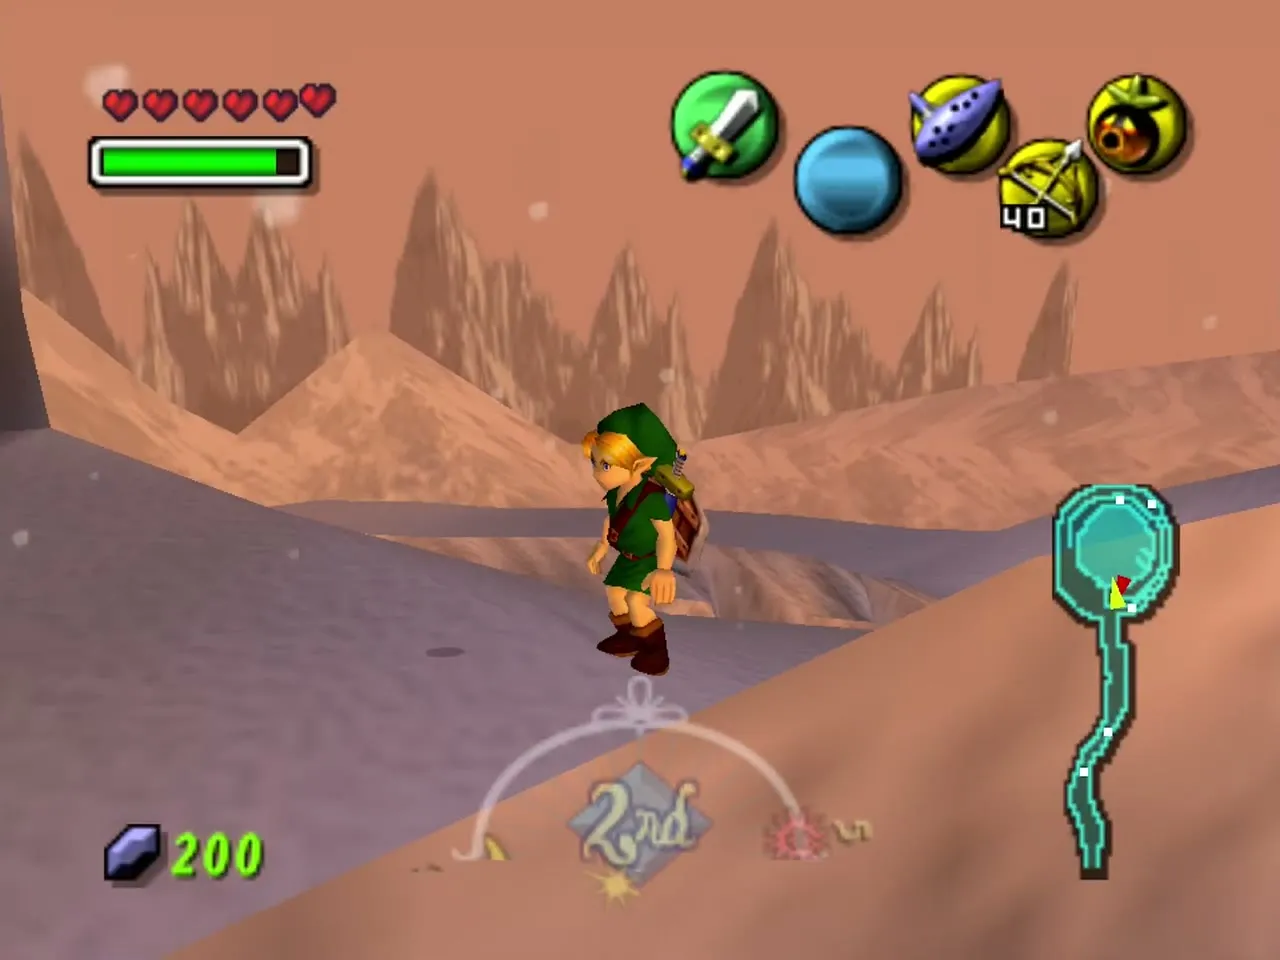
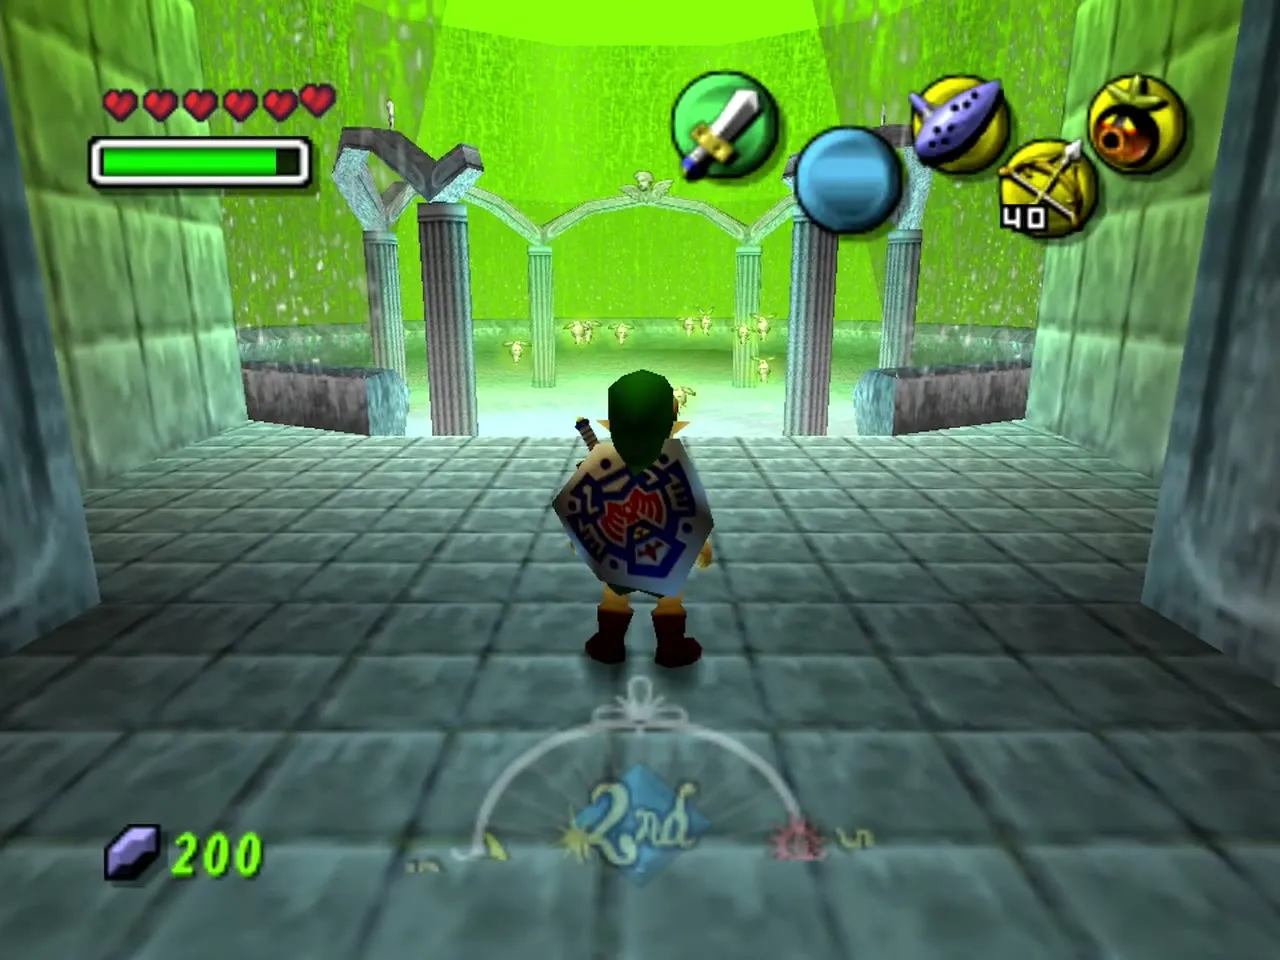
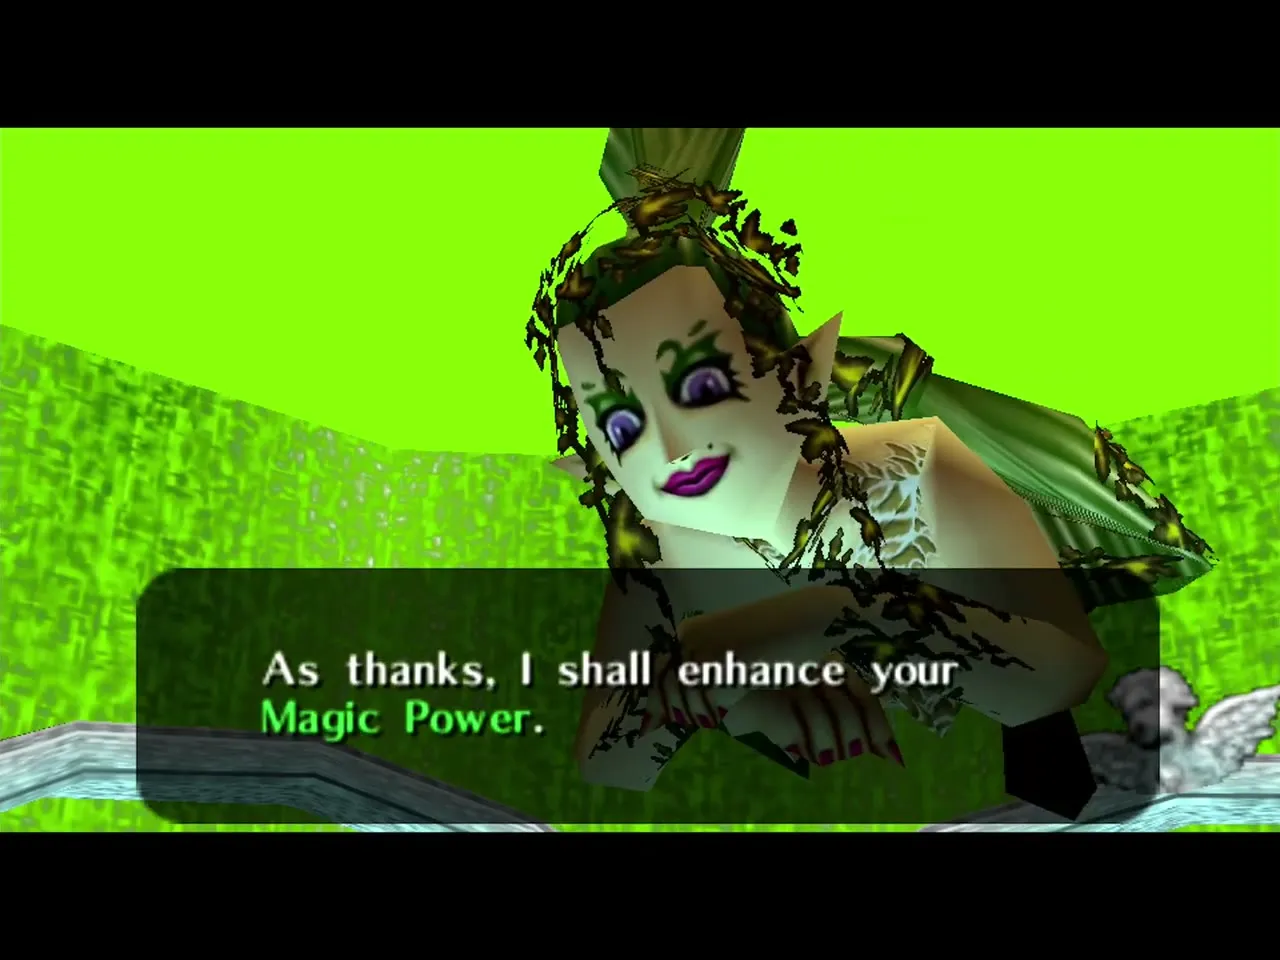
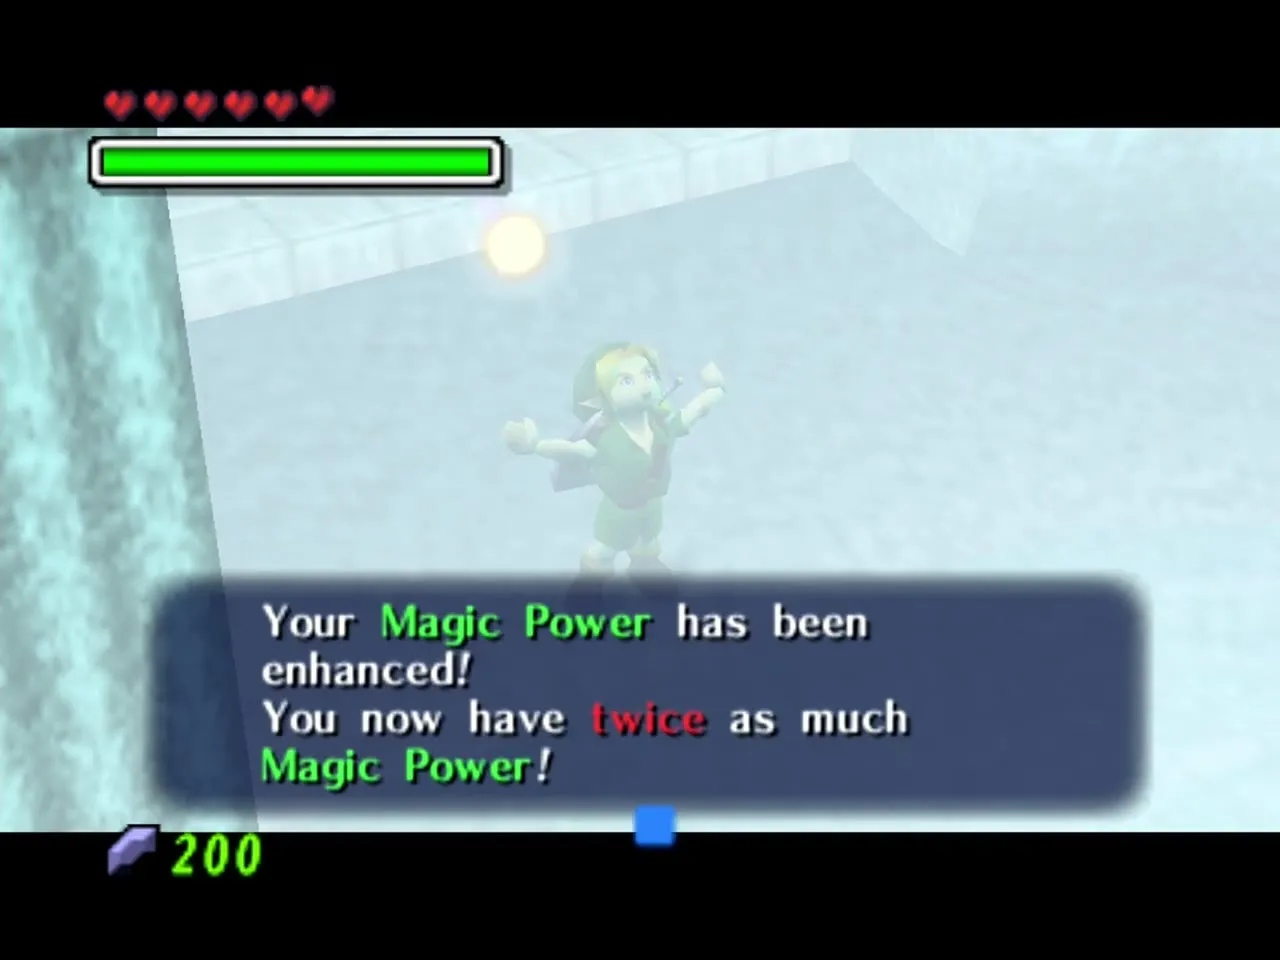
The Great Fairy of Wisdom thanks you for restoring her and doubles your Magic Meter. This is a one-time reward in the Nintendo 64 version; the 3DS version swaps it with the Woodfall reward.
Chapter checklist
| Collectible | Type | Where |
|---|---|---|
 Stray Fairy 1 | Stray Fairy | Broken bridge room, bubble in the pillar below the bridge |
| Stray Fairy 2 | Stray Fairy | Broken bridge room, bubble under the north platform |
| Dungeon Map | Dungeon item | Second floor map room chest |
| Stray Fairy 3 | Stray Fairy | Map room, drifting beside the door |
| Stray Fairy 6 | Stray Fairy | Basement lava pit chest, opened by the floor switch |
| Small Key 1 | Small Key | Yellow-framed room, chest behind the stacked blocks |
 Compass | Dungeon item | Locked room west of the entrance |
| Stray Fairy 8 | Stray Fairy | Crate on the pillar above the cracked wall stairs |
| Small Key 2 | Small Key | Third floor, chest inside the snowball on the north ledge |
| Stray Fairy 4 | Stray Fairy | Stalactite room, hidden alcove in the south wall |
| Stray Fairy 5 | Stray Fairy | Timed switch room, ceiling bubble |
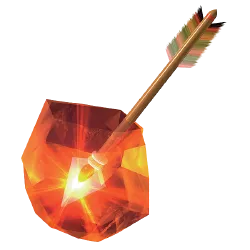 Fire Arrows | Item | Chest after the first Wizzrobe |
| Stray Fairy 11 | Stray Fairy | Real Bombchu room, wall ledge reached by invisible platforms |
| Stray Fairy 9 | Stray Fairy | Compass room, chest above the sliding block |
| Stray Fairy 10 | Stray Fairy | Double-block room chest |
| Stray Fairy 7 | Stray Fairy | Green-framed door room, chest past the Freezards |
| Small Key 3 | Small Key | Broken bridge room, western chest |
| Stray Fairy 15 | Stray Fairy | Central chamber, northwest alcove on the second floor |
| Stray Fairy 12 | Stray Fairy | Eeno room, bubble on the south-west icy ledge |
| Stray Fairies 13 and 14 | Stray Fairy | Fourth floor, dropped by the two Dinolfos |
 Boss Key | Dungeon item | Chest after the second Wizzrobe |
| Heart Container | Heart Container | Goht’s arena |
 Goht’s Remains | Boss remains | Goht’s arena, blue light |
| Doubled Magic Meter | Upgrade | Great Fairy of Wisdom, Snowhead fountain |
With Goht’s Remains in hand and the mountain in spring, return to the Snowhead region for the Goron Race, the Razor Sword and the rest of the spring work, then continue to Great Bay.
