





















Majora's Mask 100% Completion Walkthrough11 chapters
- PrologueDeku curse, Clock Town, Bombers’ code, Moon’s Tear, first Heart Piece, Ocarina, Song of Time and the Deku Mask.
- Clock Town, Termina Field and Romani RanchGreat Fairy’s Mask, Notebook, Adult Wallet, Heart Pieces, Epona’s Song and Bunny Hood.
- Southern Swamp and Deku PalaceKoume, the Pictograph Box, the monkey, Sonata of Awakening and every Heart Piece.
- Woodfall TempleAll 15 Stray Fairies, Hero’s Bow, Boss Key, Odolwa, the Great Fairy’s spin attack and the Deku Princess.
- Snowhead RegionMountain Village, Lens of Truth, Goron Mask, Goron Lullaby, Powder Keg trial, Goron Race and sword upgrades.
- Snowhead TempleAll 15 Stray Fairies, 3 small keys, Fire Arrows, Boss Key, Goht boss fight and the Great Fairy’s reward.
- Great Bay RegionGet the Zora Mask, the Hookshot, all seven Zora eggs and the New Wave Bossa Nova before Great Bay Temple.
- Great Bay Temple15 Stray Fairies, water pipe puzzles, Wart, Ice Arrows, Gekko, Boss Key, Gyorg and the Double Defense reward.
- Ikana Canyon and Ancient Castle of IkanaCaptain’s Hat, Song of Storms, Gibdo Mask, Beneath the Well, Mirror Shield, Ancient Castle, Elegy of Emptiness.
- Stone Tower TempleClimb the tower, find all 15 Stray Fairies, win the Light Arrows and Giant’s Mask, and beat Twinmold.
- Final ConfrontationPlay the Oath to Order, clear the four Moon dungeons, earn the Fierce Deity’s Mask and beat Majora’s three forms.
| Covers | The Stone Tower climb, the upright and inverted Stone Tower Temple, Garo Master, Gomess, Twinmold, and the Great Fairy fountain in Ikana Canyon |
|---|---|
| You need | Elegy of Emptiness, Song of Soaring, Hookshot, Hero’s Bow, Fire Arrows, Mirror Shield, bombs, Deku, Goron and Zora Masks, a full Magic Meter; Stone Mask and Bunny Hood help, Chateau Romani is ideal for the boss |
| Rewards | Dungeon Map, Compass, Light Arrows, Boss Key, 4 Small Keys, Giant’s Mask, 15 Stray Fairies, Twinmold’s Remains, Heart Container, the Great Fairy’s Sword, a Piece of Heart from the Secret Shrine, an Owl Statue at the top of the climb and one inside the temple |
Stone Tower Temple is the last of the four dungeons. You climb the tower by leaving Elegy of Emptiness statues on its floor switches, work through the temple until the Garo Master hands over the Light Arrows, then use them to flip the whole building upside down and finish it in that orientation. Gomess holds the Boss Key, the second Eyegore holds the Giant’s Mask, and Twinmold waits below. Collect all 15 Stray Fairies on the way and the Great Fairy in Ikana Canyon rewards you with her sword.
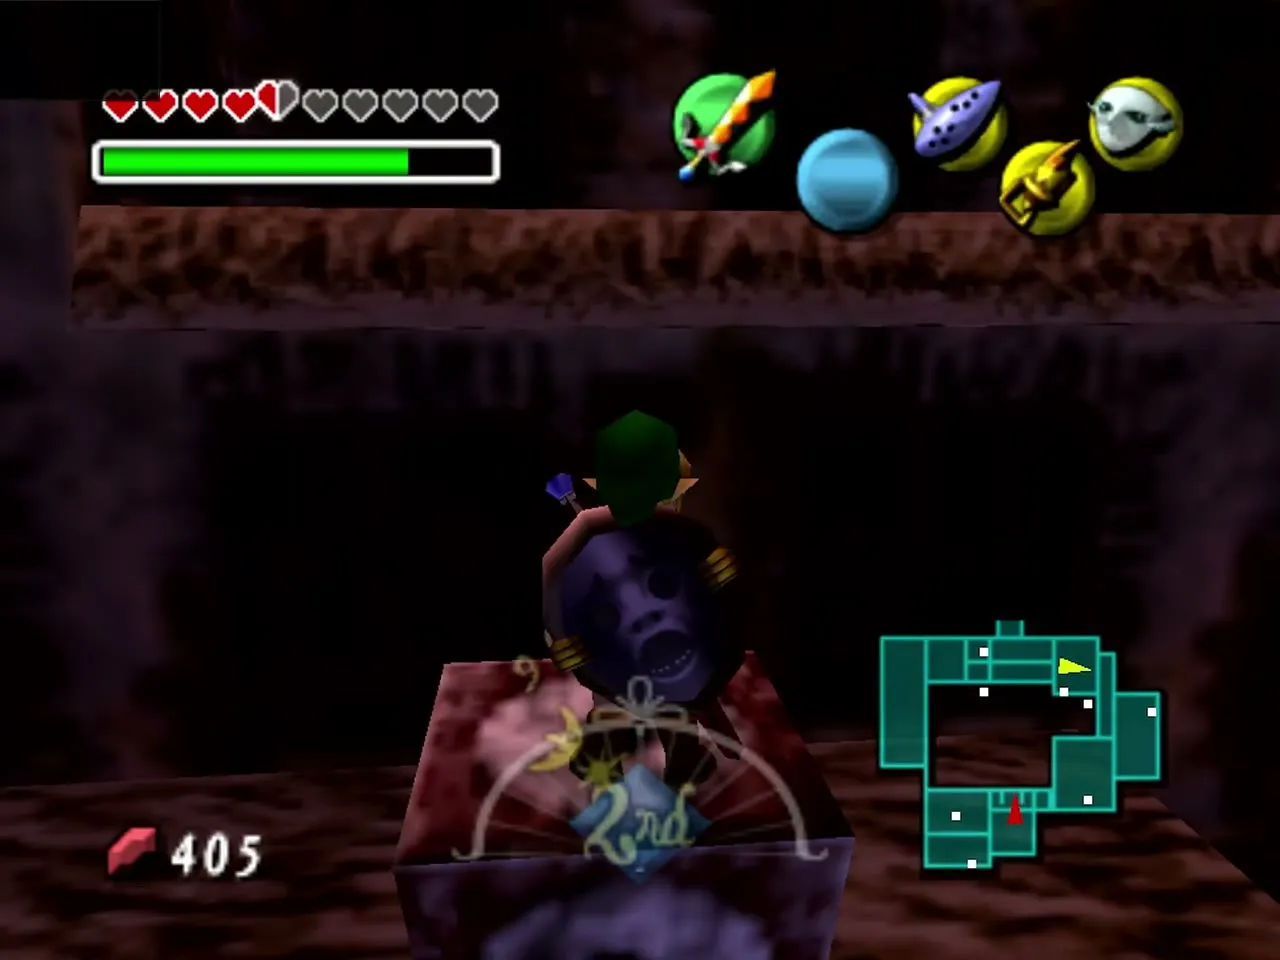
Table of Contents
How to climb the Stone Tower
What to bring up the tower
Start from the end of the Ikana Canyon walkthrough, with the Elegy of Emptiness learned, and head for the Stone Tower at the far end of the canyon, past the Great Fairy fountain. The climb eats arrows, bombs and magic, so refill everything first. If your supplies or the clock are running short, the Song of Time takes you back to Day 1 with the song, your masks and your items intact, but you lose rupees you did not bank, your ammunition and the contents of your bottles. Wear the Stone Mask if you have it, because the Beamos on the way ignore you while it is on.

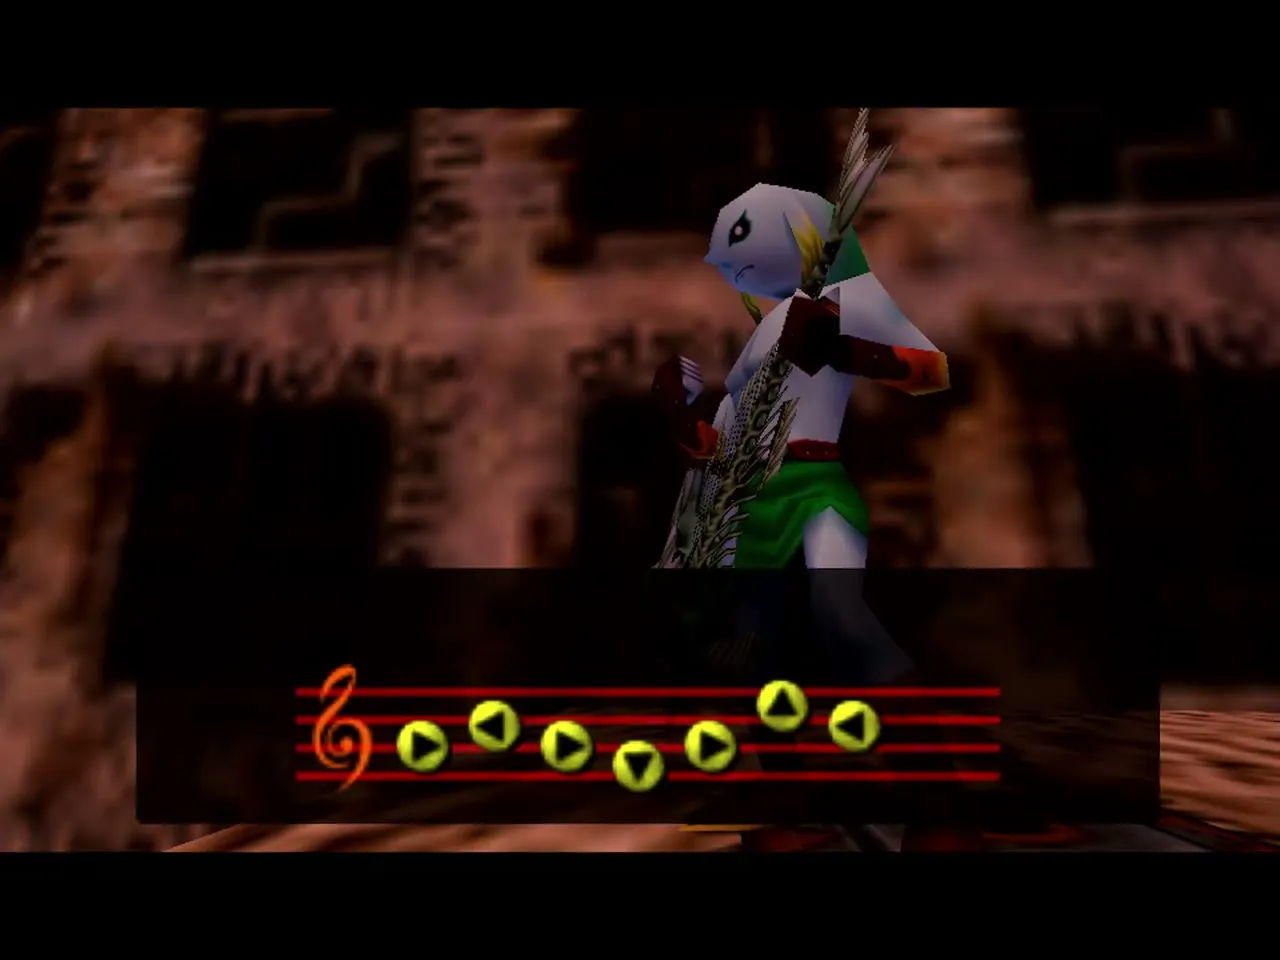
How the Elegy of Emptiness statues work
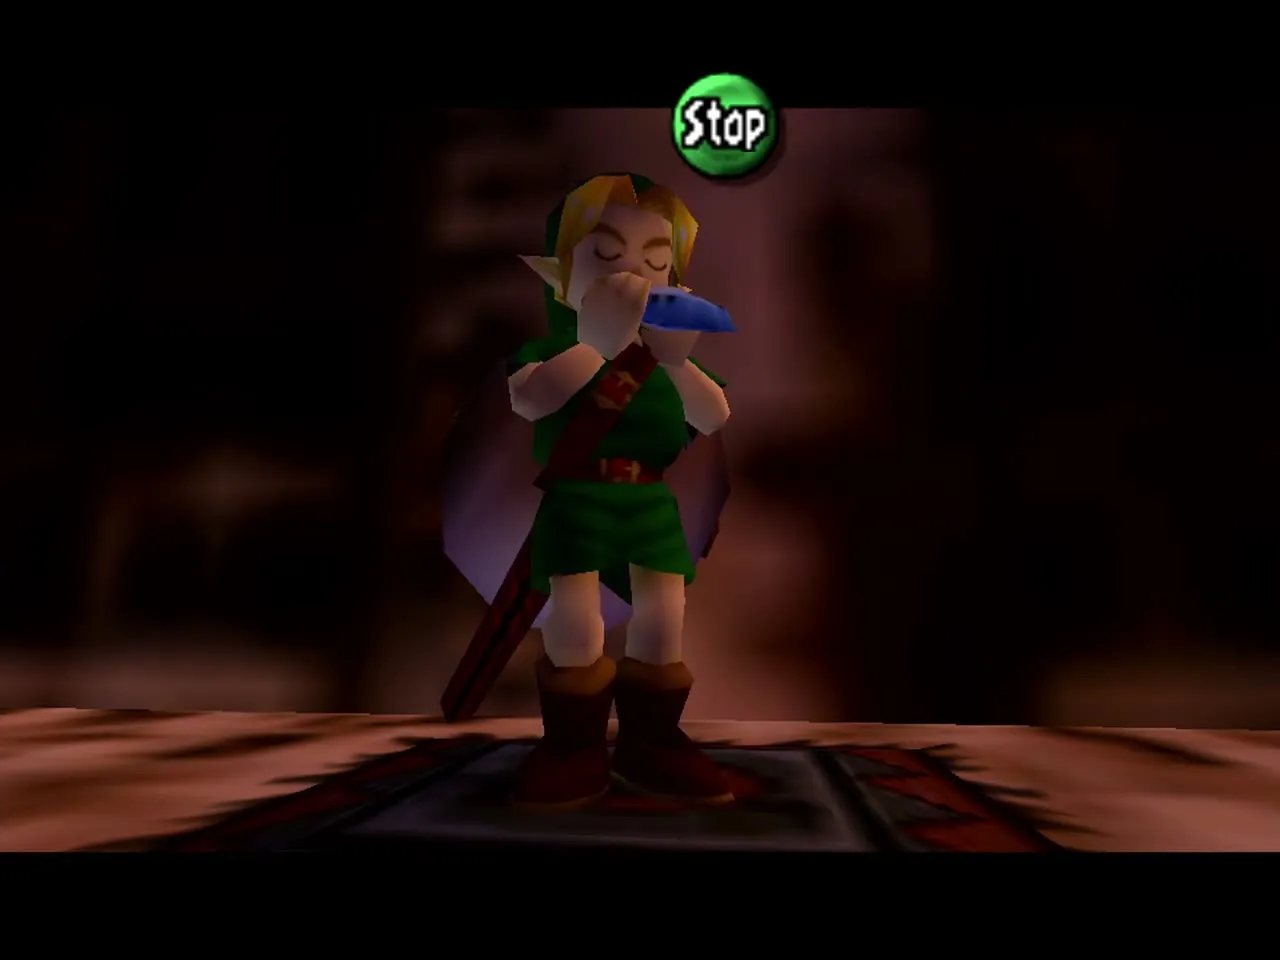
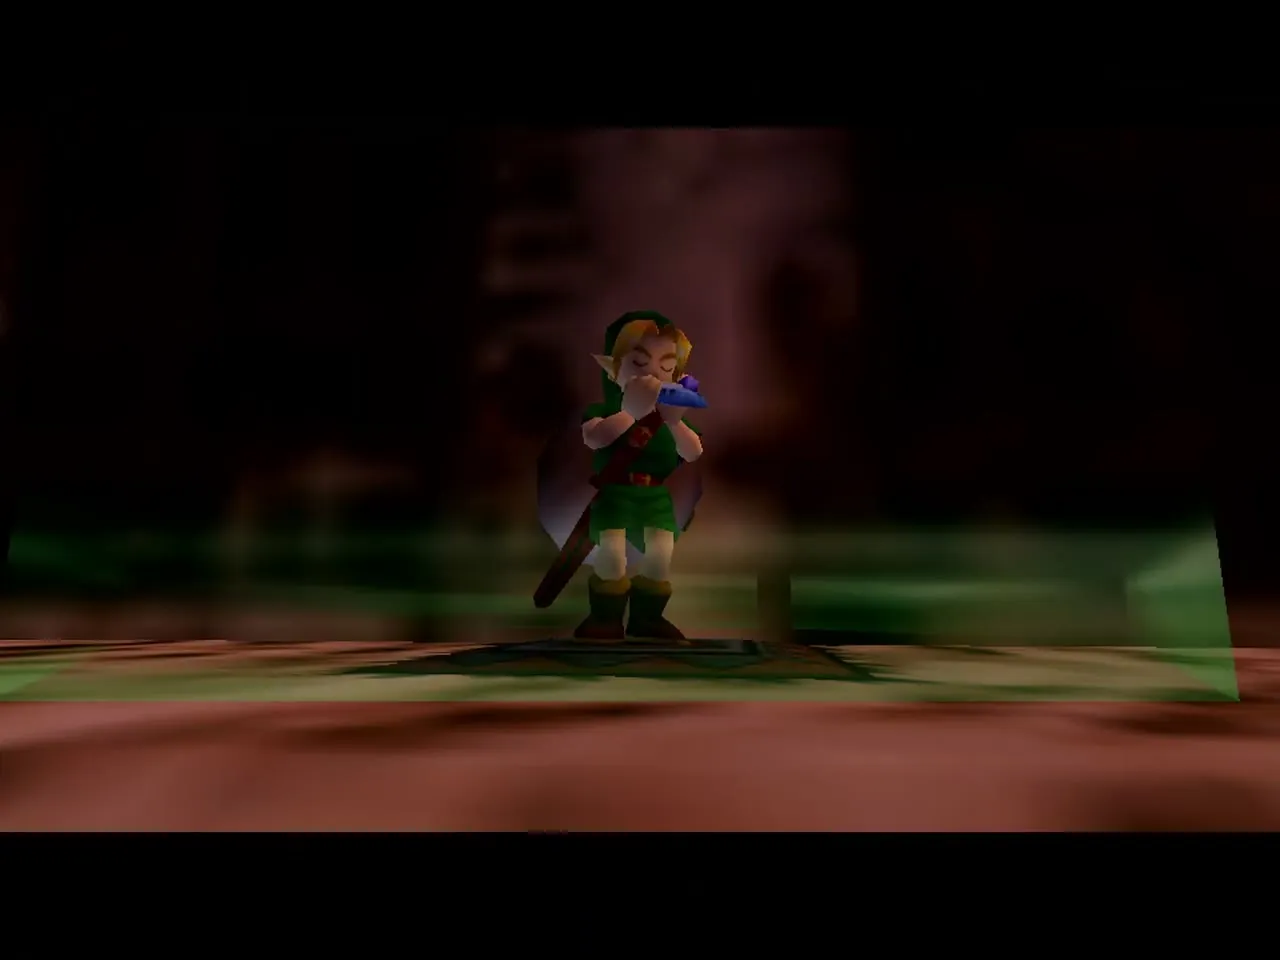
Play the Elegy of Emptiness while standing in a form and you leave a lifeless statue of that form behind. You can keep one statue per form (Hylian, Deku, Goron and Zora), and playing the song again in the same form replaces the old one, so never replay it as Link while the first Link statue is still holding a switch. Statues are heavy enough to hold down floor switches, which is the whole point. Stand on a switch yourself and you hold it down only as long as you stay there, so the climb is about parking statues of different forms on switches while you move on.


First tier of the tower
Jump onto the three blocks and step on the floor switch, which moves a block, then play the Elegy to leave a statue that keeps it pressed. Hookshot the target to the west, put on the Stone Mask so the Beamos ignore you, and step on the next switch as Goron or Zora Link and play the Elegy again for a second statue. Bombs destroy a Beamos if one is in your way.
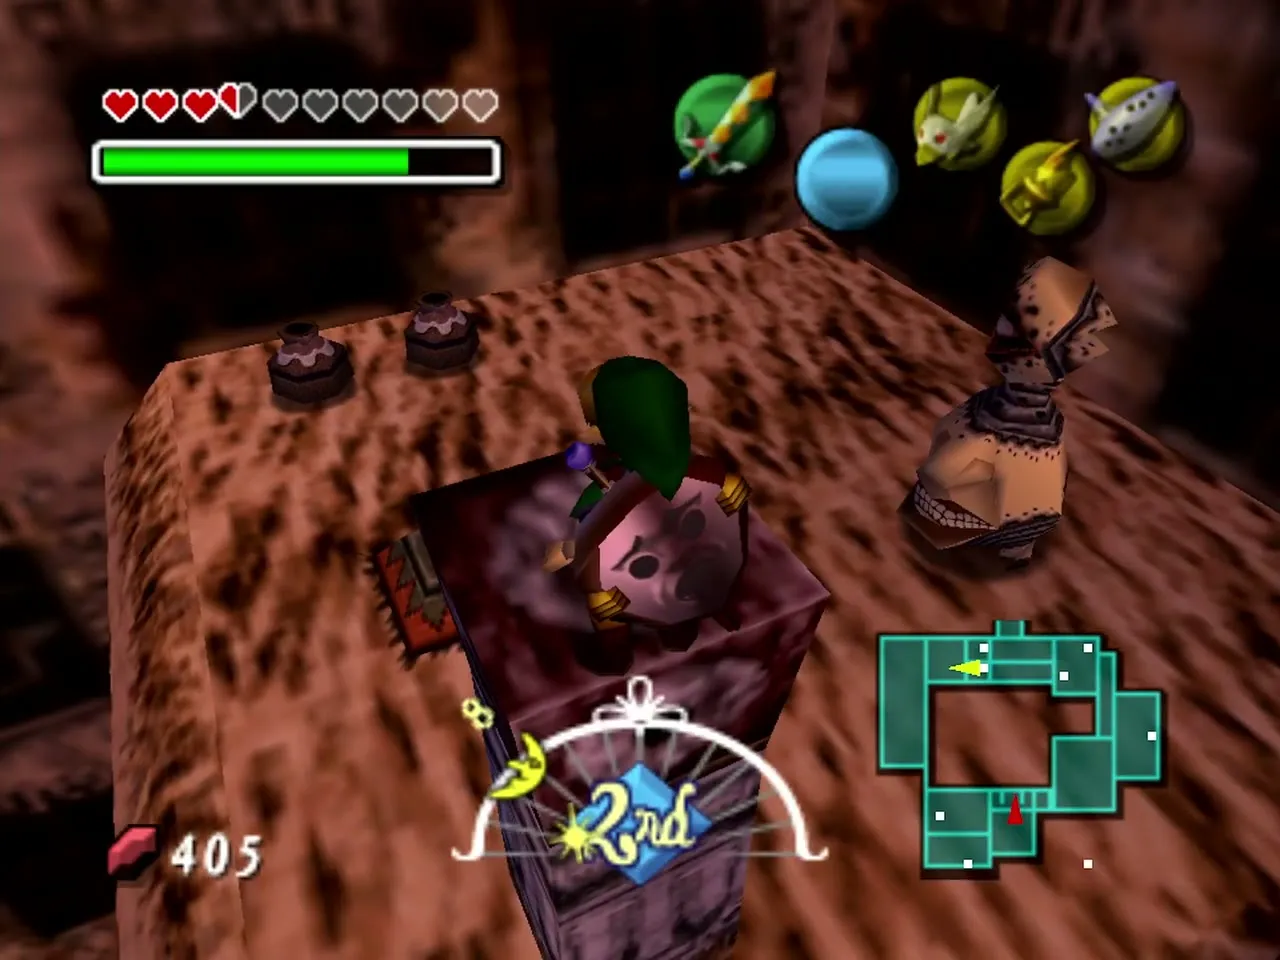

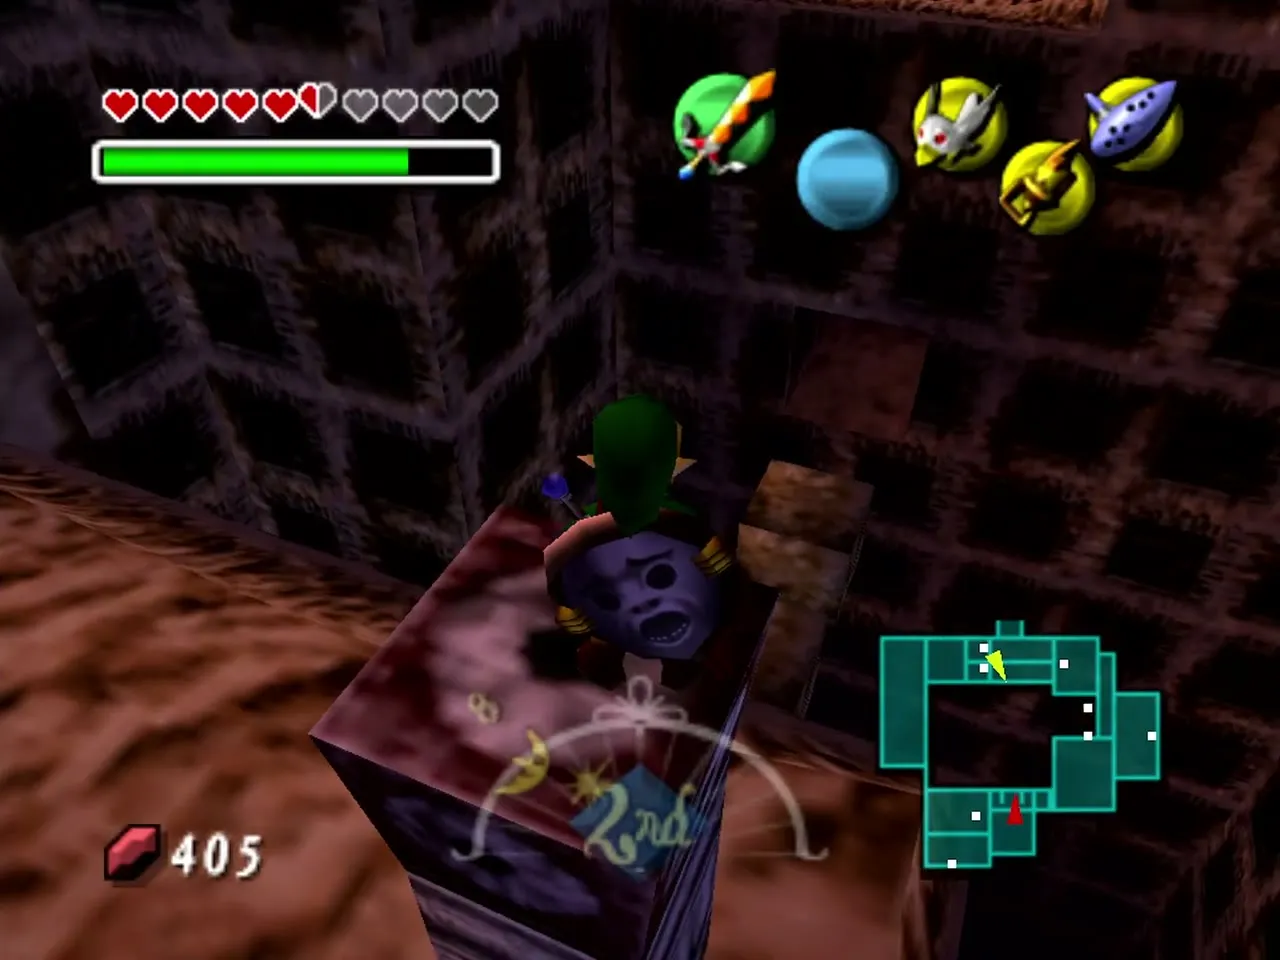


Hookshot the higher target to the east, step on the switch that moves the third block, change into whichever of the Goron and Zora forms you did not just use and play the Elegy for the third statue. Take the mask off and hop across the three blocks to the next group of switches.


Second tier and the Stone Tower Owl Statue
The next stretch repeats the trick: Hookshot to the next target, step on its switch, leave a statue of the right form on it, then Hookshot higher and do it again, until the blocks let you reach the north part of the tower. Keep the Stone Mask on between statues so the Beamos cannot spot you.


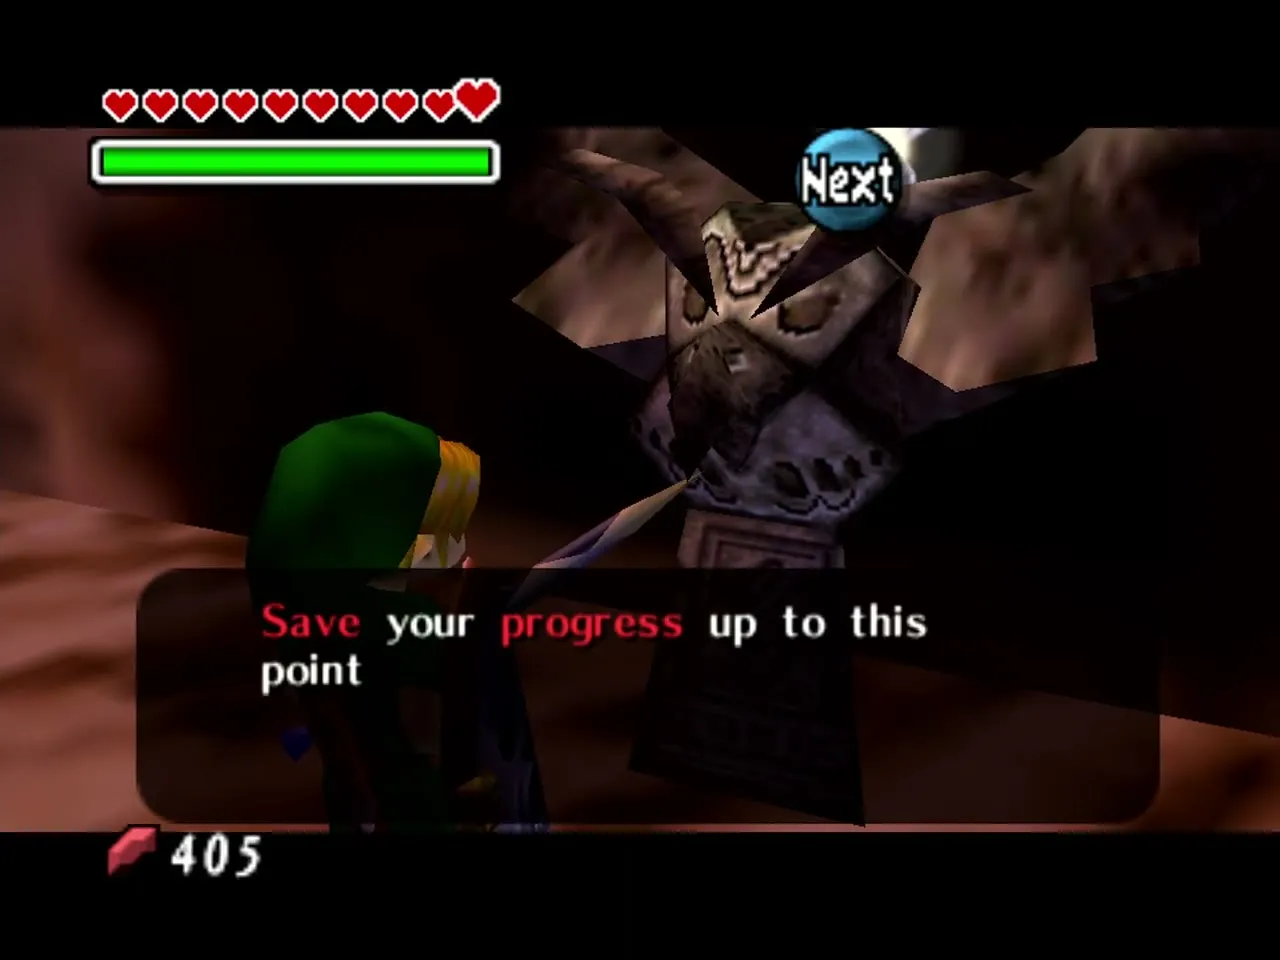
An Owl Statue stands near the top. Strike it to save and to unlock it as a Song of Soaring destination, which lets you skip the whole climb on every later trip. Be aware that an Owl Statue save is only a temporary quit-save: it is used up when you load it, and resetting the console after one throws away the cycle’s progress. Only the Song of Time makes a lasting save.
The switches outside the temple door
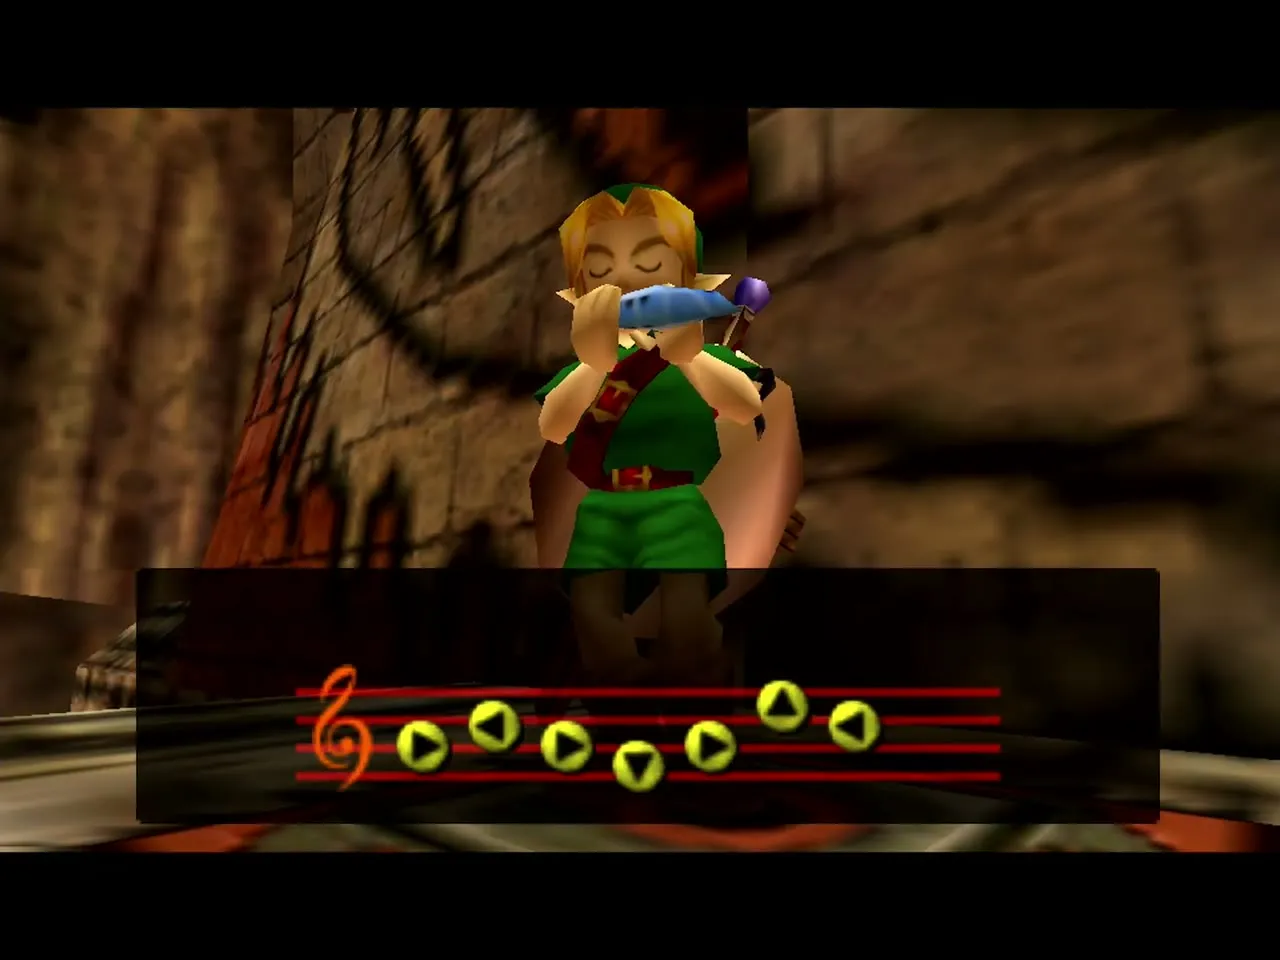
Three floor switches are visible at the top. Leave a statue on the right one first, then the left, then the middle one, so the three blocks line up into a path. Remember this spot: you return here after the Light Arrows to flip the temple, and again after the boss.

Stone Tower Temple basics: upright and inverted
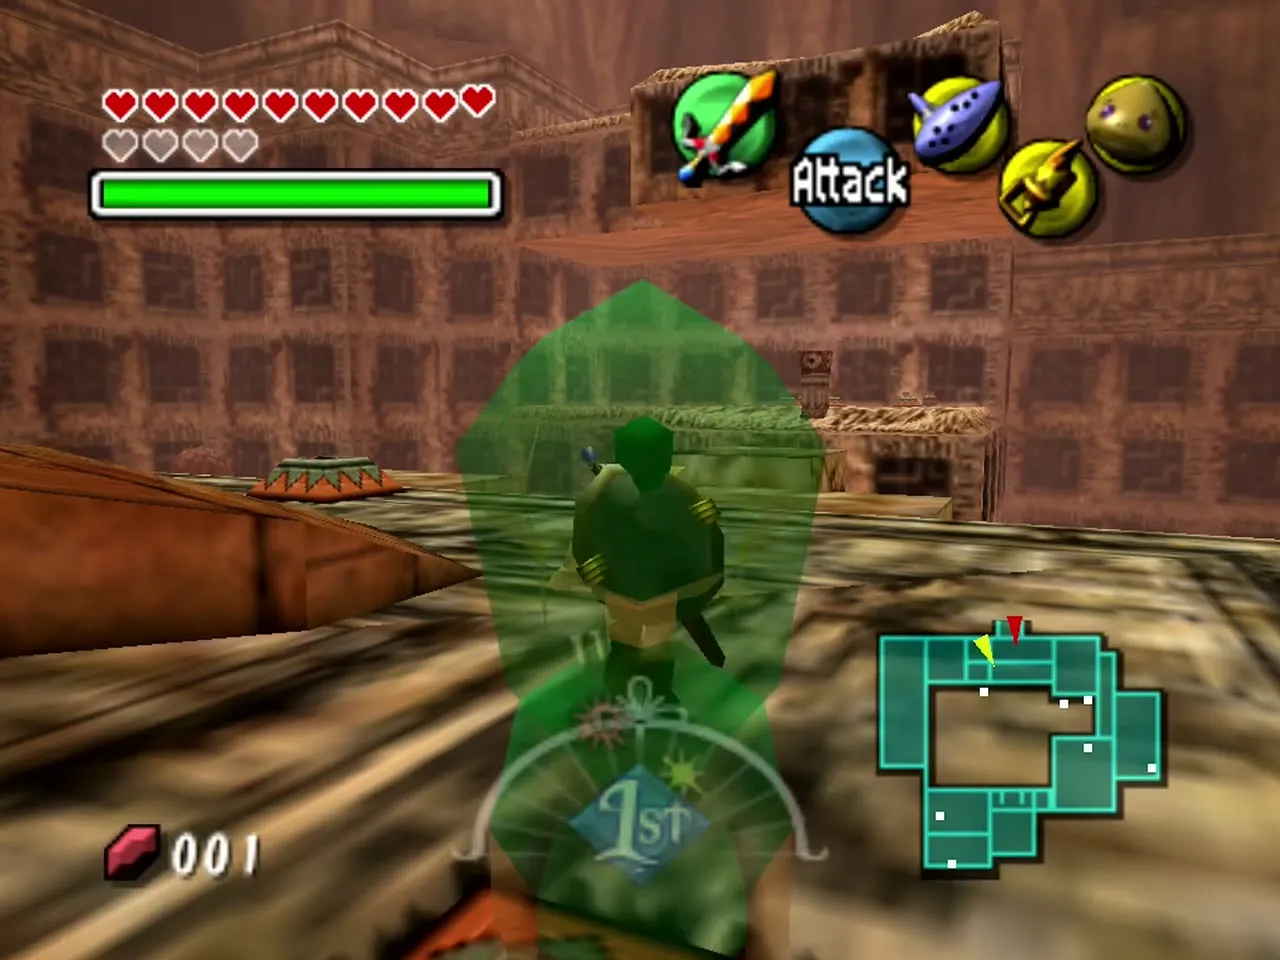
The temple exists in two orientations. You enter it upright and can only get as far as the Garo Master. Once you hold the Light Arrows you shoot the red gem above the front door and the whole structure flips, turning the same rooms into a second dungeon with different hazards, keys and the Boss Key. A further Light Arrow on a red gem inside flips individual rooms, and you will need to flip the temple back to upright for the last Stray Fairies. There are four Small Keys, a Dungeon Map and a Compass, three mini-bosses (the Garo Master, the Wizzrobe and Gomess) and two Eyegores. Each Eyegore leaves a chest, and the second one holds the Giant’s Mask.
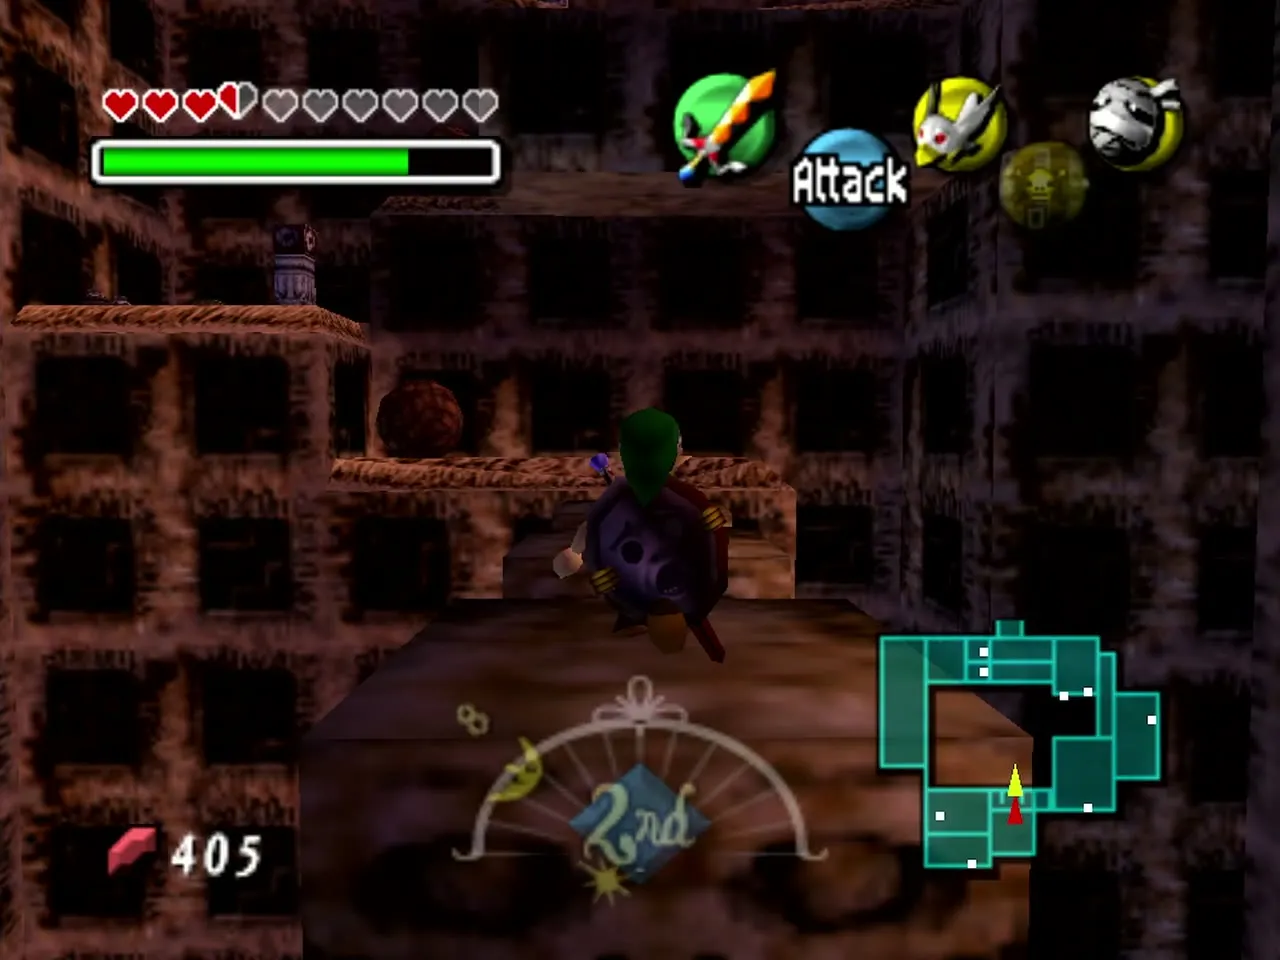
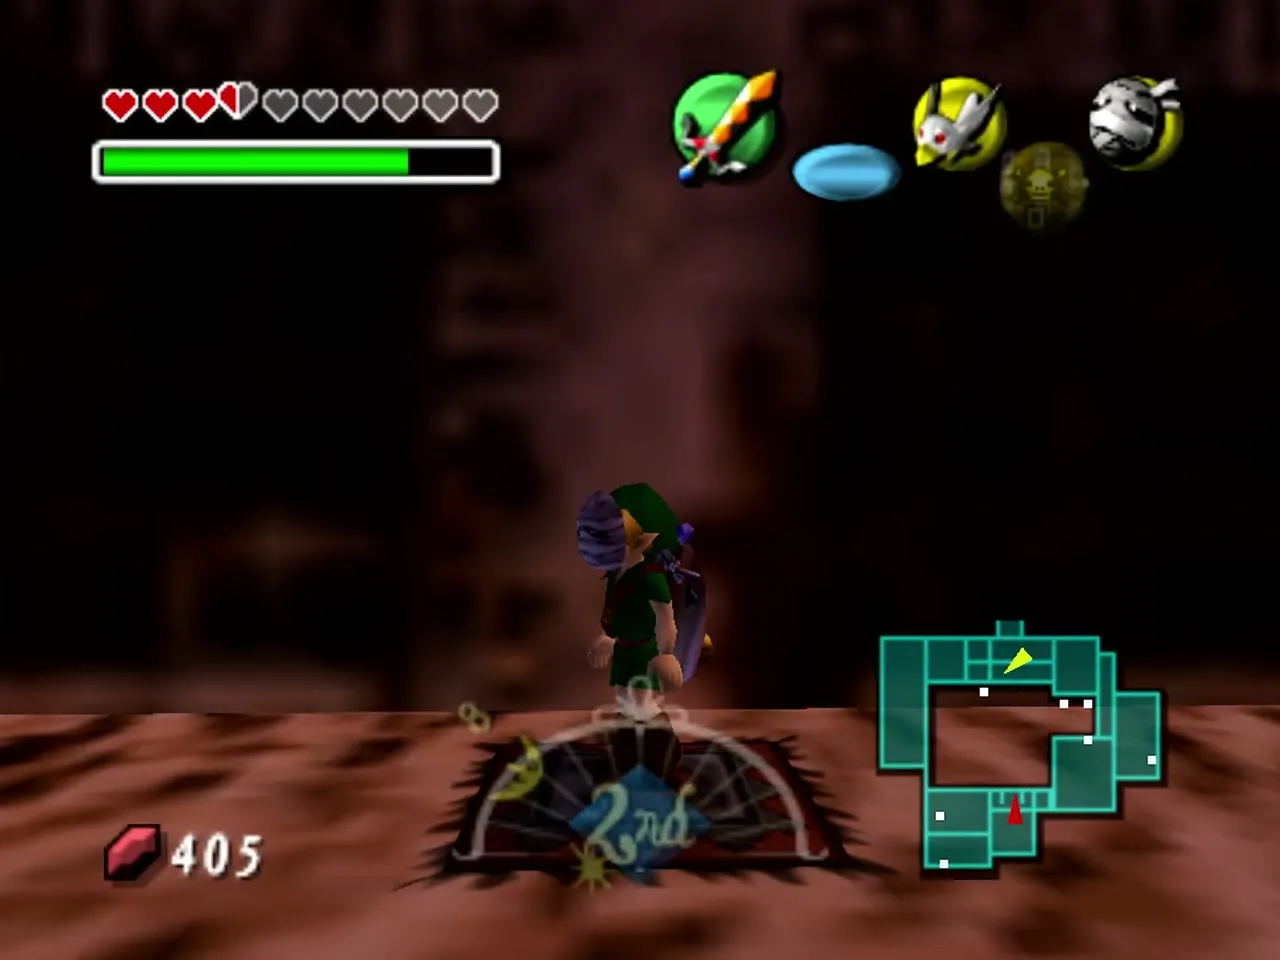
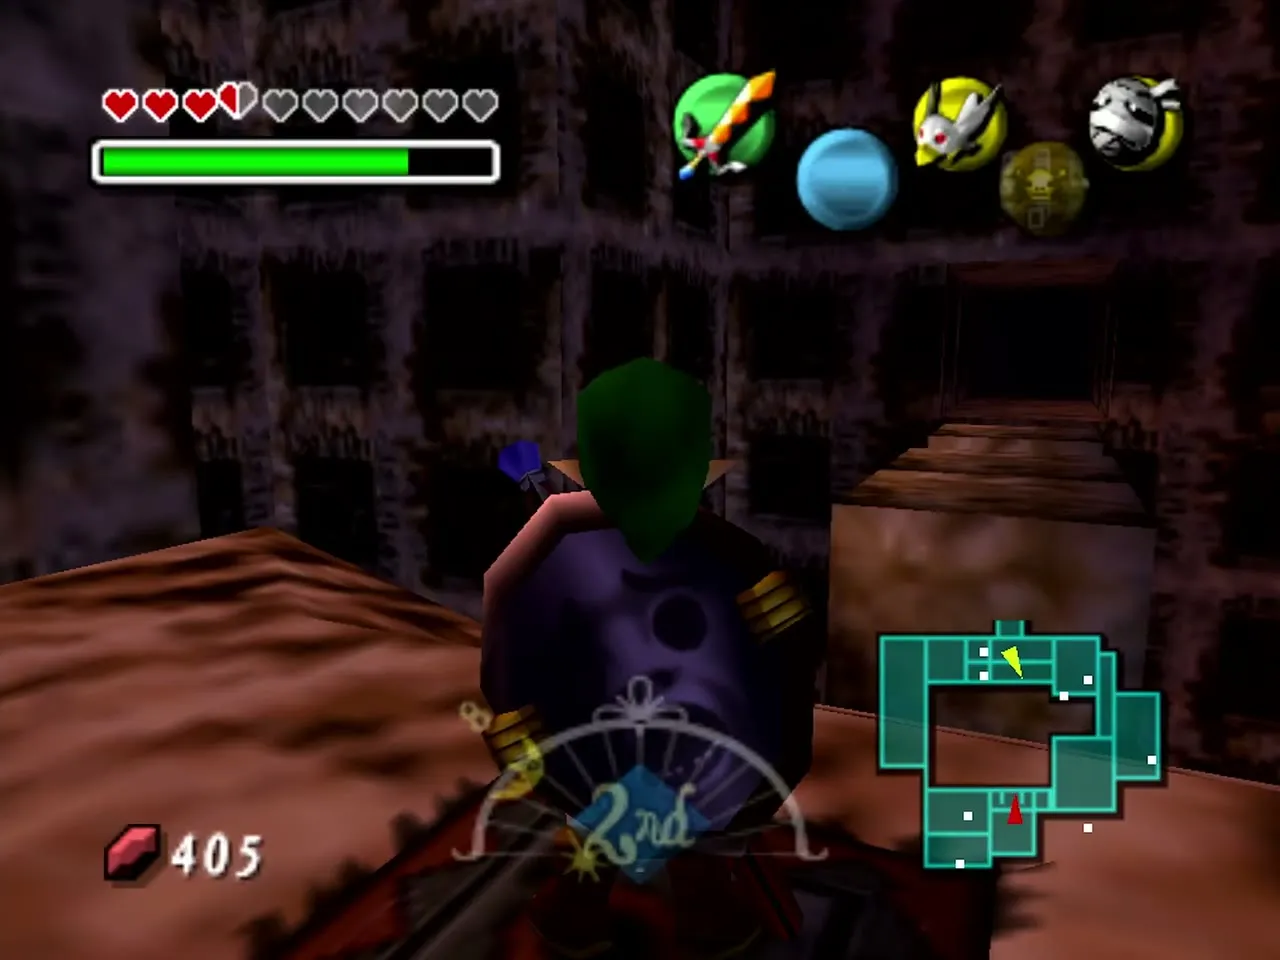
Keys and locked doors at a glance. Small Key 1 comes from the Armos room in the lava basement and opens the locked door on the east side of the entrance room, which leads to the pond. Small Key 2 comes from a chest raised by a floor switch beyond the pond and opens the locked door at the north end of the room north of the pond, which leads to the mirror room. Small Key 3 is in a chest in the inverted air pump room and opens the locked door in the corner of that room. Small Key 4 comes from the Death Armos room and opens the locked door before the second Eyegore. Gomess holds the Boss Key for the Boss Door at the end of the temple.
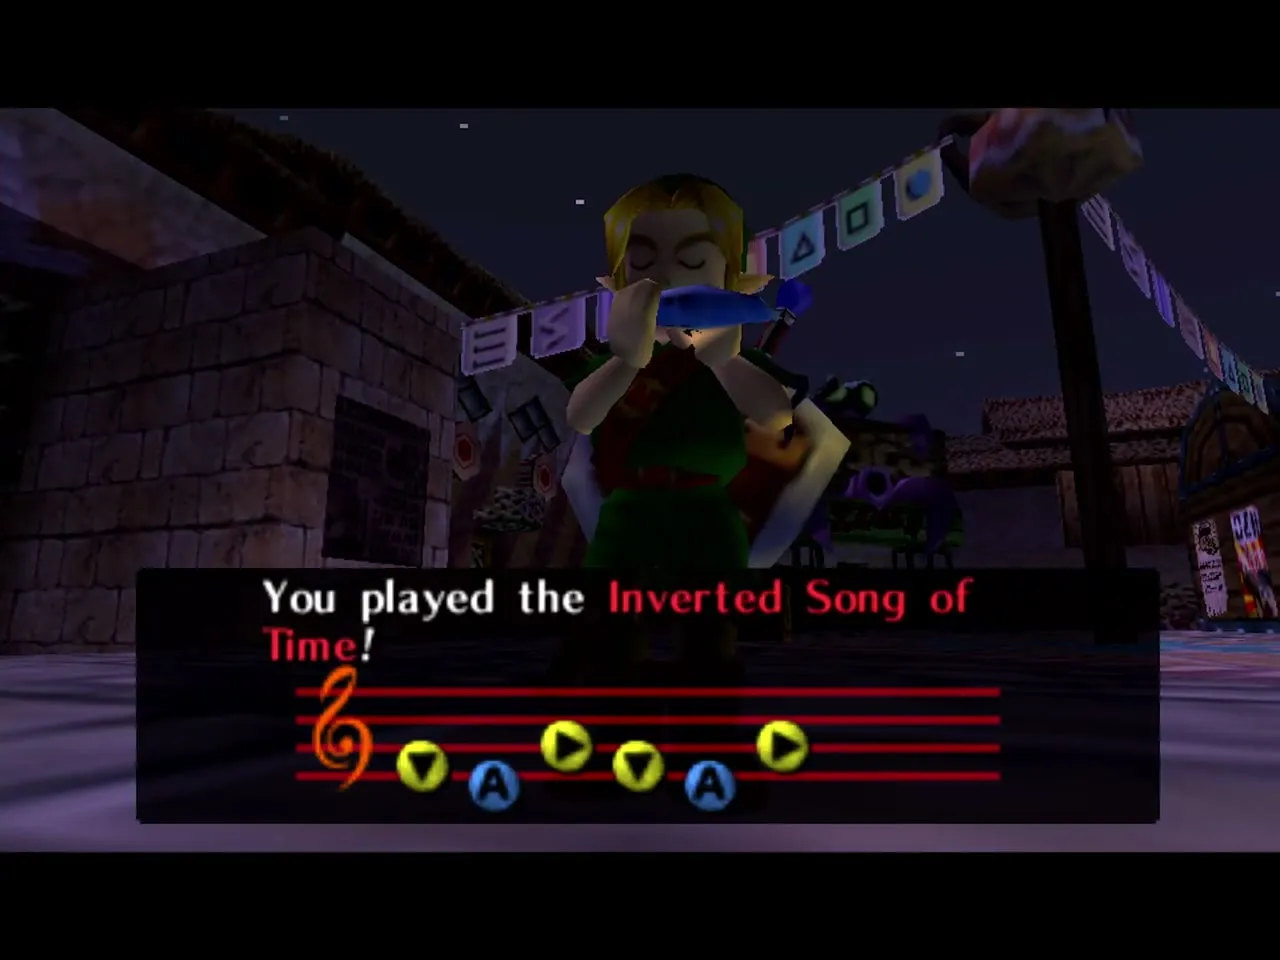
Do not play the Song of Time in the middle of the temple. A reset to Day 1 throws away your Small Keys, the Boss Key and any Stray Fairies you have freed but not yet returned, although the Dungeon Map and Compass stay with you. Save the reset for after Twinmold, or for the moment you have to start over because a fairy is missing. The Owl Statue in the temple lets you save and quit without resetting. If the clock is tight, the Inverted Song of Time slows it to a third of its usual speed on the N64 version.
The upright temple: Dungeon Map, Compass and Light Arrows
Entrance room and Stray Fairy 1
Inside, shield yourself against the Real Bombchu that wander the entrance room. Aim an arrow at the eye switch set into the carved wall at the north end. A chest appears with Stray Fairy 1, and a Real Bombchu may stagger out near it, so keep your shield up while you reach it. The Hookshot or a Bunny Hood jump gets you to the chest. Then leave by the door on the west side.
Floor switch room
Defeat the Real Bombchu first, then bomb the cracked wall ahead, which reveals crates and a large block. The floor switches here need weight: use the block and Elegy statues of the right forms to hold them down, and the way on opens. Then go to the second half of the room and drop through the hole to the basement.
Dungeon Map, Small Key 1 and Stray Fairy 2
The basement is a lava pit. Stand in the column of light and tilt the Mirror Shield at the Sun Block, which vanishes. Hookshot across to the chest it was guarding for the Dungeon Map.
Put on the Goron Mask, punch each of the Armos statues to wake it, then punch them again before they reach you so they crash into the wall. When all are down, a chest rises in the lava with Small Key 1, and as a Goron you can walk out and open it.
Hookshot the target on the ceiling in the northwest corner and you pull yourself up to a hidden chest. It holds Stray Fairy 2. Climb the stairs back to the entrance floor.
Compass, Small Key 2 and the water room
Use Small Key 1 on the locked door on the east side of the entrance room and dive into the pond to its bottom. Work your way through the water to a floor switch; as Zora Link swim across the pond, then hop across the water with the Deku Mask if you need to. The switch raises a chest with Small Key 2.
Dive back in and slip past the Dexihand, whose grabbing hand will throw you if it catches you, then swim on through the deep room below, steering around the floating mines. A small platform in the water holds a chest that does not exist yet; it is Stray Fairy 14, which you create from the inverted side and collect once the temple is upright again, so remember where it is.
Surface in the room on the north side of the pond and climb onto the central land bridge. Shoot the eye over the north door with an arrow, then stand in the beam of light and reflect it with the Mirror Shield onto the Sun Block so it clears. One of the chests here holds the Compass. A Real Bombchu may hide beside it, so shield first. The locked door at the north end of this room leads on.
Mirror room: Stray Fairies 3 and 4
Spend Small Key 2 on the locked door at the north end of that room. Wear the Goron Mask and punch out the pillar sections to let the beam of light in. Charge the front mirror with the Mirror Shield and sweep the light across the sun face set into the wall. A chest opens with Stray Fairy 3.
Charge the mirror on the right side of the central pillar and carry the stored light to the Sun Block on your right. A chest there holds Stray Fairy 4. To leave, keep reflecting light onto the remaining Sun Blocks until the way out opens.
Hot air room: Stray Fairies 5 and 6
The next room has lava, flames and Deku Flowers. First put on the Deku Mask and fly from the flower on the hot air to the rupees on the left. The chest there holds Stray Fairy 5.
Then put on the Goron Mask and drop to the large switch near the entrance. Ground pound it to put out the fire around the switch across the lava, roll across to it, and change to the Deku Mask. Ride the updrafts and jet streams to the end of the room and open the large chest for Stray Fairy 6, taking off the Deku Mask before the next door.
Garo Master and the Light Arrows
The Garo Master cannot be beaten by shielding and countering as ordinary Garo can. Put on the Bunny Hood, keep moving and sidestep his sword rushes. He is open for a moment after each miss, so land one slash and back away. After about five hits he gives up and tells you about the red gem outside, and a chest opens with the Light Arrows. Leave by the south door.
Stray Fairies on the south side before you flip the temple
Hiploop room
Leave by the south door. Climb onto the ledge and the long bridge above it, and Hookshot the masked Hiploop to pull off its mask before you finish it with the sword. If you fall, the ceiling target near the start of the room brings you back up.
First Eyegore: Stray Fairy 7
On the bridge over the pool, provoke the Eyegore with an arrow and back away when it attacks. It raises its shield and then opens its eye. When the eye turns yellow, shoot it, and repeat about four times. When the Eyegore drops, a chest appears with Stray Fairy 7.
West ledge of the pool room: Stray Fairy 13
You can fetch this one on your first pass. Go back in through the entrance room and east through the locked door to the Dexihand pond. Let the Dexihand throw you onto the ledge behind the metal lattice and hit the crystal switch on the other side with a bomb or a spin attack. Then, with the Light Arrows in hand, swim as Zora Link to the west ledge and shoot the Sun Block there with a Light Arrow. Bomb the Beamos and open the chest that appears for Stray Fairy 13. If you cannot reach it now you can still come back after the boss.
How to flip Stone Tower Temple
Leave the temple by the south route and drop outside. Step on the right switch in front of the door and play the Elegy to keep it pressed and rearrange the blocks. Hop onto a block and aim a Light Arrow at the red gem revealed above the door. The temple flips. A second Light Arrow at the same gem flips it back. If you come back later, use the Song of Soaring to reach the tower and re-enter by hopping across the blocks.
The inverted temple: keys, Boss Key and the second Eyegore
Inverted entrance: Stray Fairy 8
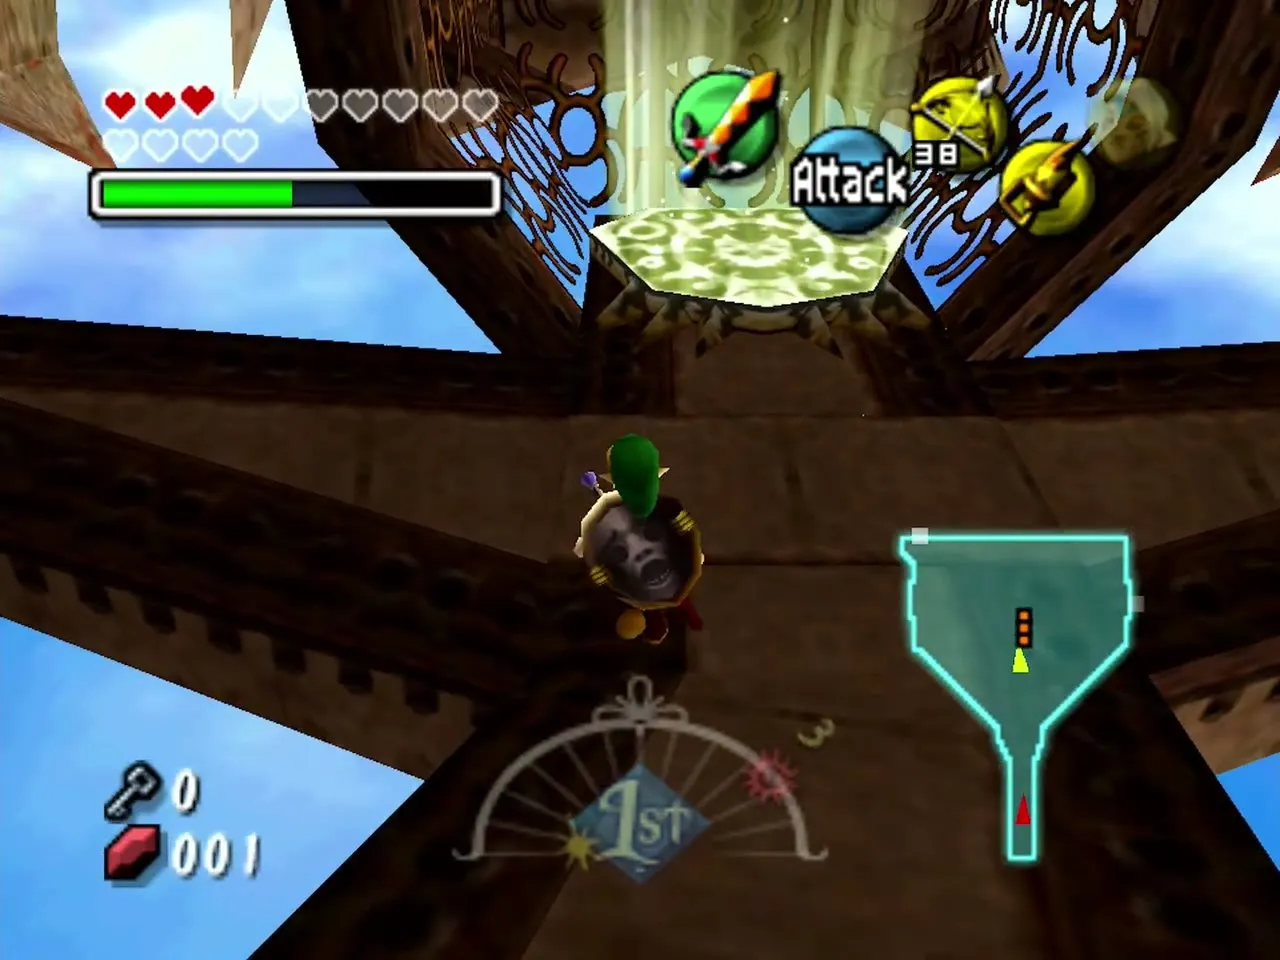
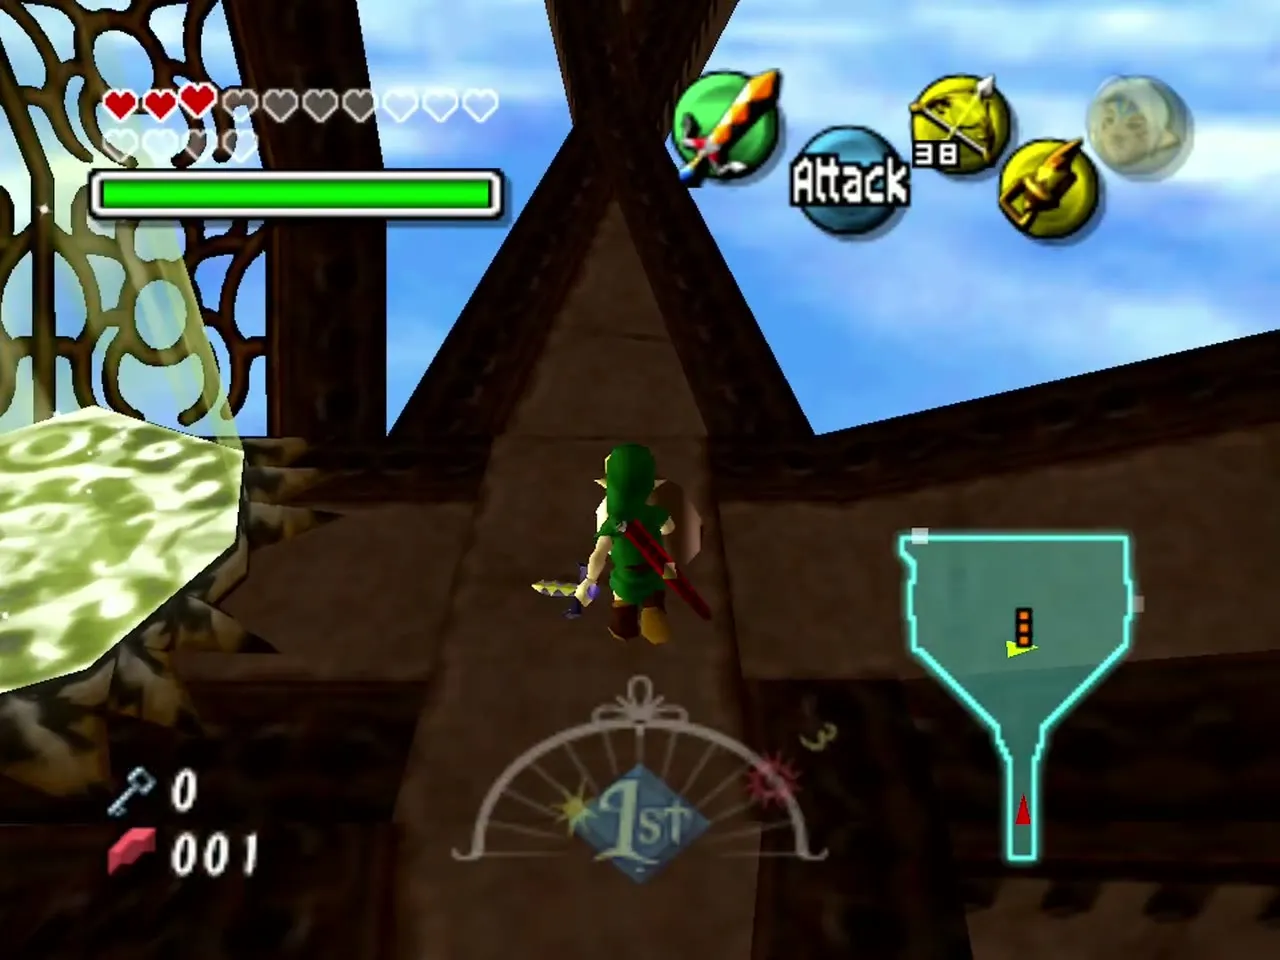
You land on the far side of the sky and must cross the floating blocks to the door. In the entrance hall, cross the thin bridges to the Majora’s Mask symbol, look up and put a Light Arrow into the sun above it. A chest opens with Stray Fairy 8. If you are short of magic, break the crates on the west side first. Then take the east door.

Air pump room: Small Key 3 and Stray Fairies 9 and 10
Fire a Light Arrow at the sun block to burn it away. Put on the Deku Mask and ride the flower and the central updraft. Turn round and shoot the frozen eye switch with a Fire Arrow. A chest appears in an alcove, which you reach on the updrafts for Stray Fairy 9.
Ride up to the bridge, take off the Deku Mask and strip the armoured Hiploop with the Hookshot before you cut it down. Go through the opening north and step on the switch. A chest appears behind you with Small Key 3.
Fly on to the smaller platform with the blue switch. Play the Elegy there so a statue holds the switch down, which puts out the flames around the upper chest. Fly up on the updraft for Stray Fairy 10. Drop to the floor, put a Light Arrow in the sun on the platform above, ride the air pump to the highest point and weave between the spiked mines to the door in the corner.
Lava and block rooms
In the next room shoot the red gem with a Light Arrow to flip the room. Put on the Goron Mask to cross the lava, then change back to Link and keep going to the doorway.


The block room needs several flips. Push the stone block into position on the Majora’s Mask symbol drawing, flipping the room with Light Arrows as needed, and the way on unblocks. Climb the block and open the next door.
Wizzrobe: Stray Fairy 11
The next room holds the Wizzrobe mini-boss. Wear the Bunny Hood, shelter in the northwest corner and shoot the Wizzrobe each time it appears. When it splits into clones, strike the real one. Its defeat leaves a chest. Open it for Stray Fairy 11, then take the stairs down.
Death Armos room: Small Key 4
Back on the main floor, use the Deku Flower to glide across to the southeast side and put on the Stone Mask so the Death Armos leave you alone. Go south and step on the blue floor switch, which makes a chest appear to the west. Play the Elegy so a statue holds the switch down, then Hookshot the chest for Small Key 4 and return to the first room.
On the way back, step on the switch beside a Death Armos on the far platform, with the Stone Mask on so it ignores you. A chest appears upside down on the ceiling. It is both your route to the Boss Door later and the chest for Stray Fairy 12 once the temple is upright again.
Gomess and the Boss Key
Destroy the Spike Mines in the empty chamber, then use the Deku Flower to fly north and then east, steering clear of the flying pots, and open the door. In the corridor beyond, clear the Blue Bubbles and break the crates for supplies.
The skulls in this corridor are Blue Bubbles. Touching one leaves your sword unusable for a short time, so block their attacks with your shield until their flames go out, then strike them, and keep your distance from the ones still burning.
Gomess is a mini-boss wrapped in a swarm of bats. Shoot him with a Light Arrow to scatter the bats, then strike while he is stunned and raise your shield right after. Repeat until he falls. The door opens and a large chest holds the Boss Key.
Second Eyegore and the Giant’s Mask
Go back the way you came: break crates for supplies, fly with the Deku Flower back across the mine chamber, and return to the Death Armos platform. Hookshot the ceiling chest from earlier and pull yourself up to the doorway toward the Boss Door. Small Key 4 opens the door ahead.
Beyond the locked door the second Eyegore waits. Raise your shield against its charge, and when its eye turns yellow hit it with a Light Arrow; repeat until it falls. The chest it leaves holds the Giant’s Mask. You can wear it only in the Twinmold arena, where it drains magic quickly.
Spiked log room and the Owl Statue
Dodge the spiked log that drops in front of you. Hit the crystal switch to make another upside-down chest appear on the ceiling. That chest is Stray Fairy 15, which you can only open from below once the temple is upright again; for now, Hookshot up to the ceiling to carry on. On the upper platform, avoid the horizontal spiked log, Hookshot the target on the far side and drop down.
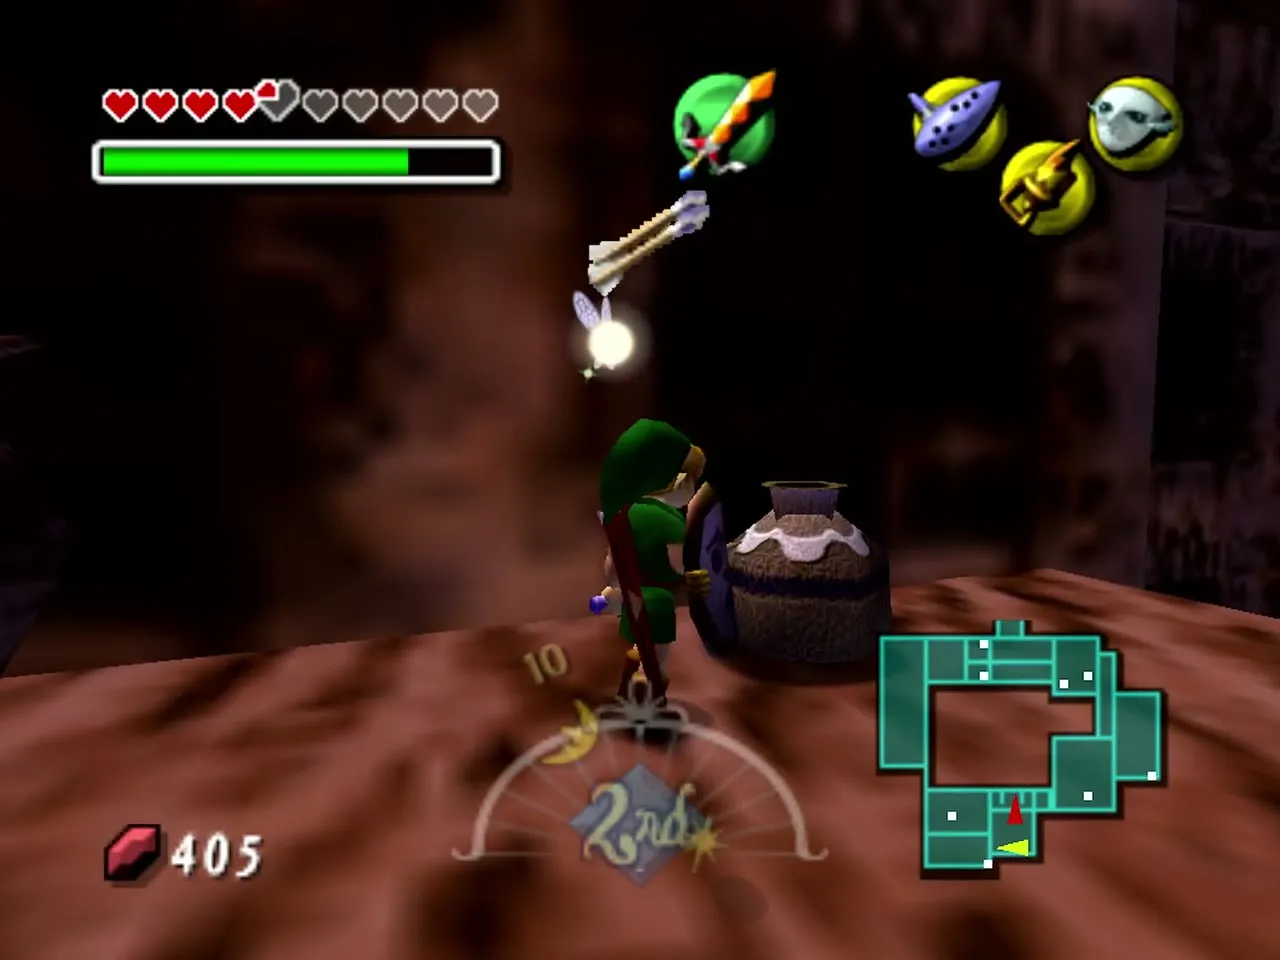
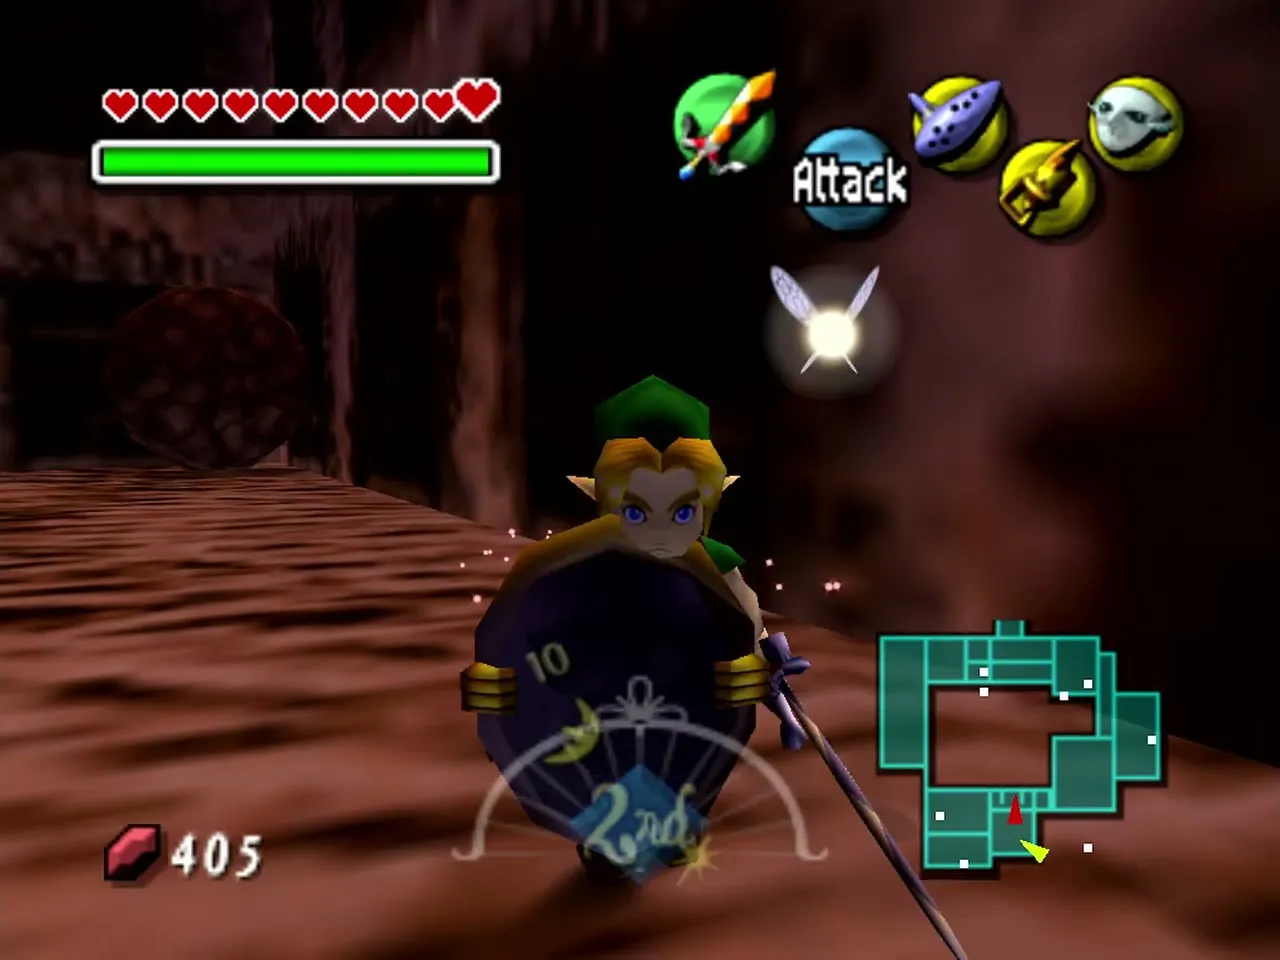
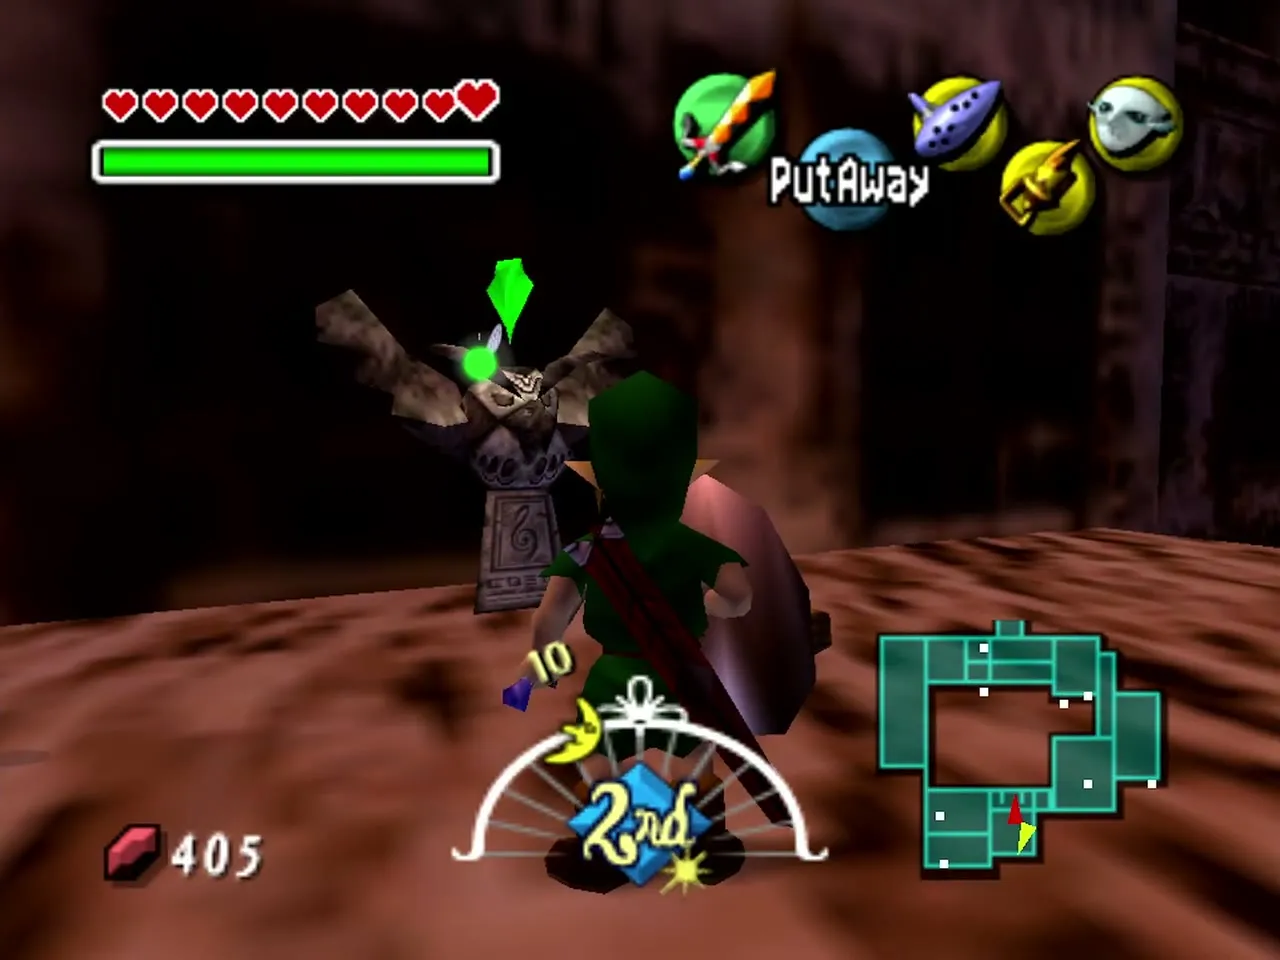
The Boss Door is below. Turn round and bomb the Beamos, then break the clay pots on the far side for hearts, magic, arrows and bombs. An Owl Statue stands among the pots, so strike it to save and to open another Song of Soaring destination right in front of the boss.
Last Stray Fairies: 12, 14 and 15
If you are ready for the boss with 12 fairies (1 to 11 and 13), decide now whether to collect the last three. Play the Song of Soaring, leave through the temple door, and flip the temple back with a Light Arrow on the gem above the entrance. For Stray Fairy 12, go to the entrance room, drop to its lower level and open the chest raised by the Death Armos switch. For Stray Fairy 14, swim down in the water room with the Zora Mask and open the chest on the small platform, which exists because you shot the Sun Face in the air pump room while inverted. For Stray Fairy 15, go to the Hiploop bridge room, drop to its lower part and open the chest that the spiked log room’s crystal switch created.
The Sun Face for Stray Fairy 14 sits at the edge of the north platform in the air pump room, so shoot it on your way through the inverted temple if you plan to fetch the fairy later. Soar back to the tower, flip the temple again, go inside and save at the Owl Statue. Hookshot the ceiling chest, run through the Eyegore bridge room and Hookshot up to land in front of the Boss Door. If you skip these fairies now, you can still come back after Twinmold for them.
Before the fight, you can buy Chateau Romani for 200 rupees at the Latte Milk Bar in East Clock Town, which admits you from 10 PM when you wear Romani’s Mask. It gives you unlimited magic for the rest of the cycle, which makes the Giant’s Mask much easier to use. Fill your bottles, unlock the Boss Door with the Boss Key and jump into the abyss beyond it.
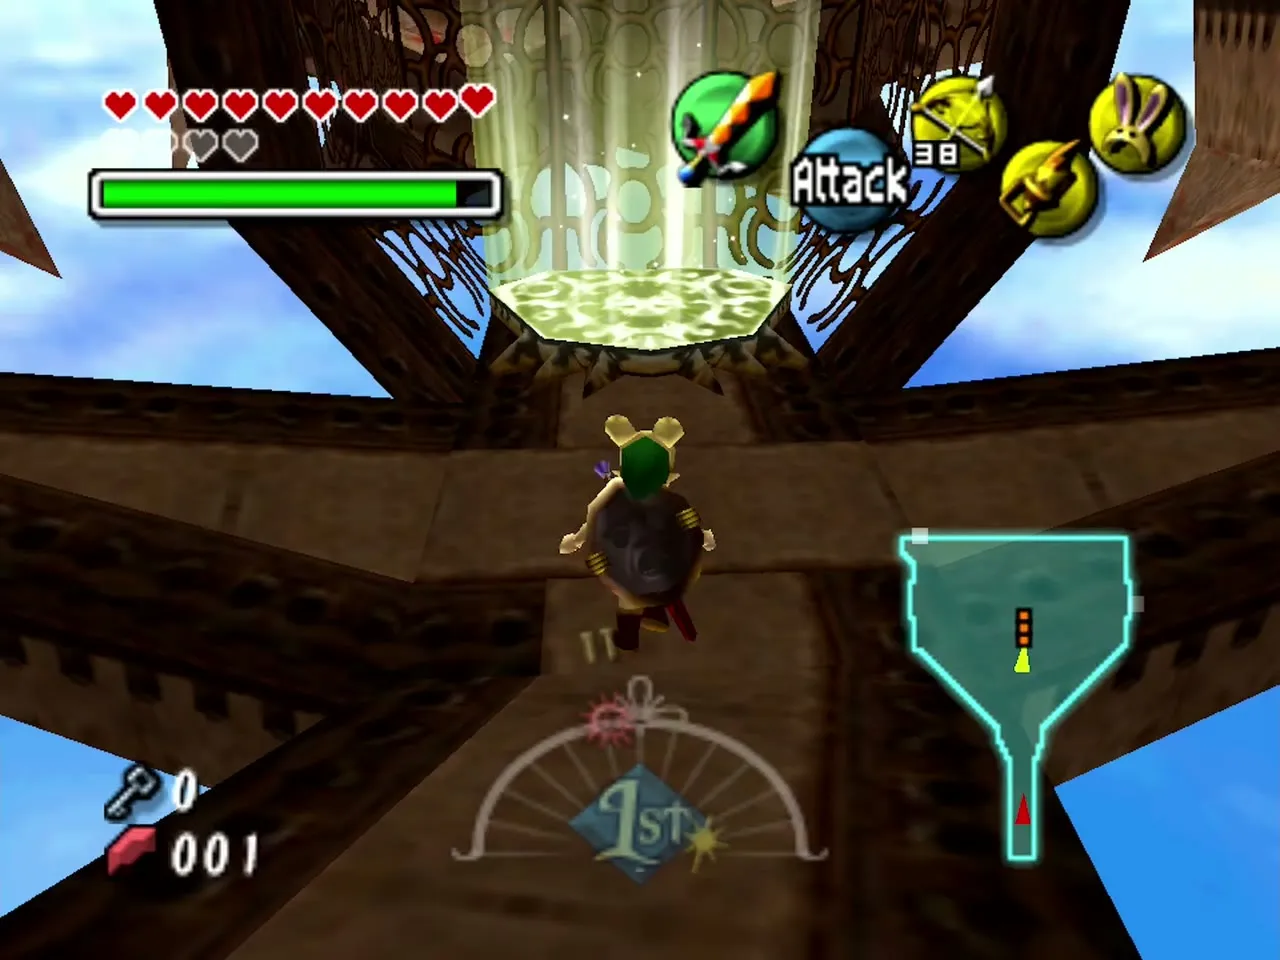
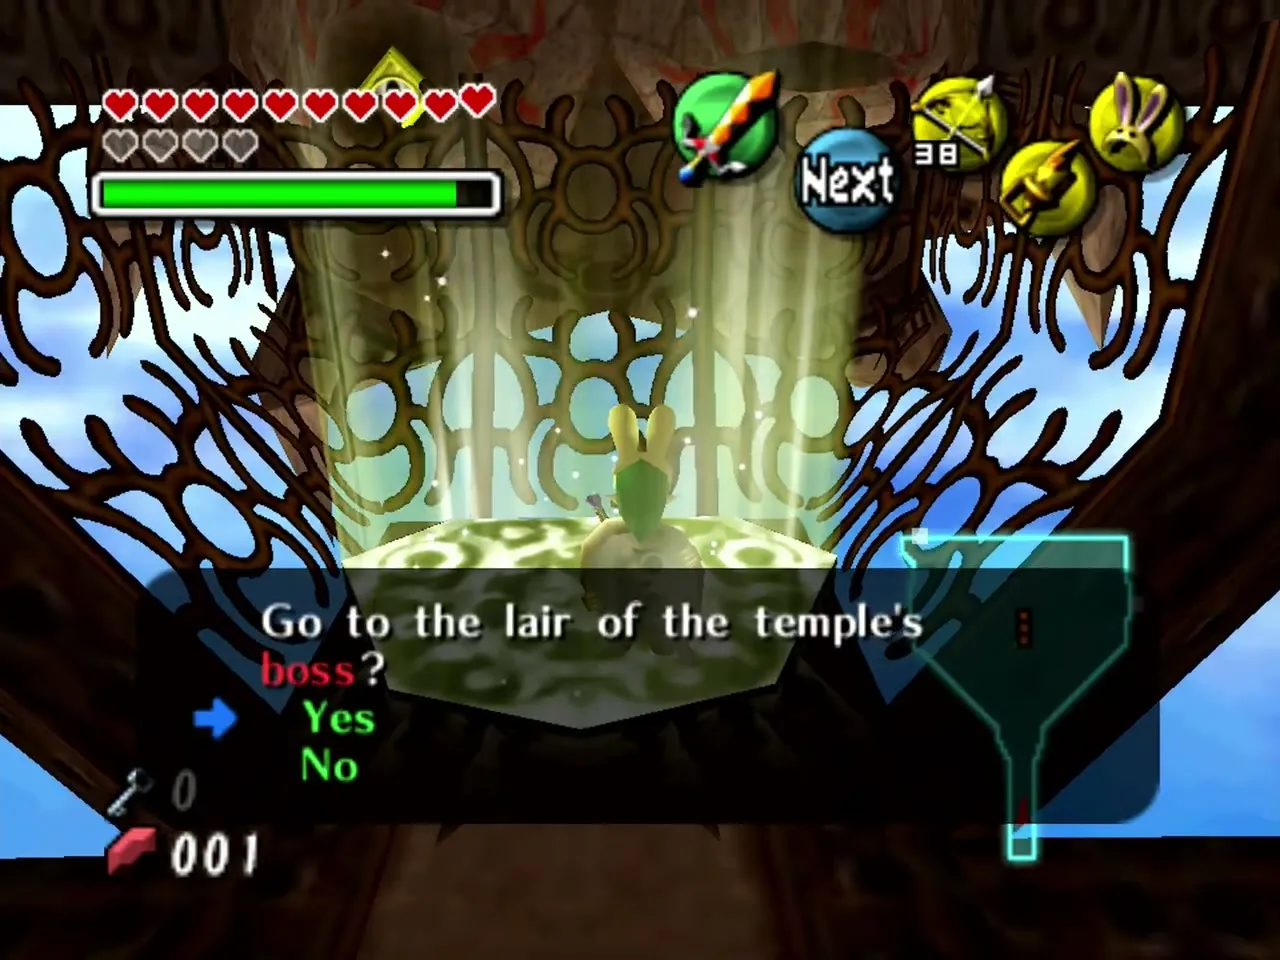

You land in a sandstorm arena of sand and stone pillars, and the game names the pair the Giant Masked Insect Twinmold. Twinmold are two giant insects, one blue and one red, that tunnel through the sand and burst out of it.
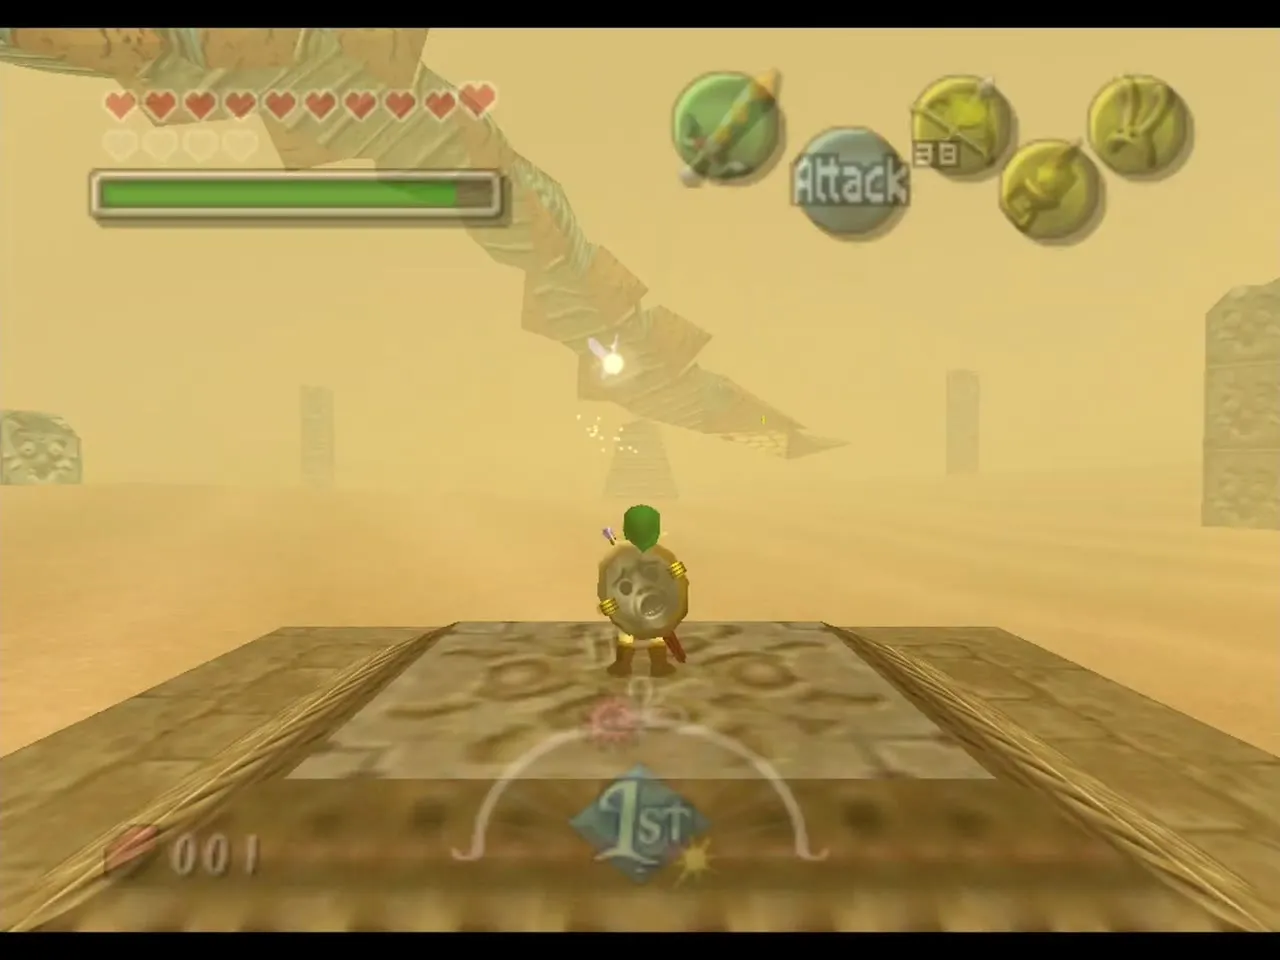
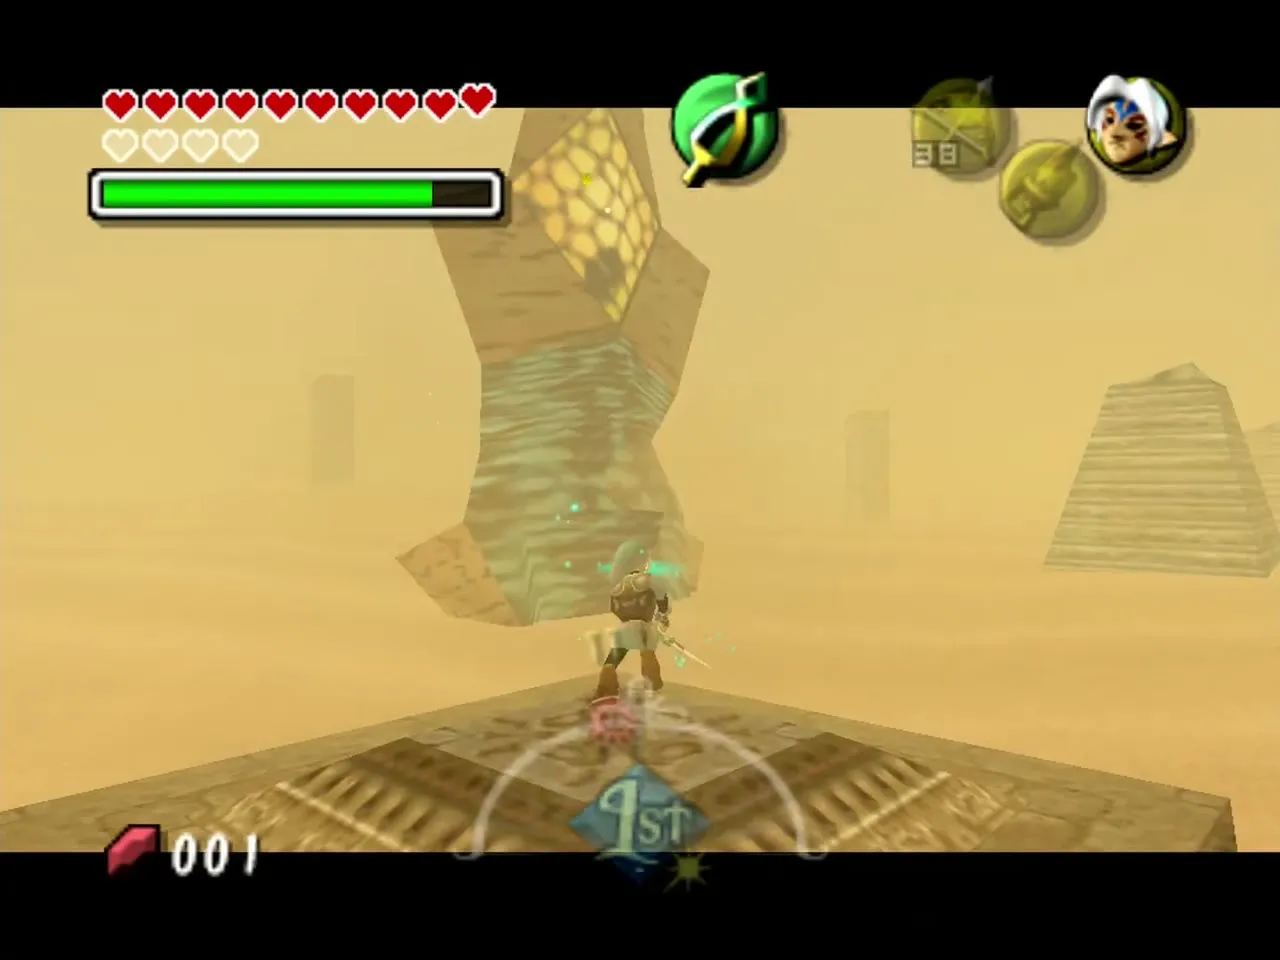
Put on the Giant’s Mask and swing at a worm’s tail as it surfaces. Giant Link hits hard and keeps hitting while the mask is on. Because the mask drains magic, take it off between rounds and look for magic jars around the arena, or drink Chateau Romani.
A few extra tips. A worm can only be hurt while it is above the sand, so wait for it to surface. The stone pillars break into magic jars, and the mask drains magic only while you wear it, so step out of it to recover.
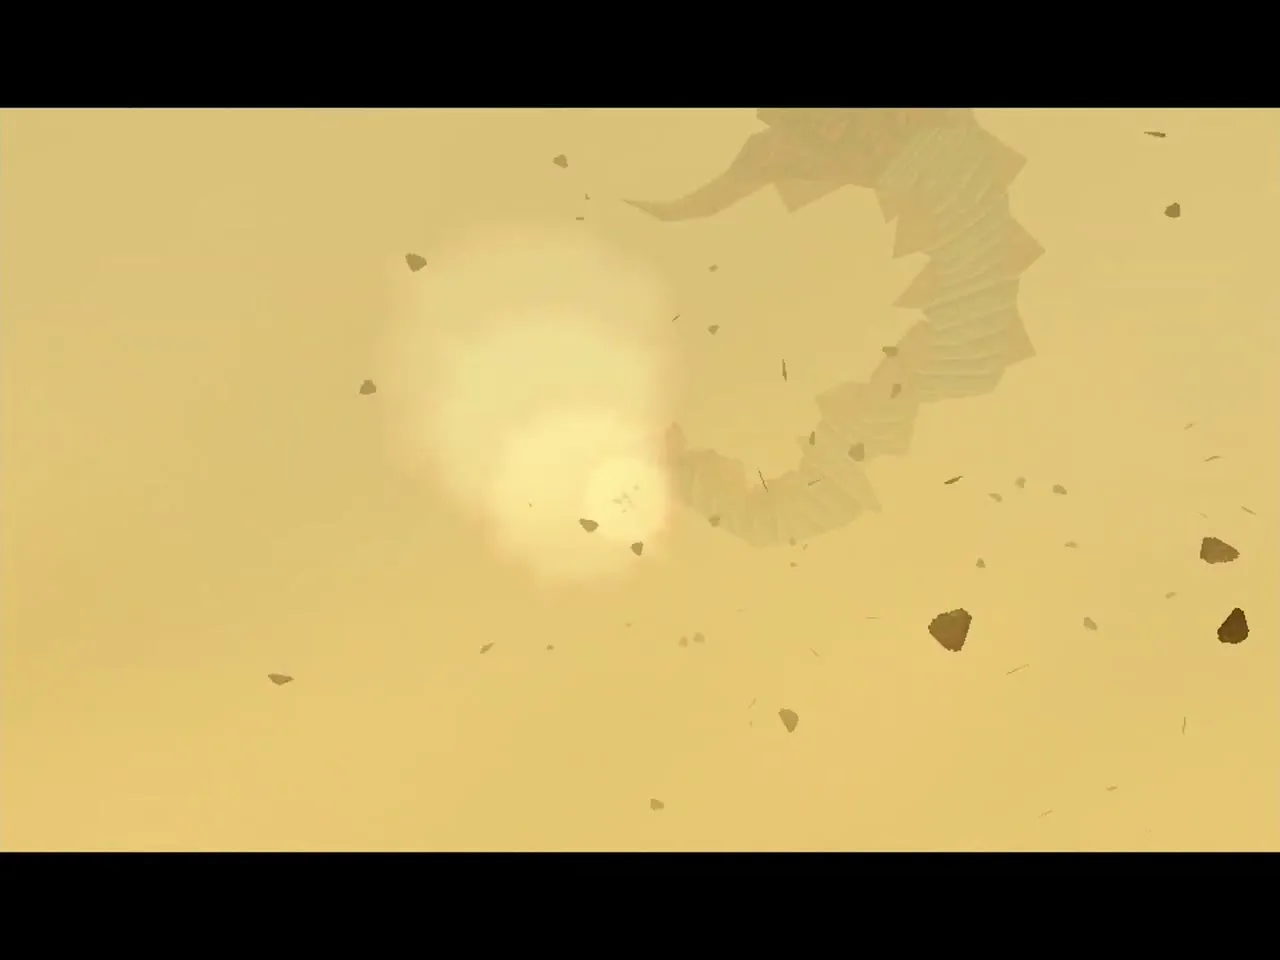
Defeat both worms and Twinmold collapses. Collect the Heart Container and step into the light for Twinmold’s Remains, which returns you to Ikana Canyon. The Giant of Ikana asks you to call him and the other giants at the Clock Tower.


Great Fairy’s Sword and the Ikana Great Fairy
If you have all 15 Stray Fairies, play the Song of Soaring to the Ikana Canyon Owl Statue and take them to the Great Fairy fountain, in a cave in Ikana Canyon northeast of the Music Box House, beside the climb to Stone Tower. The Great Fairy of Kindness rewards you with the Great Fairy’s Sword, the fourth and strongest sword in the game. If your count falls short, go back to the temple for the missing fairy and return before the cycle ends.
With all four Giants freed and the sword in hand, play the Song of Time to save, then return to Clock Town for the final confrontation on the Moon.
Before you leave Ikana, now that you own the Light Arrows, shoot the sun above the waterfall door with a Light Arrow to open the Secret Shrine. Four rooms hold mini-bosses you have met before (the Dinolfos, the Wizzrobe, Wart and the Garo Master), and each room asks for more hearts than the last, up to 16 for the last. Beat all four and the chest in the middle holds a Piece of Heart.
Chapter checklist
| Collectible | Type | Where |
|---|---|---|
| Stone Tower Owl Statue | Owl statue | Top of the Stone Tower climb, across from the temple entrance |
 Stray Fairy 1 | Stray Fairy | Entrance room, eye switch on the north wall |
| Dungeon Map | Item | Lava basement, behind the Sun Block |
| Small Key 1 | Key | Armos room in the lava basement |
| Stray Fairy 2 | Stray Fairy | Basement, Hookshot target in the northwest corner |
| Small Key 2 | Key | Chest raised by a floor switch beyond the pond |
 Compass | Item | Room north of the pond, near the Sun Block |
| Stray Fairy 3 | Stray Fairy | Mirror room, sun face on the wall |
| Stray Fairy 4 | Stray Fairy | Mirror room, alcove behind the Sun Block |
| Stray Fairy 5 | Stray Fairy | Hot air room, chest beside the rupees |
| Stray Fairy 6 | Stray Fairy | Hot air room, end of the Deku flight |
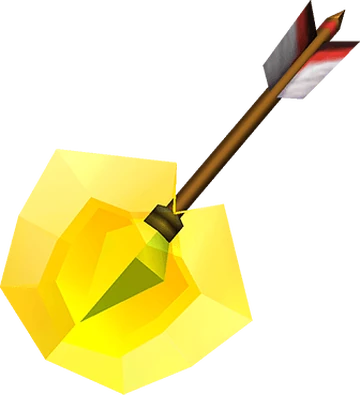 Light Arrows | Item | Garo Master’s room |
| Stray Fairy 7 | Stray Fairy | First Eyegore |
| Stray Fairy 13 | Stray Fairy | West ledge of the pool room, Sun Block |
| Stray Fairy 8 | Stray Fairy | Inverted entrance, sun above the Majora’s Mask symbol |
| Stray Fairy 9 | Stray Fairy | Air pump room, frozen eye switch |
| Small Key 3 | Key | Air pump room, switch past the Hiploop bridge |
| Stray Fairy 10 | Stray Fairy | Air pump room, blue switch with an Elegy statue |
| Stray Fairy 11 | Stray Fairy | Wizzrobe room, chest above |
| Small Key 4 | Key | Death Armos room, chest from the blue switch |
| Boss Key | Key | Gomess |
 Giant’s Mask | Mask | Second Eyegore |
| Temple Owl Statue | Owl statue | Among the pots just before the Boss Door |
| Stray Fairy 12 | Stray Fairy | Entrance room lower level, chest from the Death Armos switch, temple upright |
| Stray Fairy 14 | Stray Fairy | Water room, chest on the small platform, temple upright |
| Stray Fairy 15 | Stray Fairy | Hiploop bridge room lower part, chest from the spiked log room switch, temple upright |
 Heart Container | Heart Container | Twinmold |
 Twinmold’s Remains | Remains | Twinmold |
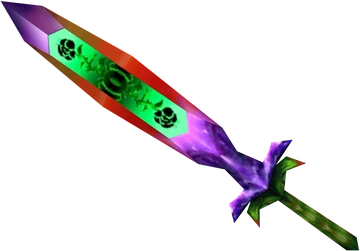 Great Fairy’s Sword | Sword | Great Fairy fountain, Ikana Canyon |
 Piece of Heart | Heart Piece | Secret Shrine behind the Ikana waterfall, Light Arrow on the sun, 16 hearts for the last room |
With the fourth Giant freed, continue to the final confrontation walkthrough.
