





















| Sea charts | 4: Southwestern, Northwestern, Southeastern and Northeastern |
|---|---|
| Where they are | One chest each inside the Temple of the Ocean King (1F, end of B3, end of B9, B13) |
| Islands | 16 across the four seas |
| Needed for | Sailing into a sea at all; each chart opens one quarter of the map |
| Dungeon maps | Drawn automatically on the touch screen; no map item to find |
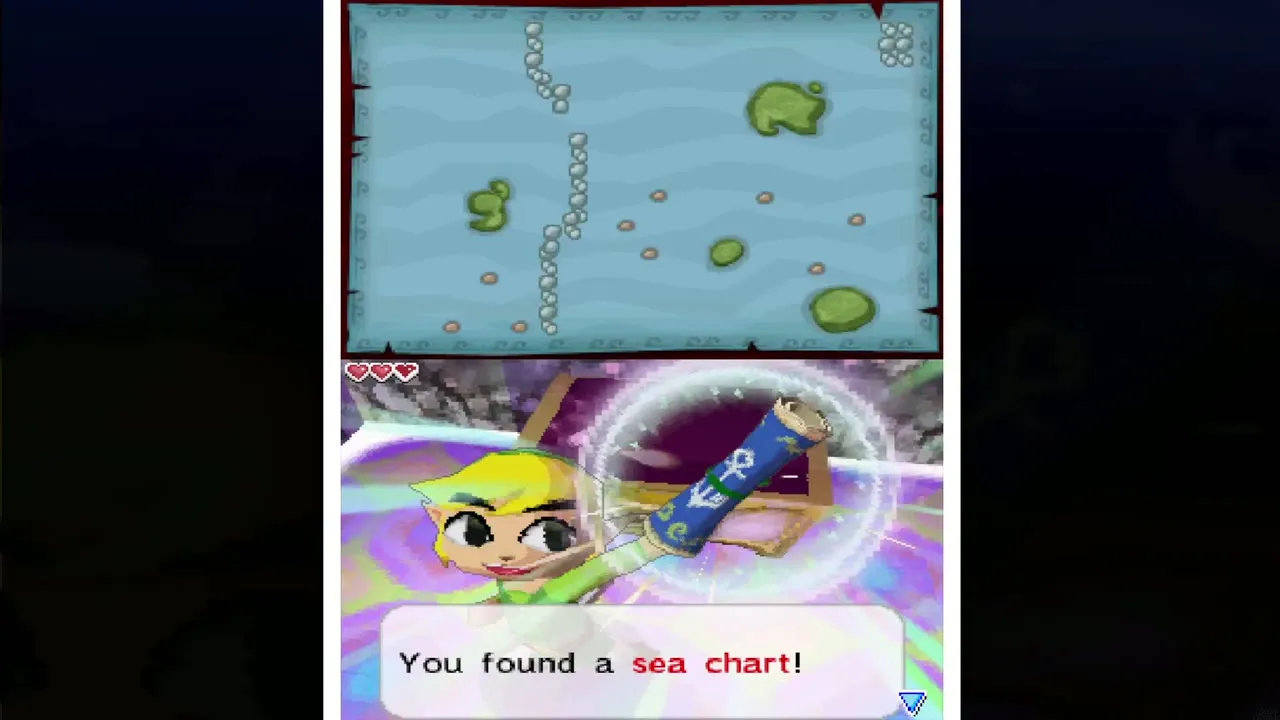
The sea of Phantom Hourglass is split into four quarters, and you hold one sea chart for each: the Southwestern, Northwestern, Southeastern and Northeastern Sea Chart. Every chart is a chest in the Temple of the Ocean King, and you cannot explore a quarter until you own its chart. Inside dungeons there is nothing to collect, because the touch screen draws the map of each floor as you walk. This page explains how the chart works, where to get all four, which islands each one shows and which dungeon sits where.

Table of Contents
Quick reference
| # | Chart | Where you find it | Islands in that sea |
|---|---|---|---|
| 1 | 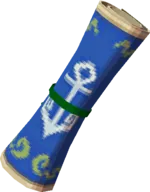 Southwestern Sea Chart | Chest on the first floor of the Temple of the Ocean King | Mercay, Ember, Cannon, Molida, Spirit |
| 2 | Northwestern Sea Chart | Chest in the safe room after B3 | Bannan, Gust, Zauz’s, Uncharted |
| 3 | Southeastern Sea Chart | Chest in the room after B9 | Goron, Frost, Dee Ess, Harrow |
| 4 | Northeastern Sea Chart | Chest on B13 | Isle of the Dead, Isle of Ruins, Maze |
How the sea chart works
Opening it and sailing by it
Tap Menu and then the Sea Chart icon to look at your charts on the touch screen. Every island you know can be selected, and you can scribble notes on the chart with the stylus just as you can on a dungeon map. The chart also marks every Golden Frog you have met and every sunken treasure whose Treasure Map you own but have not yet salvaged.

Drawing a course
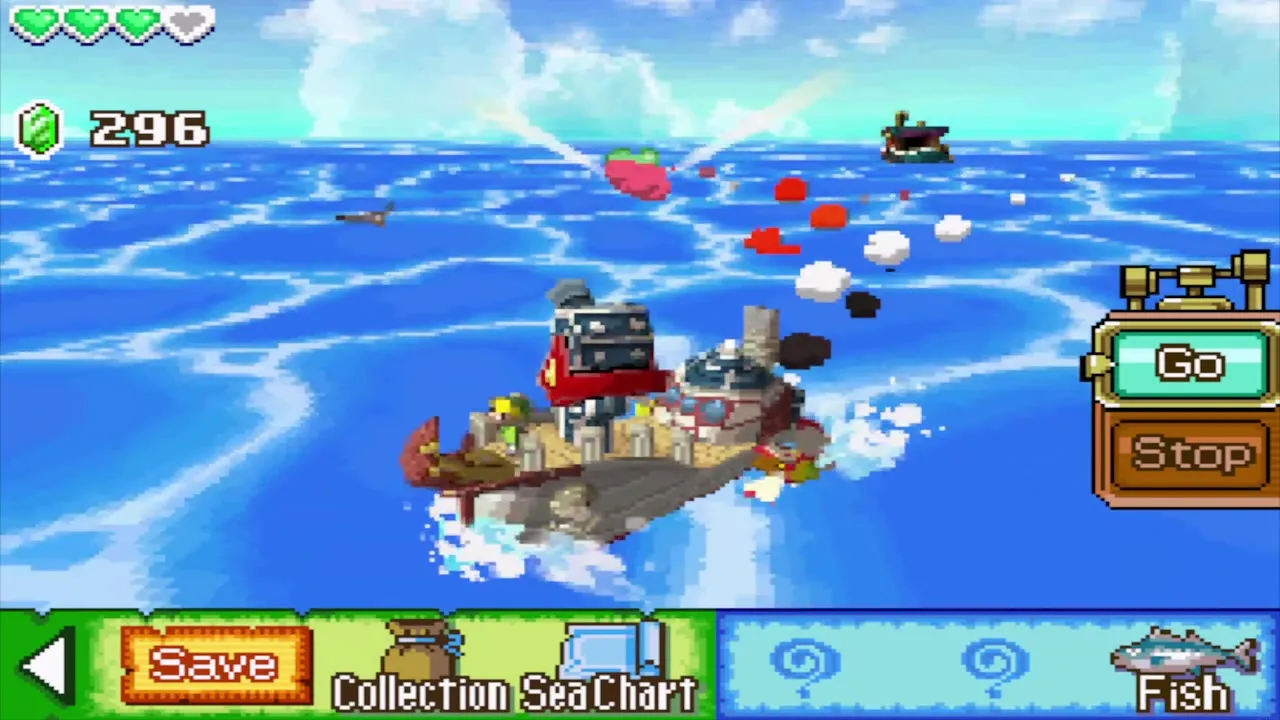
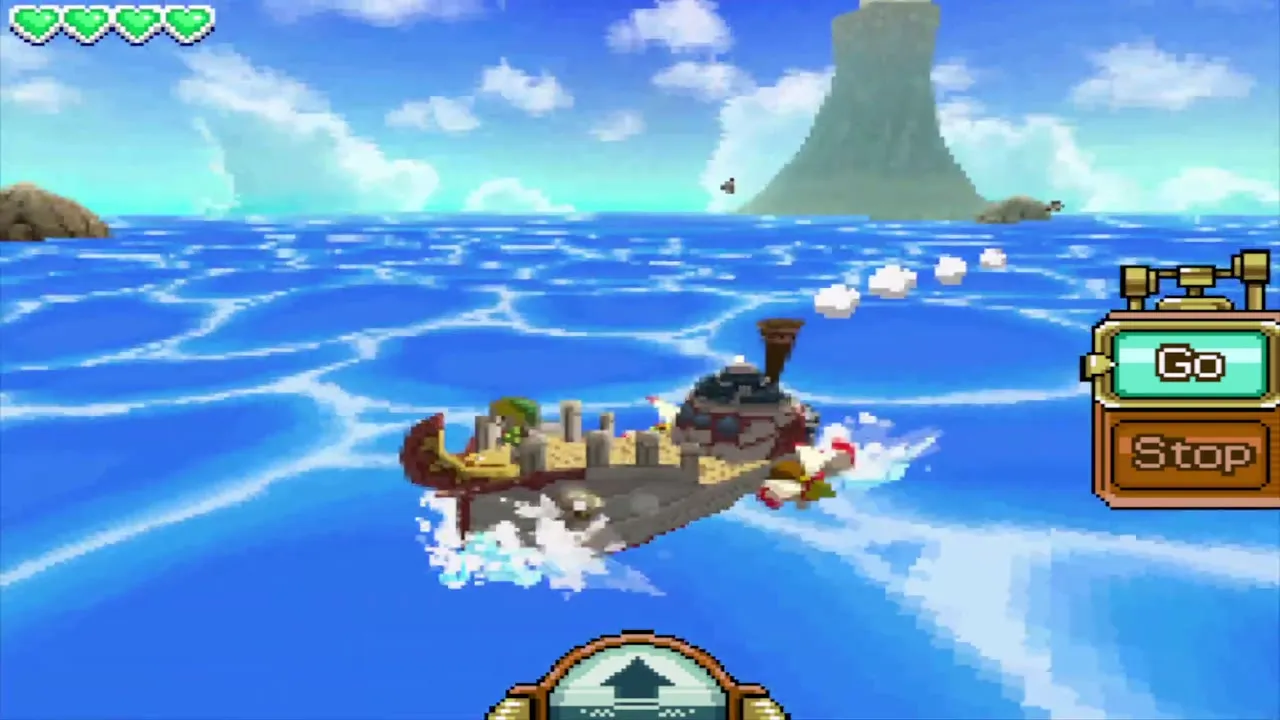
While you stand on the ship, tap the Route icon to bring up the chart and draw the line you want the S.S. Linebeck to follow. The boat follows that exact path, so plan it around rocks and mines. See the Mercay Island walkthrough for the first trip.


Secrets the chart reveals
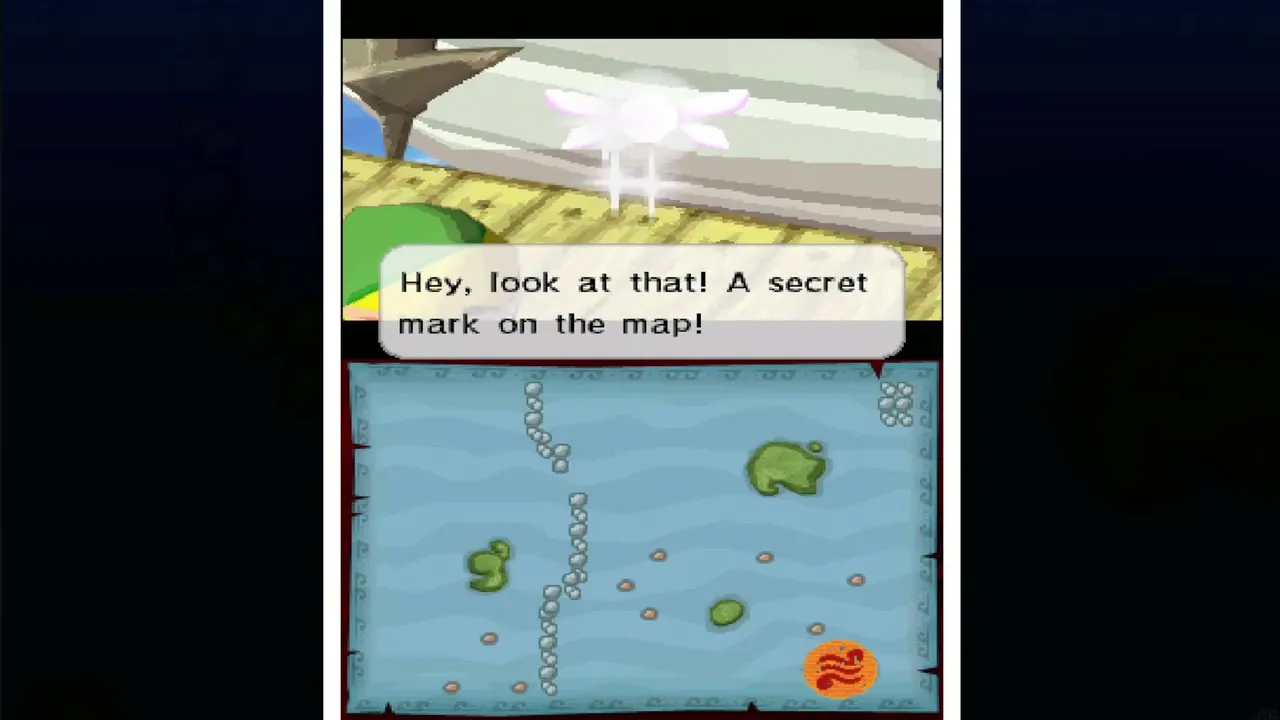
The first chart is a puzzle in itself. After Linebeck runs off with it and Oshus tells you to solve its puzzle, scratch the Isle of Ember on it and the flaky patch rubs away to show the crest that points you to the Temple of Fire. The Northwestern chart arrives covered in dust, so blow into the microphone to clear it and reveal a crest in that sea. Later chart marks arrive the same way: a crest copied from a stone tablet in the Temple of the Ocean King is transferred onto the Southwestern chart, and that spot is where the Salvage Arm brings up the Sun Key.


Copying the fog route
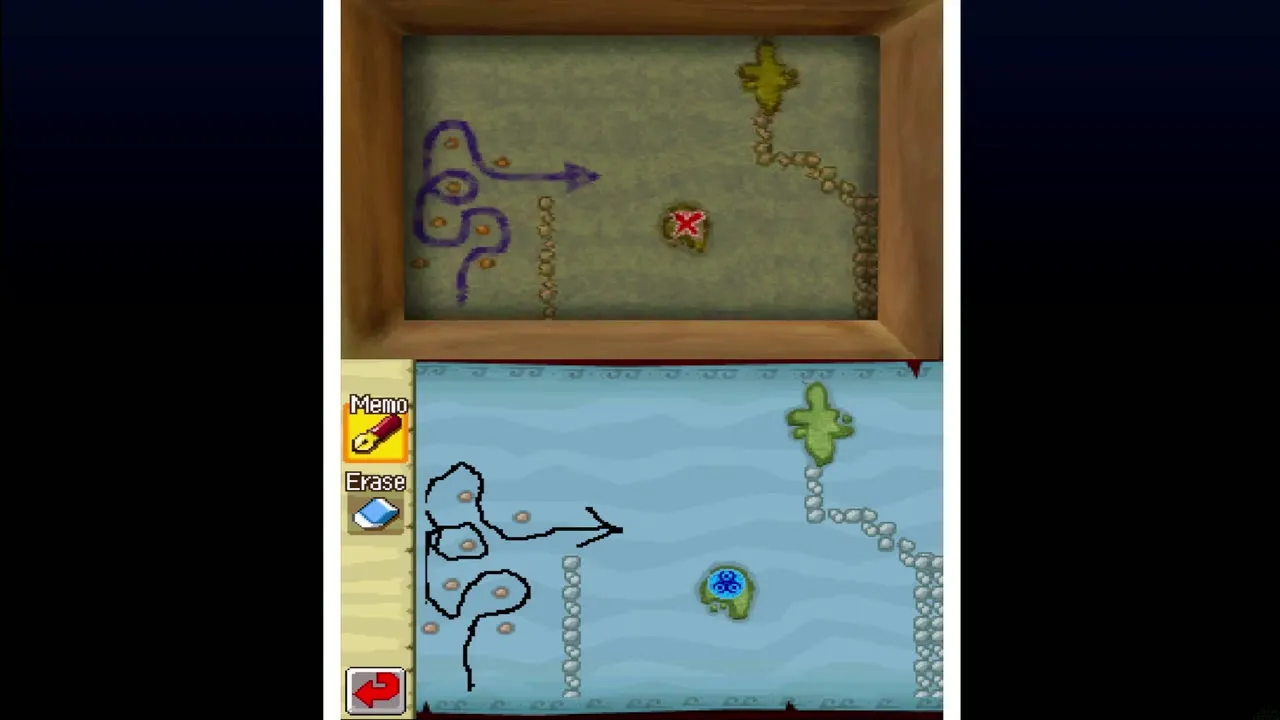
The Northwestern Sea is hidden by fog that makes ships lose their way. The safe route is a drawing in the Old Wayfarer’s second hideout on Molida Island, and you must copy it onto your sea chart before you sail. Draw your course along the copied line and you pass through to the northwest. The detailed steps are in the Cannon Island and Molida Island walkthrough.

Islands that add themselves
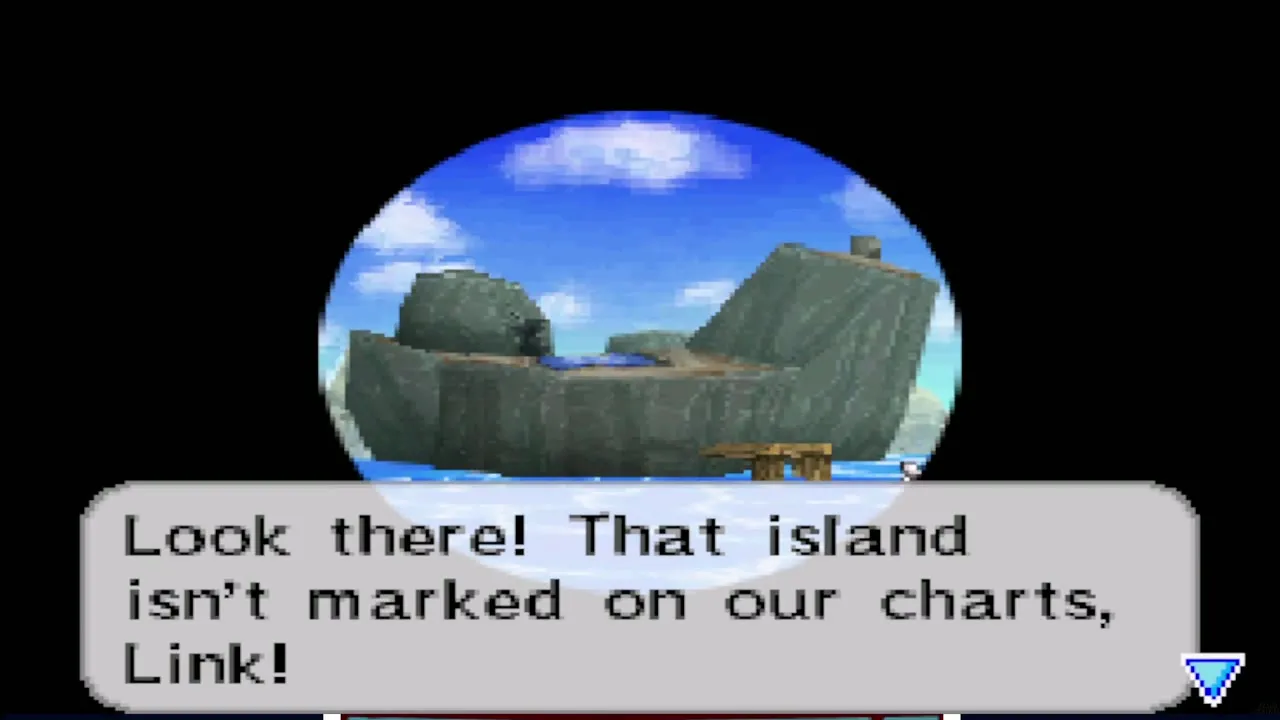
Most islands appear as soon as you own a chart, but some are left off until you stumble across them while sailing. When you sail close enough to an unmarked island, Ciela spots it and adds it to the chart for you. Spirit Island, Uncharted Island, Dee Ess Island, Harrow Island and Maze Island work this way, and the islands page says where each one is.

The four sea charts
Southwestern Sea Chart
You get this chart on your first visit to the Temple of the Ocean King. After Linebeck frees himself from the floor spikes you open the locked door on 1F, hit the two shock switches in time, and open the chest. The Southwestern Sea is divided into an eastern and a western half by a line of rocky islets. Mercay Island, the Isle of Ember and Cannon Island are in the east; Molida Island and Spirit Island are in the west, which you cannot reach until the ship has a Cannon to blast through the rocks.

Northwestern Sea Chart
On your second trip into the temple, after the Temple of Fire, Leaf opens the Door of Power. Put the three Force Gems back on their pedestals on B3 and a side door opens onto a room where the curse does not drain your Hourglass. The chest in it holds this chart, and a blue warp then takes you out. The sea holds Bannan Island, the Isle of Gust, Zauz’s Island and Uncharted Island, and it can only be entered along the fog route. The B1 to B3 walkthrough covers the floors.


Southeastern Sea Chart
You find this chart on your fourth visit, after the Ghost Ship and Zauz. Draw the Triforce, not the Hourglass, on the Crested Door on B6 to reach the deeper floors, then play through B7 to B9. Place the three crystals in the pedestals on B9 and open the chest in the room that appears. The chart shows most of the quarter, but Dee Ess Island is added only when you sail up to it, and Harrow Island appears after a Yook on the Isle of Frost points you to it once you hold the Azurine. See the B7 to B9 walkthrough.


Northeastern Sea Chart
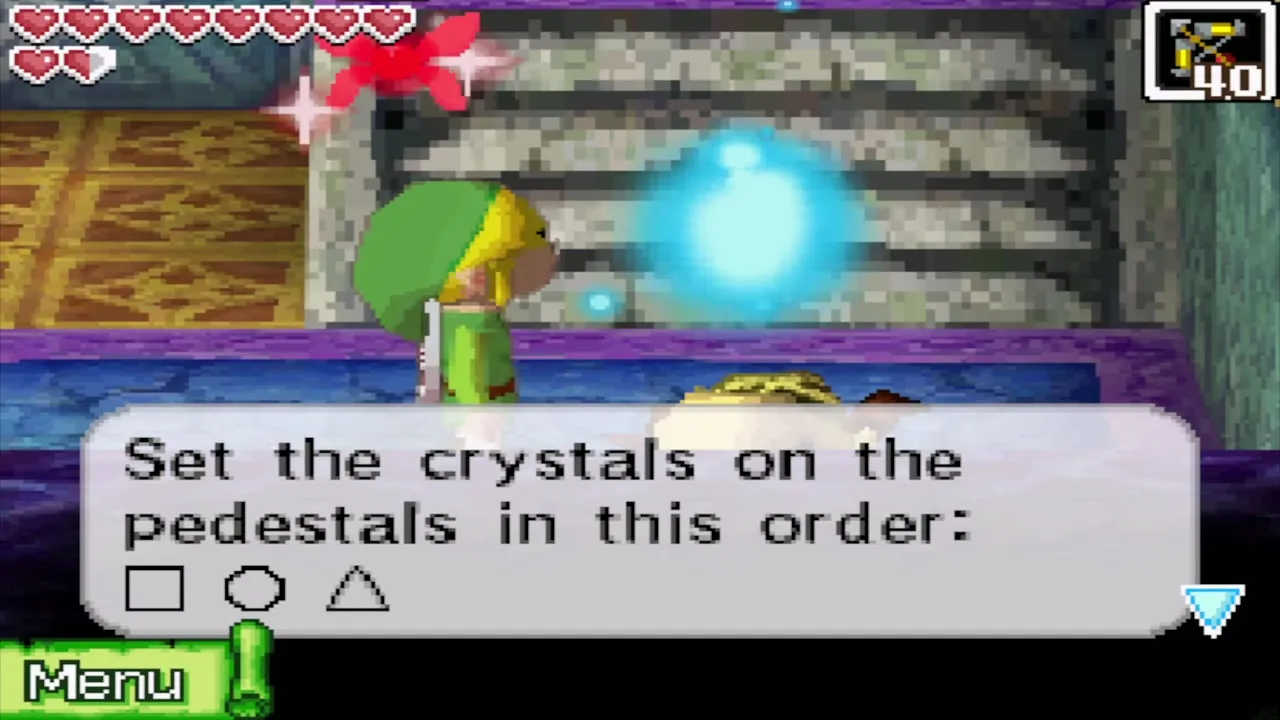
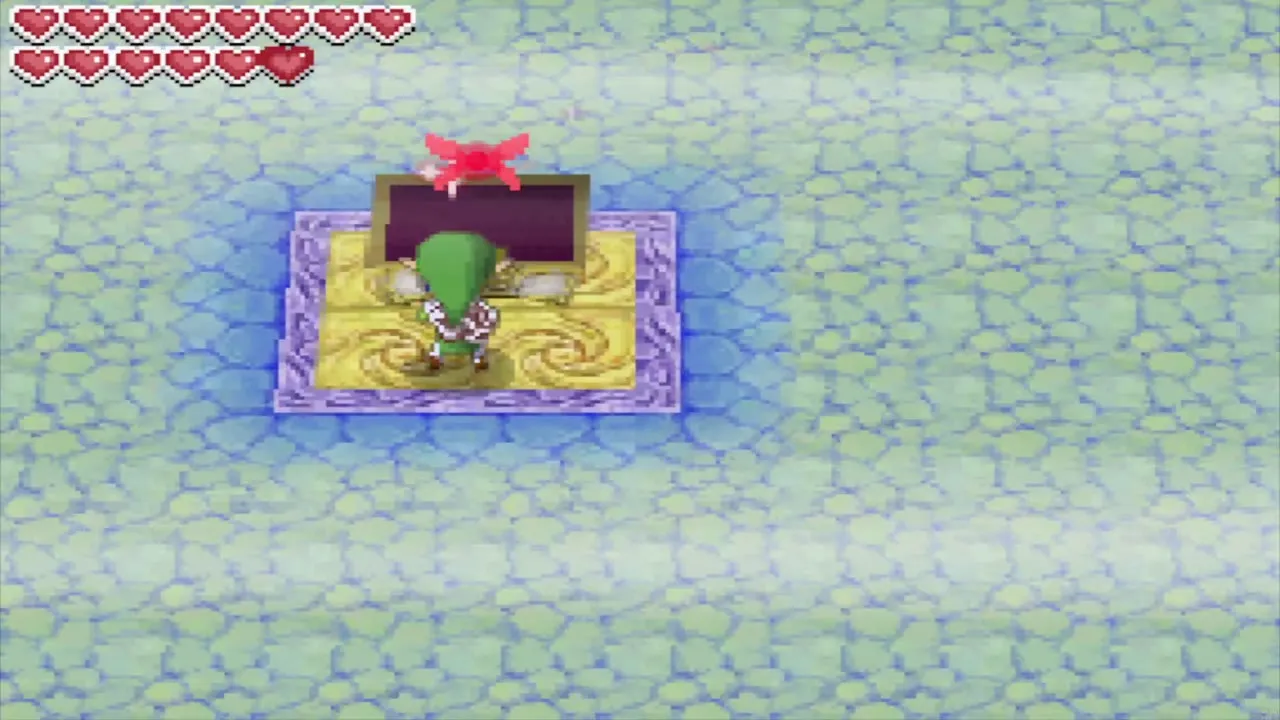
The last chart sits on B13, the lowest floor of the temple. Reach it by setting the crystals on B9 in the order Square, Round, then Triangle, which sinks the safe room one floor so that its exit leads to B10. The way down needs Bombchus and the Grappling Hook, so you collect it on a later trip, after the Goron Temple and the Temple of Ice. Owning it lets you sail the northeastern quarter, where the Isle of the Dead, the Isle of Ruins and Maze Island wait. See the B10 to B13 walkthrough.

Islands on each chart
Southwestern Sea
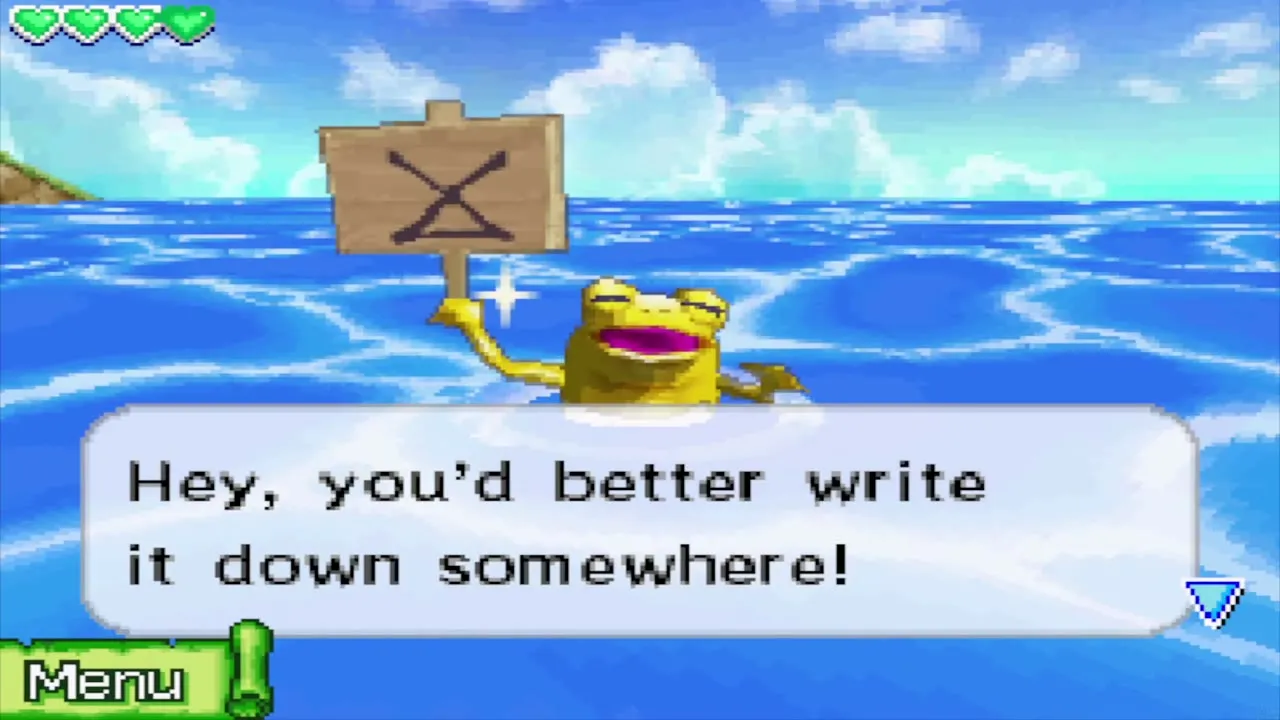
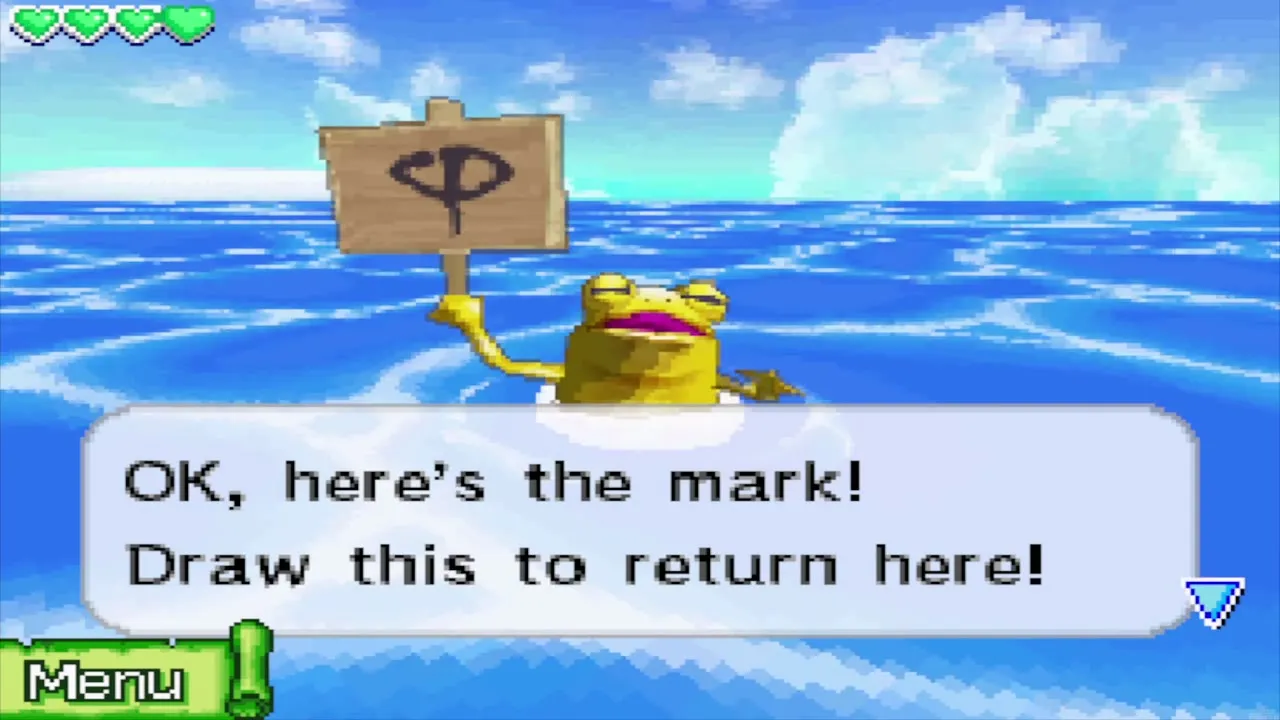
Mercay Island, the Isle of Ember and Cannon Island lie in the eastern half, and Molida Island, Spirit Island and Nyave’s Traveler’s Ship in the western half. Beedle’s Shop Ship wanders the waters here early on before moving to another quarter, and two Golden Frogs live south of Mercay and northwest of Molida (see Golden Frog locations).

Northwestern Sea
Bannan Island, the Isle of Gust, Zauz’s Island and Uncharted Island, plus Nyeve’s ship, the Prince of Red Lions. A Golden Frog floats between Bannan Island and the Isle of Gust. The Ghost Ship also disappears into the fog of this sea.


Southeastern Sea
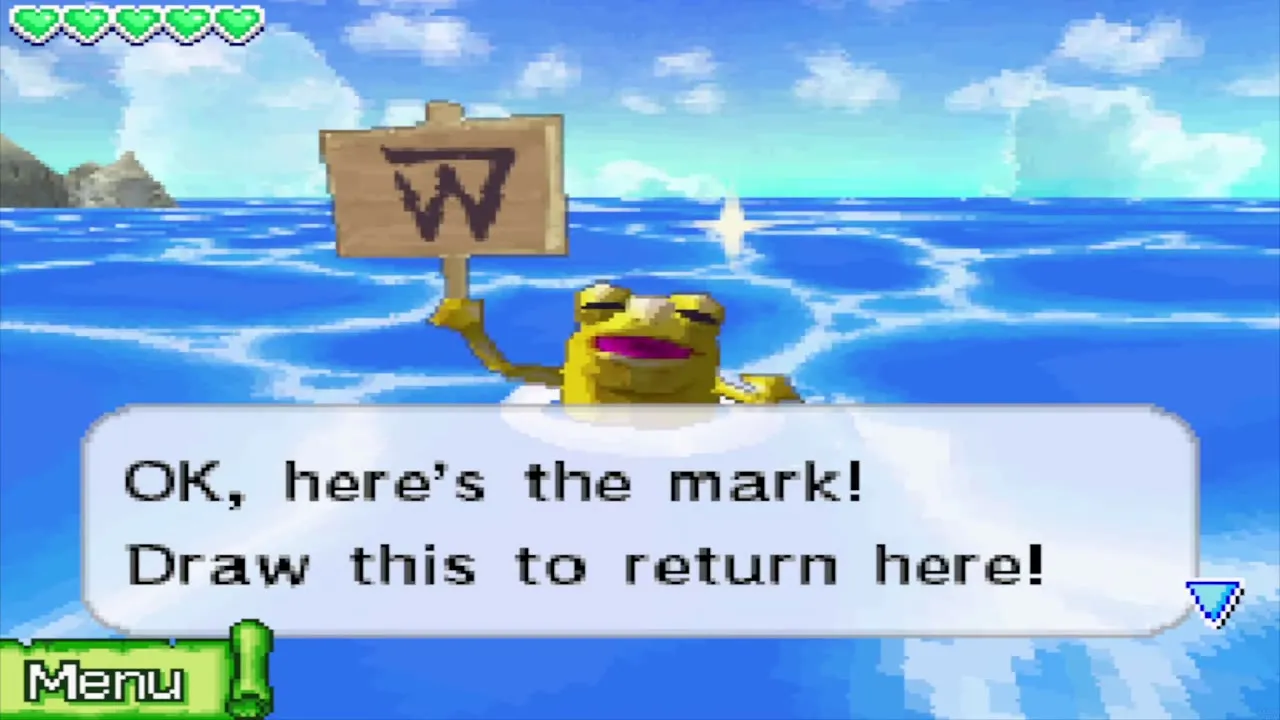
Goron Island, the Isle of Frost, Dee Ess Island and Harrow Island, plus the Ho Ho Tribe’s Traveler’s Ship. Two Golden Frogs are here, one north of Dee Ess Island and one northwest of the Isle of Frost.

Northeastern Sea
The Isle of the Dead, the Isle of Ruins and Maze Island, plus the Man of Smiles’s Traveler’s Ship. One Golden Frog lives south of the Isle of the Dead. Details of every island are on the islands page.


Dungeon maps
Reading a dungeon map
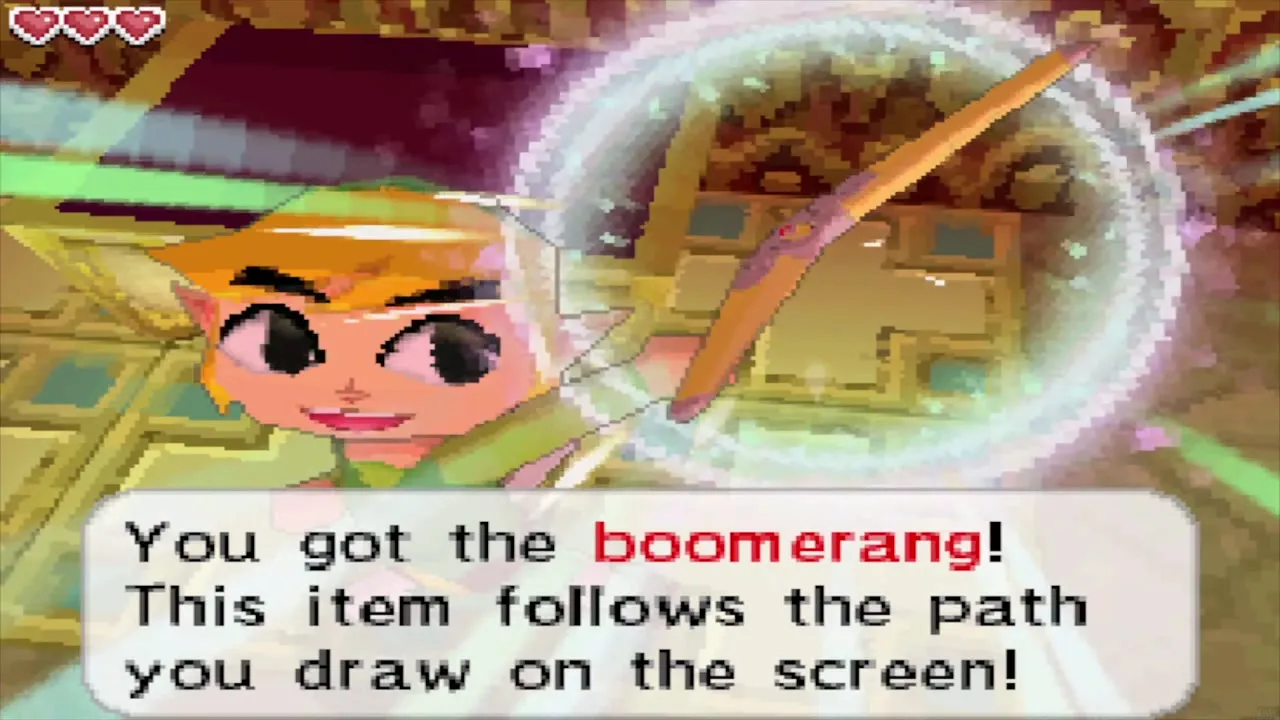
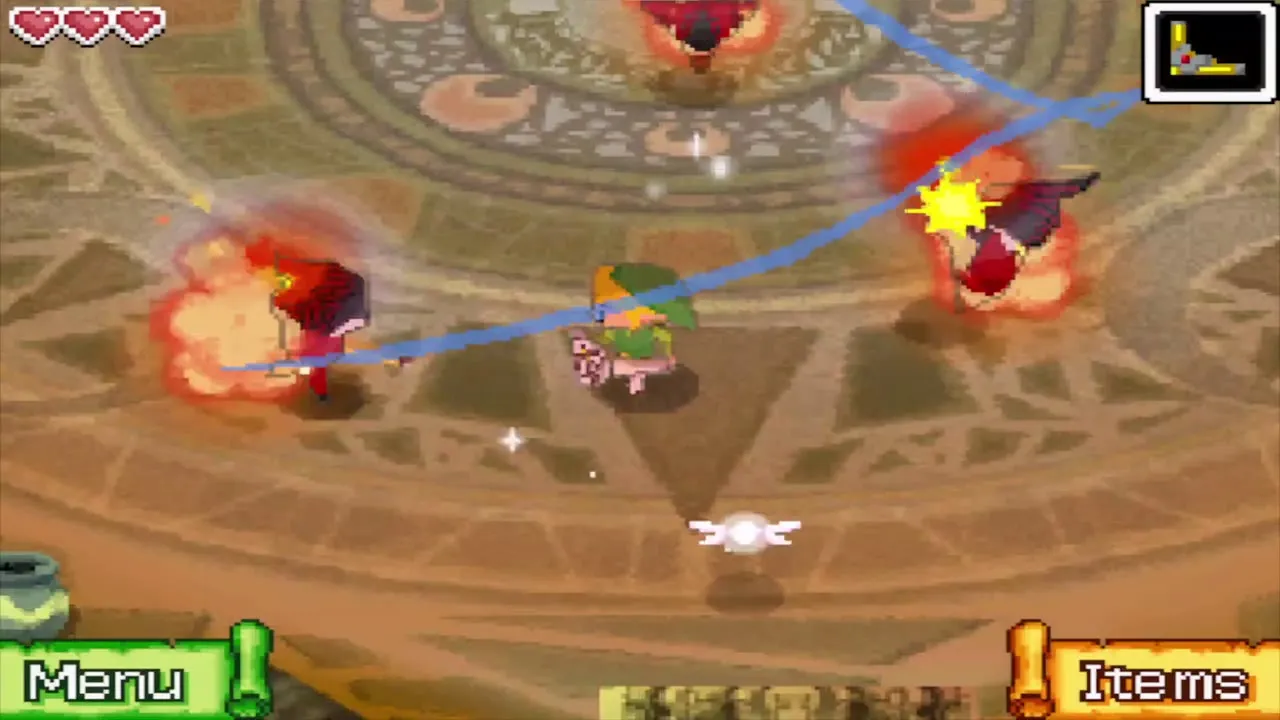
Each dungeon floor is drawn on the touch screen as you explore it, so you never search for a map or compass. You can write notes on the map with the stylus. Doors, chests and your route show up, and you also draw paths on the touch screen to steer items like the Boomerang.
Dungeons and where they are
This table lists the dungeons in the order you reach them, with the island and sea each one belongs to, the item inside and the boss at the end.


| # | Dungeon | Island and sea | Item | Boss |
|---|---|---|---|---|
| 1 | Temple of Fire | Isle of Ember, Southwestern | Boomerang | Blaaz |
| 2 | Temple of Wind | Isle of Gust, Northwestern | Bombs | Cyclok |
| 3 | Temple of Courage | Molida Island, Southwestern | Bow | Crayk |
| 4 | Ghost Ship | Fog of the Northwestern Sea | None | Diabolical Cubus Sisters |
| 5 | Goron Temple | Goron Island, Southeastern | Bombchus | Dongorongo |
| 6 | Temple of Ice | Isle of Frost, Southeastern | Grappling Hook | Gleeok |
| 7 | Mutoh’s Temple | Isle of Ruins, Northeastern | Hammer | Eox |
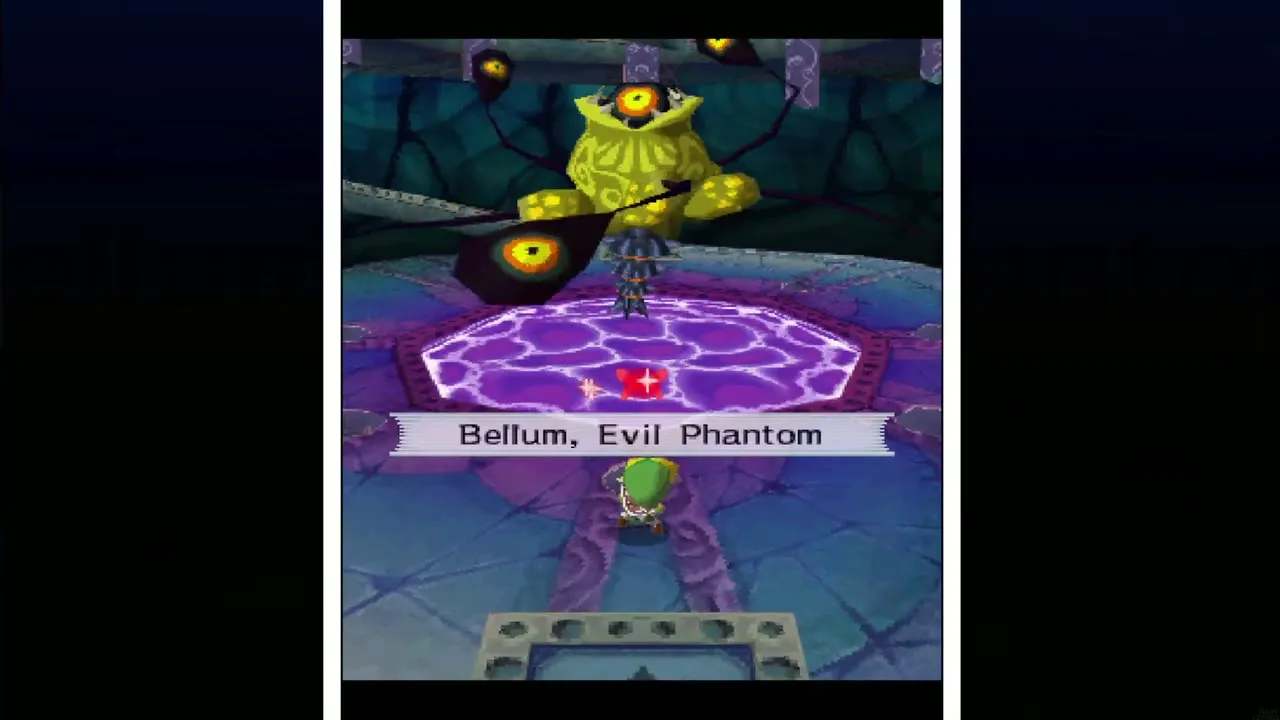
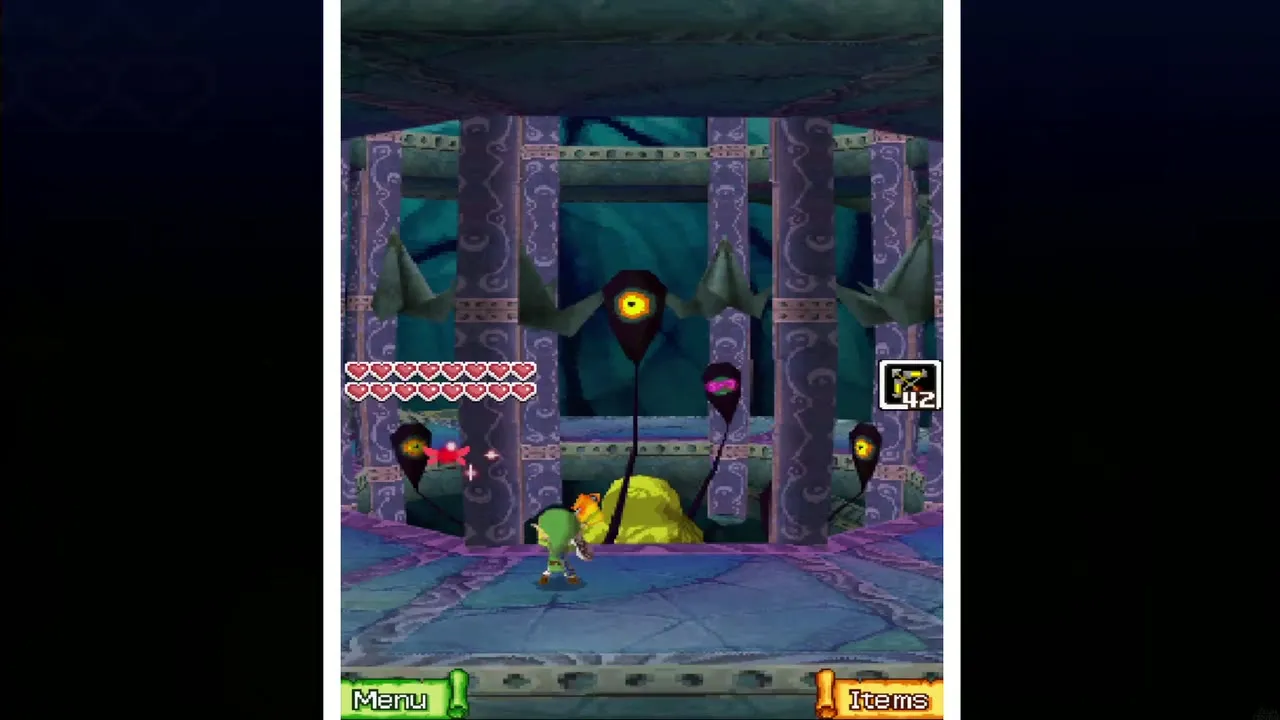
The Temple of the Ocean King on Mercay Island is separate from this list: you return to it six times, and its four chart chests are covered above. Its boss, Bellum, is fought at the very bottom. For the bosses see the boss guide.
Temple of the Ocean King by floor
The temple has 14 floors: 1F and B1 to B13. Charts sit on 1F (Southwestern), in the Checkpoint Chamber after B3 (Northwestern), in the Elevator Chamber after B9 (Southeastern) and on B13 (Northeastern). B6 holds the Crested Door: the Hourglass shape opens the Sacred Crest Chamber where the sun crest is copied onto your chart, and the Triforce, learned from Zauz, opens a second chamber with the Door of Courage and a warp back to the entrance. No sea chart is found there.


