





















Phantom Hourglass 100% Completion Walkthrough19 chapters
- Temple of FireEvery key, the Boomerang, the Boss Key, how to beat Blaaz, the Heart Container, Leaf and Astrid’s Power Gem.
- Temple of WindGet the bombs, the Boss Key, beat Cyclok, free Neri and take the Heart Container.
- Molida Island and the Temple of CourageBeat the Giant Eye Plant, light Molida’s statues, get the Bow, defeat Crayk and awaken the Spirit of Courage.
- The Ghost ShipFind the ship with the Spirits, free the Cubus sisters, win their volley game, get the Ghost Key and Heart Container.
- Goron TempleTeam up with Gongoron, get the Bombchus and the Boss Key, beat Dongorongo and take the Crimsonine.
- Temple of IceLever order, three small keys, Grappling Hook, Boss Key, Gleeok fight, Heart Container and Azurine.
- Mutoh’s TempleGet the Hammer, find both small keys and the Boss Key, beat Eox and collect the Aquanine.
- Mercay Island and the First Sea ChartGet Oshus’s Sword, solve the lever passage, rescue Linebeck and find the first sea chart.
- Temple of the Ocean KingTake the Phantom Hourglass, sneak past Phantoms, carry three Force Gems and find the Northwestern Sea Chart.
- Temple of the Ocean KingPhantom Eyes, the hourglass crest door, the Salvage Arm, treasure salvage and the Sun Key.
- Zauz and the Temple of the Ocean KingPure Metals, Triforce door, crystal puzzles and the Southeastern Sea Chart.
- Temple of the Ocean KingGold Phantoms, the B11 bridges, three Force Gems on B12 and the Northeastern Sea Chart.
- The Phantom Sword and BellumPhantom Hourglass walkthrough for the Phantom Sword, the last Temple of the Ocean King descent, Bellum.
- Isle of Ember and AstridFirst voyage, Beedle’s Shop Ship, Kayo’s torches, freeing Astrid and the volcano path to the Temple of Fire.
- Cannon Island, the Ghost Ship Chase and Molida IslandBuy the Cannon from Eddo, chase the Ghost Ship, then reach Molida Island and take the Shovel.
- Northwestern Sea and the Isle of GustThe fog route, Bannan Island fishing, Zauz, the Cyclone Slate, Golden Frogs and the way to the Temple of Wind.
- Goron Island and GongoronSail the Southeastern Sea, beat the Massive Eye, pass Biggoron’s quiz, find Gongoron and reach the Goron Temple.
- Isle of Frost and the Yook MysteryCannon the ice, Anouki Estates, find the Yook among six villagers and fight through the Great Ice Field.
- Isle of the Dead and the Isle of RuinsDig spot, Phantom Corridor path, Regal Necklace, King’s Key, Max and the door symbol.
| Covers | the starting island, Oshus’s Sword, the mountain passage to Mercay village, the Temple of the Ocean King’s first floor and the Southwestern Sea Chart |
|---|---|
| You need | Nothing yet. You start with no sword, no shield and no sea chart. |
| Rewards |  Oshus’s Sword,  Wooden Shield, 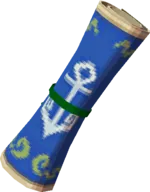 Southwestern Sea Chart,  small keys, a random treasure from the village chest (  a Ruto Crown on this route), plus rupees:  a green Rupee,  two red Rupees and  a big green Rupee. No Heart Containers, Spirit Gems, ship parts or Sand of Hours yet. |
This chapter takes Link from the beach where he washes ashore to the dock on Mercay Island. You pick up Oshus’s Sword, learn to fight, cross the mountain passage by solving its lever puzzle, buy a shield in the village and rescue Linebeck on the first floor of the Temple of the Ocean King. The prize for that rescue is the Southwestern Sea Chart, and Oshus shows you where to take it next: the Isle of Ember.
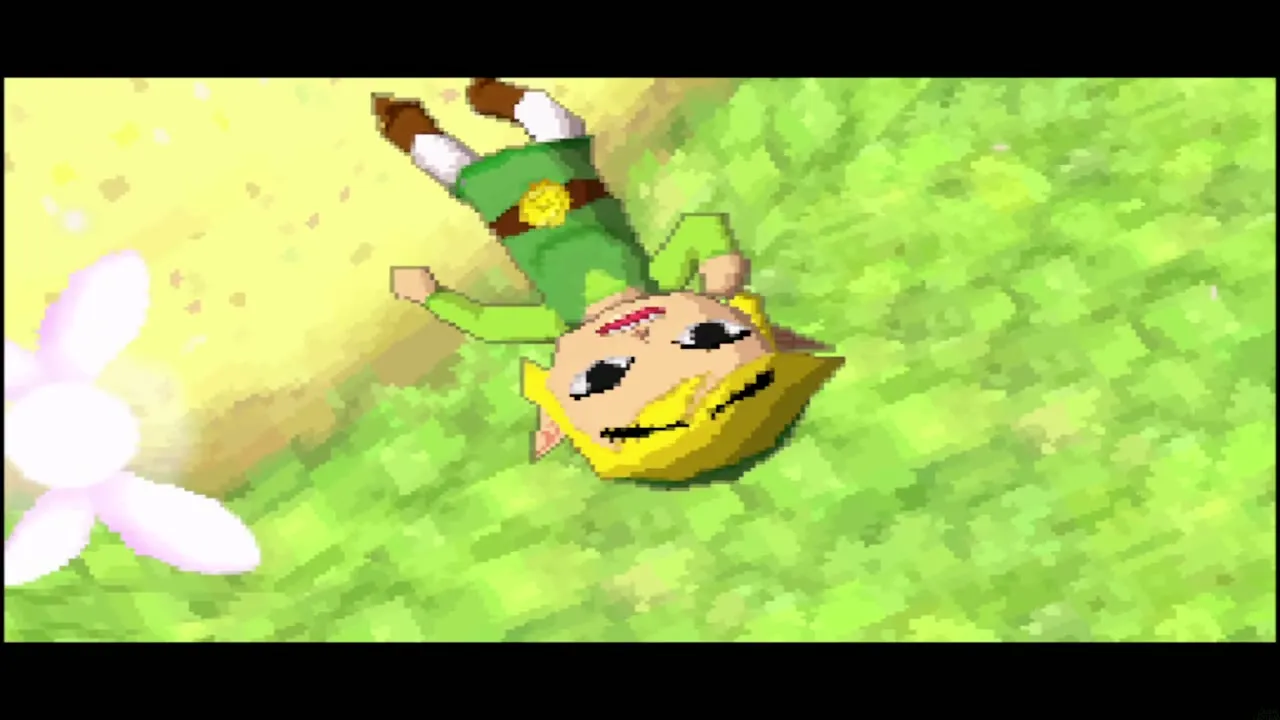
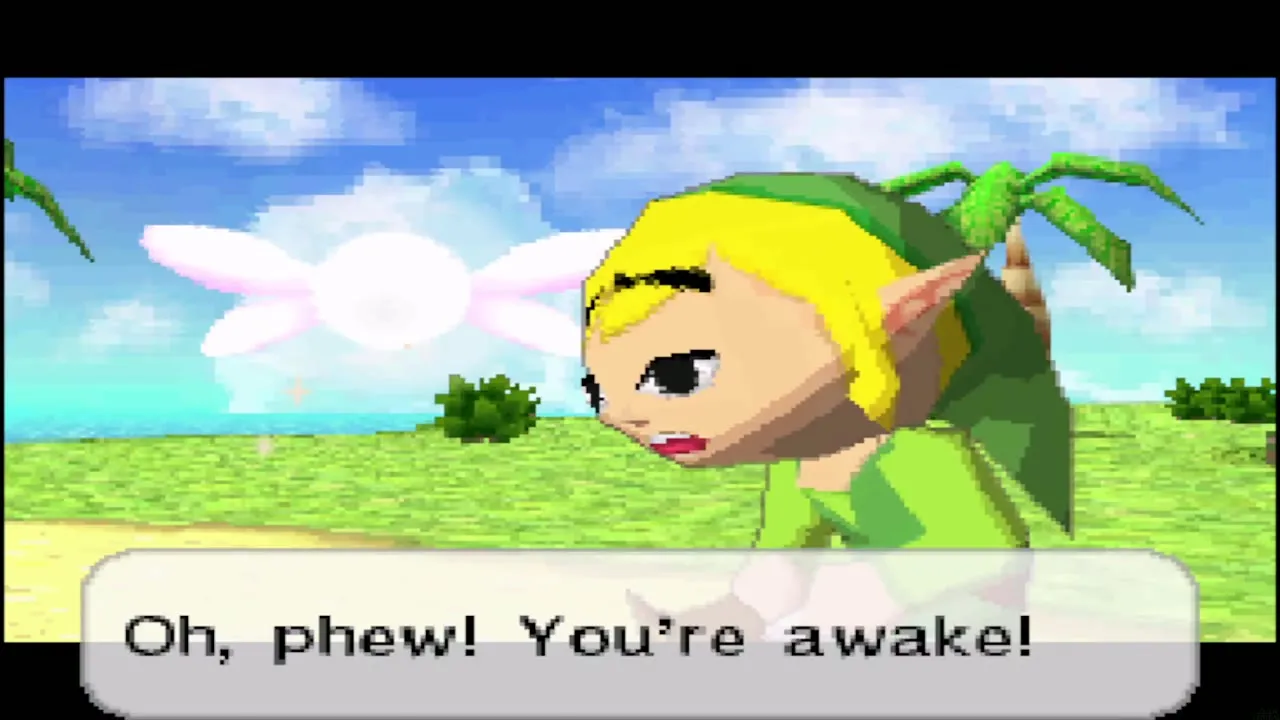
Table of Contents
The beach and Oshus’s house
First steps with Ciela
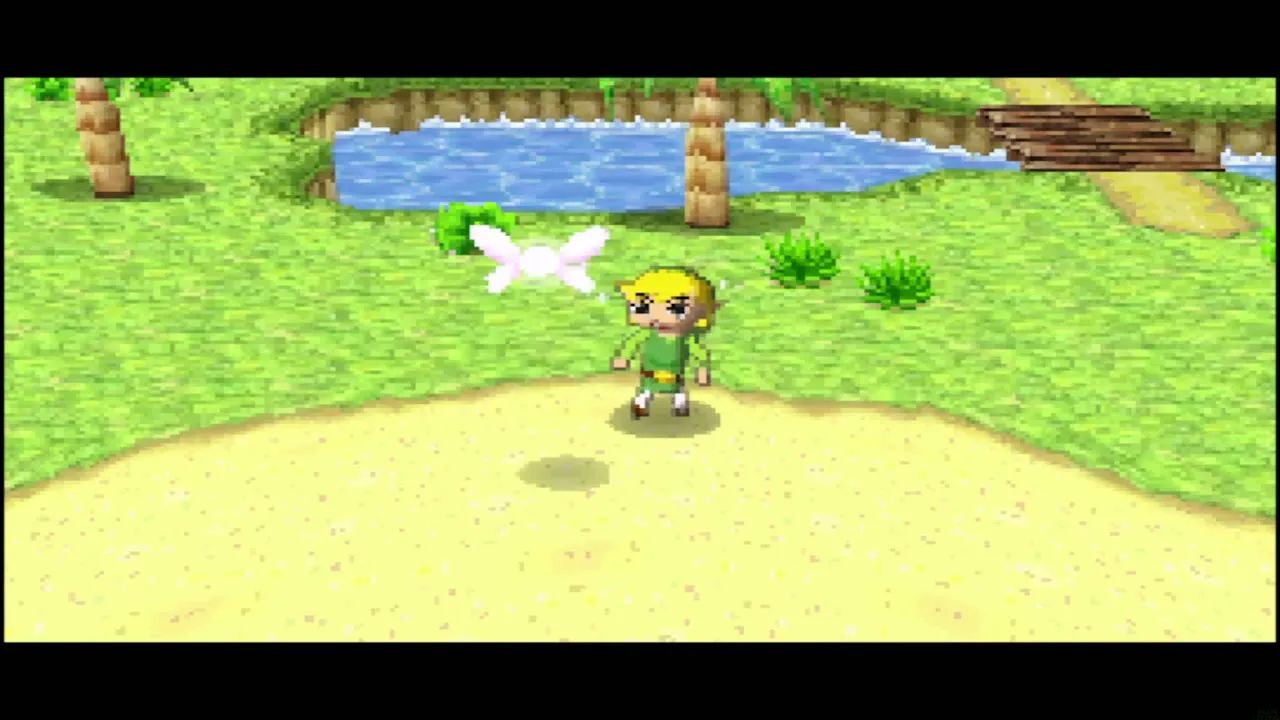
You wake on the beach with the fairy Ciela beside you. Tap the ground where you want Link to walk, and tap people, signs and barrels to talk to or lift them. Follow the path up from the beach to the house on the hill. Ciela’s grandfather Oshus lives there and tells you the sailor Linebeck can explain the Ghost Ship, and Ciela decides to tag along.
Clear the farmer’s rocks for a green Rupee
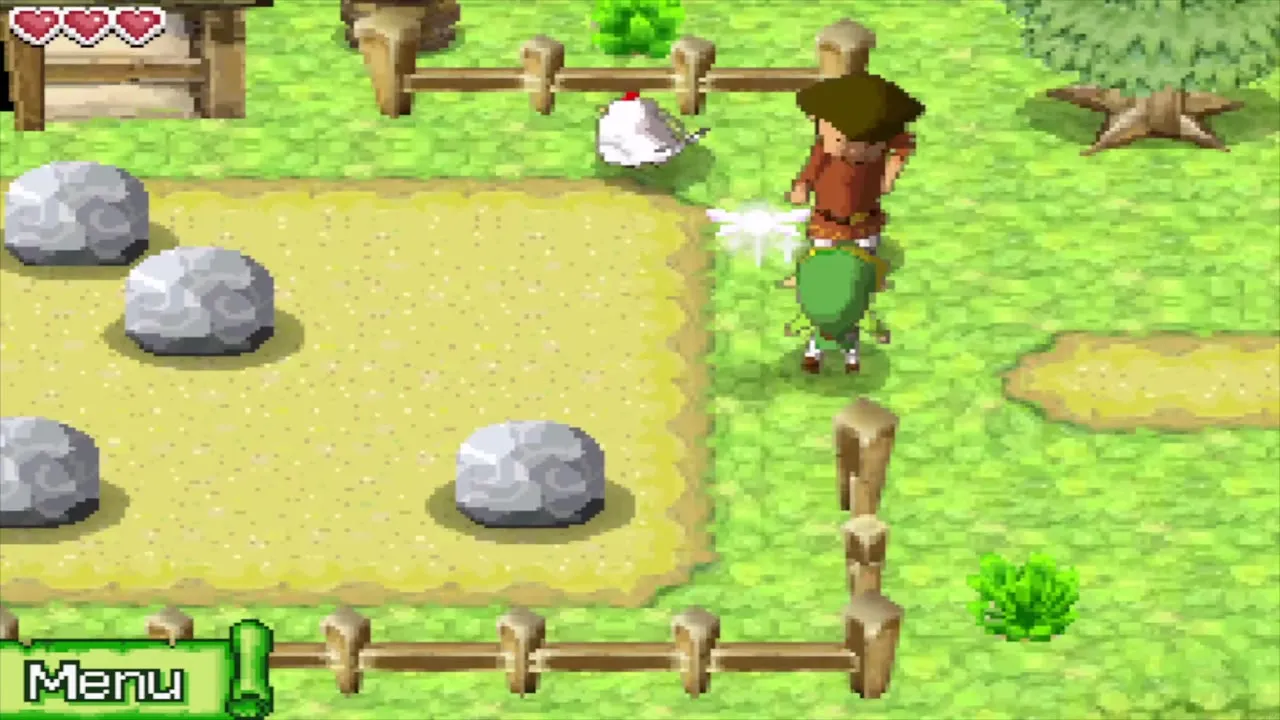
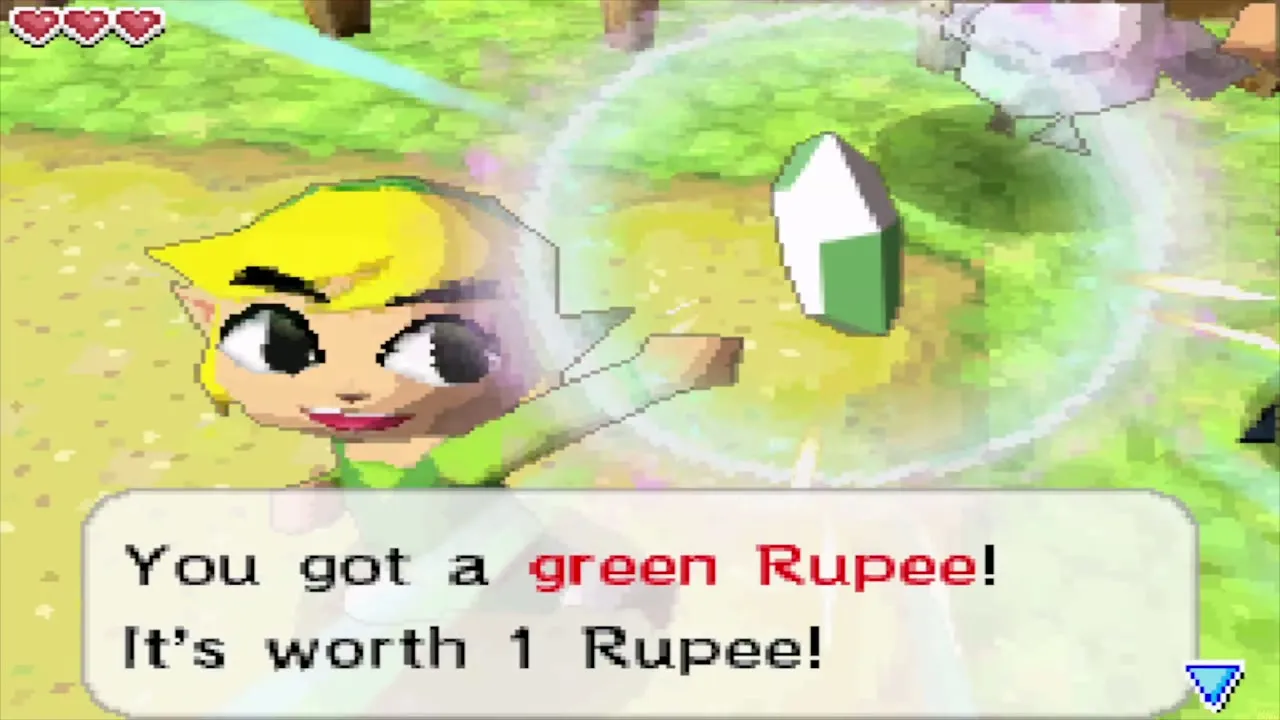
Before you leave the village, find the farmer whose garden was littered with rocks by an earthquake. Tap a rock to pick it up, then tap where you want it thrown, and clear the patch. He pays you a green Rupee and passes on a tip about a tree marked on your map. Open the Menu, choose Map, and scribble the spot down; the same menu works for any note the game tells you to remember.

Why you cannot take the bridge
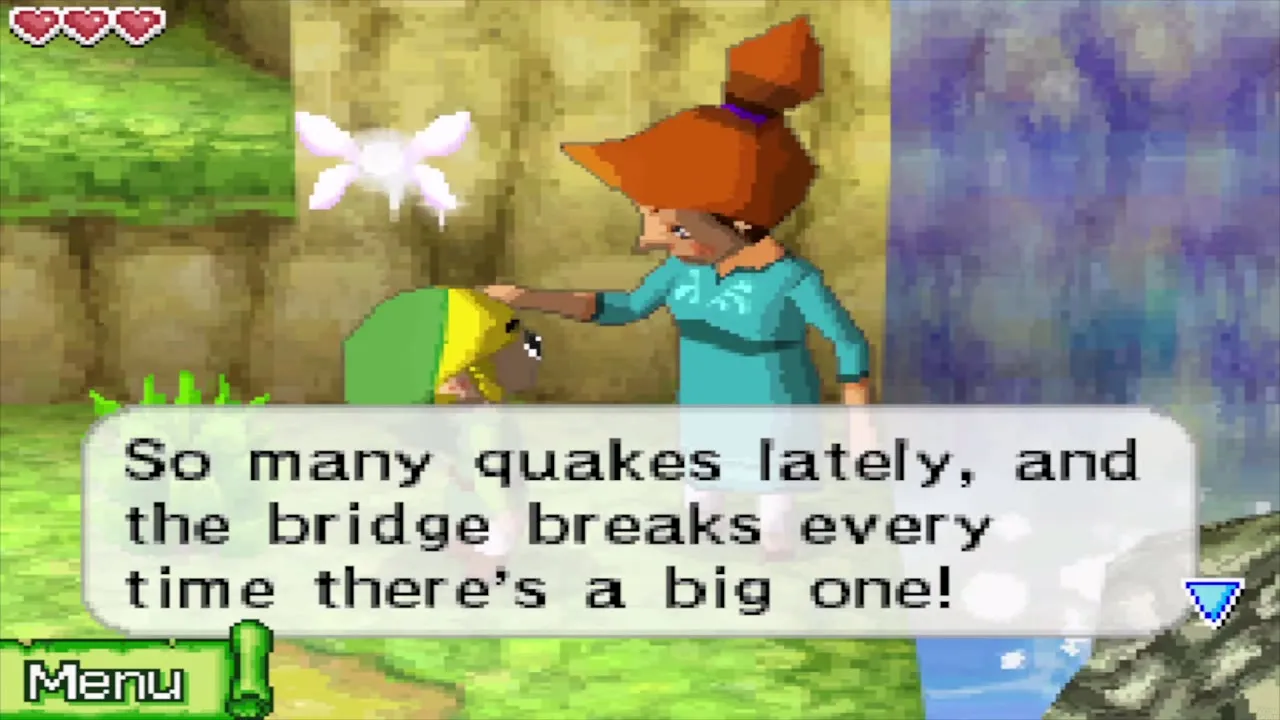
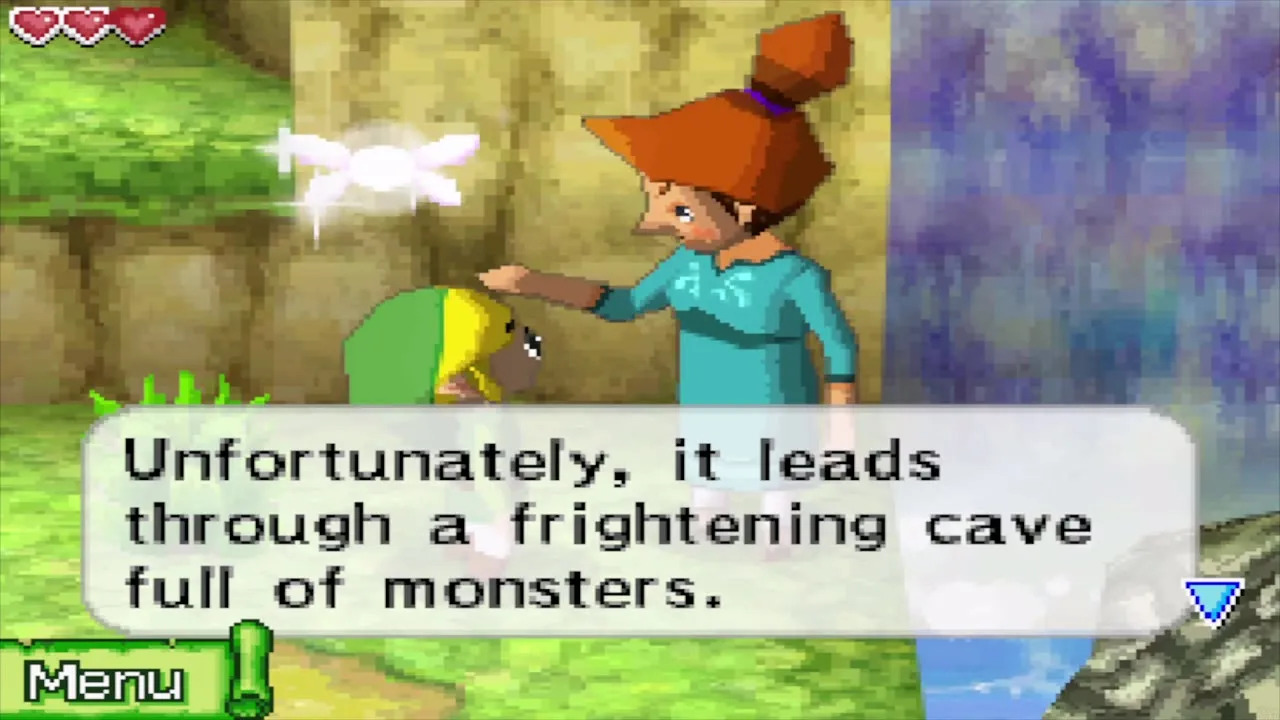
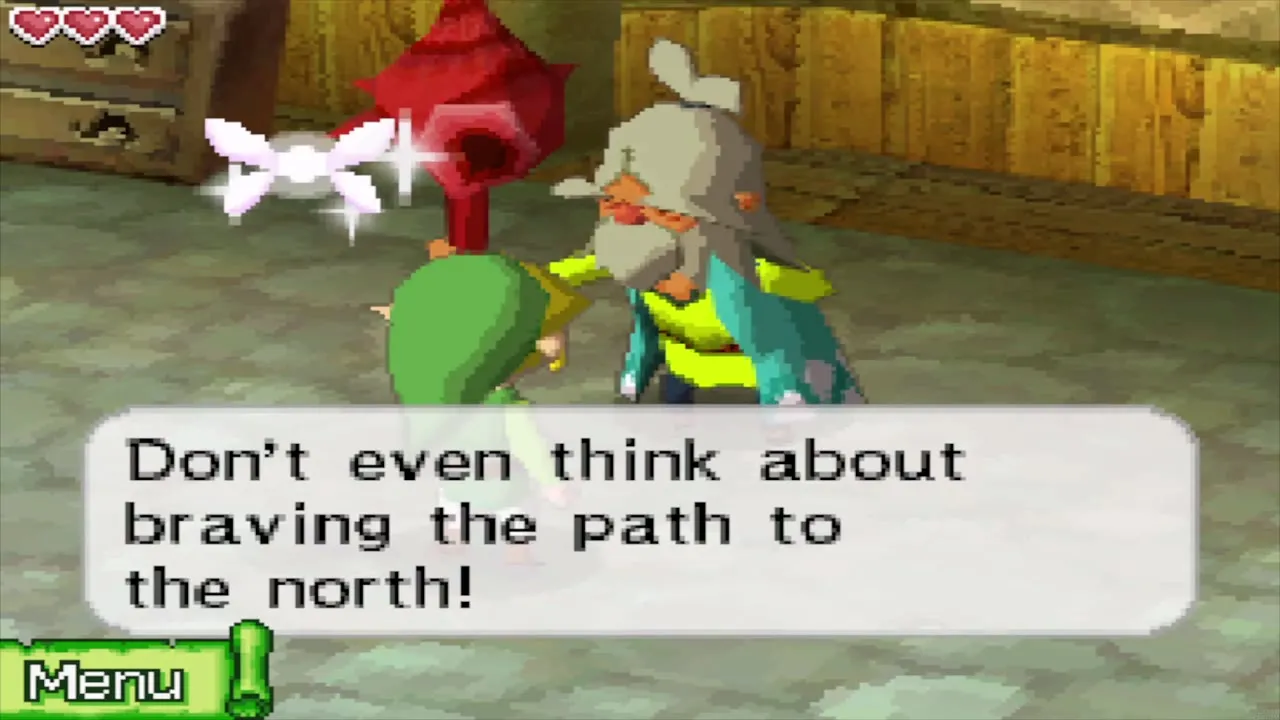
The way east to the port is a bridge, and an earthquake has just broken it. The villagers and Oshus tell you to wait for a repair, and Oshus forbids the other route, a cave to the north full of monsters. You are going to take that cave anyway, but you need a weapon first.
How to get Oshus’s Sword
The palm-tree sign
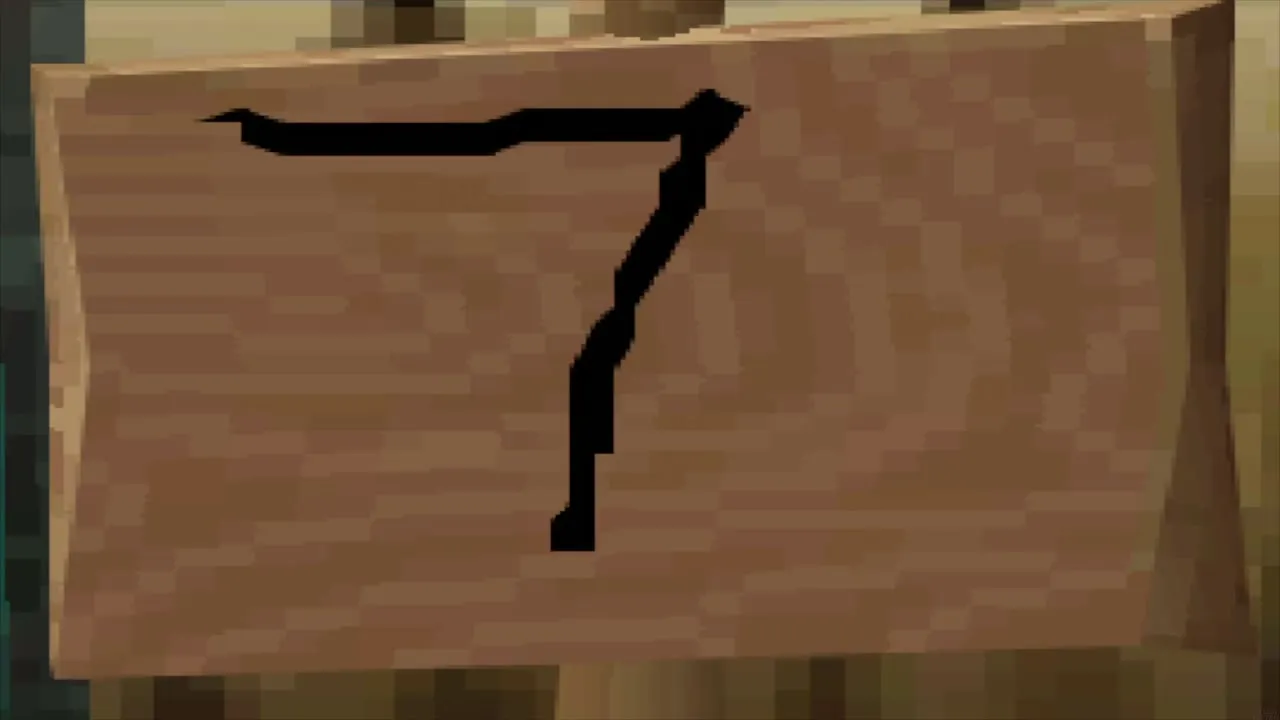
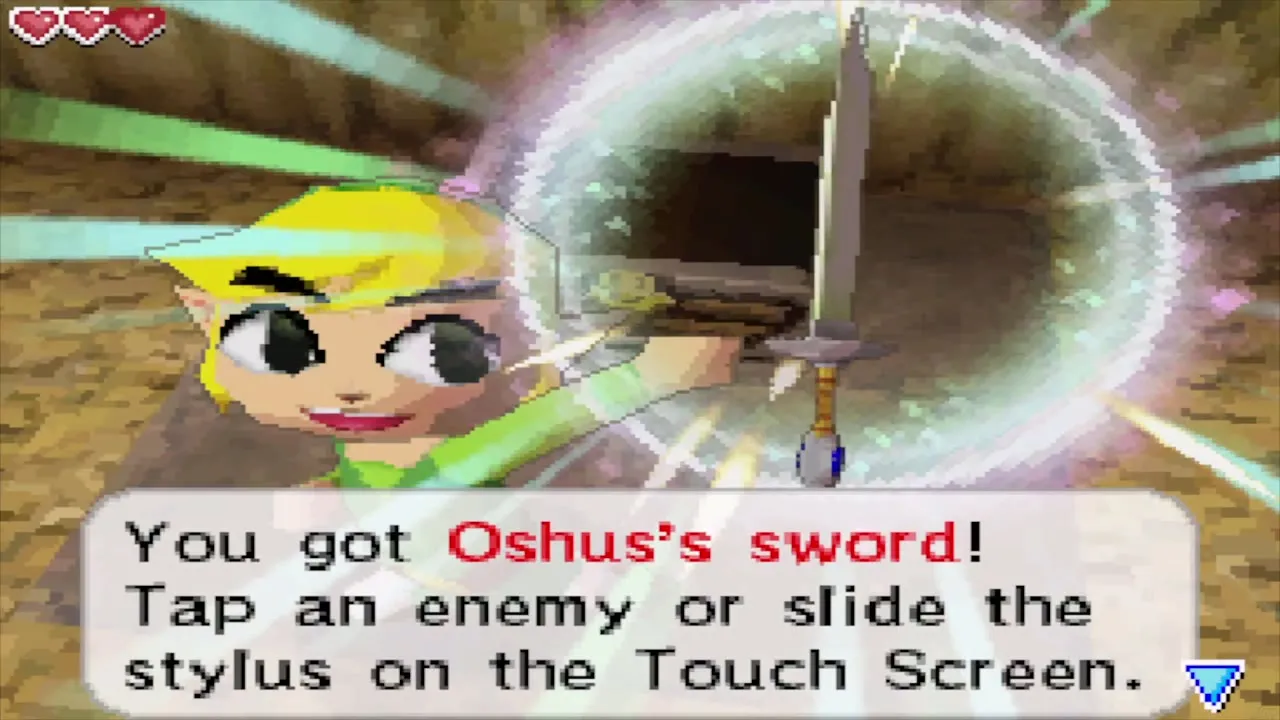
Walk to Oshus’s storehouse, the cave beside his house; a barrel blocks the entrance, so lift it out of the way. Inside, a wooden sign beside a stone door asks you to write the number of palm trees on the beach where you landed. Touch the sign and draw a 7 with the stylus; the door opens. Cross the little wooden bridge in the back room and open the chest to take Oshus’s Sword. Tap an enemy to lock on and attack, or slide the stylus across the screen to slash.

Sword training with Oshus
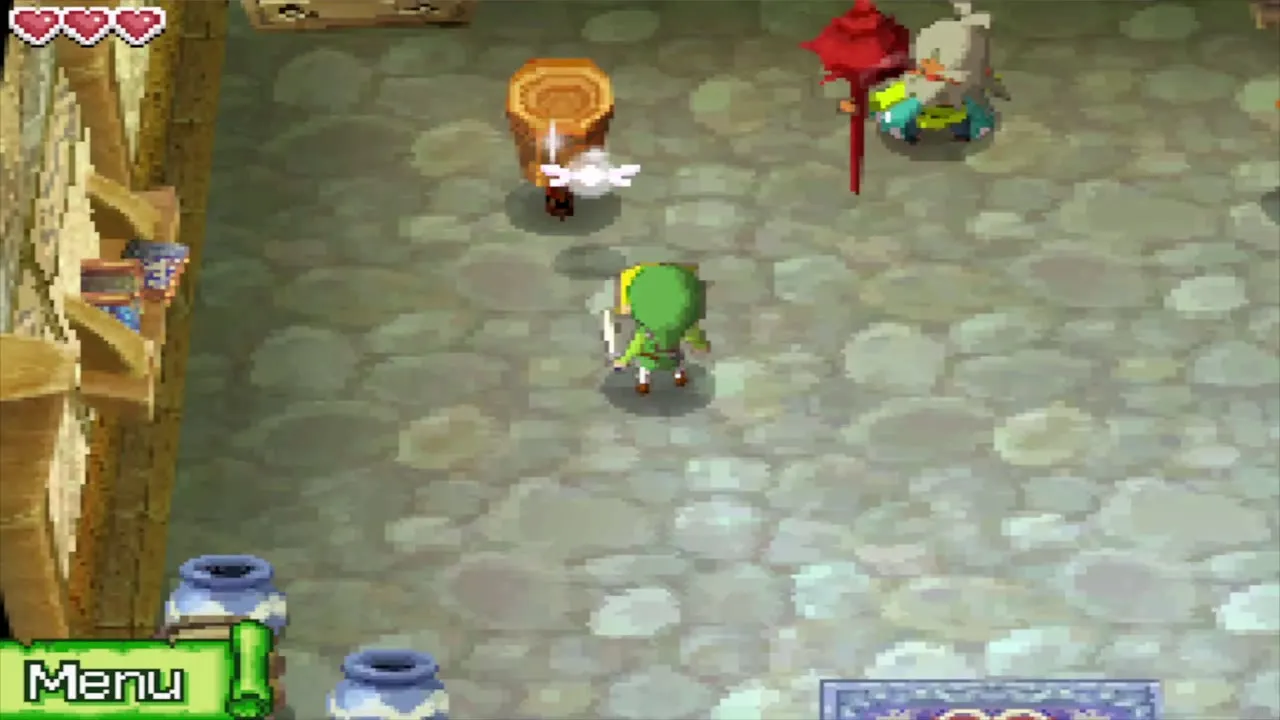
Oshus catches you with his sword and, rather than take it back, decides to teach you. Return to his house and practise on the targets in his yard. Tap a target to lock on and strike it, use the side slash by sliding the stylus when locking on is awkward, and draw a big circle around Link for the spin attack. Complete all three drills before you leave.


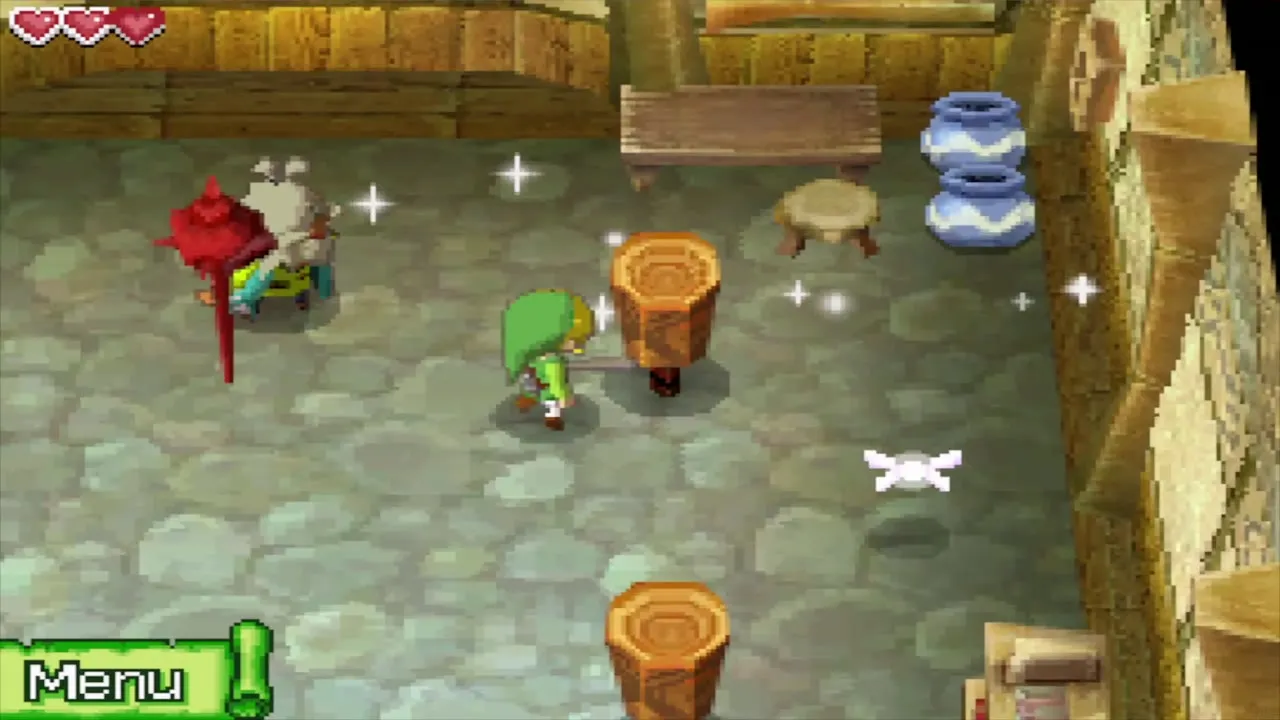
Mountain passage to Mercay village
Red Chuchus, rocks and the first key
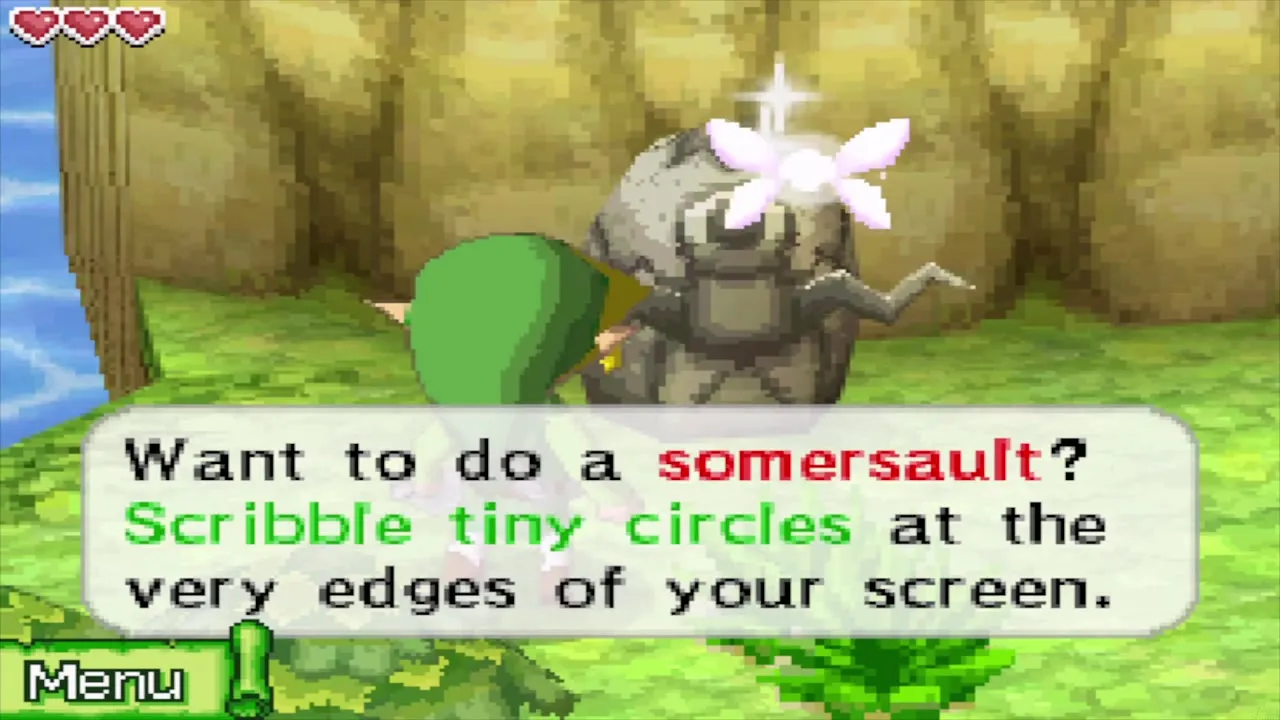
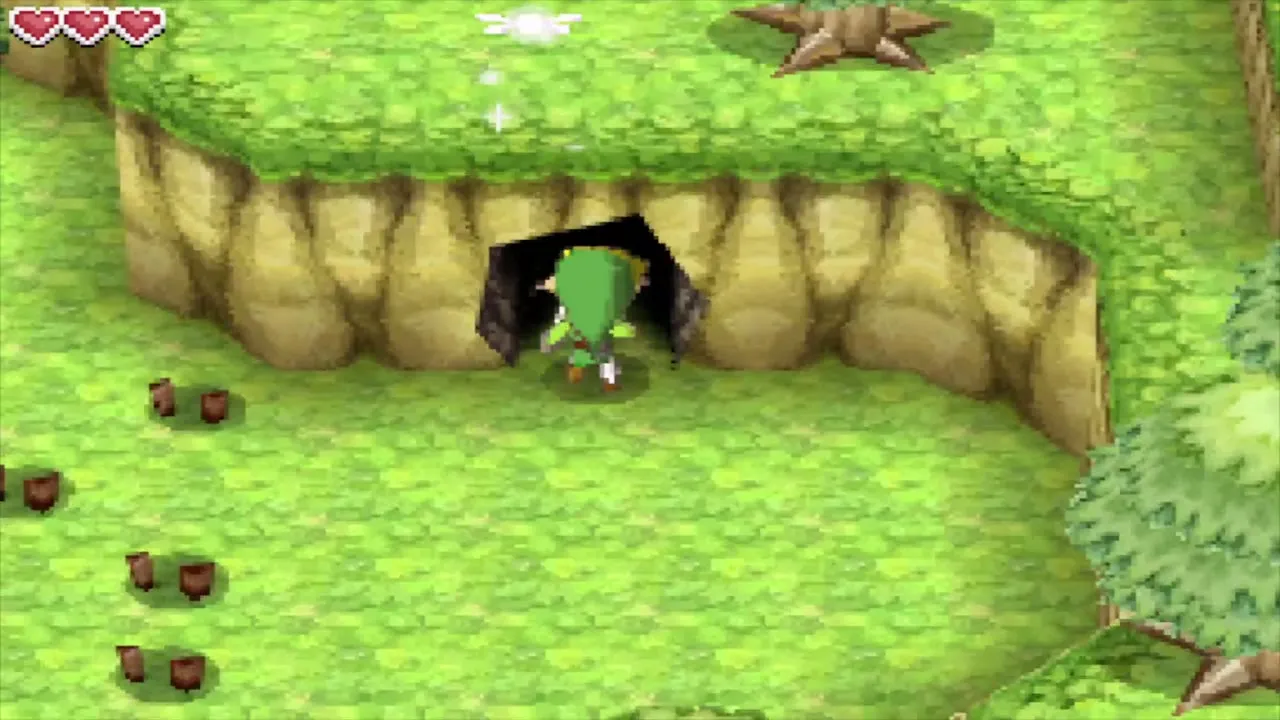
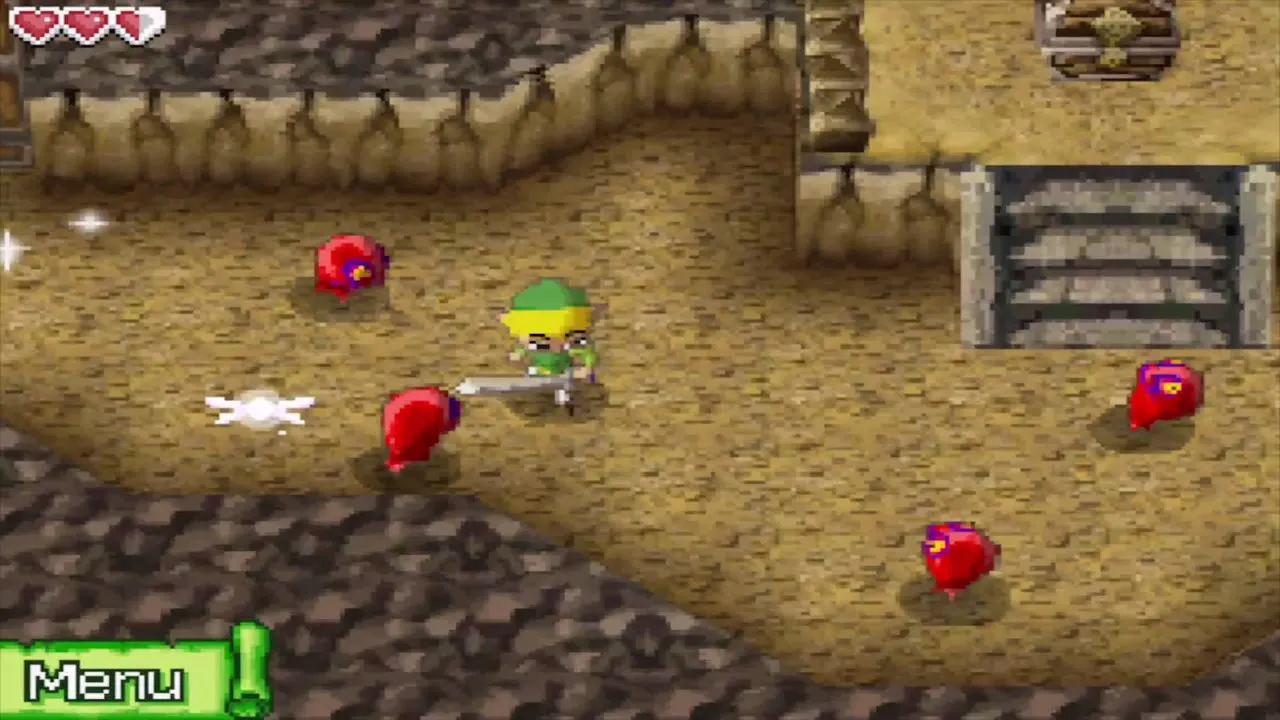
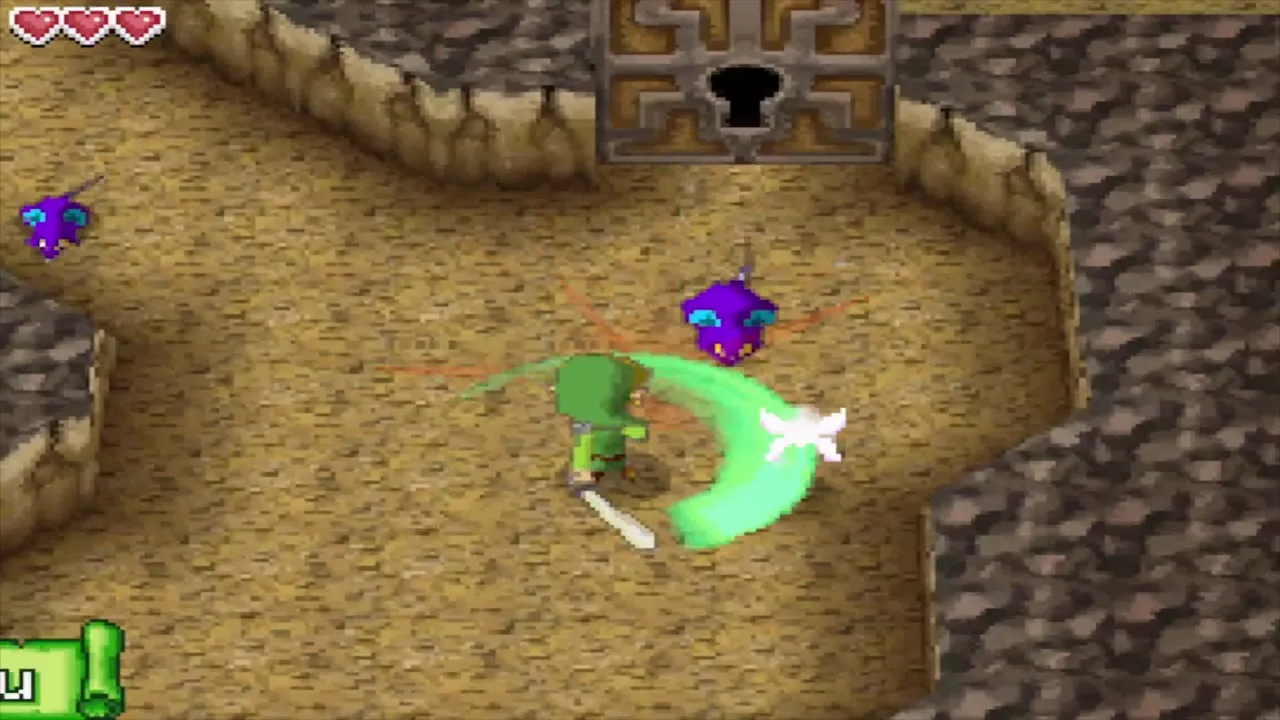
Take the road north of Oshus’s house. A Boing Statue beside a big tree teaches the somersault: scribble tiny circles at the very edges of the touch screen to roll, and roll into the tree to shake a red Rupee loose, but do not roll too long or Link gets dizzy. Then enter the cave in the rocky ravine, the Mountain Passage. Cut the grass on the way, lift the rocks that block the path and kill the Red Chuchus and Keese. A locked stone door stands inside. The first small key is in a chest on a raised platform beyond the rocks, so open it and use the key on the door by touching the lock.


The four-lever puzzle
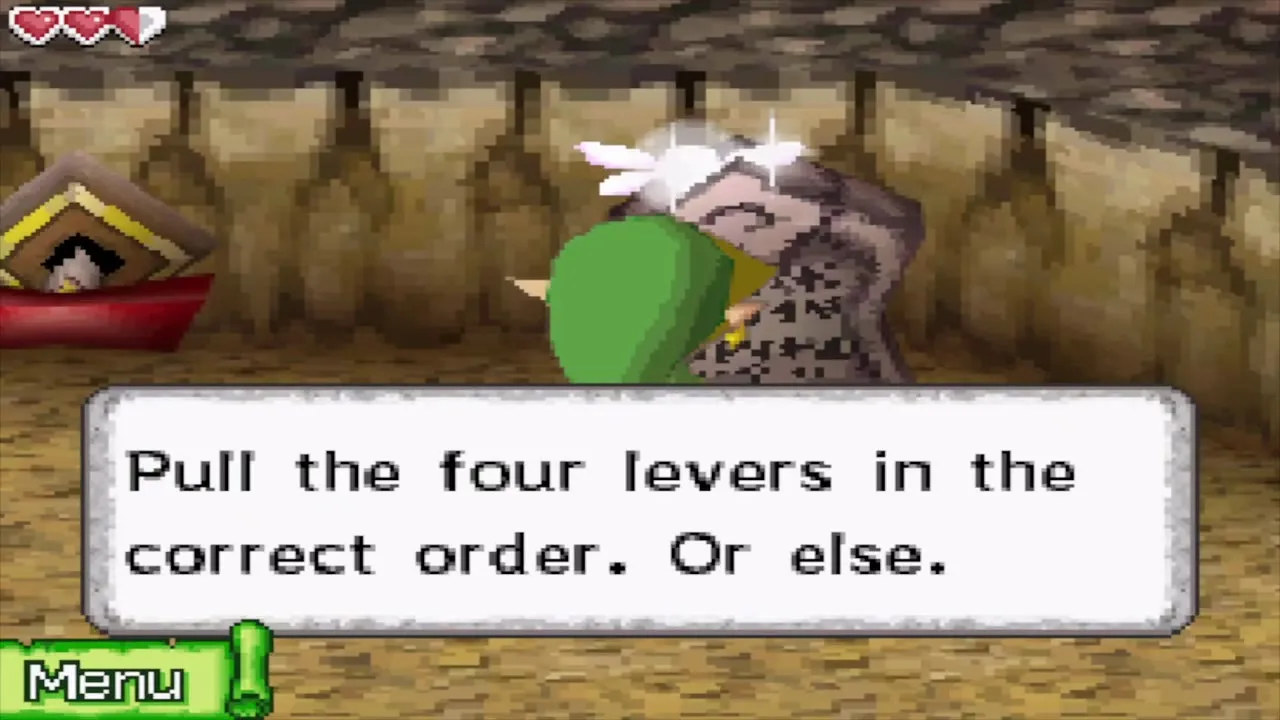
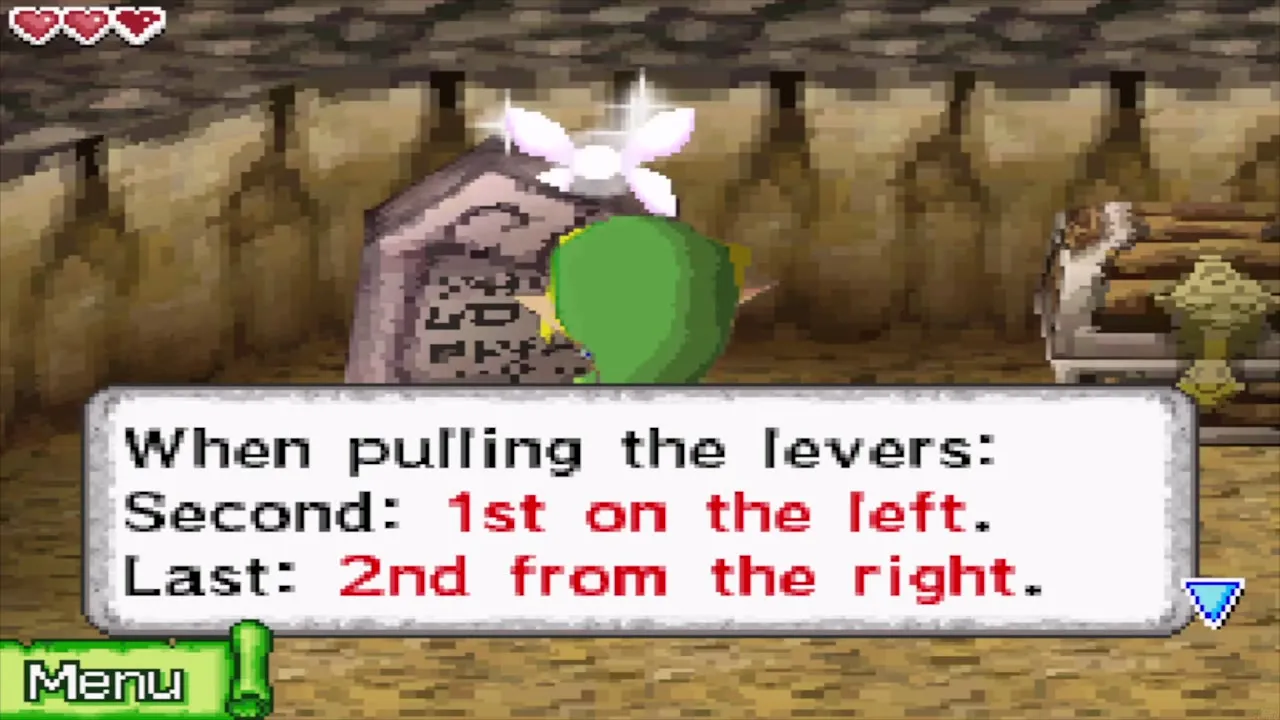
The next big room has four levers and a warning to pull them in the right order. Read the stone tablets in the side rooms first: they give the clues, “second from the left” first, “first on the left” next and “second from the right” last. Number the levers 1 to 4 from the left and pull them in the order 2, 1, 4, 3. If you want to remember it, scribble 2143 on the map.

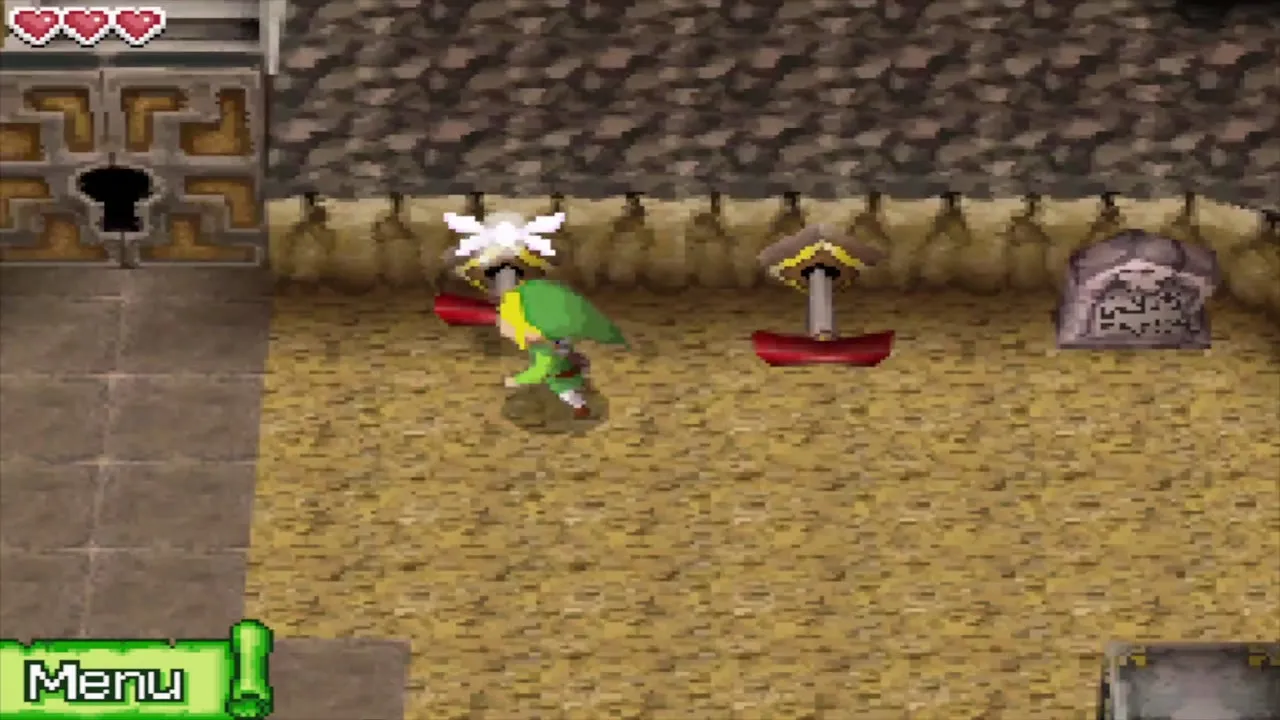
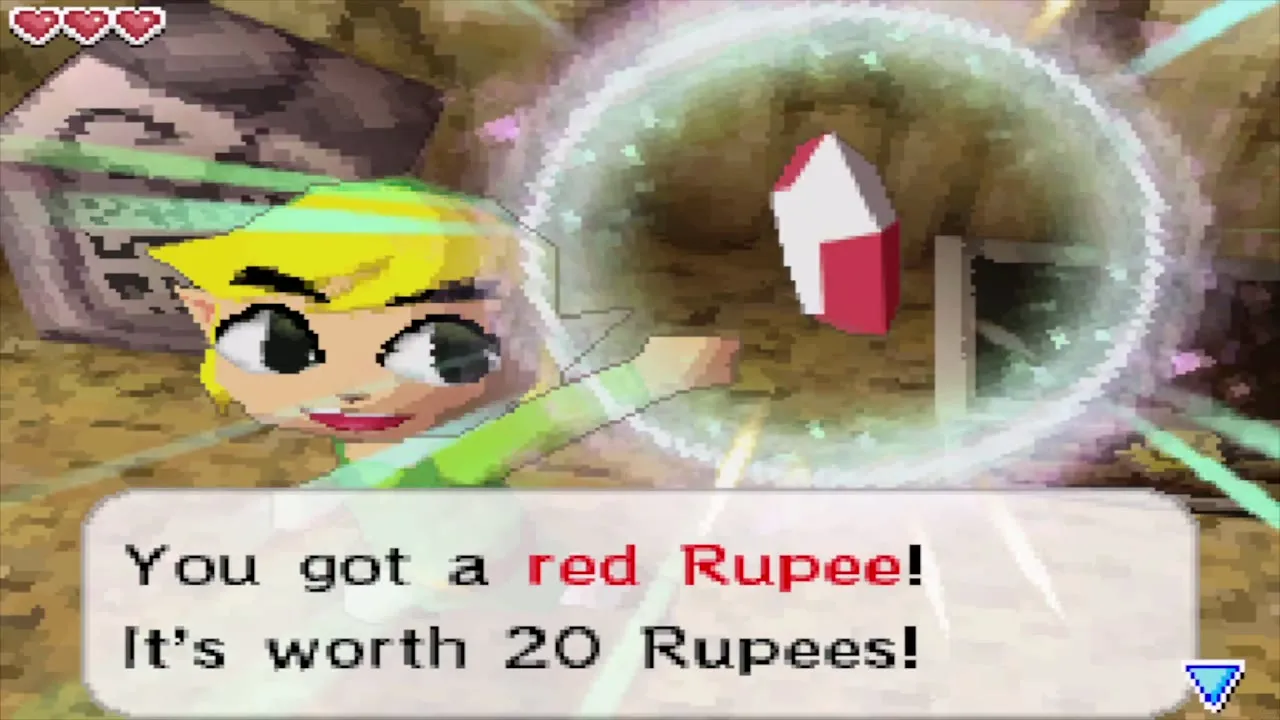
A chest in the room to the east holds a red Rupee, worth 20, so take it before moving on. When the levers are right, a small key drops. If you pull them in the wrong order, Ropes fall from the ceiling instead. Use the key on the next locked door to climb to the second floor of the passage.

Catch the rat that carries the key
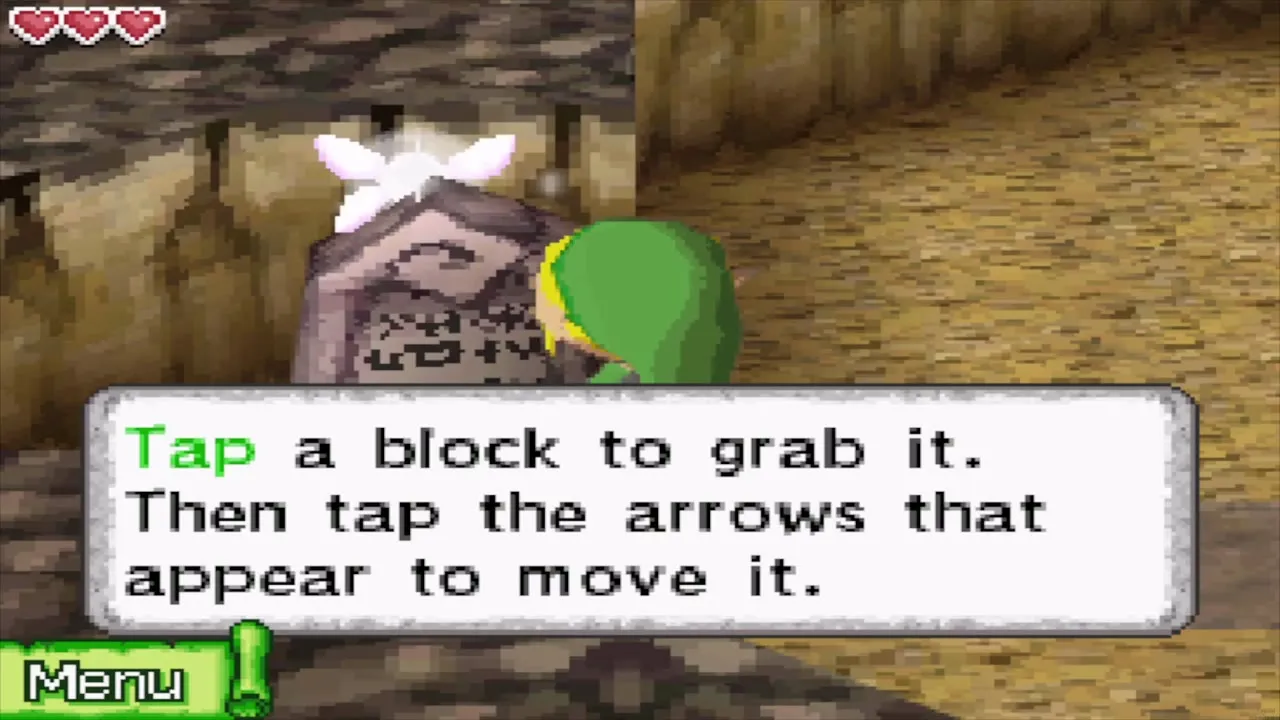
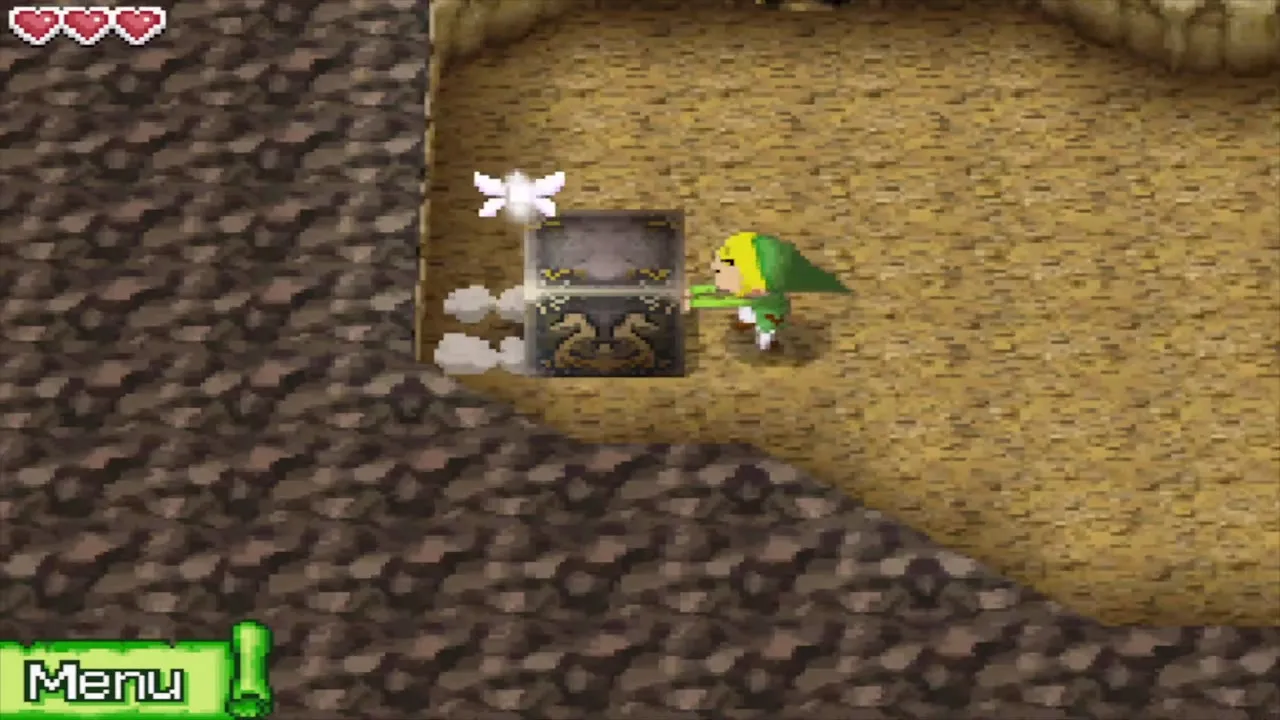
The second floor holds Rats, and one of them carries a small key as it runs around a small tunnel. Grab a block by tapping it, then tap the arrow that appears to push it, and push a block at the far end of the area into the tunnel to trap the rat. Strike it and it drops the small key that opens the last locked door. Beyond that the passage leaves the mountain and comes out above the Milk Bar in Mercay village.
Mercay village: shop, Milk Bar and dock
The port and the town
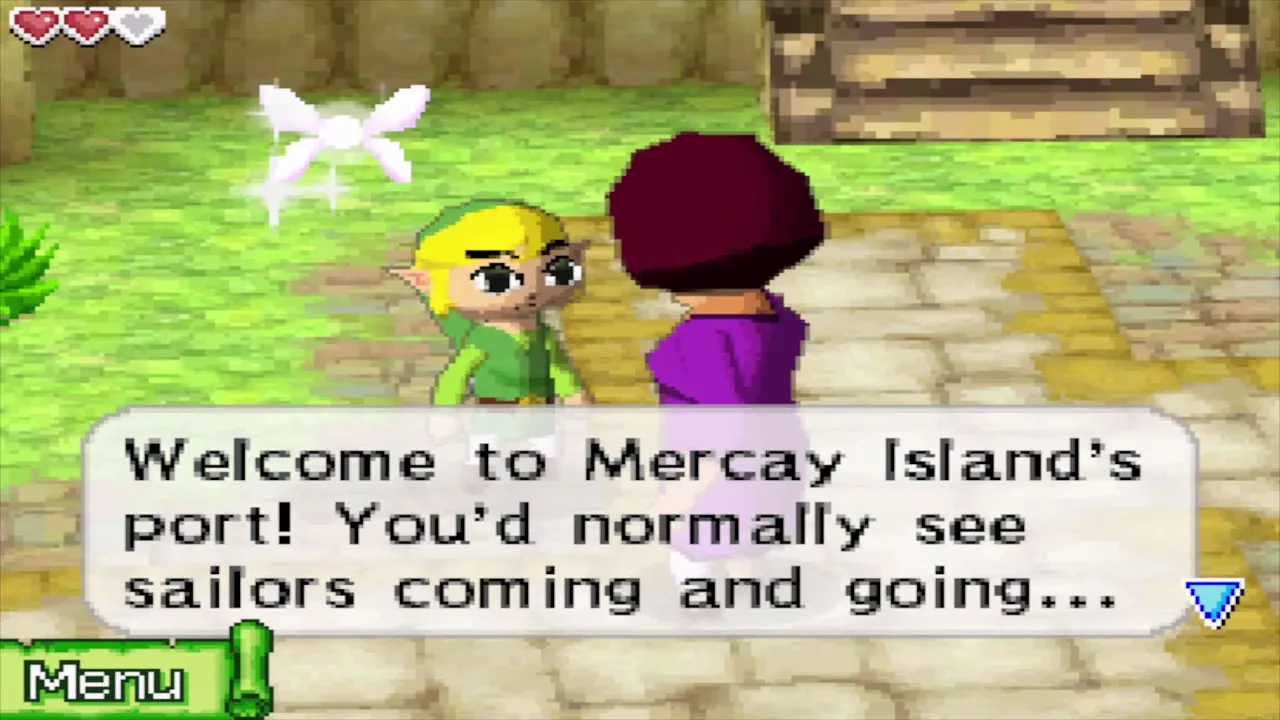
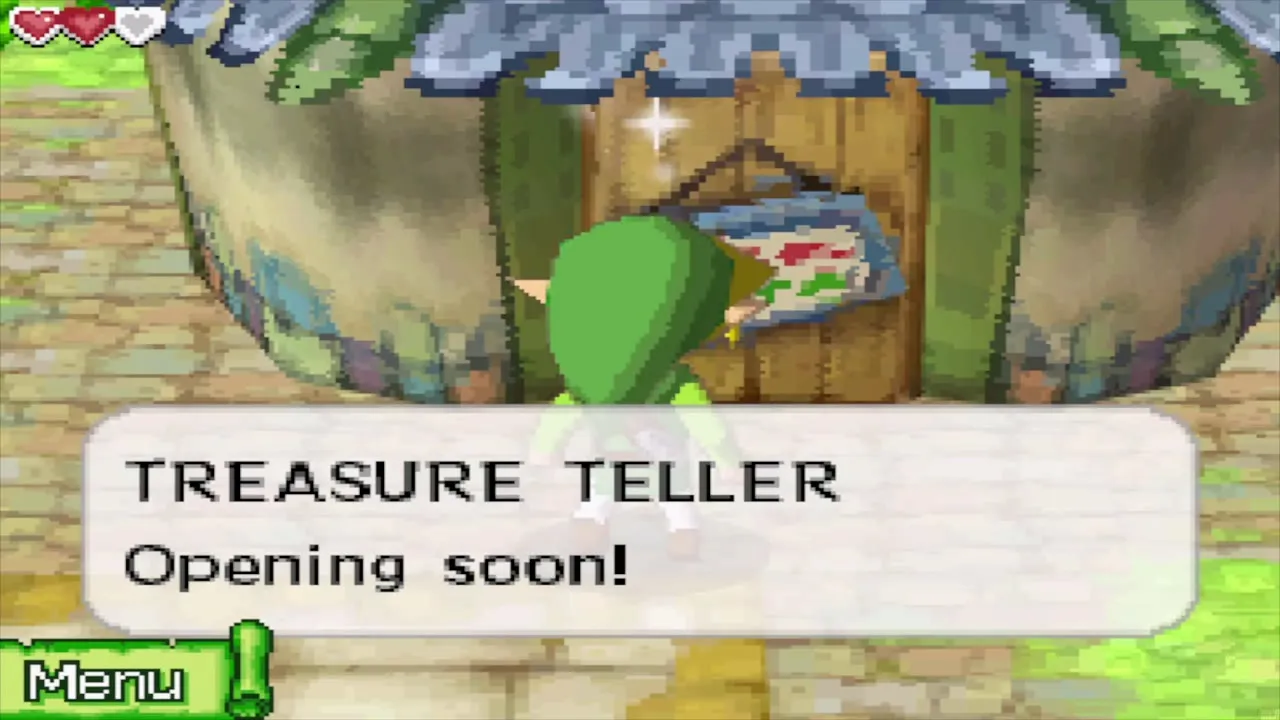
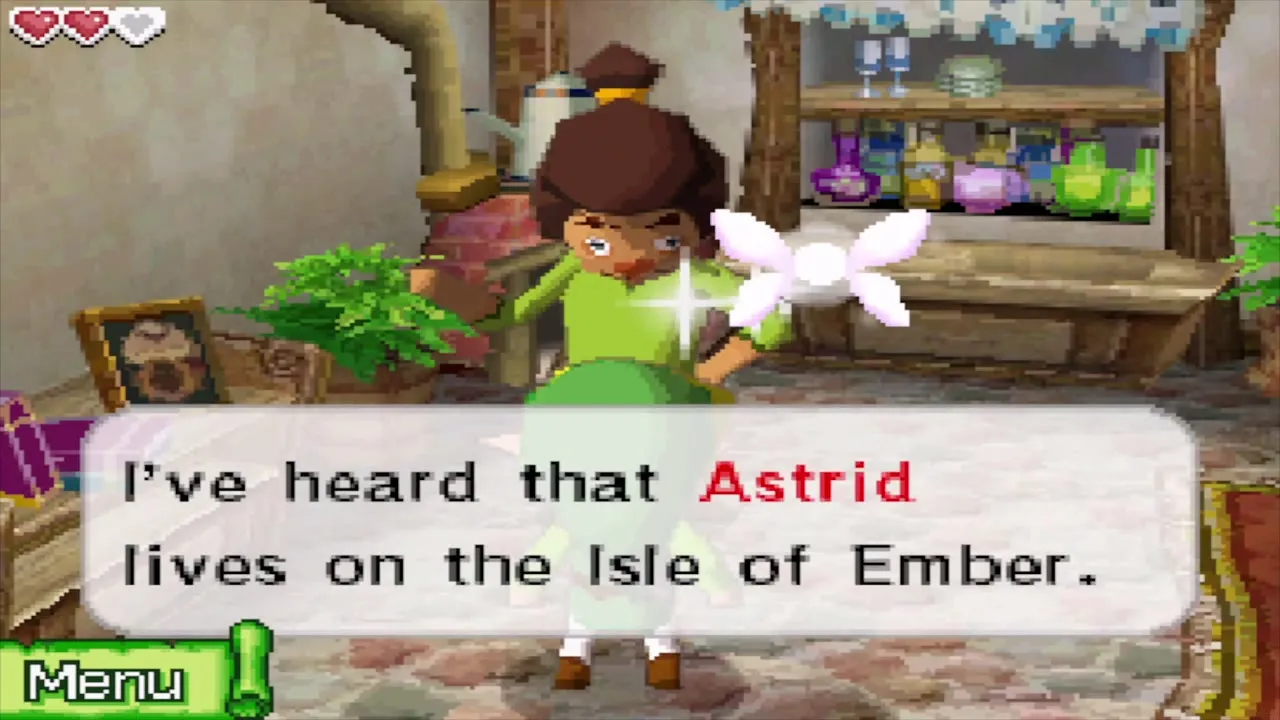
The village is quiet because the Ghost Ship rumours have scared sailors away. A sign by the port announces that the Treasure Teller is opening soon, which you cannot use yet. Most villagers only gossip, but Ojibe, in his house, asks whether you know of the fortune-teller Astrid; she lives on the Isle of Ember, which you will visit shortly.

Buy the Wooden Shield
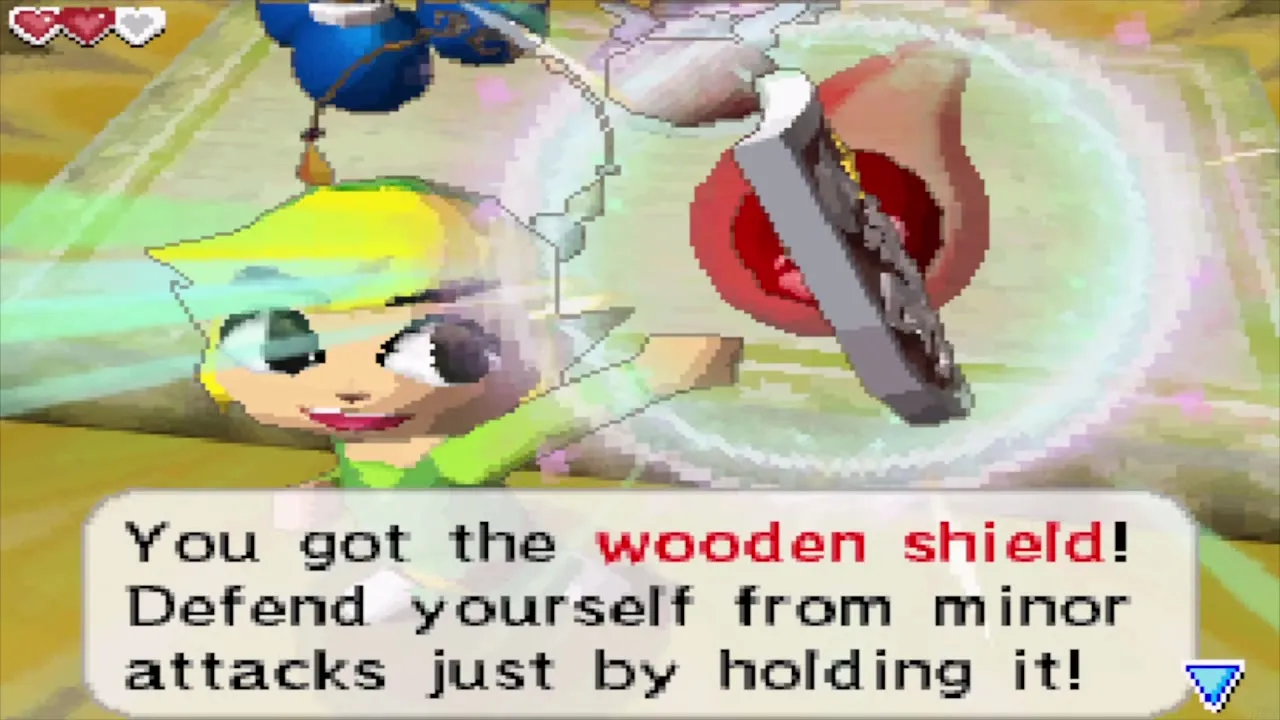
Enter the shop tent on the edge of town and tap the Wooden Shield for 80 Rupees. Hold the shield up to block light attacks. The rest of the stock is optional: a Red Potion costs 50 Rupees and heals six hearts, the shop also offers one random treasure (a Dark Pearl Loop at 80 Rupees on this visit), and a red gem at 500 Rupees is the shop’s Power Gem. Bombs are for sale too, 10 for 50 Rupees, but the shopkeeper will not sell them until you own a bomb bag.

The Ruto Crown chest
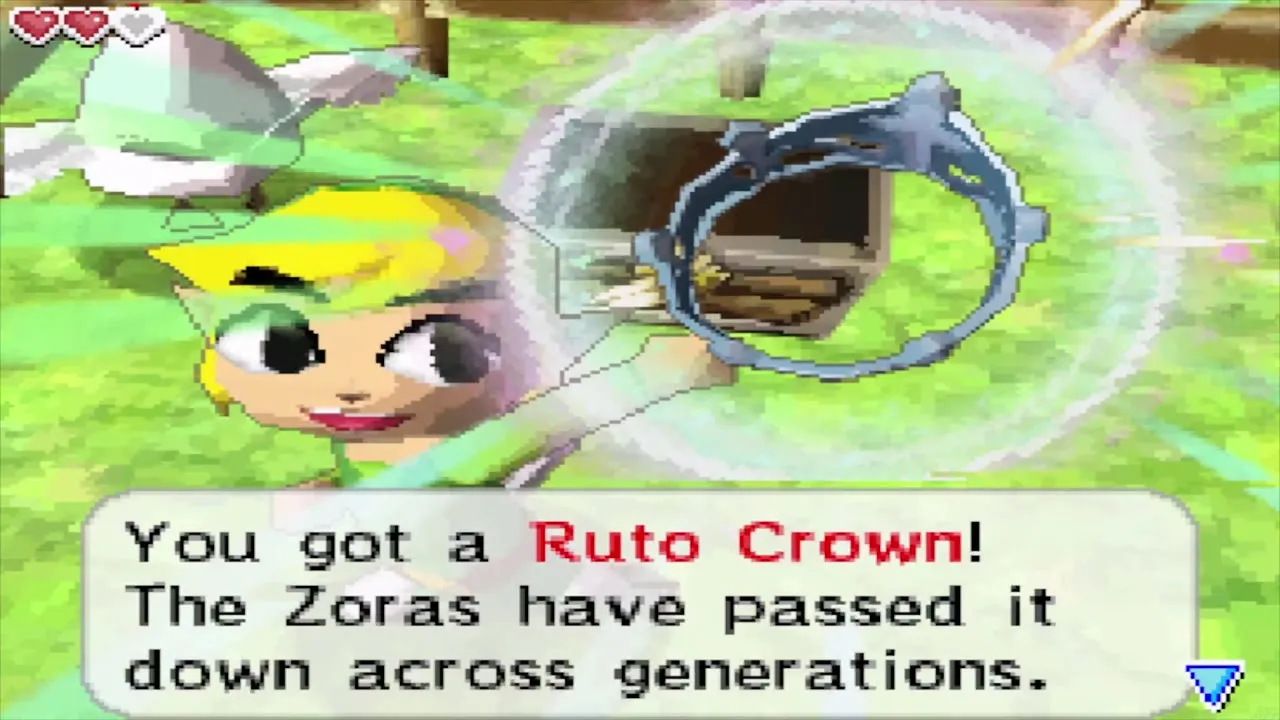
Walk to the pond in the village and open the chest beside it. The treasure inside is random; on this route it was a Ruto Crown. A treasure has no use of its own; it only becomes rupees once the Treasure Teller opens and you sell it there.

Ask at the Milk Bar
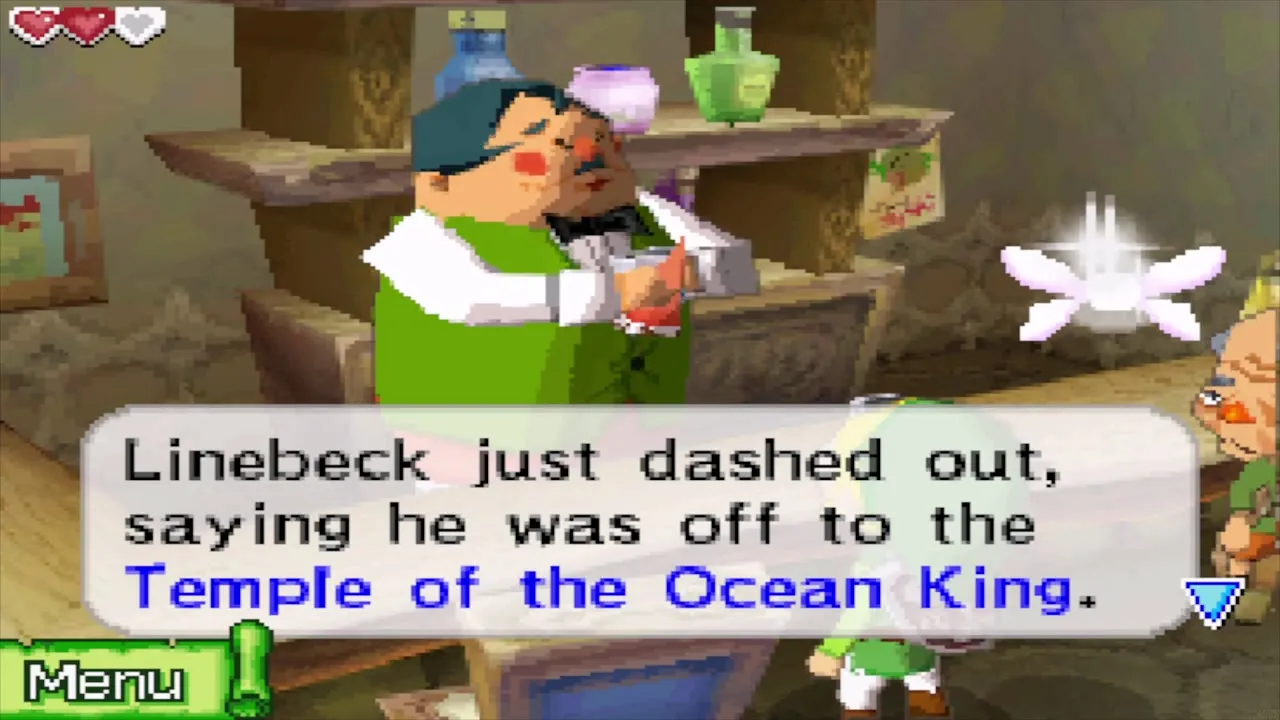
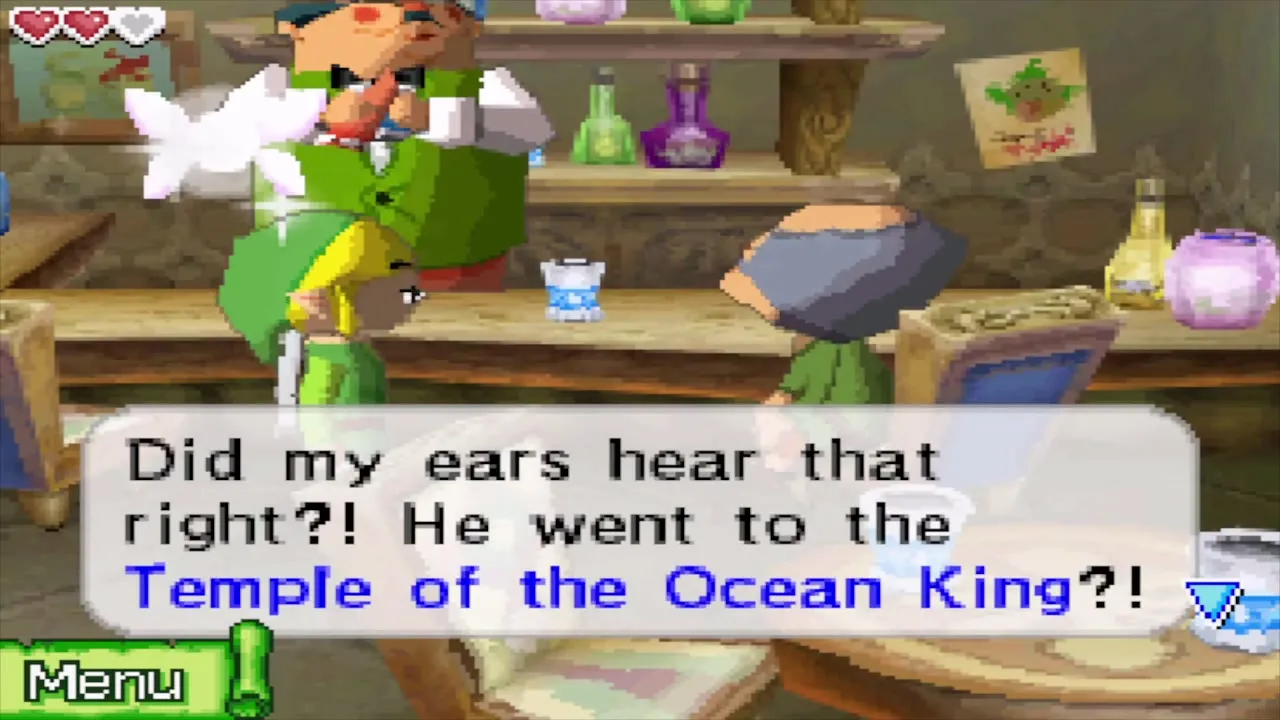
Linebeck is not at his ship on the dock. A sailor admiring the vessel says he usually drinks at the Milk Bar, so go inside and talk to the bartender. He tells you that Linebeck rushed off to the Temple of the Ocean King and marks the temple on your map, up on the hill.
Temple of the Ocean King: first floor
Reach the temple
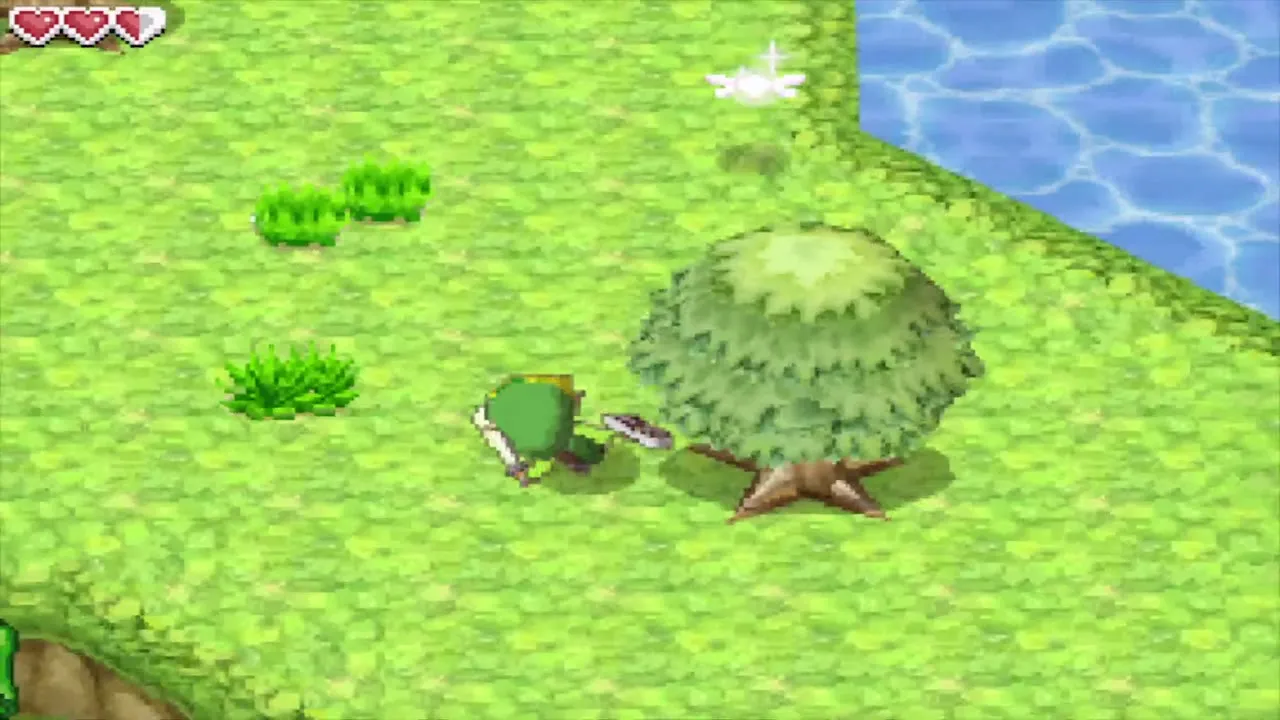
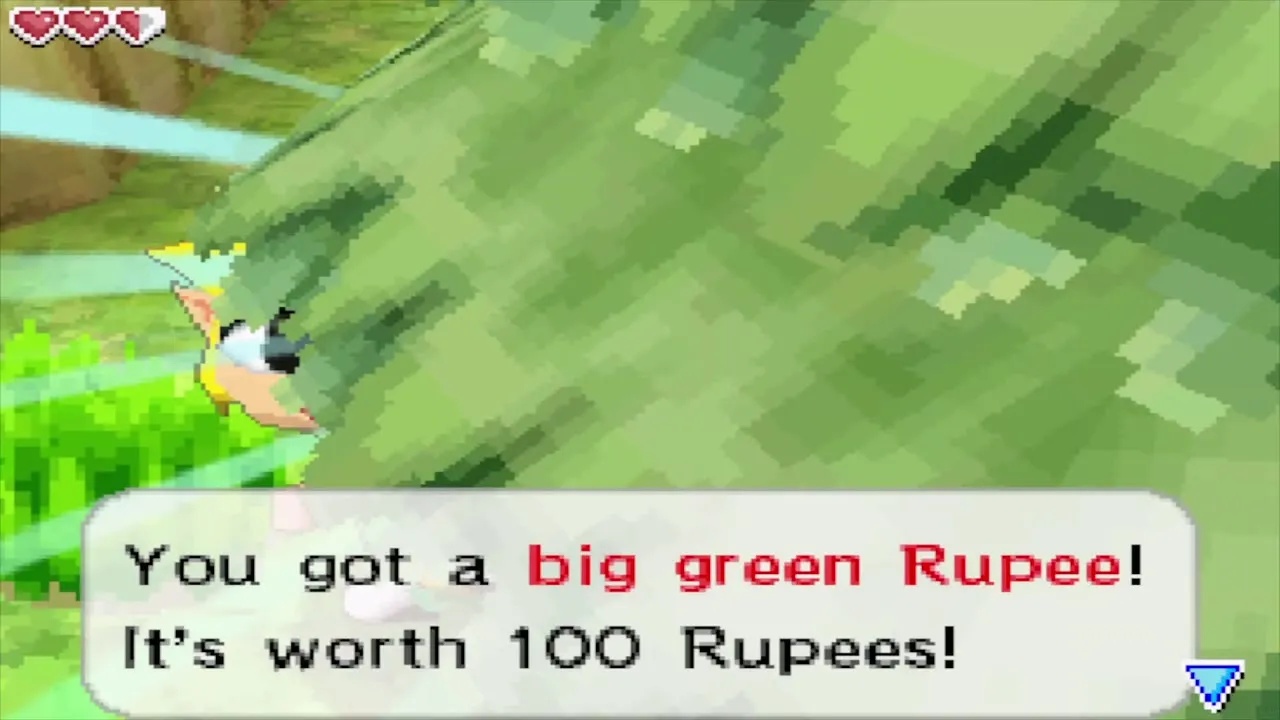
Follow the path out of the village through the grass and the woods up to the hill. The farmer’s tip marked a tree on your map in these North Woods: roll into it with the somersault and a big green Rupee worth 100 drops out. Climb the stairs at the end and walk into the temple.

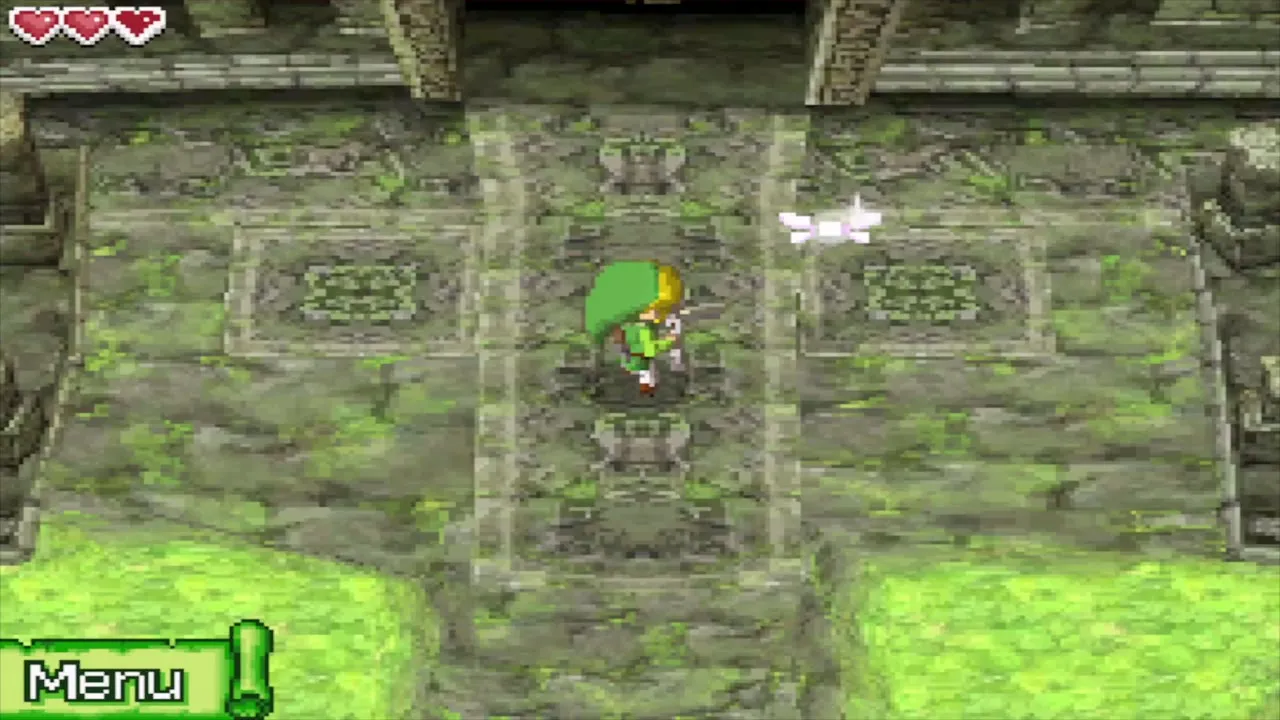
Safe zones and the curse
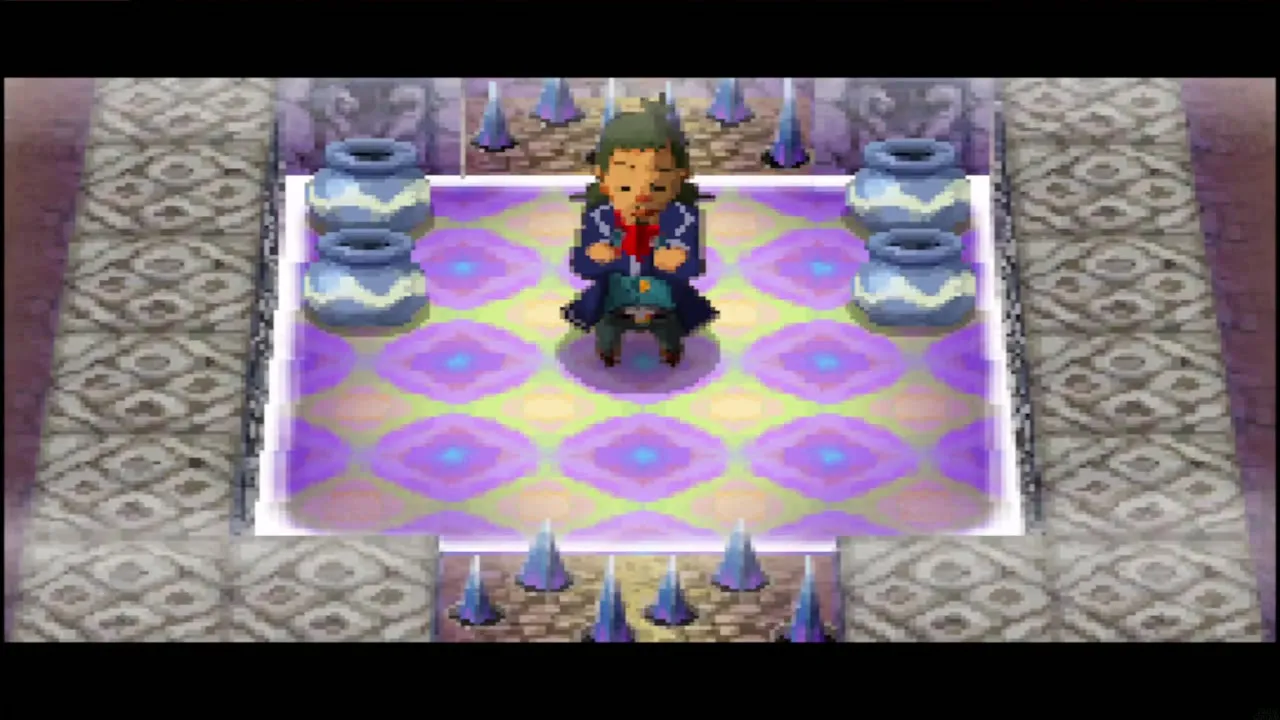
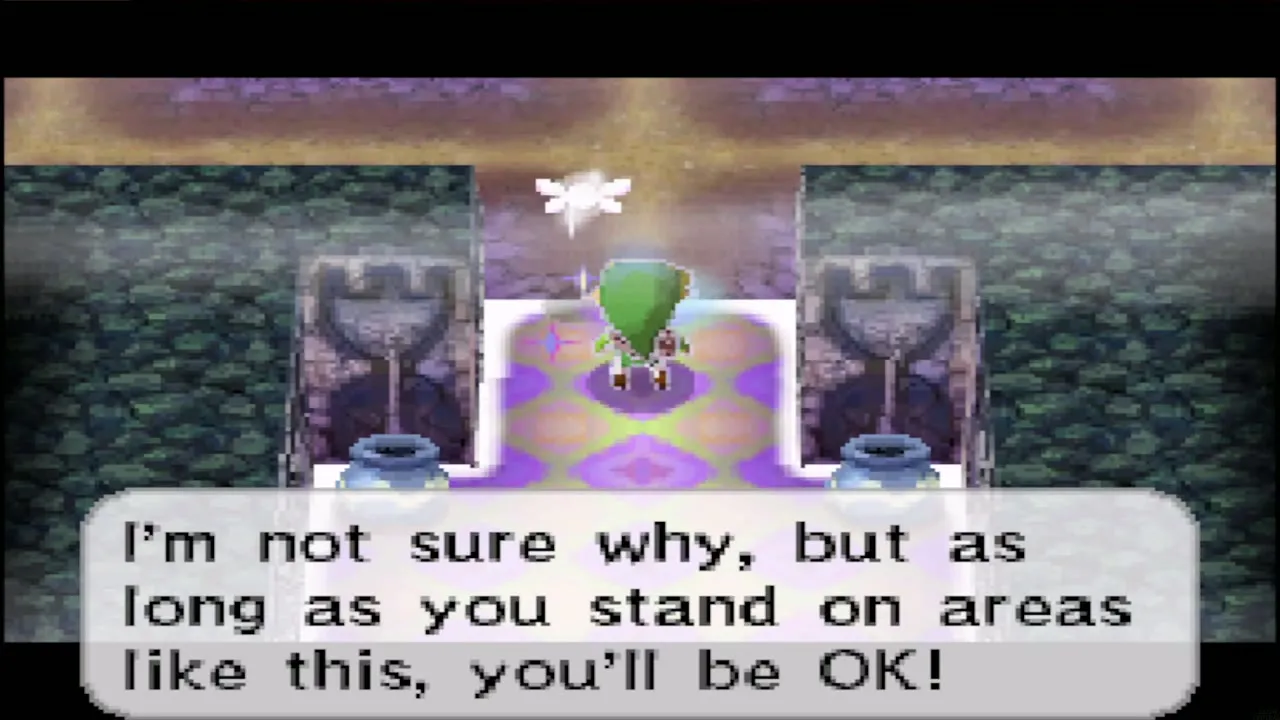
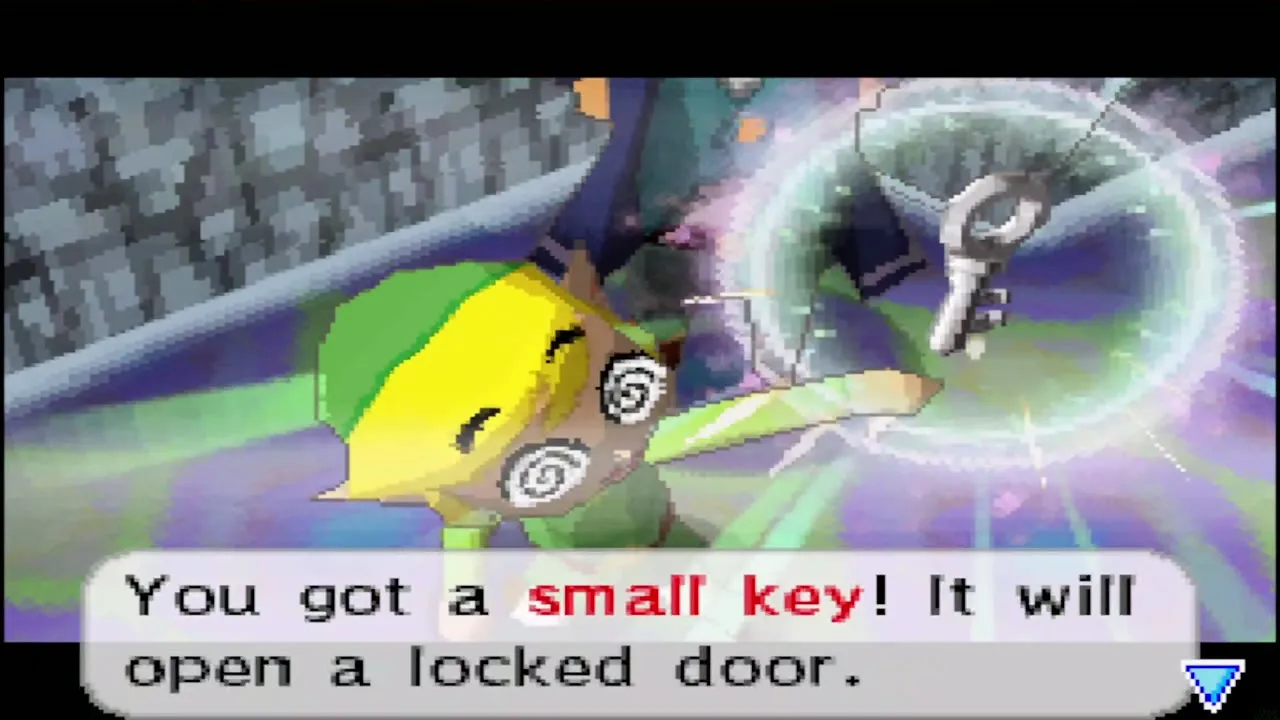
The temple saps Link’s life, so stay on the purple tiles of a safe zone whenever you can and check the map when you are unsure. Linebeck is trapped in a room just ahead, boxed in by floor spikes. Strike the shock switch in the safe zone just left of the big sealed door in the middle of the floor and the spikes retract. Linebeck dashes for the exit; follow him and he hands you a small key. Use it on the locked door in that same safe zone, which opens the way north. Break pots to refill your hearts between safe zones.

Open the chest for the sea chart
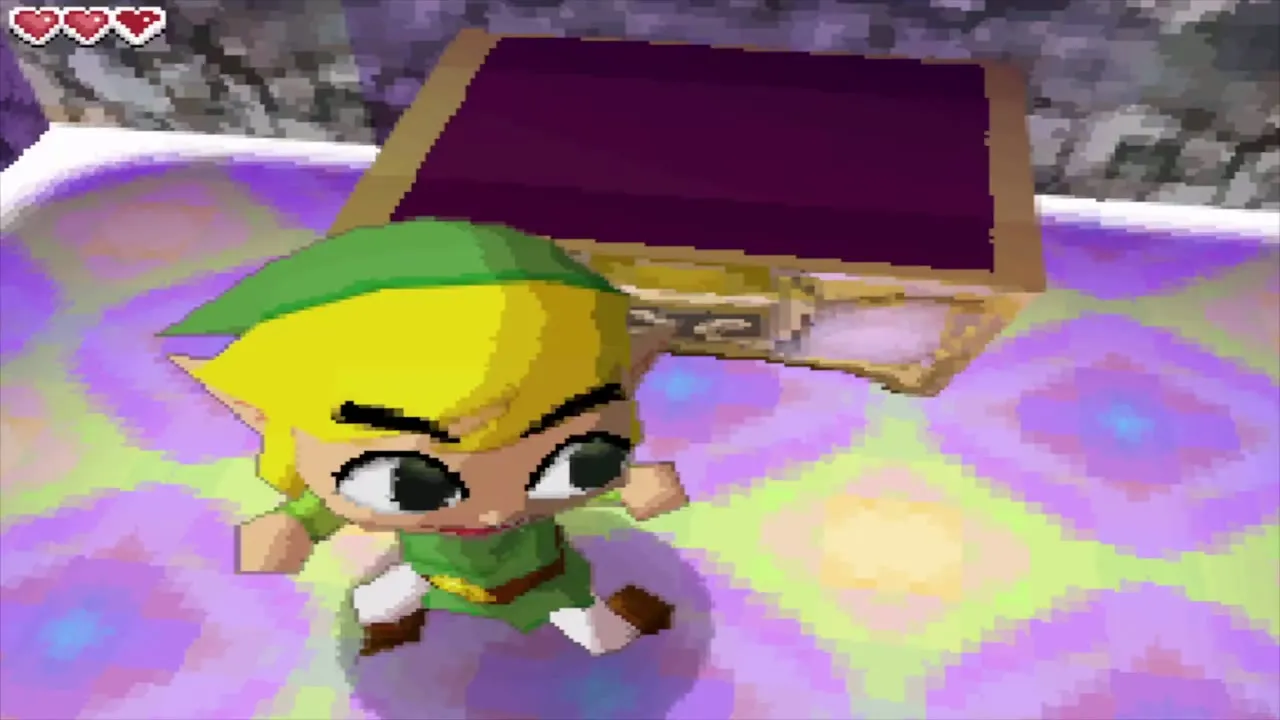
The north half has two shock switches in opposite corners of the maze. Strike one, then run to the other within about 15 seconds, and take the spiked hall, not the one with a trapdoor; hit both in time and the door to the north-centre room opens. The big chest you pass in the safe zone right of the sealed door is empty, but the chest in the alcove on the red carpet inside holds the Southwestern Sea Chart. Leave the temple. Linebeck waits outside and grabs the chart for himself.



Oshus, the sea chart and the way to the Isle of Ember
Show the chart to Oshus
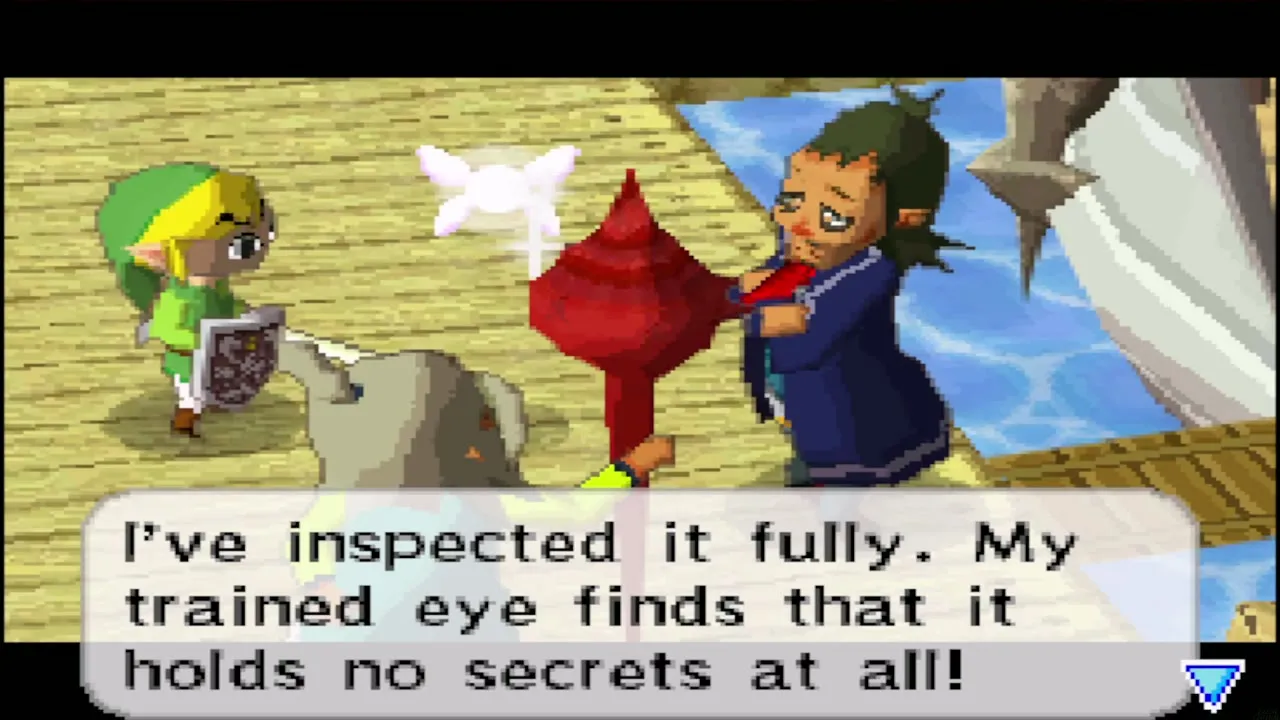
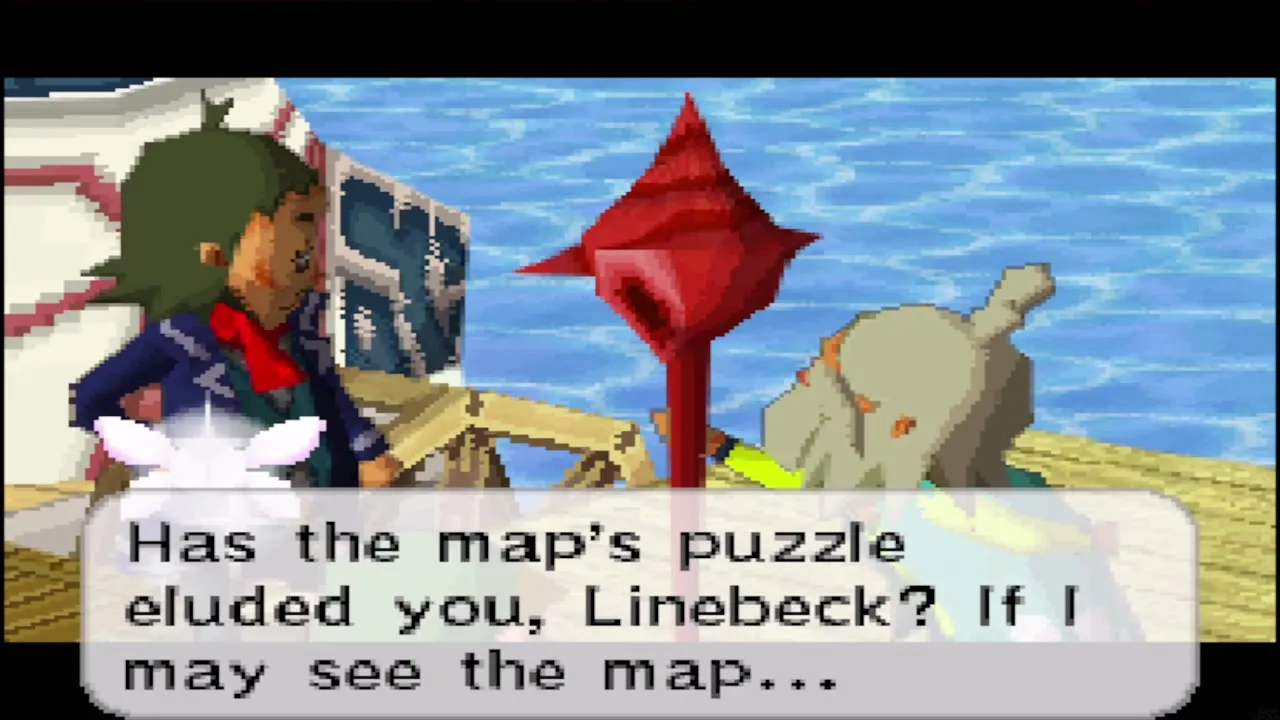
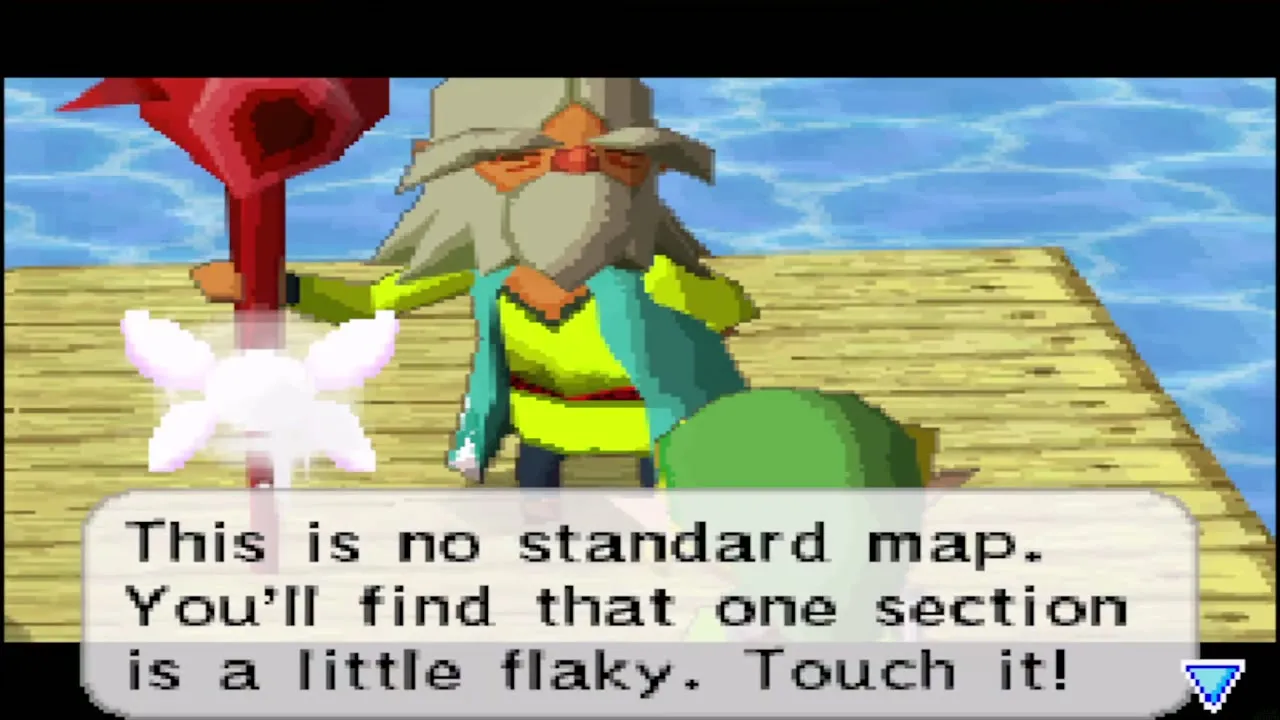
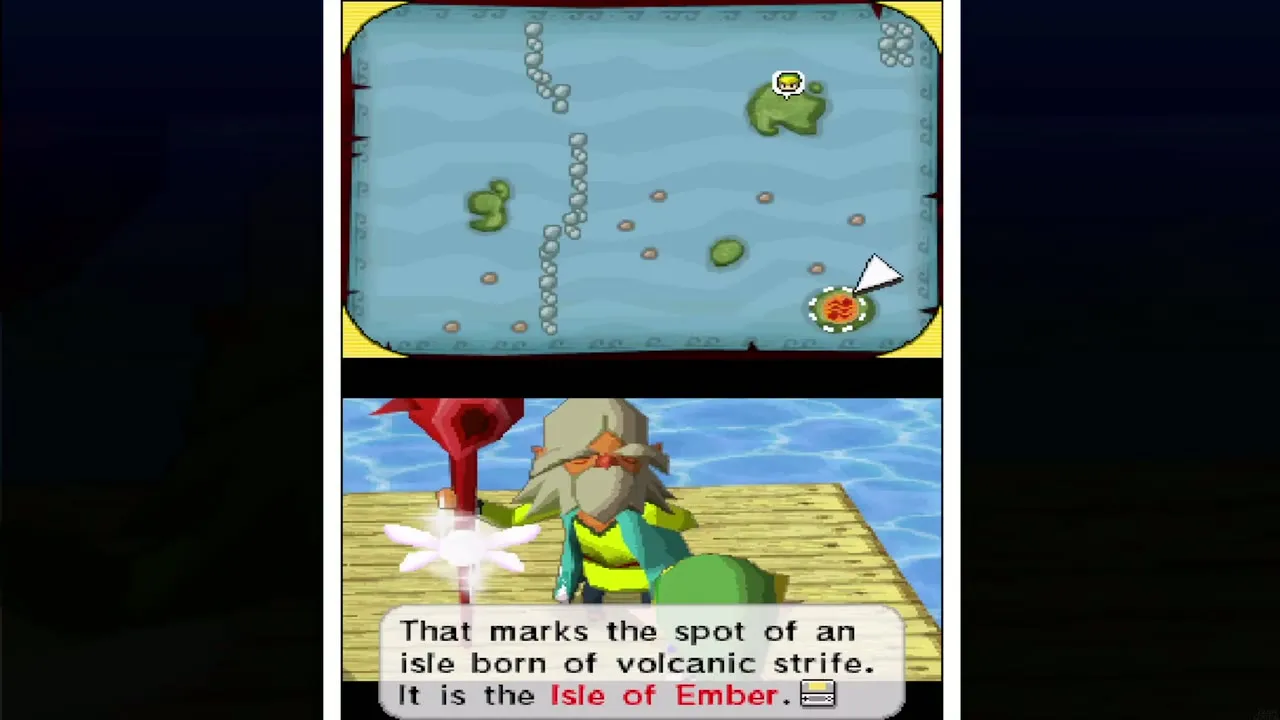
Return to the dock. If you like, stop at the shop to buy a Red Potion first. The bridge has been repaired by now. Linebeck, who has called the chart a treasure map, admits it holds no secrets, and Oshus points out a flaky patch on it. Touch the patch to scratch it away, and the island of Ember appears beneath it. A fortune-teller named Astrid lives there and may know where the Ghost Ship is.
Board the ship
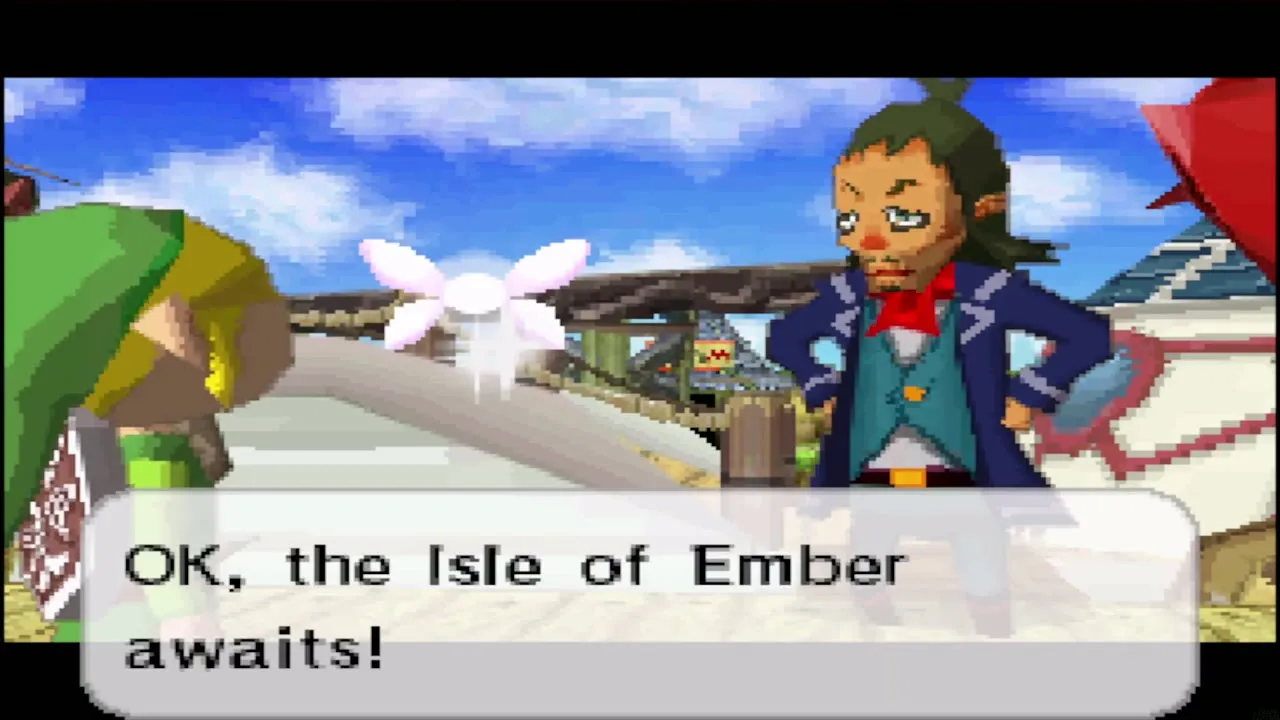
Ciela stays with you, and Linebeck agrees to take you. Answer Ready when asked whether you want to set sail. From here you draw your own course on the sea chart; the next chapter walks you through the first voyage.

What to come back for on Mercay Island
Several things on the island need items you do not have yet. A Power Gem sits in a chest in a cave near the temple and needs Bombs to open the cracked wall. A Courage Gem hides in the northern caves, where a switch south of the bridge needs a ranged item such as the Boomerang. A Wisdom Gem lies on the northeast islet east of Freedle and needs Bombs and the Bow. The Treasure Teller, the shipyard, Freedle and the dock man Ojibe, who later sells a treasure map, all open up, and two more treasure maps come from digging near Oshus’s storehouse and from Freedle, as does Oshus’s gift of a Power Gem after the Temple of Wind. They are collected in the later chapters on the Temple of Wind and the Temple of the Ocean King, and on the guide’s gem and treasure map pages.
Chapter checklist
| Collectible | Type | Where |
|---|---|---|
| Green Rupee | Rupees | Reward for clearing the farmer’s rocks |
| Oshus’s Sword | Item | Cave with the palm-tree sign |
| Red Rupee (20) | Rupees | Shakes loose when you roll into the big tree by the Boing Statue |
| Small key | Key | Chest on the raised platform in the first part of the mountain passage |
| Red Rupee (20) | Rupees | Chest in the east room beside the lever room |
| Small key | Key | Drops when the four levers are pulled in the right order |
| Small key | Key | Carried by the rat on the passage’s second floor |
| Wooden Shield | Item | Mercay shop, 80 Rupees |
| Random treasure (a Ruto Crown on this route) | Treasure | Chest by the village pond |
| Big green Rupee (100) | Rupees | Tree in the North Woods marked on your map by the farmer; roll into it |
| Small key | Key | Given by Linebeck at the temple entrance once the spikes are down |
| Southwestern Sea Chart | Sea chart | Chest in the red-carpet alcove, first floor of the temple |
 Power Gem | Spirit Gem | Mercay shop, 500 Rupees (optional) |
Next, sail to the Isle of Ember and free Astrid.
