
























Phantom Hourglass 100% Completion Walkthrough19 chapters
- Temple of FireEvery key, the Boomerang, the Boss Key, how to beat Blaaz, the Heart Container, Leaf and Astrid’s Power Gem.
- Temple of WindGet the bombs, the Boss Key, beat Cyclok, free Neri and take the Heart Container.
- Molida Island and the Temple of CourageBeat the Giant Eye Plant, light Molida’s statues, get the Bow, defeat Crayk and awaken the Spirit of Courage.
- The Ghost ShipFind the ship with the Spirits, free the Cubus sisters, win their volley game, get the Ghost Key and Heart Container.
- Goron TempleTeam up with Gongoron, get the Bombchus and the Boss Key, beat Dongorongo and take the Crimsonine.
- Temple of IceLever order, three small keys, Grappling Hook, Boss Key, Gleeok fight, Heart Container and Azurine.
- Mutoh’s TempleGet the Hammer, find both small keys and the Boss Key, beat Eox and collect the Aquanine.
- Mercay Island and the First Sea ChartGet Oshus’s Sword, solve the lever passage, rescue Linebeck and find the first sea chart.
- Temple of the Ocean KingTake the Phantom Hourglass, sneak past Phantoms, carry three Force Gems and find the Northwestern Sea Chart.
- Temple of the Ocean KingPhantom Eyes, the hourglass crest door, the Salvage Arm, treasure salvage and the Sun Key.
- Zauz and the Temple of the Ocean KingPure Metals, Triforce door, crystal puzzles and the Southeastern Sea Chart.
- Temple of the Ocean KingGold Phantoms, the B11 bridges, three Force Gems on B12 and the Northeastern Sea Chart.
- The Phantom Sword and BellumPhantom Hourglass walkthrough for the Phantom Sword, the last Temple of the Ocean King descent, Bellum.
- Isle of Ember and AstridFirst voyage, Beedle’s Shop Ship, Kayo’s torches, freeing Astrid and the volcano path to the Temple of Fire.
- Cannon Island, the Ghost Ship Chase and Molida IslandBuy the Cannon from Eddo, chase the Ghost Ship, then reach Molida Island and take the Shovel.
- Northwestern Sea and the Isle of GustThe fog route, Bannan Island fishing, Zauz, the Cyclone Slate, Golden Frogs and the way to the Temple of Wind.
- Goron Island and GongoronSail the Southeastern Sea, beat the Massive Eye, pass Biggoron’s quiz, find Gongoron and reach the Goron Temple.
- Isle of Frost and the Yook MysteryCannon the ice, Anouki Estates, find the Yook among six villagers and fight through the Great Ice Field.
- Isle of the Dead and the Isle of RuinsDig spot, Phantom Corridor path, Regal Necklace, King’s Key, Max and the door symbol.
| Covers | the Isle of Gust temple door, the Temple of Wind (1F, B1, B2), Bombs, the Boss Key, Cyclok and Neri |
|---|---|
| You need | Sword, Boomerang, Shovel and the Northwestern Sea Chart; the three sacred windmills on the Isle of Gust already blown so the temple door is open |
| Rewards |  Bombs,  1 small key,  the Boss Key,  1 Courage Gem,  1 Power Gem,  1 Heart Container,  2 minutes of sand for the Phantom Hourglass,  Neri the Spirit of Wisdom |
The Temple of Wind is the second dungeon of the game and the one that gives you Bombs. You wander a sand-filled temple full of wind jets, find a small key and the Bombs on the lower floors, carry the Boss Key back up to the first floor and defeat Cyclok by dropping bombs into cyclones. The reward is a Heart Container, two extra minutes for the Phantom Hourglass and the Spirit of Wisdom, Neri.
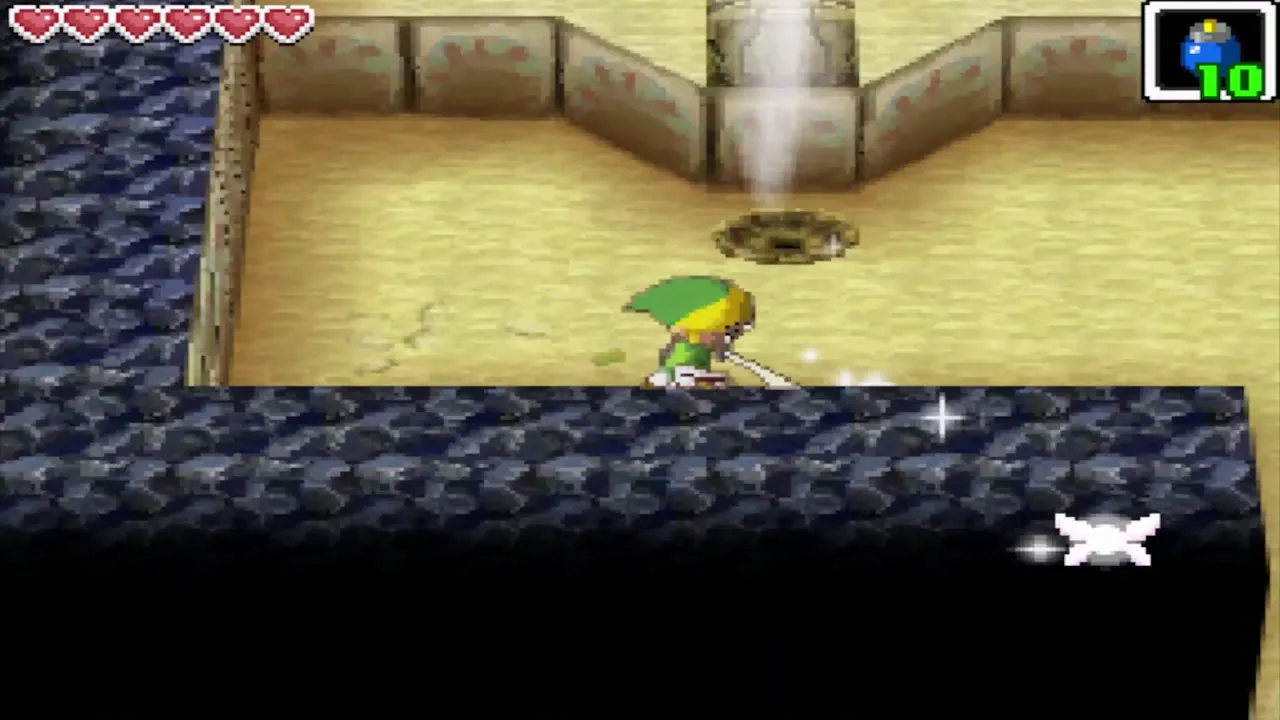
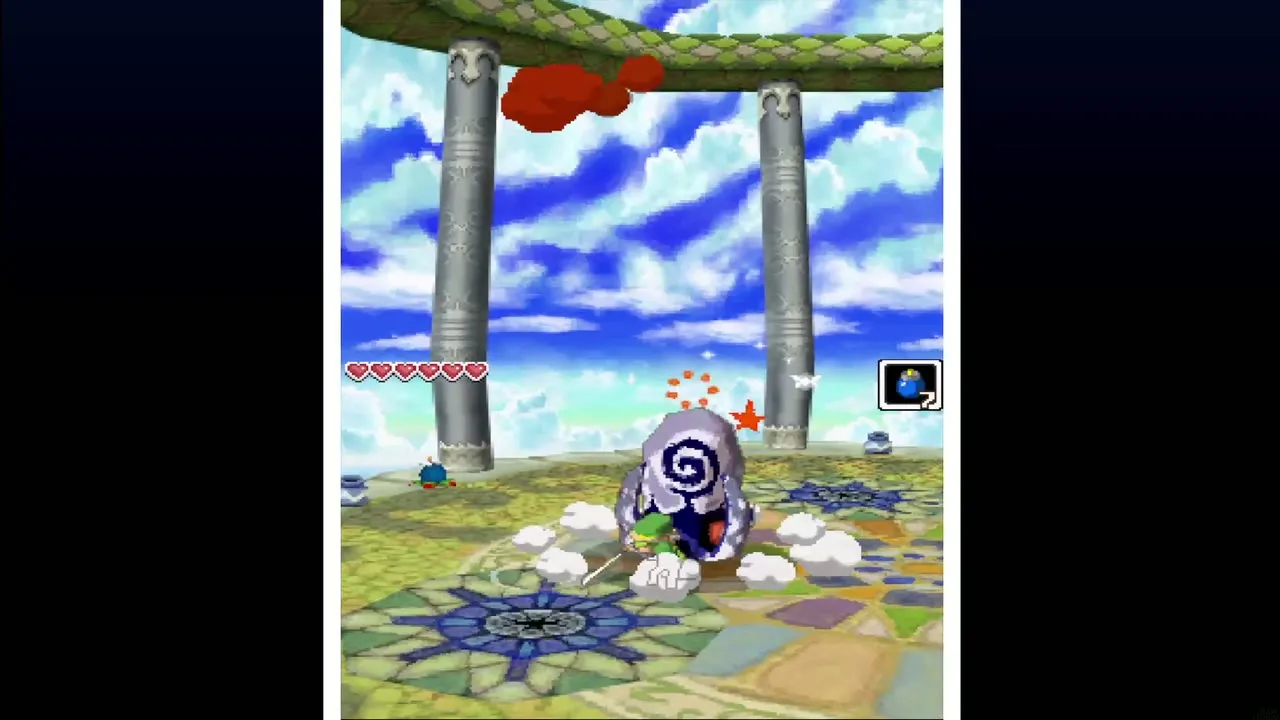
Table of Contents
Isle of Gust: the temple entrance
Open the temple door
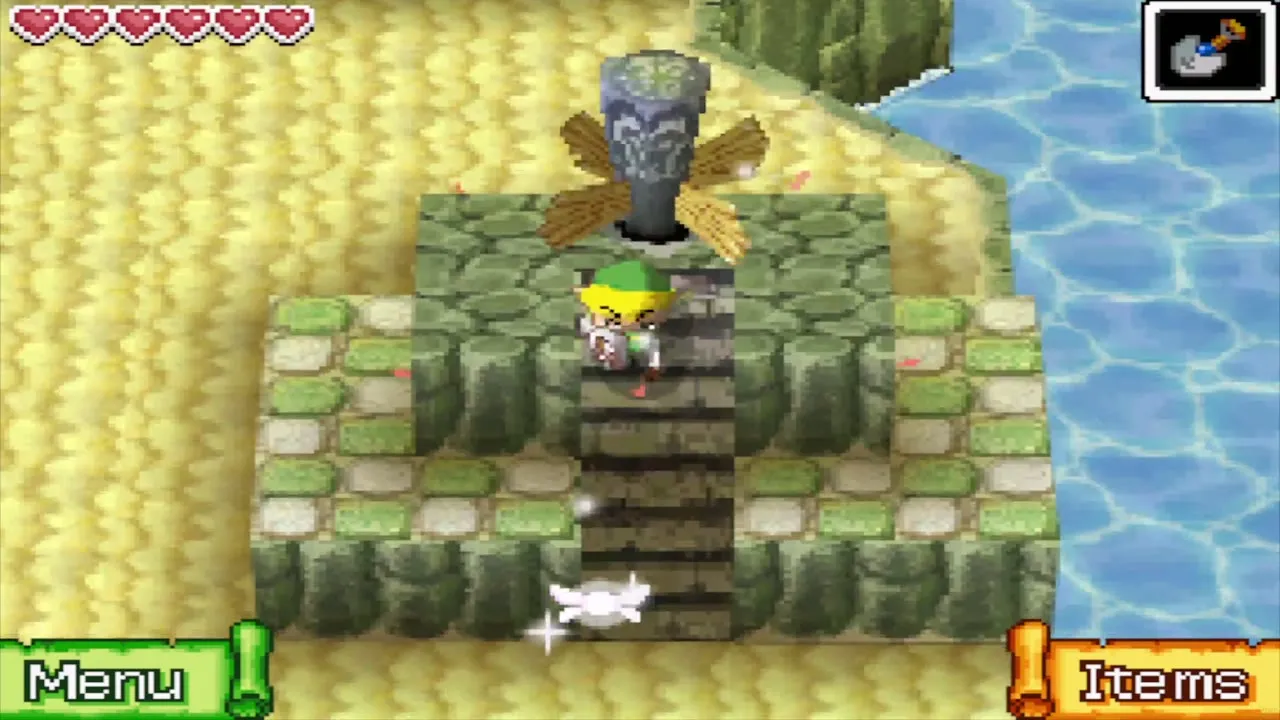
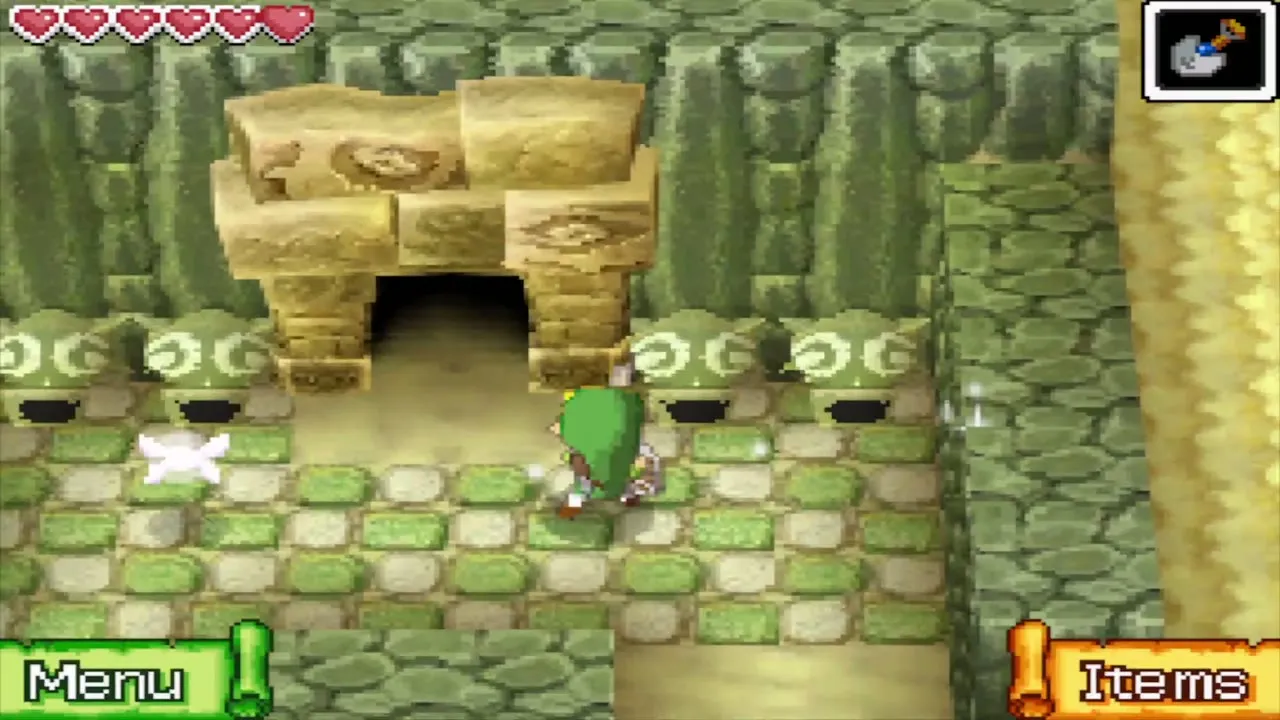
The temple stands in the middle of the Isle of Gust, behind a doorway that keeps blasting wind at you until the three sacred windmills have been blown with the microphone. Finish that task first (it is covered in the Isle of Gust chapter), then walk through the stone doorway on the sand island. Gusts keep pushing you around inside as well, so keep a little distance from every wind jet and ledge edge.
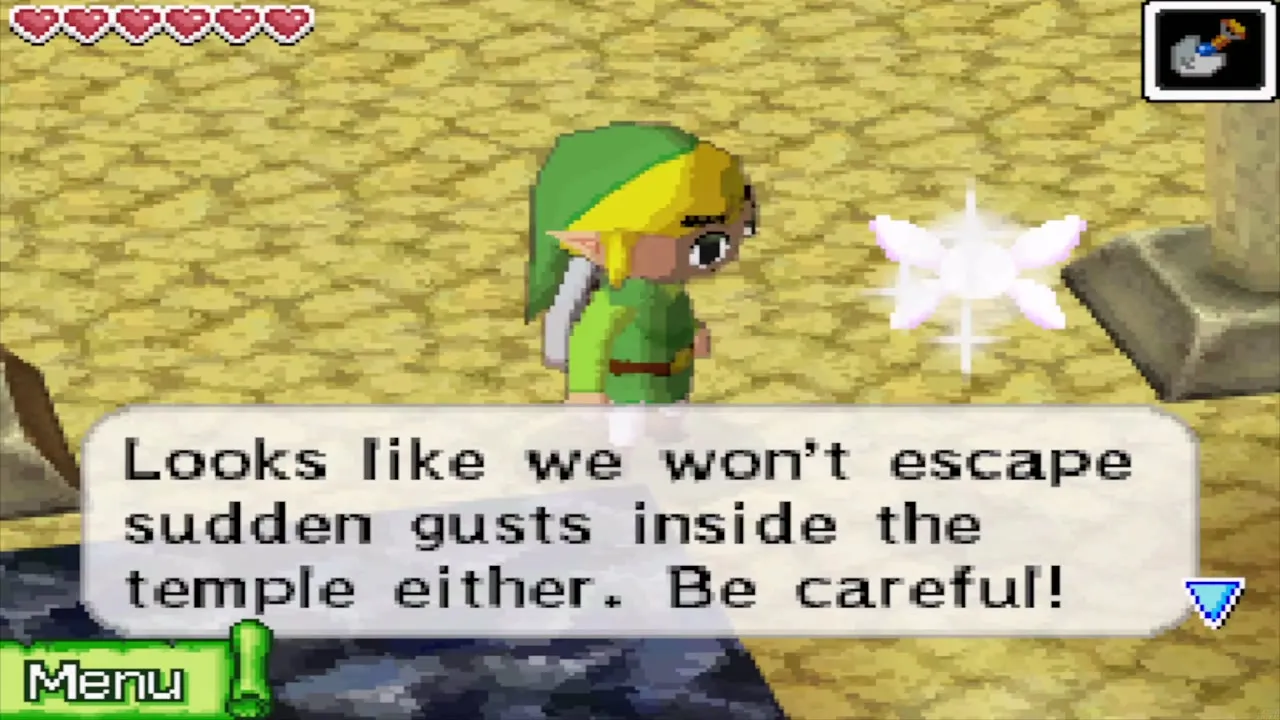
Temple of Wind 1F: the first rooms
Bomb flowers and blocks
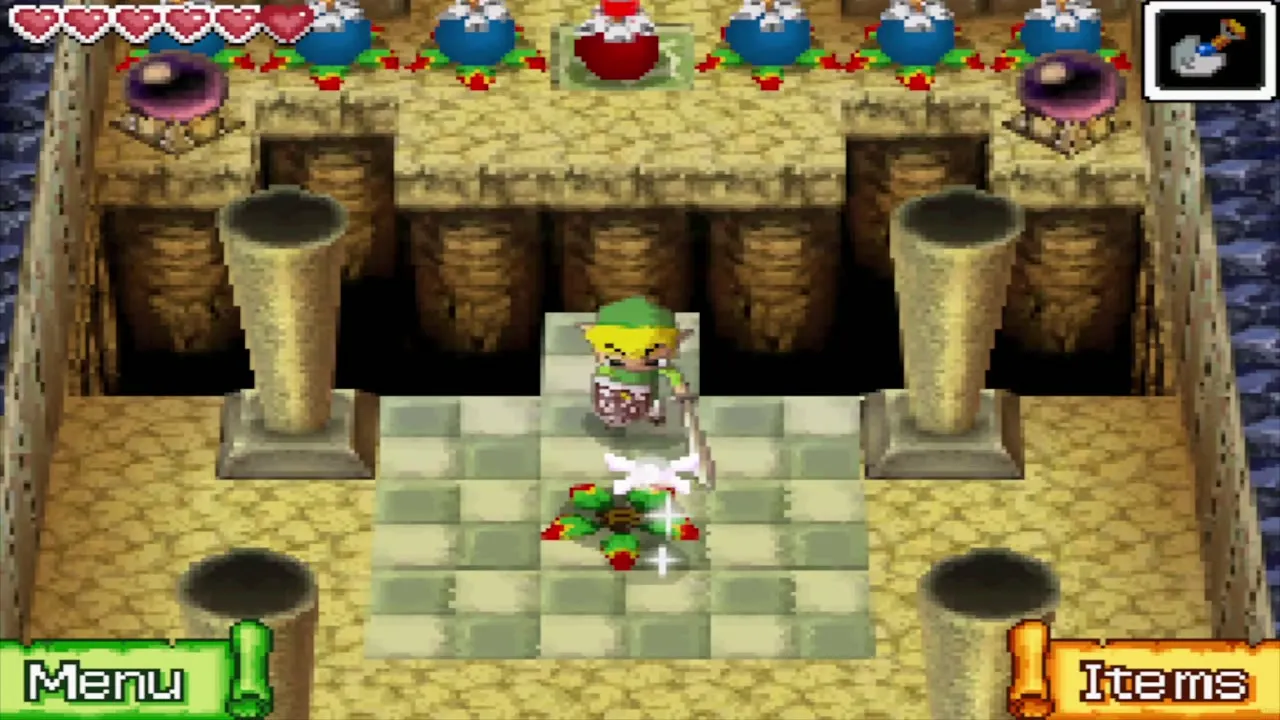
The first rooms teach you the two tricks that the whole temple uses. Wind jets shove Link sideways, and you stop a jet by pushing a block over its opening or by hitting a switch behind it. Bomb flowers sit in rows; pick one up, throw it into the row and the chain reaction hits the floor switches beyond them. Cross the first gap with a thrown bomb flower, push the block over the wind, hit the switch past it and climb the stairs.
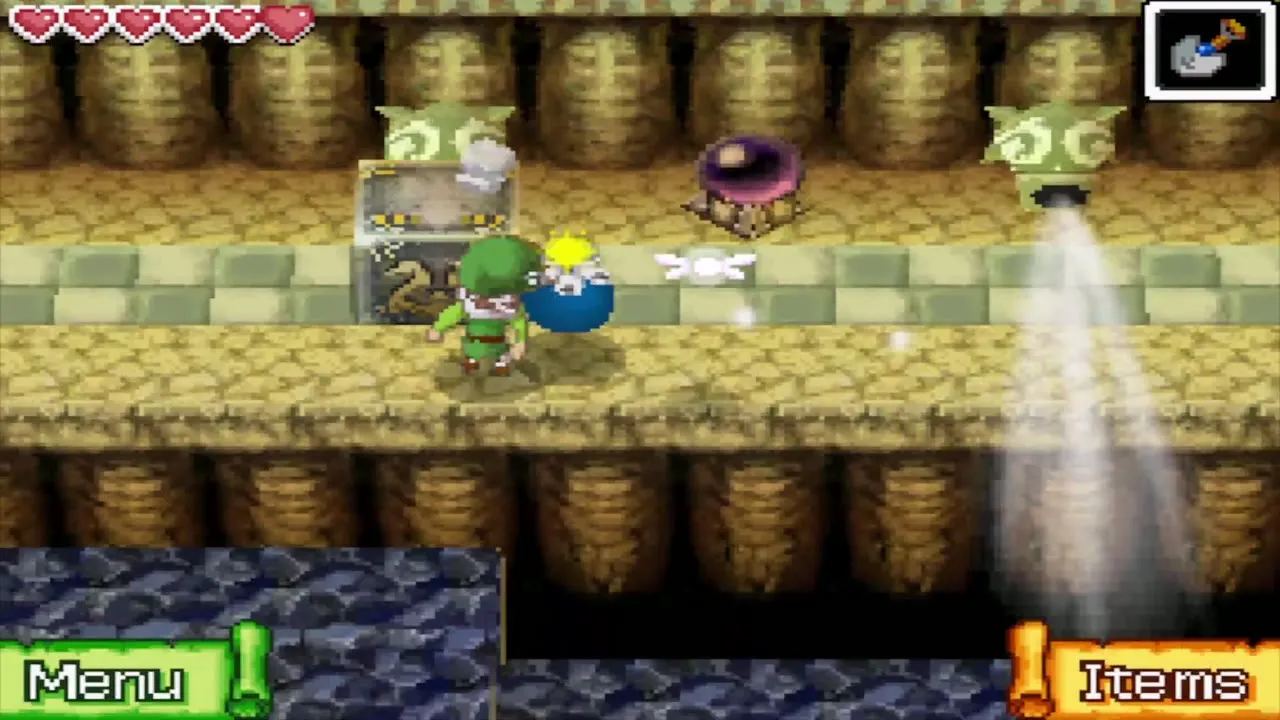
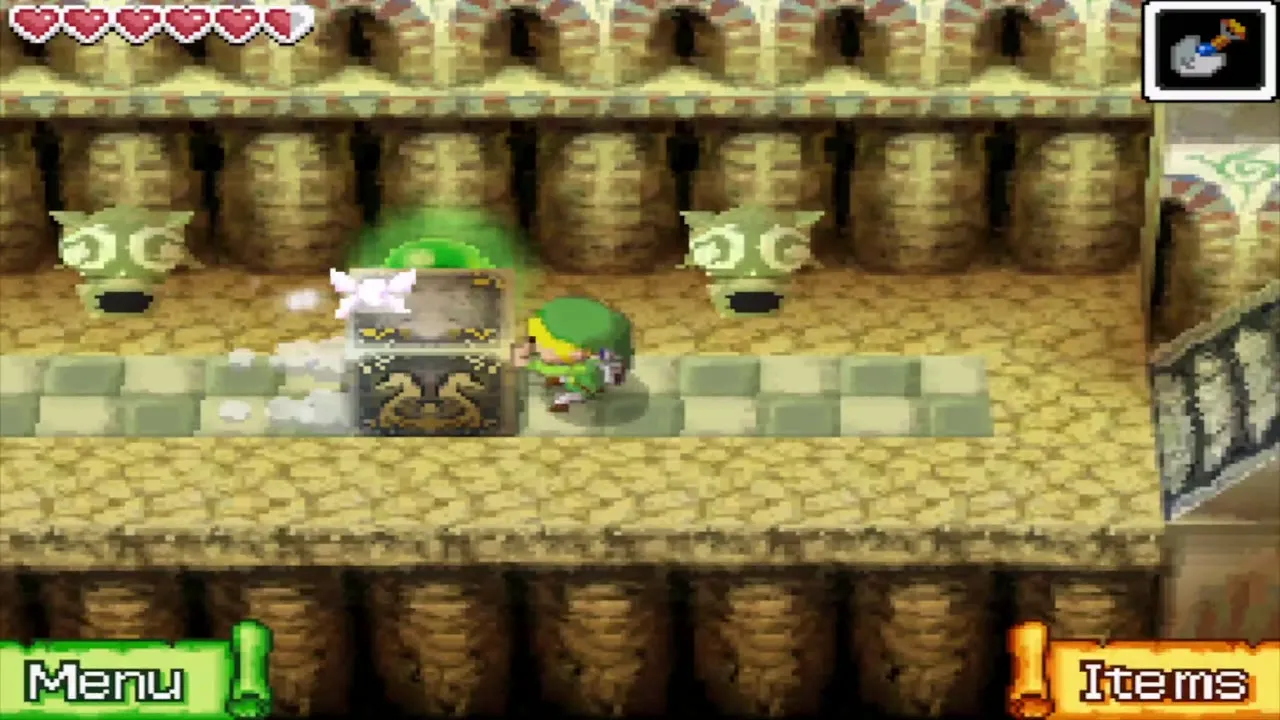
Push the gust jar onto the wind tile
Cross the bridge, go down the next stairs and open the south door, then step on the floor switch beside the locked door so that the entrance is easier to reach later. Climb the east stairs, cross the narrow path and go north through the door, where you slash a few Ropes. Head west, push the block to the left to uncover the way toward the boss room, and keep going west until you reach a gust jar. Push the jar down two squares and left four so that it rests on the wind tile. The jet it blows lifts you over the gap; hit the switch on the far side to open a locked door and take the stairs down to B1.
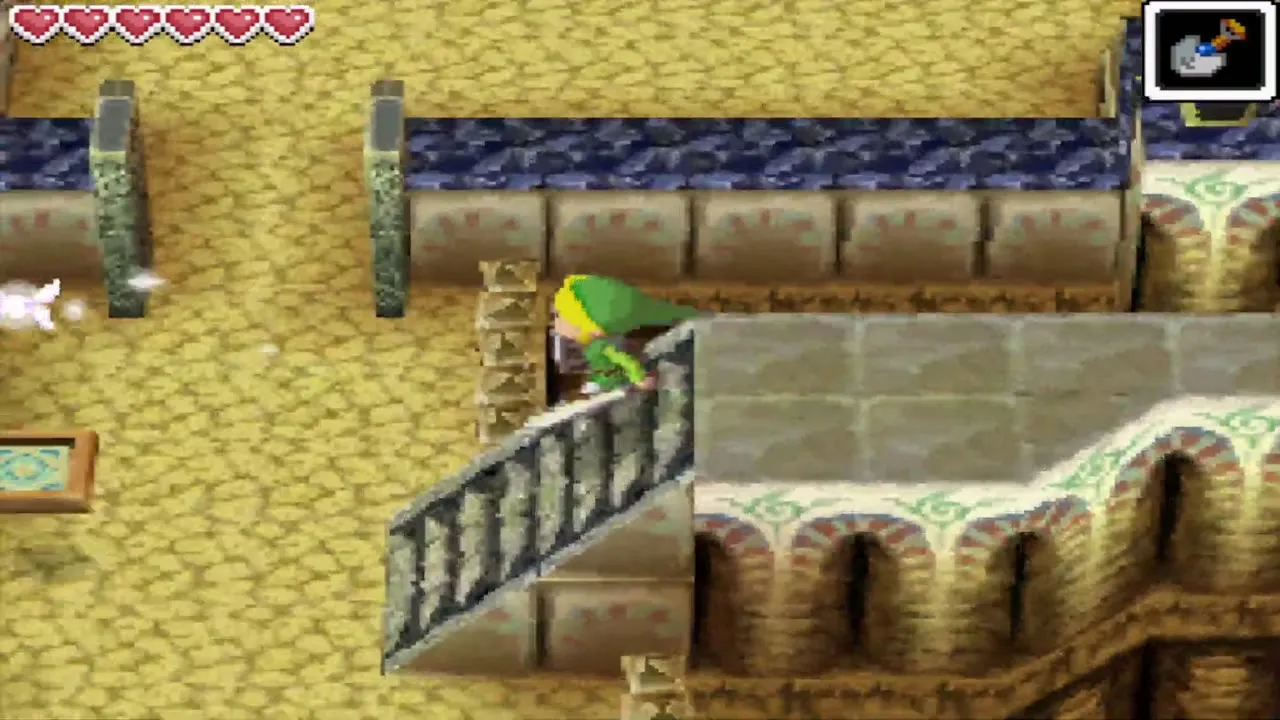
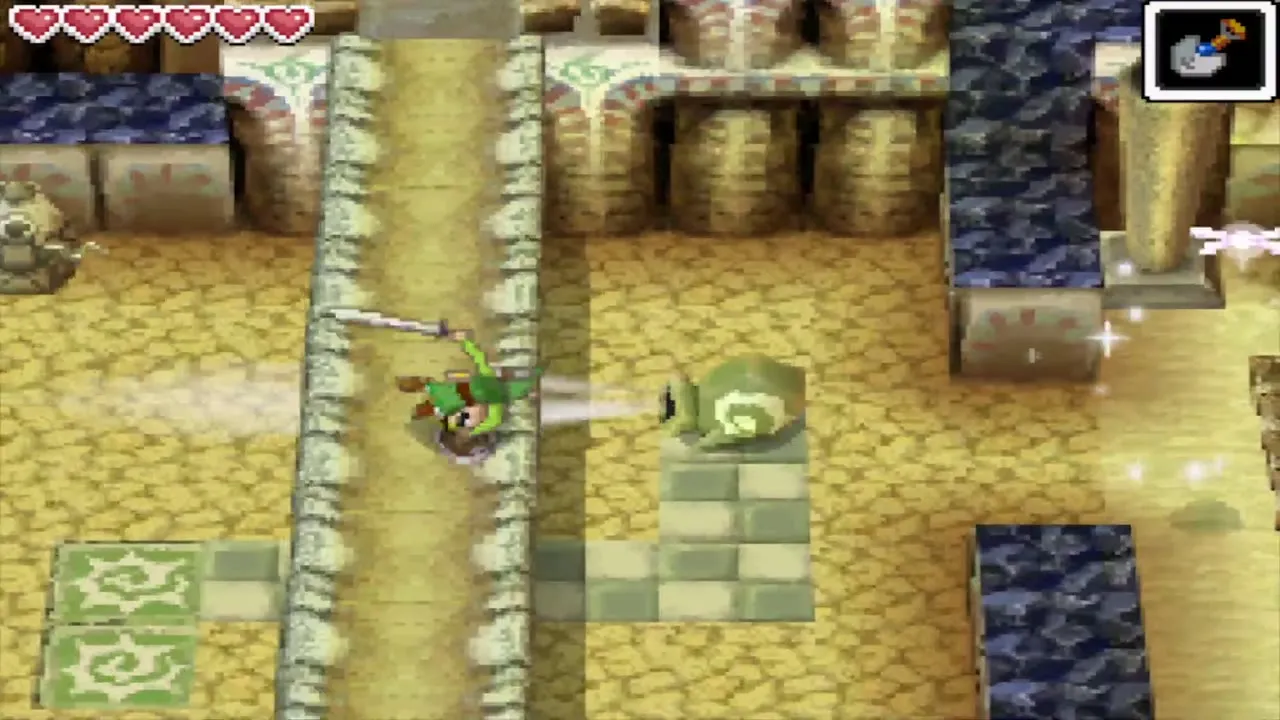
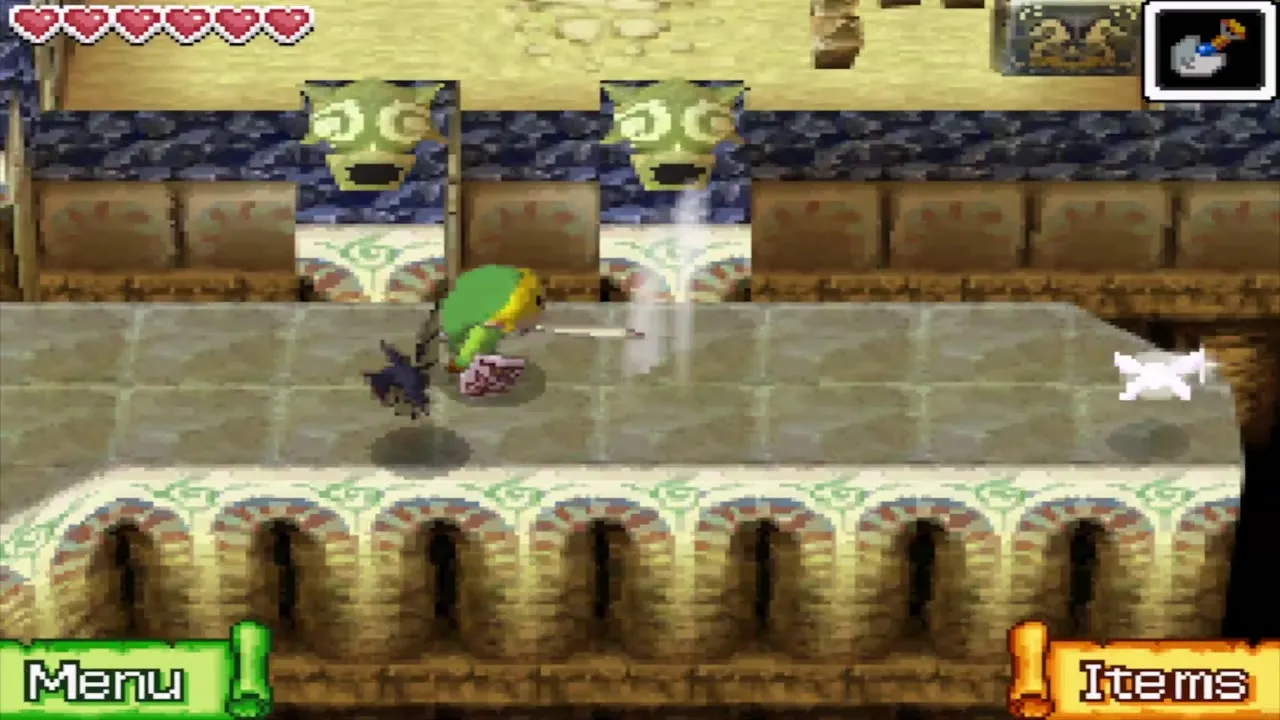
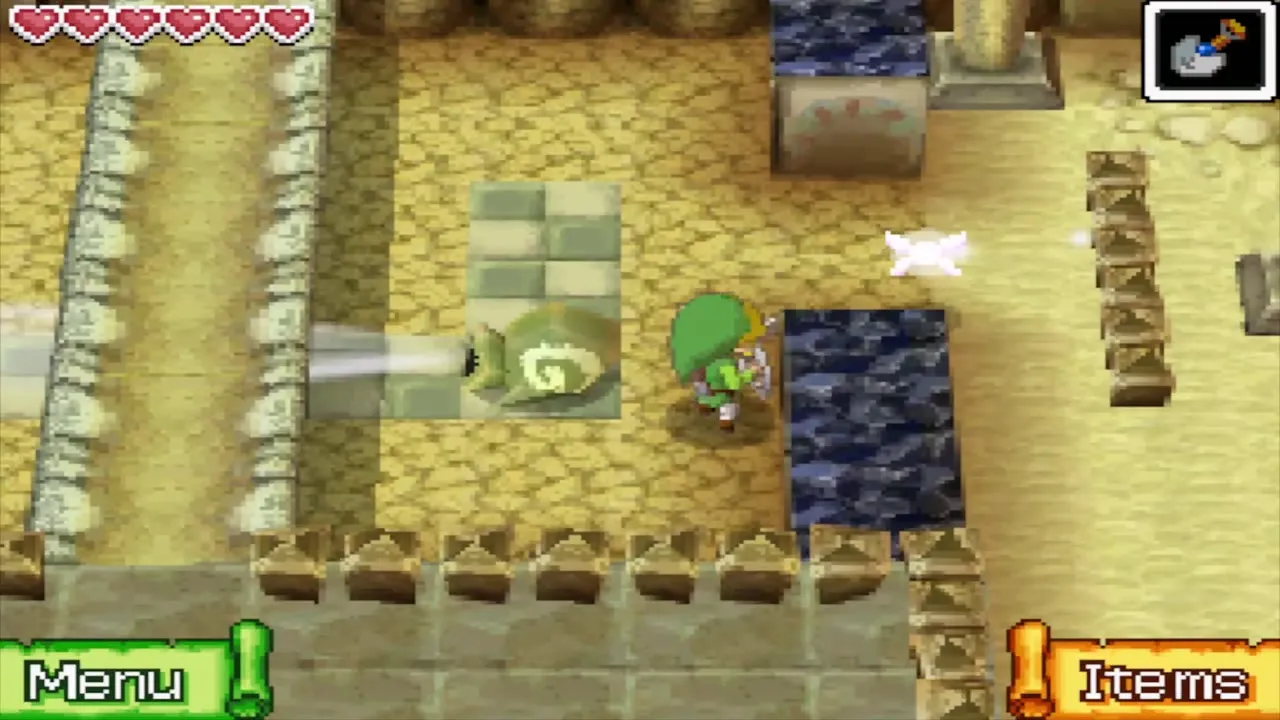
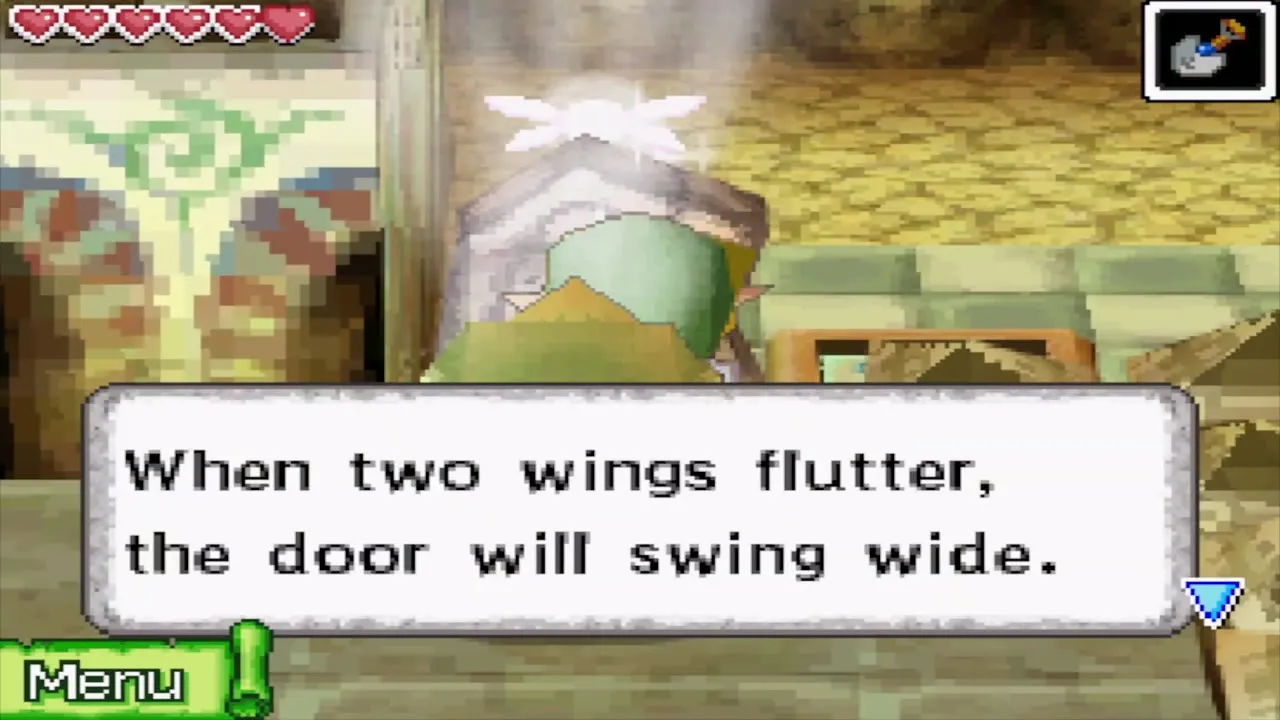
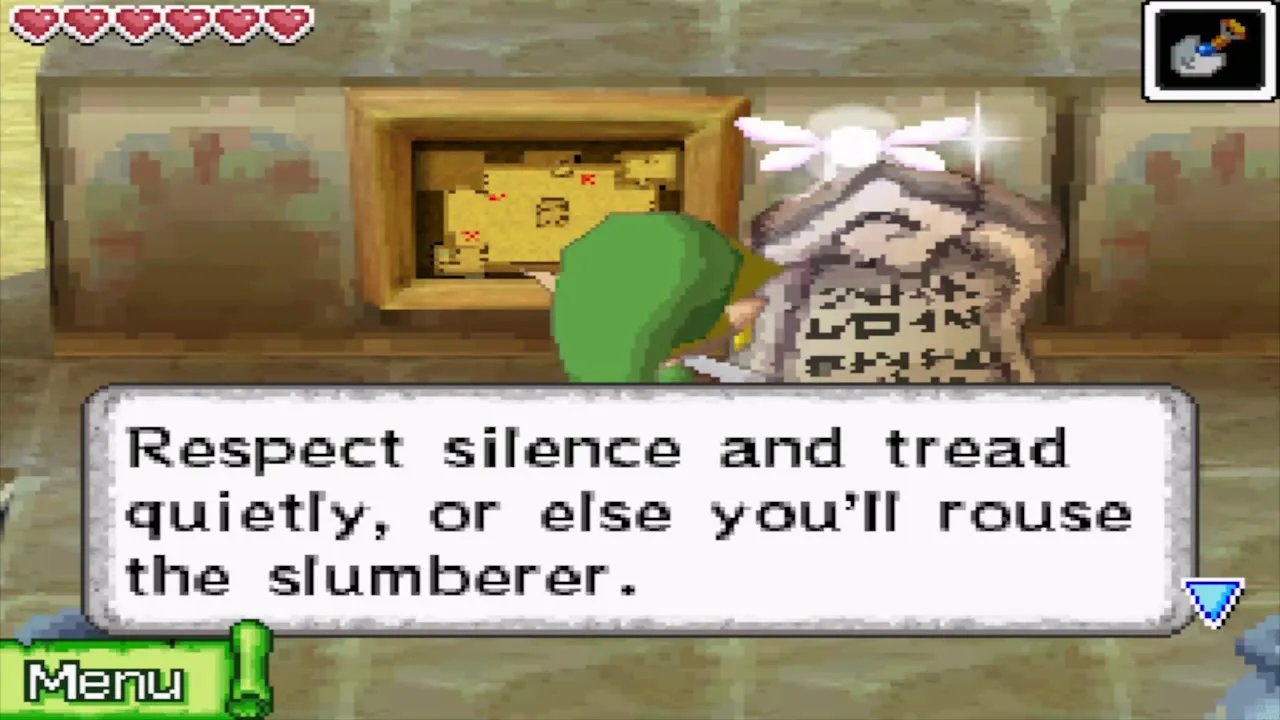
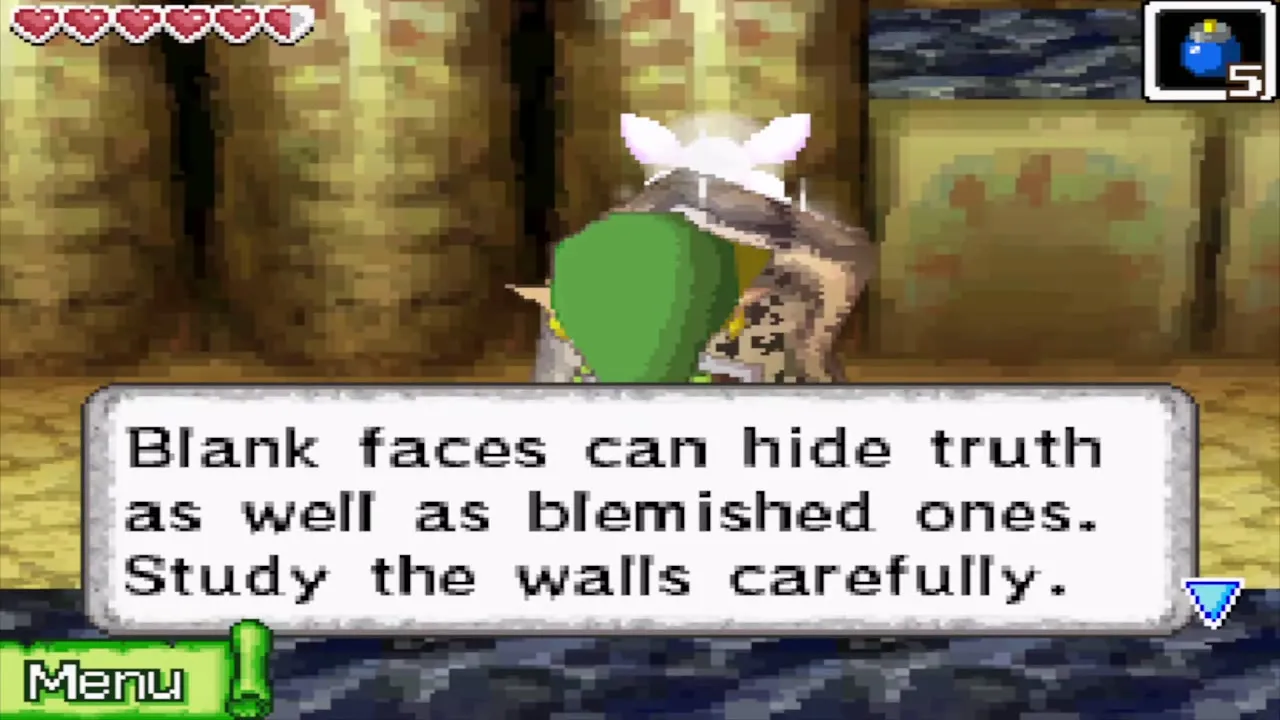
Read the carved hints as you pass them. They are riddles: two wings must flutter before a door swings open, the sleeper must not be woken by noise, the doors open once every pillar of wind rises, and a blank stone face may hide something, so study the walls. Each one describes a puzzle you meet in this dungeon.
Temple of Wind B1: Rock ChuChus and the geysers
Defeat the Rock ChuChus
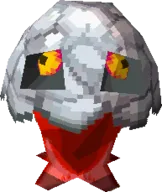
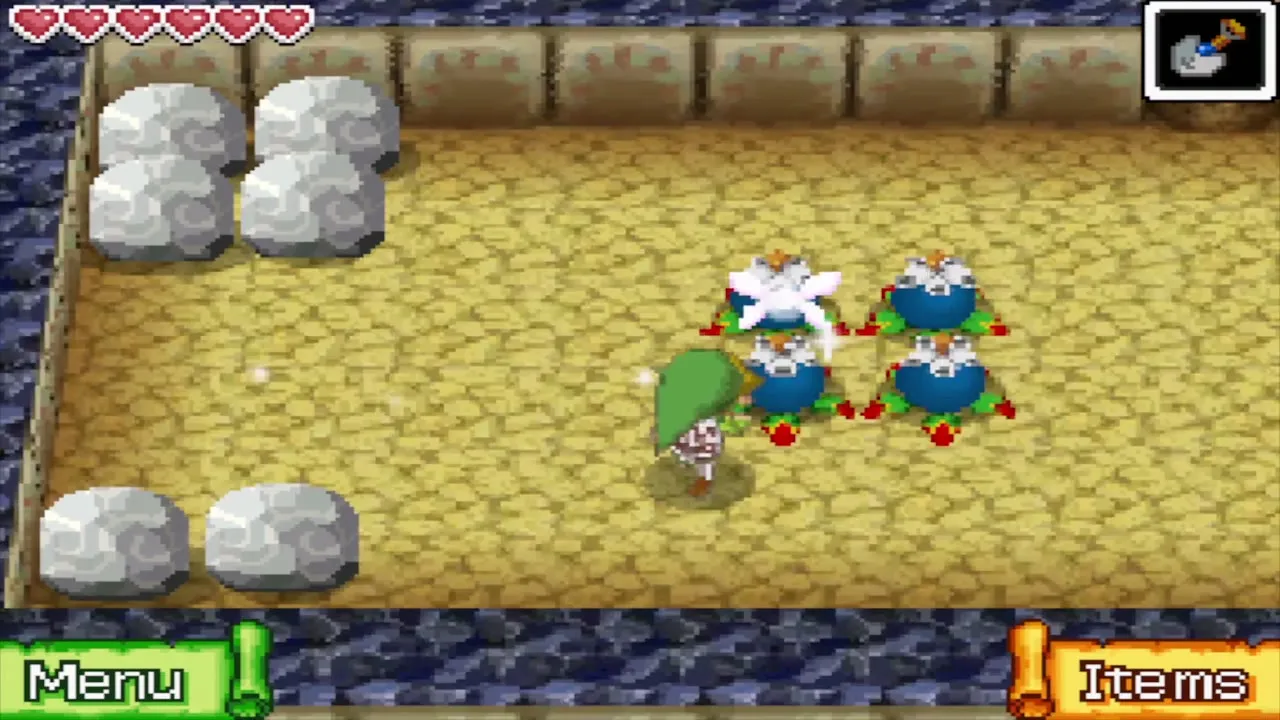
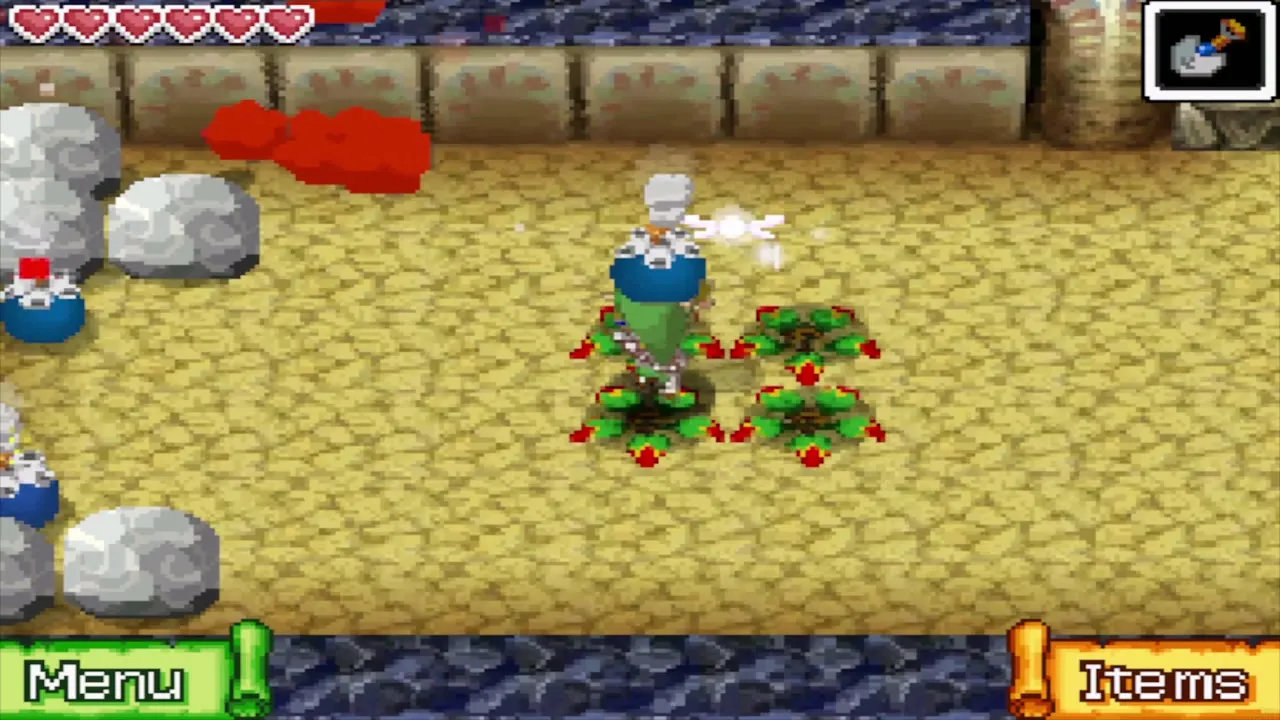
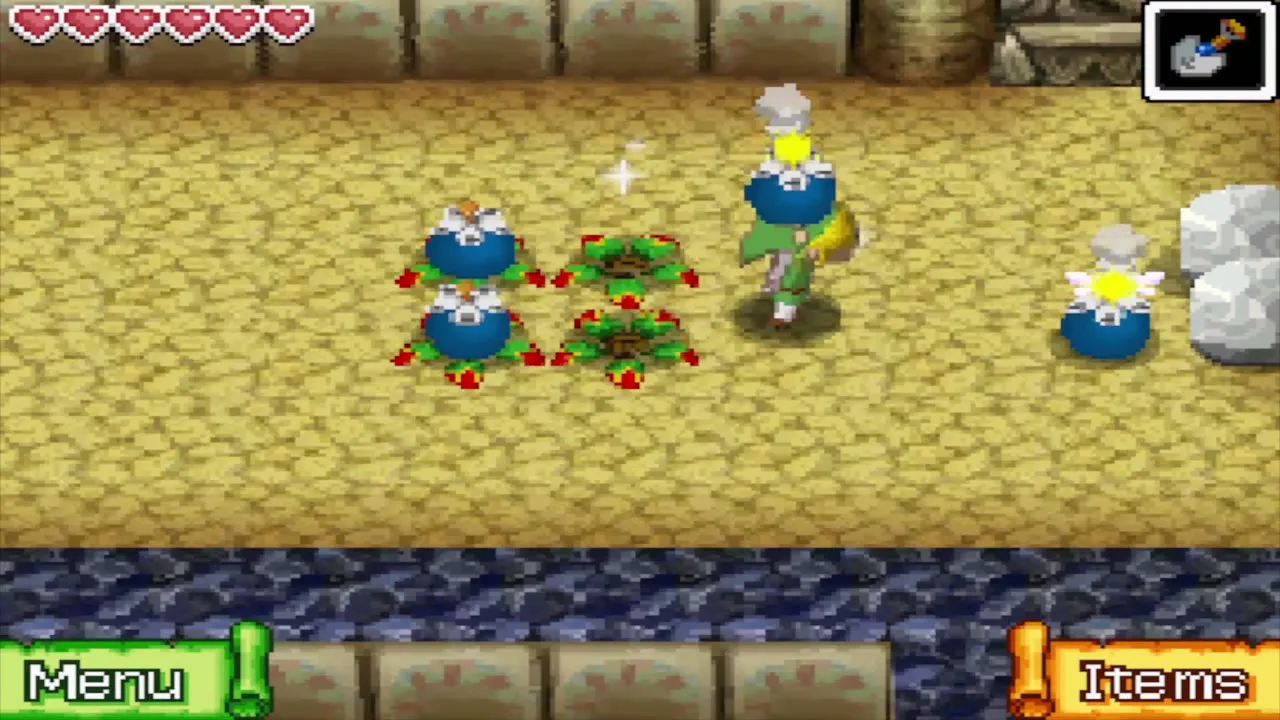
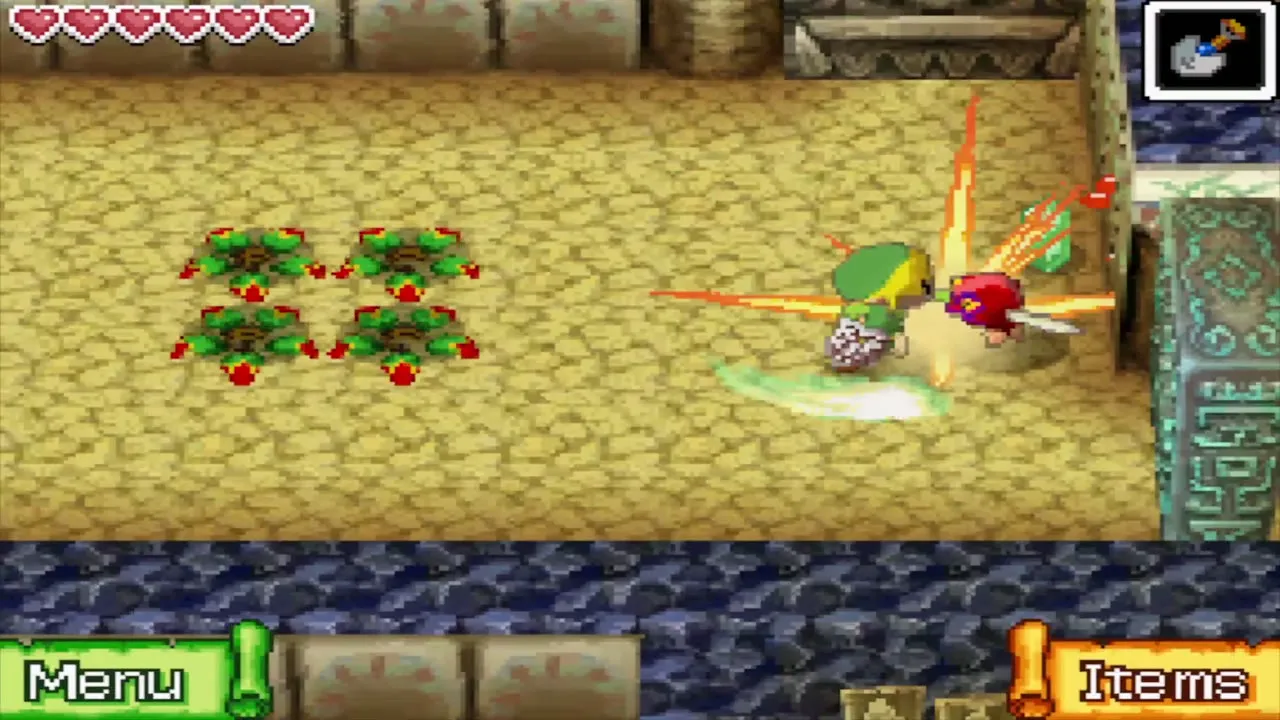
The first room on B1 is a fight with Rock ChuChus. Your sword bounces off their stone helmets, and bombs are not yours yet, so use the bomb flowers growing around the room: throw one at a ChuChu to crack its shell, then slash it. Defeating them unlocks the exit door.
The east room and the wind geysers
Go through the unlocked door into the large east room and step on the floor switch near its centre to unlock a staircase in the south-east. Climb it, push the block up two and right two, let a wind geyser lift you and land on the pushed block. Walk east and drop off the ledge to reach the stairs down to B2.
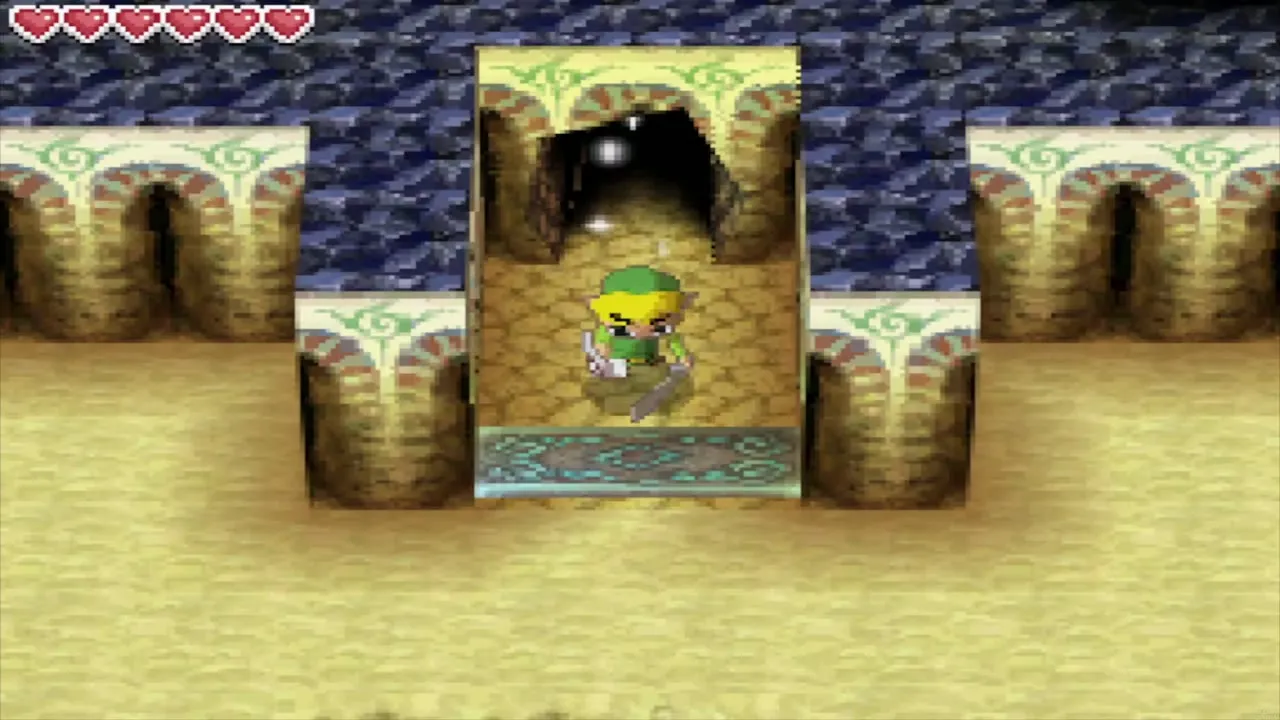
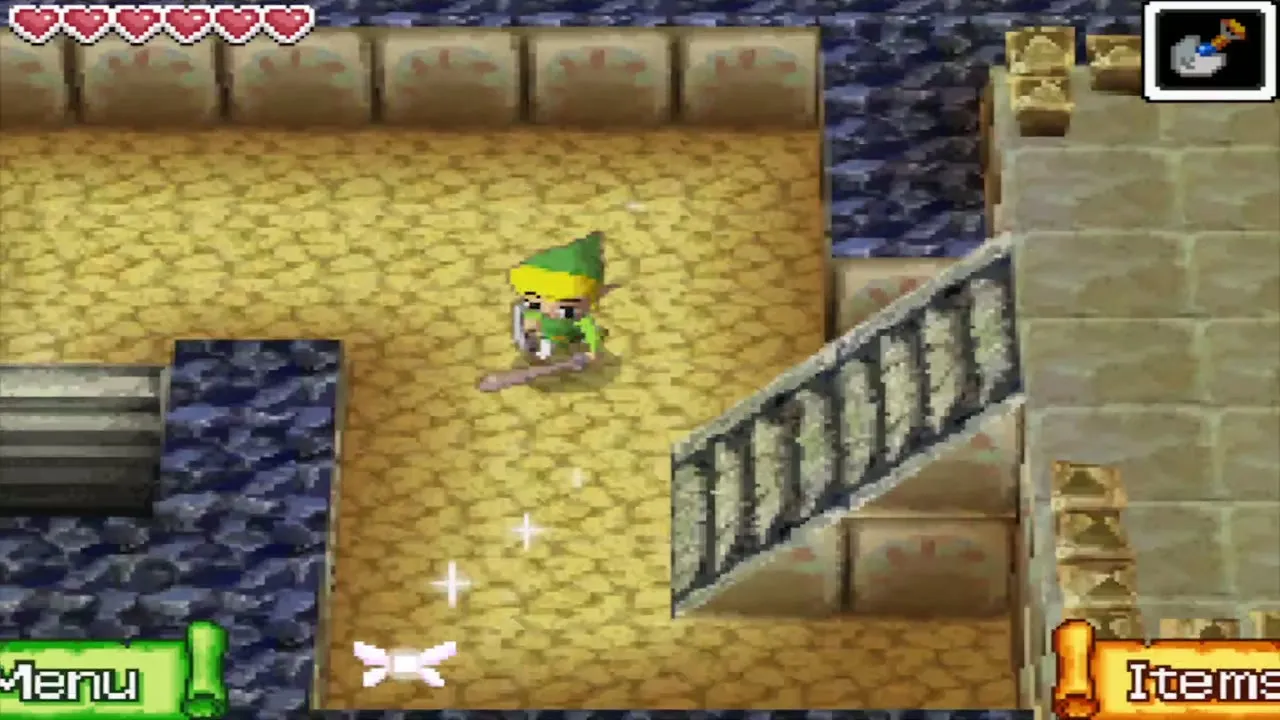
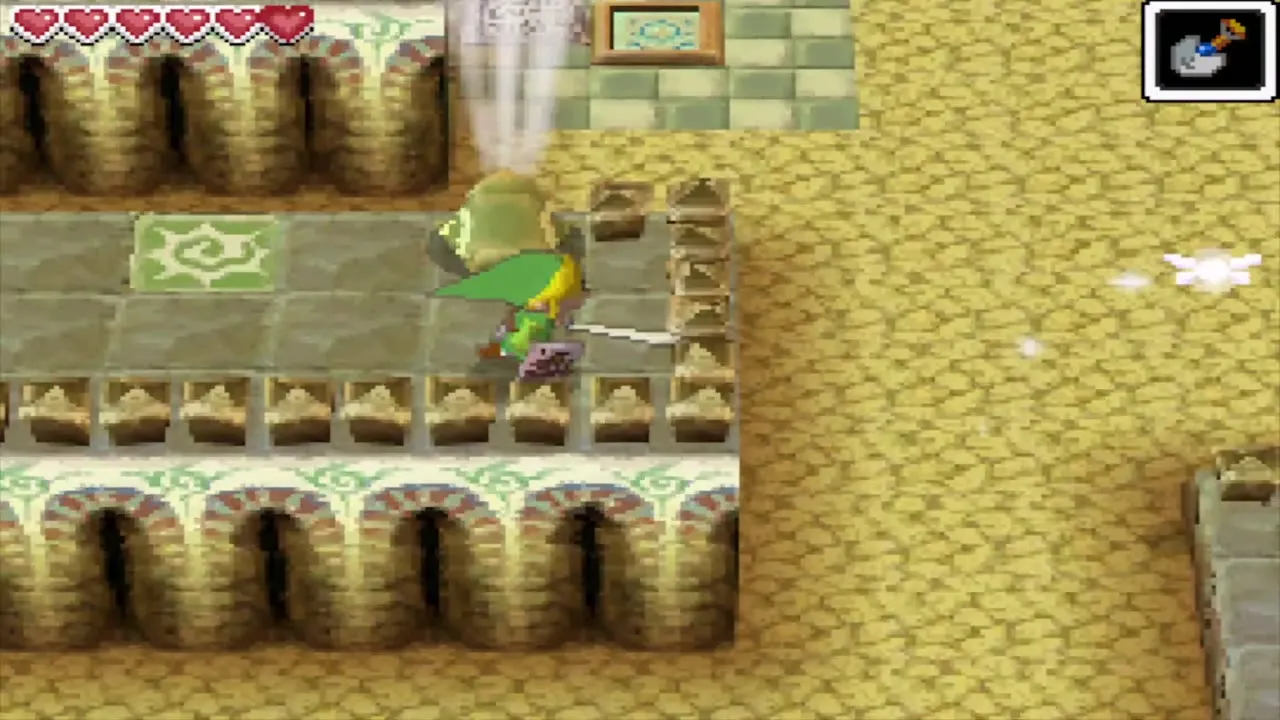
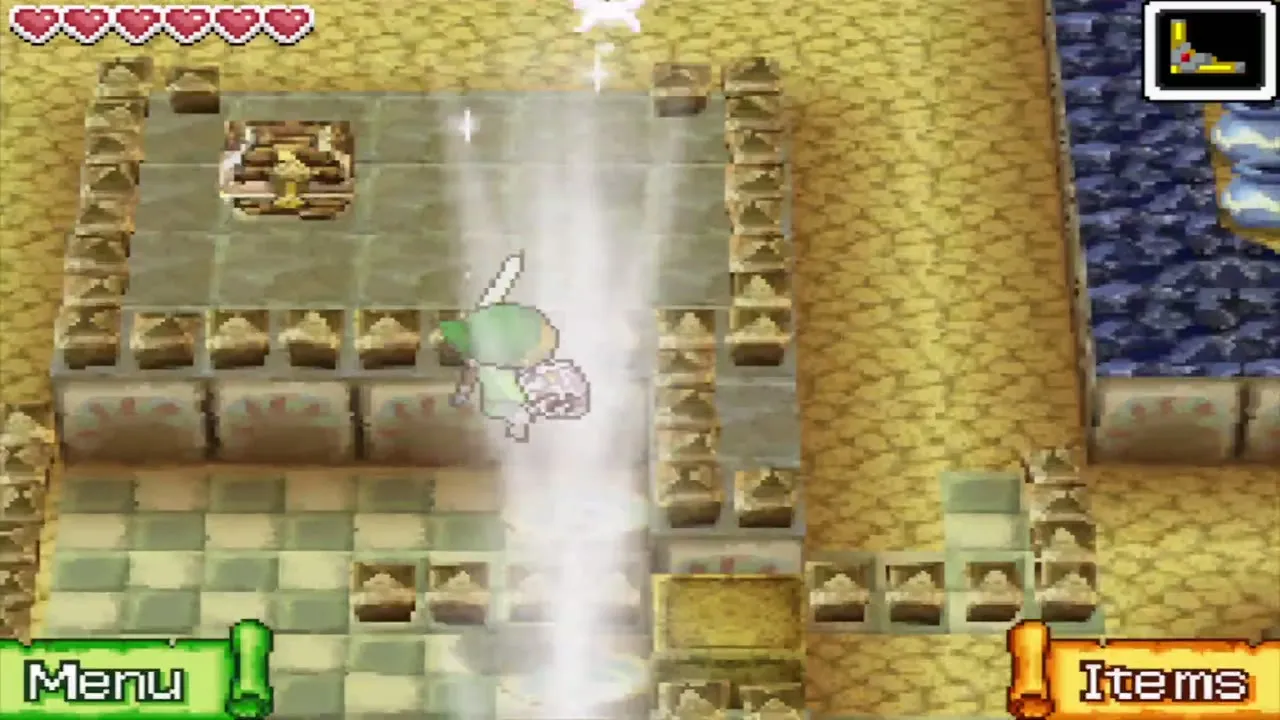
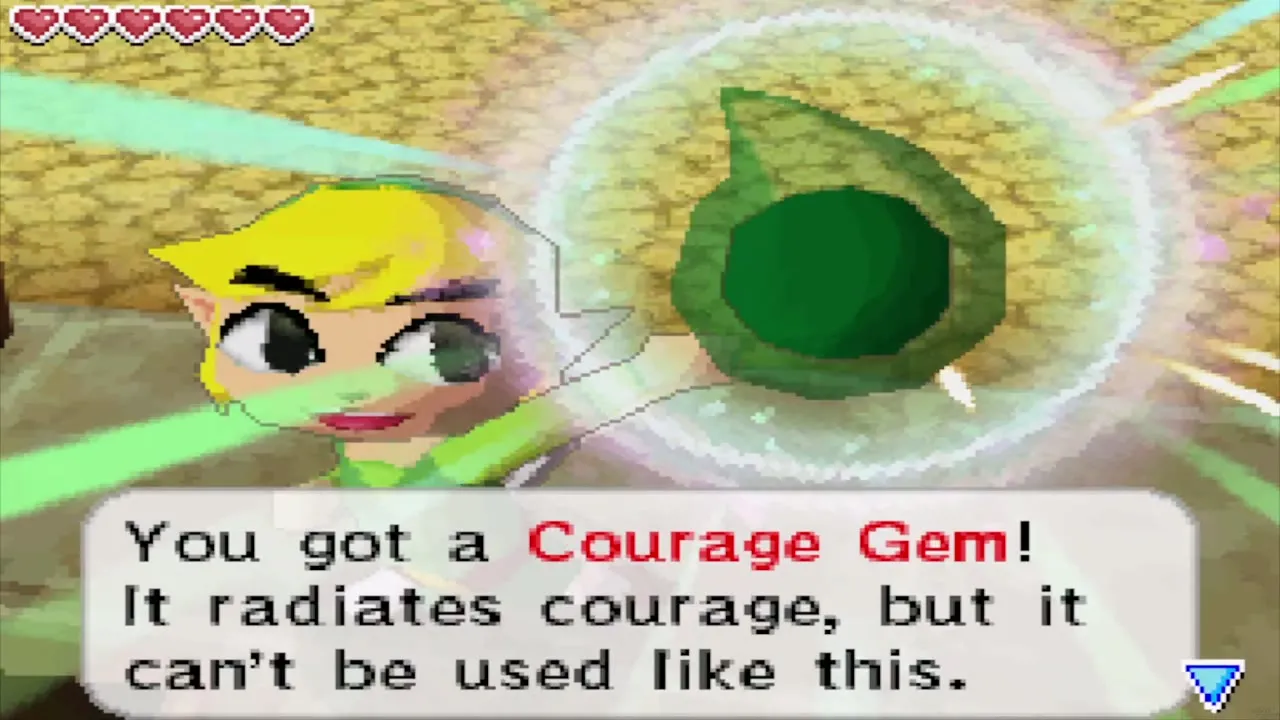
You can also collect a Courage Gem on this floor. It sits in a chest that you reach by riding the gusts of the wind geysers on B1, so spend a minute here before you go further. Open the chest to take the gem and store it on the Collection screen.
Temple of Wind B2: sandworms, the small key and Bombs
Cross the sandworm room
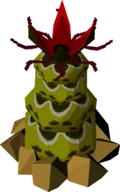
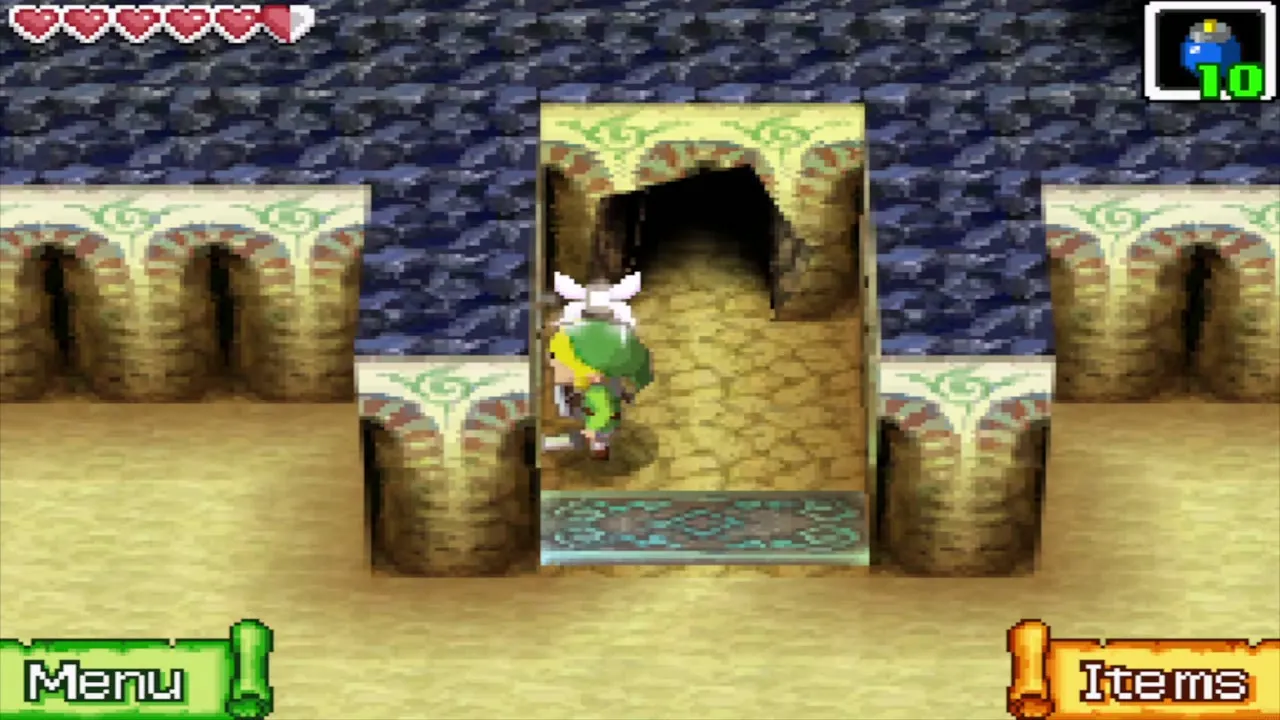
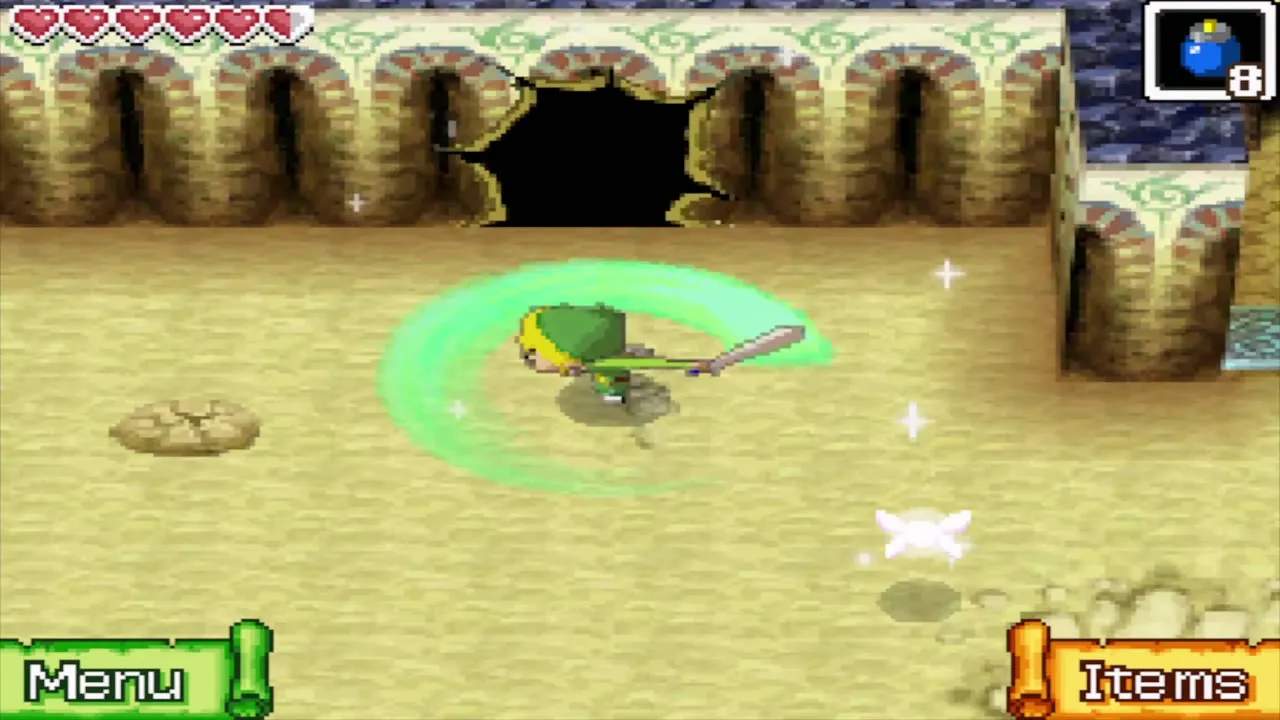
On B2, use a bomb flower to blow open the cracked wall in the north and step into the big sand room. Sandworms patrol it and rush toward noise, so walk slowly, never run and never attack. You cannot beat them yet; you only need to avoid them until you have Bombs. In the middle of the room are marked spots on your map, and you dig each marked spot with the Shovel to uncover a wind geyser. Doing so unlocks two doors, the north one and the one in the south-west corner.
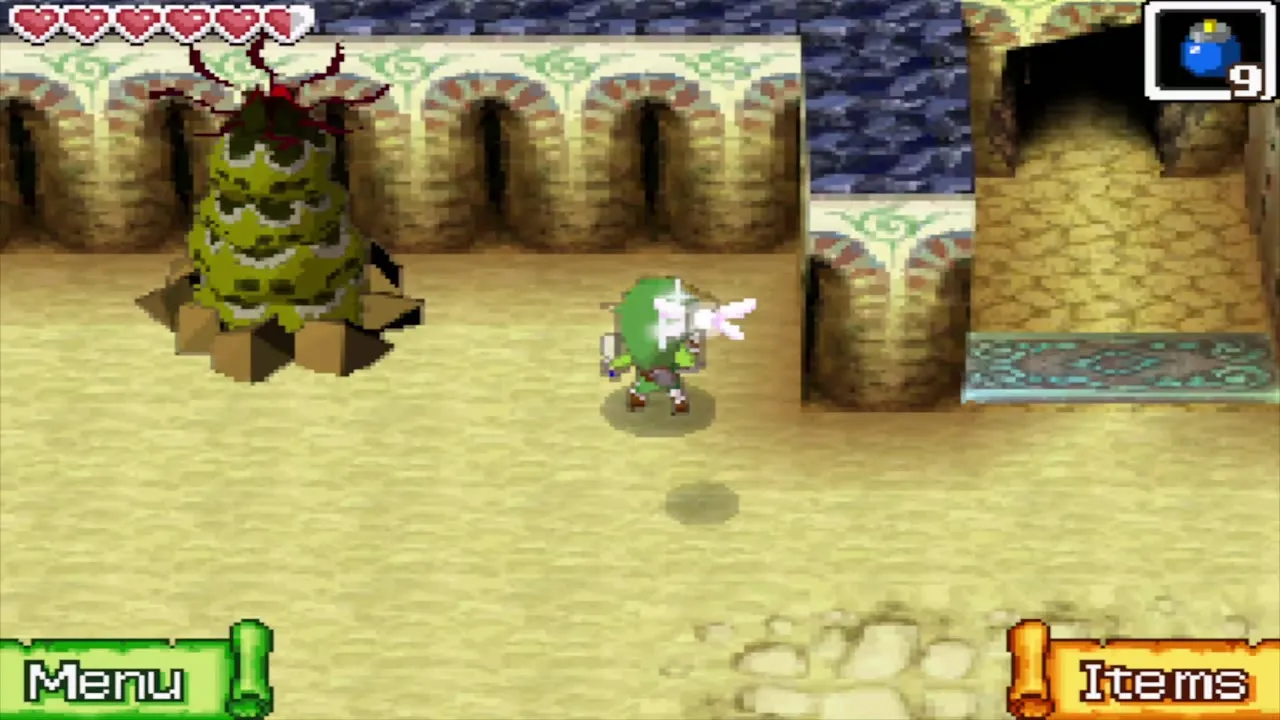
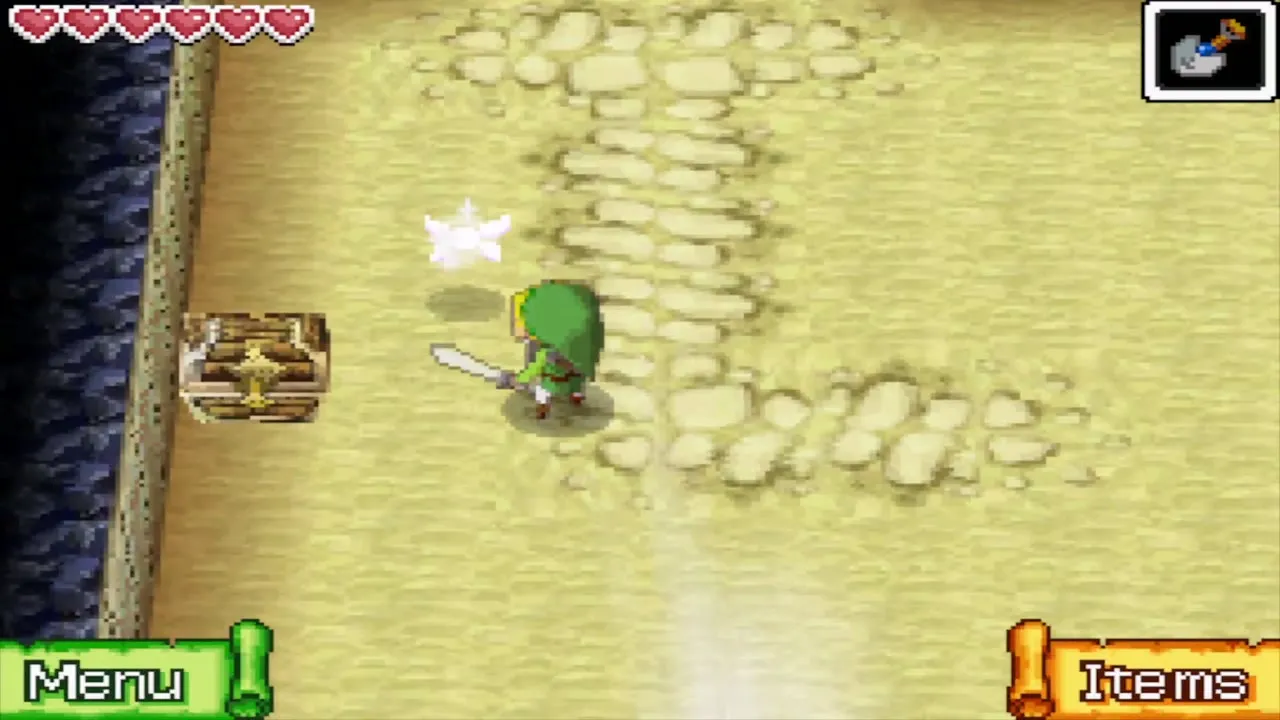
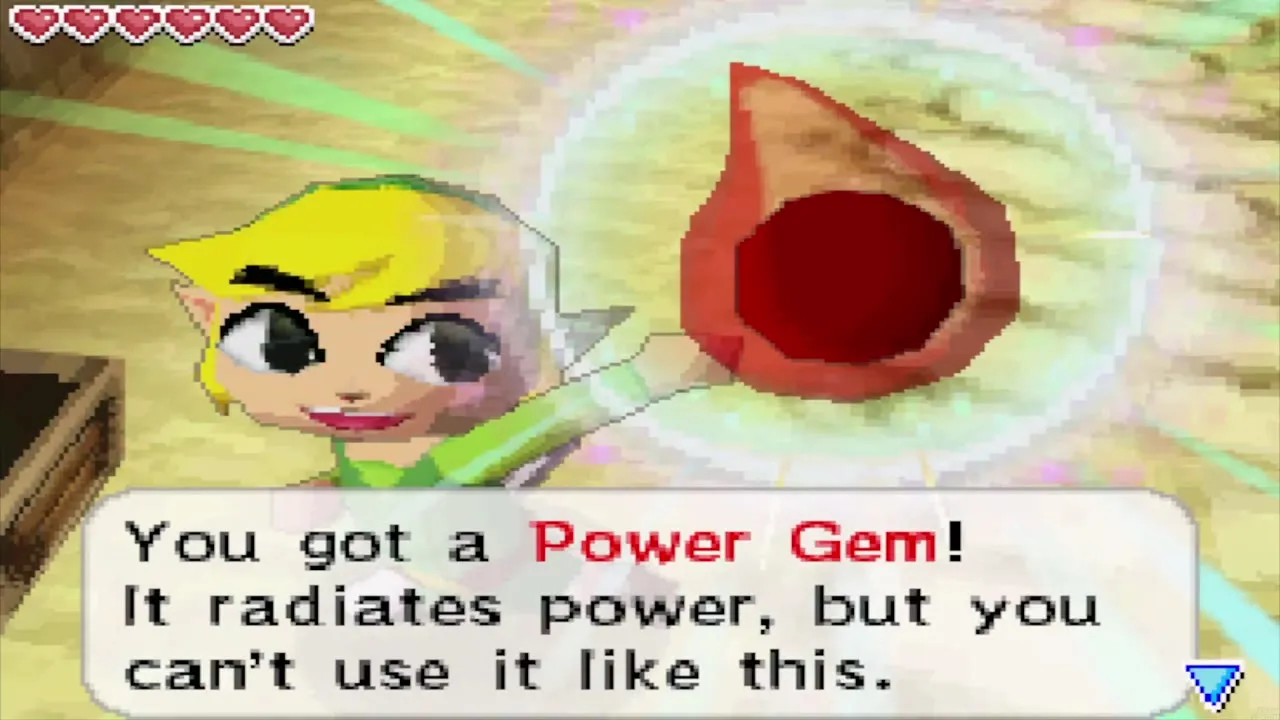
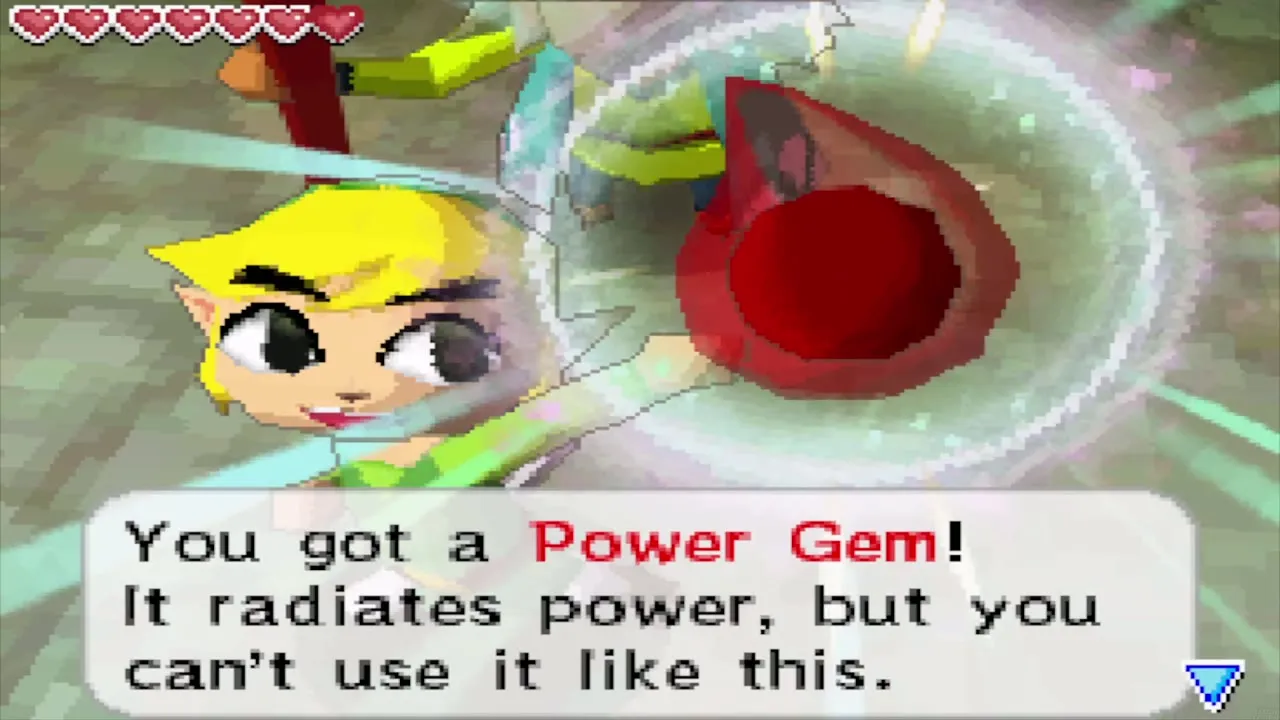
A Power Gem is in a chest on the west side of this sandworm room. Grab it while the worms look the other way and tuck it into your Collection.
Spin the two windmills for the small key
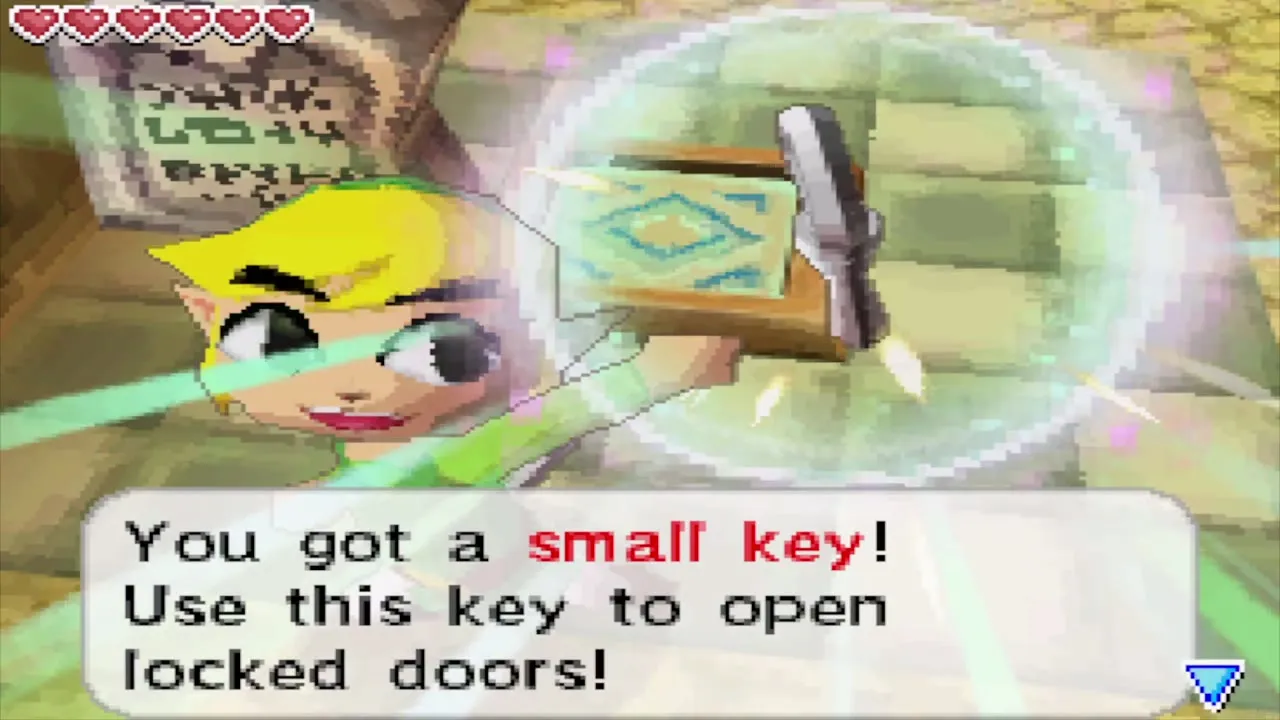
Behind the north door, blow up the blocks with bomb flowers, climb back to B1, follow the path to a gust jar and push it onto the marked wind tile. That spins the first windmill. Return to B2 and use the south-west door the same way: go up to B1, reach the platform and push the second gust jar onto its marked wind tile. With both windmills turning, a small key drops from above. Pick it up and go back down to B2.
Open the chest with the Bombs
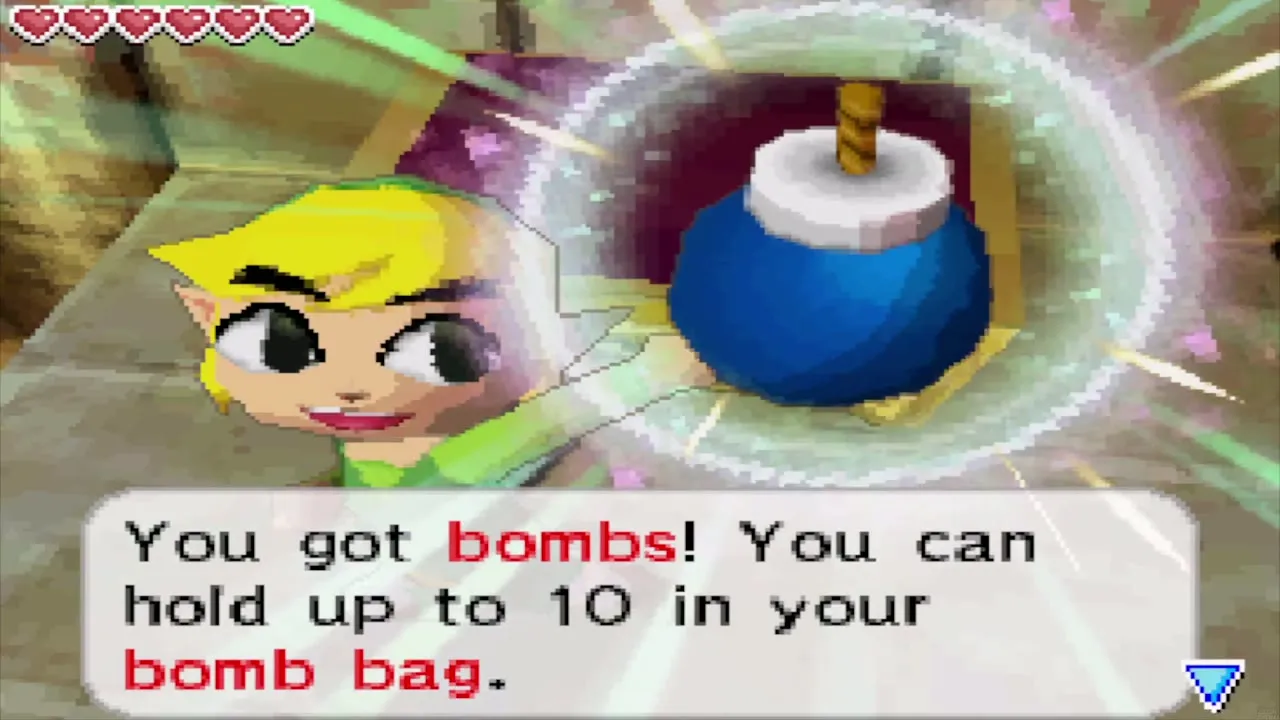
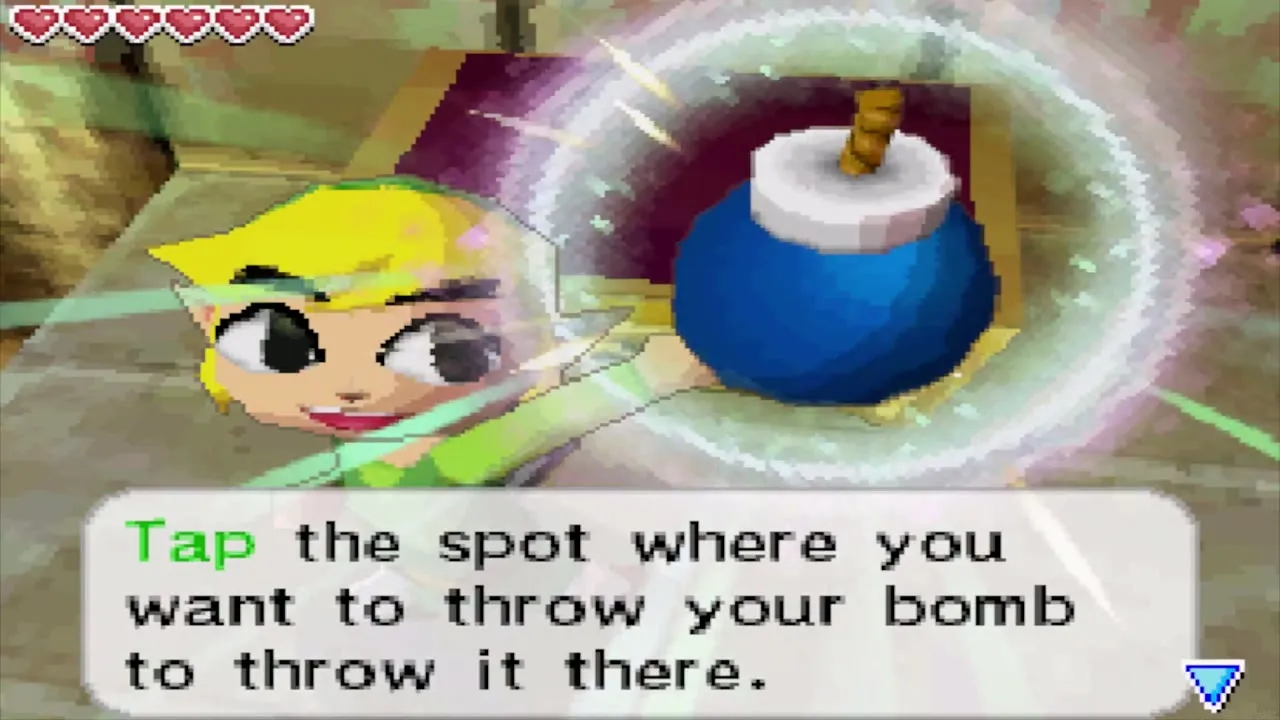
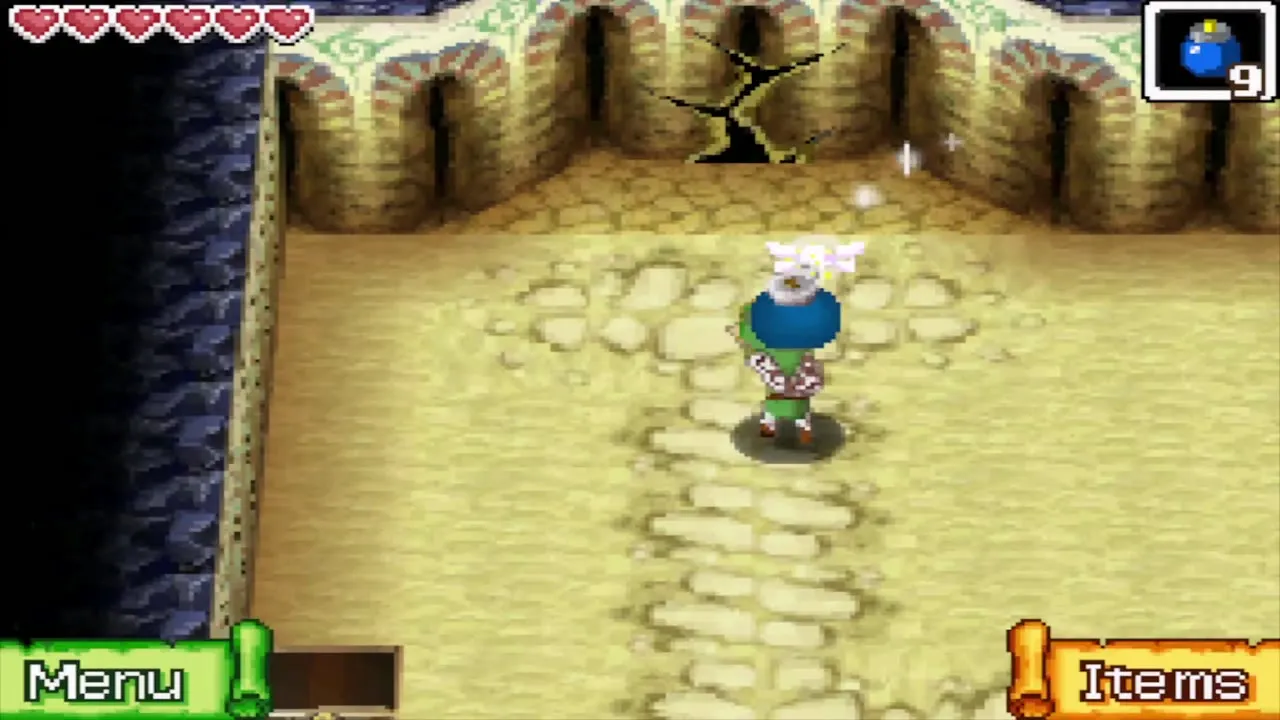
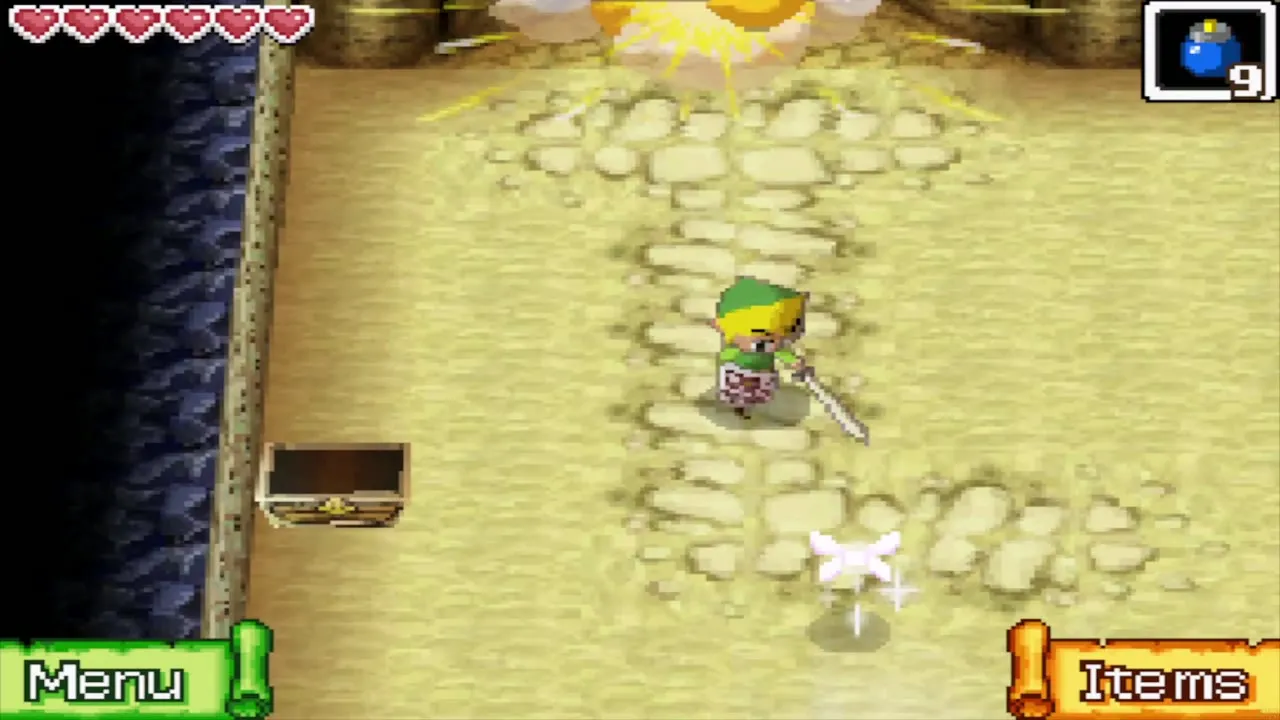
Use the small key on the locked door off the sandworm room on B2 and open the chest behind it. You receive the Bombs, with a bomb bag that holds 10. To use them, tap the spot where you want the bomb to land and Link throws it there; tap close to yourself to set it down. Bombs open cracked walls, blow up blocks and are the only way to kill Sandworms, so from now on the dungeon is far easier.
Back up to the Boss Key
Bomb the geyser and climb to B1
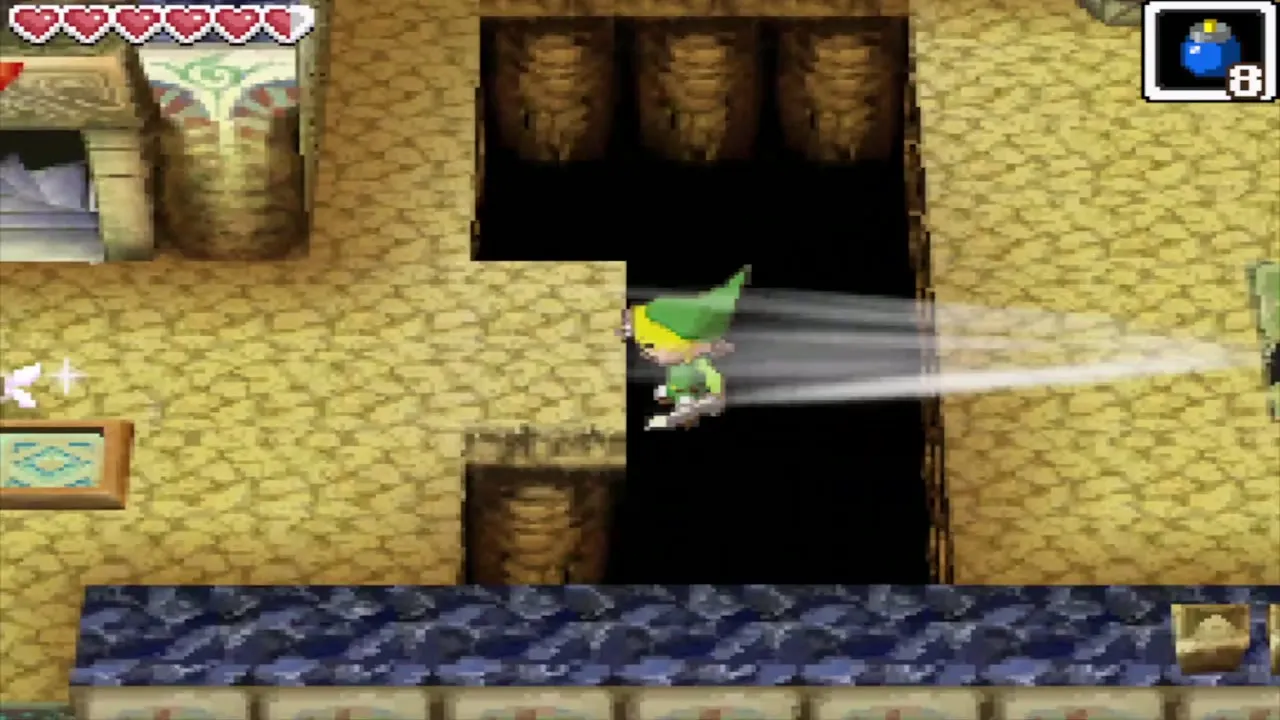
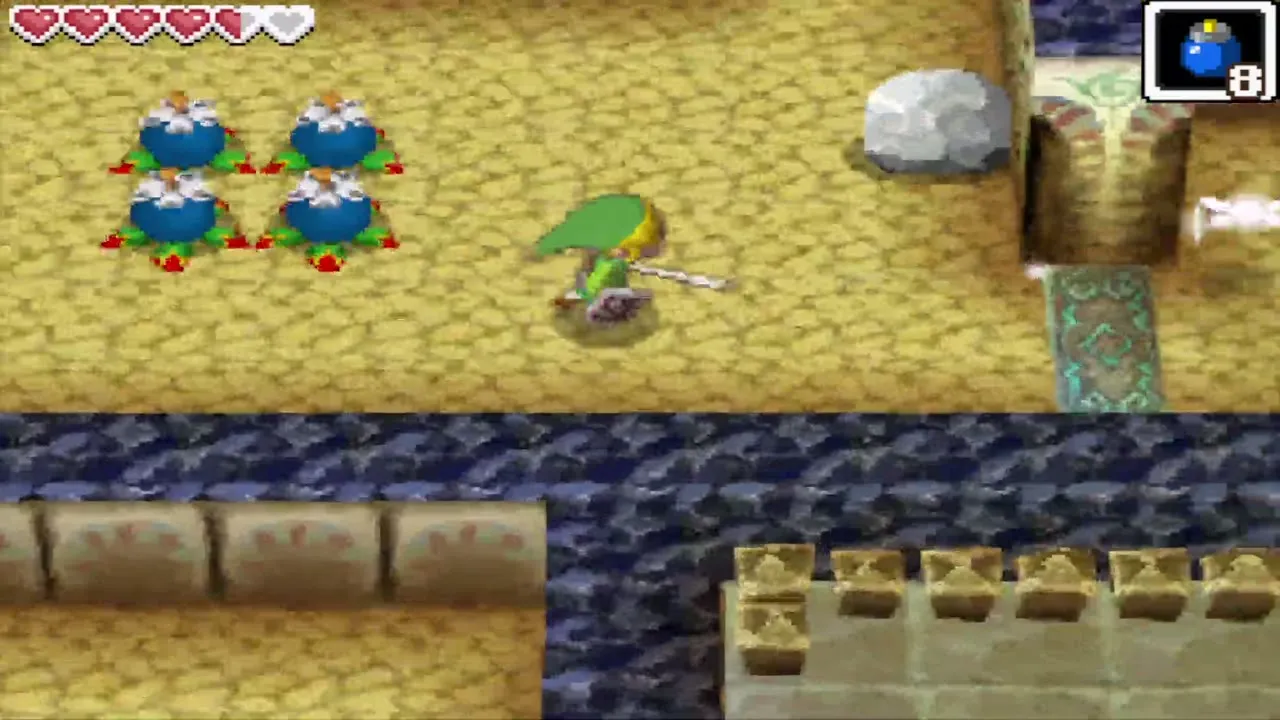
In the north-west corner of B2, bomb the cracked wall and walk in. Put a bomb on the wind geyser so it blows up the block on the platform above, then ride the geyser up to the staircase. On B1, throw a bomb onto the next wind geyser; it carries the bomb over to the row of bomb flowers and sets them off. Run east through the door at once, before it closes again, and bomb the tile along the wall that does not match the others to open a hole. Follow the path through and climb the stairs to the first floor.
Take the Boss Key
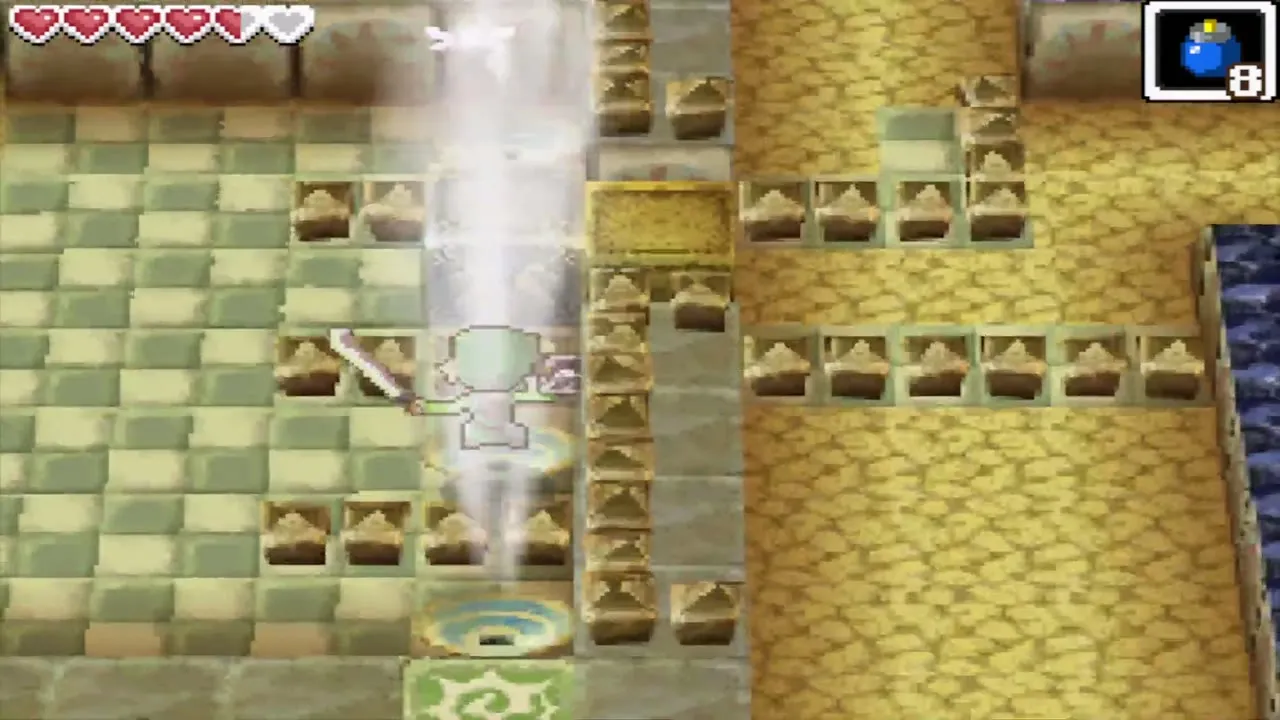
In the dead-end room on 1F, bomb the wall beside the odd tile to open a hole. Climb to the pair of switches and throw two bombs onto the wind tiles; the wind carries the bomb flowers into both switches at the same moment. The south door opens and the Boss Key is waiting inside. It is heavy: tap close to yourself to put it down and far away to throw it.
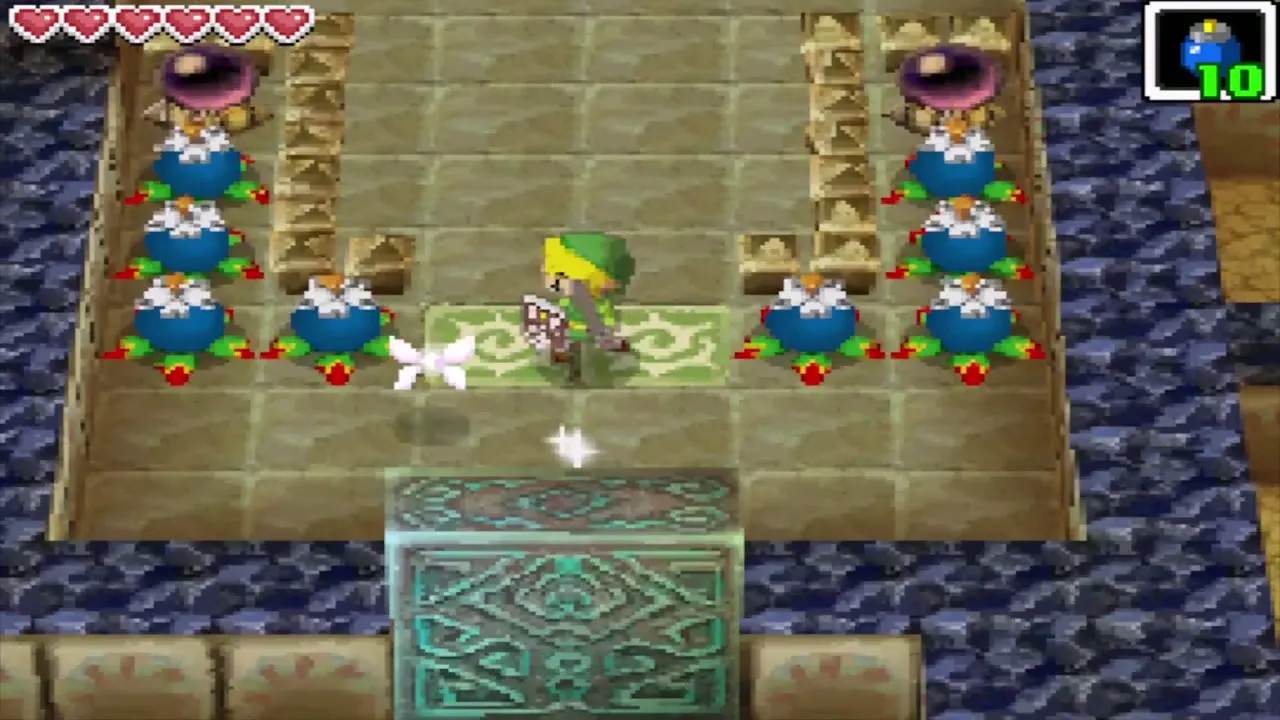
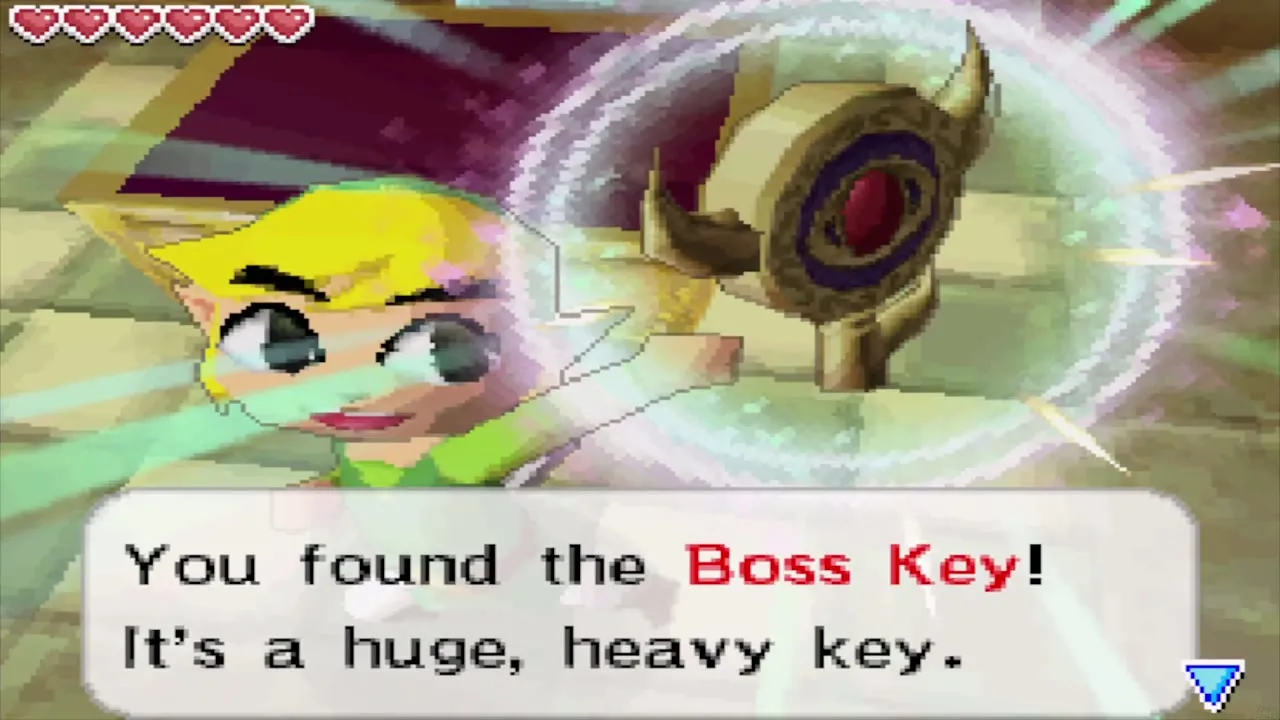
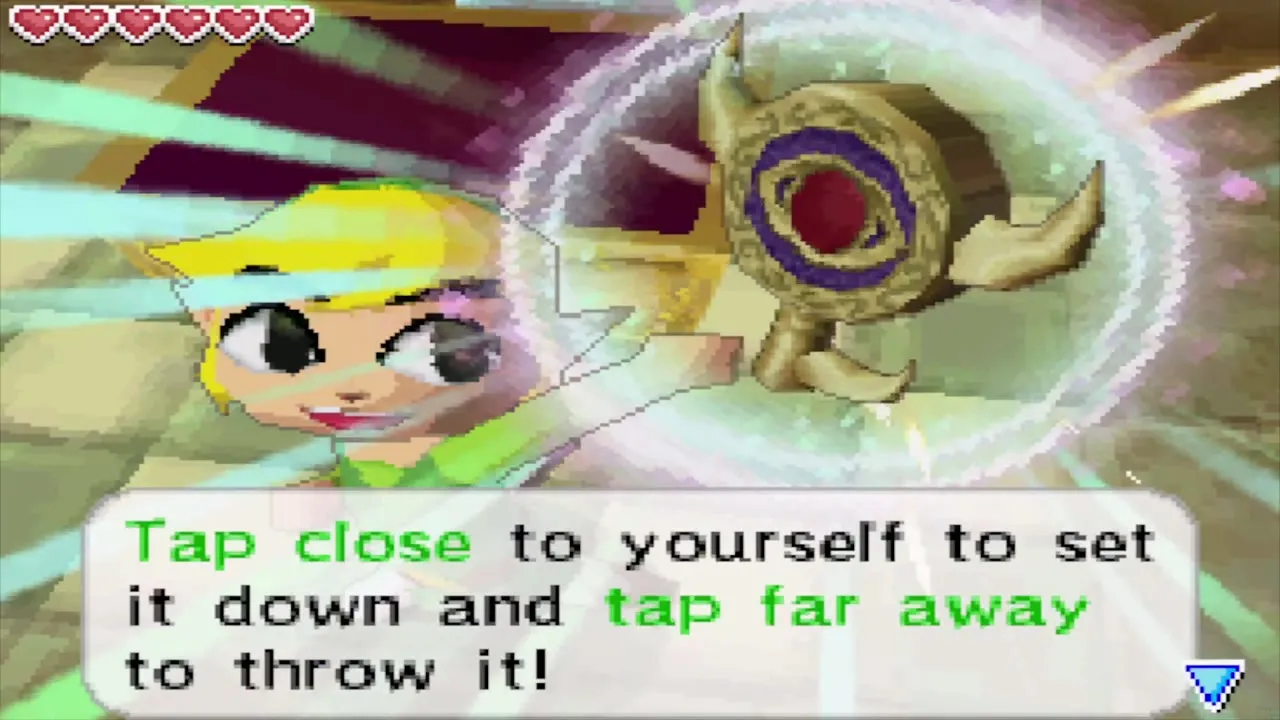
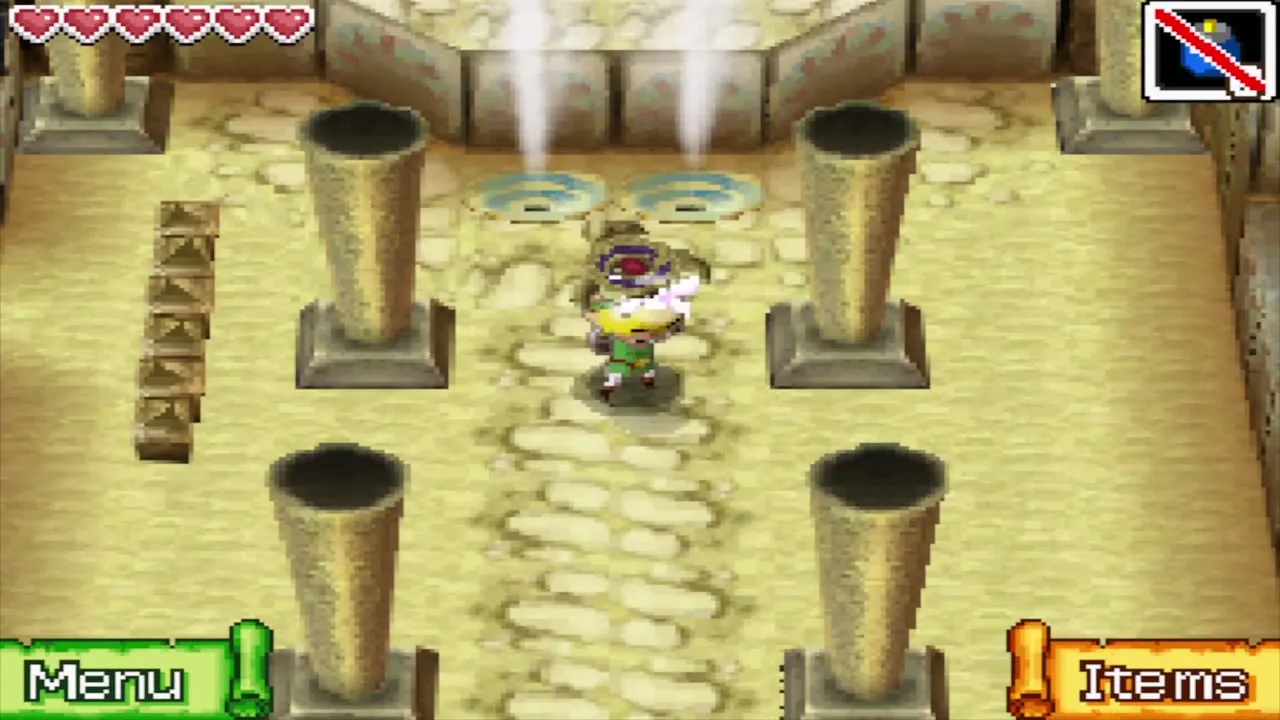
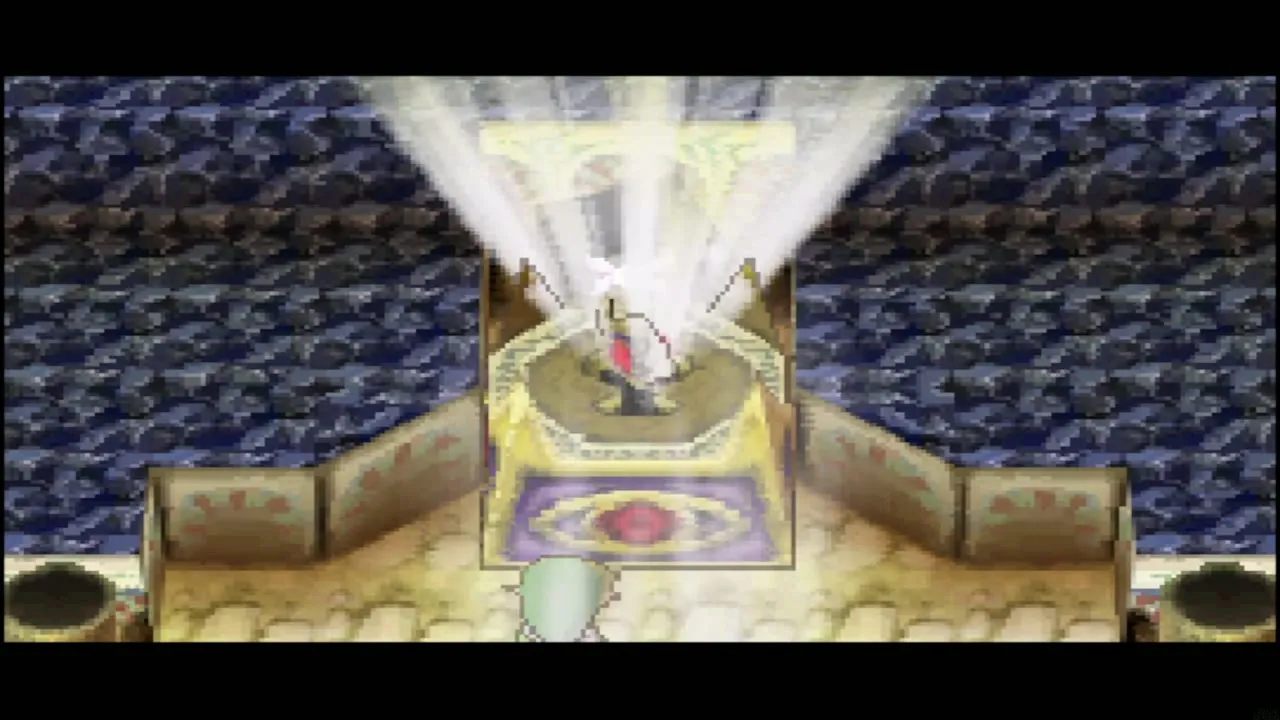
Jump off the west ledge with the Boss Key, set it down, and bomb the wind geyser to clear the blocks. Pick the key up again, ride the geyser up and place the key in its slot to unlock the boss door. Go through, head north and tap the stone tablet to create a blue warp point. It carries you back to the temple entrance.
Cyclok boss fight
Bomb the cyclones
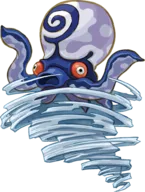
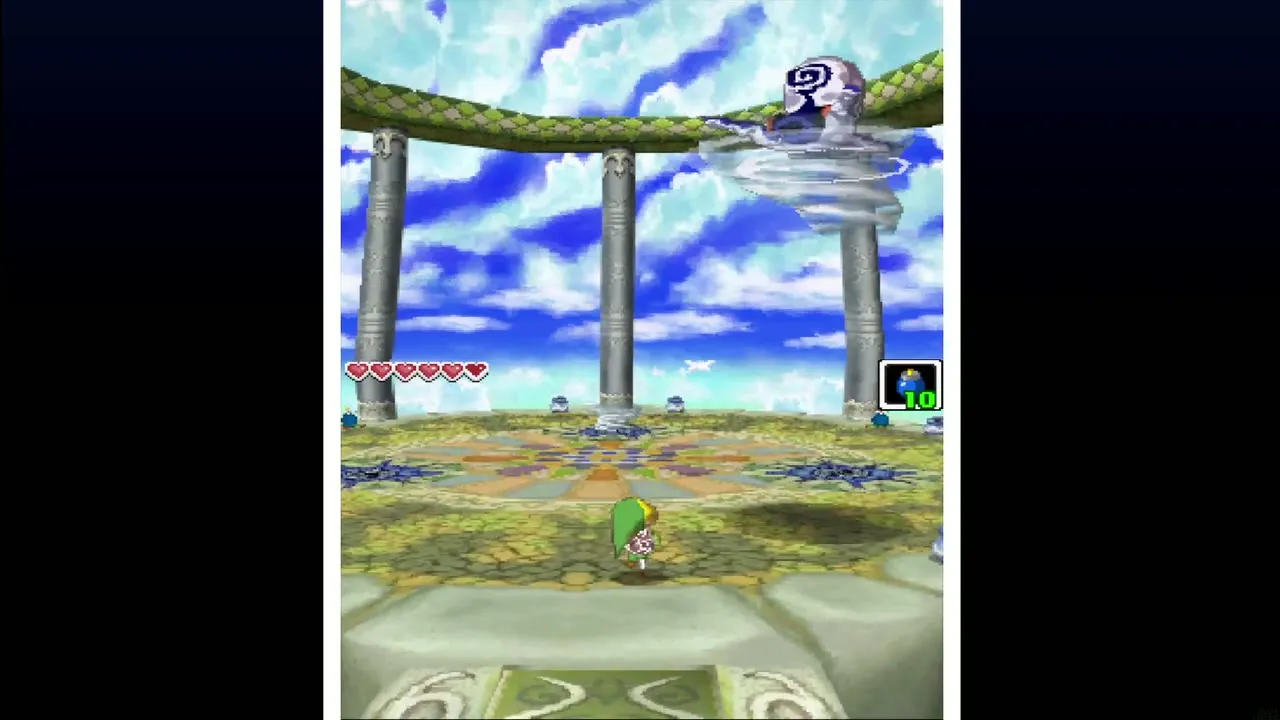
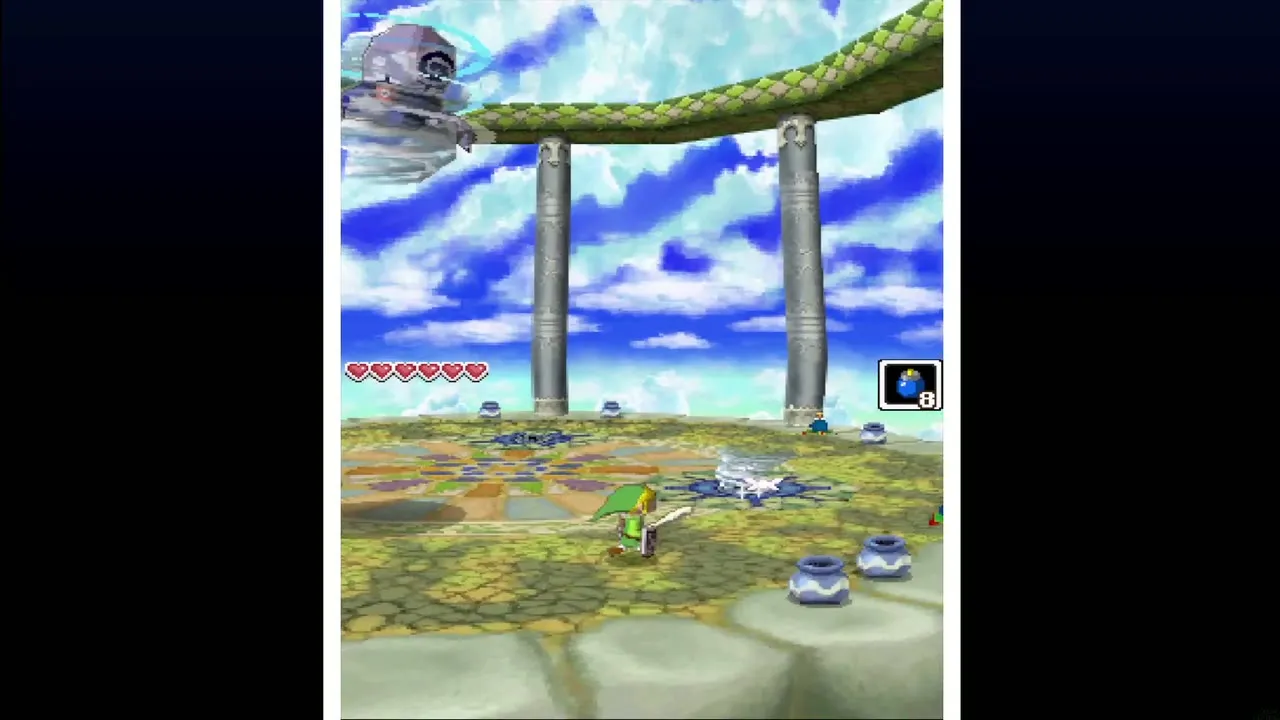
Cyclok, Stirrer of Winds, is a giant, Octorok-like creature that hovers above a platform in the sky. Three fixed spots on the floor generate cyclones, and one at a time is active. Watch the shadow he casts: when it passes over the active cyclone, throw a bomb into it, or a bomb flower from the edge of the platform. The bomb blasts him out of the air and he crashes to the floor, where you run in and slash him until he gets up.
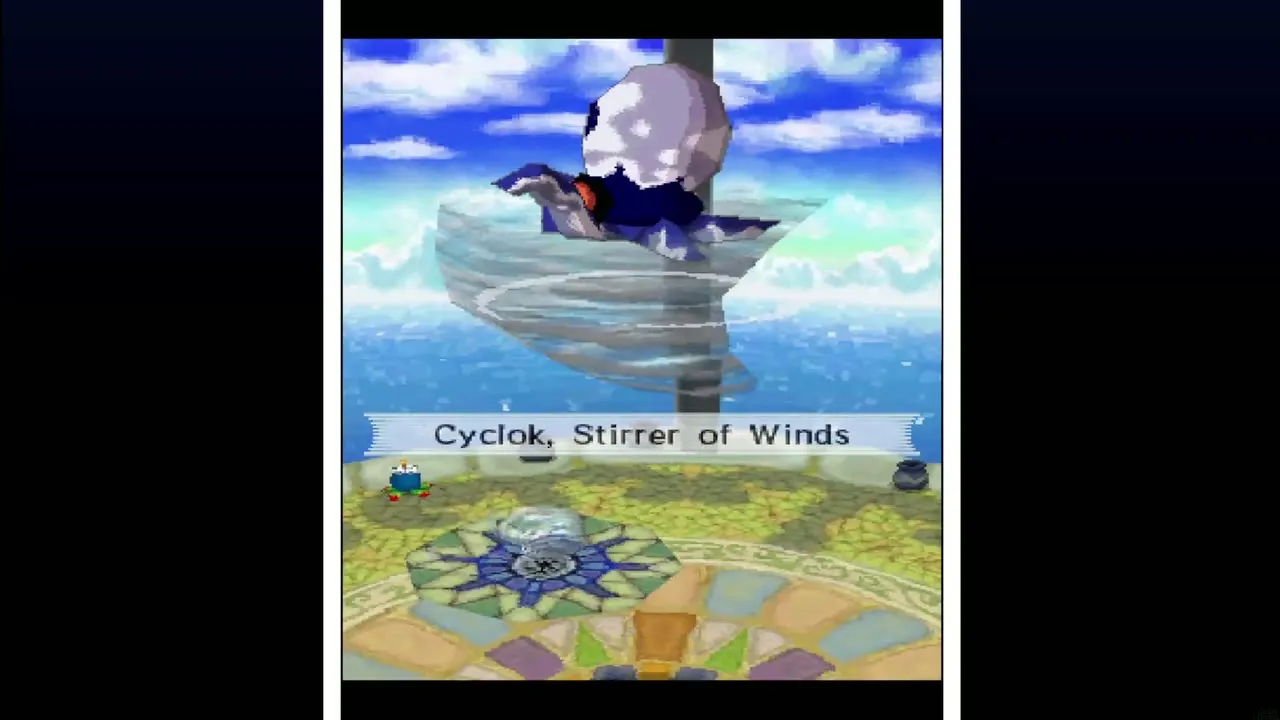
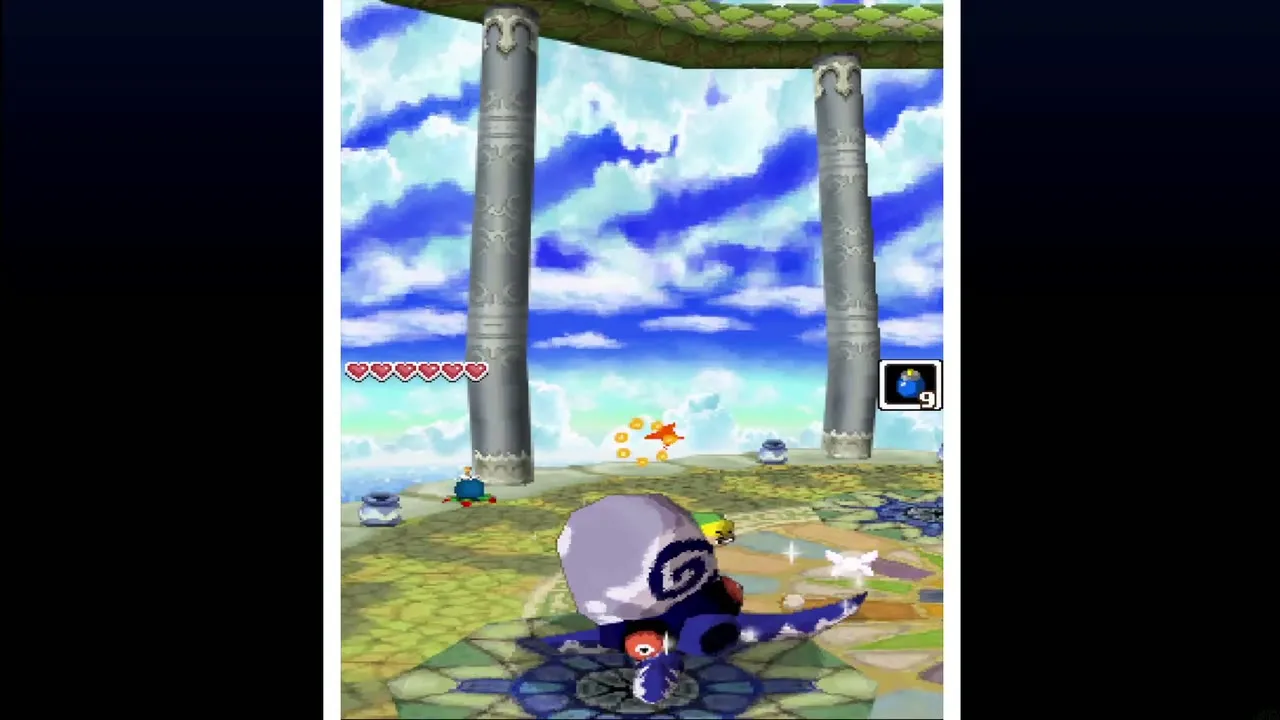
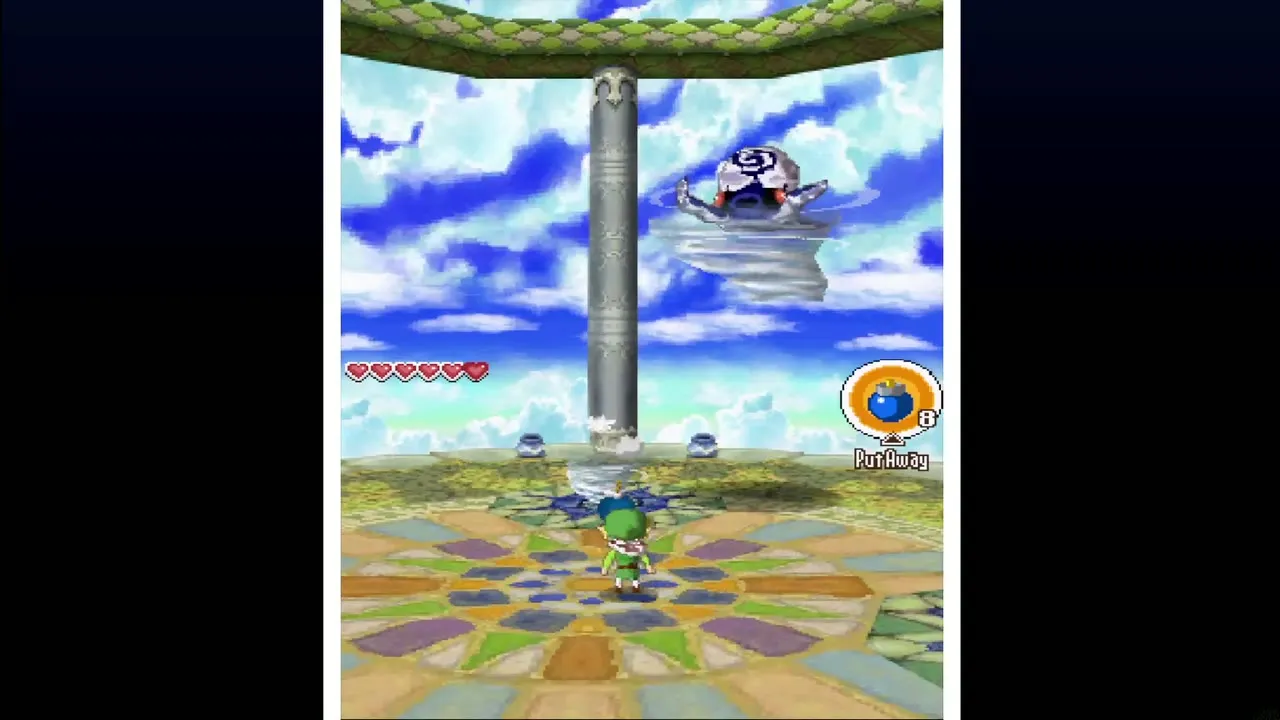
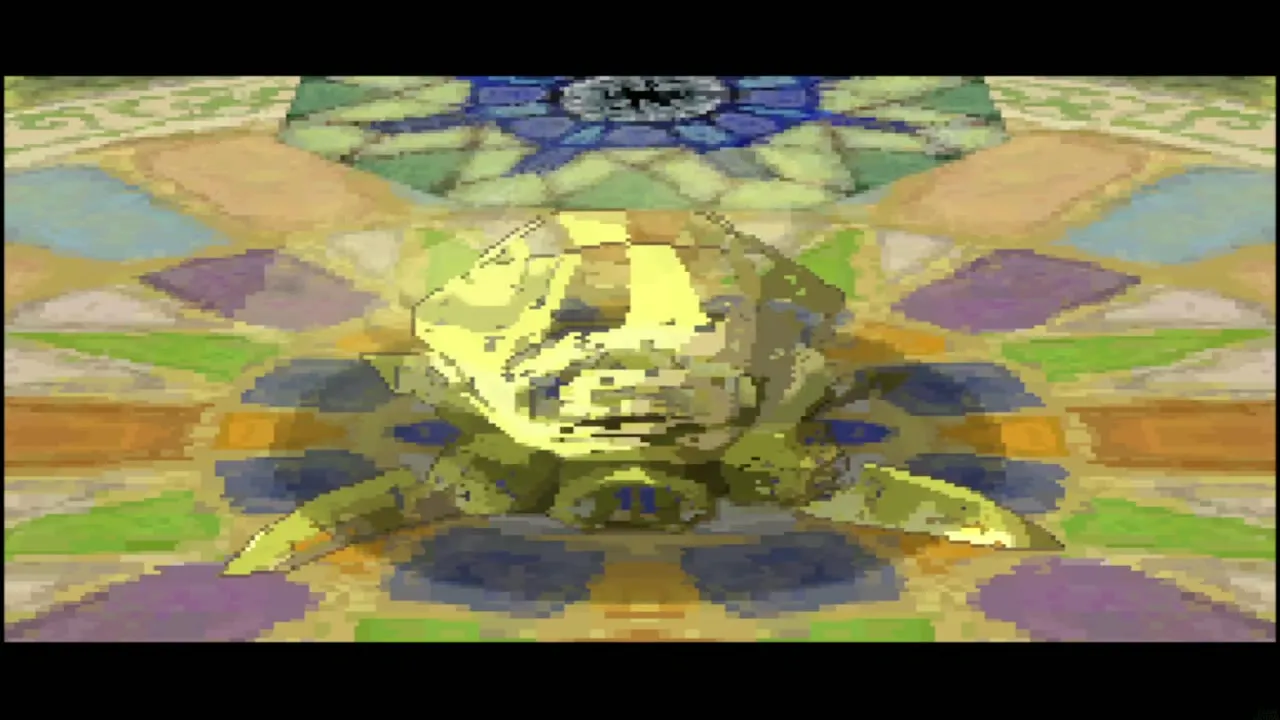
He charges and sends small cyclones down at you, and he moves faster as the fight goes on, so keep Link away from the platform edge and from the whirlwinds. Do not waste bombs while he is not above a cyclone, because you only carry ten. Repeat the bomb and slash routine until he falls.
After the fight: Neri, sand and the Heart Container
When Cyclok falls, the Phantom Hourglass gains two more minutes of sand. Your time on the hourglass is now 12 minutes, which is comfortable for the next trips into the Temple of the Ocean King.
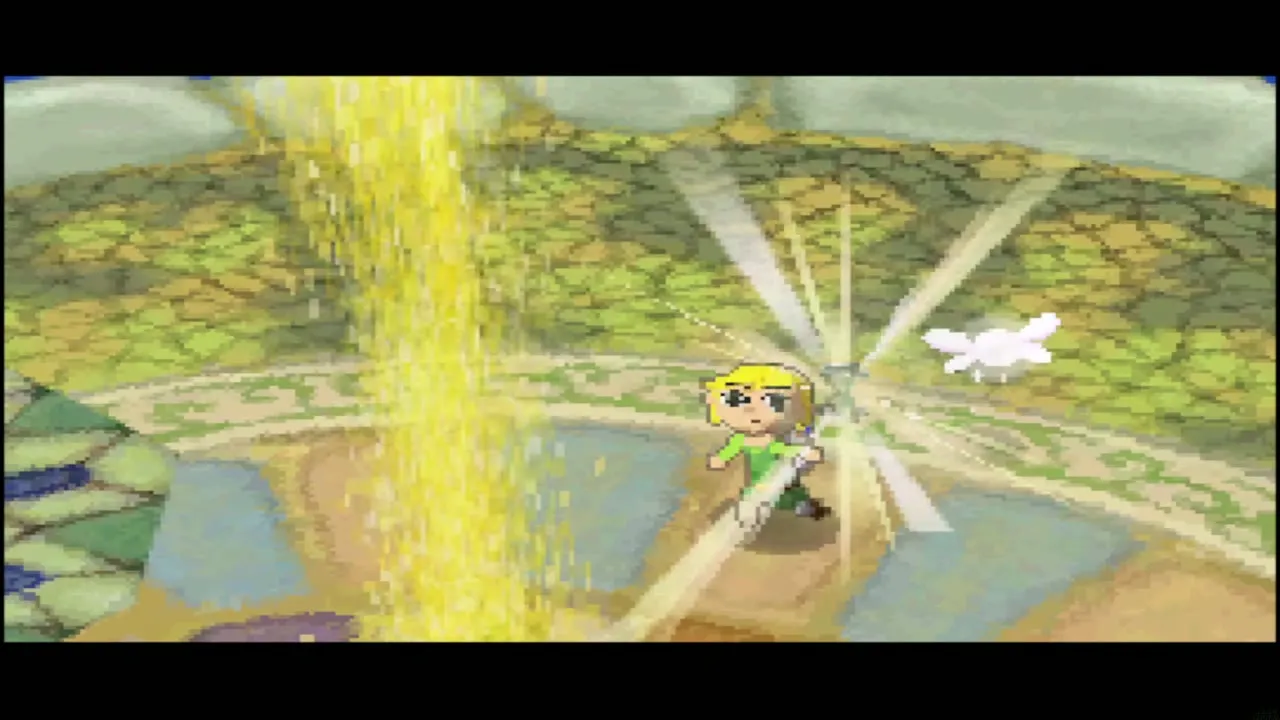
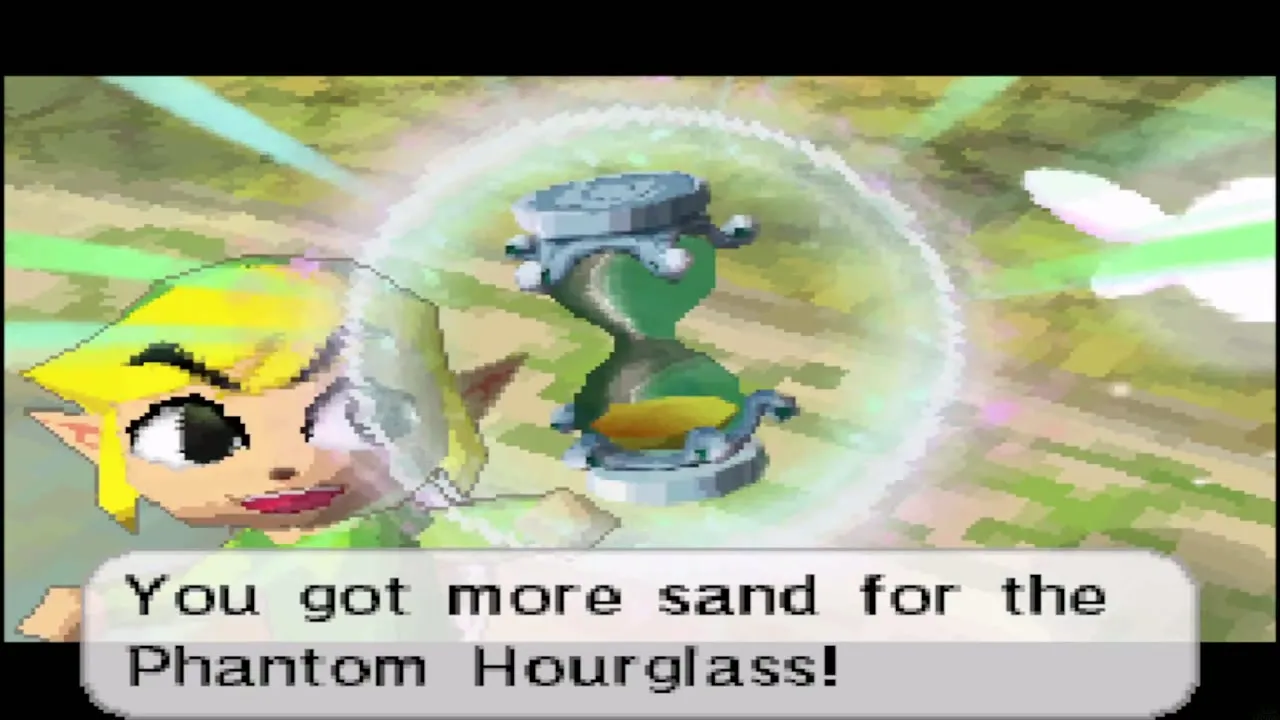
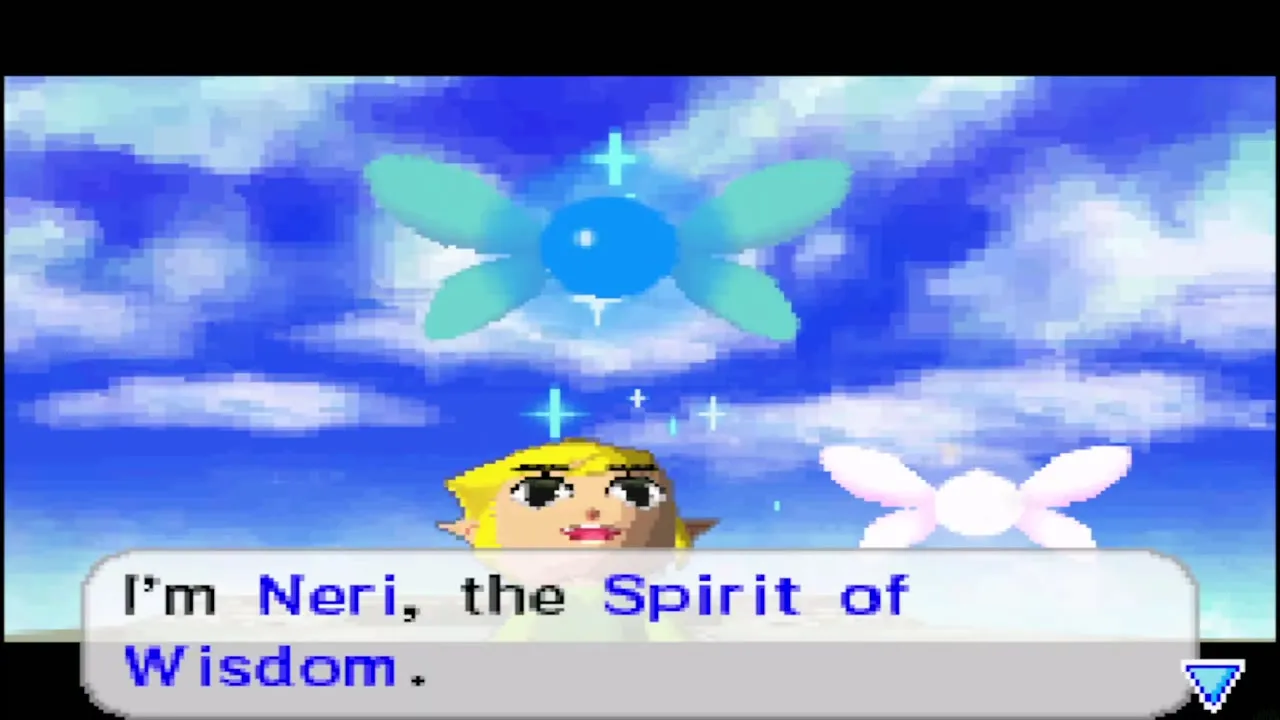
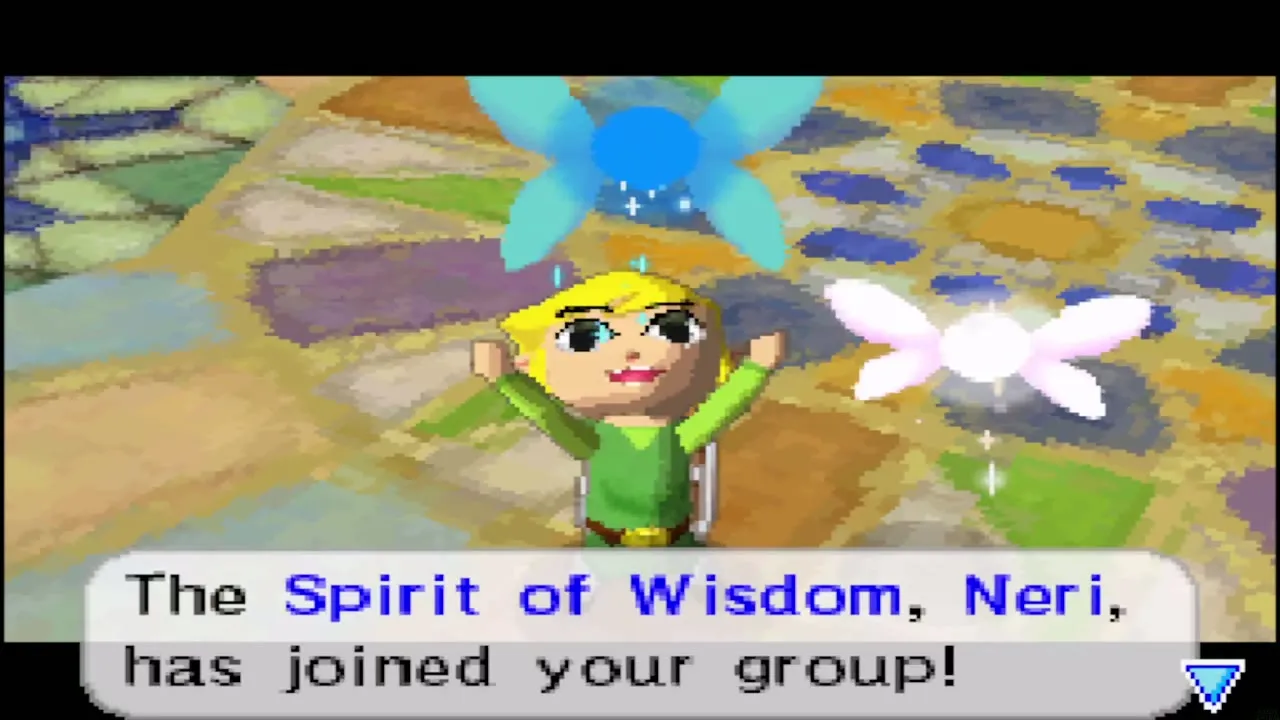
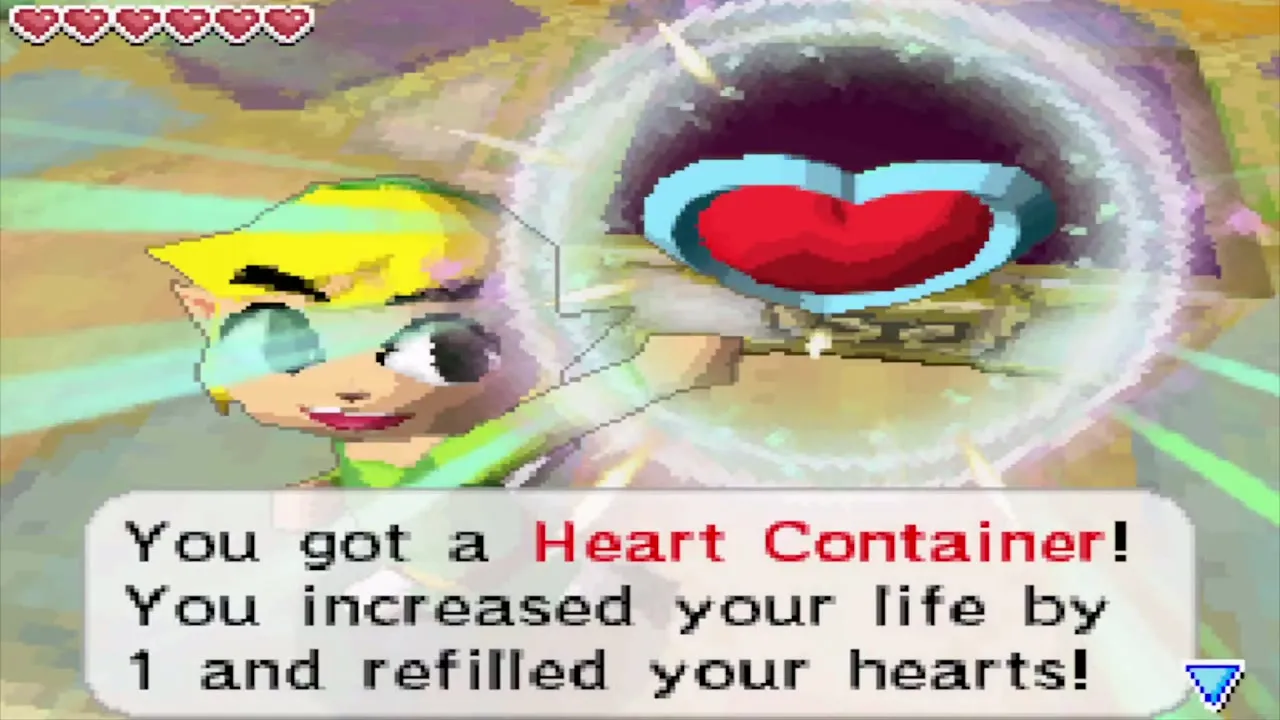
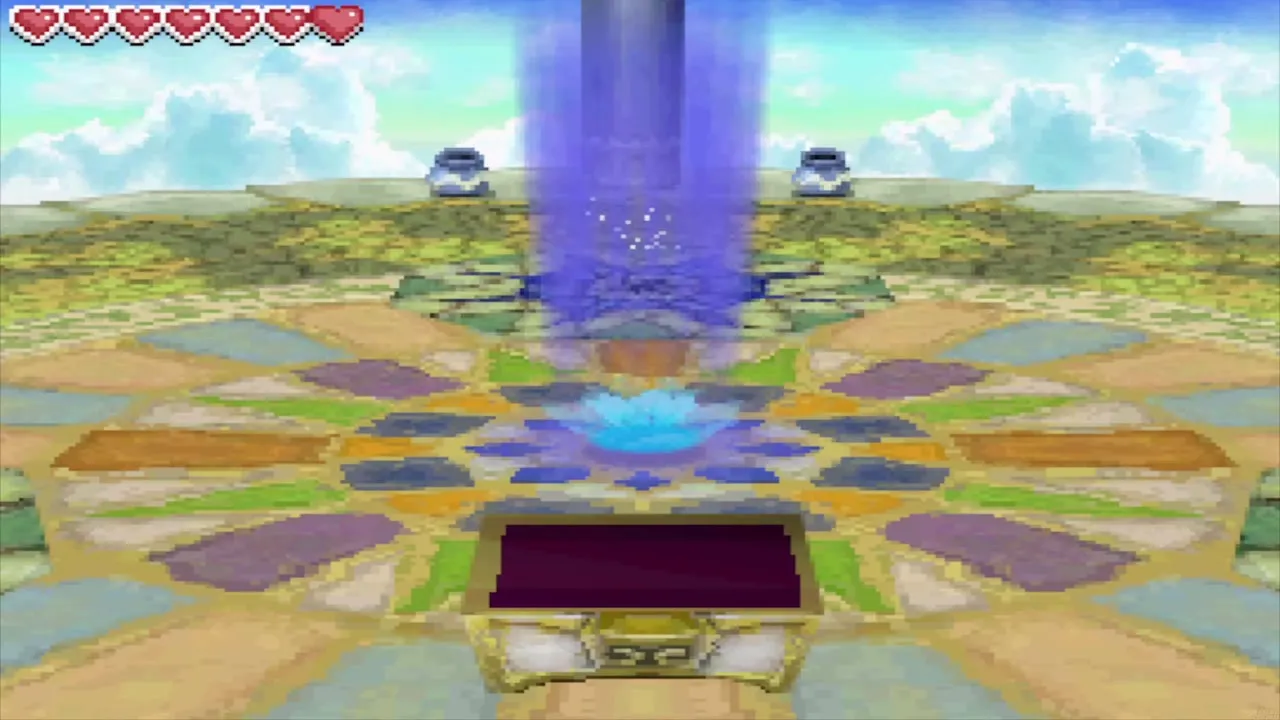
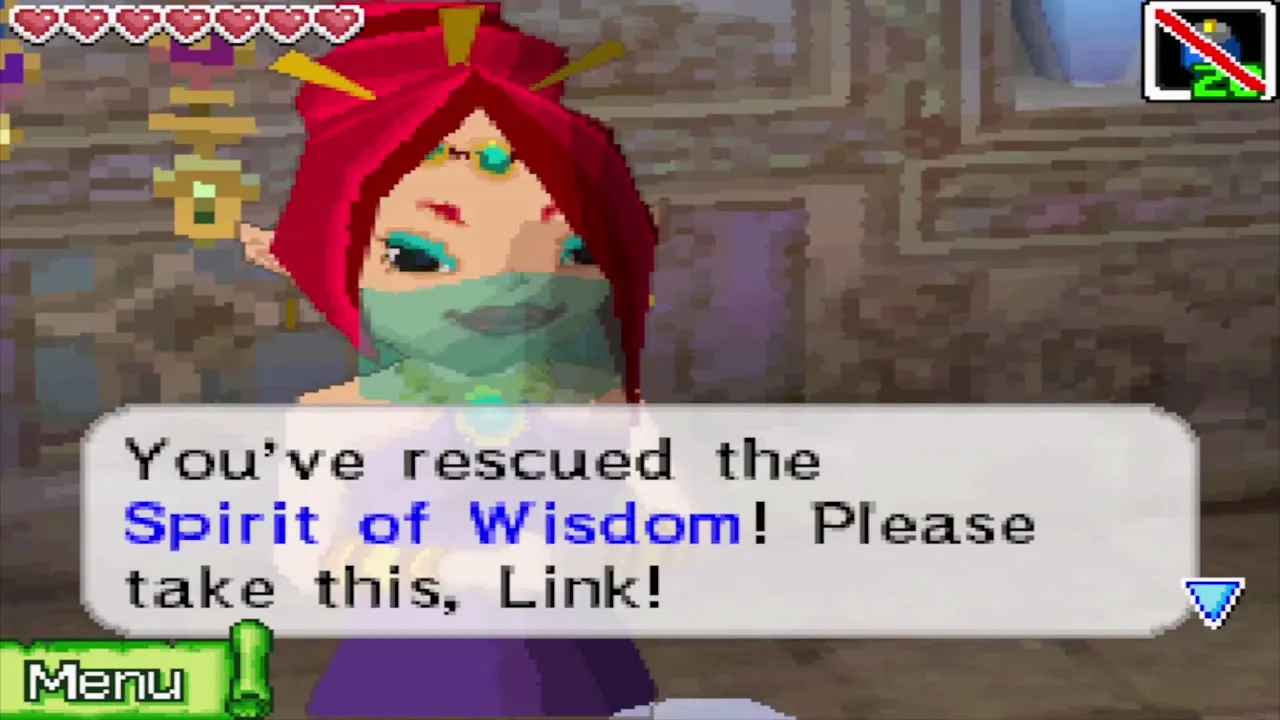
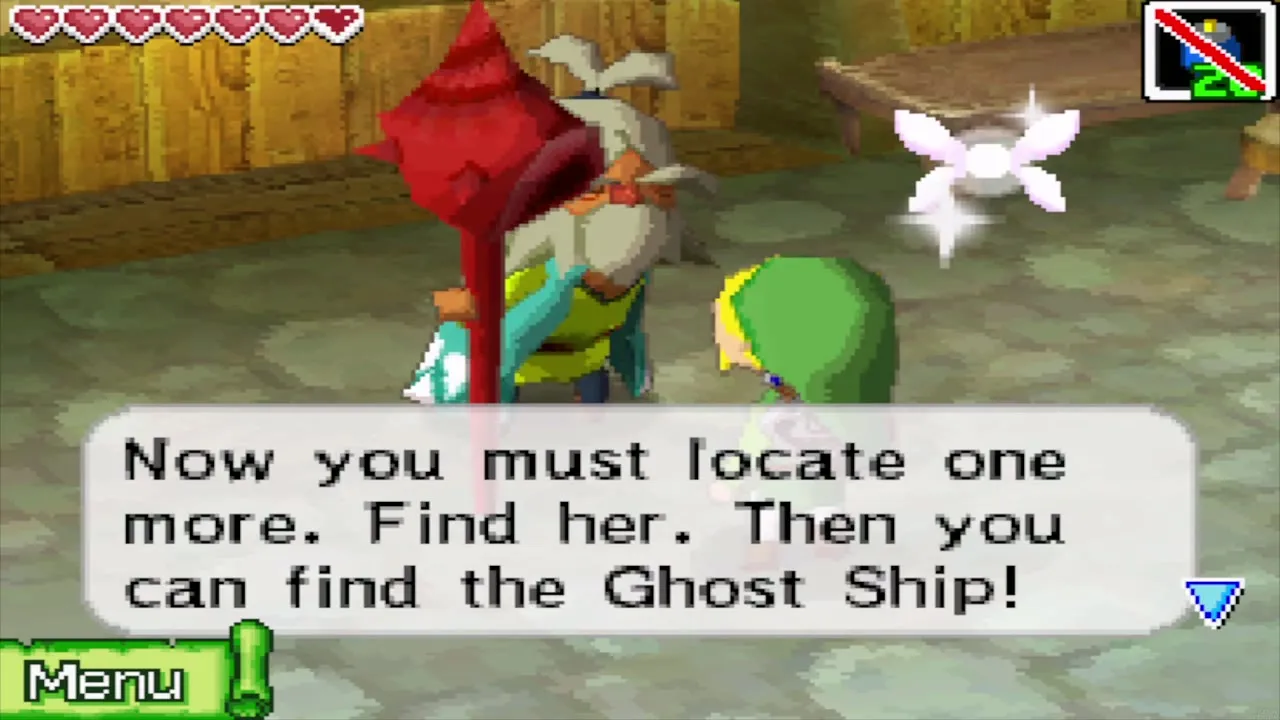
Neri, the Spirit of Wisdom, is freed from her seal and joins Ciela and Leaf, and she agrees to help you find the Ocean King. She says one more spirit is needed to track down the Ghost Ship. Walk to the pedestal where the spirit was held and open the chest to take the Heart Container, which adds a heart and refills your life. Step into the blue light afterwards to leave the temple.
Gifts waiting on the islands
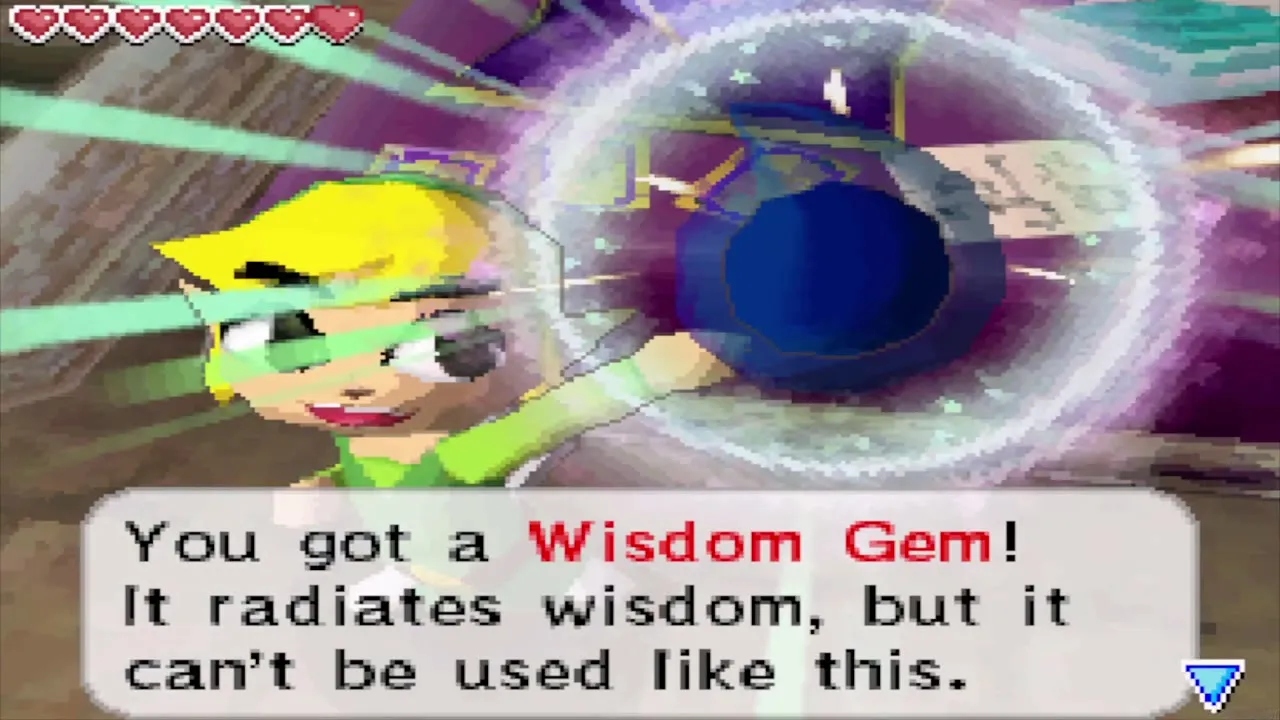
Neri’s arrival also makes two people hand over gems. Astrid on the Isle of Ember has a Wisdom Gem for you, and Oshus on Mercay Island gives you a Power Gem if you talk to him there. Neri herself unlocks the Door of Wisdom on the Checkpoint Chamber of the Temple of the Ocean King, which is the next stop, in the B4 to B6 chapter. With Bombs and the Shovel you can also use shortcuts that were closed on earlier visits.
Chapter checklist
| Collectible | Type | Where |
|---|---|---|
| Small key | Key | Drops from above once both windmills spin |
| Bombs | Item | Chest behind the locked door off the sandworm room on B2 |
| Courage Gem | Spirit Gem | B1 chest reached by the wind geysers |
| Power Gem | Spirit Gem | B2 chest on the west side of the sandworm room |
| Boss Key | Key | South room behind the switch pair on 1F |
| Sand of Hours | Phantom Hourglass | Dropped by Cyclok, 2 minutes |
| Neri, Spirit of Wisdom | Spirit | Freed after Cyclok |
| Heart Container | Heart Container | Chest on the pedestal after the boss fight |
With Neri free, take the blue warp out and sail back toward Mercay Island: the Temple of the Ocean King is next, in B4 to B6, the Salvage Arm and the Sun Key.
