





















Phantom Hourglass 100% Completion Walkthrough19 chapters
- Temple of FireEvery key, the Boomerang, the Boss Key, how to beat Blaaz, the Heart Container, Leaf and Astrid’s Power Gem.
- Temple of WindGet the bombs, the Boss Key, beat Cyclok, free Neri and take the Heart Container.
- Molida Island and the Temple of CourageBeat the Giant Eye Plant, light Molida’s statues, get the Bow, defeat Crayk and awaken the Spirit of Courage.
- The Ghost ShipFind the ship with the Spirits, free the Cubus sisters, win their volley game, get the Ghost Key and Heart Container.
- Goron TempleTeam up with Gongoron, get the Bombchus and the Boss Key, beat Dongorongo and take the Crimsonine.
- Temple of IceLever order, three small keys, Grappling Hook, Boss Key, Gleeok fight, Heart Container and Azurine.
- Mutoh’s TempleGet the Hammer, find both small keys and the Boss Key, beat Eox and collect the Aquanine.
- Mercay Island and the First Sea ChartGet Oshus’s Sword, solve the lever passage, rescue Linebeck and find the first sea chart.
- Temple of the Ocean KingTake the Phantom Hourglass, sneak past Phantoms, carry three Force Gems and find the Northwestern Sea Chart.
- Temple of the Ocean KingPhantom Eyes, the hourglass crest door, the Salvage Arm, treasure salvage and the Sun Key.
- Zauz and the Temple of the Ocean KingPure Metals, Triforce door, crystal puzzles and the Southeastern Sea Chart.
- Temple of the Ocean KingGold Phantoms, the B11 bridges, three Force Gems on B12 and the Northeastern Sea Chart.
- The Phantom Sword and BellumPhantom Hourglass walkthrough for the Phantom Sword, the last Temple of the Ocean King descent, Bellum.
- Isle of Ember and AstridFirst voyage, Beedle’s Shop Ship, Kayo’s torches, freeing Astrid and the volcano path to the Temple of Fire.
- Cannon Island, the Ghost Ship Chase and Molida IslandBuy the Cannon from Eddo, chase the Ghost Ship, then reach Molida Island and take the Shovel.
- Northwestern Sea and the Isle of GustThe fog route, Bannan Island fishing, Zauz, the Cyclone Slate, Golden Frogs and the way to the Temple of Wind.
- Goron Island and GongoronSail the Southeastern Sea, beat the Massive Eye, pass Biggoron’s quiz, find Gongoron and reach the Goron Temple.
- Isle of Frost and the Yook MysteryCannon the ice, Anouki Estates, find the Yook among six villagers and fight through the Great Ice Field.
- Isle of the Dead and the Isle of RuinsDig spot, Phantom Corridor path, Regal Necklace, King’s Key, Max and the door symbol.
| Covers | the Phantom Hourglass, the Door of Power on 1F, floors B1 to B3 and the Checkpoint Chamber |
|---|---|
| You need | Oshus’s Sword, the Boomerang from the Temple of Fire, Leaf the Spirit of Power on your side, and the Southwestern Sea Chart |
| Rewards | 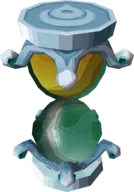 Phantom Hourglass (10 minutes of sand), 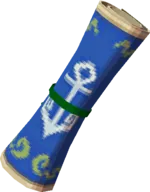 Northwestern Sea Chart; no Heart Container, no treasure map, no Sand of Hours |
This is your second trip into the cursed Temple of the Ocean King, and the first with a way to survive it: the Phantom Hourglass. You take the hourglass from the altar, open the Door of Power on 1F, sneak through B1 and B2 by hiding from the armoured Phantoms on the Safe Zones, haul three Force Gems across B3 to their pedestals, and finish in the Checkpoint Chamber, where a chest holds the Northwestern Sea Chart.
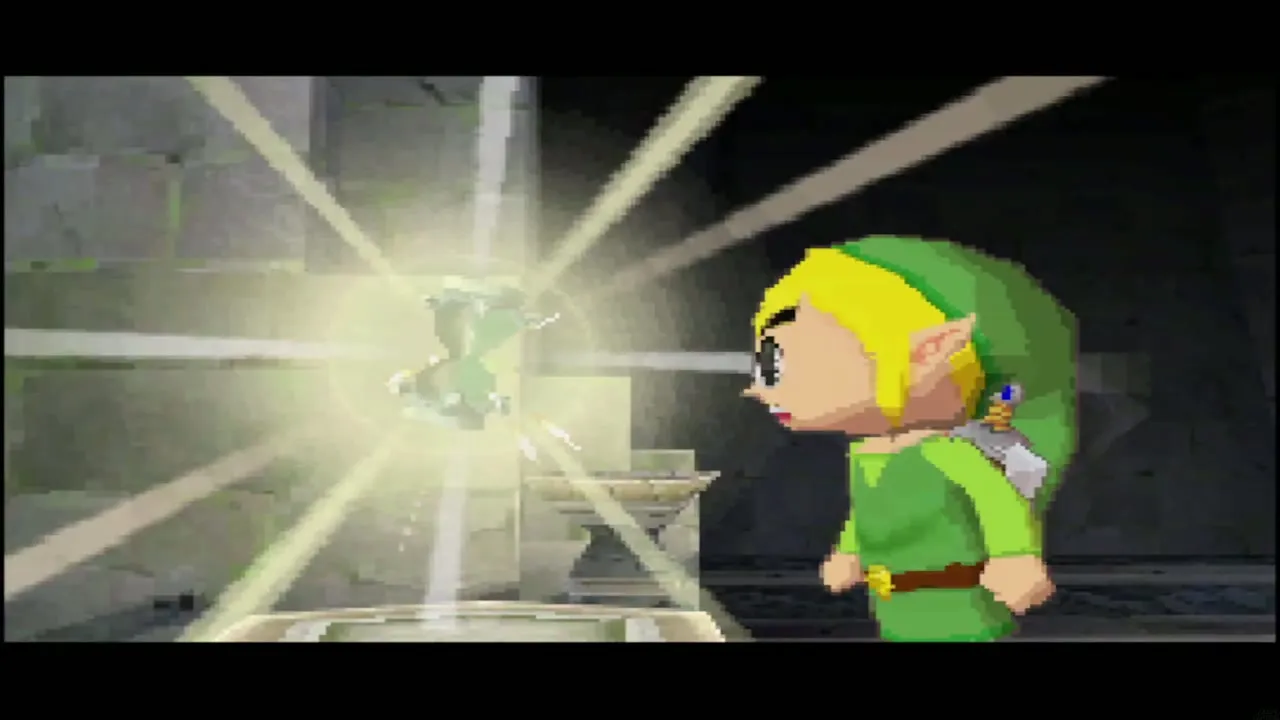

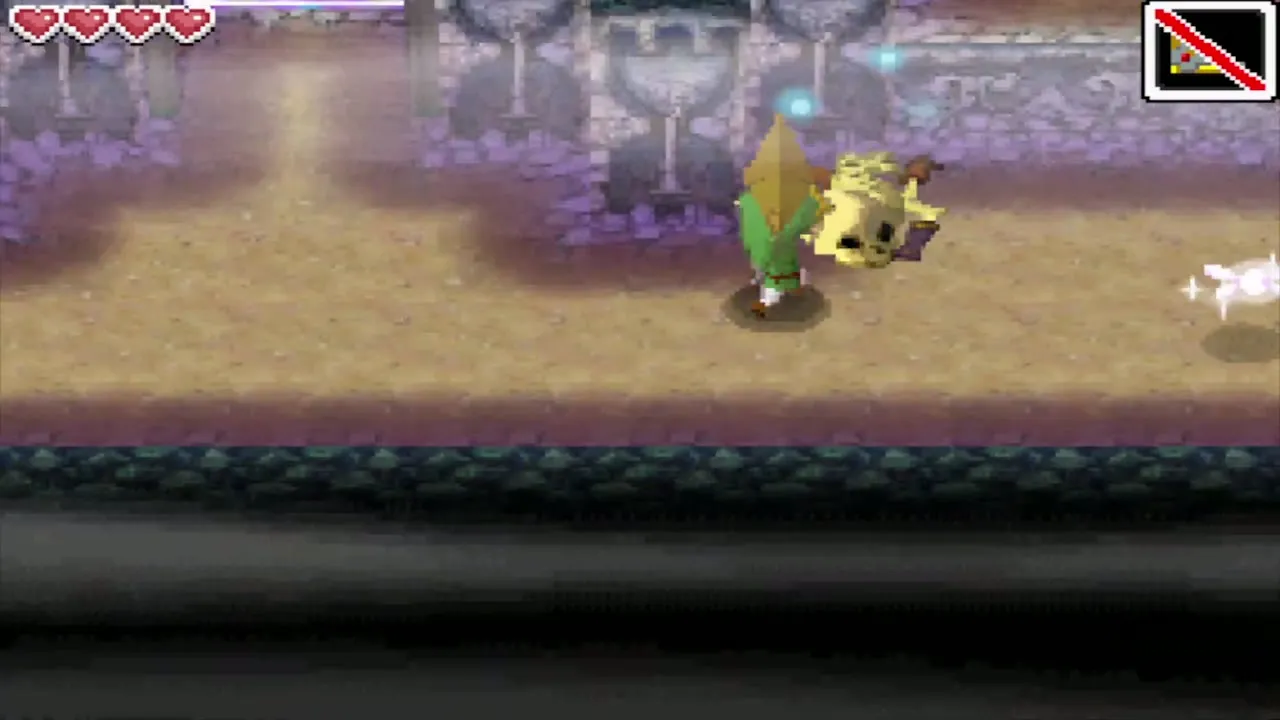
Table of Contents
How to get the Phantom Hourglass
The altar in the temple entrance
Back on Mercay Island, cross the island to the gate of the Temple of the Ocean King and walk in. The curse in this temple drains the life out of anyone who stays inside too long. Go in anyway; with Leaf at your side you can finally go deeper.
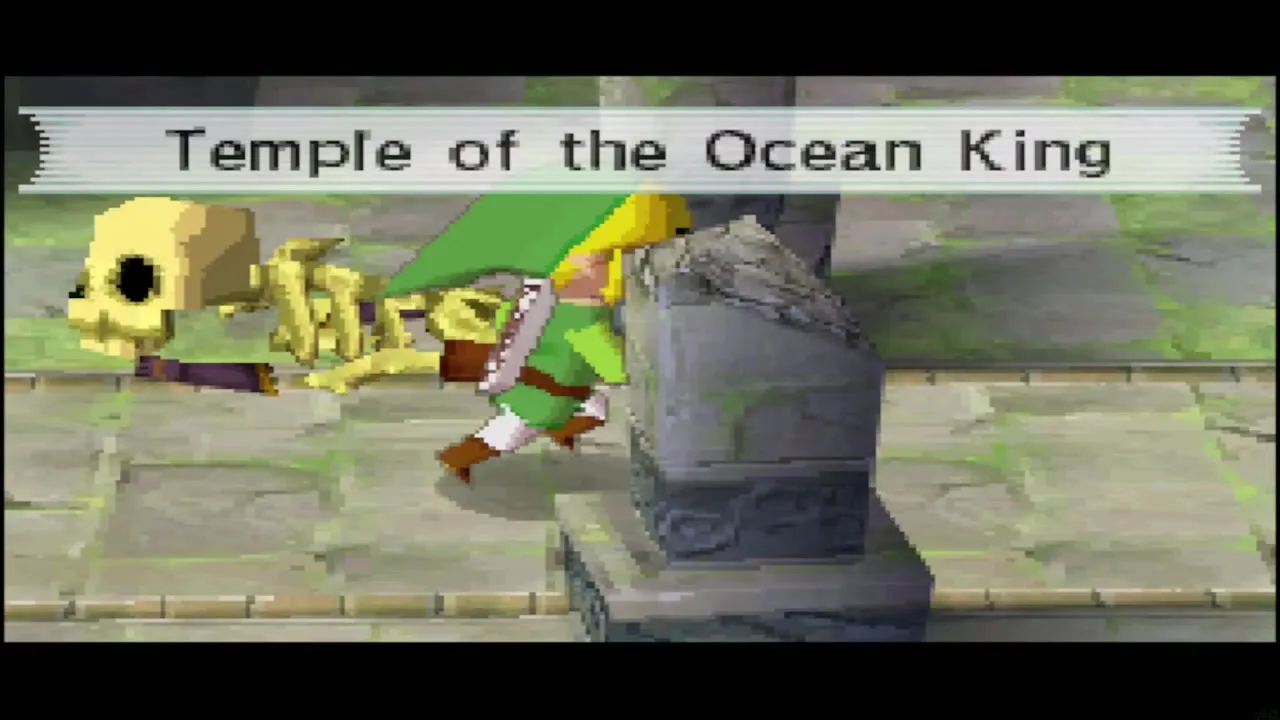
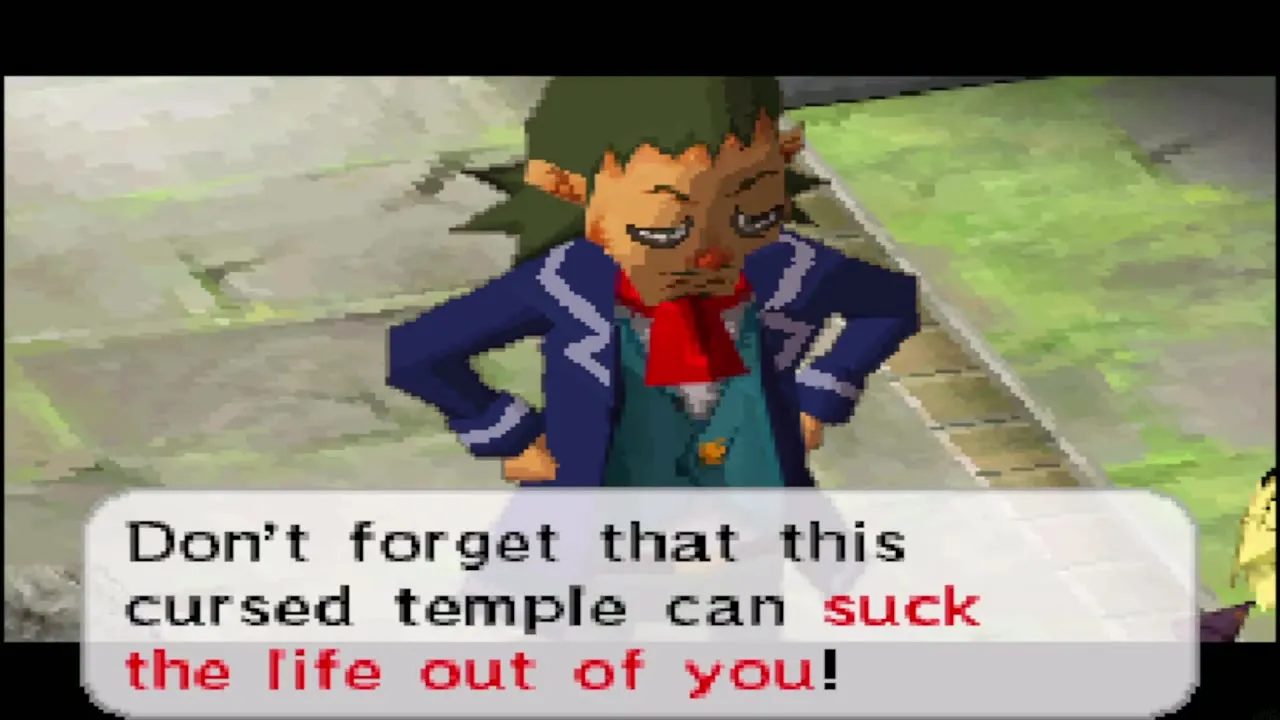

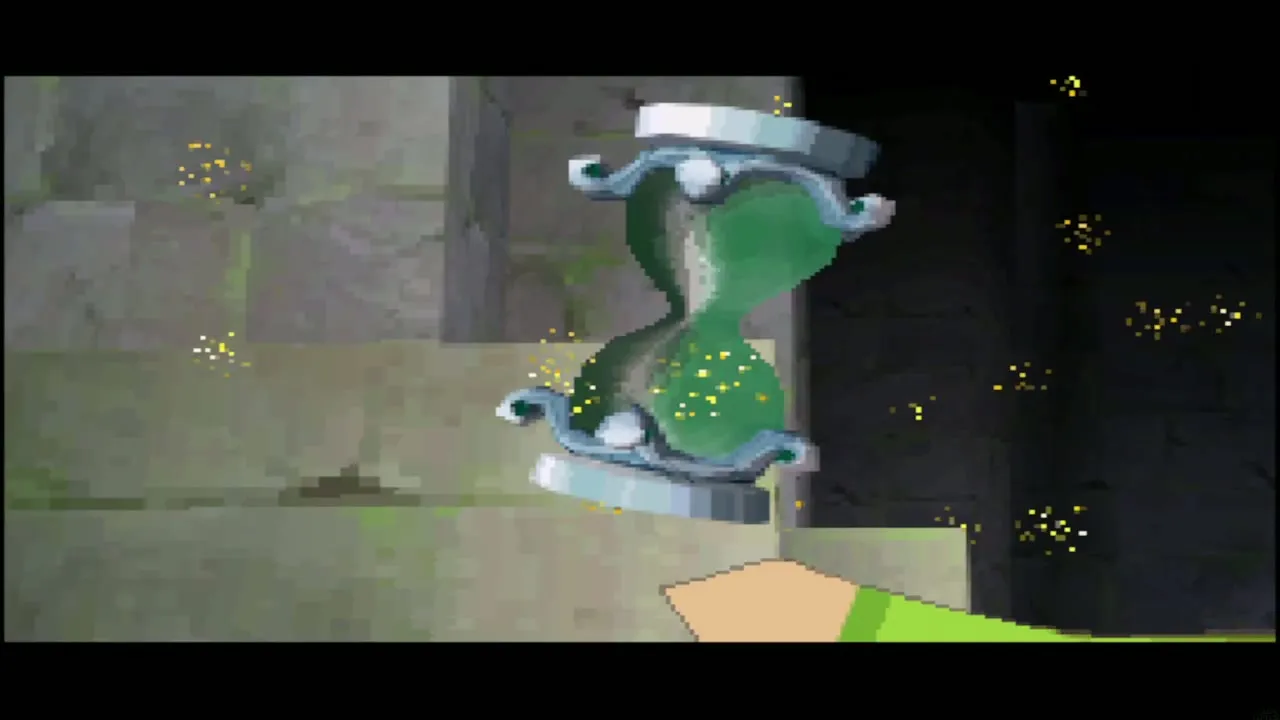
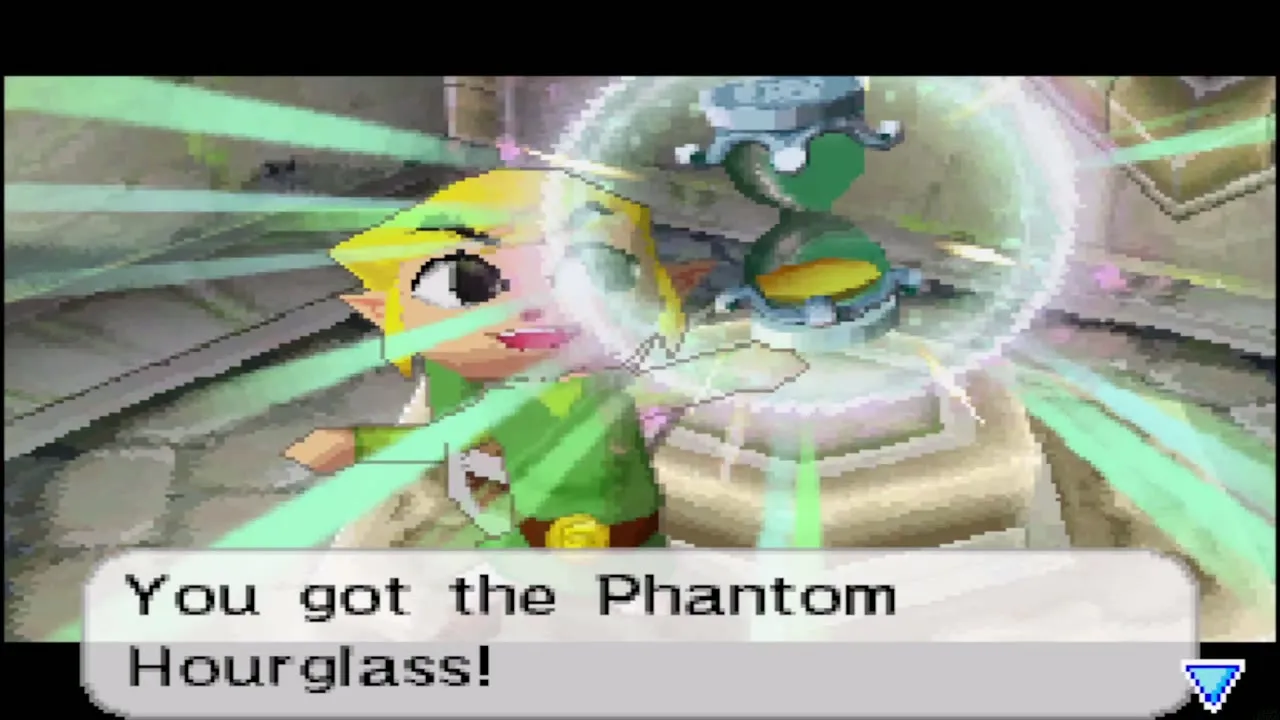
Step onto the glowing pad in front of the altar and an hourglass rises above it. Take it: You got the Phantom Hourglass! It is filled with the Sand of Hours, and the hourglass already holds ten minutes of sand to start with.
Oshus explains how it works. While sand remains in the upper half, the curse cannot drain you. When the last grain has fallen, your life drains instead. The sand comes back only when you carry the hourglass out into the sunlight, and it can hold more once you add the Sand of Hours that bosses and sunken chests give you later.
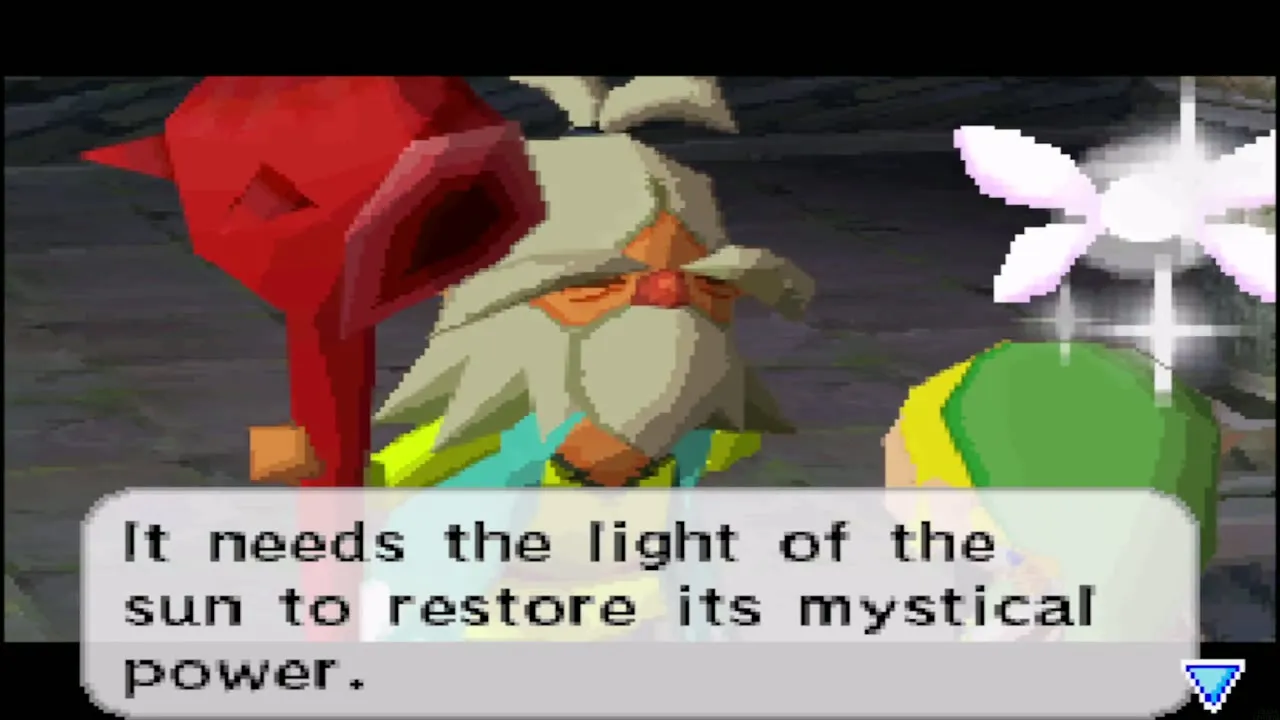


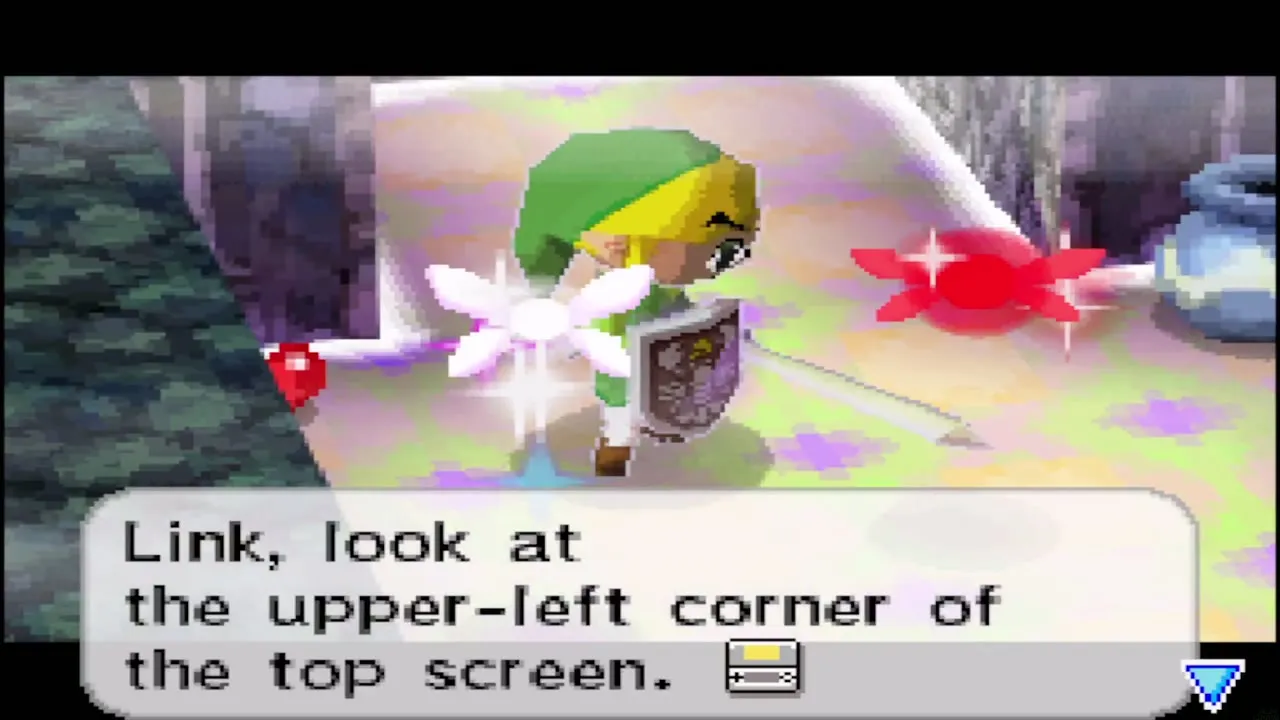
How the hourglass and the timer work
The remaining time is shown in the top-left corner of the top screen. It counts down whenever you stand outside a Safe Zone, so do not wander, and it stops completely on the glowing Safe Zone tiles.

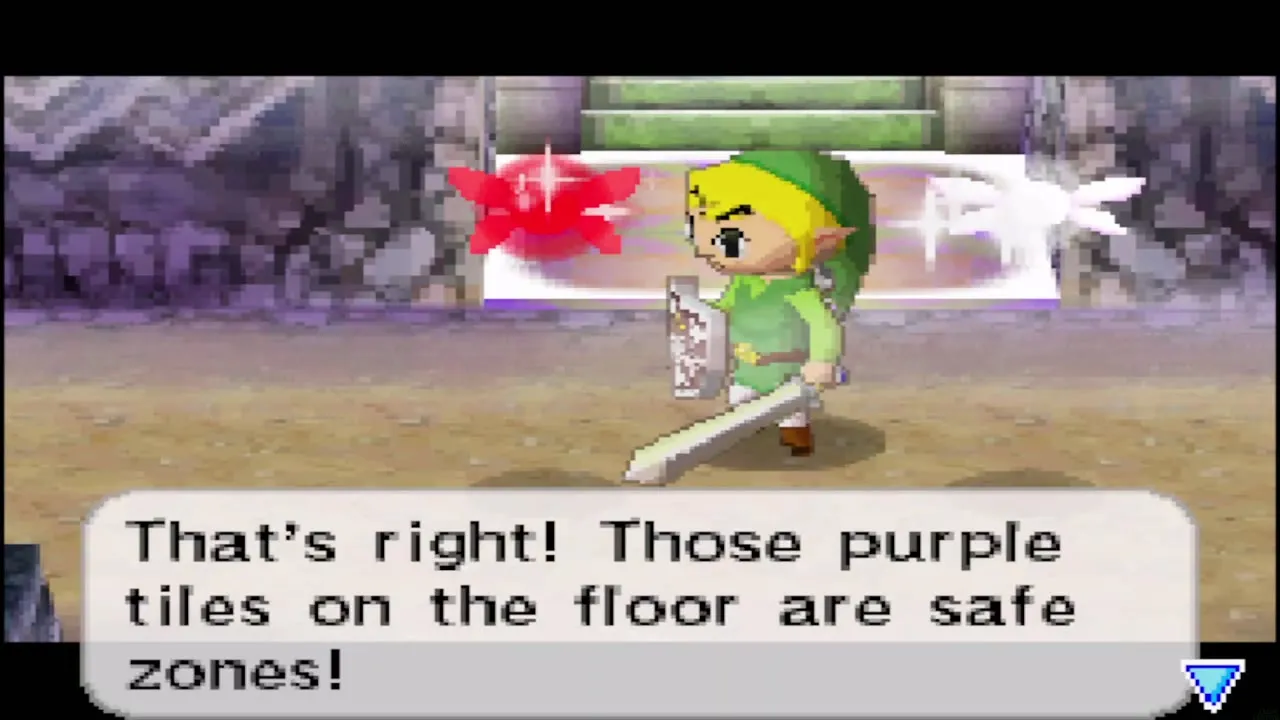
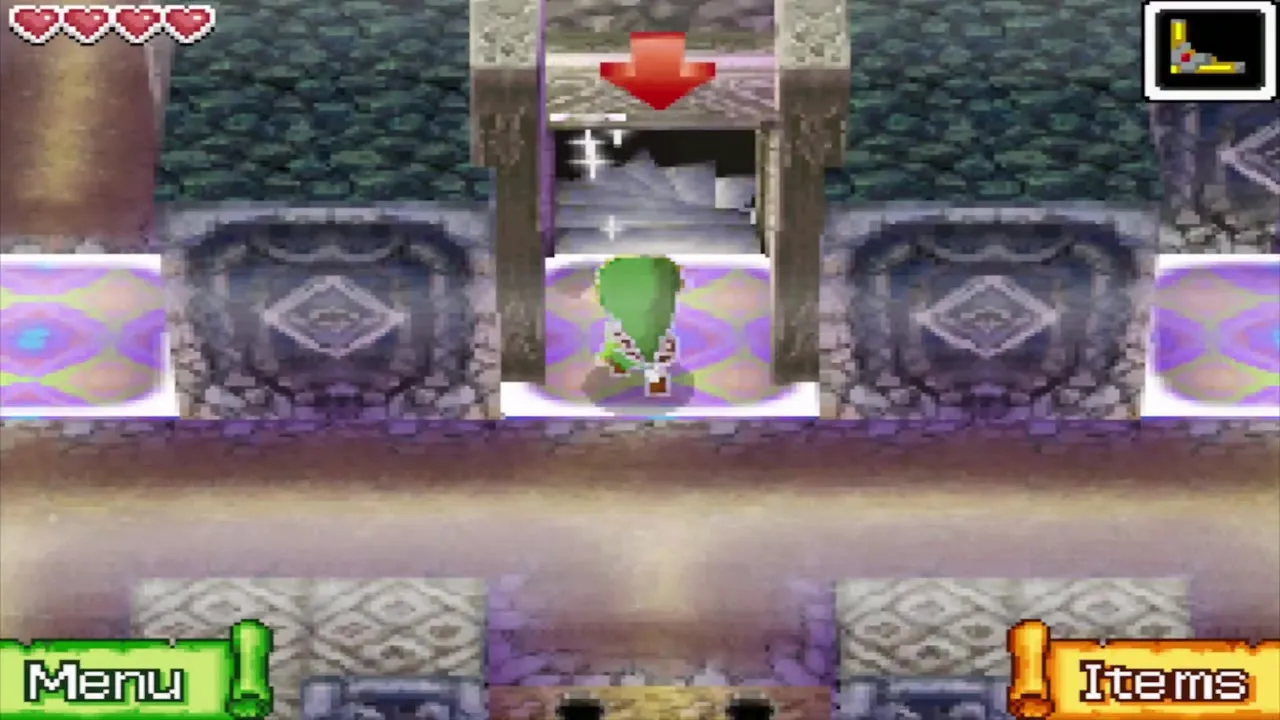
Safe Zones are the glowing diamond-patterned tiles on the floor. Evil cannot reach them, so a Phantom never steps onto one, and the sand stops falling while you stand there. Use them as stepping stones and wait on them for a Phantom to walk off.
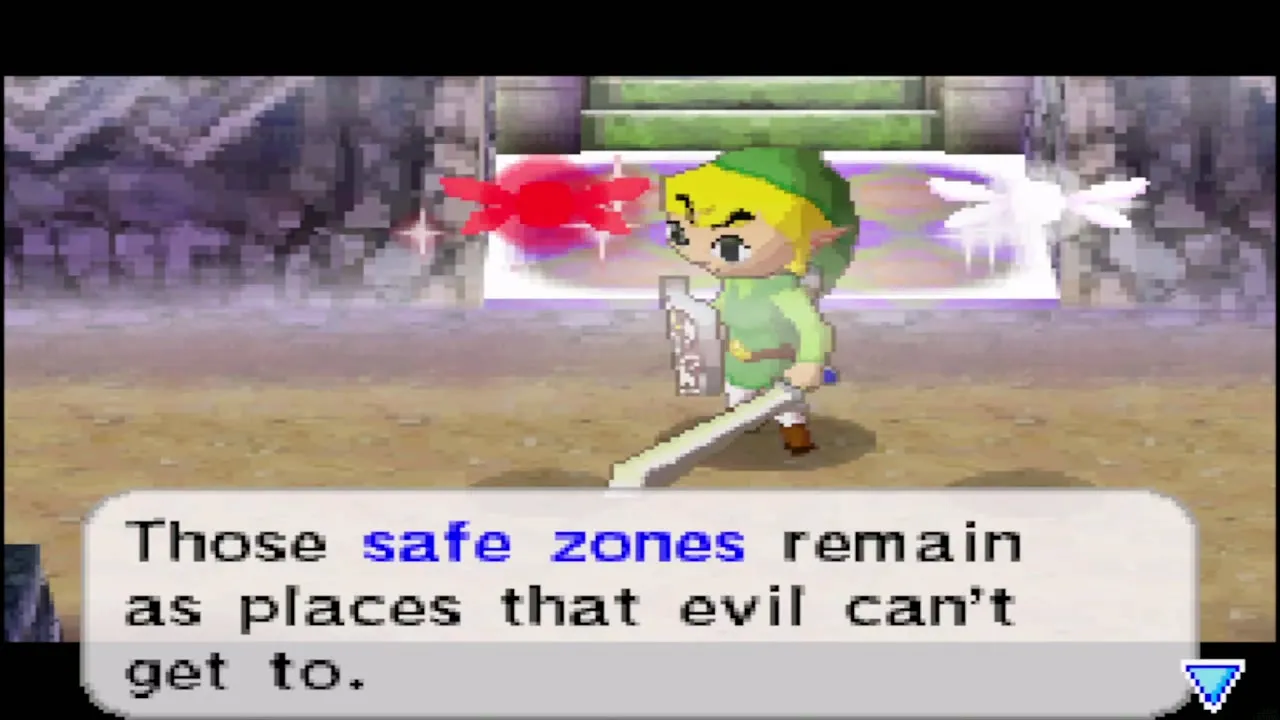
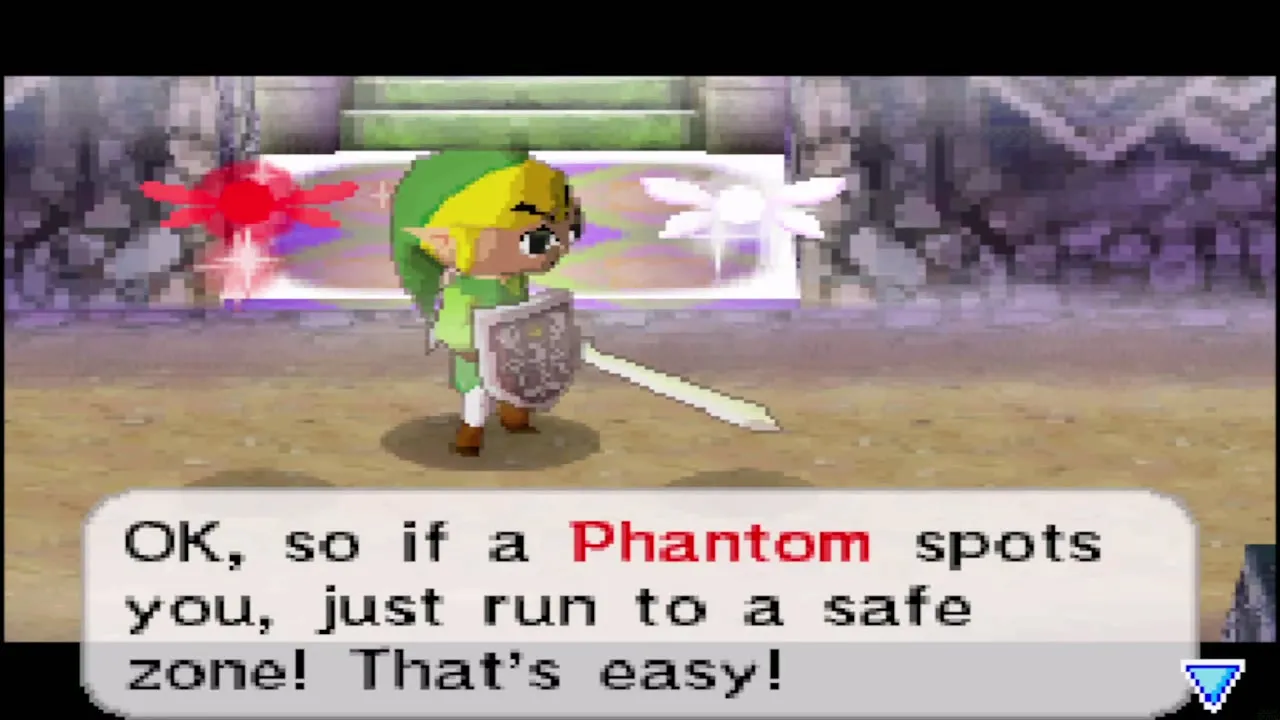
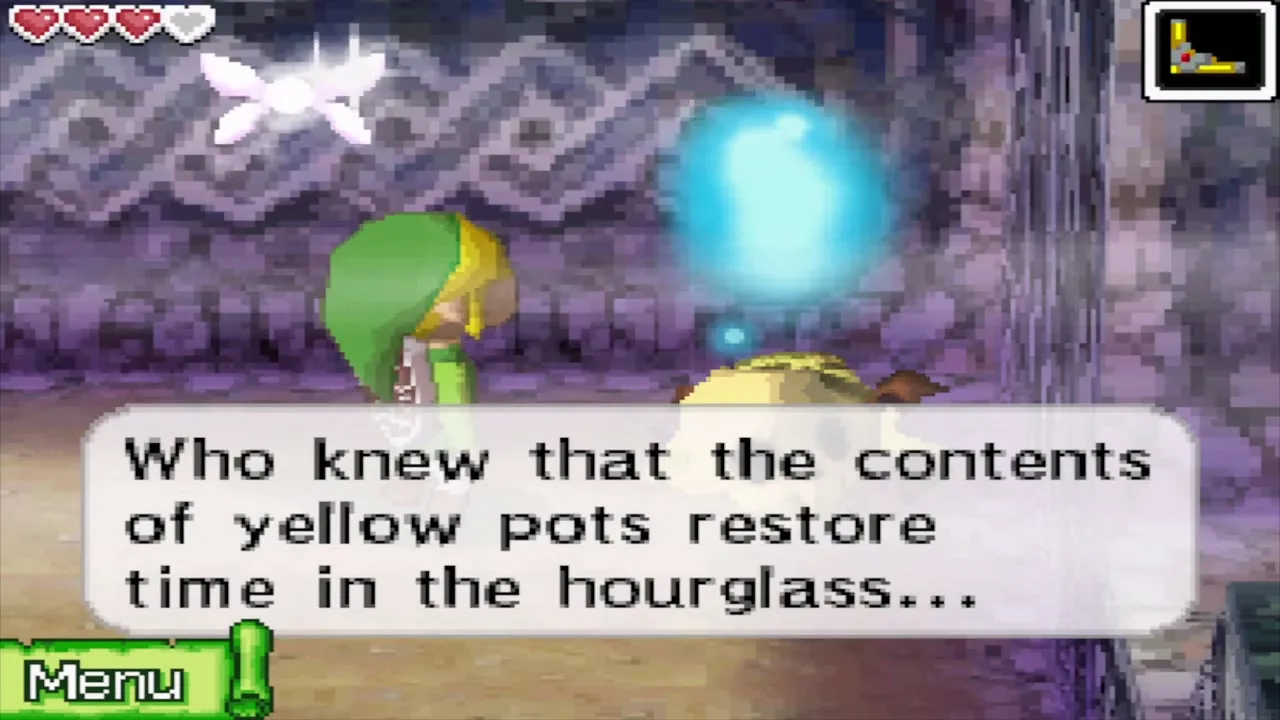
Two kinds of pots help. Break a red pot and its contents spill across the floor as a small Safe Zone you can stand in. Break a yellow pot and its contents give some time back to the hourglass, so it is worth smashing every yellow pot you pass.


Phantoms, their view cone and the Safe Zones
The armoured Phantoms are the temple’s guards, and your sword cannot hurt them yet. Check the map on the bottom screen to see the cone of vision each one sweeps, and stay out of it. If a Phantom spots you, run straight for the nearest Safe Zone. A hit from a Phantom costs you 30 seconds of sand and sends you back to the start of the floor.
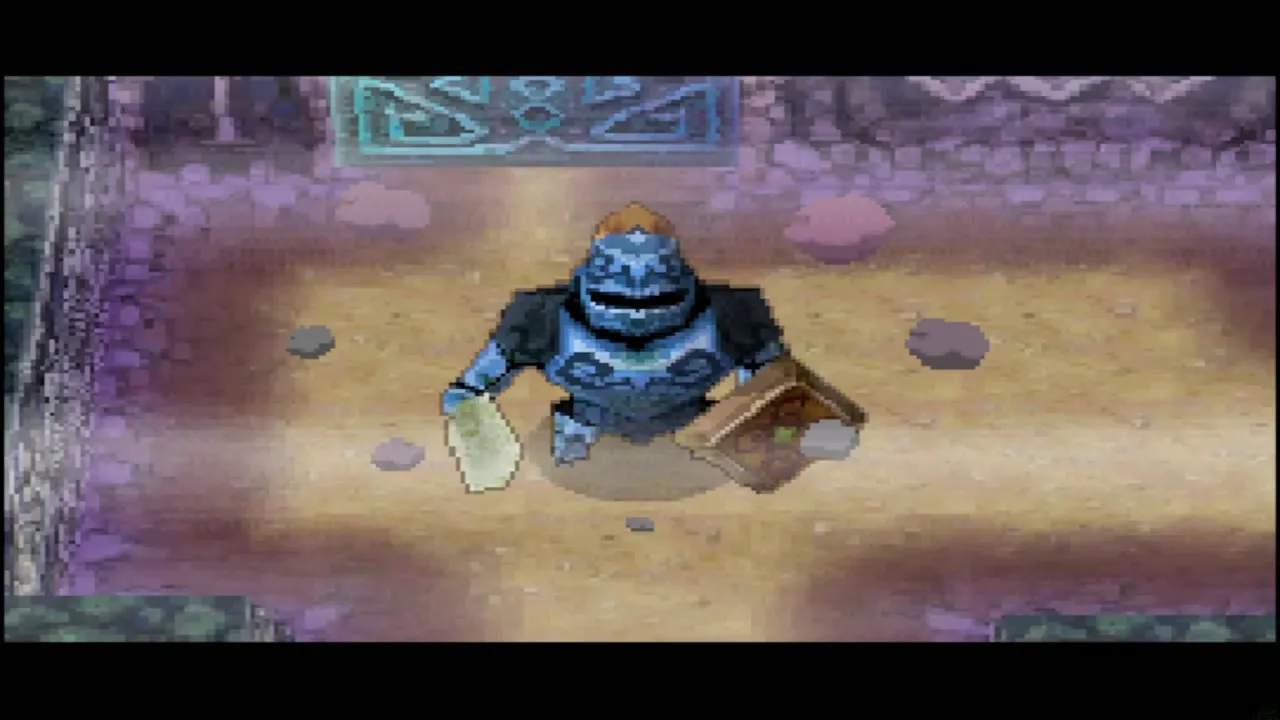
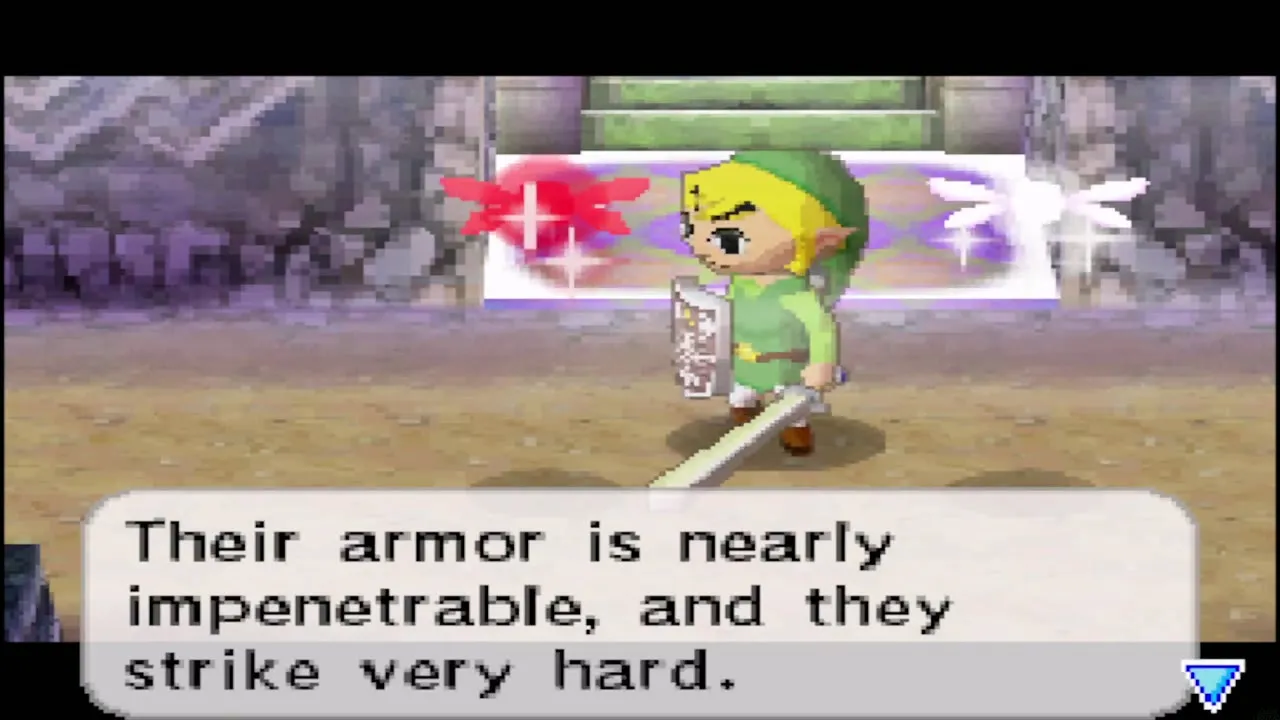
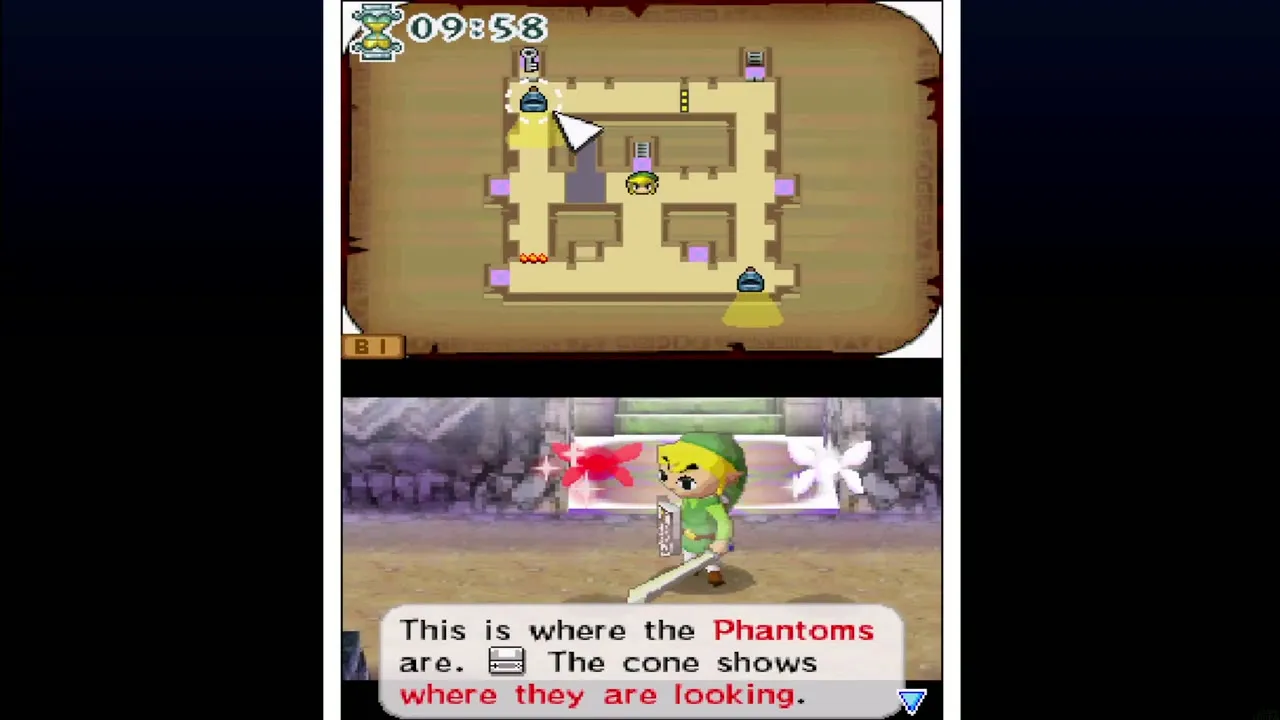
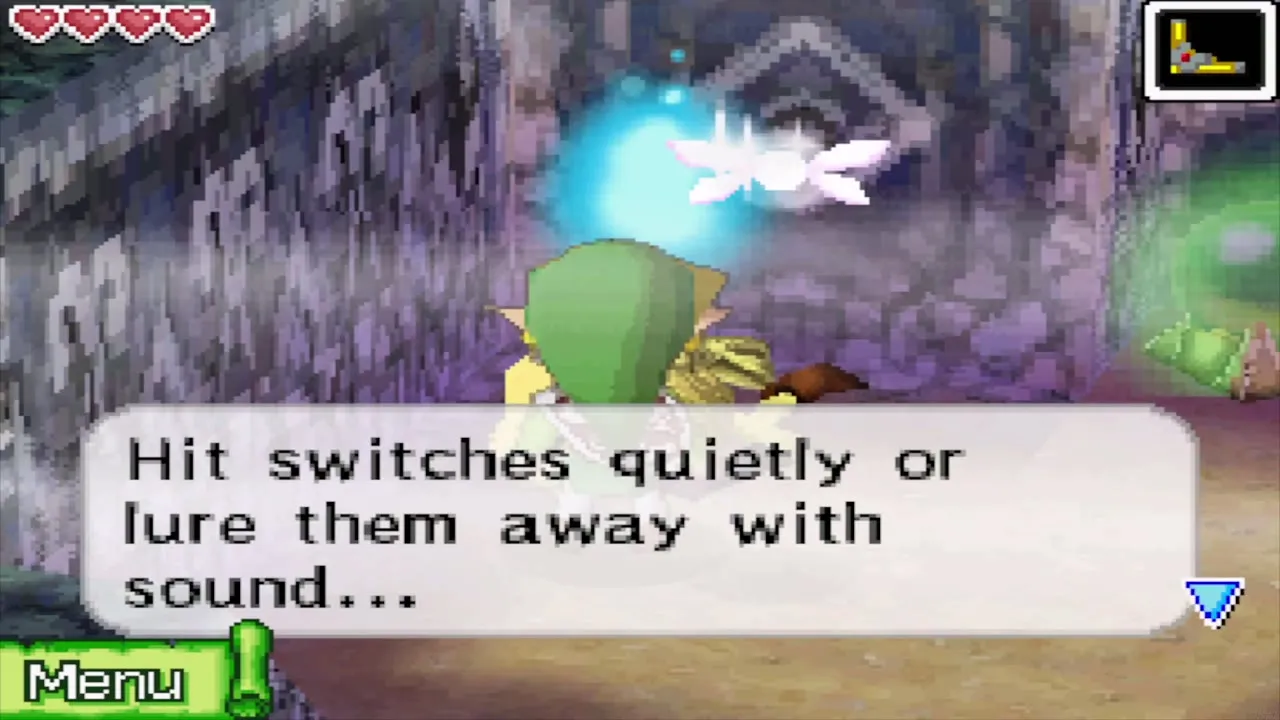
Phantoms also listen. They turn toward the sound of a switch being struck, so hit switches when a Phantom is far away, or make noise on purpose to pull one away from the path you need. Study each patrol from a Safe Zone first, because every Phantom walks the same loop again and again.

1F and the Door of Power
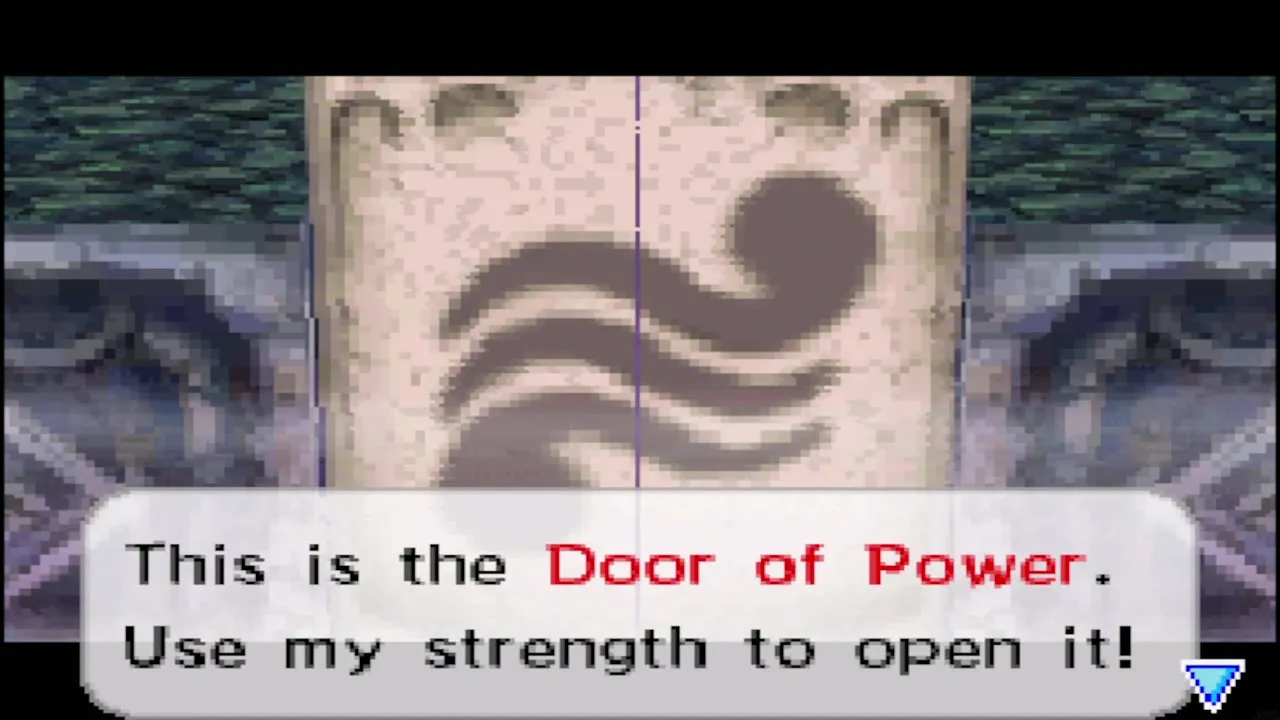
Climb to the entrance floor and walk to the great stone door in the middle of the floor, which bears the crest of the Spirit of Power. Tap the door and Leaf uses the Door of Power to open it for you, for good. Go down the stairs to B1.

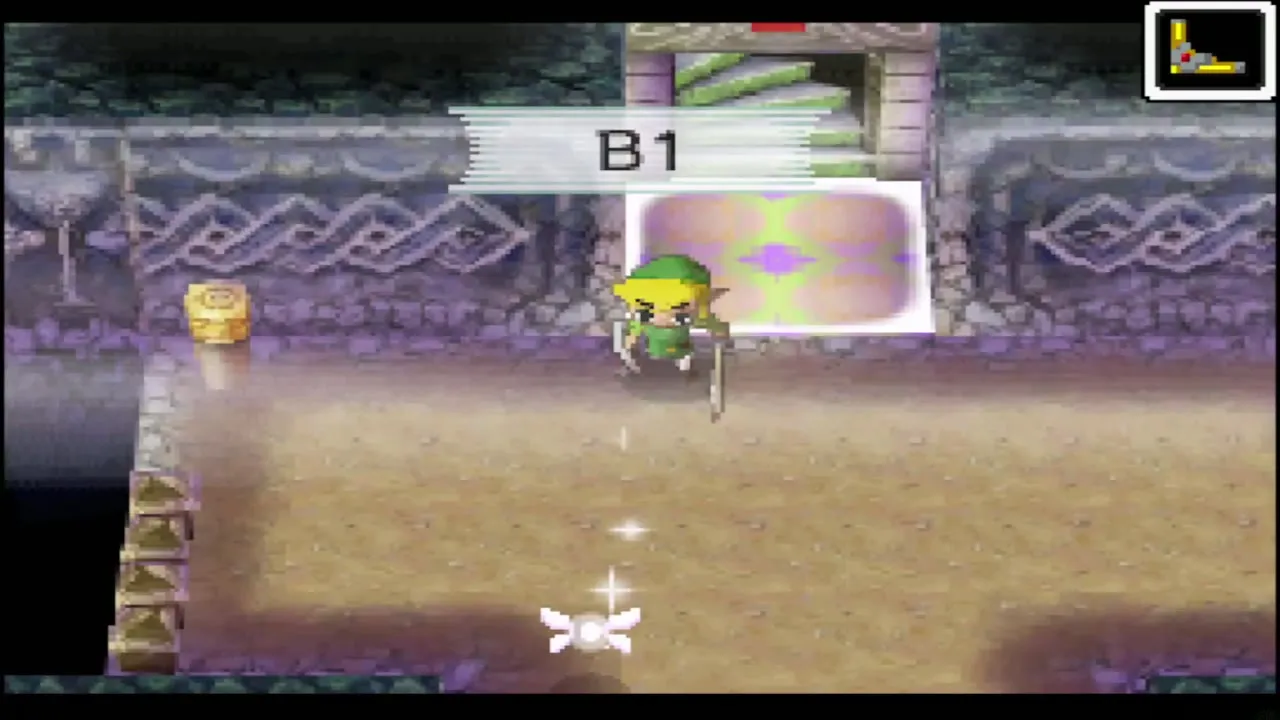
Temple of the Ocean King B1
B1: first Phantoms and the Safe Zone route
B1 is a loop of corridors patrolled by two Phantoms. Your goals are a small key in the north-west corner and the locked door in the north-east corner that leads down to B2. Hop between Safe Zones and cross a corridor only when the Phantom in it is looking away.


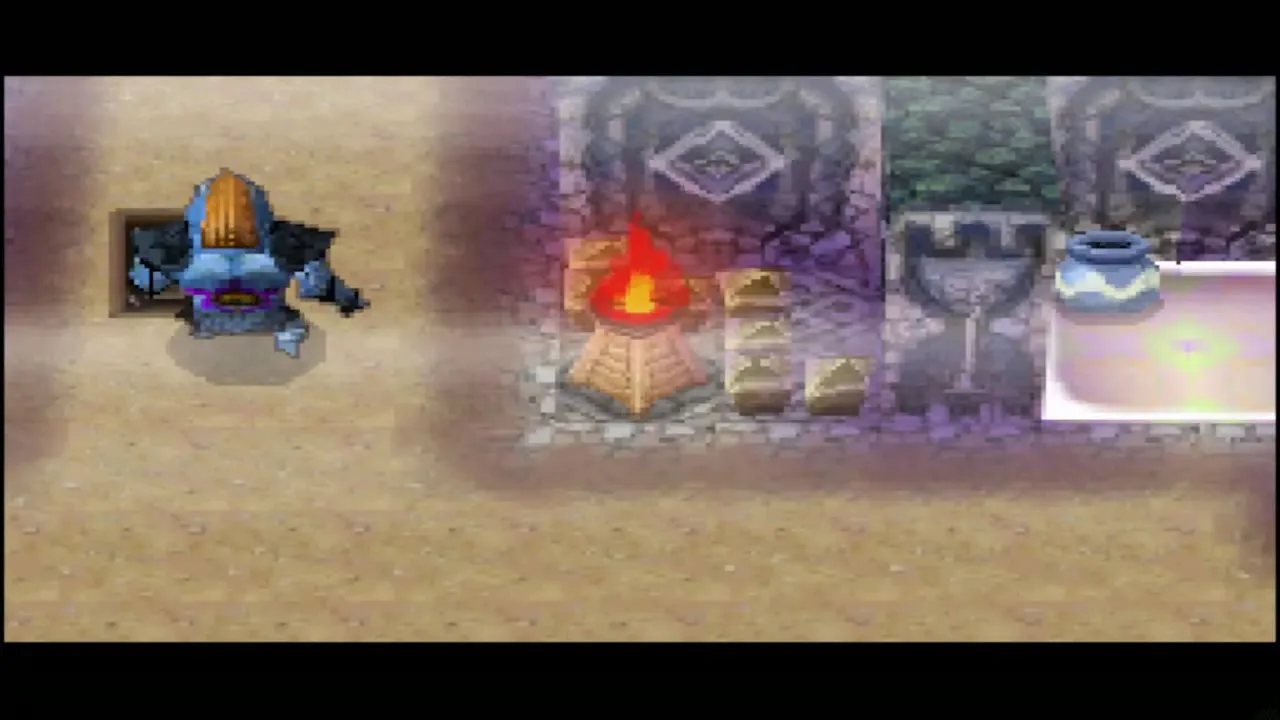
B1: the two torches and the flame wall
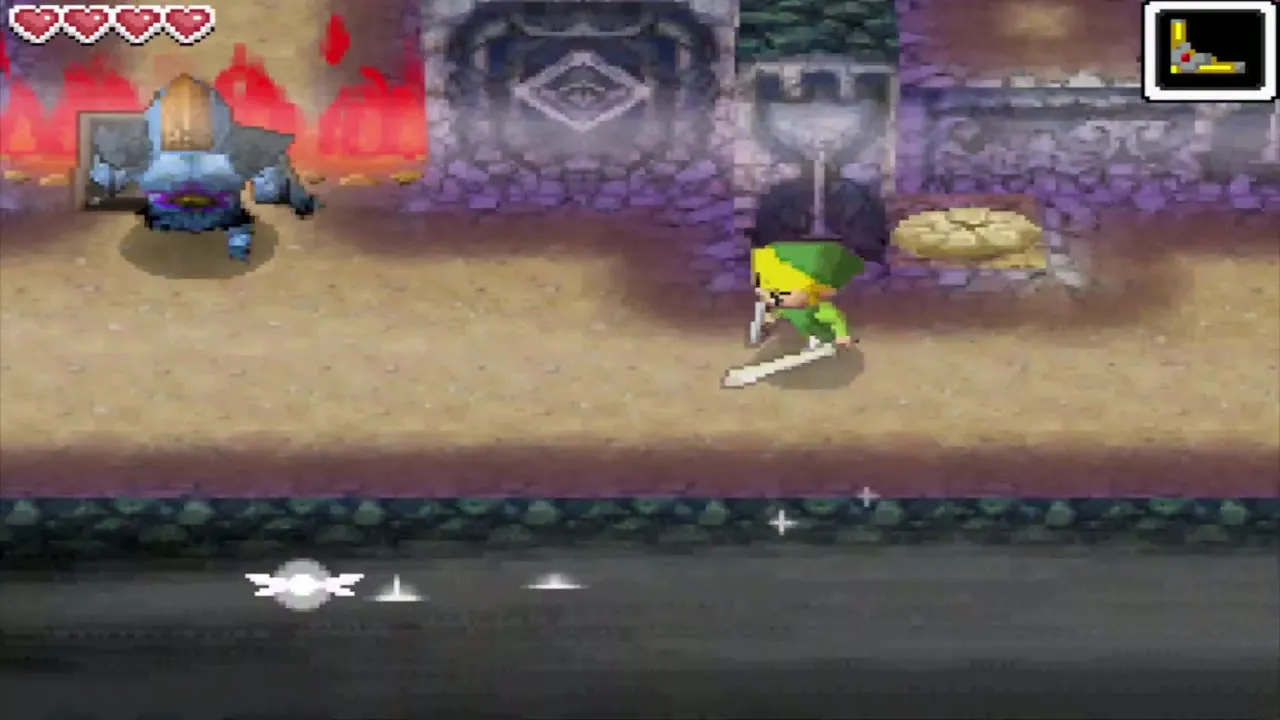
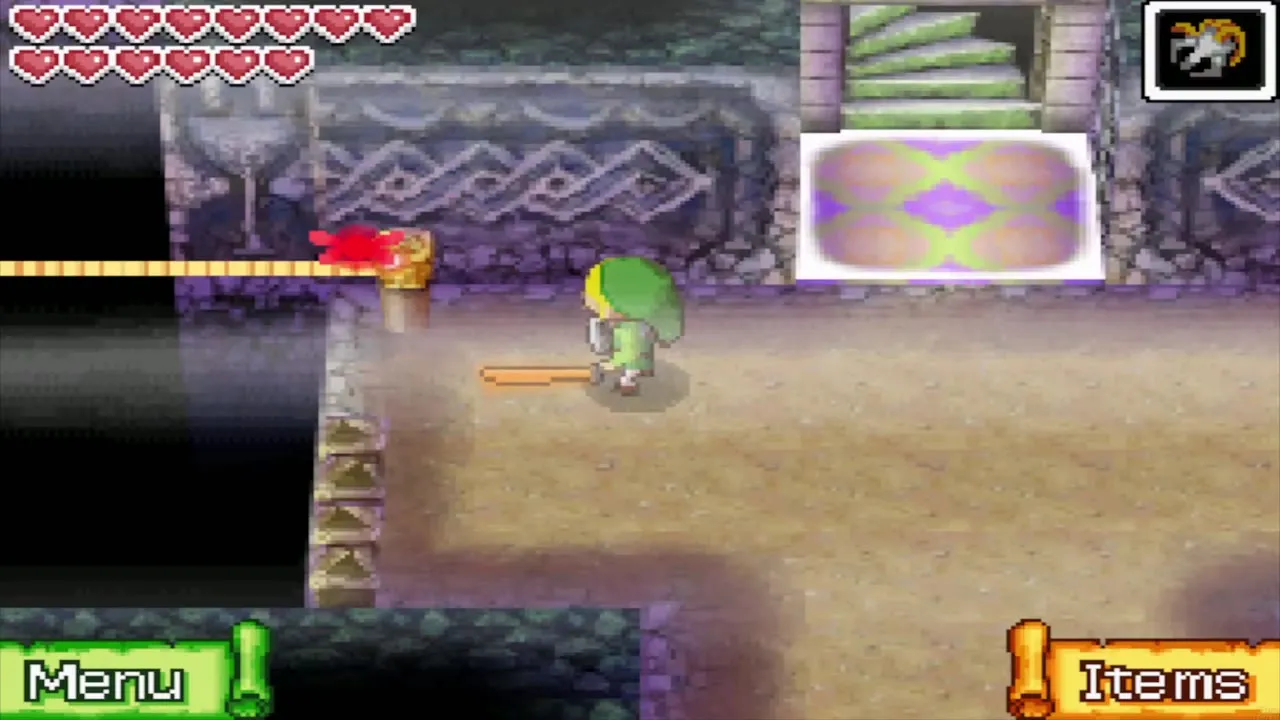
Head for the north-east part of the floor and strike the switch there with your sword. It lights one torch, but only for a short time. Run south to that lit torch before it goes out.
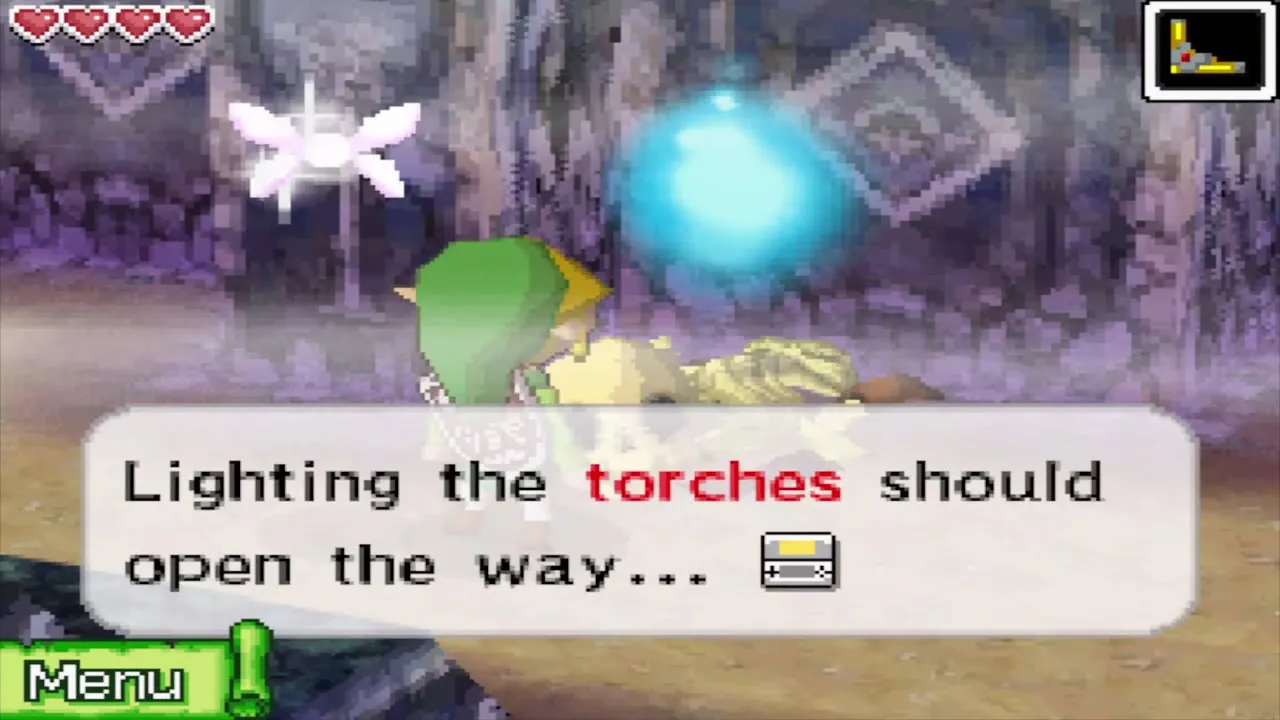

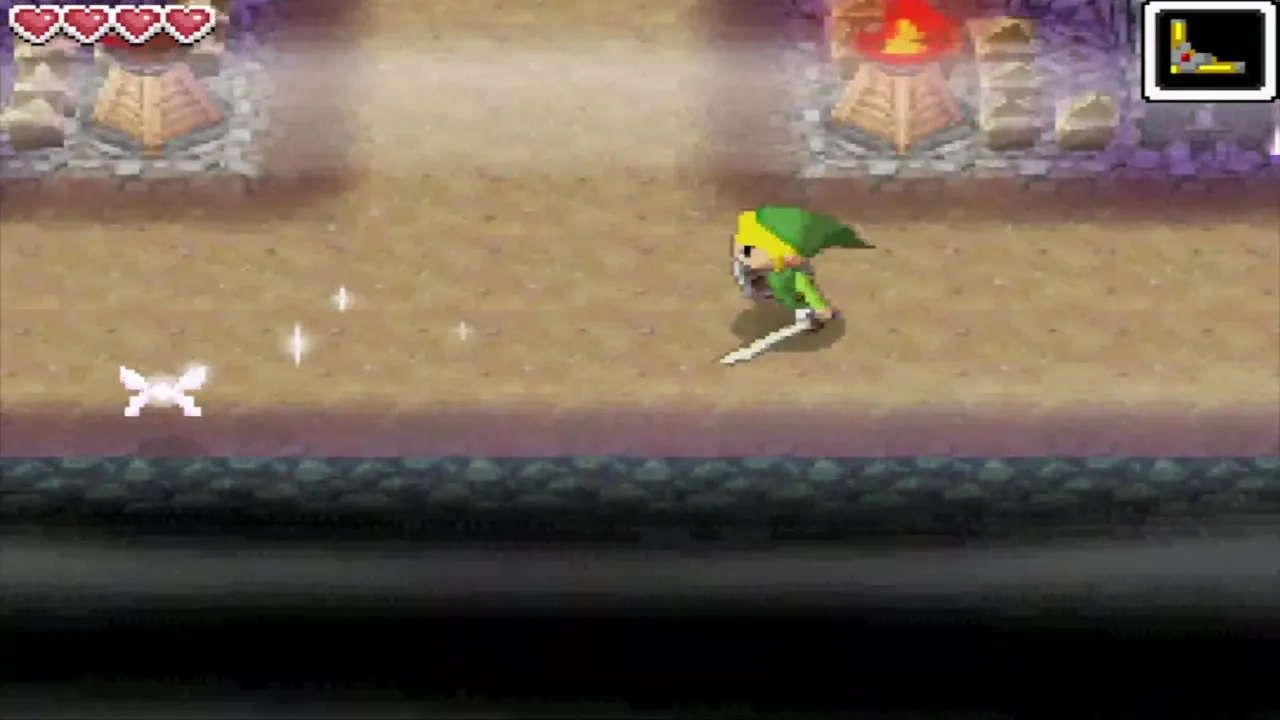
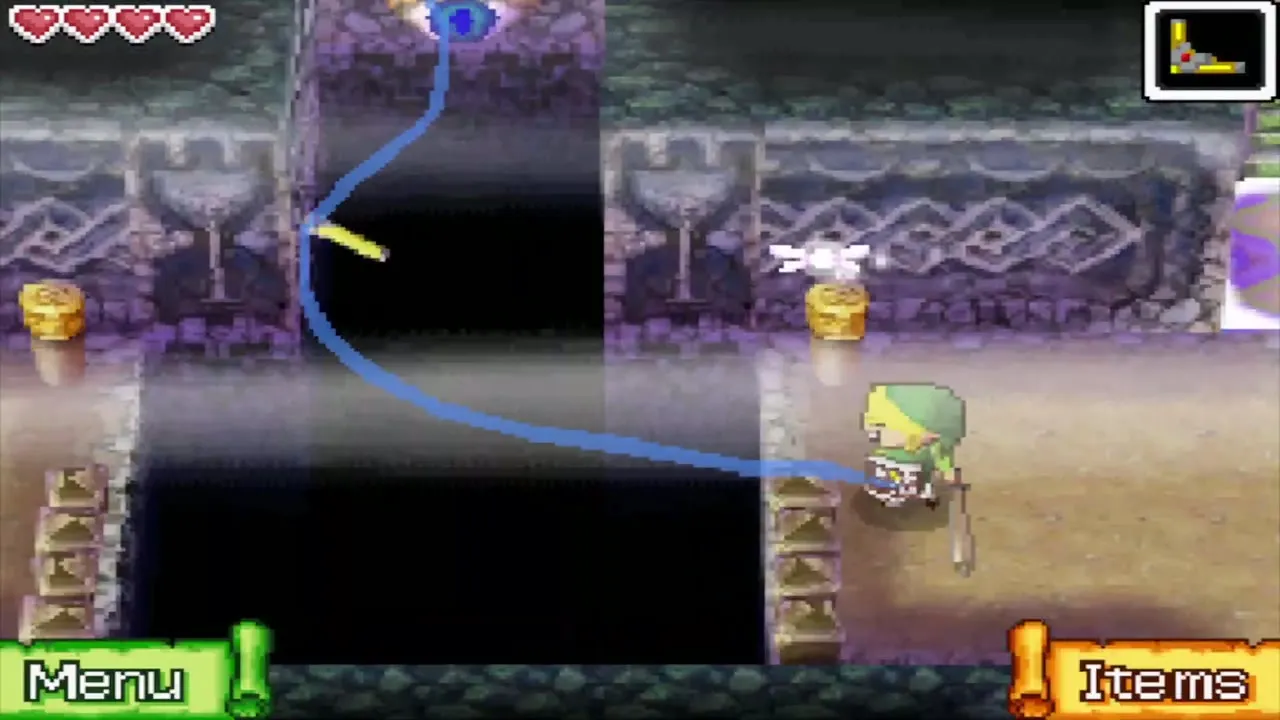
A second torch must burn at the same time, and you cannot reach both on foot in time. Take out the Boomerang and draw its path through the lit torch and on to the unlit one; the flame travels with it. Once both burn, the wall of flames in your way dies out.
B1: the small key and the stairs to B2
Wait on a Safe Zone for the Phantom to pass, then step on the floor switch in the north hall. It opens the alcove in the north-west corner, where the small key waits; go in and take it. A small key opens one door and is used up.

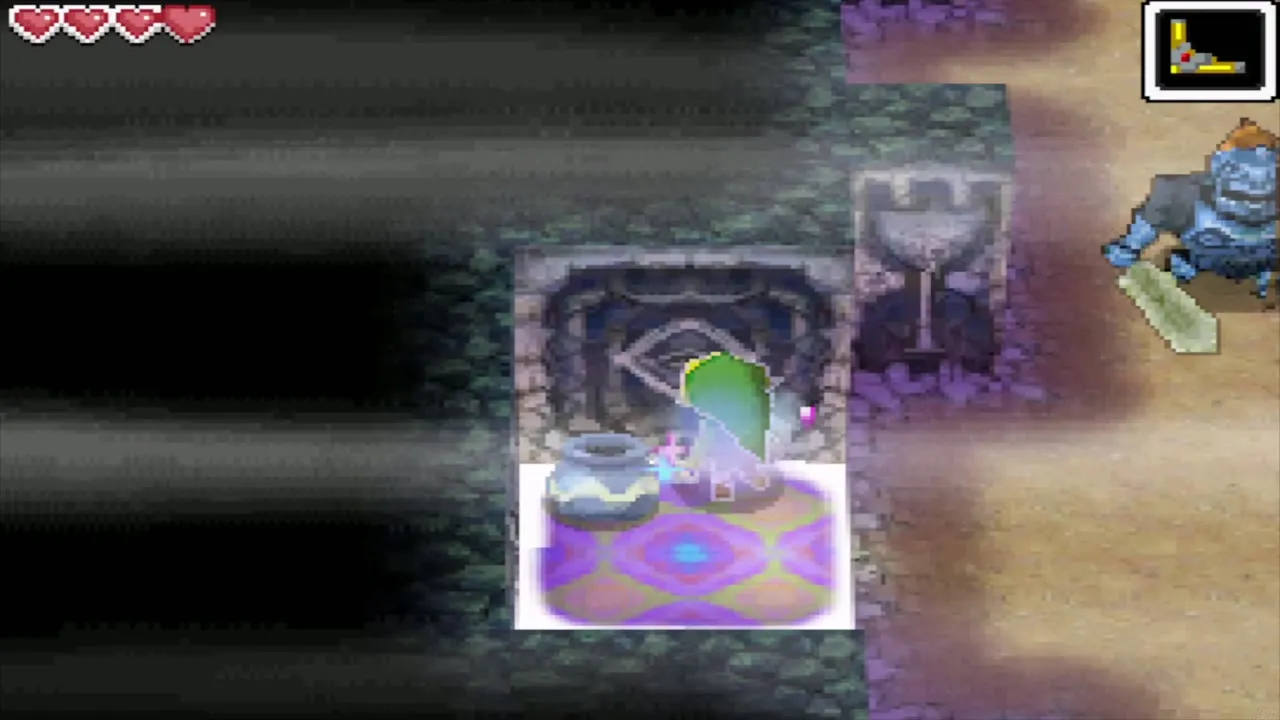

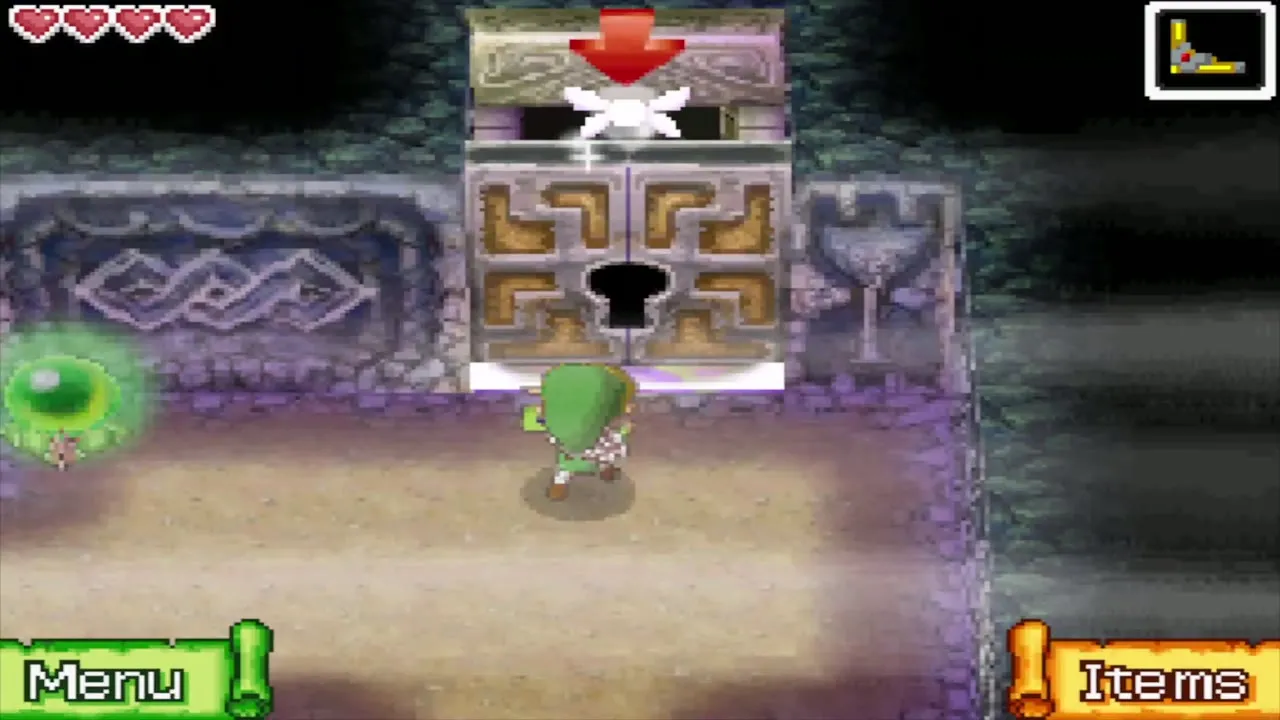
Move from Safe Zone to Safe Zone to the locked door in the north-east corner. Tap the door to unlock it, then take the stairs down to B2.
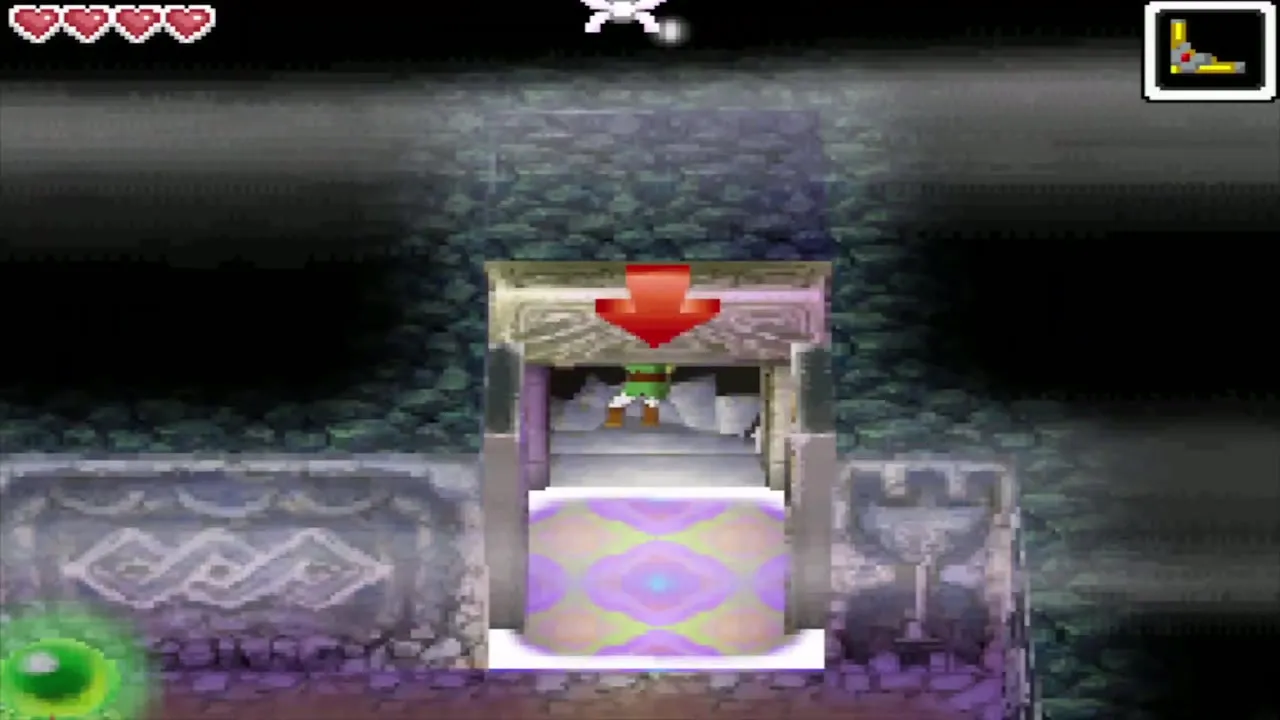
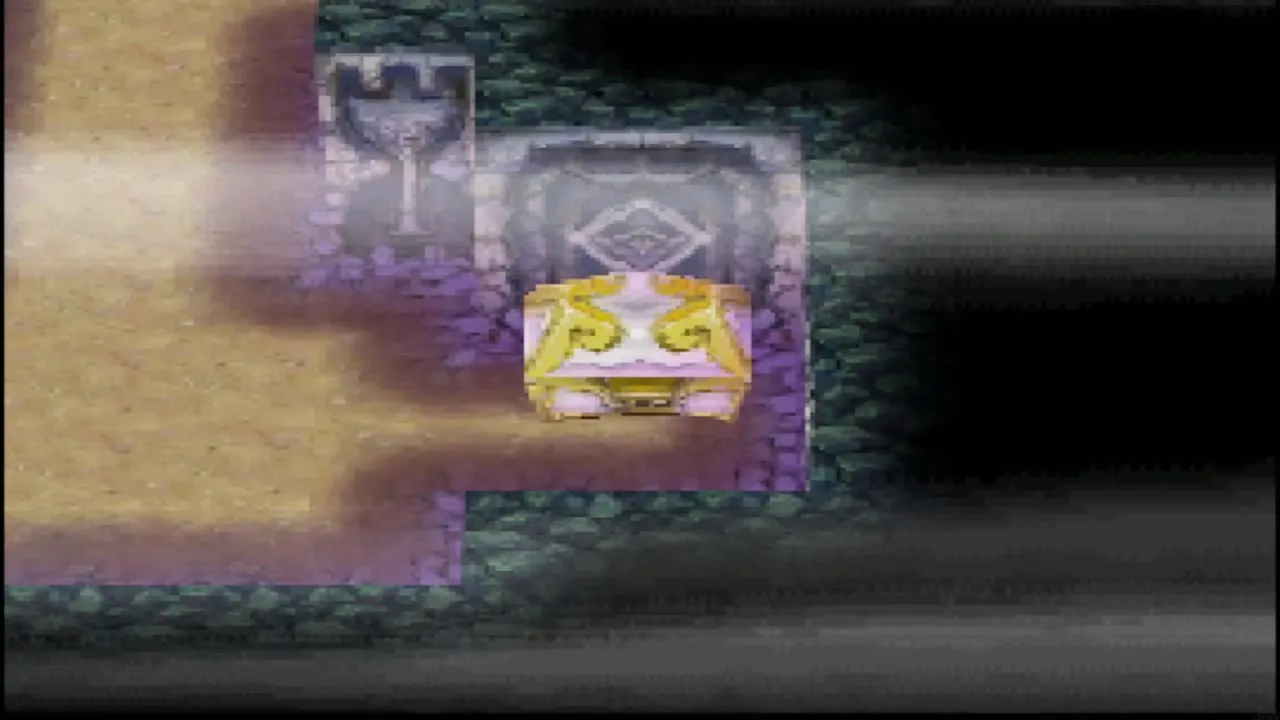
Two things on B1 must wait. A chest at the end of a tightrope hides a Courage Gem that appears briefly when you shoot an eye switch from the rope, so you need the Bow and the Grappling Hook. A treasure chest guarded by the Phantoms opens only once you can defeat them with the Phantom Sword. Later visits can skip the Safe Zone dance by bombing the cracked blocks in the north hall once you carry Bombs.

Temple of the Ocean King B2
B2: the stationary Phantom and the falling key
One Phantom stands still along the north wall of the entrance room, changing the way it faces every few seconds. Two small walls in the room give you cover. Hide behind them, then strike the crystal switch tucked behind one of the walls with your sword. The noise draws the Phantom over to look.


You have about ten seconds while it walks toward the noise. Hurry to the second crystal switch in the north-west corner of the room and strike it, and a small key drops from the ceiling into a little enclosure in the middle of the floor. Then run back to the wall the Phantom was guarding and pull the lever there, which puts out the flame wall in the south-west corner of the room.


B2: the red pot and the Boomerang key
Head west. A second flame wall blocks the way to the south hall, but you can throw the Boomerang straight through the flames and into the crystal switch beyond to put it out. A red pot nearby can be broken to make a small Safe Zone to throw from.
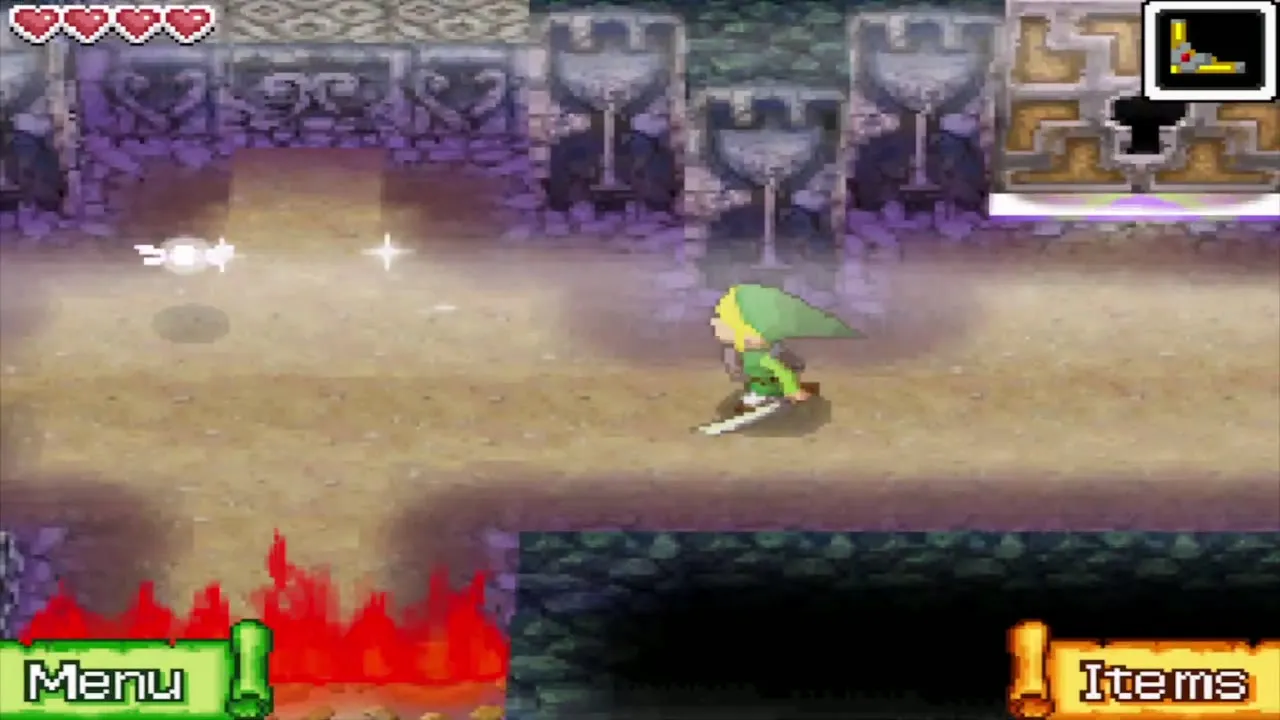
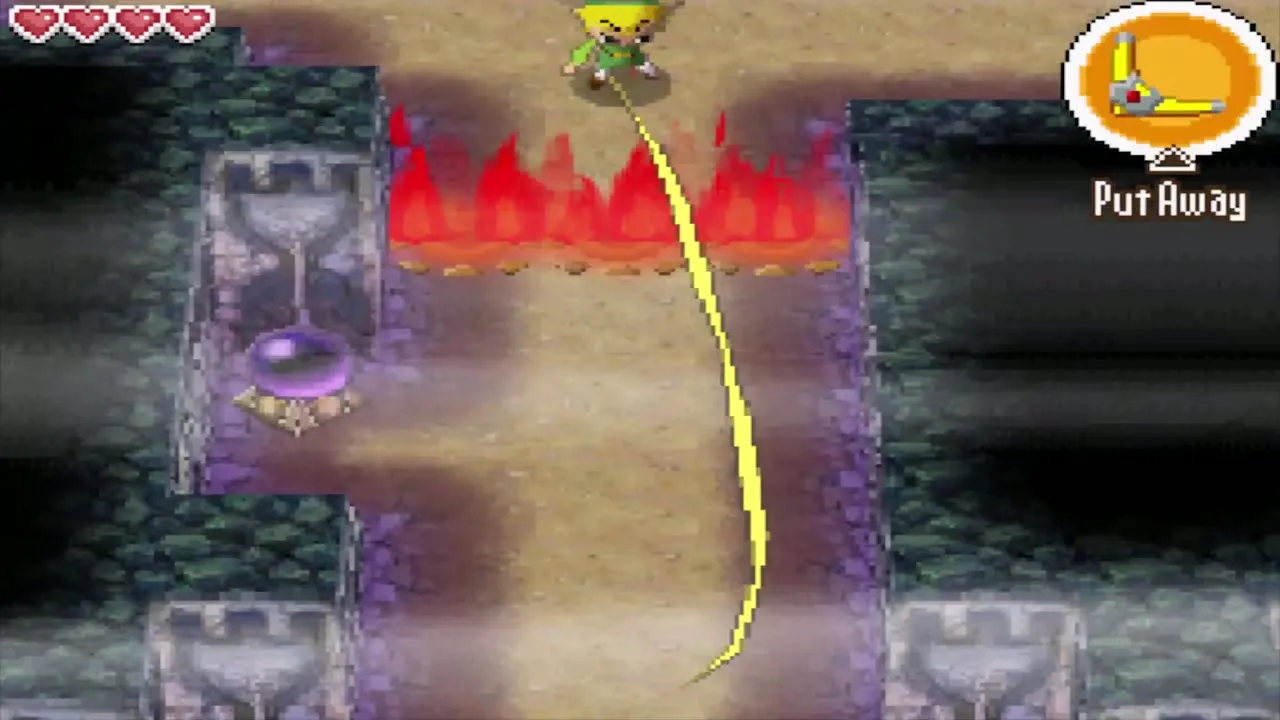
A Phantom patrols the south hall, so watch its loop from a Safe Zone and break any red pot you pass for an extra hiding place. When the Phantom has gone, make your way to the Safe Zone beside the floor switch.


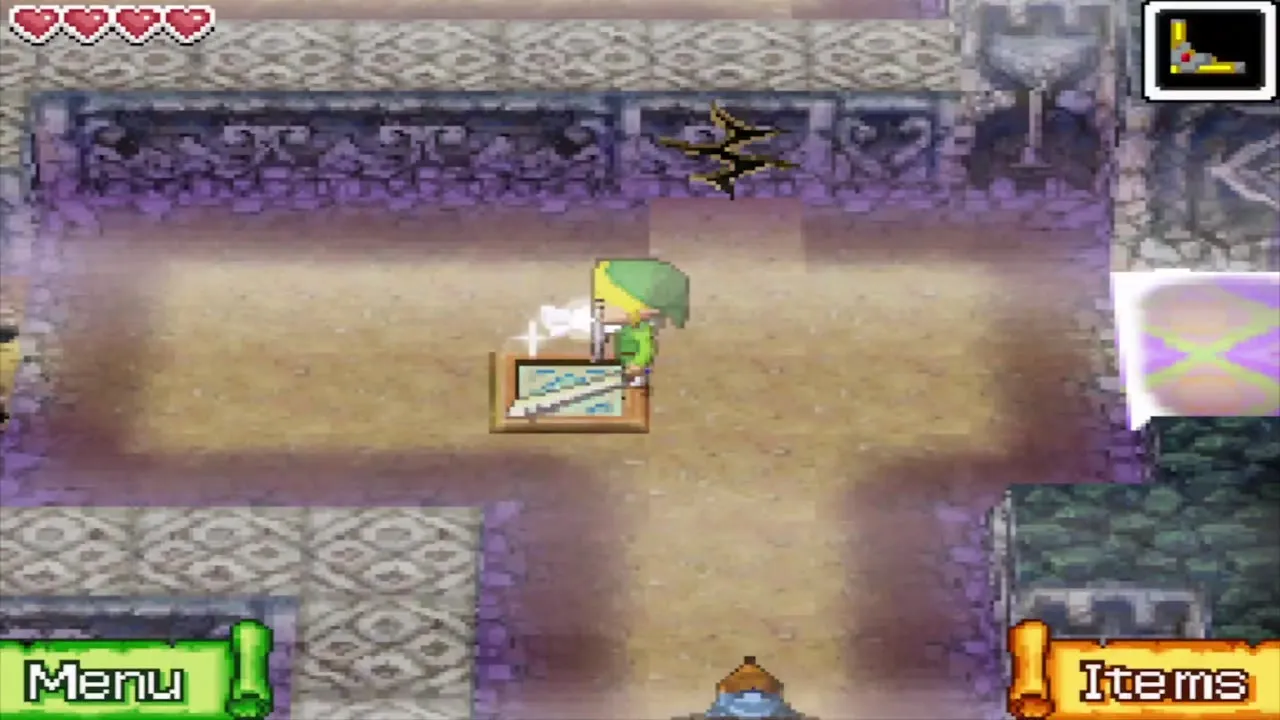
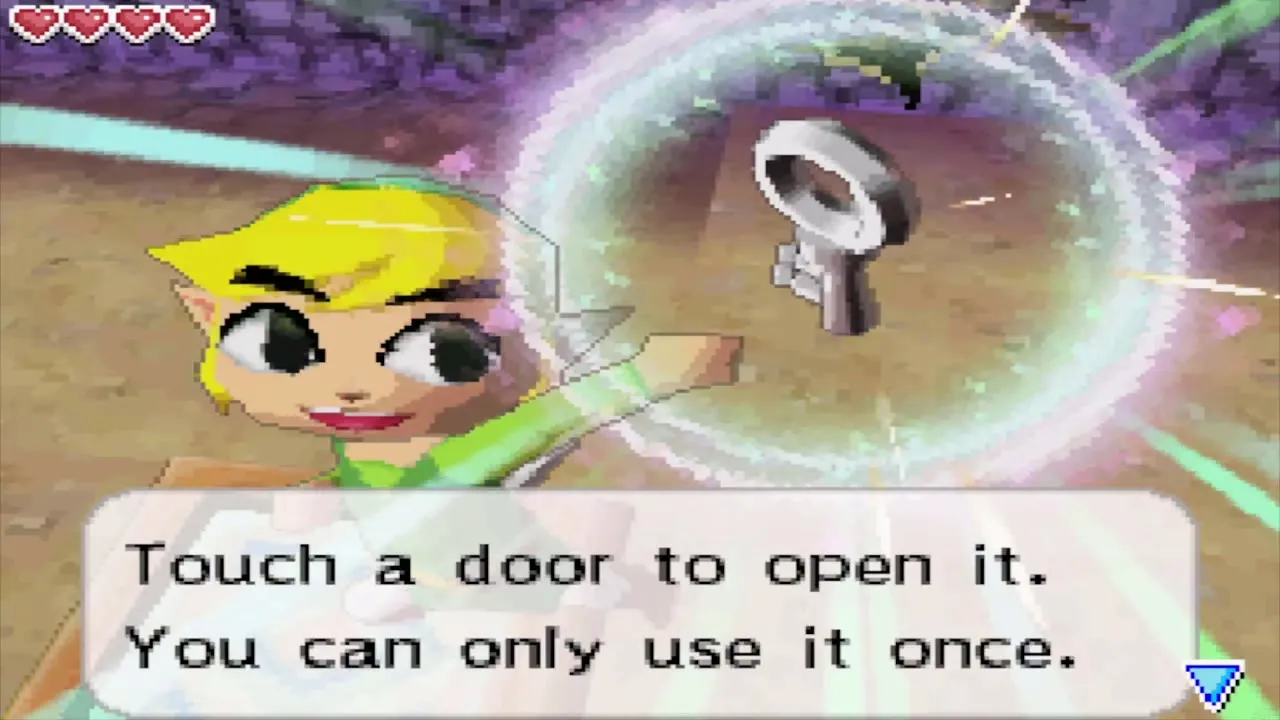
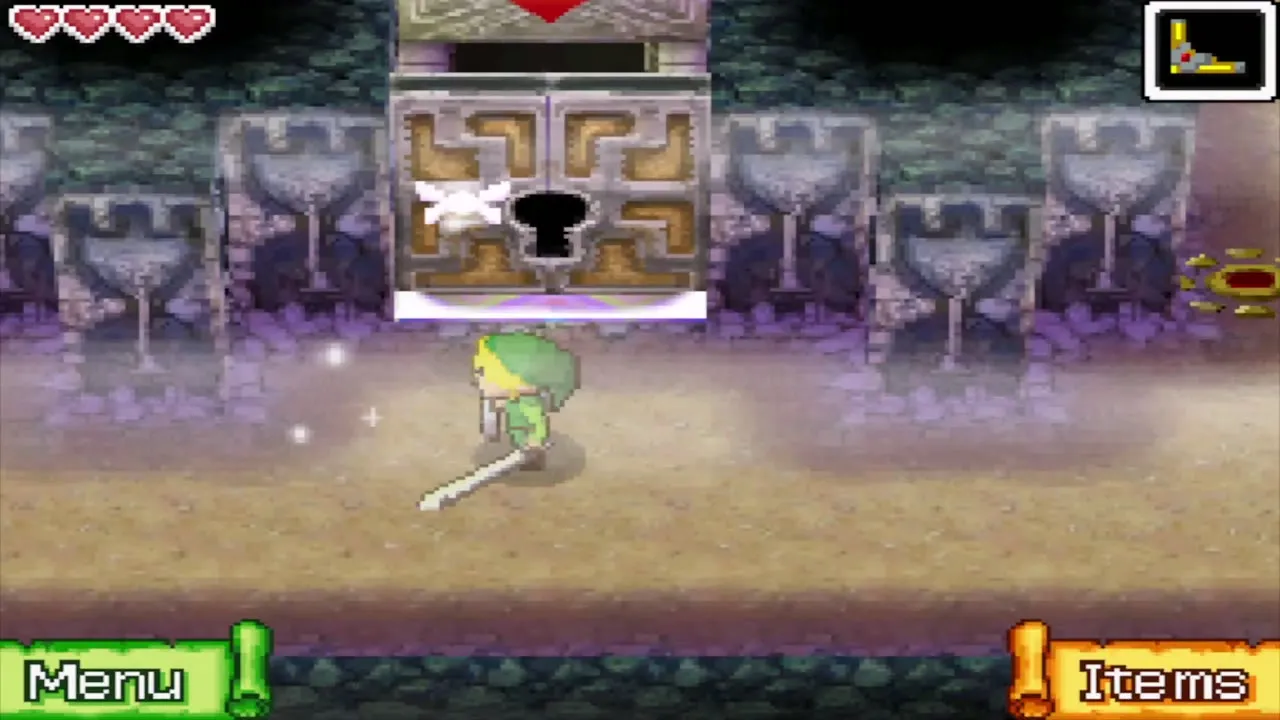
Stand on the floor switch: it pulls back the floor spikes around the enclosure for as long as you stay on it. Fly the Boomerang in to grab the small key. Take it to the locked door on the west side of the floor, unlock it and take the stairs down to B3.
B2 also holds a Wisdom Gem: a chest appears in an alcove of the east hall for about twenty seconds after you send a Bombchu past a spiked roller to a switch in the north-west, and another treasure appears only once the Phantoms are defeated. You will have neither Bombchus nor the Phantom Sword for a long while. Bombing the wall in the south-east of the starting area later gives a shortcut with no Phantom risk.
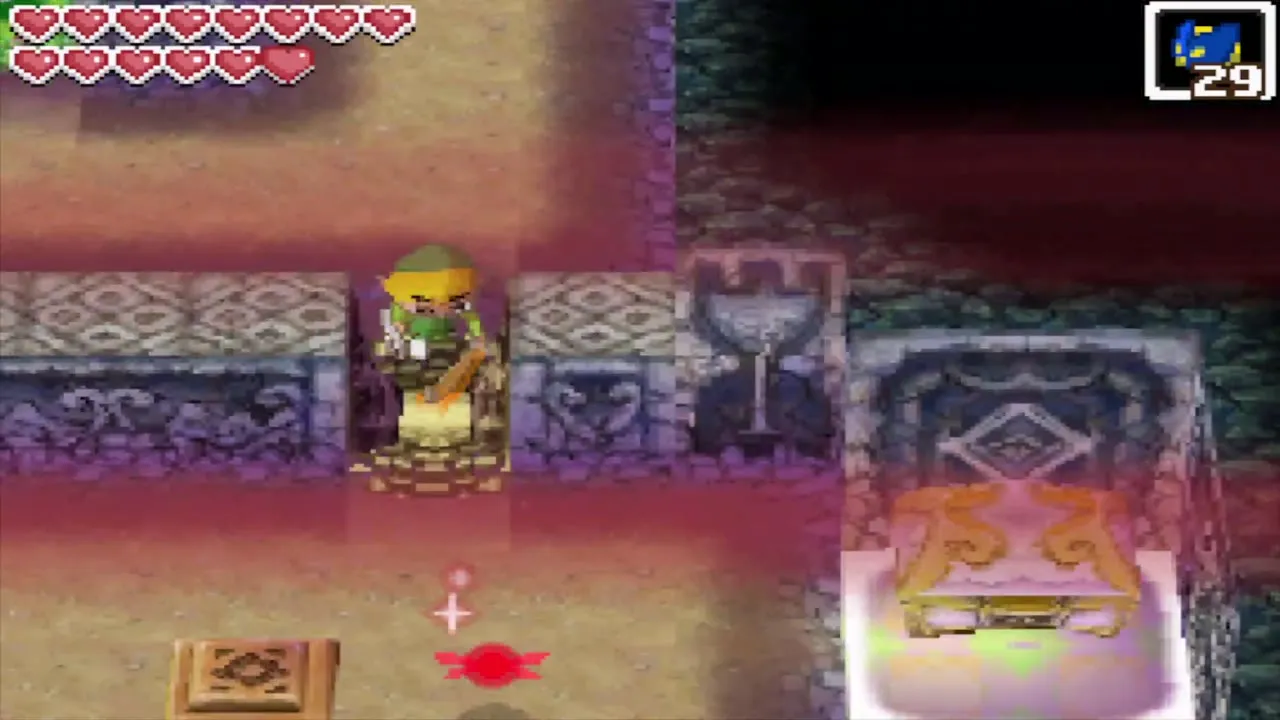

Temple of the Ocean King B3: Force Gems
B3: how Force Gems work
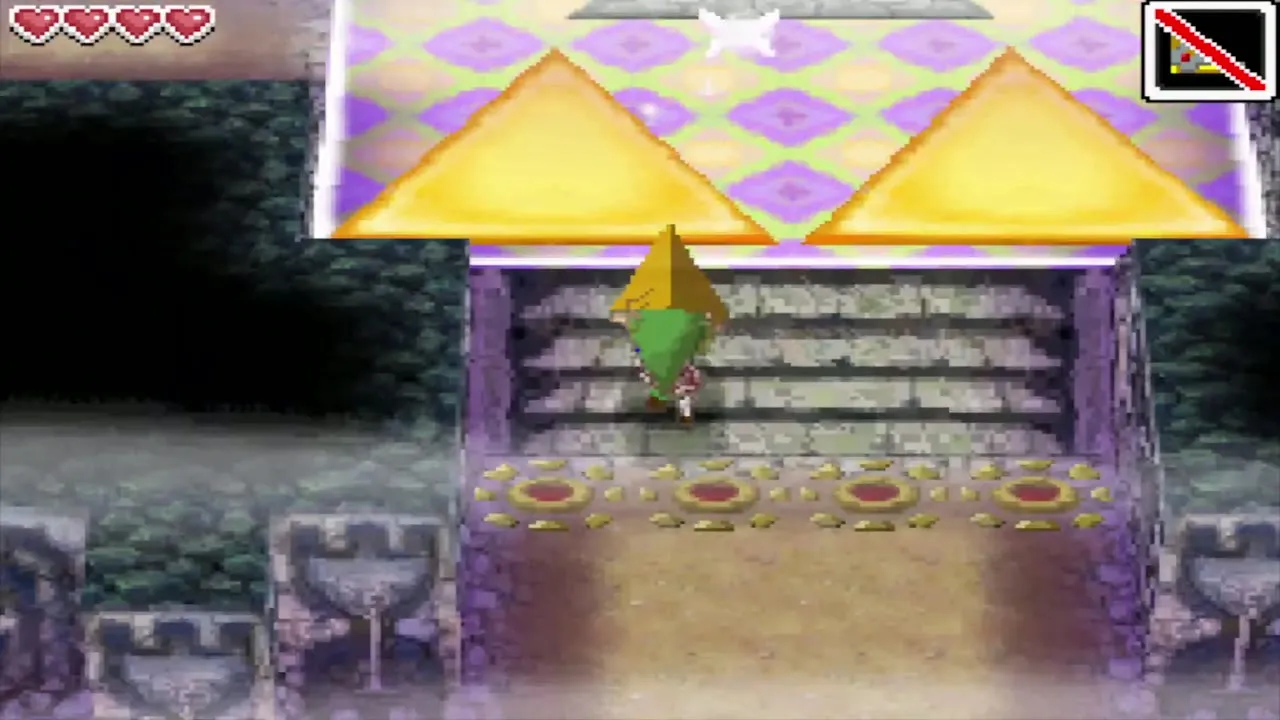
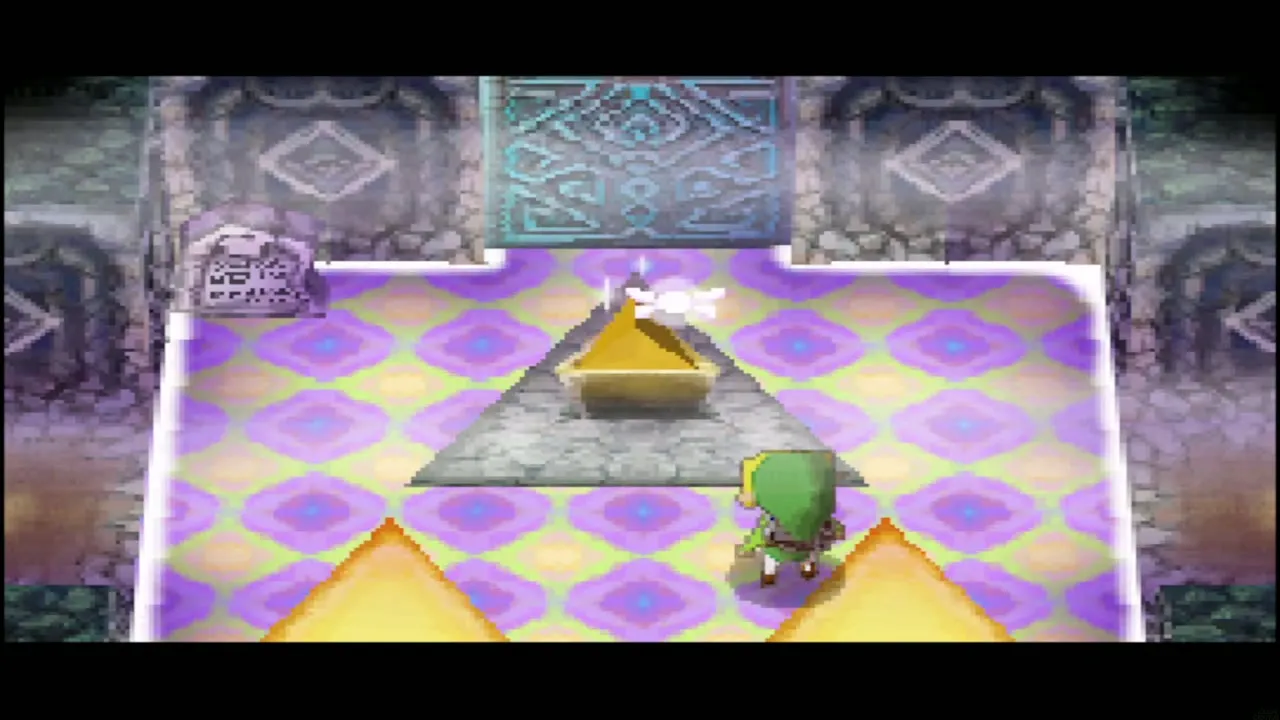
The floor beyond the stairs is full of Phantoms, and the way on is a sealed door in the north-east. Three golden triangles called Force Gems, stolen from the Ocean King, must be placed on the three triangular pedestals in front of it. A Phantom may be carrying a key, so watch each one closely.

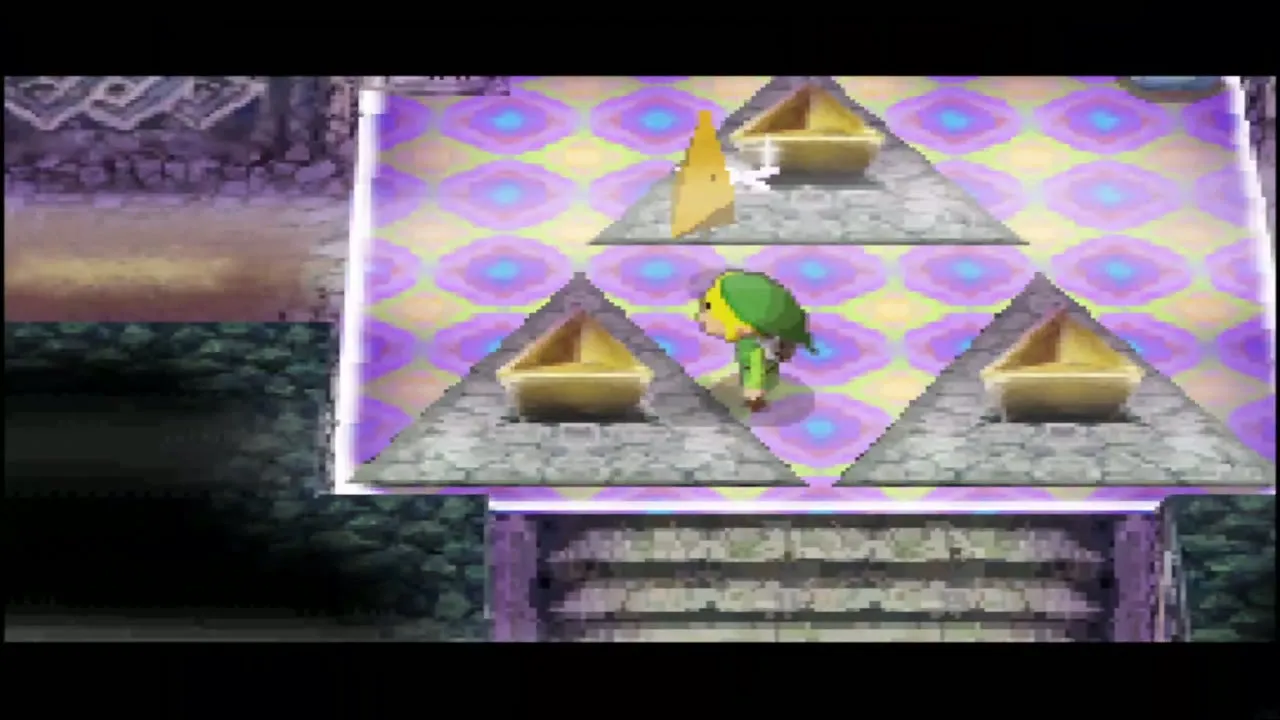
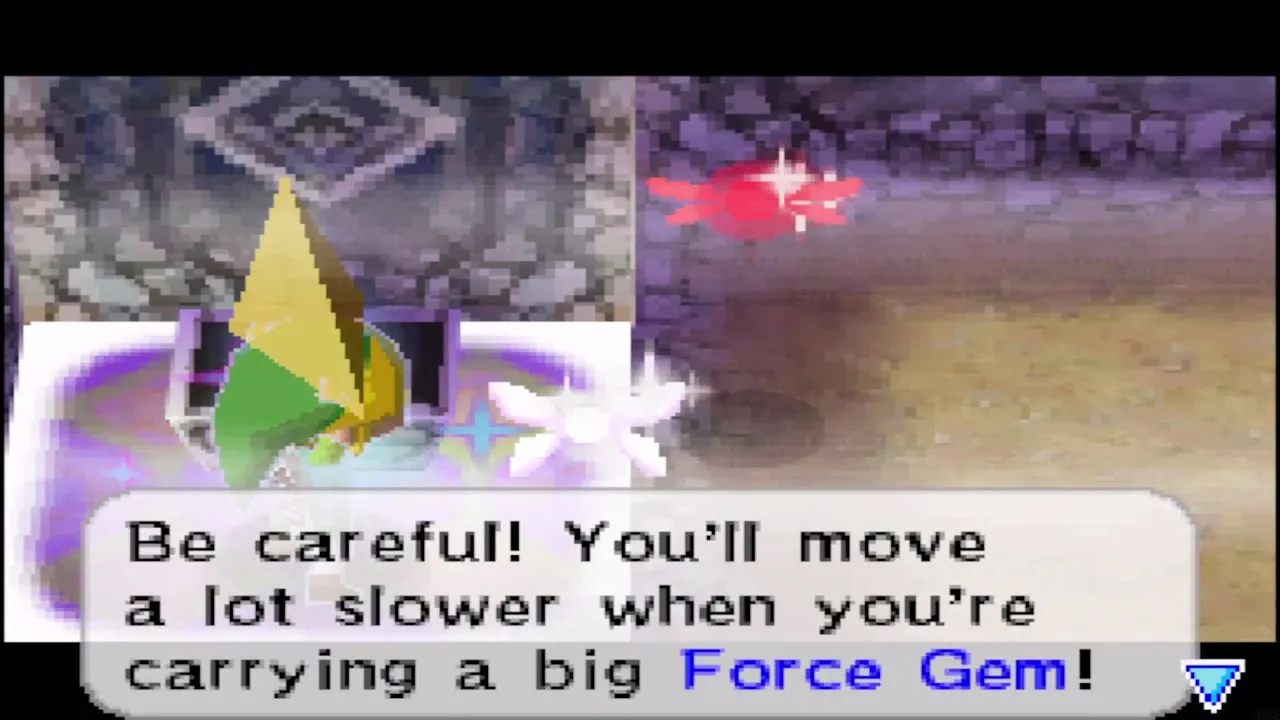
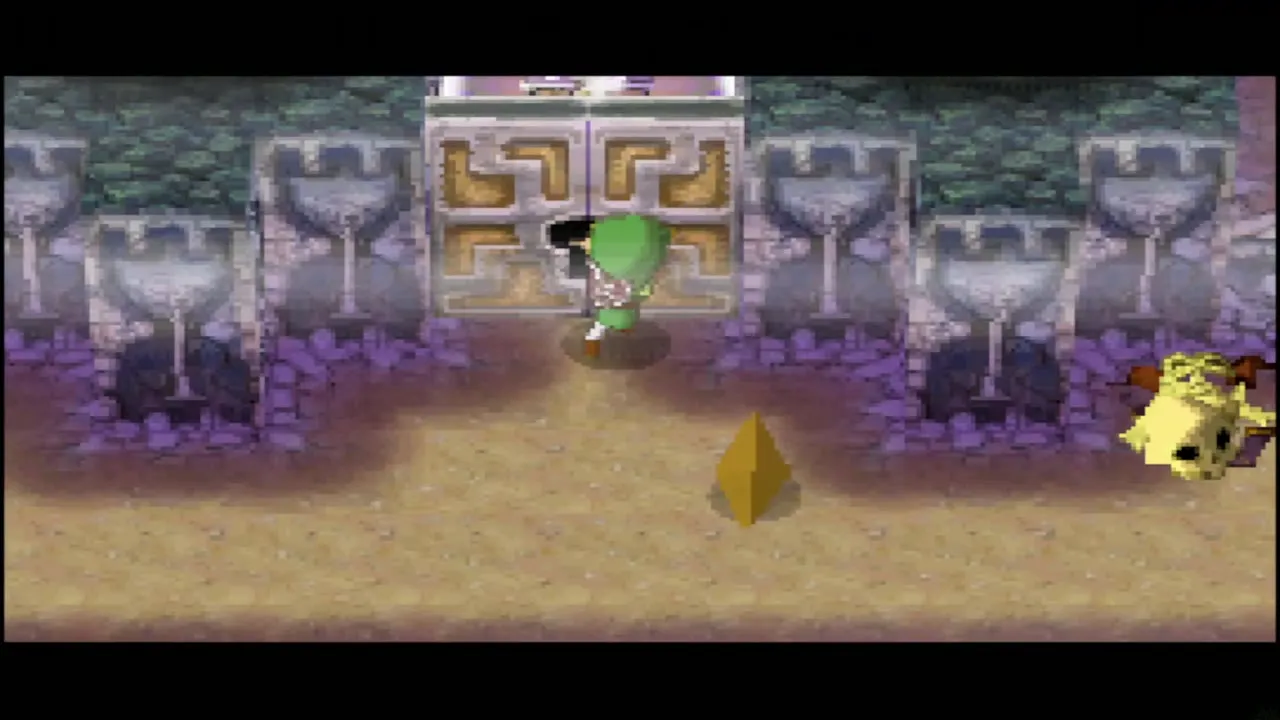
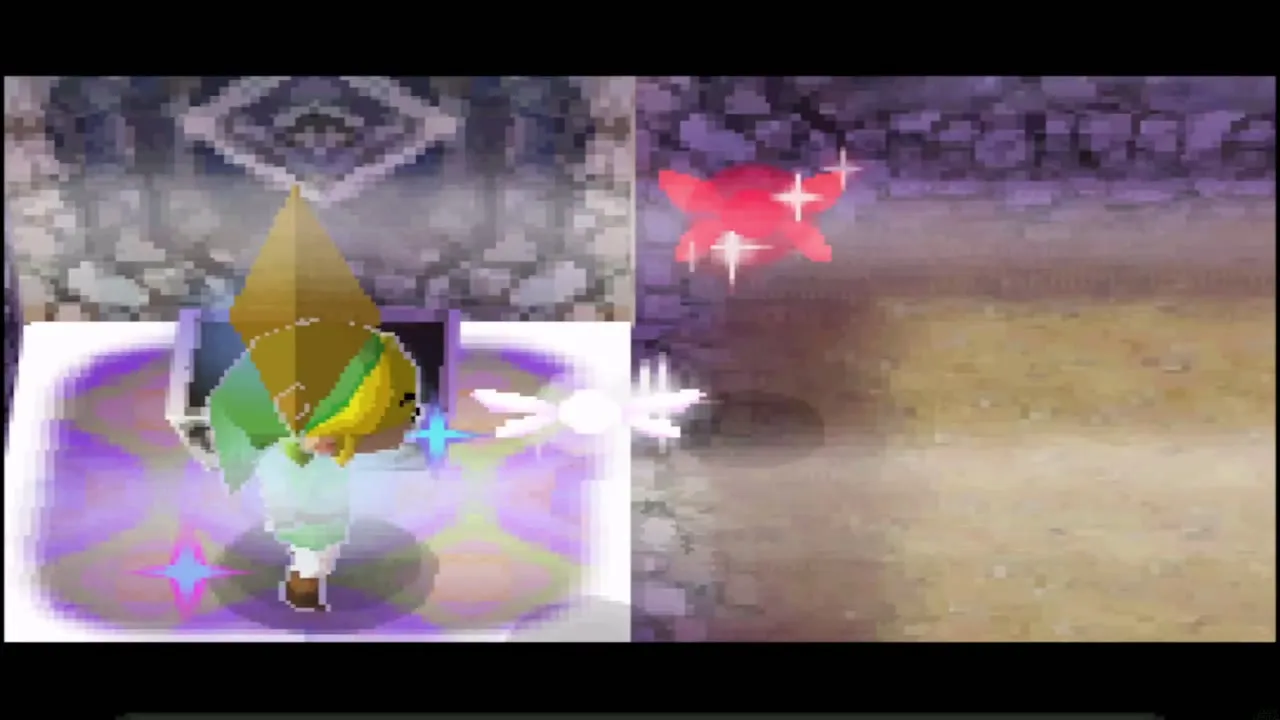
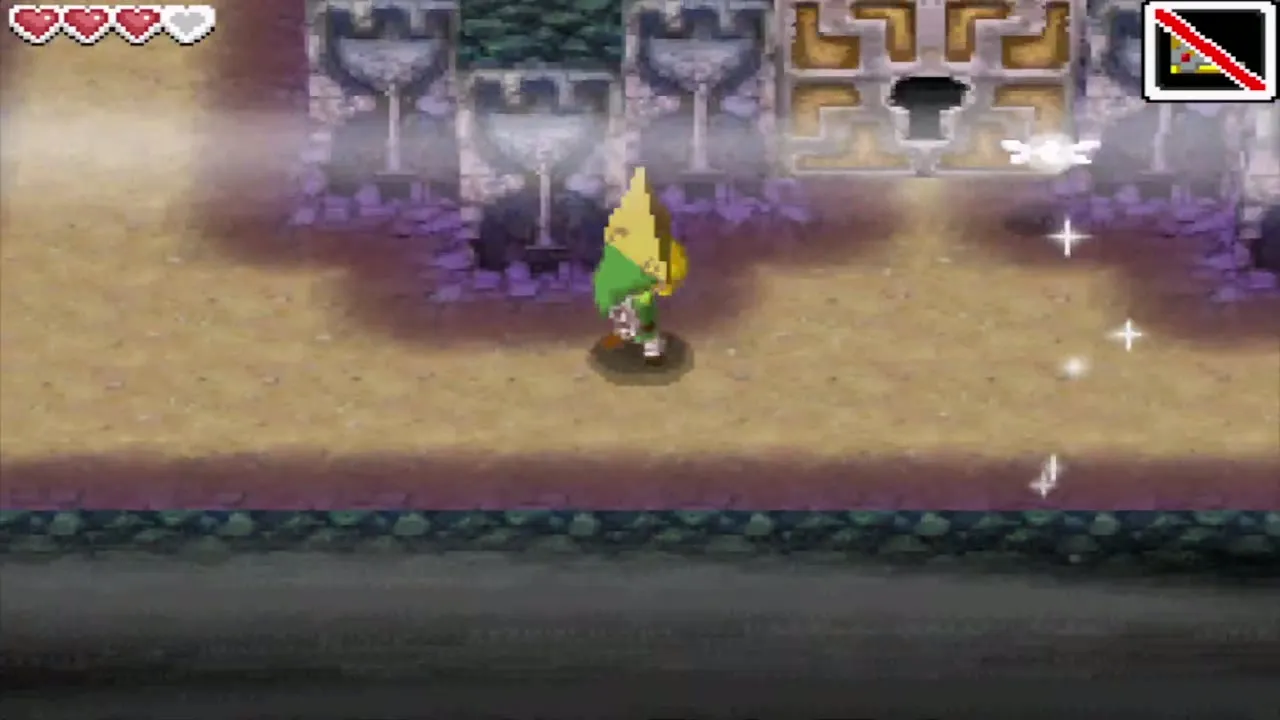
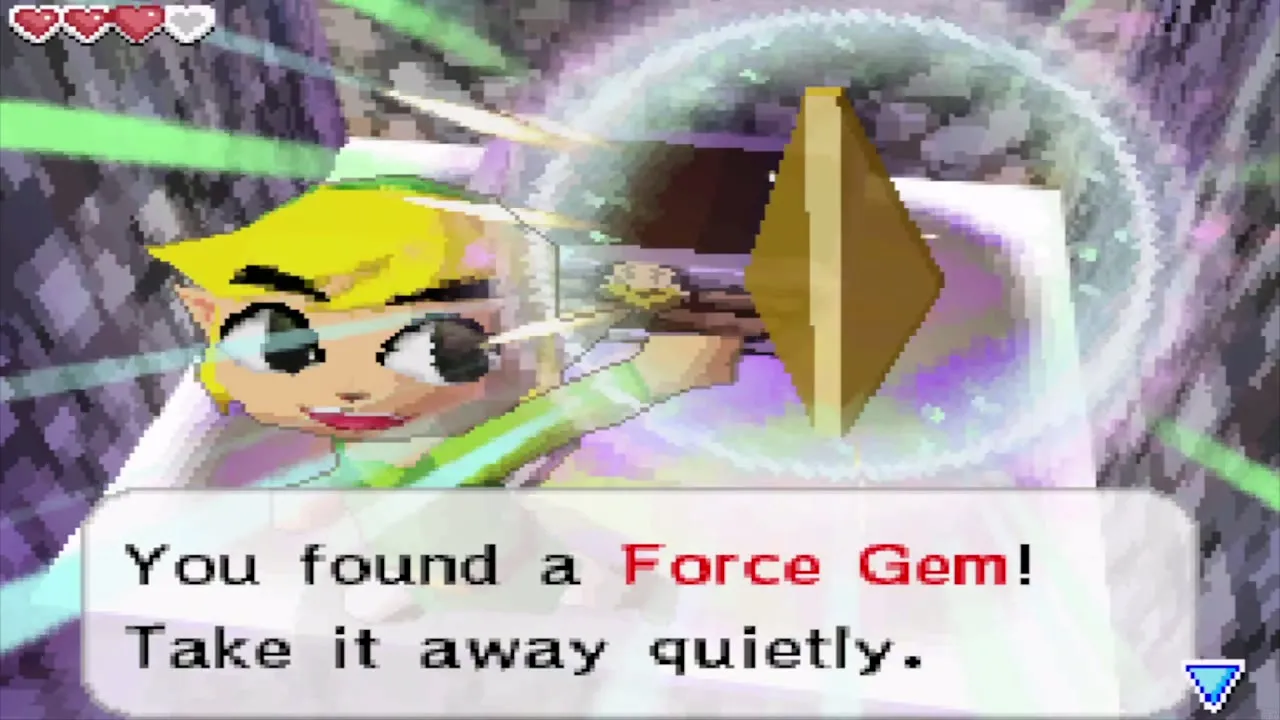
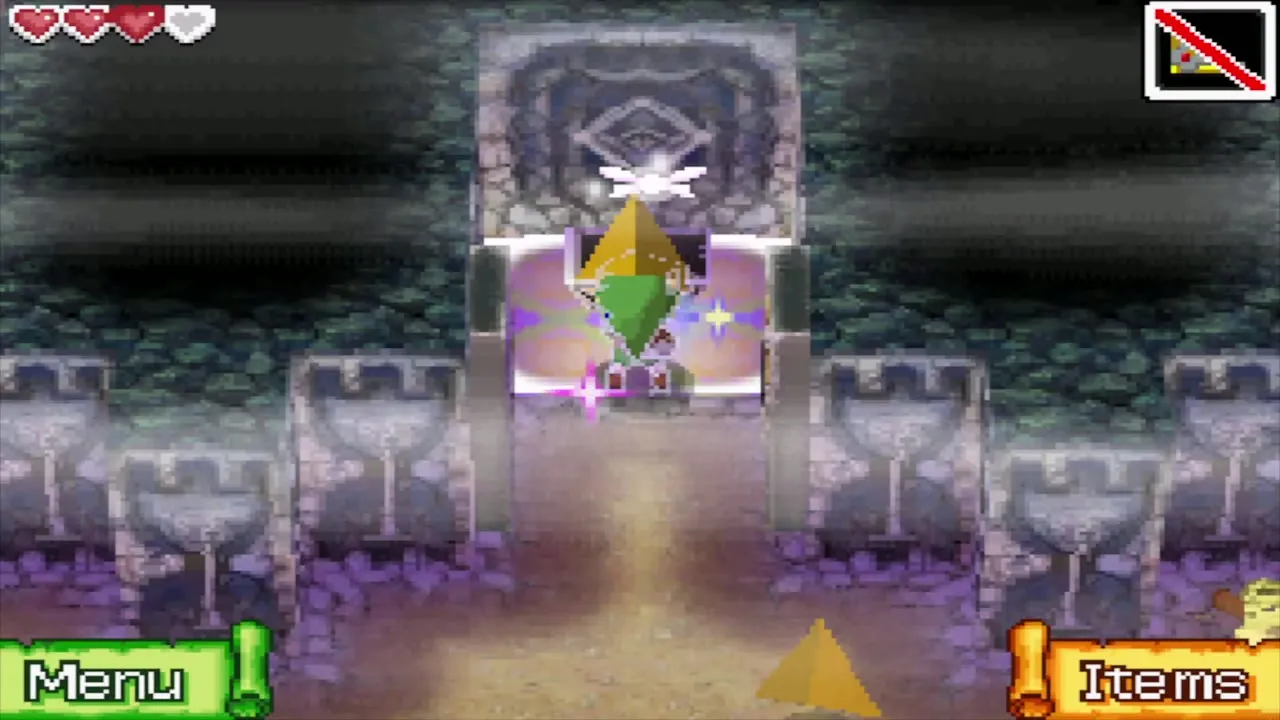
A Force Gem is big and heavy: you move much slower while holding one. If a Phantom sees you with a gem and you cannot get away, drop it and run to a Safe Zone instead of being a hero. Pick it up again once the Phantom has left. A Safe Zone surrounds the pedestals in the north-east, so any gem that gets there is safe.

Force Gem 1: the north-west chest
Open the chest in the north-west and lift out the first Force Gem. Carry it toward the north-east, following the path to the right. Stop before the drop-down and throw the Boomerang to strike the crystal switch on your right. Continue to the pedestal room and set the gem on any pedestal.

Force Gem 2: the south-east Safe Zone
The second Force Gem is in a chest in a tiny alcove in the south-east corner. Open it and carry the gem back to the north-east Safe Zone, again keeping out of the Phantoms’ view, and place it on a second pedestal.
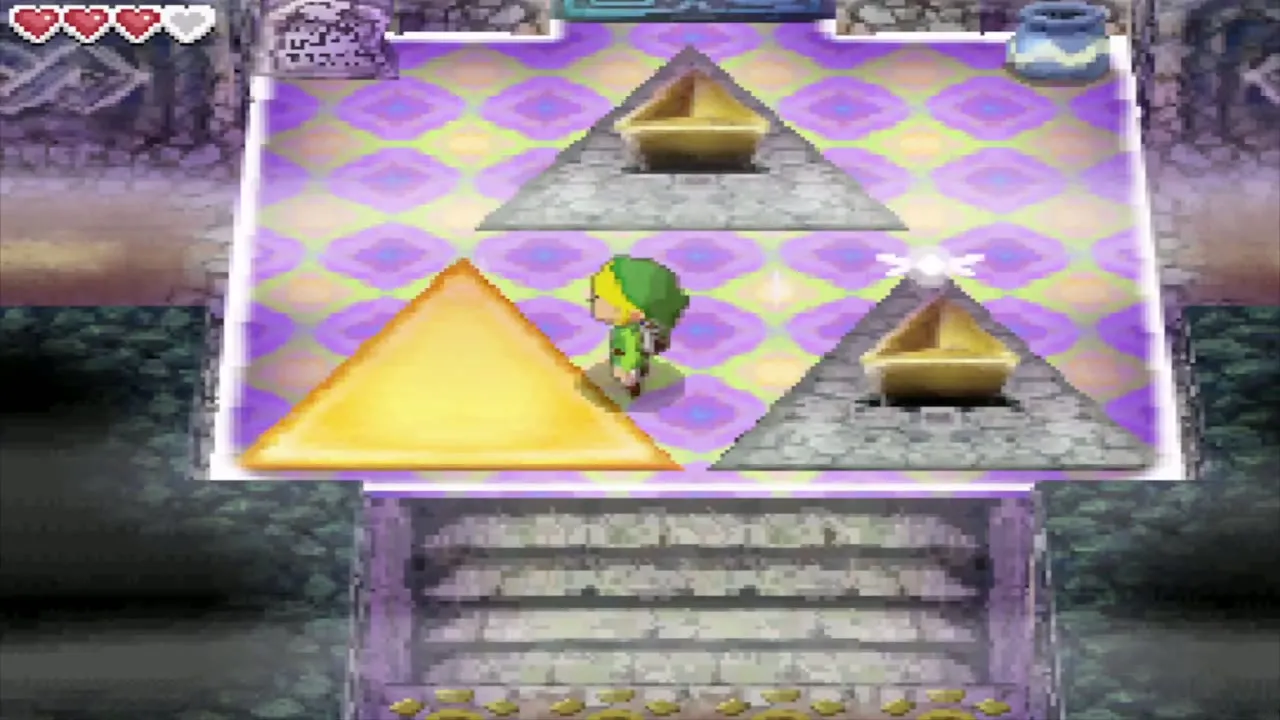
Force Gem 3: the Phantom’s key and the south-west chest
Go to the south-west corner and pull the red lever to put out the flames, then head east and climb the stairs. At the top are two floor switches; stand on one to open a trapdoor, and the Phantom circling there falls through and drops a small key.
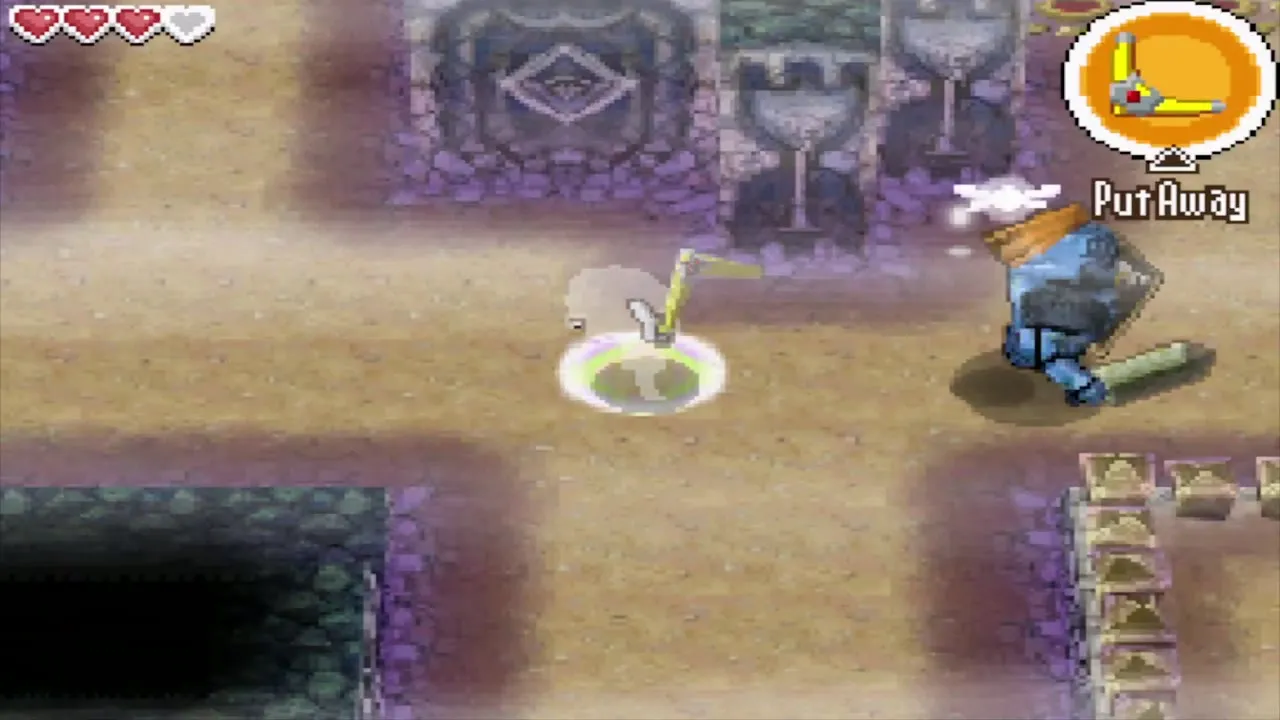
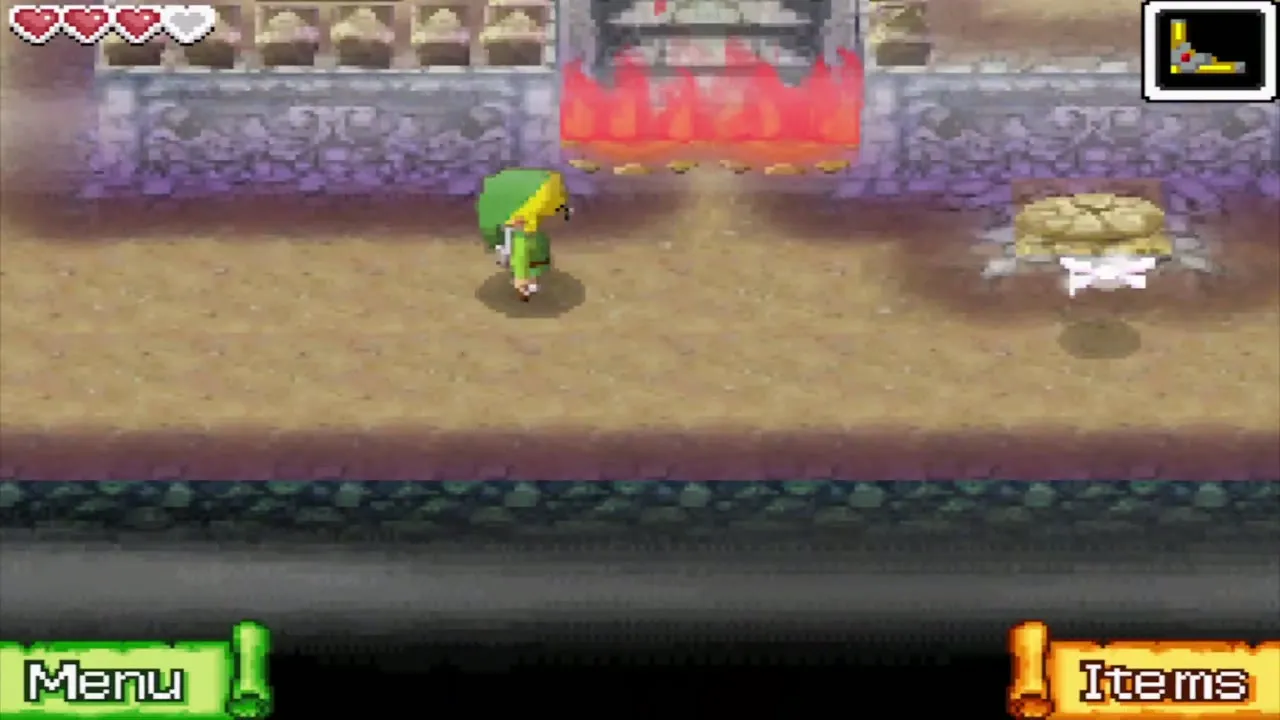
Take the key to the locked door in the south-west corner, open the chest inside and take the third Force Gem. Carry it to the pedestals and place it. A beam of light fires between the three and the door opens.
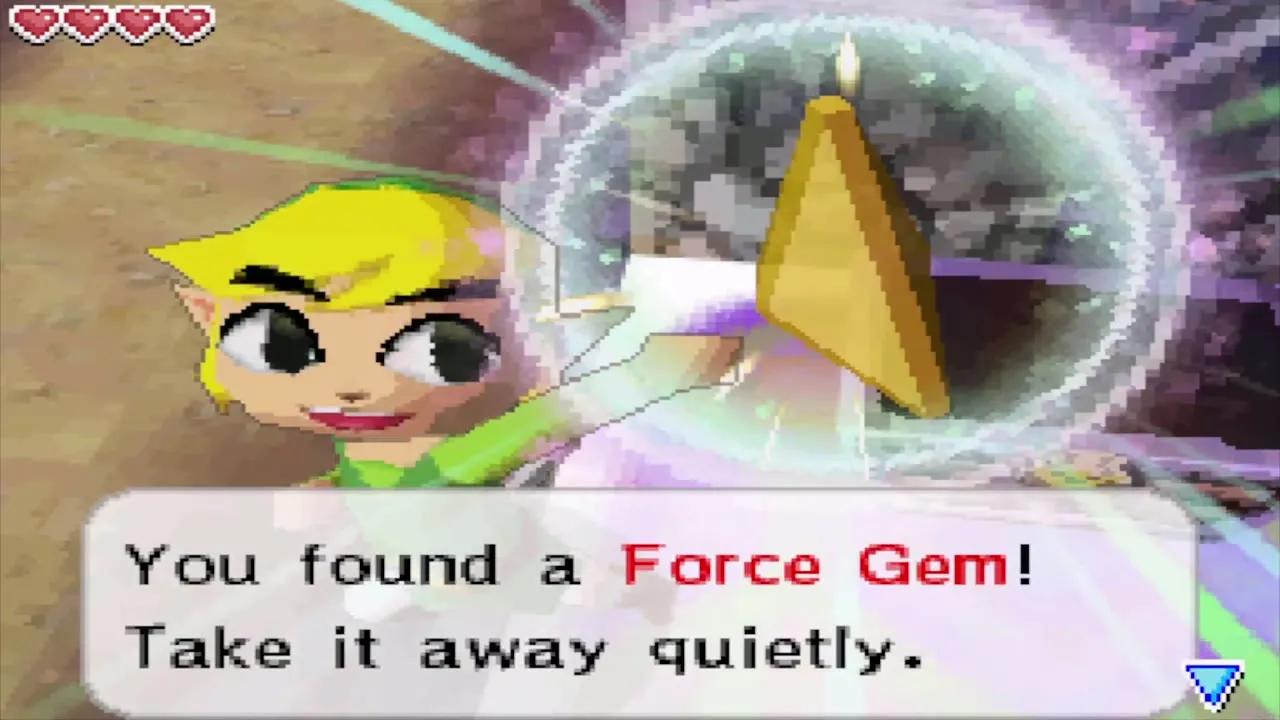
A Power Gem is hidden on this floor too: shooting an eye switch with an arrow makes a chest appear near the pedestals for a few seconds, so it needs the Bow from the Temple of Courage. Another treasure appears on a ledge in the south-west only after the Phantoms are defeated, and you reach it with the Grappling Hook. On later visits the Grappling Hook lets you stretch a tightrope between two torches and skip most of this floor.

Checkpoint Chamber and the Northwestern Sea Chart
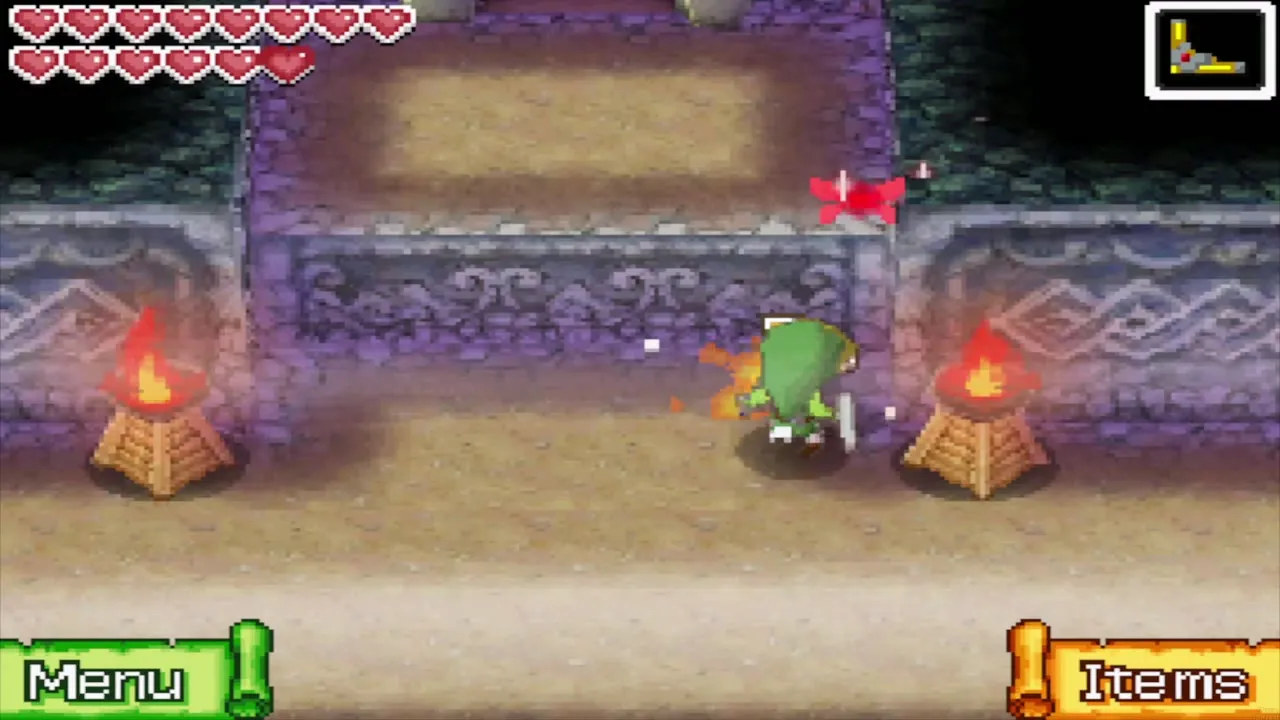
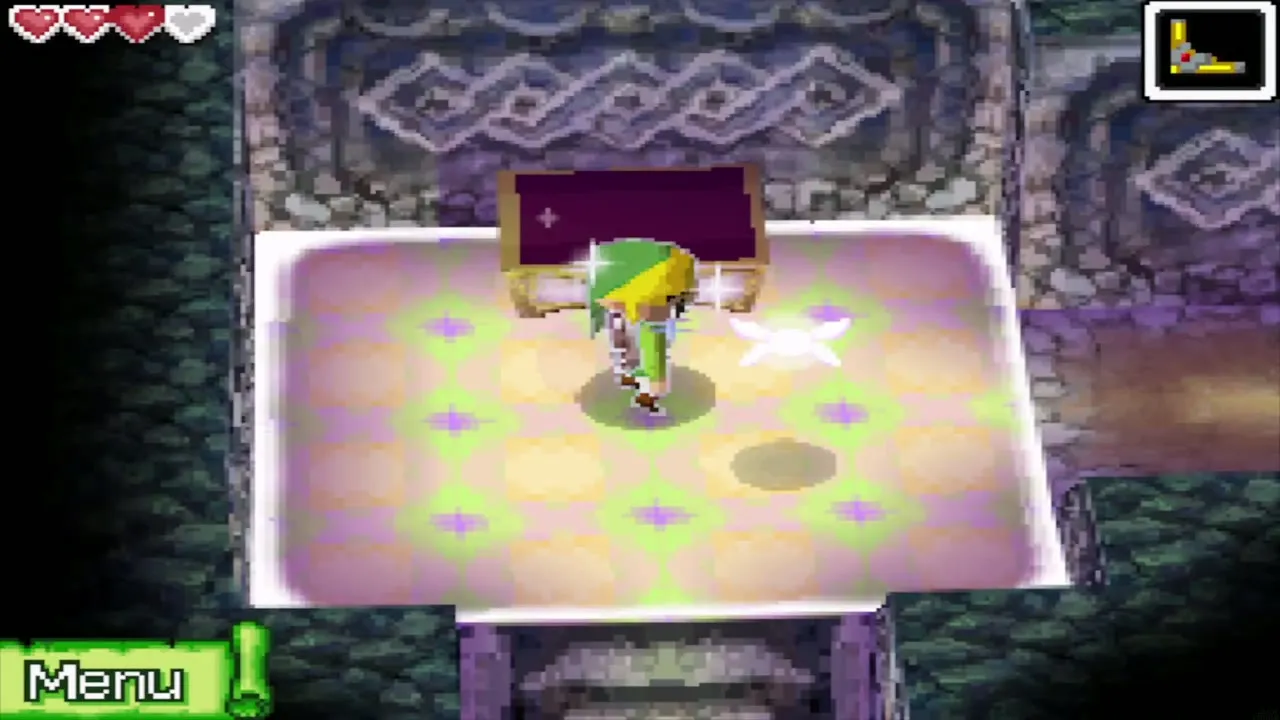
The room past the door is the Checkpoint Chamber. The curse has not reached it, so the hourglass stops here. Walk to the north-west corner, open the chest and take the Northwestern Sea Chart. It opens a new area of the sea to the north. A first careful trip should reach this room with several minutes still in the glass; being caught costs 30 seconds, so keep an eye on the timer.


One door in the chamber will not open for Leaf. Its design is different, and it needs another spirit’s help, which you gain after the Temple of Wind. A yellow pot can refill a little sand if you want it. When you are ready, leave by the warp point that appears once you have the chart; it carries you back to the entrance.


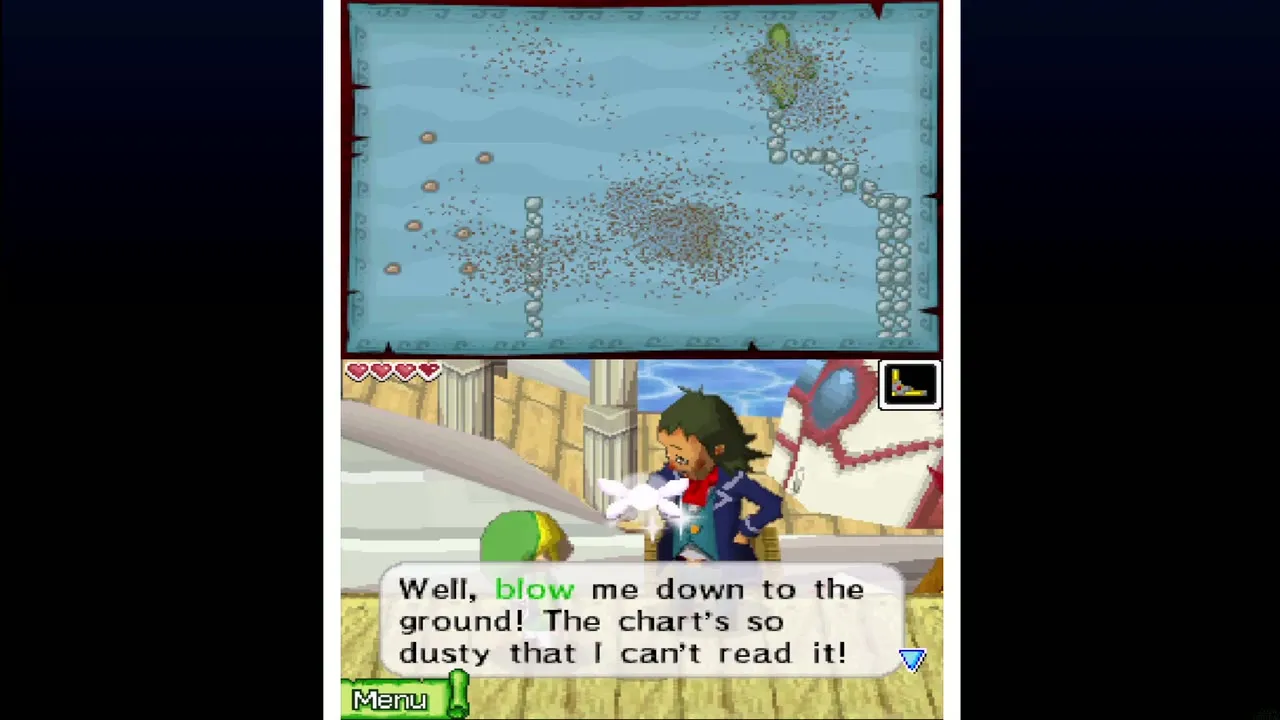
Return to your ship at the Mercay dock. Show Linebeck the new chart and blow into the DS microphone to clear the dust off it. A new crest appears on the chart, and you can sail north toward the Northwestern Sea.


Chapter checklist
| Collectible | Type | Where |
|---|---|---|
| Phantom Hourglass | Item | Altar in the entrance of the Temple of the Ocean King (10 minutes of sand) |
| Northwestern Sea Chart | Sea chart | Chest in the north-west corner of the Checkpoint Chamber after B3 |
 Courage Gem | Spirit Gem | B1 tightrope chest; later, with the Bow and Grappling Hook |
 Wisdom Gem | Spirit Gem | B2 north-west chest; later, with Bombchus |
 Power Gem | Spirit Gem | B3 eye-switch chest by the pedestals; later, with the Bow |
| Phantom treasures | Treasure | One chest each on B1, B2 and B3; only after you can defeat Phantoms |
With the chart cleaned, set sail north: the Cannon Island and Molida Island chapter is next.
