| Islands | 16, spread over four sea charts |
|---|---|
| Southwestern Sea | Mercay Island, Isle of Ember, Cannon Island, Molida Island, Spirit Island |
| Northwestern Sea | Bannan Island, Isle of Gust, Zauz’s Island, Uncharted Island |
| Southeastern Sea | Goron Island, Isle of Frost, Dee Ess Island, Harrow Island |
| Northeastern Sea | Isle of the Dead, Isle of Ruins, Maze Island |
| Hidden islands | Spirit Island, Uncharted Island, Dee Ess Island, Harrow Island, Maze Island |
The Great Sea in Phantom Hourglass holds 16 islands, split between four sea charts, and each chart is a chest in the Temple of the Ocean King: Southwestern on the first floor, Northwestern at the end of B3, Southeastern at the end of B9 and Northeastern on B13. Most islands show up on your chart as soon as you own it, but a few are left off and appear only when you sail close enough for Ciela to spot them: Spirit Island, Uncharted Island, Dee Ess Island, Harrow Island and Maze Island. Below, each island is listed by sea with what you find there.
Table of Contents
Quick reference
| # | Island | Sea | Needed to reach or finish it |
|---|---|---|---|
| 1 | Mercay Island | Southwestern | Start of the game |
| 2 | Isle of Ember | Southwestern | Southwestern Sea Chart |
| 3 | Cannon Island | Southwestern | Boomerang, after Temple of the Ocean King II |
| 4 | Molida Island | Southwestern | None to land; Cannon for the dock later |
| 5 | Spirit Island | Southwestern | Sail close to add it to the chart; Spirit Gems to spend |
| 6 | Bannan Island | Northwestern | Fog route to the Northwestern Sea |
| 7 | Isle of Gust | Northwestern | Fog route |
| 8 | Zauz’s Island | Northwestern | Fog route |
| 9 | Uncharted Island | Northwestern | Fog route; sail close to add it to the chart |
| 10 | Goron Island | Southeastern | Cannon, to beat the Massive Eye |
| 11 | Isle of Frost | Southeastern | Cannon, to blast the ice |
| 12 | Dee Ess Island | Southeastern | Southeastern Sea Chart; sail close to add it to the chart |
| 13 | Harrow Island | Southeastern | Azurine, then a Yook’s tip on the Isle of Frost; sail close to add it to the chart |
| 14 | Isle of the Dead | Northeastern | Northeastern Sea Chart |
| 15 | Isle of Ruins | Northeastern | Regal Necklace |
| 16 | Maze Island | Northeastern | Northeastern Sea Chart; sail close to add it to the chart |
Southwestern Sea
Mercay Island
You wake up on this island, and it stays your home port all game. You find the Sword in a chest in Oshus’s storehouse, the port has the shipyard where you swap Ship Parts, and the Treasure Teller, shop and the Temple of the Ocean King are all here. The Mercay Island walkthrough covers the opening, and the island returns to your list many times: Freedle, whose magic boxes trade Ship Parts and Treasures with other players, lives on a small isle in the northern woods, and Ojibe sells Treasure Map 9 on the dock once you know where the Sun Key lies.

Isle of Ember
A volcanic island where the fortune teller Astrid is locked in her basement. Light her three torches on the map to free her, then climb the volcano to the Temple of Fire, where you win the Boomerang. See the Isle of Ember walkthrough. Astrid hands you a Power Gem after the first temple and a Wisdom Gem after the Temple of Wind.

Cannon Island
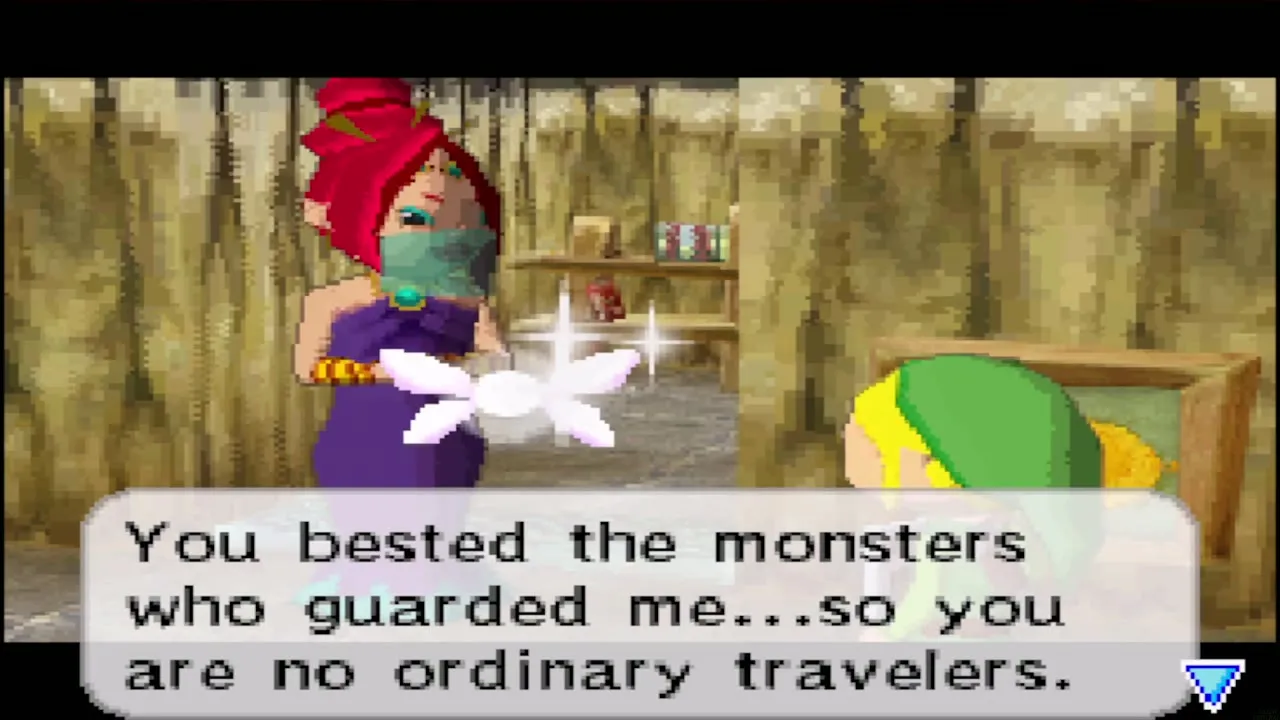
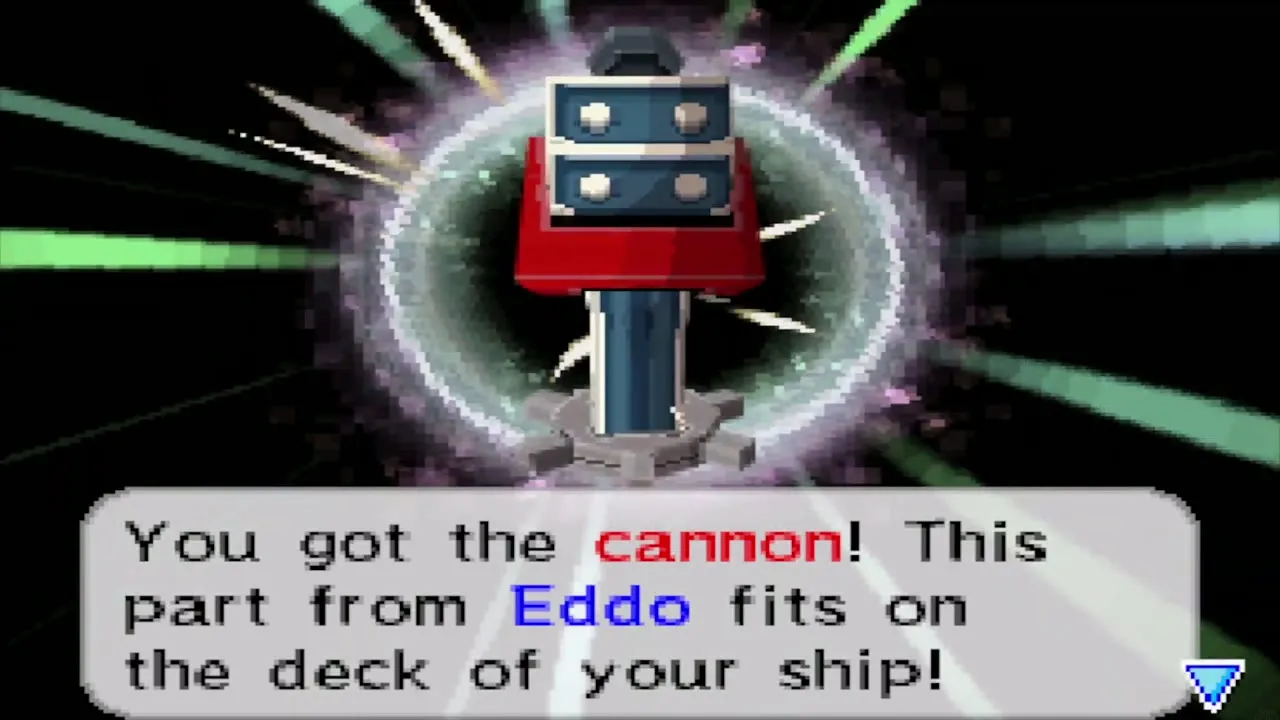
The shipwright Eddo lives here and sells the ship’s Cannon for 50 Rupees. You return later to buy the Salvage Arm from him for 200 to 1,000 Rupees, depending on how loudly you shout into the microphone. The island also holds a Power Gem chest in the bomb garden cave. The route through it is in the Cannon Island walkthrough.

Molida Island
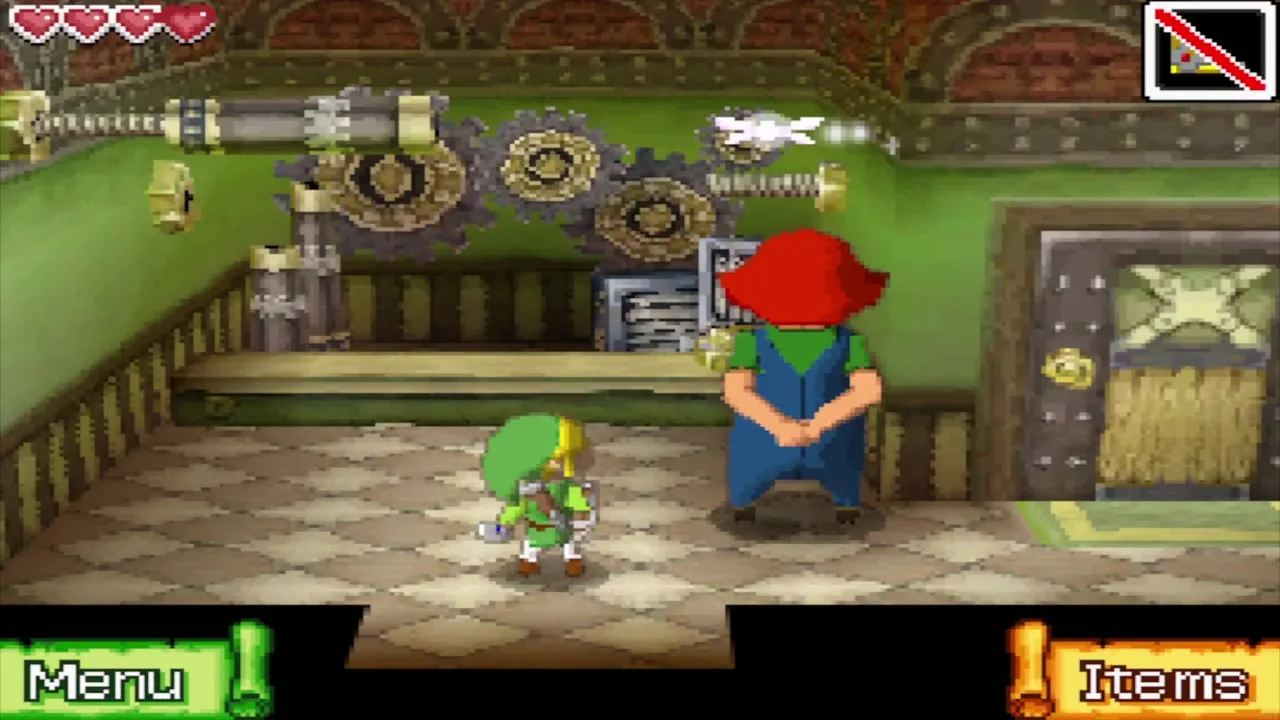
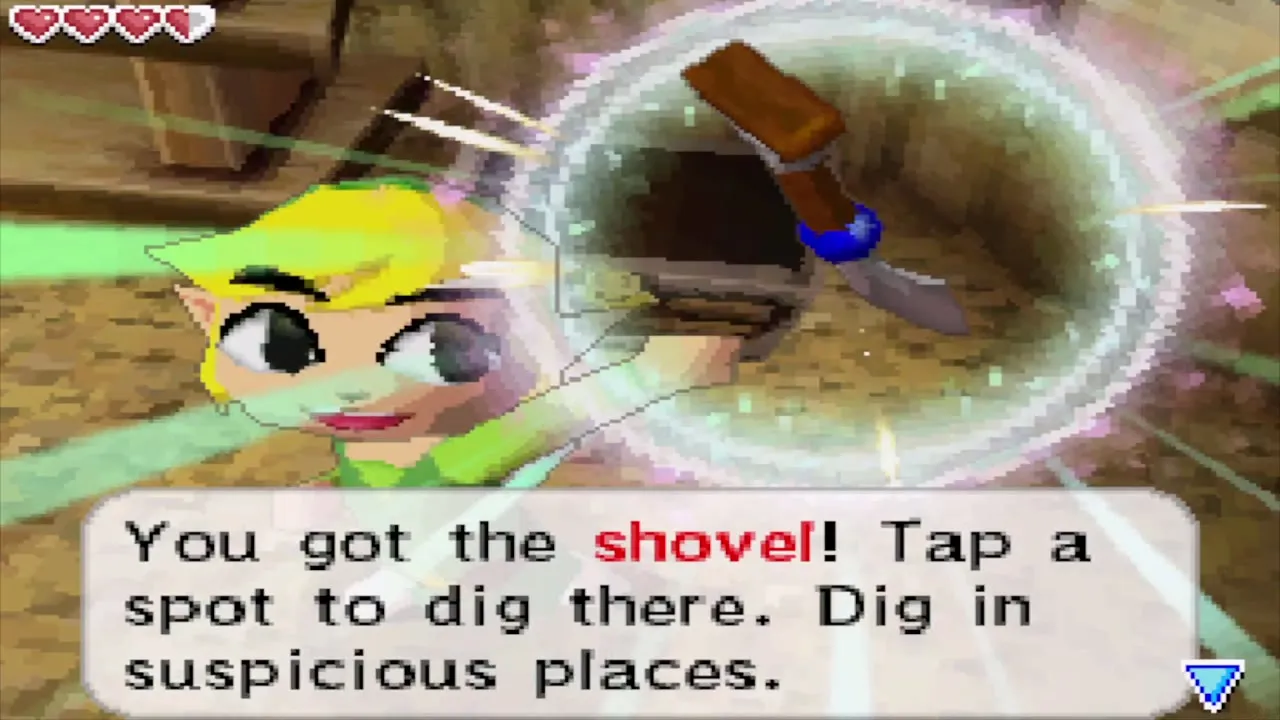
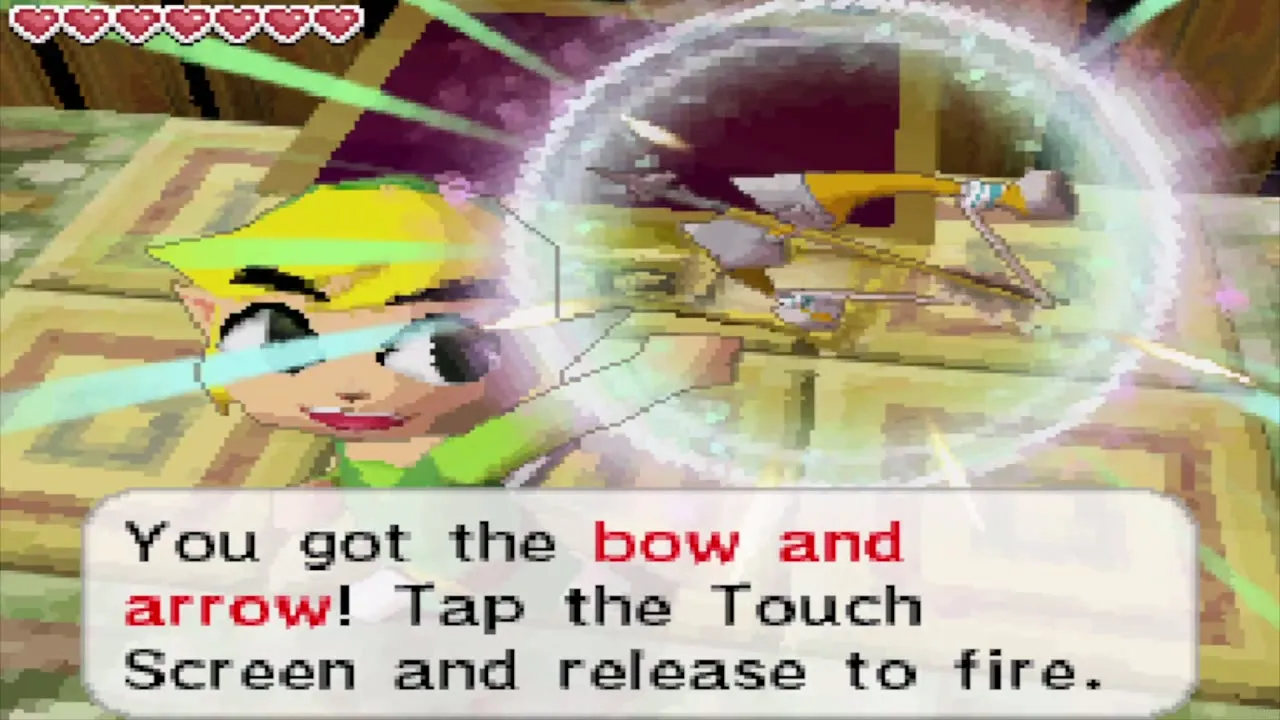
Romanos lives in the rightmost hut. A cave behind his house holds the Shovel, and the Old Wayfarer’s second hideout holds the route through the fog and the door that needs the Sun Key. The Giant Eye Plant guards the dock until you shoot it, and the Temple of Courage gives you the Bow. After the temple, Romanos opens the Shooting Range described on the mini-games page.
Spirit Island
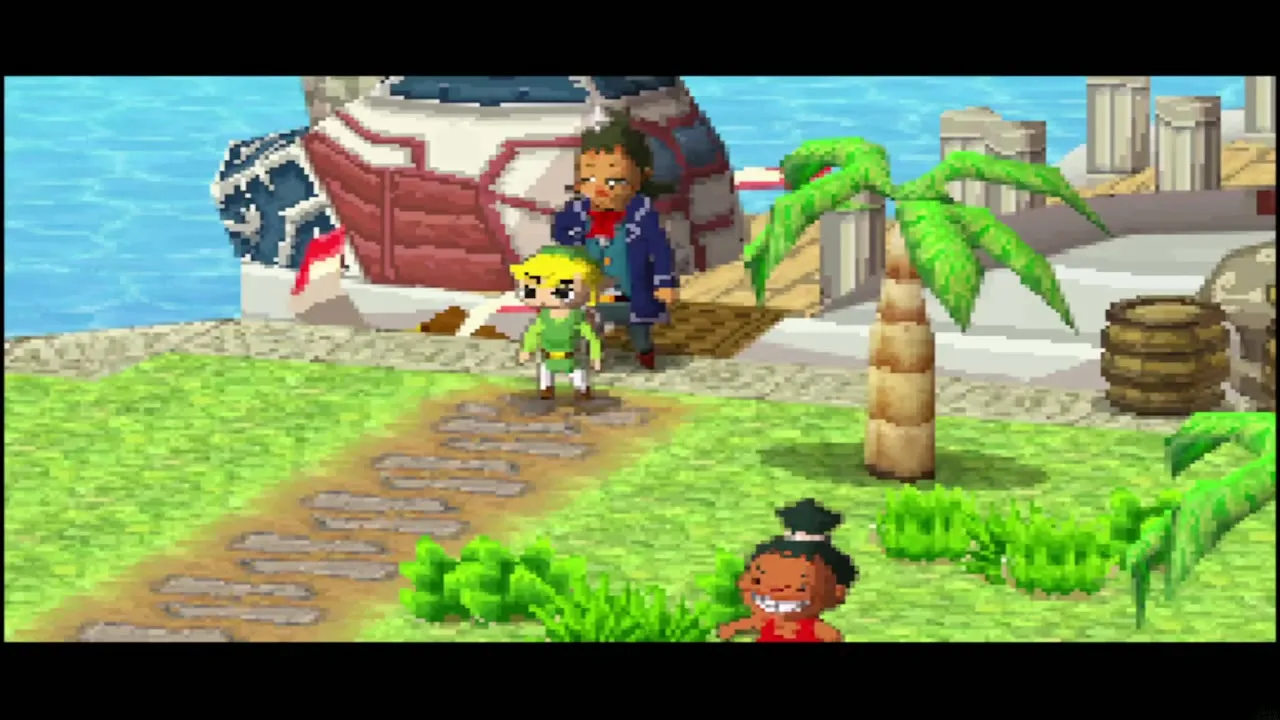
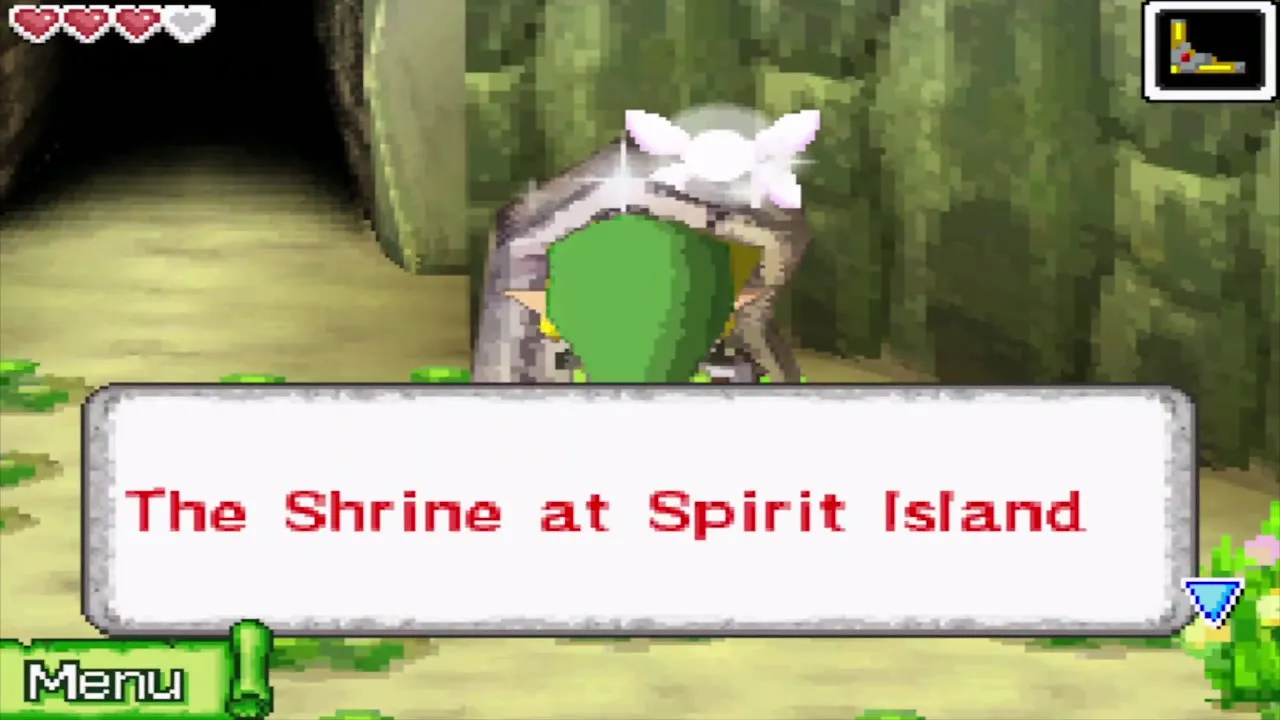
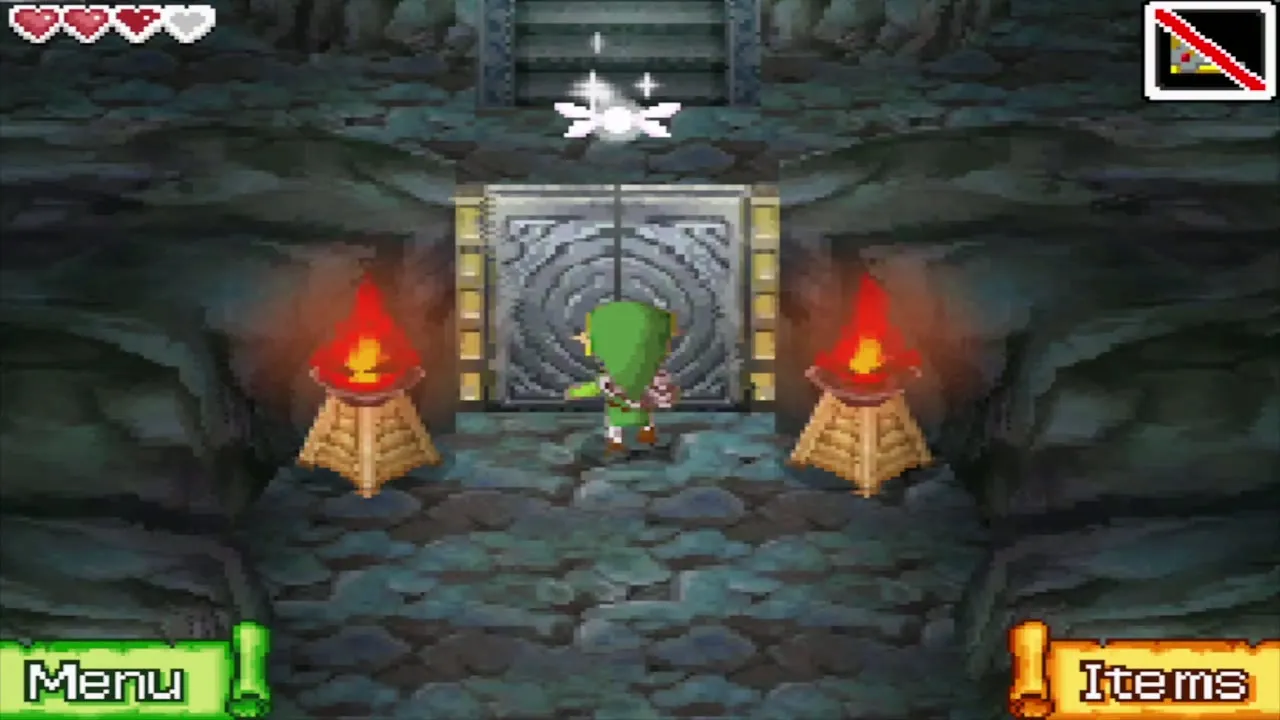
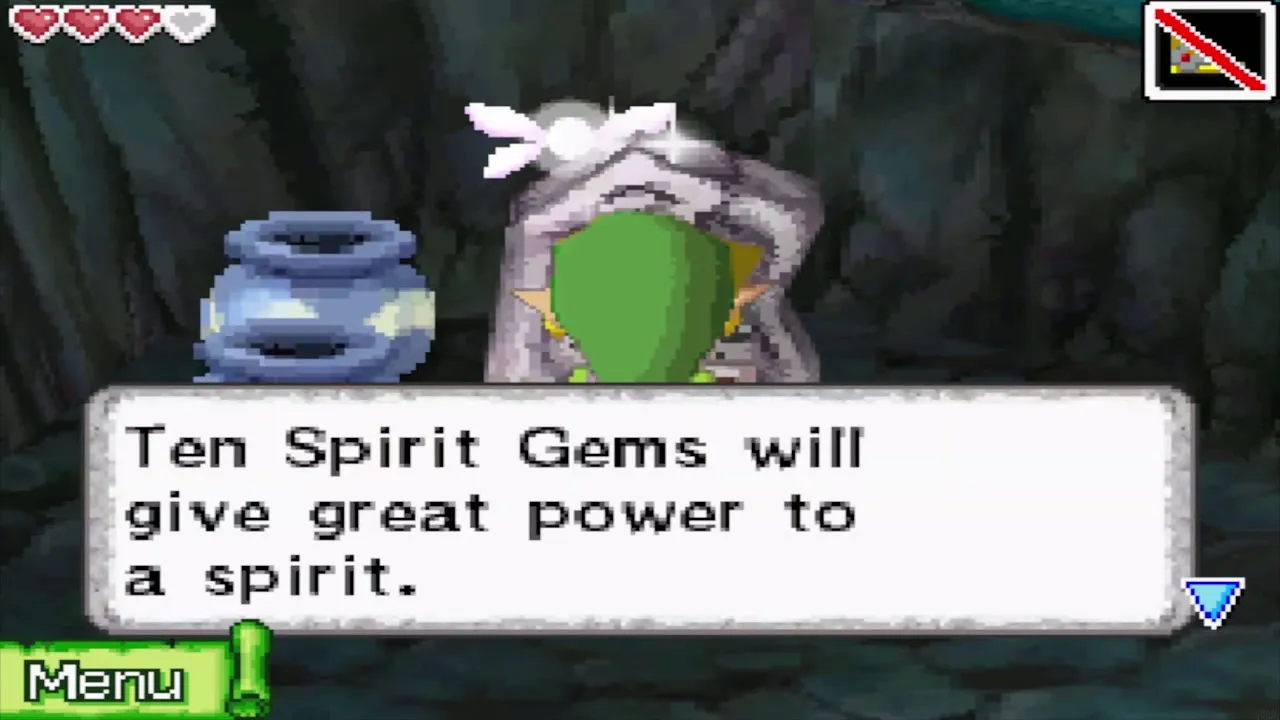
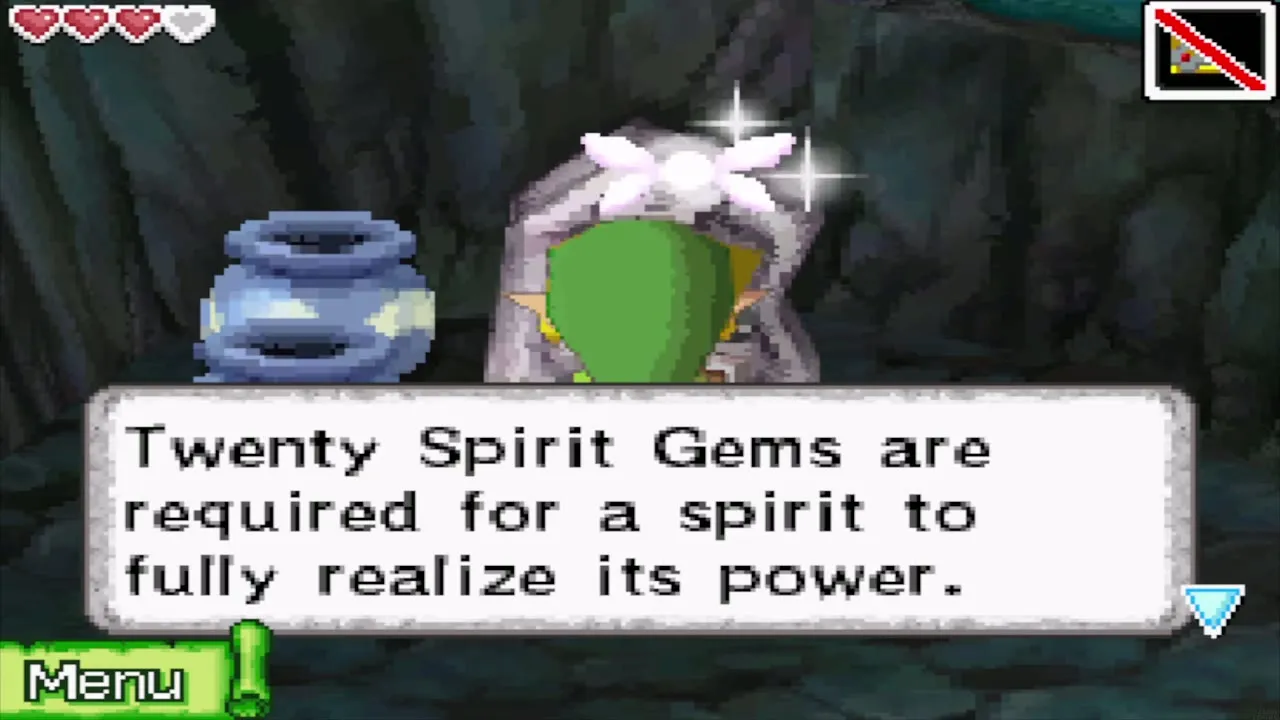
This island sits in the southwest corner of the sea, among three rocks south of Molida Island. Sail close and Ciela adds it to your chart. Its shrine is where you present Spirit Gems to the servant of the goddess: 10 gems of one kind raise that spirit to level 1 and 20 to level 2. Power gems make Leaf’s sword stronger, Wisdom gems reduce damage and Courage gems add a sword beam. A Courage Gem chest sits beside the channel near the dock, and with the Grappling Hook you can cross to the east side for a Power Gem chest at the highest point.
Northwestern Sea
Bannan Island
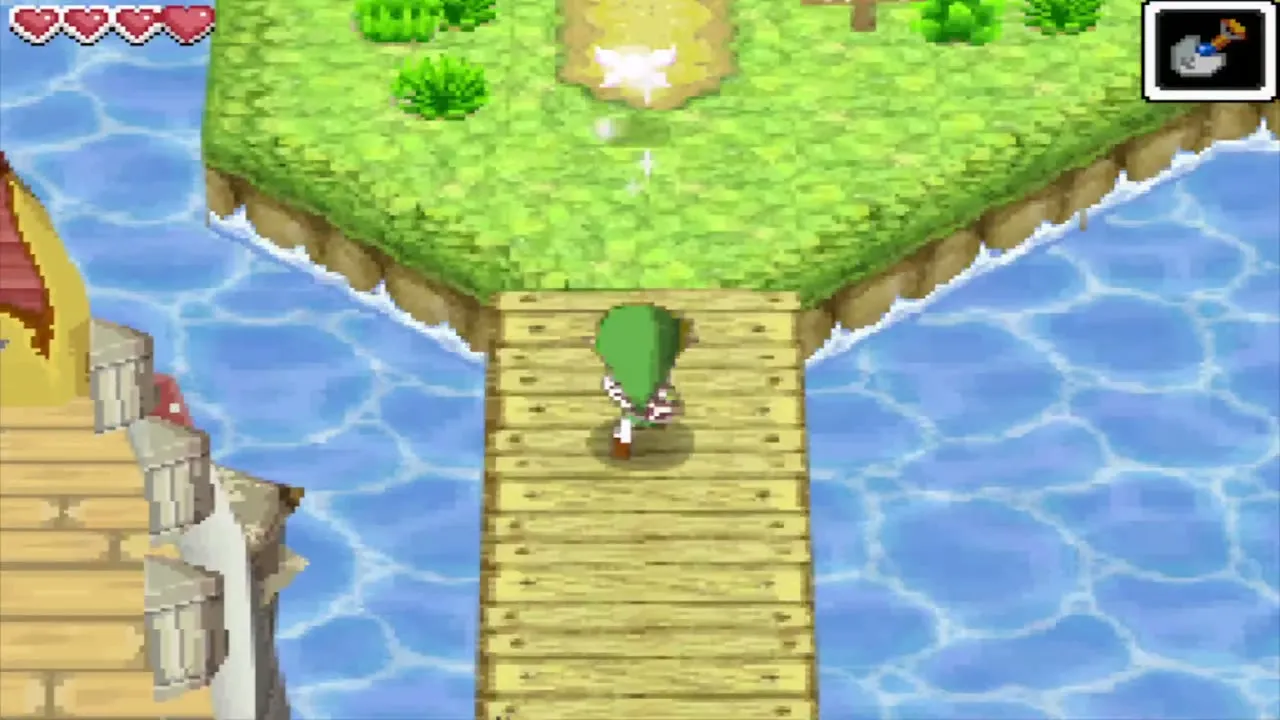
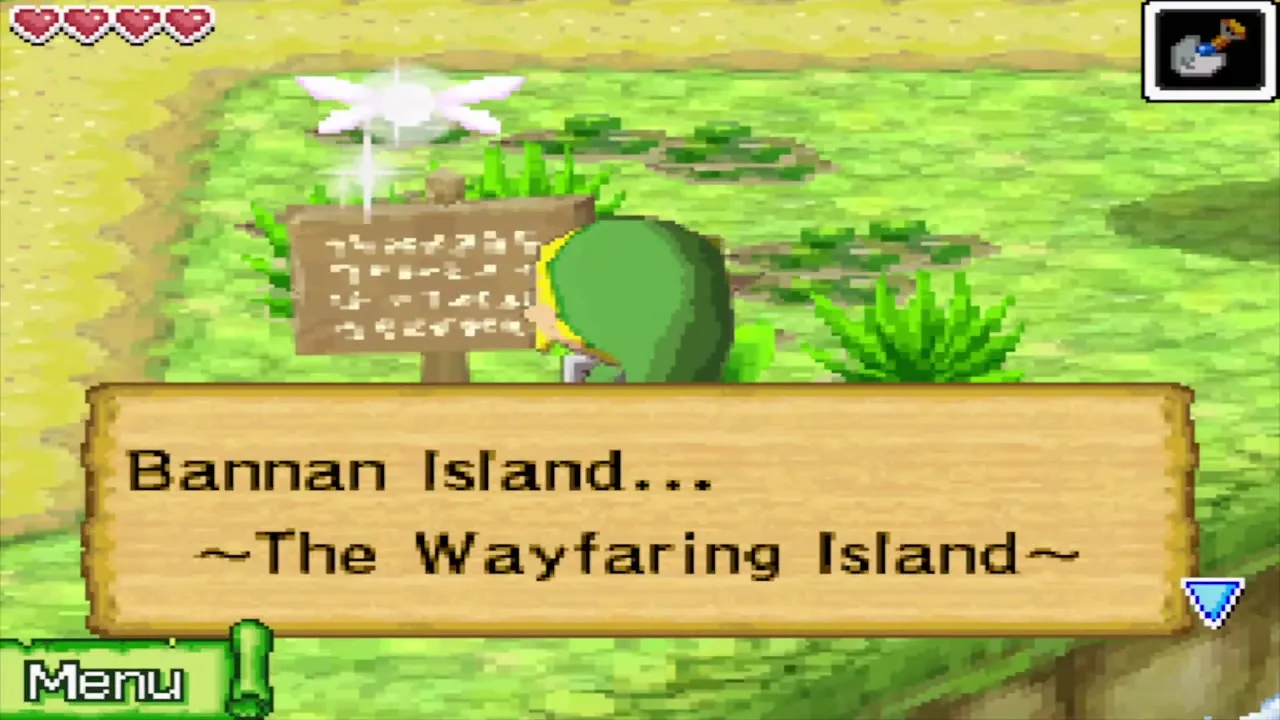
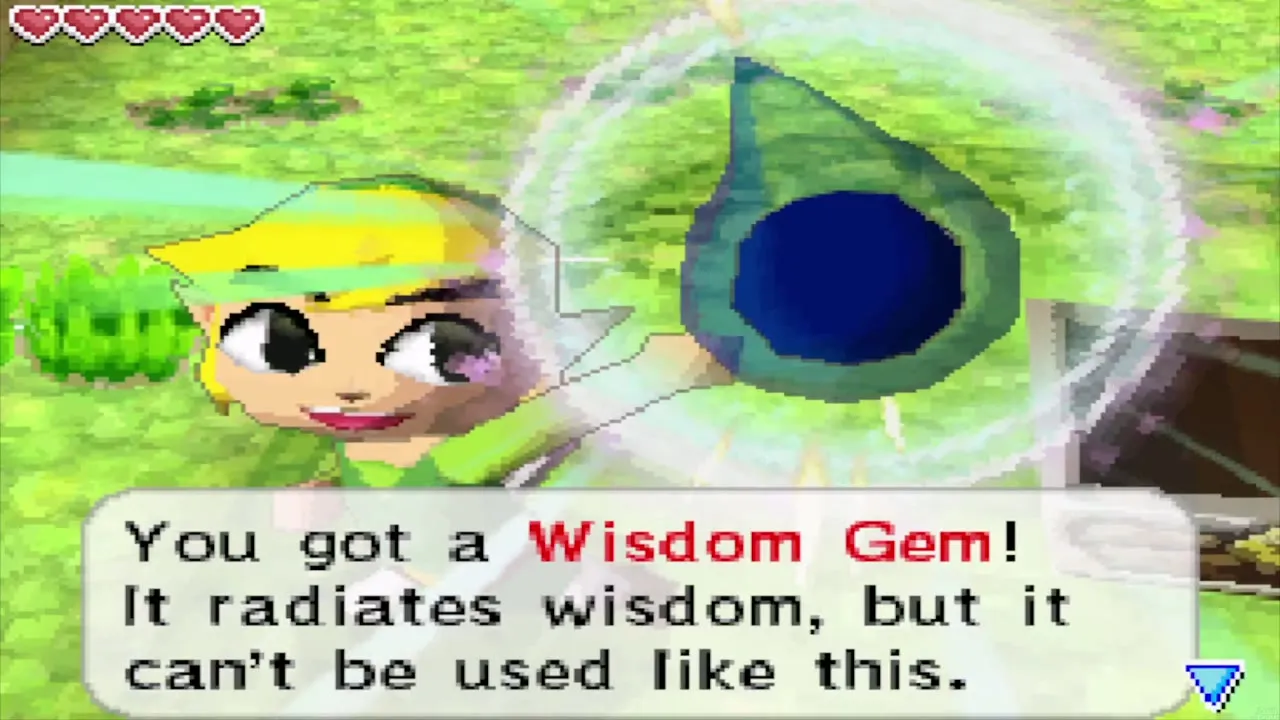
The Old Wayfarer lives here, and the island is a base for several side quests. The “mermaid” off the coast is Joanne, and bringing her to his hut earns you the Fishing Rod (see fishing). The bombable cave southeast of the hut holds the Cannon Game, and later you can deliver Jolene’s letter to Joanne for a Wisdom Gem. Two small islets near the dock hold a Power Gem and a Courage Gem, and you need the Grappling Hook to reach them.
Isle of Gust
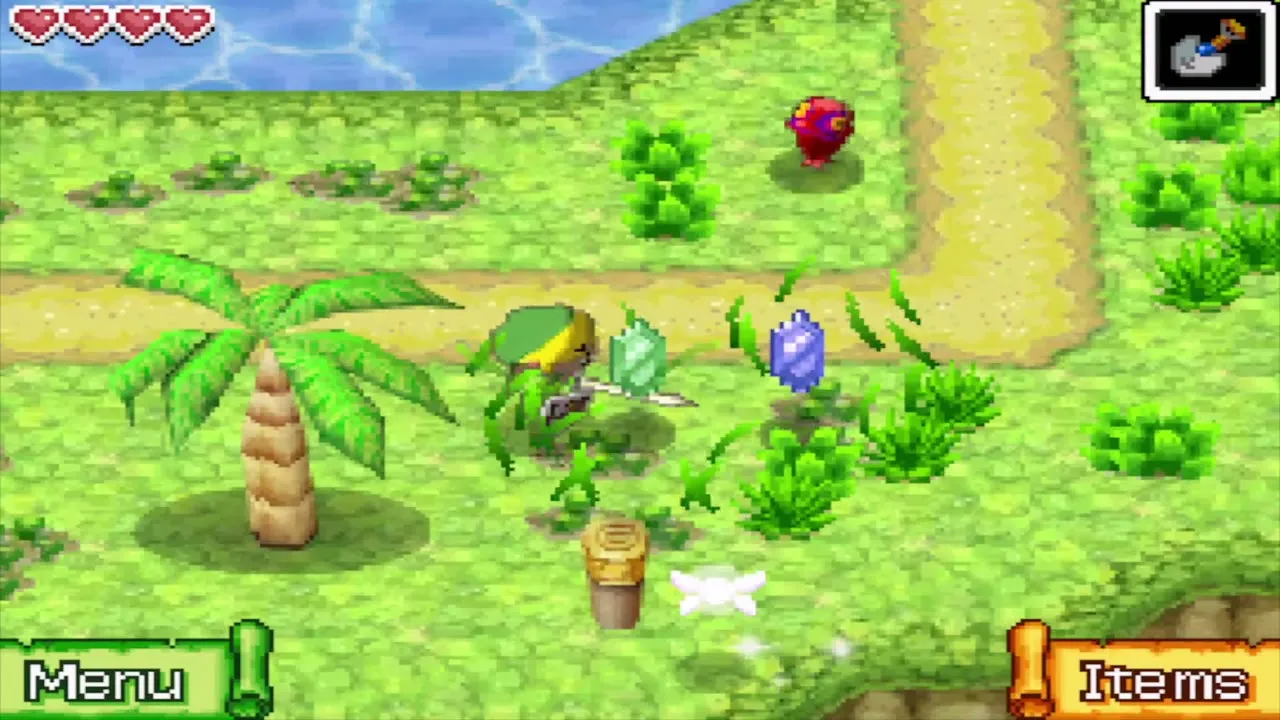
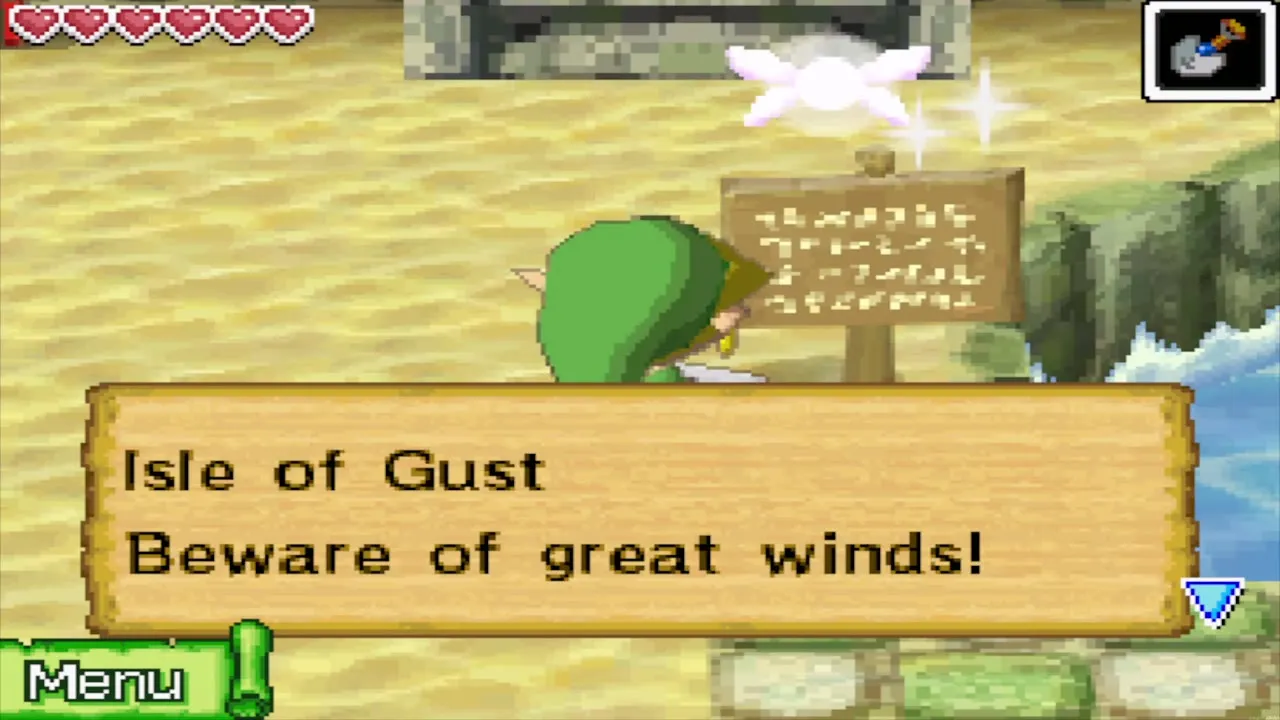
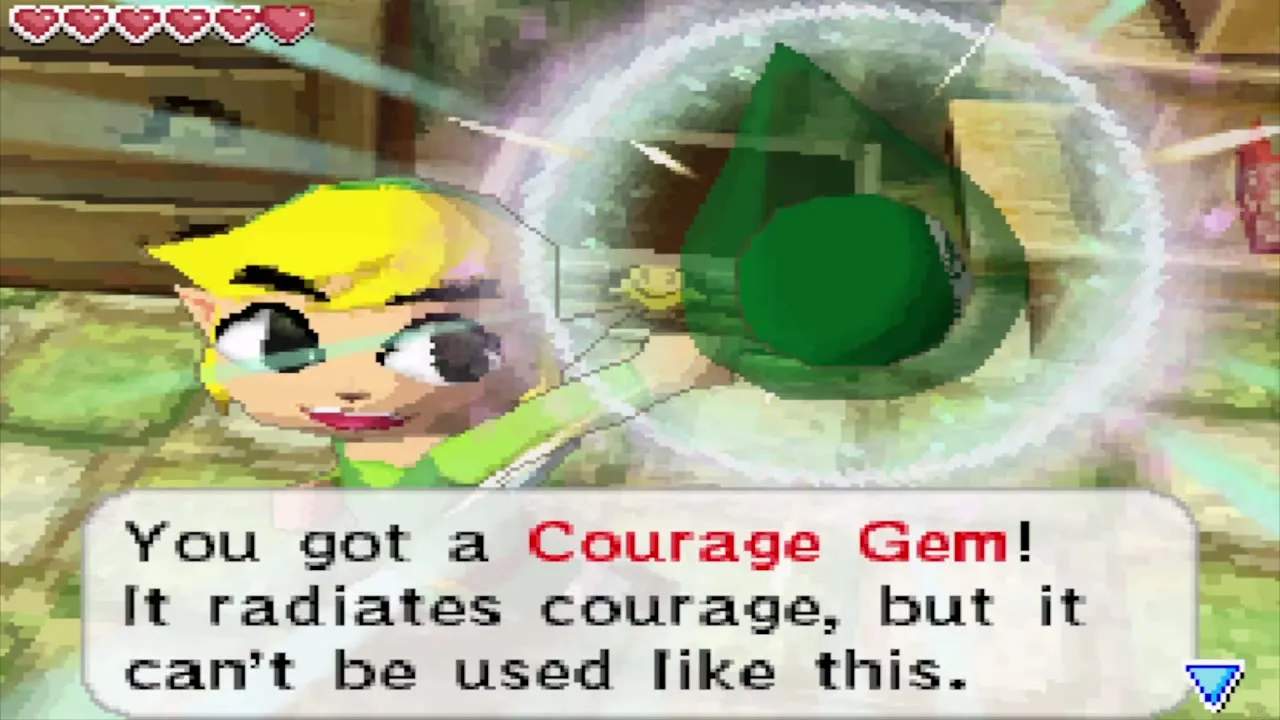
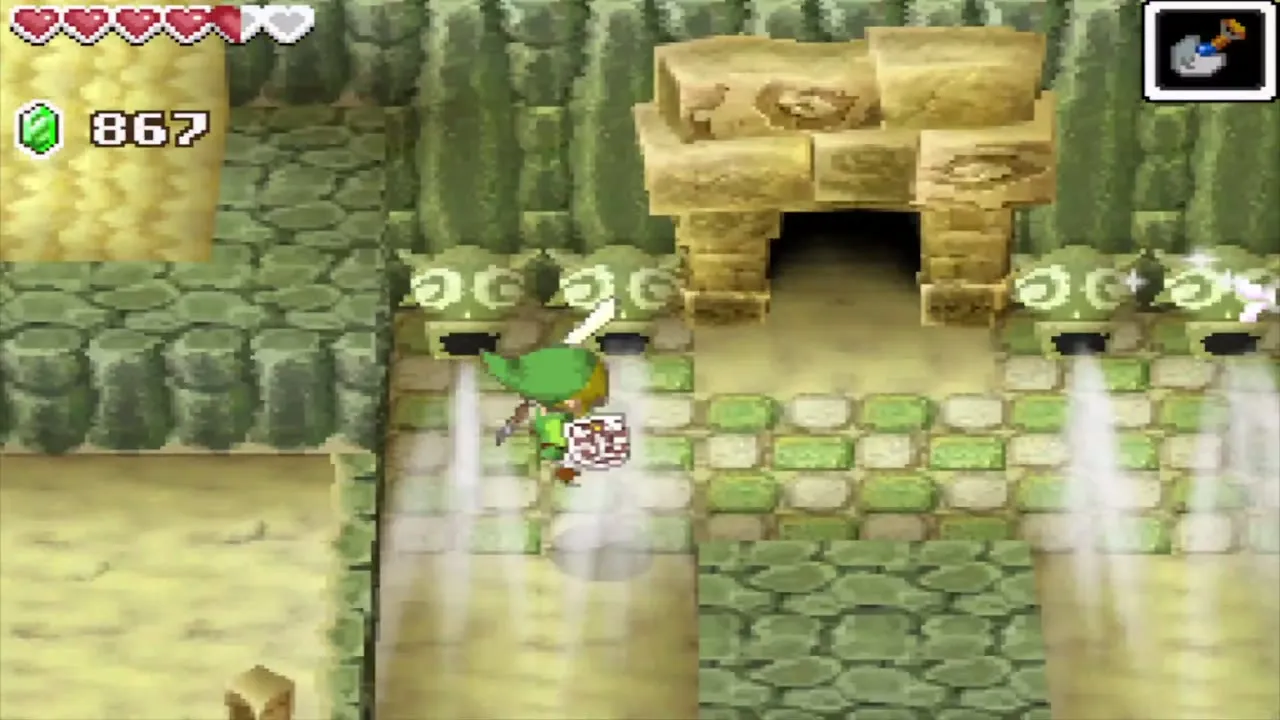
A windy island of gaps and Sandworms. You jump the gaps only when the wind drops, and you blow into the microphone at three windmills to open the way to the Temple of Wind. Hidden spots include a Wisdom Gem in the Miniblin pit and a Courage Gem in a cave behind a cracked wall. Read the Isle of Gust walkthrough for the route.
Zauz’s Island
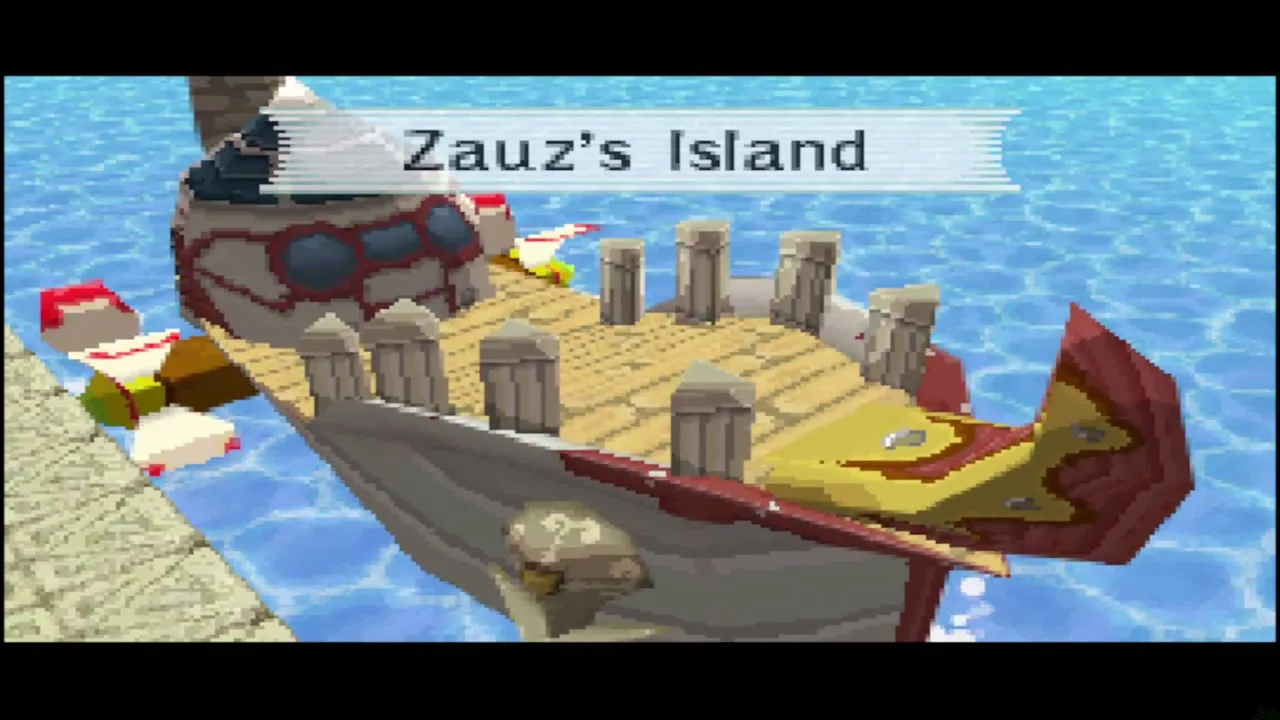
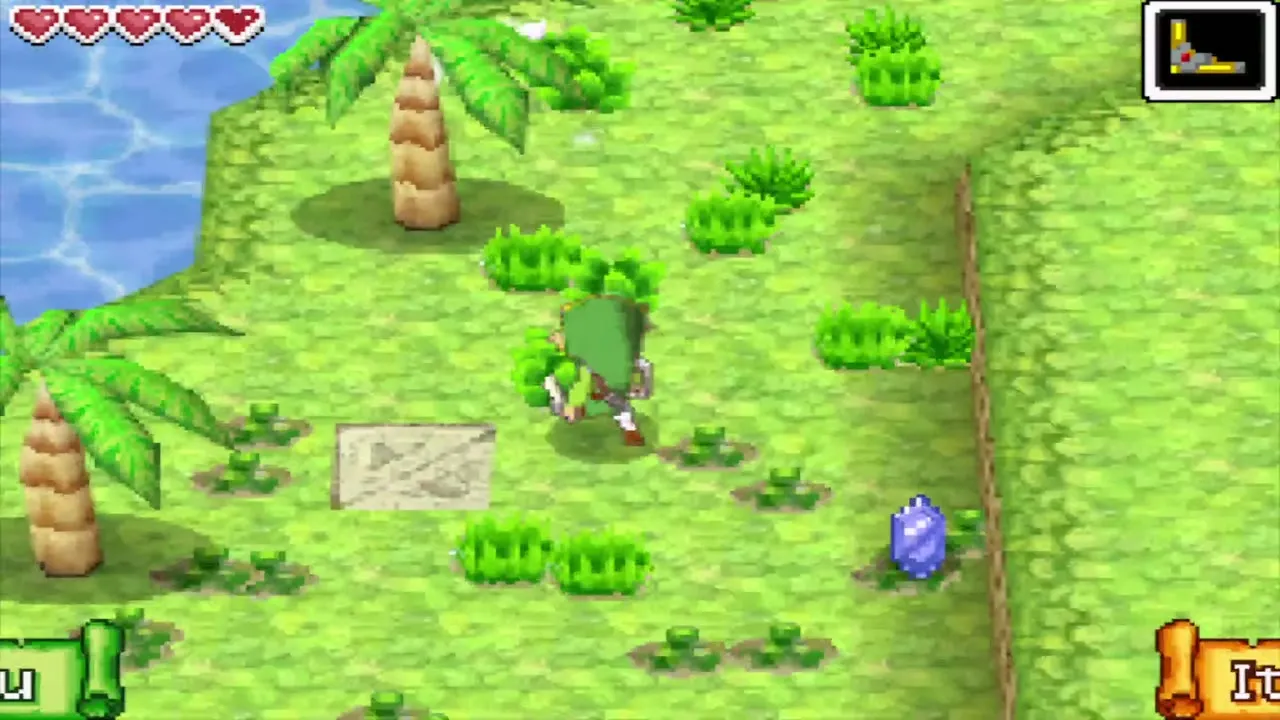
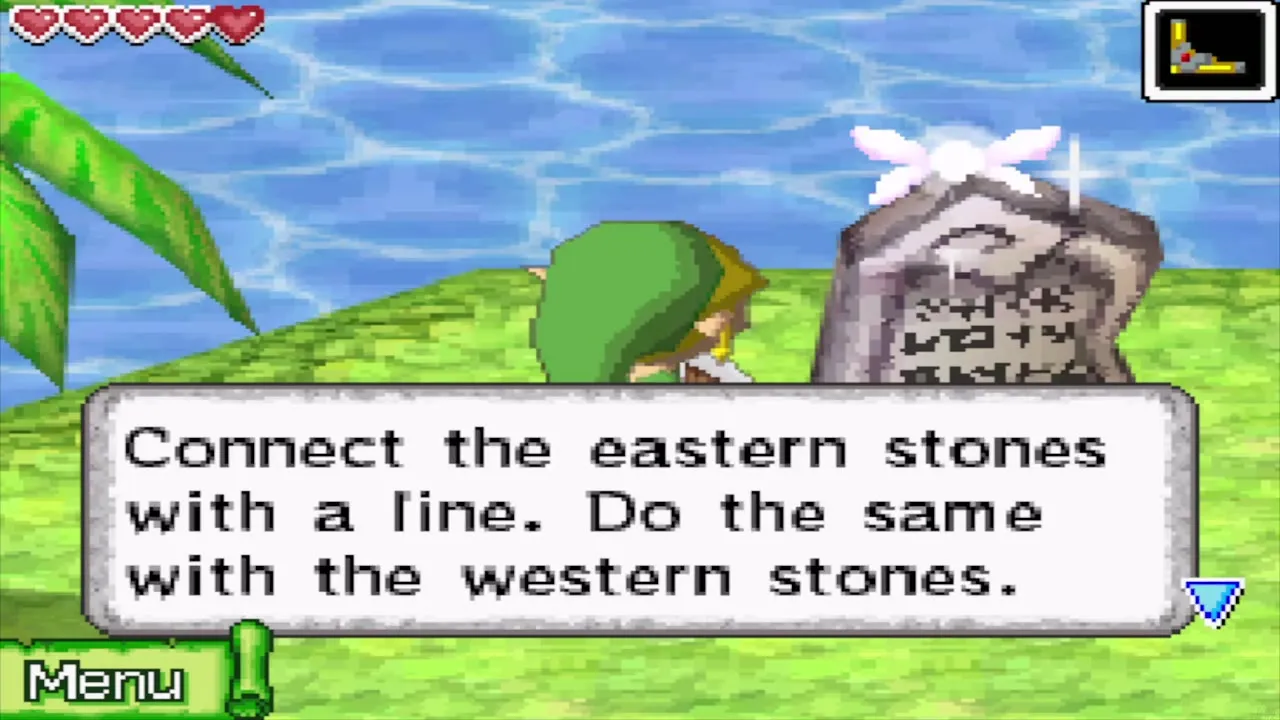
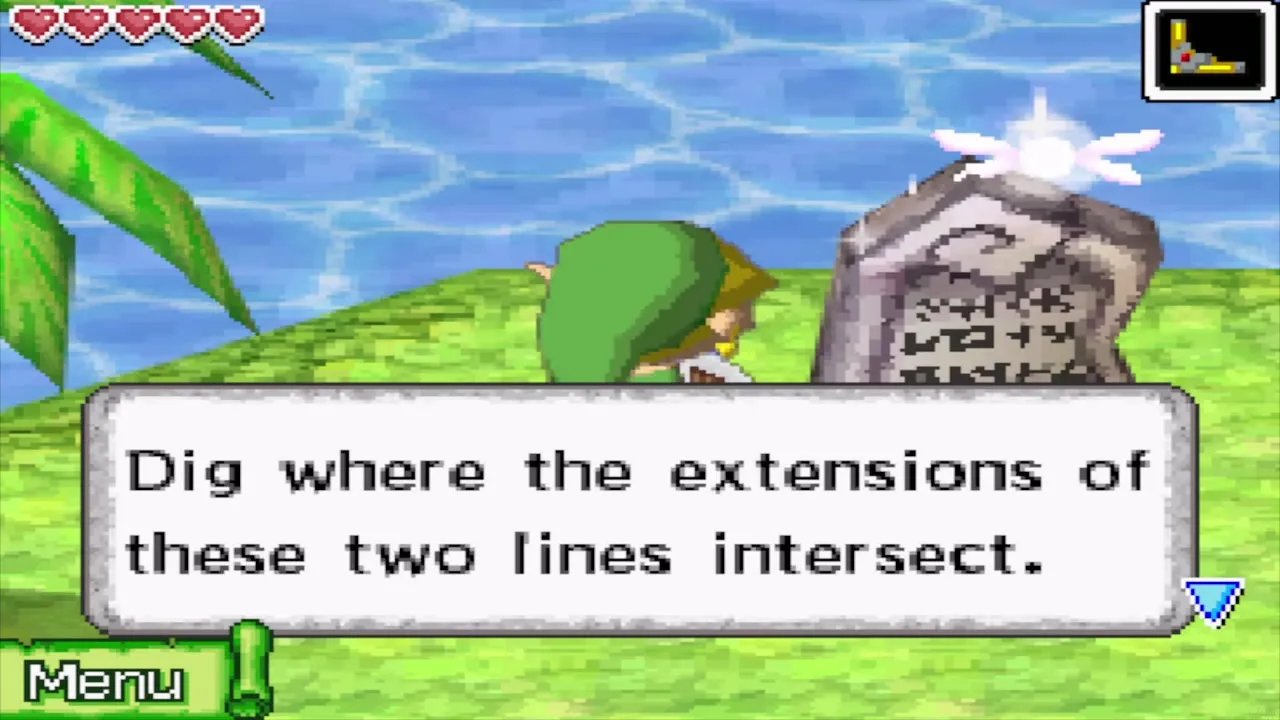
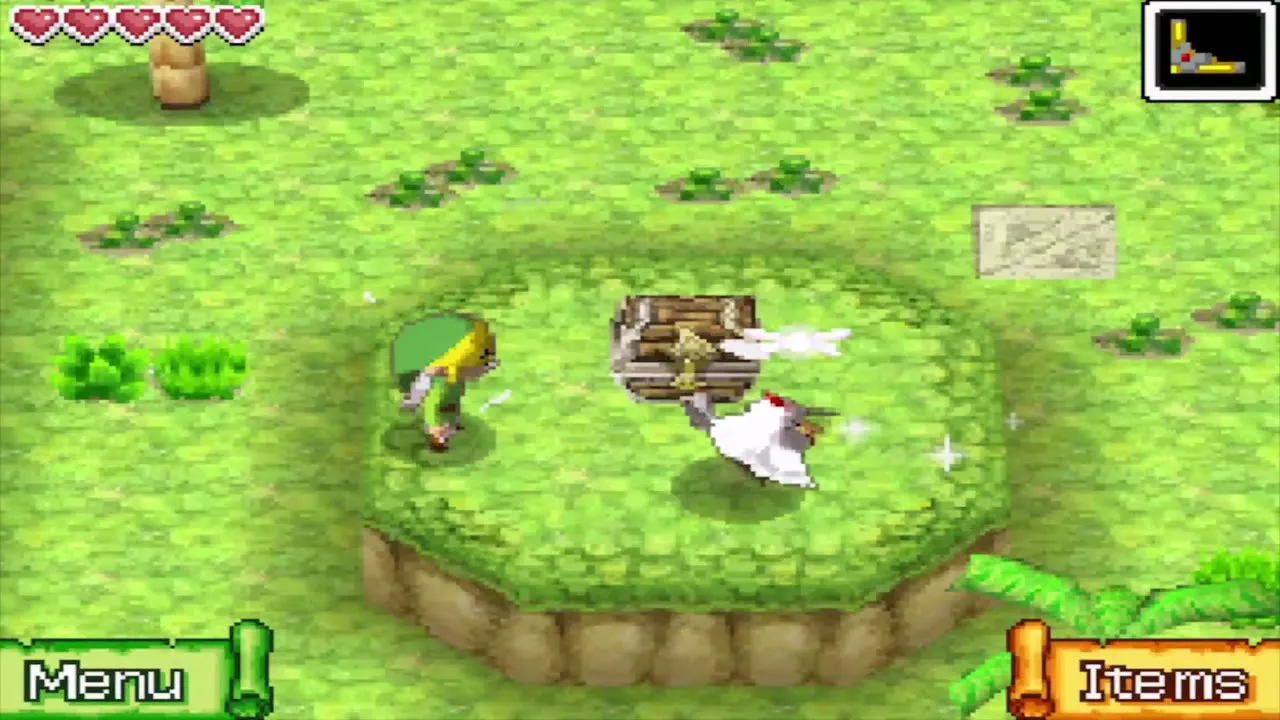
Zauz the blacksmith lives here with his Cuccos, far to the north, west of Bannan Island. It is where you later bring the three Pure Metals to have the Phantom Sword forged (see Phantom Sword and Bellum). Pick up a Cucco and glide with it to the chest on the ledge east of the hut for a Wisdom Gem. Four stones stand around the island: join them with two lines and dig where the lines cross, near a palm tree at the south end, to find Treasure Map 5.
Uncharted Island
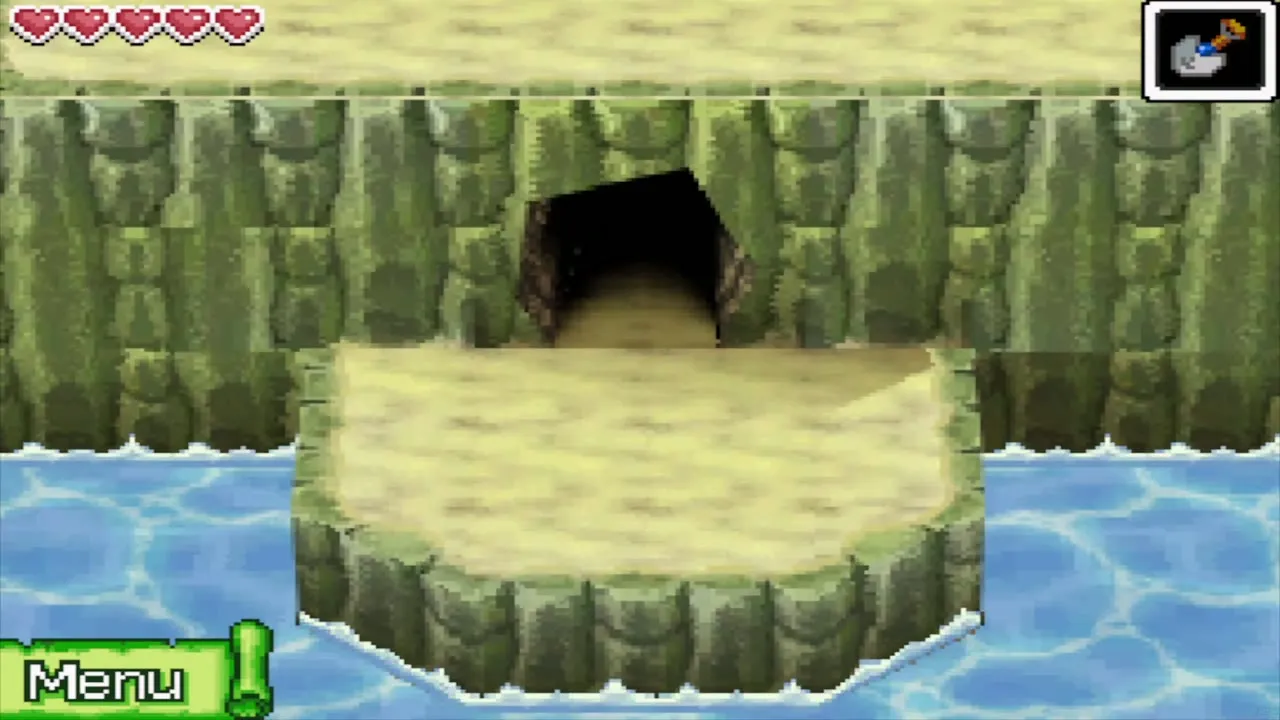
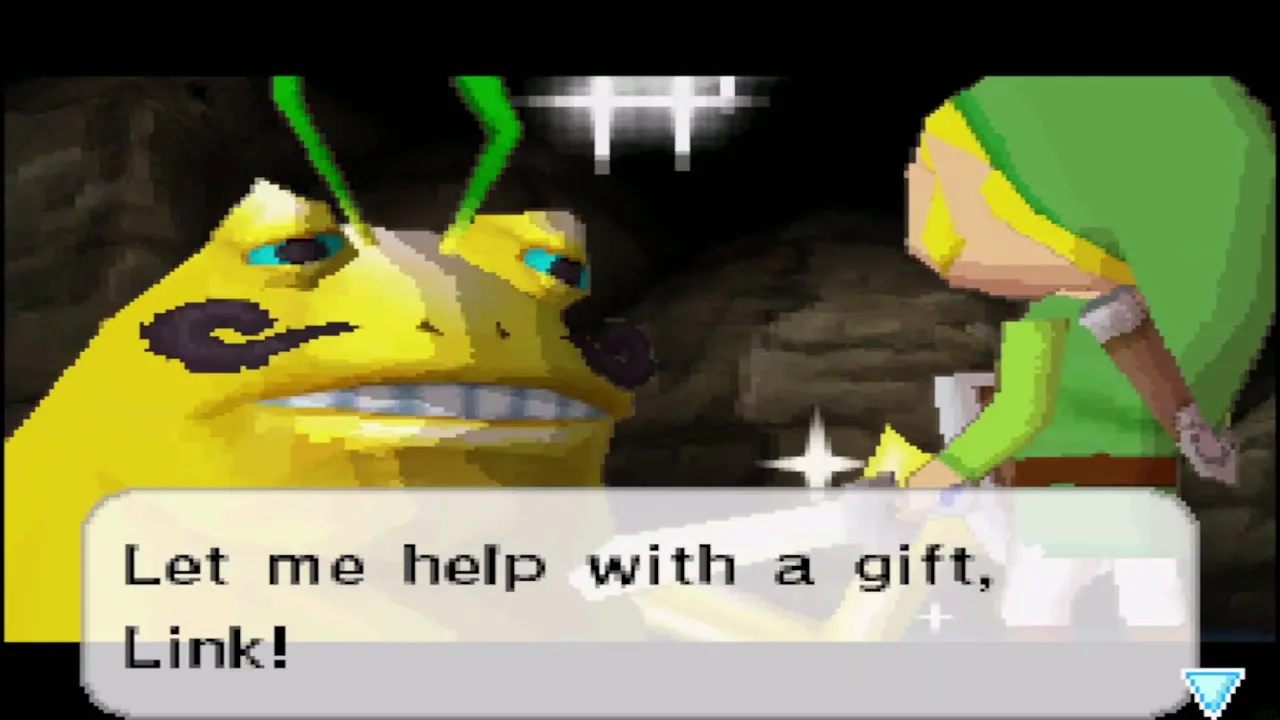
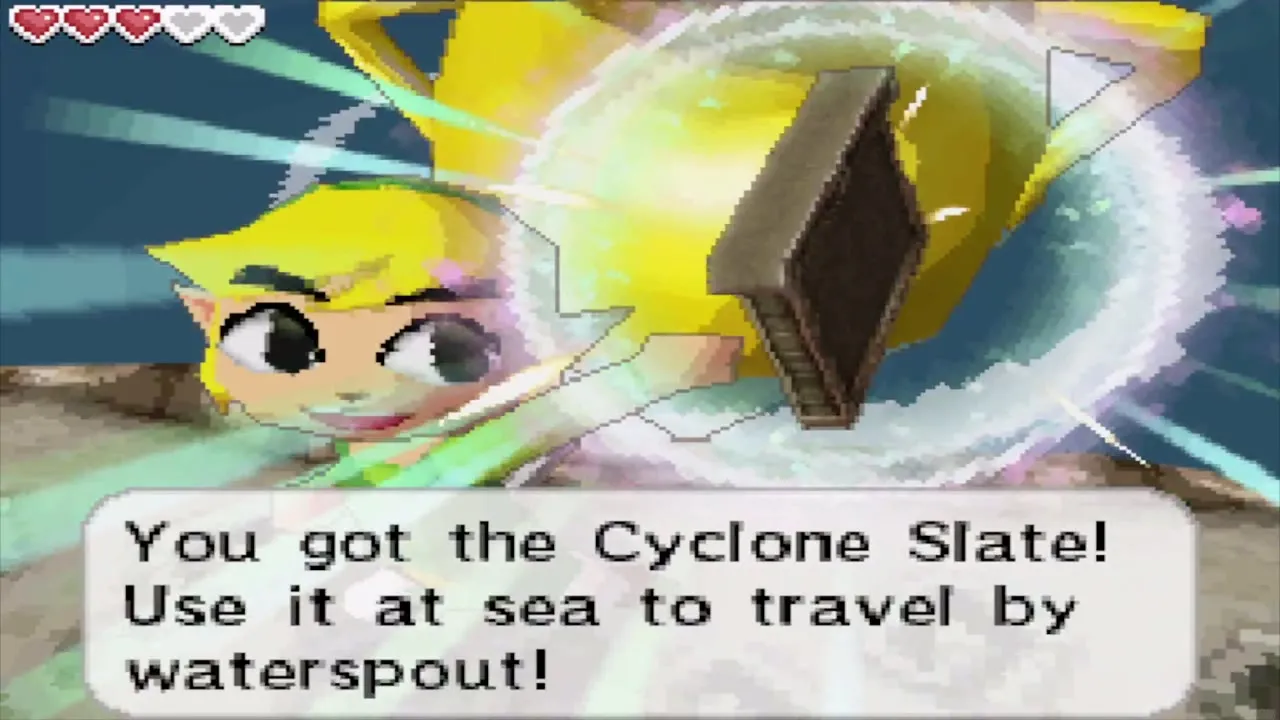
This island has no chart entry, and once found it shows the outline of a whale. Hit the four stones that stand for its parts in the order the riddle gives, and a cave opens. Inside is the Golden Chief Cylos, who gives you the Cyclone Slate for warping to the six Golden Frogs (see Golden Frog locations). A Courage Gem chest sits on a ledge in the cave where you meet Cylos and needs the Grappling Hook, and digging in front of the Boing Statue turns up Treasure Map 6.

Southeastern Sea
Goron Island
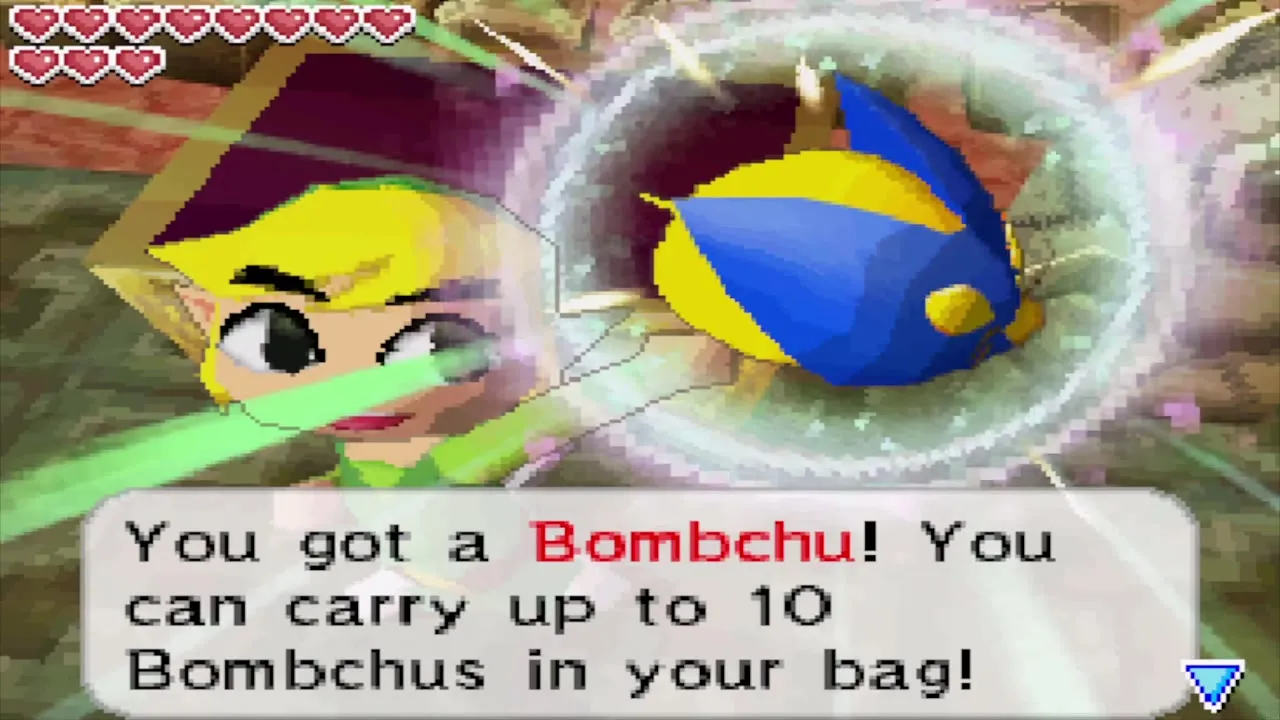
A cyclone and the Massive Eye guard the approach, and you must shoot the Eye’s six eyes before you can dock. On the island you greet every Goron, pass Biggoron’s quiz, play hide and seek with Gongoron, and enter the Goron Temple for the Bombchus (Goron Island walkthrough). The quiz pays a Wisdom Gem, and a Power Gem chest waits in the north maze.
Isle of Frost
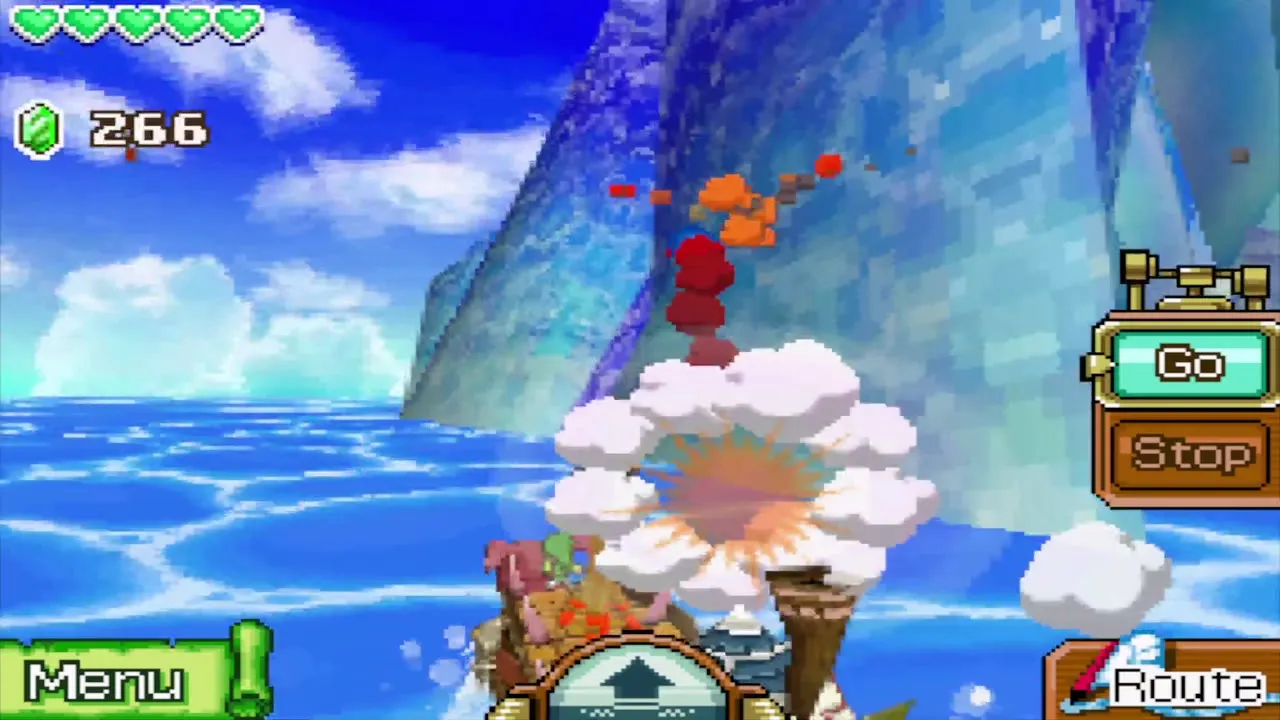
Blast through the ice around the island with the cannon to land. You must pick out the Yook hiding among the Anouki villagers before the chief lets you into the Great Ice Field. The Temple of Ice at the top gives you the Grappling Hook. See the Isle of Frost walkthrough. Grappling spots hold a Power Gem and a Wisdom Gem.


Dee Ess Island
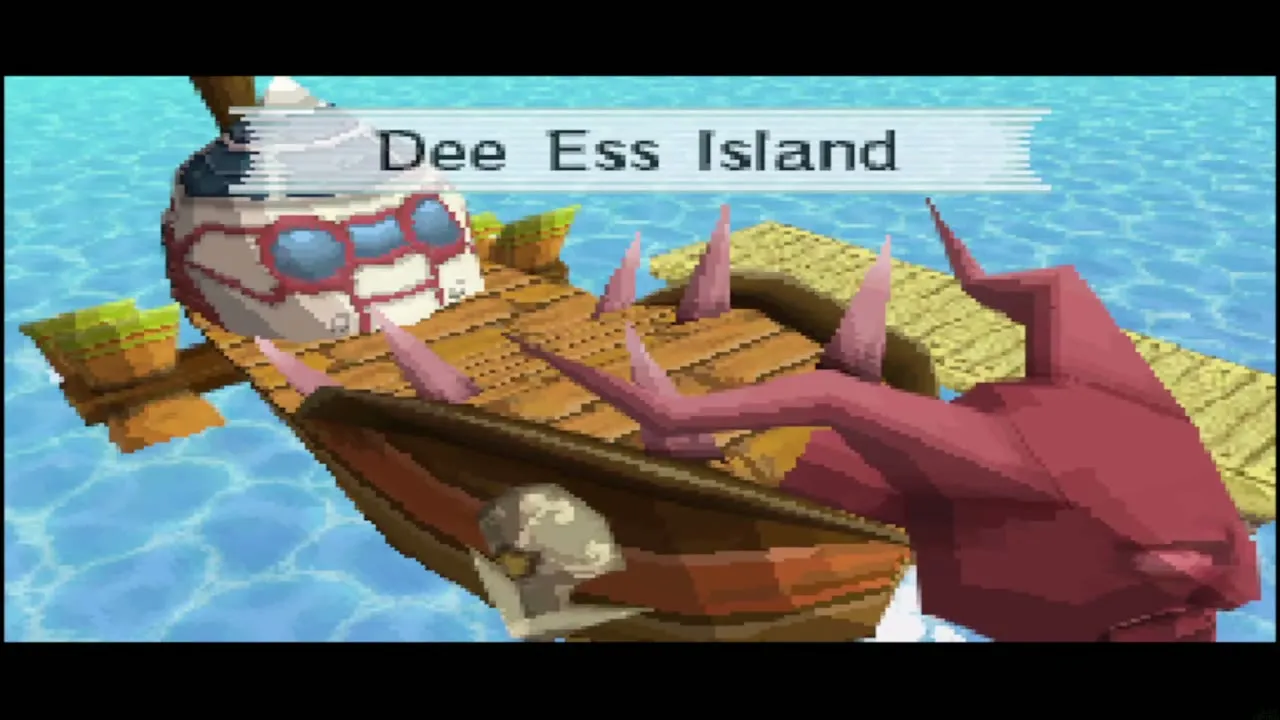
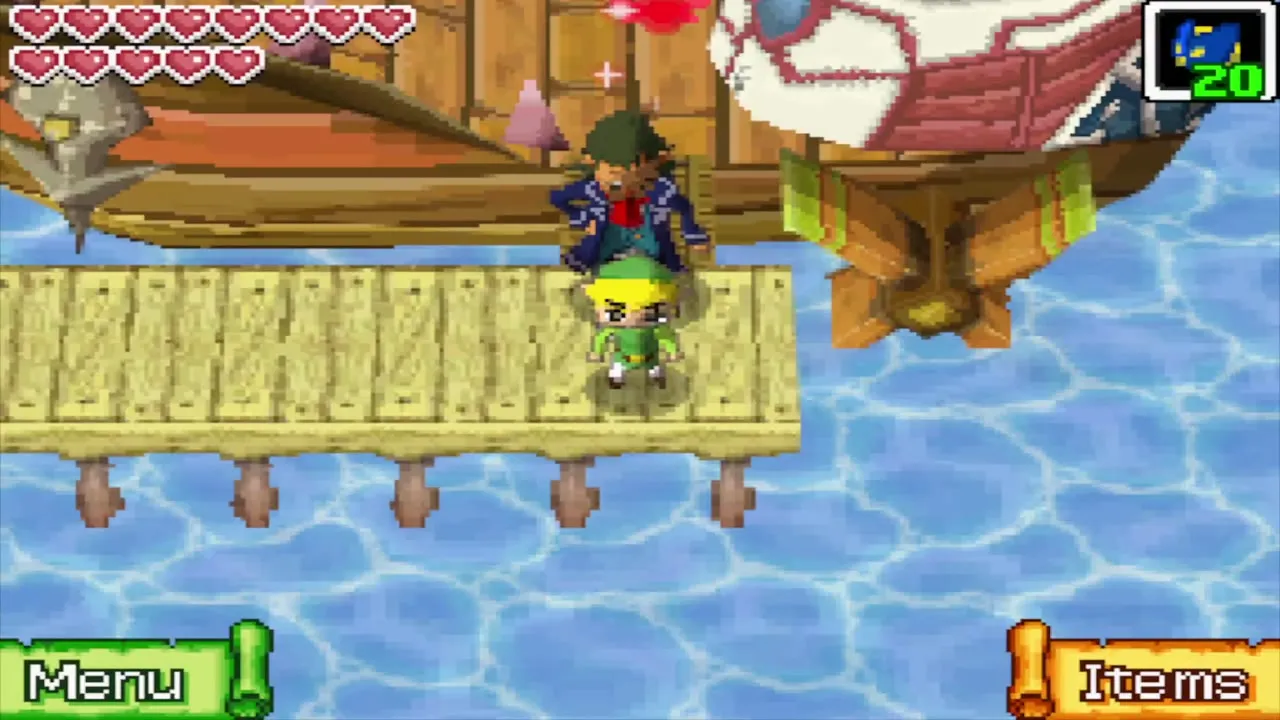
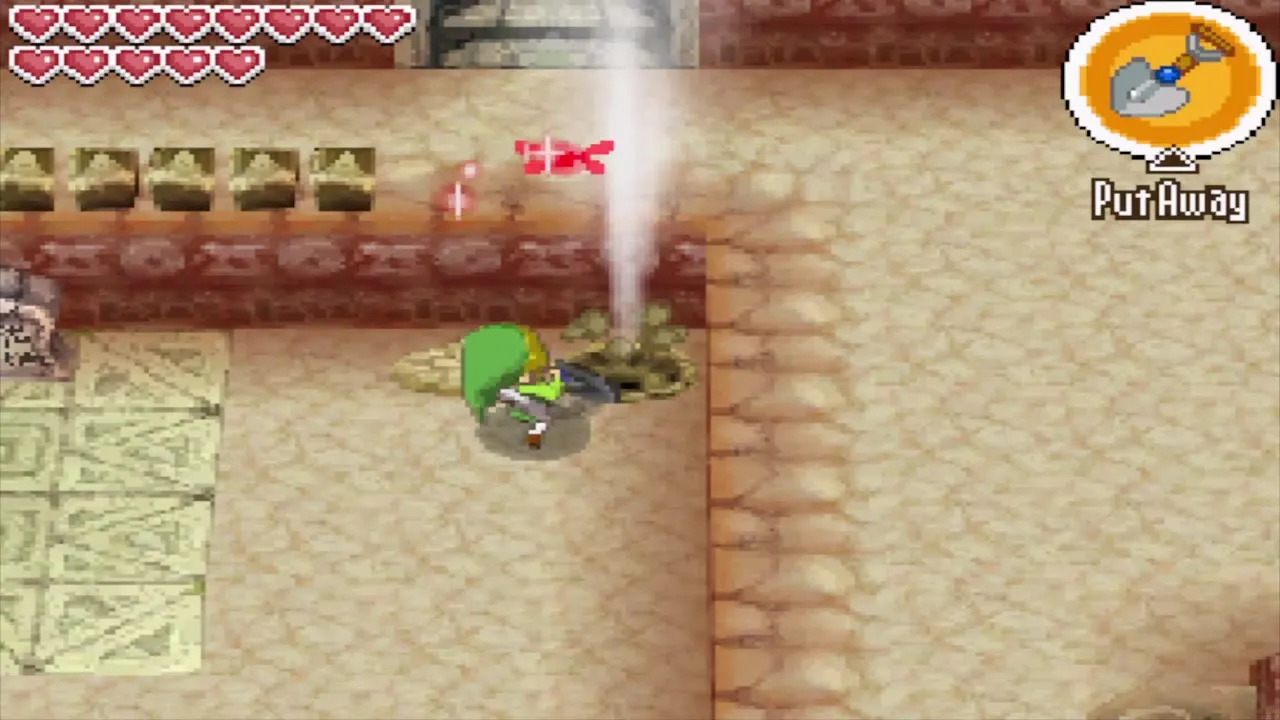
This hidden island in the south of the Southeastern Sea is shaped like a Nintendo DS, with two screens and buttons laid out in the land itself. Gongoron runs the Goron Game here once you have cleared the Temple of Ice (see the mini-games page). Dig with the Shovel in the bottom-left corner of the lower-screen area, where the Menu button would be, for a Courage Gem, and defeat the two Hinoxes in the pit that stands for the top screen for a second Courage Gem.

Harrow Island
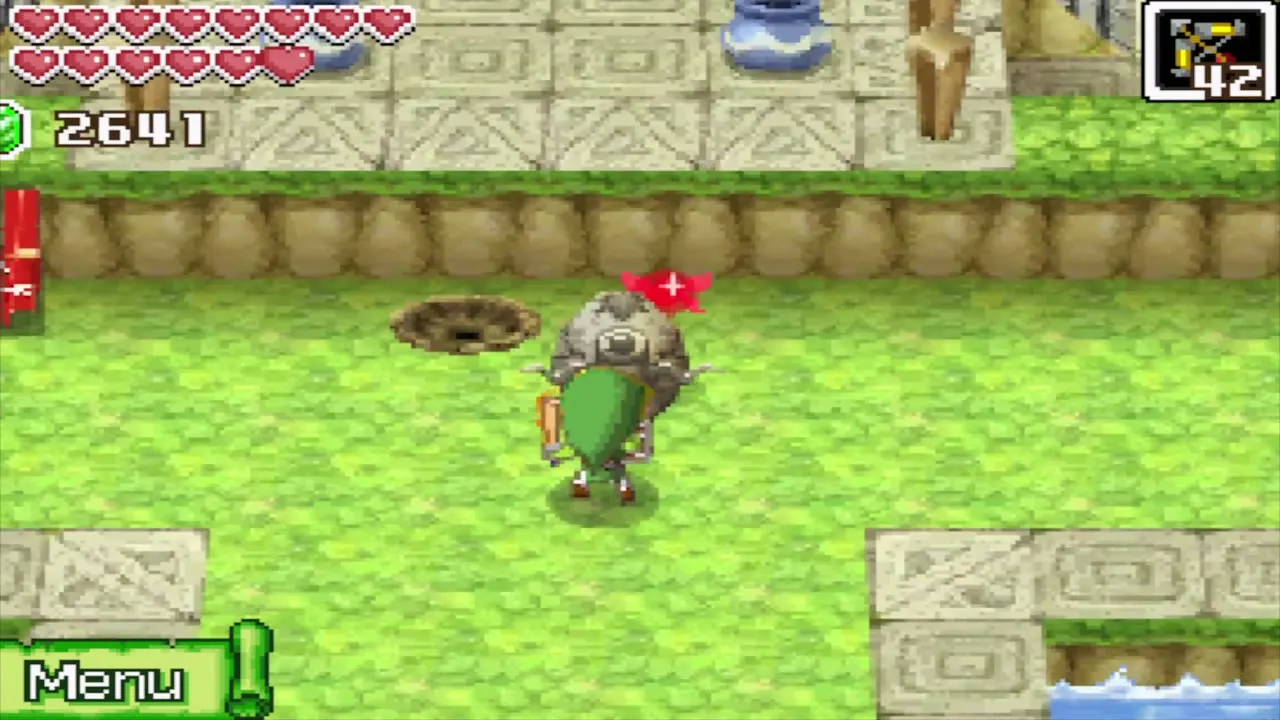
A grassy island with a stone wall, home to the Digging Game. A Yook on the Isle of Frost tells you about it once you hold the Azurine, and it joins your chart when you sail close. Pay 50 Rupees and dig up 10 treasures with the Shovel, including Treasure Maps 18, 19, 24 and 25. The details are in the Digging Game section.

Northeastern Sea
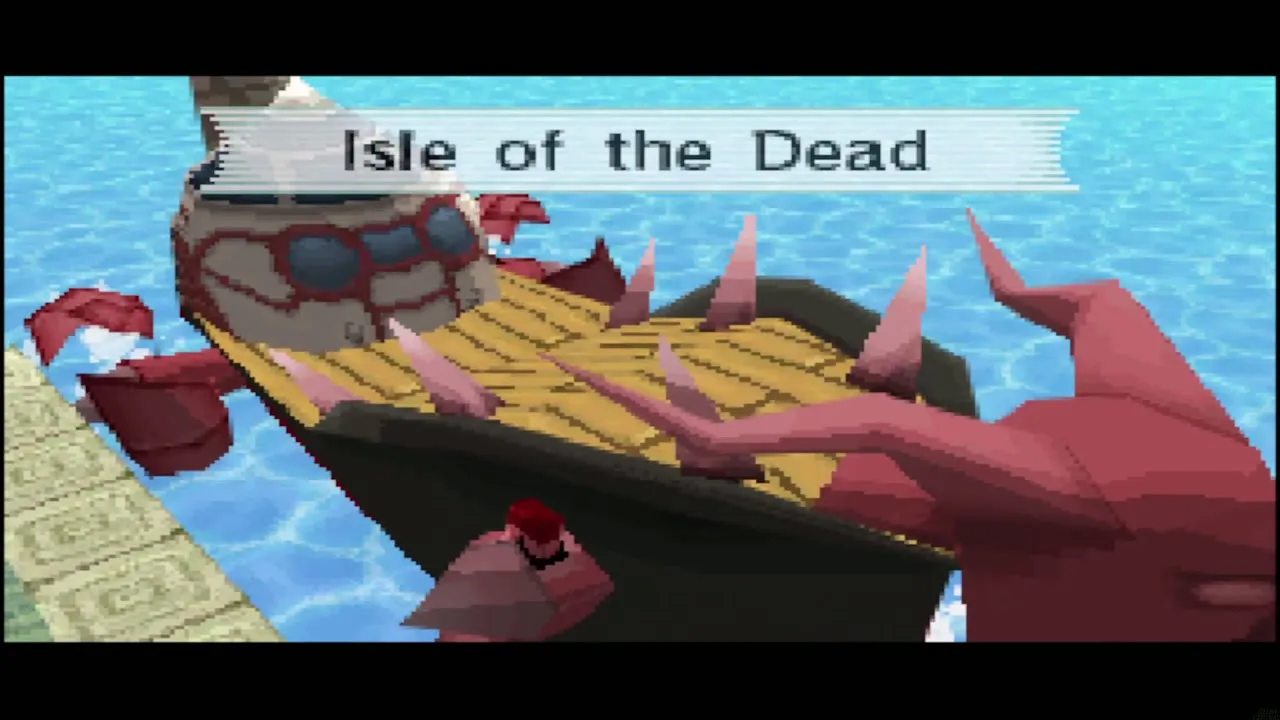
Isle of the Dead
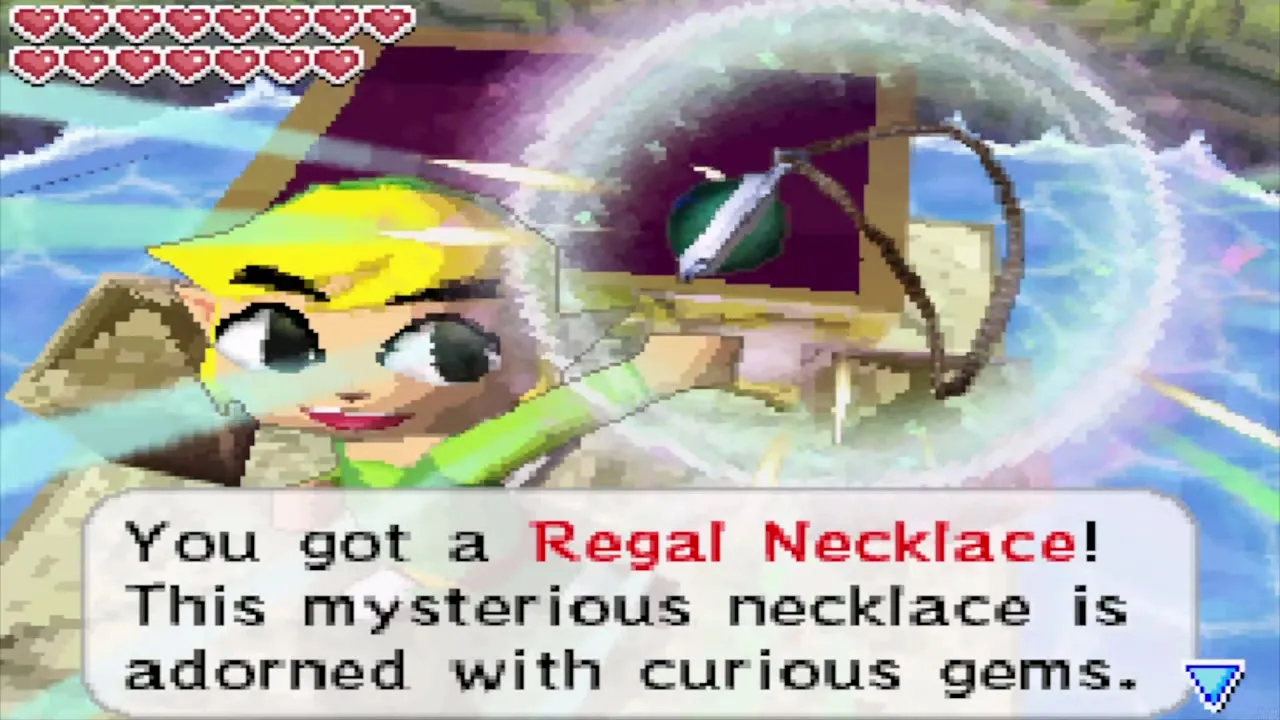
The island is shaped like King Mutoh’s skull. A temple in the northeast has tablets warning of a maze, the sacred tree stands at the skull’s chin, and a hidden cave you enter with the Shovel holds a Power Gem chest behind a bomb wall. The fourth knight, Brant, gives you the Regal Necklace that calms the cyclone around the Isle of Ruins. See the Isle of the Dead walkthrough. Digging and bombing here also turns up Treasure Maps 28 and 29.
Isle of Ruins
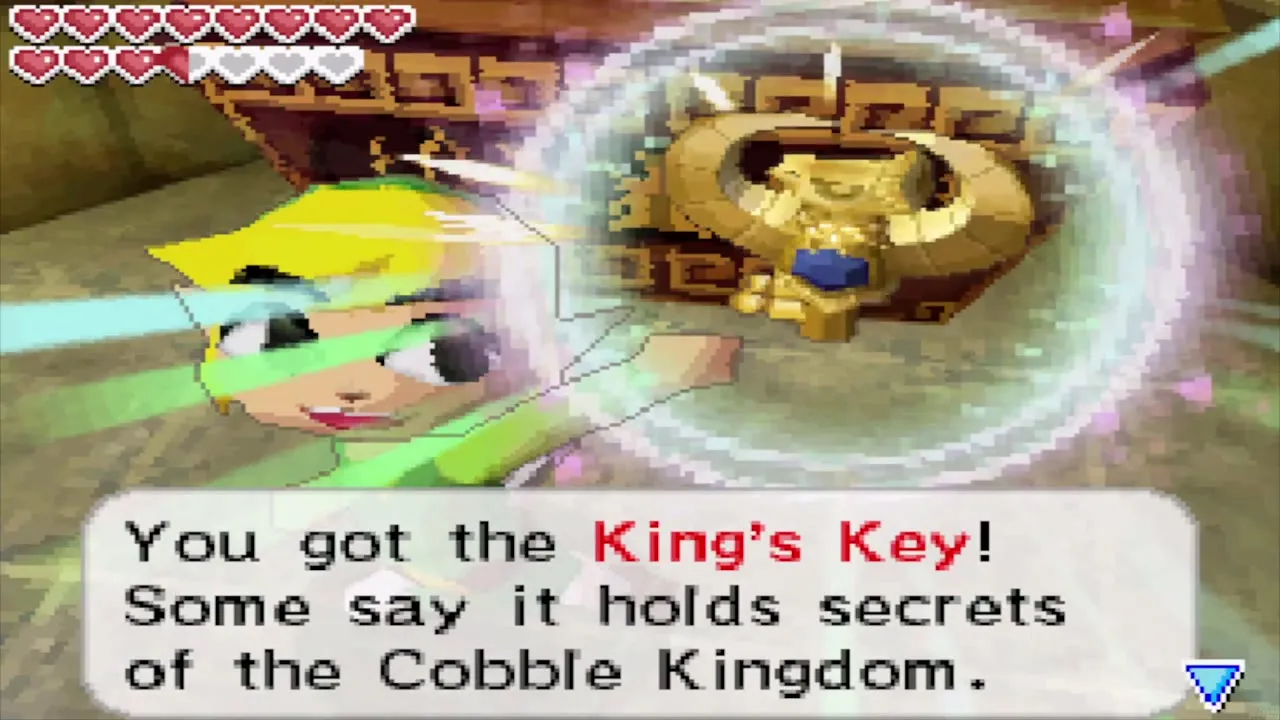
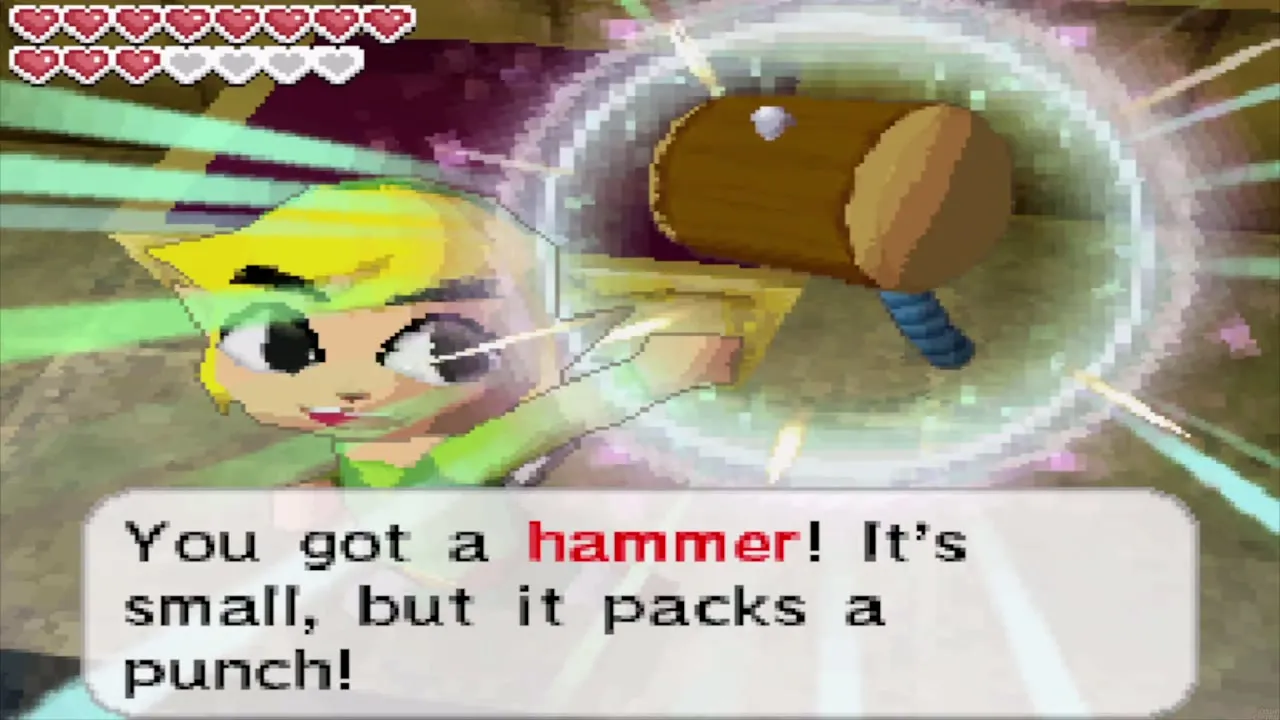
The last island you reach is flooded until you find the King’s Key. Three of the four Knights of Cobble help you, opening bridges and the path through the boulder puzzles, and Mutoh’s Temple at the end gives you the Hammer. See the Mutoh’s Temple chapter for the dungeon. Two Wisdom Gems, a Courage Gem and a Power Gem chest wait near the knights’ buildings once the water is lowered.
Maze Island
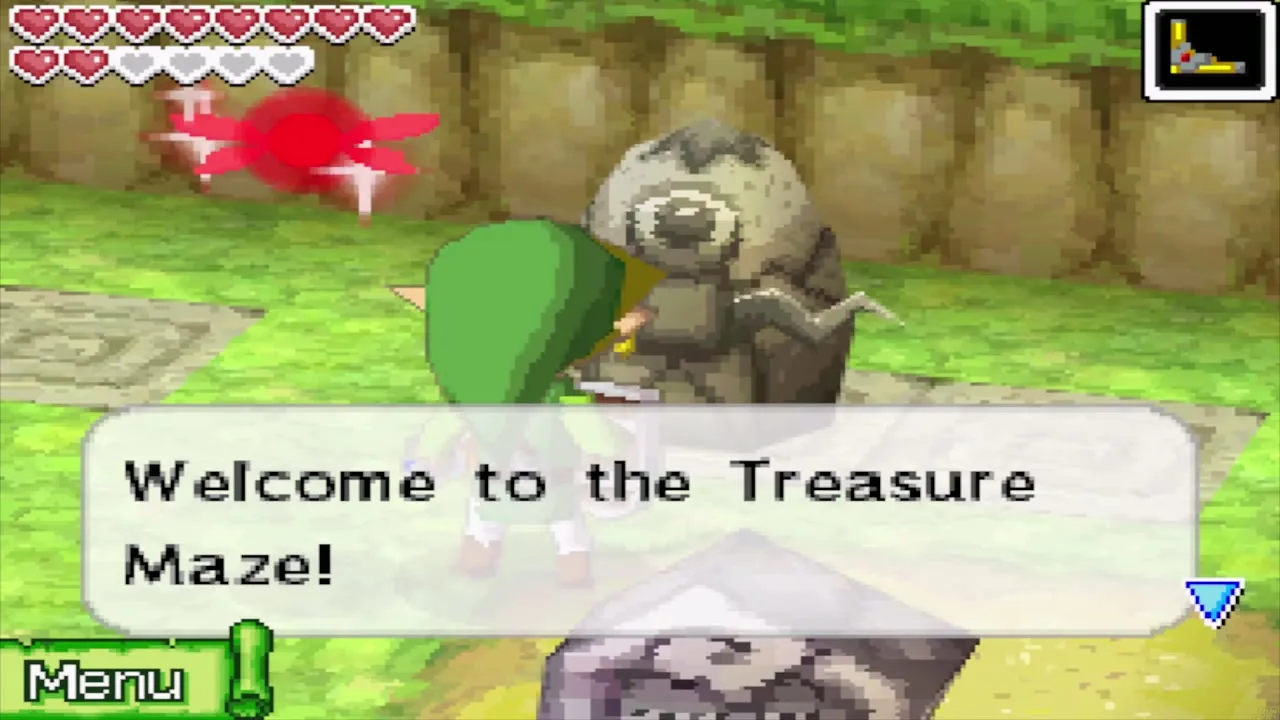
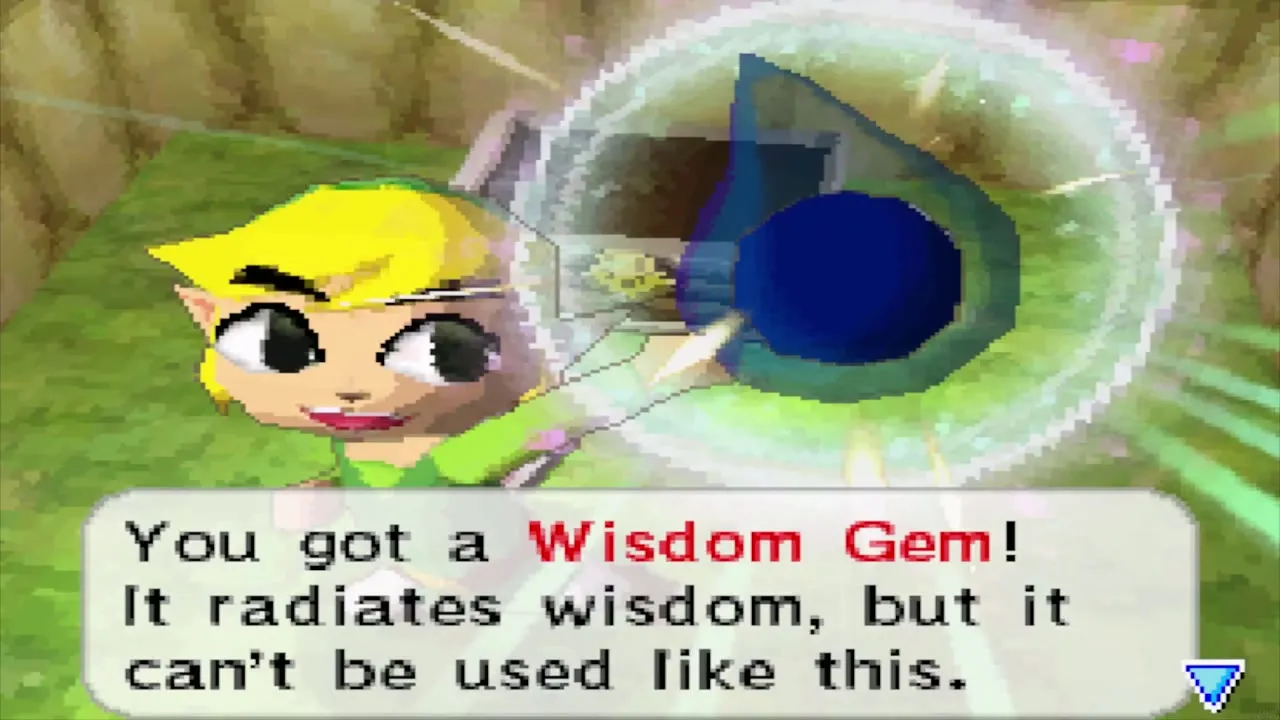
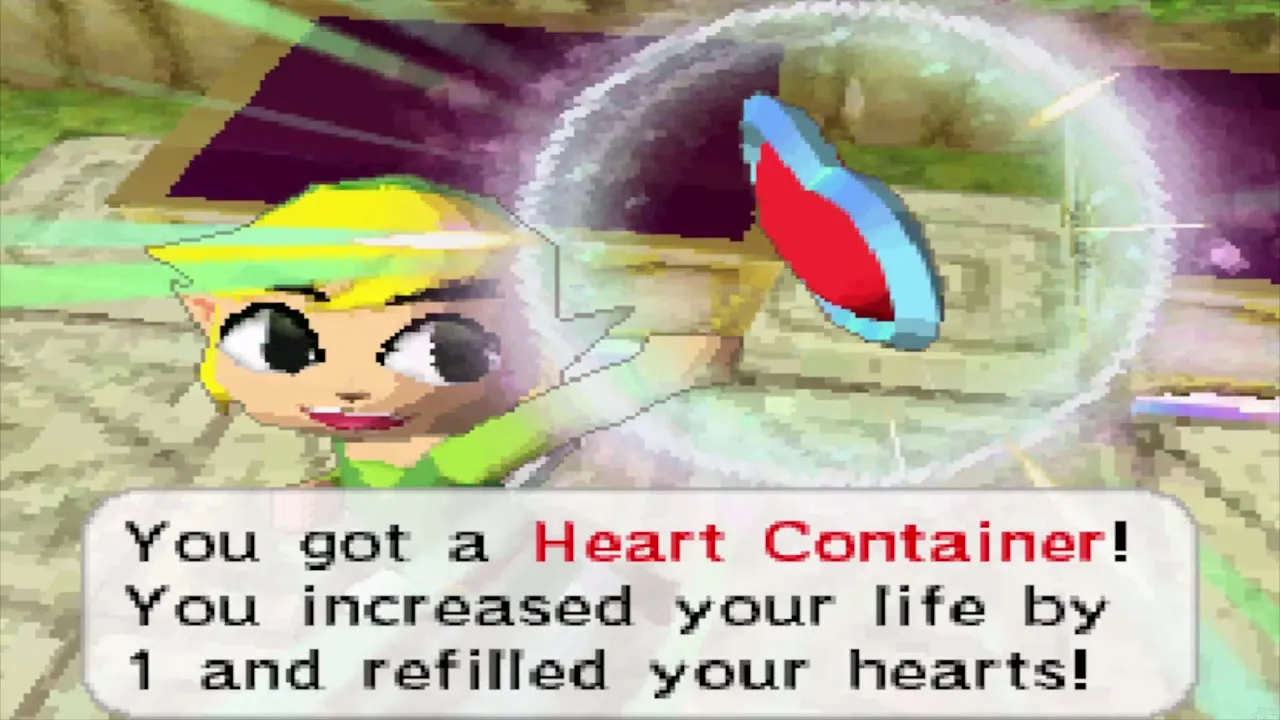
This island is not marked on your chart, and the Treasure Maze covers all of it. Three levels pay a Wisdom Gem, Treasure Map 27 and a Heart Container, and a second Wisdom Gem sits in a chest in the center-east of the maze that you reach with Bombs. The levels, costs and statue counts are in the Treasure Maze section.
Traveler’s Ships and Beedle
Five Traveler’s Ships sail the Great Sea as small islands of their own. The Man of Smiles in the northeast gives you the Hero’s New Clothes and later the Prize Postcard, Nyeve’s Prince of Red Lions in the northwest hosts the sword sparring, the Ho Ho Tribe in the southeast buys one Treasure at a time at a better price than the Treasure Teller, Nyave in the southwest hands over a pile of Treasure once you clear his ship of monsters, and the Old Wayfarer’s ship appears once, late in the trading sequence. They are covered in the trading sequence and the mini-games page, and Beedle’s Shop Ship, which is not a Traveler’s Ship, is on the same page.