Phantom Hourglass 100% Completion Walkthrough19 chapters
- Temple of FireEvery key, the Boomerang, the Boss Key, how to beat Blaaz, the Heart Container, Leaf and Astrid’s Power Gem.
- Temple of WindGet the bombs, the Boss Key, beat Cyclok, free Neri and take the Heart Container.
- Molida Island and the Temple of CourageBeat the Giant Eye Plant, light Molida’s statues, get the Bow, defeat Crayk and awaken the Spirit of Courage.
- The Ghost ShipFind the ship with the Spirits, free the Cubus sisters, win their volley game, get the Ghost Key and Heart Container.
- Goron TempleTeam up with Gongoron, get the Bombchus and the Boss Key, beat Dongorongo and take the Crimsonine.
- Temple of IceLever order, three small keys, Grappling Hook, Boss Key, Gleeok fight, Heart Container and Azurine.
- Mutoh’s TempleGet the Hammer, find both small keys and the Boss Key, beat Eox and collect the Aquanine.
- Mercay Island and the First Sea ChartGet Oshus’s Sword, solve the lever passage, rescue Linebeck and find the first sea chart.
- Temple of the Ocean KingTake the Phantom Hourglass, sneak past Phantoms, carry three Force Gems and find the Northwestern Sea Chart.
- Temple of the Ocean KingPhantom Eyes, the hourglass crest door, the Salvage Arm, treasure salvage and the Sun Key.
- Zauz and the Temple of the Ocean KingPure Metals, Triforce door, crystal puzzles and the Southeastern Sea Chart.
- Temple of the Ocean KingGold Phantoms, the B11 bridges, three Force Gems on B12 and the Northeastern Sea Chart.
- The Phantom Sword and BellumPhantom Hourglass walkthrough for the Phantom Sword, the last Temple of the Ocean King descent, Bellum.
- Isle of Ember and AstridFirst voyage, Beedle’s Shop Ship, Kayo’s torches, freeing Astrid and the volcano path to the Temple of Fire.
- Cannon Island, the Ghost Ship Chase and Molida IslandBuy the Cannon from Eddo, chase the Ghost Ship, then reach Molida Island and take the Shovel.
- Northwestern Sea and the Isle of GustThe fog route, Bannan Island fishing, Zauz, the Cyclone Slate, Golden Frogs and the way to the Temple of Wind.
- Goron Island and GongoronSail the Southeastern Sea, beat the Massive Eye, pass Biggoron’s quiz, find Gongoron and reach the Goron Temple.
- Isle of Frost and the Yook MysteryCannon the ice, Anouki Estates, find the Yook among six villagers and fight through the Great Ice Field.
- Isle of the Dead and the Isle of RuinsDig spot, Phantom Corridor path, Regal Necklace, King’s Key, Max and the door symbol.
| Covers | Zauz’s Island, a return to Mercay Island, the Temple of the Ocean King from the entrance to B9, the Southeastern Sea Chart and Beedle’s Masked Ship |
|---|---|
| You need | The Ghost Ship cleared, the Boomerang, Bombs and the Bow, Ciela as the Spirit of Courage, the Cannon and the Salvage Arm. Bring about 1,700 Rupees if you want the Masked Ship’s Heart Container. |
| Rewards |  Southeastern Sea Chart, two ship parts (one from Linebeck’s letter, one from the Masked Ship), one  Courage Gem (B8), one  Power Gem (B3),  Treasure Maps 11 and 12, one  Heart Container from the Masked Ship, plus two optional  Wisdom Gems and two  Golden Frogs on the way. No Sand of Hours is in a chest here, but Treasure Map 11 leads to a minute of it. |
After the Ghost Ship, Oshus sends you to the blacksmith Zauz, who explains that the Phantom Sword needs three Pure Metals and shows you a symbol that opens a new path in the Temple of the Ocean King. You sail to Zauz’s Island, collect a letter and a ship part on Mercay Island, and then take the temple from the entrance to B9. Beyond the Triforce door on B6 you go through the Door of Courage, solve three crystal puzzles over B7, B8 and B9, and open the chest that holds the Southeastern Sea Chart.


Table of Contents
Zauz’s Island and the Pure Metals
Sail to Zauz’s Island
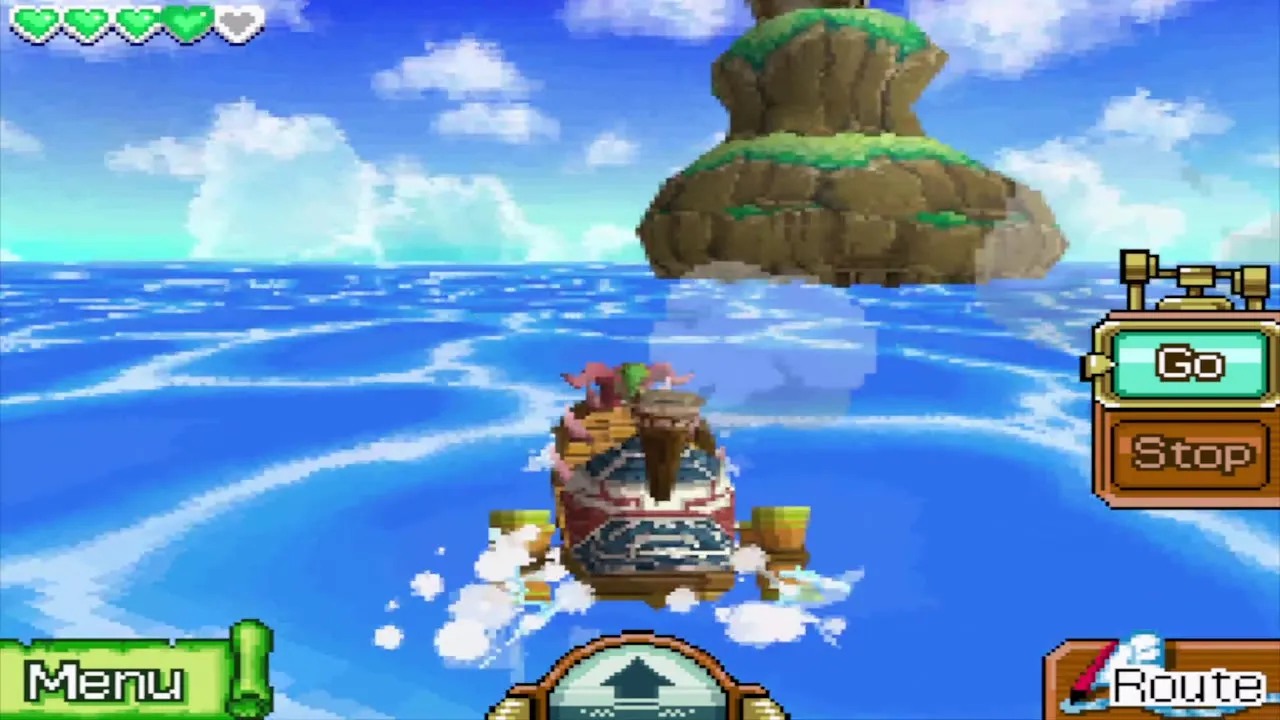
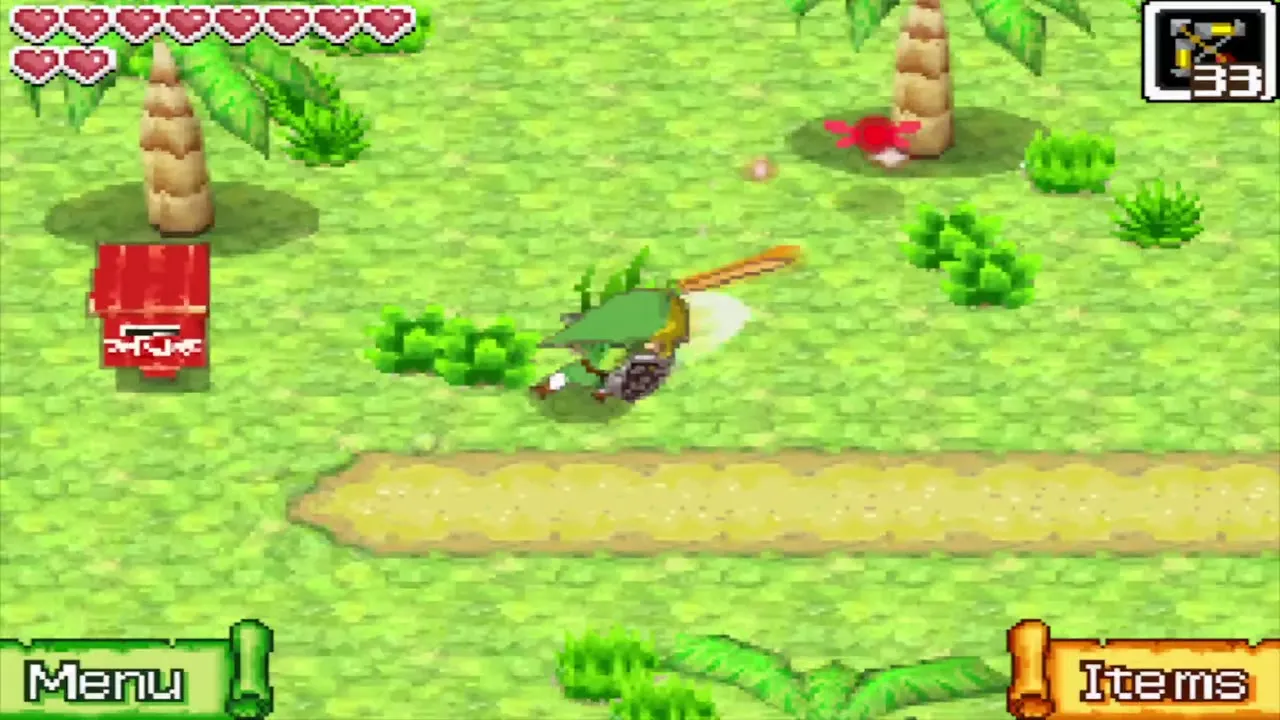
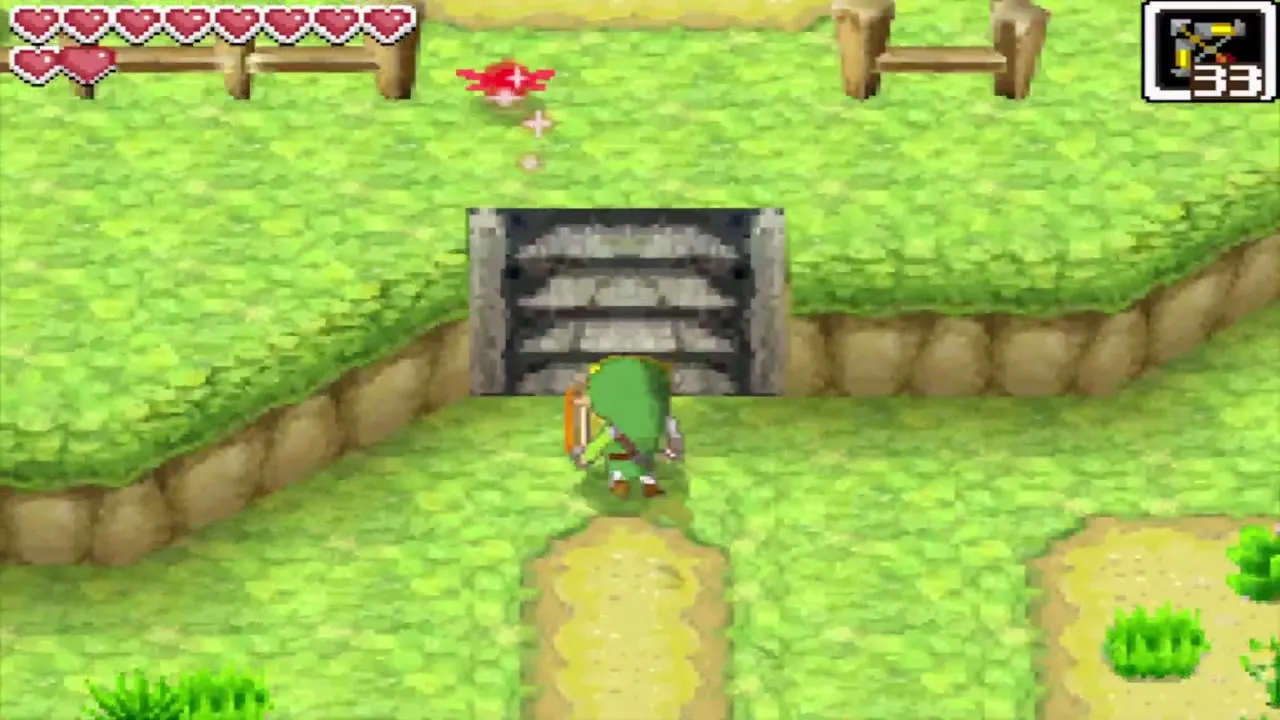
Open the Sea Chart, find the Northwestern Sea and look for Zauz’s Island in the far north, west of Bannan Island and north of the Isle of Gust. Draw a line from where you are to the island and tap Go. Shoot Octomines and Flying Fish with the Cannon, and press the jump button to clear any Sea Trap that stretches across your path. The ship docks on a beach with a palm tree, and a short path leads past a fenced grass patch to the blacksmith’s house.

Talk to Zauz
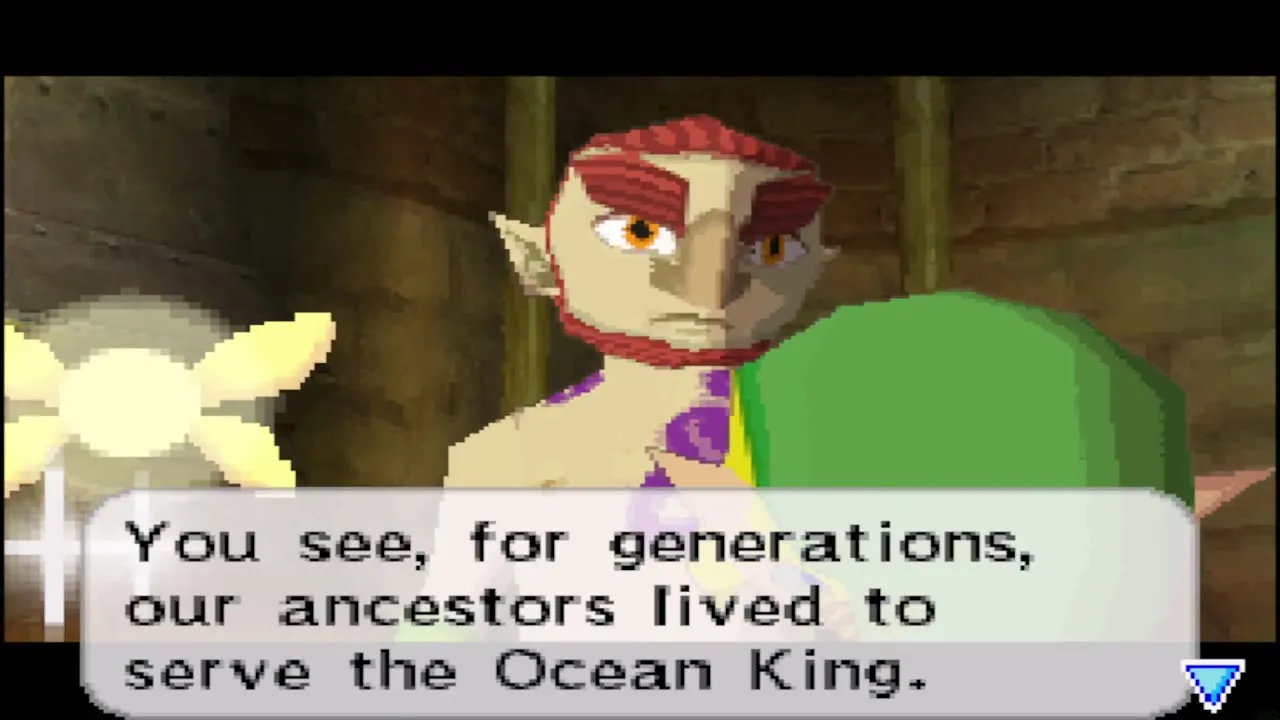
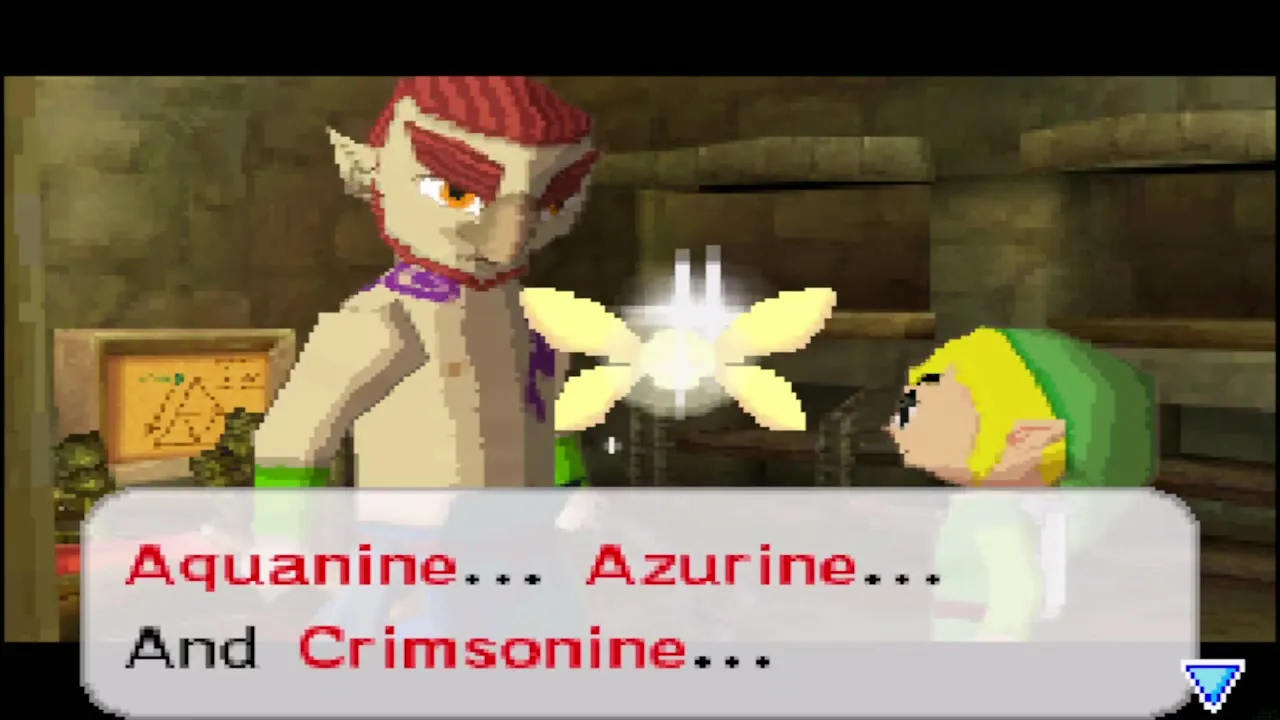
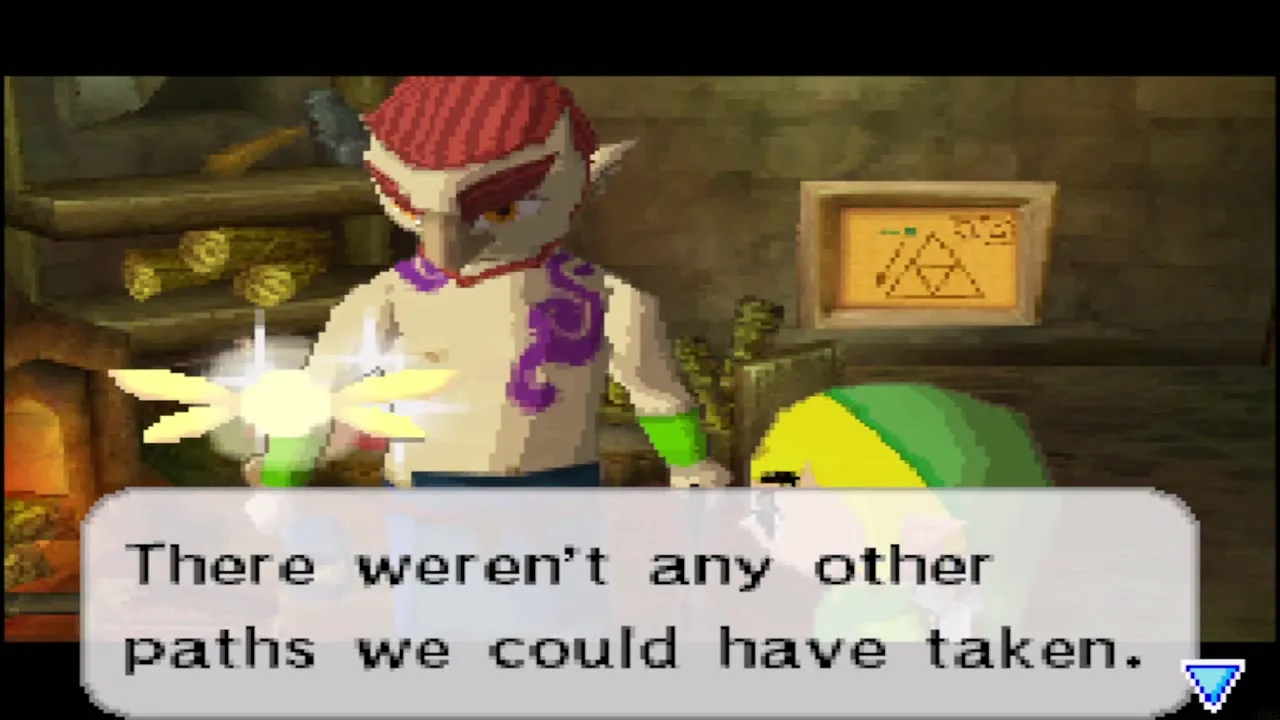
Zauz greets you as if he expected you. He explains that his ancestors served and defended the Ocean King, and he names the one you need: the Phantom Sword. He no longer owns it, but he can forge a new one if you bring him the three Pure Metals, Aquanine, Azurine and Crimsonine, which must be forged together. Linebeck asks where they are and Zauz says the Ocean King gave them to three tribes long ago, so you have to visit those tribes. You find them later at the Goron Temple, the Temple of Ice and Mutoh’s Temple.


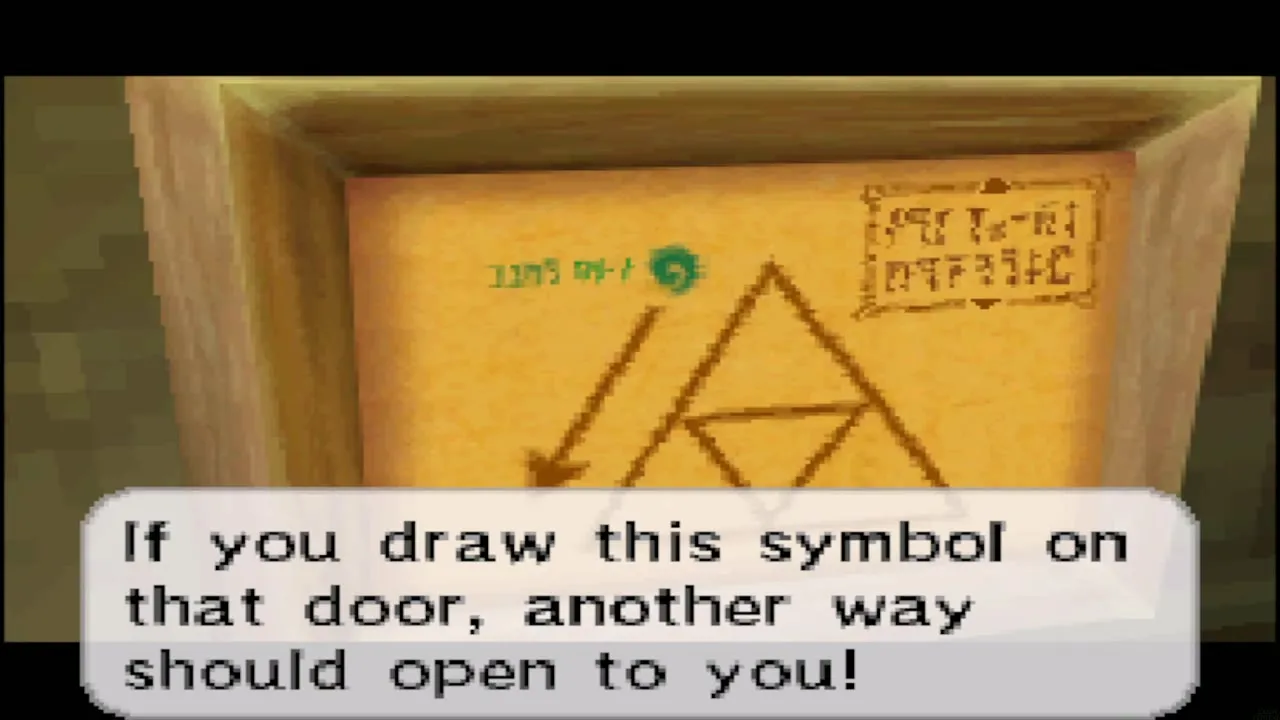
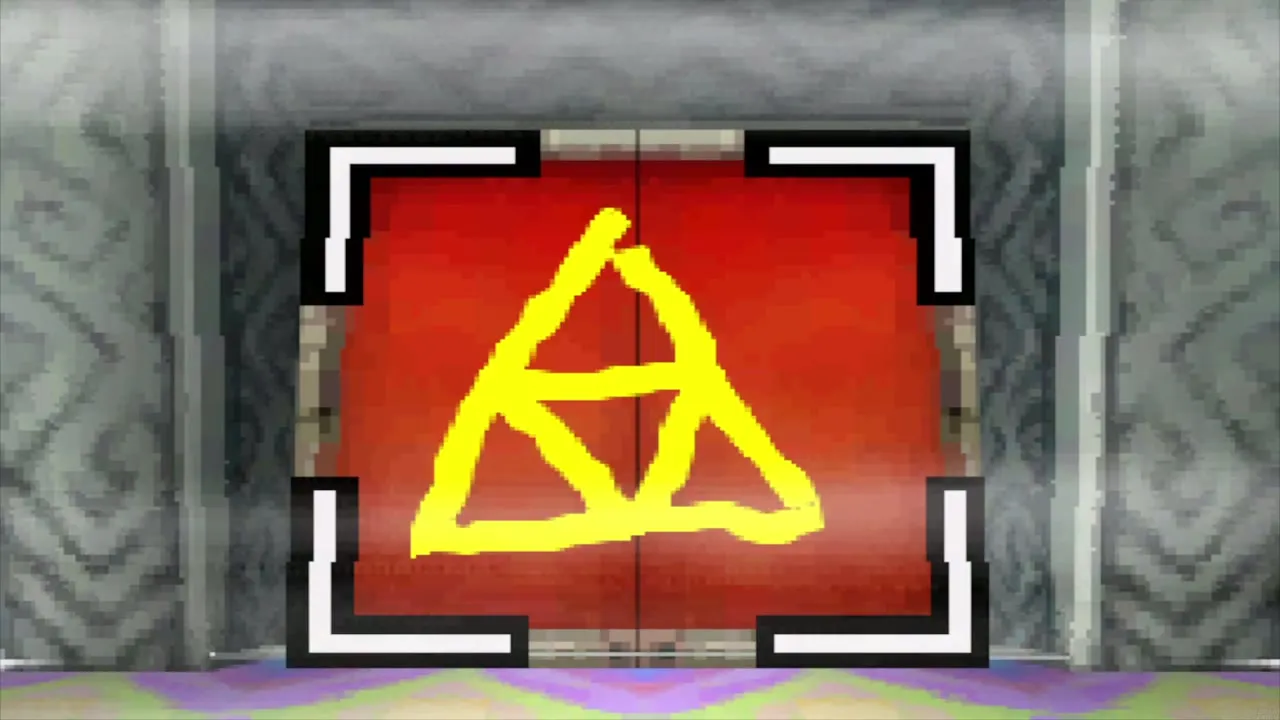
Zauz then tells you that you will need more sea charts, and the only way to the next one is through the Temple of the Ocean King. A picture hangs on the wall of his house. It shows the Triforce, and you must draw that exact symbol on the red door on B6, the floor where you had to draw the hourglass earlier. Study the picture until you can copy it from memory. Linebeck then agrees to sail with you the rest of the way, and you can leave through the door.


Collectibles on Zauz’s Island
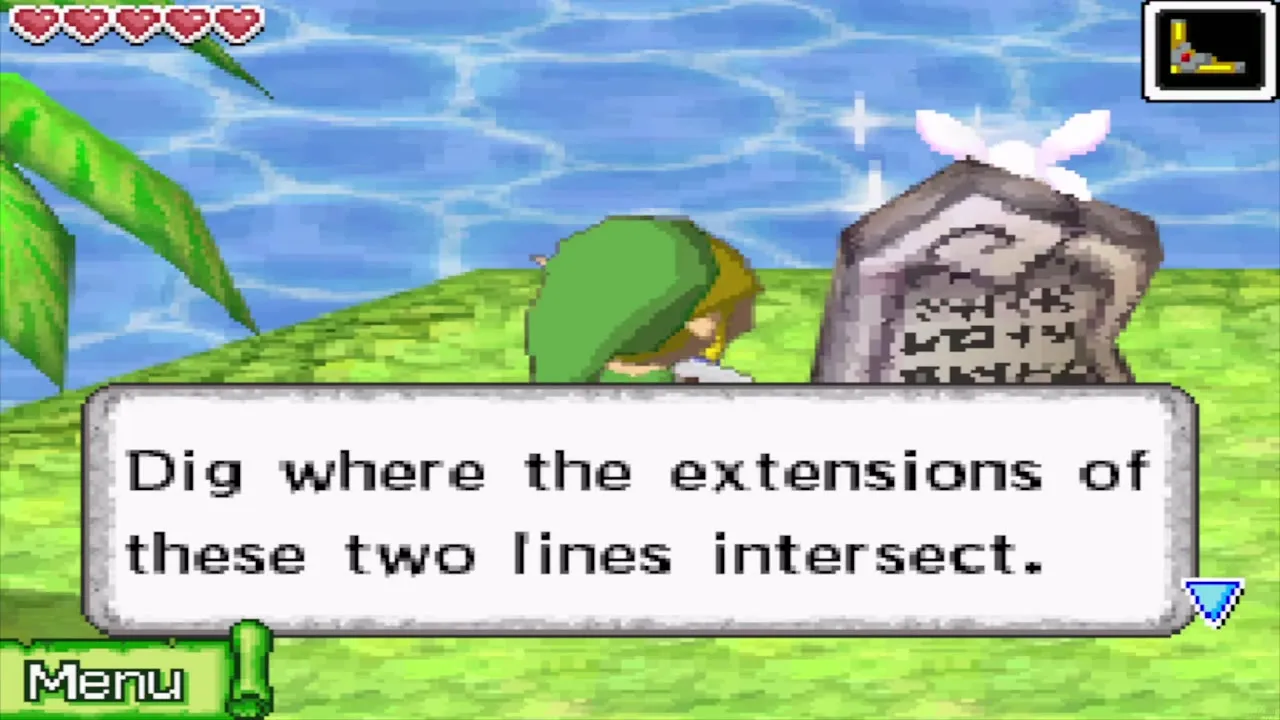
If you skipped them on your first visit, two prizes are here. Pick up a Cucco on the island and glide with it to the chest east of the house to claim a Wisdom Gem. Treasure Map 5 is buried where the two lines joining the four stones around the island cross, so dig there with the Shovel; the map marks a sunken Ship Part. The Golden Frog between Bannan Island and the Isle of Gust is the closest to your route, and the Cyclone Slate lets you warp to it once you have shot it with the Cannon.


Back on Mercay Island
The postman’s letter and the Worn Handrail
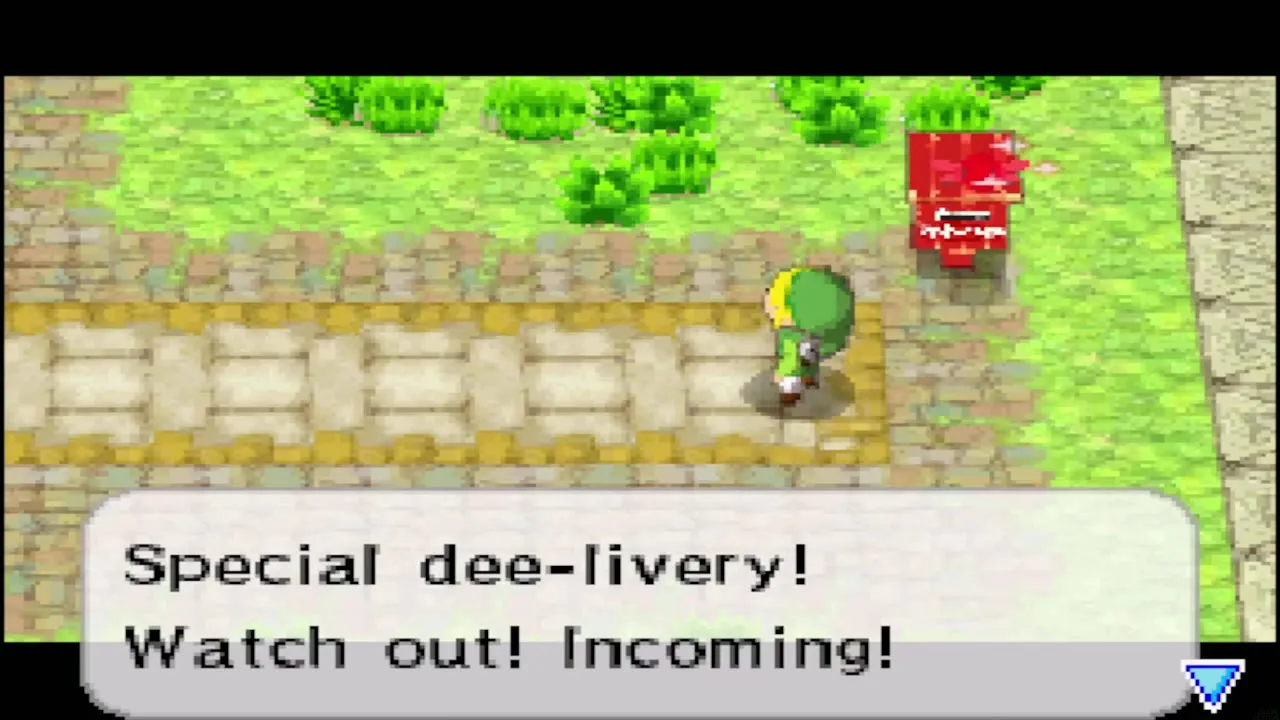
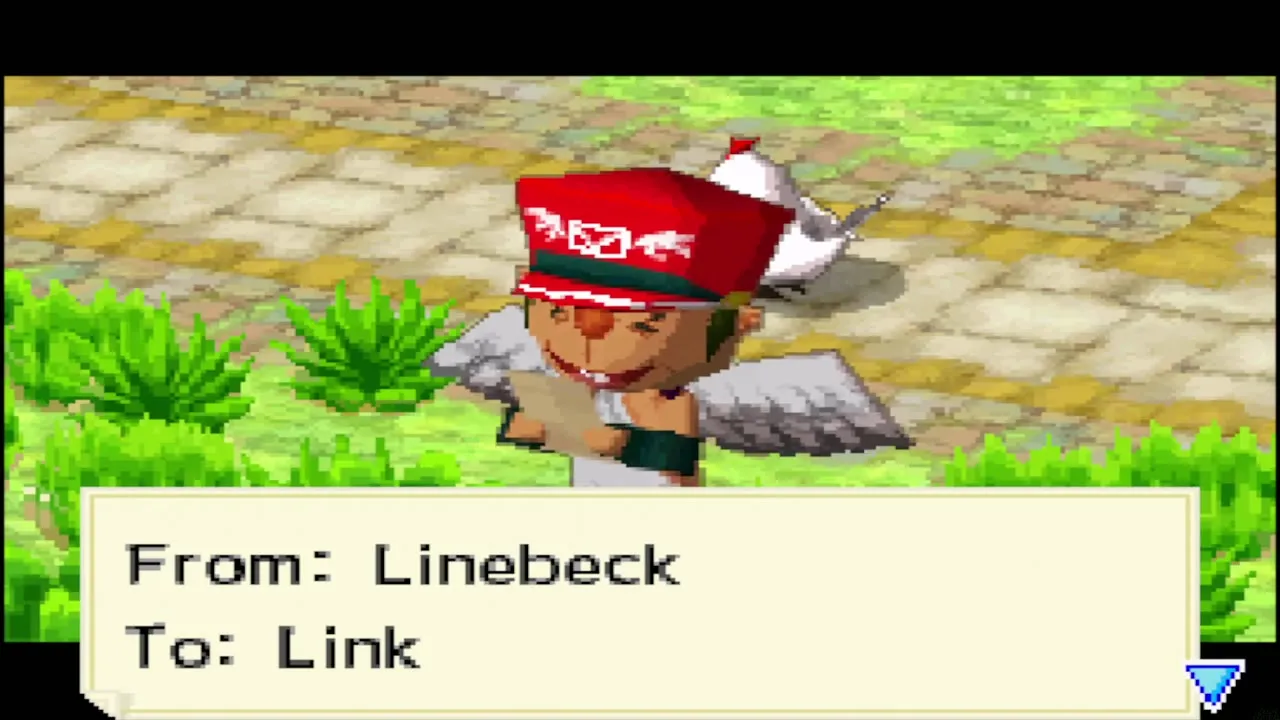
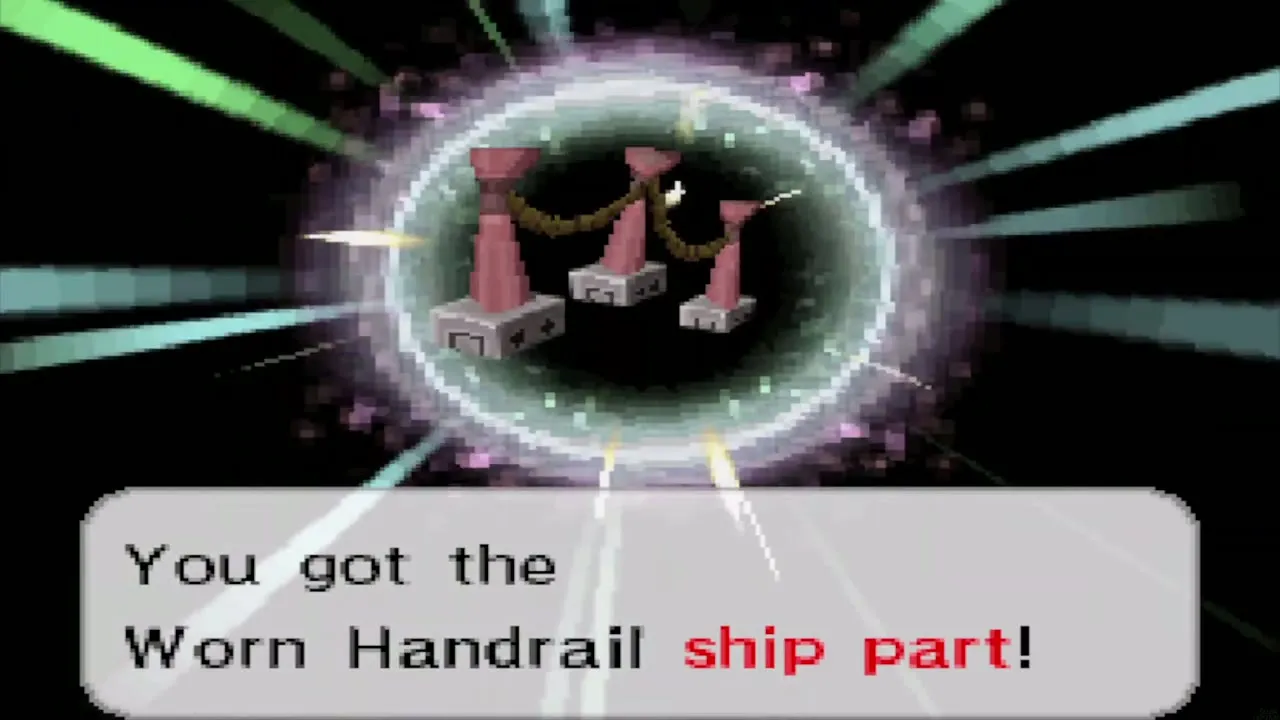
Sail to Mercay Island to reach the temple. On the grass path from the dock the postman rushes in with a special delivery: a letter from Linebeck, who is embarrassed to be thanking you. It comes with a gift, a ship part such as the Worn Handrail of the Vintage Ship set. Visit the shipyard on Mercay whenever you want to fit it, and see the ship parts guide for the sets and the extra hearts that matching parts give.
The gossip and the Golden Frog
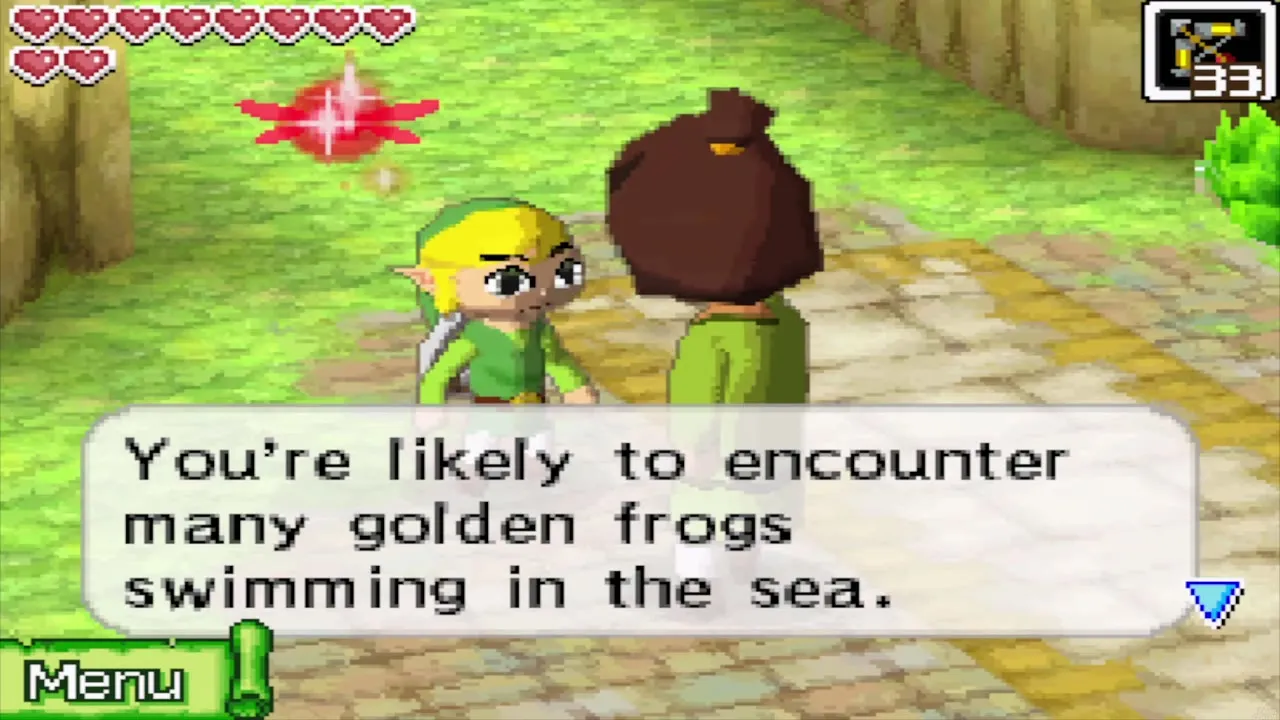
A hooded gossip near the path mentions the golden frogs swimming in the sea, and one floats south of the island. If you own the Cyclone Slate, shoot it with the Cannon and draw its symbol on the Slate afterwards; the Golden Frog list covers all six.
Temple of the Ocean King: B1 to B6 with Swift Phantoms
Return to the temple
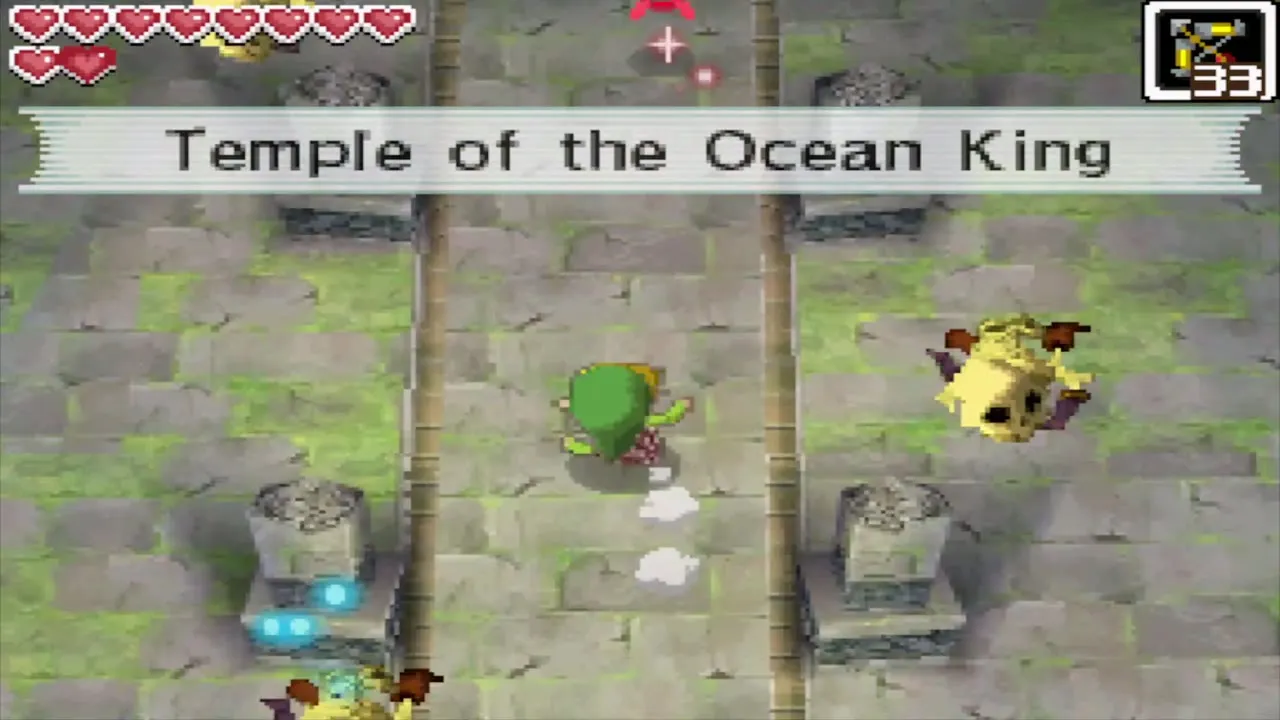
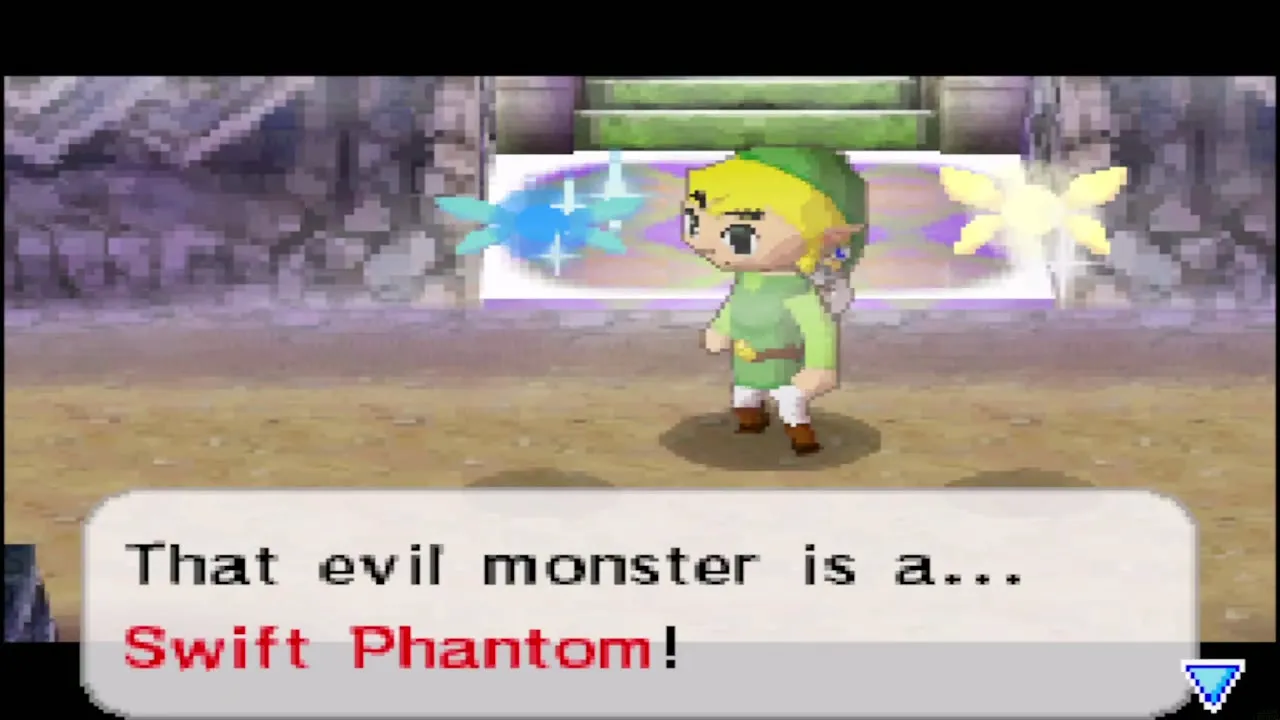
Walk up the mossy path to the temple door. The Phantom Hourglass drains whenever you leave a Safe Zone, and a Phantom that touches you costs 30 seconds and sends you back to the start of the floor. A red Phantom now patrols the entrance floor: Swift Phantoms are much faster than the ordinary kind and can pick up items that you drop. Keep to Safe Zones, wait for each patrol to pass and then move. Floors B1 to B6 are the same rooms as before, so the shortcuts below get you through them quickly. A tidy run reaches the B6 door in roughly five minutes of sand, and yellow pots on the way give some of it back.

B1 and B2
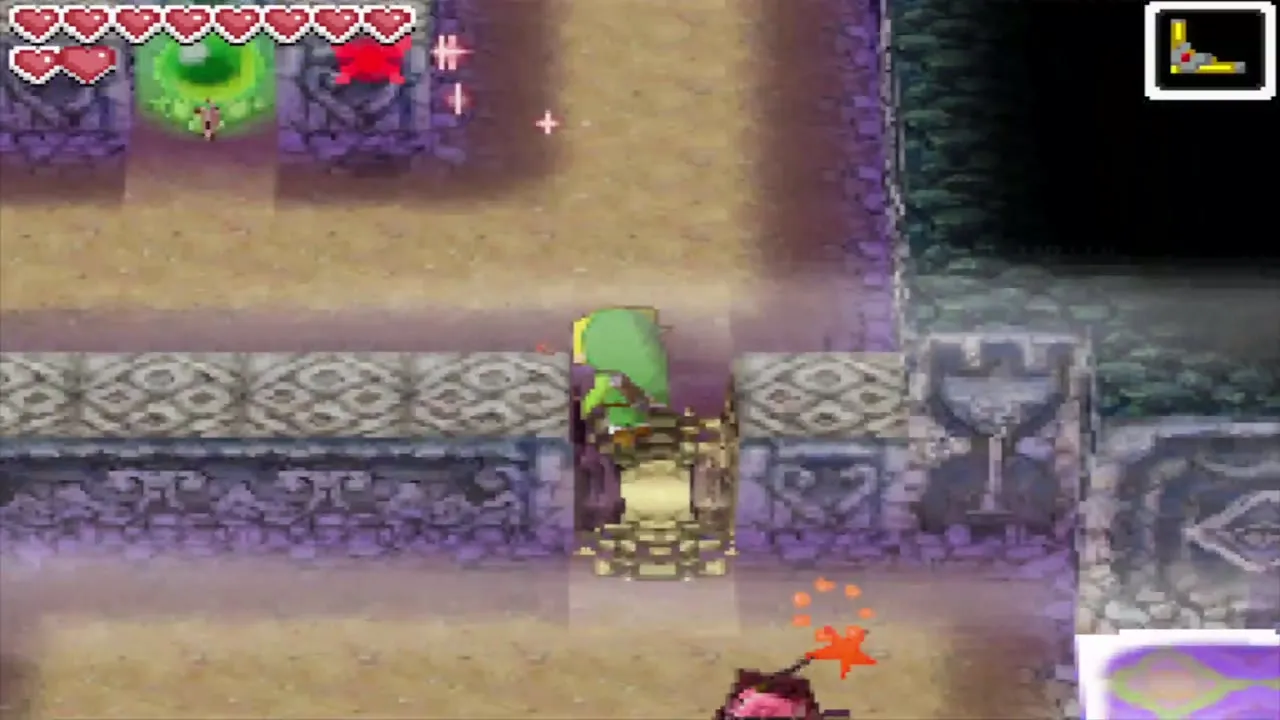
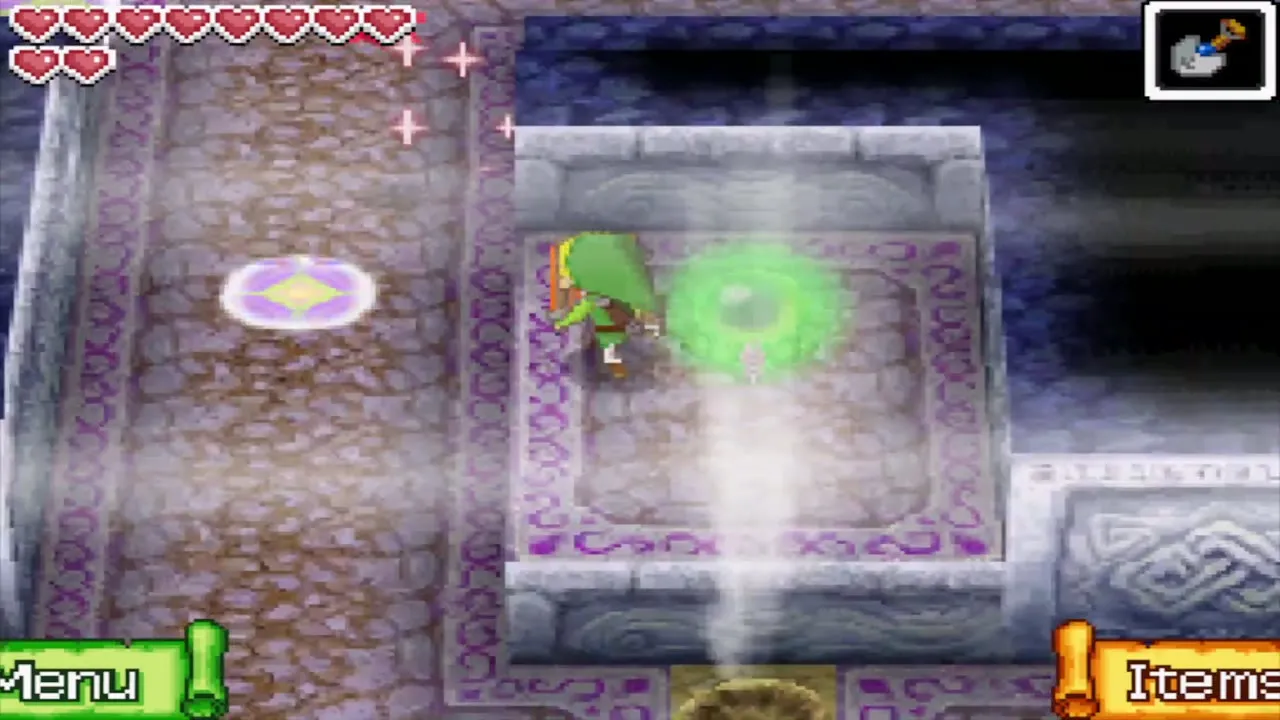
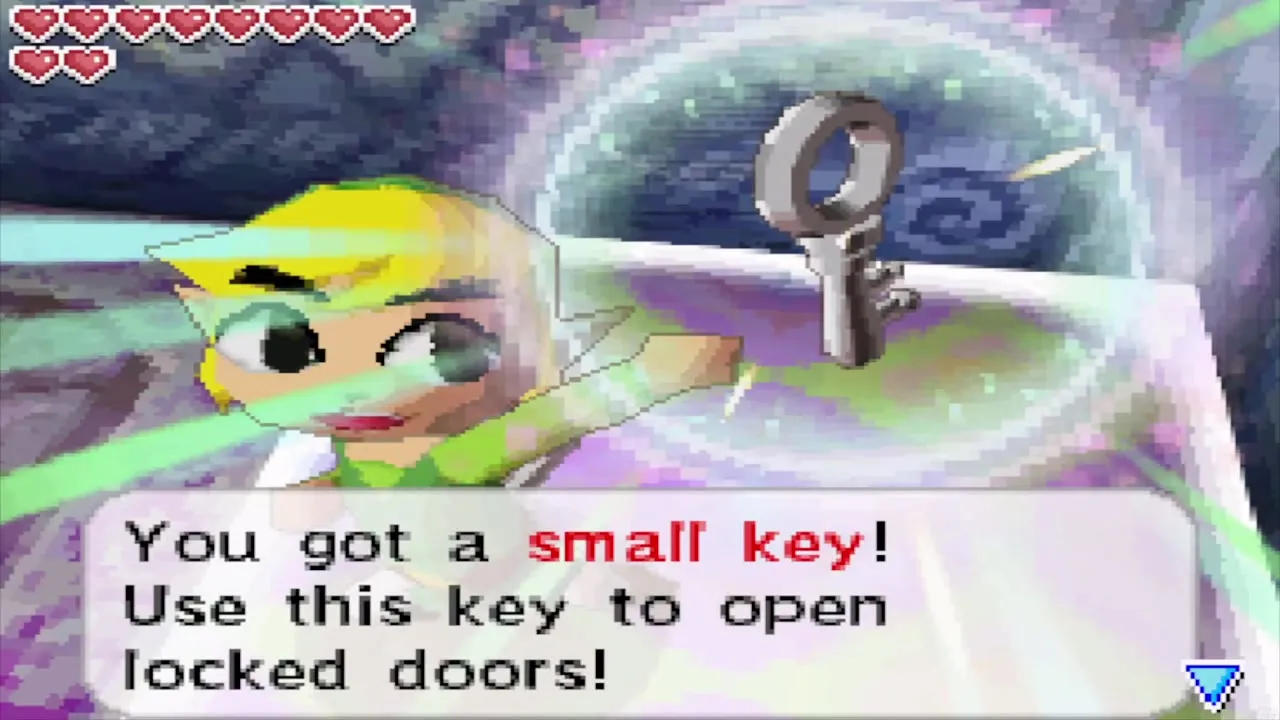
Walk straight through the first floor to the stairs down. On B1, head along the north hall, bomb the cracked blocks near its west end, step on the floor switch behind them and take the small key from the alcove in the northwest corner. Unlock the door in the northeast corner and go down.
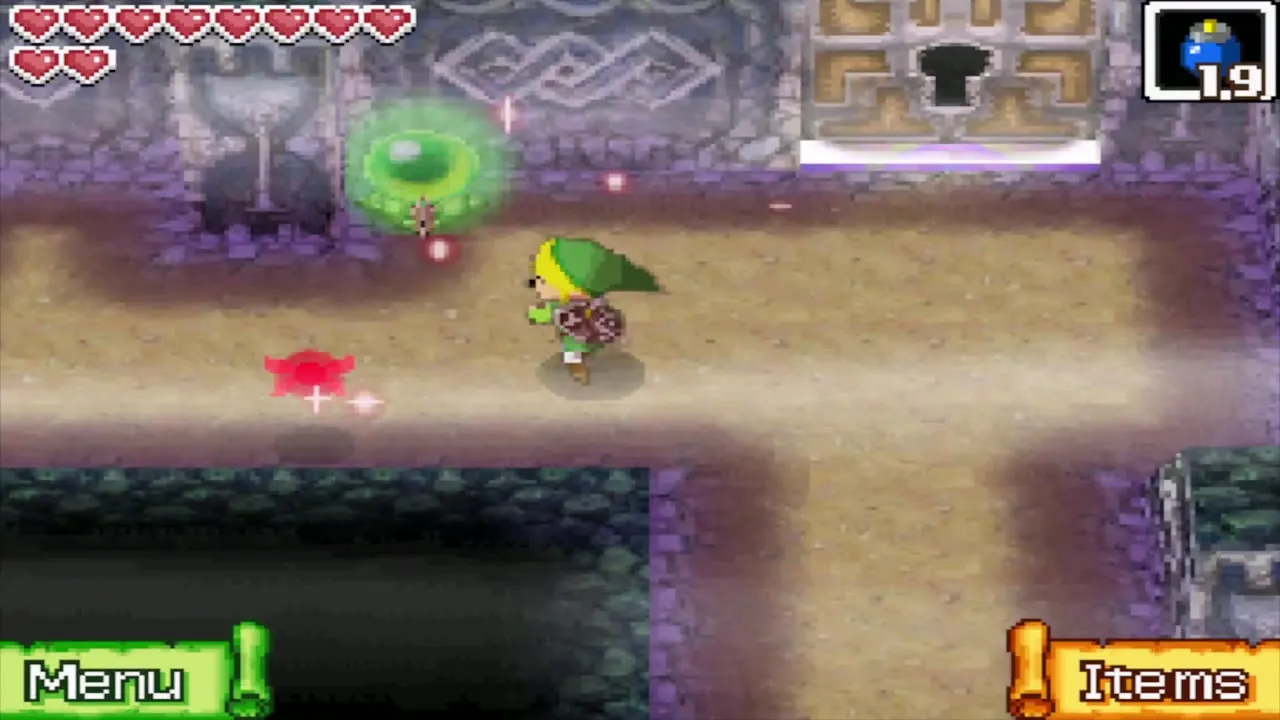
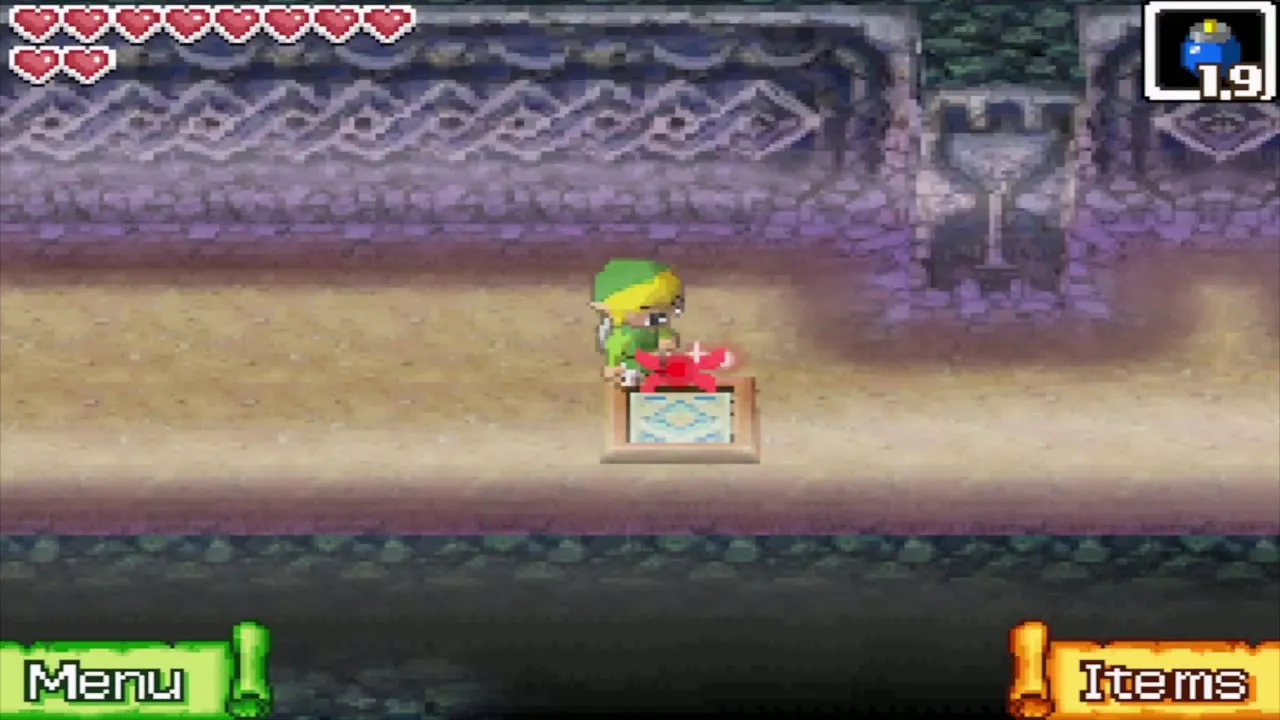
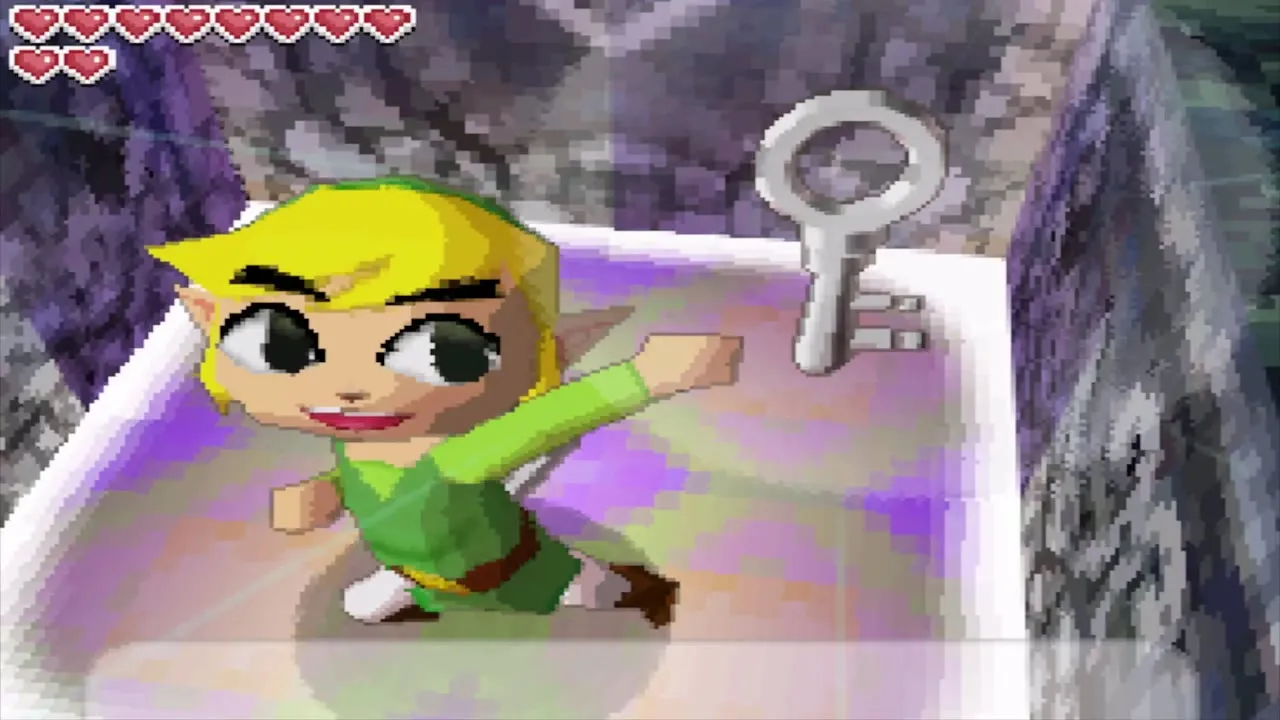
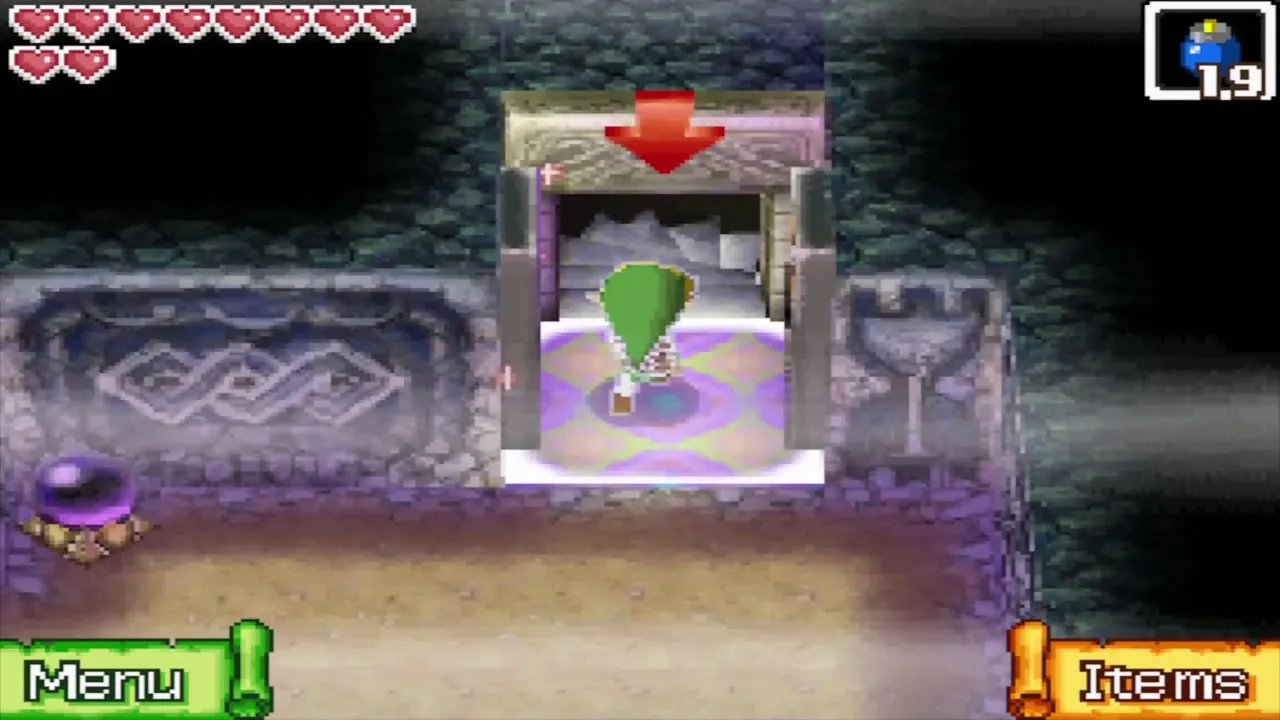
On B2, slash the two shock switches near the entrance to make a small key appear. A cracked wall south of the entrance can be bombed for a quicker path to the key; step on the floor switch and pull the key to you with the Boomerang. Go to the locked door, but if a Swift Phantom takes the key, wait for it to walk away, then hit its back with an arrow, a bomb or the Boomerang to make it drop the key.
B3 and the Power Gem
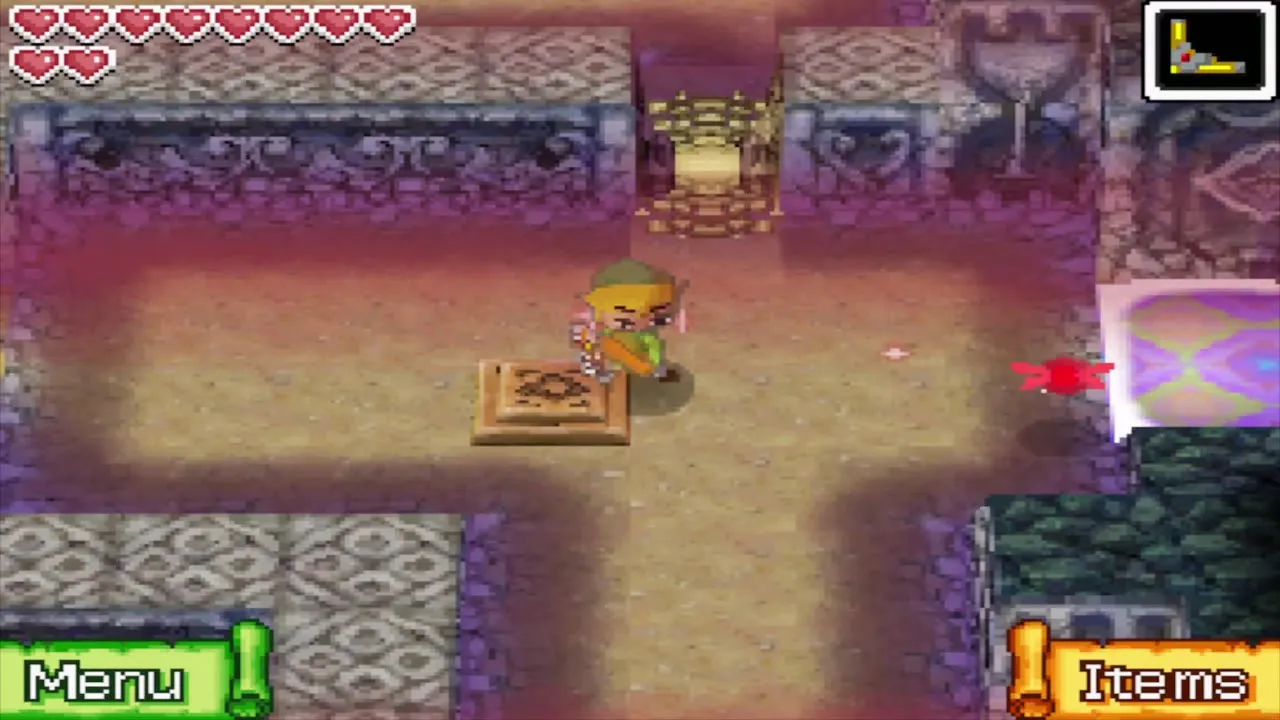
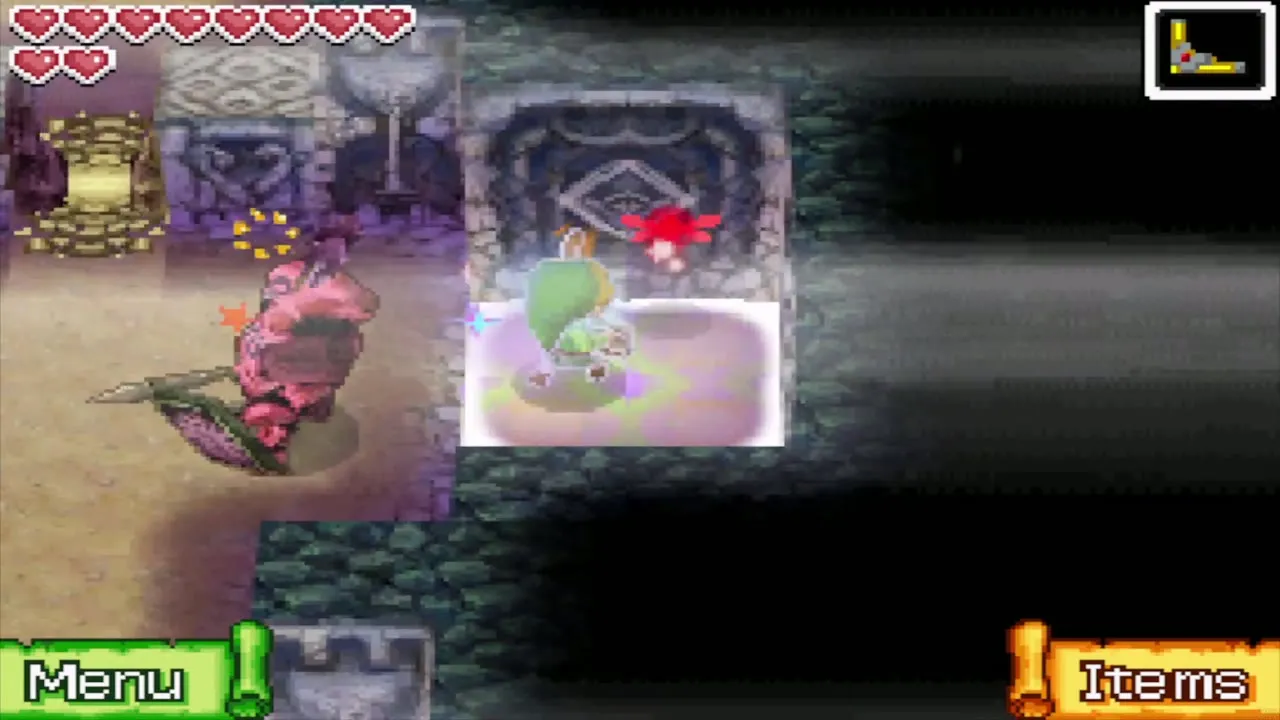
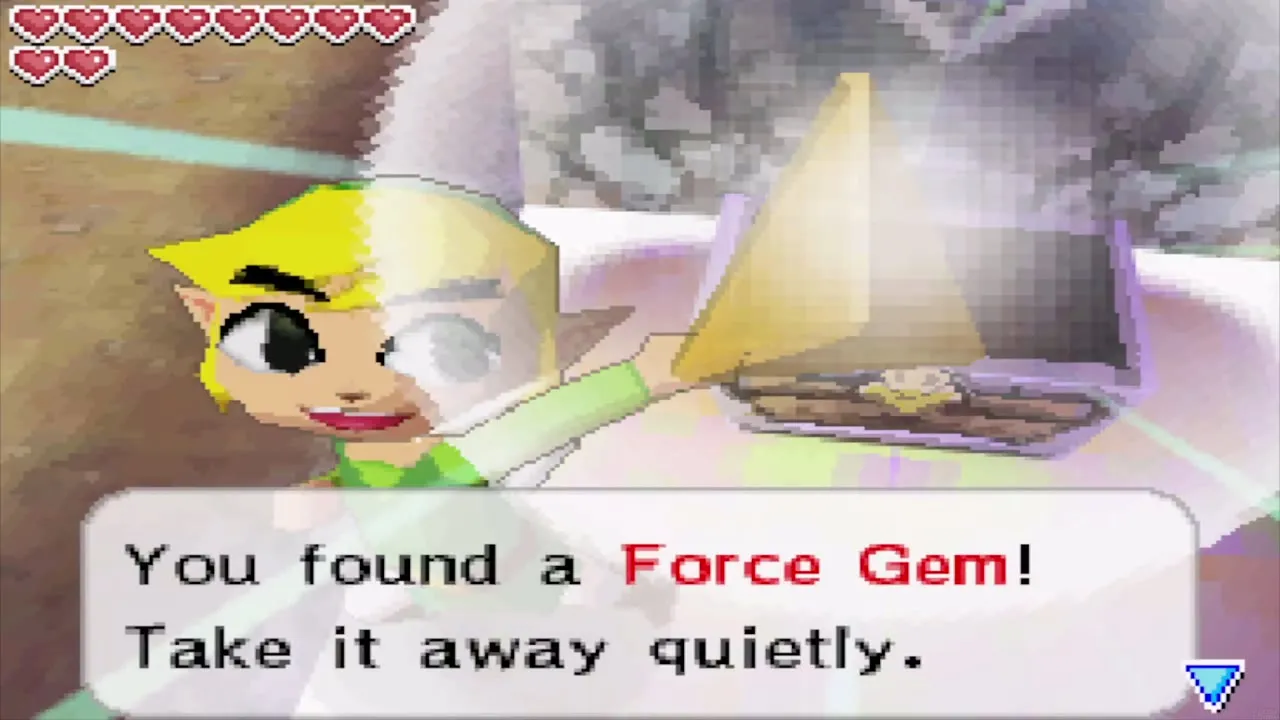
B3 still asks for the three Force Gems. Open the chests in the northwest and southeast corners, and take the third from the chest in the southwest corner behind a locked door. A Phantom carries the key for that door: lure it onto the trapdoor or stun it from behind. Place all three gems on the triangular pedestals in the safe zone at the centre of the floor to unlock the stairs.
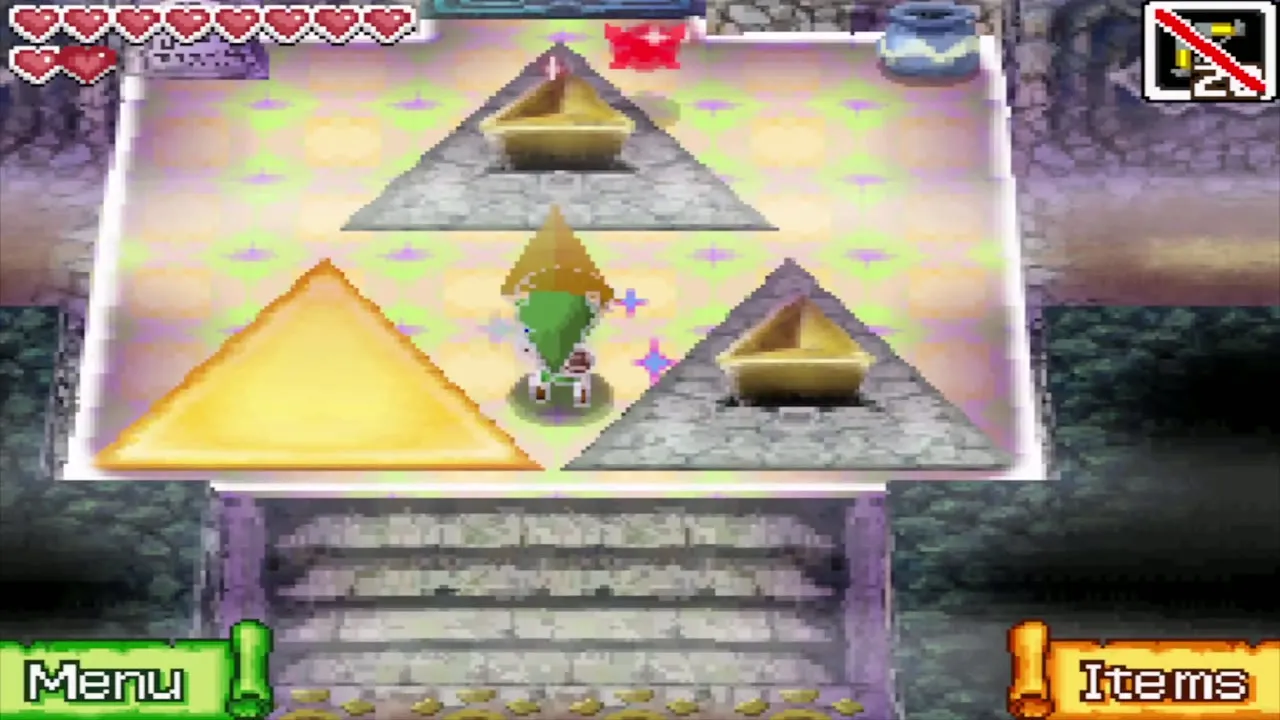
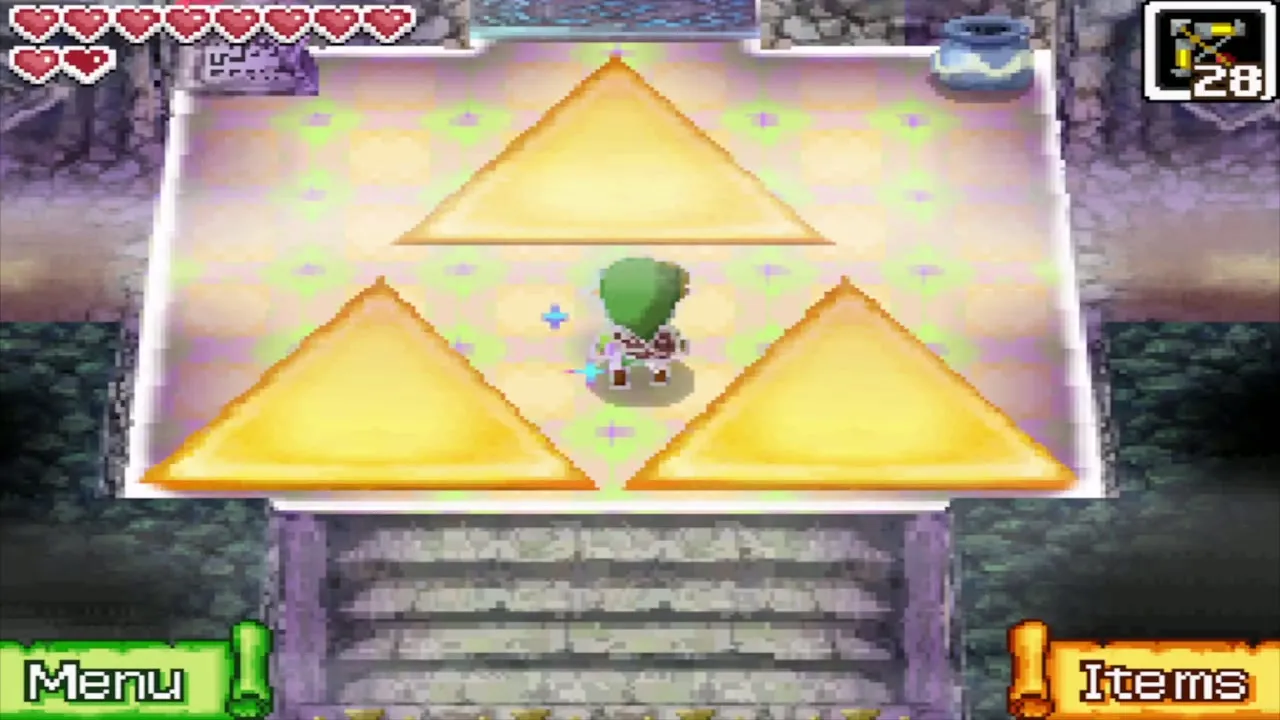
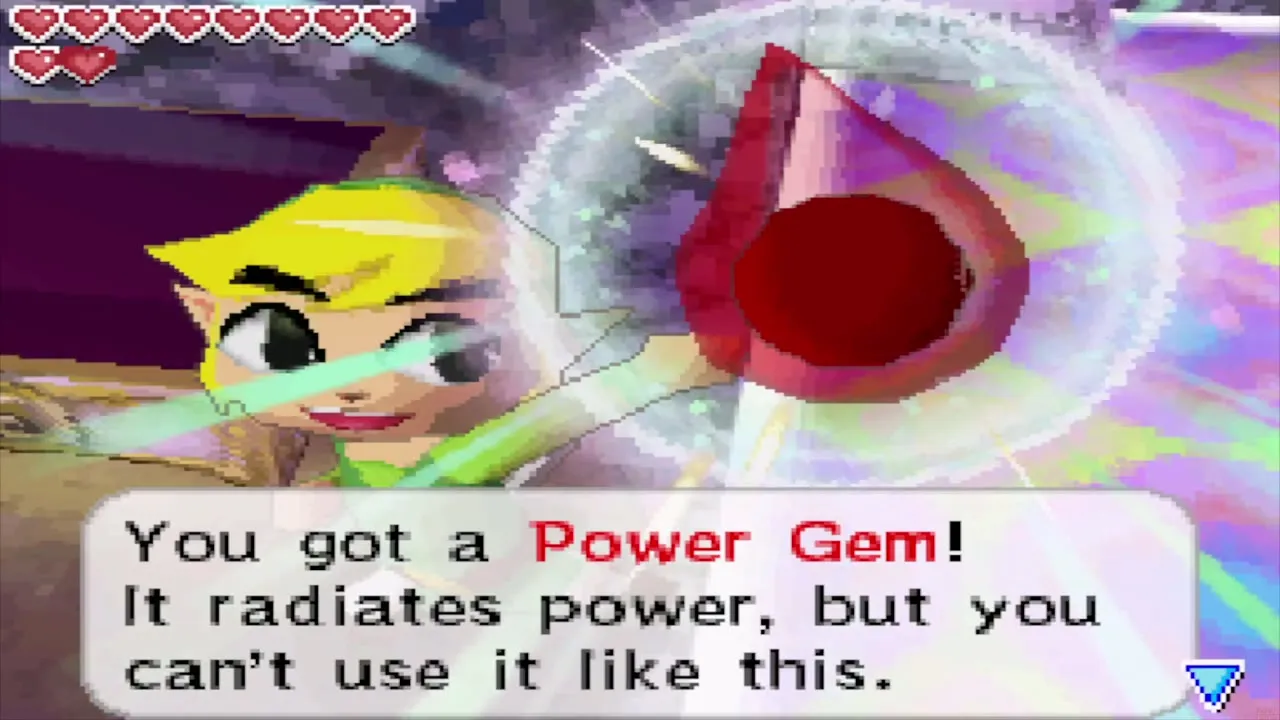
While you are here, collect a Power Gem. The gem appears for only a few seconds after you shoot an eye switch with the Bow, so shoot first and then run to it. Take the stairs down when you have both the gem and the Force Gems in place.


B4 and B5
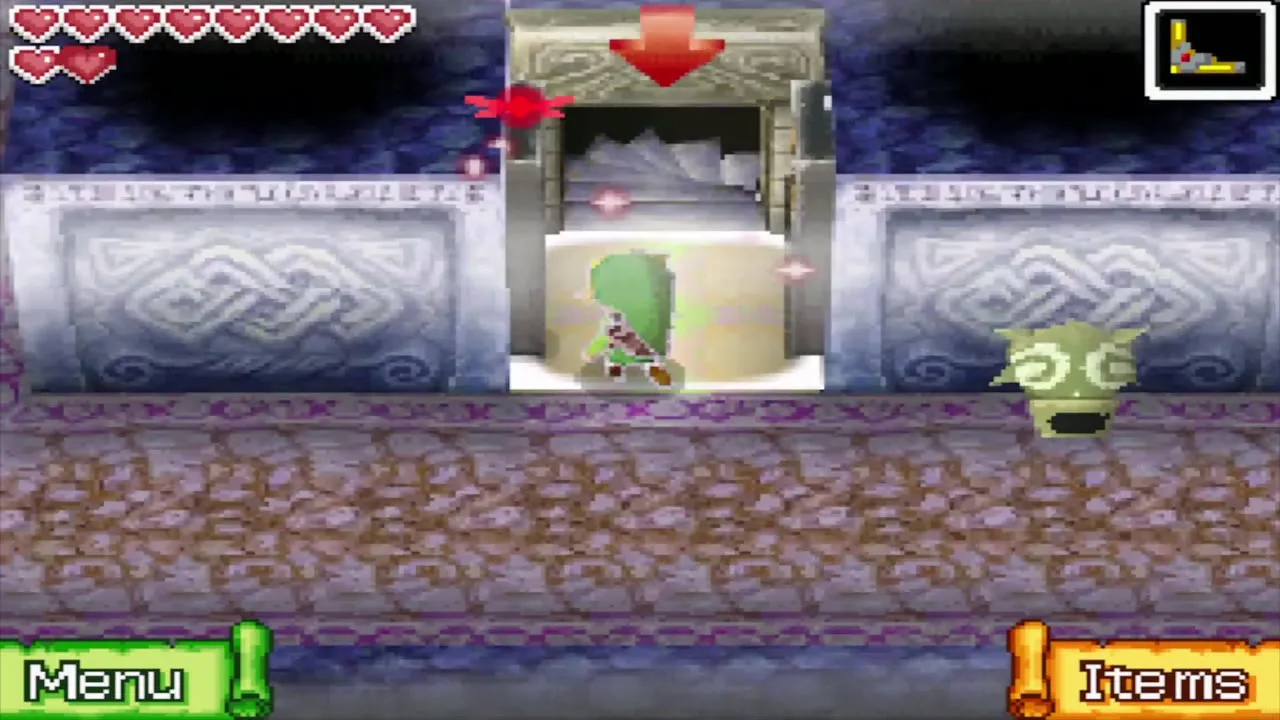
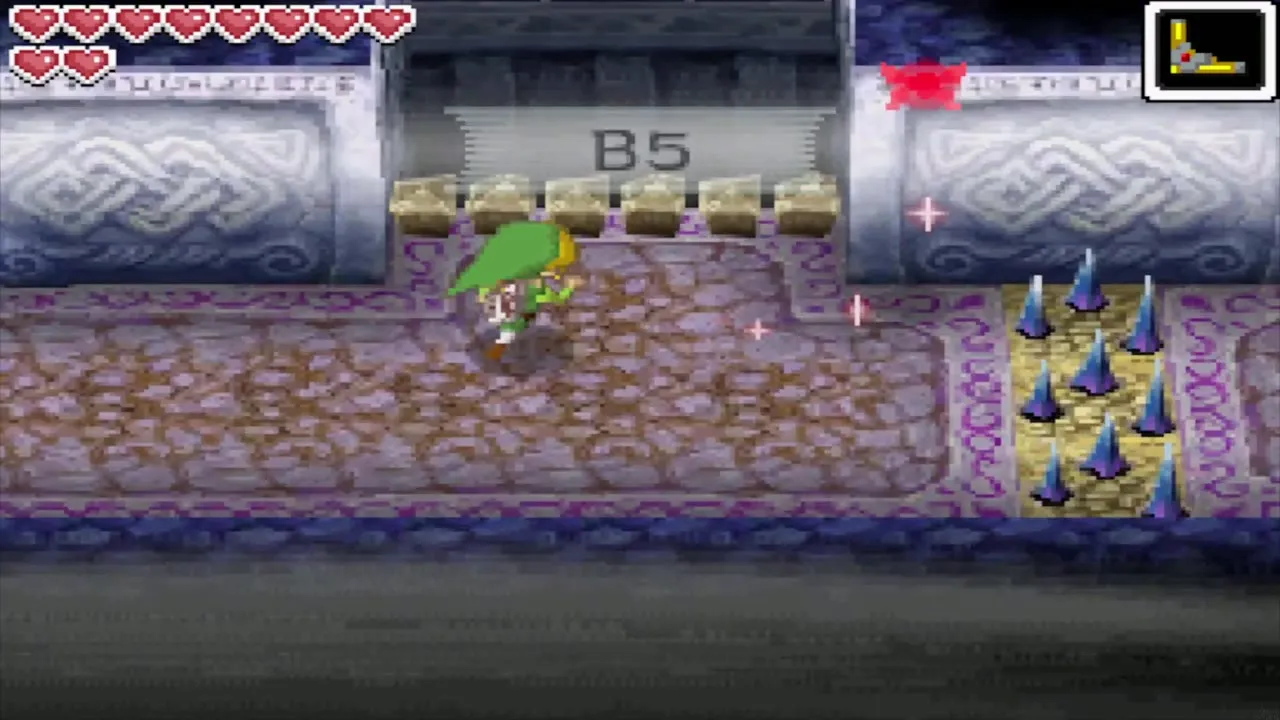
On B4, throw the Boomerang through the first air valve to hit the shock switch beyond it, then bomb the cracked wall among the short walls in the centre-west so you can reach the switch that lowers the spikes around the small key. Open the locked door in the south hall with the key and go down. On B5, the two large side rooms now hold Bubbles and Moldorms instead of Chuchus and Miniblins; clear each room, then throw the Boomerang at the shock switch near the exit to shut off the air valve and take the stairs to B6.

B6: the Triforce door
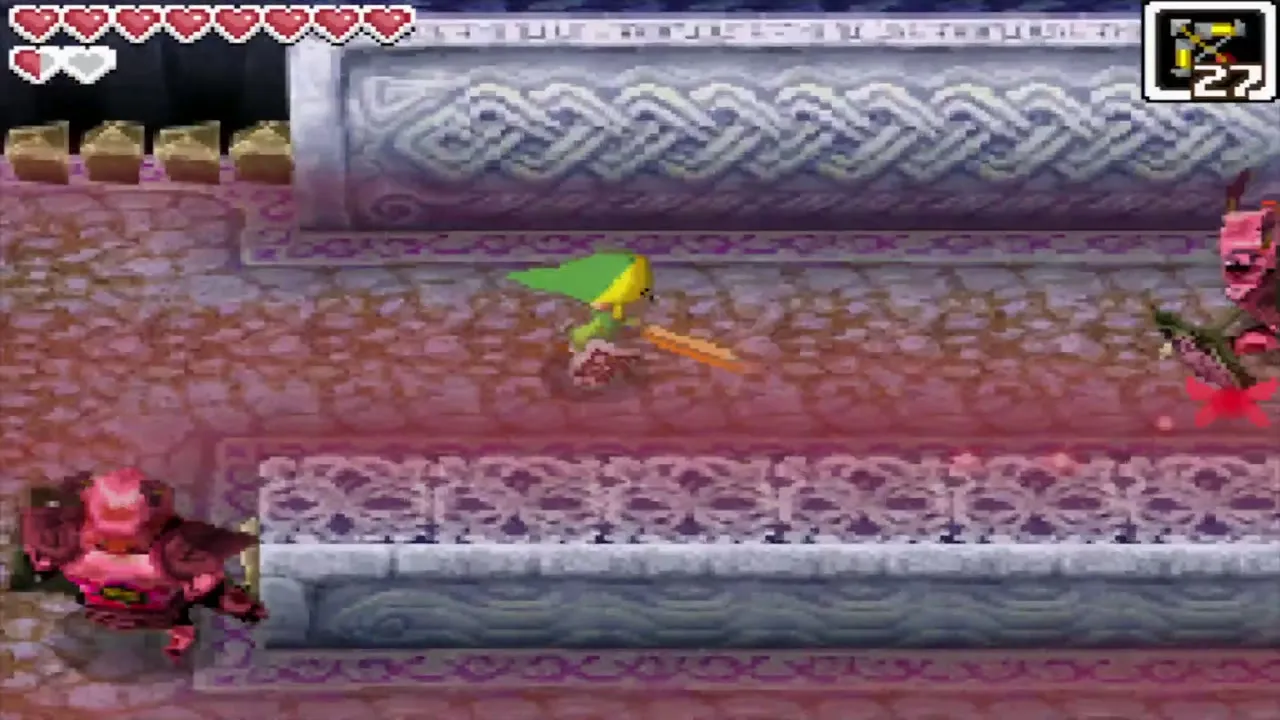
Before you leave B6’s first rooms, look for Treasure Map 11. Shoot the eye switch west of the entrance with an arrow, then run to the chest in the northeast; you have only ten seconds to reach it. Because you already own the Salvage Arm, the X on the chart marks a sunken chest north of the Isle of Gust that holds one minute of Sand of Hours.

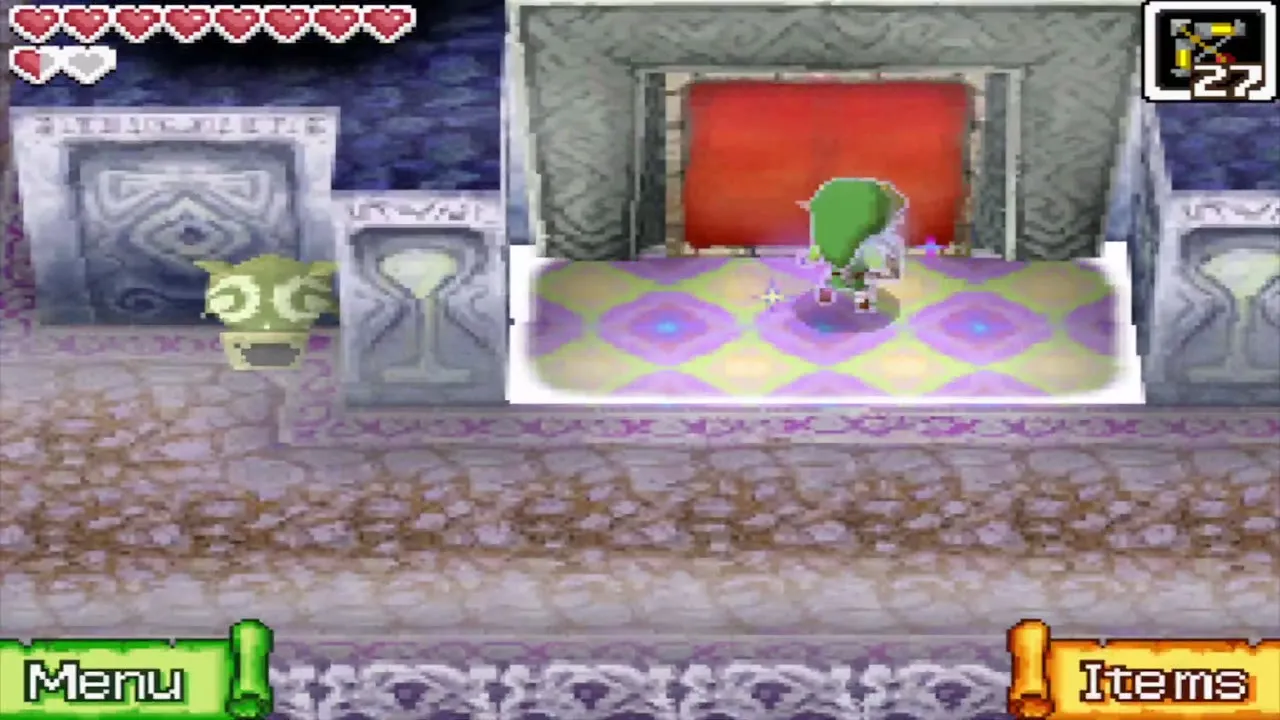
Walk to the large red door on the floor. This is the Crested Door that wanted an hourglass before. Touch it, and draw the Triforce from Zauz’s picture in one continuous stroke, starting at the top point and heading toward the lower left. The door opens onto a new room, and the old hourglass drawing leads to the first version of the room.


Sacred Crest Chamber and the Door of Courage
The yellow portal
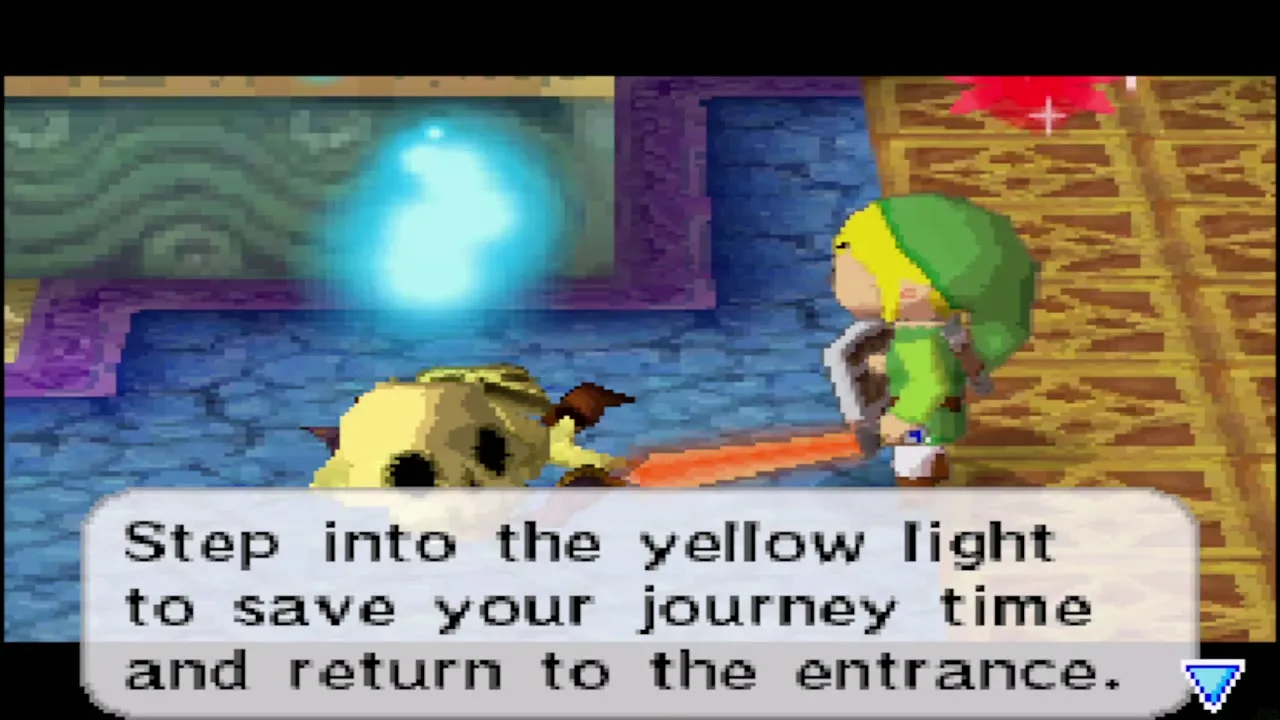
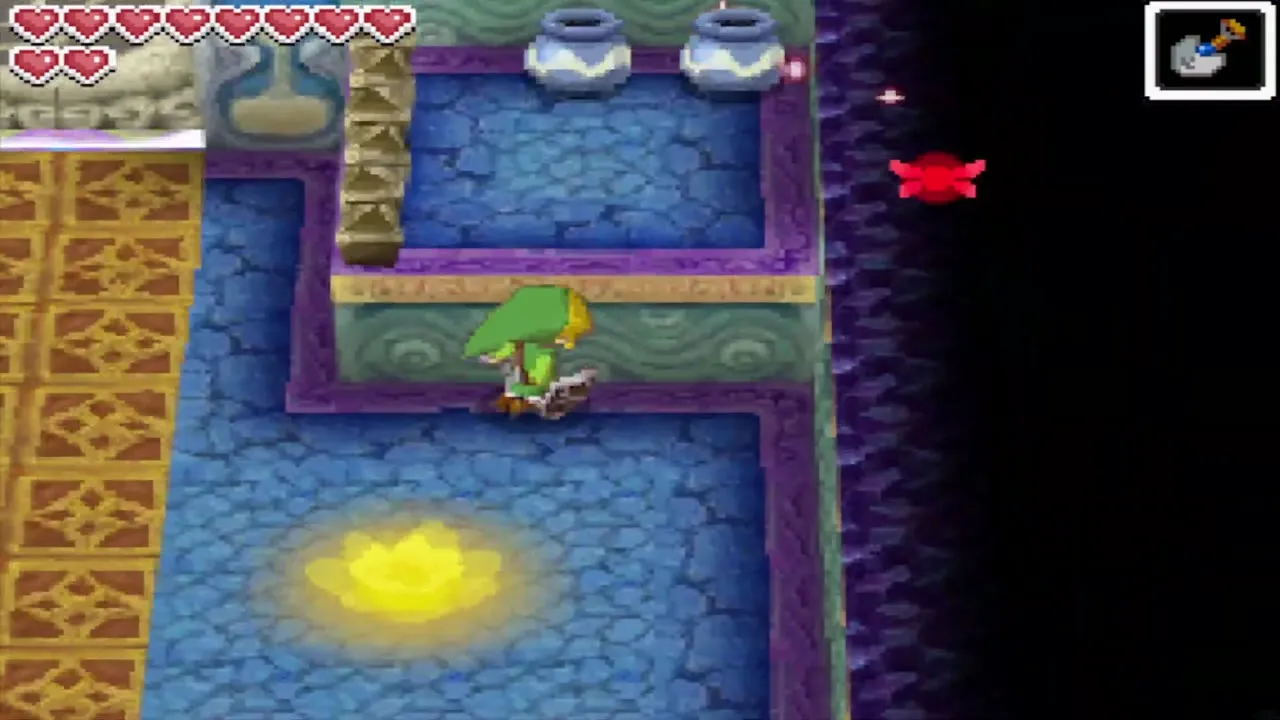
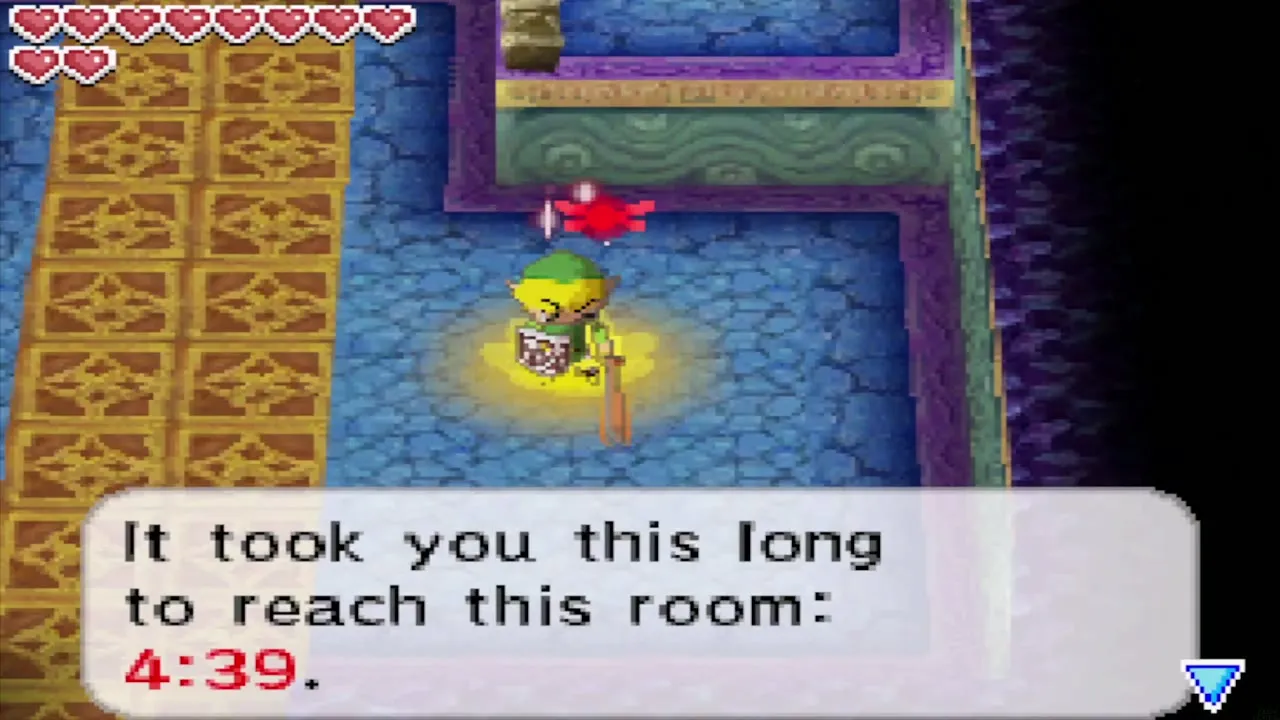
This room looks different from the one you saw on your first trip. Your fairy companion explains that the yellow light here is a midway point: step into the yellow light at the temple entrance and you return to this room at once, instead of walking B1 to B6 again. The game tells you how long you needed to get here, and using the portal costs that much sand, so spend the first trip carefully. Answer No when it asks whether you want to go back to the entrance.
Open the Door of Courage
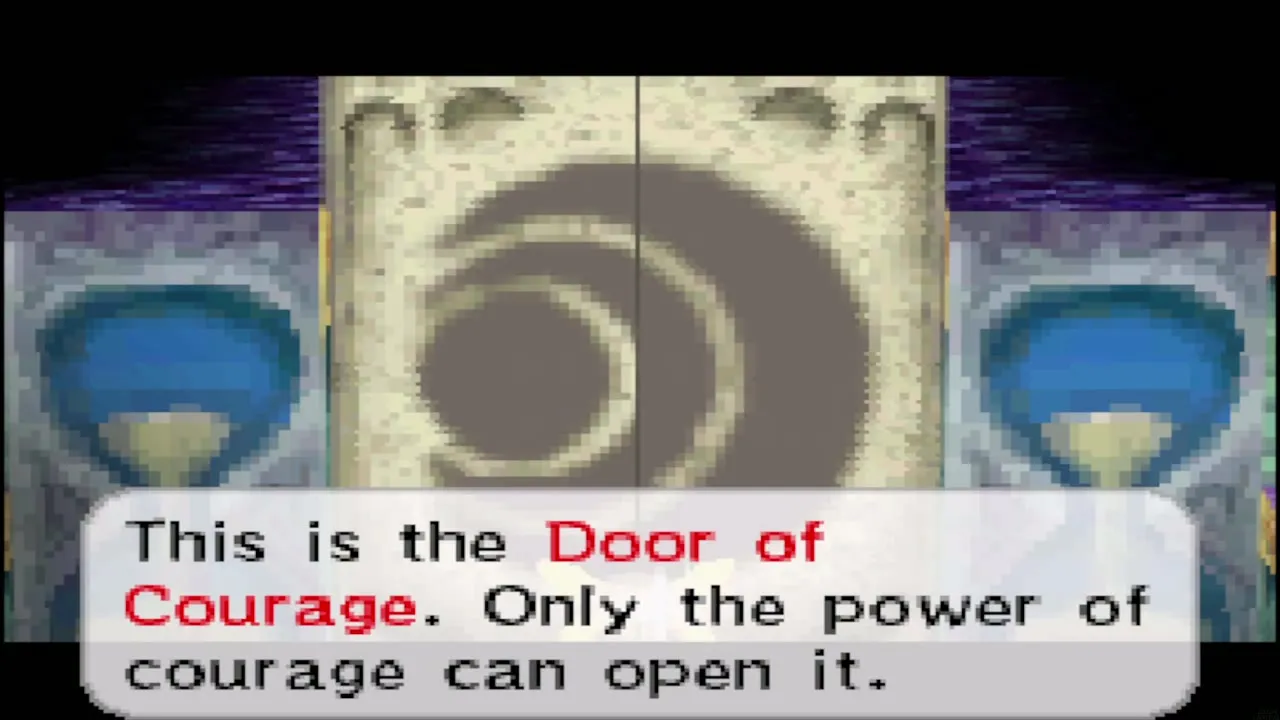
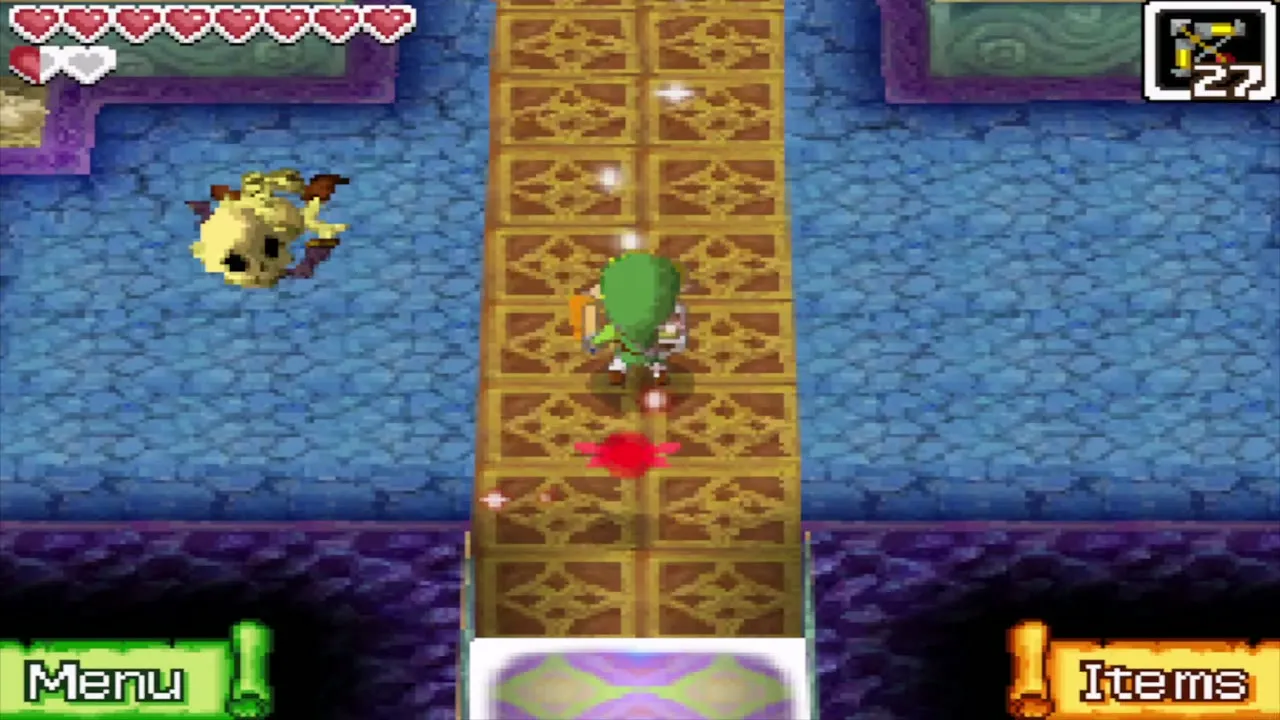
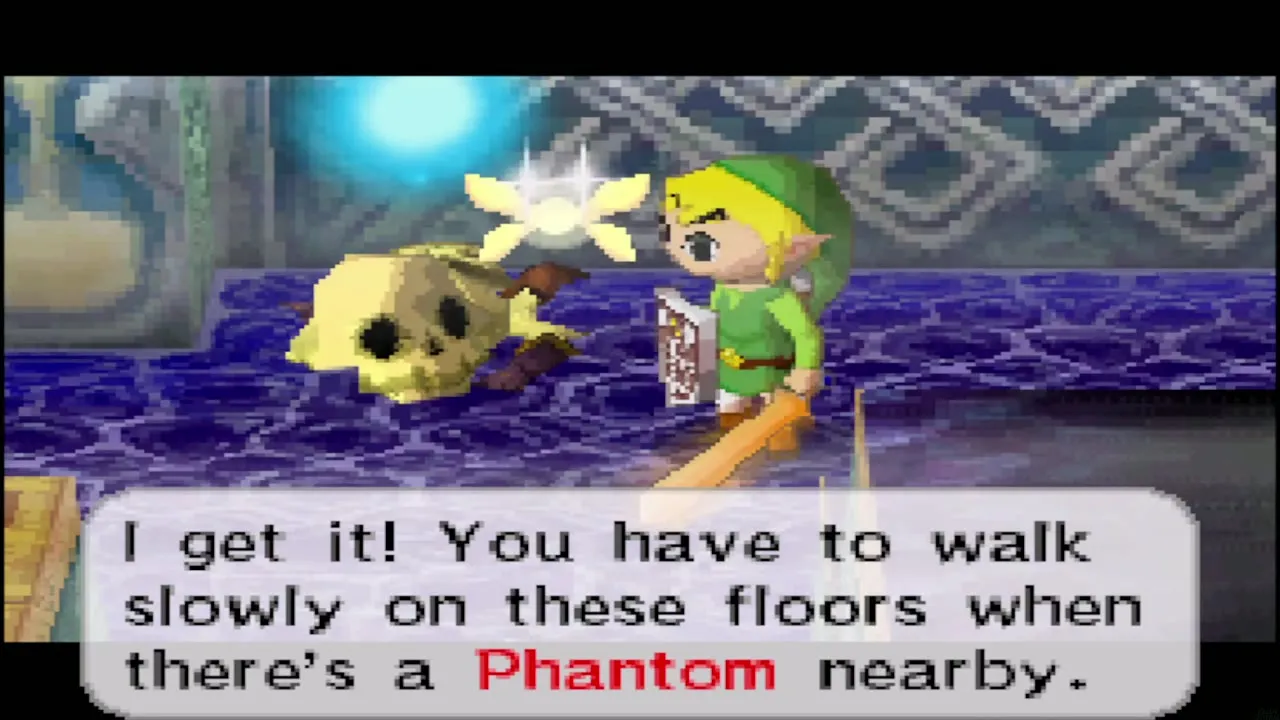
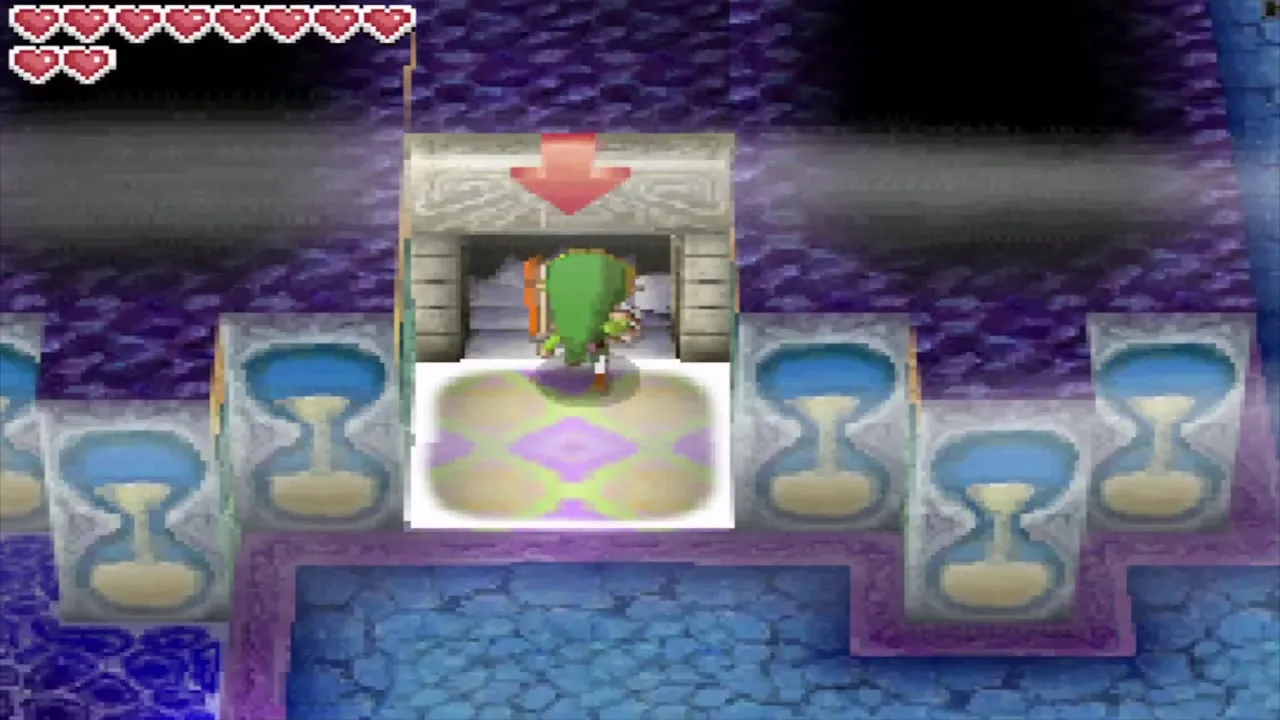
Ciela recognises the sealed door at the end of the room as the Door of Courage, which only courage can open. Tap it with the stylus. The door slides away and the stairs behind it lead to B7. The rooms from here on have blue hourglass tiles, and a fallen adventurer on B7 tells you to walk slowly on them while a Phantom is near, because running makes the floor ring.
B7: floating platforms and the Round Crystal
The first crossing to B8
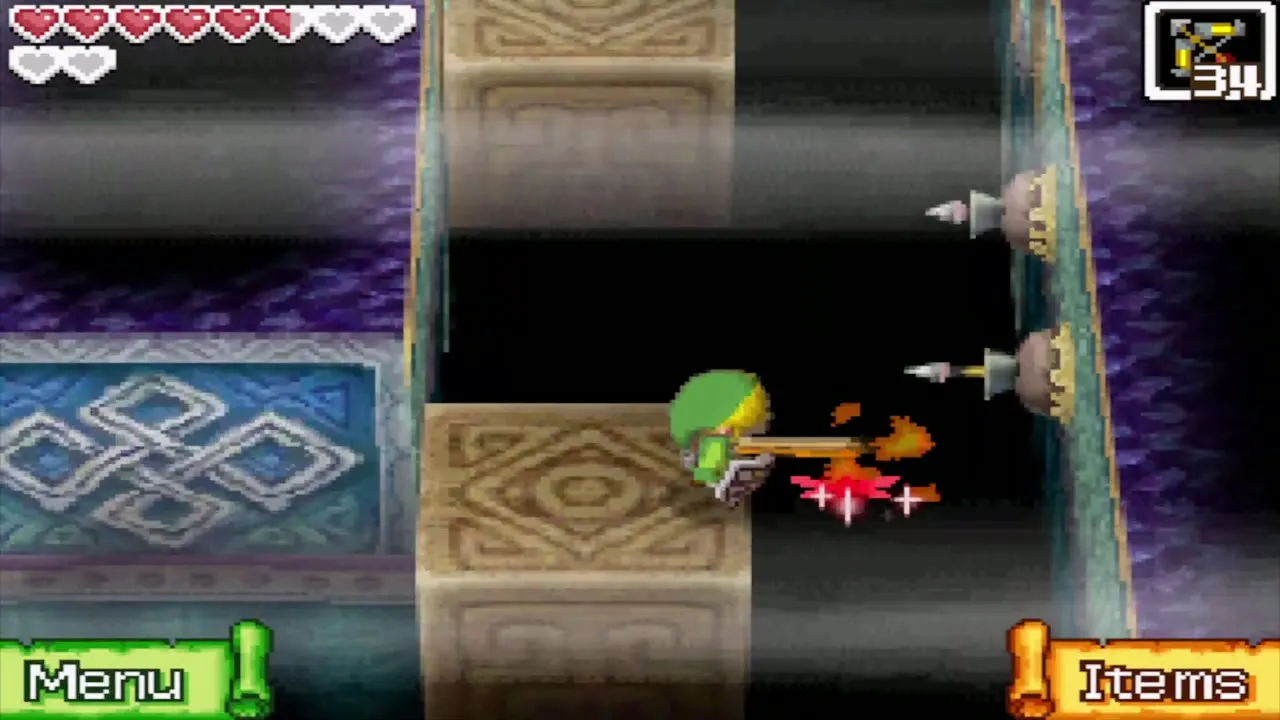
On B7 ride the moving platforms west. Arrow traps along the wall fire at you as you ride, so keep your shield up toward them. When the platforms reach the northwest, step off onto the wet floor in the west and walk slowly; running makes the tiles ring and wakes the Phantoms. Go south to the stairs down to B8, which a Swift Phantom patrols.


Get the Round Crystal
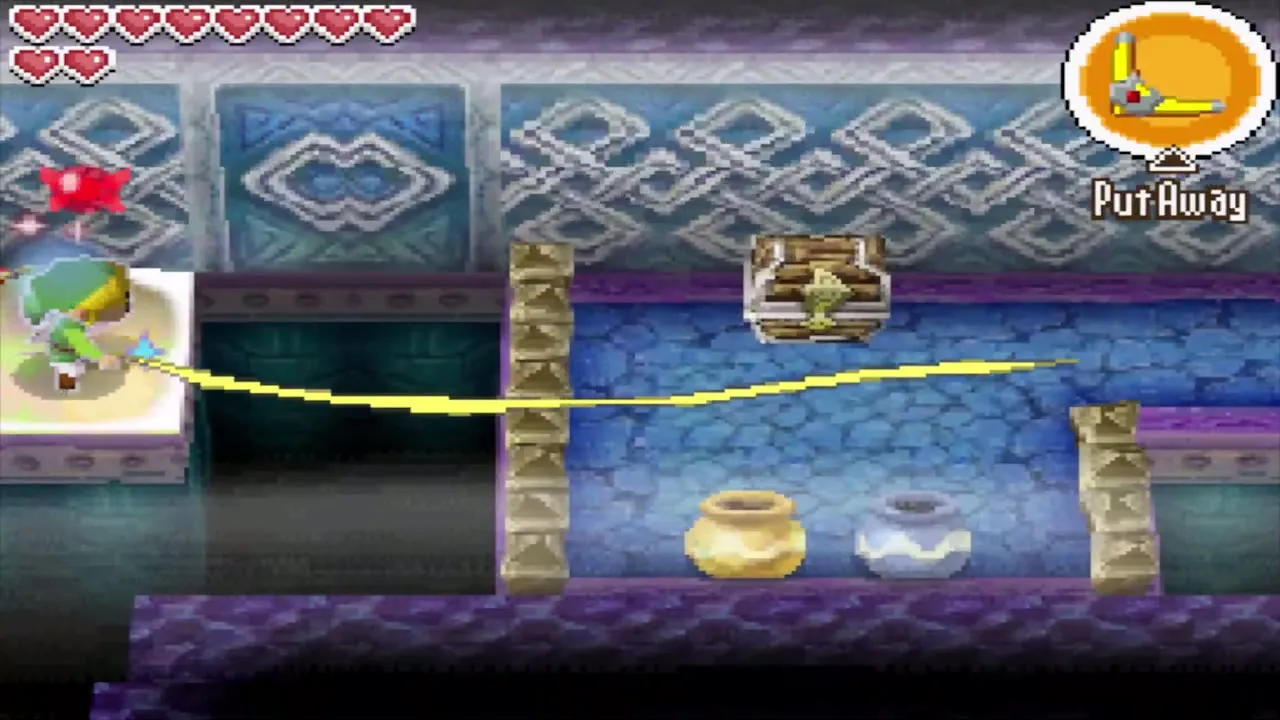
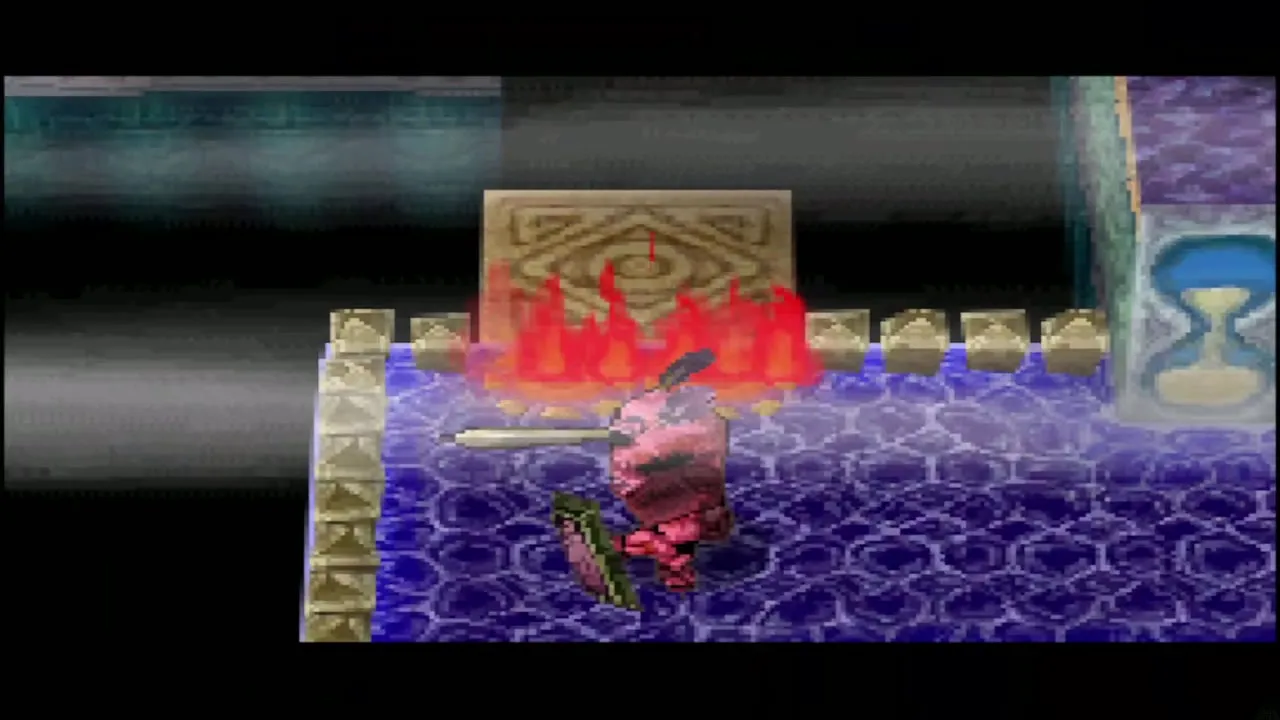
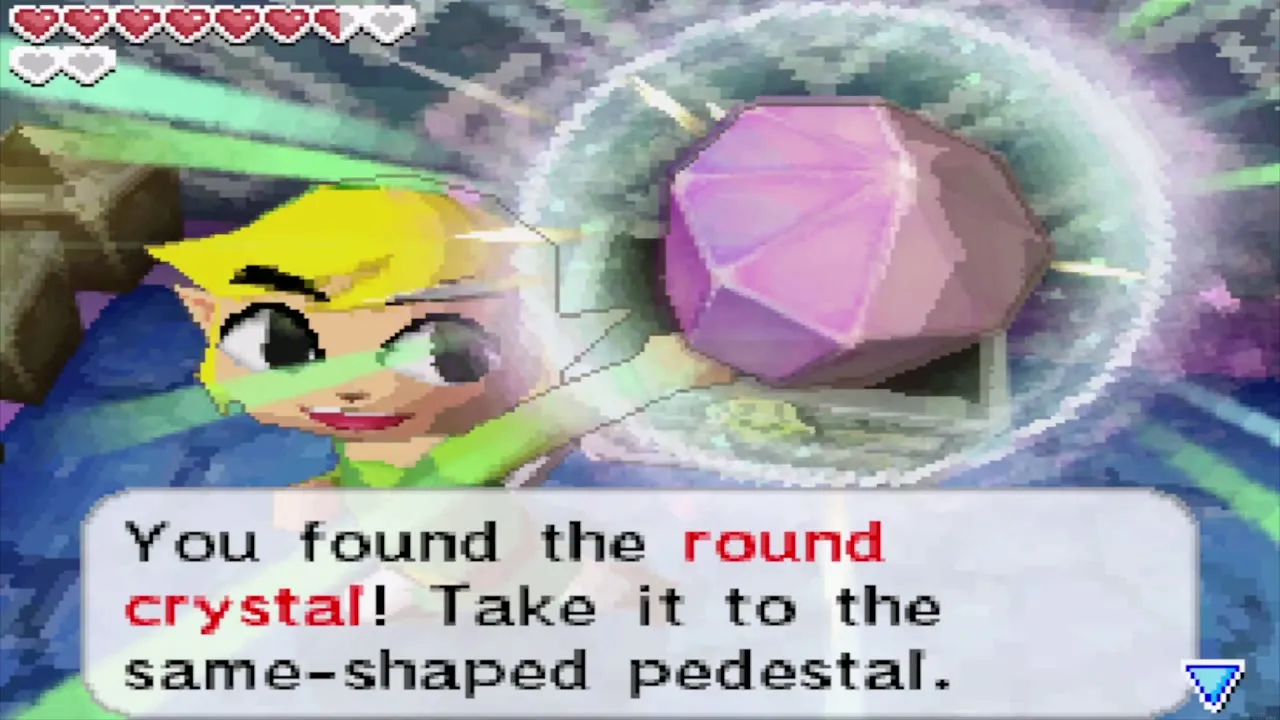
You come back up to B7 on its east side, after seeing B8. A stationary Phantom stands in the southeast corner and a Swift Phantom patrols the rest of that half. A flame wall by the chasm stops you from boarding the floating platform to the north. Wait until the Swift Phantom has gone north and the platform is halfway across, stun the stationary Phantom with an arrow, and hit the shock switch in the alcove behind it. The flame wall goes out for about ten seconds, so board the platform at once. It carries you north past more arrow traps to the chest behind the starting area, which holds the Round Crystal; opening it also puts out the flame wall in the east hall. Go back to the stairs and down to B8.
B8: the invisible bridge and the Triangle Crystal
Find the hidden path
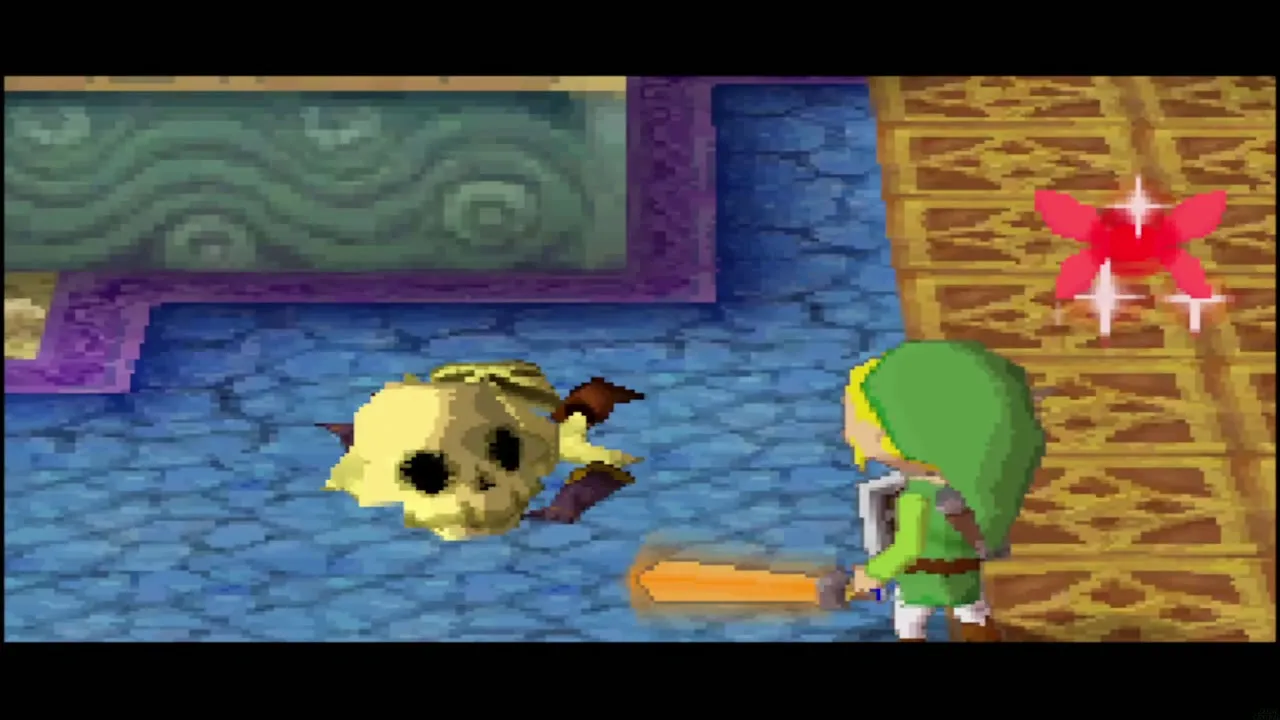
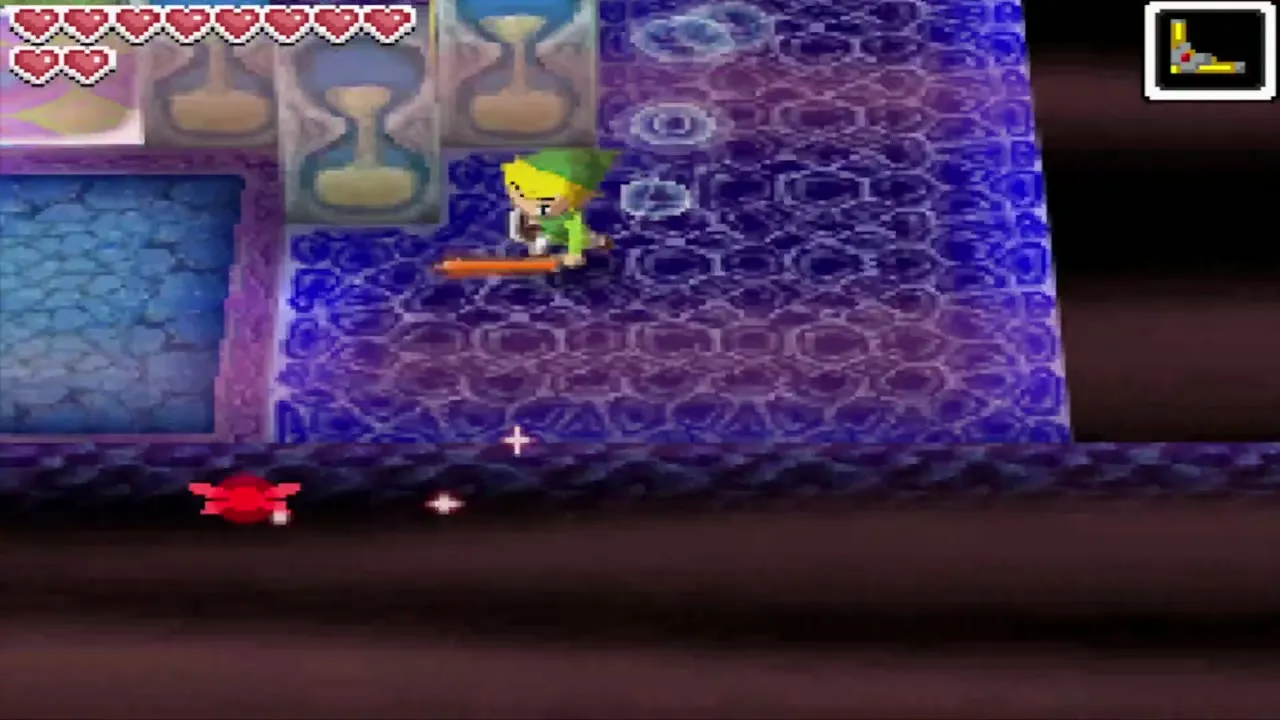
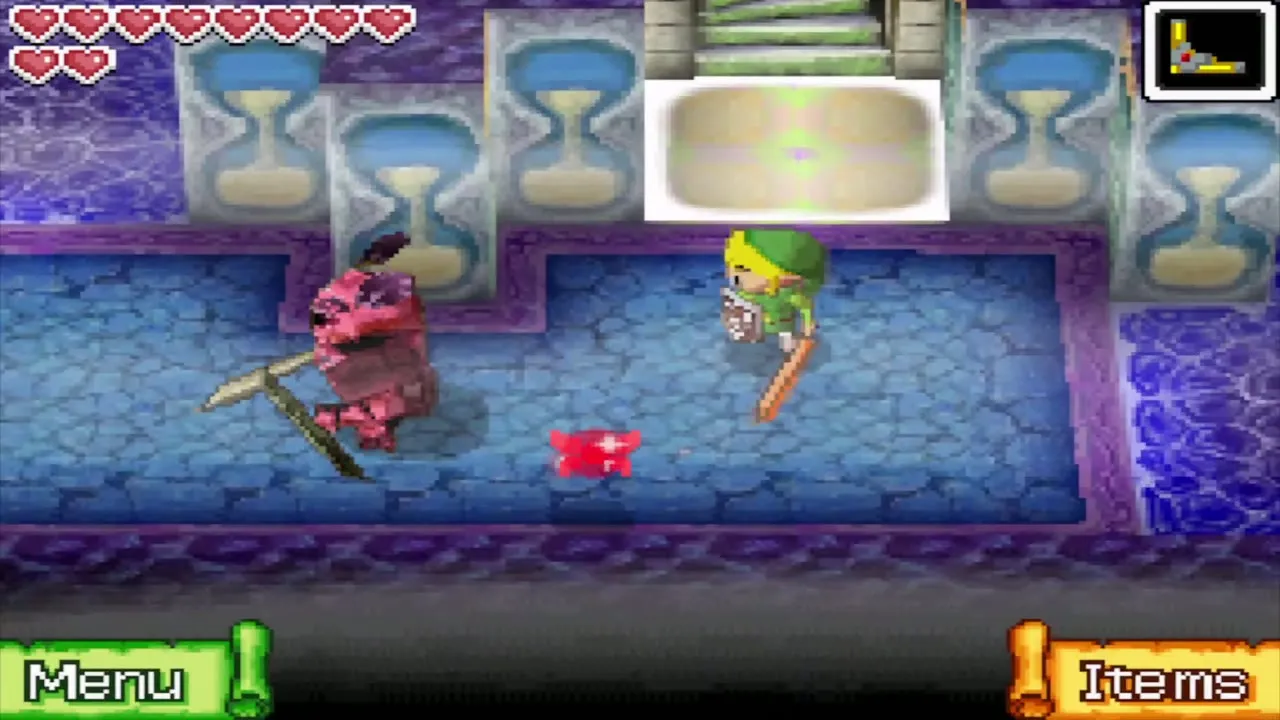
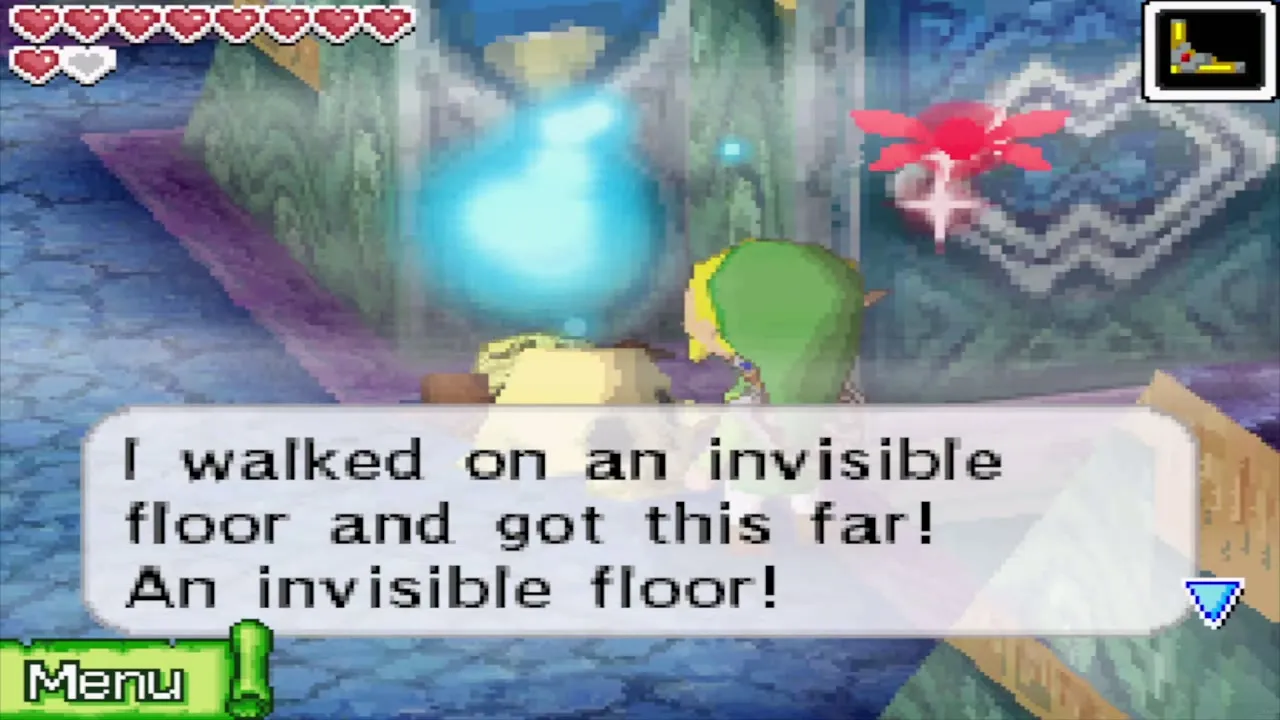
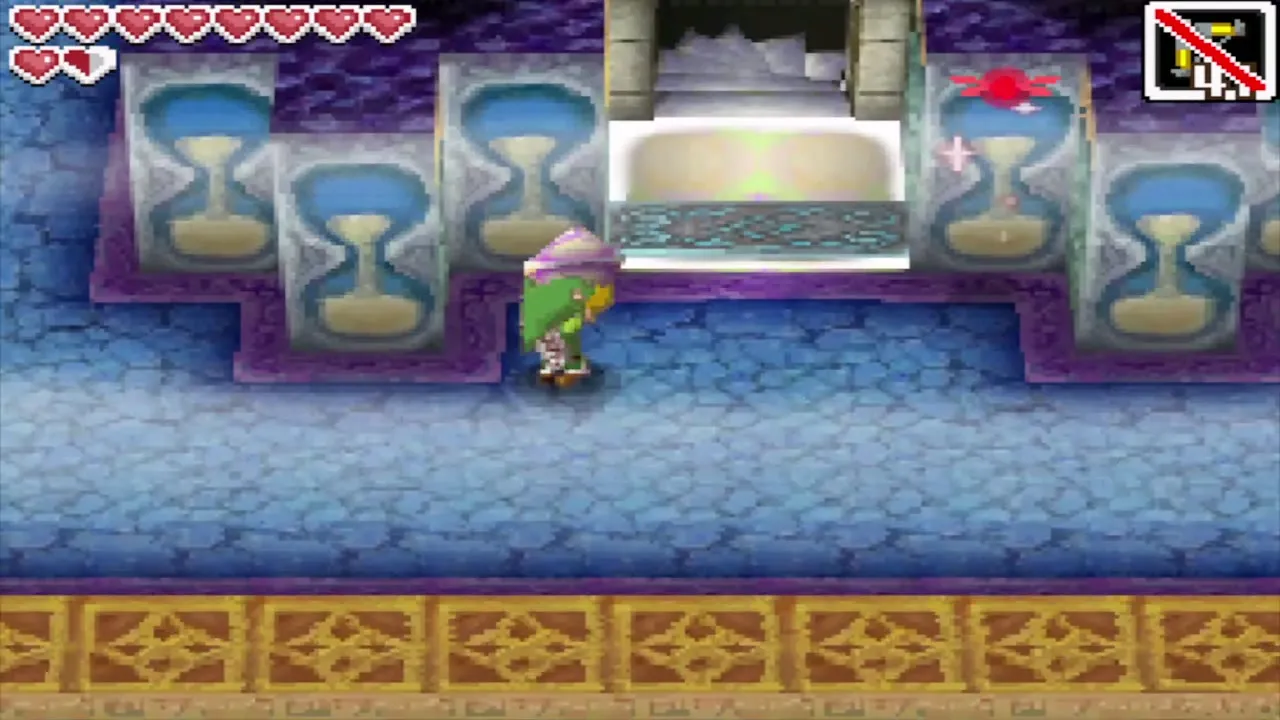
B8 is split by a chasm with an invisible bridge. On your first visit, watch the top screen: a Phantom walks across the gap on the east side and shows you the route. Trace its path on your map so you can copy it, then follow the Phantom across and take the nearby stairs back up to B7. A skull on this floor mentions having walked an invisible floor before falling into a pit, which is the same trick.
Place the Round Crystal
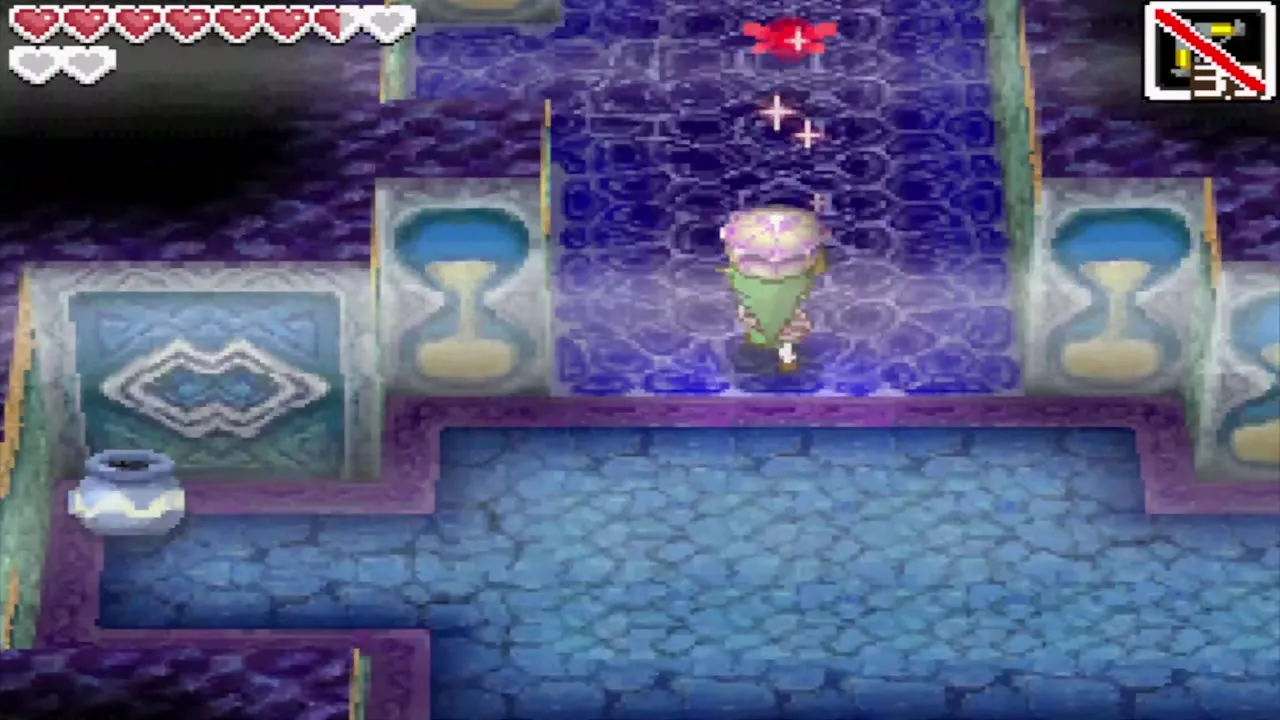
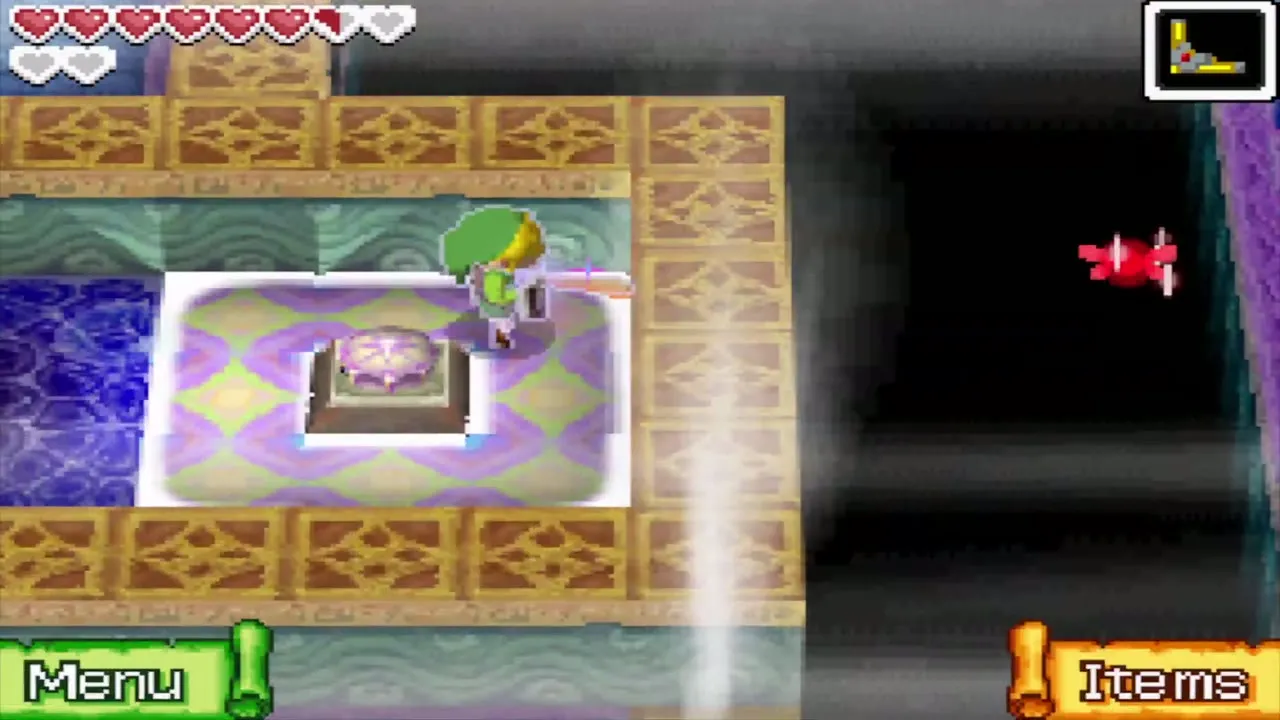
With the Round Crystal in hand, cross the hidden bridge again when the Phantoms are walking away. In the central Safe Zone, set the crystal on its pedestal and the nearby spikes drop. Walk north past them, step on the floor switch to create a wind geyser, which you will need later, and take the stairs north to B9. The message when you pick up the crystal tells you to carry it to the pedestal of the same shape, and a crystal falls out of its pedestal when you change floors, so you carry them again each time.


Bring the Triangle Crystal up to B8
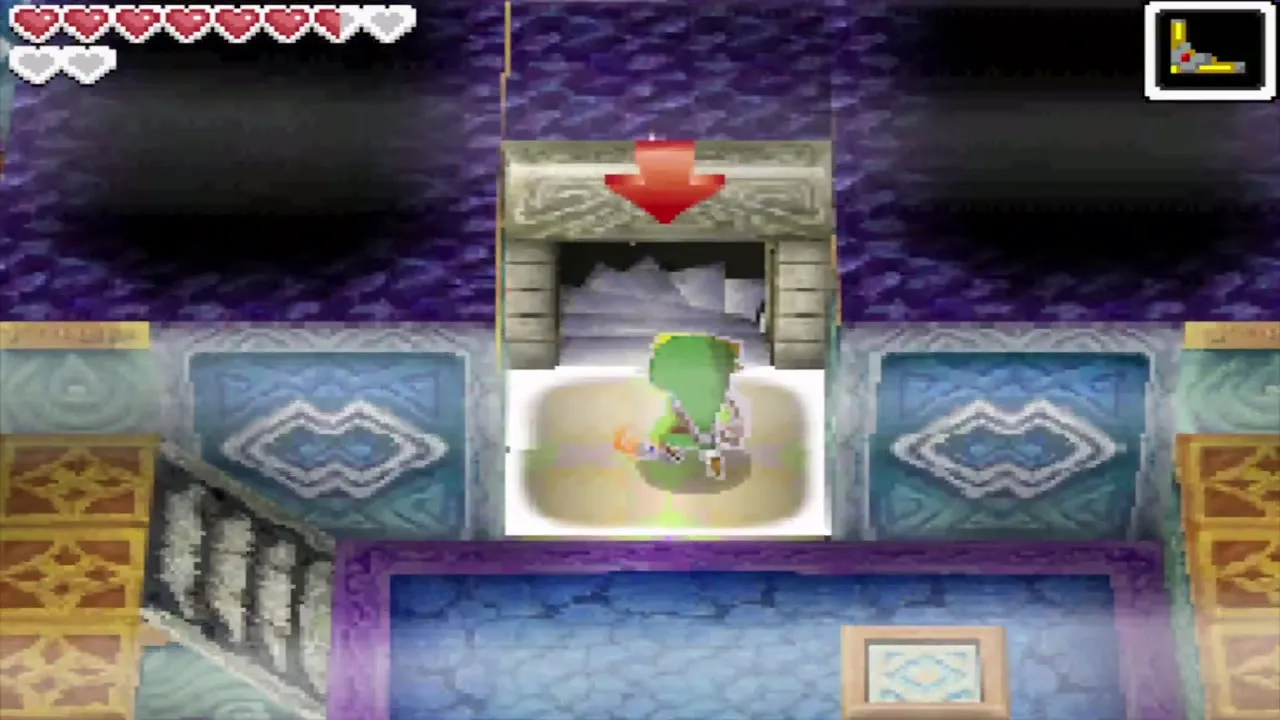
The Triangle Crystal is in a chest on B9 (see below). Carry it back up to B8 and cross the hidden bridge to the northeast corner. The Safe Zone on the east side is a trap, so do not stop there; the real one is in the northeast corner. Put the crystal down, take the red pot just below it west, and throw it in front of the cracked block. When the Phantom has gone, bomb the block to clear the Triangle Crystal’s pedestal, then fetch the crystal and set it on that pedestal. The spikes beside it drop; hit the shock switch behind them to open the door to the stairs down.


With the Round Crystal still on its own pedestal, placing the Triangle Crystal makes a chest appear. When the Phantom is away, start from directly above it and walk straight south across the hidden bridge to open it. It holds a Courage Gem. Pick the Triangle Crystal up again afterwards and take it down to B9.
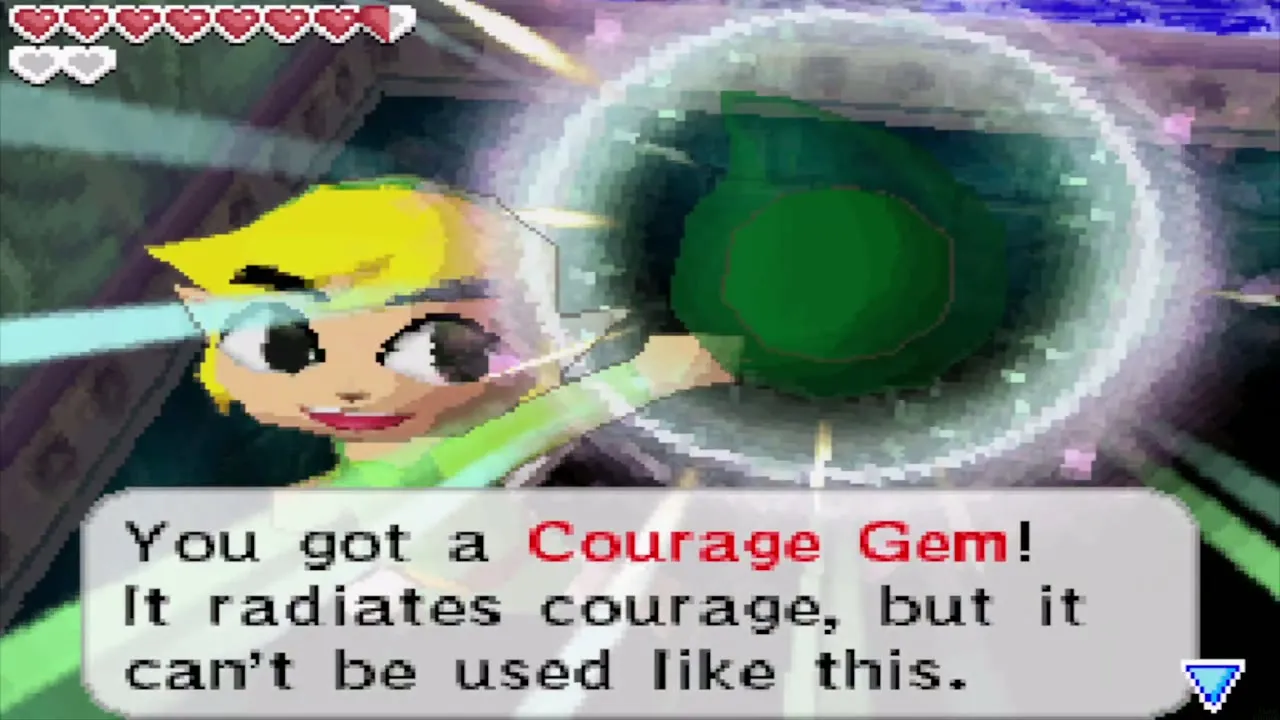

B9: Wizzrobes and the Square Crystal
Triangle chest and Wizzrobes
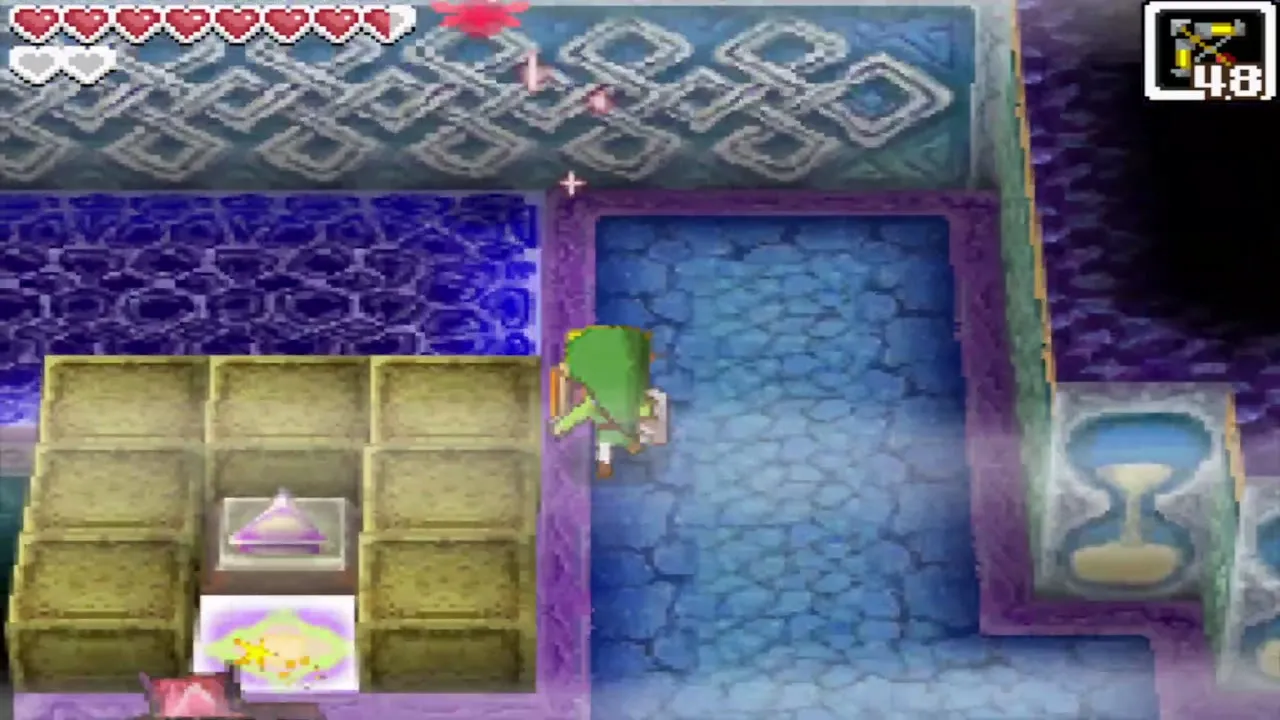
The first time you reach B9, open the chest beside the northwest entrance to take the Triangle Crystal and bring it back up to B8 as above. On the second visit, leave it in the safe zone, because four Wizzrobes now guard the floor, one in each corner. They are invisible until they are close, so let one come up behind you, turn and slash it, or hit the northeast one with the Boomerang. If a Wizzrobe touches you, it steals 15 seconds from the hourglass. Defeating all four makes a chest with a Wisdom Gem appear, but you do not have to do it now.



Win the Square Crystal
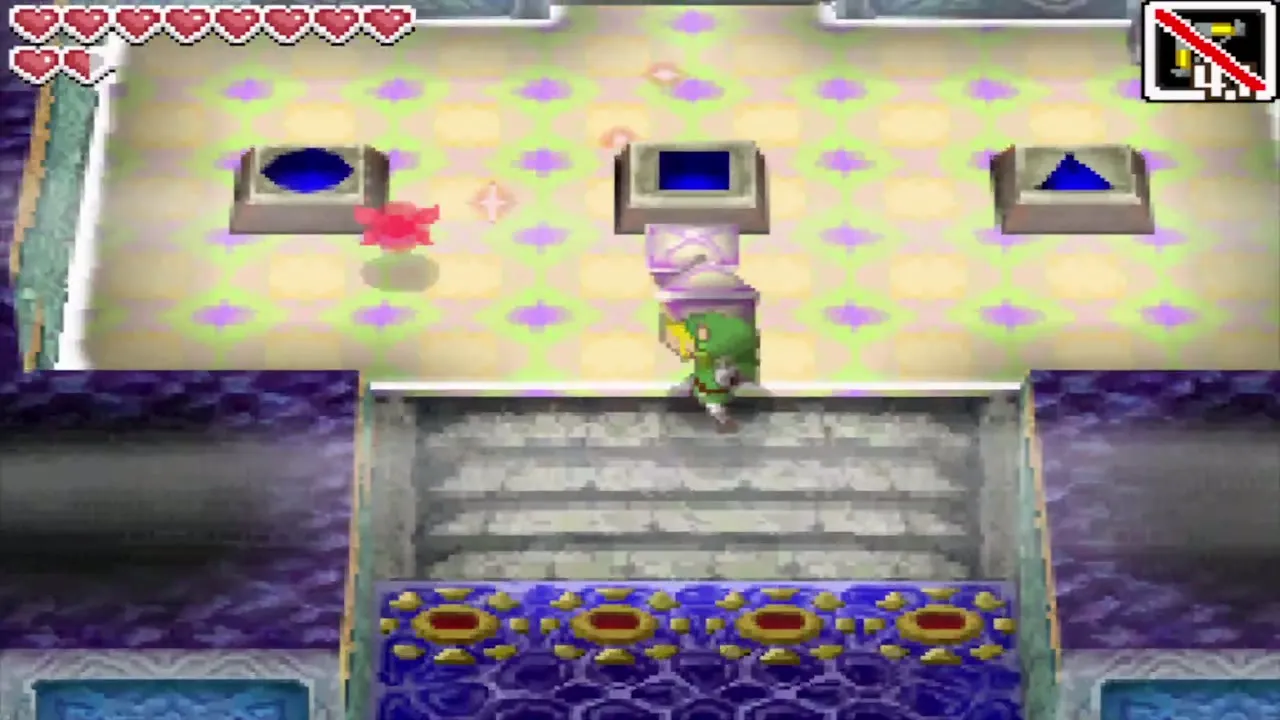
Head to the south part of the floor and find the arrow aimer. Turn it north with the Boomerang, then shoot the aimer with an arrow so that it fires at the eye switch. The spikes beside the southeast Safe Zone drop. Stand on the floor switch in that zone and a trapdoor opens: when the Swift Phantom carrying the Square Crystal walks over it, it falls and drops the crystal. Take the Square Crystal to the pedestal in the northwest corner, which puts out the flames on your right, and use the stairs there to go up to B8 one last time.
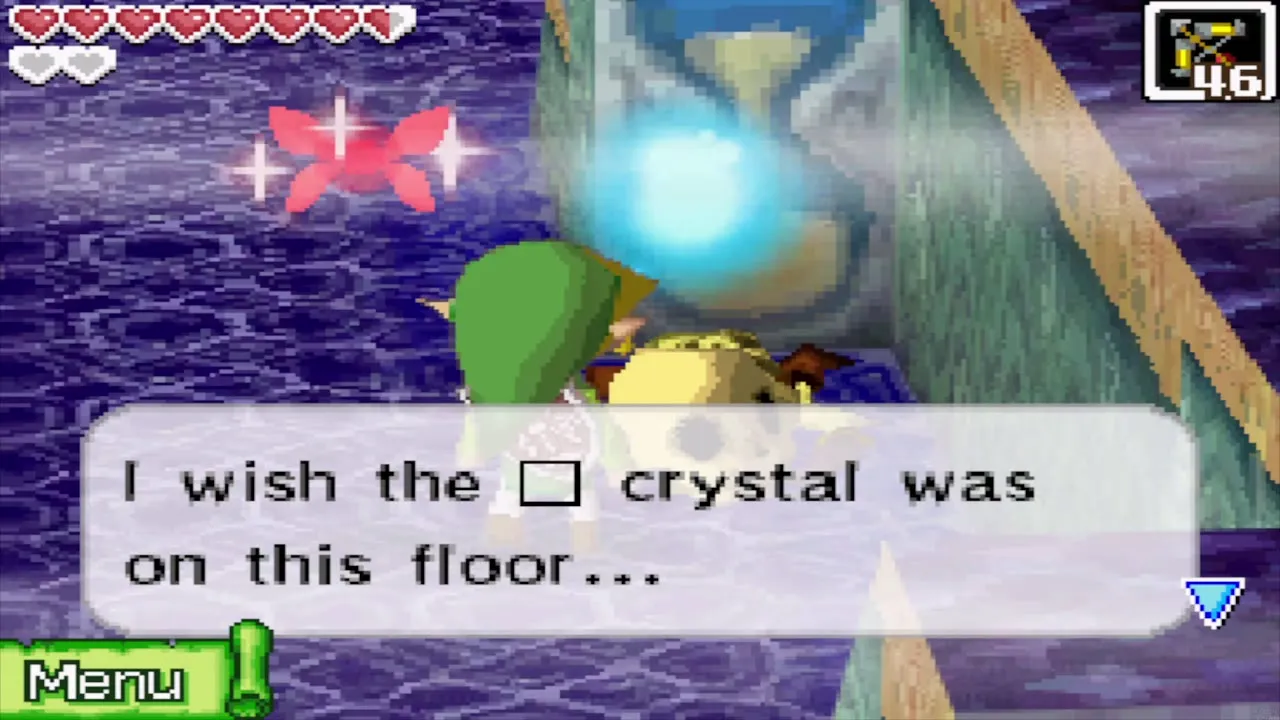
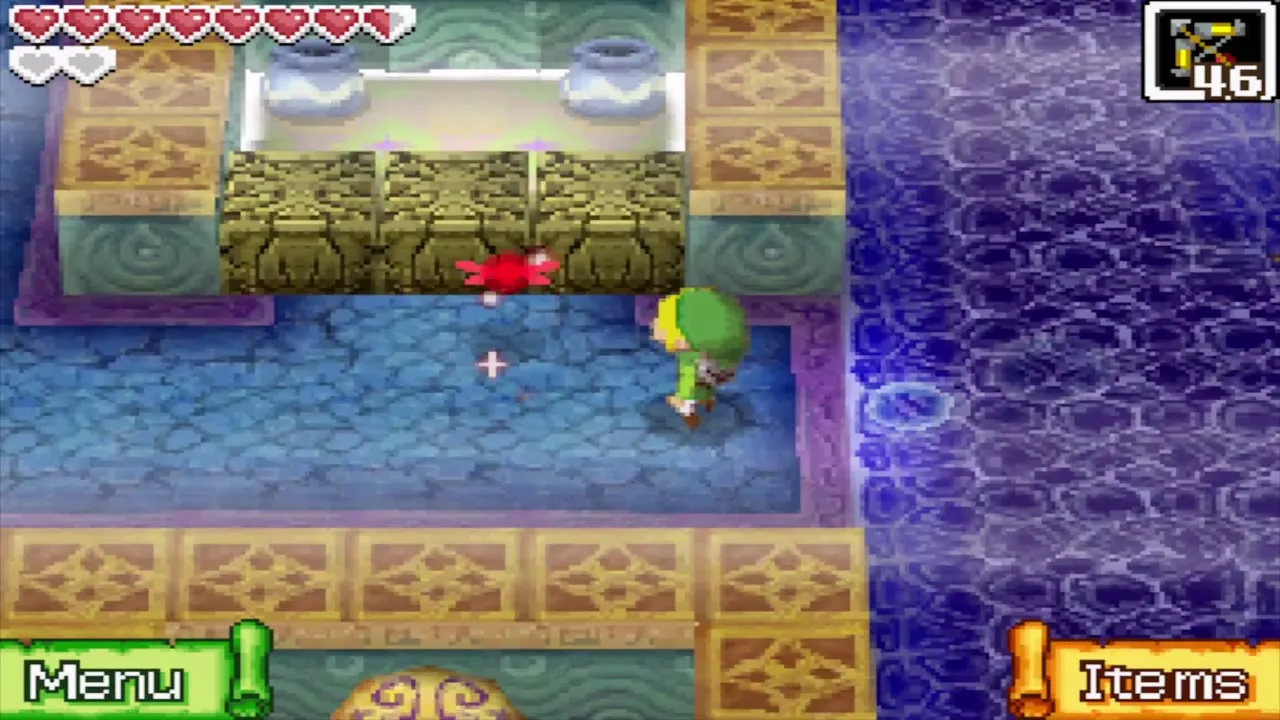
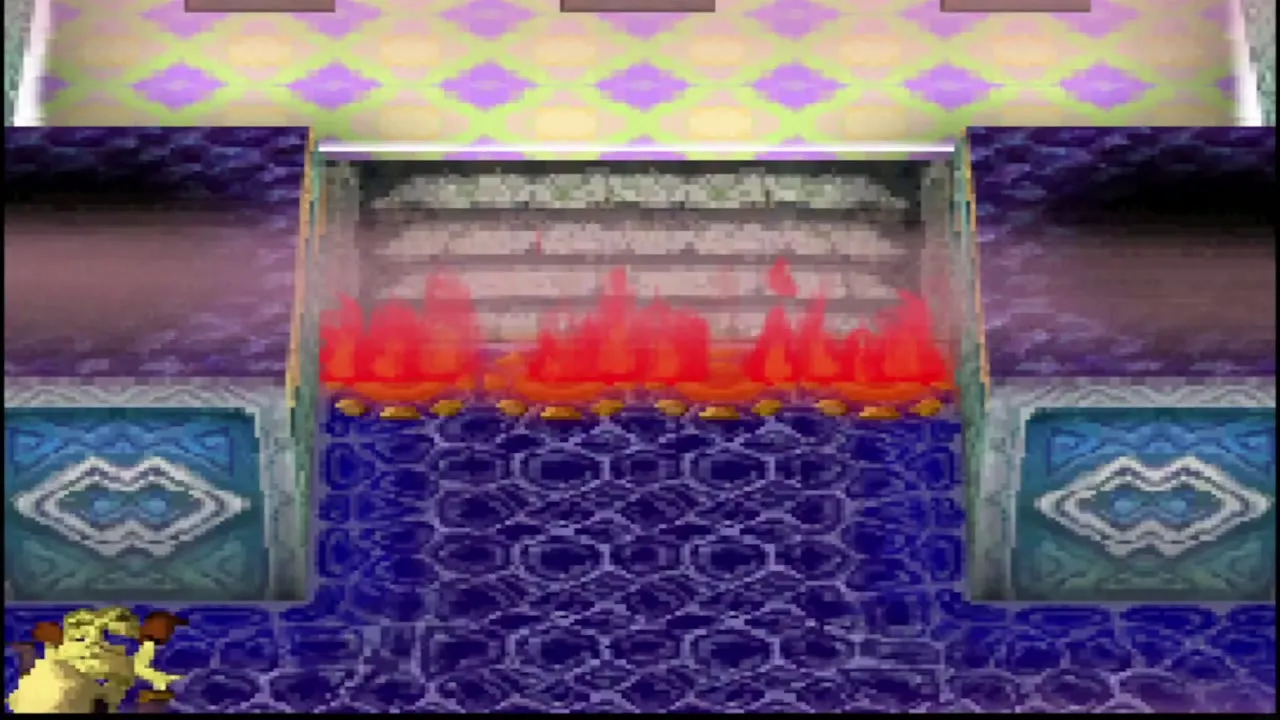
On B8, step on the floor switch that made the wind geyser and lift the Round Crystal from its pedestal. Ride the geyser on the other side of the wall to the ledge, walk north along it to the stairs and drop down to B9. Carry all three crystals to the large safe zone in the north part of the floor.
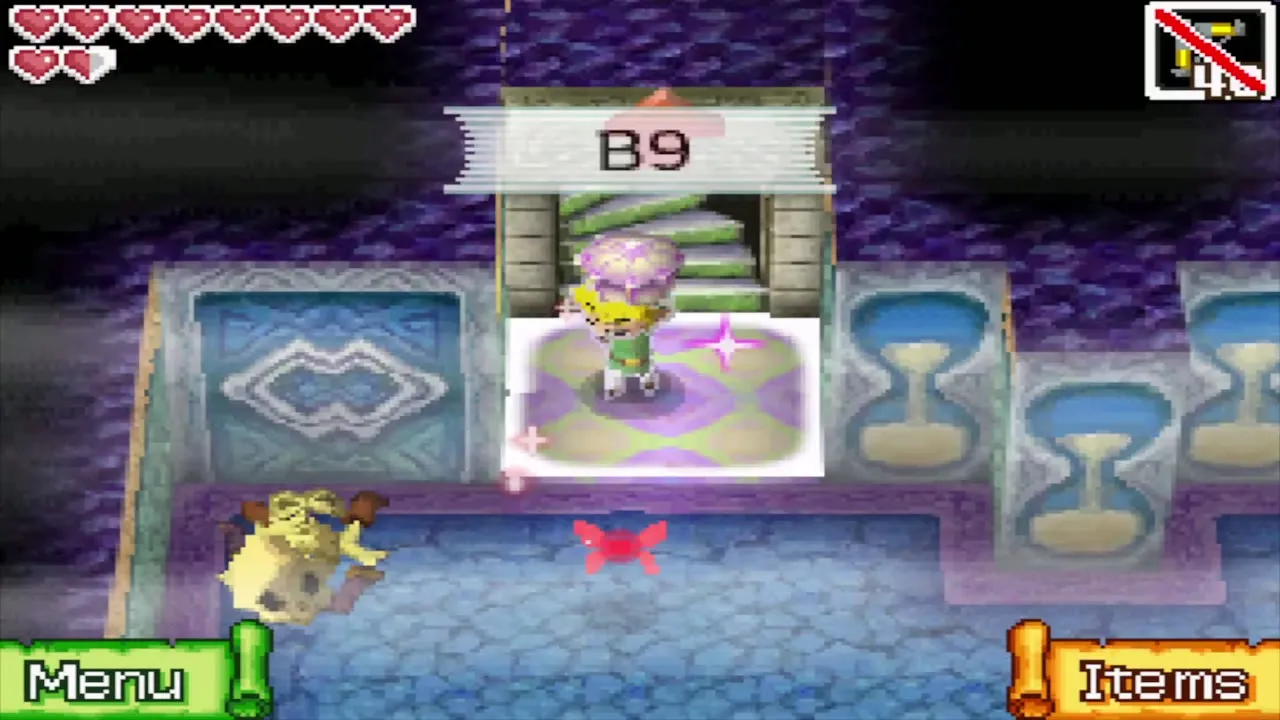

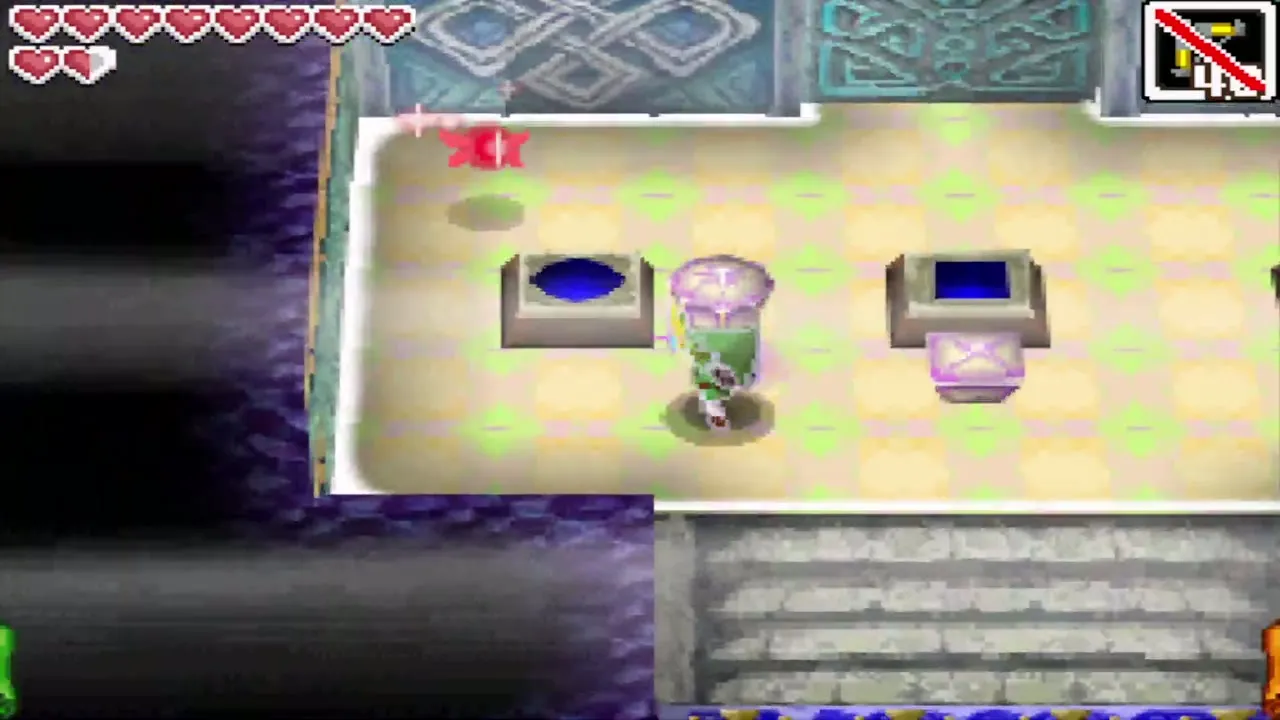
Set the three crystals
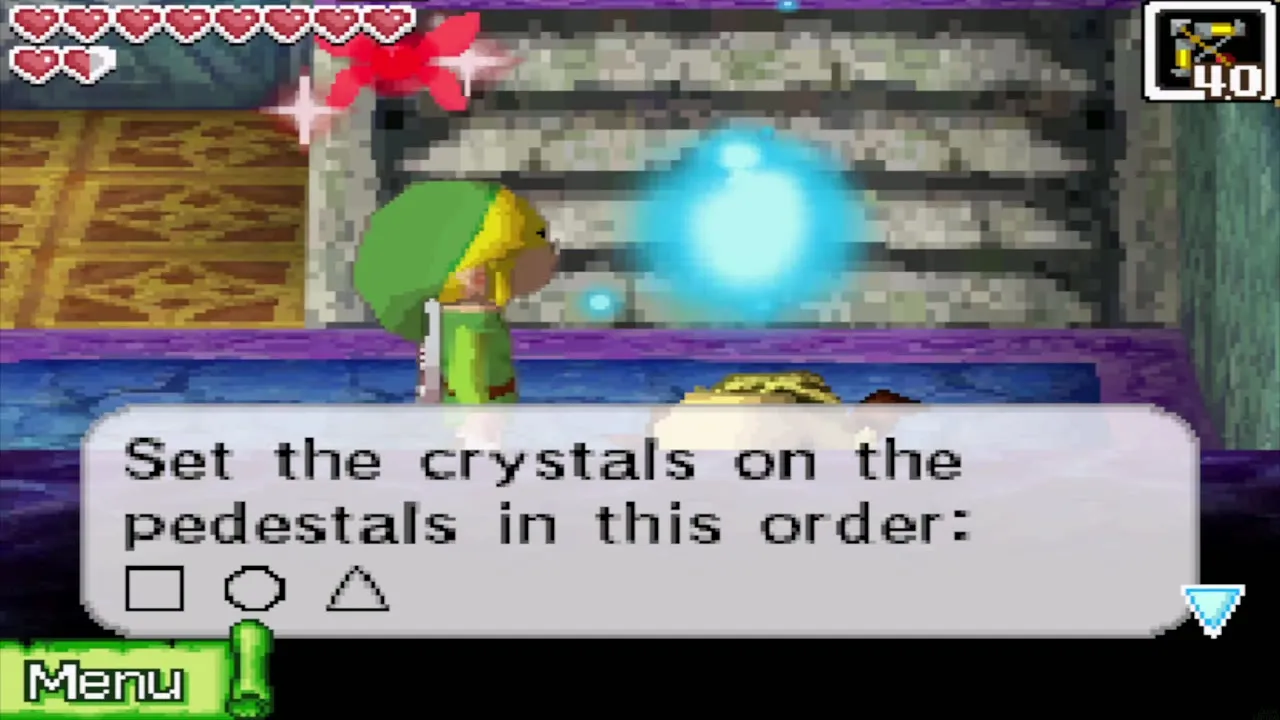
Set the crystals on their matching pedestals in this order: Square, Round, Triangle. The three pedestals form a set. When the third crystal is in place, a door opens onto the Elevator Chamber.


The Southeastern Sea Chart
Open the chest
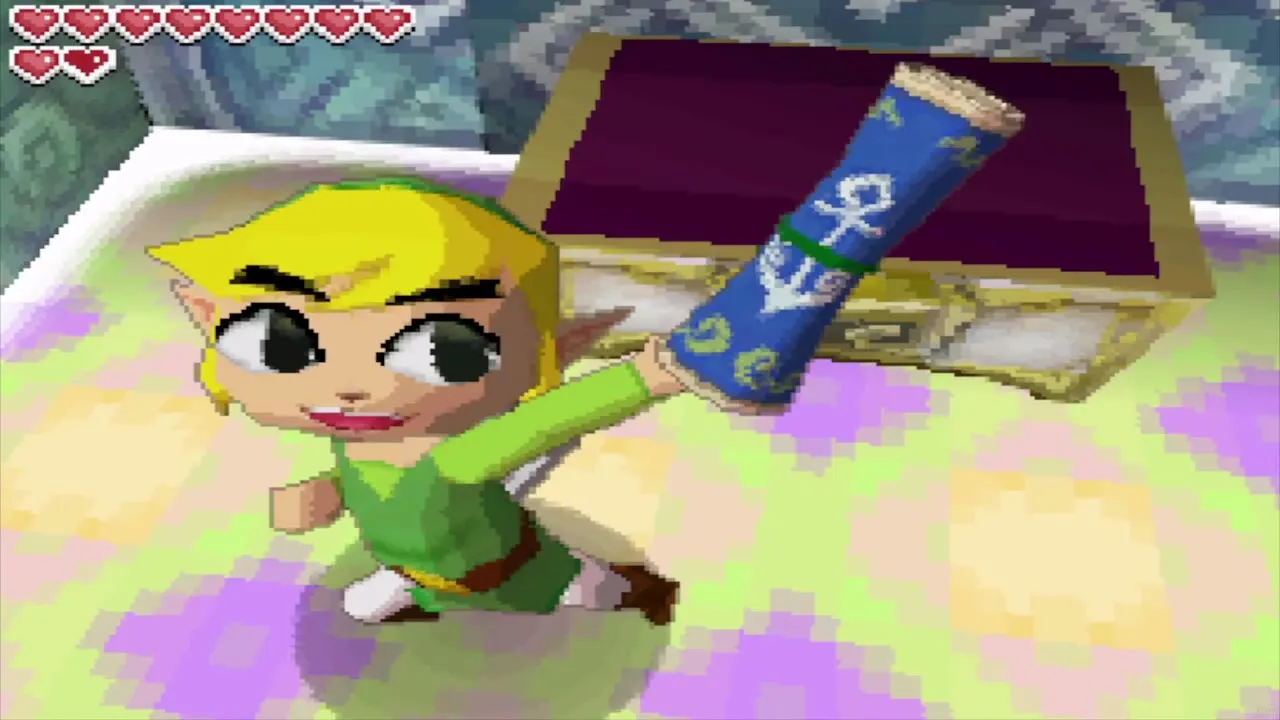
Open the chest in the room that the door reveals. It contains the Southeastern Sea Chart, which opens a new area of the sea to the southeast. The game asks whether you want to try the deeper floors the fallen explorer mentioned, and you can carry on down if the hourglass allows. The deeper floors are far easier with gear from later dungeons, so step into the blue portal instead and return to the entrance.

The fallen adventurer’s hints
At the entrance a skeleton adventurer talks to you. He knows many of the temple’s secrets and will share them if you ask, but he charges for it, so you can simply walk past him.
Freedle and the Masked Ship
Treasure Map 12 from Freedle
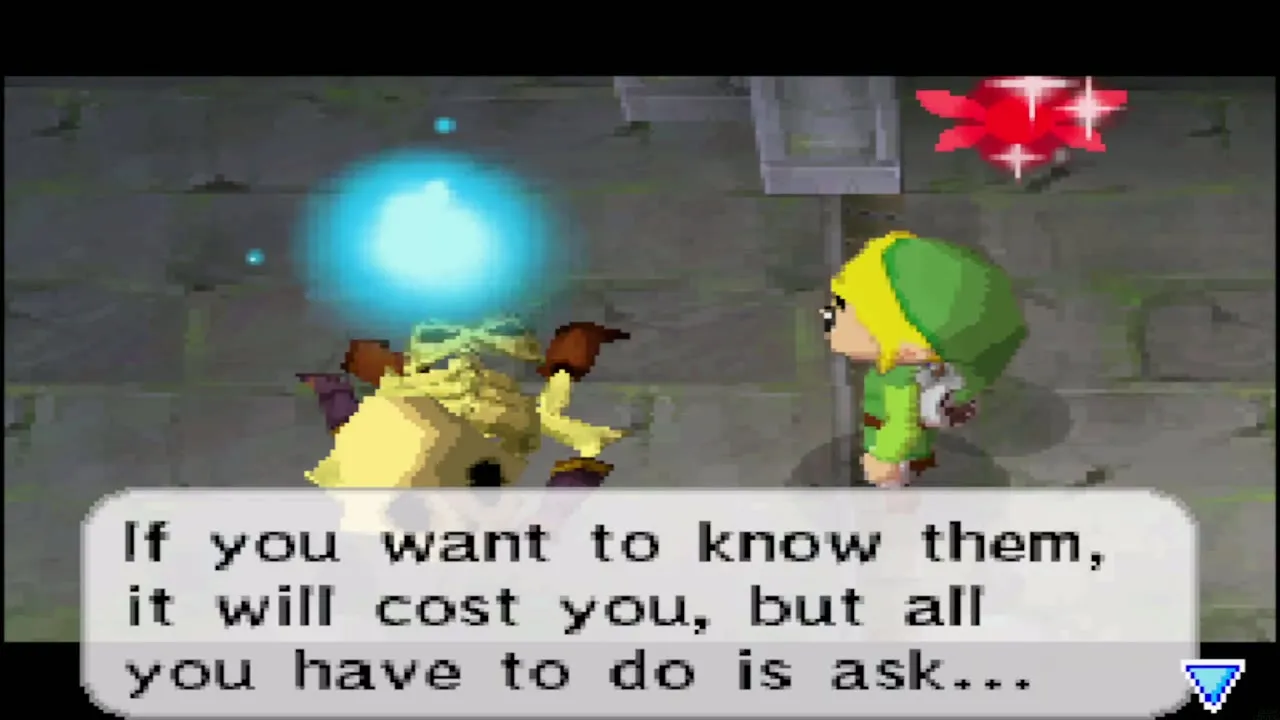
Now that you own the Southeastern Sea Chart, visit Freedle at the northeast corner of Mercay Island, the pink-hatted man who sits beside the pink boxes. He mentions a treasure he found in his boxes and hands you Treasure Map 12. It marks a sunken Ship Part that you can raise with the Salvage Arm.


Beedle’s Masked Ship
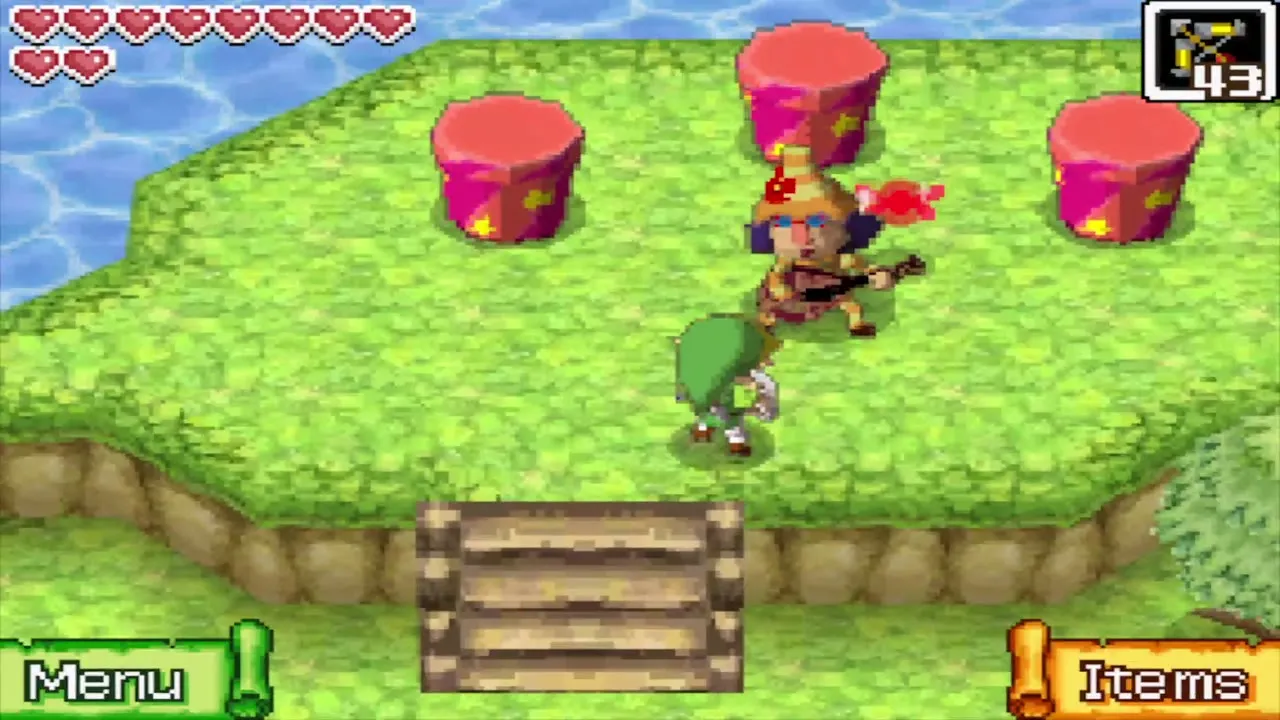
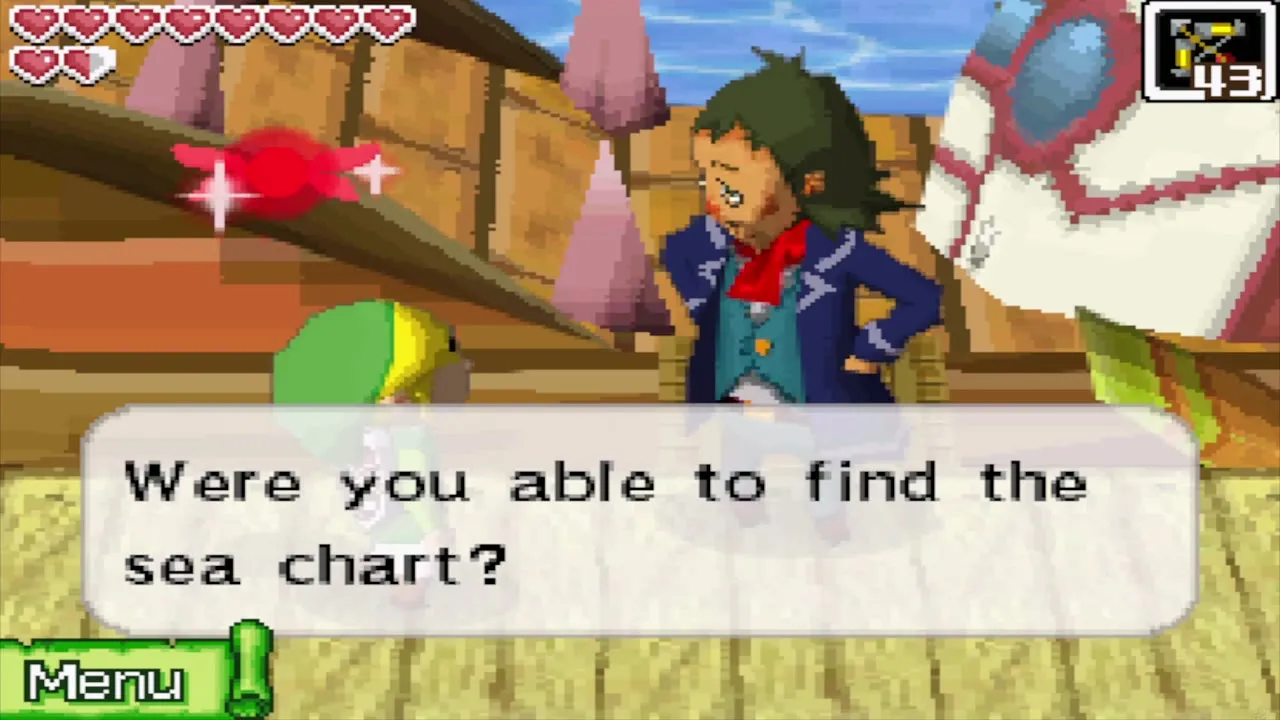
Linebeck asks whether you found the sea chart and is sure the Pure Metals are somewhere among the islands, then urges you aboard. Before you cross to the new sea, look for Beedle’s Masked Ship on the Sea Chart. It sails only at certain times by the DS clock: 10 p.m. to midnight on weekdays and 10 a.m. to noon on weekends. Pick it as a destination, draw a line to it and tap Go.
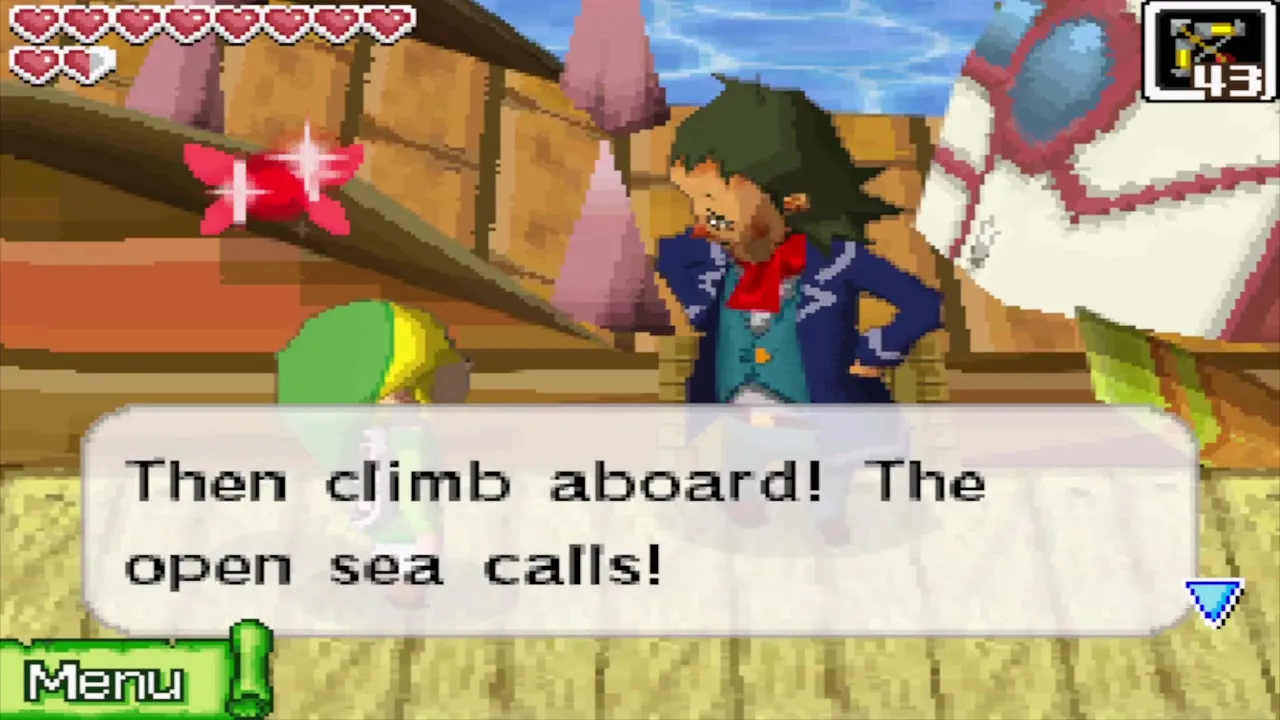
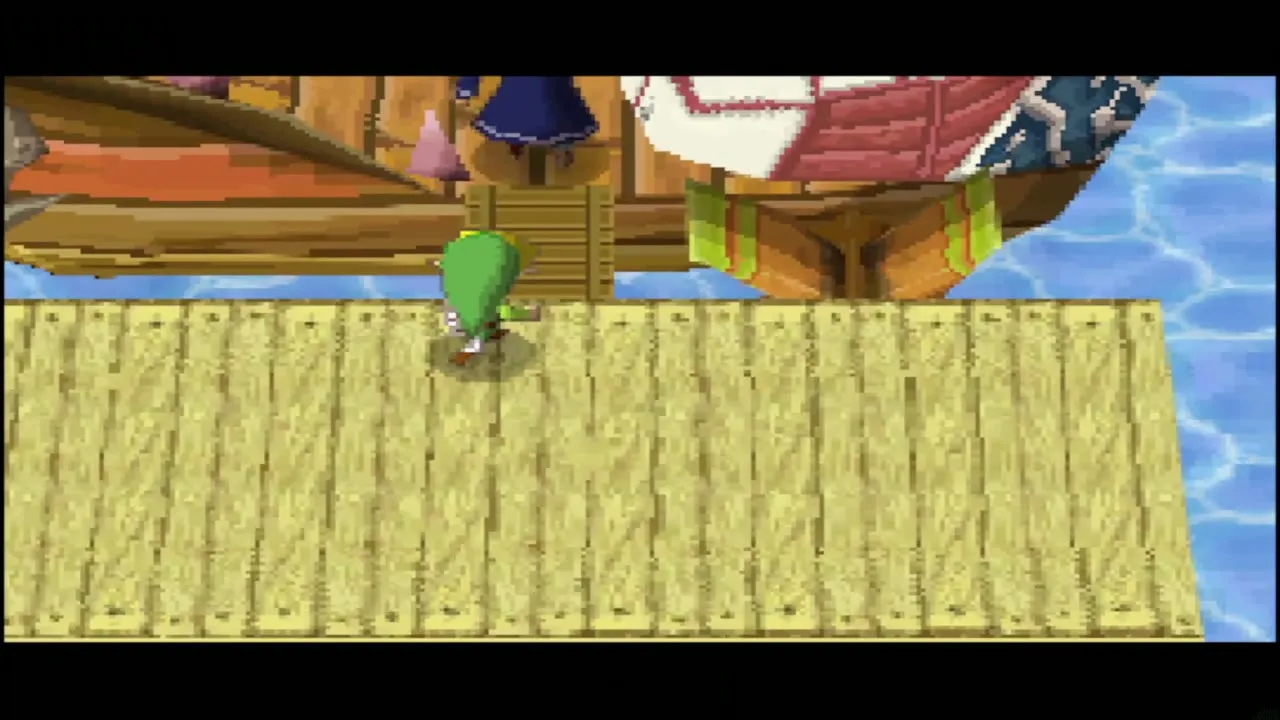
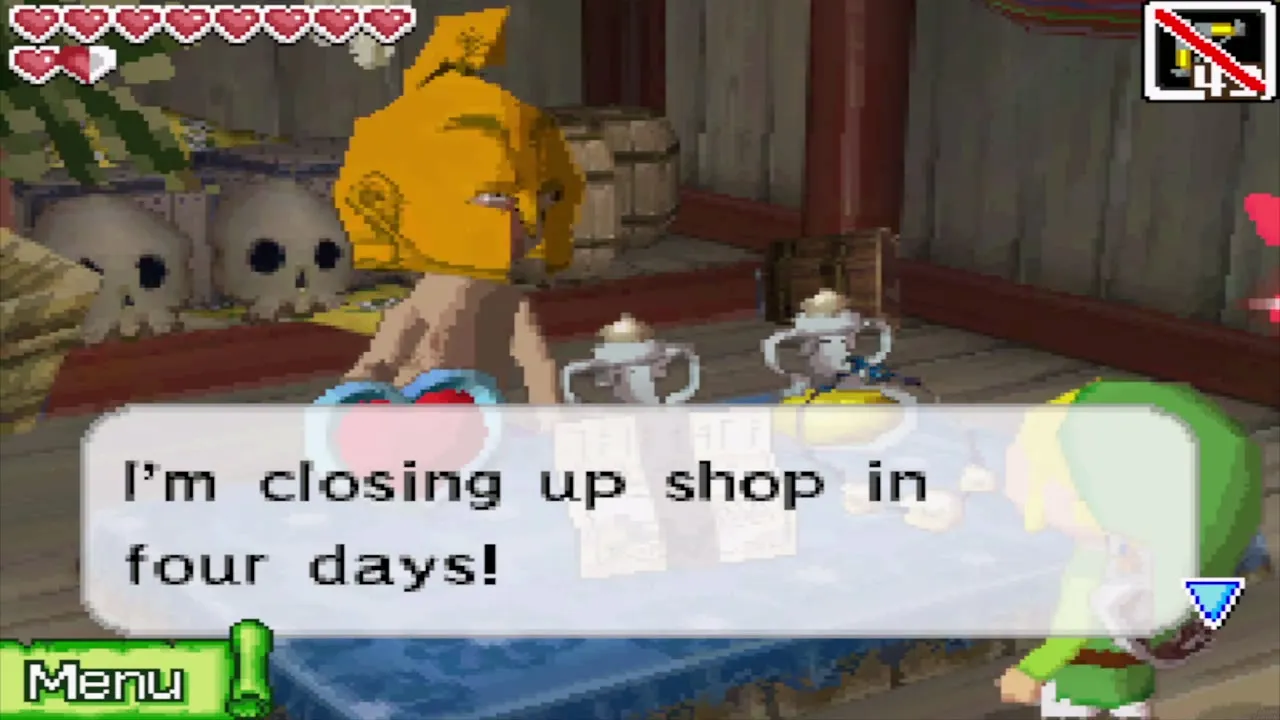
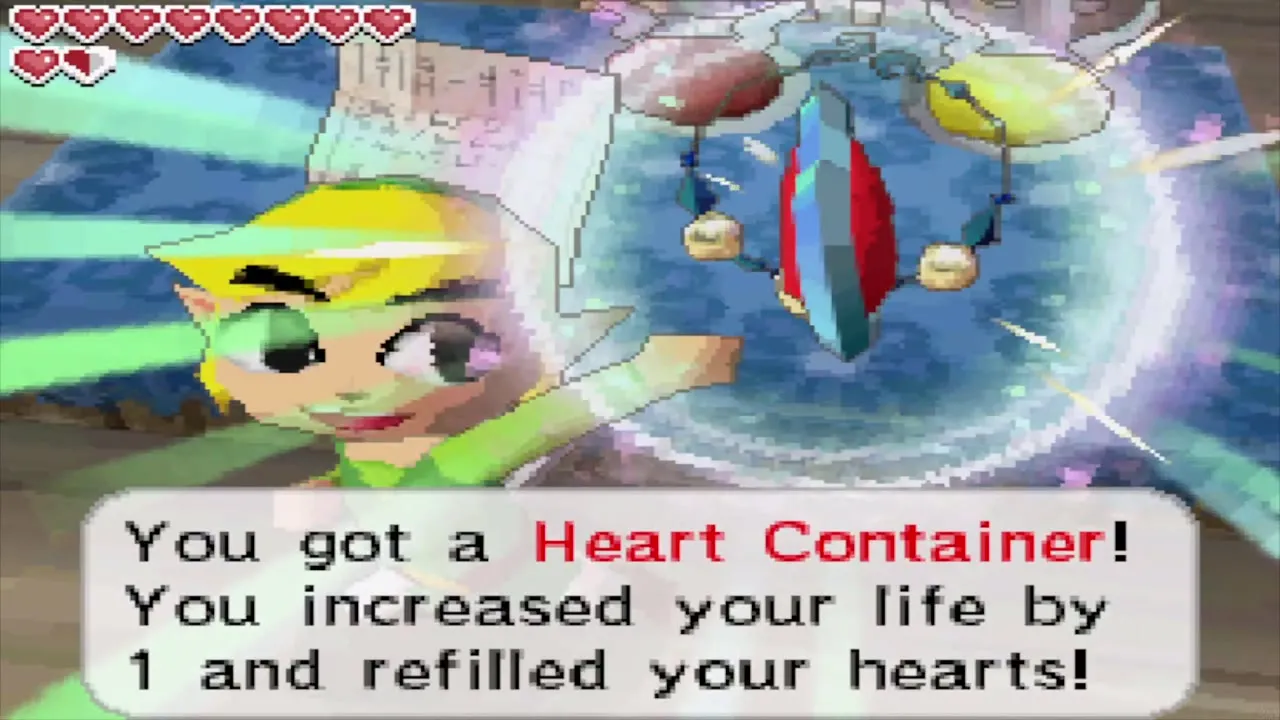
On board Beedle announces a liquidation sale. A Heart Container sits among his goods at 1,500 Rupees, and only one is available, so buy it. It raises your life by one heart and refills your hearts. The ship also lists a Courage Gem for 500 Rupees, and it also sells a treasure and two ship parts, which change each time the ship returns.

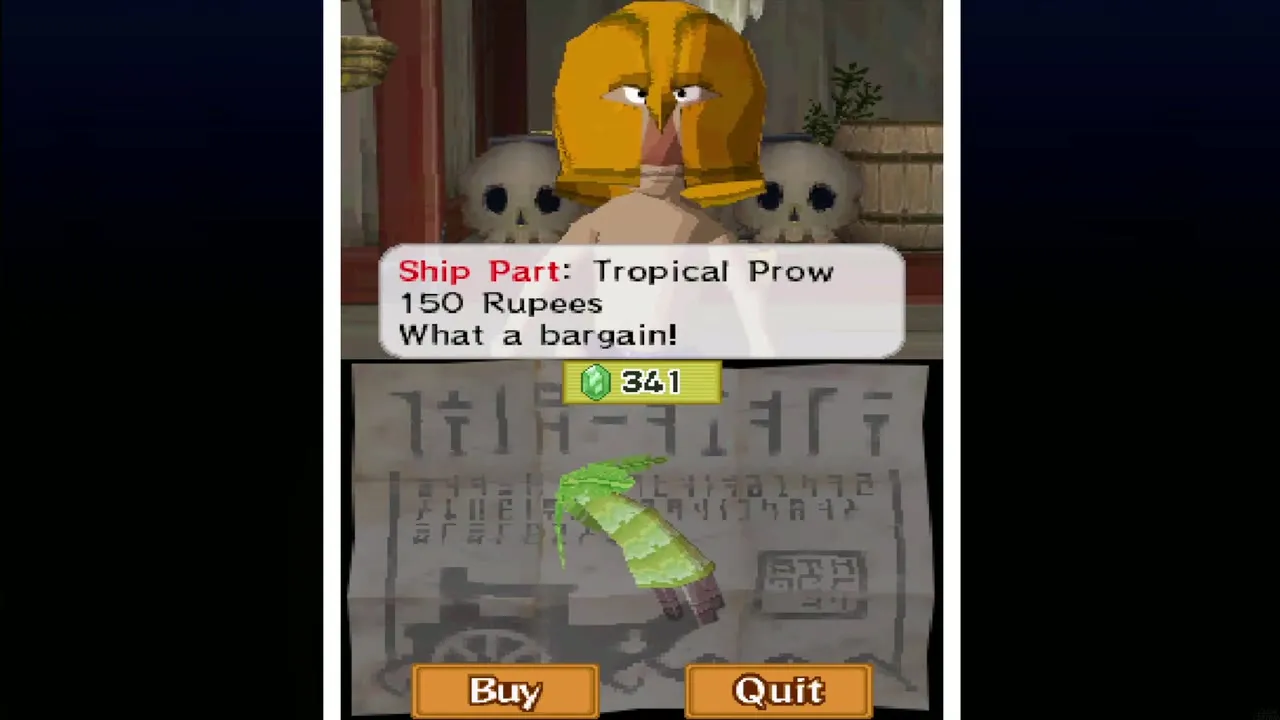
The ship parts are worth a look as well; the stock varies, and one offer is a Tropical Prow for 150 Rupees, which belongs to the Tropical Ship set. Buy parts if you are collecting a set, then press on to the Southeastern Sea, where Goron Island is waiting.

What to come back for
The chests that appear on B7, B8 and B9 after you defeat every Phantom on the floor need a weapon that kills Phantoms, so they wait for the Phantom Sword near the end of the game. The B7 chest that holds a Power Gem asks for the Grappling Hook from the Temple of Ice. The Wisdom Gem on B9 is yours as soon as the four Wizzrobes fall. The gems on B1 and B2 and the map on B5 need the Grappling Hook or the Bombchus, so you pick them up on later visits.
Chapter checklist
| Collectible | Type | Where |
|---|---|---|
| Southeastern Sea Chart | Sea chart | Chest in the room behind the crystal door on B9 |
Ship part (such as a 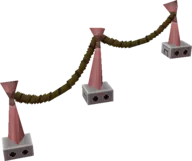 Worn Handrail) | Ship part | Postman’s gift from Linebeck on Mercay Island |
Ship parts (such as a 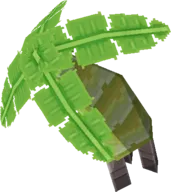 Tropical Prow) | Ship part | Beedle’s Masked Ship, stock varies (a Tropical Prow was 150 Rupees) |
| Heart Container | Heart Container | Beedle’s Masked Ship, 1,500 Rupees |
| Courage Gem | Spirit Gem | Chest on B8 after the Triangle Crystal is placed |
| Courage Gem | Spirit Gem | Beedle’s Masked Ship, 500 Rupees |
| Power Gem | Spirit Gem | B3, timed pickup after the eye switch is shot |
| Wisdom Gem | Spirit Gem | Zauz’s Island, chest reached by gliding with a Cucco |
| Wisdom Gem | Spirit Gem | B9, after all four Wizzrobes are defeated |
| Treasure Map 5 | Treasure map | Dig on Zauz’s Island where the lines between four stone tiles cross |
| Treasure Map 11 | Treasure map | B6, timed chest after the eye switch (salvage: one minute of Sand of Hours) |
| Treasure Map 12 | Treasure map | Freedle, Mercay Island, once you own the Southeastern Sea Chart |
| Golden Frogs | Frog | Between Bannan Island and the Isle of Gust; south of Mercay Island |
With the new chart, set a course for the Southeastern Sea and the island of the Gorons in the Goron Island chapter.