





















Phantom Hourglass 100% Completion Walkthrough19 chapters
- Temple of FireEvery key, the Boomerang, the Boss Key, how to beat Blaaz, the Heart Container, Leaf and Astrid’s Power Gem.
- Temple of WindGet the bombs, the Boss Key, beat Cyclok, free Neri and take the Heart Container.
- Molida Island and the Temple of CourageBeat the Giant Eye Plant, light Molida’s statues, get the Bow, defeat Crayk and awaken the Spirit of Courage.
- The Ghost ShipFind the ship with the Spirits, free the Cubus sisters, win their volley game, get the Ghost Key and Heart Container.
- Goron TempleTeam up with Gongoron, get the Bombchus and the Boss Key, beat Dongorongo and take the Crimsonine.
- Temple of IceLever order, three small keys, Grappling Hook, Boss Key, Gleeok fight, Heart Container and Azurine.
- Mutoh’s TempleGet the Hammer, find both small keys and the Boss Key, beat Eox and collect the Aquanine.
- Mercay Island and the First Sea ChartGet Oshus’s Sword, solve the lever passage, rescue Linebeck and find the first sea chart.
- Temple of the Ocean KingTake the Phantom Hourglass, sneak past Phantoms, carry three Force Gems and find the Northwestern Sea Chart.
- Temple of the Ocean KingPhantom Eyes, the hourglass crest door, the Salvage Arm, treasure salvage and the Sun Key.
- Zauz and the Temple of the Ocean KingPure Metals, Triforce door, crystal puzzles and the Southeastern Sea Chart.
- Temple of the Ocean KingGold Phantoms, the B11 bridges, three Force Gems on B12 and the Northeastern Sea Chart.
- The Phantom Sword and BellumPhantom Hourglass walkthrough for the Phantom Sword, the last Temple of the Ocean King descent, Bellum.
- Isle of Ember and AstridFirst voyage, Beedle’s Shop Ship, Kayo’s torches, freeing Astrid and the volcano path to the Temple of Fire.
- Cannon Island, the Ghost Ship Chase and Molida IslandBuy the Cannon from Eddo, chase the Ghost Ship, then reach Molida Island and take the Shovel.
- Northwestern Sea and the Isle of GustThe fog route, Bannan Island fishing, Zauz, the Cyclone Slate, Golden Frogs and the way to the Temple of Wind.
- Goron Island and GongoronSail the Southeastern Sea, beat the Massive Eye, pass Biggoron’s quiz, find Gongoron and reach the Goron Temple.
- Isle of Frost and the Yook MysteryCannon the ice, Anouki Estates, find the Yook among six villagers and fight through the Great Ice Field.
- Isle of the Dead and the Isle of RuinsDig spot, Phantom Corridor path, Regal Necklace, King’s Key, Max and the door symbol.
| Covers | Giant Eye Plant at Molida harbour, the Sun Key door, three light statues, the Temple of Courage, Crayk, Spirit Island and Romanos’s Shooting Range |
|---|---|
| You need | Sun Key, Cannon, Boomerang, Bombs, Shovel, Southwestern Sea Chart, about 1,000 Rupees for the Molida shop upgrade |
| Rewards |  Bow and Arrows,  Heart Container x2,  Power Gem x2,  Wisdom Gem x2,  Courage Gem, 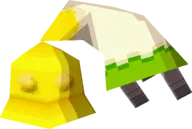 Bell Prow, a treasure such as the  Ruto Crown,  two minutes of sand,  Spirit of Courage, quiver upgrades, 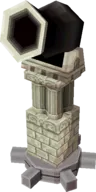 Ancient Cannon,  Treasure Map 10 |
This chapter takes the Sun Key you salvaged in the Southwestern Sea back to Molida Island. Sink the Giant Eye Plant at the harbour, open the sun door, aim three statues at the temple gate, then clear the Temple of Courage for the Bow, a Heart Container and the last piece of Ciela. Afterwards you collect the Shooting Range prizes and sail for the fog.
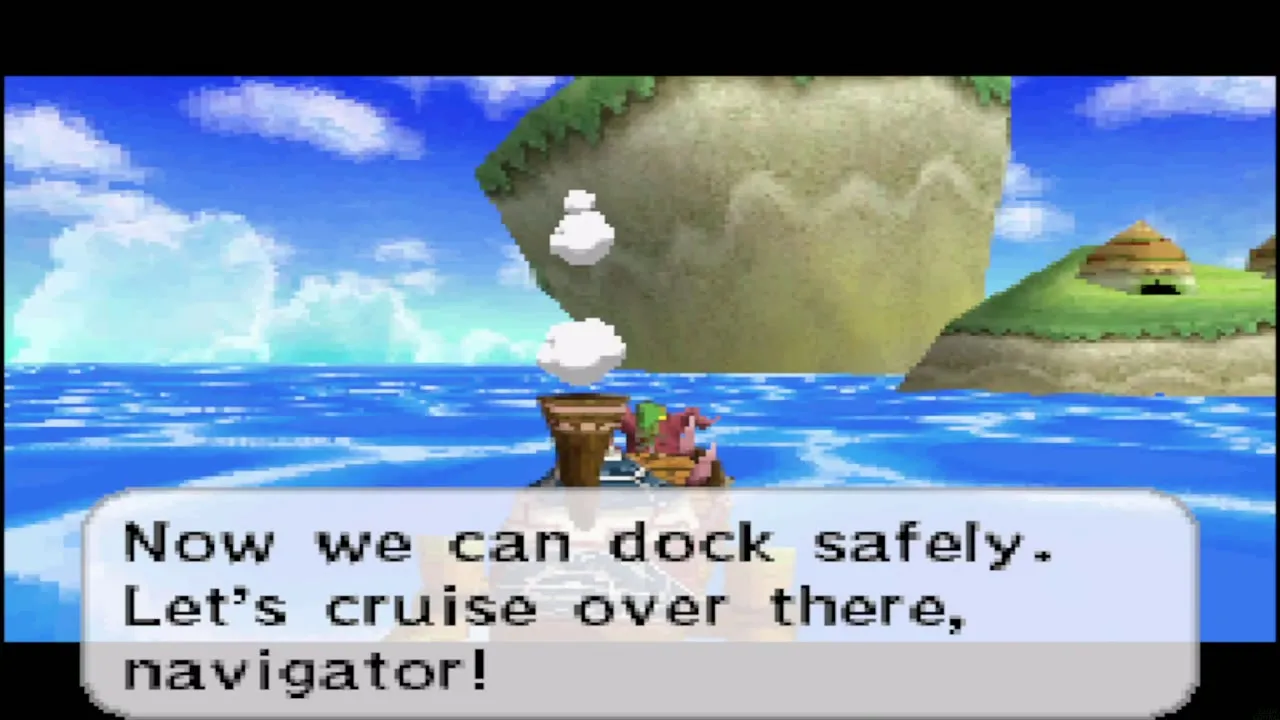

Table of Contents
Sail to Molida Island and beat the Giant Eye Plant
Sail to Molida
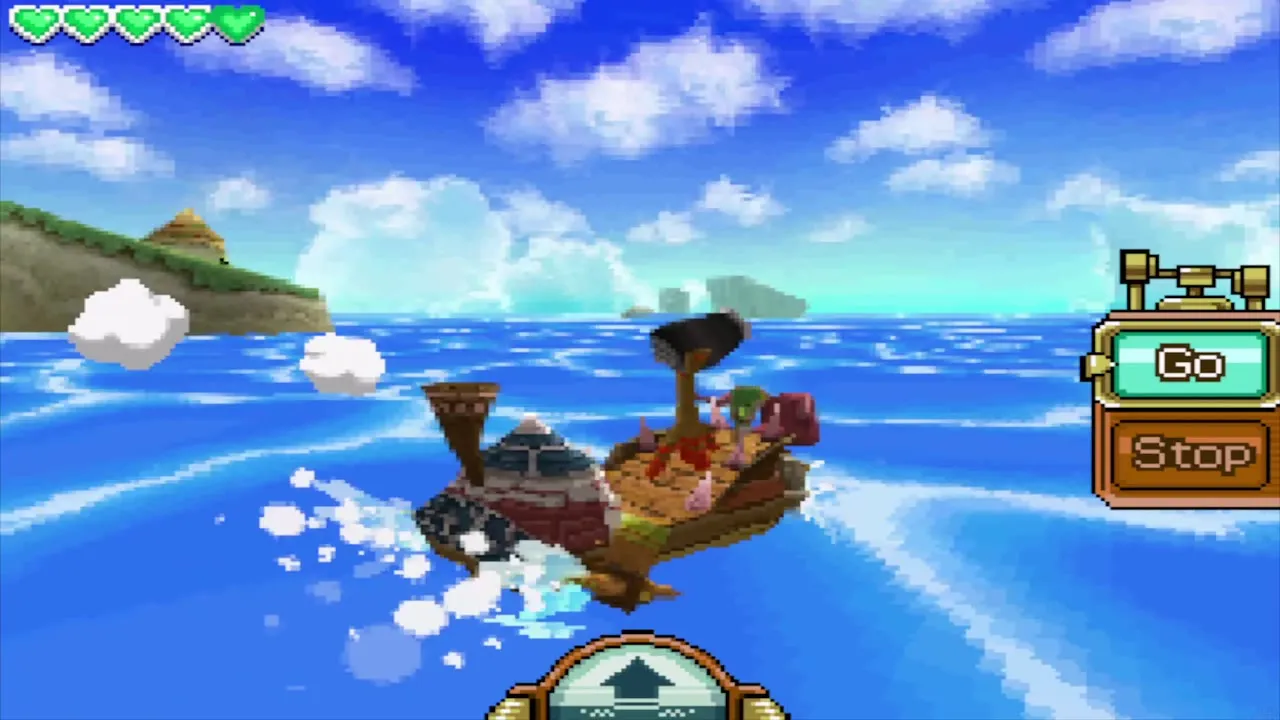
Open the Sea Chart, draw a course from the middle of the Southwestern Sea to Molida Island and tap Go. If a ship opens fire on the way, jump over its shots with the arrow button or answer with the Cannon.
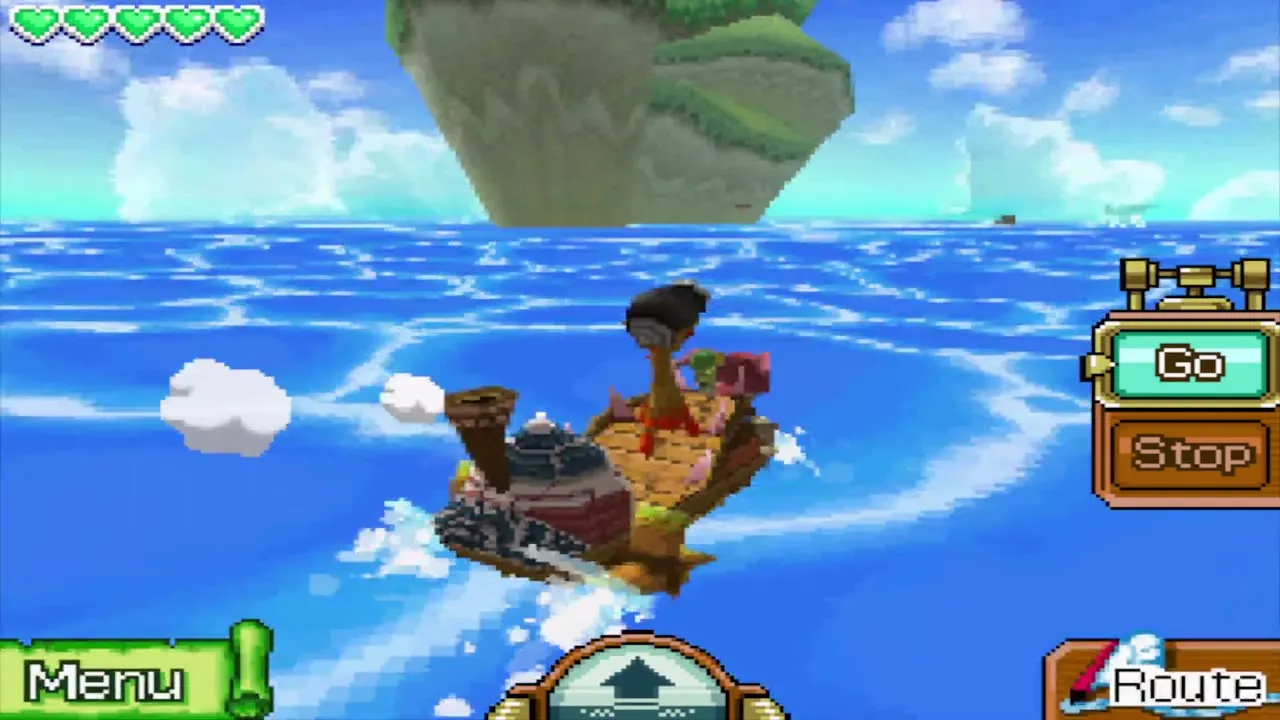
Giant Eye Plant boss fight
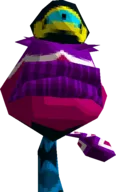
A Giant Eye Plant rises out of the water and blocks the way to the Molida dock. Linebeck cannot say where it is weak, but its big eye bulb is the target. Keep the ship moving by redrawing your course in a wide circle around it, which is what Linebeck tells you to do, so its attacks land behind you.


Tap the plant to fire the Cannon whenever it is in range. If it flings something at the ship, shoot that down first or sail out of its path. A handful of hits finishes it, and Linebeck declares the dock safe.


Molida Island: the Sun Key door and the Wisdom Gem
Open the Sun Door
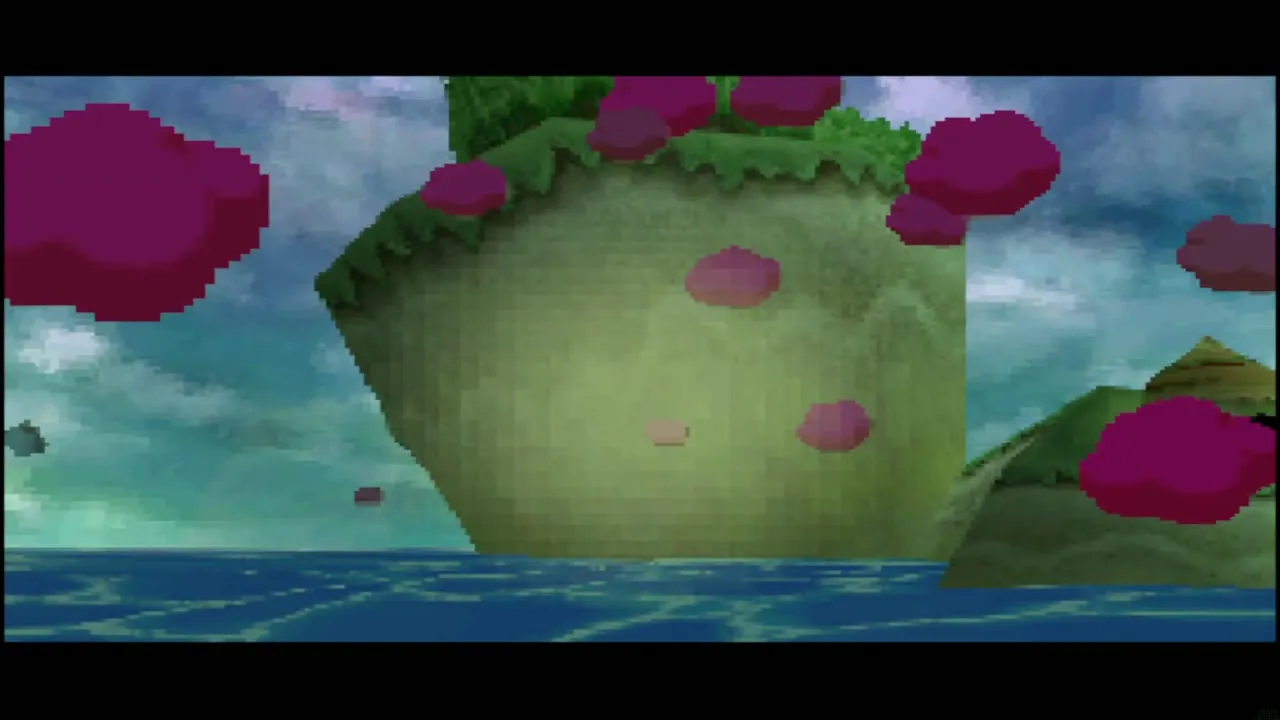
Land at Molida. Go to the hole under the palm tree between the two central huts; it drops you into the Old Wayfarer’s second hideout, which you opened with the Shovel in the earlier chapter (Cannon Island and Molida Island). Follow the cave north to the sun door, touch it, and the Sun Key fits. Climb the stairs behind it to come out in the forest north of the village.


Dig up the Wisdom Gem
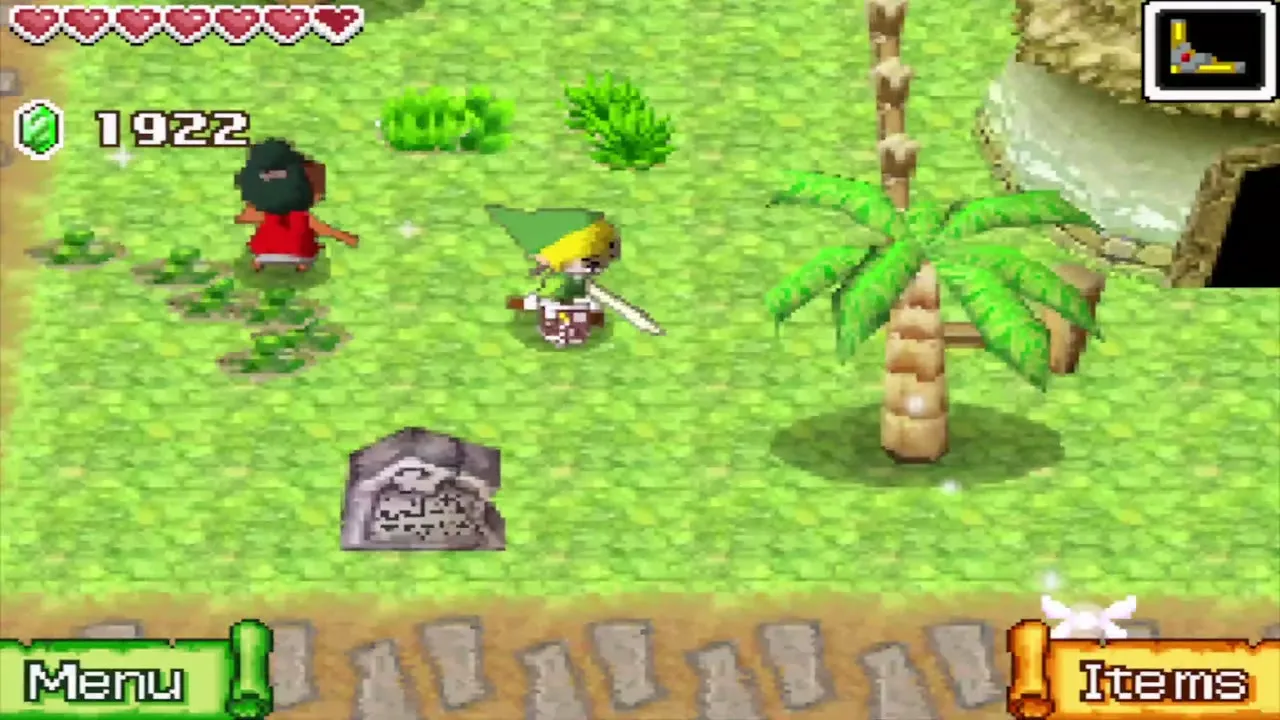
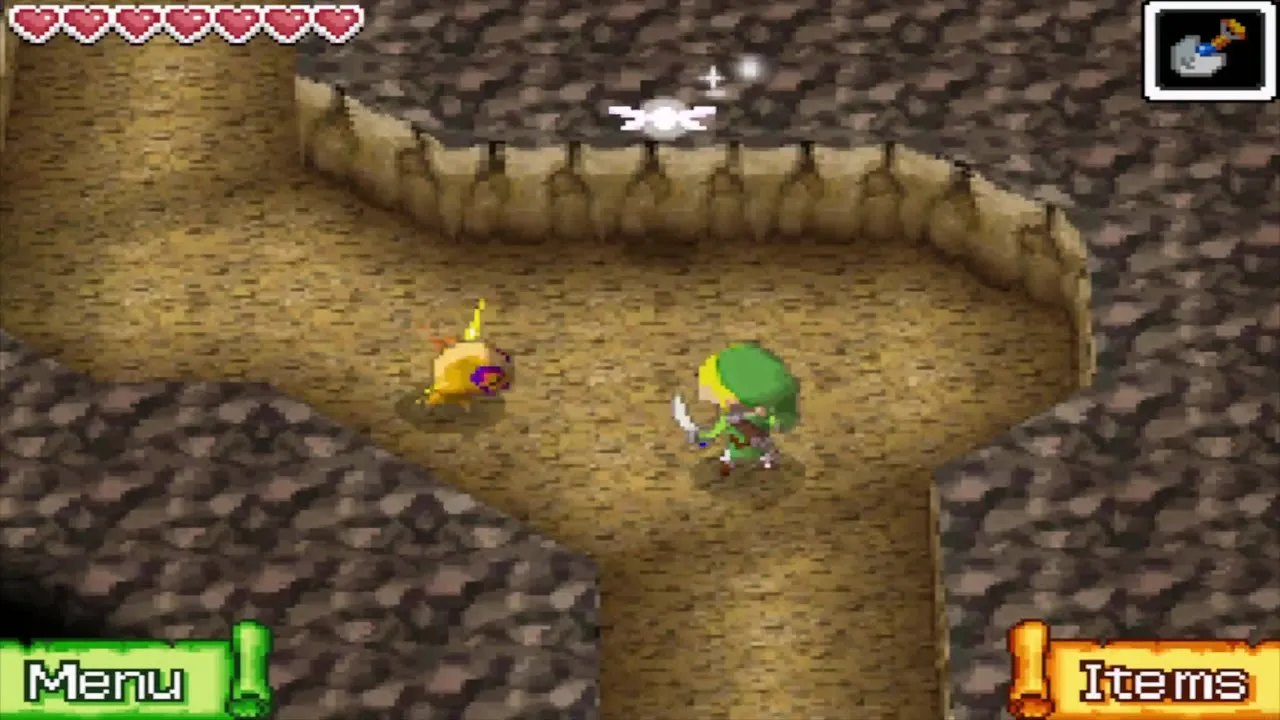
At the top of the stairs, on the grass near the cave mouth, equip the Shovel and dig the soft patch. You fall through the hole into a small cave where a chest holds a Wisdom Gem, the sixth of the twenty on the Wisdom Gem list. Climb back out to the forest.


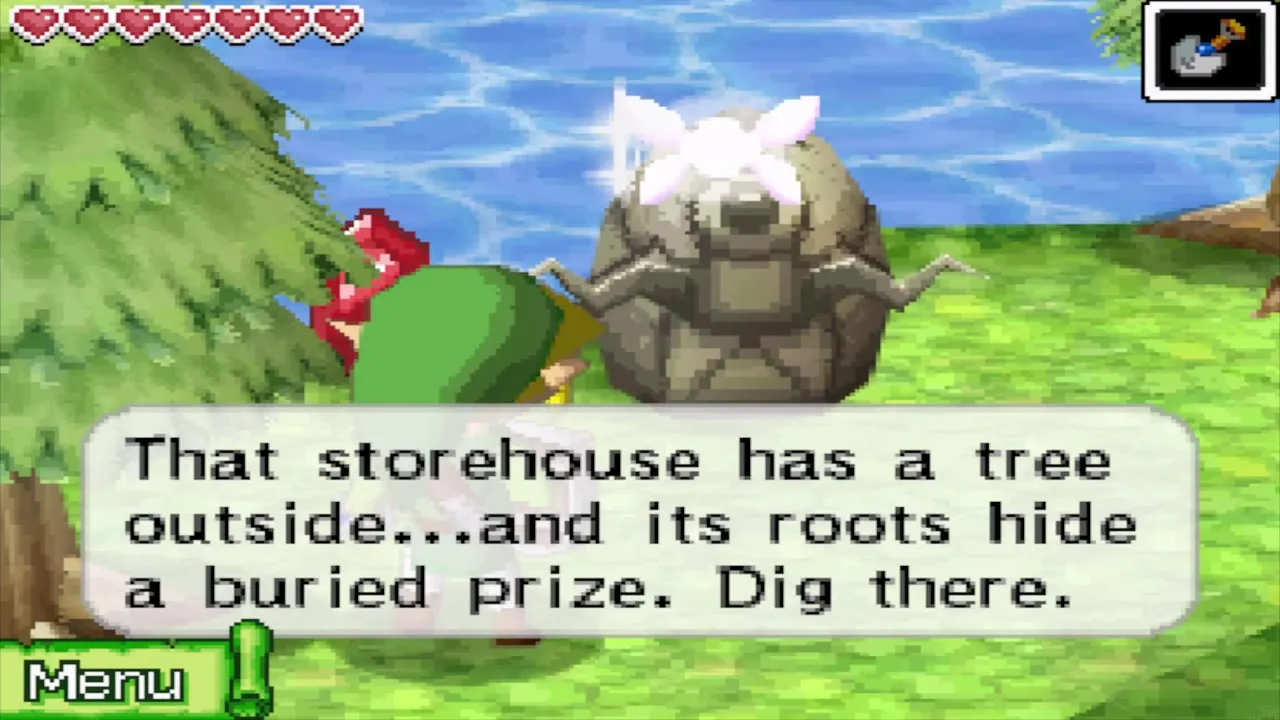
A talking stone near the forest entrance tells you to dig by the tree outside Oshus’s storehouse. That buried prize is on Mercay and is covered at the end of this chapter.


Aim the three light statues at the temple gate
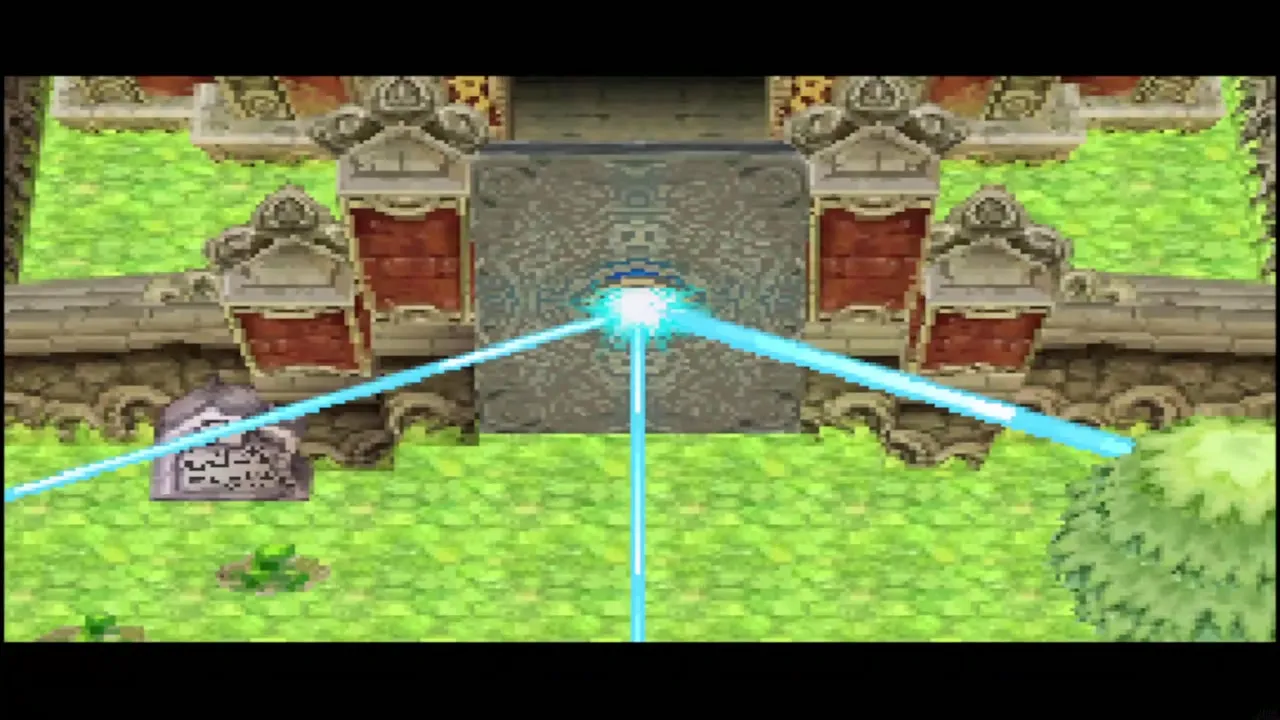
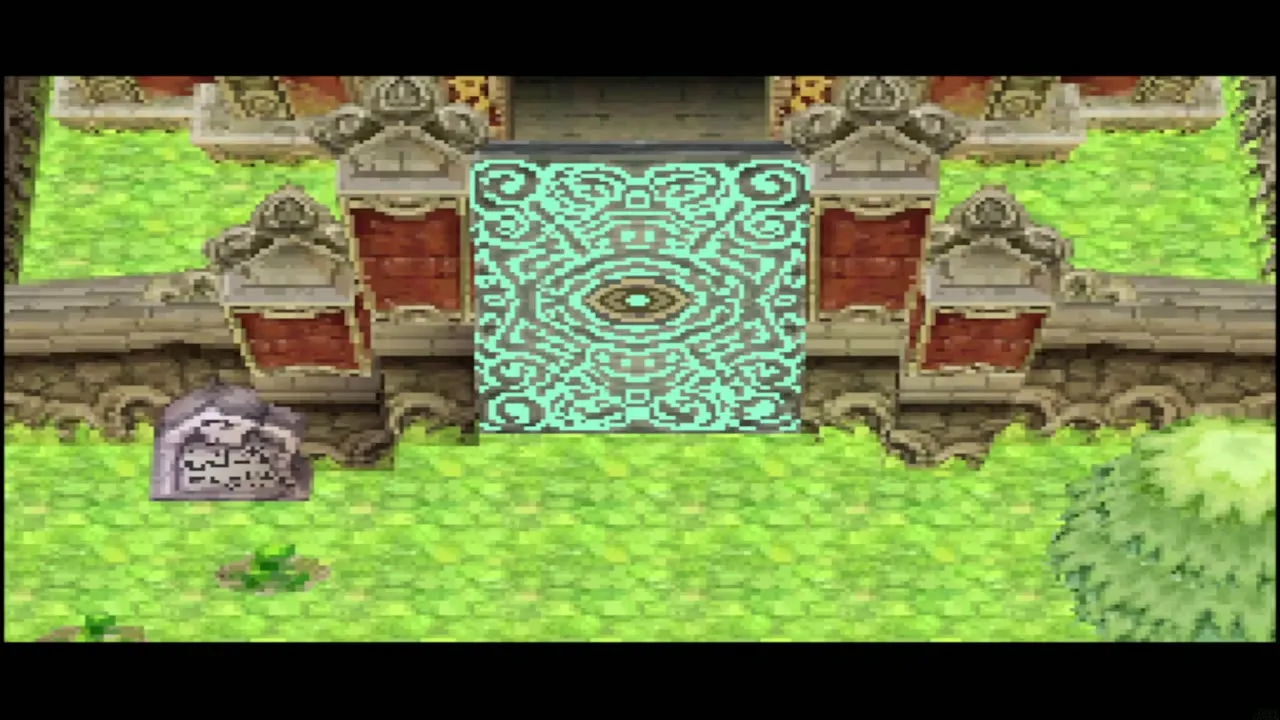
The temple gate at the north end of the forest only opens for the light of three stone statues, so find all three and turn each one until its beam strikes the gate. A statue turns when you drag the stylus around it.
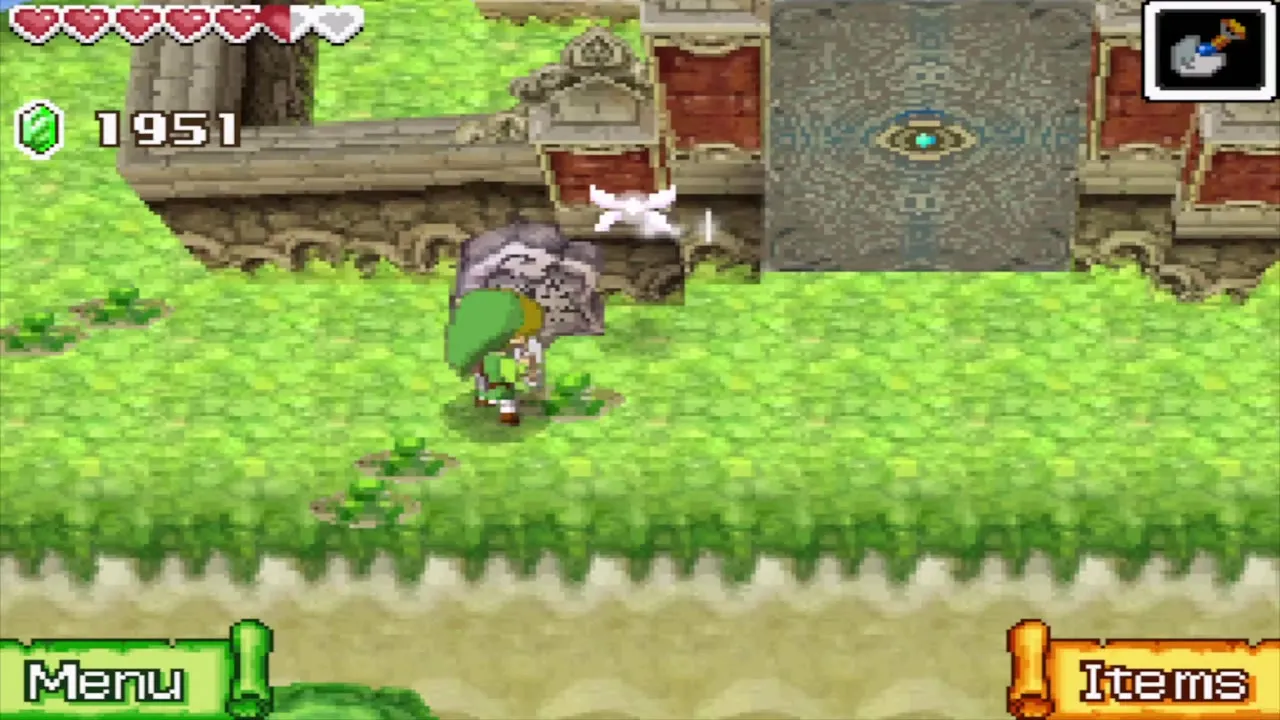
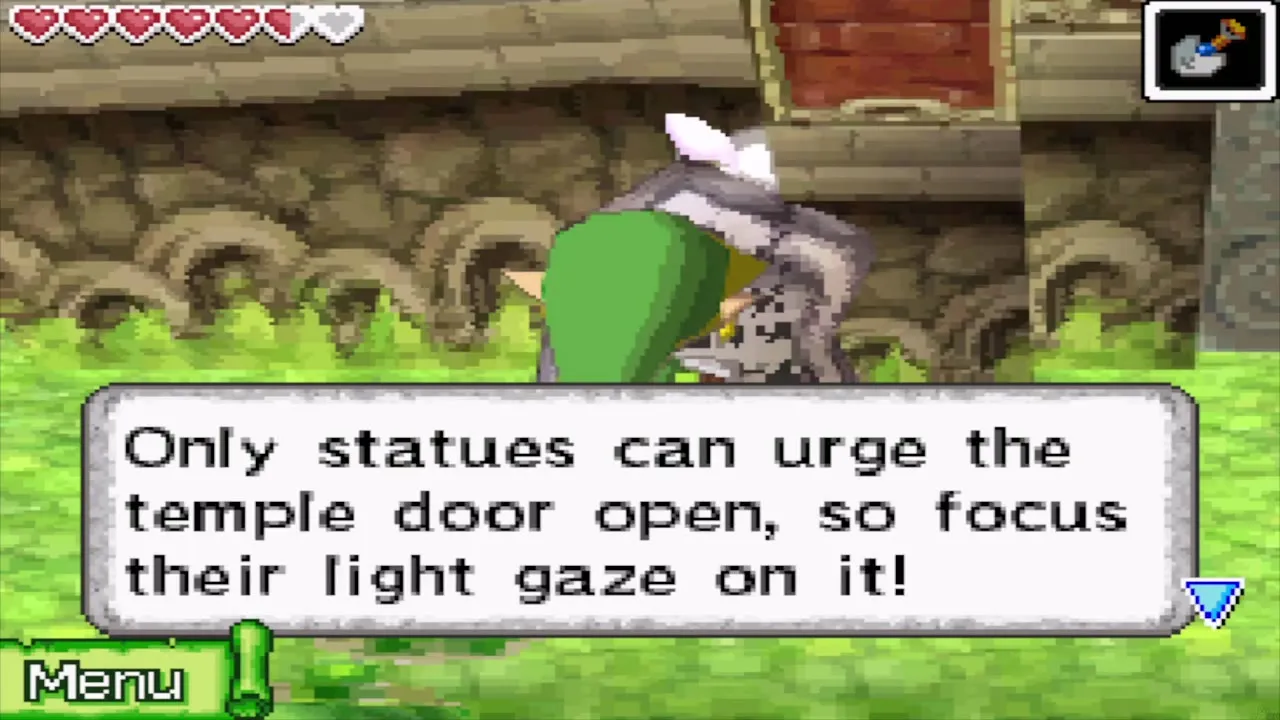
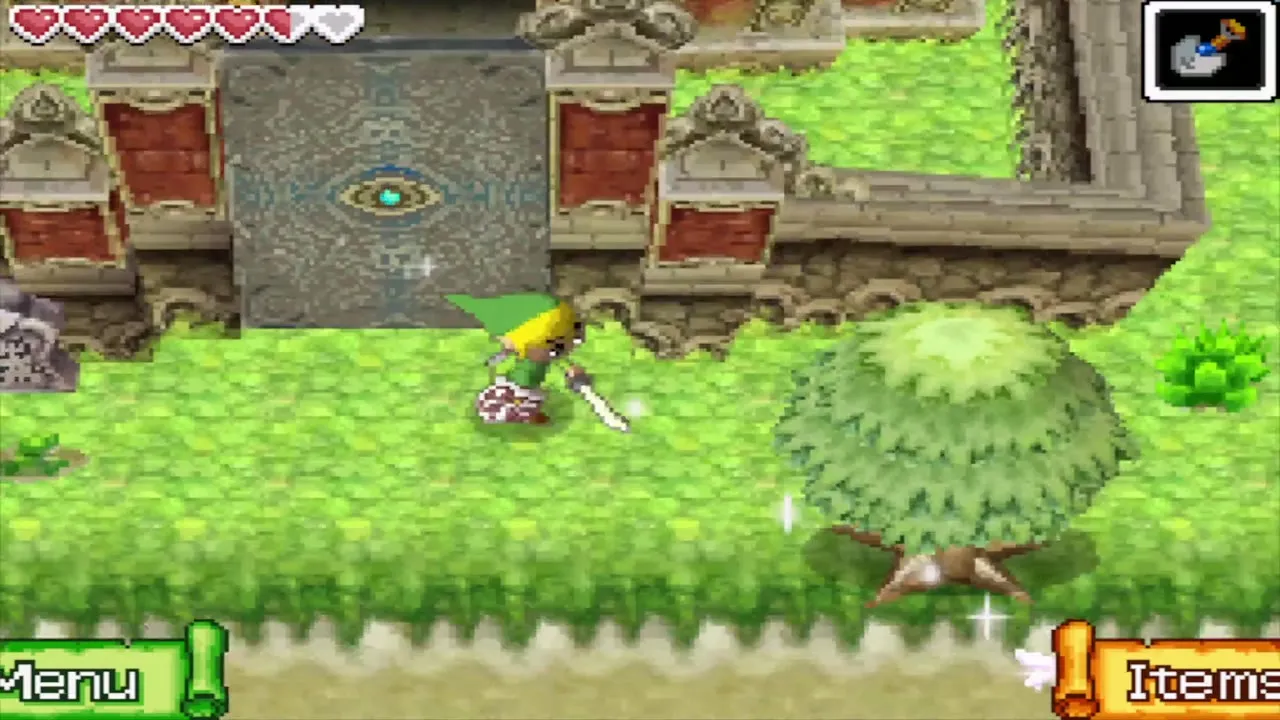
The east statue stands by the water to the east of the gate. Slash it to wake it, then turn it with the stylus until its beam hits the gate.
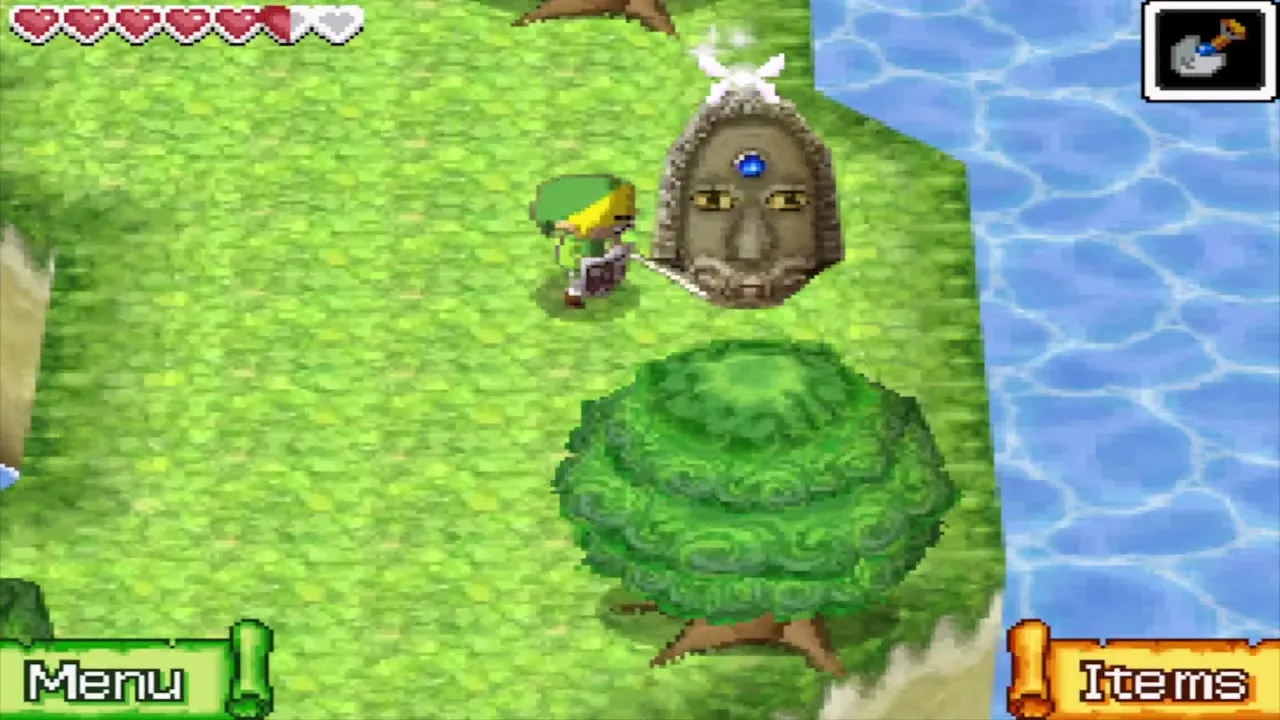
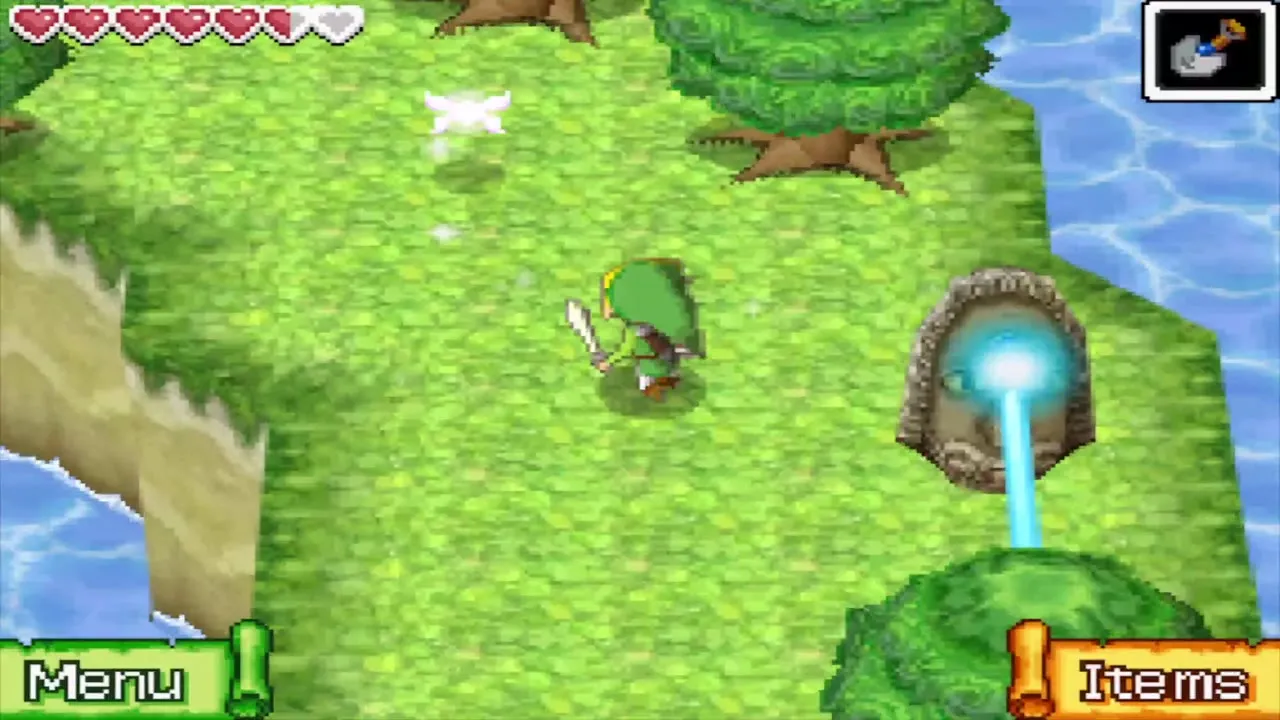


The south statue is guarded by armoured stone enemies. Stun each one with the Boomerang and slash it, then wake the statue and aim it at the gate. You can then run west towards the third statue.
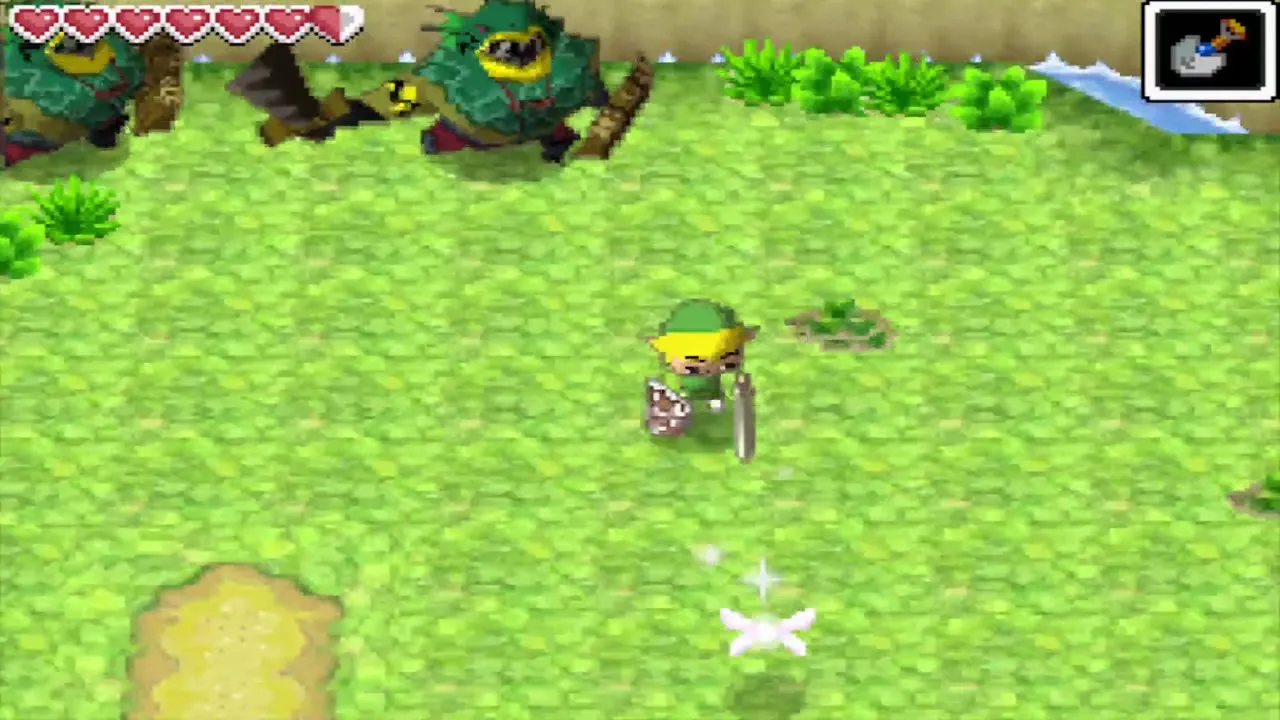
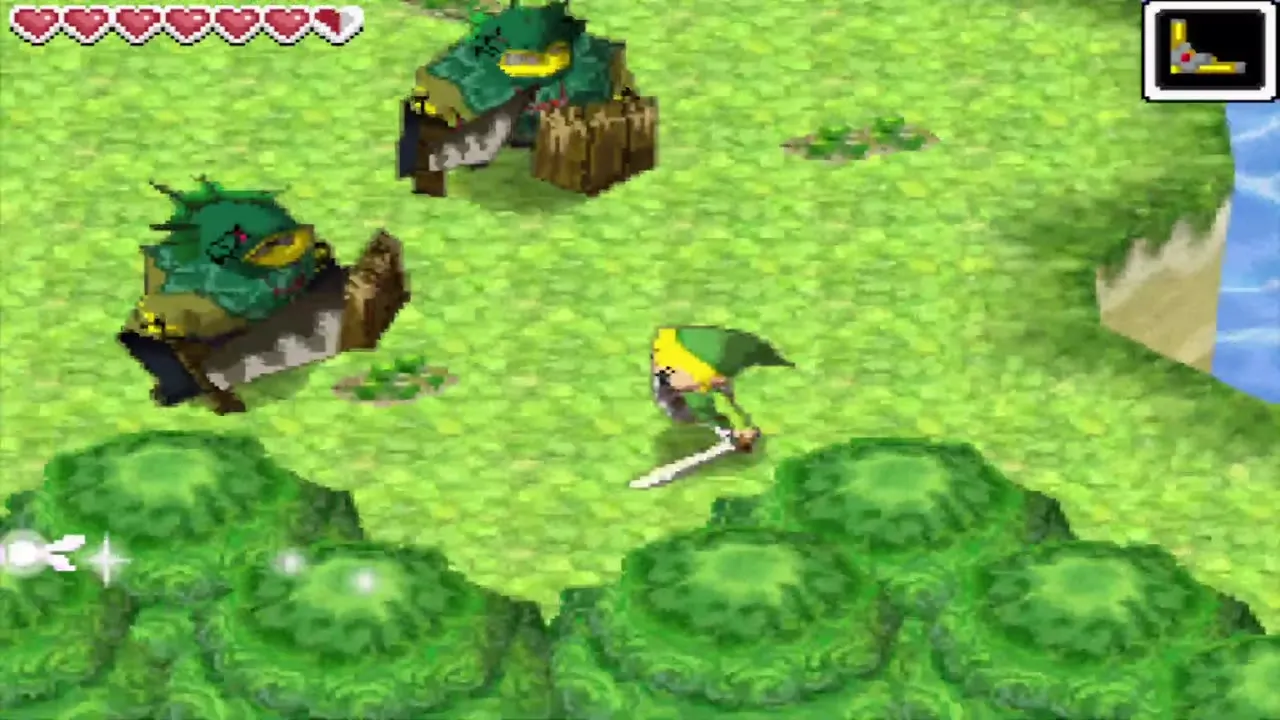

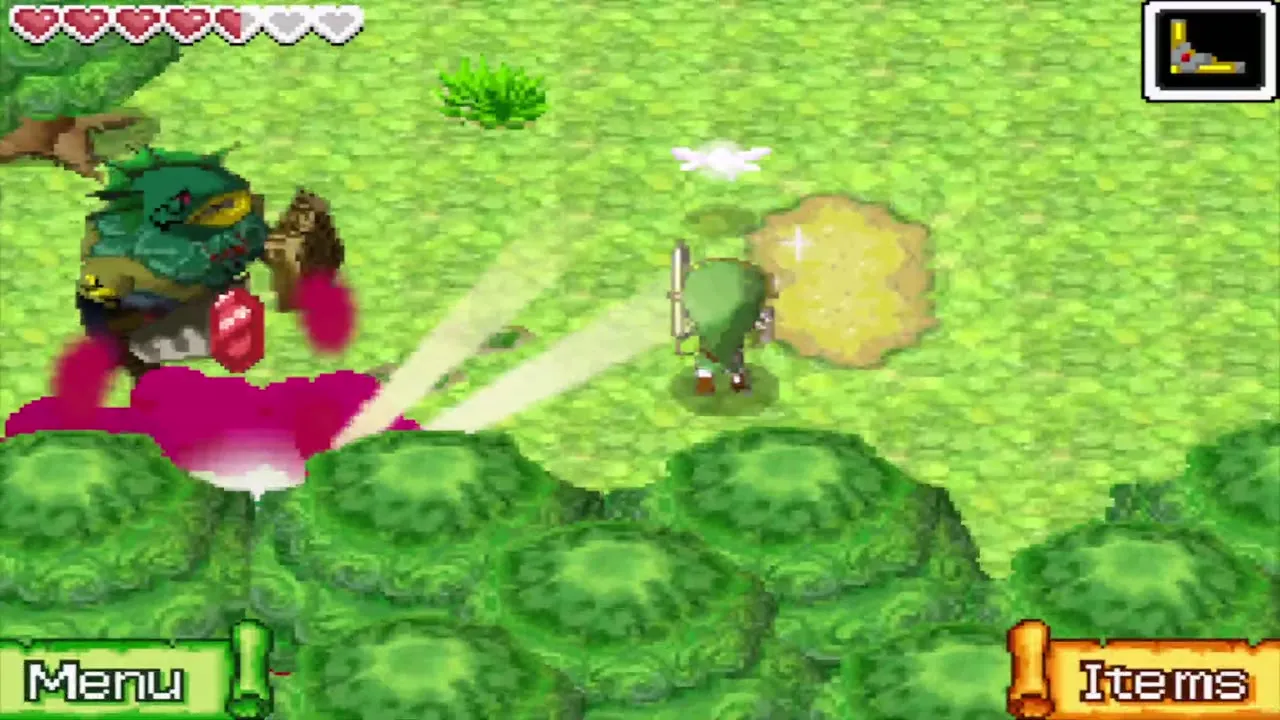
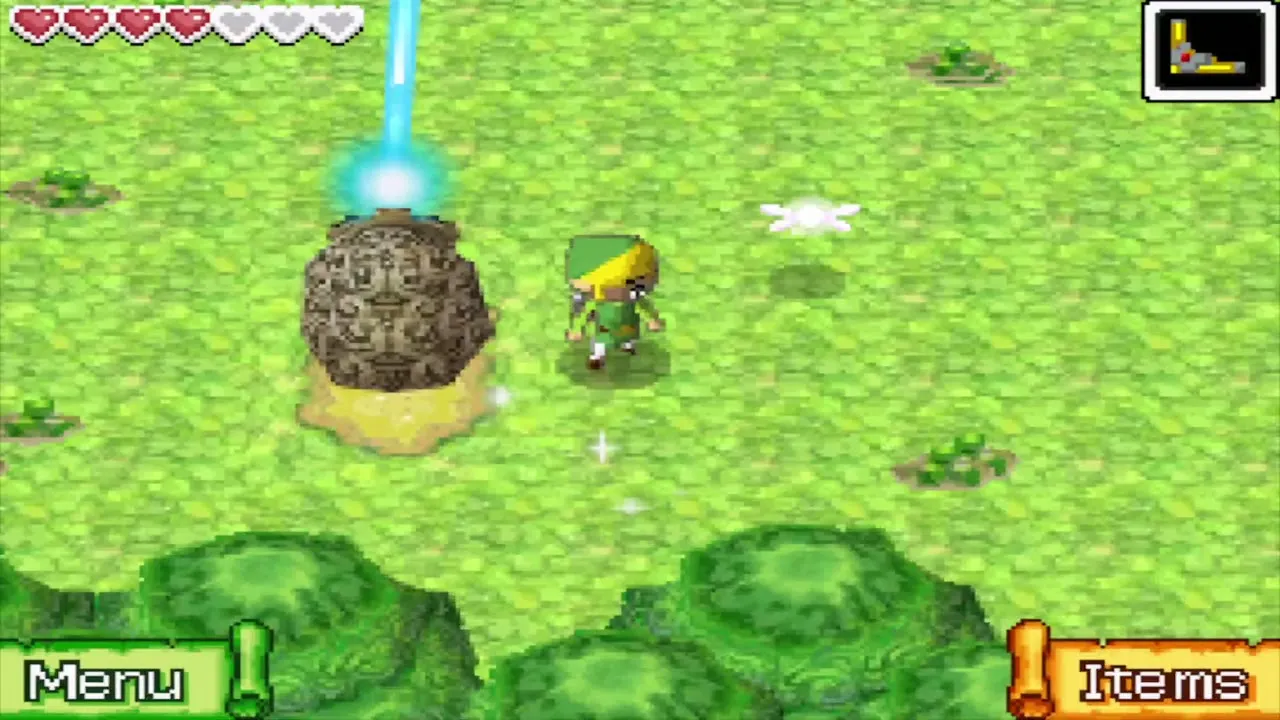
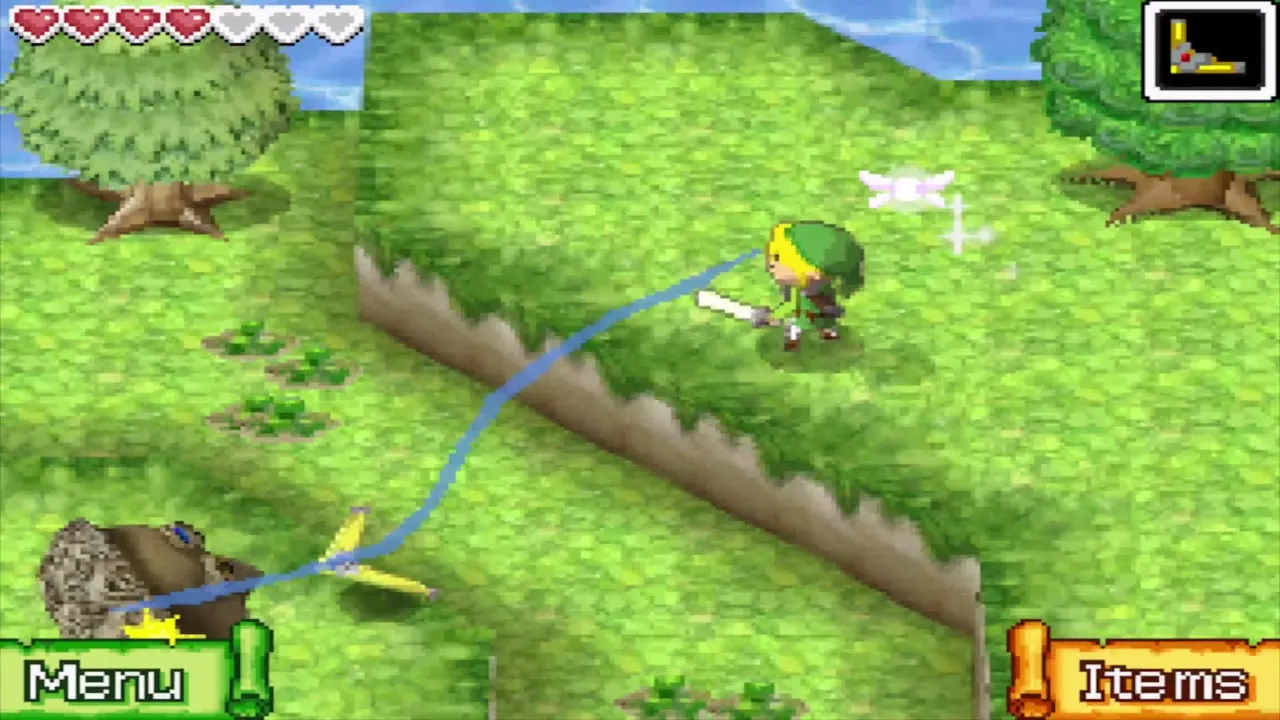
The west statue sits on a ledge beyond the wooden bridge, out of sword reach. Throw the Boomerang so that it flies into the statue and wakes it, then turn the statue towards the gate. With three beams meeting on the gate, the way into the temple opens.
Temple of Courage walkthrough
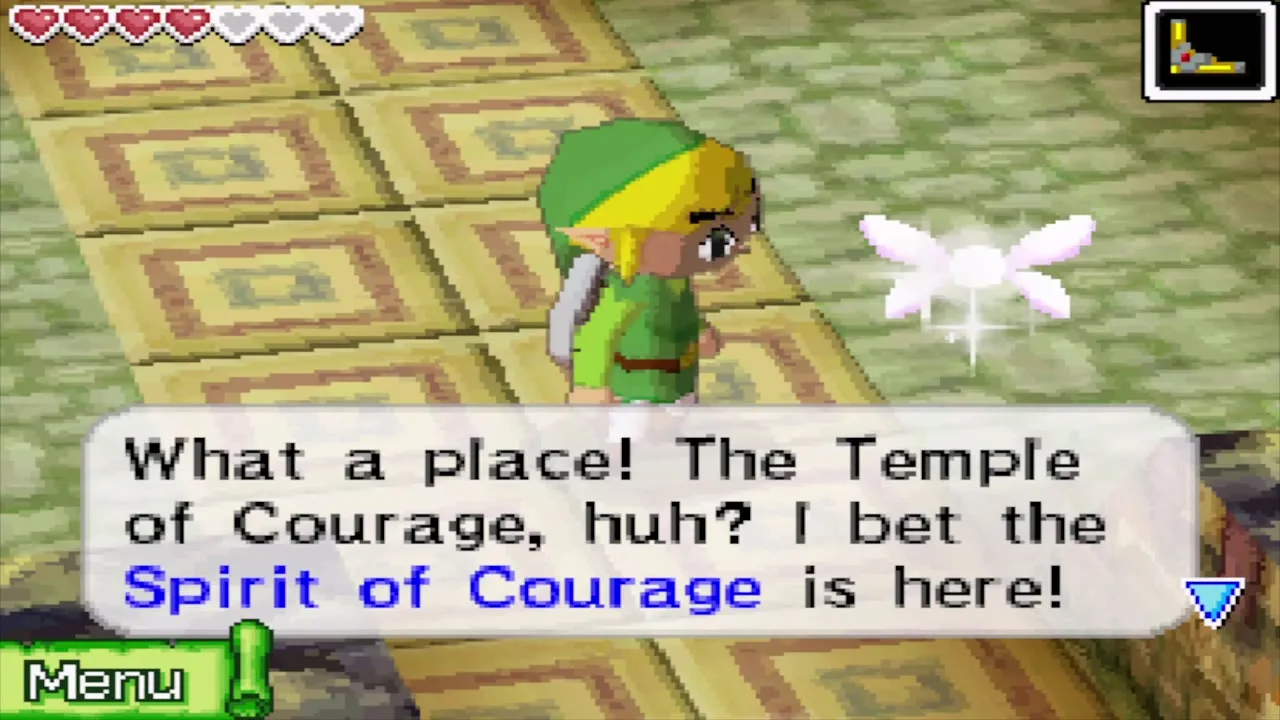
The temple has four floors, 1F, 2F, 3F and a basement B1, and you cross 1F several times as stairs and shortcuts link everything together. Its tablets give one order, Up, Down, Right, Left, and you use it twice on 2F, once for the levers and once for the pillar eyes. The Bow, which you find on B1, is the item that matters most here.
1F: first small key and the Moldorms
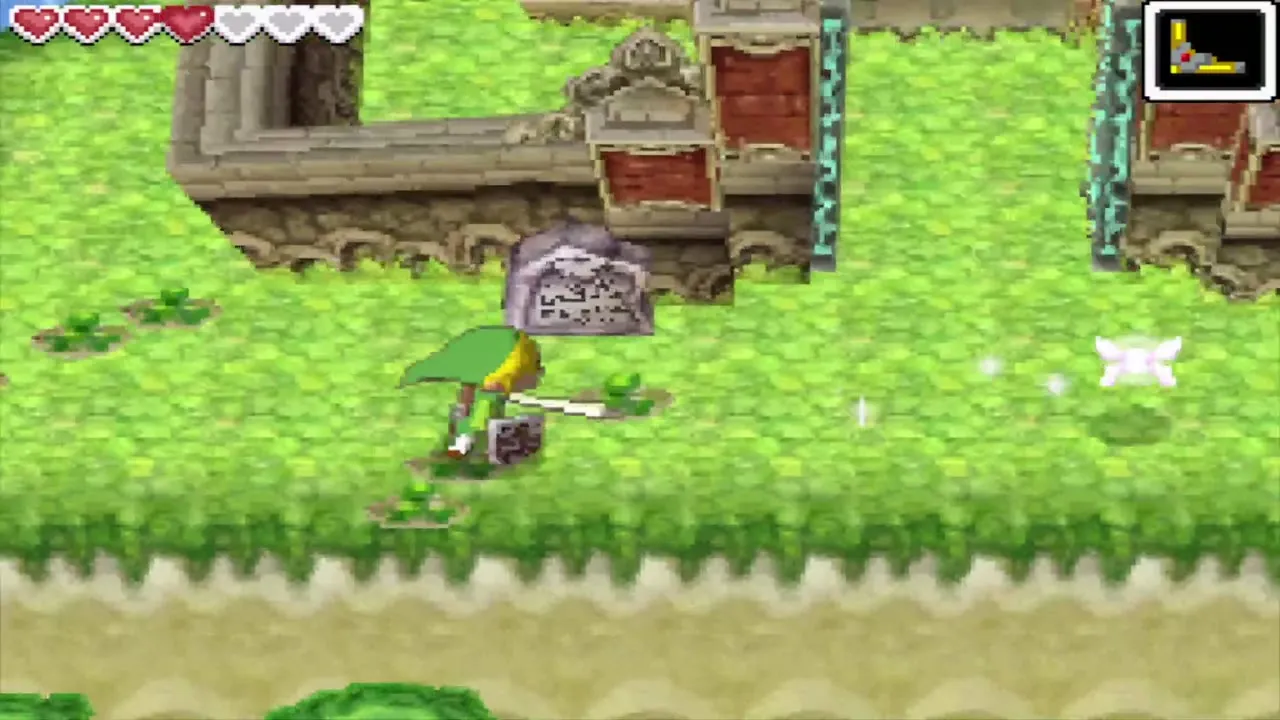
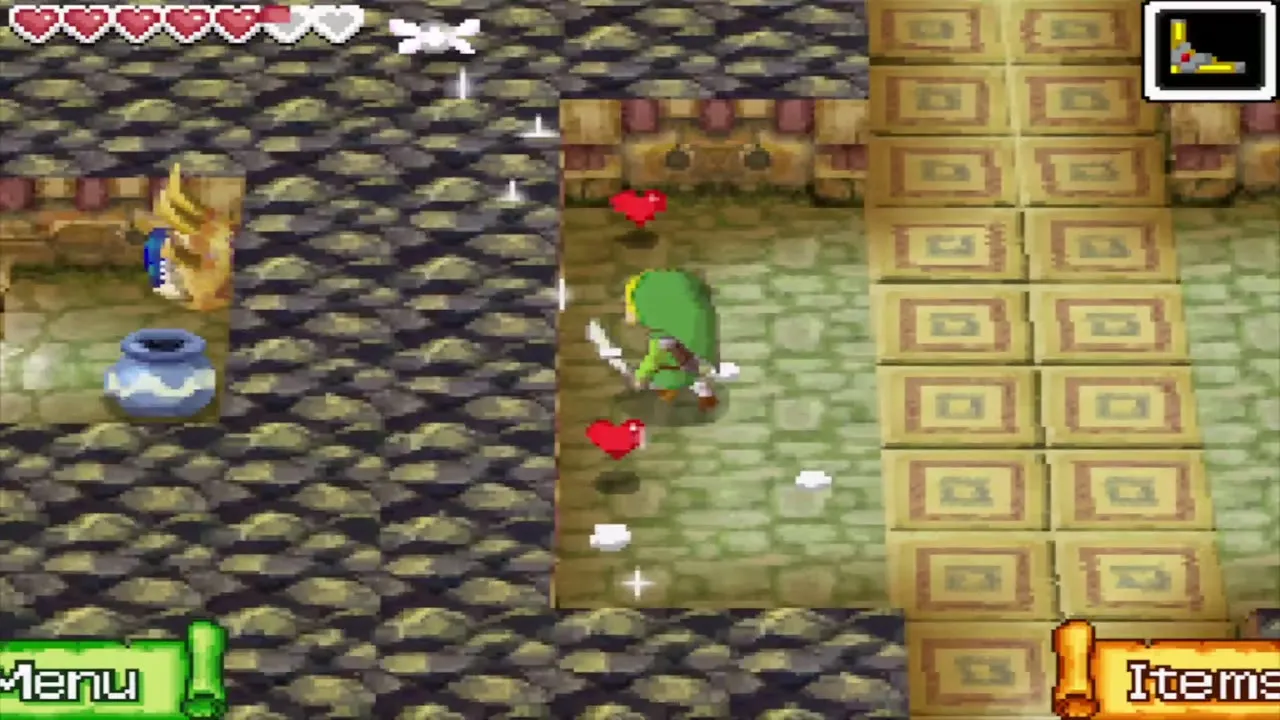
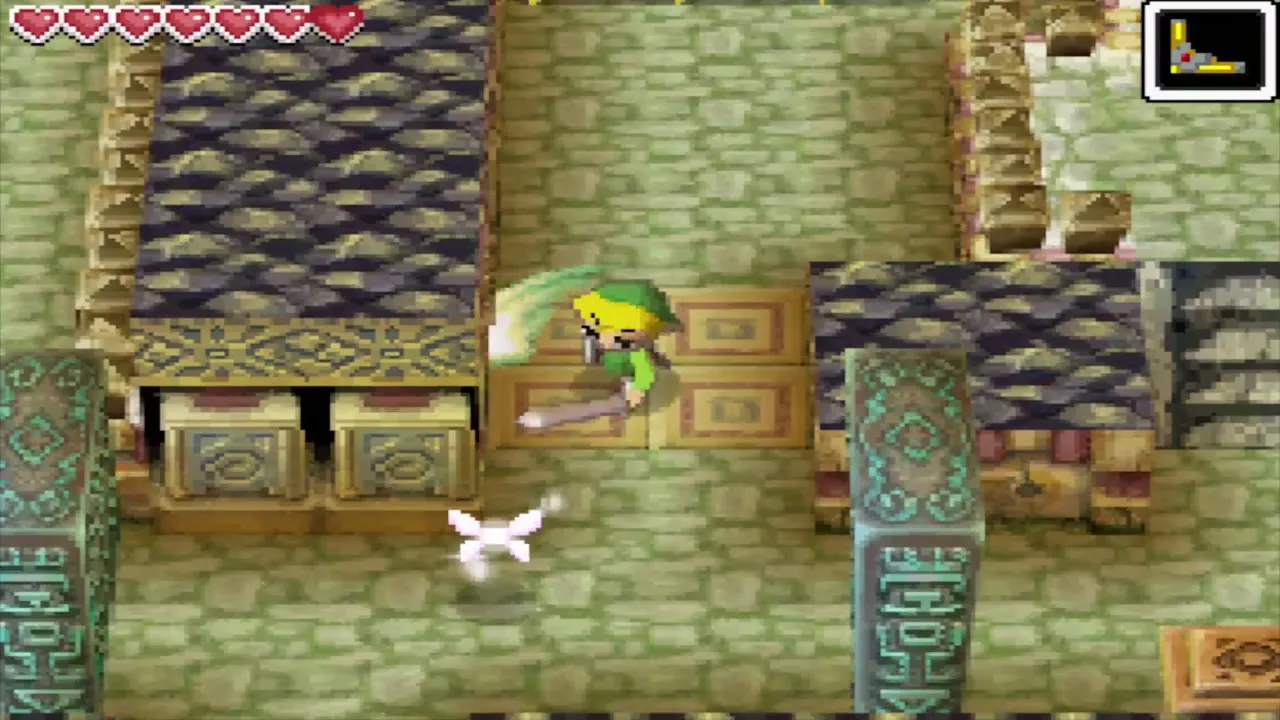
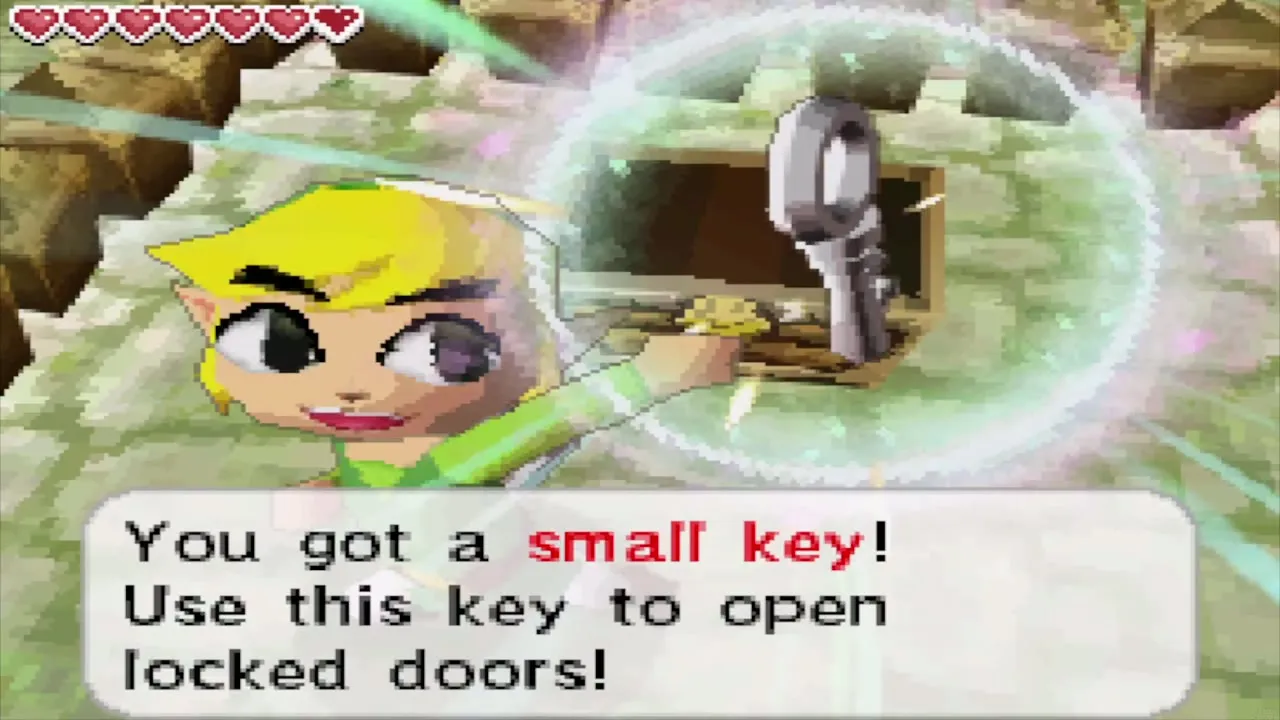
Go north past the rolling spike bars. Step on the floor switch south of the entrance to open a shortcut back to the door, climb the nearby steps and open the chest for a small key.
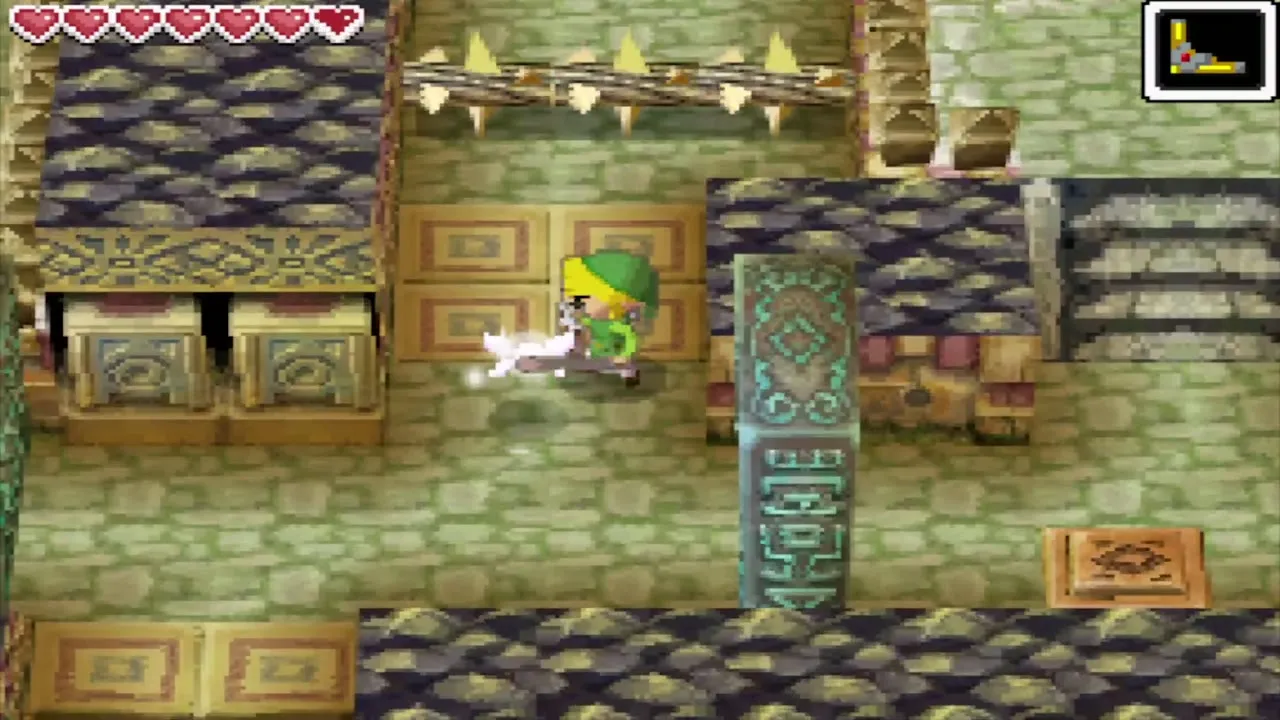

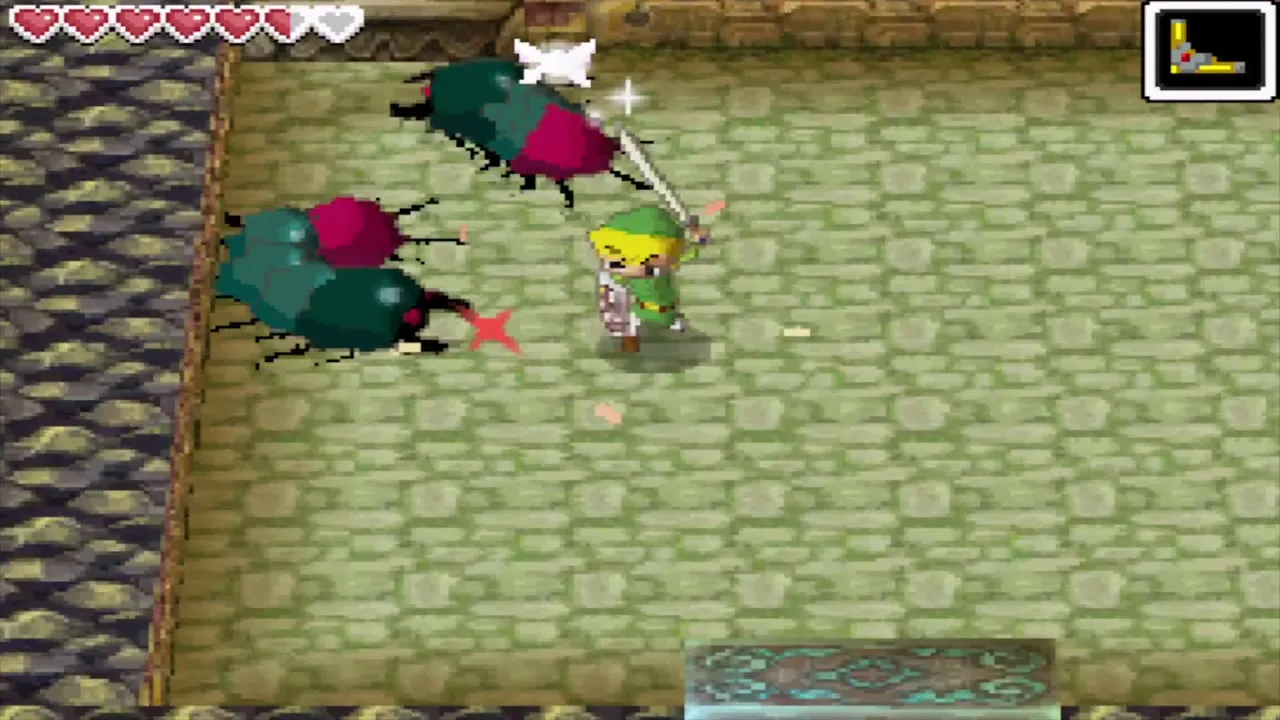
Return north and use the key on the locked door. When the door shuts behind you, two Moldorms attack. Slash the red tail segments when they face away, and keep your distance. Both must die to open the south door, which leads down to B1.

B1: moving platforms
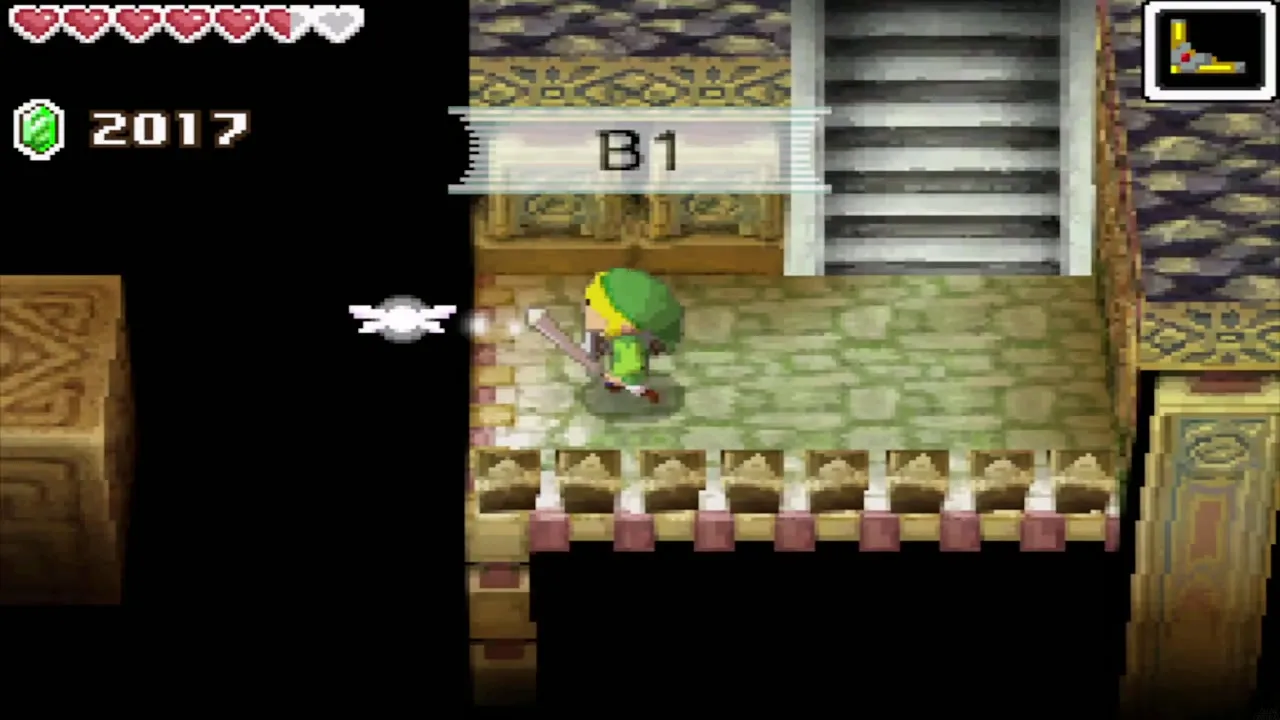
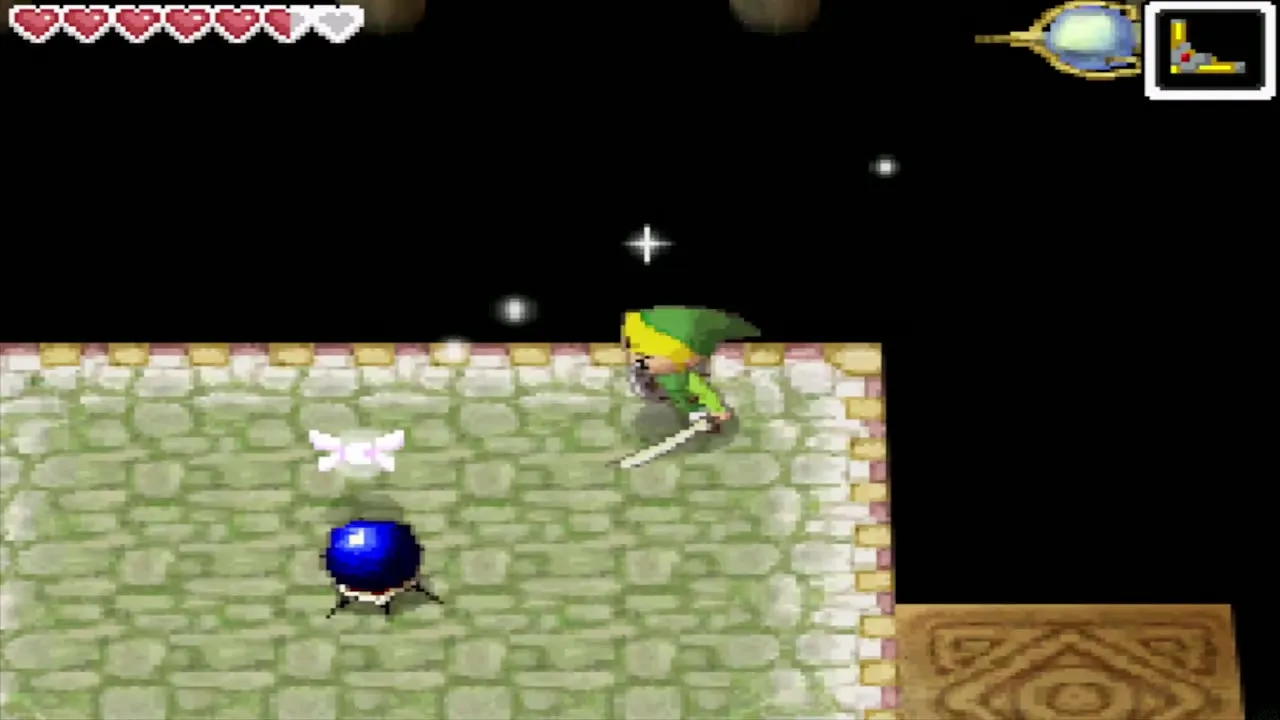
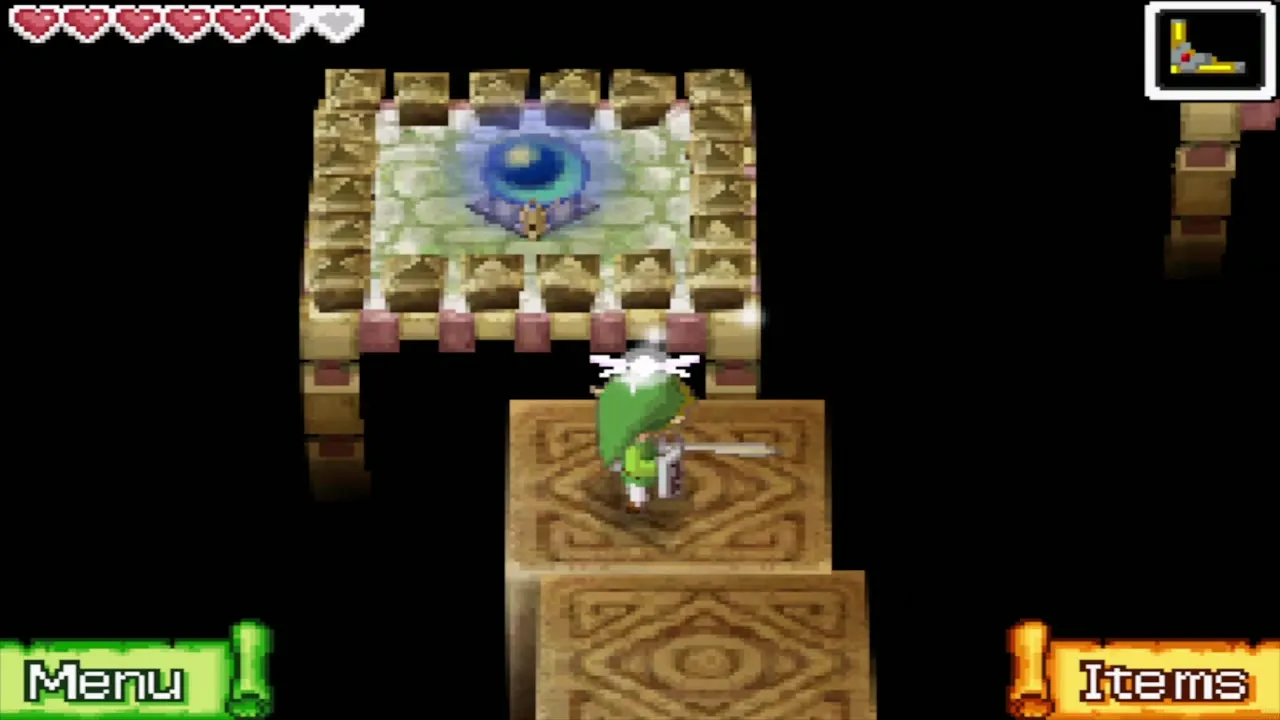
Stand on the moving block that carries you west to the large platform and knock the Hardhat Beetle off the edge, since your sword cannot kill it. Ride the next block west, then step onto the block that takes you to the stairs. Before you leave the block, throw the Boomerang at the red crystal switch to the north so that it turns blue. Take the stairs up to 1F.
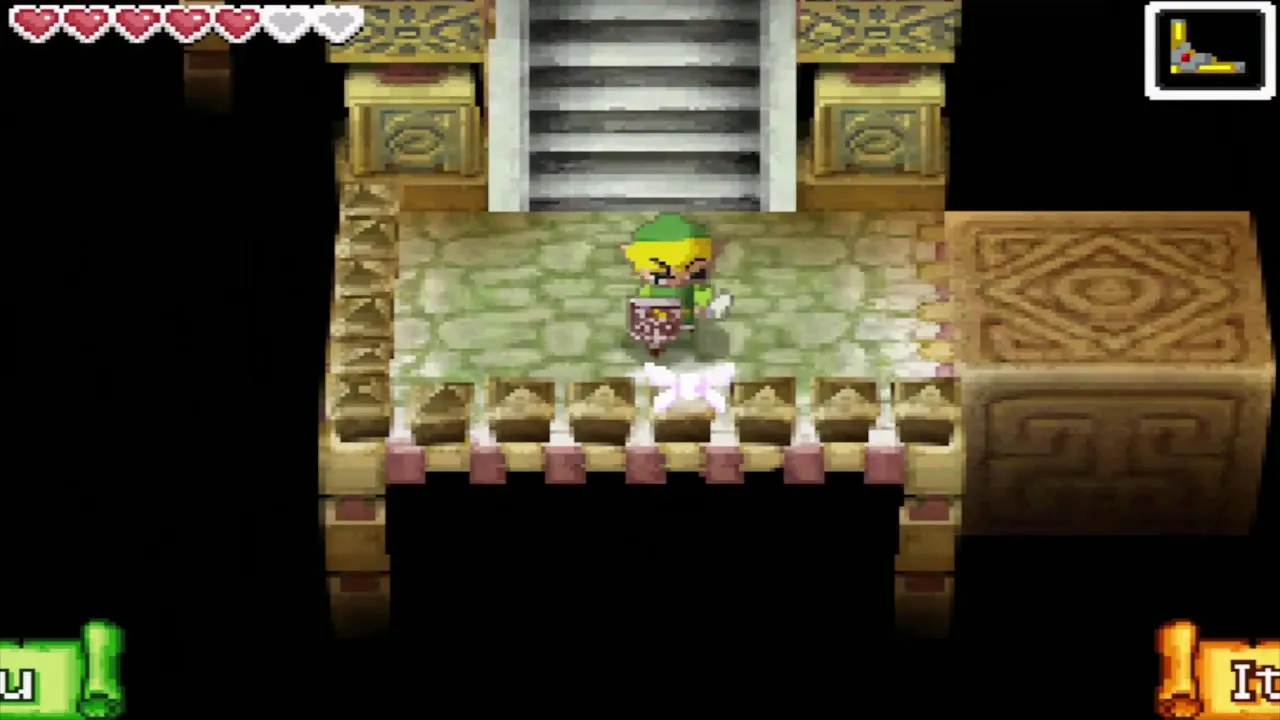
1F: tablets, the wall map and the secret chests
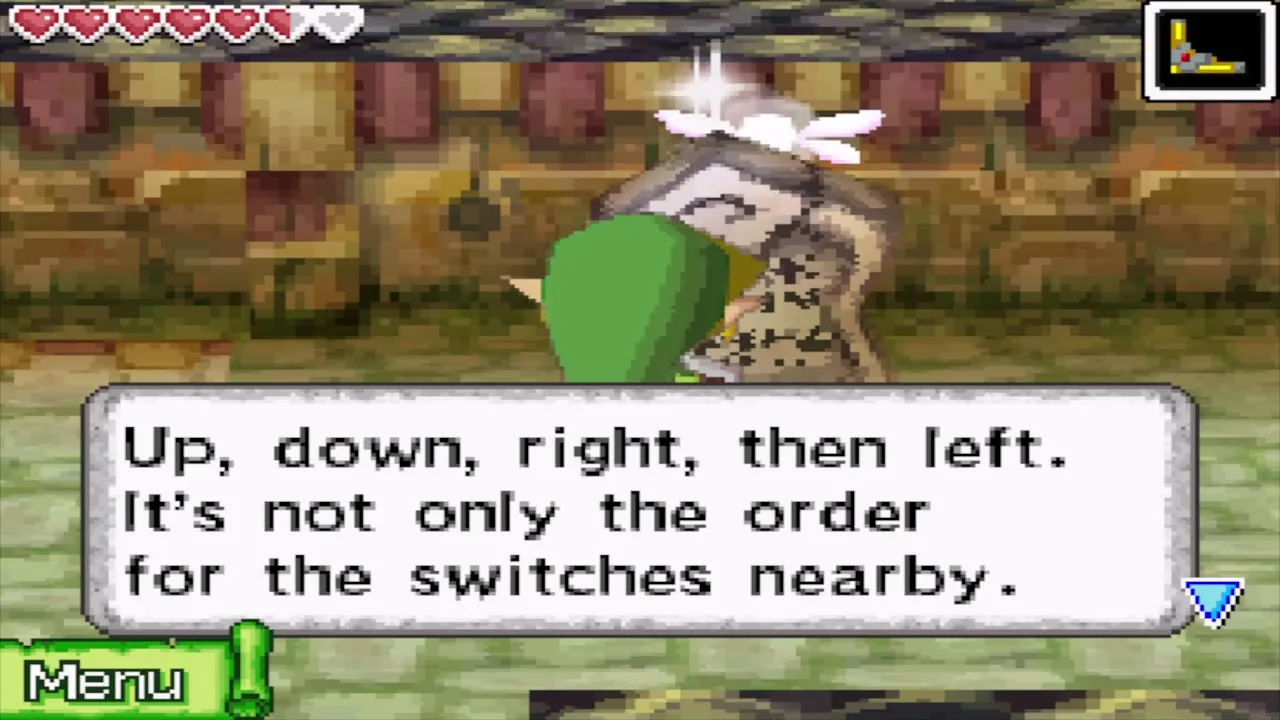
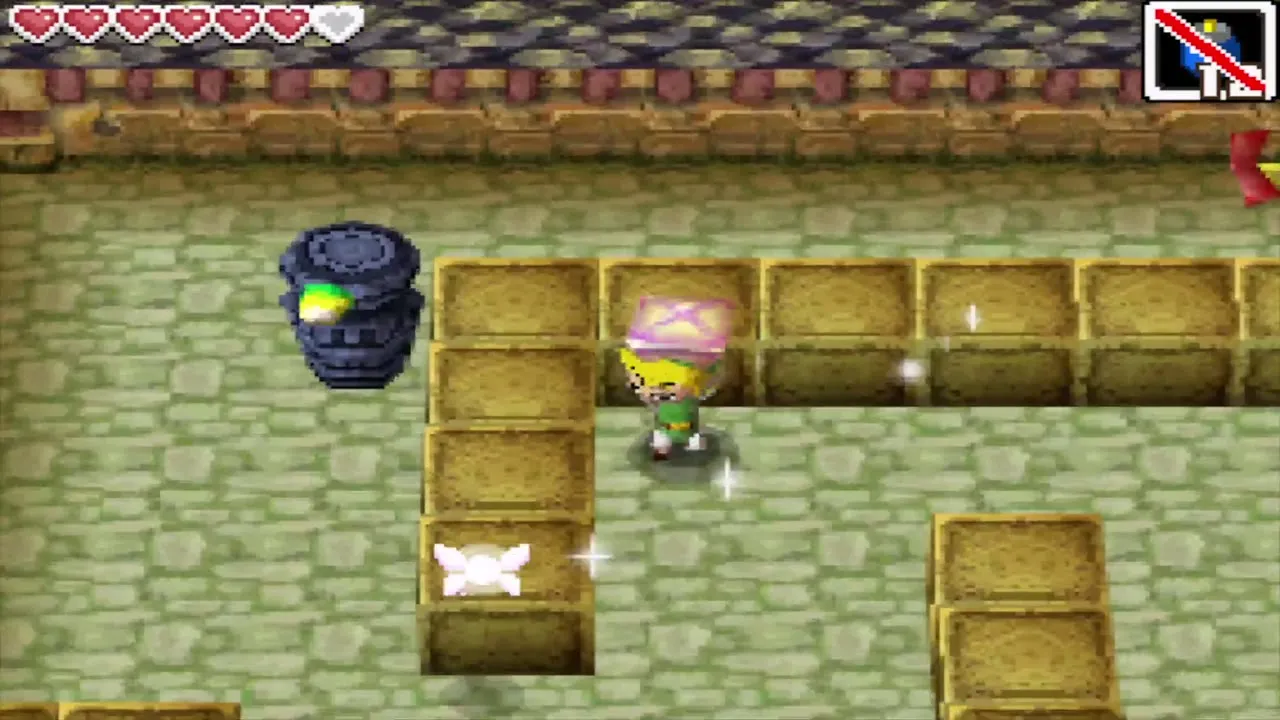
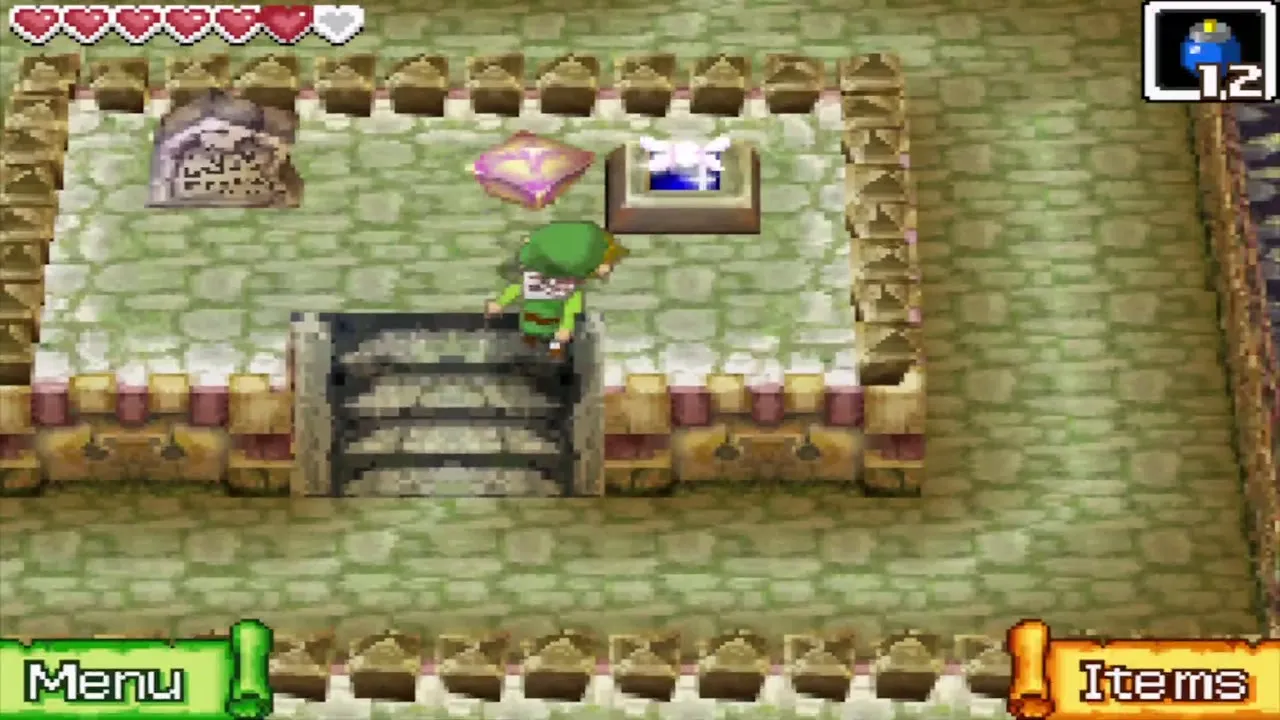
Head north past the Winders, which cannot be killed, and read the stone tablets. They give the order Up, Down, Right, Left. Bomb the wall between the two tablets to open a hidden room containing a map of B1 with a route marked on it. That route is the invisible path across B1, so open your own B1 map and trace it with the stylus.
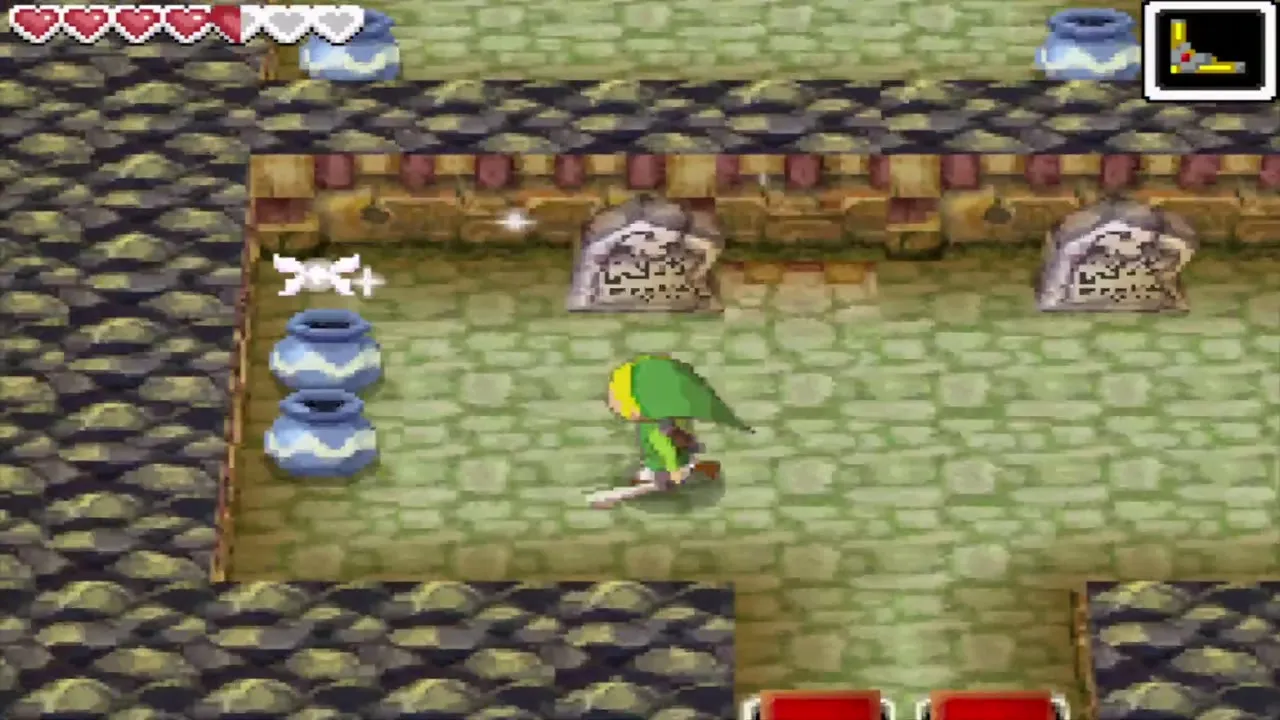
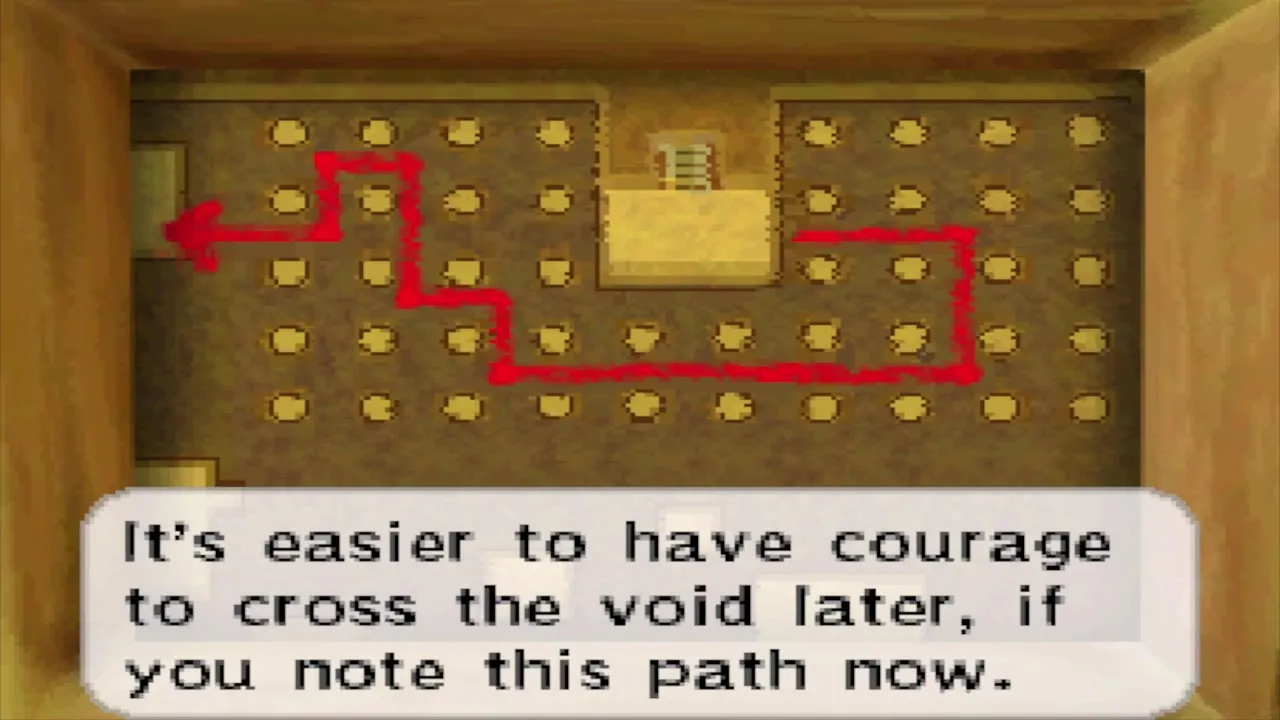
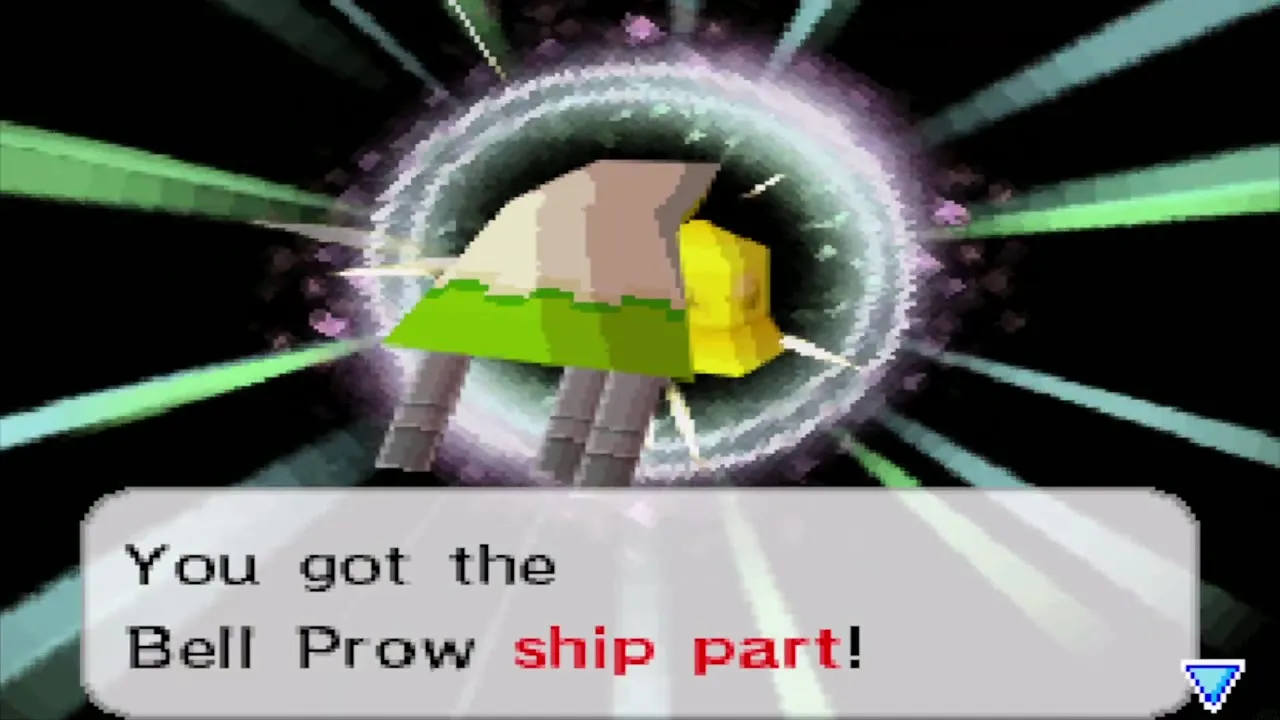
The hidden alcove also holds two chests. One contains the Bell Prow, a ship part from the Bright Ship set, and the other holds a Power Gem (both on 1F), the ninth on the Power Gem list.


Bomb the cracked blocks east of the tablets and follow the passage south to the lowest platform. A Pols Voice drops from the ceiling here. Blow into the microphone to shrink it, then slash it for a small key. Step on the floor switch south-east of the platform to open another shortcut, then walk west and north to the locked door. Unlock it and climb to 2F. Before you leave the spiked-bar passages on this floor, bomb a cracked wall along the way for a chest holding a treasure, such as the Ruto Crown.



2F: levers and the Square Crystal
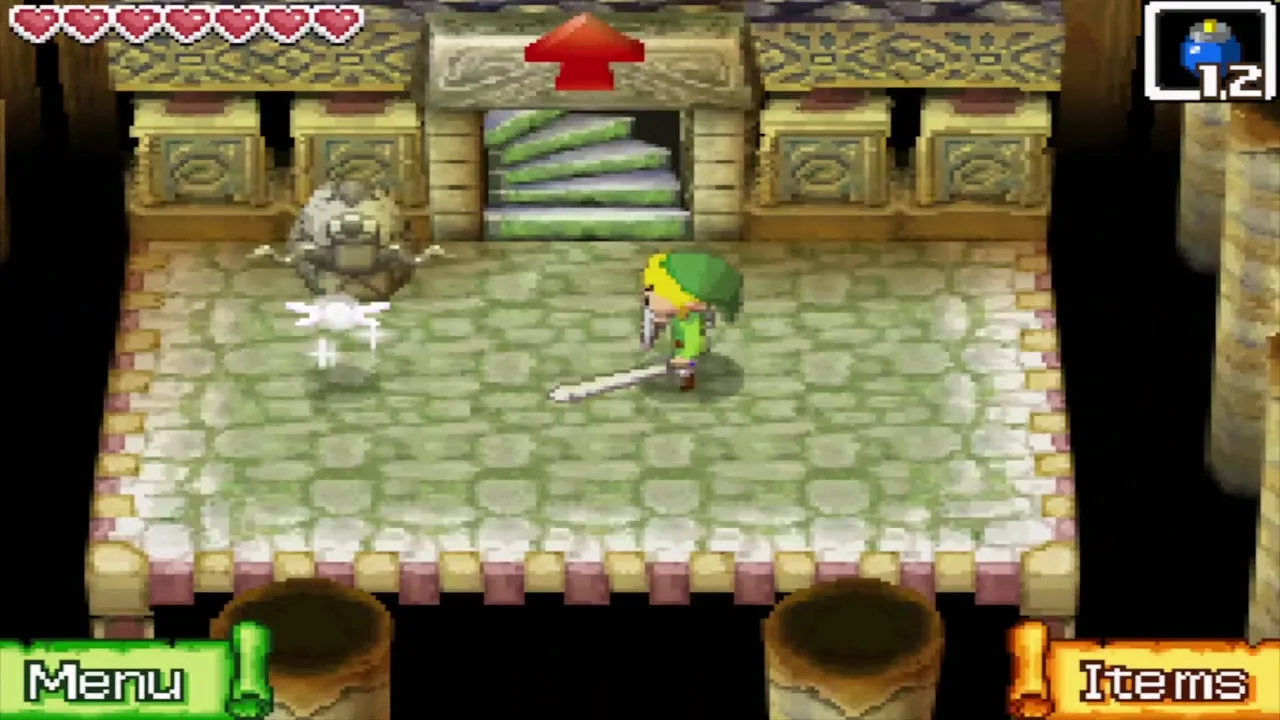
Four levers stand in this room. Pull them in the order Up, Down, Right, Left. Avoid the Winders and the Beamos. A chest rises with the Square Crystal inside; carry it down the stairs to 1F.
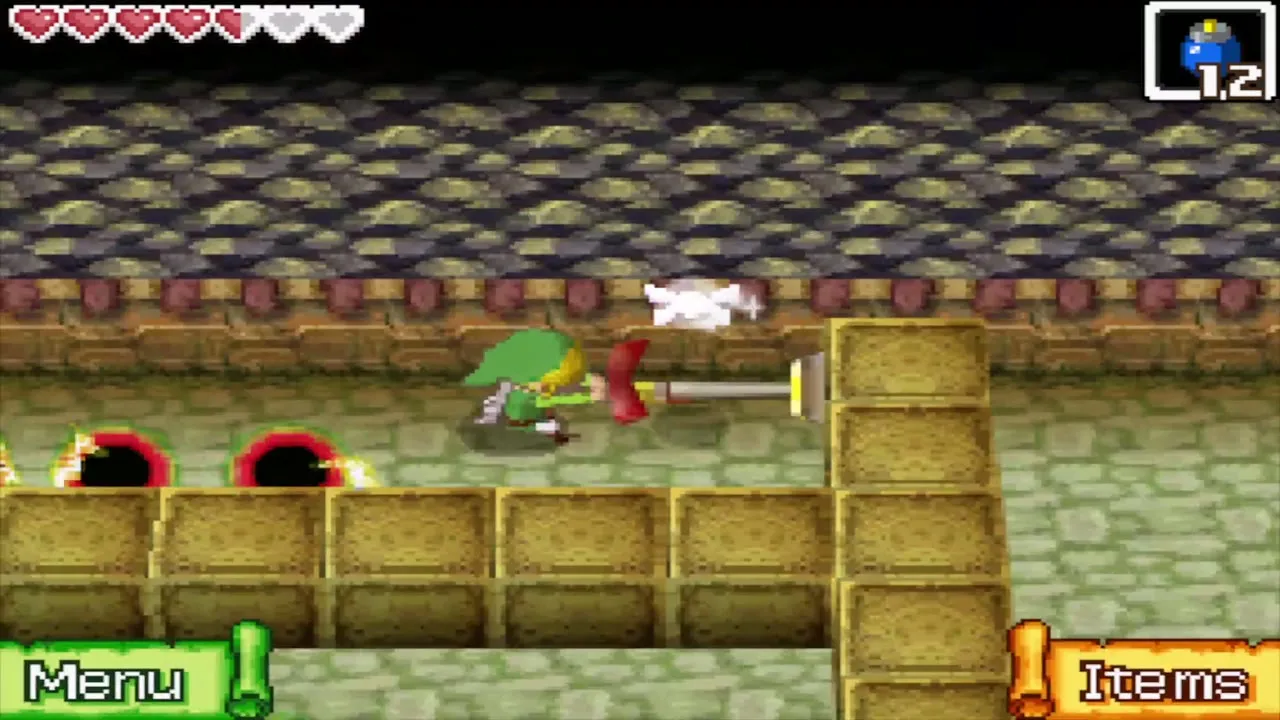
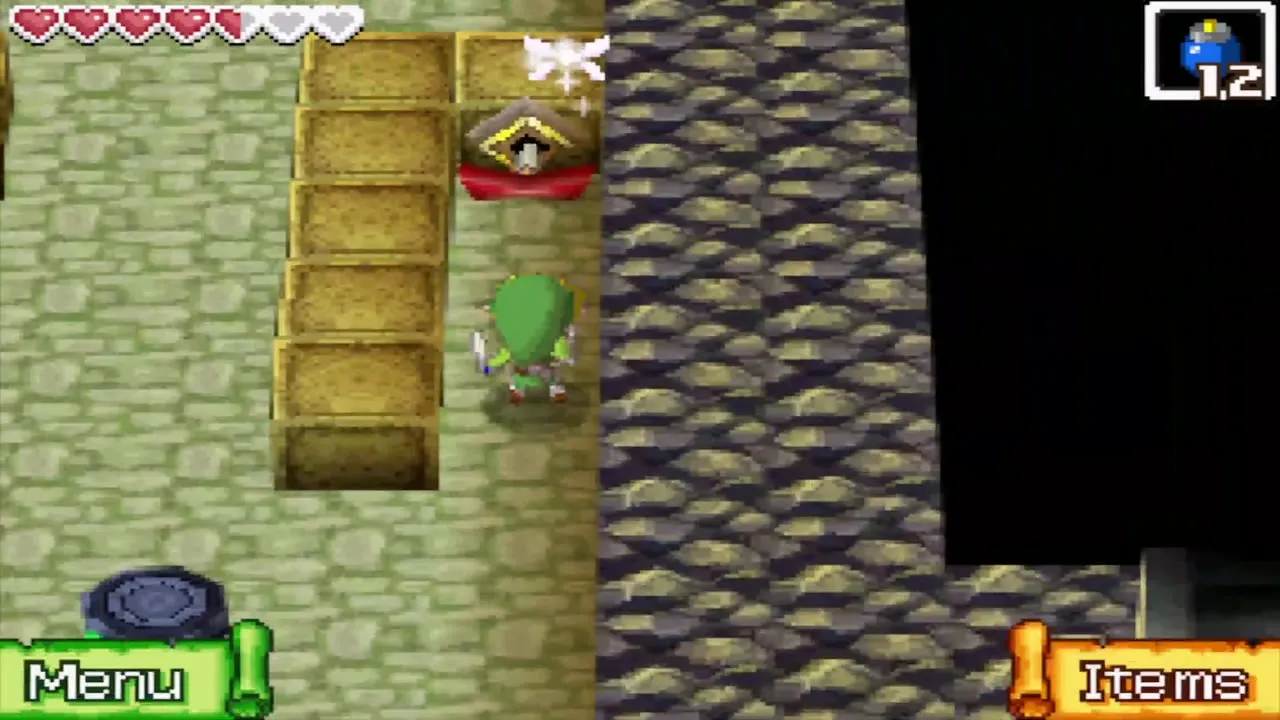

On 1F put the crystal on the pedestal on the nearby platform. Crystals only fit a pedestal of their own shape, and this one is square. The door to the north opens and you descend to B1 once more.
B1: the invisible path and the Bow
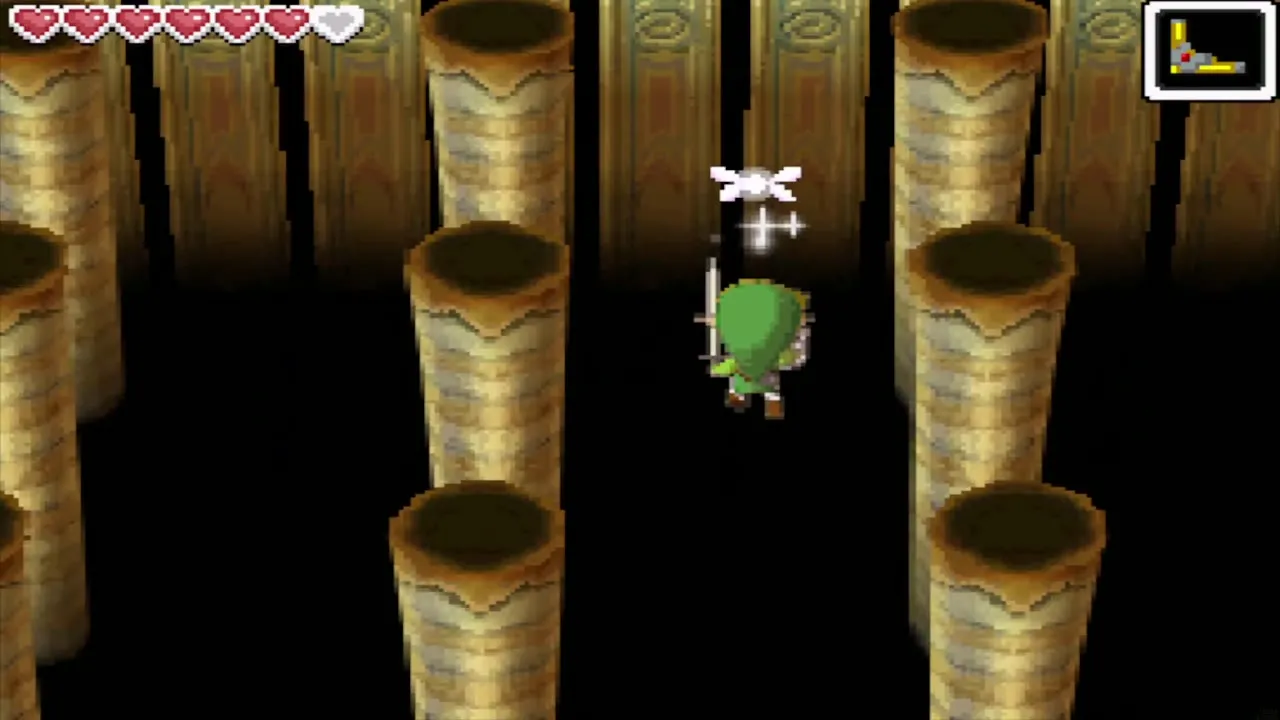
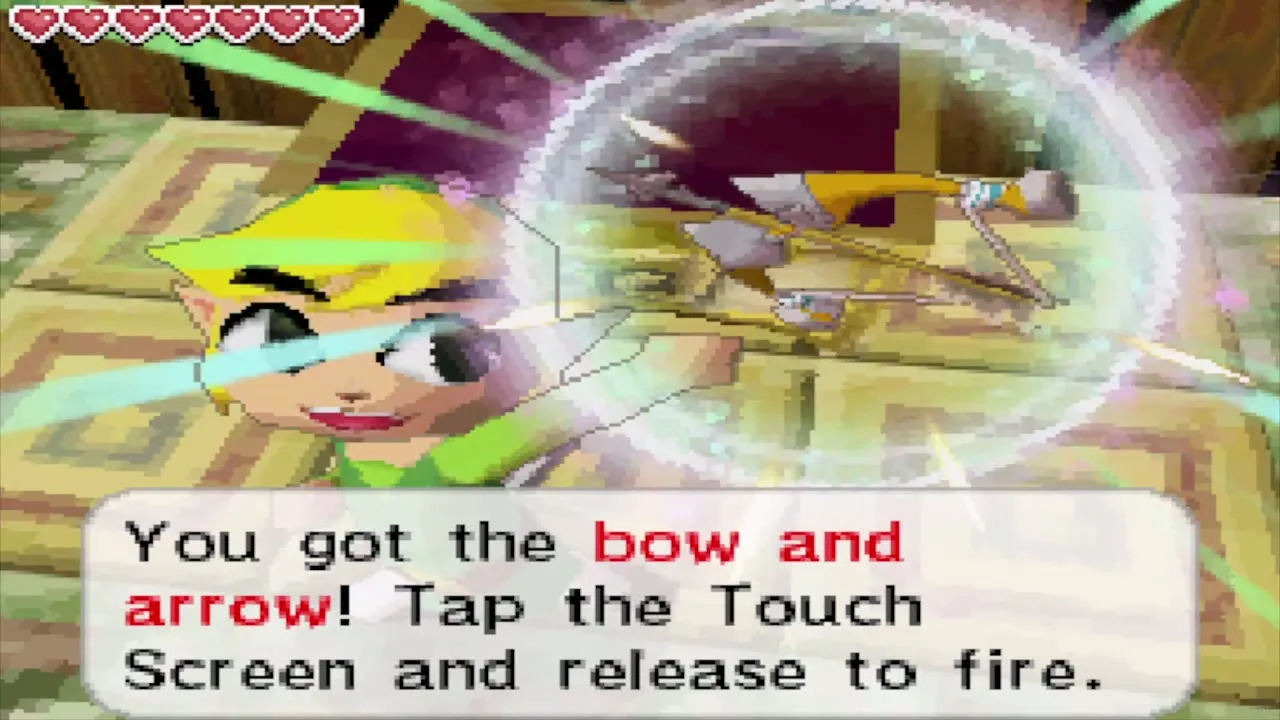
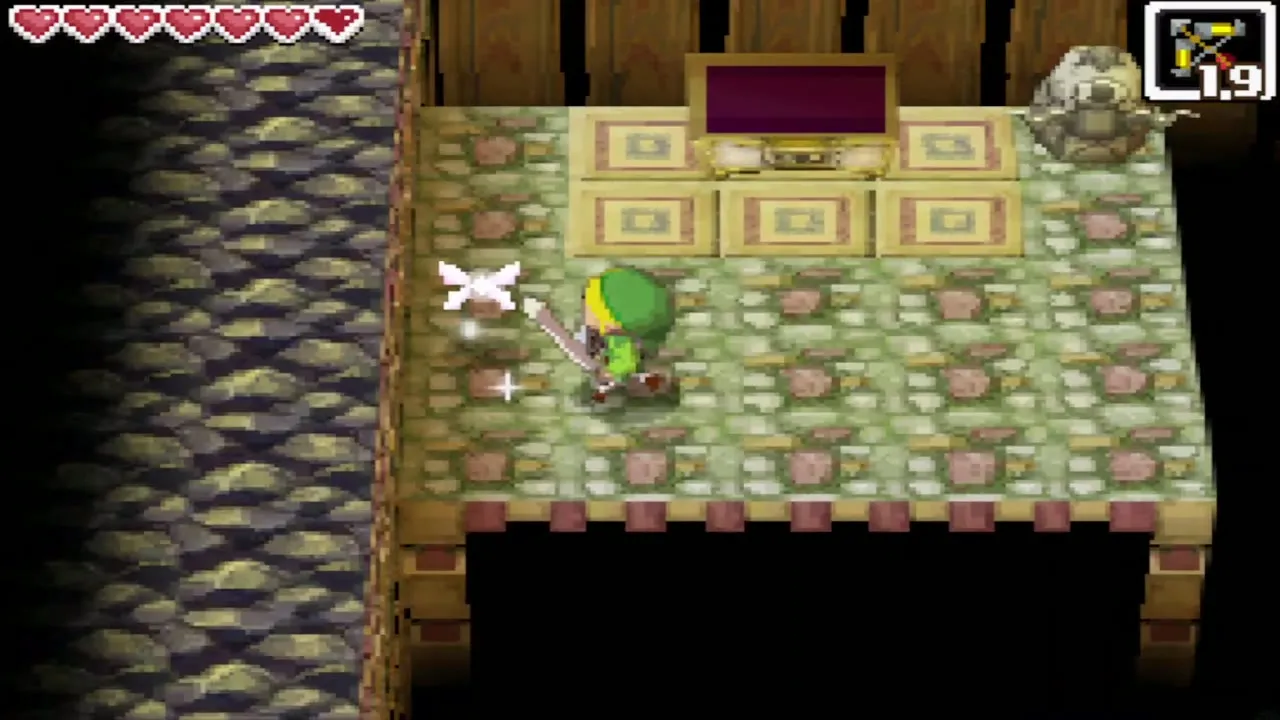
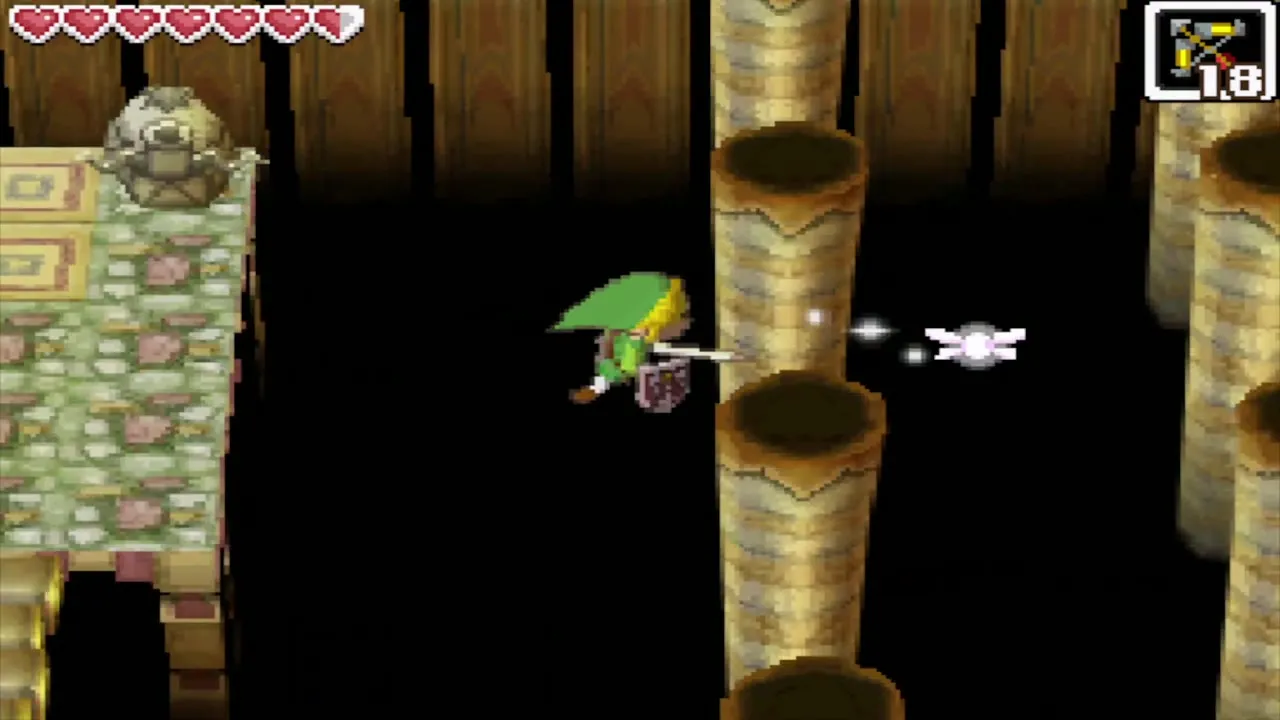
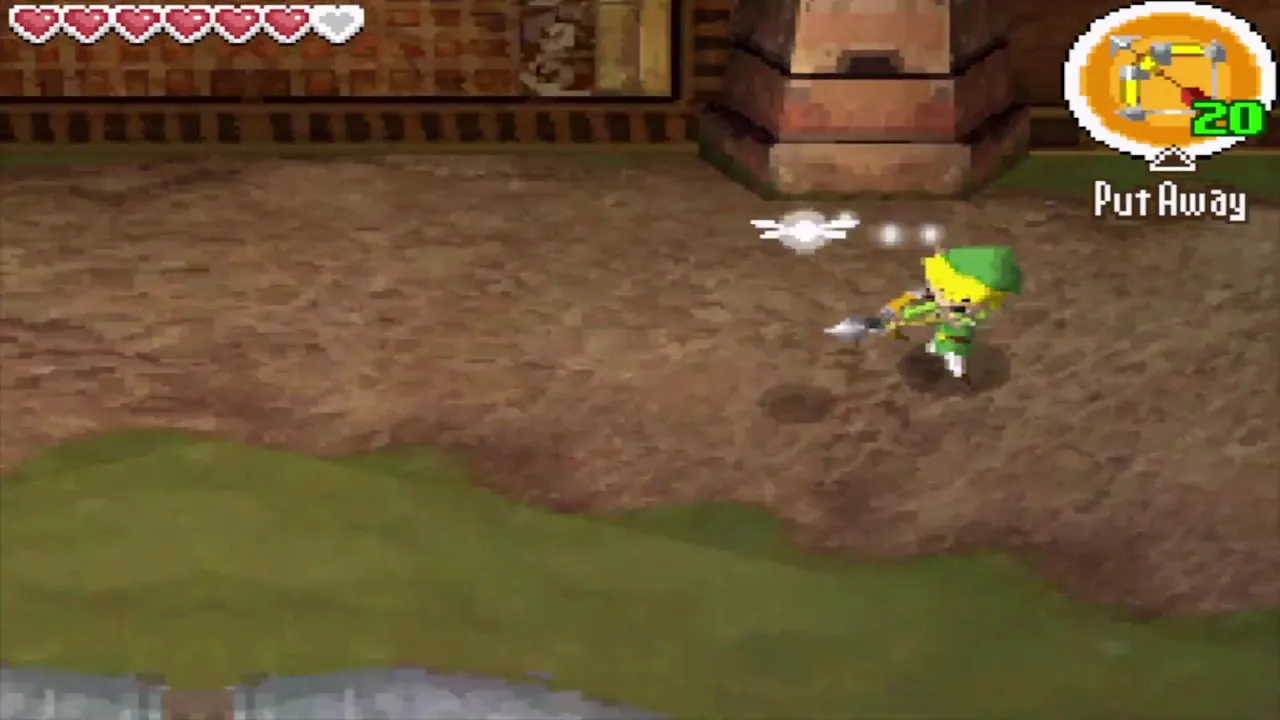
This basement is a room of pillars over a pit, and the floor is invisible. Follow the route you traced from the wall map, knocking Hardhat Beetles off the narrow edges with the sword. At the end of the path, on the carpeted platform in the north-west, open the large chest to get the Bow and Arrows. Touch the screen, aim and let go to fire. Link carries twenty arrows.
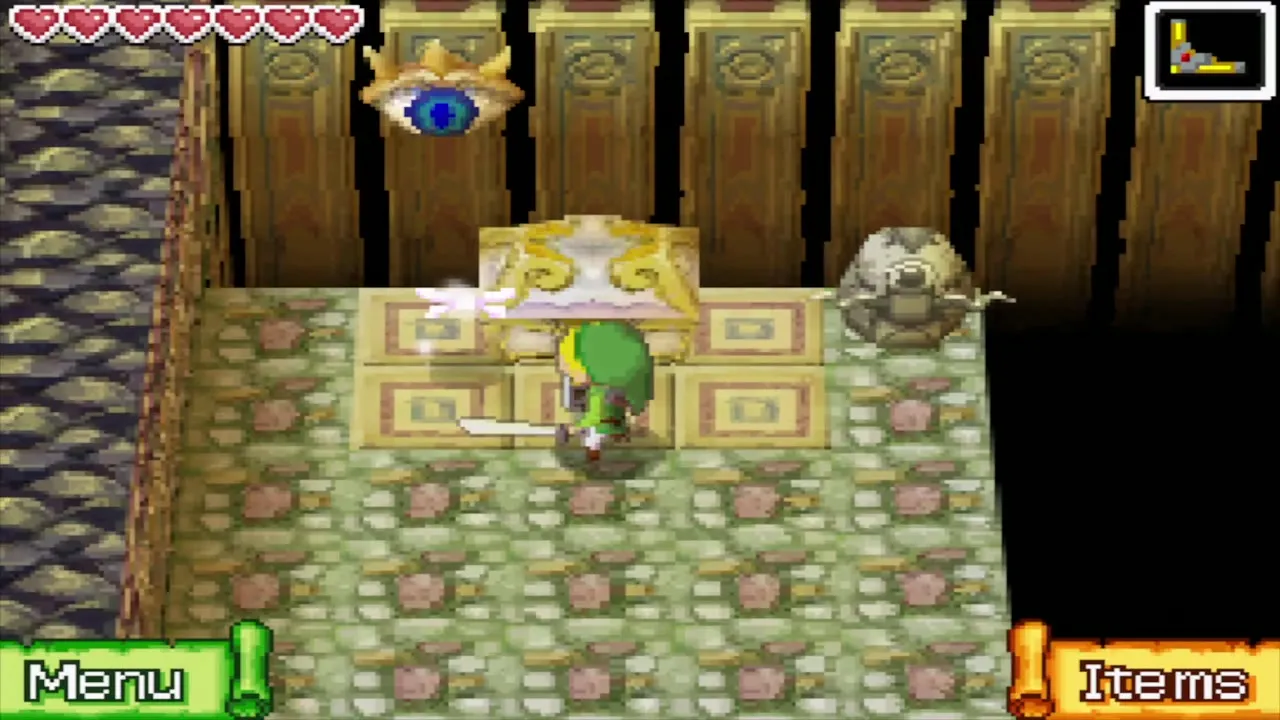
Shoot the blue eye in the north wall to extend a bridge south, follow it and defeat the Moldorm with arrows in its red tail or the sword. Slash the Arrow Aimer, a rotating blue object, until it faces east, then shoot an arrow into it. The arrow flies to a distant crystal switch and turns it red. Go up to 1F.
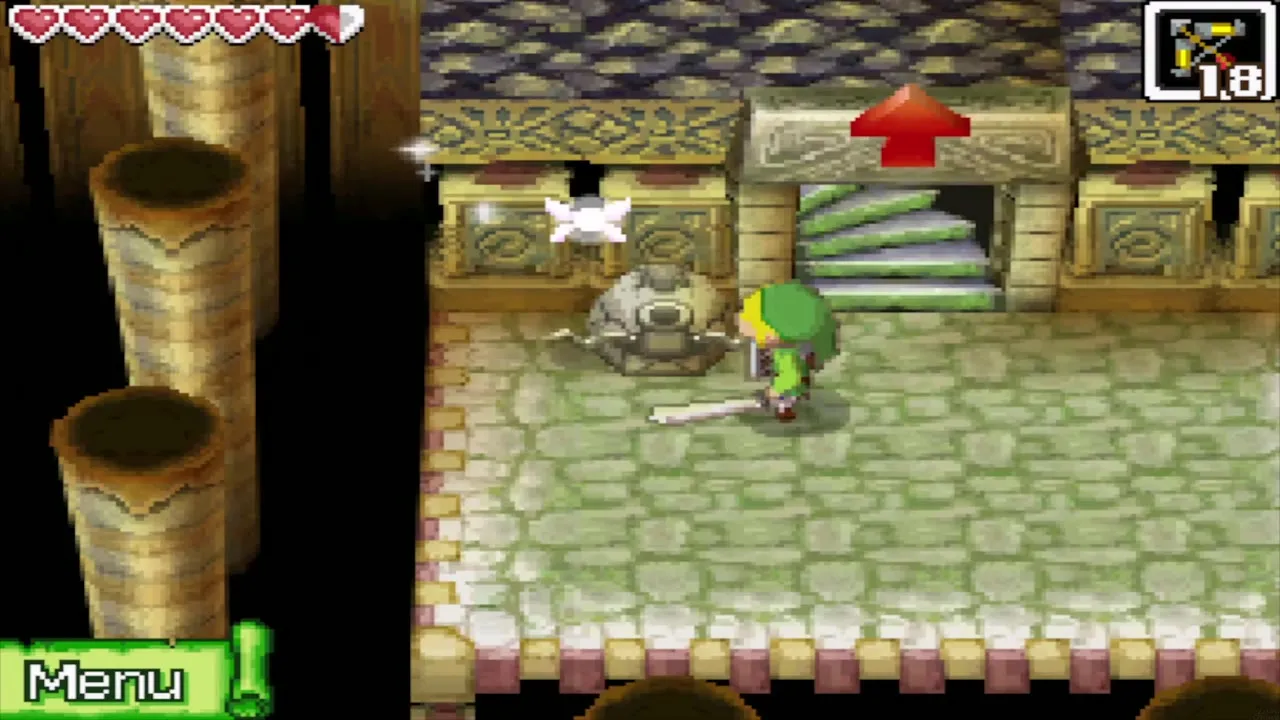
1F: second Square Crystal
Two more Moldorms wait here. Defeat them with arrows or the sword, then walk east and shoot the eye switch in the wall. Run through the door that opens to the north and lift the second Square Crystal from the platform. Carry it to the pedestal in the south-west corner, which opens a door on the right. Climb to 2F.

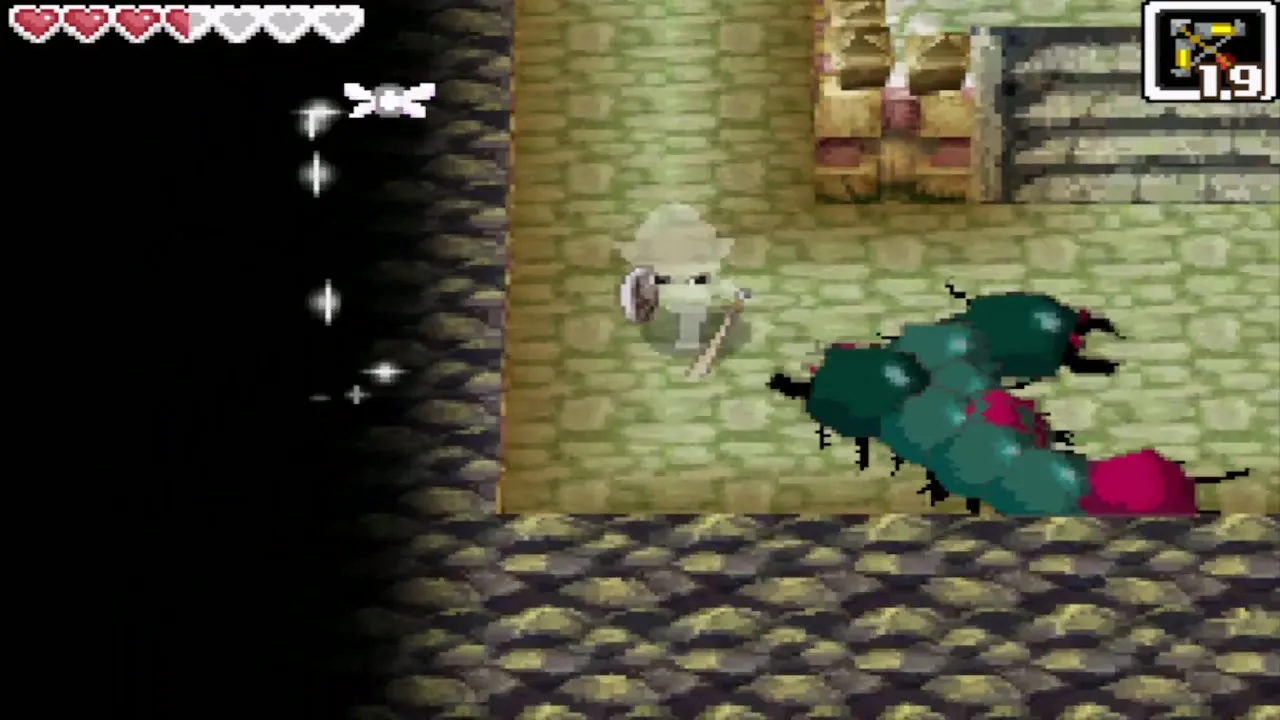
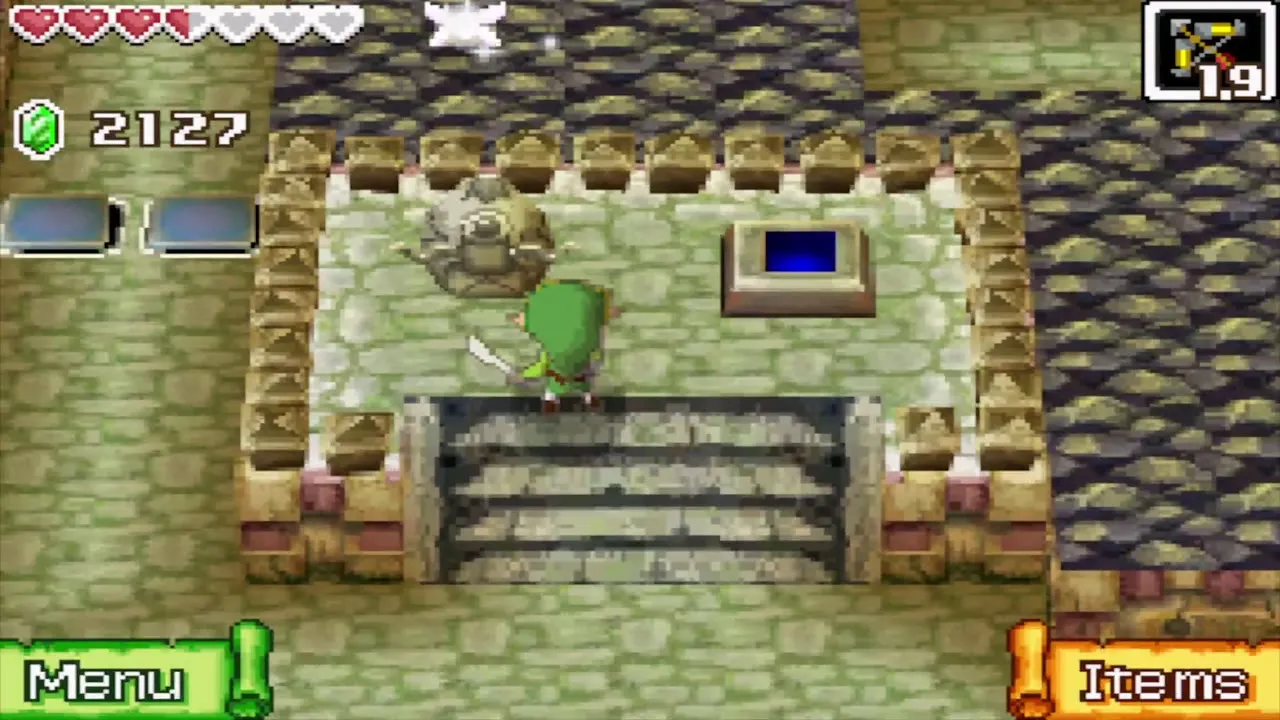
2F: Octorok room, Power Gem and Beamos
Kill every Octorok in the room with the sword and the Bow. Doing so extends a bridge along the north wall. Cross it, ride the moving platform south and hop east across the platforms to a gap in the wall. Shoot the eye switches in the upper-left and north-east corners, and a chest appears on the north ledge holding a Power Gem, the tenth in the game.

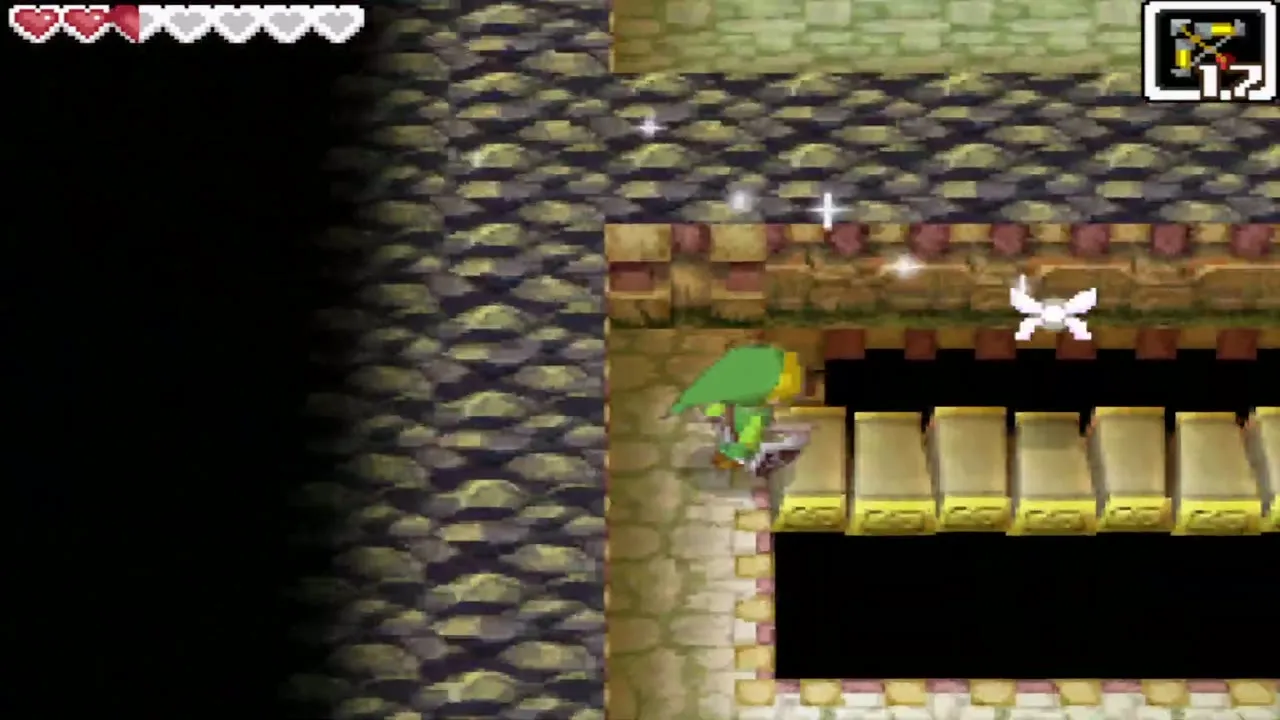
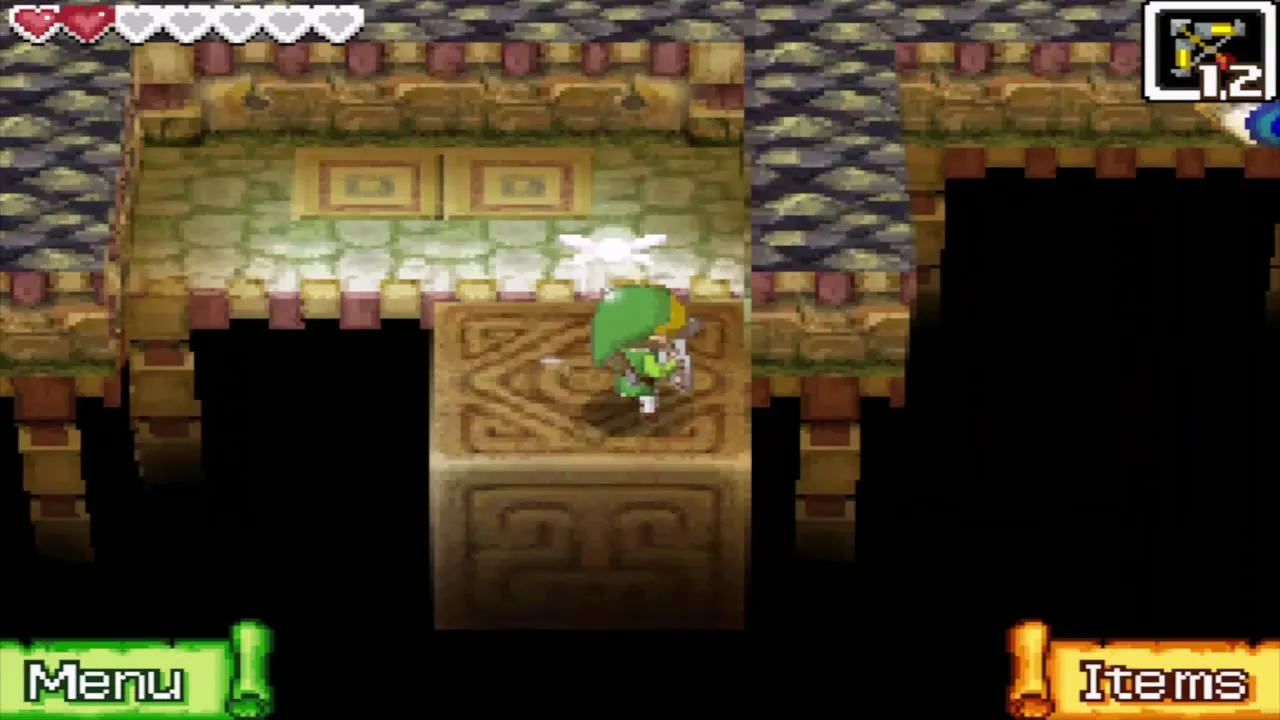
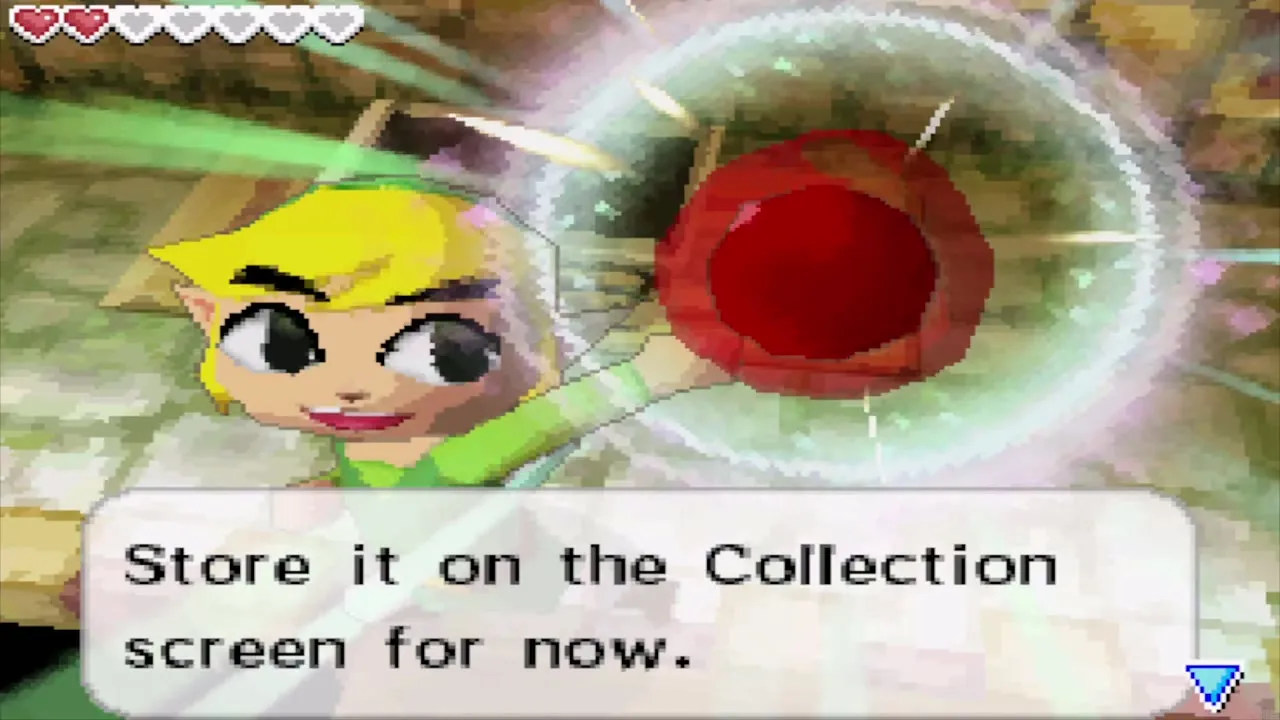
Keep going east past two Blade Traps into the Beamos room. Stun the Beamos with an arrow, bomb the cracked block beside it, then push the blocks east as the Blade Trap passes to reach the chest by the stairs. Go down to 1F.


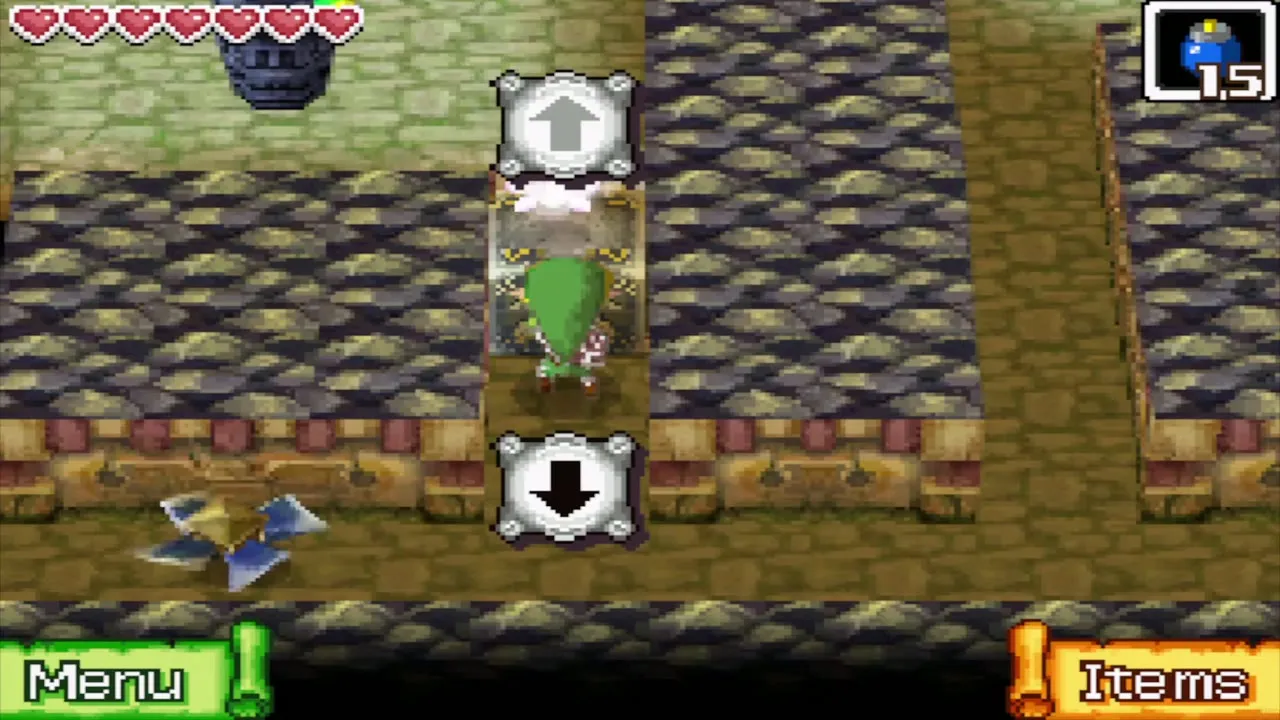
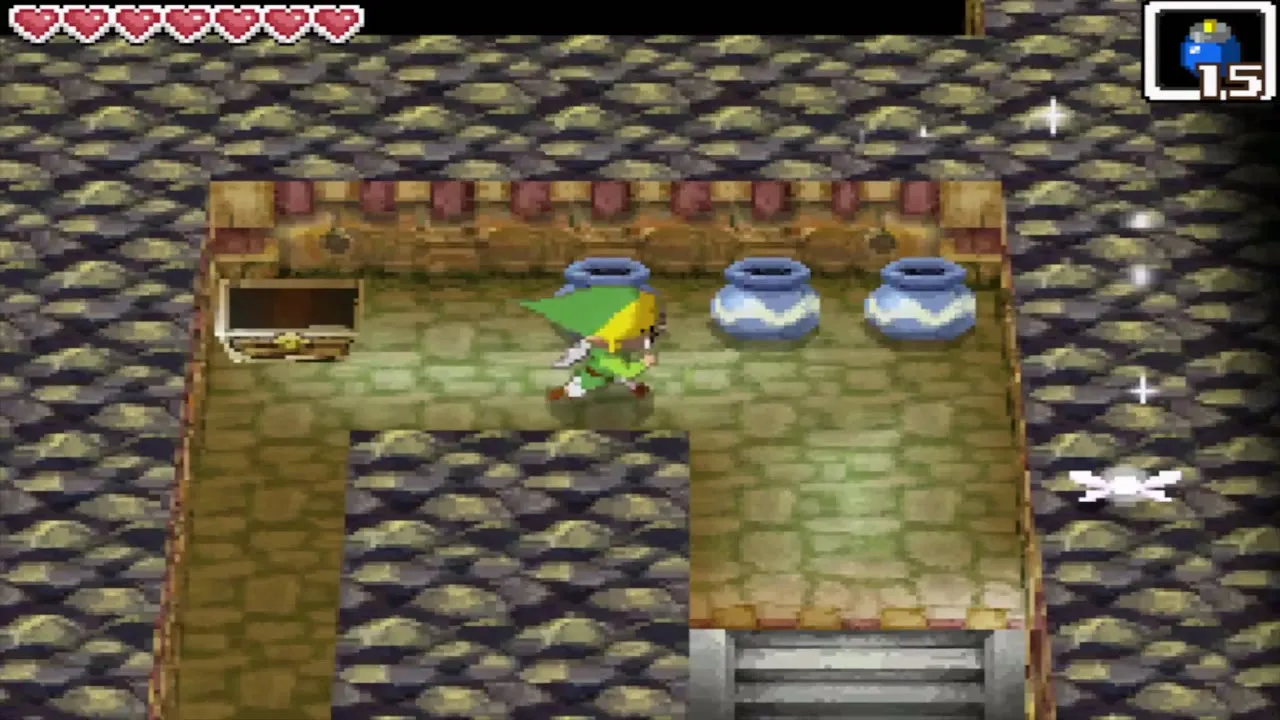
1F and B1: torch room and the Wisdom Gem
Walk west past the two Winders and step on the floor switch for another shortcut to the entrance. Take the stairs down to B1. Ride the moving platform east and jump onto the platform heading north.
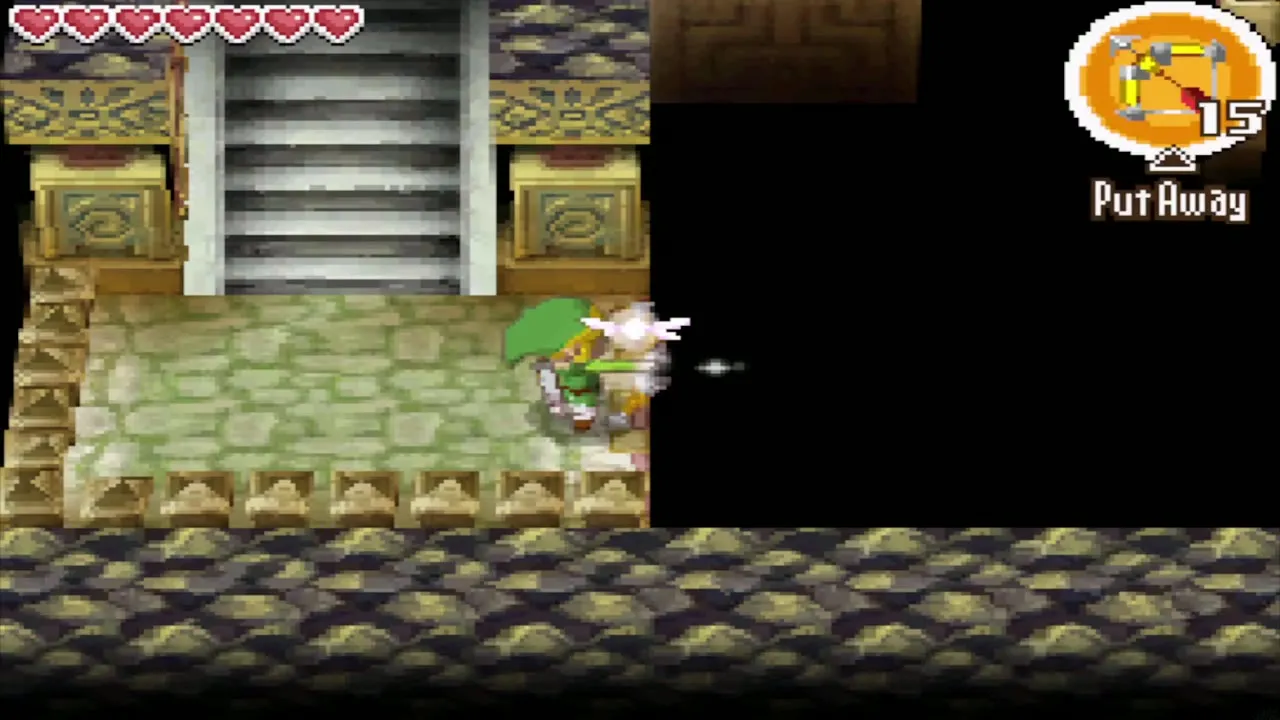
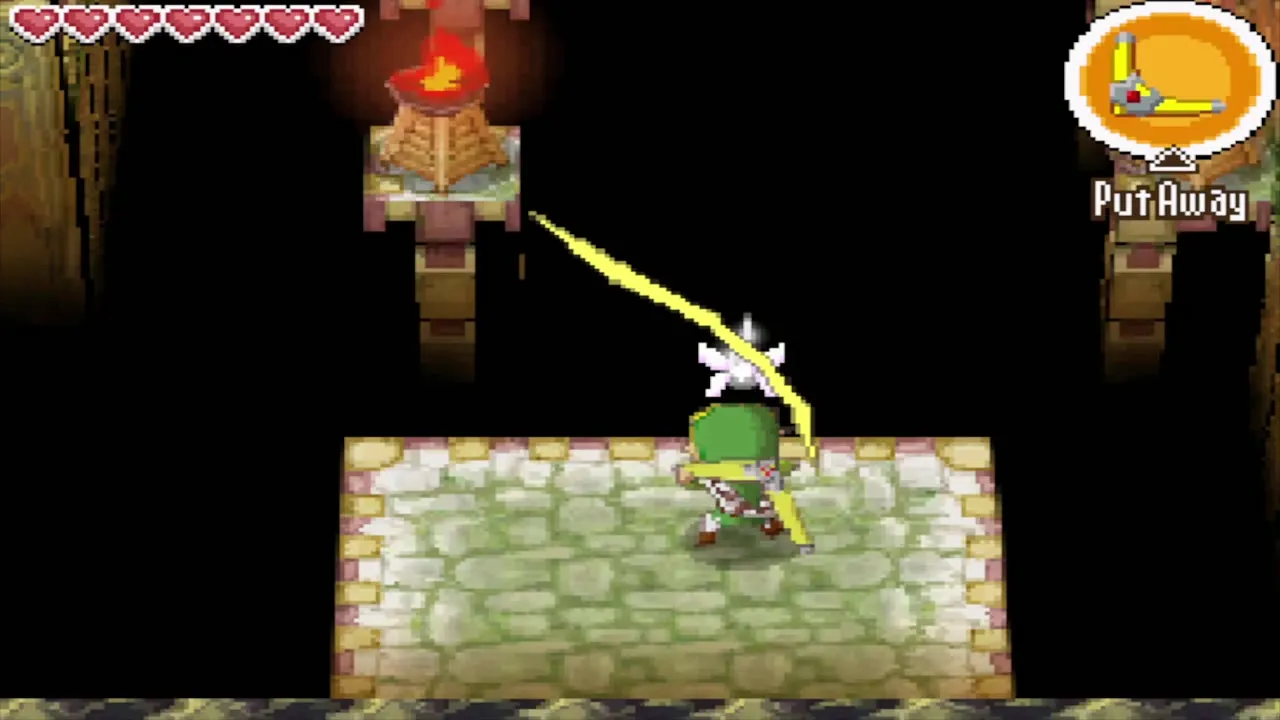
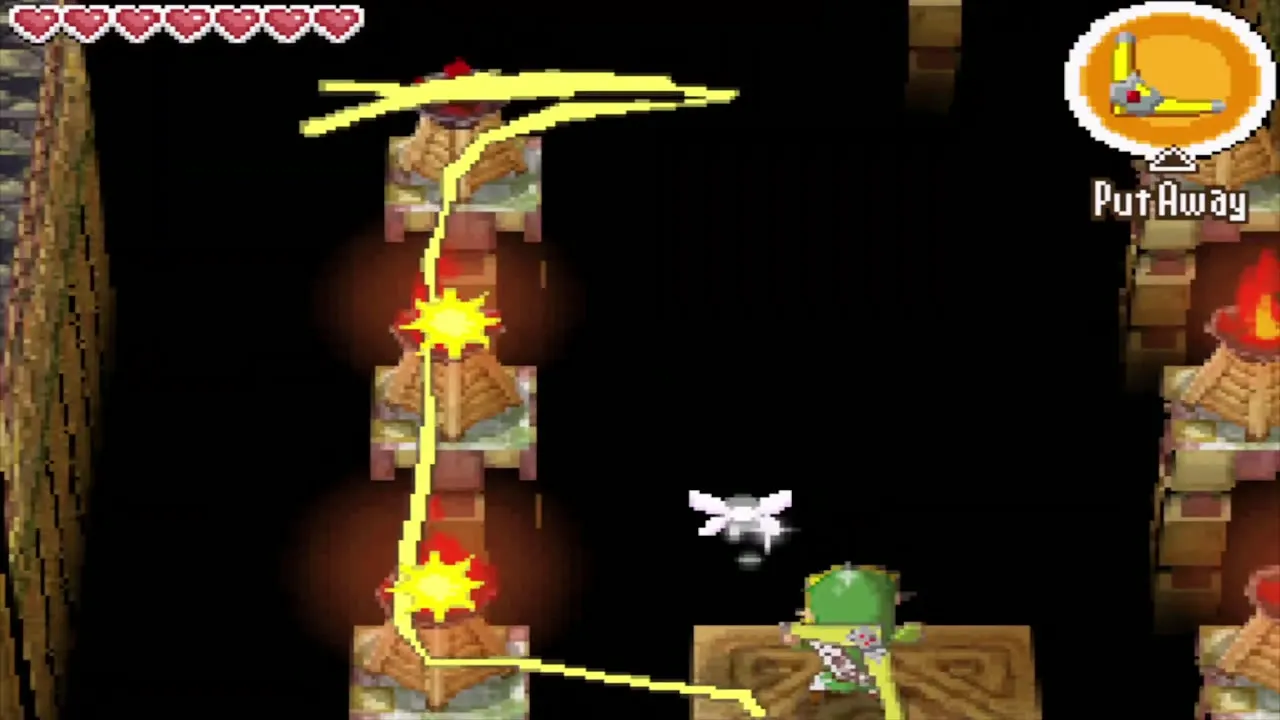
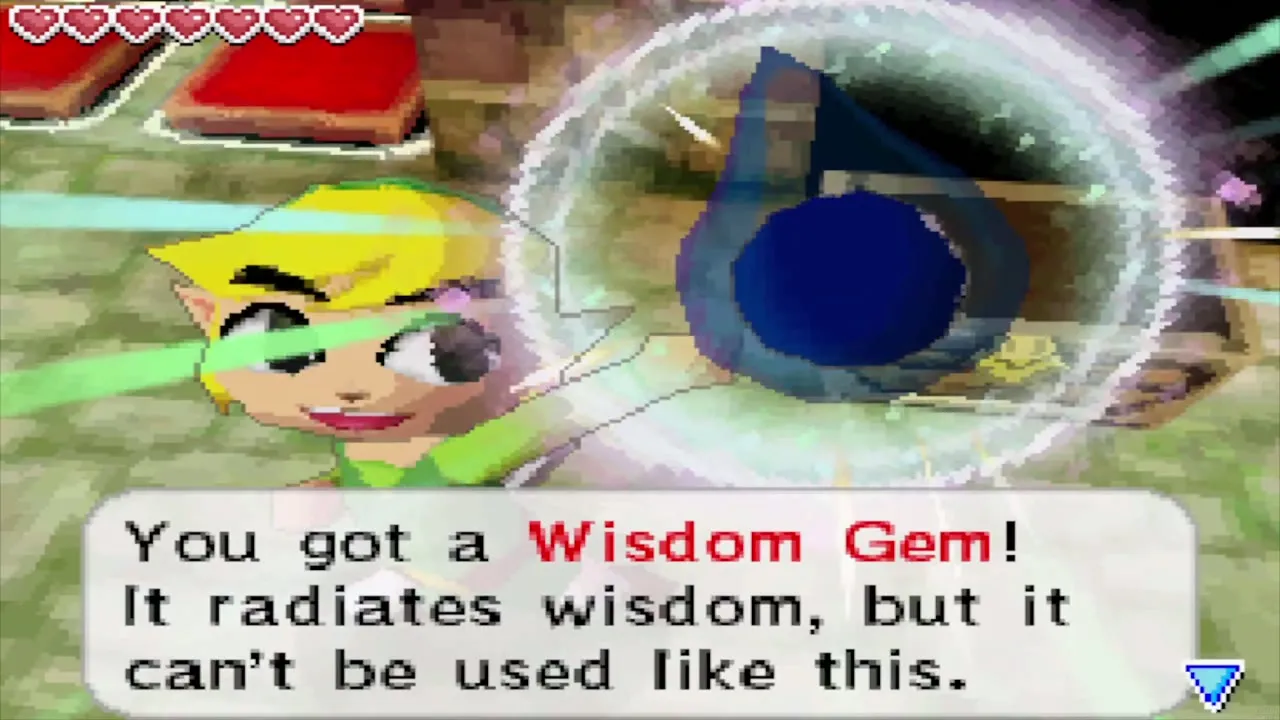
Use the Boomerang to light the five unlit torches, which lowers the spikes to the north. Knock off the Hardhat Beetles, then boomerang the Arrow Aimer until it points west and shoot an arrow into it. That lowers the red blocks. A chest in this room holds a Wisdom Gem, number seven on the Wisdom Gem list. Take the stairs up.


2F: the Boss Key
Back on 1F, a second Pols Voice guards a small key. Stun it with the microphone, slash it, unlock the door nearby and climb to 2F. Hit the stone statue, which explains the floating block, and stand on the blue block. Open your map and draw a path to move the block; to change course, simply draw a new one.
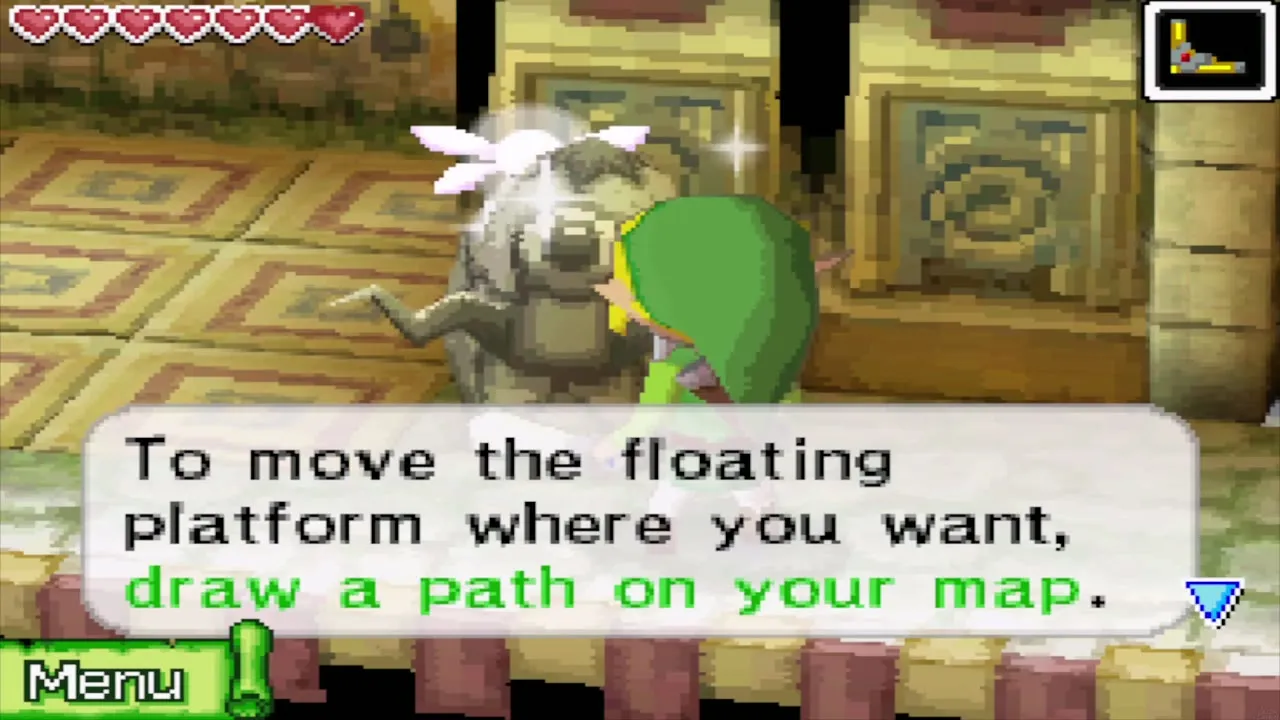
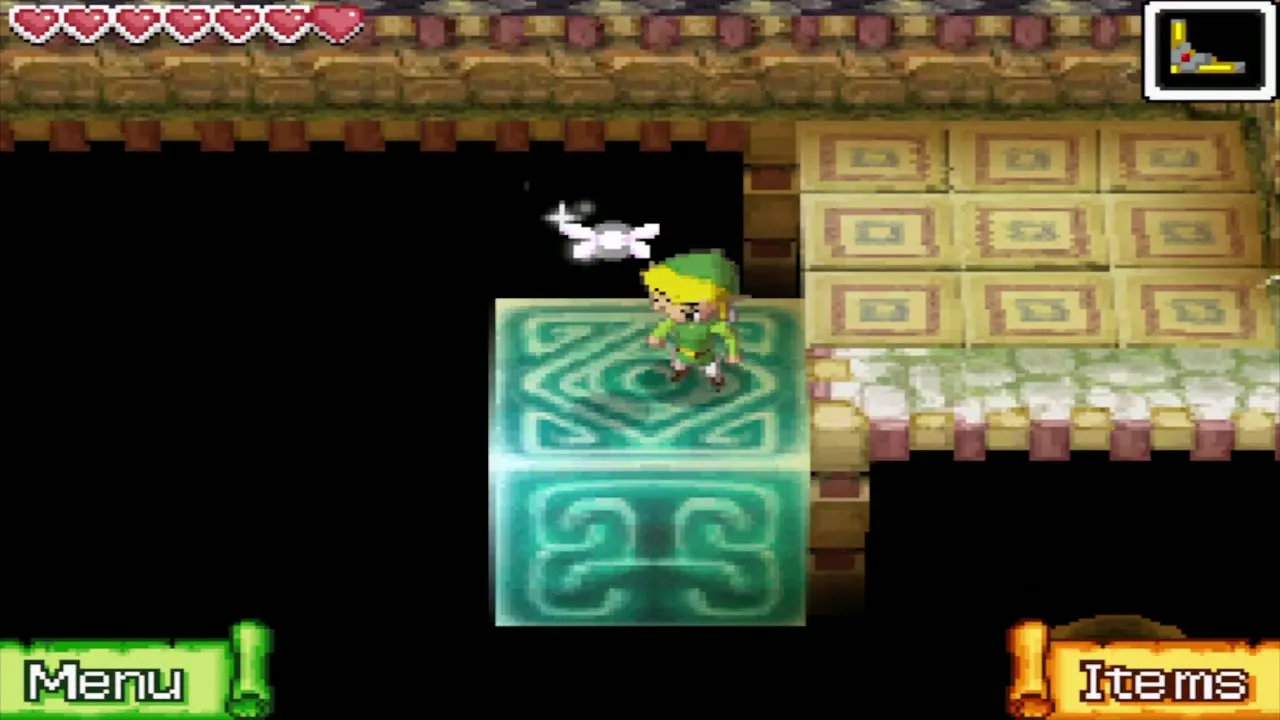
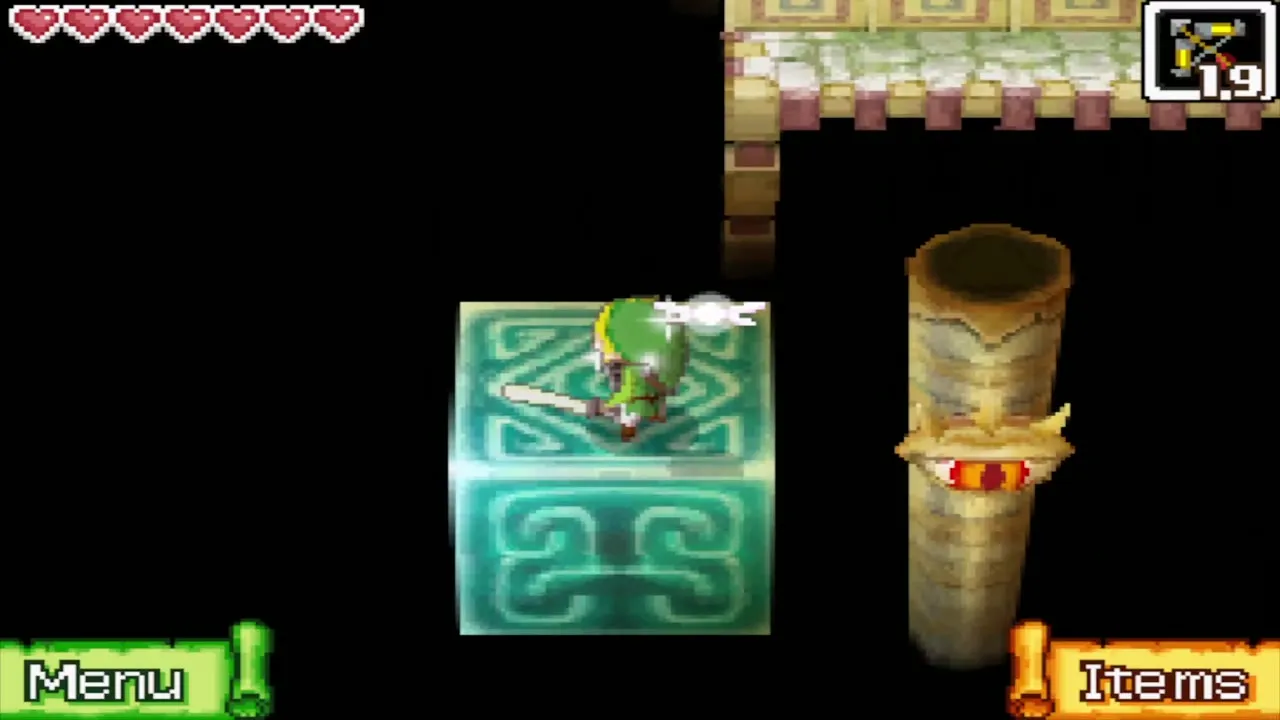
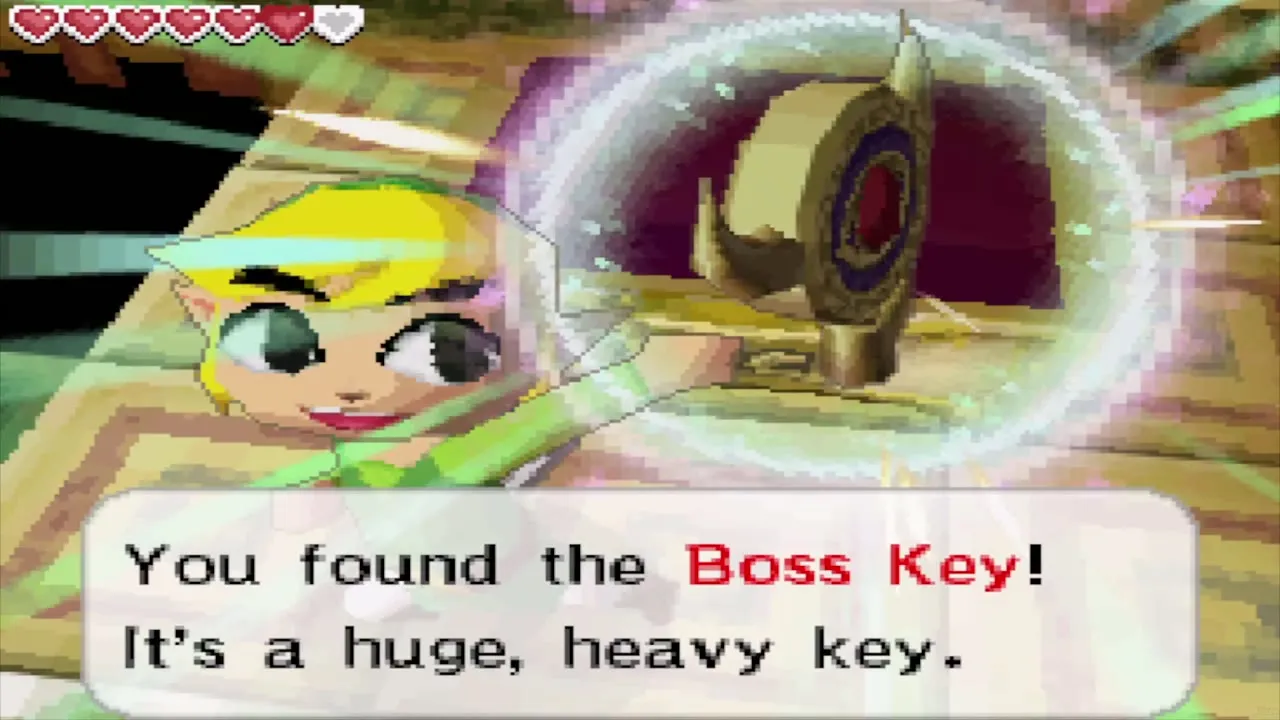
Four pillars with eye switches stand around the room. Draw a path that takes the block beside each pillar and shoot the eye in the order Up, Down, Right, Left. A chest appears in the north-east corner holding the Boss Key. Ride the block to the south-west corner, unlock the door and climb the stairs to 3F.

3F: the Courage Gem
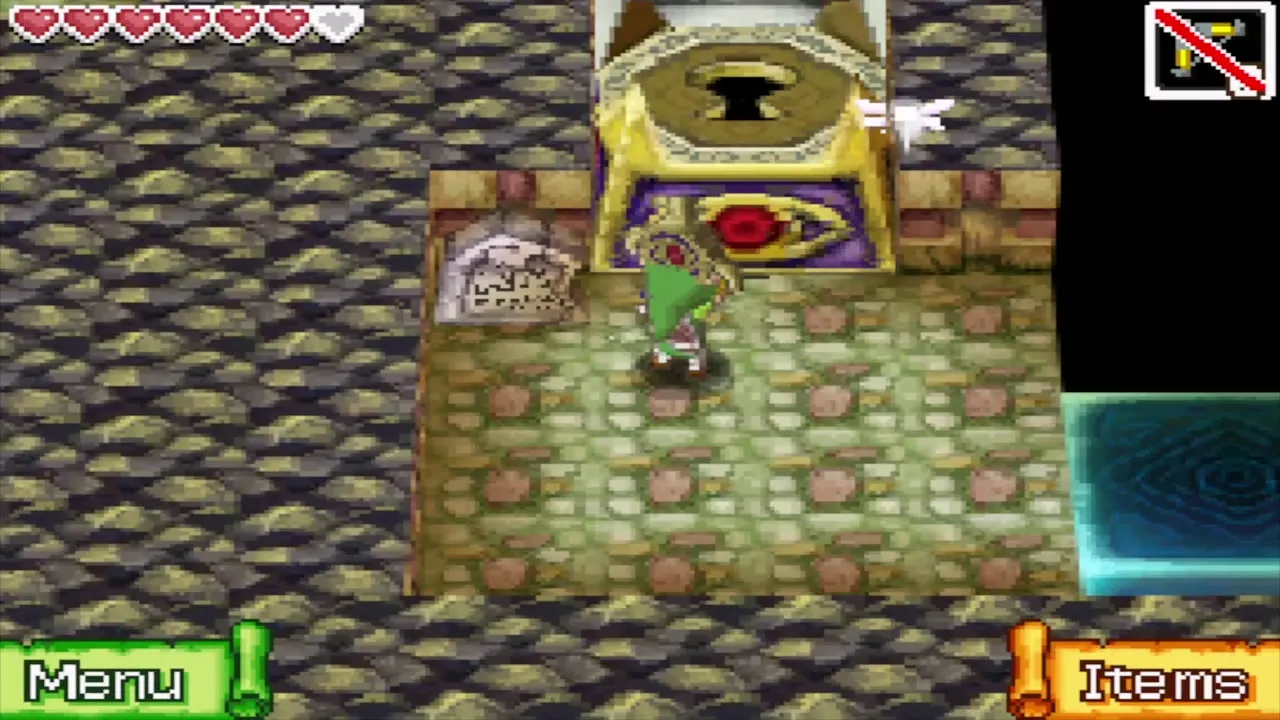
Read the stone tablet at the top to create a blue warp back to the entrance, handy if you need to leave. Bomb the crack in the north wall for a hidden room with a chest; inside is a Courage Gem, the fifth on the Courage Gem list. Then climb the stairs to Crayk.

Crayk boss fight
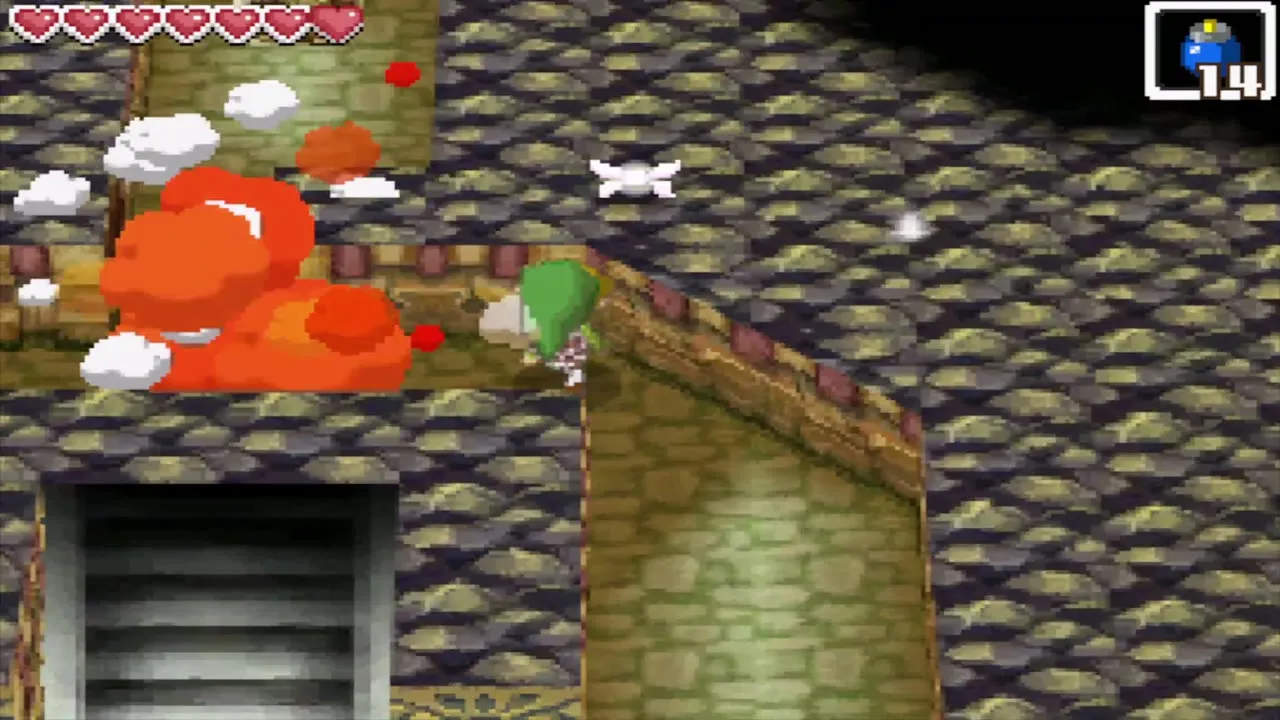
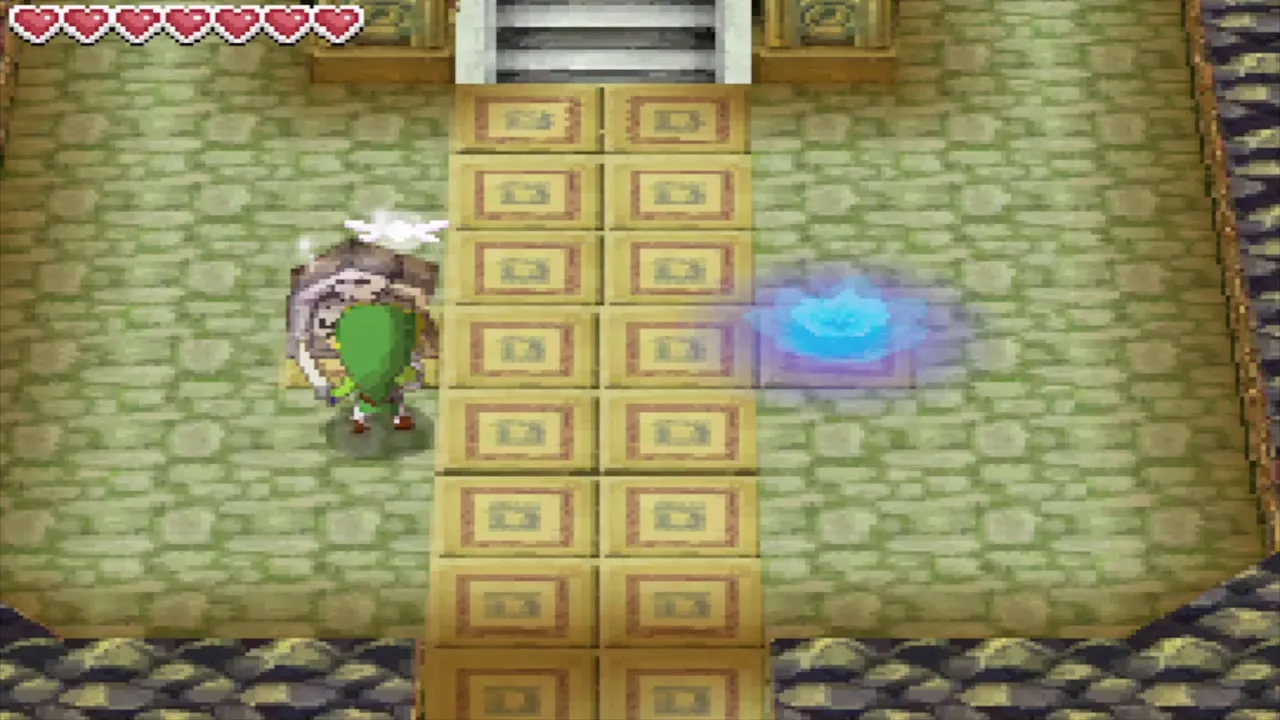
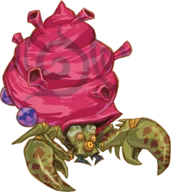
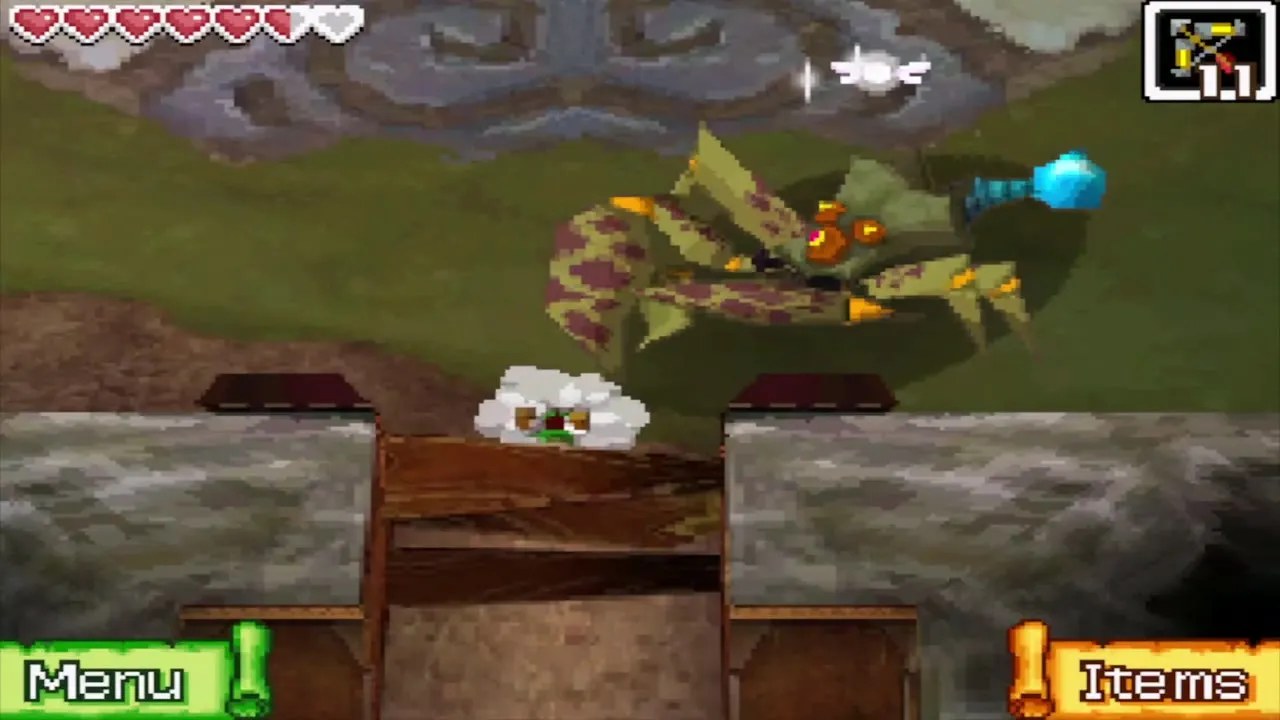
Crayk, Bane of Courage, starts invisible and the arena has Craykling minions. They drop hearts and arrows when you slash them, so use them to refill. Crayk’s view is shown on the top screen: when it looks straight at Link on that screen, turn and shoot an arrow so it appears.


Once it shows, hit the purple orbs on its shell with arrows or the sword until the shell breaks. If Crayk grabs you, rub the stylus back and forth across the screen to wriggle free.


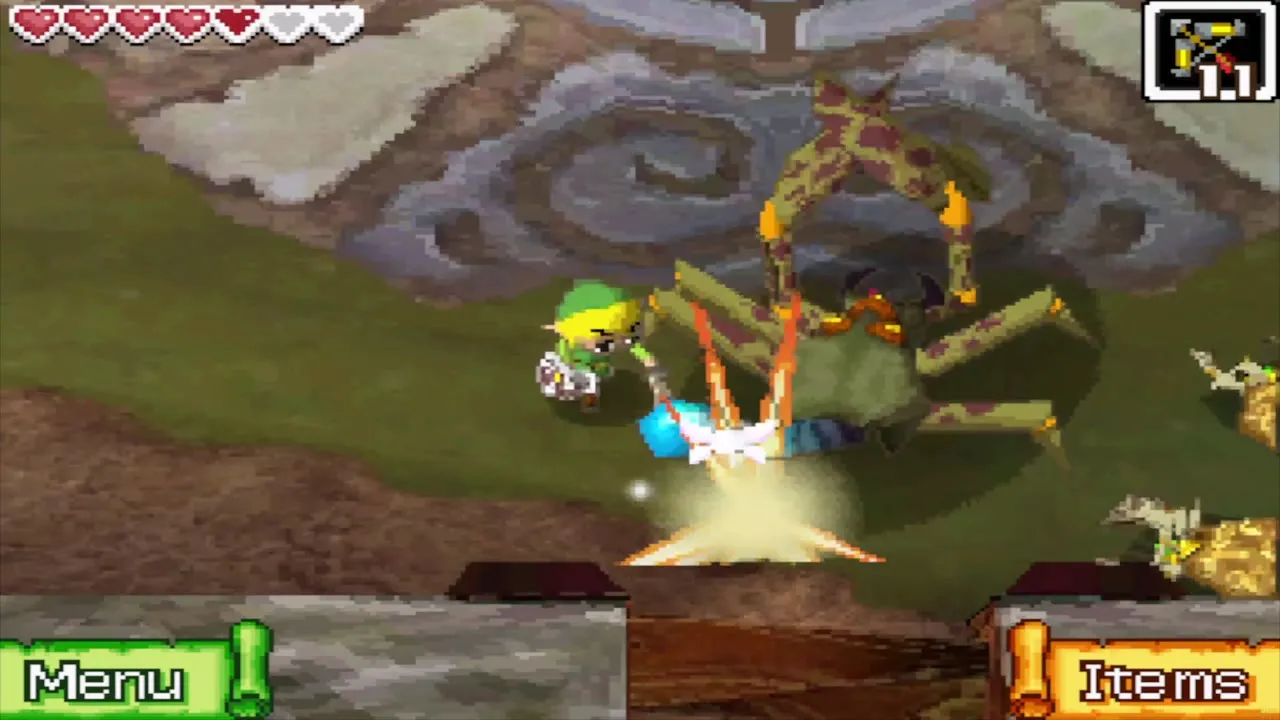
Without its shell, Crayk turns into a spider-like crab. Shoot or slash its face so it covers up, then run round behind it and strike the blue tail until it falls. Repeat as often as it takes.

Crayk rewards and the Spirit of Courage
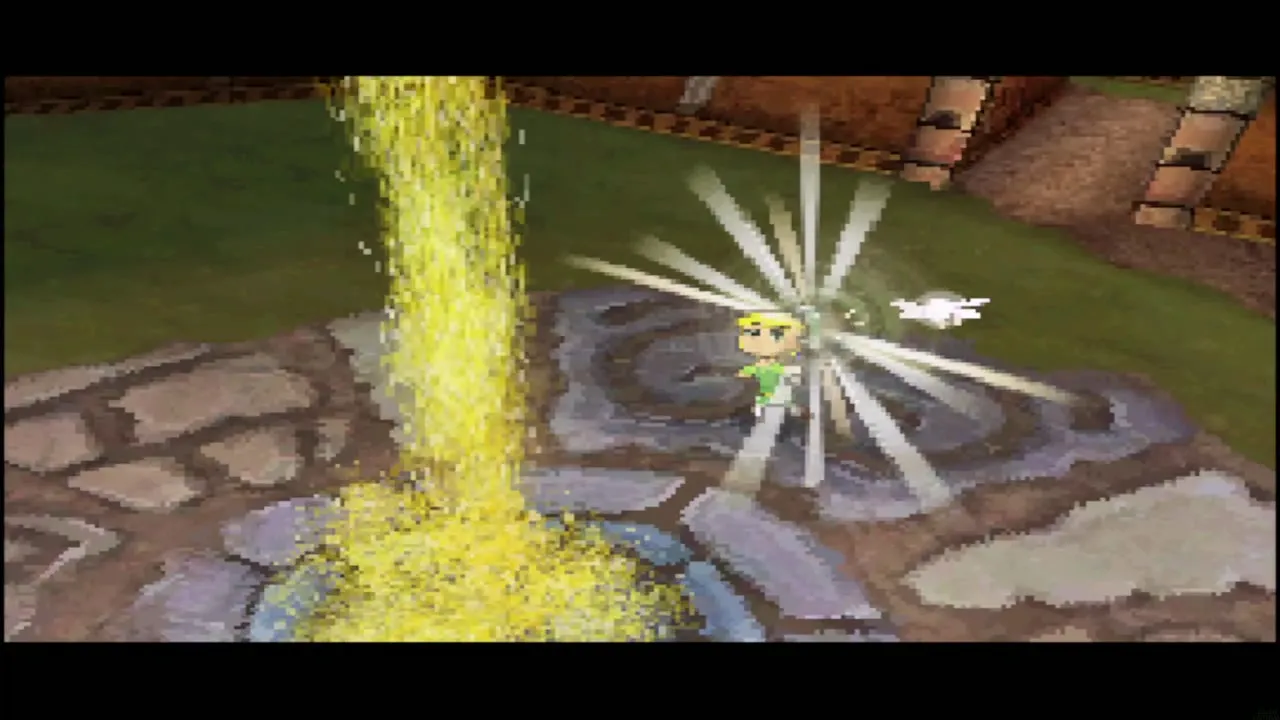
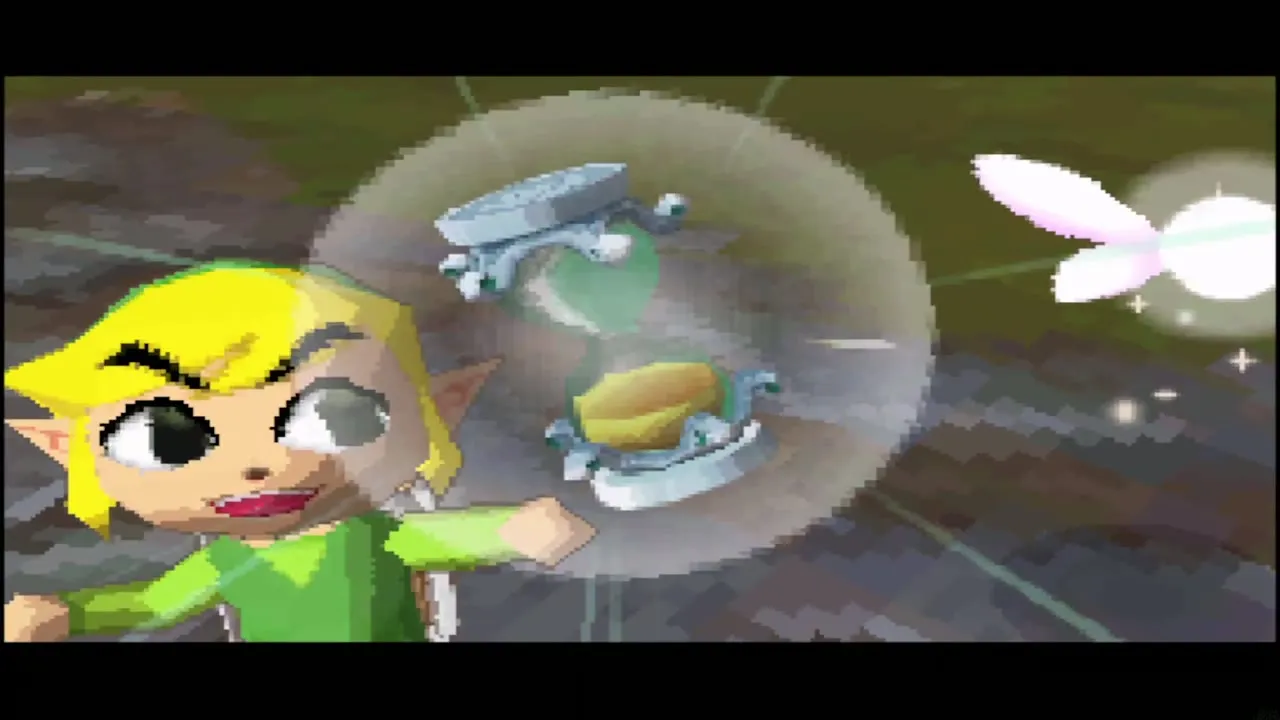
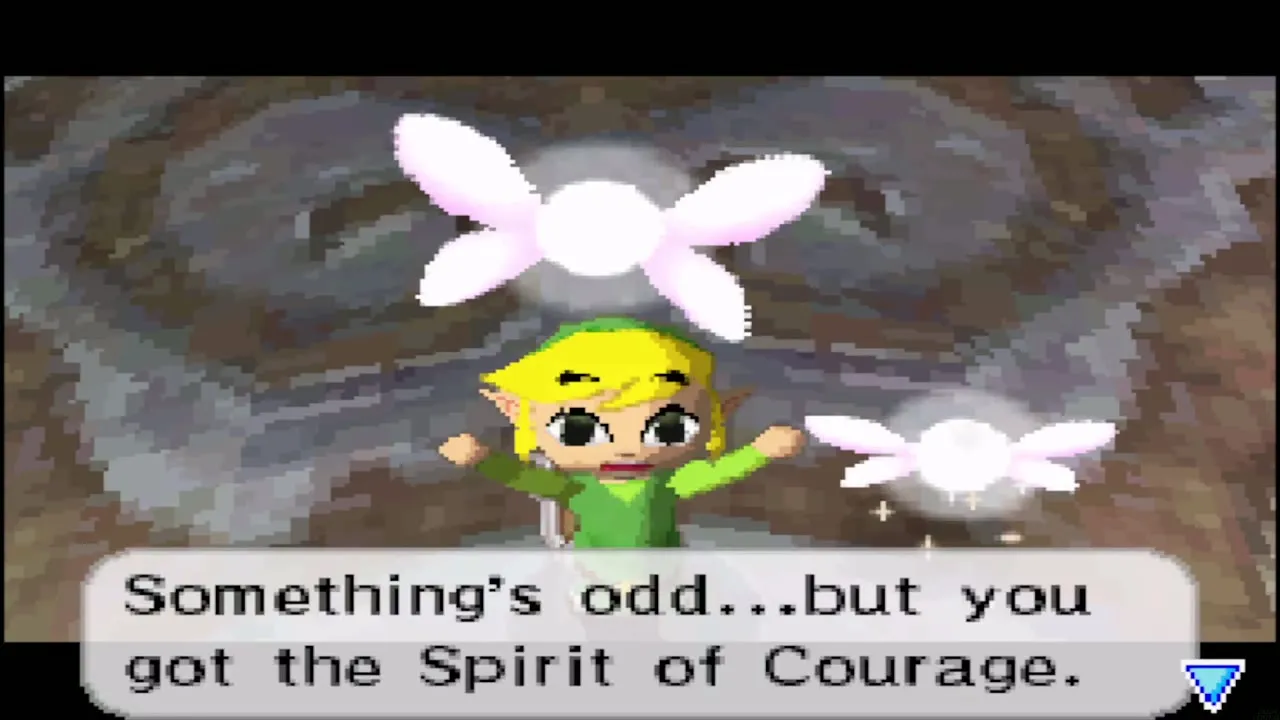
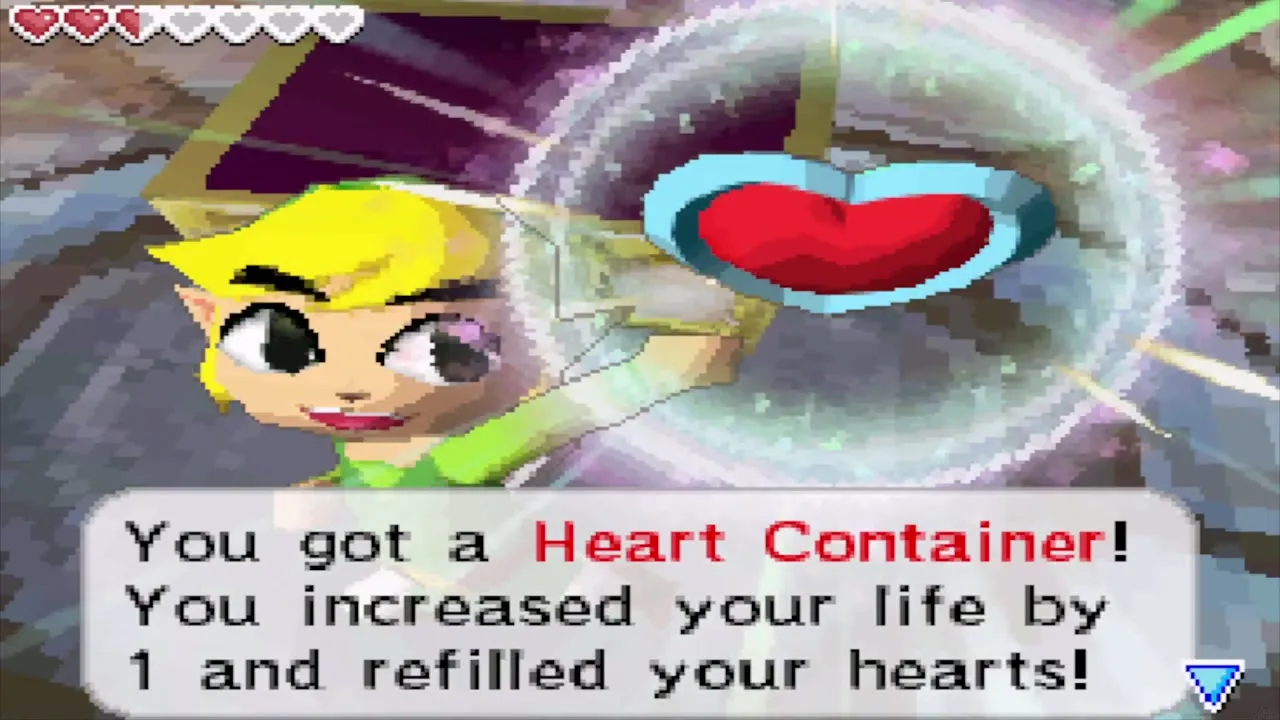
The Phantom Hourglass fills with two more minutes of sand when Crayk dies. Ciela’s lookalike appears and joins her. Ciela says something seems odd, but you now have the Spirit of Courage, and she wonders whether you can find the Ghost Ship at last. A chest appears on the pedestal; open it for a Heart Container. Step onto the blue warp to leave.
After the temple: Oshus and Ciela
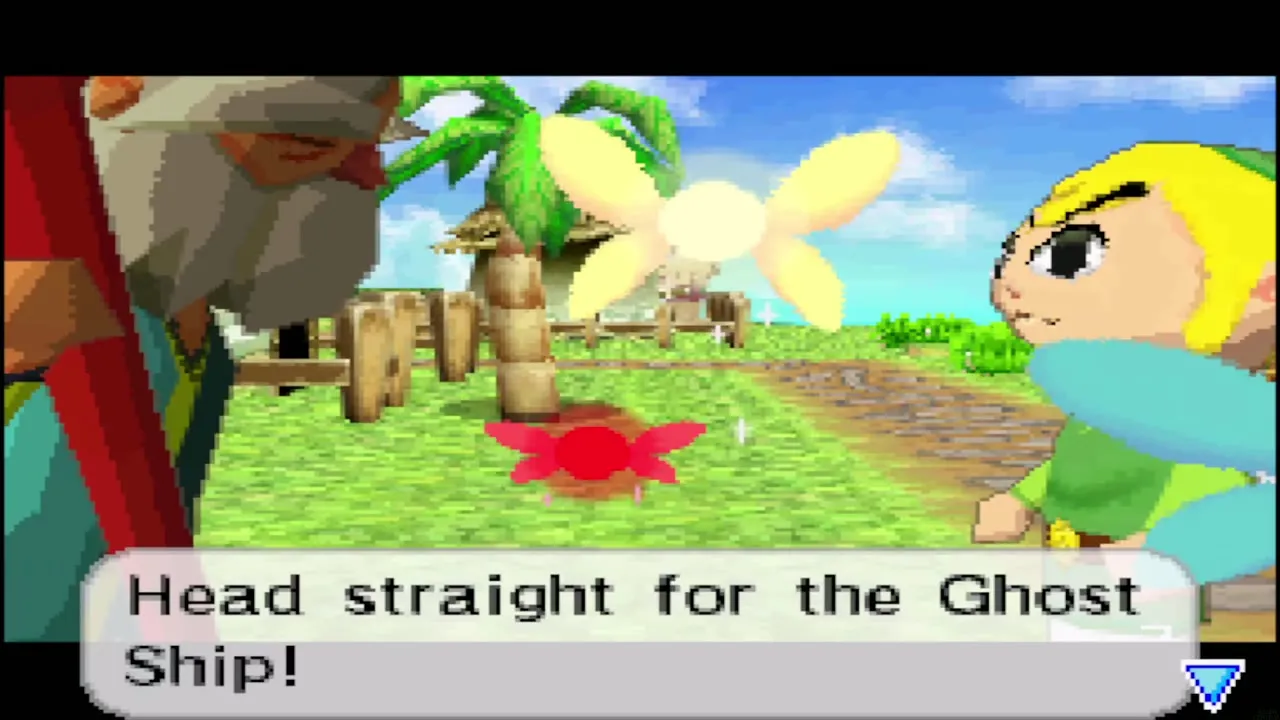
Outside, walk to the shore. Oshus is waiting in a boat with Linebeck. He tells you that Ciela is no ordinary fairy but a spirit, and that the spirits you freed hold the powers you lost. The three spirits join together and Ciela awakens as the Spirit of Courage. Her power lets you sense evil, and in time nothing will be able to hide from you.

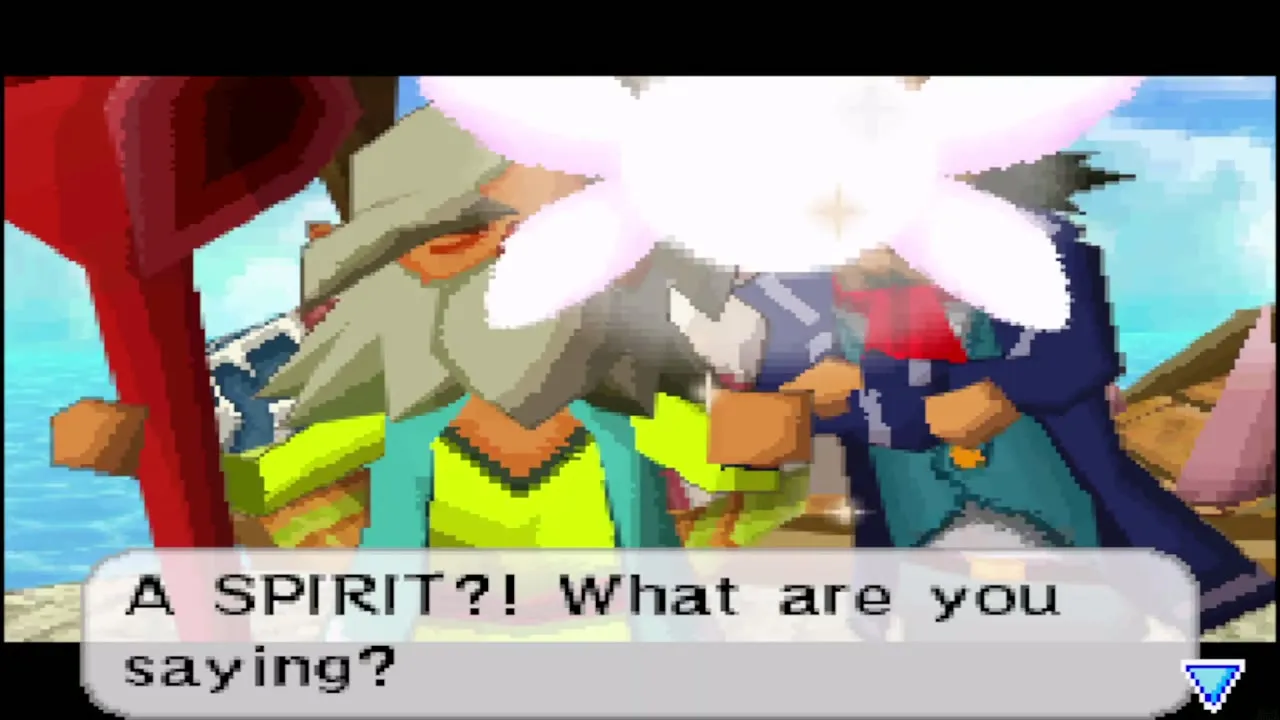


Tetra’s cry for help then reaches Ciela. Oshus tells you to hurry to the Ghost Ship, and Linebeck suggests that it hides in the fog. The next chapter, The Ghost Ship, picks up from the sea chart here.

Romanos’s Shooting Range and the Molida shop

Shooting Range: quiver upgrade
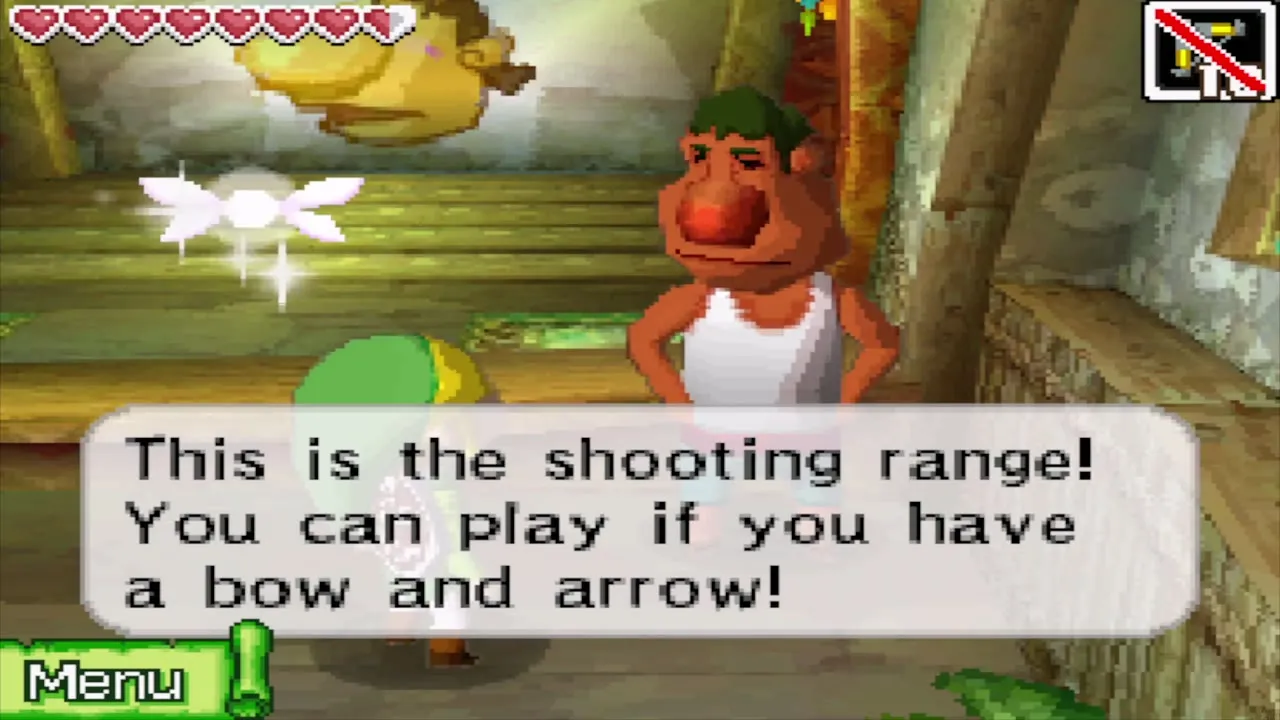
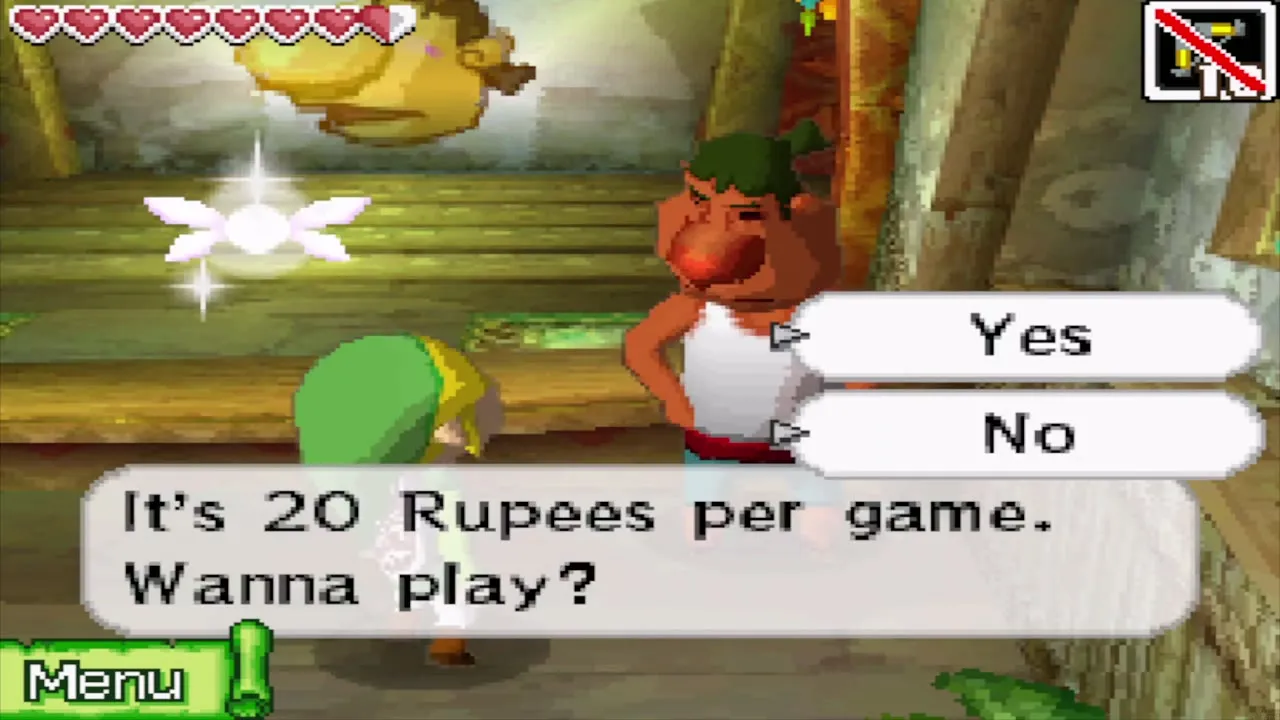
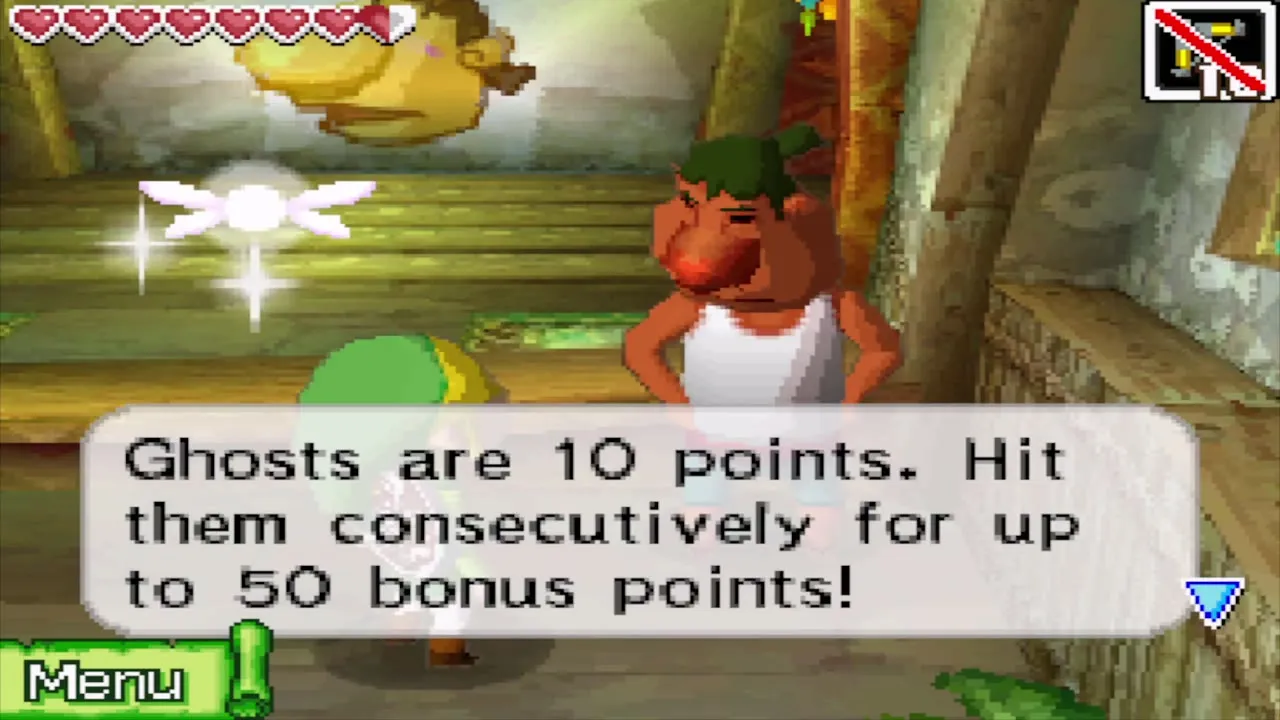
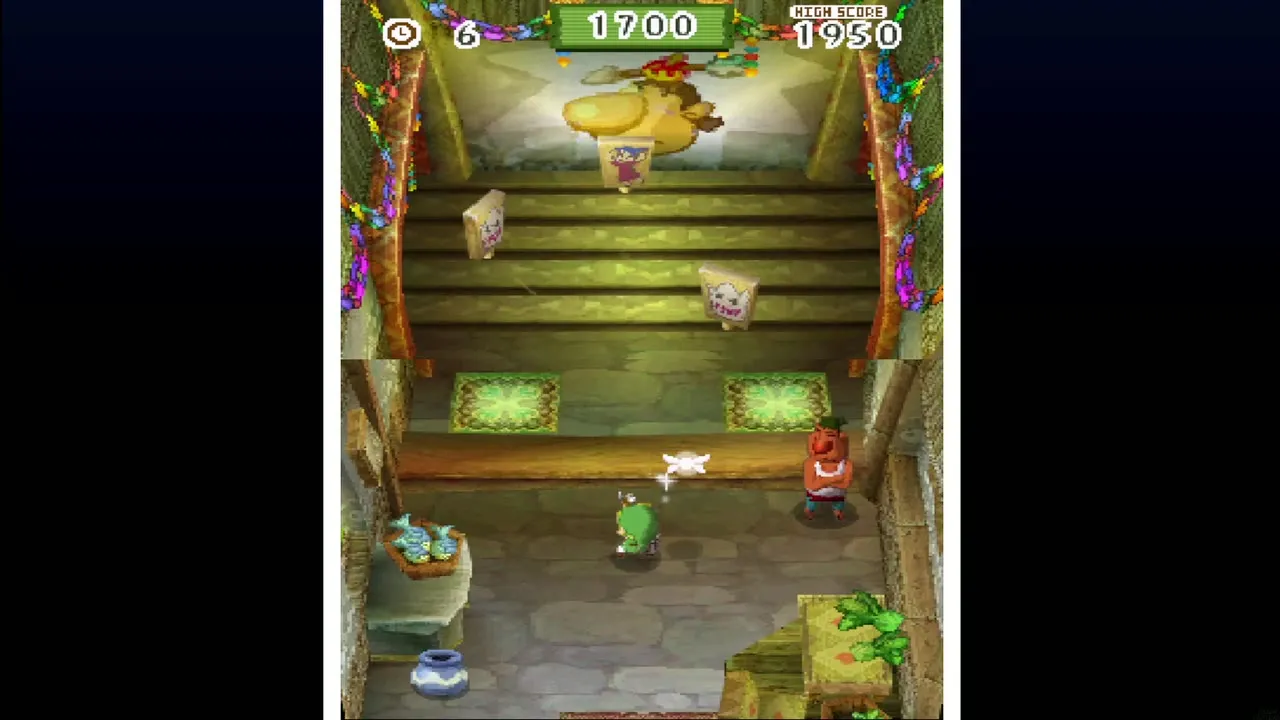
Romanos has turned the hut on Molida into a Shooting Range. It costs 20 Rupees and gives you 70 seconds and unlimited arrows to shoot targets: ghost targets are worth 10 points each, with up to 50 for a streak, while a girl target costs you 50 points. Under 1,300 points earns nothing, 1,300 to 1,699 pays a treasure, and your first score of 1,700 to 1,990 wins the quiver upgrade, which lifts the arrow limit to thirty.
Shooting Range: Heart Container
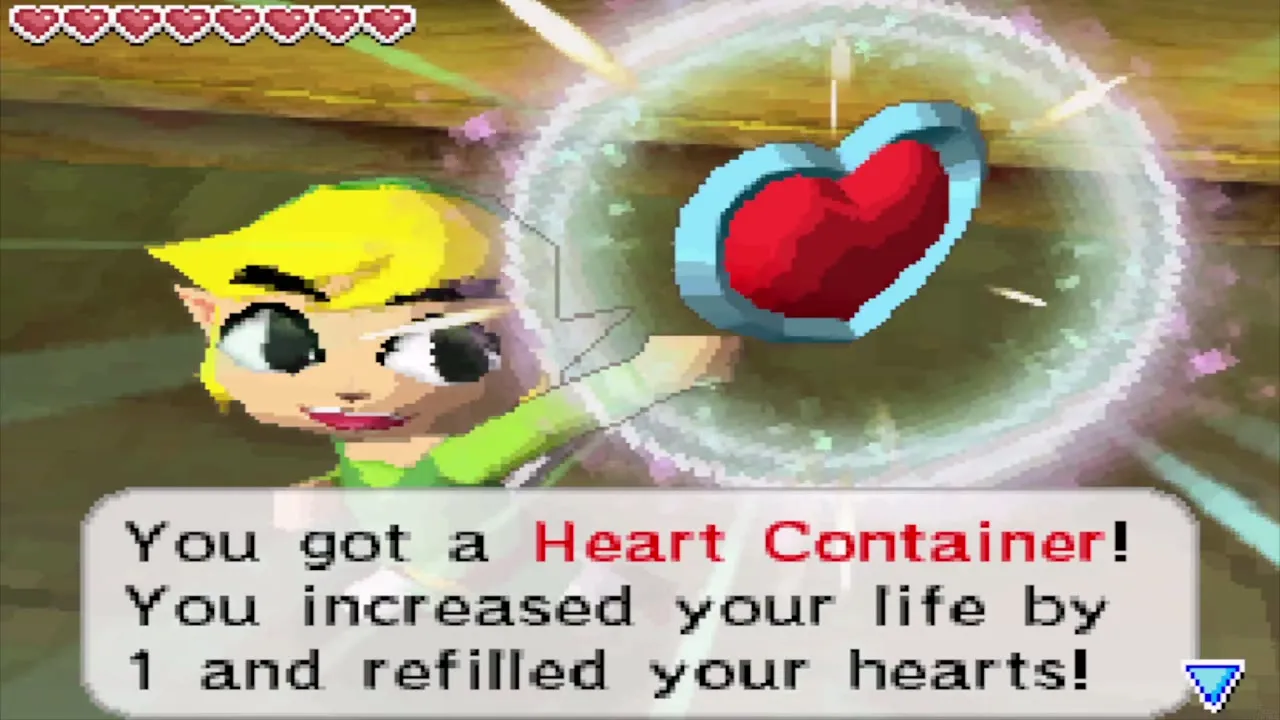
Play again and score at least 2,000 points for a Heart Container. Romanos calls you a master of the bow. Any later score of 1,700 or more pays a ship part.

Molida shop: second quiver upgrade
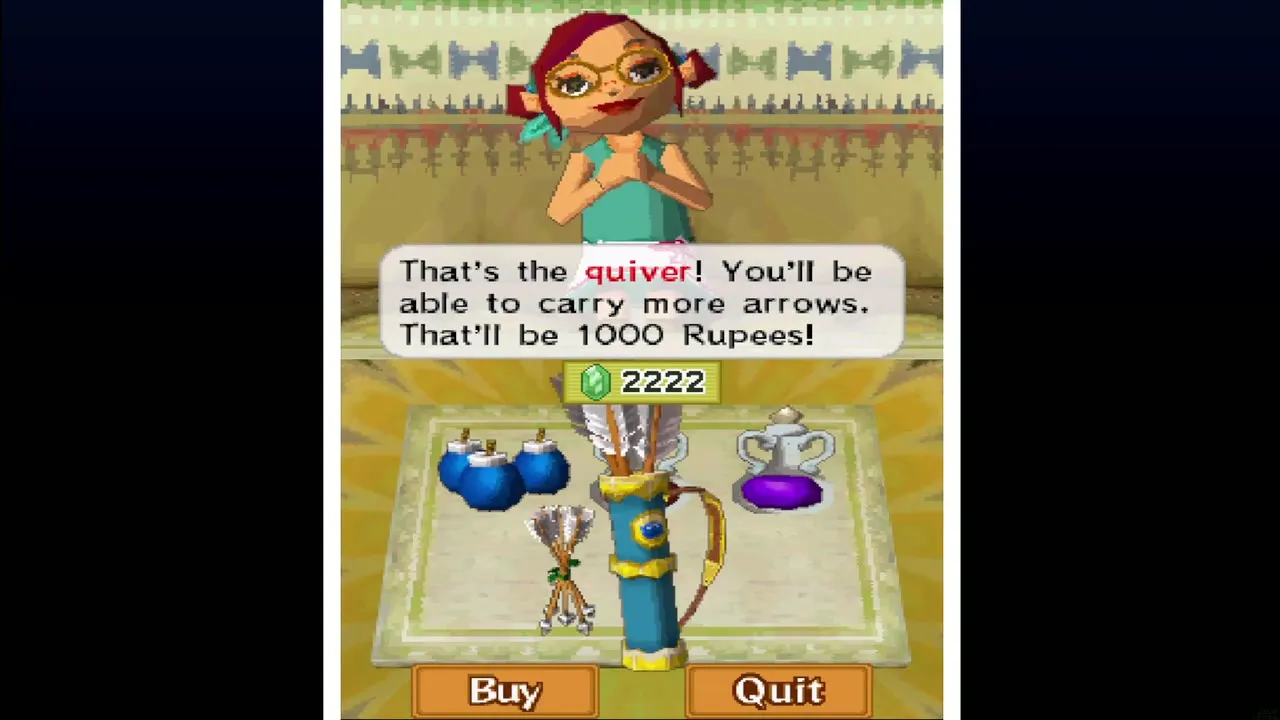
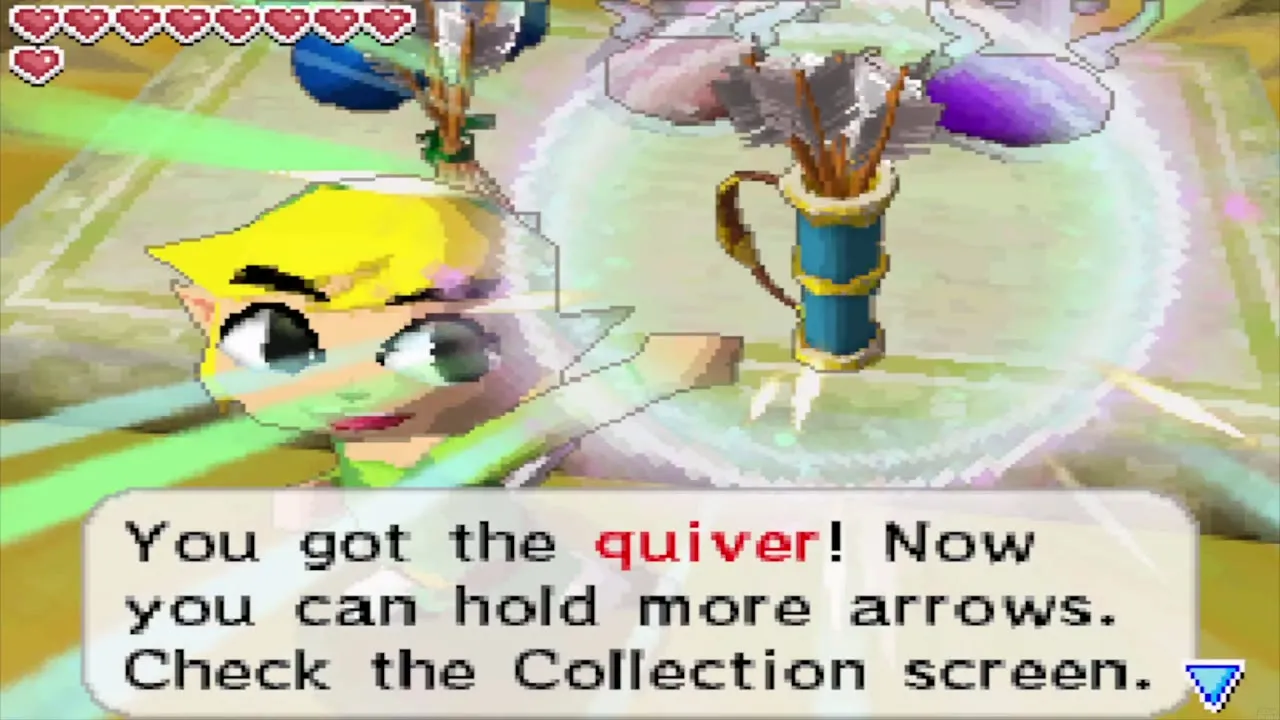
Once the Temple of Courage is done, the Molida shop or the Mercay shop sells the larger quiver for 1,000 Rupees. This raises your arrows to fifty.
Spirit Island and the Ancient Cannon
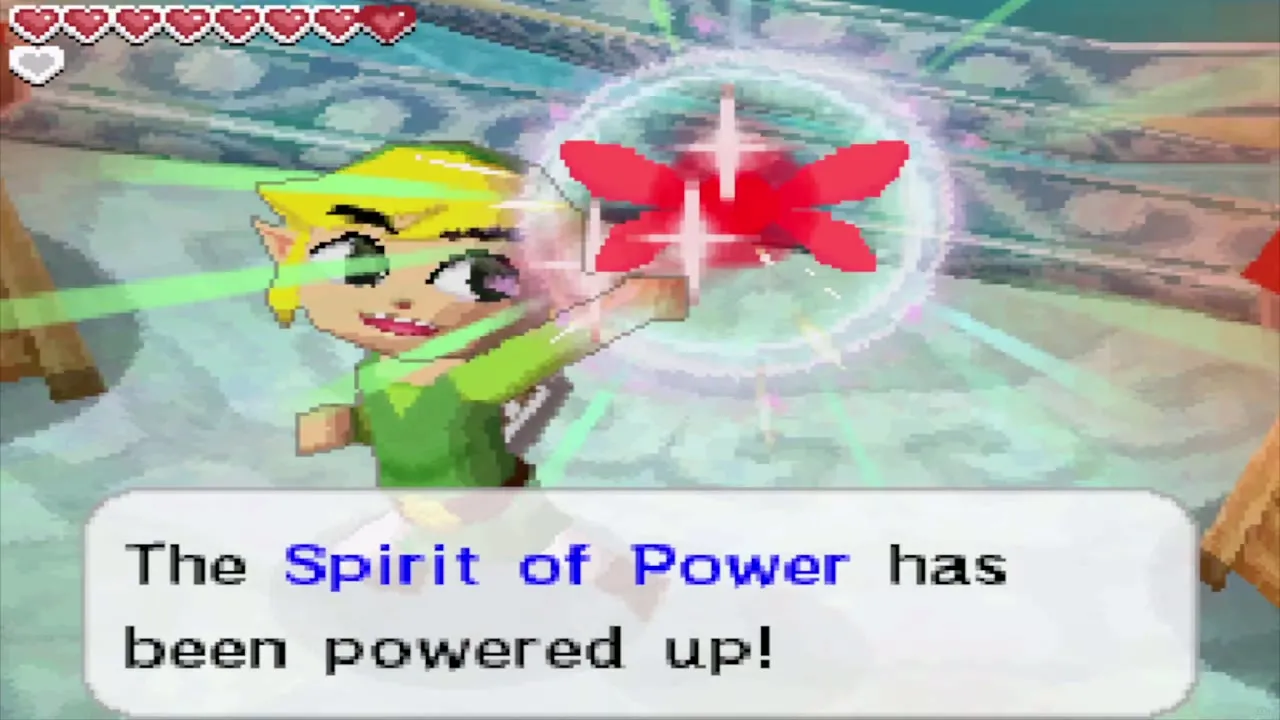
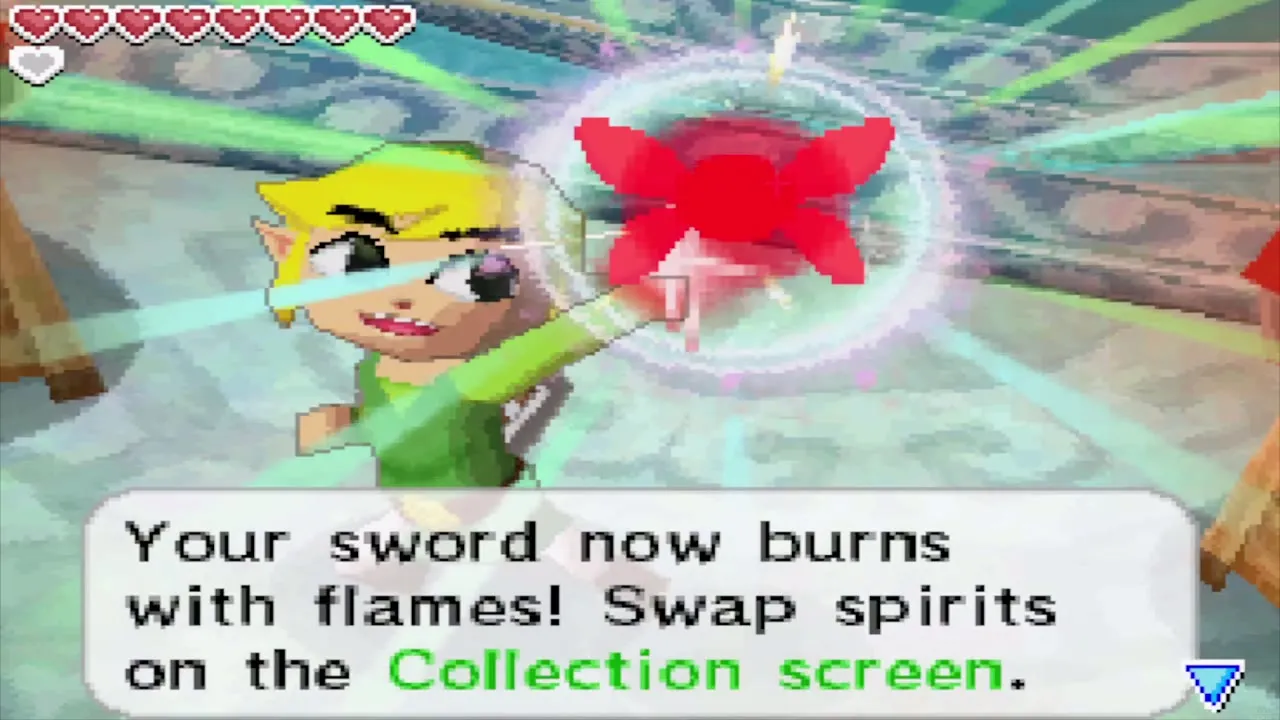
Spirit Island lies just south of Molida. Its shrine is where the Spirit Gems do their work: show ten Power, Wisdom or Courage Gems to the servant and that Spirit levels up. Your first ten Power Gems set the sword on fire, and you then switch Spirits from the Collection screen. A chest east of the dock holds a Courage Gem if you have not opened it yet.

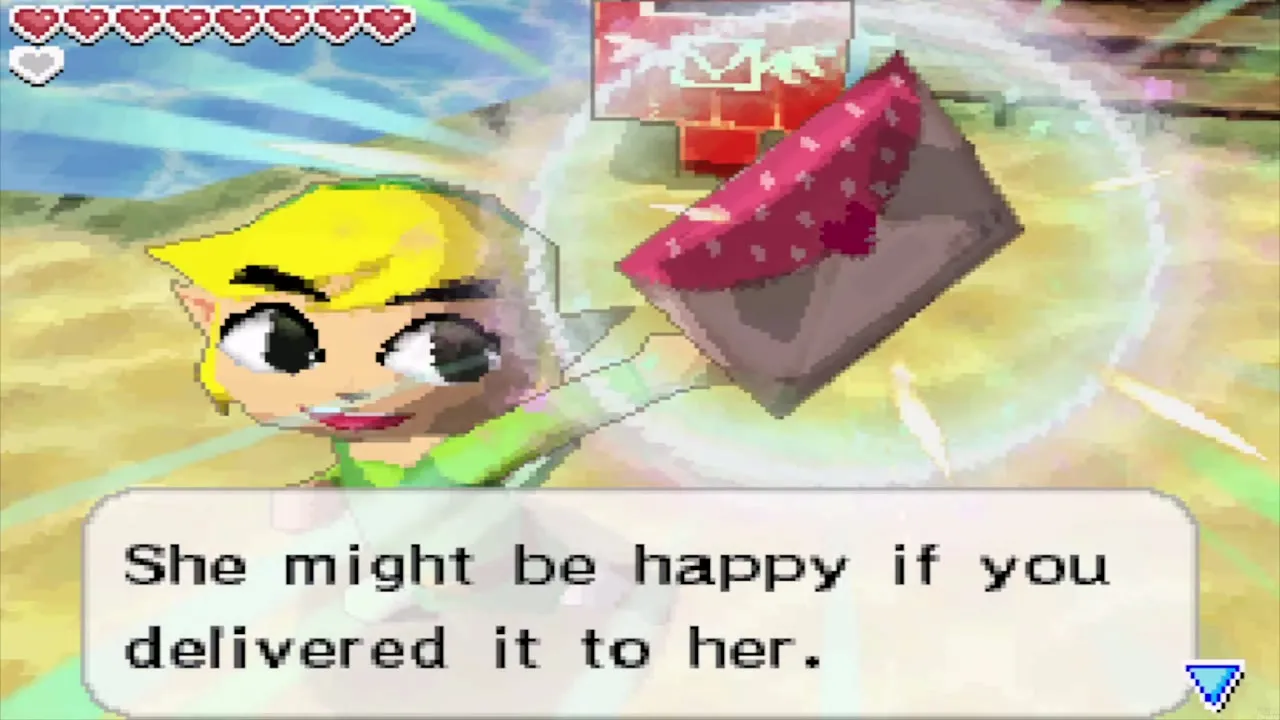
A postman also delivers a letter from Romanos with a grand-opening gift, the Ancient Cannon, a ship part from the Stone Ship set. Check the shipyard on Mercay before you change anything on your ship, because matching sets give extra hearts.


Mercay Island: Treasure Map 10
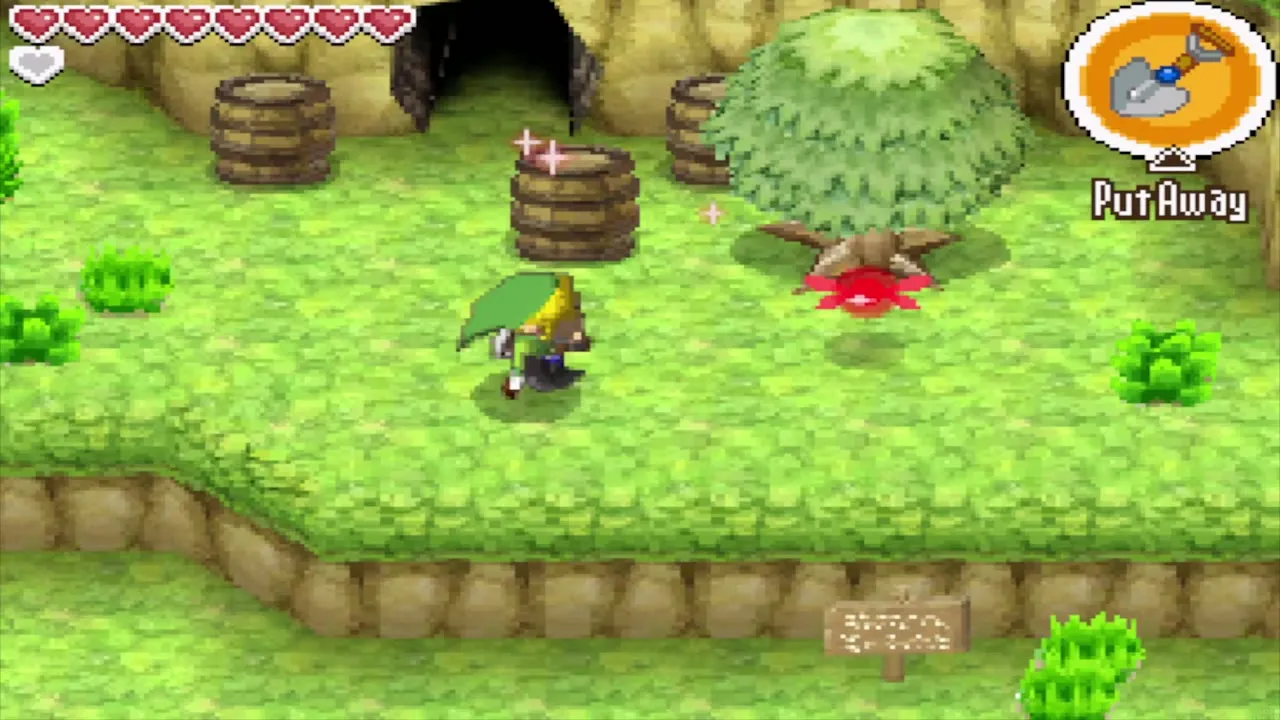
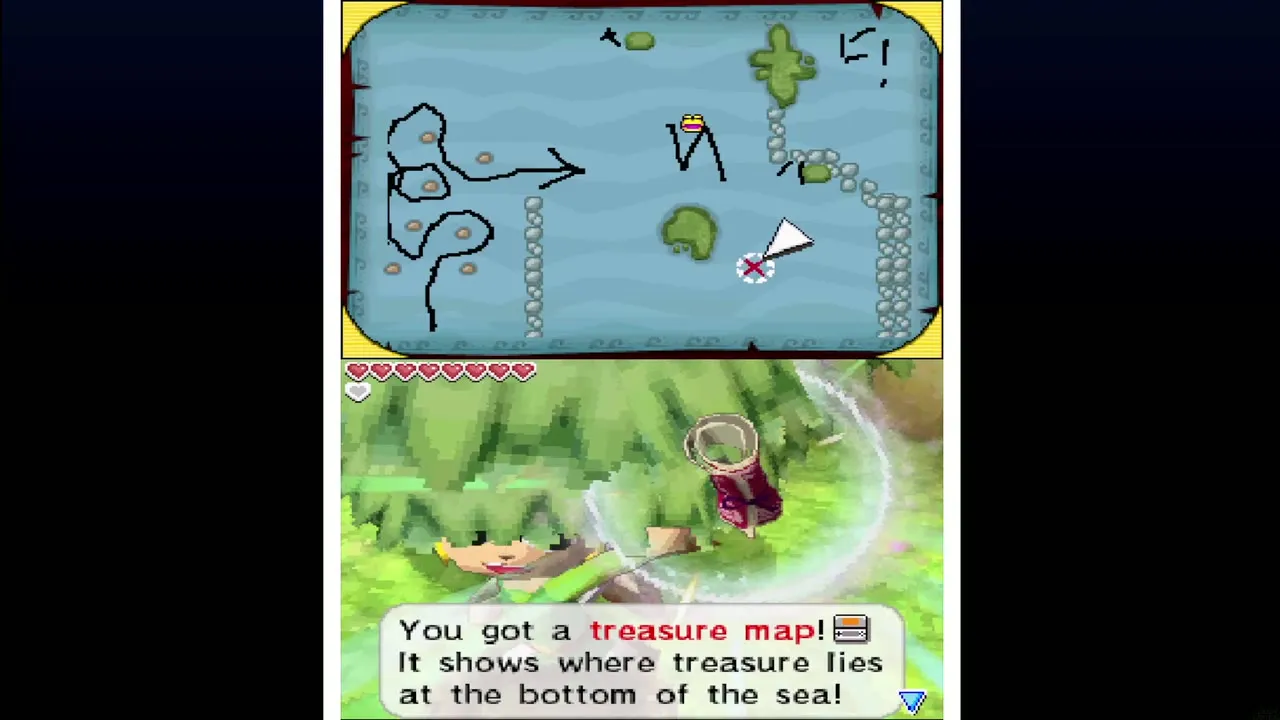
Sail back to Mercay Island and dig beside the tree outside Oshus’s storehouse. You find Treasure Map 10. Salvage its spot with the Salvage Arm (see Treasure Maps), which pays out a ship part.
What waits for later
Some chests here need gear you do not own yet. The Grappling Hook from the Temple of Ice reaches the Power Gem on the high ledge in Molida’s cavern, the Courage Gem on the islet just west of the temple, and the Power Gem chest on Spirit Island. The girl in red by the Molida dock gives Treasure Map 13 once you own the Southeastern Sea Chart. Once you have beaten Jolene in her first duel, the Postman brings her letter, and you can deliver it Jolene’s Letter to Joanne on Bannan Island for another Wisdom Gem.
Chapter checklist
| Collectible | Type | Where |
|---|---|---|
| Wisdom Gem (6) | Spirit Gem | Molida forest, dug up near the cave mouth with the Shovel |
| Treasure (such as the Ruto Crown) | Treasure | Temple of Courage B1, chest behind a cracked wall in the spiked-bar passage |
| Bell Prow | Ship part | Temple of Courage 1F, hidden alcove behind the tablets |
| Power Gem (9) | Spirit Gem | Temple of Courage 1F, hidden alcove behind the tablets |
| Bow and Arrows | Item | Temple of Courage B1, large chest on the carpeted platform |
| Power Gem (10) | Spirit Gem | Temple of Courage 2F, Octorok room ledge |
| Wisdom Gem (7) | Spirit Gem | Temple of Courage B1, torch room |
| Boss Key | Key | Temple of Courage 2F, pillar room |
| Courage Gem (5) | Spirit Gem | Temple of Courage 3F, behind the cracked north wall |
| Heart Container | Heart Container | Crayk, Temple of Courage 3F |
| Two minutes of sand | Sand of Hours | Crayk |
| Spirit of Courage | Spirit | Crayk, then Oshus on the shore |
| Quiver (30 arrows) | Upgrade | Romanos’s Shooting Range, first score of 1,700 to 1,999 |
| Heart Container | Heart Container | Romanos’s Shooting Range, over 2,000 points |
| Quiver (50 arrows) | Upgrade | Molida shop or Mercay shop, 1,000 Rupees |
| Ancient Cannon | Ship part | Romanos’s letter at Spirit Island |
| Treasure Map 10 | Treasure map | Mercay Island, dug beside the tree by Oshus’s storehouse |
With the Spirit of Courage awake and Tetra still missing, sail into the fog in The Ghost Ship.
