





















Phantom Hourglass 100% Completion Walkthrough19 chapters
- Temple of FireEvery key, the Boomerang, the Boss Key, how to beat Blaaz, the Heart Container, Leaf and Astrid’s Power Gem.
- Temple of WindGet the bombs, the Boss Key, beat Cyclok, free Neri and take the Heart Container.
- Molida Island and the Temple of CourageBeat the Giant Eye Plant, light Molida’s statues, get the Bow, defeat Crayk and awaken the Spirit of Courage.
- The Ghost ShipFind the ship with the Spirits, free the Cubus sisters, win their volley game, get the Ghost Key and Heart Container.
- Goron TempleTeam up with Gongoron, get the Bombchus and the Boss Key, beat Dongorongo and take the Crimsonine.
- Temple of IceLever order, three small keys, Grappling Hook, Boss Key, Gleeok fight, Heart Container and Azurine.
- Mutoh’s TempleGet the Hammer, find both small keys and the Boss Key, beat Eox and collect the Aquanine.
- Mercay Island and the First Sea ChartGet Oshus’s Sword, solve the lever passage, rescue Linebeck and find the first sea chart.
- Temple of the Ocean KingTake the Phantom Hourglass, sneak past Phantoms, carry three Force Gems and find the Northwestern Sea Chart.
- Temple of the Ocean KingPhantom Eyes, the hourglass crest door, the Salvage Arm, treasure salvage and the Sun Key.
- Zauz and the Temple of the Ocean KingPure Metals, Triforce door, crystal puzzles and the Southeastern Sea Chart.
- Temple of the Ocean KingGold Phantoms, the B11 bridges, three Force Gems on B12 and the Northeastern Sea Chart.
- The Phantom Sword and BellumPhantom Hourglass walkthrough for the Phantom Sword, the last Temple of the Ocean King descent, Bellum.
- Isle of Ember and AstridFirst voyage, Beedle’s Shop Ship, Kayo’s torches, freeing Astrid and the volcano path to the Temple of Fire.
- Cannon Island, the Ghost Ship Chase and Molida IslandBuy the Cannon from Eddo, chase the Ghost Ship, then reach Molida Island and take the Shovel.
- Northwestern Sea and the Isle of GustThe fog route, Bannan Island fishing, Zauz, the Cyclone Slate, Golden Frogs and the way to the Temple of Wind.
- Goron Island and GongoronSail the Southeastern Sea, beat the Massive Eye, pass Biggoron’s quiz, find Gongoron and reach the Goron Temple.
- Isle of Frost and the Yook MysteryCannon the ice, Anouki Estates, find the Yook among six villagers and fight through the Great Ice Field.
- Isle of the Dead and the Isle of RuinsDig spot, Phantom Corridor path, Regal Necklace, King’s Key, Max and the door symbol.
| Covers | the entrance of Mutoh’s Temple on the Isle of Ruins, the Hammer, the water-level and tile puzzles on B1 and B2, the Boss Key, the B3 tablet, Eox and King Mutoh |
|---|---|
| You need | Sword, Boomerang, Bombs and Bow, plus the lowered water and the open temple door from the Isle of Ruins |
| Rewards |  the Hammer,  2 small keys,  the Boss Key,  1 Courage Gem,  1 Treasure,  1 Heart Container, 2 minutes of sand for the Phantom Hourglass,  the Aquanine, and a  Power Gem by mail afterwards |
Mutoh’s Temple is the seventh and last dungeon of the game, and it gives you the Hammer. You climb to the third floor for the Hammer, then spend most of the dungeon on the two lowest floors, where the Hammer flips tiles, raises and lowers the water, and sends you up on footprint launchers. The two small keys lead to the Boss Key, which opens the door to Eox, a stone giant that you break apart from catapults. King Mutoh rewards you with the Aquanine, the last of the three Pure Metals.

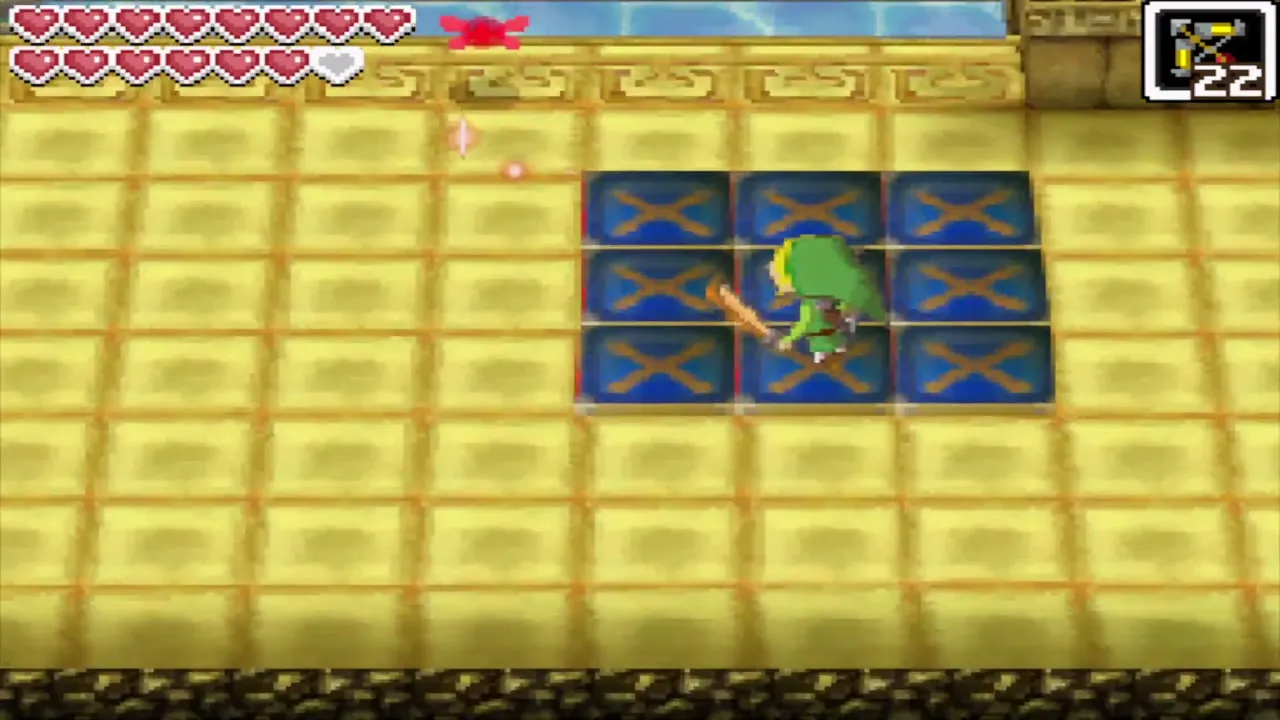
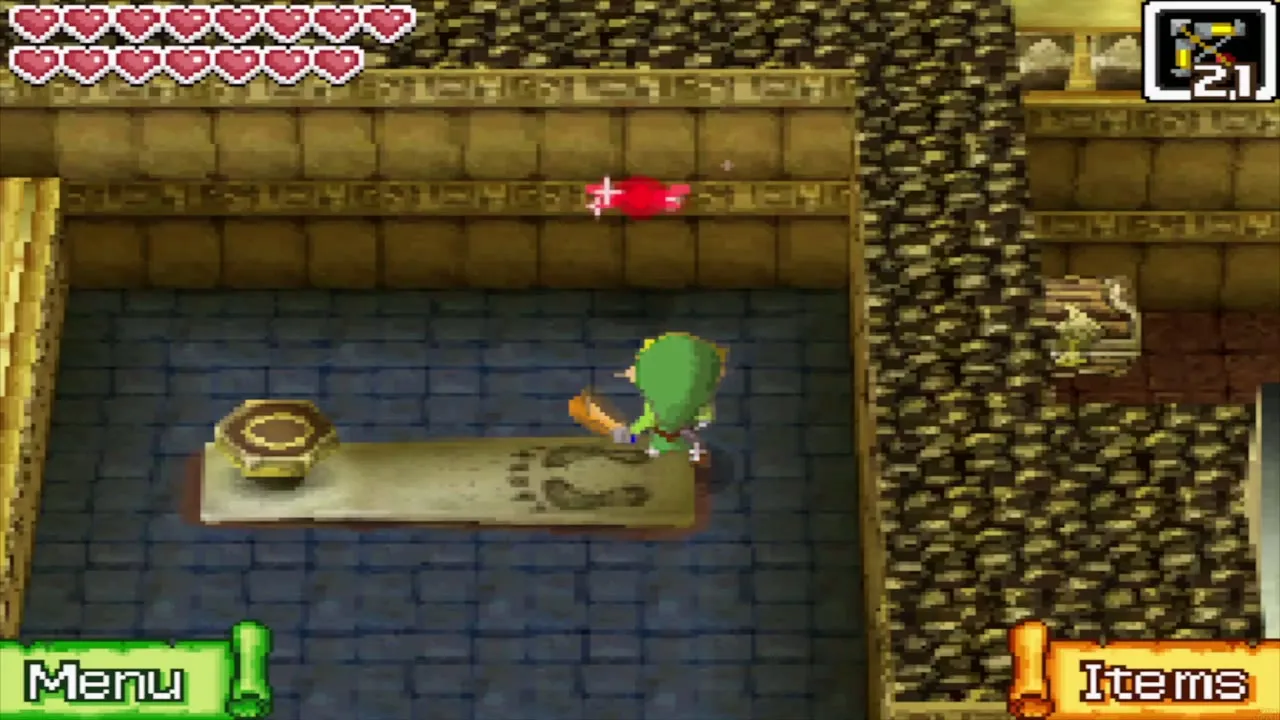
Table of Contents
Mutoh’s Temple entrance: the first rooms
Walk into the sand pyramid
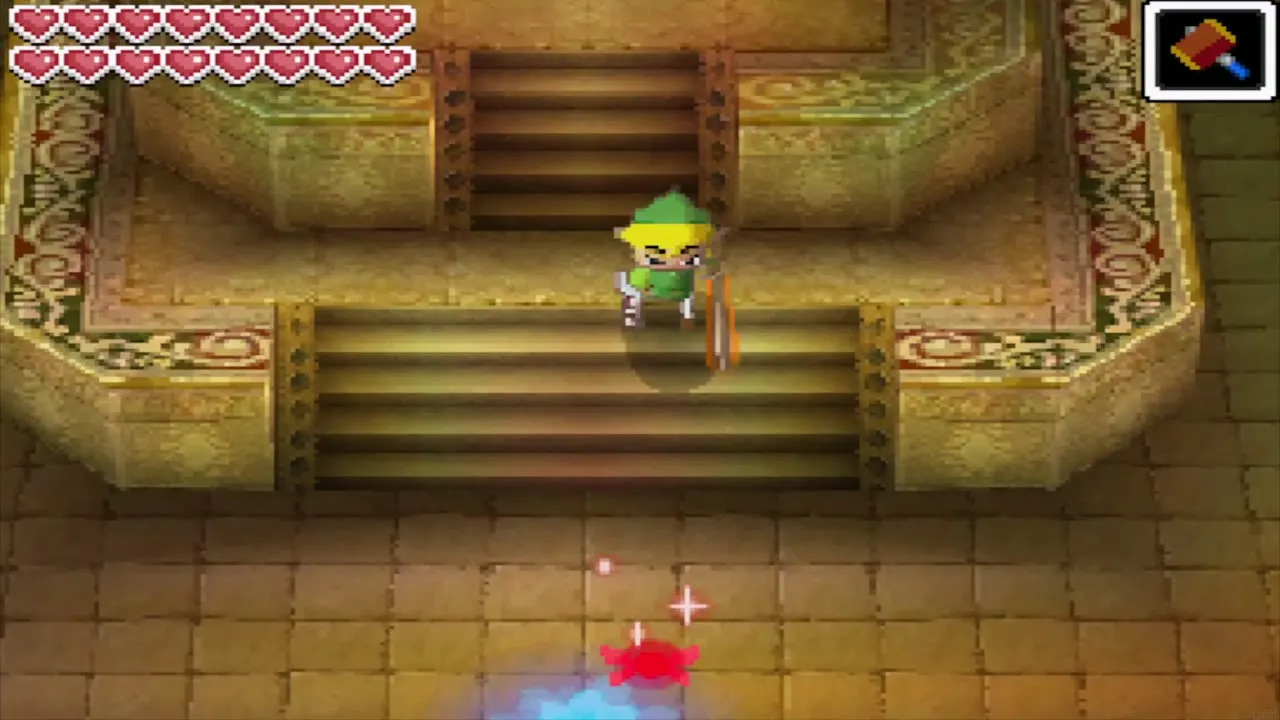
The temple is the sand pyramid that you reached at the end of the Isle of Ruins chapter. Climb its stone stairs and step into the pillar of light inside the door. Ciela remarks that a place like this must be full of traps, and she is right: every room in the front half of the temple has something to dodge, so keep your Boomerang and Bombs ready.


Cross to the first torch
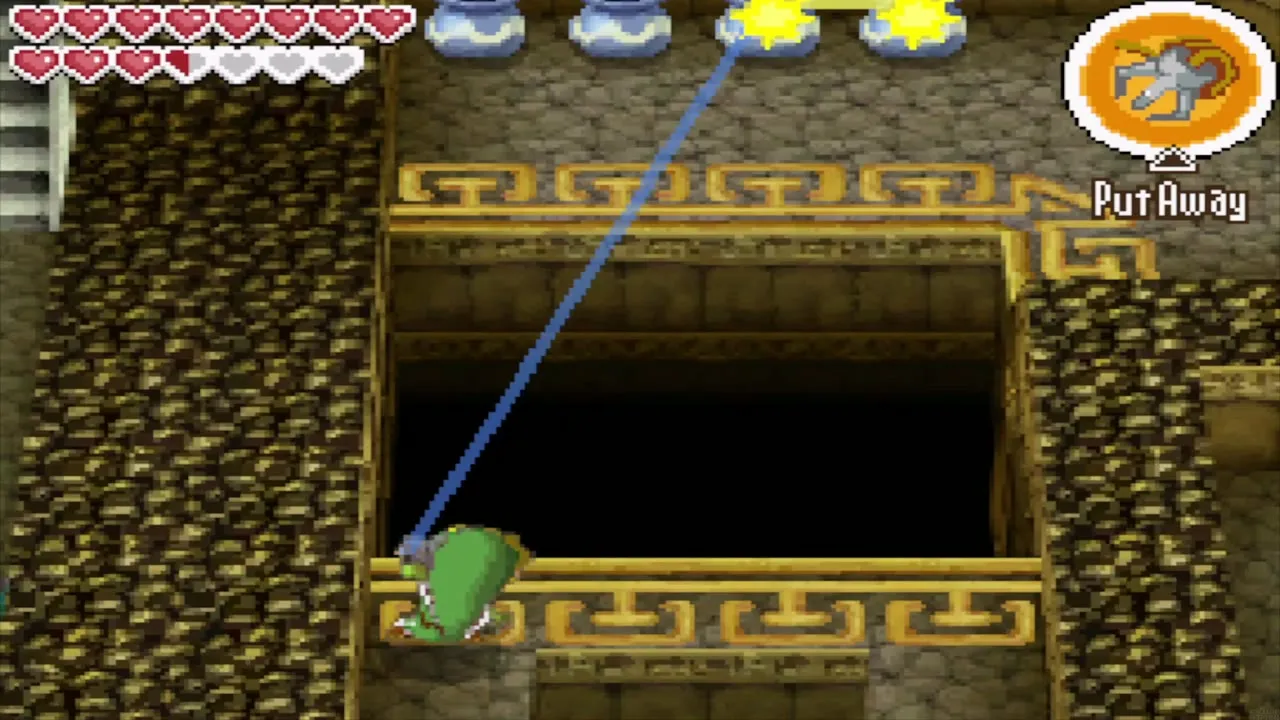
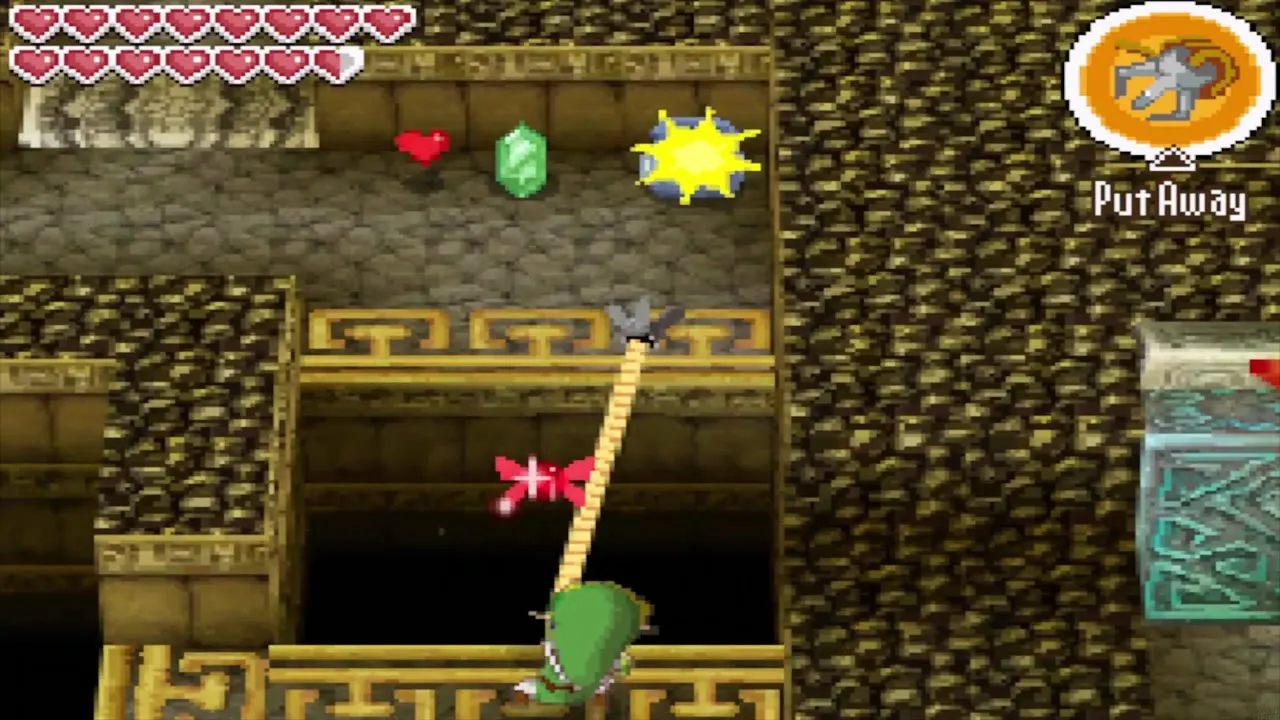
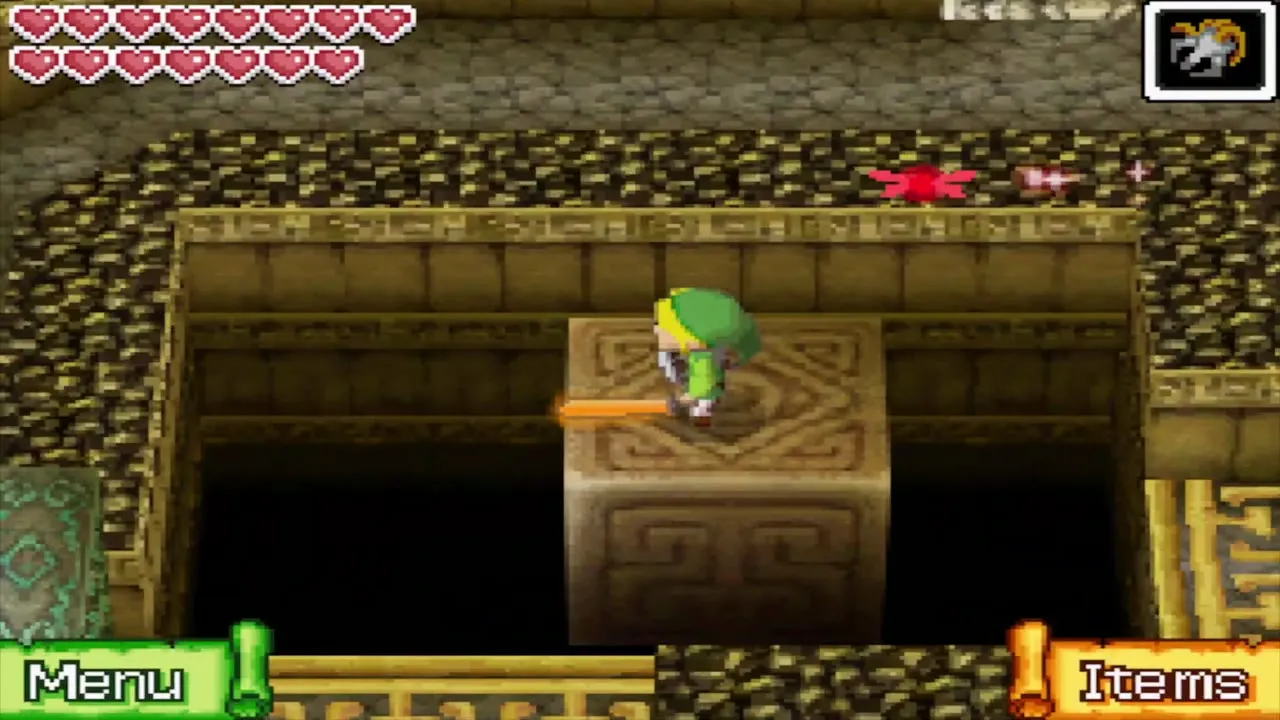
Run past the crystal switch in the entrance room and head west. Ride the moving platforms across the gap, then throw the Boomerang to hit the crystal switch on the far side so that a bridge extends to the north. The bridge does not stay out for long, so hop across the floating platforms and over it quickly. Go through the north door, defeat the two Stalfos inside, and a second bridge extends. Cross it and step on the floor switch to light the first torch.
Bomb the wall and light the second torch
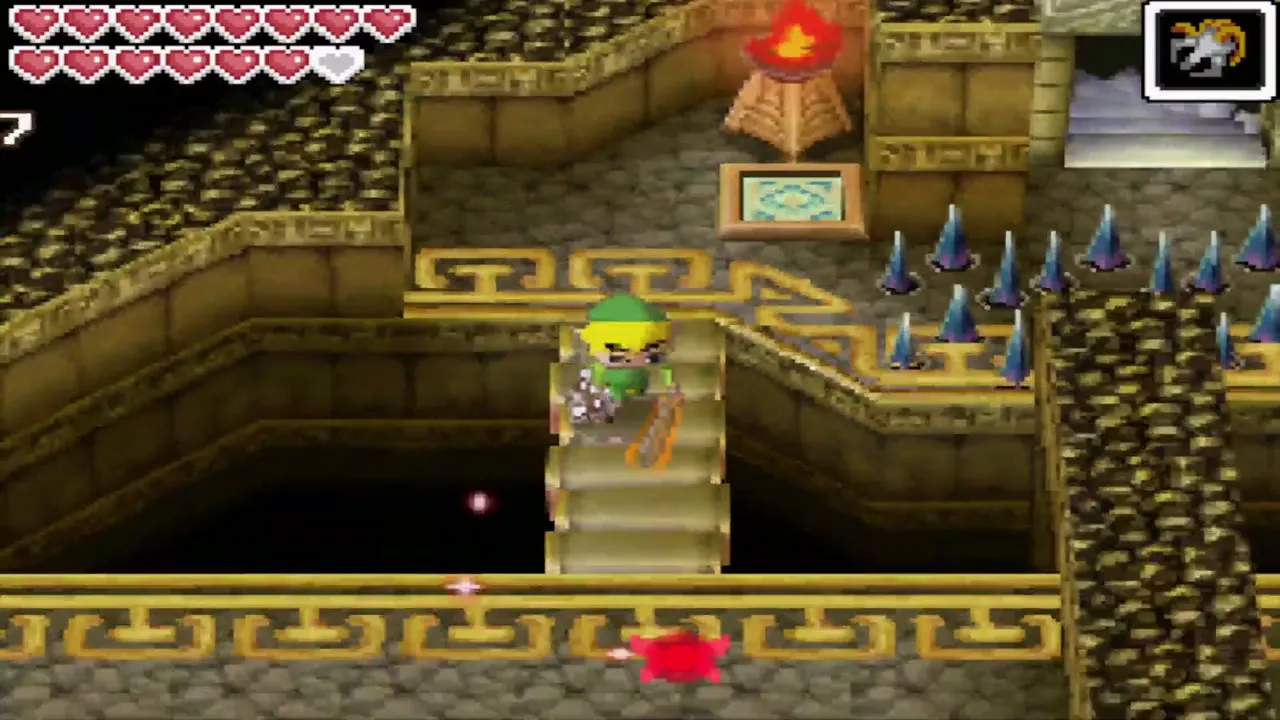
Return to the entrance room and take the east path. One floor tile there has a different colour from the rest; put a Bomb on it to blast a hole in the wall. Go back to the crystal switch you ran past at the start and hit it as well, then run north through the new hole and over the bridge. The north door locks behind you, so defeat the second pair of Stalfos, then step on the floor switch to light the second torch. The two torches open a staircase that leads down to B1.

Get the Hammer on 3F
Climb through B1 and 1F to the 2F maze
On B1, walk east and then south to the central staircase and climb to 1F. From there run to the staircase on the right-hand side to reach 2F. This floor is a stone maze, and you want the eastern route through it. Watch for the Rupee-Likes in the maze, which steal rupees if they touch you, and slash them first.
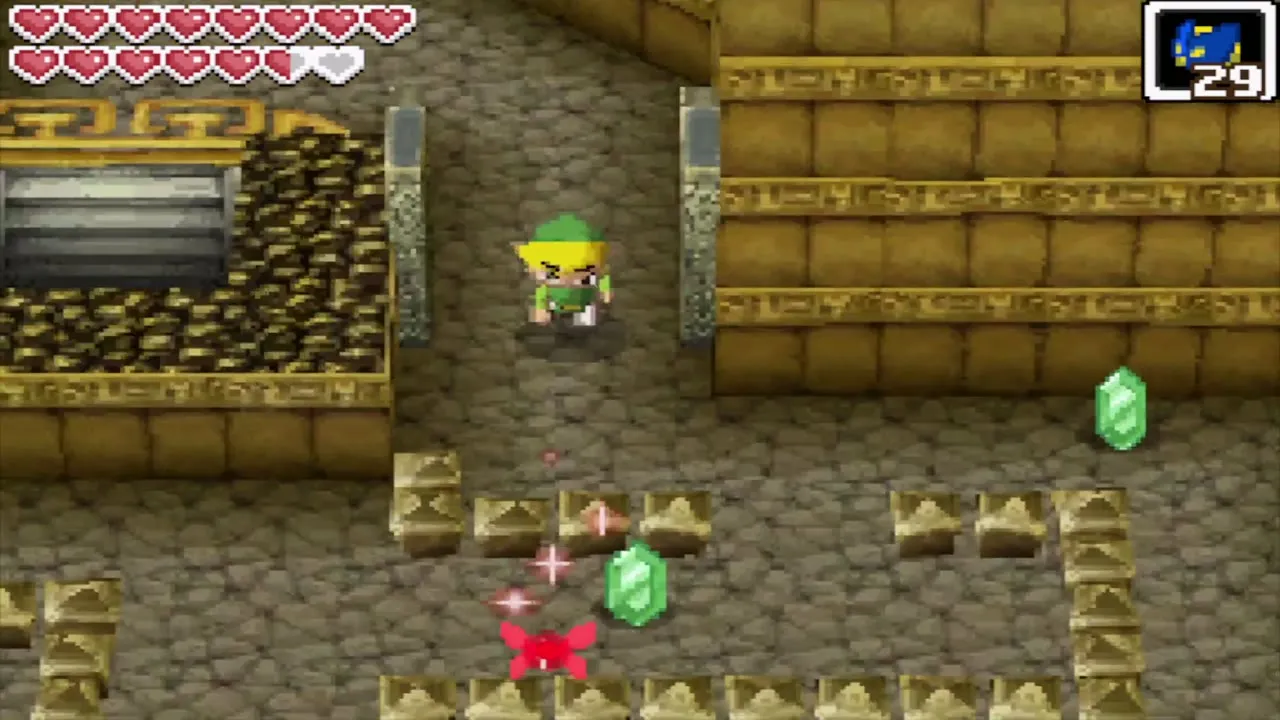
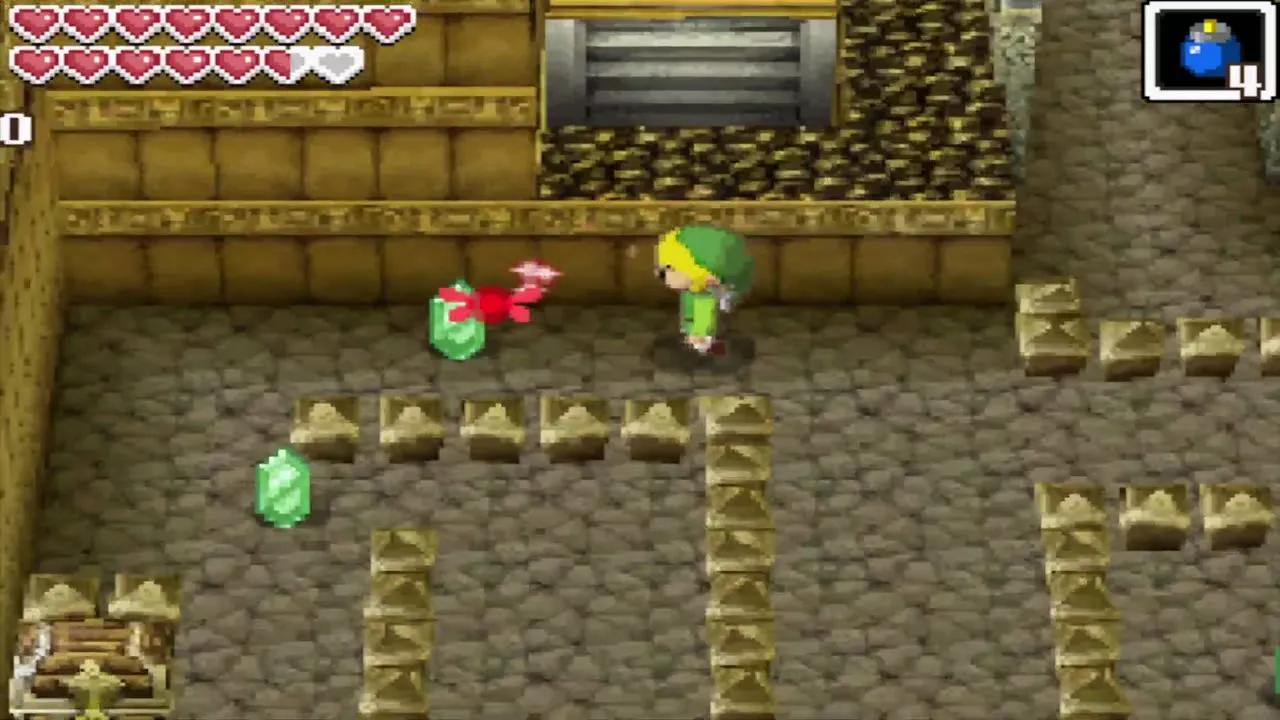

A chest in the maze holds a Treasure. When you open it you may receive a Goron Amber, a hard mineral with a bug inside, or another Treasure kind, so it is worth taking even though it is only a sale item for the Treasure Teller on Mercay Island. Afterwards continue east, jump off the ledge beside the stairs and climb to 3F.


Take the Hammer
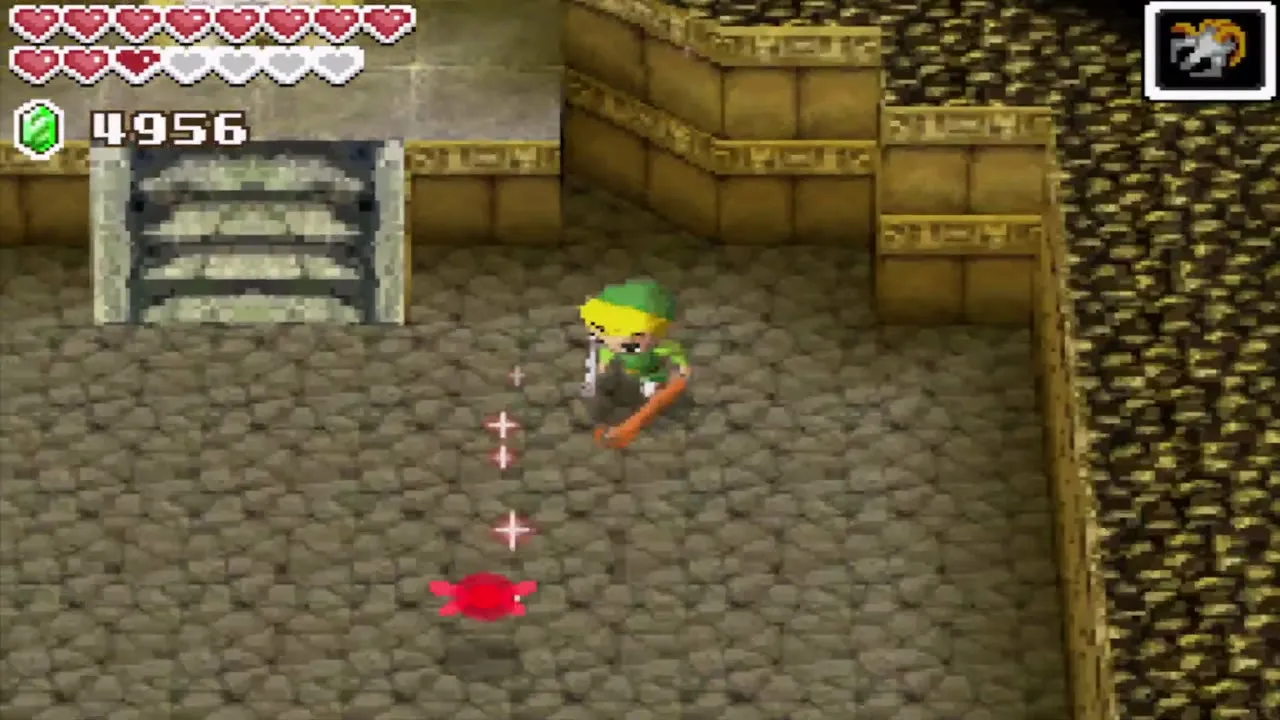
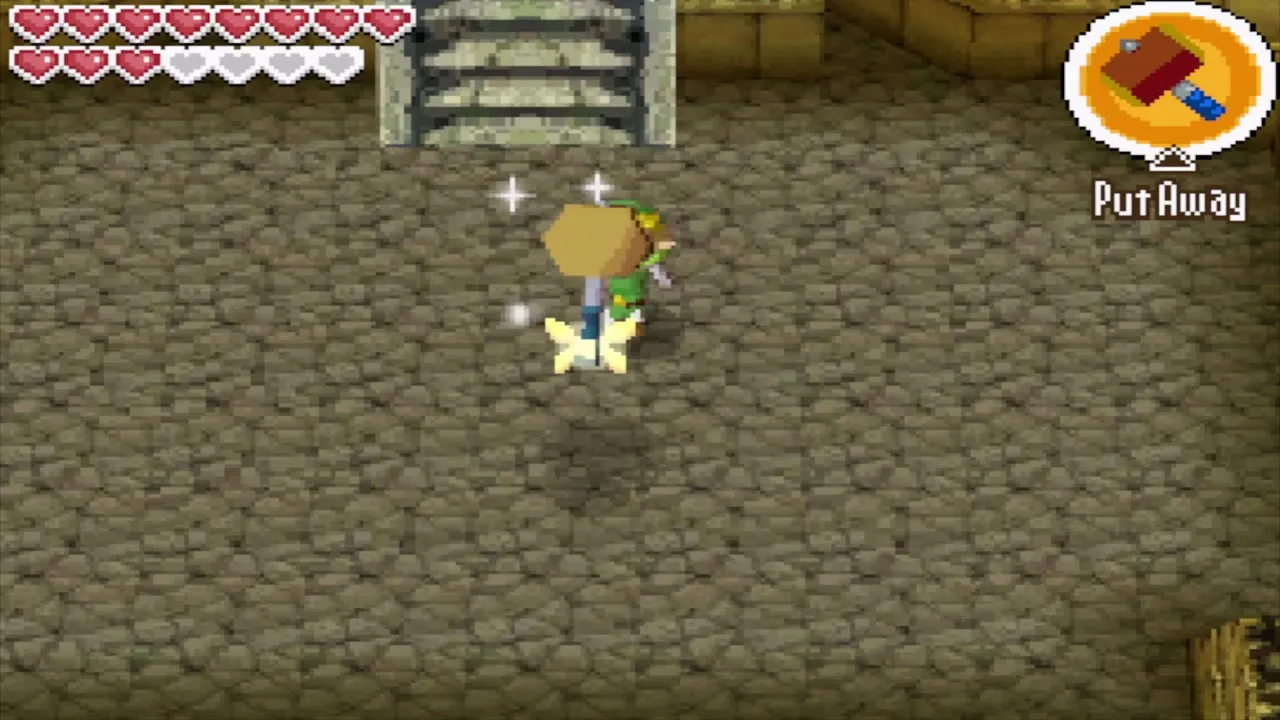
The room on 3F holds two Stalfos and a Rupee-Like. Defeat all of them and a chest becomes available, and the Hammer is inside. A message box reminds you how to use it: tap a target to swing, or touch and hold to charge a much harder blow. Return downstairs to 2F with it.
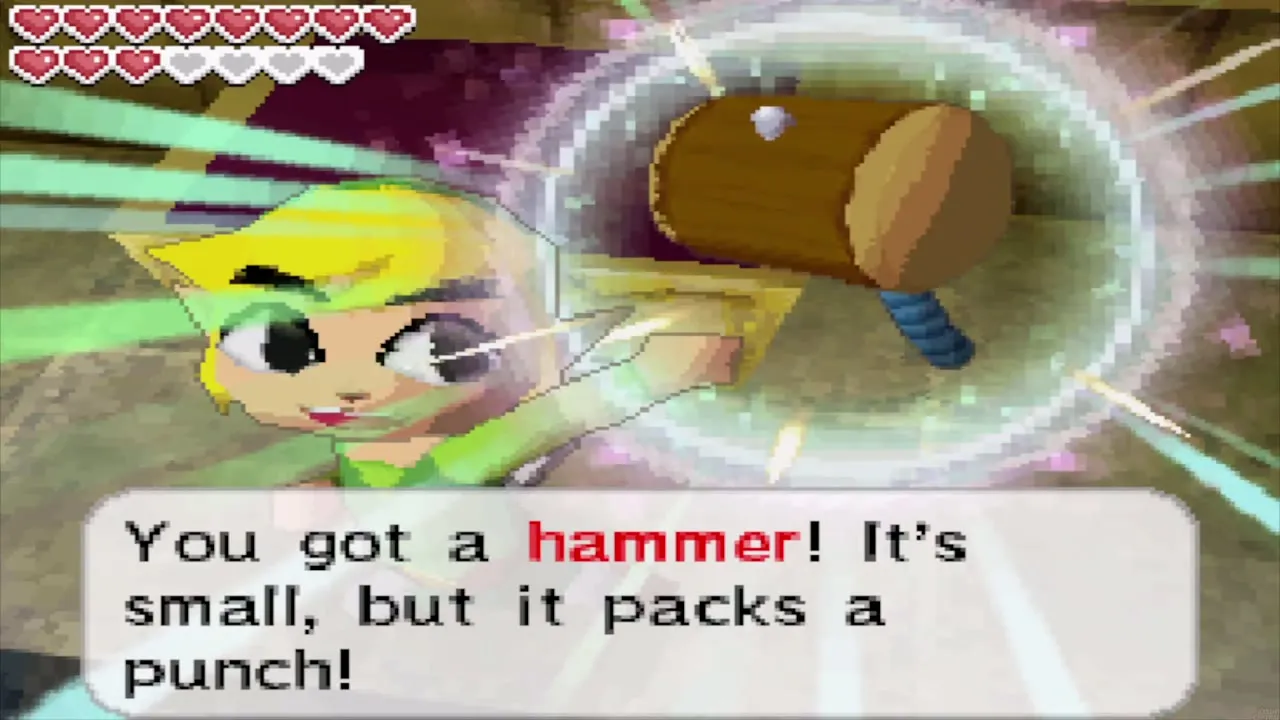
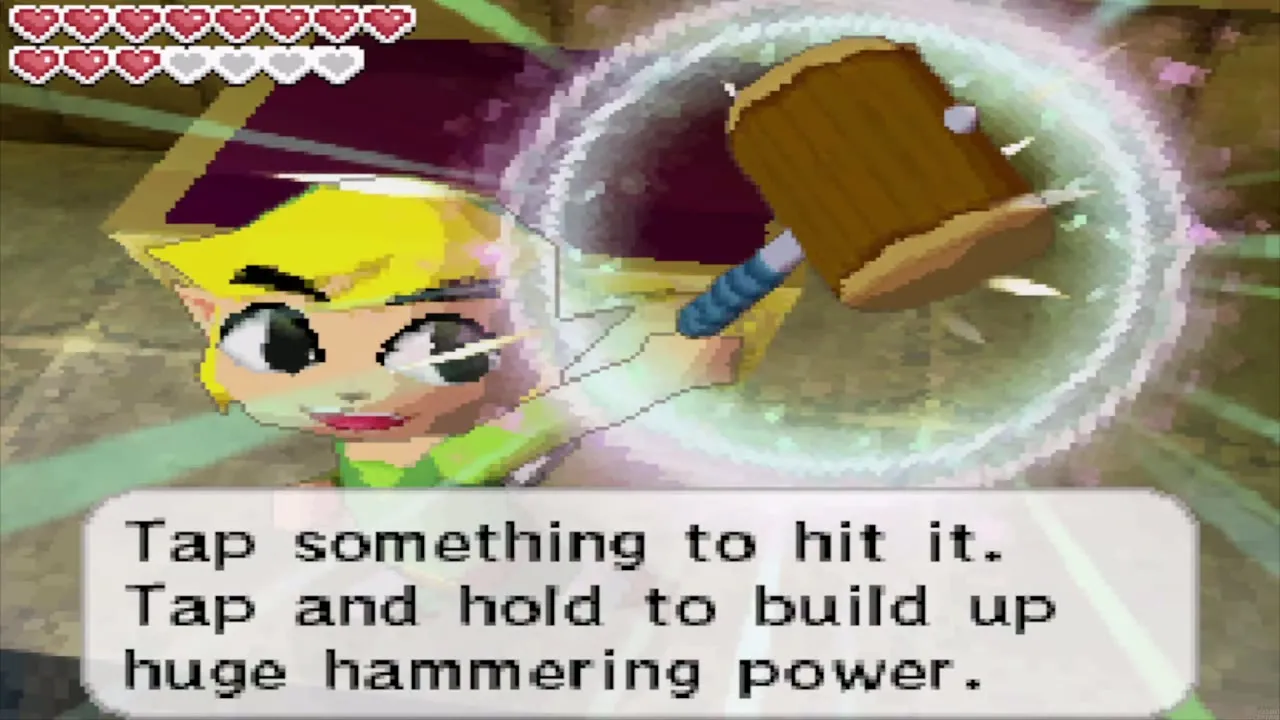
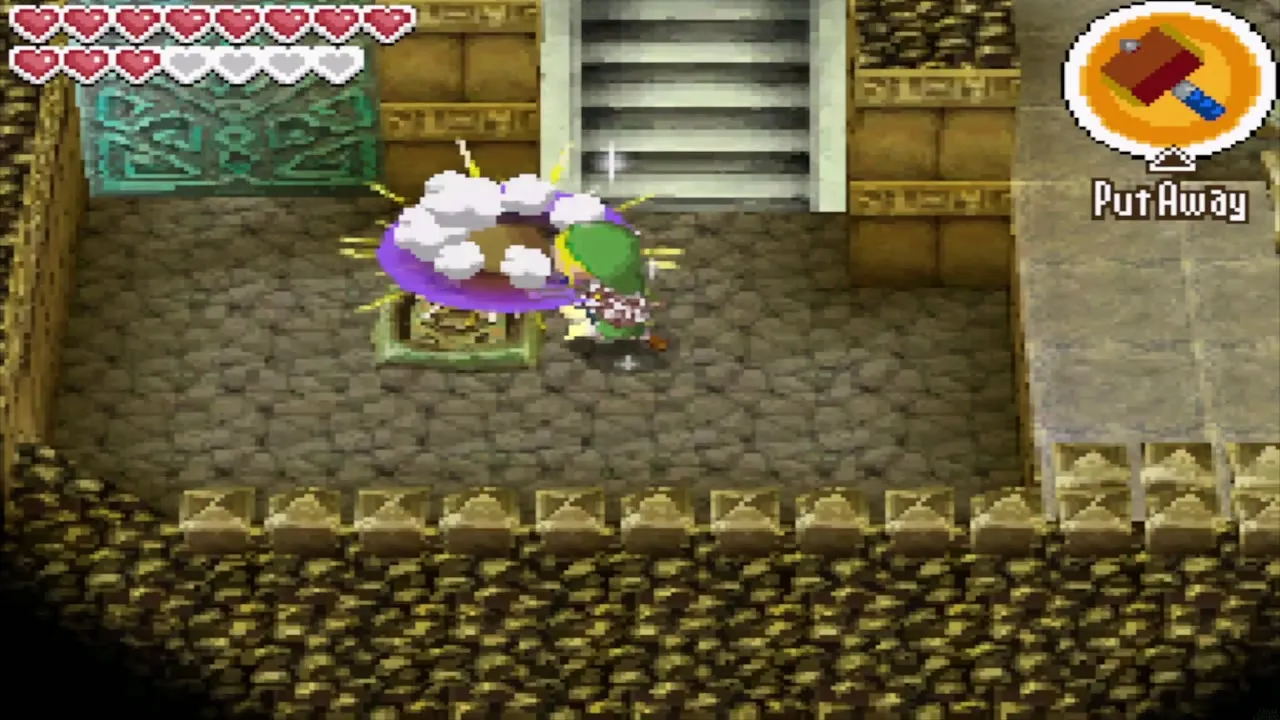
From here on the Hammer replaces the Boomerang as your main puzzle tool. It smashes boulders, flips the rusty switches that were frozen in place in the Temple of the Ocean King, and turns over shelled enemies so that you can slash them. It also drives you up to higher ledges when you stand on a pair of footprints and hit the switch next to them; you will use this trick throughout the temple.
First small key and the Courage Gem on B2
Hammer your way back down
On 2F, hit the switch just west of the stairs with the Hammer to open the west door. Stand on the footprints in the next room and hit the switch to be launched up one level, then repeat on each new level until you reach the ledge guarded by Terrorpins. Flip them with the Hammer and slash their bellies. Jump off the east ledge and go down to 1F.
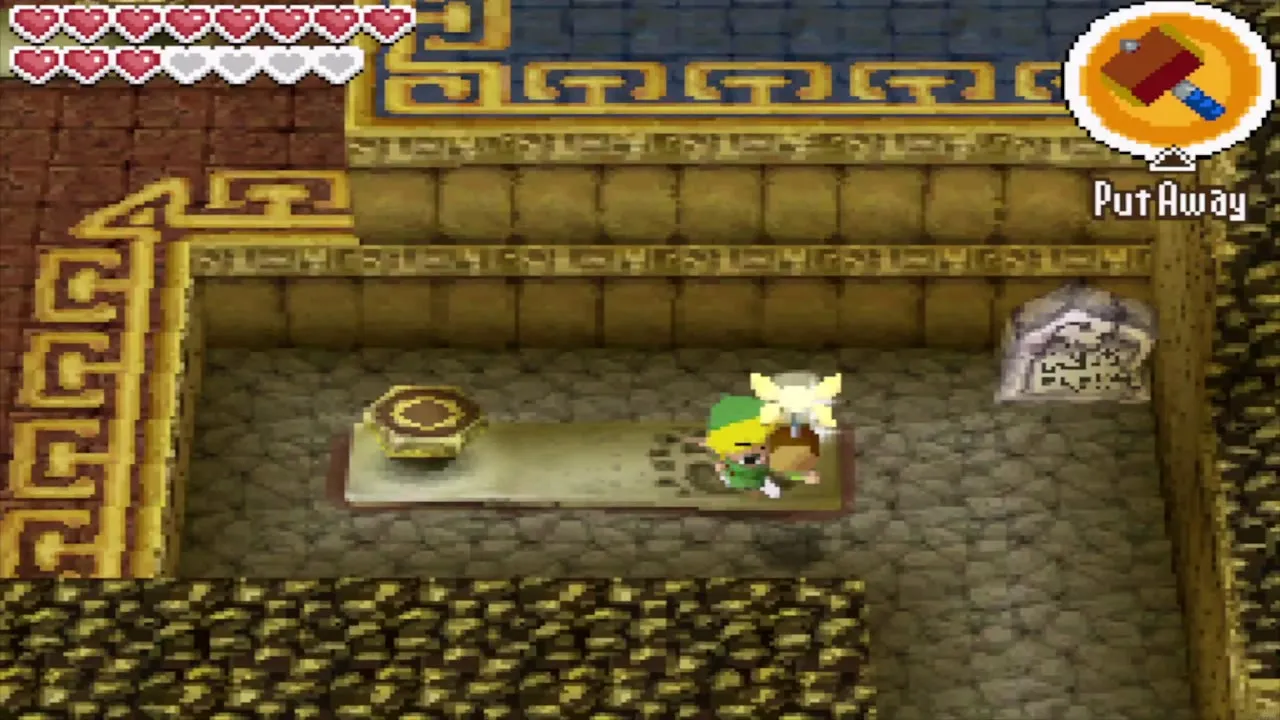

On 1F, defeat the Terrorpins and hit the floor switch nearby to open the door to B1. Walk west on B1 until you see a boulder on a raised level. Climb the stairs and push it to the east, which opens a path to the north. Note the locked door on this floor, because the first small key belongs to it. Continue west into a room that locks behind you, defeat the two Stalfos and take the stairs down to B2.

Rolling spikes and the two switches
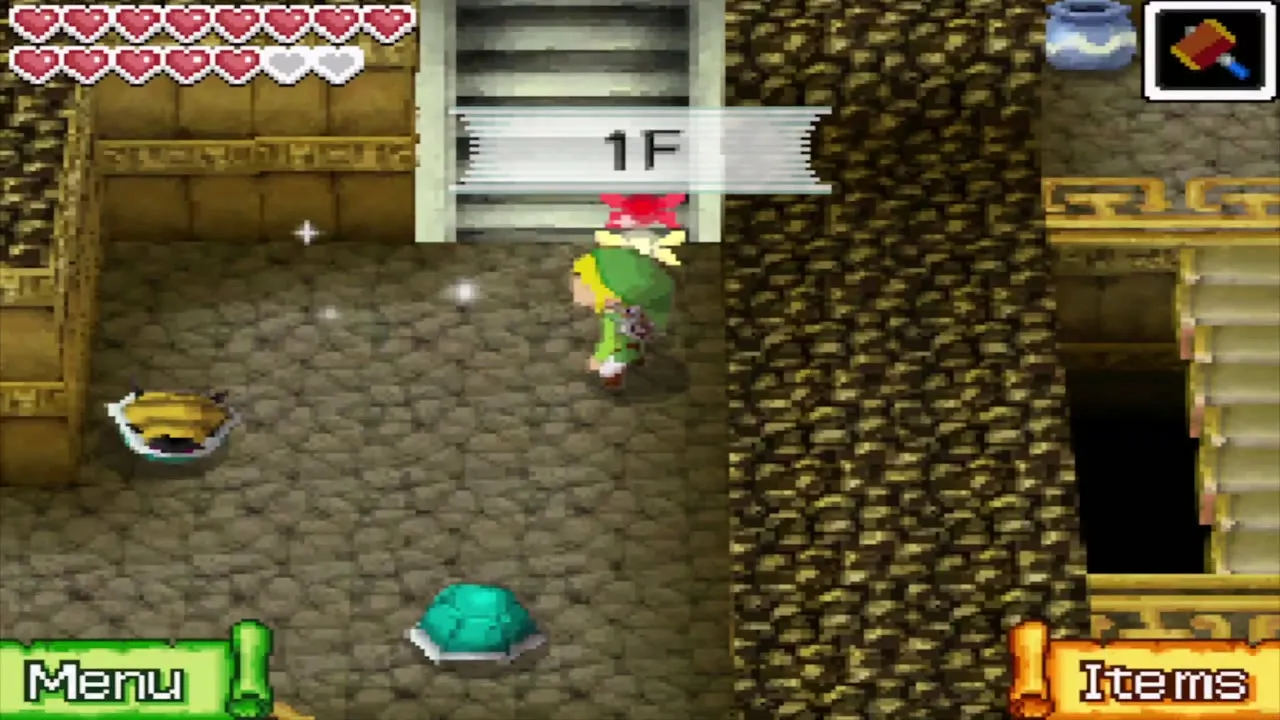
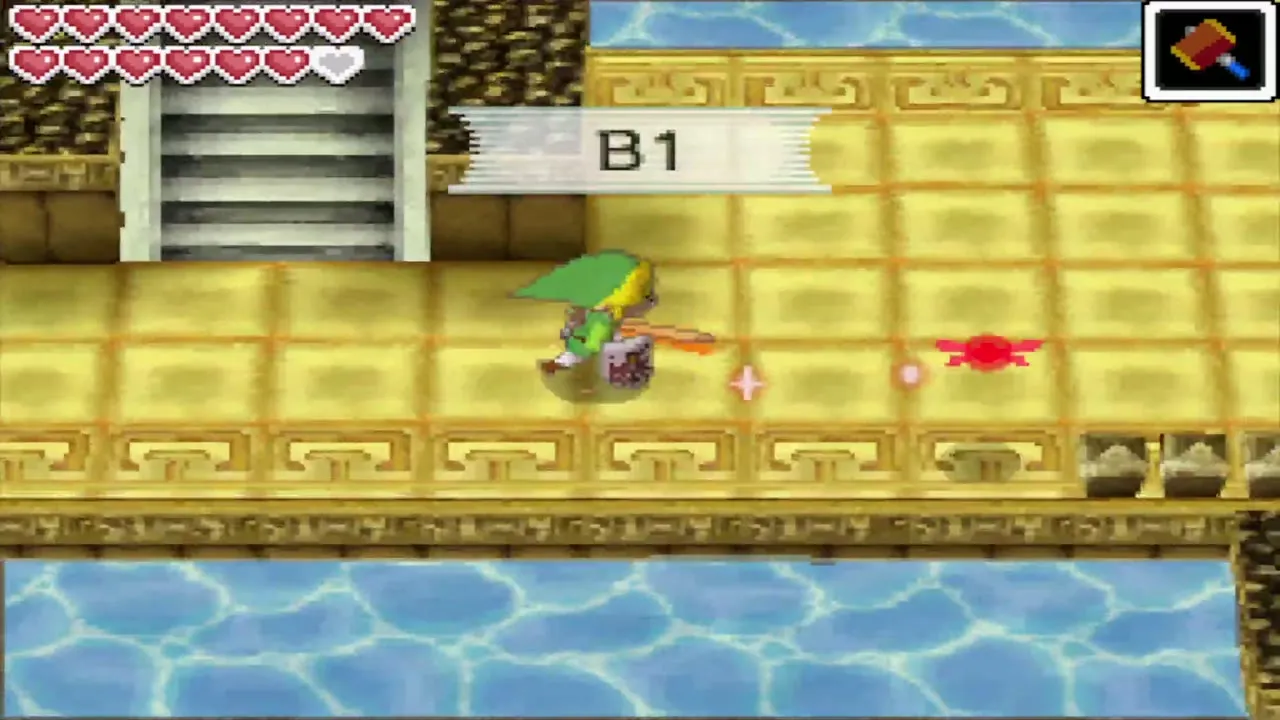
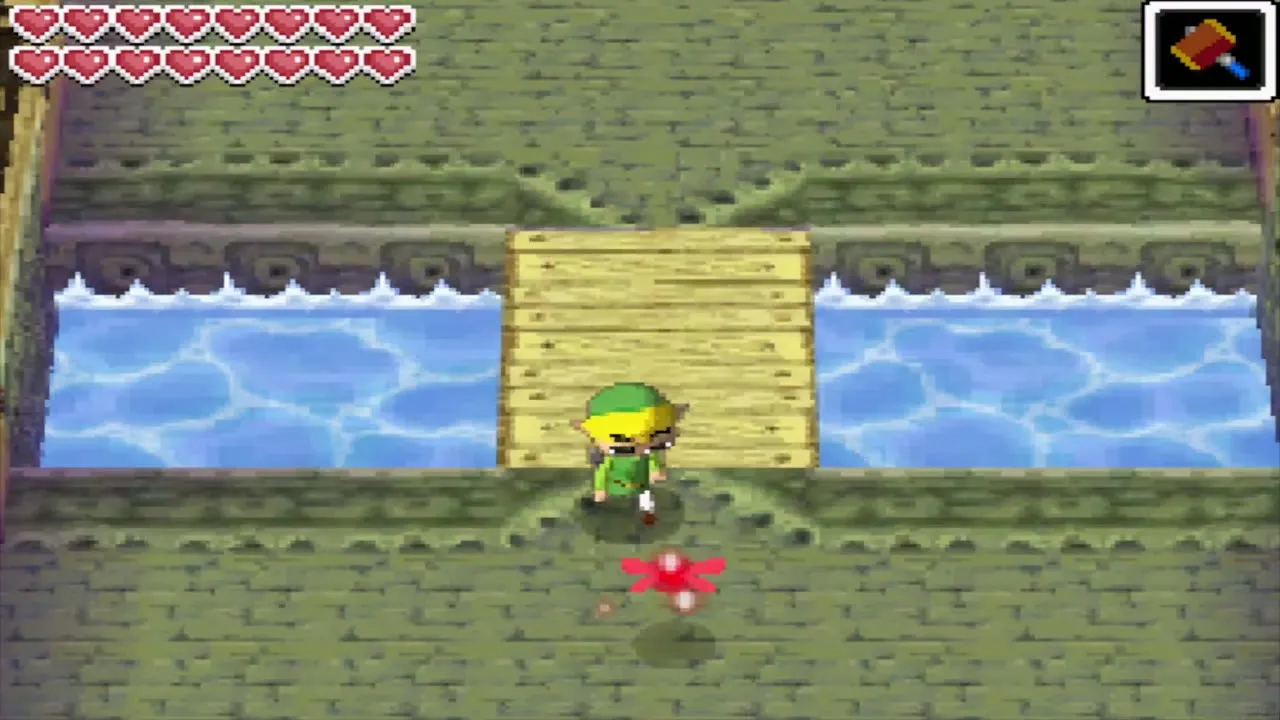
On B2, hit both floor switches with the Hammer to set the rolling spiked logs in motion. The spiked logs do not hurt you when you cross them on the bridges. Walk west, then south, to a moving platform and ride it, hitting the left and right switches with the Hammer from the platform. That opens the chests in the south-west corner of the floor. One chest holds a Courage Gem and the other a small key; take both, put the gem on the Collection screen and carry the key back to B1 using the stairs nearby.


Water-level puzzles on B1 and B2: the second small key
Unlock the north door and drain the water
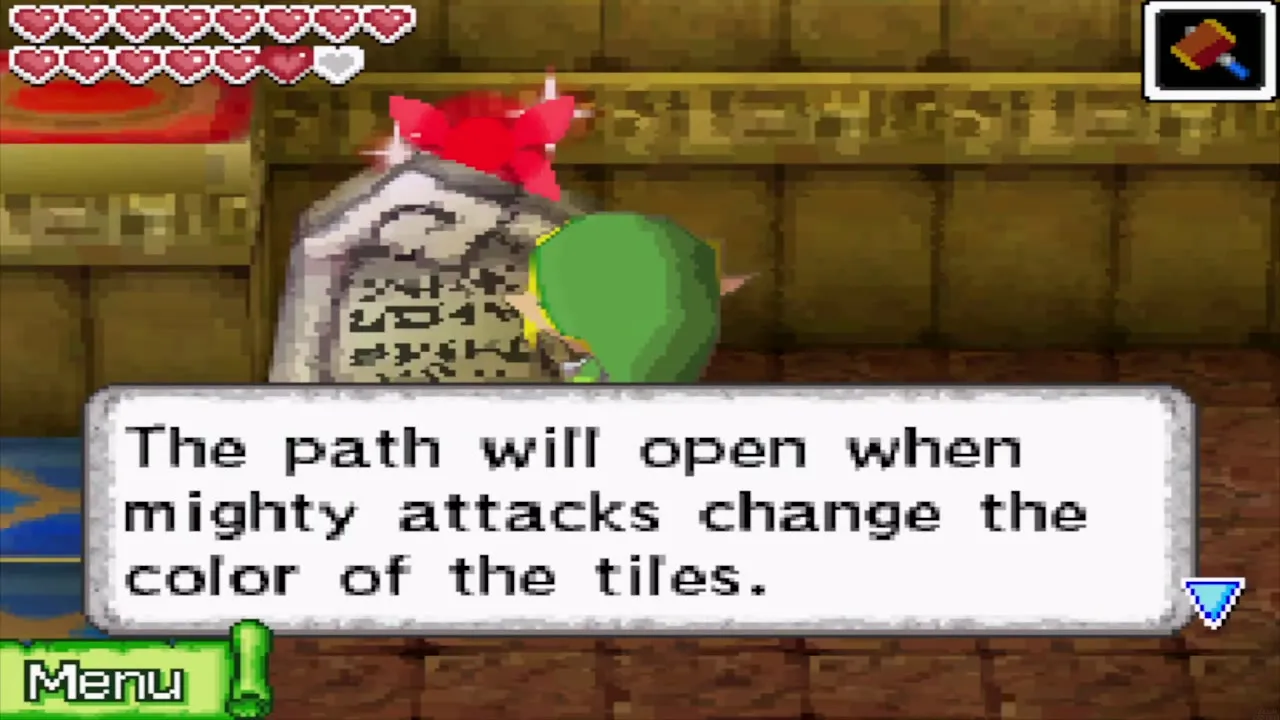
Step on the floor switch on B1 and go north to the locked door, then use the small key on it. Hit the pyramid inside with the Hammer to drain the water from the floor below. Drop down the west side and use the Hammer on the grid of tiles marked with X and O, which flips tiles when you hit them. Hit the centre tile and every tile flips, so use that to turn every X into an O. When the grid is complete, a door opens to the south.

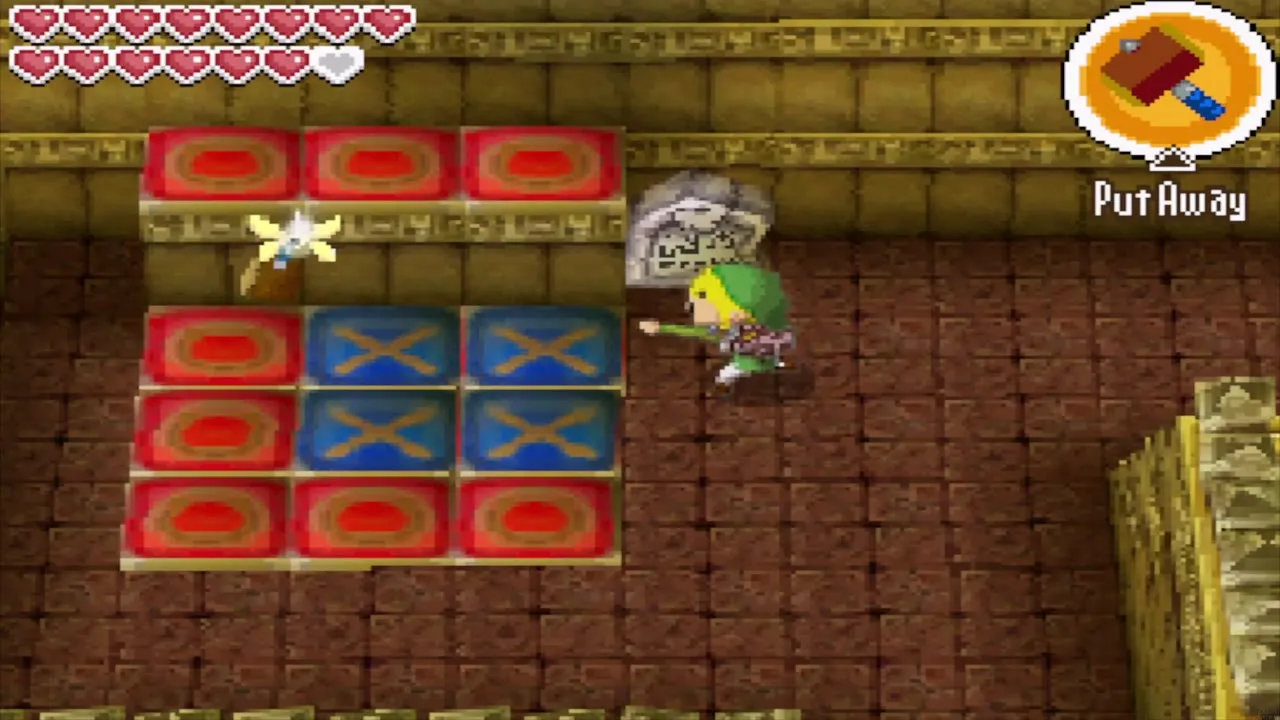
Stand on the footprints in the new room and hit the switch to hop up. Shoot the pyramid to the south-east with an arrow to raise the water again. Cross the spiked bridge to the south and flip a second grid until every tile is an O. Lower the water once more, head west on the same level, jump off the ledge and go down to B2.
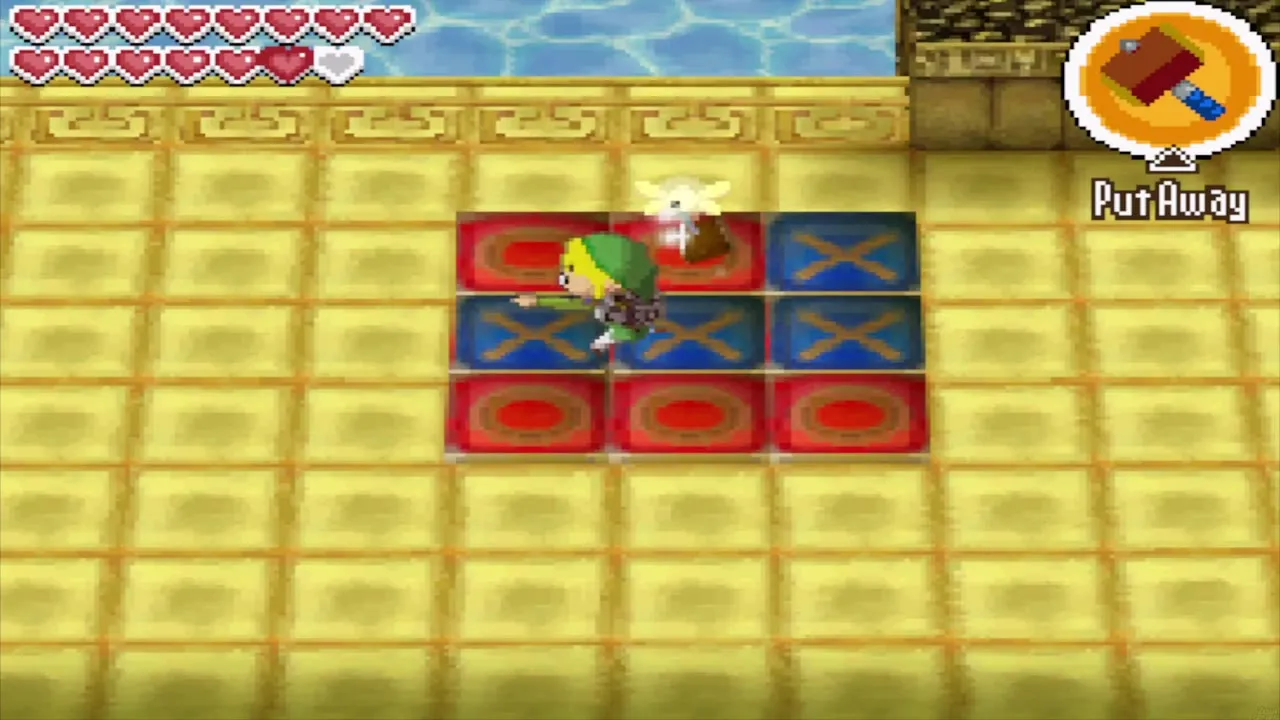
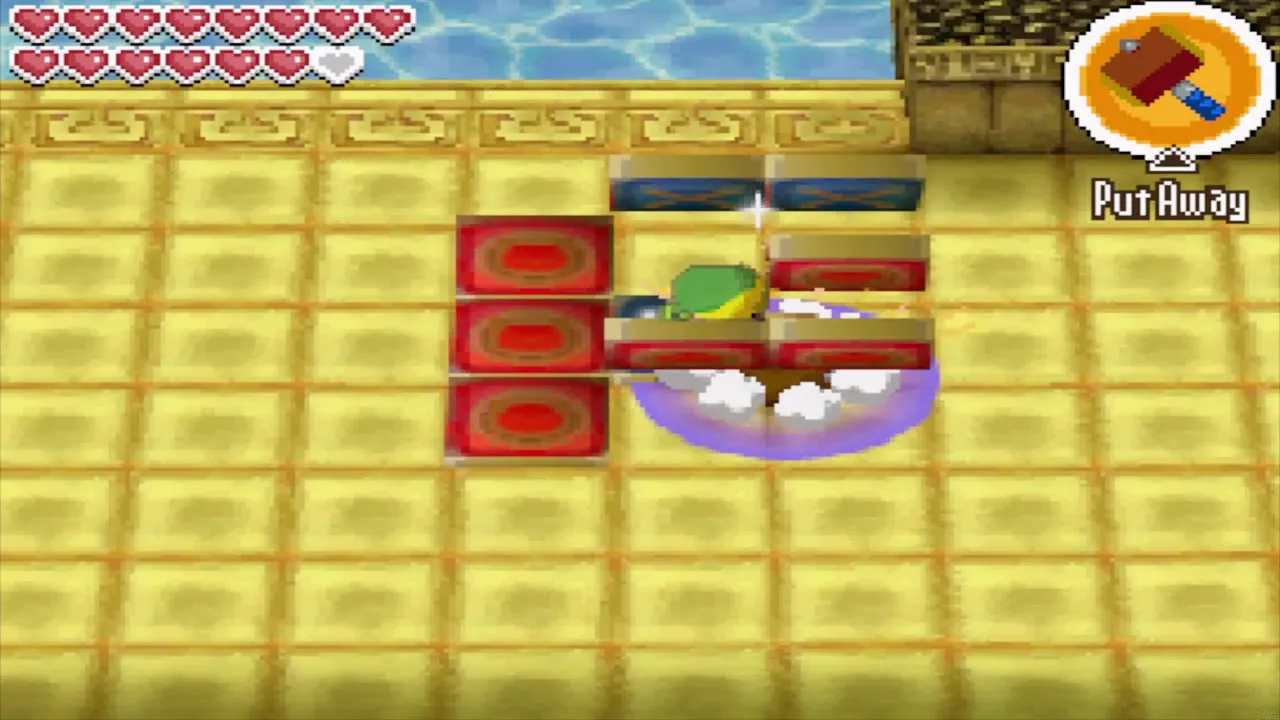
Make the B2 tiles match
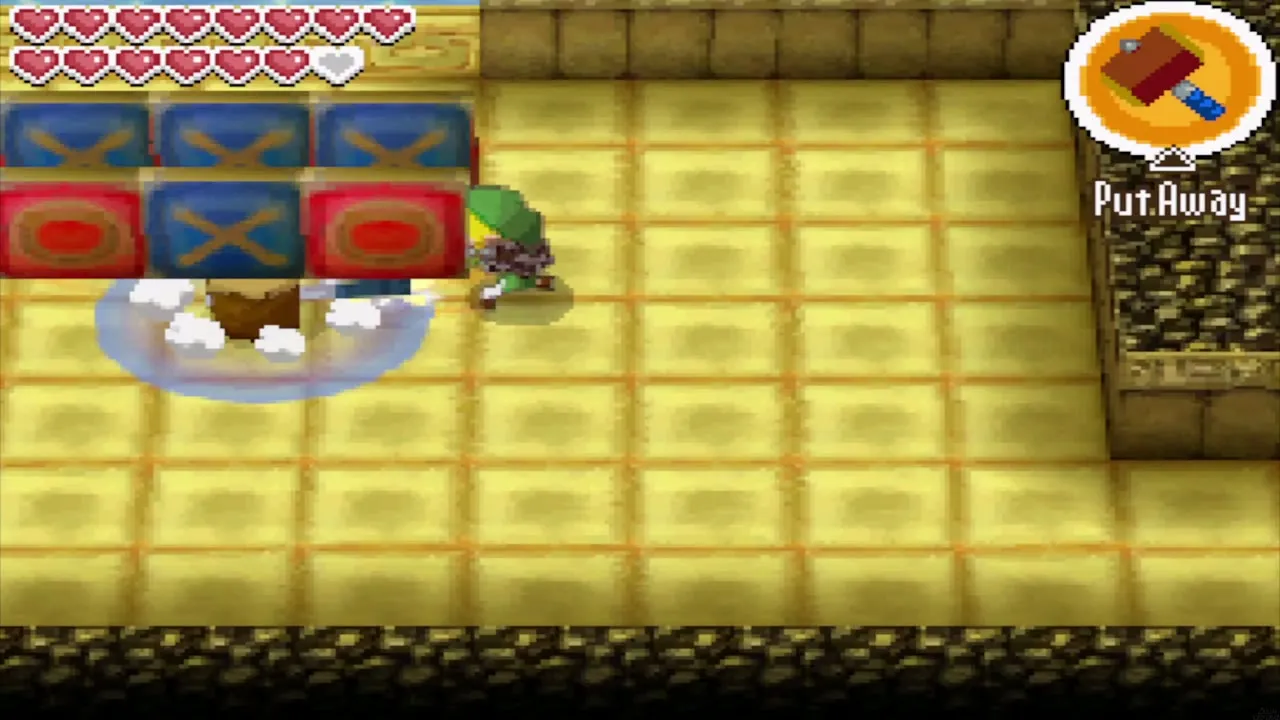
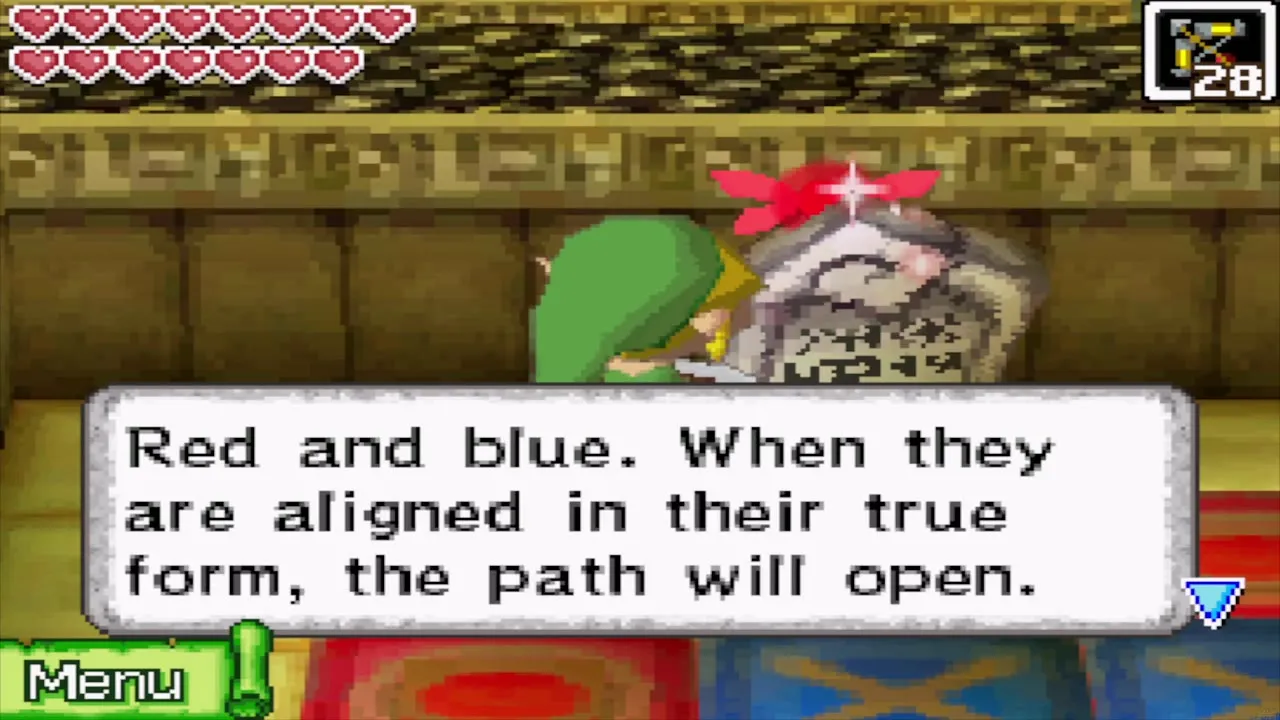
The floor of the B2 room is another tile grid, which you can now reach because the water is low. Hit it until all the tiles show the same symbol, all X or all O. A bridge appears. Cross it and take the stairs back up to B1. The riddle signs here say that the path opens when mighty hits change the colour of the tiles and when red and blue tiles are aligned in their true form, so the colours red and blue are the same two faces as X and O.
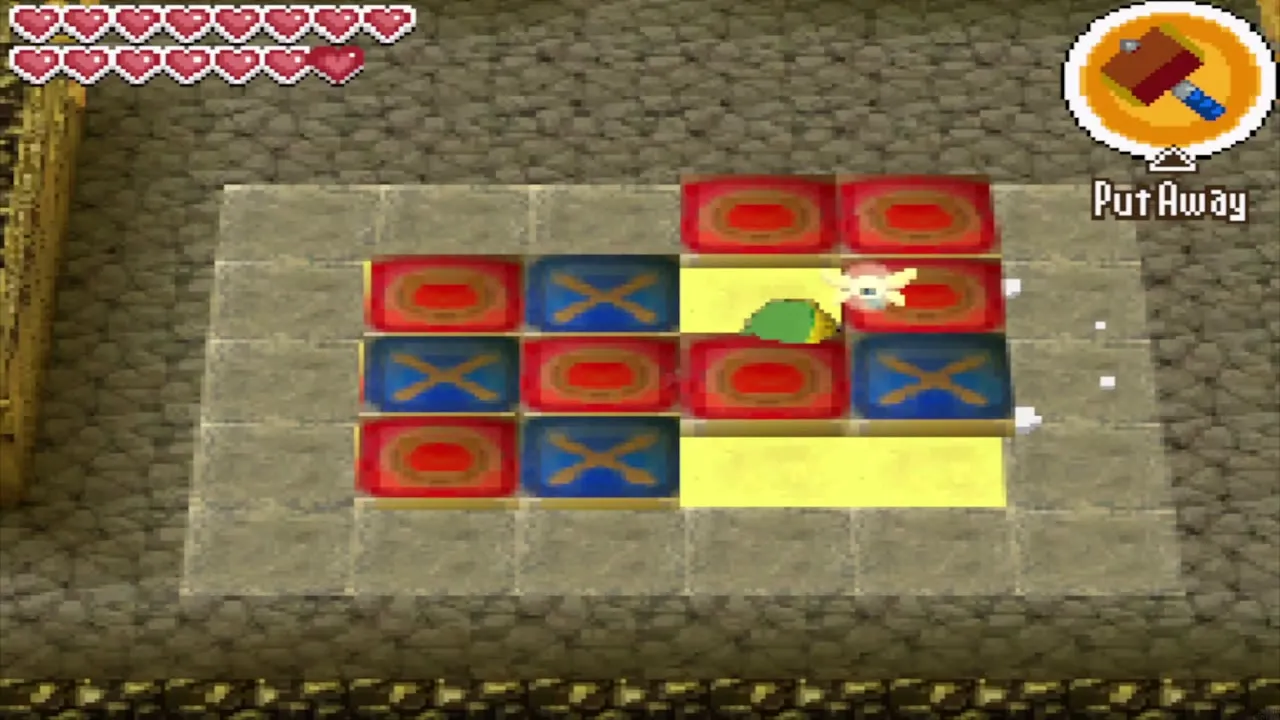

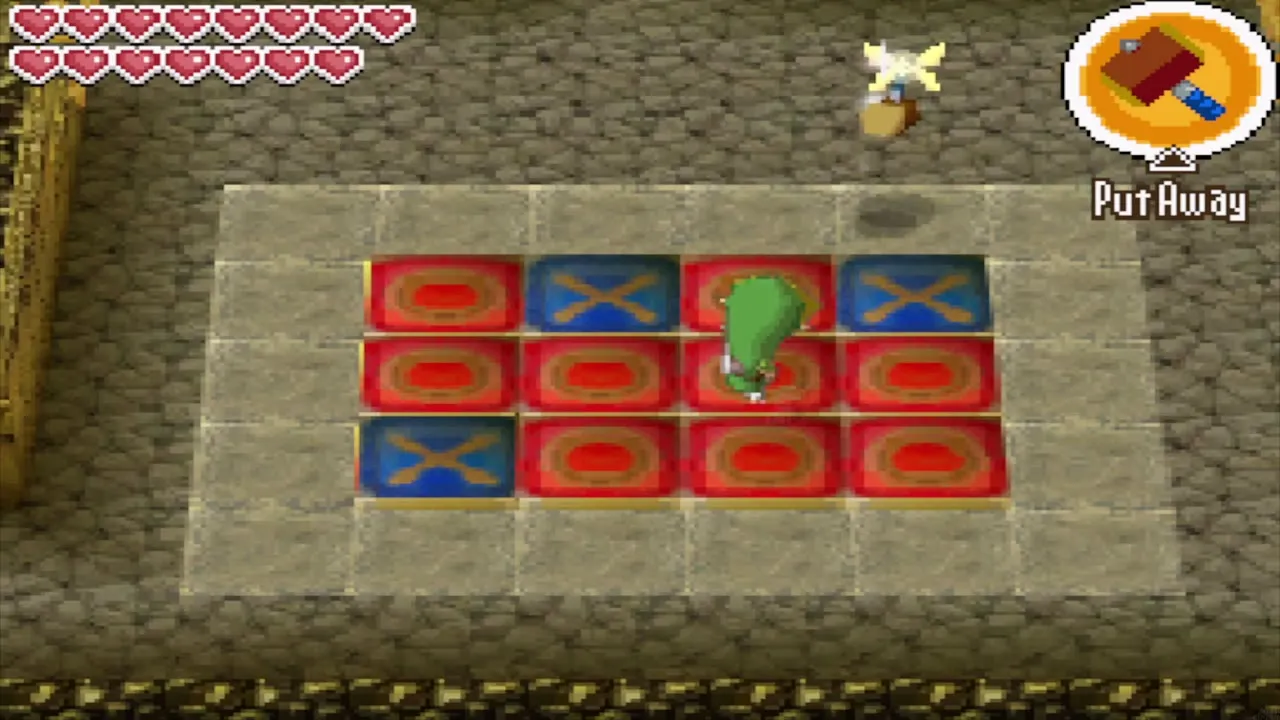
Turn the arrow aimer and the east bridge
On B1, hit the footprint switch with the Hammer to reach the top level. Use the Boomerang on the arrow aimer to the east, turn it to face south, and shoot it with an arrow to raise the water. Cross the east bridge to a second tile grid and make it match the grid you set under the water. Hit the arrow aimer again to lower the water and the west door opens.


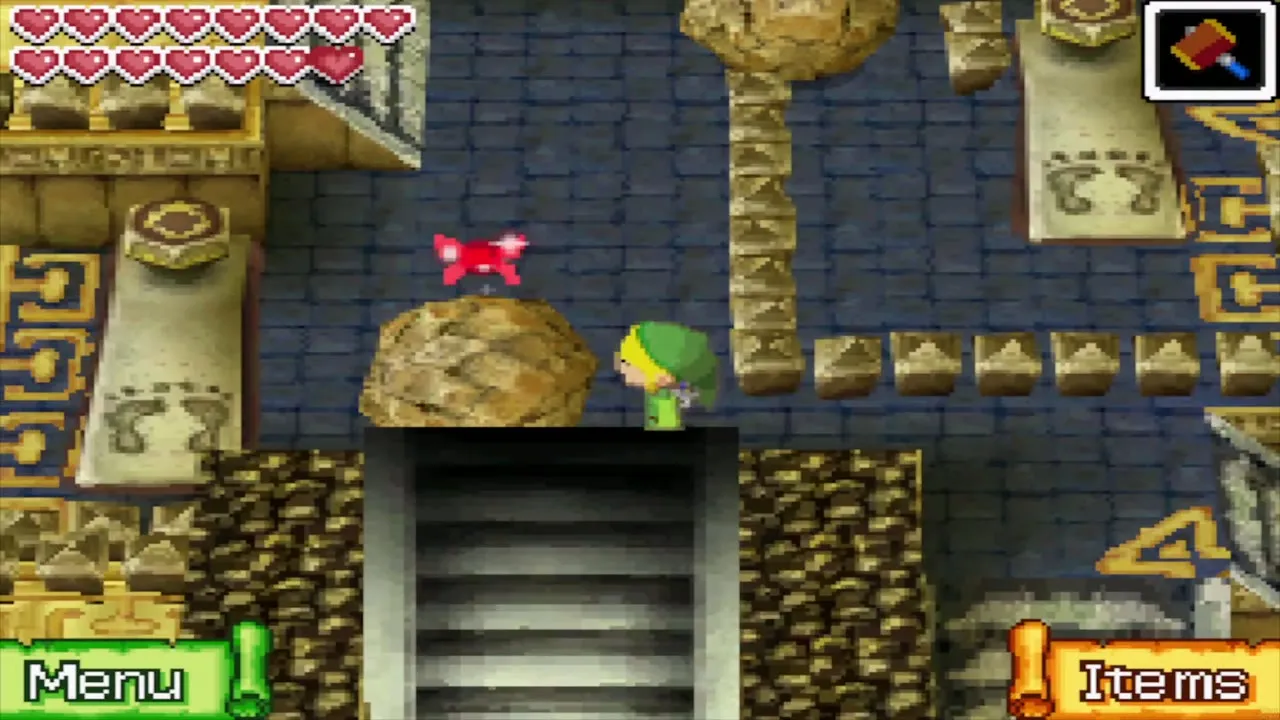
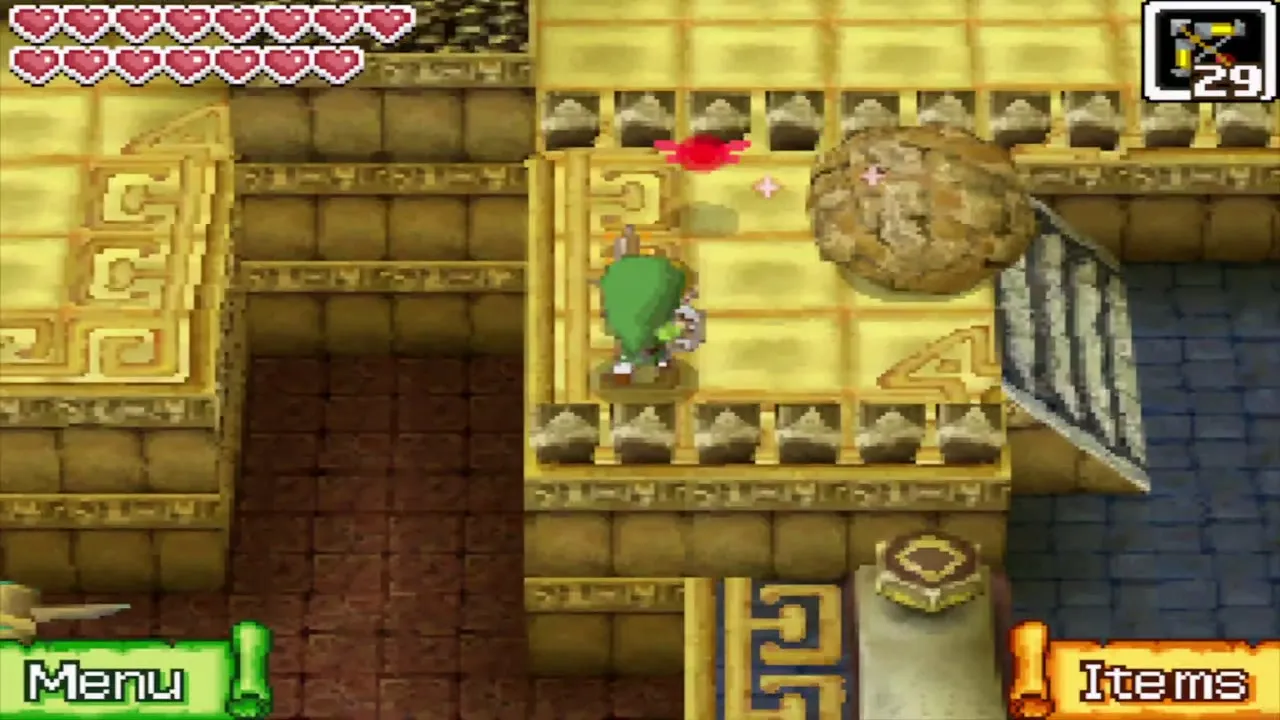
Jump off the ledge and use the footprint switch to launch yourself toward that door. Head north-west to a boulder and push it onto the footprints, hit the switch to send it up a level, and push it east. It rolls to a chest with the second small key.

The Boss Key on B1 and B2
Use the second small key
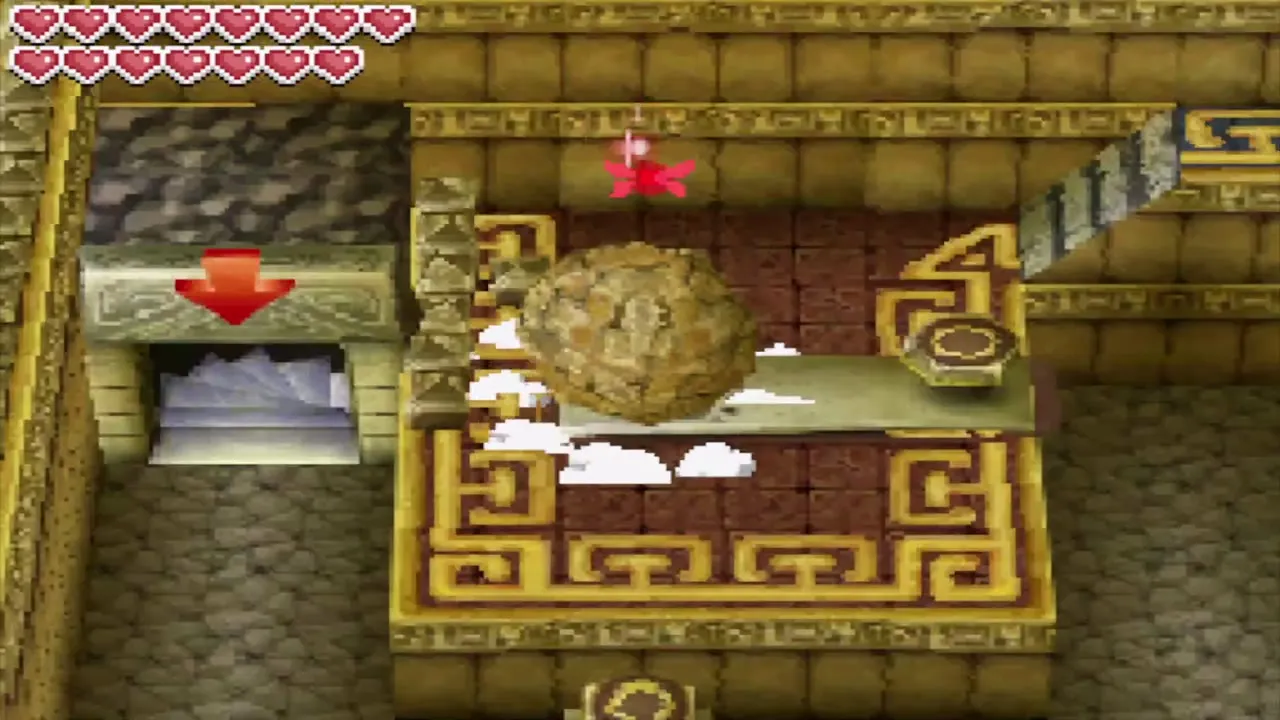
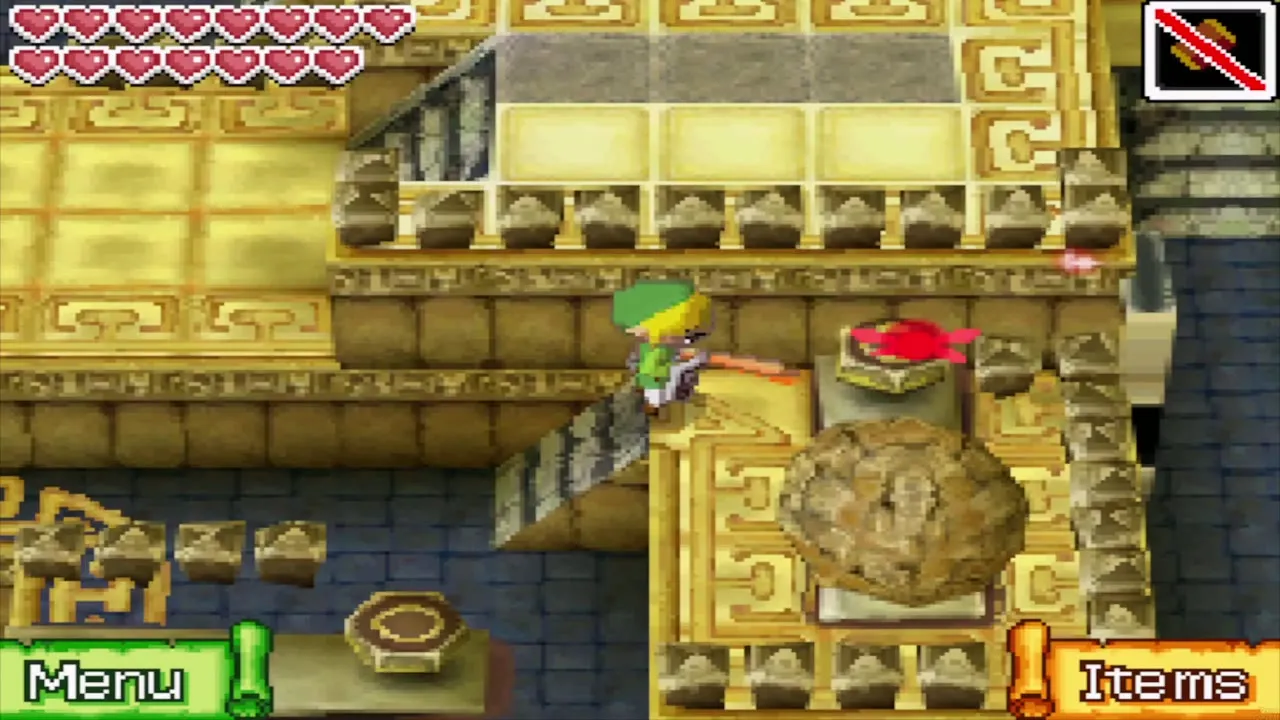
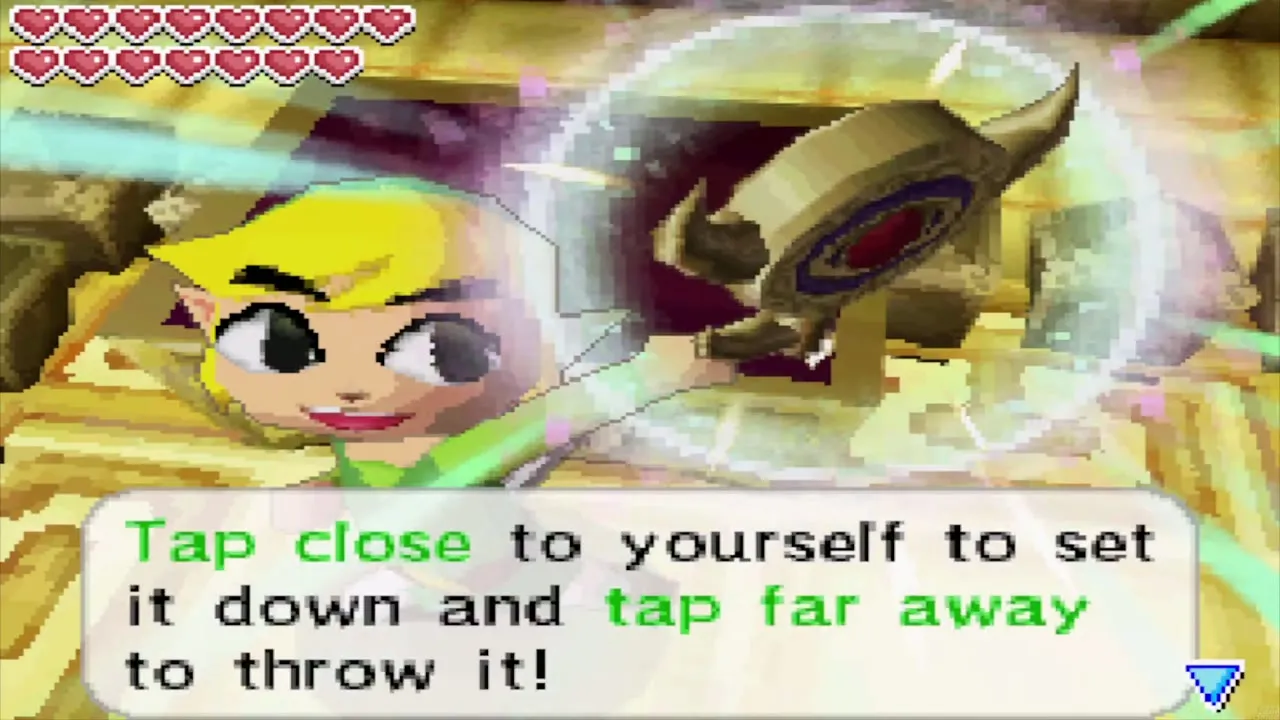
Use the footprint switch again to launch yourself to the upper level and unlock the north-east door with your second small key. Go down the stairs, then east to a boulder sitting on a footprint switch. Hit the switch repeatedly to bounce the boulder up level by level until it reaches the top, then push it west. The boulder smashes the one blocking the Boss Key, which lies on a pedestal on the floor behind it. The key is large: tap close to yourself to put it down, and tap far away to throw it.

Carry the key to the boss door
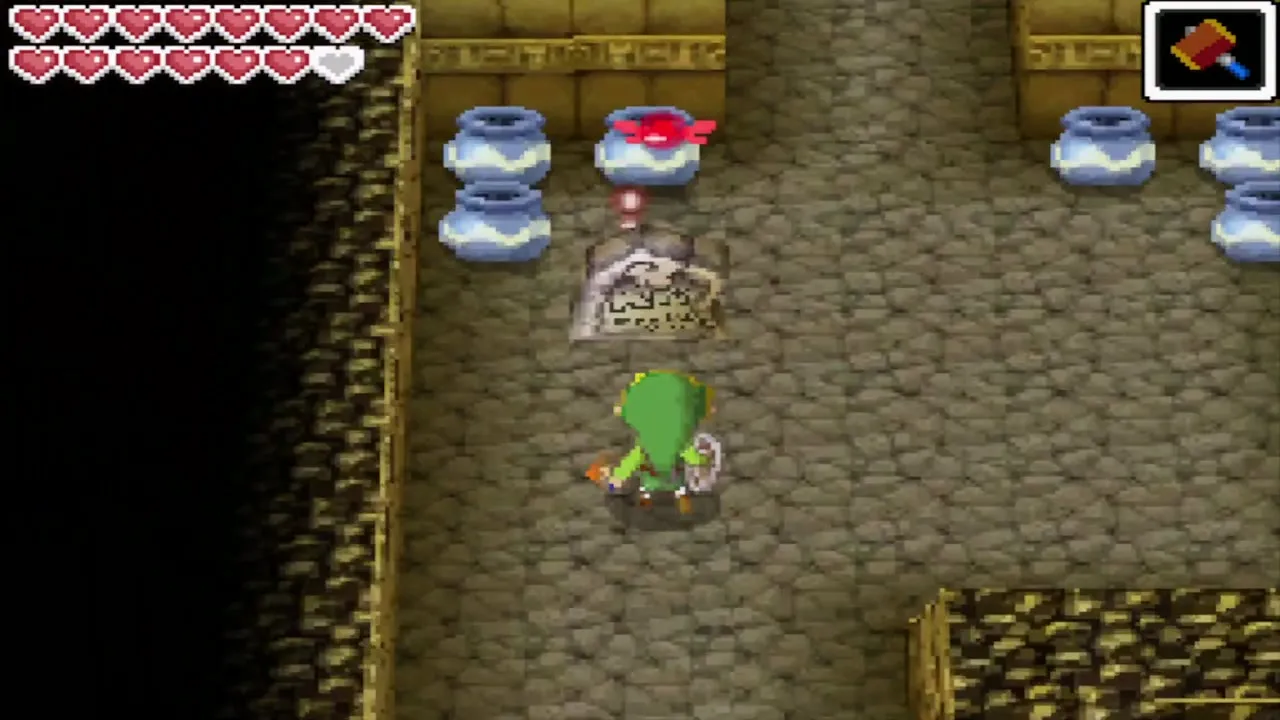
Take the stairs down to B2 with the Boss Key and ride the moving platform to the boss door. Pass through a few more block and Hammer rooms: push the blocks into place and use the Hammer to reach each ledge. Unlock the door with the Boss Key, work through the footprint launchers beyond it and take the stairs down to B3. A stone tablet there makes a blue light appear, and the message says that stepping into it returns you to the temple entrance, so use it only if you want to leave before the fight.


Eox boss fight
Phase one: smash the red bolts
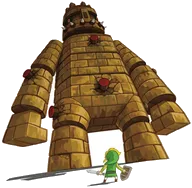
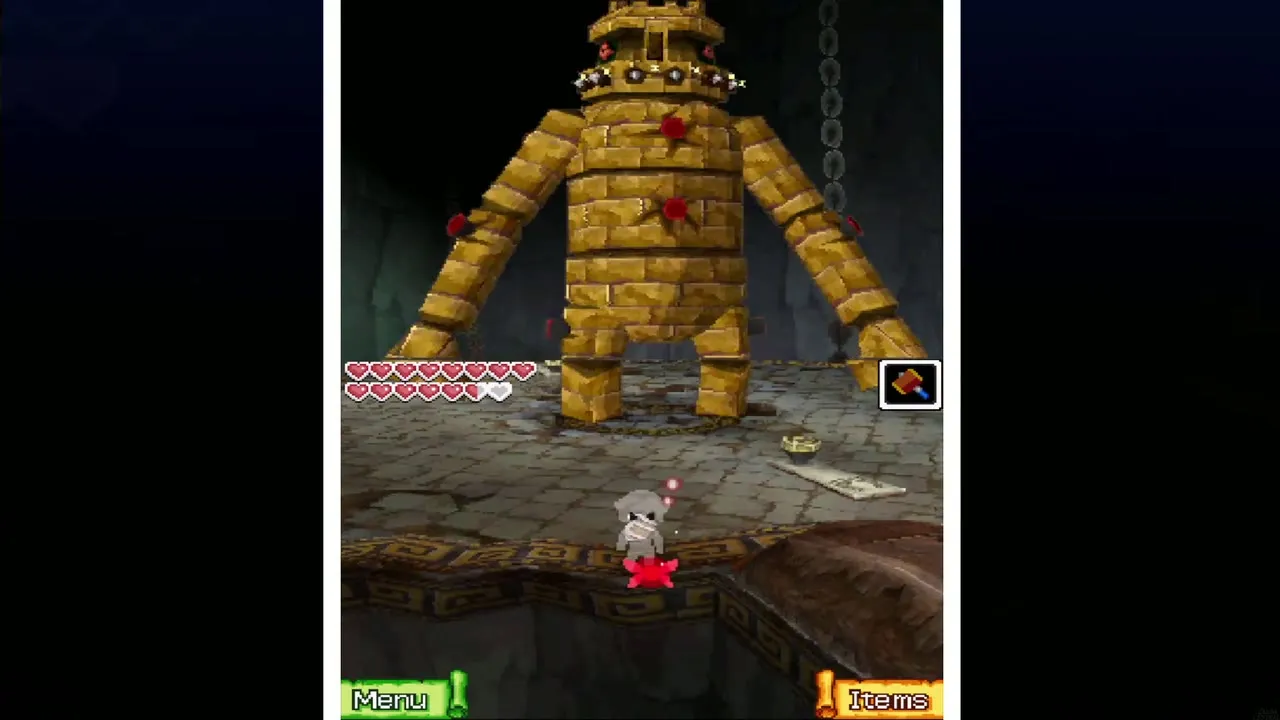
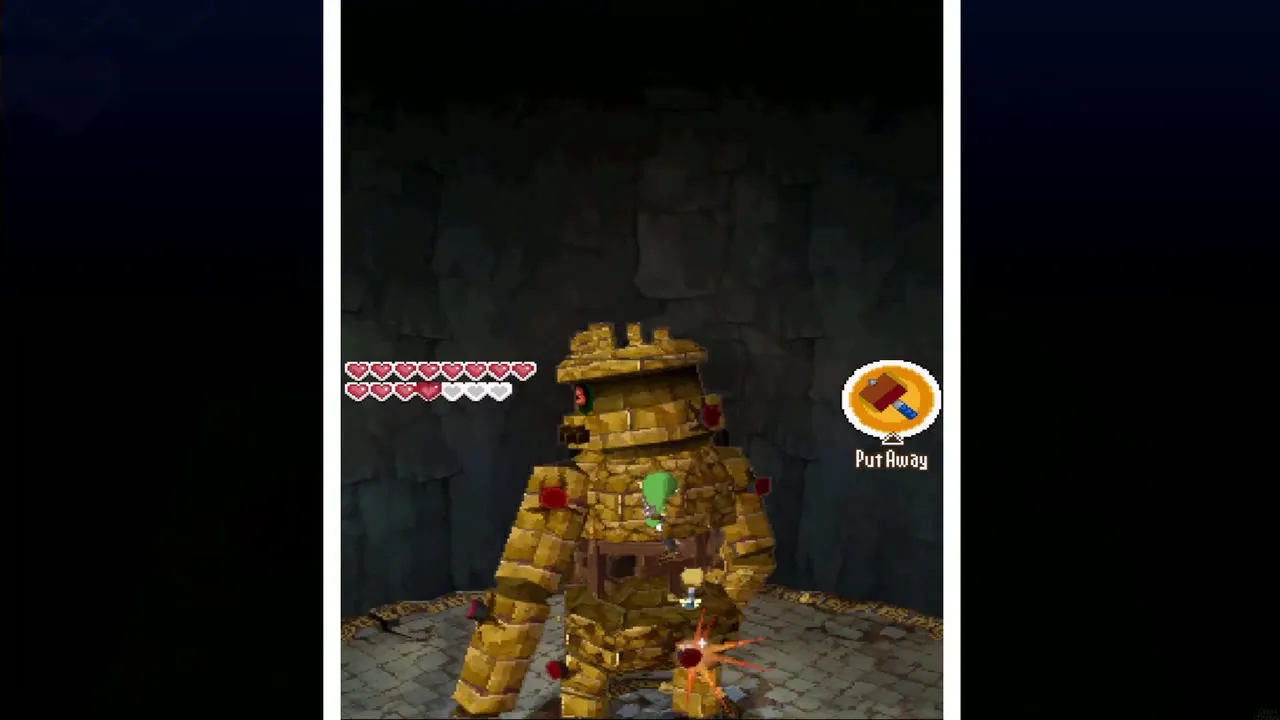
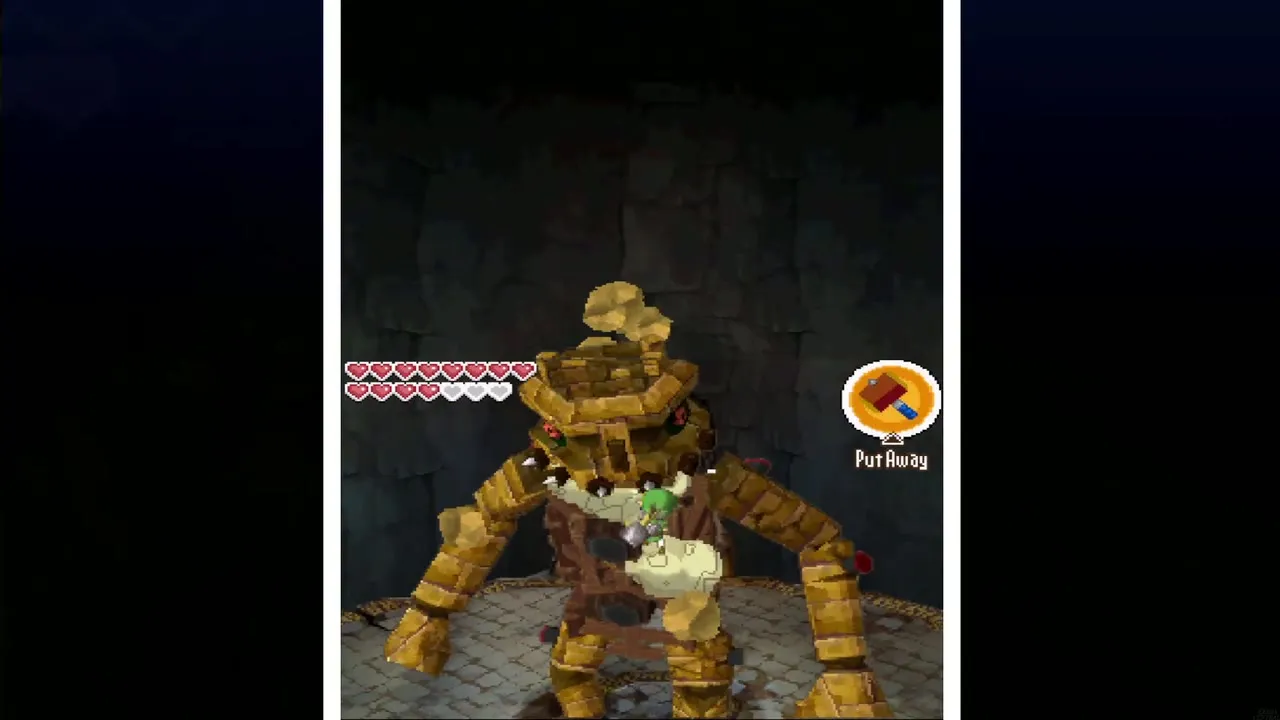
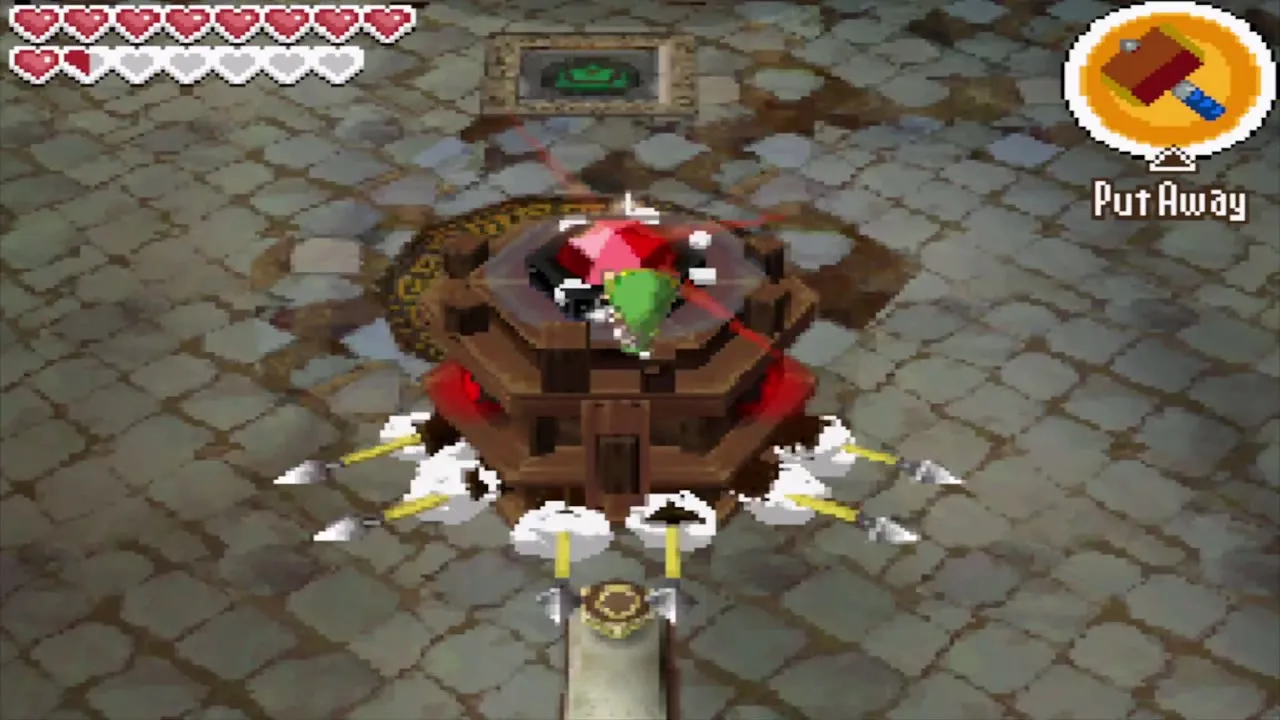
Eox, the Ancient Stone Soldier, is a giant statue held together by stone plates. Four catapults stand around the arena. Stand on one and strike it with the Hammer to be flung into the air, and while you are airborne, swing the Hammer at the red bolts that hold Eox together. Each hit breaks off part of the stone, and you keep launching until the stone armour is gone. He also fires arrows and pounds the ground, so keep moving between catapults and do not stand in the line of fire.
Phase two: hit four bolts in one leap
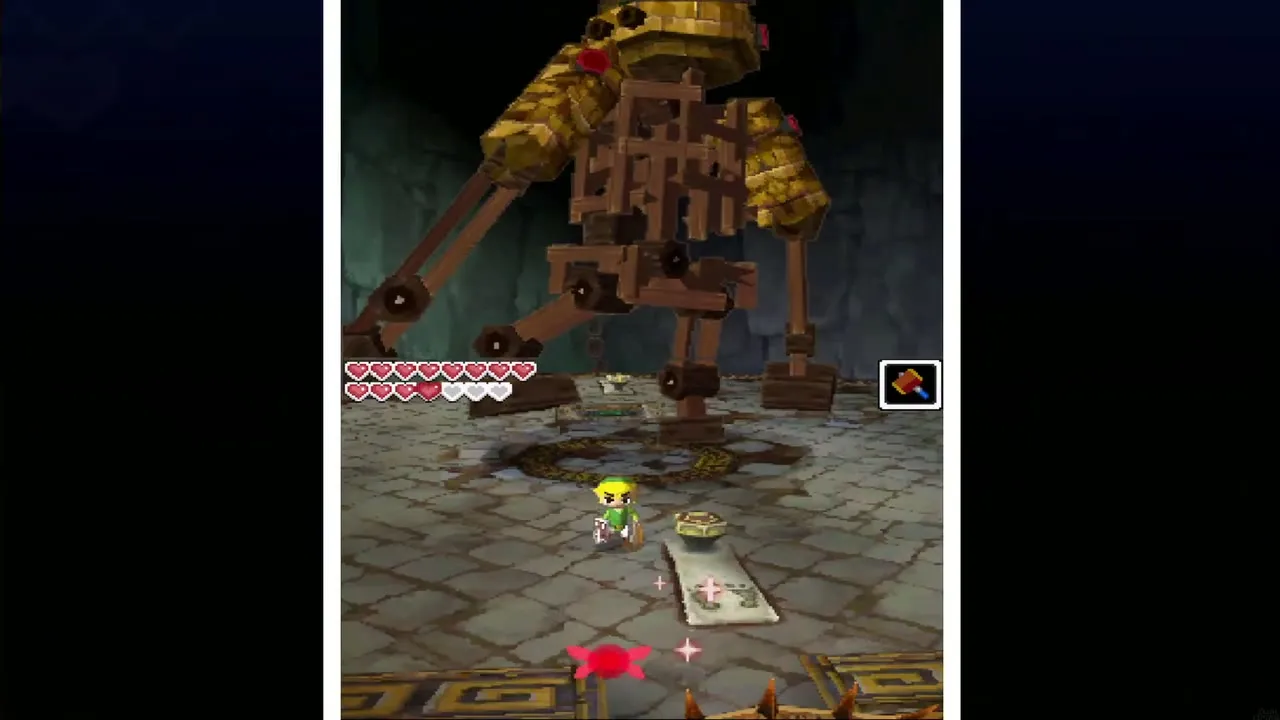
With the stone gone, only a wooden frame remains, and four new bolts appear on its front. Launch again and hit all four bolts with the Hammer before you land. When all four have been struck in one leap, Eox collapses and only his head is left.


Phase three: slash the crystal
The head bounces about on the floor. Jump onto it, stay on top and slash the crystal at its top with the sword until it breaks.

After the fight: Heart Container, sand and the Aquanine
Sand and the Heart Container
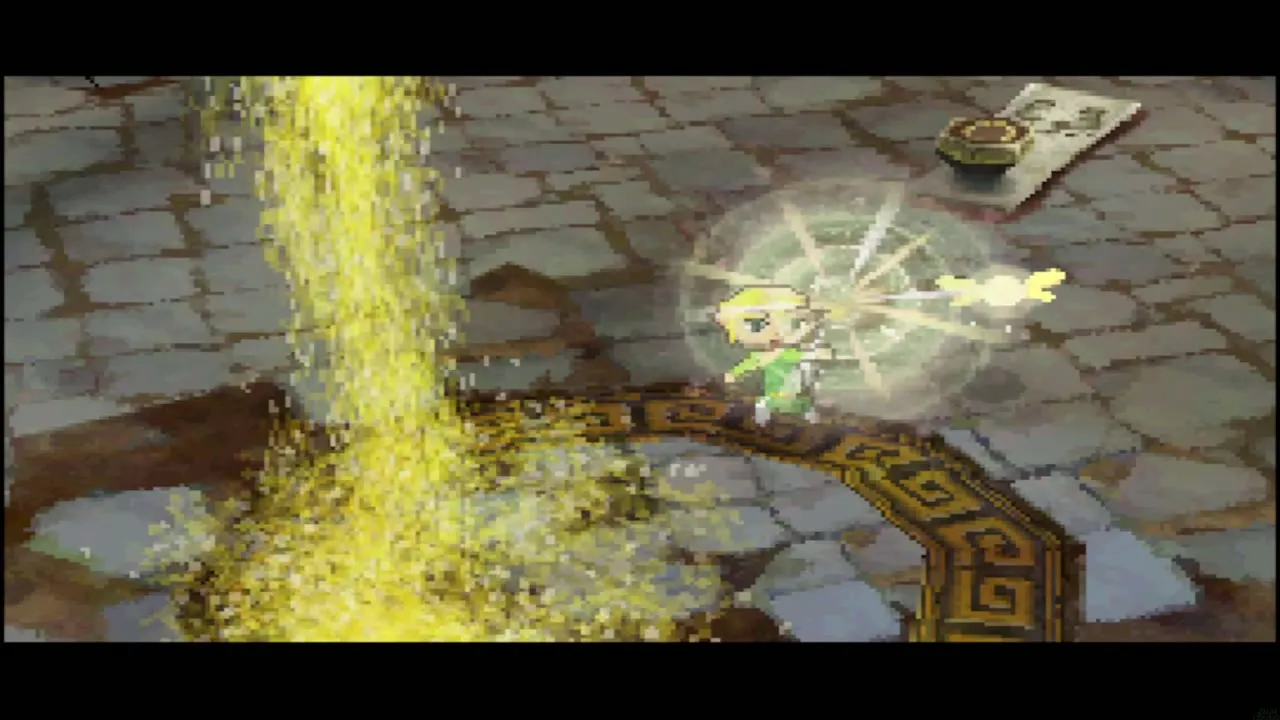
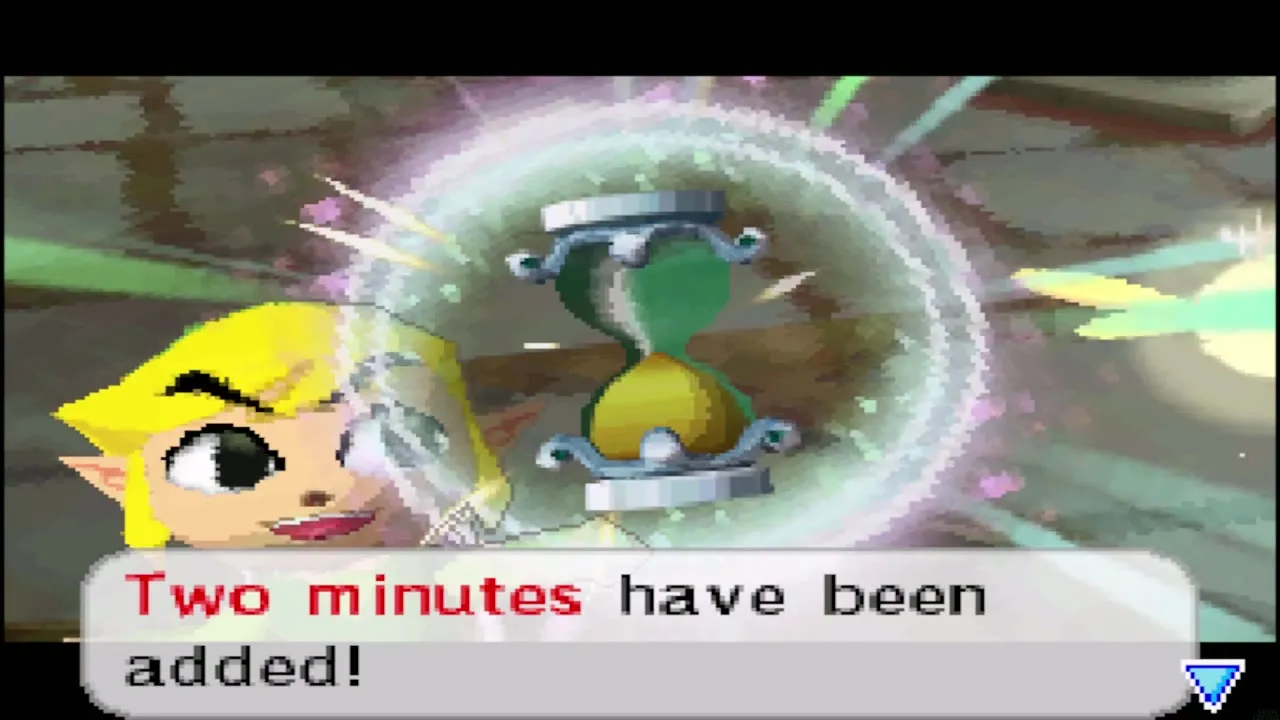
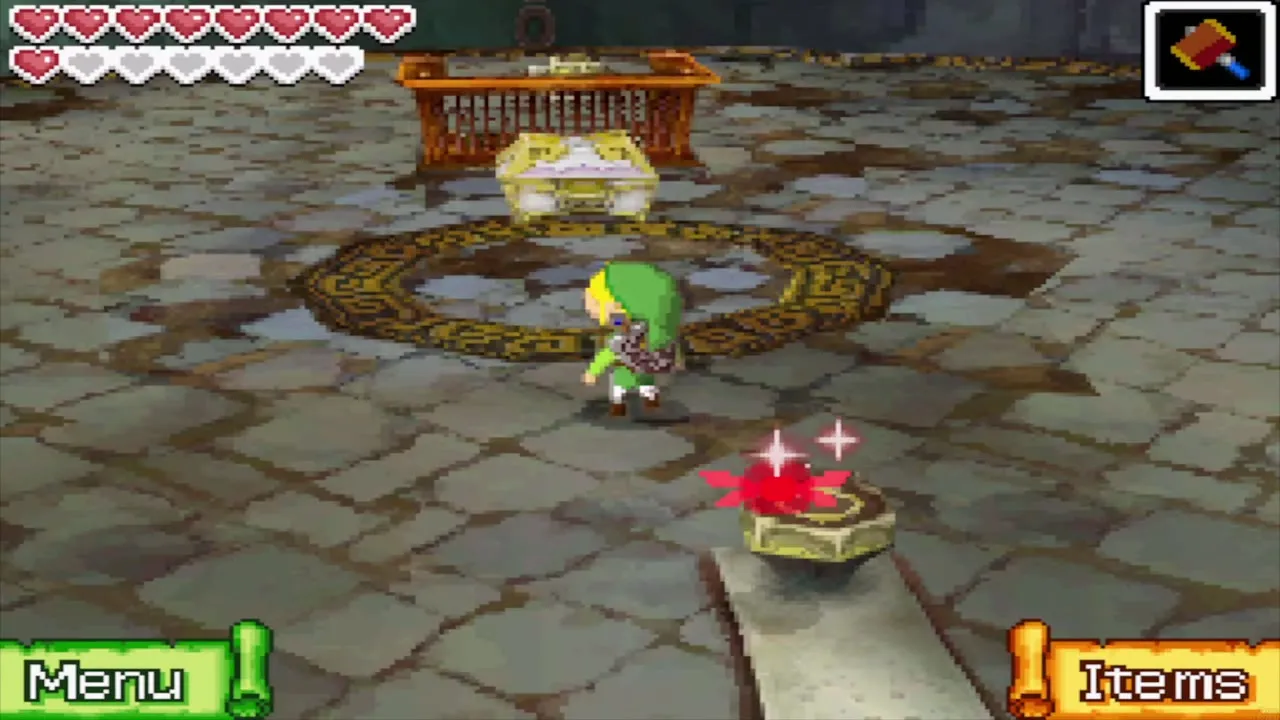
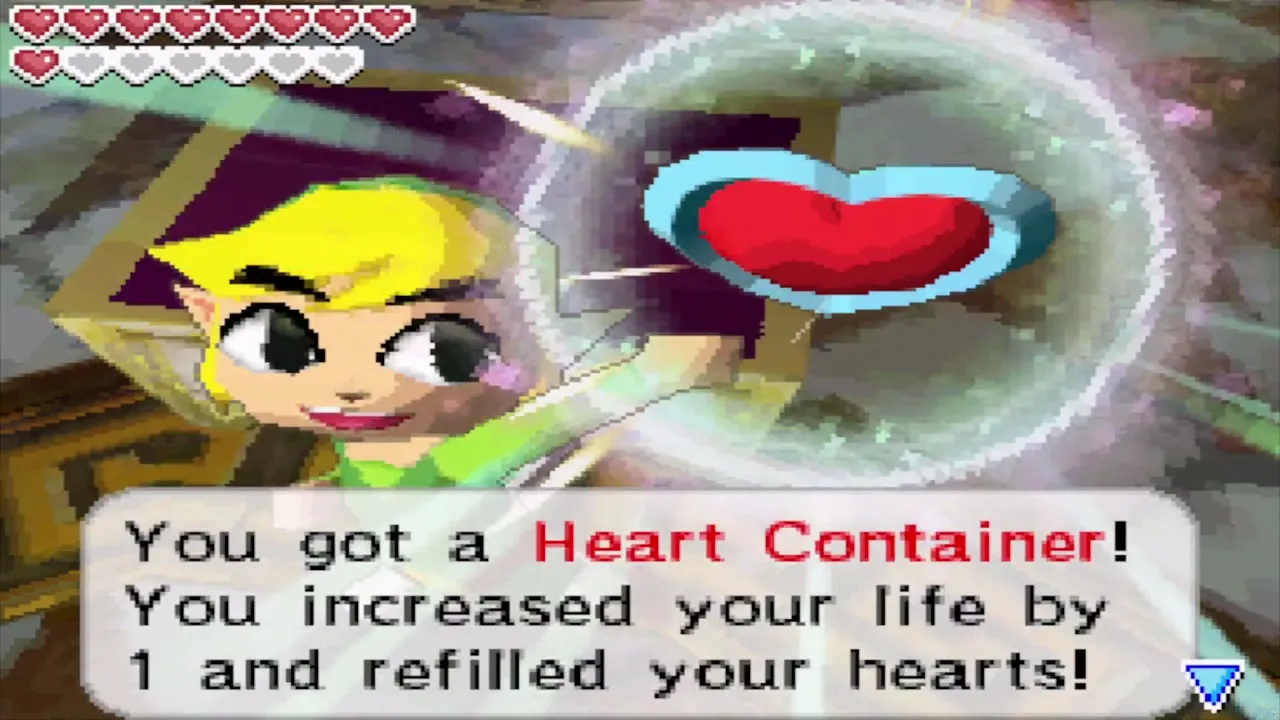
Sand flows into the Phantom Hourglass and a message tells you that two more minutes have been added. Walk to the chest on the purple carpet and open it to take the Heart Container, the thirteenth you can find and the one that brings your life to 16 hearts. The Hourglass now holds 20 minutes before any sunken Sand of Hours chests that you may still add.
Talk to King Mutoh
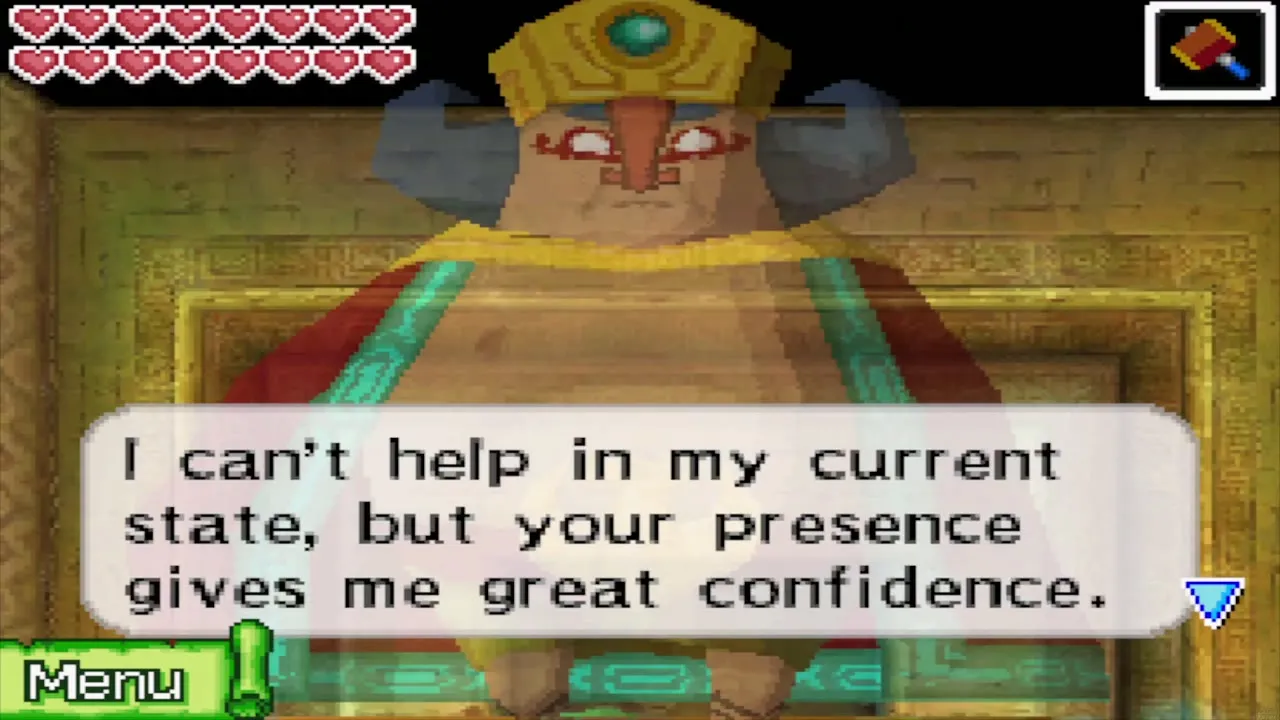
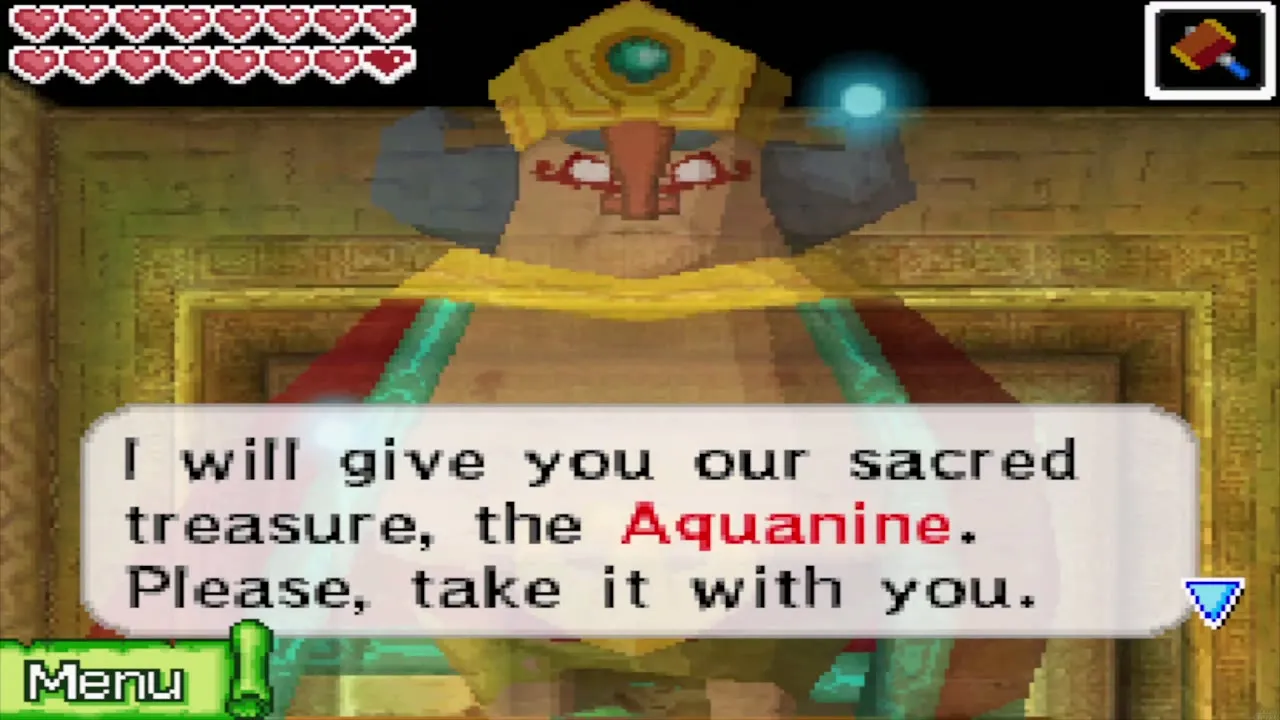
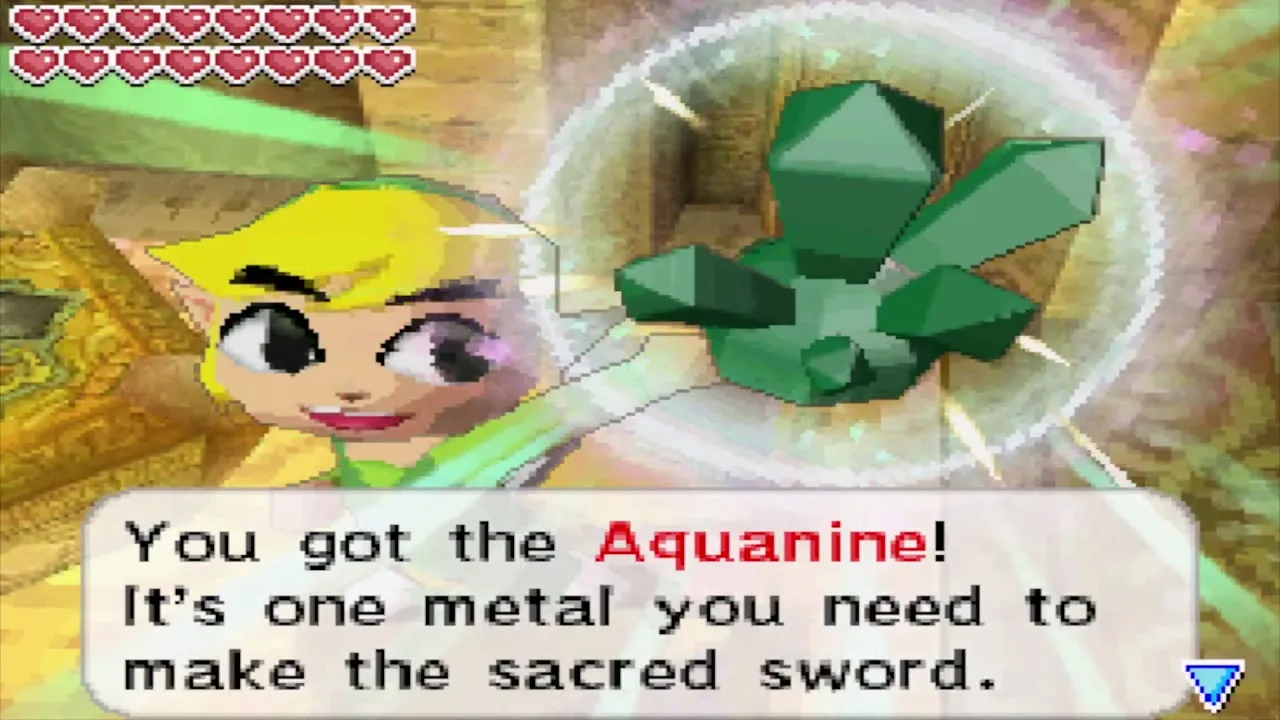
Follow the path down to a staircase and into the chamber below. King Mutoh, the sleeping ruler of the Cobble Kingdom, thanks you for restoring silence to the temple and tells you that the three spirits of the Ocean King are proof that you are the hero. He gives you the Aquanine, the last Pure Metal, and a light shows you to the shrine where it rests. Take it from there and Ciela tells you that a sword forged from the three Pure Metals is the only thing that can defeat Bellum.

Leave the temple and sail on
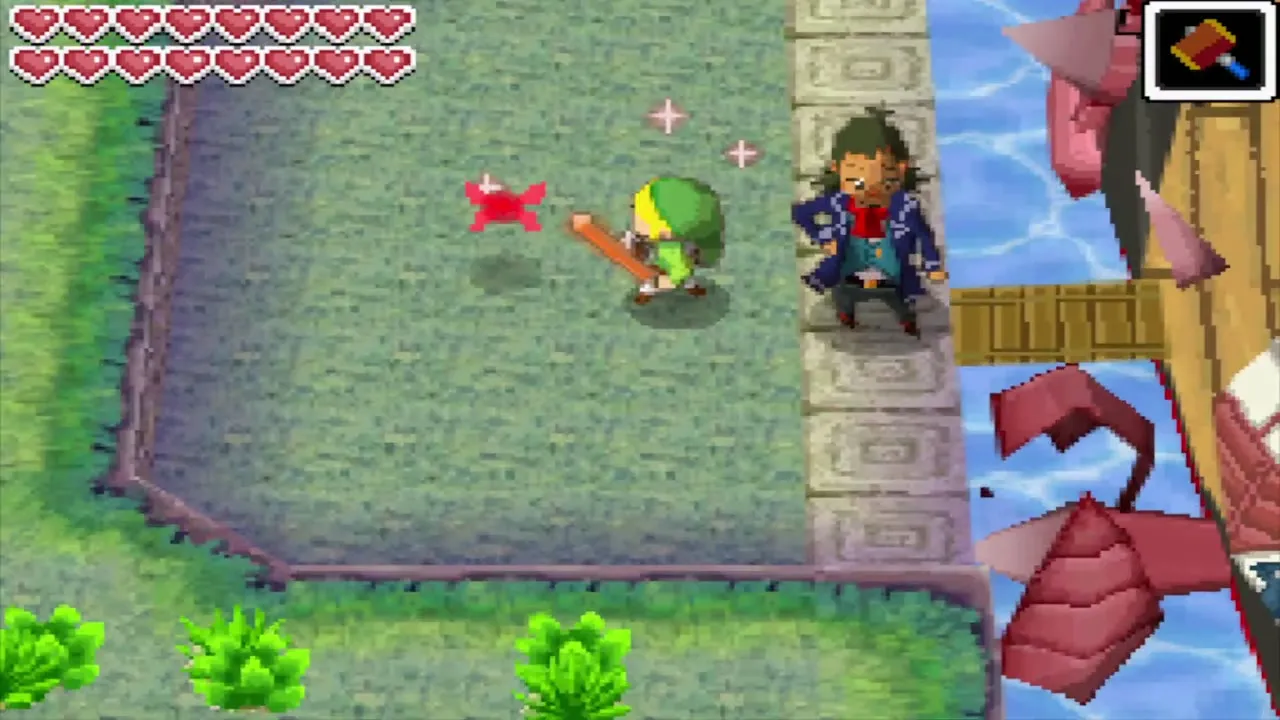
Take the stairs and the blue light at the top to leave the temple, then walk back across the stone bridge and the meadow to the beach where Linebeck is waiting. He asks whether you have the metal and is eager to leave. Choose to go, and you are ready to sail to Zauz’s Island, where the Phantom Sword is forged. A while later, when you pass a red mailbox, a messenger arrives with a letter from King Mutoh that contains a Power Gem.

Chapter checklist
| Collectible | Type | Where |
|---|---|---|
| Treasure (for example a Goron Amber) | Treasure | Chest in the 2F maze, east route |
| Hammer | Item | Chest on 3F after the Stalfos and Rupee-Like |
| Courage Gem | Spirit Gem | B2 chest, after both Hammer switches from the moving platform |
| Small key (first) | Key | B2 chest beside the Courage Gem; opens the locked door on B1 |
| Small key (second) | Key | B1 chest reached by rolling the boulder up from the footprints |
| Boss Key | Key | B1 pedestal behind the north-east door and boulder |
 Sand of Hours | Phantom Hourglass | Dropped by Eox, 2 minutes |
| Heart Container | Heart Container | Chest in the boss arena after Eox |
| Aquanine | Pure Metal | From King Mutoh in the chamber below the boss arena |
| Power Gem | Spirit Gem | Letter from King Mutoh, delivered by mail after the temple |
With all three Pure Metals in hand, sail to Zauz’s Island for the sword in The Phantom Sword and Bellum.
