





















Ocarina of Time Master Quest Walkthrough12 chapters
- Inside the Great Deku Tree (Master Quest)Dungeon Map, Slingshot, Compass, Gold Skulltulas, Queen Gohma, Heart Container and Kokiri’s Emerald.
- Dodongo’s Cavern (Master Quest)Every room in order, Dungeon Map, Compass, Bomb Bag, silver rupees, Gold Skulltulas, King Dodongo and the Goron’s Ruby.
- Inside Jabu-Jabu’s Belly (Master Quest)Cow switches, Map, Compass, Boomerang, Big Octo, Barinade, Heart Container and Zora’s Sapphire.
- Forest Temple (Master Quest)Six Small Keys, Boss Key, Fairy Bow, the four Poe Sisters, five Gold Skulltulas and Phantom Ganon.
- Fire Temple (Master Quest)Five Small Keys, Din’s Fire puzzles, Iron Knuckle, Megaton Hammer, Boss Key, five Gold Skulltulas and Volvagia.
- Water Temple (Master Quest)Early Longshot, Map, Compass, both Small Keys, Dark Link, Boss Key and Morpha.
- Shadow Temple (Master Quest)Hover Boots, map, compass, Boss Key, Gold Skulltulas, Bongo Bongo and the Shadow Medallion.
- Spirit Temple (Master Quest)Every chest, 7 Small Keys, Silver Gauntlets, Mirror Shield, Boss Key, Skulltulas and Twinrova.
- Bottom of the Well (Master Quest)Map, Compass, two Small Keys, Dead Hand, the Lens of Truth and all three Gold Skulltulas.
- Ice Cavern (Master Quest)Blue Fire, Song of Time blocks, Stalfos, Iron Boots, Serenade of Water.
- Gerudo Training Ground (Master Quest)The remixed rooms in order, Small Keys, Silver Rupee puzzles and the Ice Arrows.
- Ganon’s Castle (Master Quest)Light Arrows, the rainbow bridge, all six remixed trials, Golden Gauntlets, Double Defense, the tower.
| Covers | Light Arrows from Zelda, the rainbow bridge, the six barrier trials in route order (Forest, Water, Shadow, Spirit, Fire, Light), the Golden Gauntlets, the last Great Fairy, the tower climb, the Boss Key, Ganondorf, the escape and Ganon |
|---|---|
| Dungeon | Ganon’s Castle and Ganon’s Tower (final dungeon, adult Link, Master Quest version). Three Small Keys are found and spent inside the trials, and one Boss Key waits in the tower. Bosses: Ganondorf, then Ganon. |
| You need | Light Arrows with a full magic meter, the Bow, Bombs, Bombchus, Megaton Hammer, Longshot, Hover Boots, Iron Boots, Goron Tunic, Mirror Shield, Lens of Truth, Fire Arrows or Din’s Fire, the Song of Time, Sun’s Song and Zelda’s Lullaby, and at least two empty bottles for Blue Fire (the rest filled with fairies). The Biggoron‘s Sword makes both bosses faster. |
| Rewards | Golden Gauntlets (Spirit Trial), Double Defense (Great Fairy of Courage), 3 Small Keys, 1 Boss Key, and the end of the game. No Heart Piece, no Gold Skulltula and no medallion are found here. |
| Differences | All six trials are rebuilt, the Golden Gauntlets move from the Shadow Trial to the Spirit Trial, and the Water and Light Trials now spend Small Keys. The tower, Ganondorf, the escape and Ganon play as in the original. |
Ganon’s Castle is the last dungeon of Master Quest. You collect the Light Arrows from Zelda, cross the rainbow bridge, break all six barriers by clearing the six remixed trials and shooting each barrier core with a Light Arrow, then climb the tower, take the Boss Key and beat Ganondorf, escape the collapsing tower and finish Ganon among the ruins. Nothing here counts toward the 100% totals, so finish everything else first. The trials below follow an order that always works: Forest, Water, Shadow, Spirit, Fire, Light.
Table of Contents
Light Arrows and the rainbow bridge
Light Arrows from Zelda
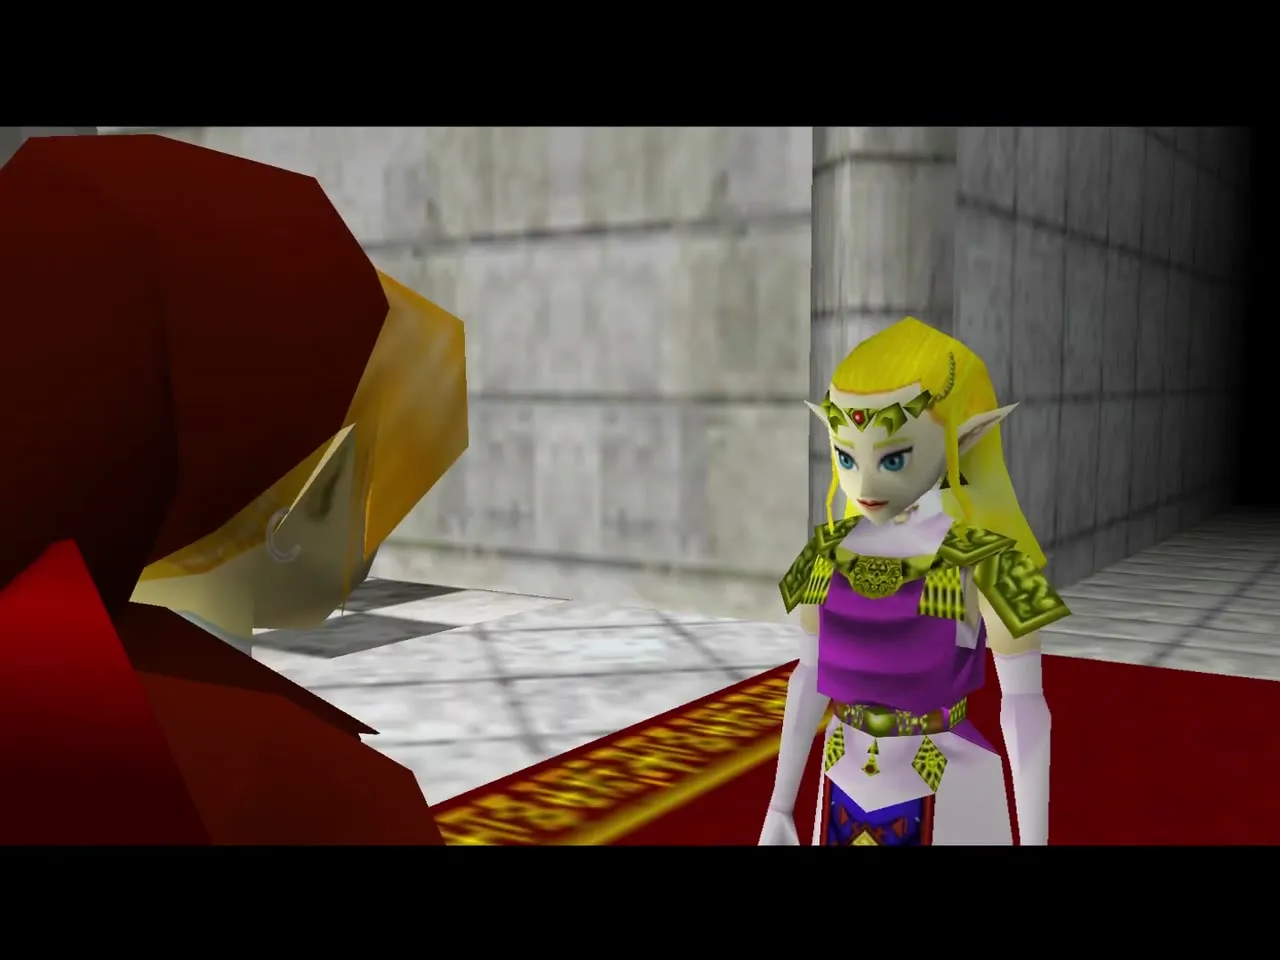
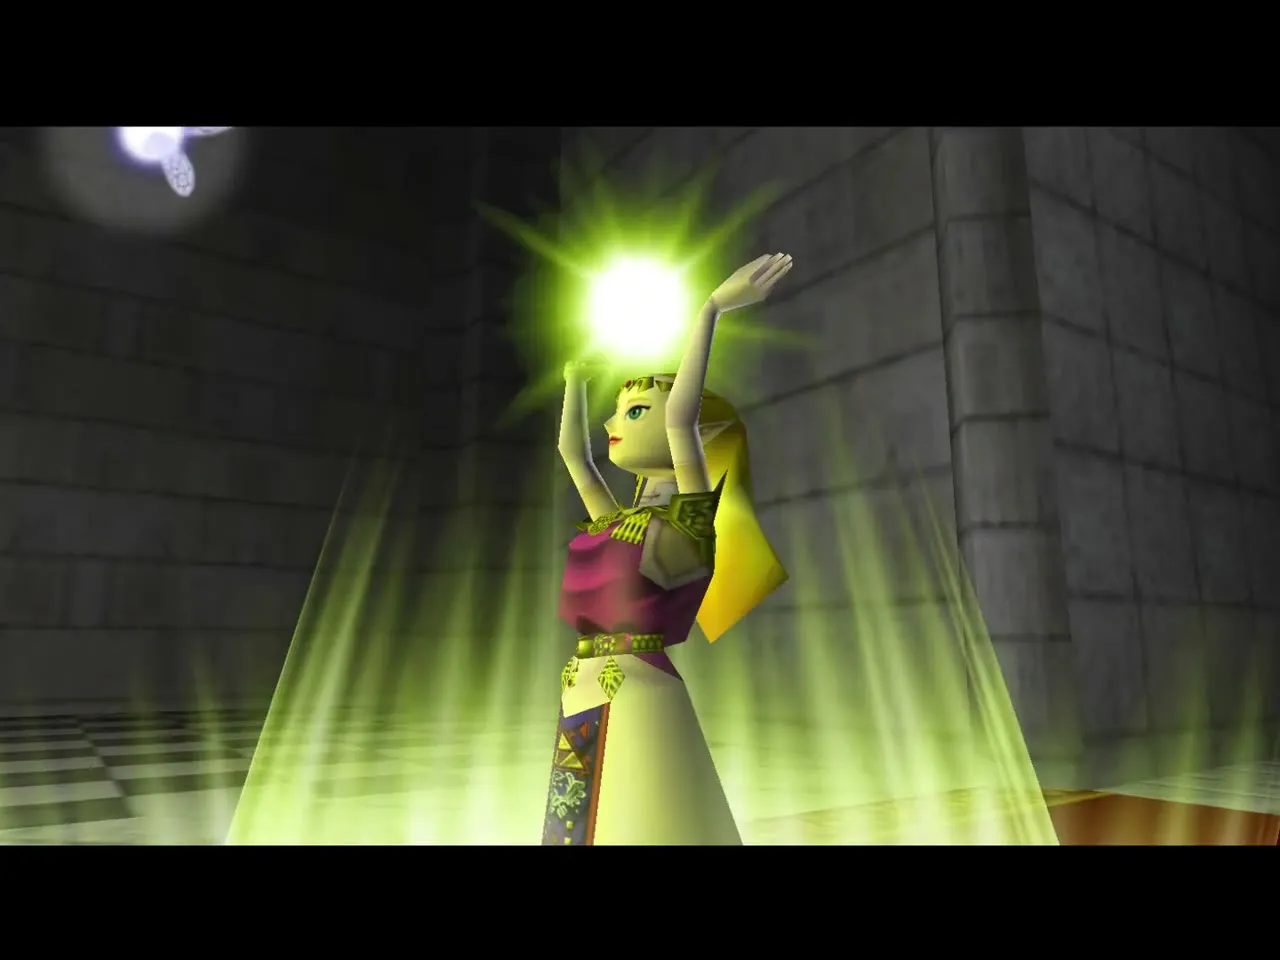
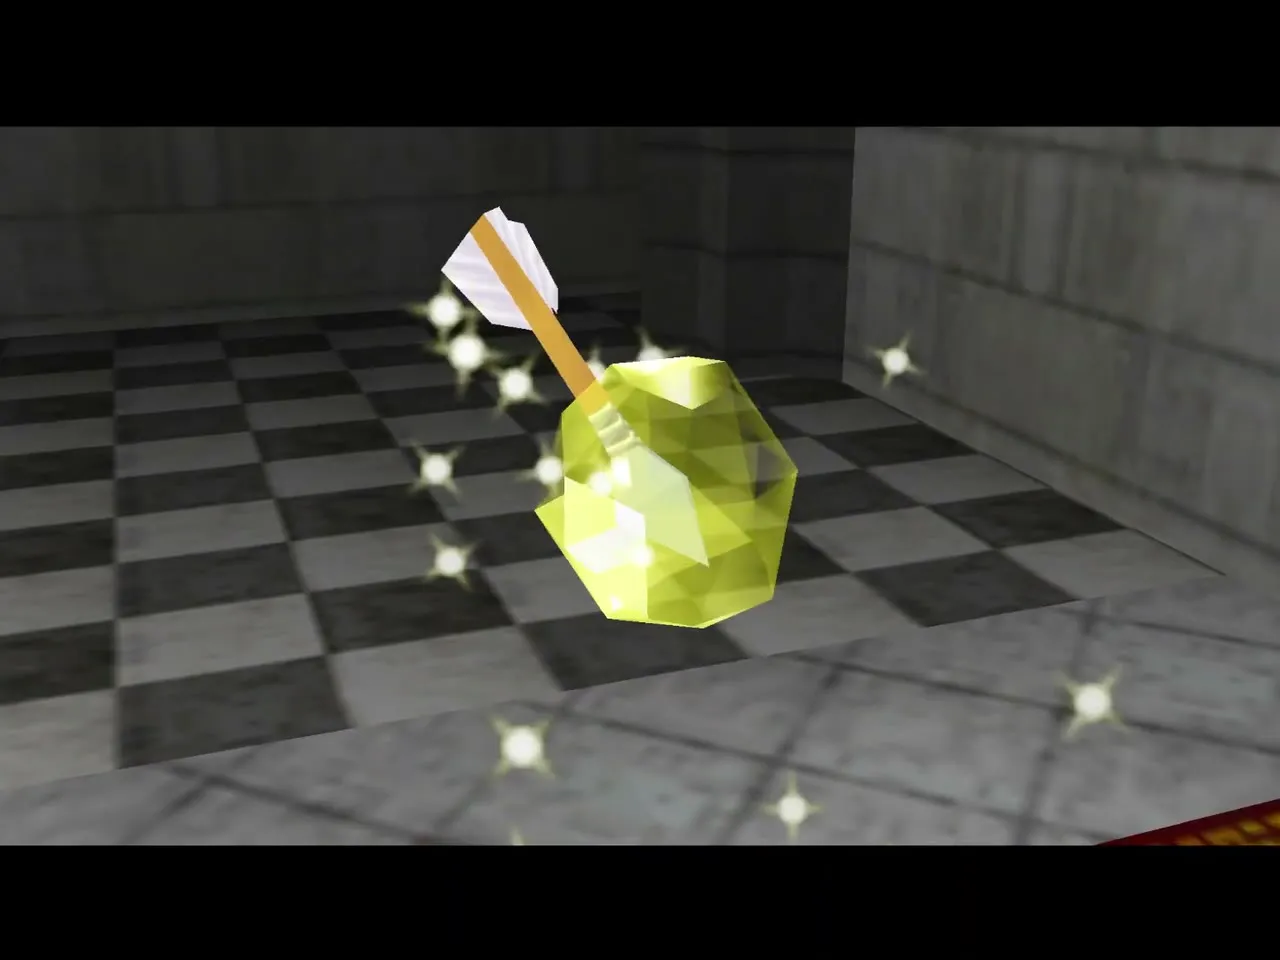
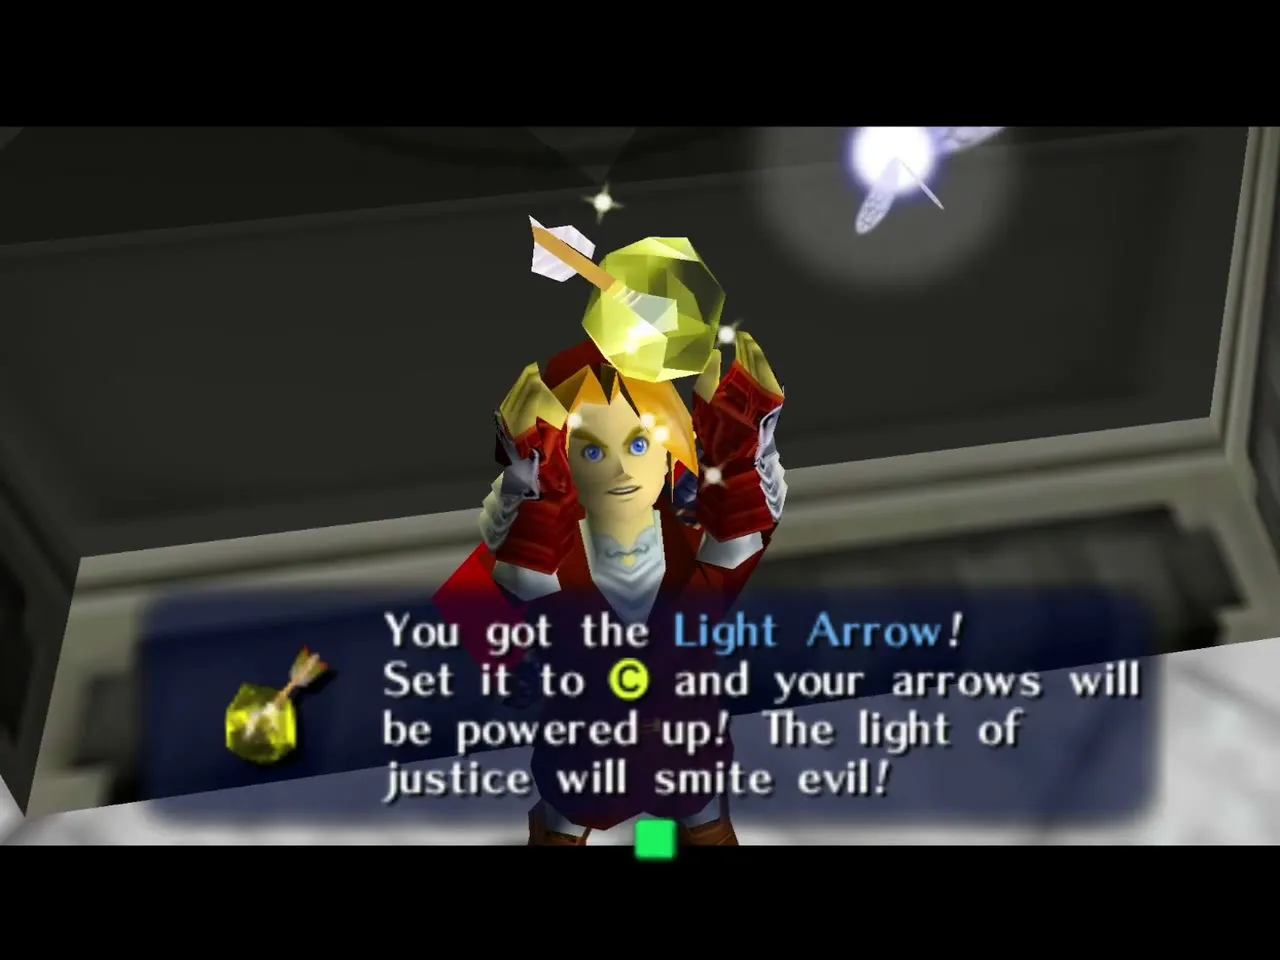
Take the Prelude of Light to the Temple of Time once the other dungeons are done. Sheik drops her disguise and Zelda gives you the Light Arrows, the one weapon that can break the barriers around Ganon’s Castle. Equip them from the C menu; they cost magic, so spend them only on the six barrier cores, the Ganondorf fight and the best moments against Ganon.
The way to the castle
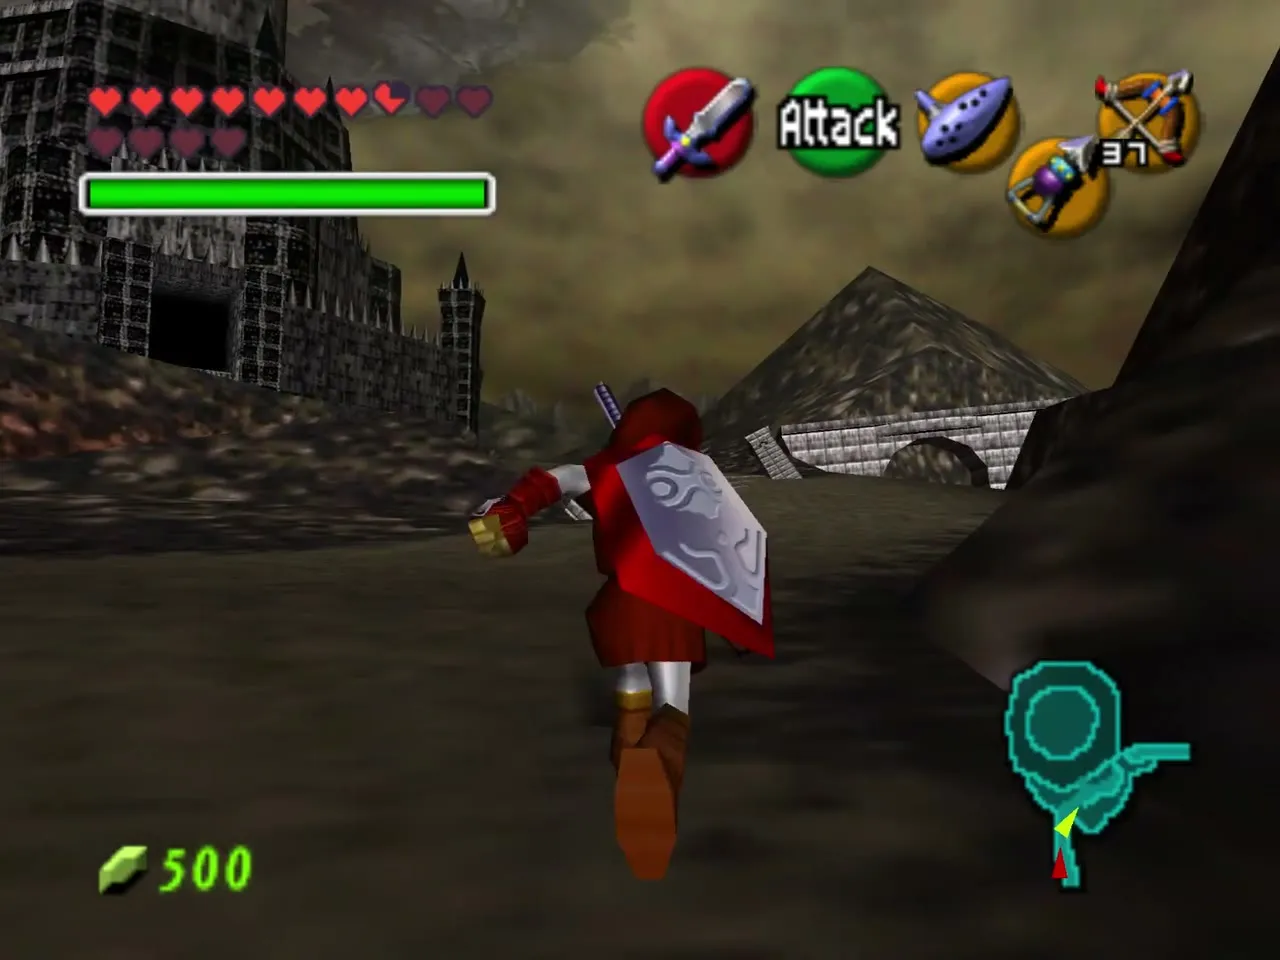
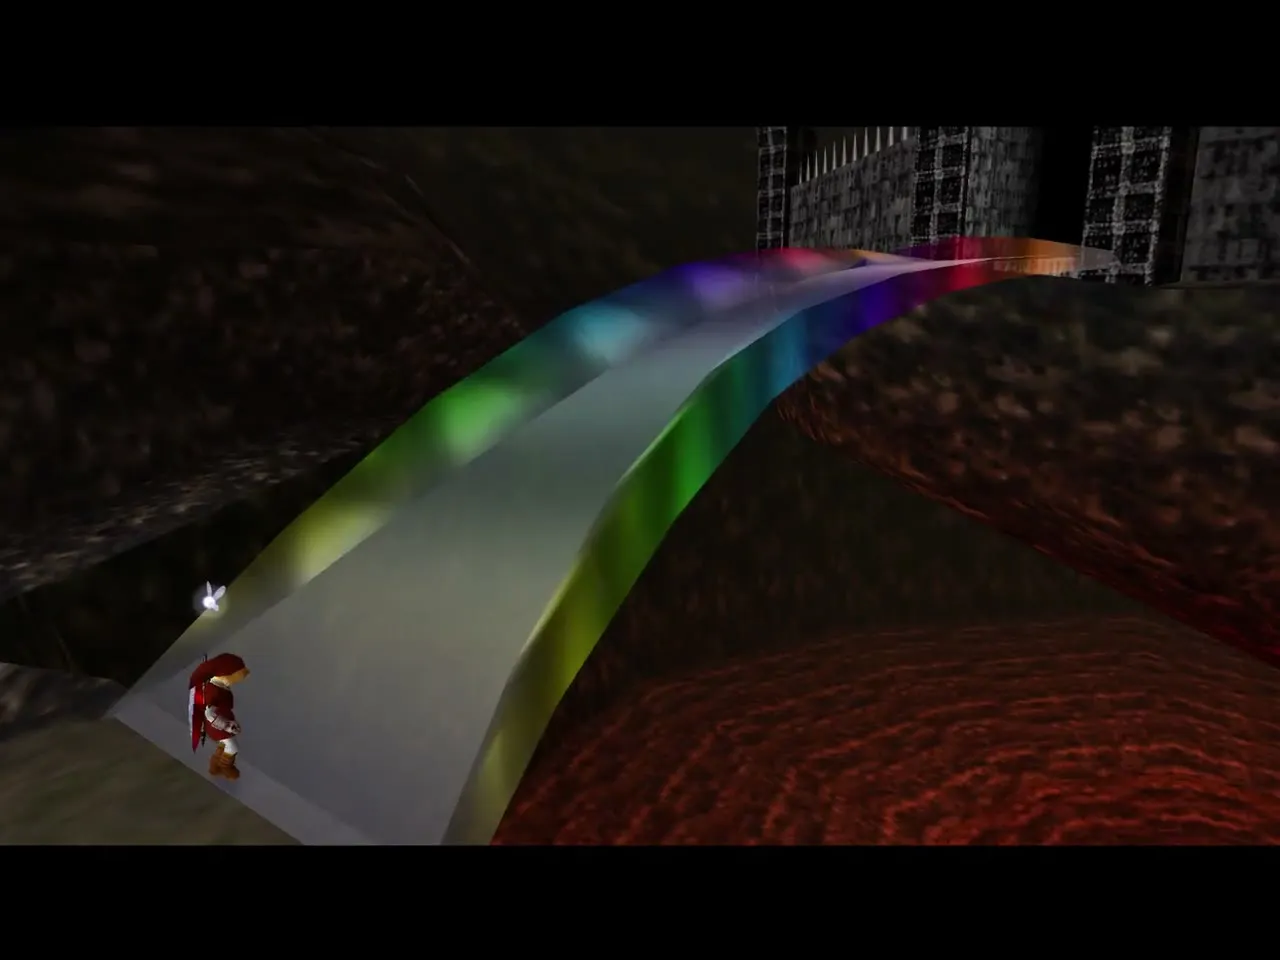
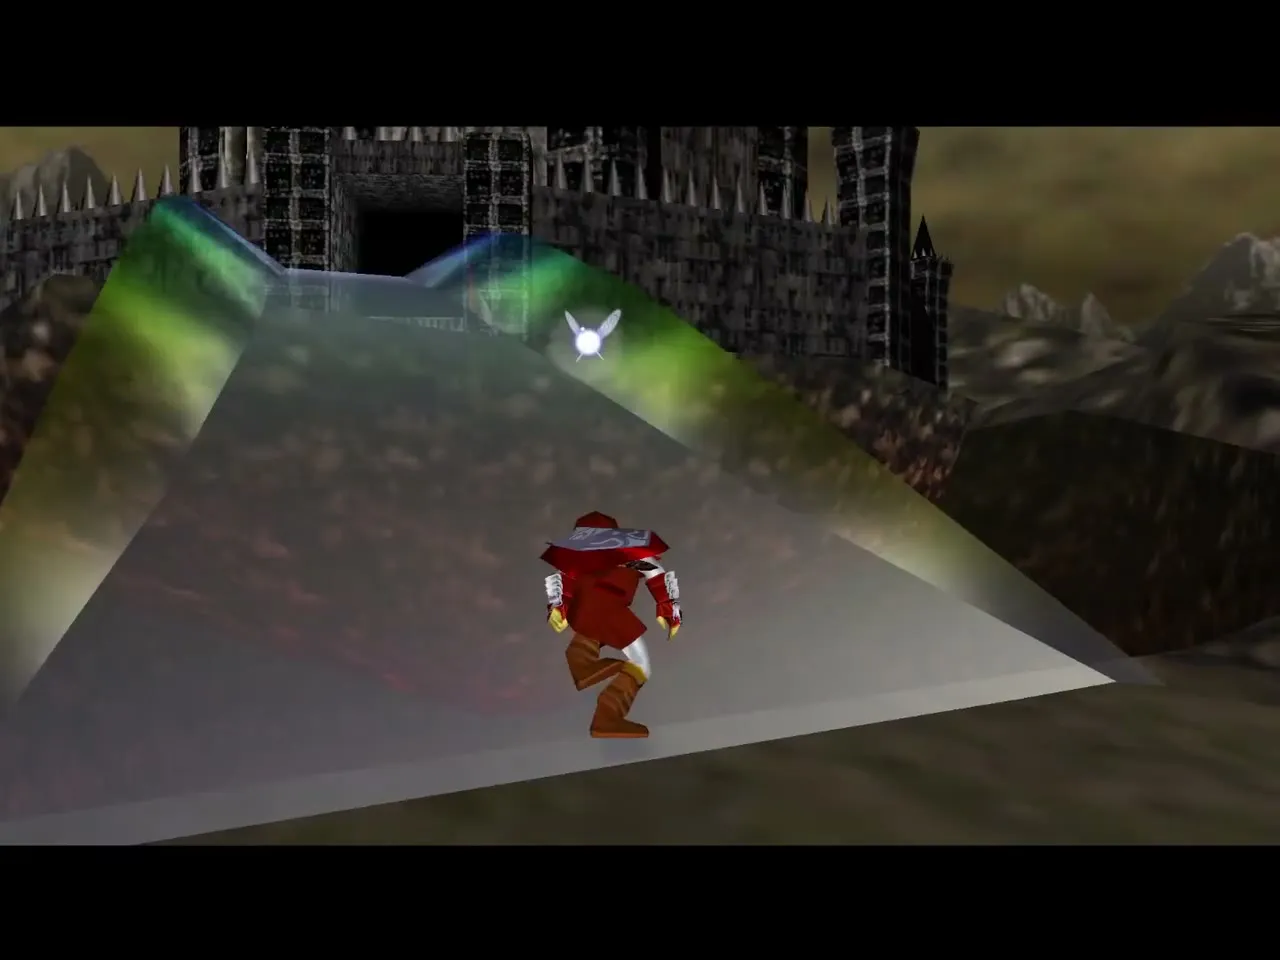
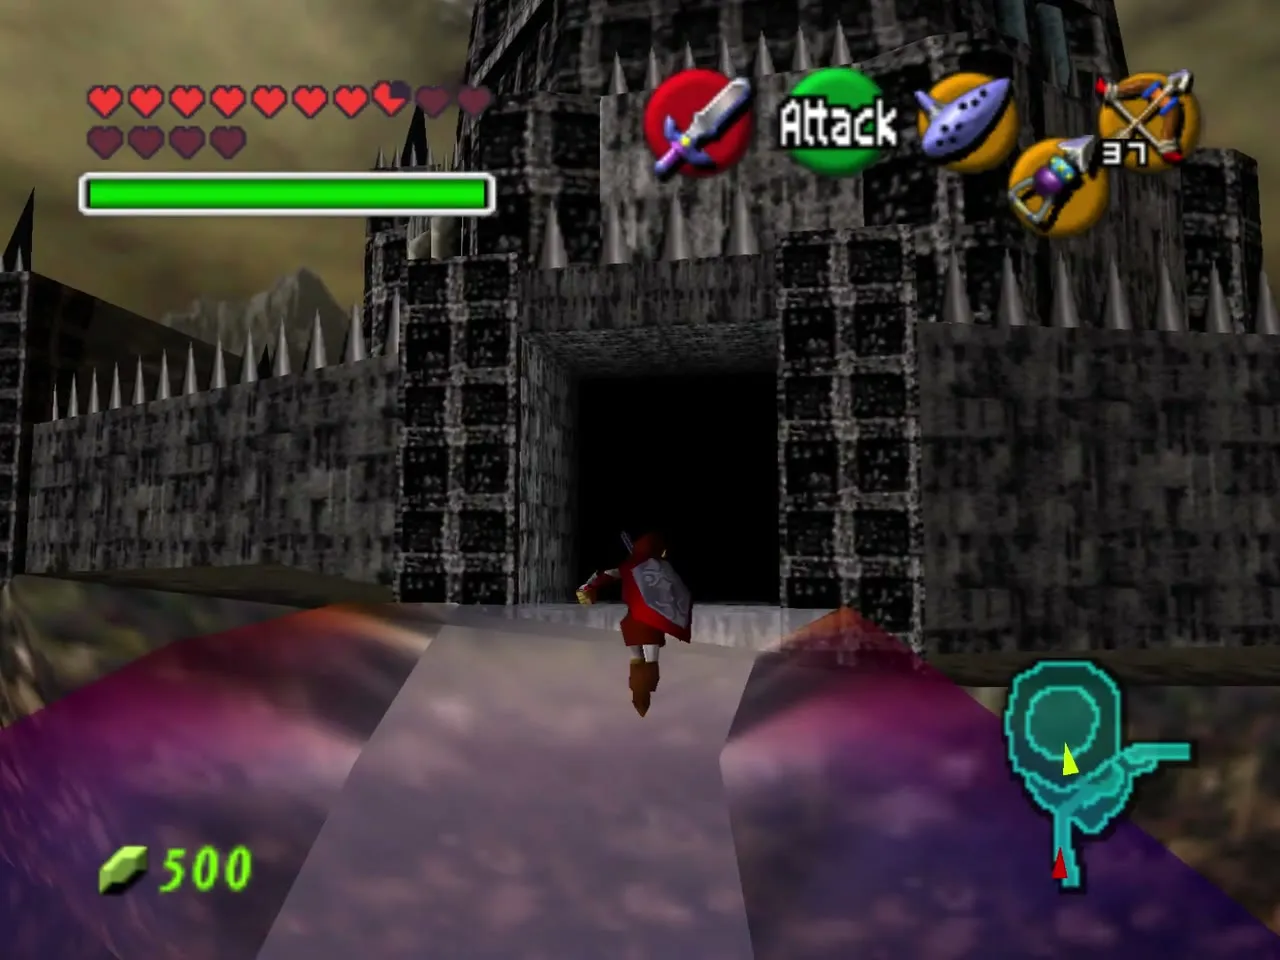
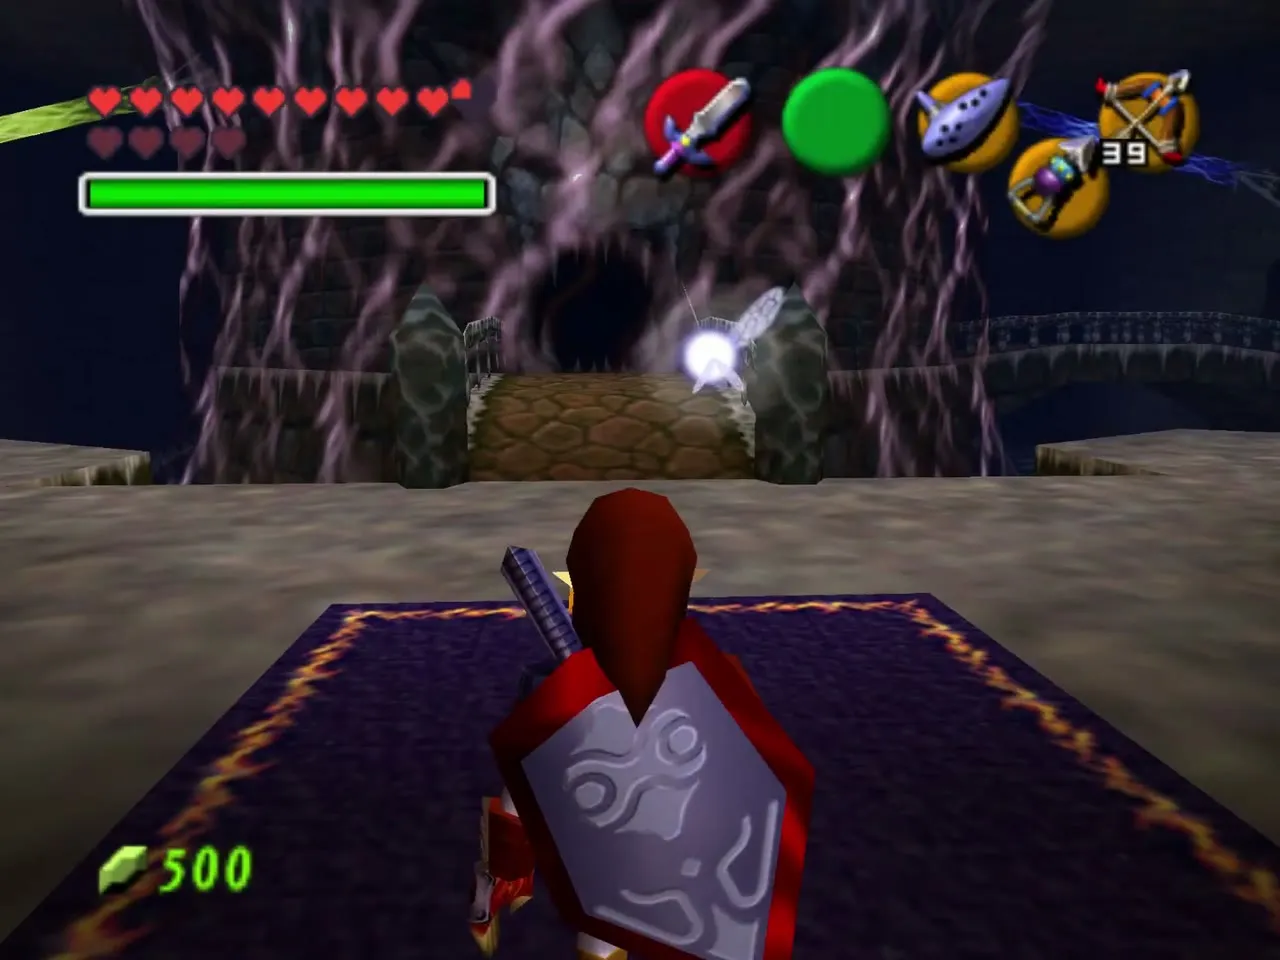
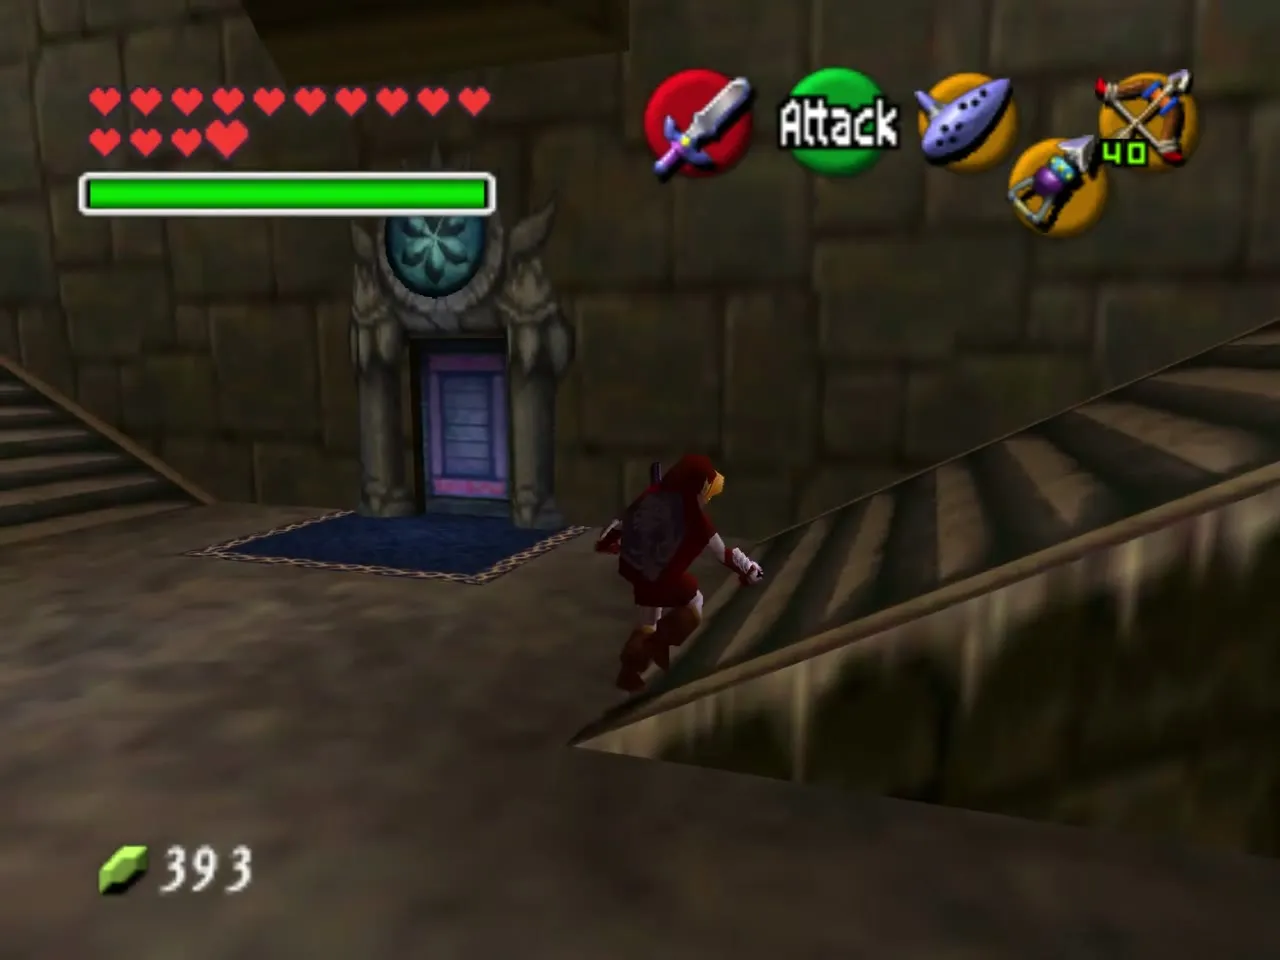
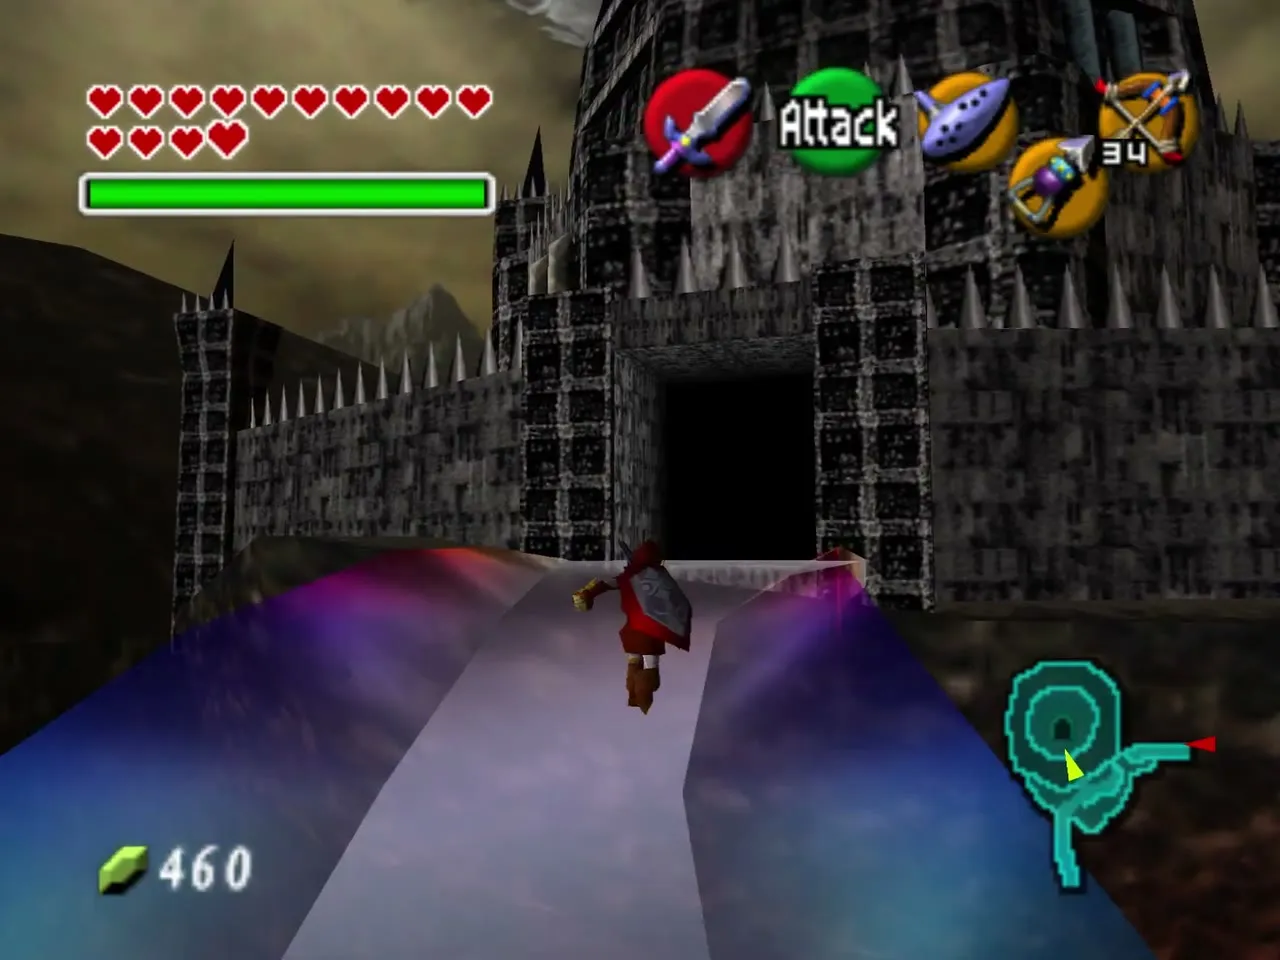
Ganondorf seals Zelda in a crystal and sends you to his castle. Climb the cracked path above the lava to the ruined castle gate; as you approach, the Sages build a rainbow bridge across the gap. Walk over it and go inside.
Entrance hall and the main hall
Armos, a Slider and an Iron Knuckle
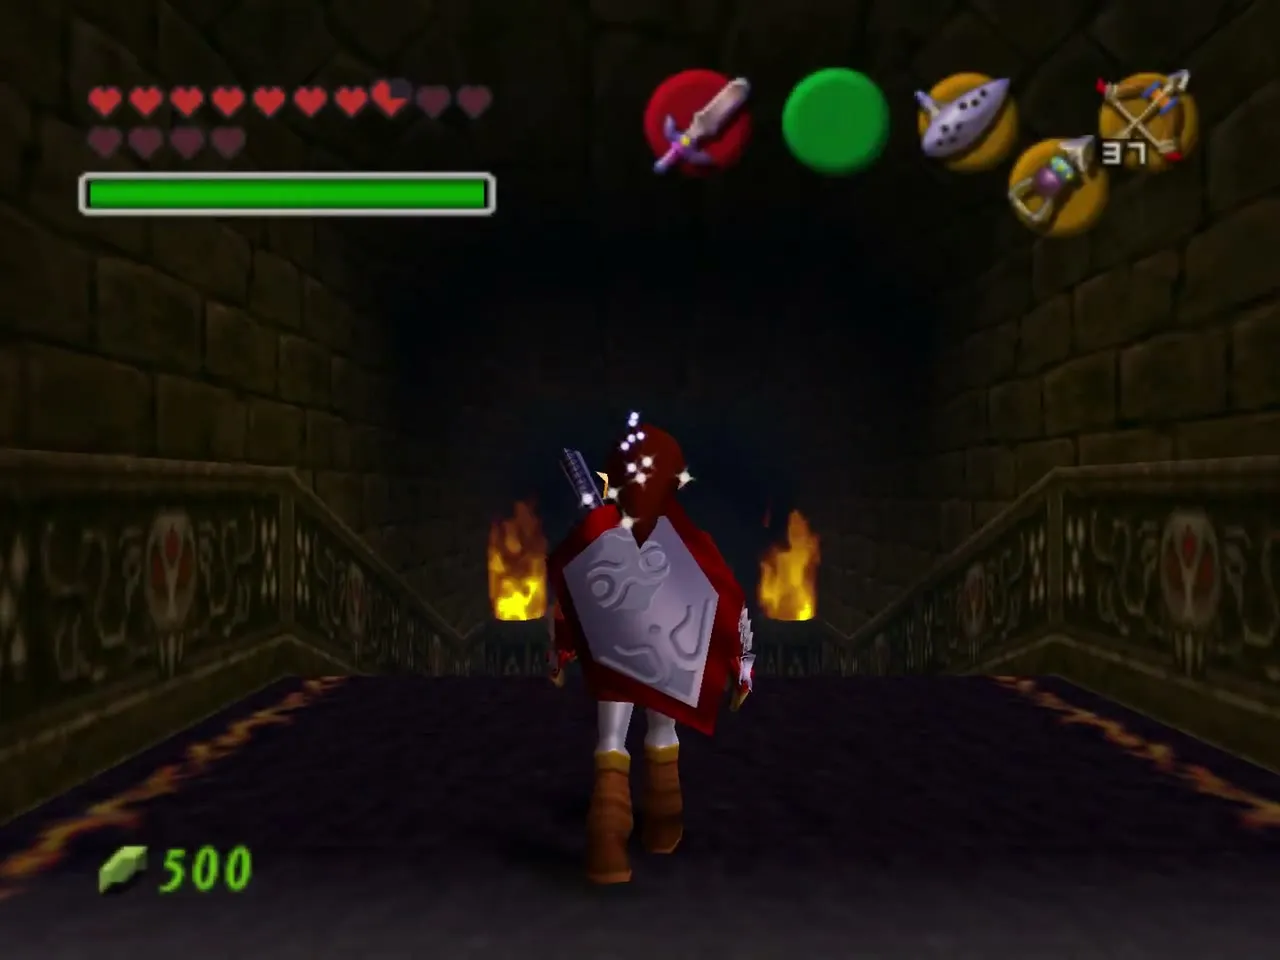
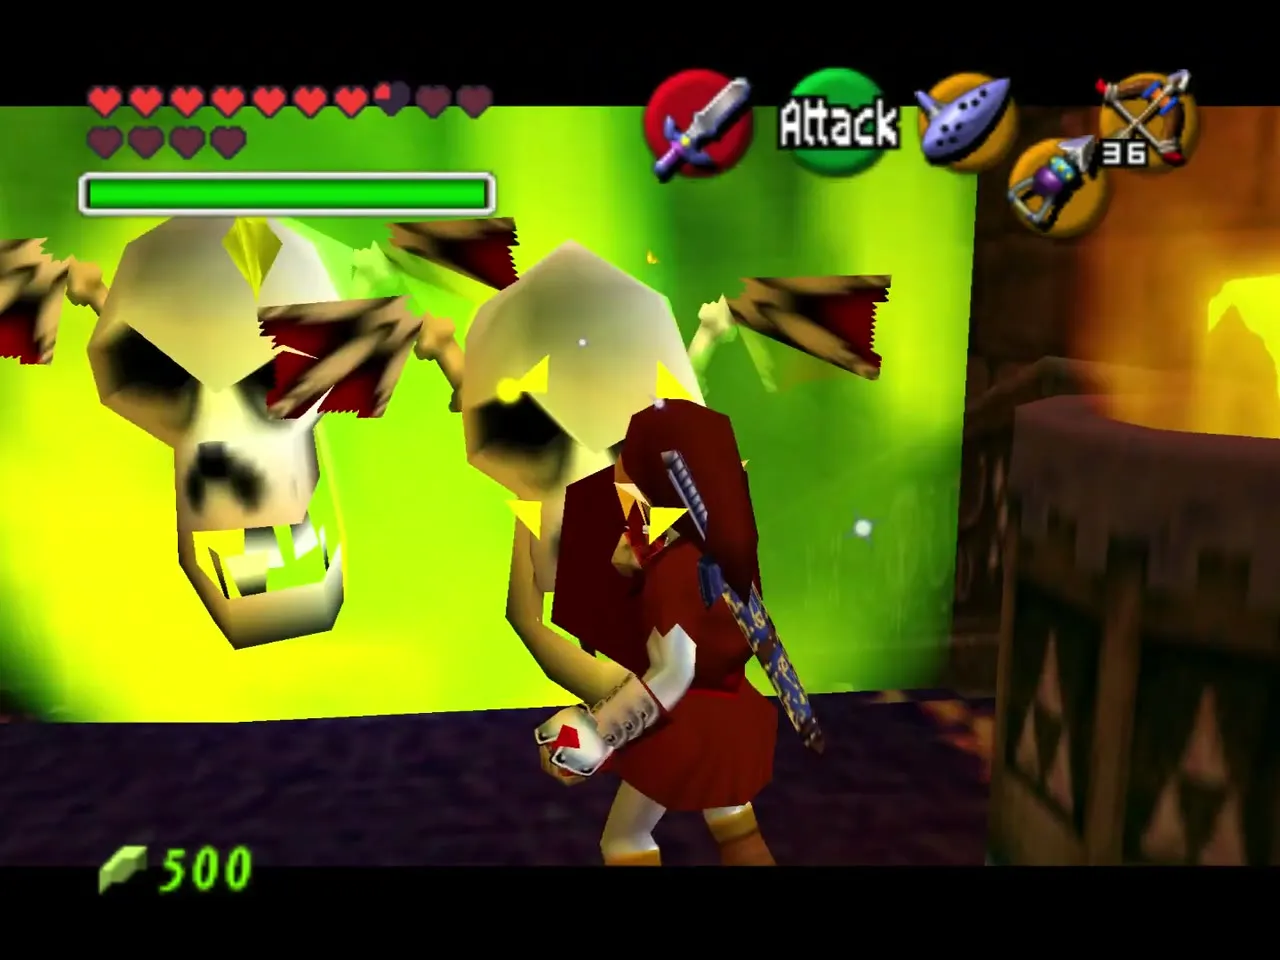
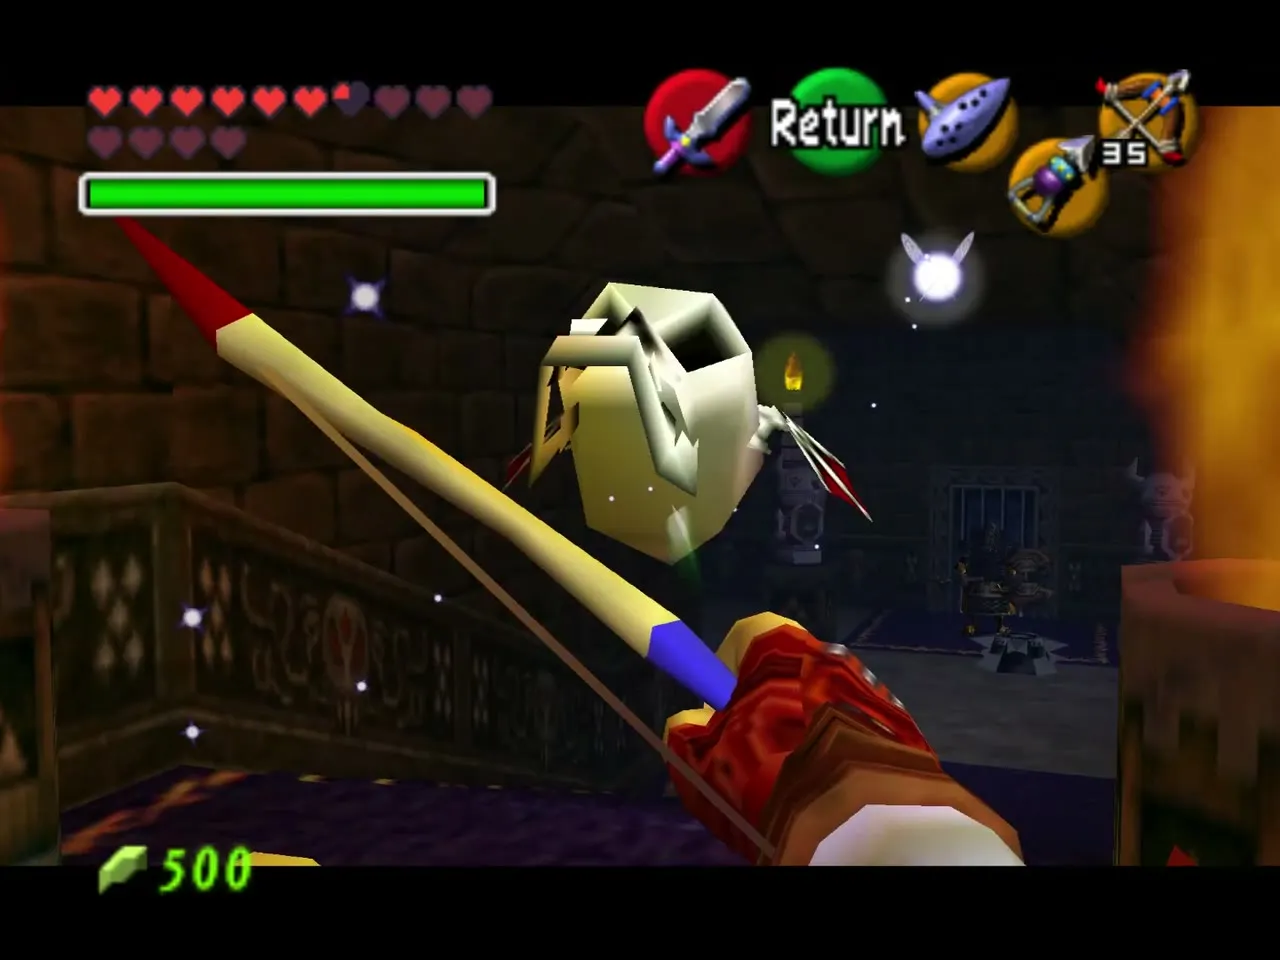
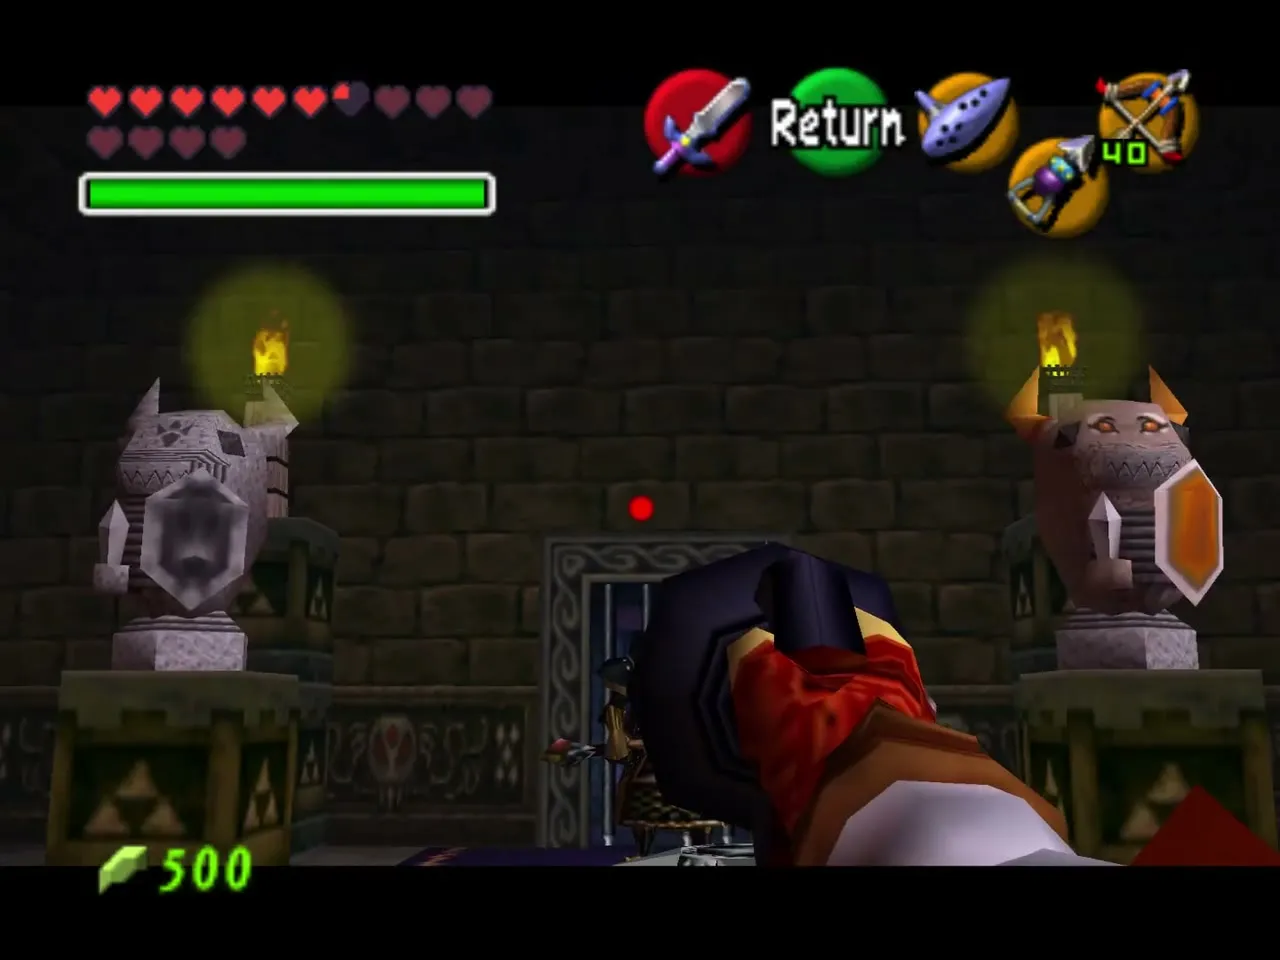
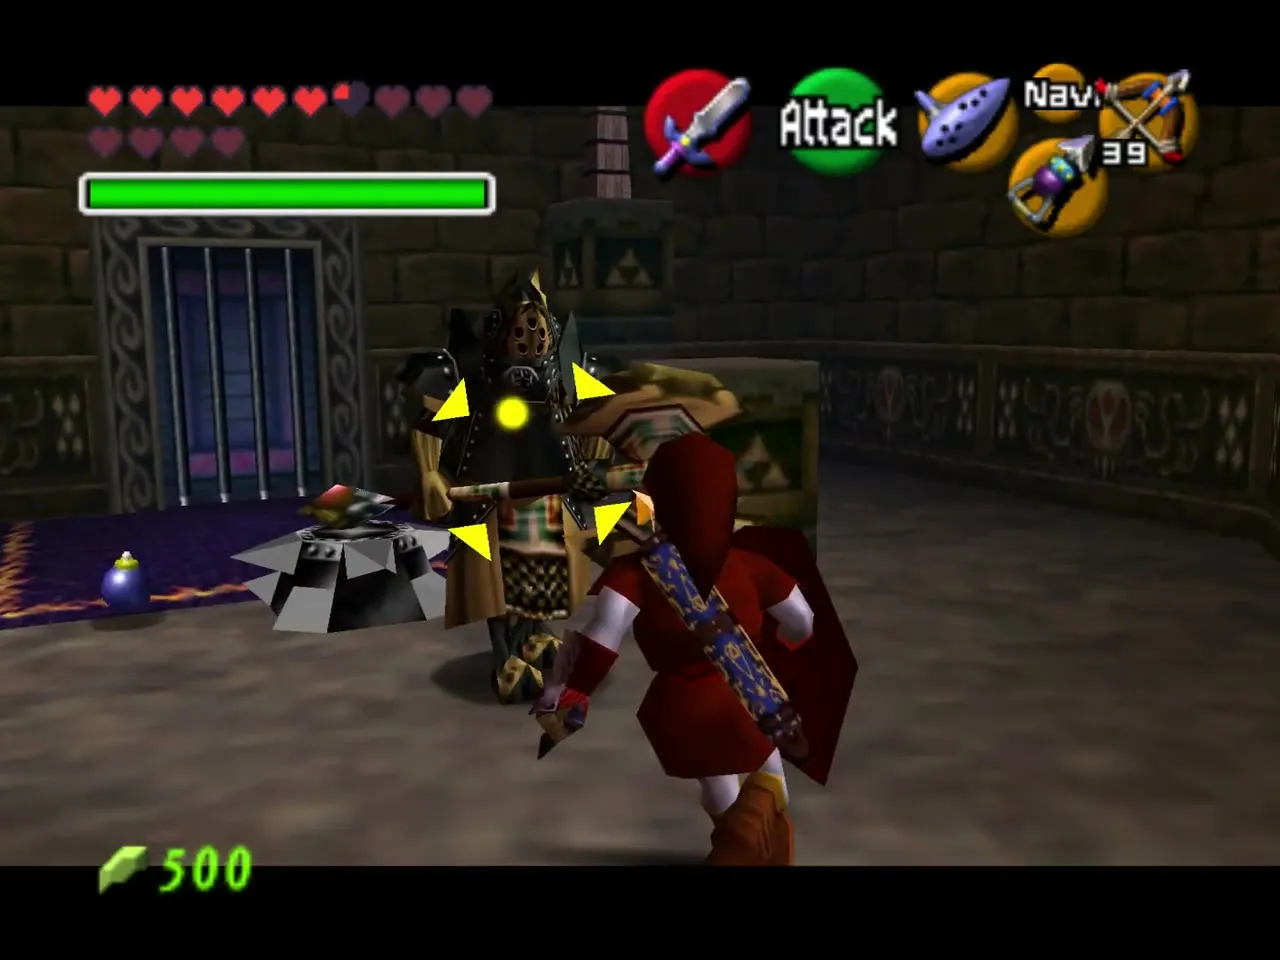
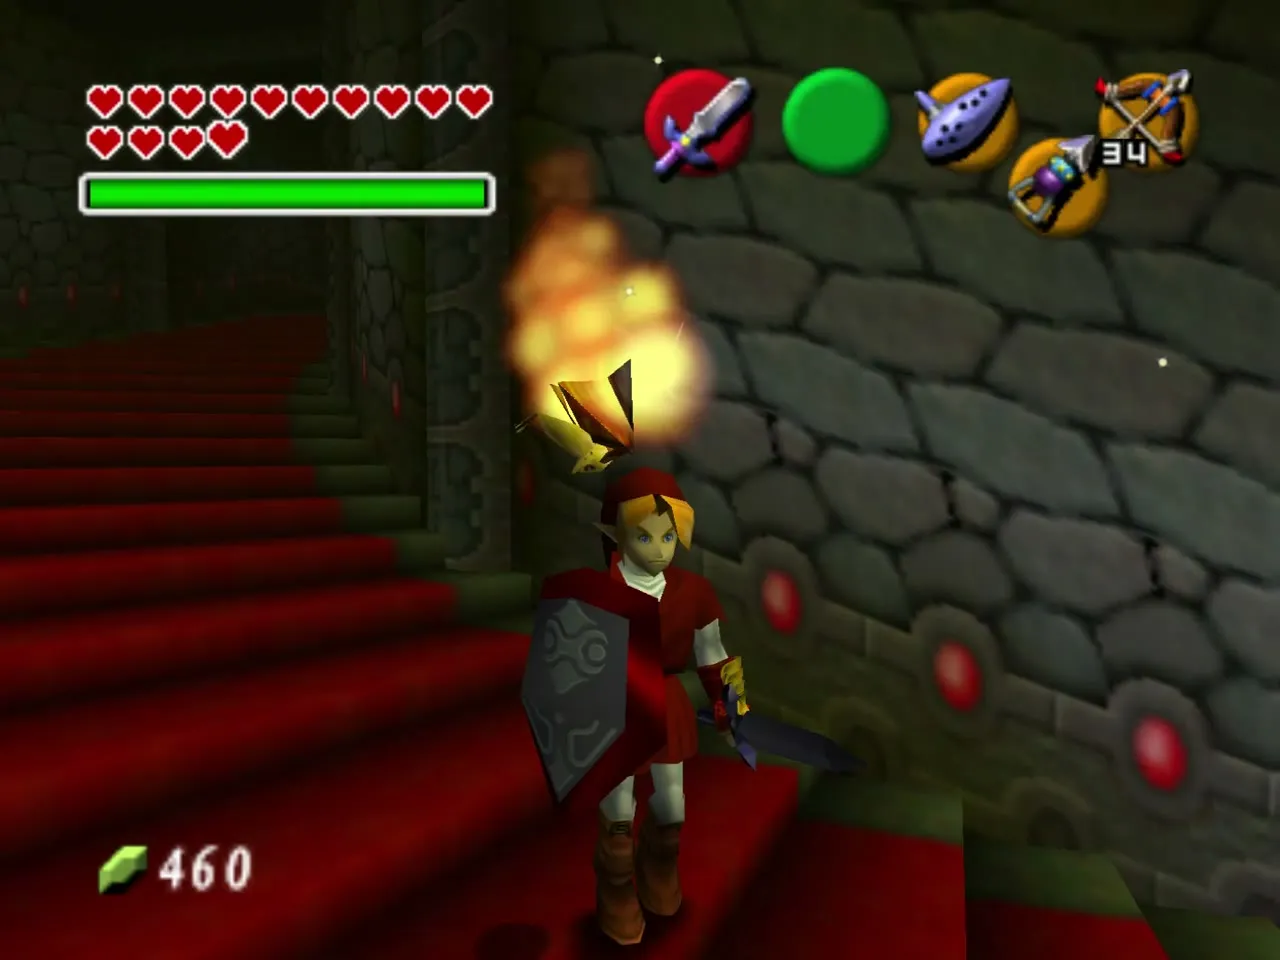
Two Green Bubbles patrol the carpeted stairs just inside, so shoot them as you descend. The anteroom below holds two Armos statues on pedestals (they cannot step down, so ignore them), a Slider racing through the middle and an Iron Knuckle in front of the door. Use ranged attacks to draw the Iron Knuckle toward you and fight it only when it has crossed the Slider’s lane; Bombs from a distance work well. The door opens when every enemy is dead.
Six doors around a barrier
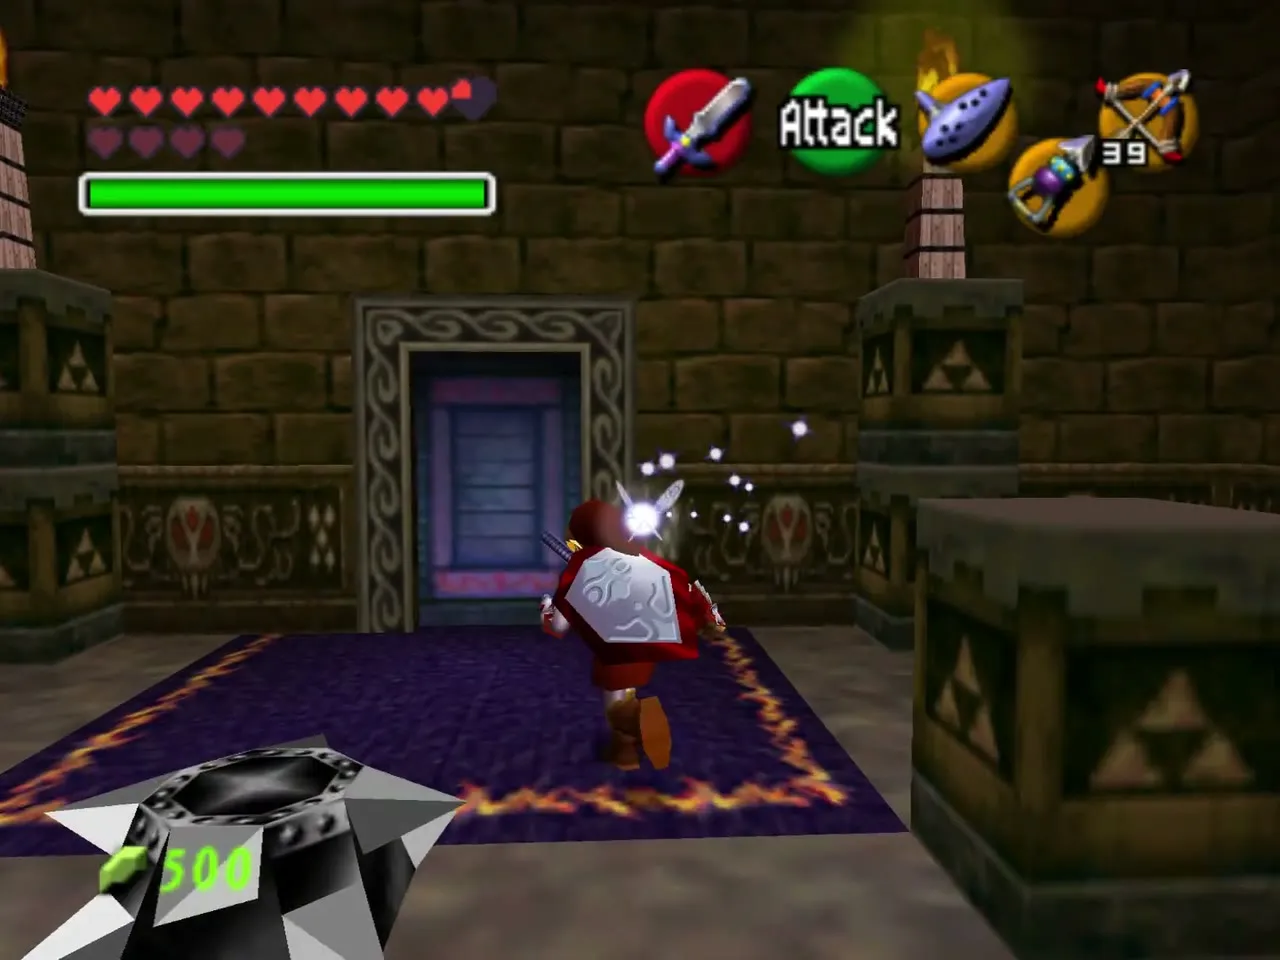
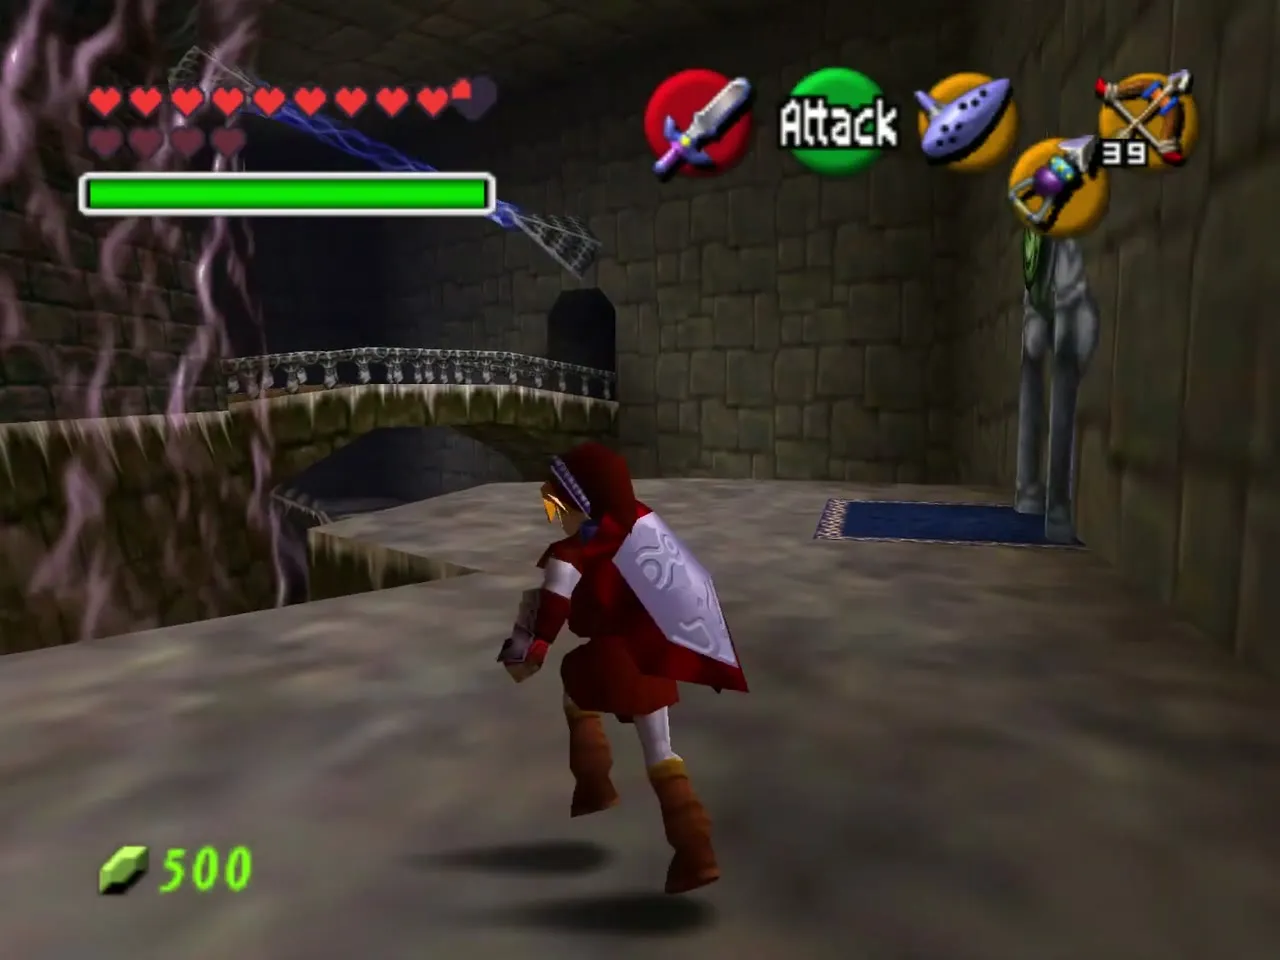
The main hall is a ring of six doors around a pulsing barrier that shocks you if you walk into it. Behind each door is a trial, and each trial ends at a floating barrier core that powers the barrier in the middle. Clockwise from where you enter, the doors are Spirit, Light, Fire, Shadow, Water and Forest. The Light door is hidden behind a heavy black pillar that needs the Golden Gauntlets.
The hidden Business Scrubs
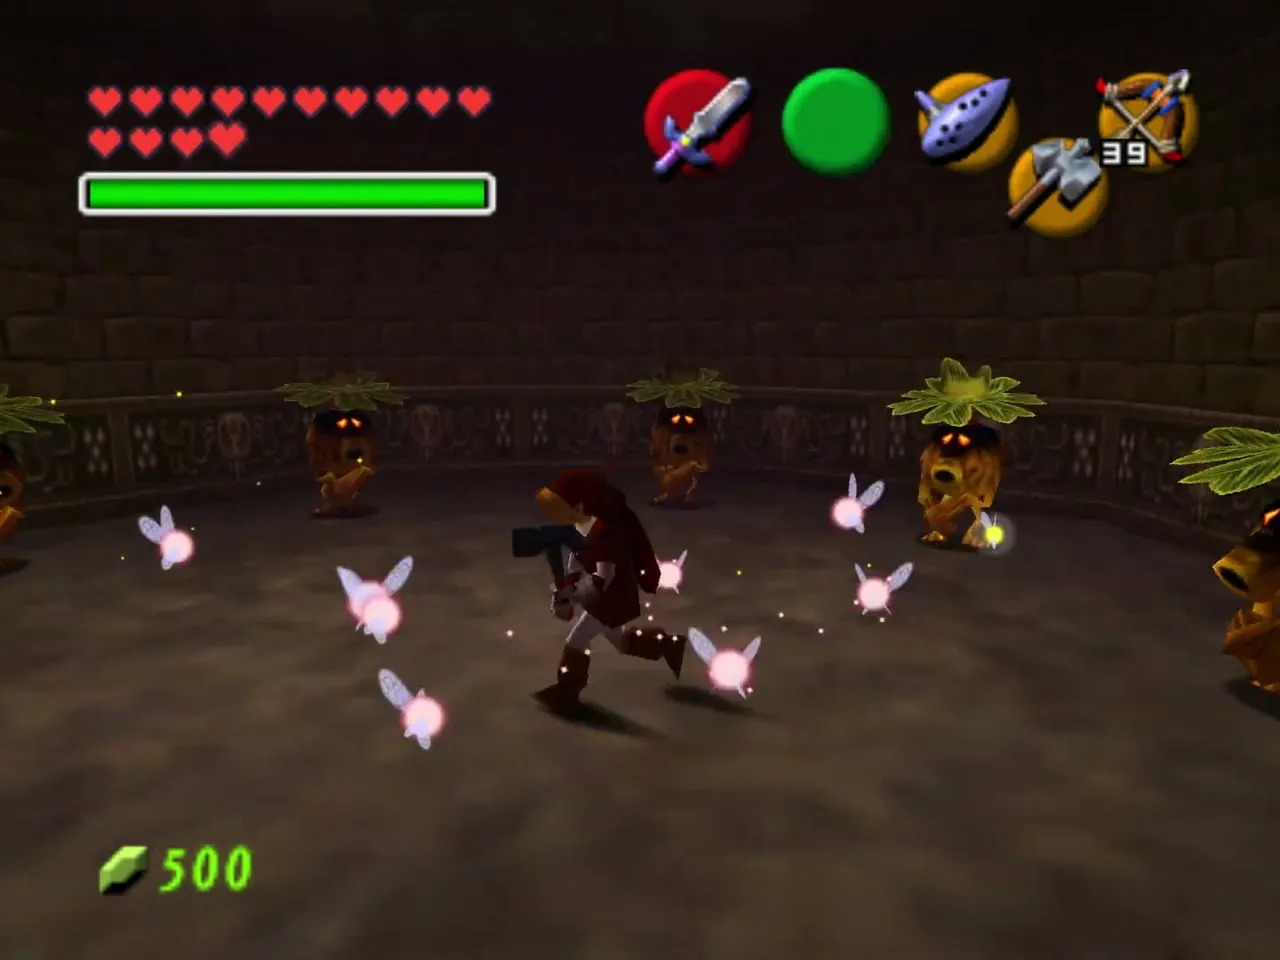
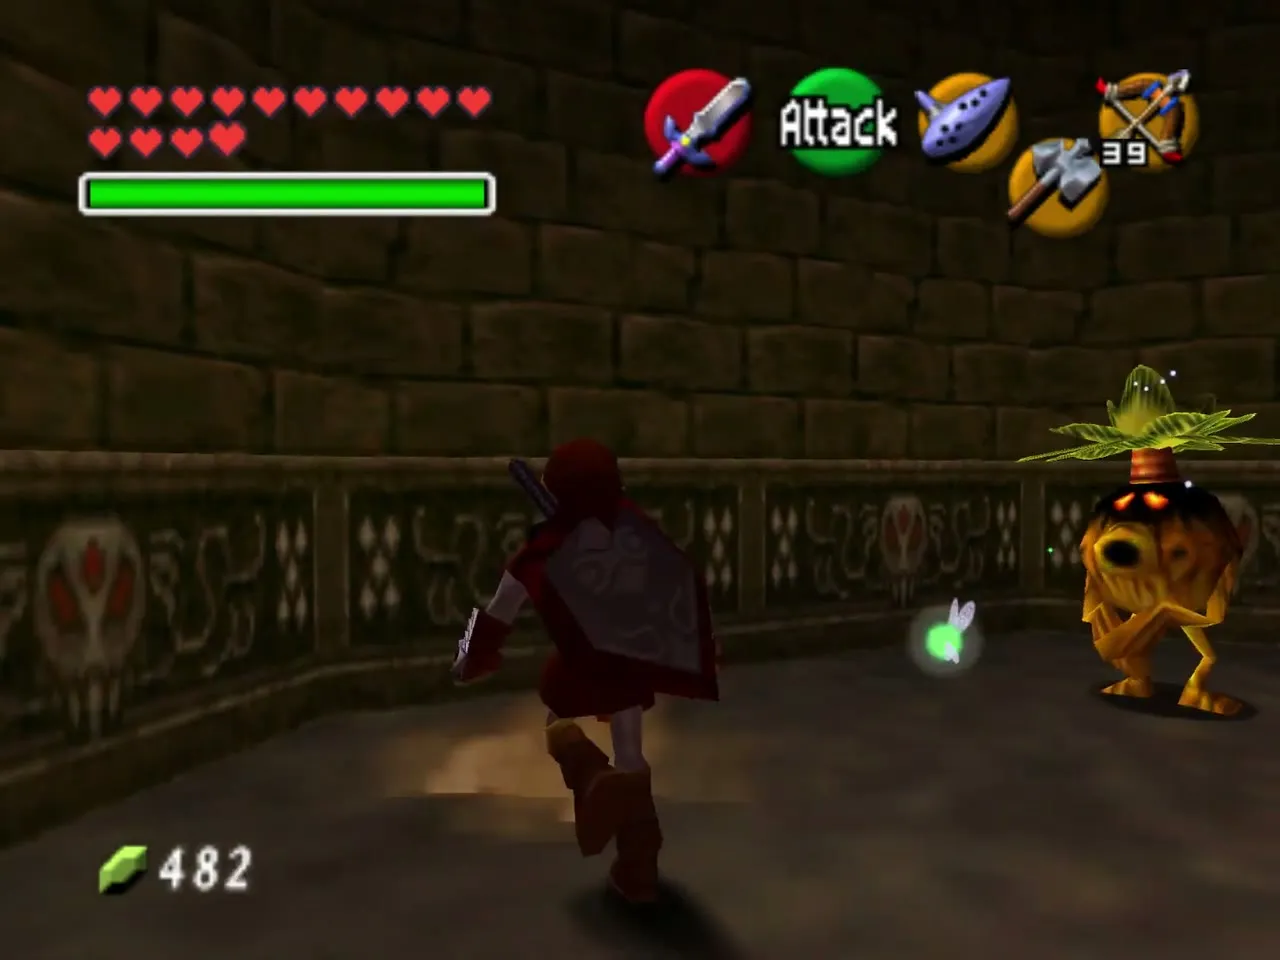
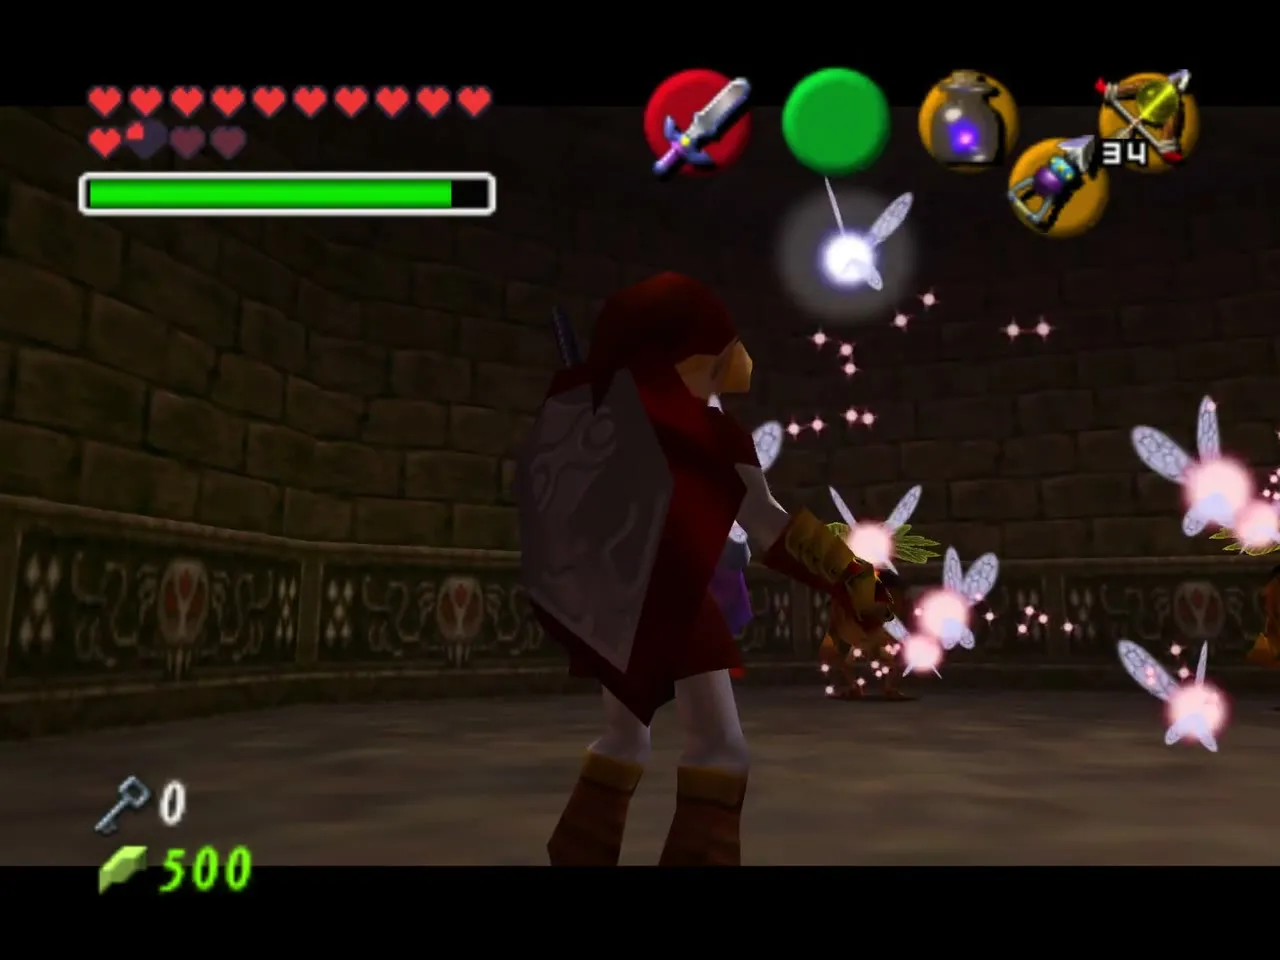
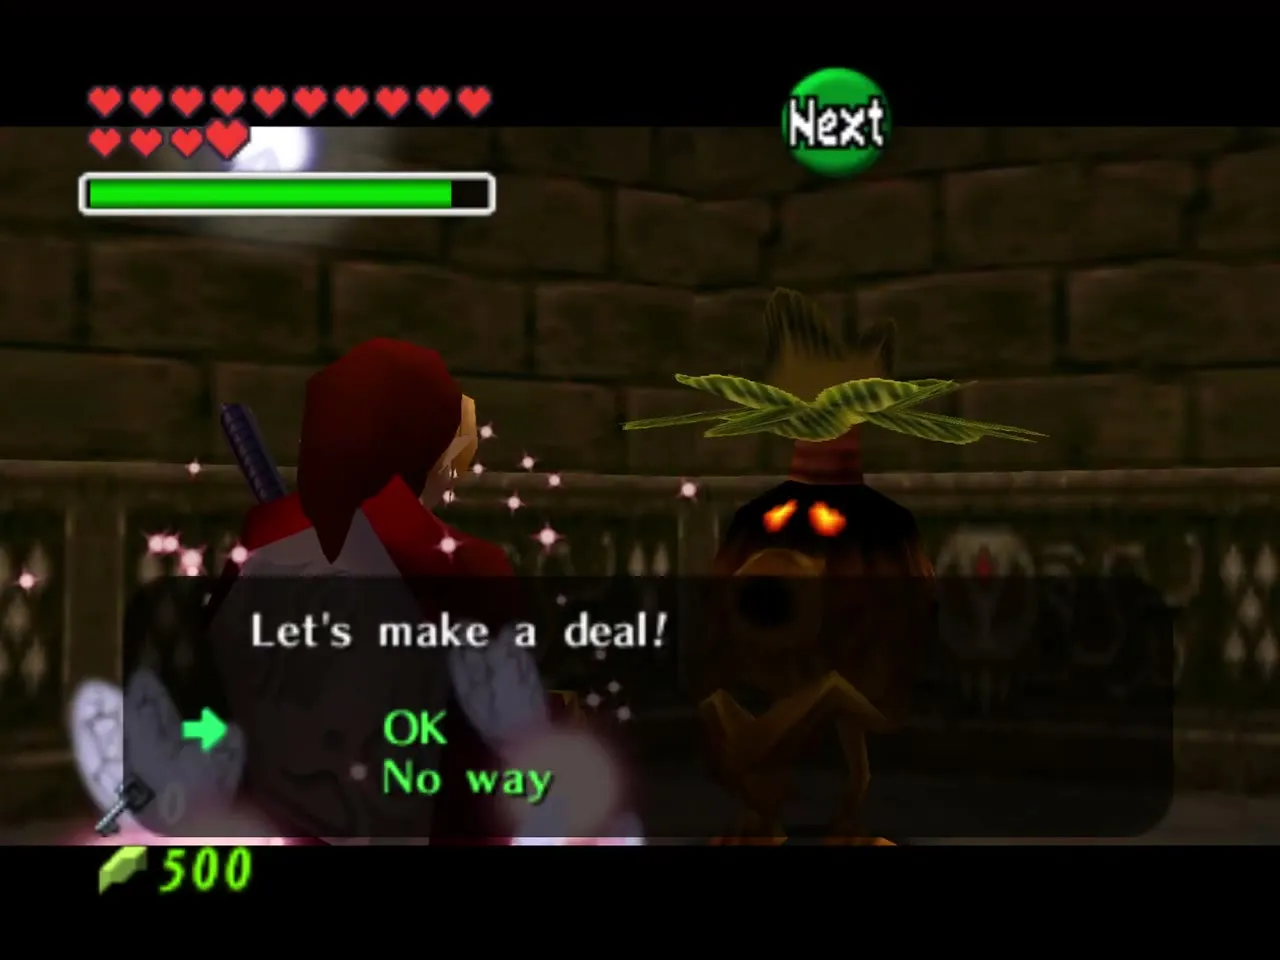
Drop to the lower floor under the entrance and look for a hidden passage with the Lens of Truth. It leads to a small room of fairies and Business Scrubs who sell supplies. Come back between trials to restock; the Hylian Shield blocks the Scrubs’ nut volleys while you shop.
The order of the trials
The Forest Trial hands you a Small Key that the Water Trial spends, the Shadow and Spirit Trials each leave you a key for the two locked doors of the Light Trial, and the Spirit Trial holds the Golden Gauntlets that the Fire and Light Trials need. Clearing Forest, Water, Shadow, Spirit, Fire and Light in that order never leaves you short of anything.
Forest Trial
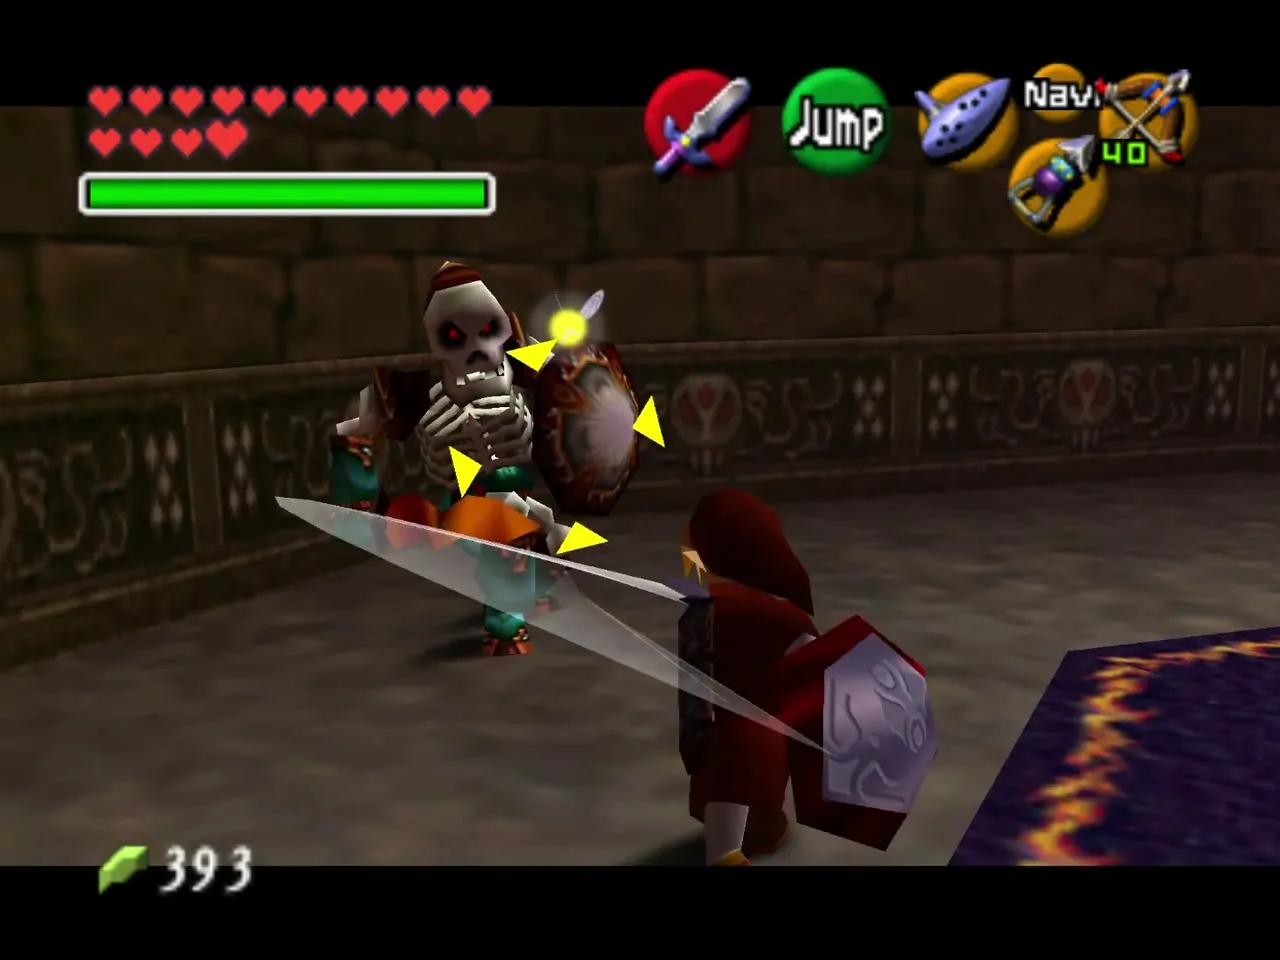
Two Stalfos
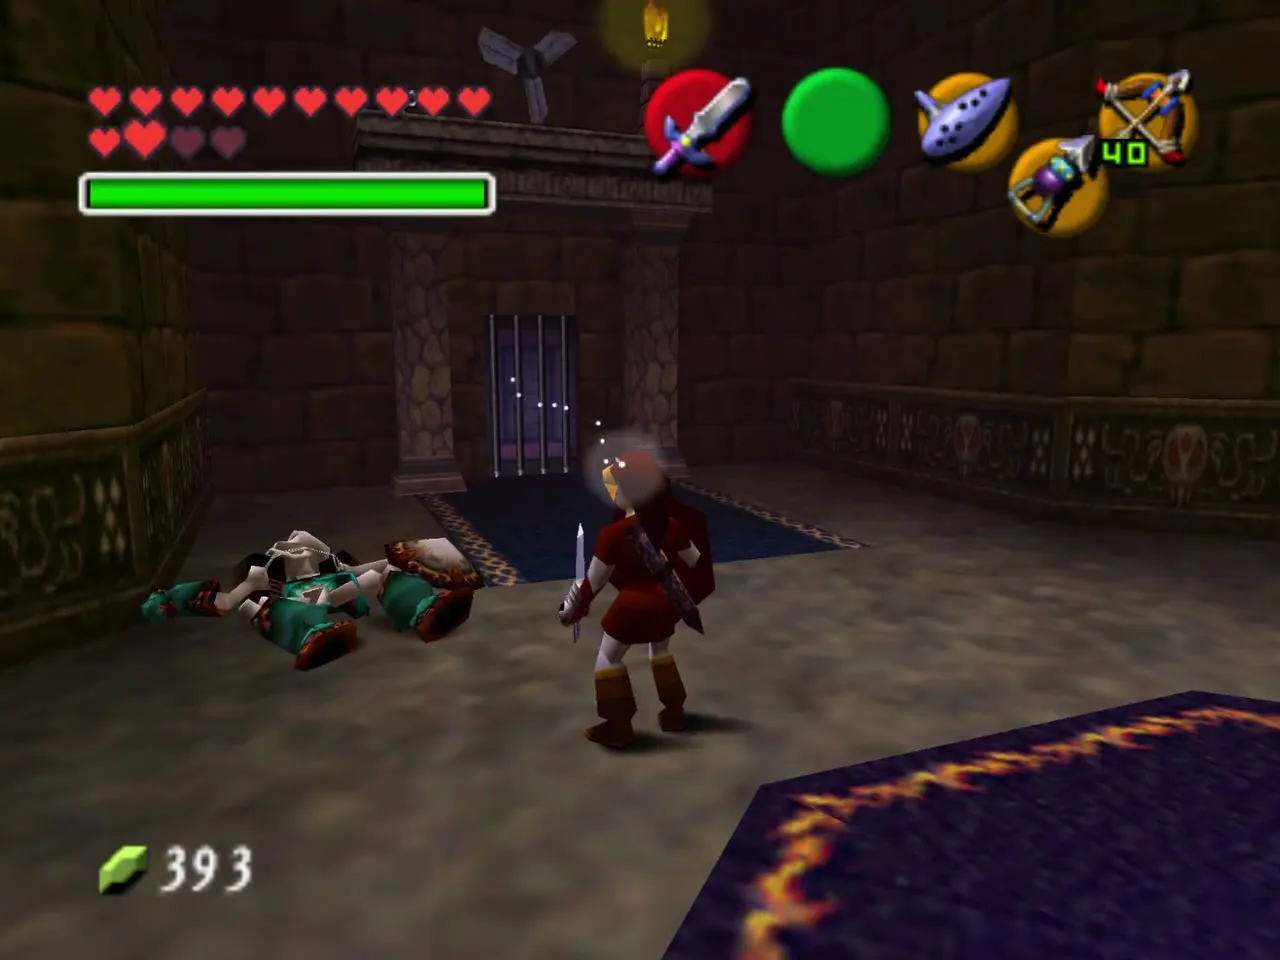
Enter the door to the right of the main hall’s entrance. The first room has no puzzle: two Stalfos attack as soon as you step in. Defeat both and the door ahead unlocks.
The Small Key above the door
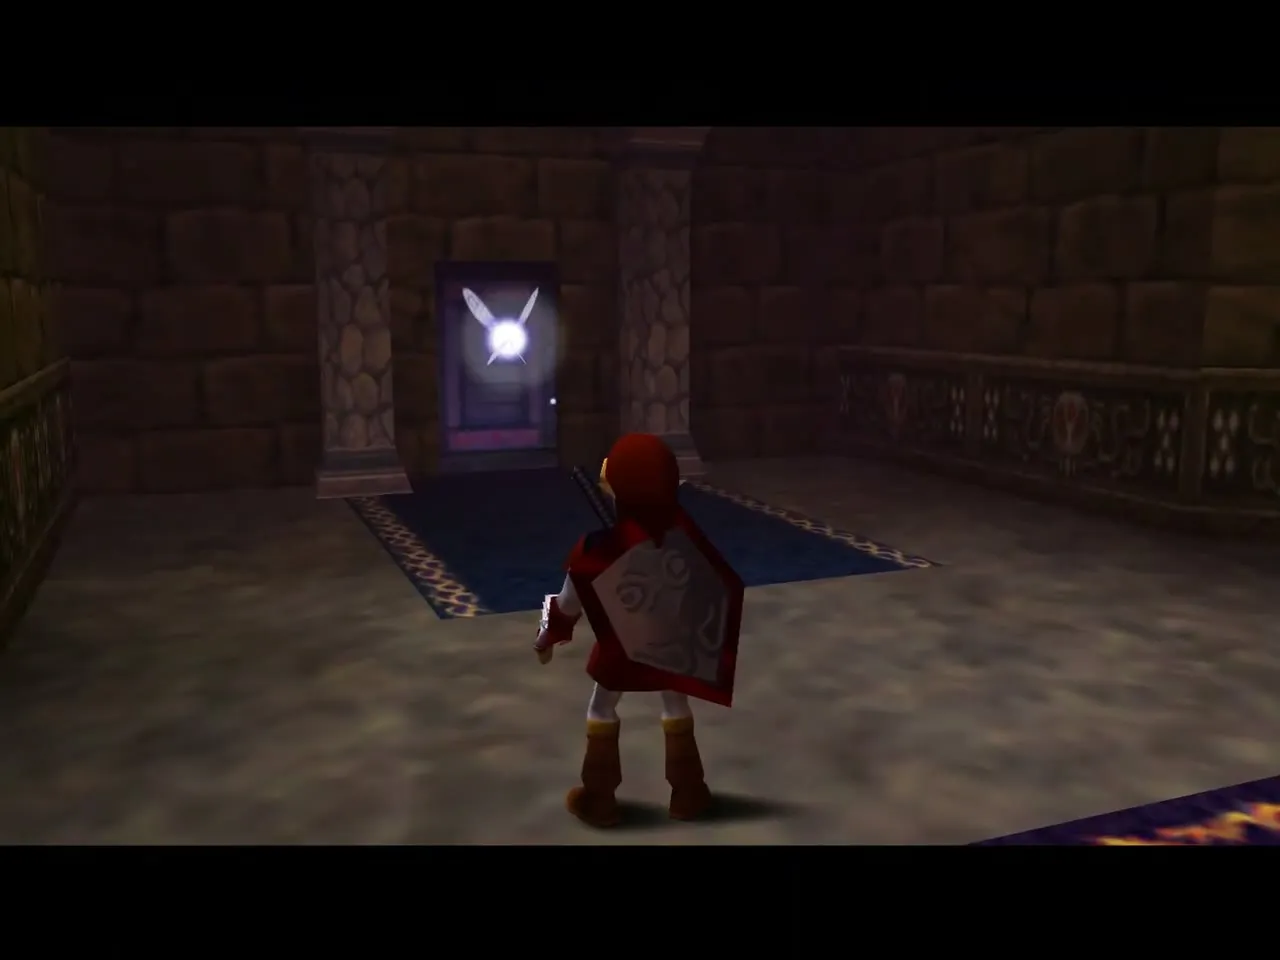
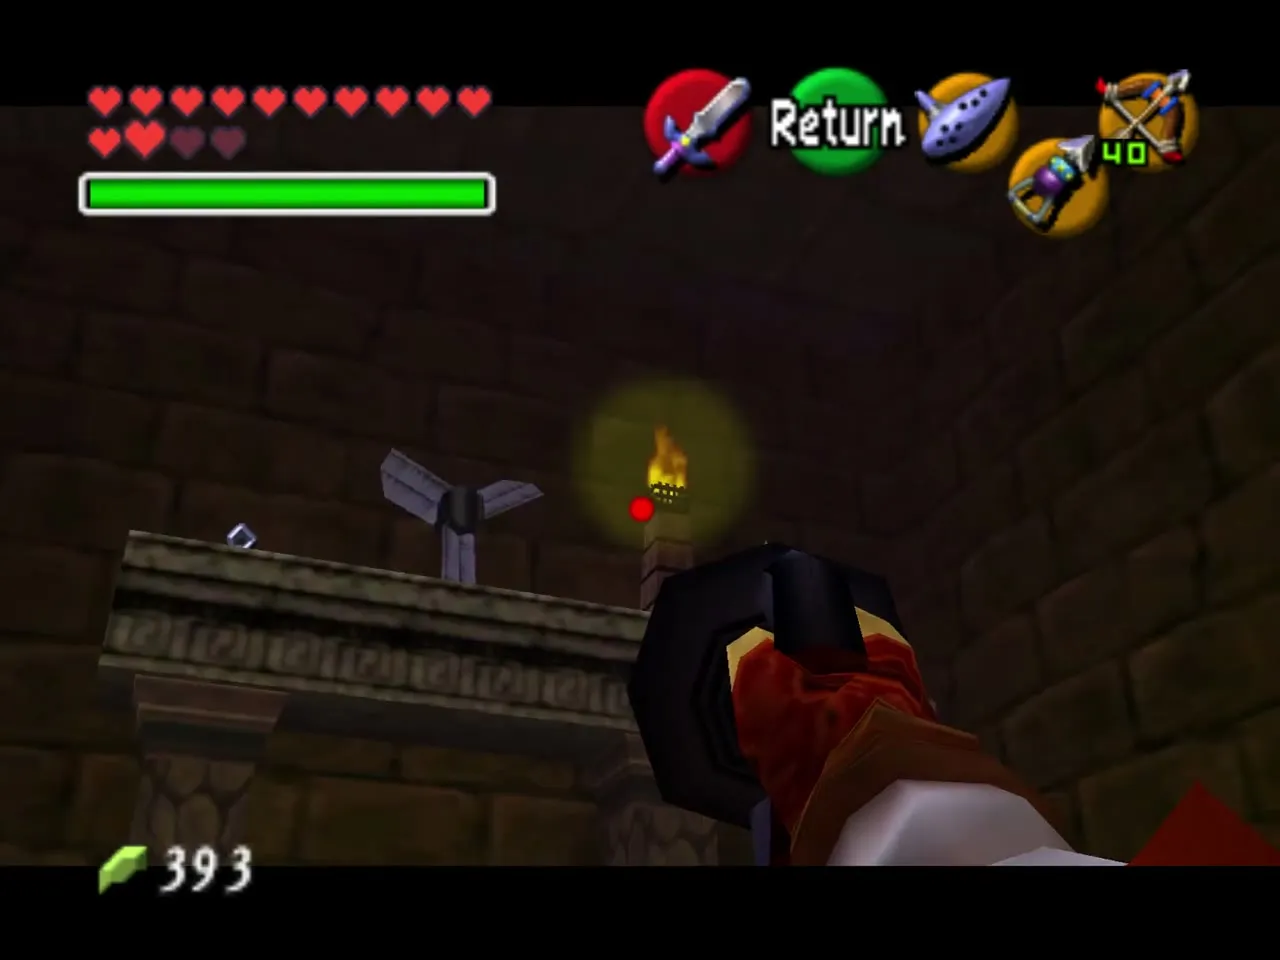
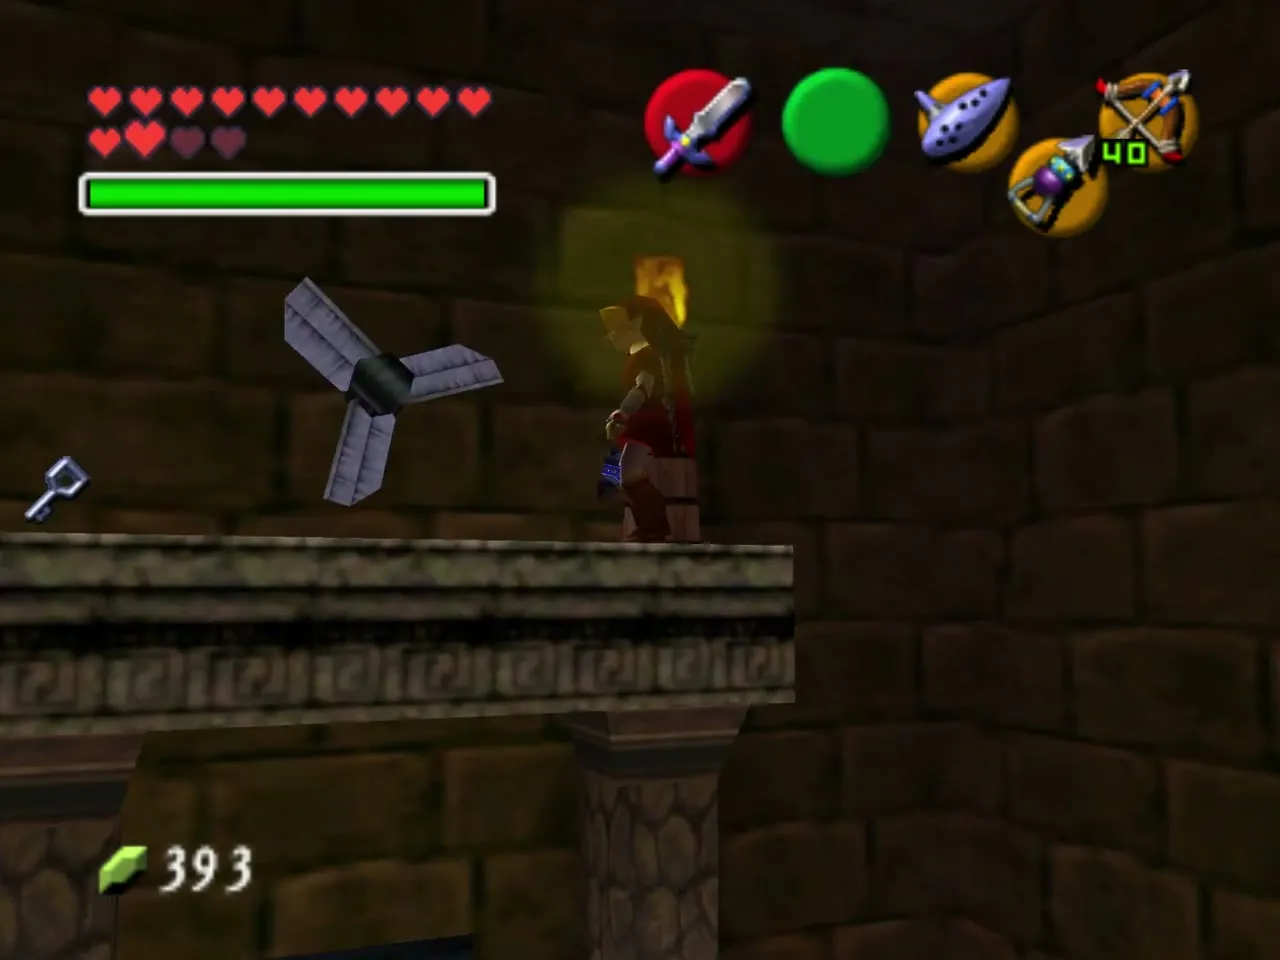
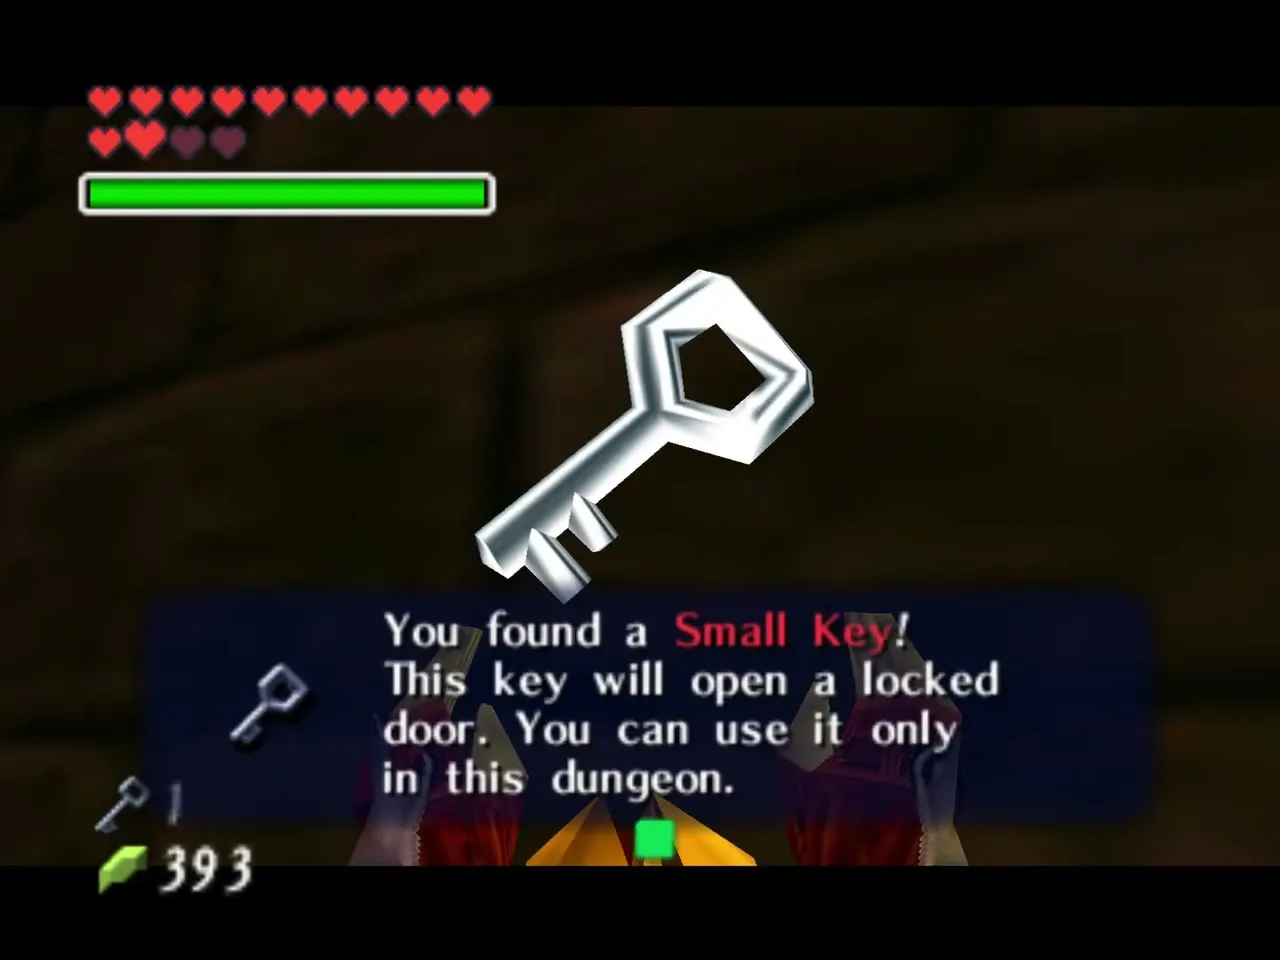
A fan spins over the exit door, with a torch ledge on one side and a Small Key on the other. Wait for the fan to stop, Longshot up to the ledge and run to the key before the wind starts again; the Iron Boots hold you in place if the timing slips. Drop down and go through the door.
Fans, Beamos and Armos
The next room is a set of stone platforms over a pit, with a fan in every corner, Beamos on several platforms and an Armos. The eye switches only drop supply chests (arrows, and a chest of Bombs on a platform you can Longshot to), so they are optional; a Fire Arrow thaws the frozen one. Stand in a fan’s airstream with the Hover Boots to be carried to the platform on the right, then kill each Beamos with a Bomb or stun it with an arrow before you step into its line of sight.
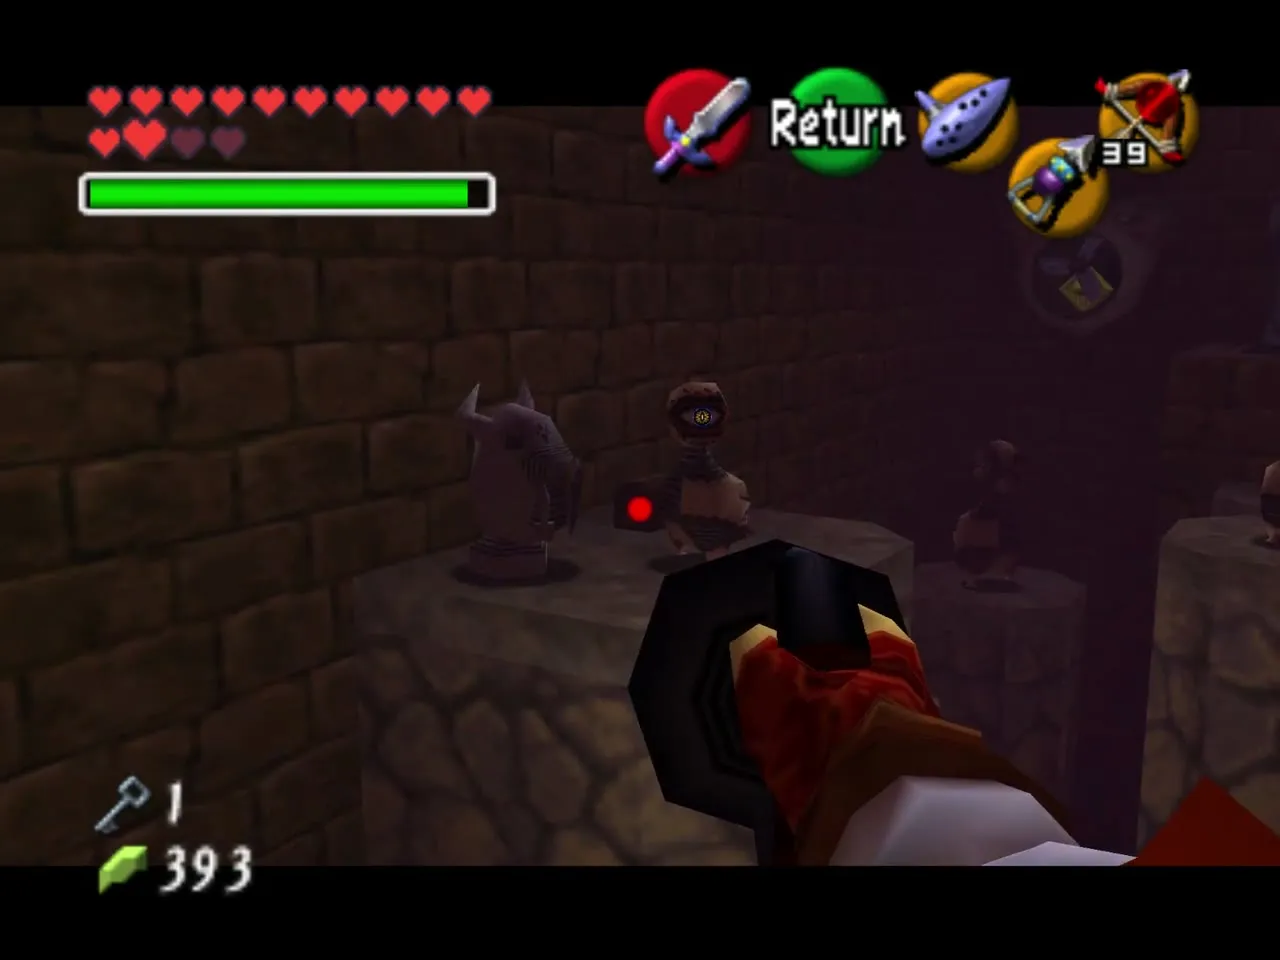
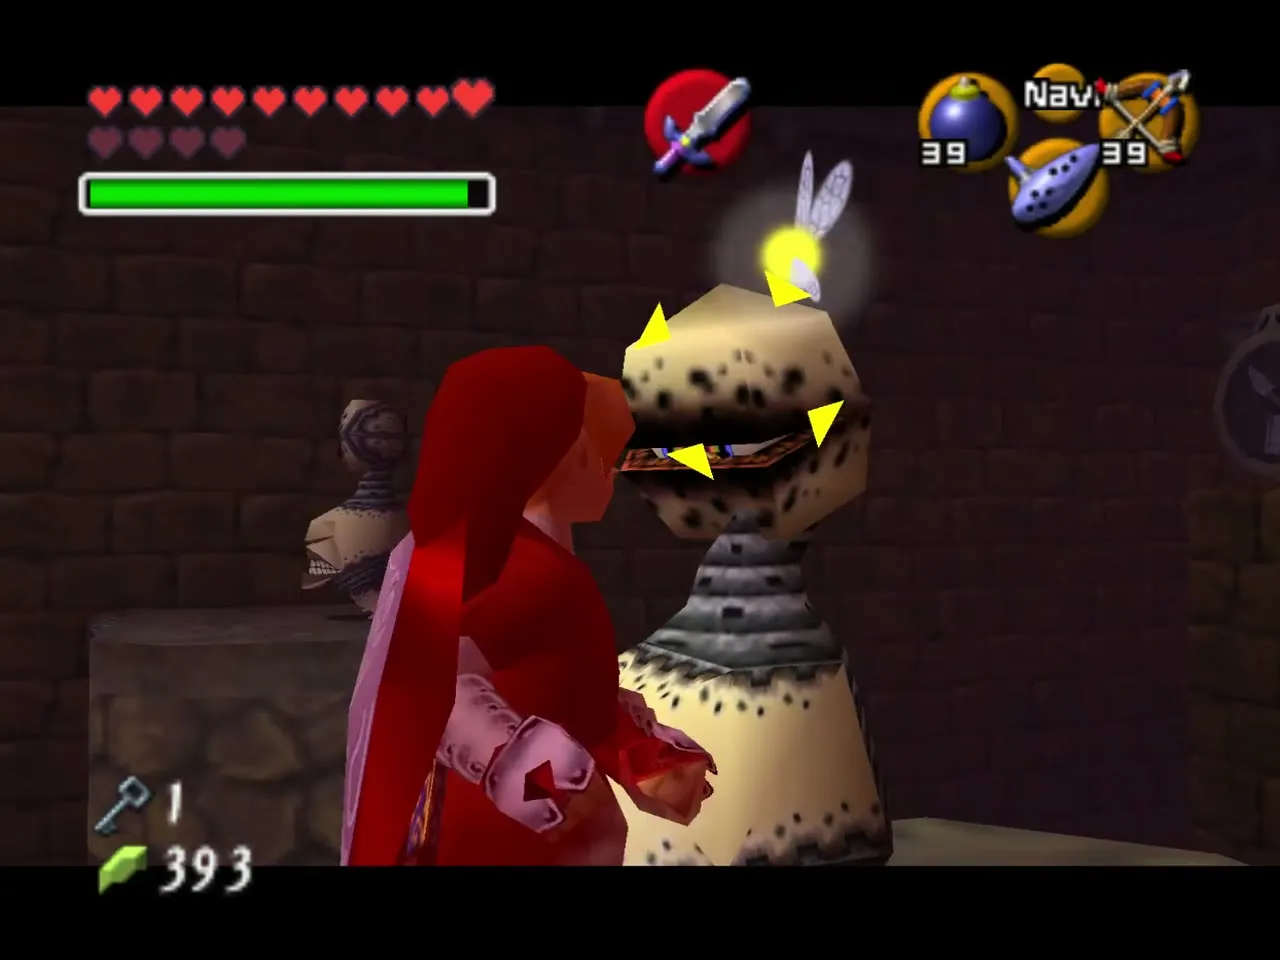
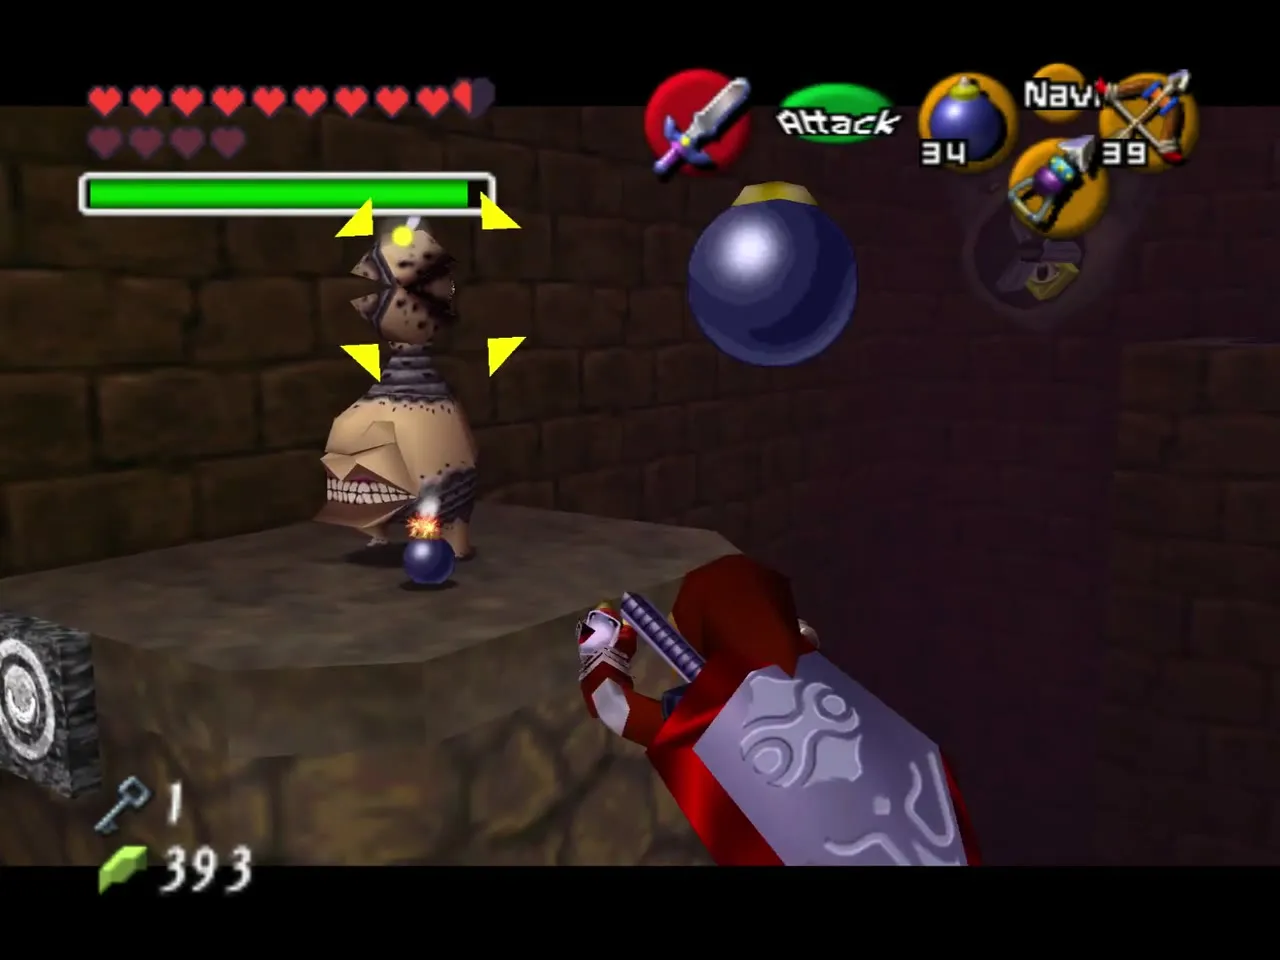
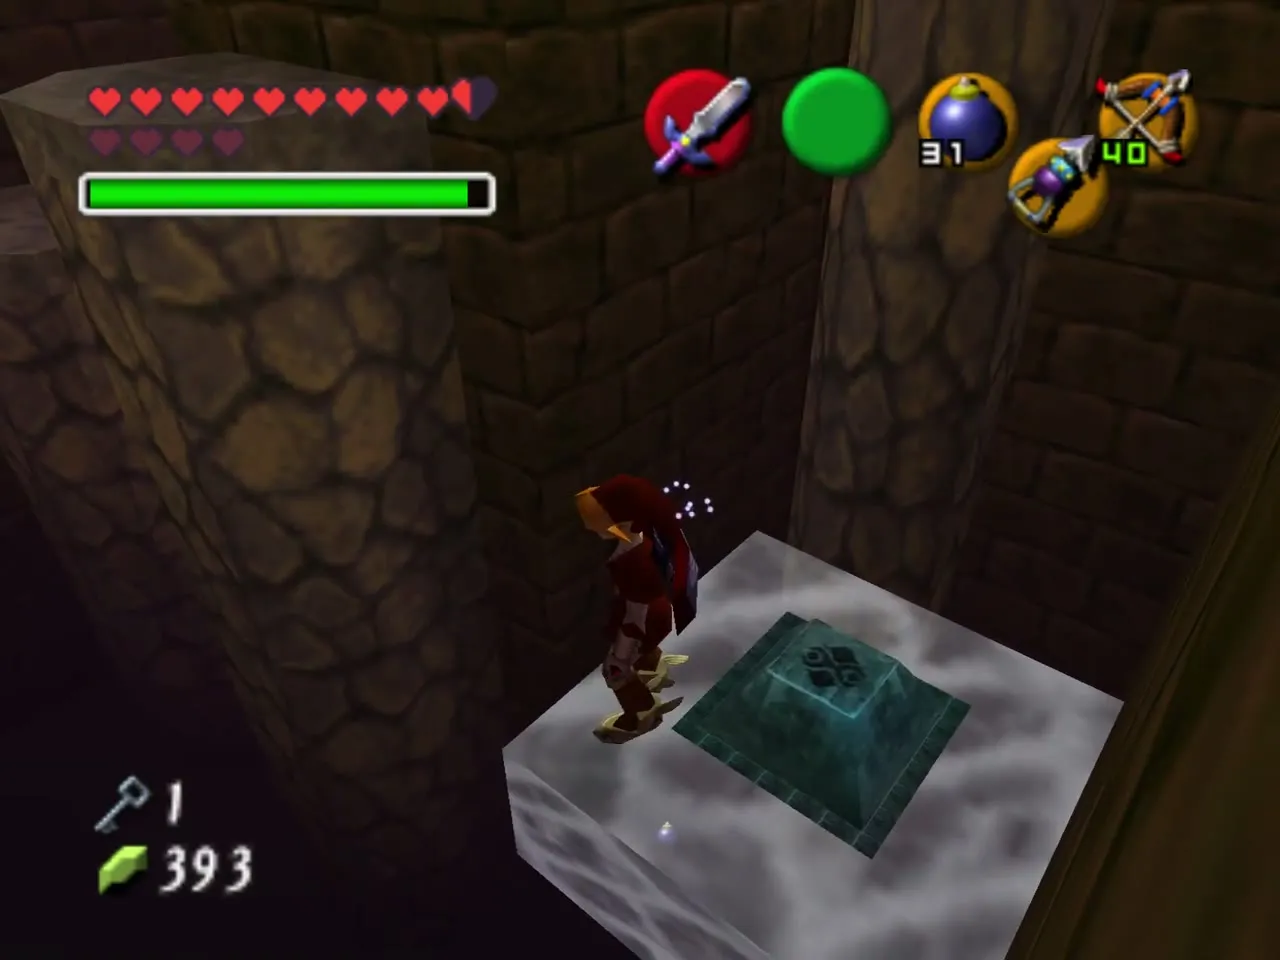
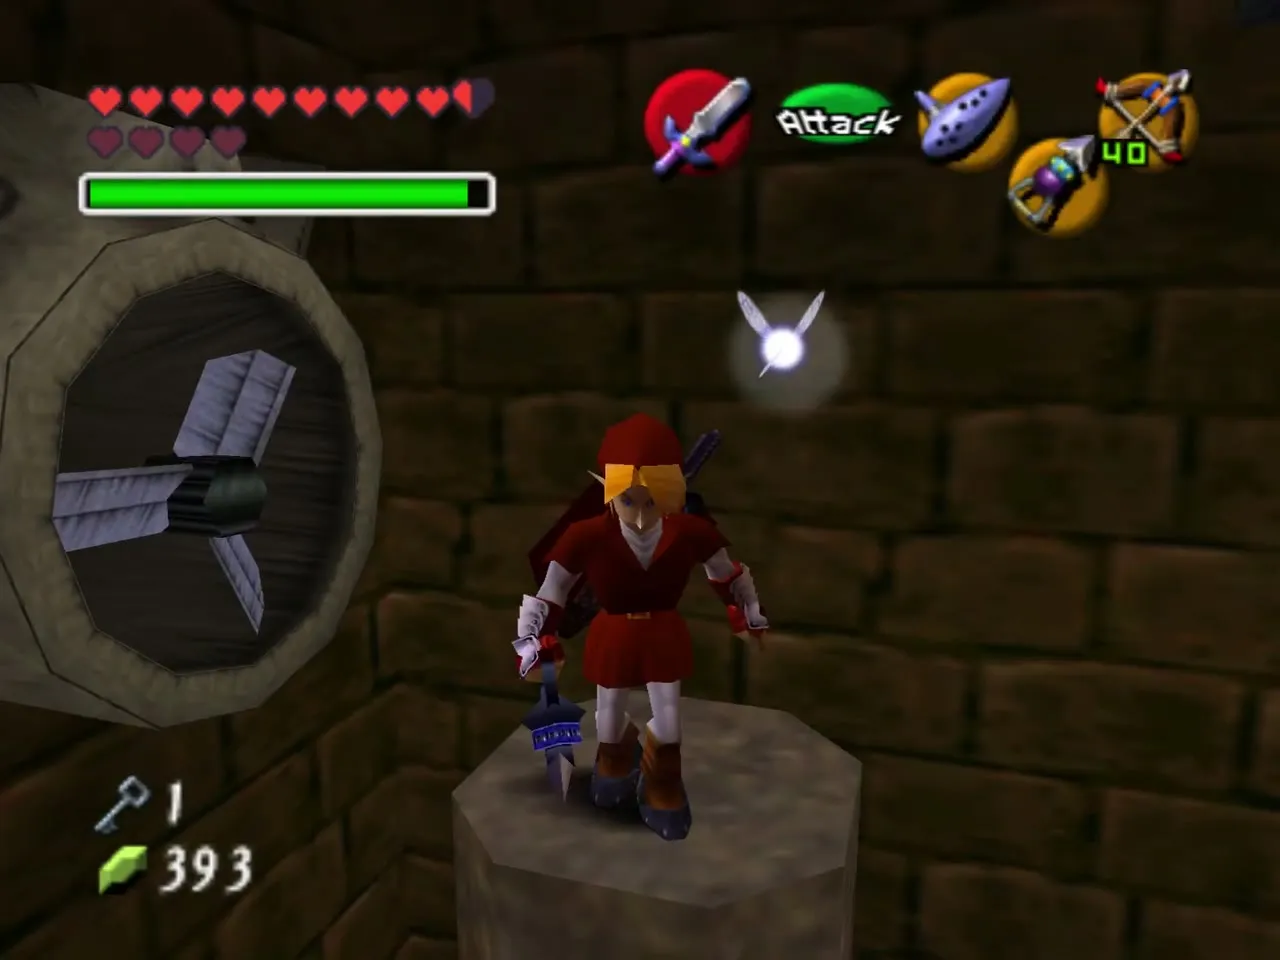
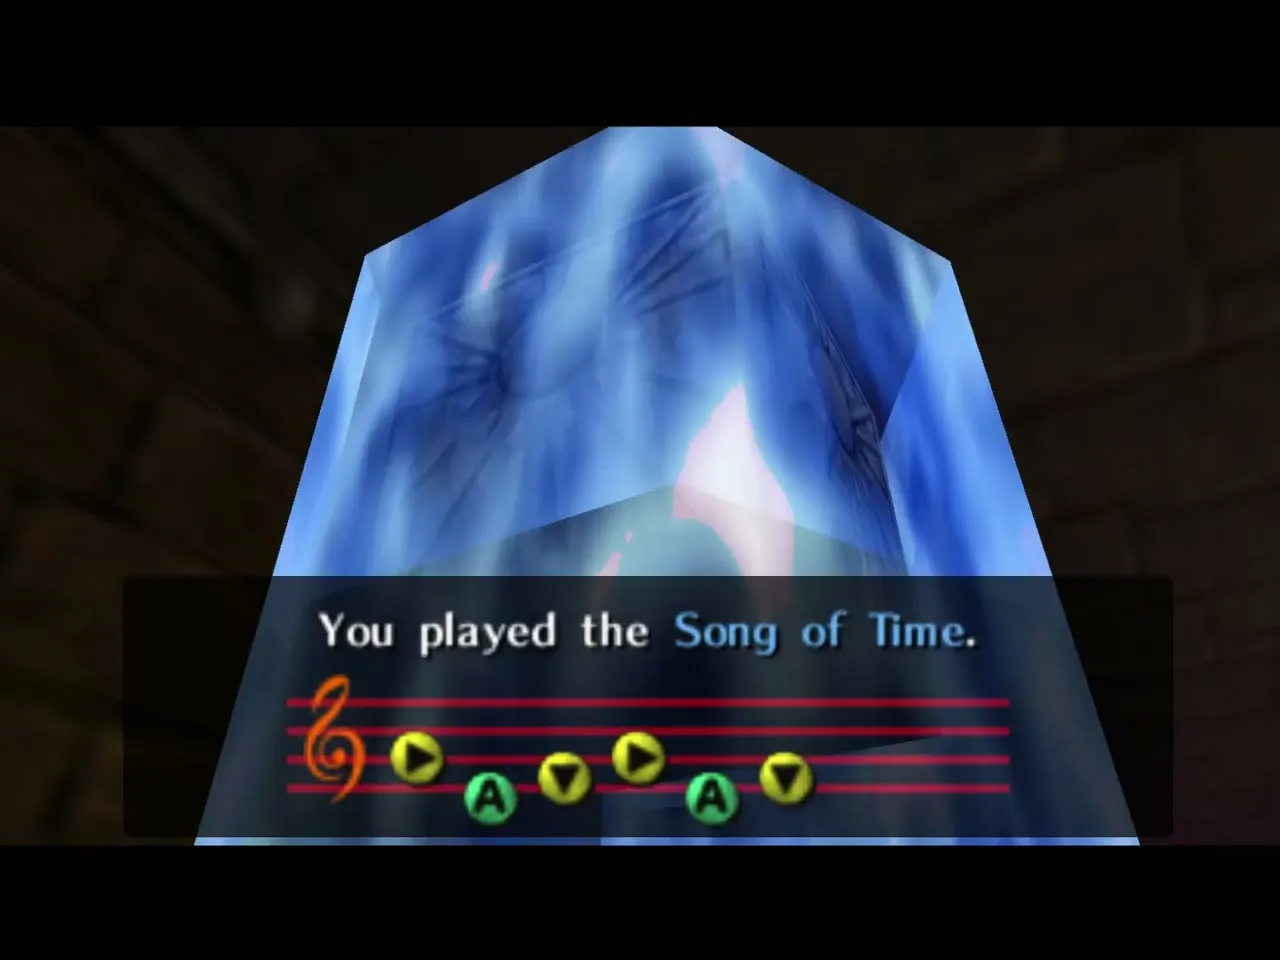
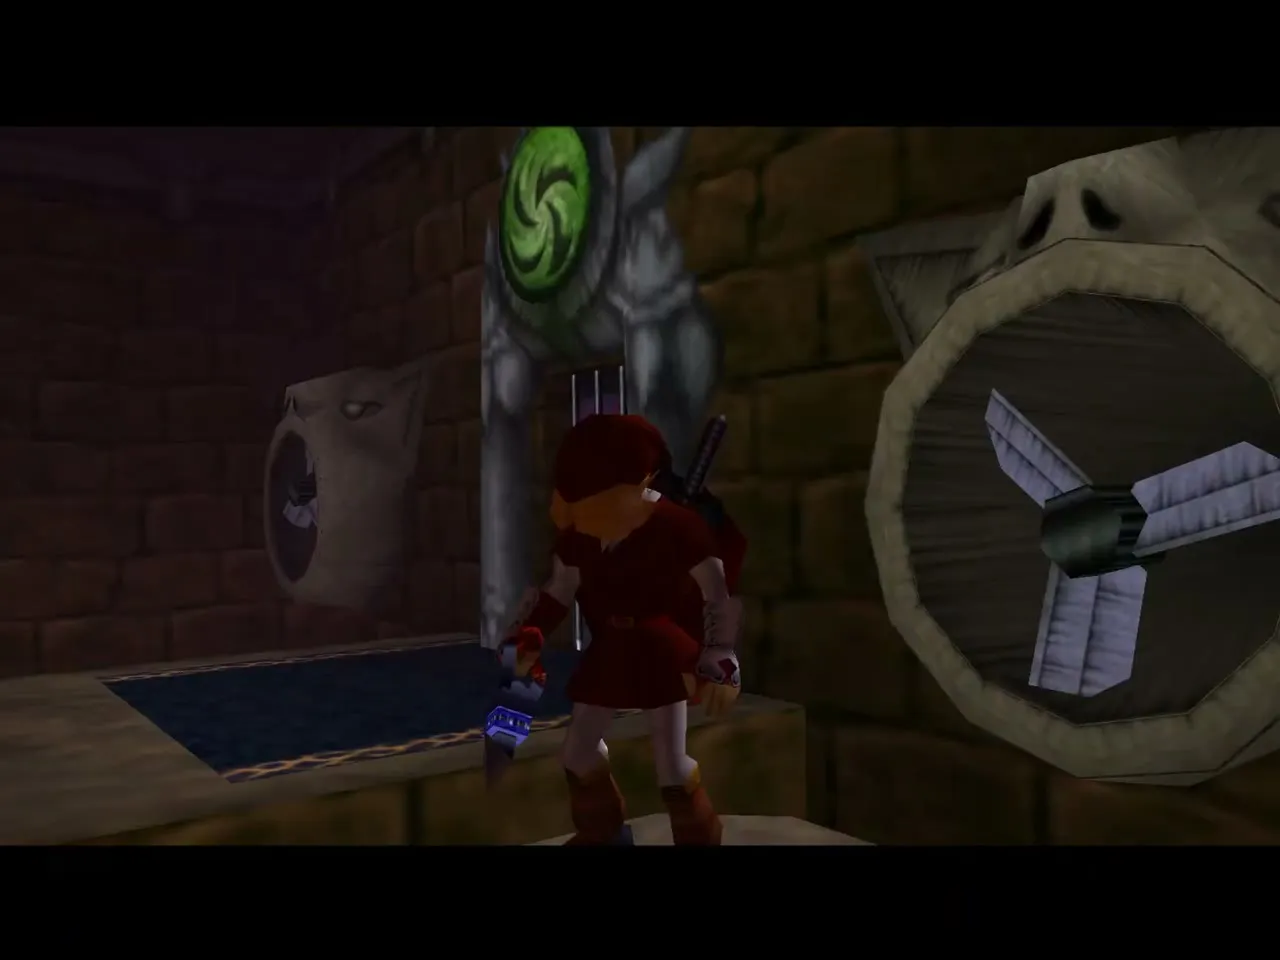
Work along the platforms toward the barred door, waiting for the fan beside it to stop before you commit to the last platform. There, put on the Iron Boots so the wind cannot move you and play the Song of Time. A block drops away and an Armos statue appears; play the song again and the block rises while the statue falls onto the switch, opening the door. Take the boots off, jump back across and walk through.
Barrier core and Saria
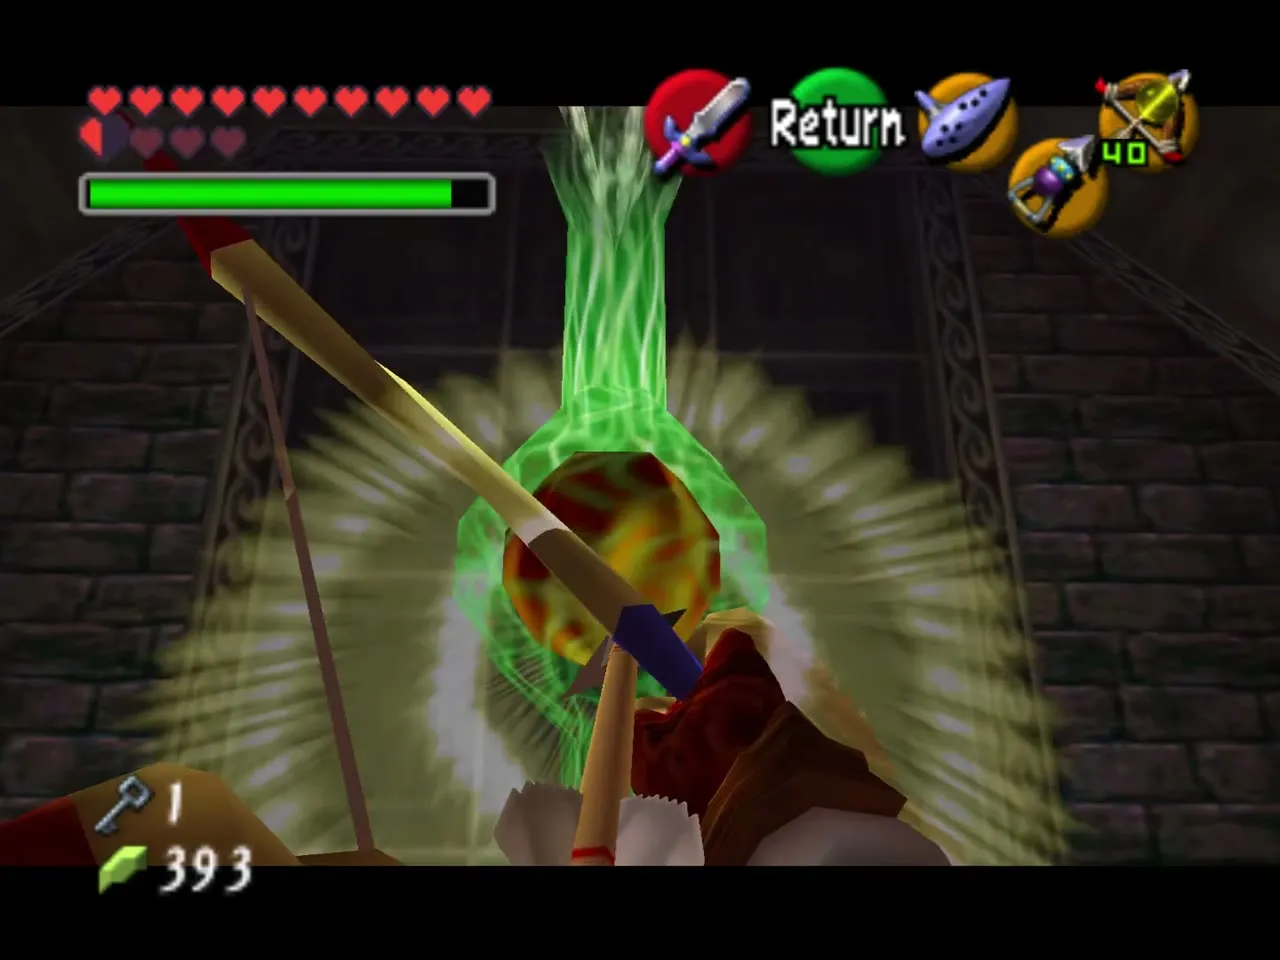
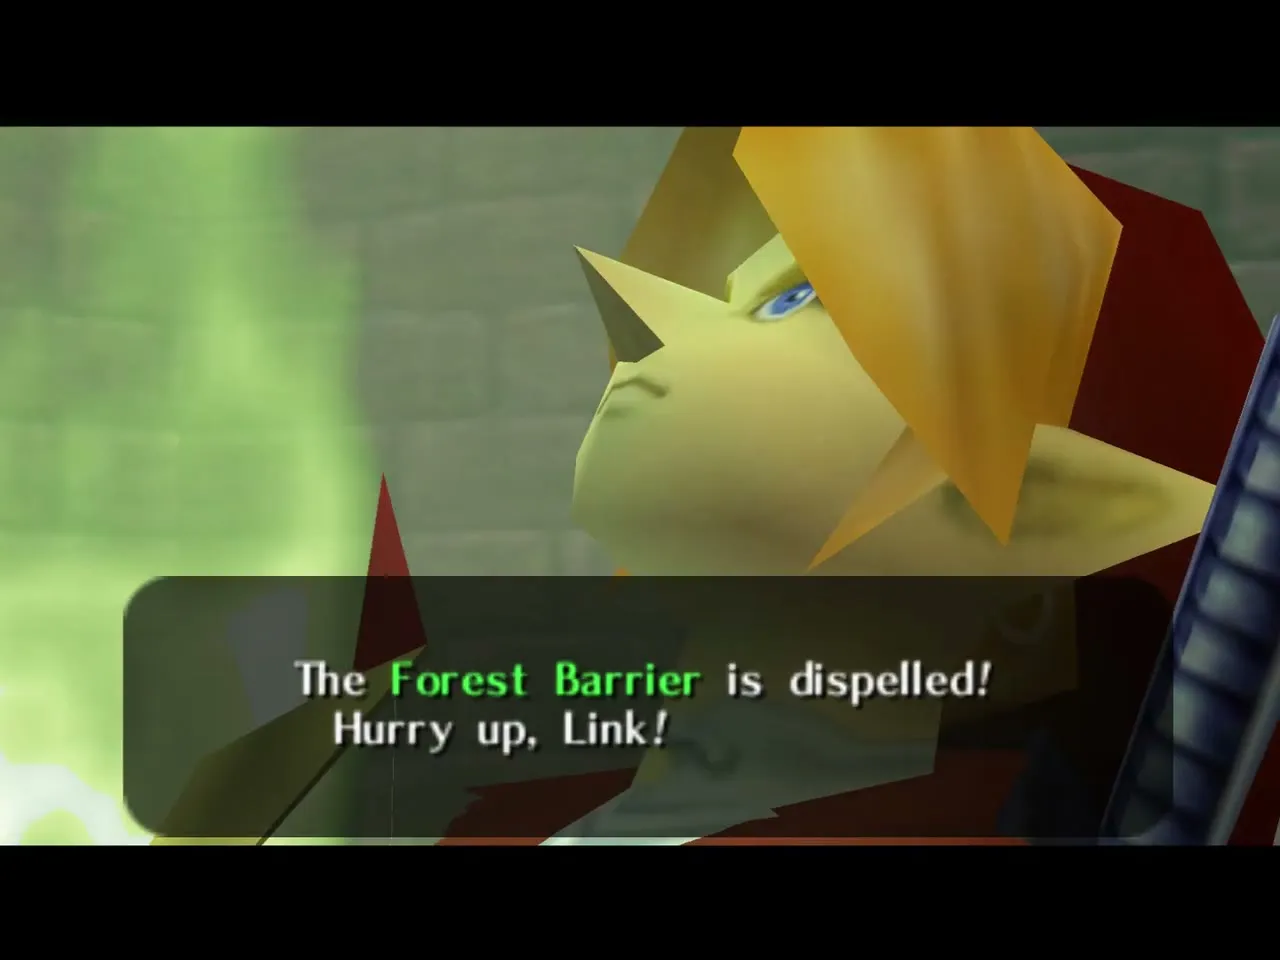
Smash the jars in the last room for arrows, magic or hearts, then shoot the glowing core with a Light Arrow. Saria dispels the Forest Barrier and sends you back to the main hall.
Water Trial
Freezards and Blue Fire
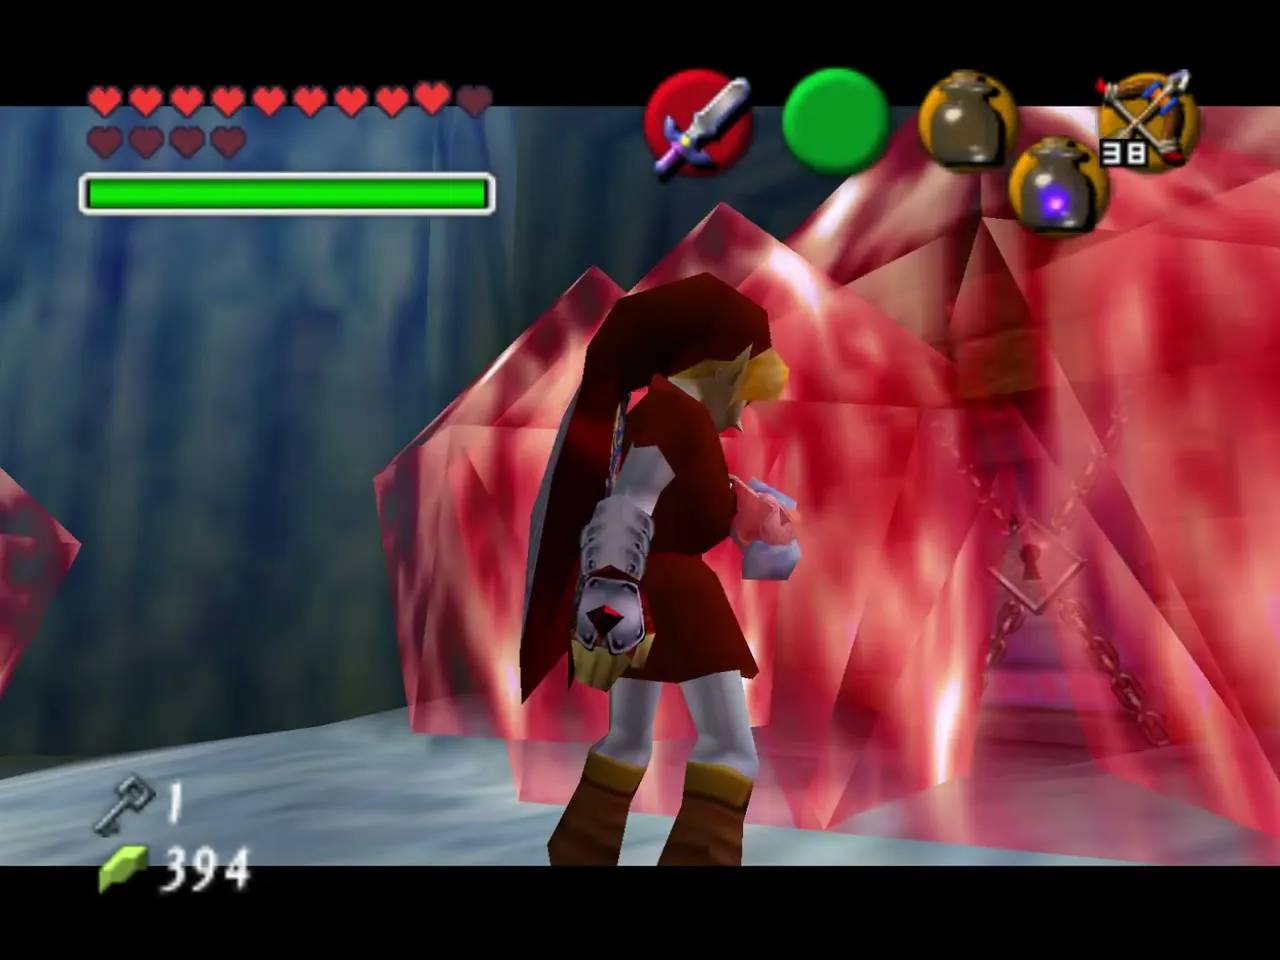
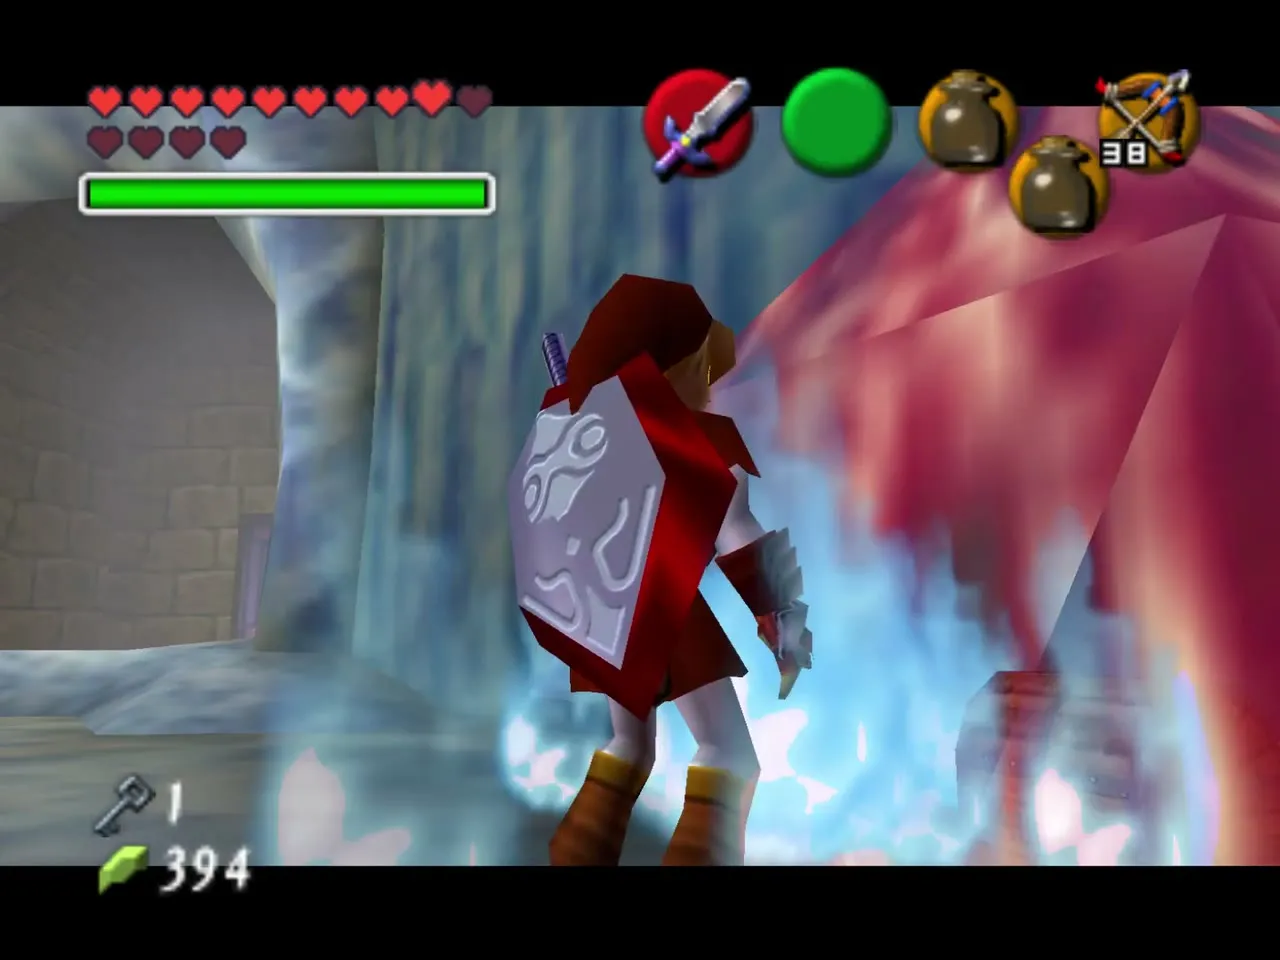
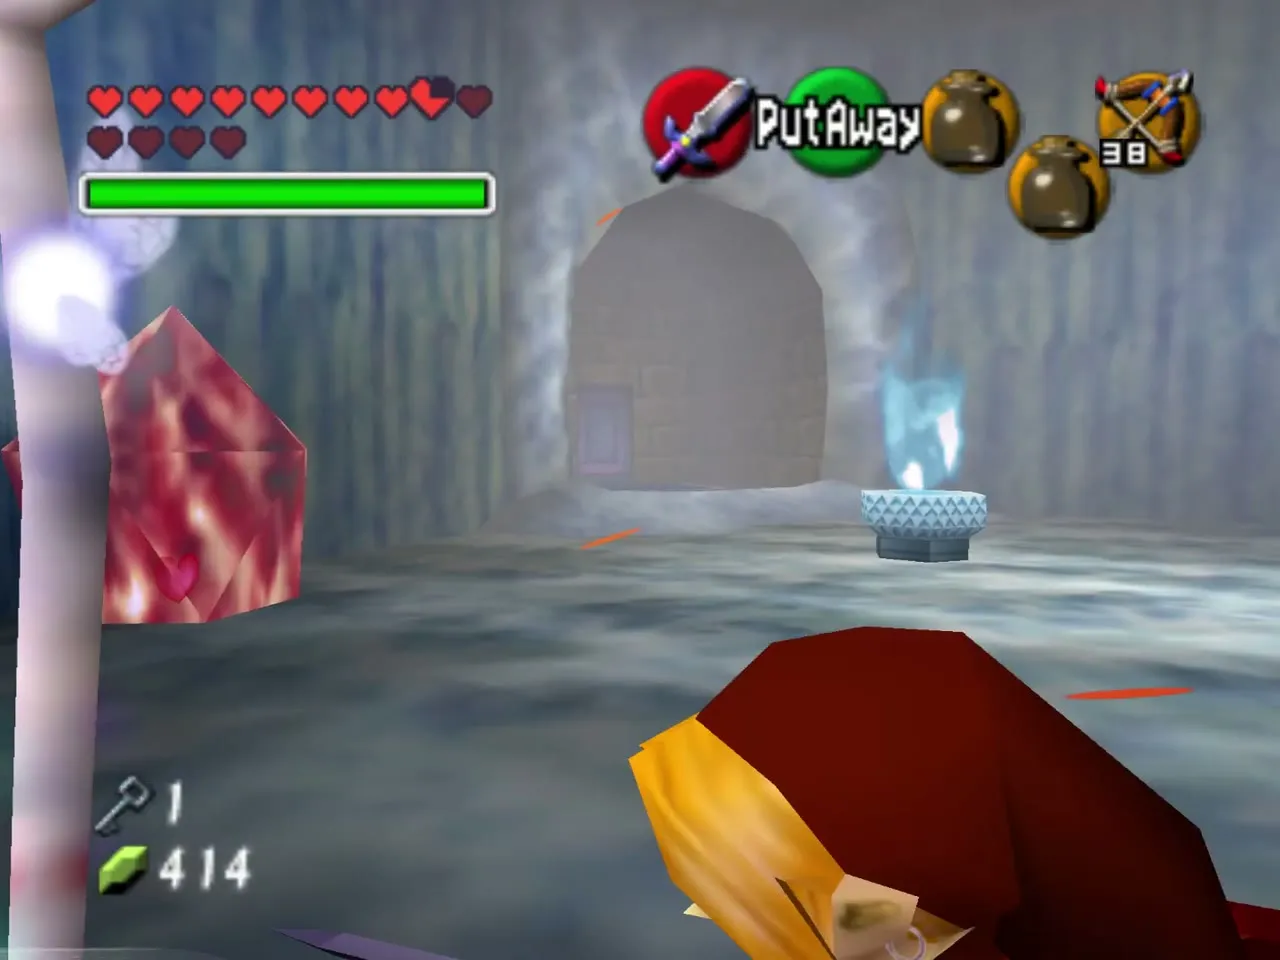
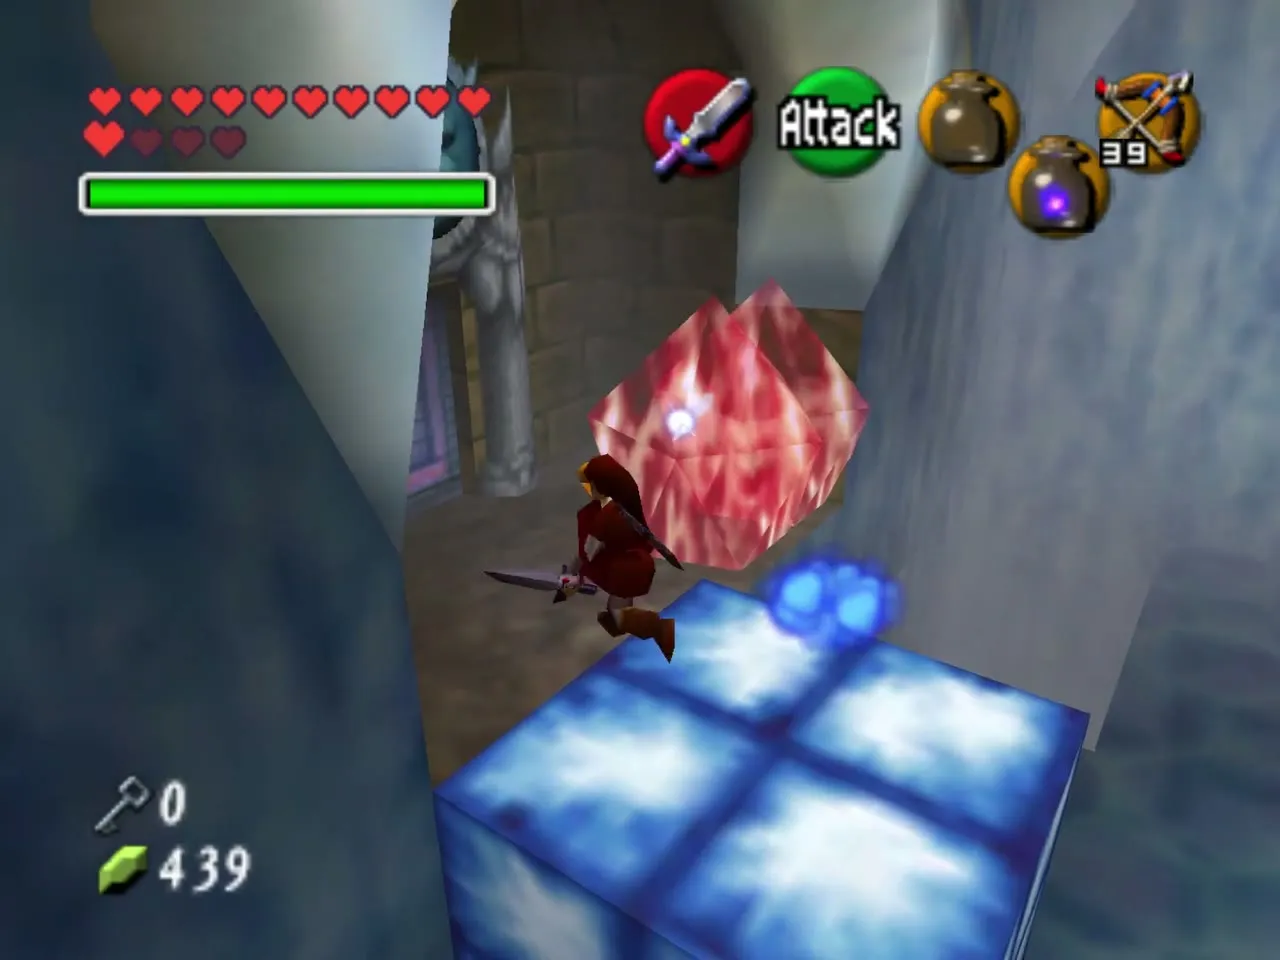
Two Freezards and a ceiling of ice spikes greet you; the spikes regrow and drop every few seconds, so keep moving. Din’s Fire clears the Freezards in one go. Blue Fire sits in the middle of the room under a jet of water: either spin-attack the crystal switch hidden in the ice pillar beside the Dead Hand’s lone hand to shut the jet off for a moment, or roll into the jet wearing the Hover Boots and scoop the flame with a bottle.
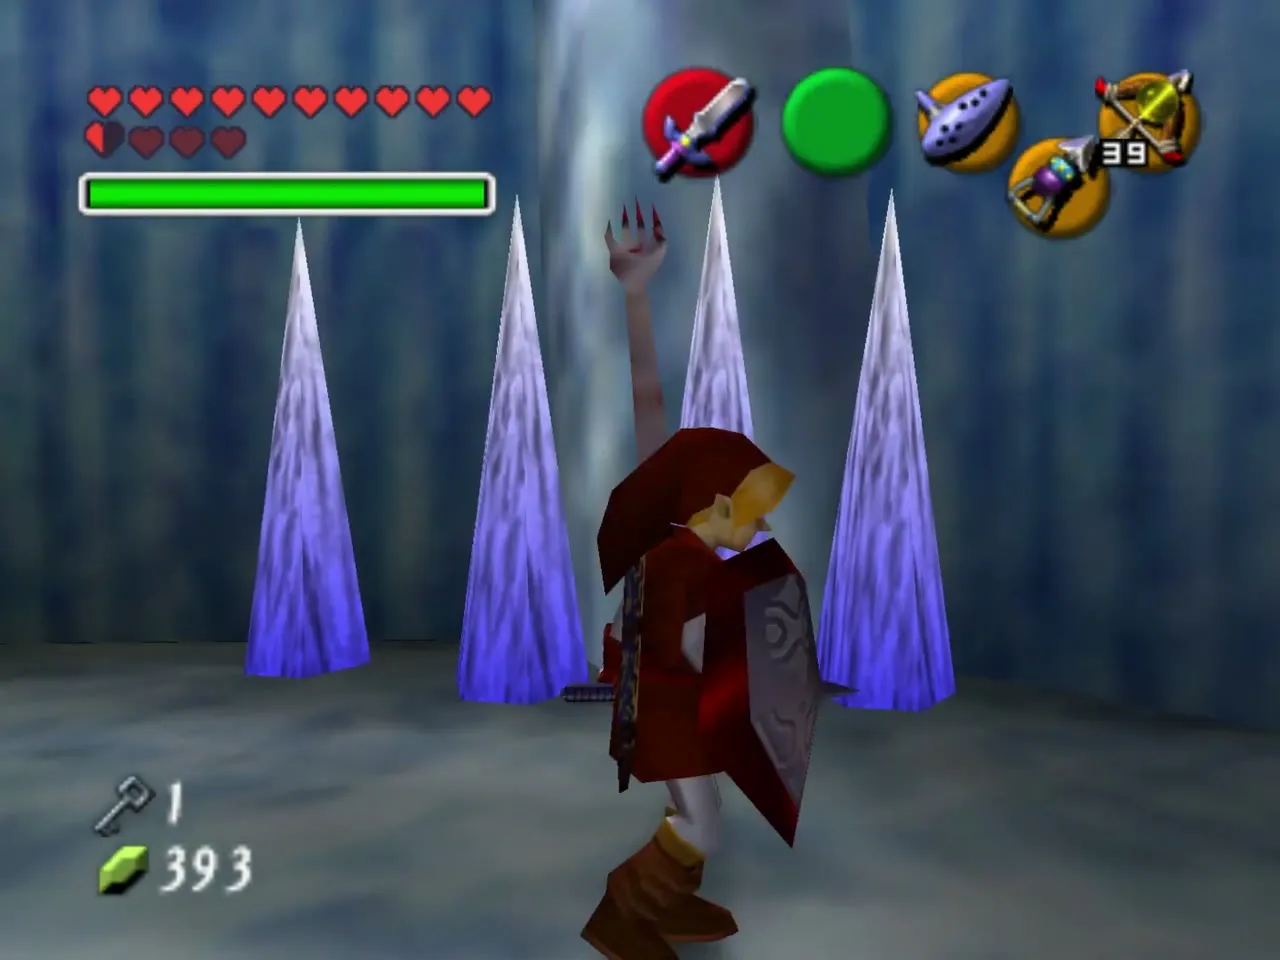
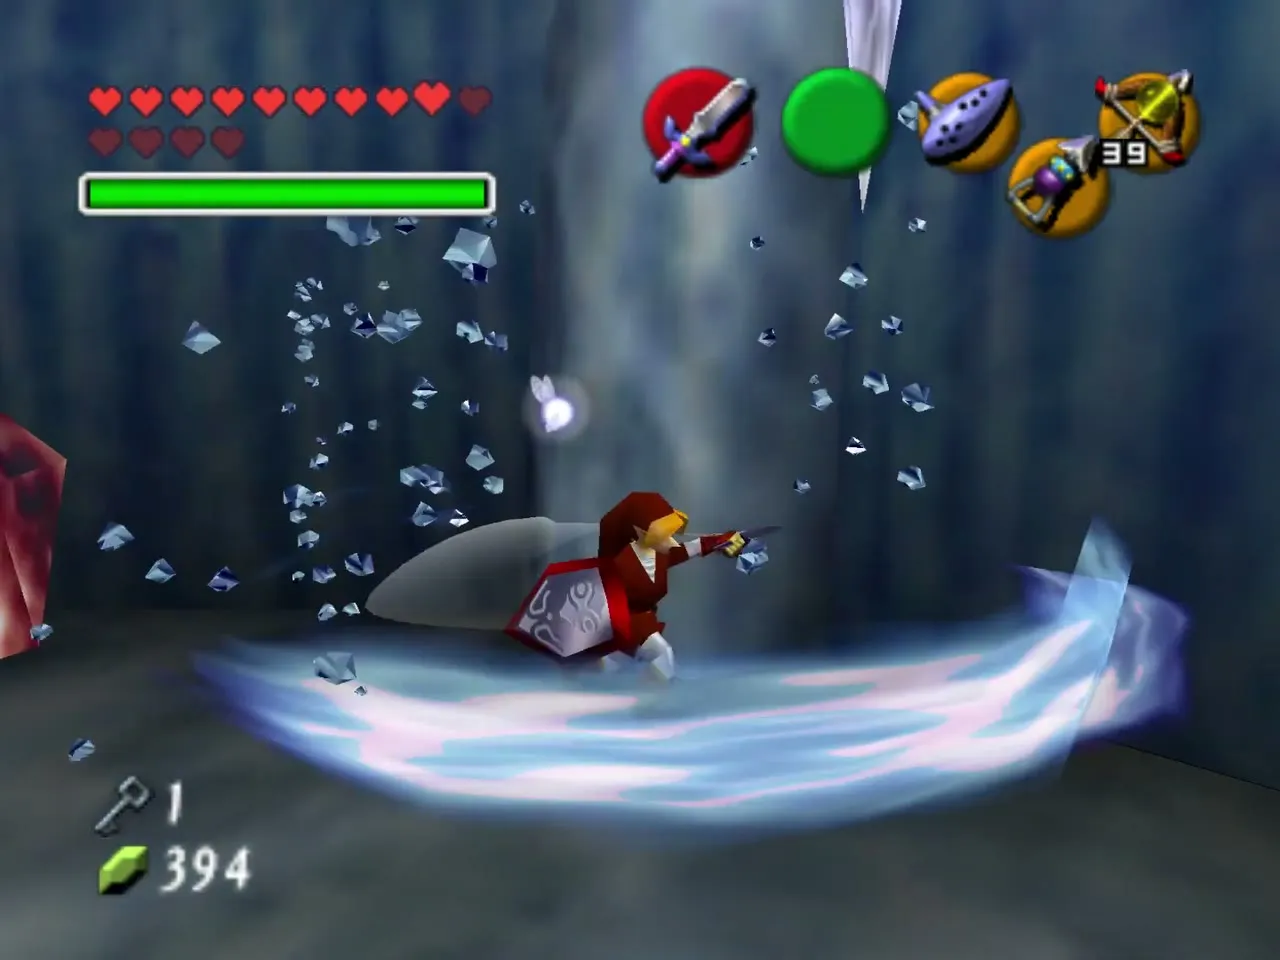
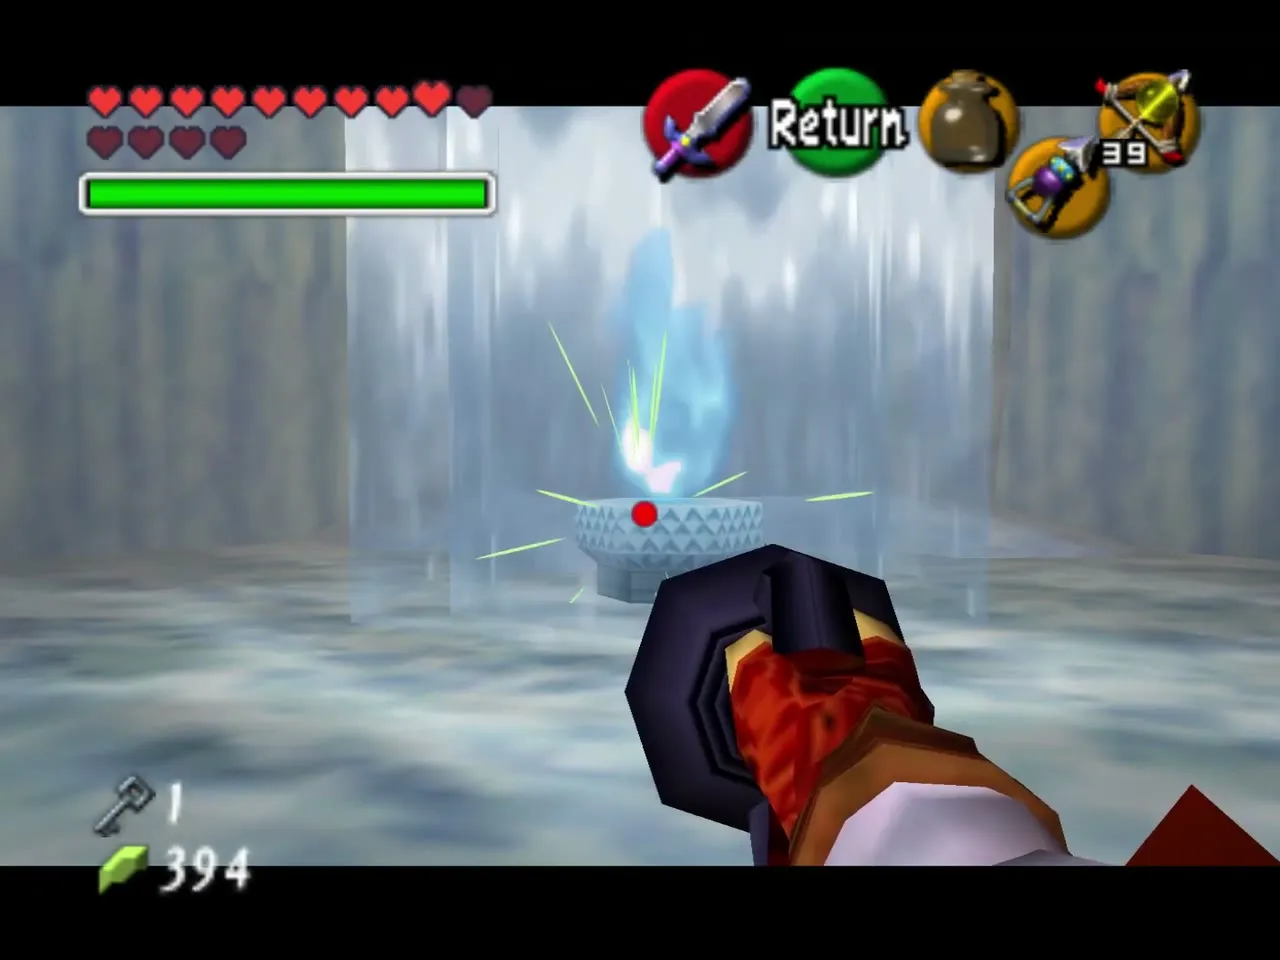
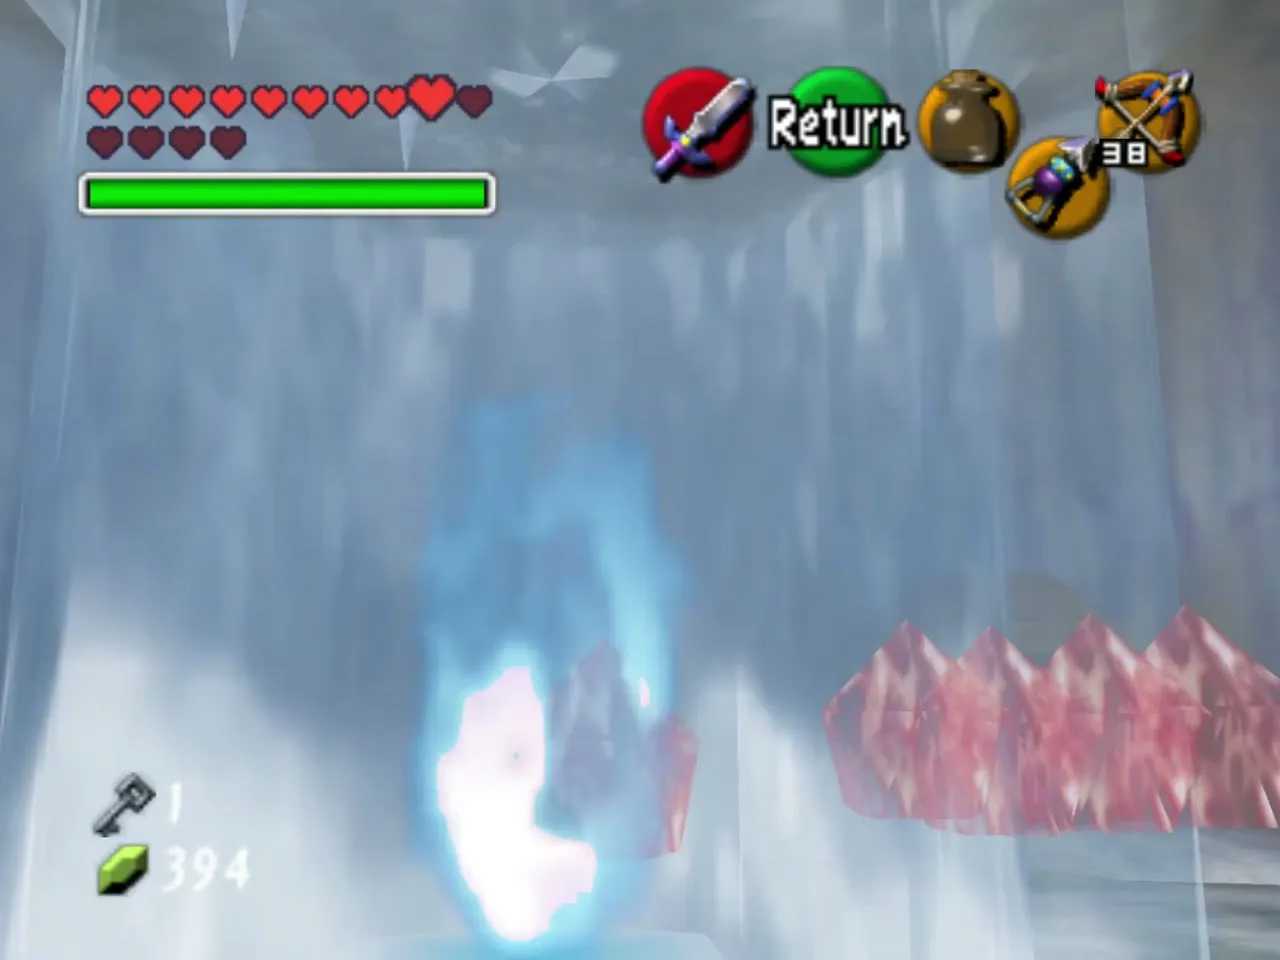
Carry the Blue Fire to the wall of red ice in front of the next door and melt it; you only need to clear two neighbouring blocks to pass. Refill the bottle and take two bottles of Blue Fire with you. The other red ice blocks hide a Recovery Heart, a chest with a Red Rupee, and nothing at all. The door beyond takes the Small Key from the Forest Trial.
Silver Rupee block puzzle
This room holds five Silver Rupees, a few Keese (one of them invisible) and two ice blocks. Shoot the Keese first. The first rupee is in the hole in the middle of the floor, the second across the pit at the back (the Hover Boots make that jump easy), the third in a small alcove next to the blocks, and the fourth on higher ground reached by climbing the blocks.
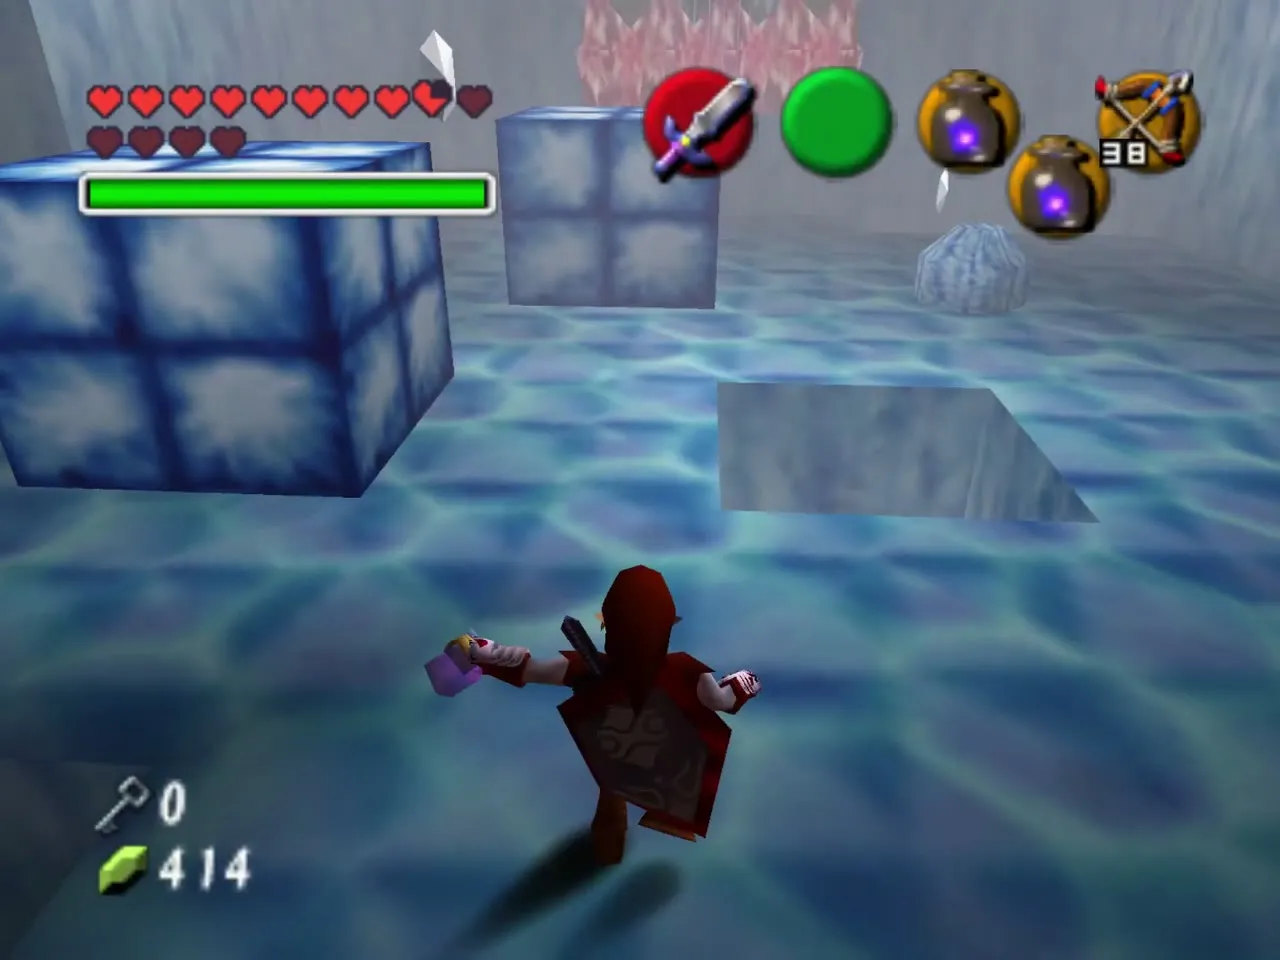
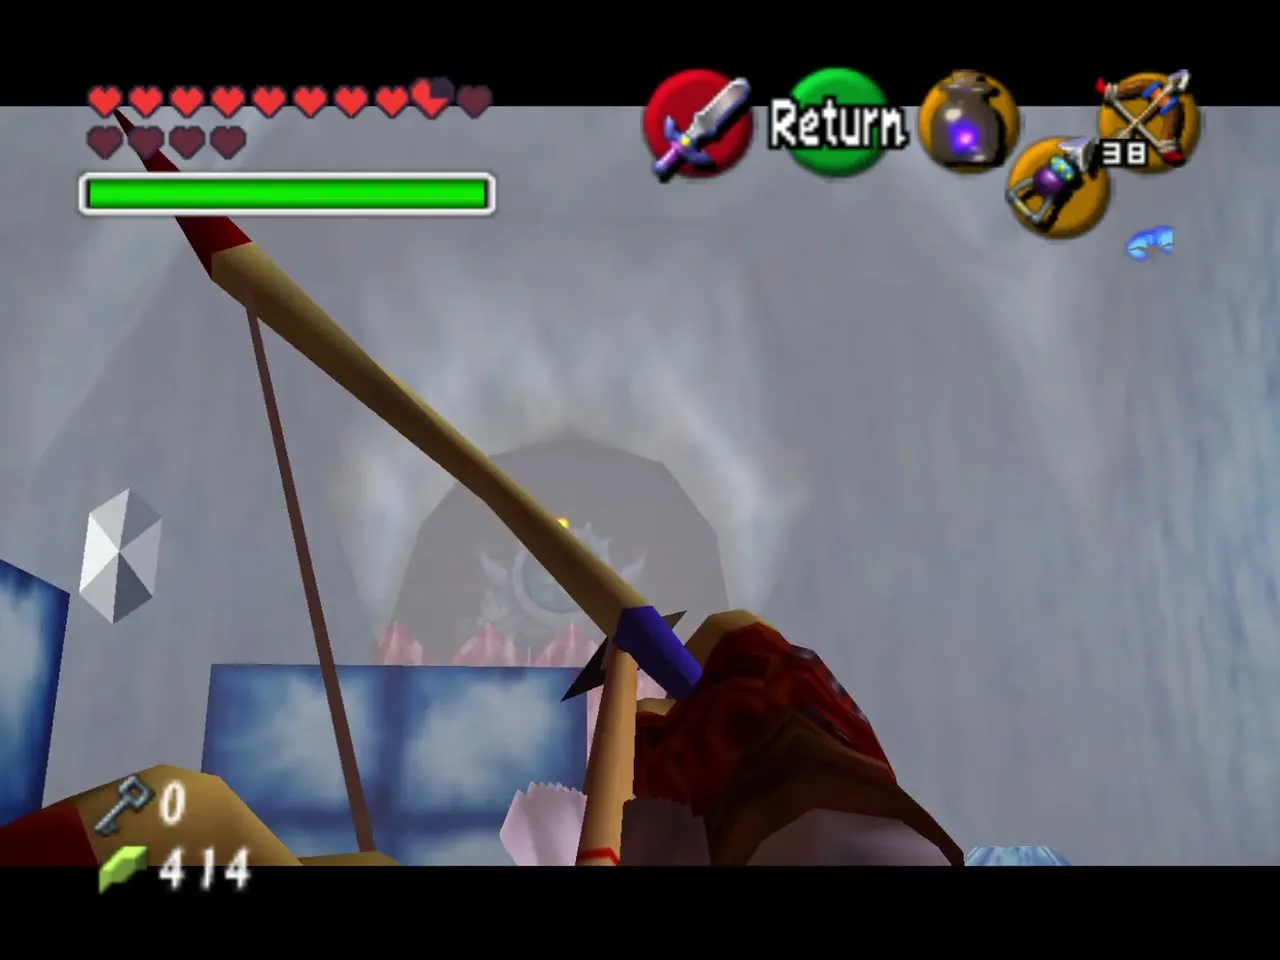
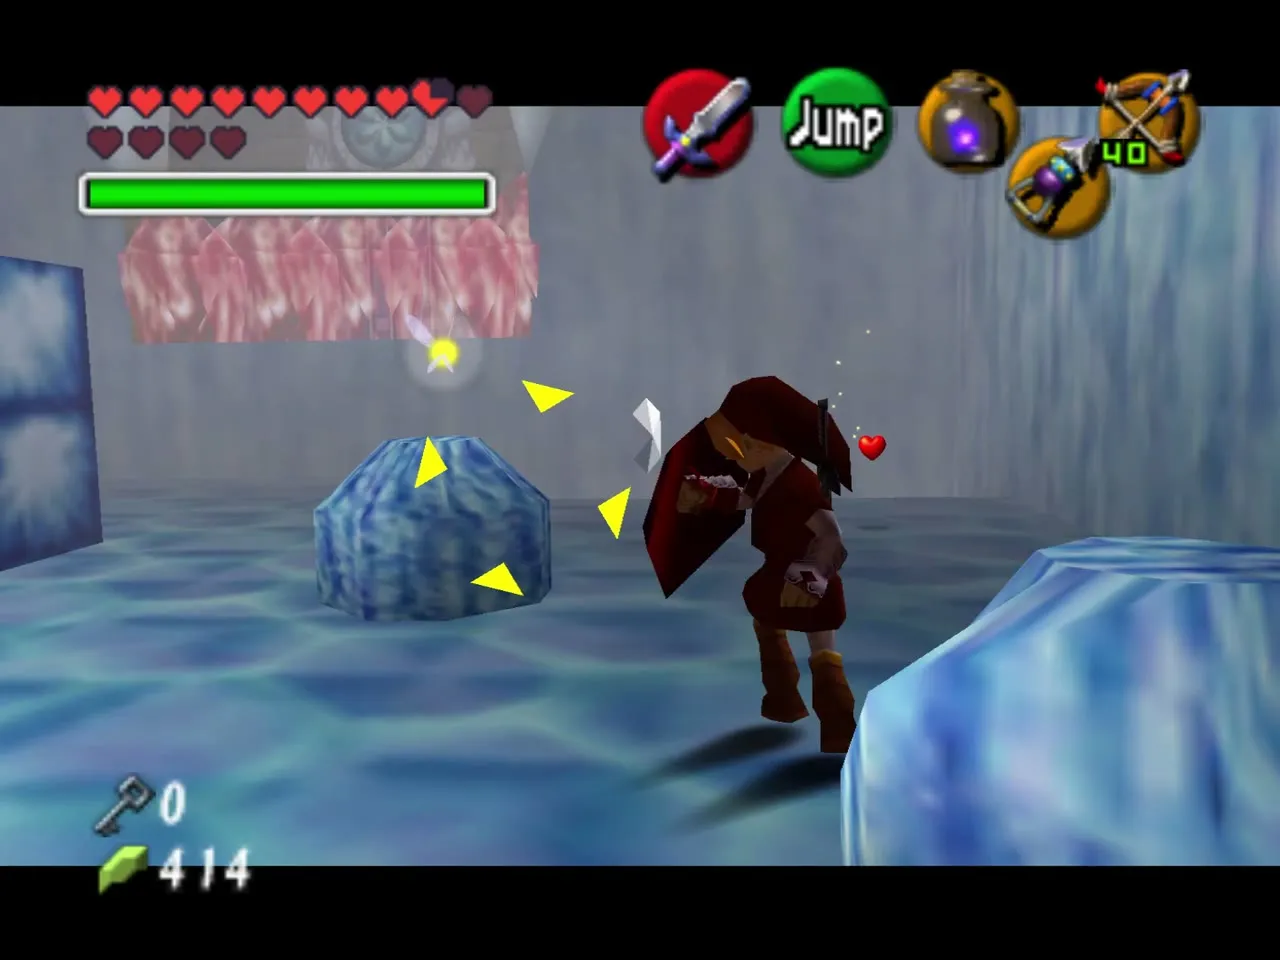
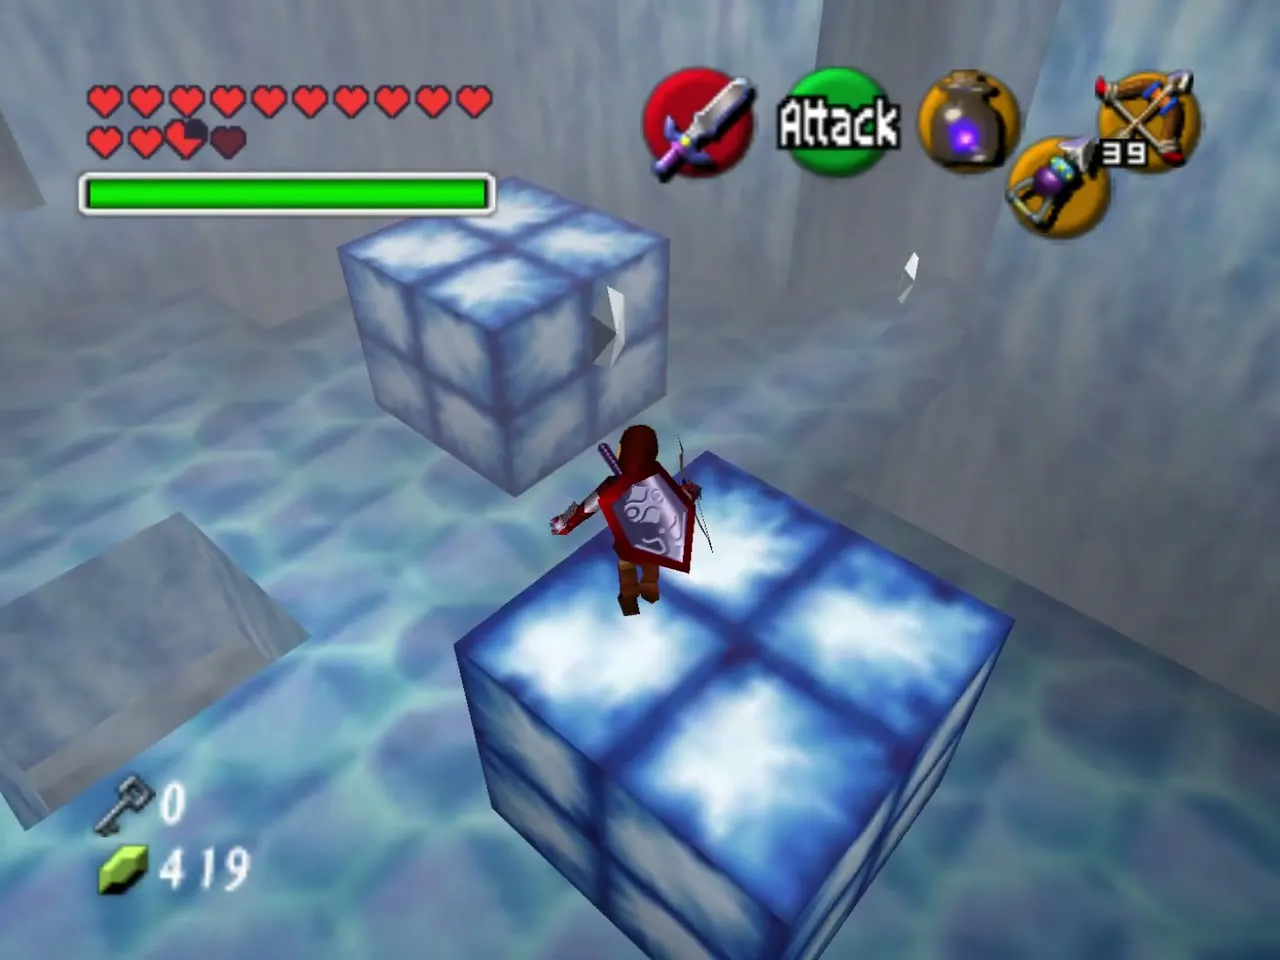
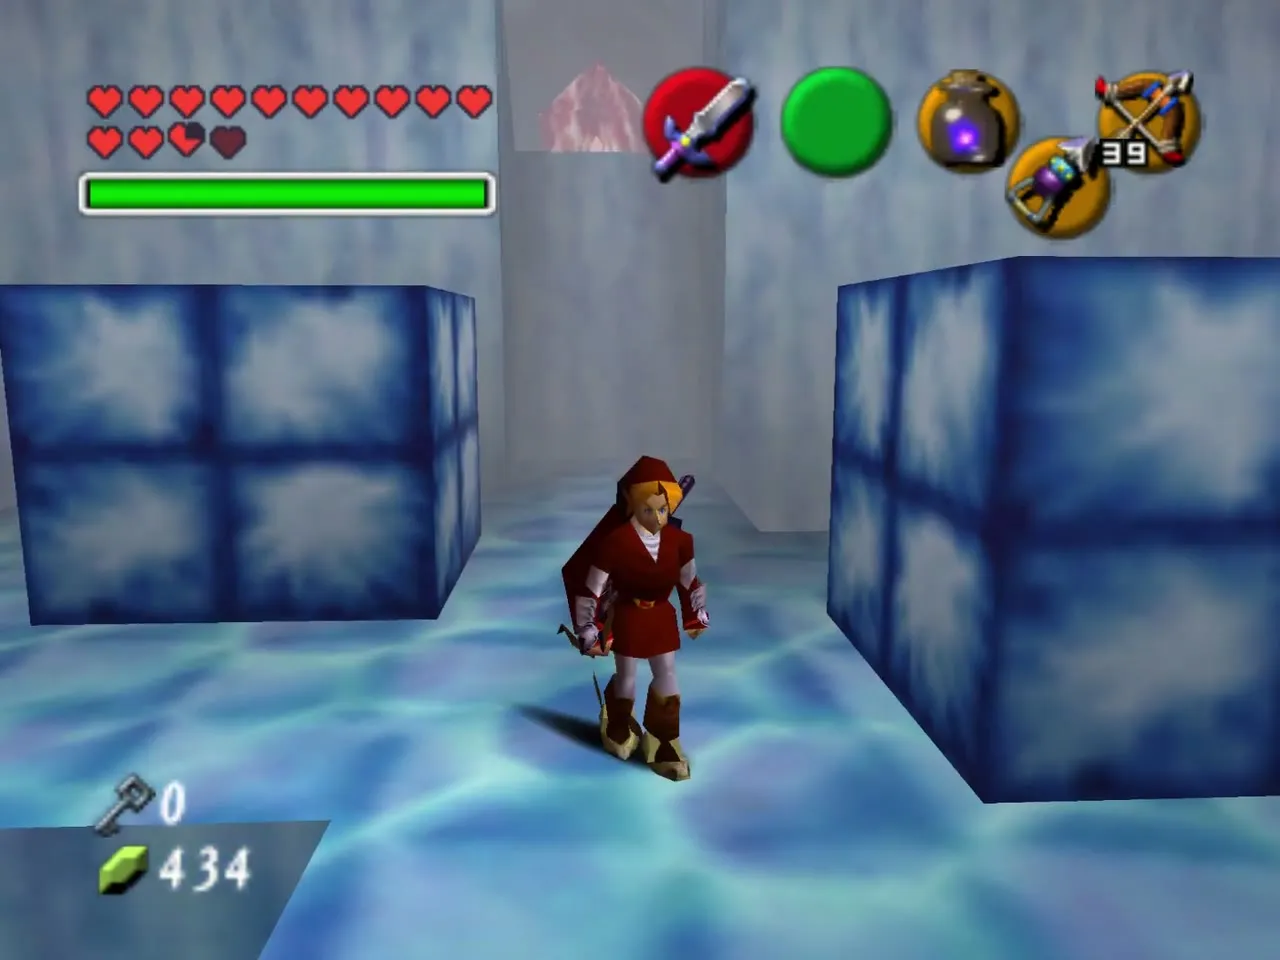
For the fifth rupee, which is frozen into red ice high in an alcove, push the block farthest from the wall to the small rock, then into the pit. Push the other block forward across the filled pit and left twice into the alcove, climb it and strike the ice (a jump attack shatters it; Blue Fire also works). The fifth rupee lifts the bars from the door.
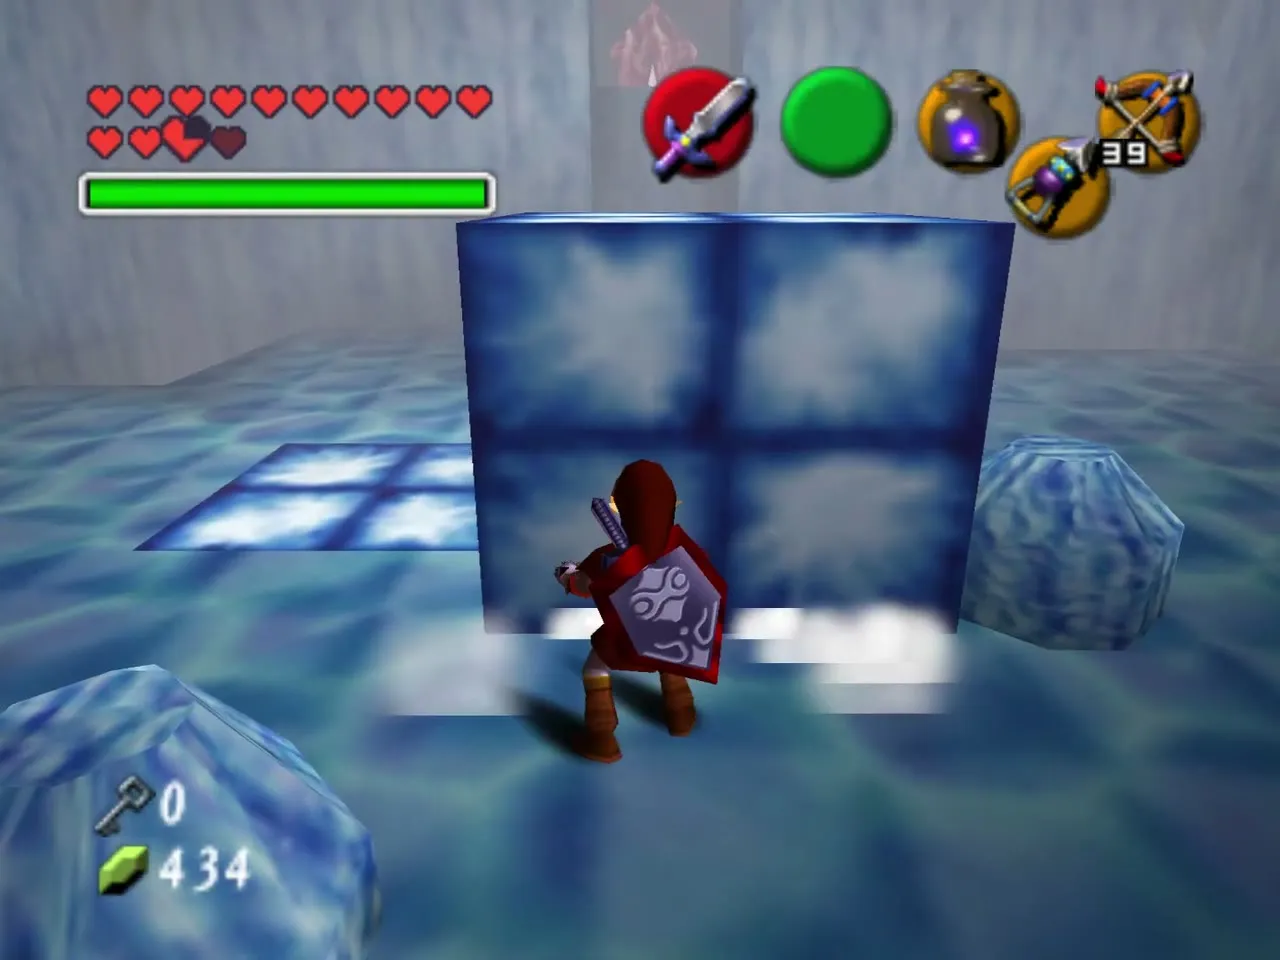
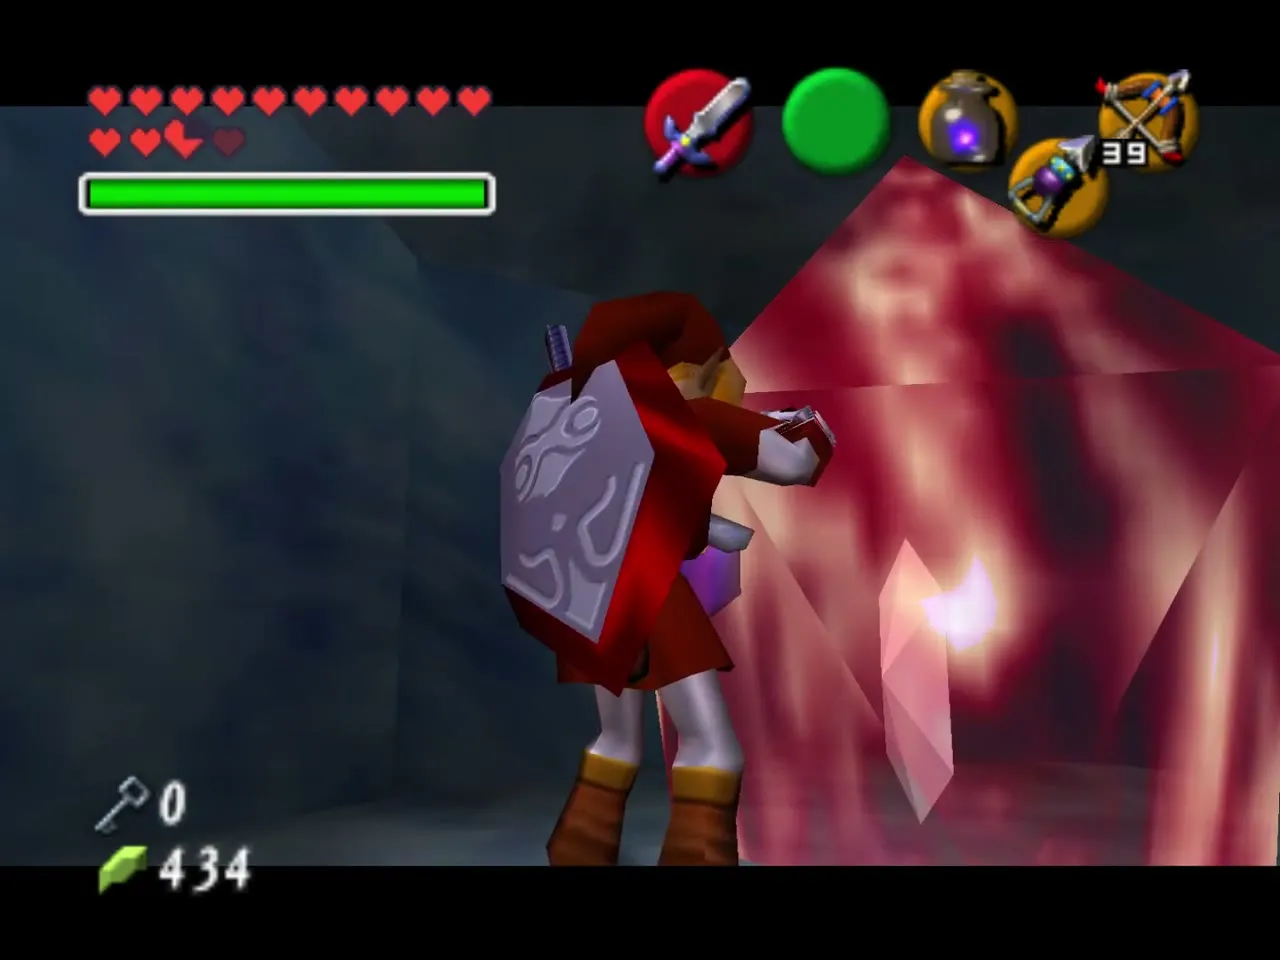
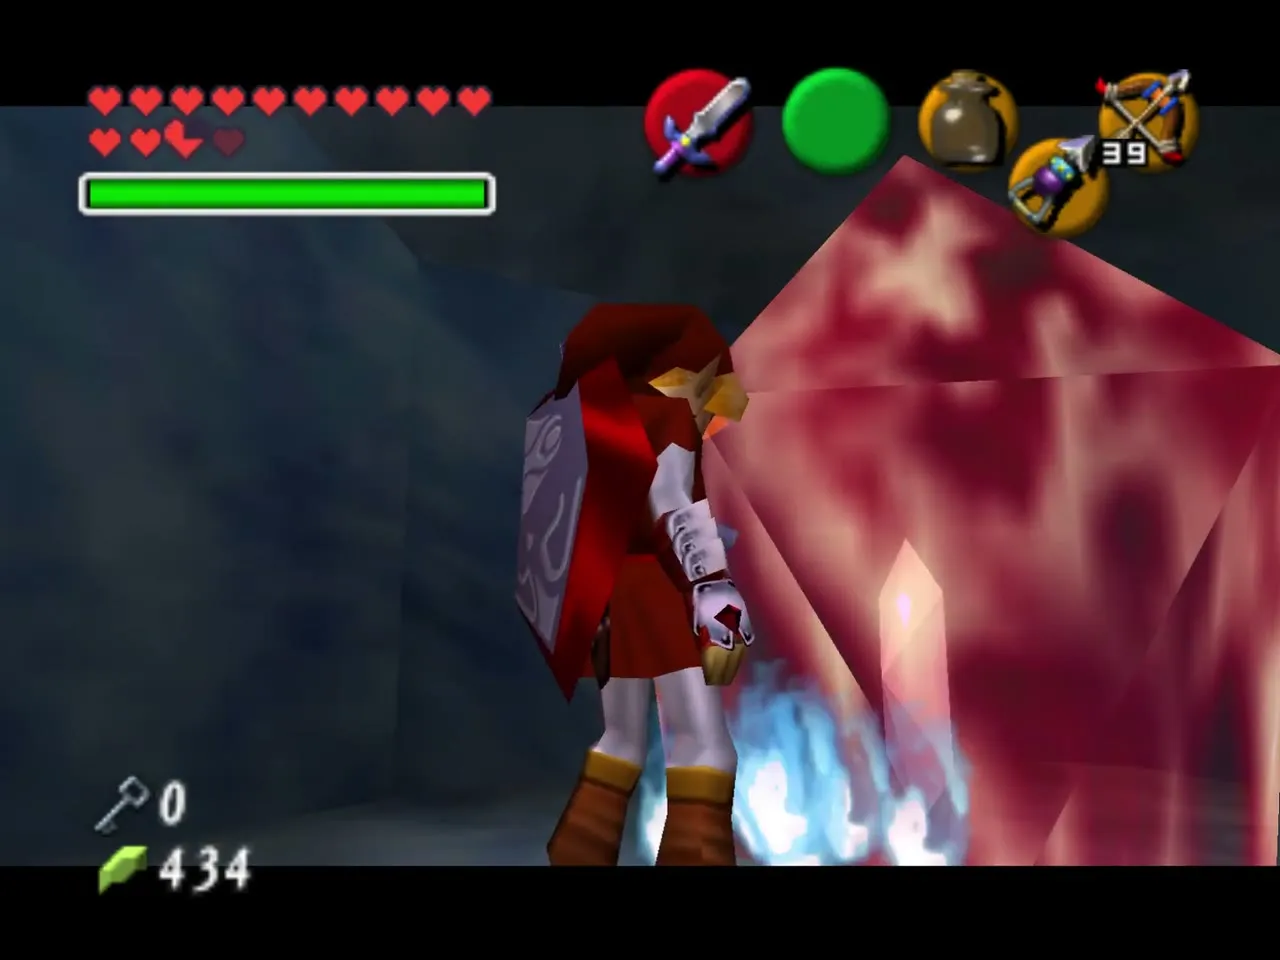
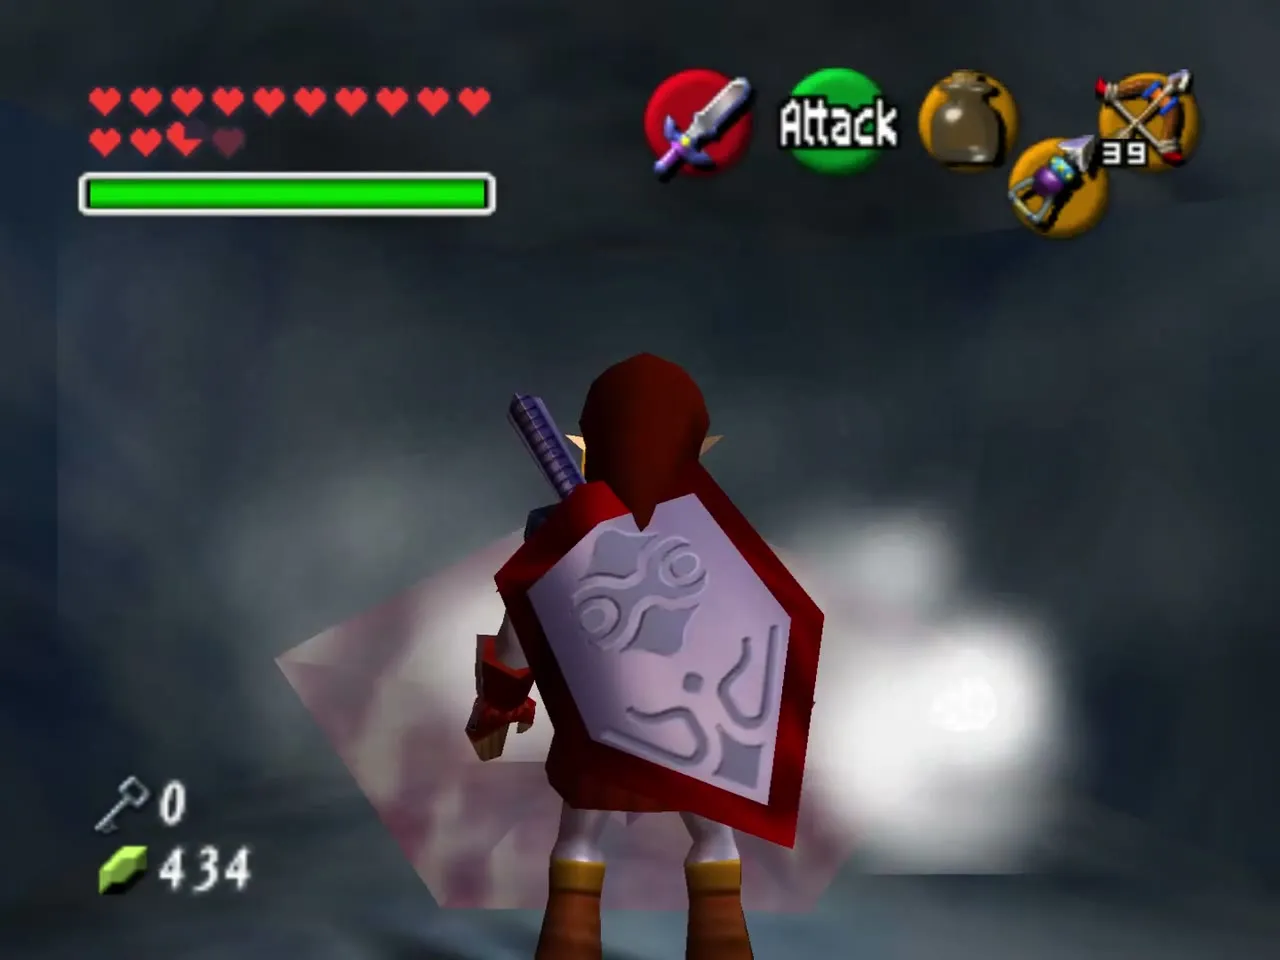
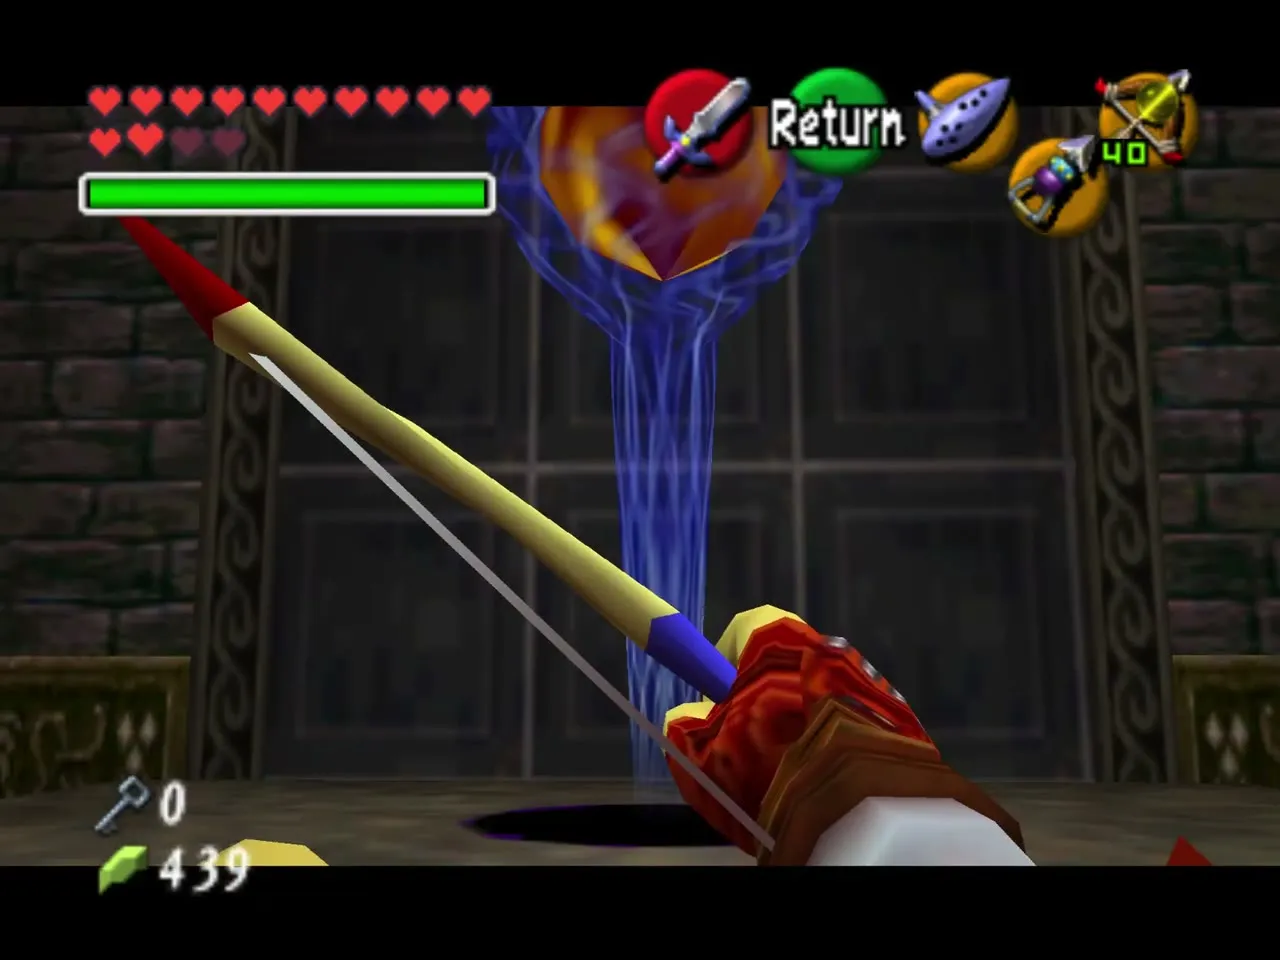
The door is out of reach from where the blocks ended up, so walk out and back in to reset them. Slide the first block straight toward the door, climb it, and melt the red ice in the doorway with Blue Fire. Shoot the Keese again if they are back. In the last room smash the jars for supplies and shoot the barrier core; Ruto dispels the Water Barrier.
Shadow Trial
Bomb Flower chest and the moving platform
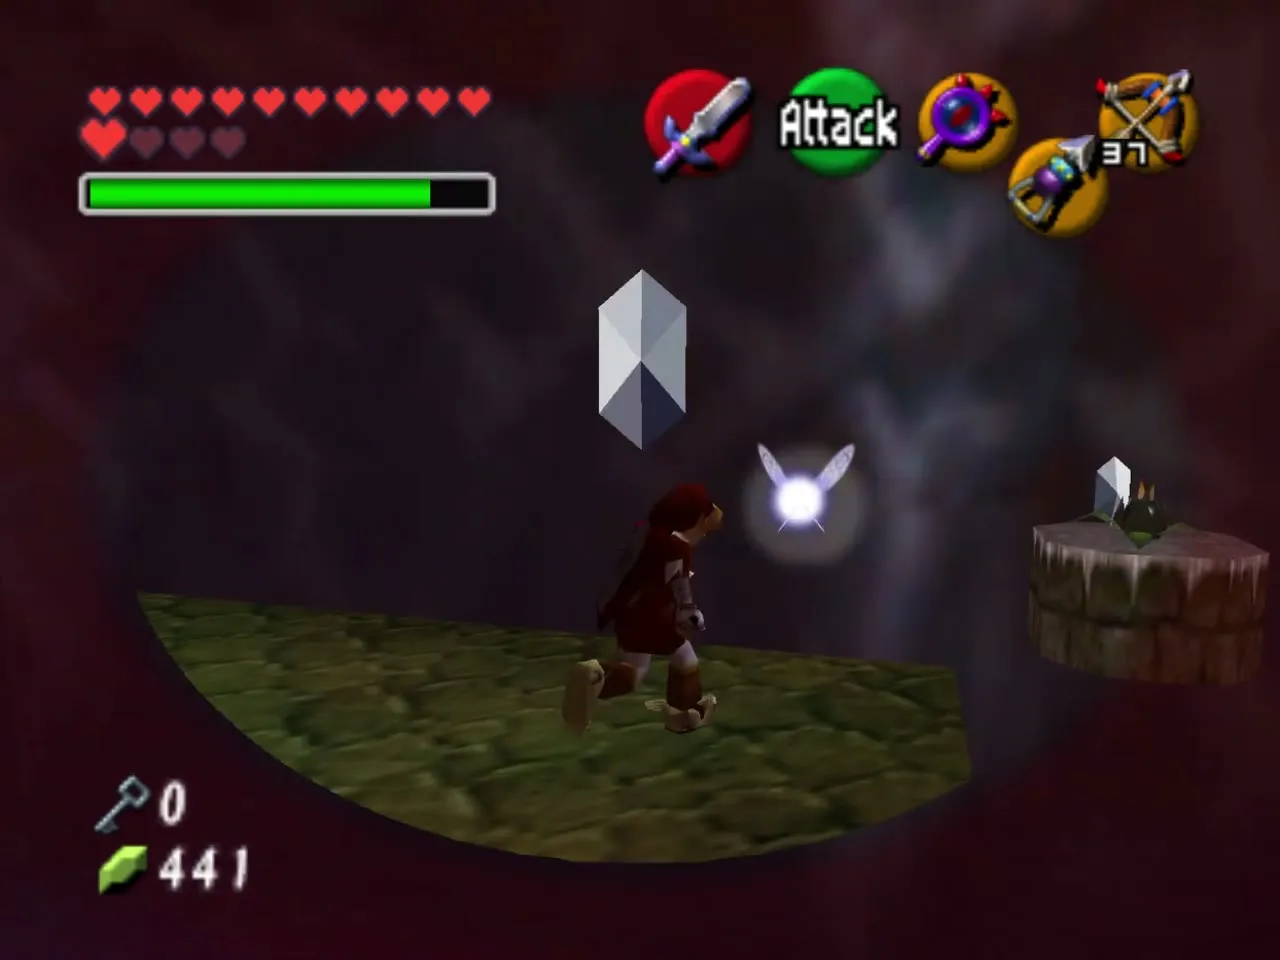
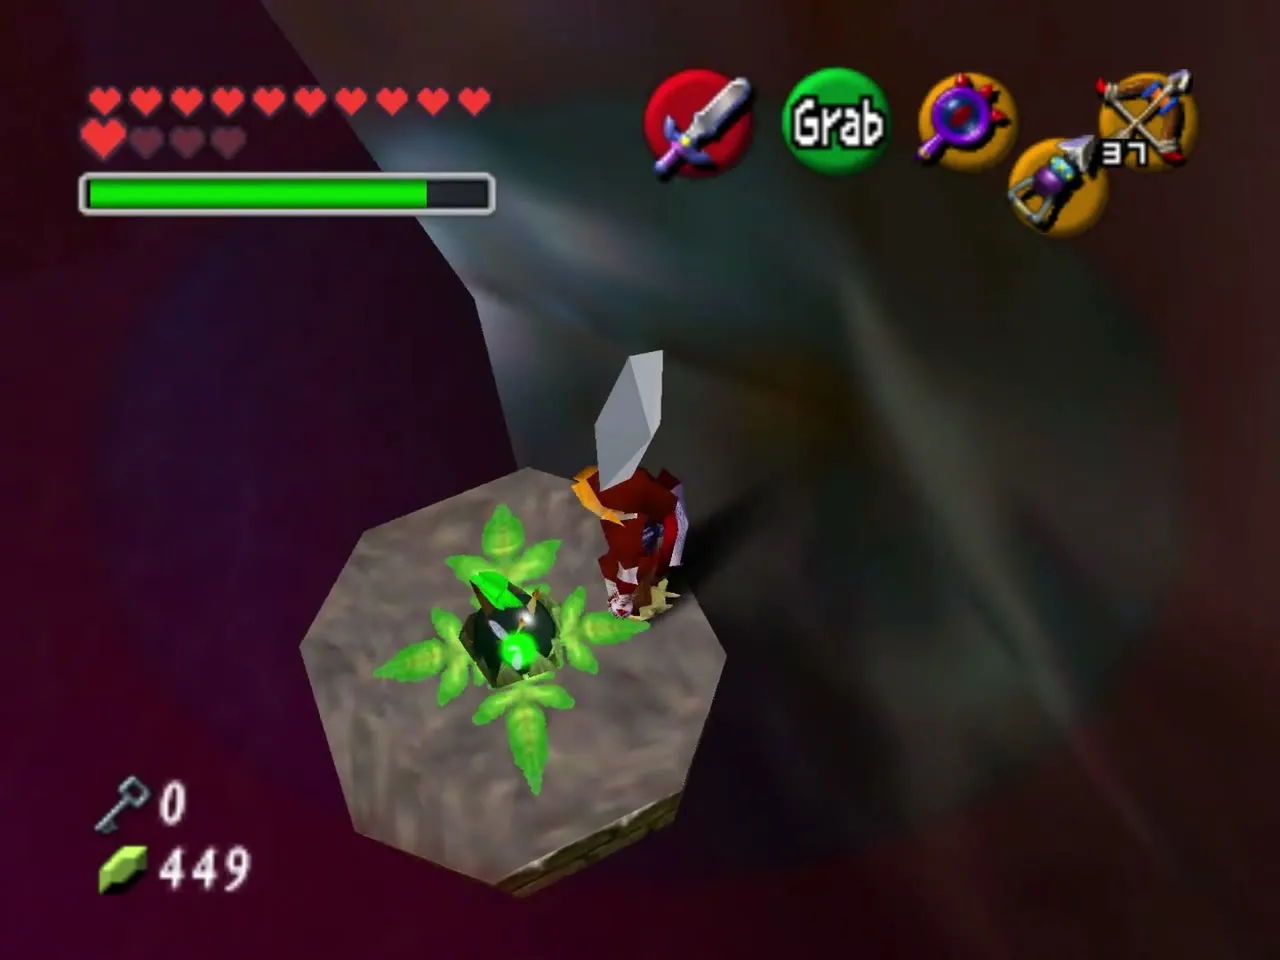
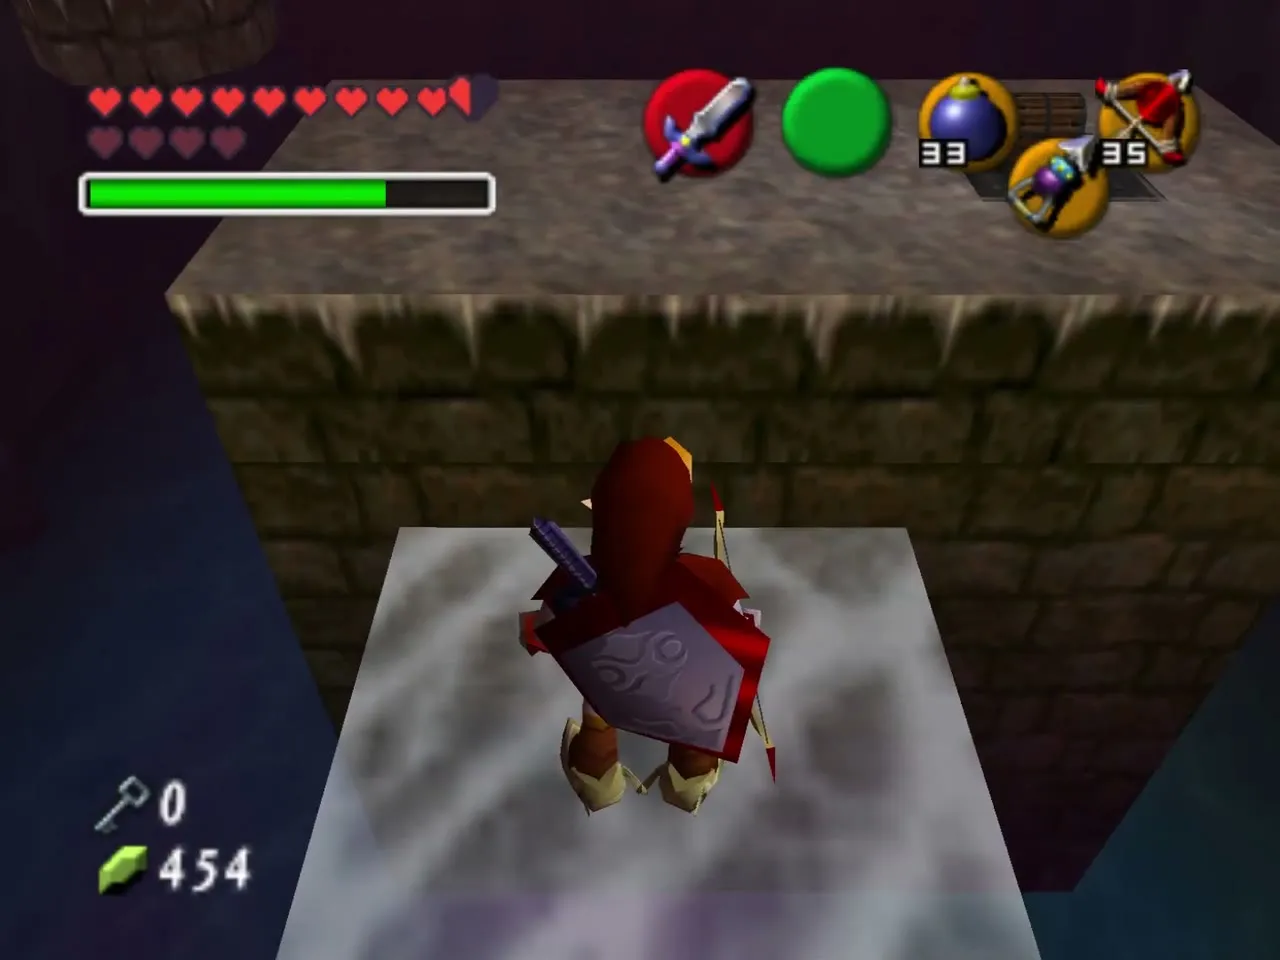
The Shadow Trial is a Silver Rupee course over a bottomless pit, and you need the Lens of Truth, Hover Boots, Longshot and a Fire Arrow or Din’s Fire. Shoot the Green Bubble that floats in front of you, then shoot the Bomb Flower on the small platform to the right. A chest of arrows drops onto the far side; Longshot across to it.
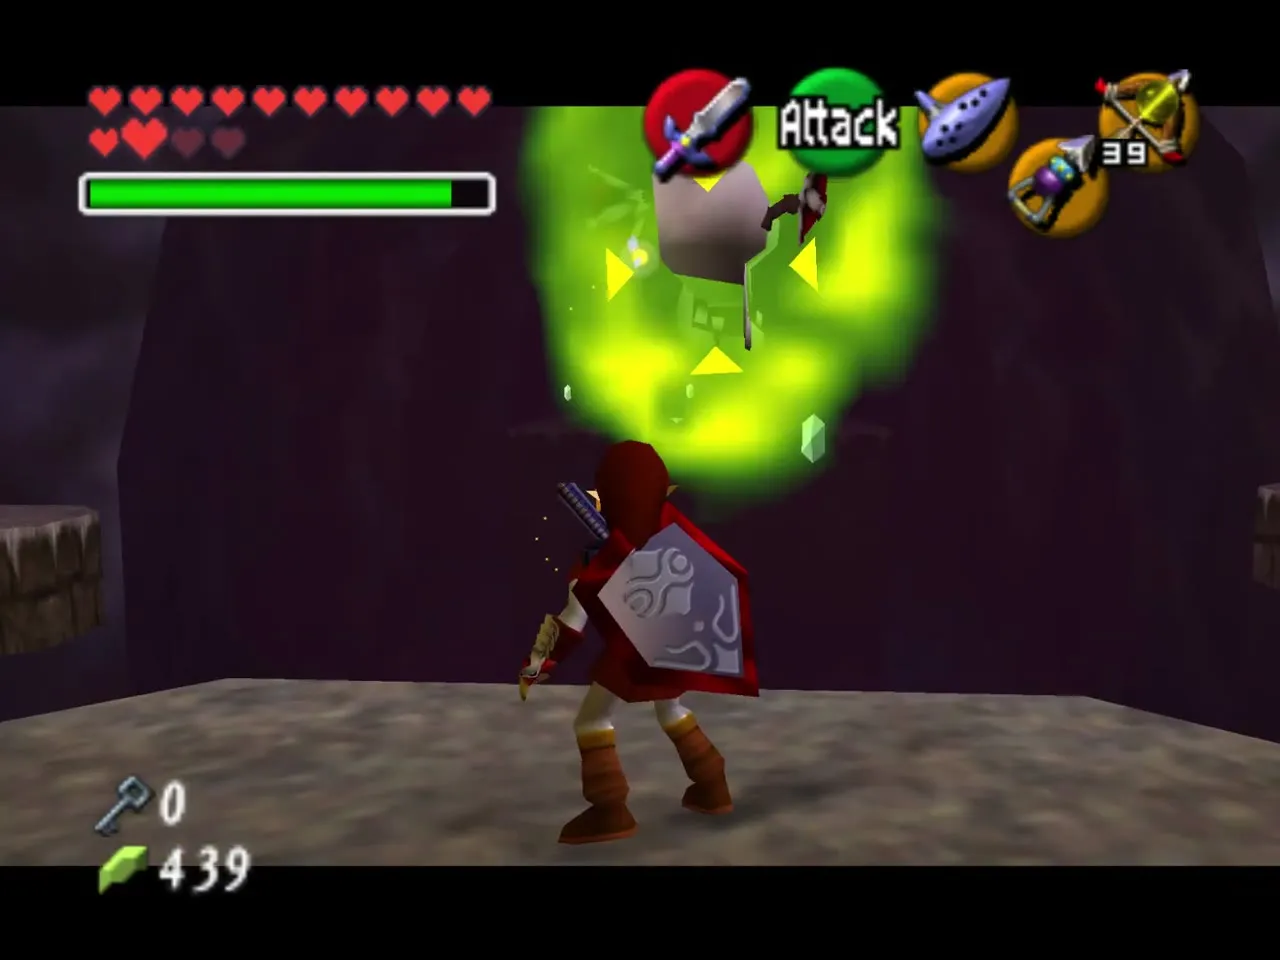
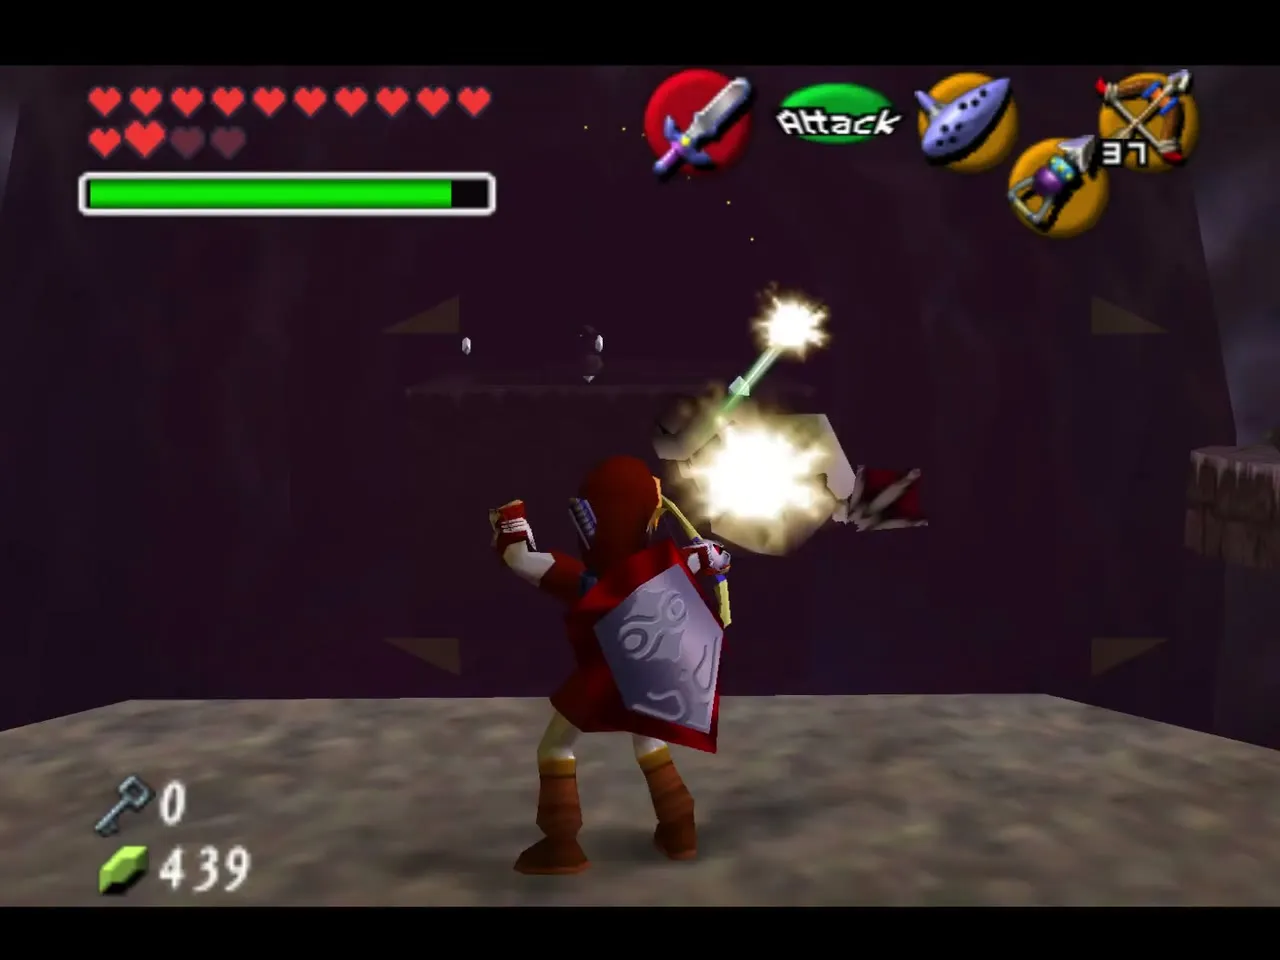
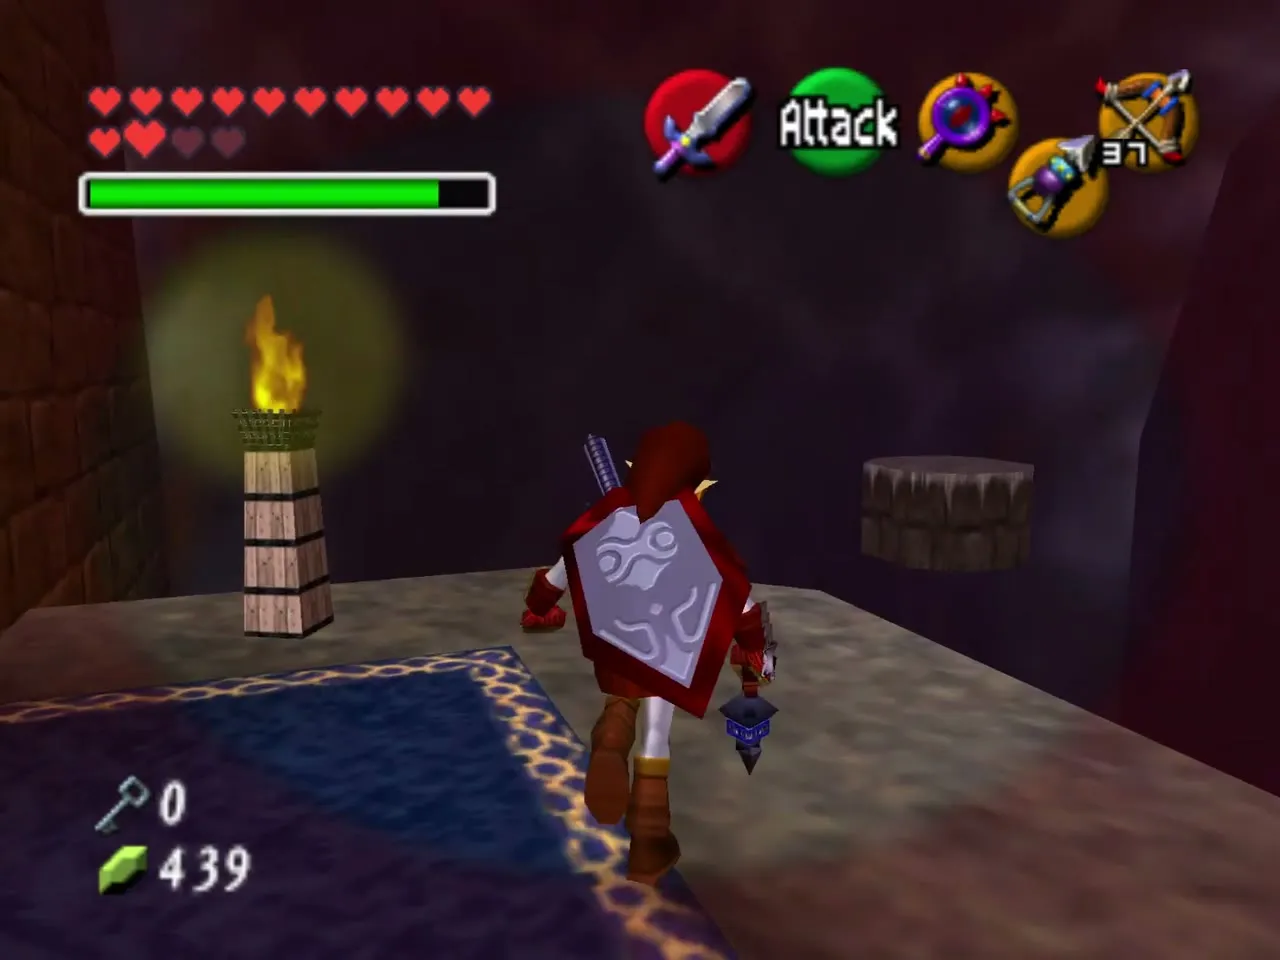
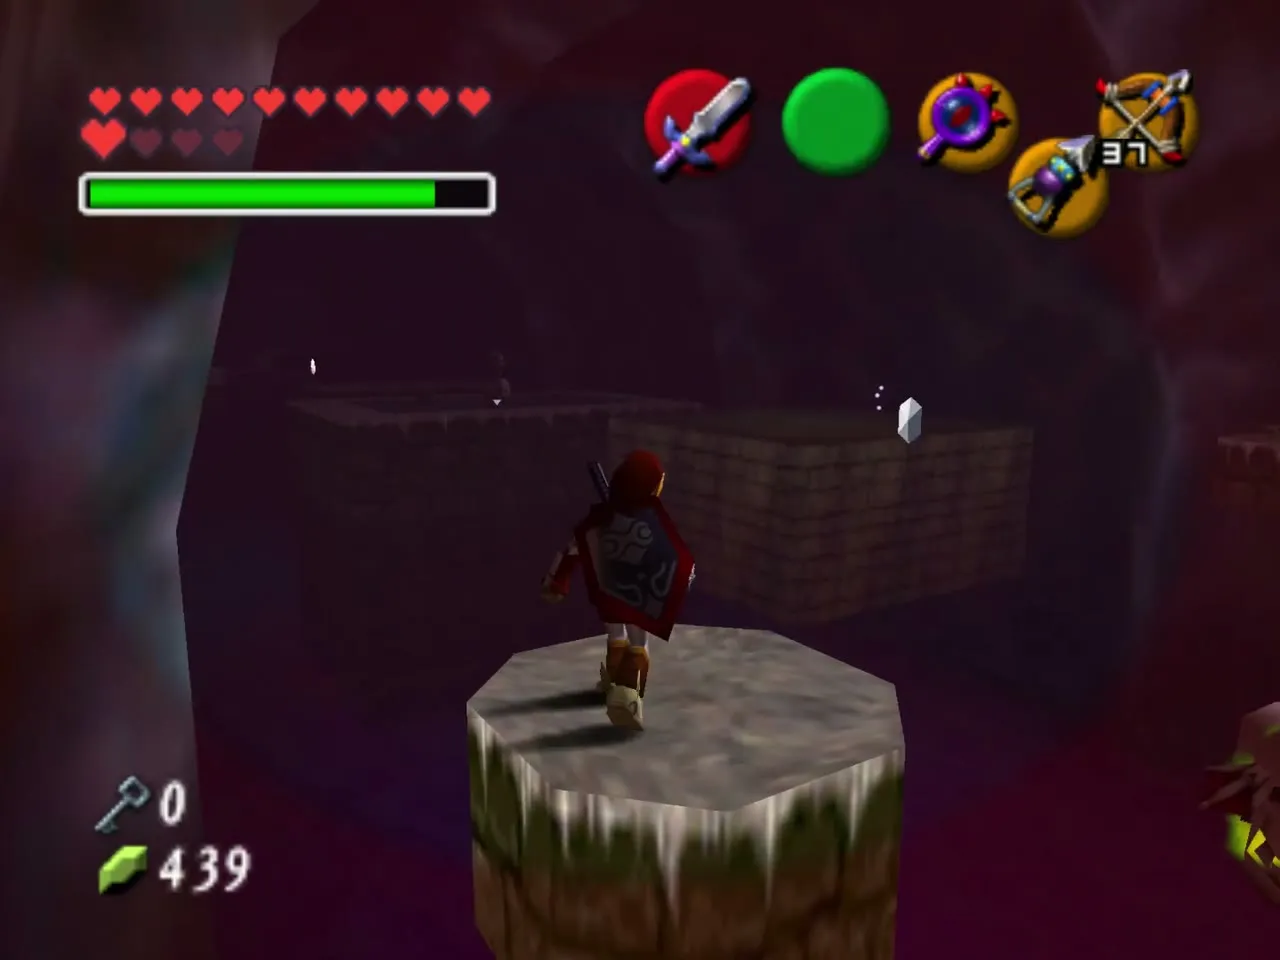
With the Lens on, an invisible platform slides diagonally across the pit. Run onto it with the Hover Boots as it comes toward you and take the first Silver Rupee. Hop to the Bomb Flower platform for the second, then go on to the Beamos platform; the Beamos hides the third rupee, so destroy it first.
Torch, floating platform and Small Key
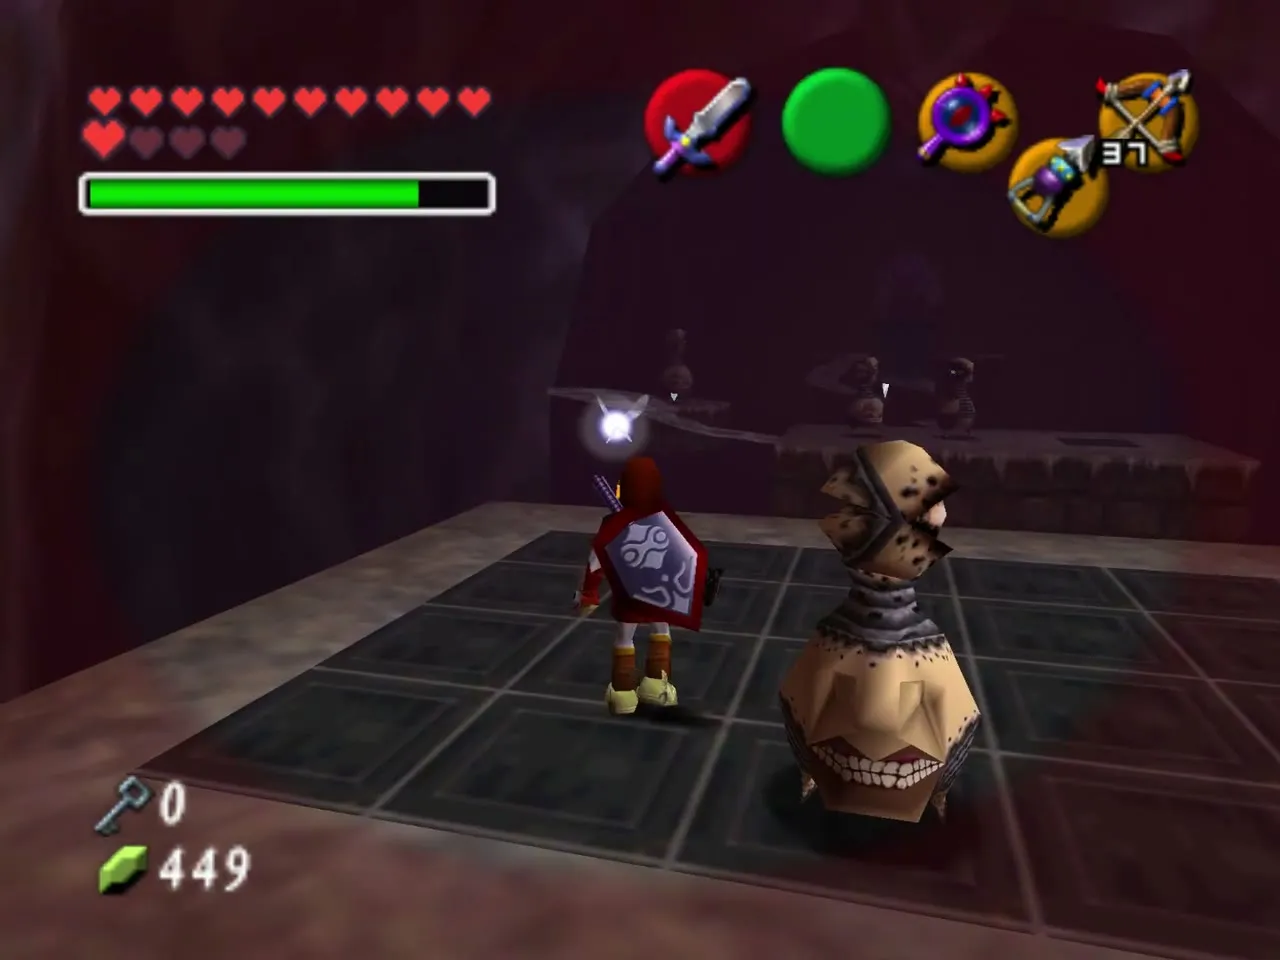
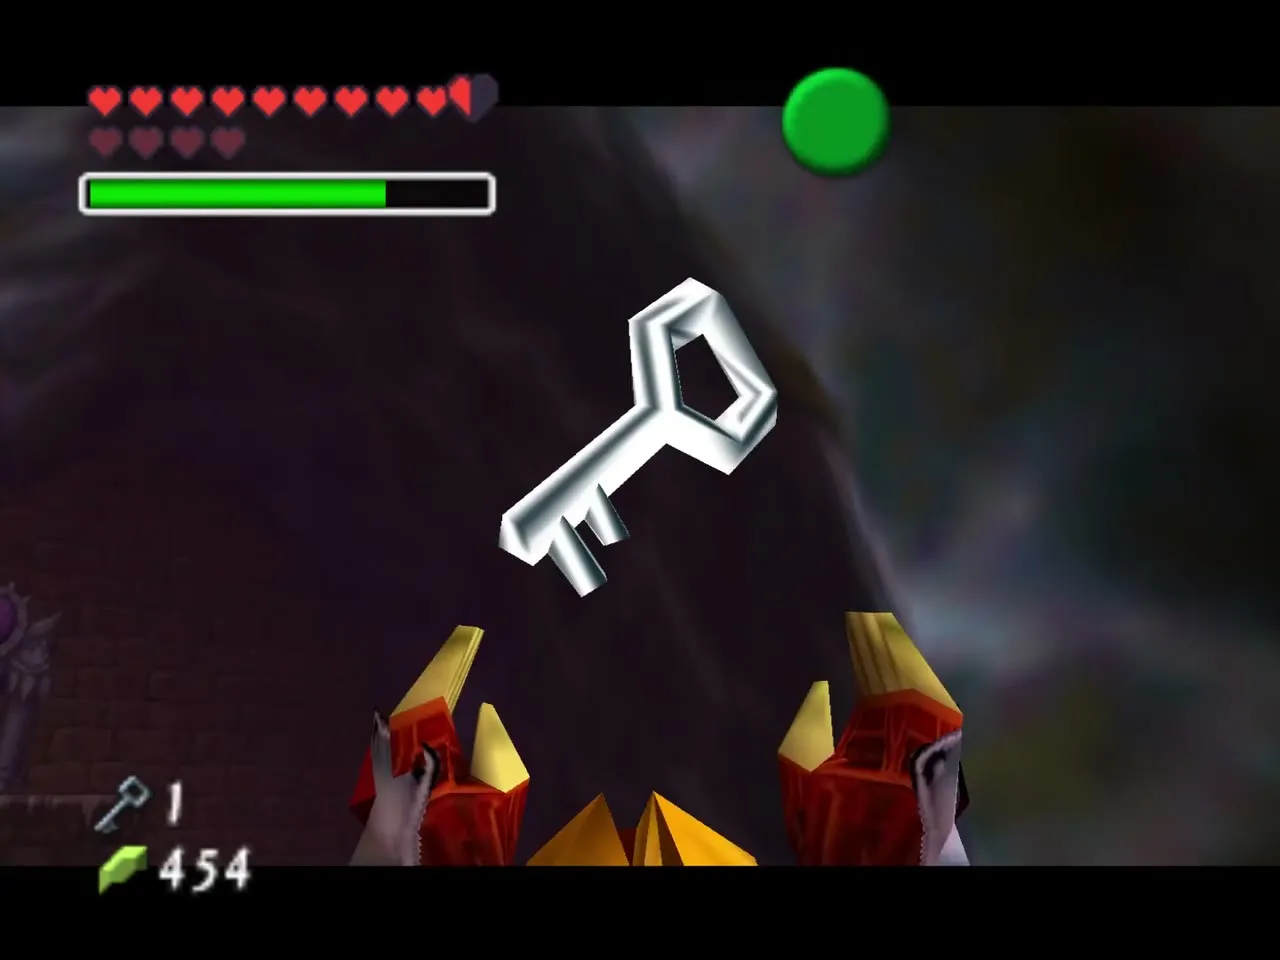
A torch lies sunk in the floor: light it with a Fire Arrow or Din’s Fire and a translucent platform rises to cross the next pit. A Beamos guards it, so throw a Bomb into its centre. Turn around on the far side and shoot the eye switch, aiming around the see-through block. A chest appears containing a Small Key.
Invisible paths and the guillotine
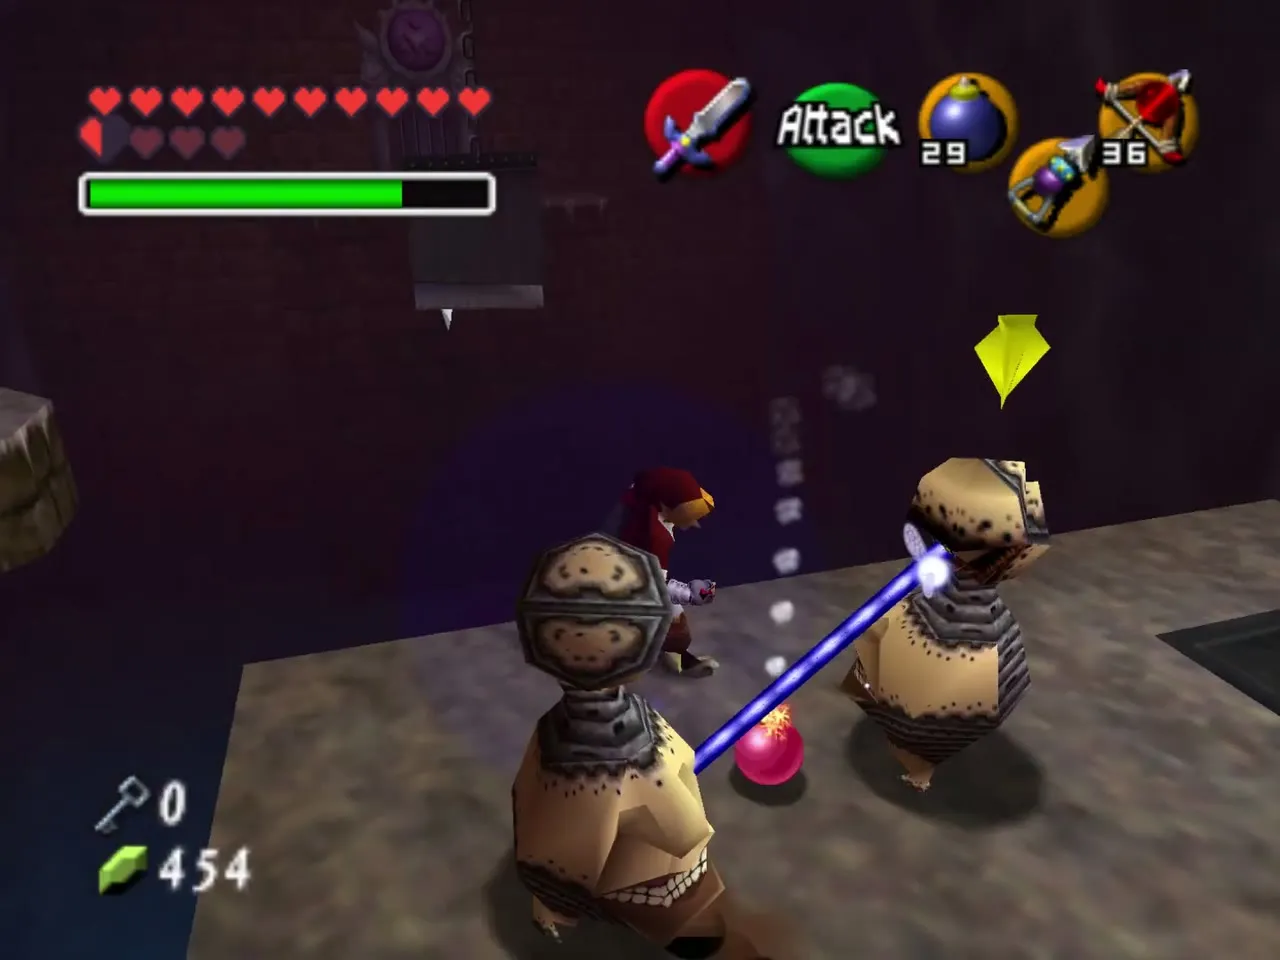
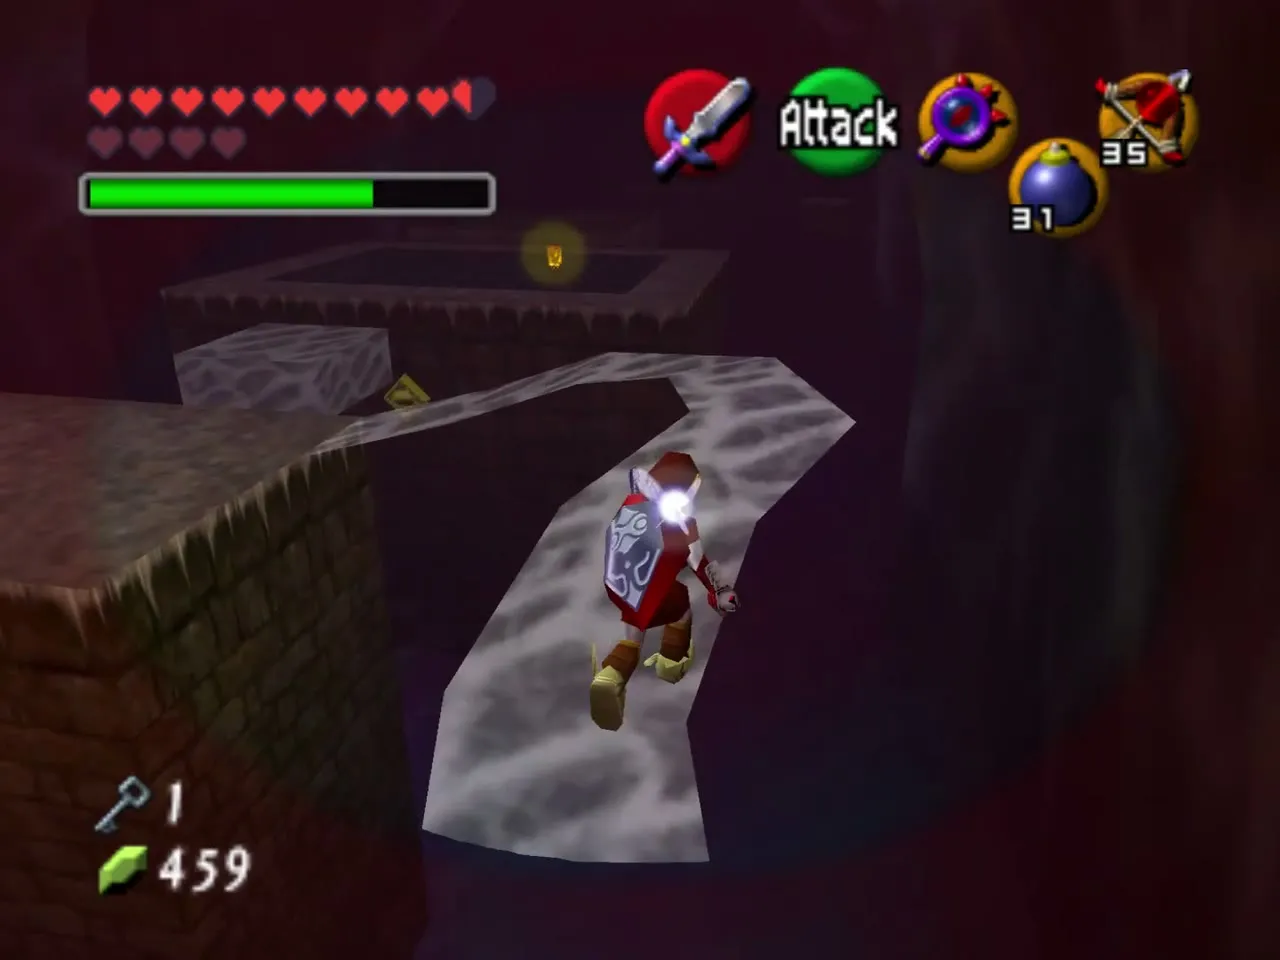
The Lens shows two hidden paths branching from the platform. The left one ends at a lone Beamos platform; kill the Beamos for the fourth rupee, then come back. The other path leads to the exit but passes a swinging blade, and a hit from it throws you off the edge. Time your jump past the guillotine; the fifth Silver Rupee is on the way and it opens the door.
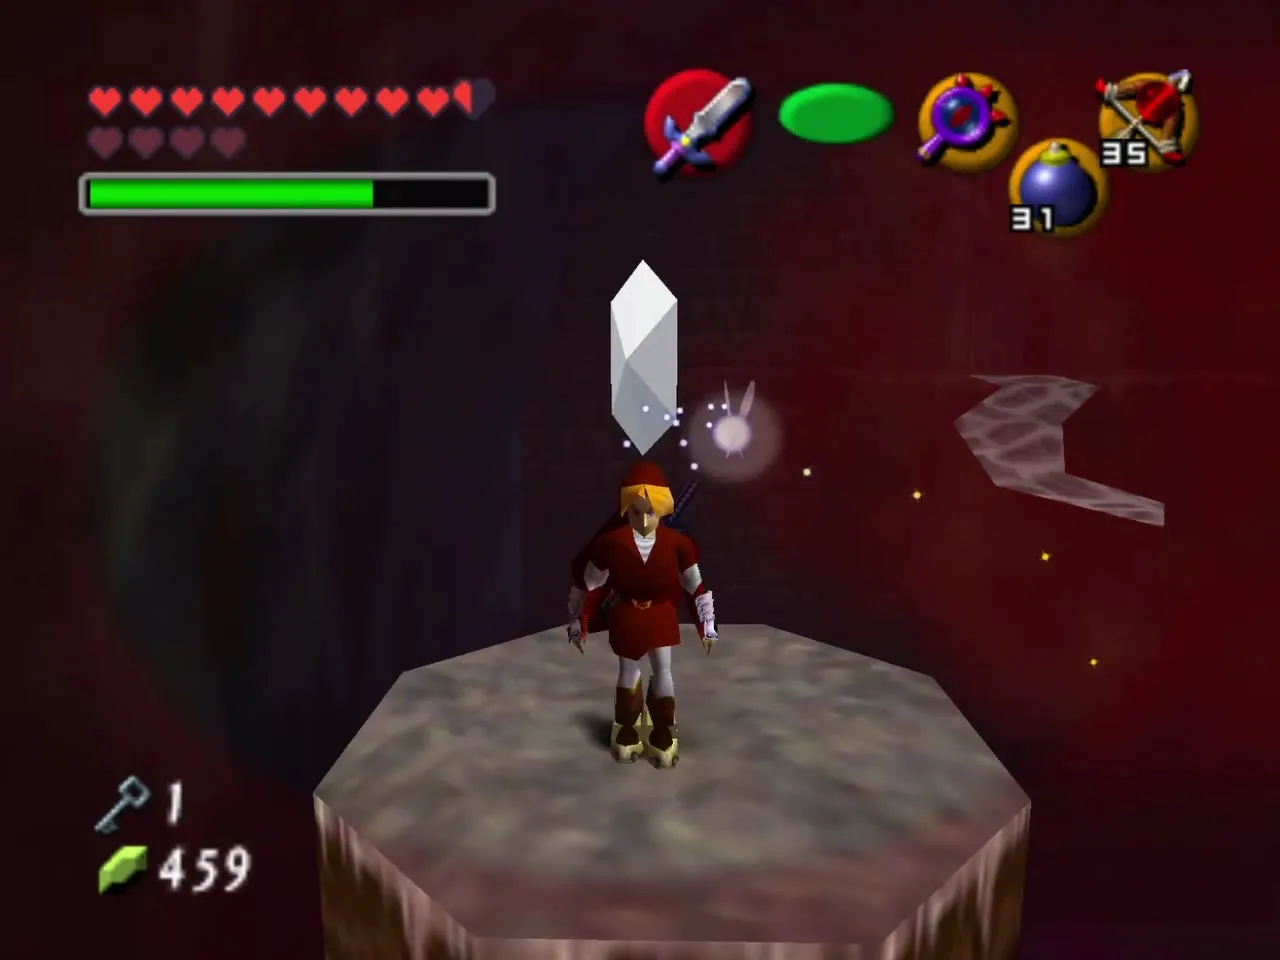
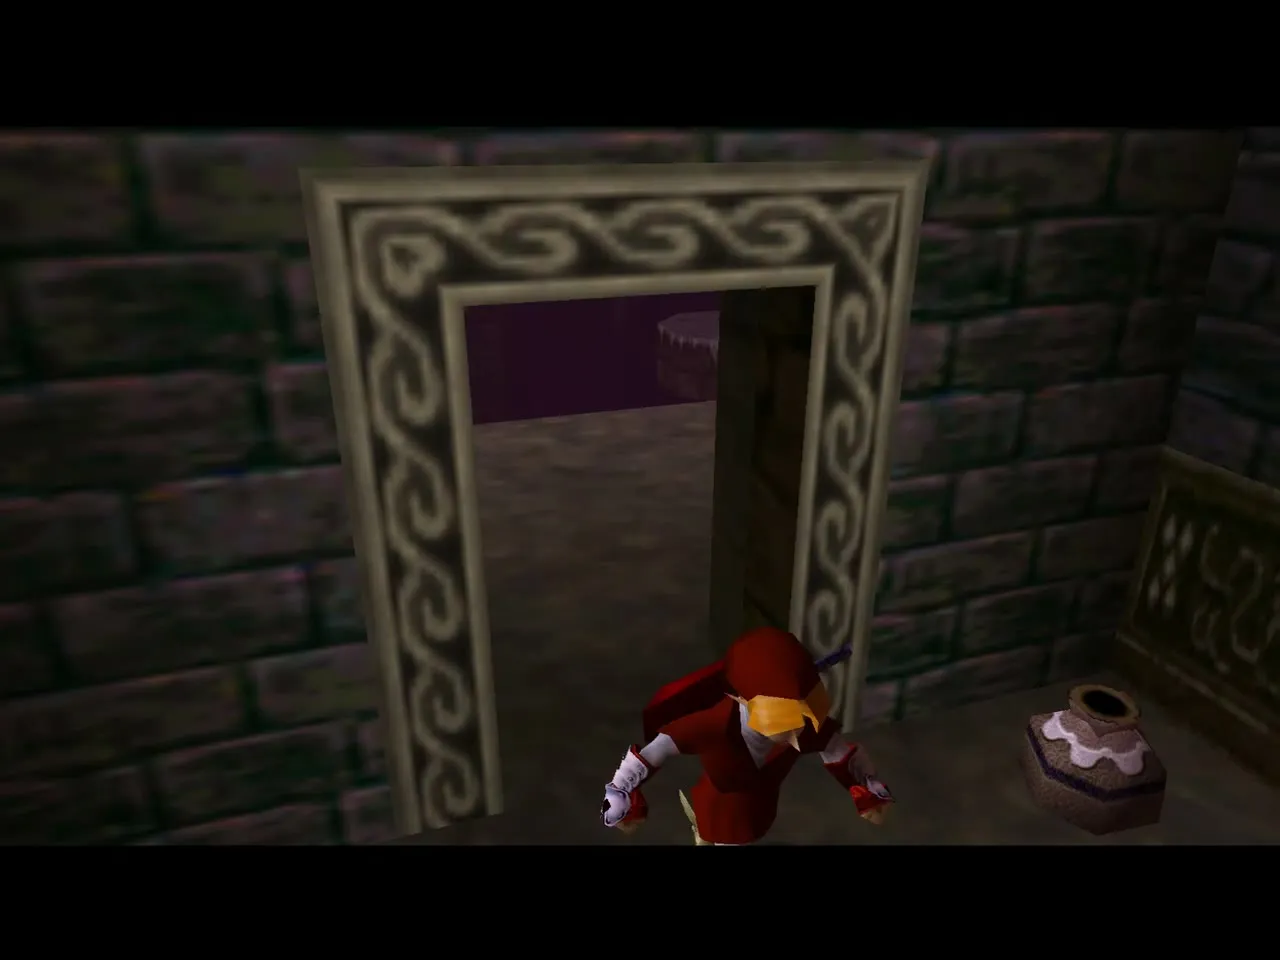
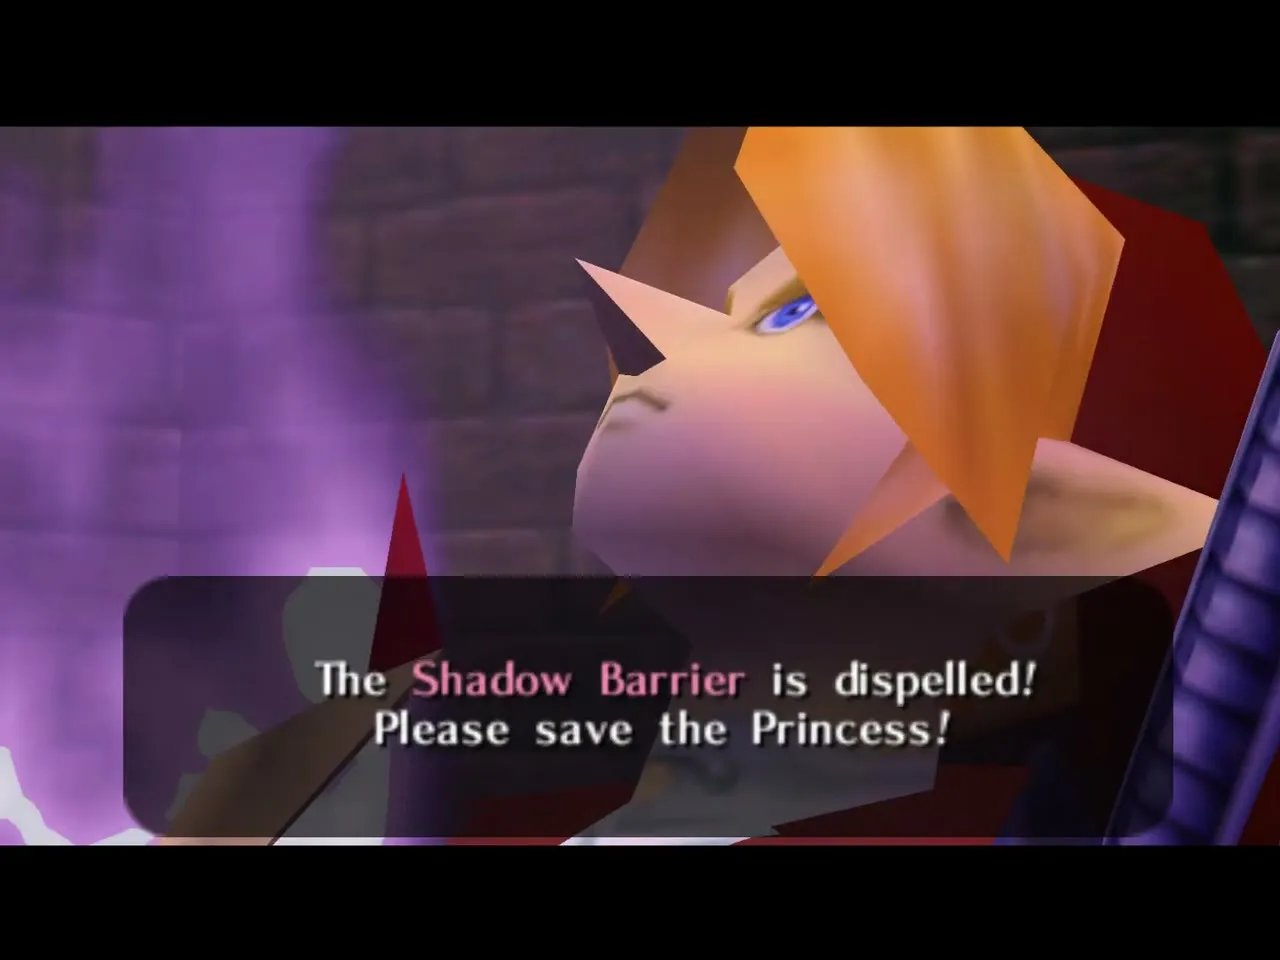
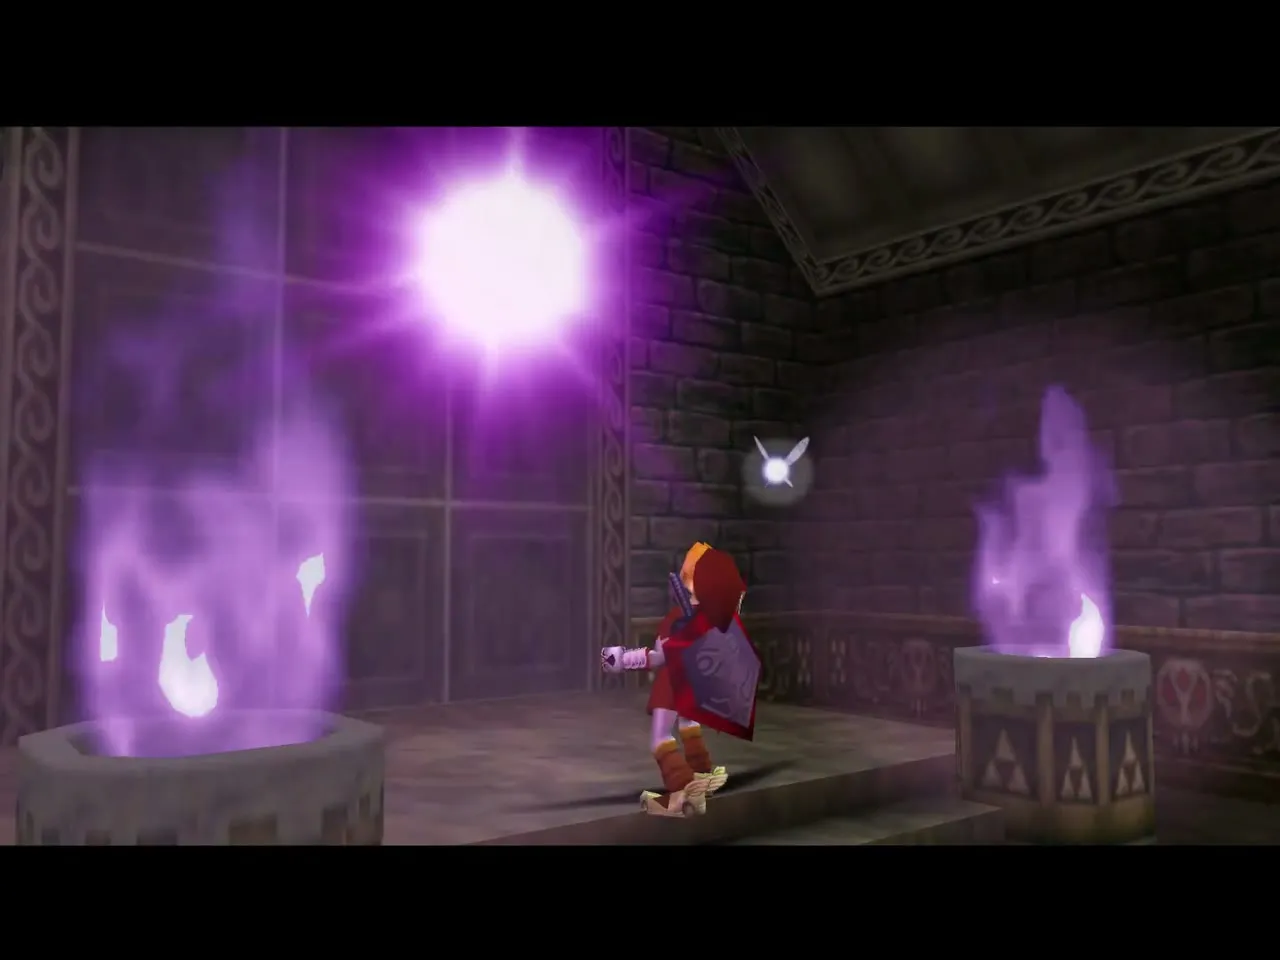
Break the jars if you need refills, shoot the core with a Light Arrow and Impa dispels the Shadow Barrier.
Spirit Trial: Golden Gauntlets
Iron Knuckle and the rusty switch
Defeat the two Fire Keese and the Torch Slug in the first room, then turn to the silver eye switch above the door you came through and shoot it. An Iron Knuckle drops into the room. Let it smash the stone thrones in the middle before you finish it, because they hide a rusty switch. When it falls, hit the switch with the Megaton Hammer to unlock the next door.
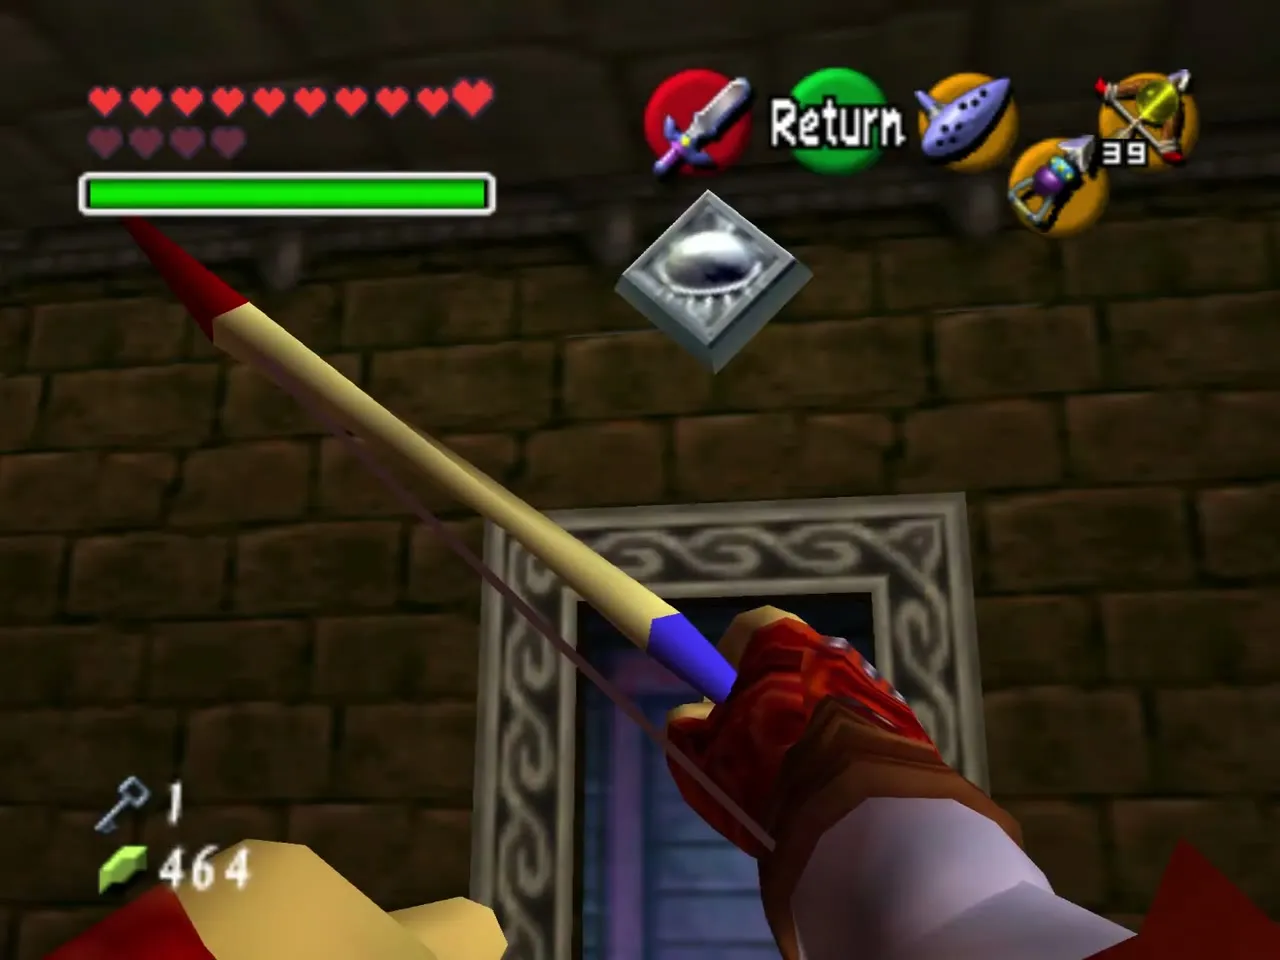
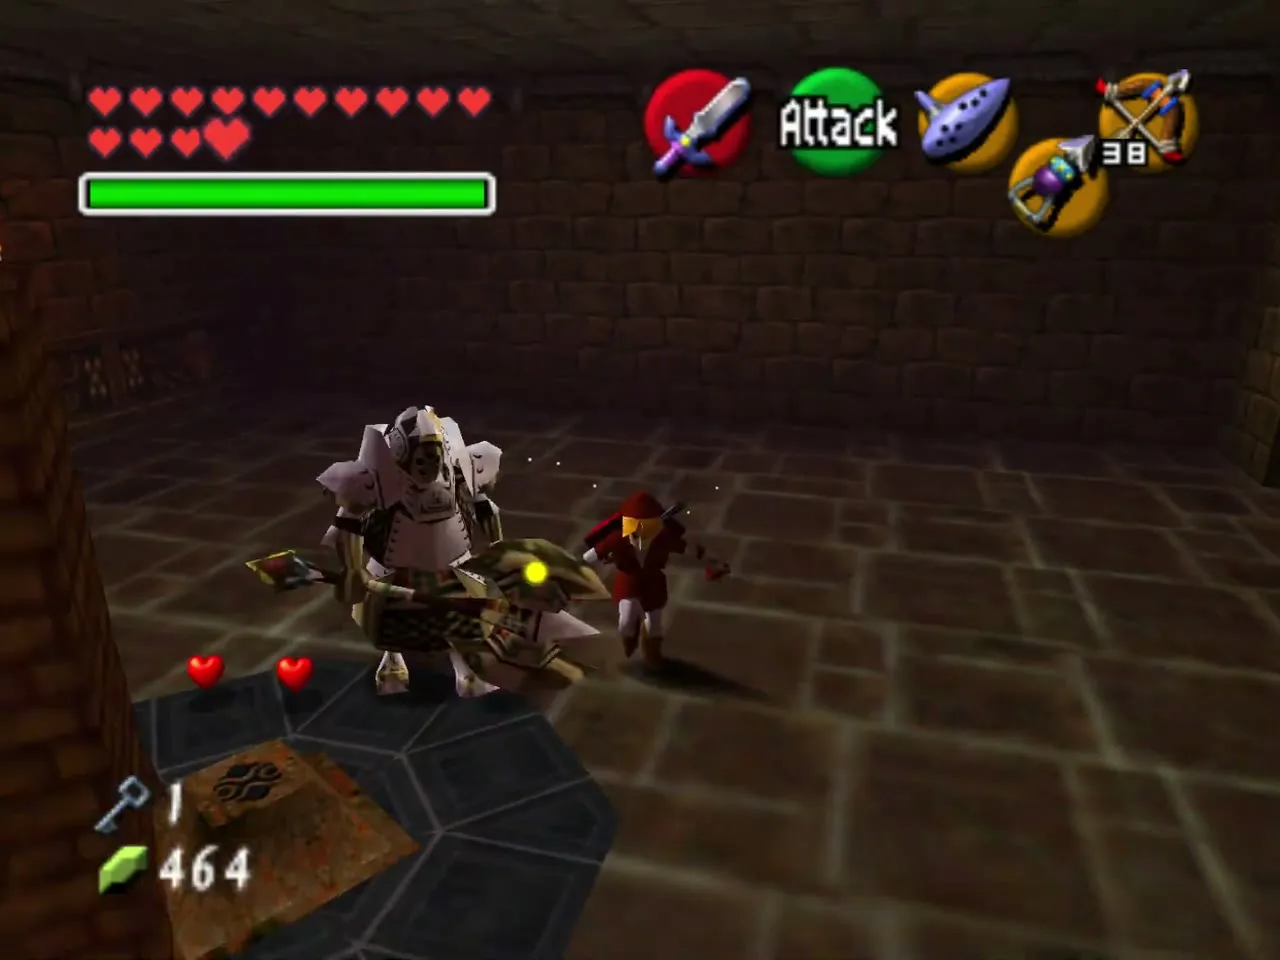
The Bombchu chest and the caged switch
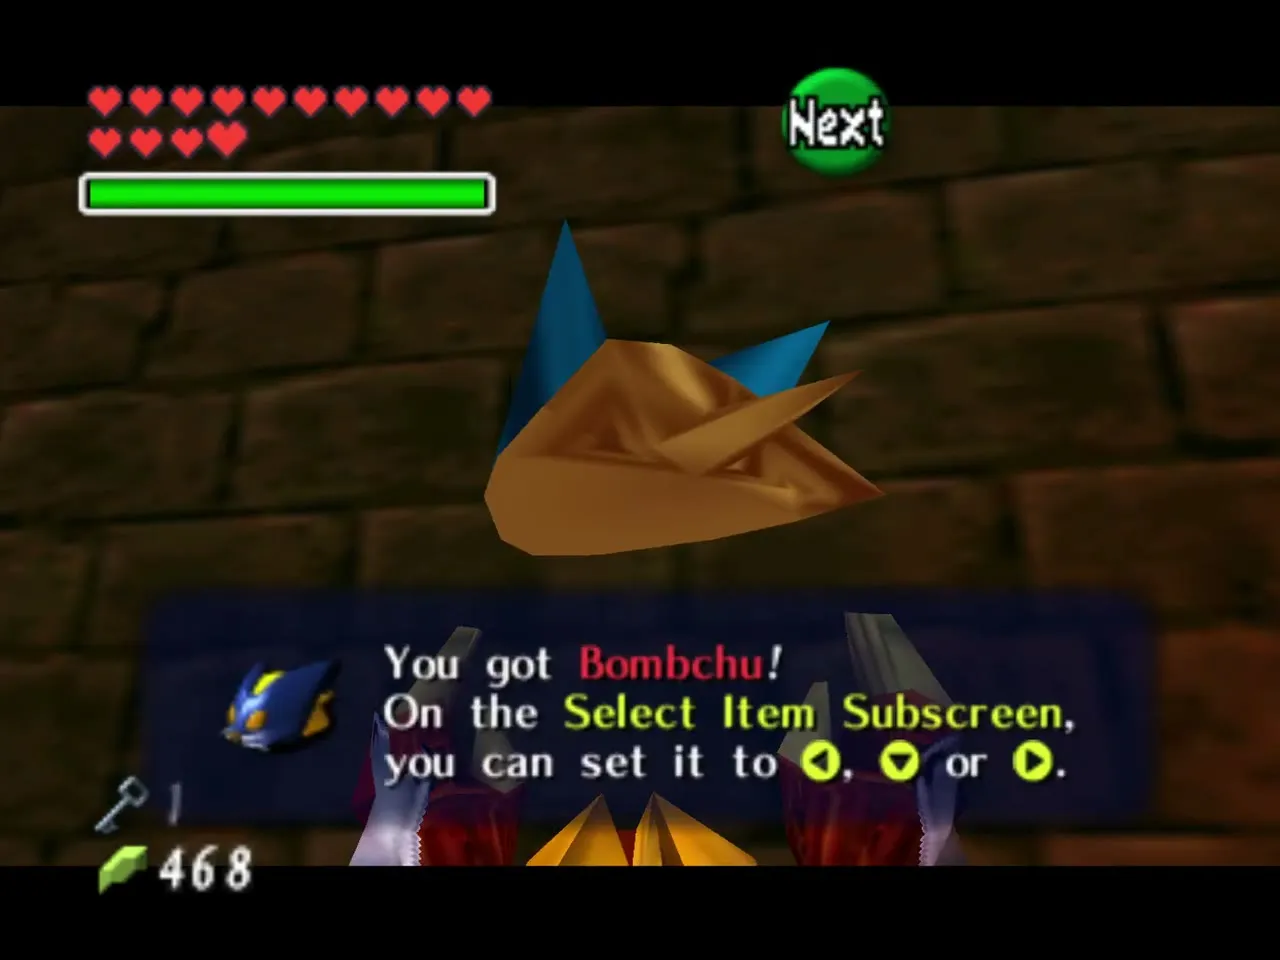
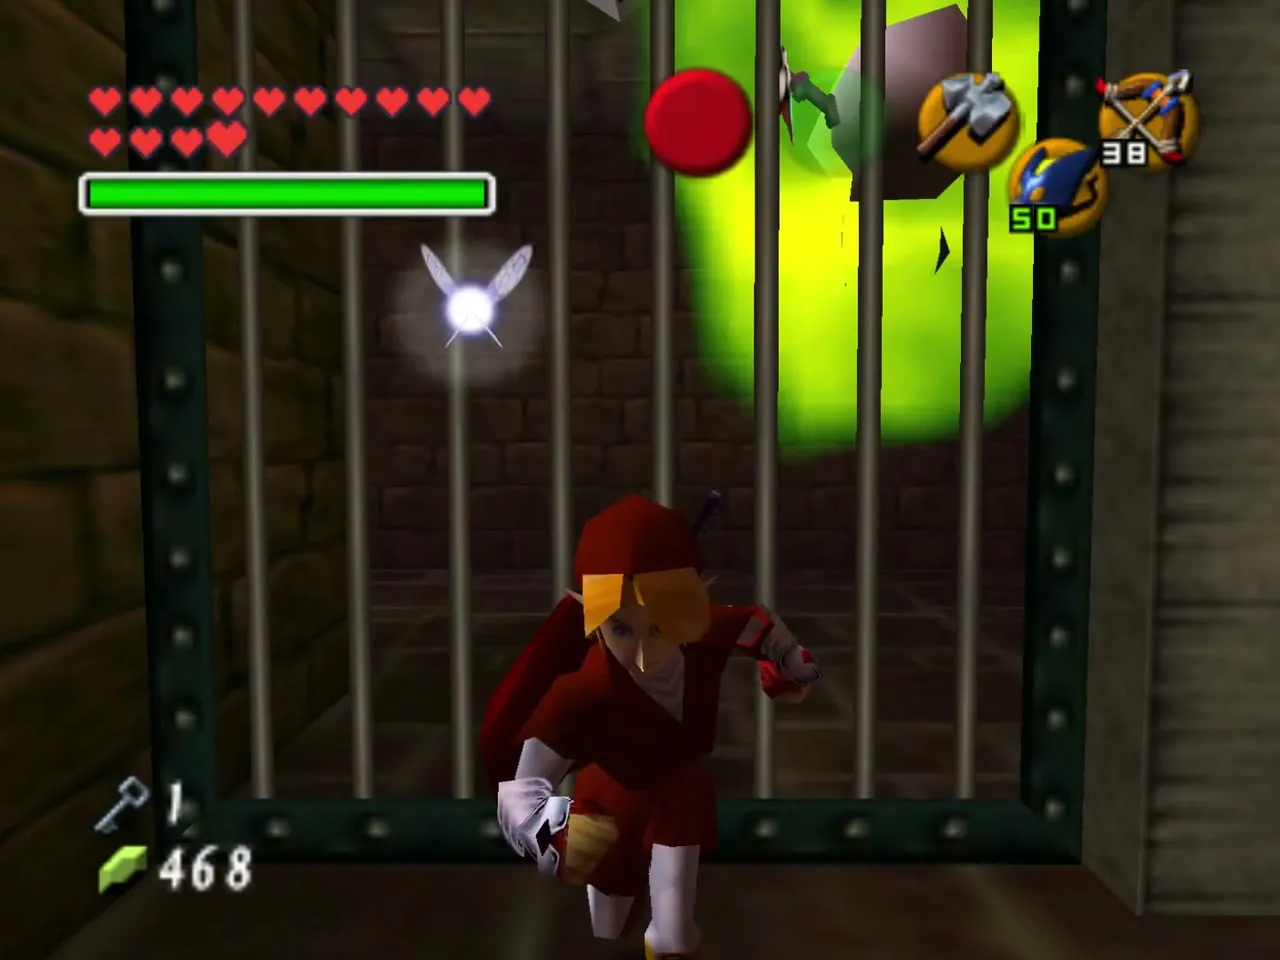
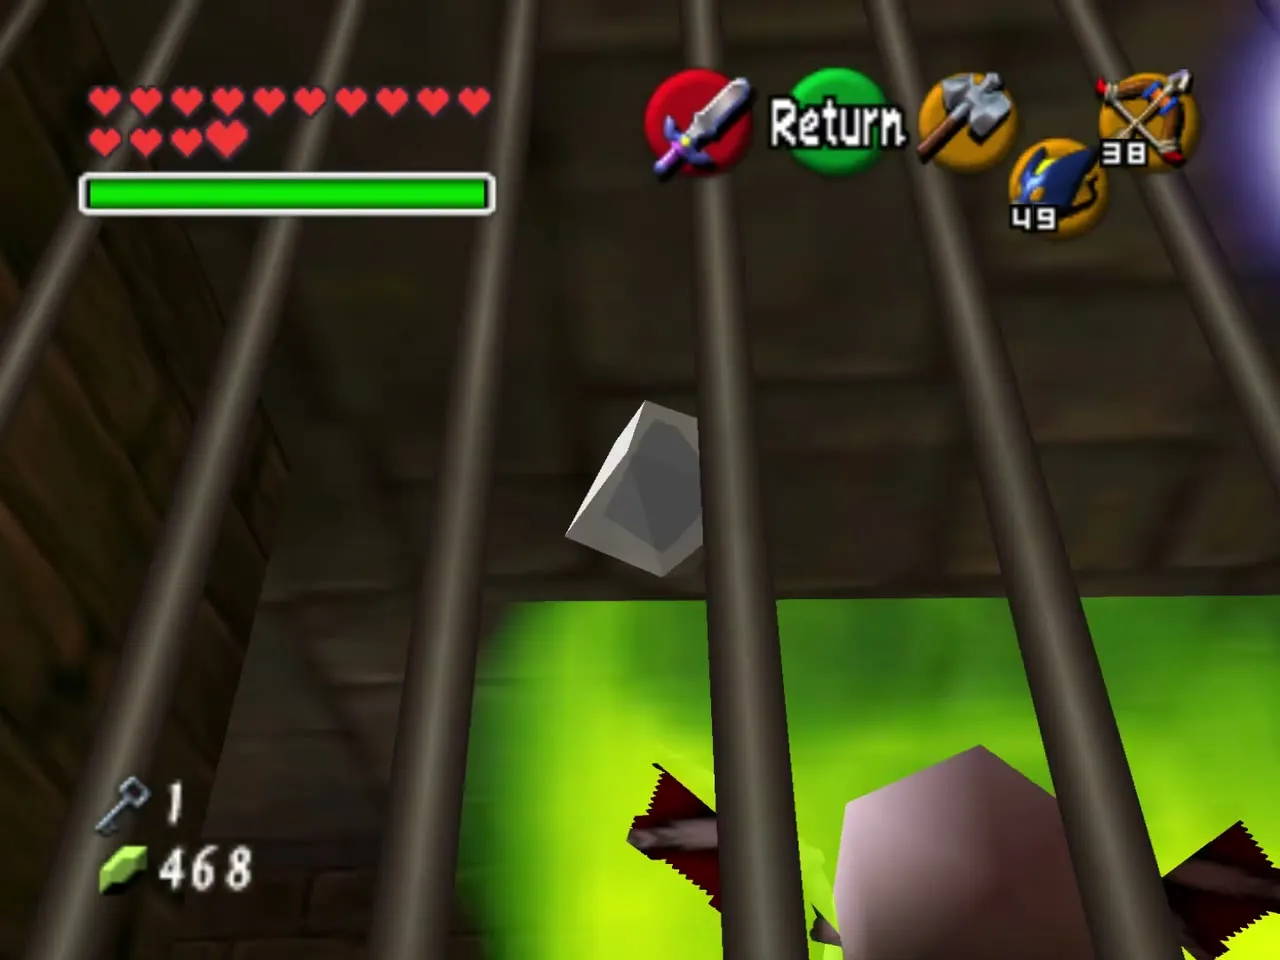
Kill the Green Bubble just inside and open the chest for Bombchus. A crystal switch behind the bars opens the next door; there is a gap along the top of the bars, so stand directly beneath it, face away and drop a Bombchu. It climbs the wall, goes through the gap and circles the room to strike the switch, so line it up carefully. Another Green Bubble waits on the other side.
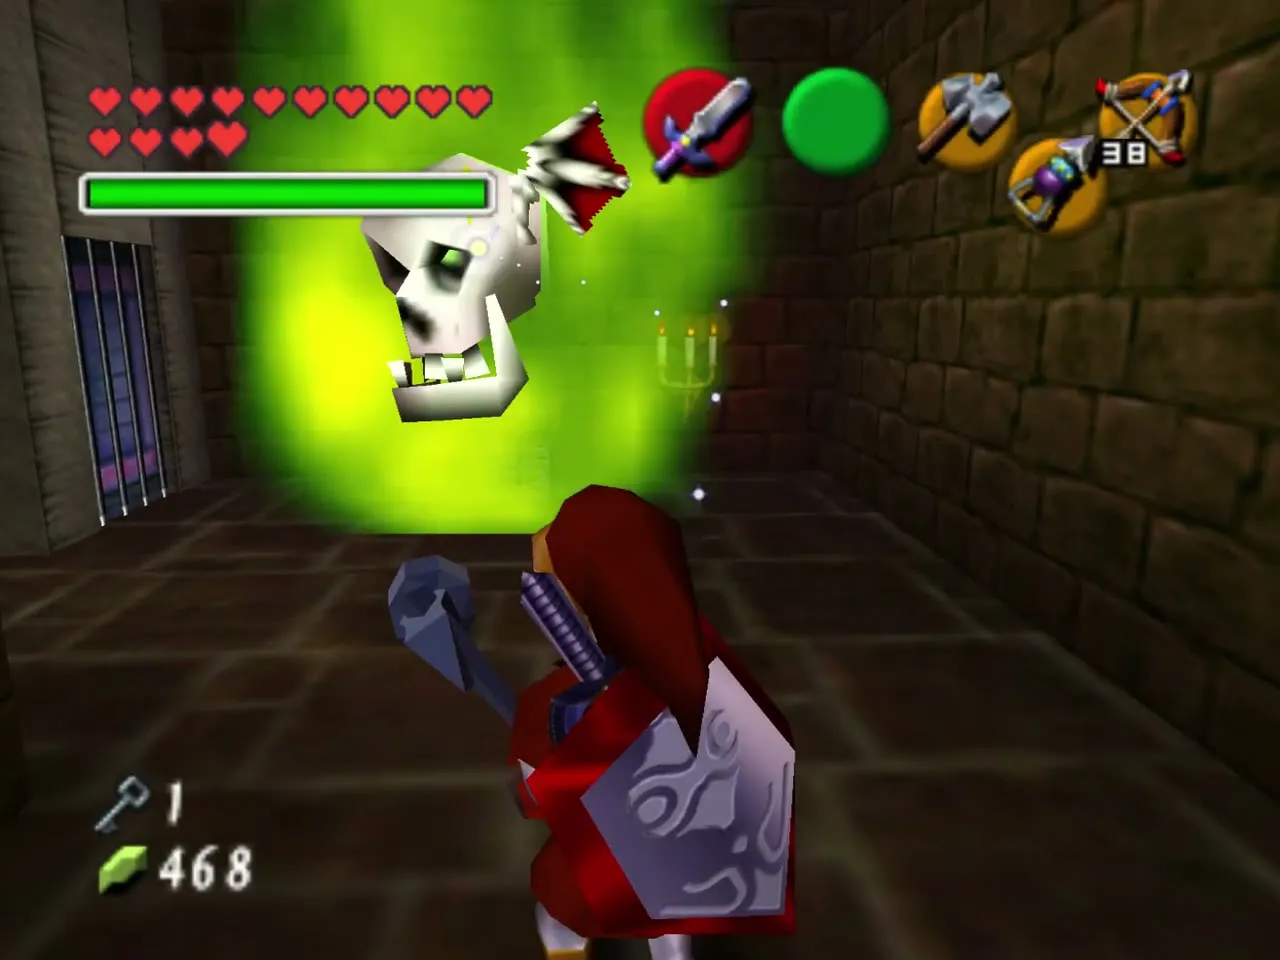
Gibdo, ReDeads and the cobweb
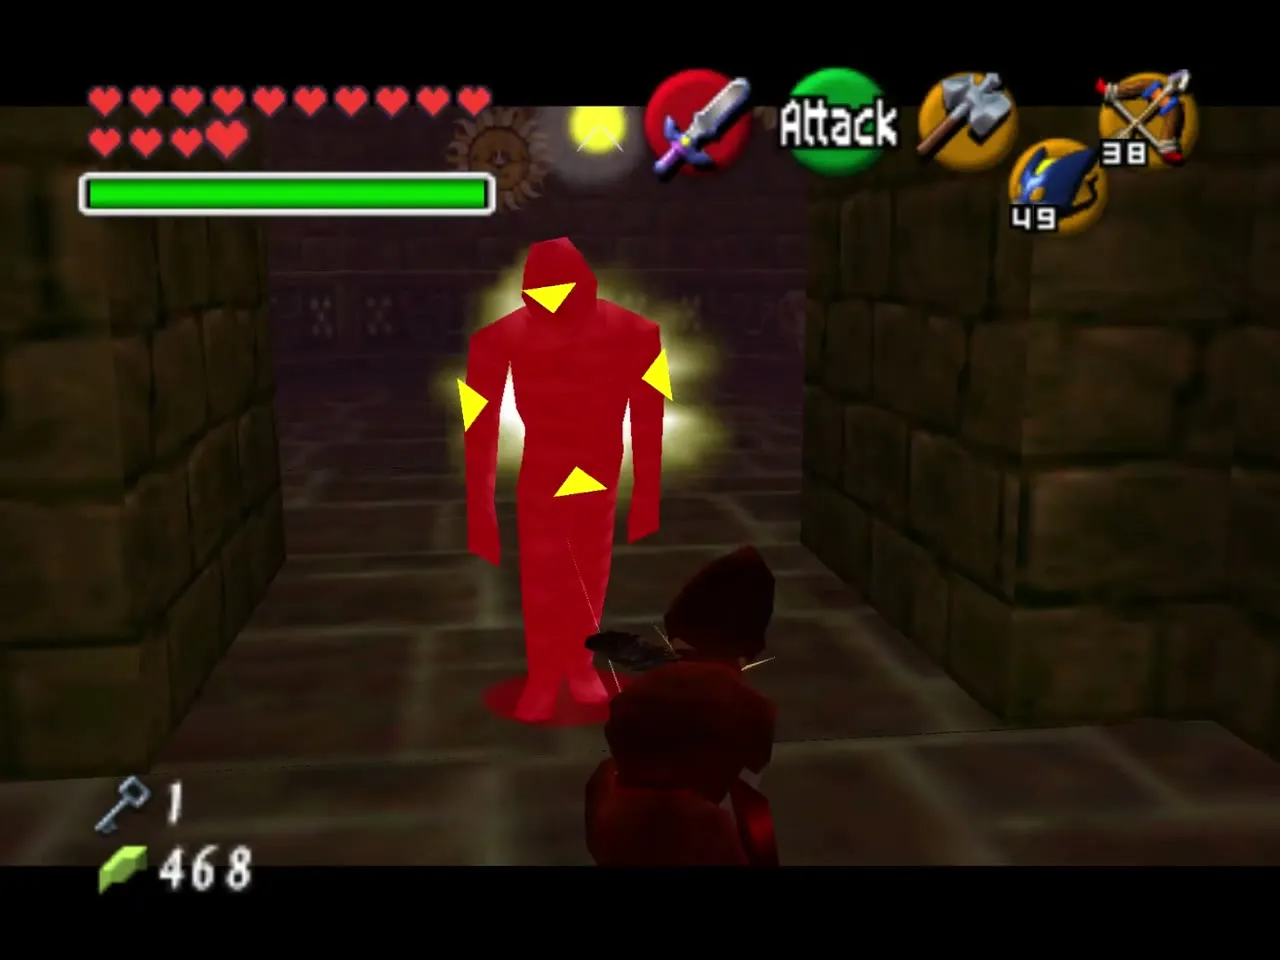
The passage ahead holds a Gibdo and two ReDeads. Play the Sun’s Song to freeze them, then cross into the room of sun faces and burn them with Din’s Fire. A cobweb on the ceiling blocks the sunlight, so burn it with a Fire Arrow to let the light in.
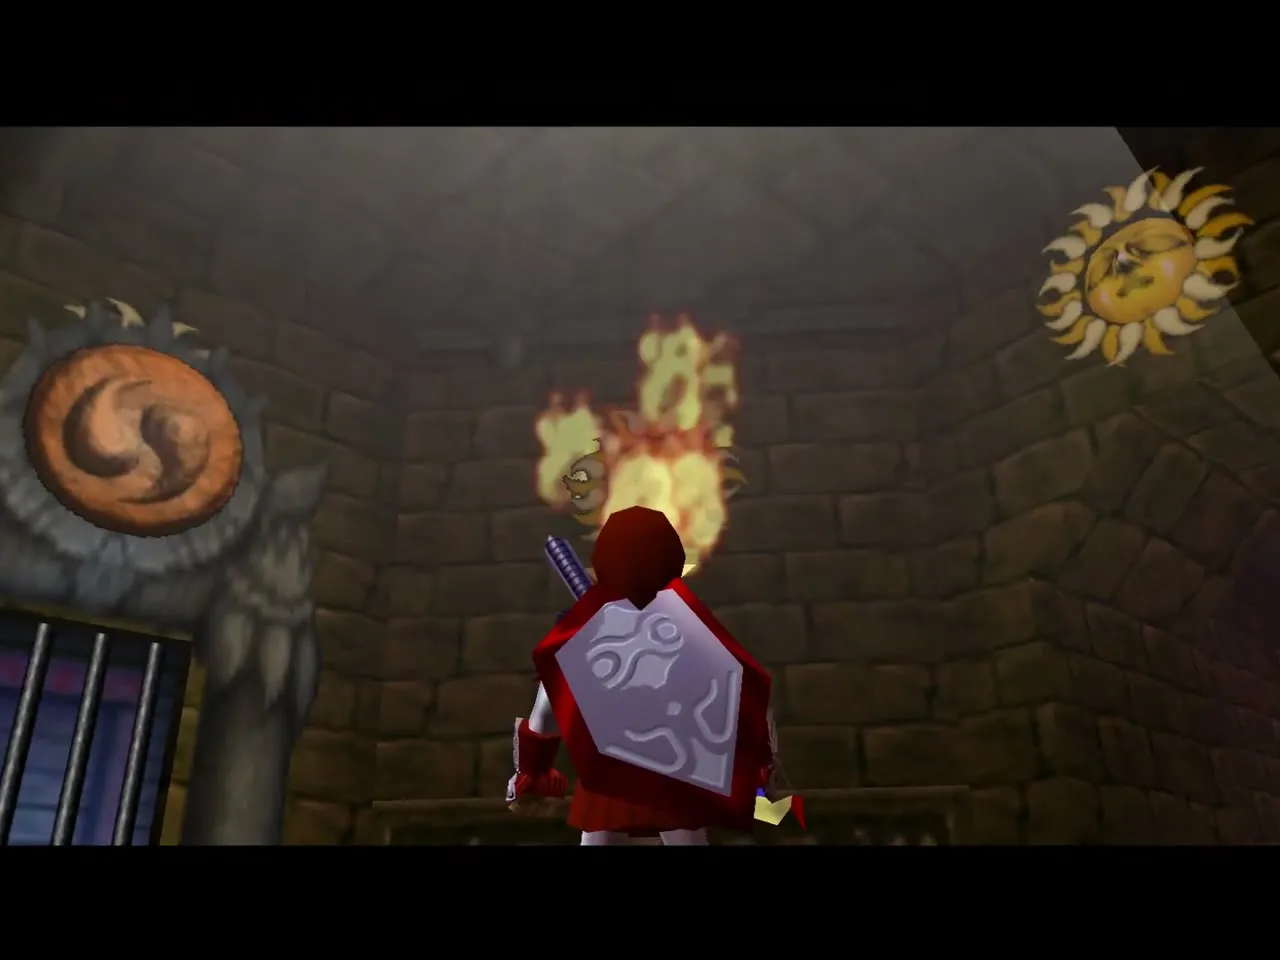
Sun faces, three chests and the Gauntlets
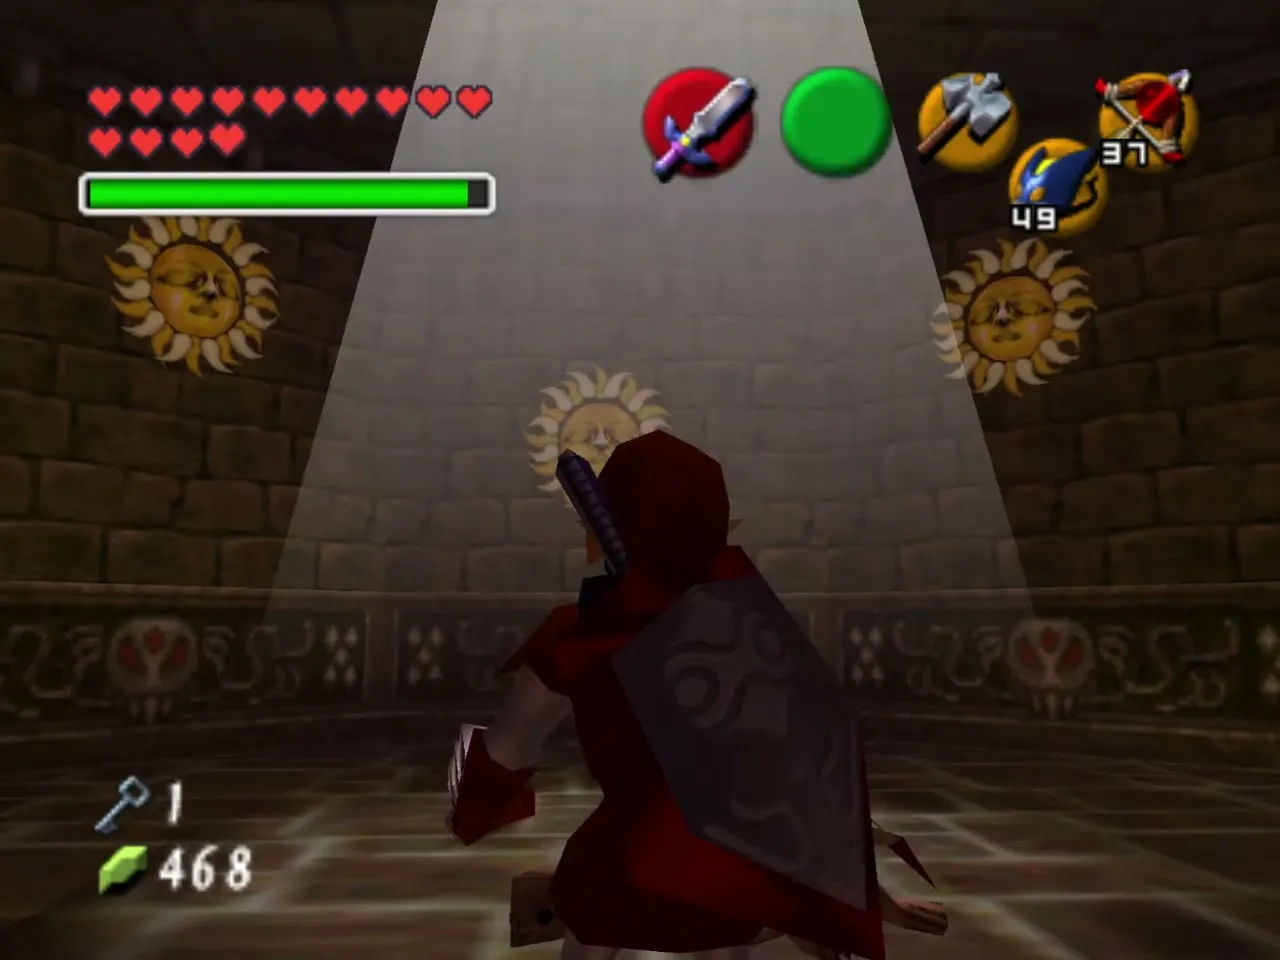
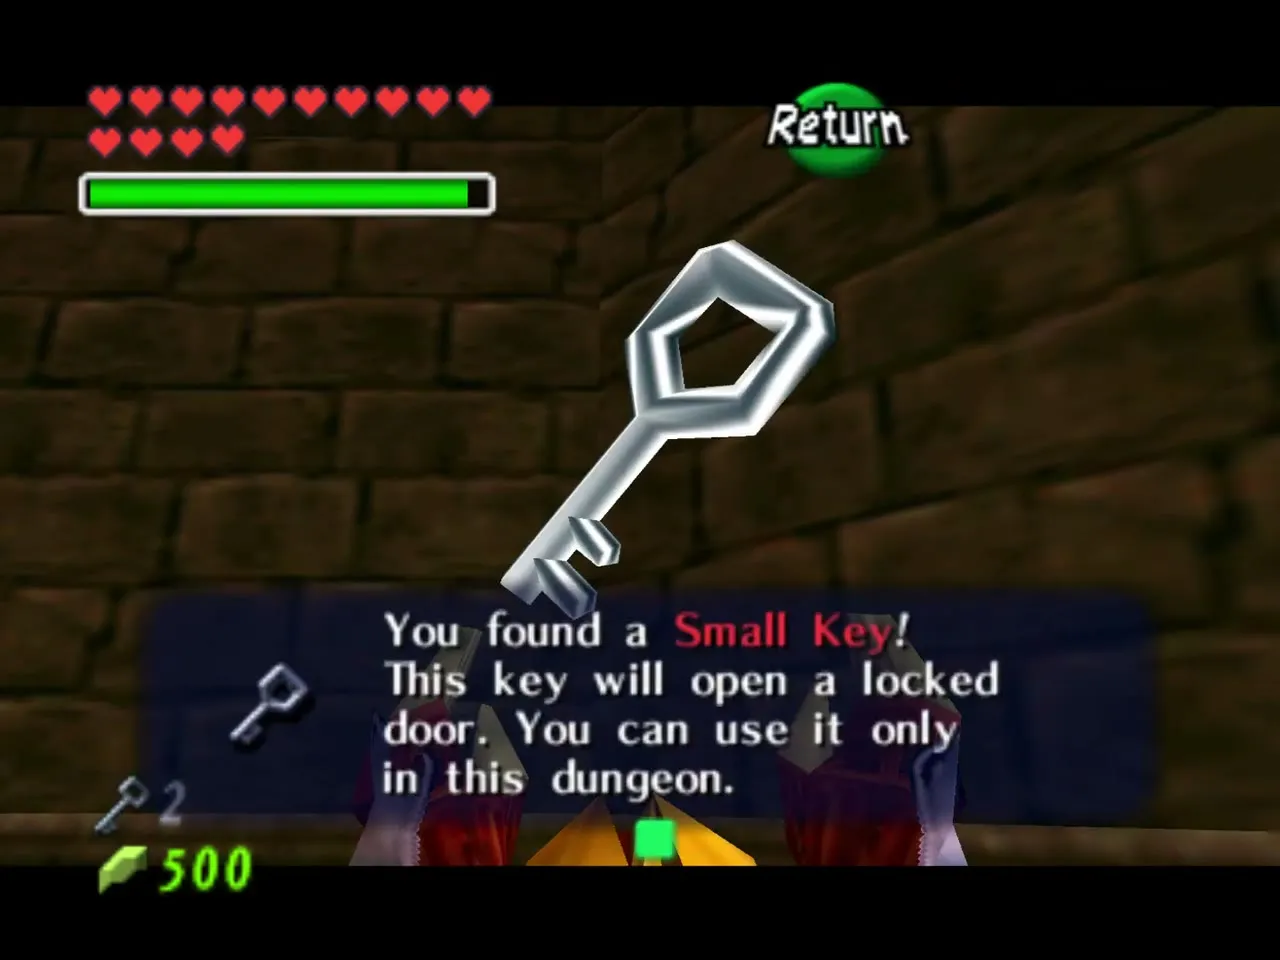
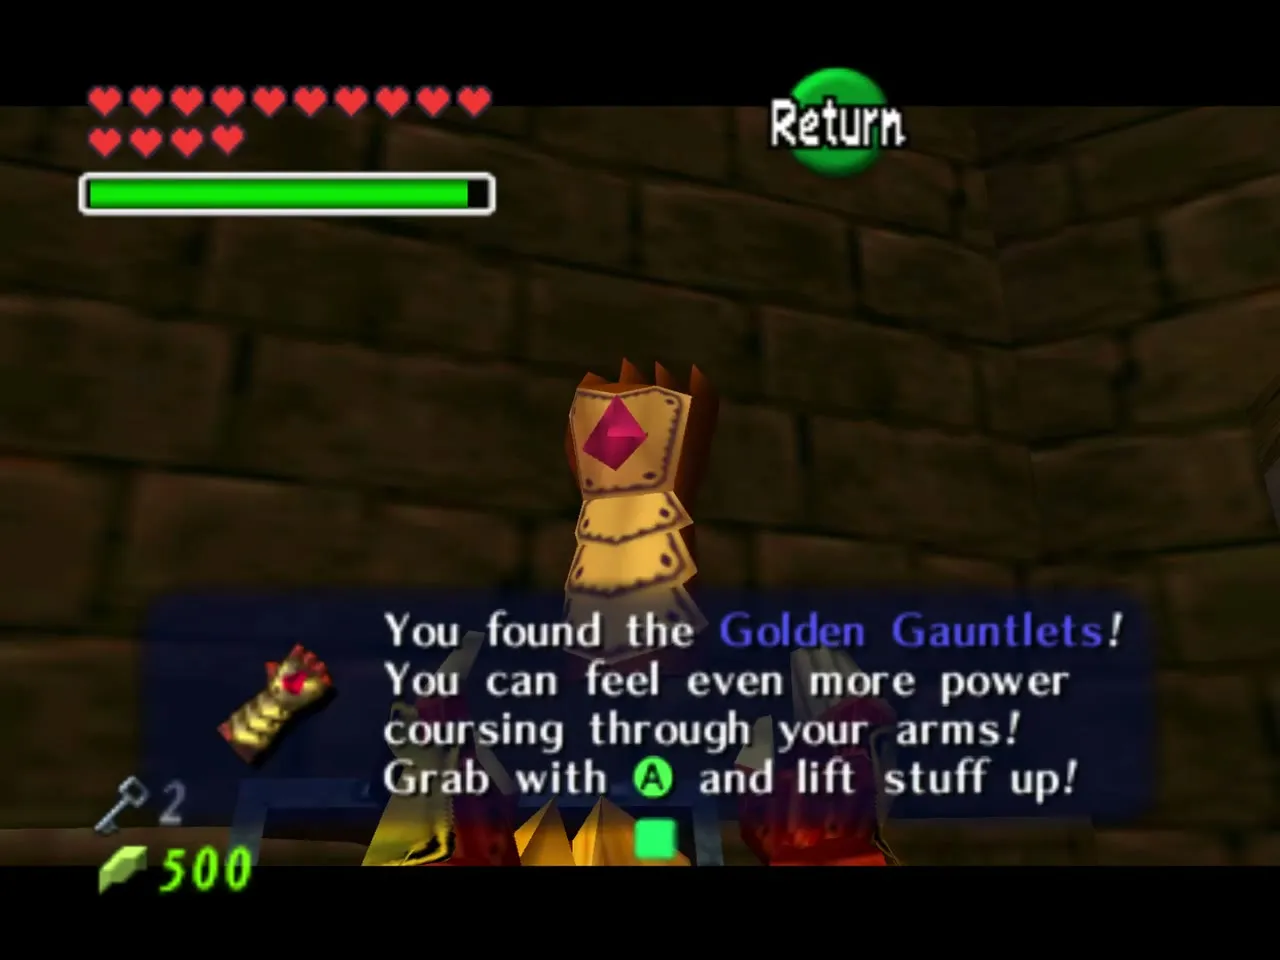
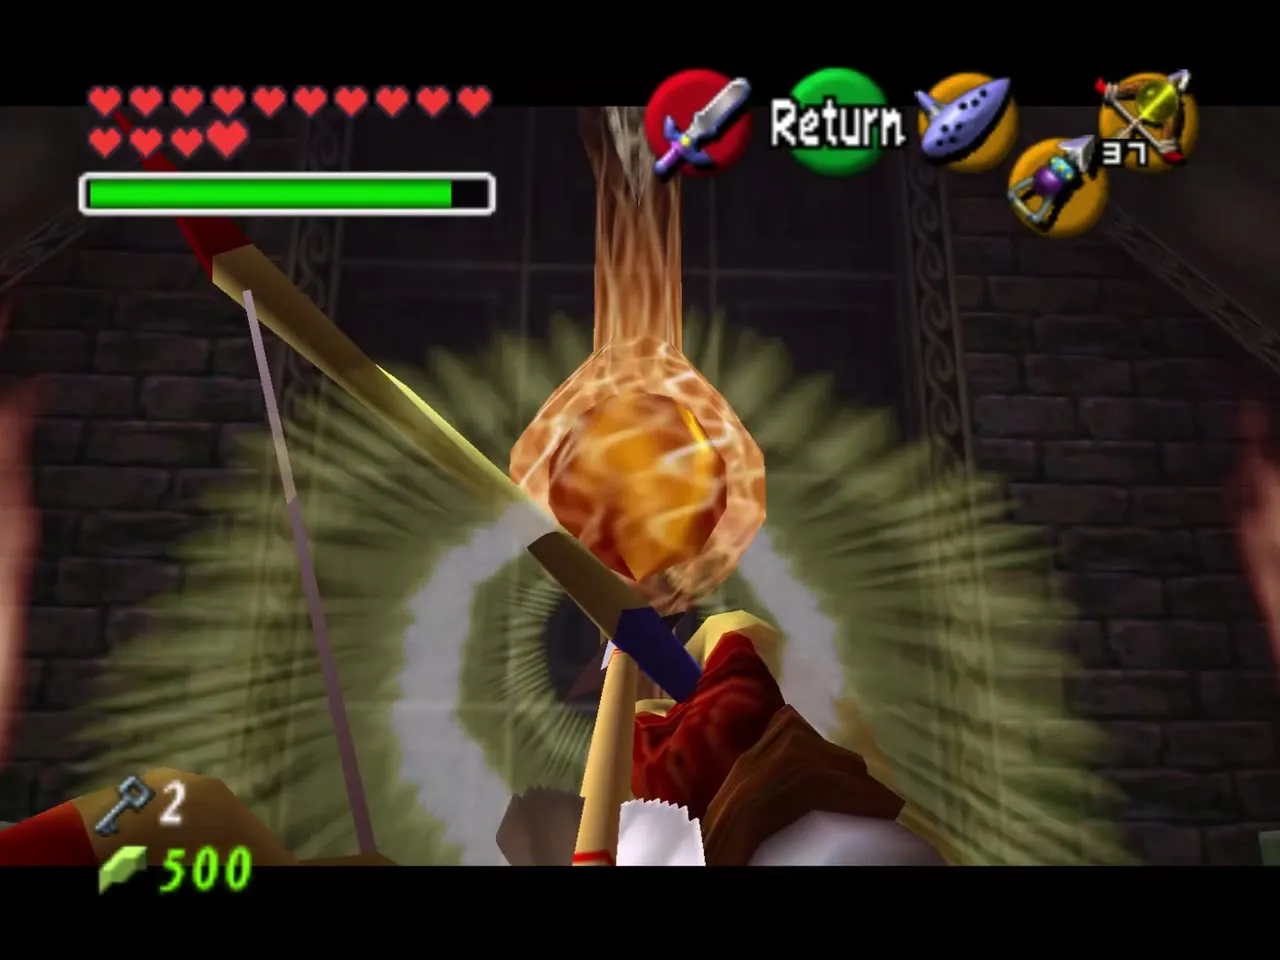
Reflect the light with the Mirror Shield onto each sun face in turn. The face over the archway you entered by sends a Wallmaster, so skip it. Going clockwise, the faces open chests holding a Recovery Heart, a Small Key and another Recovery Heart (two faces open nothing), and the last one opens the large chest with the Golden Gauntlets. They let you lift the heavy black pillars from here on.
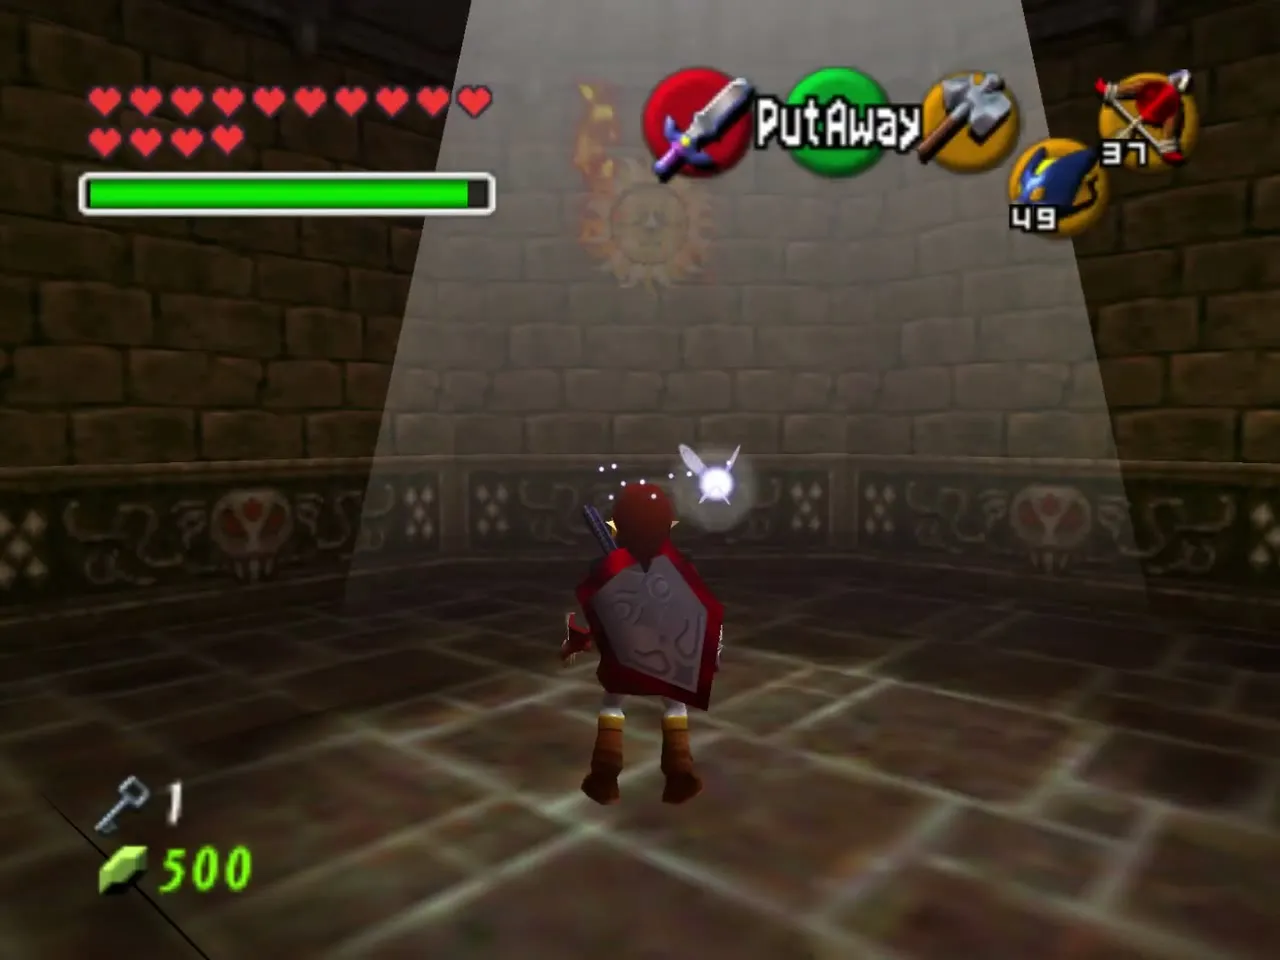
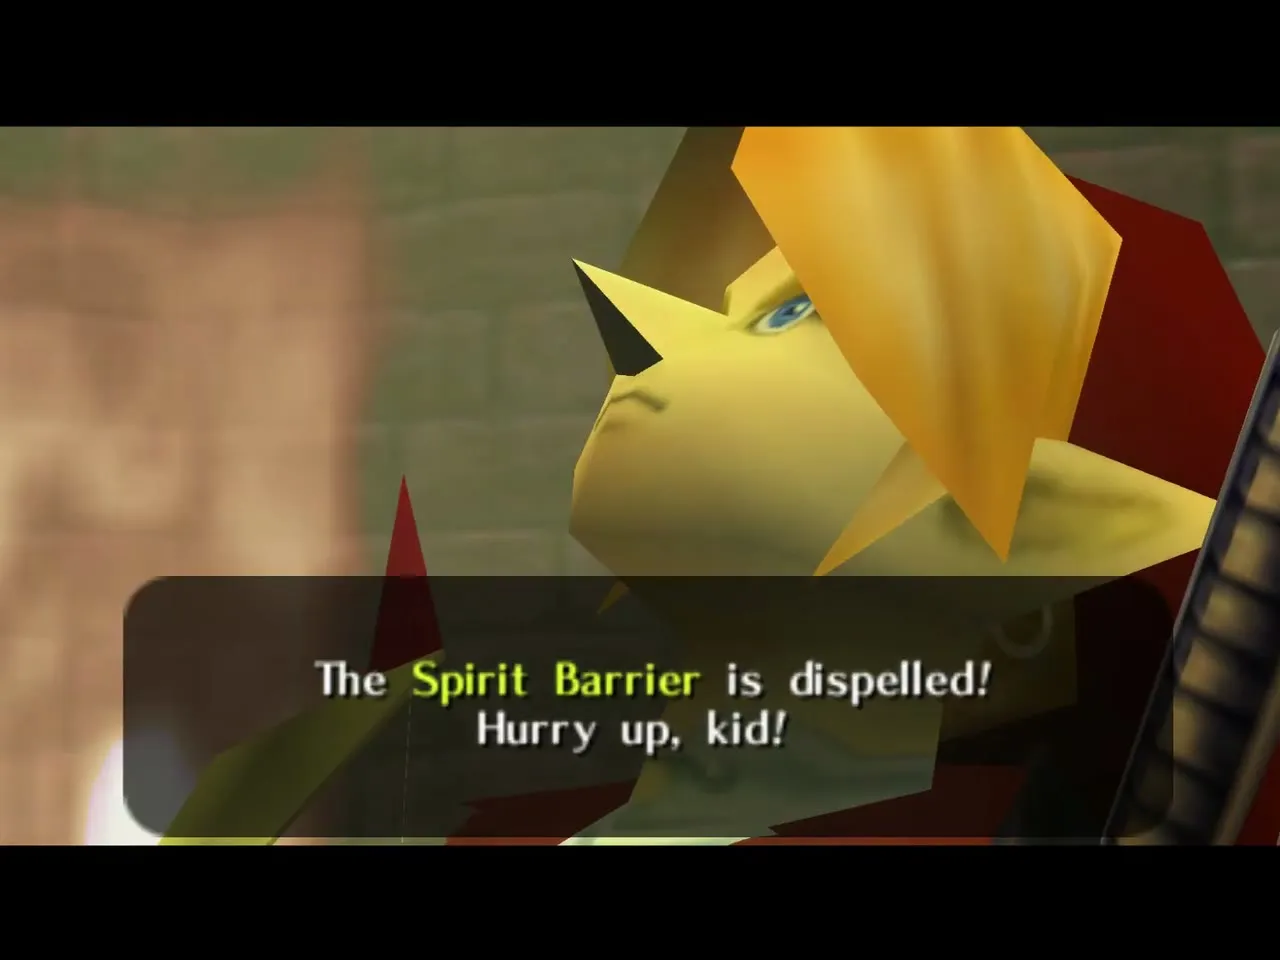
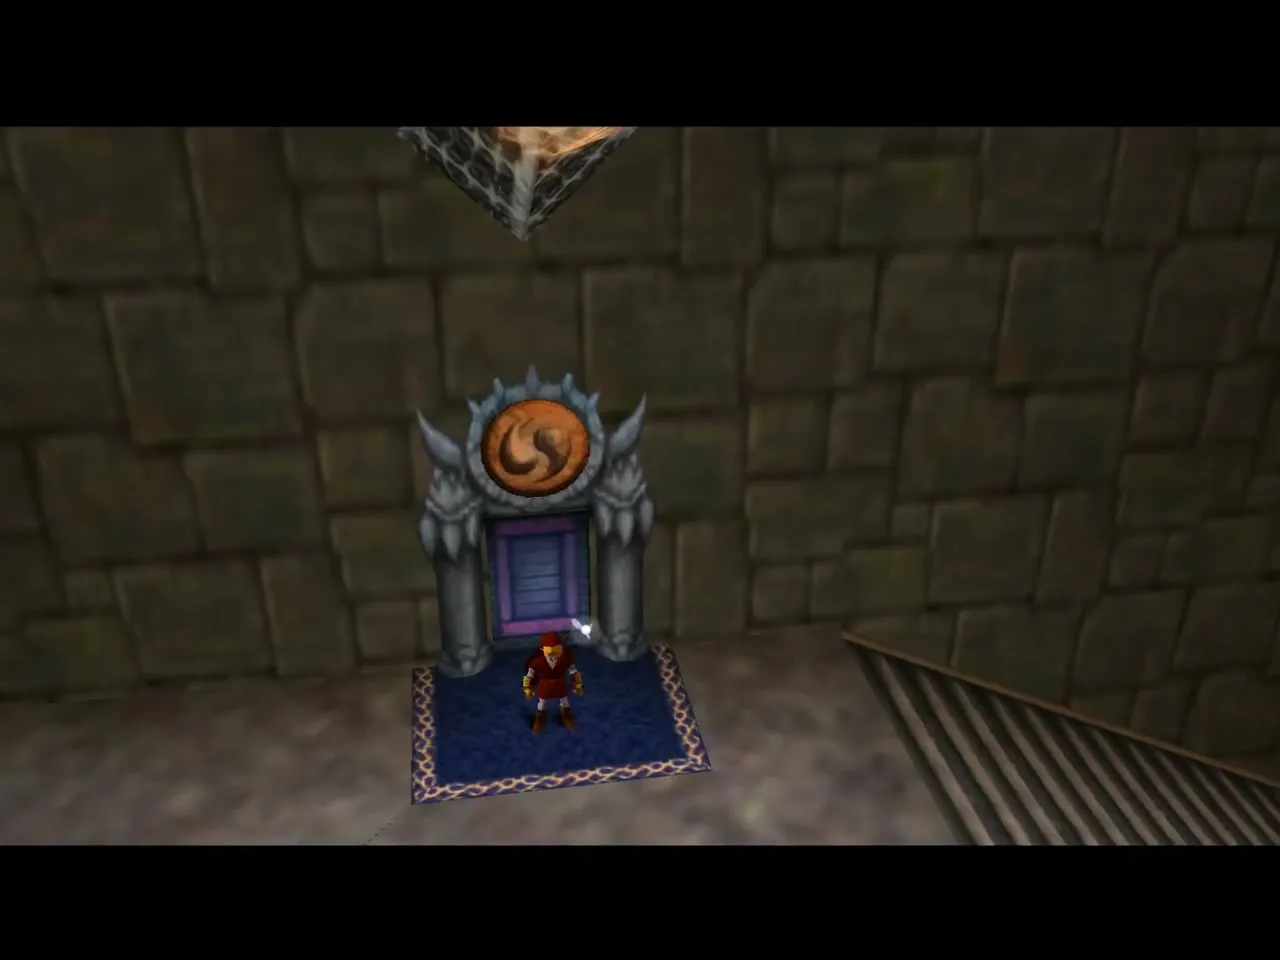
Stand before the locked door and bounce light onto the Spirit symbol above it; a sun face behind the symbol opens the door. Shoot the barrier core with a Light Arrow, and Nabooru dispels the Spirit Barrier.
Fire Trial
Lava platforms and the first rupees
Put on the Goron Tunic and the Hover Boots, then enter the Fire door, next around the ring after the Light door. This is a Silver Rupee puzzle over lava with five rupees, and falling in the lava sends you back to the start. Jump onto the platform that slides back and forth and work your way to the cluster of four platforms on the right; the rear one rises under your feet. Backflip off the top to grab the first rupee, taking care not to fall in.
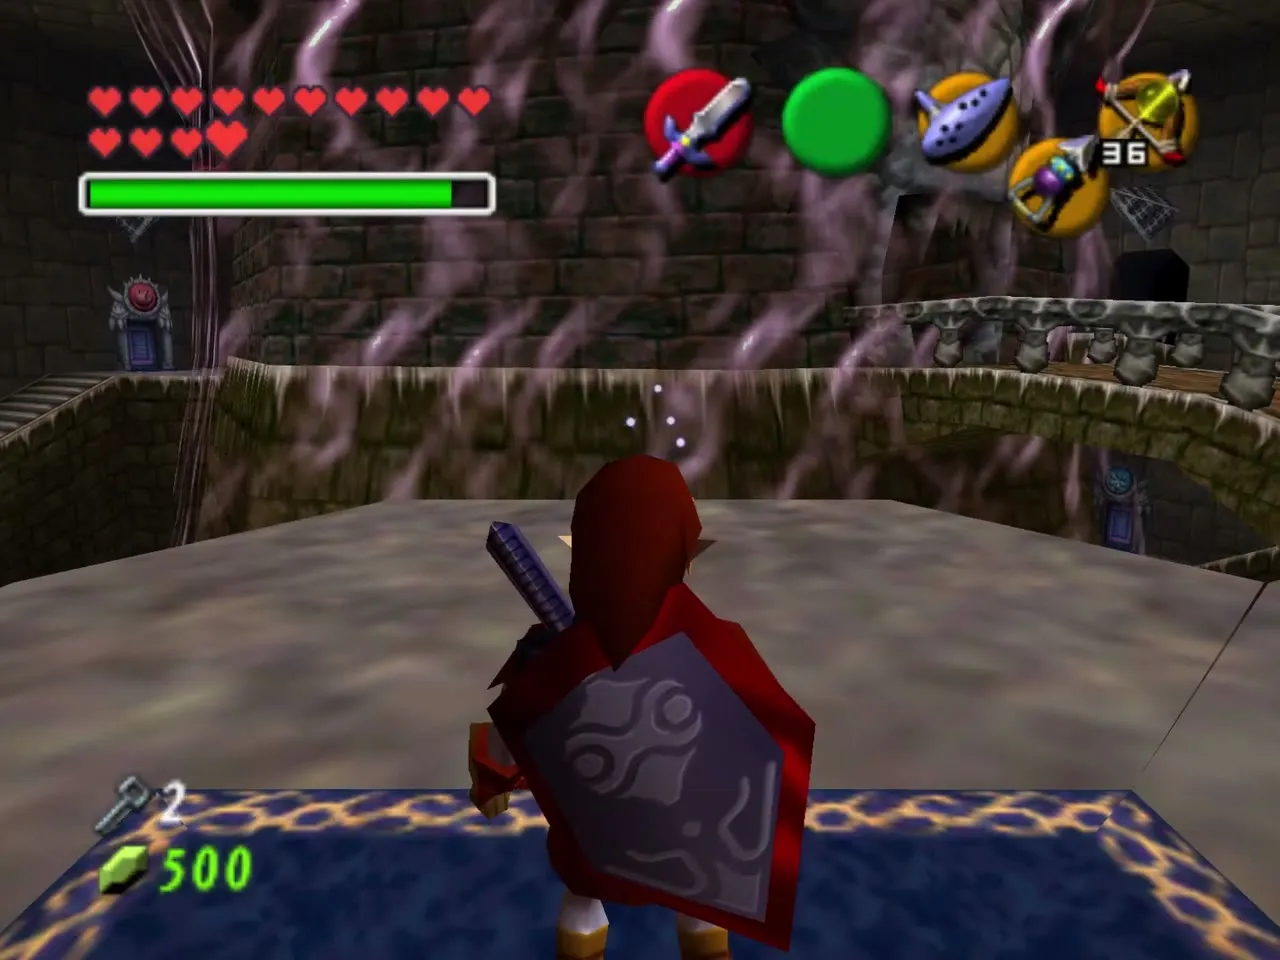
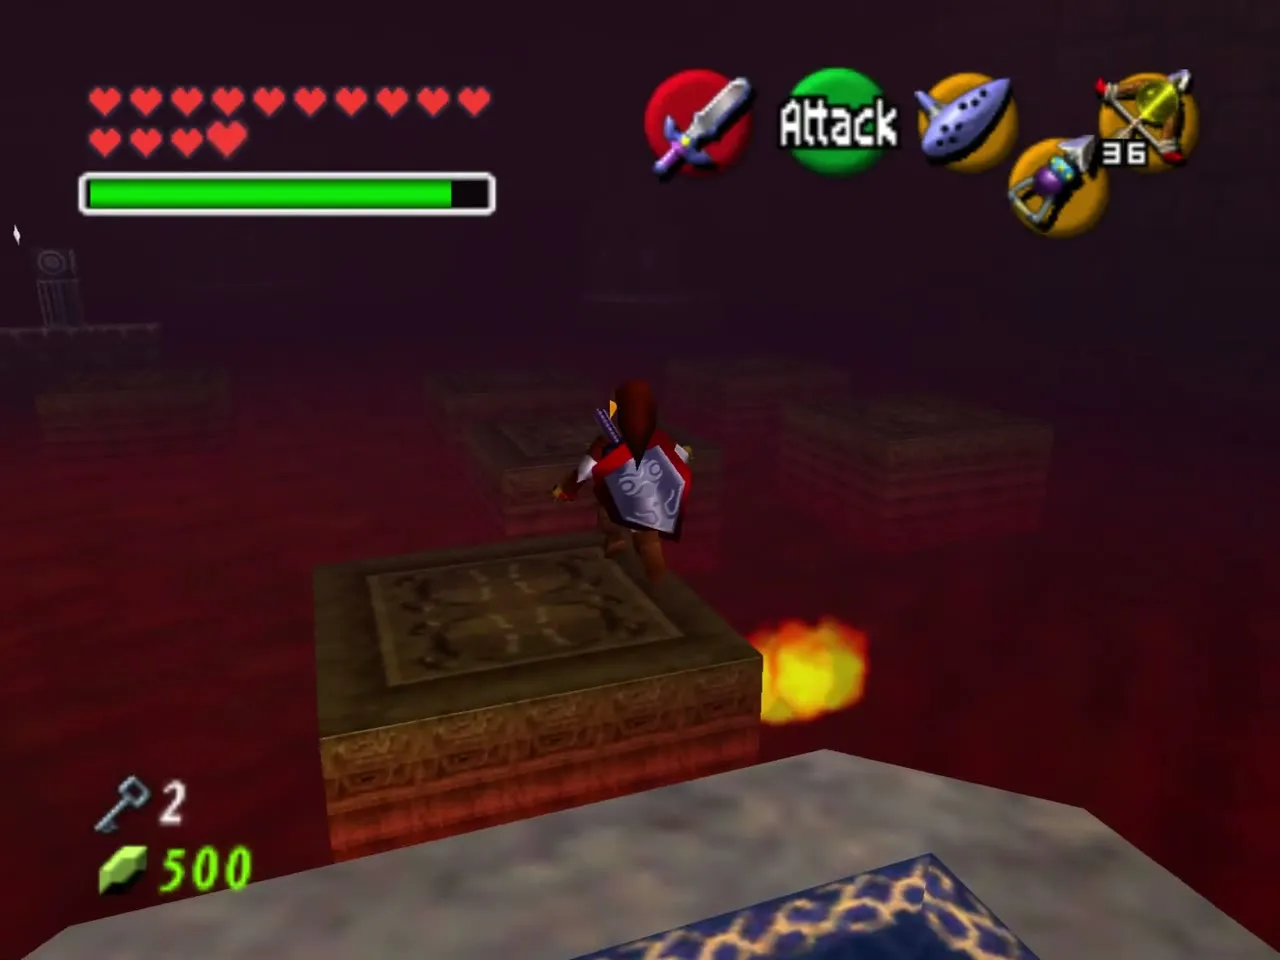
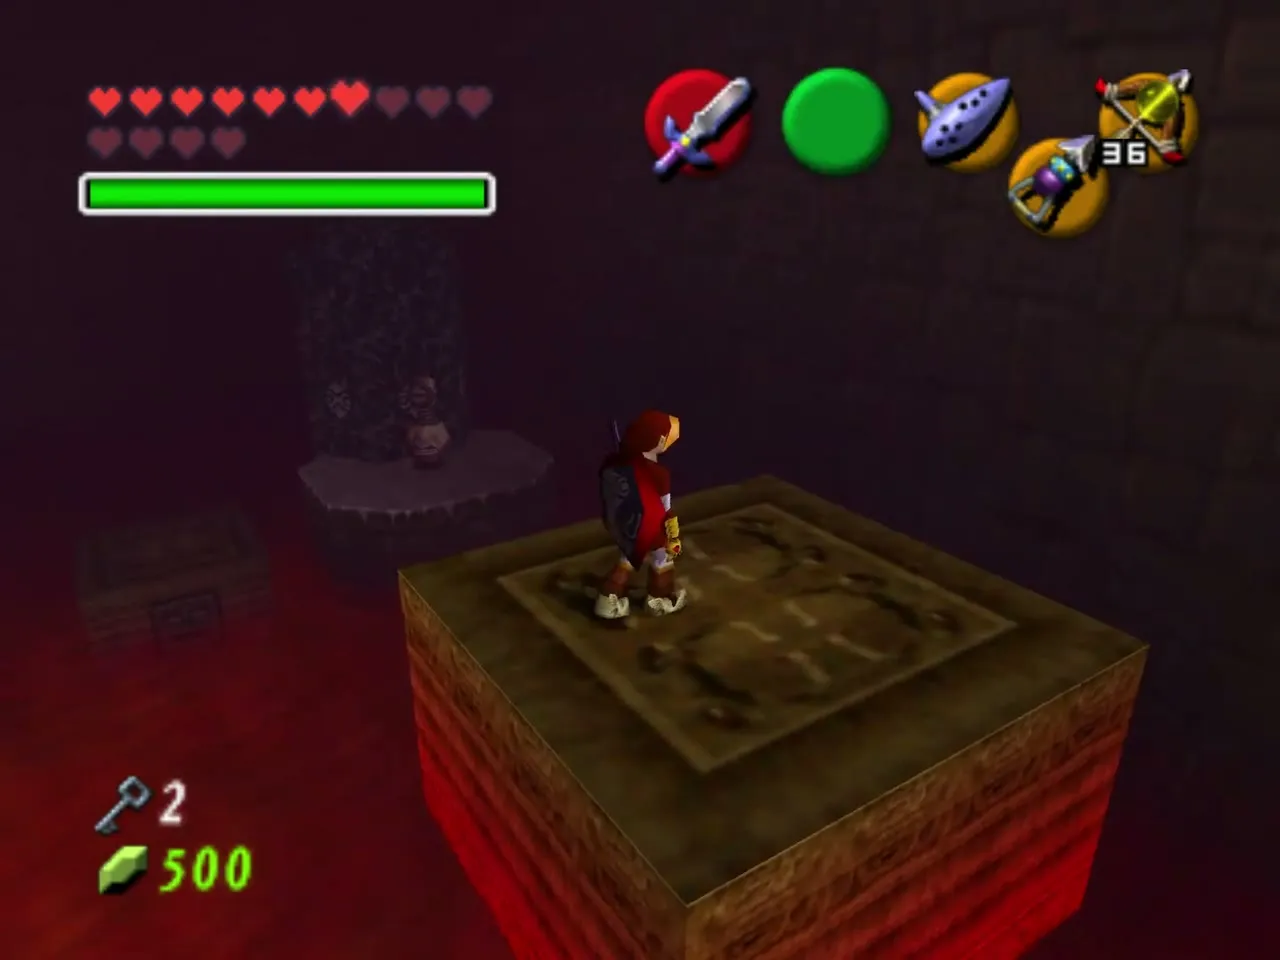
Black pillars, Torch Slugs and Longshot rides
Black pillars sit on several platforms; lift each one with the Golden Gauntlets and throw it where it helps you, because some hide a rupee and others become stepping stones. One platform has two Torch Slugs, another a Beamos: stun or bomb the Beamos before it can hit you. Longshot targets give you rides across the longer gaps, and sliding platforms carry you to the remaining rupees. Wait for a platform to swing close before you jump, since a mistimed jump drops you into the lava.
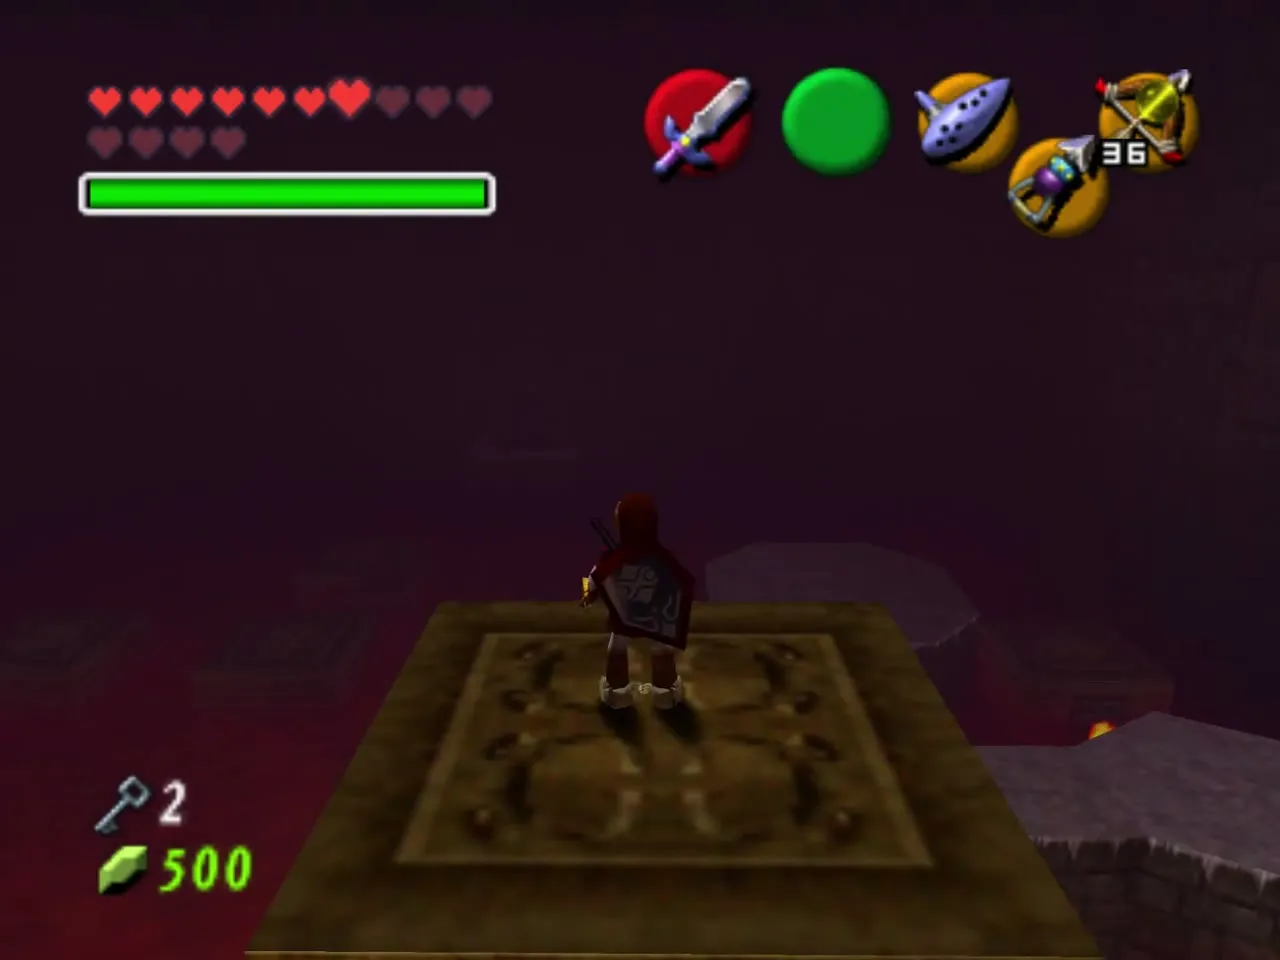
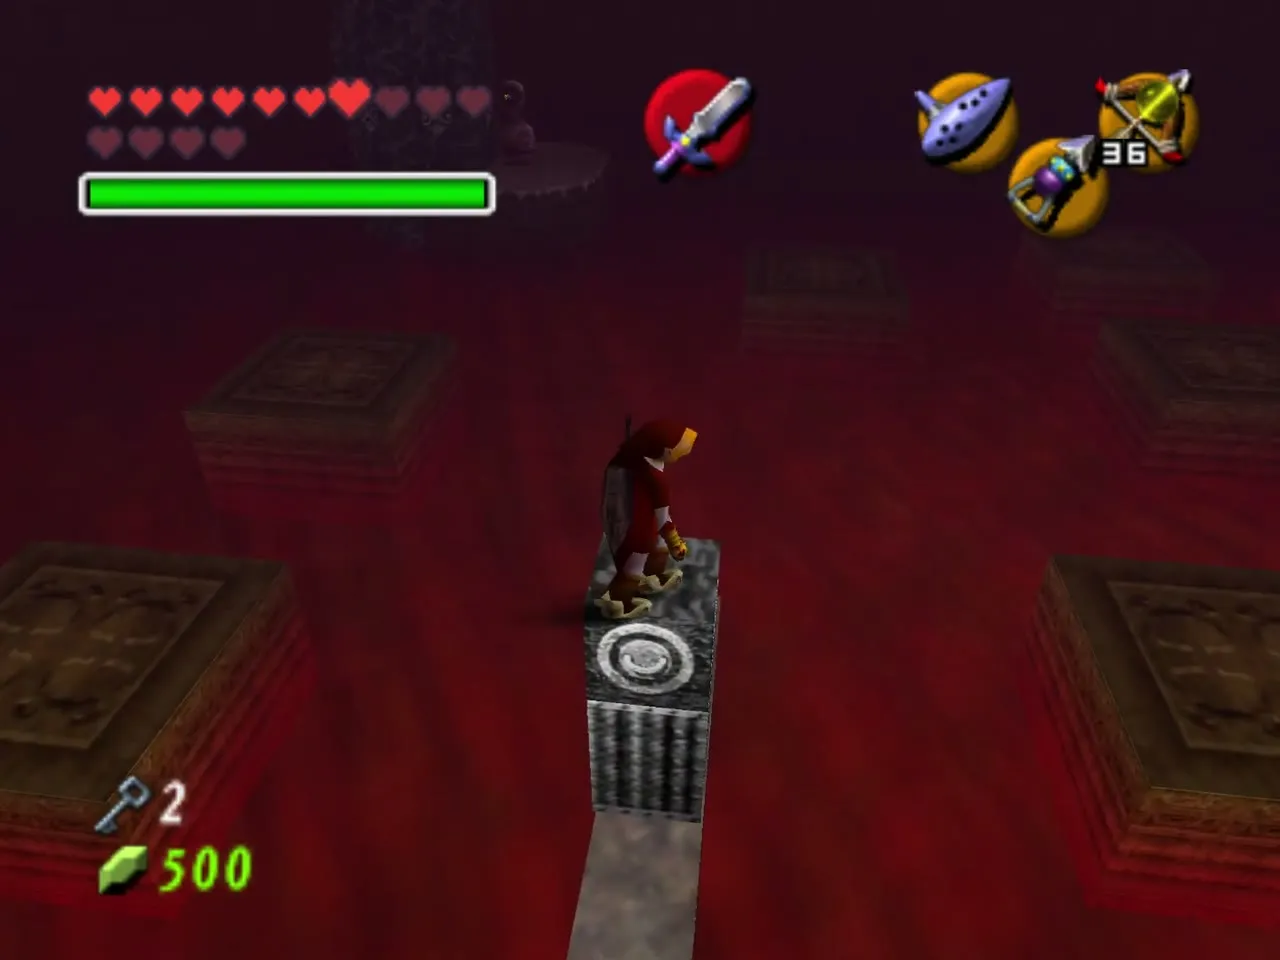
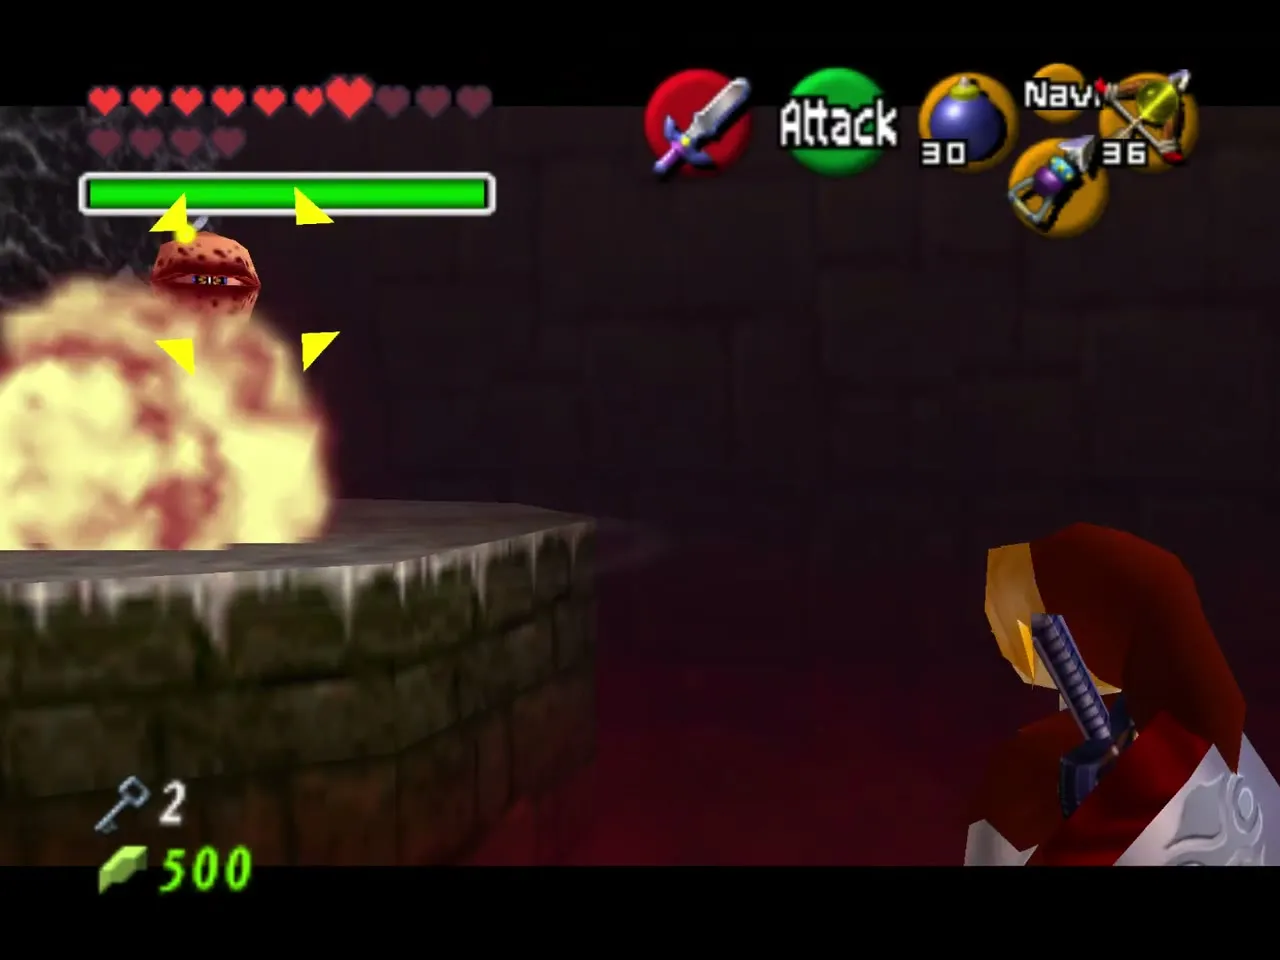
Last rupee and the barrier
Collect the fifth rupee on the far side and a Longshot target appears next to the exit door. Walk back across the platforms, Longshot to it and go inside. Shoot the barrier core with a Light Arrow, and Darunia dispels the Fire Barrier.
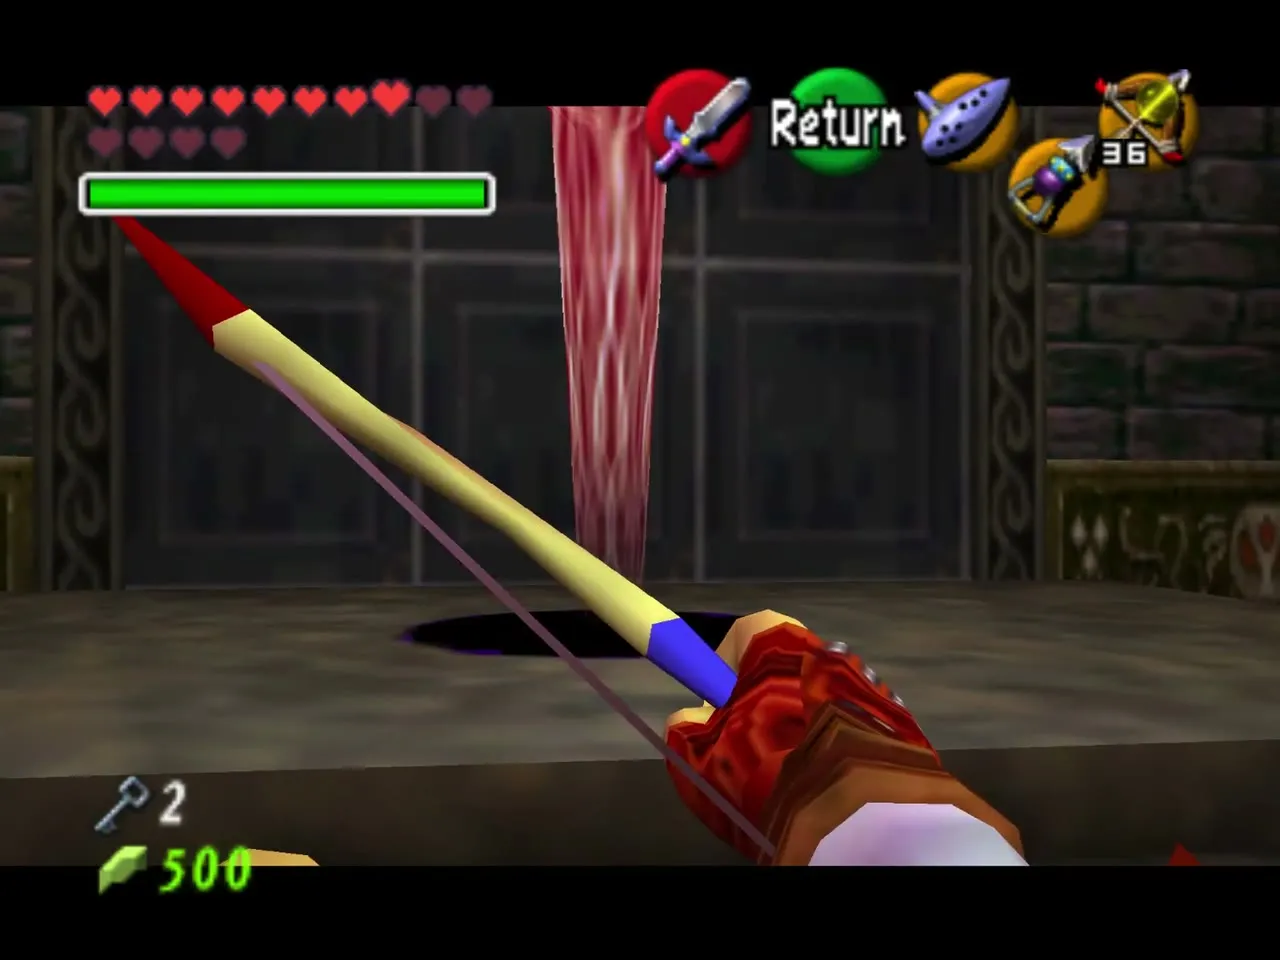
Light Trial
The black pillar and the first room
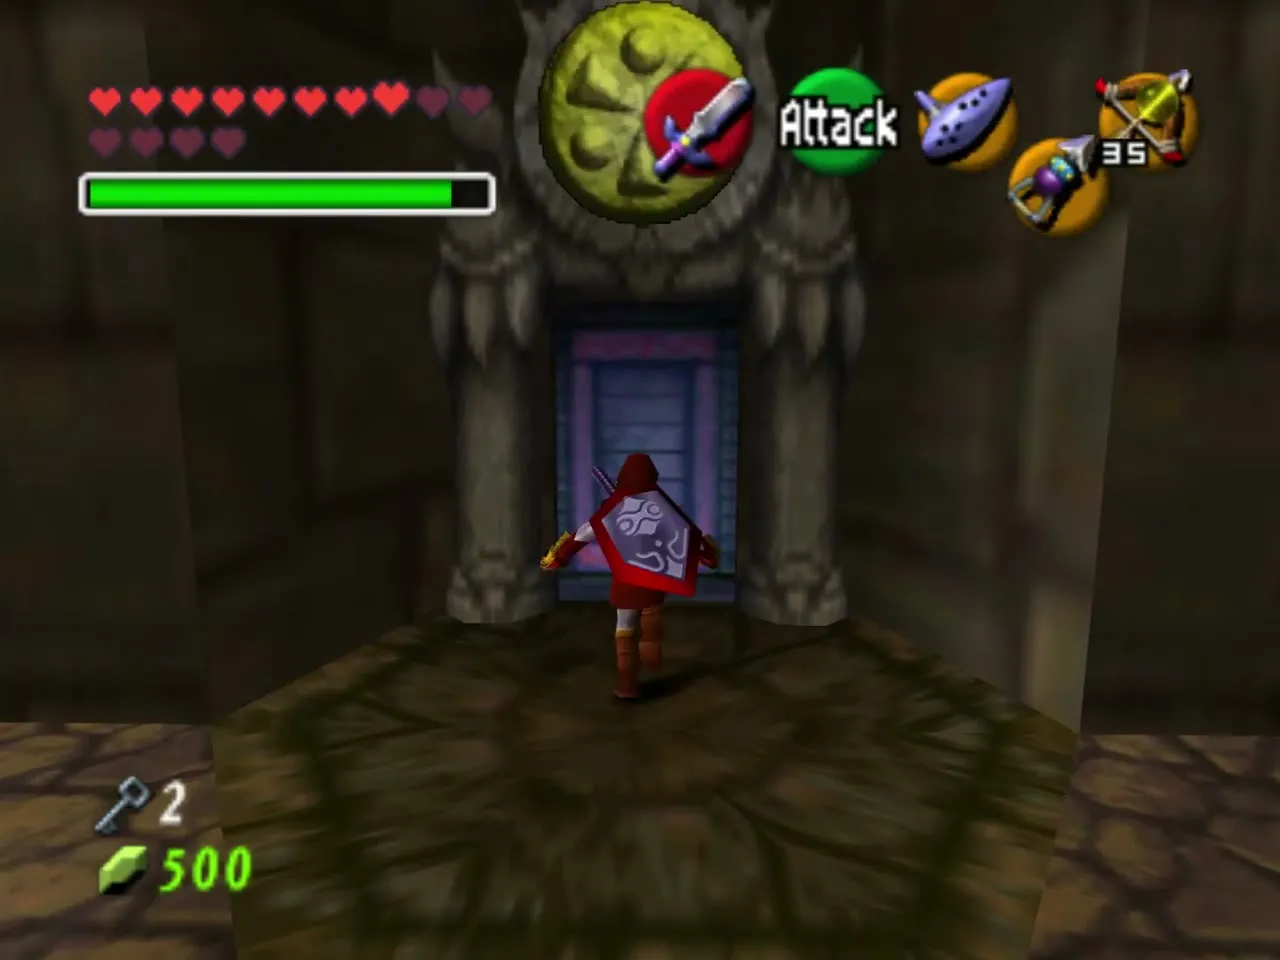
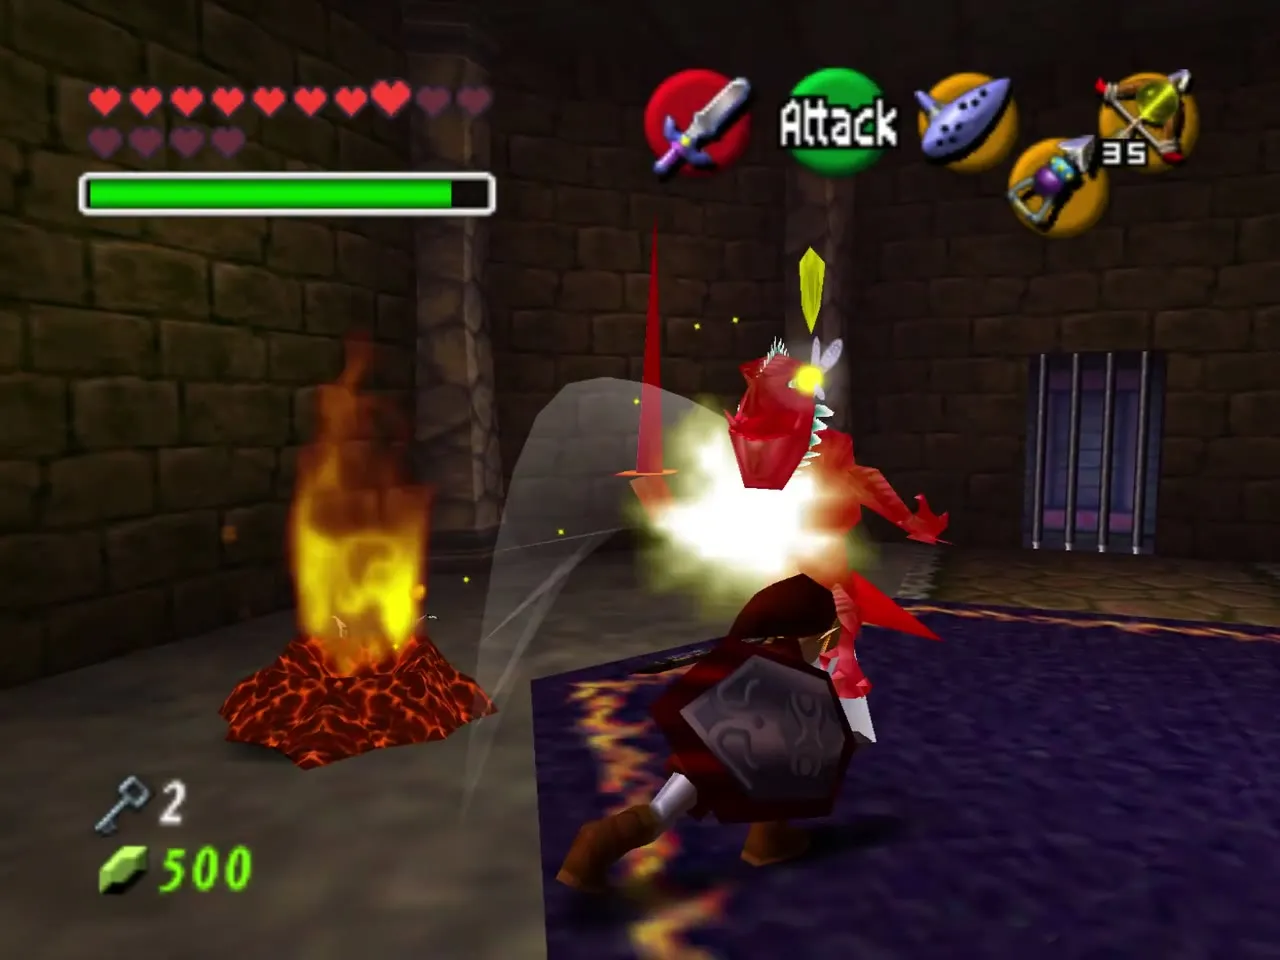
Lift the big black pillar in the main hall with the Golden Gauntlets to uncover the Light Trial’s door, and throw it aside. The first room has a Dinolfos and two Torch Slugs; take the Torch Slugs out first, since they ambush you. The door opens once all three are dead.
The Lullaby chest and the first locked door
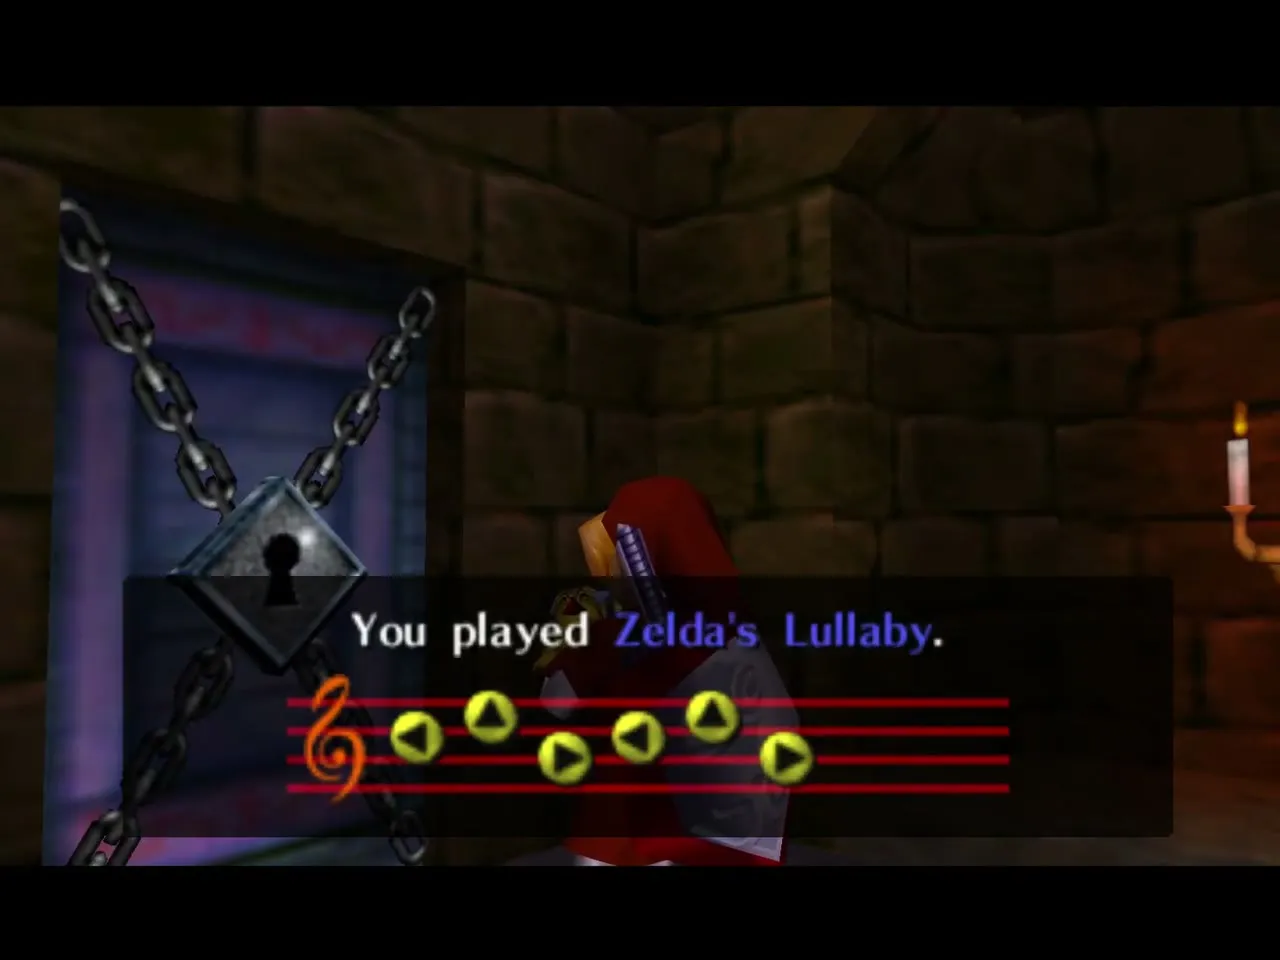
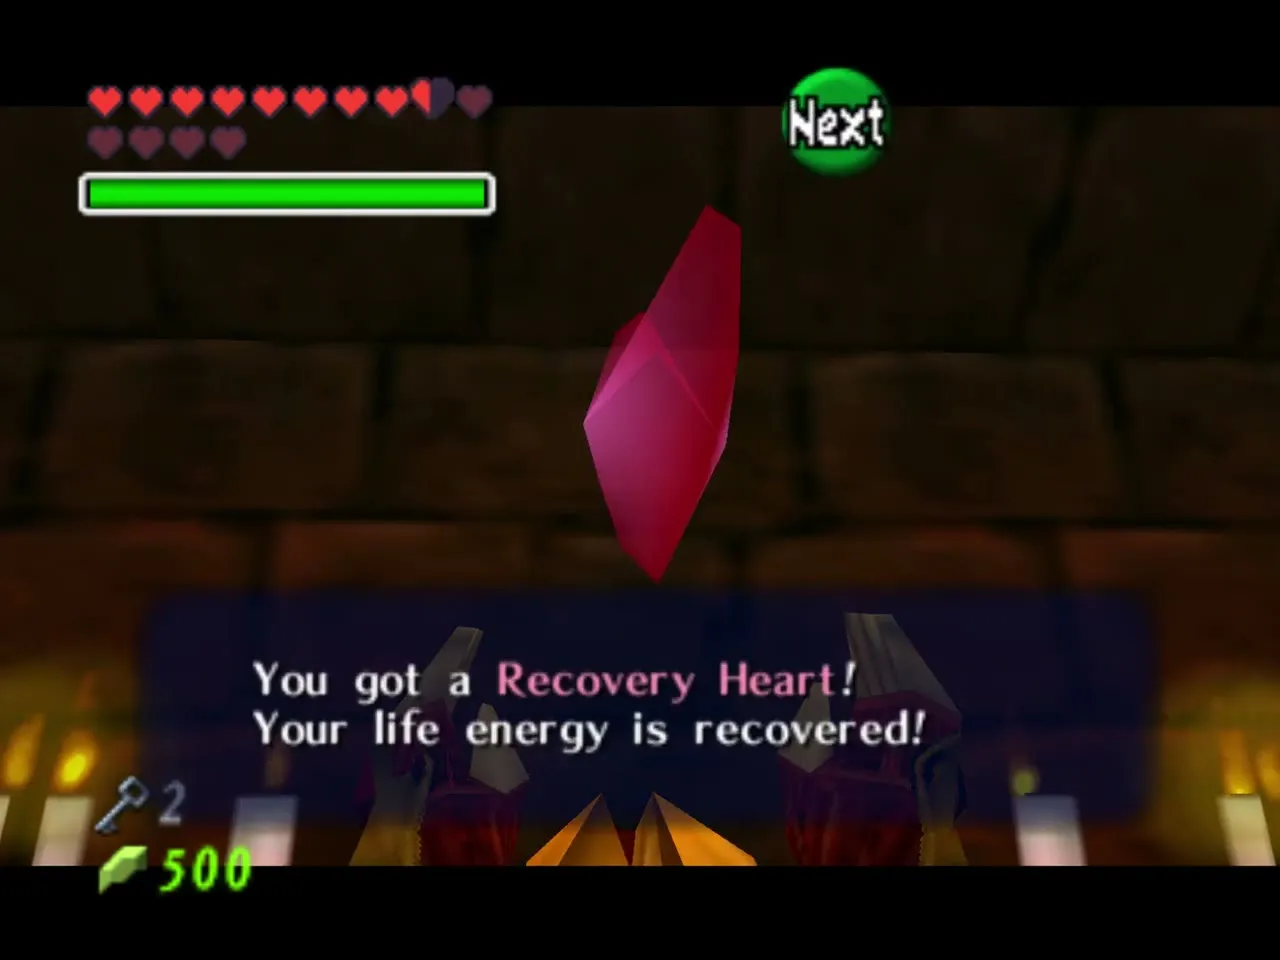
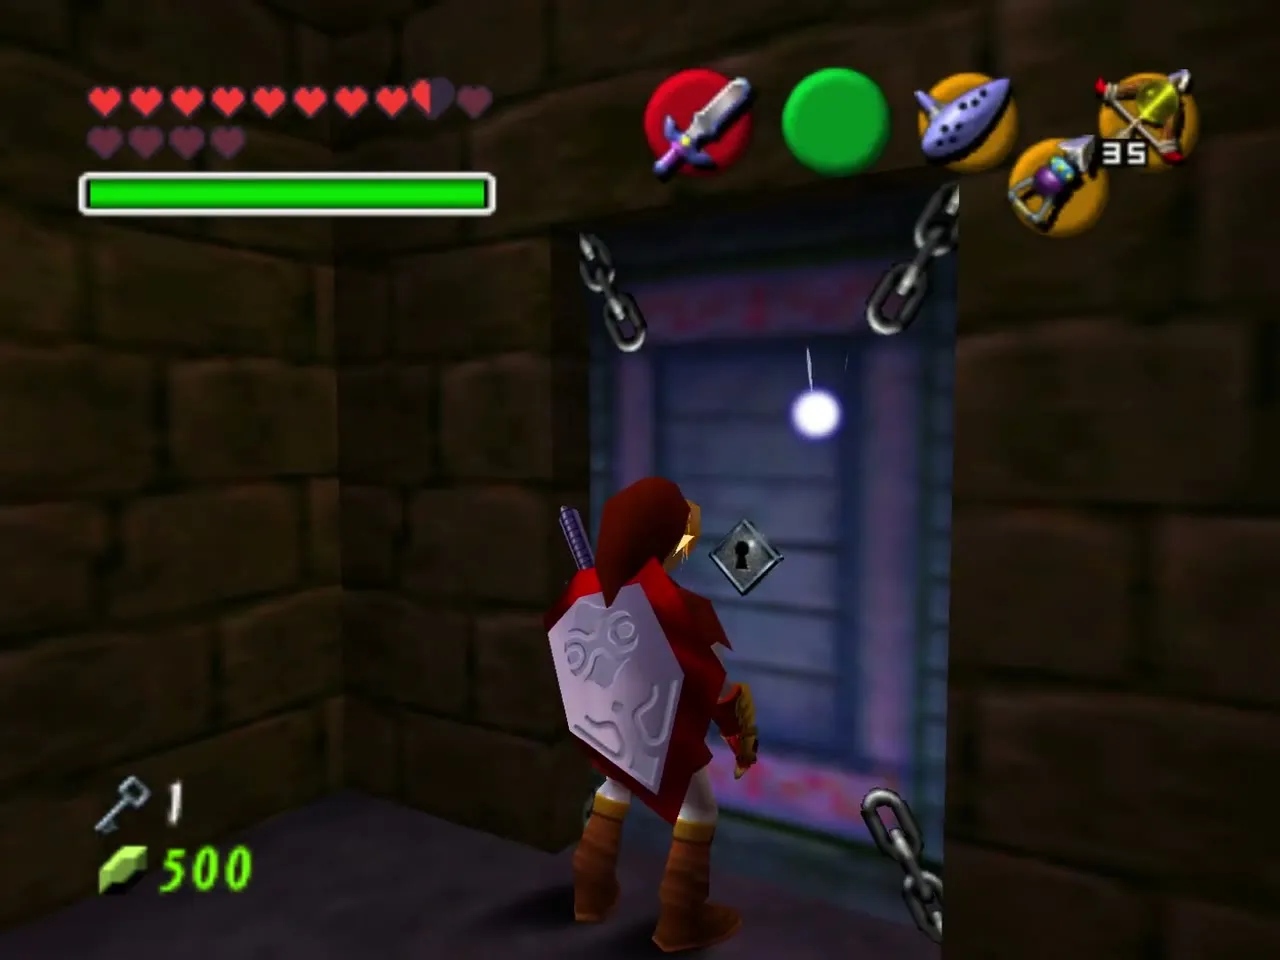
In the next hall, play Zelda’s Lullaby on the Triforce mark; the chest that appears holds only a Recovery Heart. Open the locked door with a Small Key, the first of the two you will spend here.
Boulder room
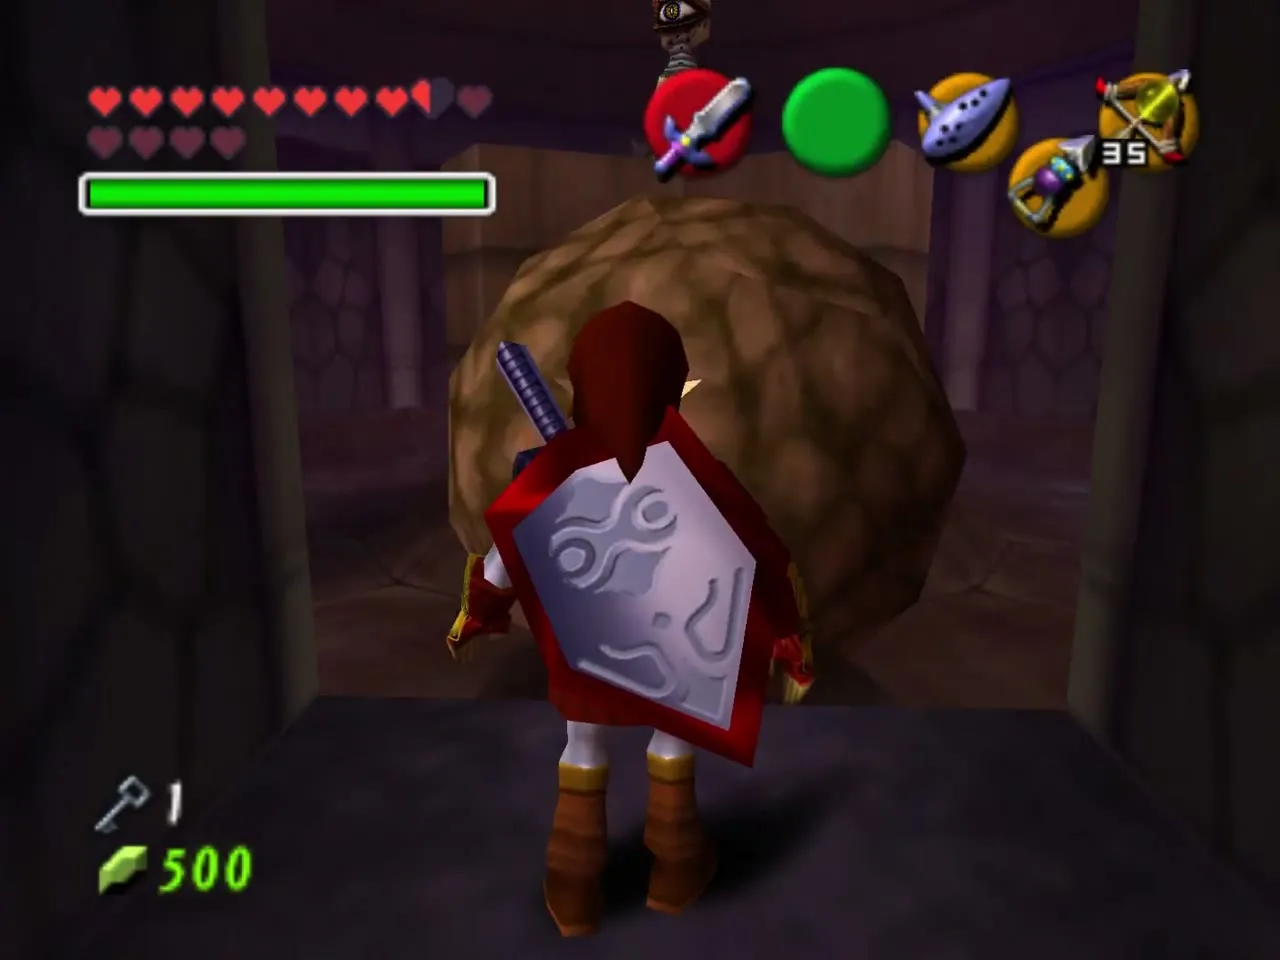
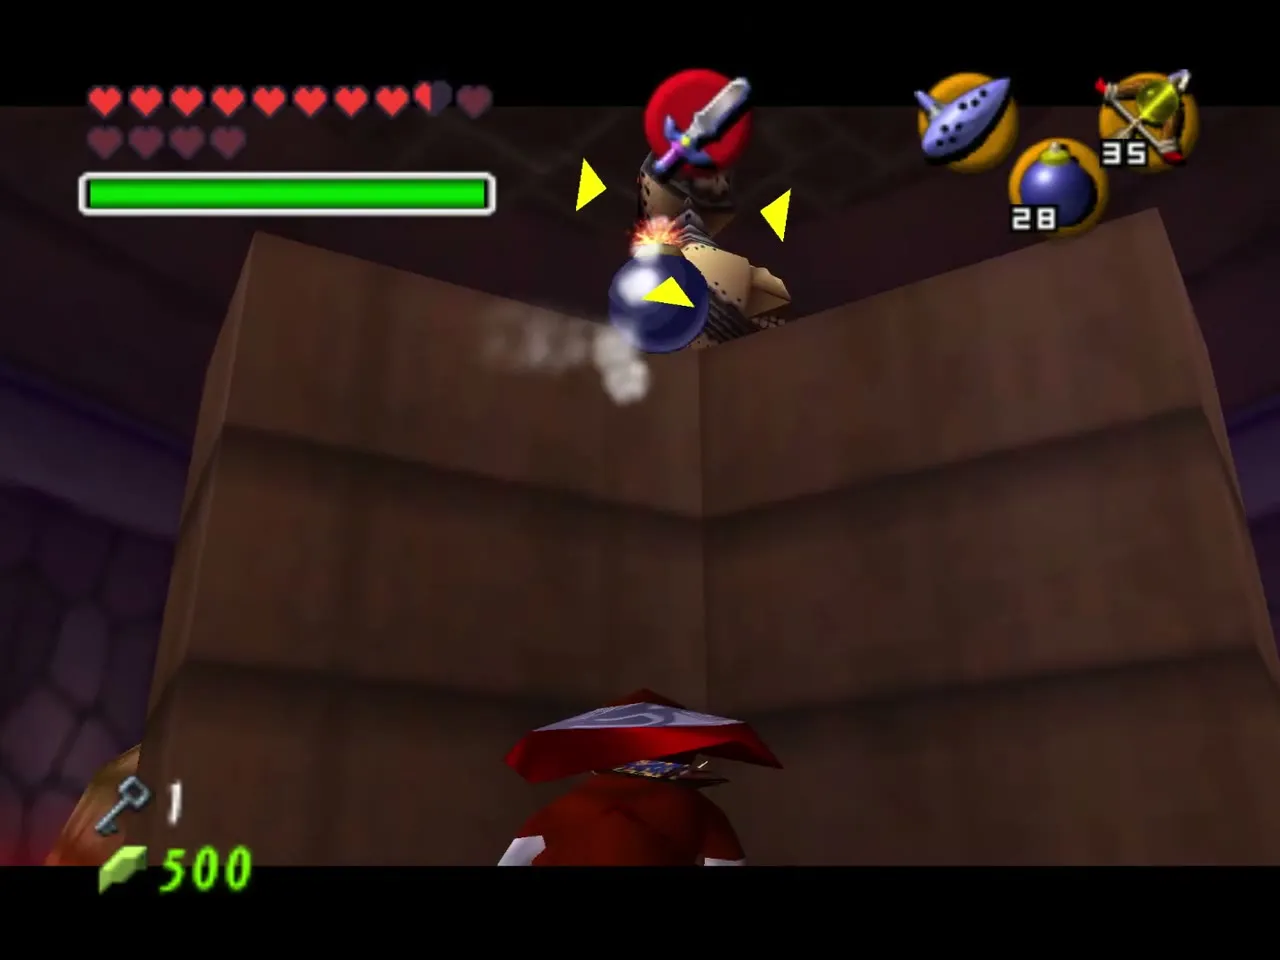
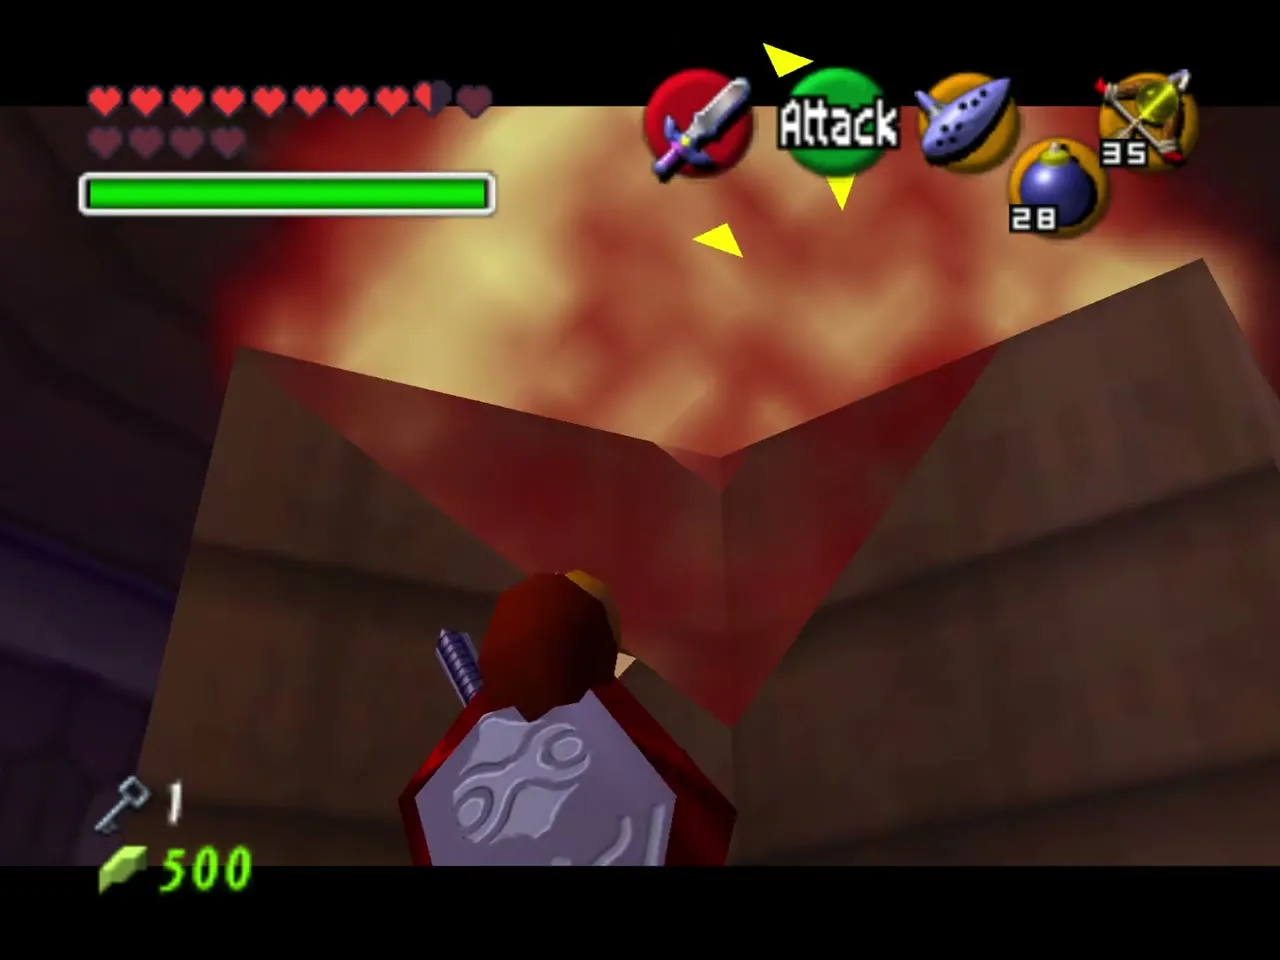
The next room has a rolling boulder, flame walls and a Beamos in the middle. Wait until the Beamos faces away and throw a Bomb at it, timing the throw so the blast catches it. A Longshot target on the ceiling becomes visible, so you can cross safely, and two alcoves hold Recovery Hearts. Let the boulder pass, then run to the second locked door and open it with your last key.
False wall and the Light Barrier
The last room looks like a dead end because no barrier core is visible. Slash the torch on the right: a crystal switch is hidden inside it. Switch on the Lens of Truth to see that the far wall is an illusion made of translucent blocks, and walk straight through. A Skullwalltula on the left is a decoy; destroying it changes nothing.
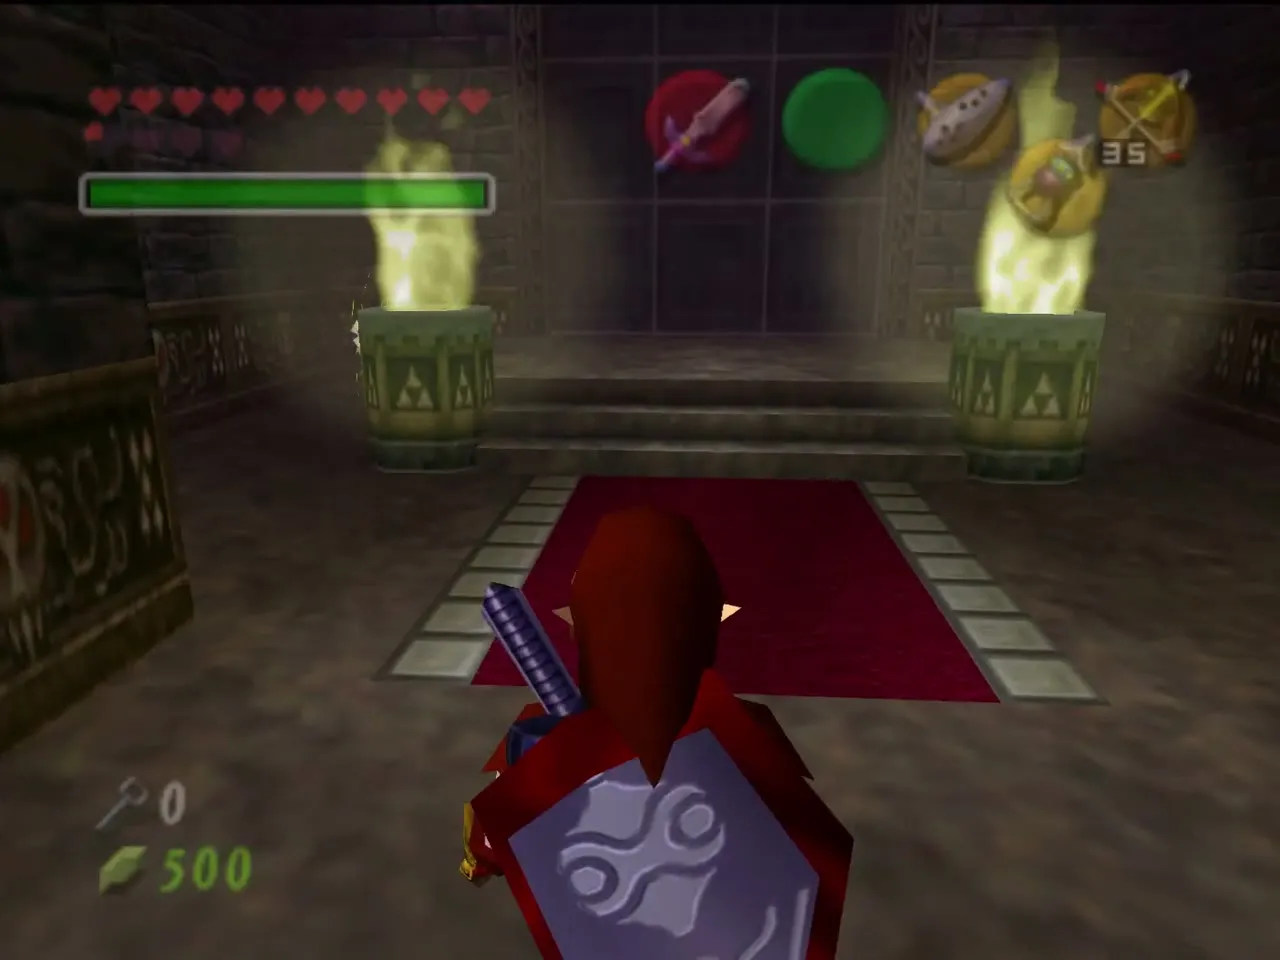
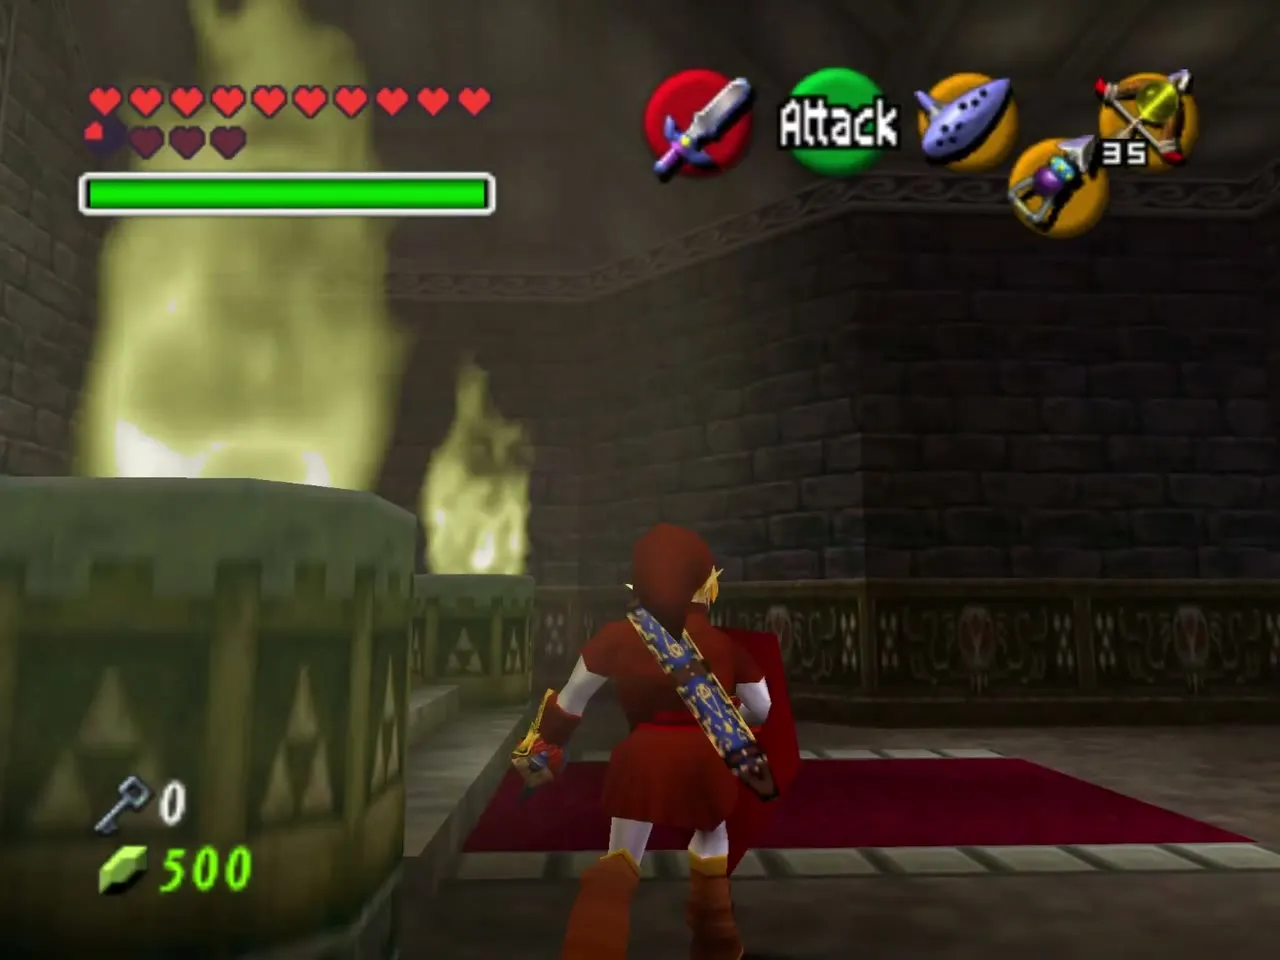
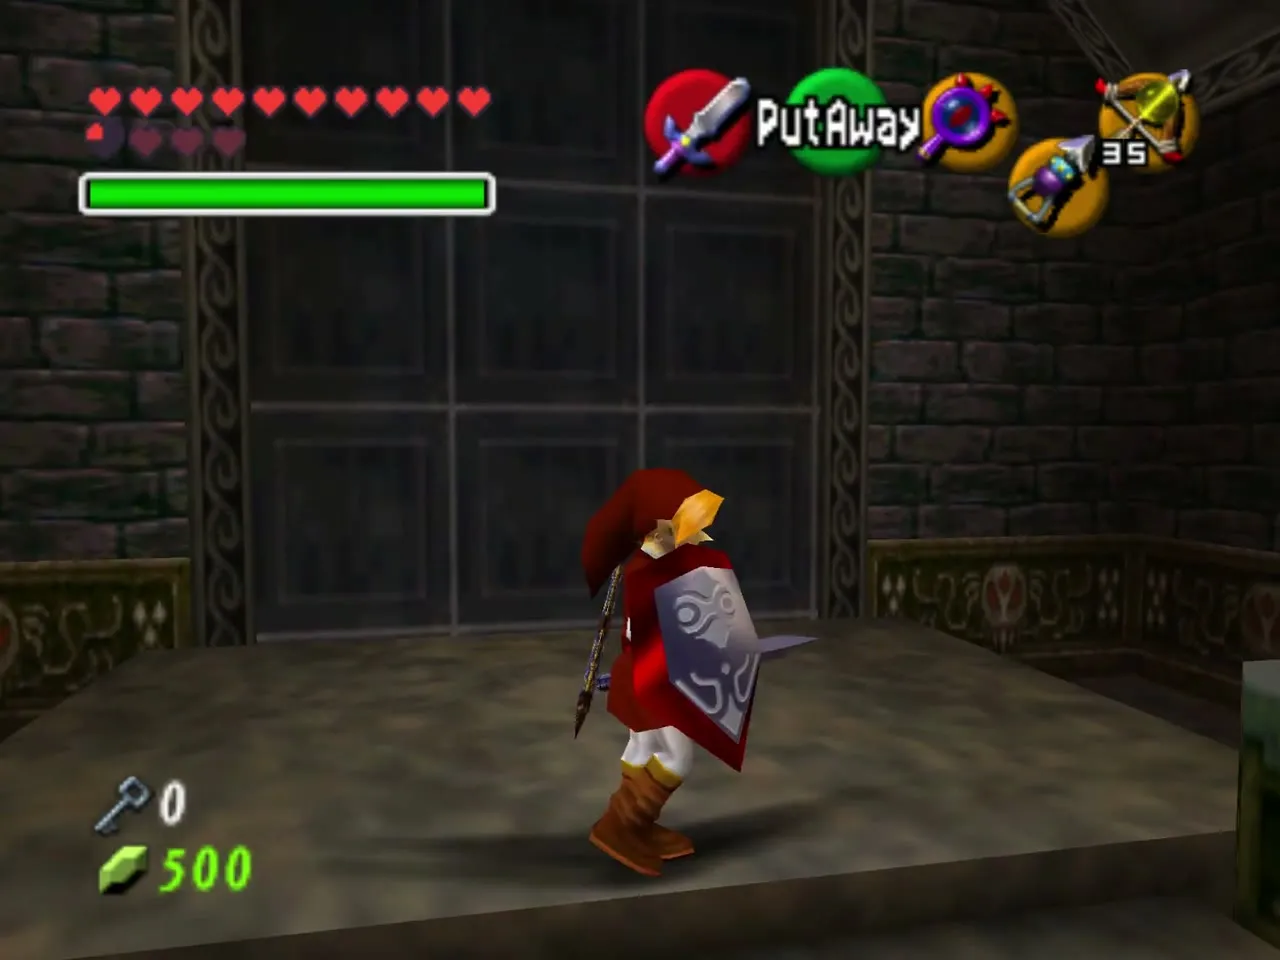
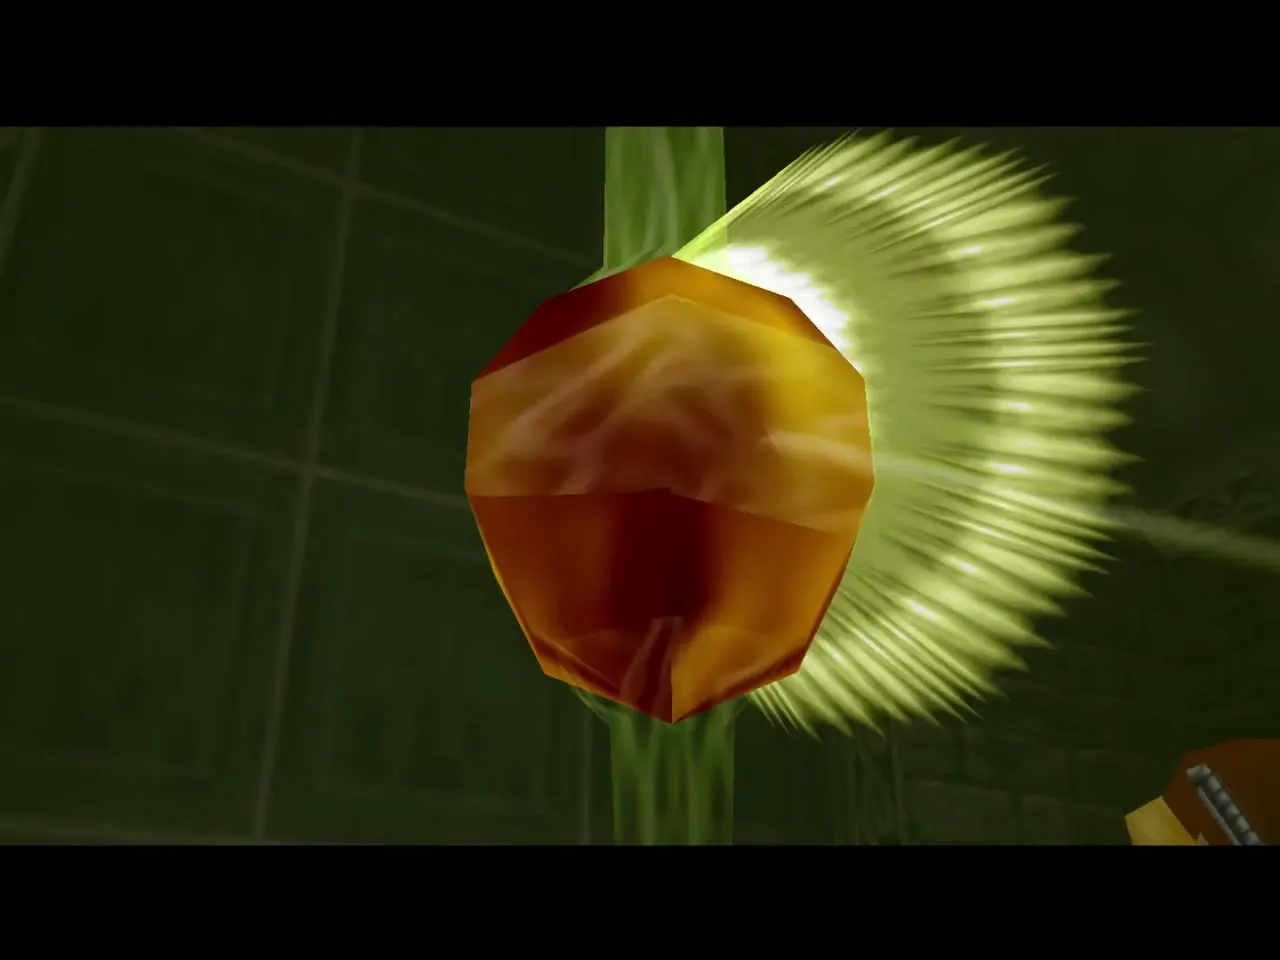
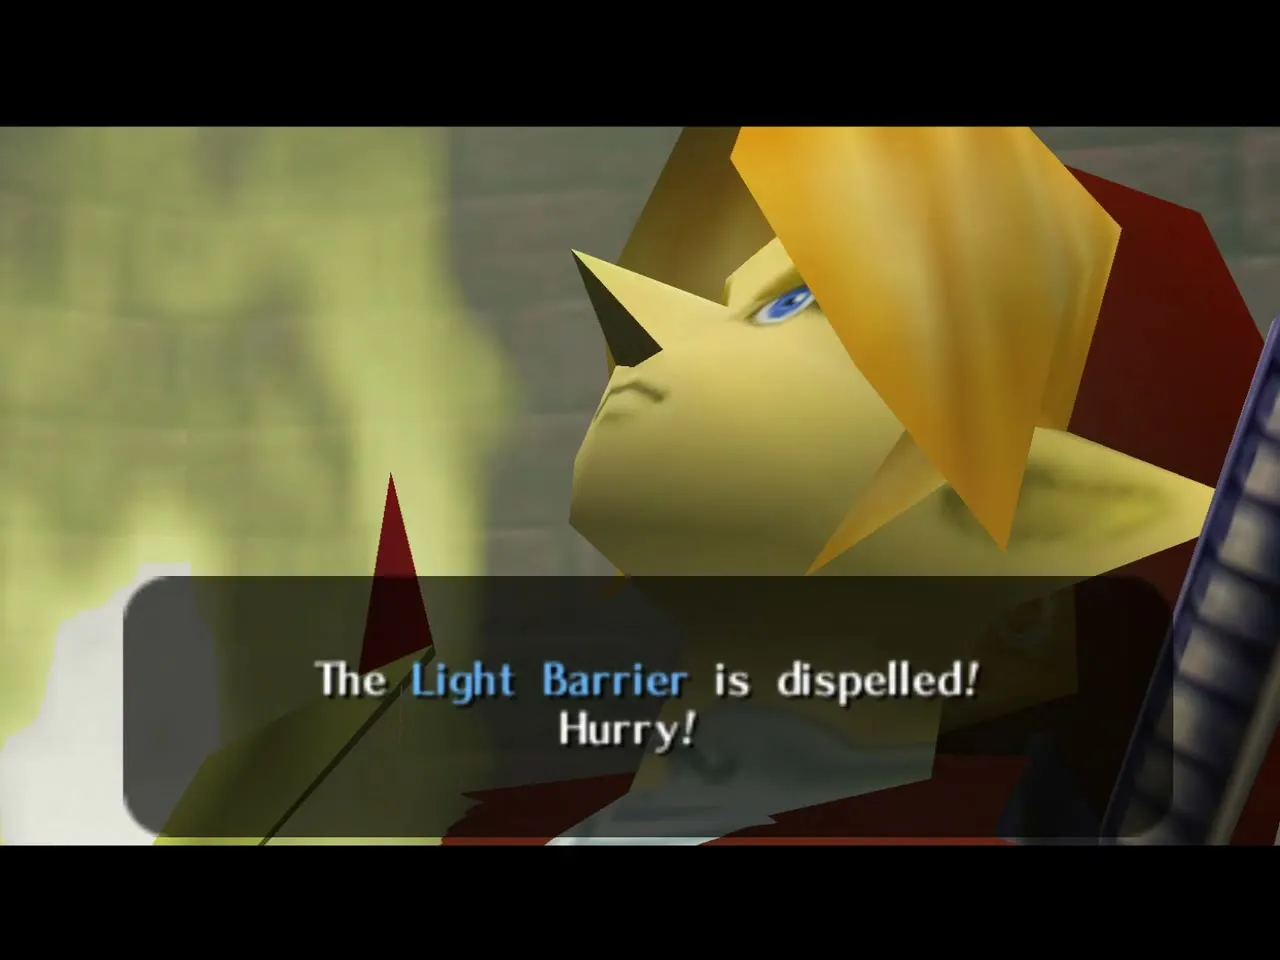
Beyond the false wall is the real barrier room. Smash the jars for supplies and shoot the core with a Light Arrow. Rauru dispels the Light Barrier, and the force field around the tower finally drops.
The last Great Fairy: Double Defense
Before you go up the tower, restock at the Scrubs’ room and refill every bottle with a fairy. The barrier around the tower is gone now, so the main hall is calm, and you can leave the castle by the door you came in. This is the last chance to heal, because there is no safe place beyond.
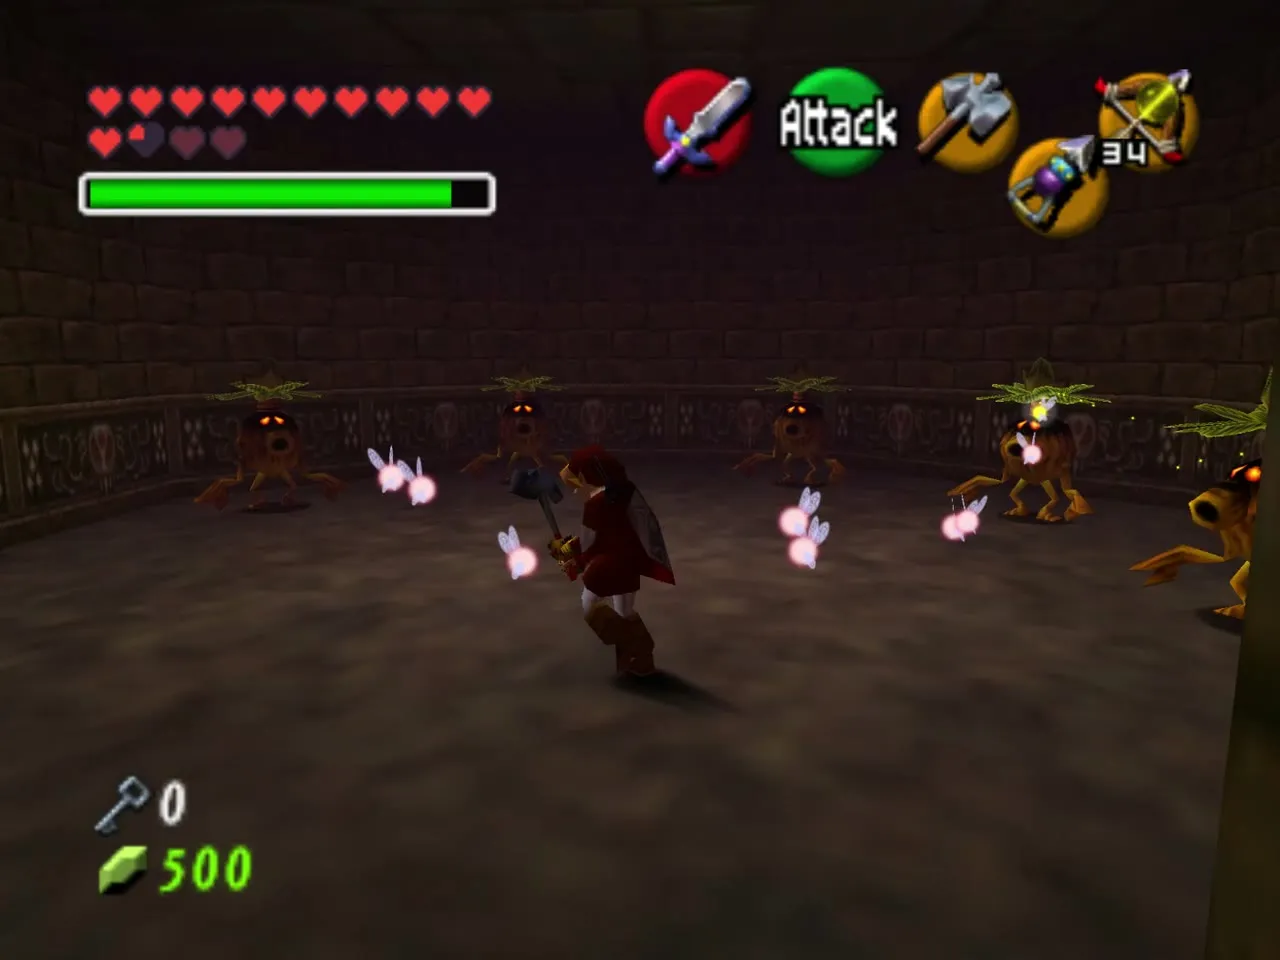
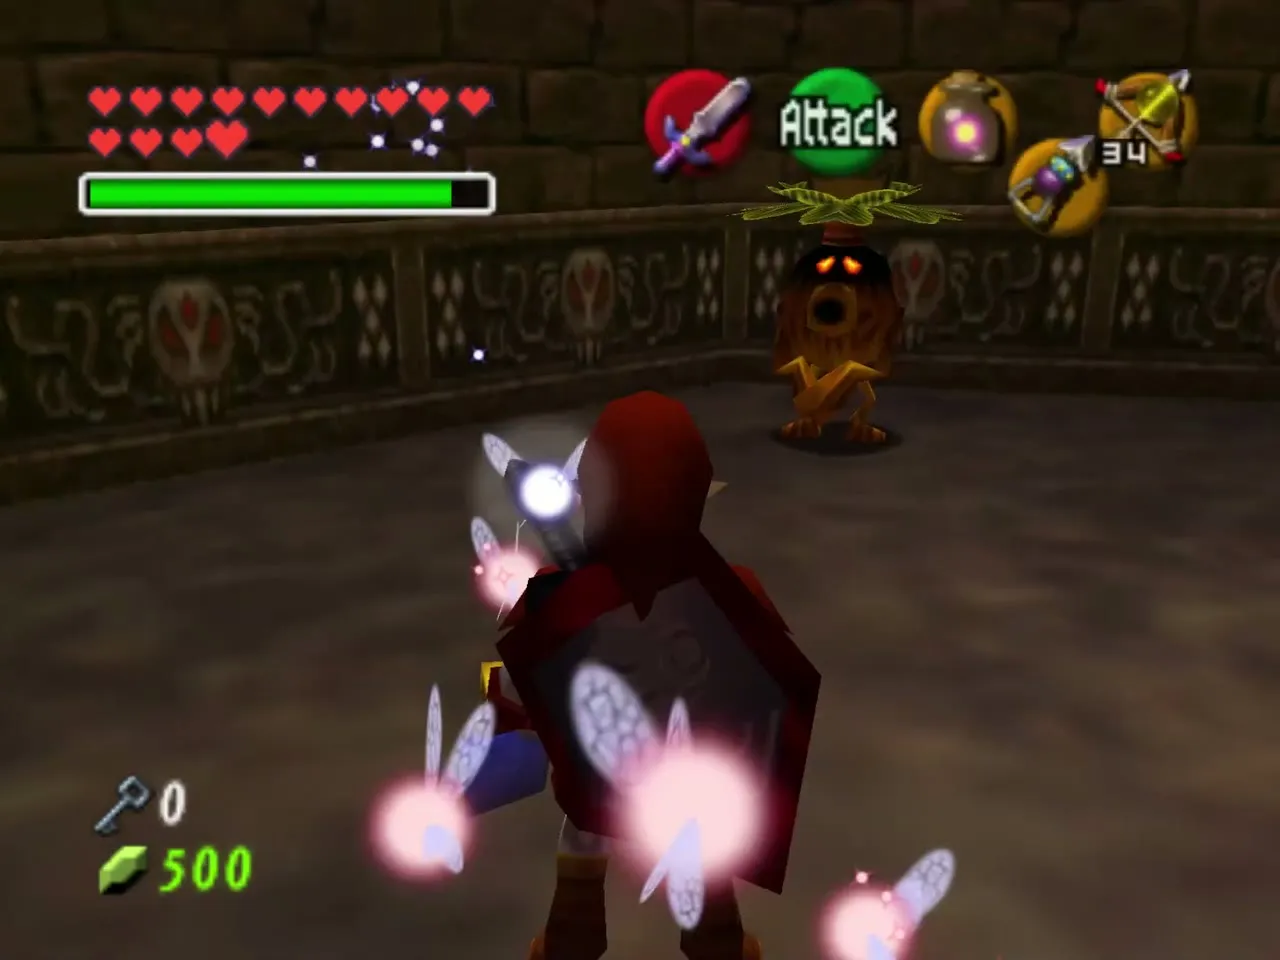
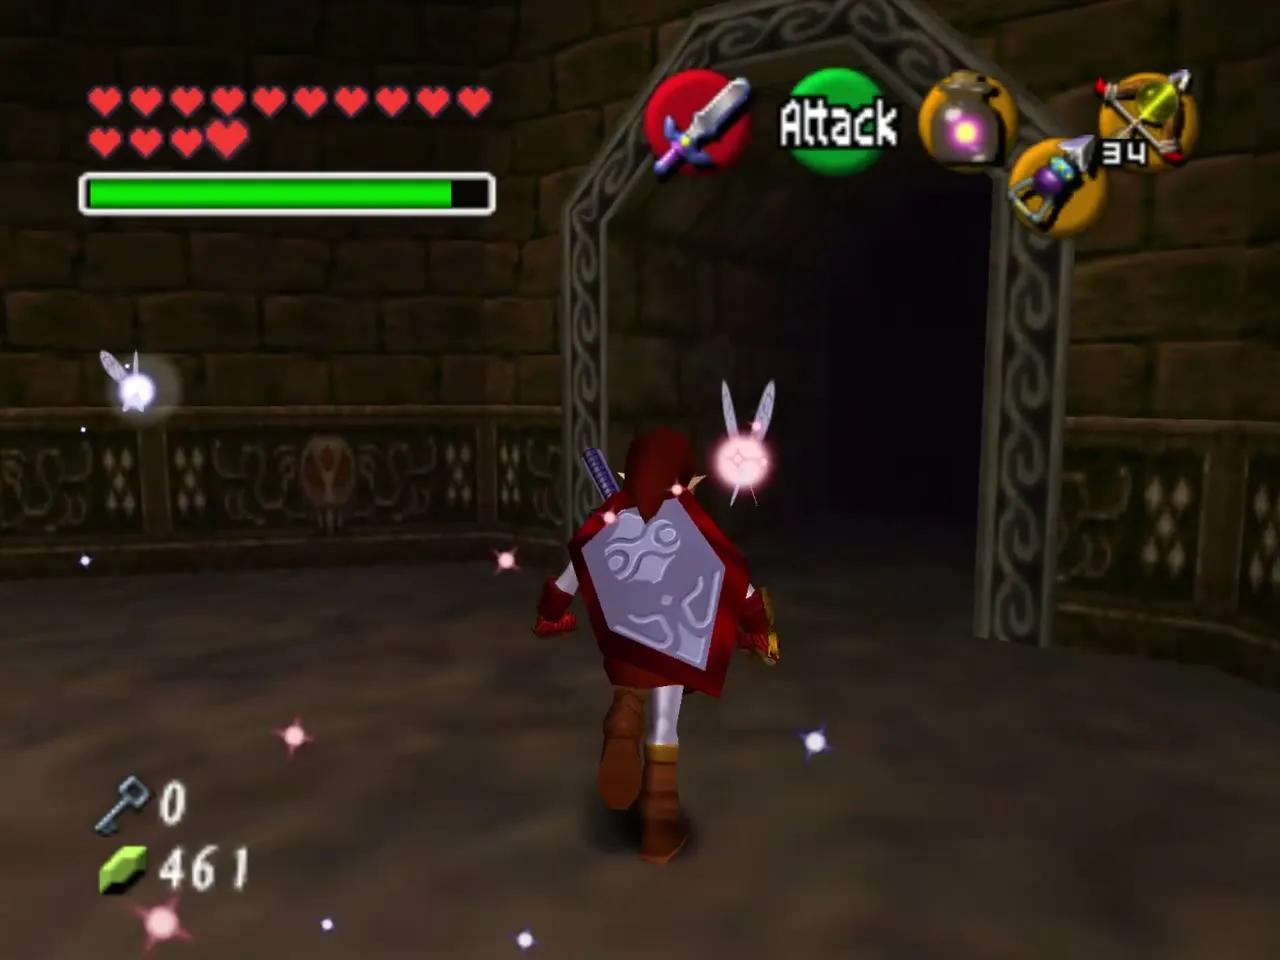
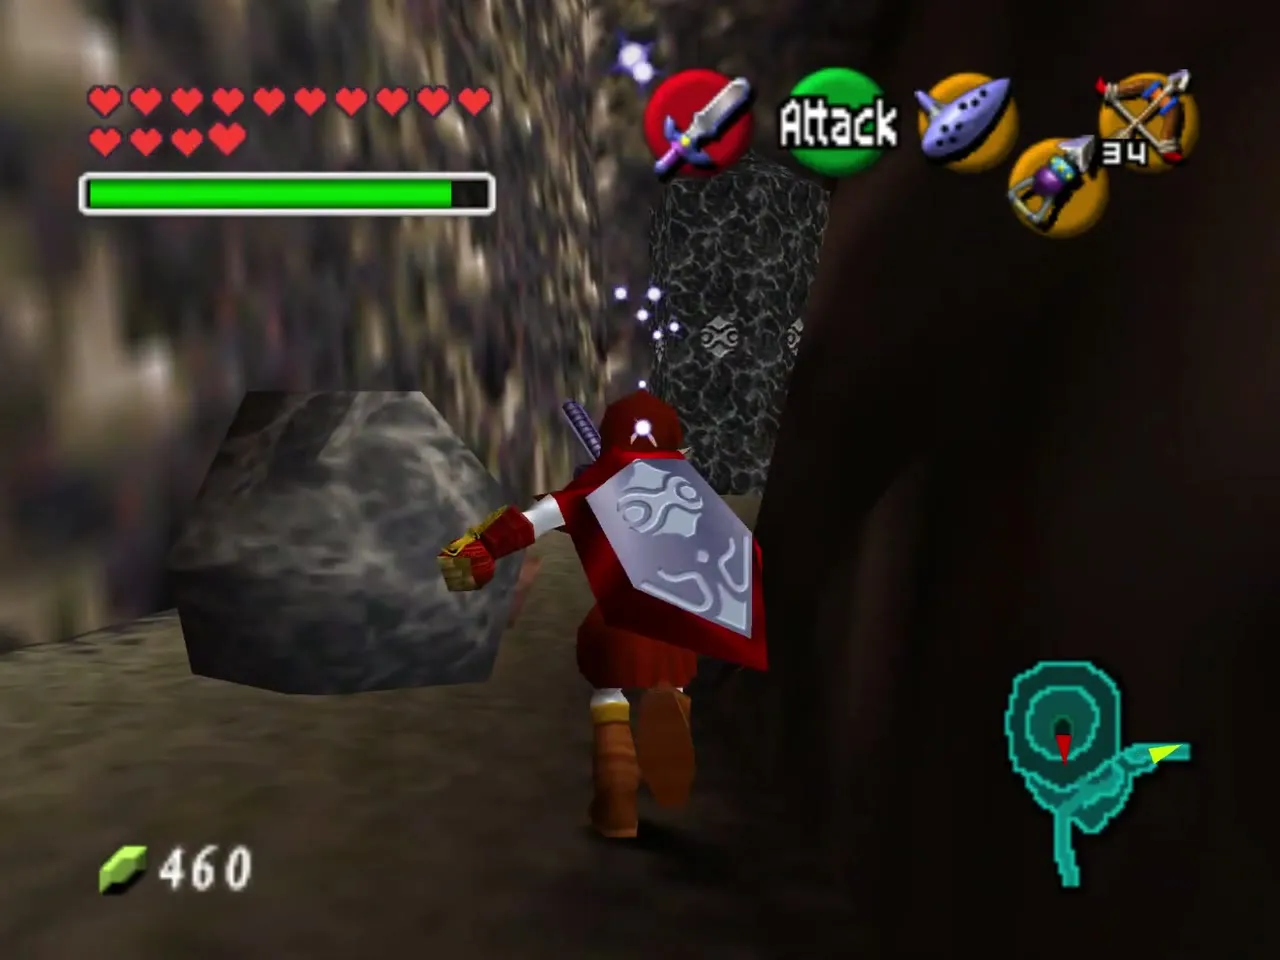
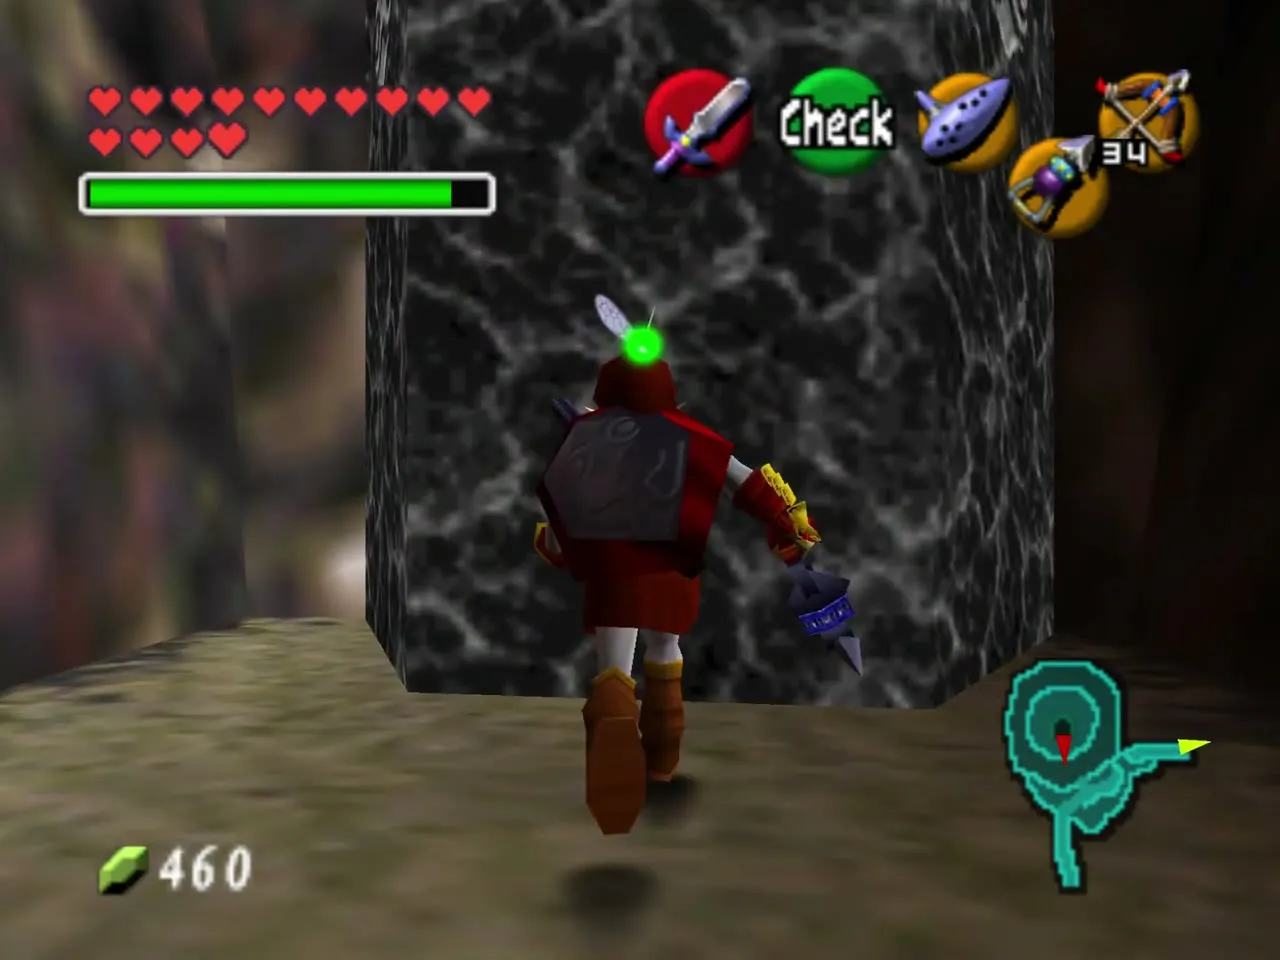
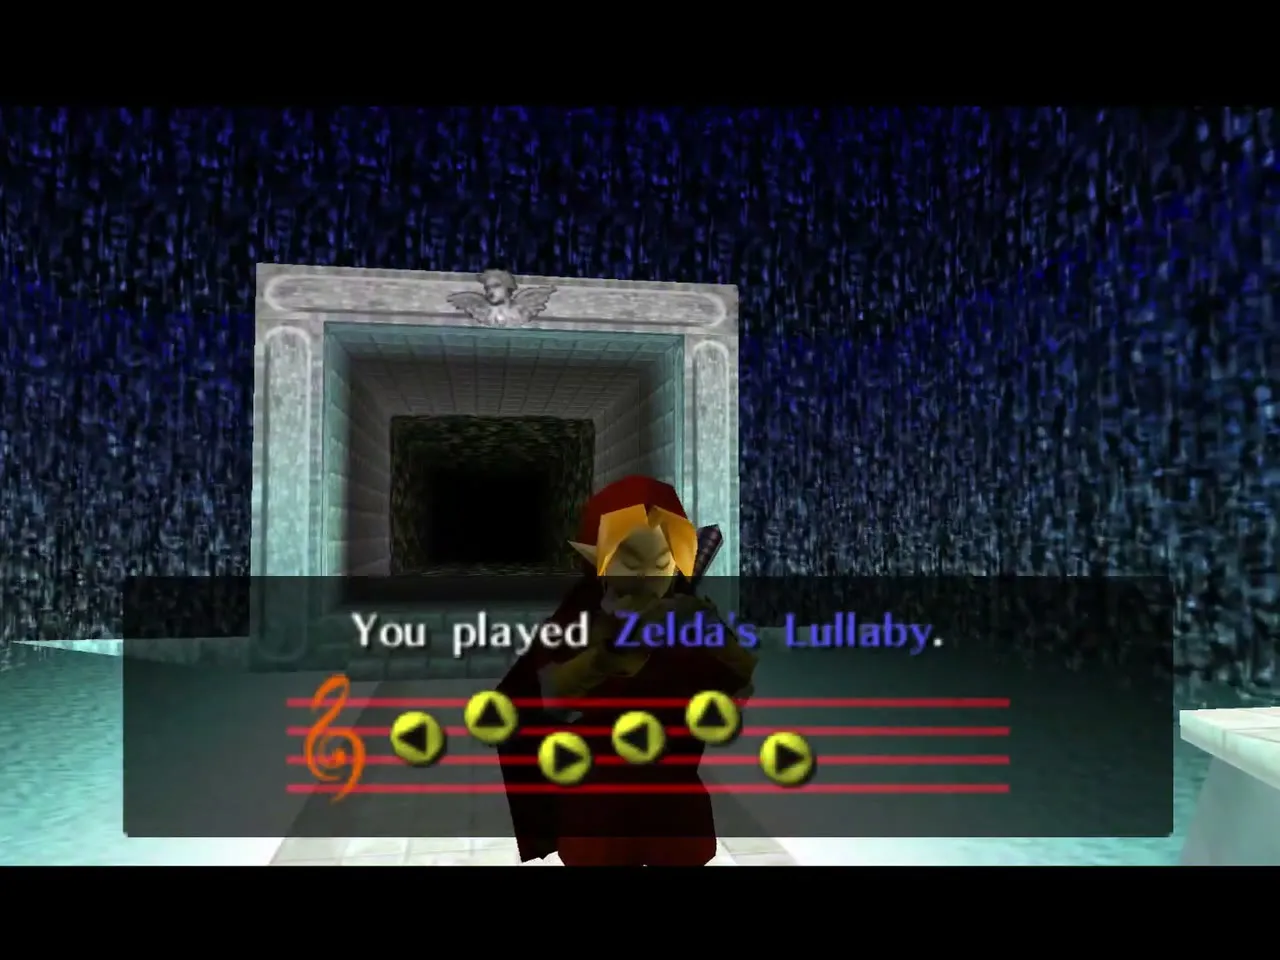
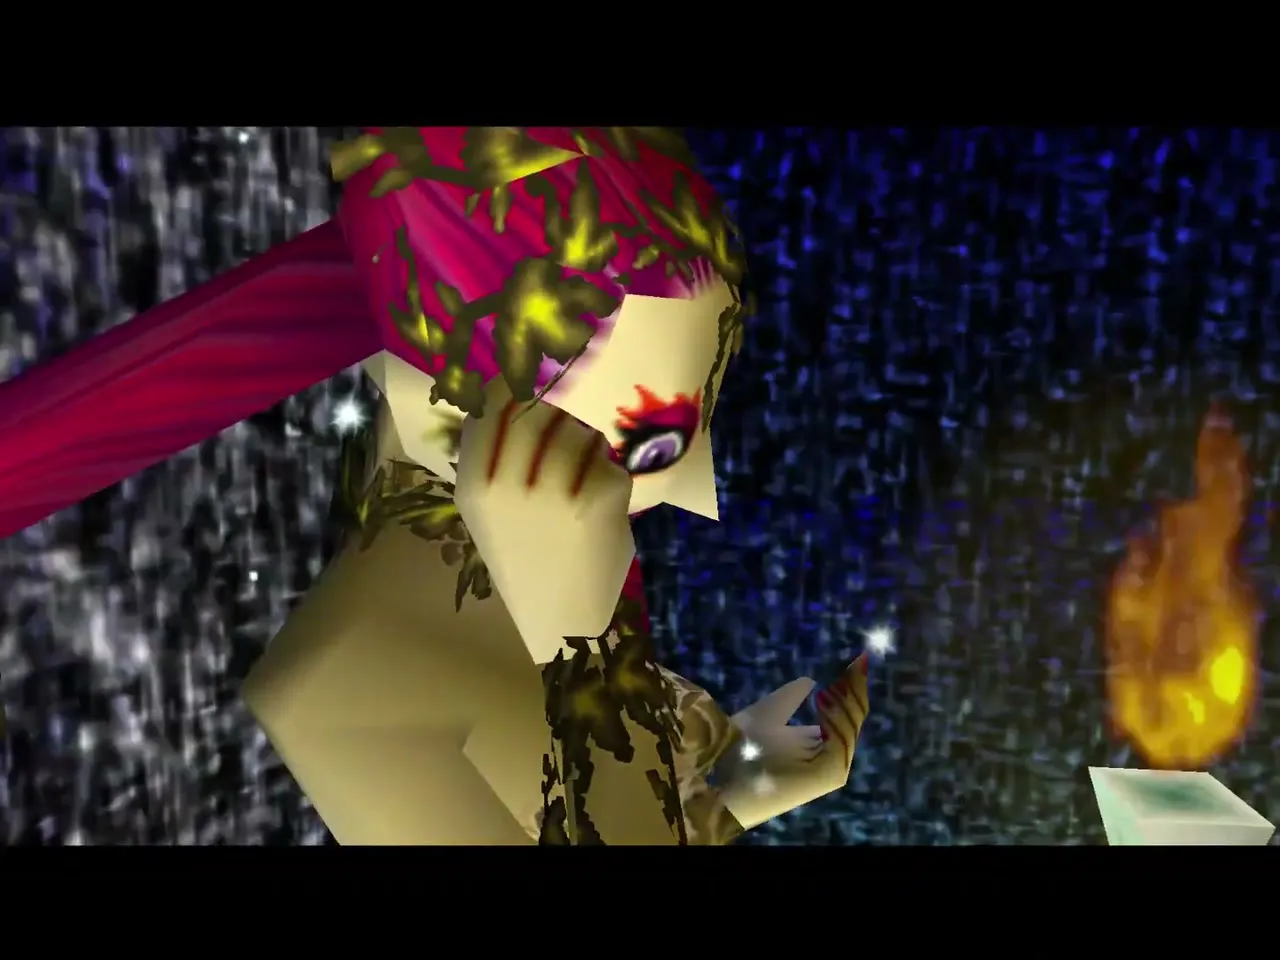
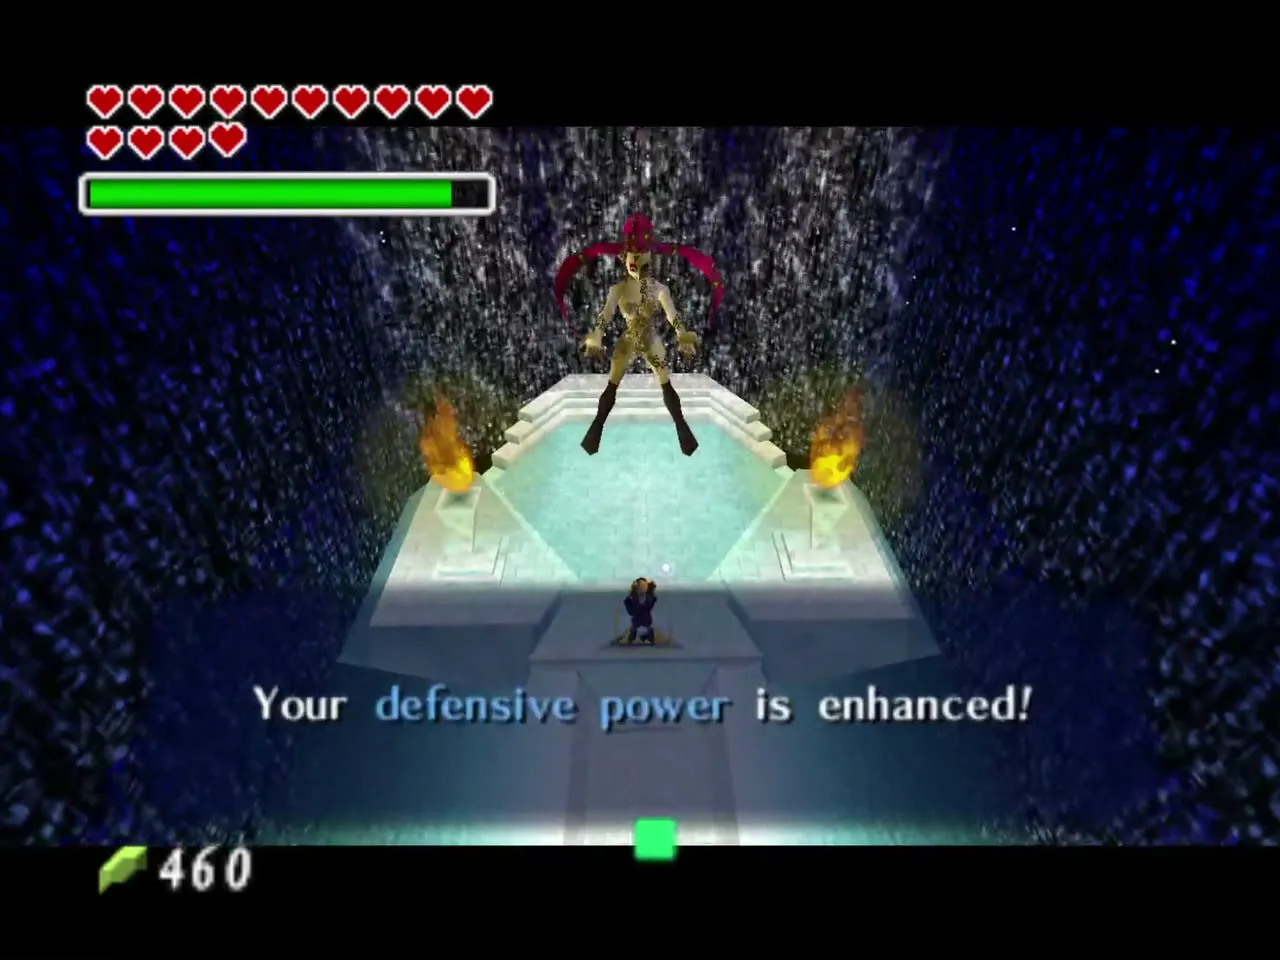
Cross the rainbow bridge and head left to a large black pillar jammed against the cliff. Lift and throw it with the Golden Gauntlets to uncover a cave. Inside is a Great Fairy Fountain; stand on the Triforce mark and play Zelda’s Lullaby. The Great Fairy of Courage grants Double Defense, which halves all damage and adds a white outline around your hearts. With the Minuet of Forest you can warp to the Sacred Forest Meadow fountain to refill any bottles you still have empty.
Ganon’s Tower
Fire Keese and the Dinolfos
Go back inside and cross the bridge to the tower. The first hall swarms with Fire Keese, so shoot them from a distance and climb the stairs. Two Dinolfos ambush you at the top; fight them one at a time with the shield up and their deaths open the next door.
Two Stalfos and the Boss Key
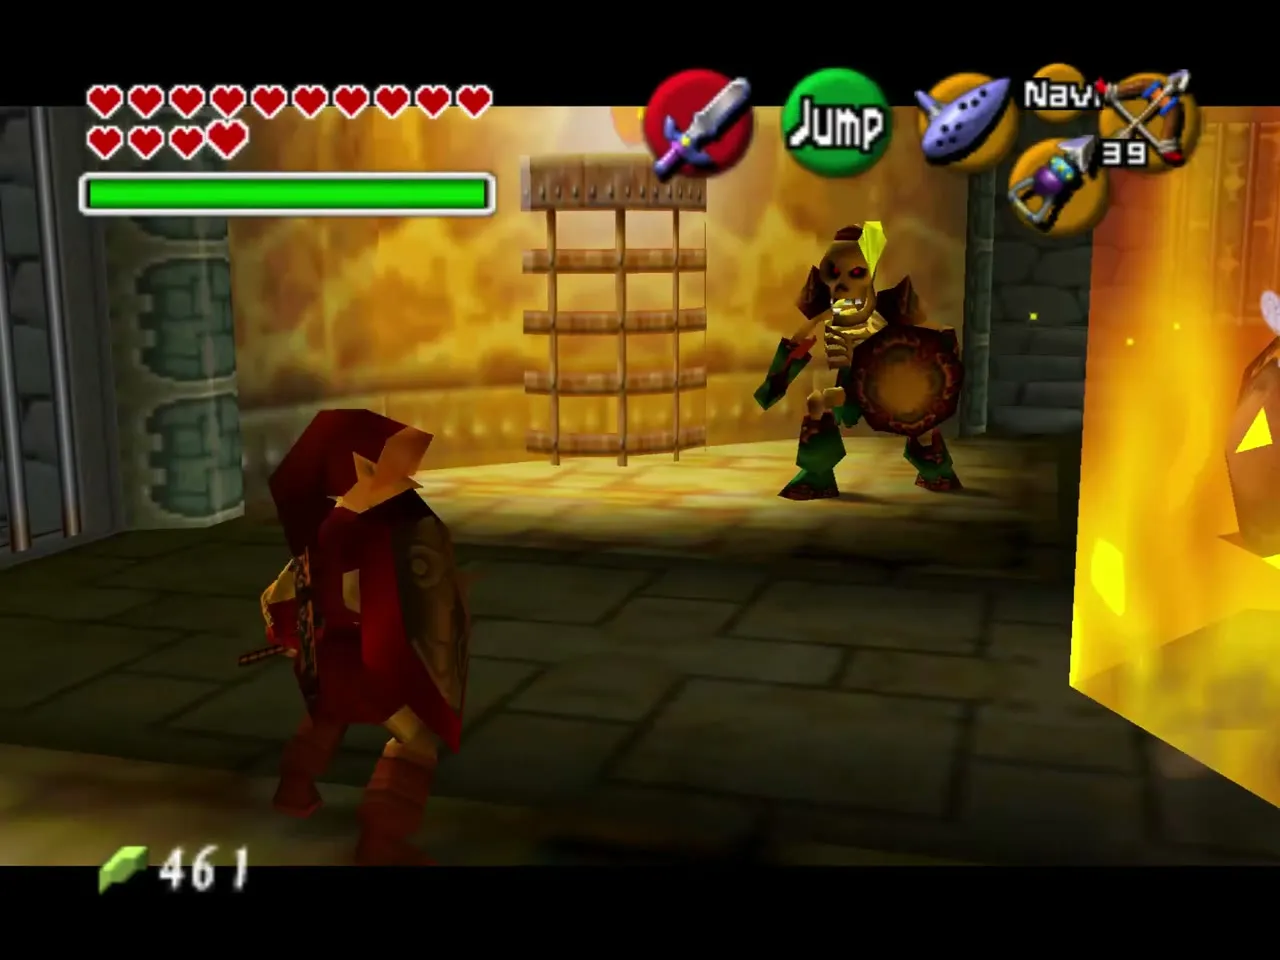
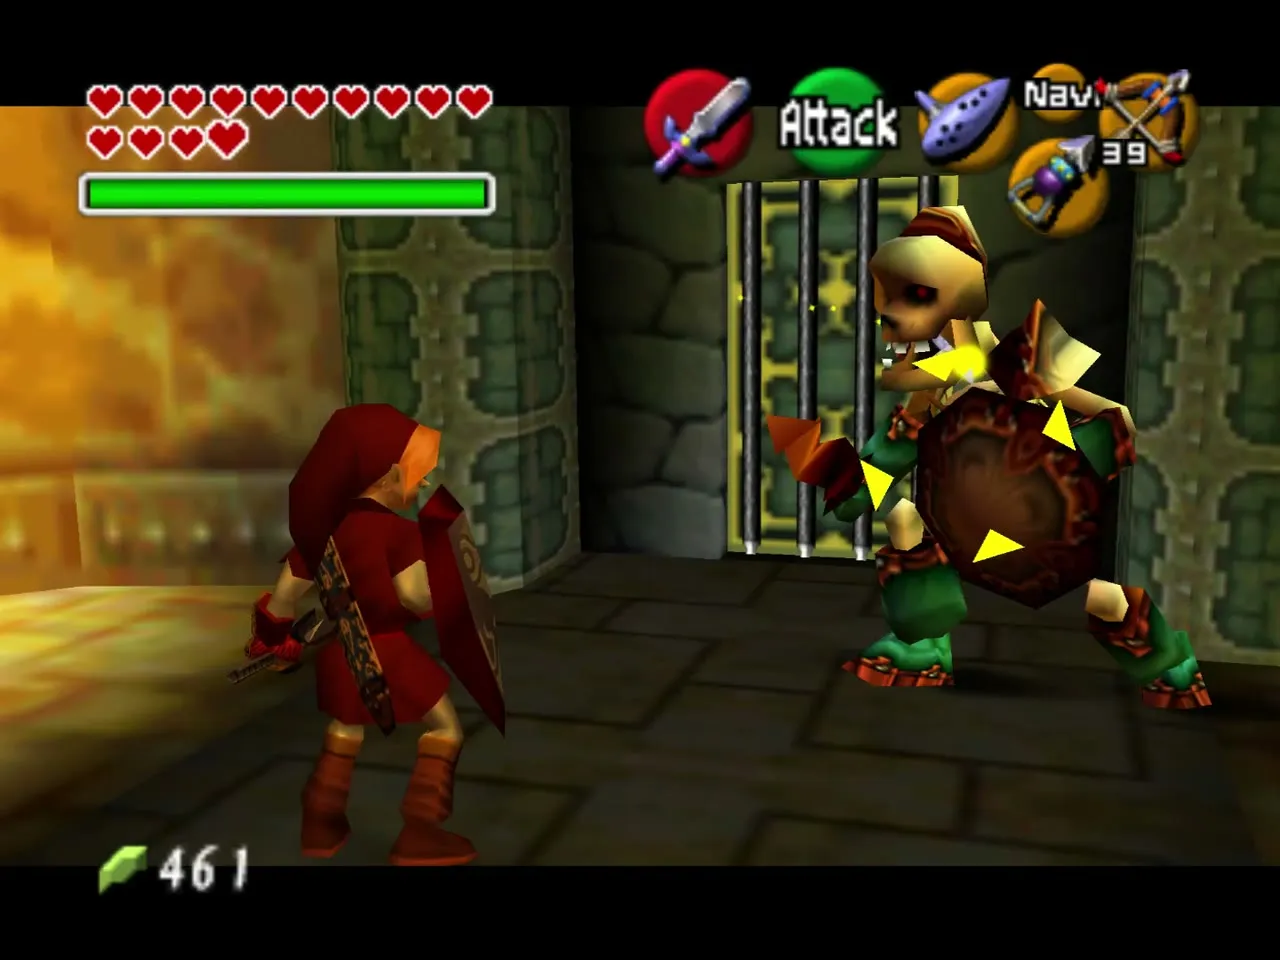
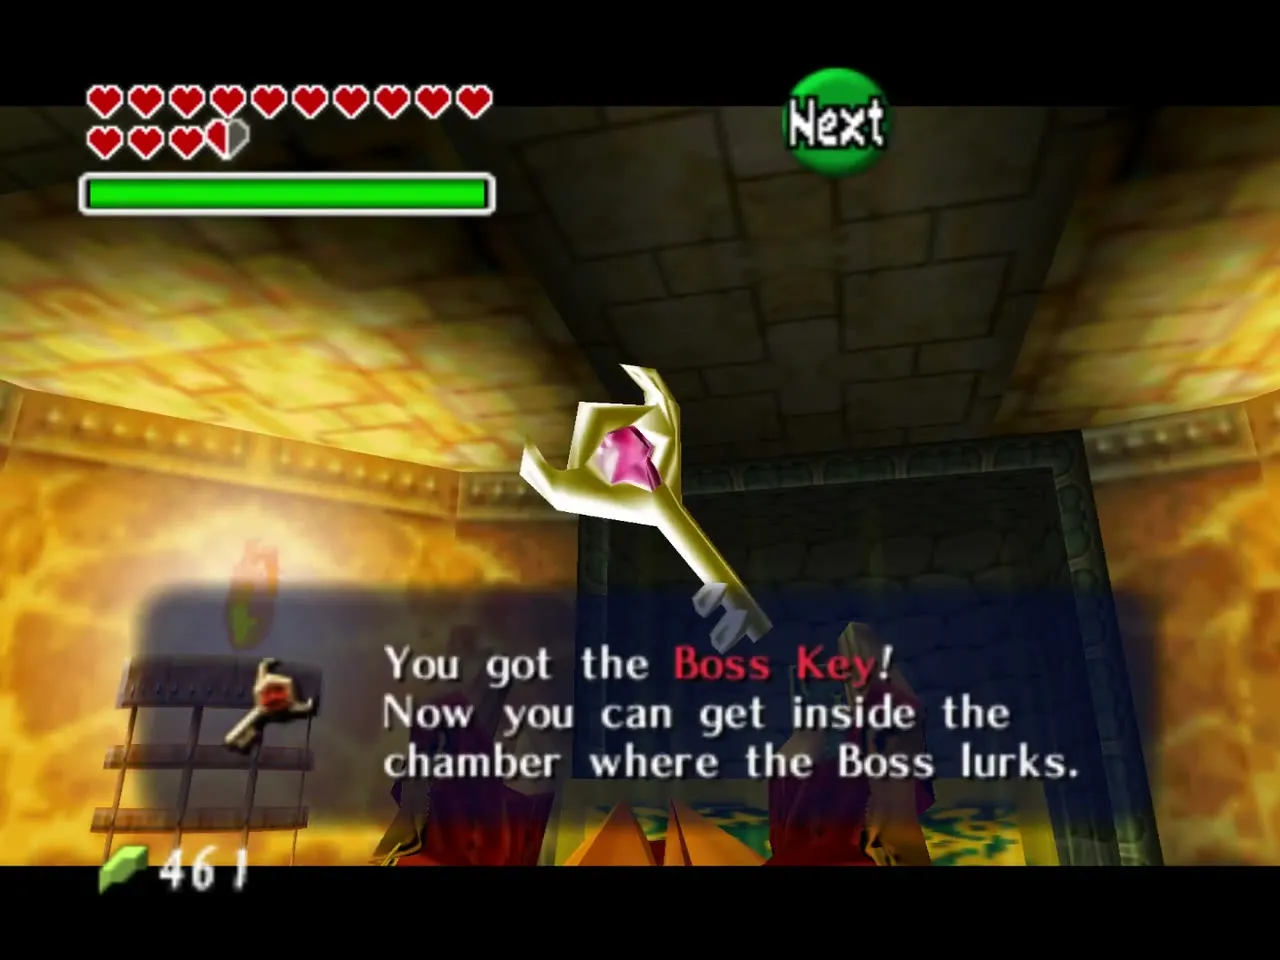
The next room has a chest ringed by fire. When you approach, two Stalfos rise from the floor. Raise your shield so they lower their guard, then strike; kill them quickly, because one can revive the other if you leave it. The fire fades and the chest yields the Boss Key.
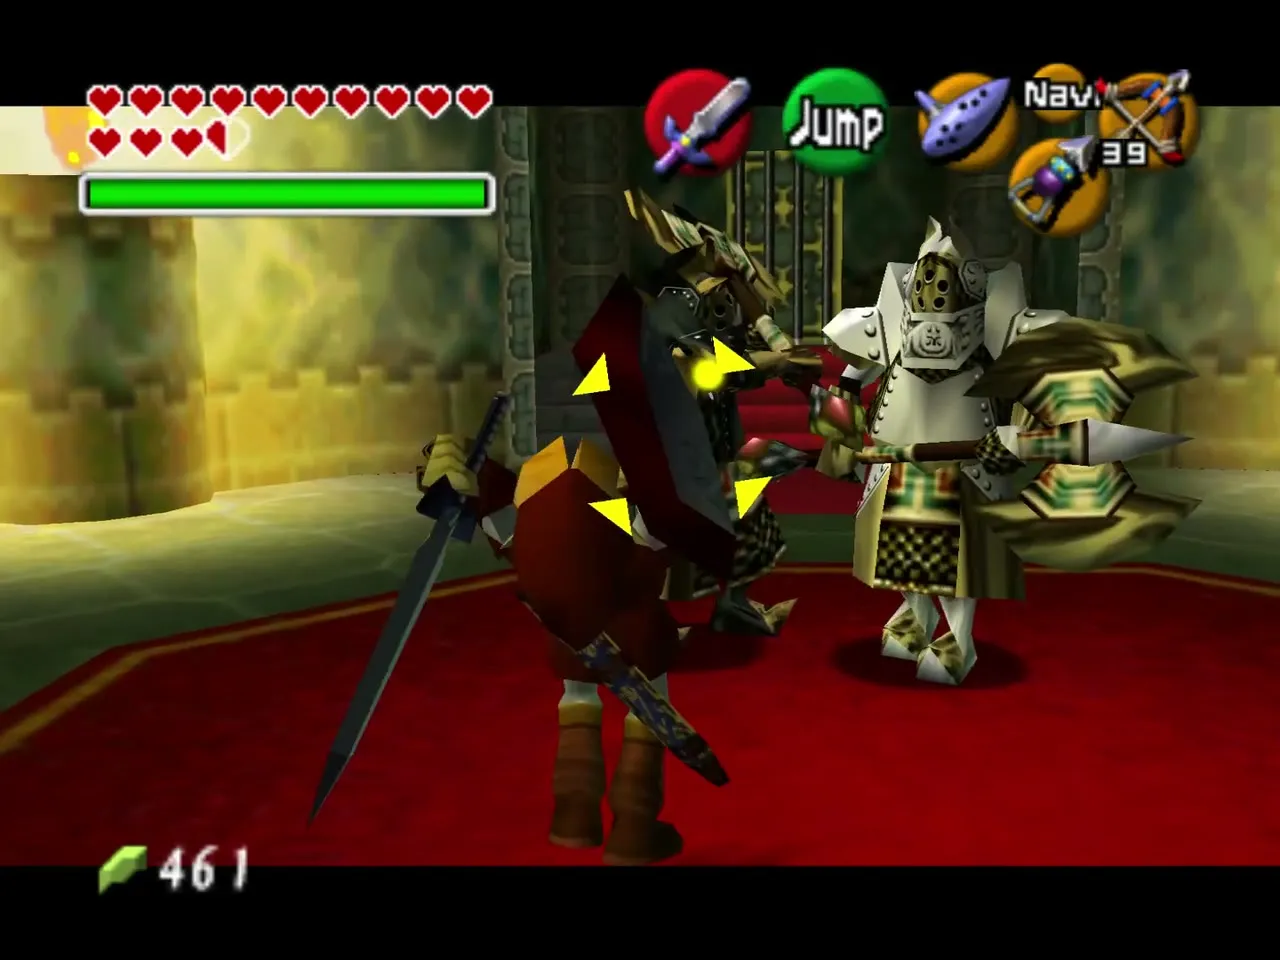
Two Iron Knuckles
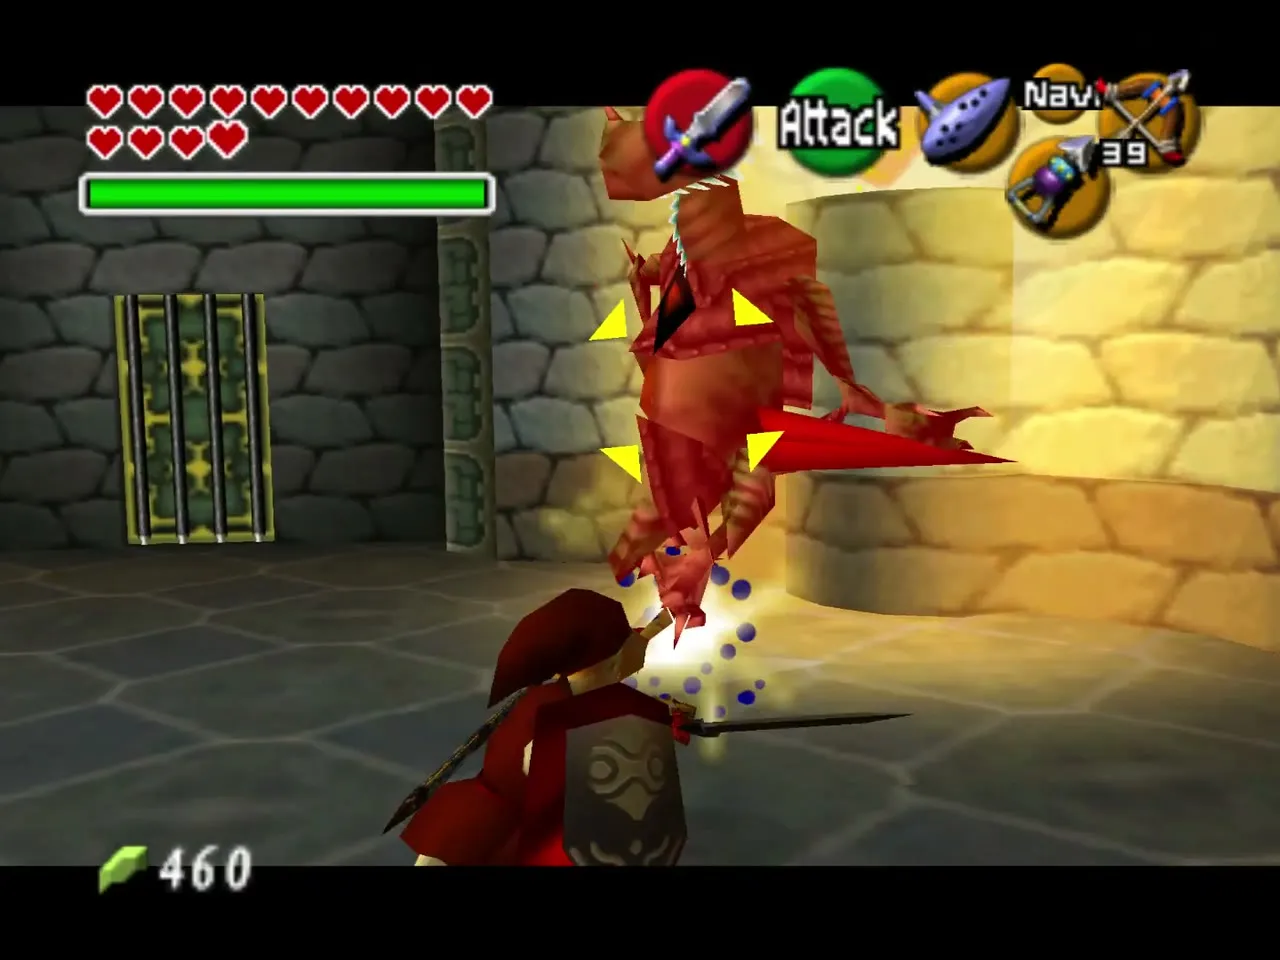
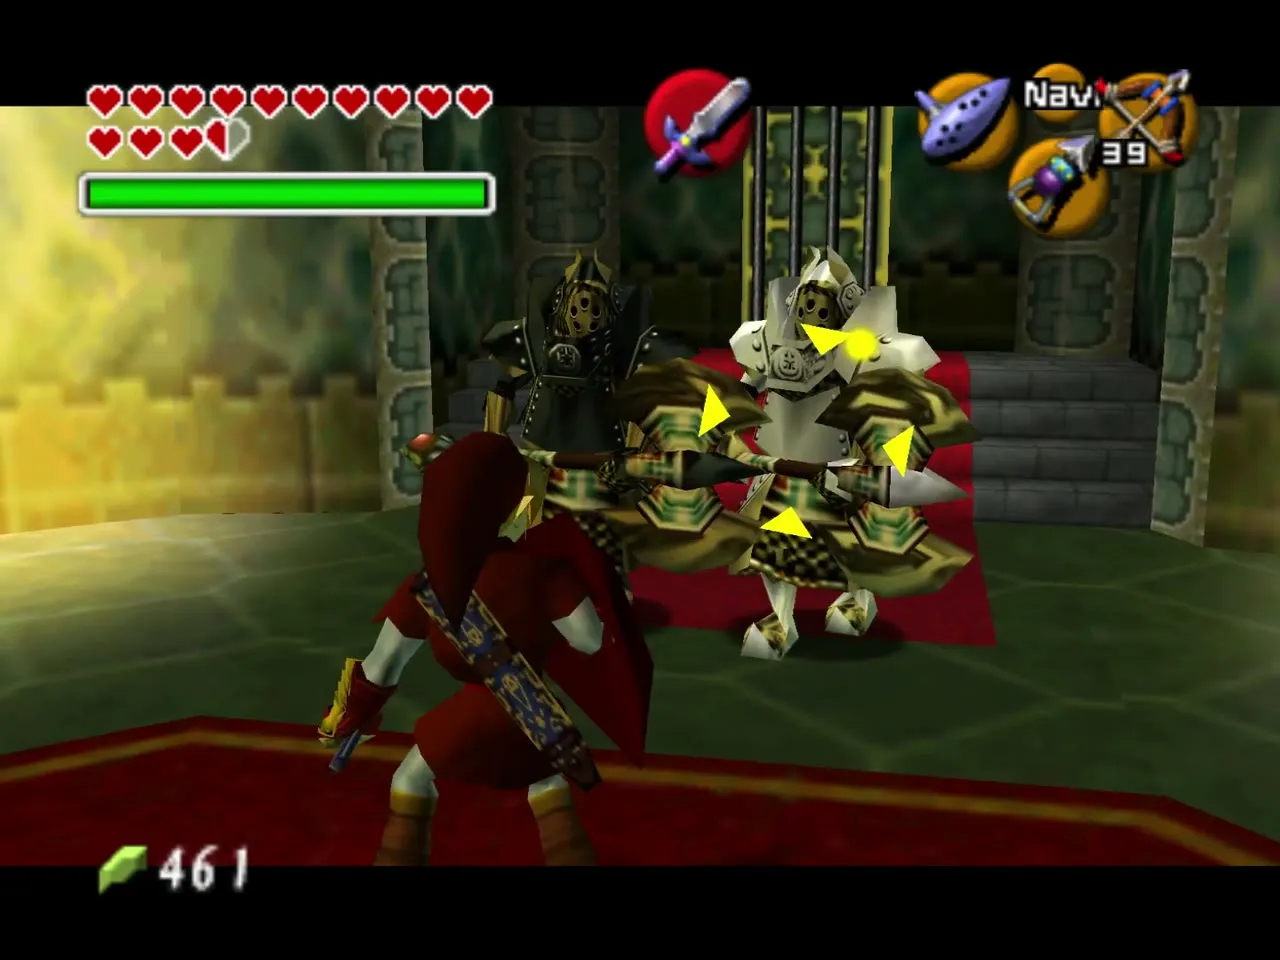
Climb on to a room with a white Iron Knuckle and a black one. They wake only when you hit them, so fight one at a time and let the other sleep. The Biggoron‘s Sword and Bombchus make this fight much quicker.
The boss door and the stairs
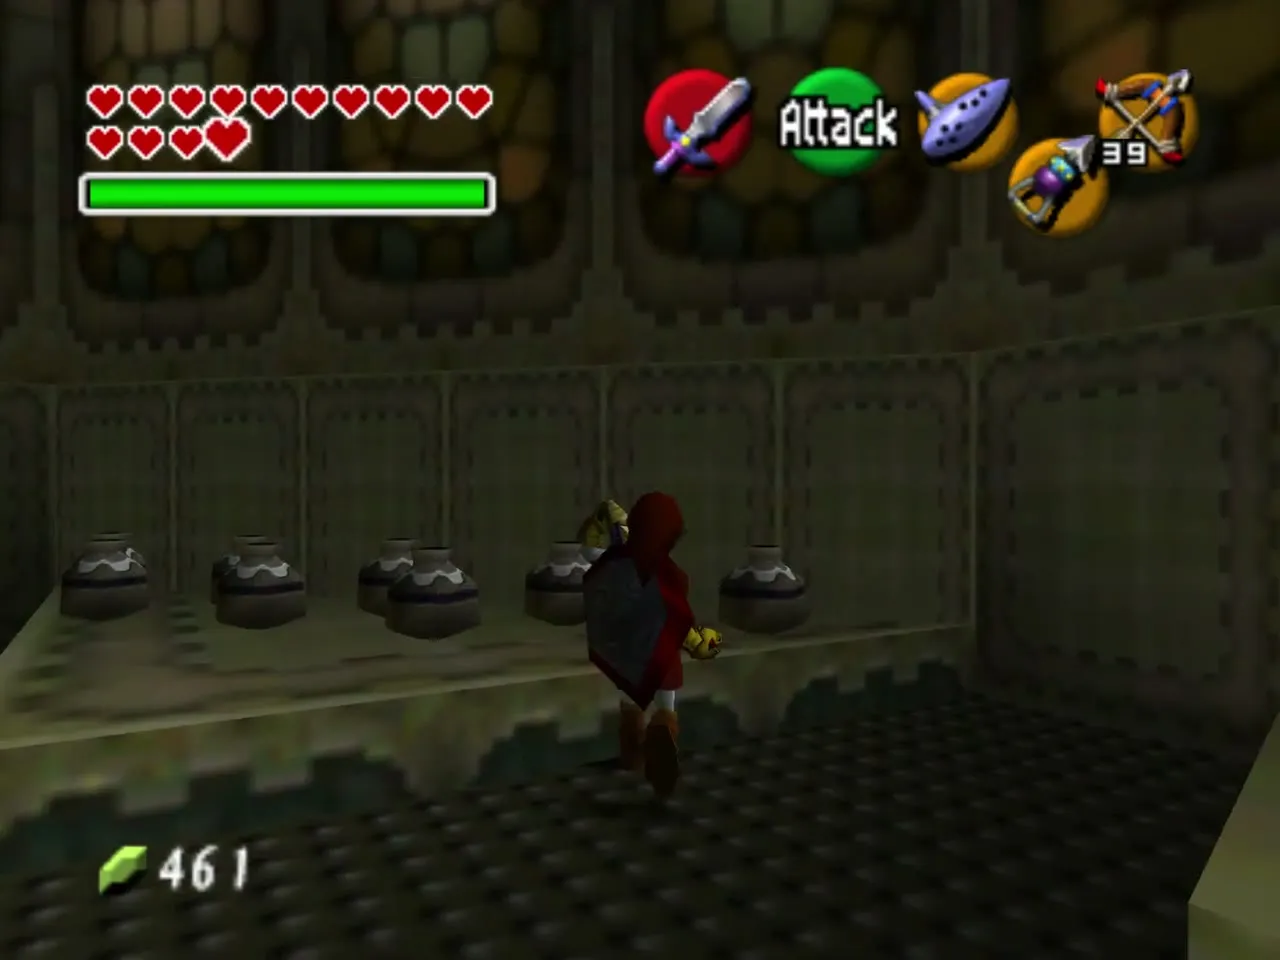
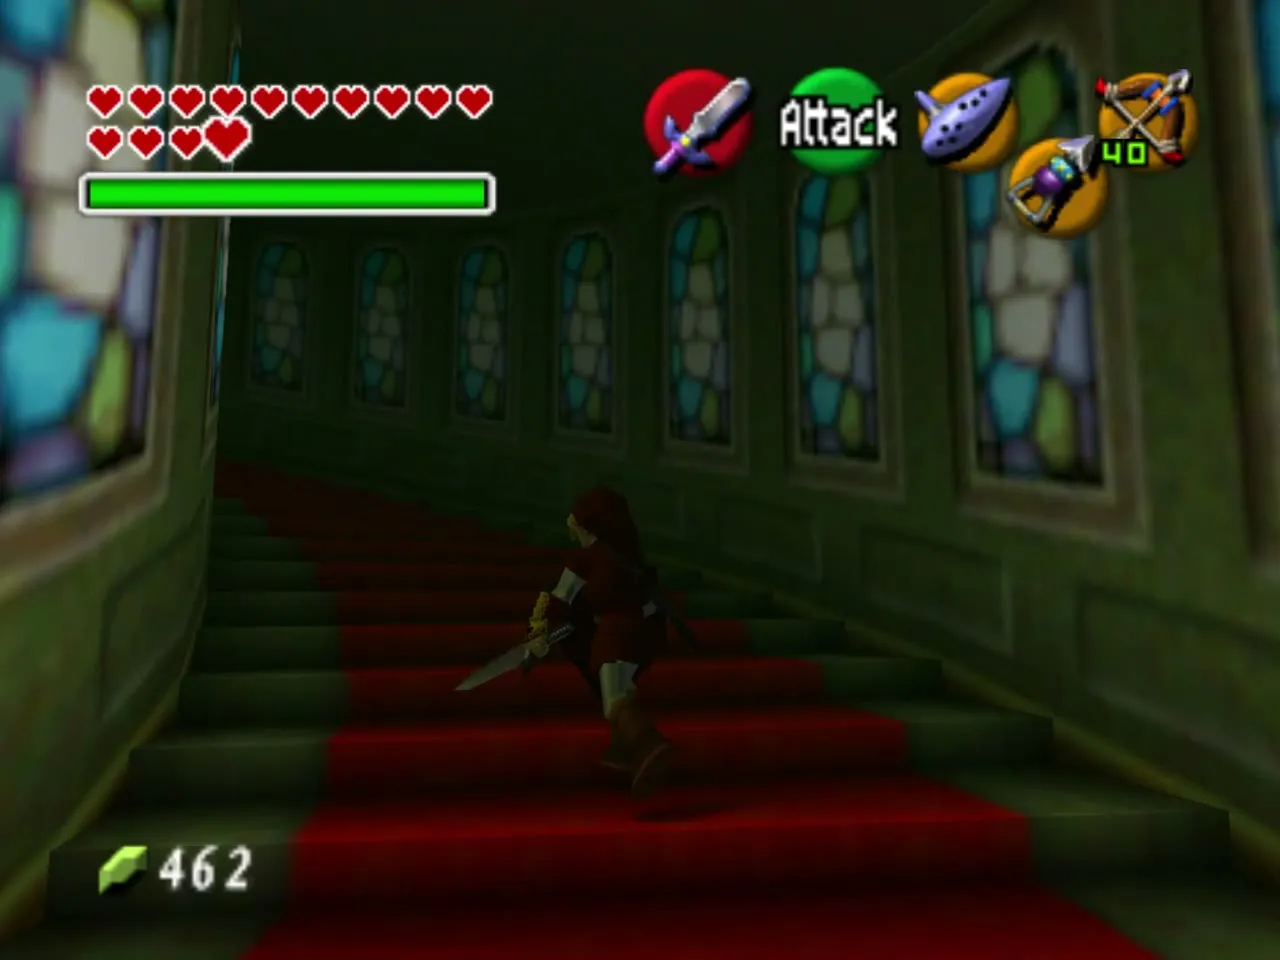
At the top of the next flight, use the Boss Key on the big door and turn right to the next one. The jars in this room can restock you with magic and hearts. A longer stained-glass staircase leads up, and the organ music grows louder as you climb to the last door.
Boss: Ganondorf
The arena
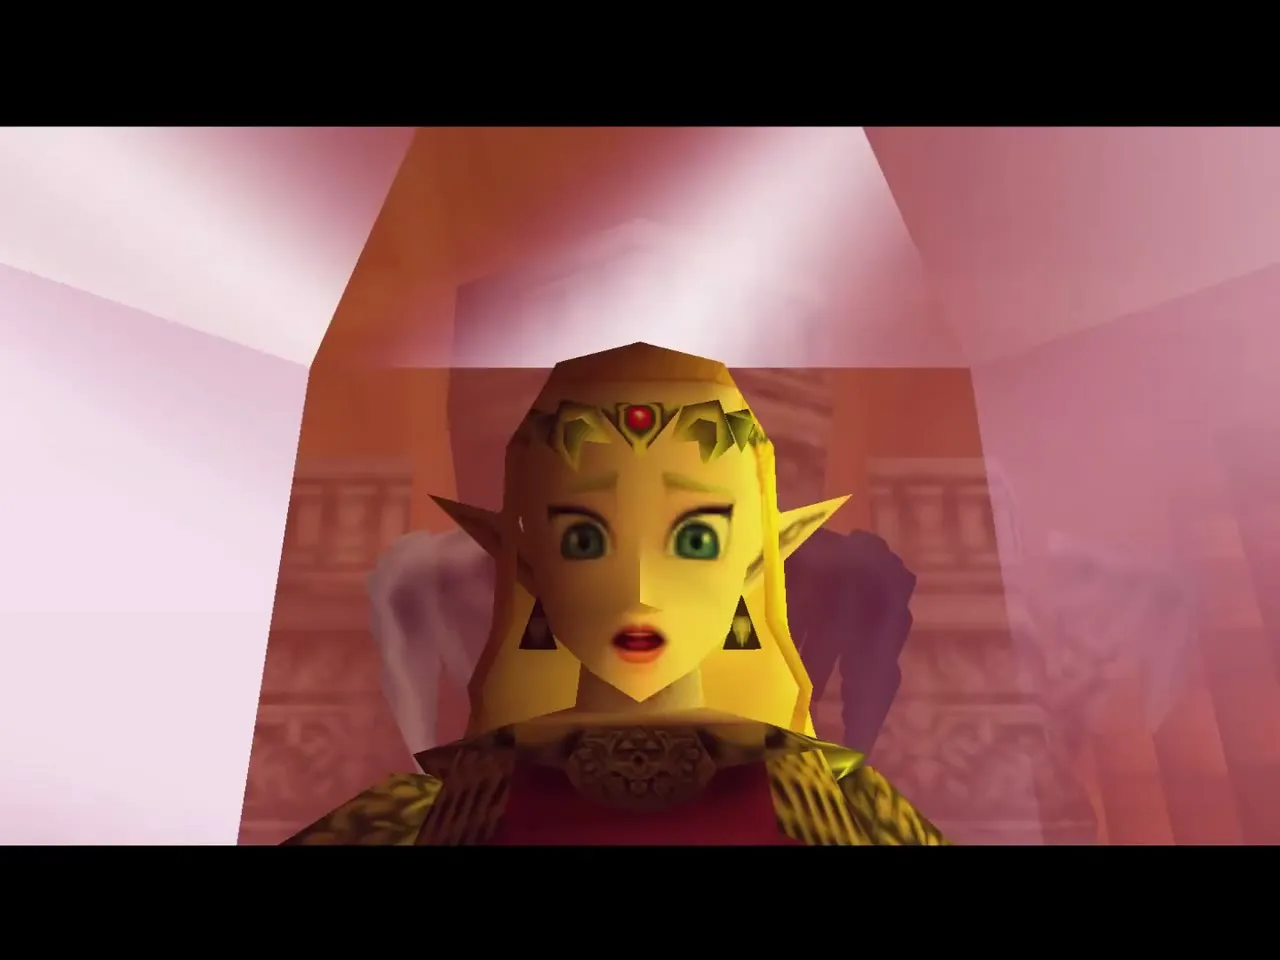
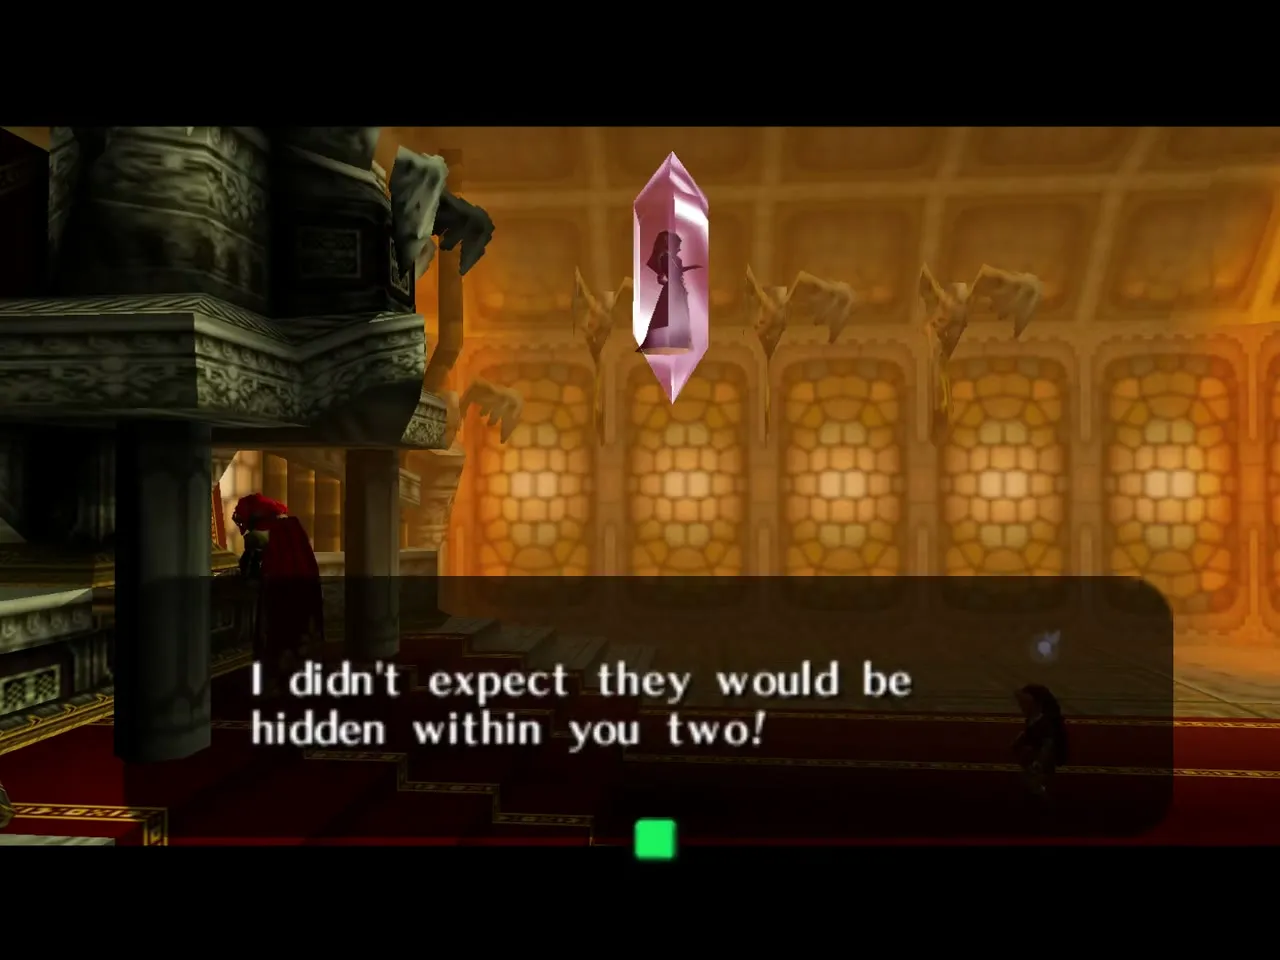
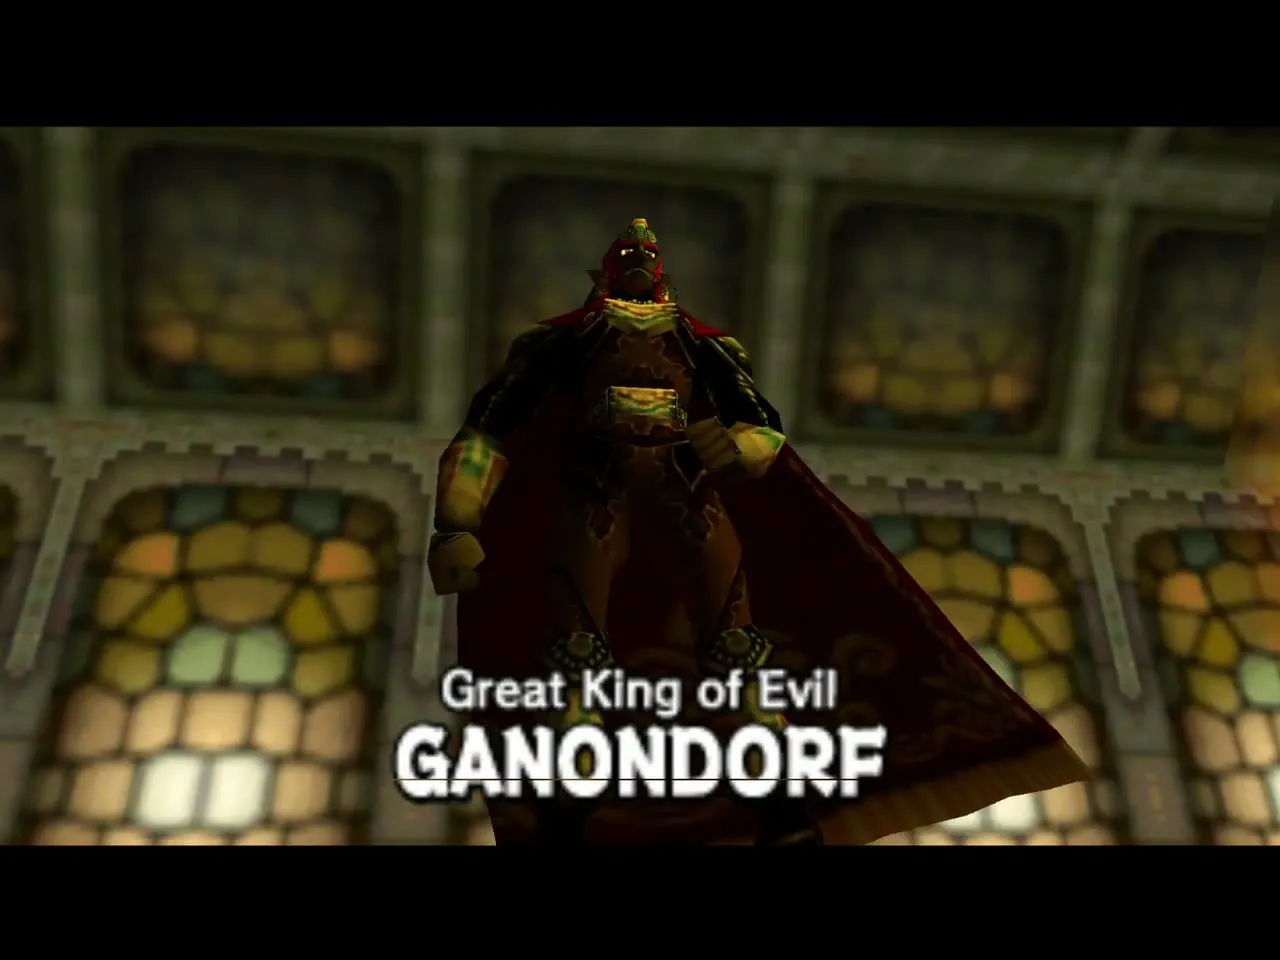
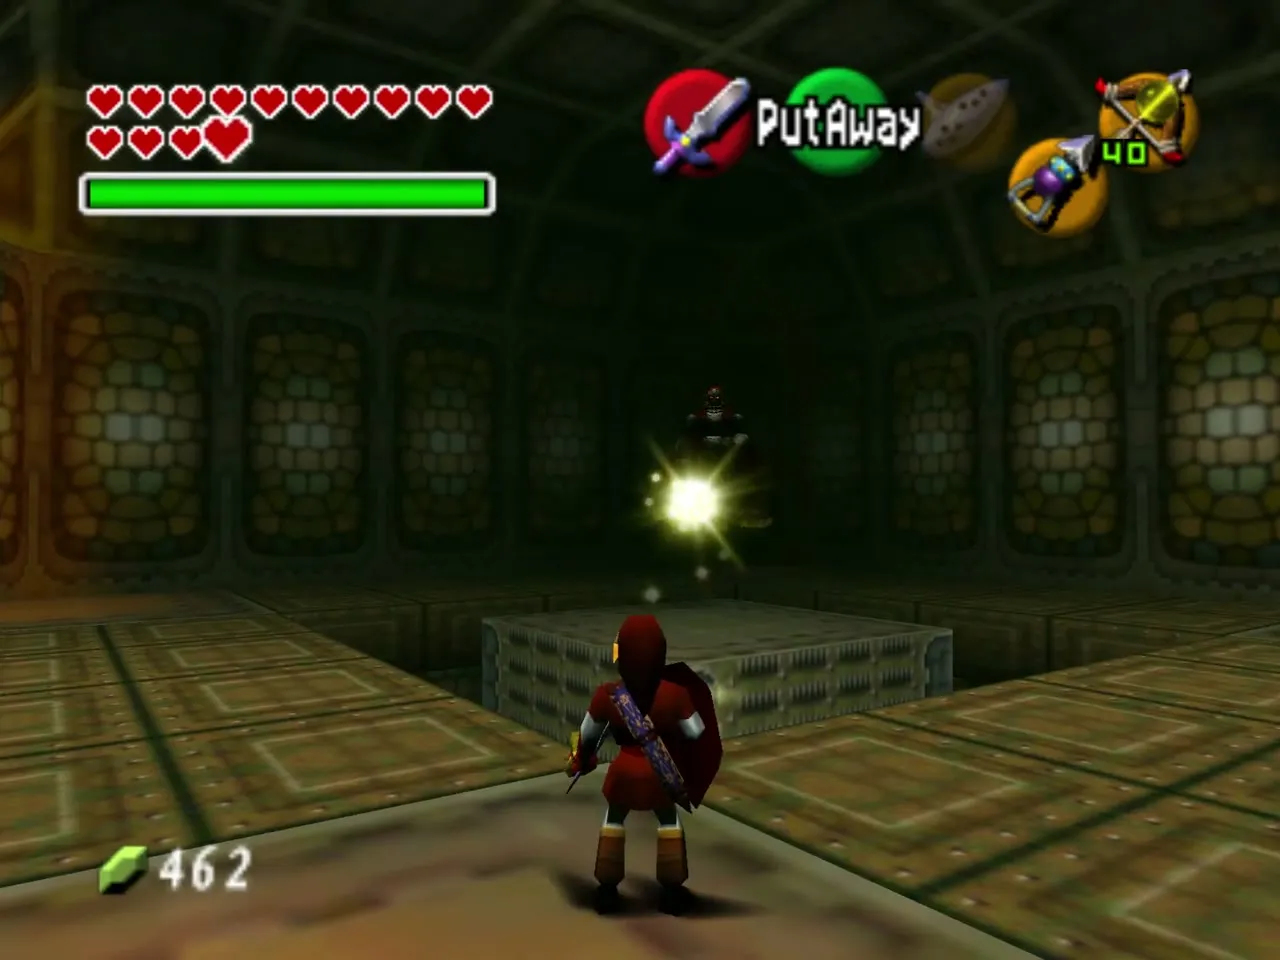
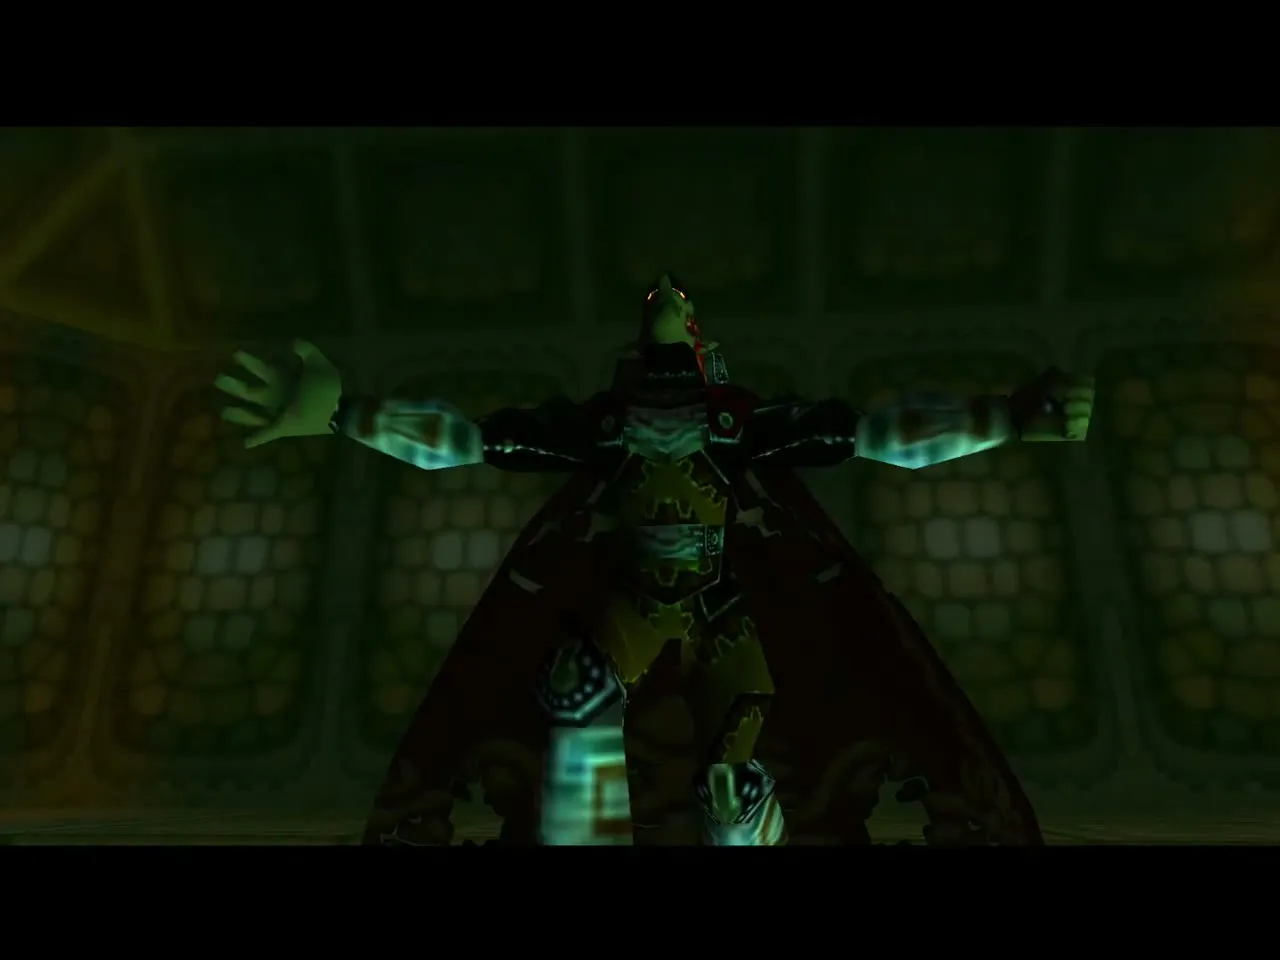
In the chamber at the top, Ganondorf plays an organ while Zelda hangs in her crystal. The Triforce parts you carry heal you, and then the fight starts. The floor is a grid of blocks around a central platform; his attacks knock out blocks nearest the middle, and the corner blocks never fall, so run to one at the start. Ganondorf punches only if you stand on the central platform.
Energy ball tennis
His main attack is a slow energy ball. Swing your sword at it with perfect timing and it flies back at him; keep the rally going until it lands and he reels. A hit he takes this way leaves him stunned for a moment, so the energy ball is the way to open him up.
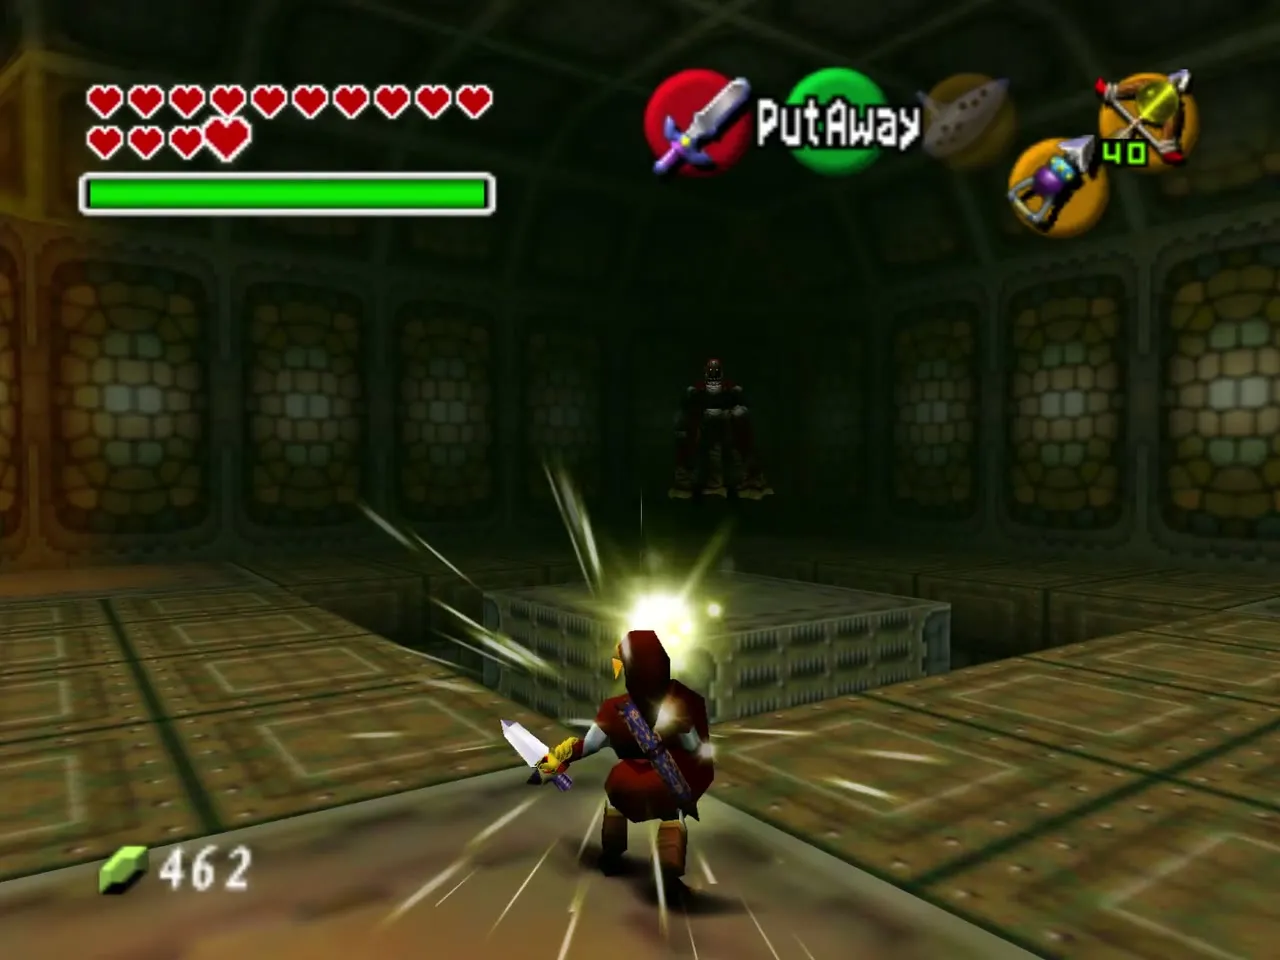
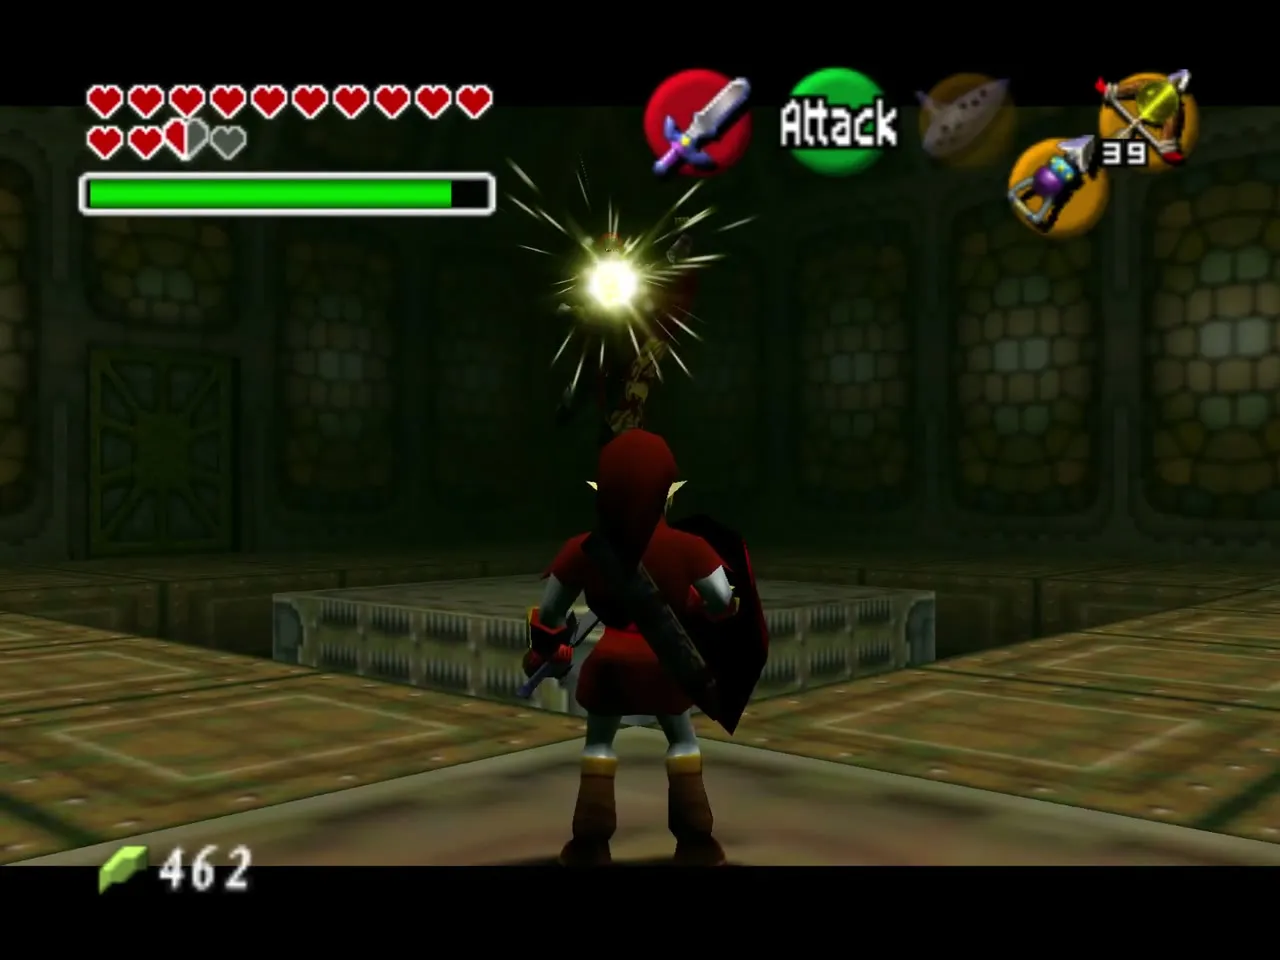
Lightning and the Light Arrow
His other attack is a charged volley of lightning balls that zig-zag toward you. The shield does not stop it; either roll at the last instant, charge a spin attack and release it to bat the balls back, or fire a Light Arrow into him while he is charging. Do not use Nayru’s Love, because it blocks your Light Arrows.
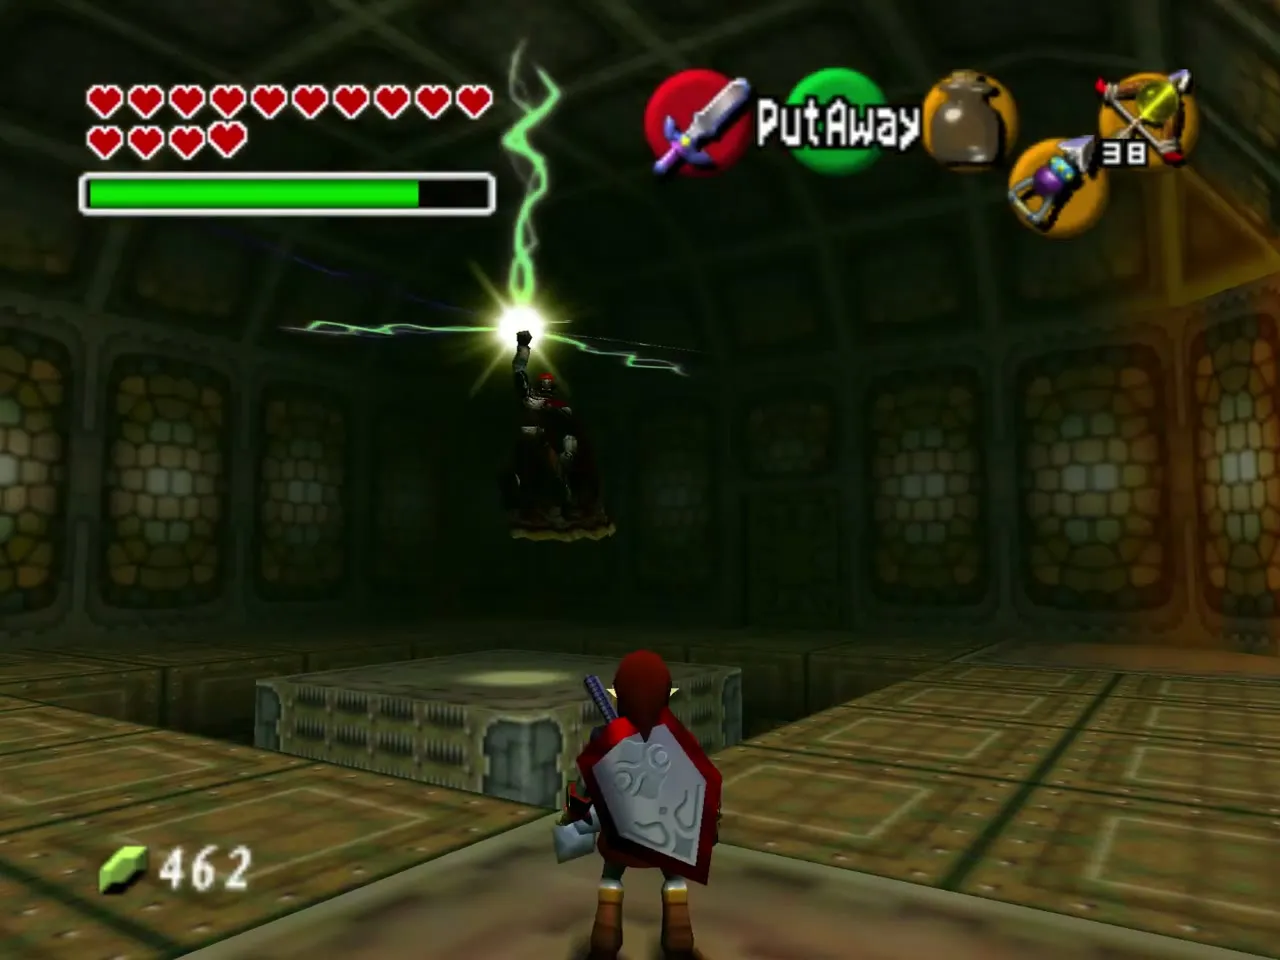
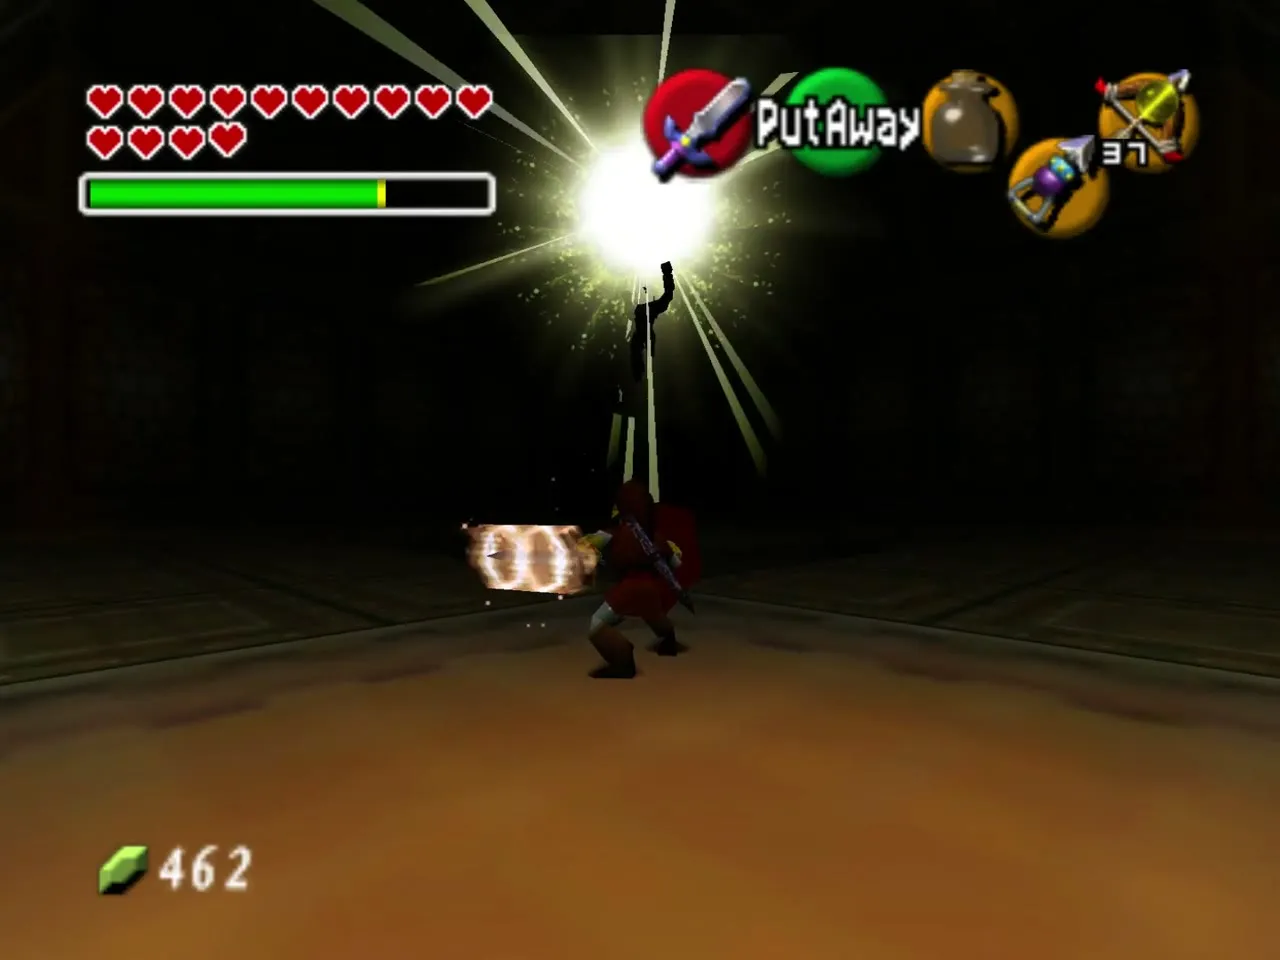
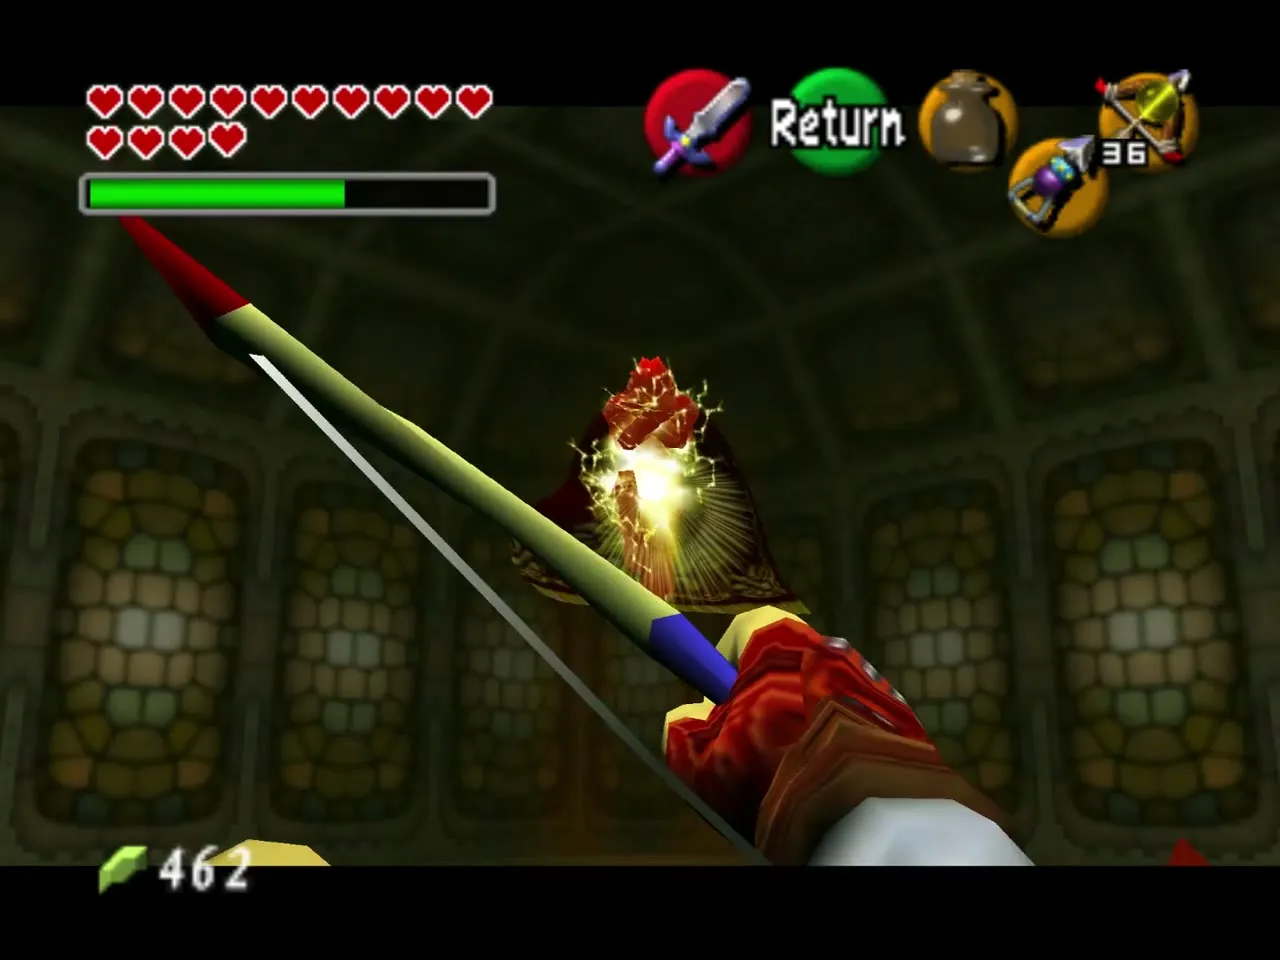
Once he is stunned, shoot a Light Arrow into him and he drops to the floor. Run in and slash him until he starts to rise, then back off to a corner. Repeat the cycle. If you run low on arrows or magic, jump to the lower floor where he does not attack, smash the jars and climb back up.
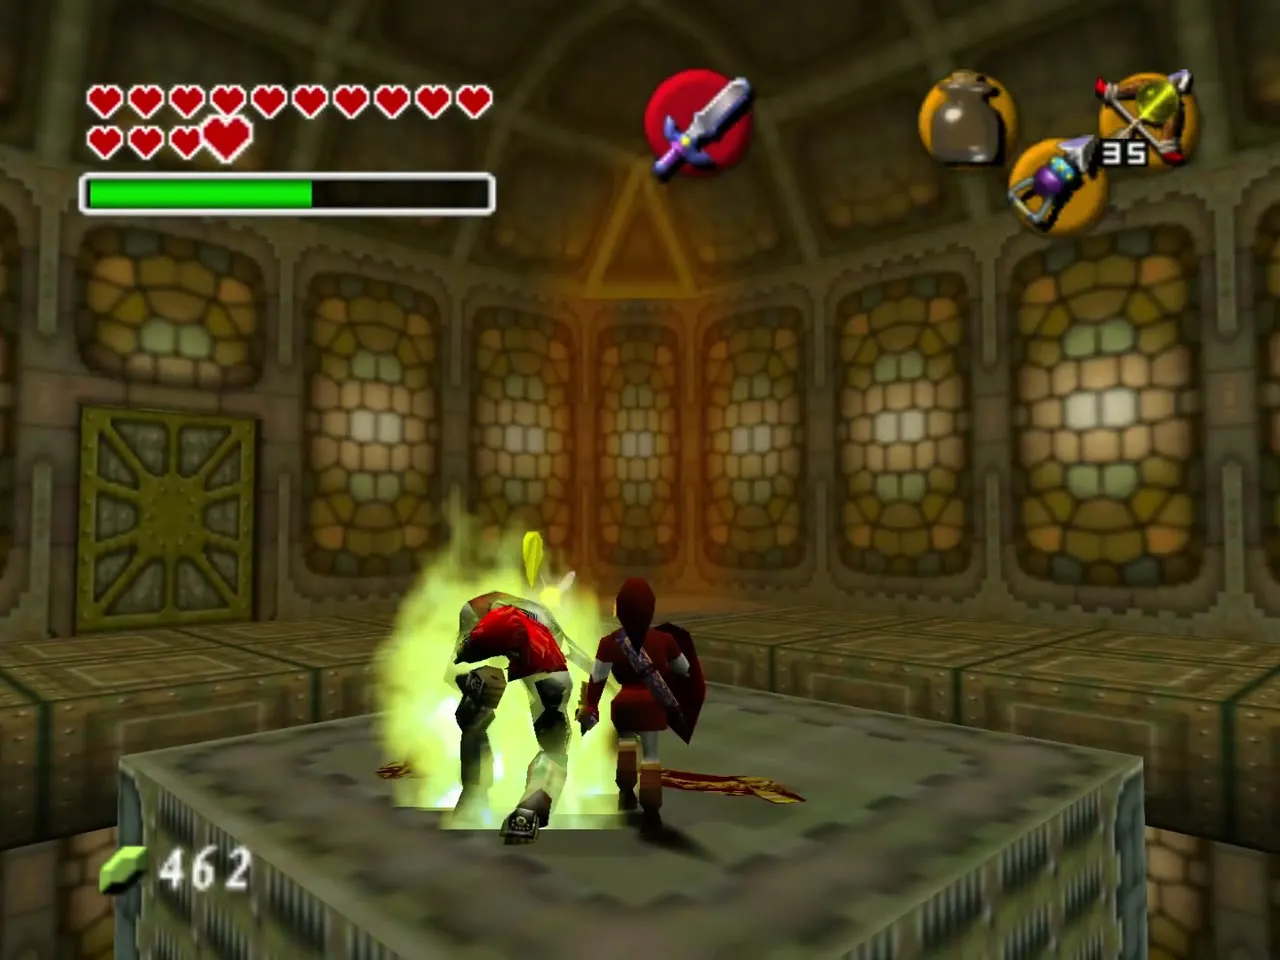
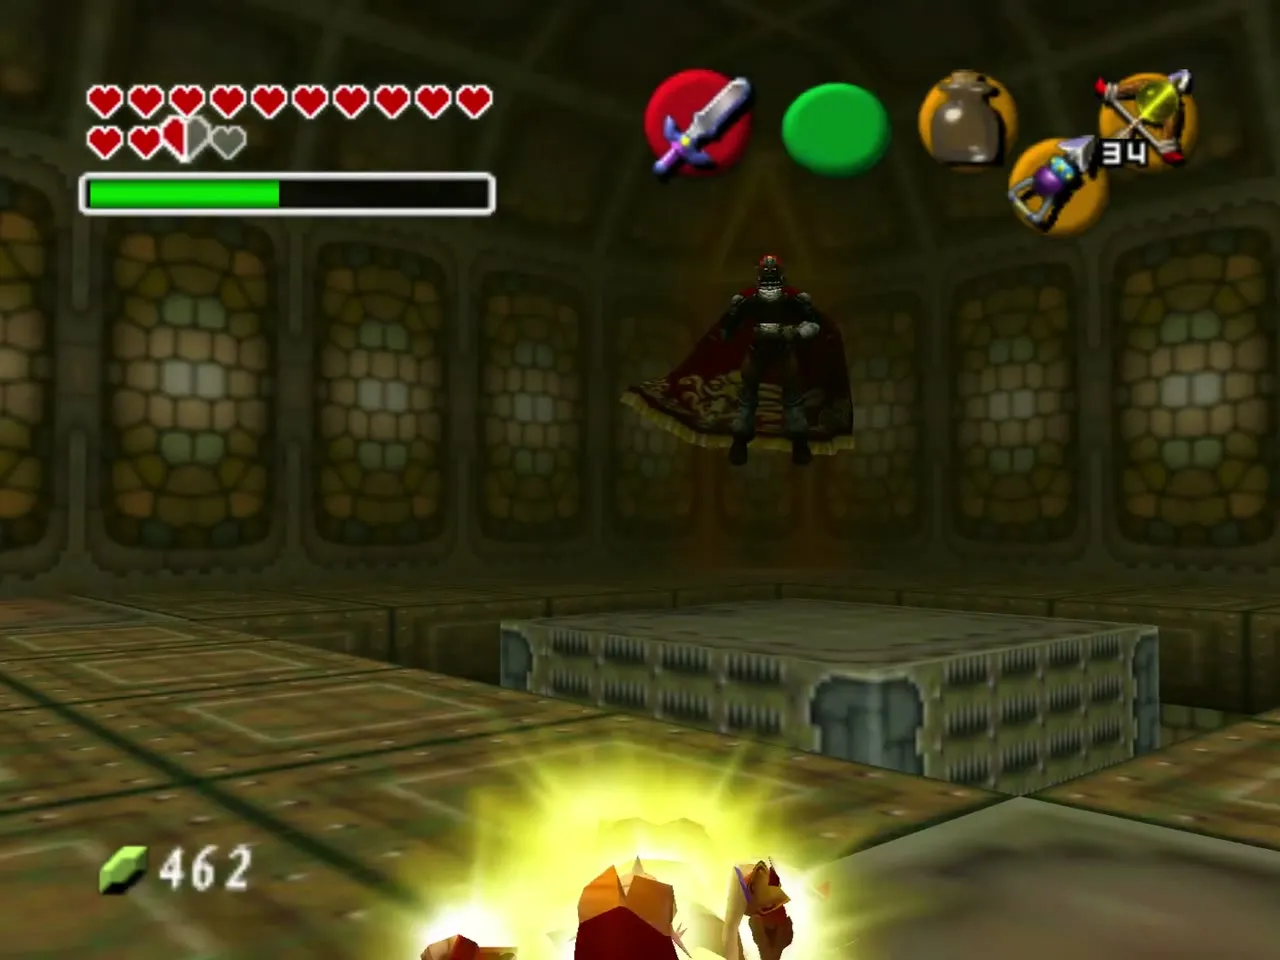
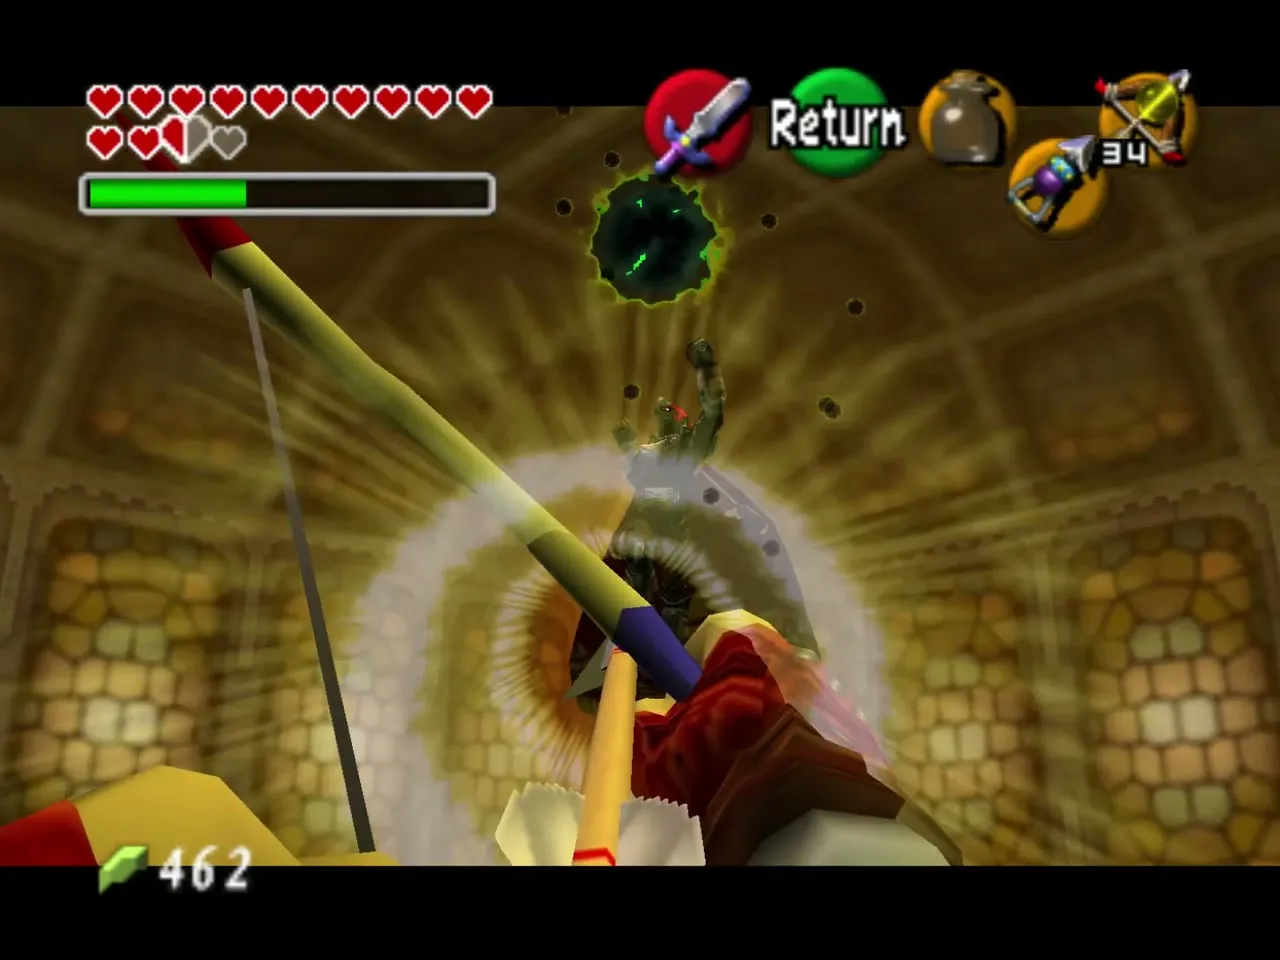
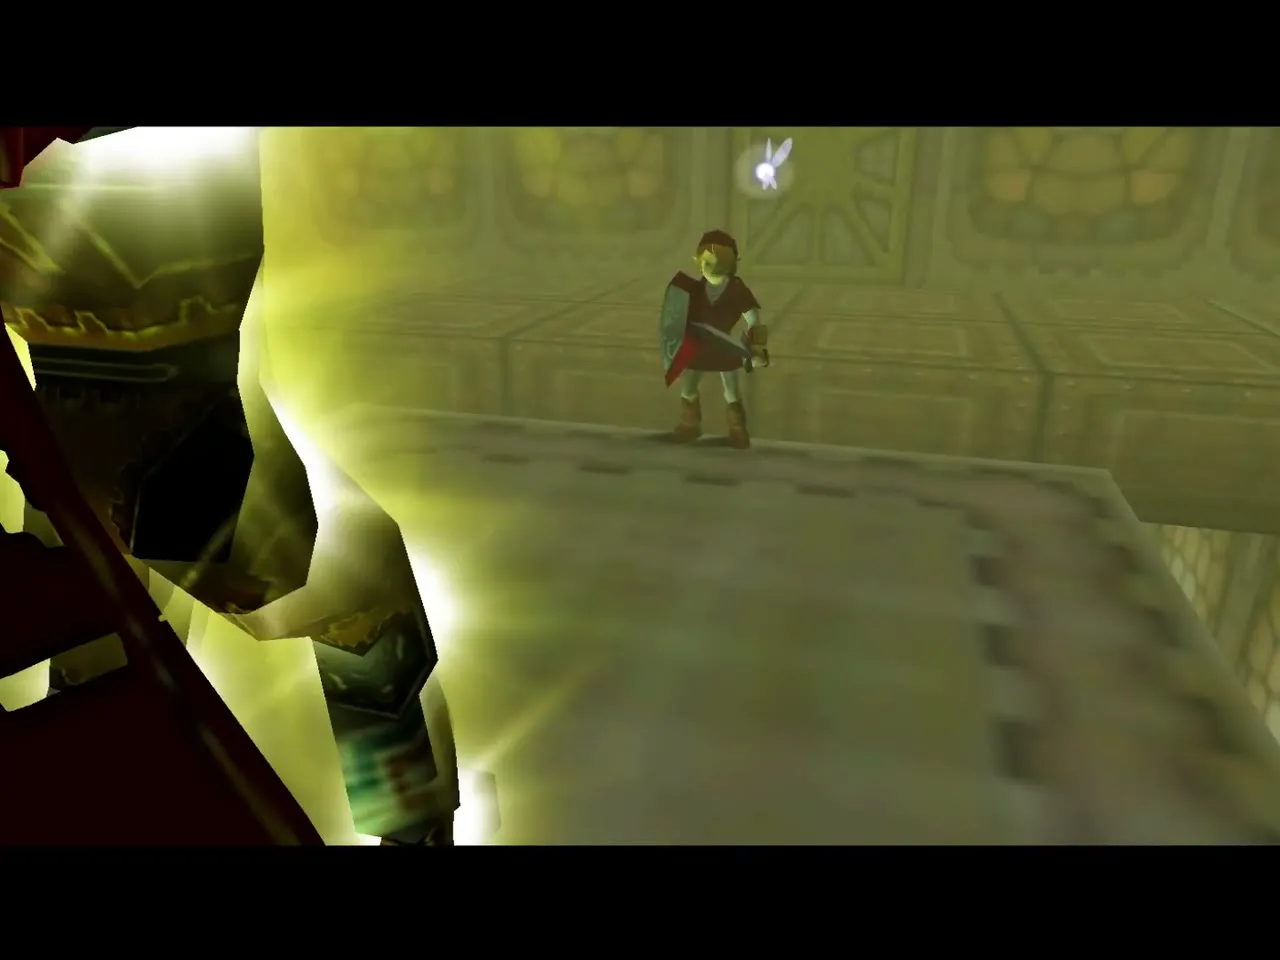
Keep repeating the cycle until he stops getting up. Defeated, he gives up and the tower begins to fall apart around you.
Escape from the tower
Zelda freed and the three-minute timer
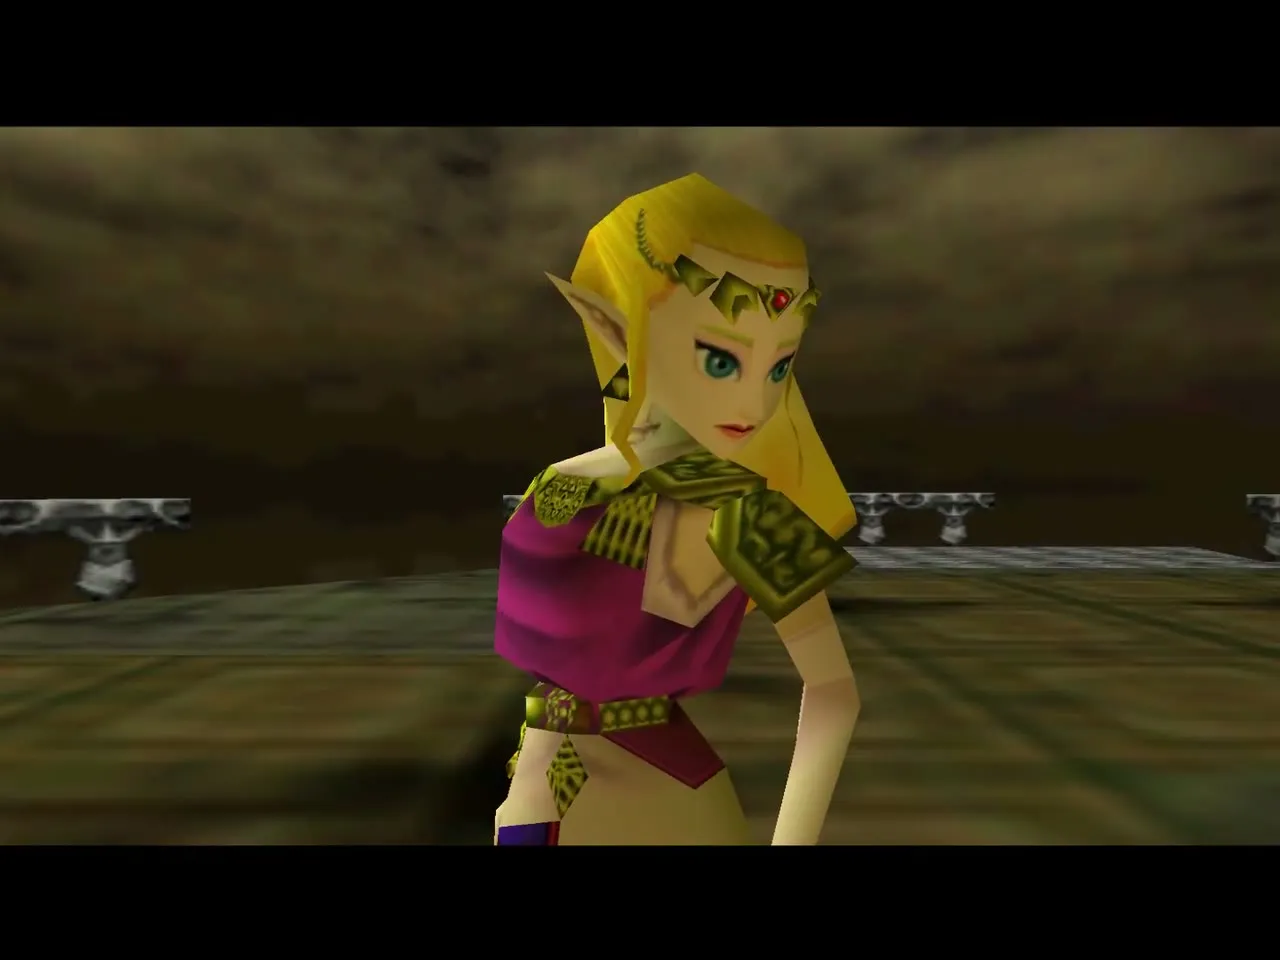
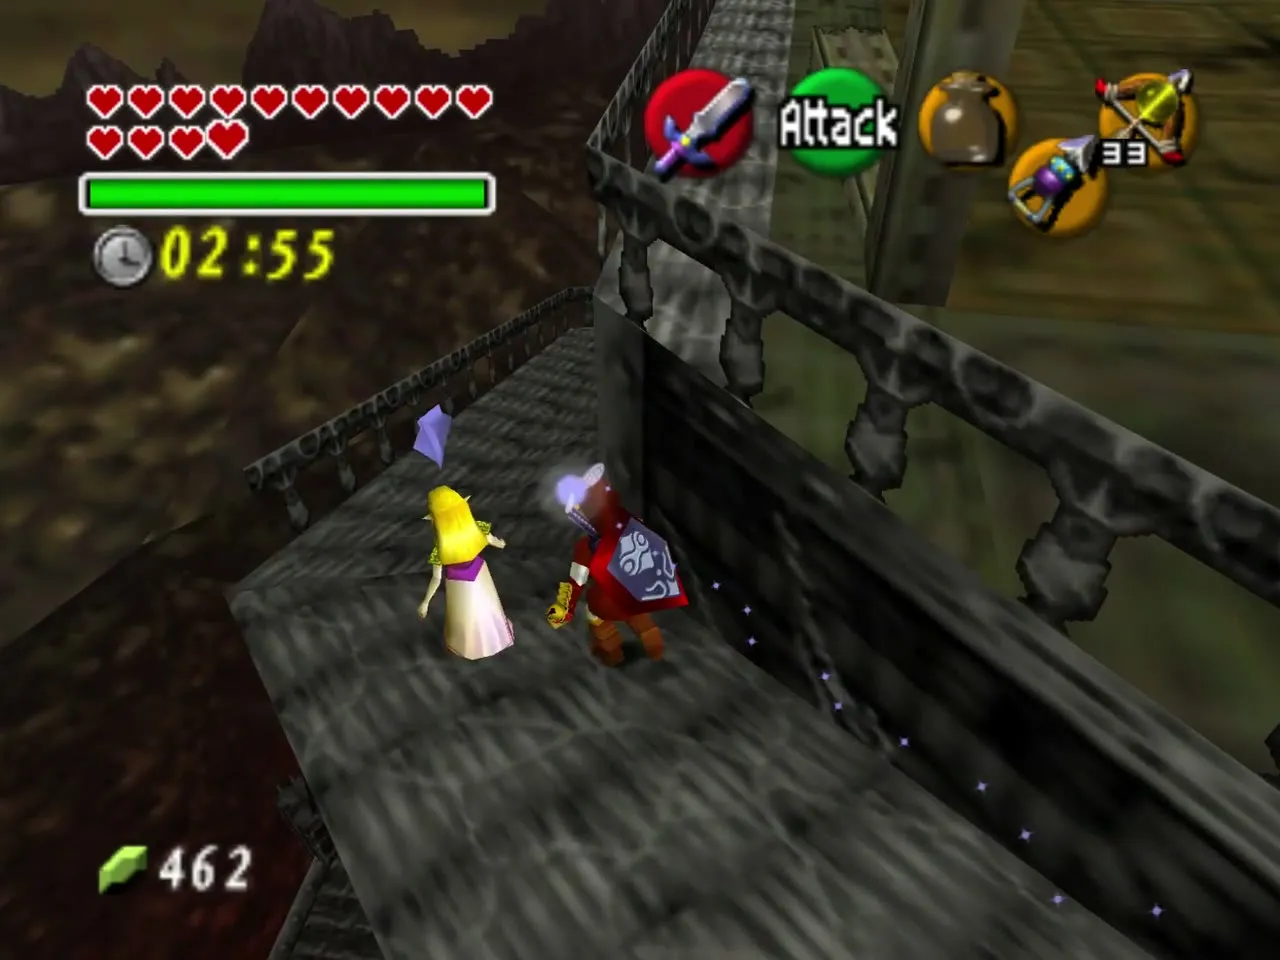
On the roof, Zelda is freed from her crystal and the timer starts at three minutes. Follow her down the path; she opens the barred gates with her magic when you stand before them. If rubble hits you, she waits for you to recover.
Barred gates and rubble
Inside, dodge the falling rubble while she opens the next door, then jump the holes in the walkway back outside. Take the next door in, go around the burning rubble and step out again onto a path that narrows, so watch your footing.
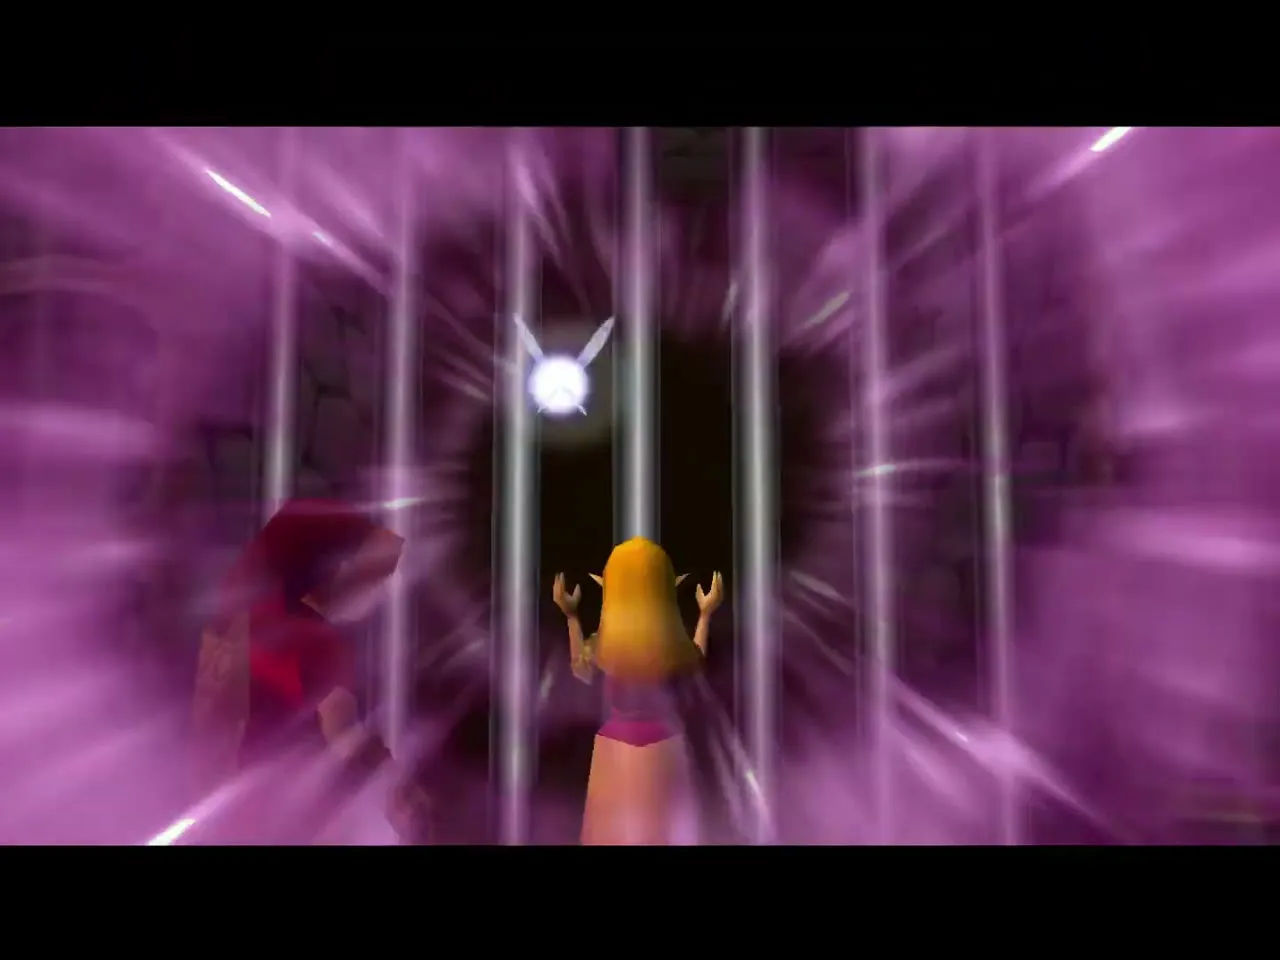
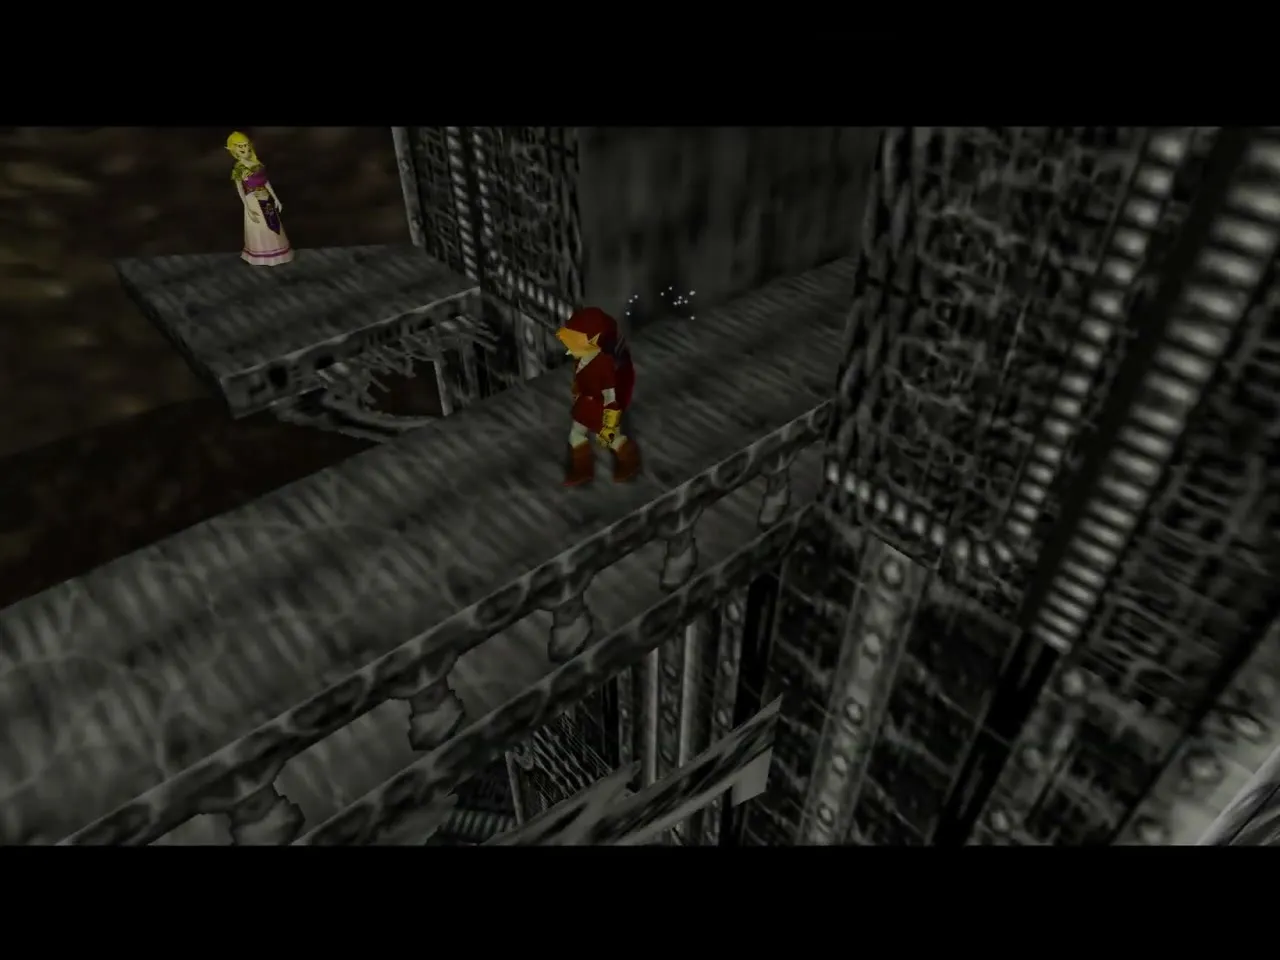
Fire ring and two Stalfos
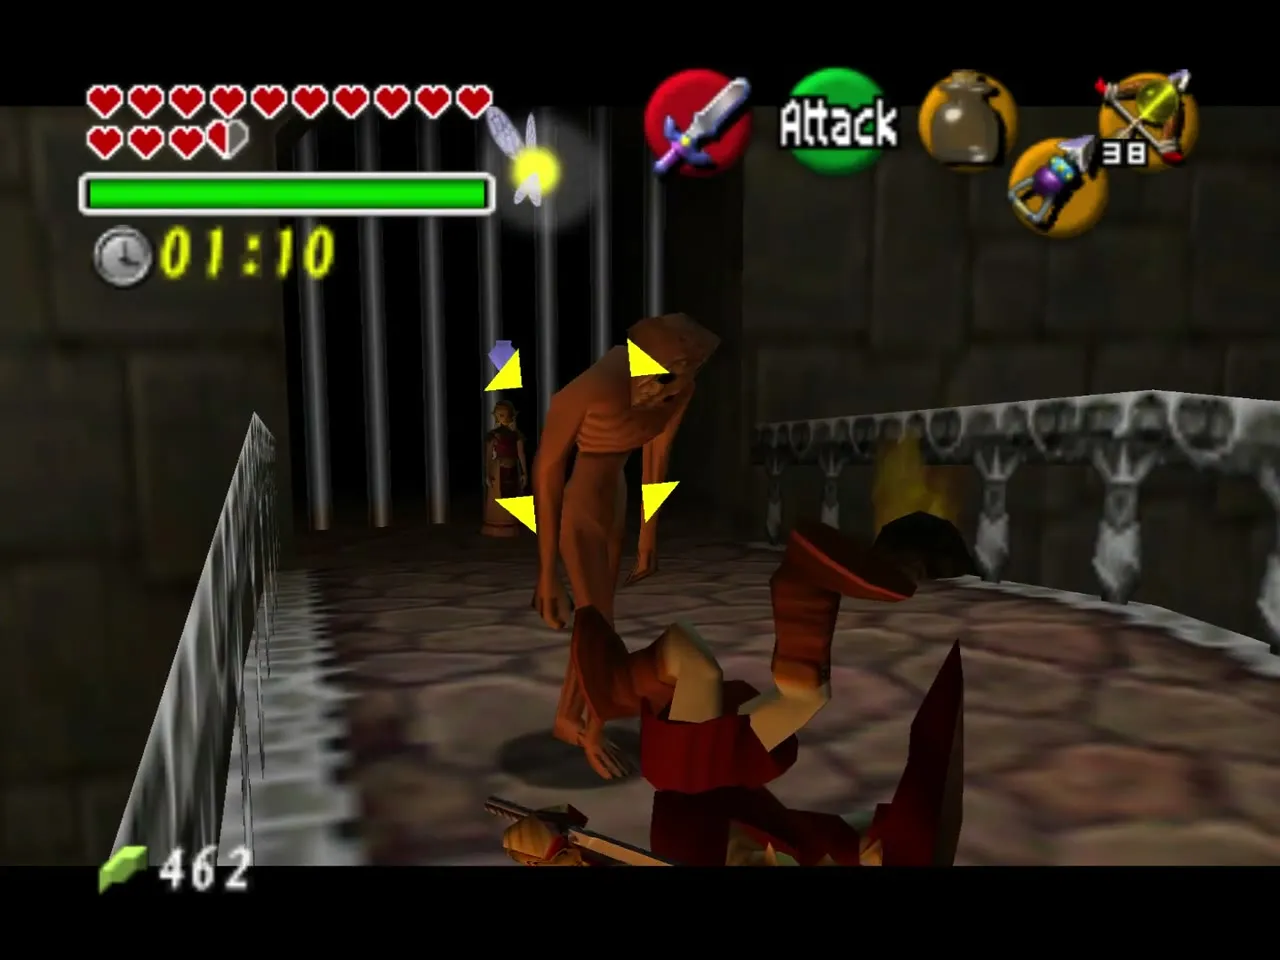
Halfway down, a ring of fire traps Zelda and two Stalfos attack. Ignore your own safety and kill both quickly, because one revives the other. When she is free she leaves Recovery Hearts behind; take them and follow her downstairs.
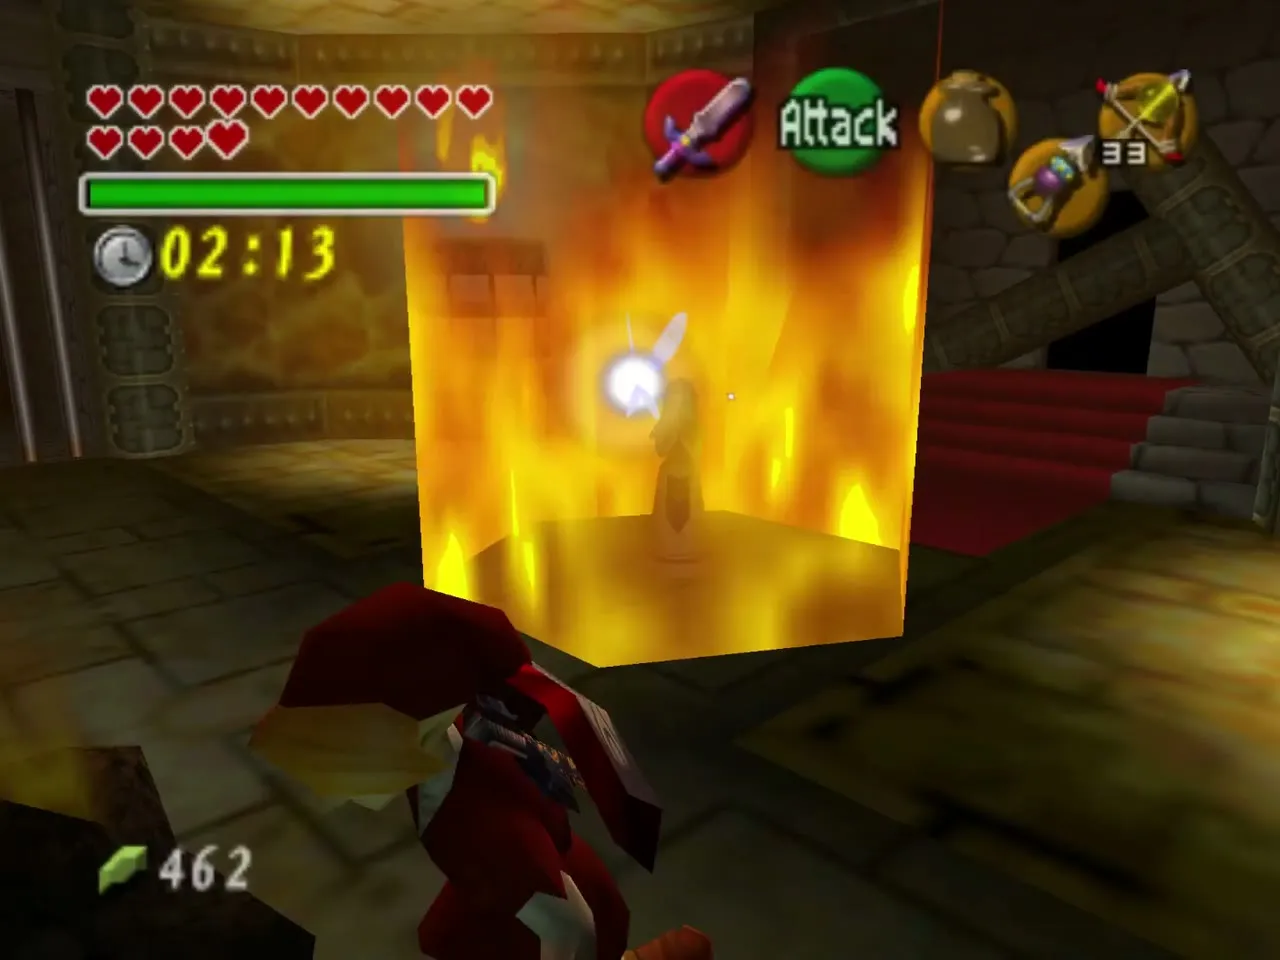
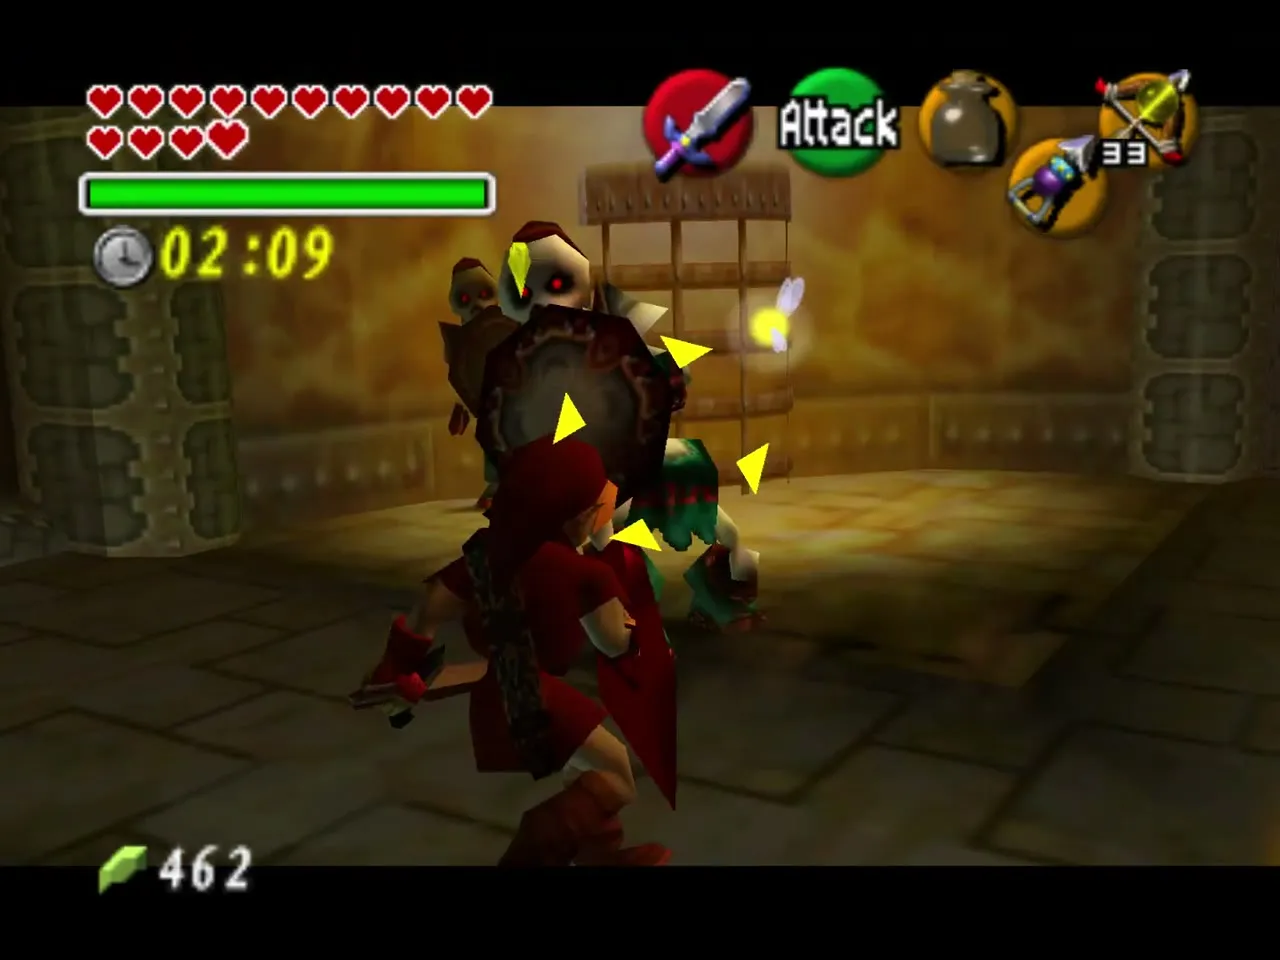
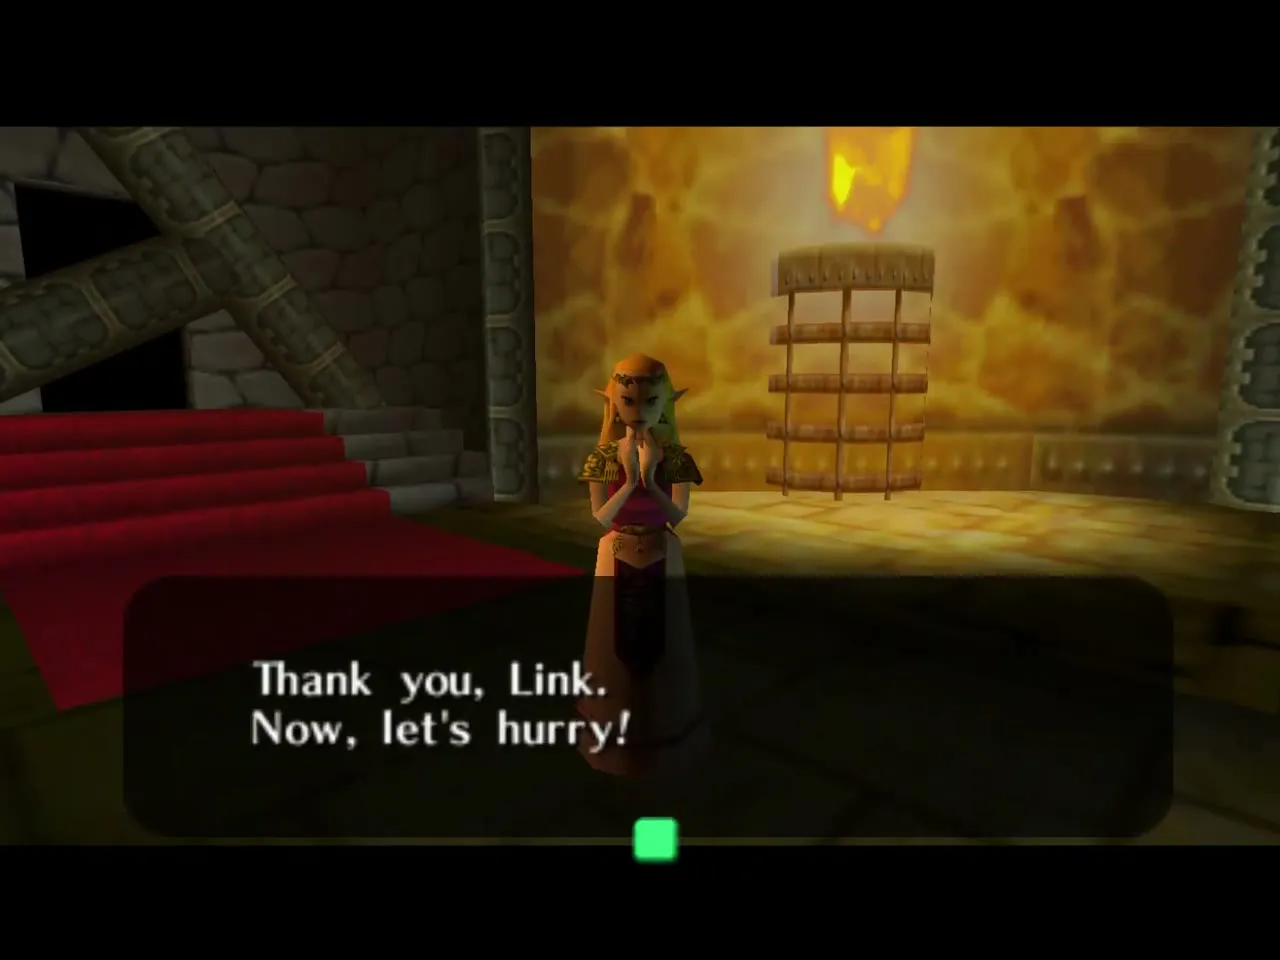
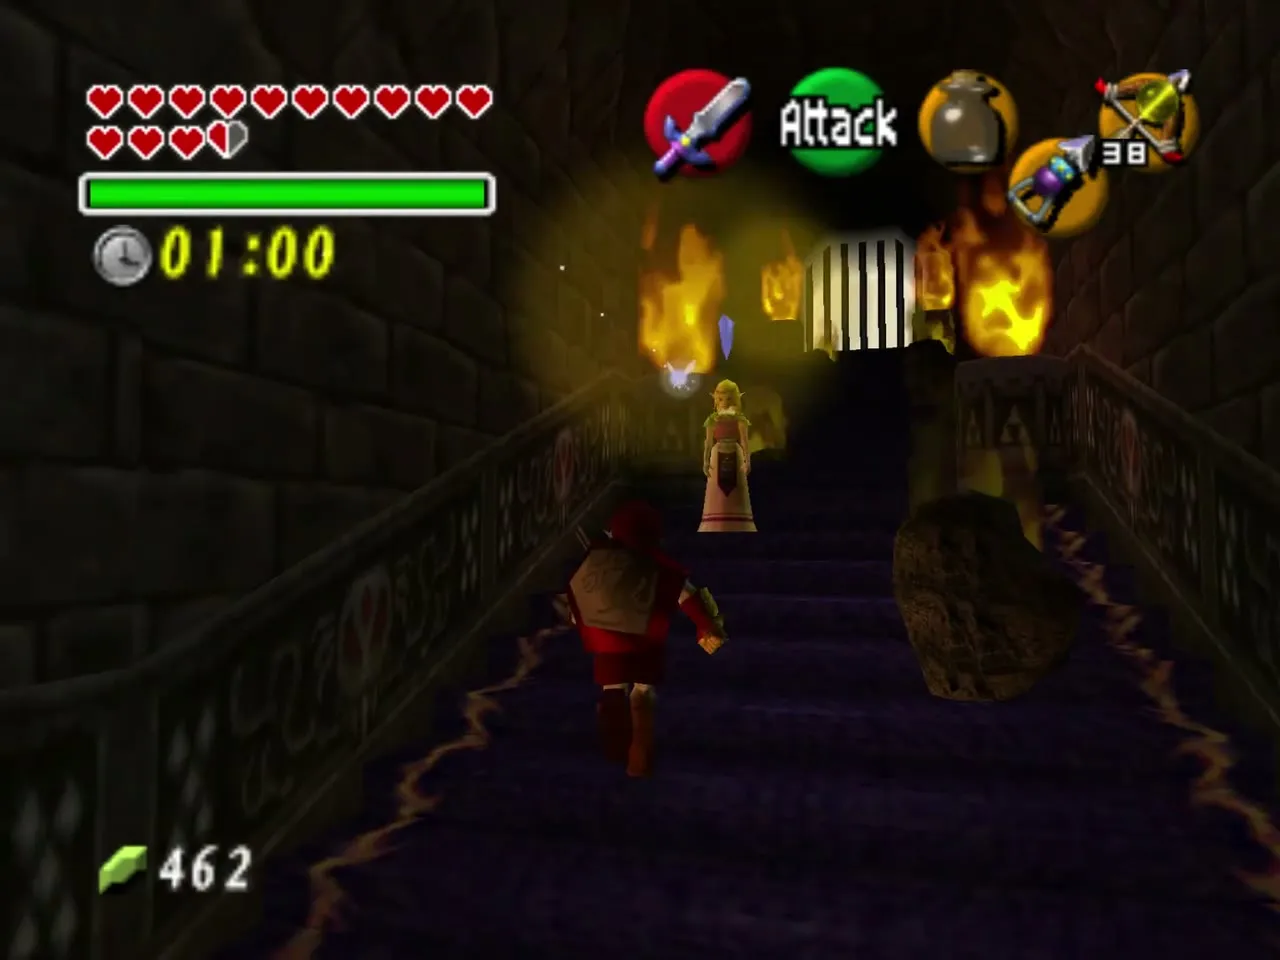
The last stairs
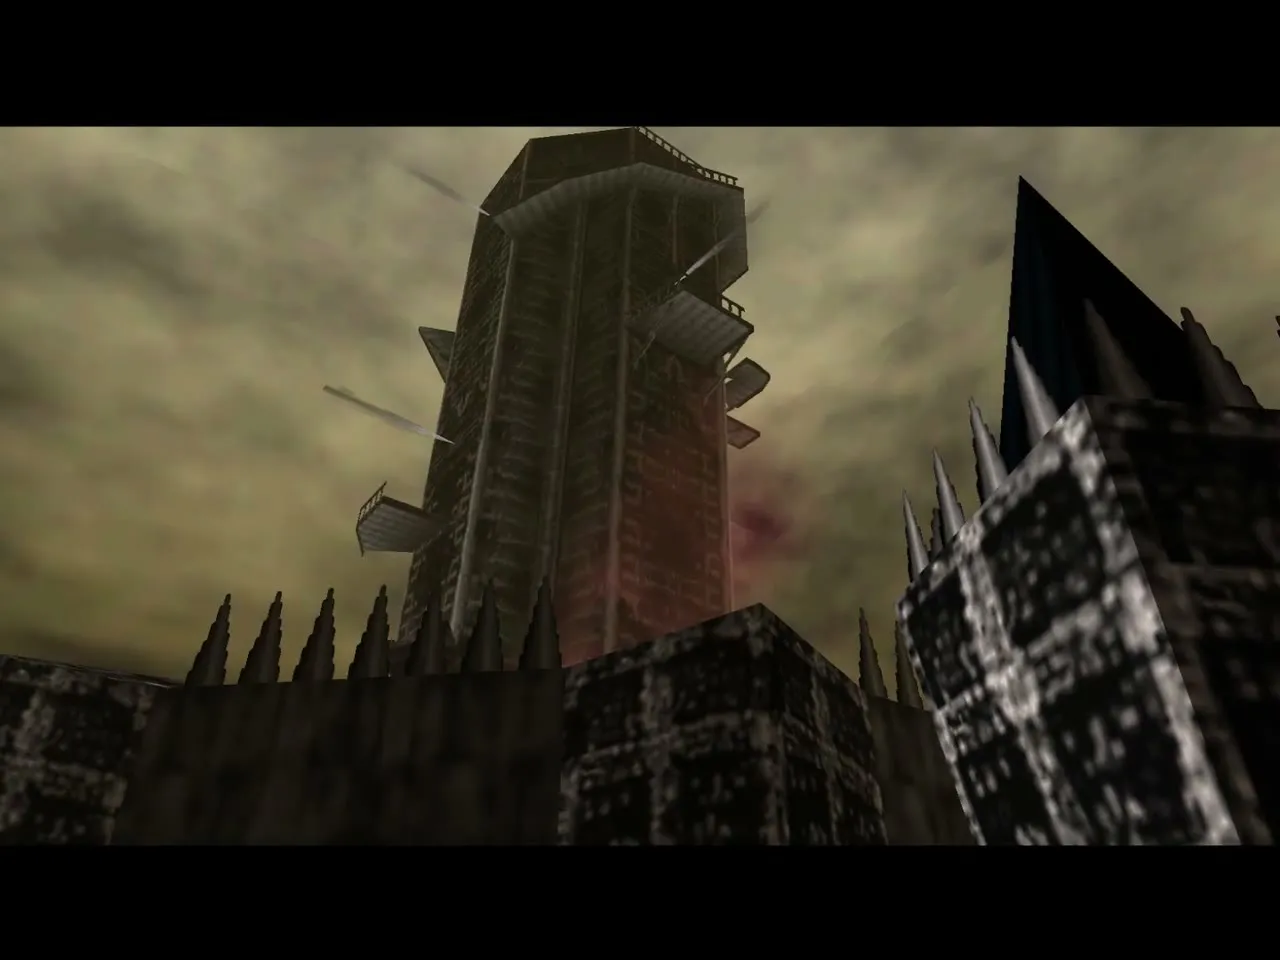
Jump the gap outside and follow her through the broken hall. A ReDead stands on the bridge; the Sun’s Song does not work here, so take it out with a jump attack. Dash down the last staircase and outside, and watch the castle collapse behind you.
Final boss: Ganon
Ganondorf becomes Ganon
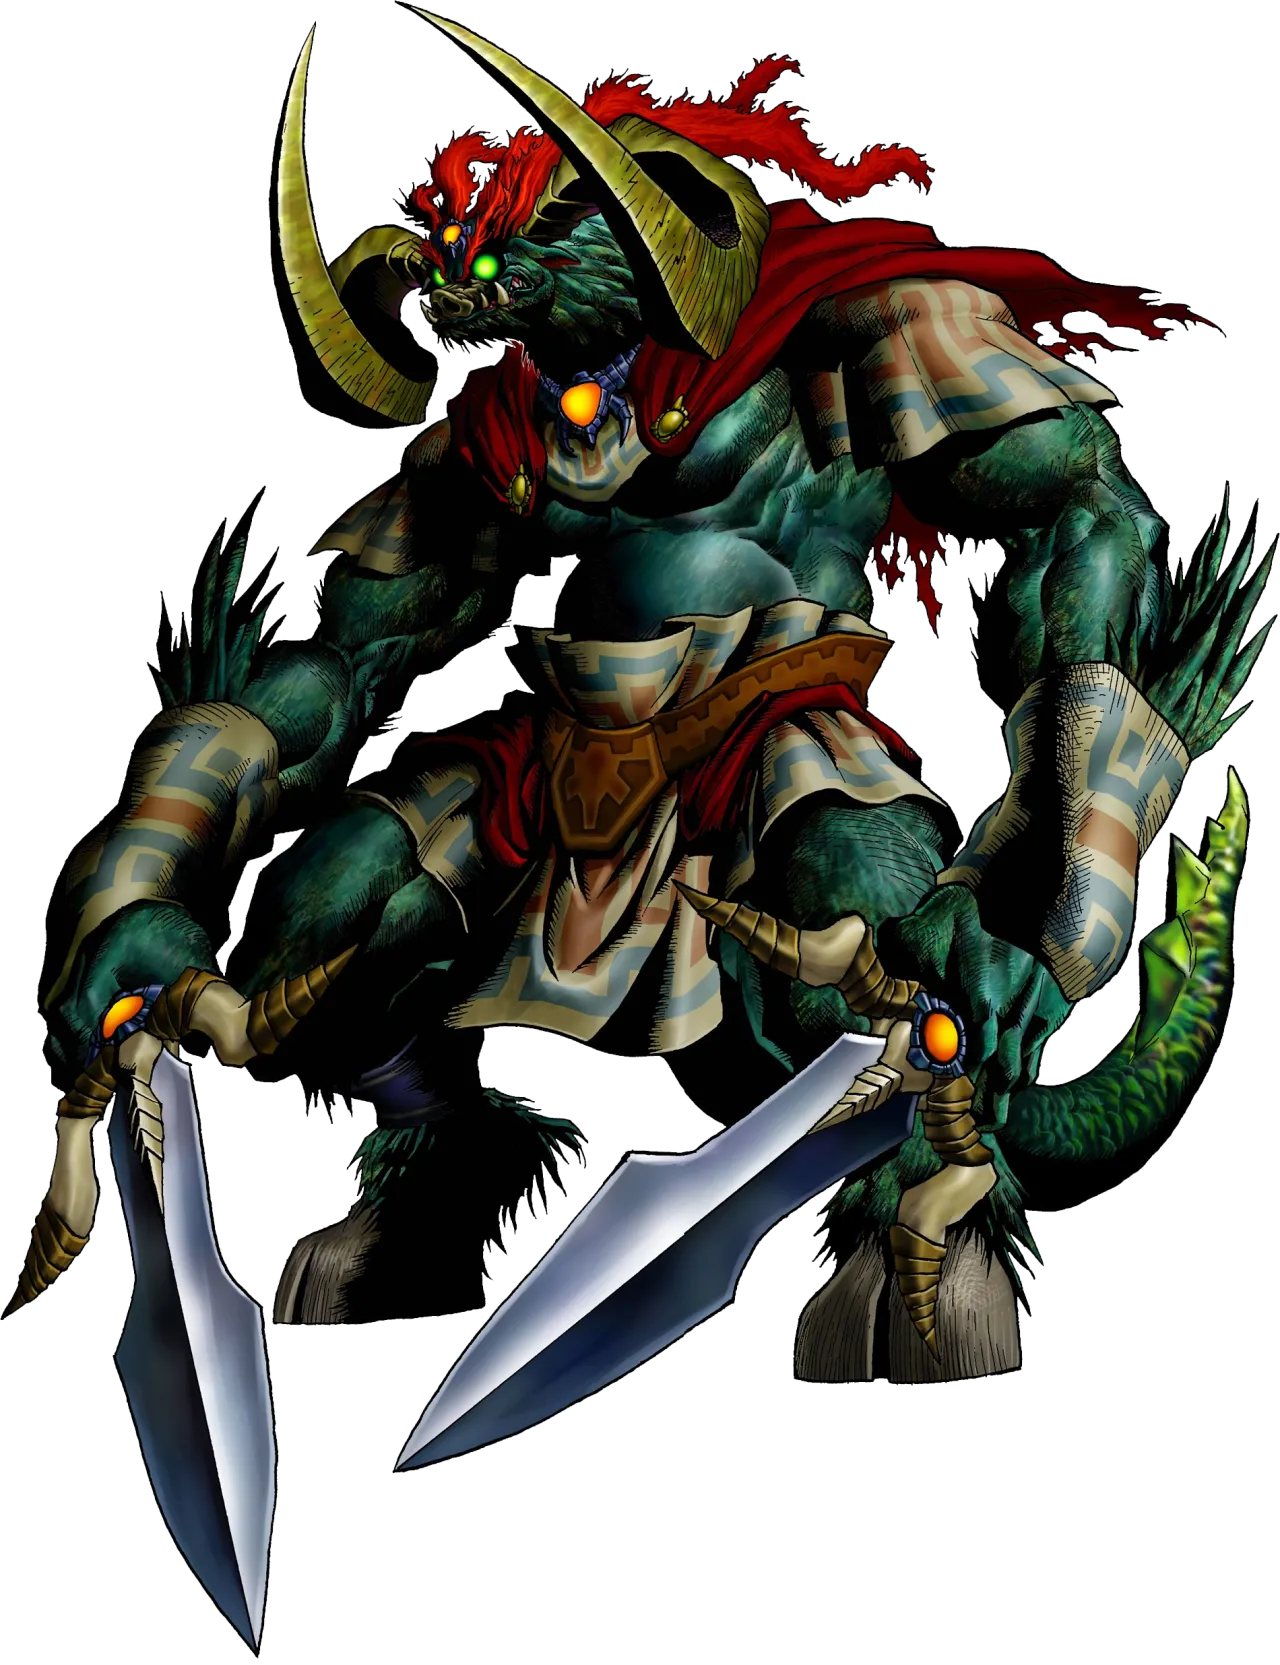
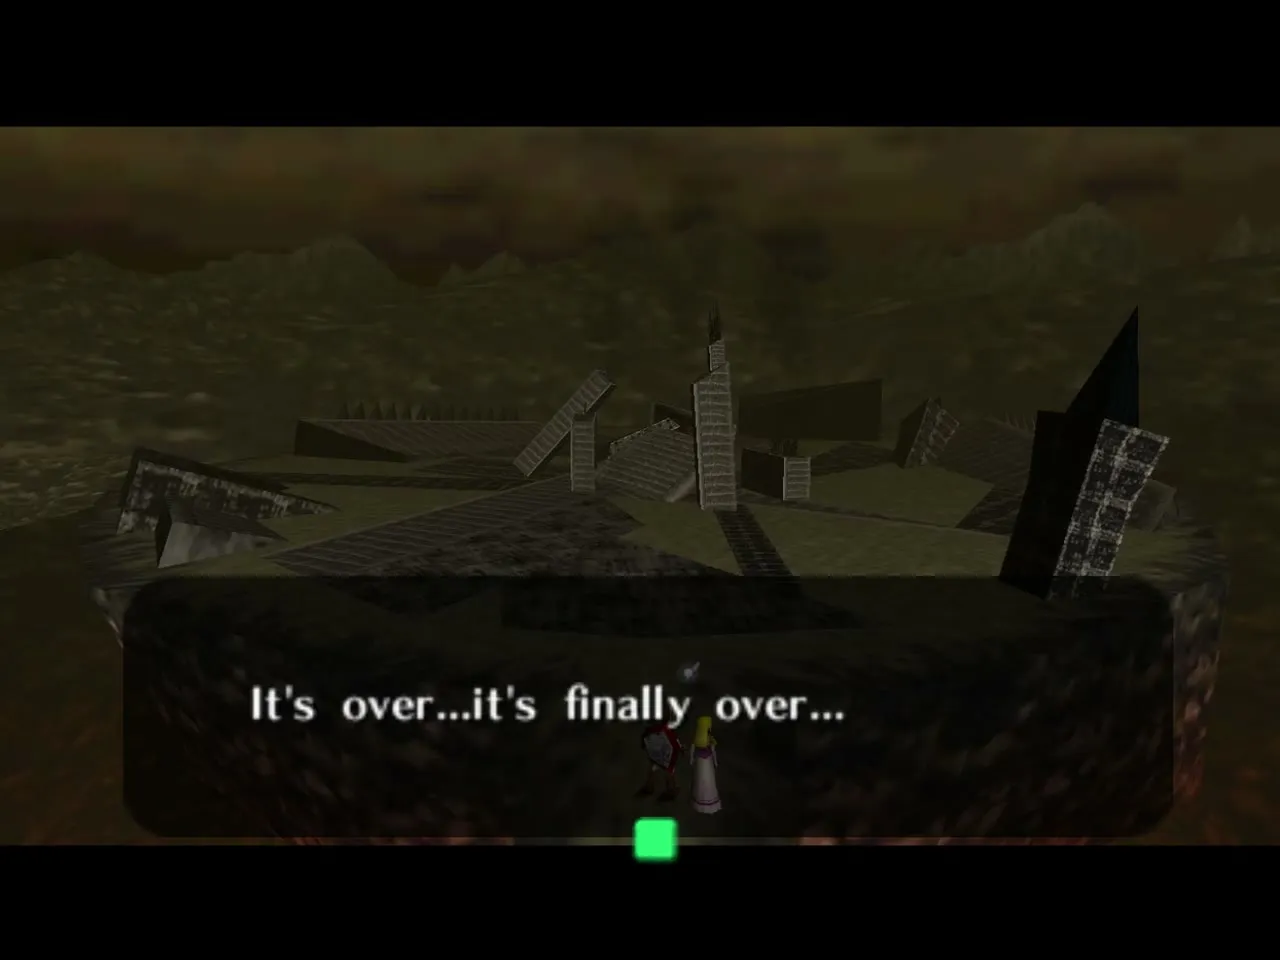
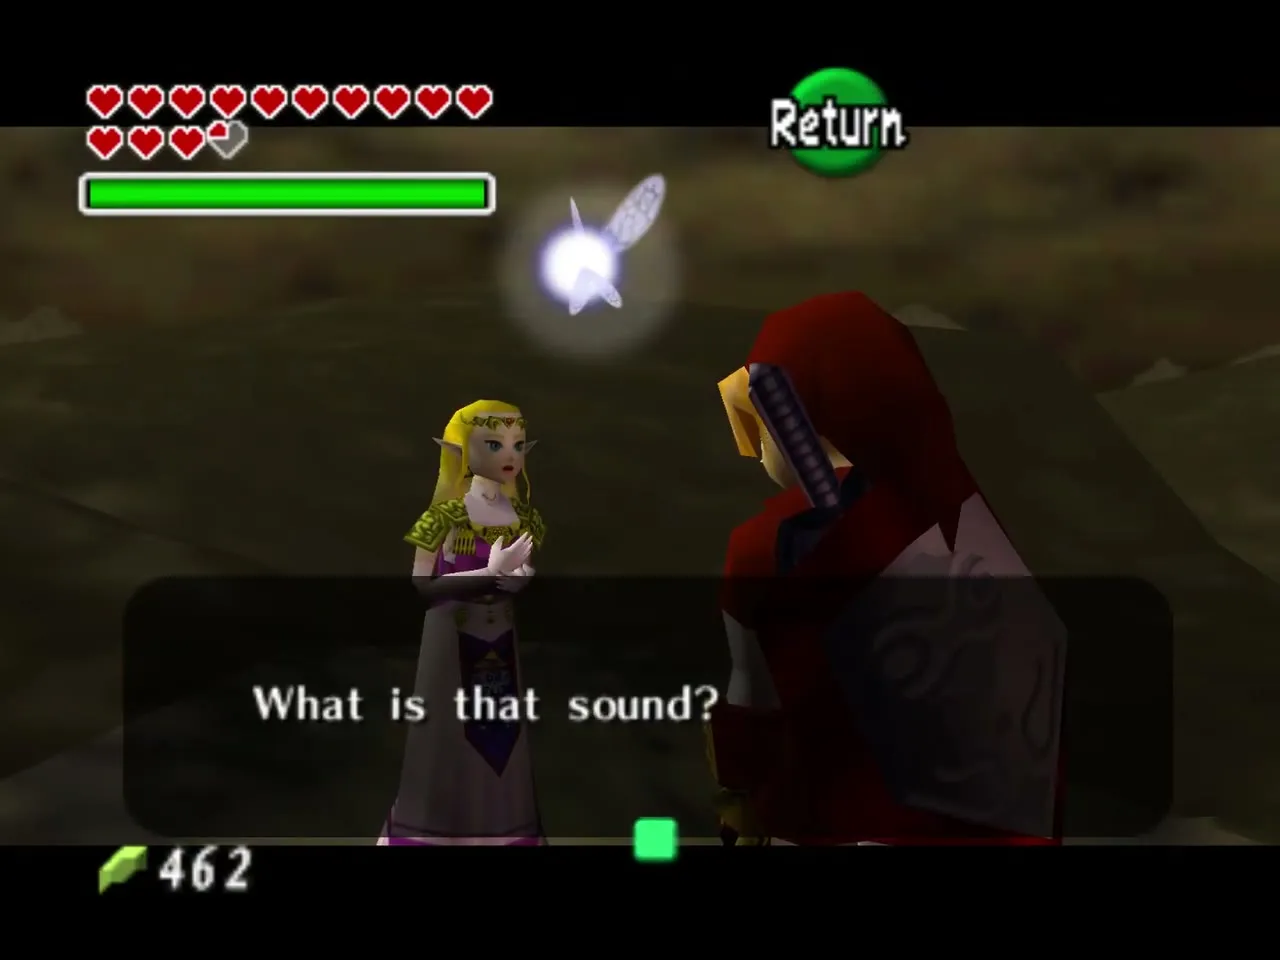
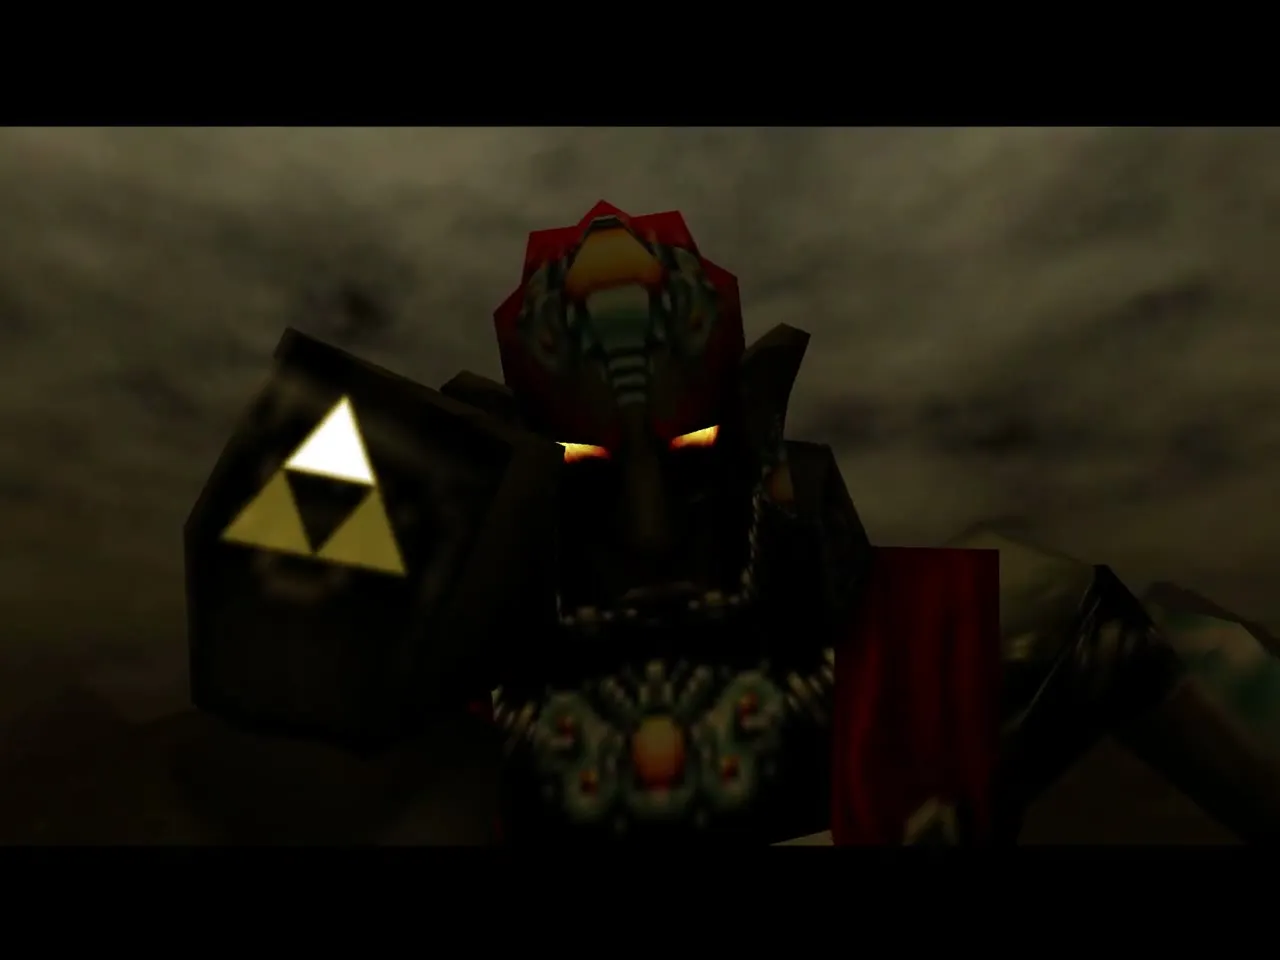
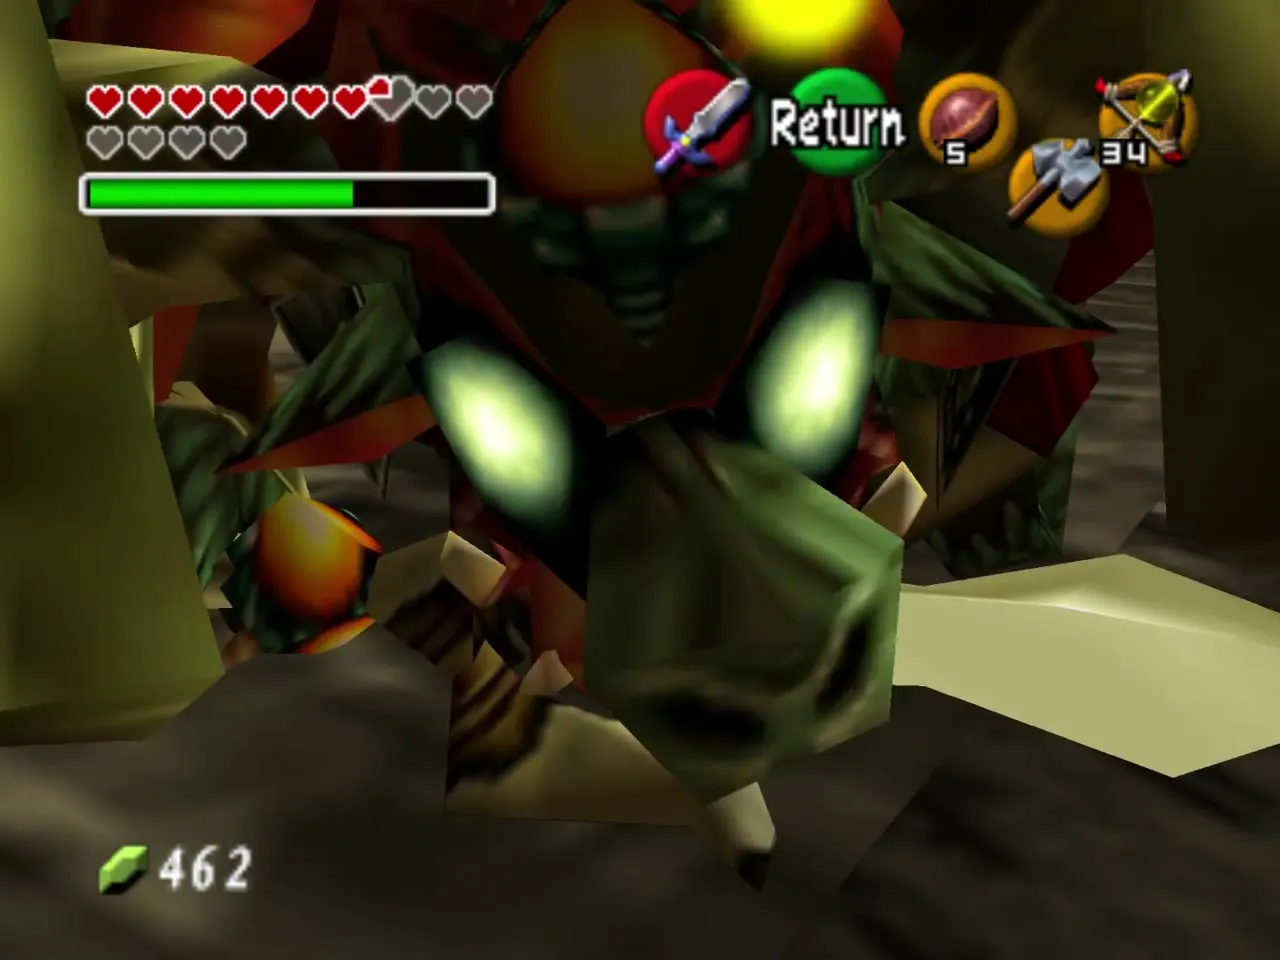
Zelda and Link catch their breath amid the rubble until a rumble breaks the silence. A wall of fire closes the arena as Ganondorf rises, transformed into the beast Ganon, and knocks the Master Sword out of your hand. You fight with your other weapons, and Navi can target him again.
The tail and how to reach it
His only attack is a two-sword swing, which hits hard but is easy to roll past. The weak point is his tail, which glows brightly. Either roll under his legs and hit the tail at once with the Megaton Hammer or Biggoron‘s Sword before running, or stun his face first and sidestep behind him. A Deku Nut gives the shortest stun, then the Longshot, Din’s Fire and, longest of all, the Light Arrow.
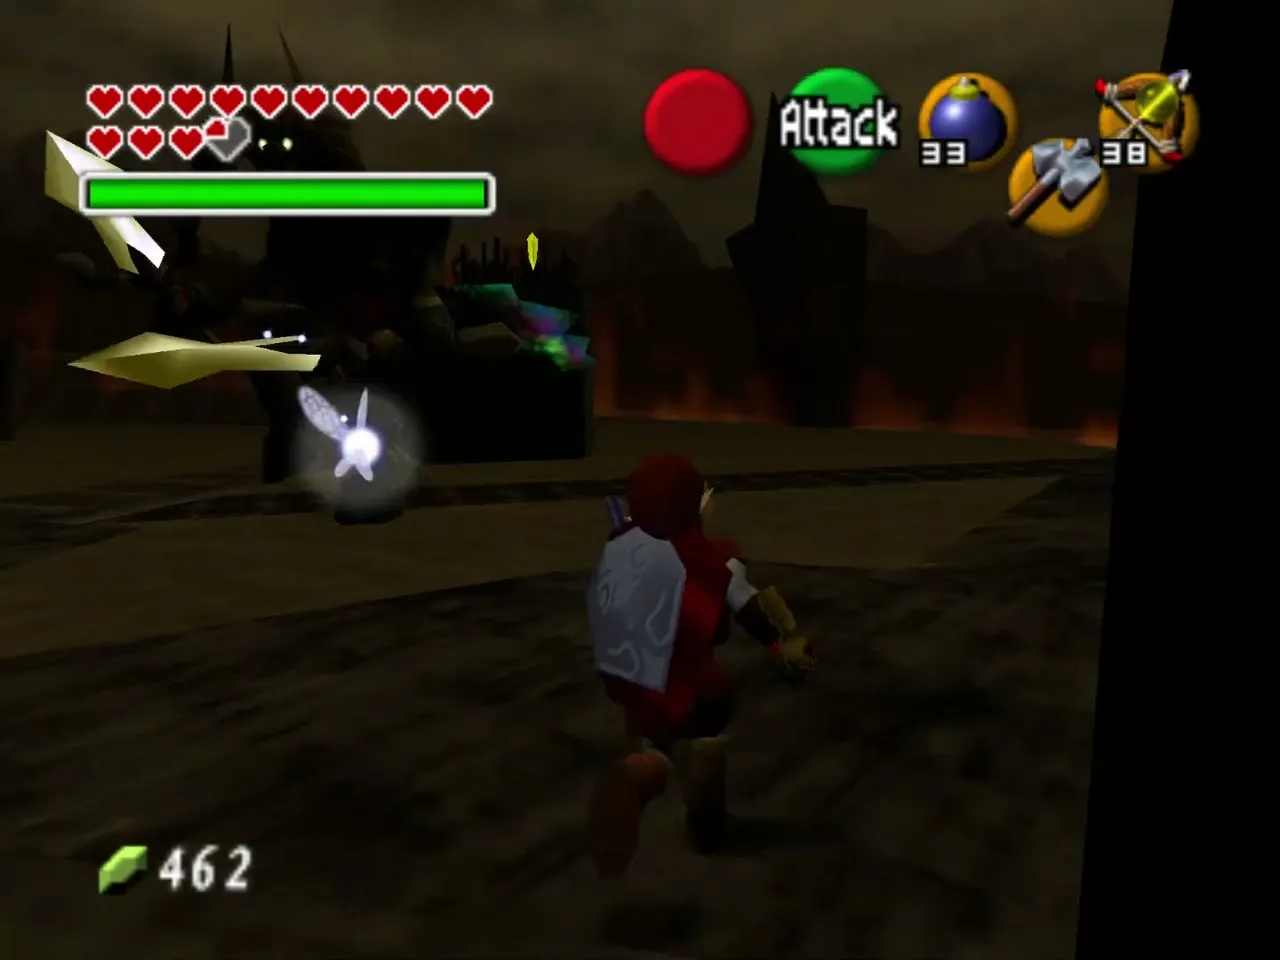
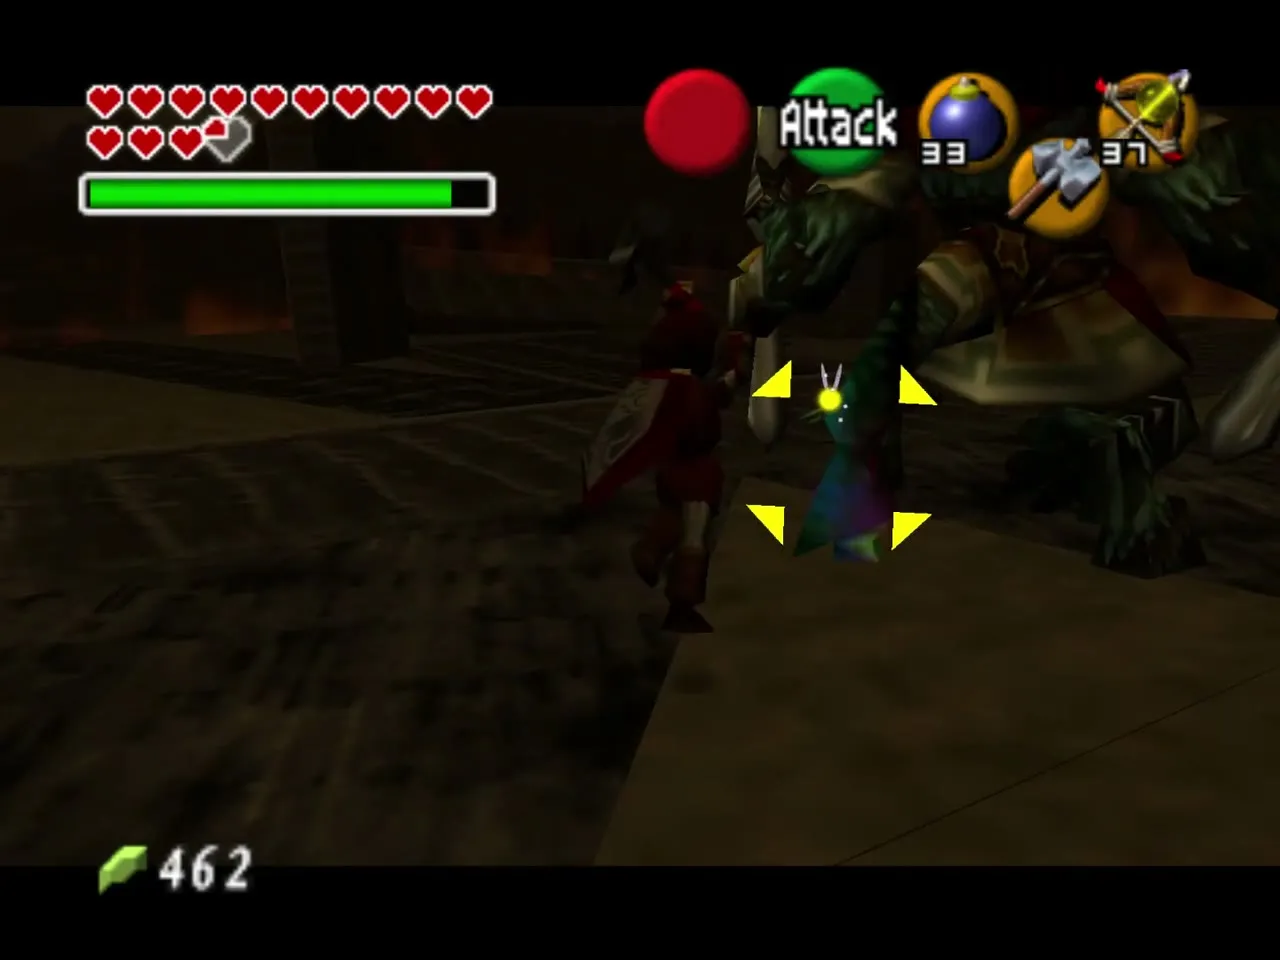
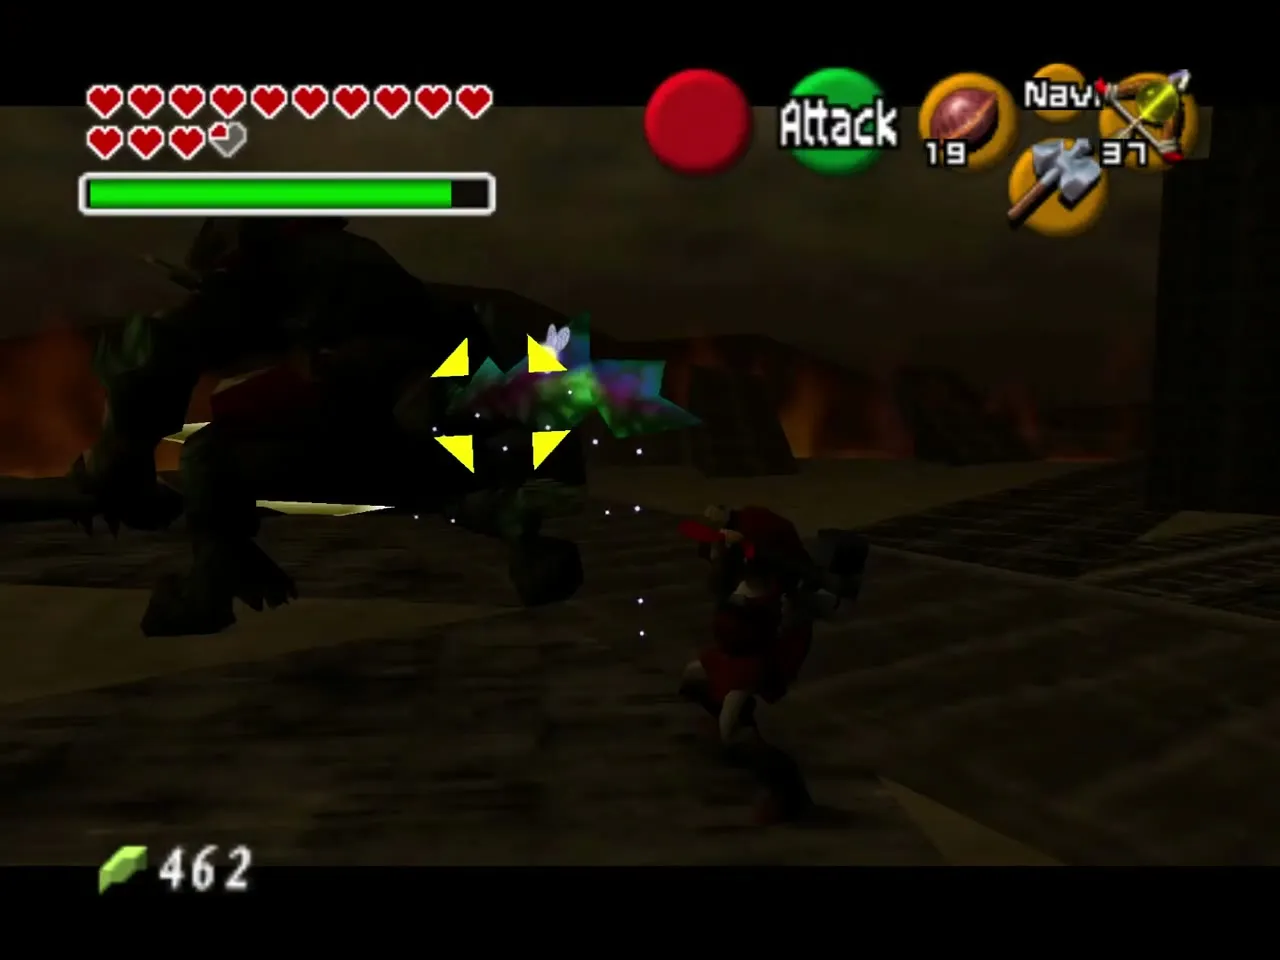
Broken ruins around the arena give supplies when Ganon smashes them: fairies, magic, bombs and arrows. After about ten hits to the tail, Ganon falls and the fire barrier drops. Run out and fetch the Master Sword before he gets up.
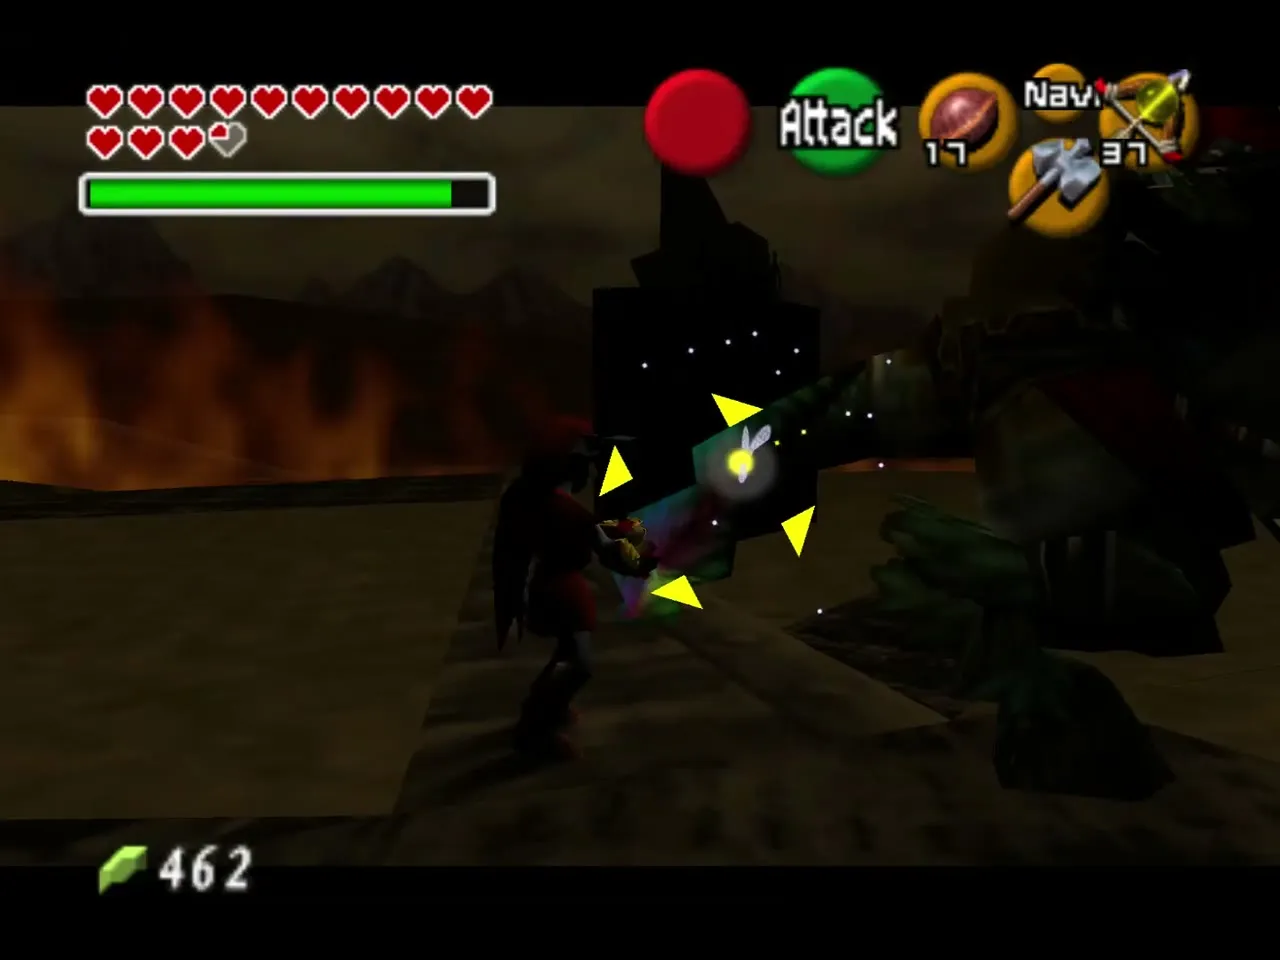
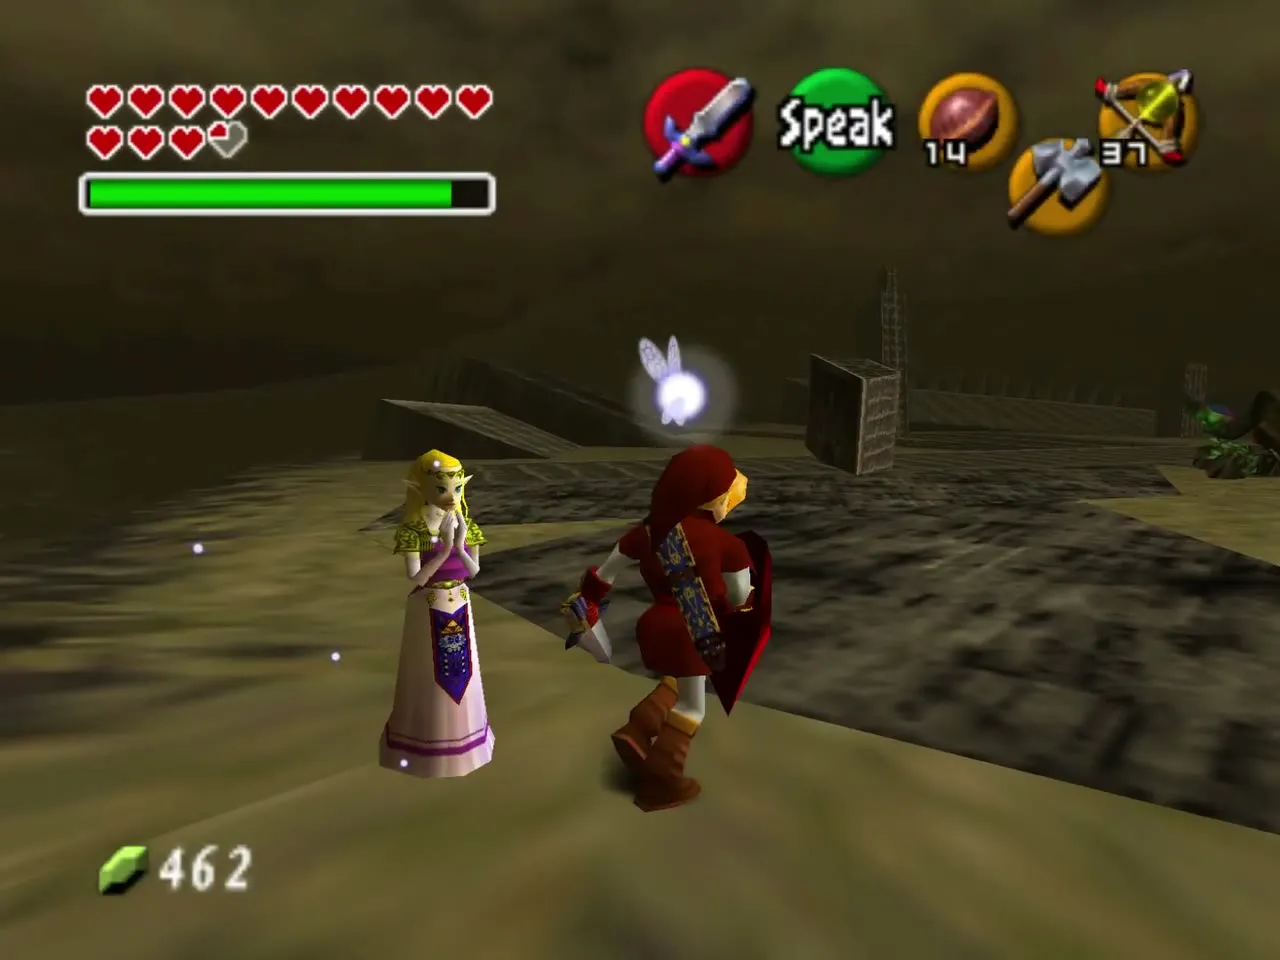
Second round and the final blow
The second round is a little faster but follows the same pattern, so keep hitting the tail about ten more times. When he goes down again, Zelda holds him with her magic. Equip the Master Sword (Biggoron’s Sword cannot finish him) and strike his head for the final blow.
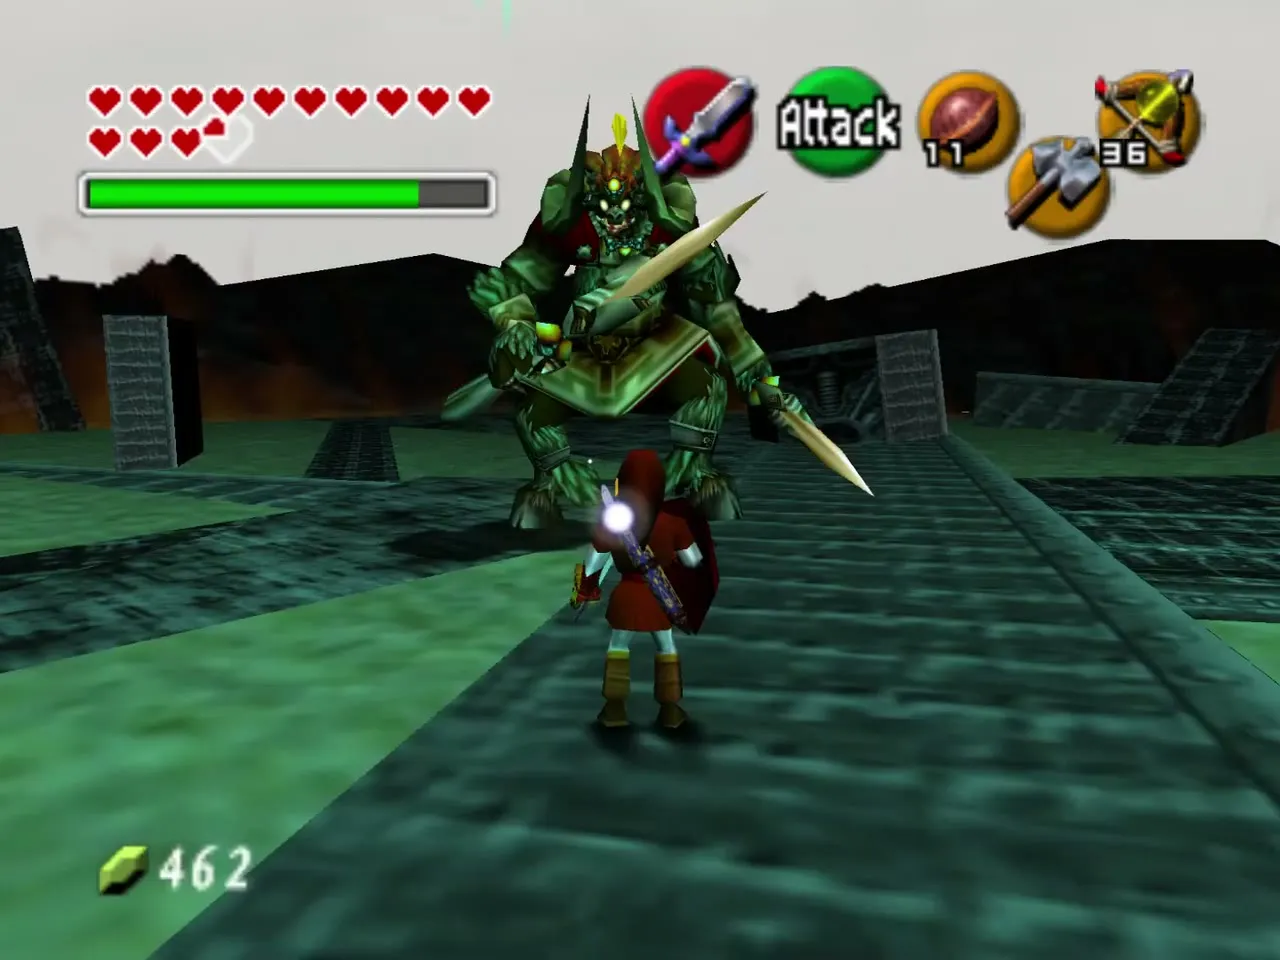
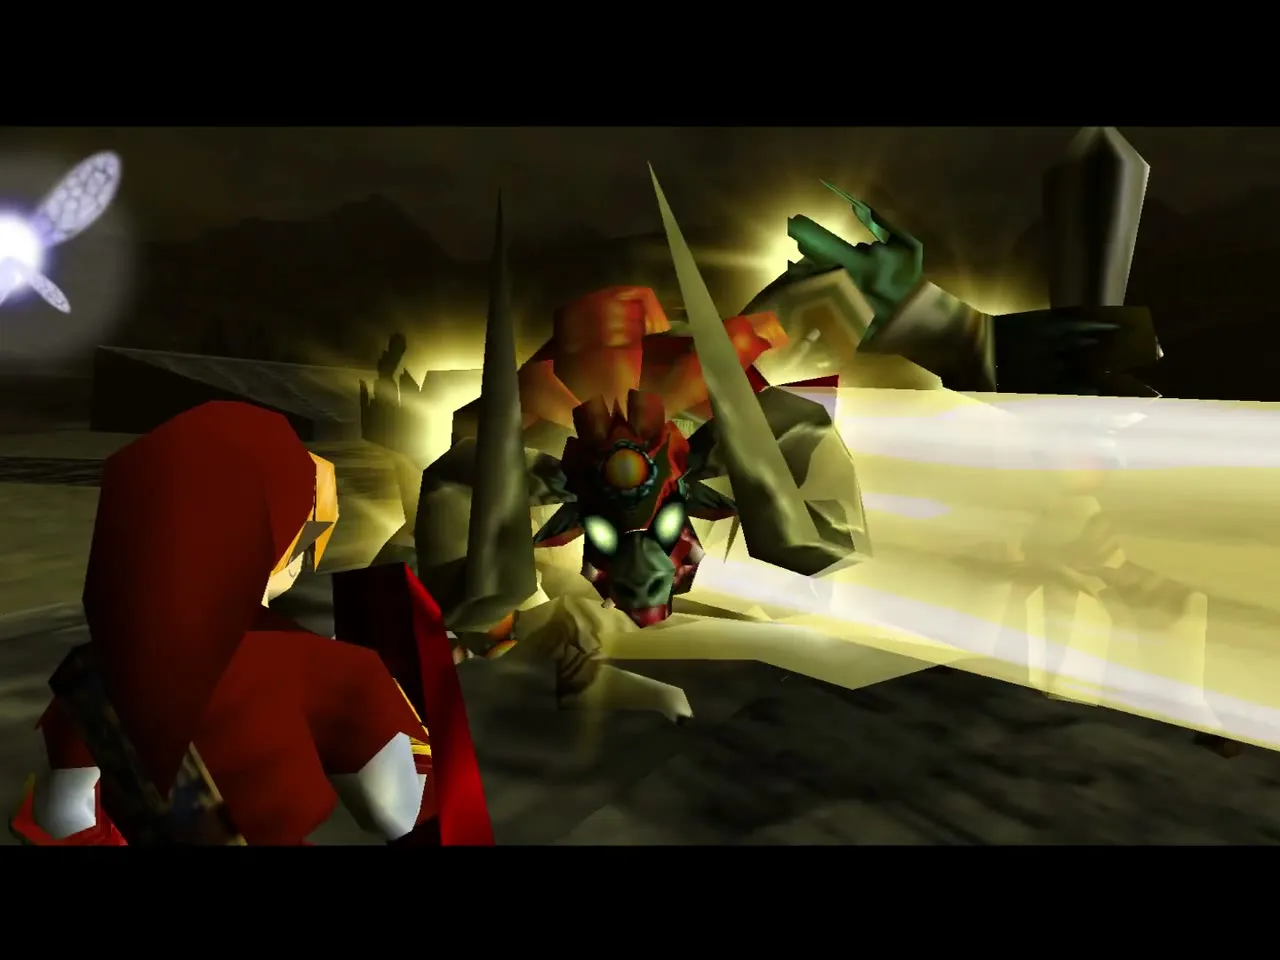
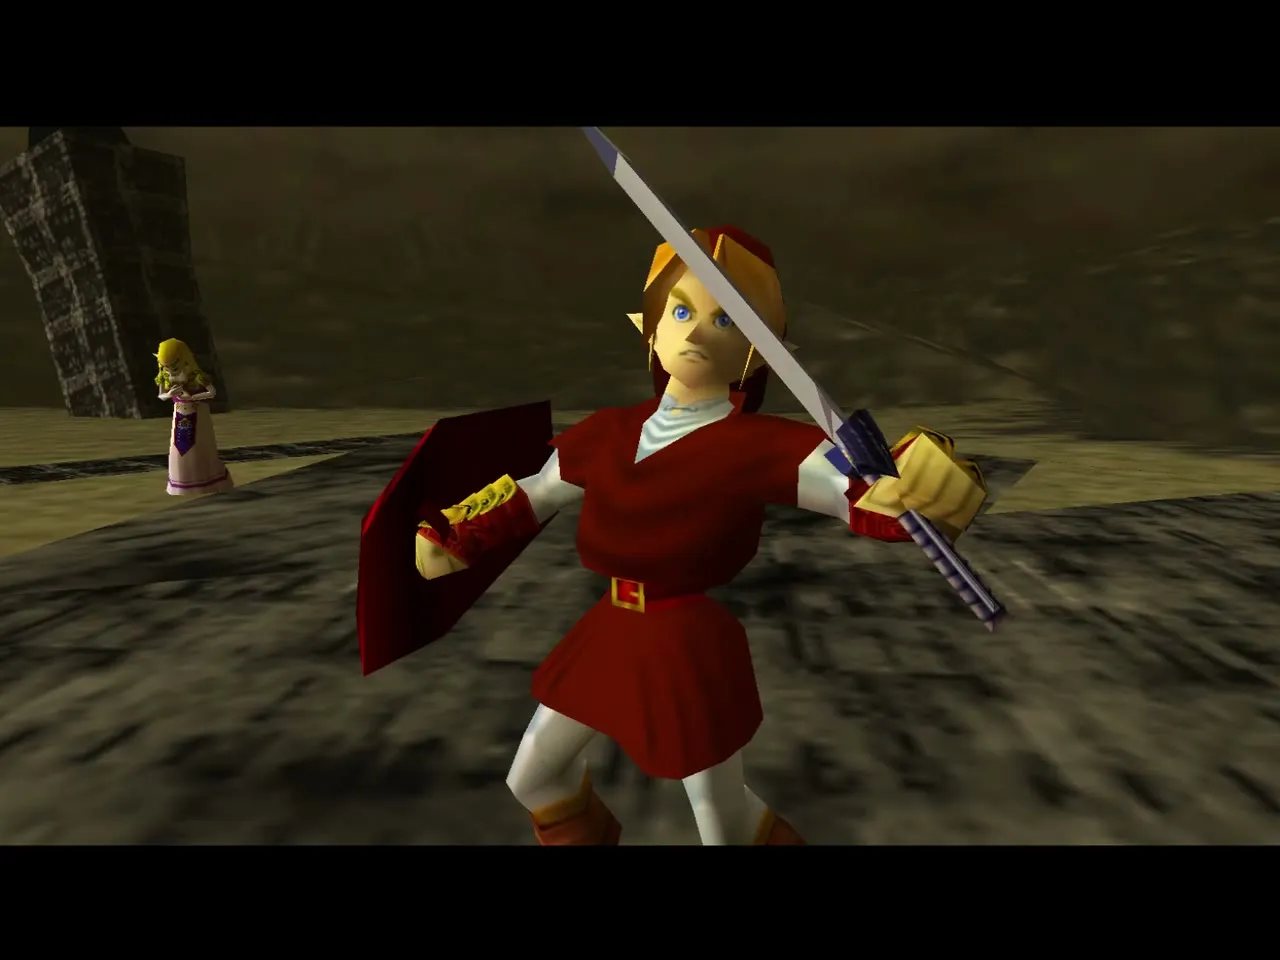
The seal
Zelda calls the Sages, who combine their power and seal Ganondorf in the Evil Realm. Zelda then sends you back to your own time, and the story ends.
How Master Quest changes Ganon’s Castle
The structure of the castle is the same as in the original Ganon’s Castle: a main hall with six trials, a hidden Scrub room, a Great Fairy outside and a tower. Every trial is rebuilt, the key economy changes, and the Golden Gauntlets move.
| Part | Original | Master Quest |
|---|---|---|
| Forest Trial | Wolfos, torches to light and a fan-and-platform Silver Rupee puzzle | Two Stalfos, a Small Key above the door and a Song of Time statue puzzle with the Iron Boots |
| Water Trial | Freezards, a sliding block puzzle on a timer and Blue Fire | Blue Fire behind a water jet, a Silver Rupee block puzzle with no timer, and a Small Key door |
| Shadow Trial | Golden Gauntlets and an invisible-path course with a Longshot chest | A Silver Rupee course over the void with a moving invisible platform; a Small Key, not the Gauntlets |
| Spirit Trial | Armos statues and sun faces; the Bombchus chest | An Iron Knuckle, Hammer switch, Bombchu through the bars, and the Golden Gauntlets in the sun-face room |
| Fire Trial | Lava platforms and rupees with Hover Boots | Five Silver Rupees over lava with black pillars, Torch Slugs and a Beamos |
| Light Trial | Invisible Keese, a Lullaby chest and rolling boulders | Dinolfos and Torch Slugs, two Small Key doors, a boulder room and a false wall with a hidden crystal |
| Tower and bosses | Dinolfos, Stalfos, Iron Knuckles, Ganondorf and Ganon | Unchanged |
Because the Golden Gauntlets now come from the Spirit Trial, you must clear it before the Fire and Light Trials; the original expected the Shadow Trial first. The Great Fairy still waits behind a pillar that needs the Gauntlets, so Double Defense stays a late reward.
Chapter checklist
| Type | Name | Where |
|---|---|---|
| Key item | Light Arrows | Given by Zelda in the Temple of Time |
| Small Key | 1 (Forest) | Ledge above the fan-guarded door in the first Forest Trial room; spent in the Water Trial |
| Small Key | 1 (Shadow) | Chest after the eye switch on the floating platform; spent in the Light Trial |
| Small Key | 1 (Spirit) | Chest opened by the sun faces; spent in the Light Trial |
| Chest | Bombchus | First chest of the Spirit Trial’s second room |
| Key item | Golden Gauntlets | Large chest in the Spirit Trial’s sun-face room |
| Upgrade | Double Defense | Great Fairy of Courage, behind the pillar left of the rainbow bridge |
| Silver Rupees | 15 (3 groups of 5) | Water, Shadow and Fire Trials |
| Dungeon item | Boss Key | Chest after the two Stalfos in the tower |
| Bosses | Ganondorf, Ganon | Top of the tower; the ruins outside |
| Heart Piece, Gold Skulltula | None | Not in this dungeon |
