





















Link's Awakening 100% Completion Walkthrough9 chapters
- The Shore, Forest and Tail Cave (Level 1)Shield, Sword, Mysterious Forest, Magic Powder, Tail Key, Roc’s Feather, Moldorm and the Full Moon Cello.
- Goponga Swamp and Bottle Grotto (Level 2)BowWow’s rescue, Goponga Swamp, every key, the Power Bracelet, the Genie boss and the Conch Horn.
- Ukuku Prairie, Kanalet Castle and Key Cavern (Level 3)The Golden Leaves of Kanalet Castle, the Slime Key, Pegasus Boots, Slime Eye and the Sea Lily’s Bell.
- Yarna Desert and Angler’s Tunnel (Level 4)Wake the walrus, cross Yarna Desert, win the Flippers, beat the Angler Fish and take the Surf Harp.
- Martha’s Bay and Catfish’s Maw (Level 5)Manbo’s Mambo, the ghost, the Mermaid’s Scale, Hookshot, Master Stalfos, Slime Eel and the Wind Marimba.
- Ancient Ruins and Face Shrine (Level 6)Magnifying Lens, Frog’s Song of Soul, Boomerang, Ancient Ruins, Power Bracelet L-2, Facade, Coral Triangle.
- Tal Tal Mountains and Eagle’s Tower (Level 7)Flying Rooster, Bird Key, Mirror Shield, Evil Eagle and the Organ of Evening Calm.
- Western Mountains and Turtle Rock (Level 8)Marin’s bridge, Mad Batter, Frog’s Song of Soul, Magic Rod, Hot Head and the Thunder Drum.
- The Wind Fish’s Egg and the FinaleFinish your 100%, read the maze book, play the Ballad, beat the Shadow Nightmares, see the secret ending.
| Covers | The road from Turtle Rock to the end of the game: last 100% errands, the Camera Shop album, the Mabe Village library, Mt. Tamaranch, the Wind Fish’s Egg and the ending |
|---|---|
| Dungeon | Wind Fish’s Egg (final dungeon): needs all 8 Instruments, the Ballad of the Wind Fish, Magic Powder, Magic Rod, Boomerang and Roc’s Feather; no mini-boss; final boss the Shadow Nightmares, ending in DethI |
| Rewards | No new Pieces of Heart, Seashells, trades or photos; the Wind Fish wakes and the game ends. Finish the whole game without dying once to see the extra scene after the credits |
This is the last chapter. With the Thunder Drum in hand you have every Instrument, so all that remains is to open the Wind Fish’s Egg on Mt. Tamaranch, read the maze directions in the Mabe Village library, cross the Egg and defeat the Shadow Nightmares. Before you do, take a minute to finish whatever is left of your 100%: once the Wind Fish wakes, the adventure is over.
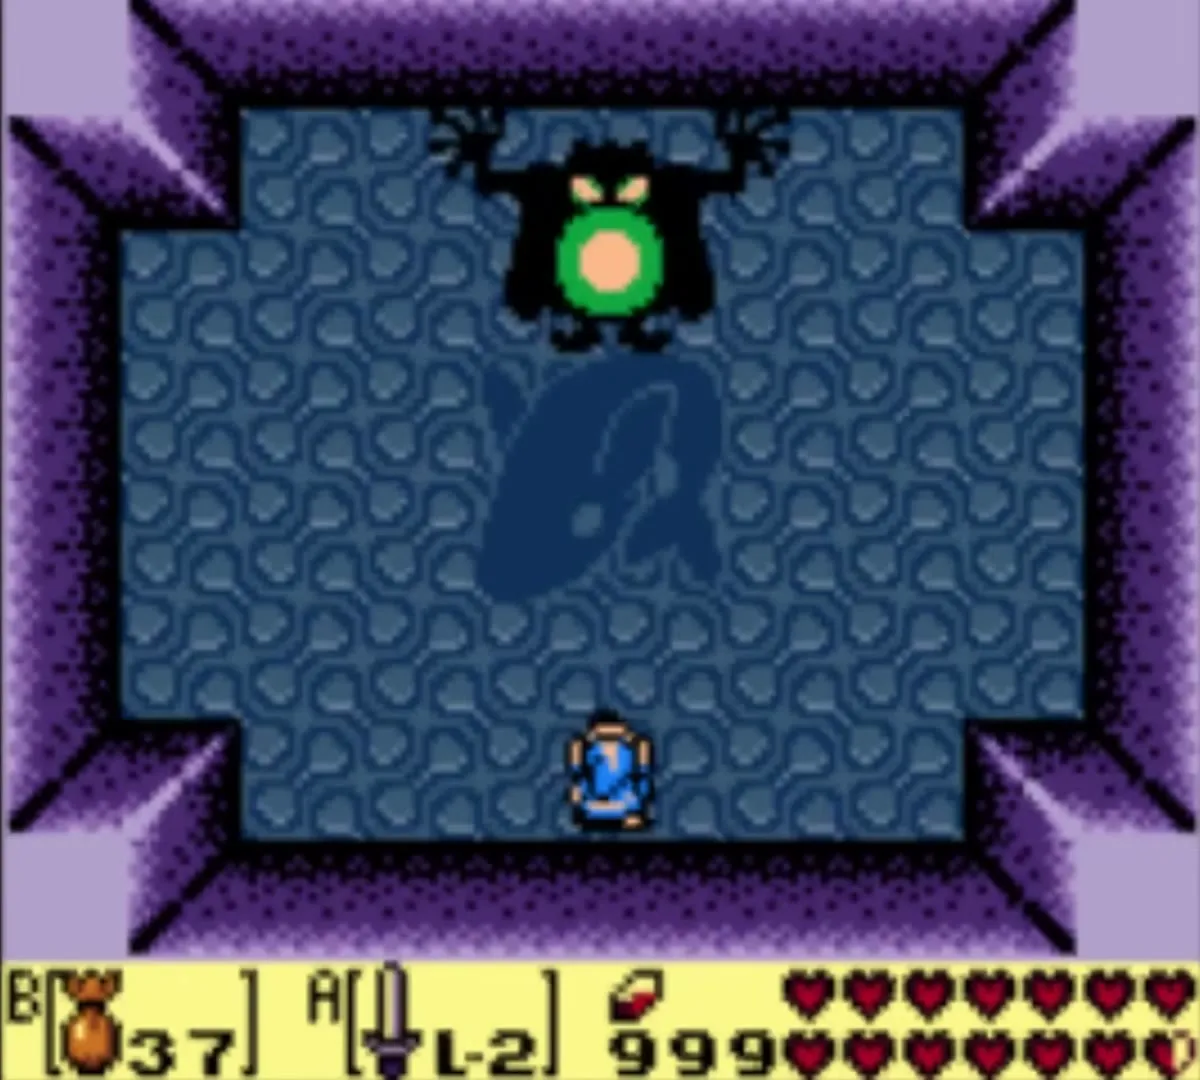
Table of Contents
Before the Egg: finish your 100%
Nothing forces you to hurry. You can leave the Egg closed for as long as you like, and Manbo’s Mambo carries you to Manbo’s Pond from anywhere outdoors, or to the entrance from inside a dungeon, so a final tour is cheap. Check each list below against your save and fill the gaps now.
Pieces of Heart
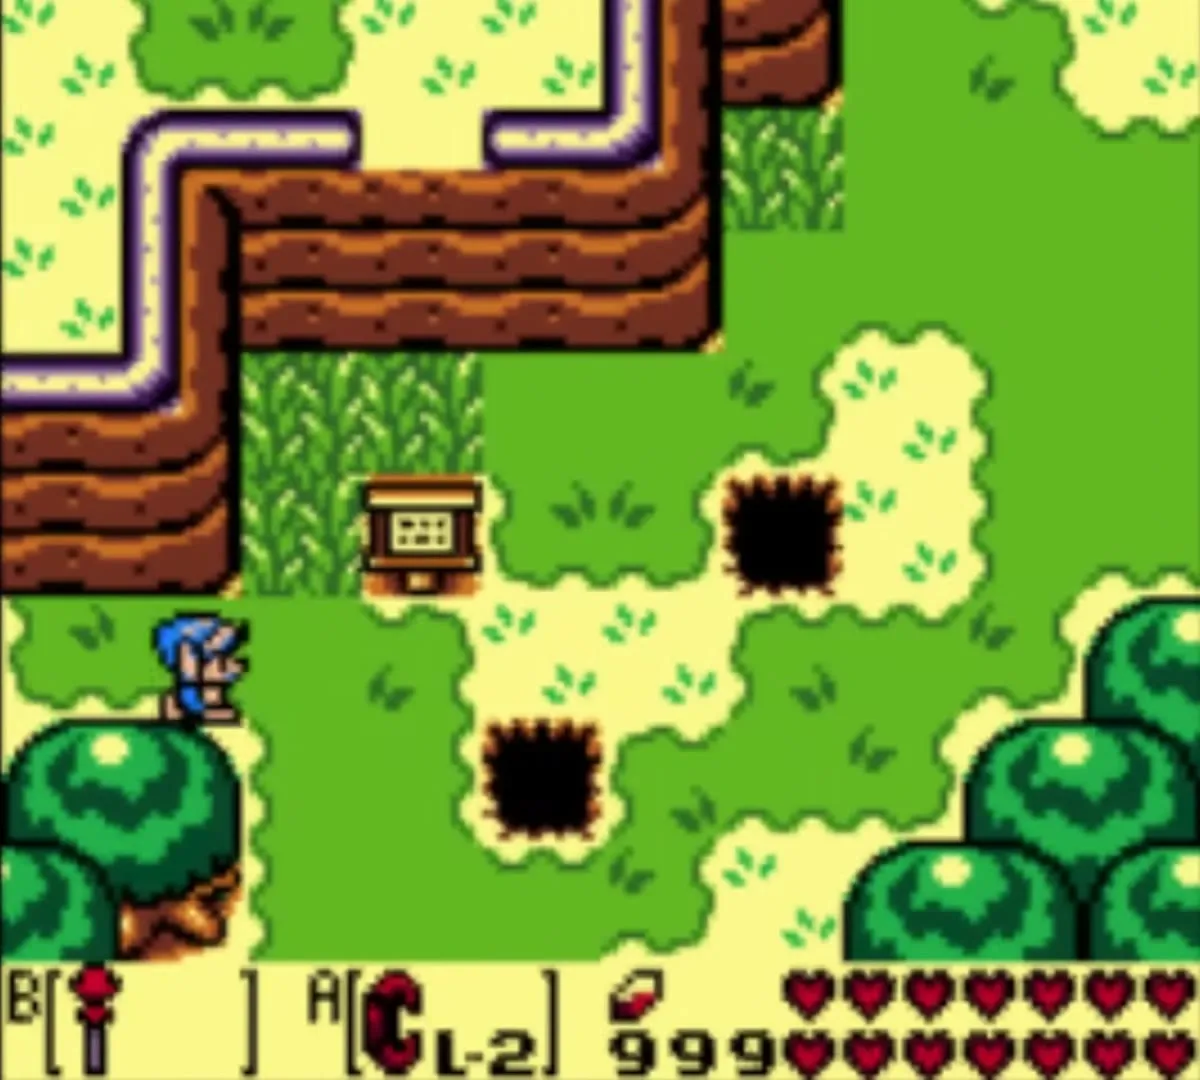
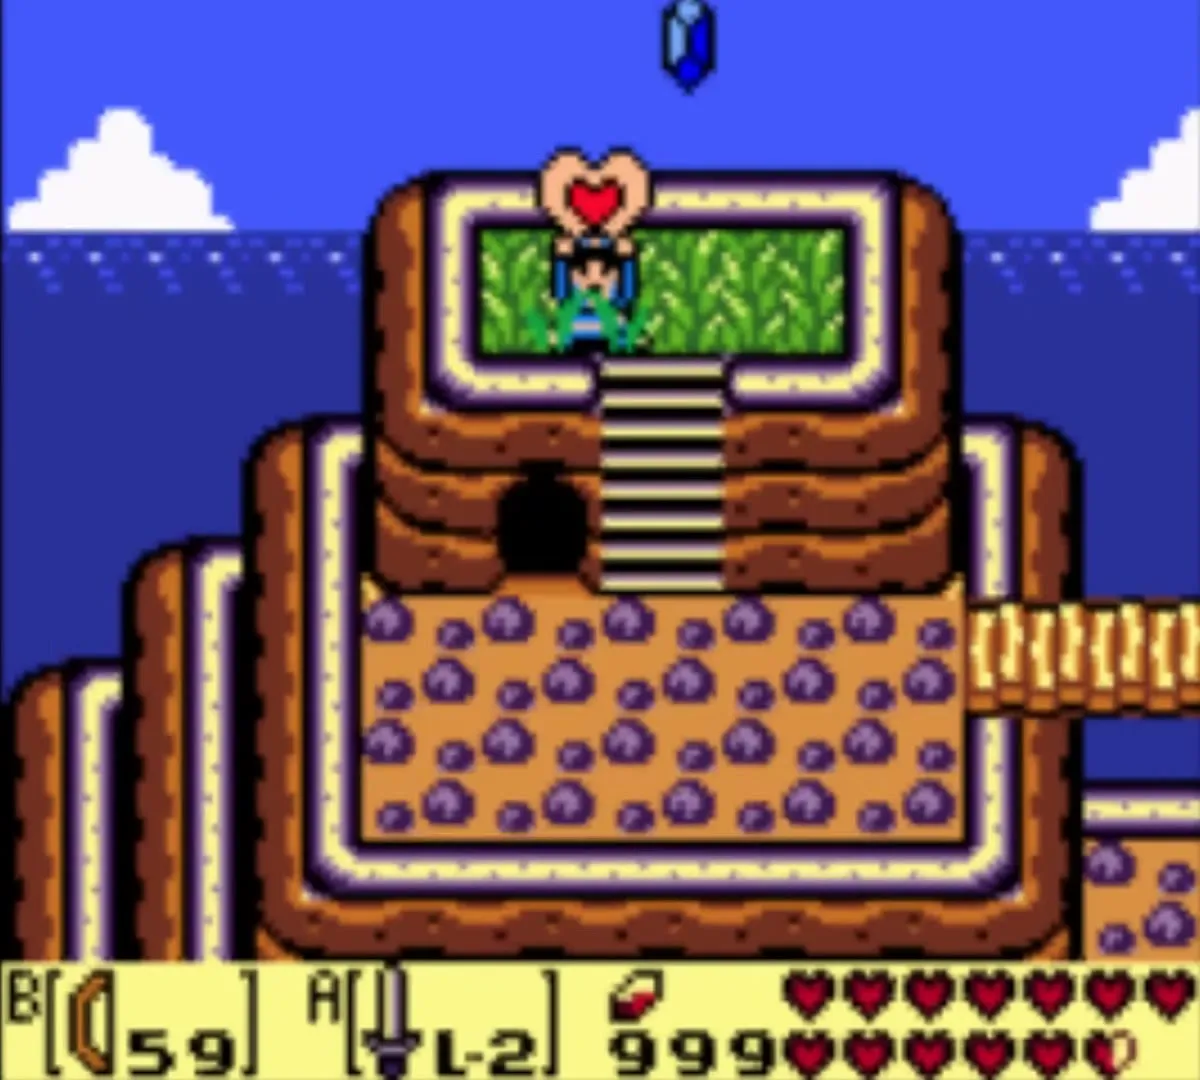
The island hides 12 Pieces of Heart, which add up to three extra hearts. Together with the eight Heart Containers dropped by the bosses and the three hearts you started with, a complete file holds 14 hearts. The Heart Piece locations page lists all twelve in the order they open up; the pieces in Animal Village and around Turtle Rock are among the last to open up.

Secret Seashells and the Seashell Mansion
There are 26 Secret Seashells in this version: 24 out in the field and two bonus shells at the Seashell Mansion. Each of those bonus shells appears only if you walk in holding exactly 5 or exactly 10 shells, so plan those visits. The Mansion’s only prize is the L-2 Sword at 20 shells; extra shells after that turn into rupees. If you want every shell anyway, use the Secret Seashell locations list. One shell had a deadline: the one west of the Kanalet drawbridge needed the Flying Rooster, which left after Eagle’s Tower.


Trading sequence and the Boomerang
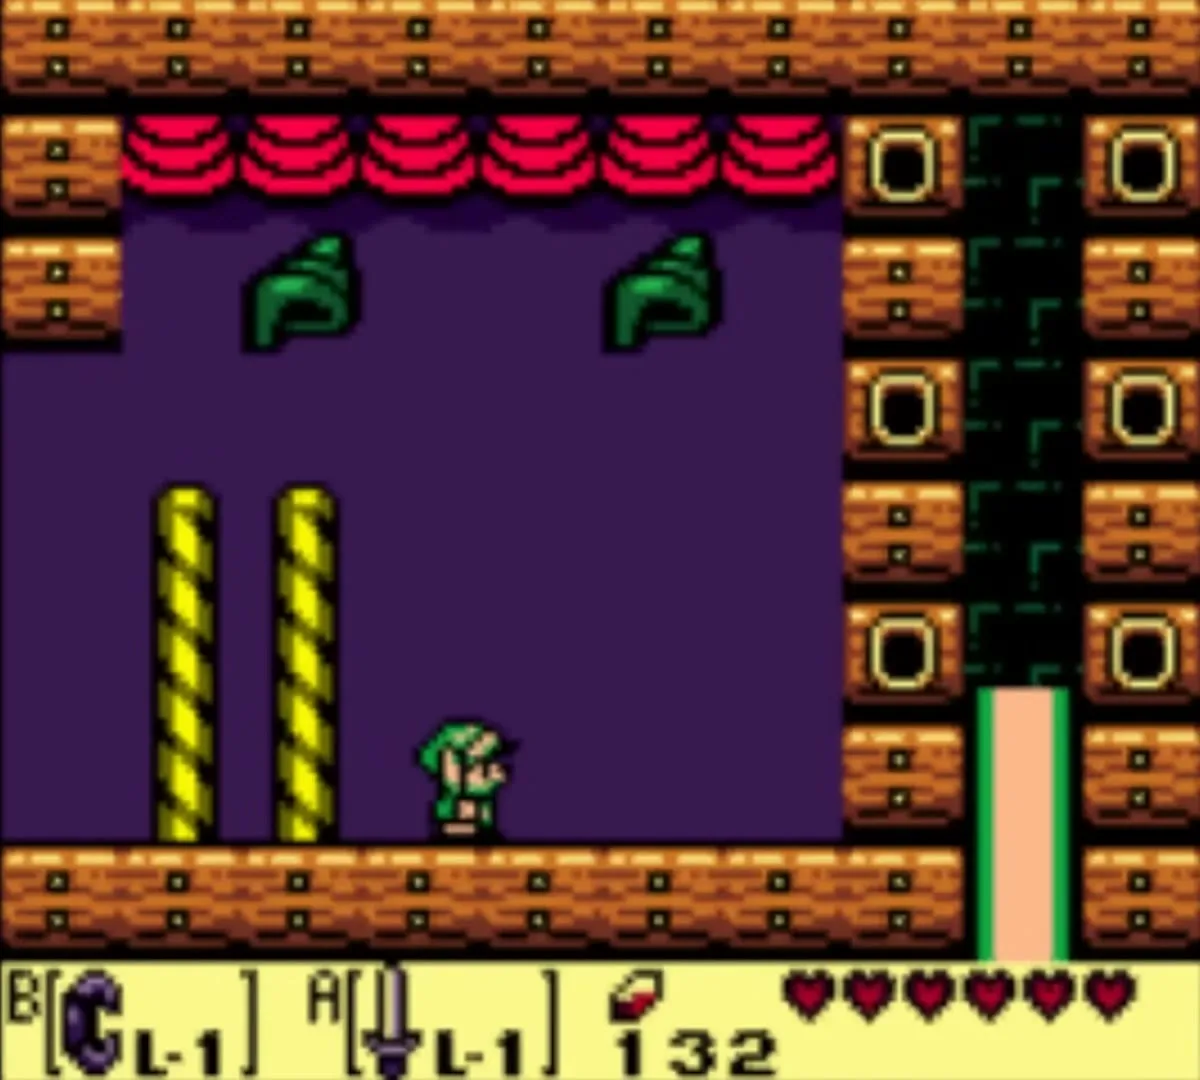
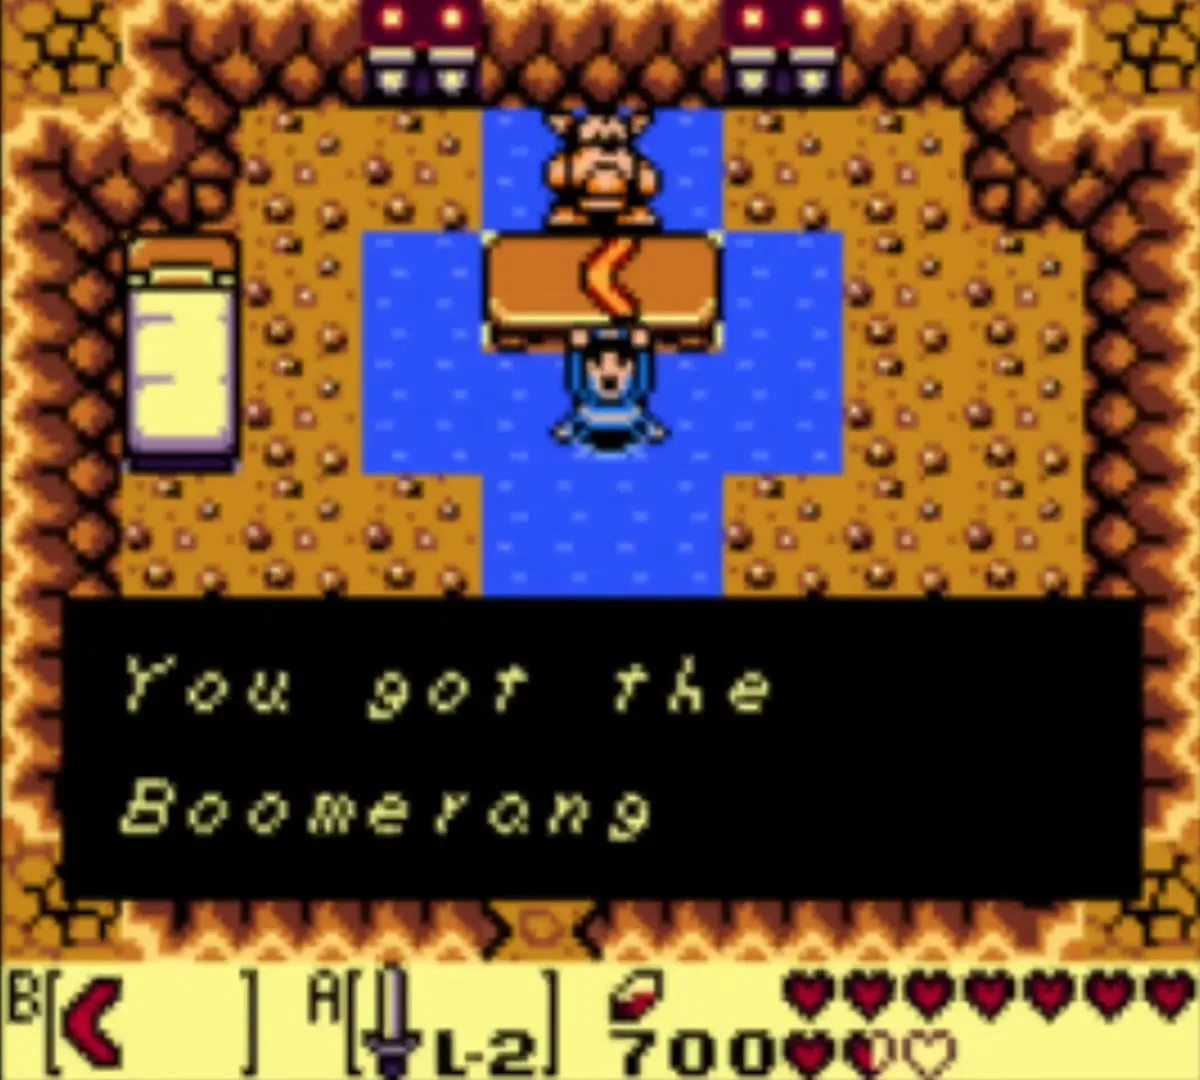
The trading sequence has 14 items, from the Yoshi Doll to the Magnifying Lens. The Lens matters twice more in this chapter: you need it to read the maze book in the library, and it is the item that lets you see the Goriya on Toronbo Shores who trades you the Boomerang. The Boomerang is a swap, not a gift, and you can trade back at will. Take the Boomerang with you into the Egg, because it finishes the last boss. Every step is on the trading sequence page.
Photographs and the Camera Shop album
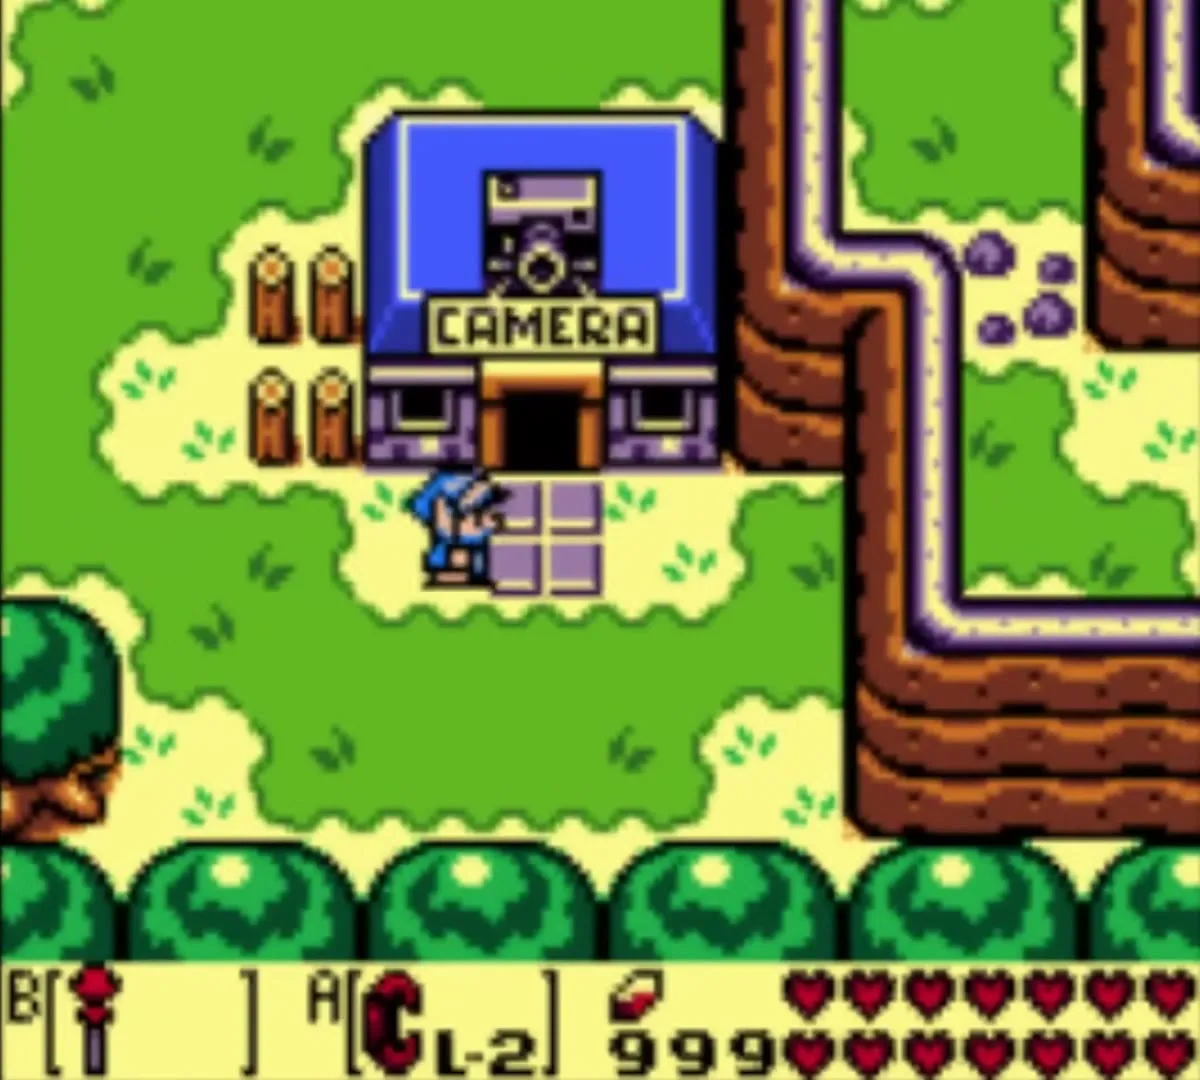
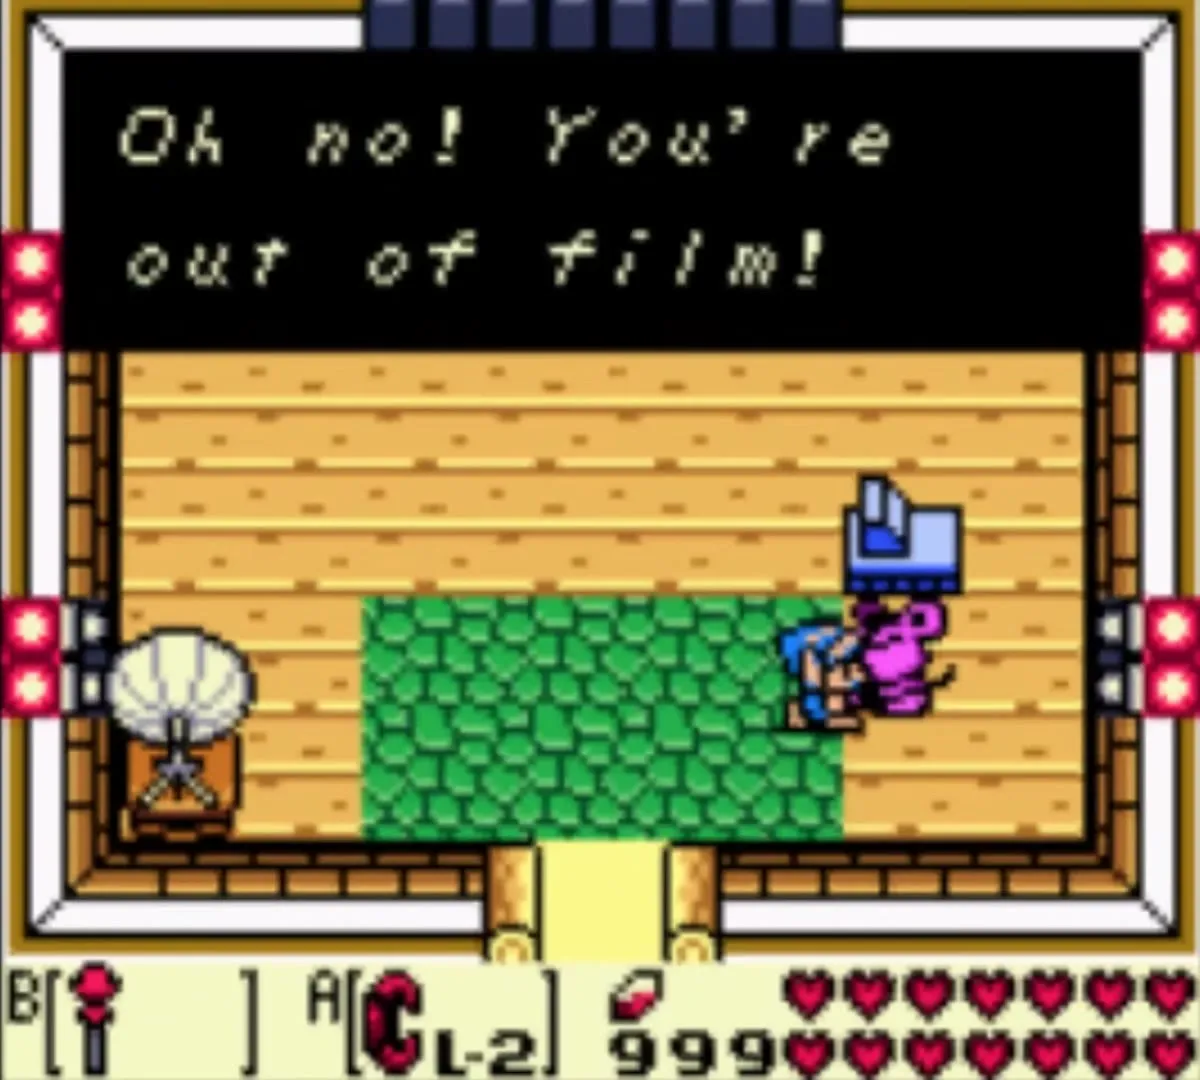
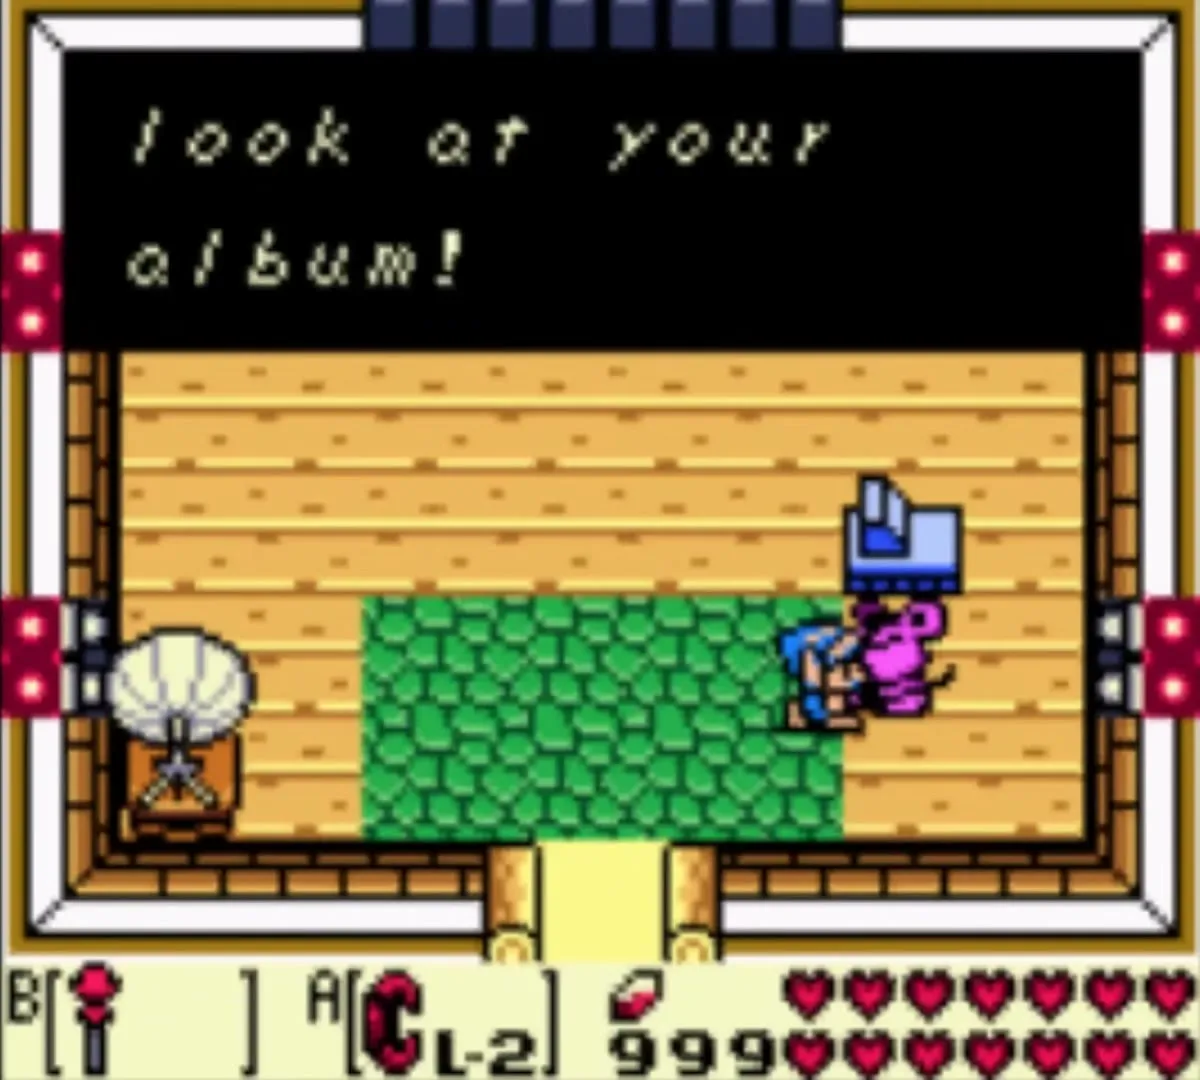
Link’s Awakening DX has 12 photographs, taken by a mouse who follows you around. Go to the Camera Shop and talk to the mouse to look at the album. If a page is still blank, see how to take each shot on the photographs page. Be careful with the shot you get by stealing from the Town Tool Shop: the shopkeeper never forgives you, your name becomes THIEF, and you cannot enter the shop again without being struck down. Do that one last (photo 7, THIEF). Photos 5 and 6 are also Mabe Village shots: Grandpa Ulrira’s house (Link Discovers Ulrira’s Secret!) and Madam MeowMeow’s house with BowWow home (Link Plays With BowWow!). Read about the shop in mini-games and shops.

Color Dungeon
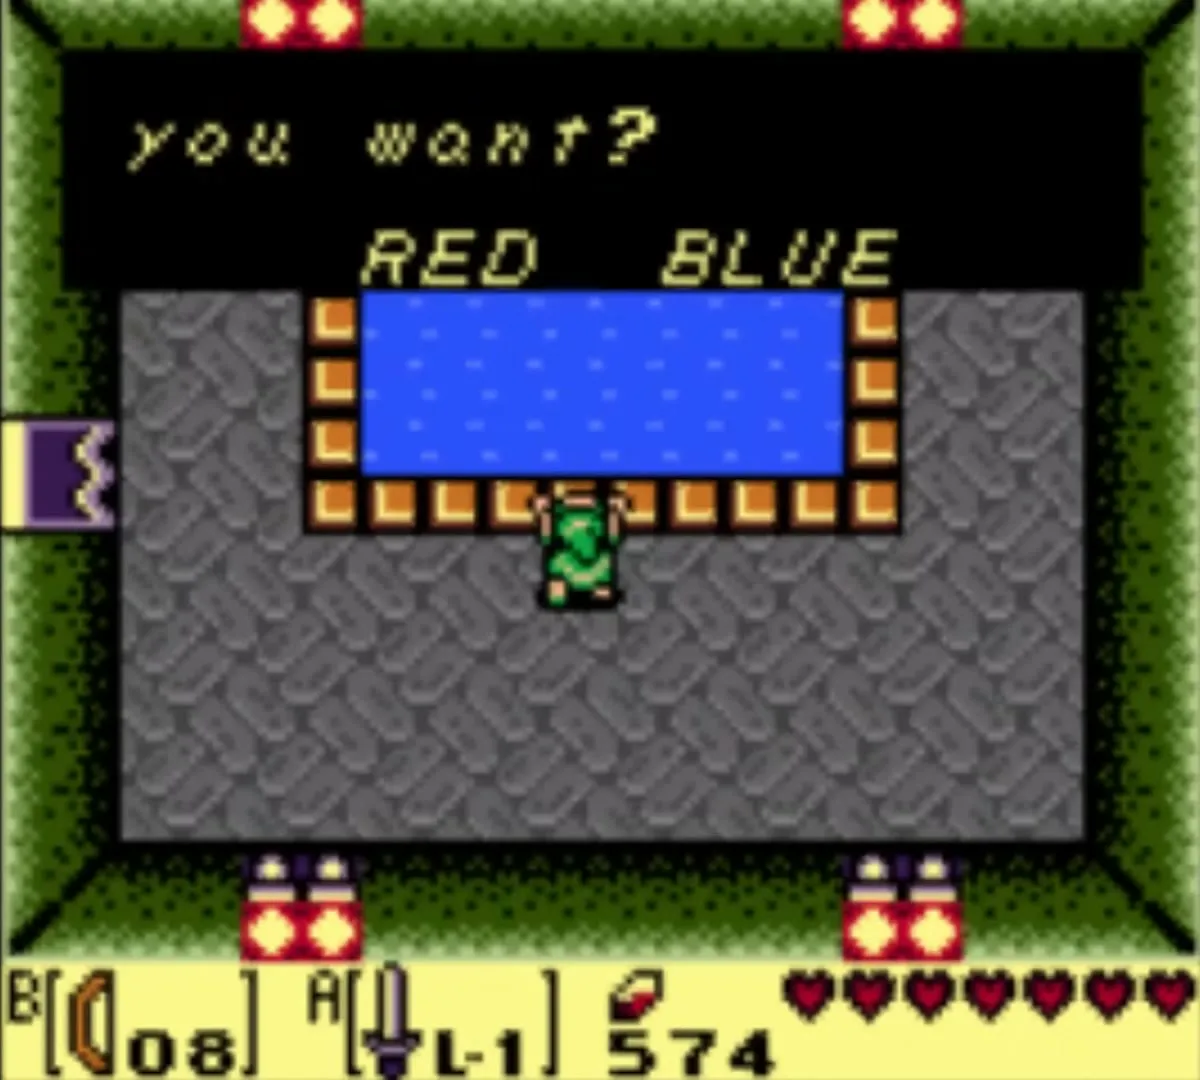
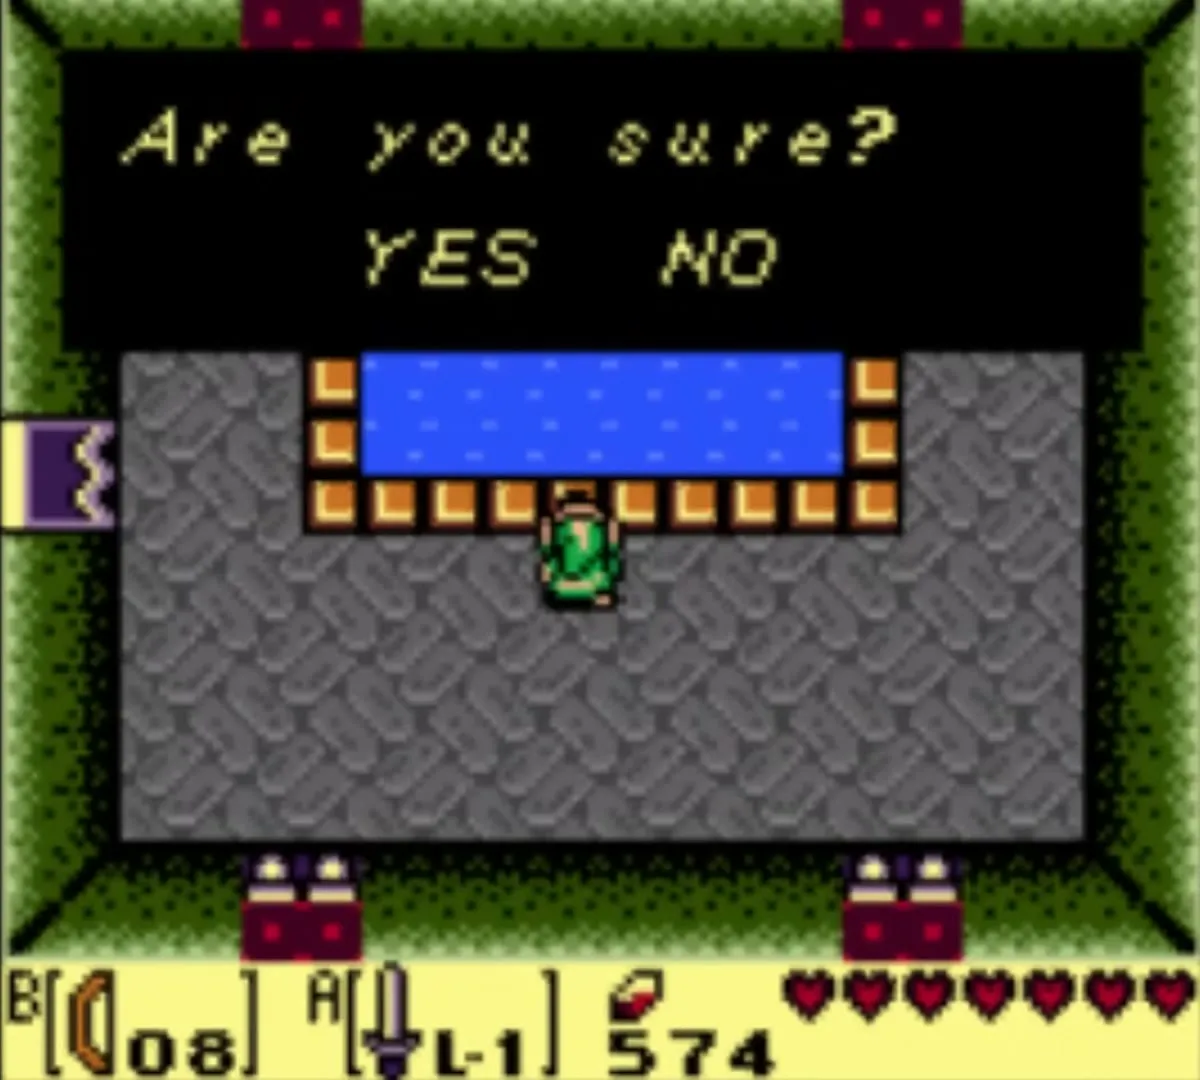
The Color Dungeon is a bonus dungeon that exists only on the Game Boy Color. It has no Heart Container and no Instrument; the reward is a choice of the Red Clothes or the Blue Clothes, which you can swap later at the Great Fairy. It is optional, but it is part of a 100% file, so clear it before you finish. The entrance and every room are covered in the Color Dungeon walkthrough.
Last supplies for the final fight
Top up before you climb. The first Nightmare form falls to Magic Powder, so carry a full supply, and keep some arrows for the last fight. Refill your hearts, and consider a Secret Medicine from Crazy Tracy, which revives you at full health if you fall; see fairies and Secret Medicine. Remember that a death costs you the secret ending described at the bottom of this page.


Maze book in the Mabe Village library
Before you head for the Egg, visit the library in Mabe Village. The route through the Egg is written in a book, and you can read it only if you own the Magnifying Lens from the trading sequence.

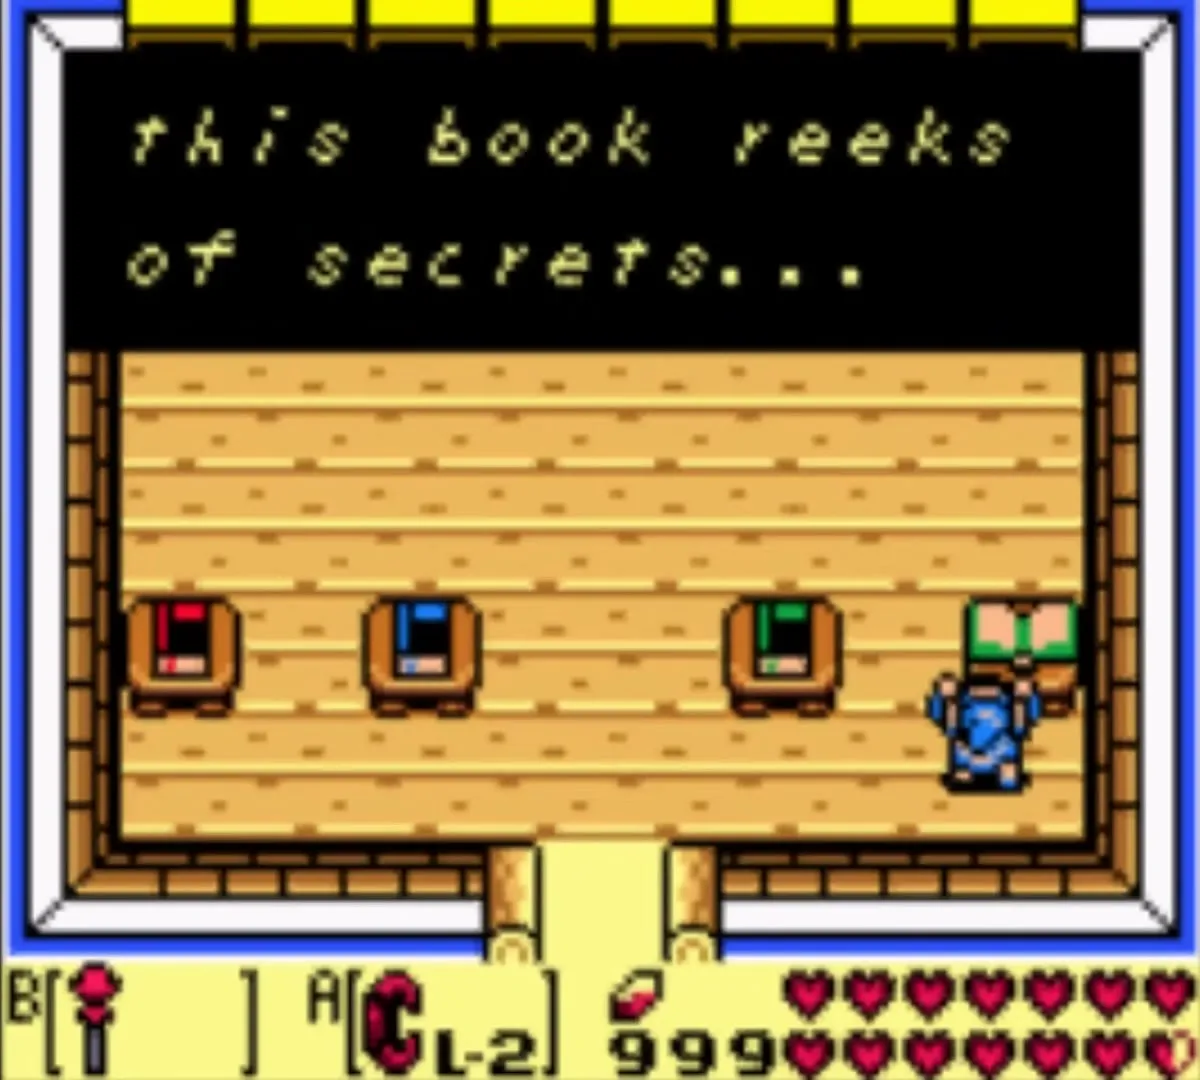
Where the book is
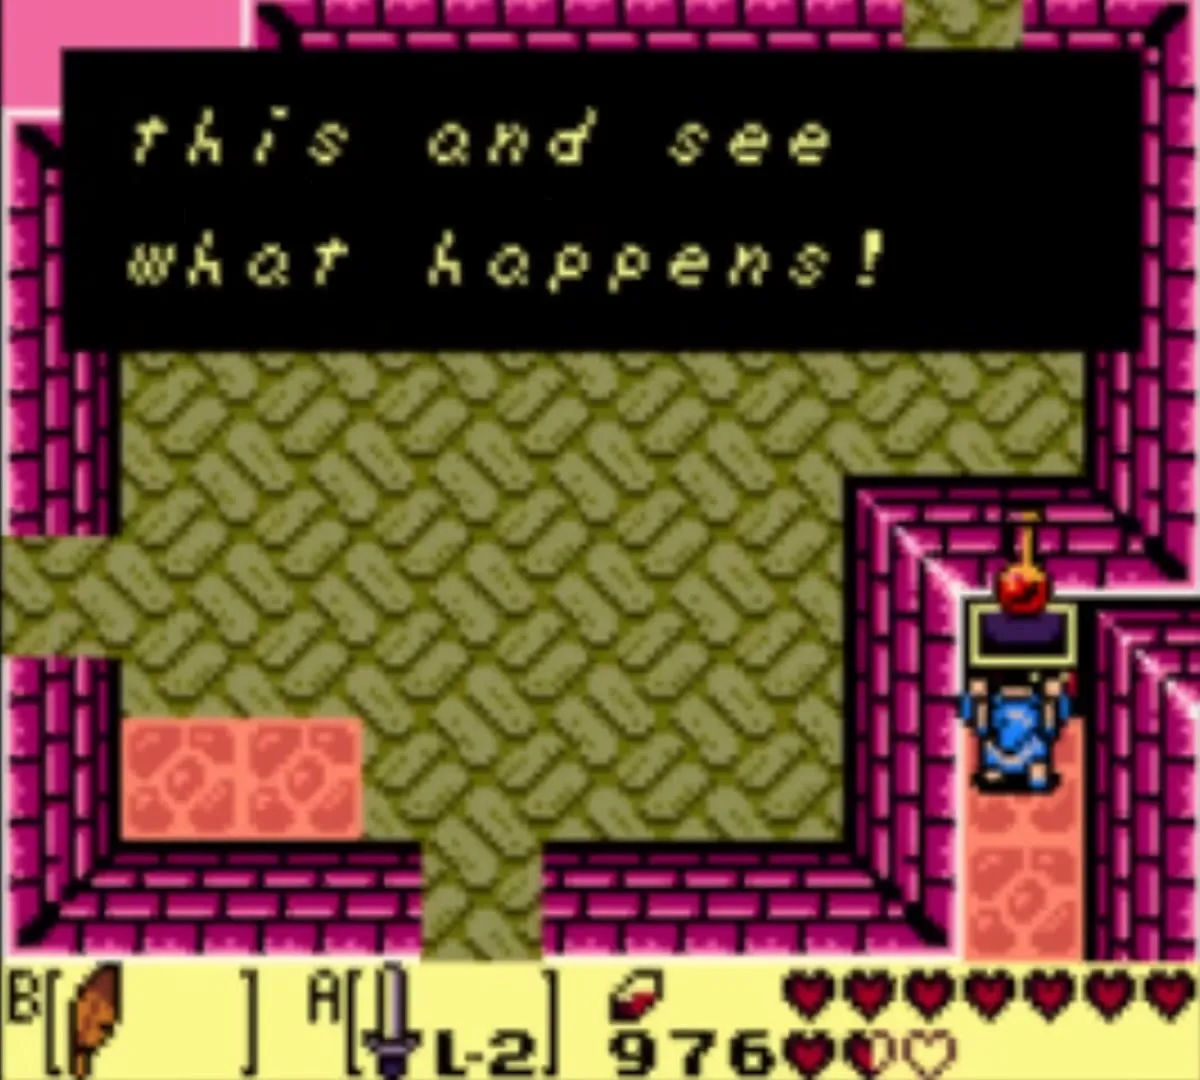
Step inside the library and find the book titled Dark Secrets and Mysteries of Koholint. Face it and press A, and answer YES to read it. With the Lens in your inventory the text turns into a row of arrows, one for each room of the Egg’s maze.
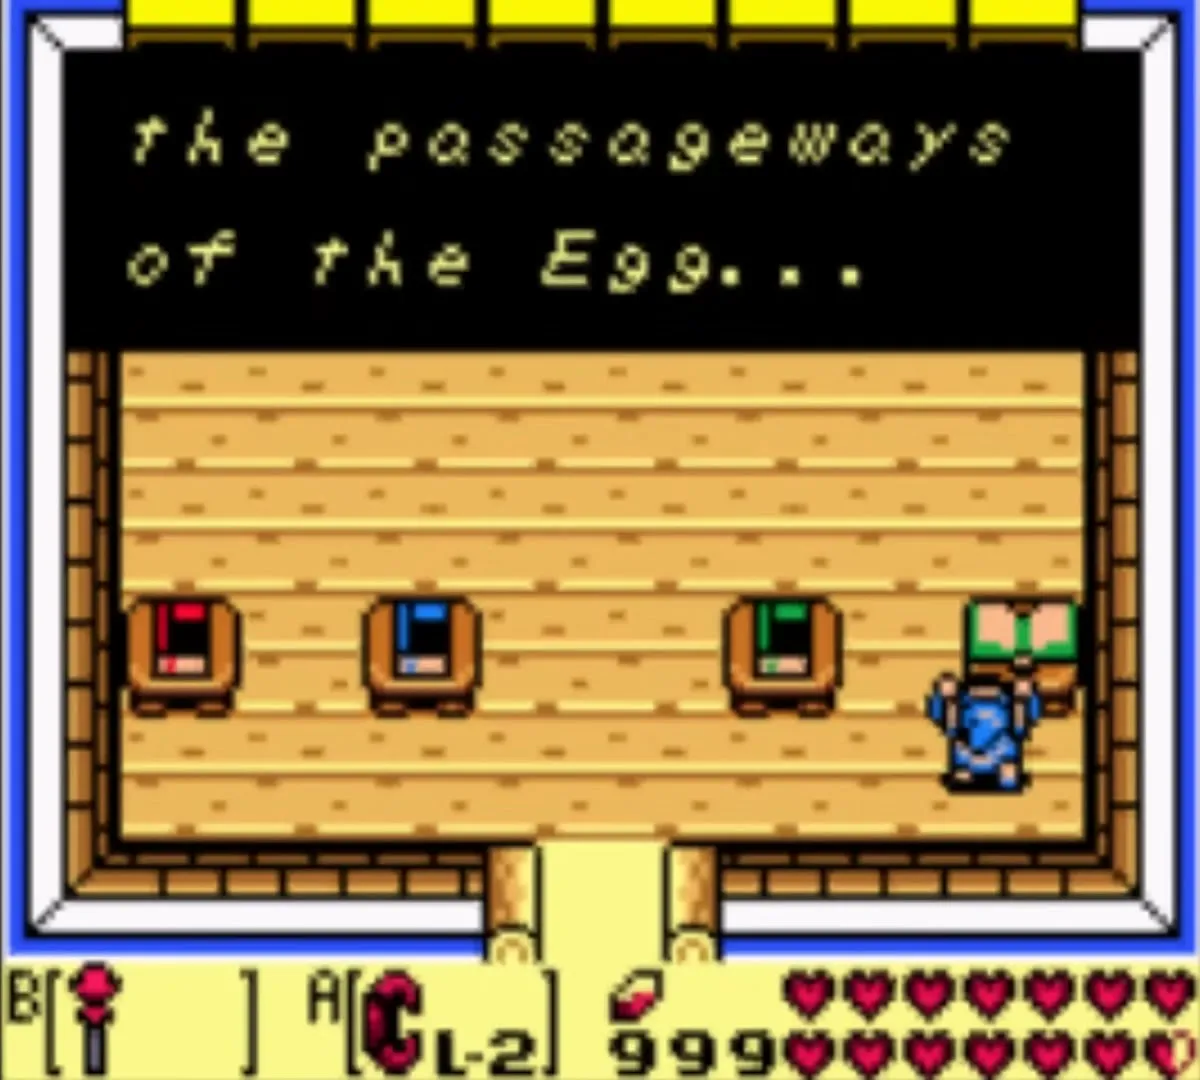


Write the arrows down or memorise them. The route is not the same in every game, so do not copy one from a guide: only the book in your own game is correct. Use each arrow as the direction of the exit you take in the next maze room.


Mt. Tamaranch and the Ballad of the Wind Fish
How to reach the Egg
The Egg sits on the peak of Mt. Tamaranch in the Tal Tal Mountain Range. Walk or warp there with Manbo’s Mambo and climb the stone steps up the mountain. Near the top you meet an Owl who explains that the Wind Fish sleeps in the Egg above the island and that only the eight Instruments, played in front of the Egg, can wake him.
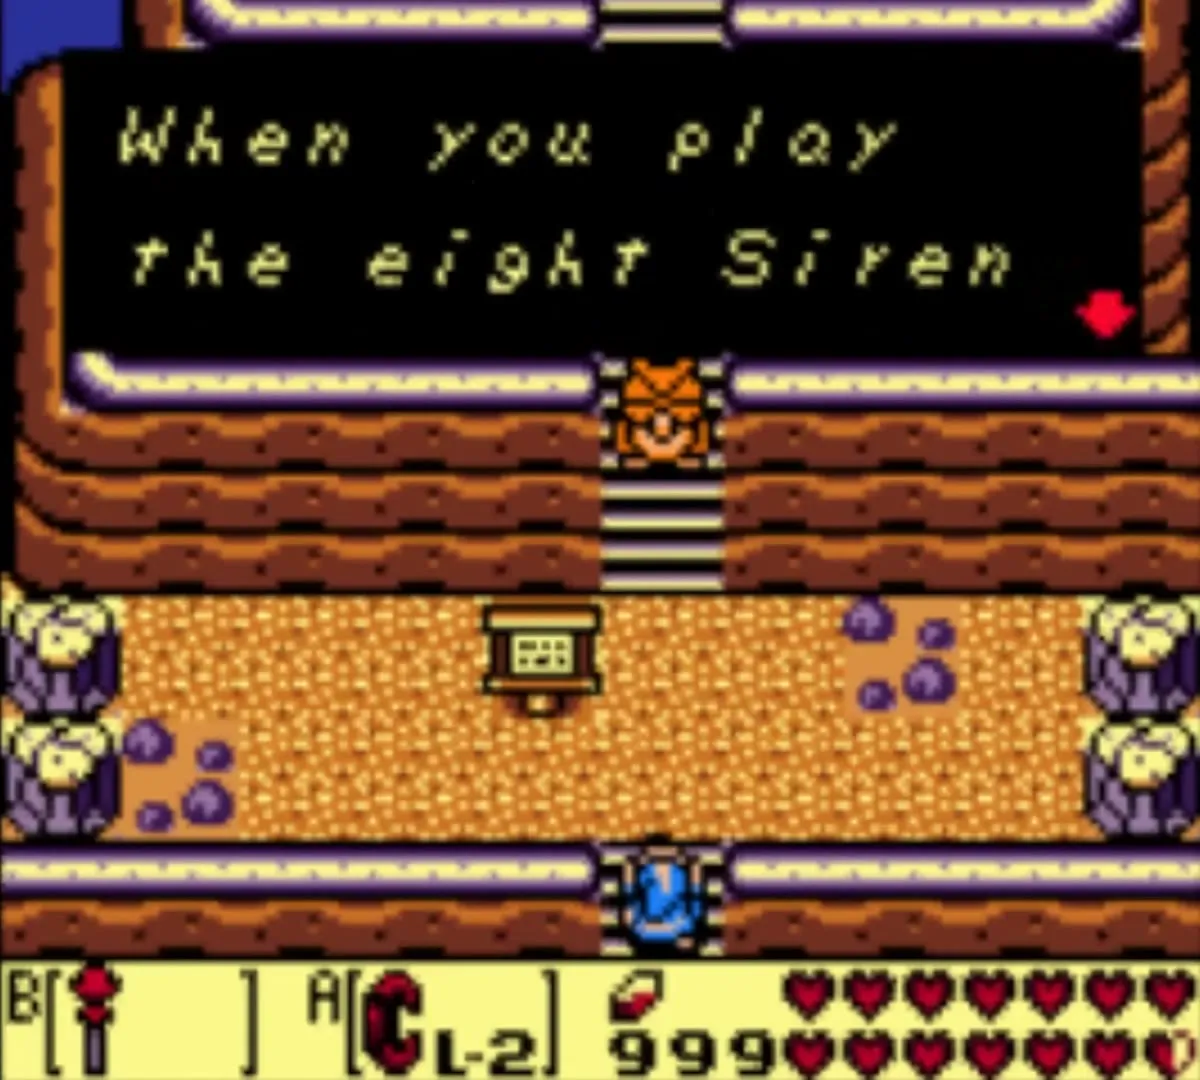

Play the Ballad of the Wind Fish
Climb the last staircase until you stand directly below the Egg. Open the item screen, equip the Ocarina on B and pick the Ballad of the Wind Fish. If you never learned it, Marin teaches it, see Ocarina songs. Play it, and your eight Instruments circle the Egg, change colour, then the shell cracks open. The Owl returns and tells you to enter.
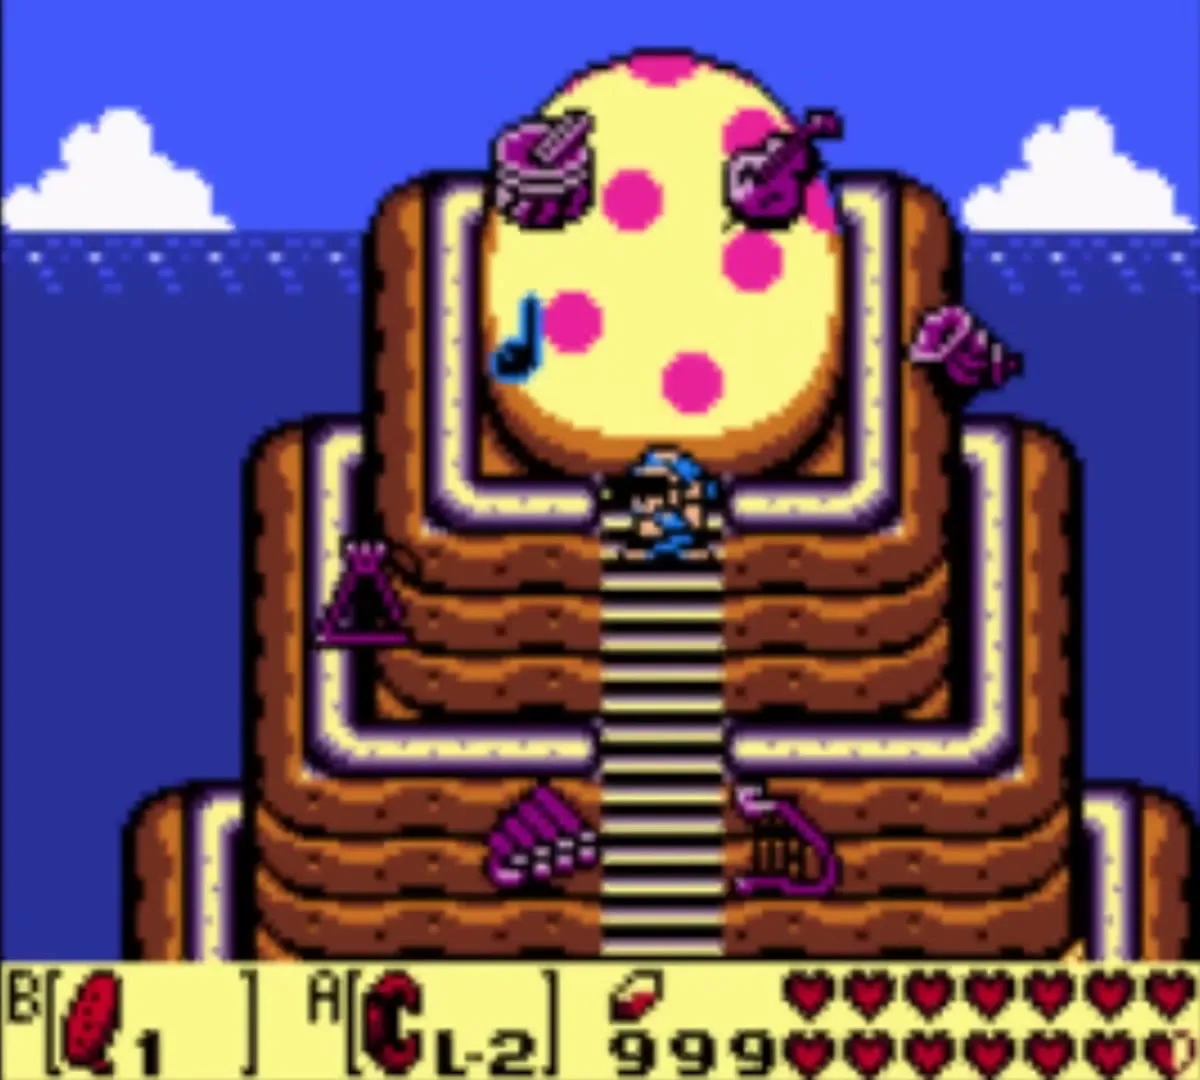

Wind Fish’s Egg walkthrough
Egg maze
Step into the opening in the Egg. Each maze room is a plain chamber with several exits; take the exit shown by the next arrow in your book, in order, until you reach the room with a wide hole in the floor. If a room does not show four exits, go north first.
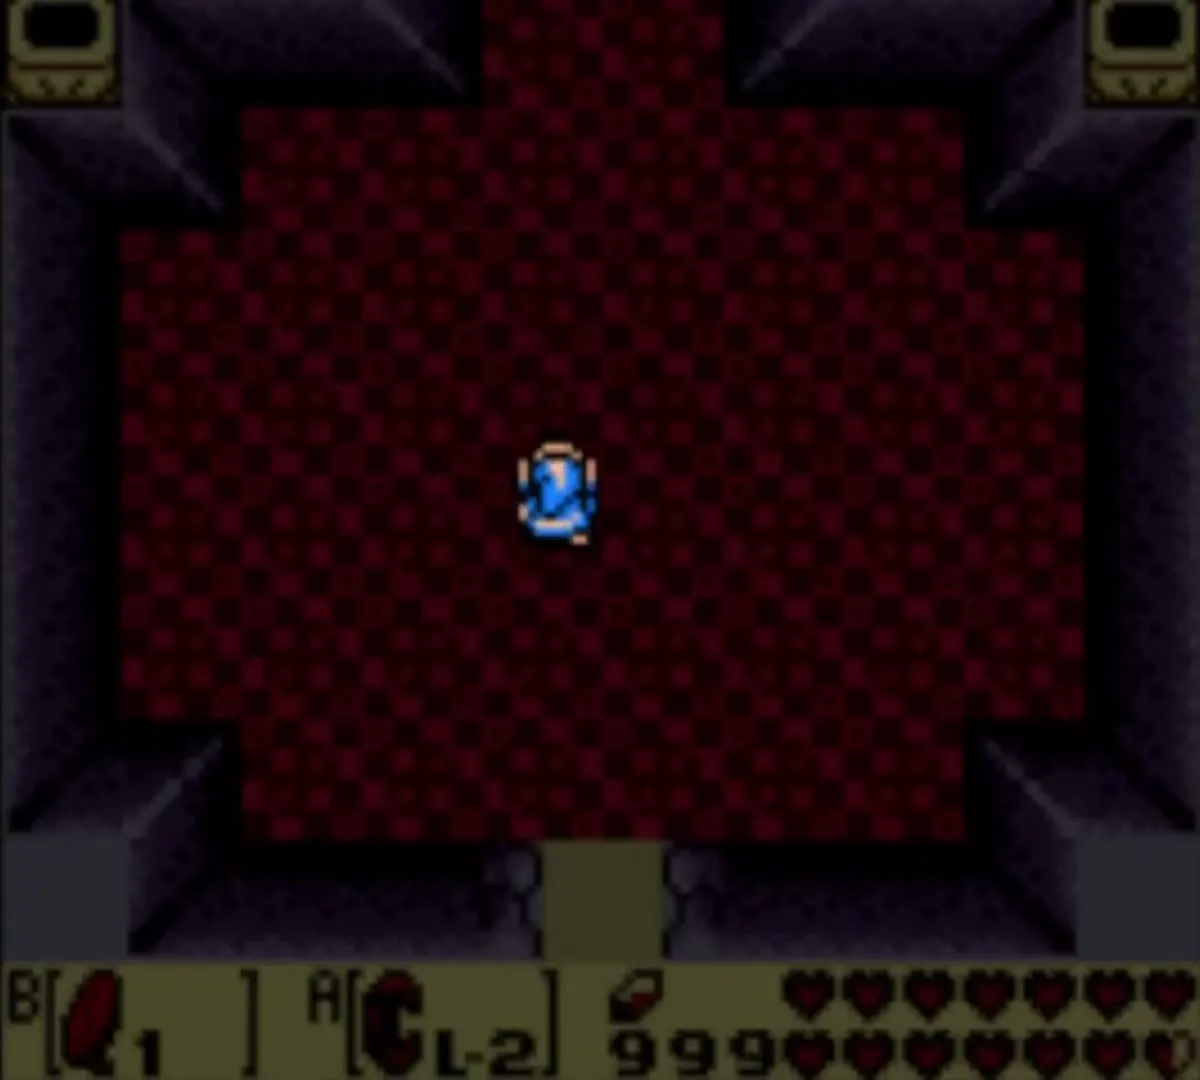

Jump into the hole, and you land in the room where the final fight takes place. Before you step forward, equip Magic Powder on B and the Sword on A. The first form needs the powder, so have it ready.


Shadow Nightmares boss fight
When you enter, the shapes of the Nightmares speak to you, sneering that if the Wind Fish does not wake they will take over the world, and then they attack. The Shadow Nightmares are one boss in six forms. You beat each form and the next one rises out of the shadows, with no break between them. Keep the Magic Rod, the Boomerang and the Roc’s Feather ready on the item screen: you will swap items between forms. The forms below are in the order you meet them; the boss strategies page covers every boss in the game.

Form 1: Giant Zol
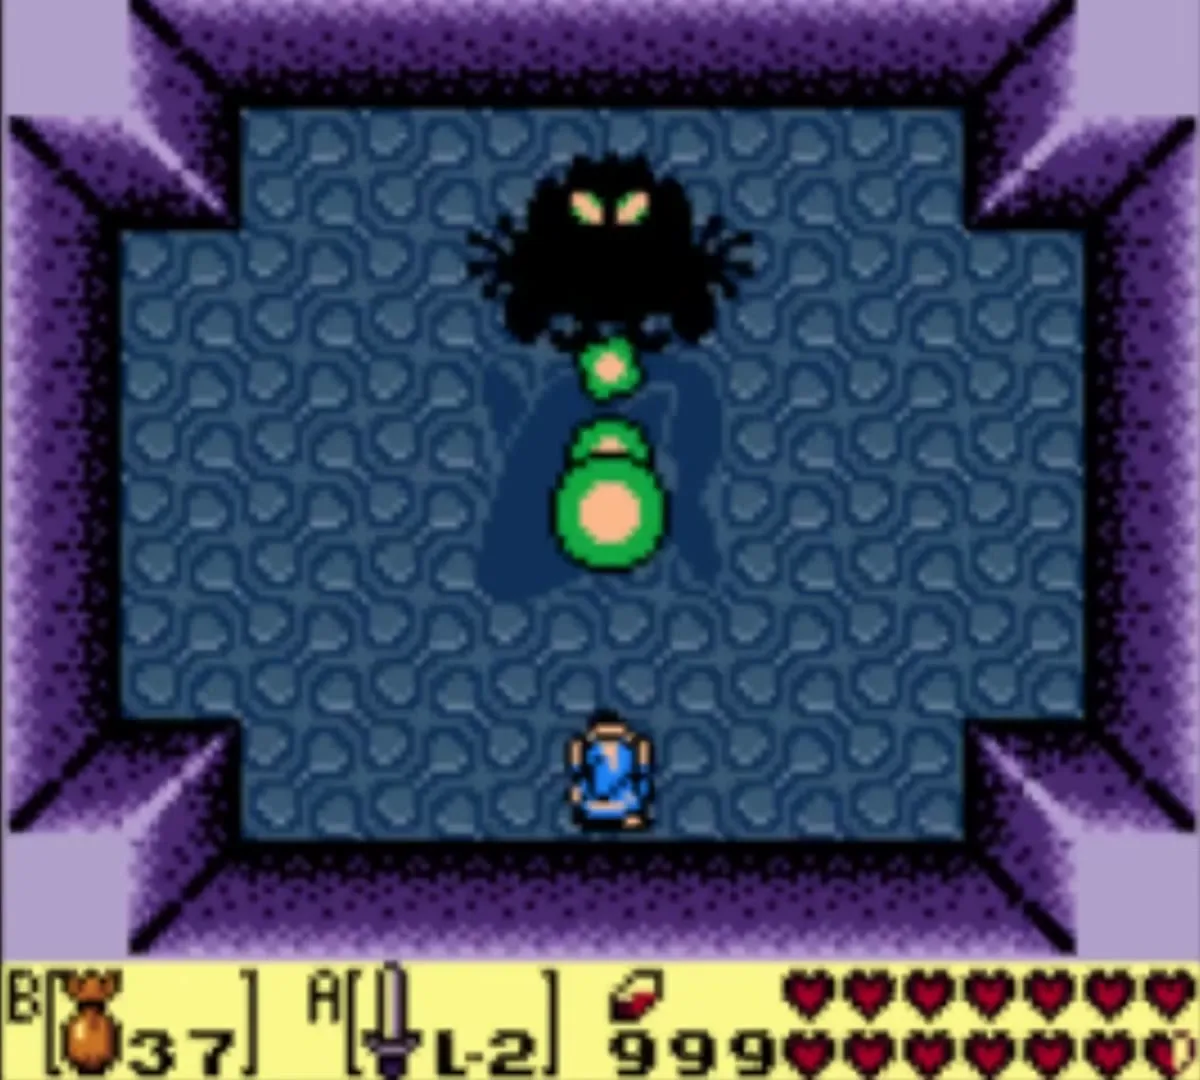
The first form is a huge Zol. Stay out of its way, and when it reappears after vanishing, throw Magic Powder over it. Three sprinkles of powder make it change form.

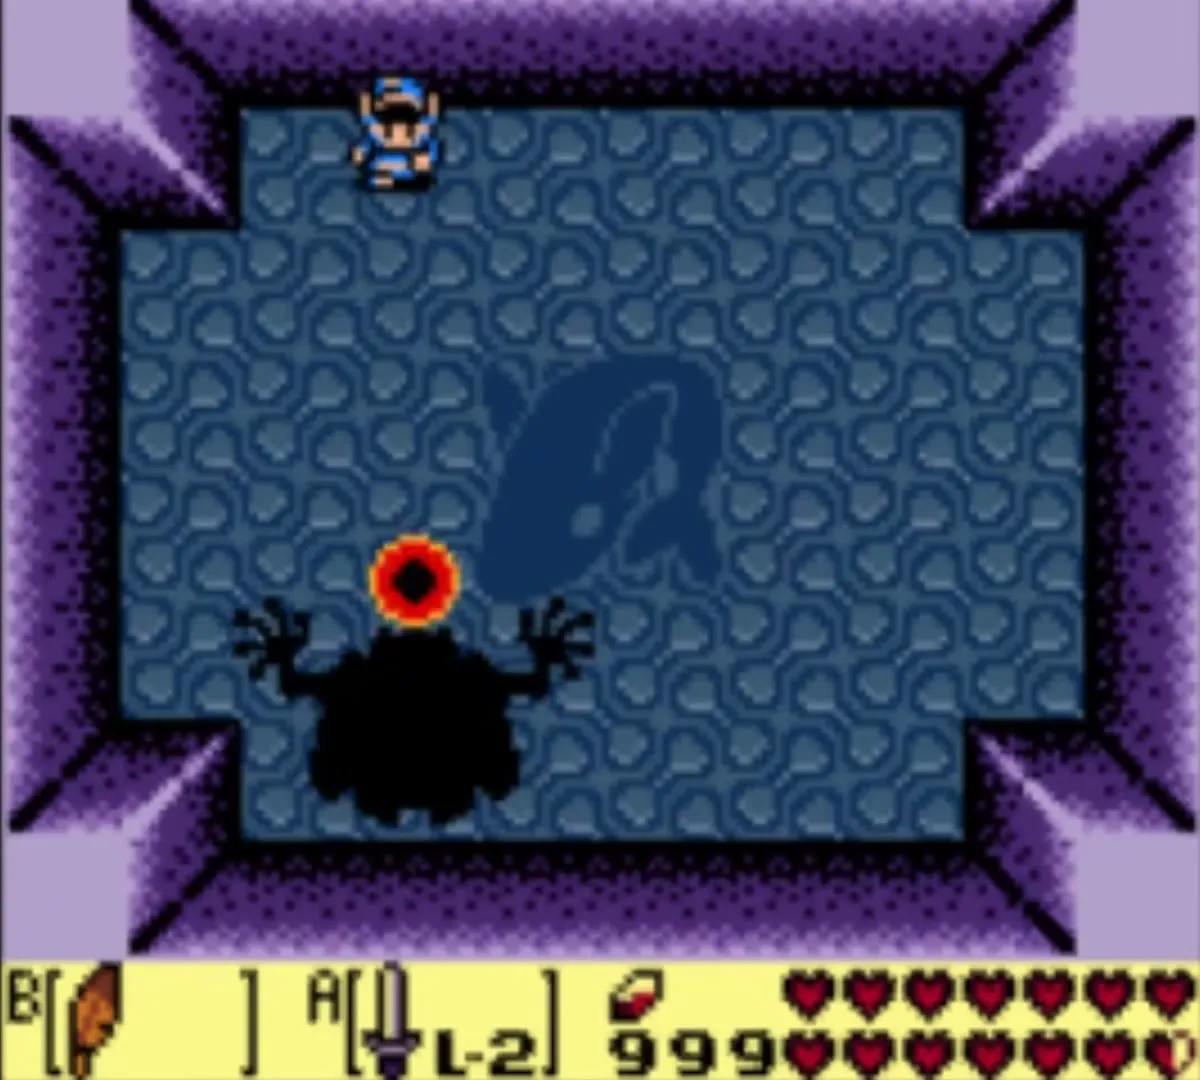
Form 2: Agahnim’s Shadow
The second form is the dark wizard Agahnim. He fires energy balls at you; stand in line and swing the Sword at each ball to knock it back at him. Keep returning them until he changes form. Avoid the X-shaped shots, which cannot be knocked back.

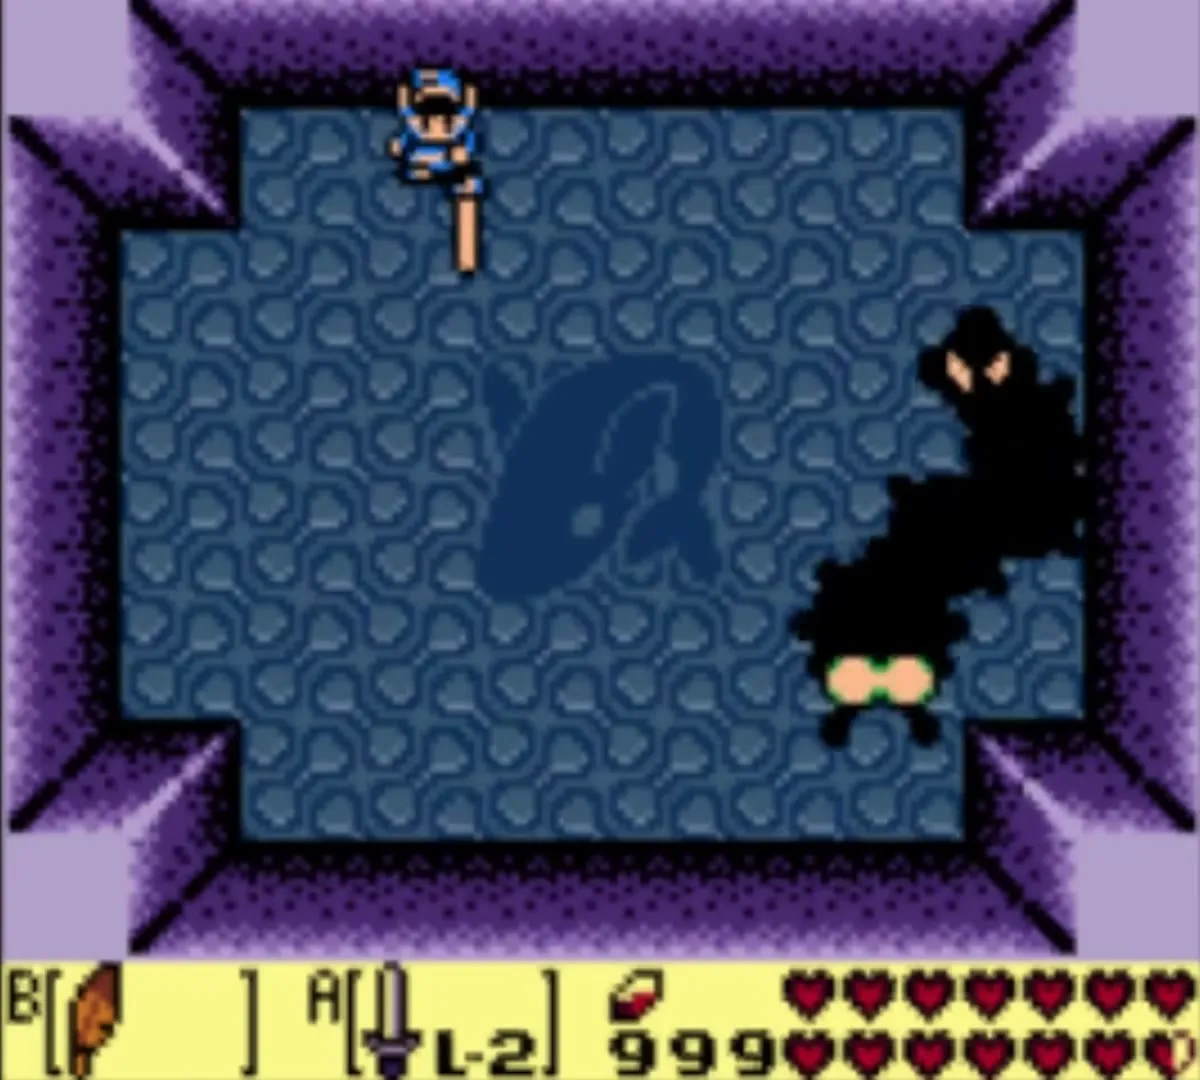
Form 3: Moldorm’s Shadow
The next form is a giant worm like the boss of Tail Cave. Only the tail is vulnerable, so keep clear of its head and body and slash the tail when it swings past. It takes more hits than the original Moldorm, so keep at it.

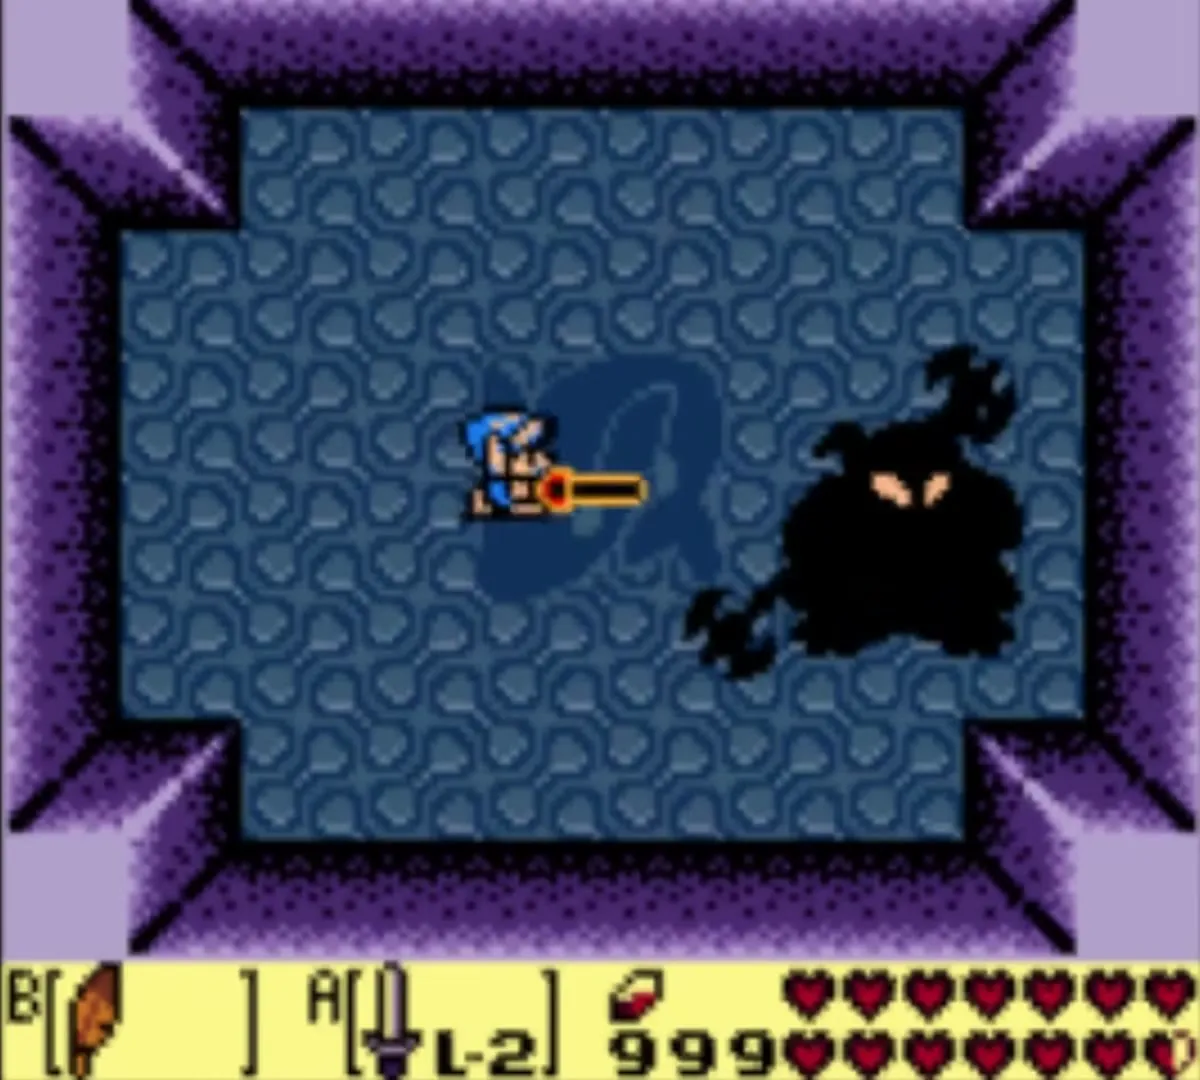
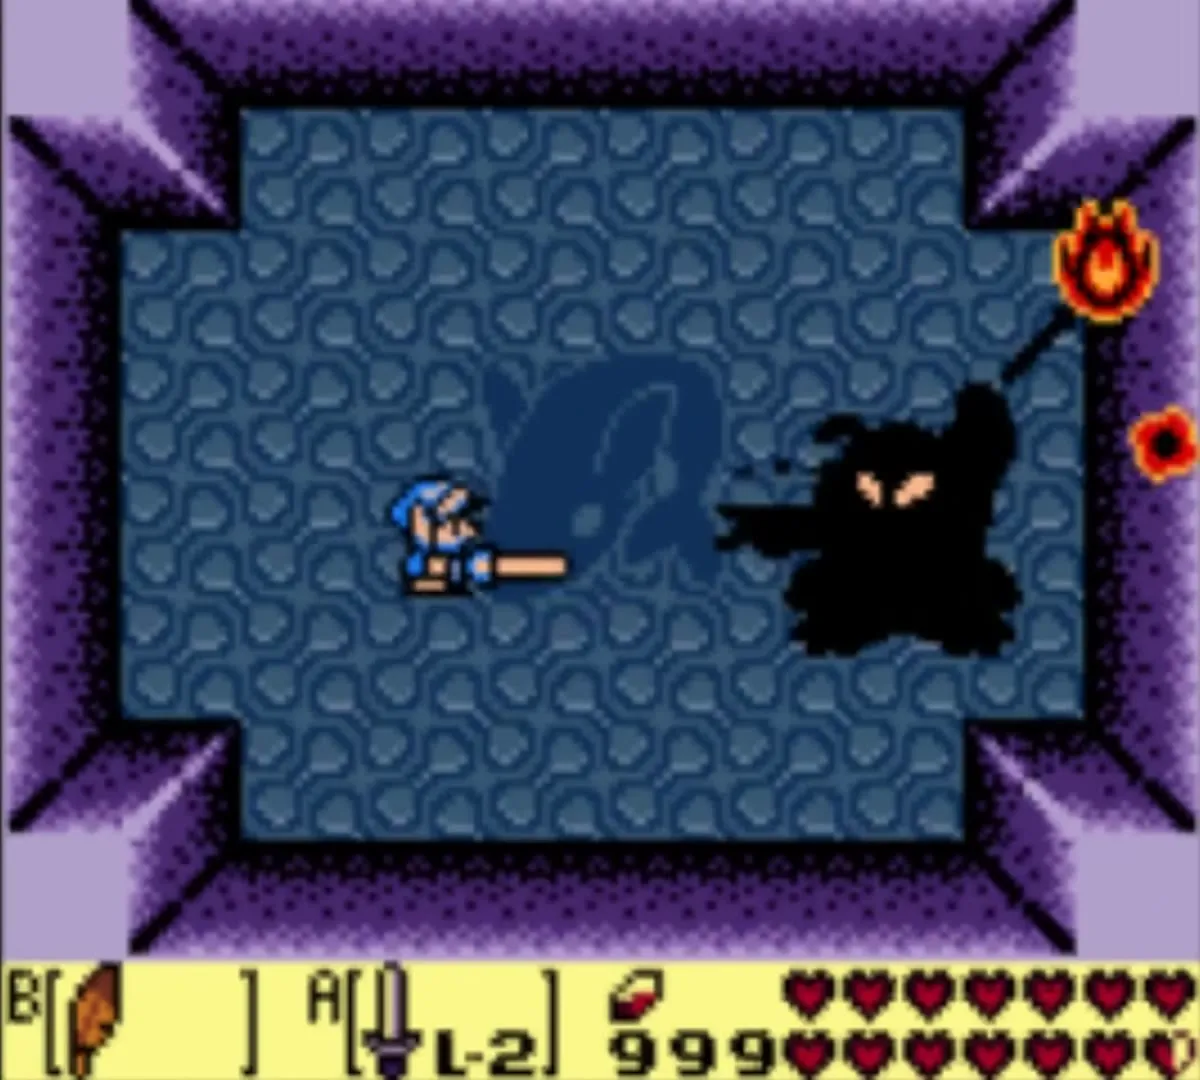
Form 4: Ganon’s Shadow
Ganon’s shadow surrounds himself with fire that turns into fiery bats, so keep moving around the room to avoid them. Sidestep his thrown trident and hit him with spin attacks while it returns; he floats to a new spot now and then, so move with him.
Form 5: Lanmola’s Shadow
Switch to the Magic Rod for this one. The fifth form is the sand worm Lanmola, which is fast and charges across the room. A single hit from the Rod’s fireball finishes it.
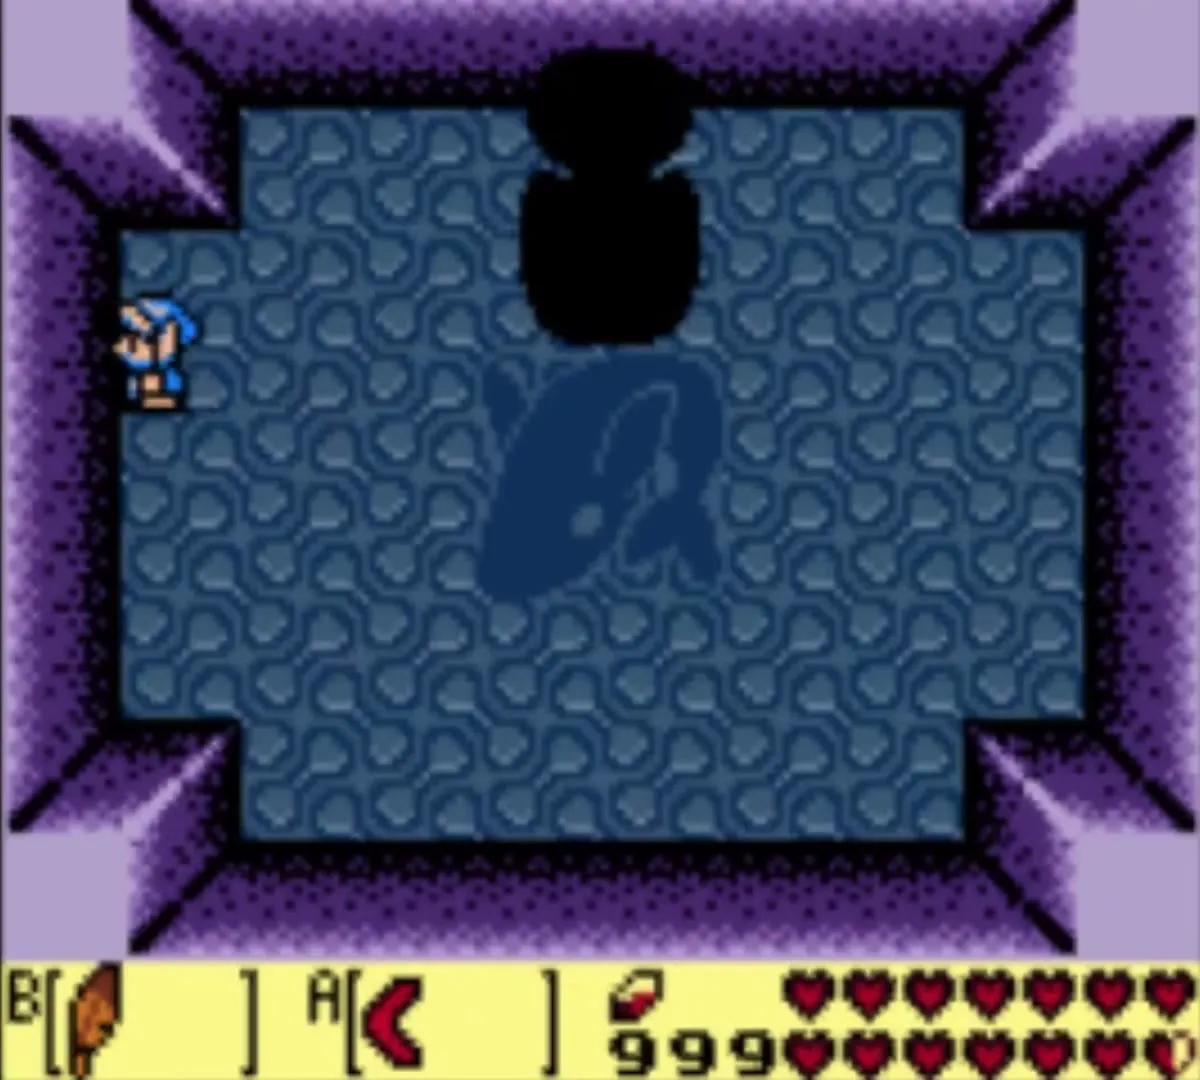
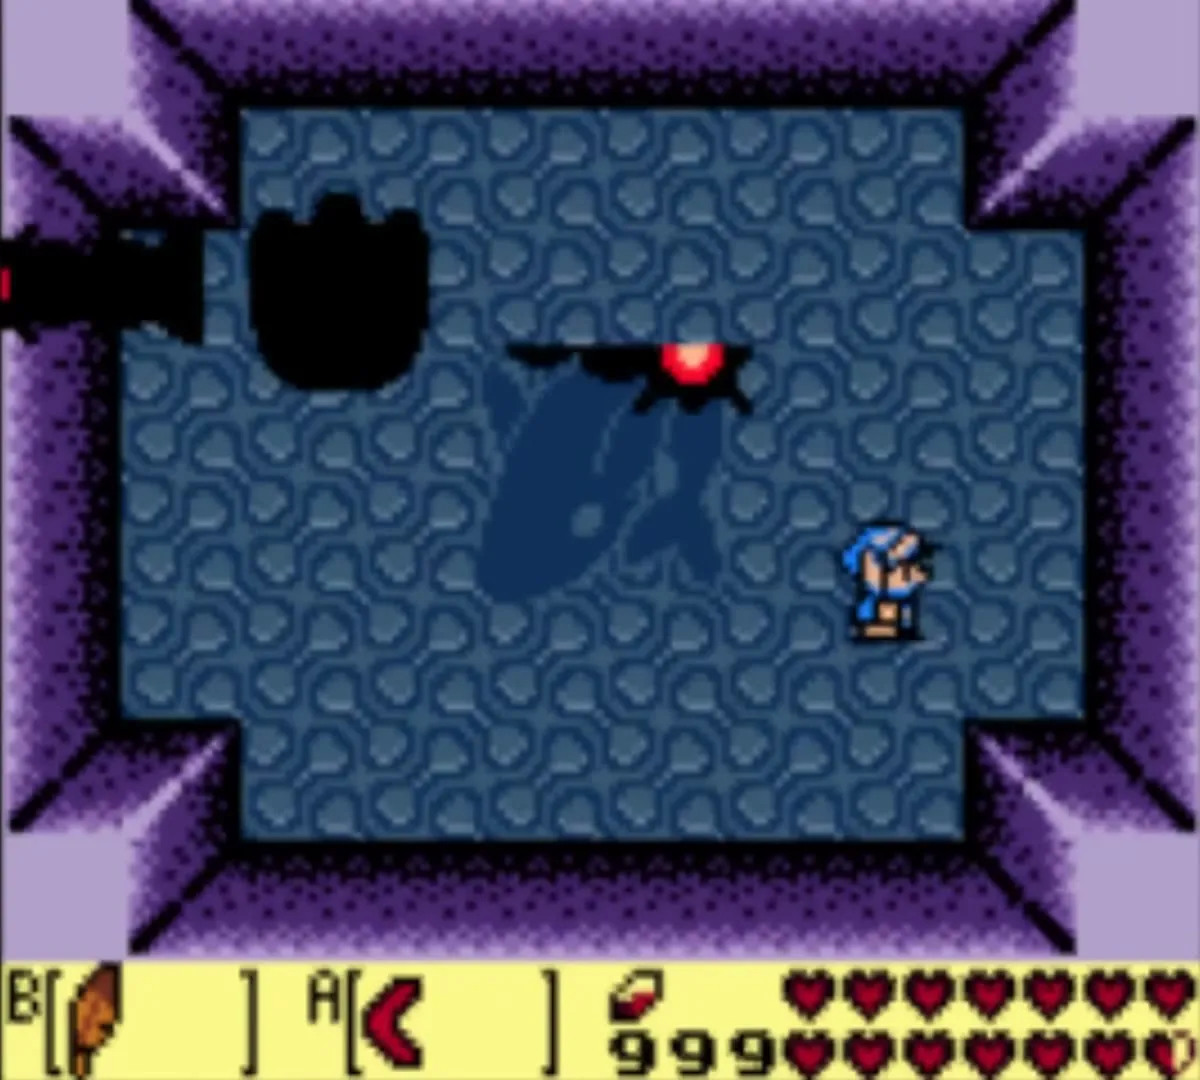
Form 6: DethI, the final boss
The last form is DethI, a creature with one big eye and two long arms that sweep around the room with spiked tips. Jump over the arms with the Roc’s Feather, then watch the eye. It opens now and then. Equip the Boomerang and throw it at the eye while it is open; one hit ends the fight. Without the Boomerang the eye takes many more hits.
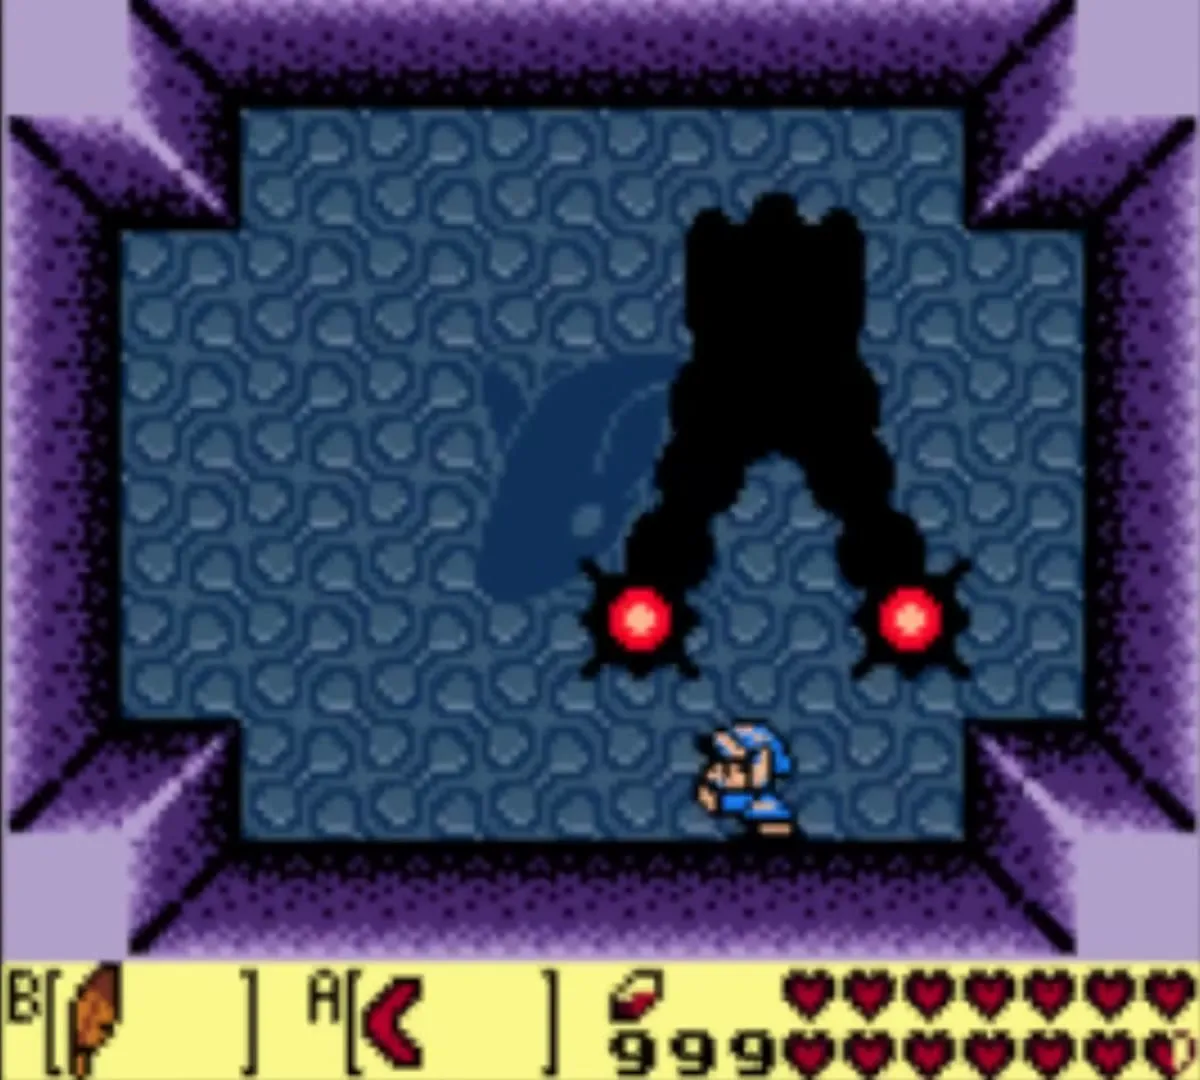
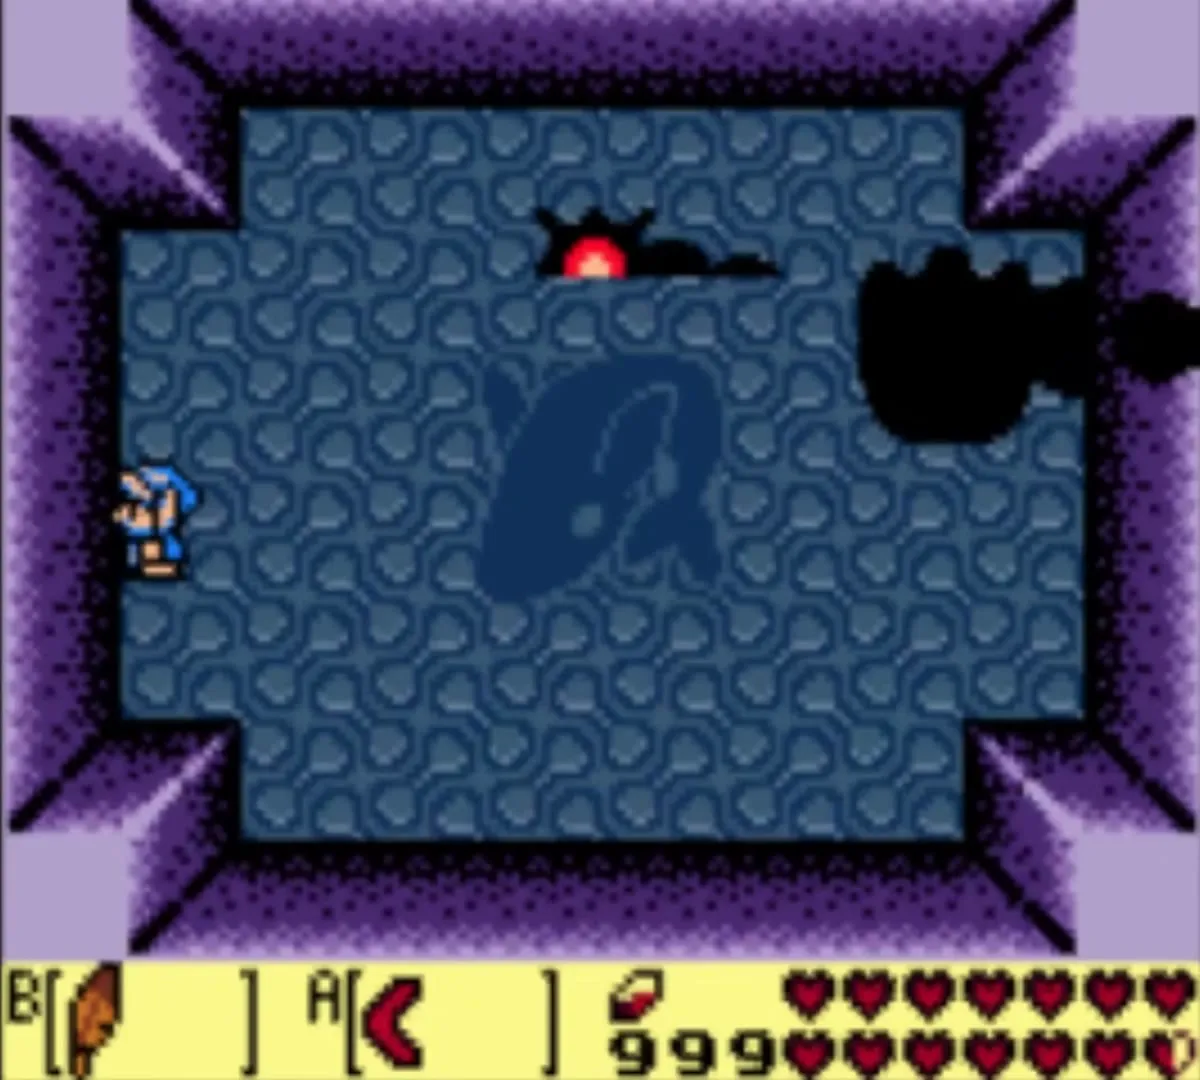
Ending and secret ending
The Wind Fish awakens
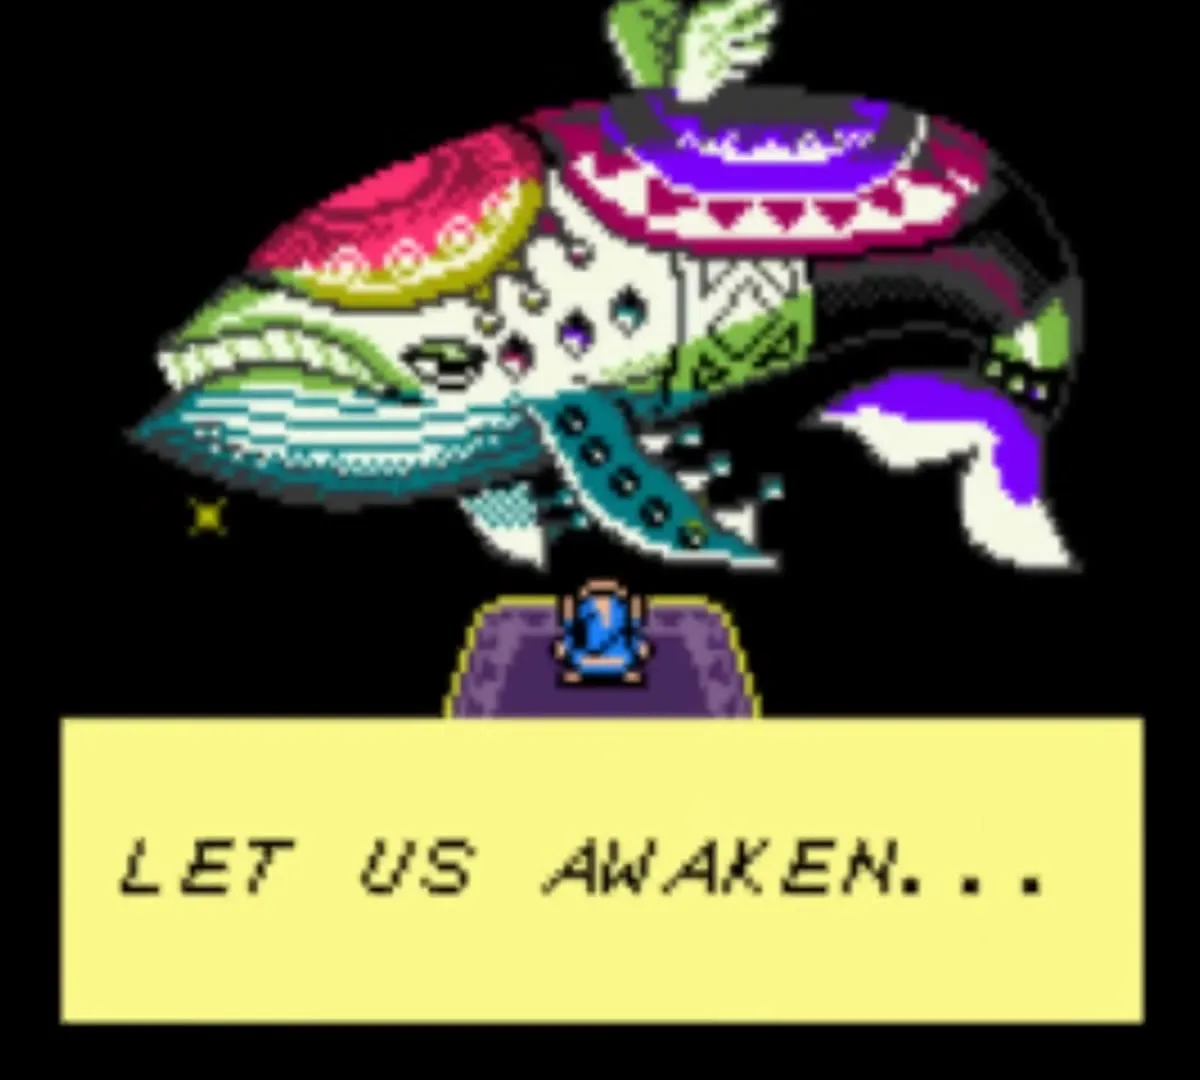
As DethI falls, the Nightmares warn that the island will vanish. A staircase opens in the floor of the arena; take it up into the sky, where you reach the peak of the Egg. The Owl stands there and thanks you, saying the Wind Fish will wake soon.

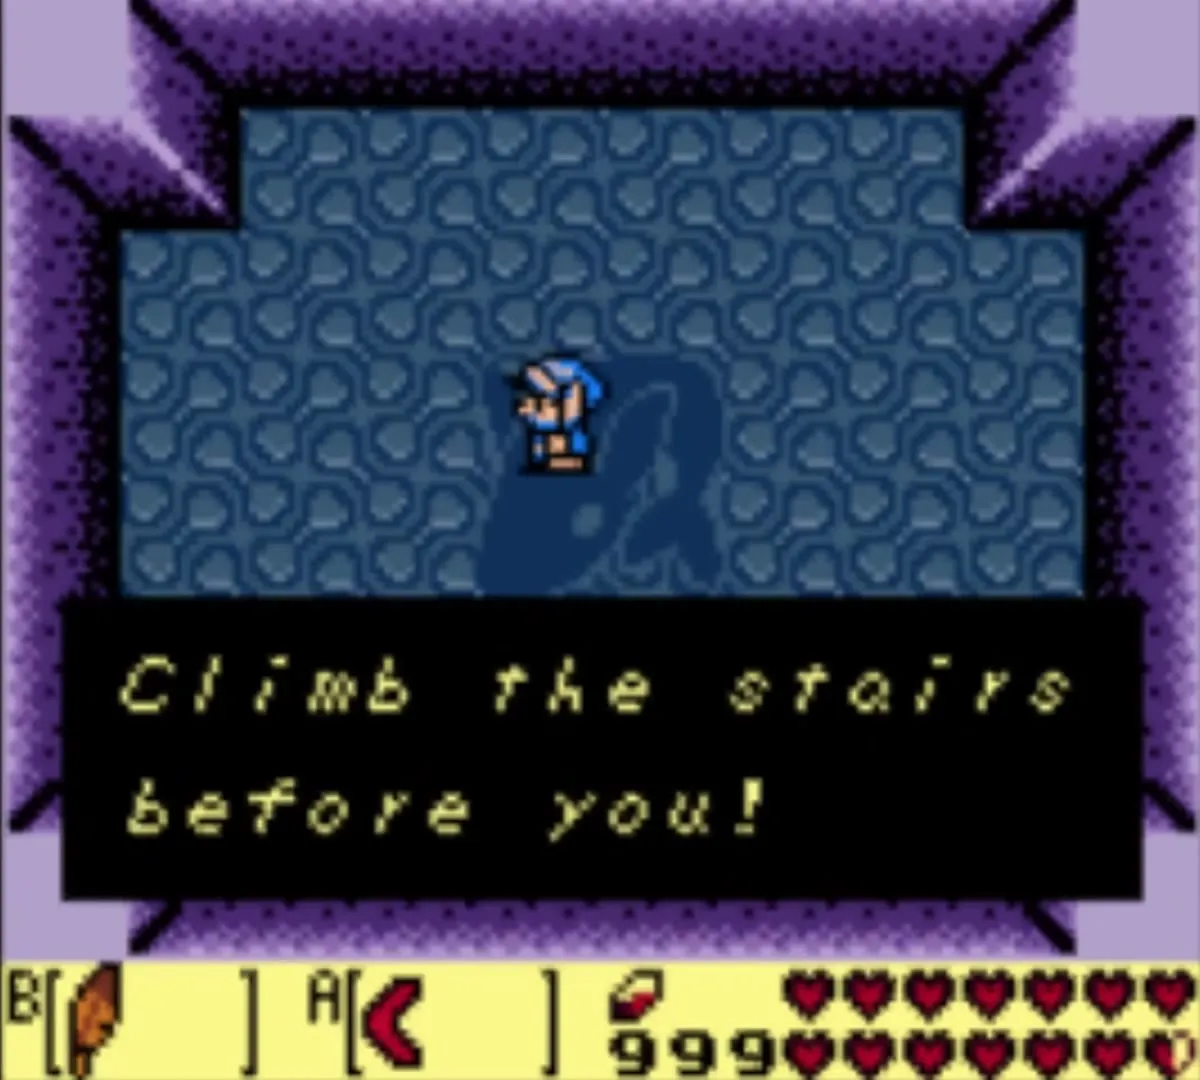
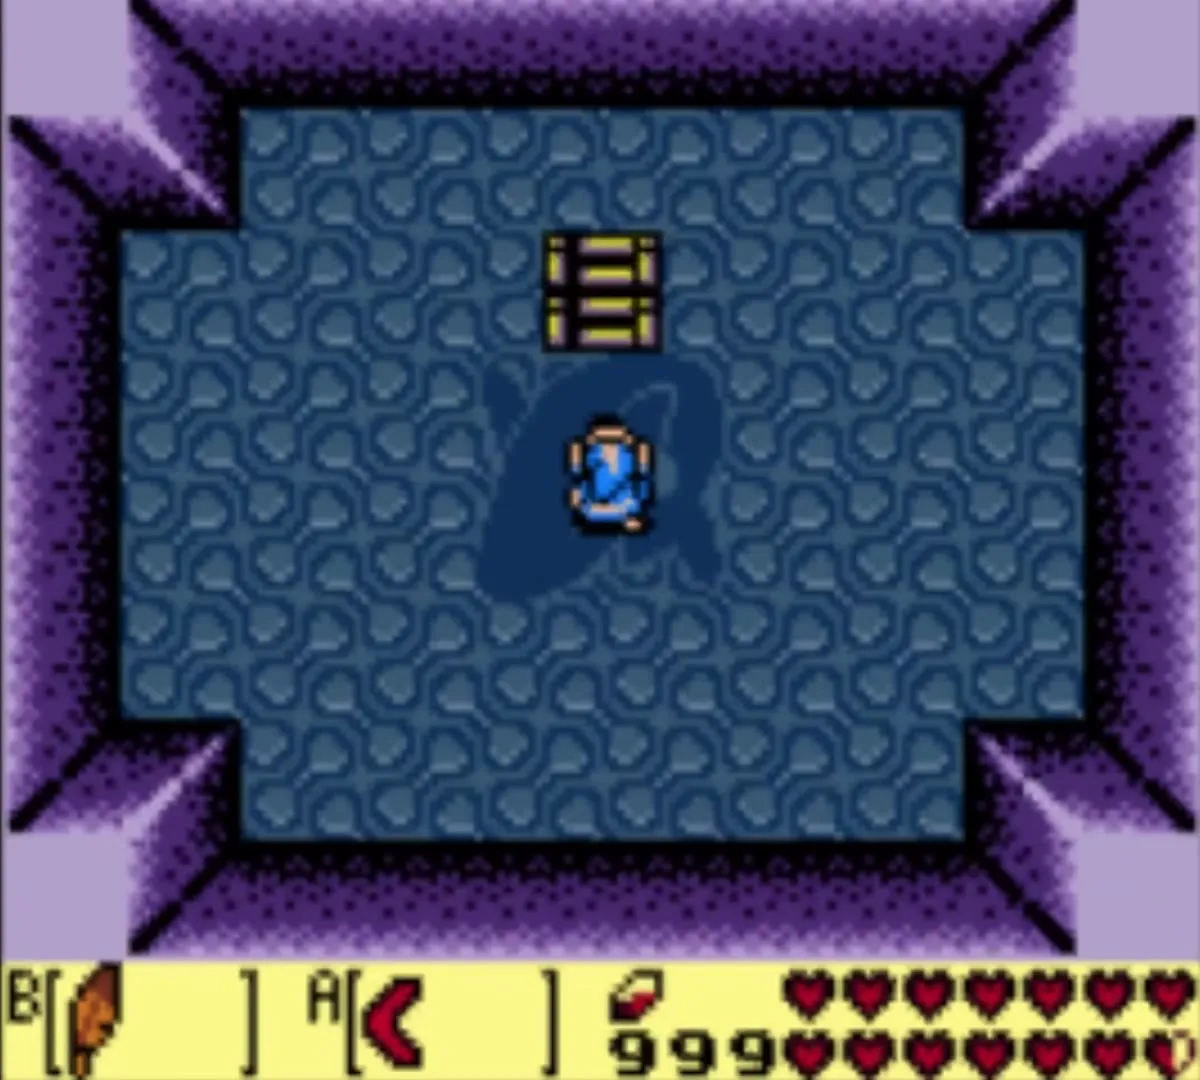
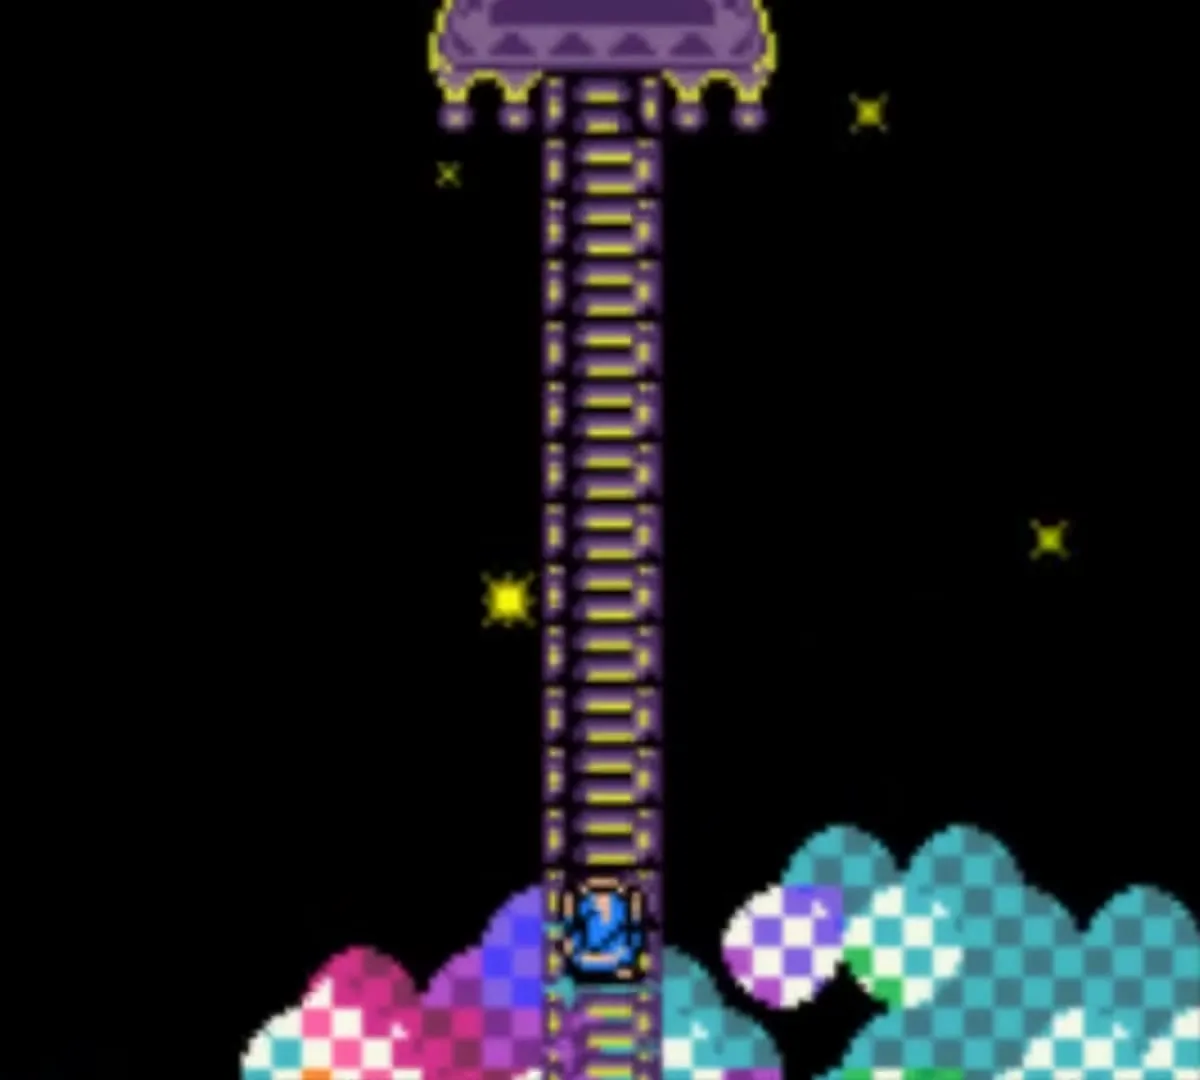
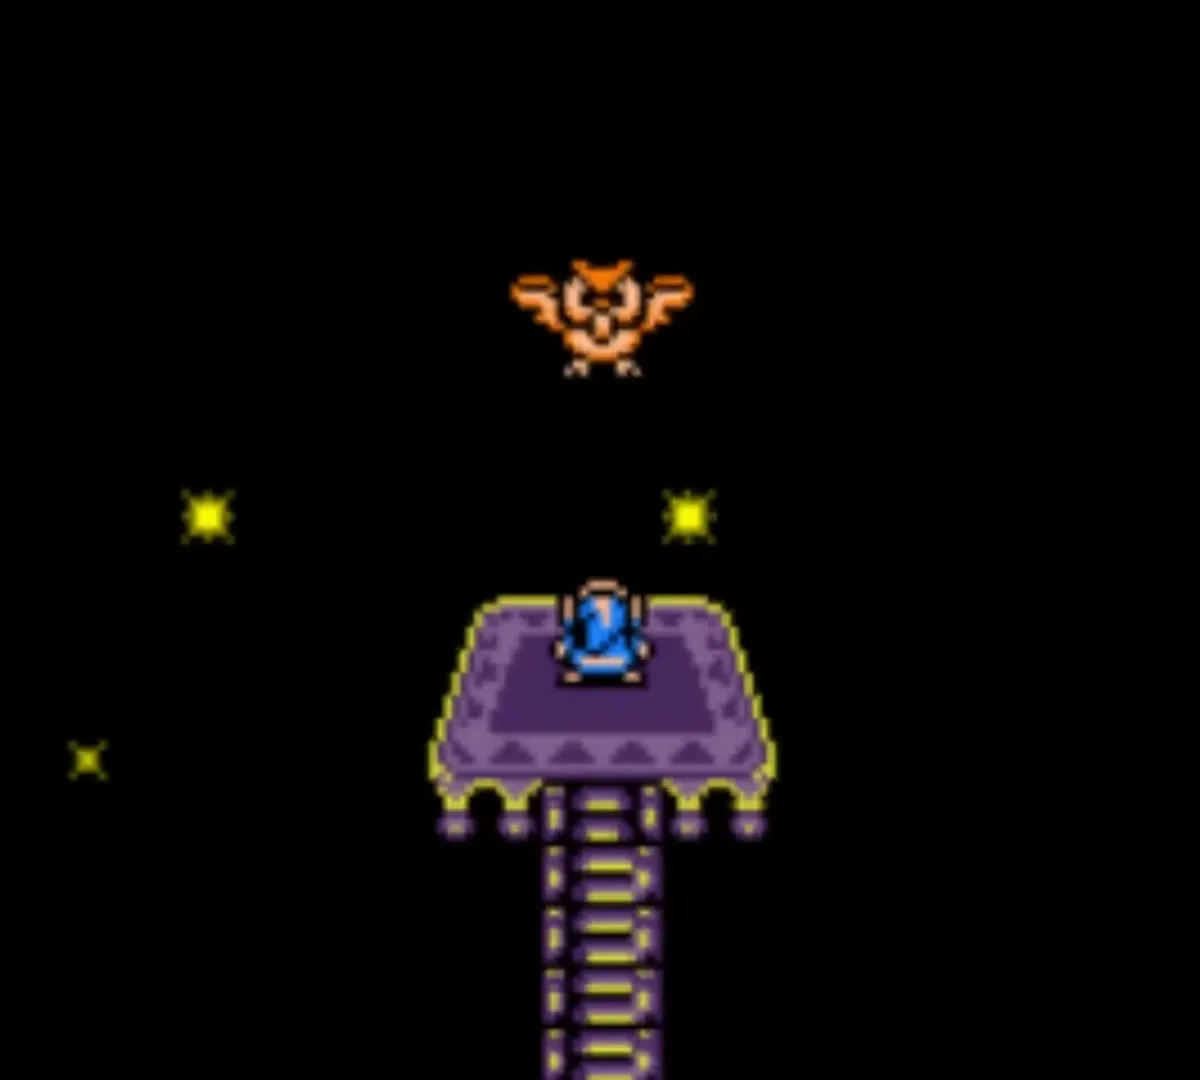
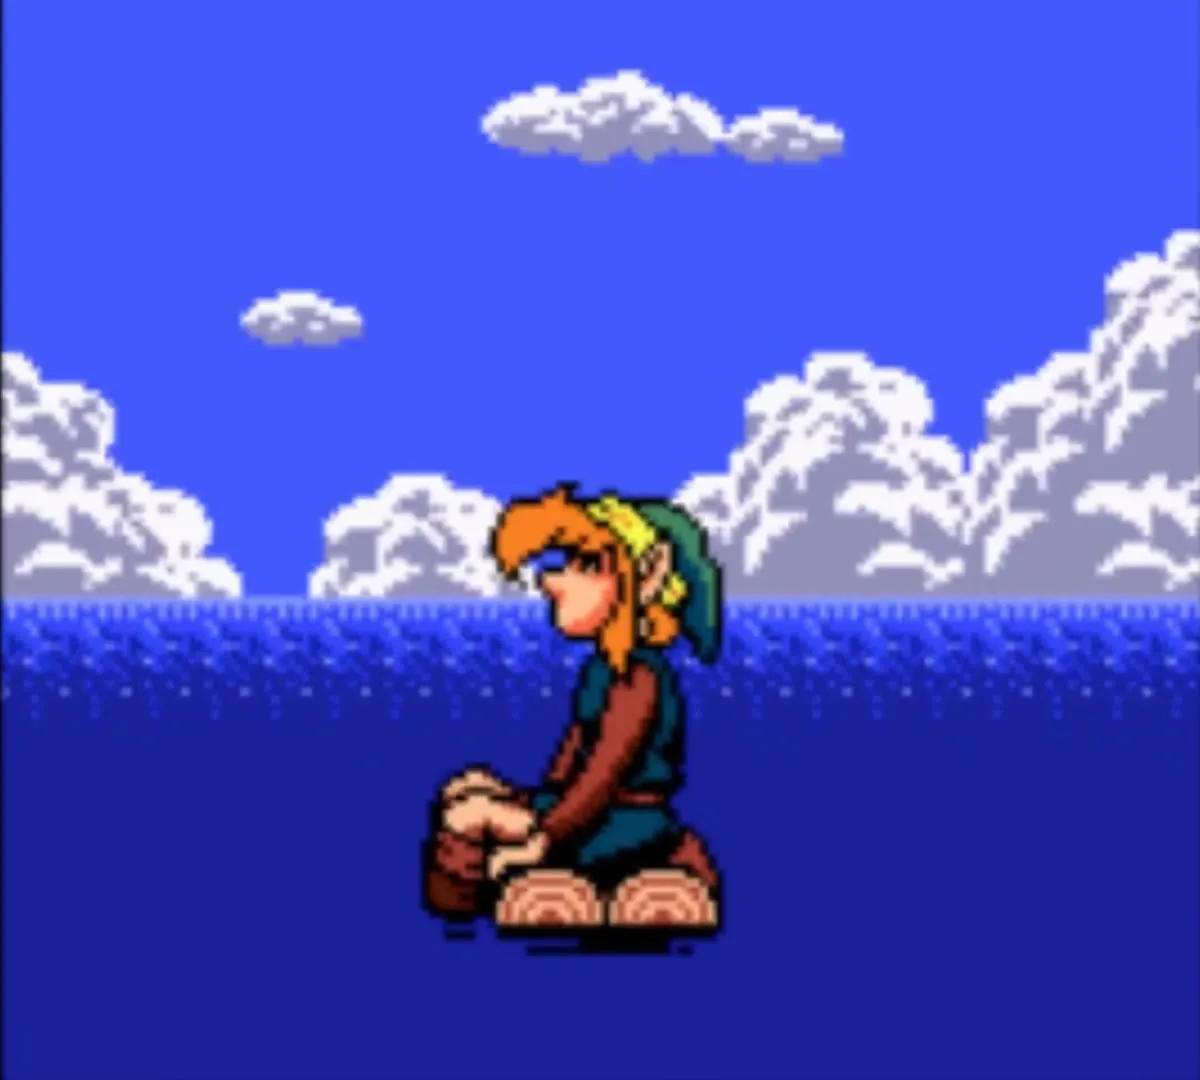
The Wind Fish himself appears and explains that Koholint is a world made in his dream. When he wakes, it will be gone. He asks you to play the Ballad so that you both may wake. Link ends up adrift at sea clinging to a plank, as at the start of the game, while the Wind Fish flies on through the sky, and the credits roll.

Secret ending: how to see Marin
If you finish the whole game without dying, an extra scene with Marin, shown with wings, follows the credits. You have to complete the entire game on one file without a single death, so this is the reason to carry a Secret Medicine into the Egg and to play carefully through the Nightmare fight.


Chapter checklist
| Collectible | Type | Where |
|---|---|---|
| Eight Instruments | Required item | One from each dungeon; the Thunder Drum from Turtle Rock is the last |
| Dark Secrets and Mysteries of Koholint | Maze directions | Bottom-right bookshelf of the Mabe Village library, readable with the Magnifying Lens |
 Ballad of the Wind Fish | Song | Learned from Marin; played in front of the Egg on Mt. Tamaranch |
| Photographs 1 to 12 | Side quest | Album at the Camera Shop |
 Magnifying Lens | Trade item | End of the trading sequence; needed for the library book |
| Boomerang | Item | Optional swap with the Goriya on Toronbo Shores; the quickest way to beat DethI |
| Shadow Nightmares (6 forms) | Final boss | Wind Fish’s Egg: Giant Zol, Agahnim, Moldorm, Ganon, Lanmola, DethI |
| Marin with wings | Secret ending | After the credits, if you never died |
That is the end of the walkthrough. Return to Turtle Rock to check any detail, or use the 100% completion checklist to see what is left.
