





















| Version | Link’s Awakening DX only (Game Boy Color). The original black-and-white cartridge has no Color Dungeon |
|---|---|
| Entrance | Hidden staircase in the southeast corner of the graveyard east of the Witch’s Hut, revealed by pushing five gravestones |
| You need | Bottle Grotto finished and BowWow returned to Madam MeowMeow, then Power Bracelet, Sword, Magic Powder and bombs, plus Roc’s Feather. Pegasus Boots only if you want the library hint |
| Dungeon items | Stone Beak, Compass, Dungeon Map, 3 Small Keys, Nightmare’s Key |
| Fights | Giant Buzz Blob and Stone Hinox (mini-bosses), Hardhit Beetle (boss) |
| Reward | Red Clothes or Blue Clothes from the Great Fairy. No Heart Container and no instrument |
The Color Dungeon is a short bonus dungeon that Link’s Awakening DX hides under the graveyard east of the Witch’s Hut. You open it by pushing five gravestones in the right order, answer two ghosts at the bottom of the stairs, clear a run of colored-tile rooms, defeat the Hardhit Beetle and let the Great Fairy change your tunic. The Red Clothes double your sword damage, the Blue Clothes halve the damage you take, and you can come back later to swap one for the other. You can never return to the green tunic once you have picked a color.
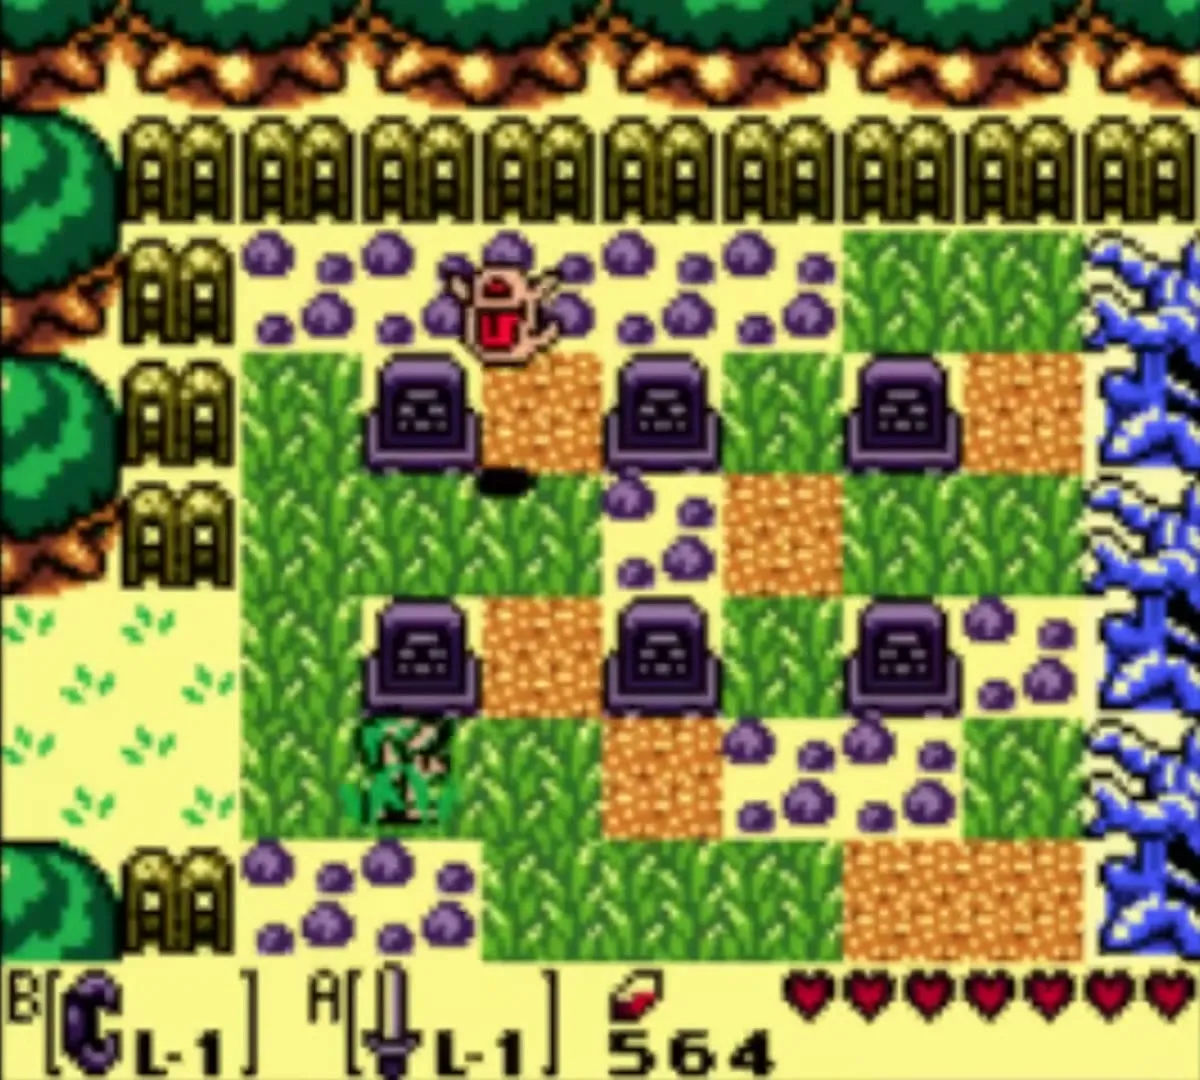

Table of Contents
How to open the Color Dungeon
The library book (optional hint)
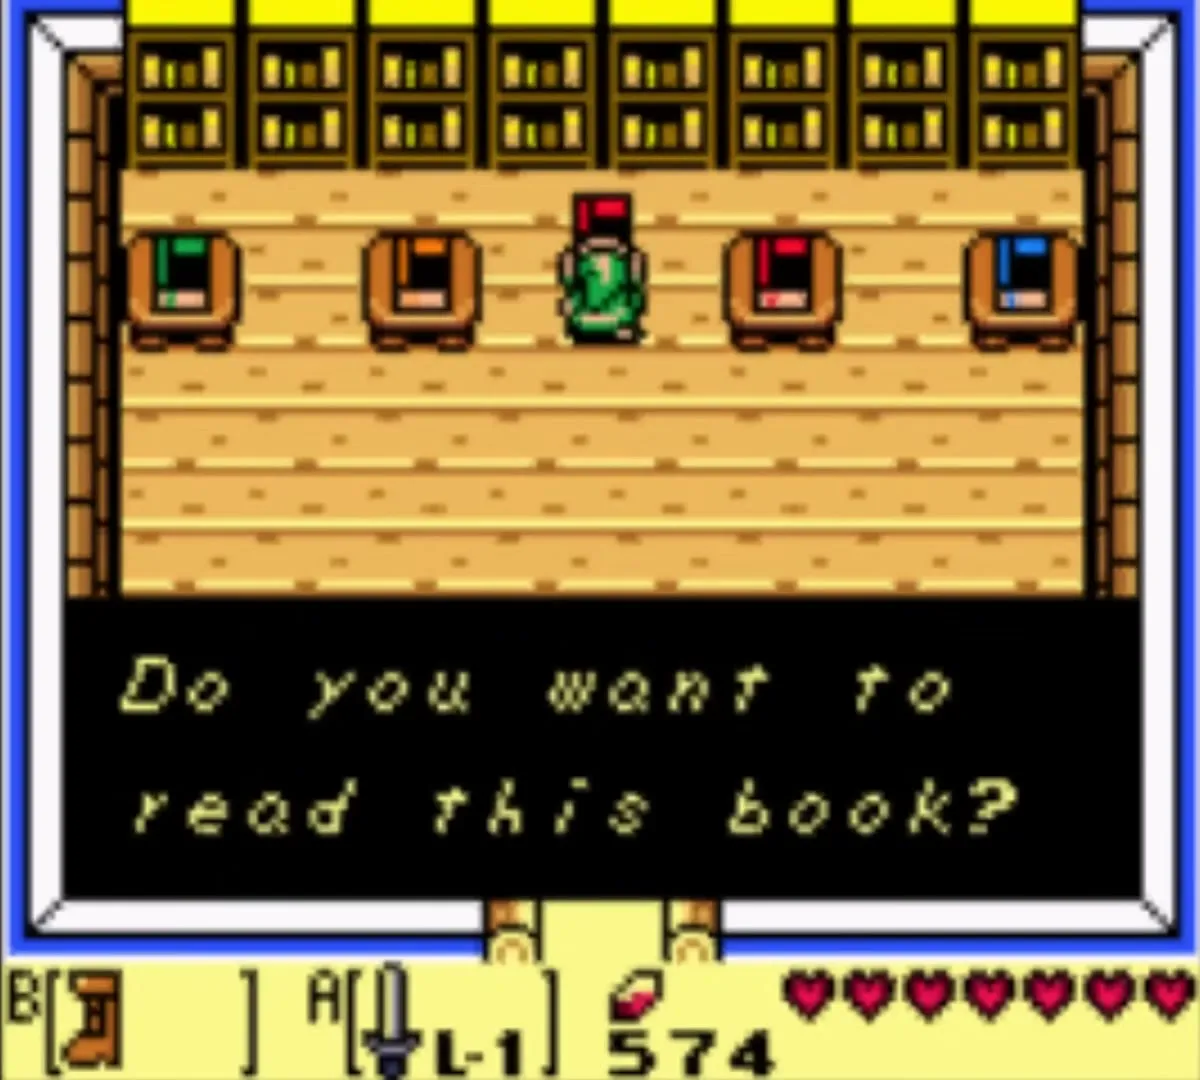
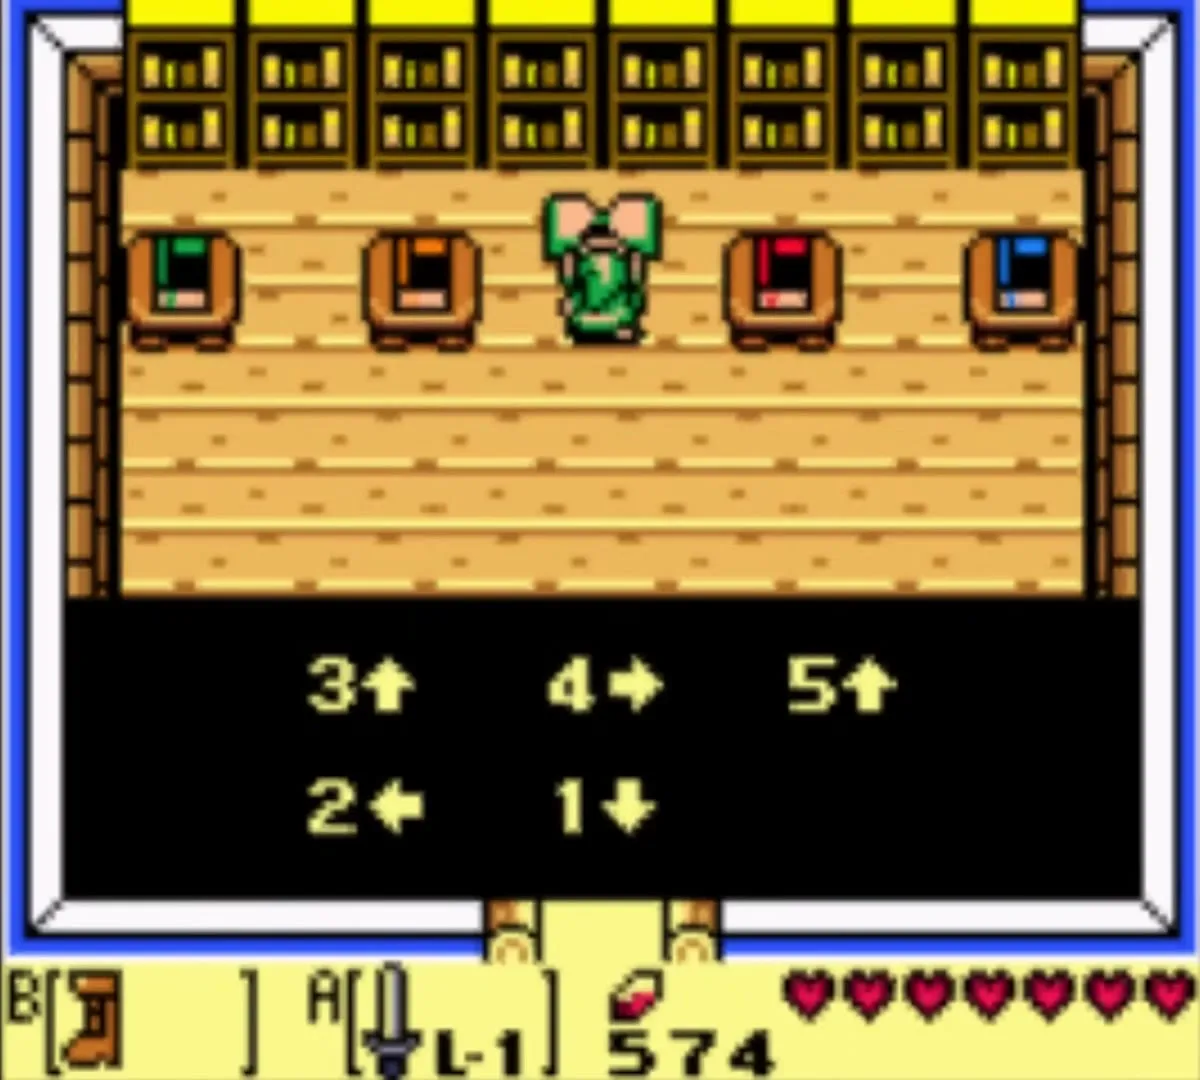
In the library of Mabe Village, dash into the bookcases along the top wall with the Pegasus Boots until a book falls. Read it and you see five numbered arrows: 1 down, 2 left, 3 up, 4 right, 5 up. This is the order in which you push the gravestones. You can skip the library if you follow the order below.
The five gravestones
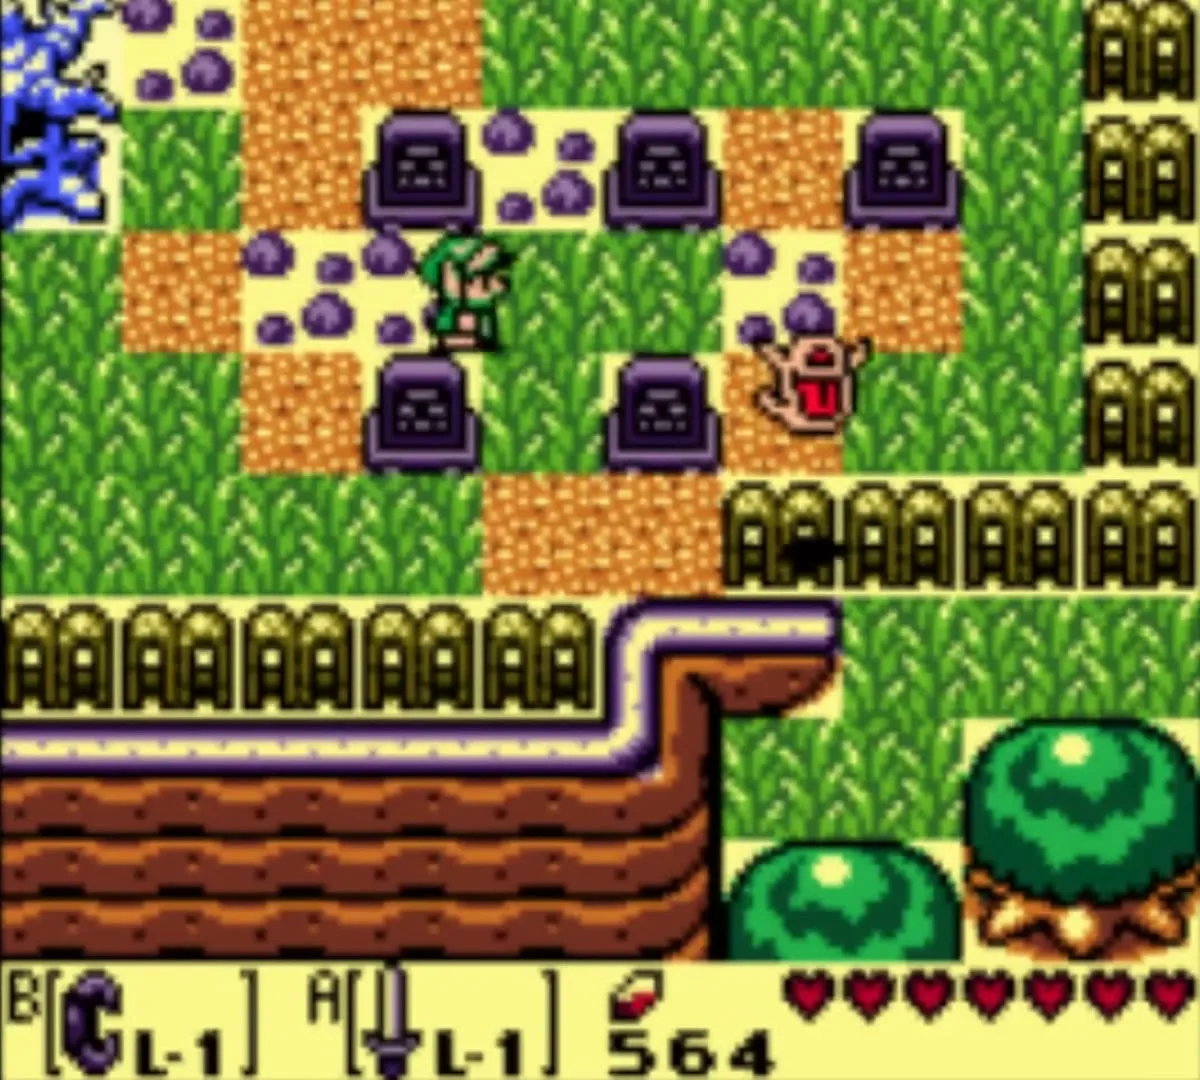
Go to the graveyard east of the Witch’s Hut and walk to its southeast corner, where five gravestones stand close together: three in a row on top and two below them. You need the Power Bracelet to move them. Push them in this order: the lower middle stone down (1), the lower left stone left (2), the upper left stone up (3), the upper middle stone right (4) and the upper right stone up (5). The order runs clockwise around the group. After the fifth push a staircase appears and you can walk down into the dungeon.

The two ghosts
At the bottom of the stairs two ghosts stand in your way: a blue one on the left and a red one on the right. In the Game Boy Color version each poses a riddle about the color of its cloth. Answer Blue to the one on the left and Red to the other, and they let you through. Go in with a good supply of Magic Powder, because the dungeon uses it against a mini-boss, and bring bombs as well. If you need to restock, the stairs lead straight back out.

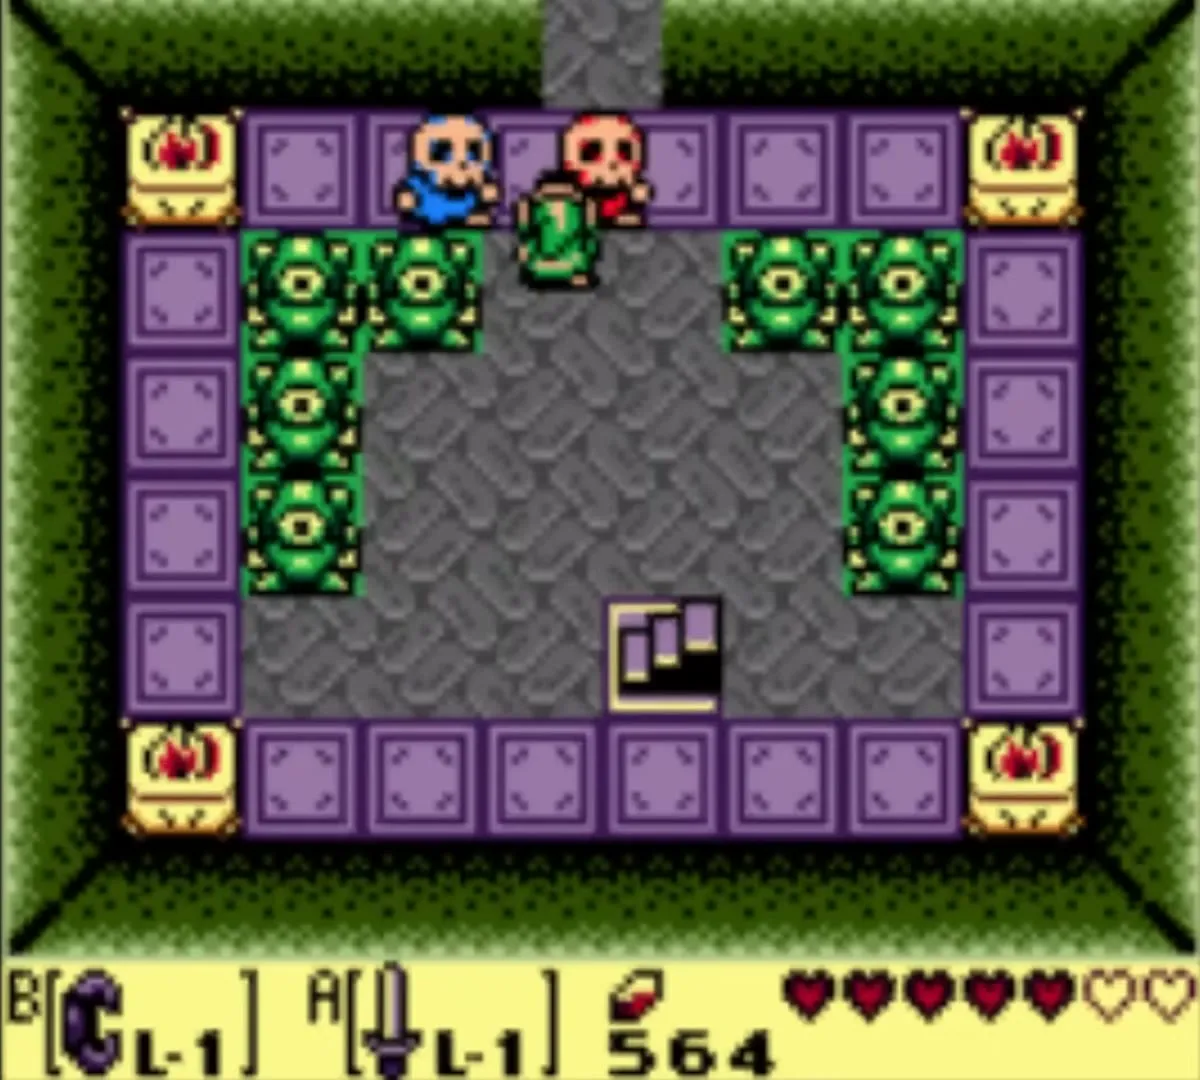
Room by room
The dungeon is one flat level made of rooms with colored floors. Red tiles collapse as soon as you stand on them, and green tiles turn yellow, then red, then vanish, so cross them without stopping. Orbs and statues change color when you hit them. The route below uses all three Small Keys and ends at the Nightmare’s Lair.
Entrance room and the Camo Goblin
Go north from the ghosts and clear the first tiled room. Camo Goblins hide among the tiles; lure one into the open and cut it down to open the door, then go east through the next rooms. The tiles here bounce you around as you land, and any red tile collapses under you, so stay on the safe ones.
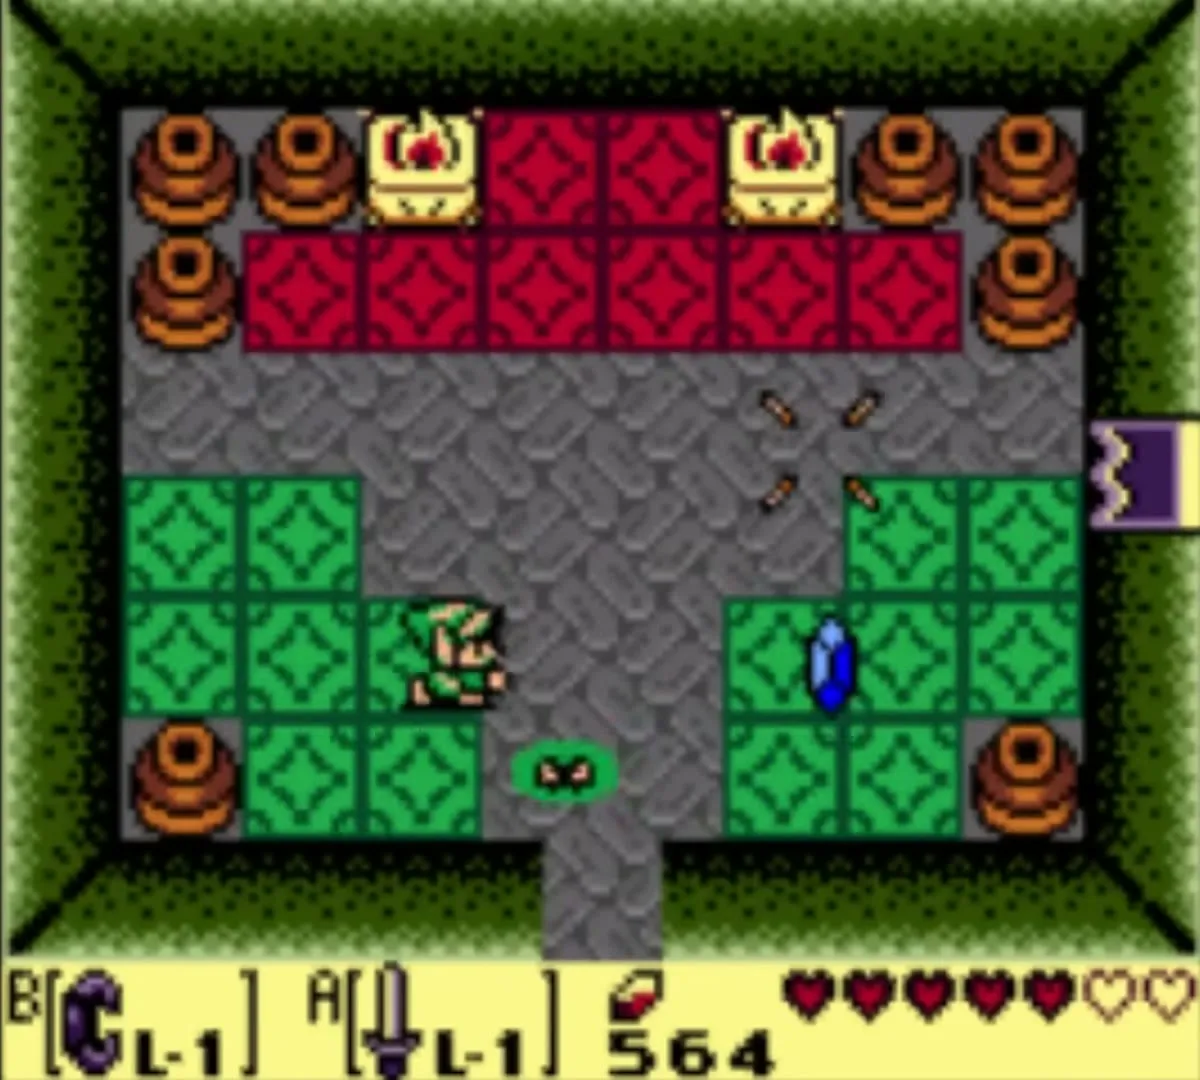
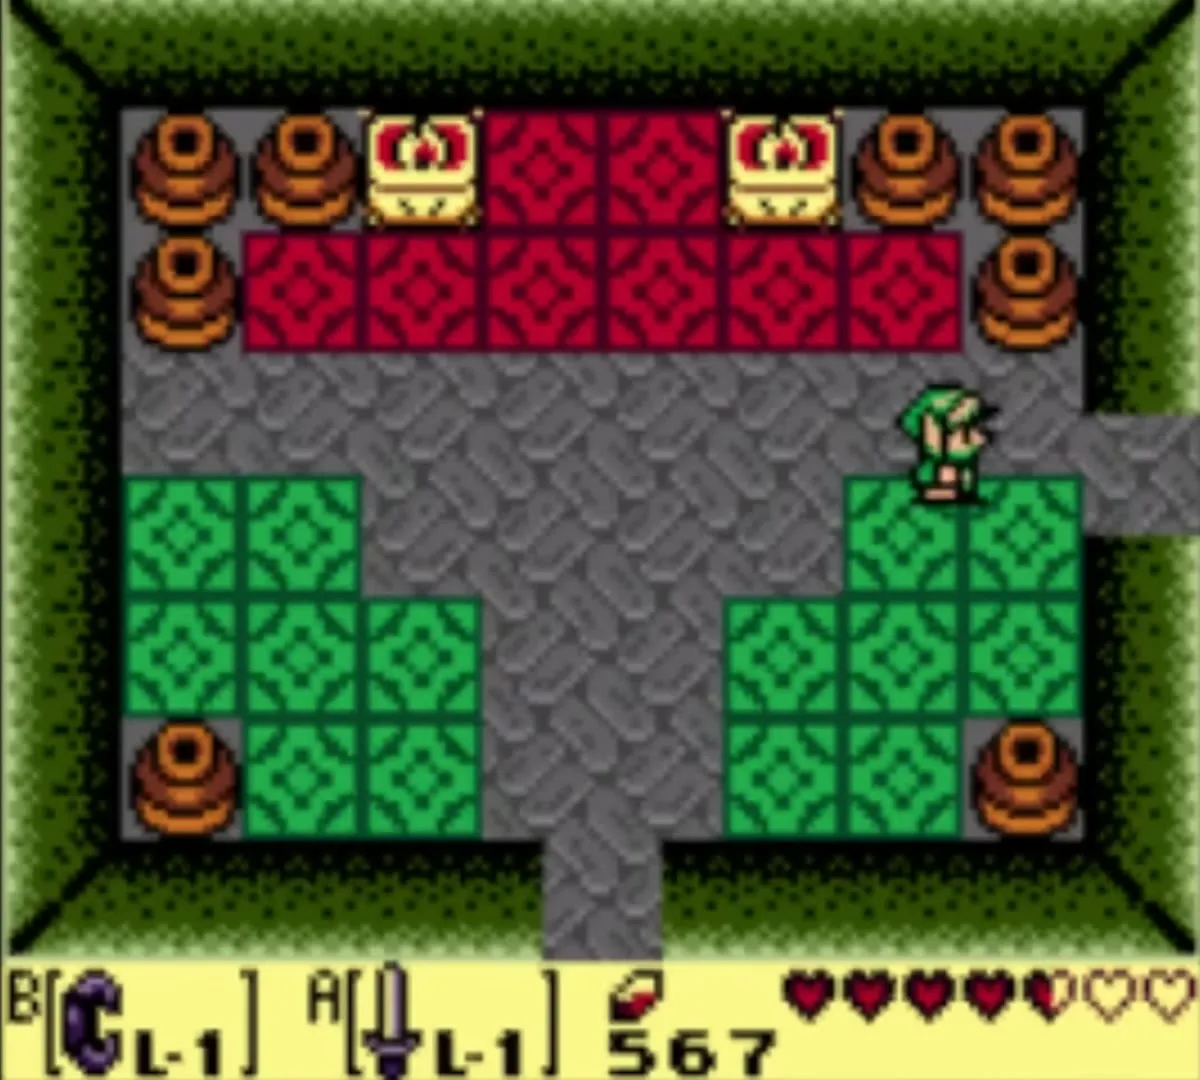

Stone Beak
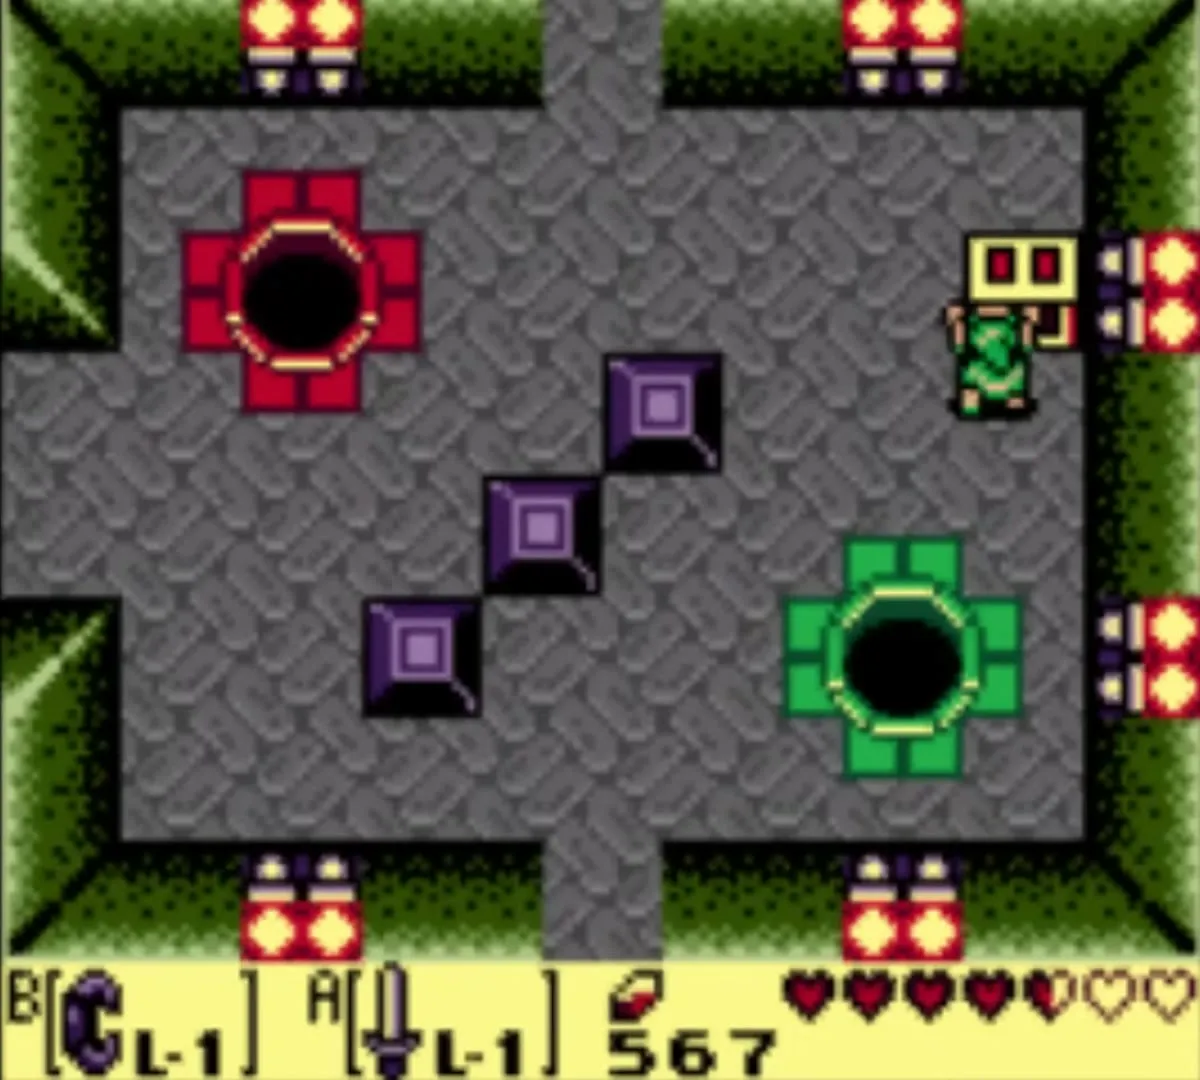
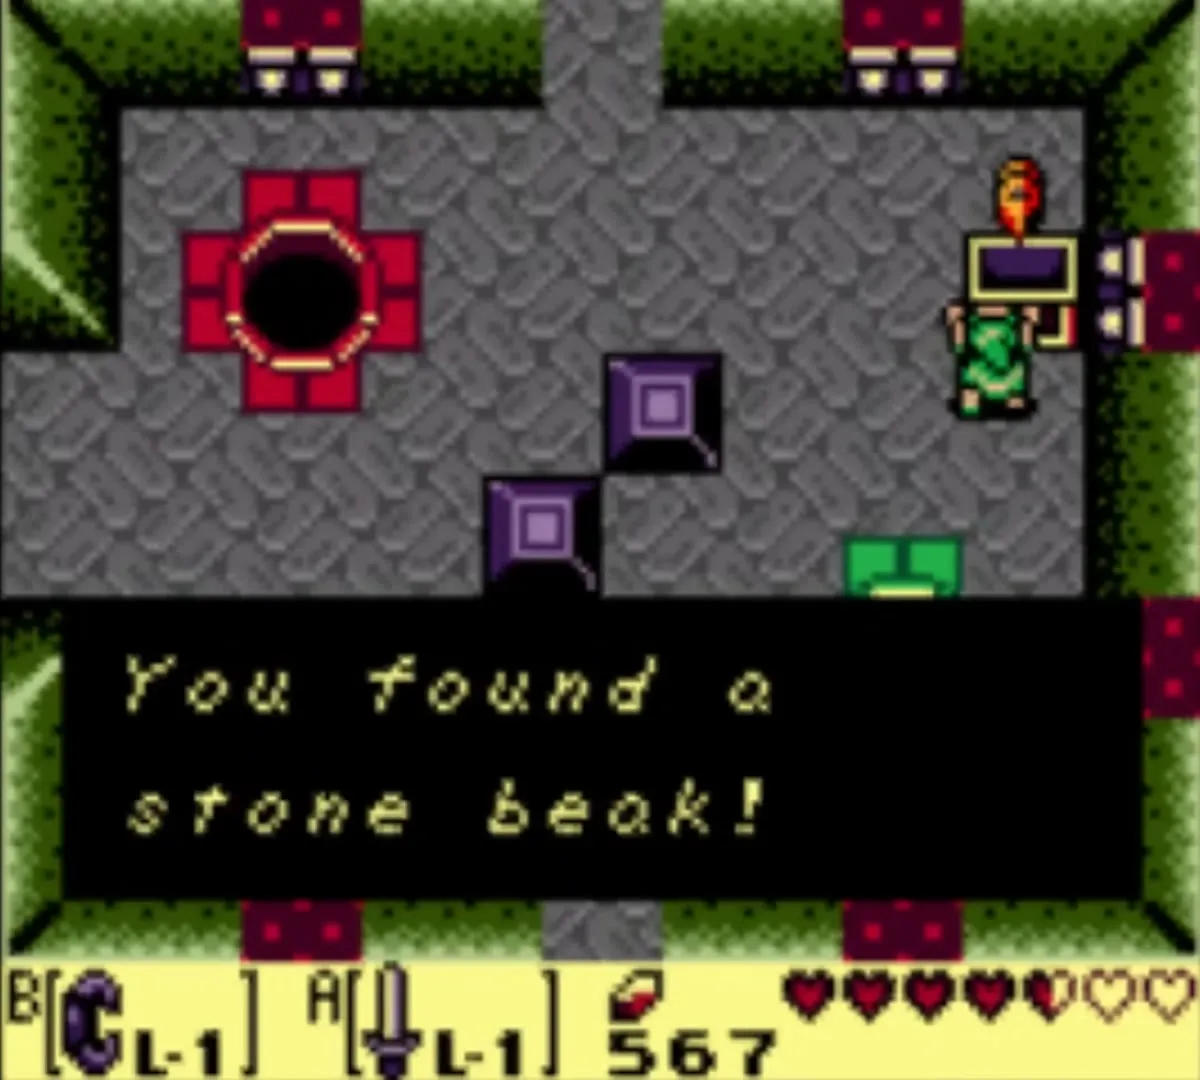
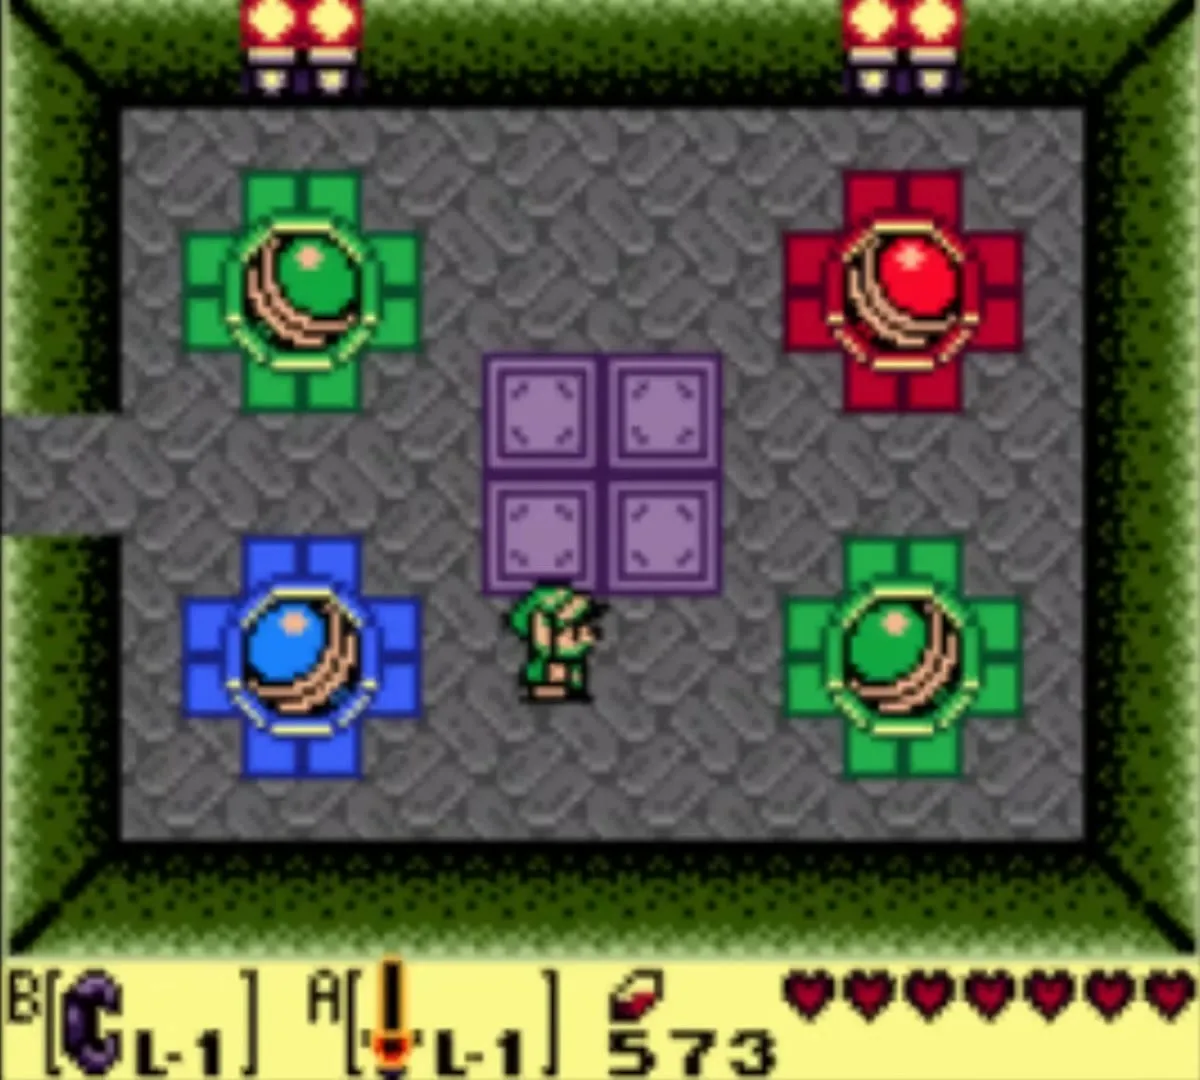
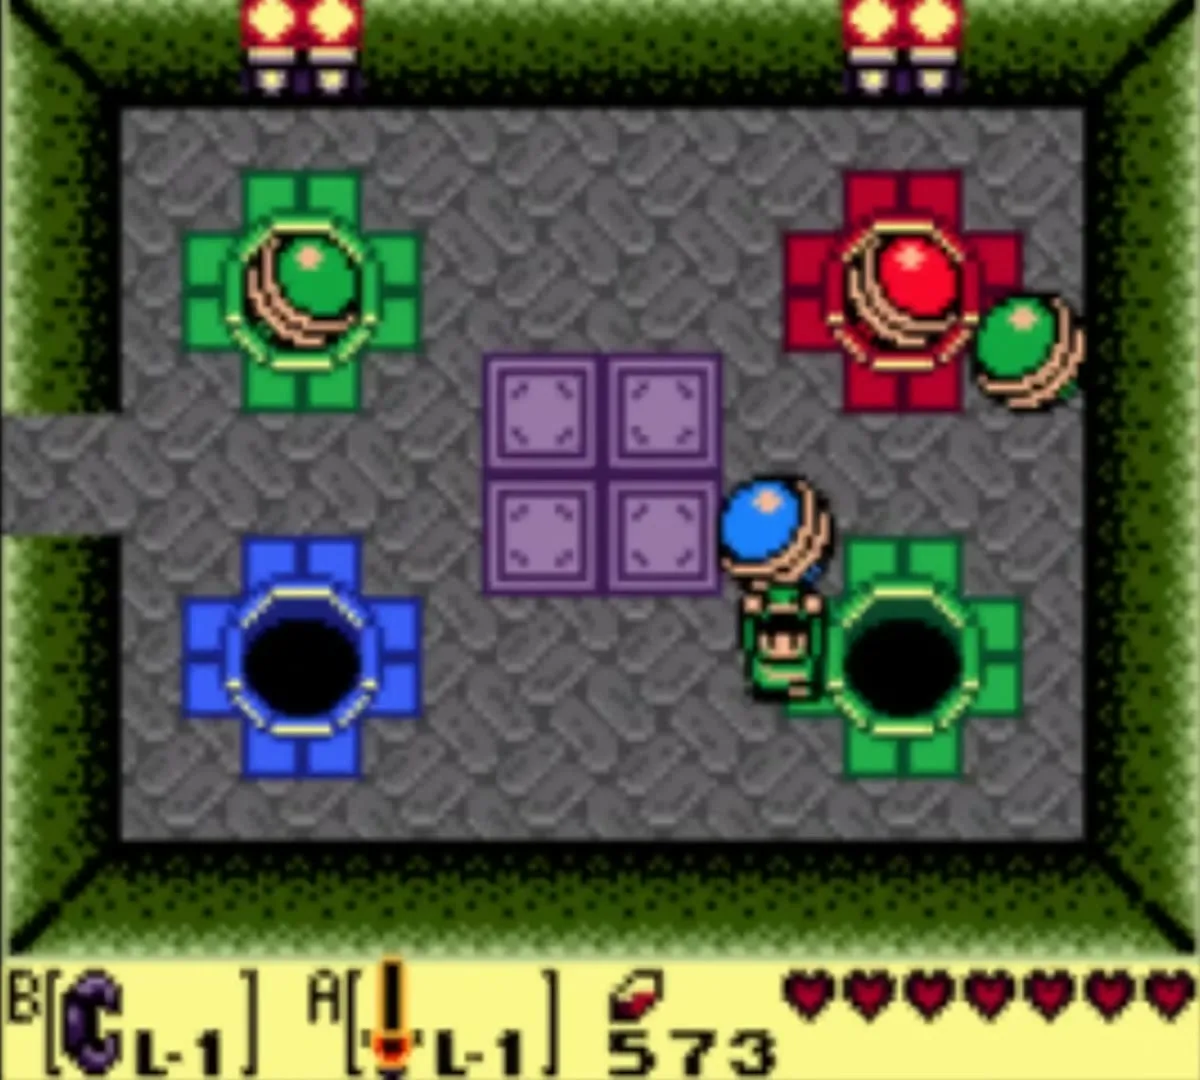
In the room with two colored holes and two orb monsters, hit each orb with the sword to stun it, lift it with the Power Bracelet and throw it into the hole of its own color: the red orb into the red hole, the other into the matching green or blue hole. The chest then opens and gives you the Stone Beak, which lets the owl statues in this dungeon speak to you.
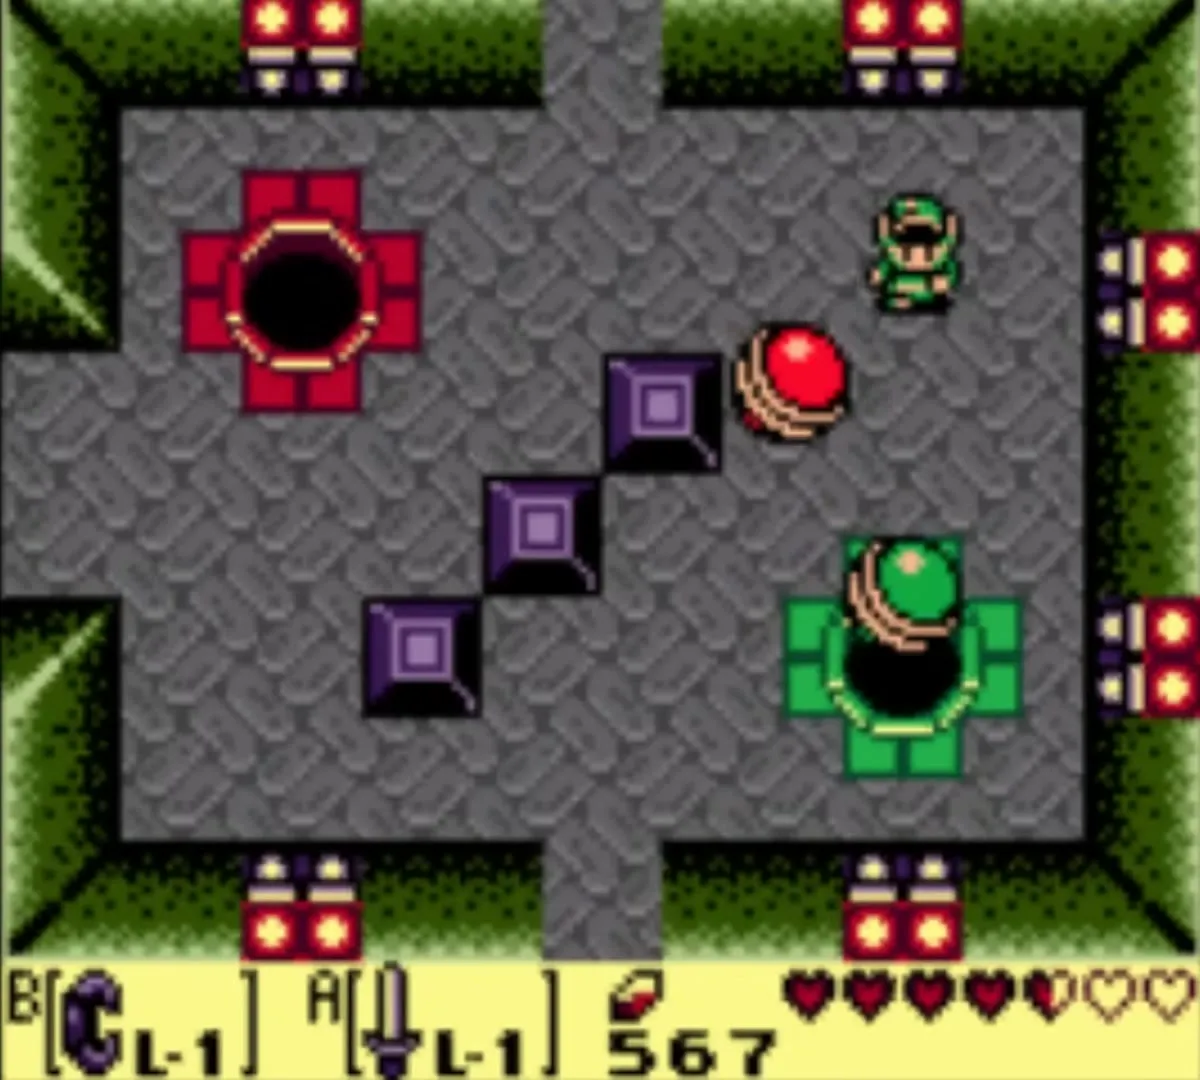

Compass
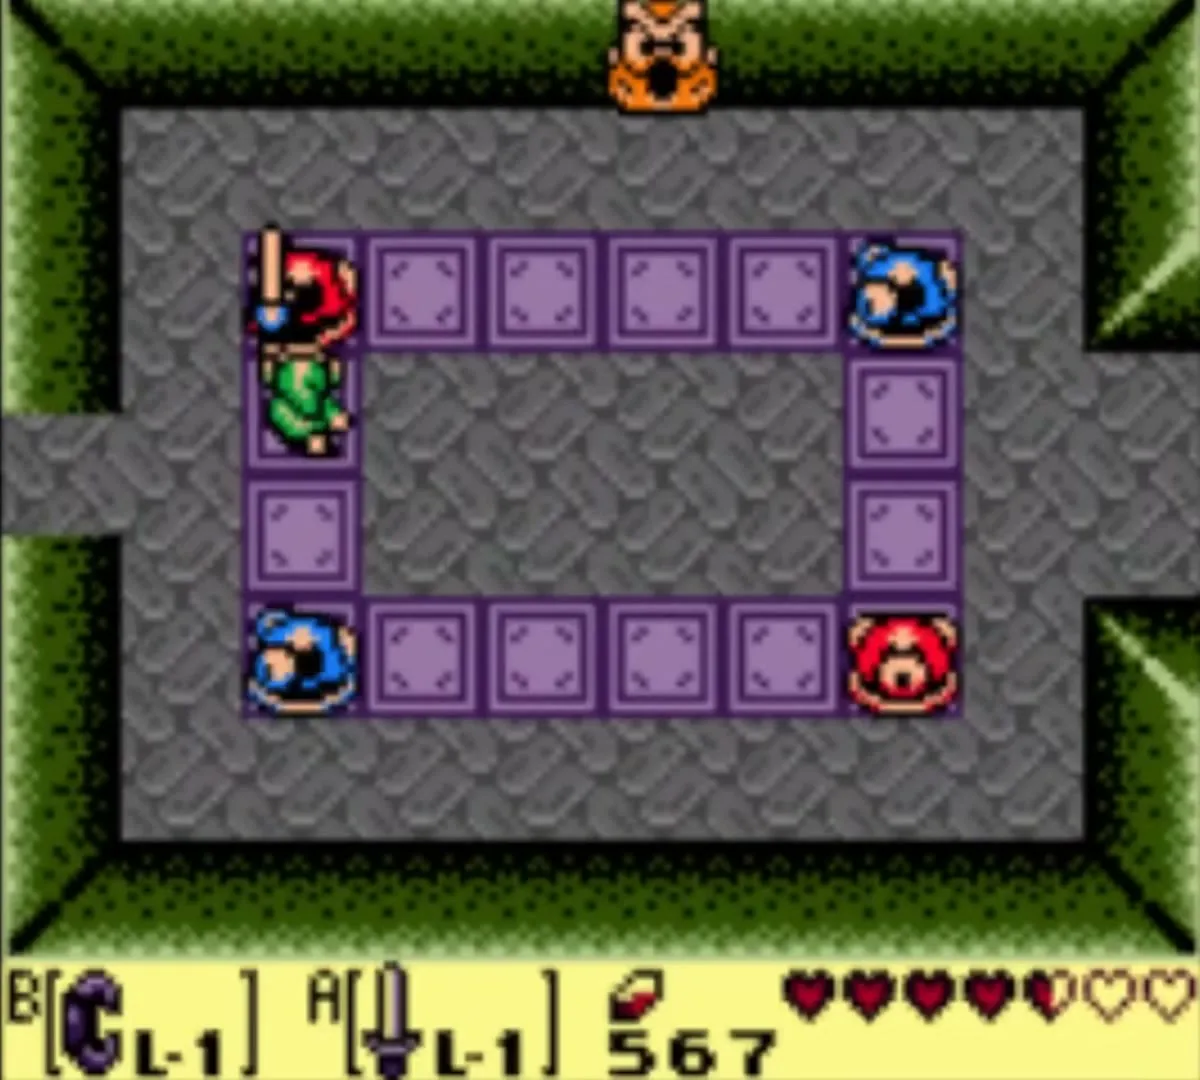
Go west two rooms to the owl statue room, where colored statues sit around a ring of blocks. The owl tells you to make all the statues the same color. Hit a corner statue, then the opposite corner. If the colors do not match, try the other pair of corners. When they all agree, the chest opens and gives you the Compass.


Hidden rupee room (140 rupees)
In the Compass room, put a bomb against the crumbling south wall. A hole opens and leads to a hidden room with 28 green rupees worth 5 each, 140 in all. The room fills up again each time you leave and re-enter, so it is a free source of money whenever you need it.

First Small Key
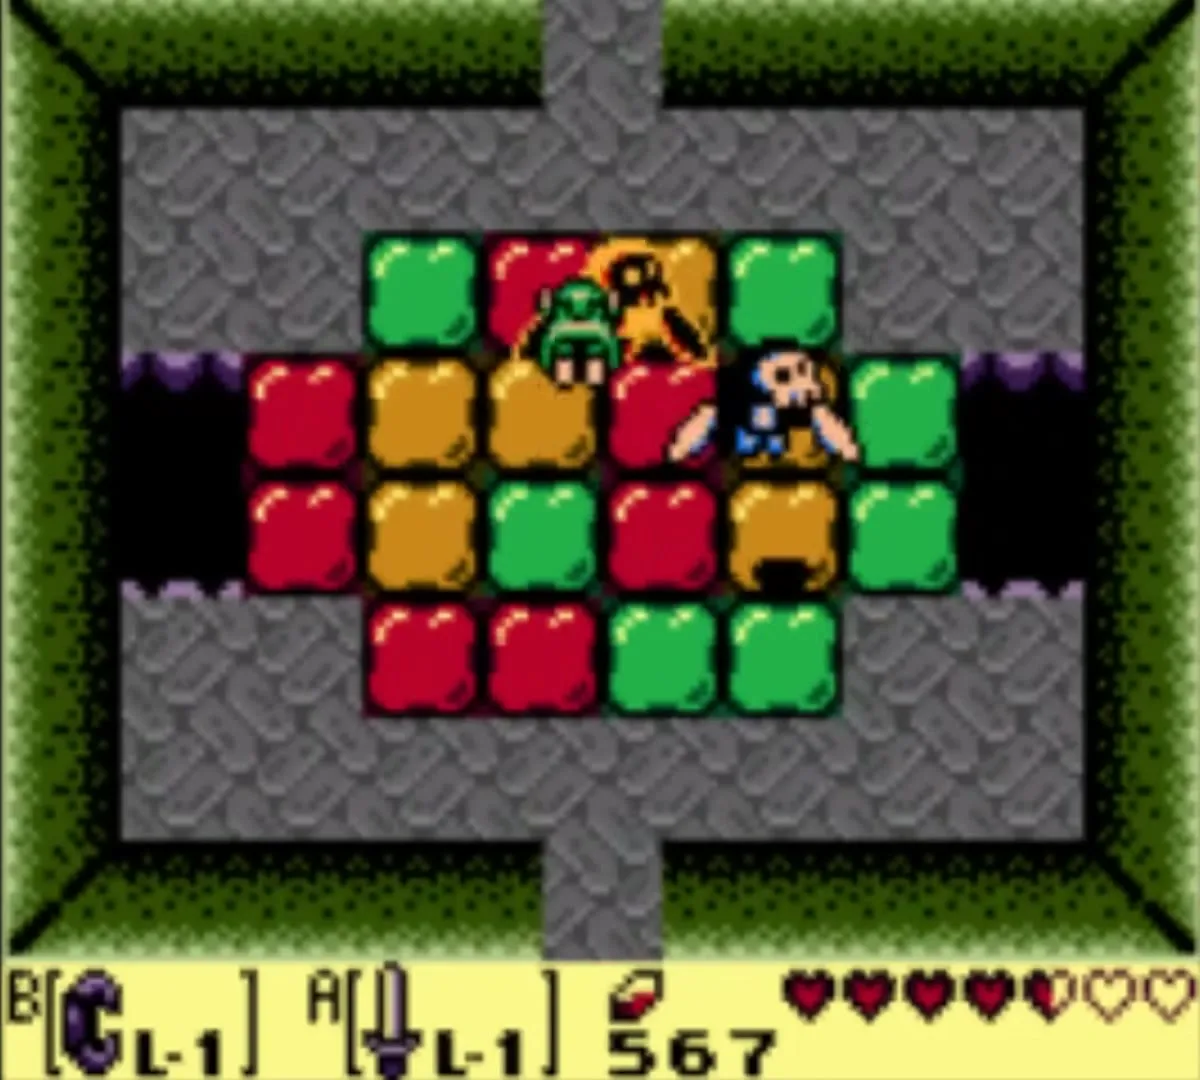
Go back east through the colorful tile room to the round-holes room, then south. Defeat the Camo Goblins hiding in the tiles, cross the tiles to the west without touching the red ones and cut down the Bone Putters. Open the chest for a Small Key.


Second Small Key
Leave through the one-way door in the north wall. Go east to the orb room, then north through the north door, avoiding the red tiles. In the next owl statue room, follow the owl’s clue: hit the bottom right statue once and the upper left statue twice. A Small Key falls from the ceiling.

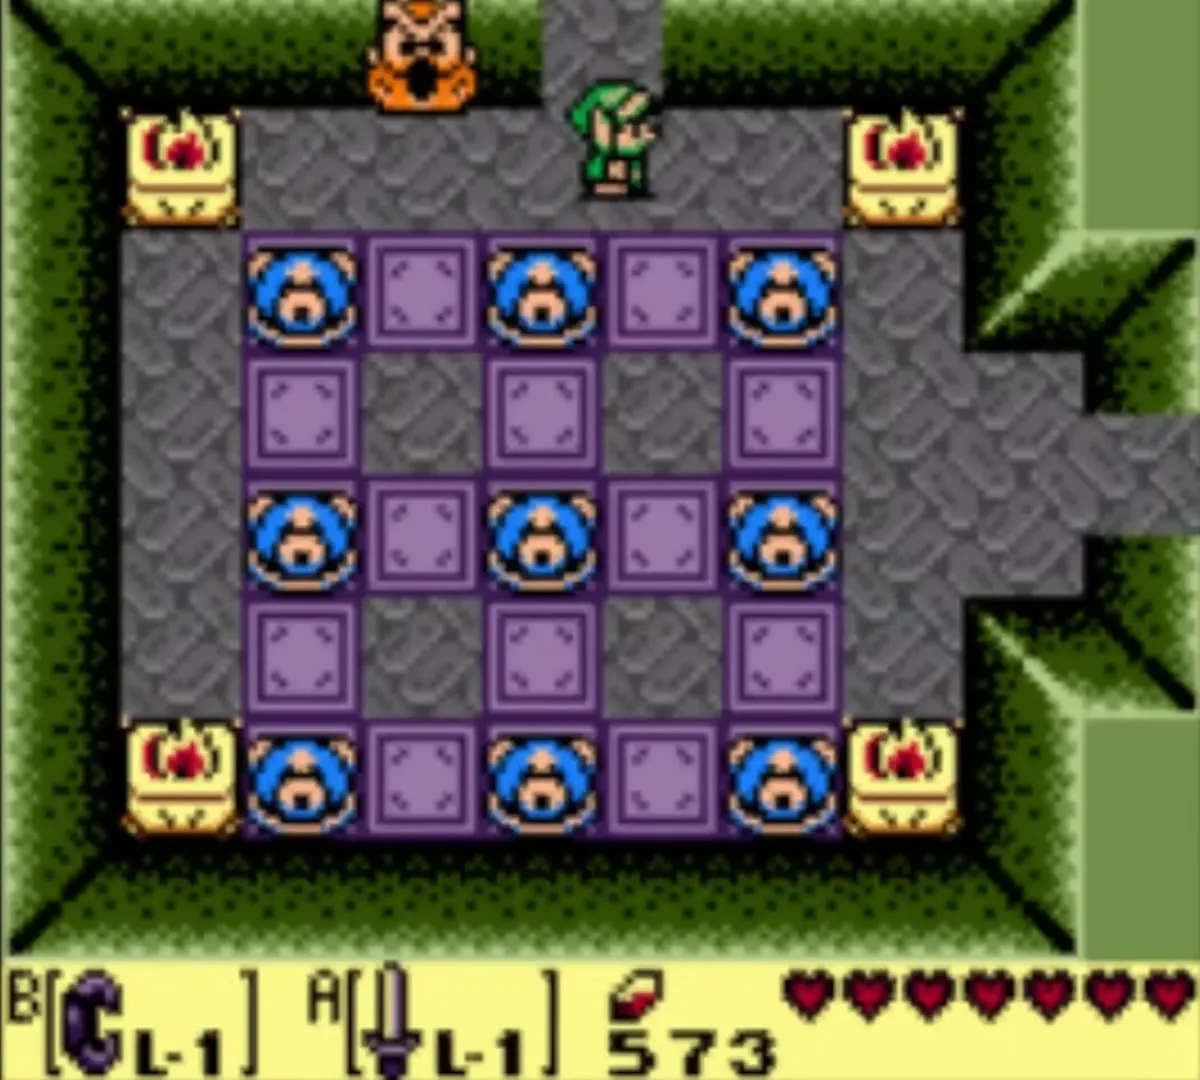

Mini-boss: Giant Buzz Blob
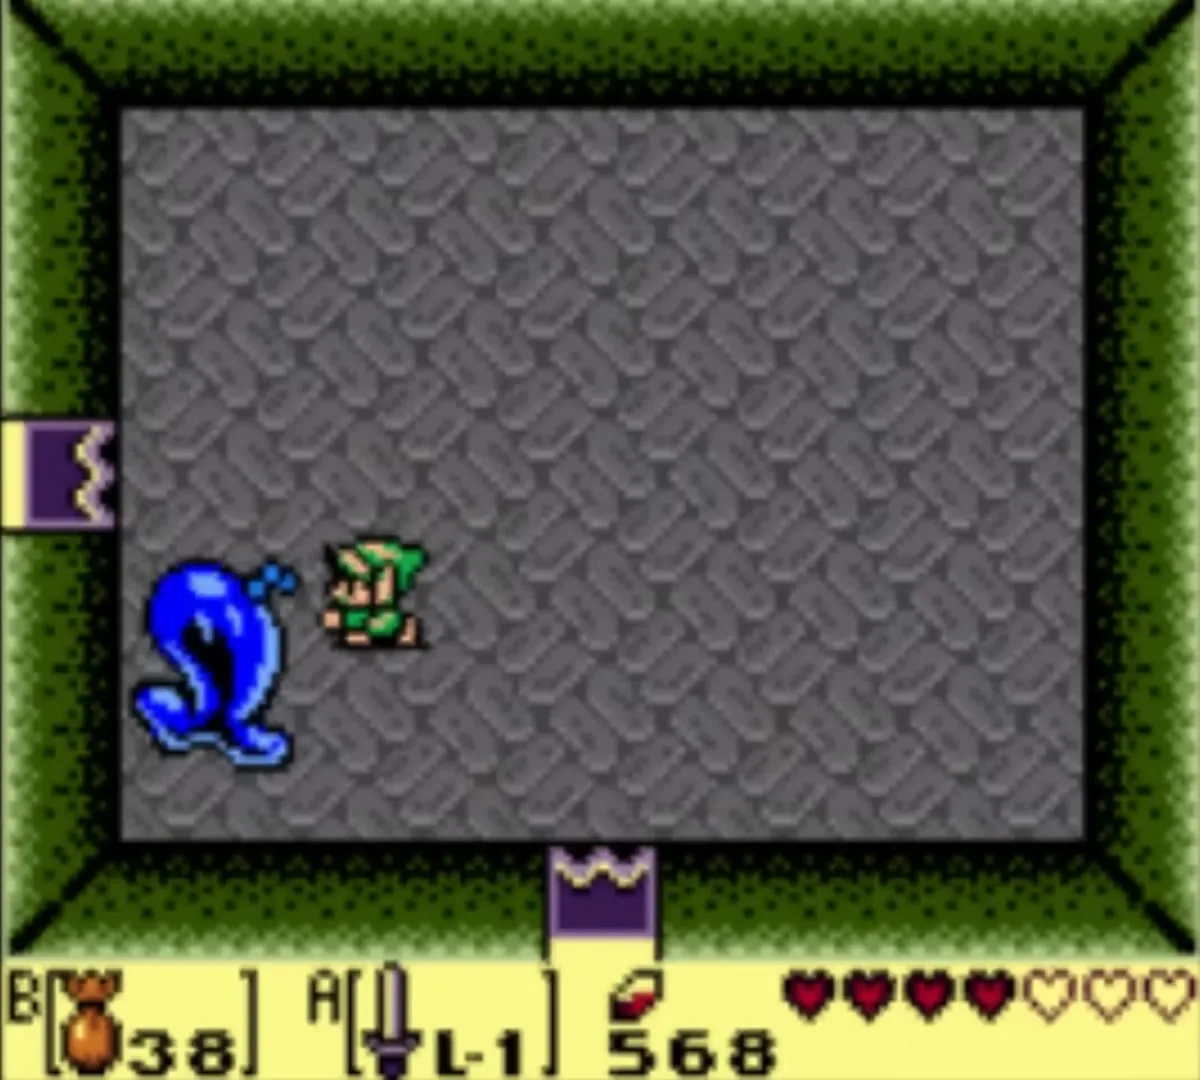
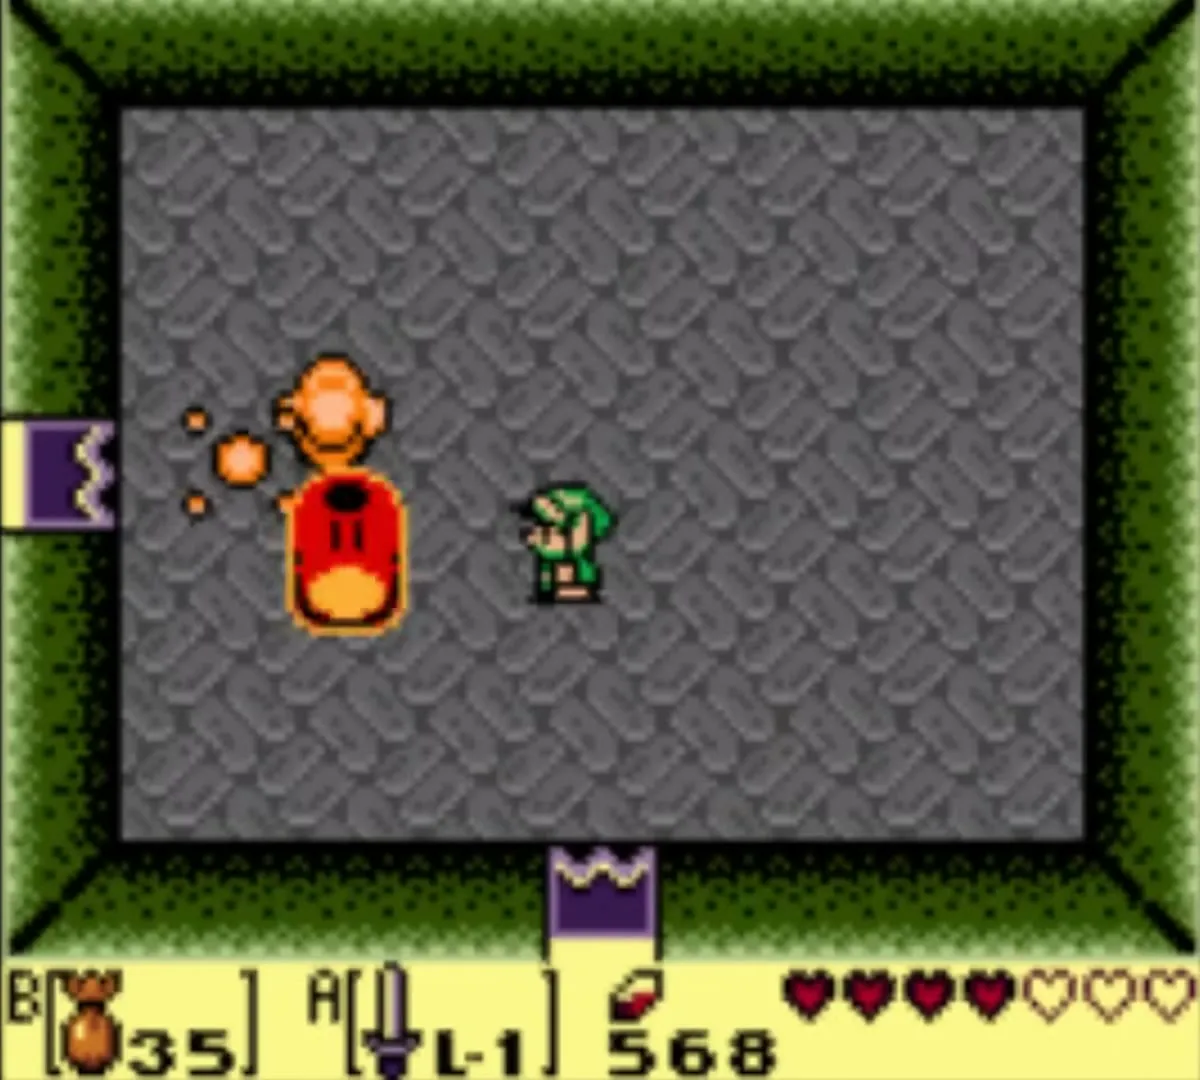
Go east, deal with the Camo Goblins and unlock the north door with a Small Key. The Giant Buzz Blob is in the next room. Throw Magic Powder at it to turn it into a round blob, then slash it while it is down and run when it hops. When it recharges and starts to spark, use powder again. Its lightning flies diagonally, sideways and straight up and down, so keep out of those lines.

Nightmare’s Key
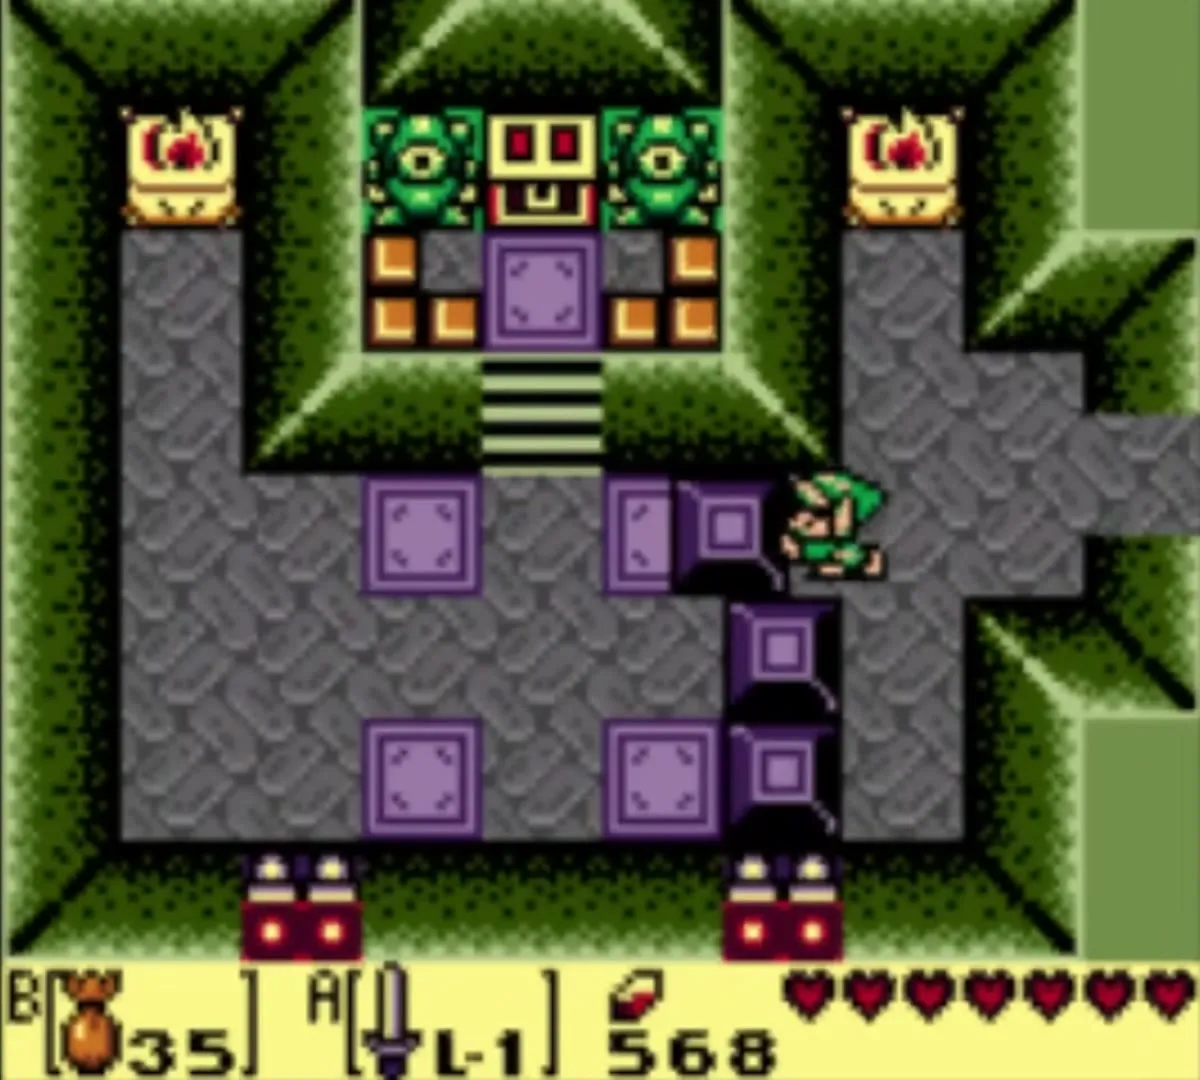
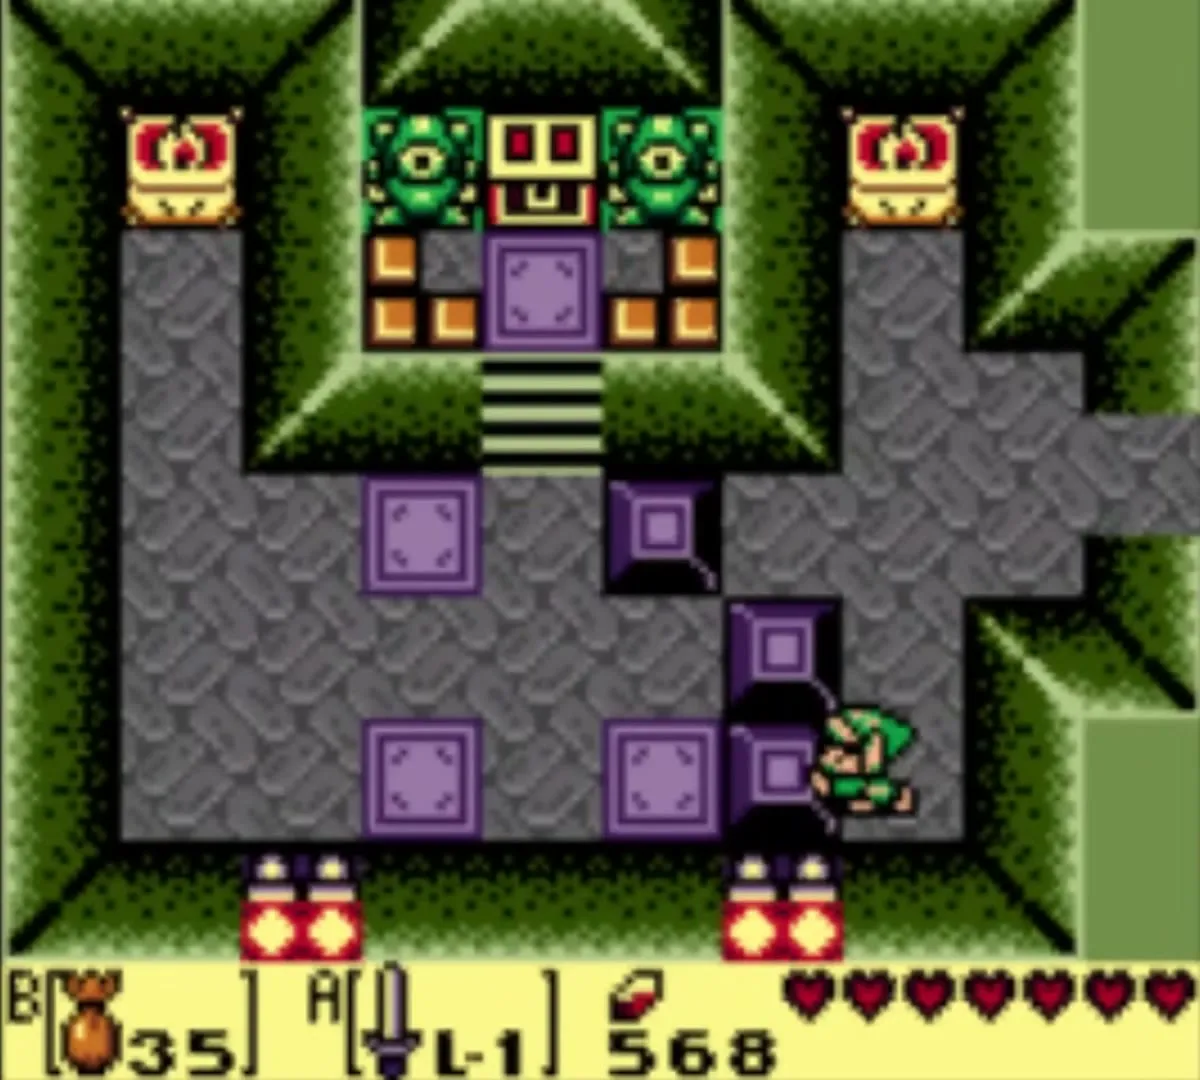
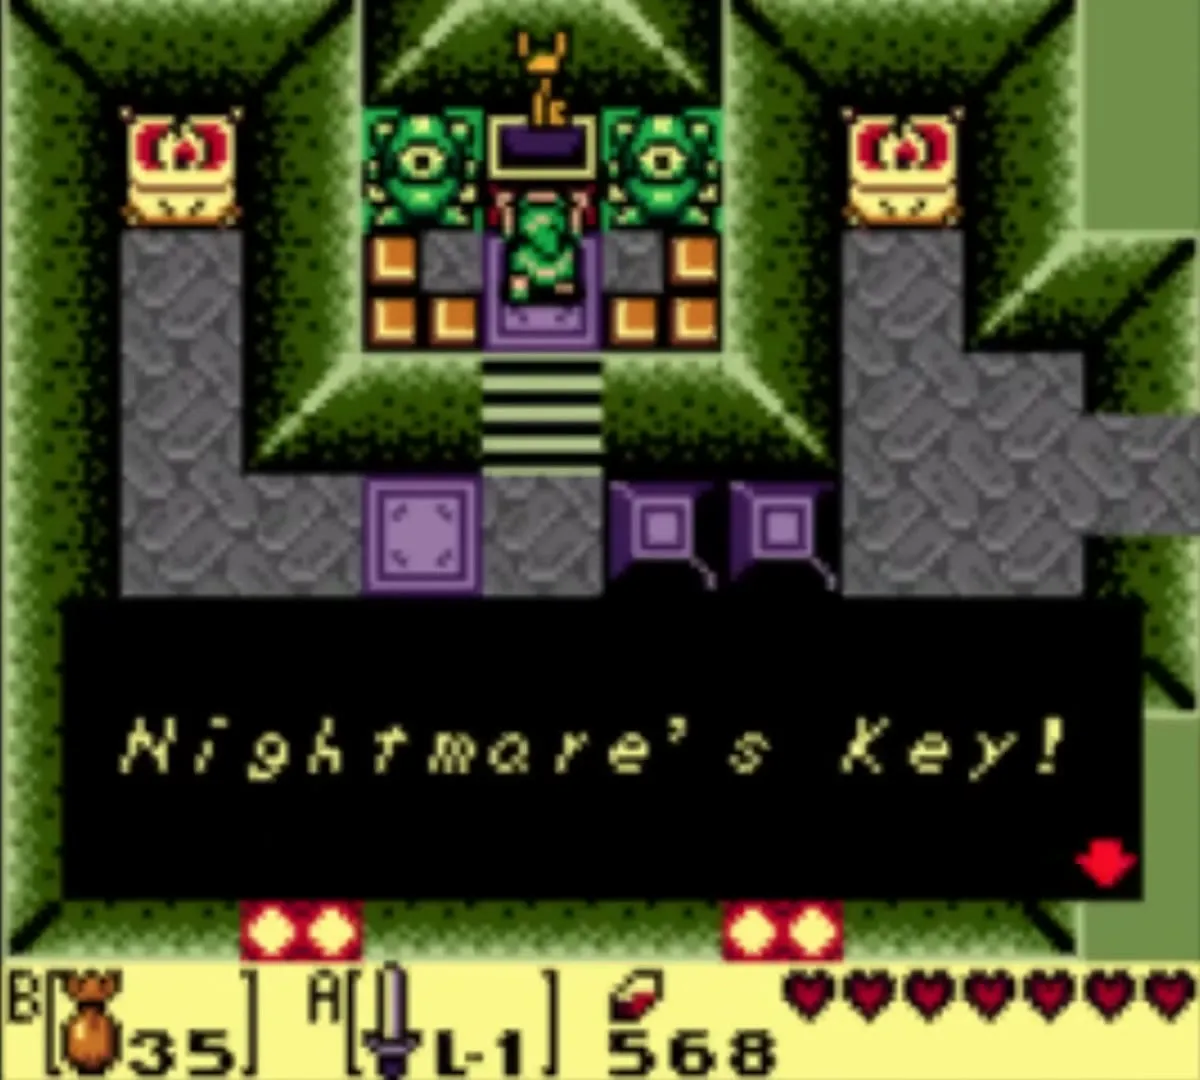
Go west of the Blob’s room, where blocks hide a chest. Push the top block left, the bottom block left, then the middle block up or down to clear a path, and open the chest to take the Nightmare’s Key.

Mini-boss: Stone Hinox
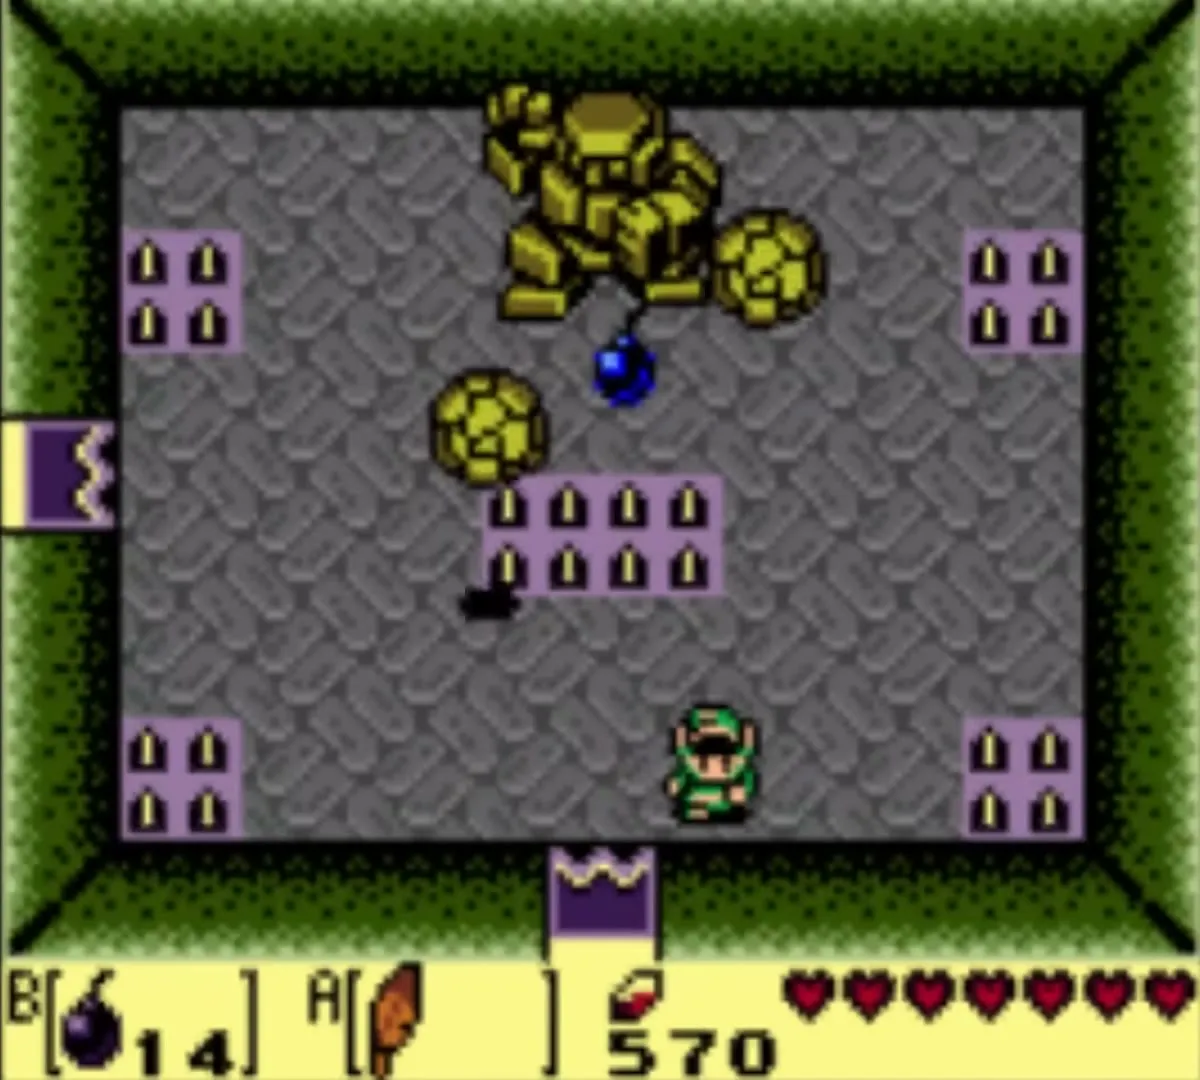
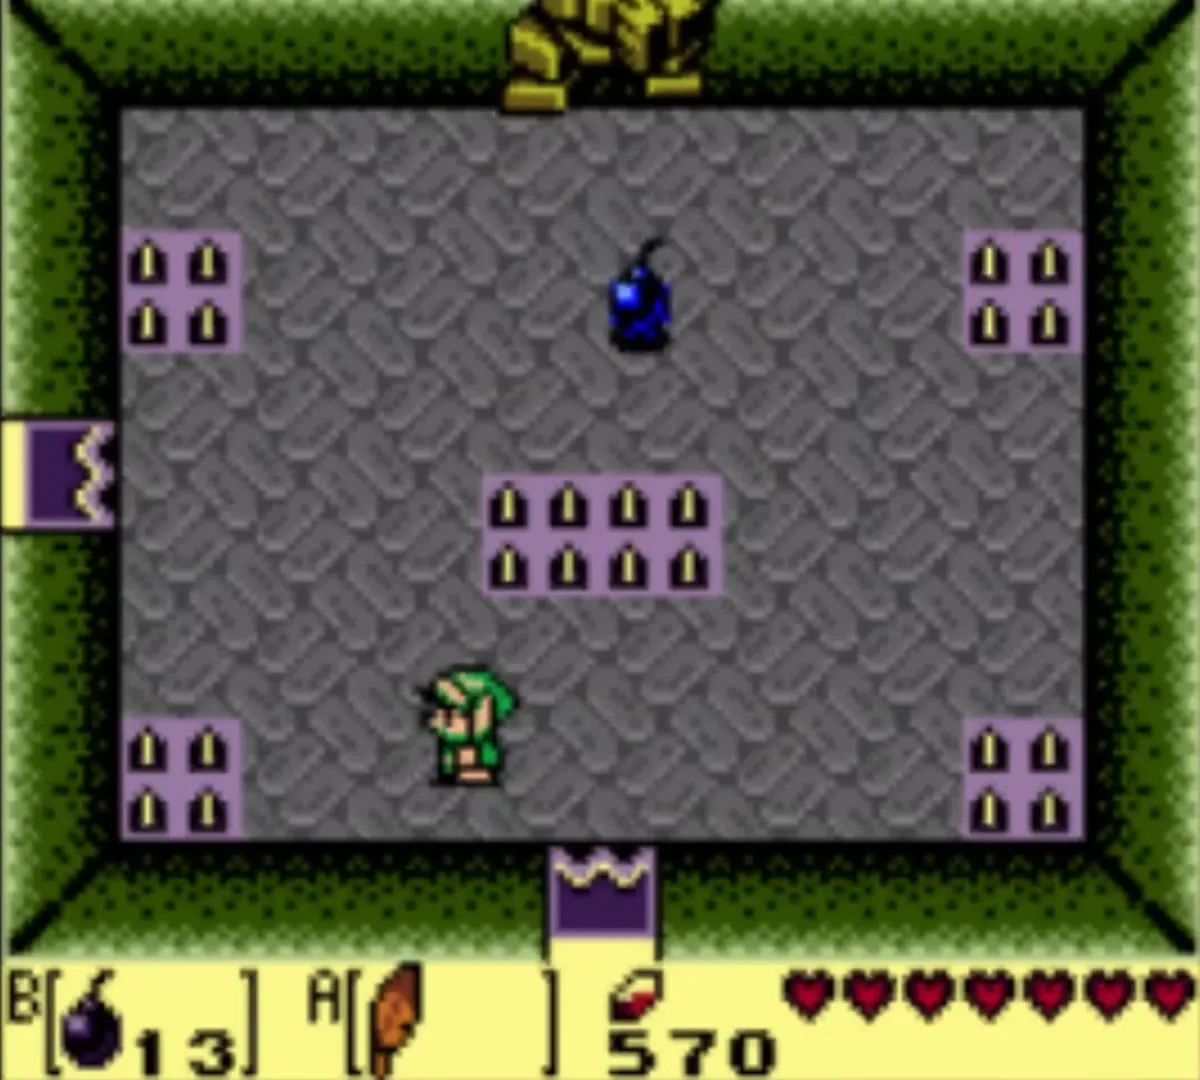
Return to the bouncy-tile room and unlock its north door. The Stone Hinox stomps the floor and shakes boulders loose from the ceiling. Bombs work well. If you use the sword instead, watch out for the spikes, because you can be knocked back onto them.

Dungeon Map
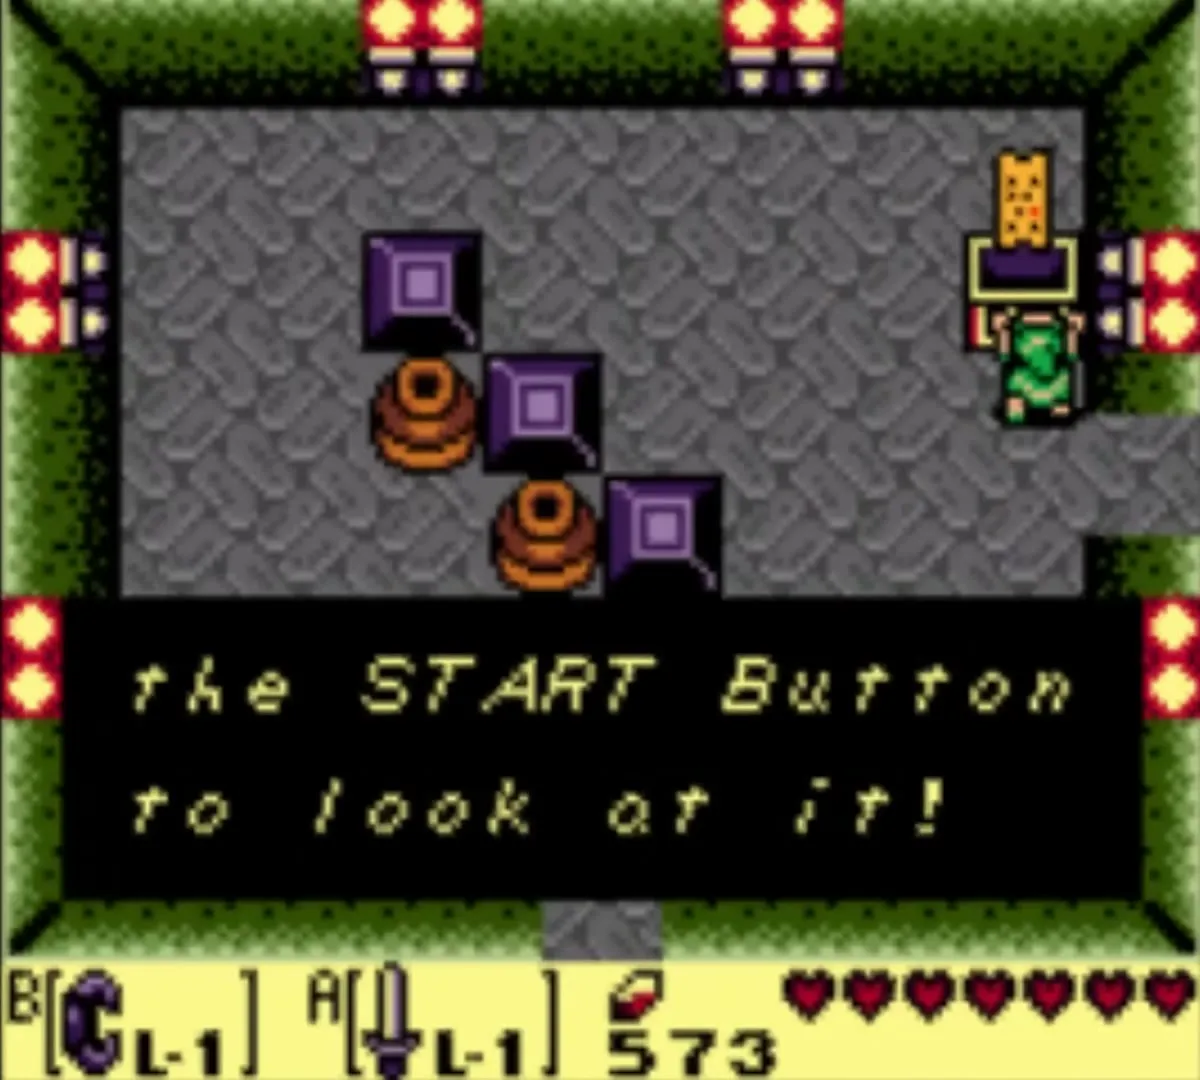
Go through the west door. Lift the pot in the upper left corner to uncover a switch and step on it, or throw the pot onto the switch, then leave by the north door. Defeat every hidden Zol and red Zol and a chest appears with the Dungeon Map.

Third Small Key
Walk east from the Map room. This room has several colored holes and orb monsters. Stun each orb, carry it with the Power Bracelet and drop it into the hole of the same color. When all are placed, a Small Key appears.

The Nightmare’s Lair door
Return to the bouncy-tile room and go west. The statue puzzle here asks you to make every statue blue. Hit the middle-left, upper-middle, middle-right and lower-middle statues in turn, going around in one direction. Take the north door, ignore or kill the hidden green Zols and unlock the next door. Stand on the colored blocks, strike the crystal switch to change them, and go right, then up, to the door of the Nightmare’s Lair. Open it with the Nightmare’s Key.



Boss: Hardhit Beetle
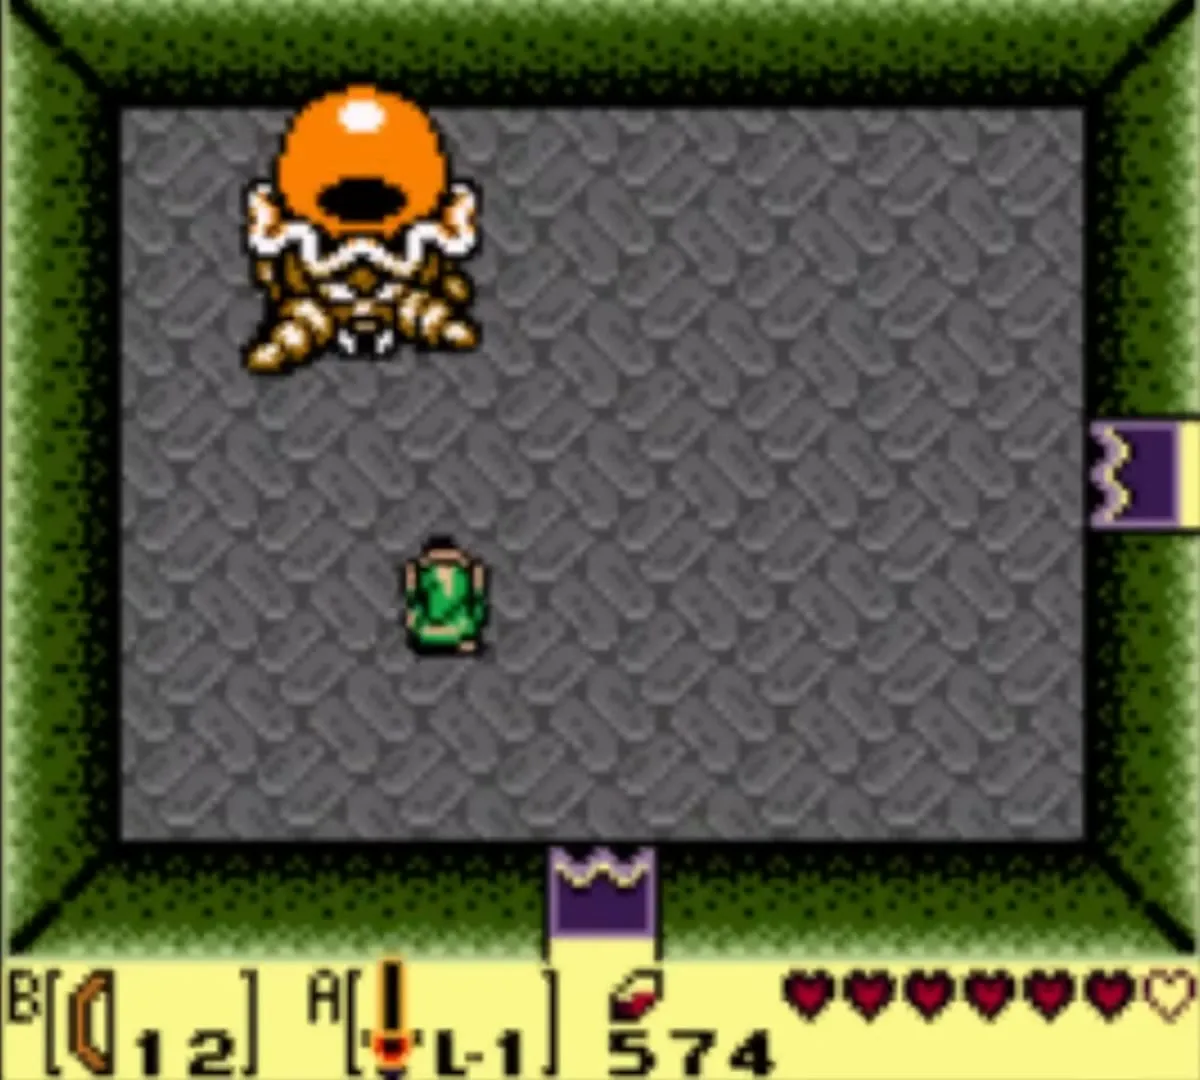
The Hardhit Beetle starts out blue, turns orange as you hit it and finally red. Its message tells you to take your time, but that is a trap: it slowly recovers, so keep up the pressure instead of waiting. It calls up Stalfos and throws spinning blades. Jump the blades with Roc’s Feather and strike between throws, or use the Bow or the Magic Rod from a distance. When it falls, a warp whirlpool appears and the way east leads to the Great Fairy.


The Great Fairy and the red or blue tunic
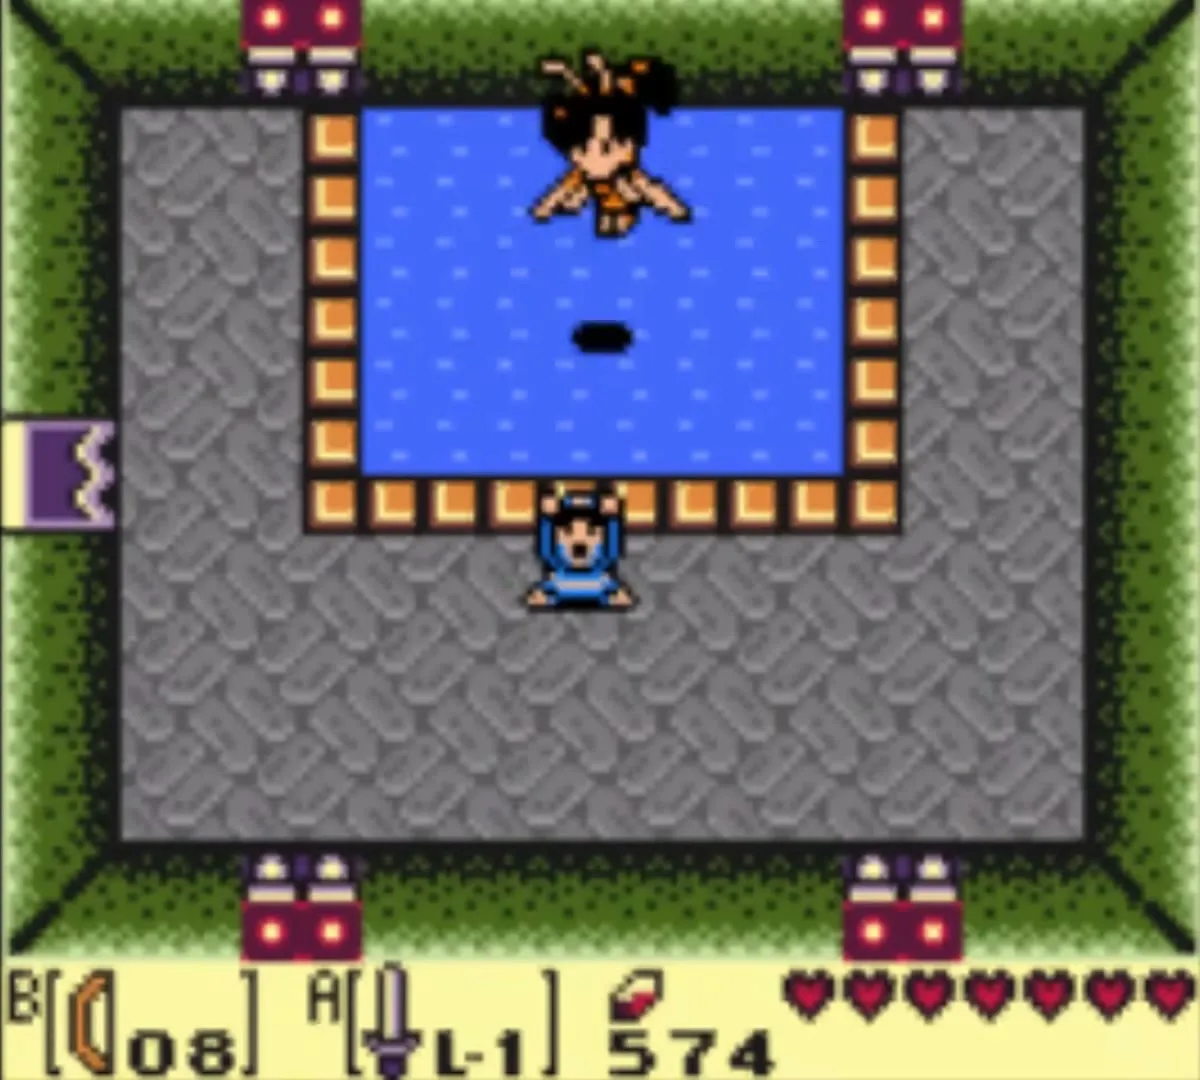
The Great Fairy, whom the game also calls the fairy queen, waits beside a pool. She offers you the power of color and asks you to choose Red or Blue. Link changes into the new clothes at once.


| Clothes | Effect | Best for |
|---|---|---|
 Red Clothes | Your attacks do double damage and enemies are knocked back. It works like a permanent Piece of Power but does not speed you up. | Faster fights and boss kills |
 Blue Clothes | Damage you take is cut in half, like a permanent Guardian Acorn. | Safer play on the way to the last dungeons |
You can wear only one color at a time. If you change your mind, return to the end of the Color Dungeon, speak to the Great Fairy again and swap. The original green tunic is gone for good as soon as you take either color, so if you want to keep it, skip the Great Fairy’s room. The Color Dungeon holds no Heart Container or Piece of Heart, so your heart total stays at 14.

Dungeon items at a glance
| Item | Where |
|---|---|
 Stone Beak | Chest in the two-hole orb room |
| Compass | Owl statue room, two rooms west of the orb room |
| Small Keys (3) | Chest past the Bone Putters; ceiling drop in the second owl statue room; orb room east of the Map |
| Nightmare’s Key | Chest in the block room west of the Giant Buzz Blob |
| Dungeon Map | Chest in the room beyond the Stone Hinox, after the hidden Zols |
