





















Spirit Tracks 100% Completion Walkthrough18 chapters
- Aboda Village and Hyrule CastleThe first train ride, the Royal Engineer ceremony, Zelda’s escape, the Spirit Flute, sword and path to the Tower.
- Tower of SpiritsMeet Anjean, collect the three Tears of Light, use Phantom Zelda and claim the Forest Rail Map.
- Forest RealmReach Whittleton, solve the Lost Woods rail maze, learn the Song of Awakening and play the Gage duet.
- Forest TempleSong of Healing, Whirlwind, Mothula, Boss Key, Stagnox boss fight, Heart Container and Force Gem.
- Tower of SpiritsTears of Light, lava Phantoms, Zora Warrior, the Snow Rail Map, plus the Cannon and Rabbit Net.
- Snow RealmAnouki Village pairings, the Rocktite tunnel, Steem’s duet, the Heart Container shop and Ferrus’s blizzard map.
- Snow TempleGet the Boomerang, solve the bell puzzles, take the Boss Key from the Wolfos and beat Fraaz for a Heart Container.
- Tower of SpiritsDark floor 8, Torch Phantoms, Tears of Light, the Z door, Mighty Zora Warrior and Ocean Rail Map.
- Ocean RealmFix the Trading Post bridge, find the Regal Ring, learn the Song of Birds and free Carben at the Ocean Sanctuary.
- Ocean TempleReach the sunken temple, win the Whip, beat Phytops and claim the Heart Container and blue Force Gem.
- Tower of SpiritsBeat Warp Phantoms and Phantom Eyes, collect three Tears of Light and claim the Fire Rail Map.
- Fire RealmReach Goron Village, ferry Noko for Mega Ice, cool the lava, solve the Fire Sanctuary statues and play Embrose’s duet.
- Fire TempleSnurglar keys, Heatoise and the Bow, mine carts, Boss Key, Cragma, Heart Container and the Goron Quiver.
- Tower of SpiritsClimb Tower of Spirits floors 18-23, solve the Wrecker Phantom puzzles, take the Boss Key and beat Byrne with Zelda.
- Sand RealmSand Gyorg, desert rabbits, the Sand Sanctuary bomb puzzle, the Rael duet and the three trials to the Sand Temple.
- Sand TempleStalfos keys, Sand Wand, the Boss Key, the Skeldritch boss fight, the Heart Container, Bow of Light and Lokomo Sword.
- Tower of Spirits Floors 24-30 and the Compass of LightLight Arrows at the altar, every Phantom puzzle, the floor 26 gauntlet and the Compass of Light.
- Dark Realm, Demon Train and MalladusDestroy six Armored Trains, beat the Demon Train, free Zelda from Cole and defeat Malladus with the Lokomo Sword.
| Covers | Tower of Spirits floors 18 to 23, the Boss Key on floor 22, the fight with Byrne and the scenes that follow |
|---|---|
| You need | The Fire Temple cleared, plus the Boomerang, Bombs, Whip and Bow, and a route back to the Tower of Spirits station |
| Rewards |  3 Tears of Light,  2 small keys, the  Boss Key, a random treasure chest and Anjean’s  Force Gem that opens the Sand Realm tracks. No Heart Container, stamp or rabbit here. |
This is the fifth climb of the Tower of Spirits. You work through six floors while Zelda possesses a new kind of Phantom, push blocks and carry arrow launchers to open each stairwell, collect the Boss Key on floor 22 and fight Byrne at the top. The fight ends in a story twist, and Anjean’s Force Gem then sends you to the Sand Realm for the next temple.
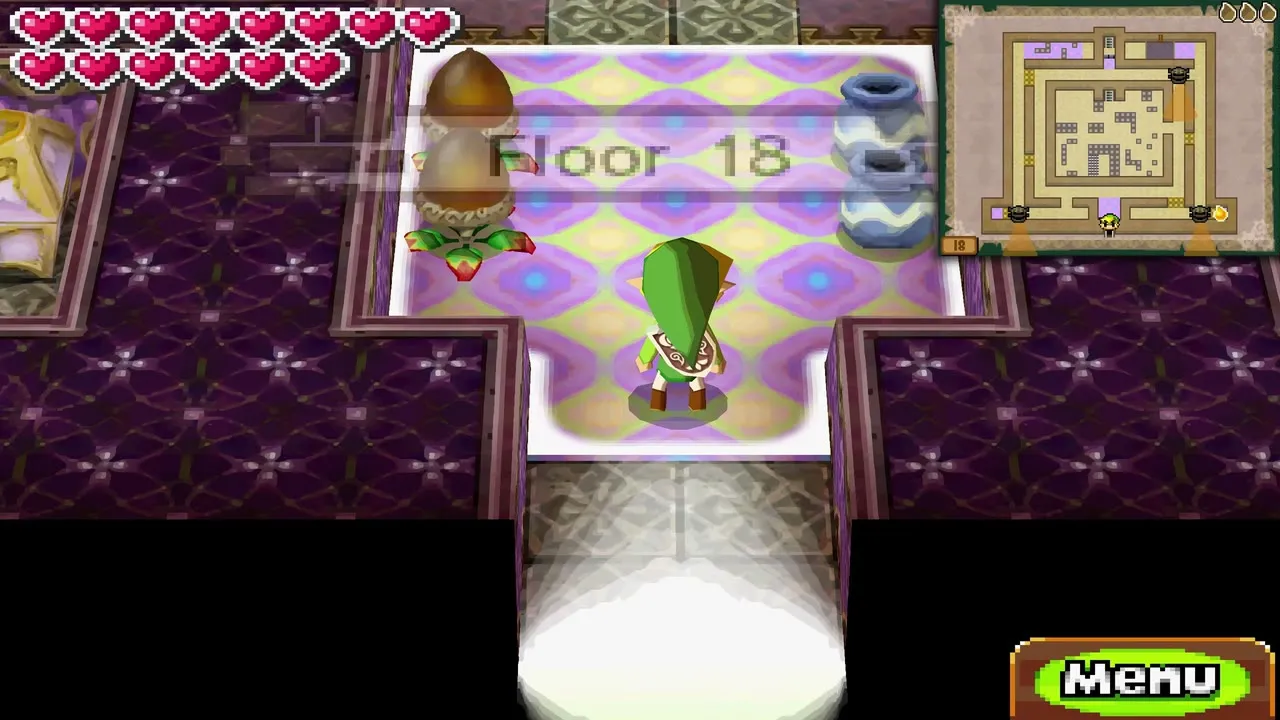

Table of Contents
Return to the Tower of Spirits
Ride the Spirit Train back
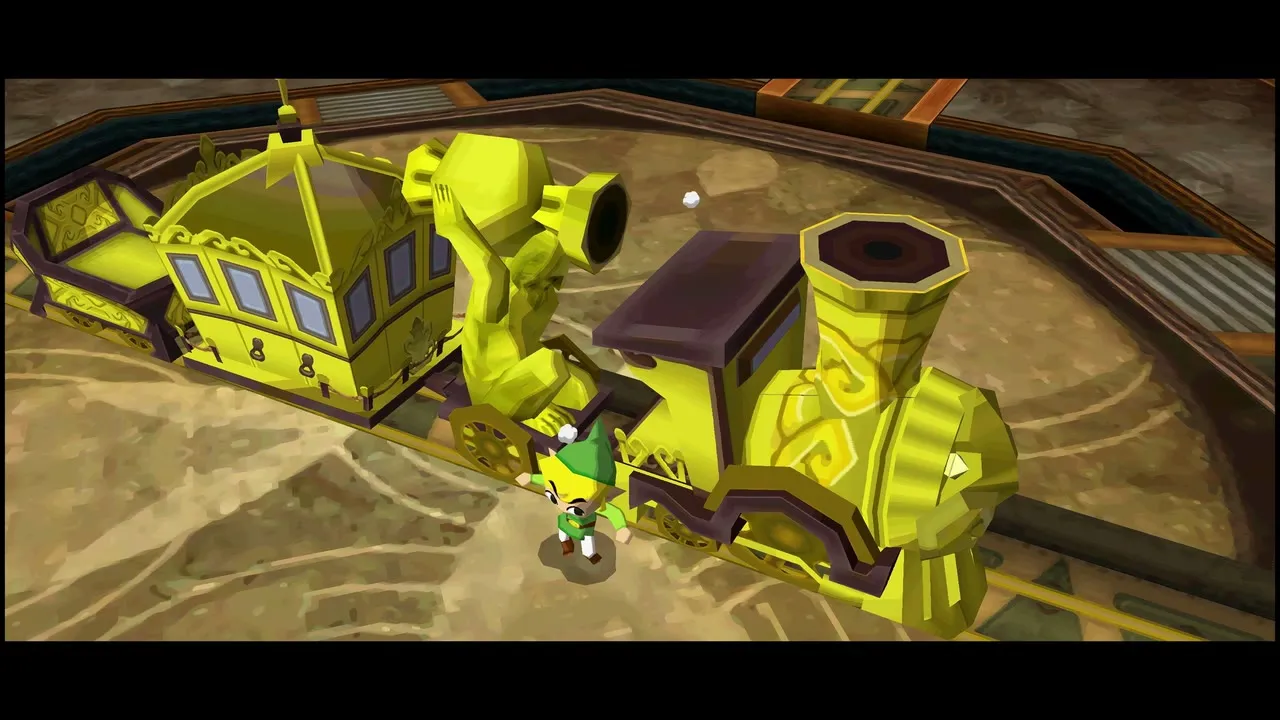
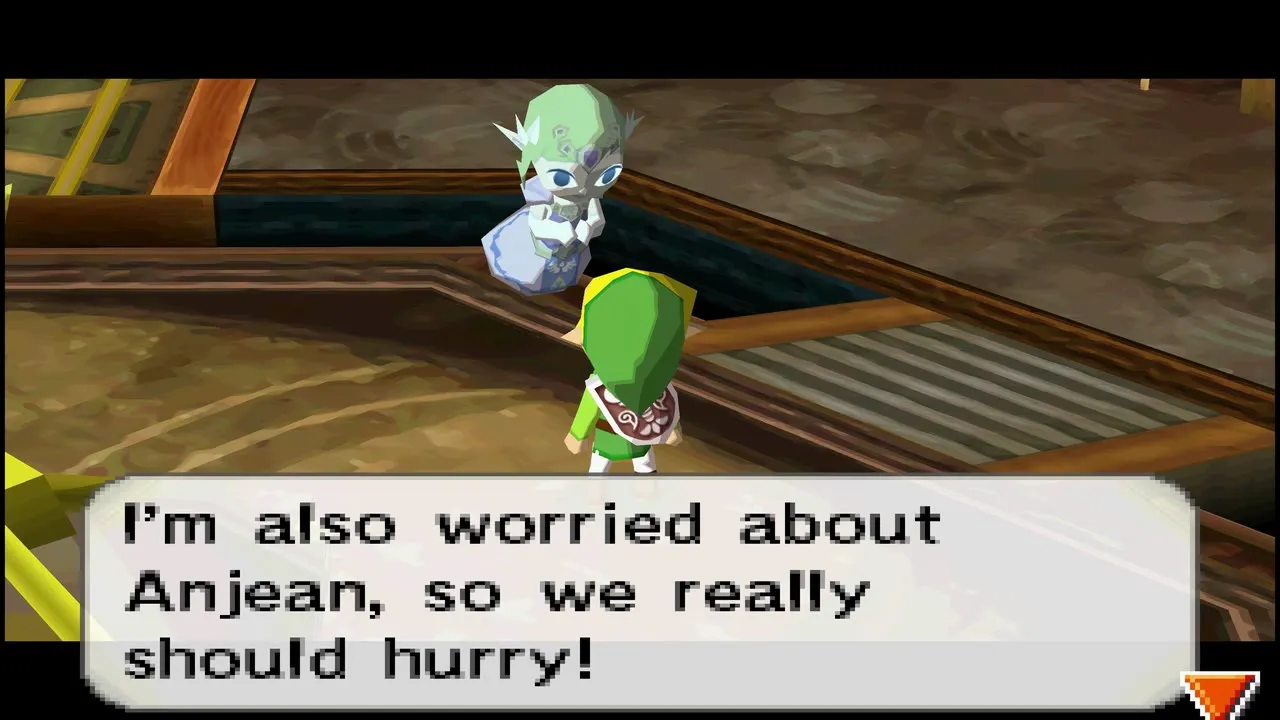
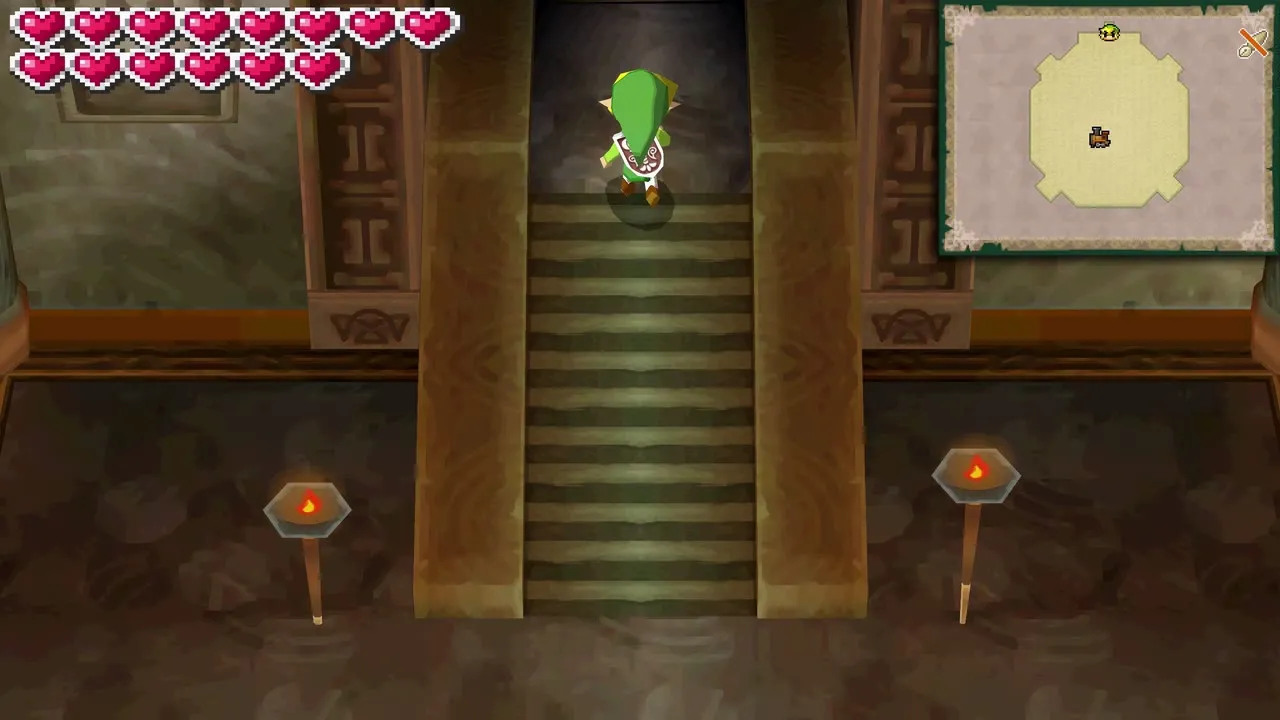
Leave the Fire Realm once the Fire Temple is finished and draw a route back to the Tower of Spirits station. The tracks to the Tower are open again, so no new rail map is needed. Park the train inside, talk to Zelda’s spirit, who is worried about Anjean, then climb the spiral staircase to reach floor 18.
Floors 18 to 20: Tears of Light and the Wrecker Phantom
Floor 18: first Tear of Light and a small key
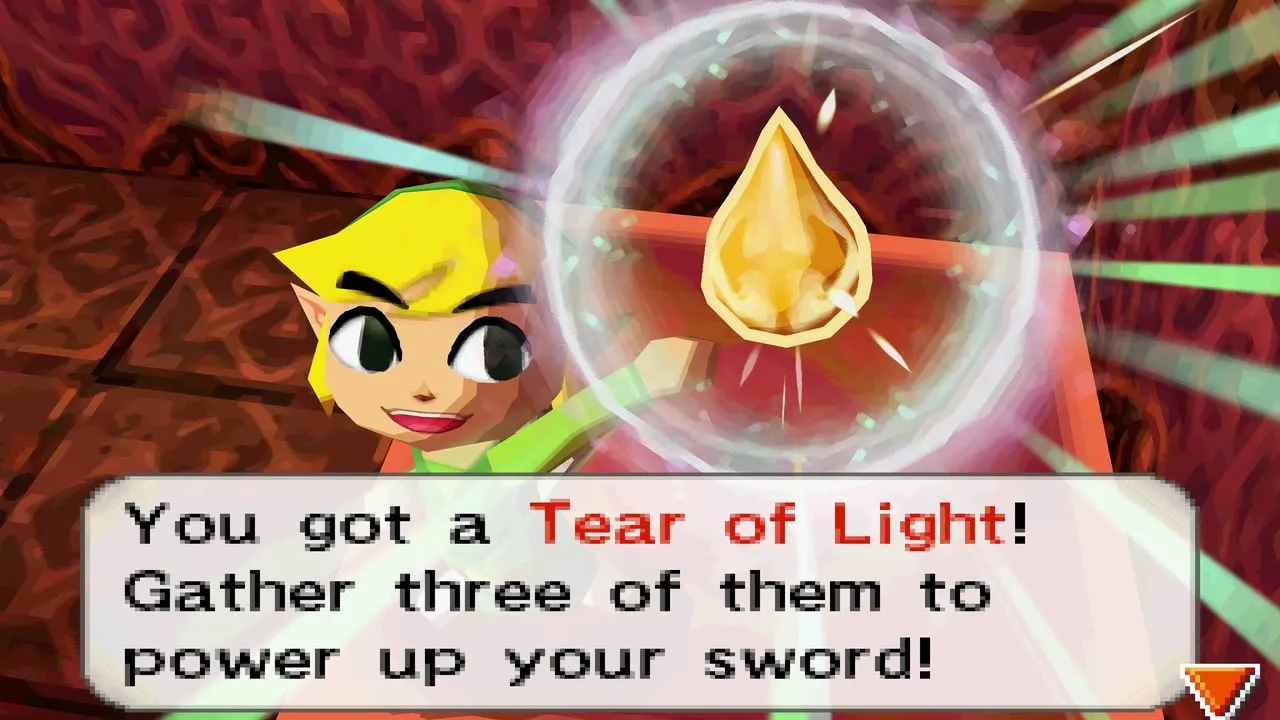
Floor 18 brings a new Phantom, the Wrecker Phantom, which turns into a heavy metal ball and rolls in a straight line once it spots you, so stay out of its path. The first Tear of Light sits in the bottom right corner behind piles of breakable blocks. Blow the blocks away with Bombs, or let a rolling Phantom spot you so that it smashes through them for you, then slip into the safe zone and take the Tear.

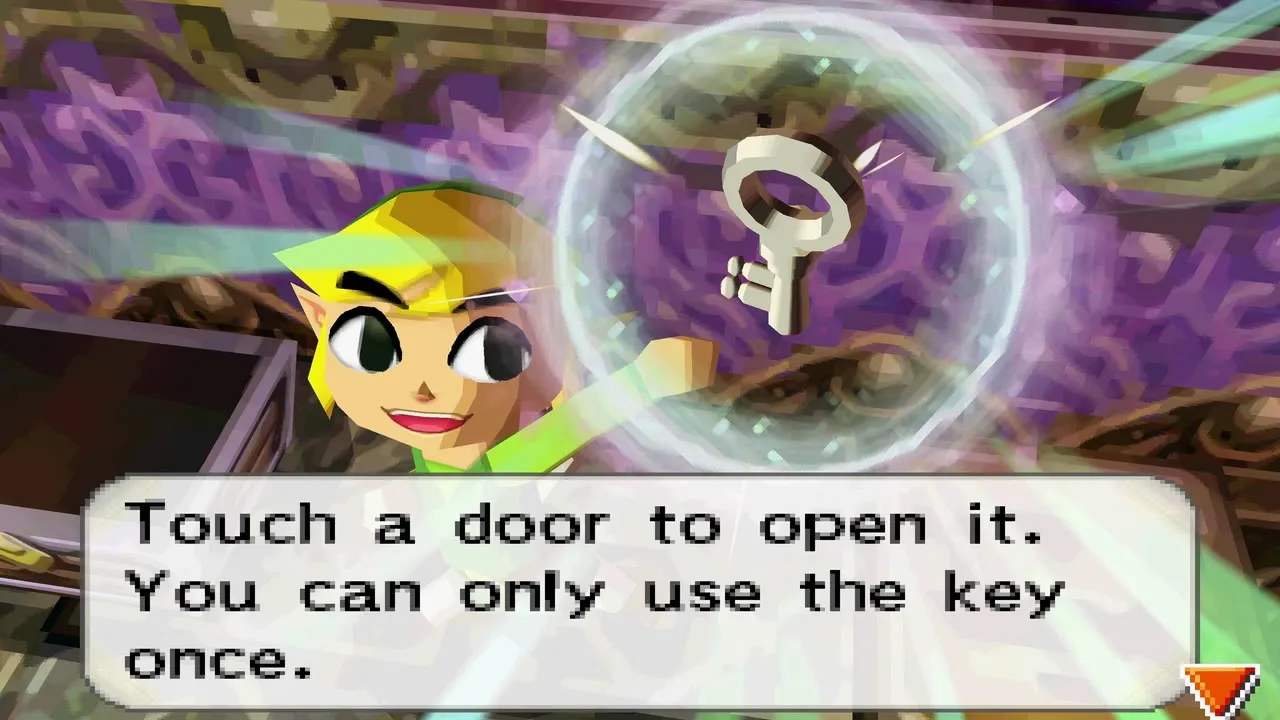
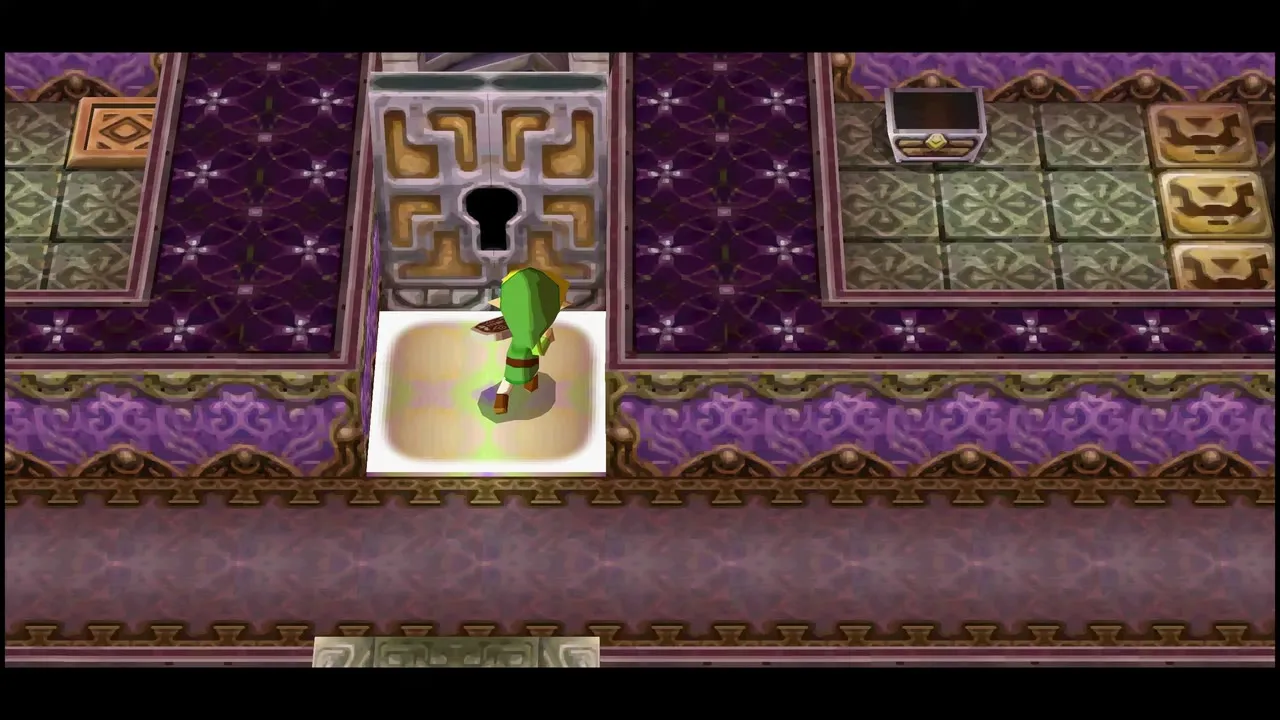
No more Tears are on this floor, but the stairs are behind a locked door. Head for the large safe zone in the top left corner, breaking blocks on the way, and push the two loose blocks aside so you can step on the floor switch at its far end. A chest appears in the top right corner holding a small key. Cross the gap with the Whip, open the chest and use the key on the locked door at the top centre of the floor to reach floor 19.


Floor 19: arrow launchers and the second Tear
Floor 19 asks you to carry arrow launchers. Lift the launcher on the east platform, steer clear of the Miniblin on the statue beside it, and carry it west. Step on the floor switch to lower the west wall, set the launcher on the crest facing west and swing the second launcher north with the Boomerang. Shoot an arrow through the first launcher into the red eye to raise a bridge in the south-east corner.
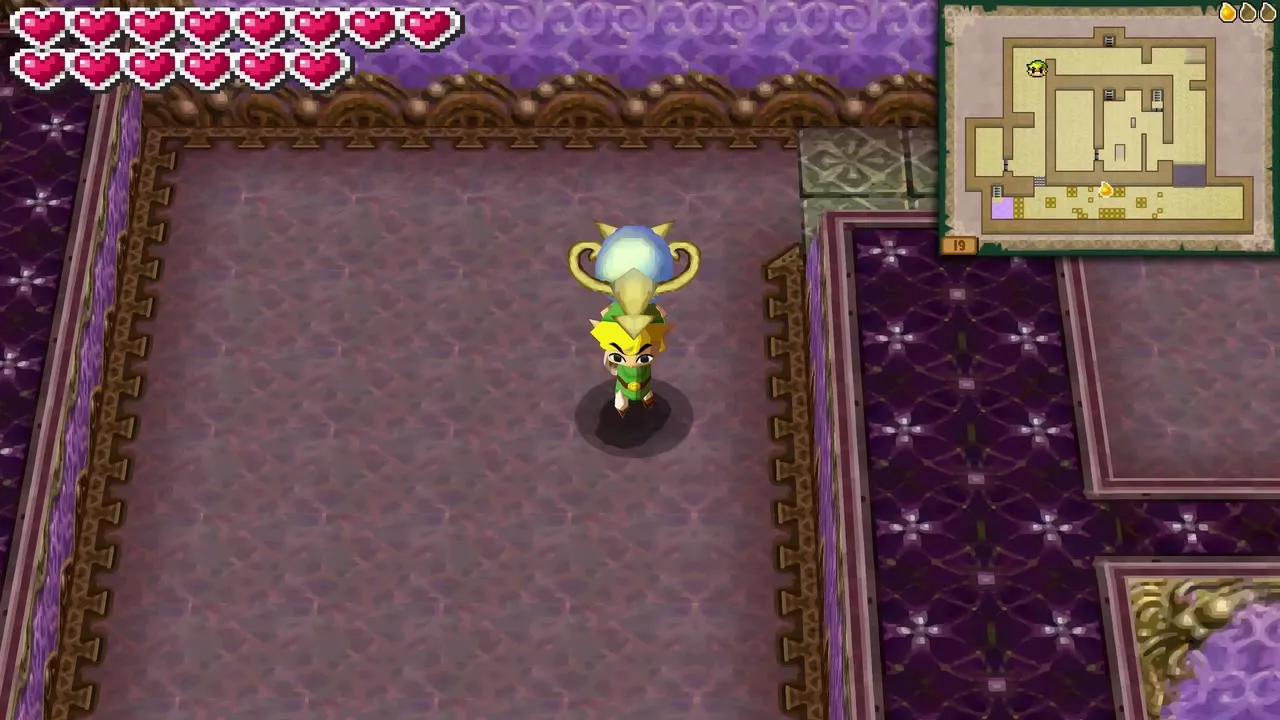

Cross the bridge into the west hallway. The second Tear of Light sits in the middle of it, boxed in by blocks, and the grey tiles wake another Wrecker Phantom. Let it smash the blocks around the Tear, take the Tear, then use the Phantom again to clear the way to the safe zone at the west end. Climb to floor 20.


Floor 20: the third Tear and a Wrecker Zelda
The first room of floor 20 holds a Wrecker Phantom, the third Tear of Light and a three-launcher puzzle. Have the Phantom smash the block piles in the middle and the bottom right corner so that arrows have a clear line, then lift the launcher from the bottom right pile. Bridge the gap in the north-east with a loose block, set the launcher on the crest facing south, step on the floor switch to lower the wall in front of a red eye, and use the Boomerang from the west platform to turn the third launcher north. Shoot an arrow through the chain to hit the red eye, which opens the way to the Tear in the top left corner. With all three Tears collected, your sword glows with energy: strike the Wrecker Phantom from behind and Zelda jumps into it. As a Wrecker Phantom she can only roll: she cannot carry Link and cannot talk to other Phantoms, but she flattens block piles and statues, and she stuns any Phantom she hits.


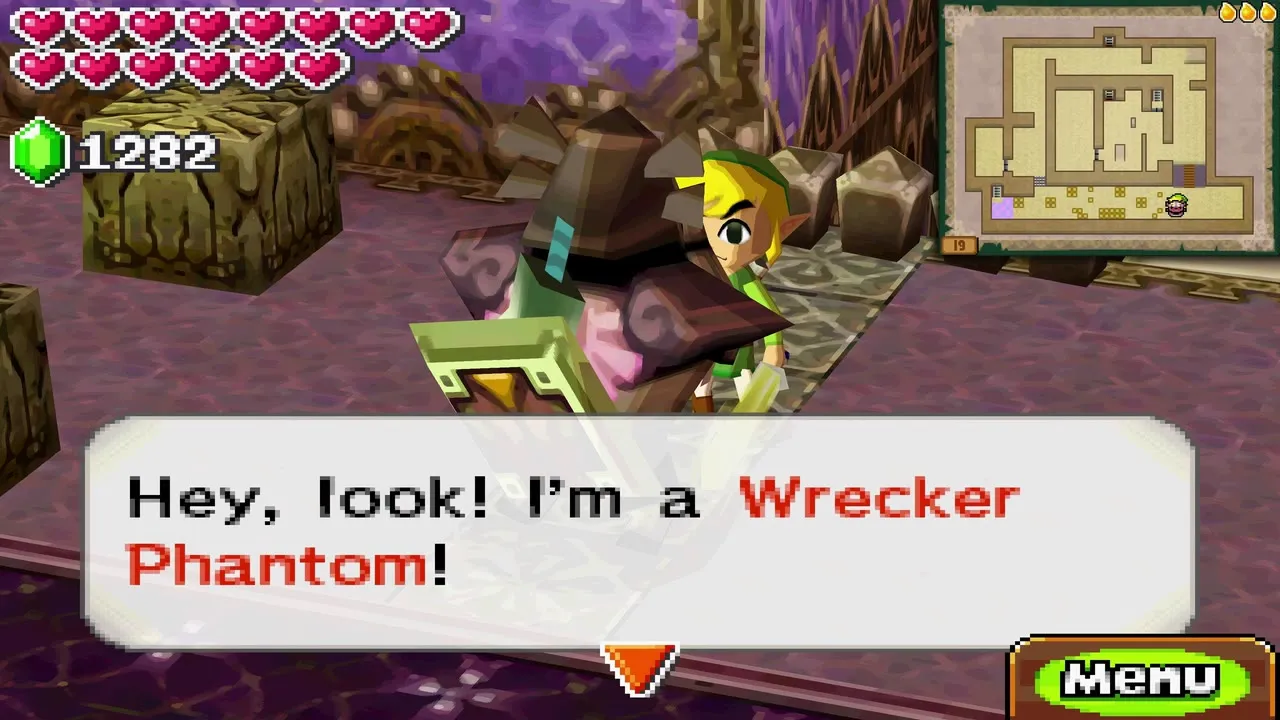

Floor 19: Wrecker route and treasure chests
Back on floor 19, roll Zelda over the bridge, through the Miniblins and into the extra statues. The middle enclave then opens. Take Link inside, turn the north launcher with the Boomerang and shoot the red eye to bring up a treasure chest. It holds random treasure, so the prize varies. The stairs up are still locked, so go down to floor 18 for the key.
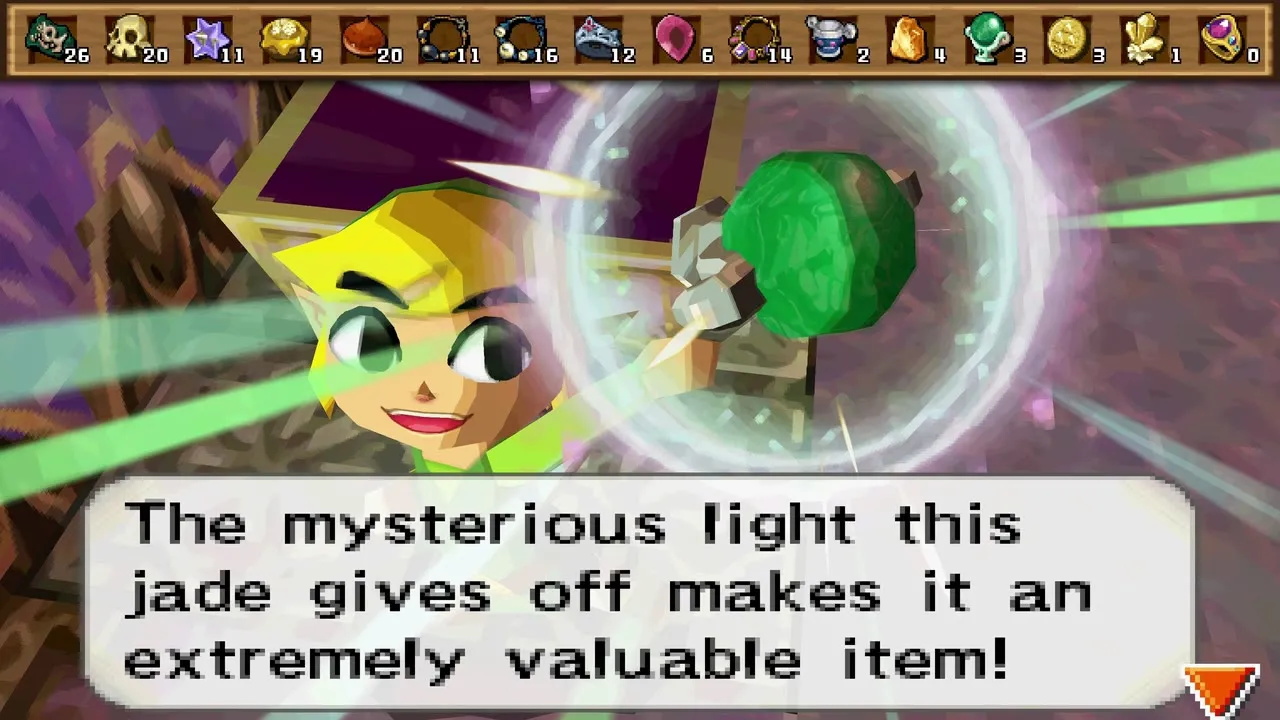

Floor 18: the block and switch room
In the large block room on floor 18 every floor switch must be pressed. Link pushes the small blocks, while Zelda in Wrecker form can also move the big four-square blocks. Push a big block into the top left corner to cover its switches, shift the big blocks out of the way in the bottom left and bottom right corners so Link can push a small block onto each of those switches, and slide the last block along the north wall into the top right corner. Zelda stands on the one switch that remains. When the final switch goes down, the spikes around the south chest drop.
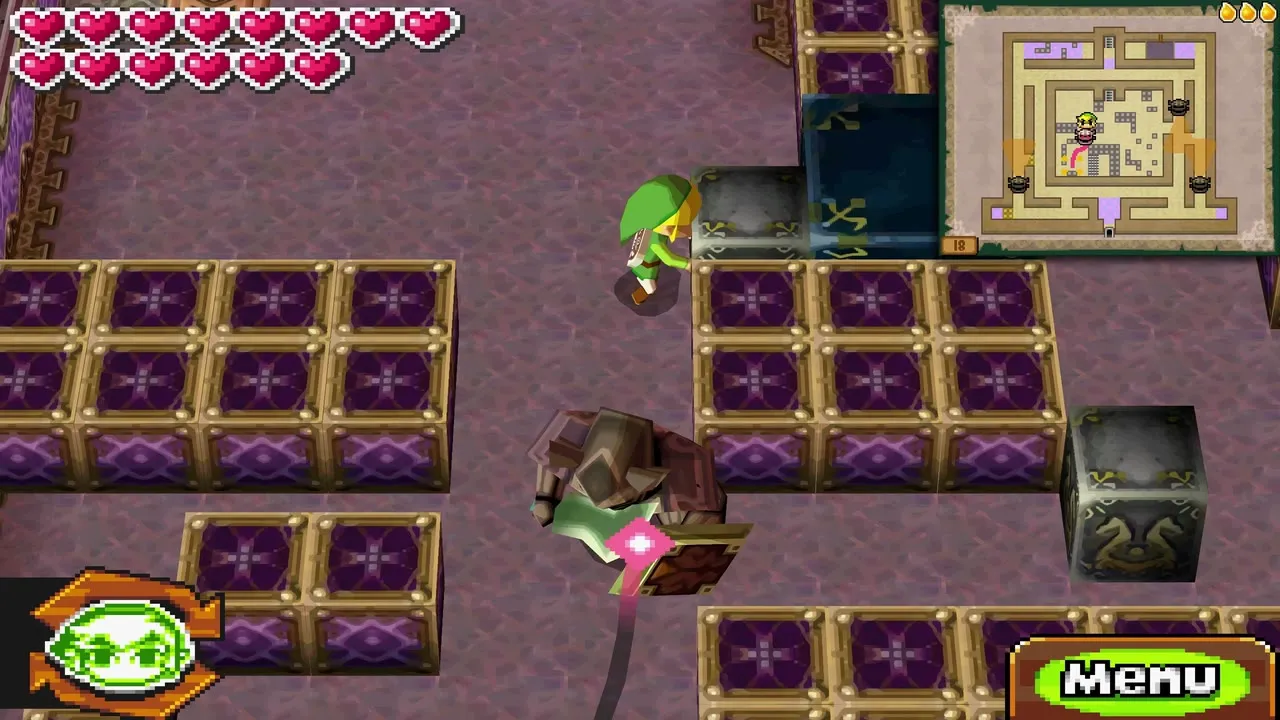
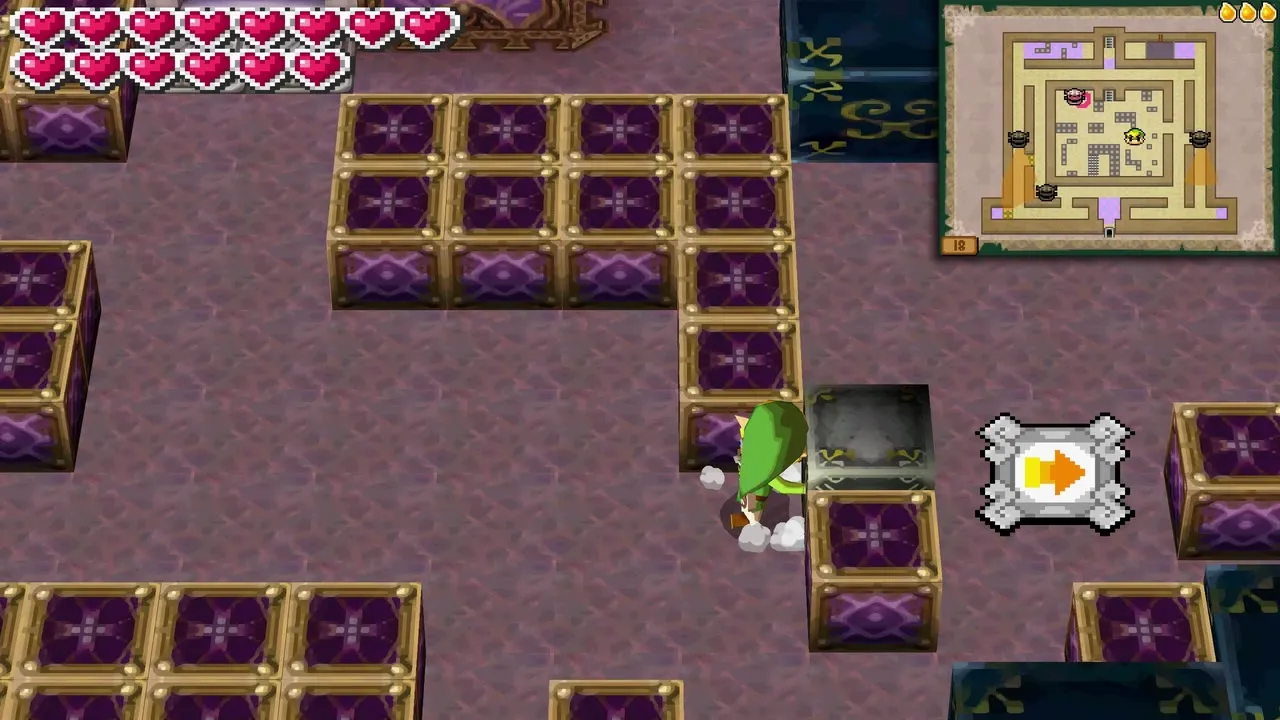
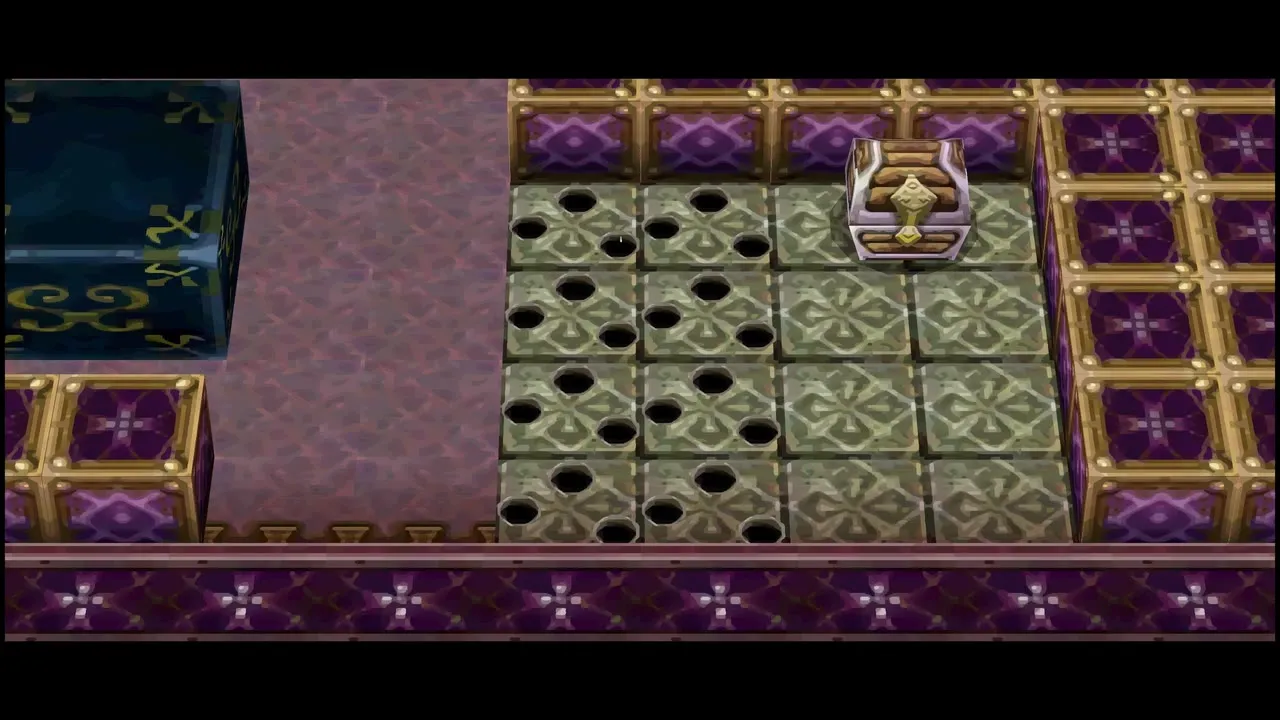
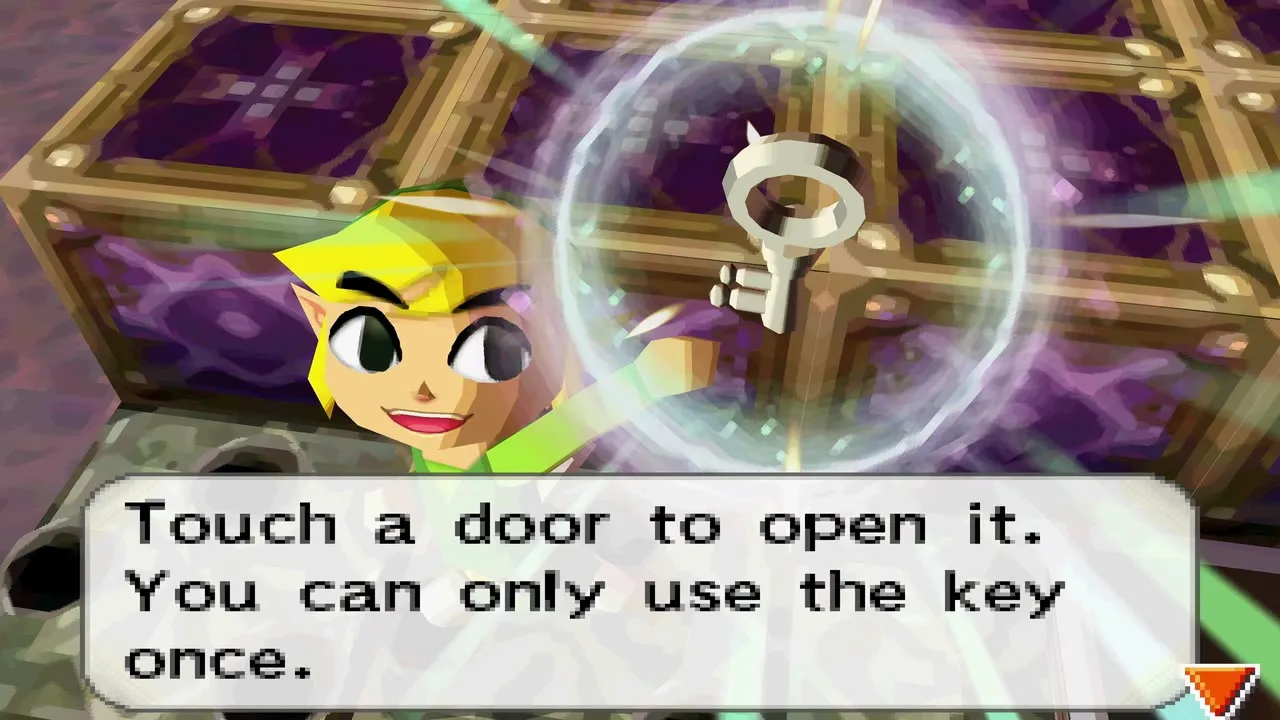
The chest in that enclave holds the small key for the floor 19 stairwell. Take it, climb to floor 19 and unlock the stairwell door.

Floor 20: boulders and the crystal switch
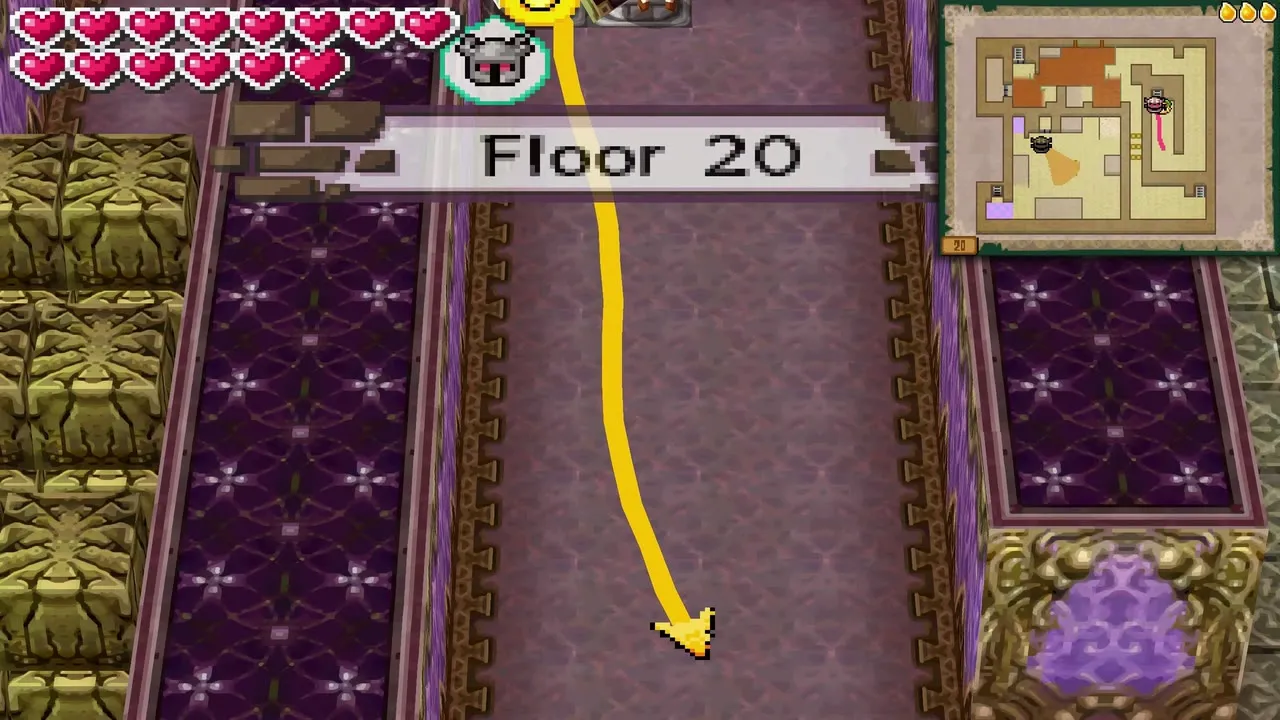
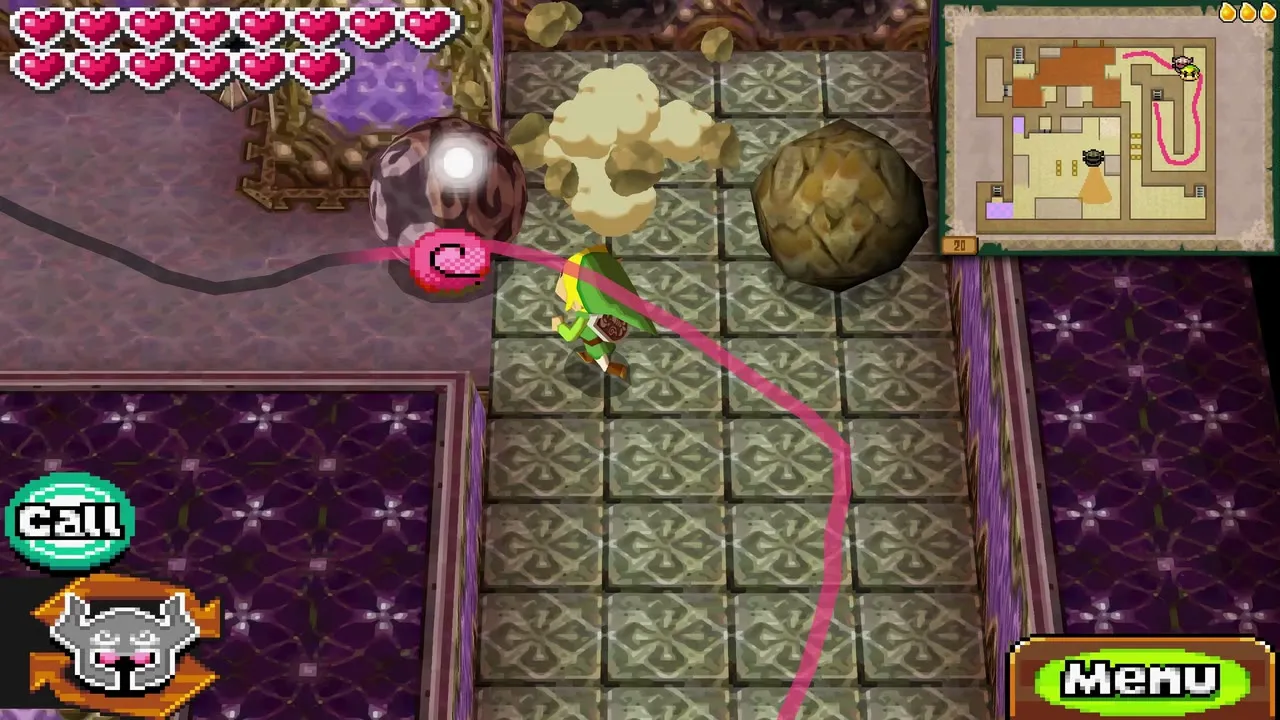
On floor 20, head south past two columns of rolling boulders. Zelda rolls up the boulder path first, shrugging the boulders off, and Link follows. She strikes the crystal switch at the top to stop the boulders. The lava room to the west needs a Phantom that can carry Link, which Zelda cannot do as a Wrecker, so smash the blocks in the southern passage and take the stairs up to floor 21.
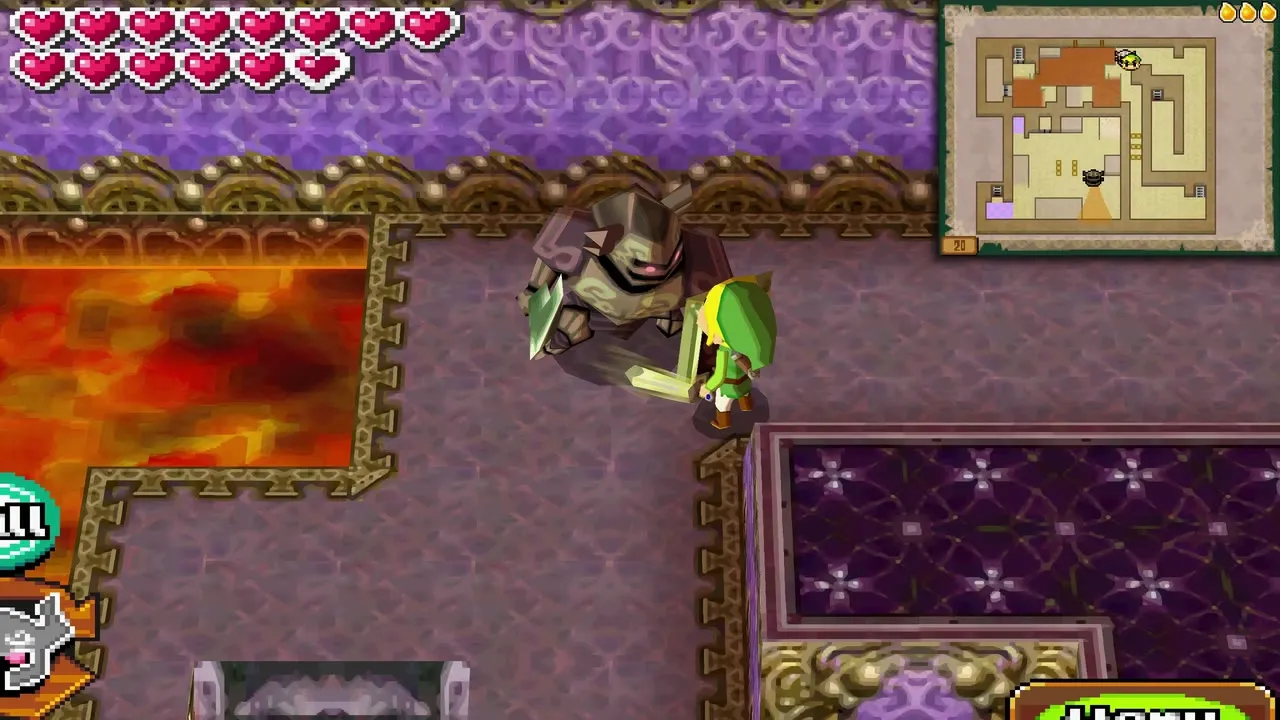
Floor 21: the gauntlet and a new Phantom
Win the floor 21 battle
Stand Link and Zelda on the two central floor switches at the same moment to start the battle. Four Stalfos come first: hit them with the Whip to knock off the bones and expose the skull, then finish them. Three Zora Warriors follow; Link can pull their shields away with the Whip, and Zelda can simply roll into them. Defeat any mice that come out of the hole at the top of the arena so they do not scare Zelda.
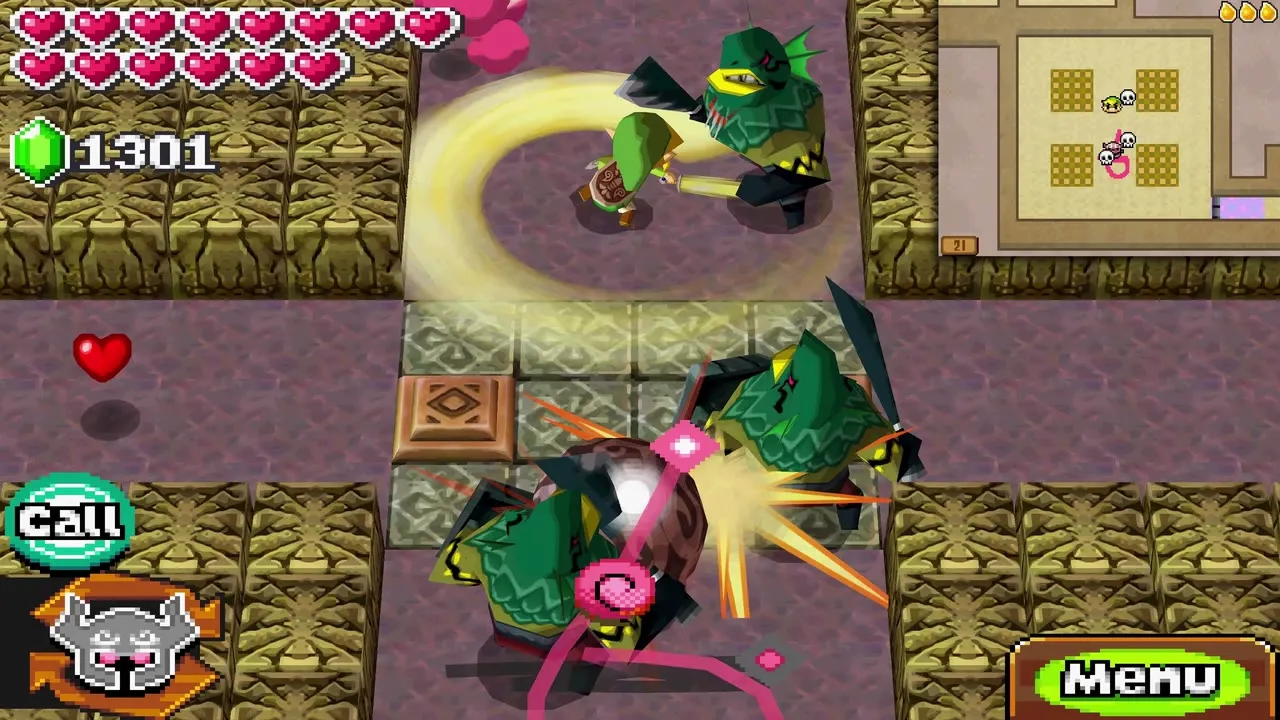
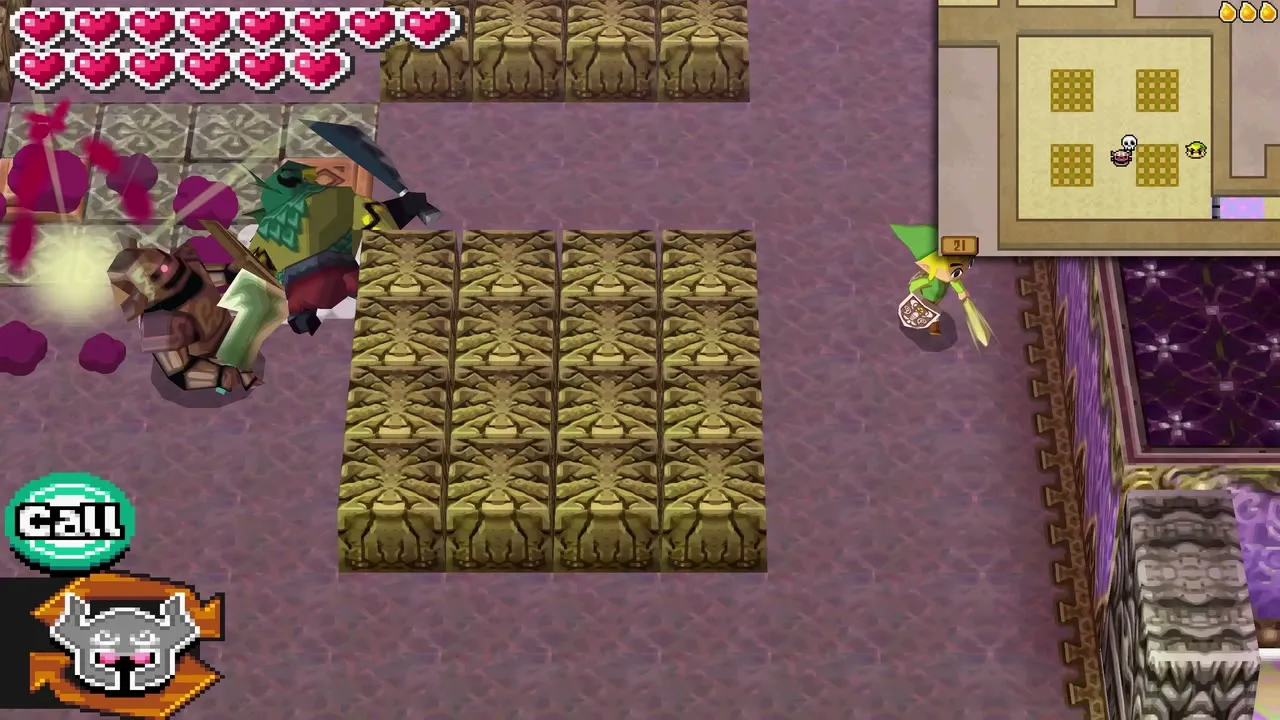
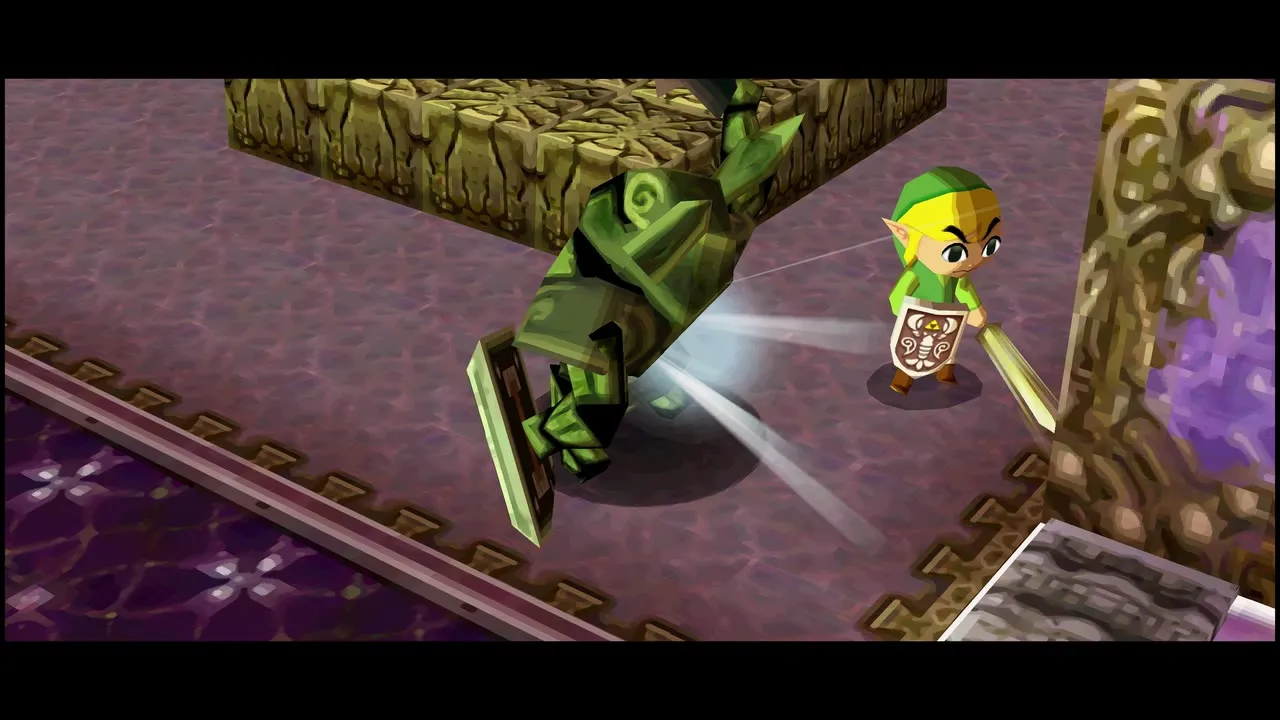
Switch to a normal Phantom
When the Zora Warriors fall, a wall in the bottom right corner opens and four ordinary Phantoms appear. Retreat to the safe zone if one spots you. Strike any of them from behind and Zelda leaves the Wrecker to possess that Phantom instead. A normal Phantom can walk and carry Link on her shield. Go back down to floor 20.
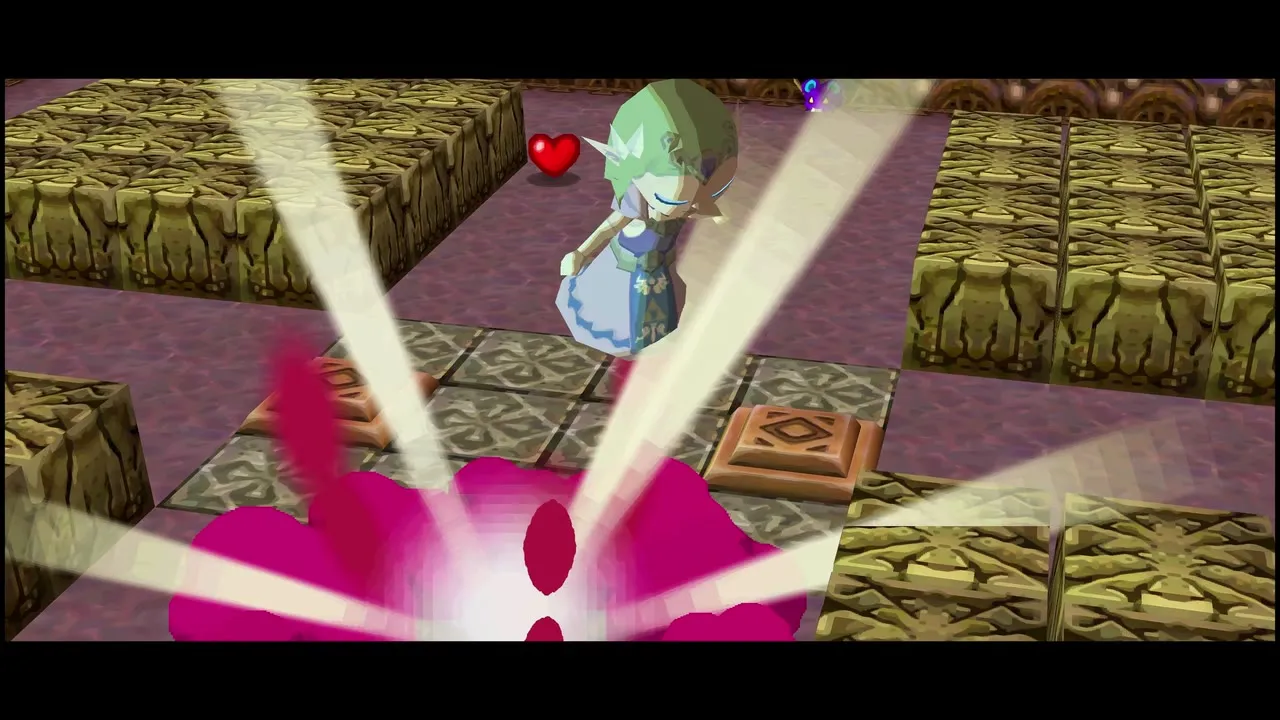


Floor 20 revisited: the lava room
Cross the lava with Link on Zelda’s shield
Lead Zelda into the lava lake. Link steps onto her shield and she carries him across unharmed. Standing tall, Link can Whip the wooden beams and swing to the platform with an arrow launcher. Carry it to the south-east platform, set it on the crest facing east, then swing back. Zelda picks up a second launcher at the far left and takes it to the platform south of Link, where you turn it west with the Boomerang.

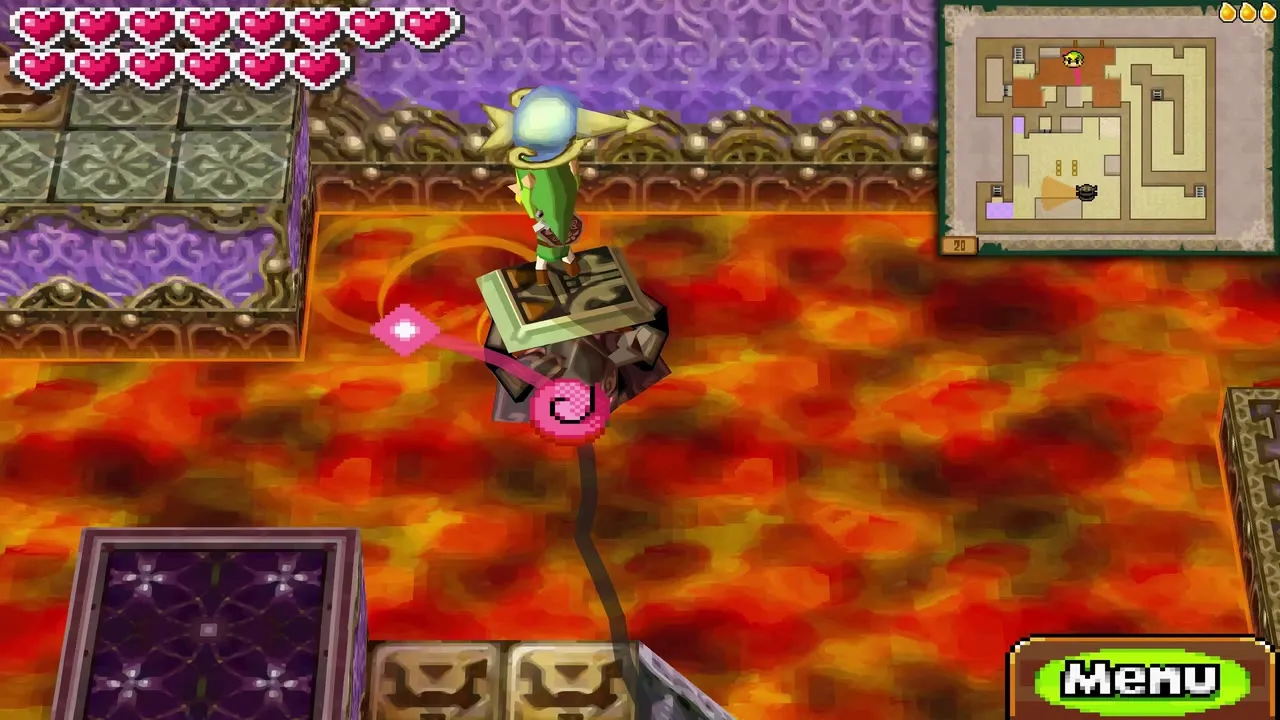
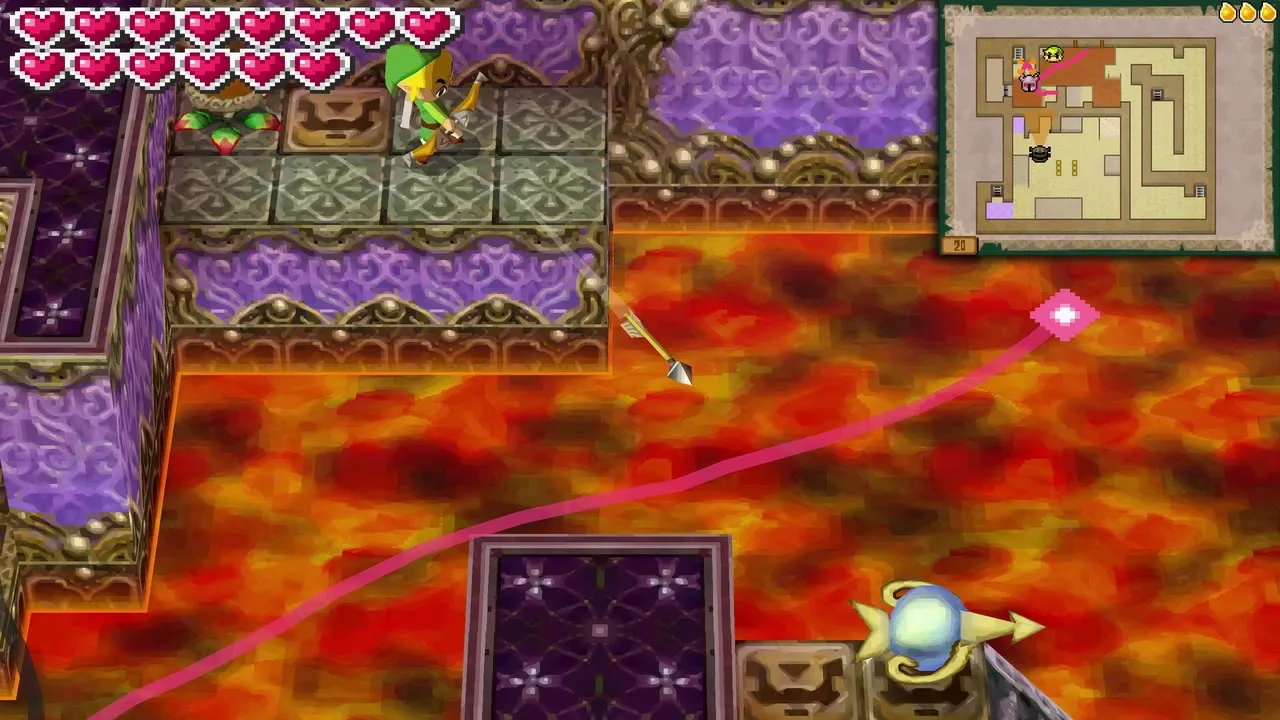
Shoot the right launcher first so its arrow hits a red eye and opens a door. Then shoot Zelda’s launcher to hit the next red eye and drop the wall over the west stairwell. Zelda cannot carry Link while she holds a launcher, so walk her into a rolling boulder on the east side to make her drop it, then let Link ride her back to the open door and go up to floor 21.
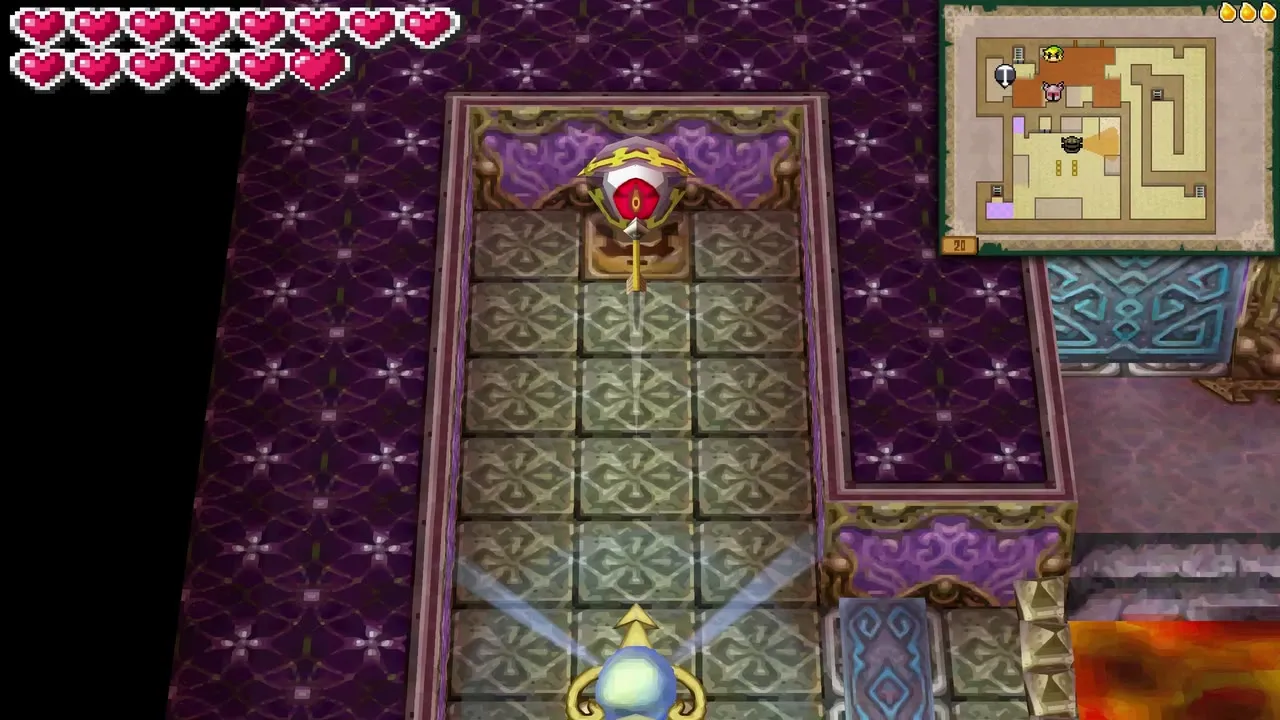
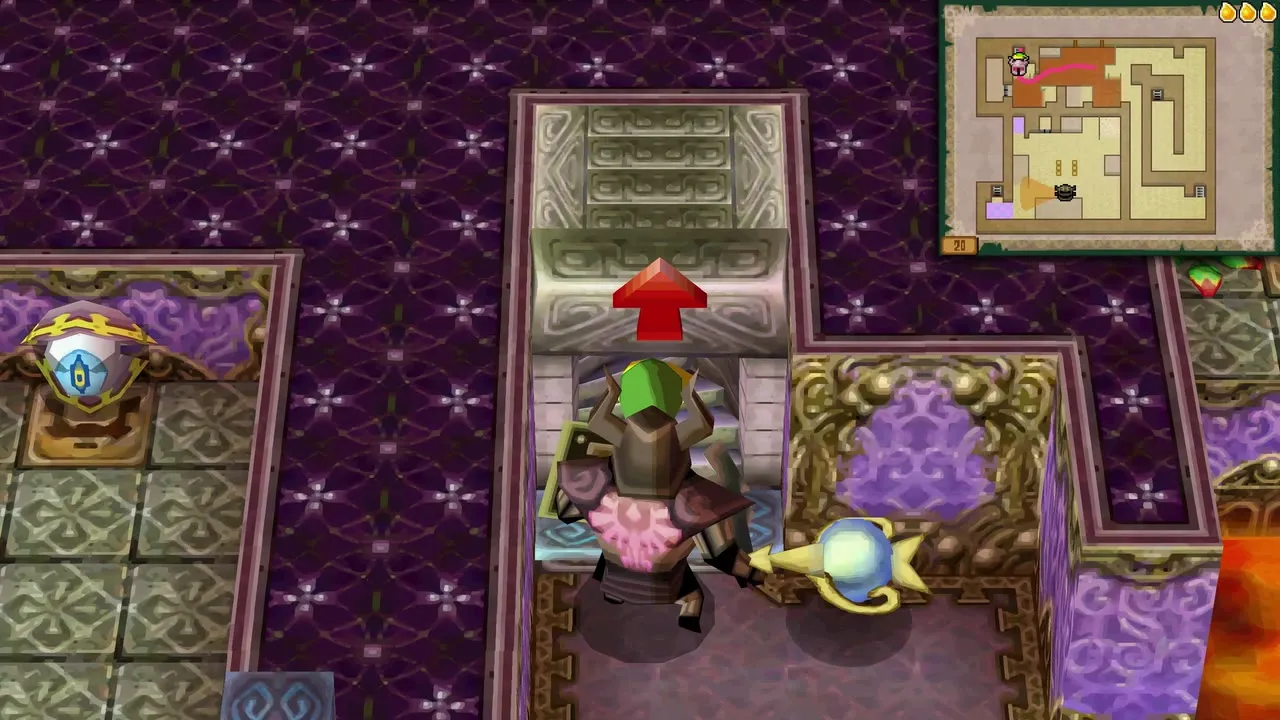
Nothing needs doing on floor 21 this time. Follow the only path around and take the stairs up to floor 22.

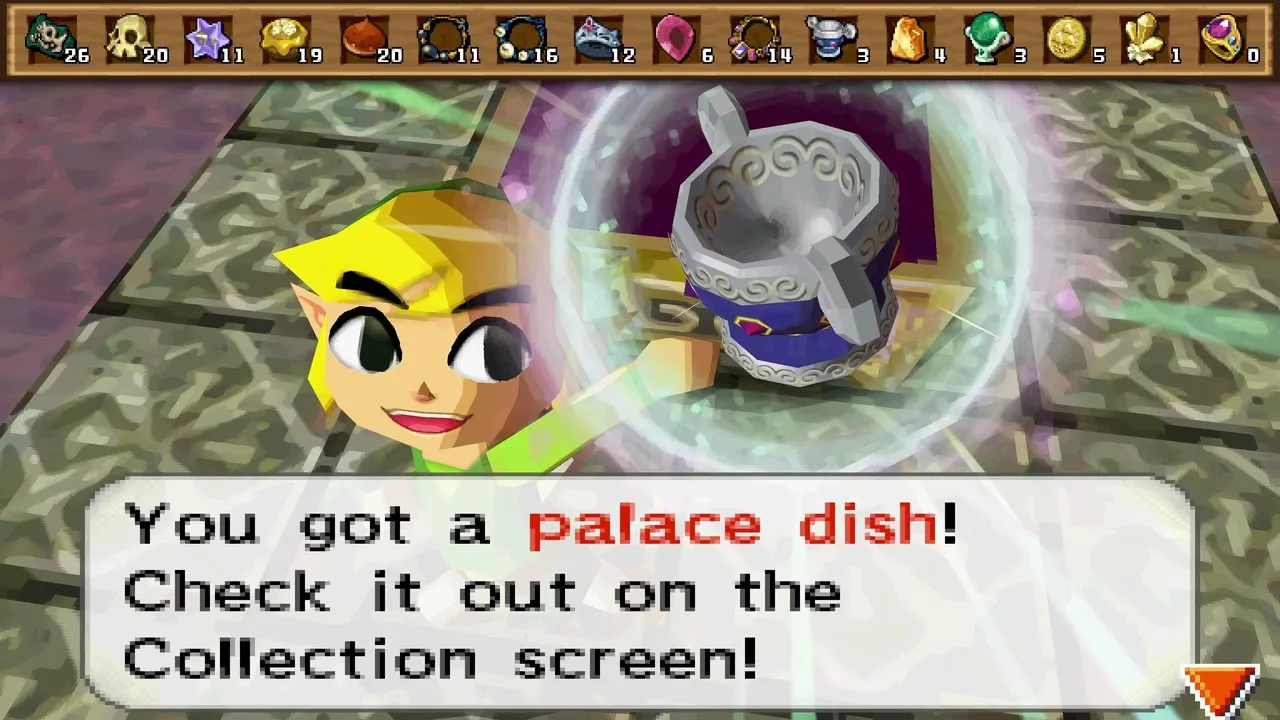
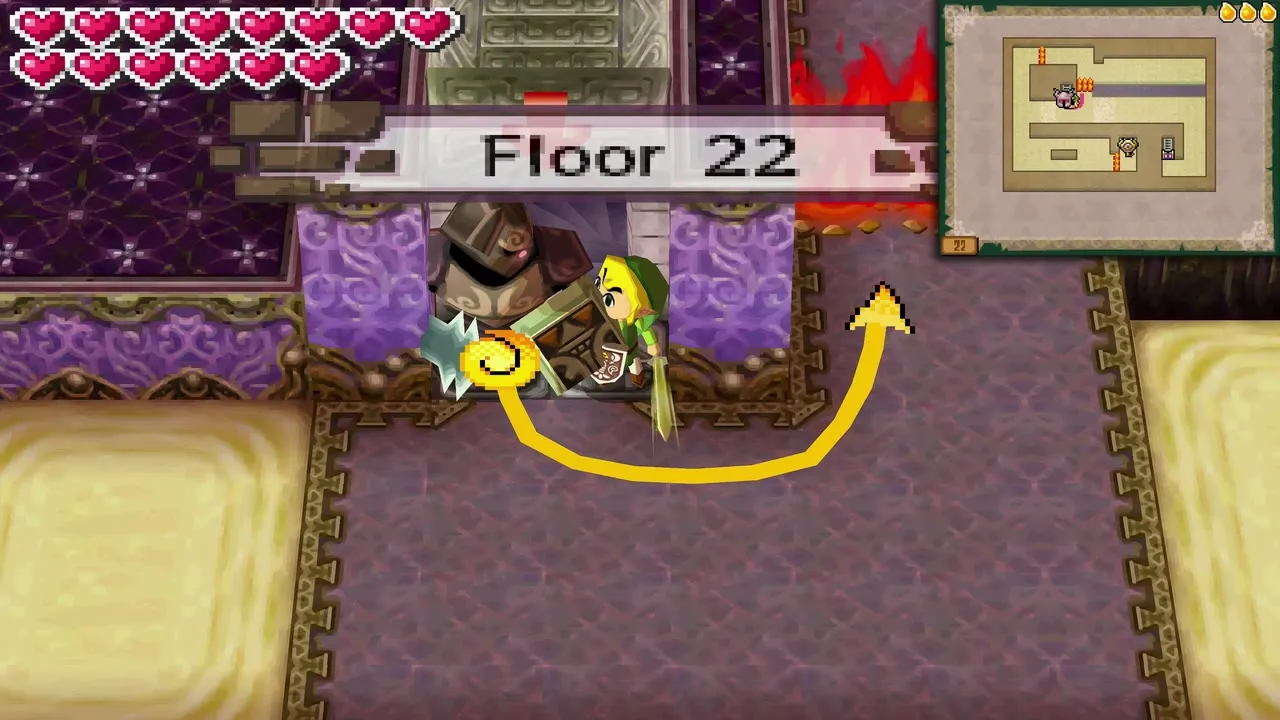
Floor 22: the Boss Key
Zelda takes the electrified key
The Boss Key on floor 22 is wrapped in electricity that only Zelda can touch. When she lifts it, four Floormasters appear. They stay in set zones and do not chase you, and they are slow to return after you beat them. Fire traps line the route, and Zelda cannot cross the sand traps.
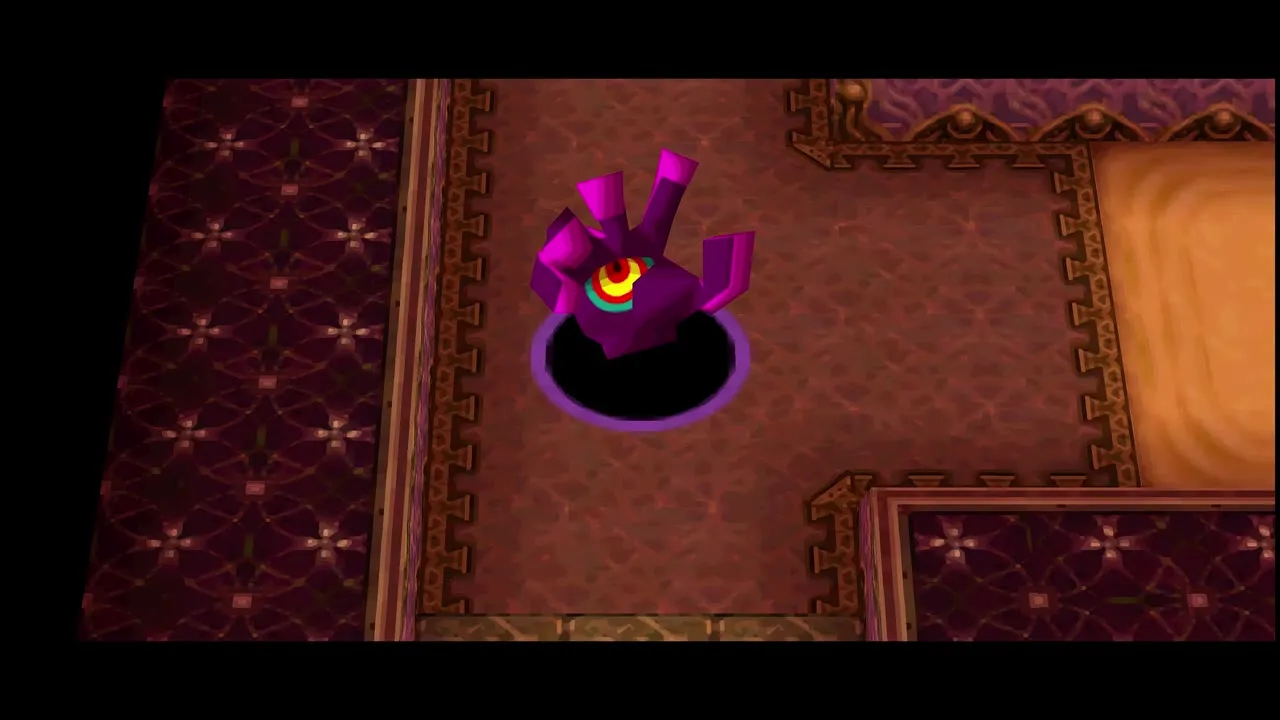
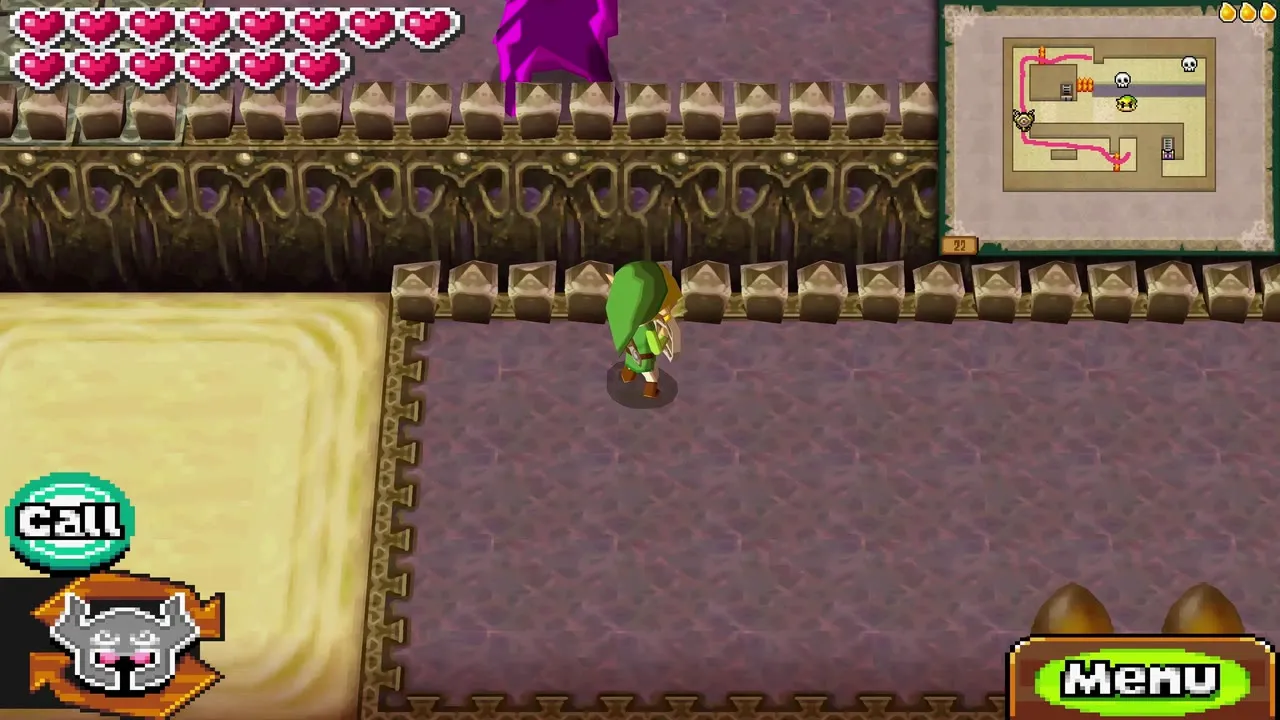
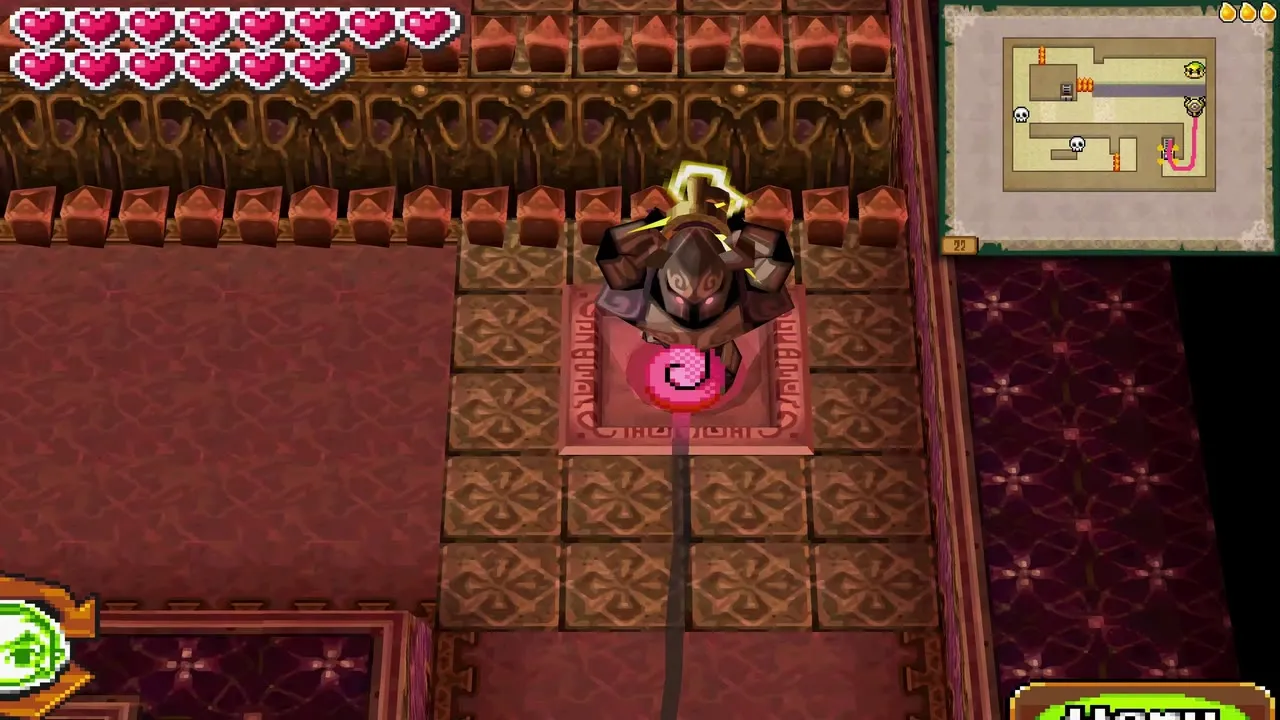
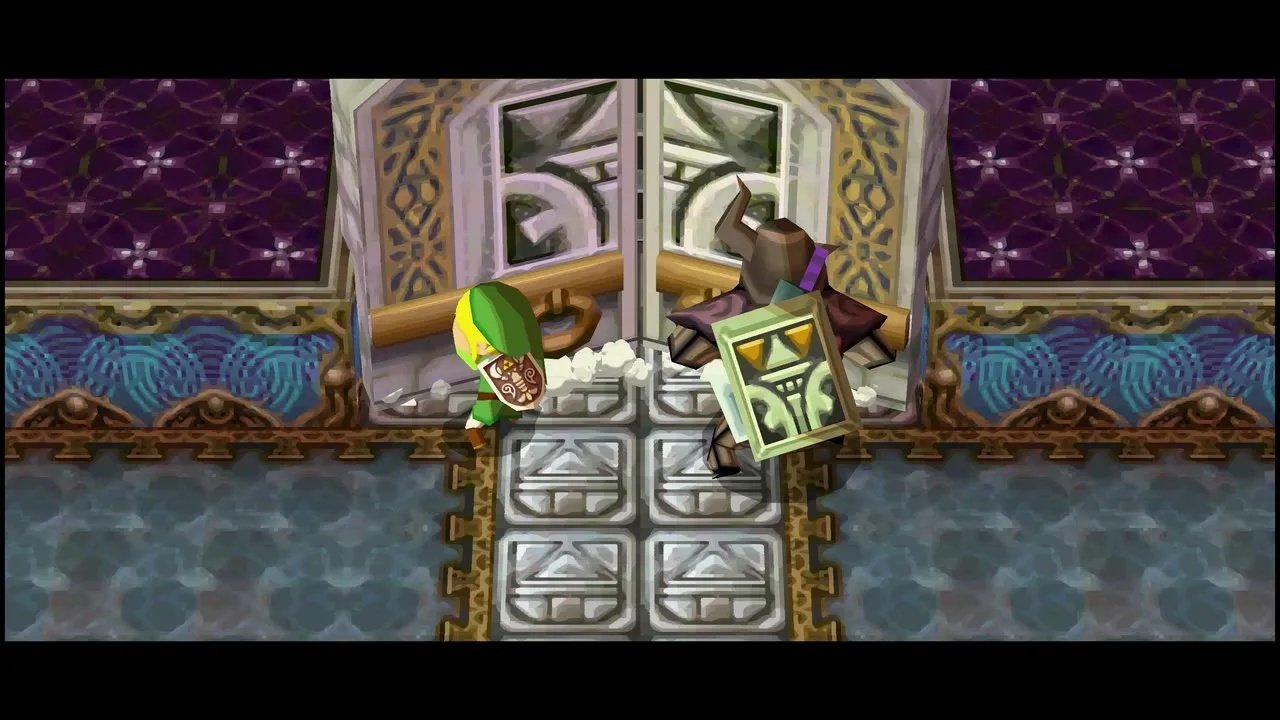
Swap the two characters on the shape platforms. Bring Zelda to the pink circle, then step Link onto the matching circle and the two trade places. Carry the key to the boss door on the south side. When Zelda uses it, the Floormasters vanish, the fire traps shut off and a bridge rises over one sand pit. Take Link through the door and climb to floor 23.

Floor 23: the rest area
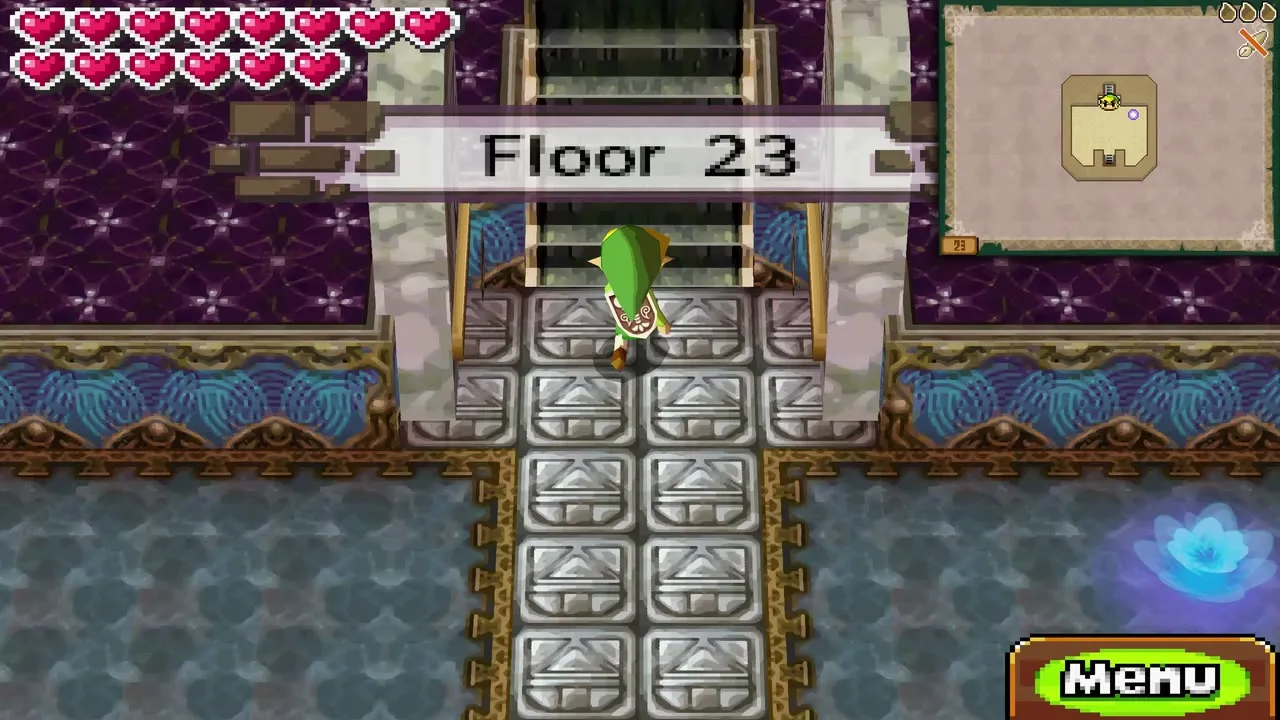
Floor 23 is a quiet rest area with pots to break for hearts and supplies. Heave open the door at the north end to clear the way to the top of the Tower; doing so also opens a portal back to the lobby, which is useful if you want to save or leave before the boss.


Byrne boss fight
Beat Byrne with Zelda
Byrne waits in a round chamber lit by stained glass, and Zelda fights beside you. Byrne leaps between the pillars around the arena and fires white beams from his gauntlet that are easy to sidestep. They cannot hurt Zelda, so she makes a handy shield. He also locks onto Link or Zelda and launches the gauntlet, which is tied to him by a chain. If it hits Zelda, slash the gauntlet to free her; if it hits Link, it costs a full heart.
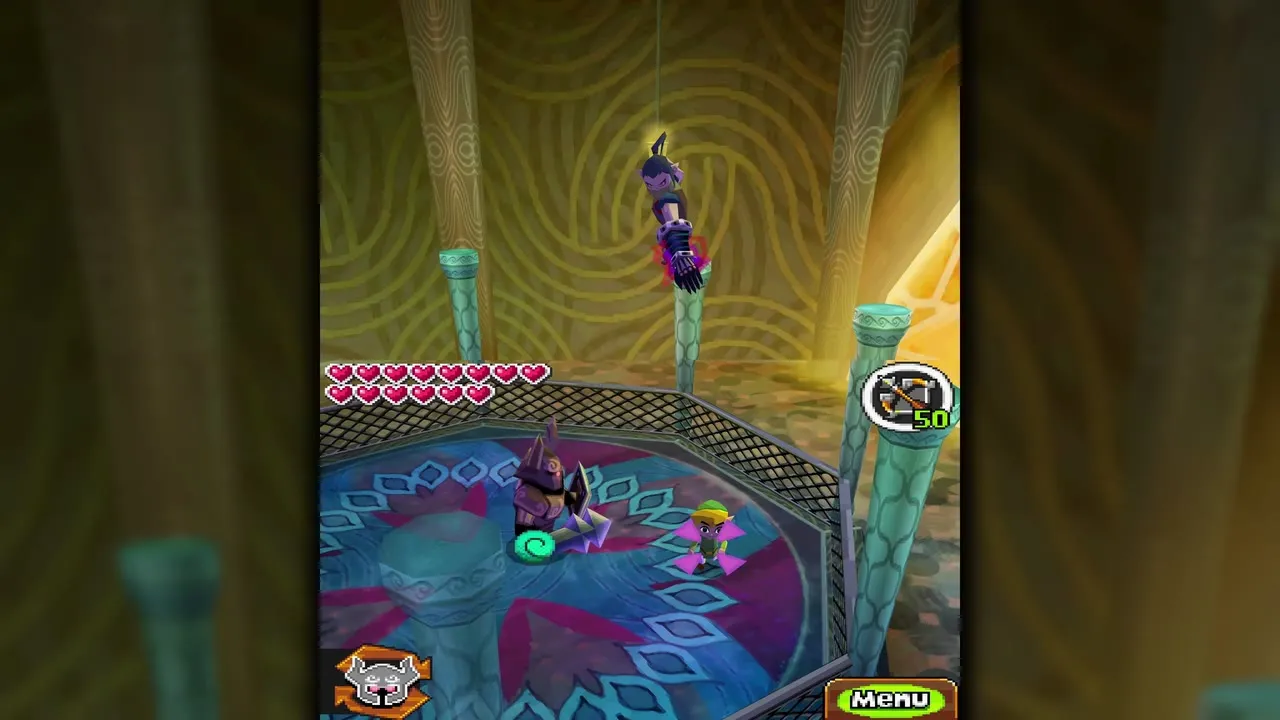
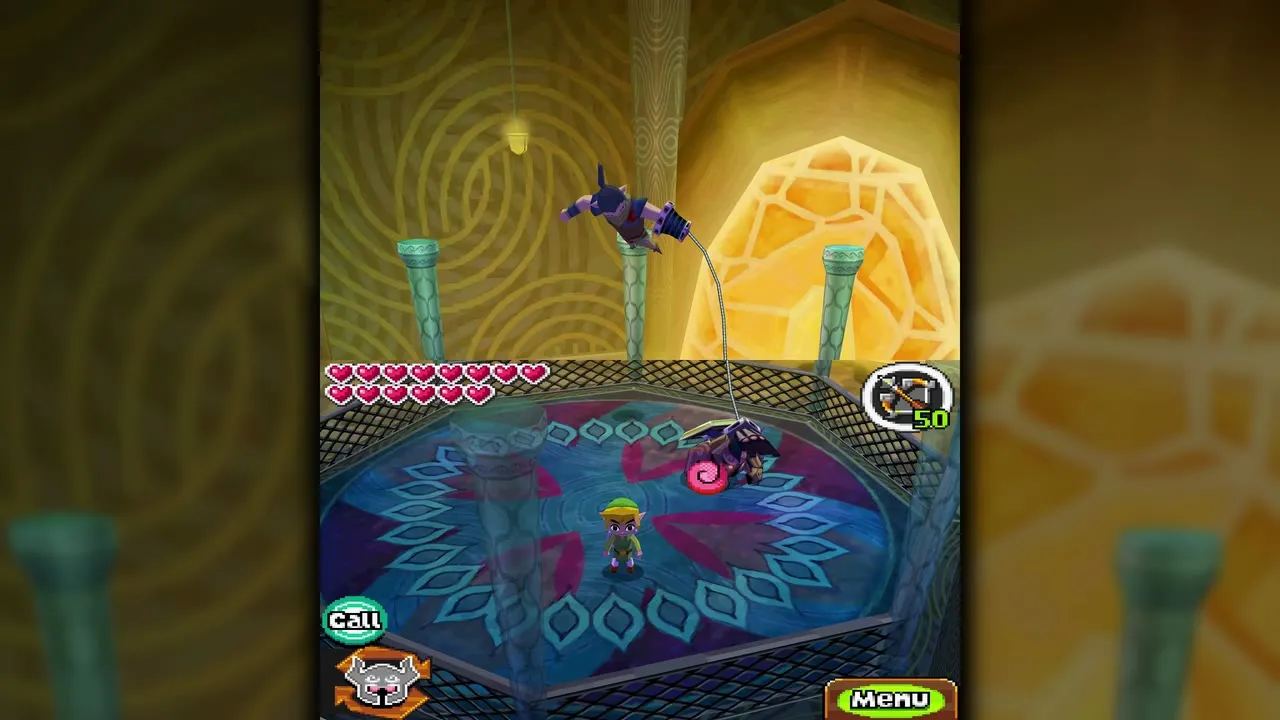
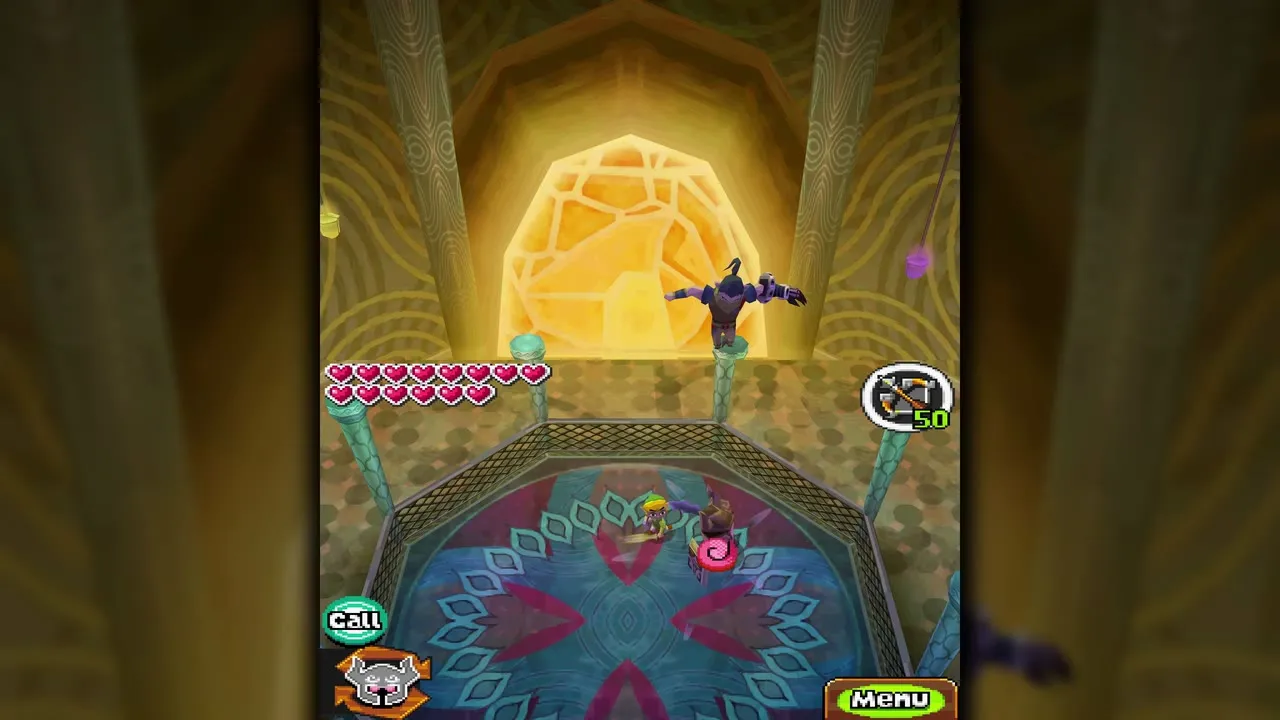
If both of you dodge, the gauntlet sticks in the floor. Draw a path for Zelda to it and she tugs until Byrne crashes down. Slash him while he is on the ground, then repeat. In the second round his gauntlet attacks grow more accurate, and he adds a white ball of energy that stuns Zelda if it hits her, so keep both of you moving and keep her out of its path.
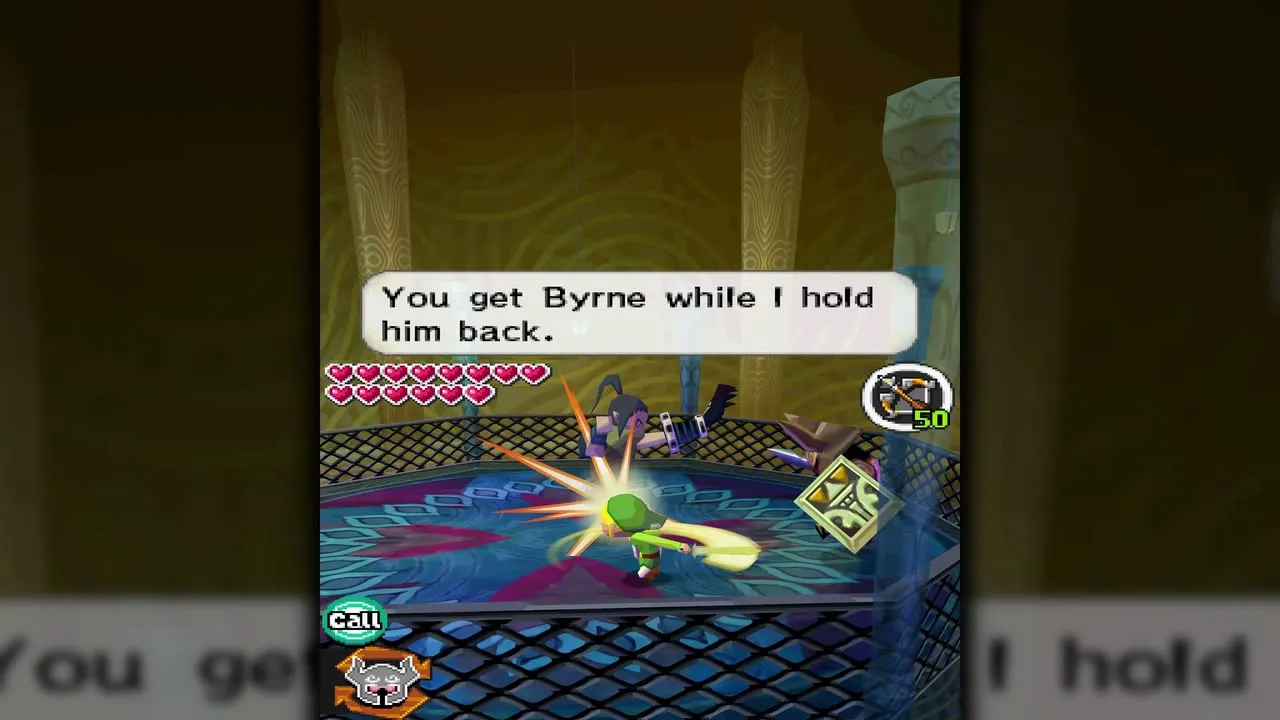
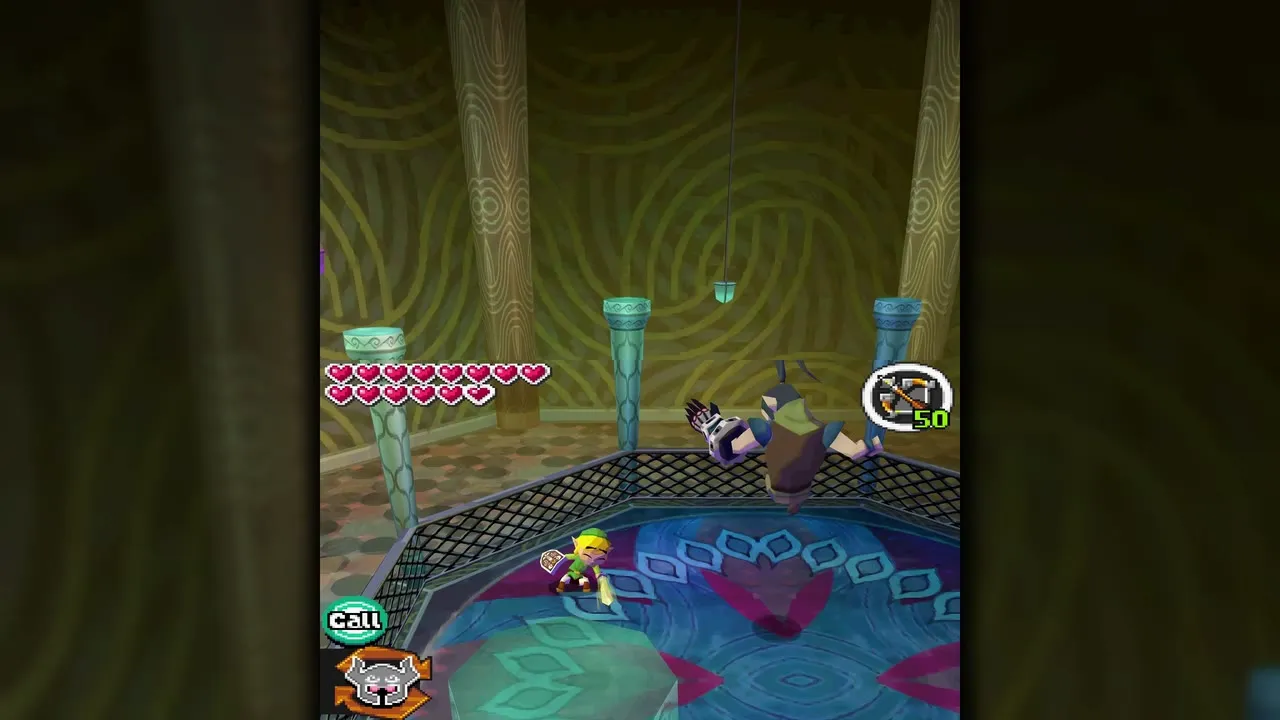
In the last phase Byrne stays on the ground and sidesteps around you. Slashing him from the front does no damage, but a few hits make him angry enough to charge up a thrust with his gauntlet. As he thrusts toward Link, position Zelda between the two of them so that she locks with him, then slash him from behind. Repeat until he is beaten.


After Byrne: Malladus and Anjean’s Force Gem
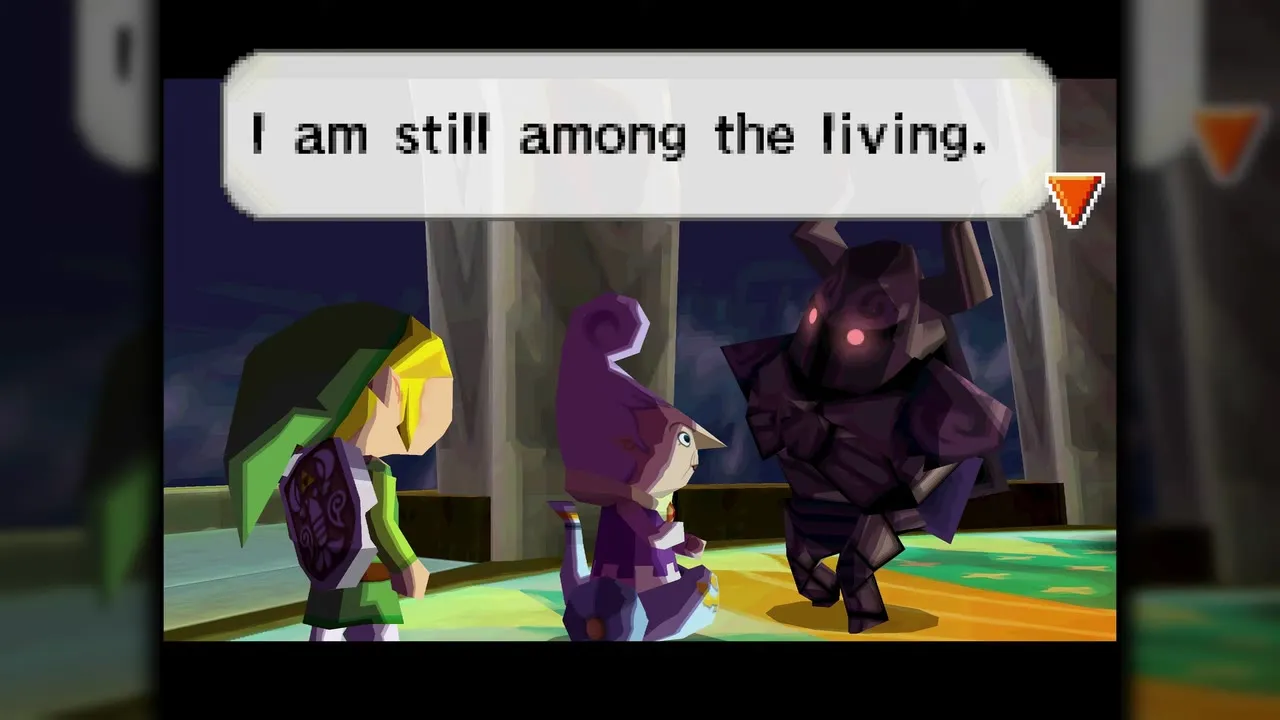
Malladus rises in Zelda’s body
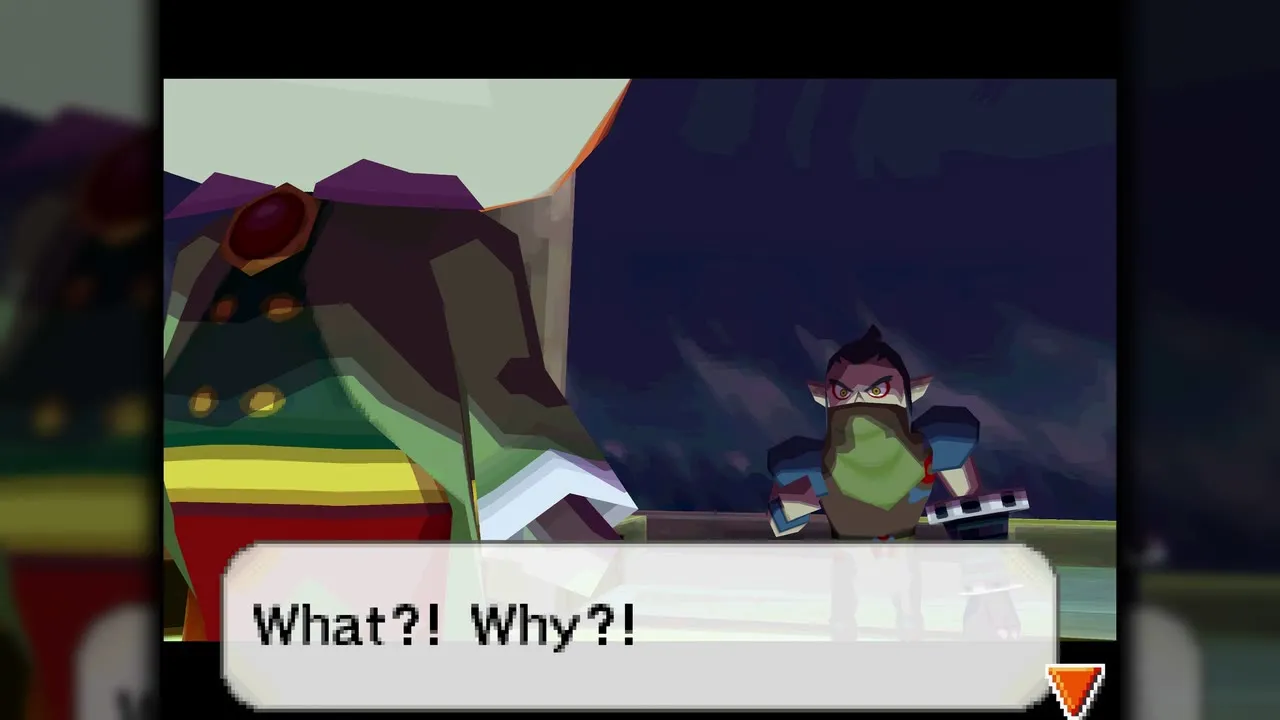
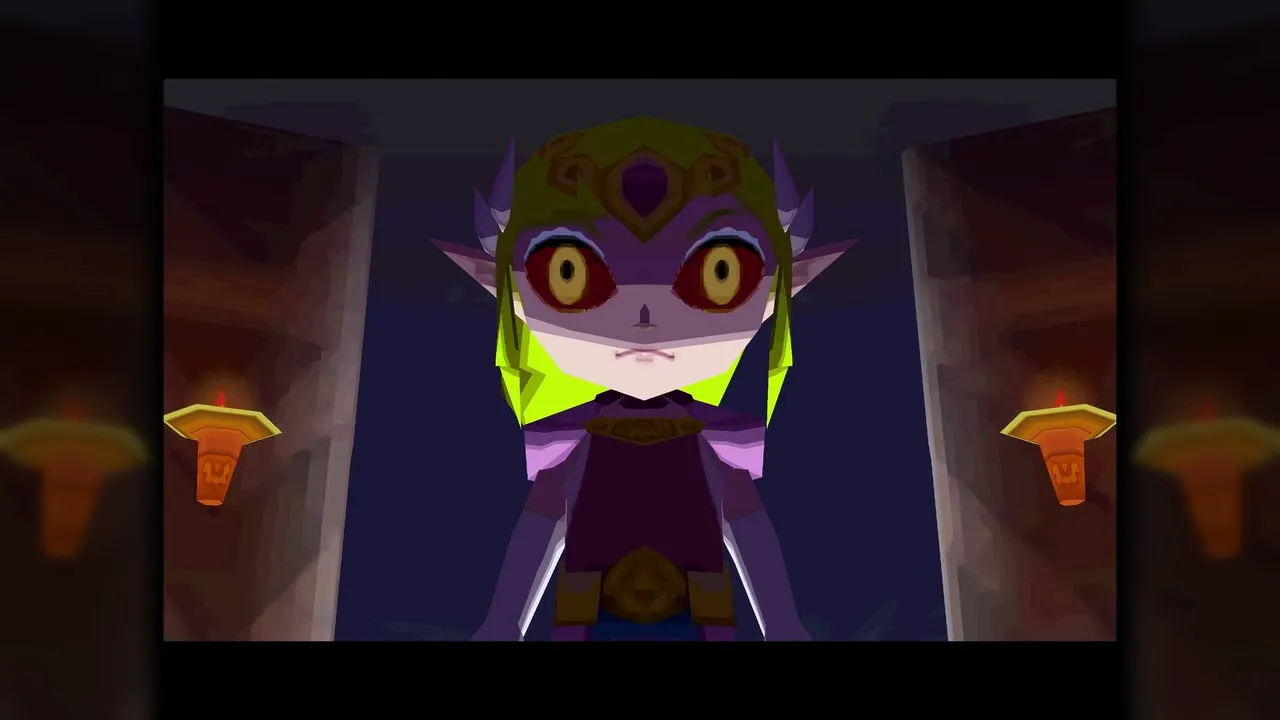
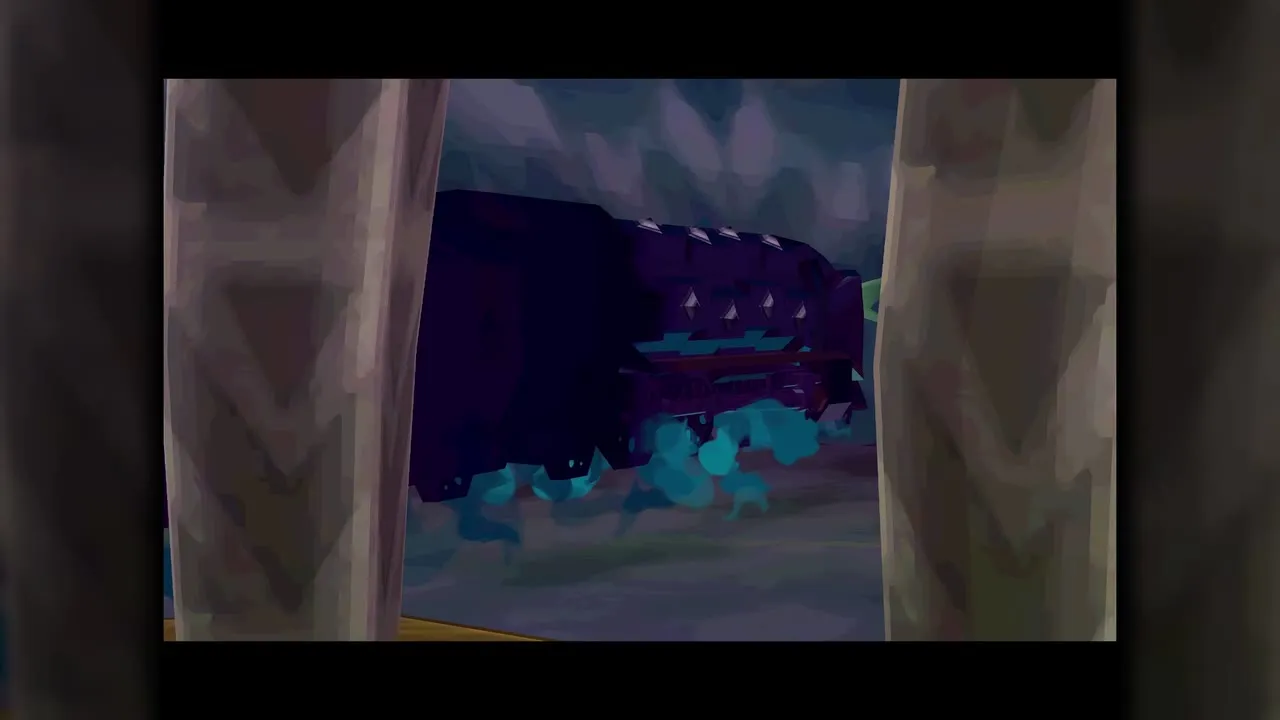
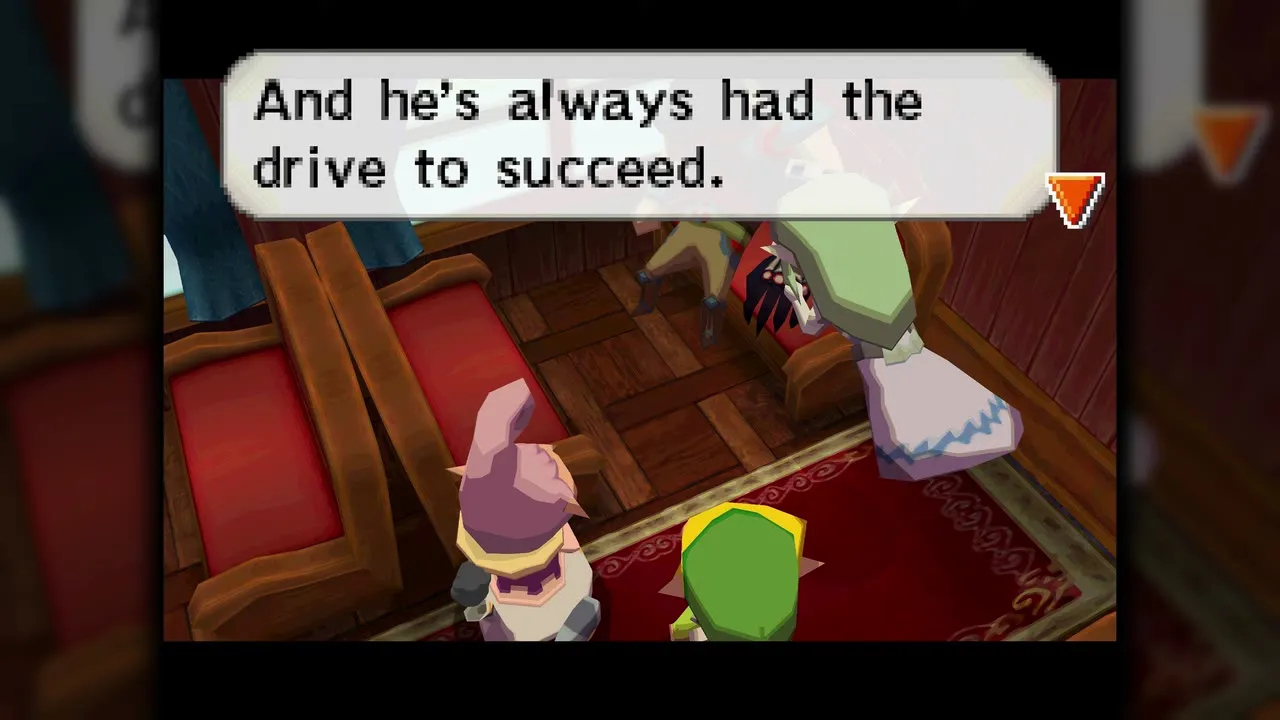
After a short scene, follow Byrne up the stairs to the top of the Tower for a long one. Cole completes his ritual and Malladus is revived inside Zelda’s body. Malladus then strikes Byrne down, and Cole escapes with Malladus on the Demon Train. Anjean brings you, Zelda’s spirit and the unconscious Byrne back to the lobby, where Byrne rests in the passenger car of the Spirit Train.

Anjean’s Force Gem
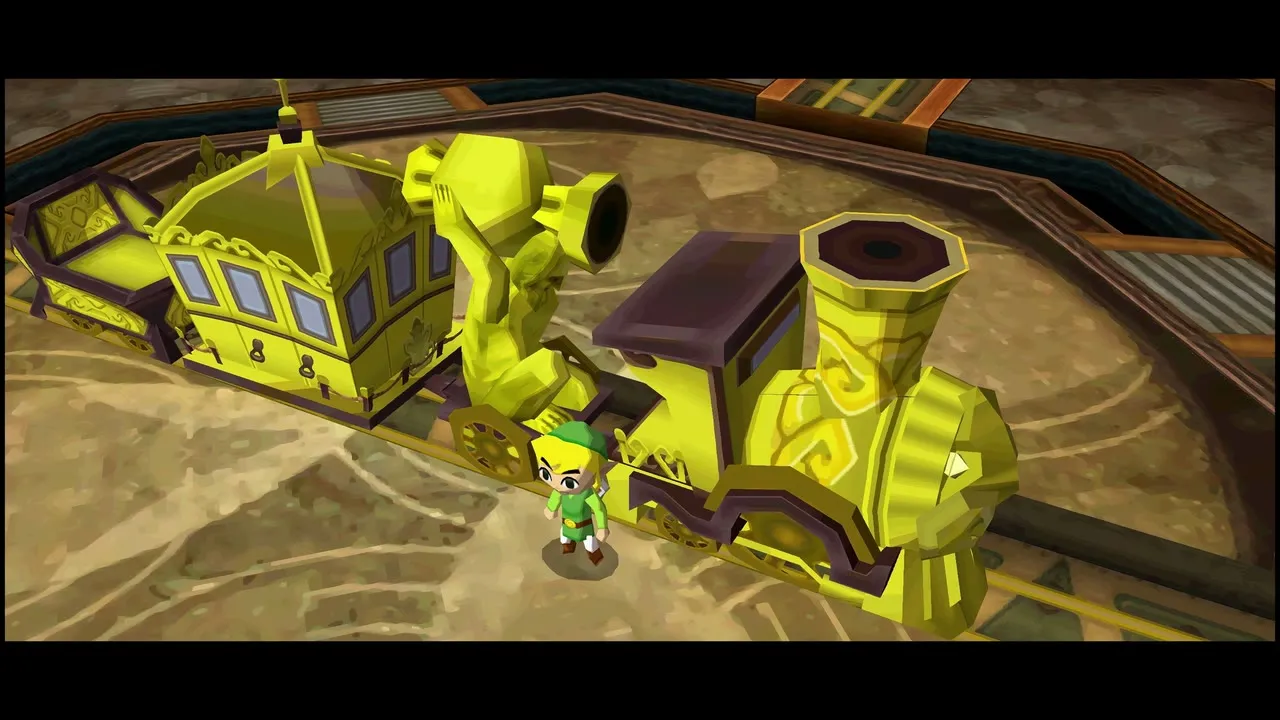
Anjean explains that the Bow of Light, kept in the Sand Temple, is the only weapon that can drive Malladus out of Zelda. To help, she gives you a Force Gem that restores tracks into the Sand Realm, as far as the Sand Sanctuary. It is the third required Force Gem, after Carben’s and Noko’s, and it is not one of the numbered side-quest gems.

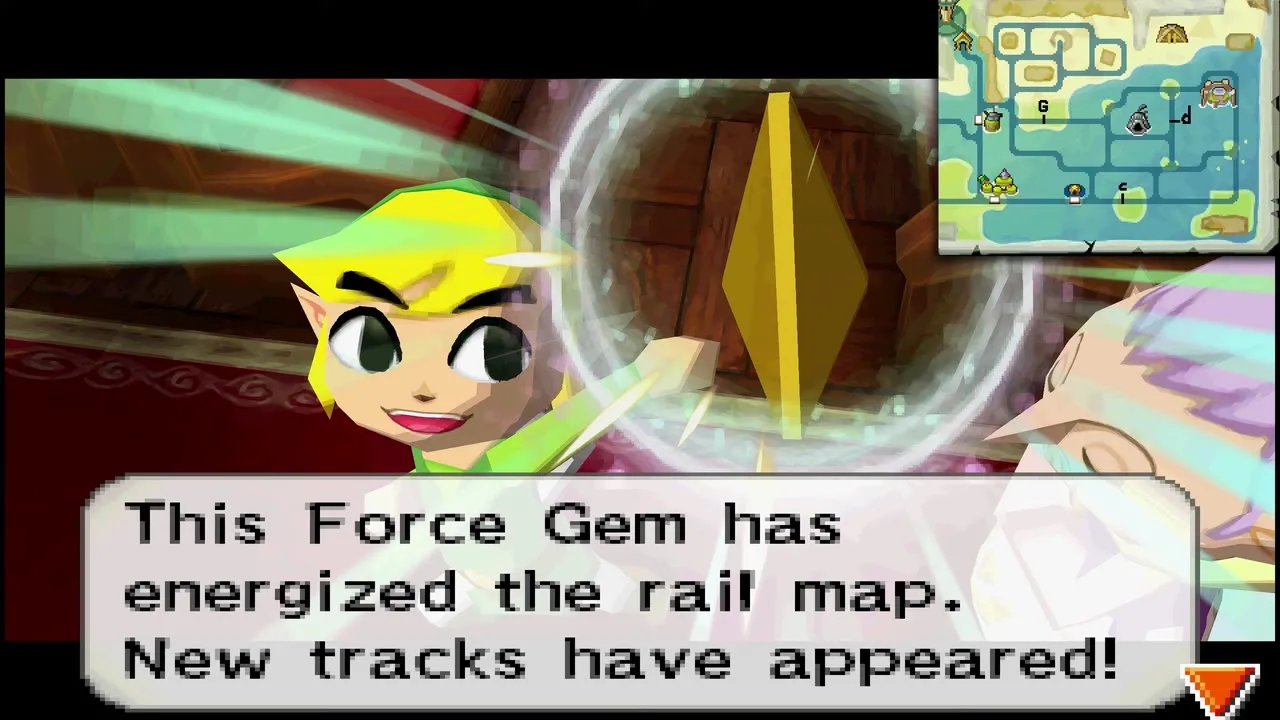
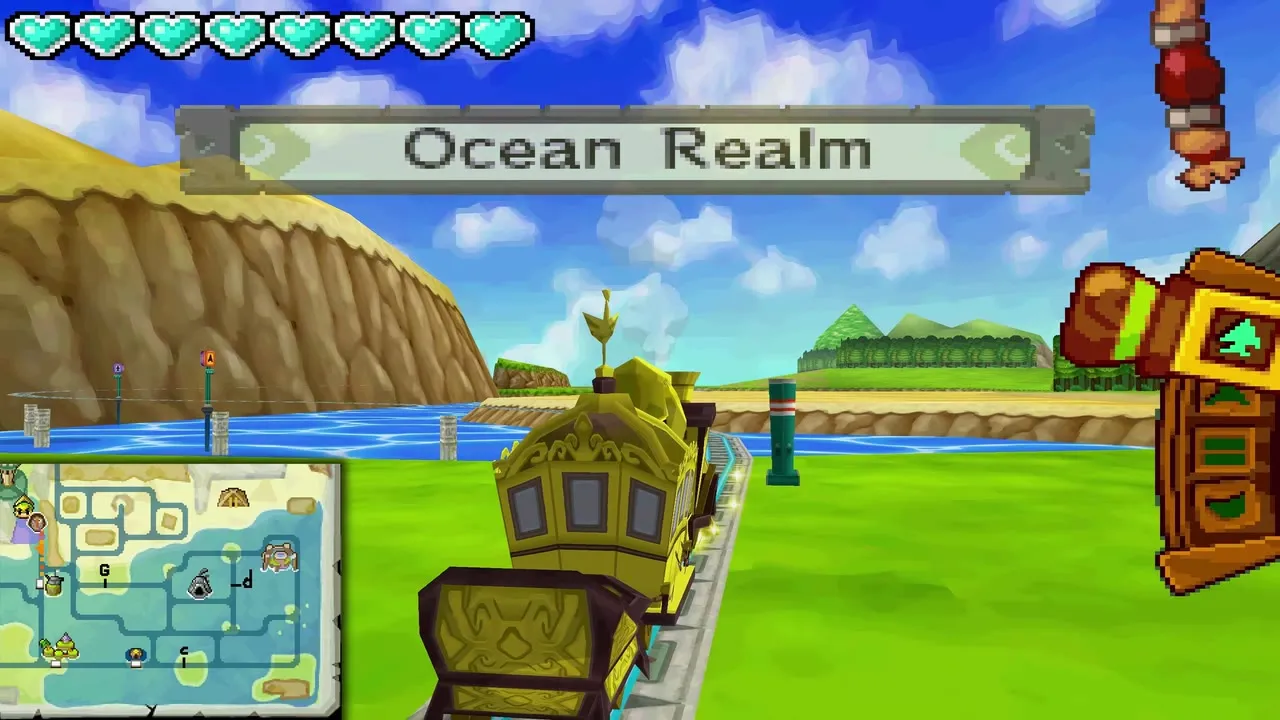
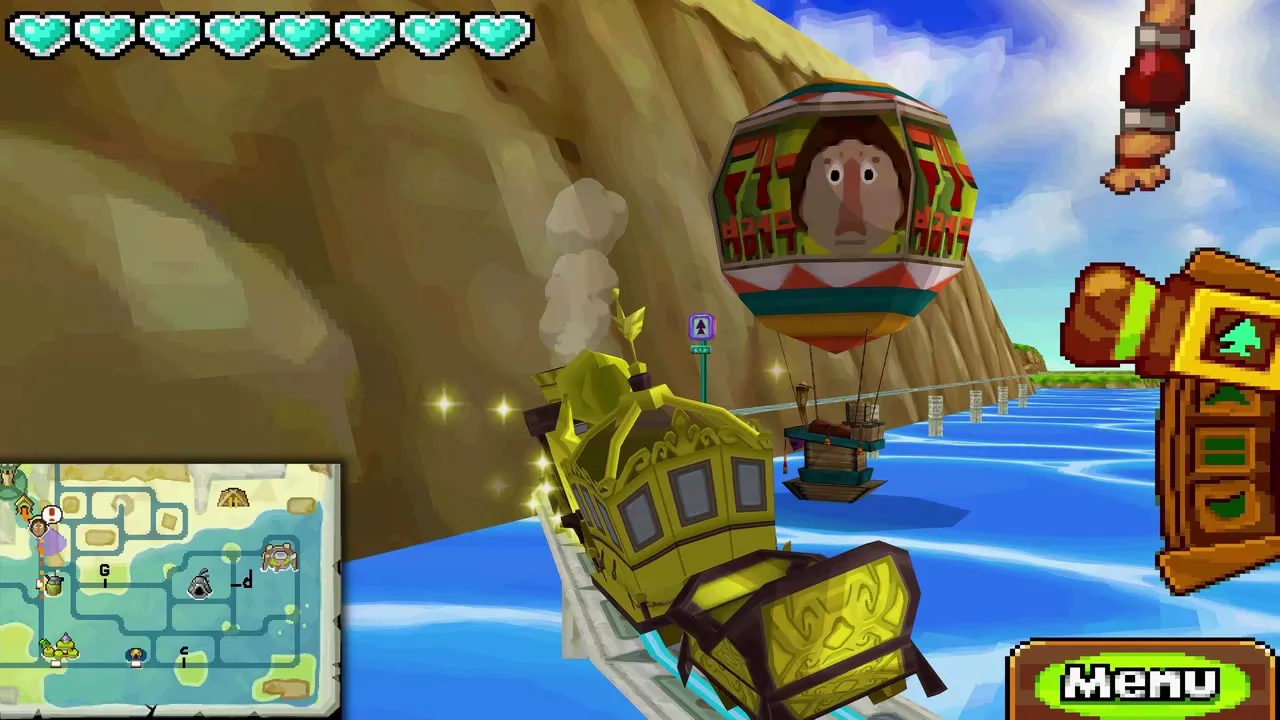
Return to the train, open the Rail Map and draw a route along the new line to the Sand Realm, which you reach through the Ocean Realm map. Nothing else is required in the Tower first, so you are free to visit shops and side quests before you go.
Chapter checklist
| Collectible | Type | Where |
|---|---|---|
| Tear of Light 1 | Tear of Light | Floor 18, bottom right behind blocks |
| Tear of Light 2 | Tear of Light | Floor 19, west hallway |
| Tear of Light 3 | Tear of Light | Floor 20, top left corner, behind the red eye |
| Small key (floor 18 door) | Key | Chest in the top right corner, reached with the Whip |
| Small key (floor 19 door) | Key | Floor 18 block room, south enclave |
| Random treasure | Treasure | Floor 19 enclave chest |
| Boss Key | Key | Floor 22, electrified, Zelda carries it |
| Anjean’s Force Gem | Force Gem | Spirit Train after Byrne, opens the Sand Realm tracks |
With the Sand Realm tracks open, continue with the Sand Realm walkthrough.
