





















Spirit Tracks 100% Completion Walkthrough18 chapters
- Aboda Village and Hyrule CastleThe first train ride, the Royal Engineer ceremony, Zelda’s escape, the Spirit Flute, sword and path to the Tower.
- Tower of SpiritsMeet Anjean, collect the three Tears of Light, use Phantom Zelda and claim the Forest Rail Map.
- Forest RealmReach Whittleton, solve the Lost Woods rail maze, learn the Song of Awakening and play the Gage duet.
- Forest TempleSong of Healing, Whirlwind, Mothula, Boss Key, Stagnox boss fight, Heart Container and Force Gem.
- Tower of SpiritsTears of Light, lava Phantoms, Zora Warrior, the Snow Rail Map, plus the Cannon and Rabbit Net.
- Snow RealmAnouki Village pairings, the Rocktite tunnel, Steem’s duet, the Heart Container shop and Ferrus’s blizzard map.
- Snow TempleGet the Boomerang, solve the bell puzzles, take the Boss Key from the Wolfos and beat Fraaz for a Heart Container.
- Tower of SpiritsDark floor 8, Torch Phantoms, Tears of Light, the Z door, Mighty Zora Warrior and Ocean Rail Map.
- Ocean RealmFix the Trading Post bridge, find the Regal Ring, learn the Song of Birds and free Carben at the Ocean Sanctuary.
- Ocean TempleReach the sunken temple, win the Whip, beat Phytops and claim the Heart Container and blue Force Gem.
- Tower of SpiritsBeat Warp Phantoms and Phantom Eyes, collect three Tears of Light and claim the Fire Rail Map.
- Fire RealmReach Goron Village, ferry Noko for Mega Ice, cool the lava, solve the Fire Sanctuary statues and play Embrose’s duet.
- Fire TempleSnurglar keys, Heatoise and the Bow, mine carts, Boss Key, Cragma, Heart Container and the Goron Quiver.
- Tower of SpiritsClimb Tower of Spirits floors 18-23, solve the Wrecker Phantom puzzles, take the Boss Key and beat Byrne with Zelda.
- Sand RealmSand Gyorg, desert rabbits, the Sand Sanctuary bomb puzzle, the Rael duet and the three trials to the Sand Temple.
- Sand TempleStalfos keys, Sand Wand, the Boss Key, the Skeldritch boss fight, the Heart Container, Bow of Light and Lokomo Sword.
- Tower of Spirits Floors 24-30 and the Compass of LightLight Arrows at the altar, every Phantom puzzle, the floor 26 gauntlet and the Compass of Light.
- Dark Realm, Demon Train and MalladusDestroy six Armored Trains, beat the Demon Train, free Zelda from Cole and defeat Malladus with the Lokomo Sword.
| Covers | Second climb of the Tower of Spirits (floors 4 to 7), then Castle Town, Hyrule Castle, Aboda Village and Rabbitland Rescue |
|---|---|
| You need | The Whirlwind and the Forest Rail Map, so the Forest Temple must be finished; a few spare rupees if you want to enter Take ‘Em All On! |
| Rewards |  Snow Rail Map,  3 Tears of Light,  2 small keys,  a big green Rupee (100 Rupees), a treasure from the floor 4 chest, 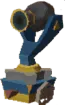 the Cannon,  the Stamp Book,  the Rabbit Net,  1 Heart Container from Take ‘Em All On! Lv 1 (optional) |
This chapter sends you up the Tower of Spirits for the second time, through four hot floors where Zelda lends her Phantom body to carry Link over lava, and ends with the Snow Rail Map. Because enemy trains now beat up the Spirit Train, you then fetch Alfonzo, pick up the Cannon, the Stamp Book and the Rabbit Net, and only then aim for the Snow Realm.

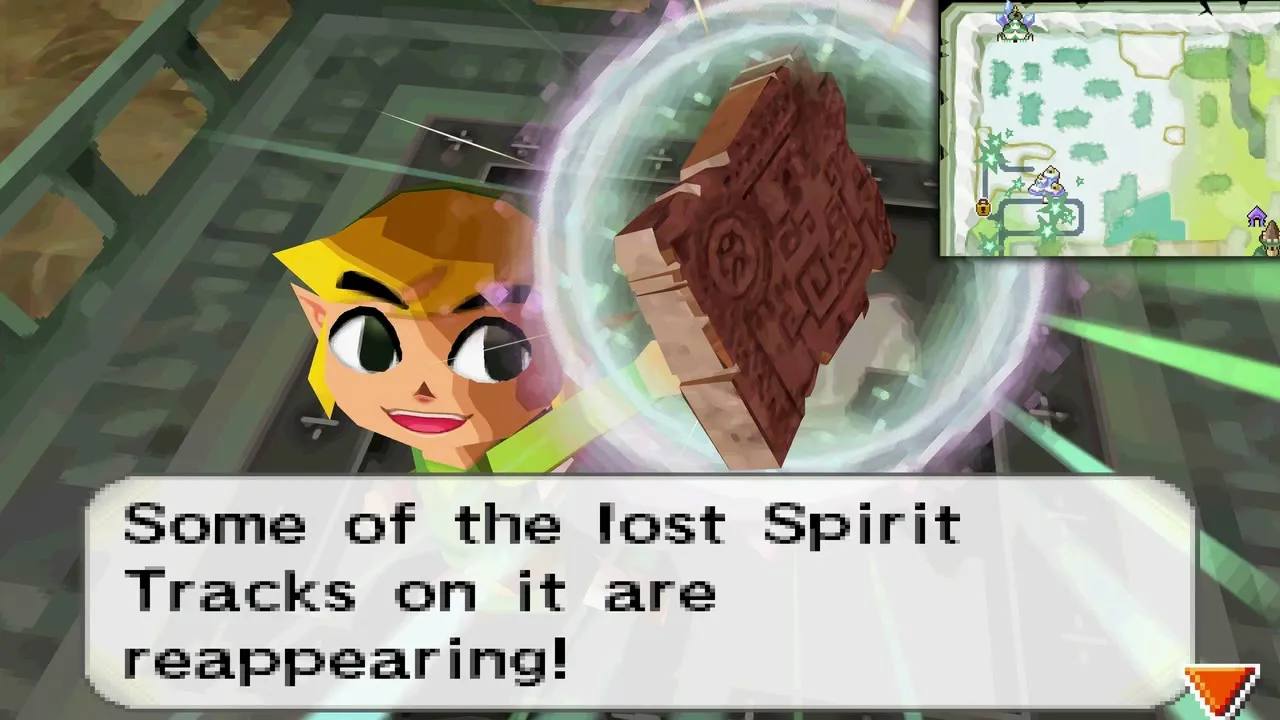
Table of Contents
Getting back to the Tower of Spirits
Train route from the Forest Temple
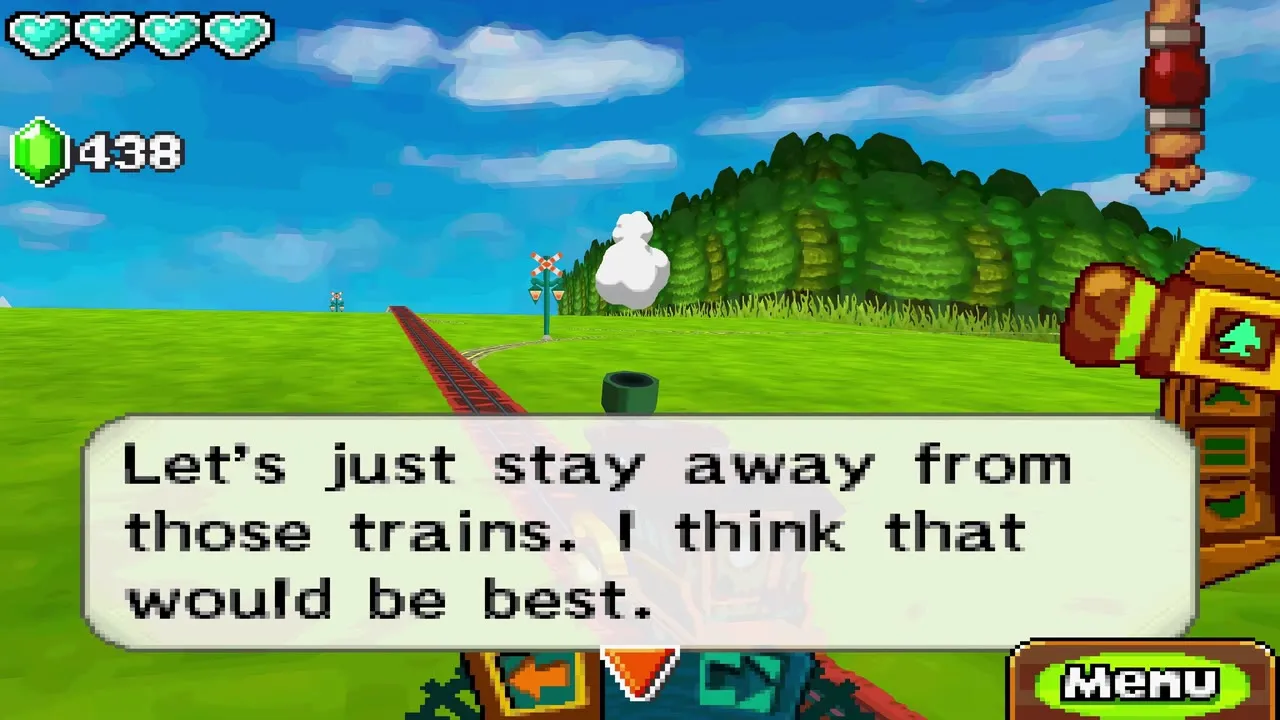
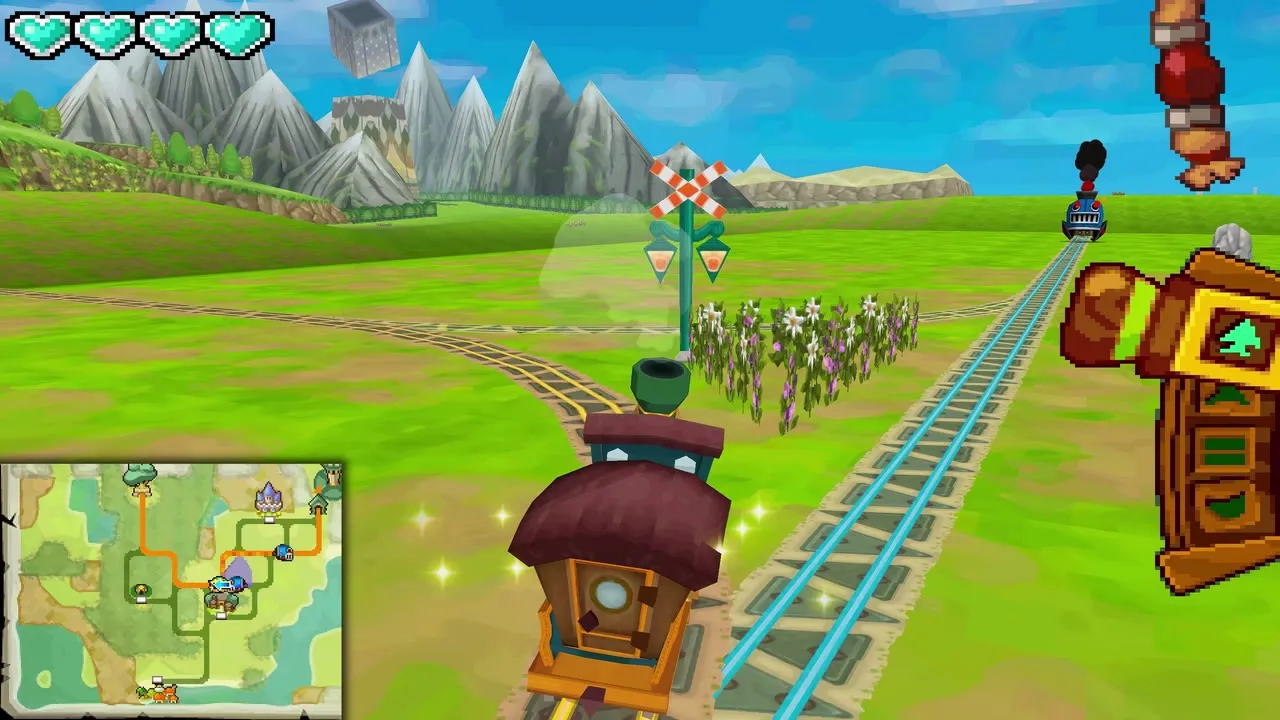
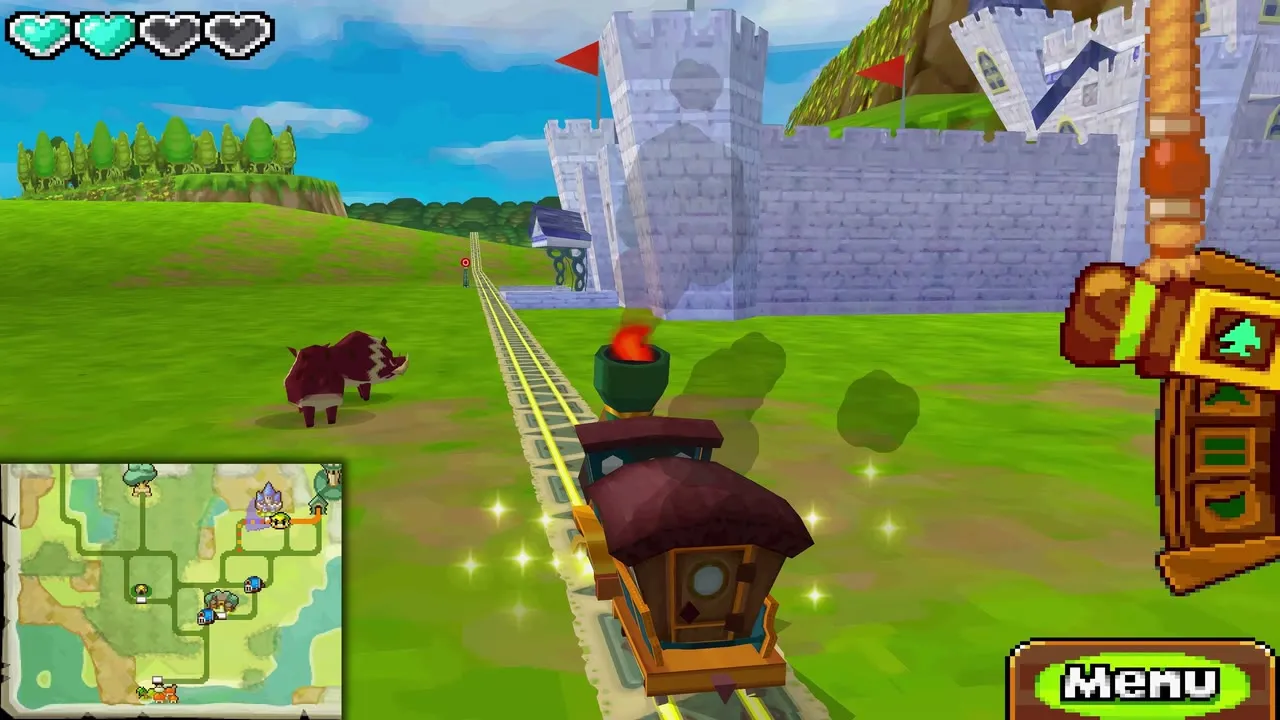
Leave the Forest Temple by the blue light, board the train and draw a track toward the Tower of Spirits in the middle of the map. Possessed trains now roam the rails. Your train has no weapon yet, so check their direction on the map and route around them, and heed Zelda’s advice to stay well away from them.

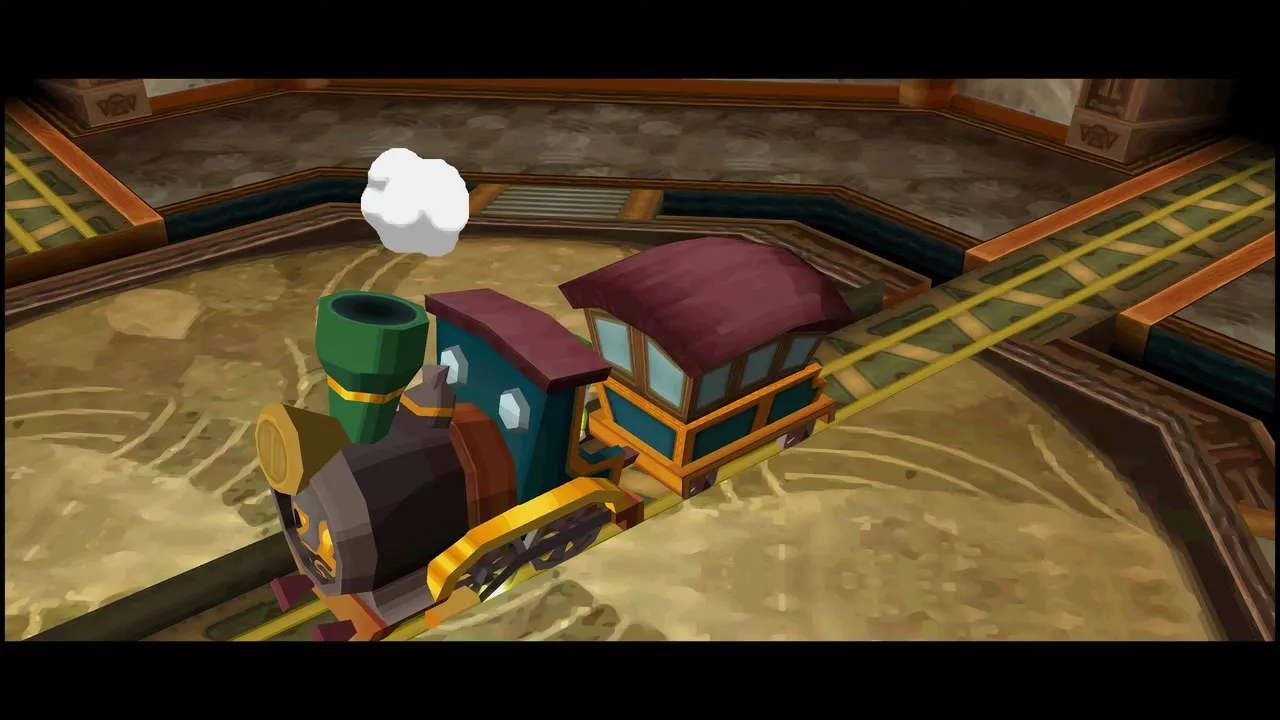
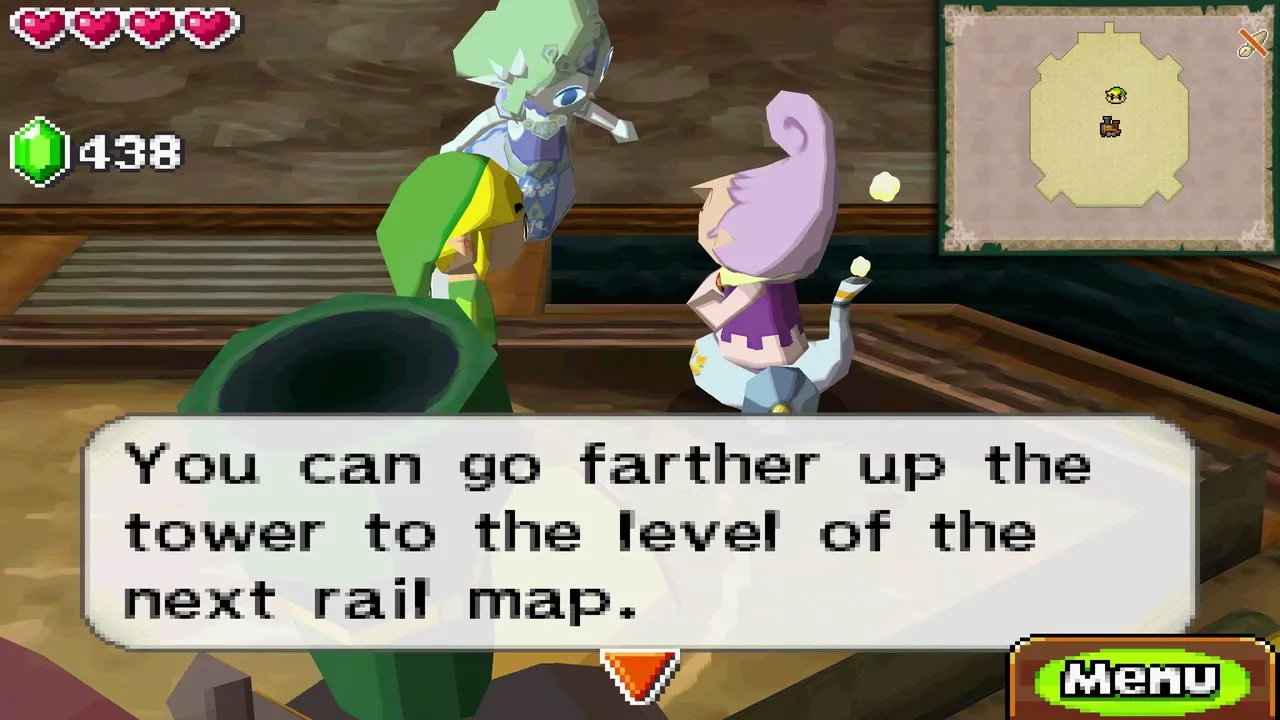
Park at the Tower and talk to Anjean in the lobby. She notes that the Tower has partly recovered its energy and tells you to go higher, because the next Rail Map sits further up. Walk in and climb the stairs to floor 4.
Tower of Spirits floors 4 to 7
Floor 4: the three Tears of Light
Floor 4 is a hot lava floor with two patrolling Phantoms. Zelda does not want to climb inside a hot suit of armor, but she agrees when you ask. Before she does, collect the Tears of Light: three of them power up your sword, and you need a full charge to stun a Phantom.
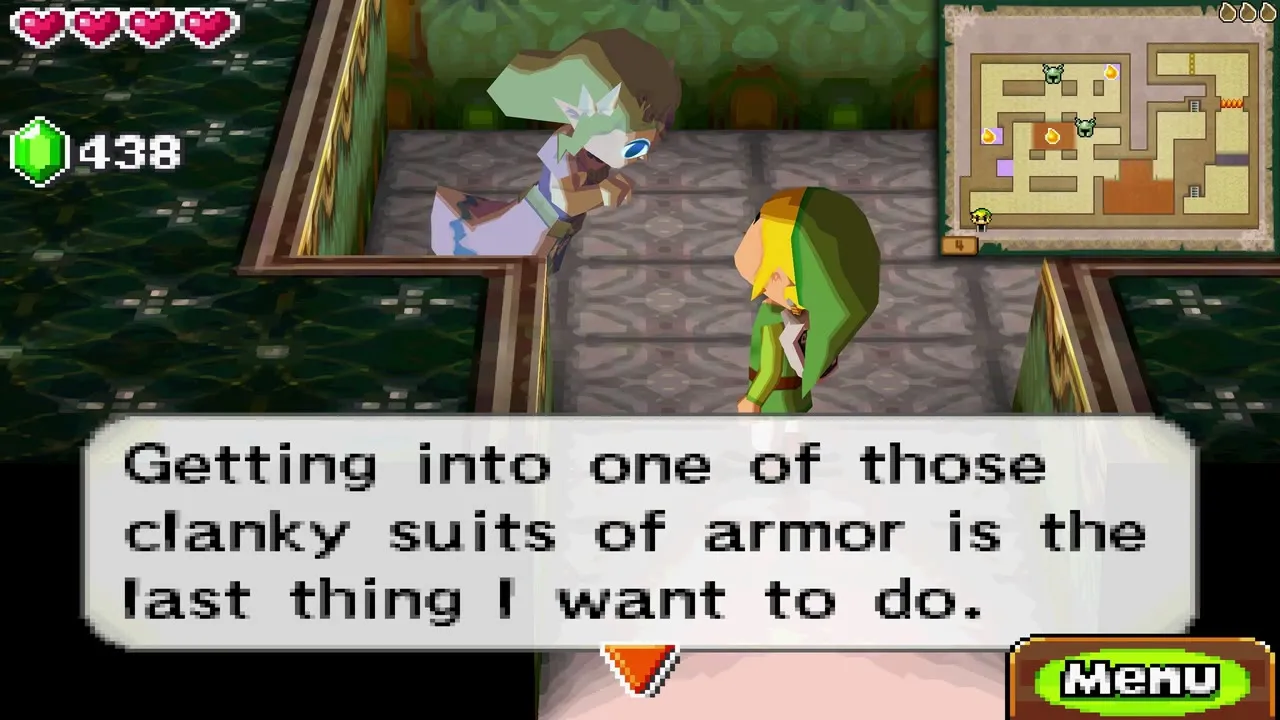

Two of the Tears lie in safe corners that you can walk to. The large chest in the top-right corner, next to one of them, holds a valuable treasure (such as a Ruto Crown or a Pirate Necklace) to sell or keep for train cars. Pick it up on the way.


The third Tear floats above the central lava pit. Wait until the Phantoms are at the far end of their patrols, stand at the edge and blow it across the pit with the Whirlwind, then walk around and take it. Your sword is now full of energy.

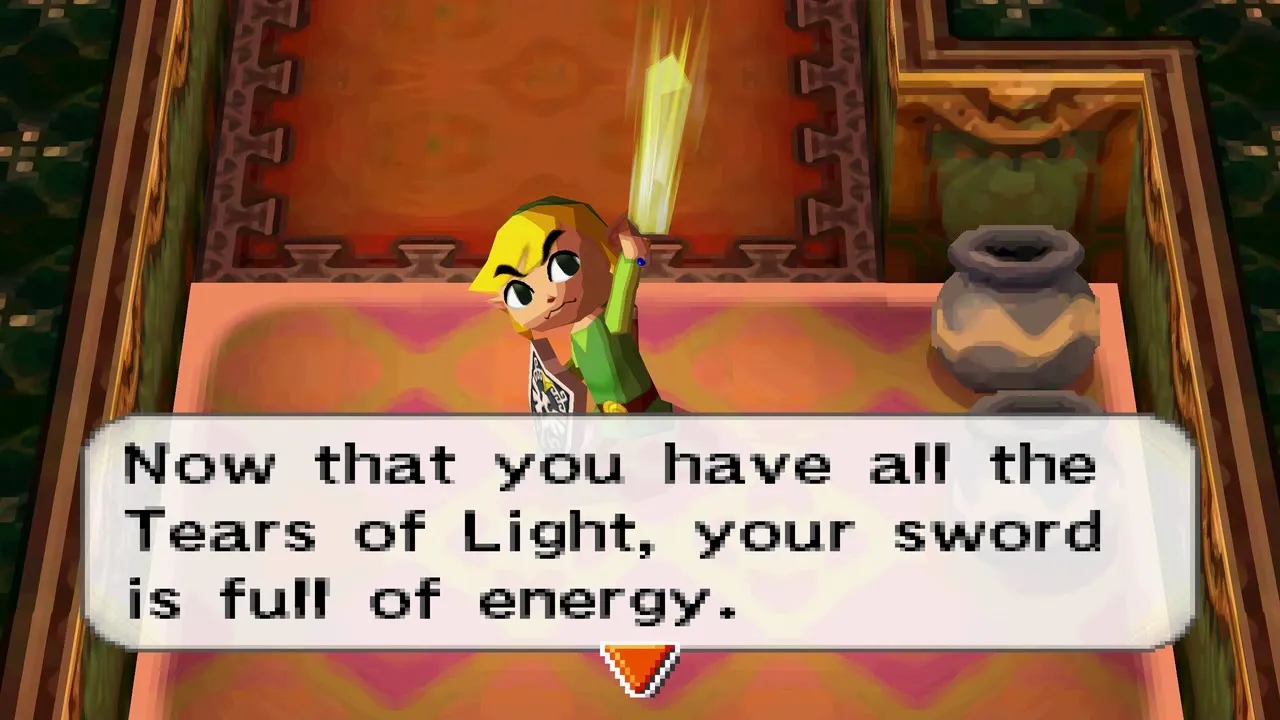
Possessing a Phantom with Zelda
Sneak up behind one of the Phantoms and slash its back with the charged sword. It freezes and Zelda takes it over, and from then on you steer her by drawing a path with the stylus on the bottom screen. The armored body is immune to fire and can walk straight through lava.

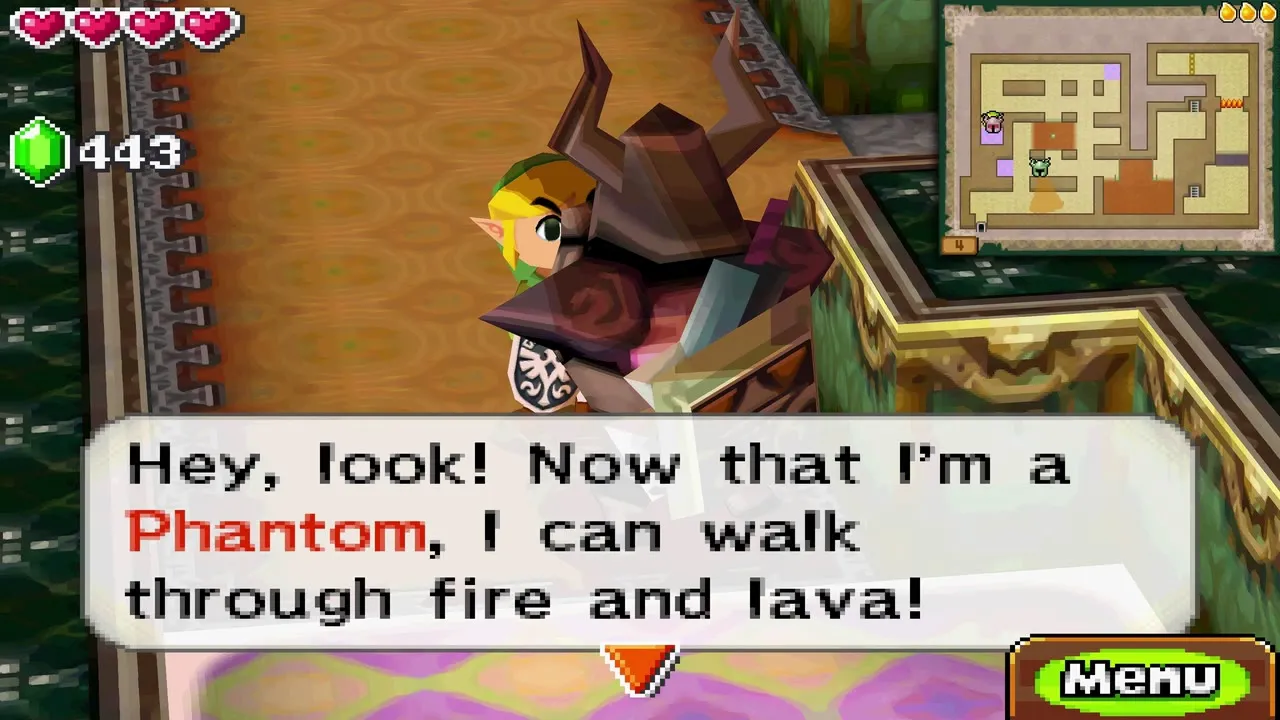
To cross lava yourself, draw Zelda to the edge of a platform, then tap her shield to hop aboard. Link can only jump on from somewhere high, such as a platform or ledge. Draw a path across the bottom of the pit and she carries you to the far side. Double-tap to jump off at the other end.
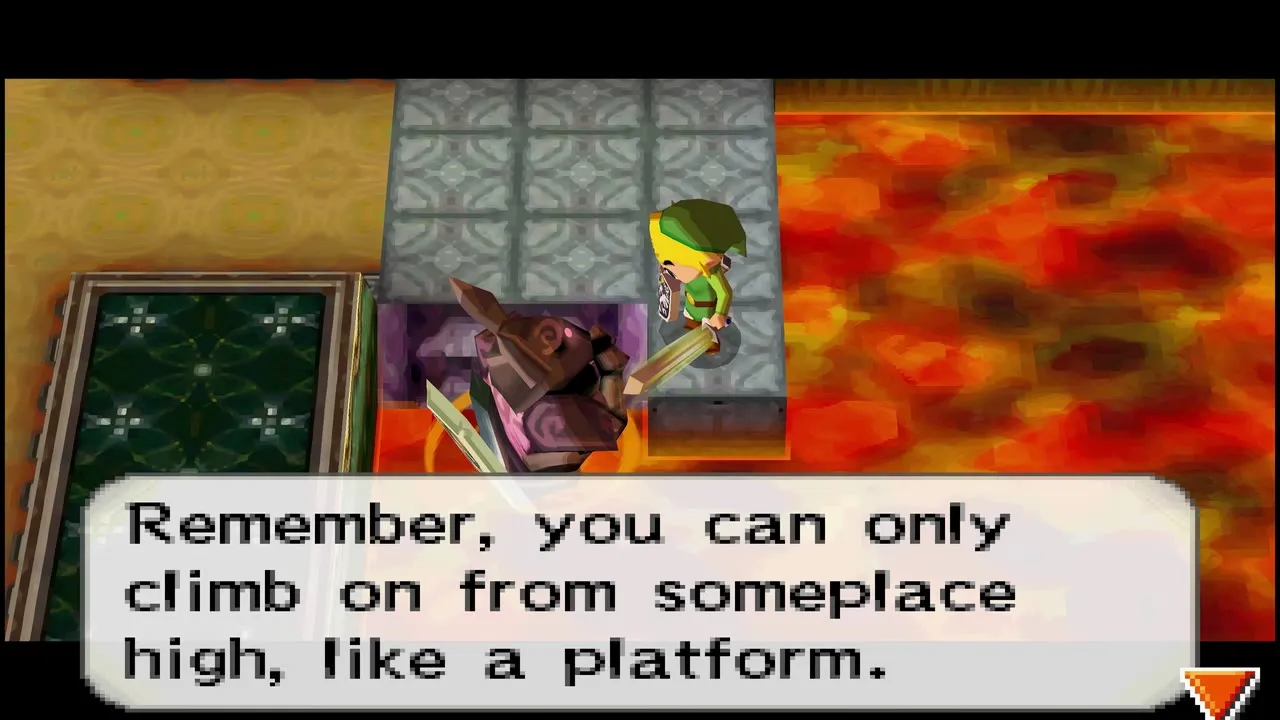
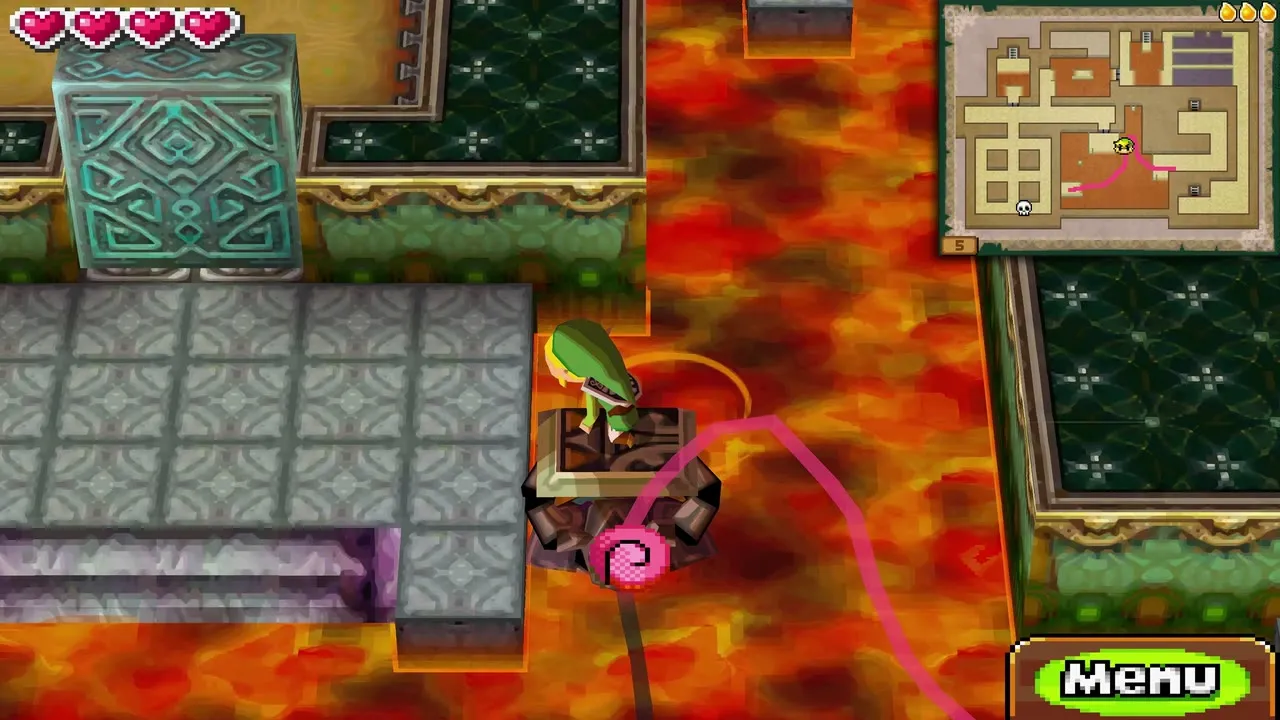
Floor 5: the fans over the lava
A wall in the middle of floor 5 blocks your way, and the room is mostly lava. Ride Zelda’s shield around the pit, and when you pass the two large fans, blow into the microphone to spin each one with the Whirlwind. The north wall drops when both are turning. Swing your sword at any Keese that swoop at you on the way.
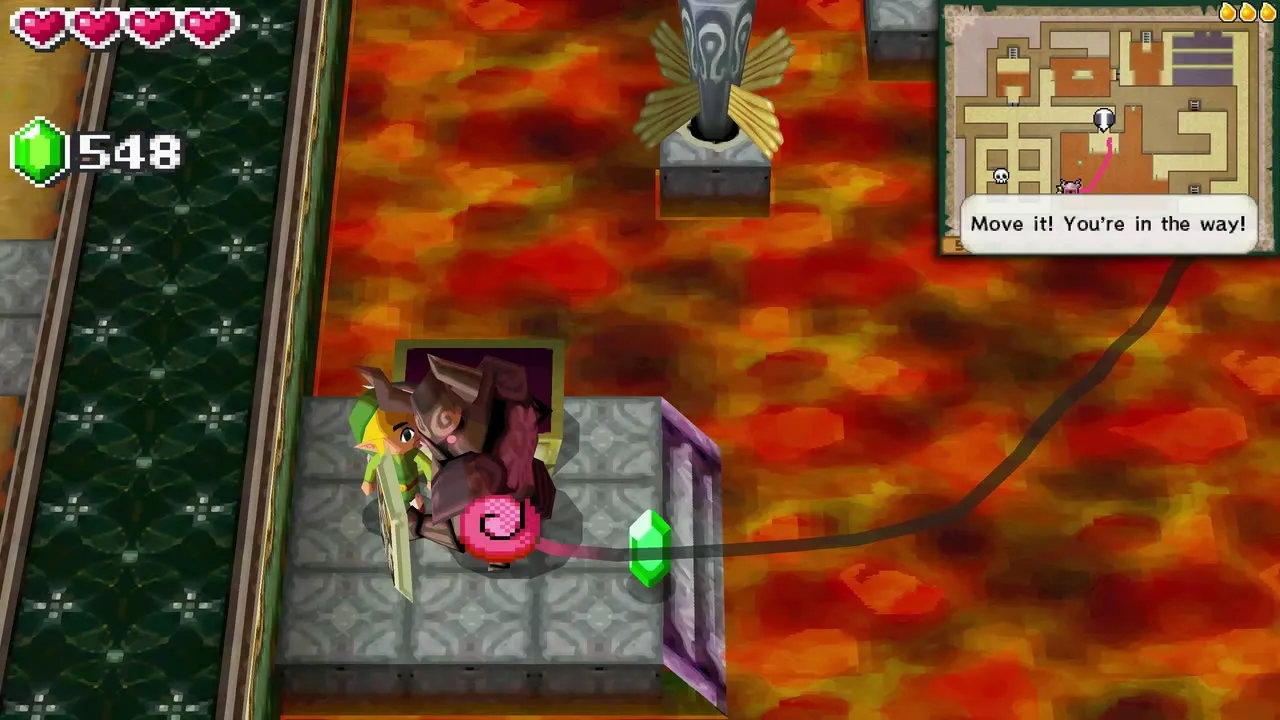

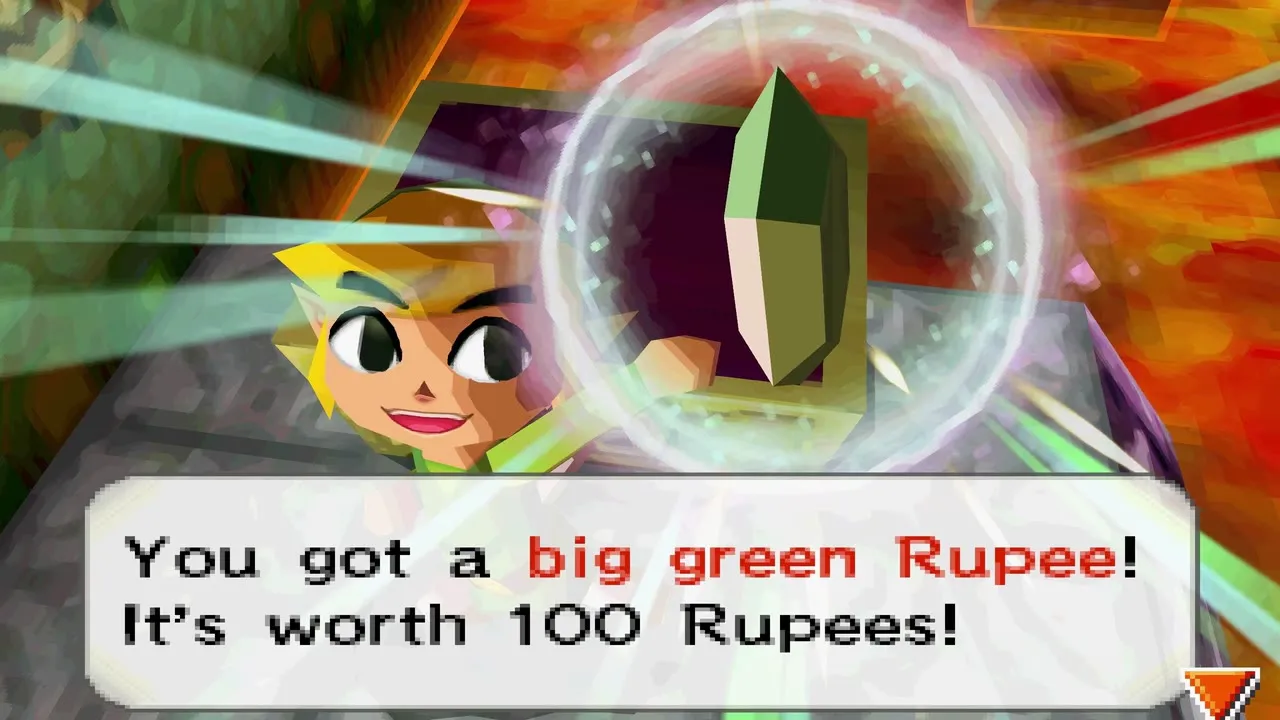
A chest on a platform at the far left holds a big green Rupee, worth 100 Rupees. Collect it while Zelda is carrying you.

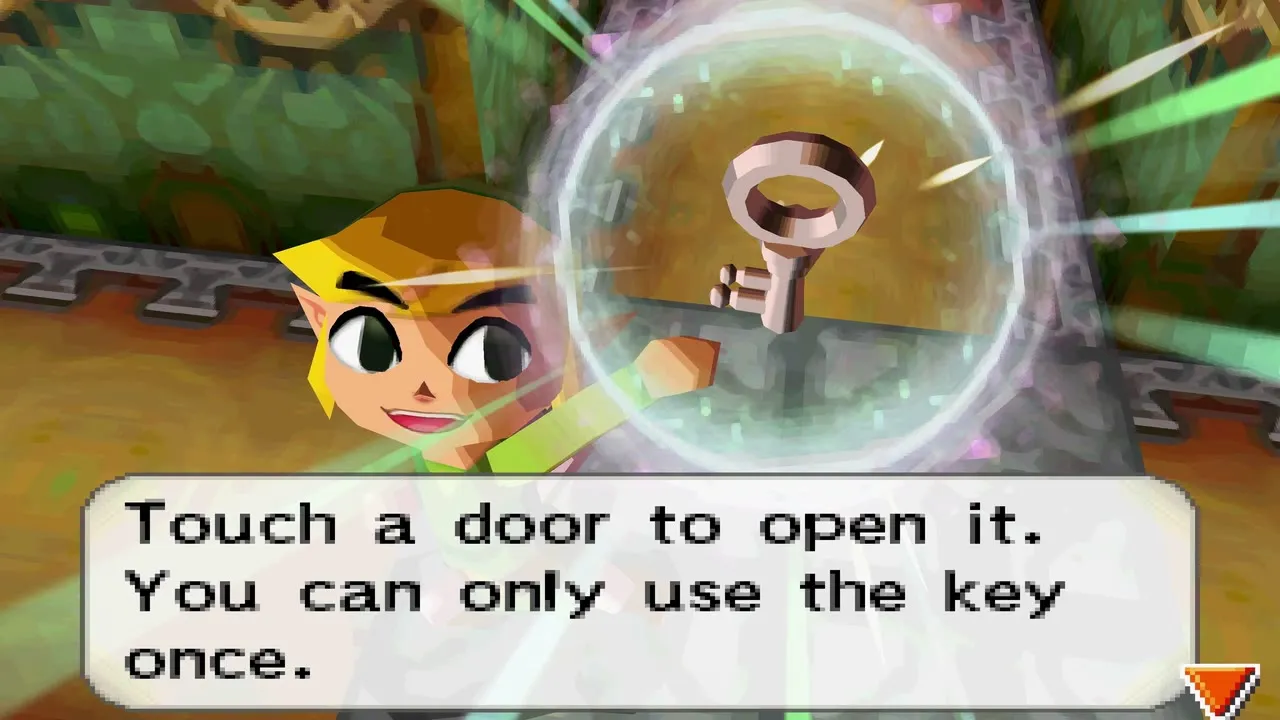
In the bottom-left area a skull-faced enemy runs away from you. It is weak, so trap it between Link and Zelda and hit it to make it drop a small key. Use the key on the locked door above it, then ride Zelda across the next stretch of lava to reach floor 6.

Floor 6: Zora Warrior and the second key
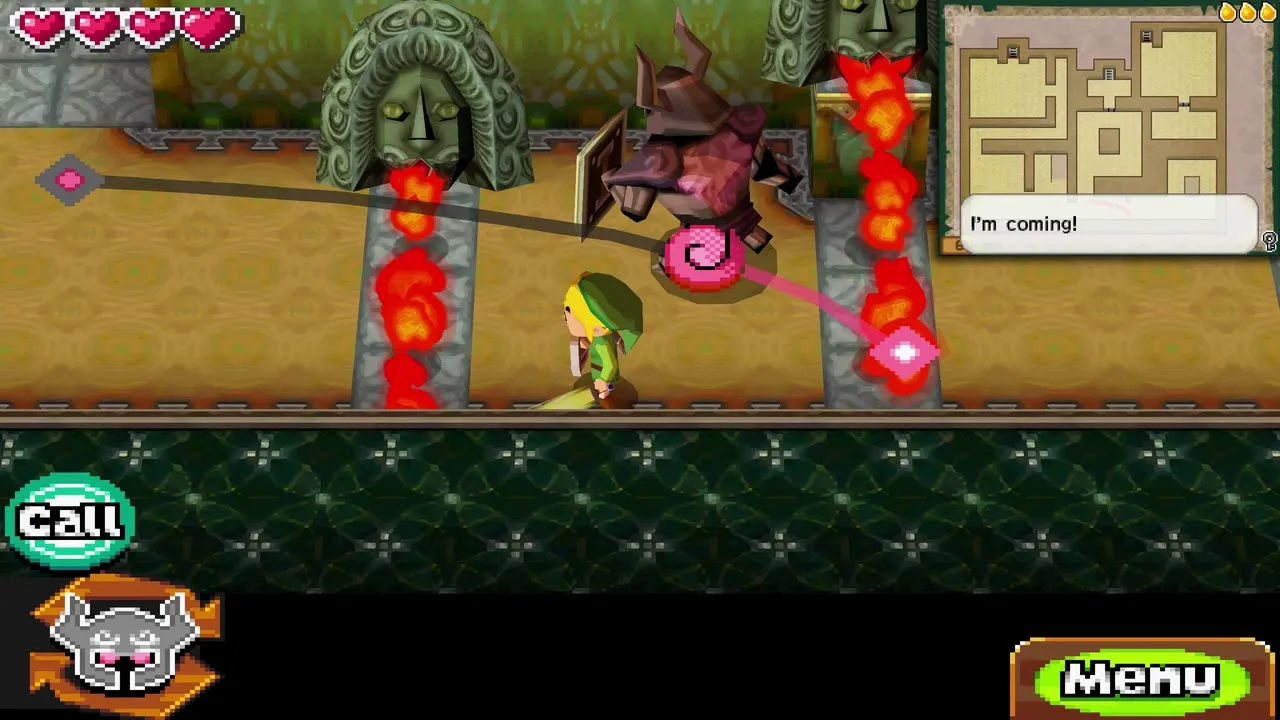
The enemy that fills the next room is a Zora Warrior. Link cannot take it down alone. Work as a pair: have Zelda stand in front and keep it busy with her sword while Link circles behind it and slashes its back. Repeat until it falls, and the walls around the room lower.

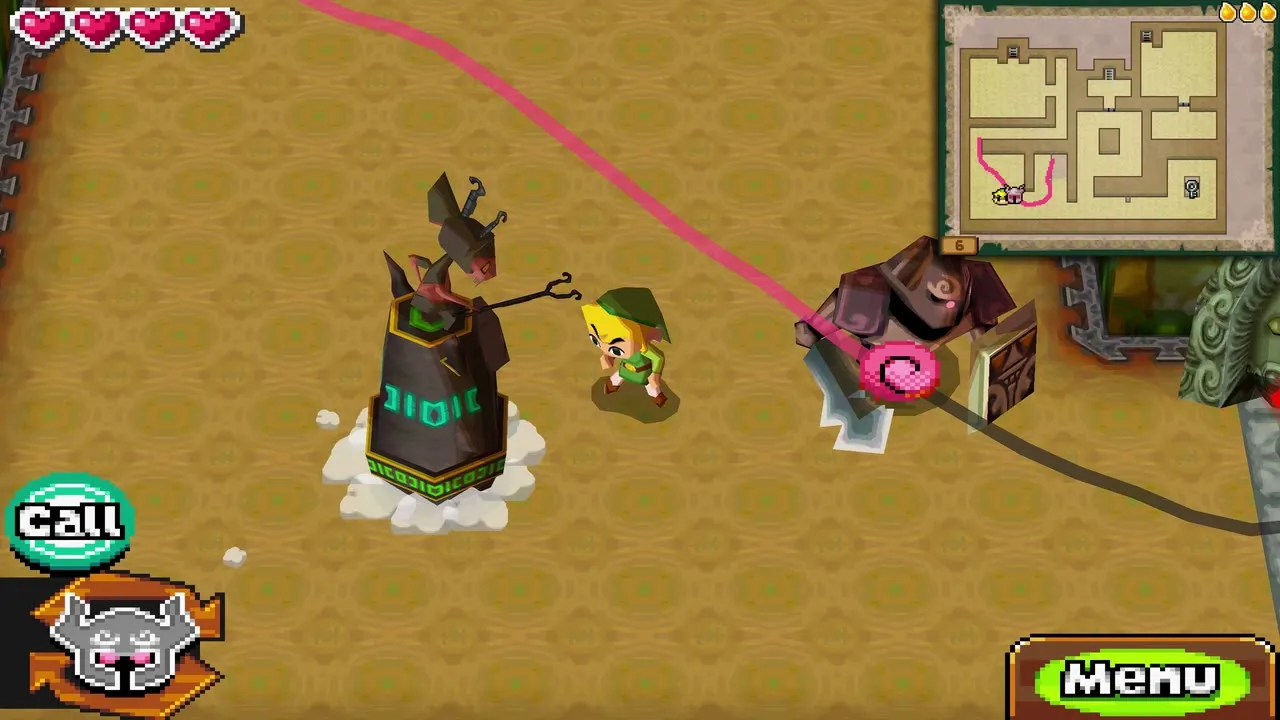
A little further on, a Miniblin sits on a statue that spits fire. Zelda can step in front of the statue to block the flames, which lets Link walk up to a high platform and jump down onto her shield. You may use the Whirlwind to knock the Miniblin off its perch, after which the statue destroys itself, but you can also skip it.

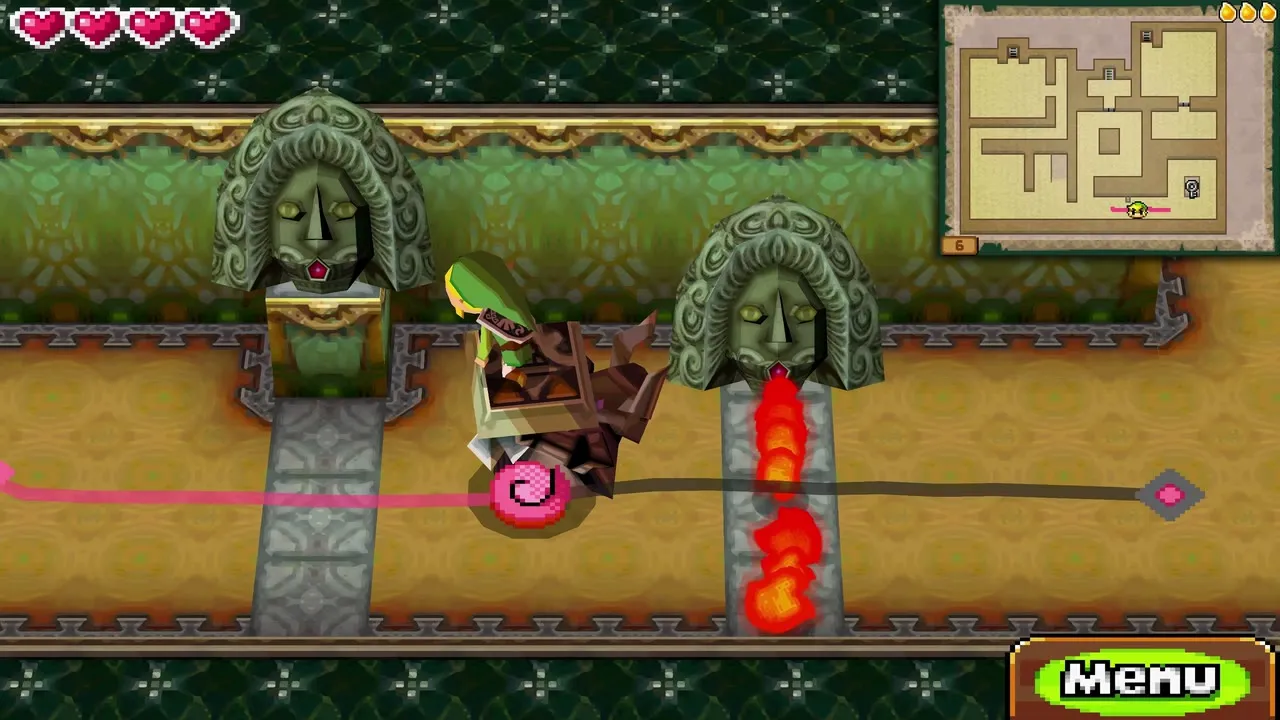
Ride Zelda past the fork and through the fire to a small room. A second small key sits on a high platform. Blow it down with the Whirlwind without getting off the shield, then pick it up. It opens the locked door on the north side. Two more Miniblins on statues guard the way ahead, and you can run past both of them. Head north to the stairs.

Floor 7: how to get the Snow Rail Map
At the top of floor 7 the Tears of Light fade and Zelda steps out of the Phantom, returning to her usual spirit. Walk to the end of the room and take the Snow Rail Map. Some of the lost Spirit Tracks to the north reappear on your map. Step into the blue light to return to the lobby.


Anjean tells you that the next temple is the Snow Temple, and that the Lokomo Steem in the Snow Sanctuary will open the way. Do not go there yet. The new tracks run through terrain where monsters constantly attack, and the Spirit Train will not last without a weapon.

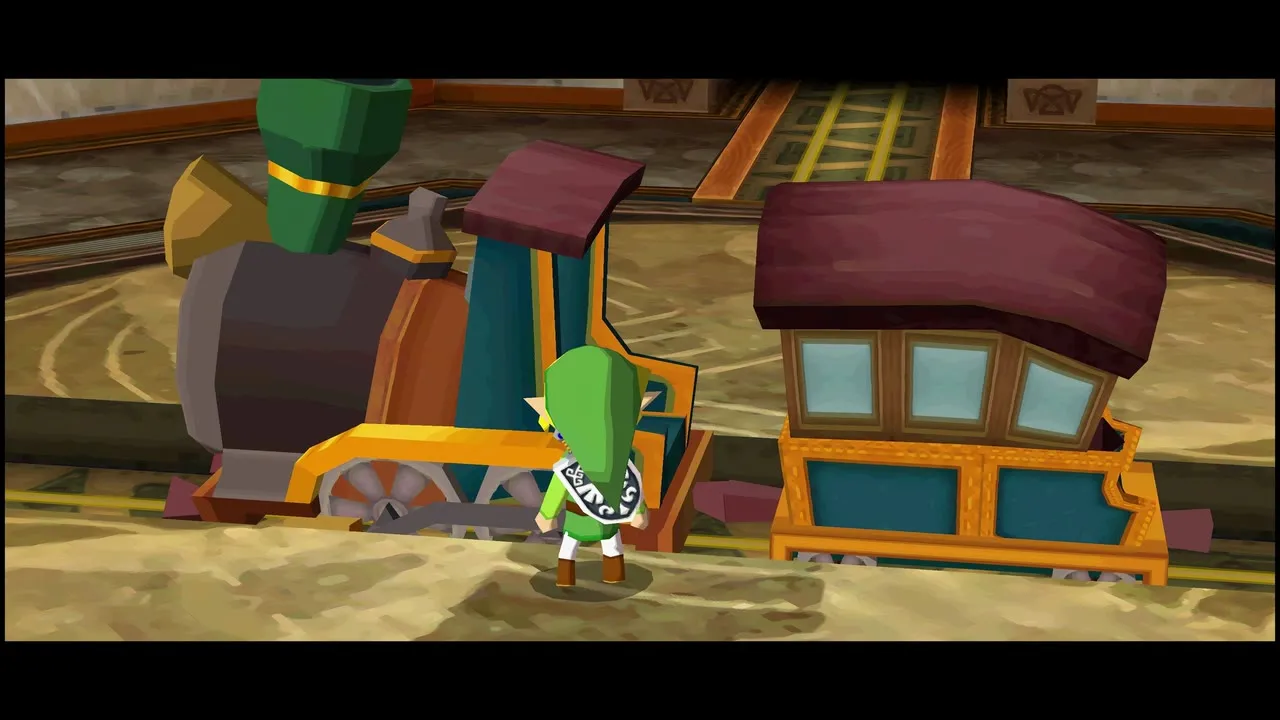
Castle Town and Alfonzo
Draw a track to Castle Town
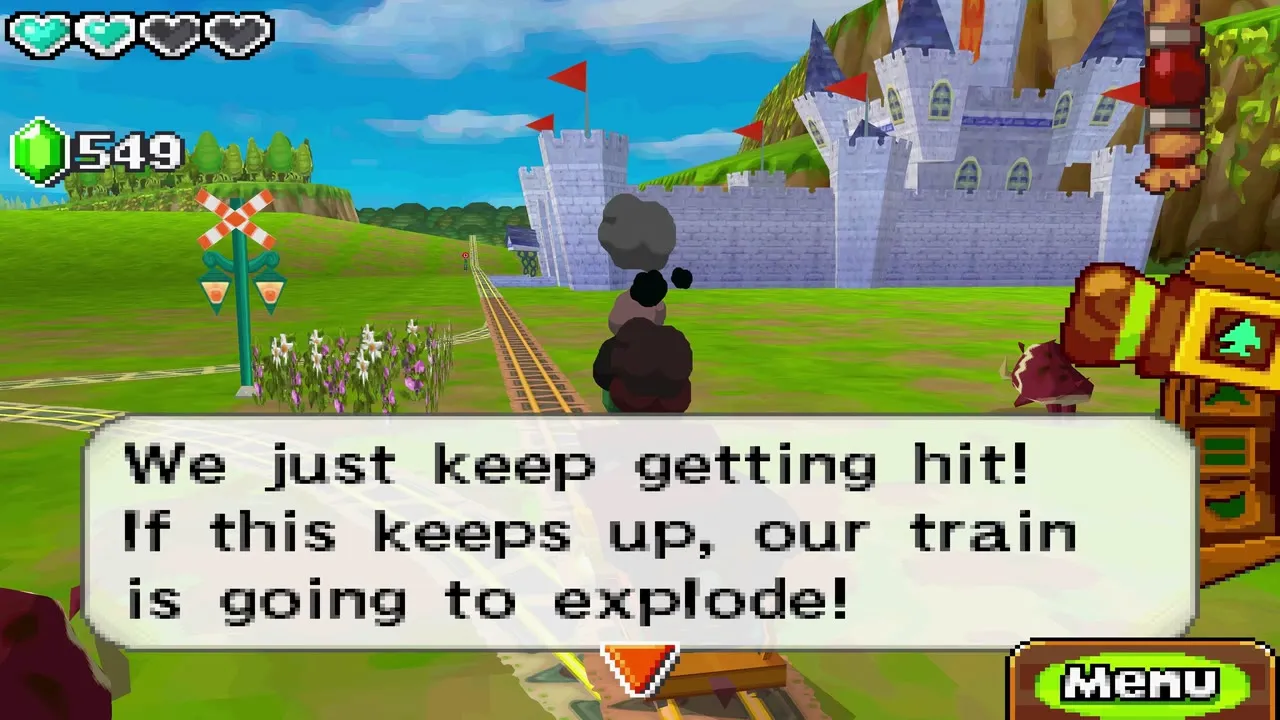
Take the train back out and draw a path to Castle Town. Monsters shoot at the train on this stretch, so keep moving and do not stop to fight.
Take ‘Em All On! Lv 1 (optional Heart Container)
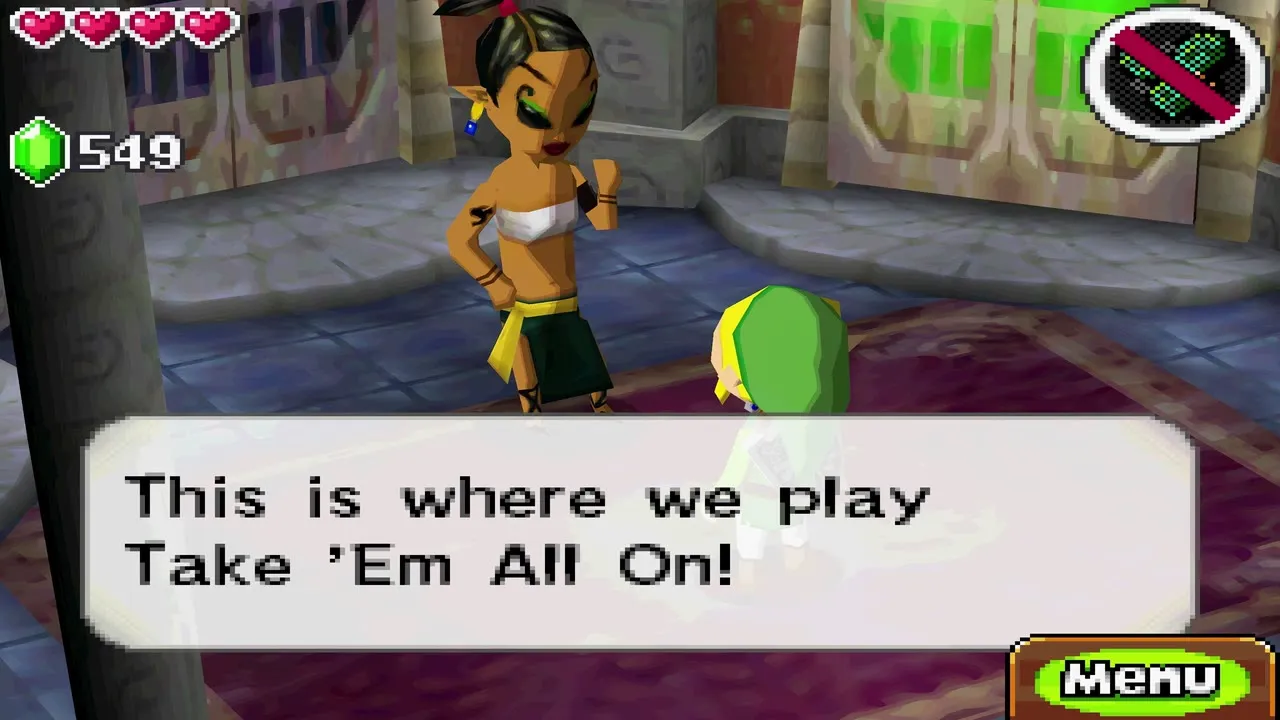
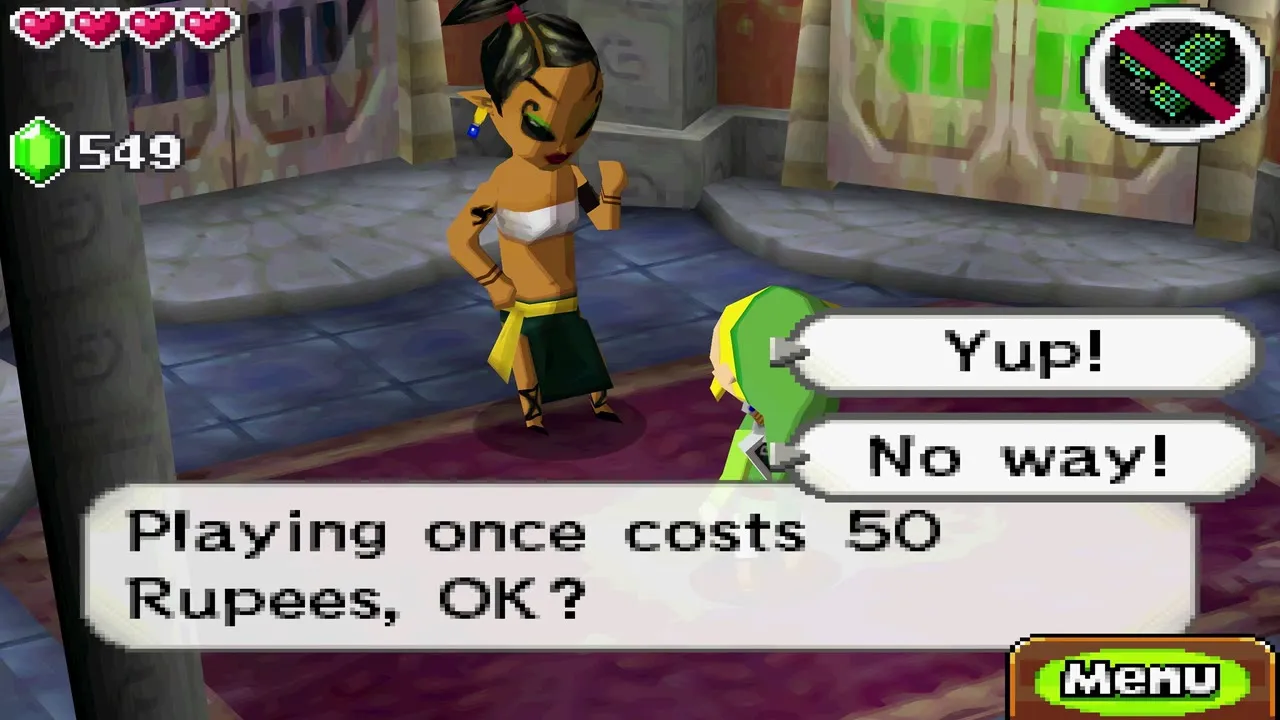
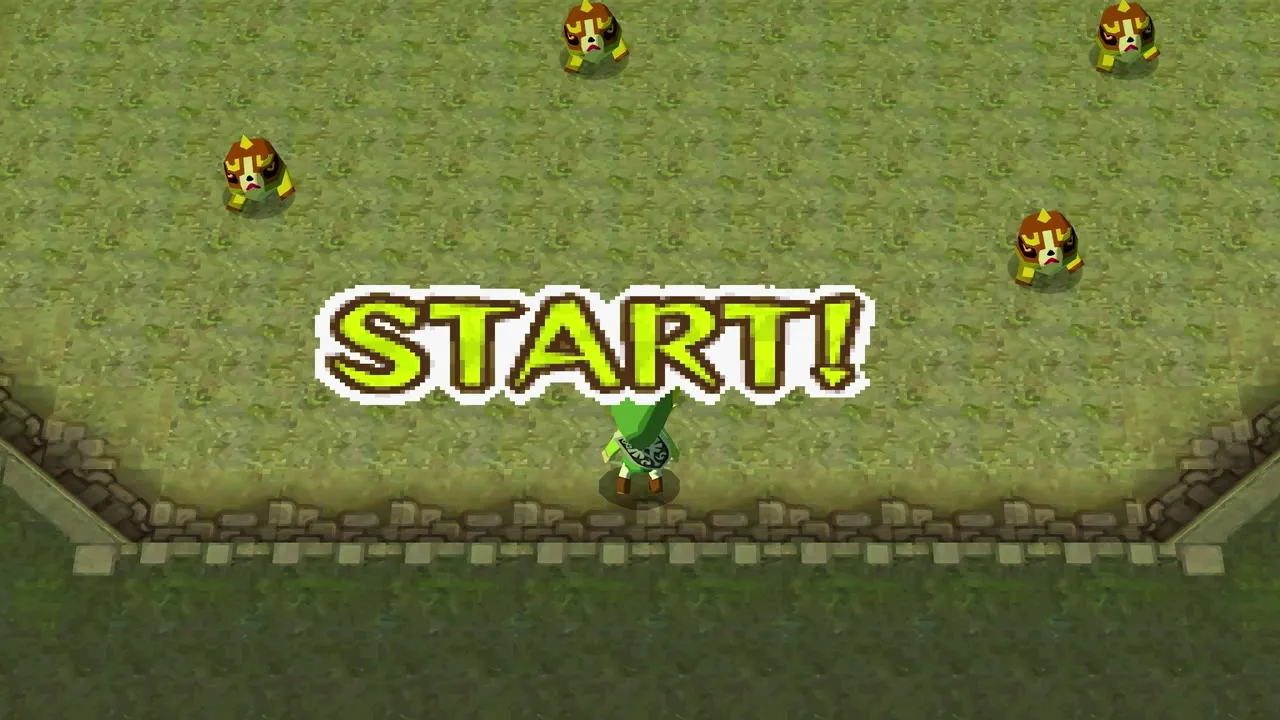
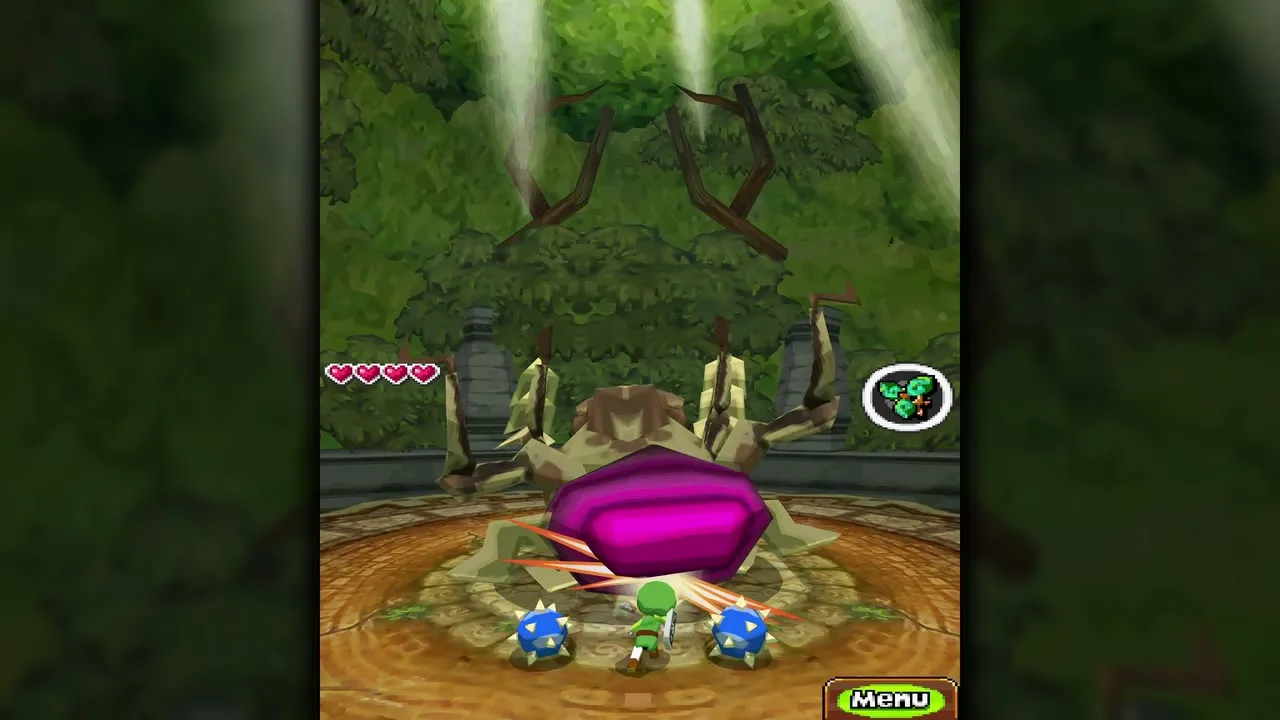
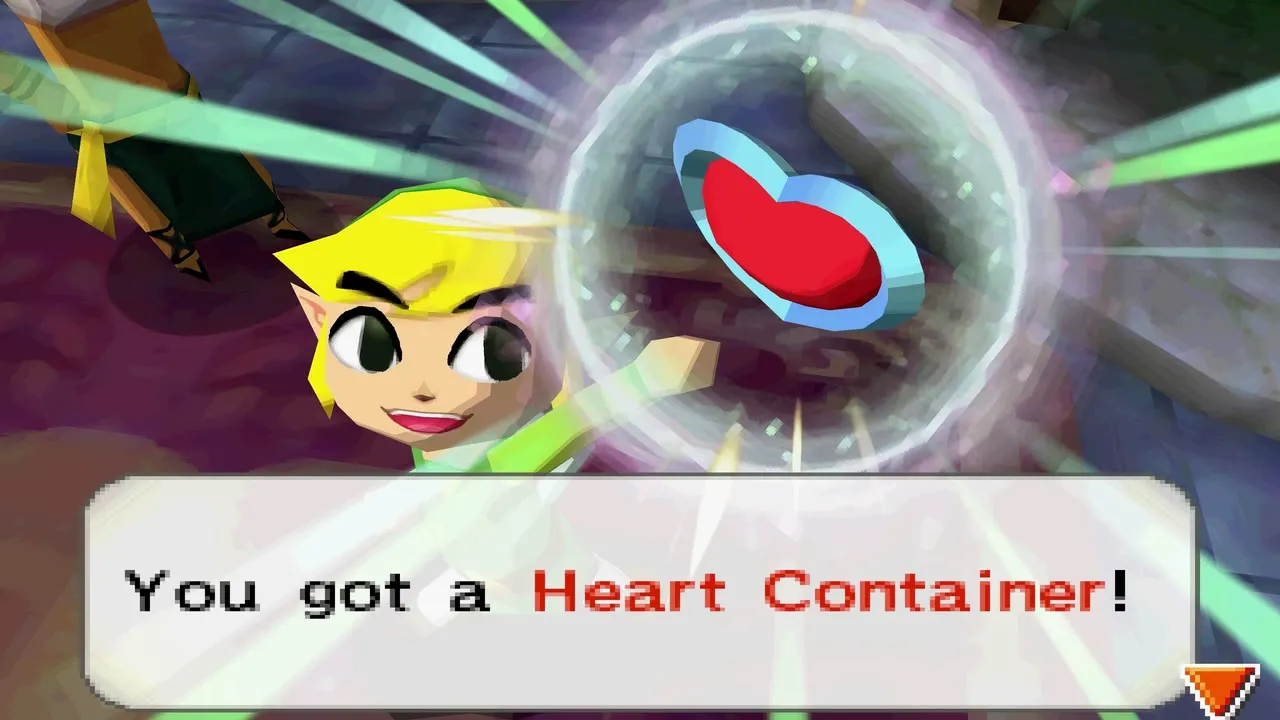
Joynas in Castle Town runs Take ‘Em All On!, which opens once the Forest Temple is done. Pay the 50 Rupee fee and fight through the arena rounds and a final battle against Stagnox. You get no rest between rounds, so enter with your hearts full. The prize is a Heart Container; the mini-games page lists the harder levels that open later.
Fetch Alfonzo from Hyrule Castle
A letter from Alfonzo reaches you on the way. He asks you to pick him up at the castle and take him home to Aboda Village. Enter Hyrule Castle and find him in the chamber in the upper-left corner of the first floor. He is out of bed and well enough to travel. Go outside to the train, say you are ready, and draw a path to Aboda Village, checking the map for enemy trains before you set the course.


Aboda Village: Stamp Book and Cannon
How to get the Stamp Book
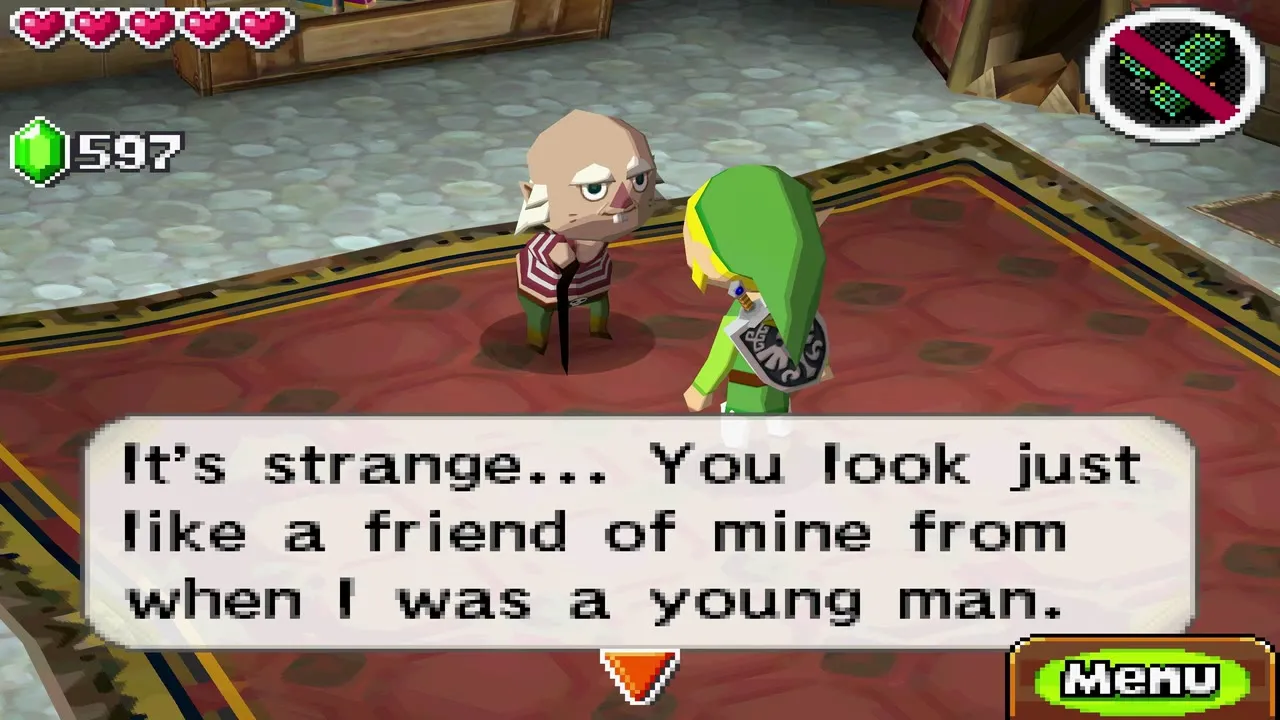
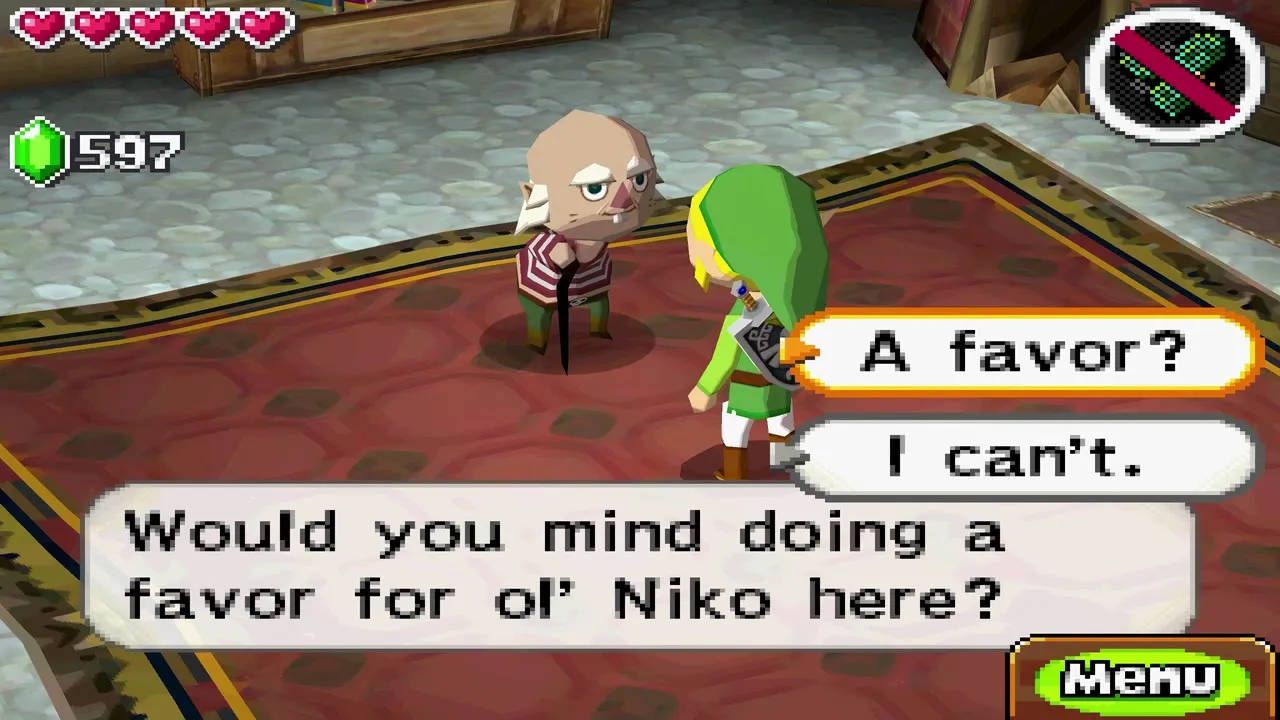
When you arrive, Alfonzo runs off to build the weapon and asks you to wait. Use the time to visit Niko. He says you look like an old friend, then asks a favor: collect stamps from stations around the world. He gives you the Stamp Book. Ten stamps earn the Shield of Antiquity, fifteen earn the Engineer’s Clothes, and twenty earn a Swordsman’s Scroll that teaches the Great Spin.

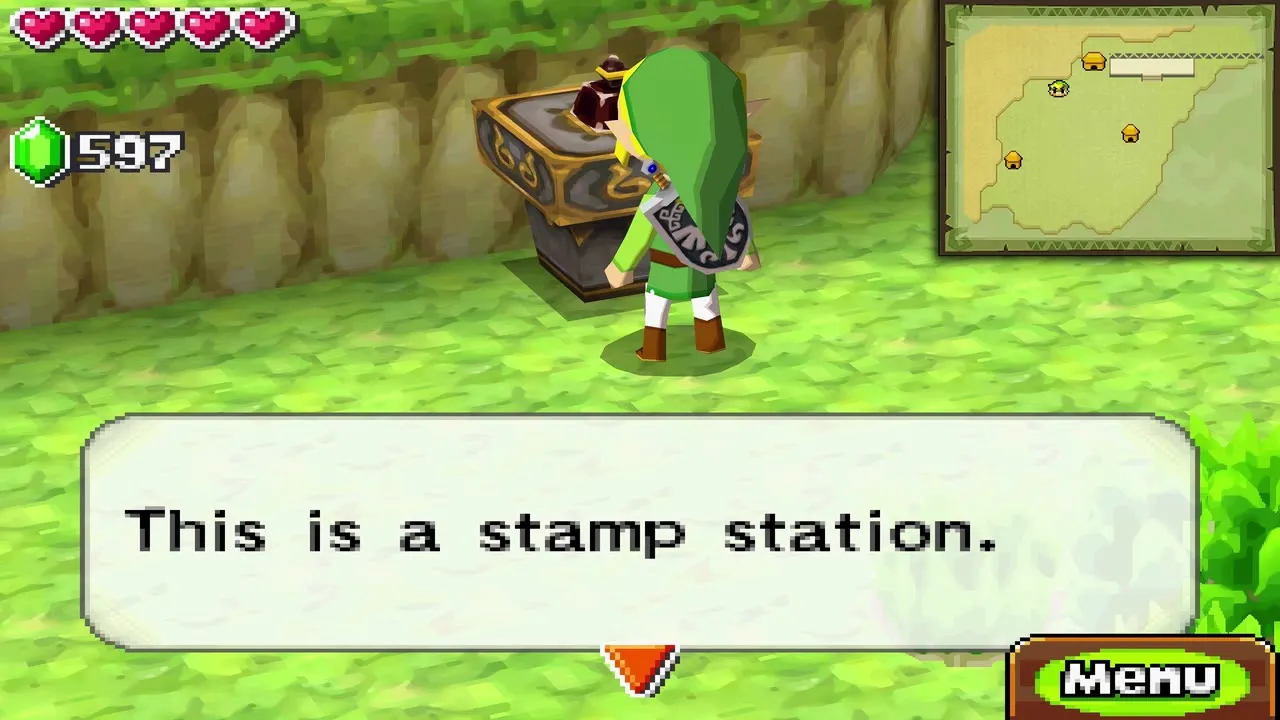
The first stamp station is in Aboda Village itself, just west of Alfonzo’s house. It needs no special item, so take the stamp now. The stamp station page lists the other 19, most of which need items you do not have yet, including the Castle Town stamp, which needs Bombs.

The Cannon for the Spirit Train
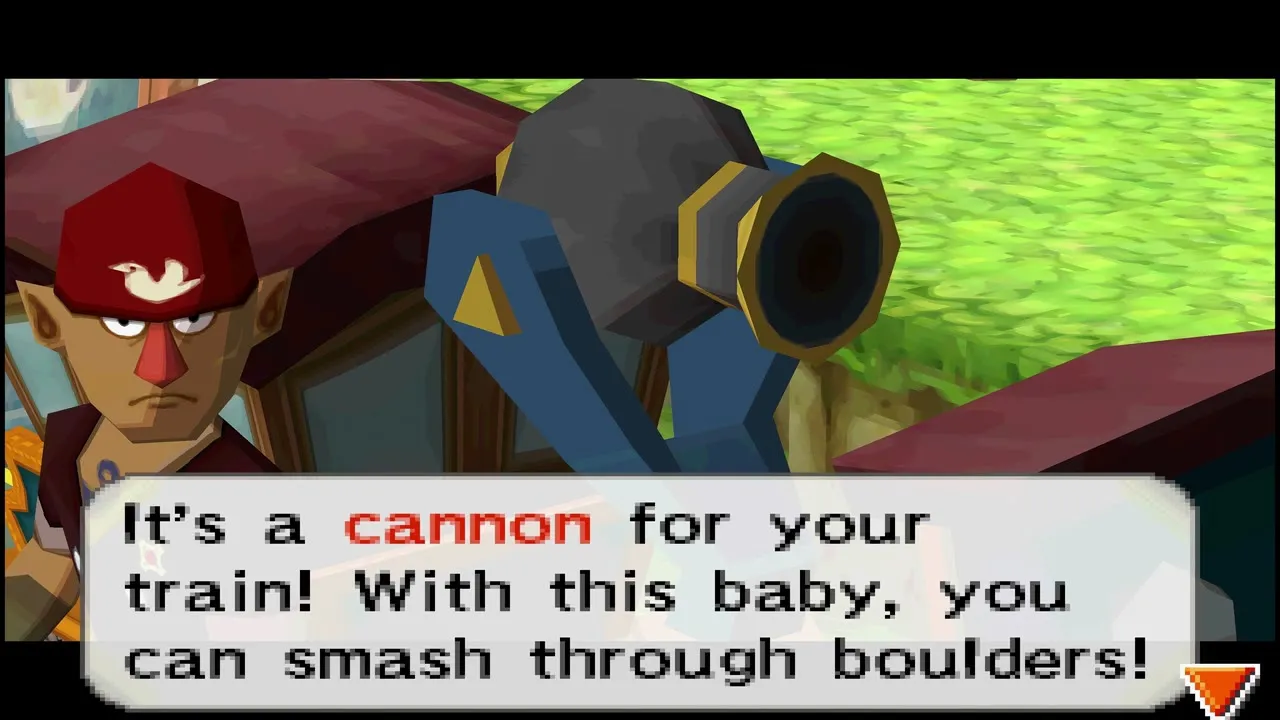
Return to the station when Alfonzo has finished. He mounts the Cannon on the Spirit Train, and it can smash boulders and shoot enemies. Aim by tapping the screen where you want the shot to land.

Rabbitland Rescue and the Rabbit Net
Route to Rabbitland Rescue
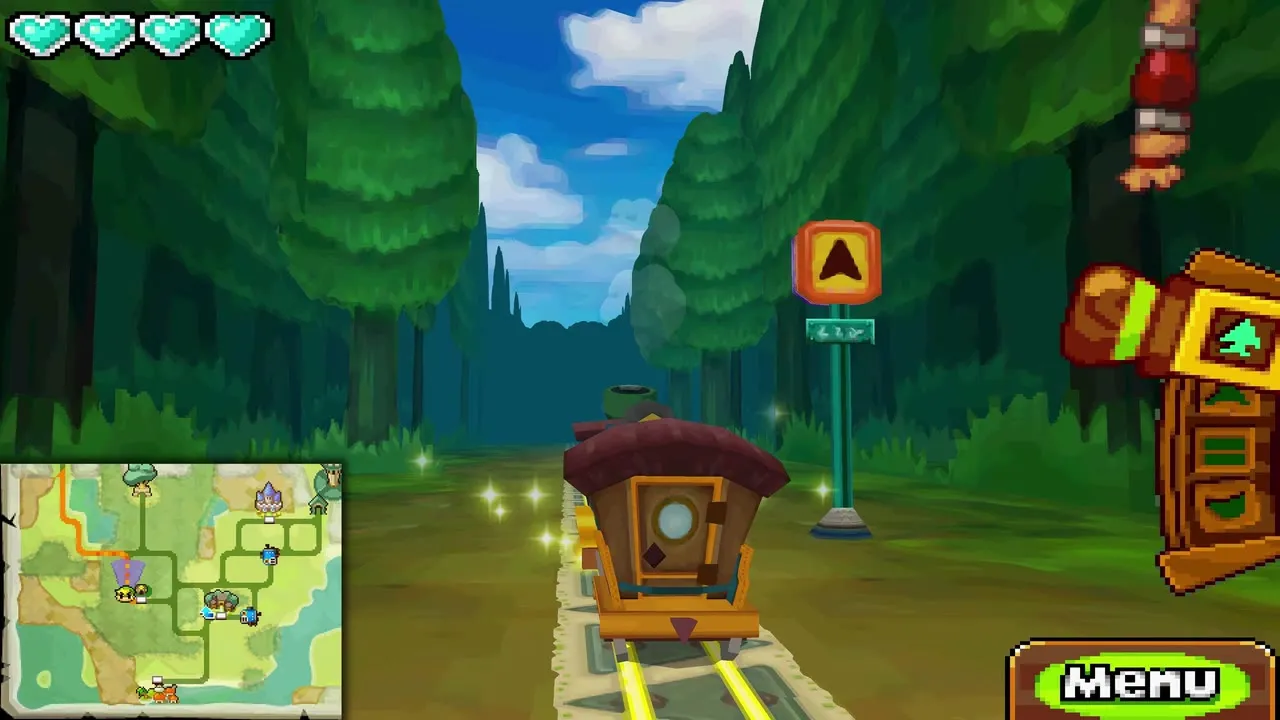
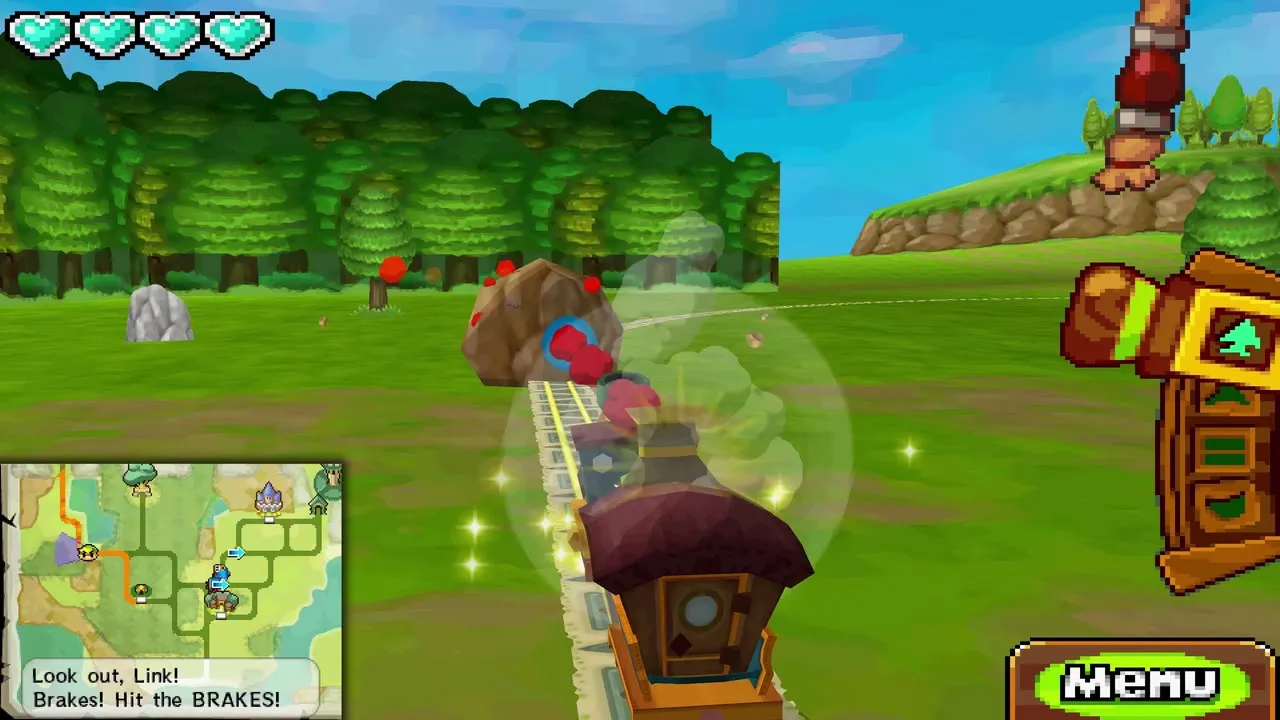
Draw a path to the unlabeled ??? station in the upper-left corner of the map. Boulders block the track there, and each one takes three Cannon hits. Either brake and shoot them or fire while you roll, and stop when animals wander onto the rails.
How to get the Rabbit Net
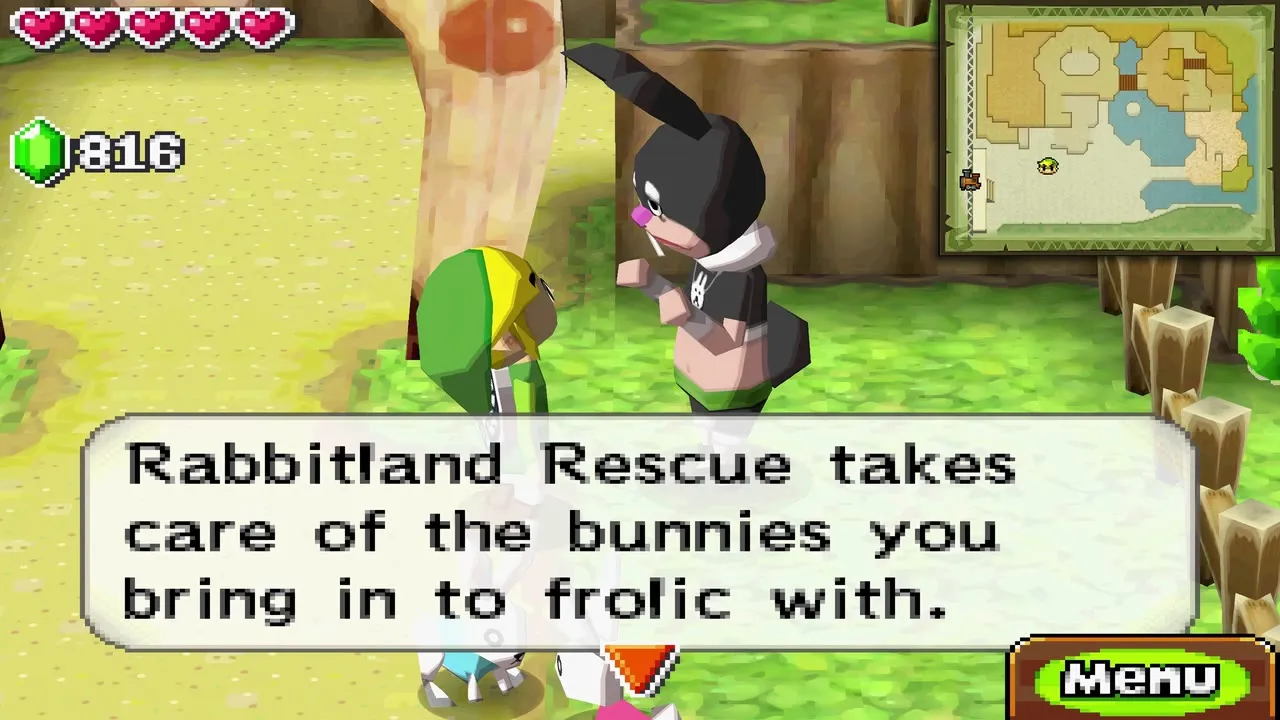
Just past the boulders is a station that was missing from your map. Walk northeast from it to Rabbitland Rescue and speak to Bunnio, the man in the rabbit costume. Answer that you are here to frolic with the bunnies and he gives you the Rabbit Net.


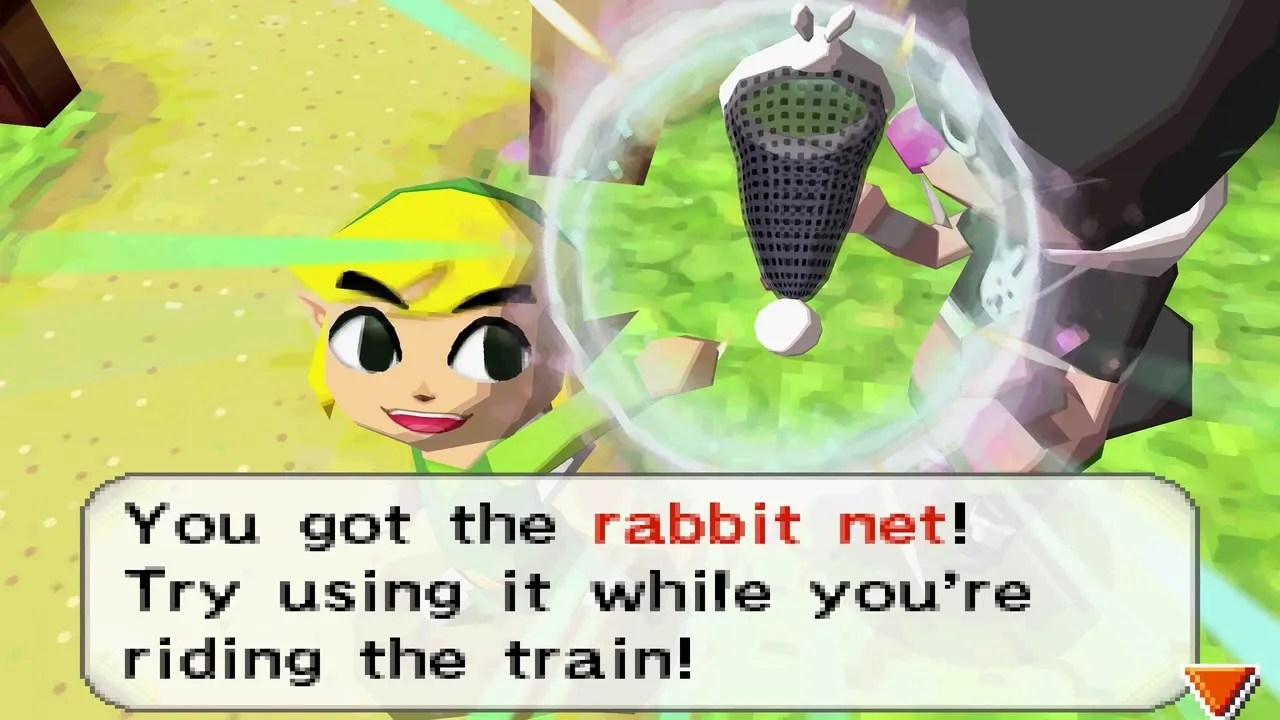
To catch a rabbit, watch for one peeking out from behind a rock or other object while you drive. Blow your whistle and it hops into view. Shoot the object it hides behind with the Cannon to flush it out, then run it down with the net within ten seconds, or it escapes and you must try again later. Bring each rabbit back here.


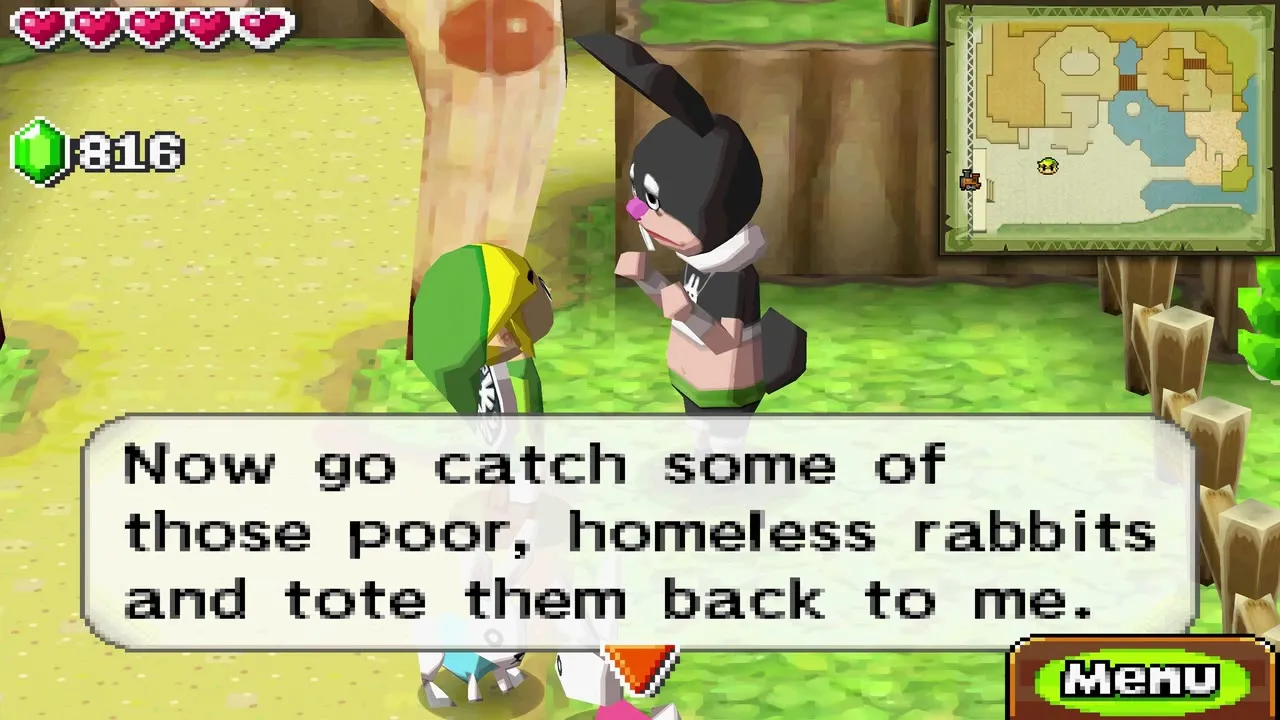
Turn in any five rabbits for a Heart Container. Ten rabbits, or one of every breed, earns a random treasure, and all 50 earn the Swordsman’s Scroll that lets you fire sword beams. You can already catch the Forest Realm rabbits that sit on the base map; the rest need tracks you open later. The full list is on the rabbit locations page.

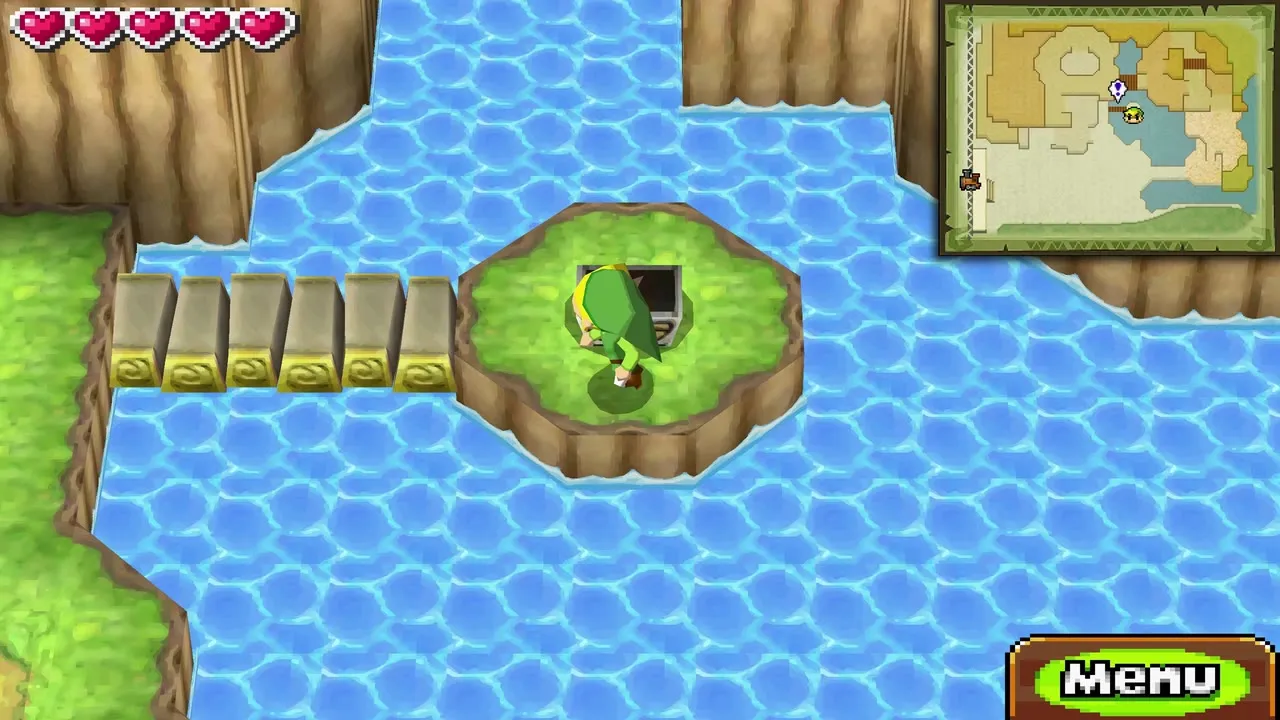
Look around the Rabbitland pond for a chest with a treasure. Treasures can be sold or traded in for train cars, so pick it up if you find it.

Setting out for the Snow Realm
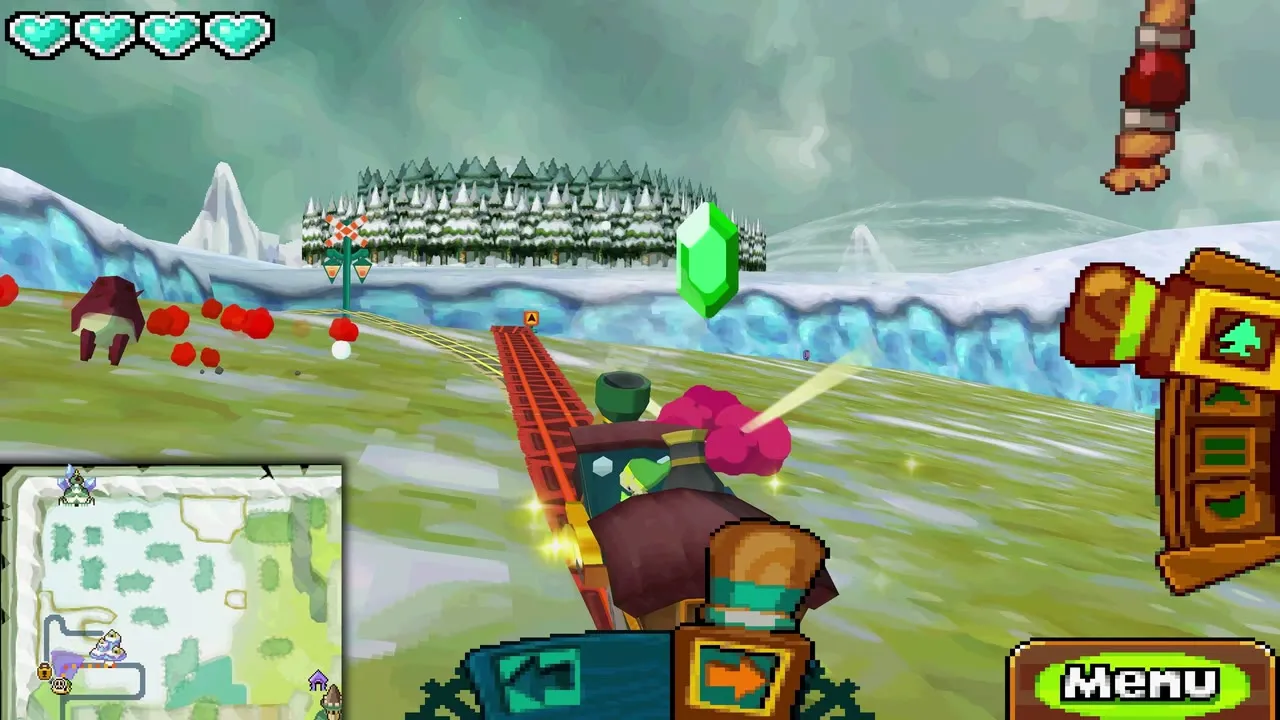
Board the train and draw a path north along the new tracks. As the snow begins, open fire with the Cannon at anything on the rails, and keep your whistle ready, because rabbits start to appear on the snow too. The Snow Realm itself continues in the next chapter.

Chapter checklist
| Collectible | Type | Where |
|---|---|---|
| Tear of Light (3) | Tower item | Tower floor 4 (two in safe corners, one floating over lava) |
| Treasure (random) | Treasure | Tower floor 4, large chest top right |
| Big green Rupee | Rupees (100) | Tower floor 5, chest on the far-left platform |
| Small key | Key | Tower floor 5, dropped by the fleeing skull enemy |
| Small key | Key | Tower floor 6, on a high platform; knock it down with the Whirlwind |
| Snow Rail Map | Rail Map | Tower floor 7 |
| Heart Container | Heart Container (optional) | Take ‘Em All On! Lv 1, Castle Town |
| Cannon | Train part | Alfonzo, Aboda Village station |
| Stamp Book and Aboda stamp | Item and stamp | Niko’s house, then west side of Aboda Village |
| Rabbit Net | Item | Rabbitland Rescue |
| Treasure | Treasure | Chest near the pond, Rabbitland Rescue |
With the Snow Rail Map and a working Cannon, you can take the new tracks north: continue with the Snow Realm walkthrough.
