





















Spirit Tracks 100% Completion Walkthrough18 chapters
- Aboda Village and Hyrule CastleThe first train ride, the Royal Engineer ceremony, Zelda’s escape, the Spirit Flute, sword and path to the Tower.
- Tower of SpiritsMeet Anjean, collect the three Tears of Light, use Phantom Zelda and claim the Forest Rail Map.
- Forest RealmReach Whittleton, solve the Lost Woods rail maze, learn the Song of Awakening and play the Gage duet.
- Forest TempleSong of Healing, Whirlwind, Mothula, Boss Key, Stagnox boss fight, Heart Container and Force Gem.
- Tower of SpiritsTears of Light, lava Phantoms, Zora Warrior, the Snow Rail Map, plus the Cannon and Rabbit Net.
- Snow RealmAnouki Village pairings, the Rocktite tunnel, Steem’s duet, the Heart Container shop and Ferrus’s blizzard map.
- Snow TempleGet the Boomerang, solve the bell puzzles, take the Boss Key from the Wolfos and beat Fraaz for a Heart Container.
- Tower of SpiritsDark floor 8, Torch Phantoms, Tears of Light, the Z door, Mighty Zora Warrior and Ocean Rail Map.
- Ocean RealmFix the Trading Post bridge, find the Regal Ring, learn the Song of Birds and free Carben at the Ocean Sanctuary.
- Ocean TempleReach the sunken temple, win the Whip, beat Phytops and claim the Heart Container and blue Force Gem.
- Tower of SpiritsBeat Warp Phantoms and Phantom Eyes, collect three Tears of Light and claim the Fire Rail Map.
- Fire RealmReach Goron Village, ferry Noko for Mega Ice, cool the lava, solve the Fire Sanctuary statues and play Embrose’s duet.
- Fire TempleSnurglar keys, Heatoise and the Bow, mine carts, Boss Key, Cragma, Heart Container and the Goron Quiver.
- Tower of SpiritsClimb Tower of Spirits floors 18-23, solve the Wrecker Phantom puzzles, take the Boss Key and beat Byrne with Zelda.
- Sand RealmSand Gyorg, desert rabbits, the Sand Sanctuary bomb puzzle, the Rael duet and the three trials to the Sand Temple.
- Sand TempleStalfos keys, Sand Wand, the Boss Key, the Skeldritch boss fight, the Heart Container, Bow of Light and Lokomo Sword.
- Tower of Spirits Floors 24-30 and the Compass of LightLight Arrows at the altar, every Phantom puzzle, the floor 26 gauntlet and the Compass of Light.
- Dark Realm, Demon Train and MalladusDestroy six Armored Trains, beat the Demon Train, free Zelda from Cole and defeat Malladus with the Lokomo Sword.
| Covers | Third climb of the Tower of Spirits: floors 8 to 12, ending in the rail map room |
|---|---|
| You need | The Boomerang (Snow Temple), the Whirlwind (Forest Temple), Bombs from the bomb flowers you find, and the Snow Realm tracks restored |
| Rewards |  3 Tears of Light,  the Ocean Rail Map (new tracks to the Ocean Realm), the Torch Phantom for Zelda, and several treasure chests; no Heart Container, stamp, rabbit or Force Gem in this chapter |
The third climb of the Tower of Spirits takes you from a pitch-black floor 8 up to a rail map room on floor 12. You light the way with the Boomerang, gather three Tears of Light on floor 9, let Zelda take over a Torch Phantom, carry an electrified Boss Key with her help on floor 10 and beat the Mighty Zora Warrior on floor 11. The Ocean Rail Map waits at the top.

Table of Contents
Reaching floor 8 of the Tower of Spirits
Ride to the Tower and take the third door
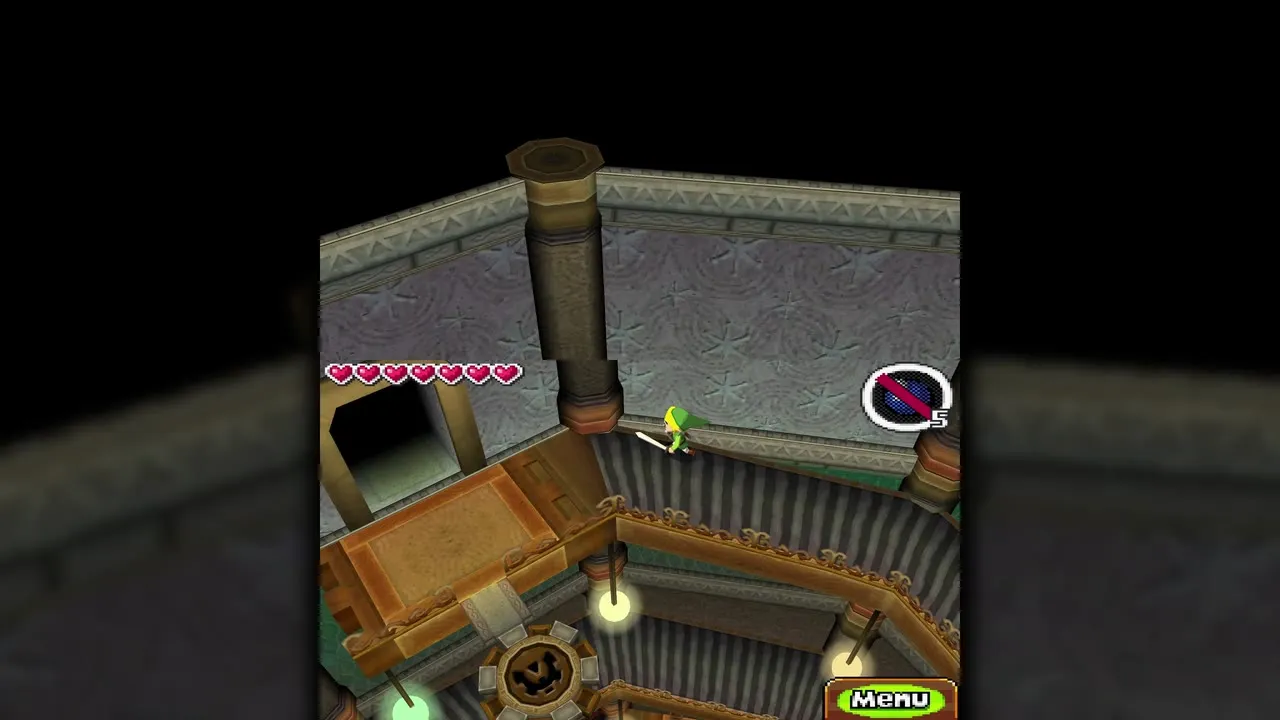
Once the Snow Temple tracks are restored, pick the Tower of Spirits on the route map and ride to the station at its foot. Anjean and Zelda agree that the next section of track needs another rail map, so walk into the hall and climb the spiral staircase. A new third door has opened on it: go through it to land on floor 8 and skip the floors you have already cleared.


Optional: revisit the lower floors for treasure
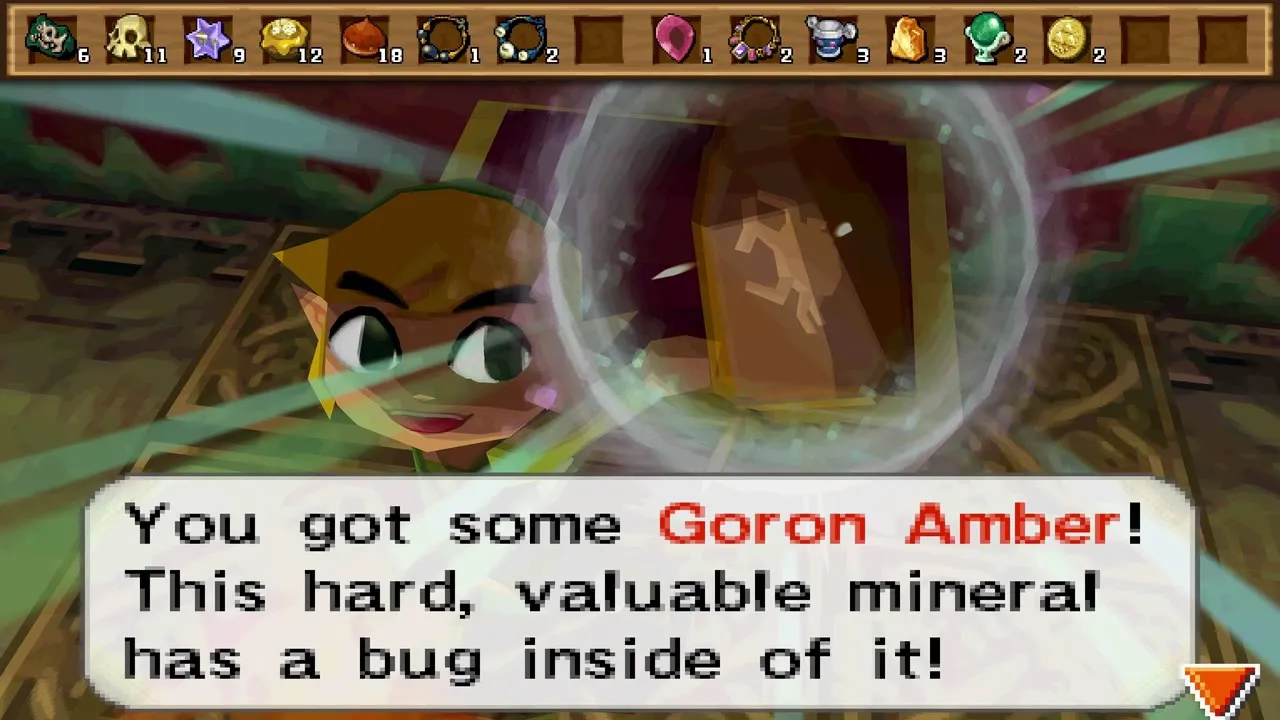
With the Whirlwind and the Boomerang in hand you can also go back through the earlier doors to reach chests that were out of reach on your first climbs. They hold random treasure such as Wood Hearts and Star Fragments, so they are worth a trip when you start collecting for the train sets, but nothing on them is needed to finish this chapter.
Floor 8: the dark floor and the Boomerang torches
Light the torches with the Boomerang
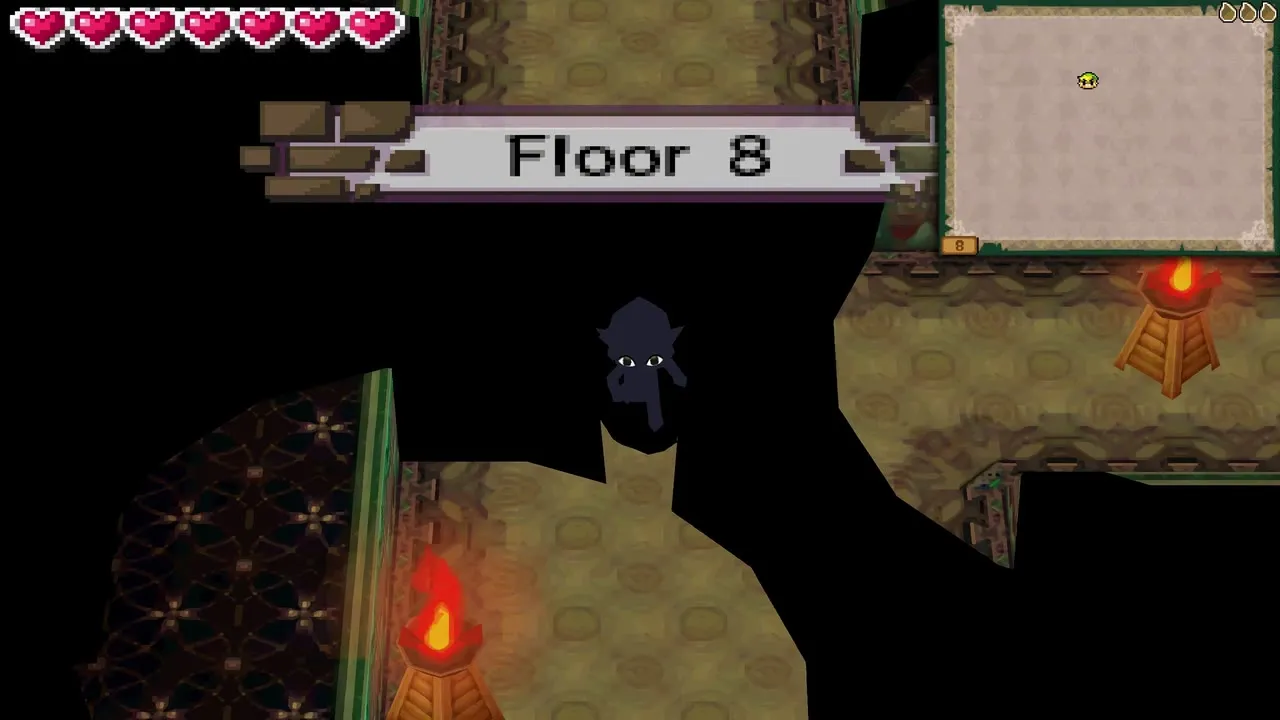
Floor 8 has no map and almost no light, and Zelda cannot see where to go either. Only the torches show you where the floor continues. Select the Boomerang, draw a path from the first lit torch to the next unlit one and let it fly so the flame jumps across. Keep chaining torches this way, always lighting the next one before you step into the dark, and each lit torch reveals a patch of safe floor.


Bomb flower and the treasure chests
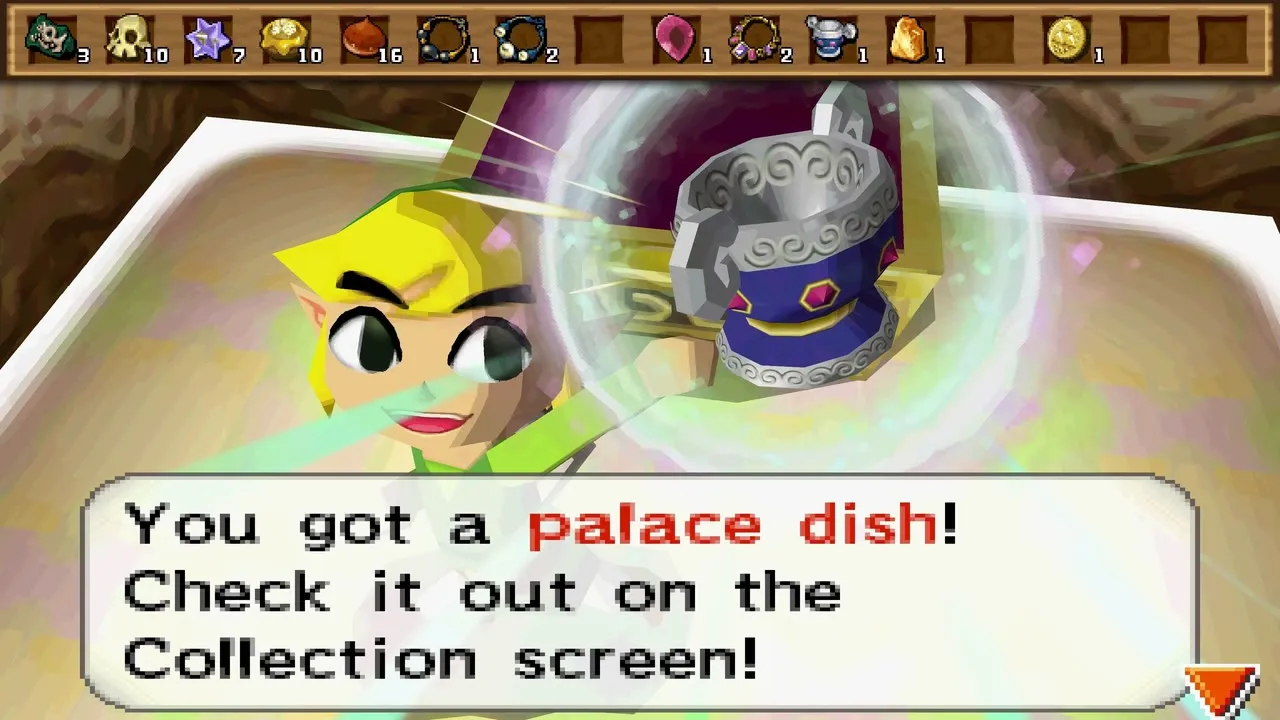
Light the torch to the north and pick up the bomb flower beside it, then throw it at the north wall to blow a door open. A large chest inside holds a palace dish. Light the side passages you find as you go, so you do not step into the dark by accident.


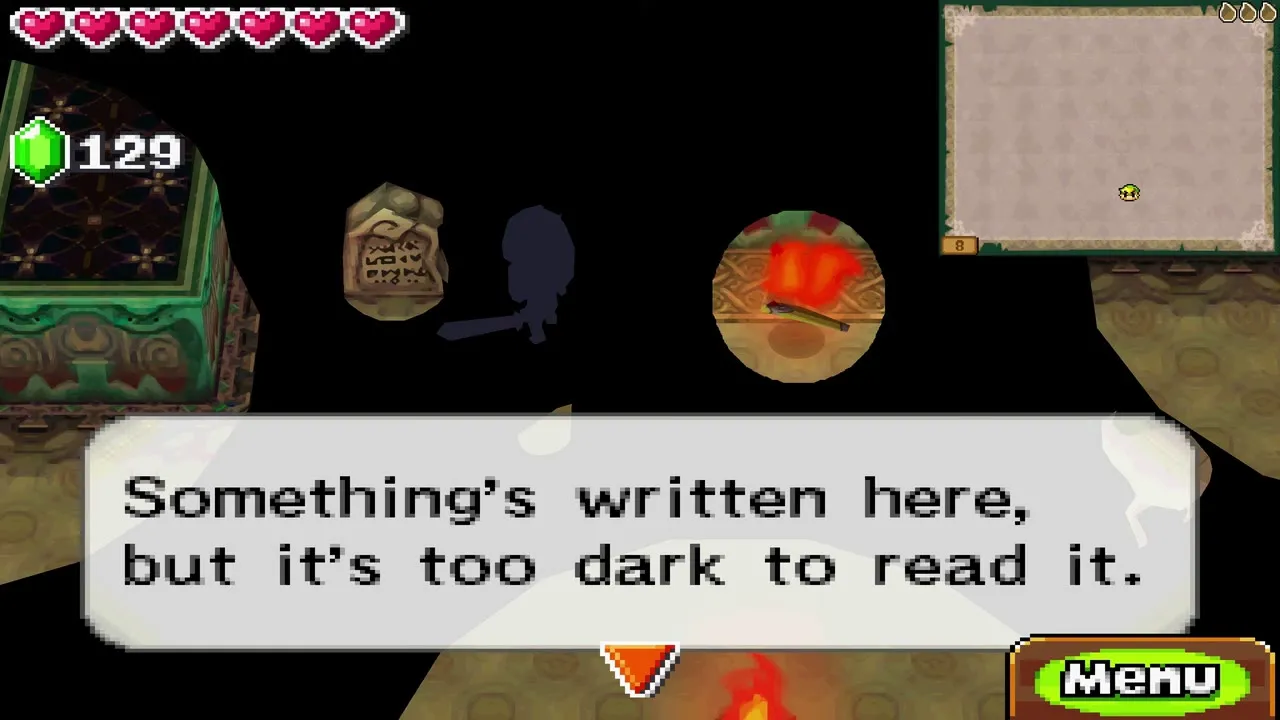
A ghost drifts near the junction south of the first torch. You cannot hurt it yet, so stay clear of it. A stone tablet to the right of the southern path is unreadable in the dark. Keep lighting torches eastward until you reach the stairs up to floor 9.

Floor 9: Torch Phantoms and the three Tears of Light
Torch Phantoms
Floor 9 introduces the Torch Phantom, a guard whose flaming sword works as a moving torch. Do not fight it head on. Wait until it walks away from the route you need, and remember that it can relight any torch you have just put out.


Tear of Light 1: the lonely corner torch
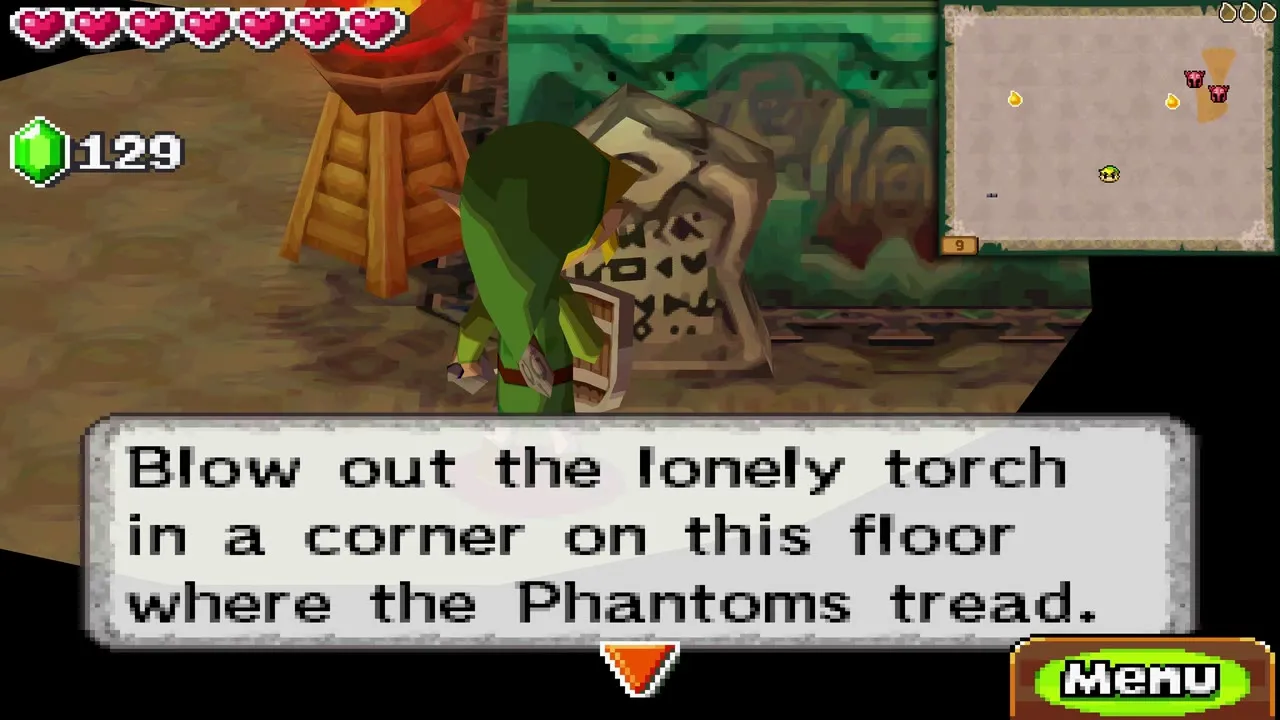
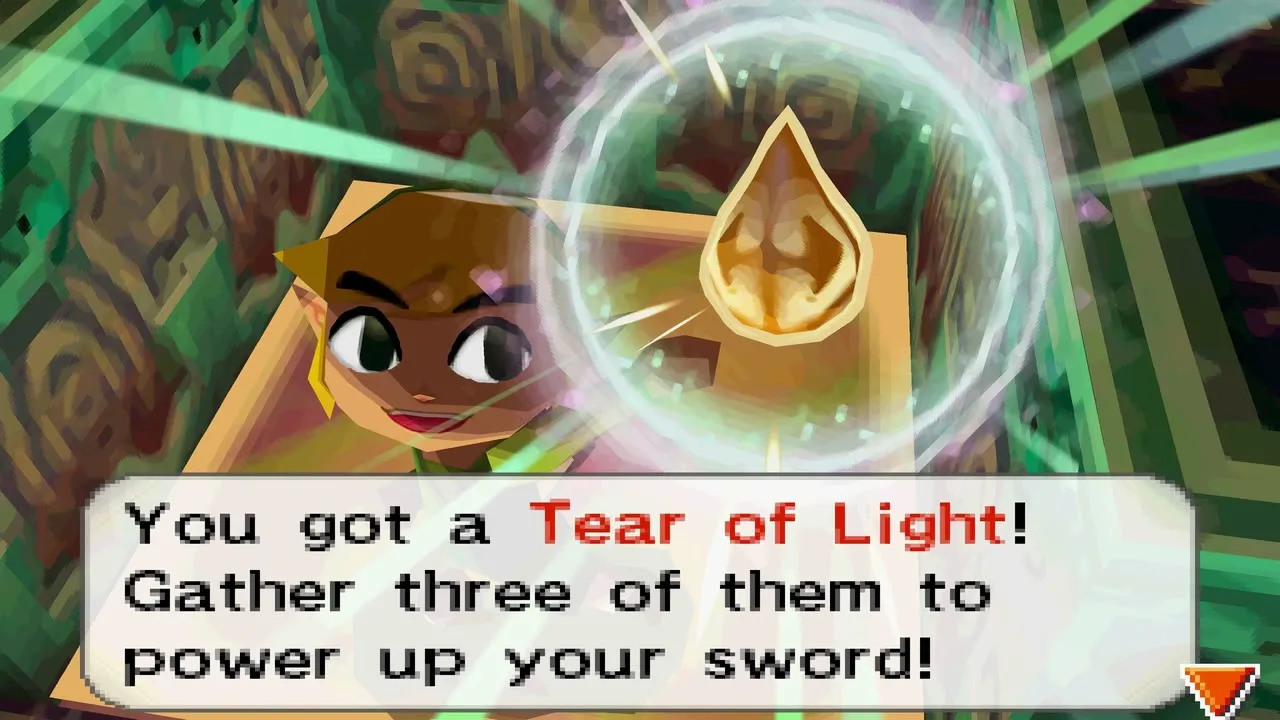
Light the western torch and read the tablet, which hints at a torch you should blow out. Head north to the safe spot with a bomb flower, wait for the Torch Phantoms to leave the loop, then run along the top to the single torch in the upper right corner. Blow it out with the Whirlwind (the game asks you to blow into the microphone) to reveal a cracked wall. Fetch the bomb flower, throw it at the wall and take the first Tear of Light from the room behind it before a Phantom relights the torch.
Tear of Light 2: the loop centre
The second Tear sits in the middle of the loop, walled in on three sides. Wait until the Phantoms are away, then step in through the opening at the bottom and take it.
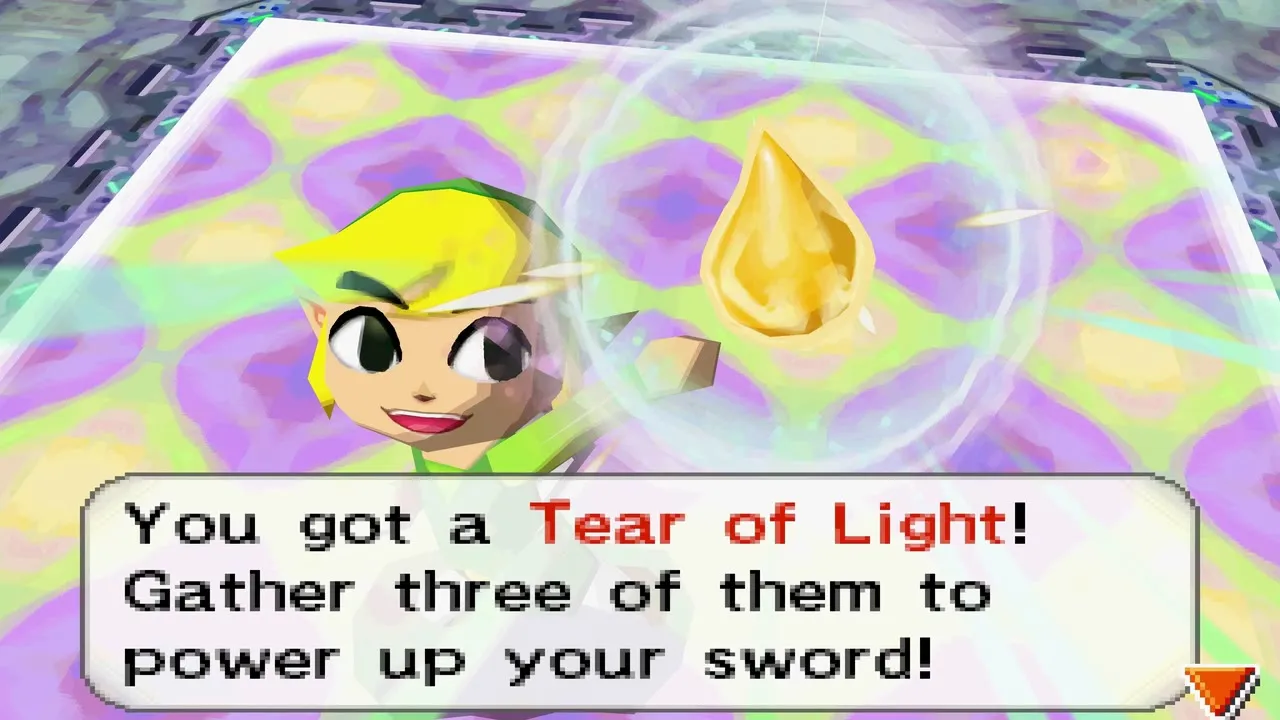
Tear of Light 3: the far dark corner
Light the torches west and north to the top left corner, then go south. Light one distant torch with a careful Boomerang throw, walk left through the dark and the third Tear is waiting in a safe patch. With all three, the sword is fully charged and can hit a Phantom in the back.

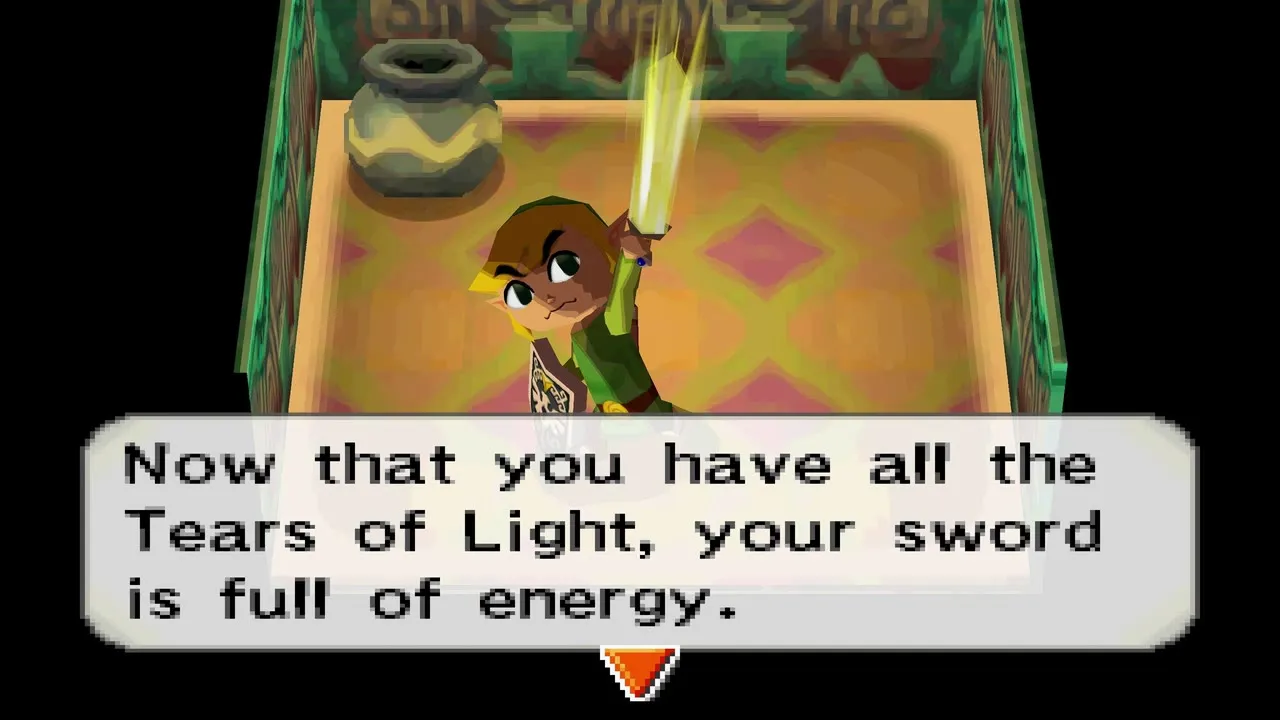
Zelda possesses a Torch Phantom
Hit a Torch Phantom from behind and Zelda takes it over. As a Torch Phantom she lights the area around Link, lights torches with her sword, makes ghosts disappear and pulls other Phantoms away from you. Keep her close in the dark rooms and draw a path to a torch whenever you need it lit.

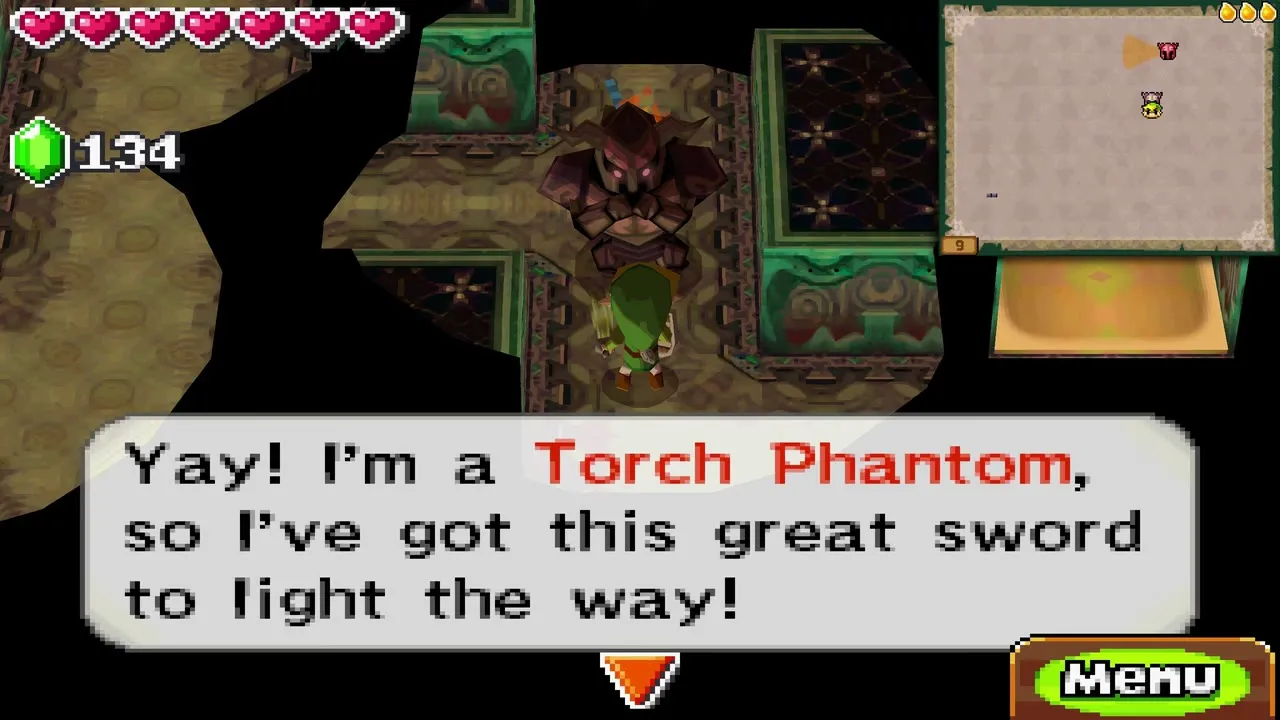
The chasm bridge and the lit door
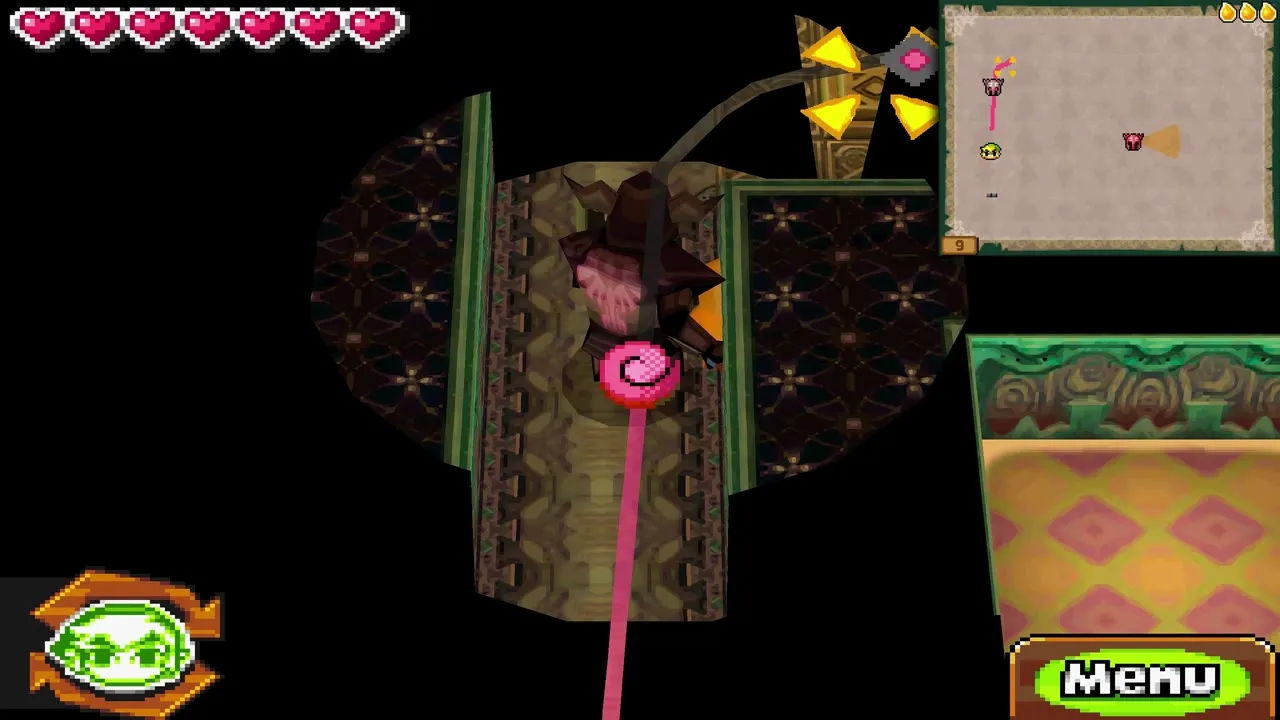
The bridge over the chasm has two entrances, and only the lower one is real. Zelda’s light reveals the true path. At the far side, have her light the torches on both sides of the door and it drops, opening the way to floor 10. Chests along the way hold random treasure.
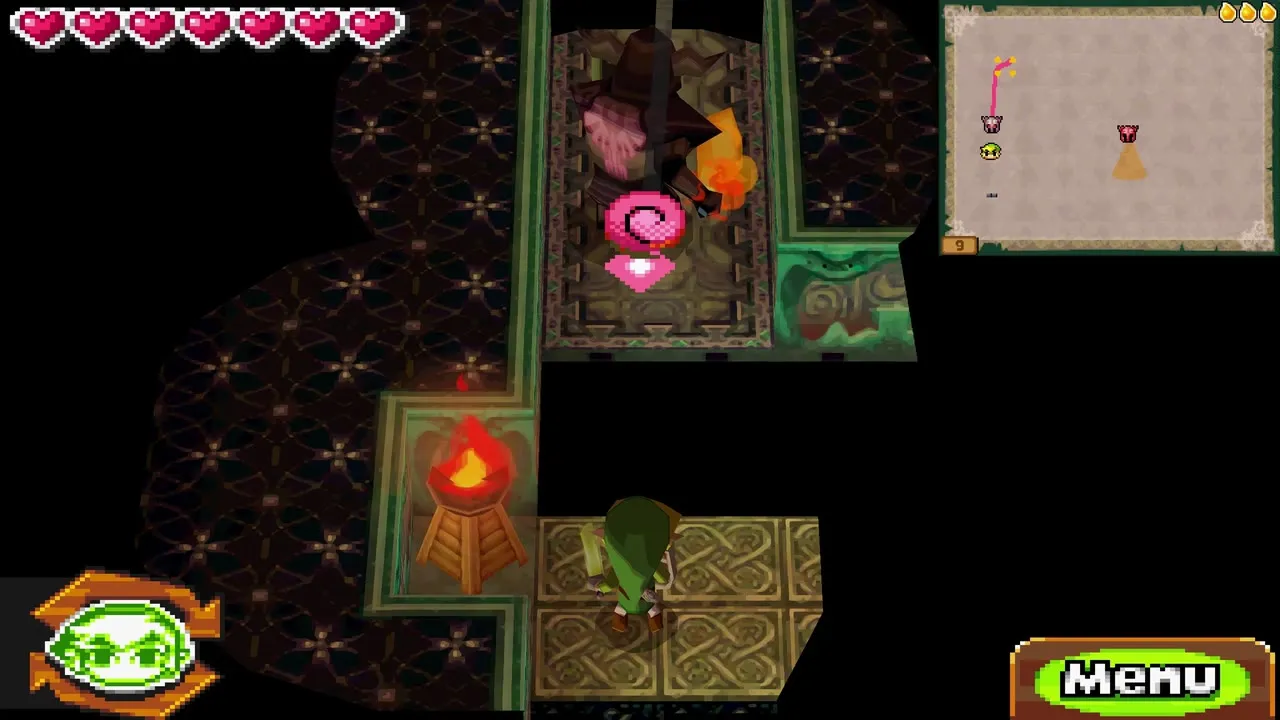
Floor 10: the Z door and the electrified Boss Key
Switches and the golden Z
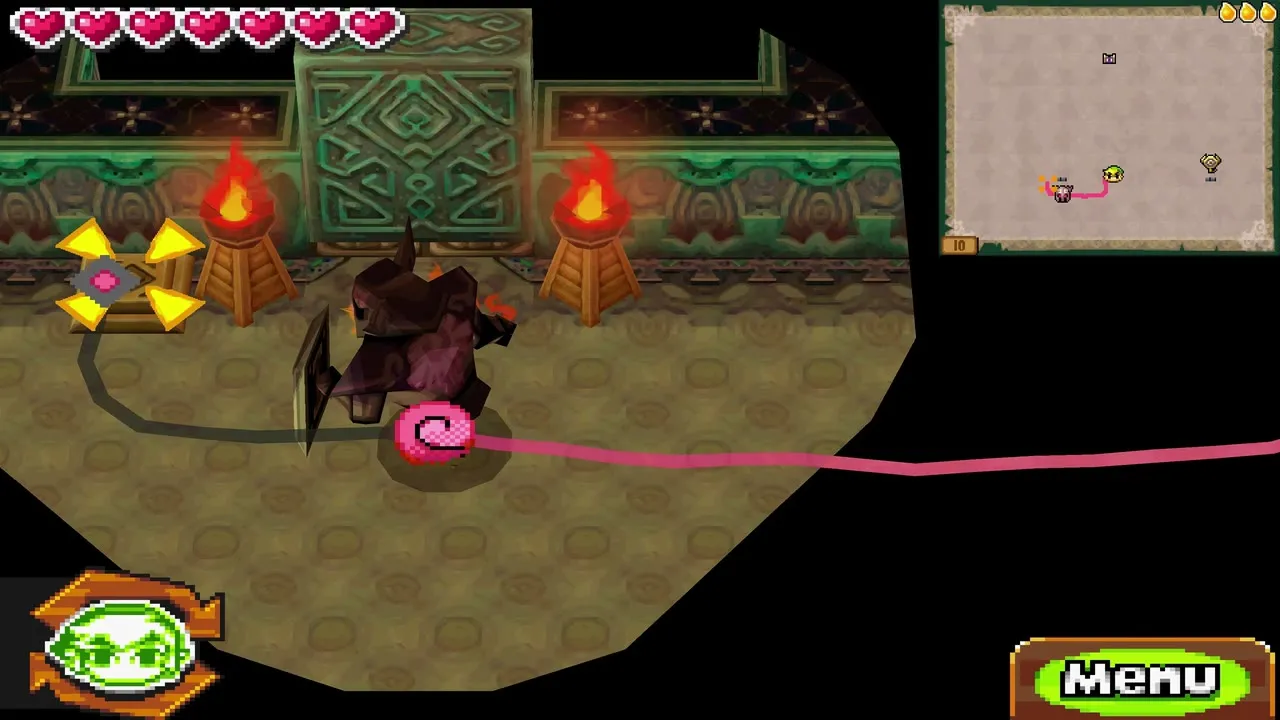
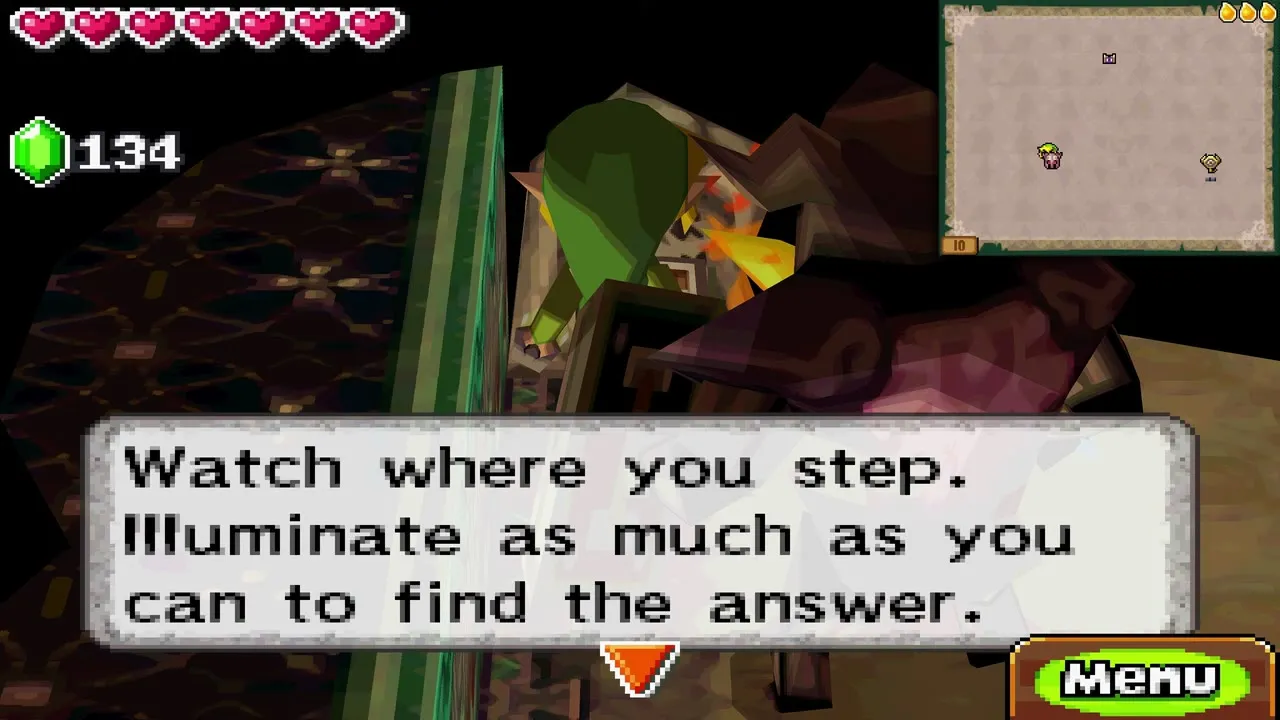
A floor switch sits beside the first closed door, and a second lies further east. Pressing one alone does nothing, so have Link and Zelda stand on both at once to lower the wall. A tablet tells you to watch your step and light as much as you can: Zelda’s glow shows pits and a trail of golden tiles that forms a large letter Z. Chests on this floor hold random treasure.
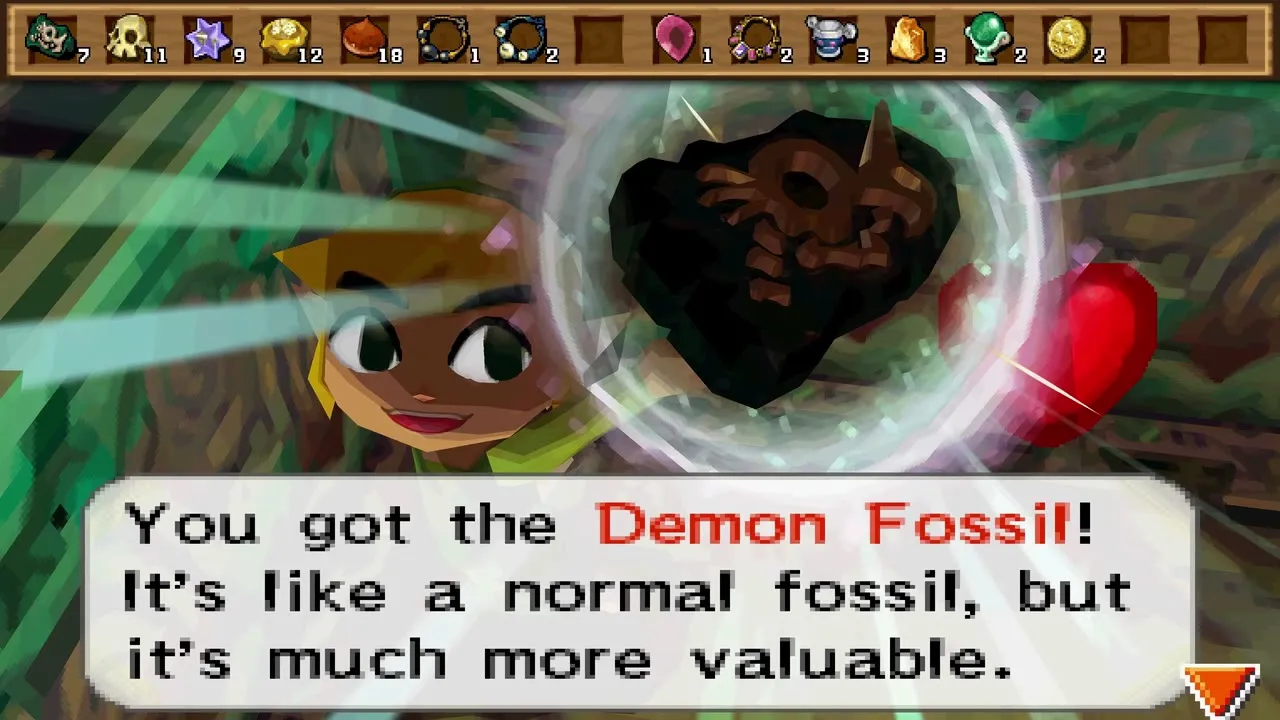
Draw the Z on the red door
The big red door is sealed by a symbol, and the golden Z on the floor is the hint. Draw a big Z across the door with the stylus and it opens onto the Boss Key chamber in the lower right corner.


Key Masters and the electrified key
The Boss Key shocks Link when he touches it, so Zelda has to carry it. Lift it with her and three Floormasters, the purple hands also called Key Masters, burst out of the floor as the room lights up. Link kills each one with three sword hits while Zelda stays clear of them.
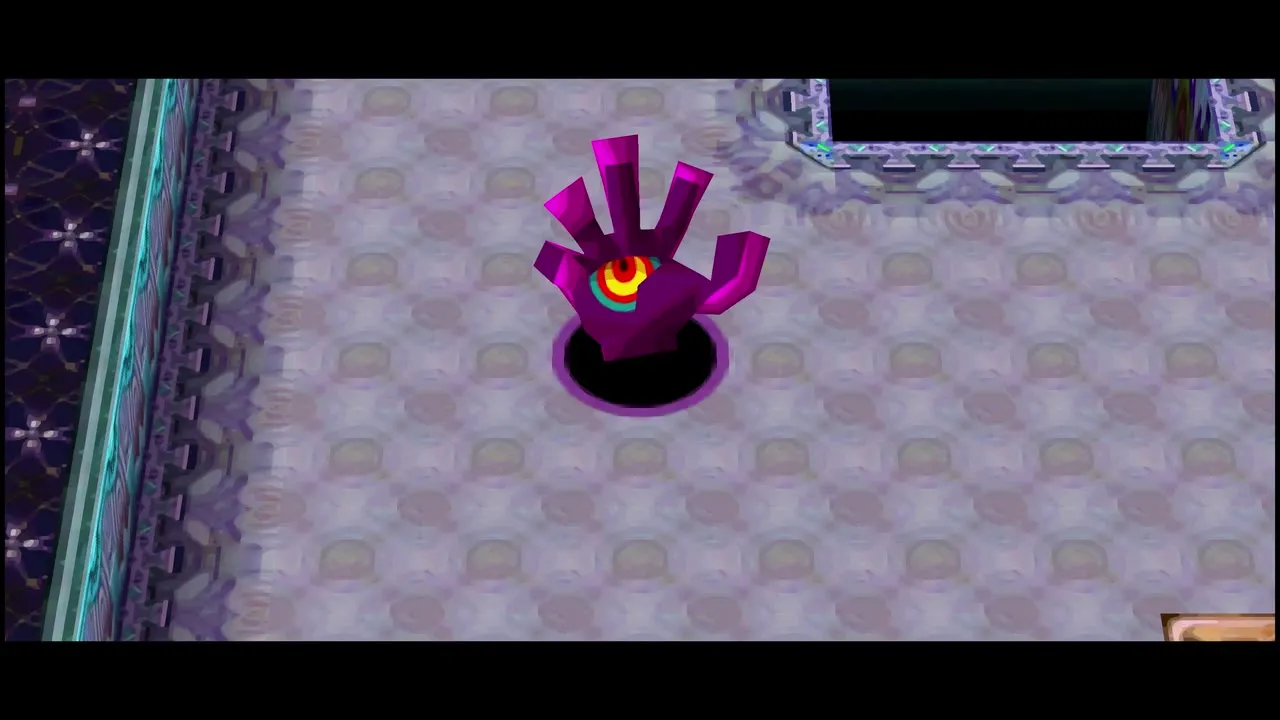

Draw a path from Zelda to the boss door so she walks the key over and drops it inside. The Floormasters vanish and the door lowers. Climb the stairs behind it to floor 11, where the Mighty Zora Warrior waits.


Floor 11: Mighty Zora Warrior boss fight
How to beat the Mighty Zora Warrior
The red Mighty Zora Warrior is a mini-boss, a tougher version of the Zora Warrior you met earlier. Draw a line from Zelda to the Warrior so she distracts it, then slash its back with Link. After each round of hits it jumps and sprays fire that hurts Link but not Zelda, so lead Zelda back in and repeat. Three rounds of hits finish it, and if you are slow it knocks Zelda down and starts firing again.
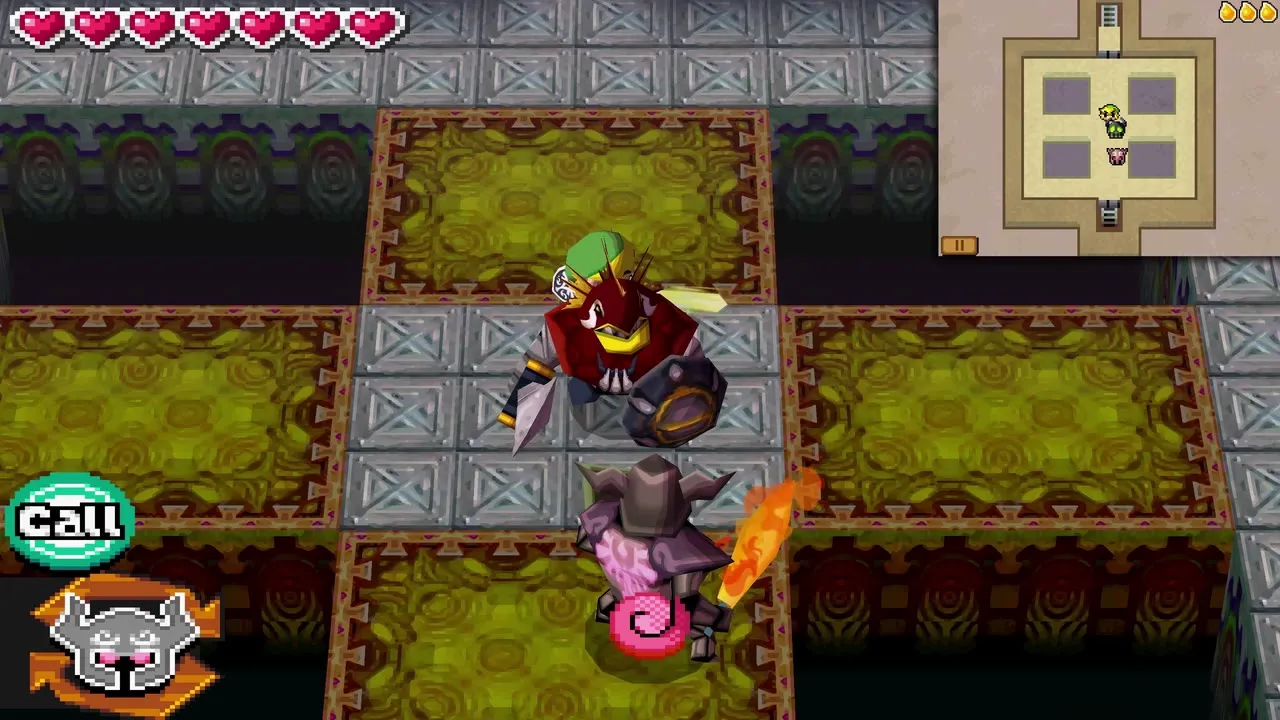

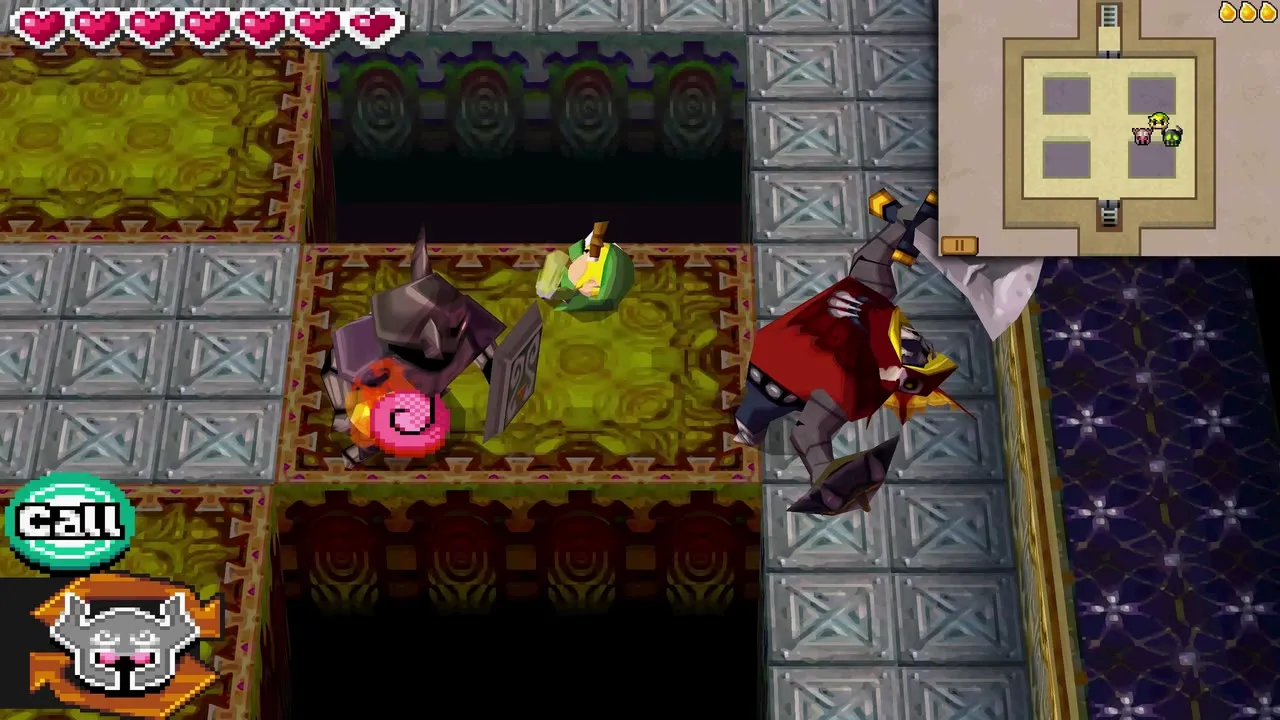
Reward chest
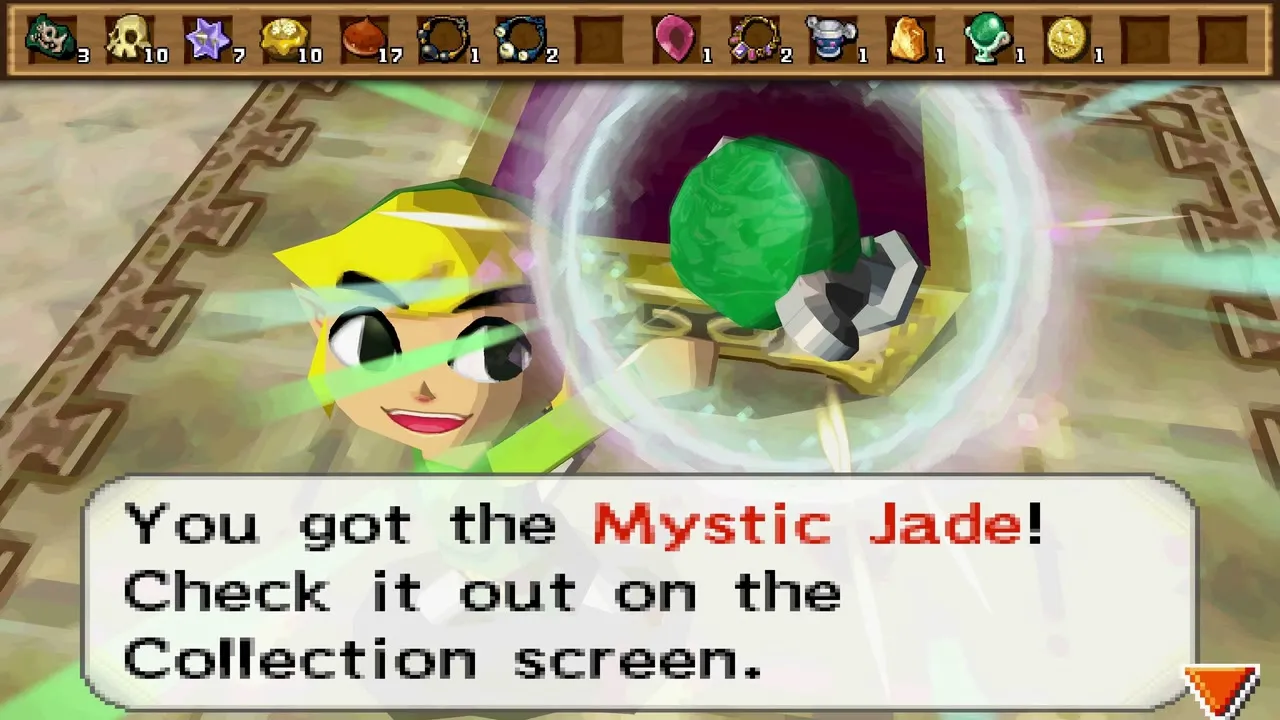
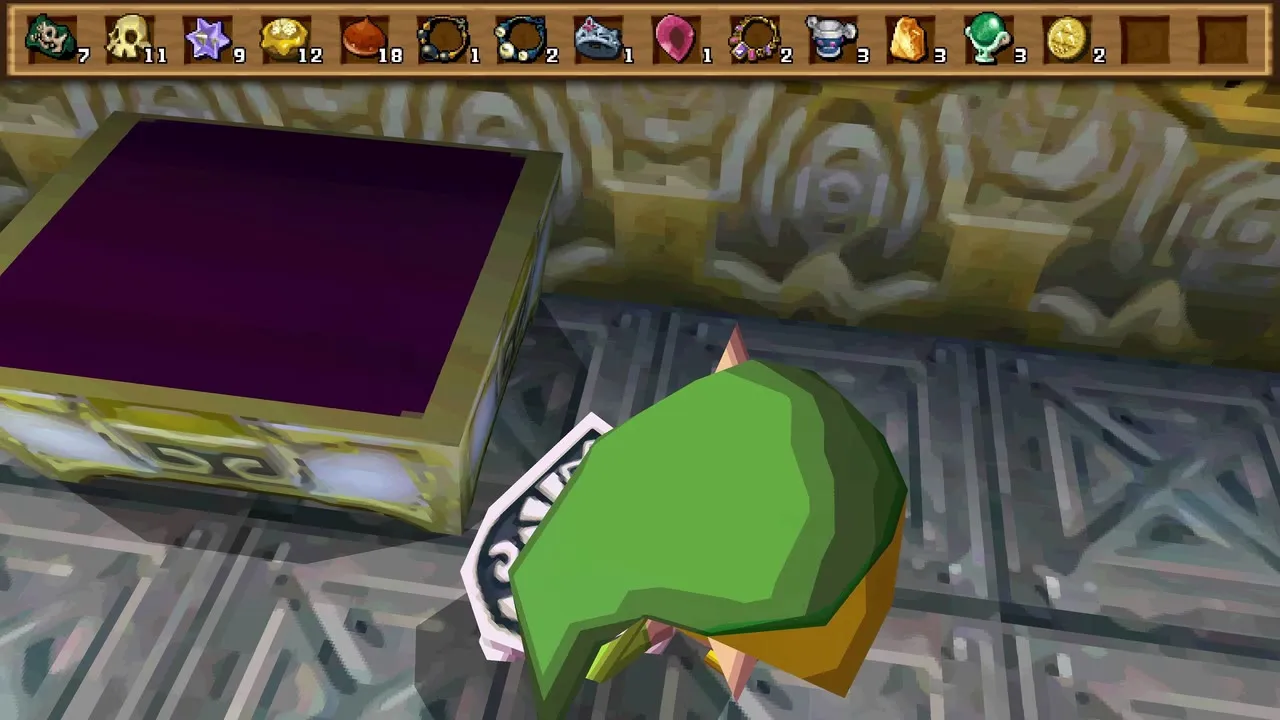
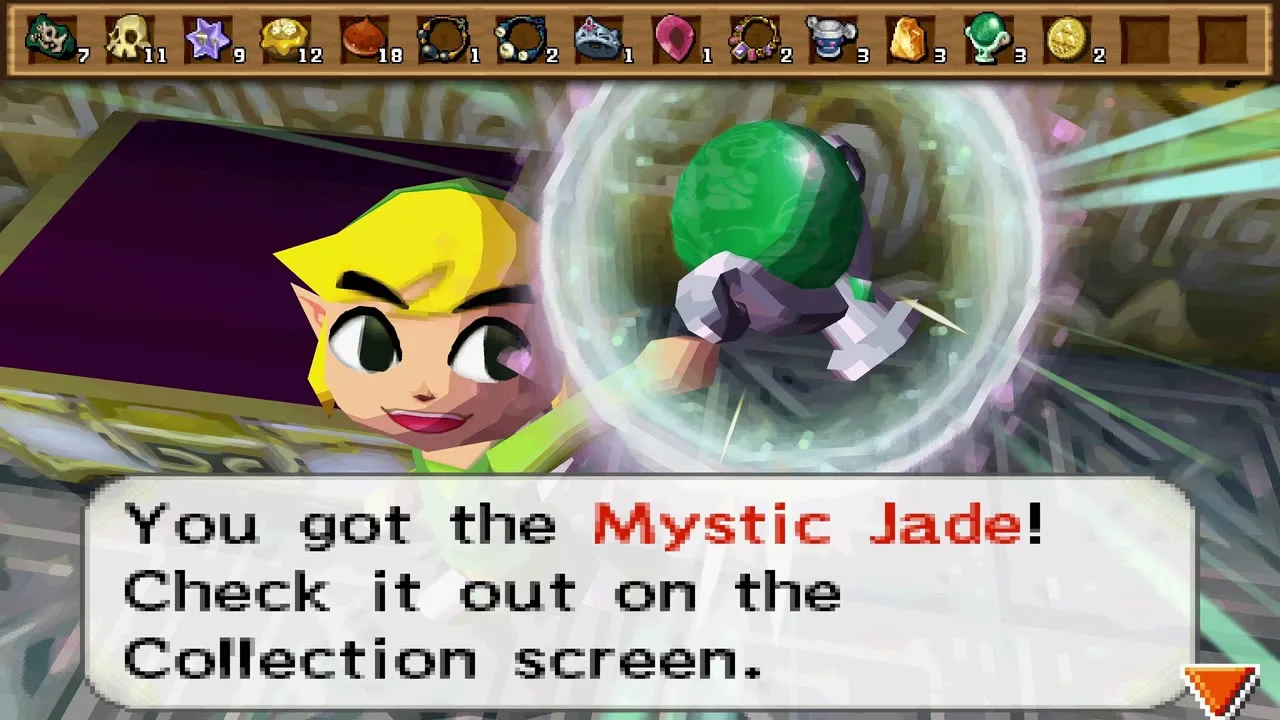
When the Warrior vanishes in purple smoke the walls drop and a large chest appears by the north door. It holds one of the rarer treasures, such as a Mystic Jade or an Ancient Gold Piece, worth a good price at a shop. Take it and climb the stairs to floor 12.
Floor 12: the Ocean Rail Map
How to get the Ocean Rail Map
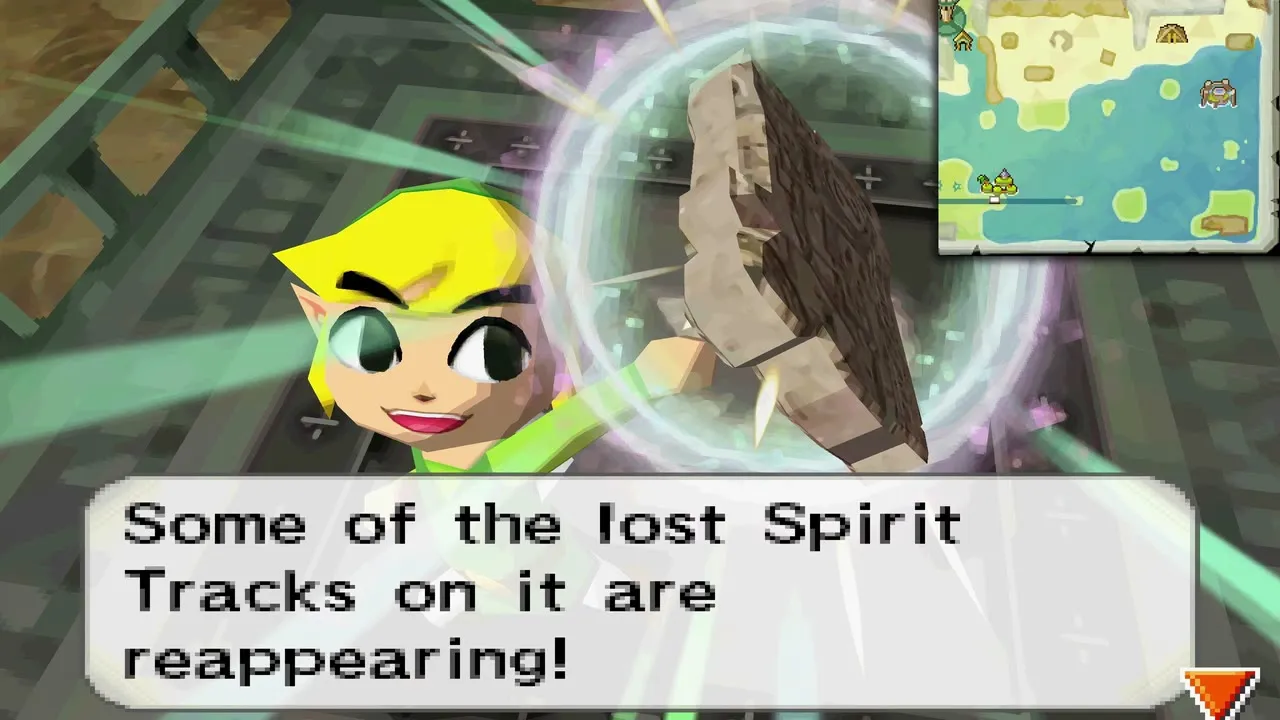
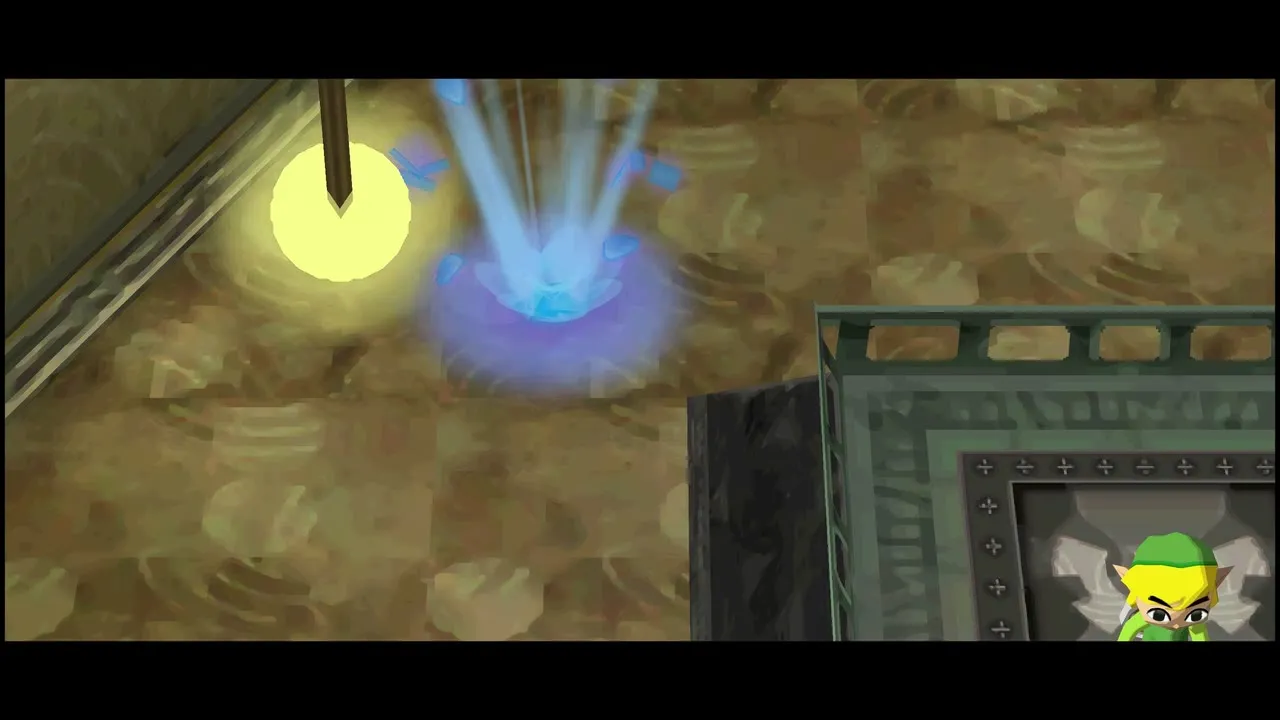
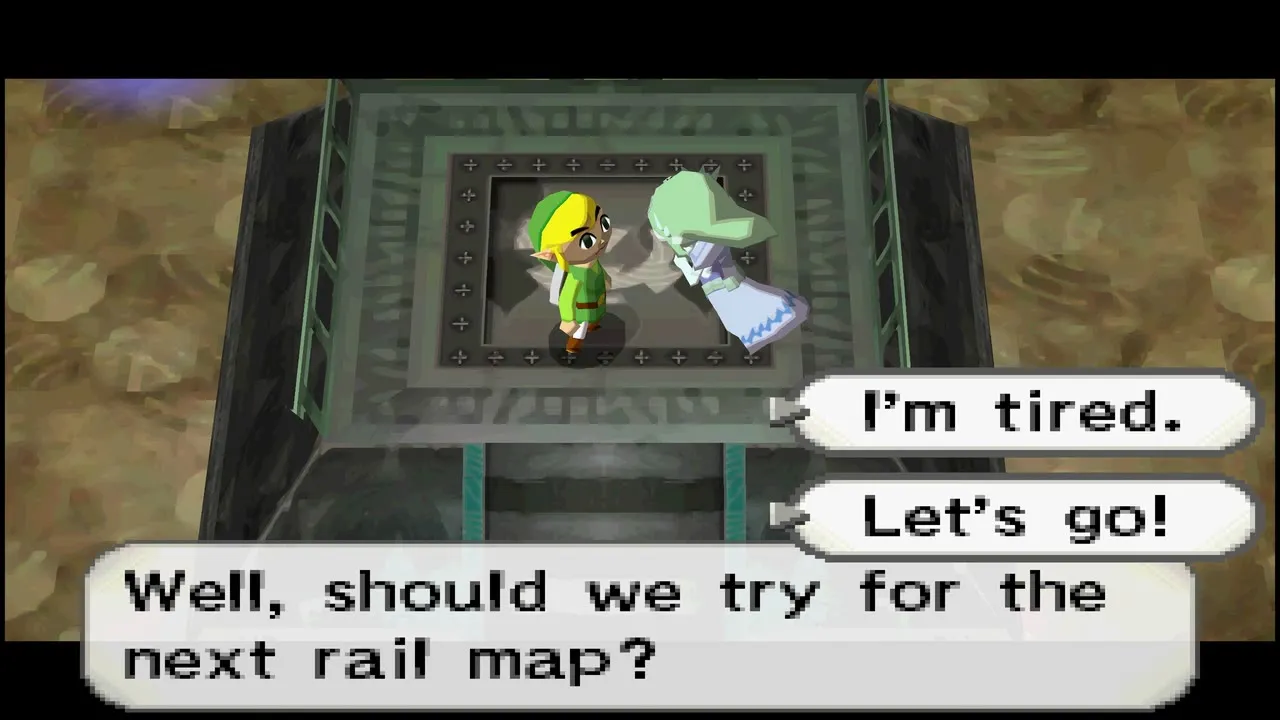
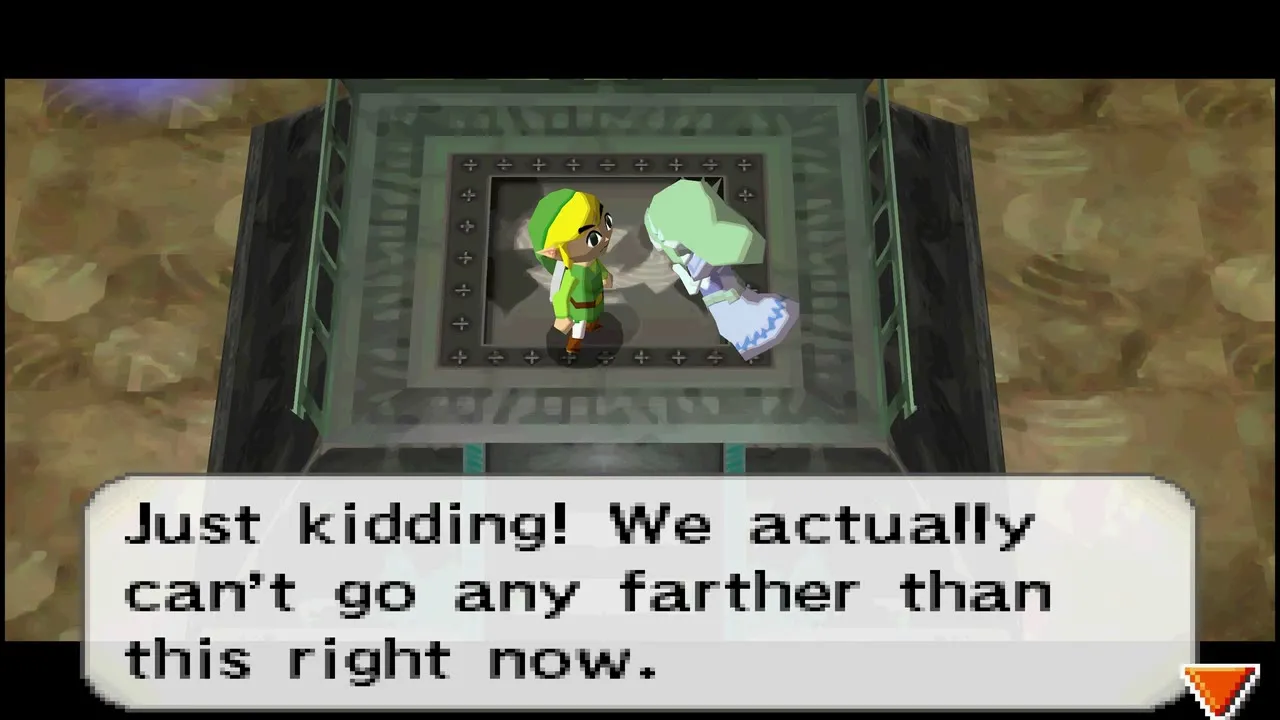
Zelda leaves the Phantom in the rail map room and Link’s sword energy fades. Take the Ocean Rail Map from the middle of the room: lost tracks reappear on your map. A blue portal opens and Zelda asks whether to go for the next map, but you cannot go further yet whatever you answer. Step through the portal to the Tower lobby.
Anjean and Carben
Anjean tells you that the next Lokomo, Carben, must be found to open the route to the Ocean Temple. How to reach the Ocean Realm is the next chapter’s problem.


Chapter checklist
| Collectible | Type | Where |
|---|---|---|
| Tear of Light 1 | Tear of Light | Floor 9, bombed room behind the lonely corner torch |
| Tear of Light 2 | Tear of Light | Floor 9, centre of the loop |
| Tear of Light 3 | Tear of Light | Floor 9, safe spot in the dark west |
 Palace Dish | Treasure | Floor 8, chest behind the bombed north wall |
| Random treasures (rare one in the floor 11 chest) | Treasure | Chests on floors 8 to 11 |
| Torch Phantom | Zelda ability | Floor 9, strike one from behind |
| Ocean Rail Map | Rail Map | Floor 12, rail map room |
With the Ocean tracks showing, ride out of the Tower and head for the broken bridge and the Trading Post in the Ocean Realm walkthrough.
