





















Spirit Tracks 100% Completion Walkthrough18 chapters
- Aboda Village and Hyrule CastleThe first train ride, the Royal Engineer ceremony, Zelda’s escape, the Spirit Flute, sword and path to the Tower.
- Tower of SpiritsMeet Anjean, collect the three Tears of Light, use Phantom Zelda and claim the Forest Rail Map.
- Forest RealmReach Whittleton, solve the Lost Woods rail maze, learn the Song of Awakening and play the Gage duet.
- Forest TempleSong of Healing, Whirlwind, Mothula, Boss Key, Stagnox boss fight, Heart Container and Force Gem.
- Tower of SpiritsTears of Light, lava Phantoms, Zora Warrior, the Snow Rail Map, plus the Cannon and Rabbit Net.
- Snow RealmAnouki Village pairings, the Rocktite tunnel, Steem’s duet, the Heart Container shop and Ferrus’s blizzard map.
- Snow TempleGet the Boomerang, solve the bell puzzles, take the Boss Key from the Wolfos and beat Fraaz for a Heart Container.
- Tower of SpiritsDark floor 8, Torch Phantoms, Tears of Light, the Z door, Mighty Zora Warrior and Ocean Rail Map.
- Ocean RealmFix the Trading Post bridge, find the Regal Ring, learn the Song of Birds and free Carben at the Ocean Sanctuary.
- Ocean TempleReach the sunken temple, win the Whip, beat Phytops and claim the Heart Container and blue Force Gem.
- Tower of SpiritsBeat Warp Phantoms and Phantom Eyes, collect three Tears of Light and claim the Fire Rail Map.
- Fire RealmReach Goron Village, ferry Noko for Mega Ice, cool the lava, solve the Fire Sanctuary statues and play Embrose’s duet.
- Fire TempleSnurglar keys, Heatoise and the Bow, mine carts, Boss Key, Cragma, Heart Container and the Goron Quiver.
- Tower of SpiritsClimb Tower of Spirits floors 18-23, solve the Wrecker Phantom puzzles, take the Boss Key and beat Byrne with Zelda.
- Sand RealmSand Gyorg, desert rabbits, the Sand Sanctuary bomb puzzle, the Rael duet and the three trials to the Sand Temple.
- Sand TempleStalfos keys, Sand Wand, the Boss Key, the Skeldritch boss fight, the Heart Container, Bow of Light and Lokomo Sword.
- Tower of Spirits Floors 24-30 and the Compass of LightLight Arrows at the altar, every Phantom puzzle, the floor 26 gauntlet and the Compass of Light.
- Dark Realm, Demon Train and MalladusDestroy six Armored Trains, beat the Demon Train, free Zelda from Cole and defeat Malladus with the Lokomo Sword.
| Covers | Tower of Spirits lobby, Anjean’s room and floors 1 to 3 (first climb); the Spirit Train on its turntable |
|---|---|
| You need | The Spirit Flute and Recruit’s Sword from Hyrule Castle, and Zelda’s spirit beside you after the Hidden Castle Path |
| Rewards |  3 Tears of Light,  the Forest Rail Map, possible treasure chests in the side rooms of floor 2,  the Spirit Train on the turntable; no Heart Containers, stamps, rabbits or Force Gems yet |
This is the first climb of the Tower of Spirits. You meet the sage Anjean, learn how to get past the armored Phantoms by collecting three Tears of Light, let Zelda borrow a Phantom’s body to solve puzzles, and finish on floor 3 with the Forest Rail Map. That map restores the first piece of the Spirit Tracks and sends you out to the Forest Realm to find the Lokomo Gage.
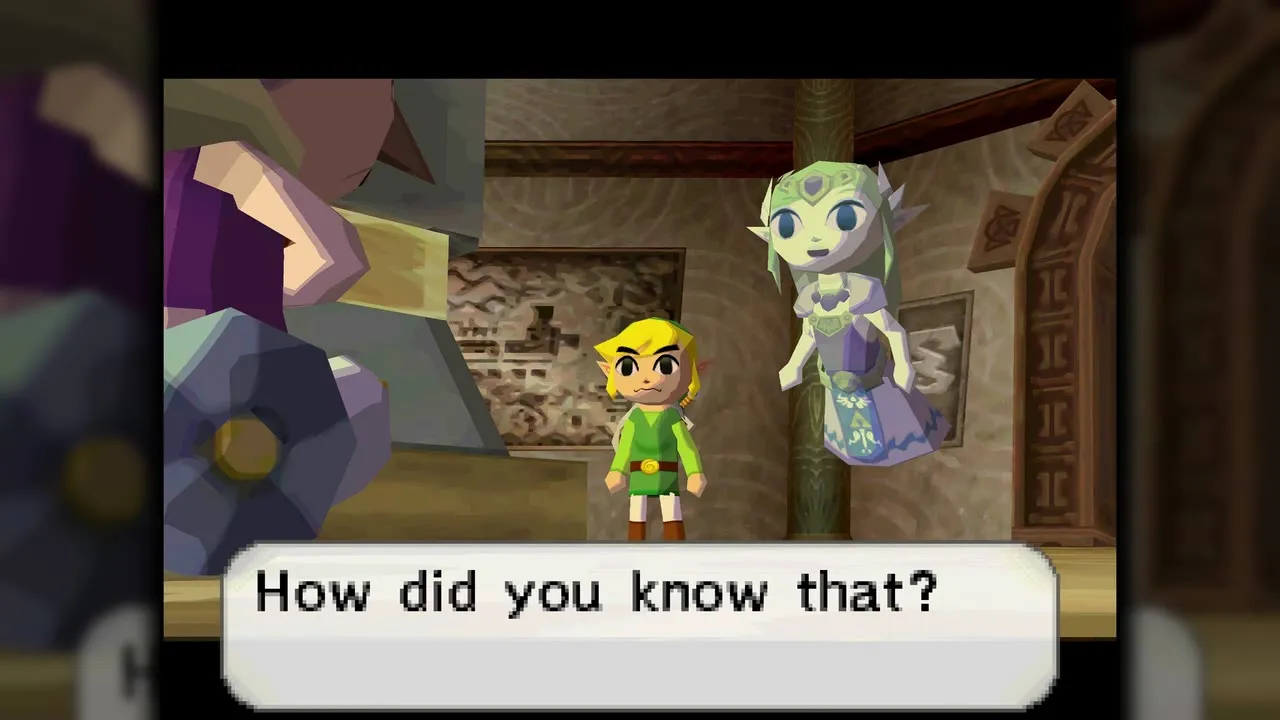
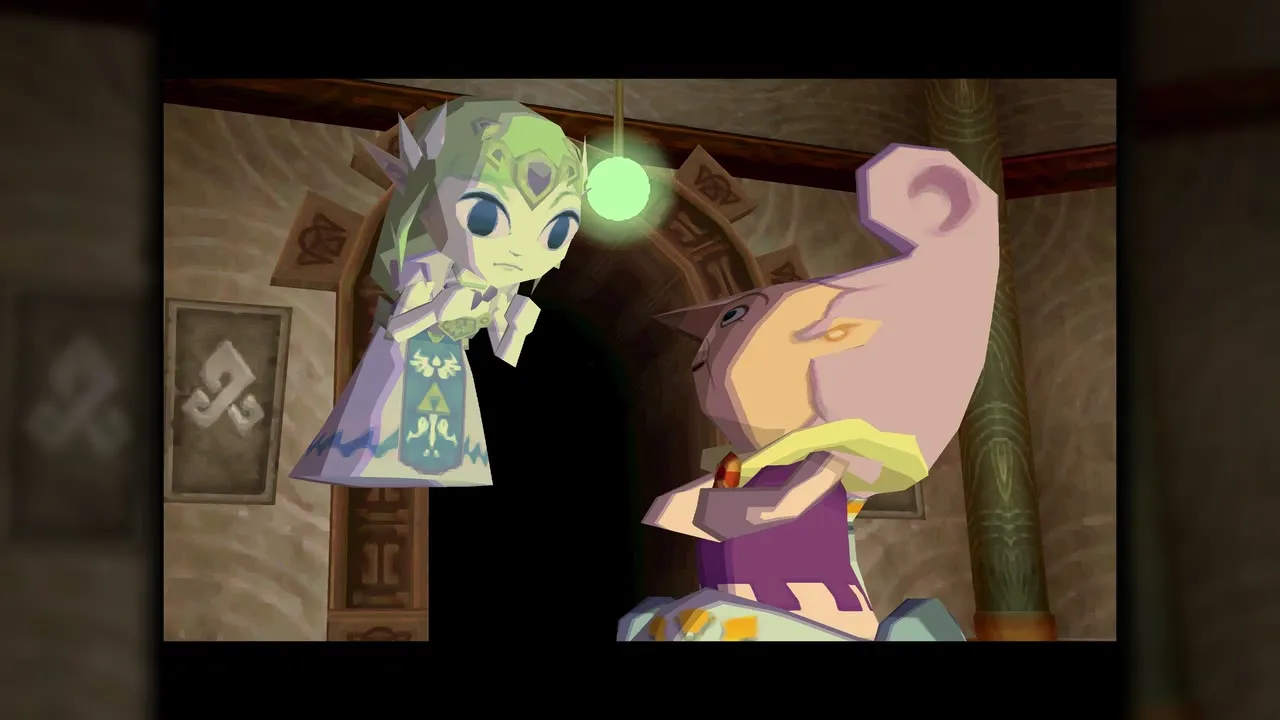
Table of Contents
Meet Anjean in the Tower of Spirits lobby
Talk to Anjean
The Hidden Castle Path ends in the lobby of the Tower of Spirits. Walk on to the sage’s room and speak with Anjean, a Lokomo who watches over the tower. She can hear Zelda’s spirit, which is why she has been expecting you.
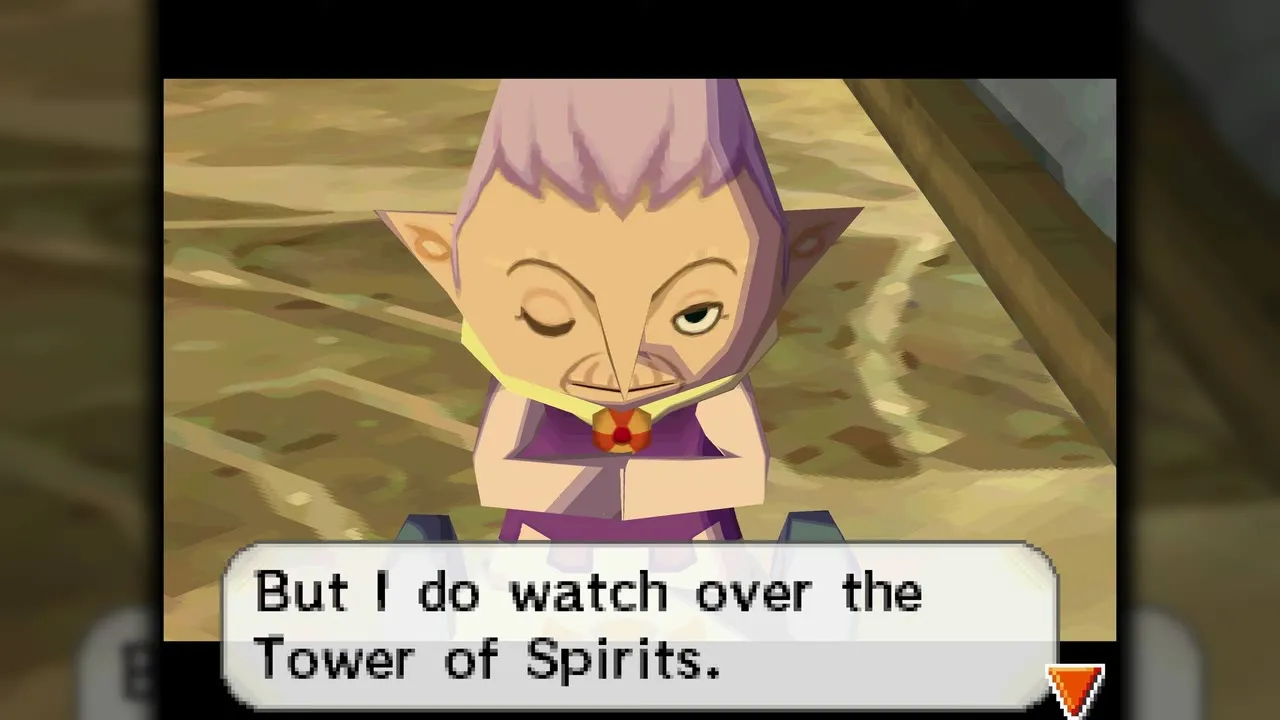
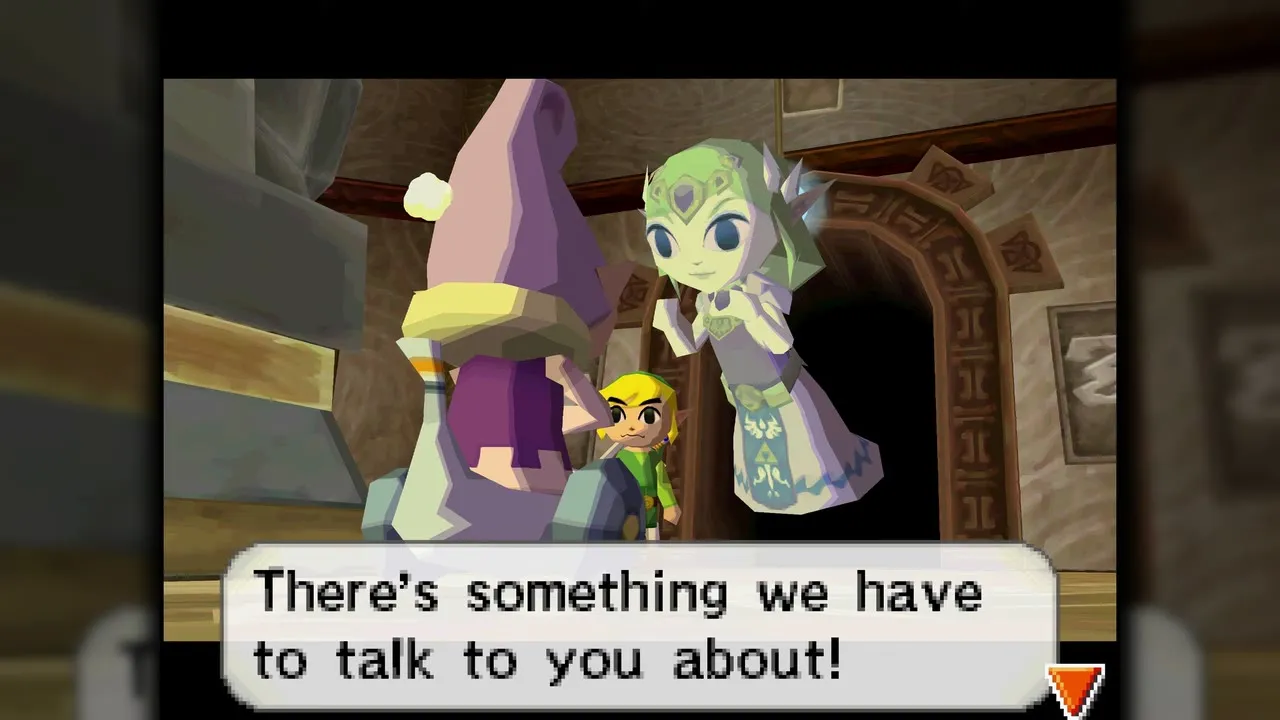
Anjean explains that Chancellor Cole and Byrne mean to bring back the Demon King Malladus, and that he needs Zelda’s body to do it. To keep him locked away you must restore the Spirit Tracks that link the tower to the temples. Each rail map you recover brings back a stretch of track, so the job is to climb the tower and fetch them one by one.
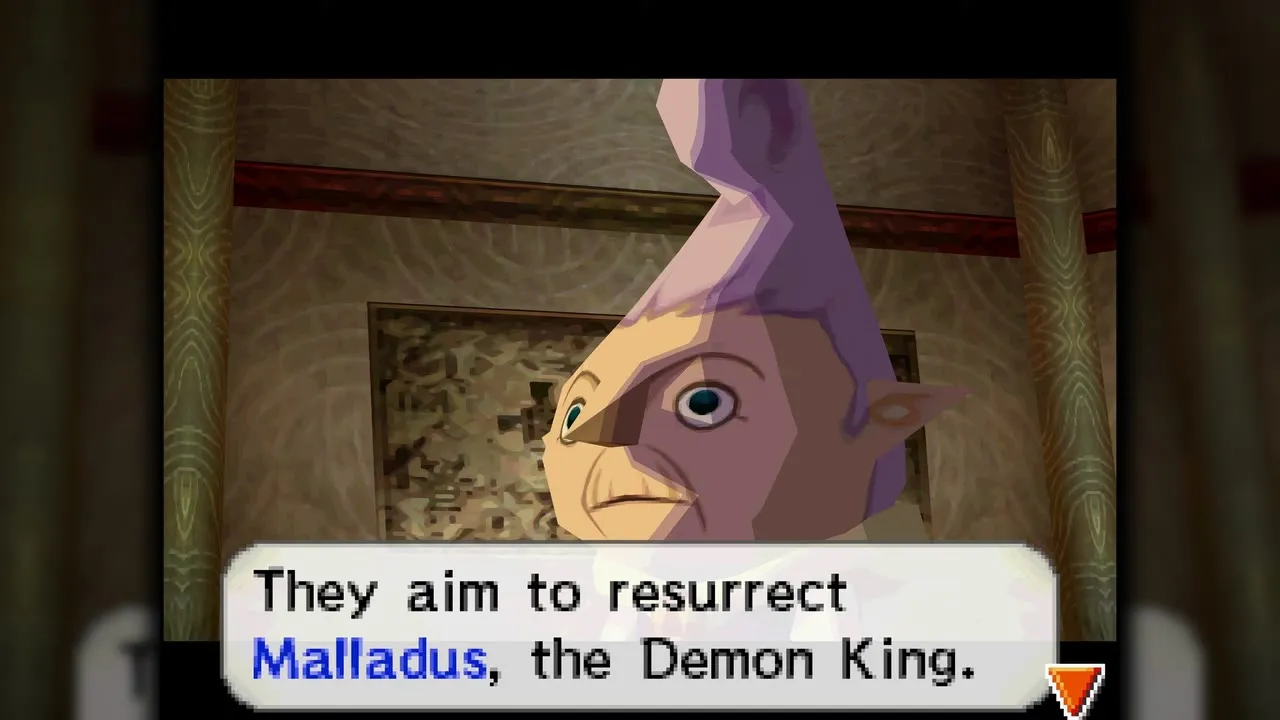

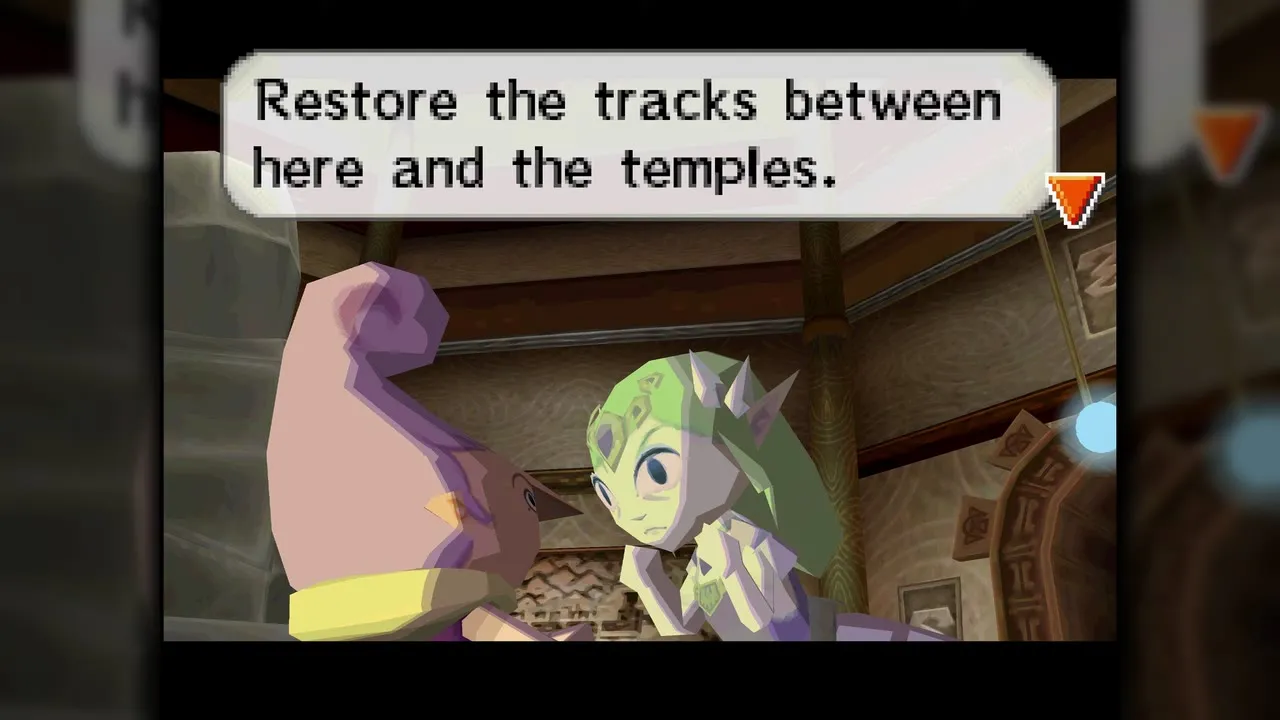
The tower is overrun with monsters and Anjean is busy holding it together, so she cannot guide you herself; Zelda’s spirit goes up with you instead. Agree to the plan and head for the stairs. The lobby is where you return after each climb.


Floor 1: Phantoms and the three Tears of Light
Climb the stairs and meet the first Phantom
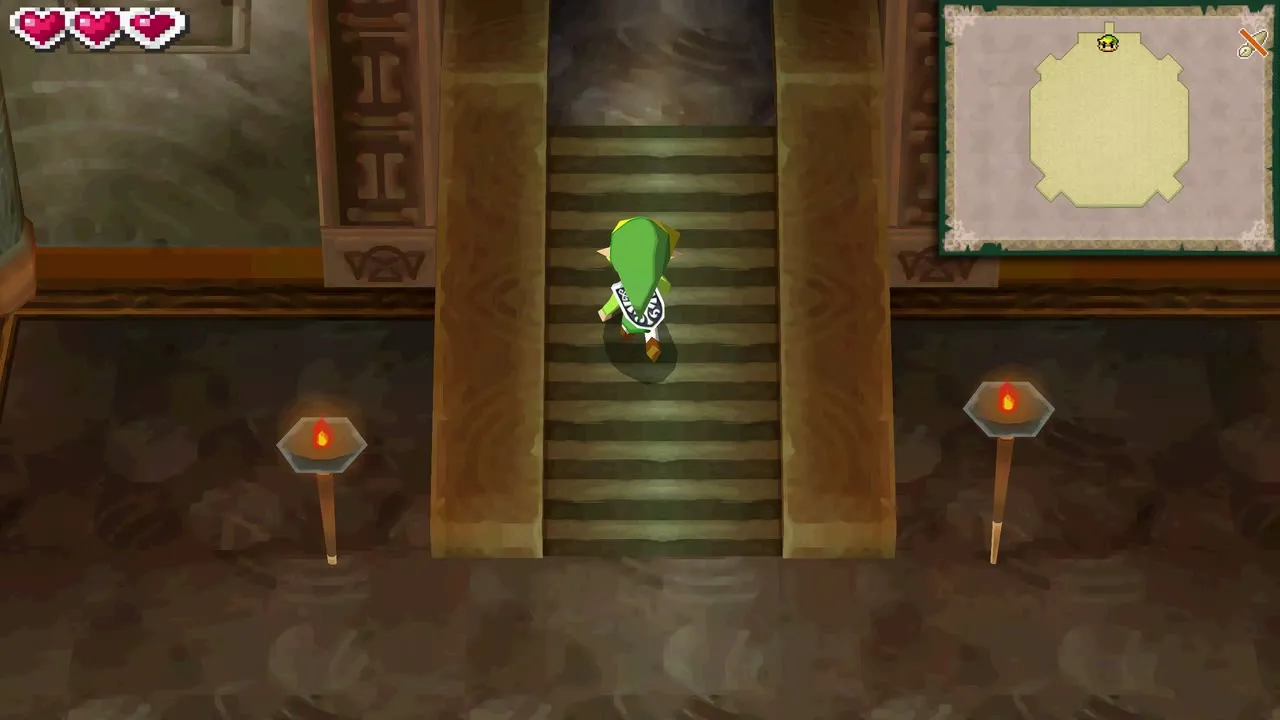
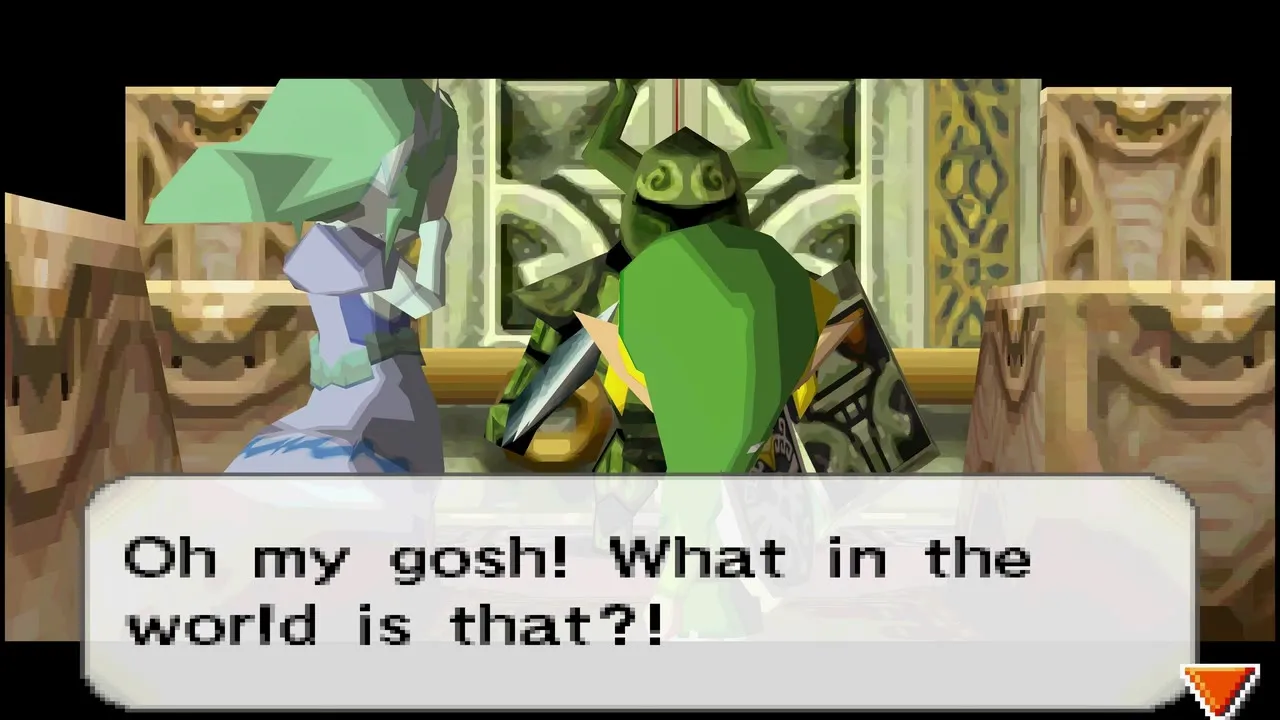
Take the north stairs from the lobby and go through the door above them. A huge armored Phantom is patrolling the room beyond. You cannot hurt it yet, so do as Zelda says and run back out; the game drops you in front of Anjean again.

Learn about safe zones
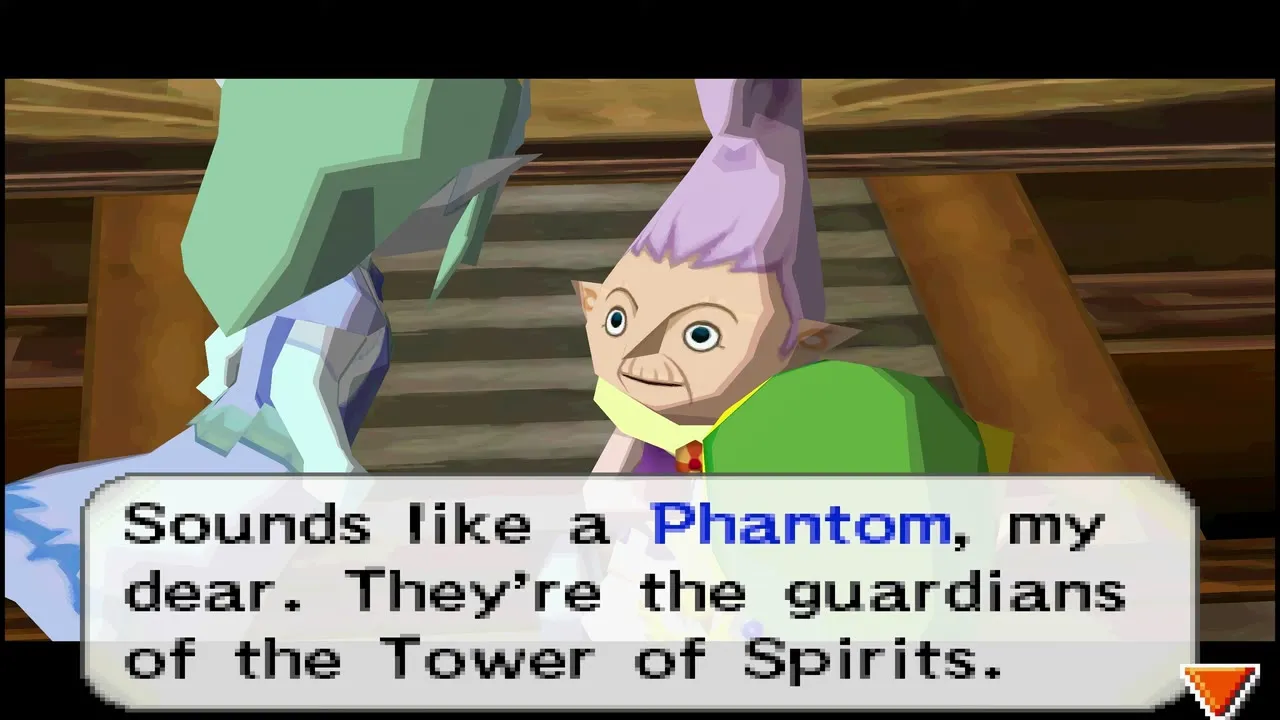
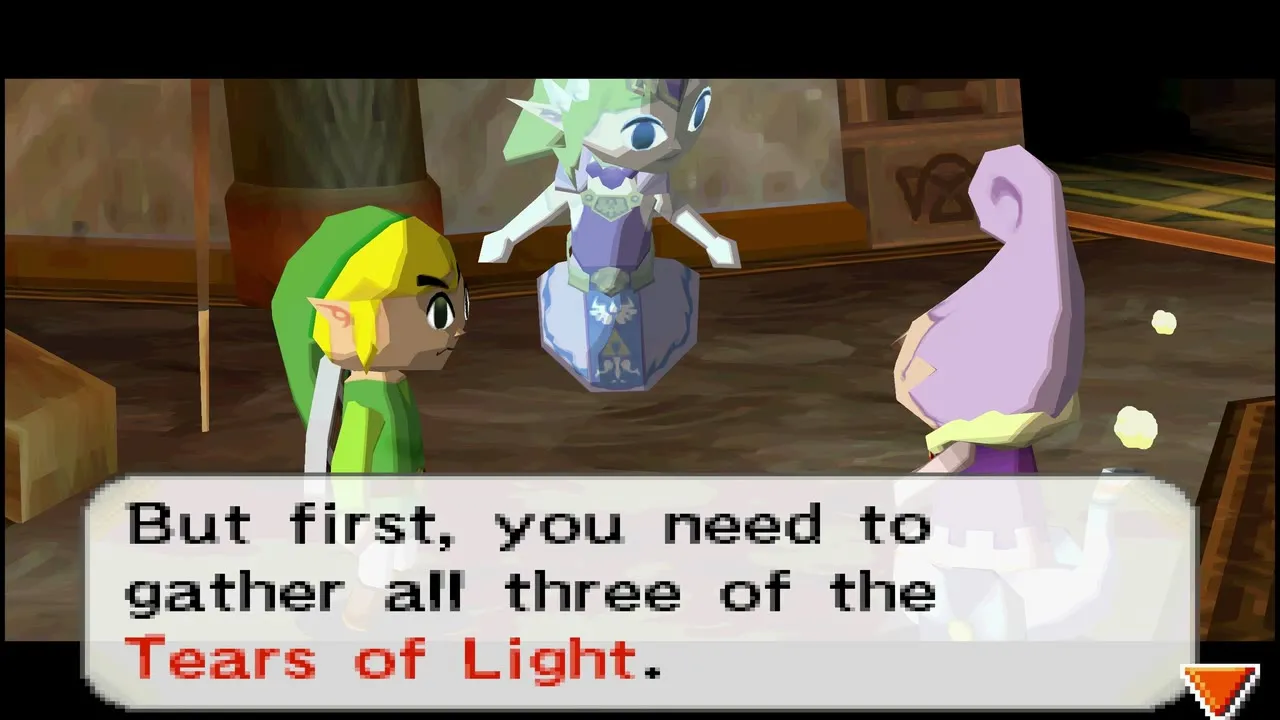
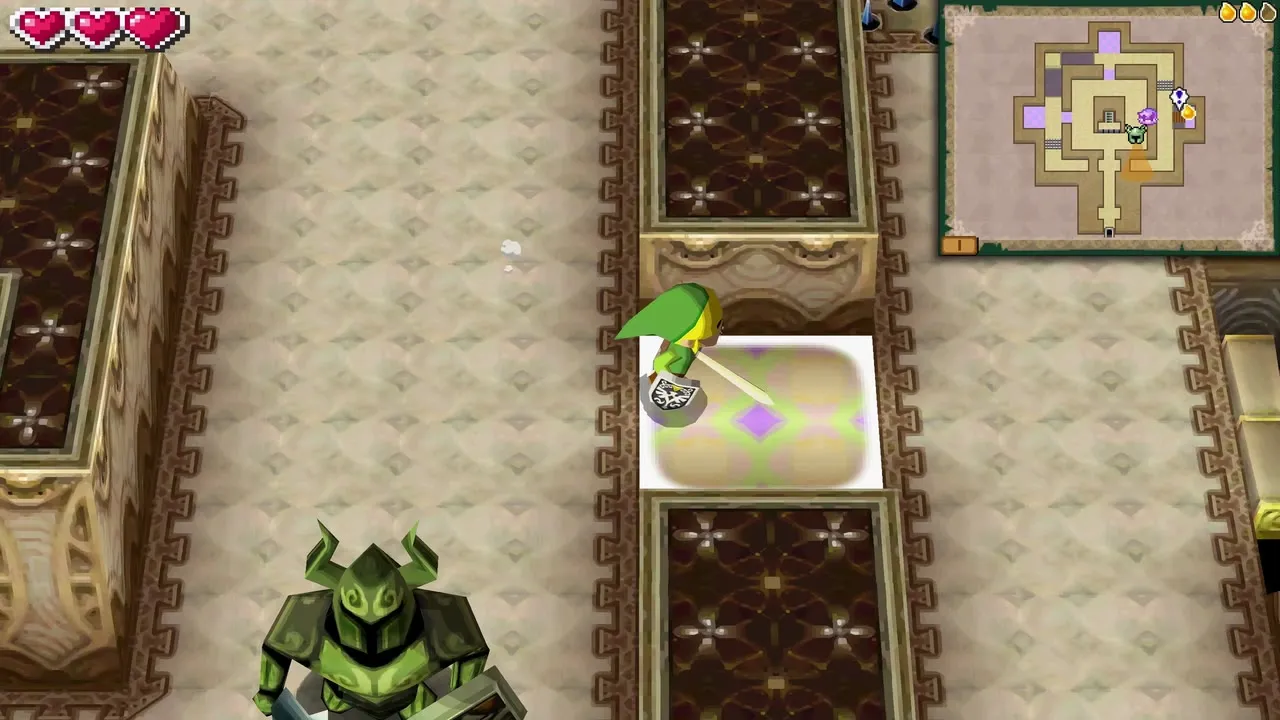
Anjean tells you that Phantoms are the tower’s guardians and that an evil spirit may have taken hold of this one. To stun it, collect all three Tears of Light and then strike it from behind. Safe zones, the glowing patches on the floor, are your cover: while you stand on one the Phantoms cannot see or hurt you. Return to the Phantom’s room and use these patches to work around its patrol.

Tear of Light 1: the left side
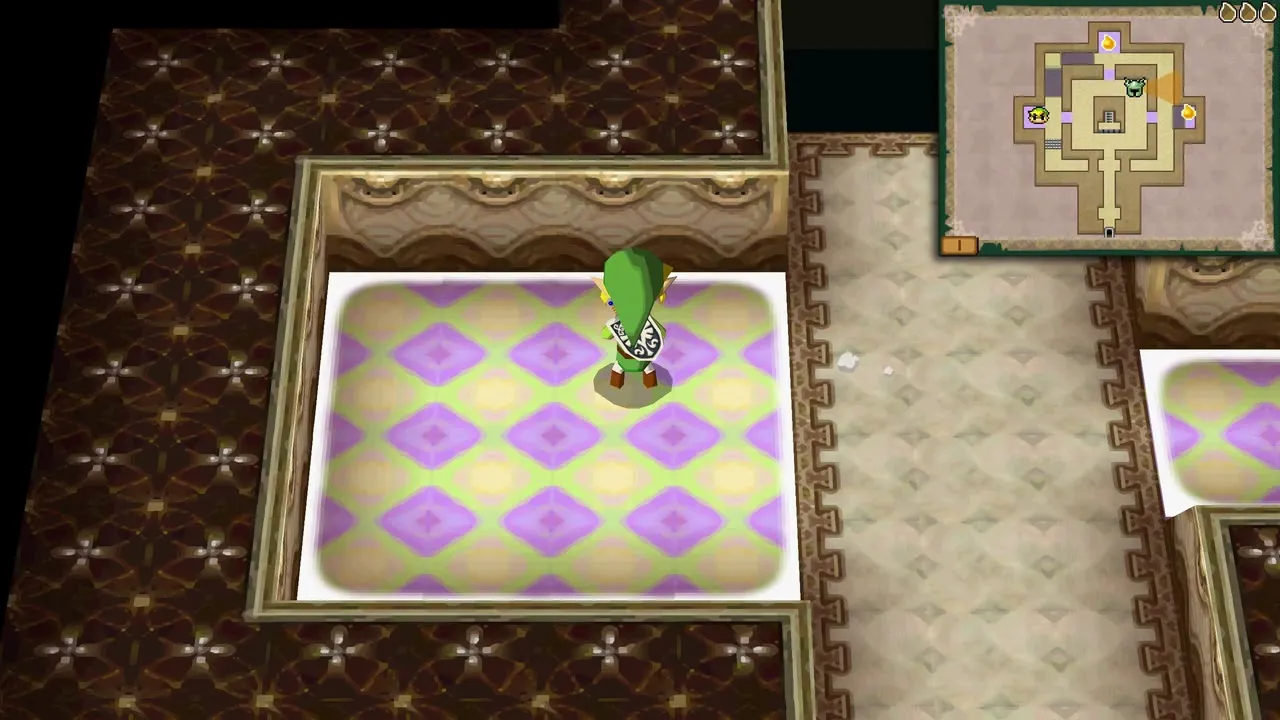
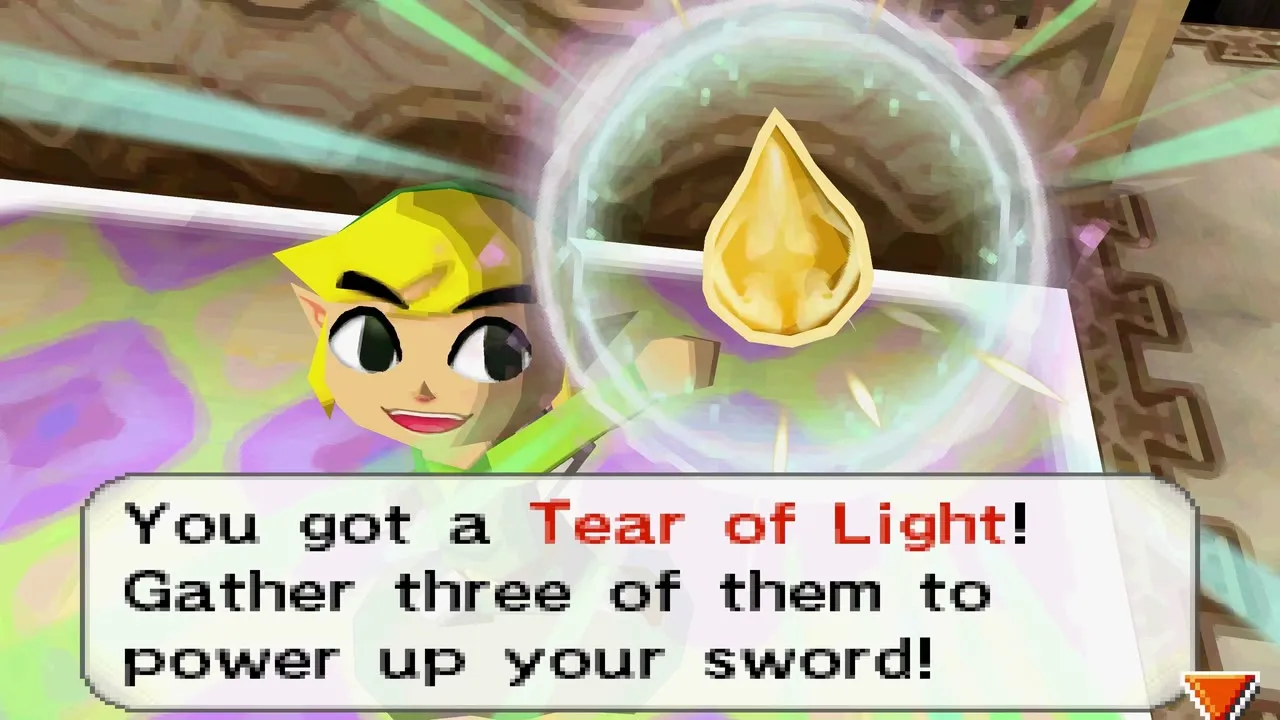
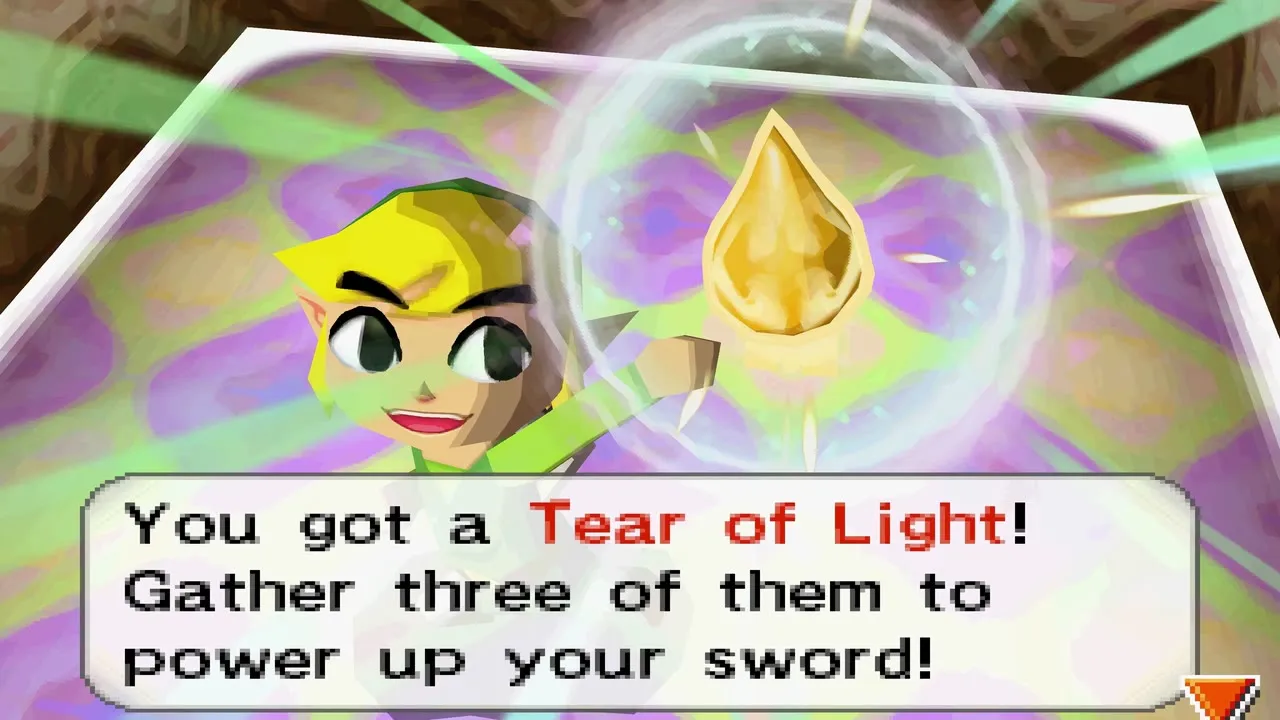
When the path splits, go left and step onto the shining tile. From the safe zone, continue left and pick up the first Tear of Light. This one takes little effort as long as you stay out of the Phantom’s sight.
Tear of Light 2: the top of the room
Return to the central area and move up the room, hopping from one safe zone to the next. Go up through the safe zone and on to the one at the very top of the room to collect the second Tear of Light. Wait on each safe tile until the Phantom walks away before you cross open floor.
Tear of Light 3: the timed bridge
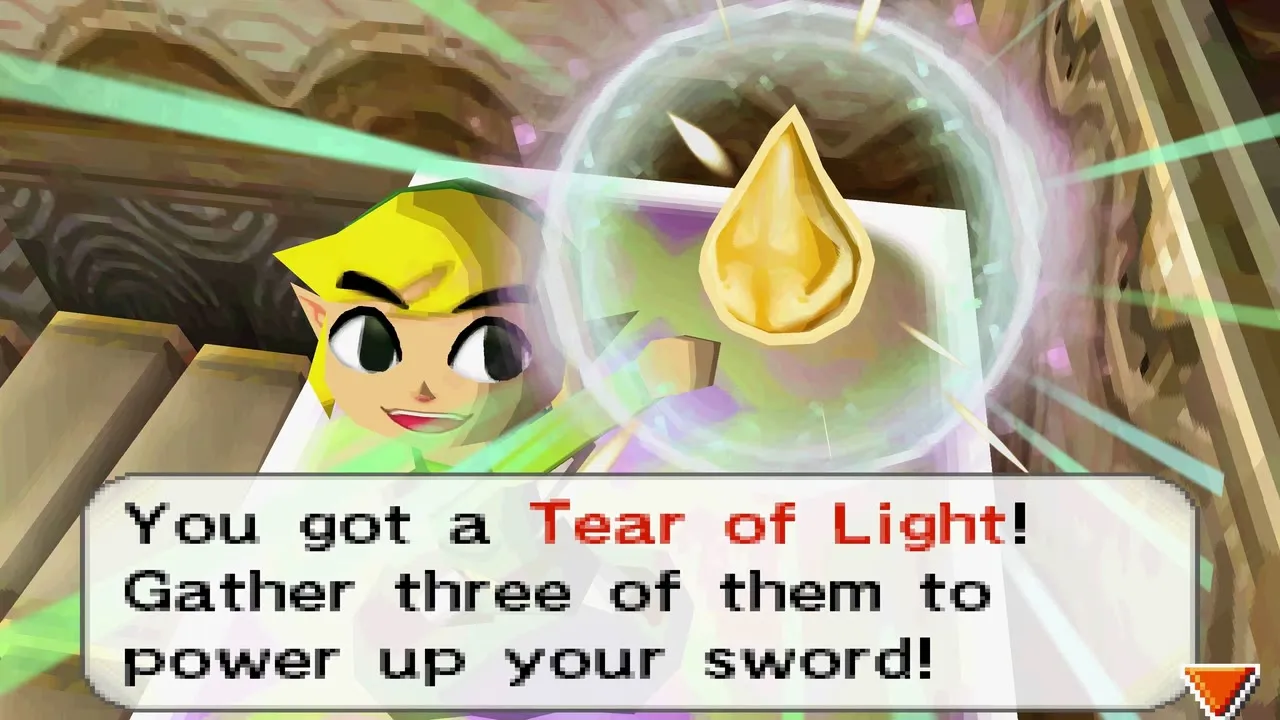
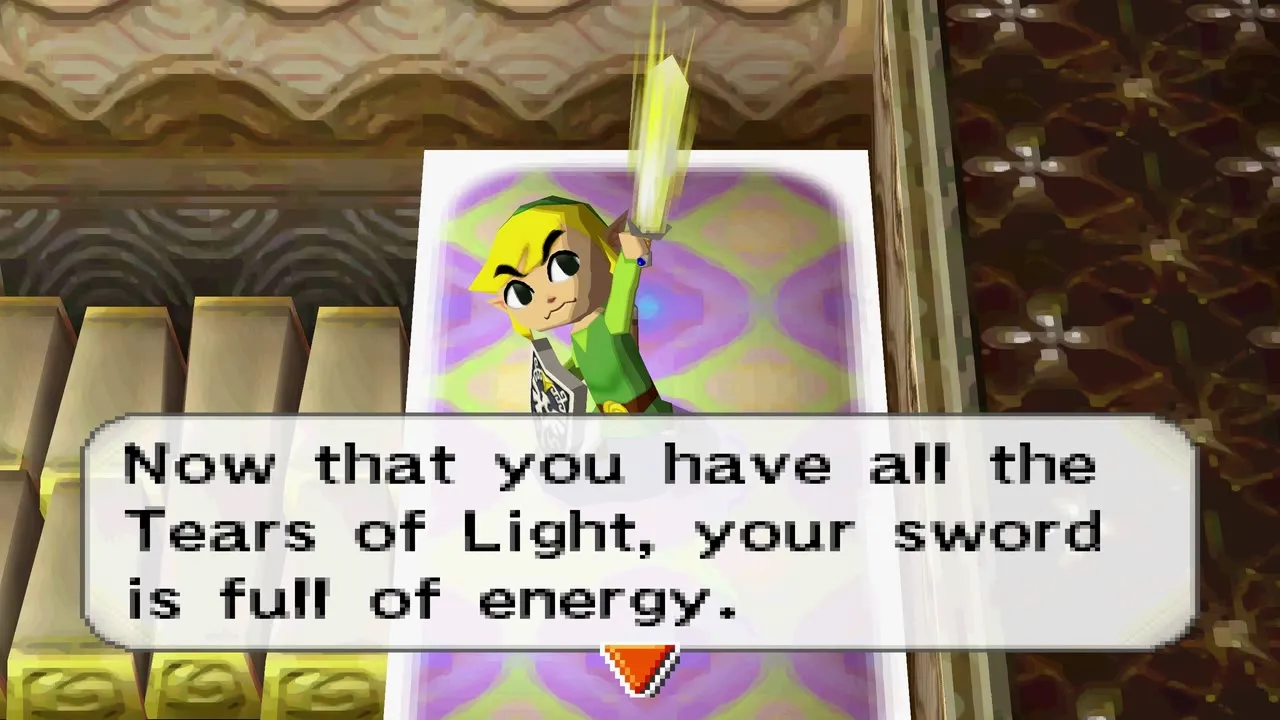
From the top safe zone go down and then immediately right to a floor switch. Stepping on it extends a bridge toward the third Tear, but only for a short time. Run left, then down, then right and cross the bridge before it retracts, and take the Tear. With all three your sword glows, charged with light.

Hit the Phantom from behind
Sneak up behind the Phantom and slash it in the back. The blow stuns it, and Zelda’s spirit slips inside the armor. From here on she can move the Phantom for you. The sword’s charge fades at the end of the climb, so you will repeat this trick with fresh Tears on later visits.

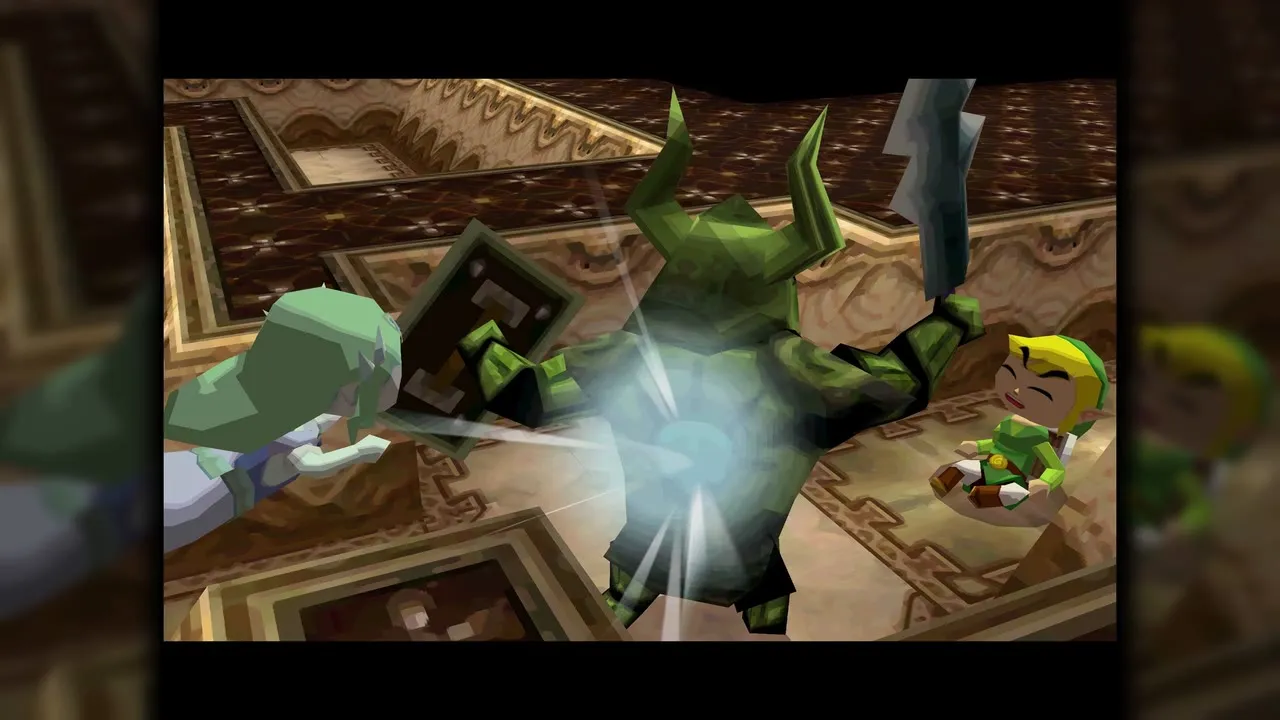
Phantom Zelda: doors, spikes and switches
How to control the Phantom
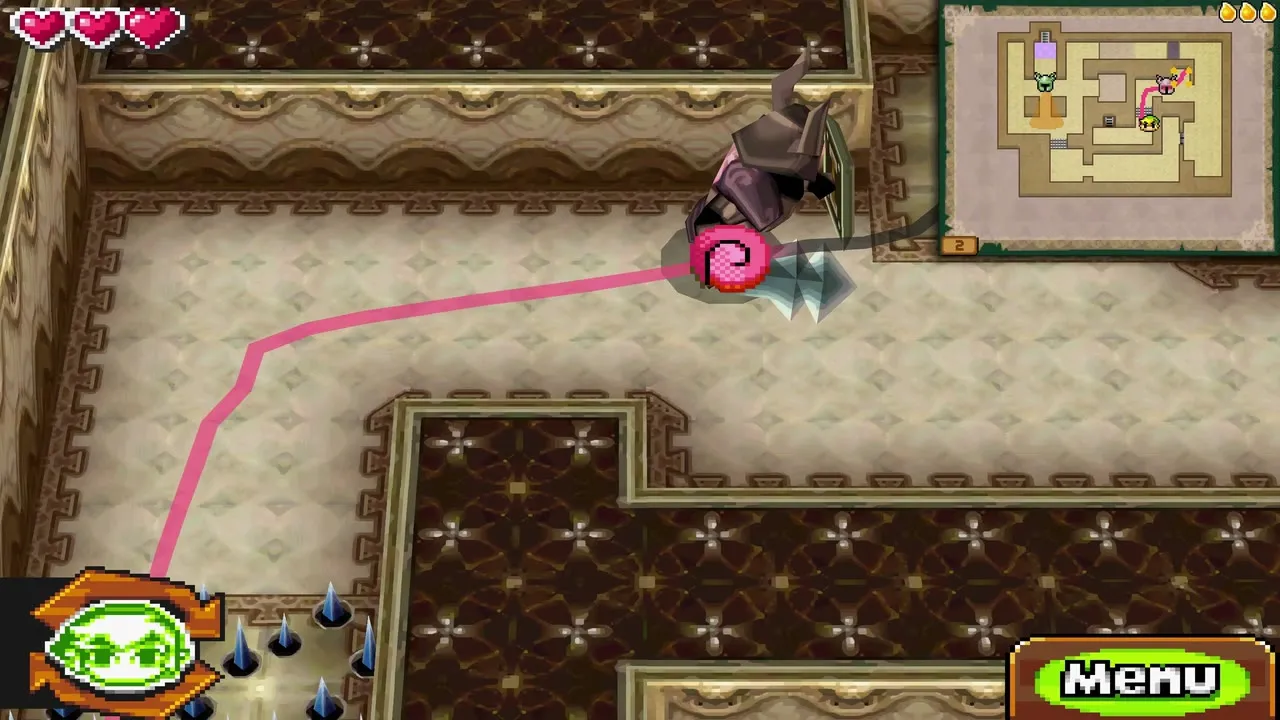
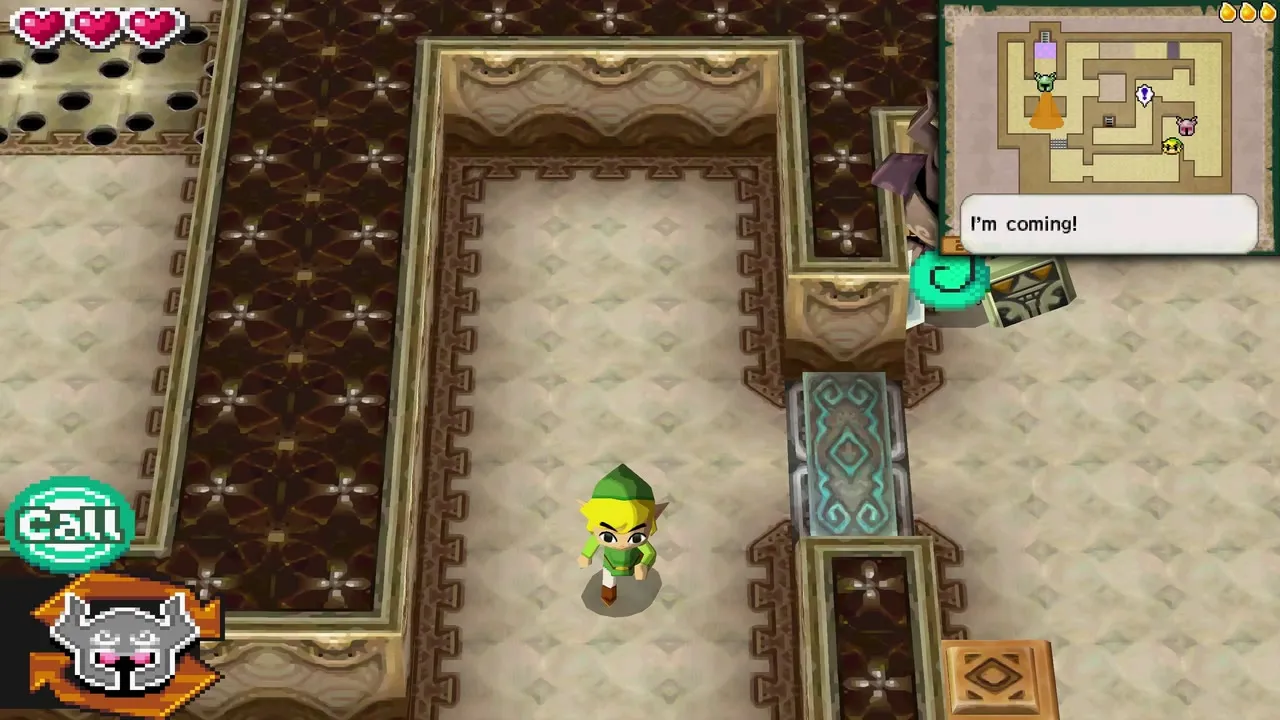
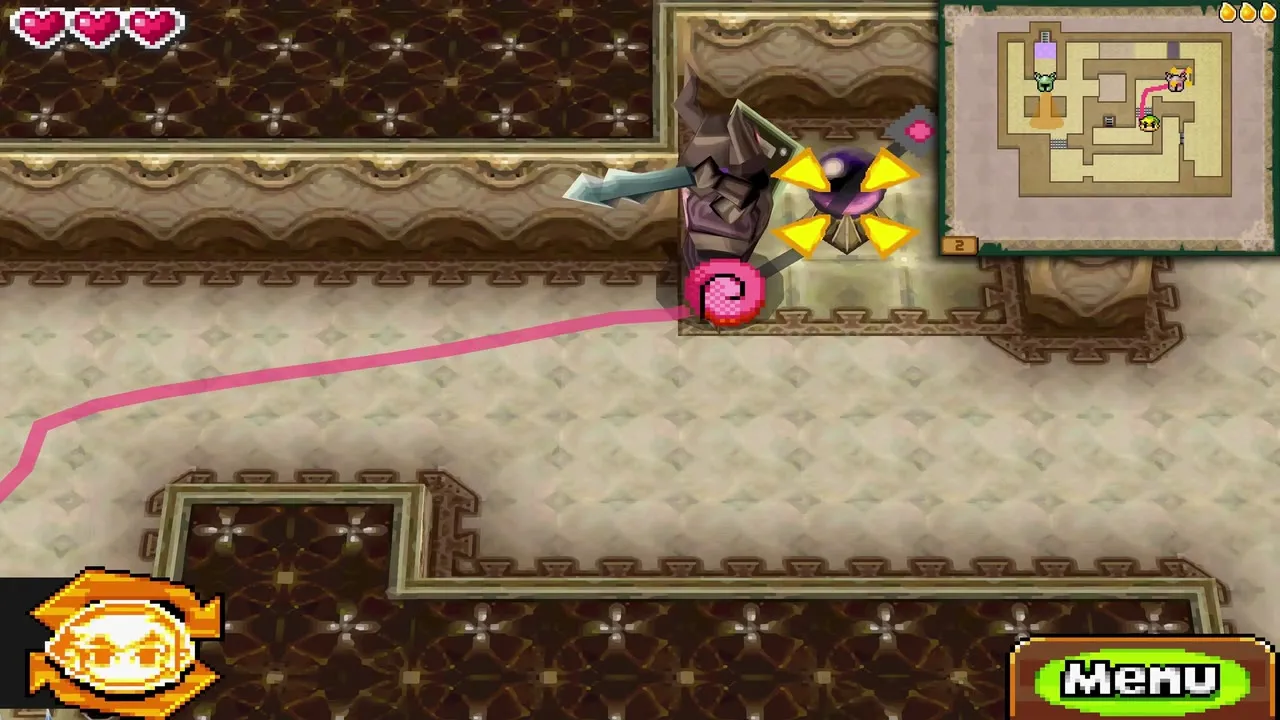
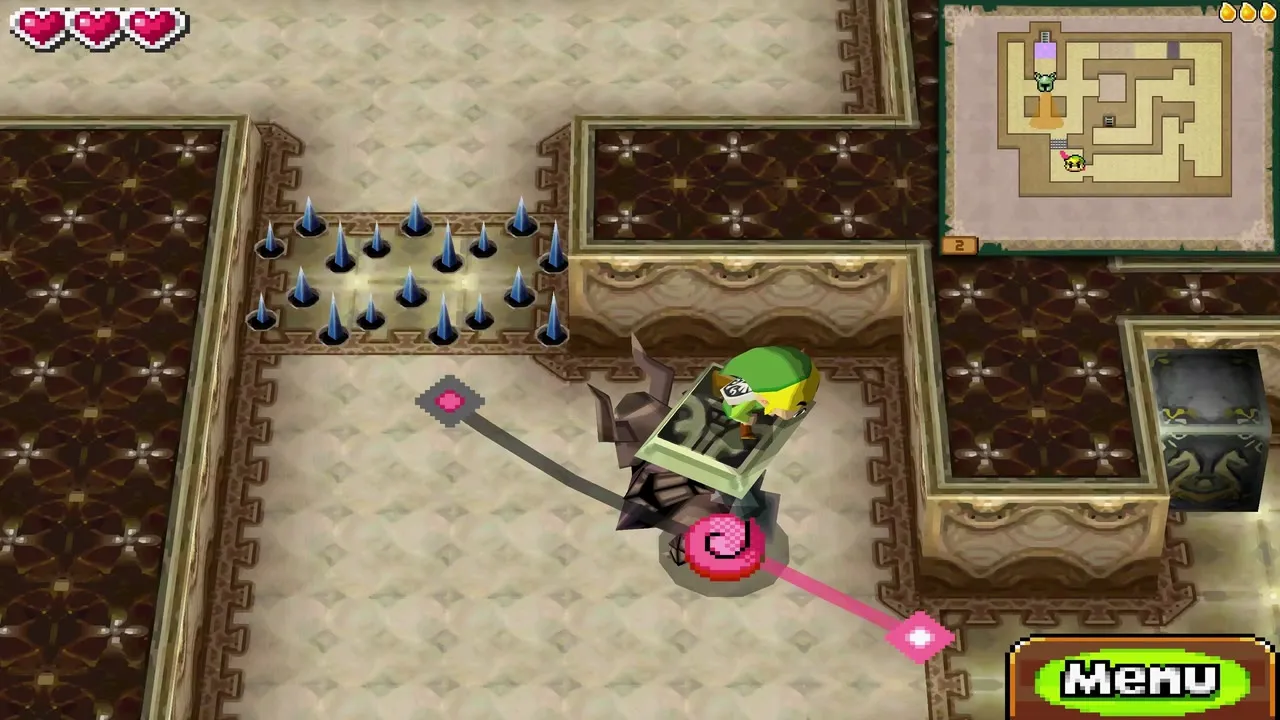
Zelda is now a normal Phantom, and you steer her the way you steered her through the castle: tap the Phantom and draw a path with the stylus on the touch screen, and she follows it. Ending the path on an object makes her interact with it, shown by an X over it. Tap the Call button to bring her back to Link’s side, and tap her again to switch back to controlling Link. Her armor lets her walk across spikes.
Open the heavy door on floor 1
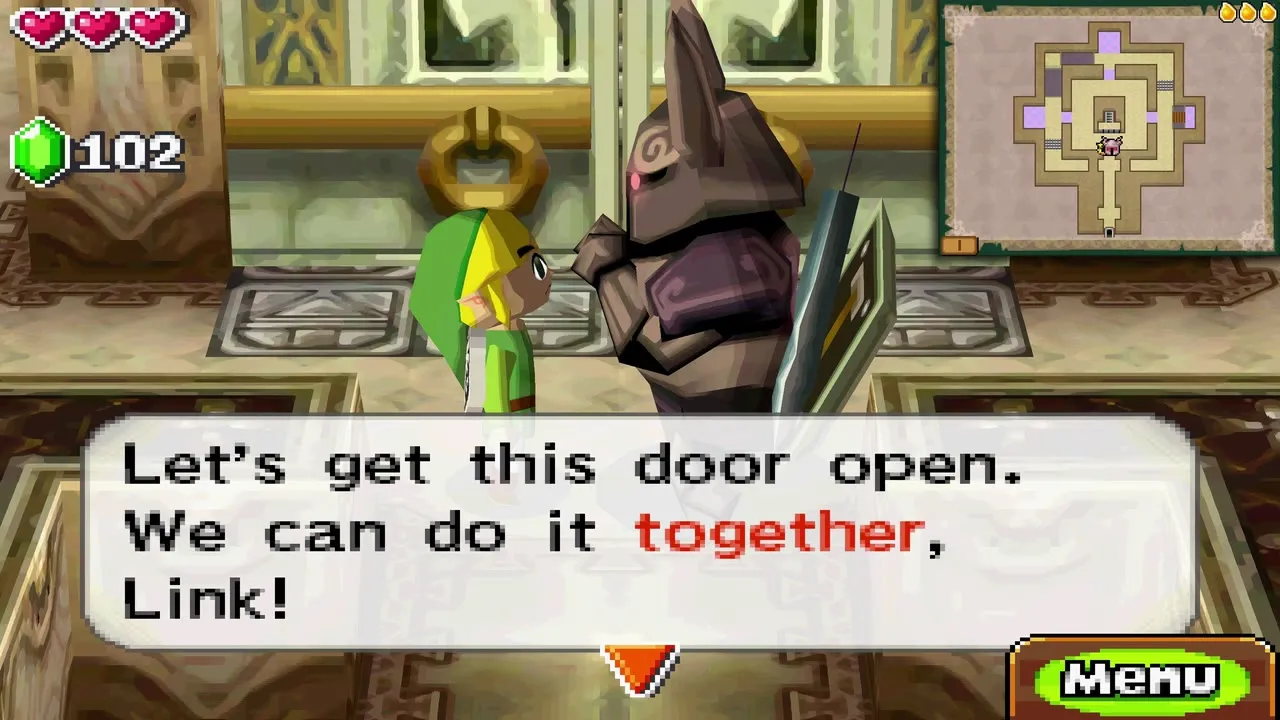
The first door has two handles and is too heavy for one person. Draw a path from the Phantom to the door so that an X appears on it, then, while she pushes, tap the other door so Link pushes from his side. The door opens onto the stairs up to floor 2.

Floor 2: spike floor and the right-hand switch
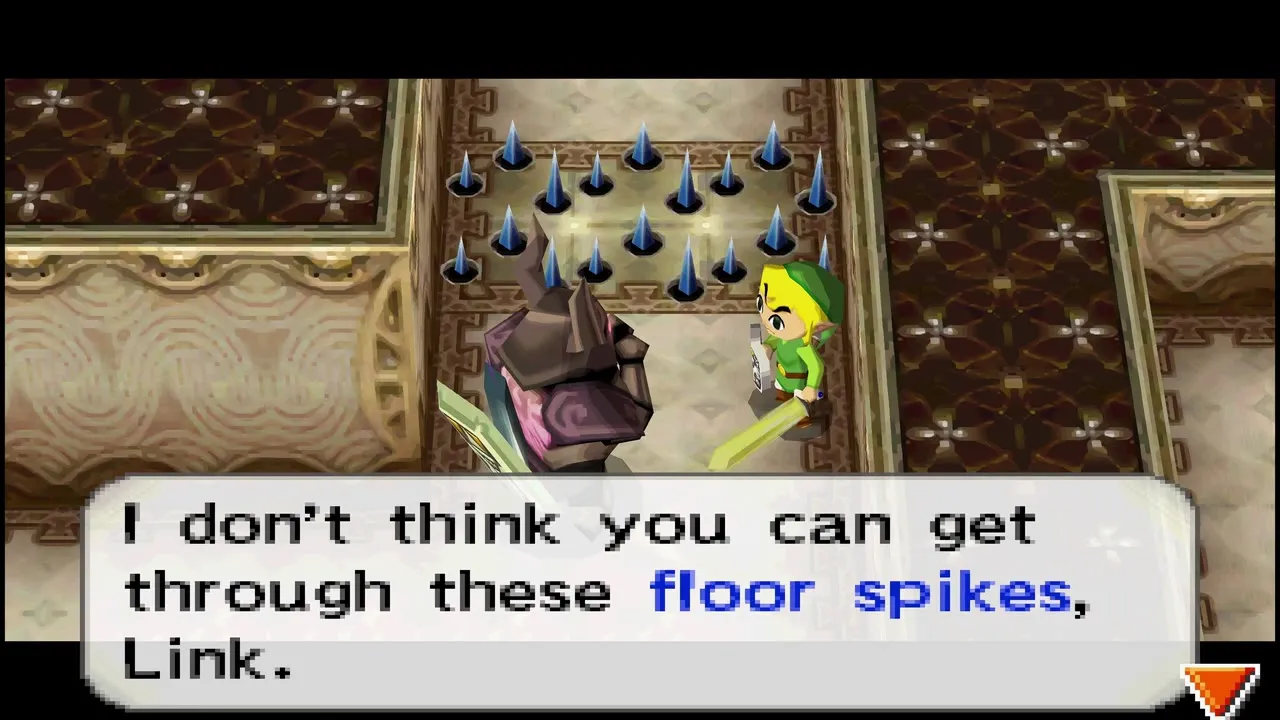
On floor 2 a field of spikes cuts off the path ahead. Link cannot cross it, but the Phantom can. Draw a path from Zelda across the spikes to the switch on the right, so an X appears over it. She strikes the switch and the spikes sink back into the floor.
Two switches and the rat hole
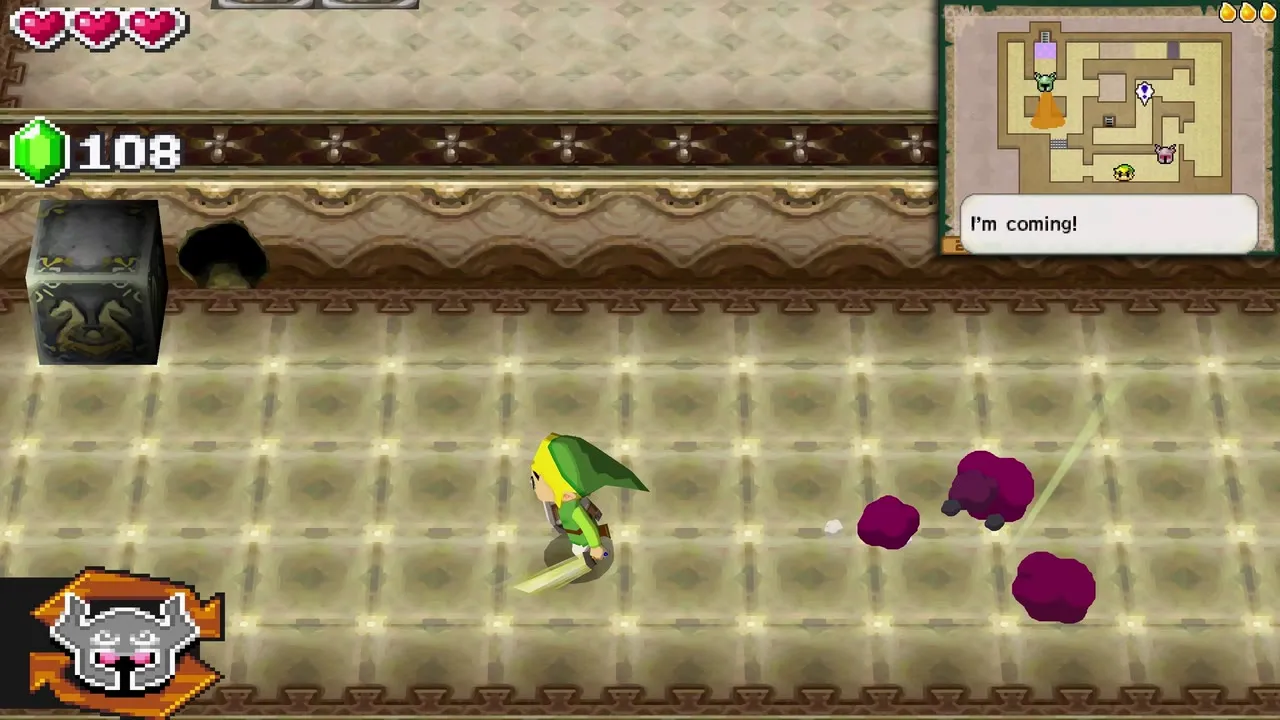
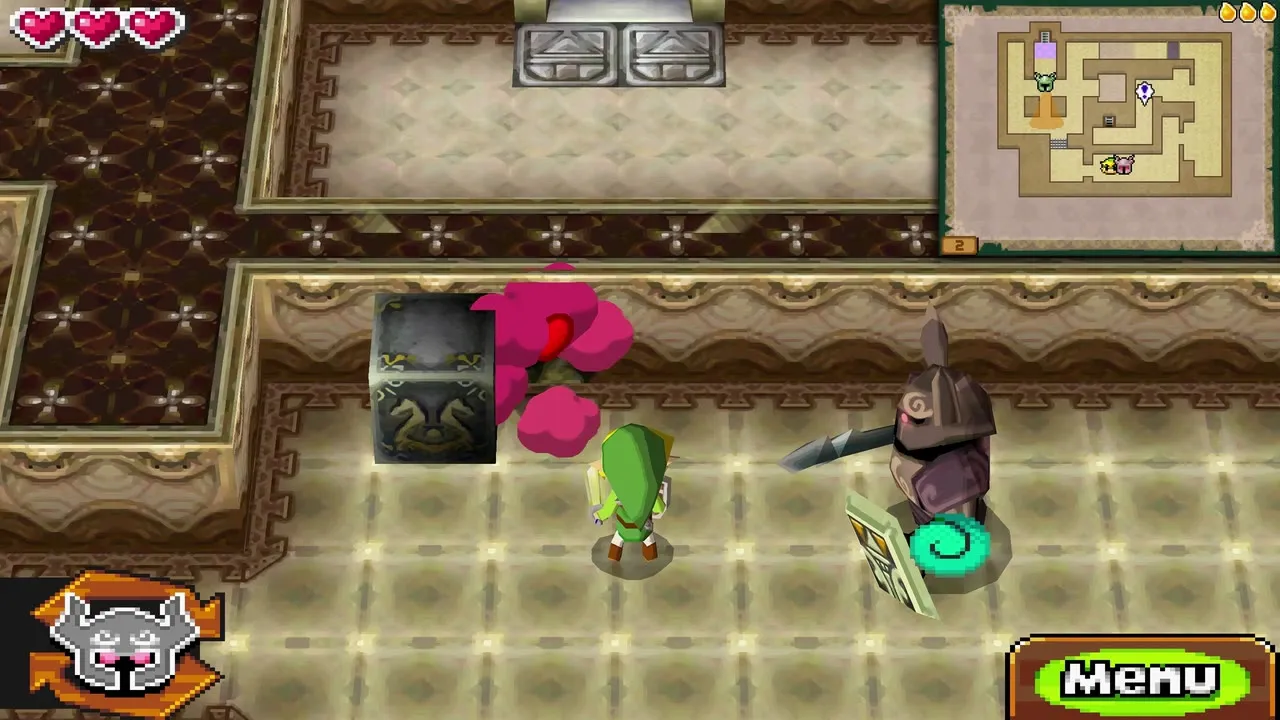
The next area has a door near the bottom that stays closed until both floor switches are held down. Stand Link on one, then draw a path to put Zelda on the other and the door opens. Link walks through, and you should shove the movable block in front of the rat hole nearby; Rats come out of it and scare Zelda. Cut down any Rats that reach you.
Trick the second Phantom
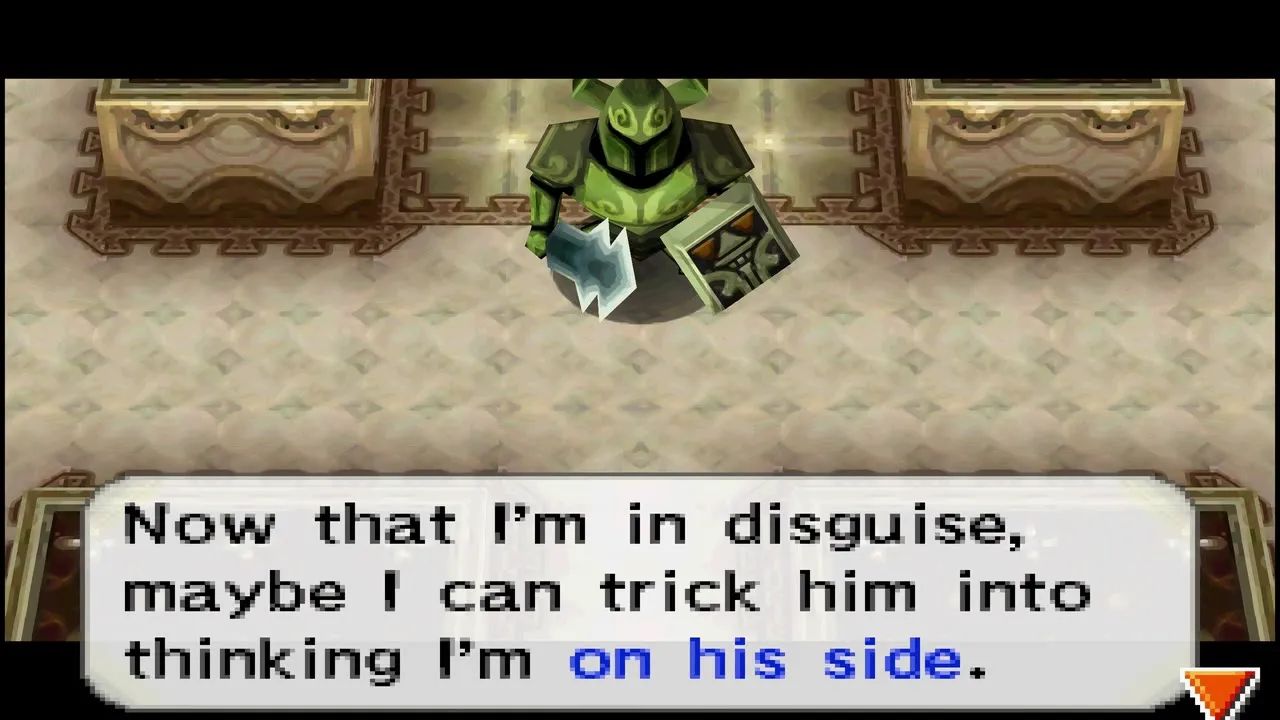
Another Phantom guards the next stretch, and spikes block the route. Send Zelda over the spikes to hit the switch behind it so Link can cross. Have Zelda talk to the Phantom to hold its attention while Link slips behind and hits it with the sword. Then tap the stunned Phantom so Zelda moves into it; the old armor vanishes and she carries on in the new one.
Treasure chests on floor 2
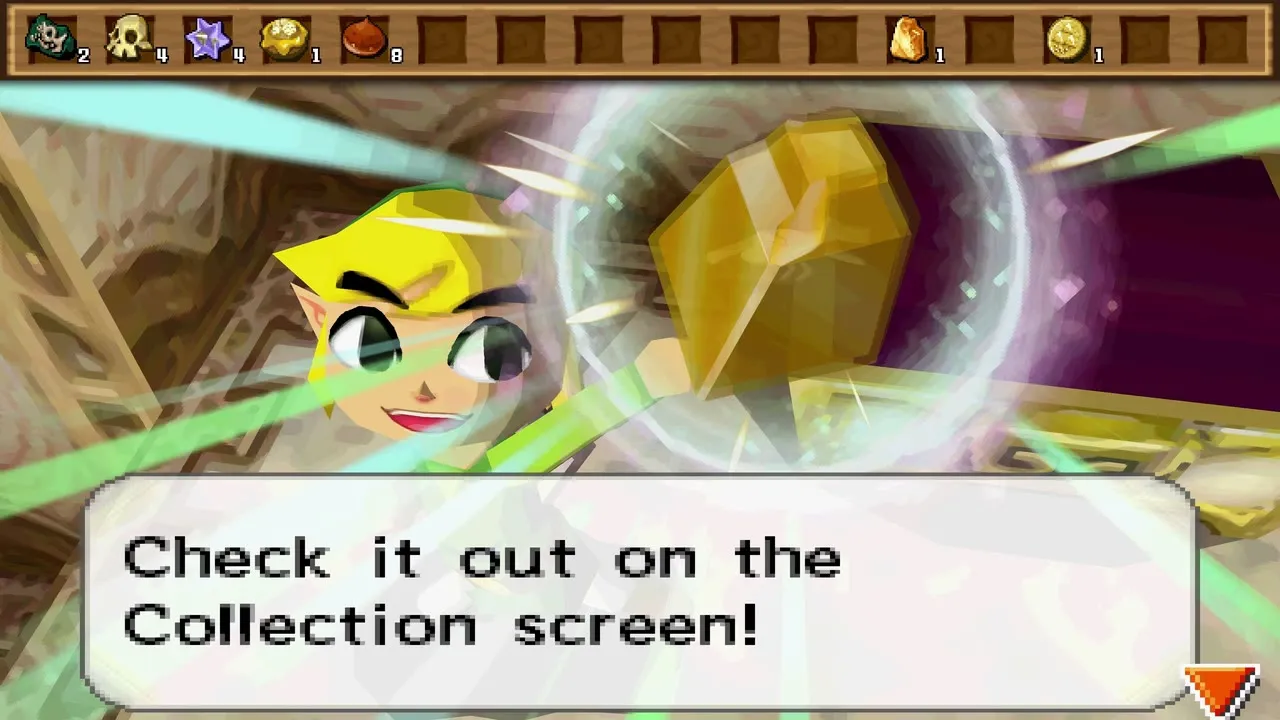
Keep an eye out for treasure chests in the side rooms as you work through these puzzles; what they hold is random. Treasures are worth keeping for Linebeck’s train cars; see the treasure guide for what each one is worth.

Floor 3: get the Forest Rail Map
Zelda leaves the Phantom
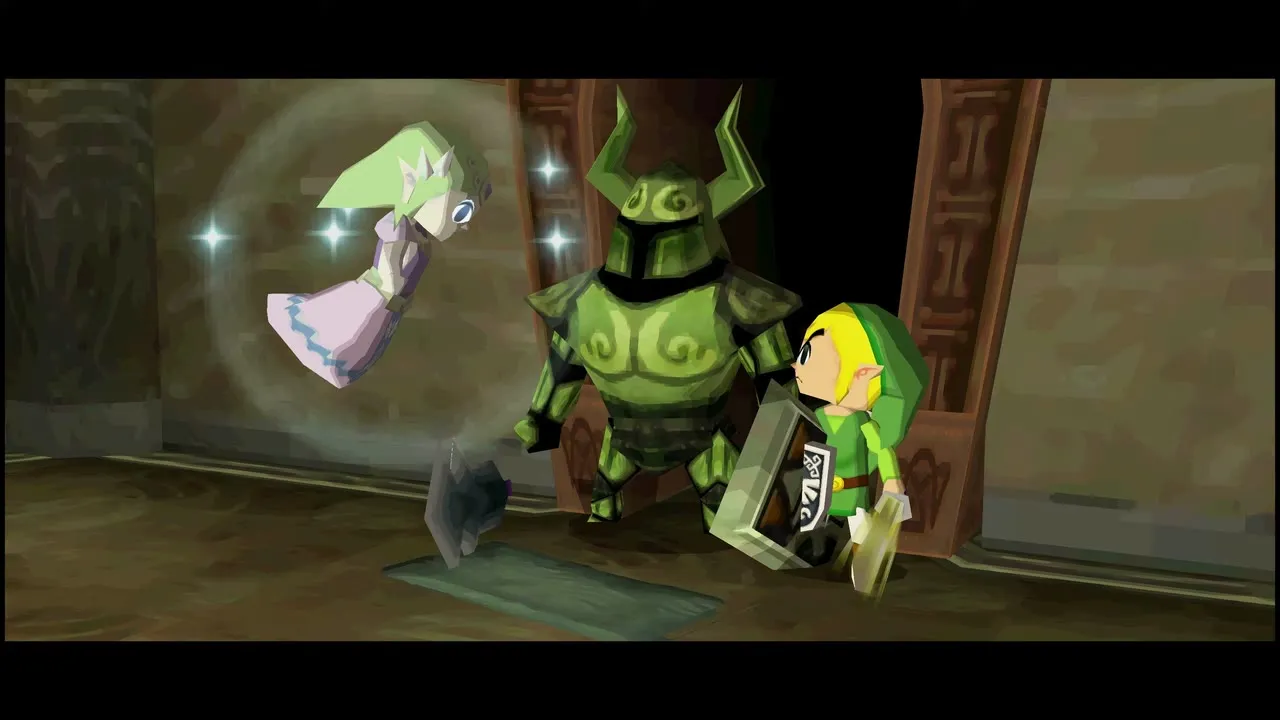
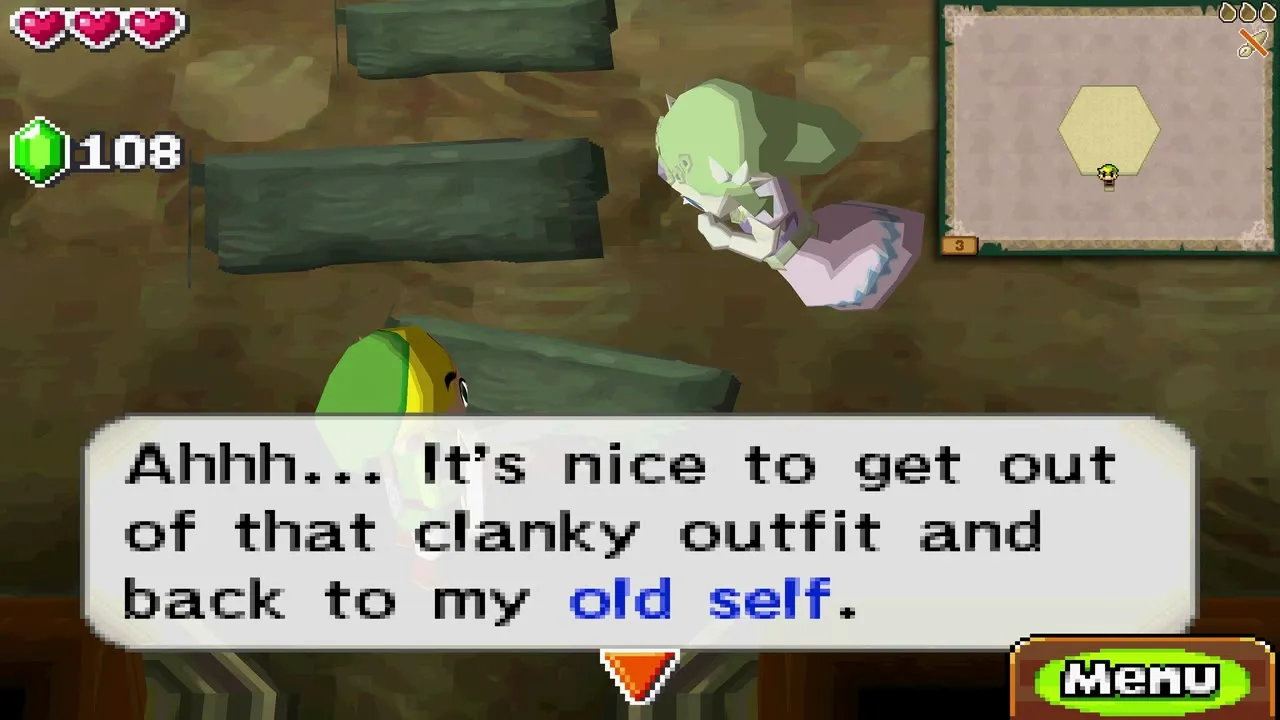
Climb the stairs from floor 2. On arrival at floor 3 Zelda steps out of the armor and returns to her ghostly self, glad to be rid of the clanking suit. The light has also gone out of your sword, so the Tears are used up for now.
Take the Forest Rail Map
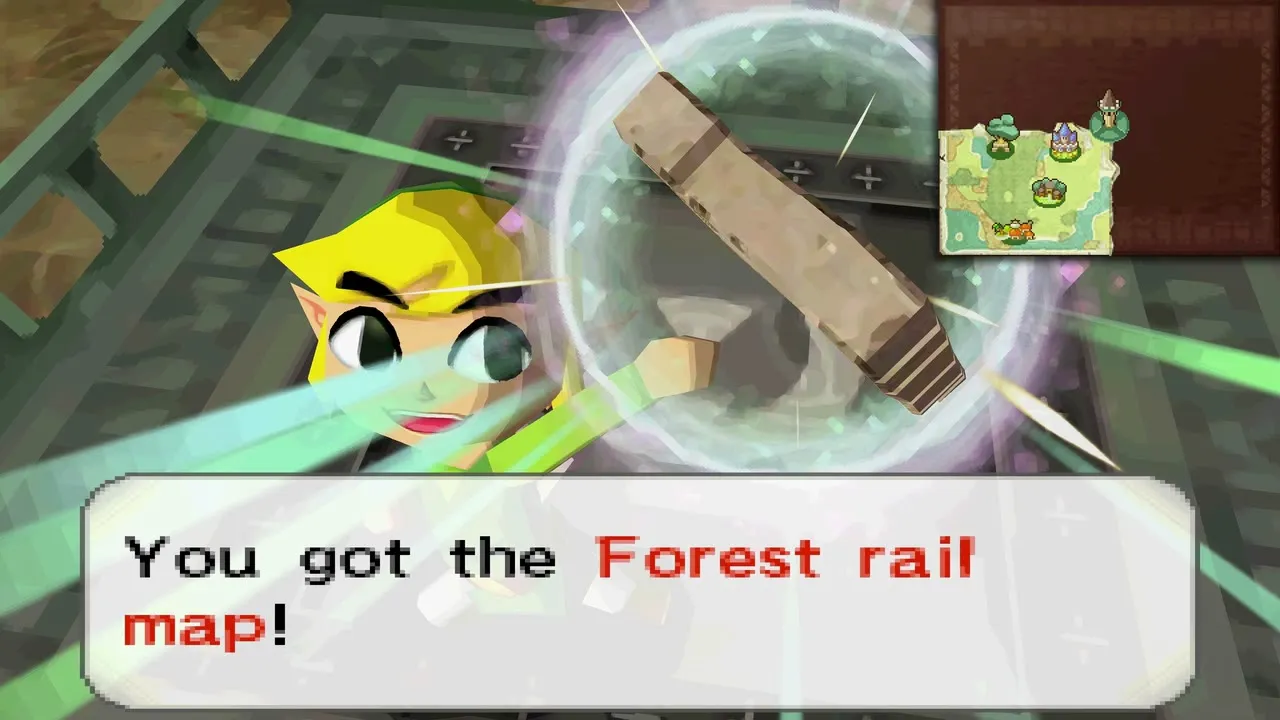
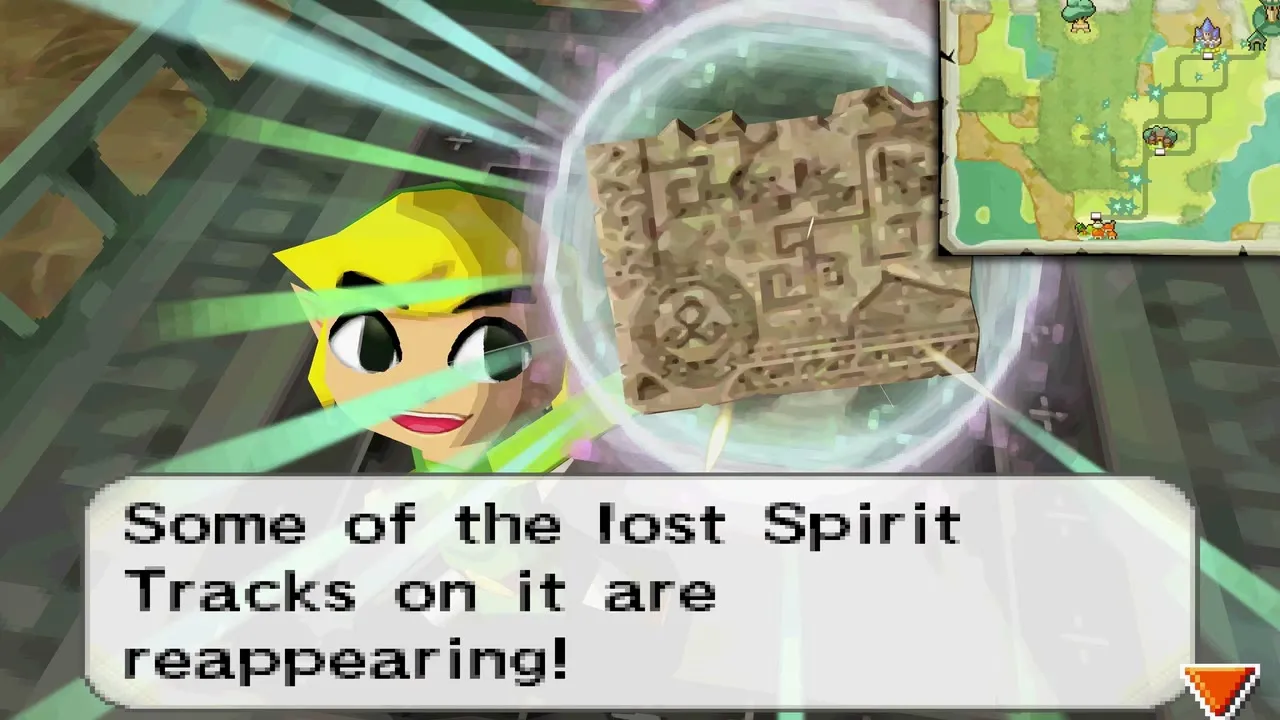
Walk up to the platform in the middle of the round room and tap the floating stone tablet. You receive the Forest Rail Map, and on your map some of the lost tracks of the Forest Realm appear again.
Back to the lobby and onto the tracks
Return to Anjean
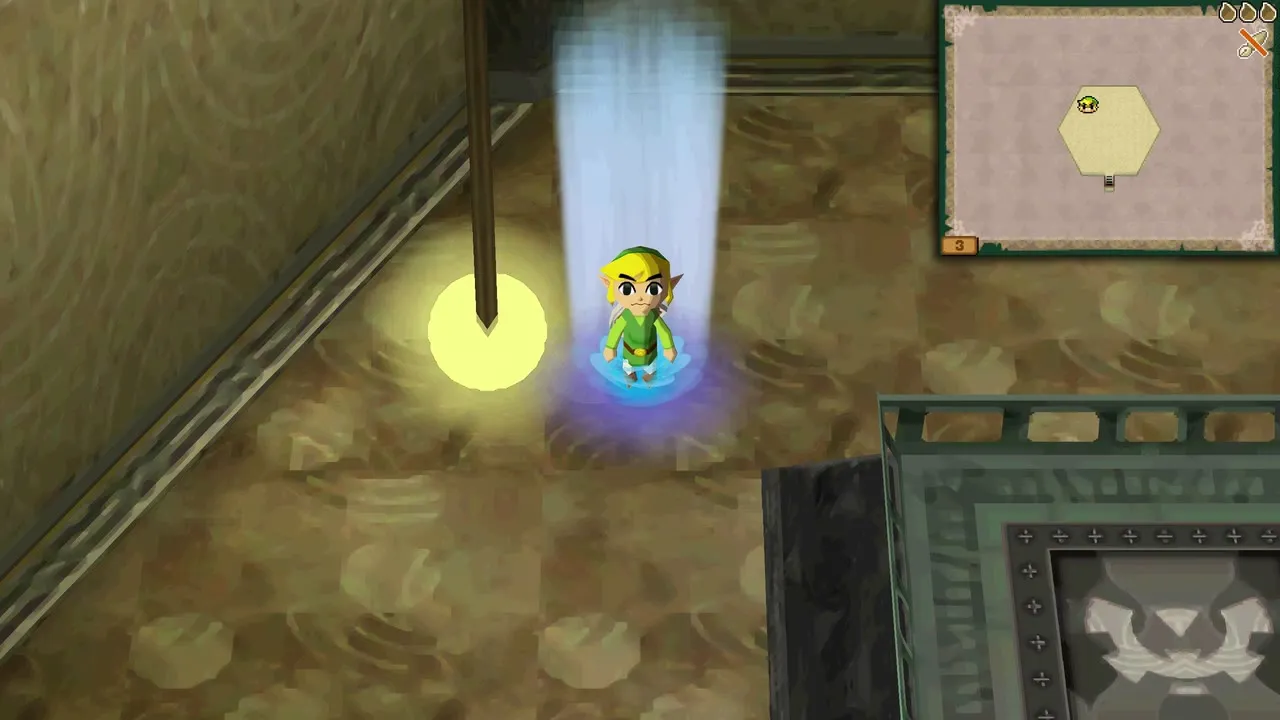
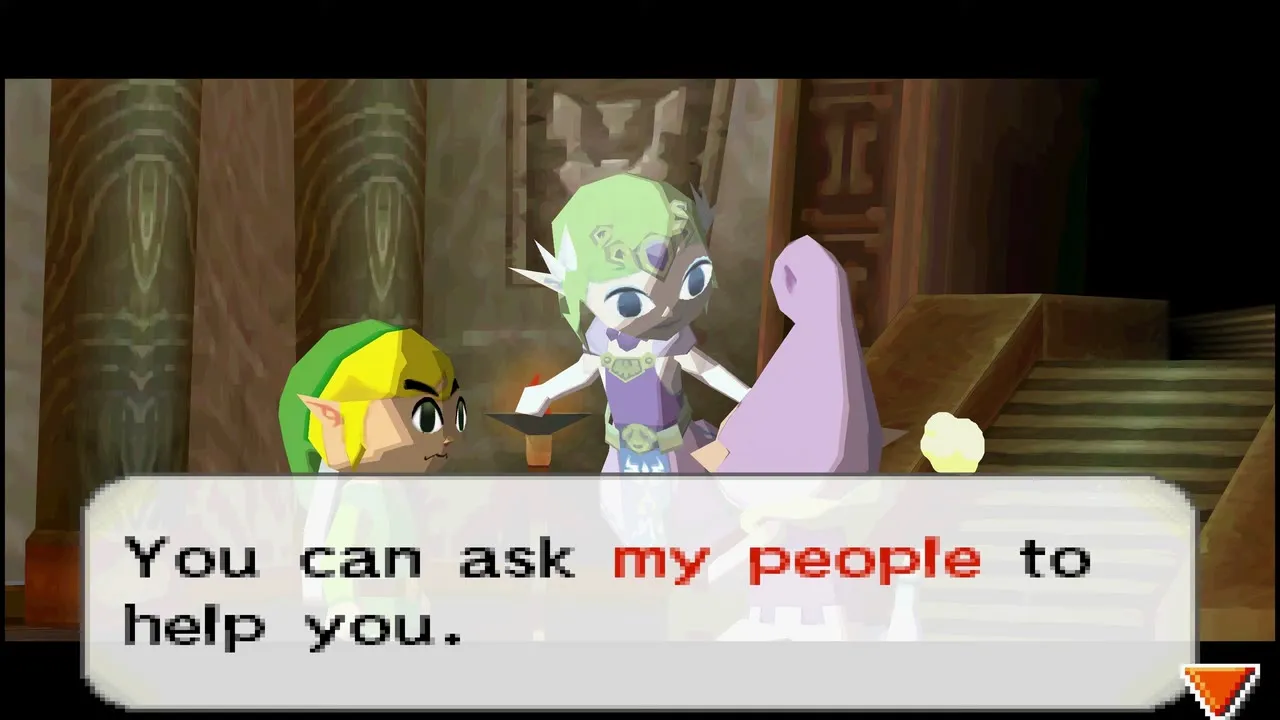
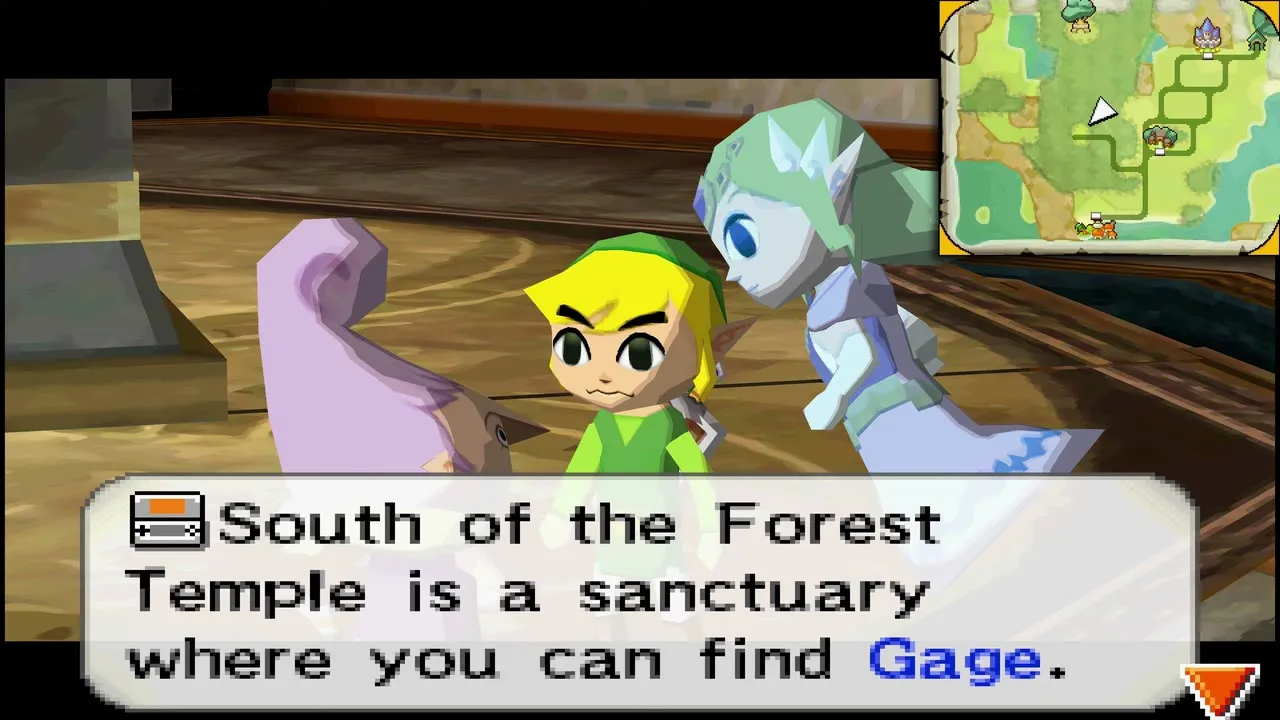
Step into the blue light to return to the lobby. Anjean explains that the rail map has given power to only a short length of track. To restore more, ask the Lokomo for help: they play sacred instruments, and the Spirit Flute Zelda gave you is one of them. The Lokomo Gage waits at the Forest Sanctuary, and you must reach him before the way to the Forest Temple opens. The songs and duets that follow are listed in the flute songs guide.
Take the Spirit Train
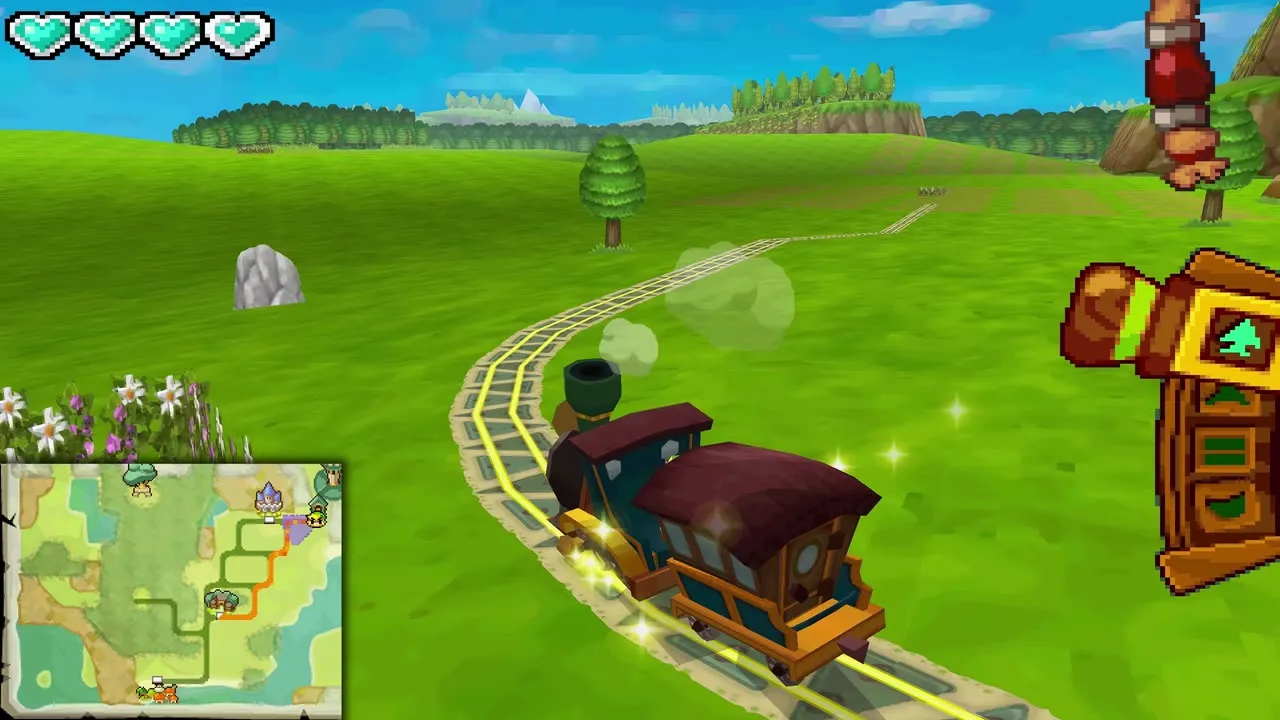
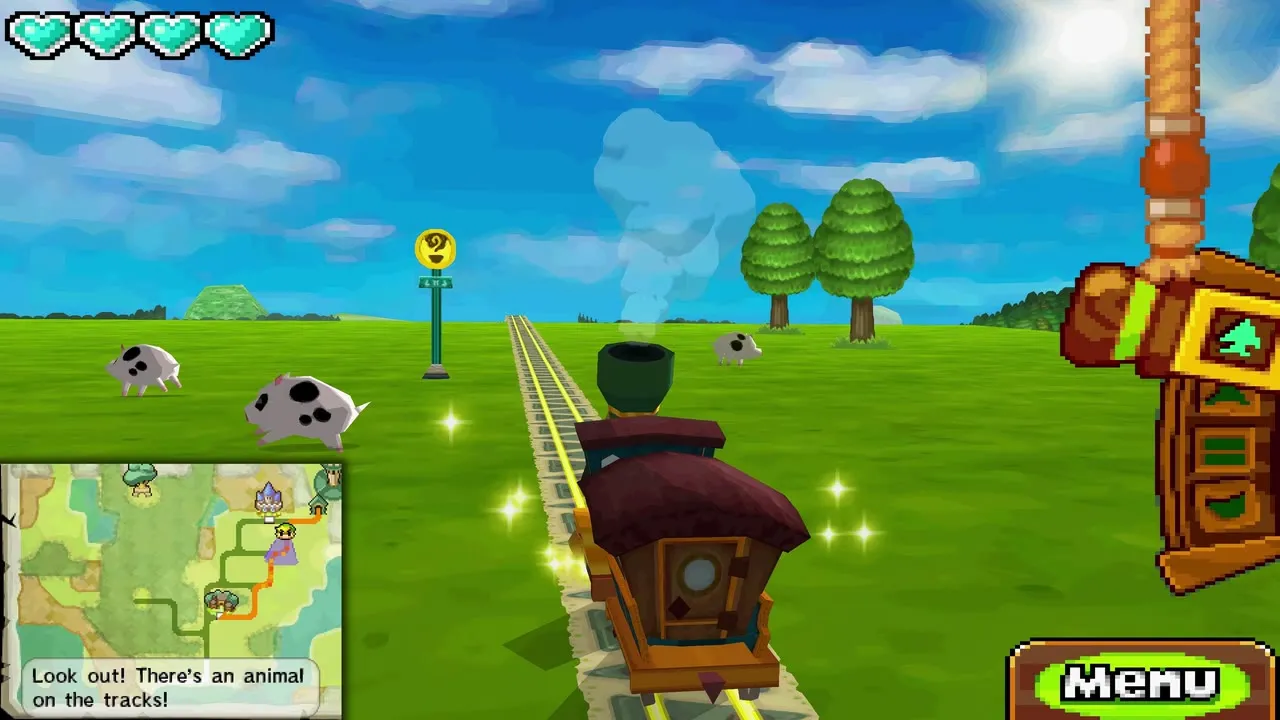
Anjean calls on the spirits and the stone statue in the lobby turns into the Spirit Train, which she lends to you. Climb aboard on the turntable. At the first map screen Zelda explains the stylus route: trace along the tracks to set a path, and tap Route in the corner of the screen if you want to draw it again.


Route to the Forest Realm
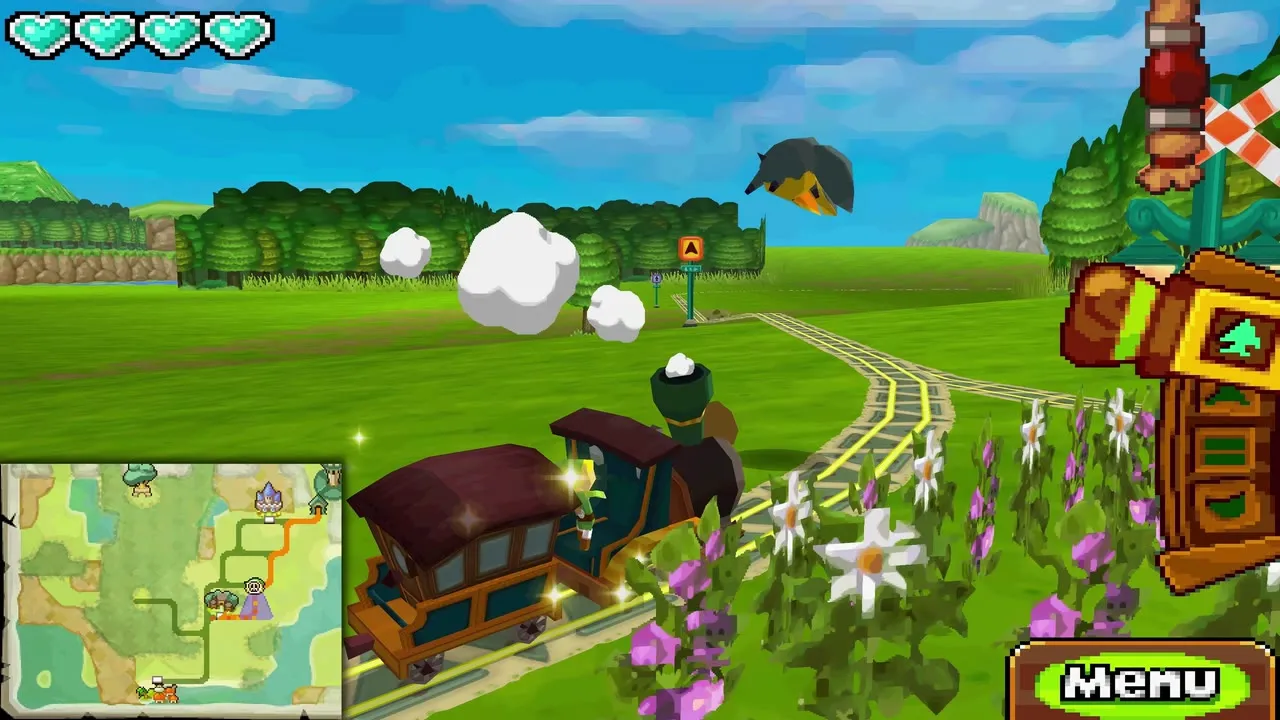
Follow the track out of the tower into the Forest Realm. There are no Armored Trains, Bomb Trains or bandits on this stretch, so keep the speed steady and use the horn if animals wander onto the rails. Your first stop is Whittleton, covered in the Forest Realm chapter.

Chapter checklist
| Collectible | Type | Where |
|---|---|---|
| Tear of Light (1st) | Item | Floor 1, left side past the first safe zone |
| Tear of Light (2nd) | Item | Floor 1, safe zone at the top of the room |
| Tear of Light (3rd) | Item | Floor 1, right side across the timed switch bridge |
| Treasure chests | Treasure (random) | Side rooms, if you find any |
| Forest Rail Map | Key item | Floor 3, stone tablet in the round room |
| Spirit Train on the turntable | Vehicle | Tower lobby, from Anjean |
Next, ride out to Whittleton and the Lost Woods in the Forest Realm chapter.
