





















Spirit Tracks 100% Completion Walkthrough18 chapters
- Aboda Village and Hyrule CastleThe first train ride, the Royal Engineer ceremony, Zelda’s escape, the Spirit Flute, sword and path to the Tower.
- Tower of SpiritsMeet Anjean, collect the three Tears of Light, use Phantom Zelda and claim the Forest Rail Map.
- Forest RealmReach Whittleton, solve the Lost Woods rail maze, learn the Song of Awakening and play the Gage duet.
- Forest TempleSong of Healing, Whirlwind, Mothula, Boss Key, Stagnox boss fight, Heart Container and Force Gem.
- Tower of SpiritsTears of Light, lava Phantoms, Zora Warrior, the Snow Rail Map, plus the Cannon and Rabbit Net.
- Snow RealmAnouki Village pairings, the Rocktite tunnel, Steem’s duet, the Heart Container shop and Ferrus’s blizzard map.
- Snow TempleGet the Boomerang, solve the bell puzzles, take the Boss Key from the Wolfos and beat Fraaz for a Heart Container.
- Tower of SpiritsDark floor 8, Torch Phantoms, Tears of Light, the Z door, Mighty Zora Warrior and Ocean Rail Map.
- Ocean RealmFix the Trading Post bridge, find the Regal Ring, learn the Song of Birds and free Carben at the Ocean Sanctuary.
- Ocean TempleReach the sunken temple, win the Whip, beat Phytops and claim the Heart Container and blue Force Gem.
- Tower of SpiritsBeat Warp Phantoms and Phantom Eyes, collect three Tears of Light and claim the Fire Rail Map.
- Fire RealmReach Goron Village, ferry Noko for Mega Ice, cool the lava, solve the Fire Sanctuary statues and play Embrose’s duet.
- Fire TempleSnurglar keys, Heatoise and the Bow, mine carts, Boss Key, Cragma, Heart Container and the Goron Quiver.
- Tower of SpiritsClimb Tower of Spirits floors 18-23, solve the Wrecker Phantom puzzles, take the Boss Key and beat Byrne with Zelda.
- Sand RealmSand Gyorg, desert rabbits, the Sand Sanctuary bomb puzzle, the Rael duet and the three trials to the Sand Temple.
- Sand TempleStalfos keys, Sand Wand, the Boss Key, the Skeldritch boss fight, the Heart Container, Bow of Light and Lokomo Sword.
- Tower of Spirits Floors 24-30 and the Compass of LightLight Arrows at the altar, every Phantom puzzle, the floor 26 gauntlet and the Compass of Light.
- Dark Realm, Demon Train and MalladusDestroy six Armored Trains, beat the Demon Train, free Zelda from Cole and defeat Malladus with the Lokomo Sword.
| Covers | Tower of Spirits, sixth visit: the altar at the top, then floors 30 down to 24, ending with the Compass of Light and the new track to the Dark Realm |
|---|---|
| You need | Bow of Light, Lokomo Sword, Sand Wand, Boomerang, Whip, Bombs and Zelda’s Phantom possession; stock up on hearts, bombs and arrows first |
| Rewards |  Compass of Light,  3 small keys, Tower of Spirits stamp (station 20 of 20), random treasures from the large chests; no Tears of Light, Heart Containers or rabbits |
This is the last climb through the Tower of Spirits, and it runs downward: you open the way from the altar at the top, then work your way from floor 30 to floor 24 with Zelda possessing every kind of Phantom you have met so far. The prize at the bottom of the route is the Compass of Light, which makes the Forest Rail Map reveal the track to the Dark Realm.

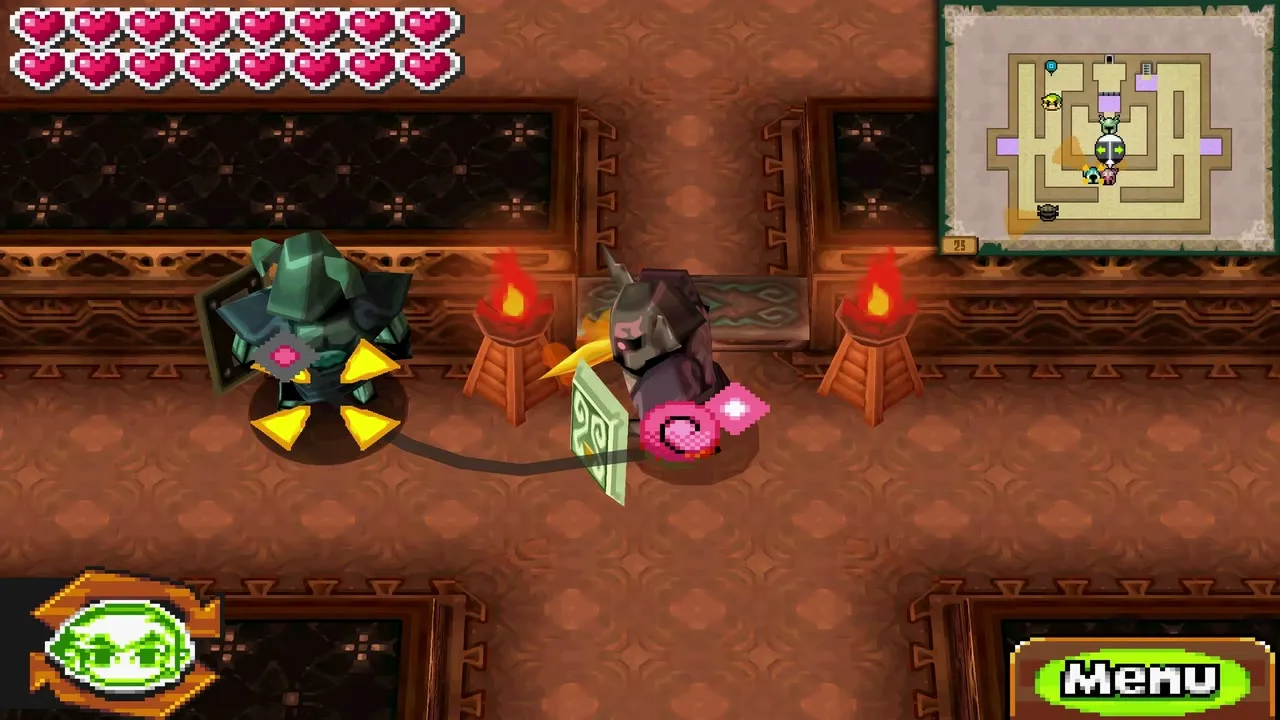
Table of Contents
Reach the altar at the top of the tower
Take the portal and stamp your book
Ride the Spirit Train to the Tower of Spirits and climb the spiral staircase all the way up. Just outside the last door a blue portal waits; step into it and it drops you in the tower beside the room where you fought Byrne. Go up to floor 24, leave by the north exit and climb the staircase on the left to reach the altar.

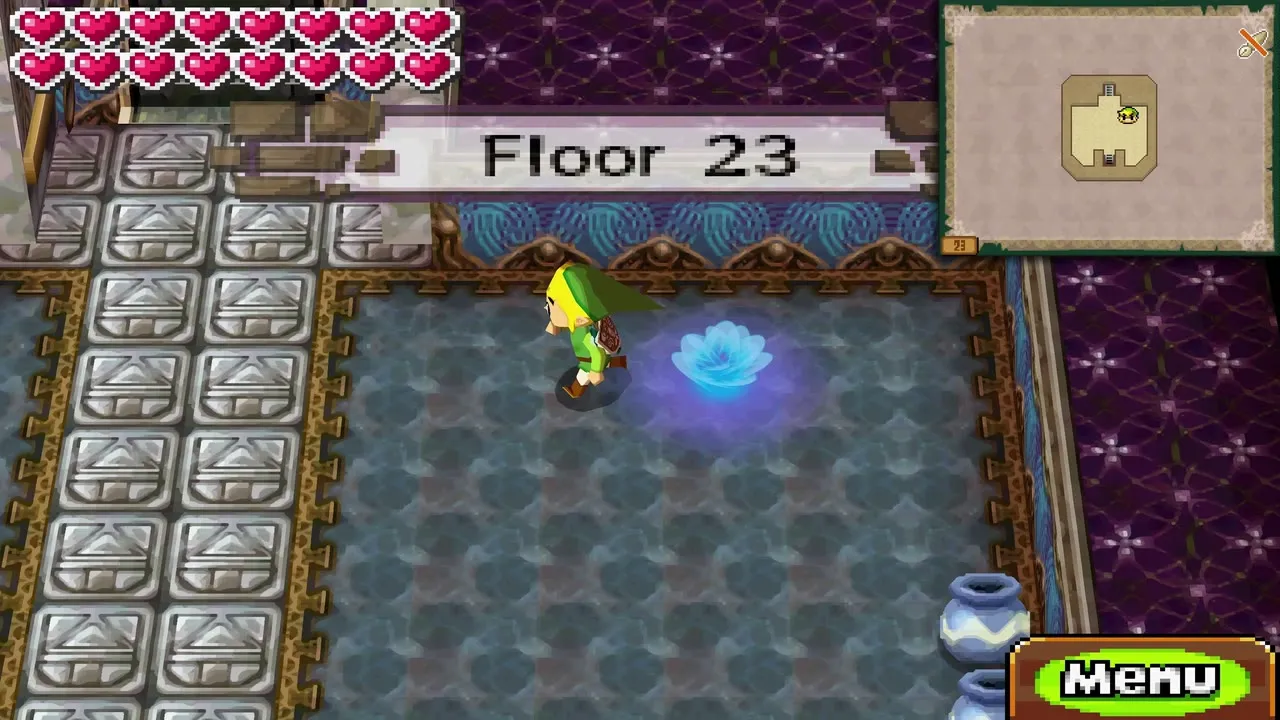
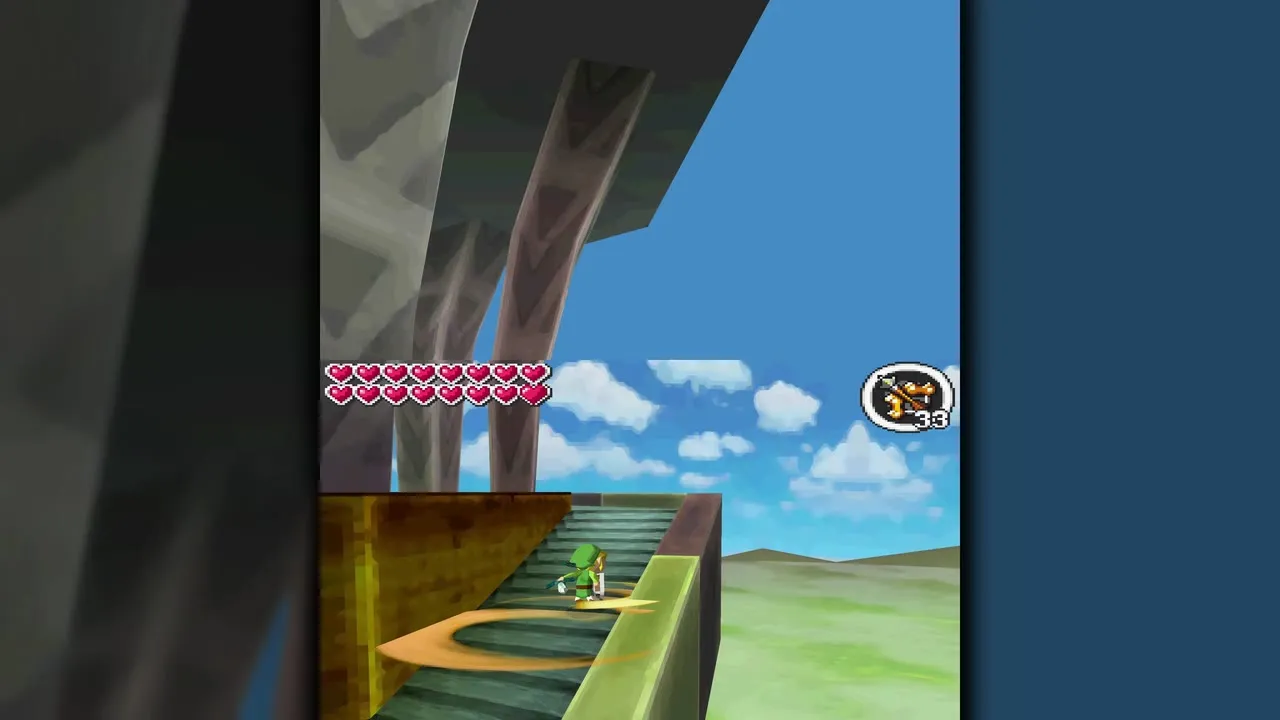
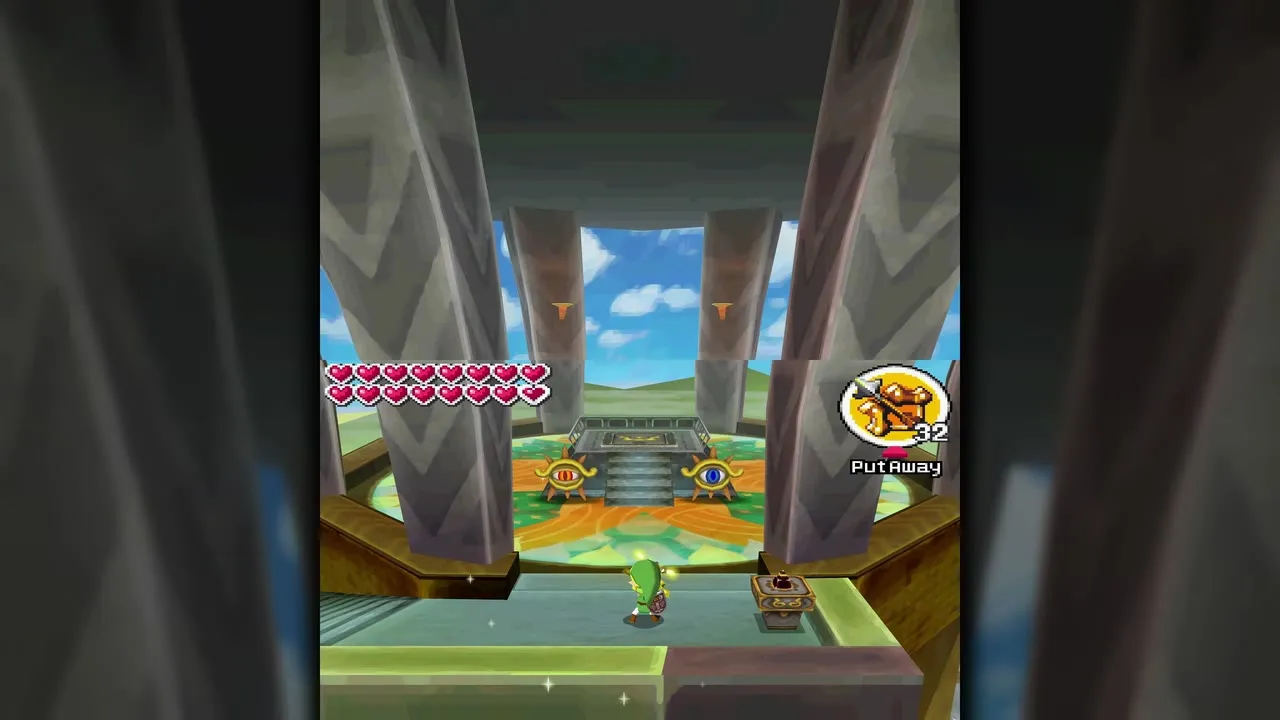
A stamp station stands beside the altar, the twentieth and final one in the game. Press your Stamp Book on it before you go on, then see the stamp station list if you are still missing others.

Shoot the altar eyes with Light Arrows
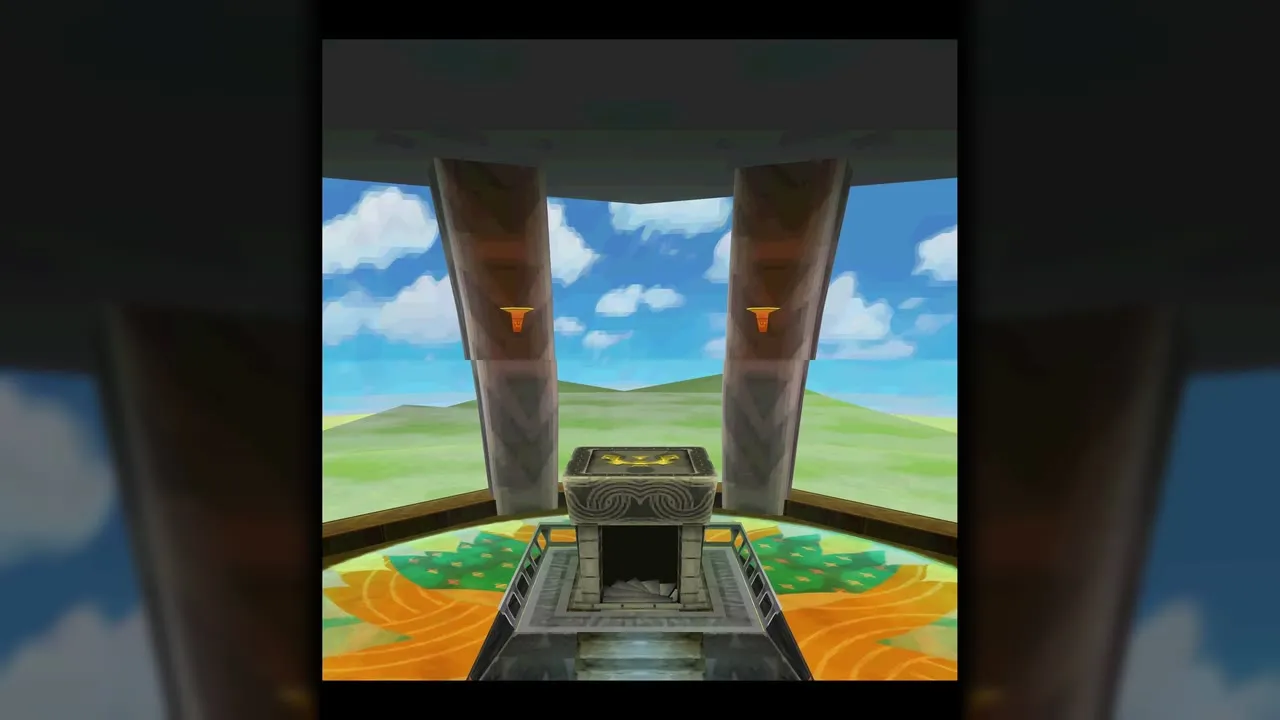
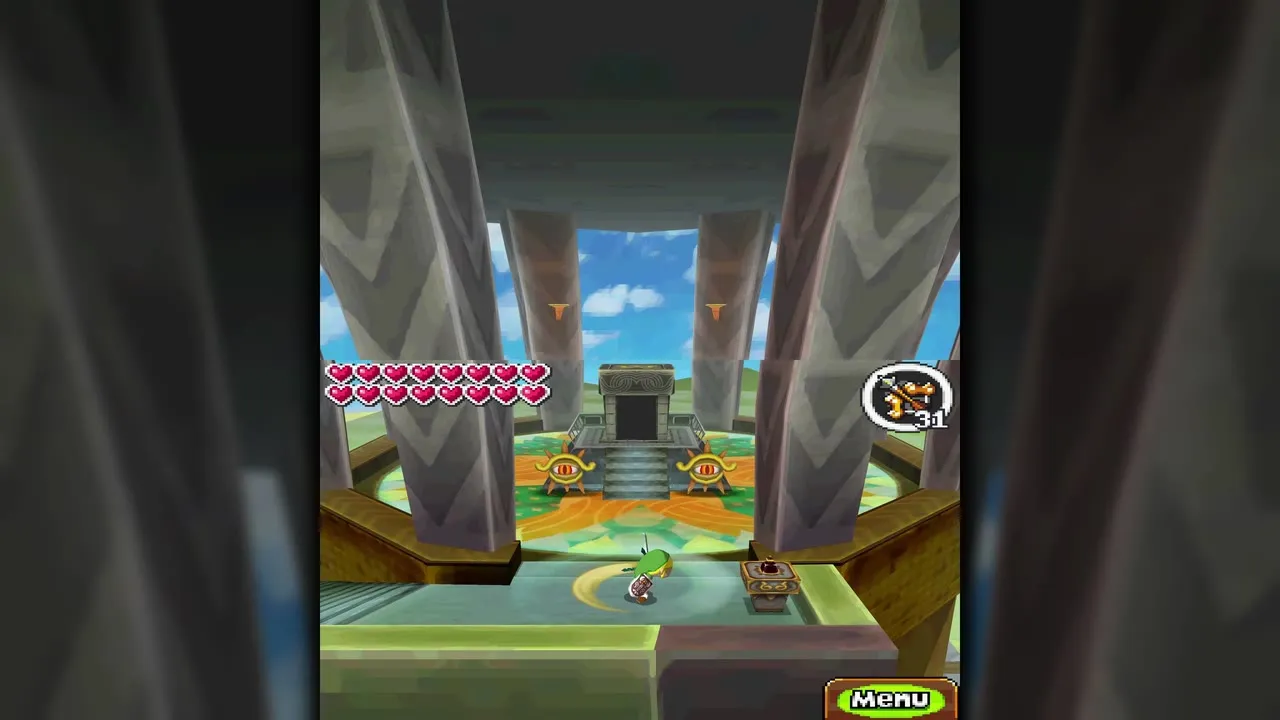
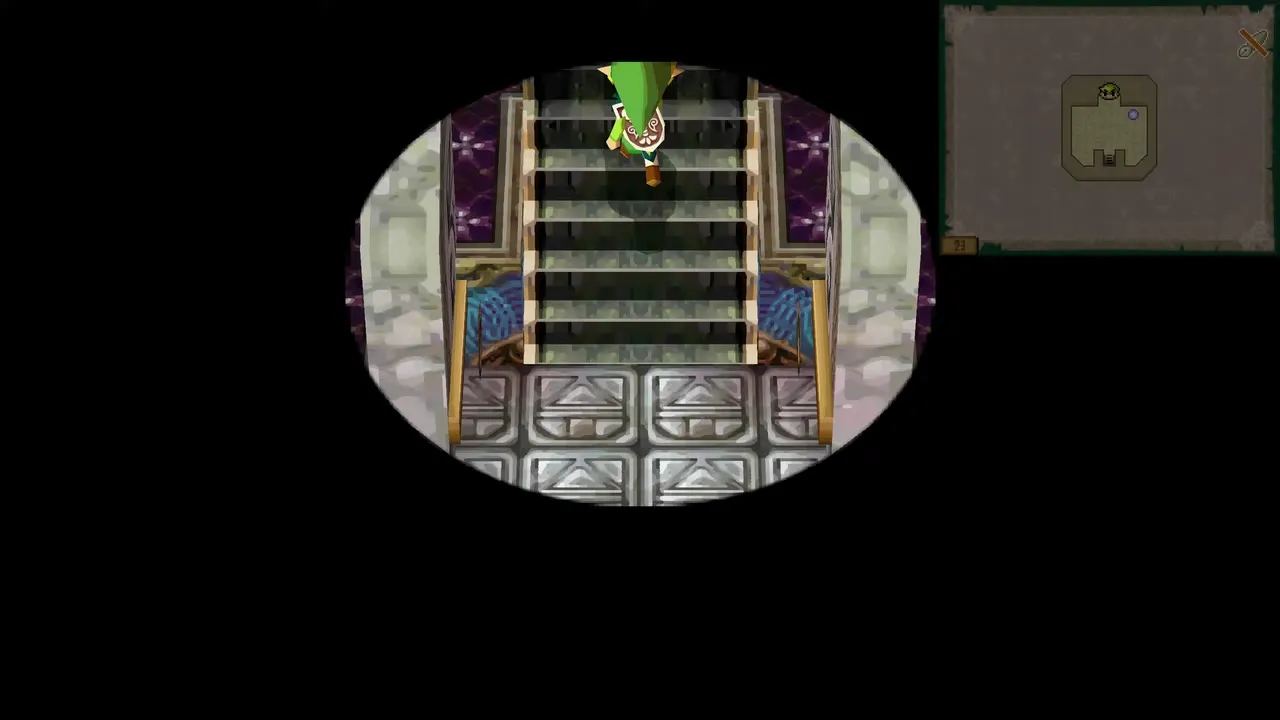
Two blue divine eyes sit in front of the altar’s central platform. Equip the Bow of Light, hold the arrow to charge it and release one Light Arrow at each eye. A staircase opens up and leads down into the tower again.
Refill at the rest area
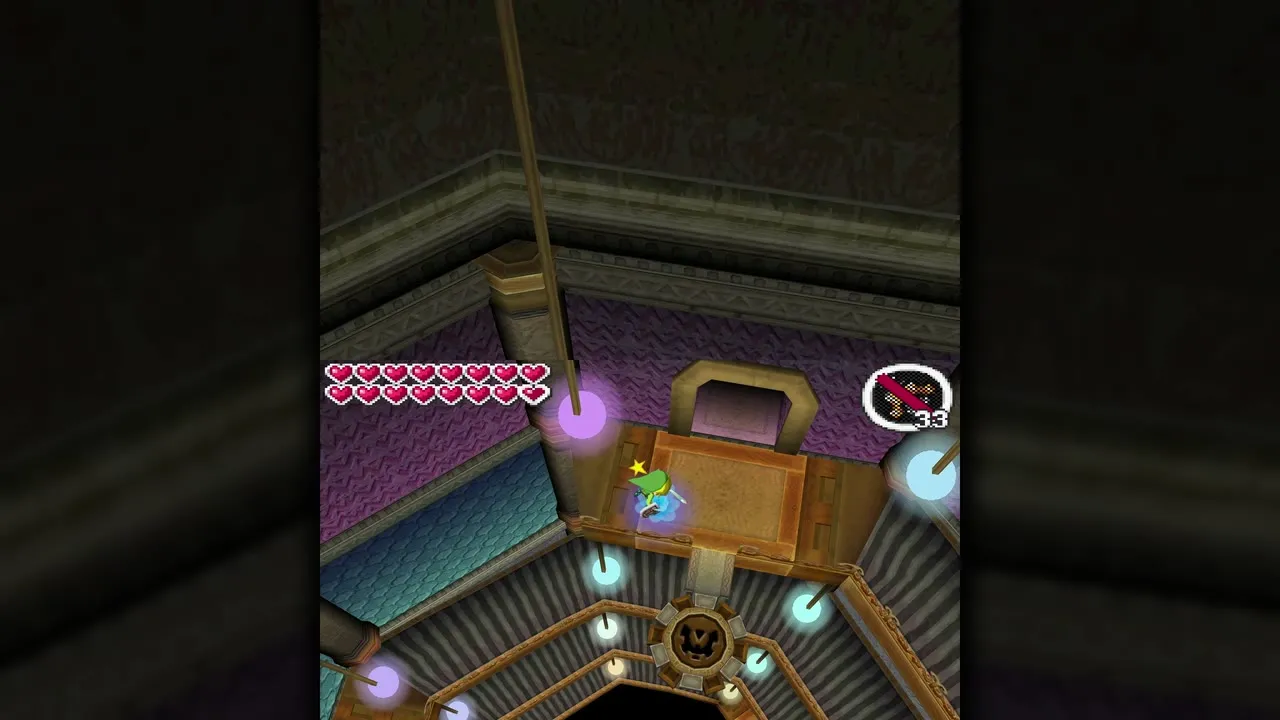
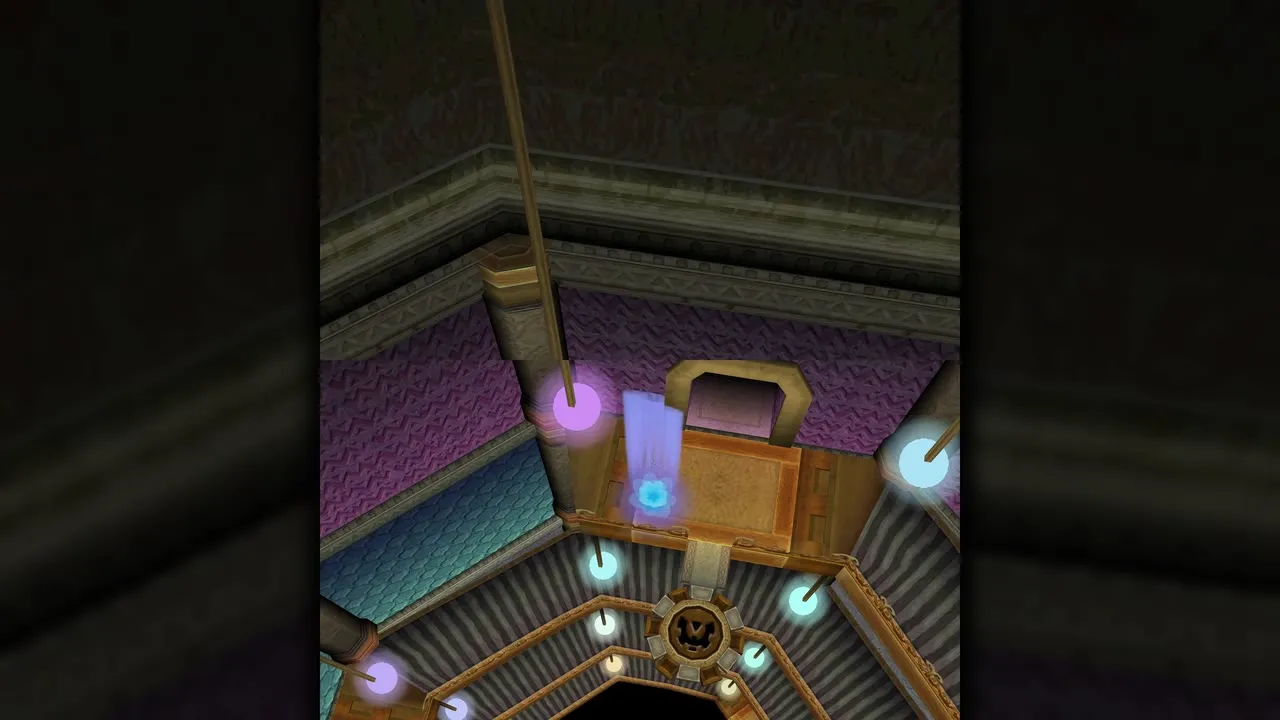
Before you descend, use the rest area to refill your hearts, bombs and arrows; pots and bushes there hold refills. The Lokomo Sword does not need Tears of Light to hurt a Phantom, so no Tears are hidden in these floors. Zelda can take over any Phantom type here, which you will do constantly.

Floors 30, 29 and 28: first keys
Floor 30: where you start
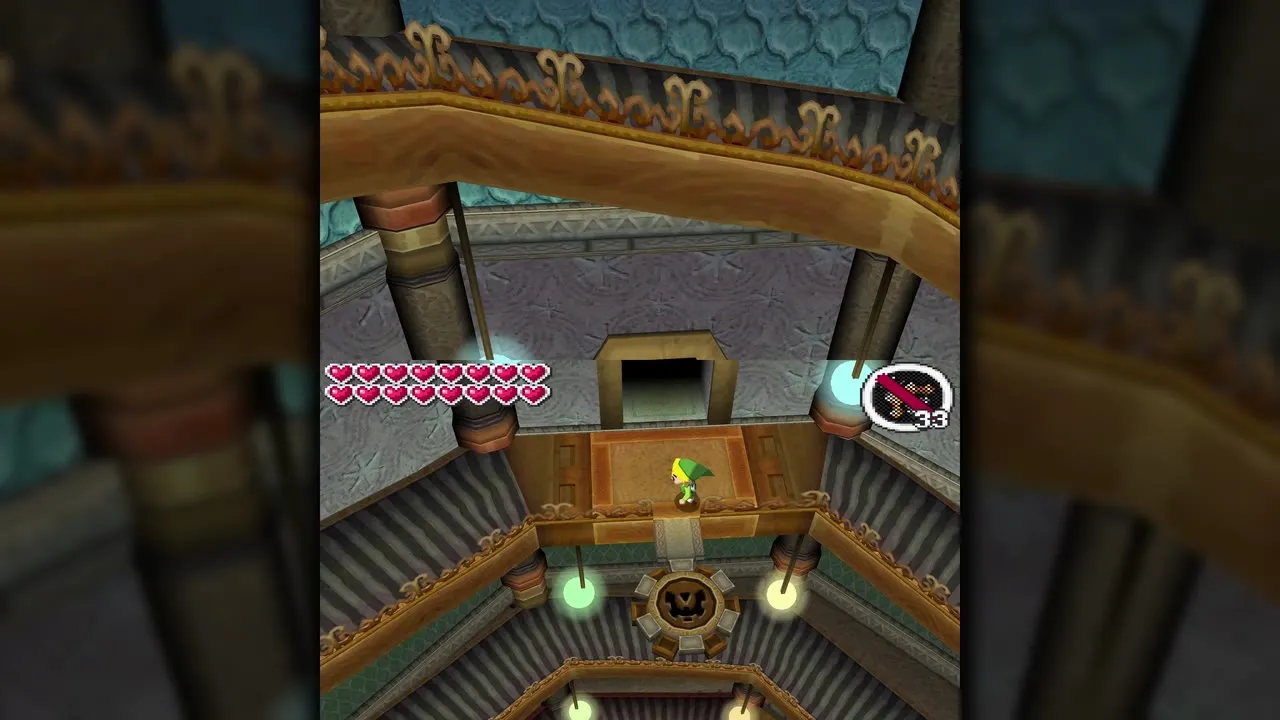
You arrive on floor 30. A Phantom patrols a lava pool in the upper right, and spikes block the eastern route, so take the north stairs down to floor 29. Acorns to the east restock bombs and arrows whenever you need them.

Floor 29: take the Torch Phantom
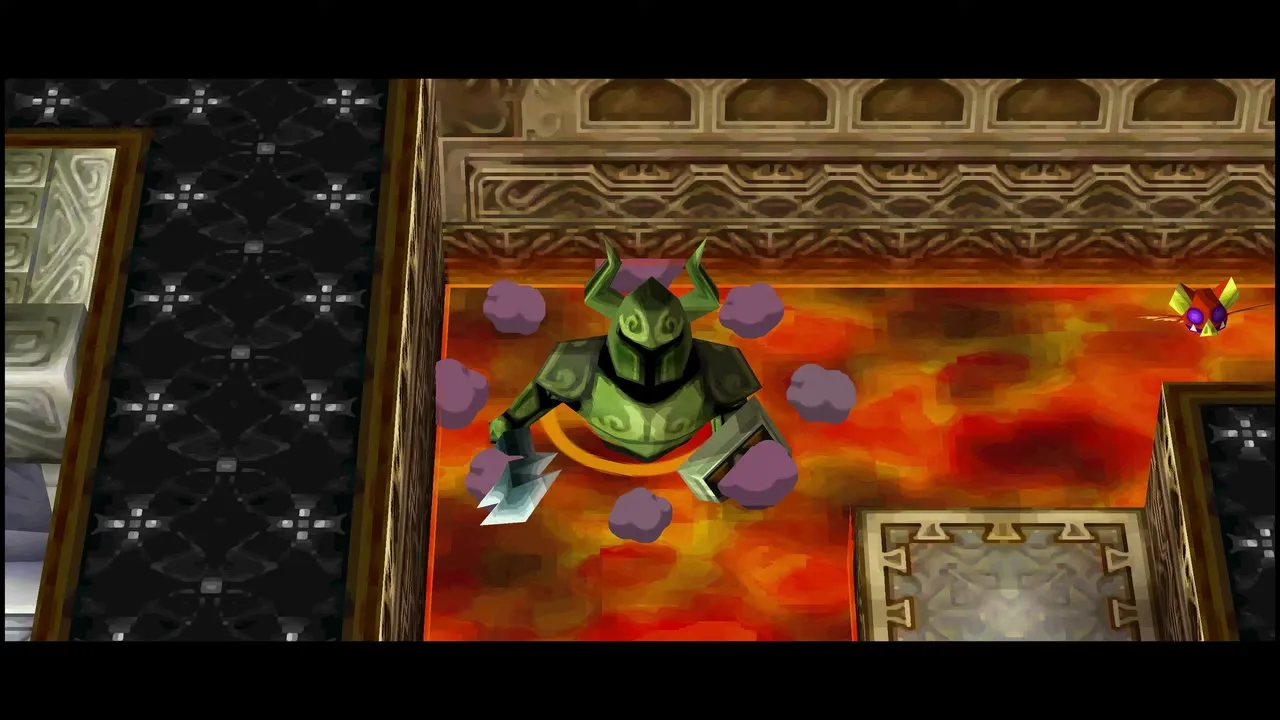
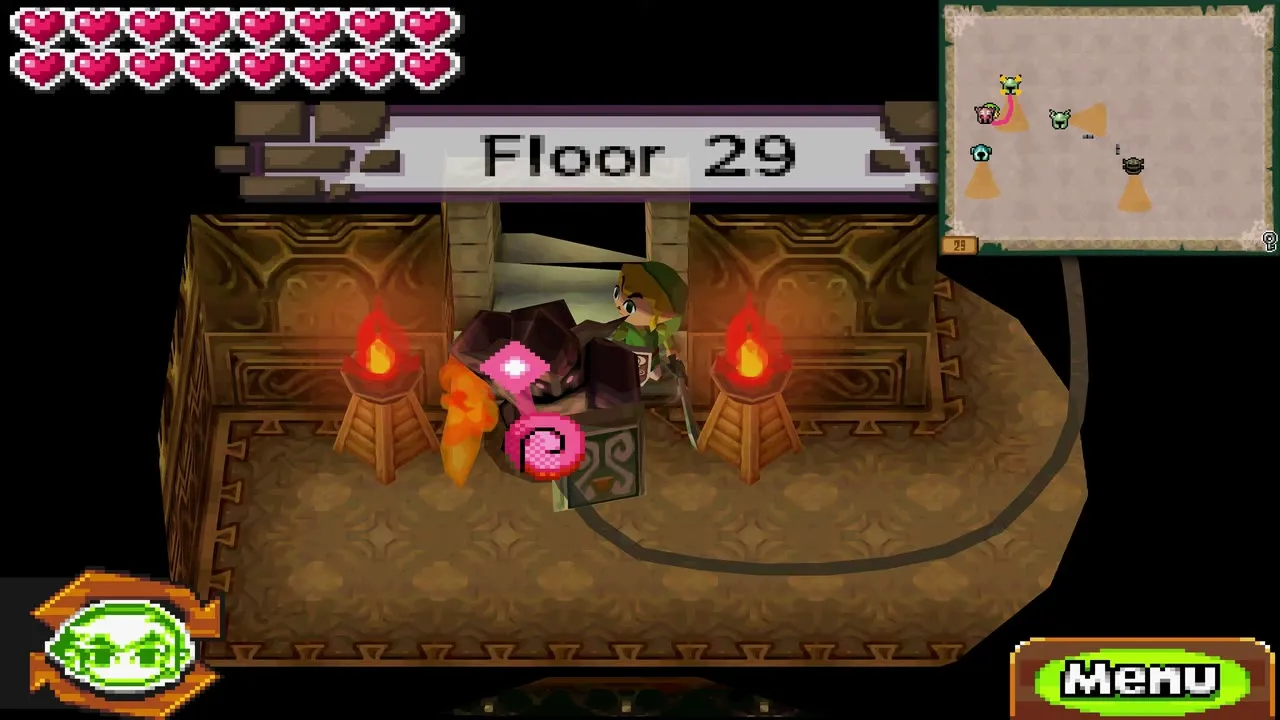
Floor 29 is dark and holds two ordinary Phantoms, a Torch Phantom, a Wrecker Phantom and a hidden Warp Phantom. Slash an ordinary Phantom from behind to stun it and let Zelda possess it, then return to floor 30. Zelda can cross the spikes there and press the floor switch to the east.


Next, stand in the middle of the pit and throw the Boomerang at the two crystal switches in the lava alcoves, one straight after the other, before the timer runs out. The north-east wall drops. Time your move so the lava Phantom does not see you.

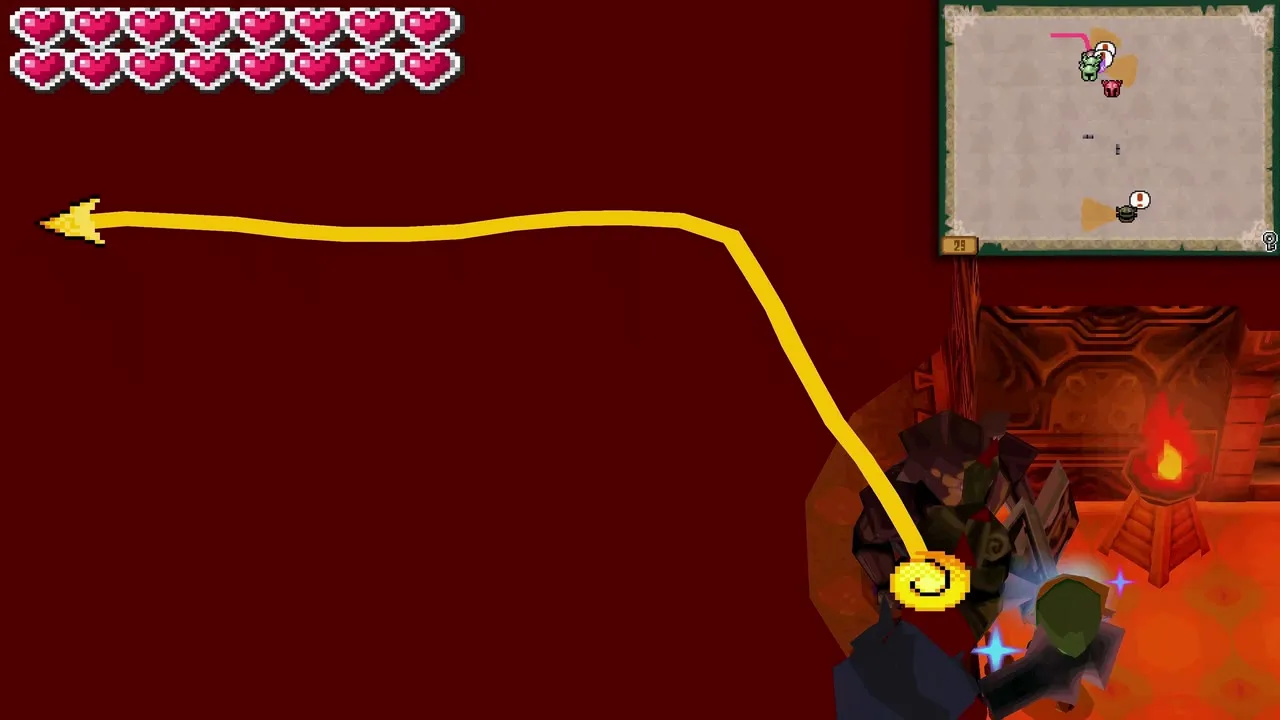
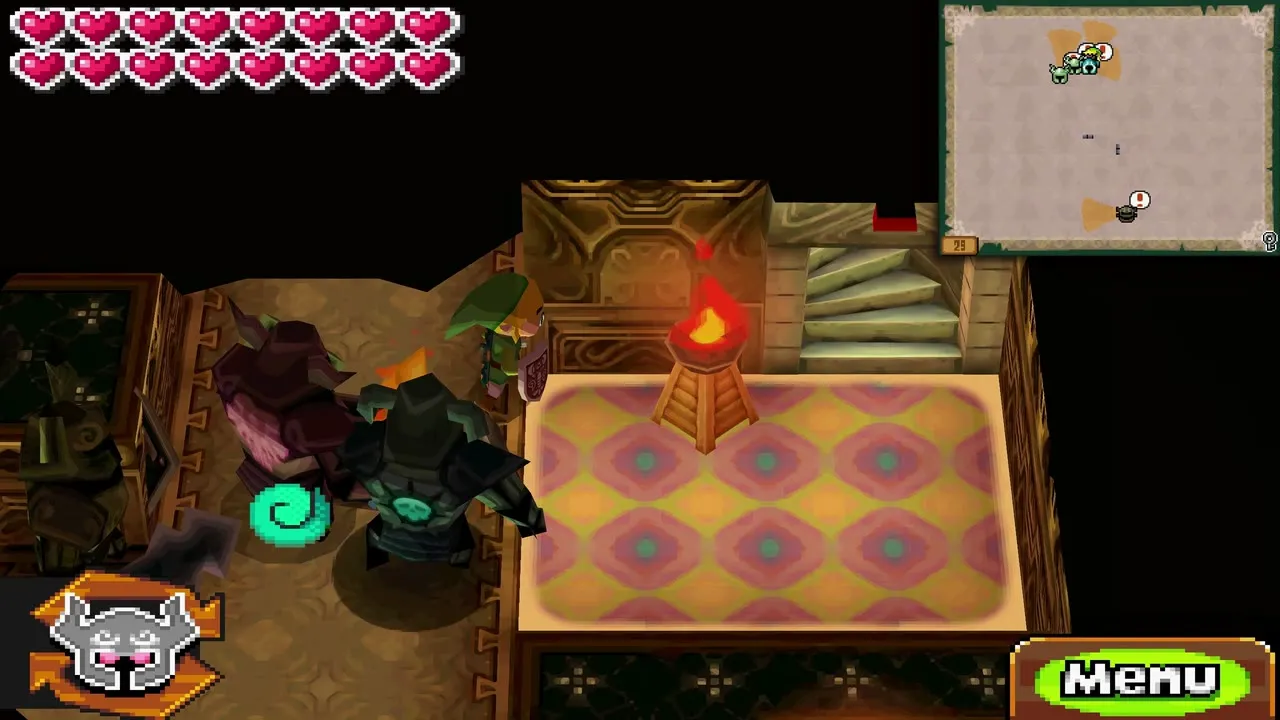
In the north-east part of floor 29, follow the narrow, dim path west. A tablet reads that darkness can open a path: blow out every torch and the west wall falls, revealing the Torch Phantom. Possess it with Zelda, read the second tablet near the ordinary Phantoms and talk to them with Zelda while Link waits in the safe zone. They reveal a weak spot in the upper left wall, but leave the bombs for now. In the bottom left, light the two unlit torches with Zelda’s flame; the wall drops and the stairs down to floor 28 open.

Floor 28: sand chests and the first small key
Floor 28’s west side is sand, which only Zelda can cross after you raise it with the Sand Wand. Defeat the Stalfos, then from the northern ledge raise sand to the right-hand northern platform and light its torch with Zelda; do the same on the second northern platform. Two chests appear in the south.


Link jumps on Zelda’s shield from the platform right of the central red one, and you build sand paths to both chests. The bottom-left chest holds a random treasure; the right one holds a small key. Climb back through floor 29 to floor 30.


Floors 30 and 29: Warp Phantom and the other two keys
Floor 29: possess the Warp Phantom
Zelda carries Link across the lava on floor 30. Drop to floor 29 and find the Warp Phantom near a divine eye in the far west; it stays put unless it notices you. A tablet tells you to shoot two eyes with light for a key. Lure the Phantom, sneak behind it, strike it and possess it with Zelda, then shoot the eye it guards. A torch lights across the room and the second eye, on the east side, becomes reachable.

Floor 29: bomb the north wall
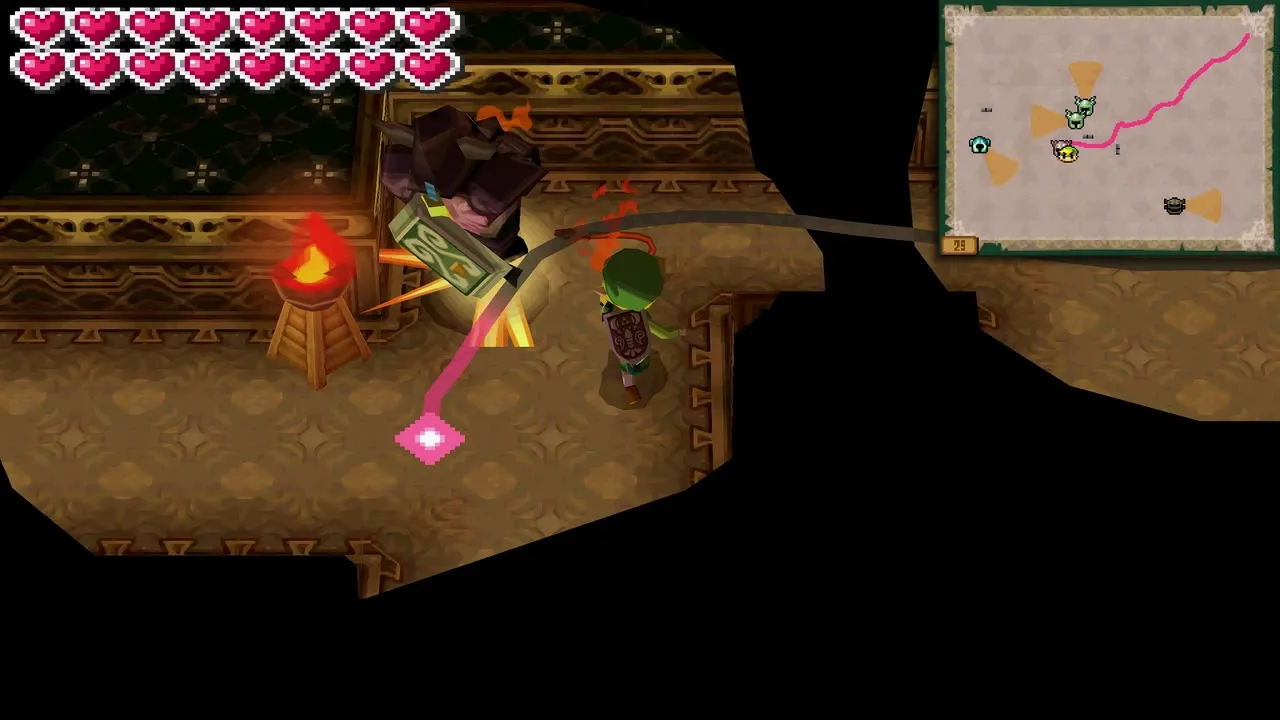
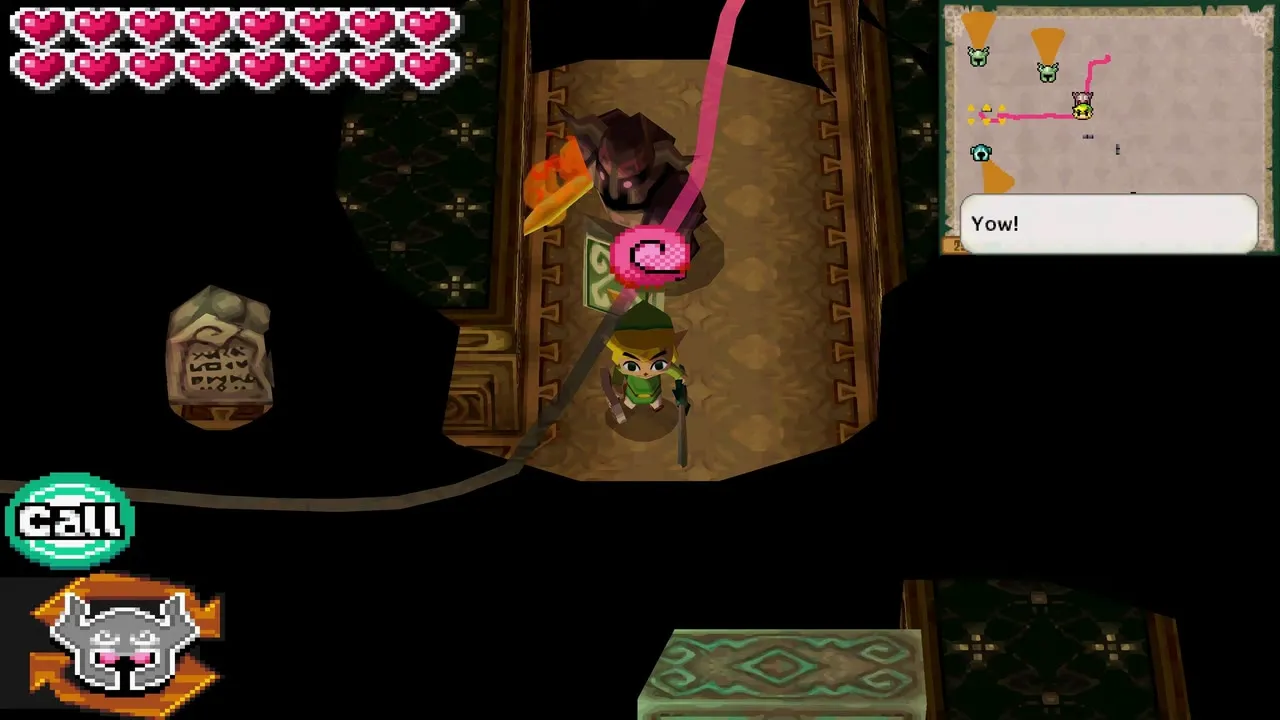
Back among the ordinary Phantoms, bomb the north wall, in its upper left and slightly away from the corner, not the west wall. A door opens on a small room with two acorns and two pots. Then go up to floor 30 and leave through the south door into a new western section.

Floor 30 west section: swap panels and sand traps
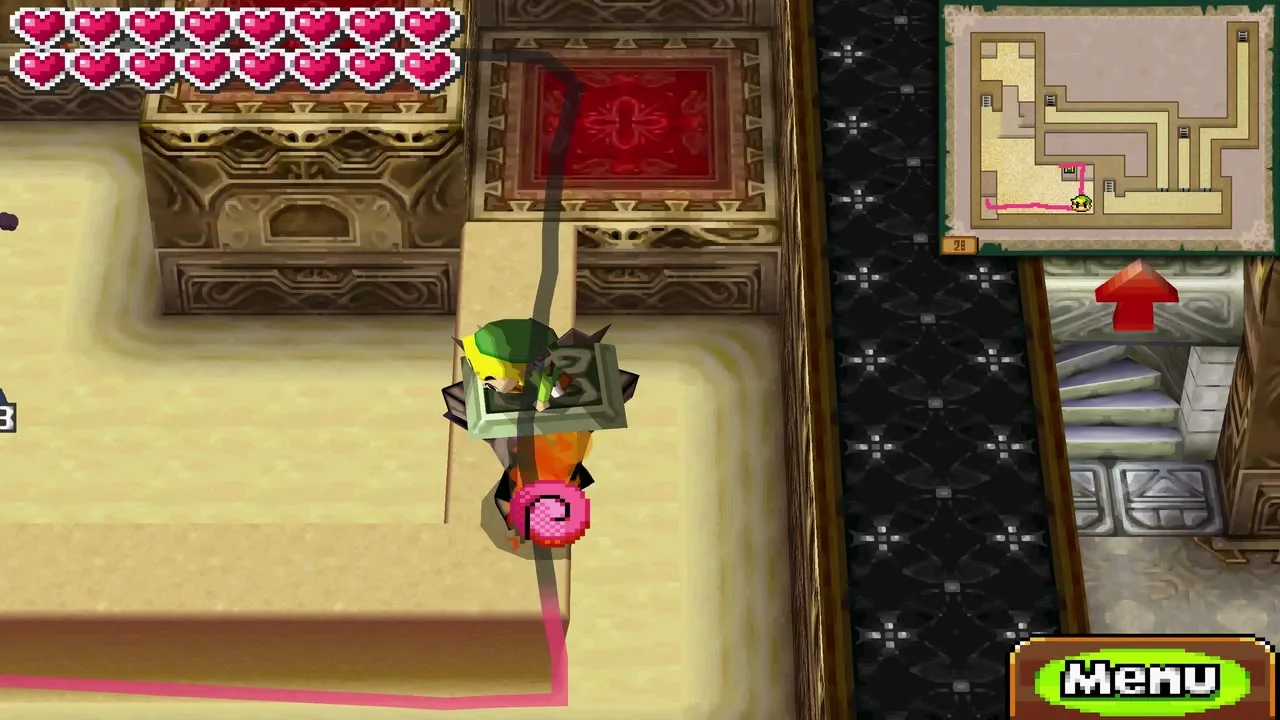
Raise sand to lift Link onto Zelda, carry him to the raised north-east platform and step on the floor switch. Two Phantom Eyes and a Warp Phantom appear. Breakable blocks at the bottom of the room hide a large chest with a random treasure.
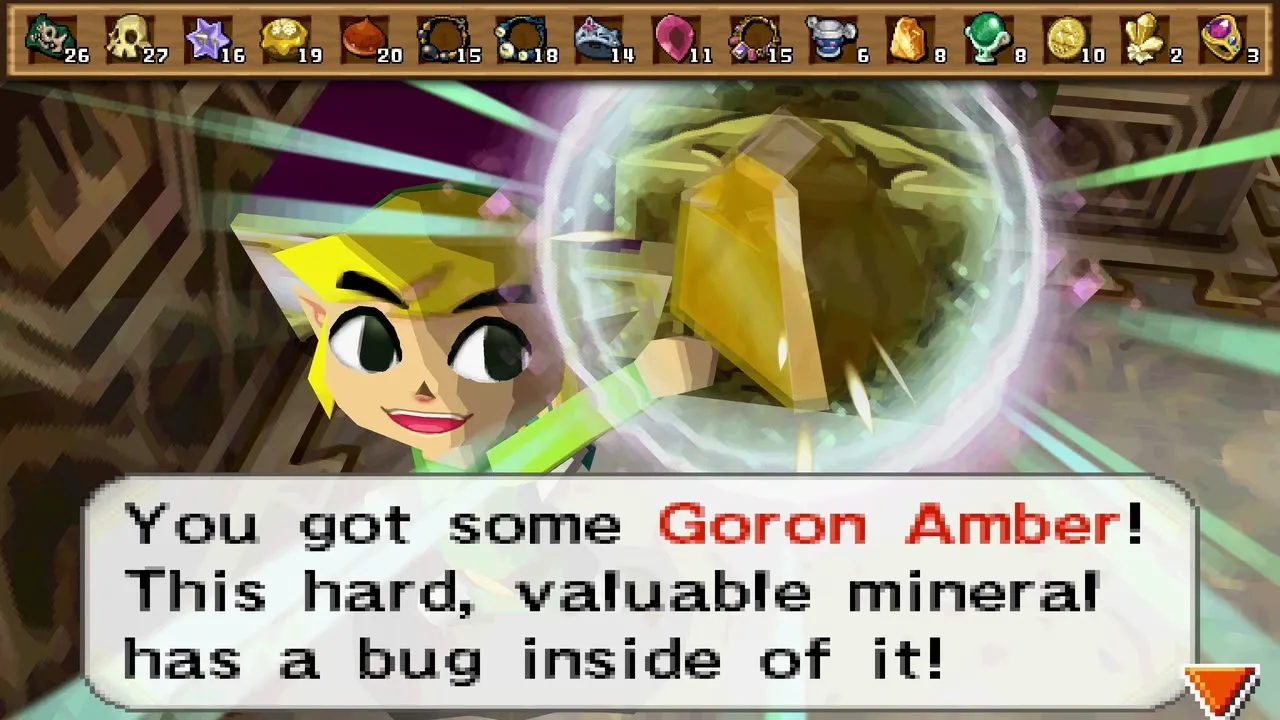
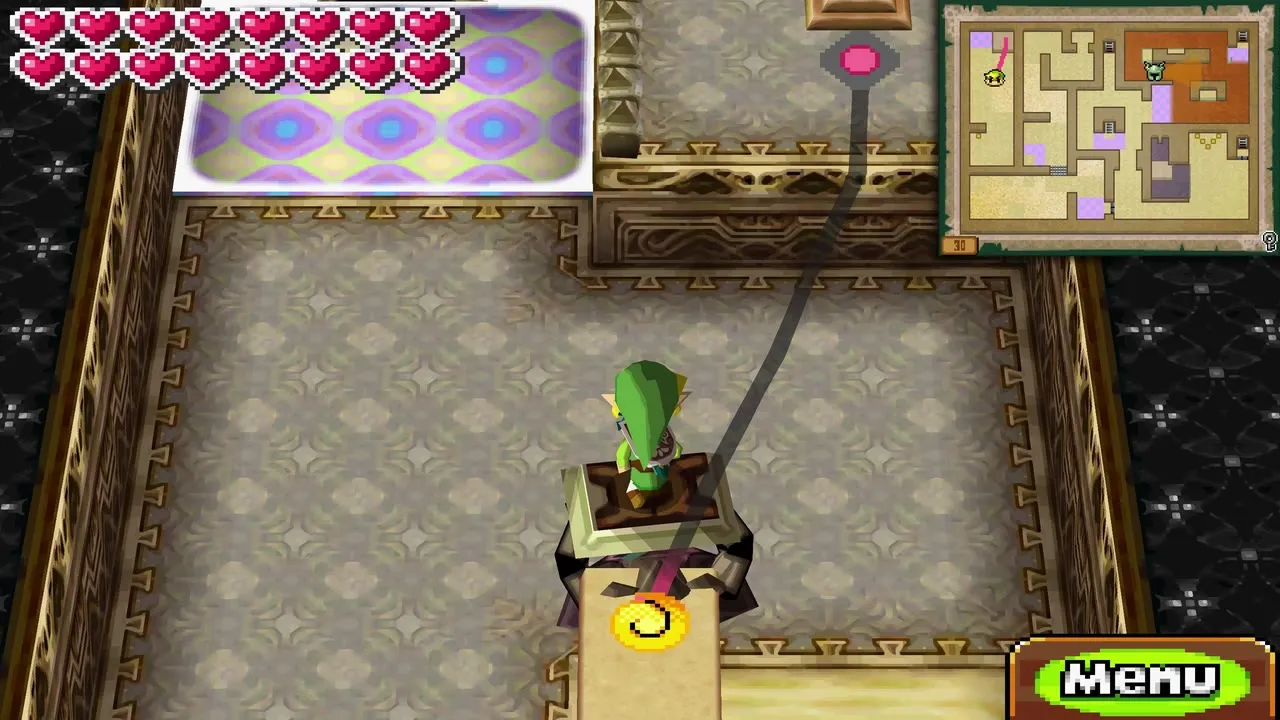
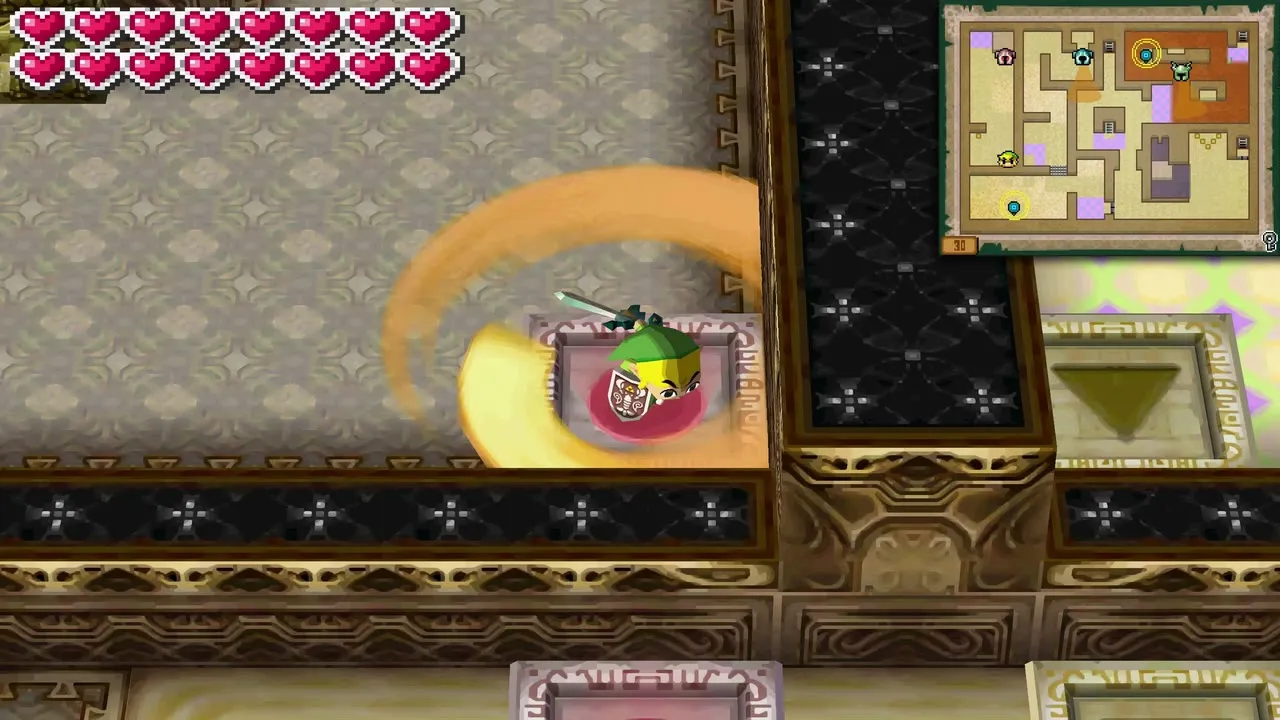
Use the pink swap panel by sending Zelda, possessing a Phantom Eye, onto the companion panel below the wall; this swaps Link and Zelda. If it fails, kill the Phantom Eye with Link. On the yellow triangle panels, Zelda stands on the upper one behind the spikes and Link walks to the lower one to swap places.

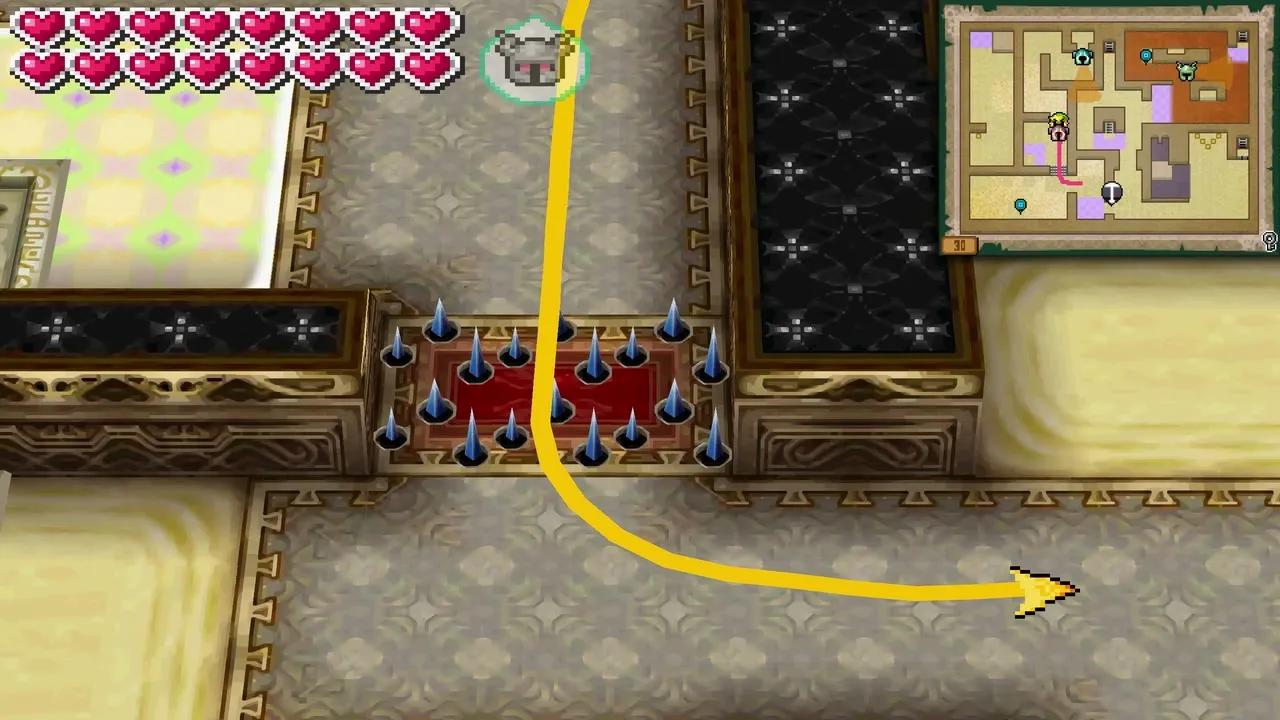
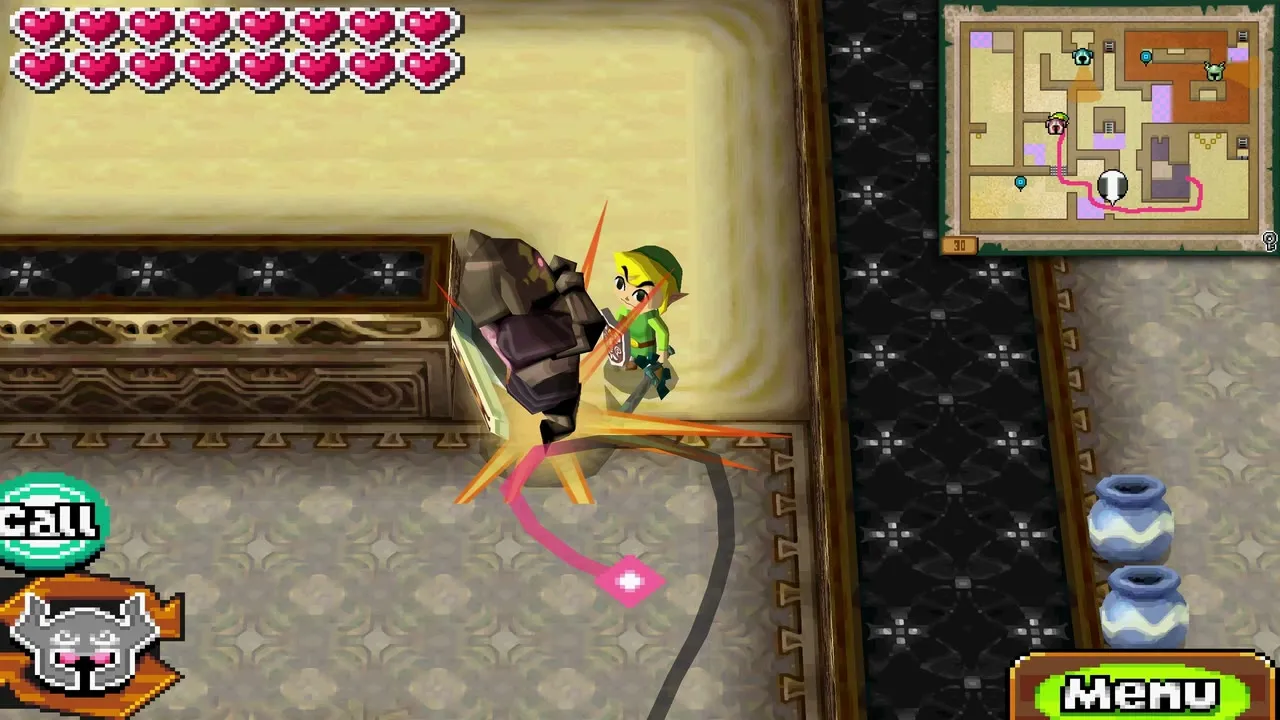
Send Link north past the sand trap to the Warp Phantom guarding a divine eye. Run the Phantom into the central sand trap, wait in the eye’s alcove while it is distracted, then strike it from behind and possess it with Zelda. Shoot the eye and the lower right wall drops.
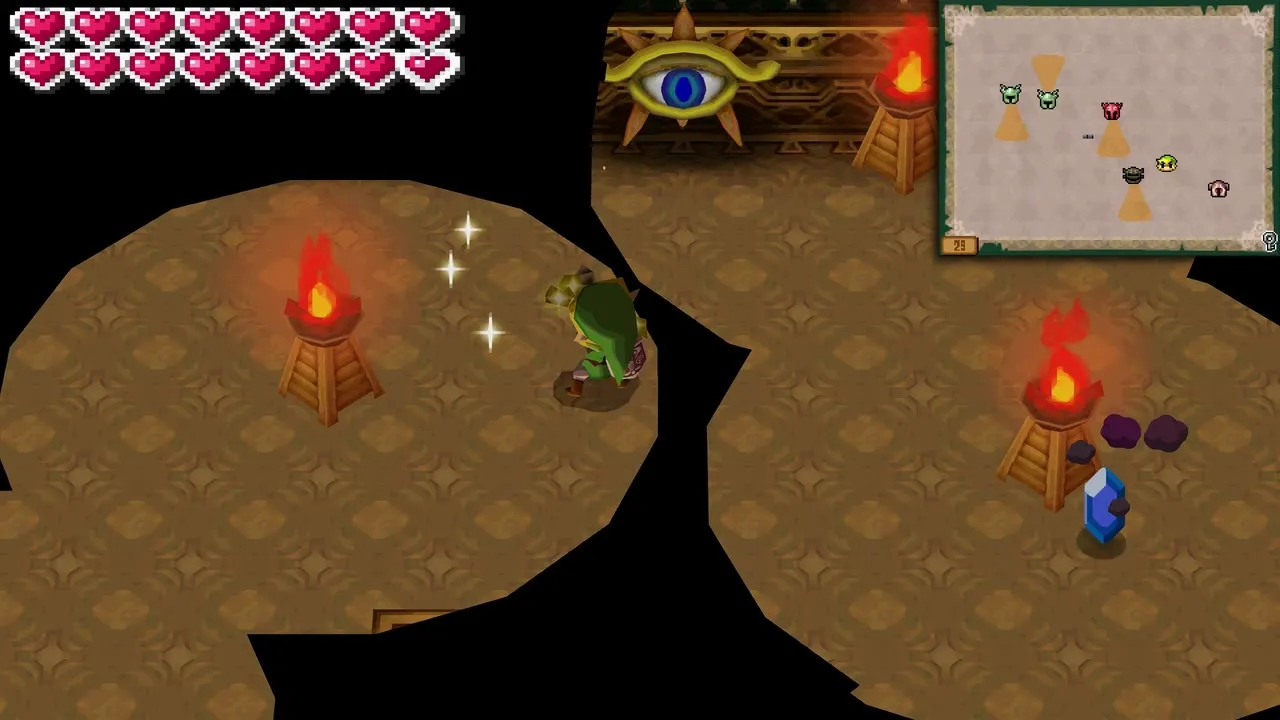

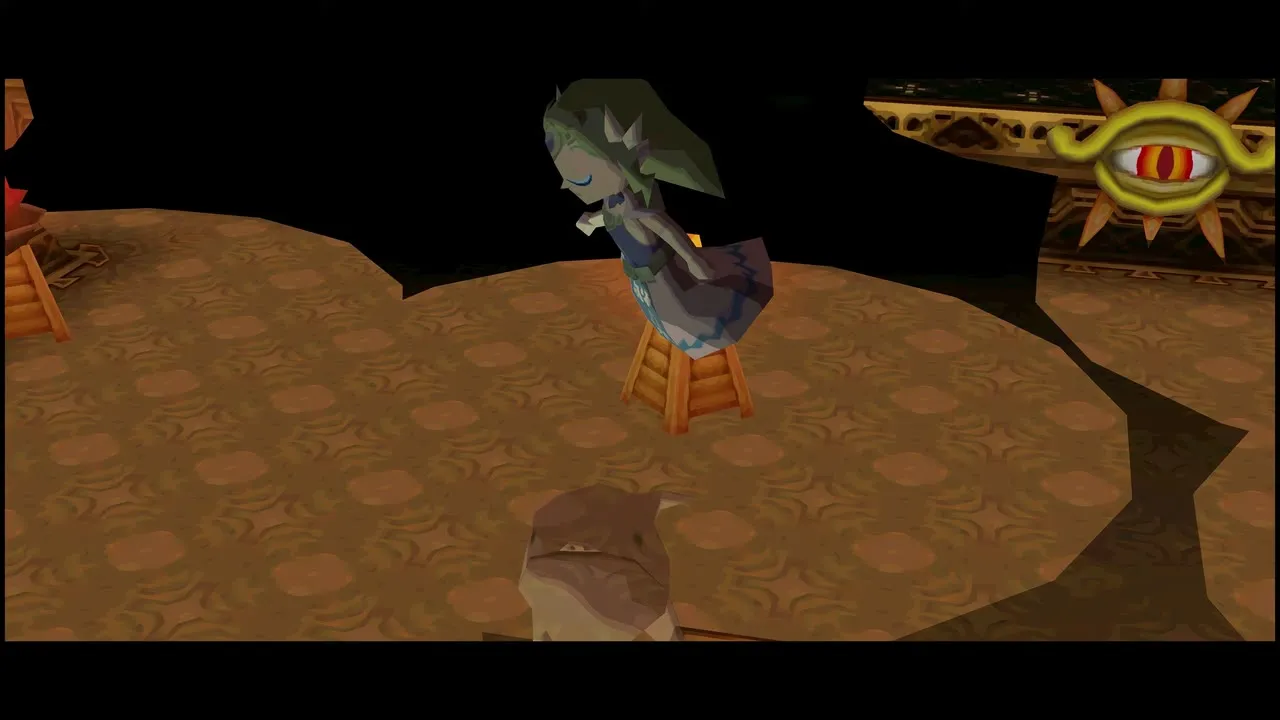
Ride Zelda east. Whip the Miniblin off the statue, then throw the Boomerang from Zelda’s back to turn the arrow launcher beside the pit. Rotate it north twice and fire a Light Arrow into it: the arrow flies on and lowers the wall of the bottom-right stairwell.

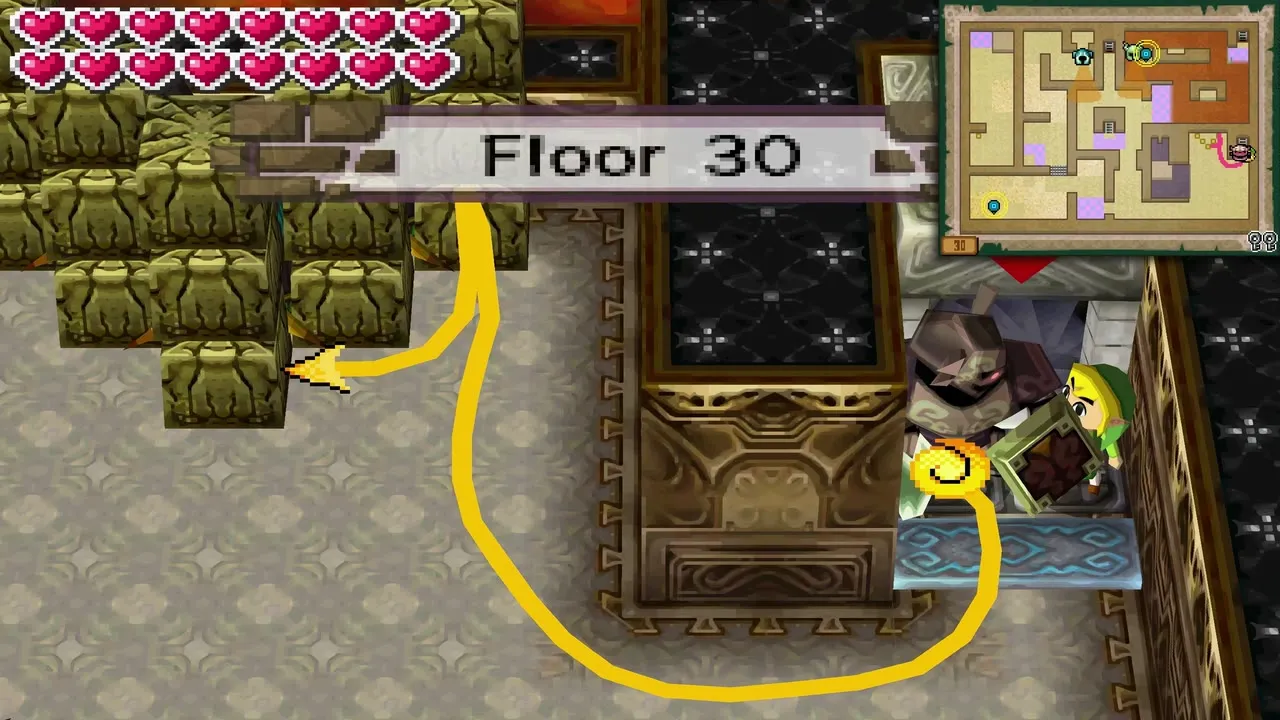
Floor 29: Wrecker Phantom and the second eye
Slash the Wrecker Phantom from behind and possess it. Go north to the second divine eye, the twin of the one you shot earlier, and shoot it; a large chest appears by the room entrance. Far left, light the last unlit torch from another torch with a Boomerang throw. Two walls drop and the whole floor is open.
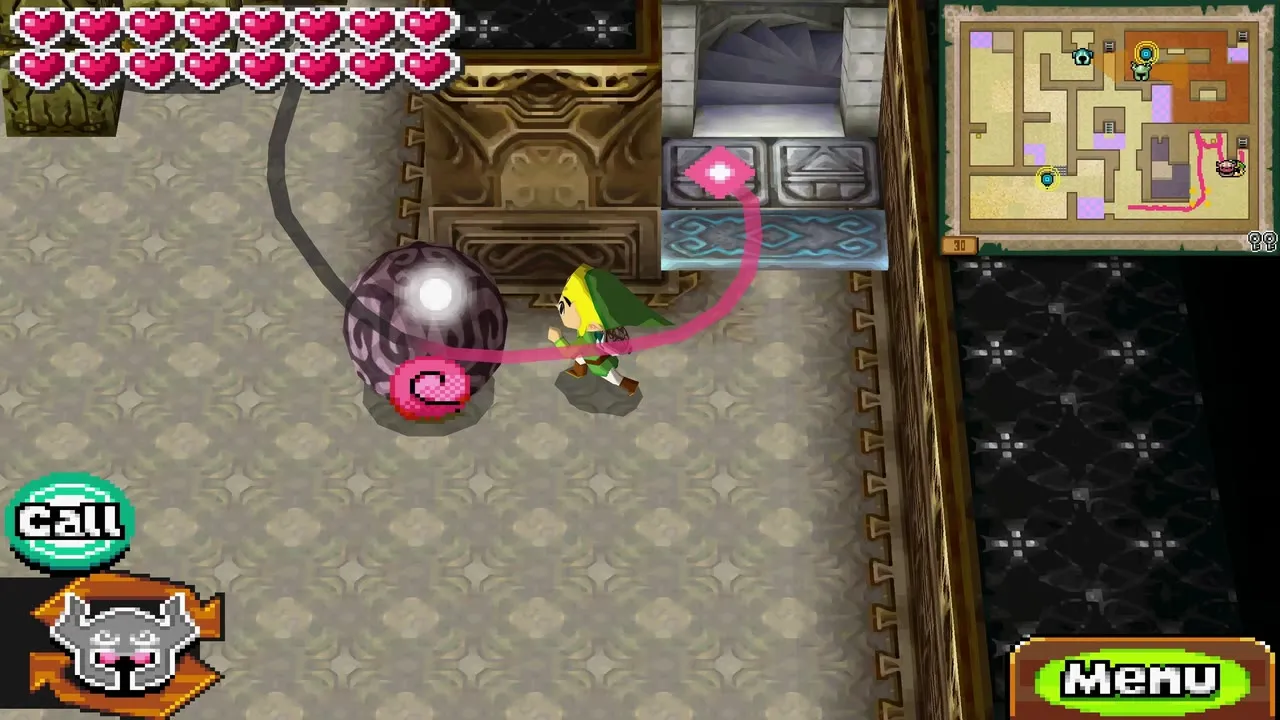


Return to floor 30 and open the large chest for the second small key. West of the stairwell, a triangle of breakable blocks hides another large chest with the third small key. Then head east through the dropped wall on floor 29 and south at the junction to the stairwell down to floor 28.

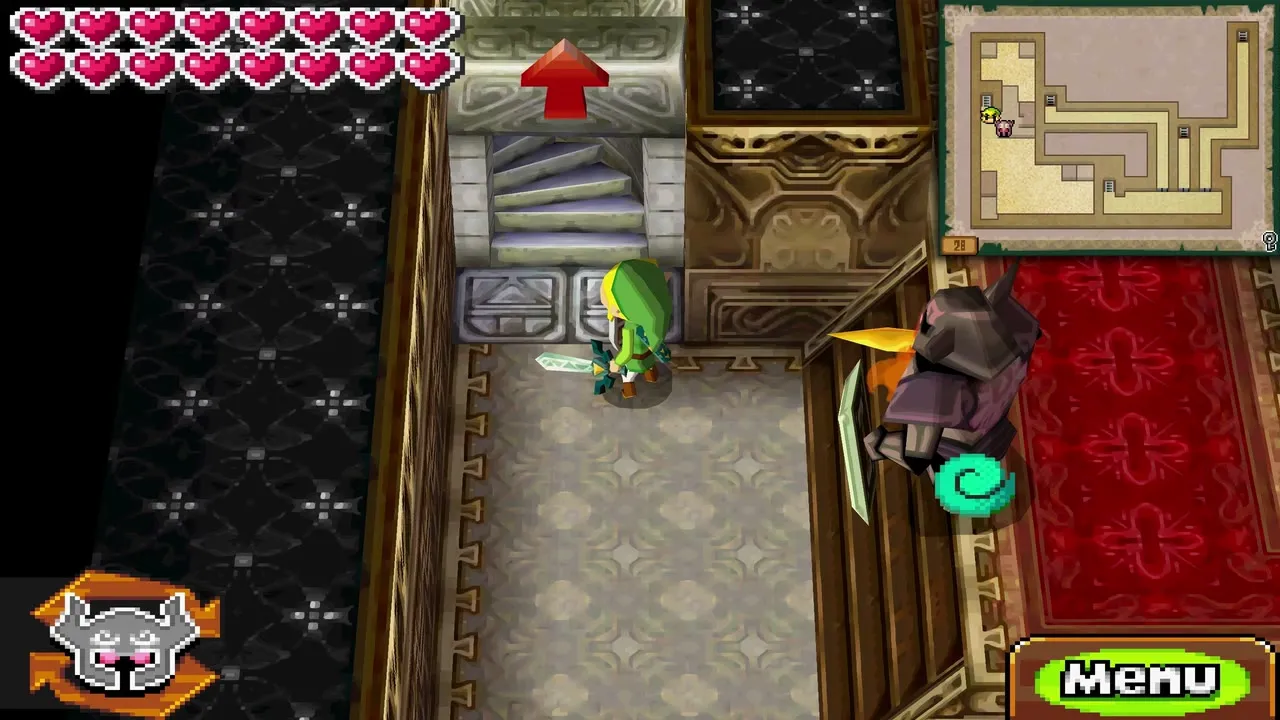
Floors 28 and 27: three locked doors
Floor 28: pick a door
Floor 28 has three locked doors, and each leads by its own path to floor 27; use all three keys, since each route solves one third of the floor. Start with the rightmost door, with the Wrecker Phantom still in hand.


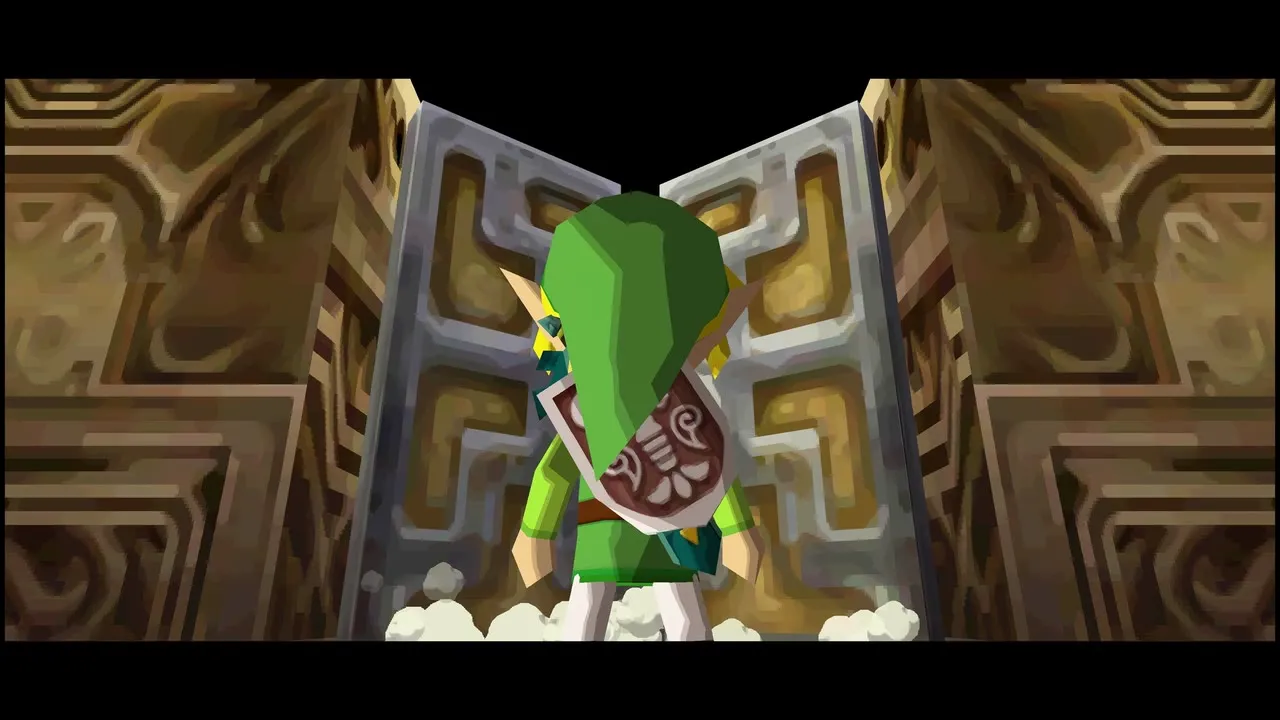
Floor 27, right route: the brazier tablet
Four Phantom Eyes appear when you enter, but there is no Warp Phantom. Have the Wrecker Phantom take the bottom raised platform, reached by the left stairs past rolling boulders, and smash the eight breakable blocks to uncover a tablet. It tells you to light the flames in the order undefended, surrounded by sand, surrounded by the abyss, then guarded; this hint is for the centre room.
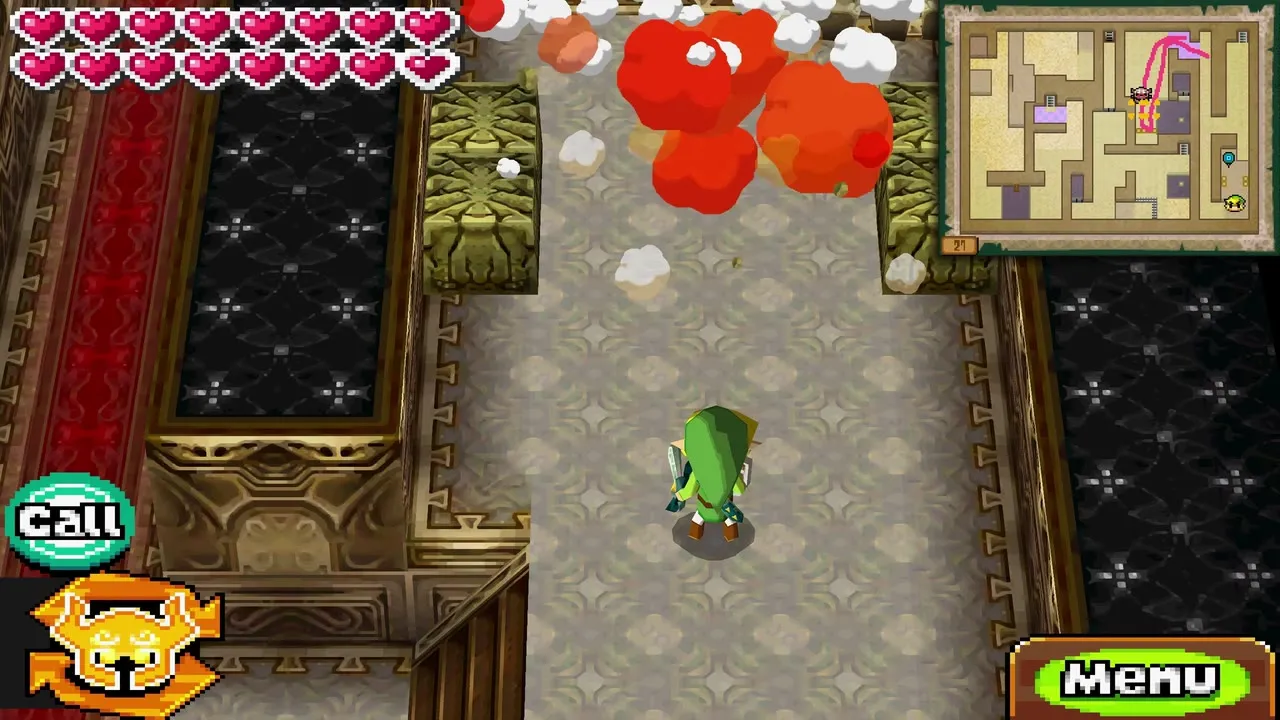
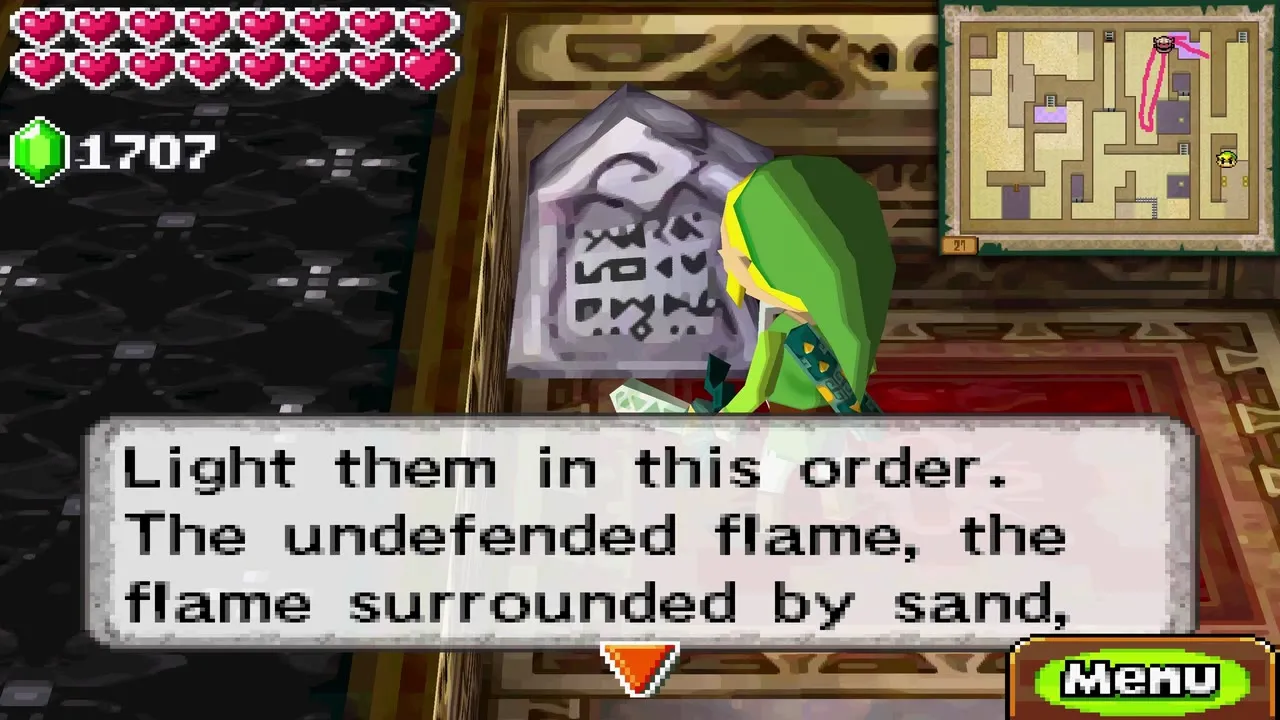

Take Zelda north along the boulder path and hit the crystal switch to stop the boulders. Link goes east into a small room and then south, while Zelda wrecks the spiked statues and blocks; leave part of this for later and climb back to floor 28.
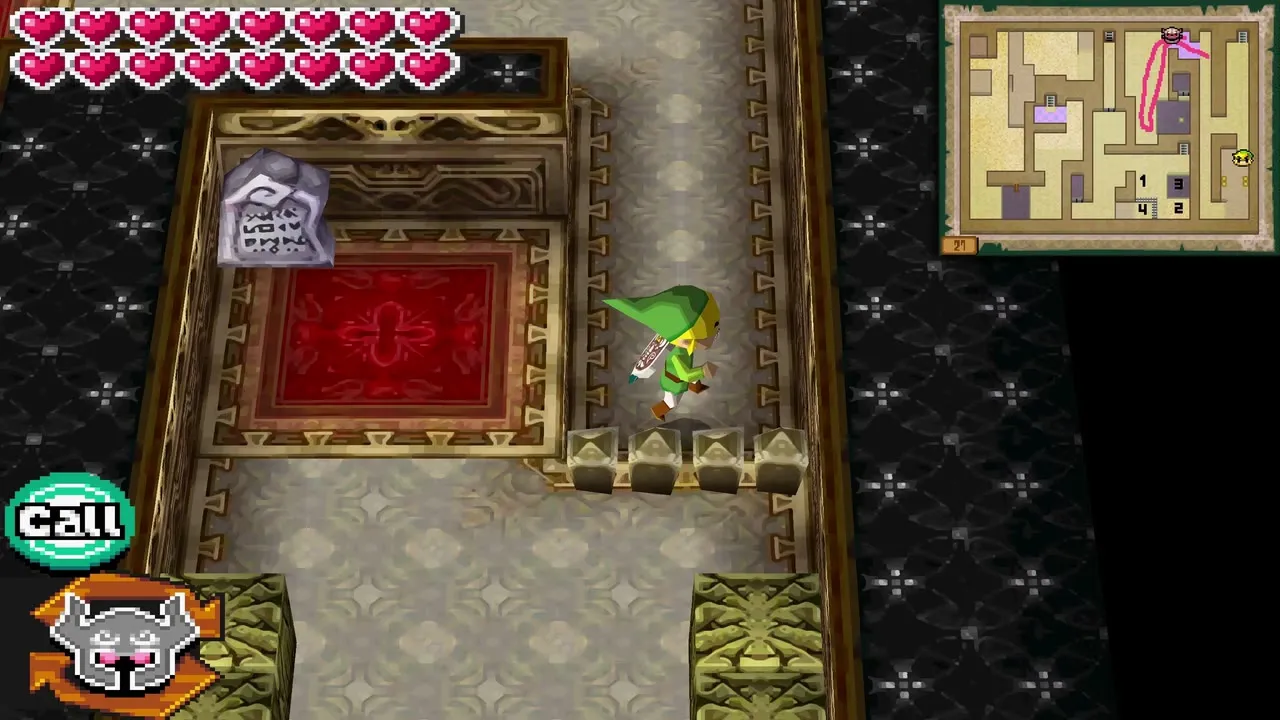


Floor 27, centre route: four torches
Go back up to floor 29 and take a Torch Phantom again from the north area; if a Phantom spots you, the whole room comes for you. Back on floor 28, use the centre door and its stairwell down. Four unlit torches surround the room. Light them in this order: top left, bottom right, top right, bottom left. The bottom-left torch sits behind spikes, so Zelda lights it alone. A wall guarding a divine eye drops in the west; shoot the eye and it turns red.

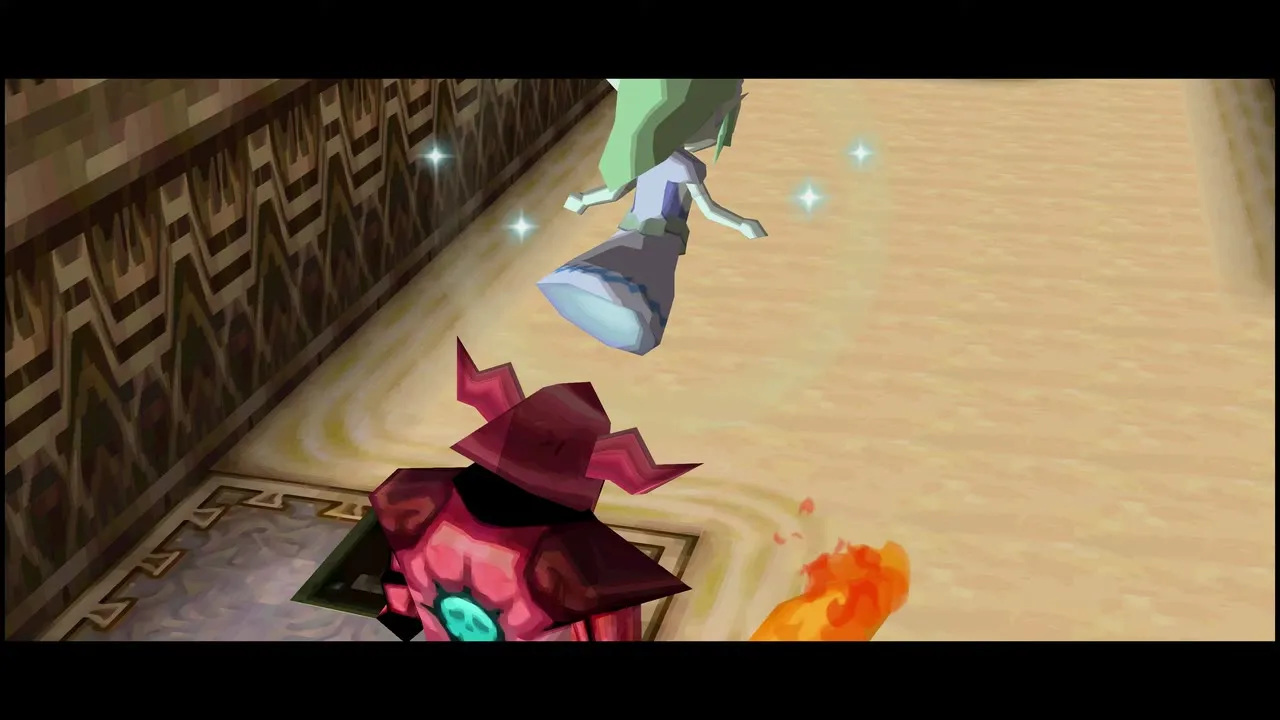
Floor 27, left route: reflect a Light Arrow
Use the leftmost door and its stairwell. Link crosses the sand trap and steps on the left floor switch to raise a bridge for Zelda. Ride Zelda’s shield and use the Whip across the chasm at the high wooden beam, then step on the lower-left floor switch for a return bridge. North, before the second sand trap, a Warp Phantom and a Phantom Eye appear.
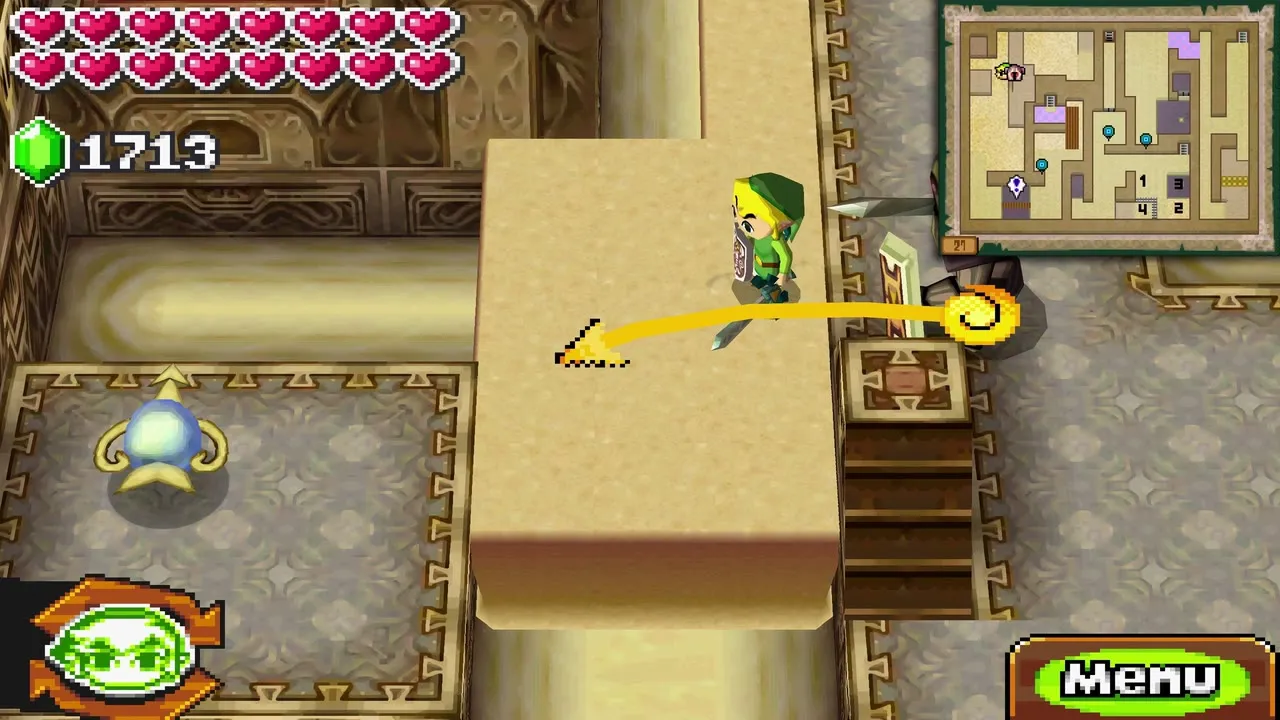
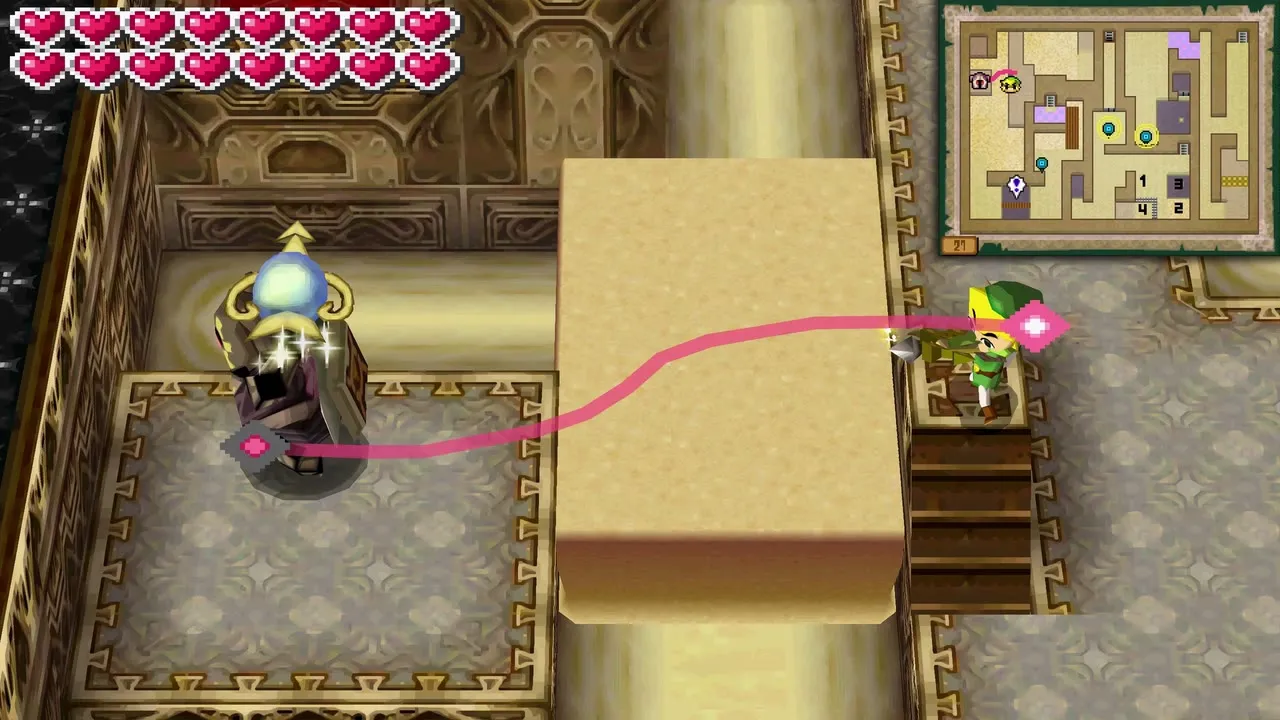
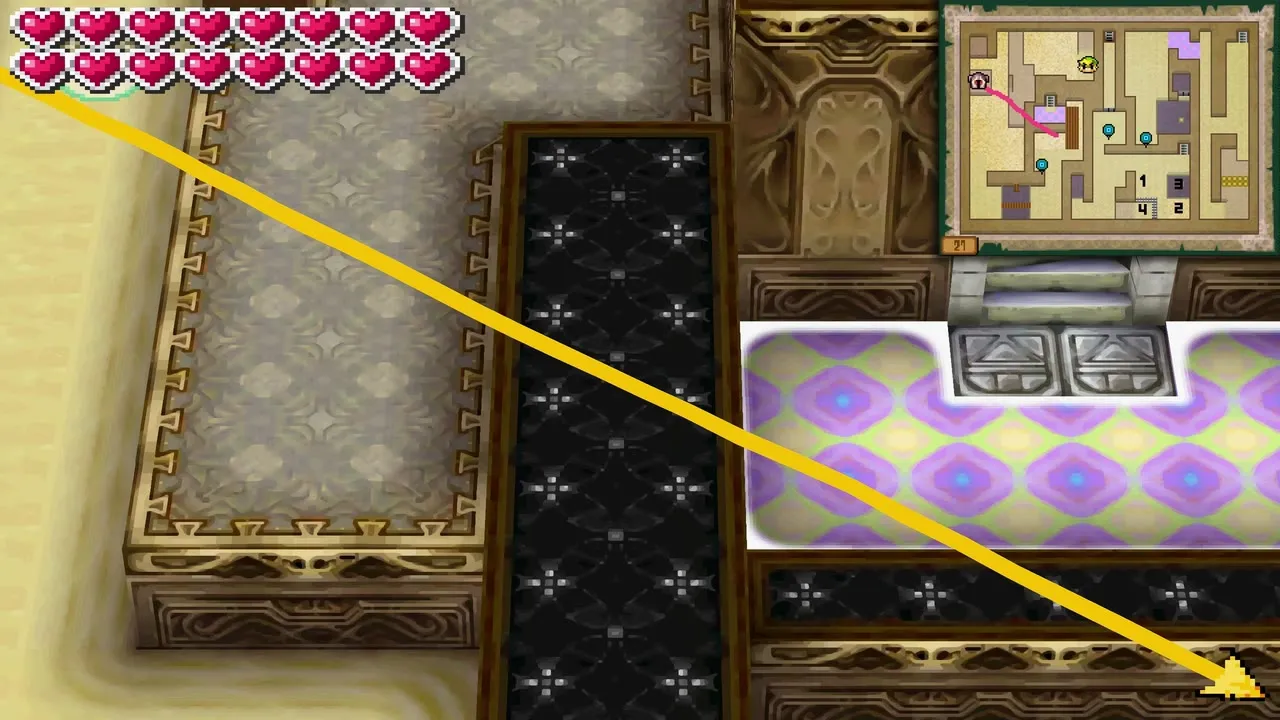
Clear the Stalfos from the sand and wait at the bottom of the long platform where the Warp Phantom walks. When it turns, raise Link with the Sand Wand and strike it from behind so Zelda can possess it. Raise sand up to the arrow launcher platform in the west, turn the launcher north and have Zelda carry it. Link stands on the small platform stairs and fires a Light Arrow at Zelda; the arrow redirects into the eye. Warp Zelda back to Link to drop the launcher.
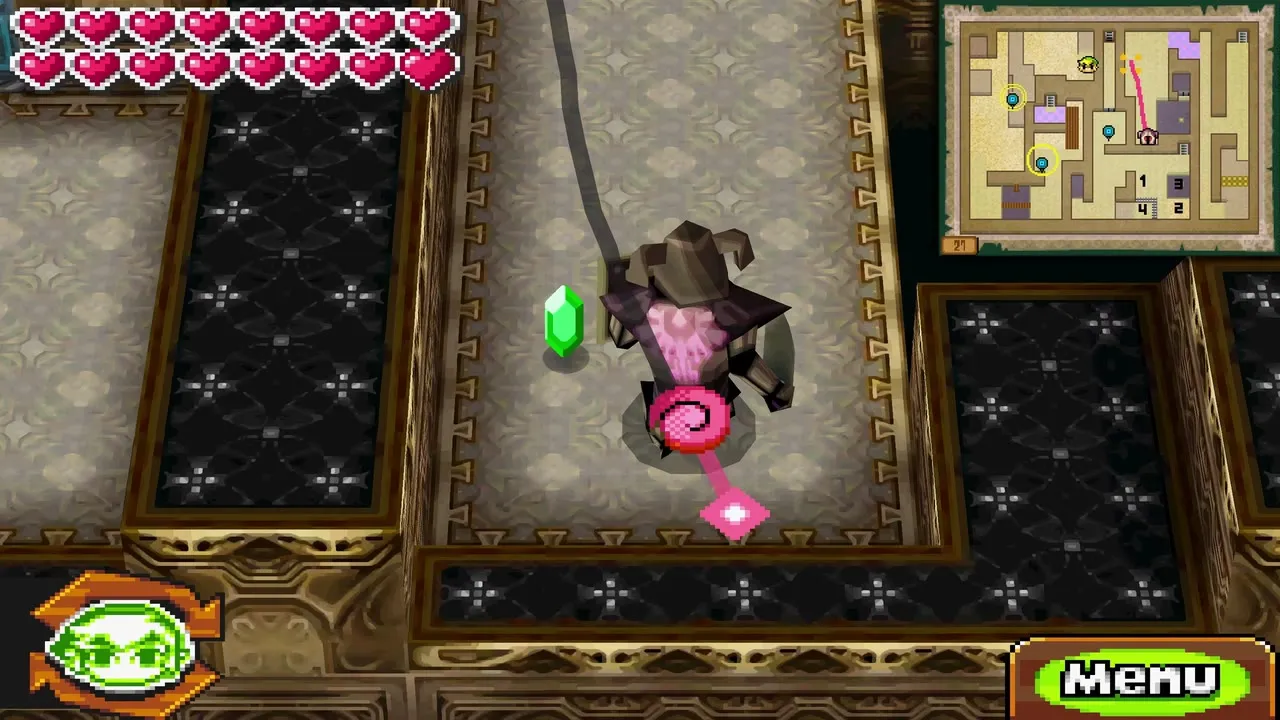
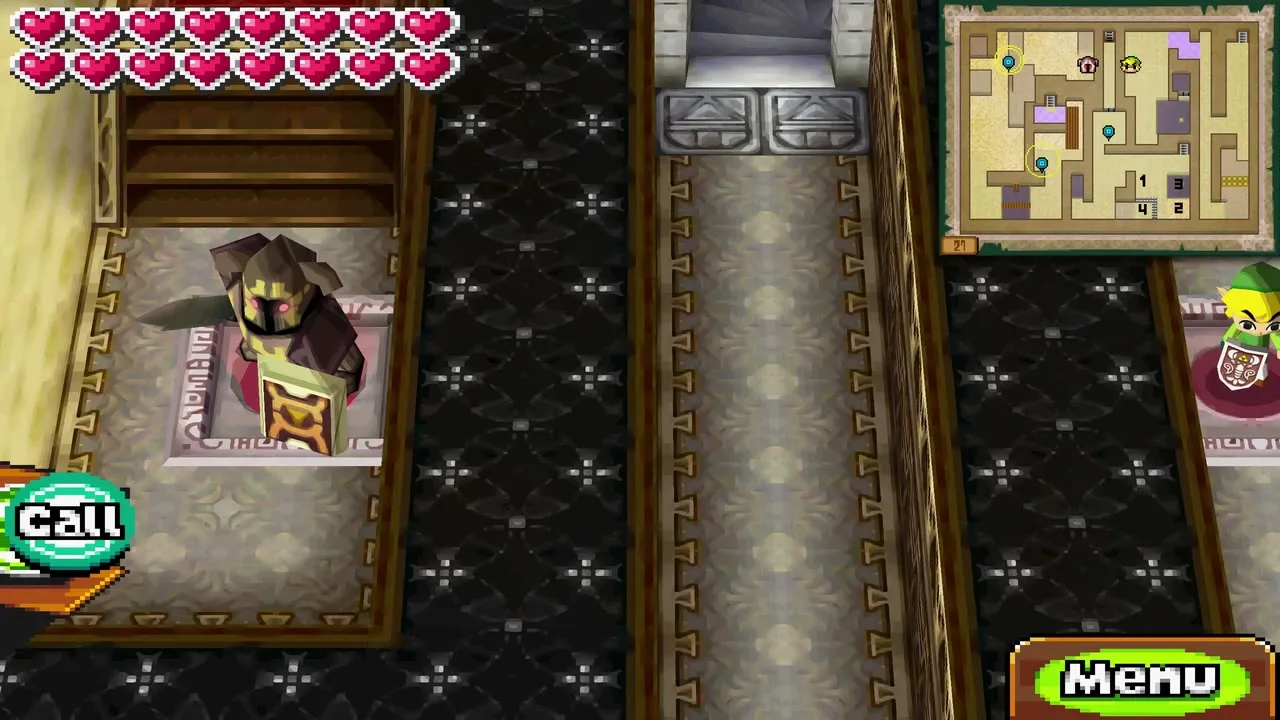

Cross the sand trap in the upper right to the pink swap panel by the wall. Zelda steps on the platform to the north, you swap, and she goes on to a floor switch that lowers the wall in front of the east divine eye. Link goes south-east to the chasm, rotates the central launcher north and fires a Light Arrow into it. It hits the third eye and drops the central wall in front of the stairs to floor 26. Warp Zelda to Link, leave to floor 28, re-enter floor 27 by the centre path and take the top centre stairs down.

Floor 26 gauntlet
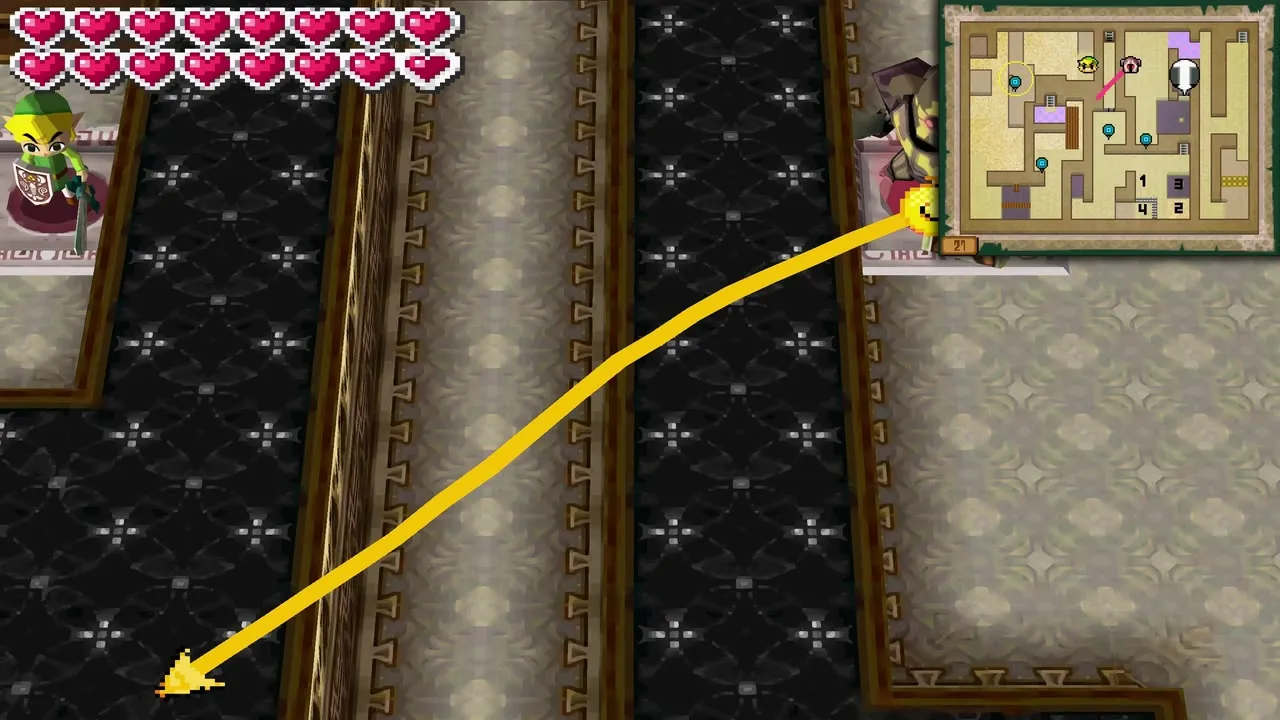
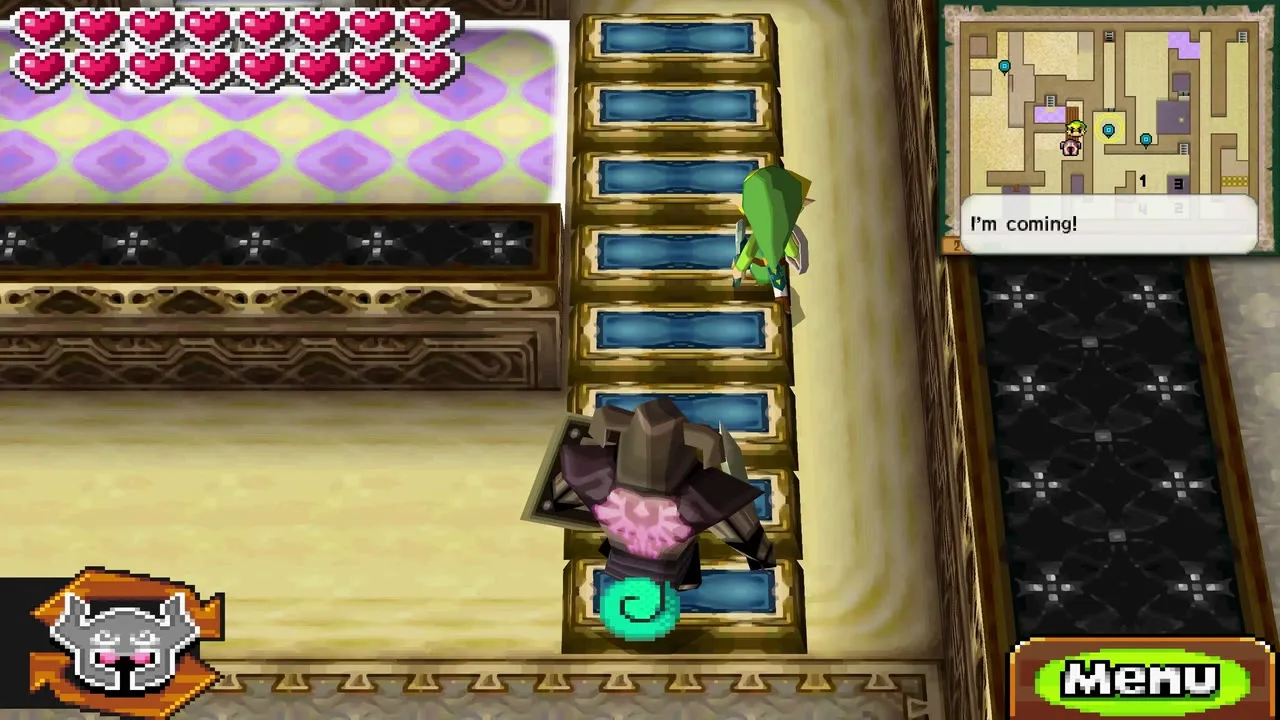
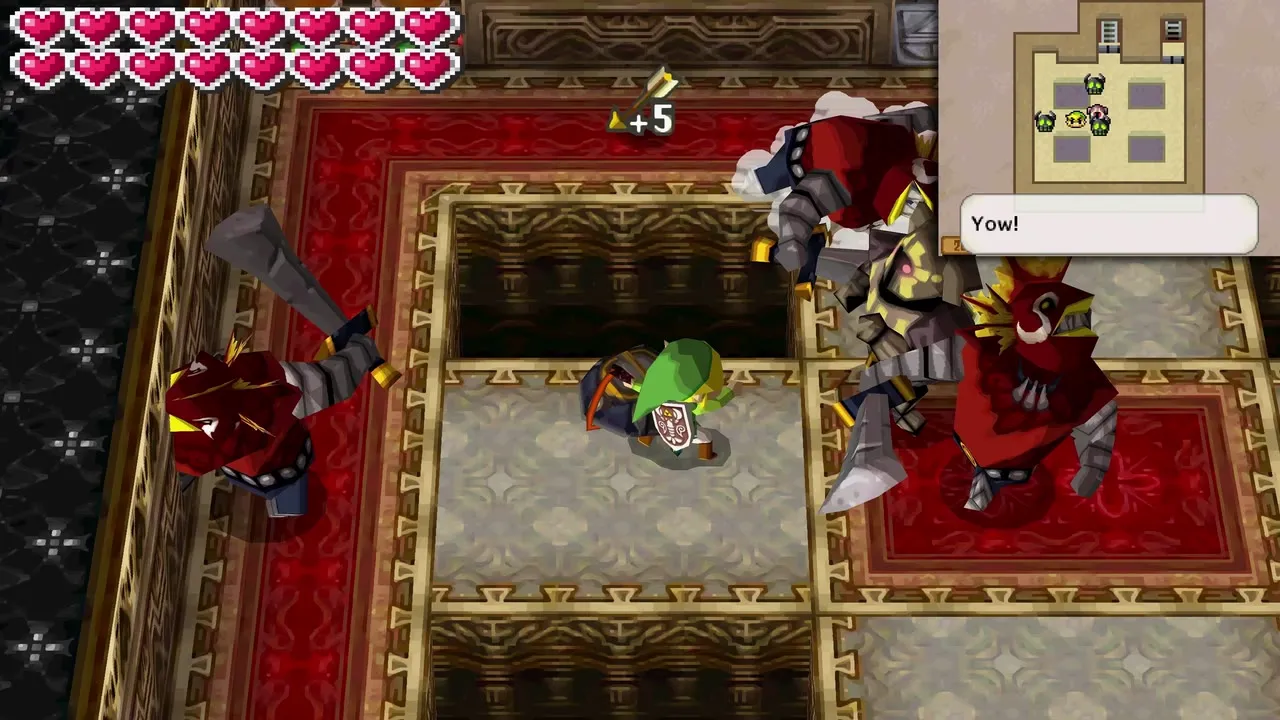
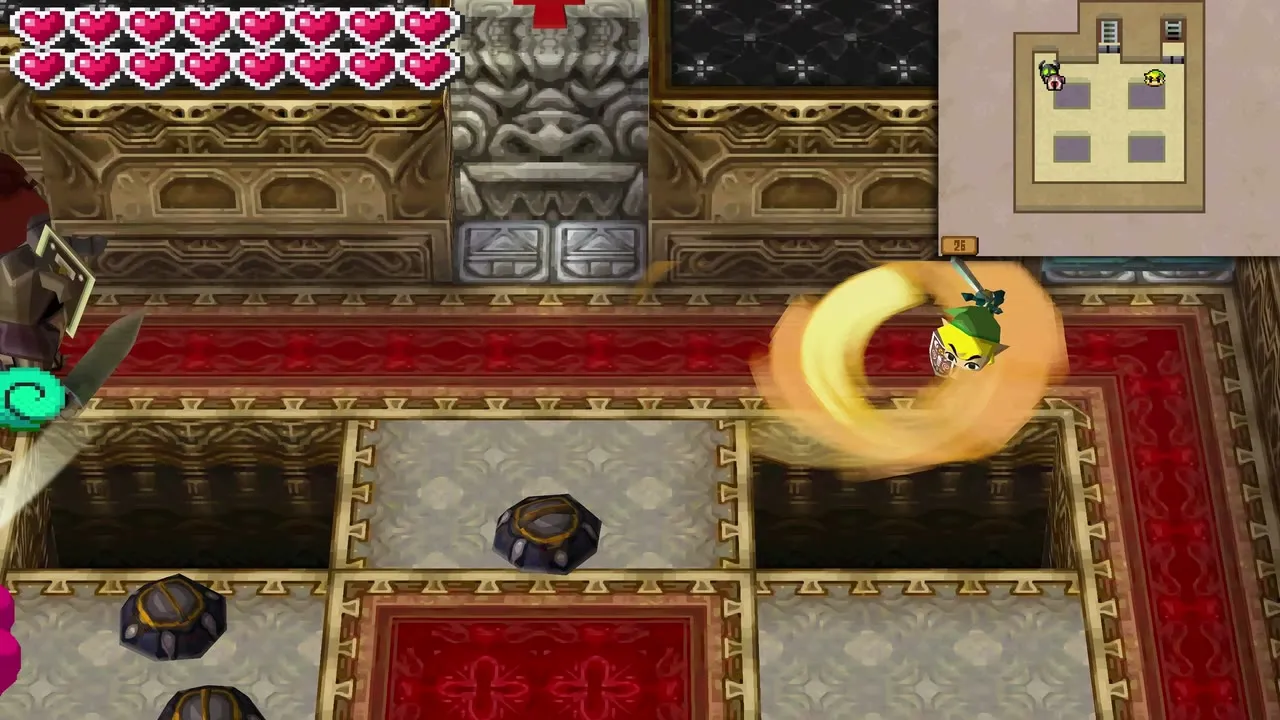
Floor 26 is a fight, not a puzzle. Enemies come in waves: eight dark electric Chuchus first, then five Stalfos Warriors and four Stalfos, then three Zora Warriors. Four chasms lie around the floor, so watch your footing; the Whip and a potion both help. Knock the shields from the Zora Warriors to damage them directly. You do not need Zelda here. When the last one falls, the path to floor 25 opens.

Floor 25: one of every Phantom
Floor 25 uses each Phantom type once. Possess the Torch Phantom in the inner hall and light the two surrounding torches; the inner wall drops and a Phantom Eye appears. Distract the ordinary Phantom in the centre with Zelda and strike the travelling Warp Phantom from behind to possess it.
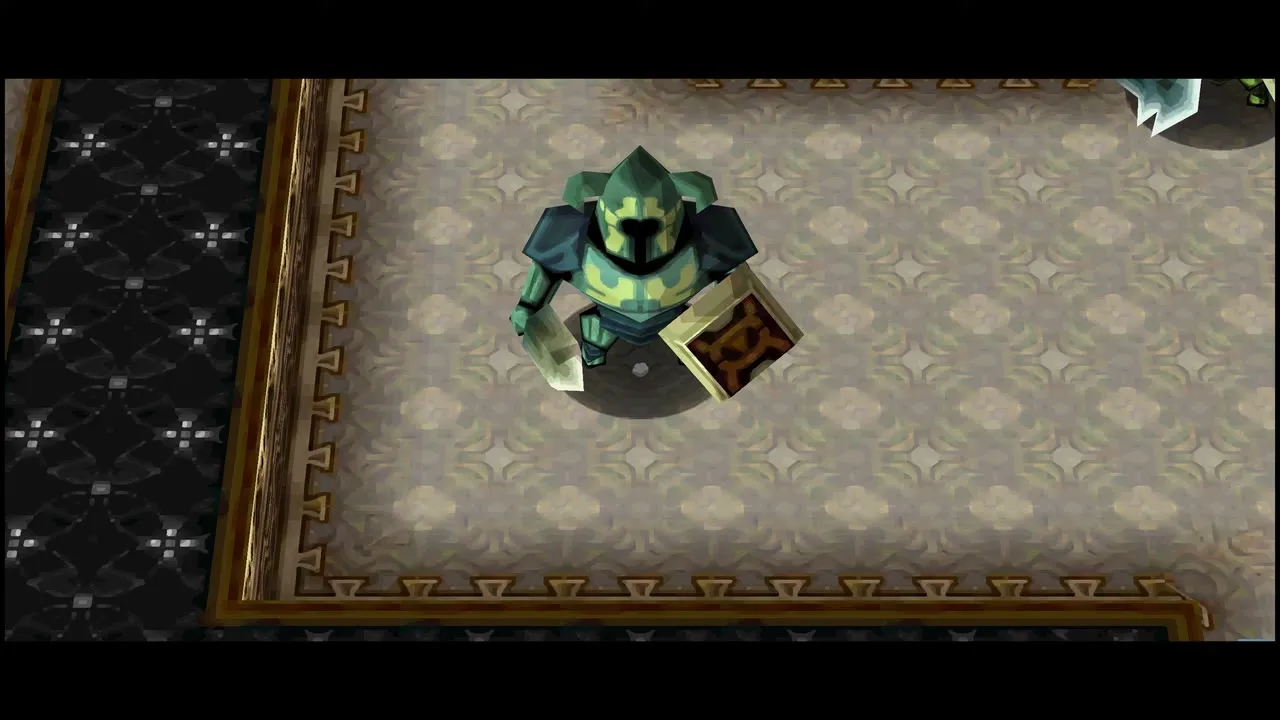
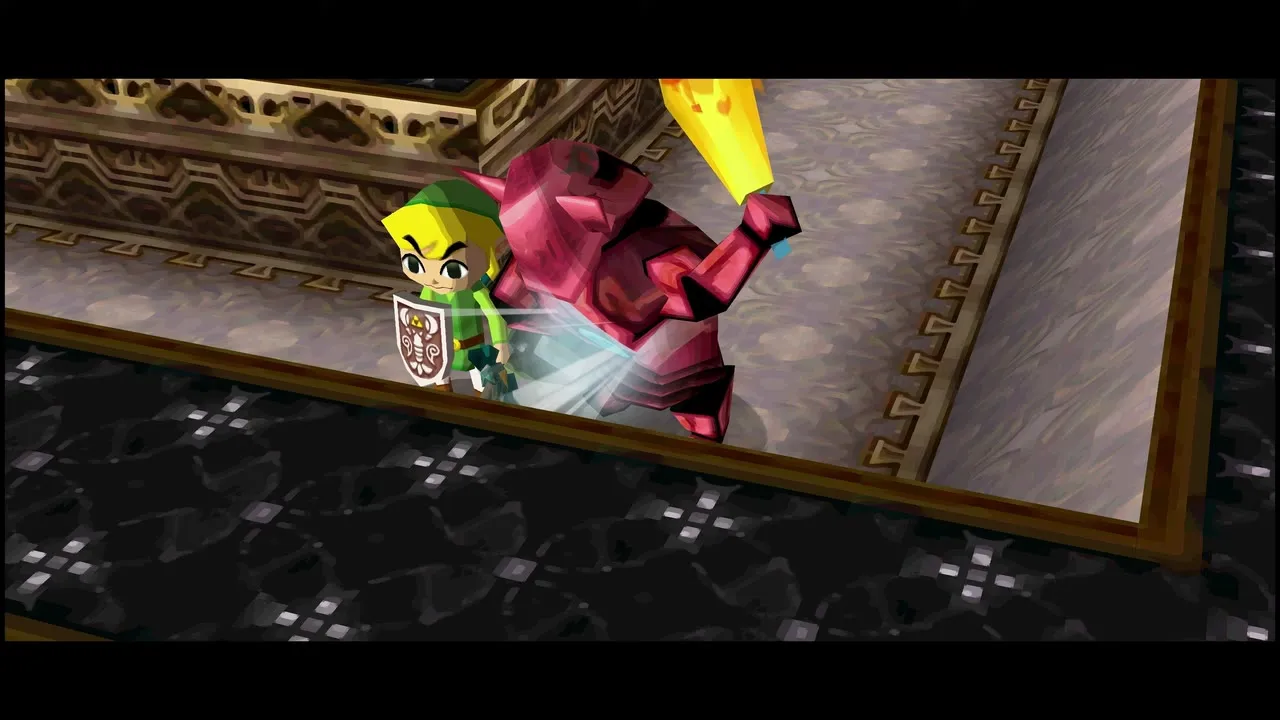

In the upper left, lead the Phantom Eye across the sand, since it follows you, then warp Zelda to Link so each stands on a floor switch; the wall behind the central ordinary Phantom drops. Possess the Wrecker Phantom in the outer hall and draw a path through the centre room, past the ordinary Phantom and into the safe zone. Zelda smashes four statues blocking the large door.
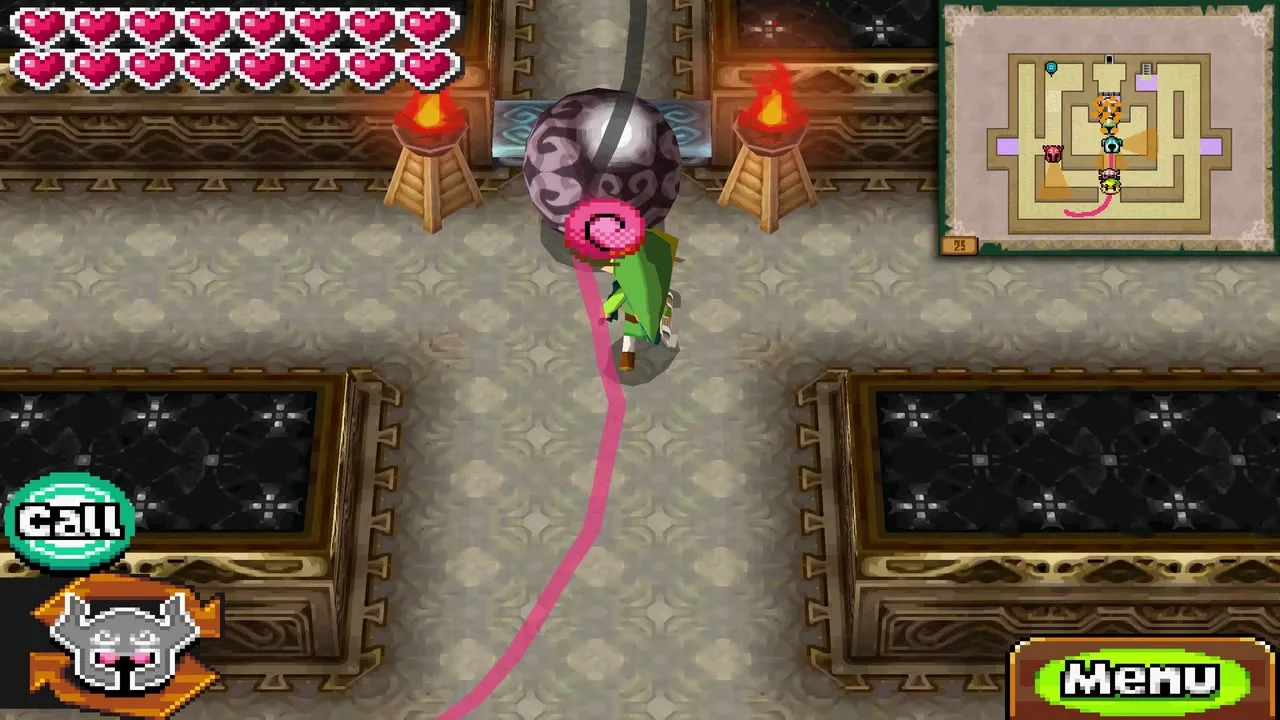

For Link’s own route, use the Wrecker Phantom’s ball to disorient the other Phantoms, hit the ordinary Phantom from behind to push it off the safe-zone entrance and dash Link through. Push open the large door and go north through the archway to floor 24.


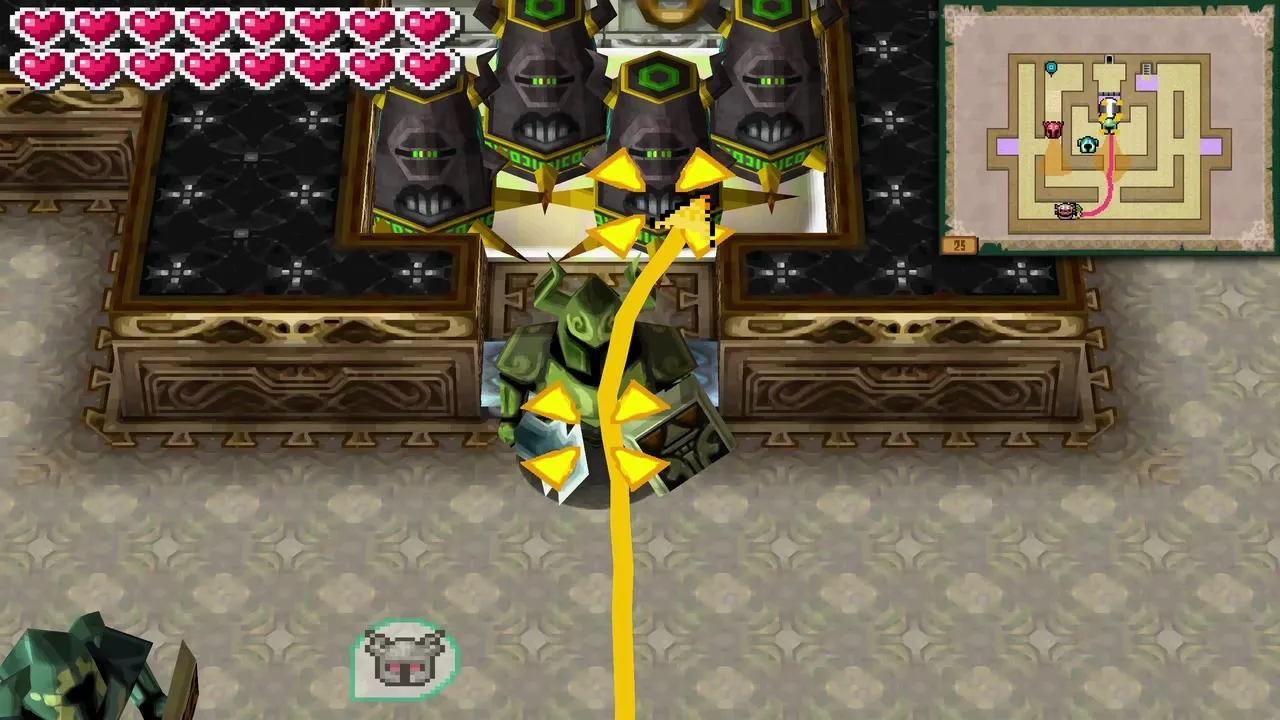
Floor 24: Compass of Light
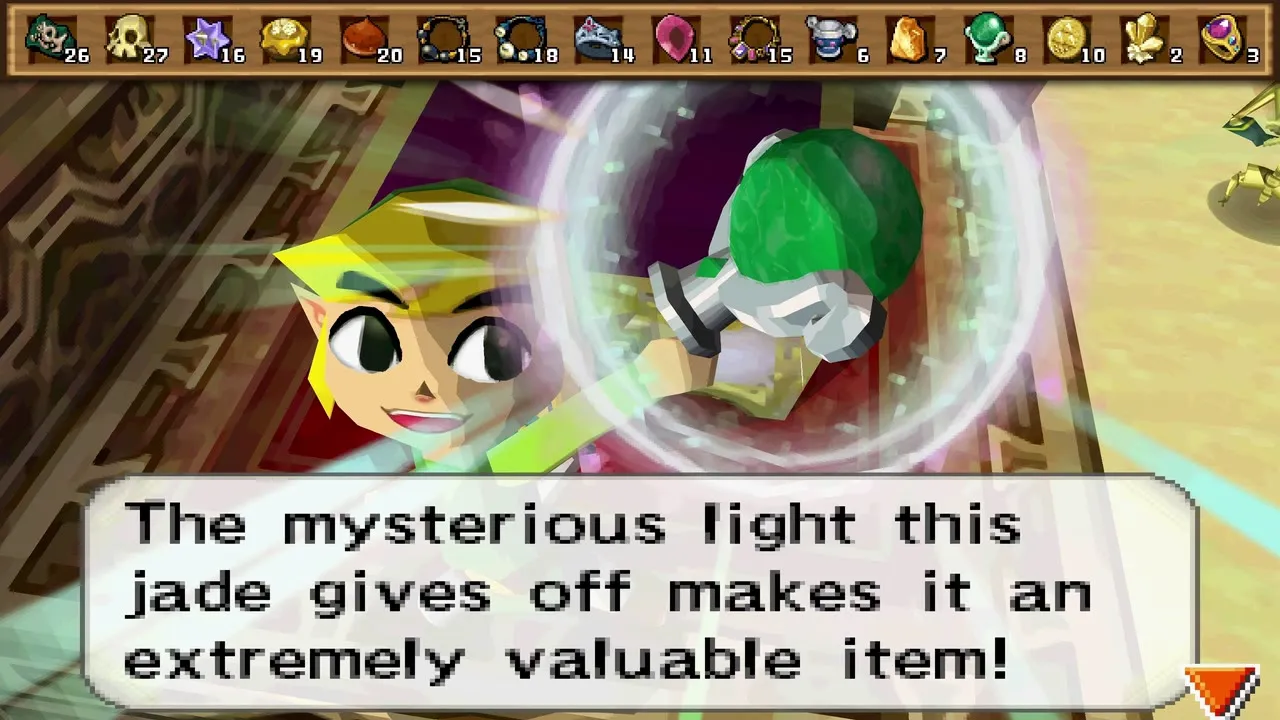
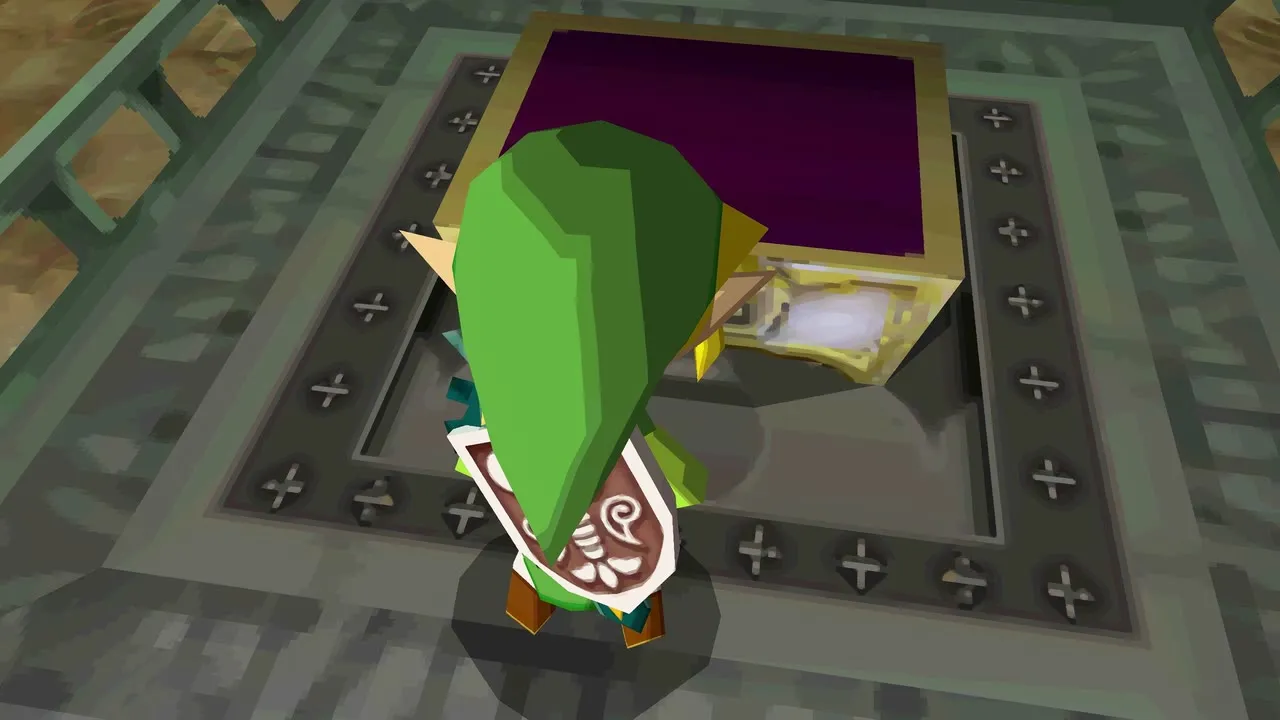
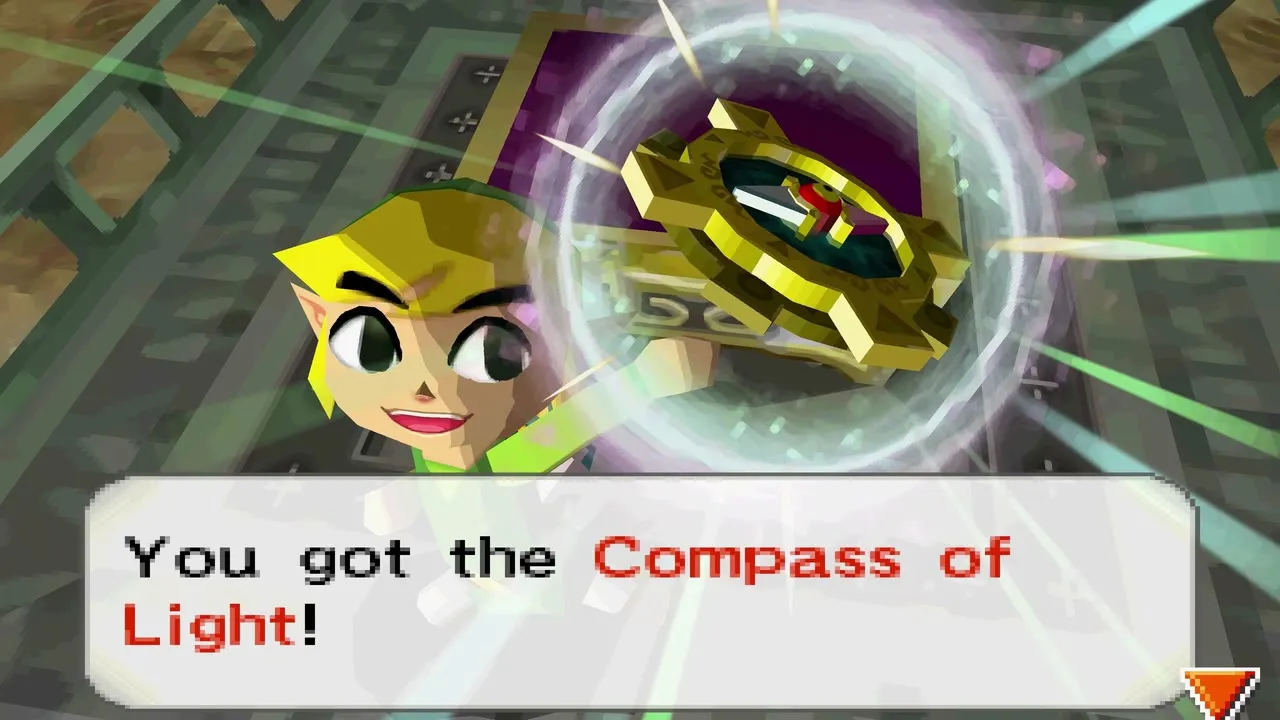
In the middle of floor 24 a large chest rests on a pedestal. Open it to take the Compass of Light, the spirit-powered device Byrne left behind that Malladus and Cole cannot touch. As you hold it up, the Forest Rail Map glows and a new track appears west of Aboda Village, running to a small island: this is the gate to the Dark Realm.
A blue portal opens in the room. Step in and it returns you to the tower lobby, where the Spirit Train waits for the run to the Dark Realm. Follow the new track from the map, and read the next chapter before you go.

Chapter checklist
| Collectible | Type | Where |
|---|---|---|
| Tower of Spirits stamp | Stamp (20 of 20) | Station beside the altar at the top of the tower |
| Small key 1 | Key | Right chest on floor 28’s sand area |
| Small key 2 | Key | Large chest on floor 30 that appears after the second eye is shot |
| Small key 3 | Key | Large chest under the breakable blocks west of the floor 30 stairwell |
| Random treasures | Treasure | Floor 28 bottom-left chest and the large chests on floor 30 |
| Compass of Light | Story item | Large chest on the pedestal in the middle of floor 24 |
With the new track open, continue with the Dark Realm, Demon Train and Malladus chapter.
