





















Ocarina of Time Master Quest Walkthrough12 chapters
- Inside the Great Deku Tree (Master Quest)Dungeon Map, Slingshot, Compass, Gold Skulltulas, Queen Gohma, Heart Container and Kokiri’s Emerald.
- Dodongo’s Cavern (Master Quest)Every room in order, Dungeon Map, Compass, Bomb Bag, silver rupees, Gold Skulltulas, King Dodongo and the Goron’s Ruby.
- Inside Jabu-Jabu’s Belly (Master Quest)Cow switches, Map, Compass, Boomerang, Big Octo, Barinade, Heart Container and Zora’s Sapphire.
- Forest Temple (Master Quest)Six Small Keys, Boss Key, Fairy Bow, the four Poe Sisters, five Gold Skulltulas and Phantom Ganon.
- Fire Temple (Master Quest)Five Small Keys, Din’s Fire puzzles, Iron Knuckle, Megaton Hammer, Boss Key, five Gold Skulltulas and Volvagia.
- Water Temple (Master Quest)Early Longshot, Map, Compass, both Small Keys, Dark Link, Boss Key and Morpha.
- Shadow Temple (Master Quest)Hover Boots, map, compass, Boss Key, Gold Skulltulas, Bongo Bongo and the Shadow Medallion.
- Spirit Temple (Master Quest)Every chest, 7 Small Keys, Silver Gauntlets, Mirror Shield, Boss Key, Skulltulas and Twinrova.
- Bottom of the Well (Master Quest)Map, Compass, two Small Keys, Dead Hand, the Lens of Truth and all three Gold Skulltulas.
- Ice Cavern (Master Quest)Blue Fire, Song of Time blocks, Stalfos, Iron Boots, Serenade of Water.
- Gerudo Training Ground (Master Quest)The remixed rooms in order, Small Keys, Silver Rupee puzzles and the Ice Arrows.
- Ganon’s Castle (Master Quest)Light Arrows, the rainbow bridge, all six remixed trials, Golden Gauntlets, Double Defense, the tower.
| Covers | the walk to the Sacred Forest Meadow and the Minuet of Forest, every room of the remixed Forest Temple, the four Poe Sisters, Phantom Ganon and the Forest Medallion |
|---|---|
| Dungeon | Forest Temple, Master Quest version (adult Link only): the Poe Sisters Joelle, Beth, Amy and Meg, then Phantom Ganon as the boss |
| You need | Adult Link, Saria’s Song, the Hookshot, the Song of Time and a Bomb supply; the Fairy Bow is found inside. The Sun’s Song is a nice extra against one Redead |
| Rewards | Boss Key, Fairy Bow, Dungeon Map, Compass, 6 Small Keys, 5 Gold Skulltulas, Heart Container, Forest Medallion; no Heart Pieces in this dungeon |
| Differences | Hookshot vines at the entrance, the Wolfos and a Redead behind new doors, the Boss Key long before the Fairy Bow, a block-and-switch room that twists a hall, and the Poe Sisters met in a different order |
The Master Quest Forest Temple keeps the four Poe Sisters, the central hall with its four stolen flames and Phantom Ganon, but nearly every room between them has been rebuilt. You enter by the vine-covered trees, find the Boss Key early, win the Fairy Bow from a Stalfos trio, defeat the sisters in a new order and finish in the basement. This chapter follows that route and collects all six Small Keys, all five Gold Skulltulas and every dungeon item.
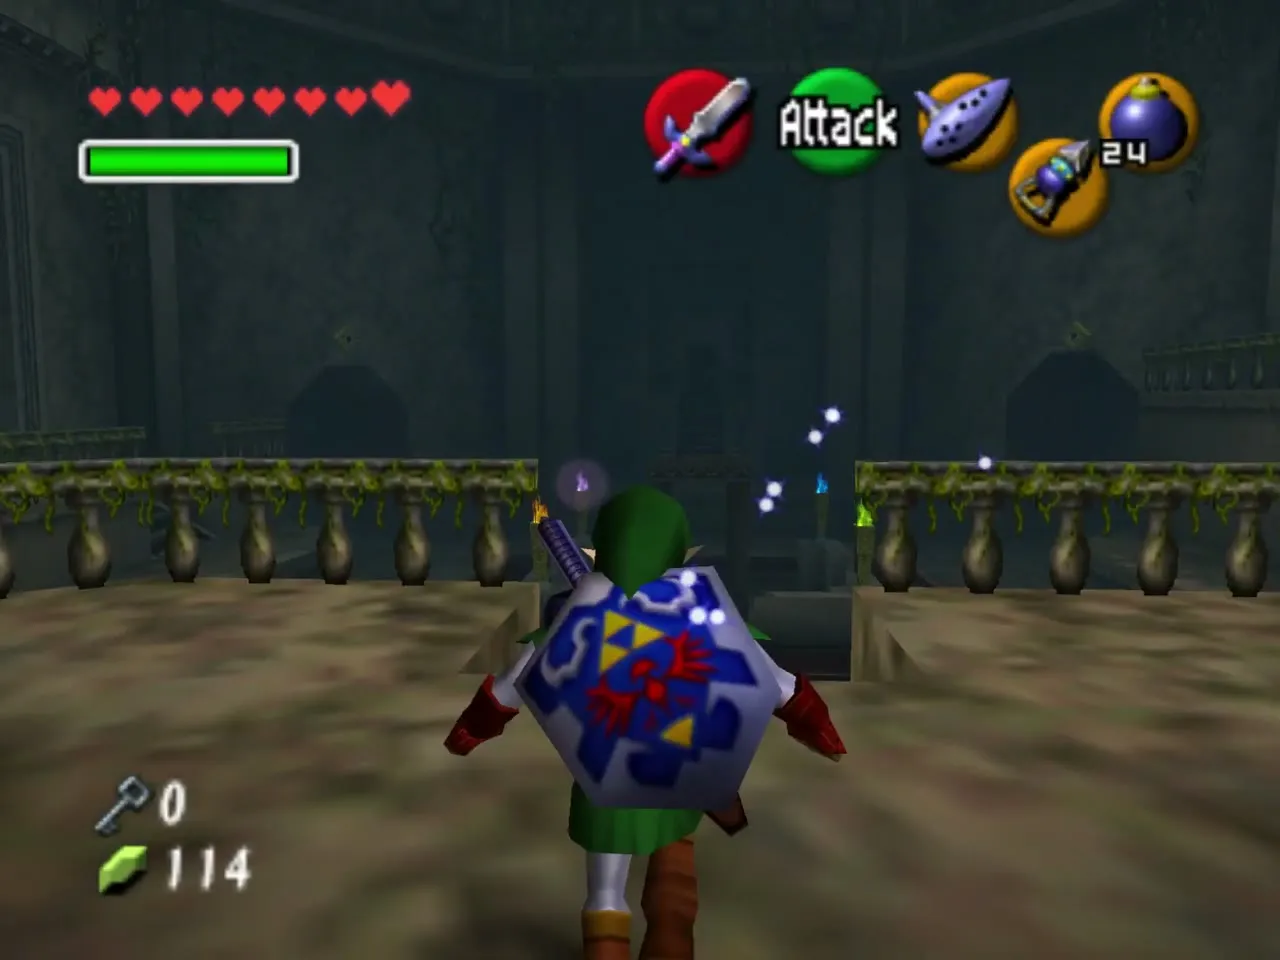
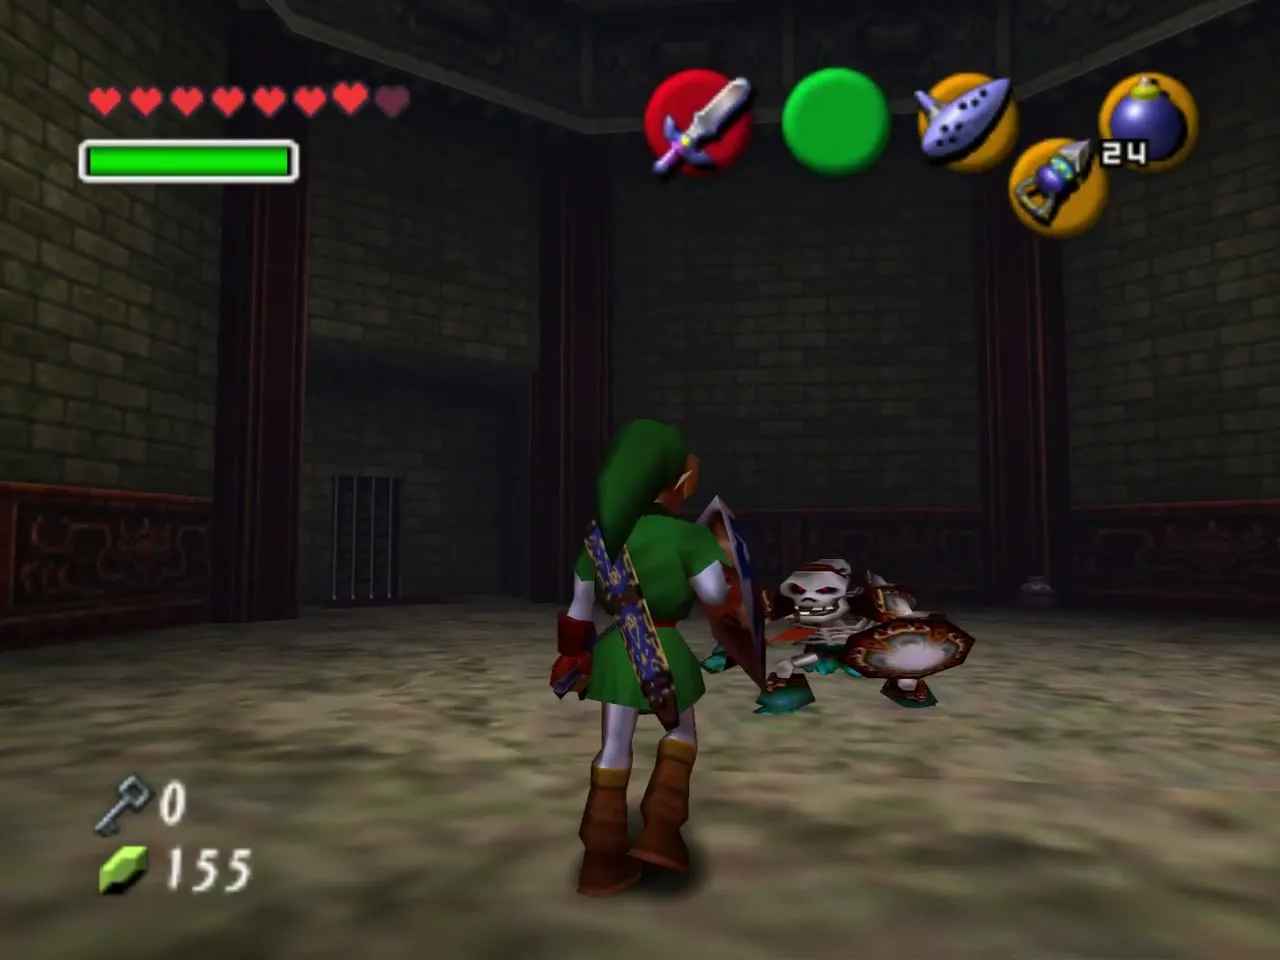
Table of Contents
Getting to the Forest Temple
Lost Woods and the Sacred Forest Meadow
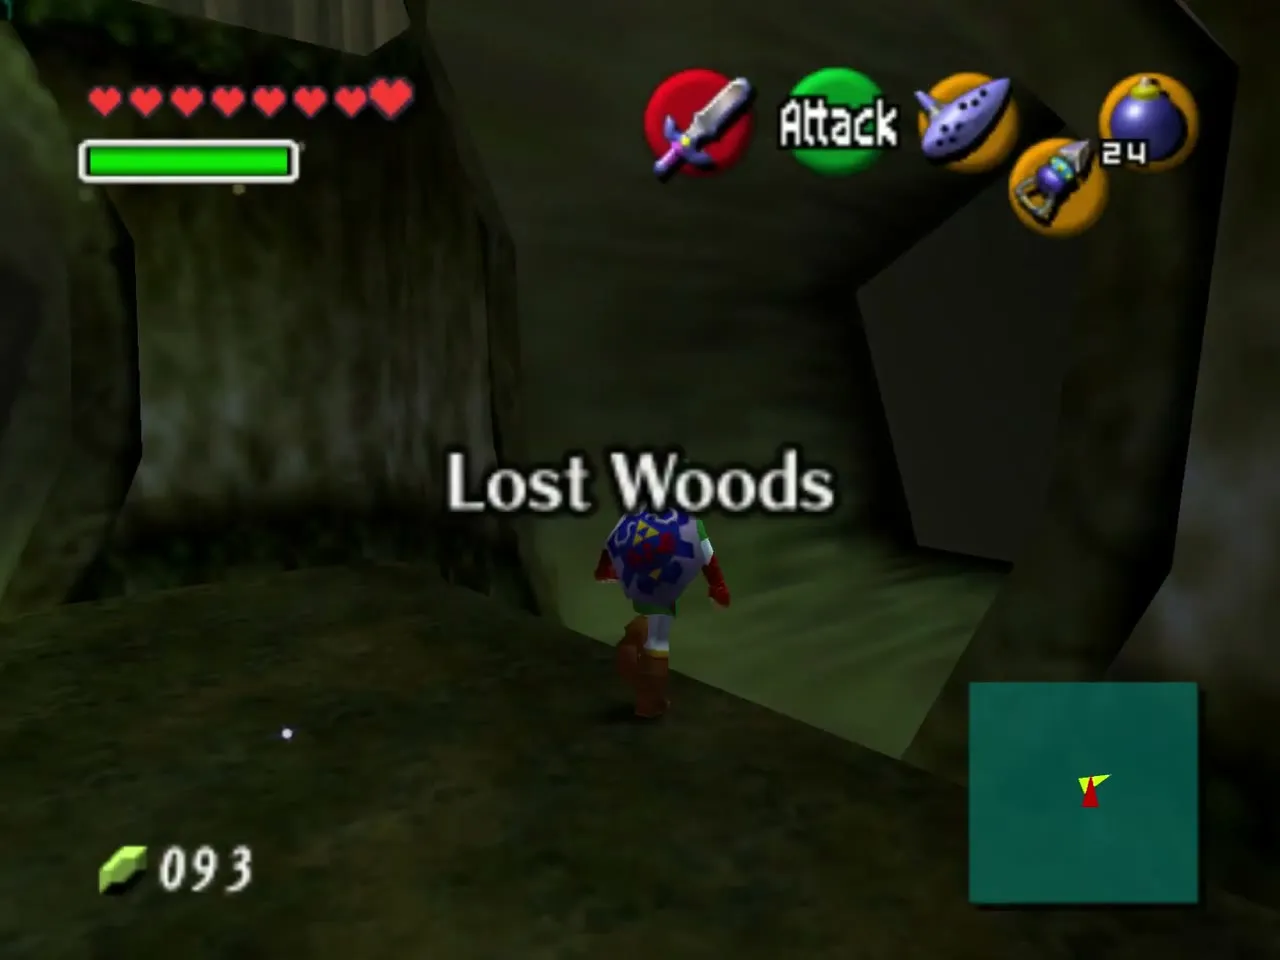
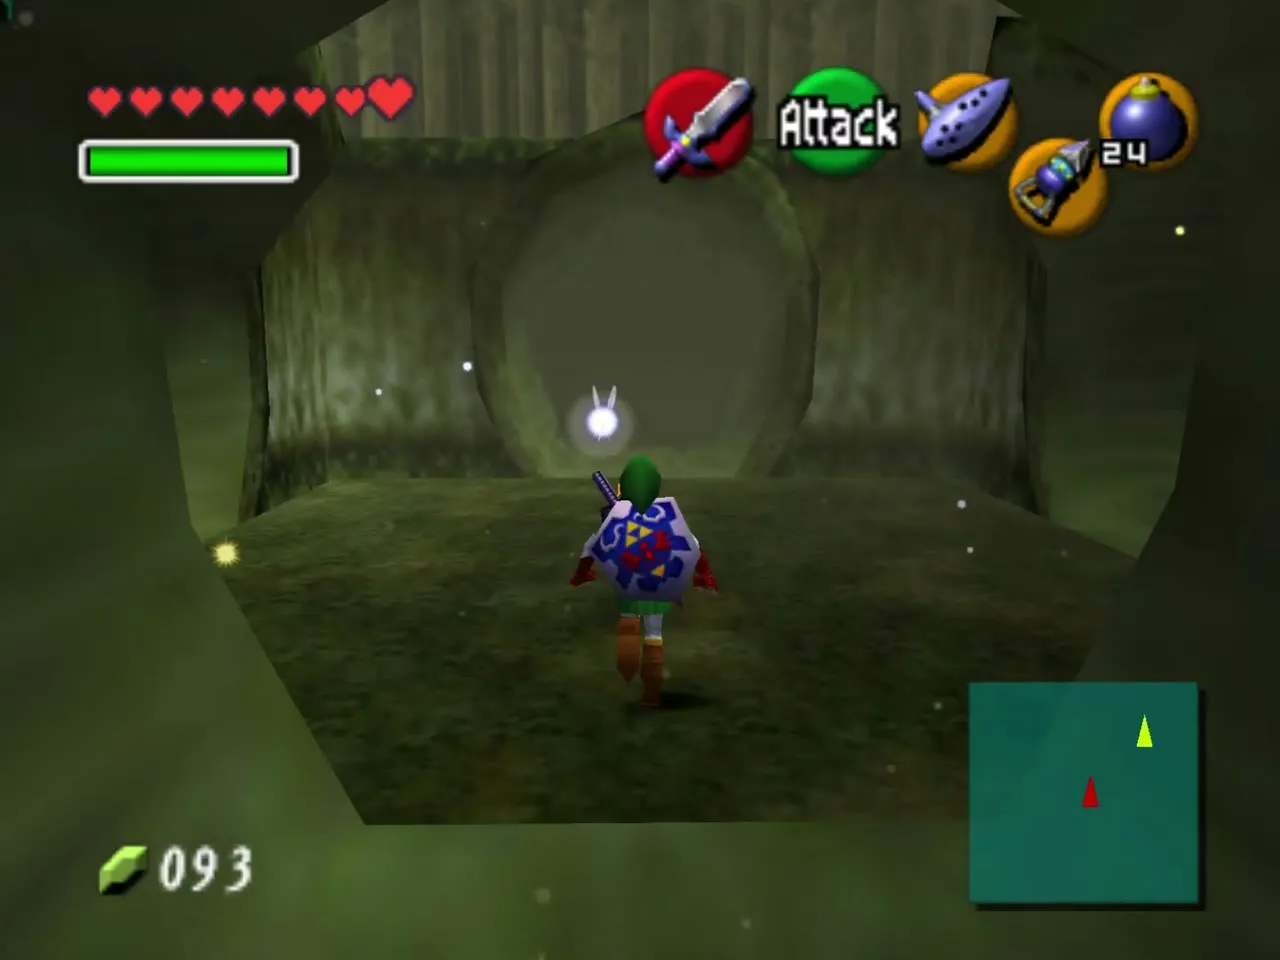
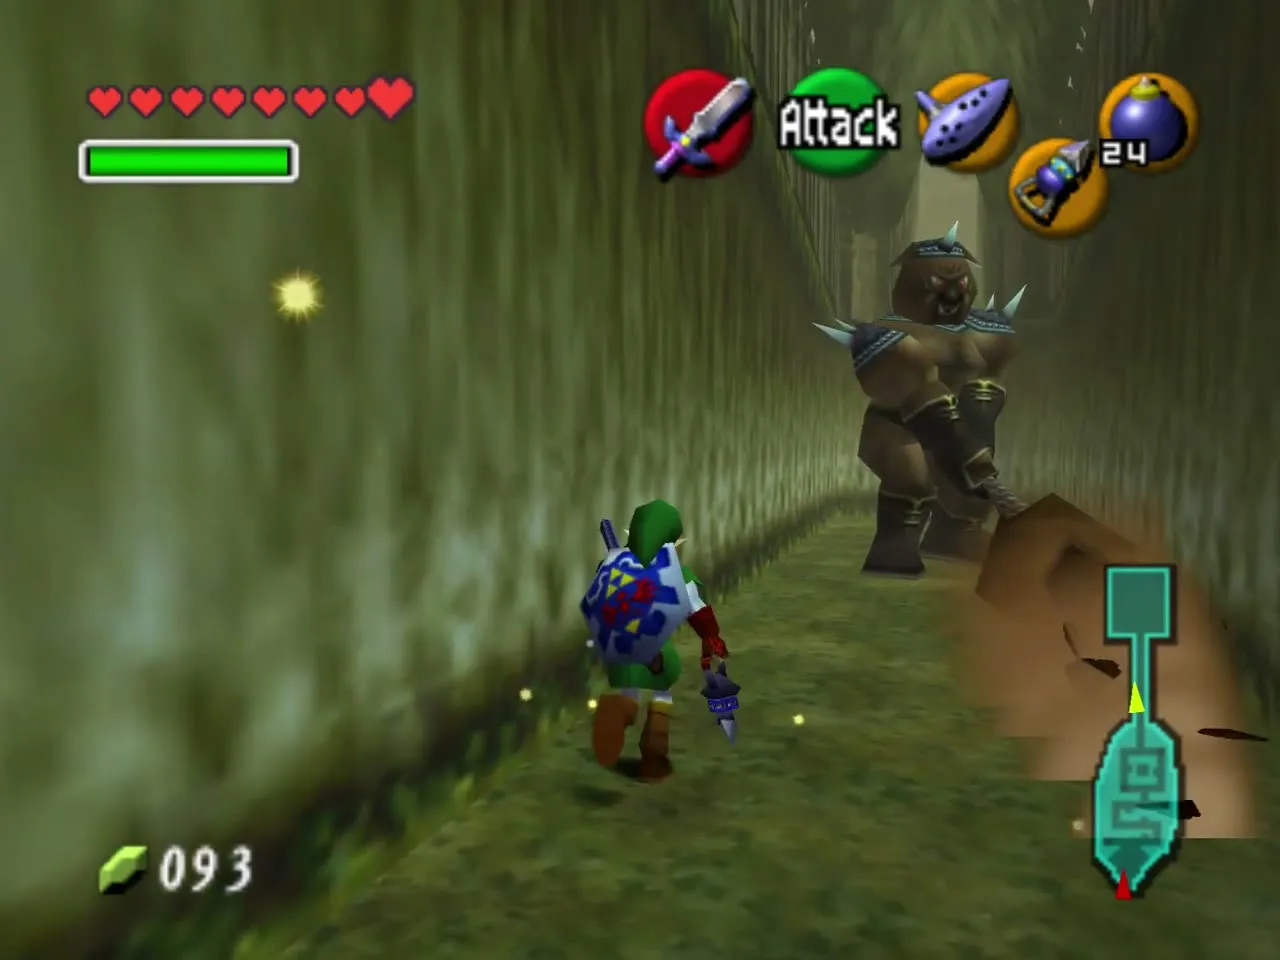
Leave Kokiri Forest through the Lost Woods and follow the music to the Sacred Forest Meadow, playing Saria’s Song for the Skull Kid when he asks. The meadow is patrolled by Mido’s Moblin guards, so use cover and the bow or Hookshot instead of running past them. These paths are unchanged in Master Quest and are described in full in the original Forest Temple chapter.
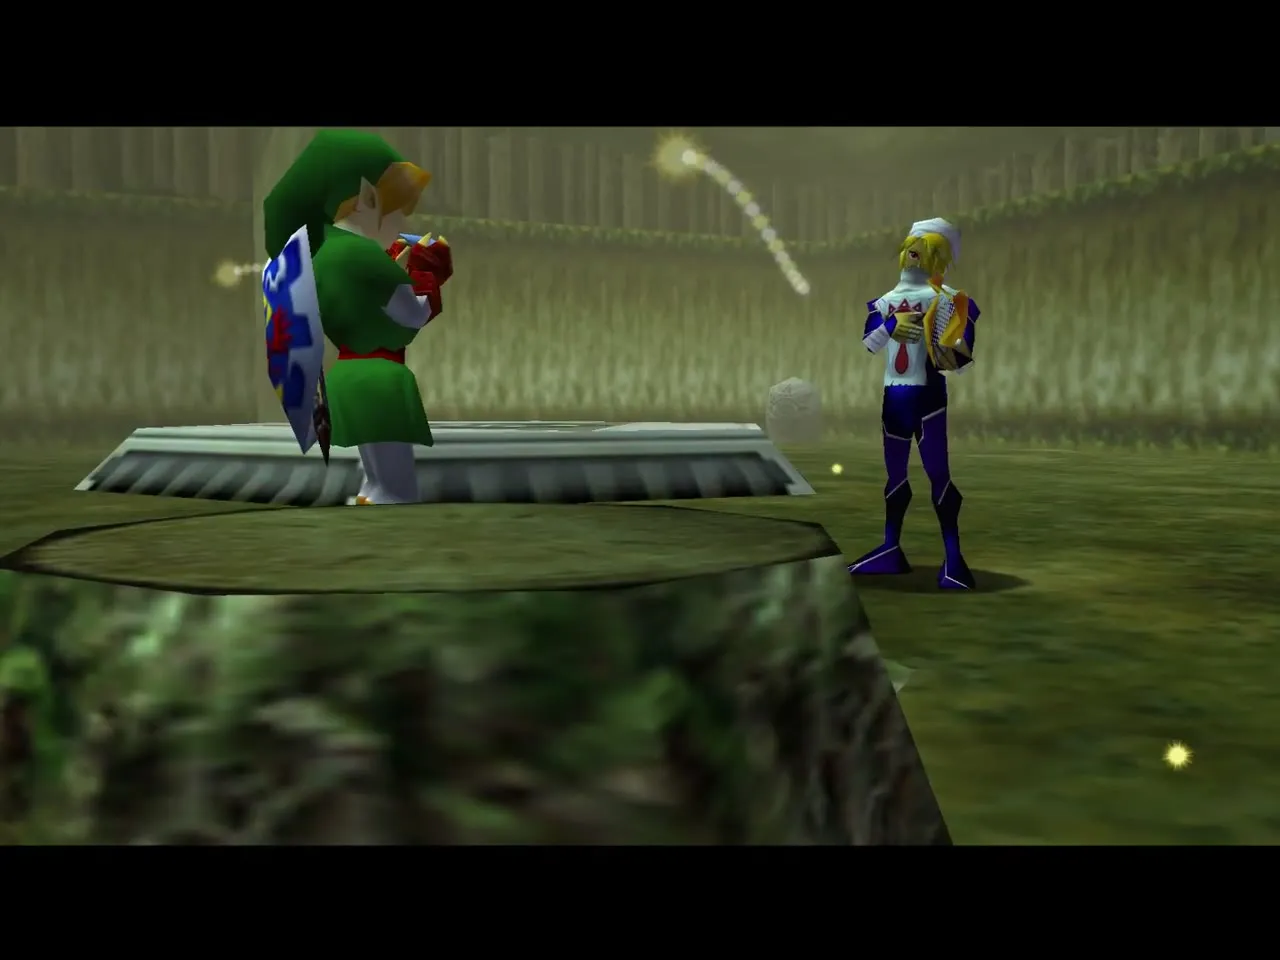
Sheik and the Minuet of Forest
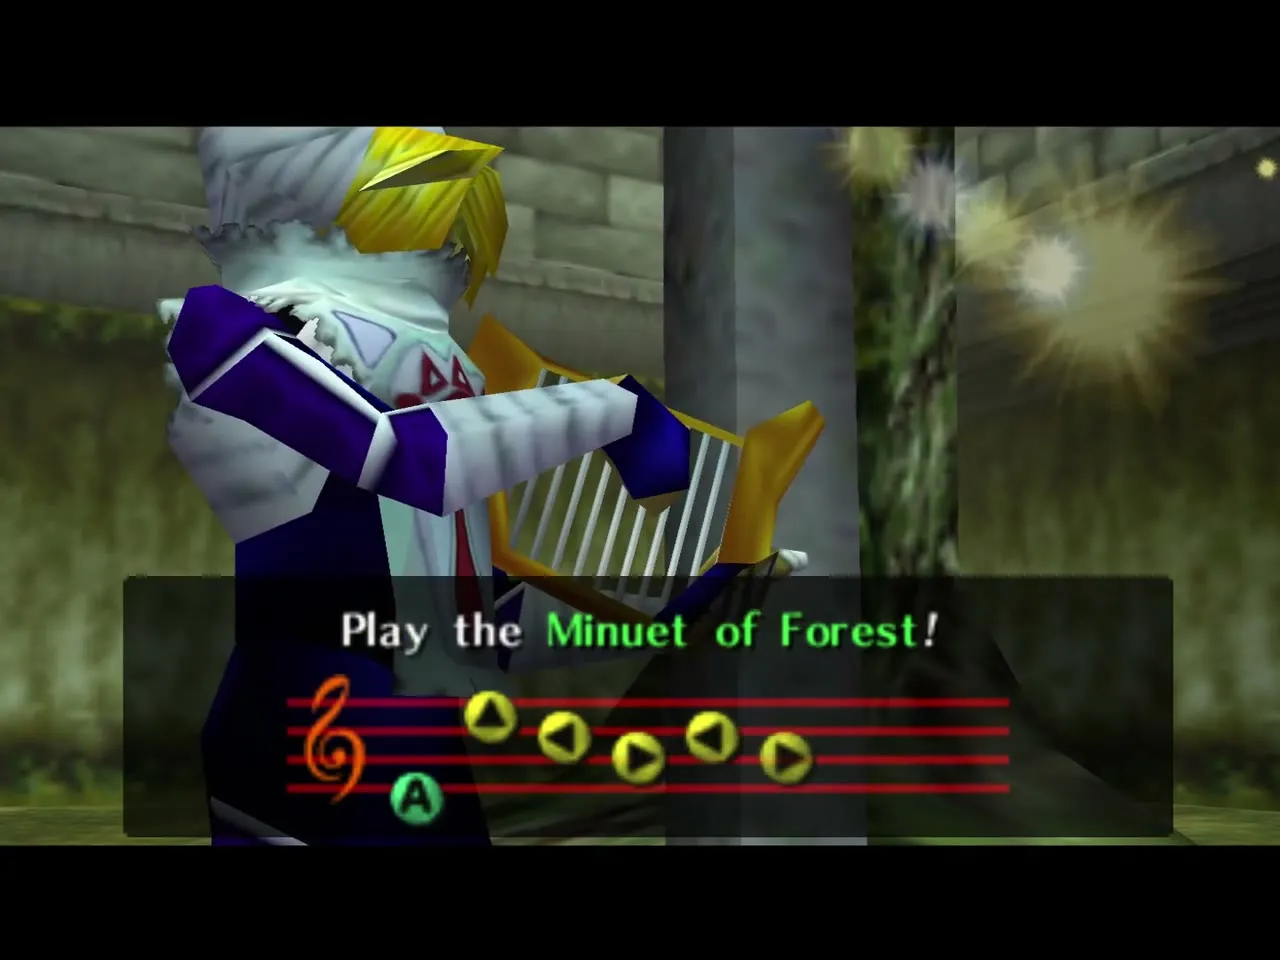
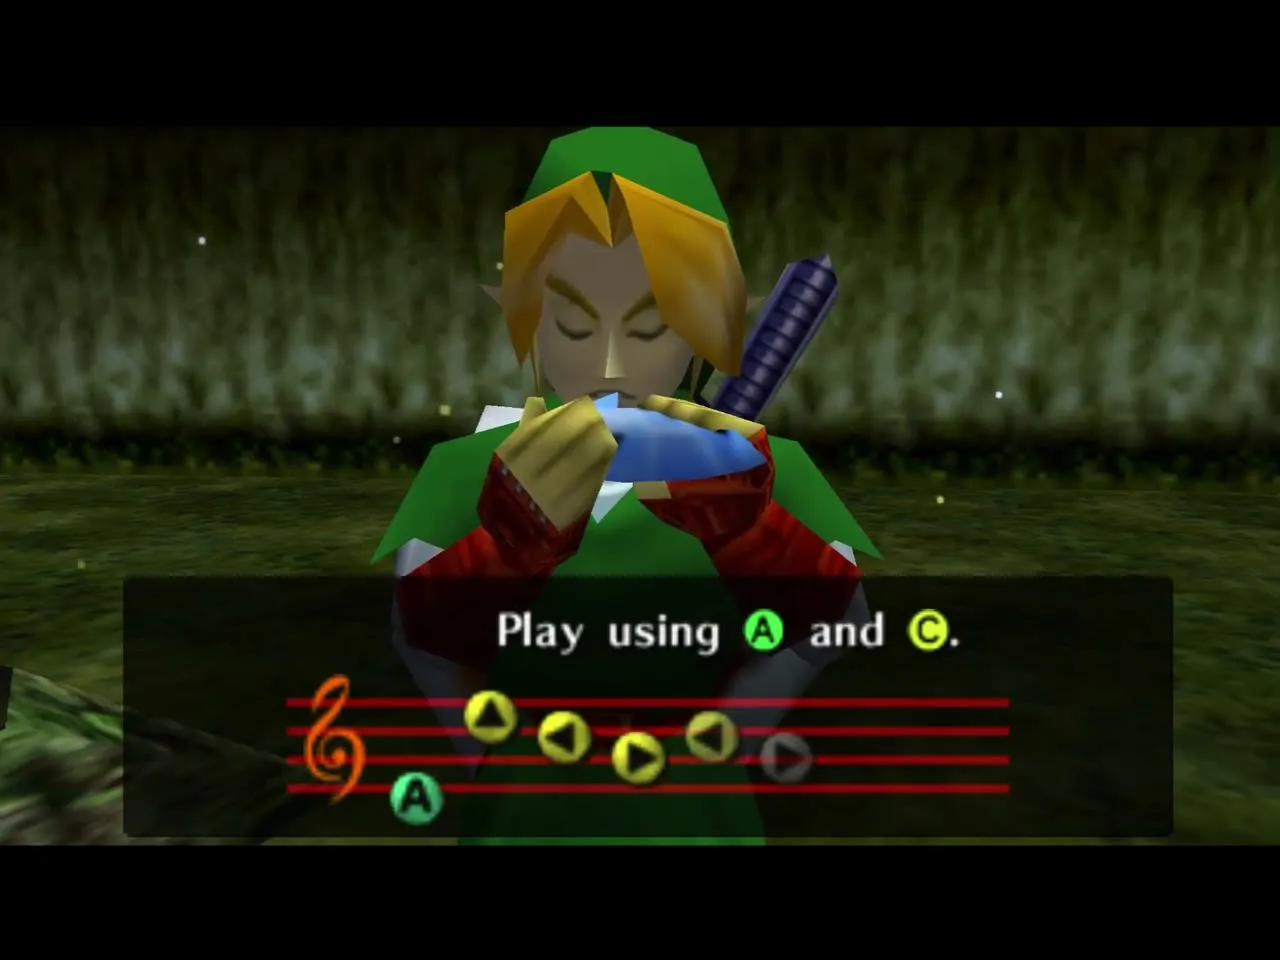
At the stump in front of the ruined temple Sheik teaches you the Minuet of Forest. Play it afterwards to warp straight back to the temple from anywhere, which saves you a long walk if you have to leave for supplies. Every melody and its notes is listed on the Ocarina songs page.
The temple doorway
The doorway is far above the broken steps. Aim the Hookshot at the big tree branch above it and pull yourself up; if you land on the branch, simply walk to the door and drop in.
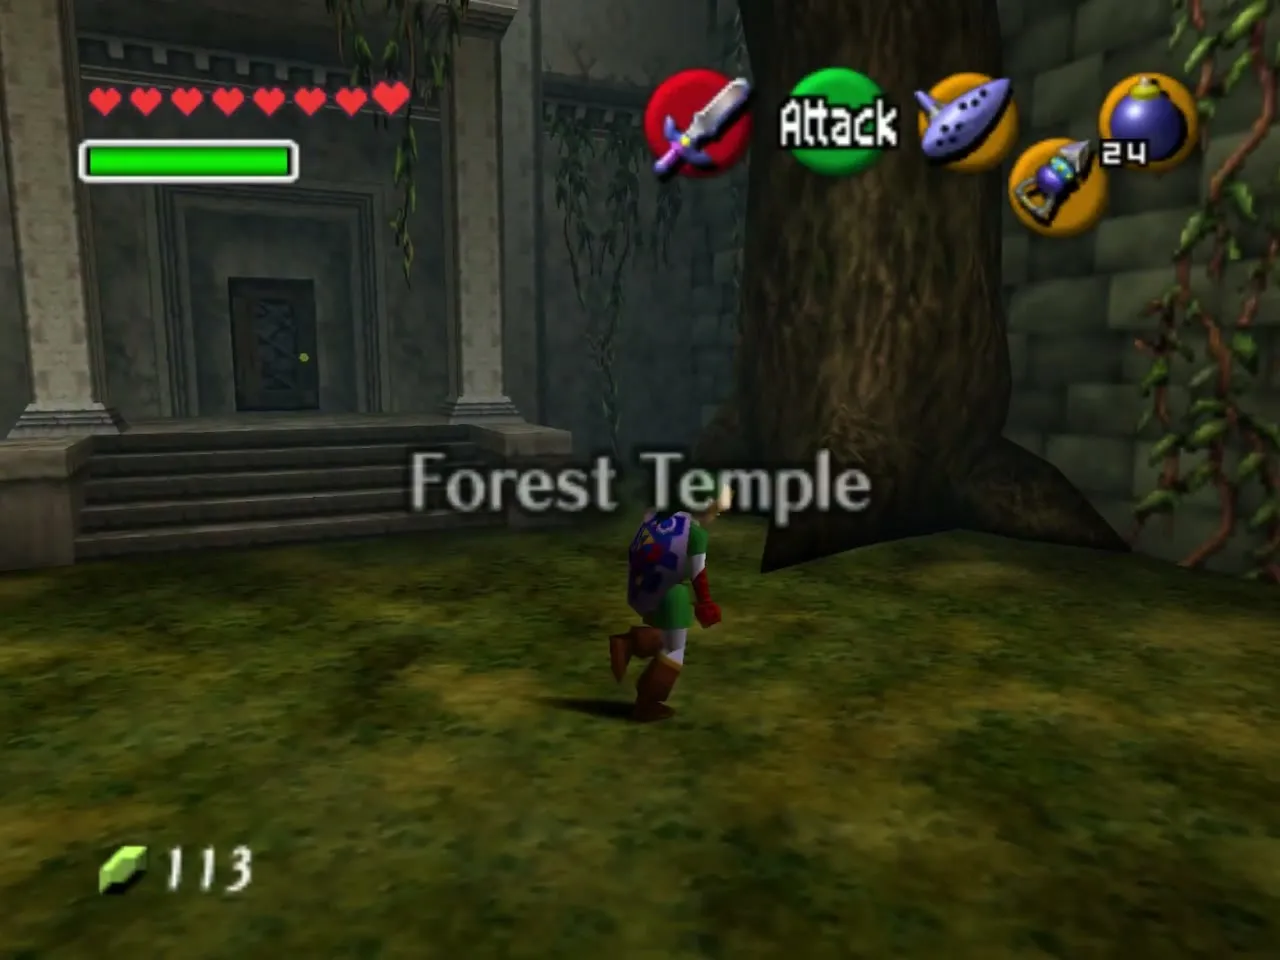
Entrance: the vine trees and Small Key 1
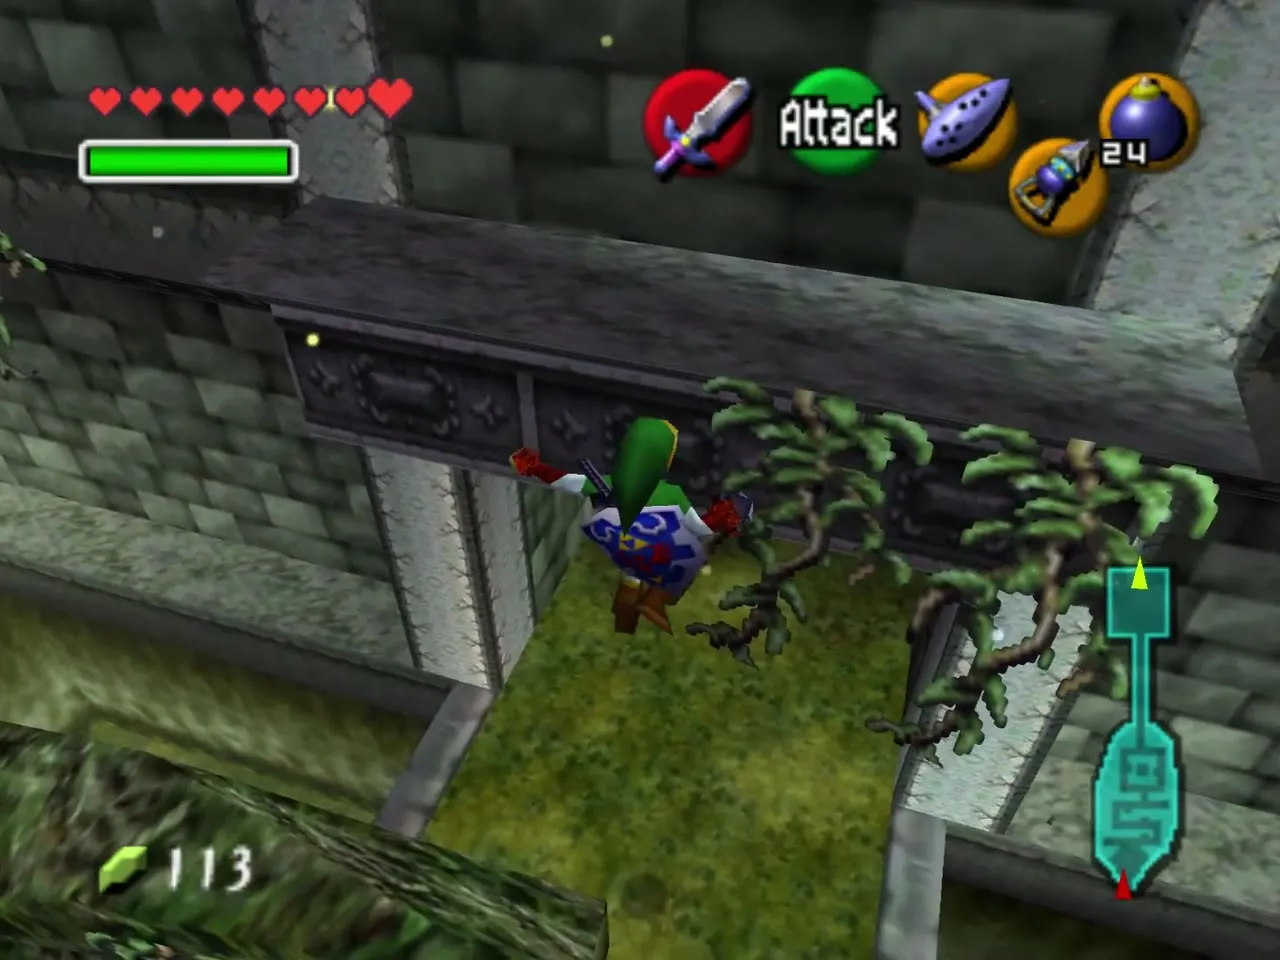
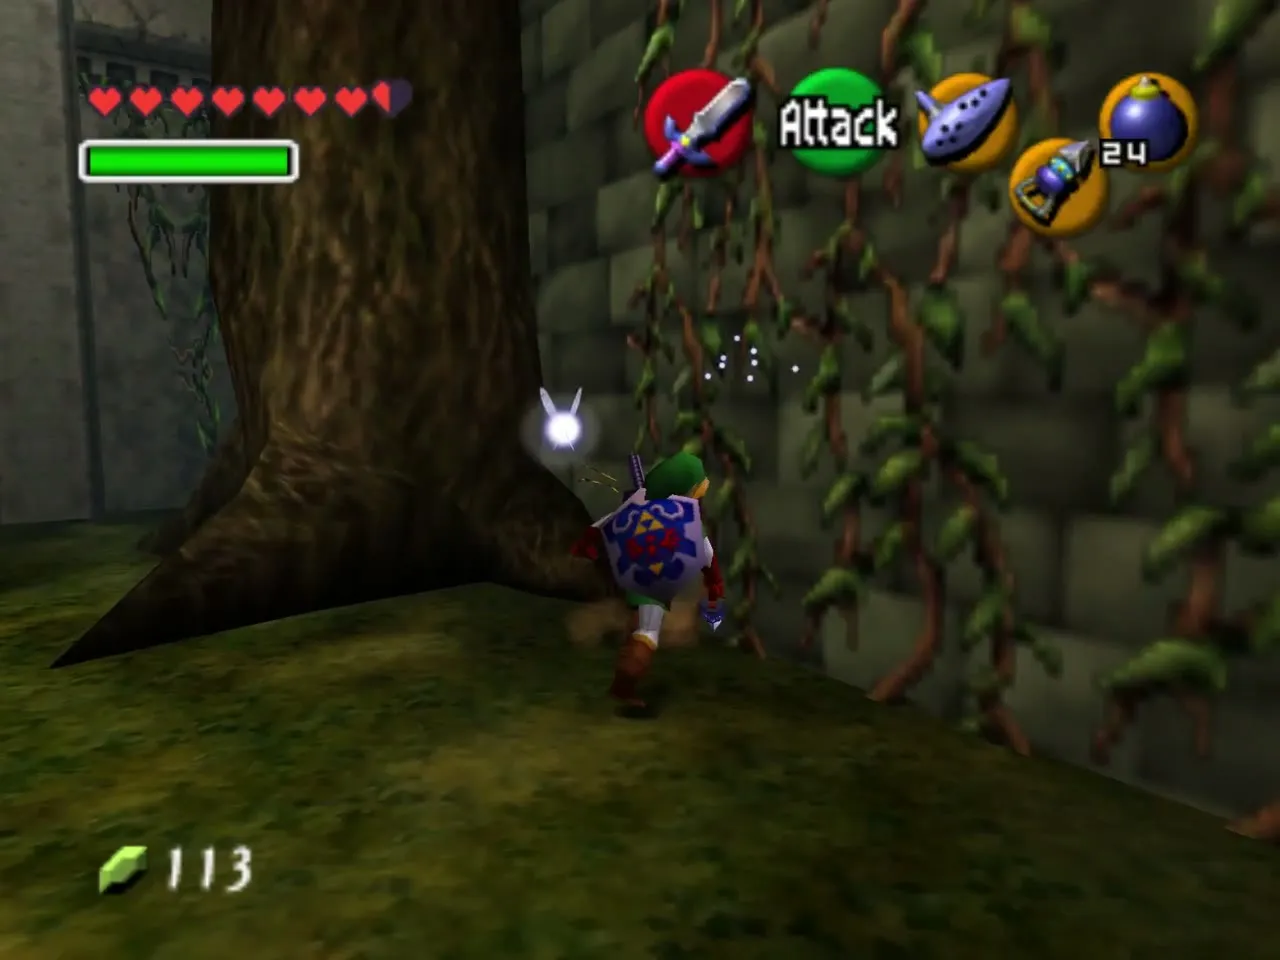
Climb the right vines
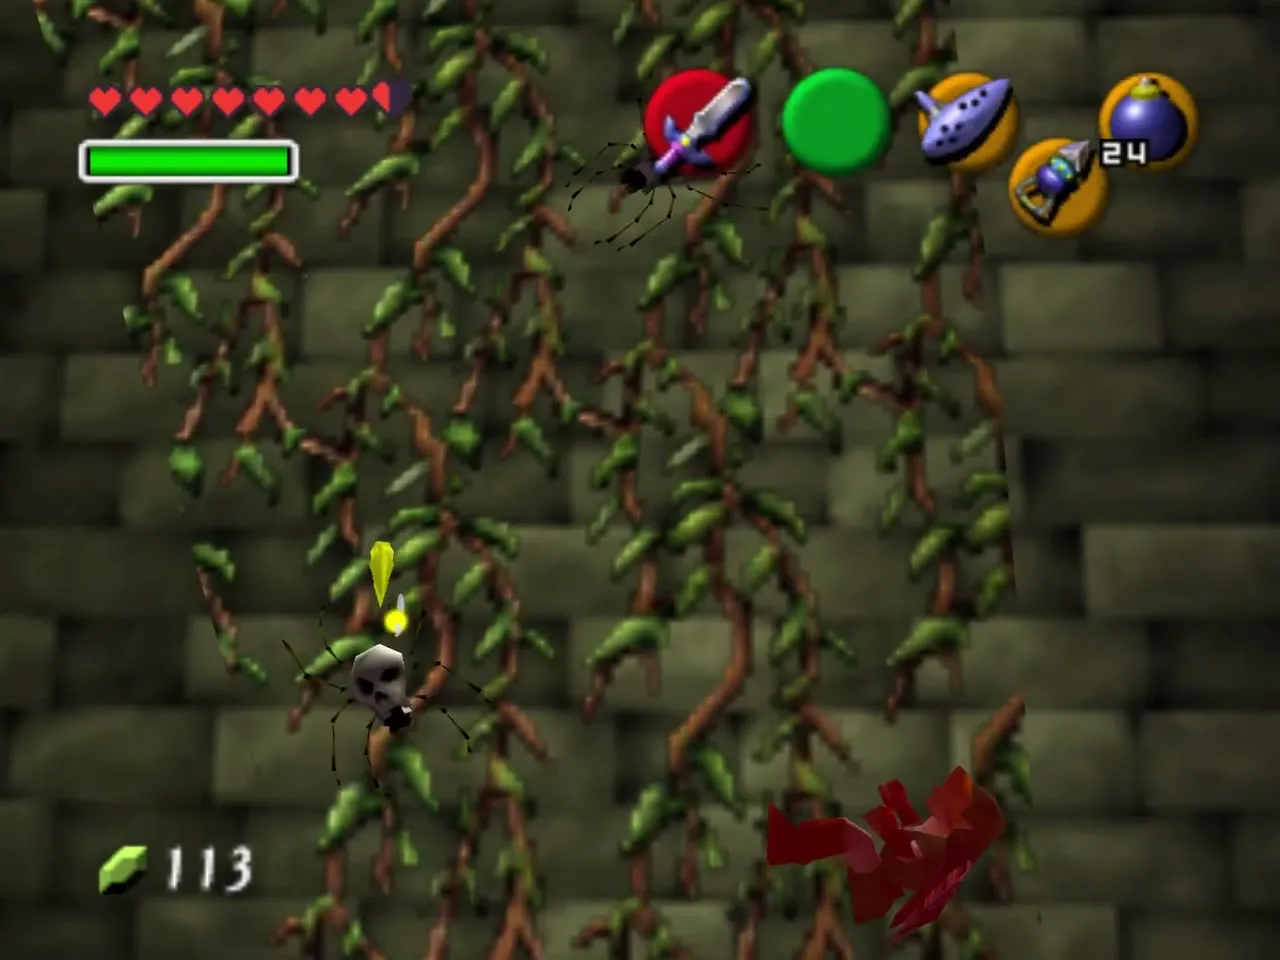
The vines on your left are crawling with Skullwalltulas, so do not climb there. Walk around the tree on the left to find a clean stretch of vines and climb it to the top of the tree. A Skulltula hangs between the two trees; take it out first with the Hookshot or the bow, because it will bite you as you jump.
The switch and the first Small Key
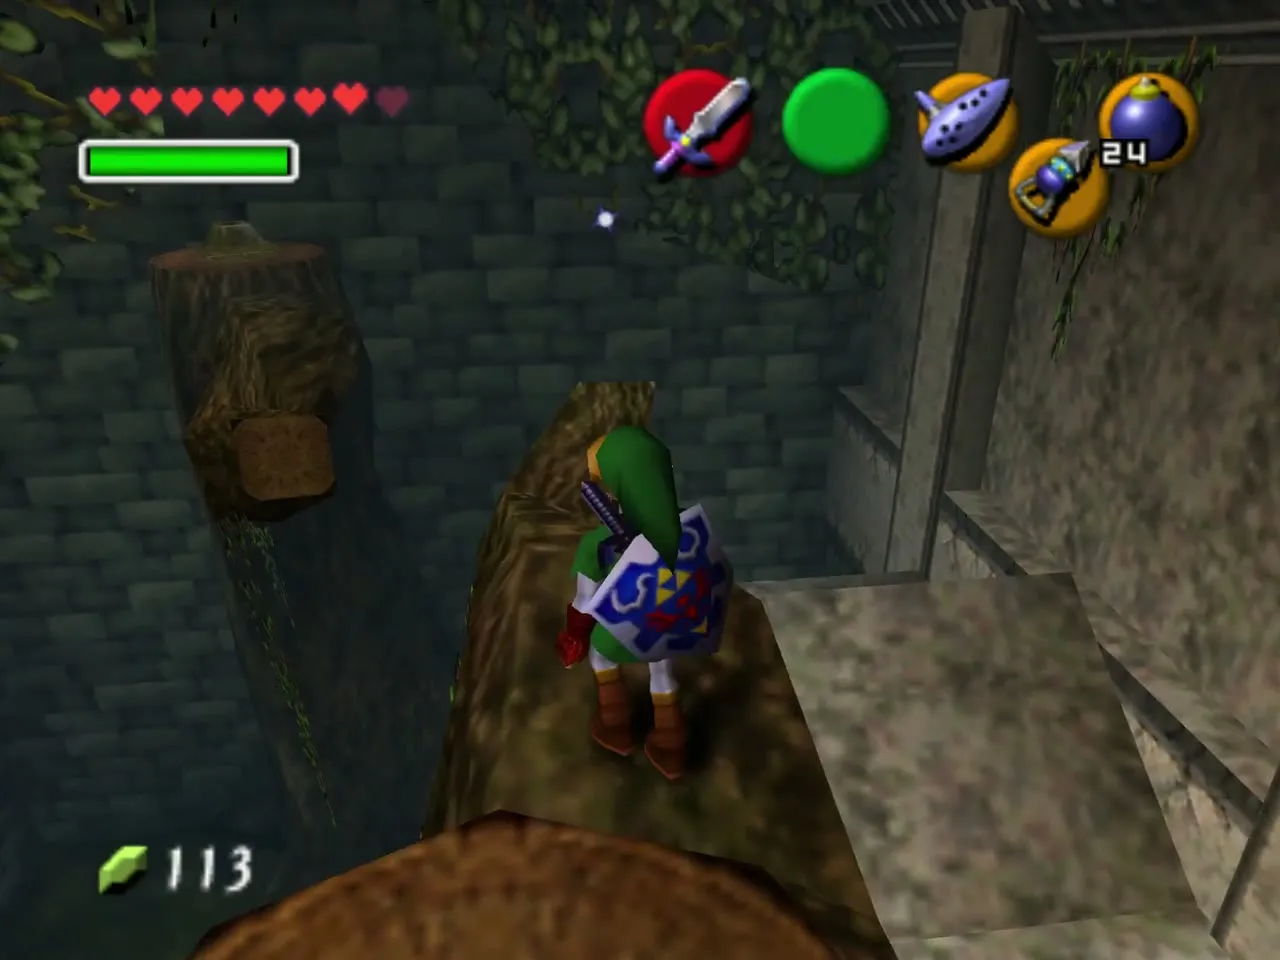
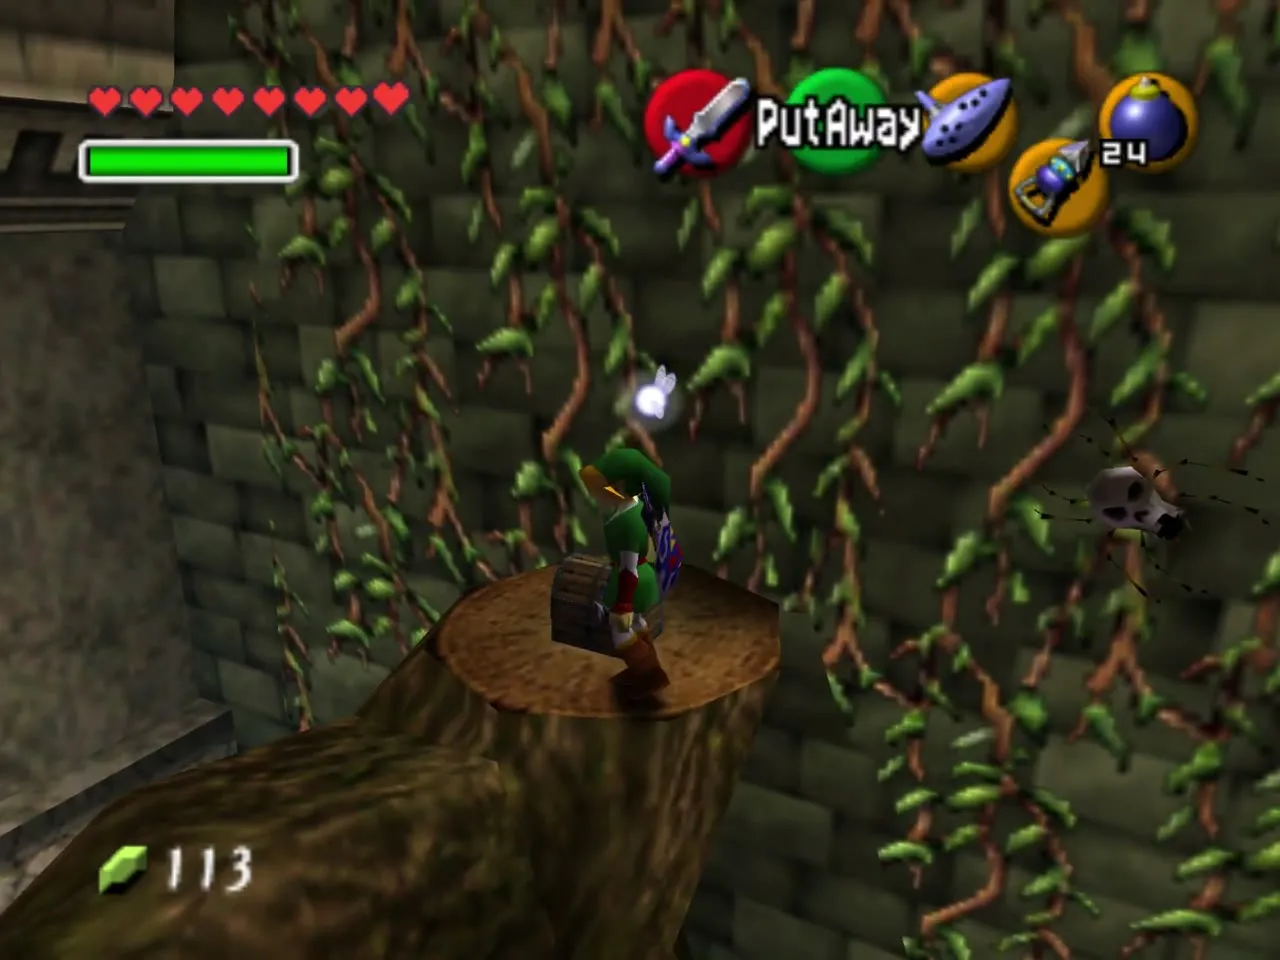
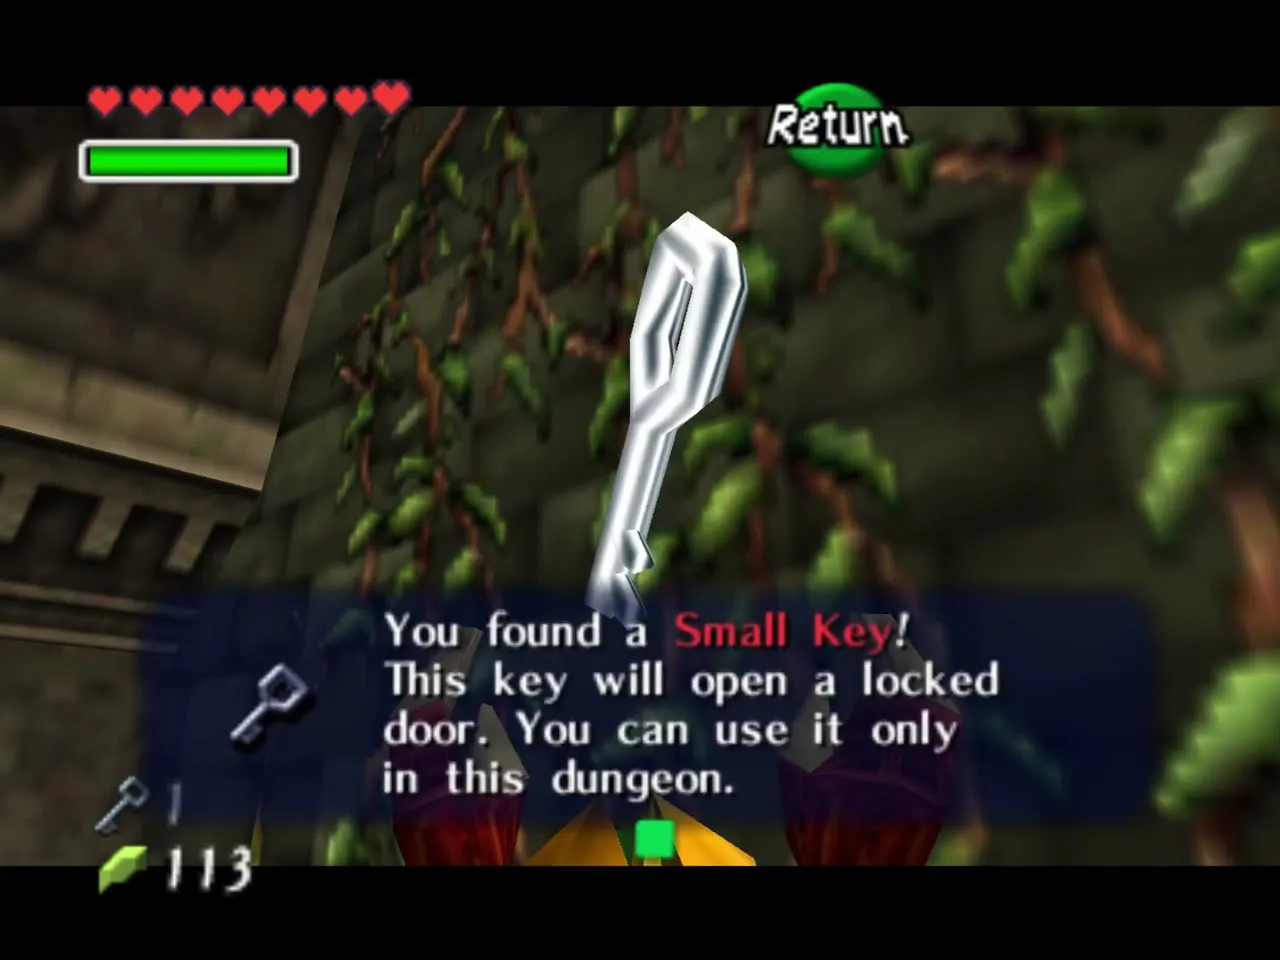
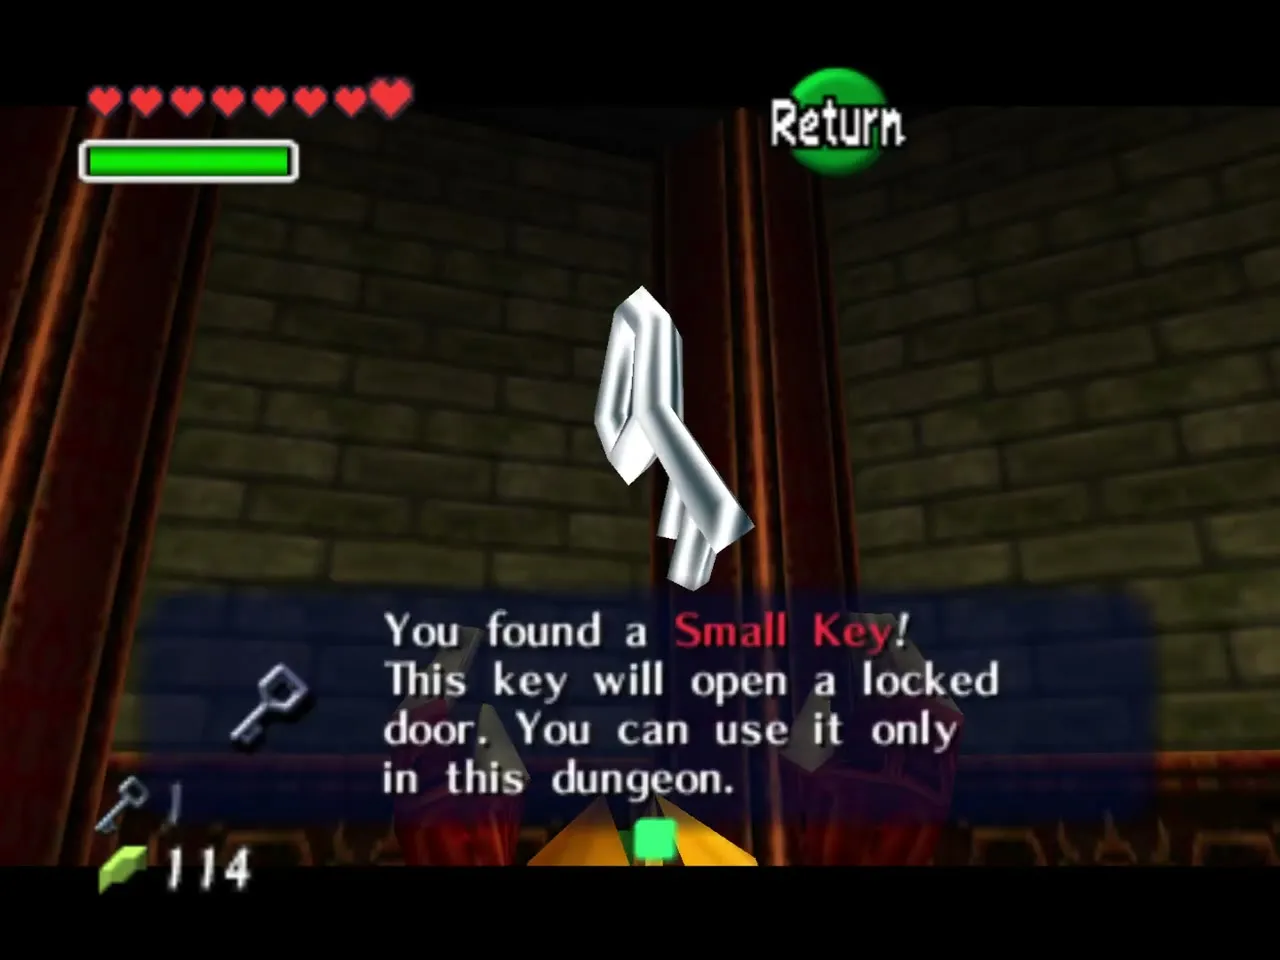
Jump across to the tree on the east side and step on the button switch there. That makes a chest appear on the stump you came from, so jump back and open it for Small Key 1. If you fall, the Skulltulas you left alive are still waiting, so kill them on the way up.
The corridor and the first Gold Skulltula
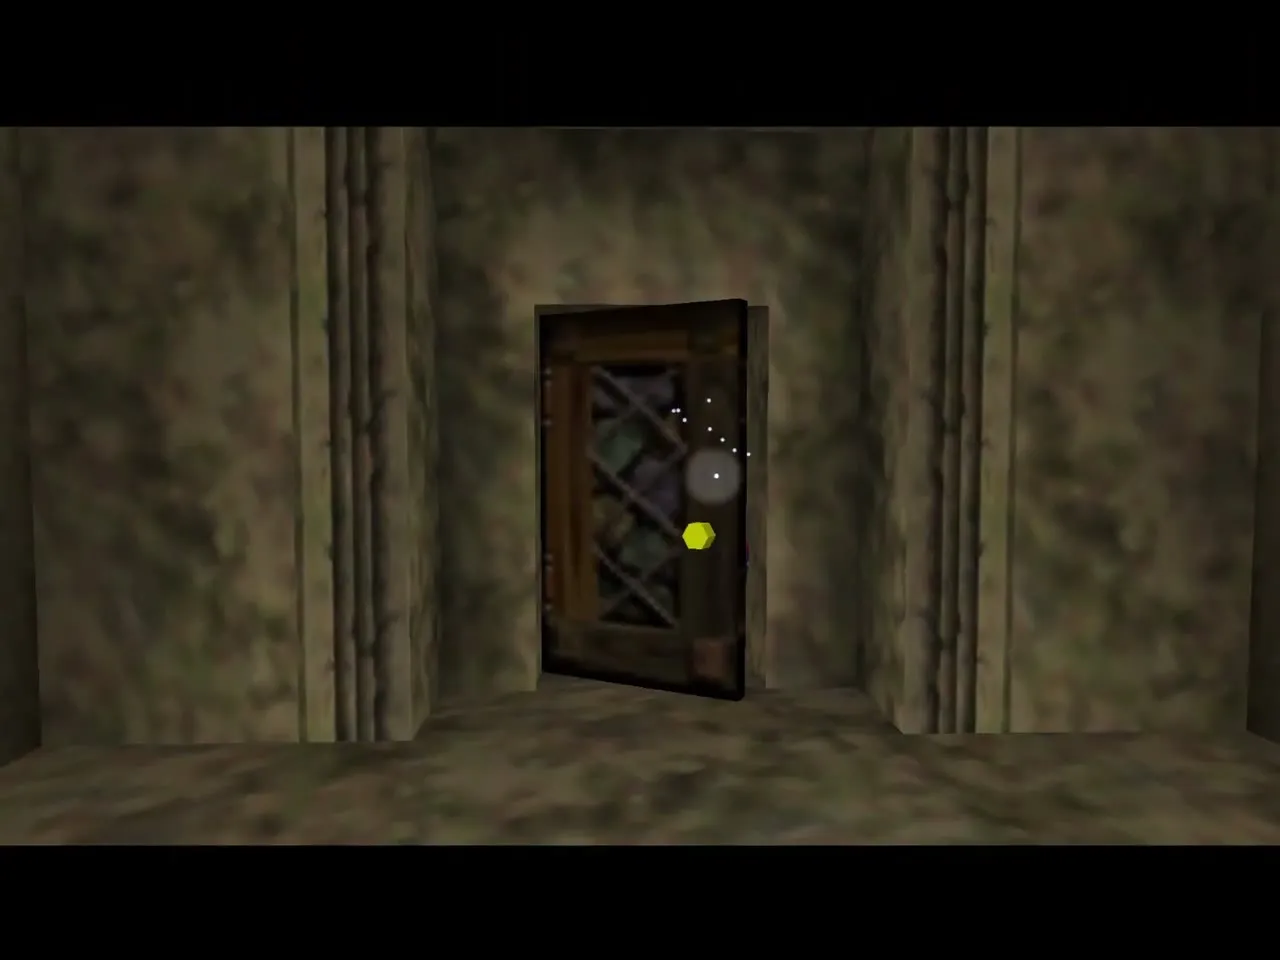
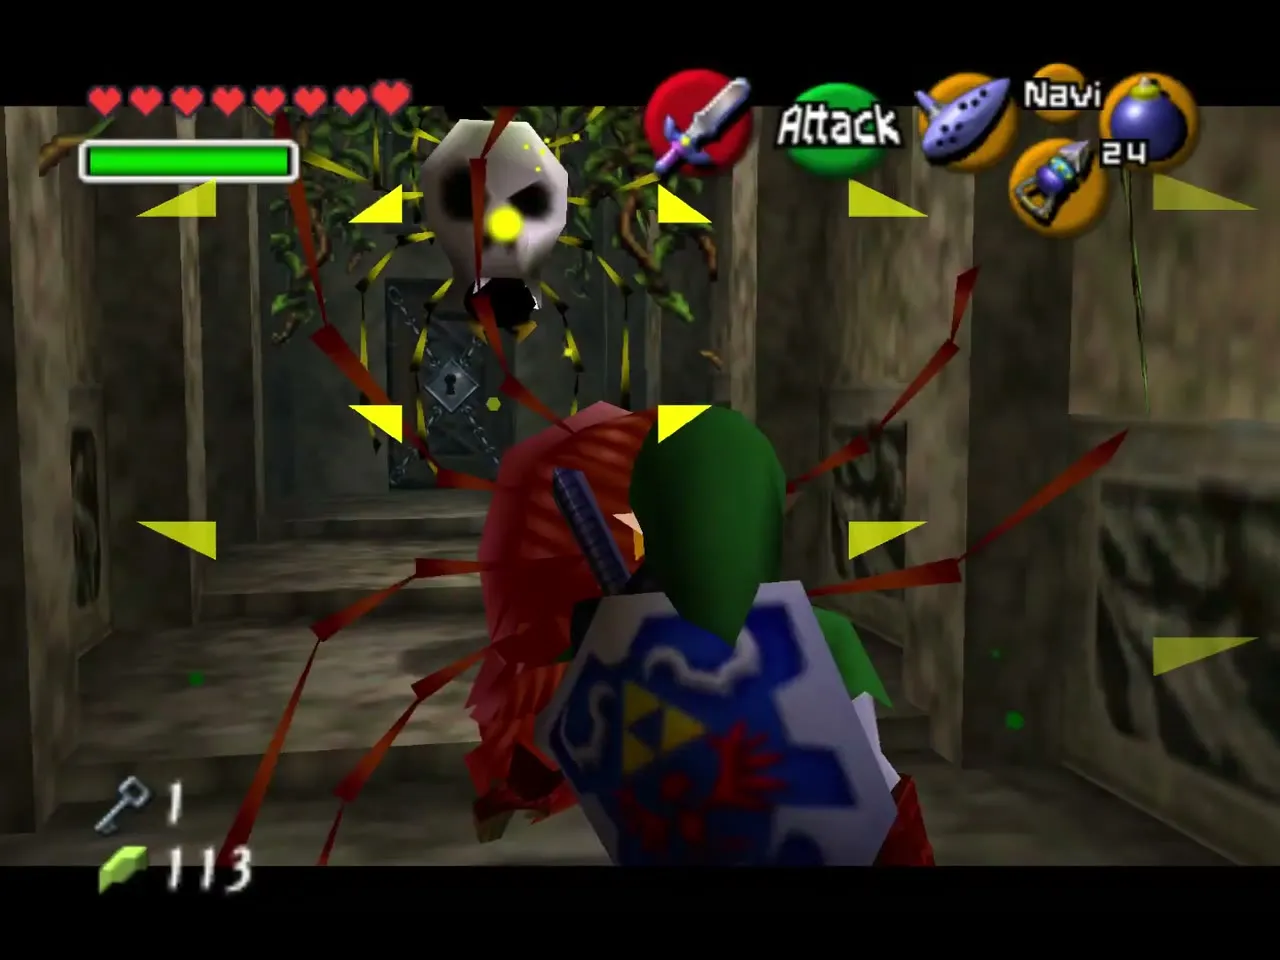
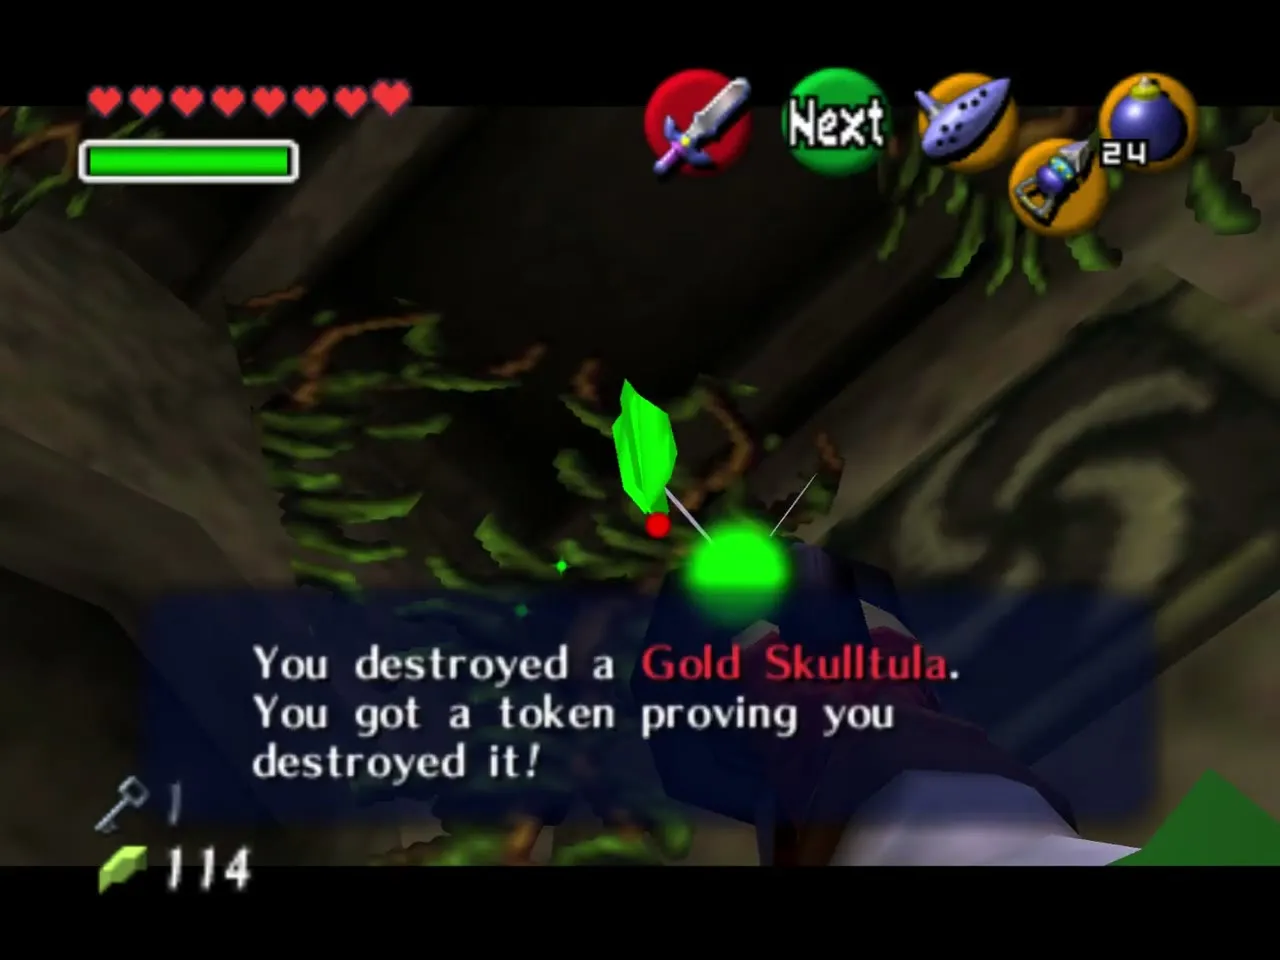
Leave through the door and walk the corridor, where a line of big Skulltulas drops from the ceiling. Their shadows give them away, so Hookshot each one as it appears. Just before the locked door, look up at the wall above it and Hookshot the Gold Skulltula there for the first token. Use Small Key 1 on the door.
The main hall and the north door
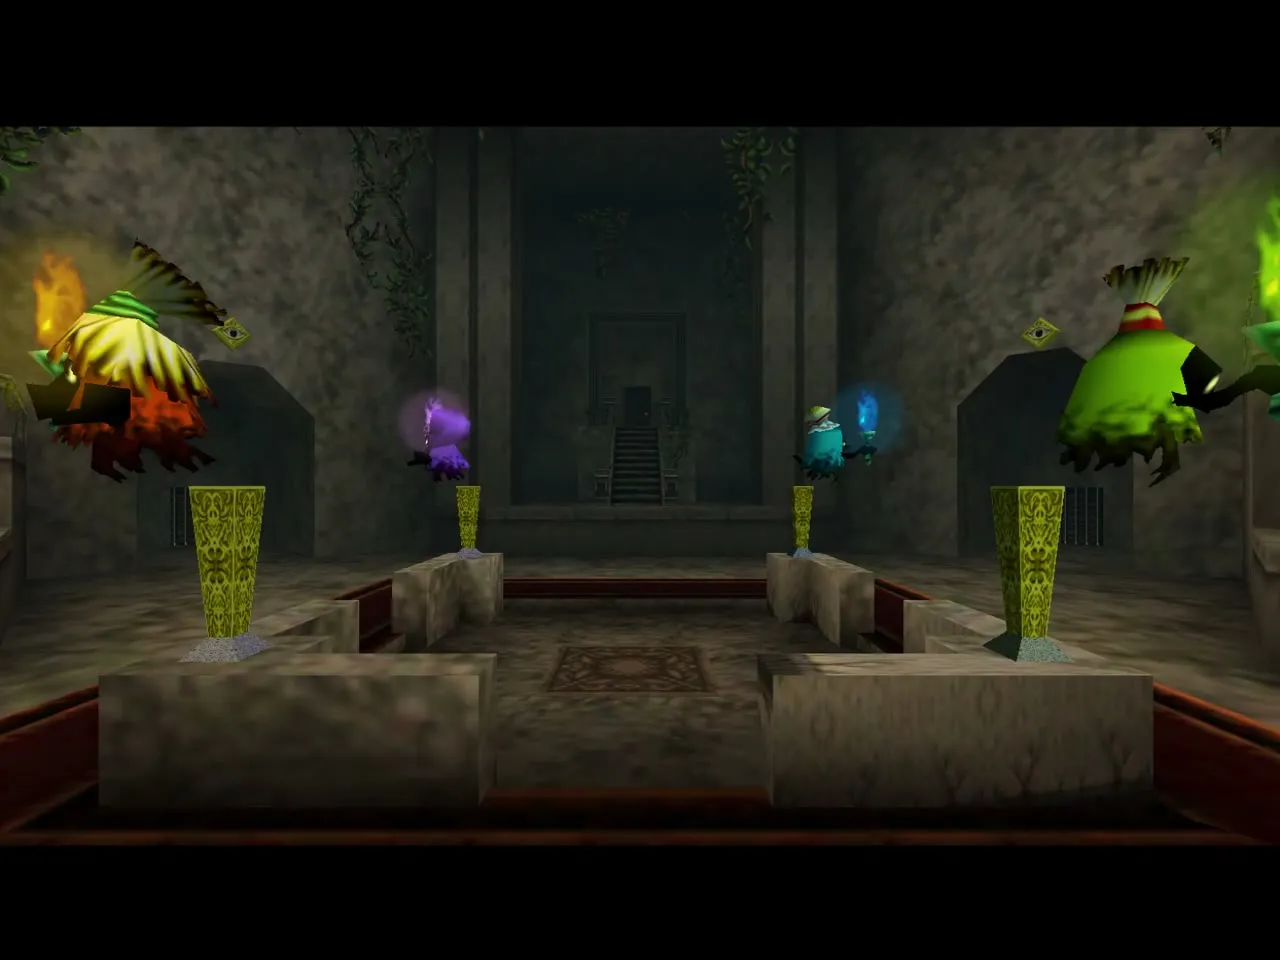
Four ghosts and four torches
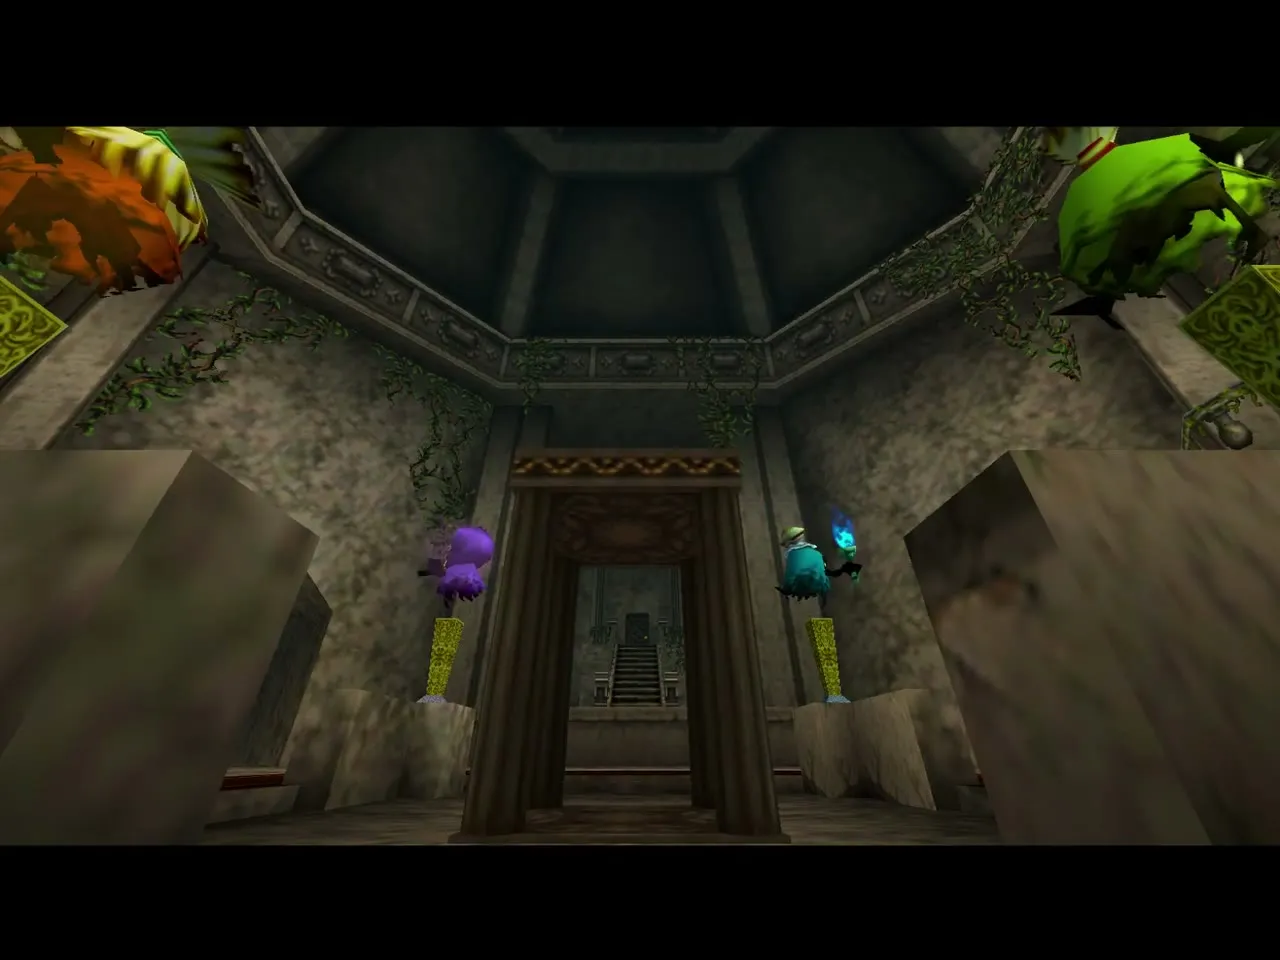
You come out in the central hall, where four Poe Sisters steal the colored flames from the torches around the dais. The elevator in the middle will not work until all four flames are back, and that is the real goal of the dungeon.
The Time Block
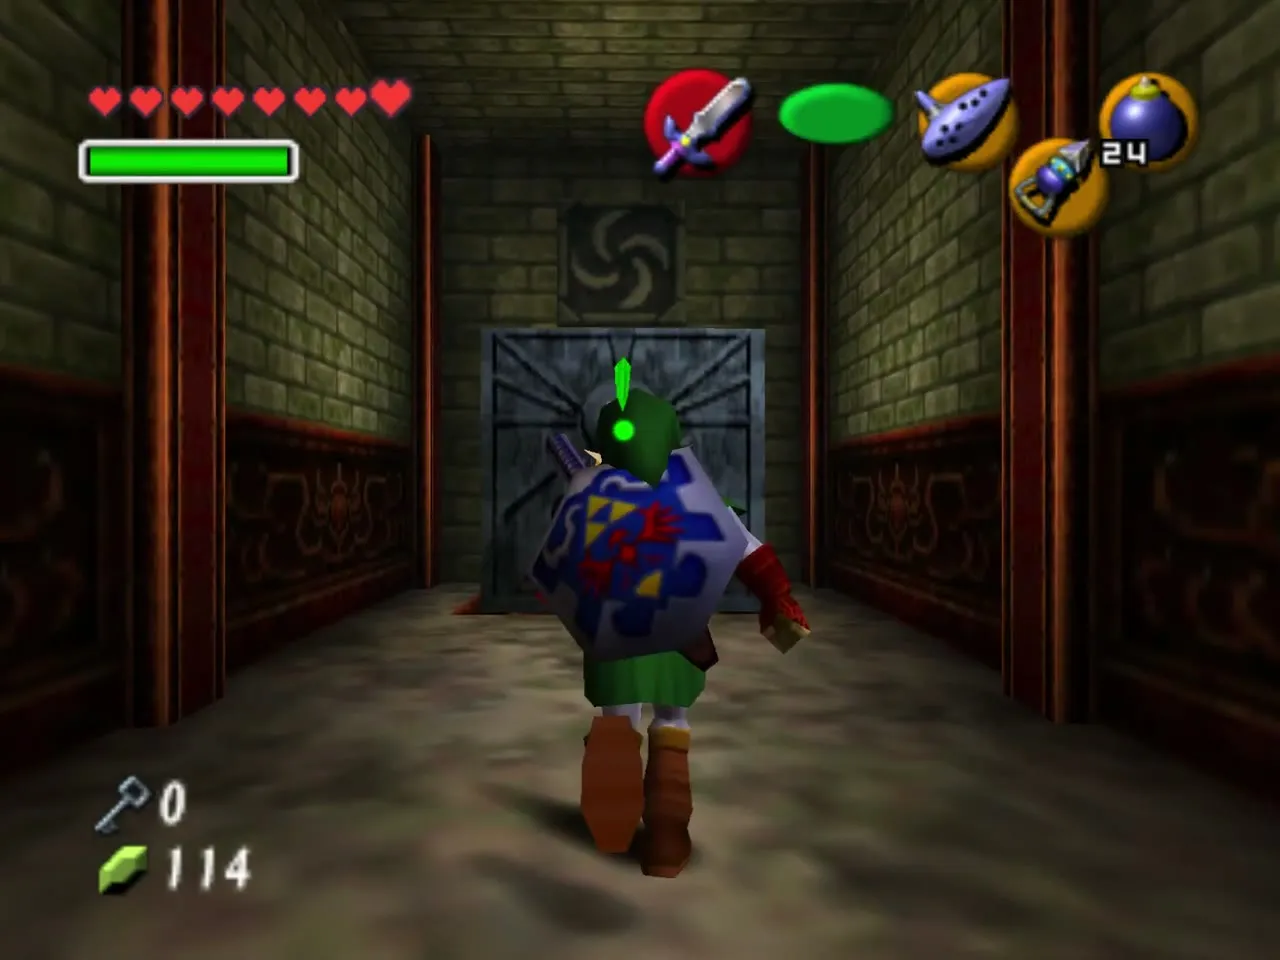
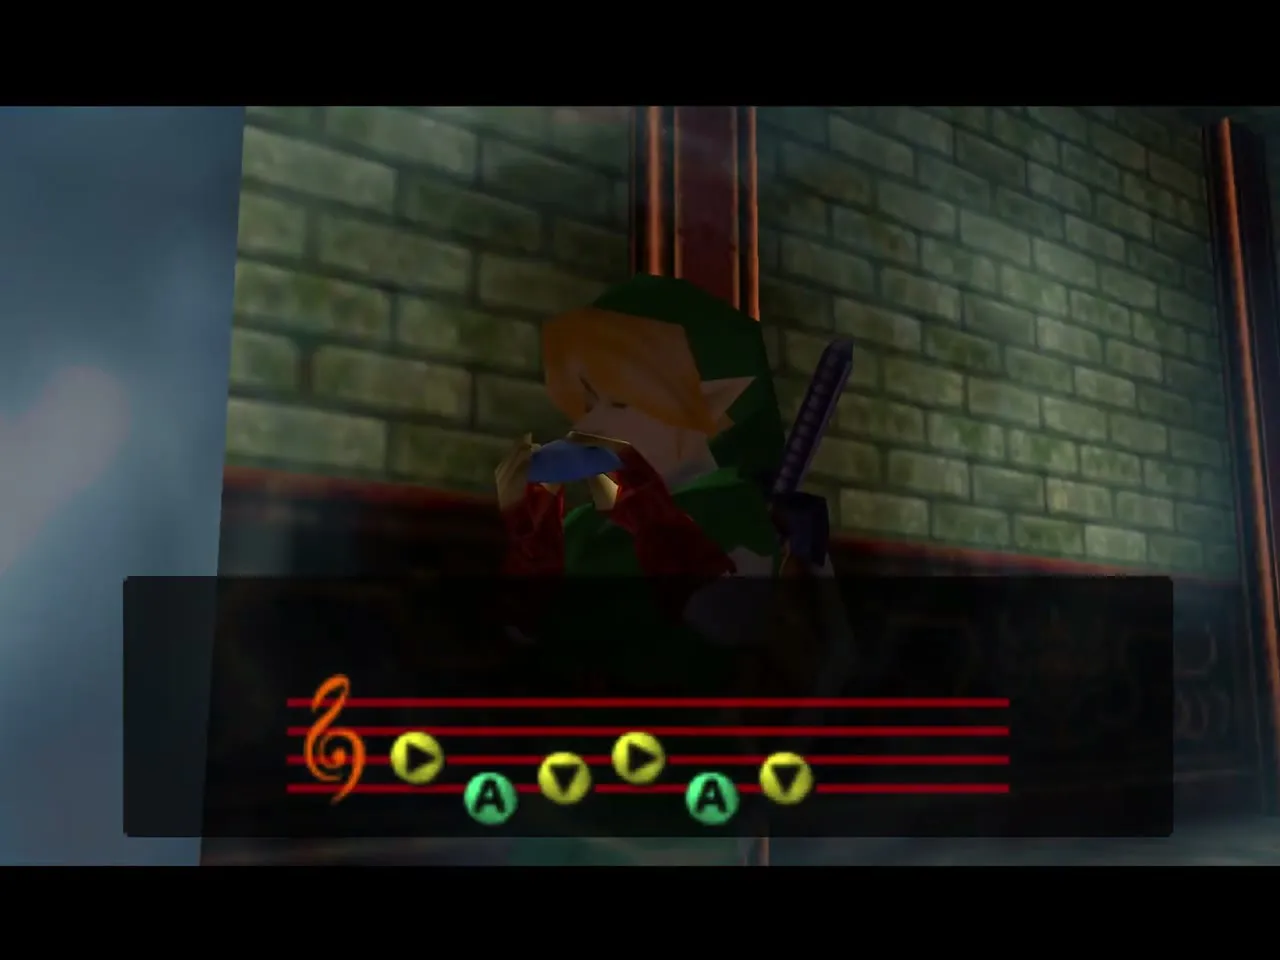
Go through the north door and play the Song of Time in front of the block in the corridor to make it disappear. The door behind it leads to the Wolfos room.
Small Key 2
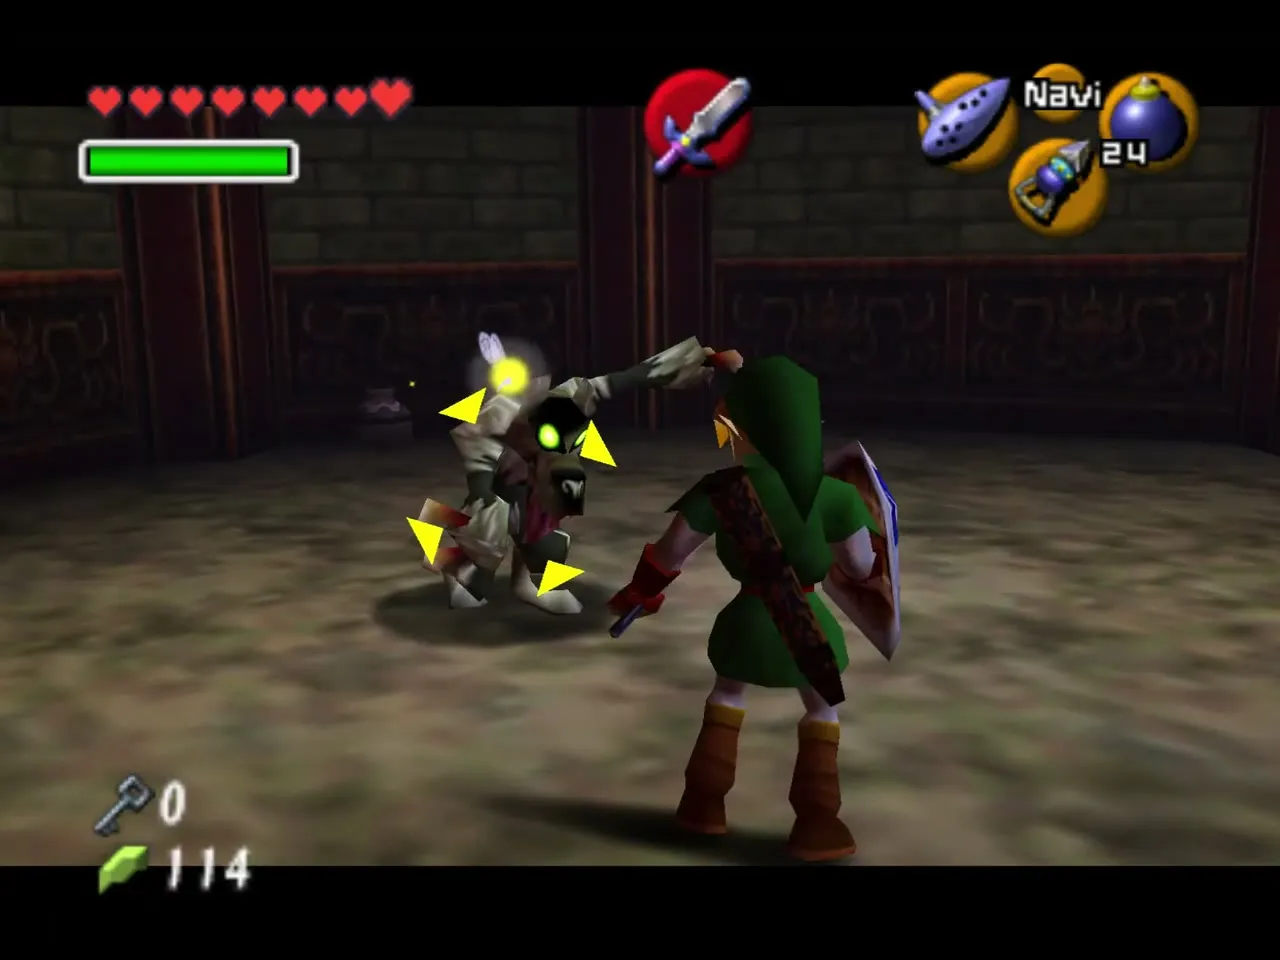
Two Wolfos attack in this room. Defeat both and a chest appears with Small Key 2. Go back out to the hall and take the west door.
The west wing and the Boss Key
Stalfos at the west door
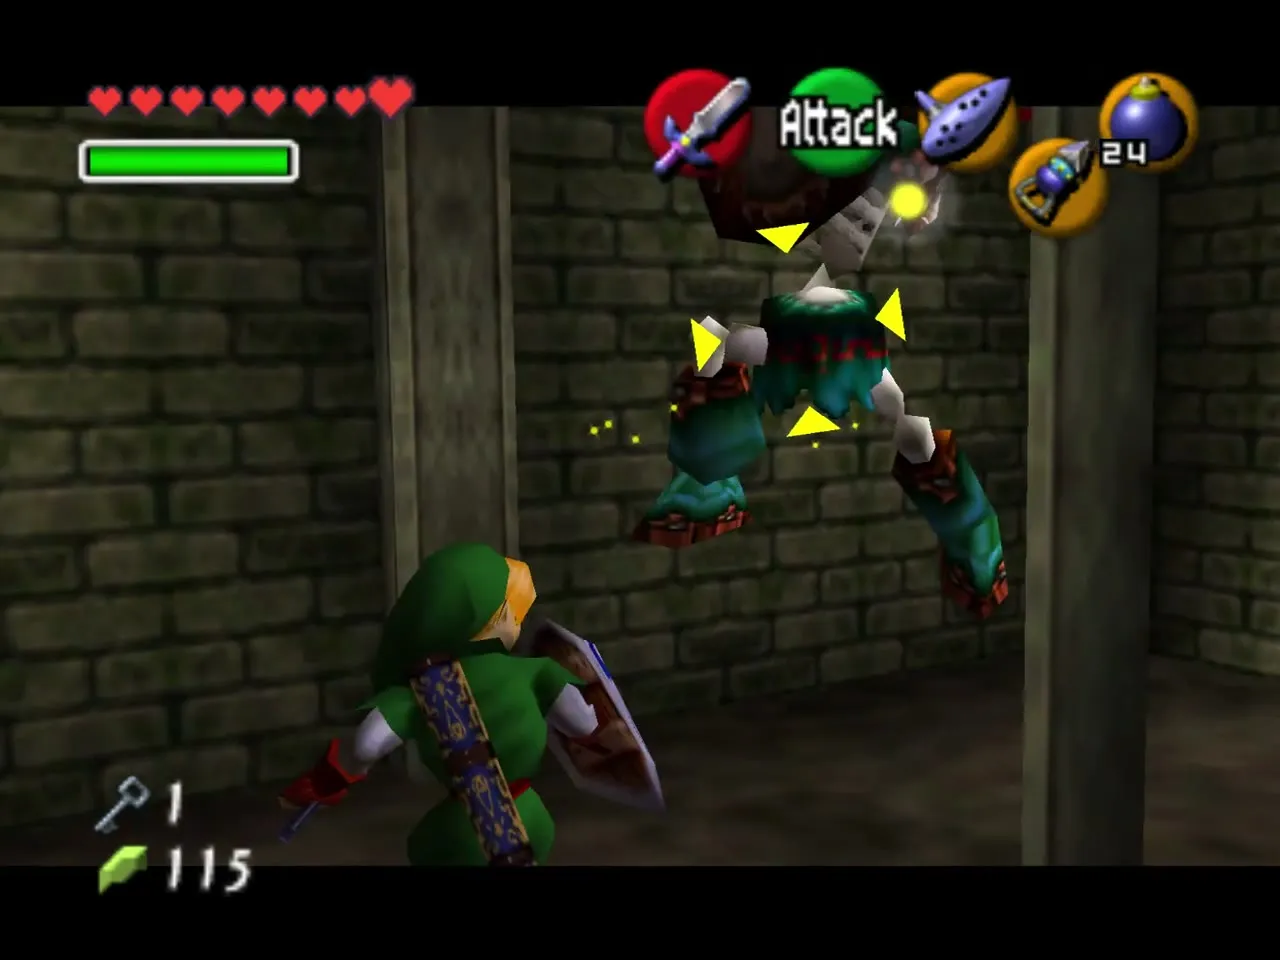
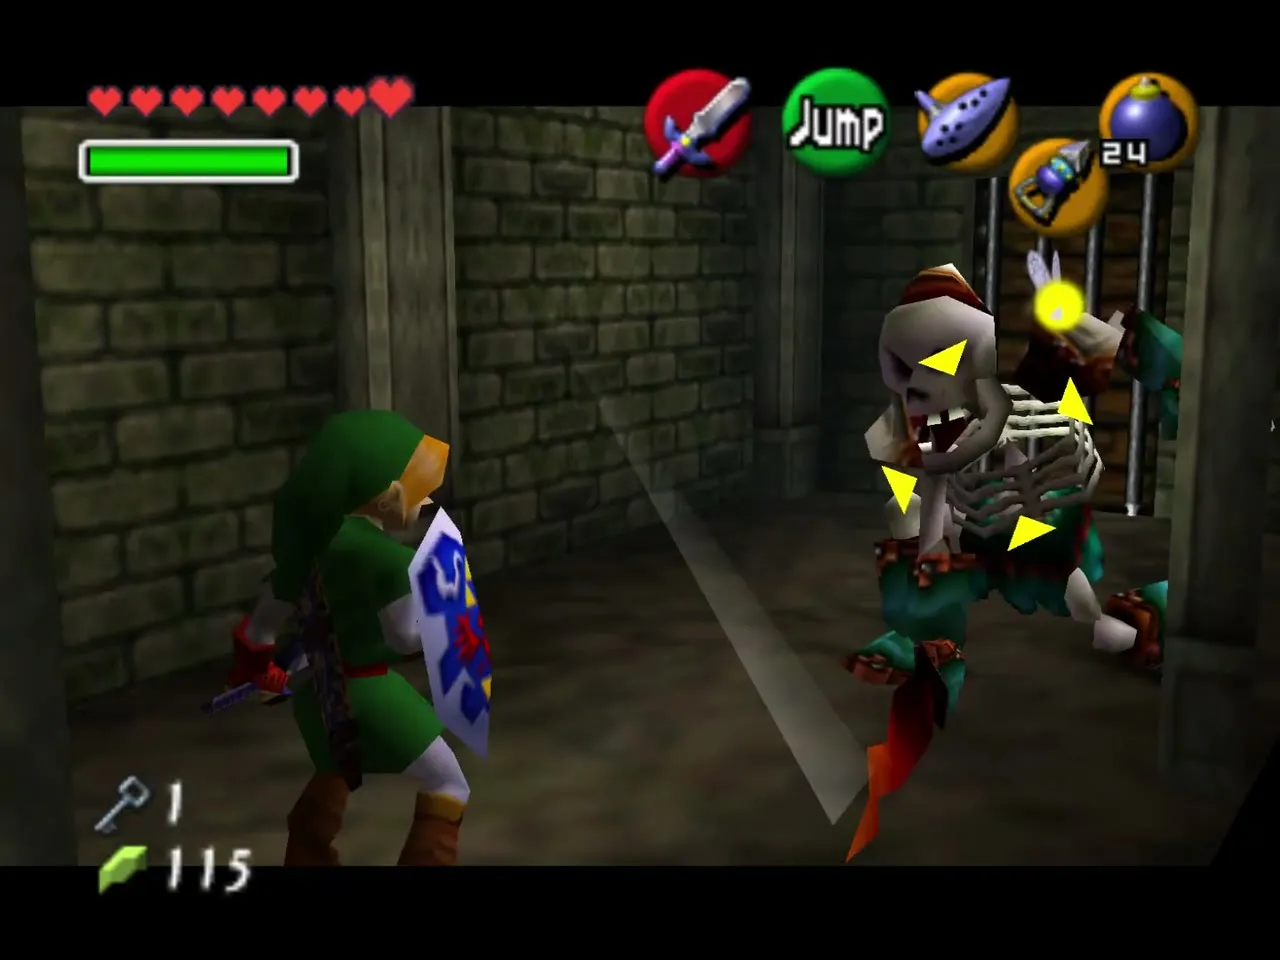
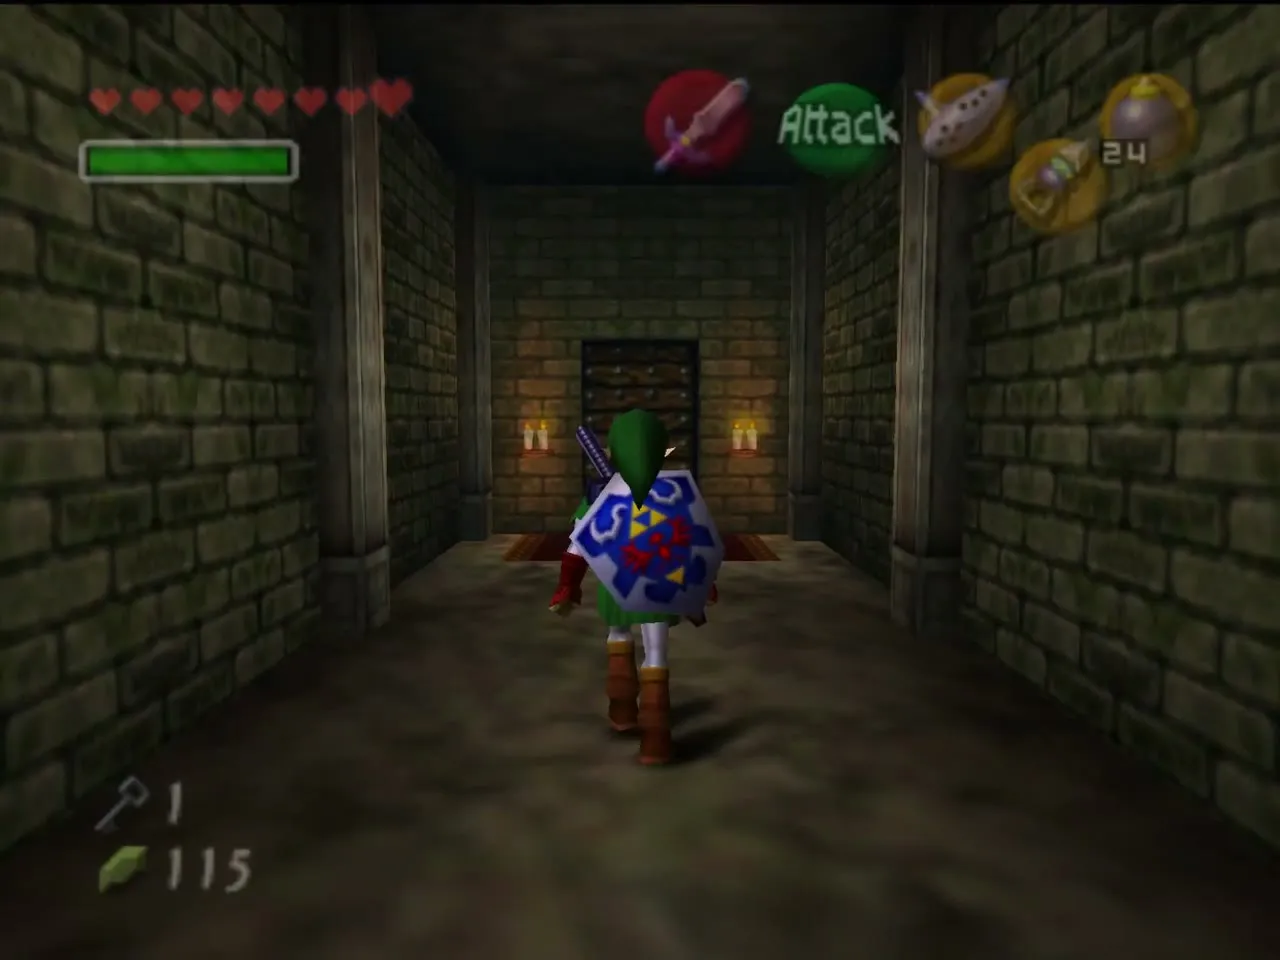
A Stalfos ambushes you as soon as you step through the west door and bars the gate until it is dead. Block its swing and cut it down. In the next room turn right at once and look in the corner for the second Gold Skulltula, then climb the ladder straight ahead.
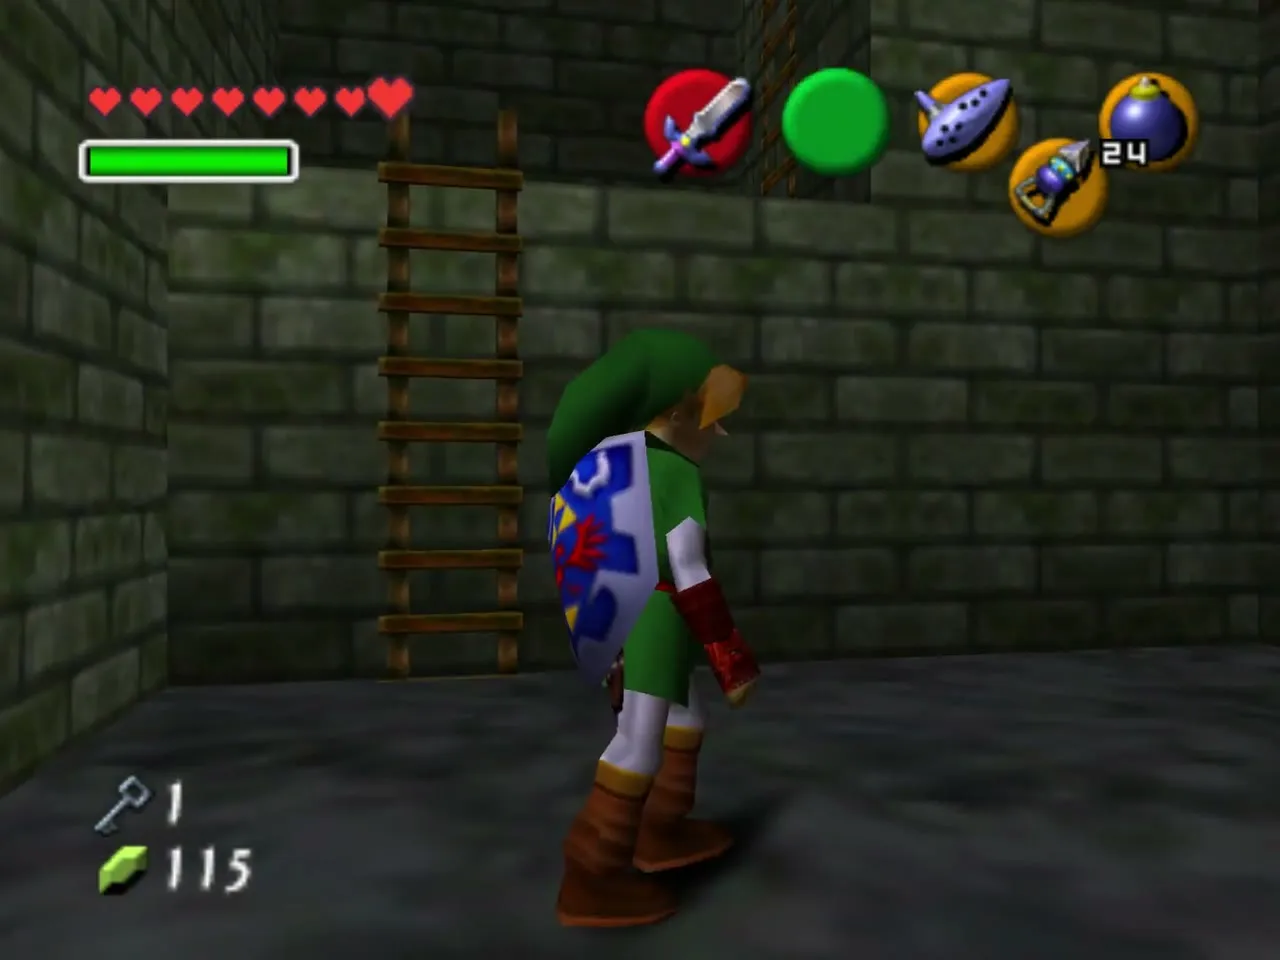
The sliding block corridors
At the top, Navi points out the arrows painted on the floor. Pull the first blue block straight back along its corridor until it is out of the path, run through to the left and push the other blue block straight ahead until it clicks into its recess.
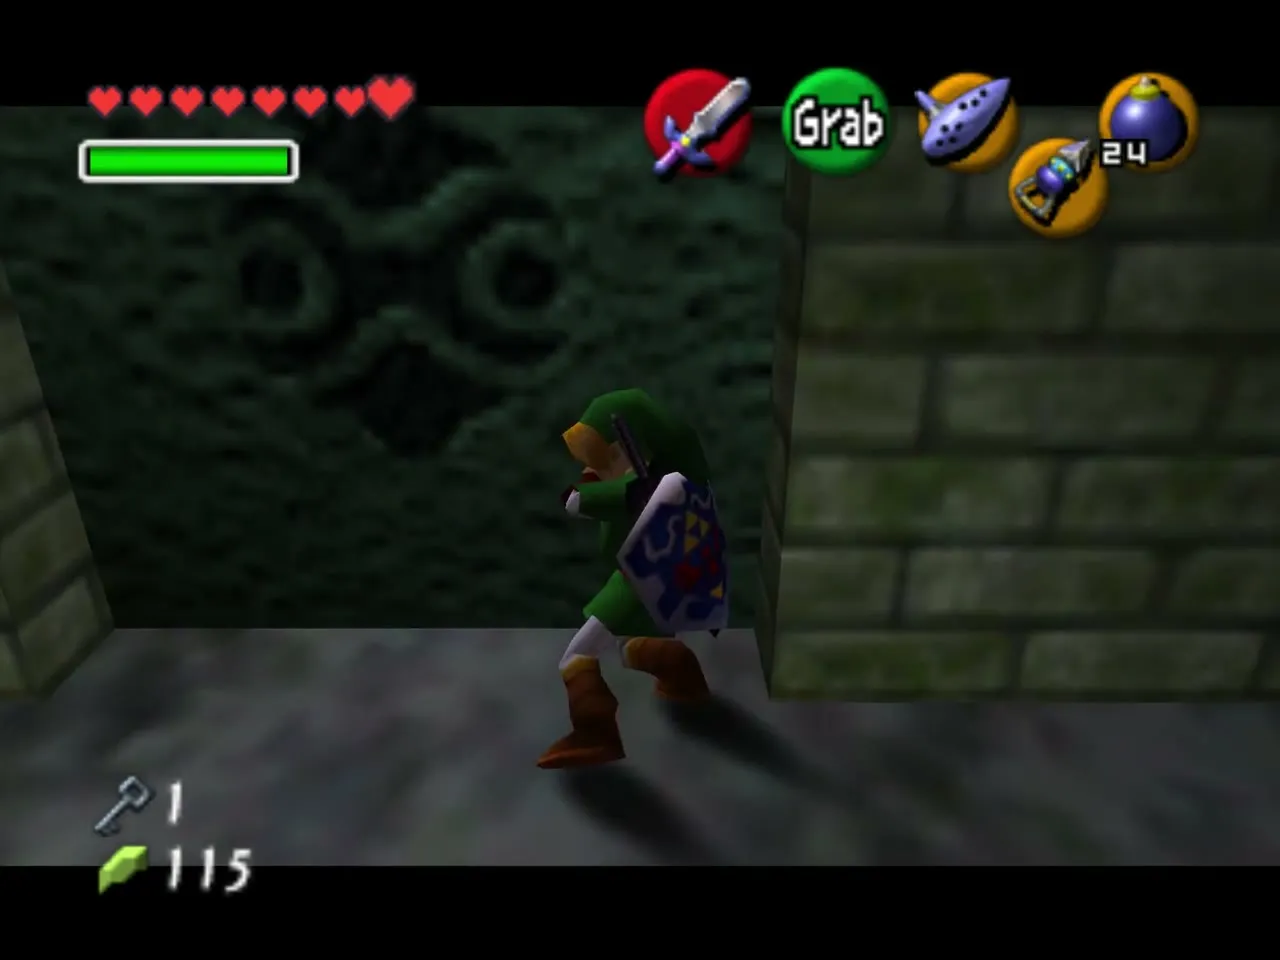
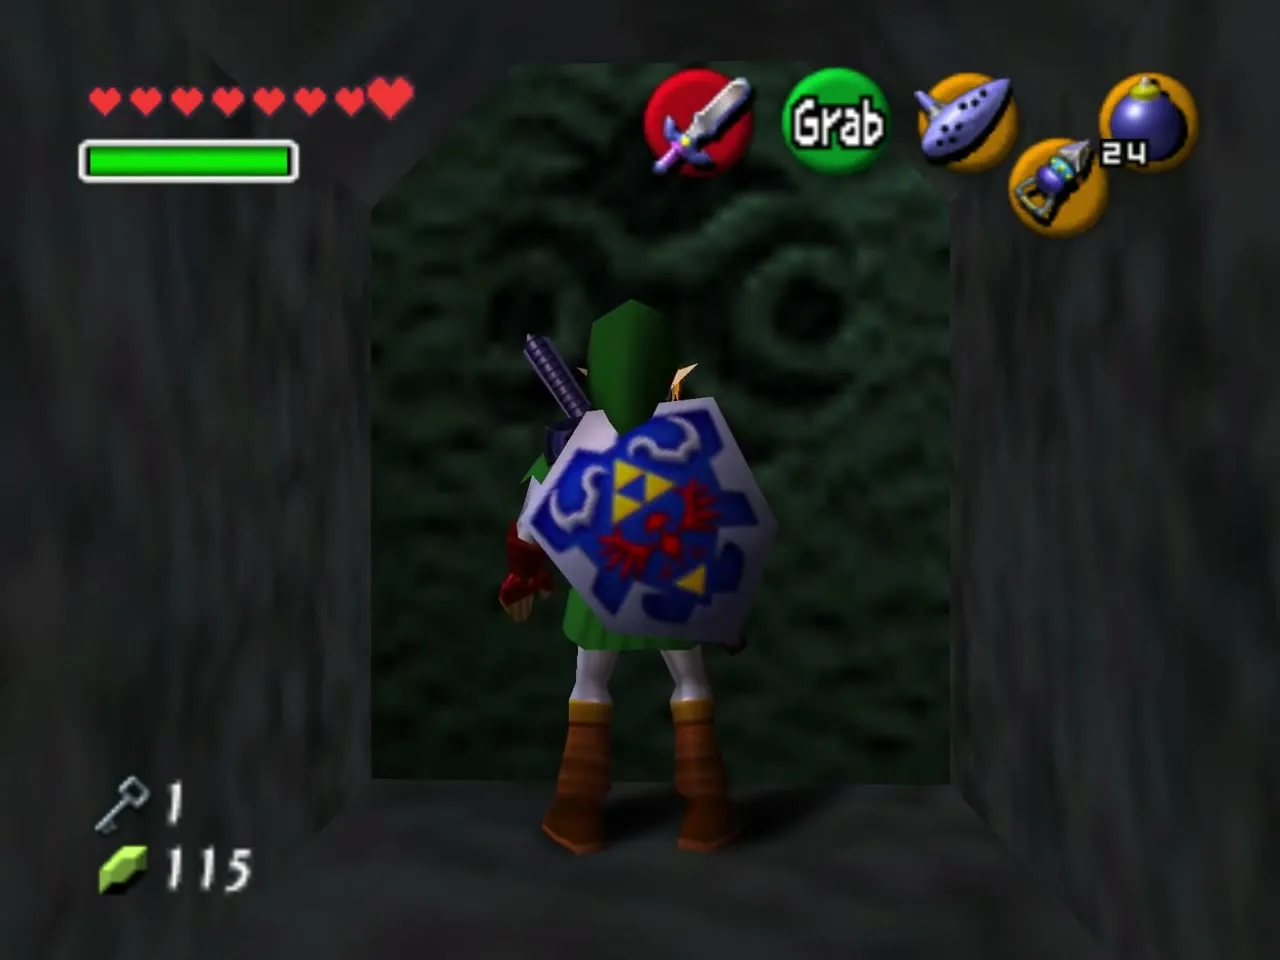
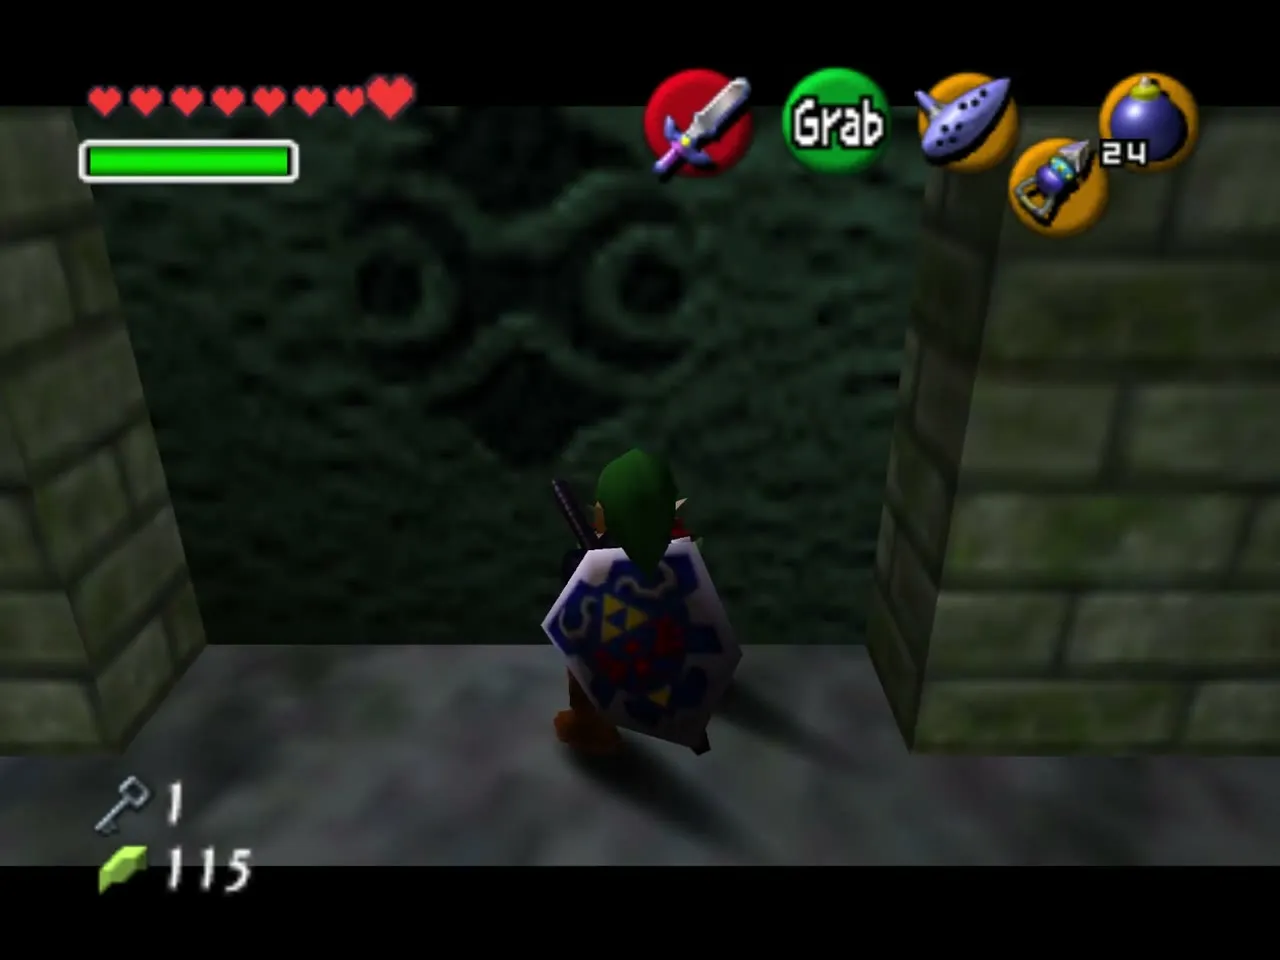
Climb onto the blue block you just fixed in place, turn left and push the brown block up there until it clicks into place. Leave the second brown block alone for now.
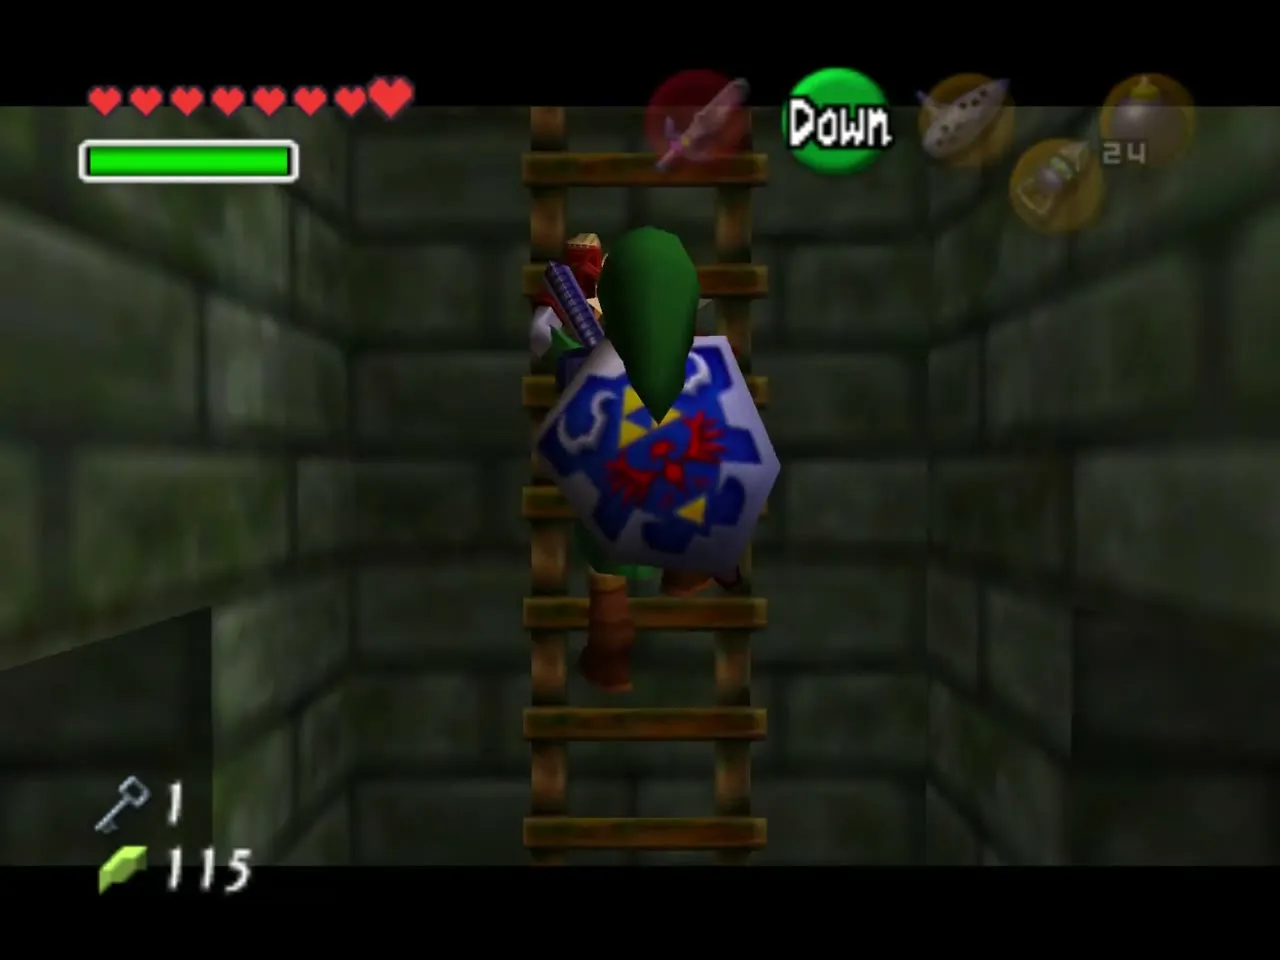
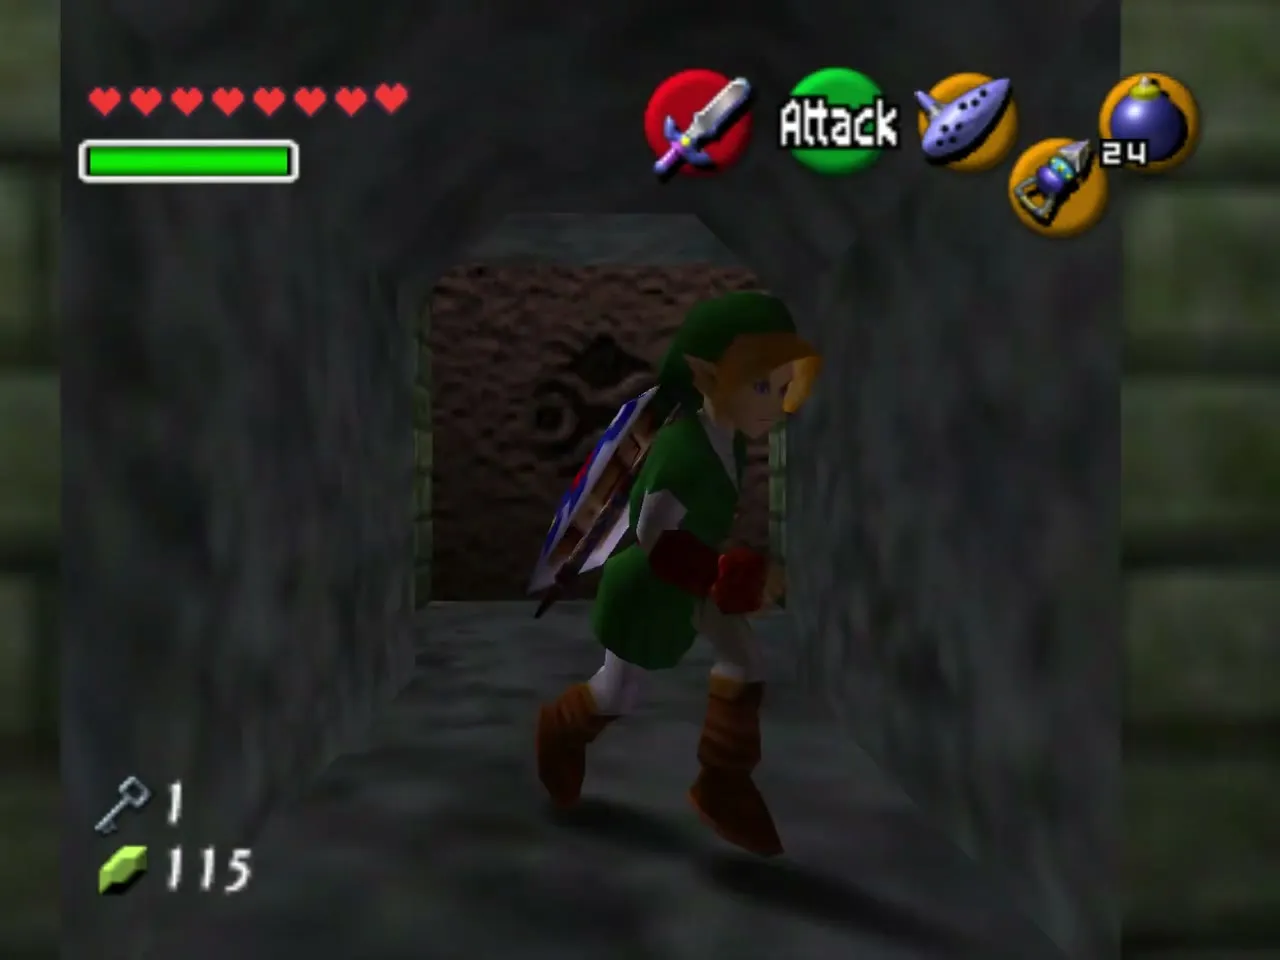
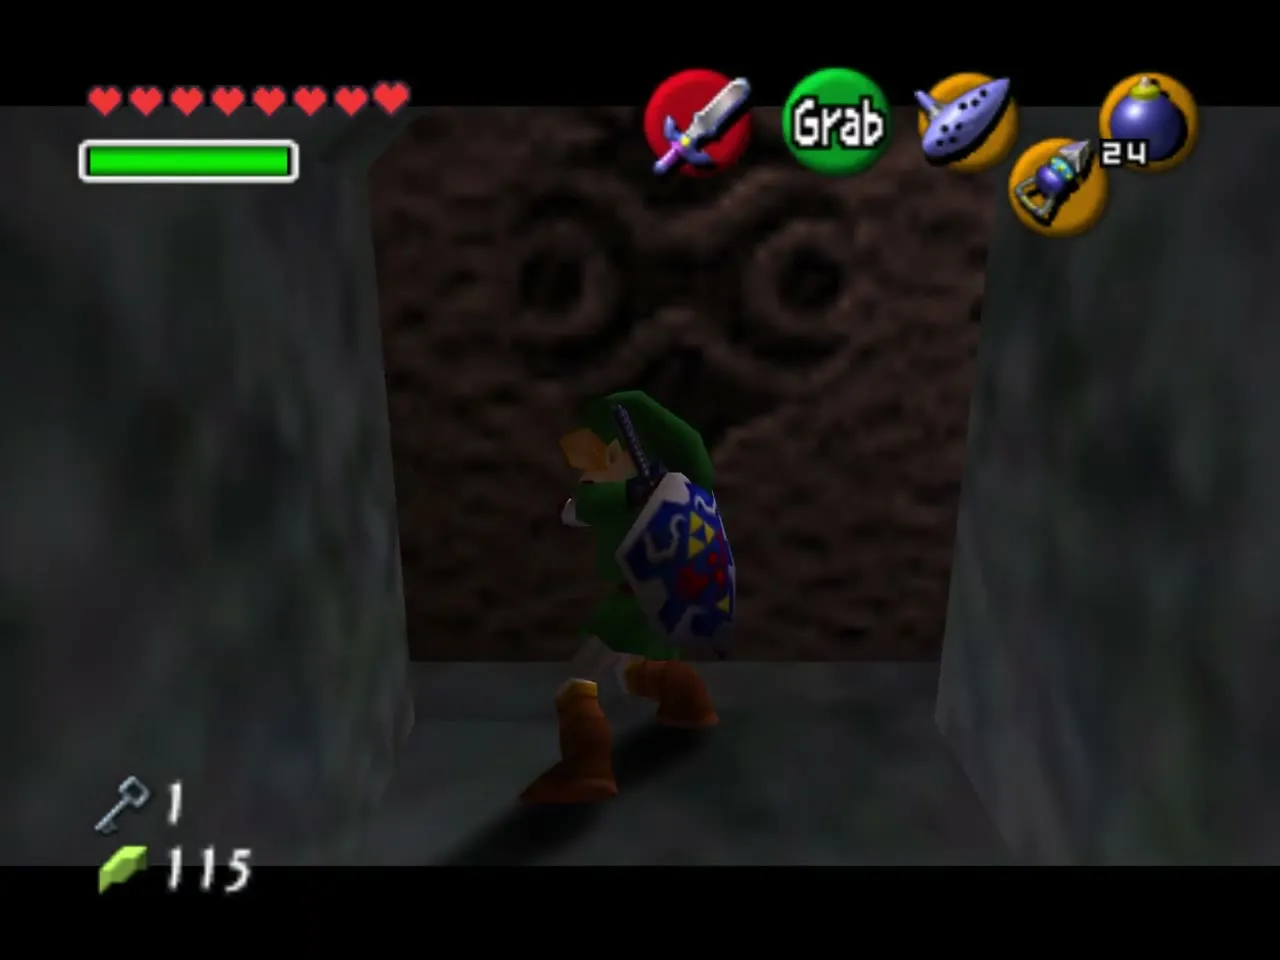
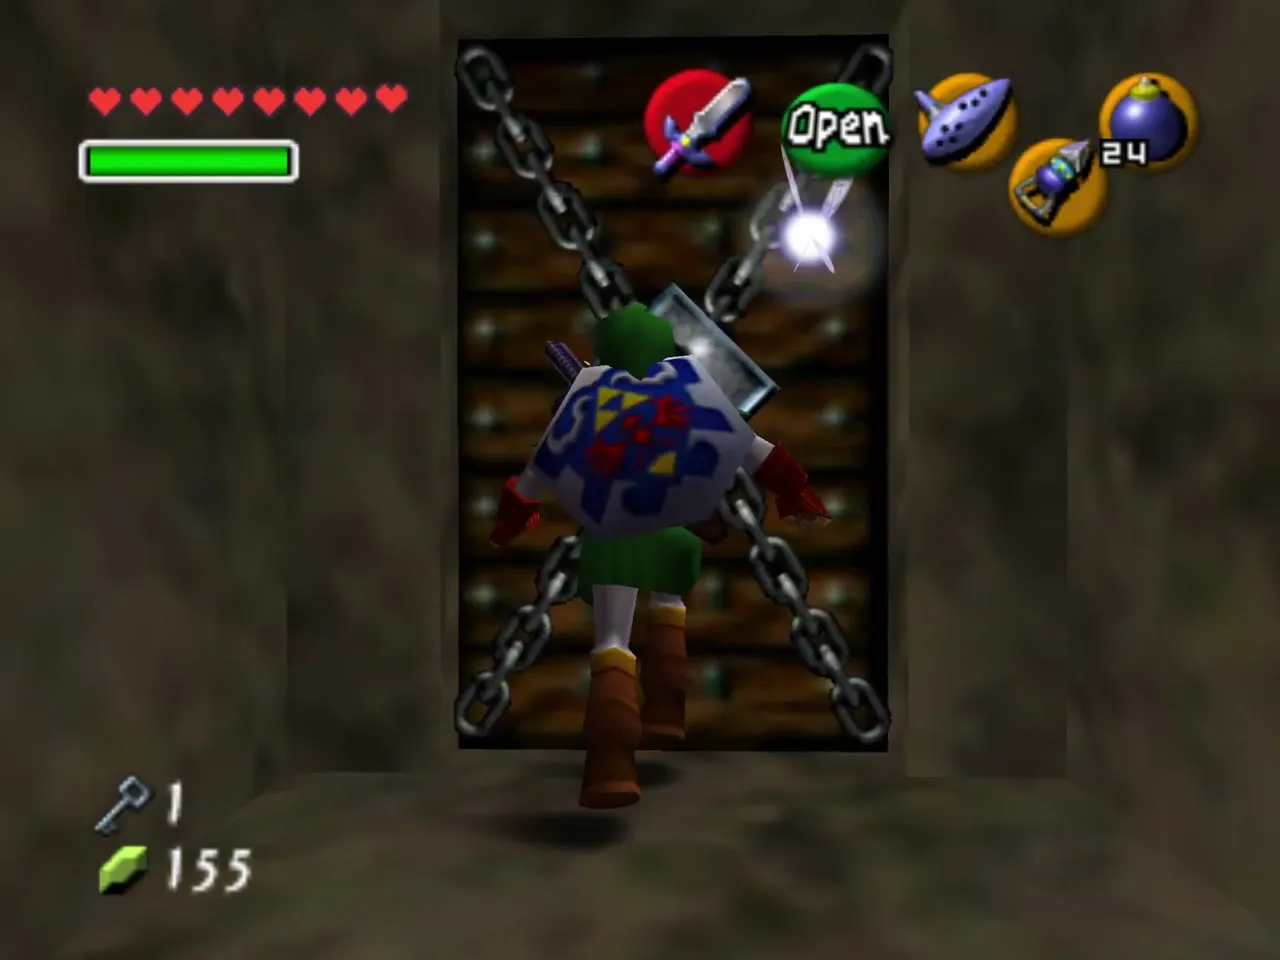
Shortcut switch and the locked door
The brown block gives you access to a switch that raises a Hookshot target, a shortcut back up here if you ever fall. Turn left and climb the ladder to a room with two Blue Bubbles. Let them hit your raised shield to put out their flames, cut them down, and open the locked door with Small Key 2.
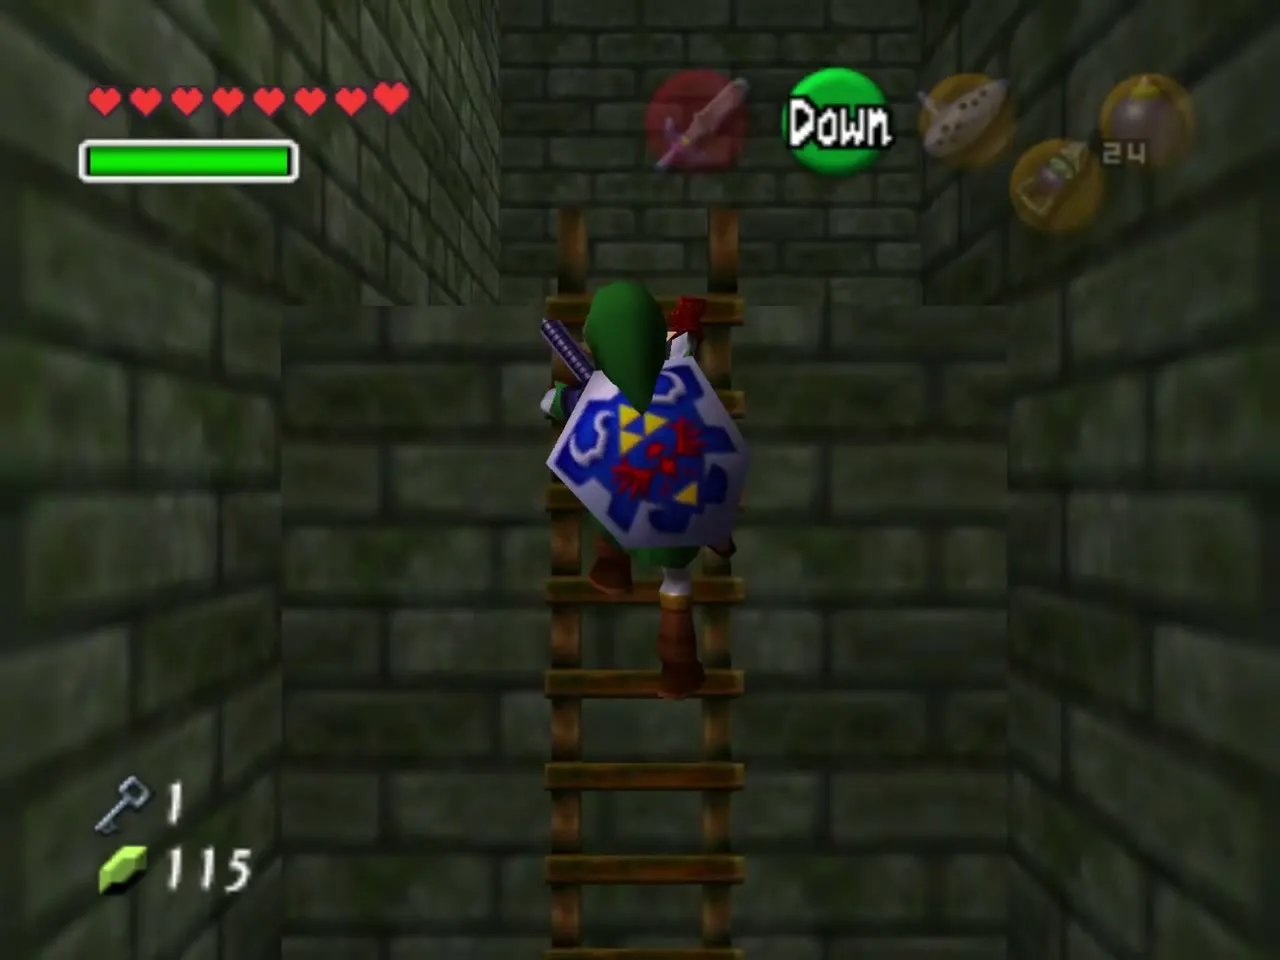
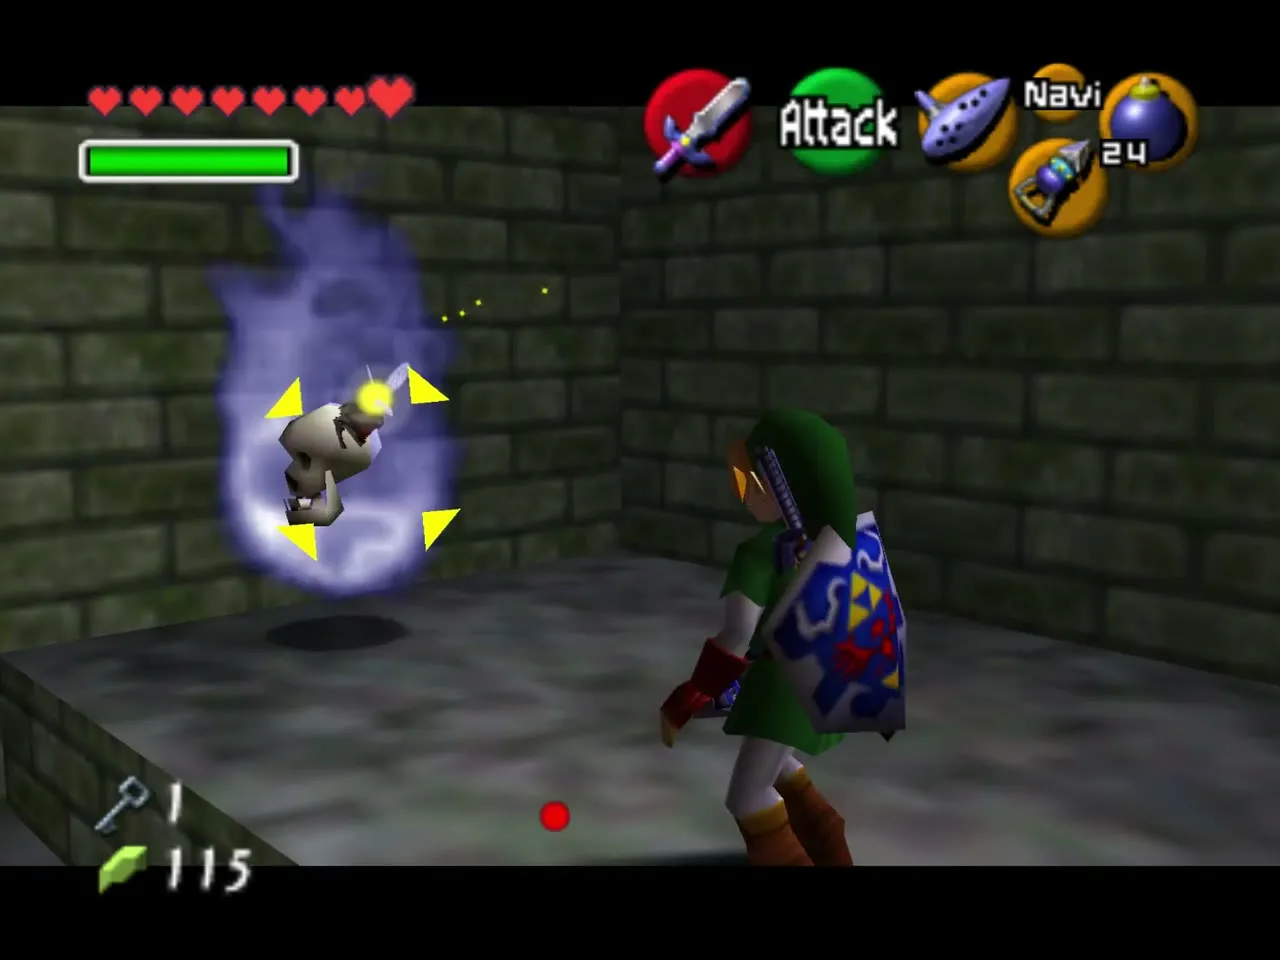
Boss Key
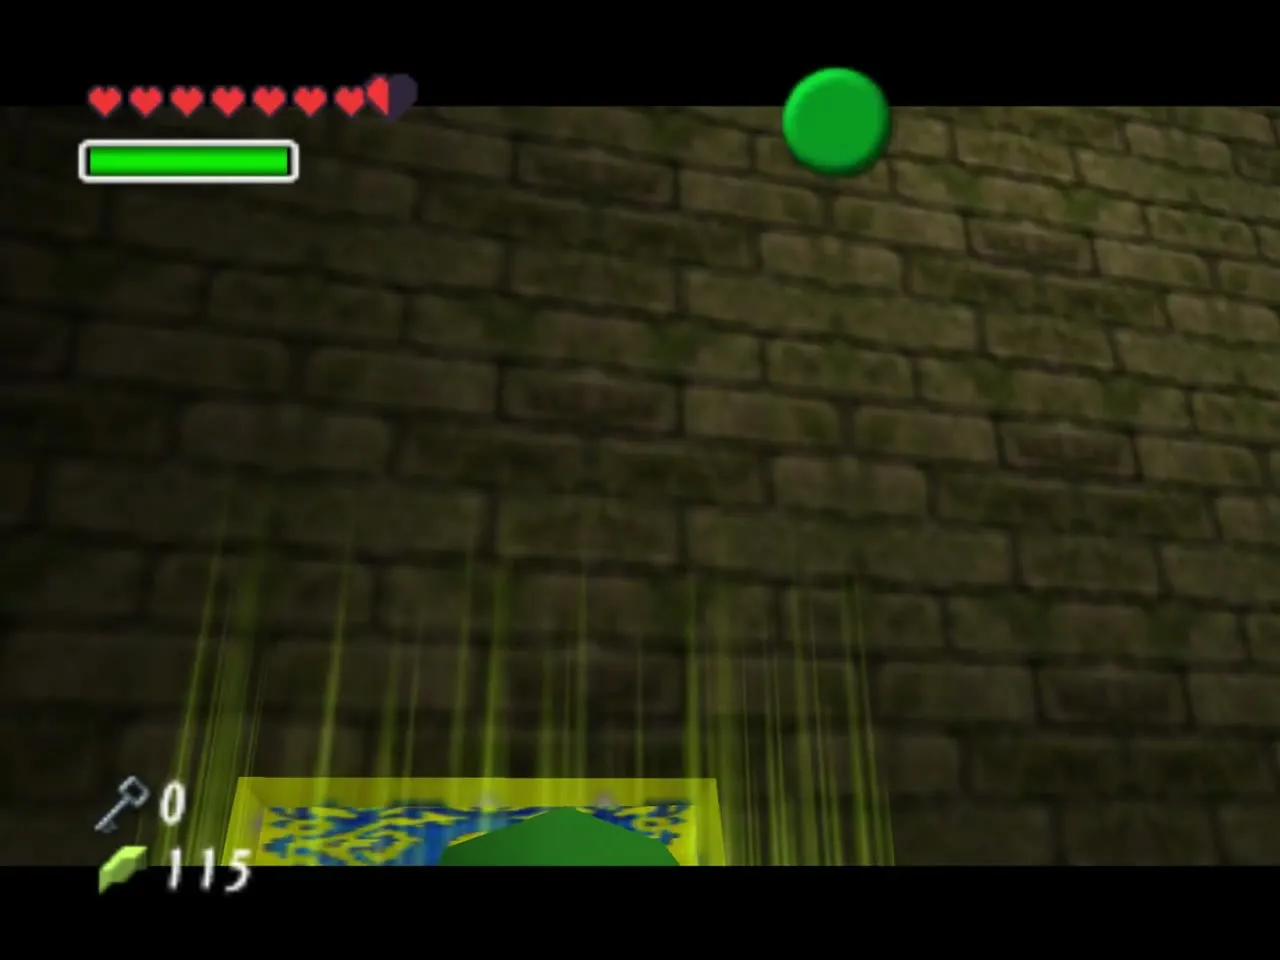
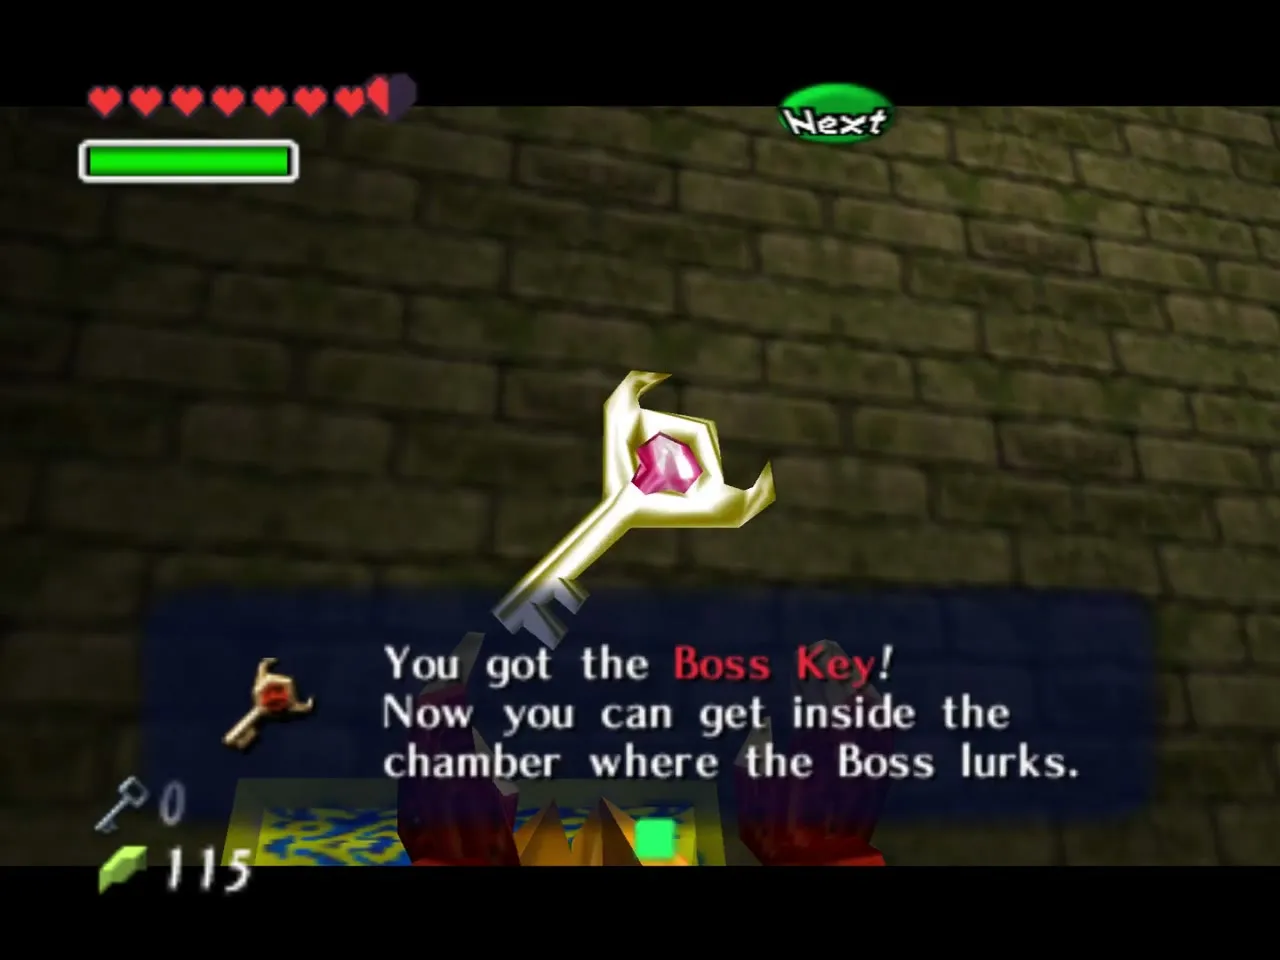
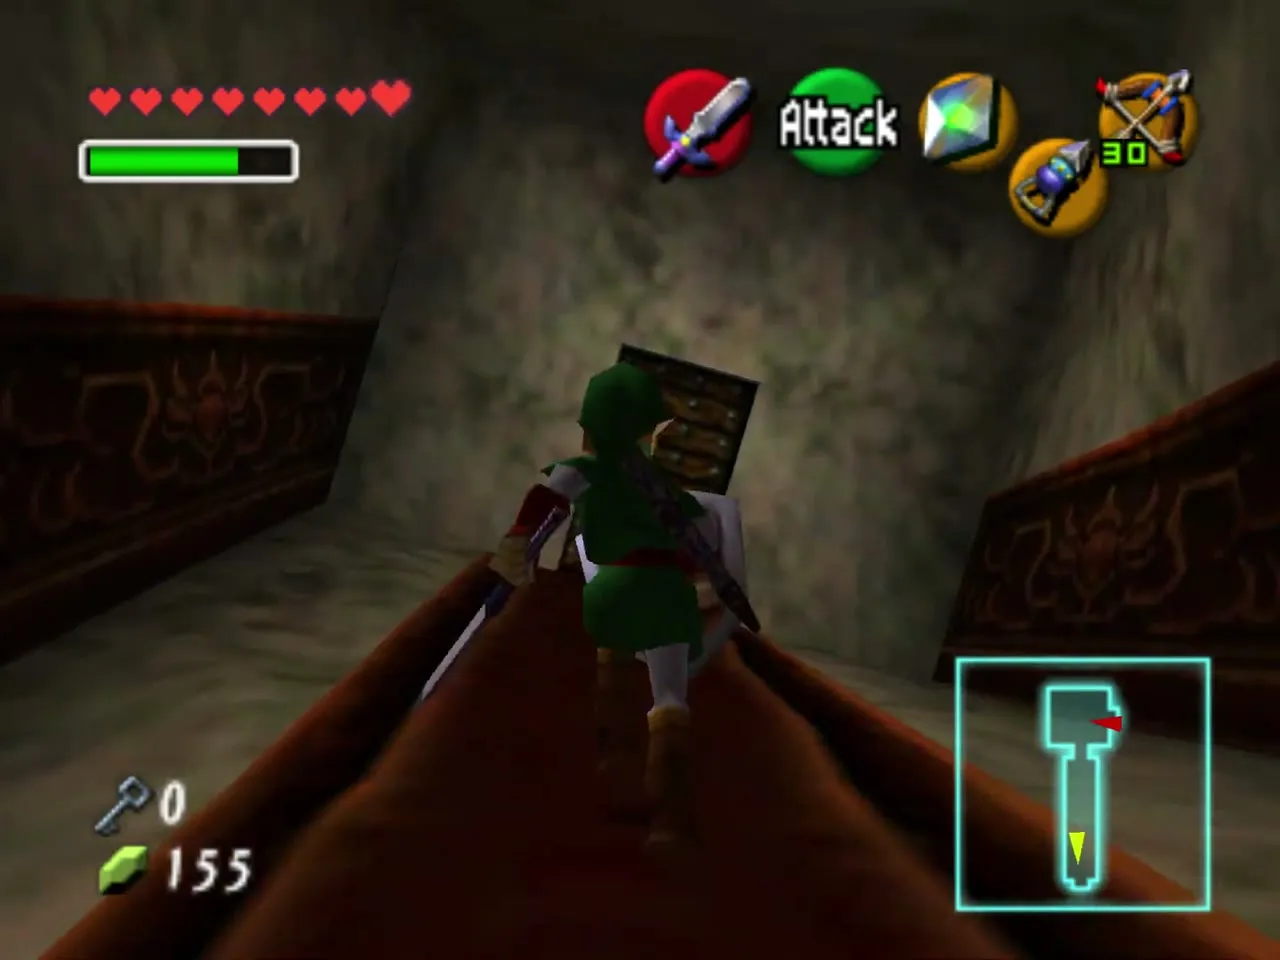
Navi warns you to watch for shadows in the hall beyond, and she means Wallmasters, which carry you back to the temple entrance. Walk to the end of the hall and drop down to the ornate blue-and-gold chest for the Boss Key. A Wallmaster may drop here for some Rupees, but you can ignore it.
The hole, the Floormaster and the Redead
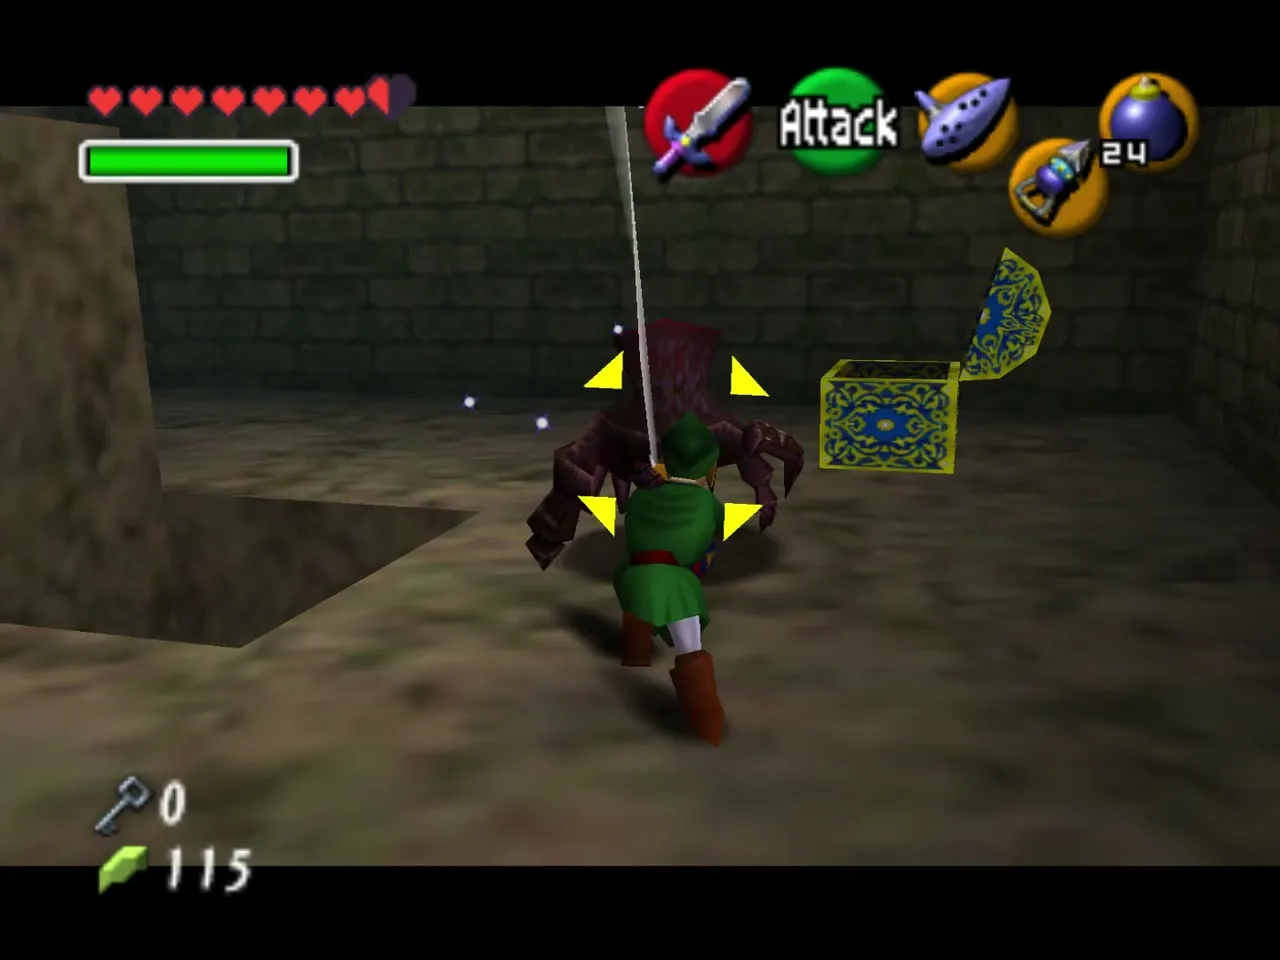
Floormaster
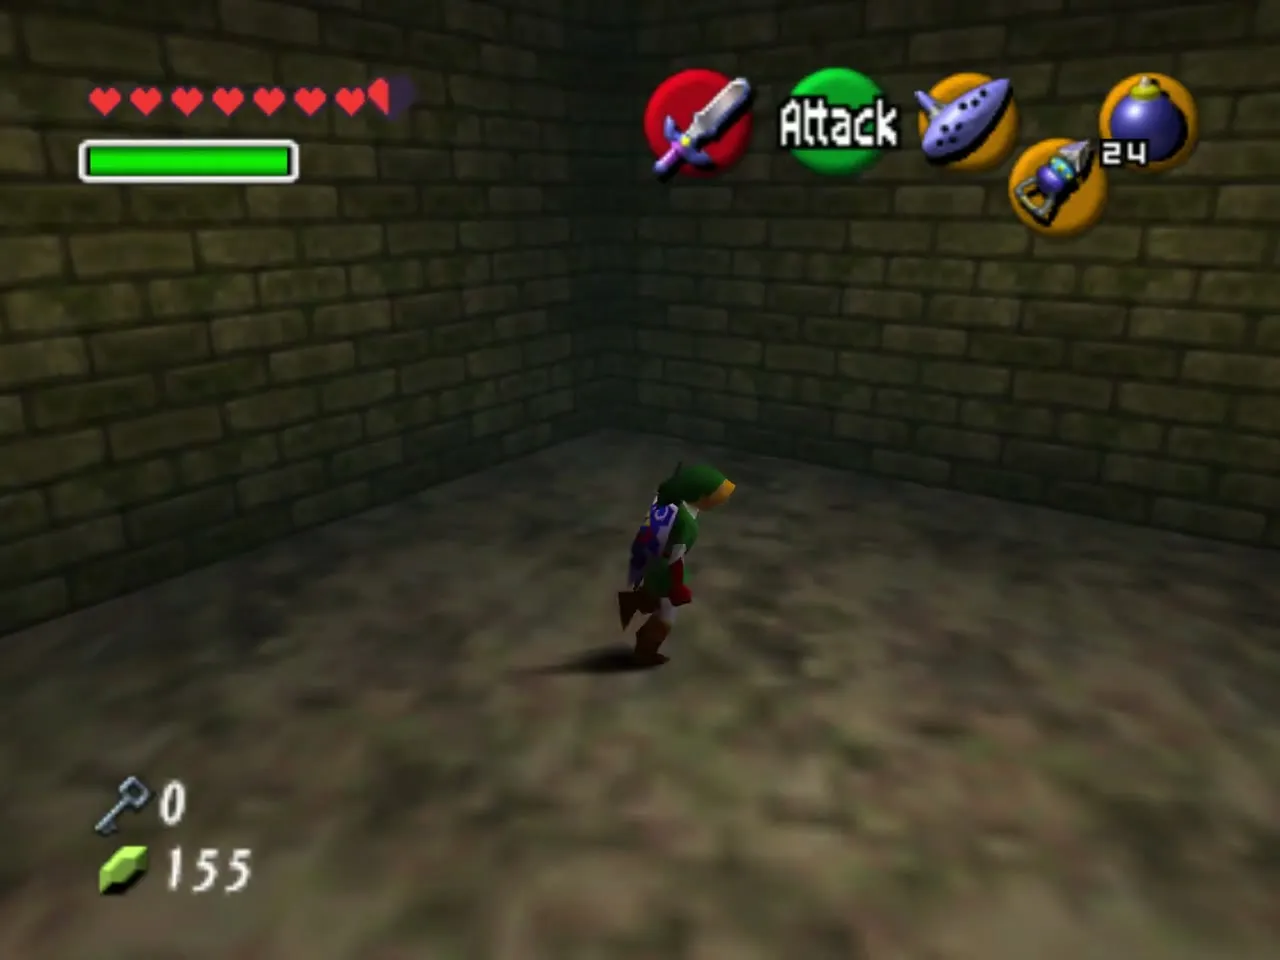
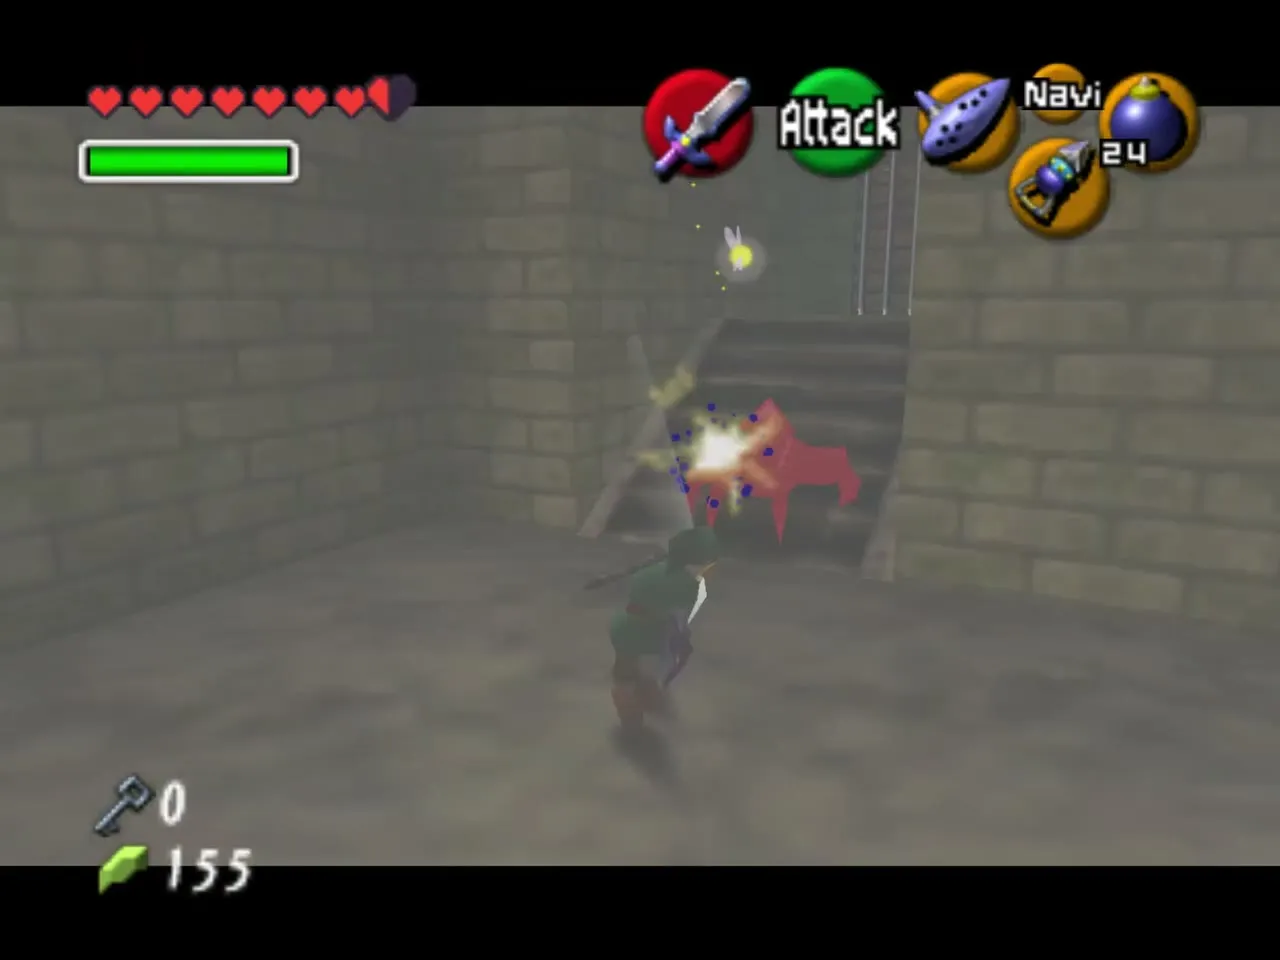
Jump into the hole next to the Boss Key chest to land in a dark room with a Floormaster. Defeat it, or simply dodge it, and take the only door. When it dies it splits into small hands, so strike those quickly.
Redead and Small Key 3
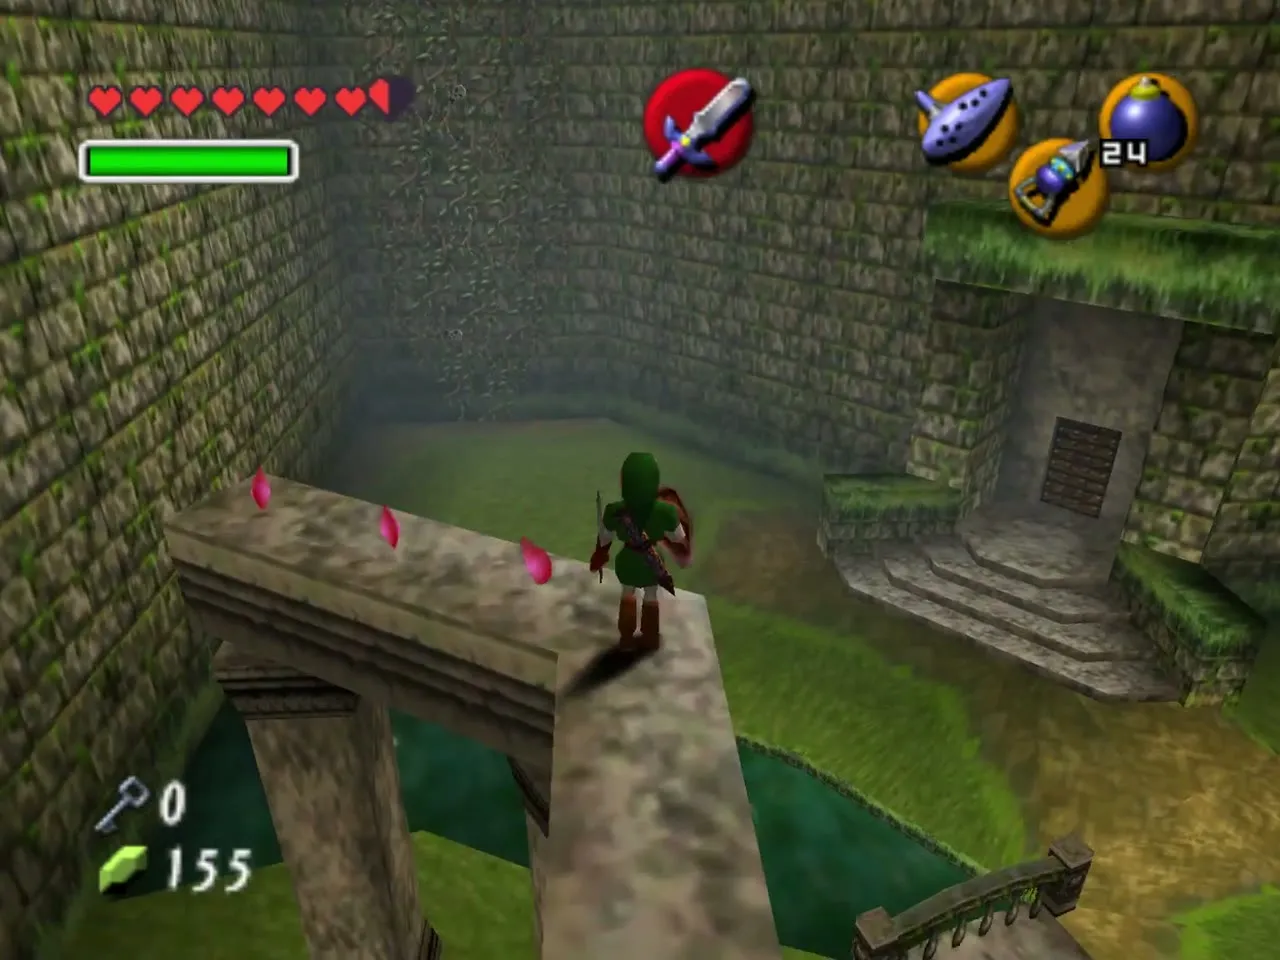
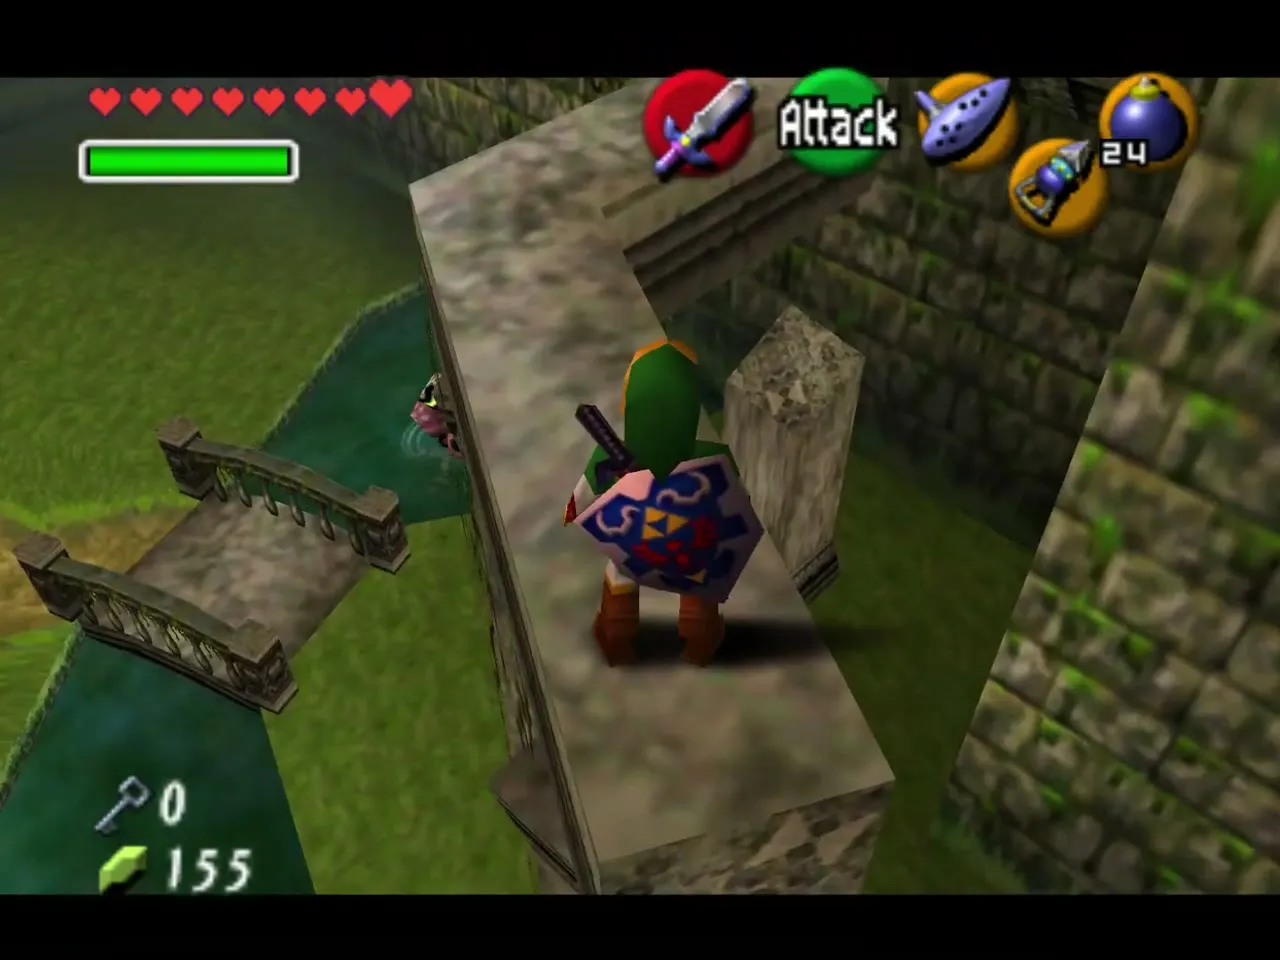
The door leads onto a narrow ledge overlooking the garden. Walk along it and take the plain door on your left, where a single Redead guards a chest. If you have the Sun’s Song, play it to freeze the Redead, then cut it down. The chest that appears holds Small Key 3.
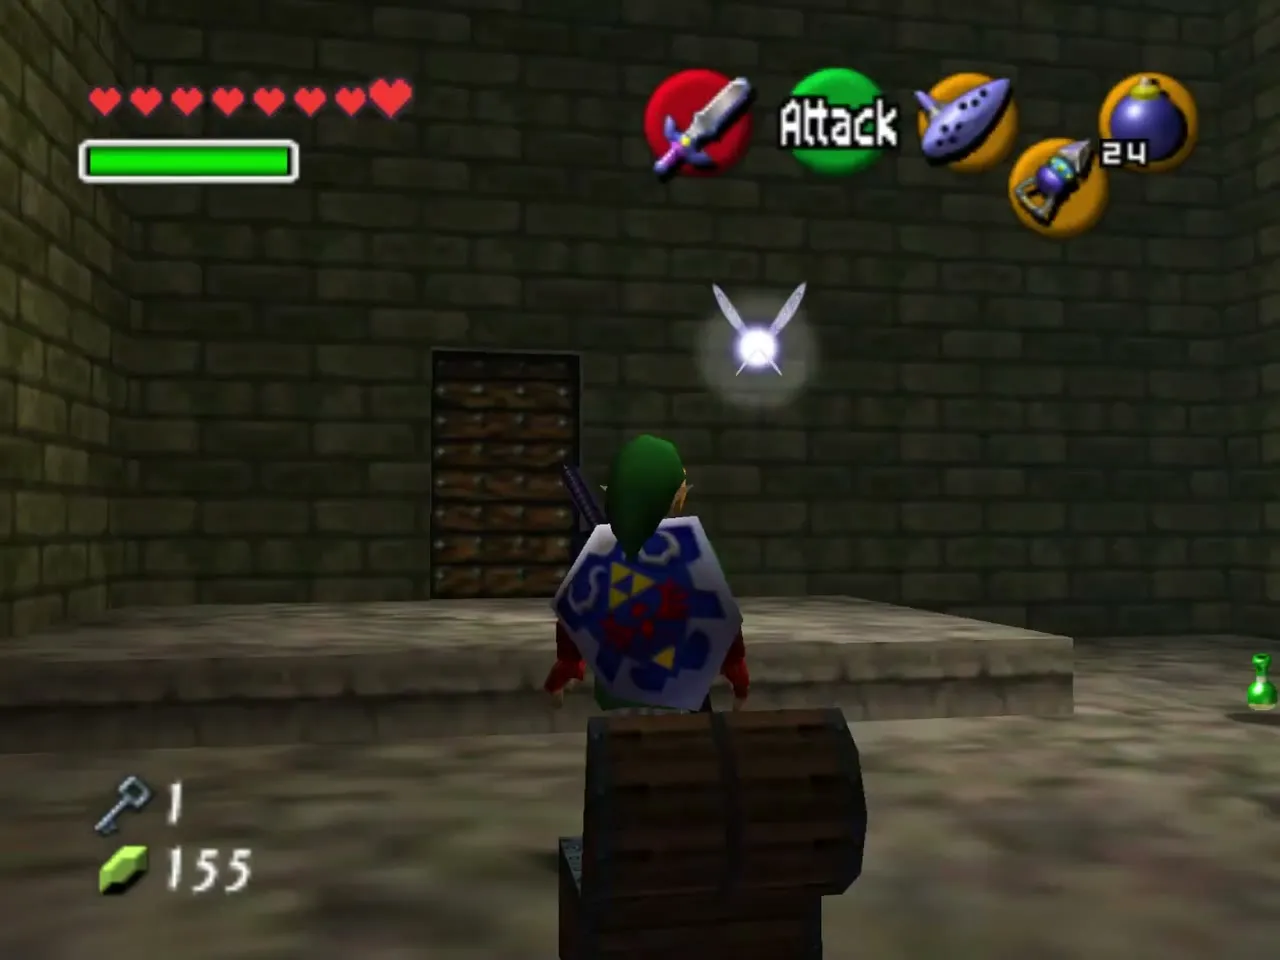
Twist the hall
Back outside, take the next door on the left, the colorful one. Hit the crystal switch just inside, then Hookshot up to the target that the earlier switch raised. The switch also moves the platforms in this room: use the Hookshot targets and the transparent blocks that have slid into new places to climb to the door at the top.
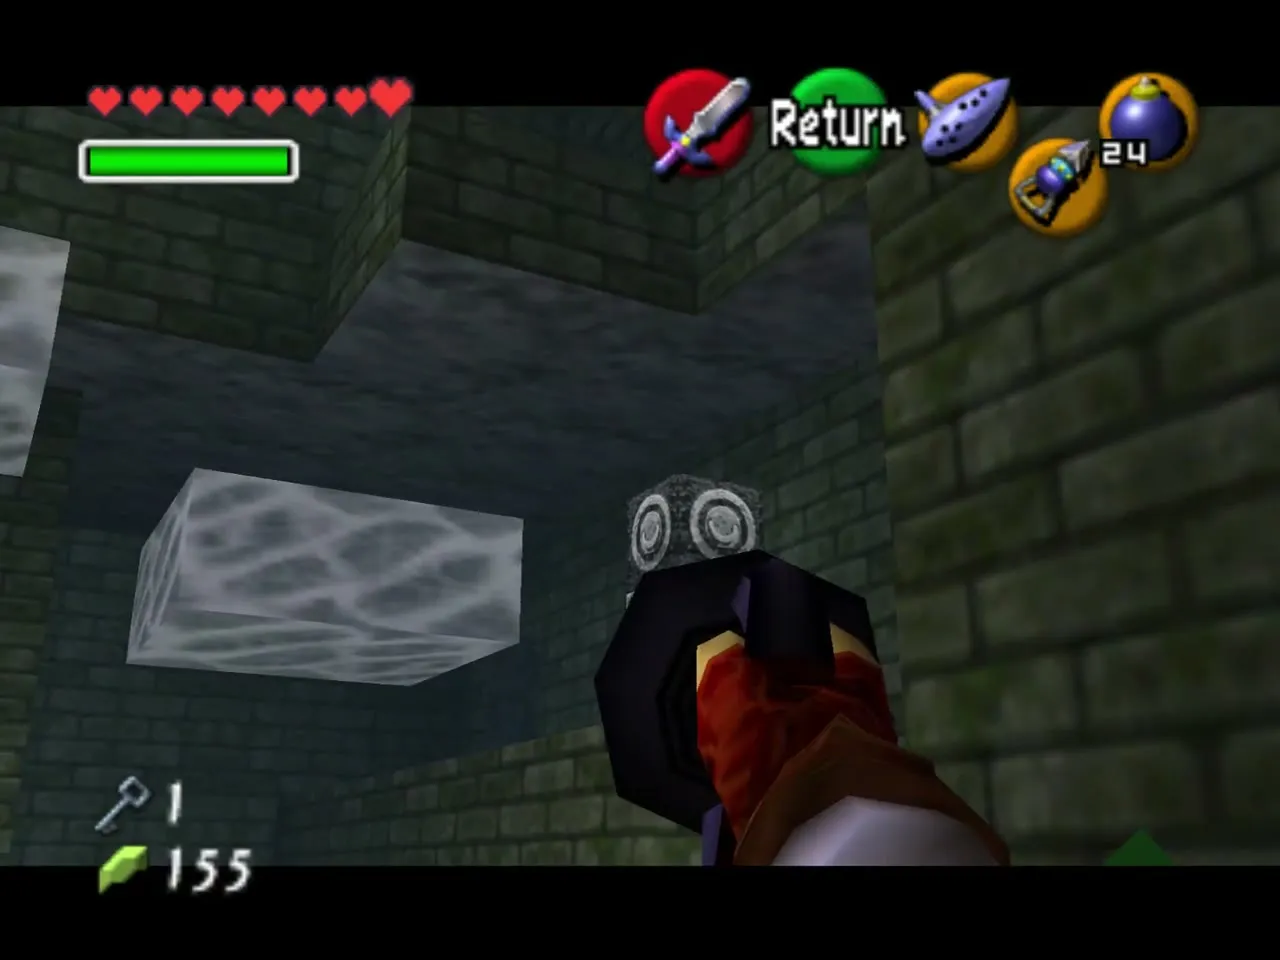
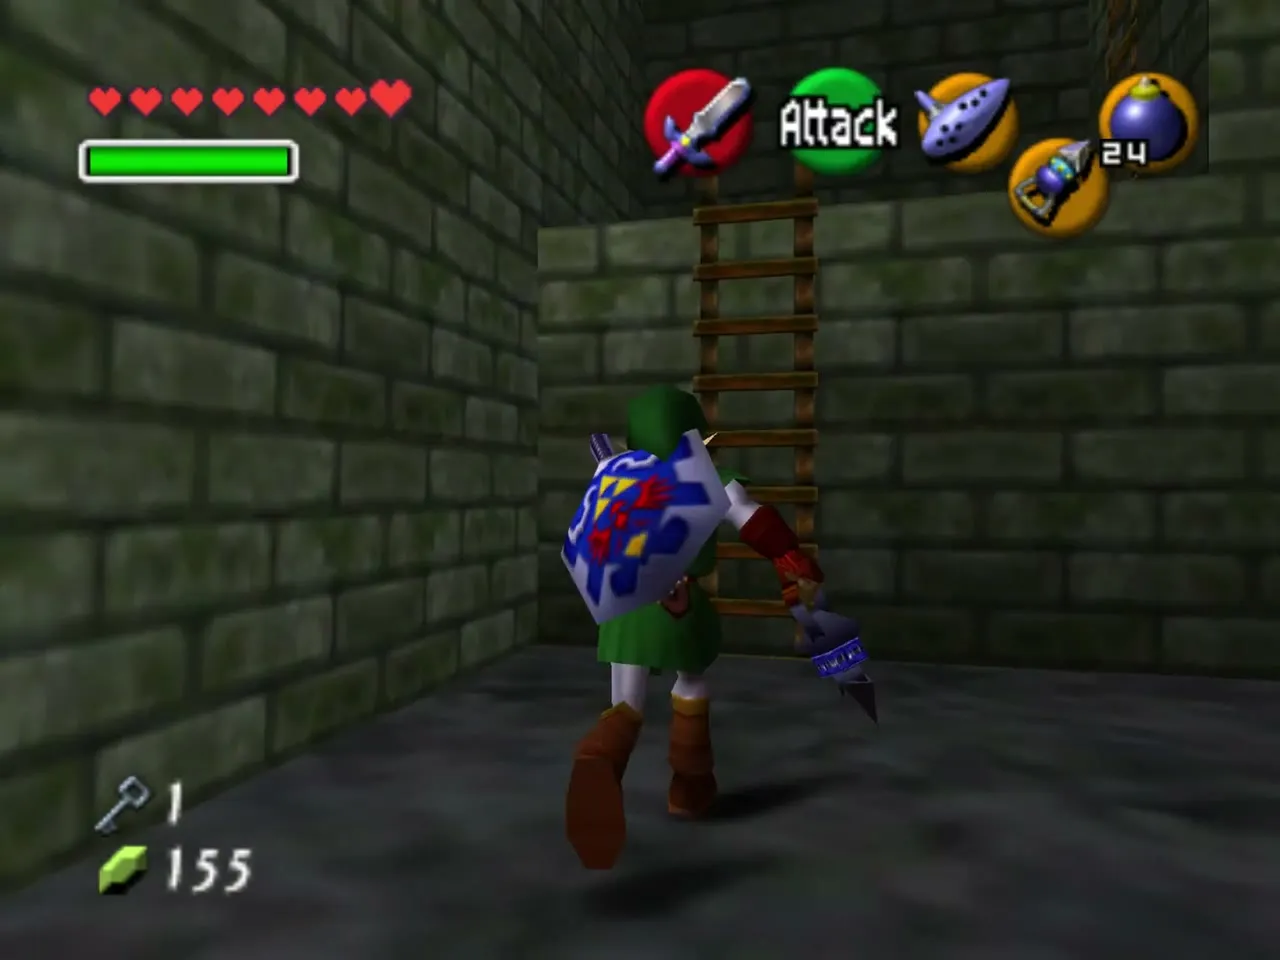
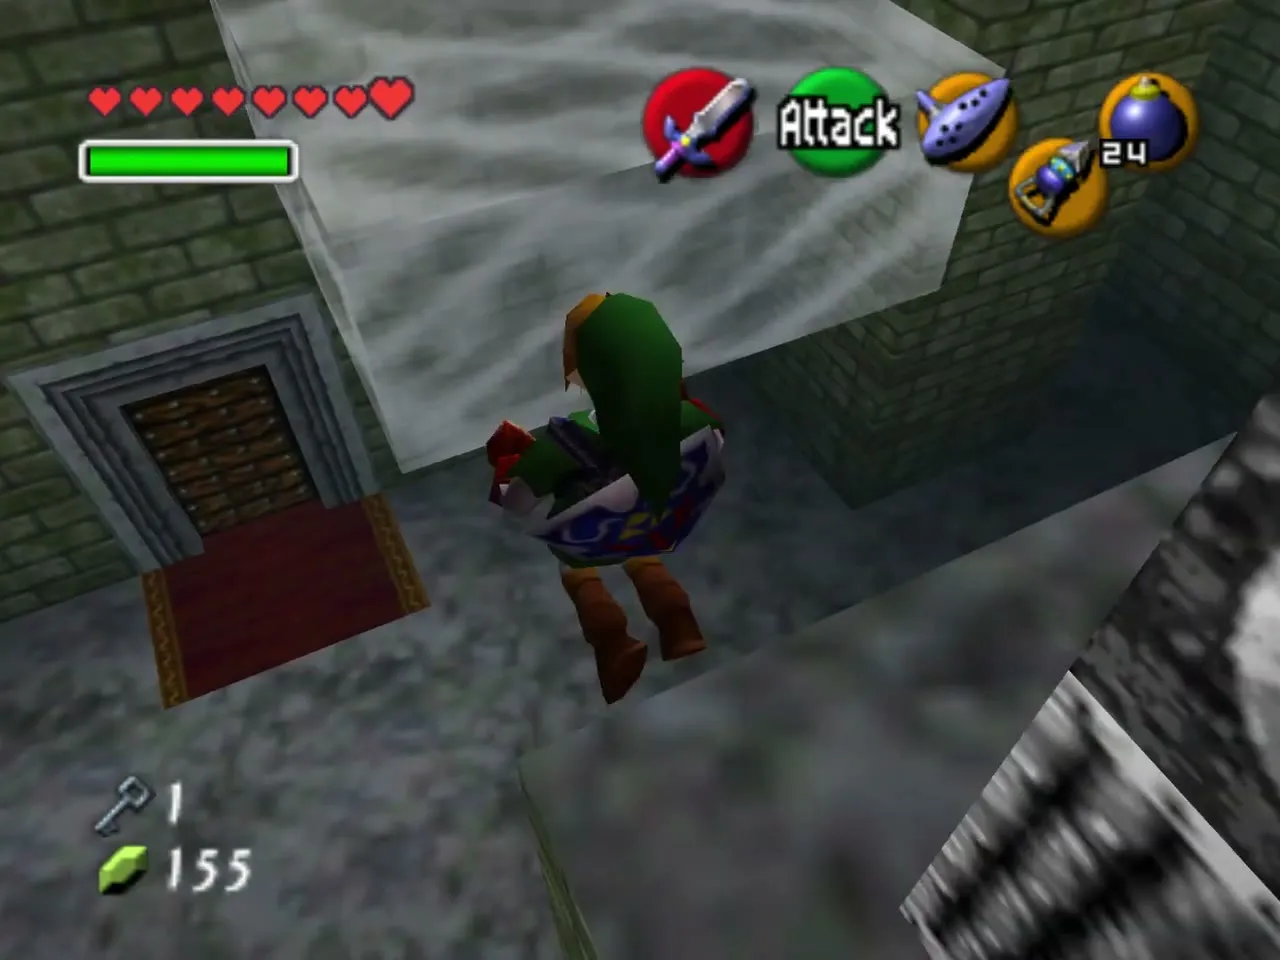
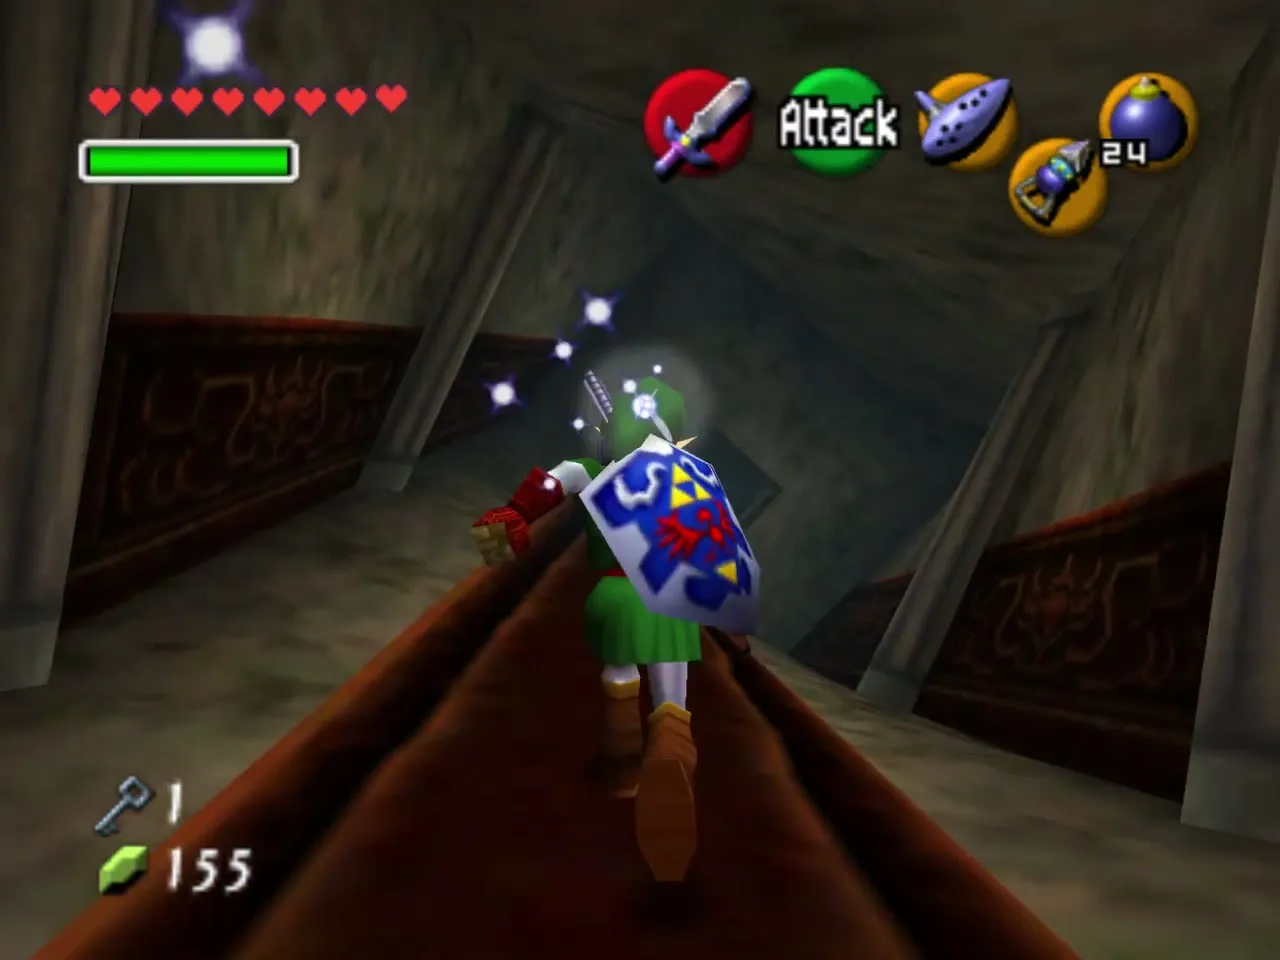
The Boss Key room on its side
Walk back down the same hall as before. It is now twisted, and it leads into the Boss Key room turned on its side. Skip across the platforms to the locked door and open it with Small Key 3.
Stalfos arena and the Fairy Bow
Three Stalfos
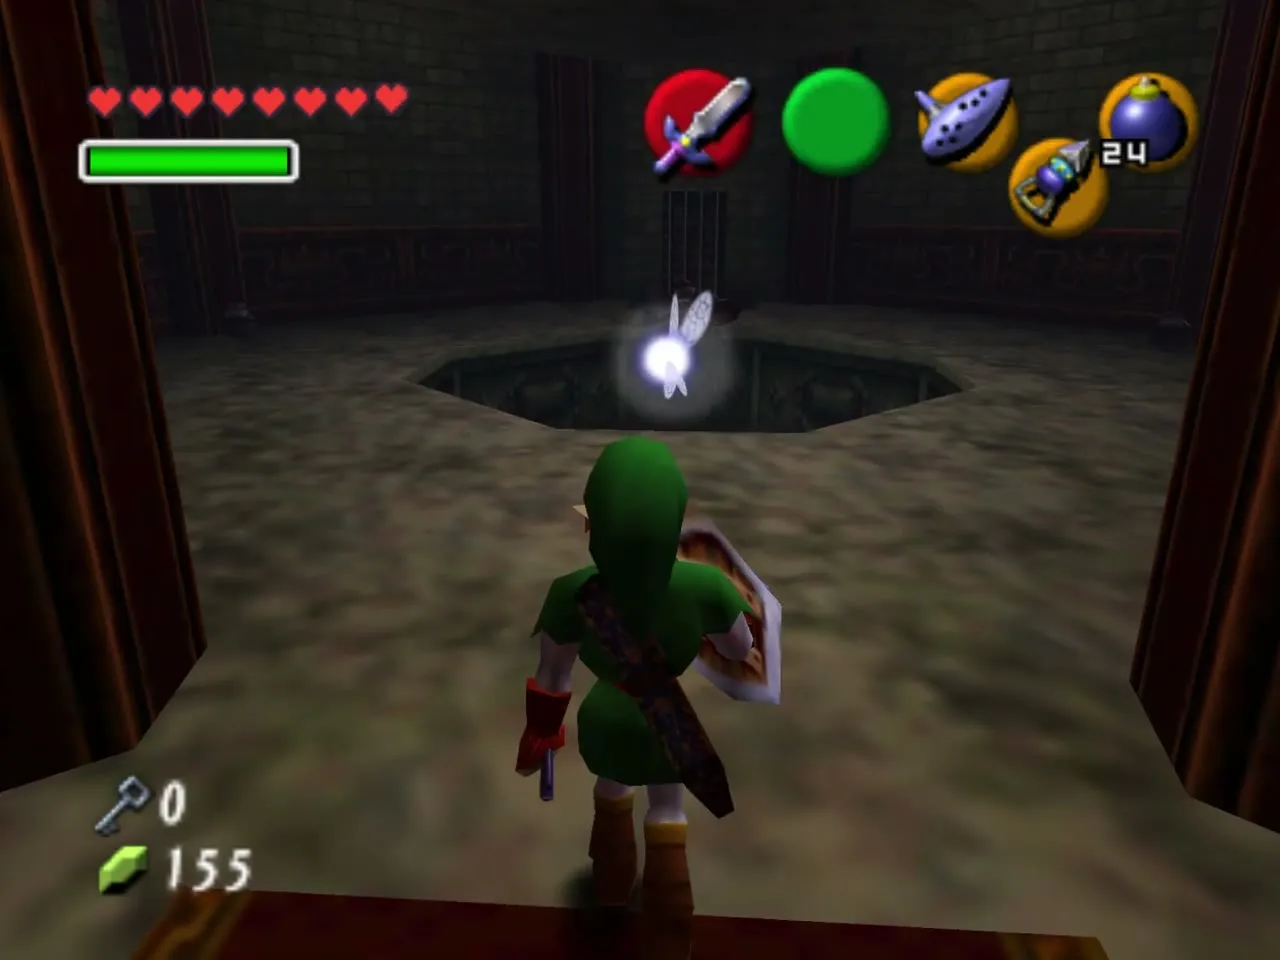
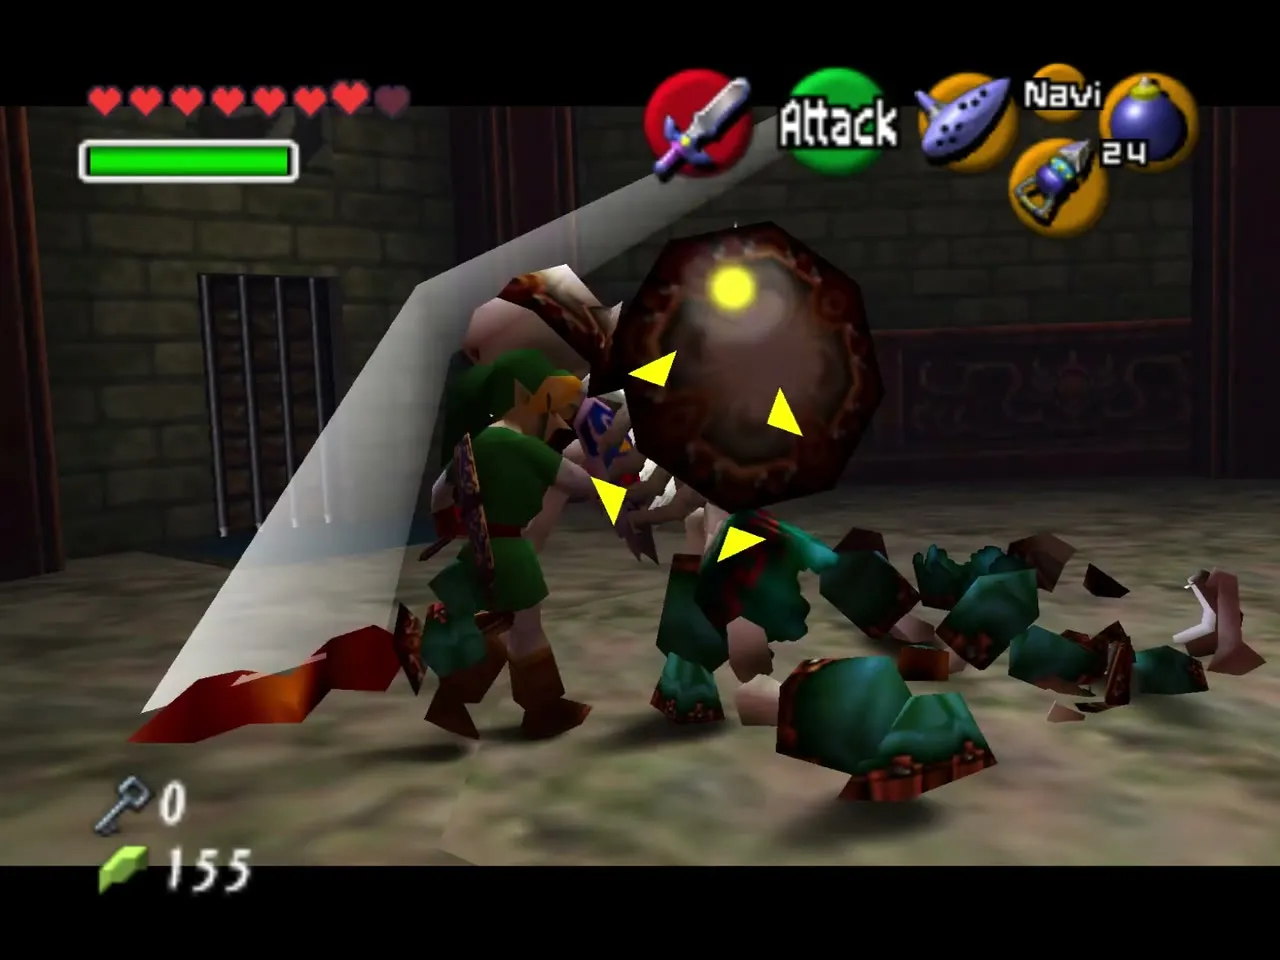
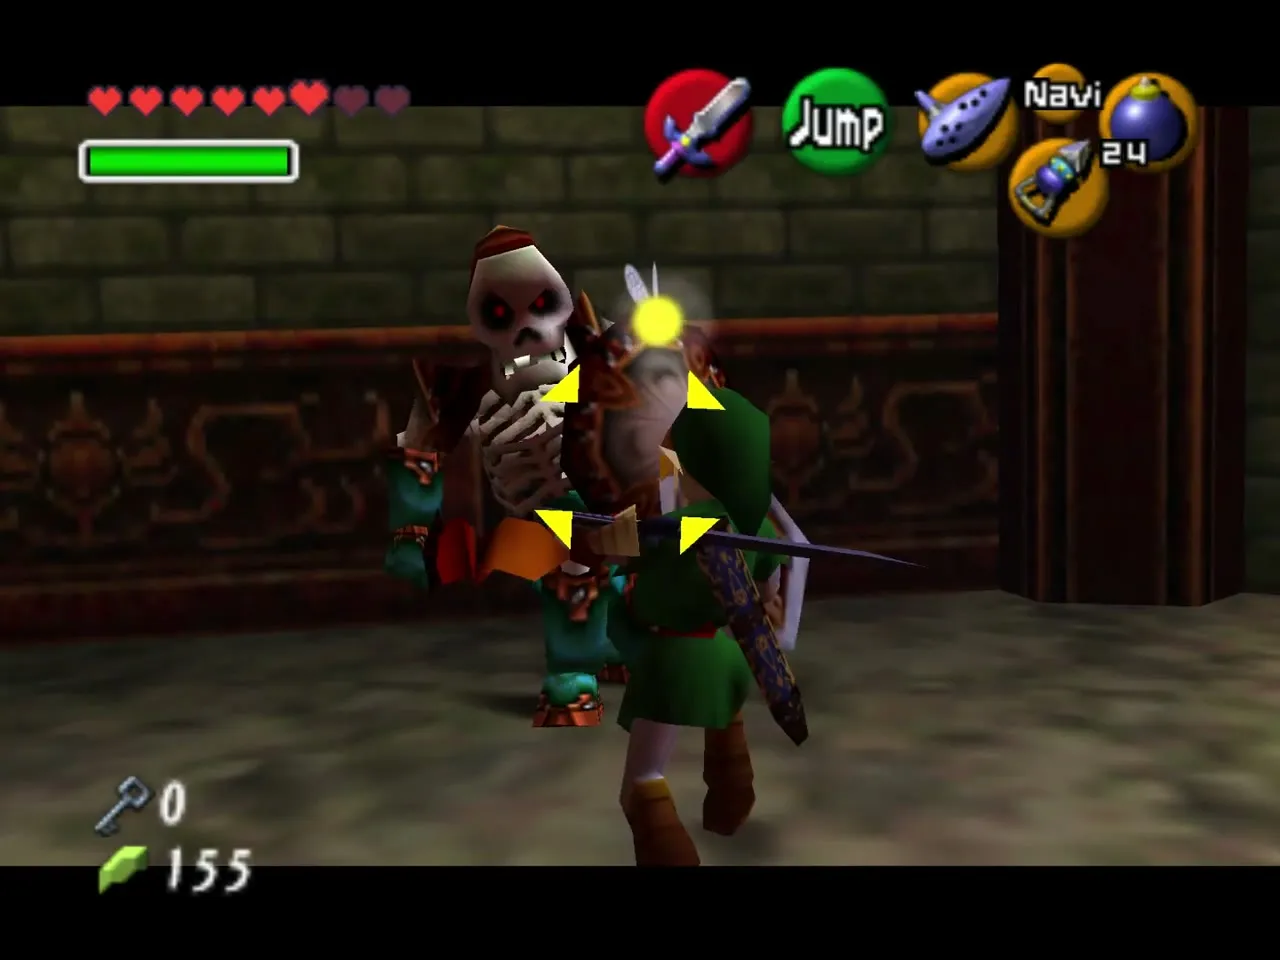
Go down the steps and ignore the portraits for now. Cross to the other exit and enter the arena with the hole in the middle. A Stalfos attacks first; the hole in the floor drops you back into the Wolfos room, so do not fall in. When it falls, a platform rises to cover the hole and two more Stalfos step out.
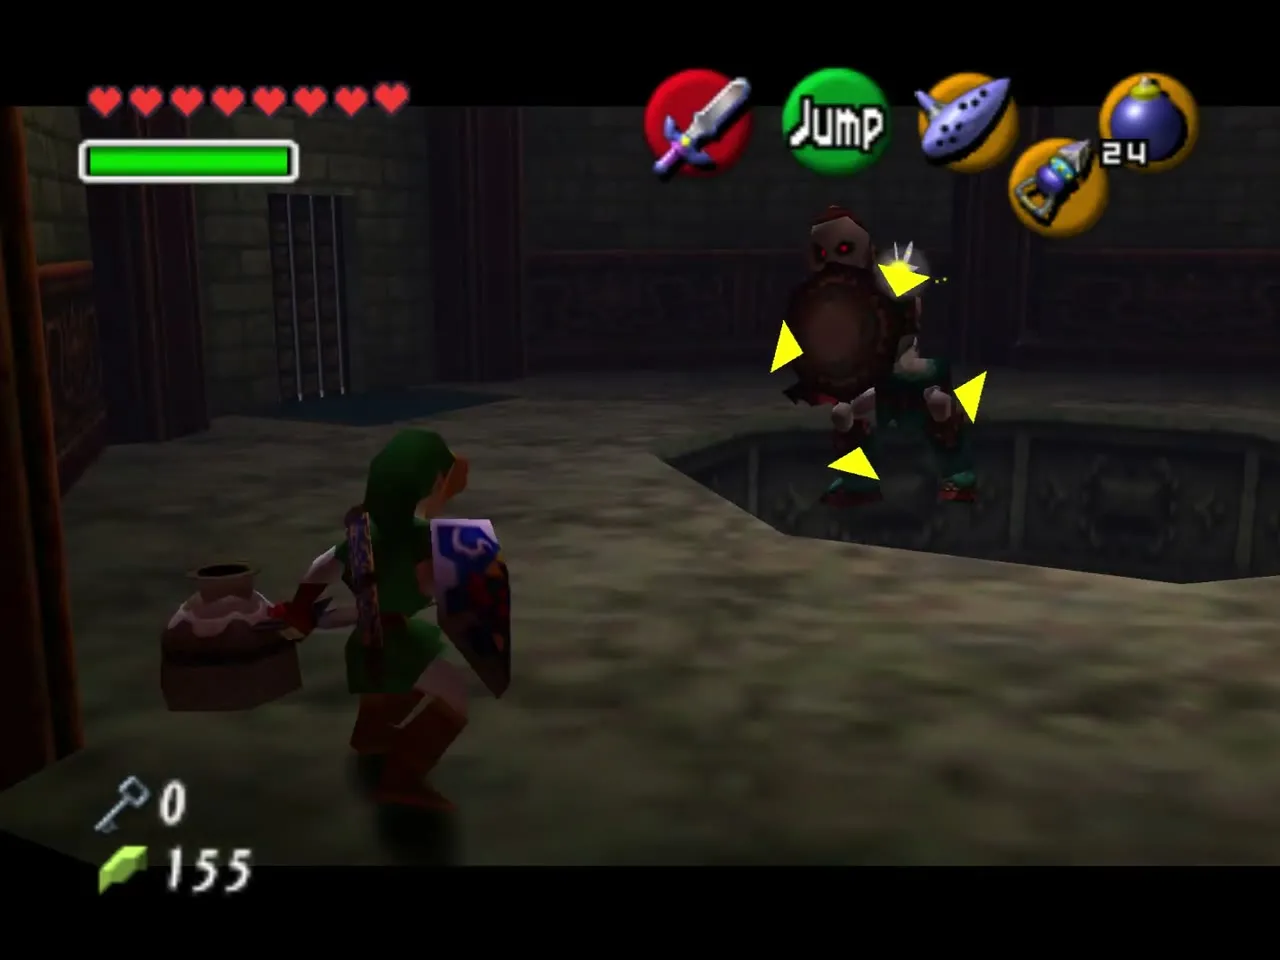
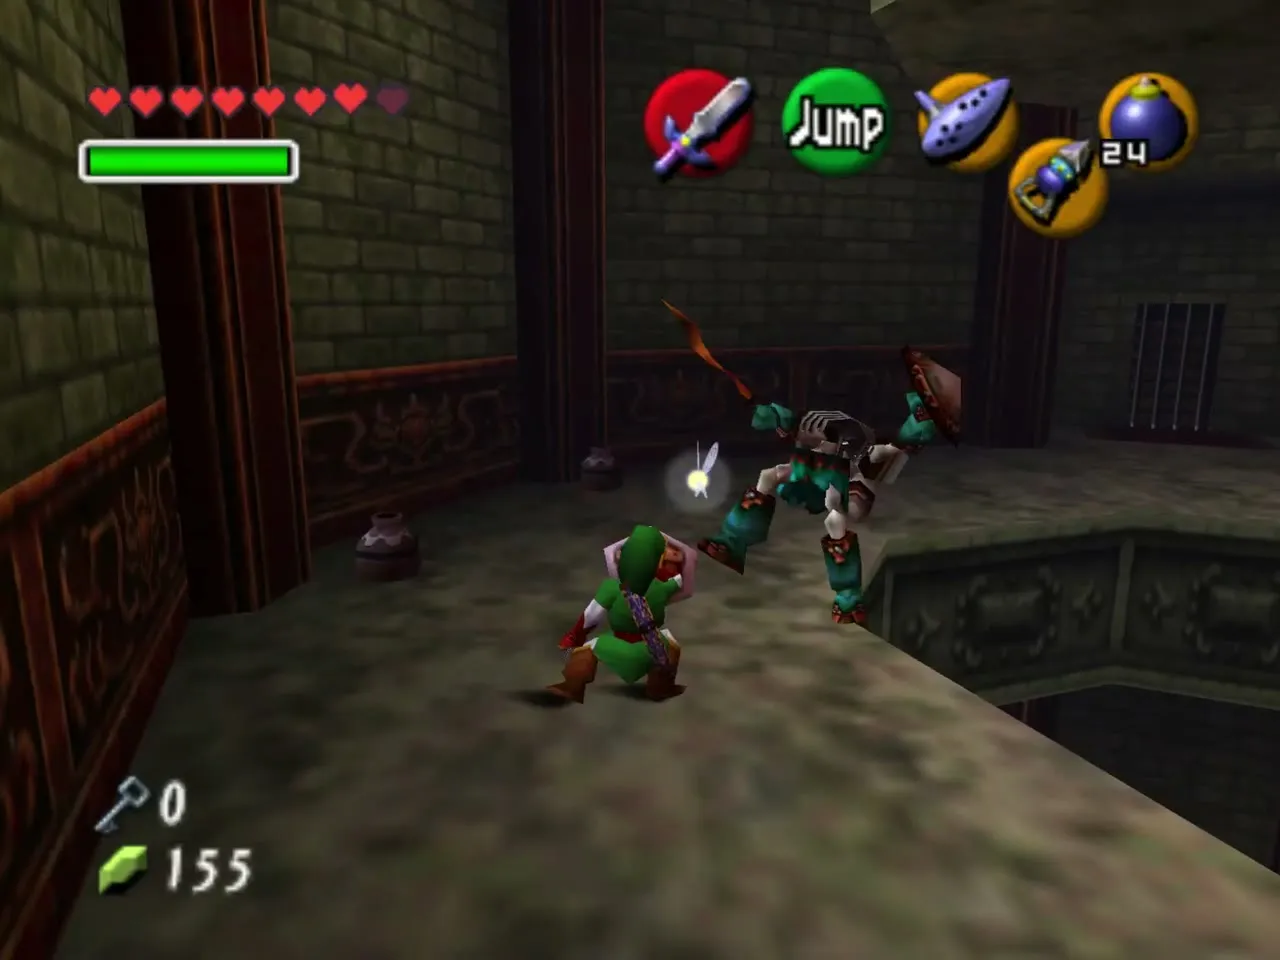
Defeat the last two close together, because a Stalfos you leave alone stands up again after a while.
The chest
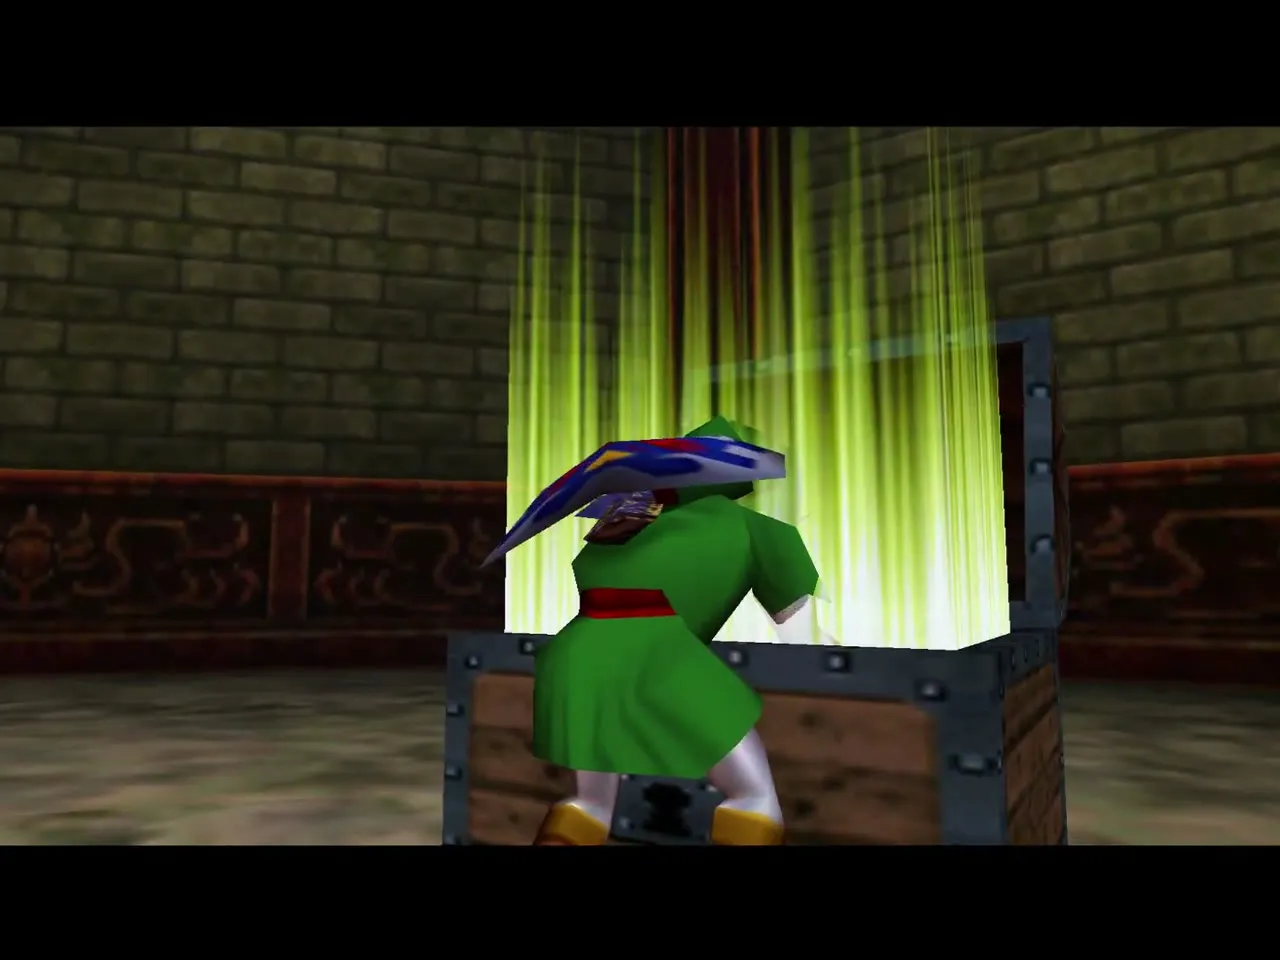
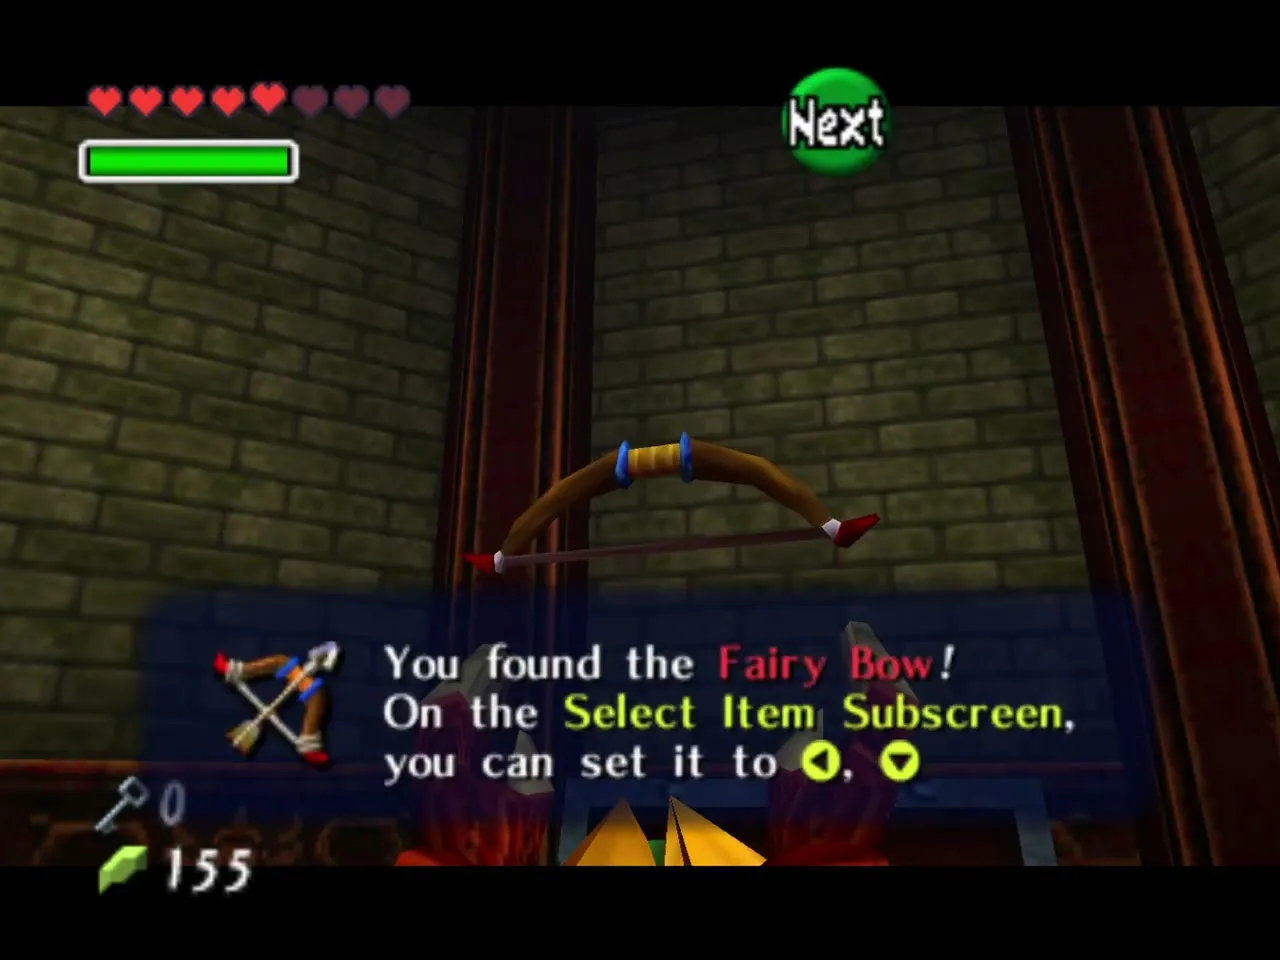
The chest in the arena holds the Fairy Bow, which you need for the portraits, the eye switches and the boss. Equip it to a C button before you leave.
Joelle and Beth
Joelle (red) and the Dungeon Map
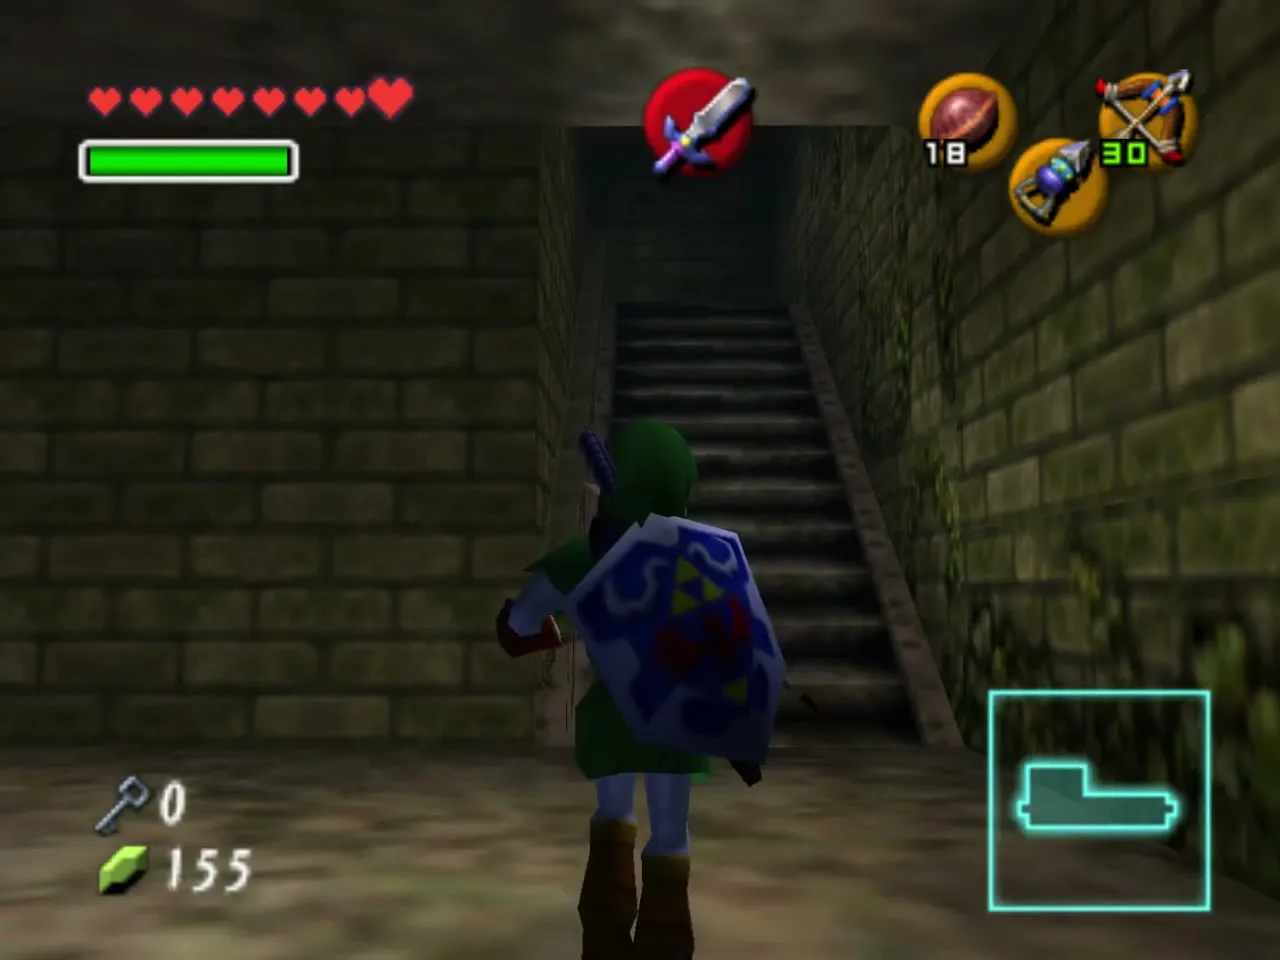
Take the door with the red carpet to a staircase with portraits on its wall. Shoot the portrait of the Poe Sister with an arrow to bring her out of hiding.
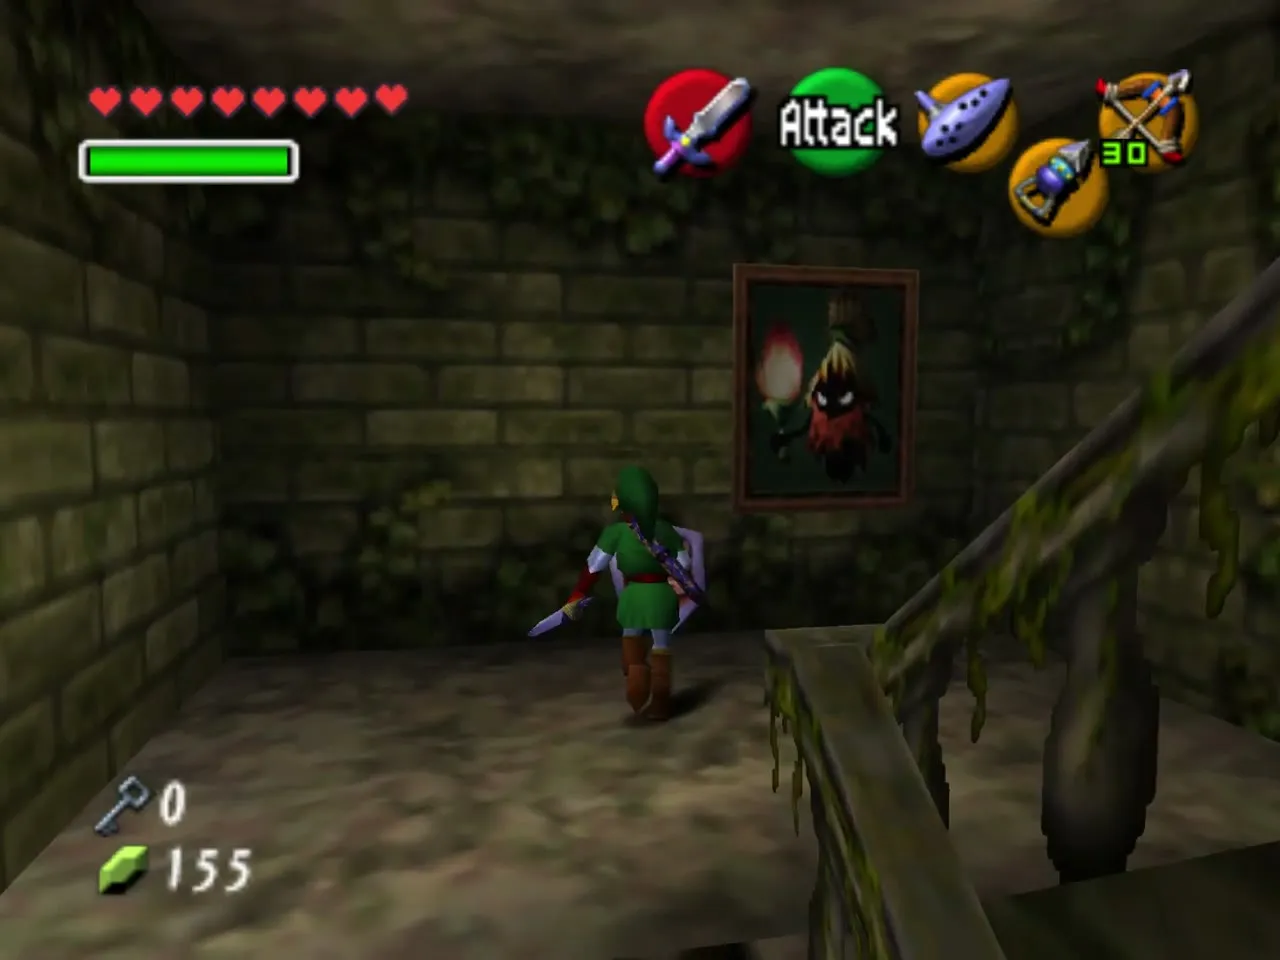
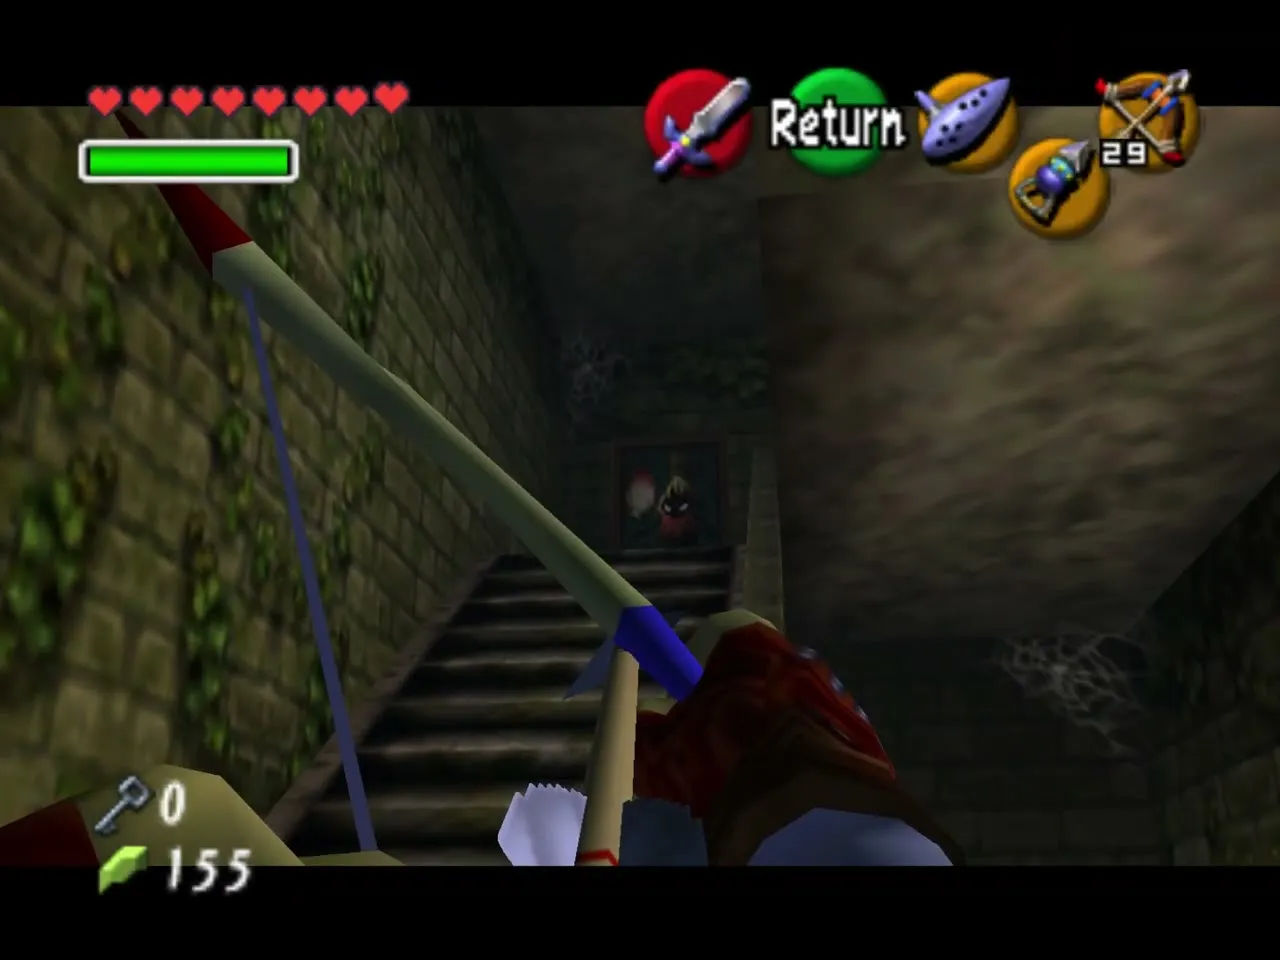
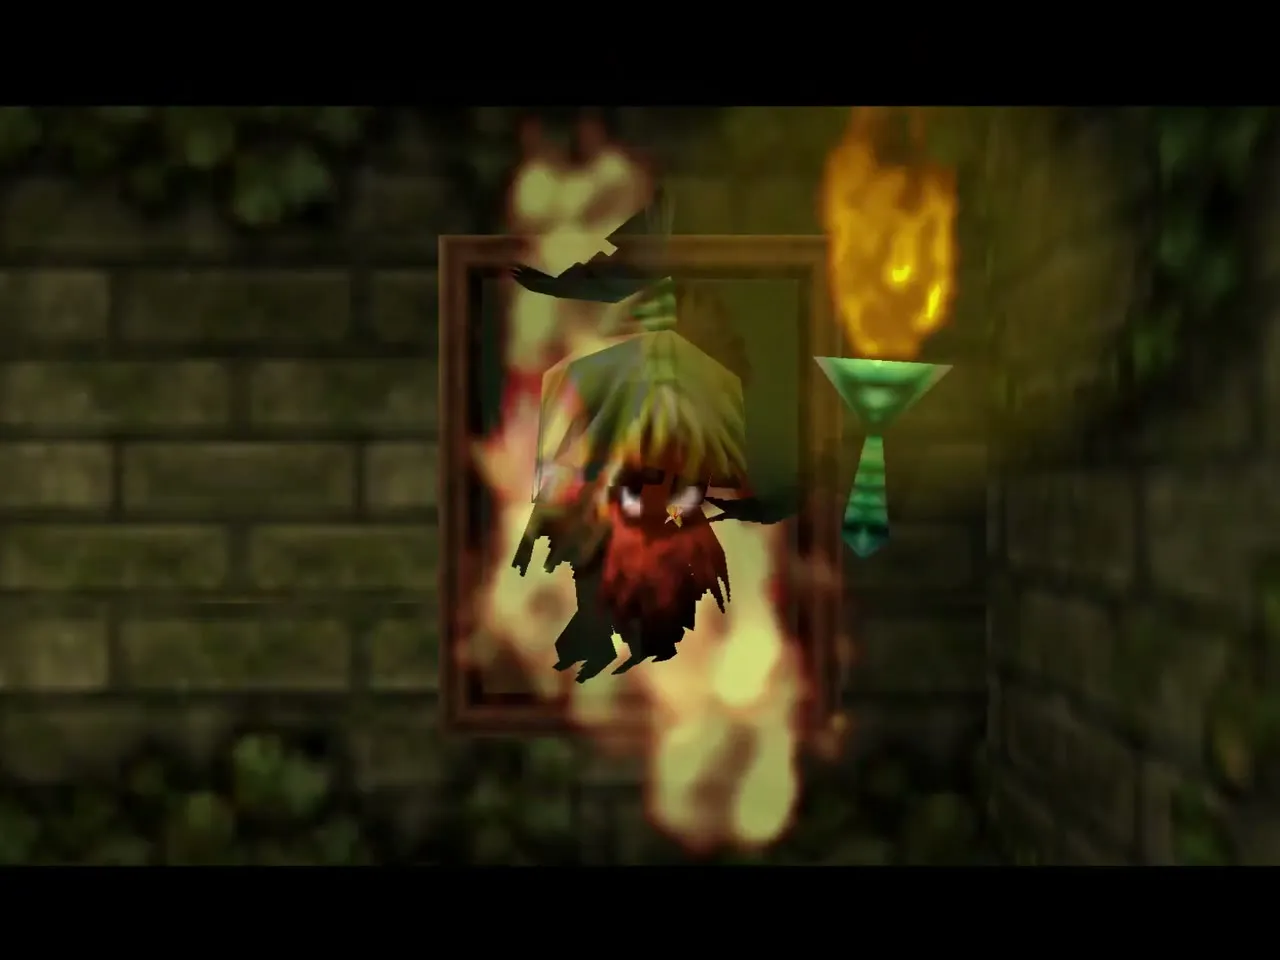
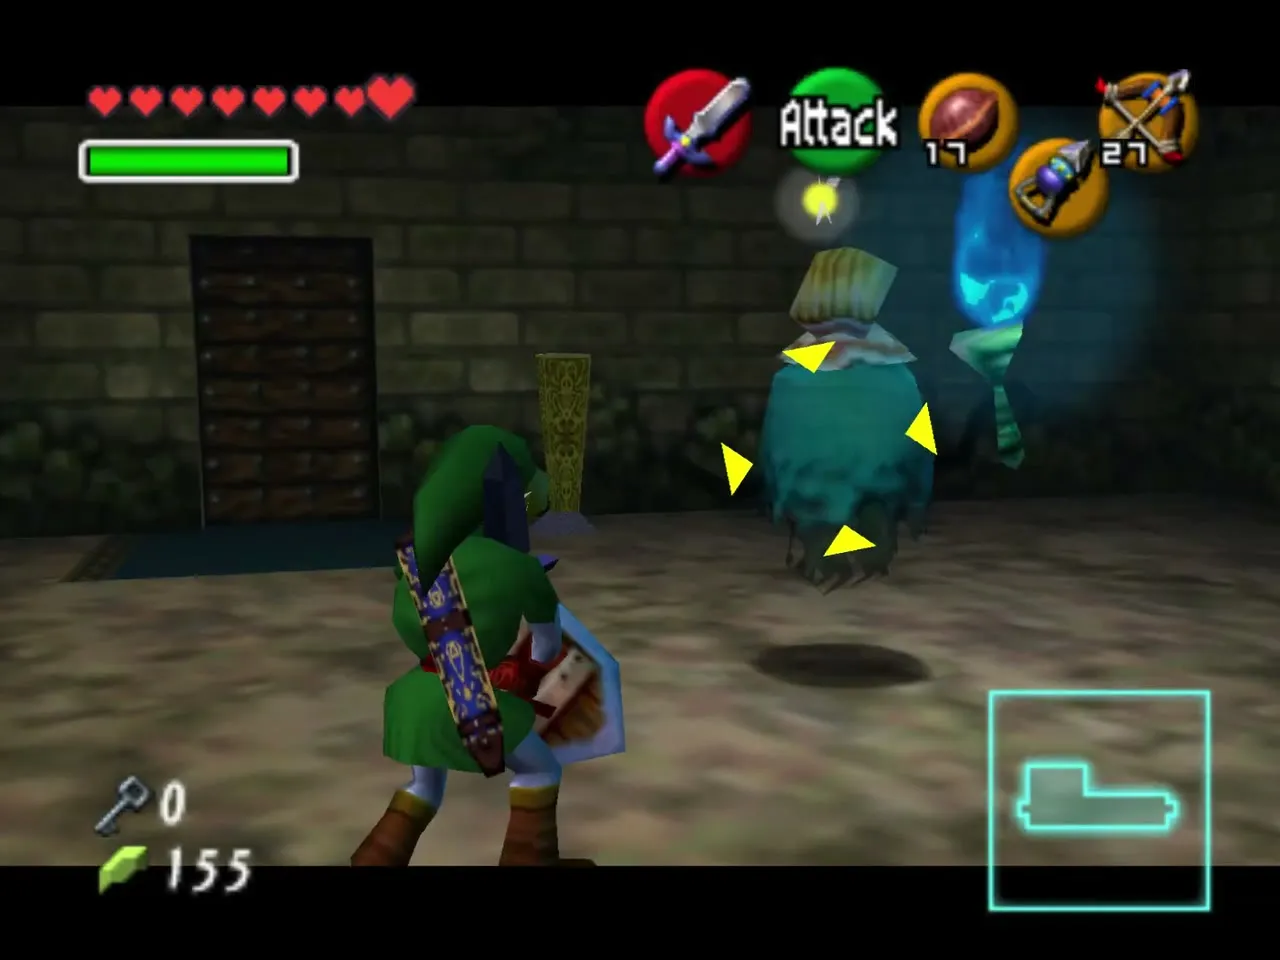
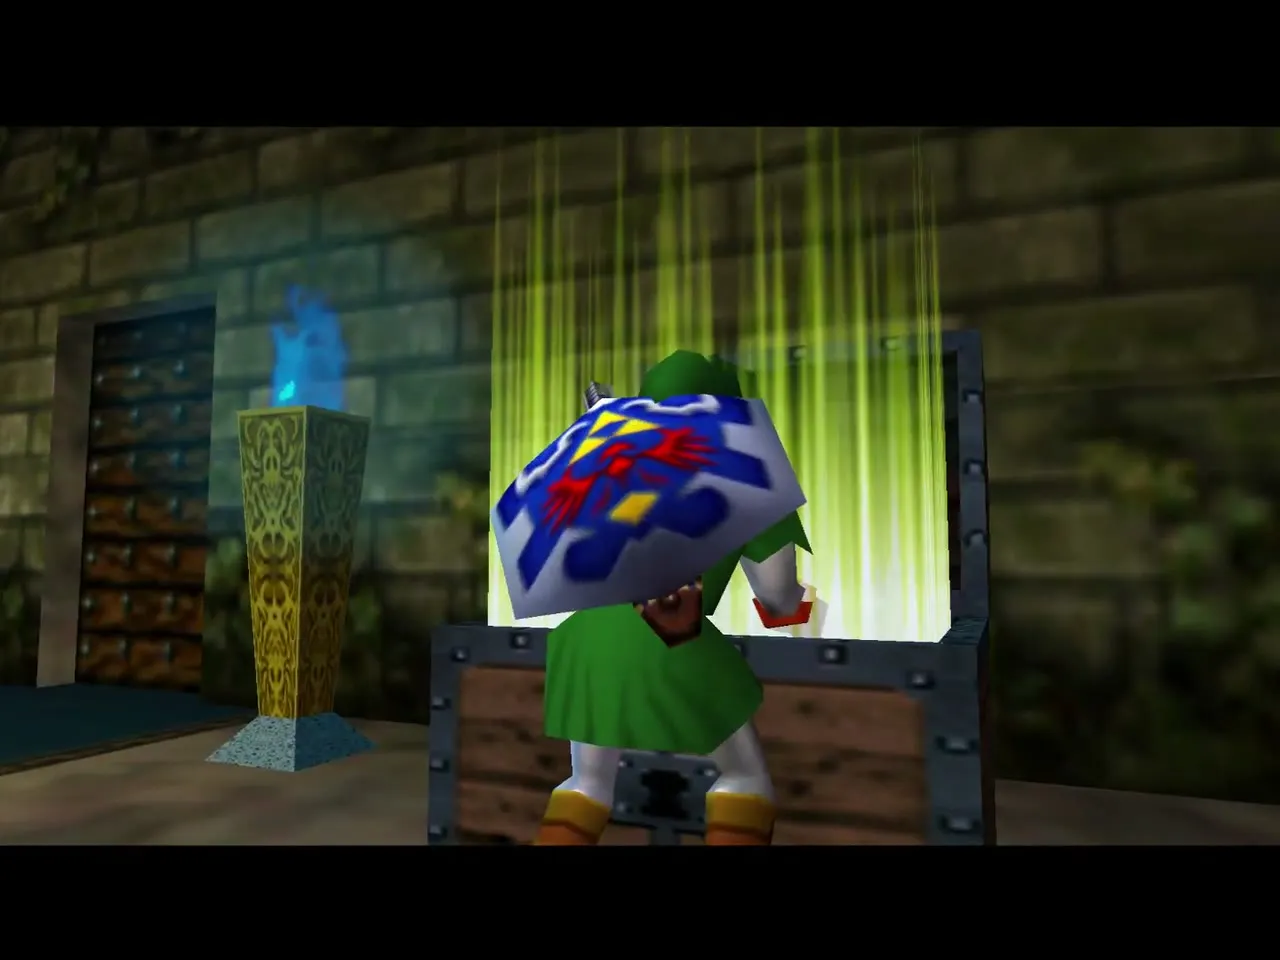
Joelle drops out of the frame and fights you in the room. Hit her when she appears, and corner her if you can; she vanishes and reappears, so keep your shield up. When she falls, her torch lights and a chest appears with the Dungeon Map.
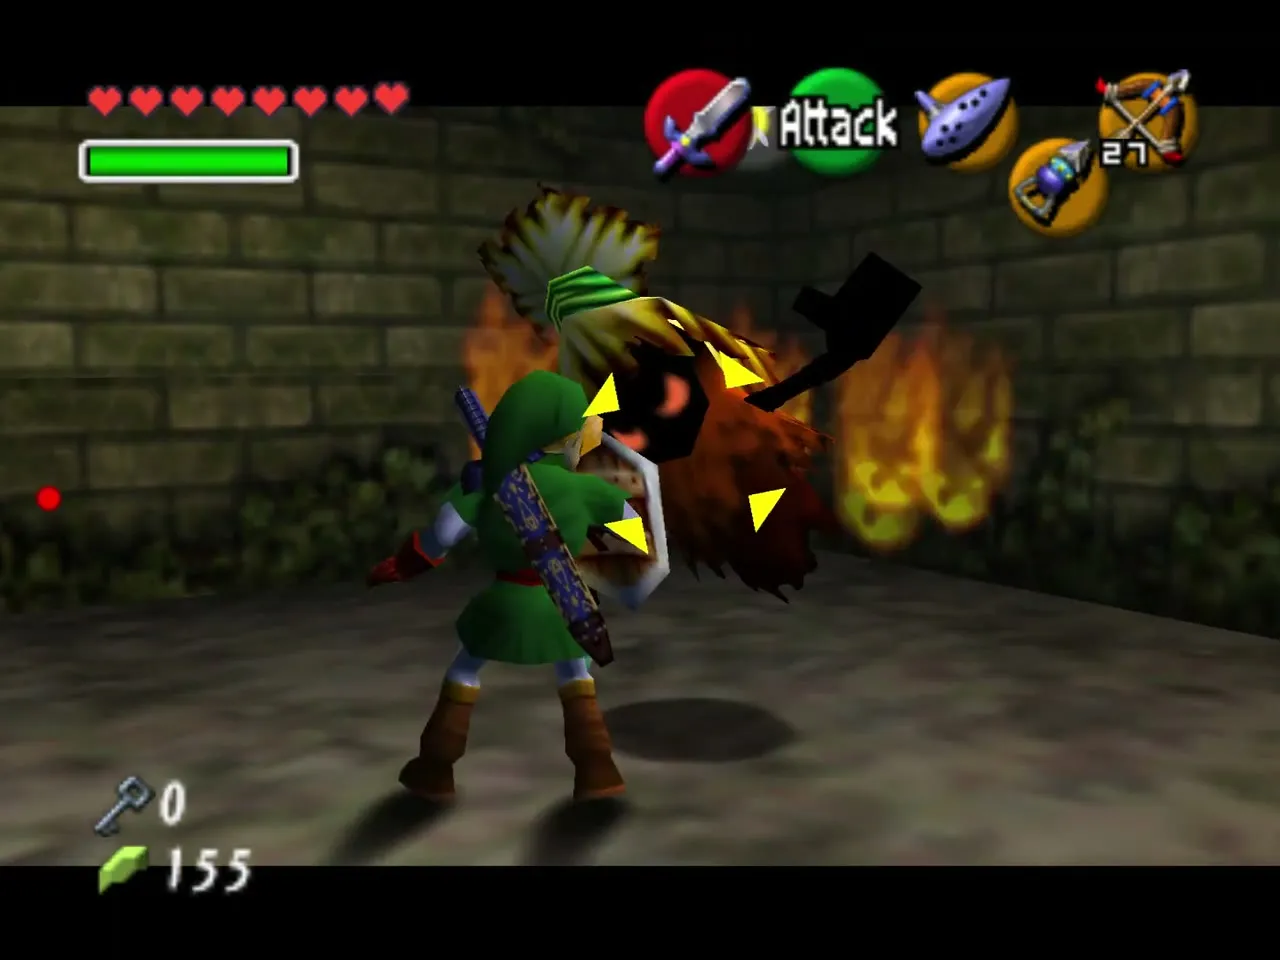
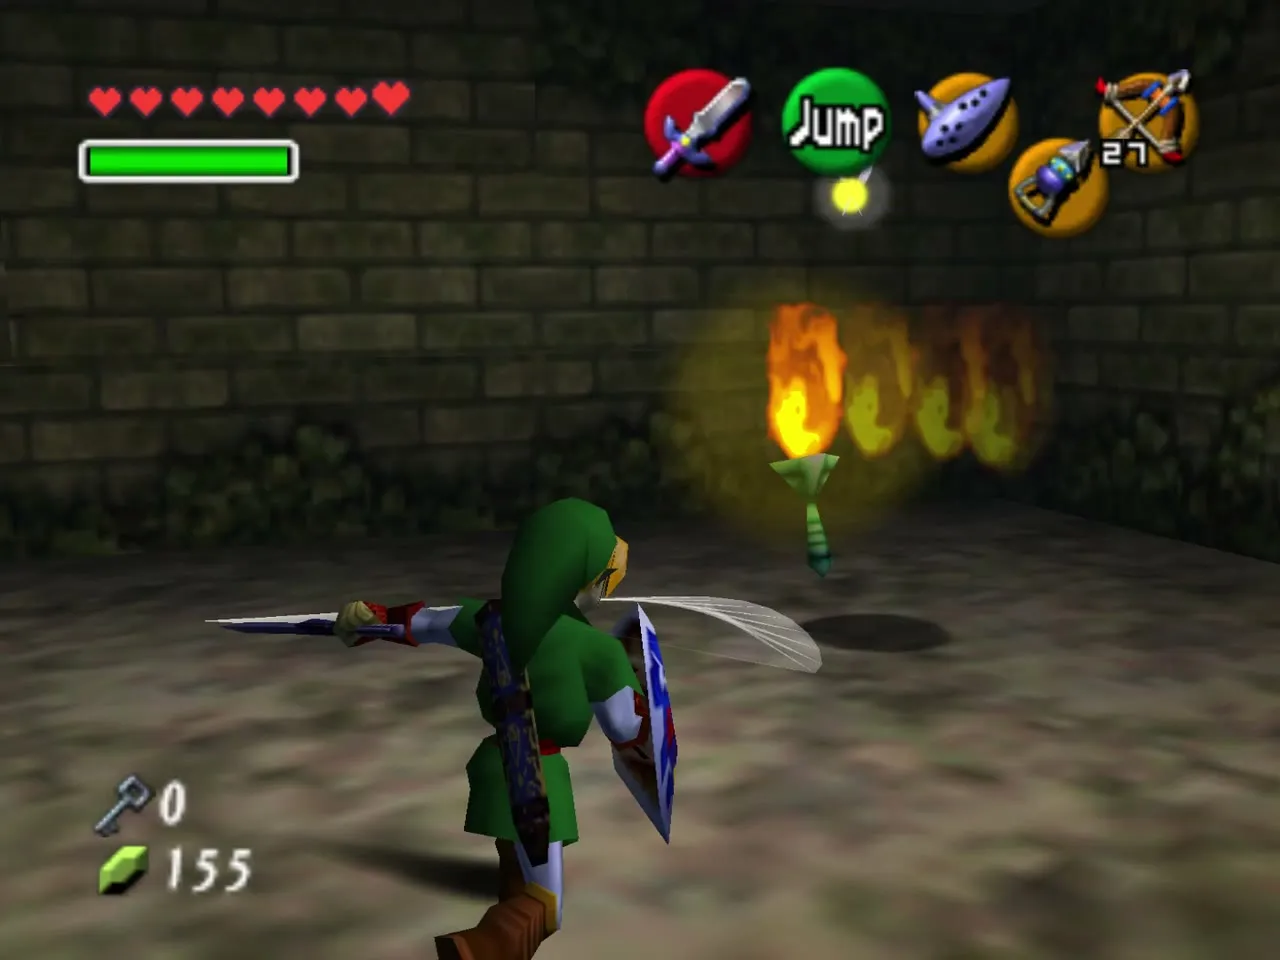
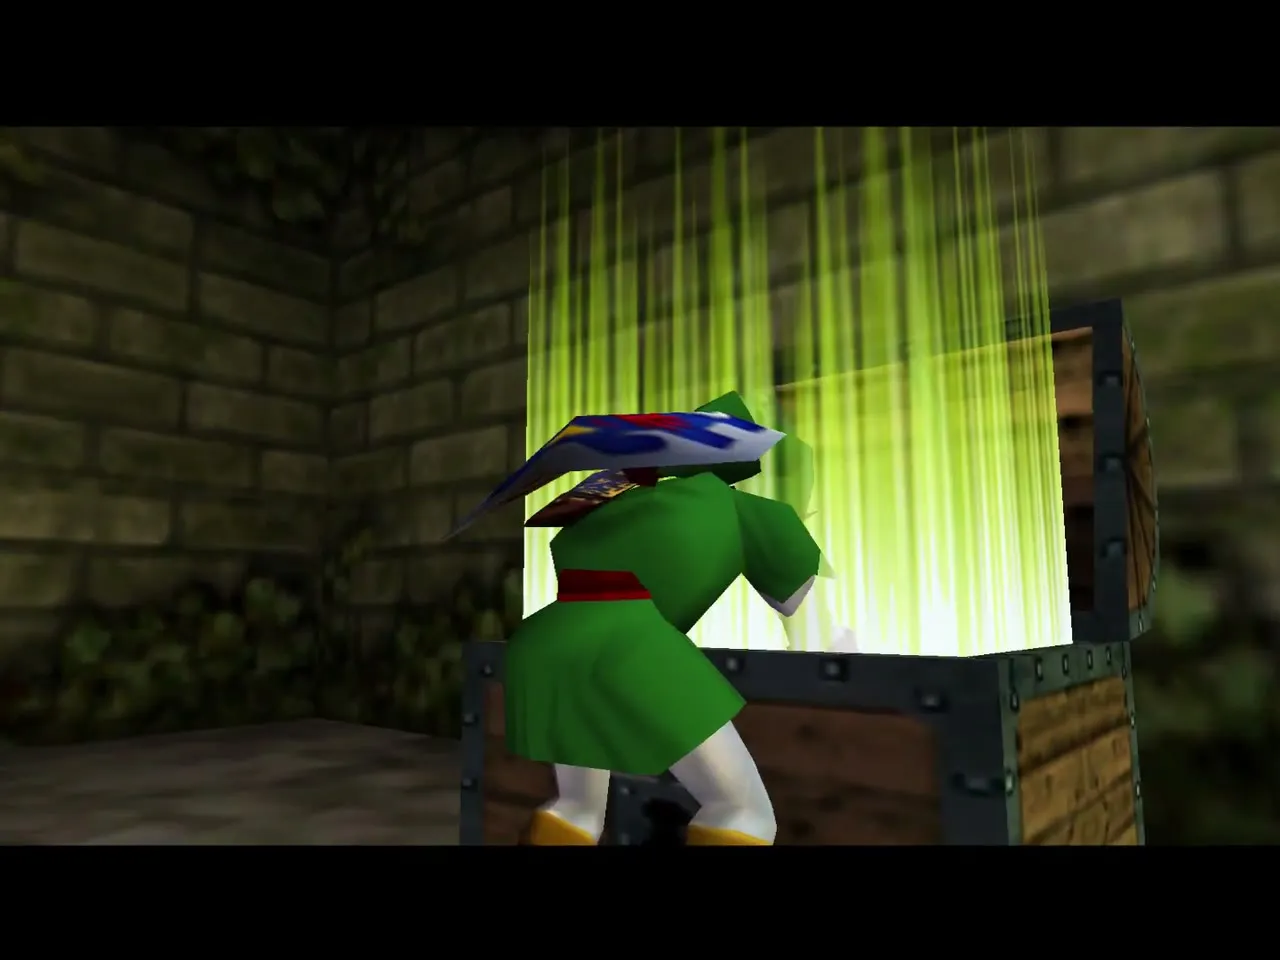
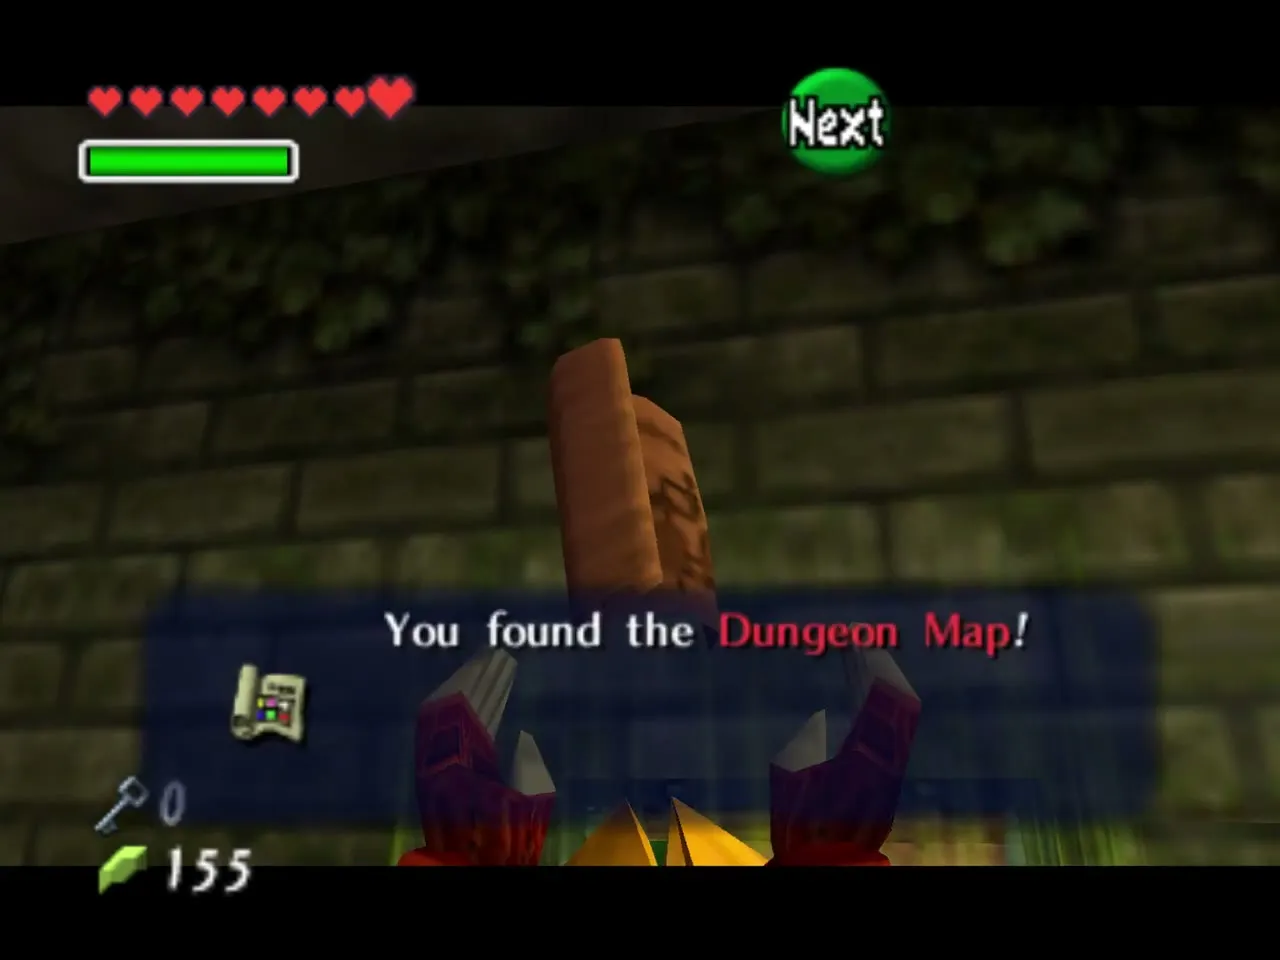
Beth (blue) and the Compass
Go back to the arena and leave through the door with the blue carpet. The staircase beyond has the portrait of Beth, who is blue. Shoot the picture with an arrow and she steps out to fight.
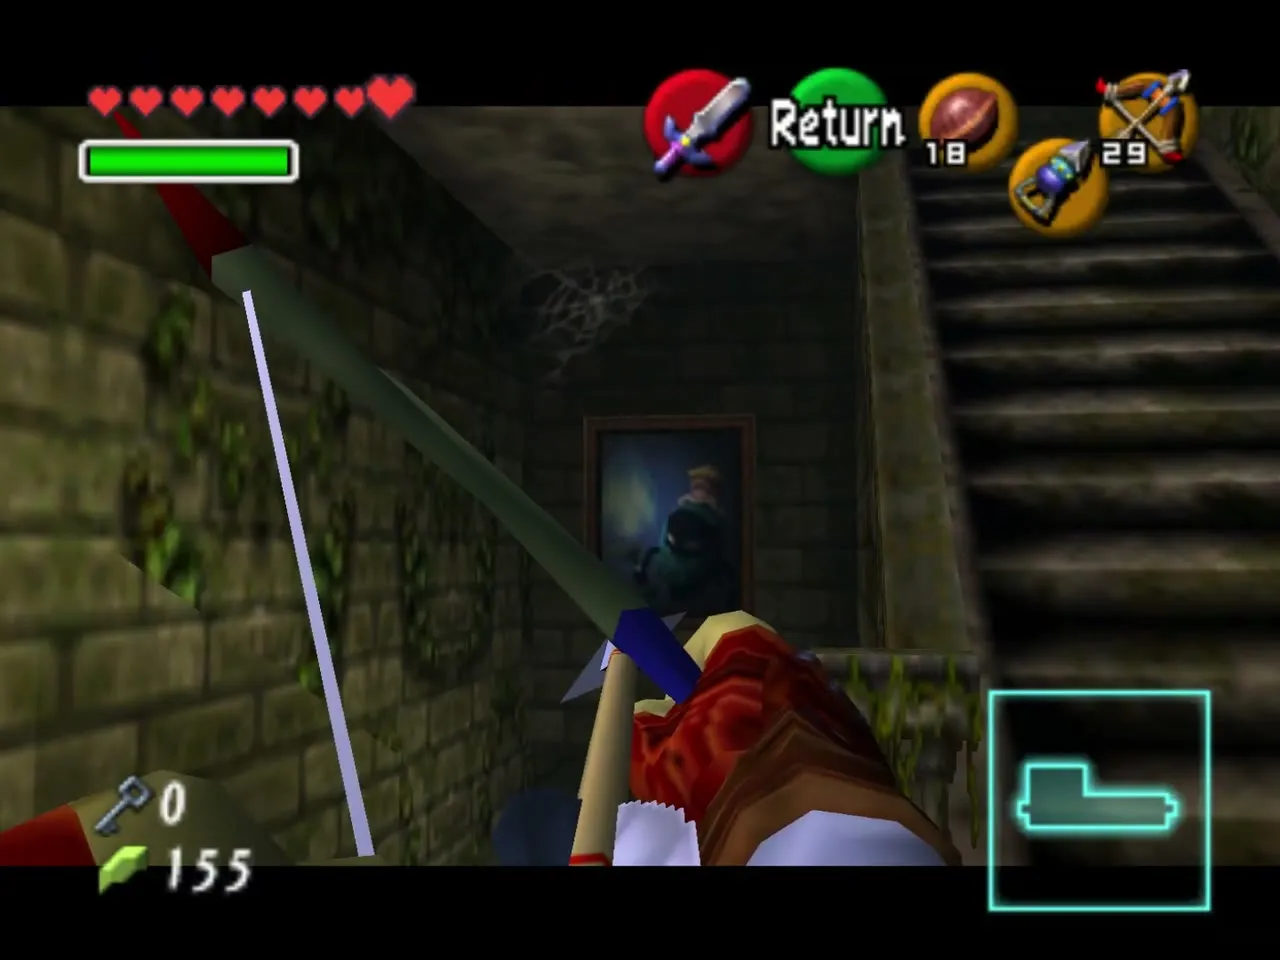
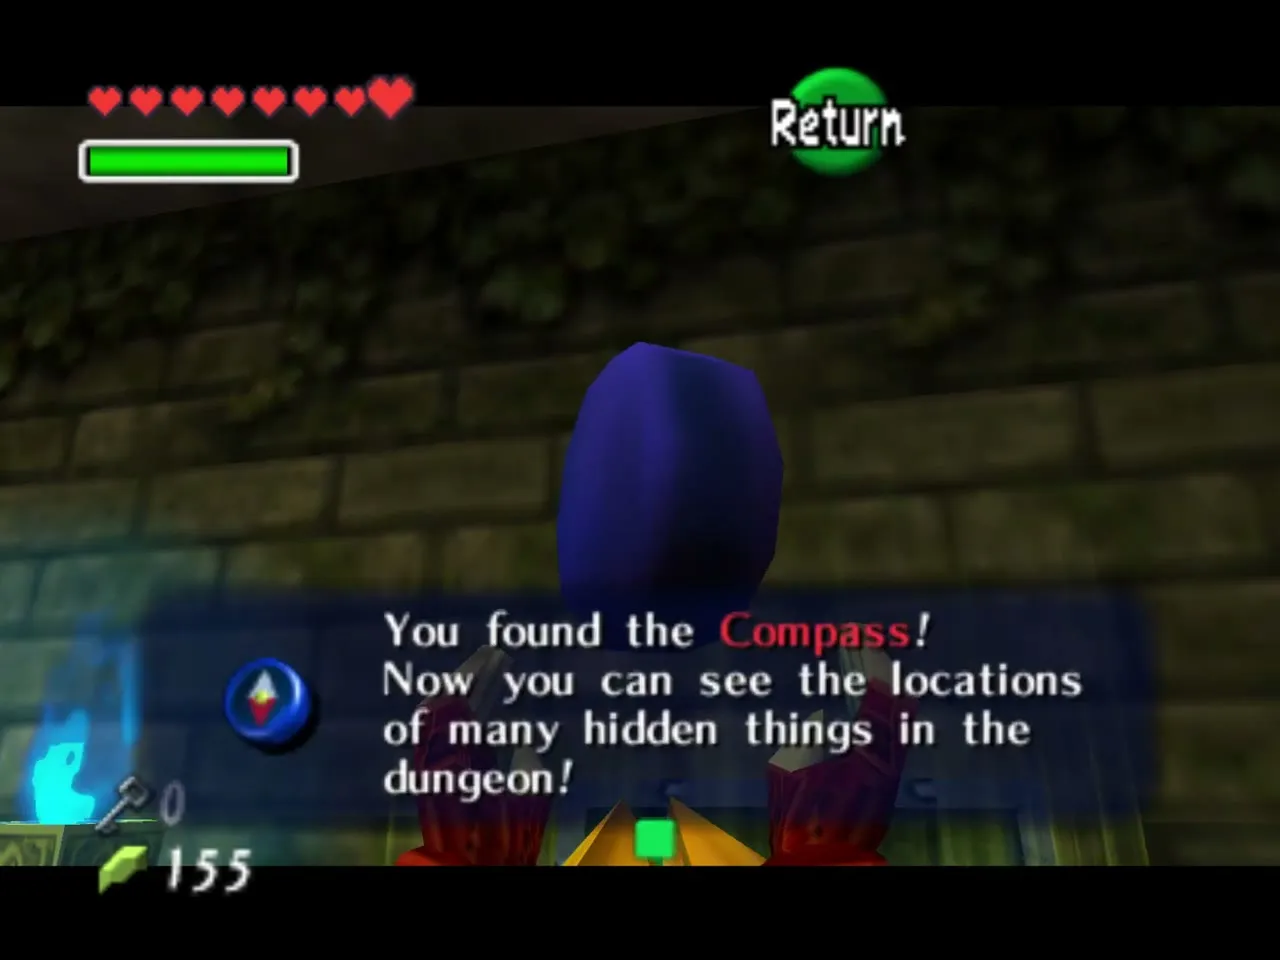
Beth uses the same tricks as her sister: she vanishes and returns, so shoot her or slash her as she reappears. When she falls, her torch lights and a chest appears with the Compass.
Back to the hall and the garden
Return through the twisted hall
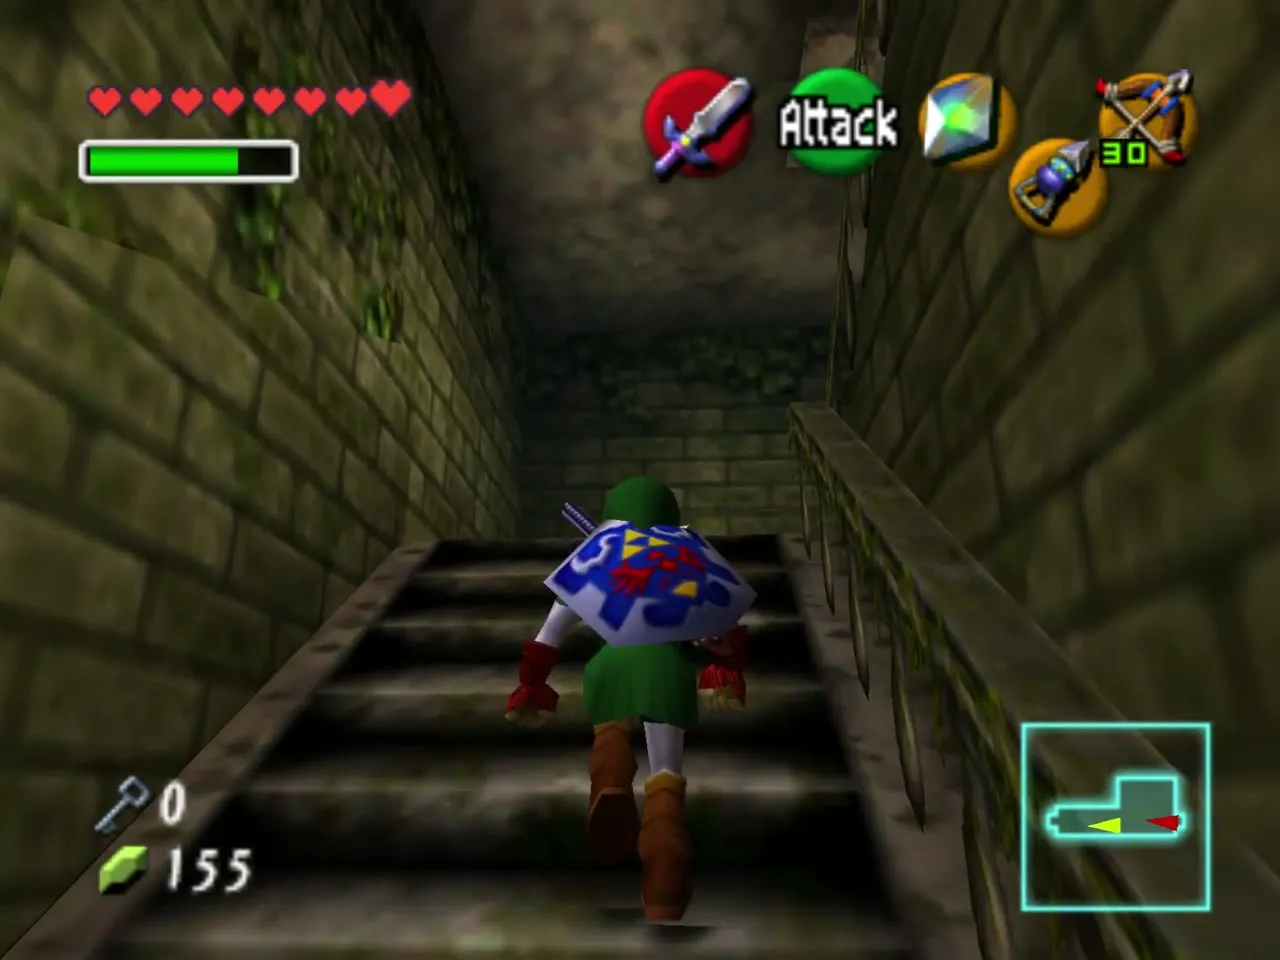
Climb the stairs, take the door and cross the twisted hall again. Wallmasters wait here, so stay out of their shadows, and keep going until you are back in the main hall.
Eye switches
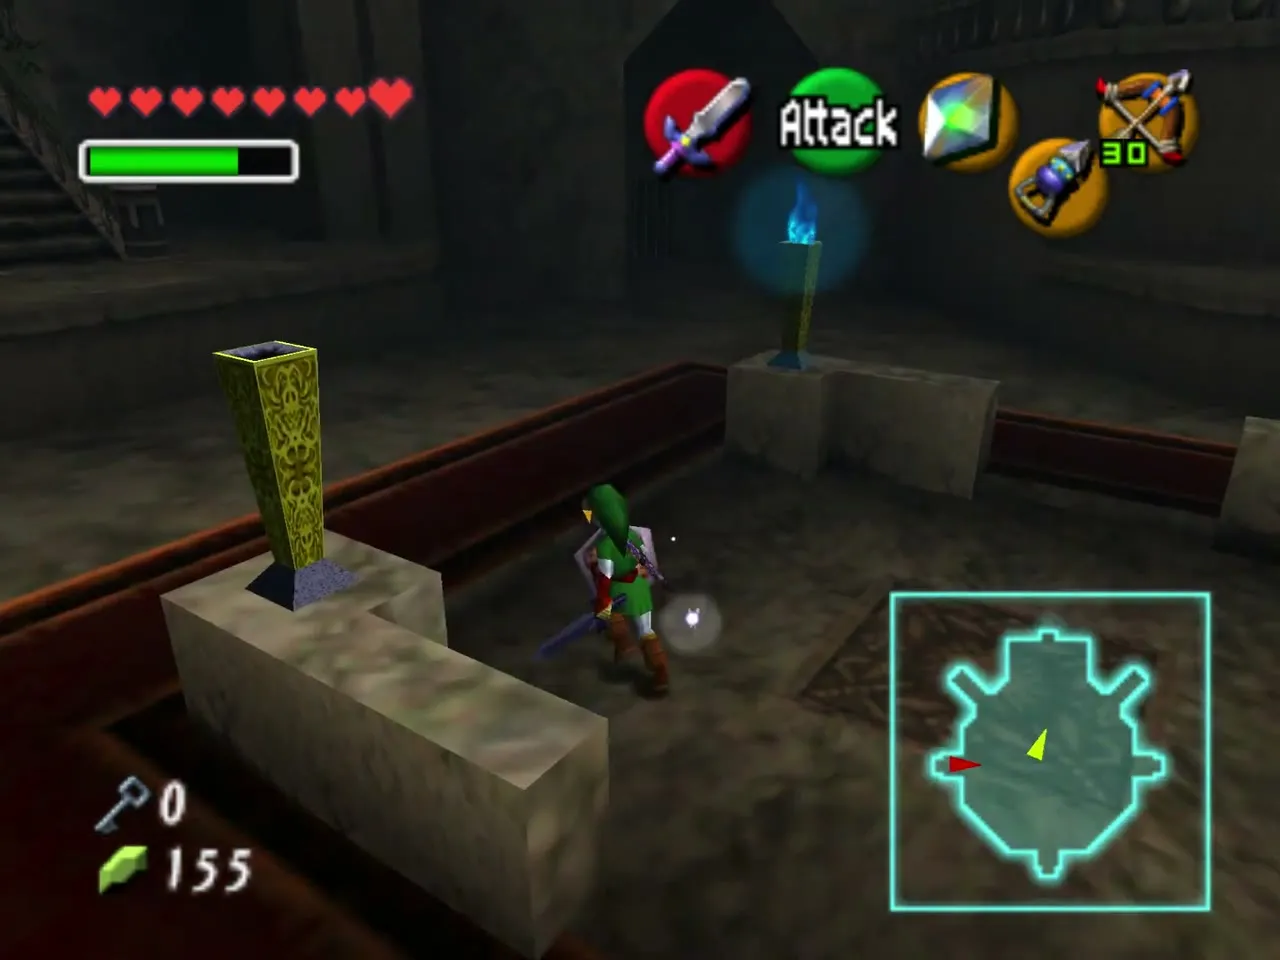
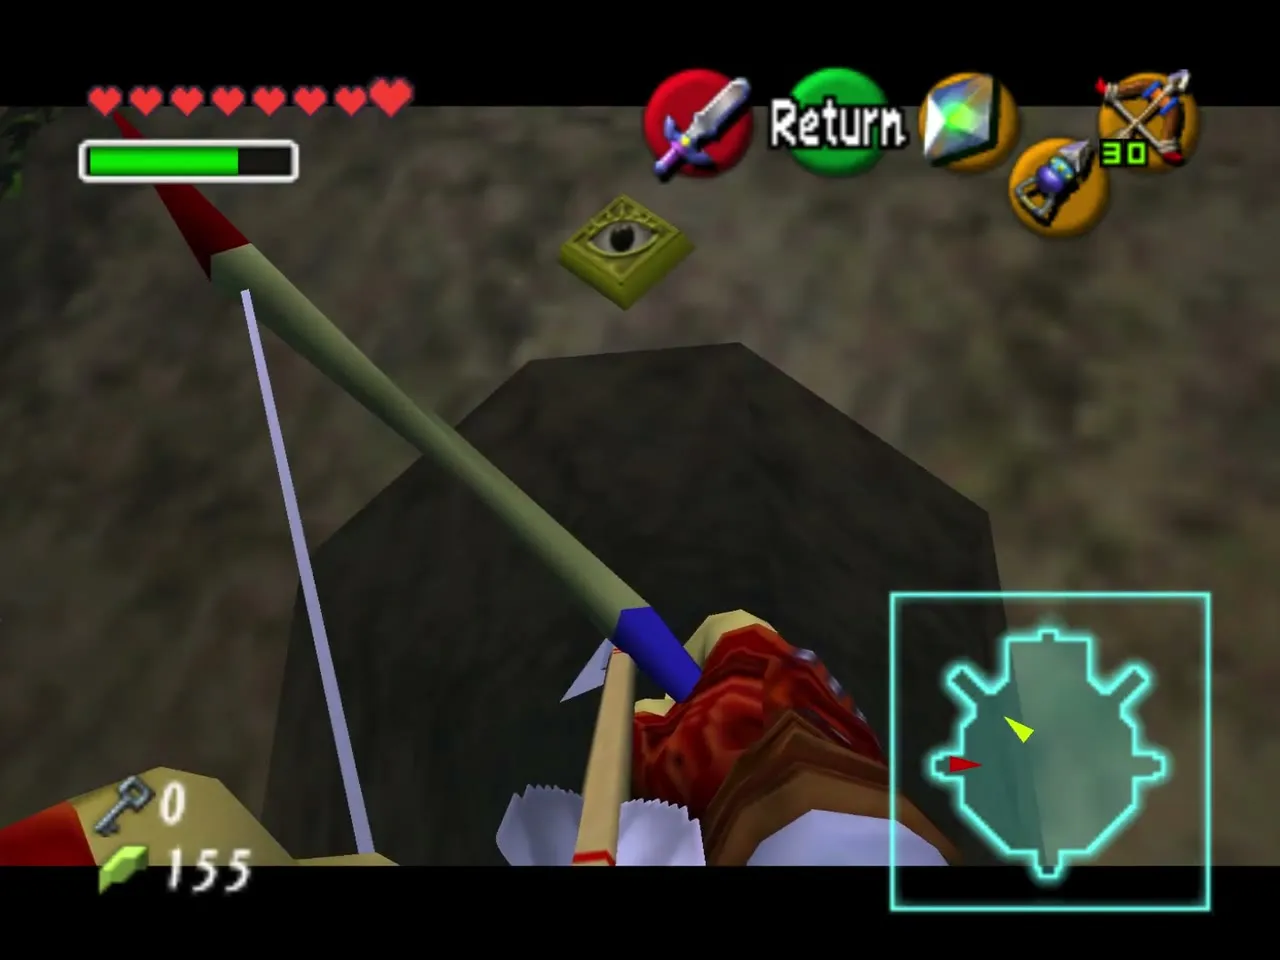
Two silver eye switches hang over the northwest and northeast corridors, each guarding a barred gate. Shoot both with the Fairy Bow and the gates open to the gardens.
West garden and the Gold Skulltula over the door
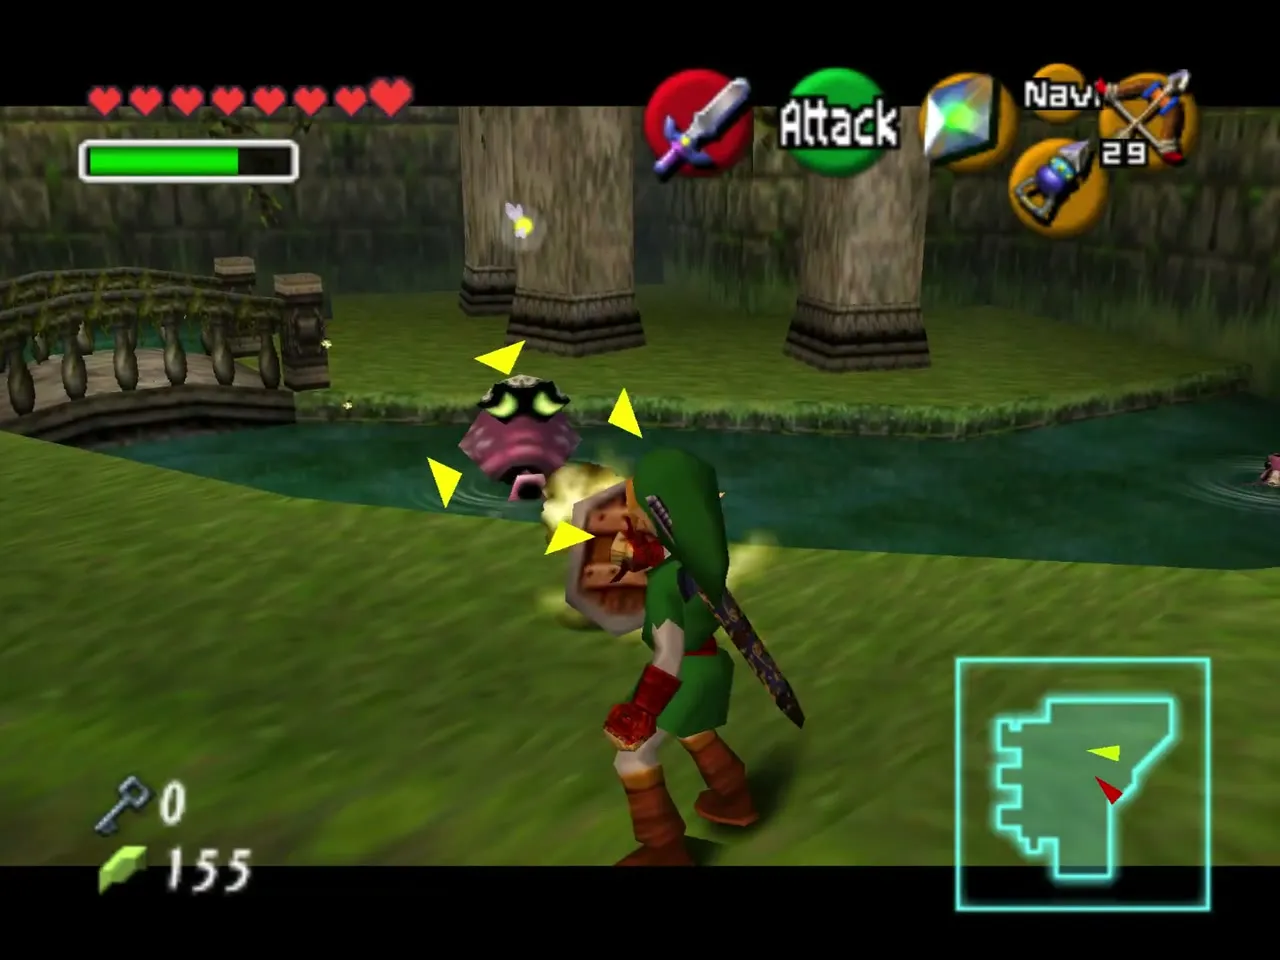
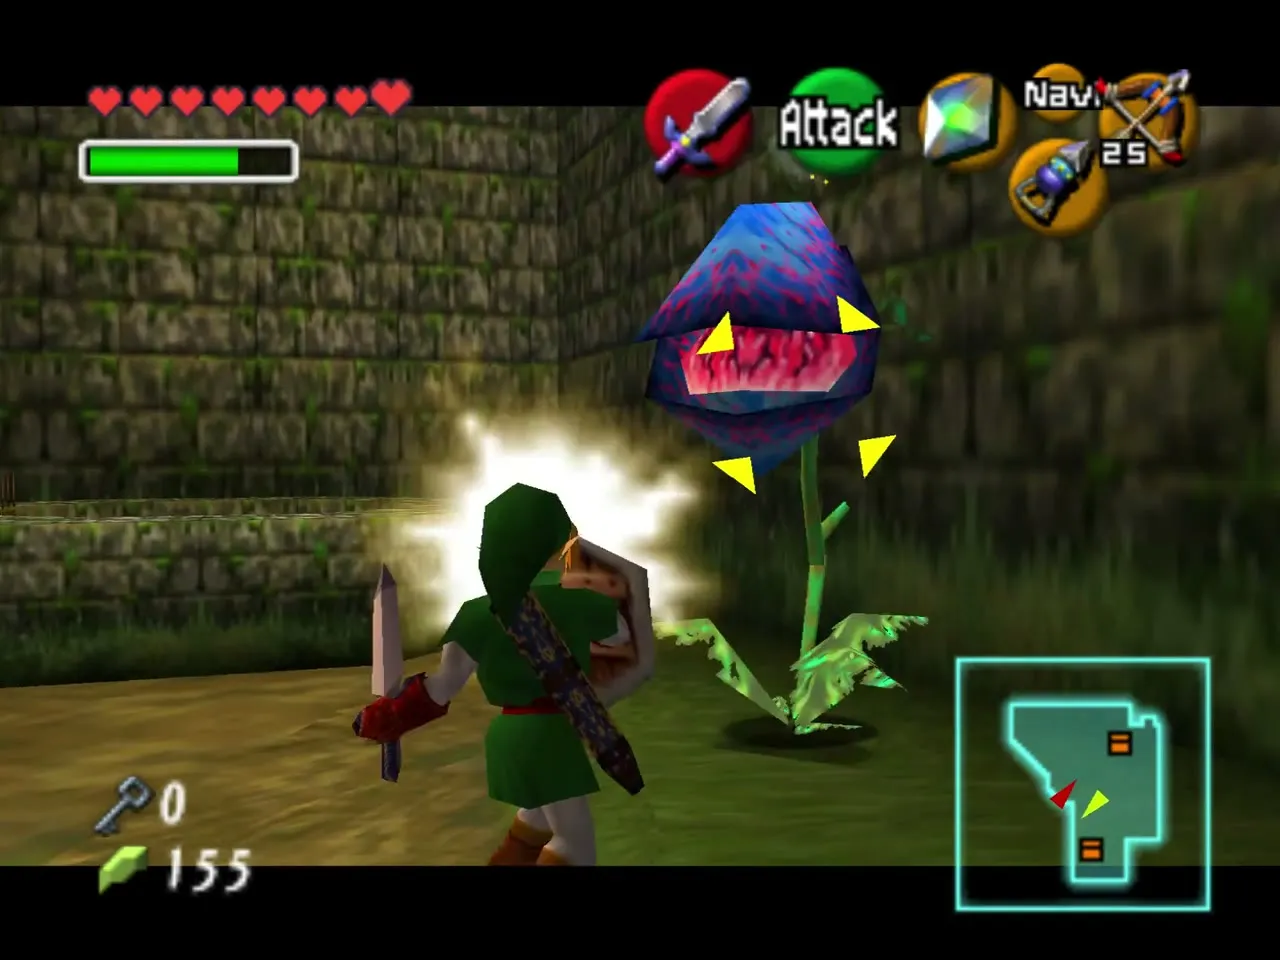
Go into the west garden and deal with the Big Deku Babas, which are easy if you step back and strike as they lunge. Turn round and Hookshot the third Gold Skulltula above the door you came through.
Drain the well
Walk to the west end and stand on the rim of the well. An eye switch sits at the bottom, so shoot it with the bow and the water drains.
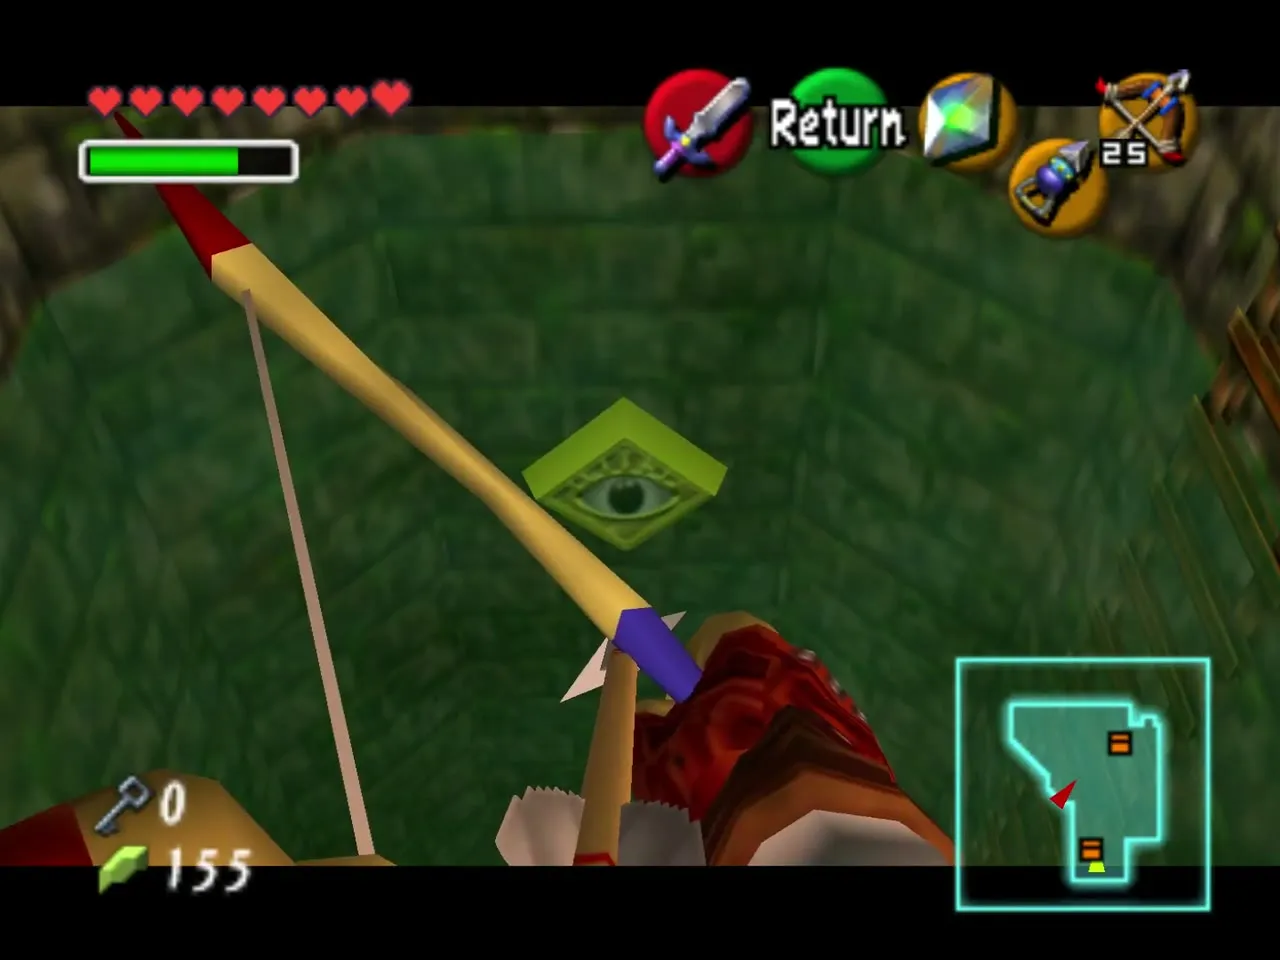
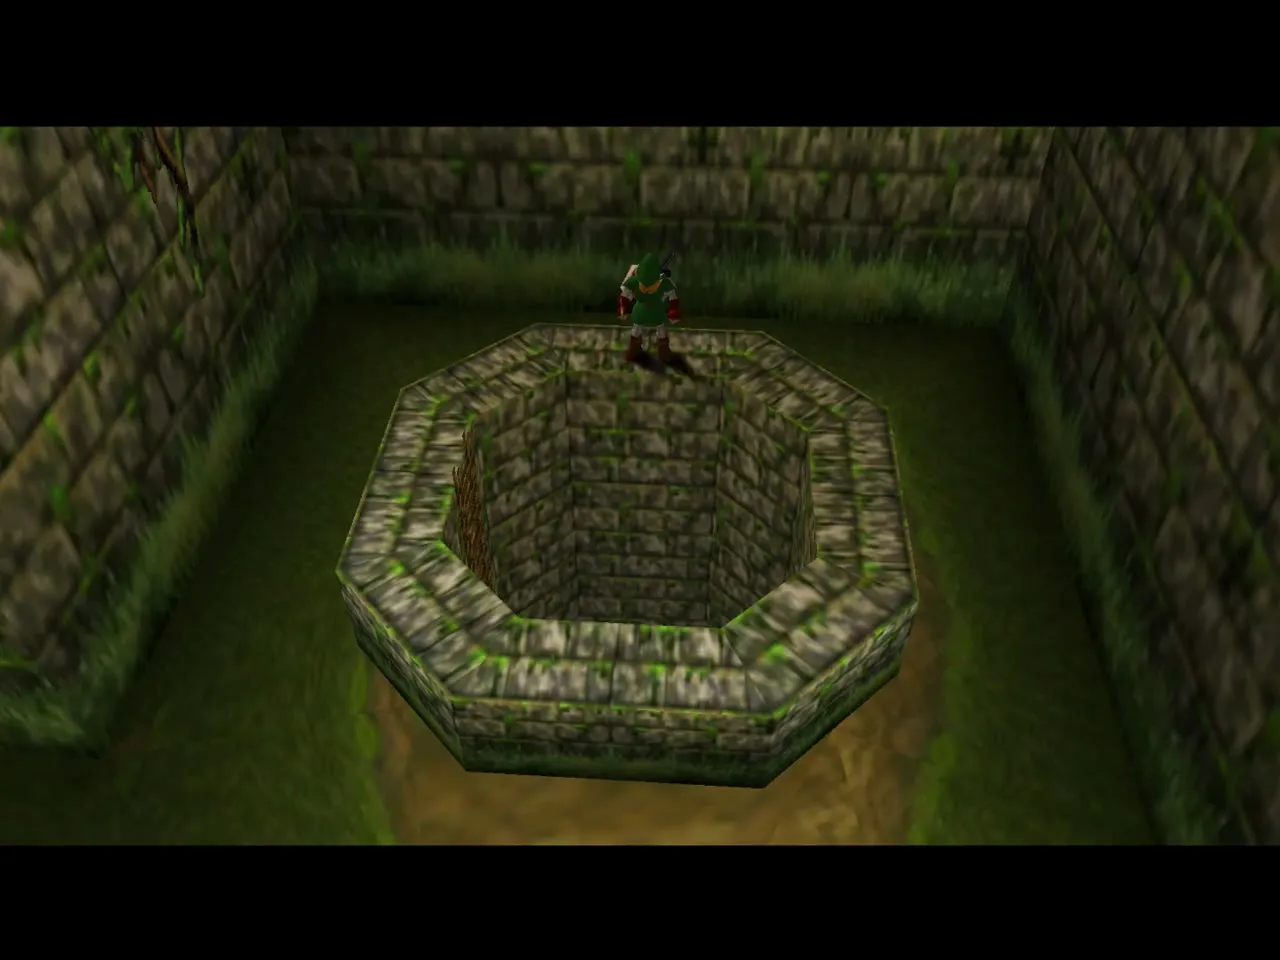
Small Key 4 and two more tokens
Drop into the empty well and follow its tunnel to a chest with Small Key 4. At the far end of the well, on the opposite side, a Gold Skulltula waits: that is the fourth token. Take the ladder or vines on the east wall out of the well.
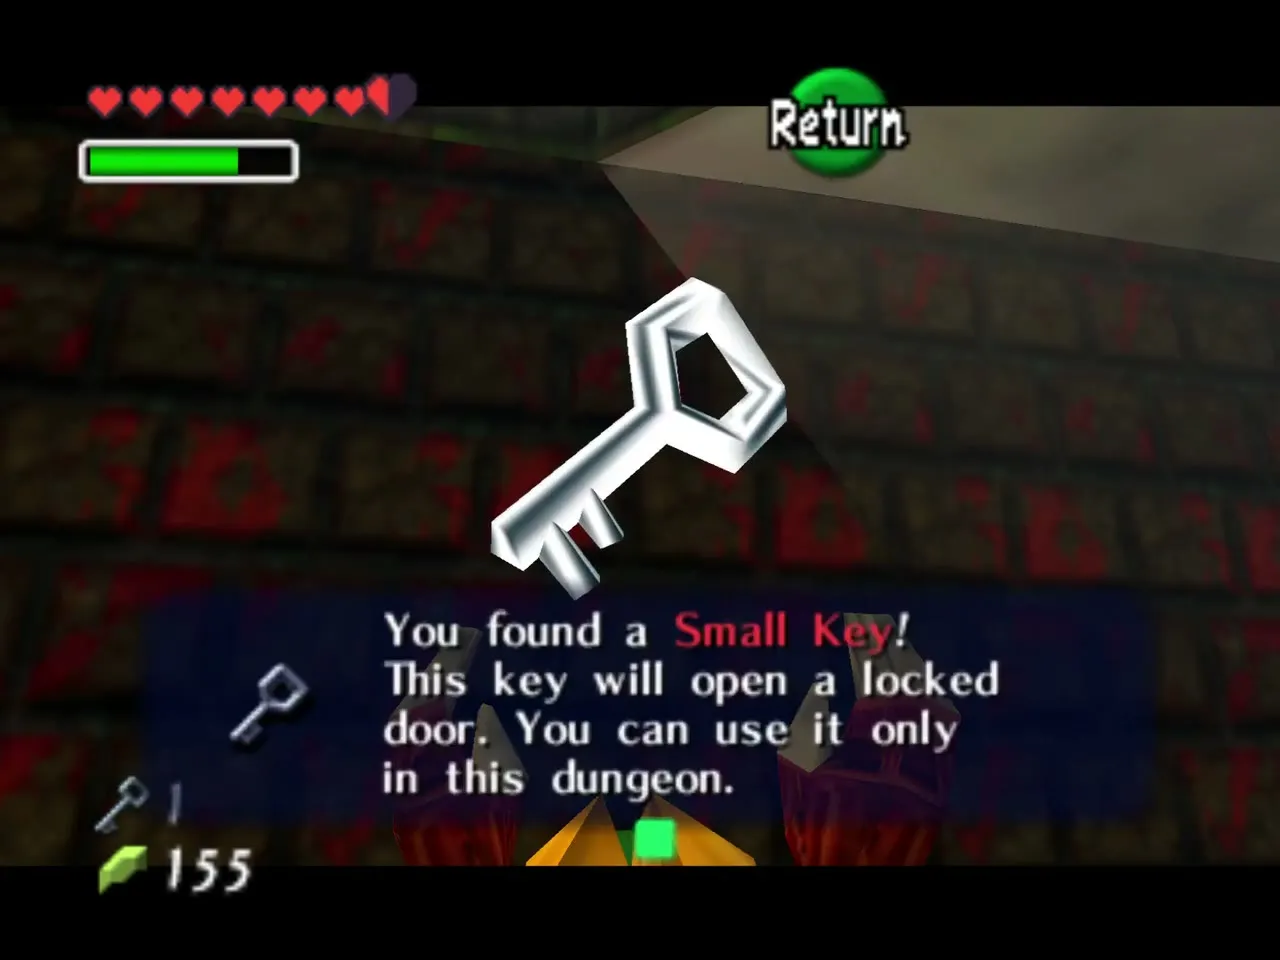
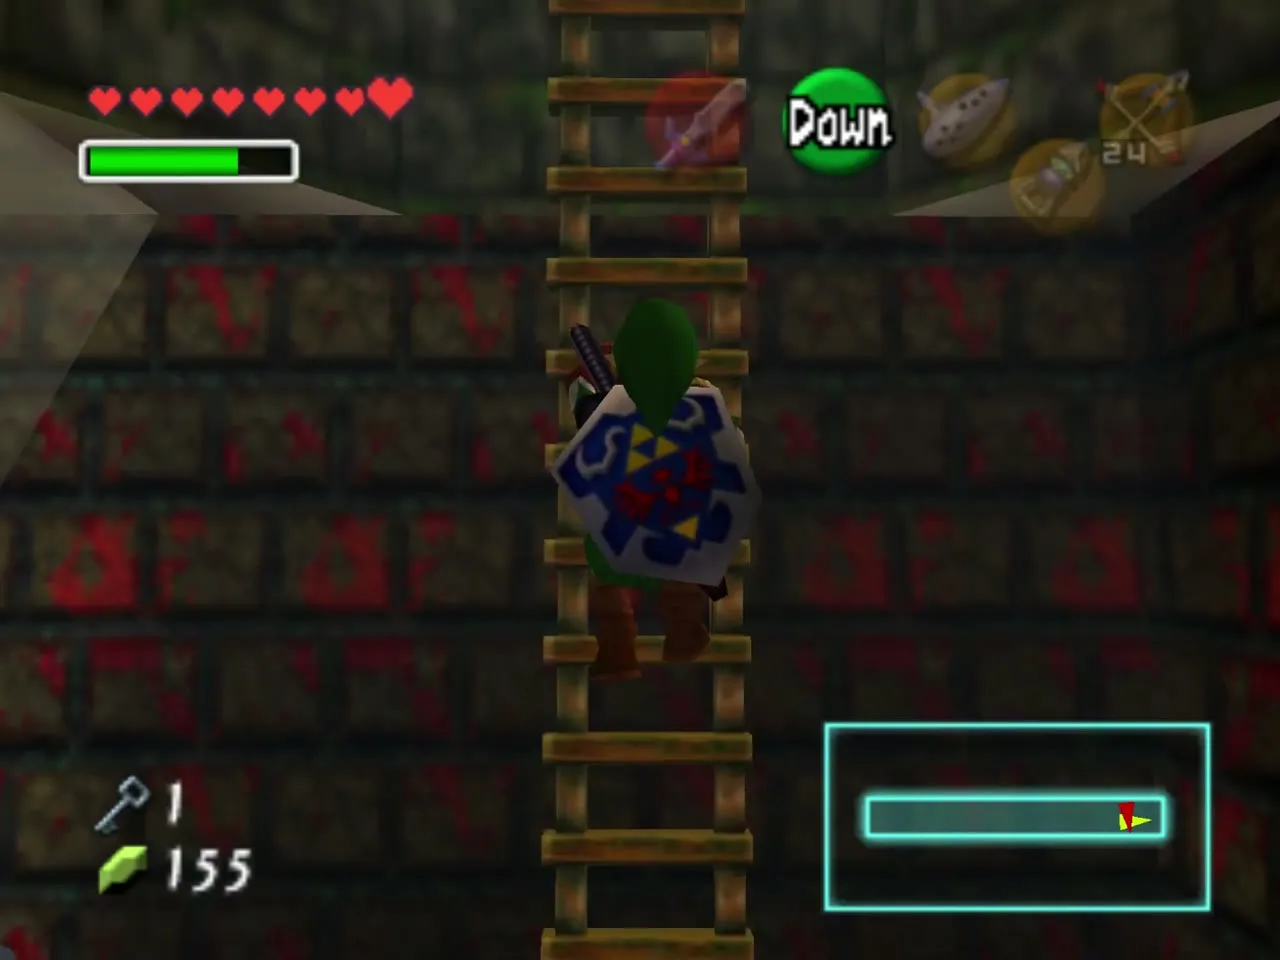
Keep climbing past the top of the well until you stand on a small platform above it. The fifth Gold Skulltula is on the wall here, in Hookshot range.
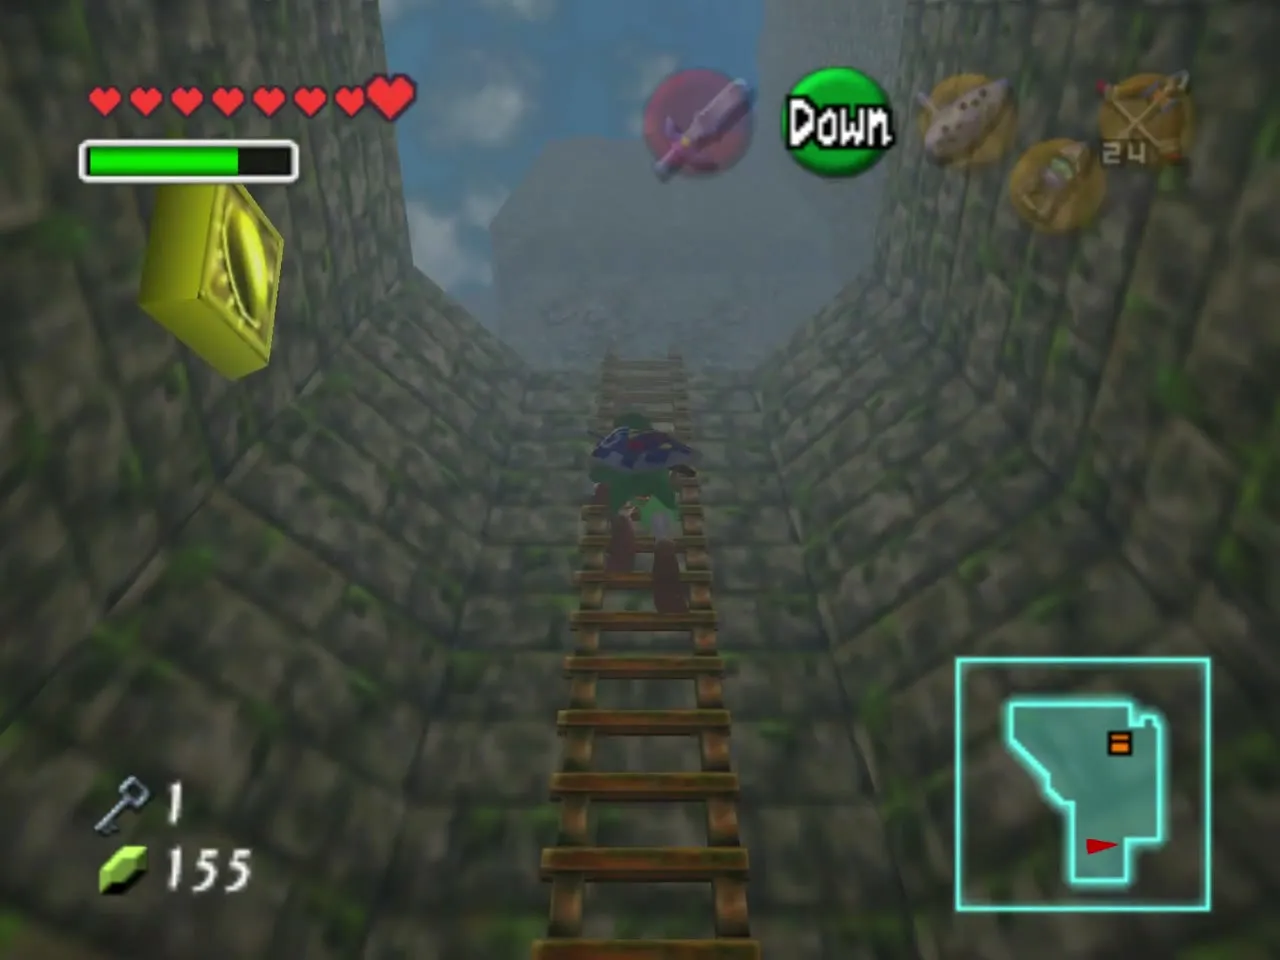
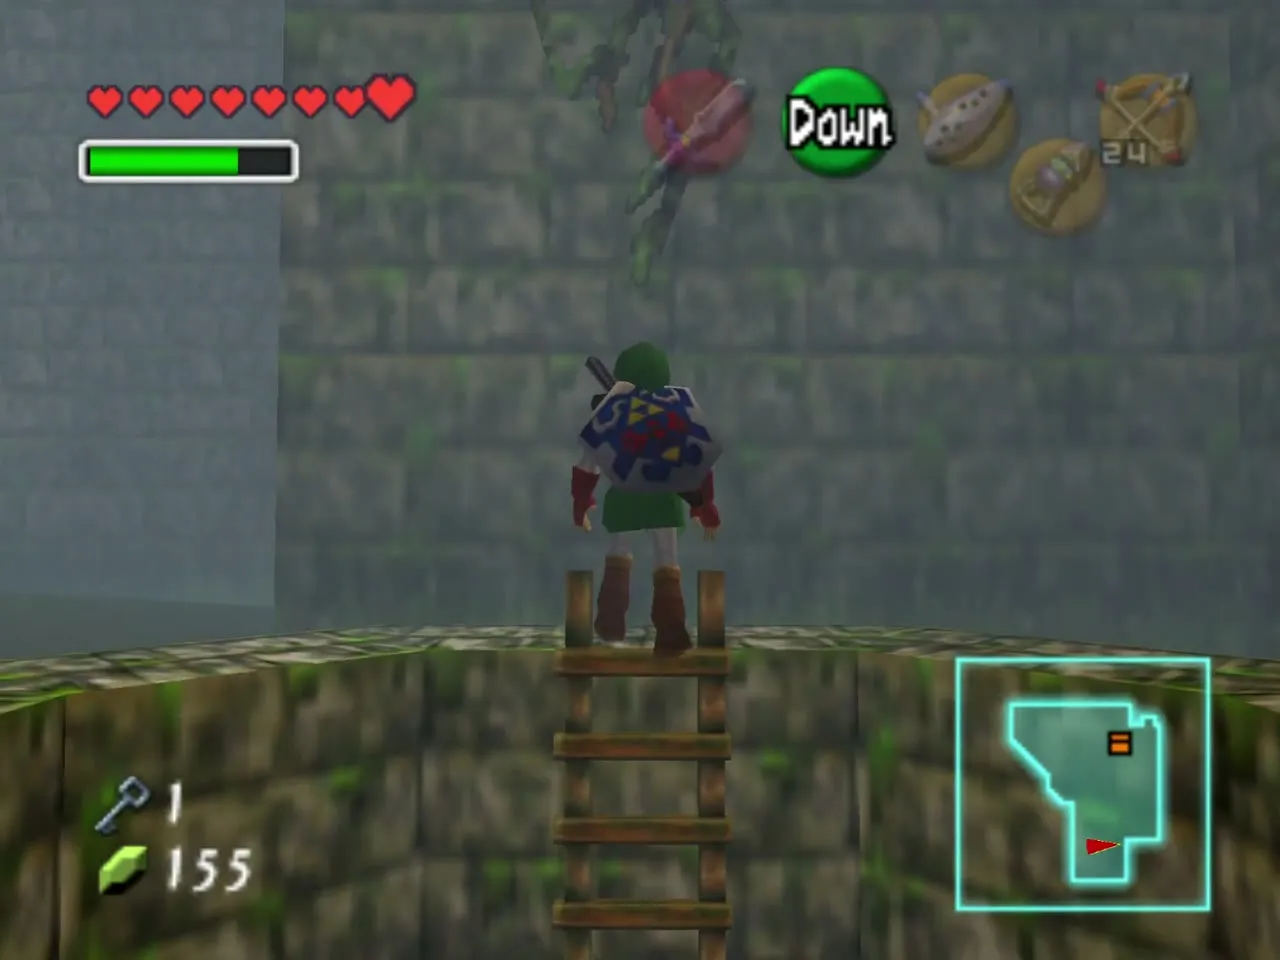
Song of Time stairs to the balcony
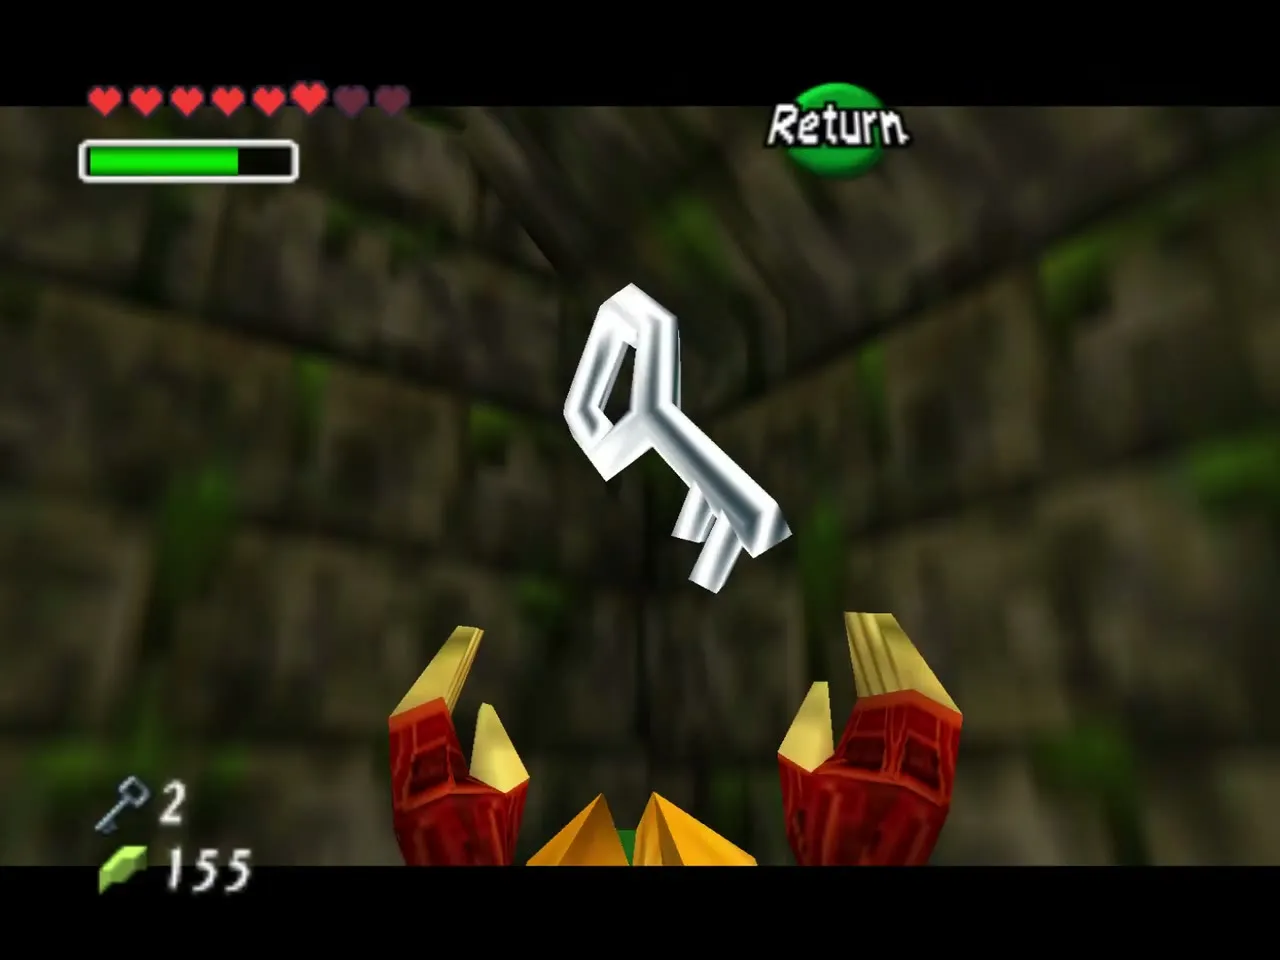
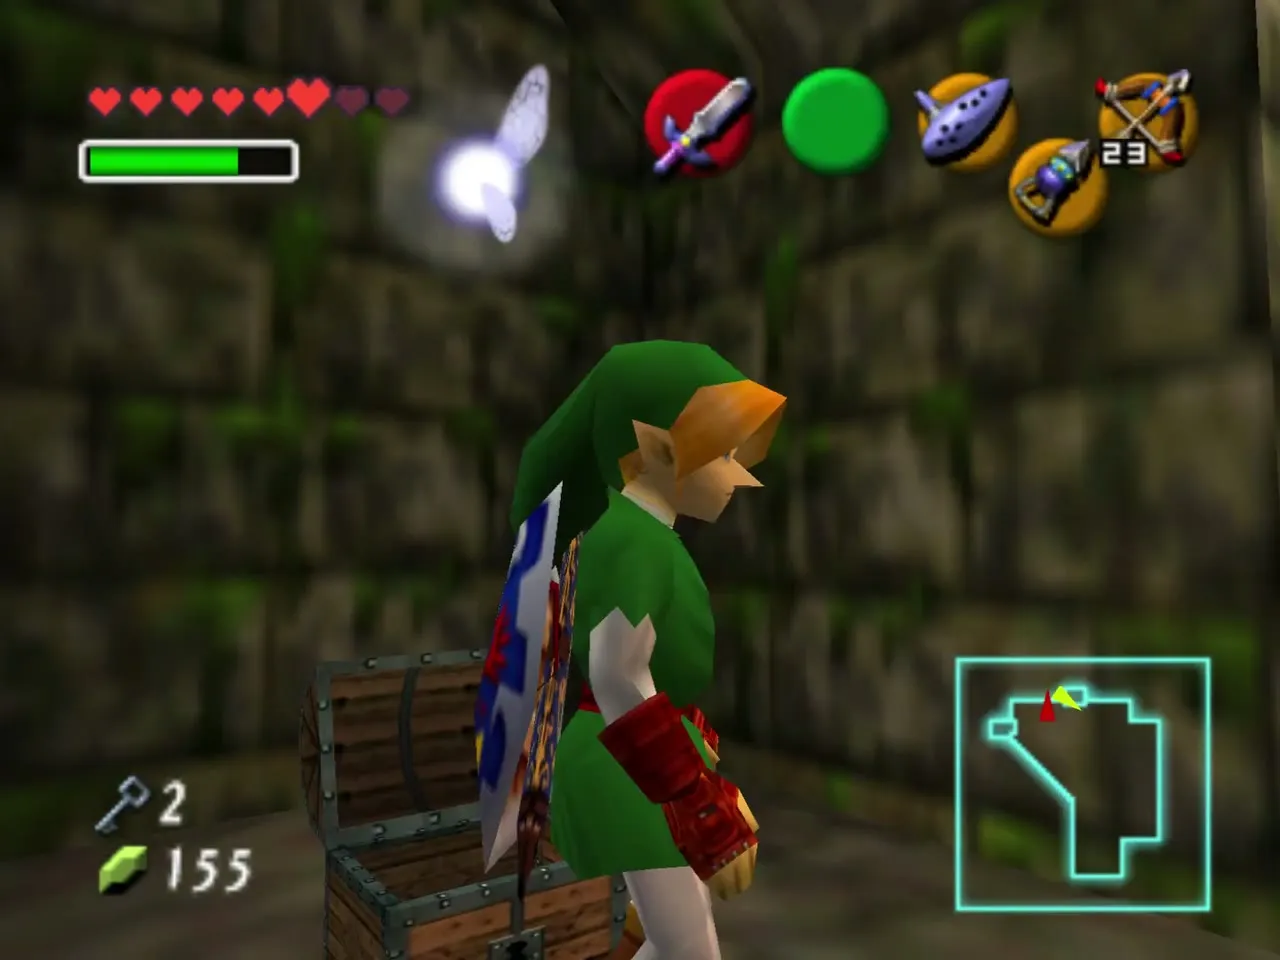
Hookshot to the top of the door frame and play the Song of Time to make a block appear next to you. Jump to it and play the song again for the next block, and keep repeating until you reach the vines. Shoot the Skullwalltula on the vines first, climb up to the balcony on the north wall and open the chest there for Small Key 5.
Beth’s stairs, the green corridor and the pillar room
The locked door at the top
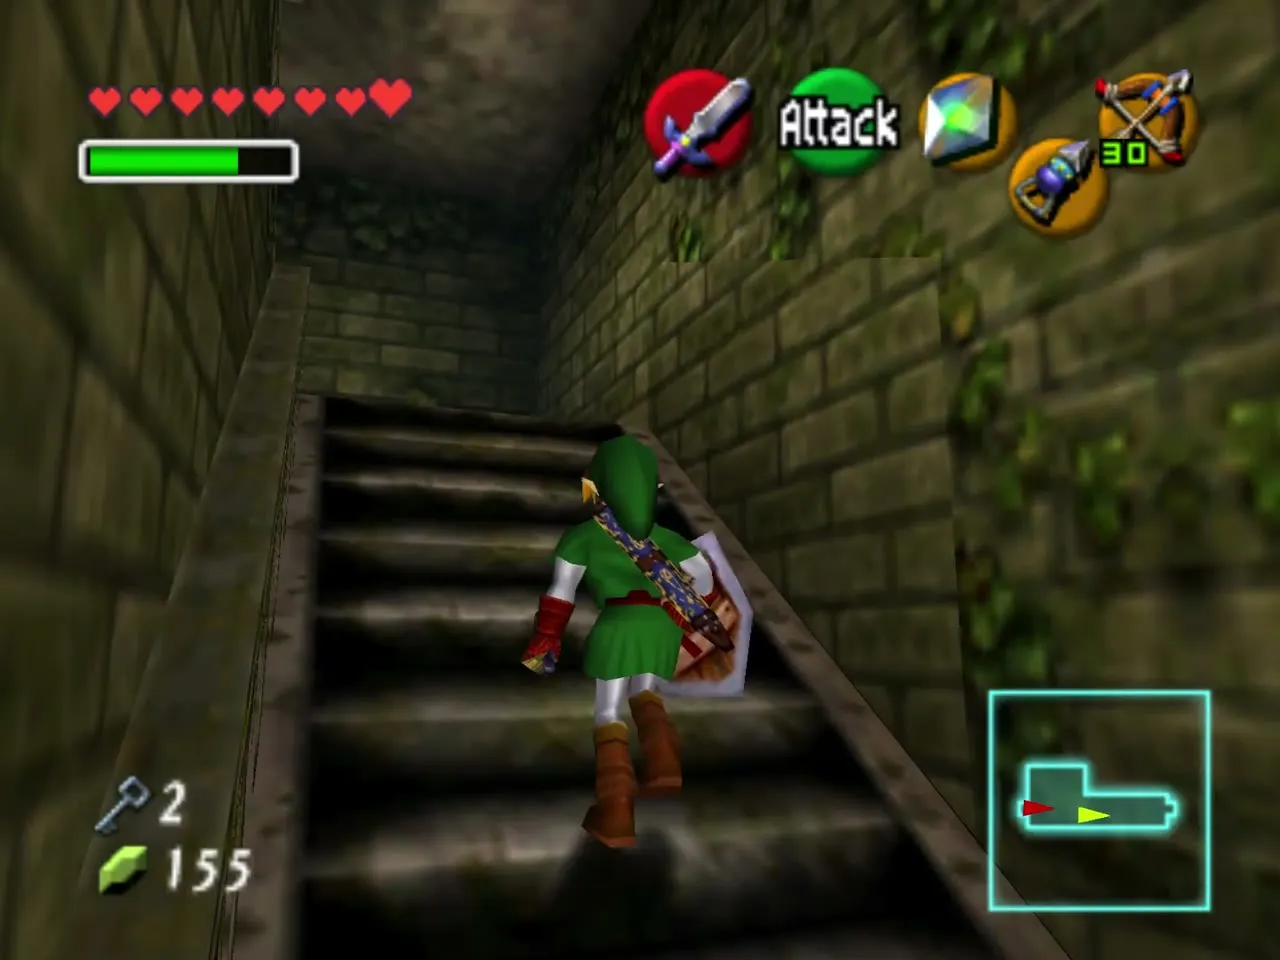
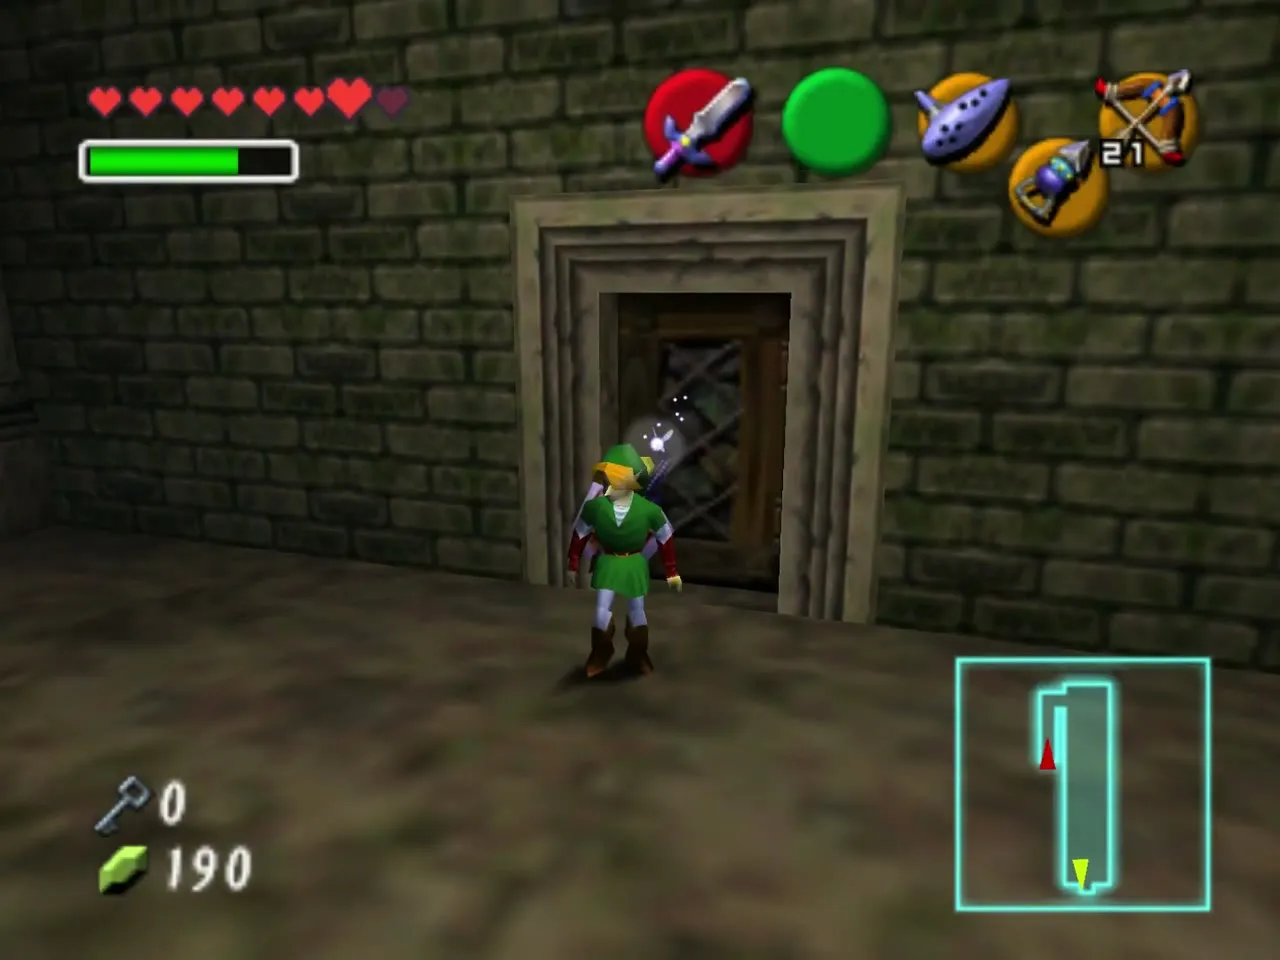
Return through the garden door to the stairs where you fought Beth and climb to the locked door at the top. Open it with a key. Jump across the platforms beyond (if you fall, you may meet a Wallmaster) and walk the straight hall.
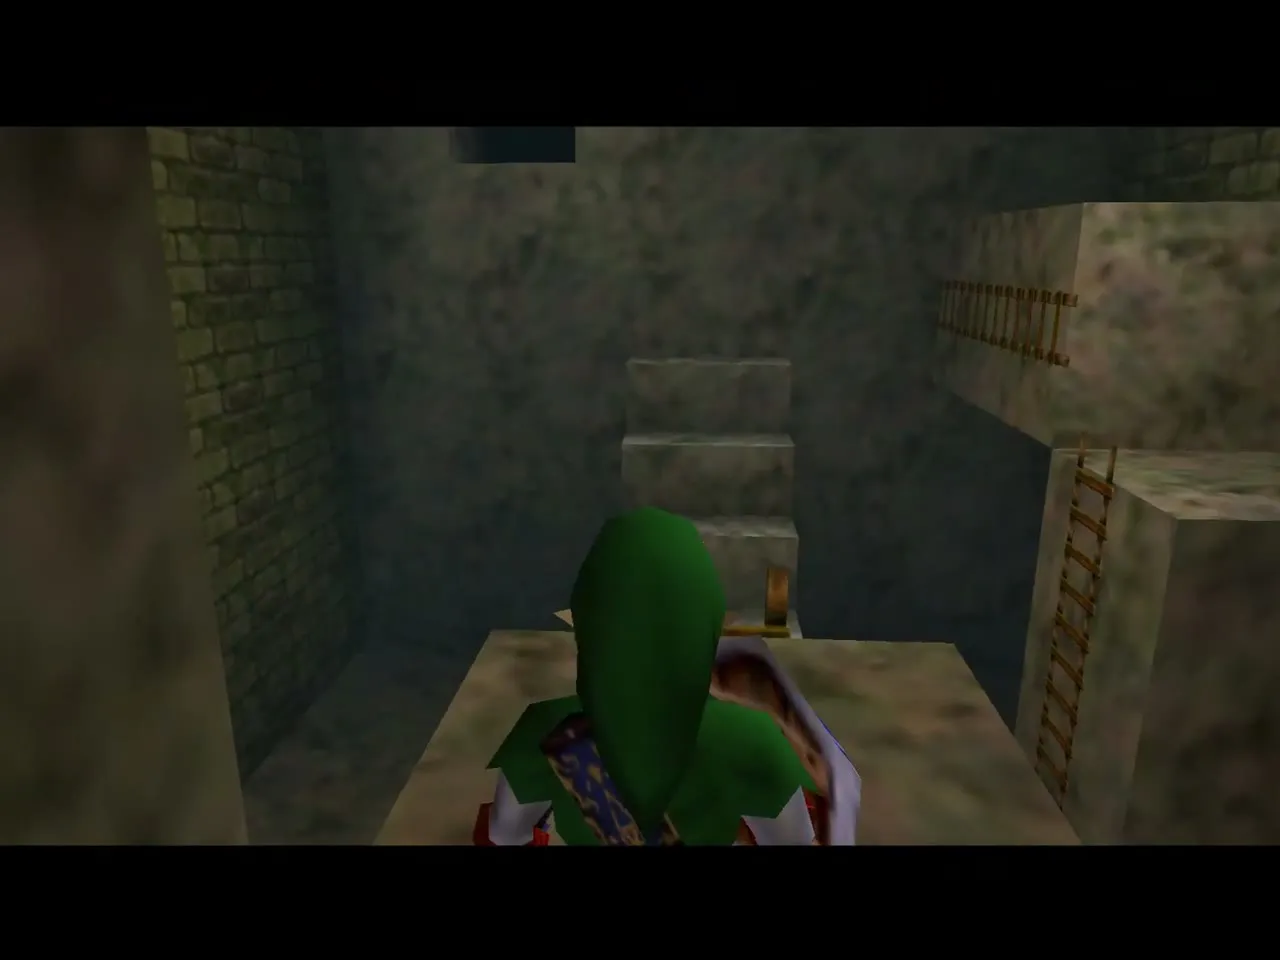
Two Green Bubbles
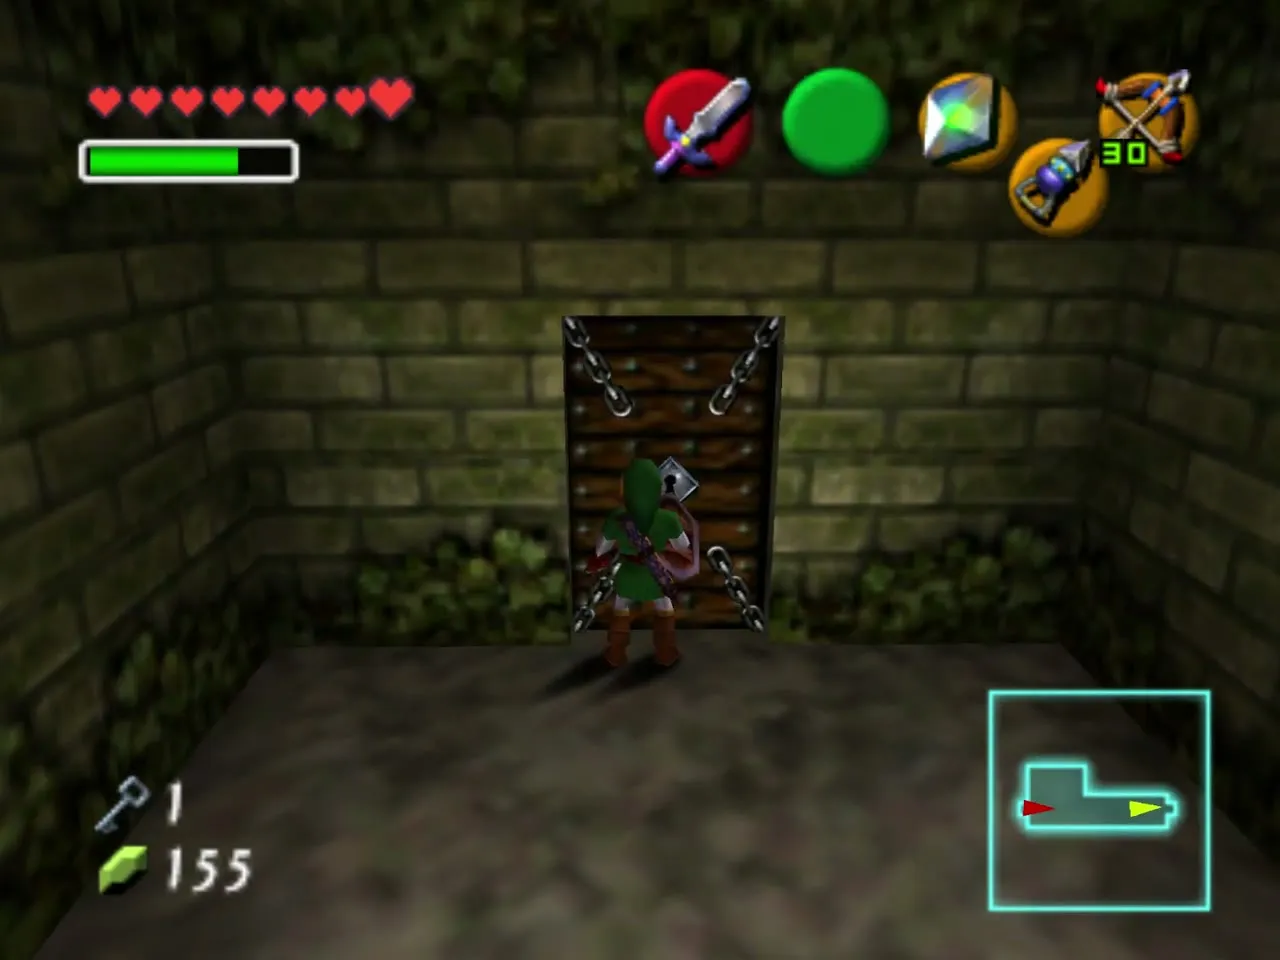
Two Green Bubbles drift in this corridor. Shoot them with arrows or stun them with the Hookshot, and use another key on the door at the end.
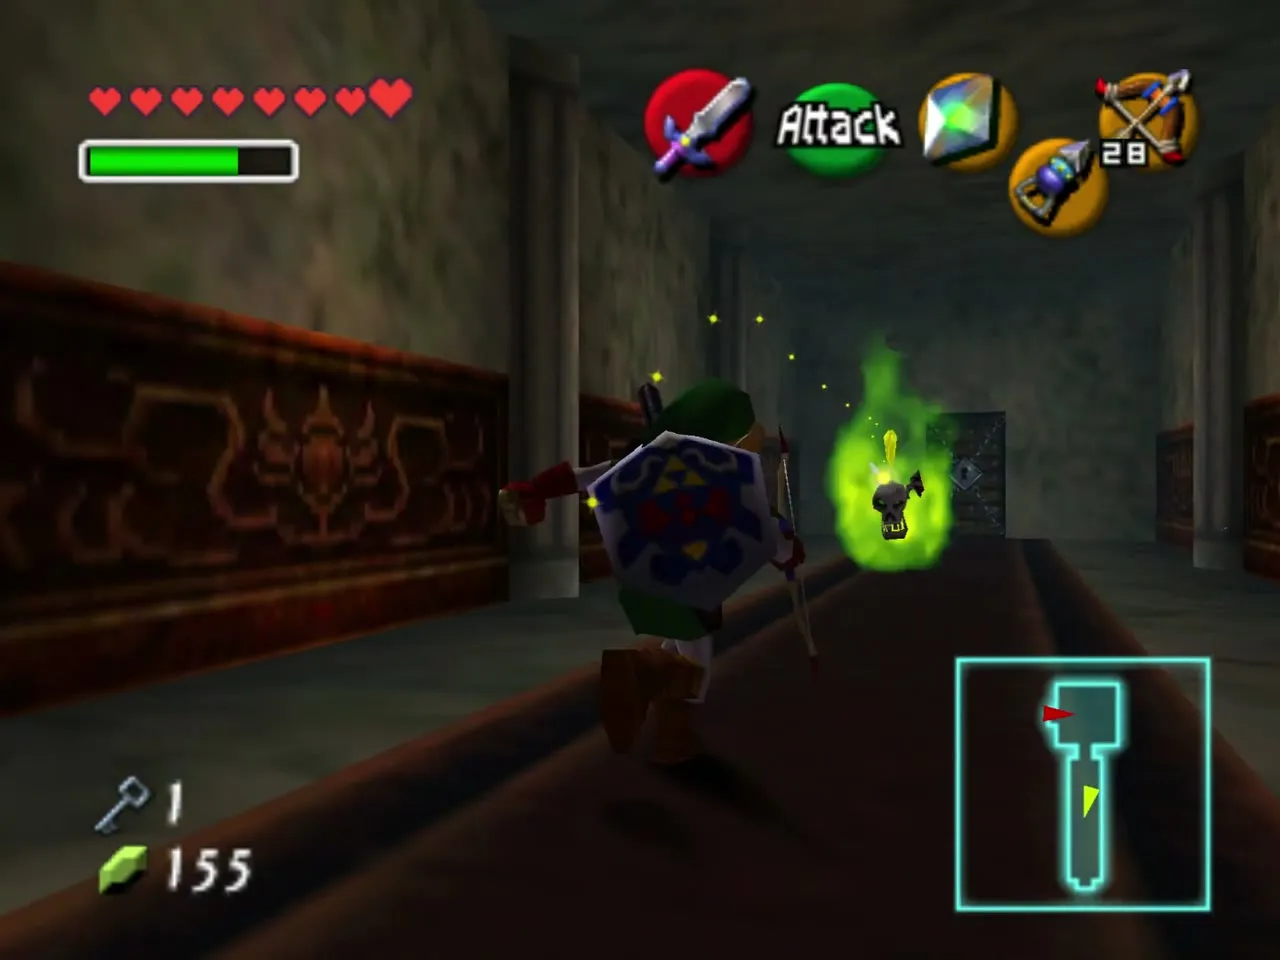
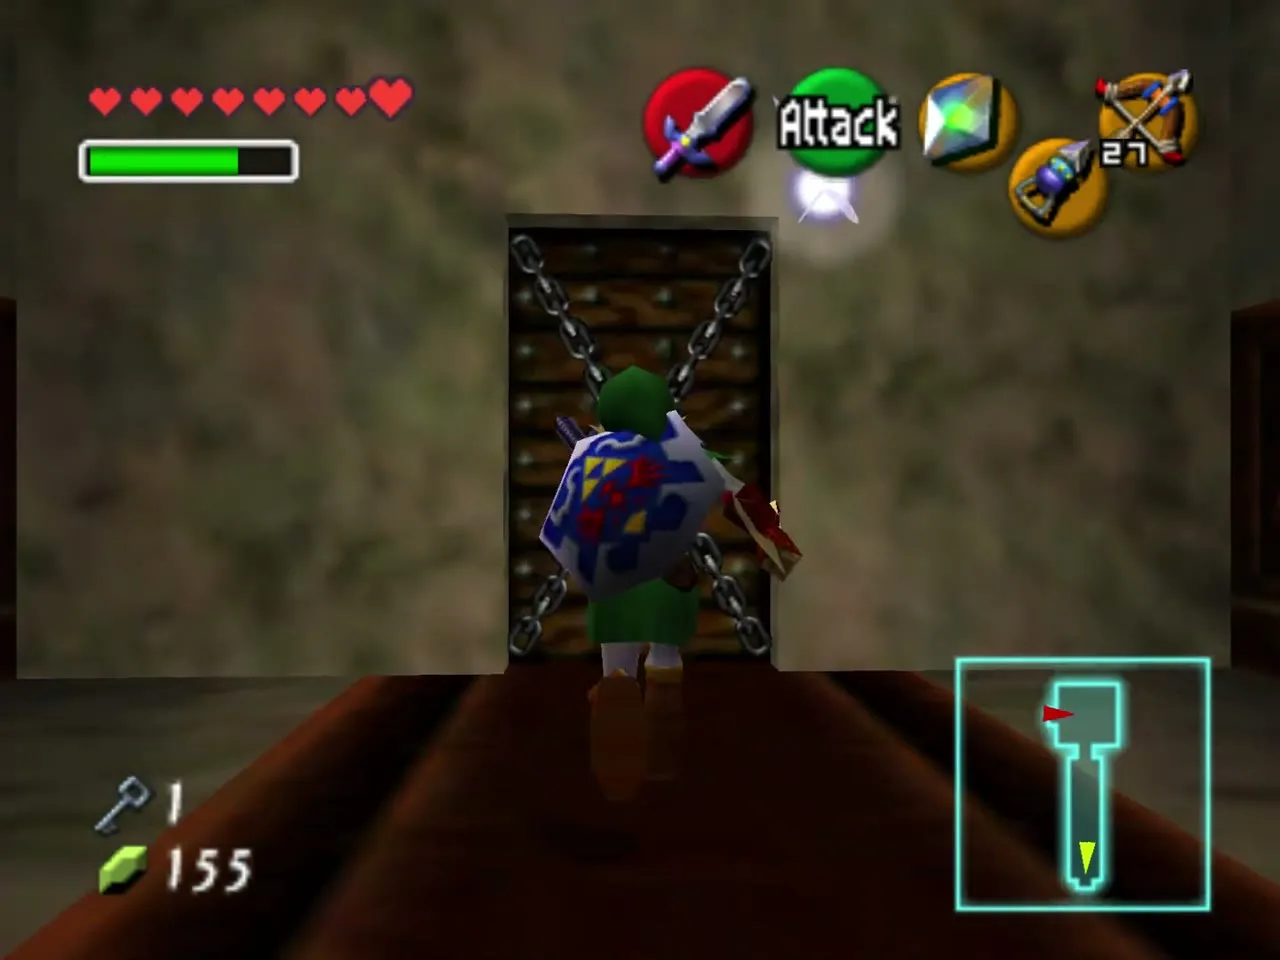
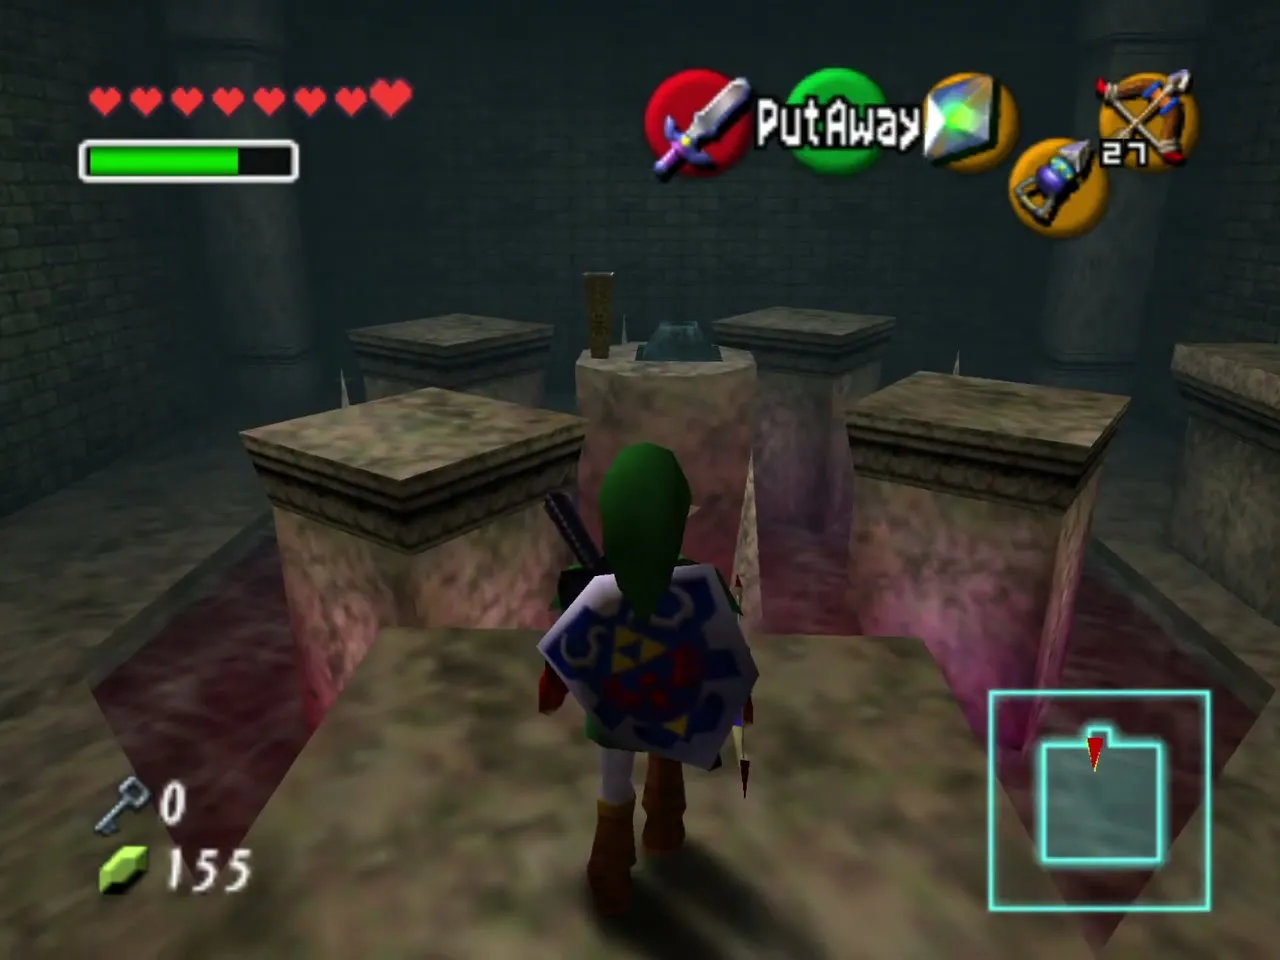
The pillar room: melt the eye
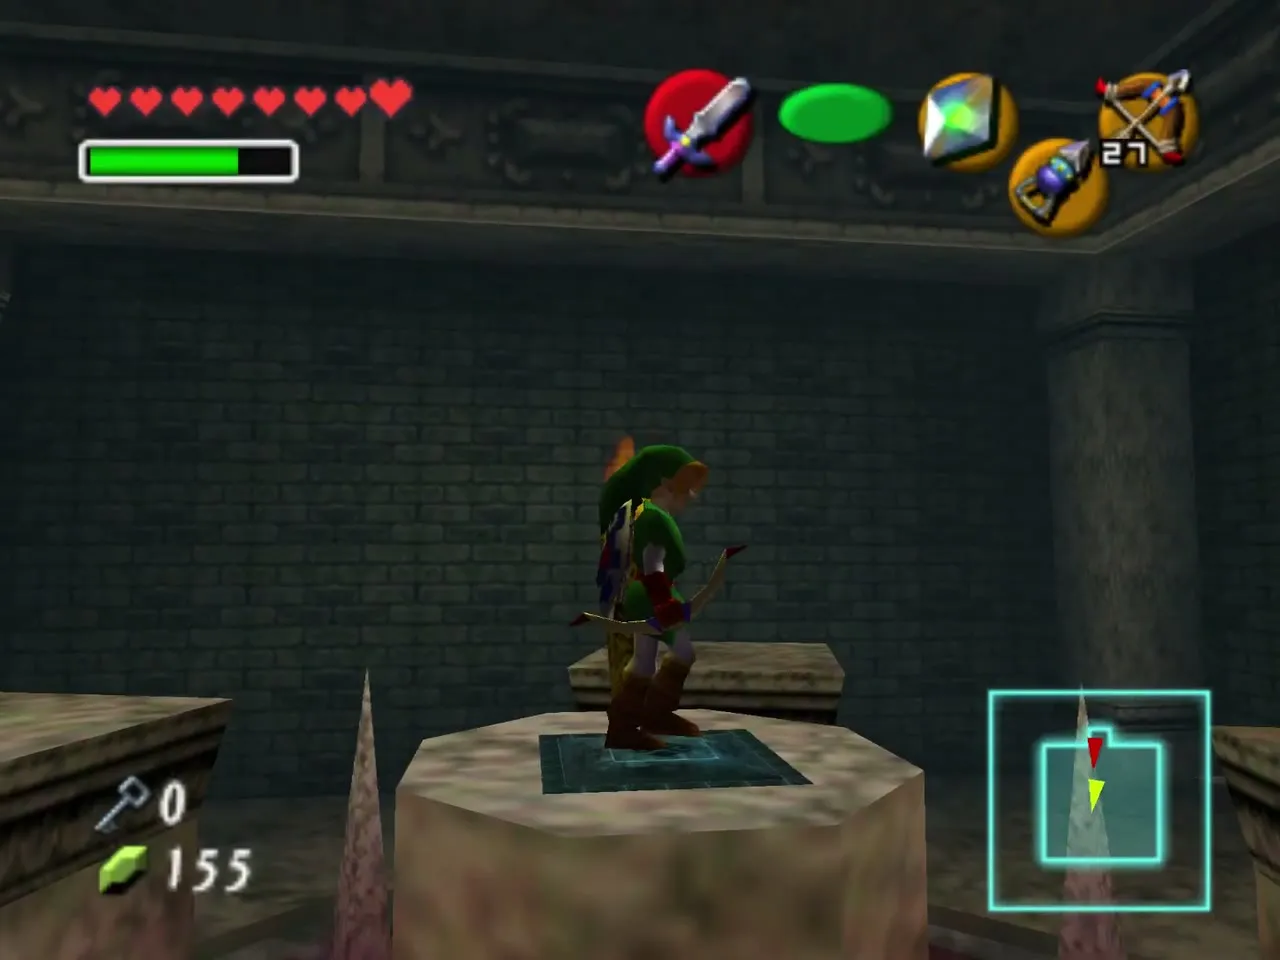
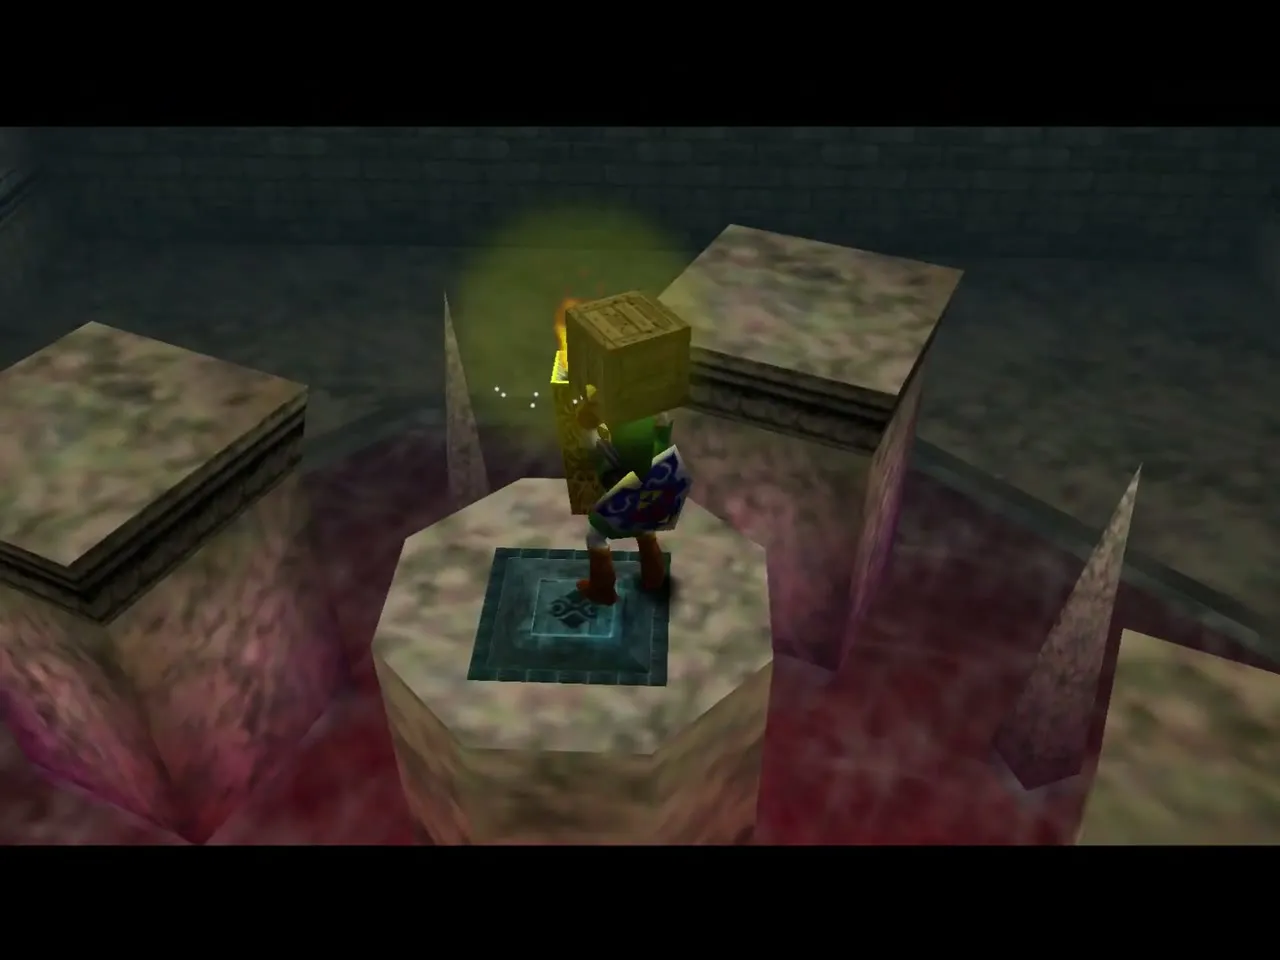
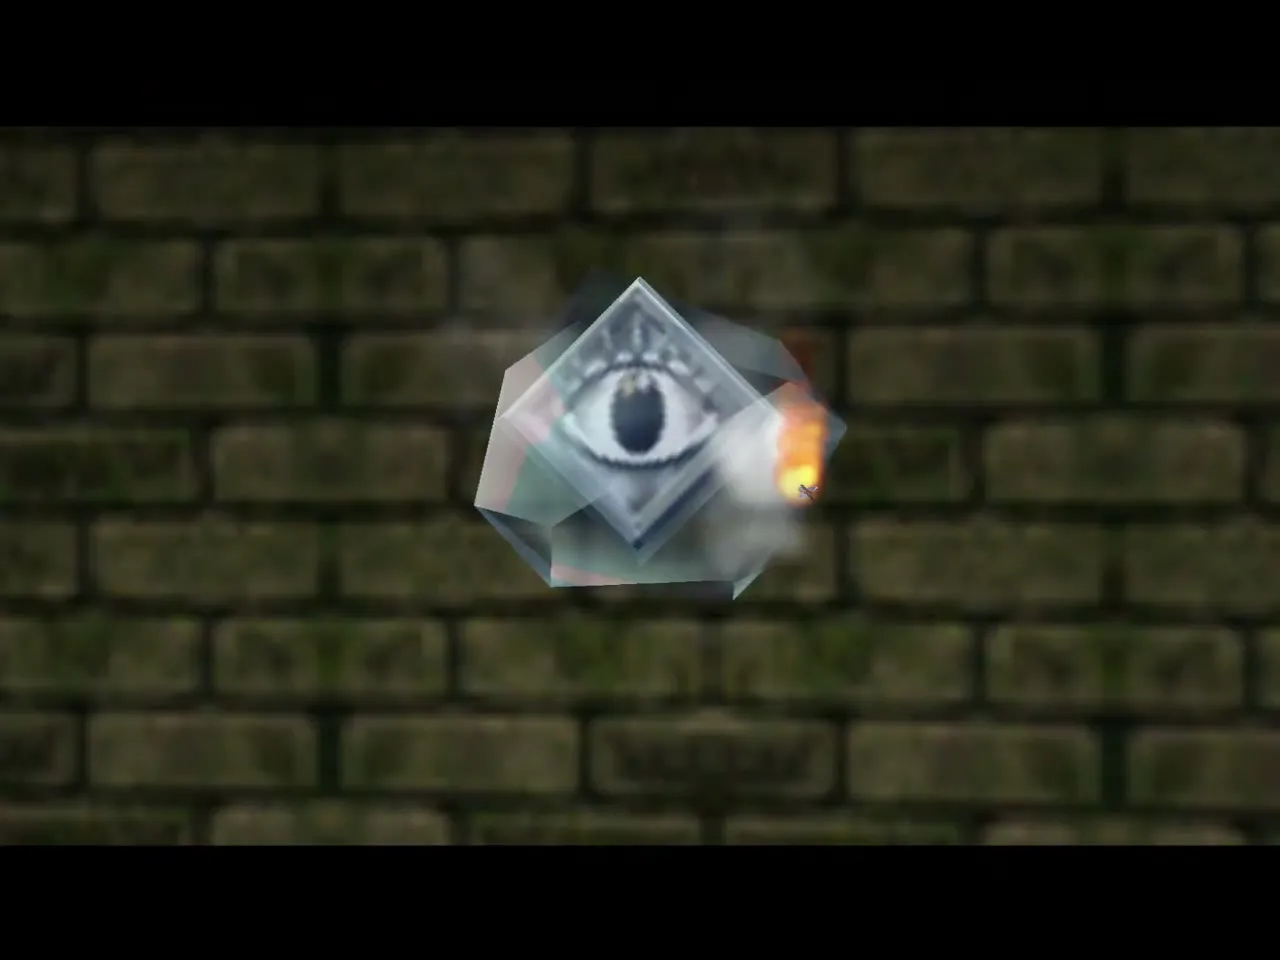
You find a room of turning stone platforms over spikes, with a lit torch, a blue switch and a frozen eye switch high on the wall. Jump to the platform under the eye, pick up the box and carry it over to the blue switch. Then ride a turning platform and shoot an arrow through the torch’s fire at the eye so the burning arrow melts the ice. This twists the Green Bubble corridor; pick the box up again and leave.
Back through the twisted hall
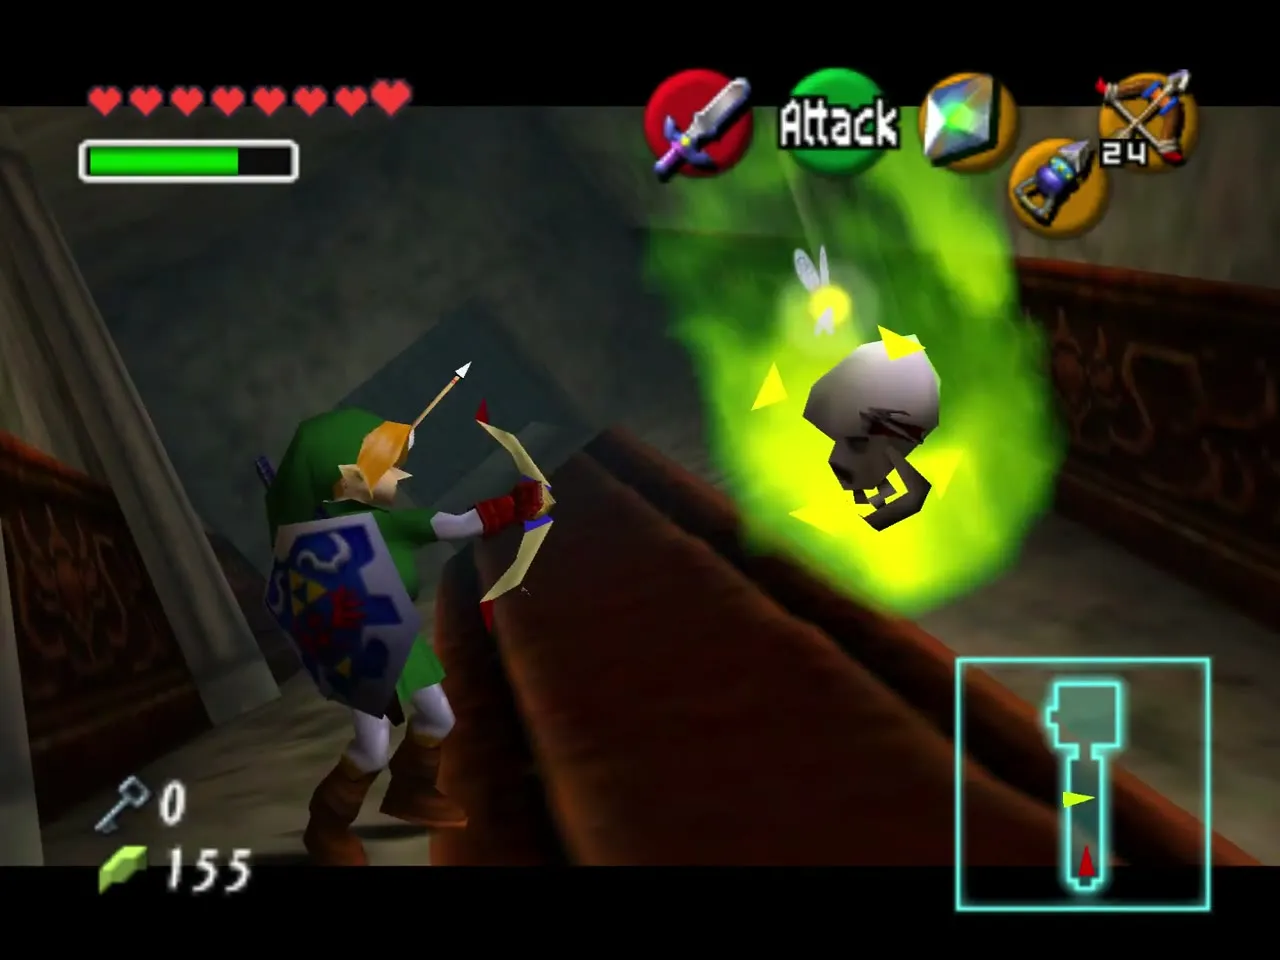
Walk back past the Green Bubbles, through the hall that is now twisted. The stairs lead back to Beth’s room, so ignore them and drop through the hole in the floor.
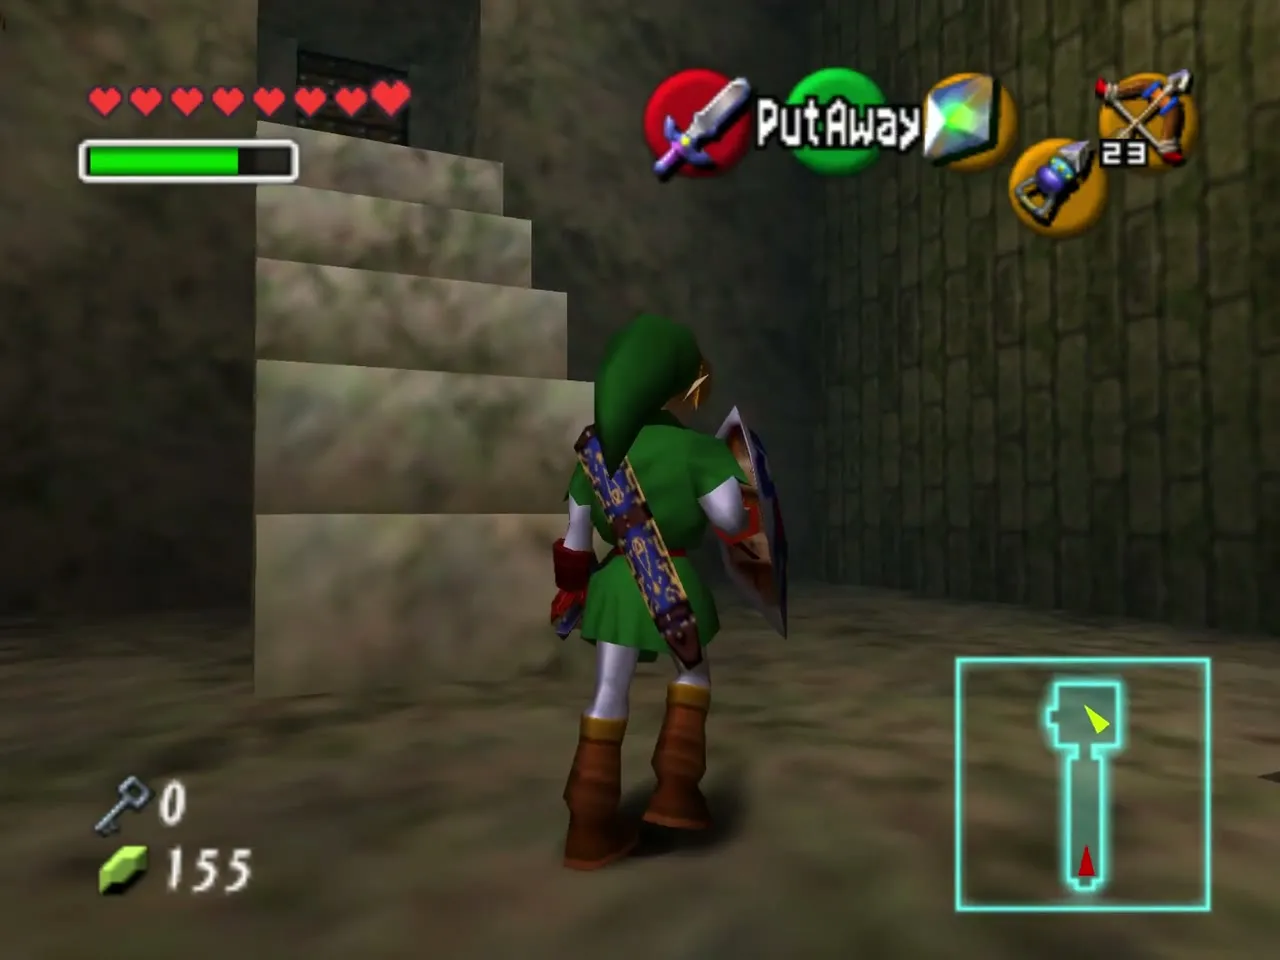
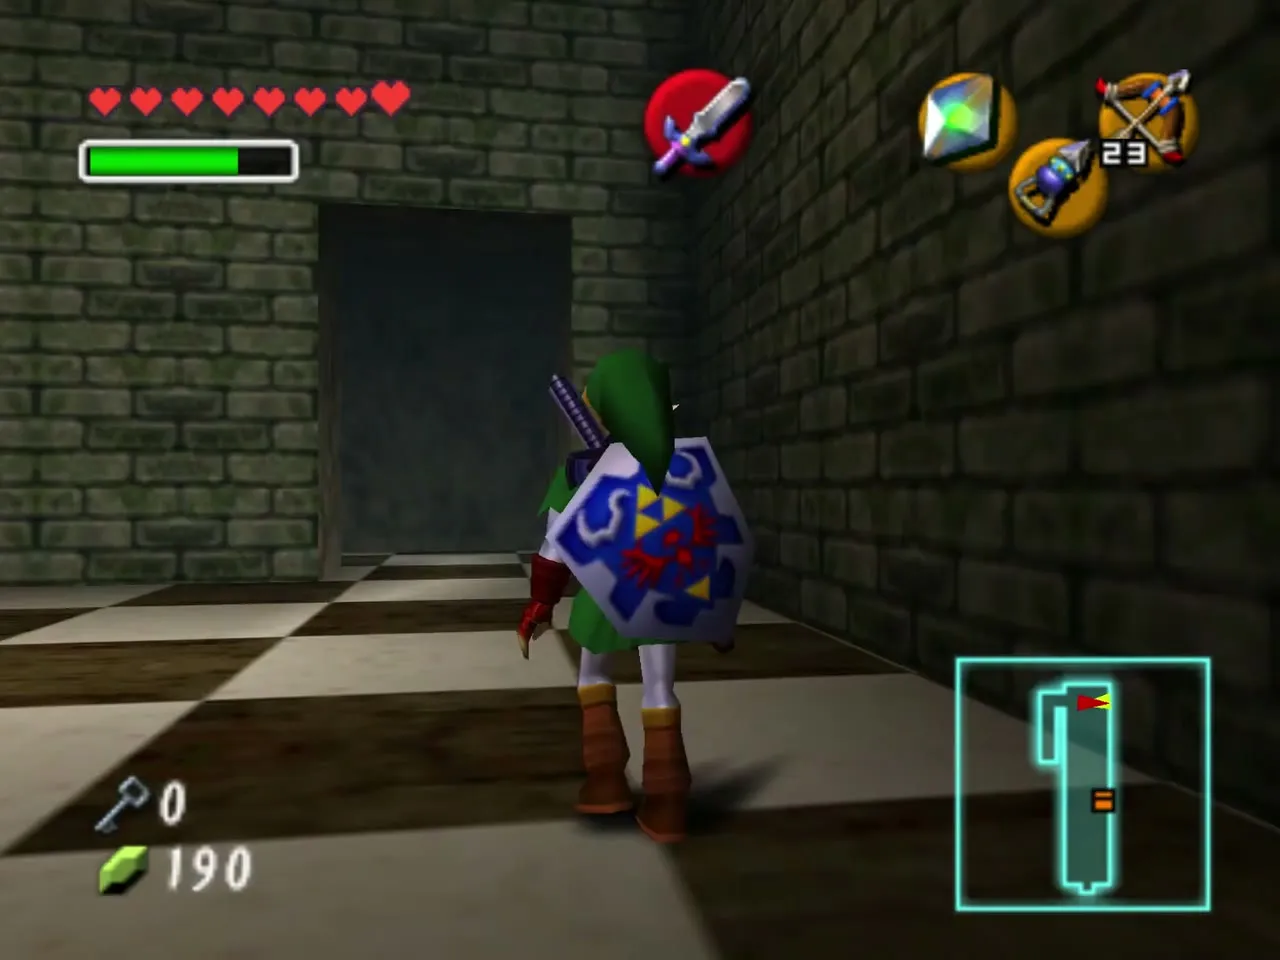
The checkered room
The falling ceiling
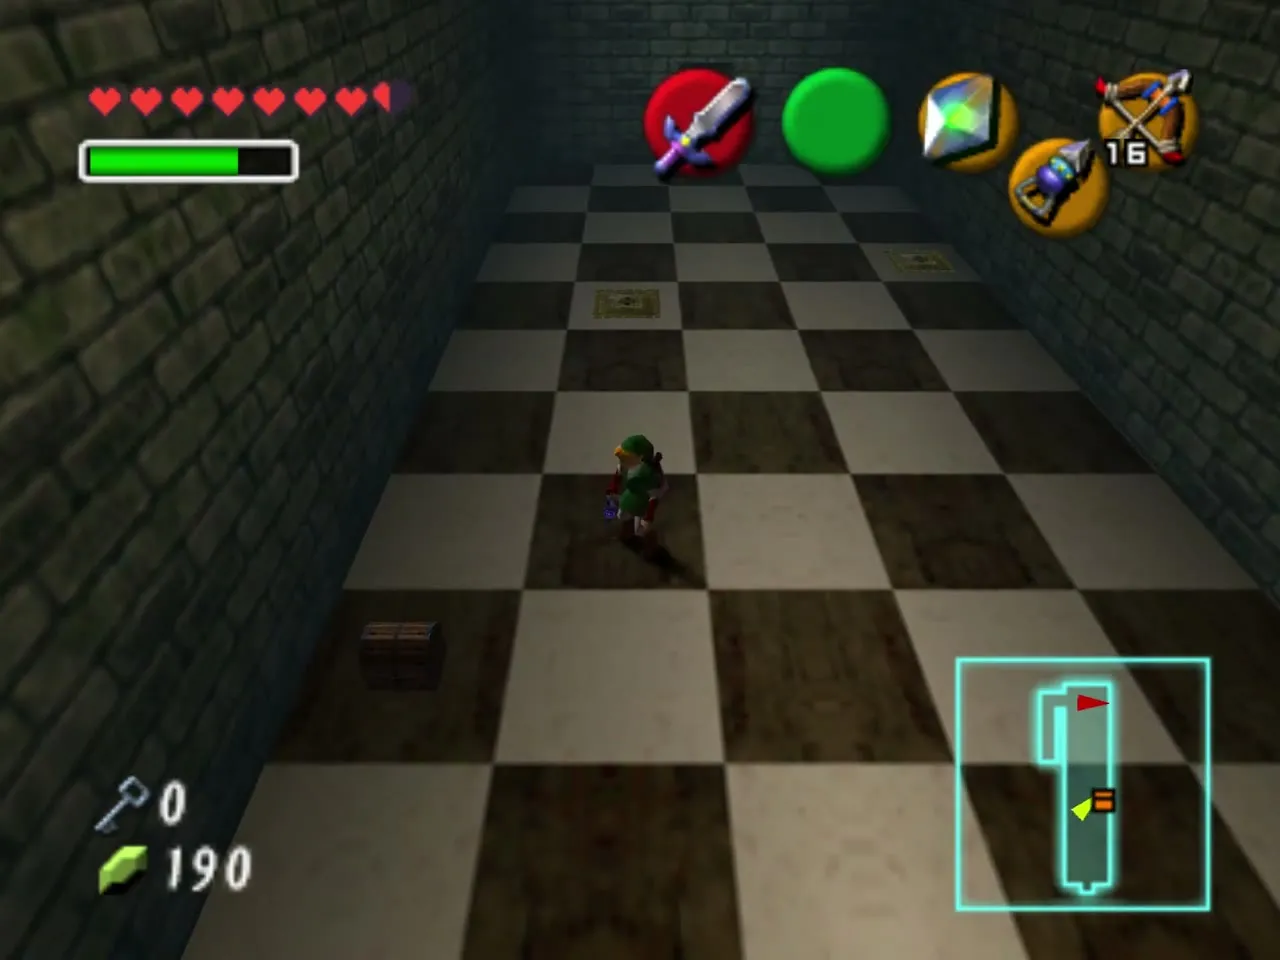
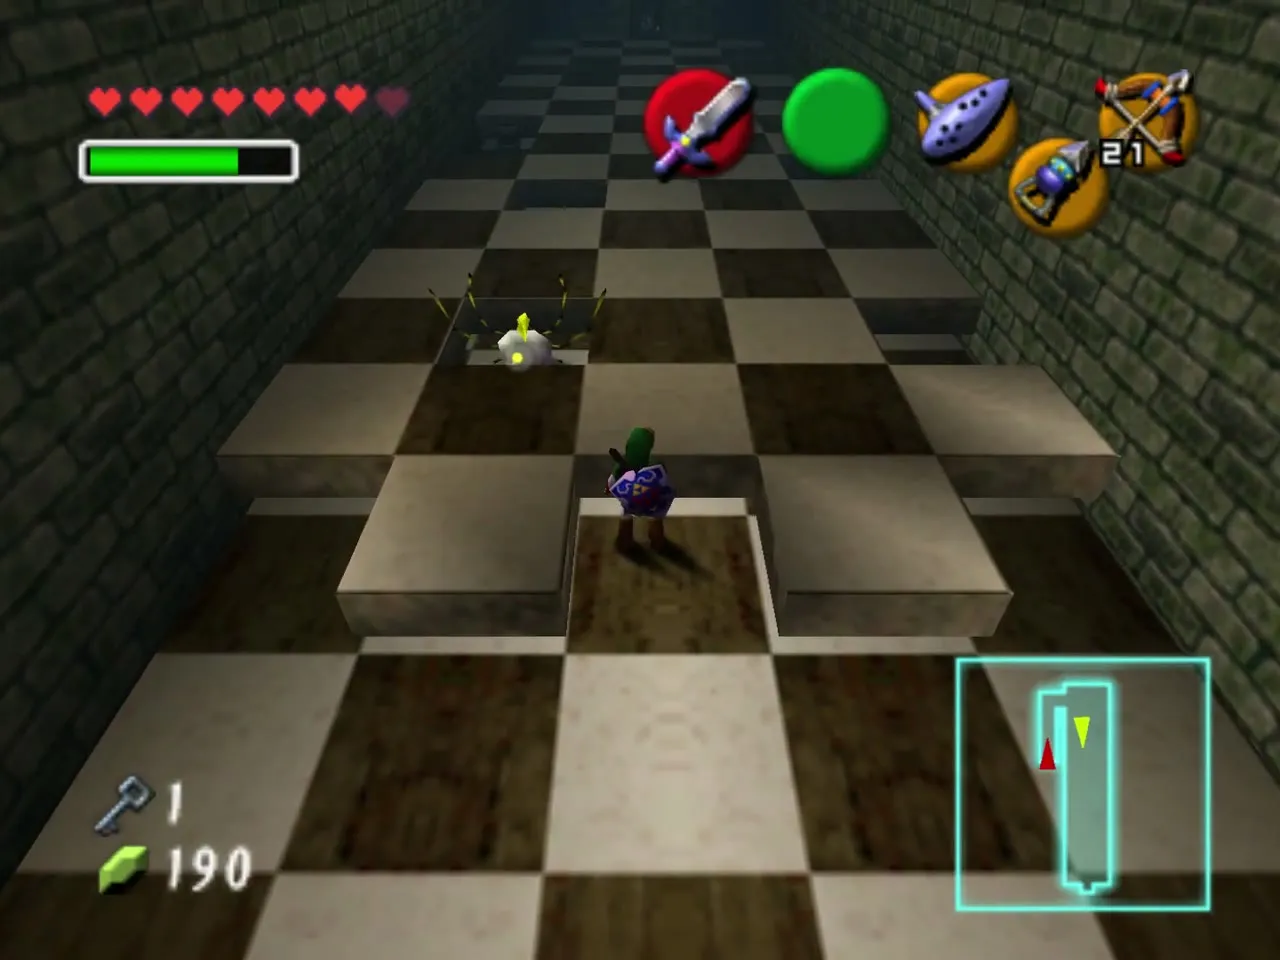
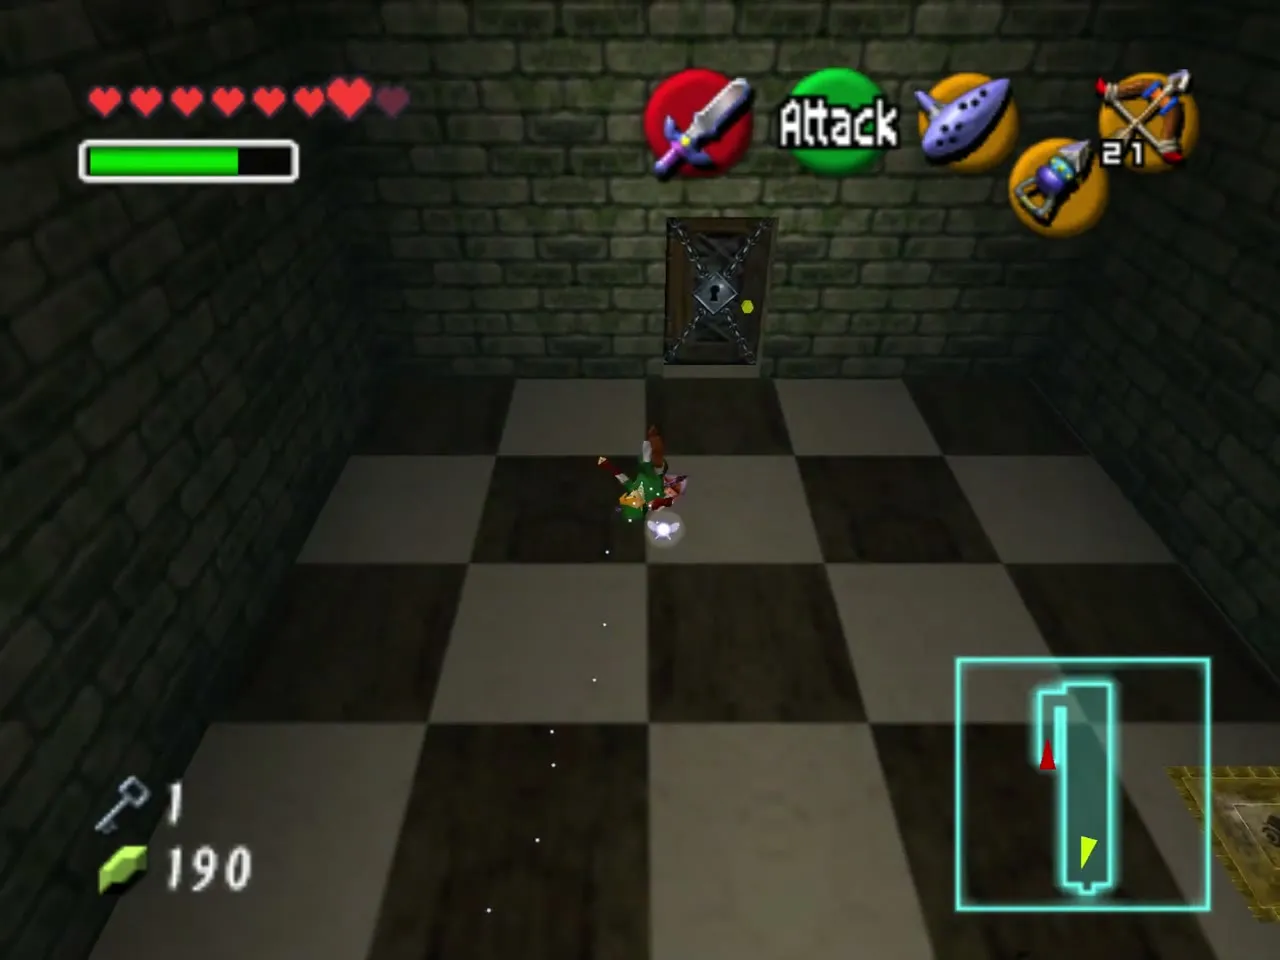
The floor of this room is a black-and-white checkerboard, and the ceiling crashes down at intervals. Holes in the floor are the safe spots, but Skulltulas sit in them. Step forward just far enough to make the ceiling fall, step back, and shoot as many Skulltulas as you can before it comes down again.
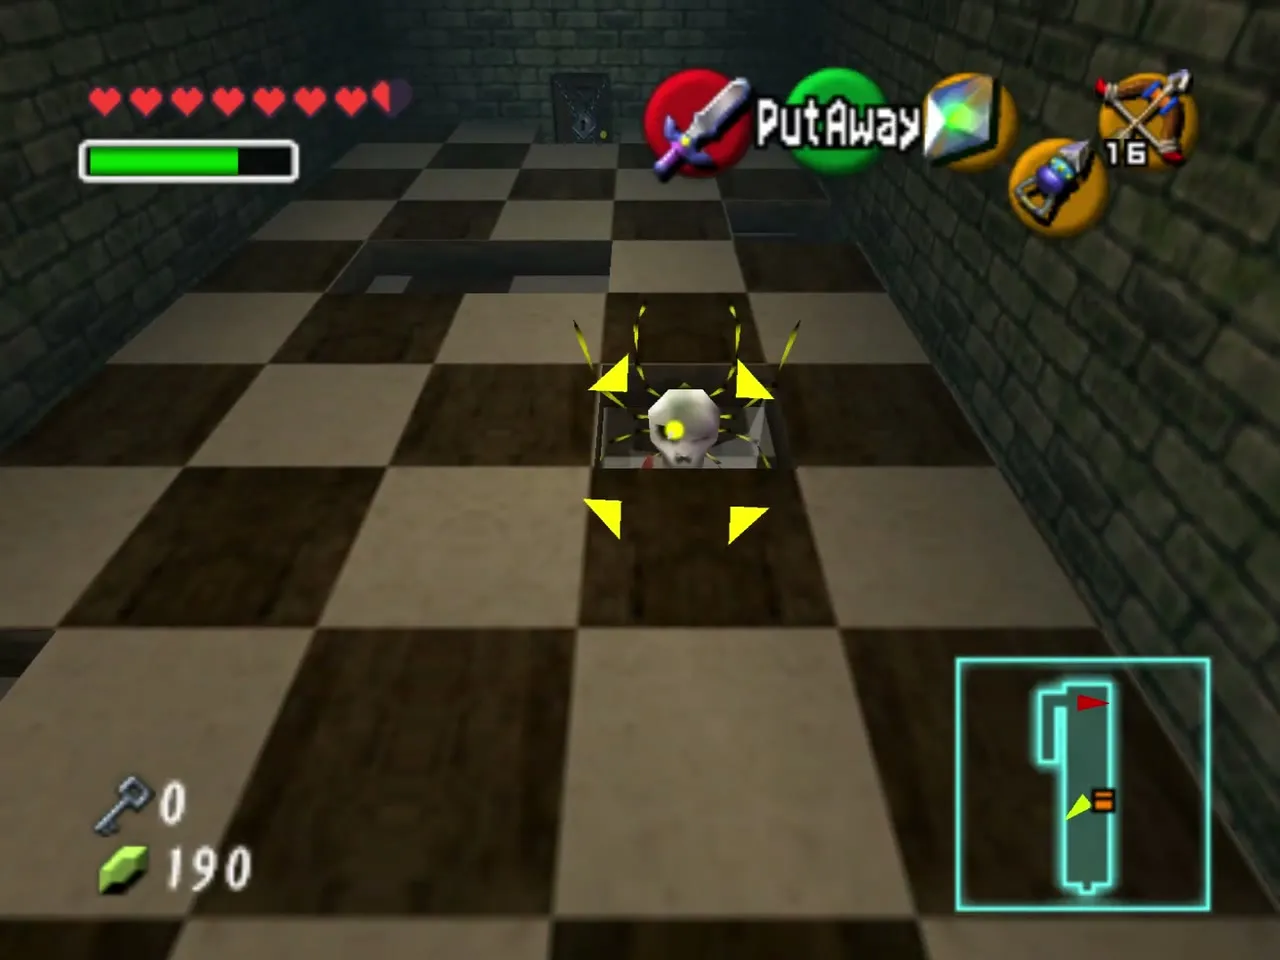
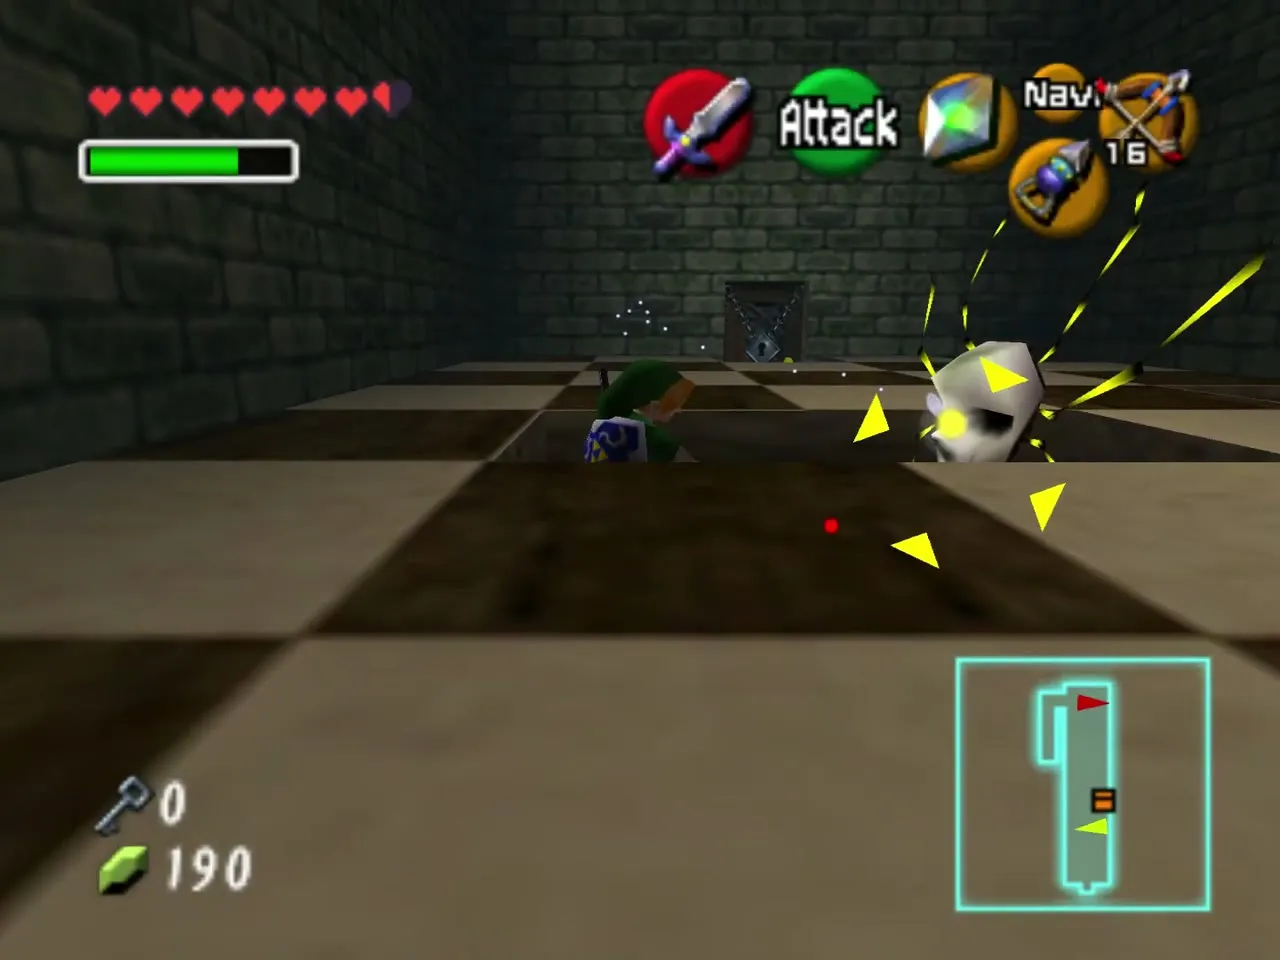
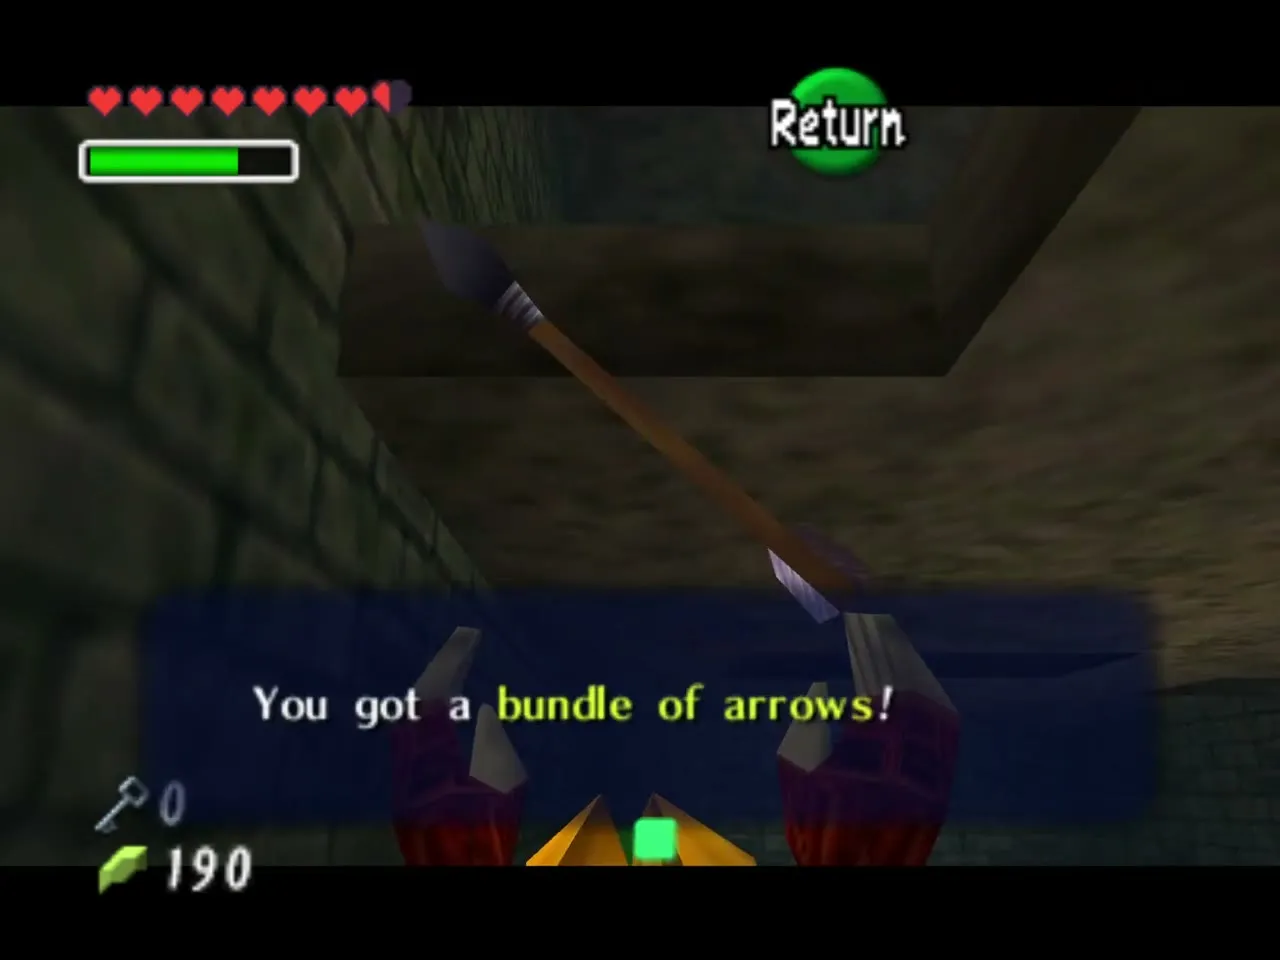
Two switches lie across the floor. The one on the left makes a chest of arrows drop, and the one on the right unbars the door. Hit the switch you need, then run back to the side corridor where you entered.
Small Key 6
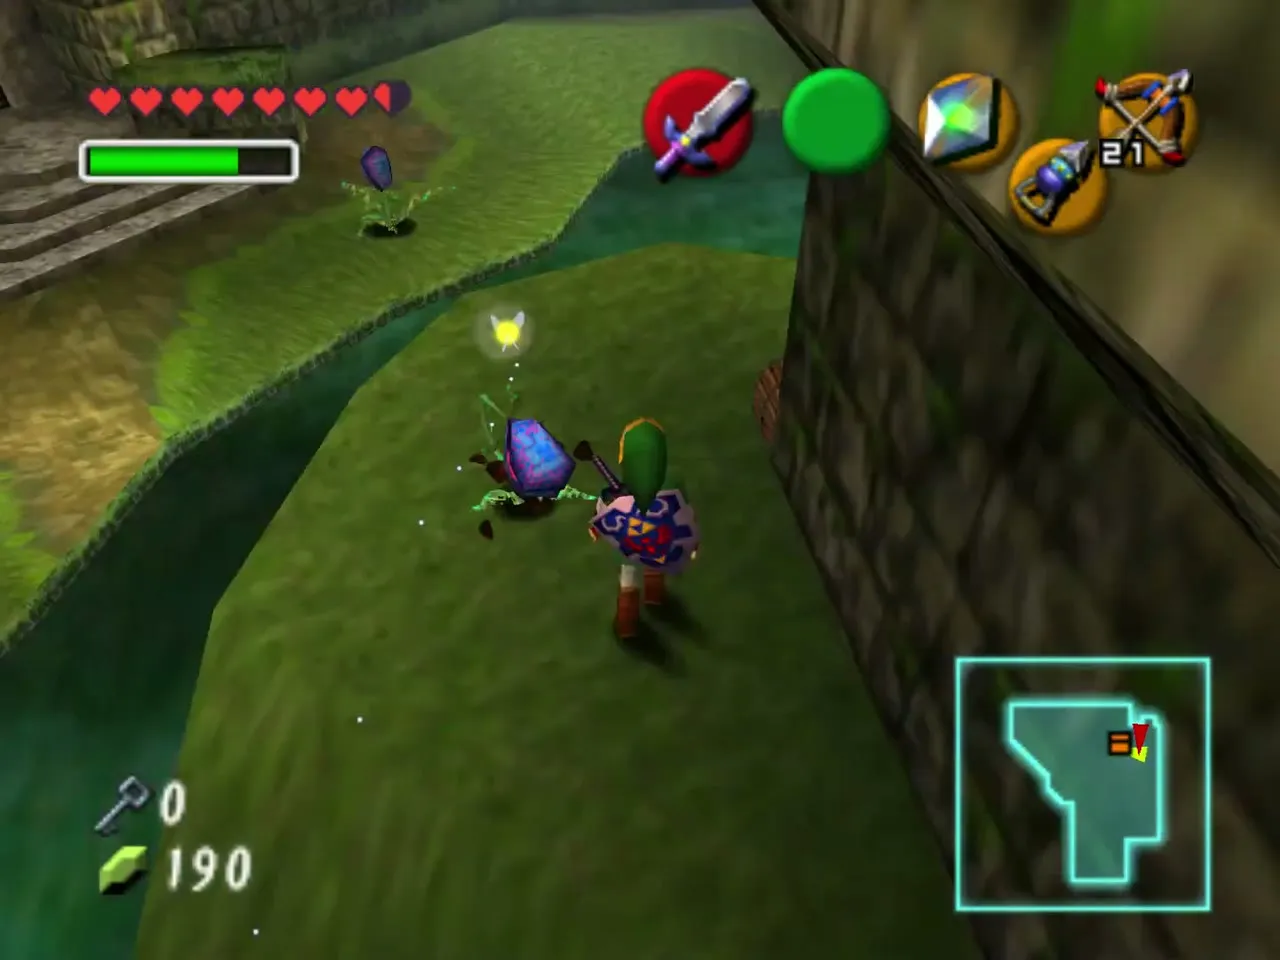
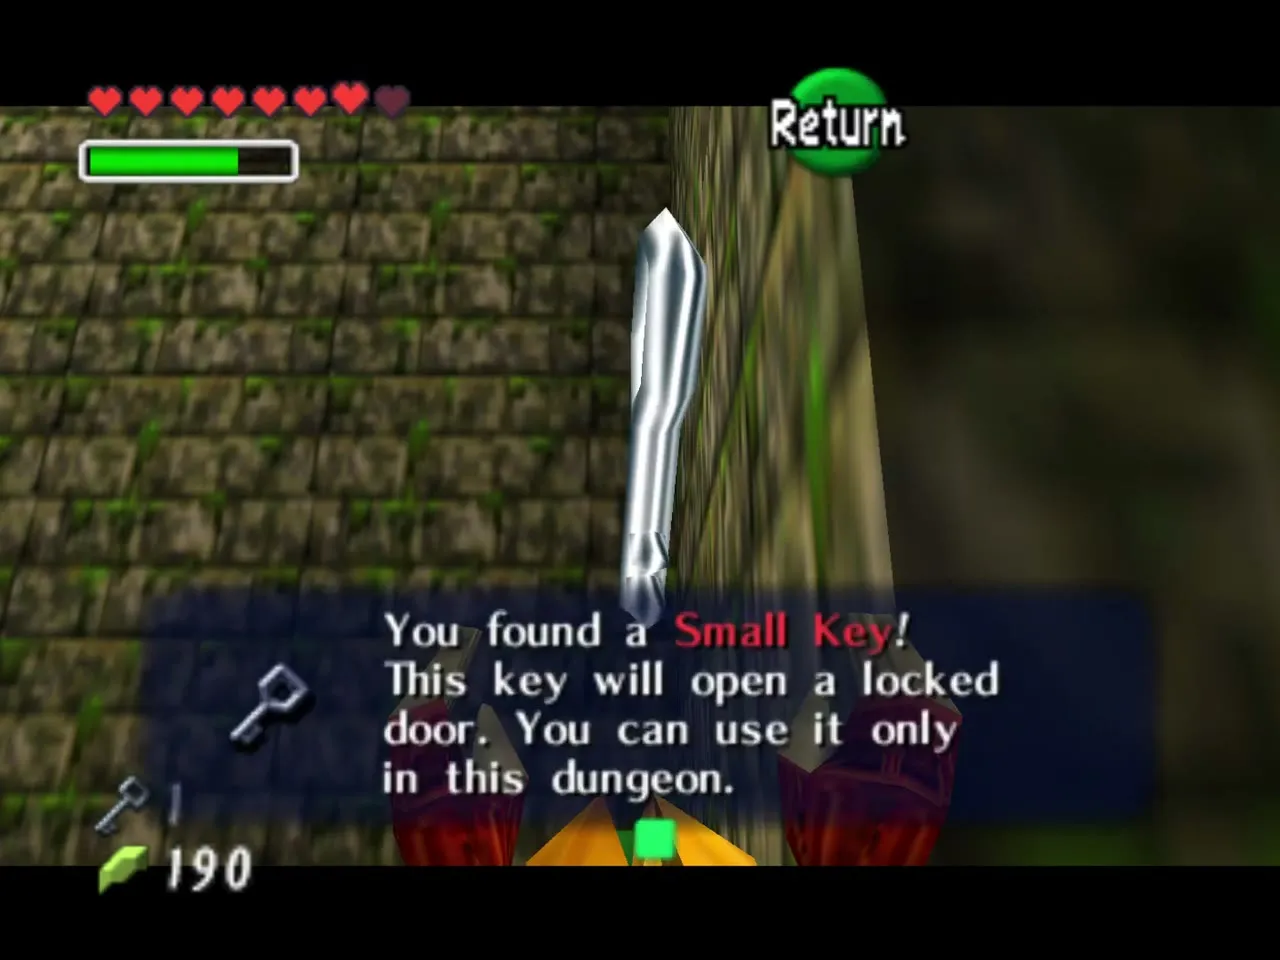
Drop one level to the garden outside, defeat the Deku Baba, and open the chest there for Small Key 6.
Play the Song of Time to make blocks and climb back up to the door. If you fall down again, you must cross the falling ceiling room another time.
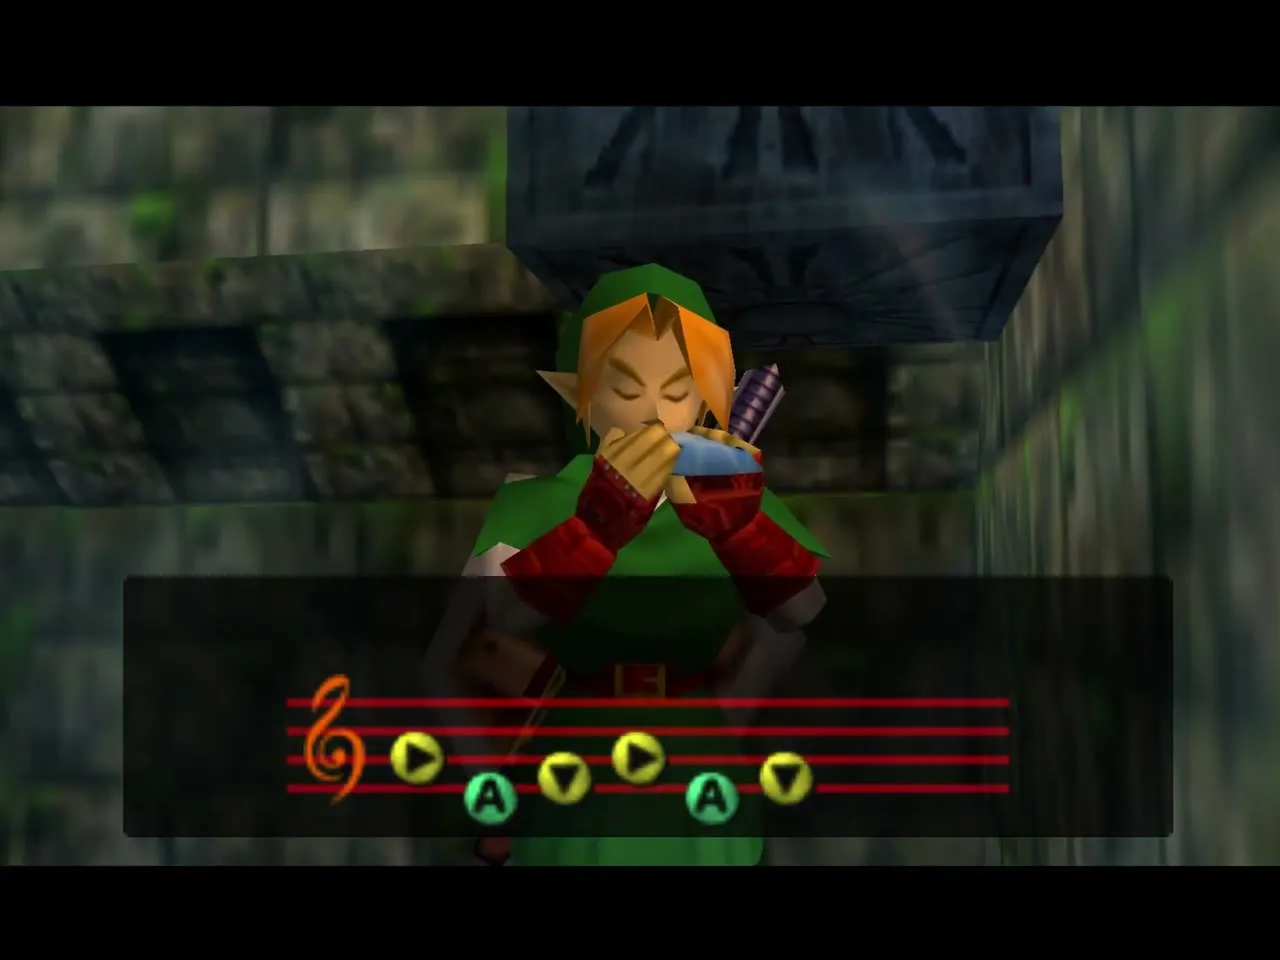
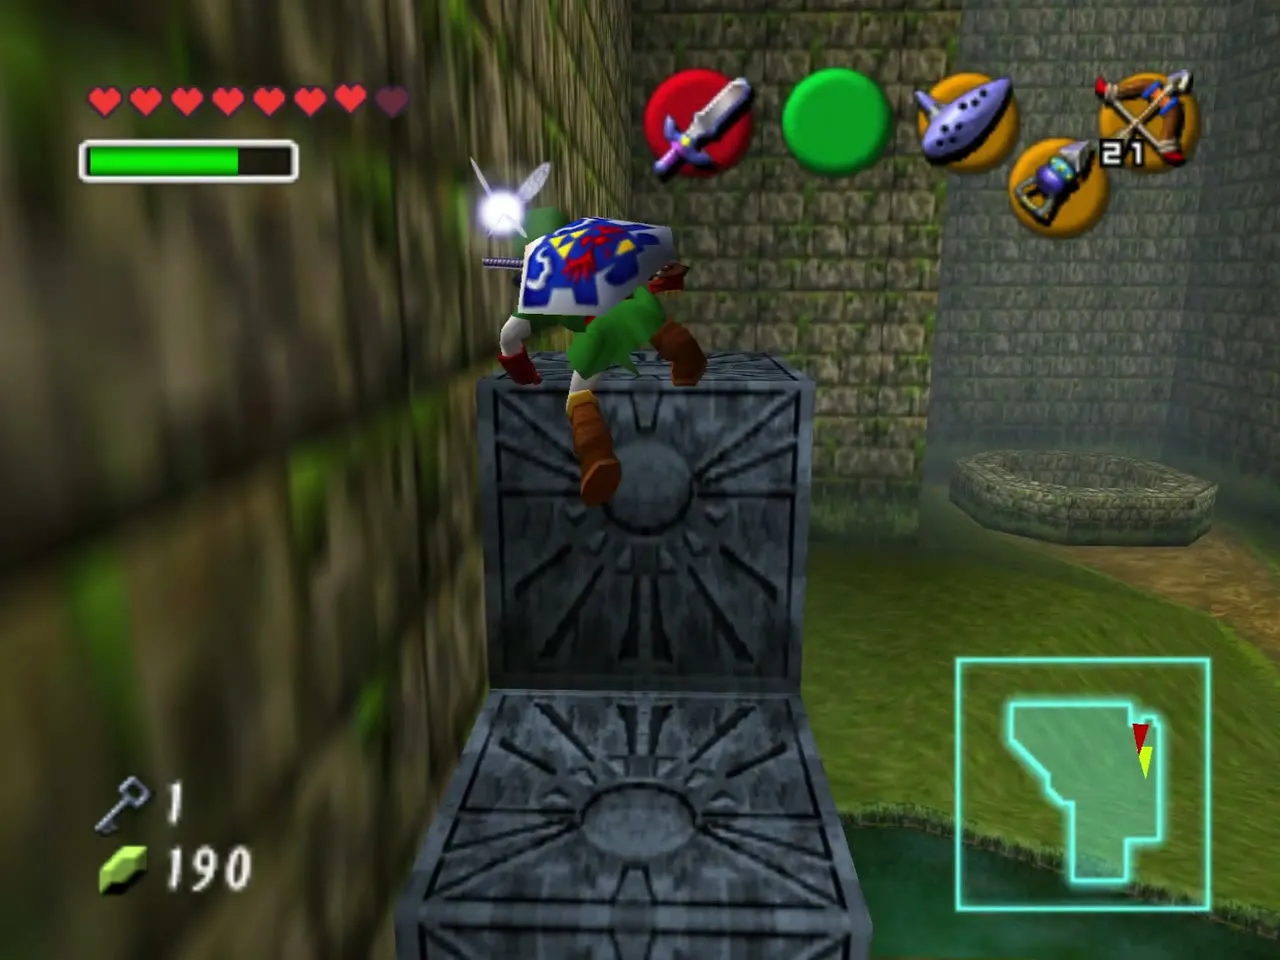
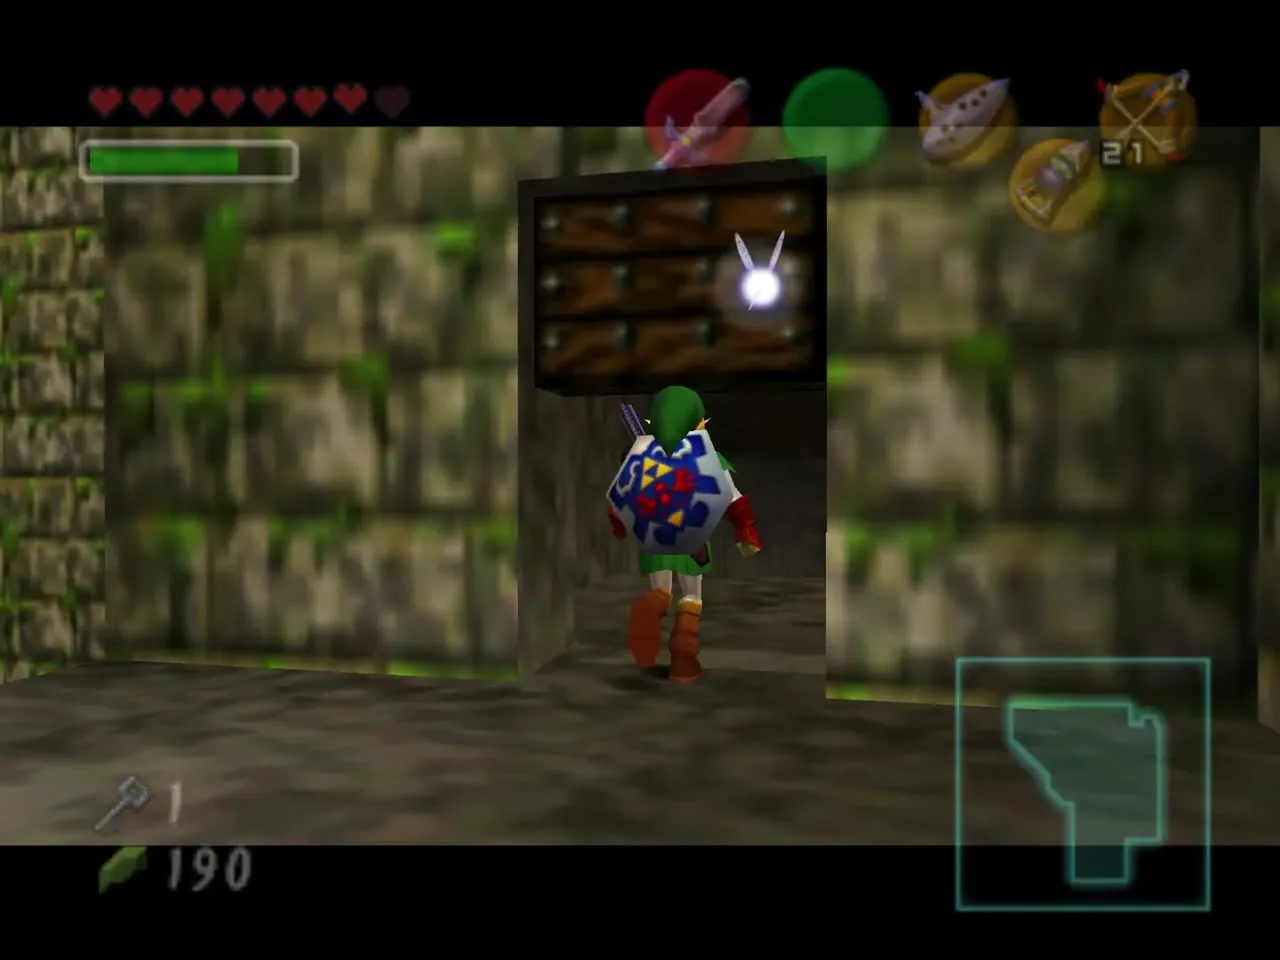
The far door
Cross the room once more, staying on the safe holes, and open the door at the far end with Small Key 6.
Amy and Meg
Amy’s portrait puzzle
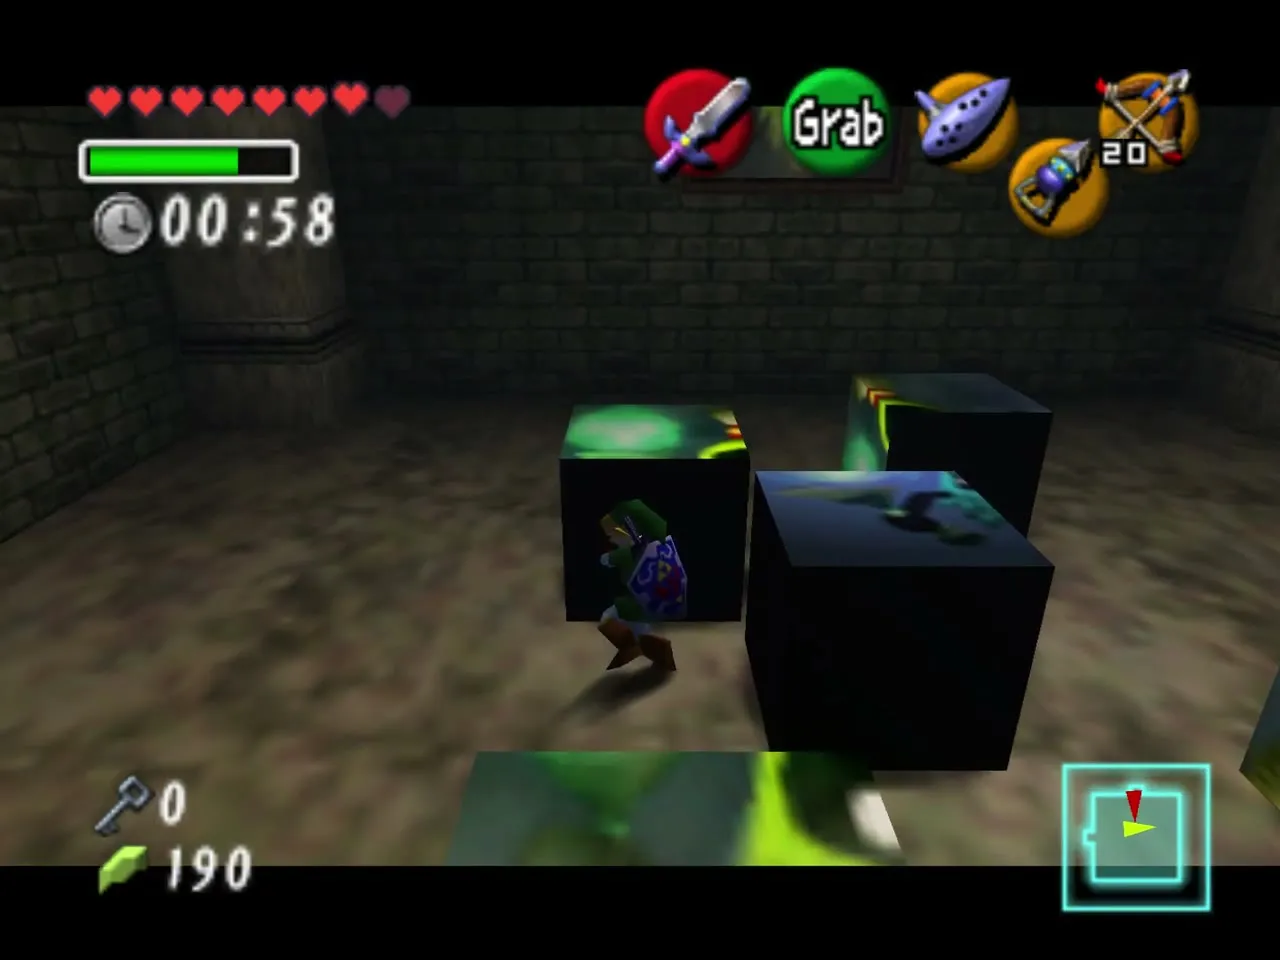
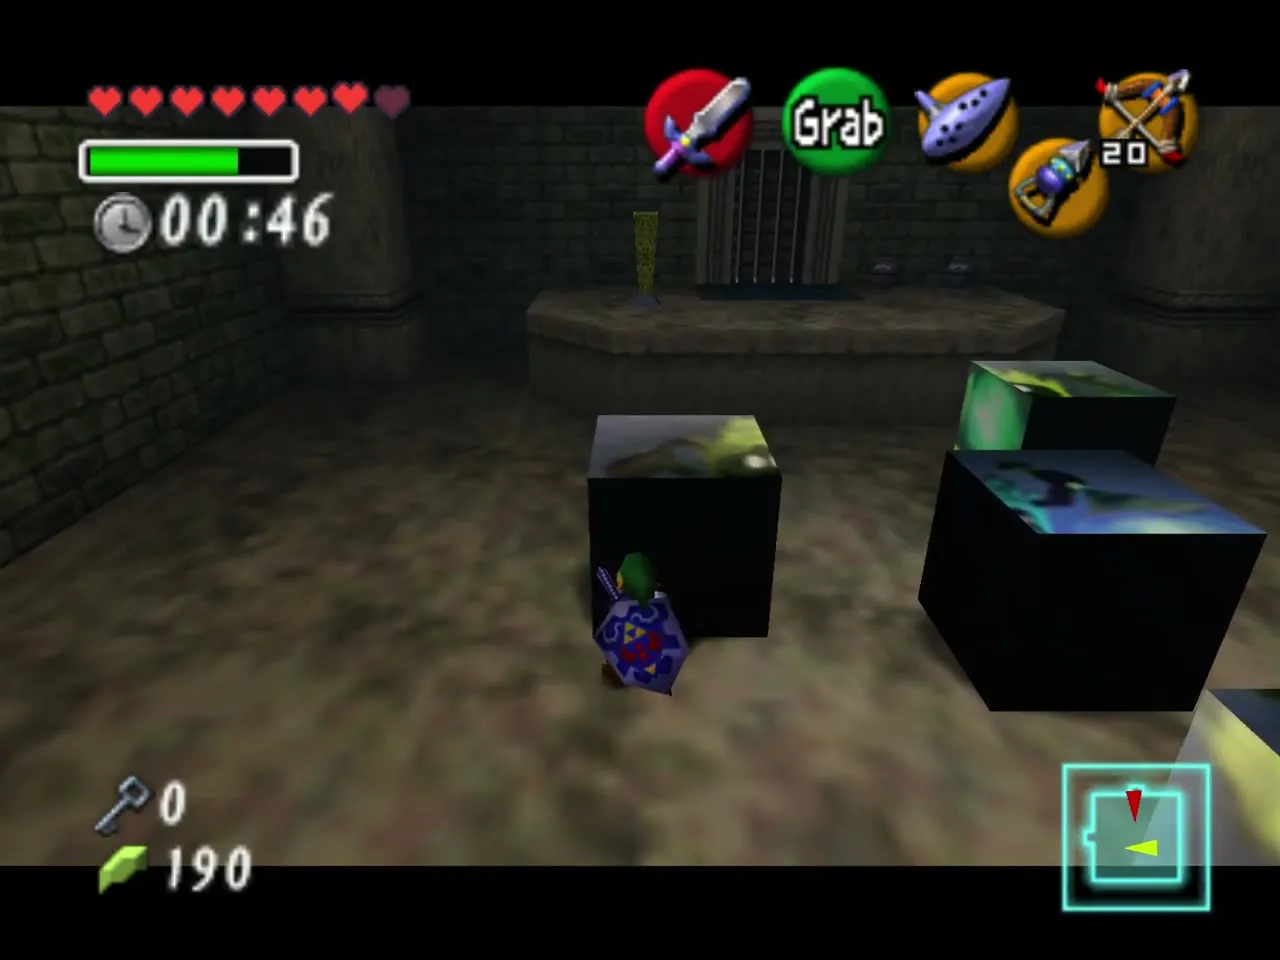
Make sure you are not standing on a shadow, then shoot the large portrait of Amy on the wall. Blocks fall into the room and a timer of one minute starts. The picture is the green Poe, and you have to push and pull the blocks to rebuild it; none of the blocks need turning, and the blue block belongs to Beth’s picture, so simply push it aside. If time runs out, the blocks reset and you can try again.
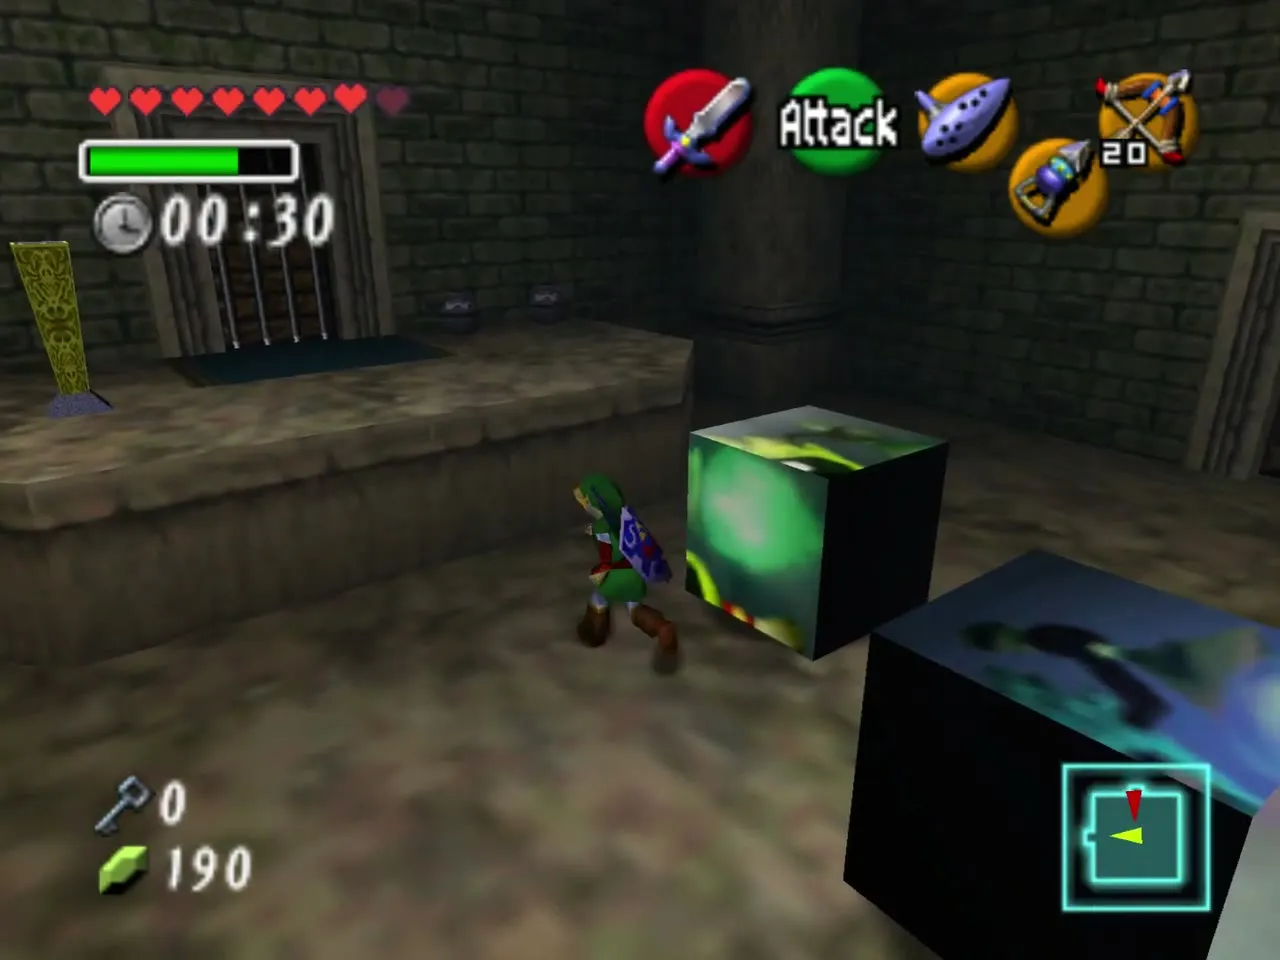
Amy (green)
When the picture is complete it burns and Amy appears. Fight her like her sisters and the green torch lights. Go through the door that opens and walk the corridor back to the main hall.
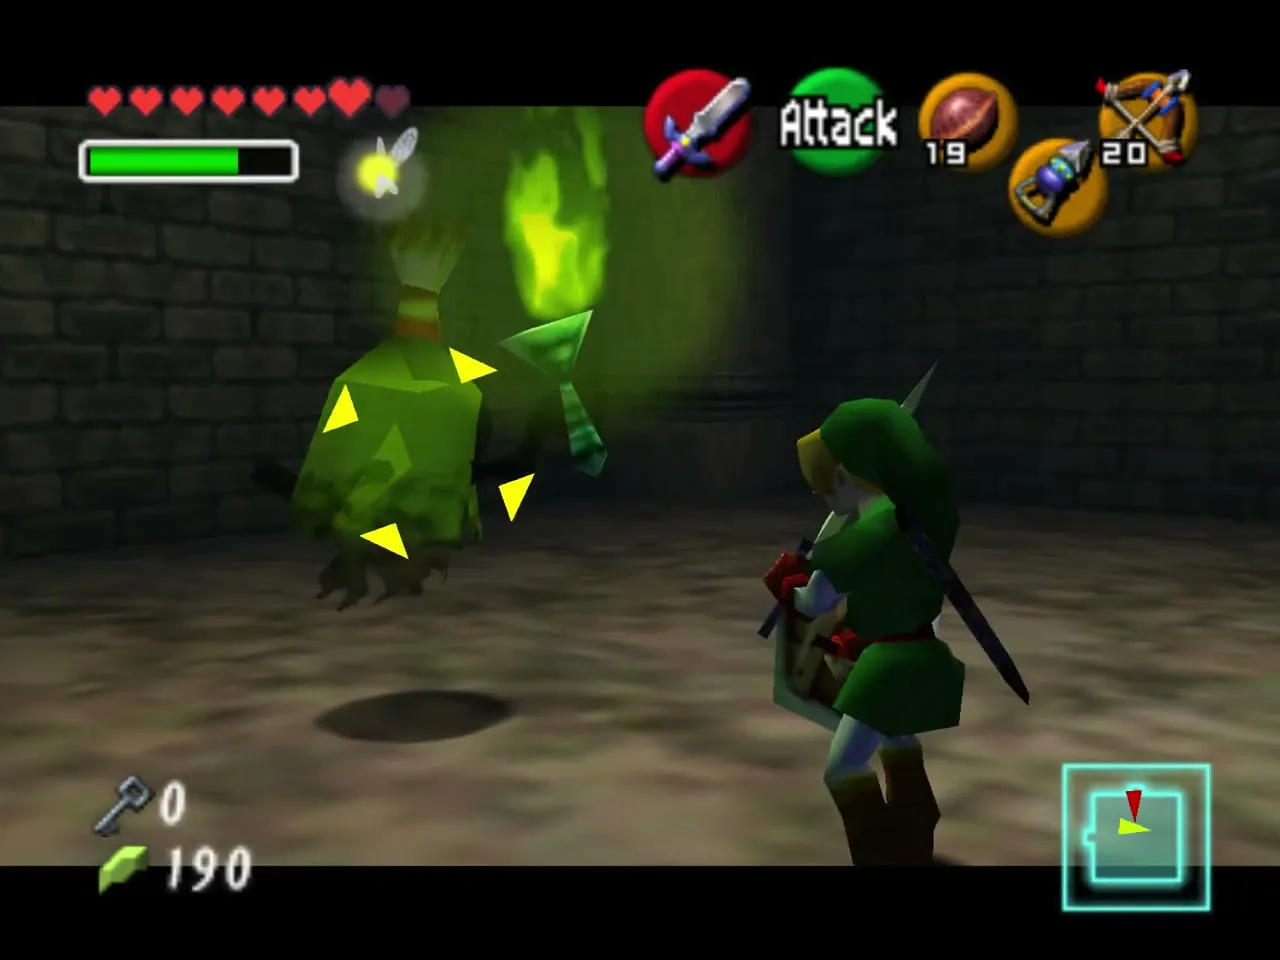
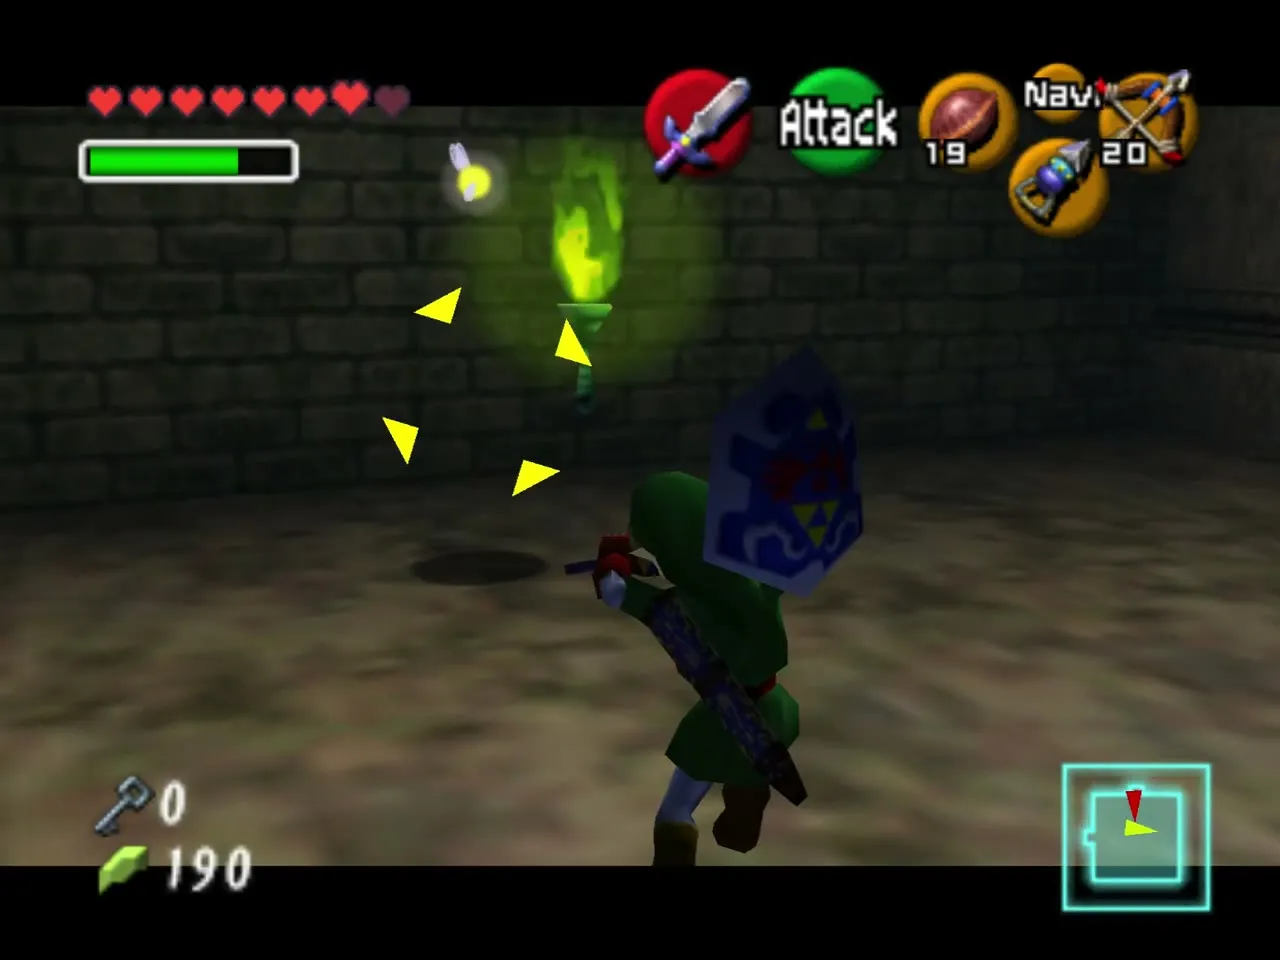
Meg (purple) and the elevator
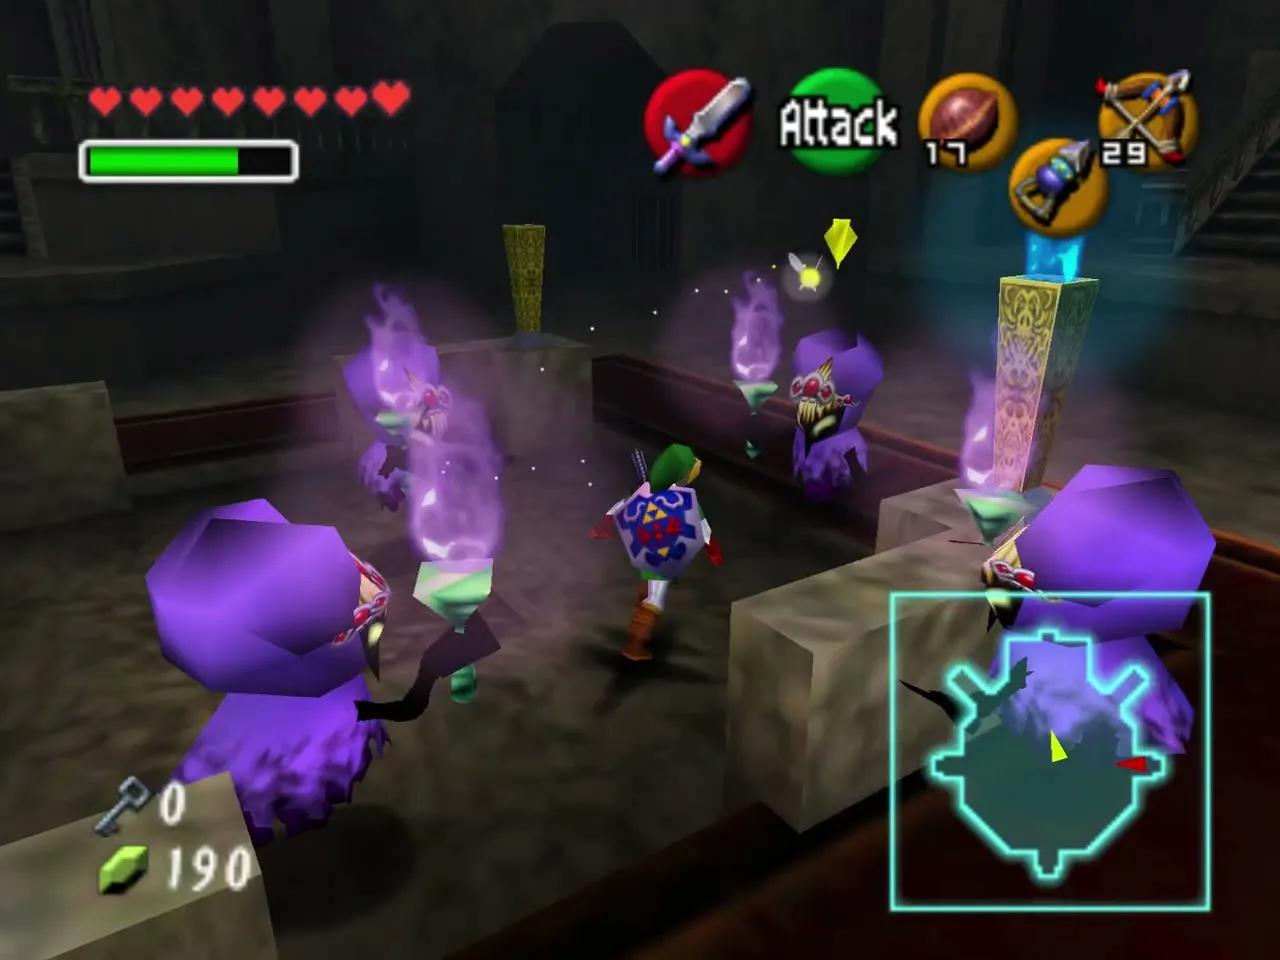
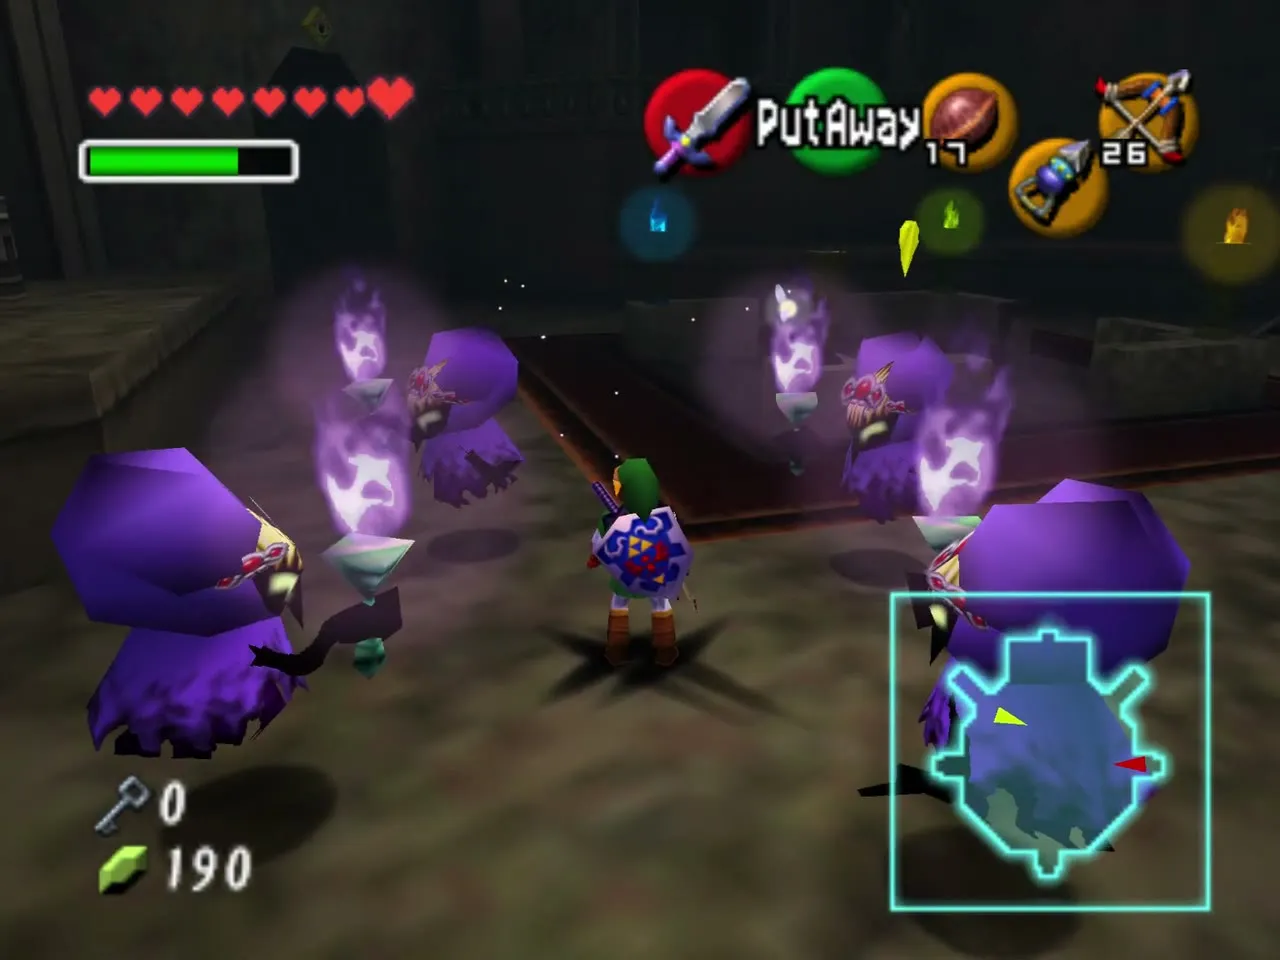
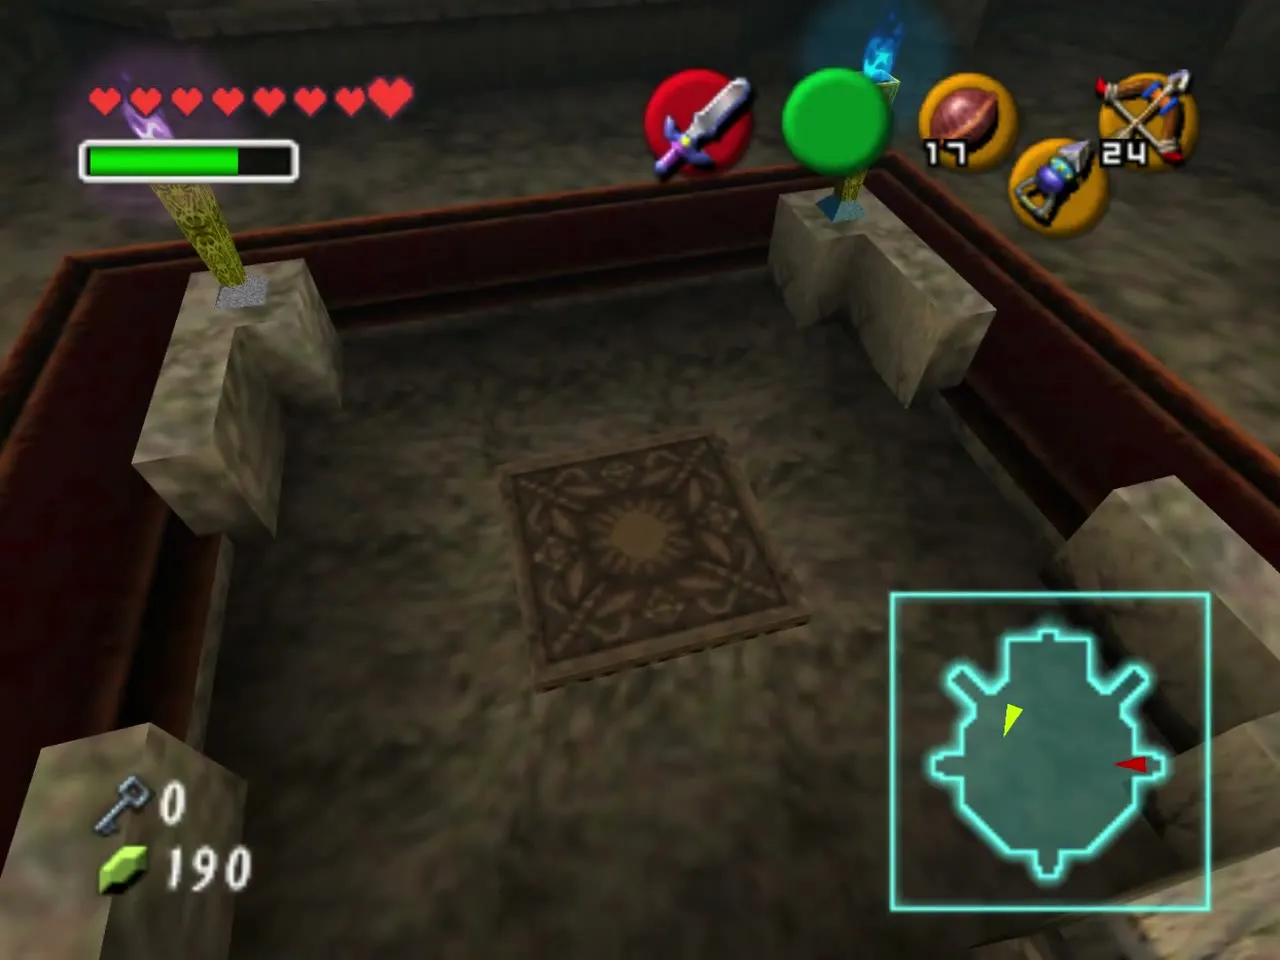
You step out above the dais, and the last Poe Sister weeps in the middle of the hall. Drop down to her. She splits into four images that circle you and all spin at once. The real Meg spins one extra turn, so keep the whole room in view, shoot that Poe and the rest vanish. Repeat until she falls, and the final torch relights and brings the elevator back.
The basement and the boss door
Down to the basement
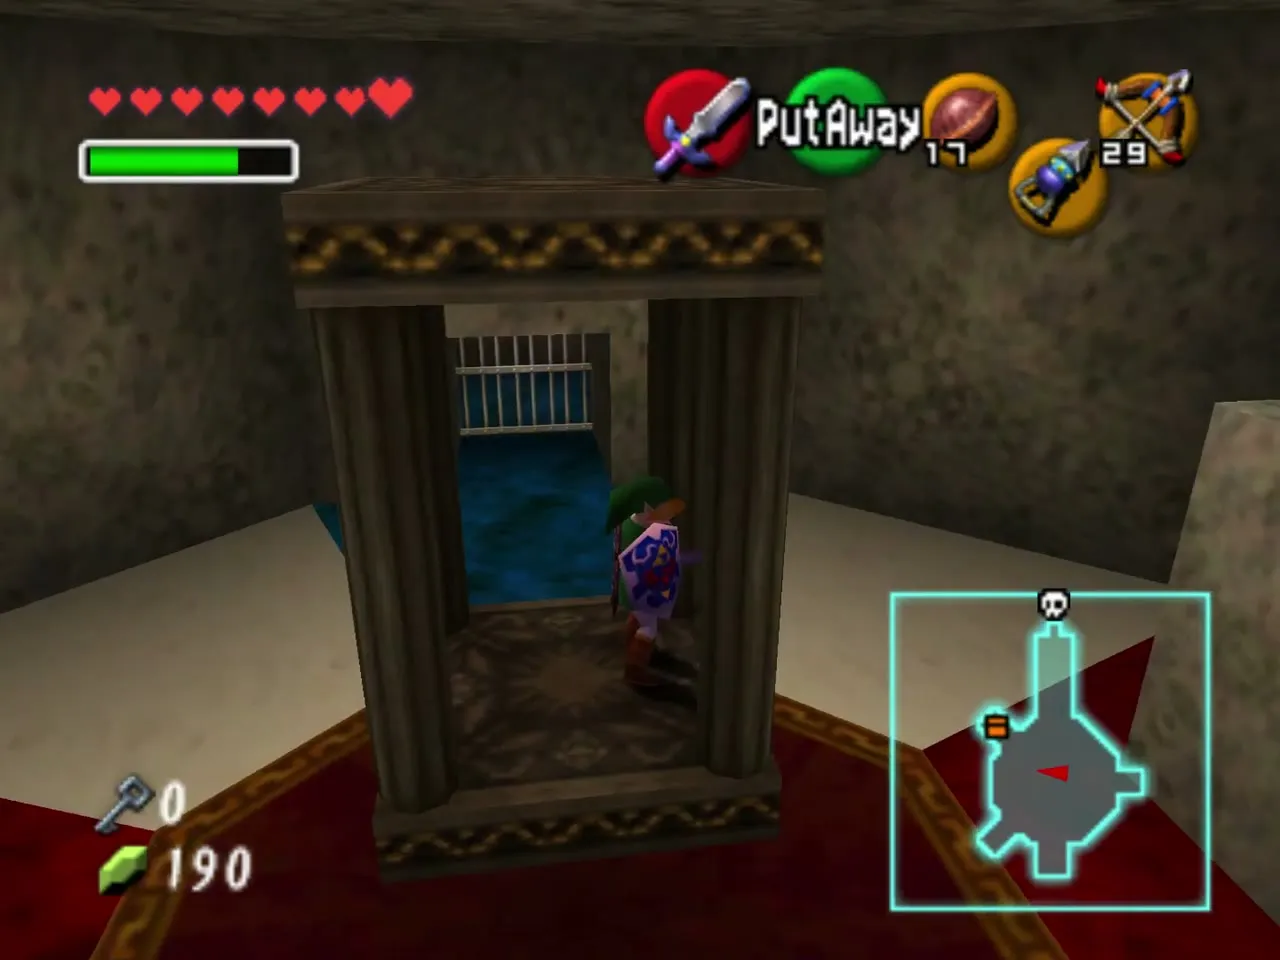
Ride the elevator down to a circular room with red and blue floor sections and a big outer wall. Skulltulas hang in the doorways, so shoot them before you walk under them.
Turn the wall
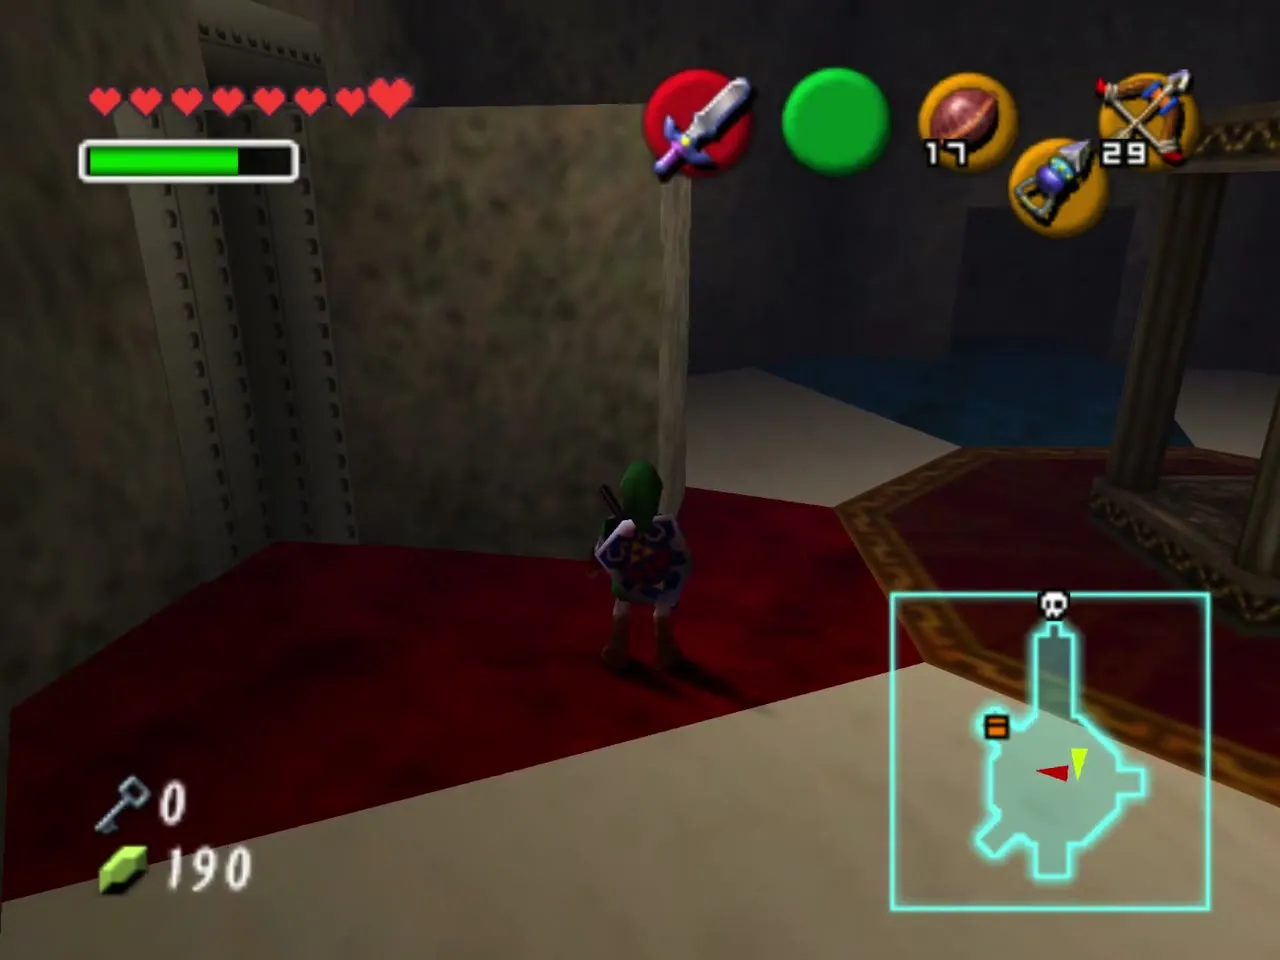
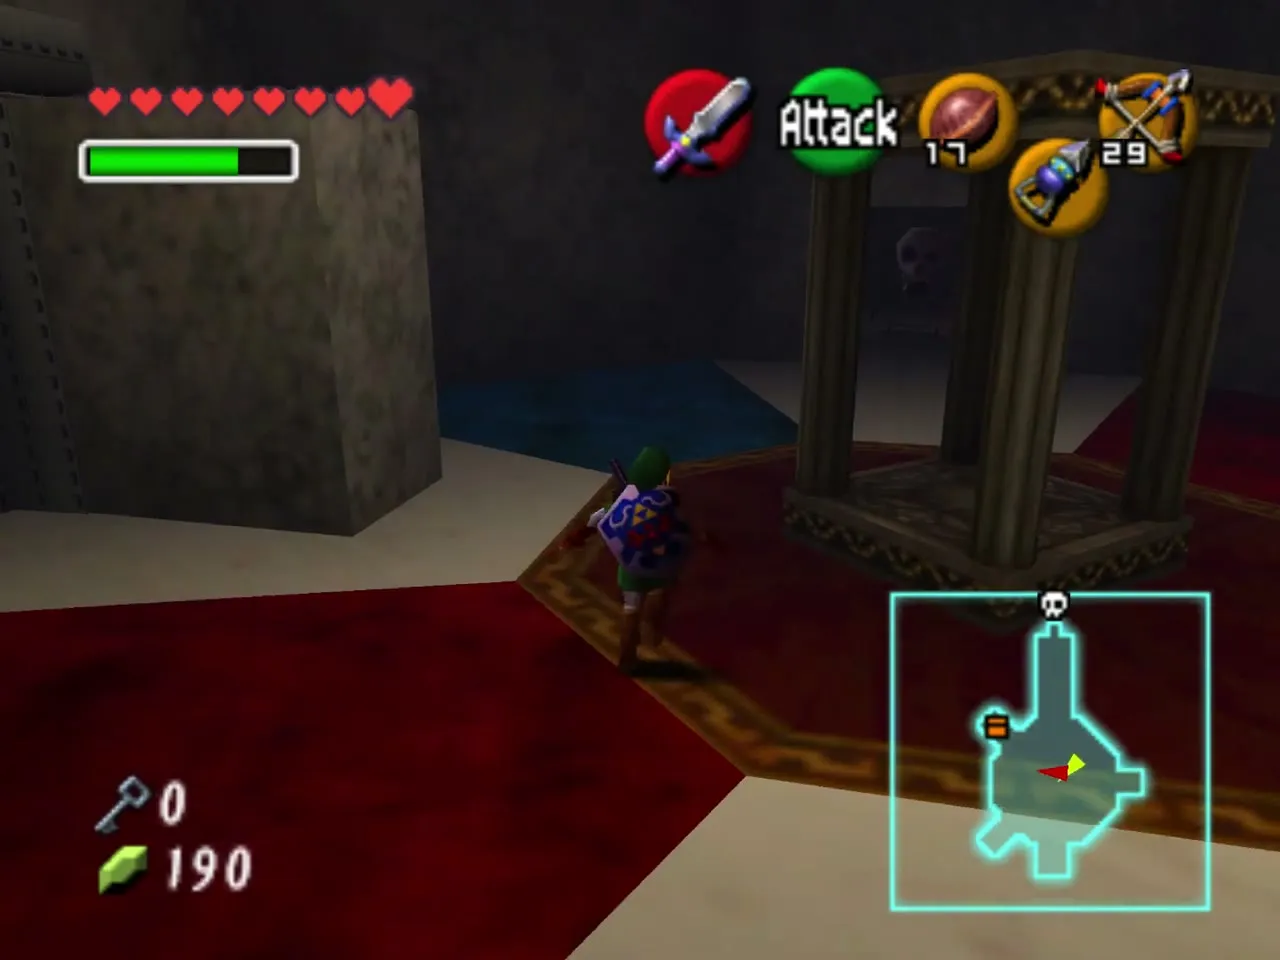
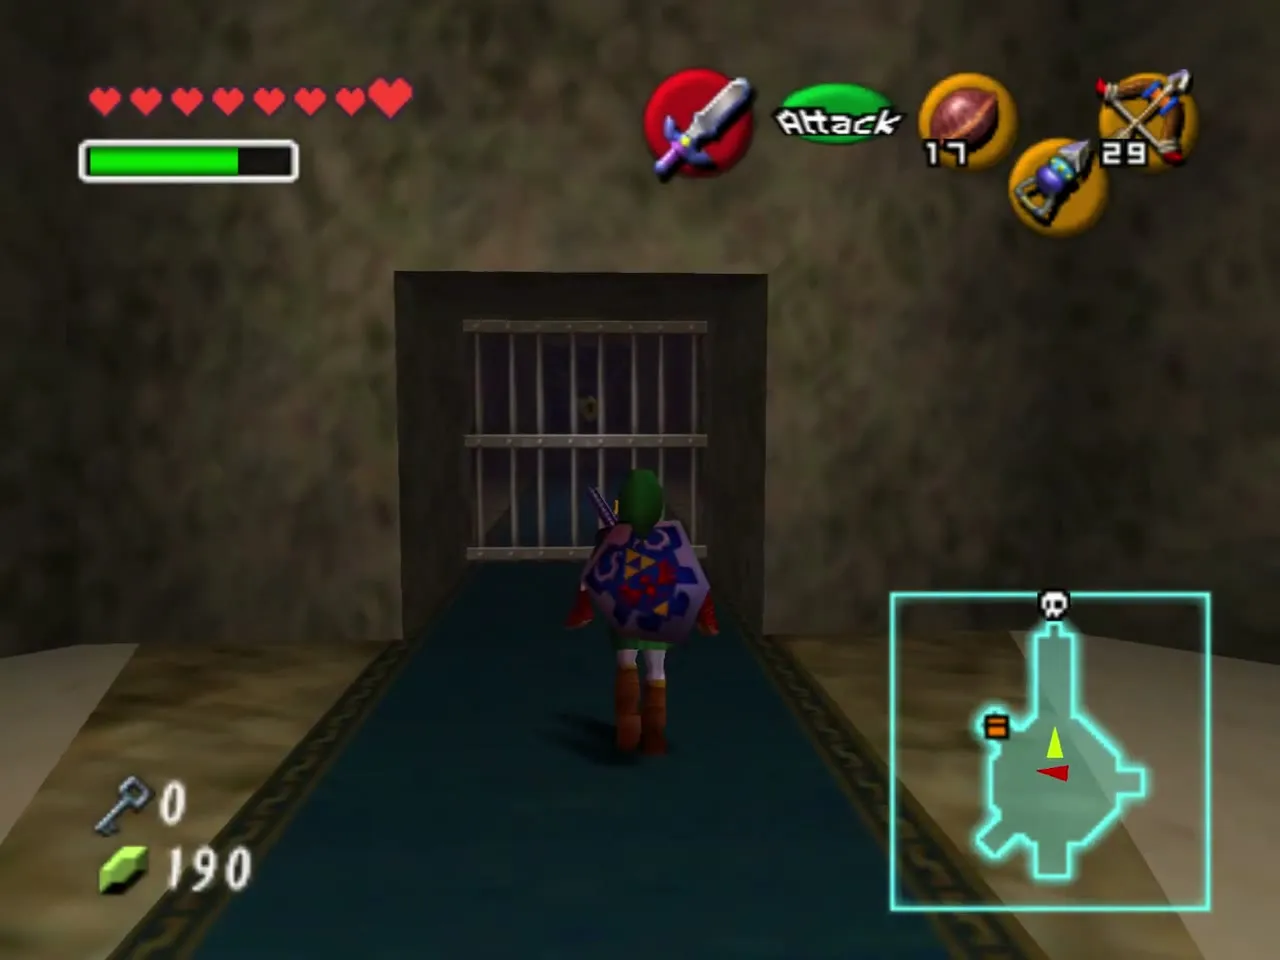
Push the outer wall in one direction and the whole room turns, lining its openings up with new doorways. Keep pushing in the same direction, step on the floor switches that appear behind each doorway and keep going until you can walk into the passage on the far side. A barred doorway near the end may need an arrow in the eye switch above it.
Boss door
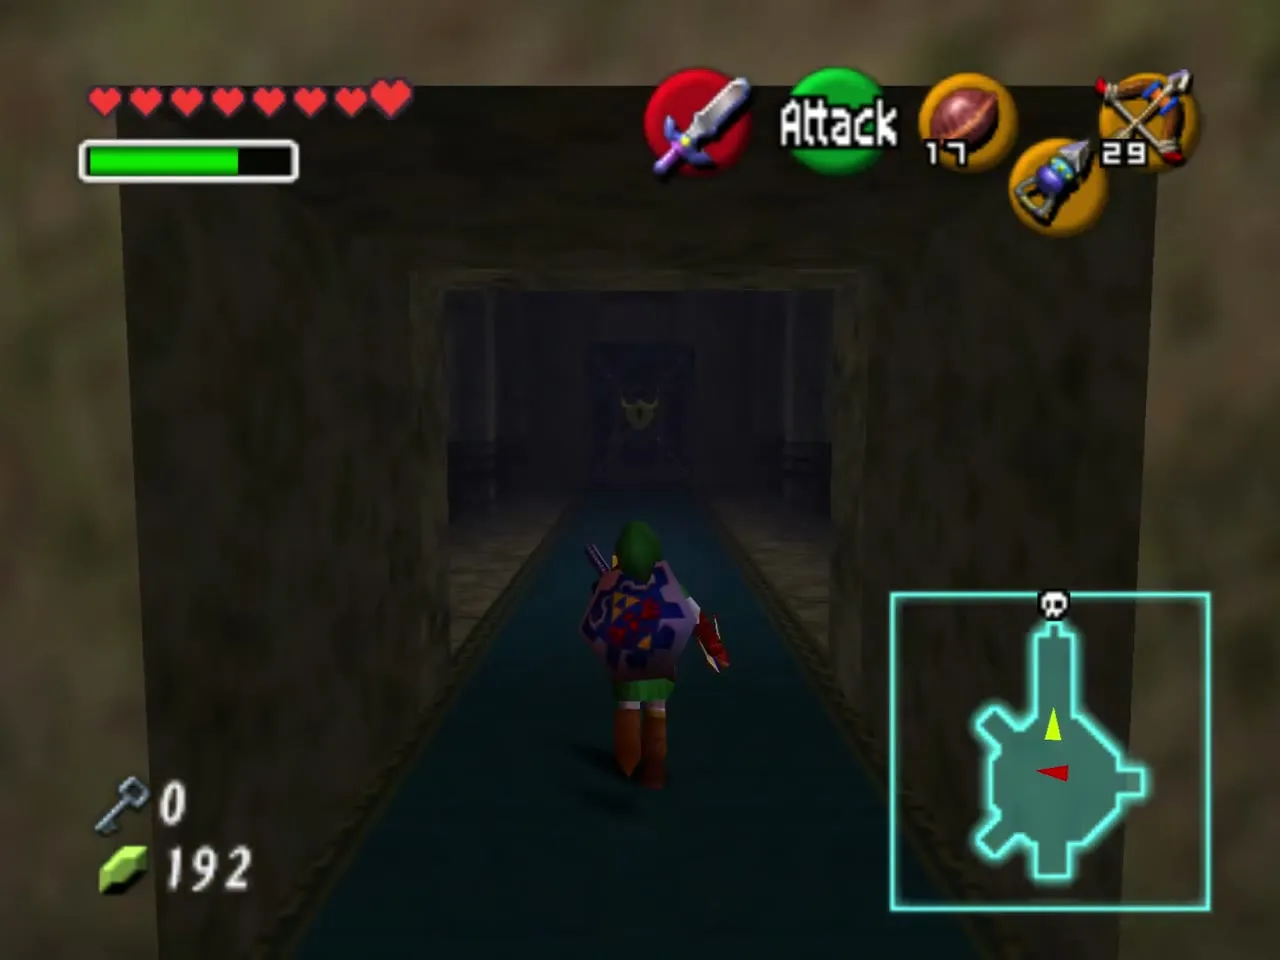
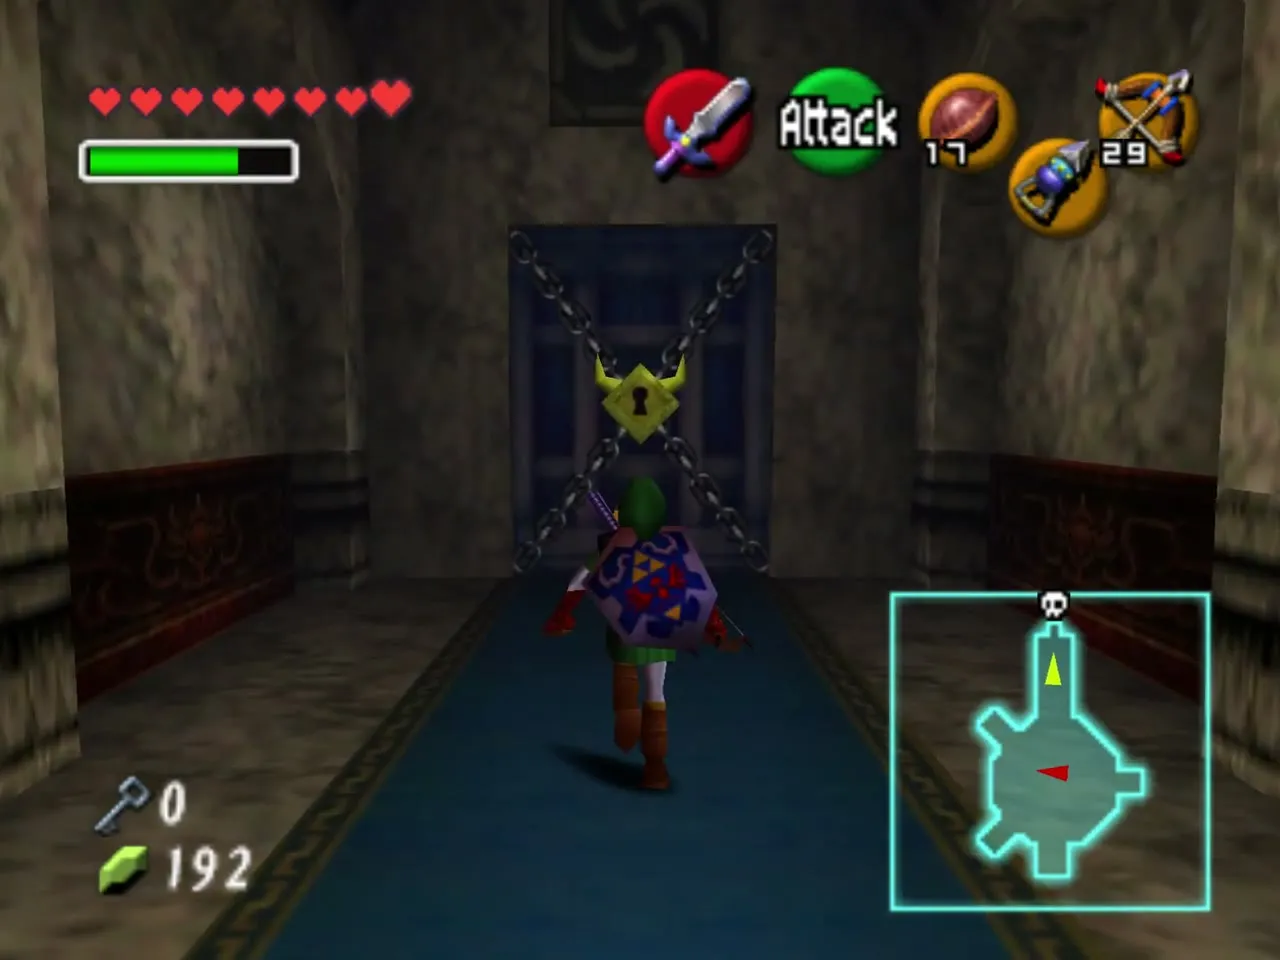
Follow the blue carpet to the boss door, which opens with the Boss Key you collected early on. Iron bars close behind you, so check your hearts and arrows first.
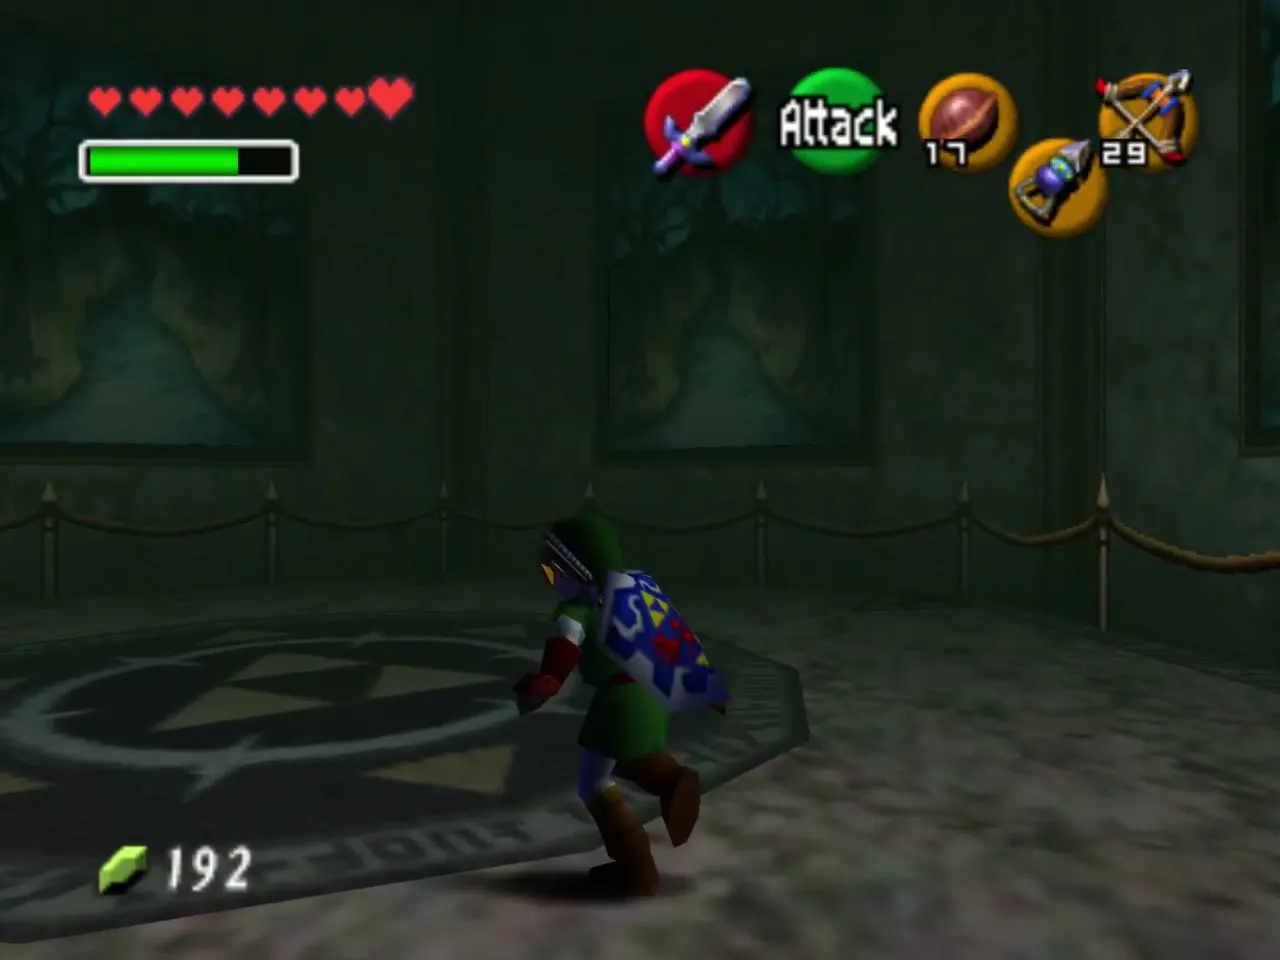
Boss: Phantom Ganon
The painting room
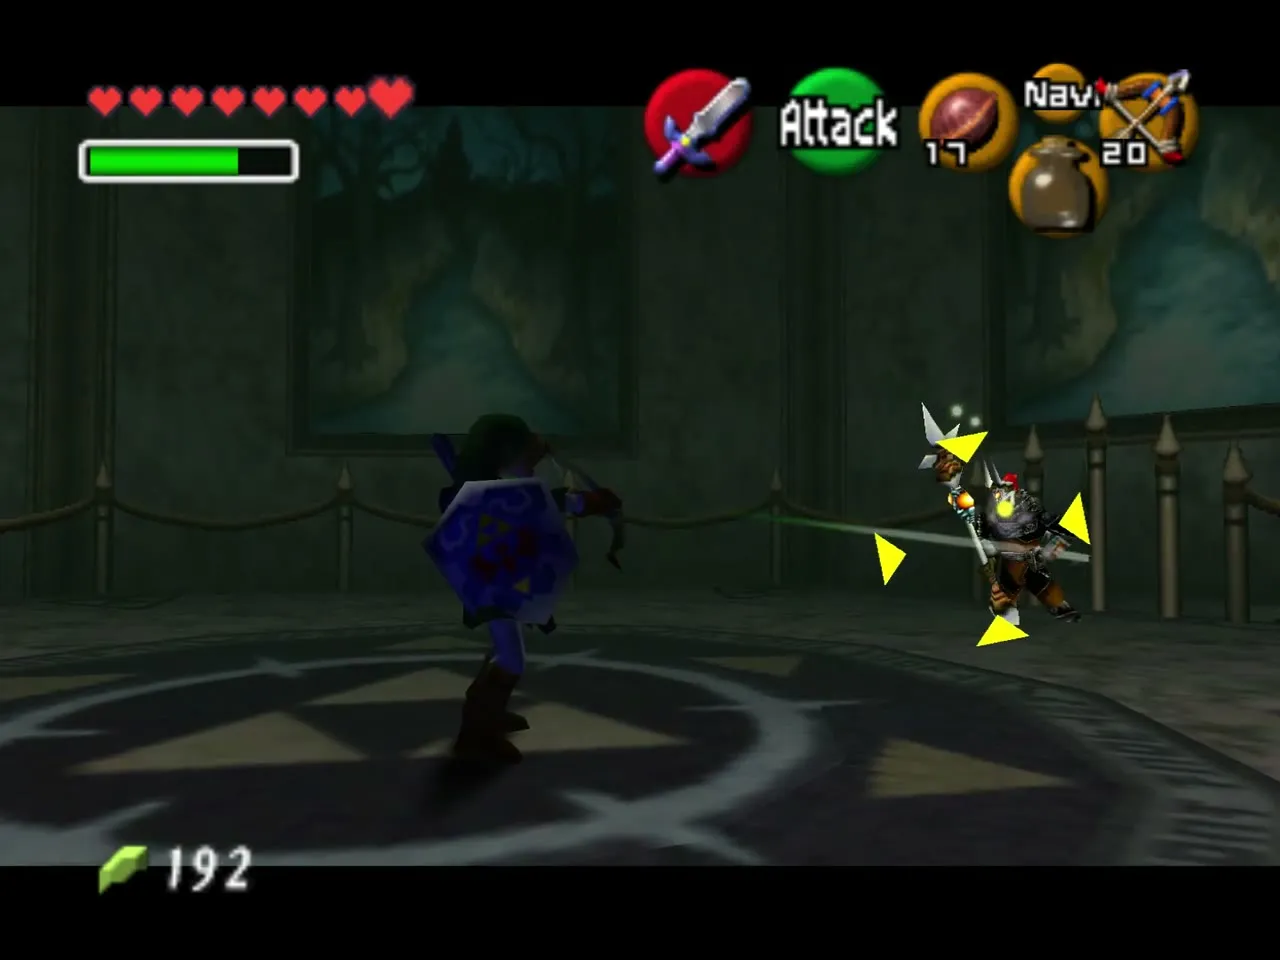
You step into a gallery of paintings with a rope railing round it and a dark floor marked with Triforce symbols. Phantom Ganon, the evil spirit from beyond, rides in and out of the paintings on his horse.
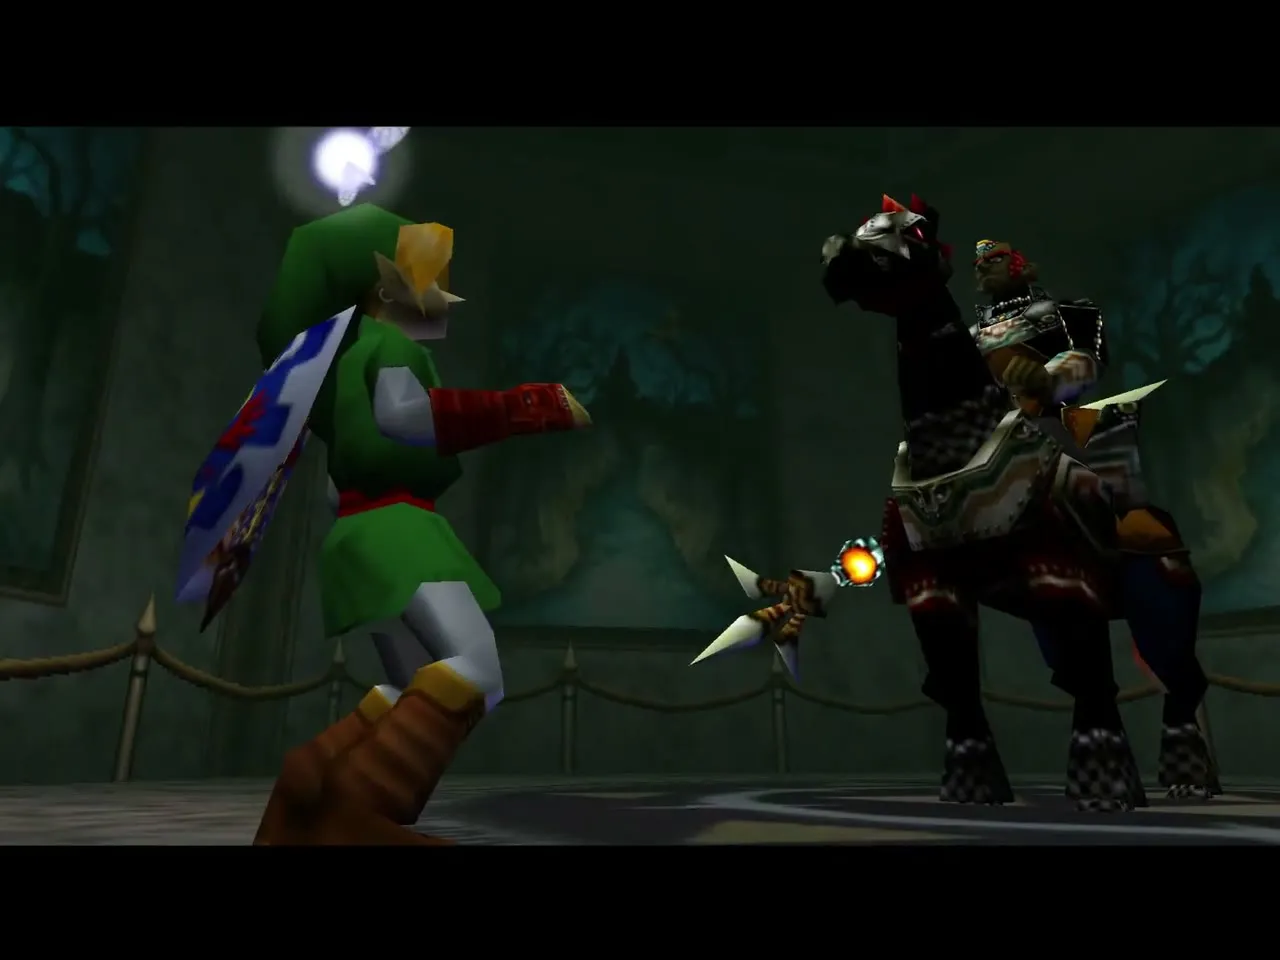
Phase one: shoot the real rider
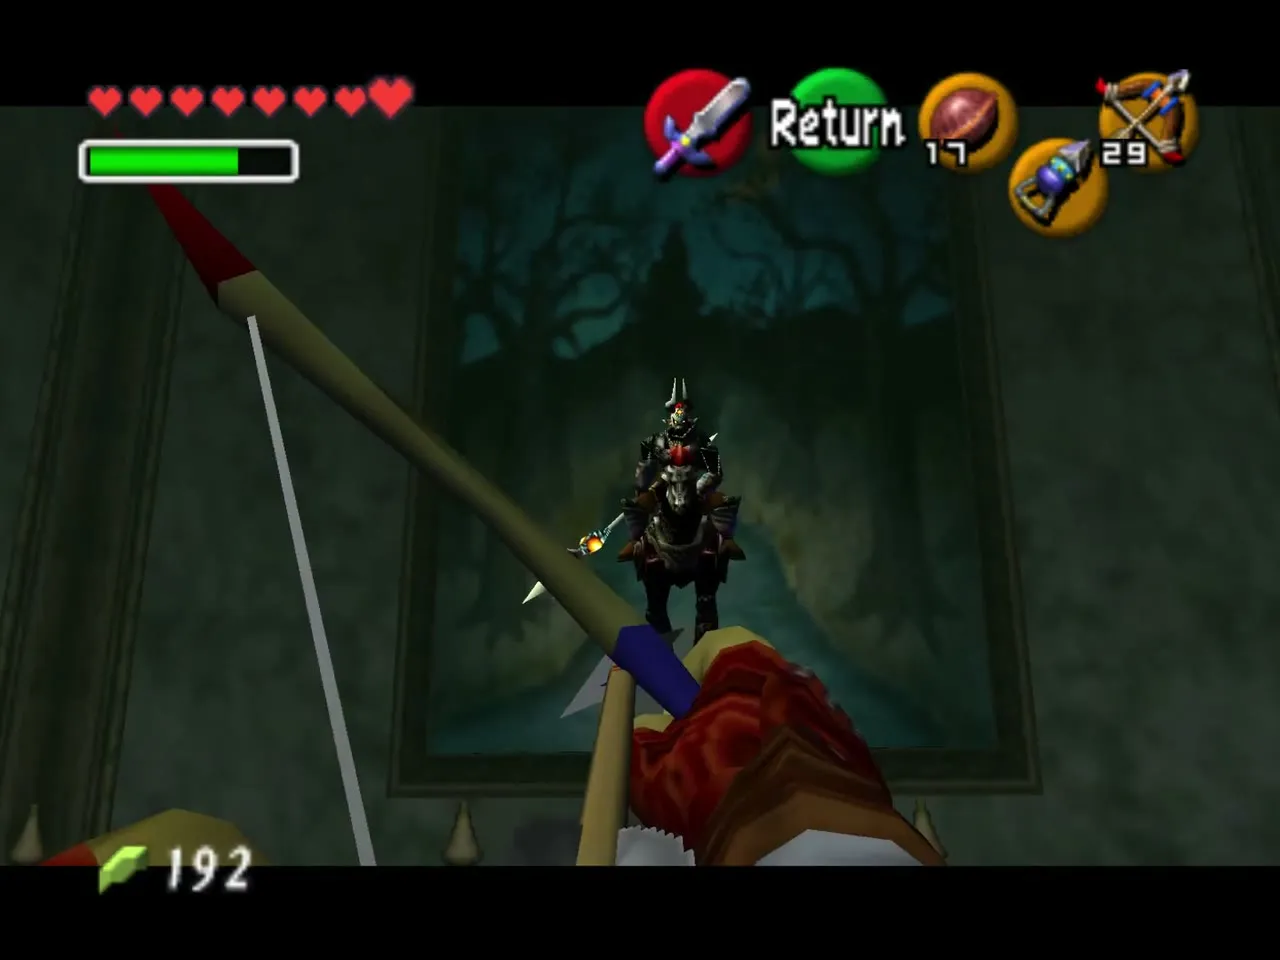
Phantom Ganon and a decoy gallop out of two paintings at once. At the last moment the decoy turns and runs back, and the real one comes out of a purple halo and casts a bolt at the middle of the room. Shoot the real one with the Fairy Bow as it appears. His magic never reaches the corners, so wait in one if you are afraid of the damage. Three arrow hits knock him off his horse.
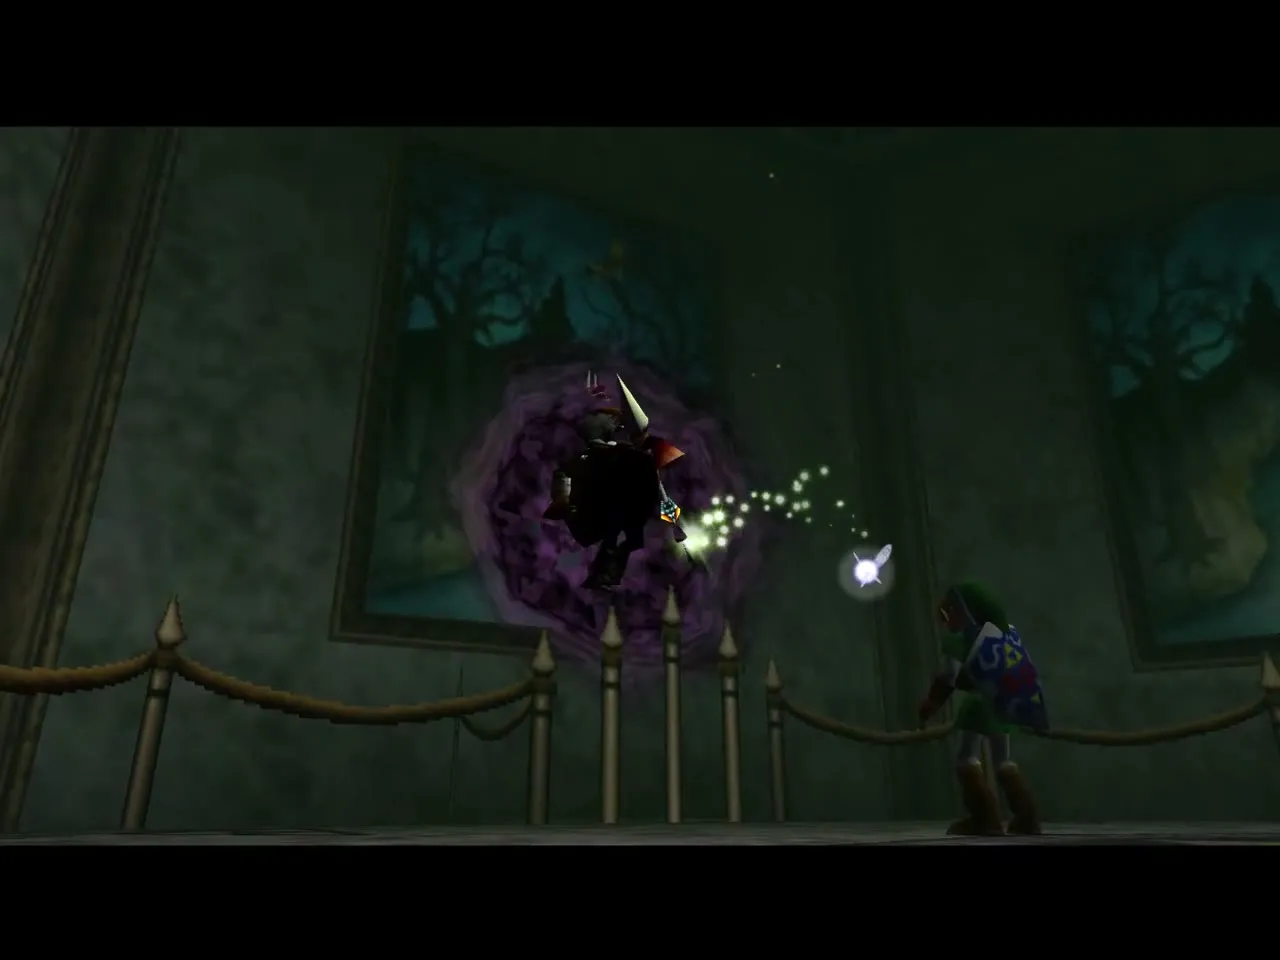
Phase two: energy tennis
Now he floats alone and fires energy balls at you. Z-target him and swing the sword to hit a ball back; he returns it, and each exchange is quicker, so keep your timing until he misses.
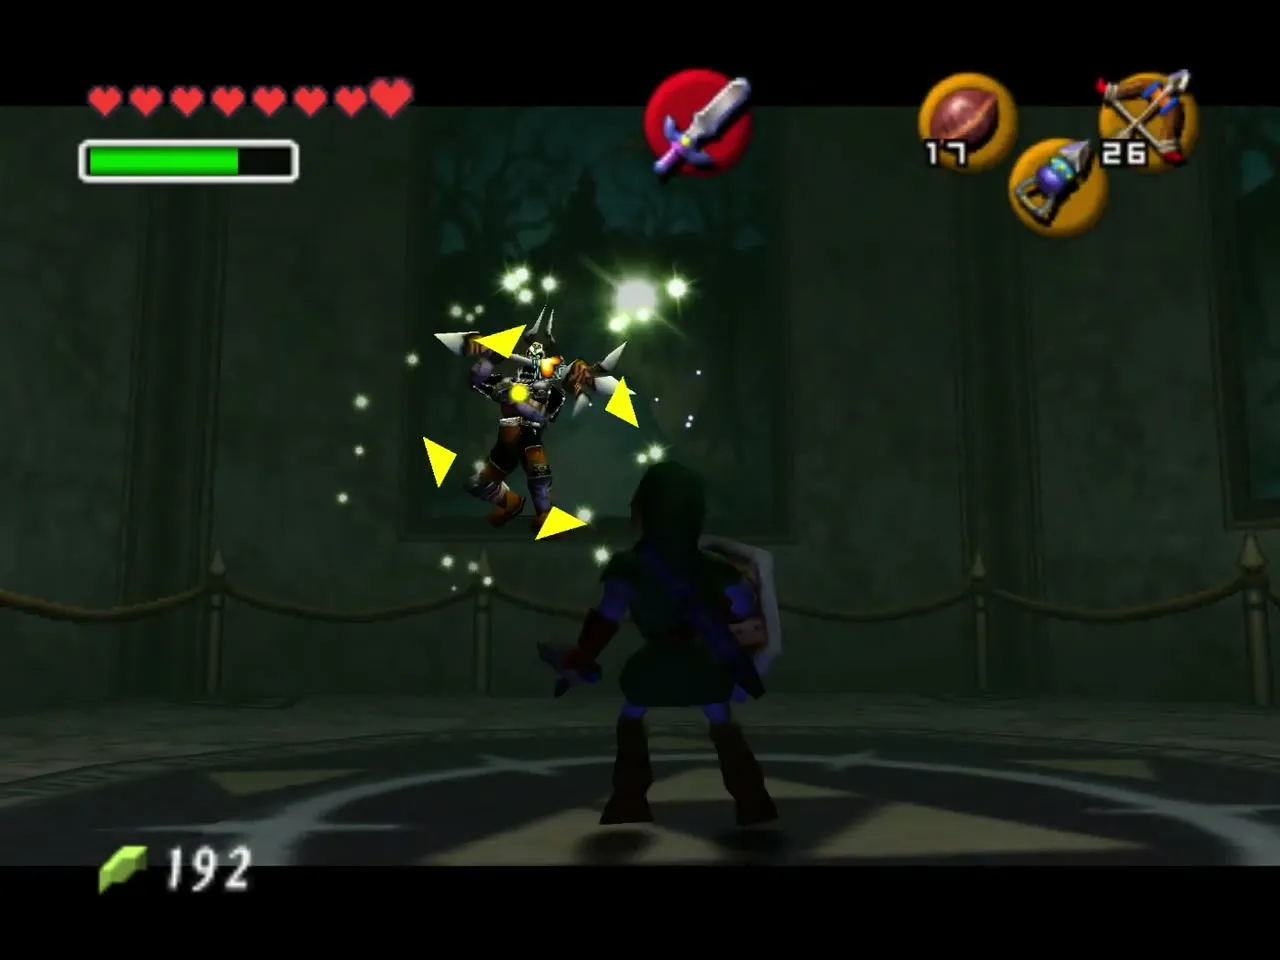
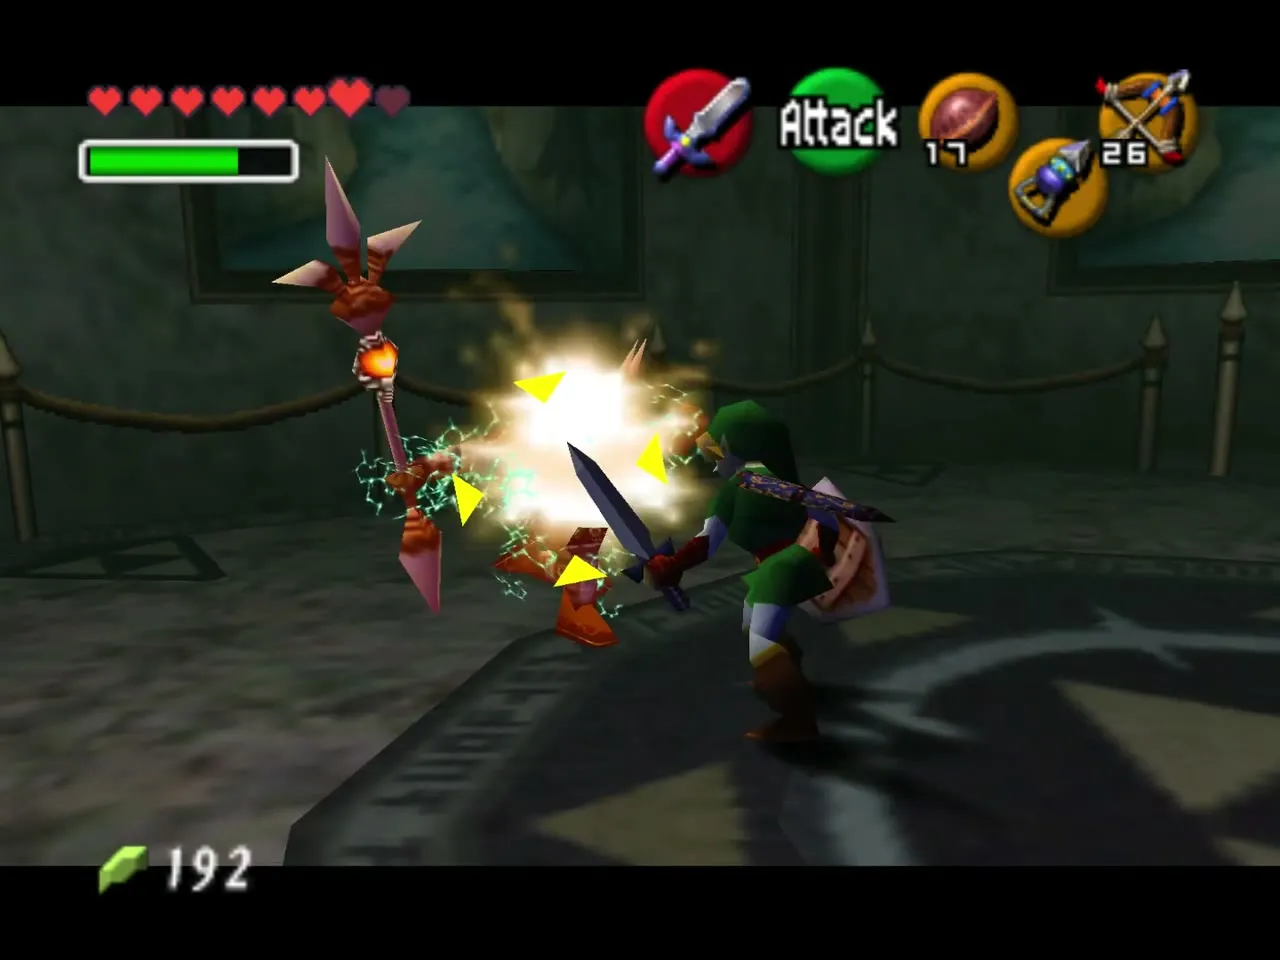
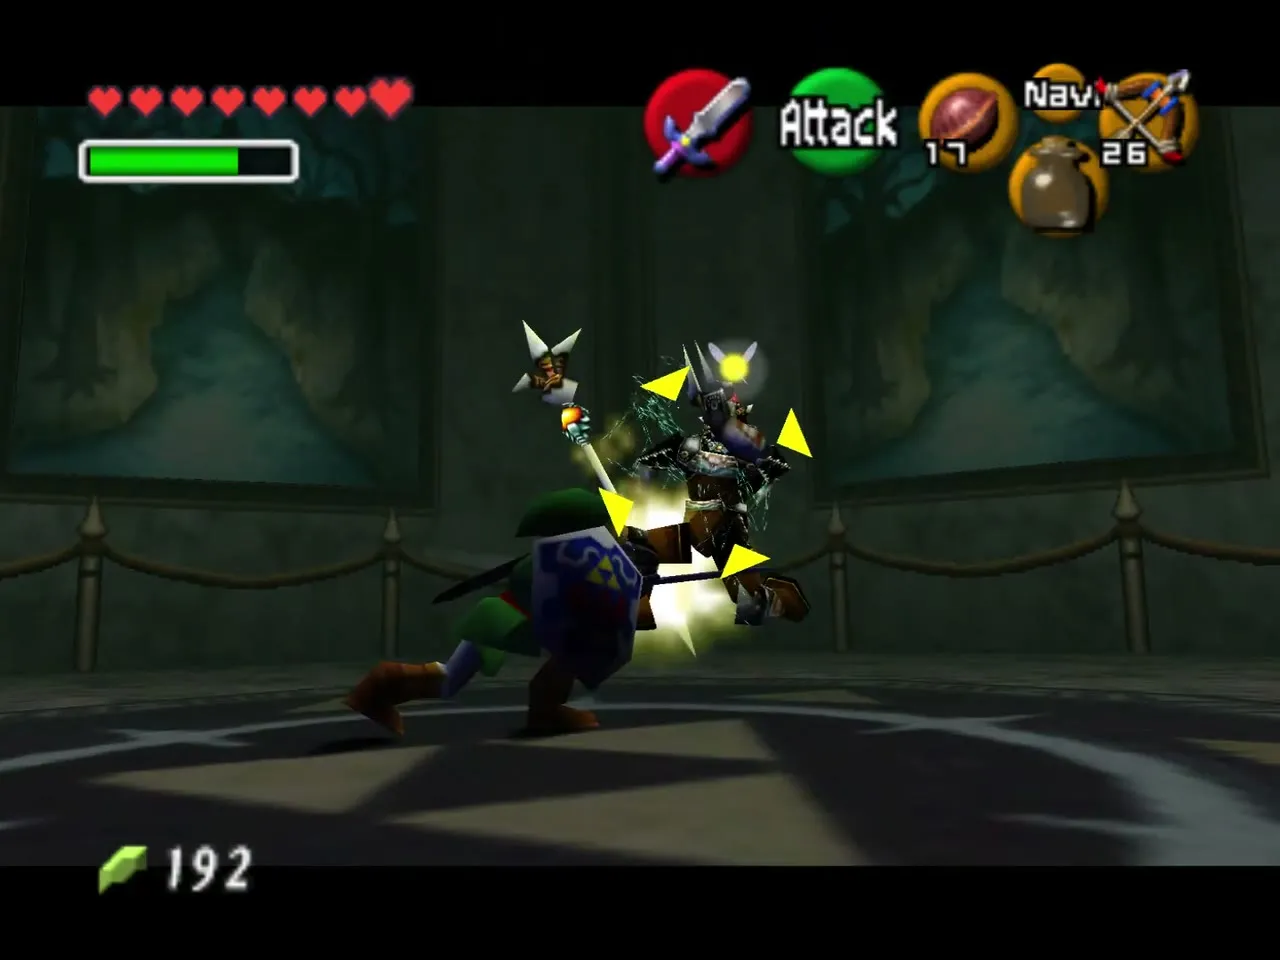
Phase three: strike while he is stunned
When a ball hits him he falls to the floor. Run up and slash him until he gets up, then back away. Now and then he charges a sudden rush; raise your shield or step aside, because a direct hit costs three hearts. Repeat the cycle until he is beaten.
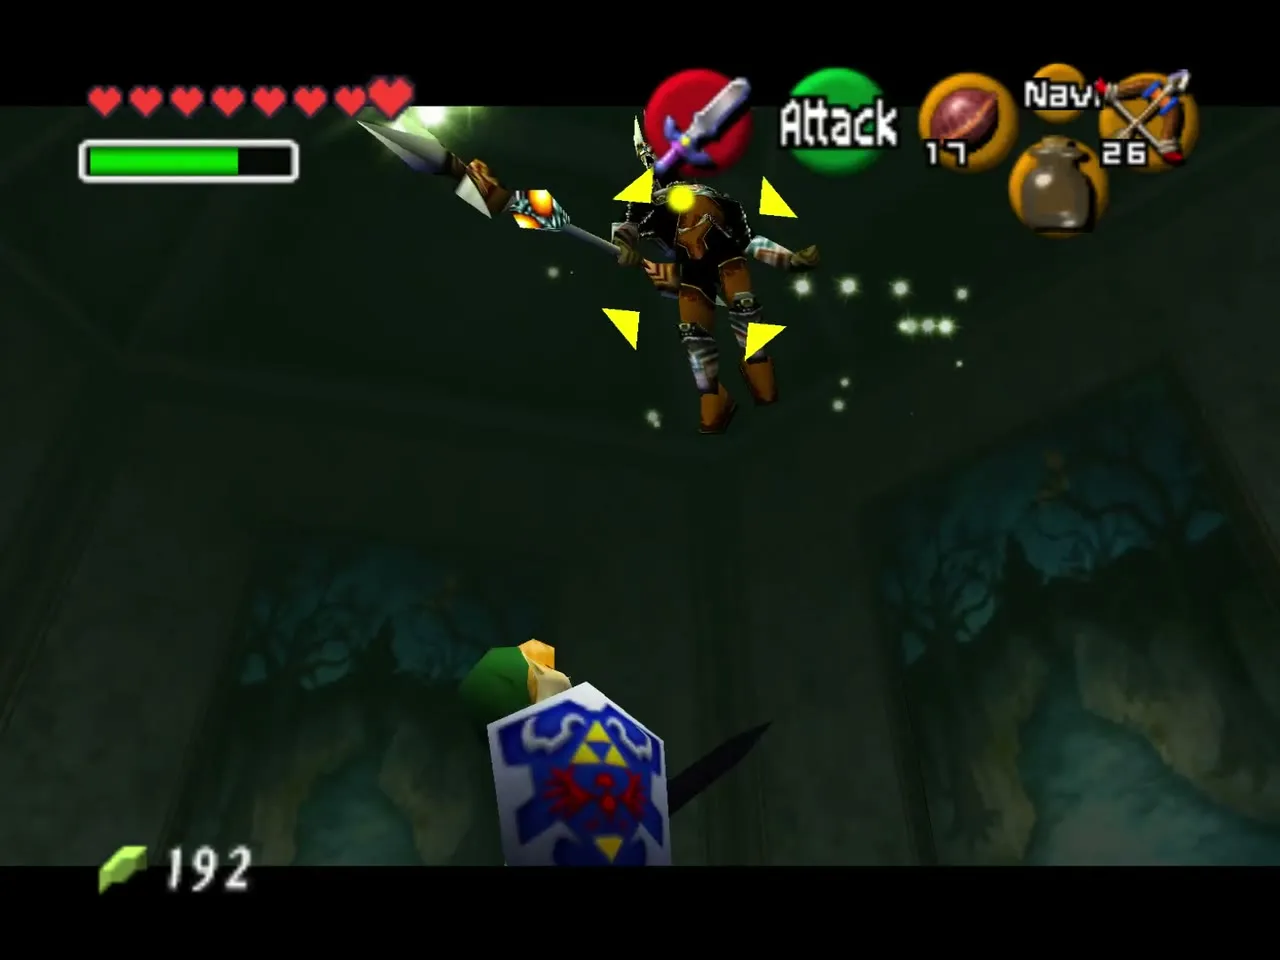
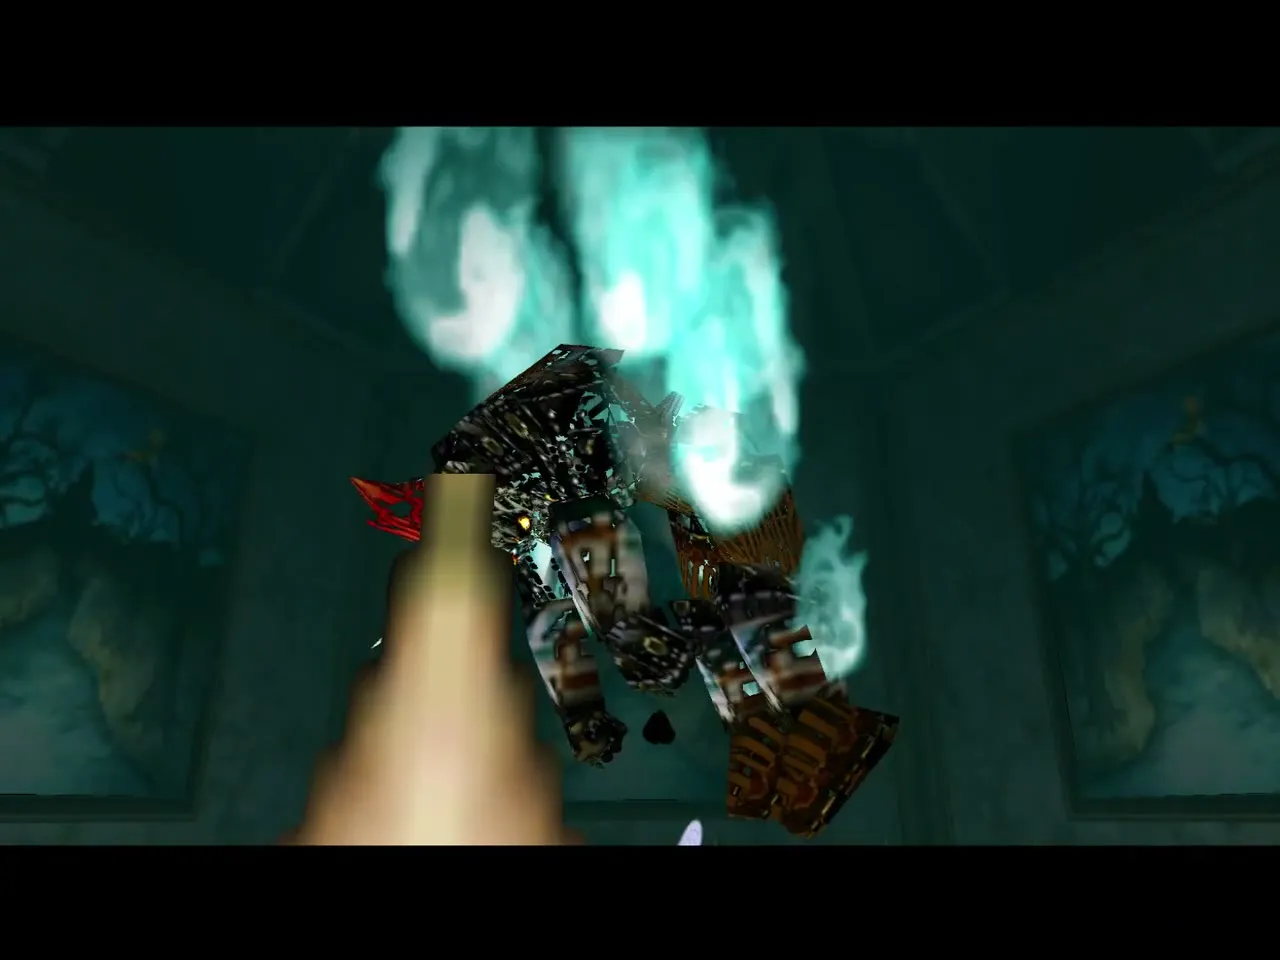
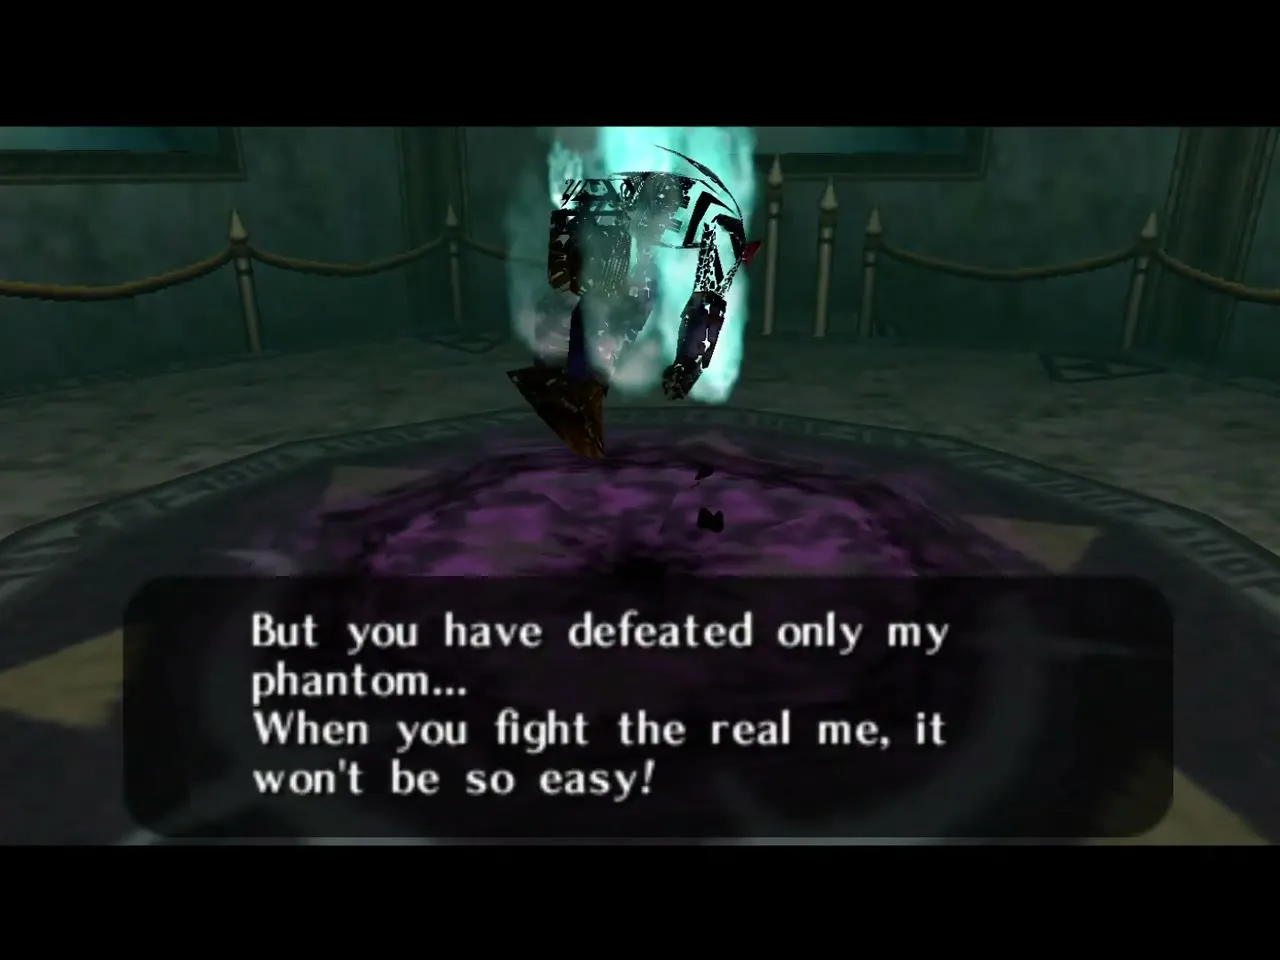
The end of the phantom
The phantom burns with blue flame and a portal opens to swallow it, while the real Ganondorf warns that his next fight will not be so easy.
Heart Container and the Forest Medallion
Heart Container
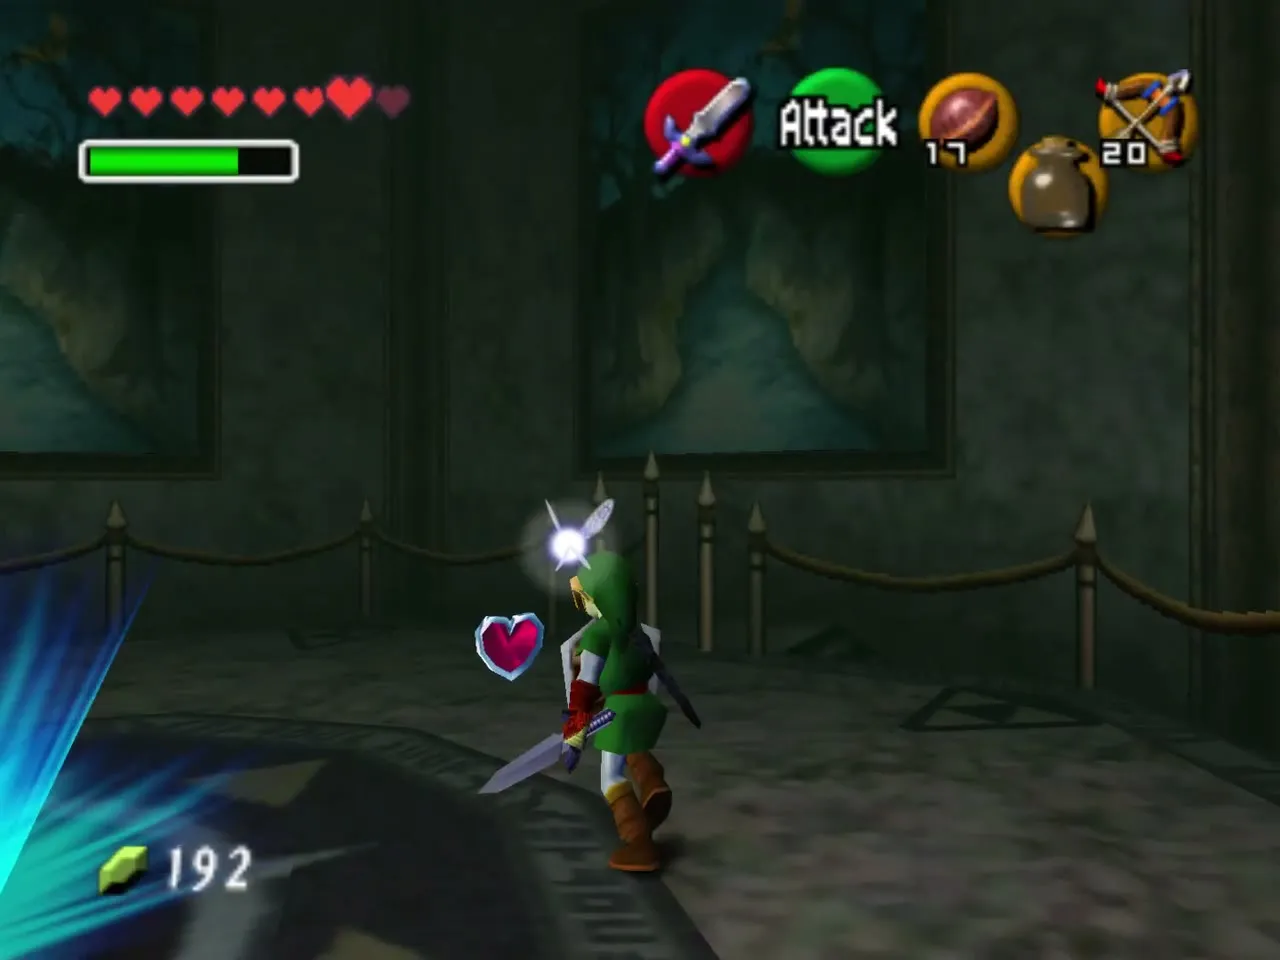
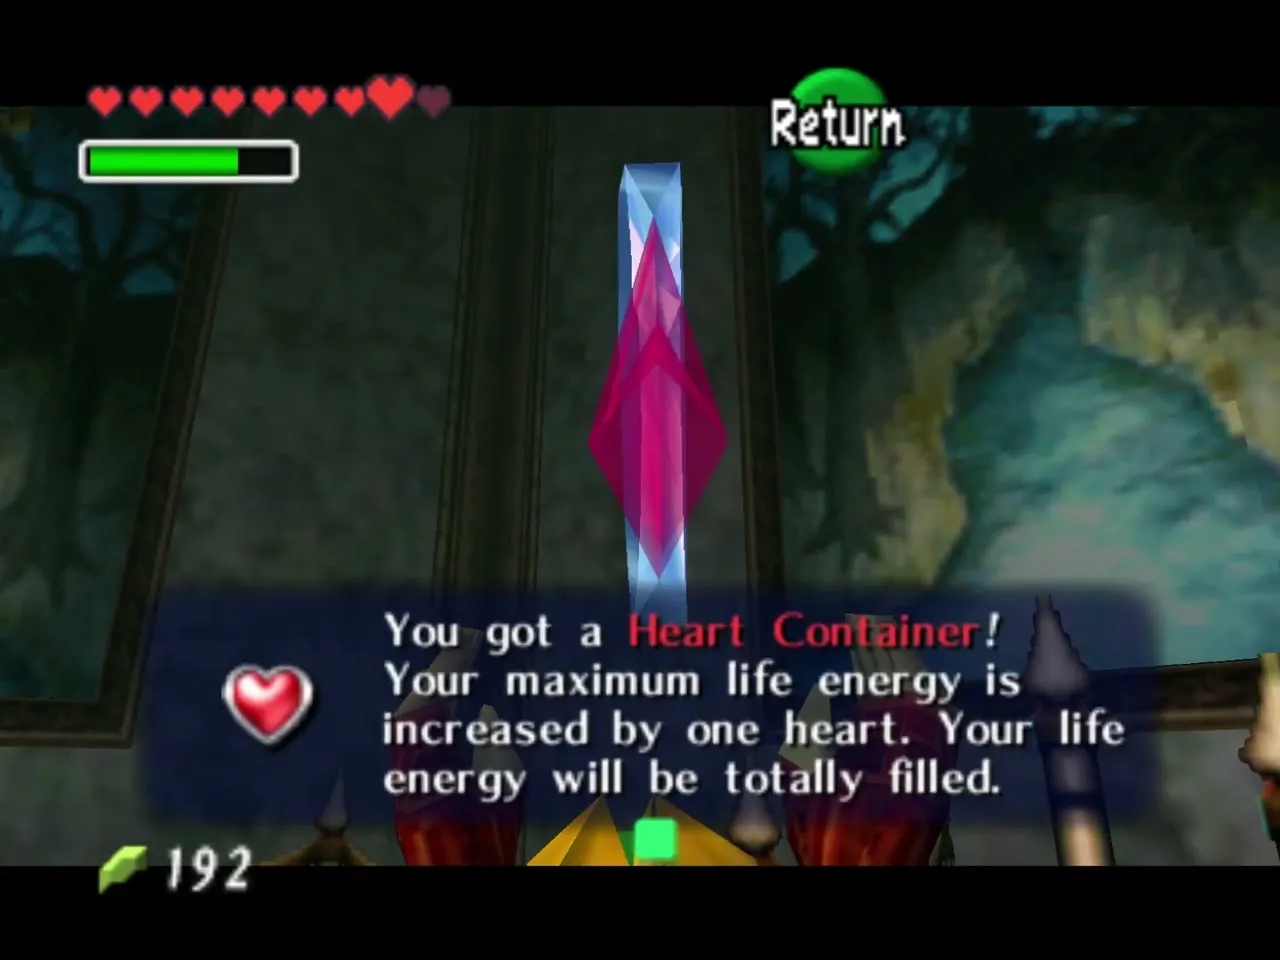
A Heart Container waits in the middle of the room. Pick it up to raise your maximum life by one heart, then step into the blue light.
Forest Medallion
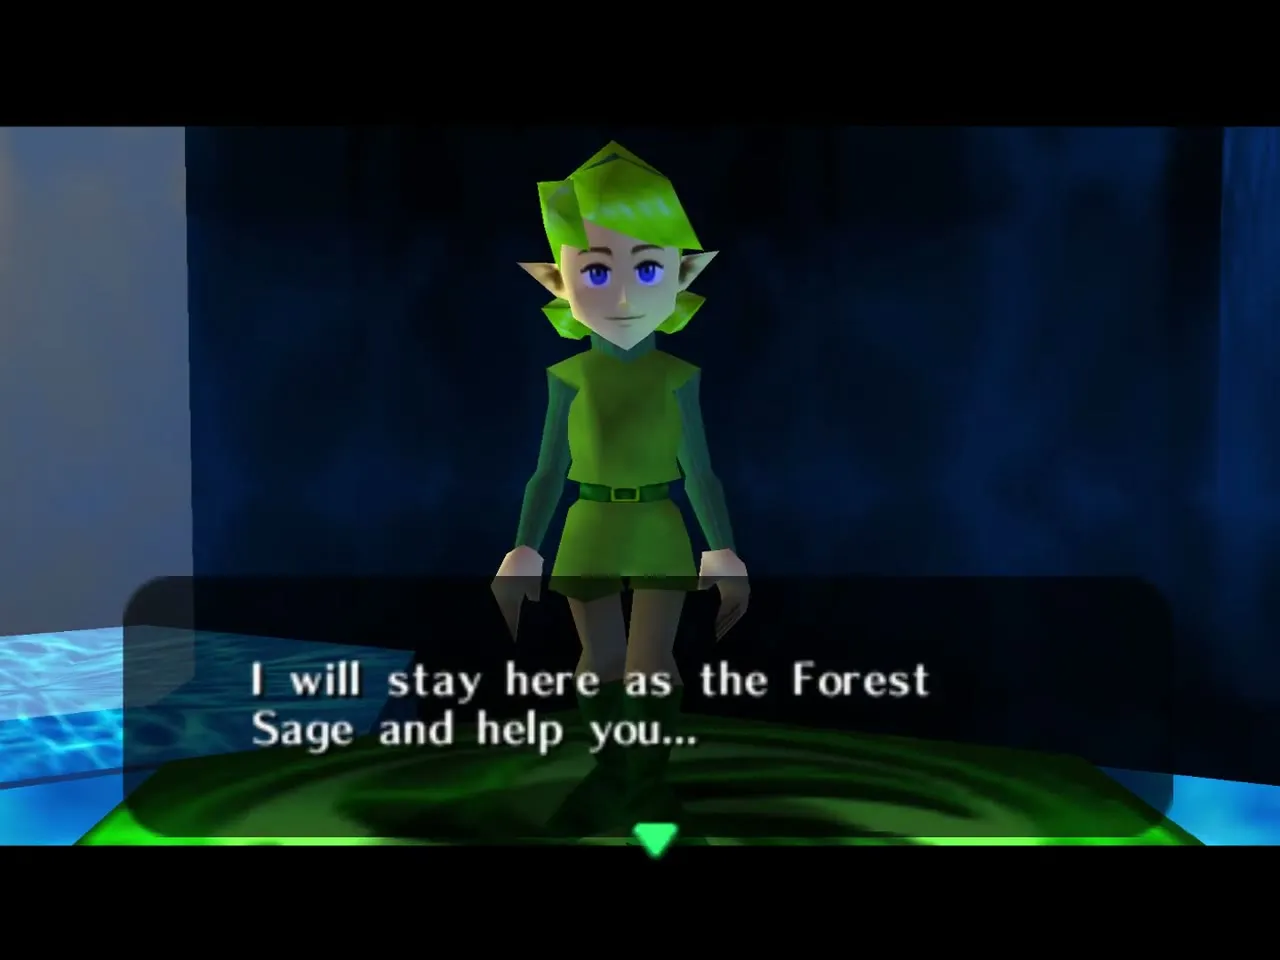
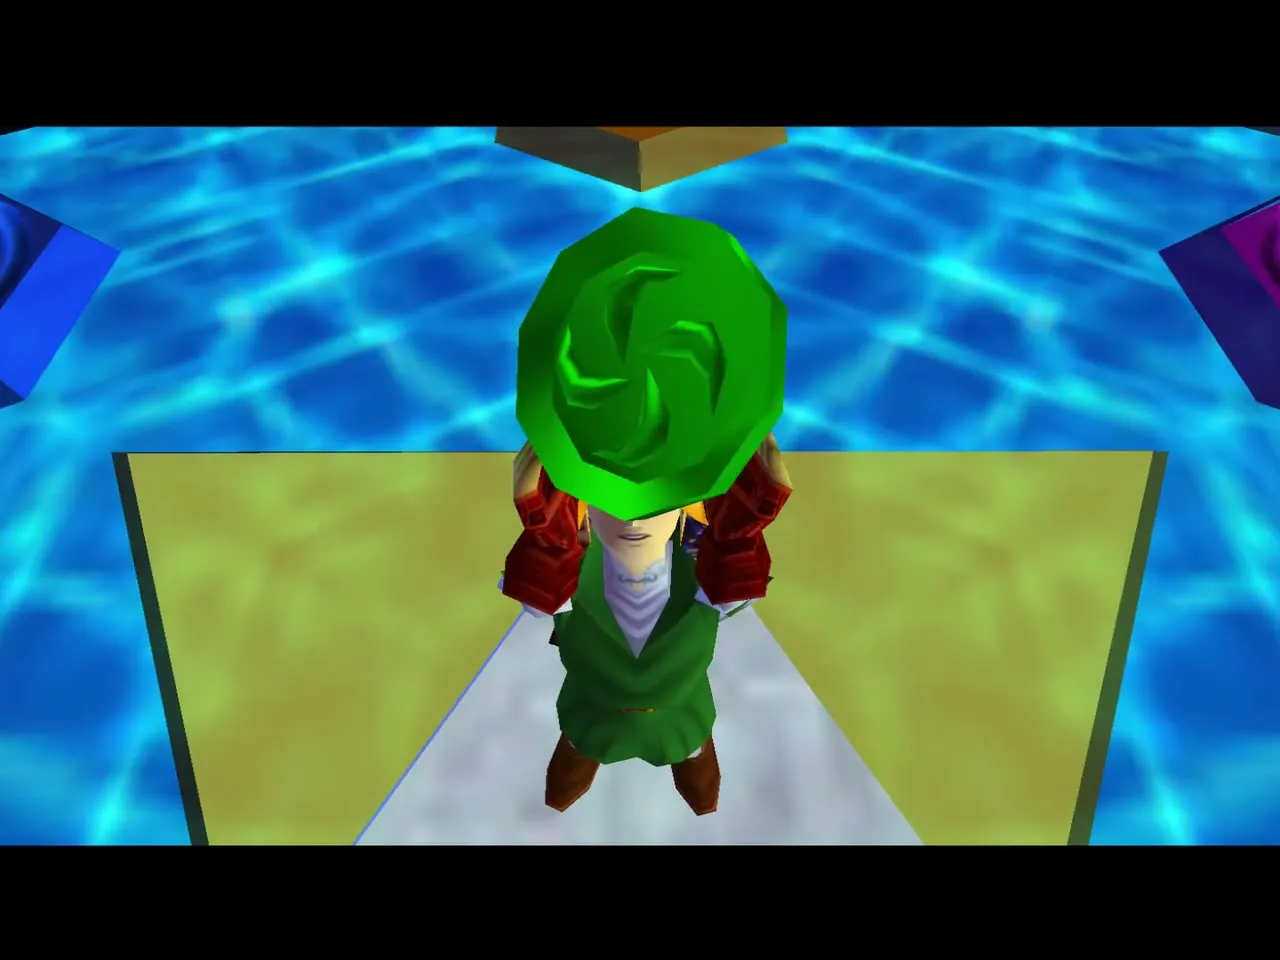
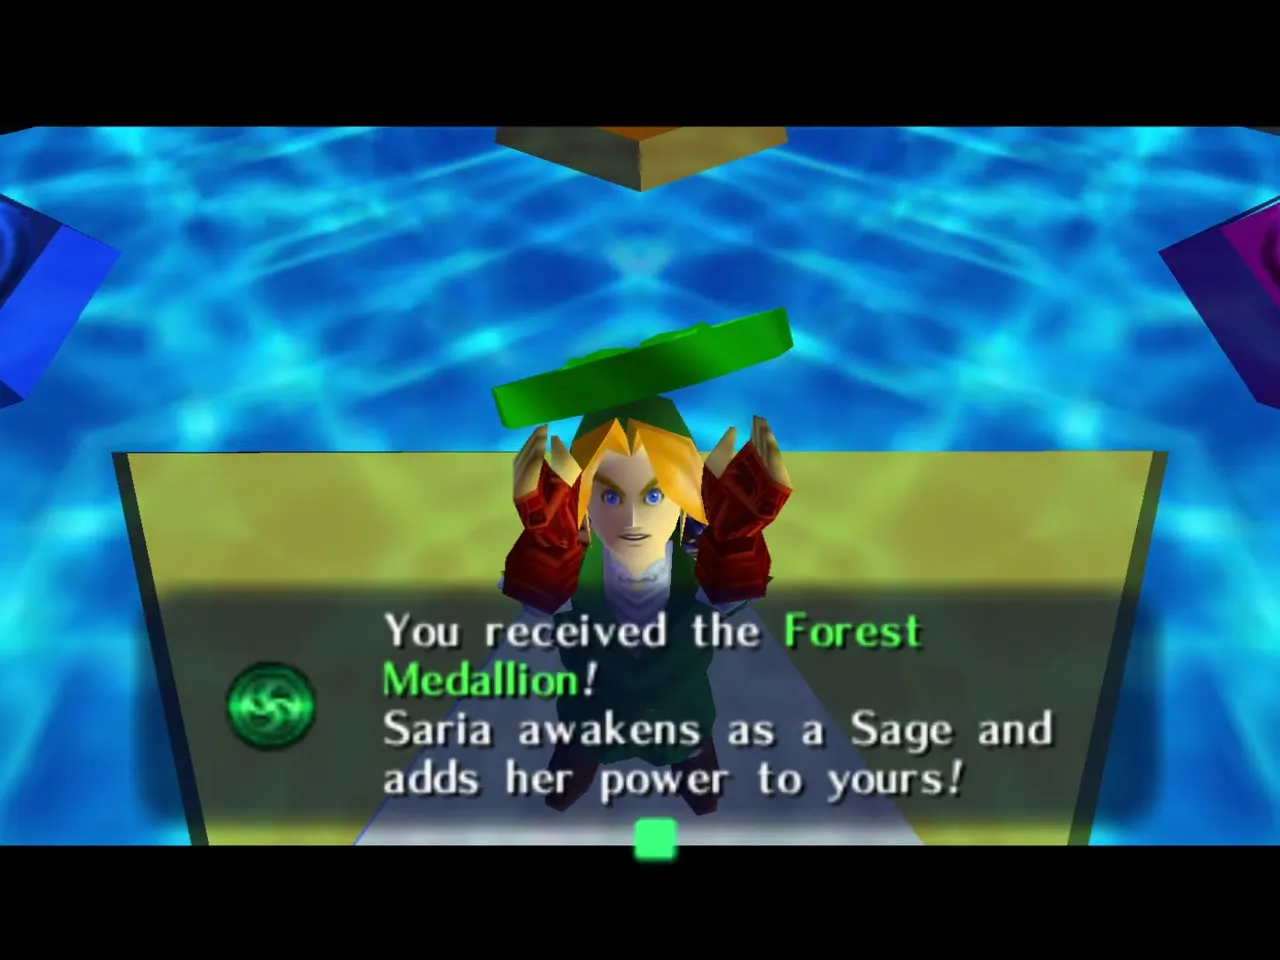
In the Chamber of the Sages, Saria tells you she is the Sage of the Forest and gives you the Forest Medallion. Every medallion and stone is covered on the Medallions and Spiritual Stones page.
How Master Quest changes the Forest Temple
The temple has the same shape of play as the original Forest Temple: four stolen flames, a central hall with an elevator and the same boss. The rooms between them, and their order, are different.
| Feature | Original | Master Quest |
|---|---|---|
| Entrance | Two Wolfos in the room, vines to the first key | Skulltula vines, a switch that makes the key chest appear; the Wolfos are behind the north Time Block |
| Small Keys | 5 | 6 |
| Boss Key | After the Fairy Bow, once you straighten the corridor | Early, at the end of the west wing’s block puzzle |
| Fairy Bow | Stalfos arena | Same arena, but the hole in the floor drops into the Wolfos room |
| Poe Sisters | Joelle and Beth, then Amy after the poison room, then Meg | Joelle (Map) and Beth (Compass) together, then Amy after the checkered room, then Meg |
| Courtyards | West garden behind a Time Block, the east one from a balcony | Both opened by eye switches over the northwest and northeast corridors |
| Poison room | Four pillars round a poison pit, frozen eye melted by fire | Spike pit with turning platforms, a box for a blue switch and a frozen eye |
| Boss | Phantom Ganon | Phantom Ganon, same fight |
Remember that Master Quest does not change anything outside the dungeons: the Heart Pieces, Gold Skulltulas and side quests of the overworld stay where they were. Inside, the five Gold Skulltulas (above the entrance corridor door, in the west wing corner, over the west garden door, at the far end of the well and on the ledge above it) are in places that differ from the original.
Chapter checklist
| Type | Item | Where |
|---|---|---|
| Small Key 1 | Entrance trees | Chest after stepping on the east tree’s switch |
| Small Key 2 | Wolfos room | Chest behind the north Time Block, after the two Wolfos |
| Small Key 3 | Redead room | Chest off the garden ledge after the Redead |
| Small Key 4 | Well | Chest in the drained well |
| Small Key 5 | North balcony | Chest above the Song of Time block stairs |
| Small Key 6 | Garden below the checkered room | Chest after the Deku Baba |
| Boss Key | West wing | Blue-and-gold chest at the end of the hall after the block corridors |
| Fairy Bow | Stalfos arena | Chest after three Stalfos |
| Dungeon Map | Joelle’s staircase | Chest after the red Poe Sister |
| Compass | Beth’s staircase | Chest after the blue Poe Sister |
| Gold Skulltula | Entrance corridor | Wall above the locked door |
| Gold Skulltula | West wing | Corner on the right after the Stalfos room |
| Gold Skulltula | West garden | Above the door you came through |
| Gold Skulltula | West garden well | Far end of the drained well |
| Gold Skulltula | Above the well | On the wall of the small platform you climb to |
| Heart Container | Boss reward | Phantom Ganon’s room |
| Forest Medallion | Dungeon reward | Saria, Chamber of the Sages |
The six Small Keys open the entrance corridor door, the Blue Bubble door, the Boss Key room door, the door at the top of Beth’s stairs, the door at the end of the Green Bubble corridor and the far door of the checkered room; if you run short, you have missed a chest. For boss tactics across the whole game, see the boss guide, and for what each dungeon item does, see Dungeon Items.
