





















Ocarina of Time Master Quest Walkthrough12 chapters
- Inside the Great Deku Tree (Master Quest)Dungeon Map, Slingshot, Compass, Gold Skulltulas, Queen Gohma, Heart Container and Kokiri’s Emerald.
- Dodongo’s Cavern (Master Quest)Every room in order, Dungeon Map, Compass, Bomb Bag, silver rupees, Gold Skulltulas, King Dodongo and the Goron’s Ruby.
- Inside Jabu-Jabu’s Belly (Master Quest)Cow switches, Map, Compass, Boomerang, Big Octo, Barinade, Heart Container and Zora’s Sapphire.
- Forest Temple (Master Quest)Six Small Keys, Boss Key, Fairy Bow, the four Poe Sisters, five Gold Skulltulas and Phantom Ganon.
- Fire Temple (Master Quest)Five Small Keys, Din’s Fire puzzles, Iron Knuckle, Megaton Hammer, Boss Key, five Gold Skulltulas and Volvagia.
- Water Temple (Master Quest)Early Longshot, Map, Compass, both Small Keys, Dark Link, Boss Key and Morpha.
- Shadow Temple (Master Quest)Hover Boots, map, compass, Boss Key, Gold Skulltulas, Bongo Bongo and the Shadow Medallion.
- Spirit Temple (Master Quest)Every chest, 7 Small Keys, Silver Gauntlets, Mirror Shield, Boss Key, Skulltulas and Twinrova.
- Bottom of the Well (Master Quest)Map, Compass, two Small Keys, Dead Hand, the Lens of Truth and all three Gold Skulltulas.
- Ice Cavern (Master Quest)Blue Fire, Song of Time blocks, Stalfos, Iron Boots, Serenade of Water.
- Gerudo Training Ground (Master Quest)The remixed rooms in order, Small Keys, Silver Rupee puzzles and the Ice Arrows.
- Ganon’s Castle (Master Quest)Light Arrows, the rainbow bridge, all six remixed trials, Golden Gauntlets, Double Defense, the tower.
| Covers | The Bolero of Fire, the walk to the entrance, every Master Quest room of the Fire Temple in route order, Volvagia and the Fire Medallion |
|---|---|
| Dungeon | Fire Temple (adult dungeon, Master Quest version). Mini-bosses: Iron Knuckle and Flare Dancer. Boss: Volvagia. |
| You need | Goron Tunic, Hookshot, Fairy Bow, Bombs, Din’s Fire with a full magic meter (you cast it constantly), the Song of Time and the Scarecrow’s Song. The Megaton Hammer is found inside. |
| Rewards | Megaton Hammer, Dungeon Map, Compass, Boss Key, five Small Keys, five Gold Skulltulas, Heart Container, Fire Medallion |
| Differences | Din’s Fire and the Hookshot do most of the work, the Hammer arrives within the first rooms, an Iron Knuckle guards it, and only five Small Keys are hidden here instead of eight. |
The Master Quest Fire Temple keeps the lava and the imprisoned Gorons but reorders everything. You light torches with Din’s Fire, defeat an Iron Knuckle and a Flare Dancer to win the Megaton Hammer early, then climb a tower of lava rooms and spiral chambers collecting five Small Keys, the Boss Key and five Gold Skulltulas. Volvagia waits at the top, and defeating him gives the Heart Container and the Fire Medallion.
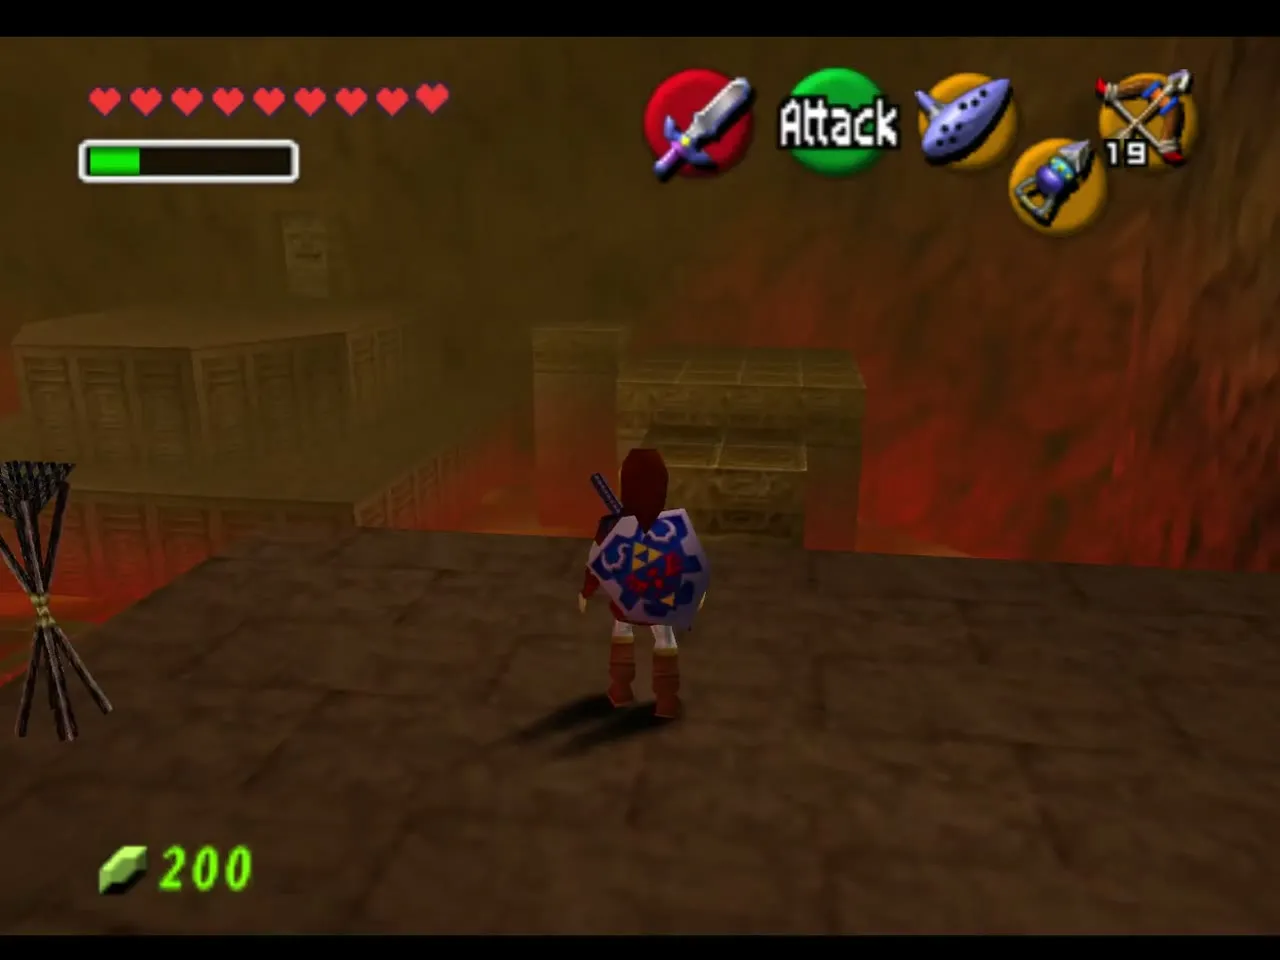
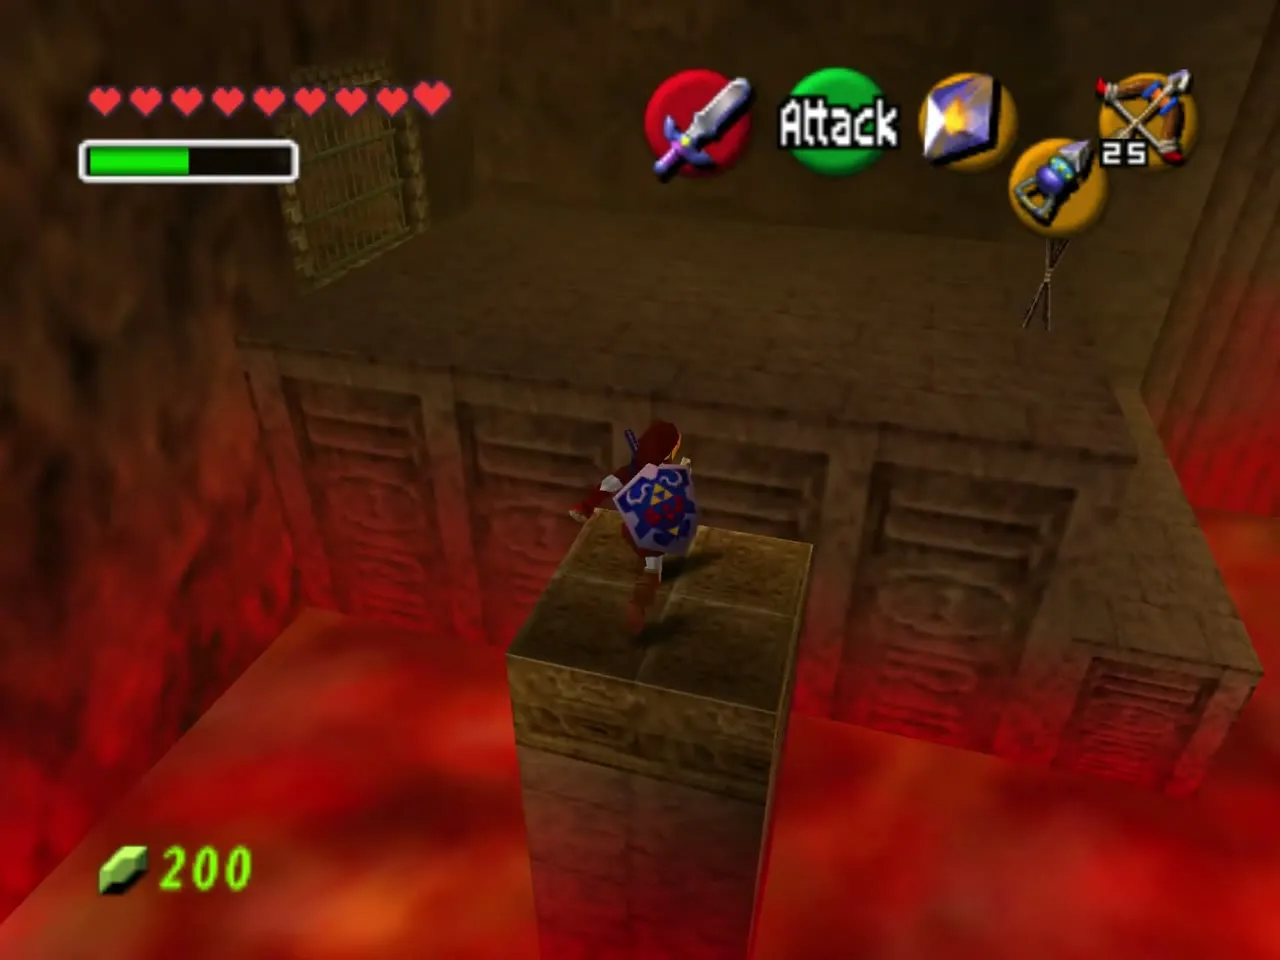
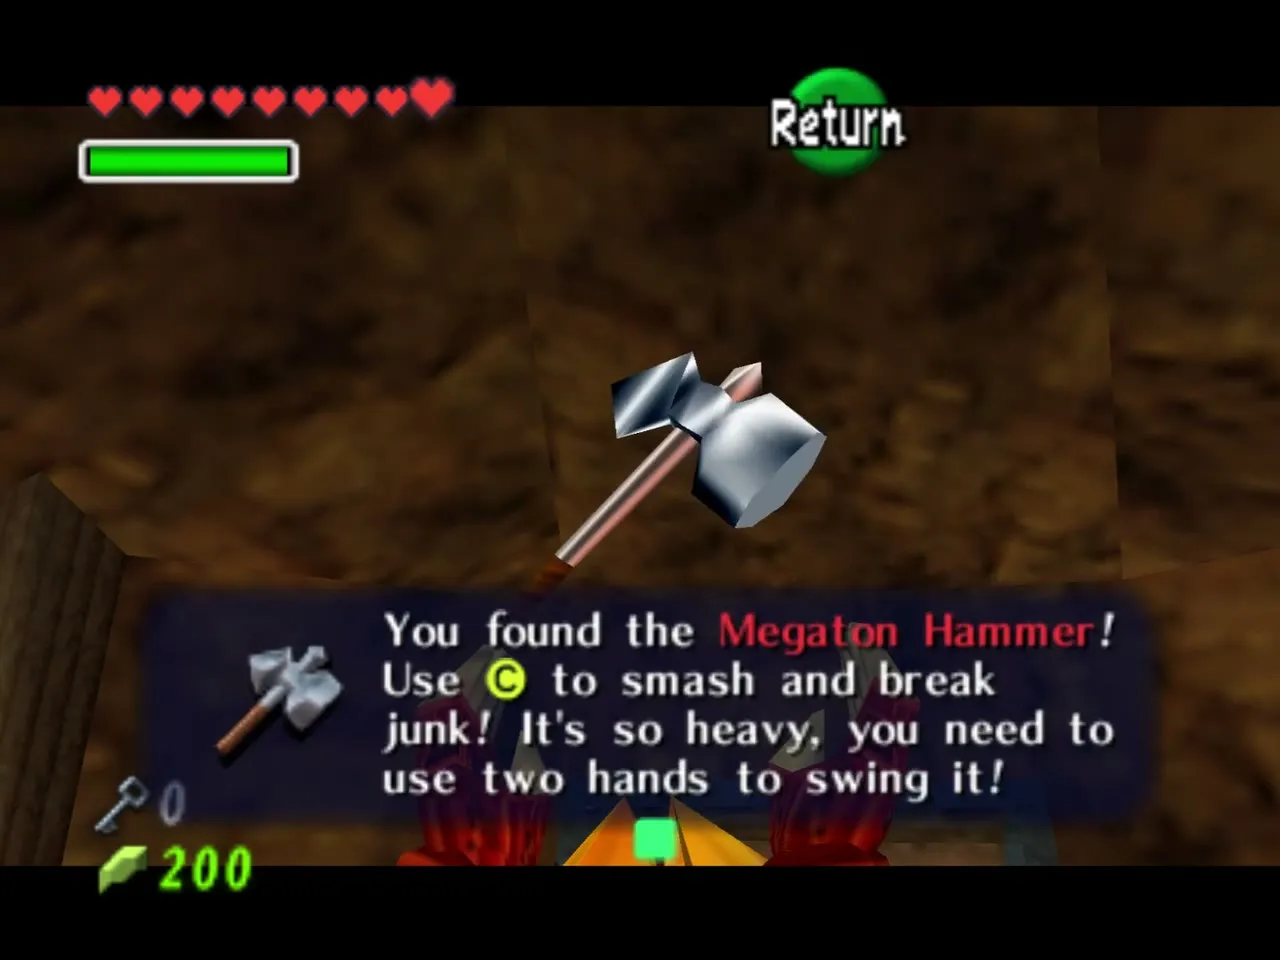
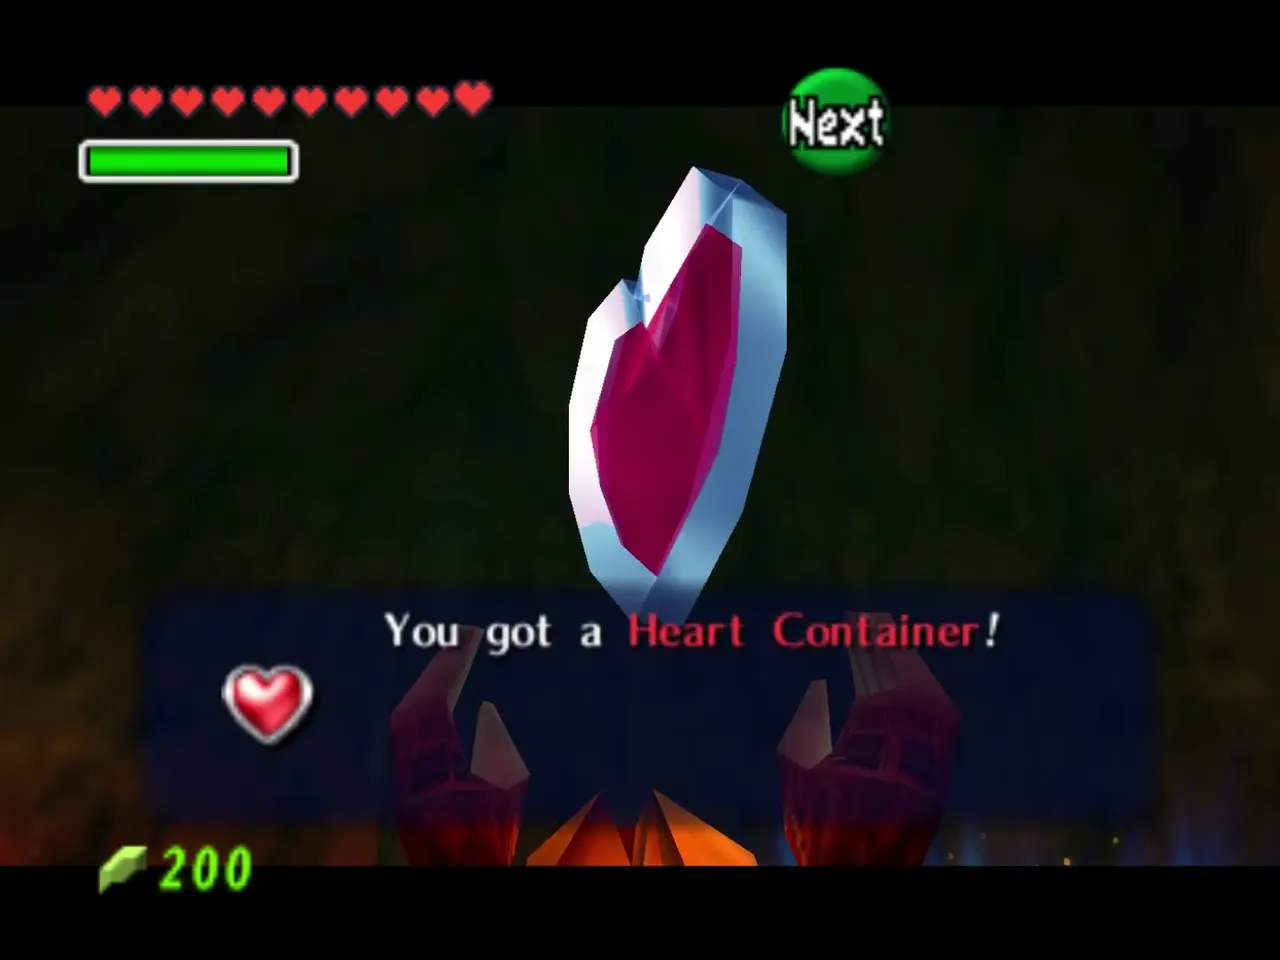
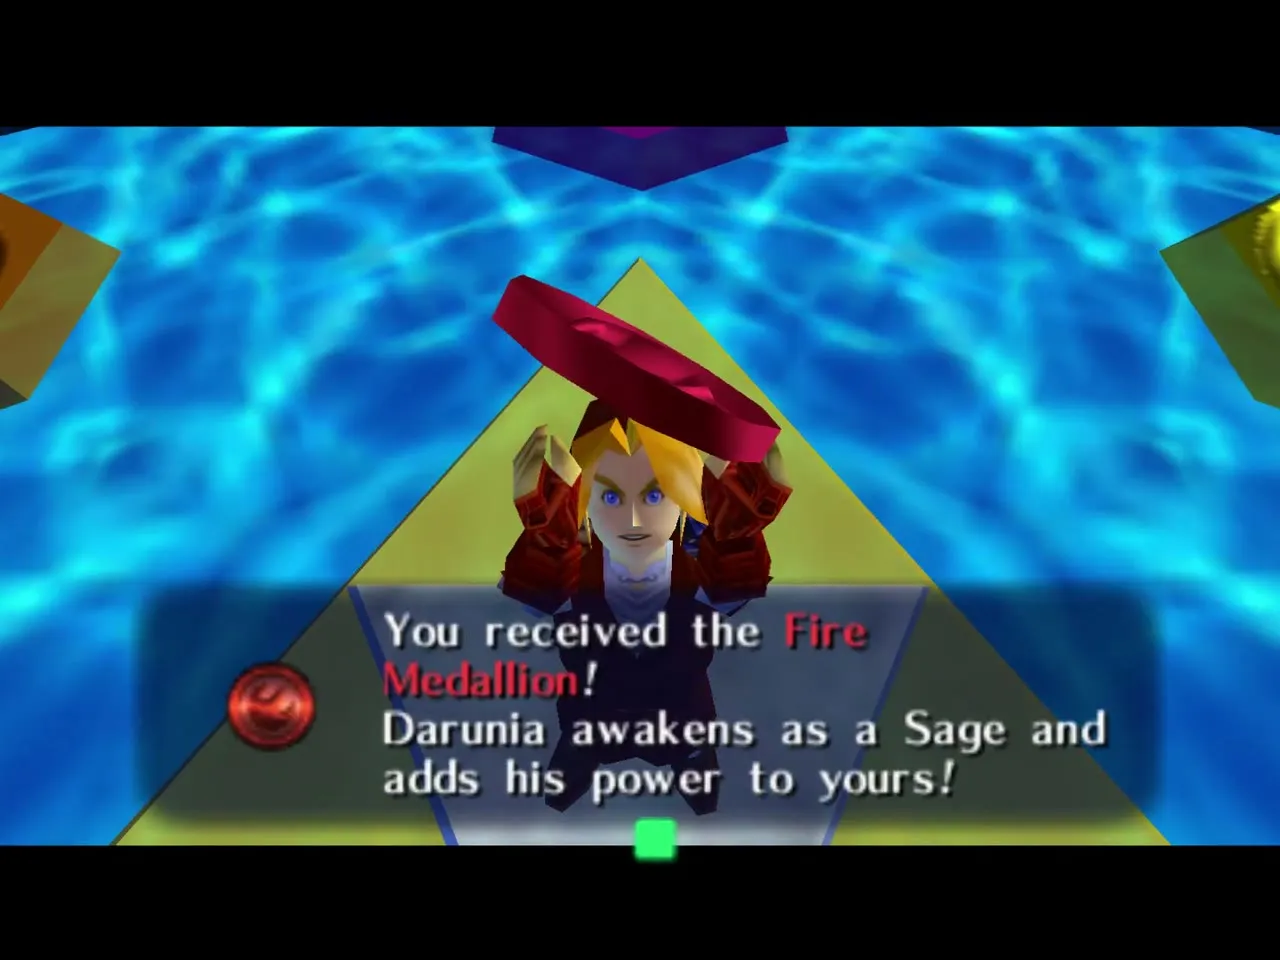
Table of Contents
Getting there
The Bolero of Fire
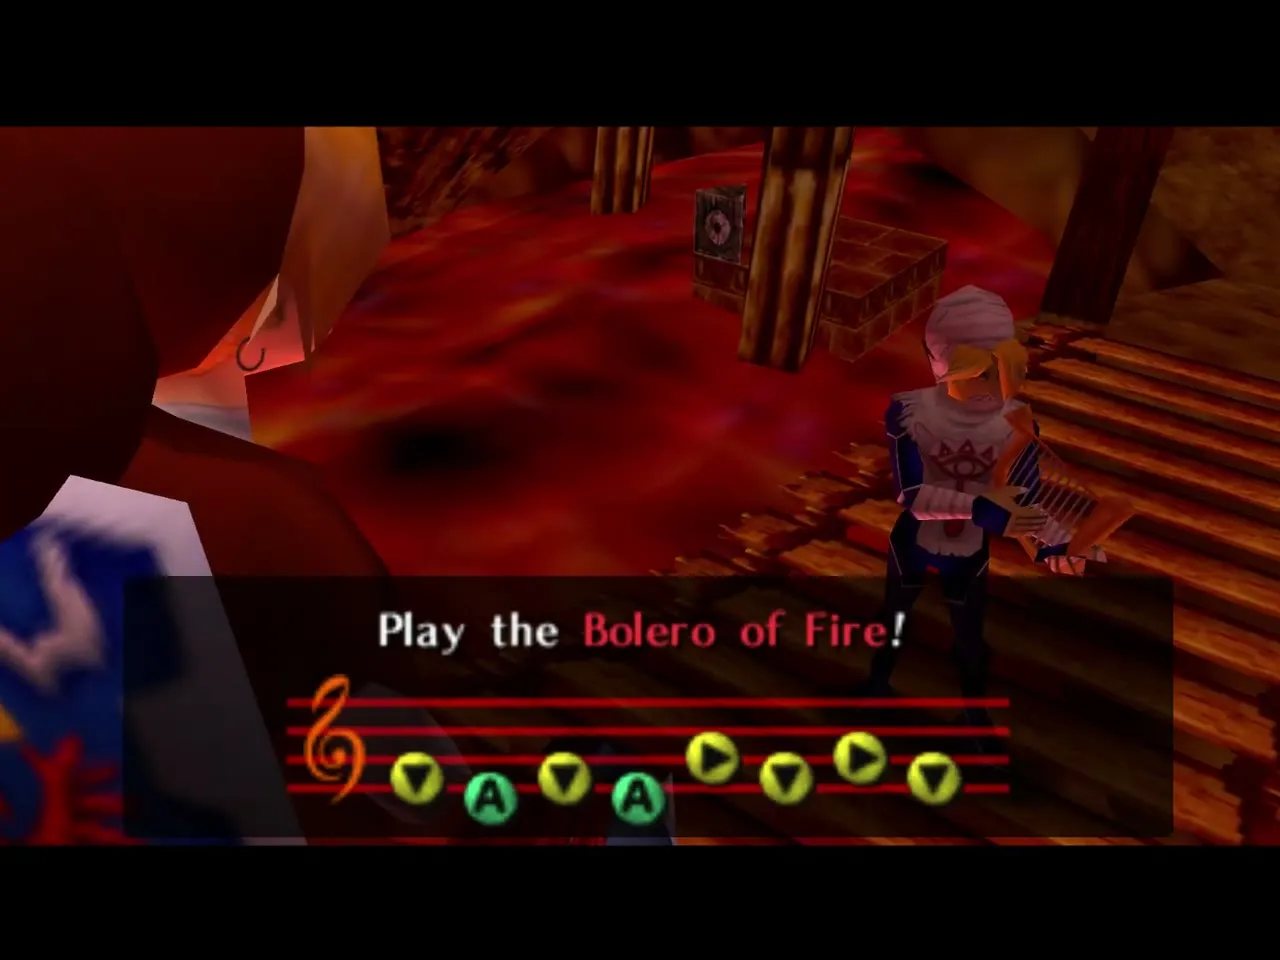
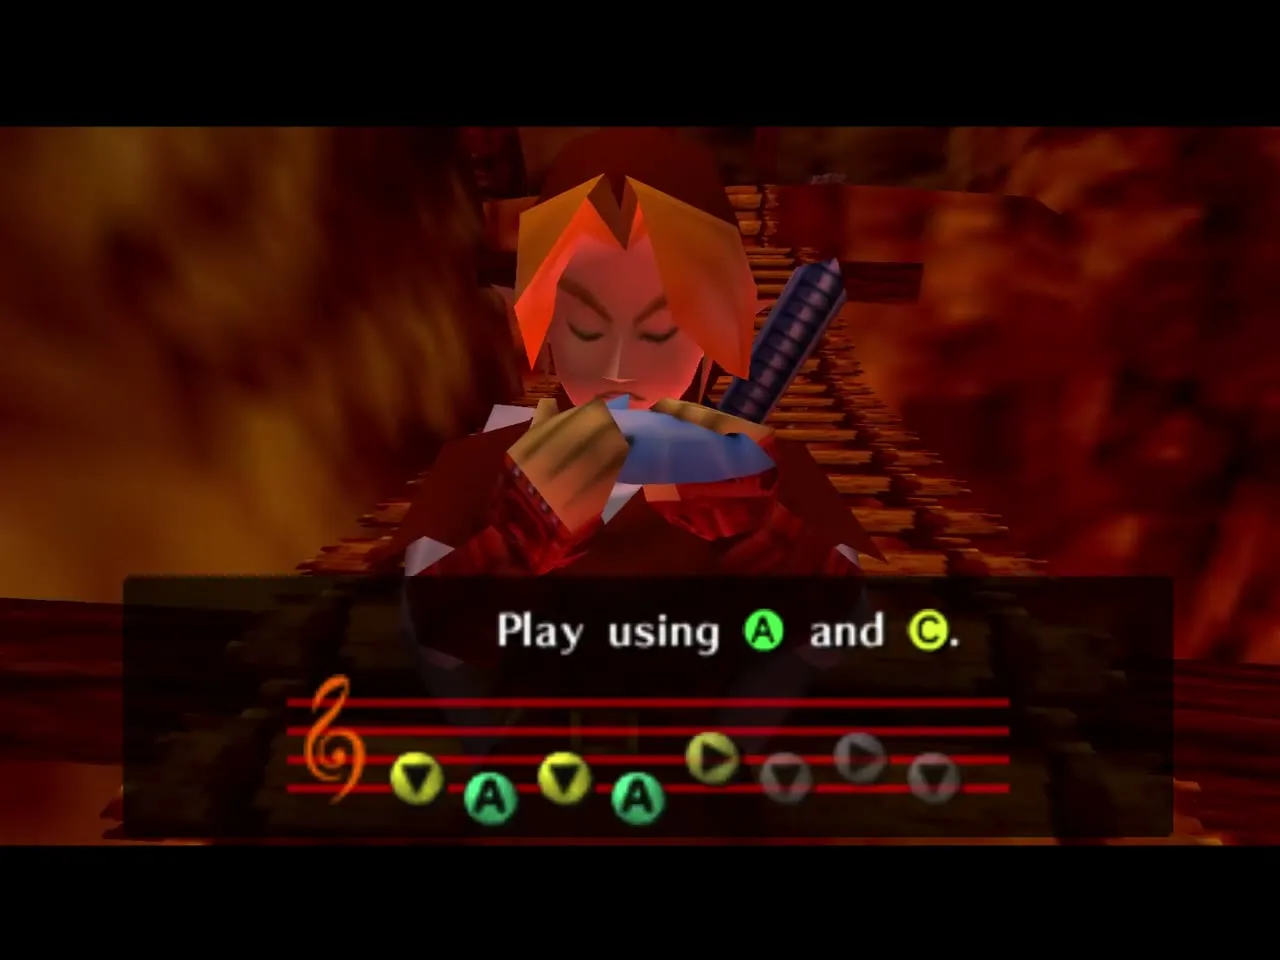
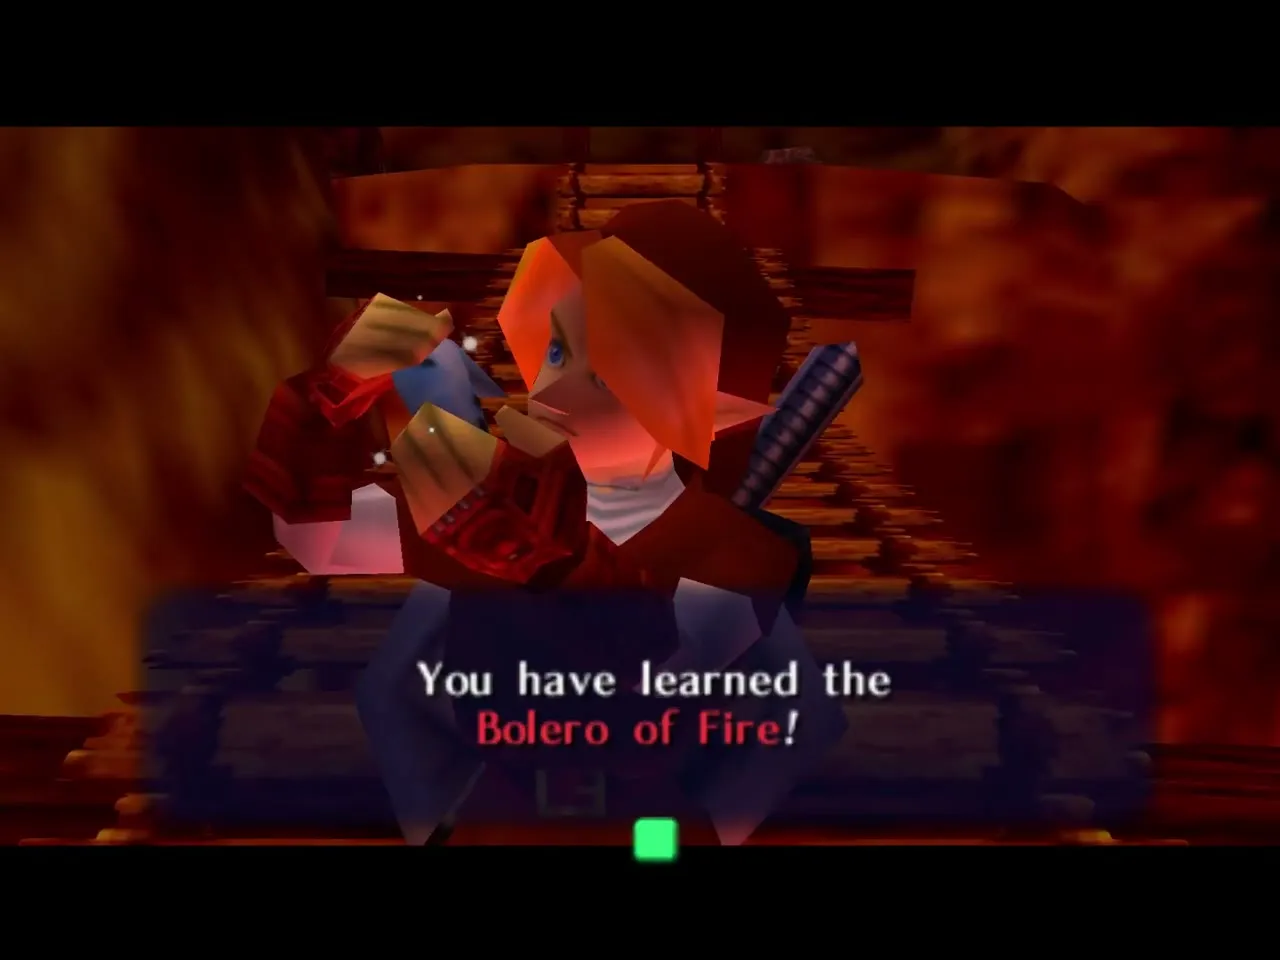
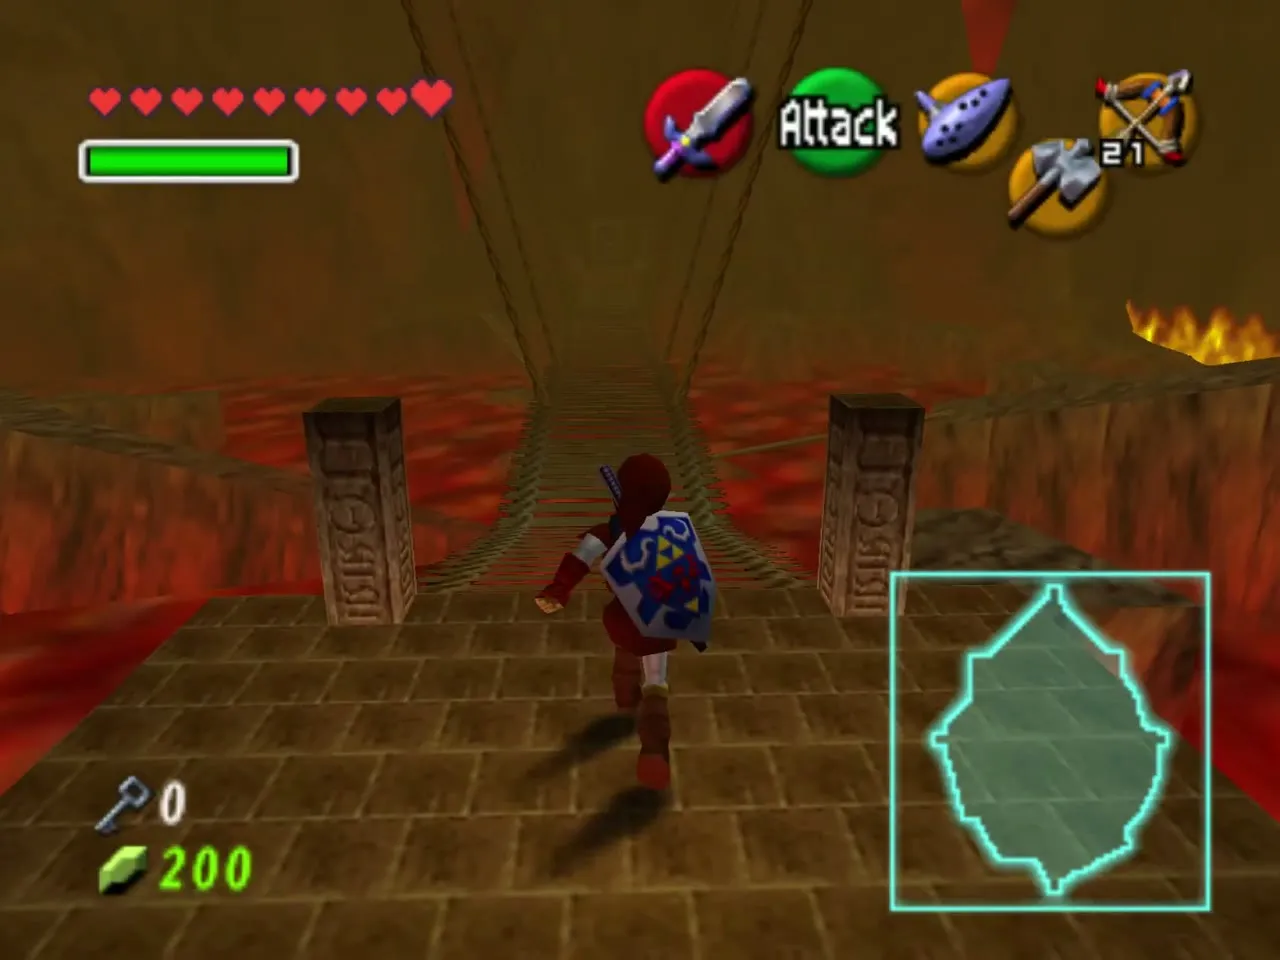
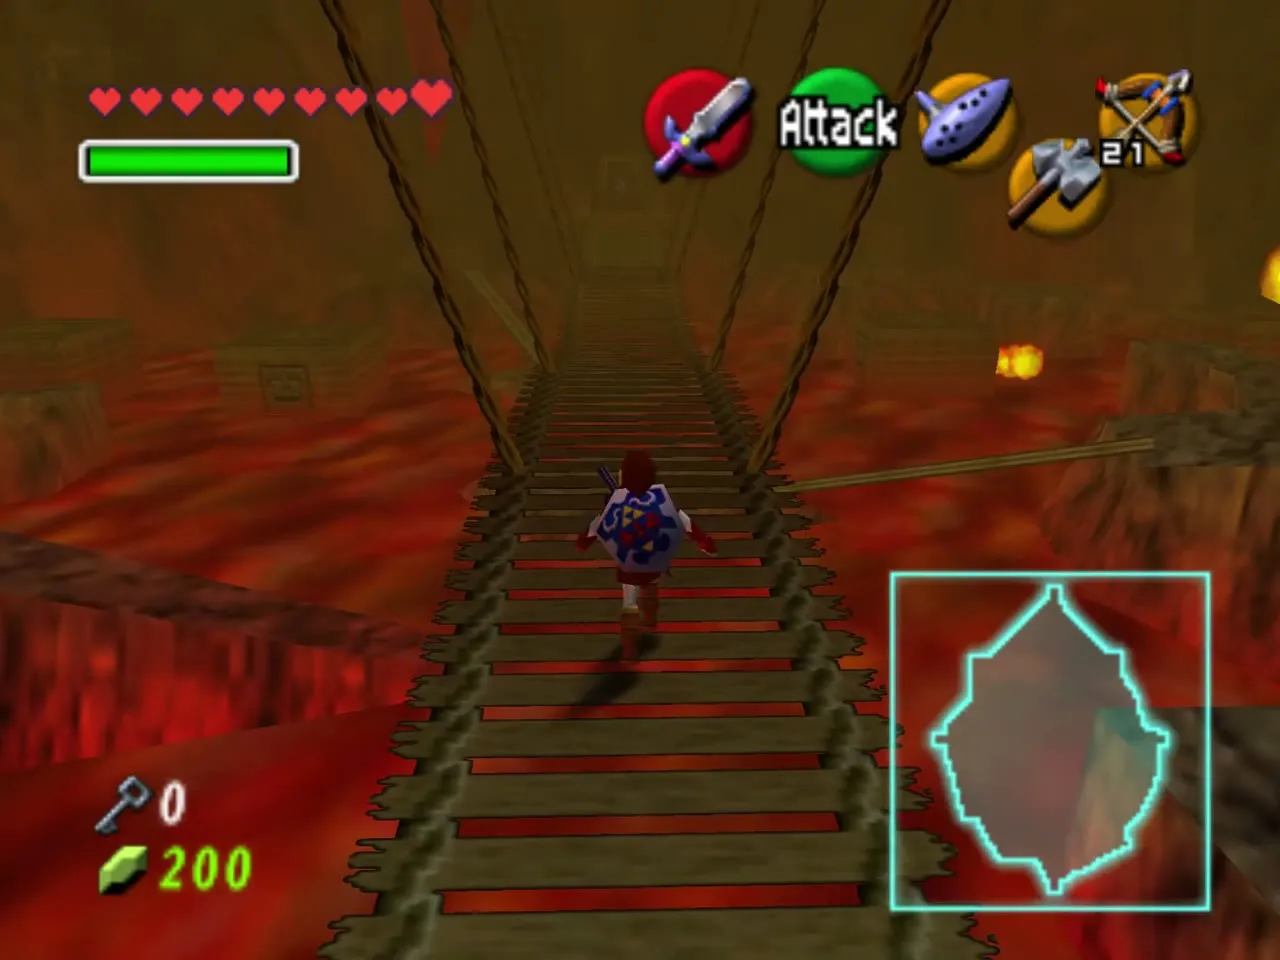
Wear the Goron Tunic and cross the Crater bridge. Sheik meets you on the way and teaches the Bolero of Fire (C-Down, A, C-Down, A, C-Right, C-Down, C-Right, C-Down). Play it back to confirm it; it later warps you straight to the Crater.
The temple door
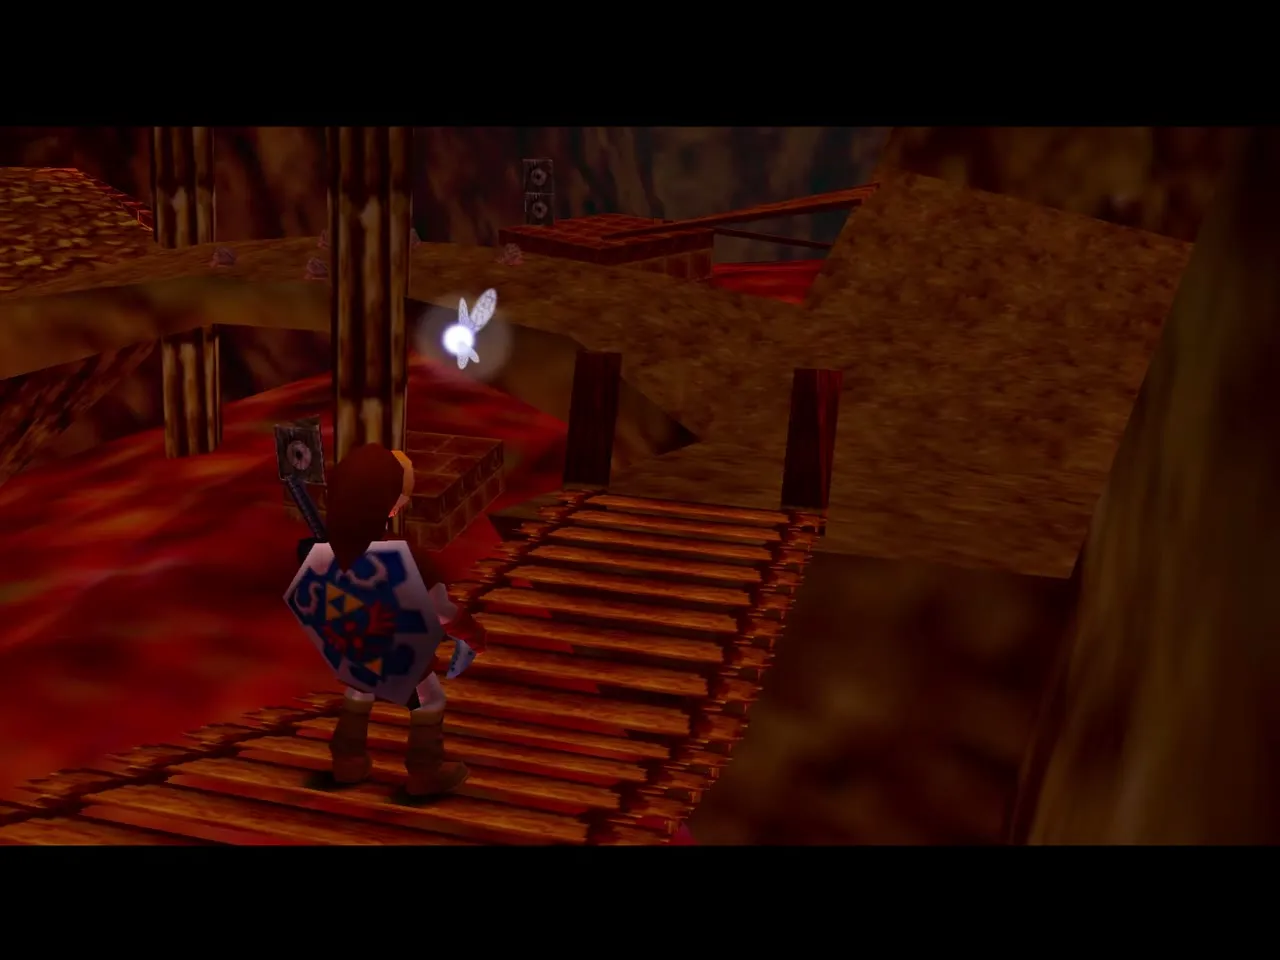
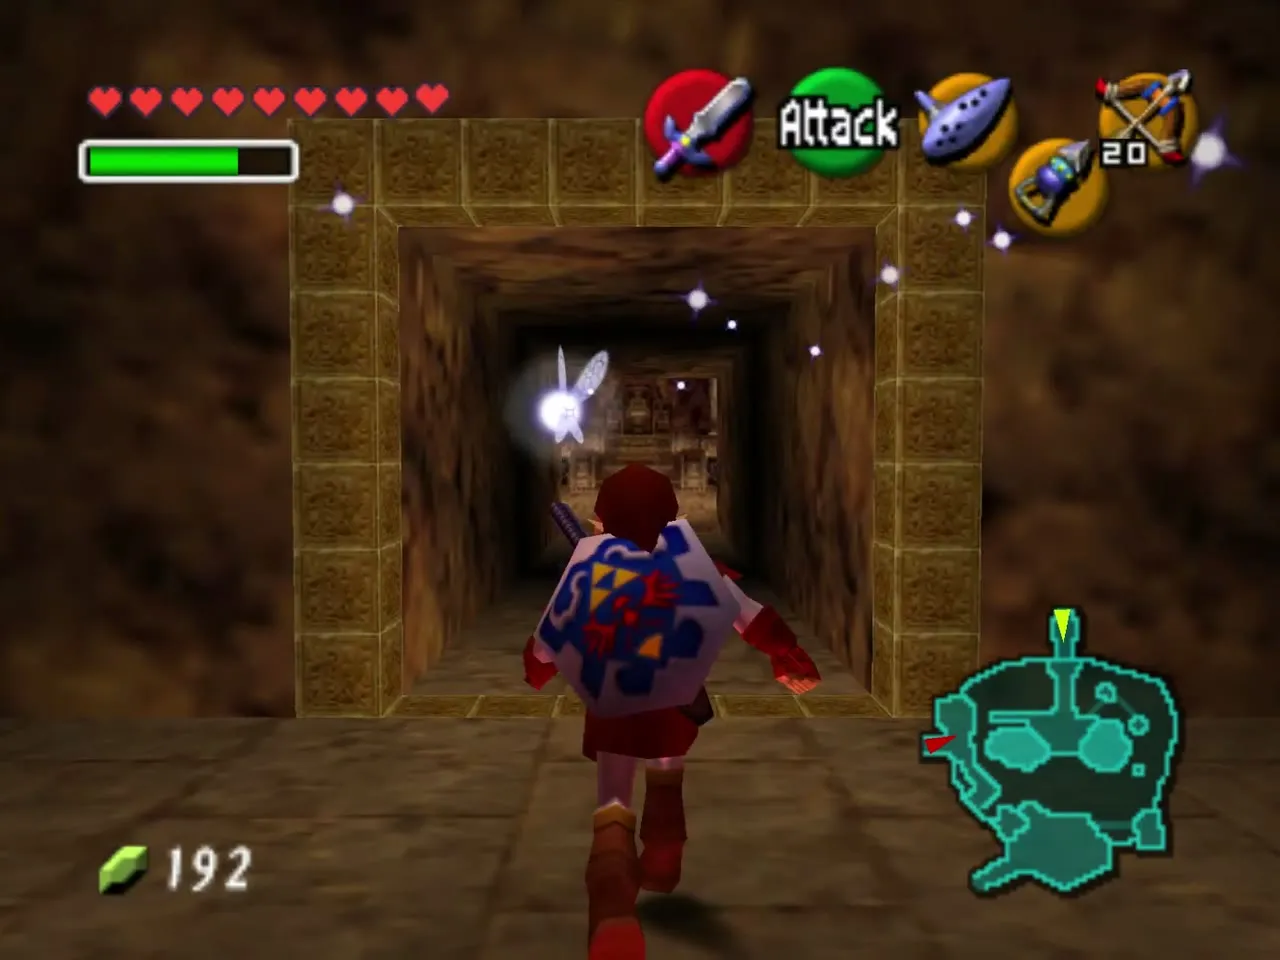
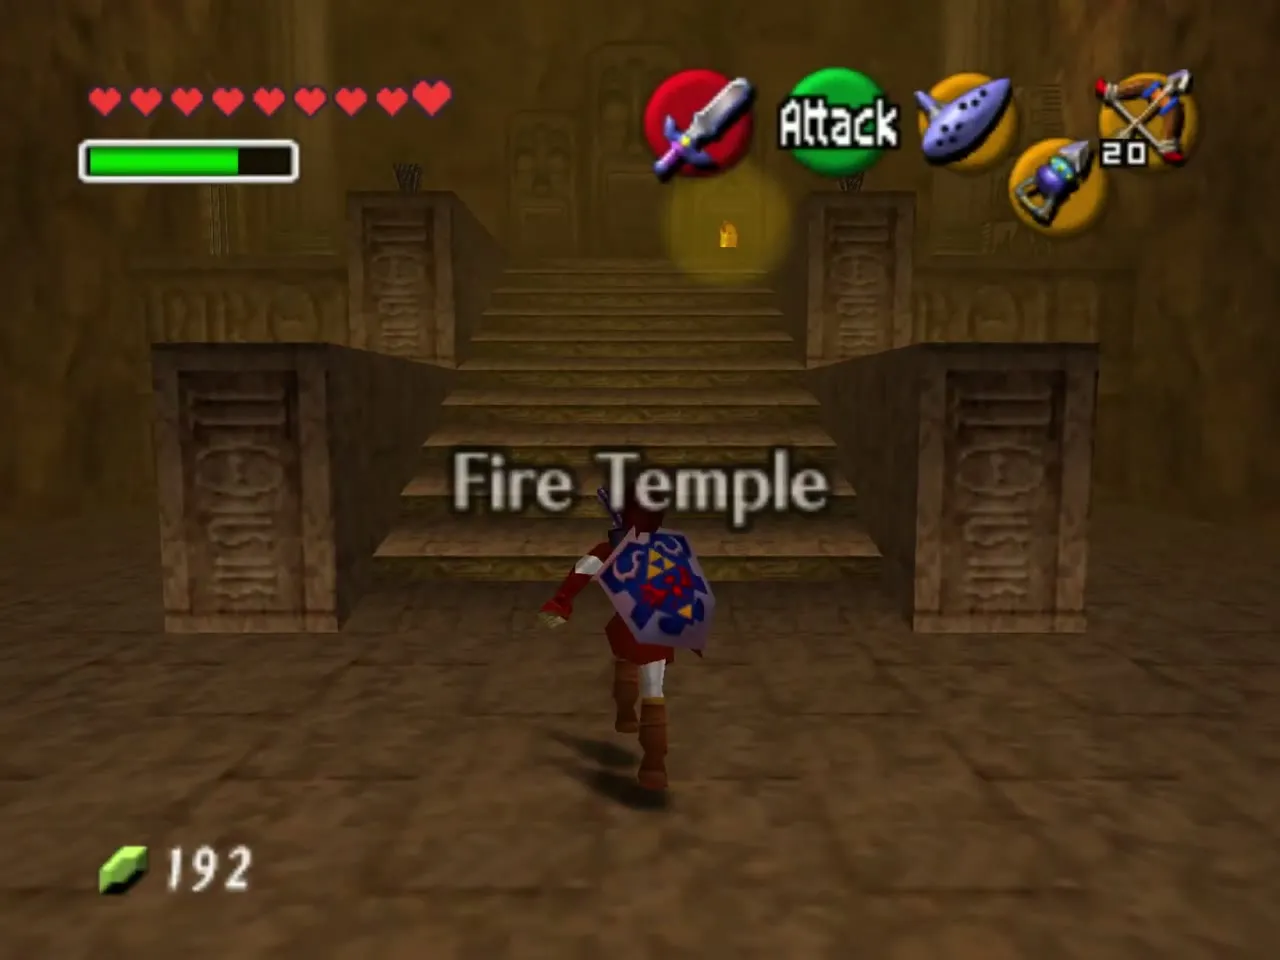
After Sheik leaves, follow the plank bridge to the carved Goron face and go through the dark tunnel and its stone stairs. The Fire Temple title appears as you step inside.
Entrance hall and Darunia
The burning stairs
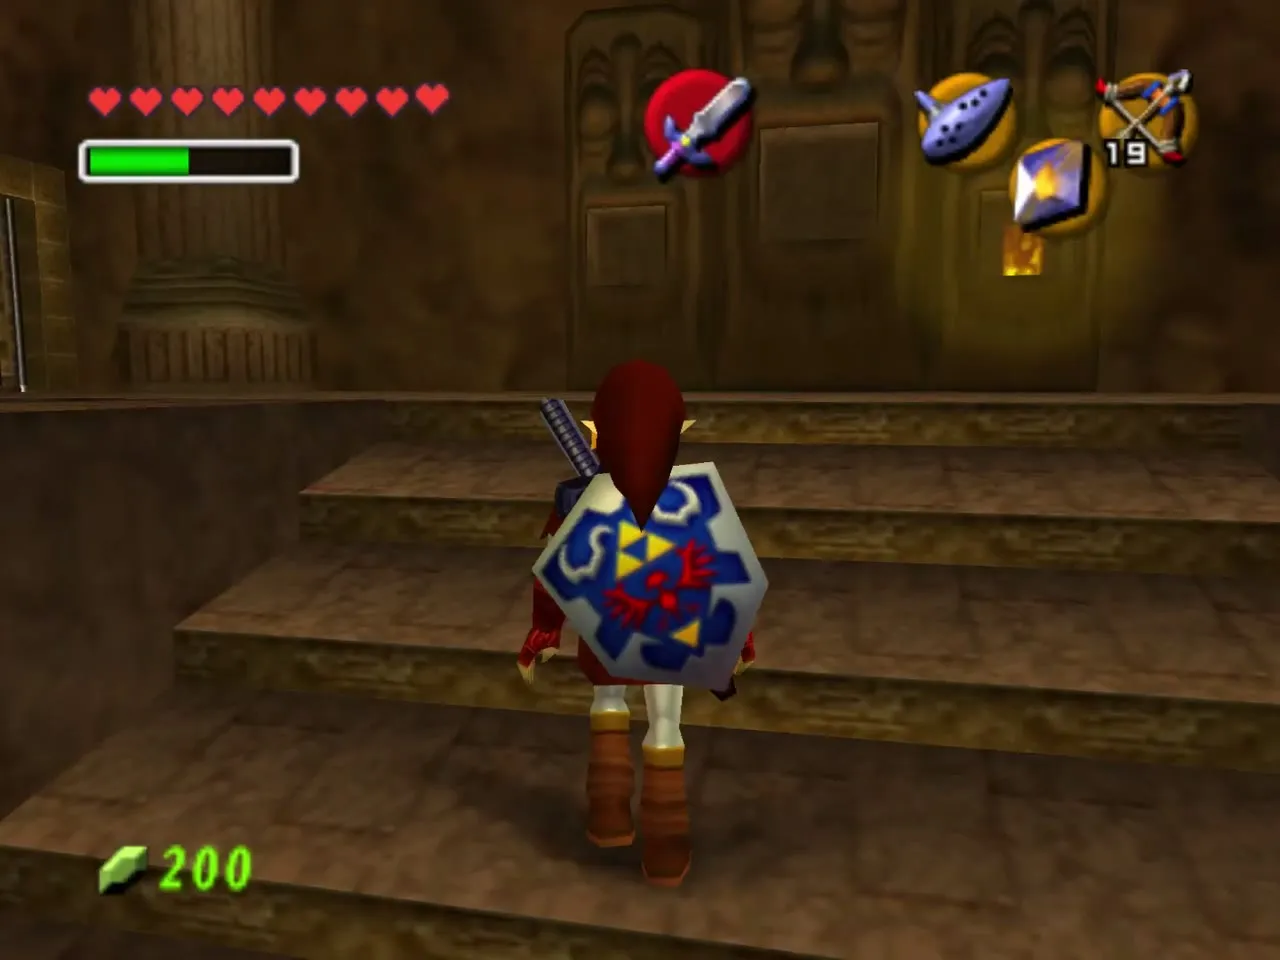
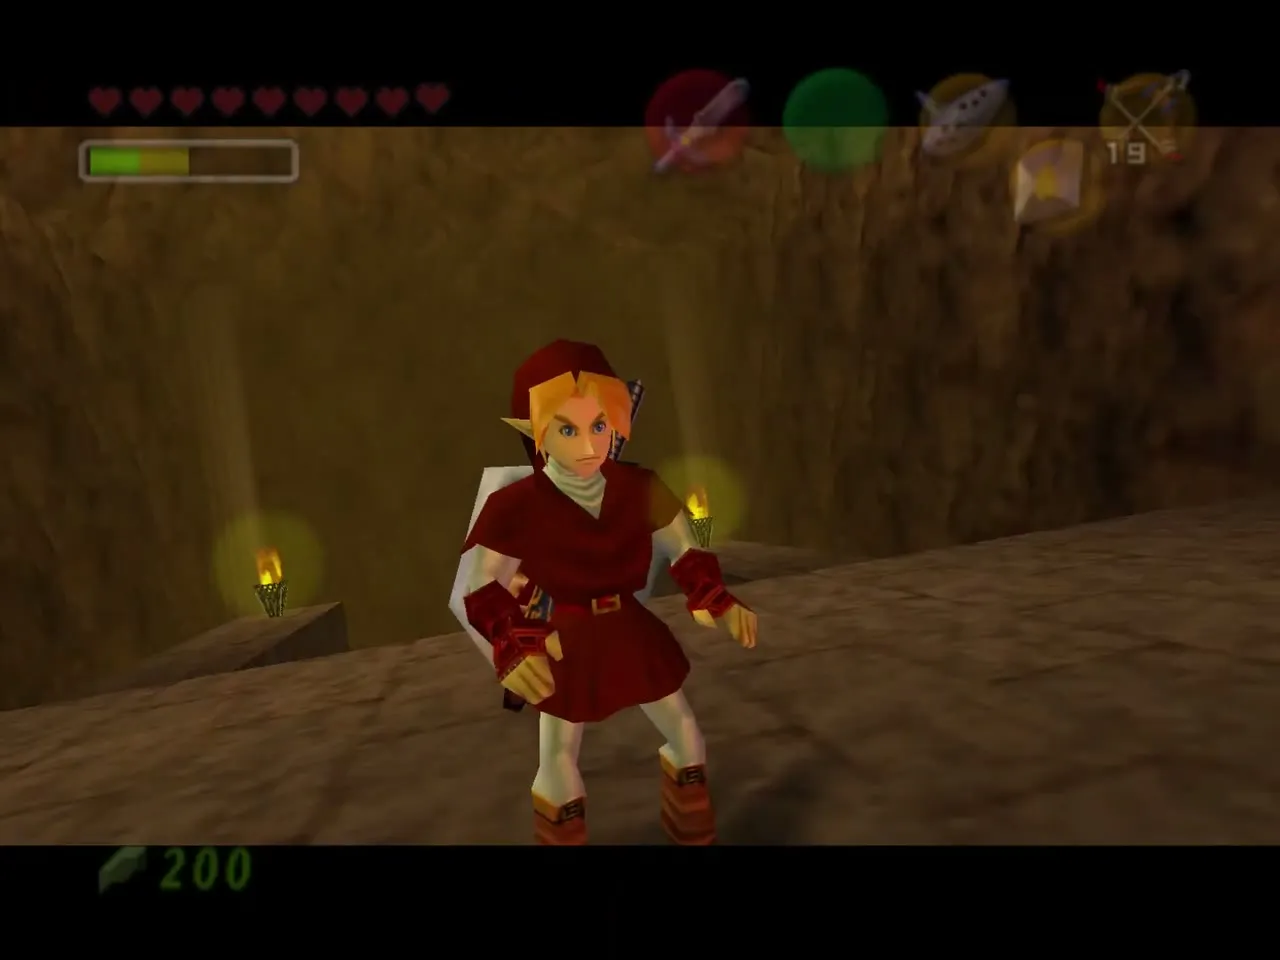
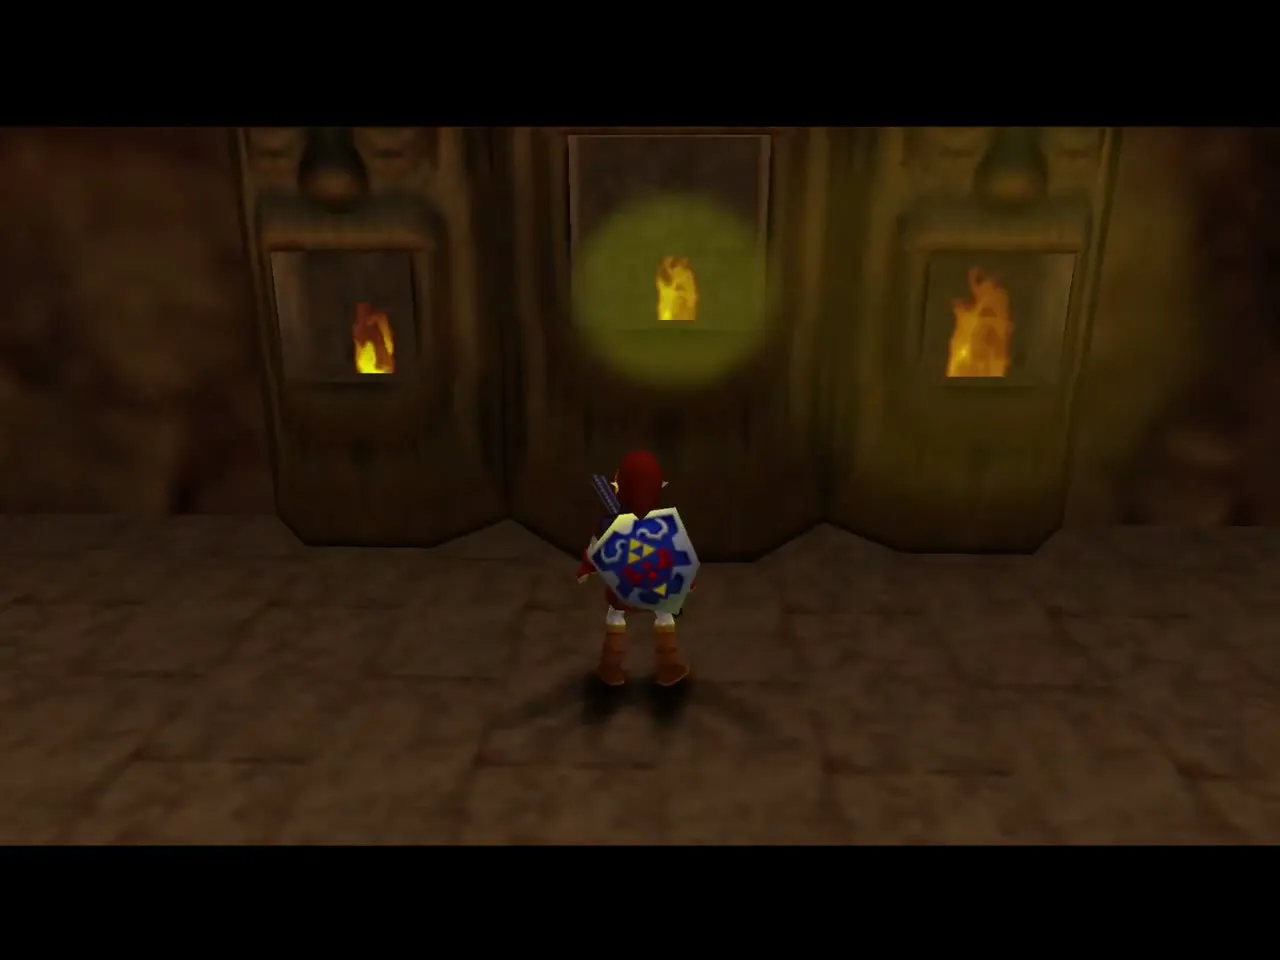
A wall of flame blocks the big staircase. Hop onto the side railing, jump back onto the steps above the fire and walk to the top. Stand between the torches there and cast Din’s Fire to light them, then cast it again by the tiki statues on the far wall to open the door to Darunia.
Darunia and the first Gorons
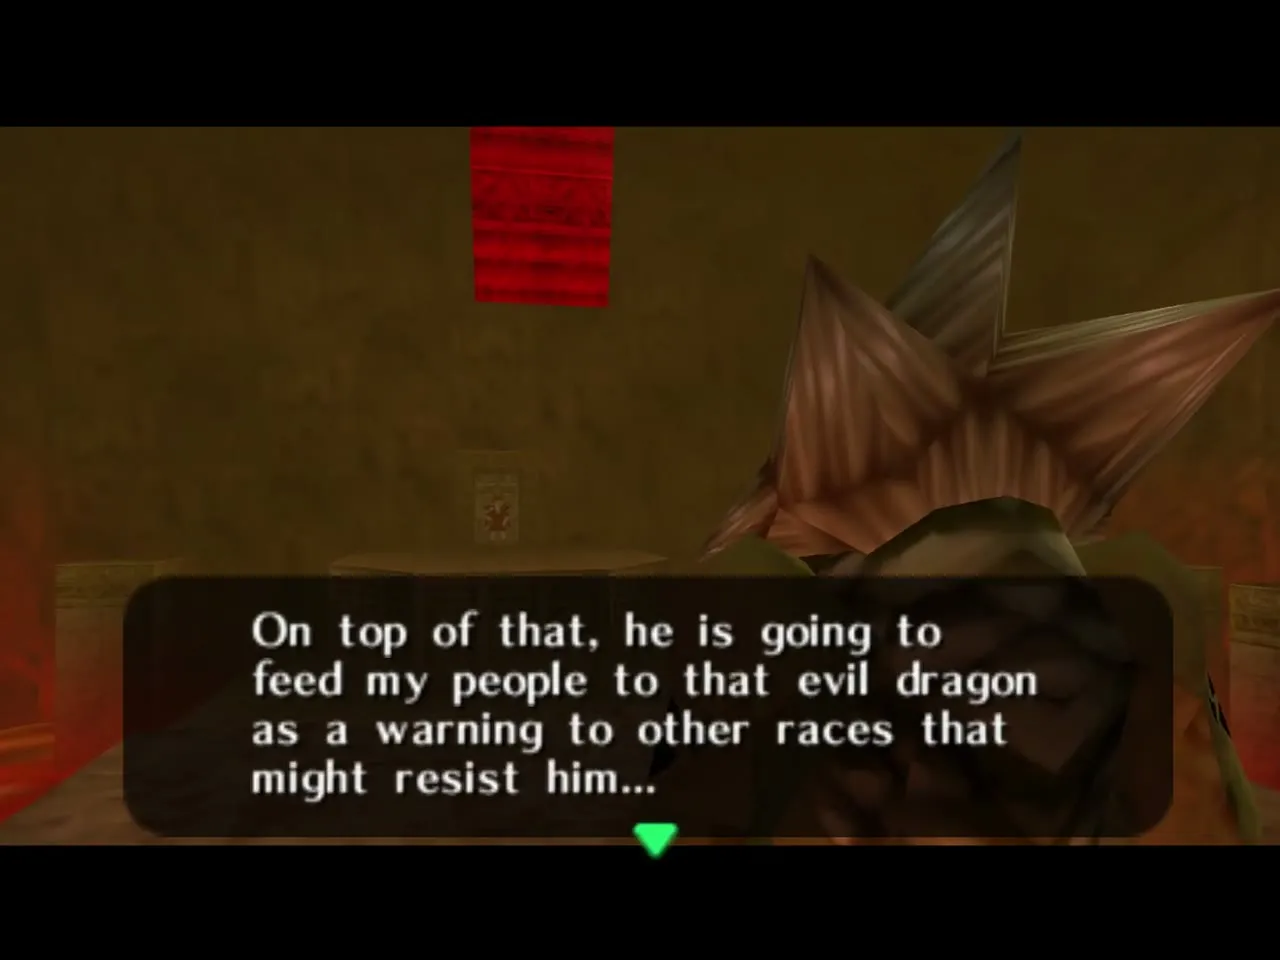
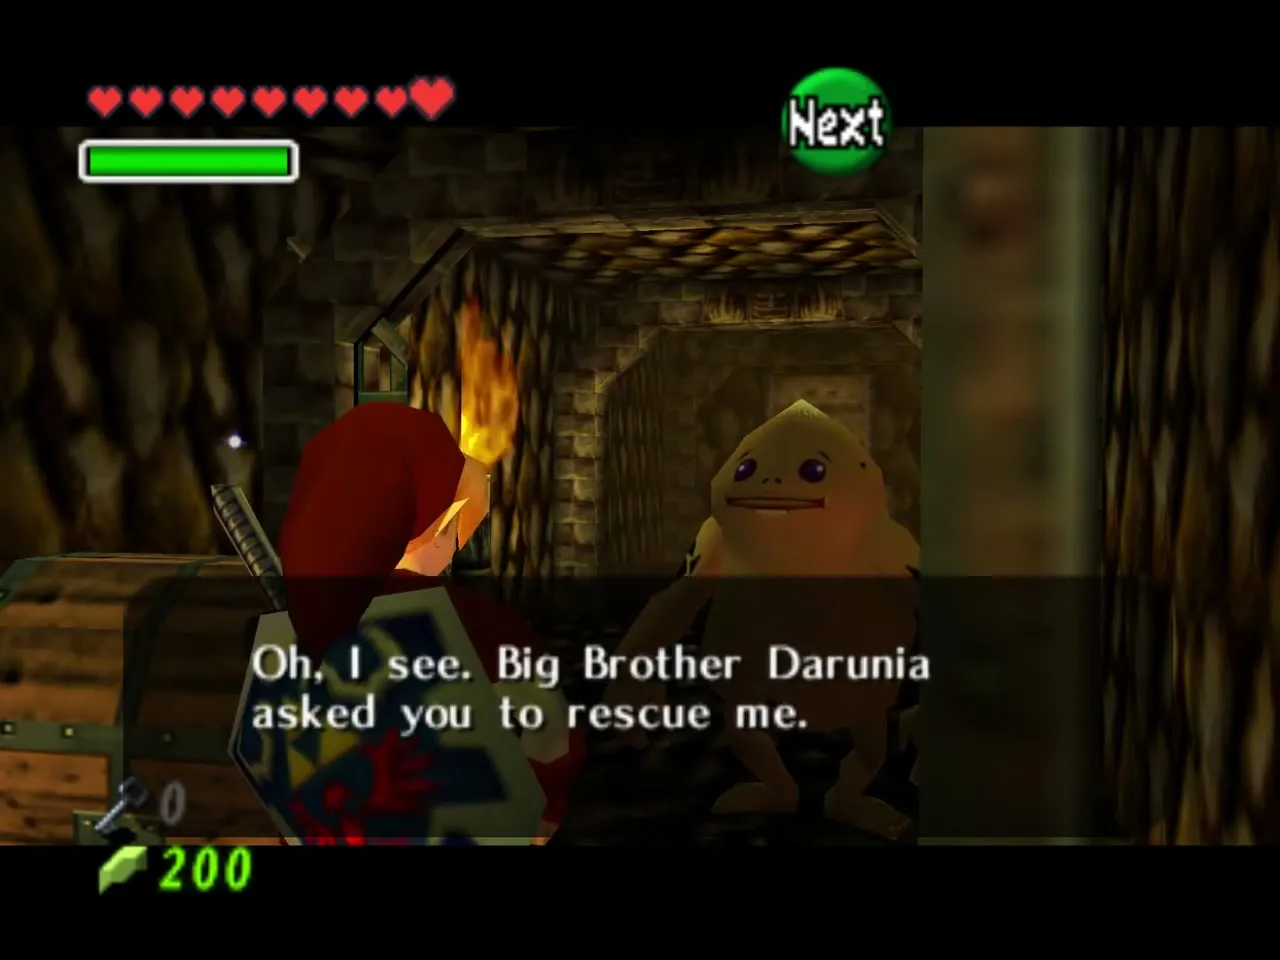
Darunia talks to you through the doorway, explains that the revived dragon is the cause of the trouble and asks you to rescue his people while he heads for the boss. His chamber holds the boss door, but you cannot reach it yet. Cross the pillars on your right to the ledge with the crates.
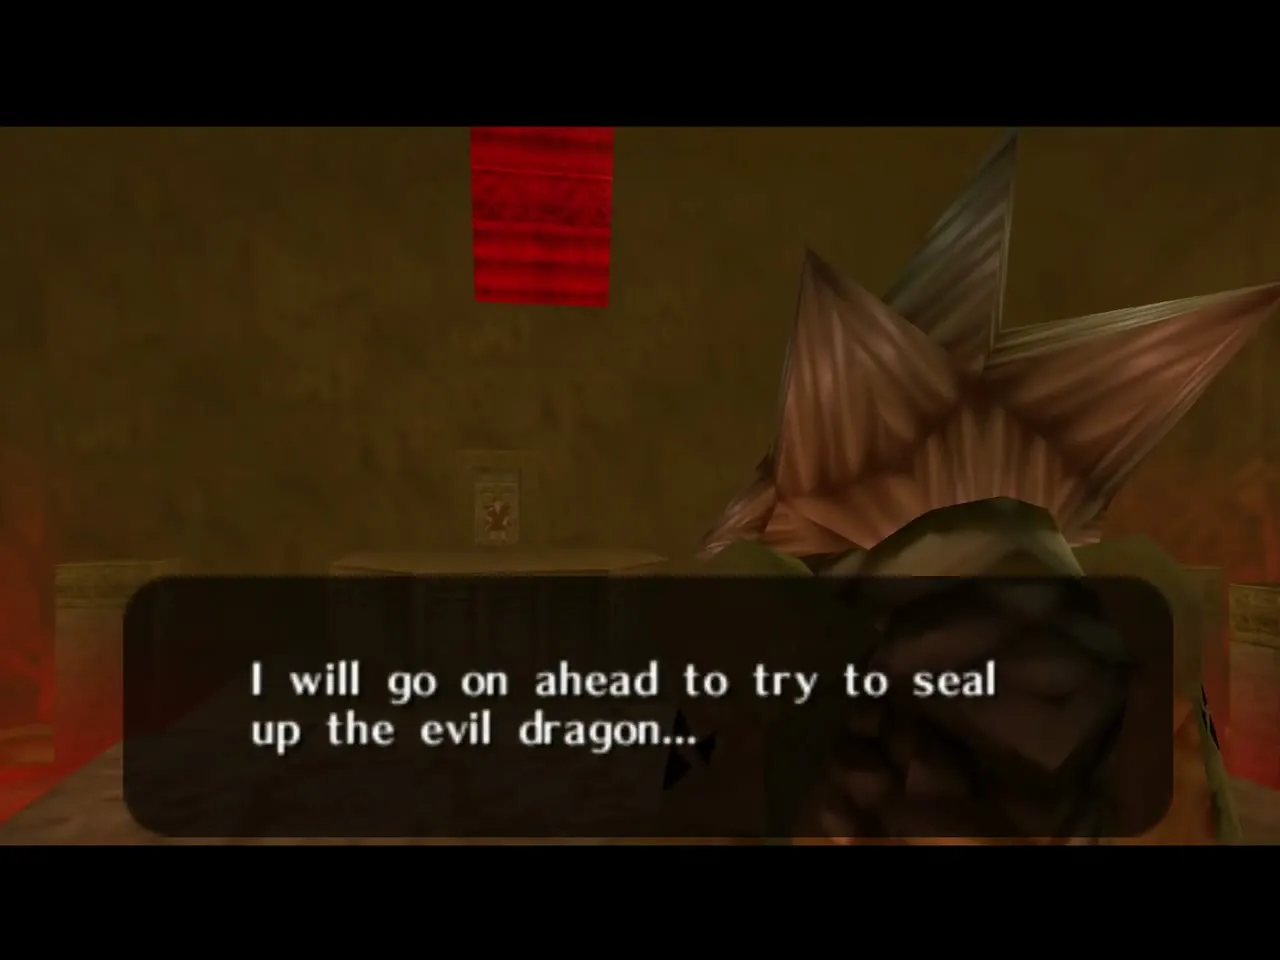
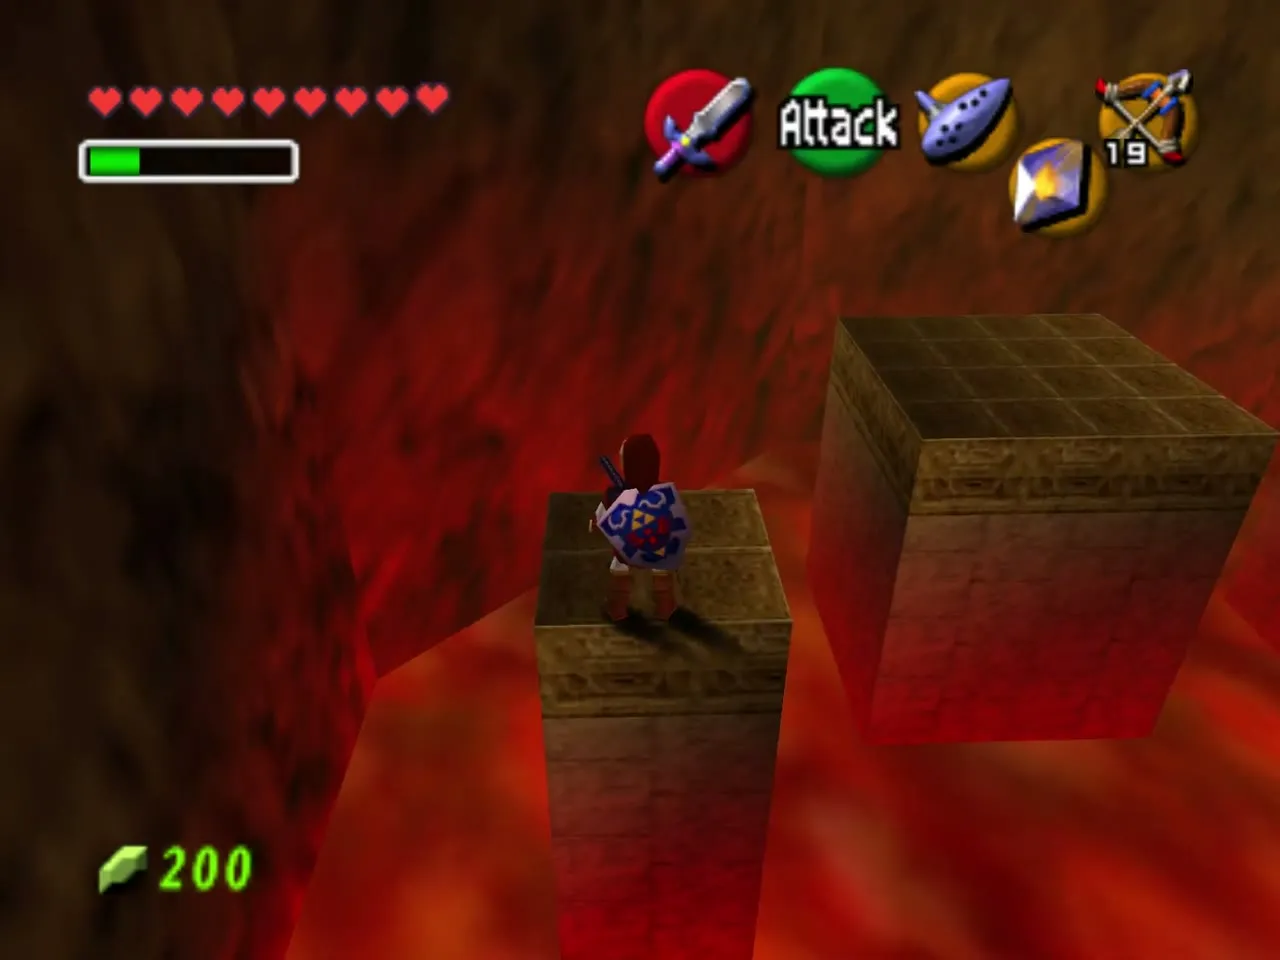
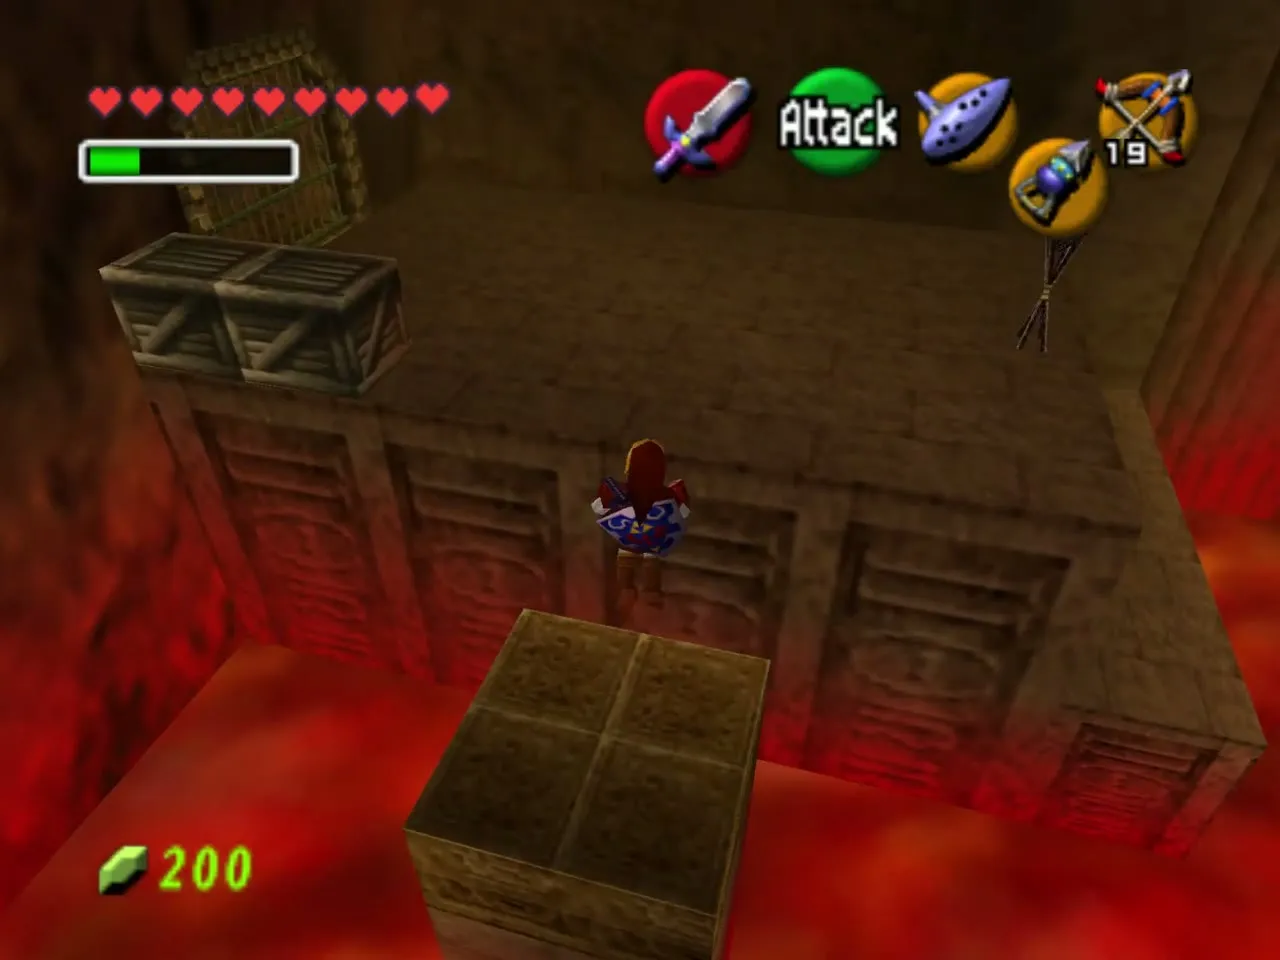
Small Key 1: torches and an arrow
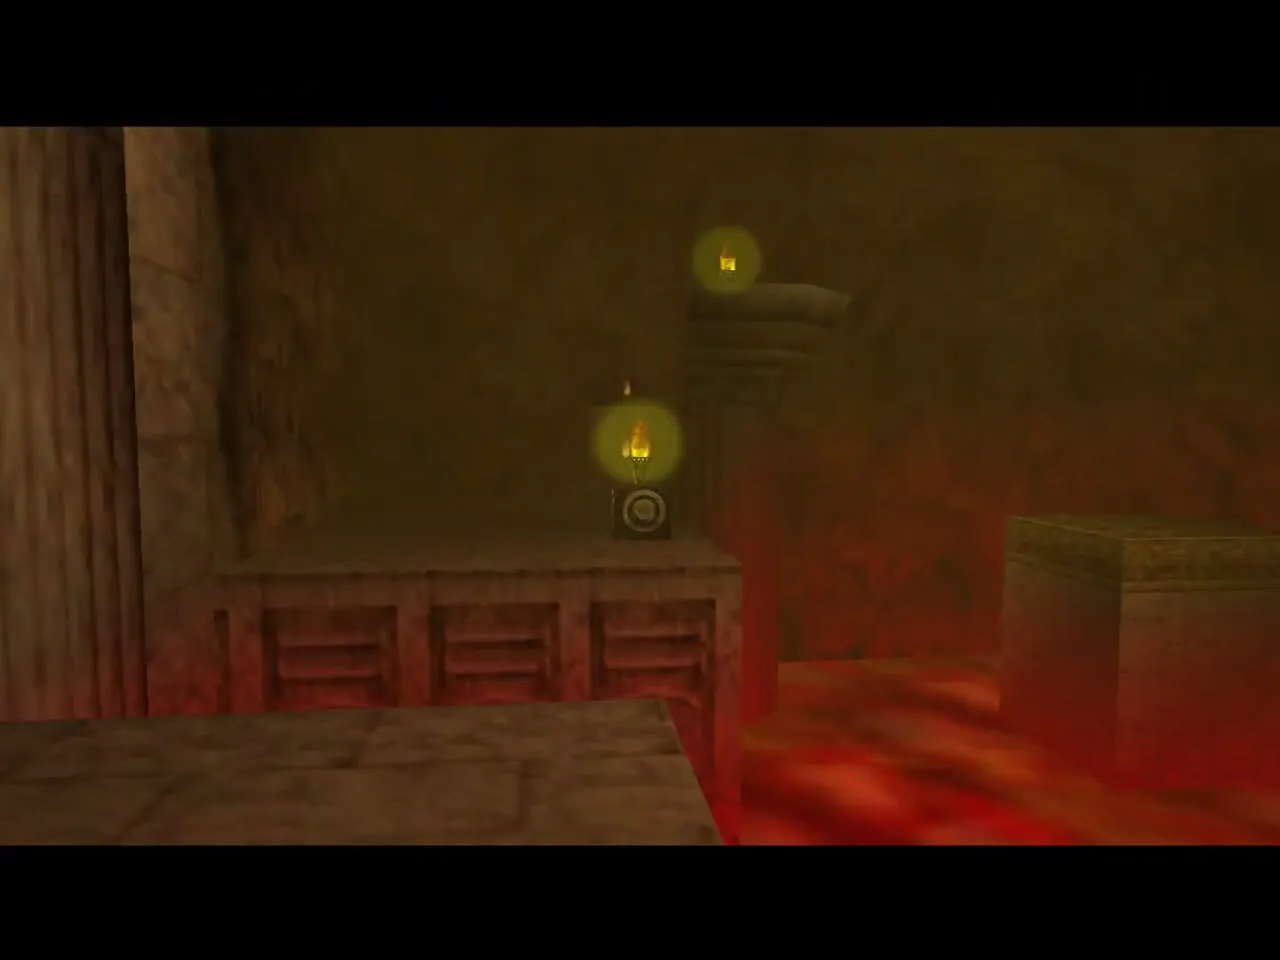
Hookshot to the ledge beside the Hookshot target and smash the crates; one hides a torch. Jump down to the platform between two other torches, cast Din’s Fire to light them and walk to the lit torch in the target. The flames burn out quickly, so work fast.
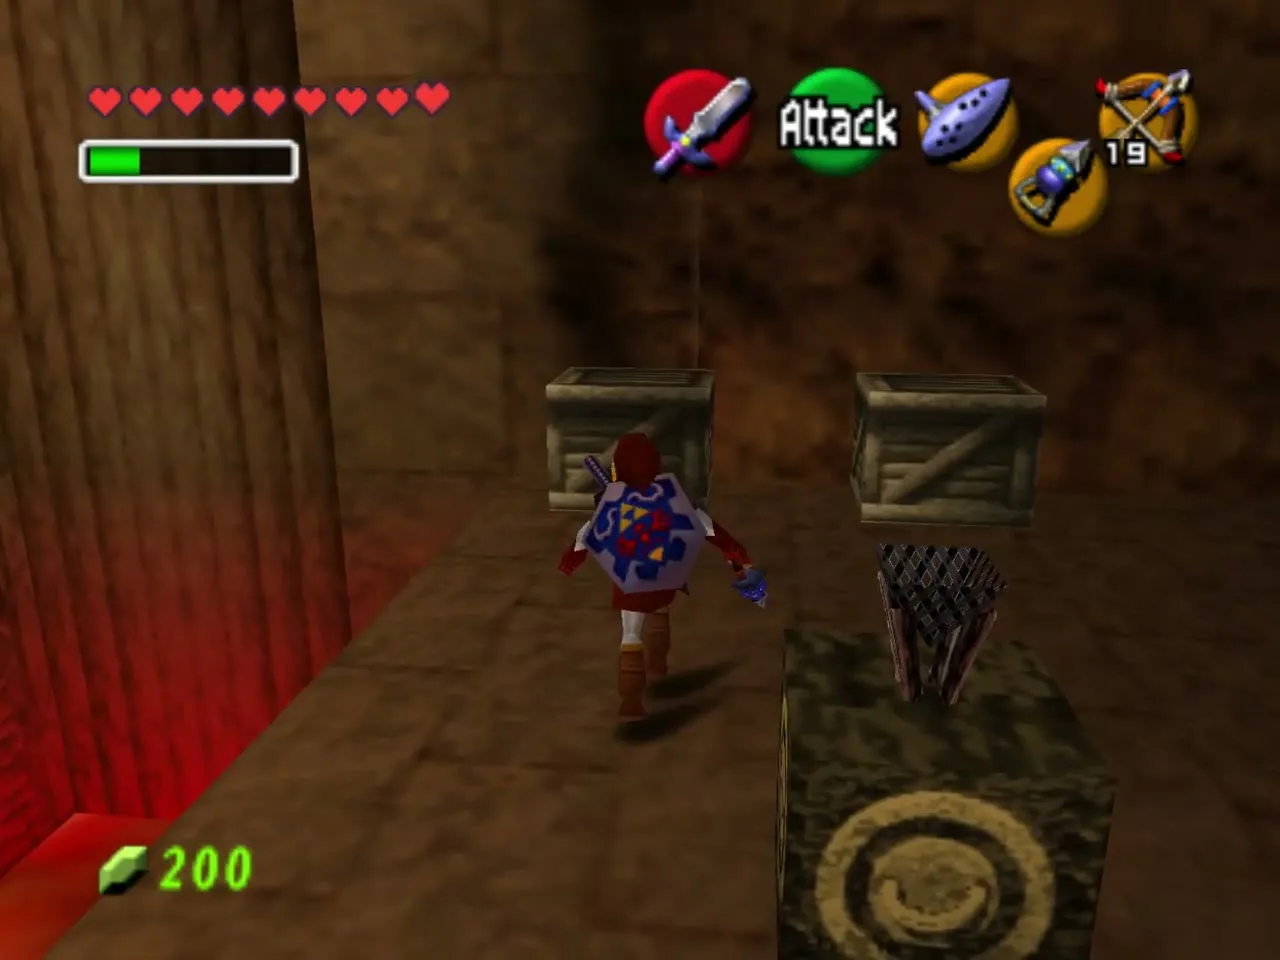
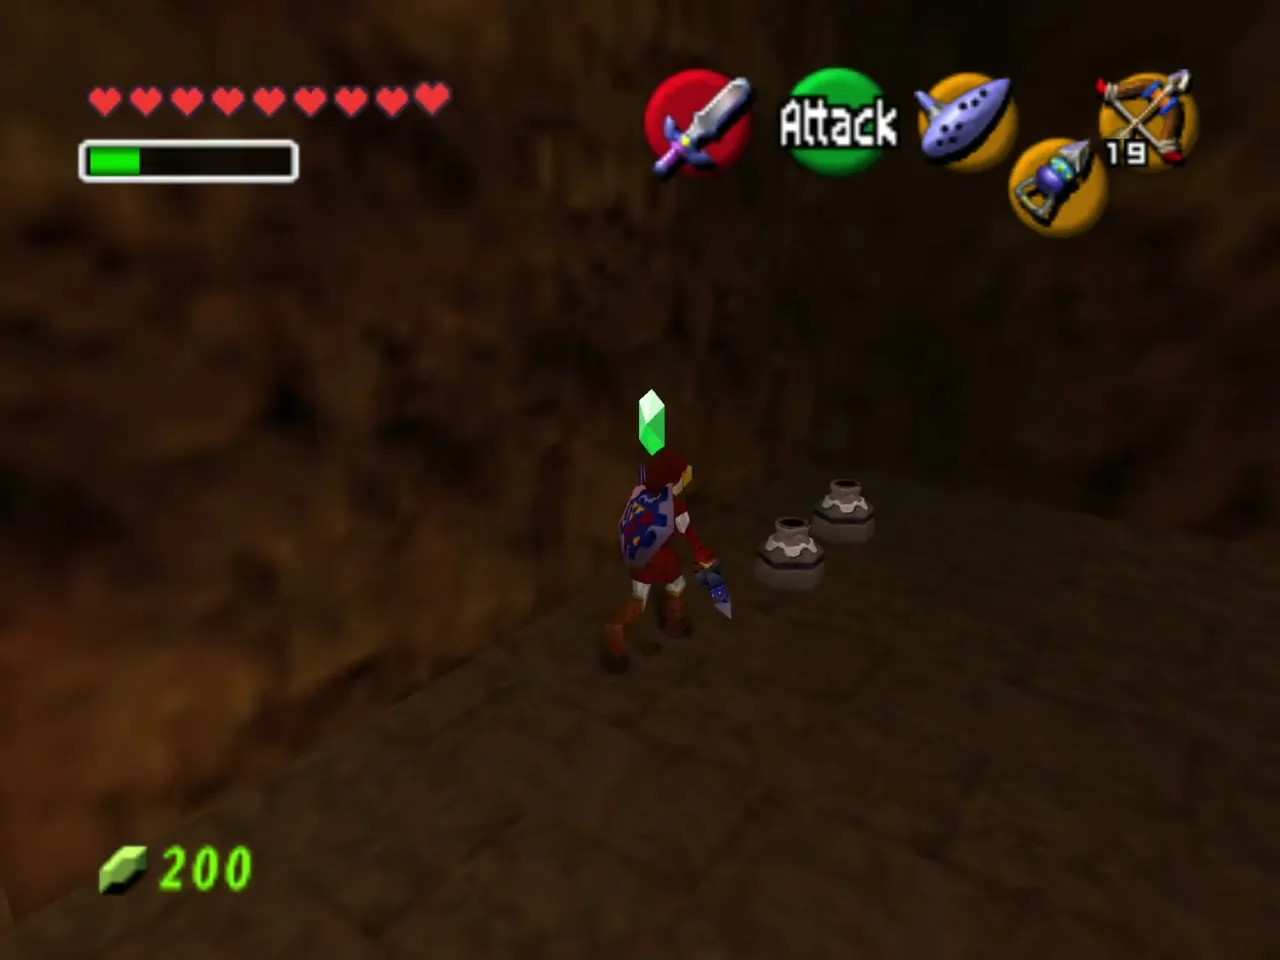
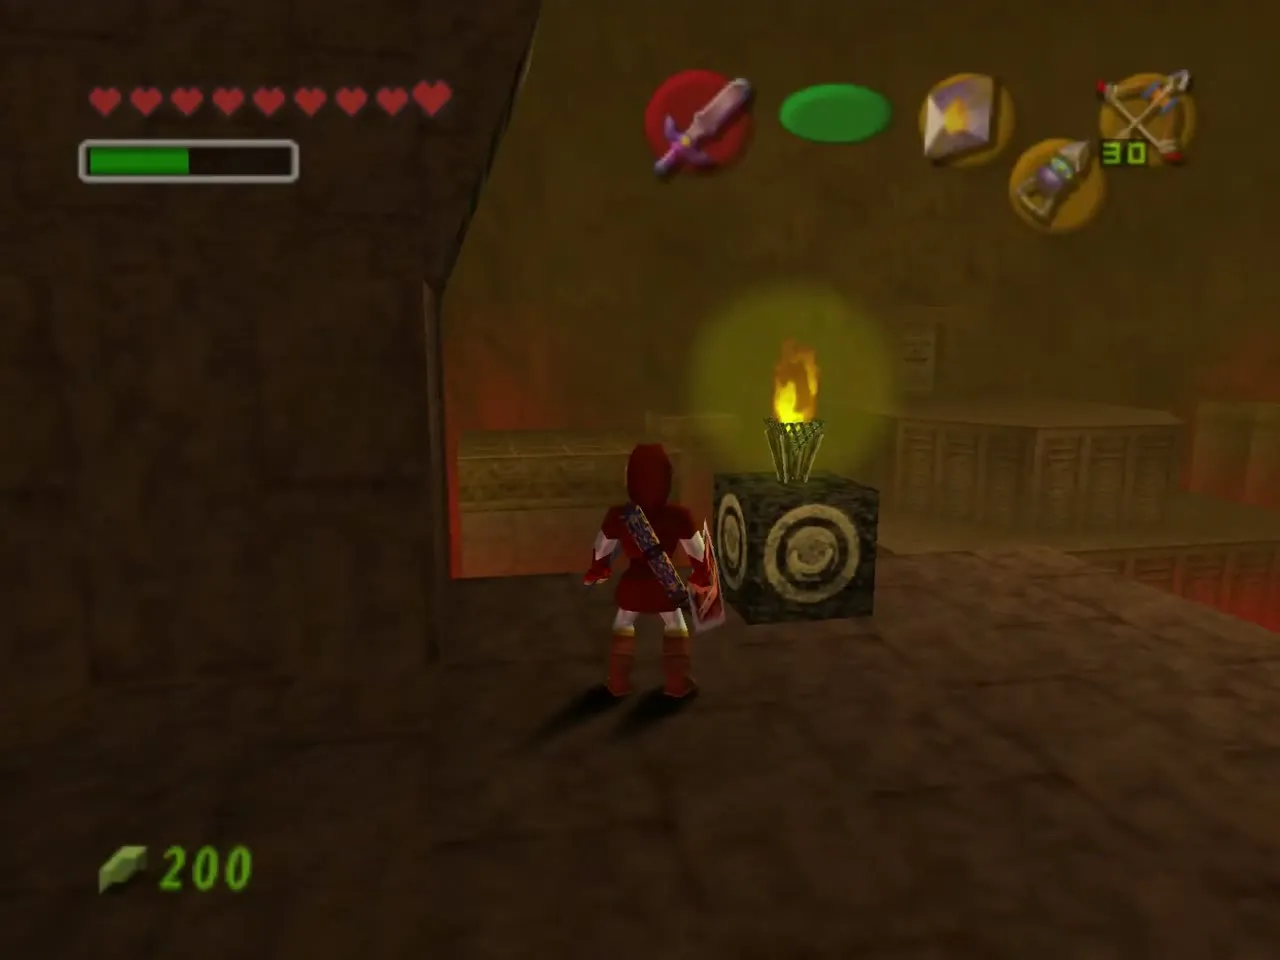
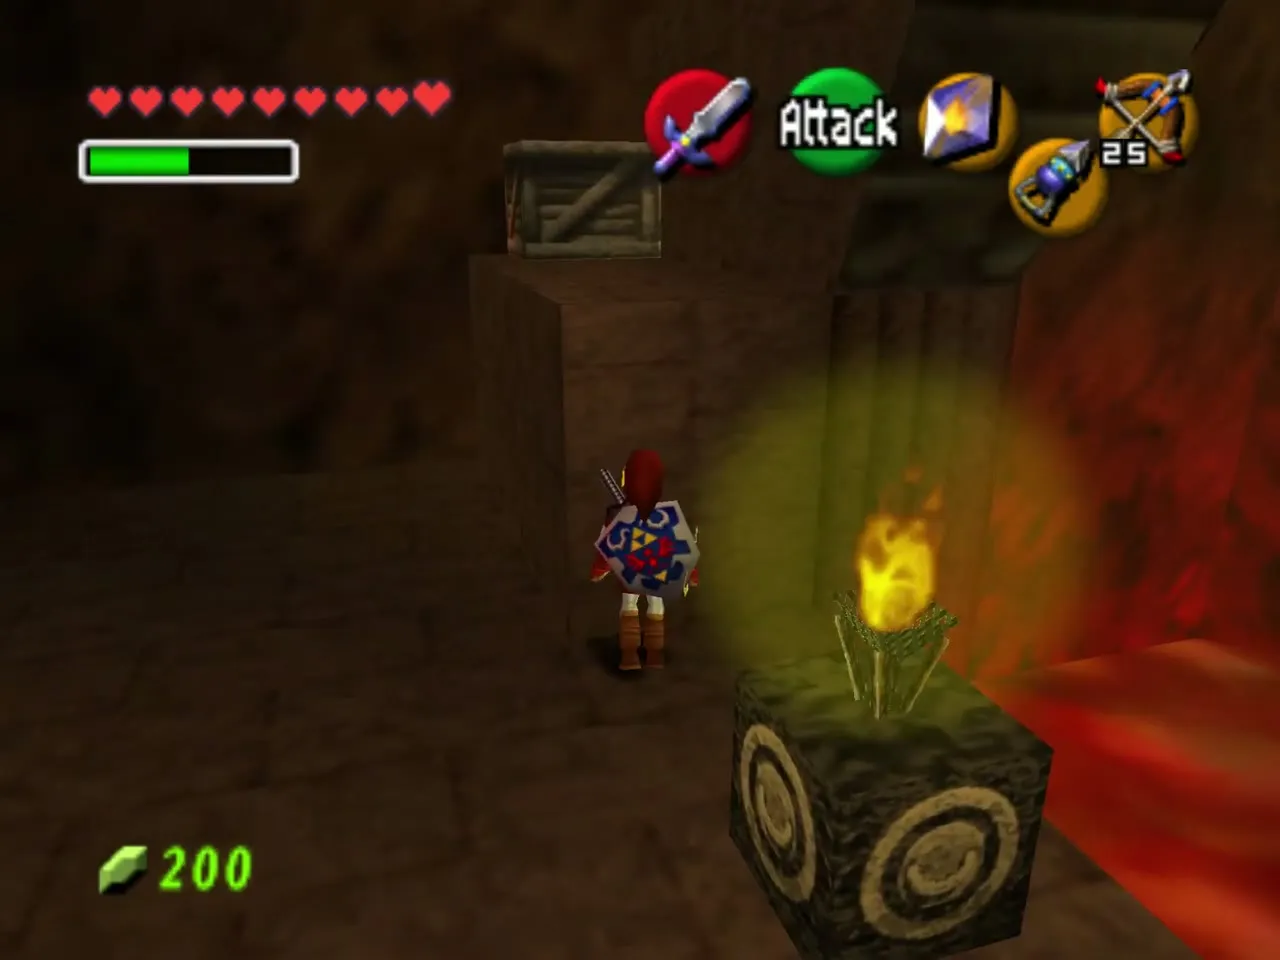
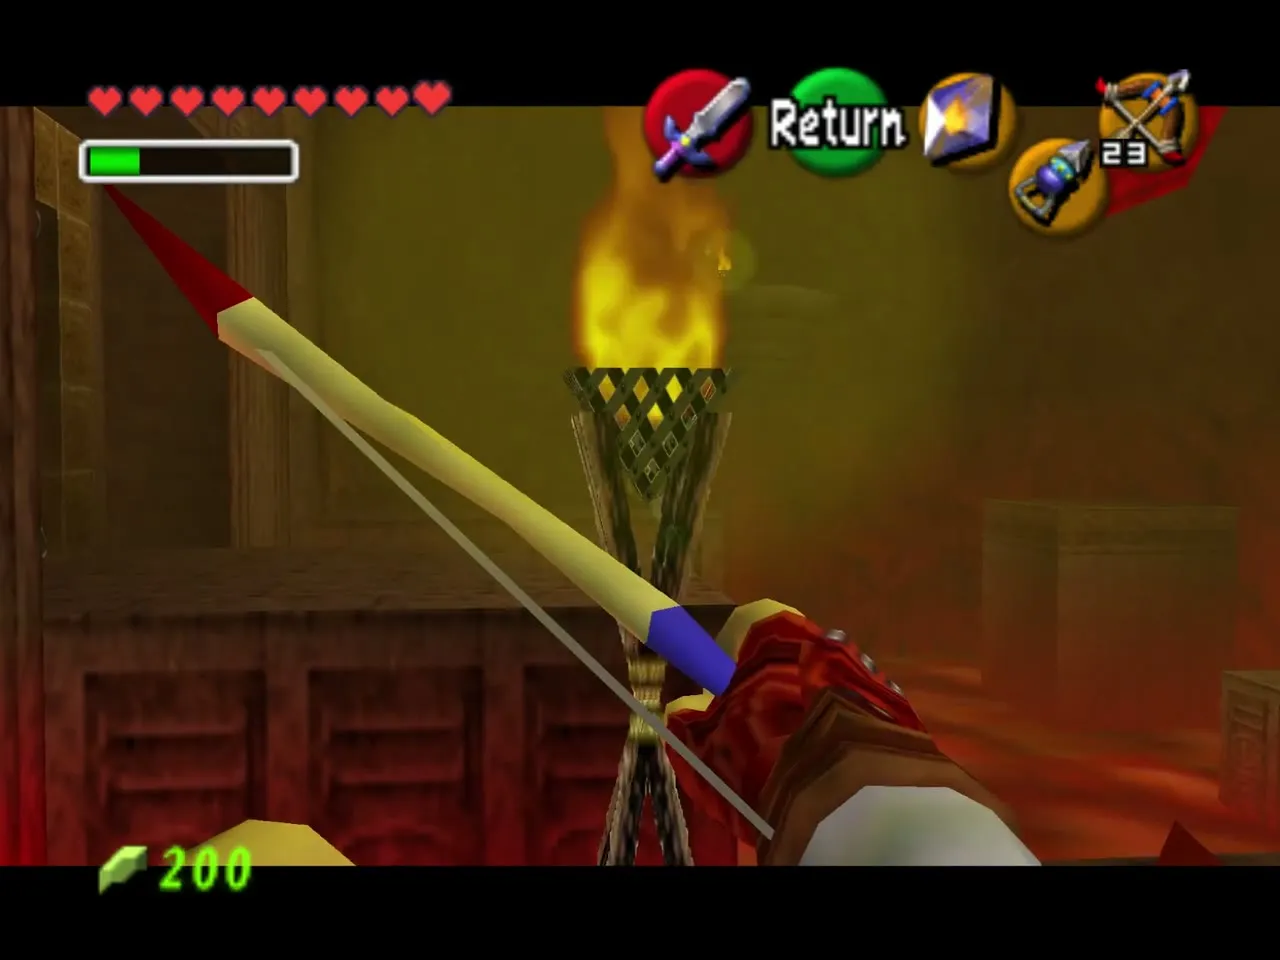
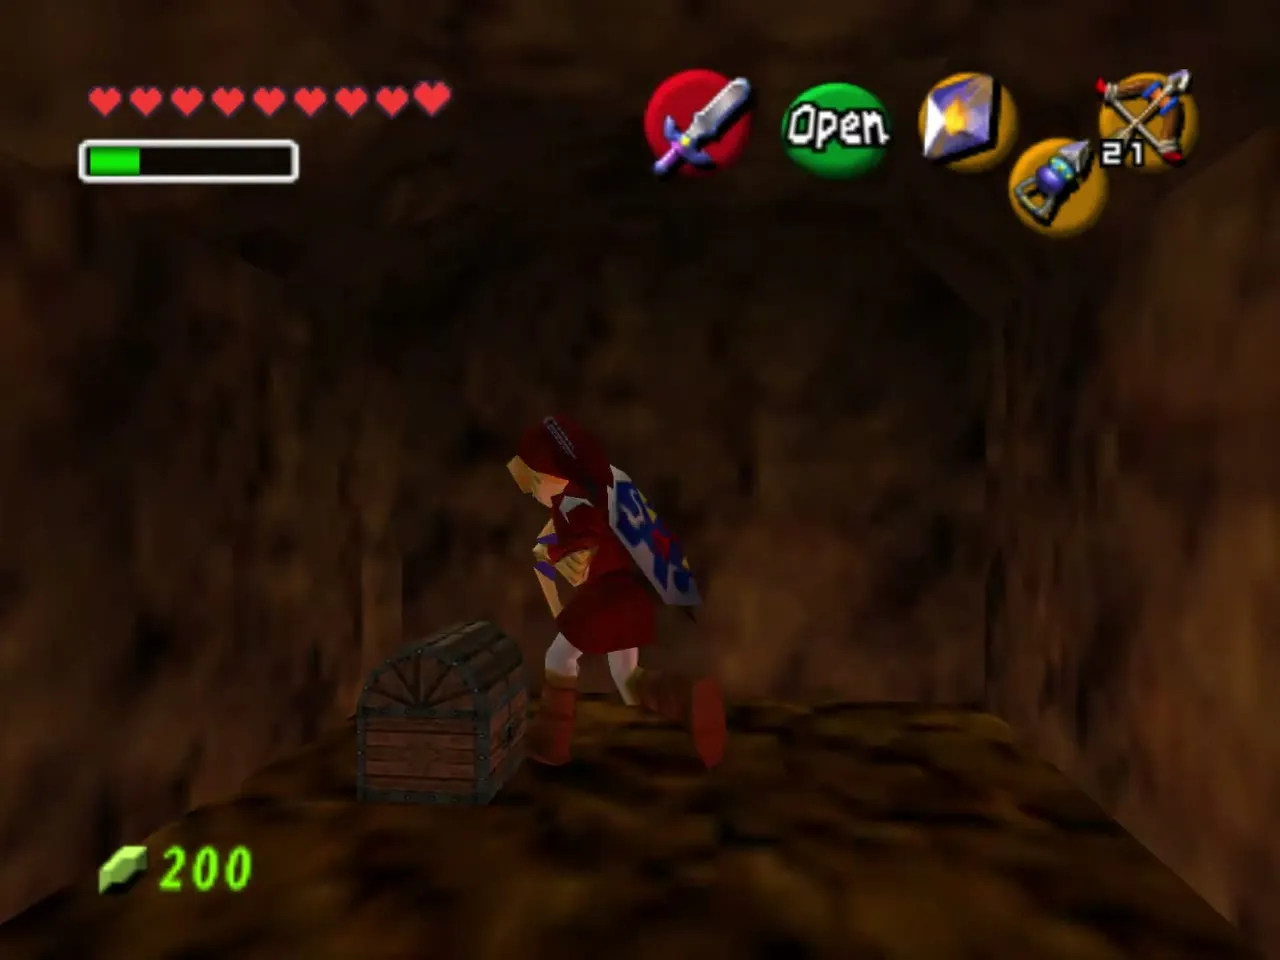
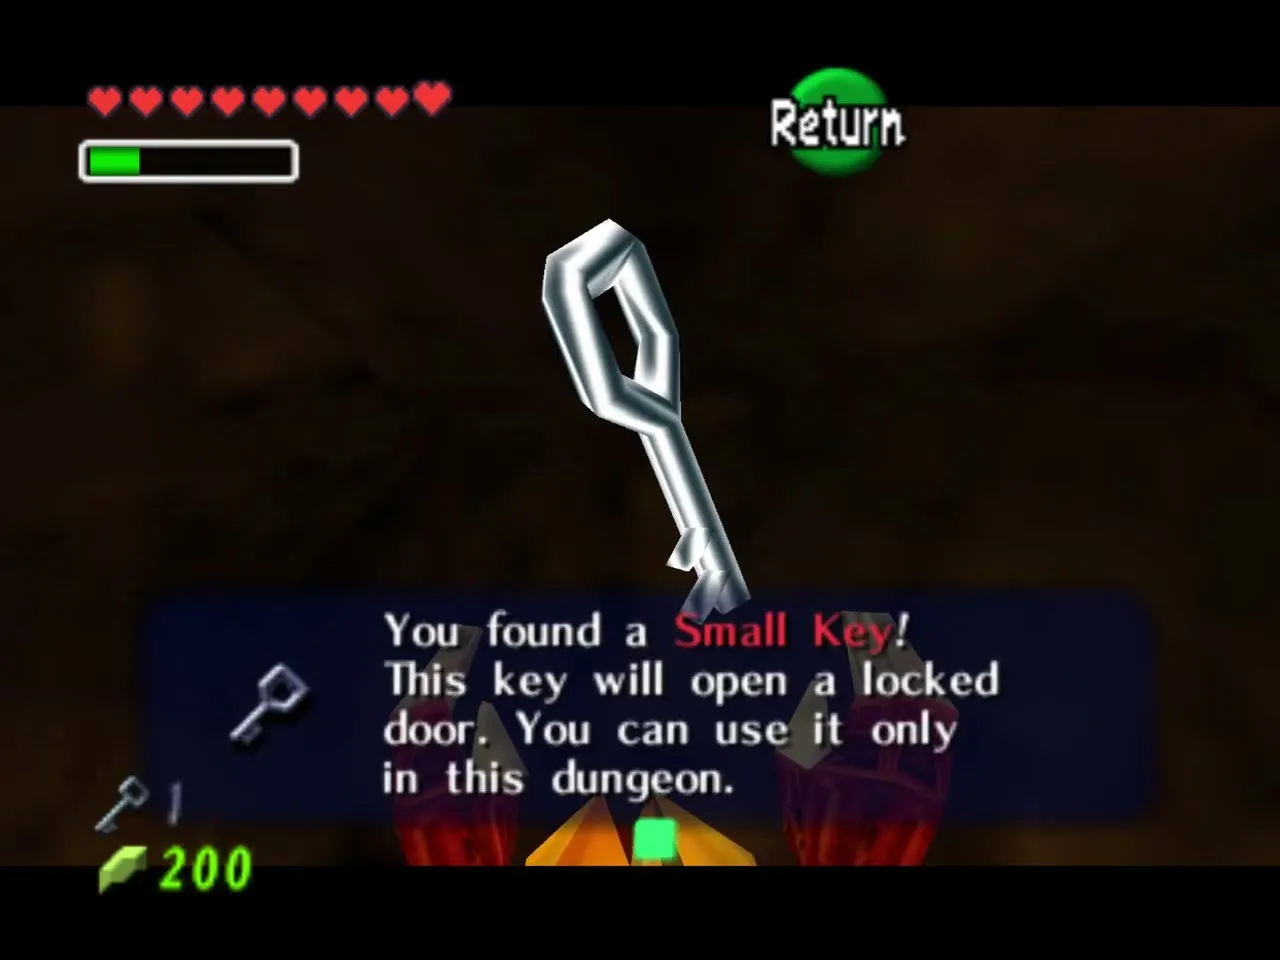
Pull out the bow and shoot an arrow through a lit torch so that it ignites the last torch across the room. A gate opens beside that torch. Walk over the lava in the Goron Tunic and open the chest inside for Small Key 1. If the shot is hard, run across the lava, climb up and cast Din’s Fire again by the last torch.
Stalfos, Iron Knuckle and the Megaton Hammer
Stalfos room
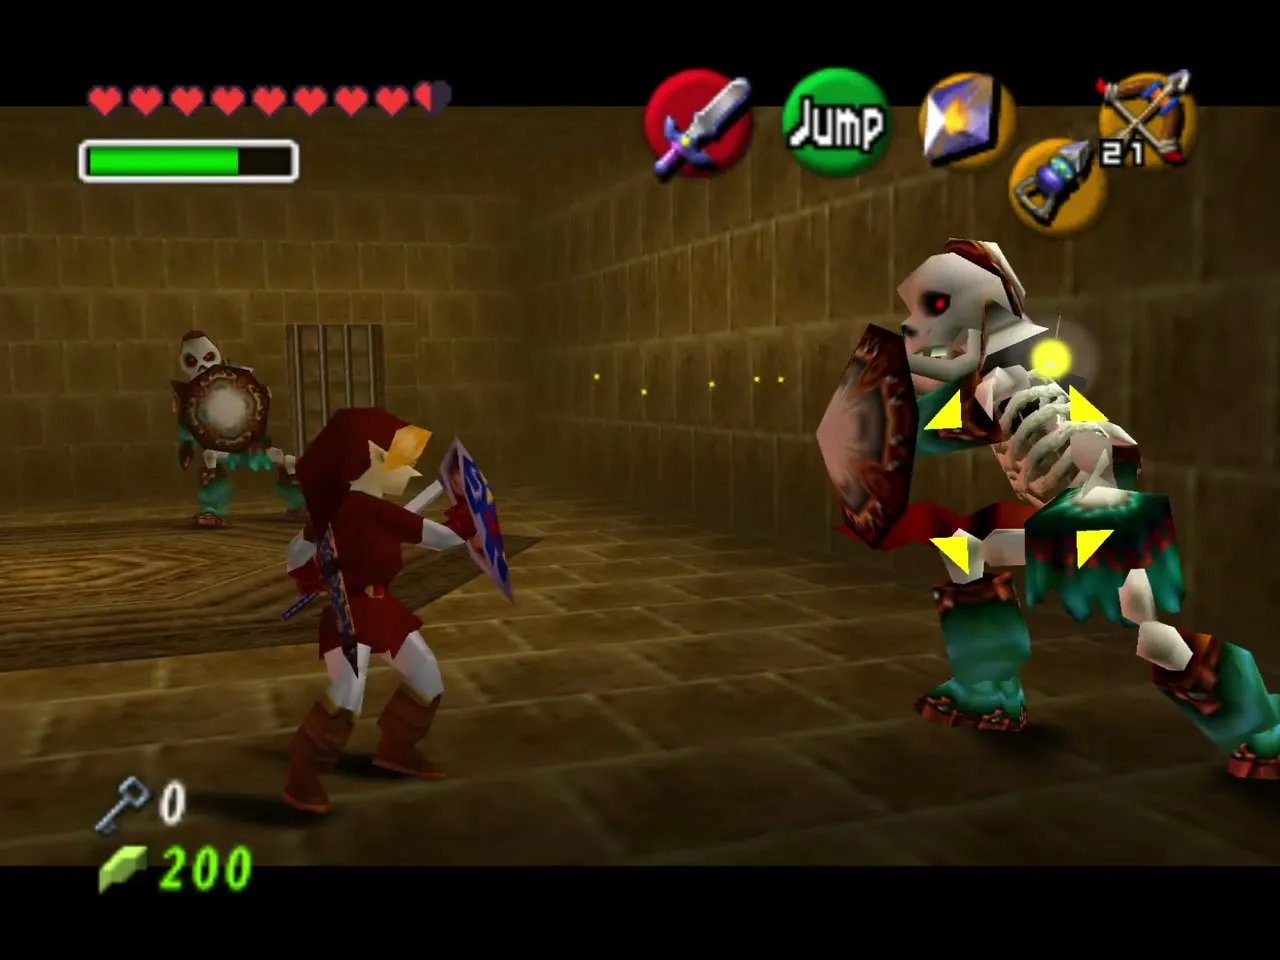
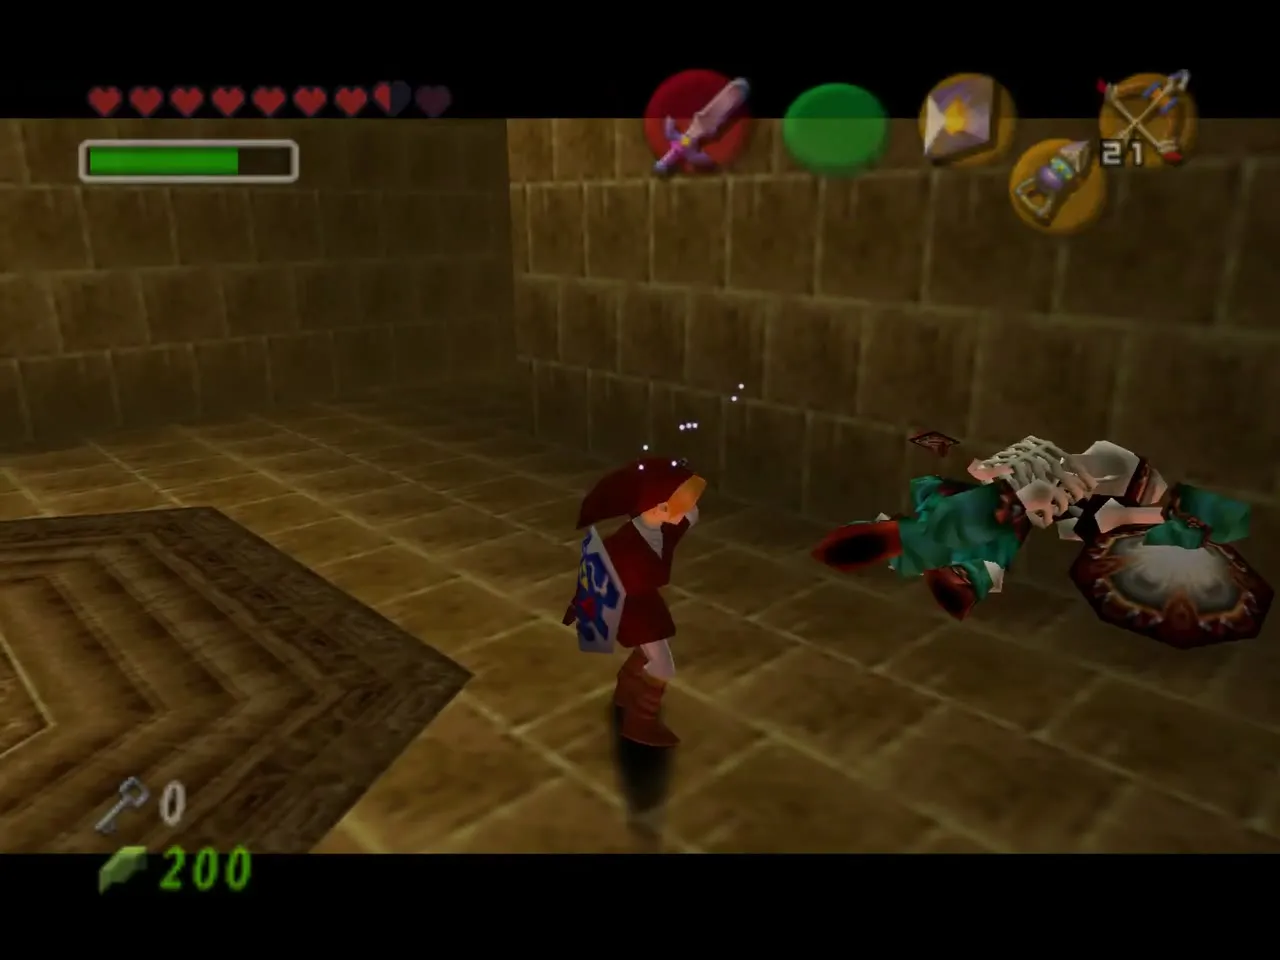
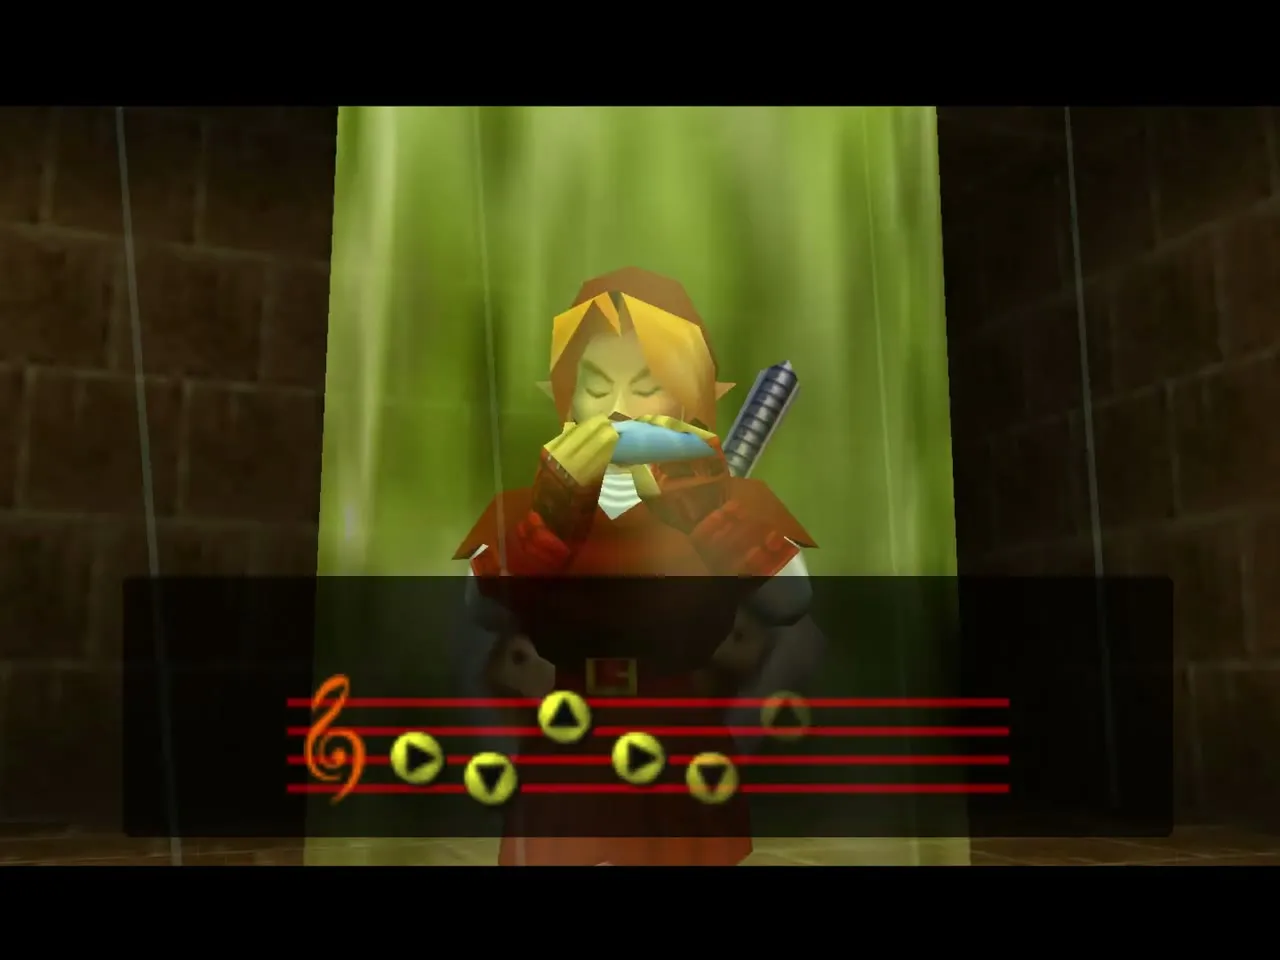
Back in the hall, use the key on the locked door beside the stairs. A Keese and two Stalfos attack; beat them and the next door unlocks. Standing on the sun symbol and playing the Sun’s Song here conjures a healing fairy if you need one.
Iron Knuckle
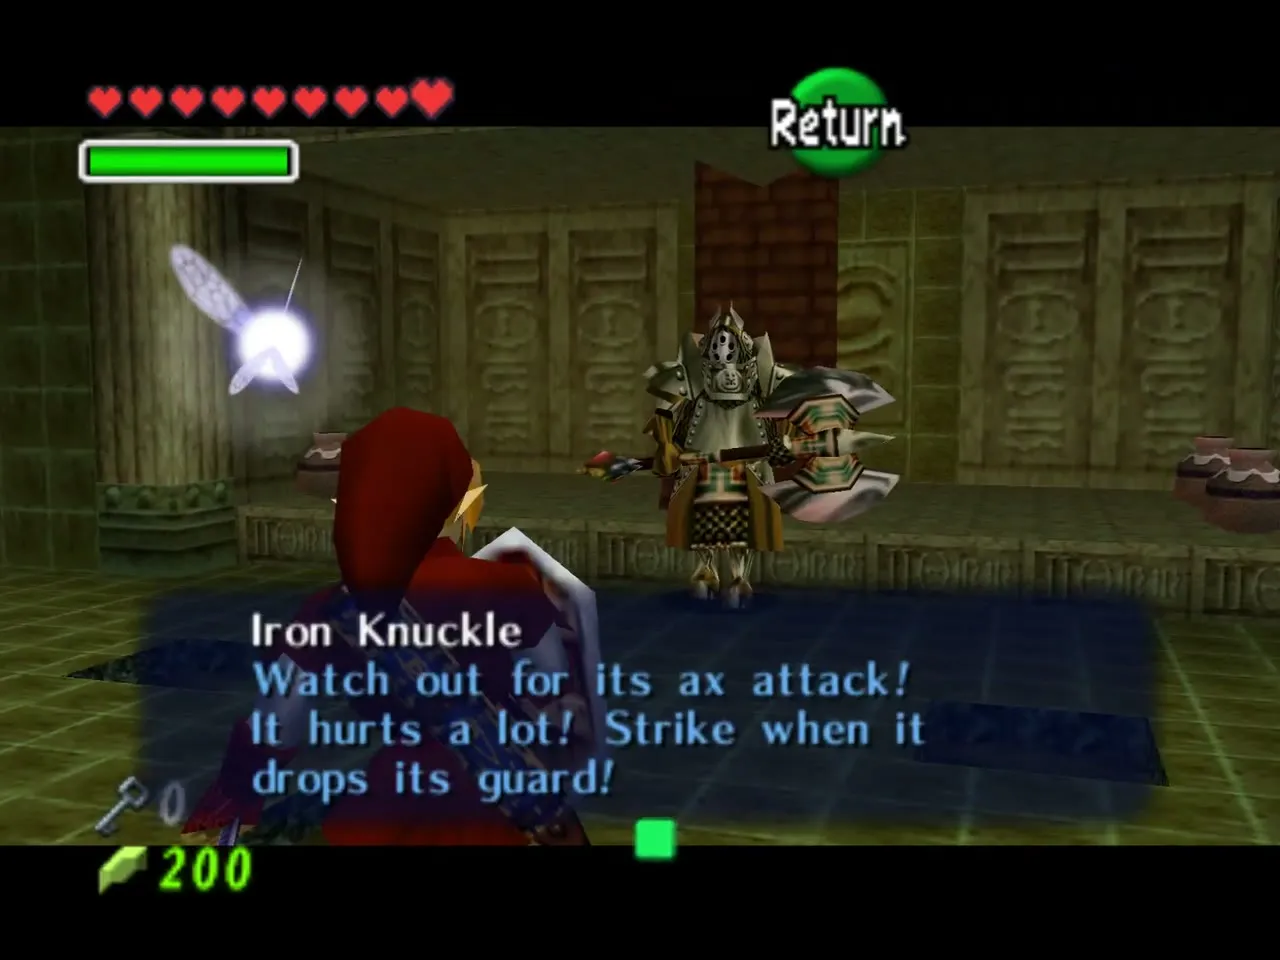
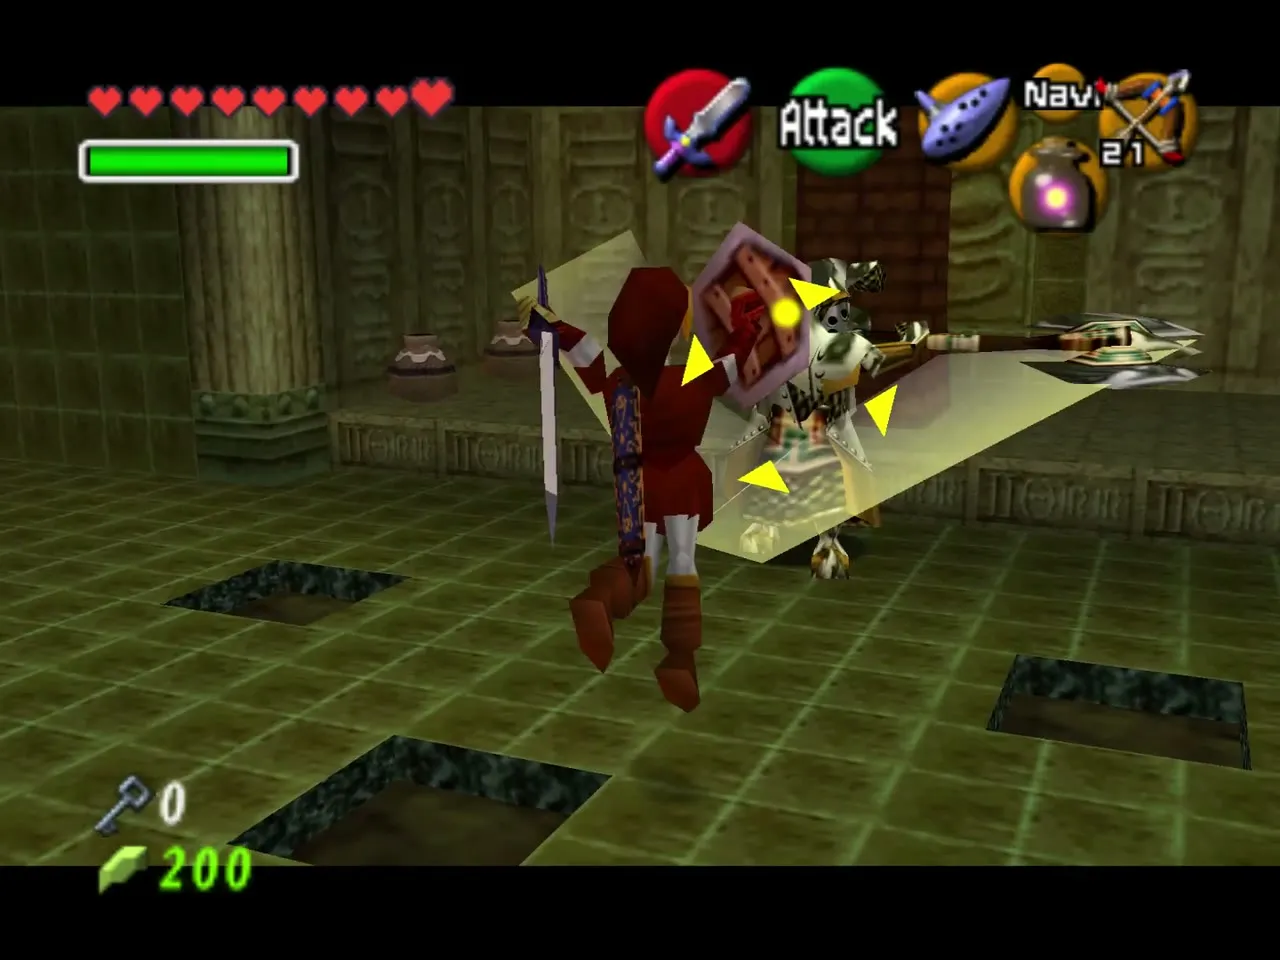
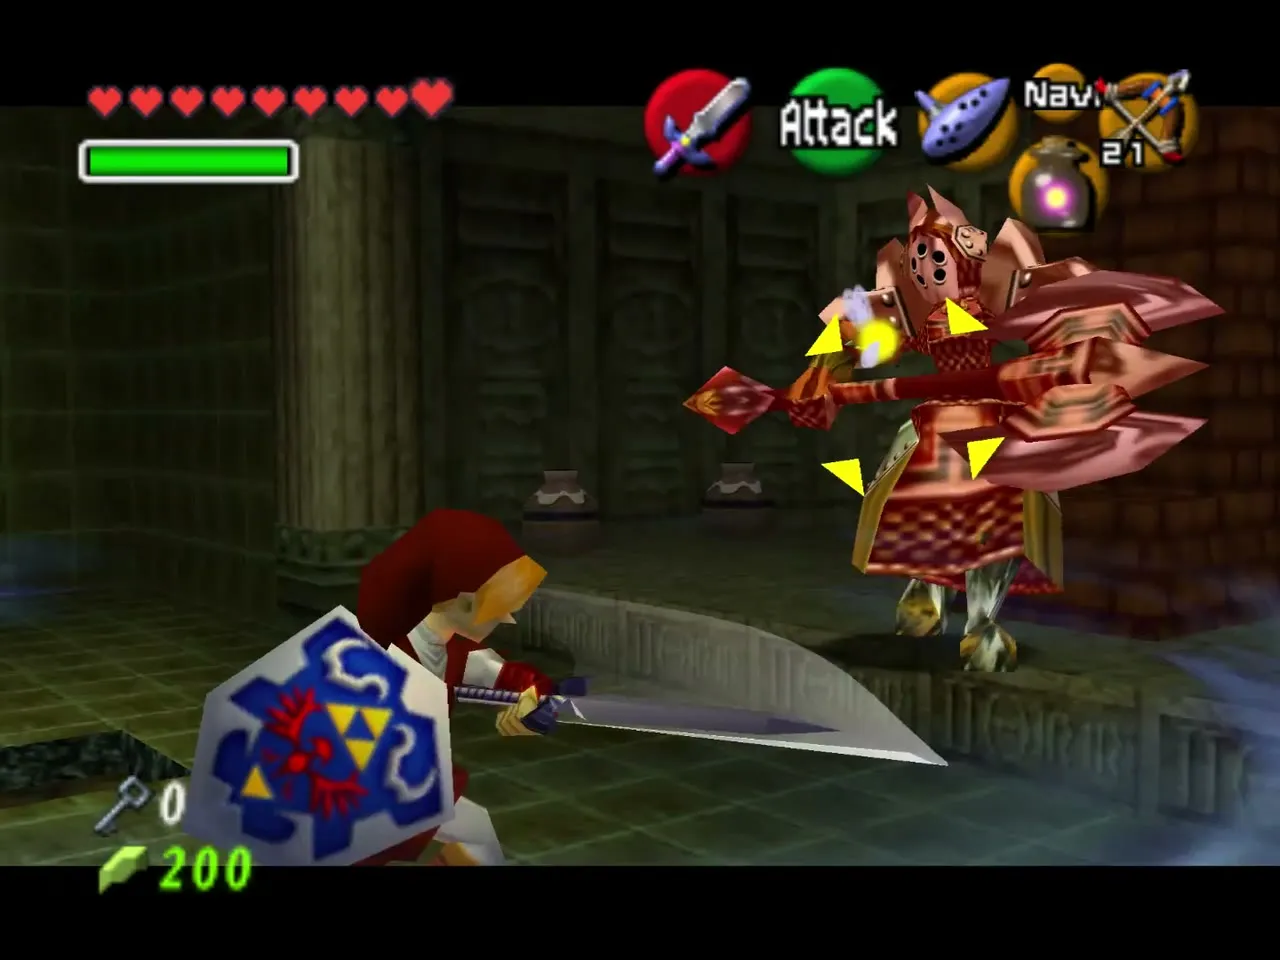
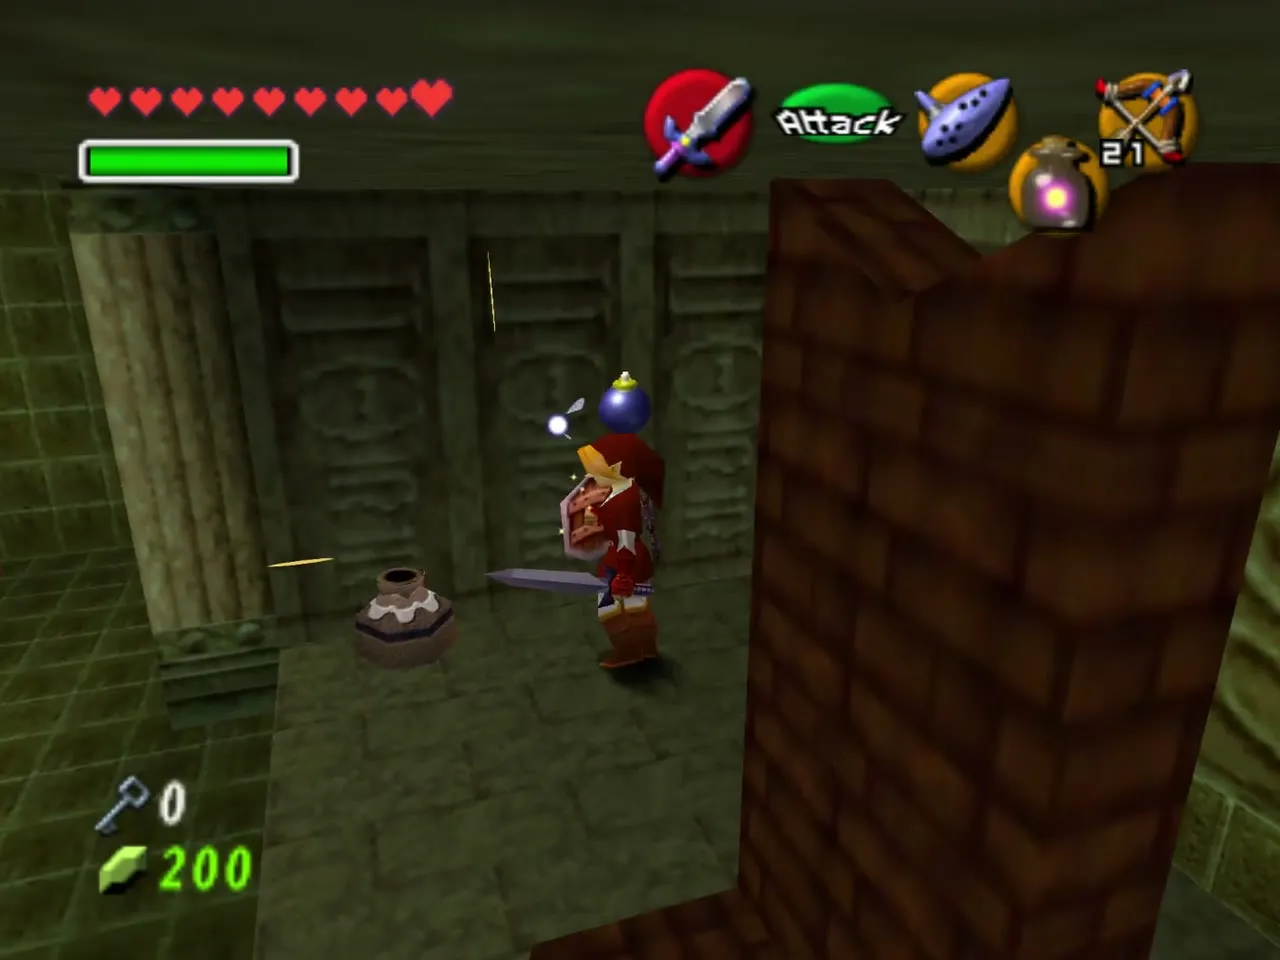
Floor tiles fly at you as you enter the next room, so raise your shield until they stop. The suit of armor in the middle is an Iron Knuckle, and in Master Quest each of its blows takes away a huge amount of health. Lock on, wait for its weapon to land on the floor and strike once or twice, then back off. Jars around the room hold fairies and items.
Mini-boss: Flare Dancer
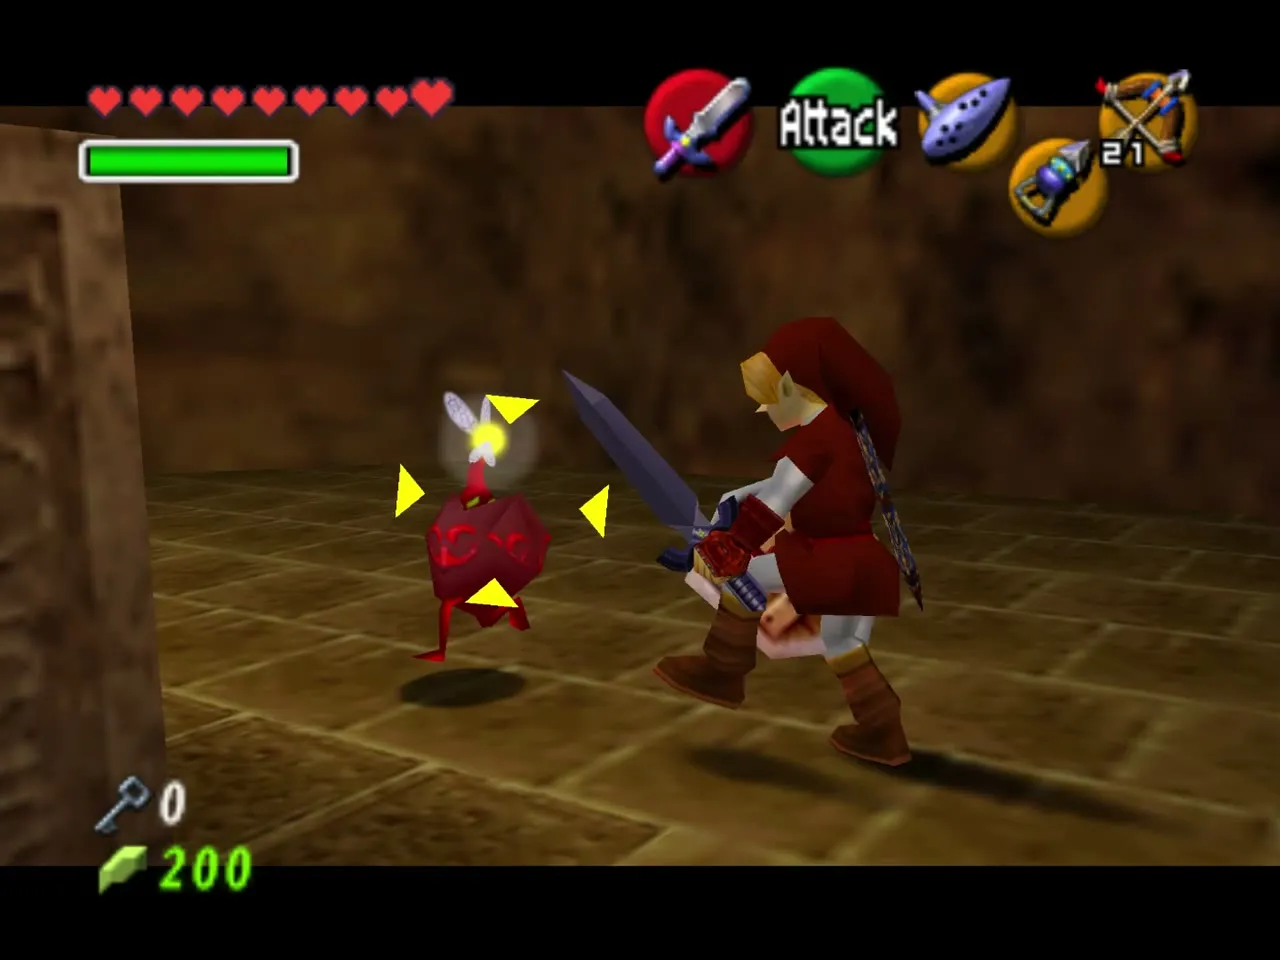
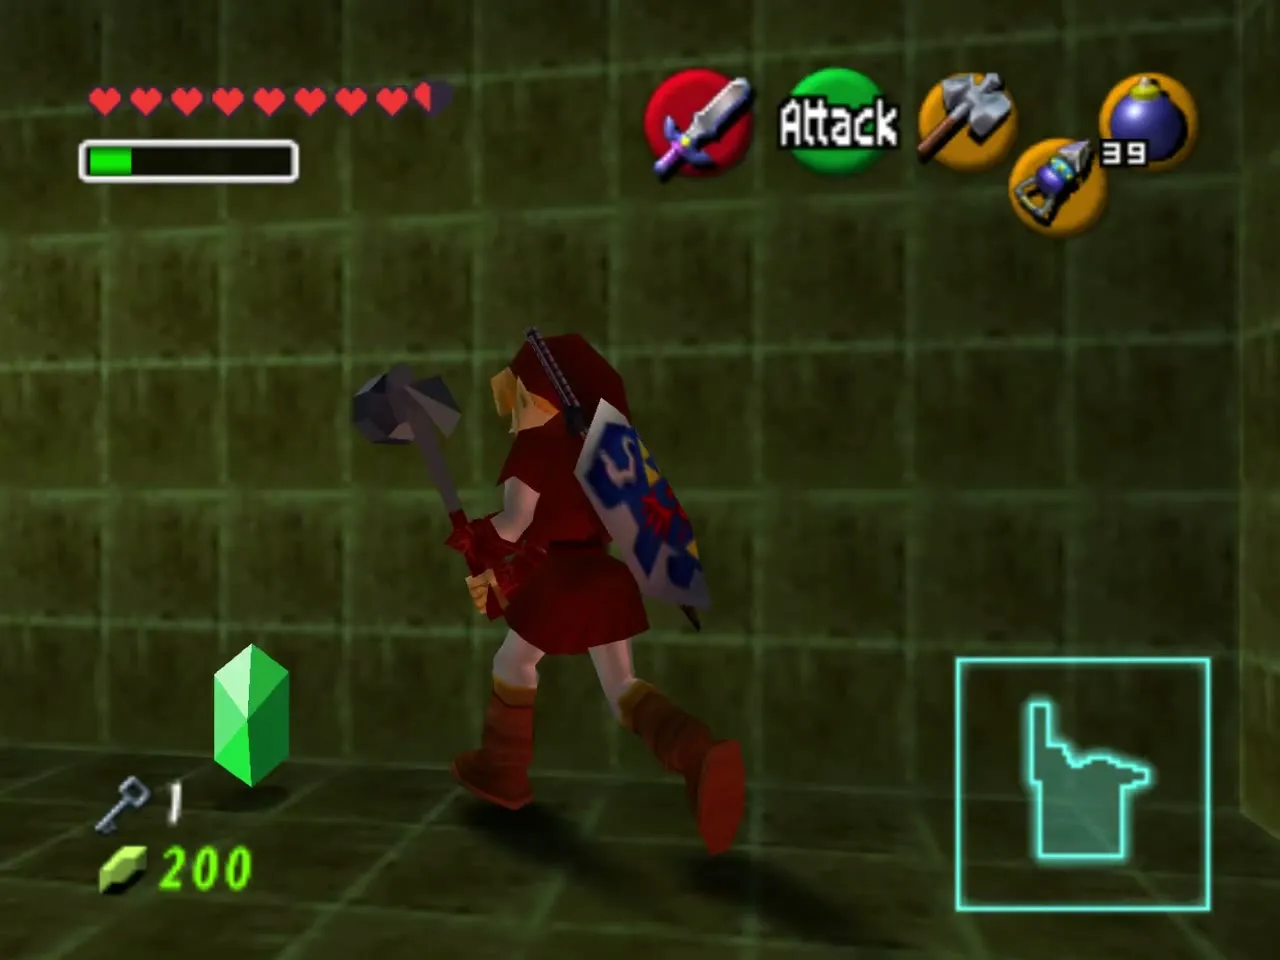
The door that opens leads to the Flare Dancer. When it stops spinning, throw a Bomb or fire the Hookshot to strip off its flames, then chase the little body and cut it down; repeat until it falls. The chest it leaves behind holds the Megaton Hammer, which you wield with both hands.
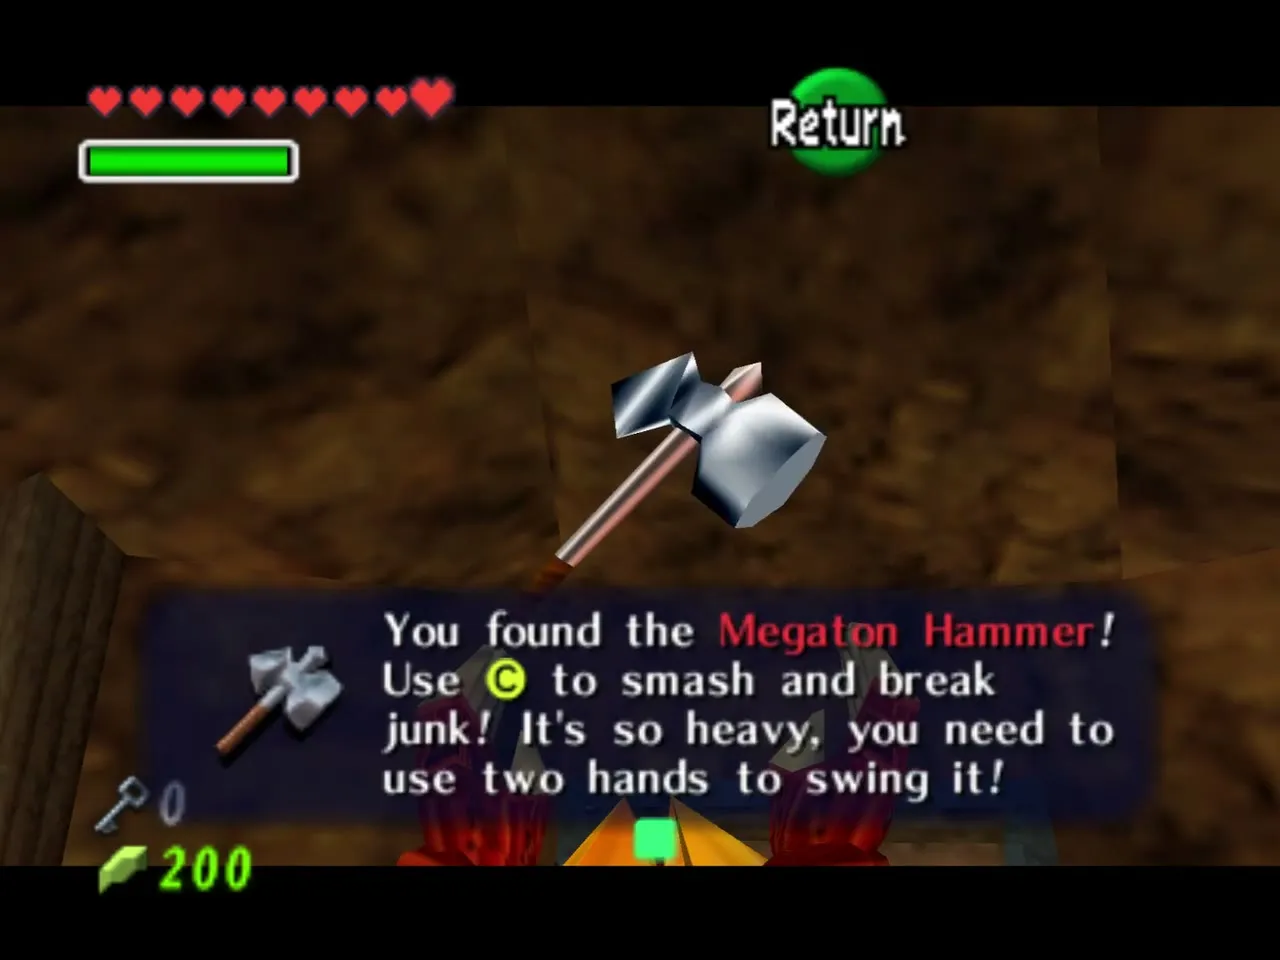
The first Goron and the Dungeon Map
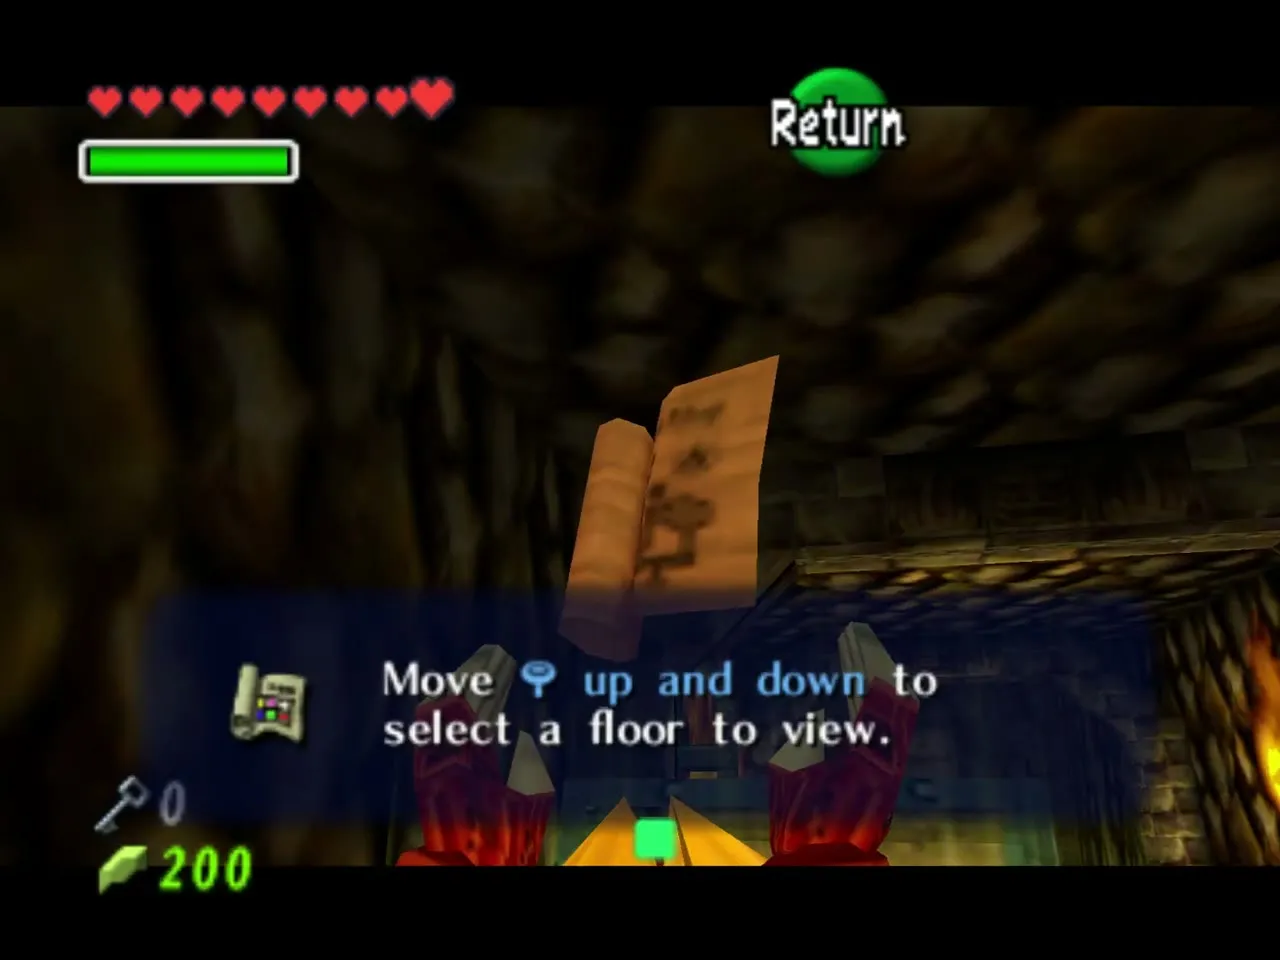
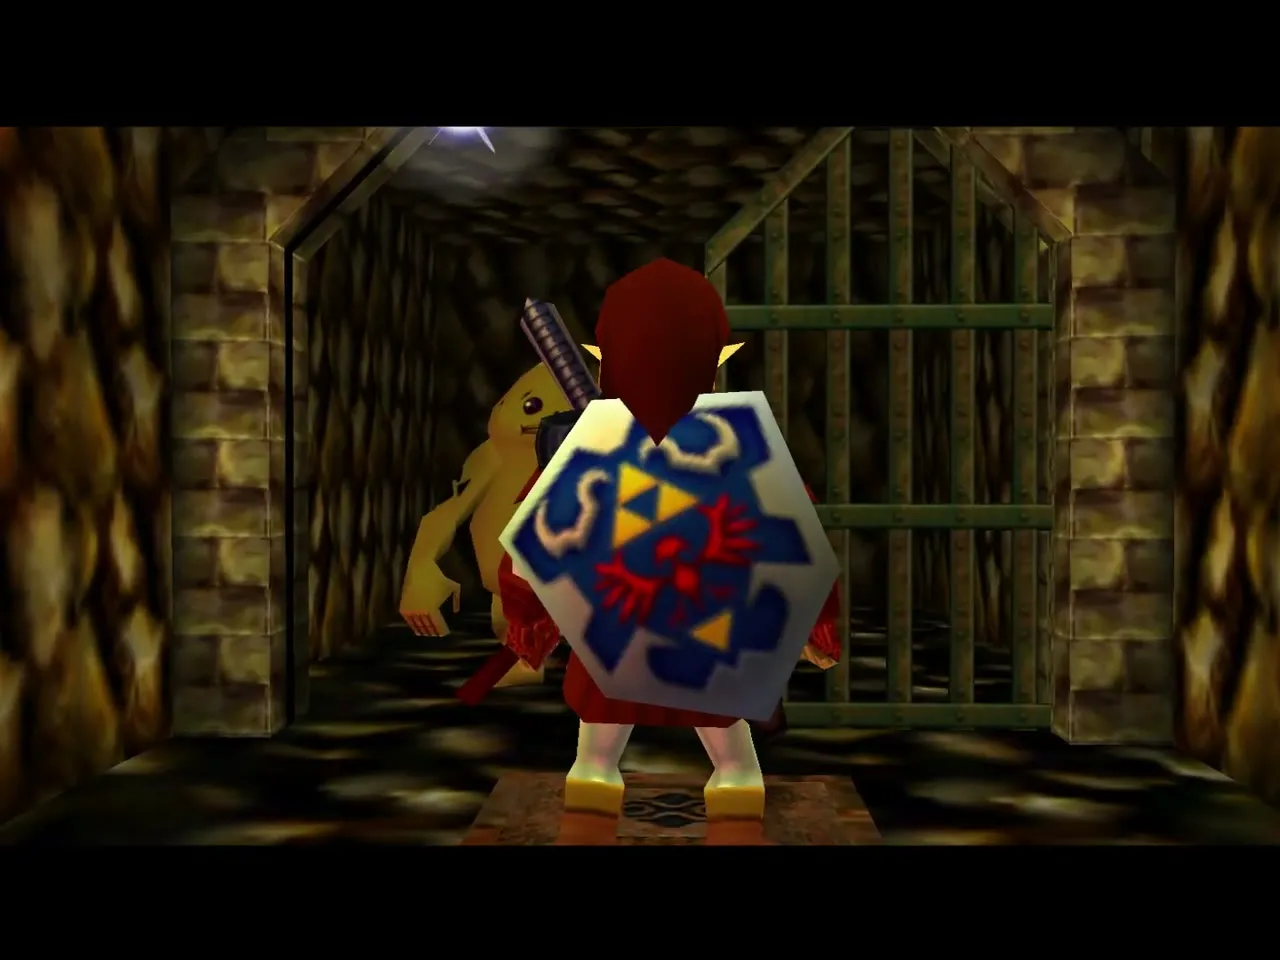
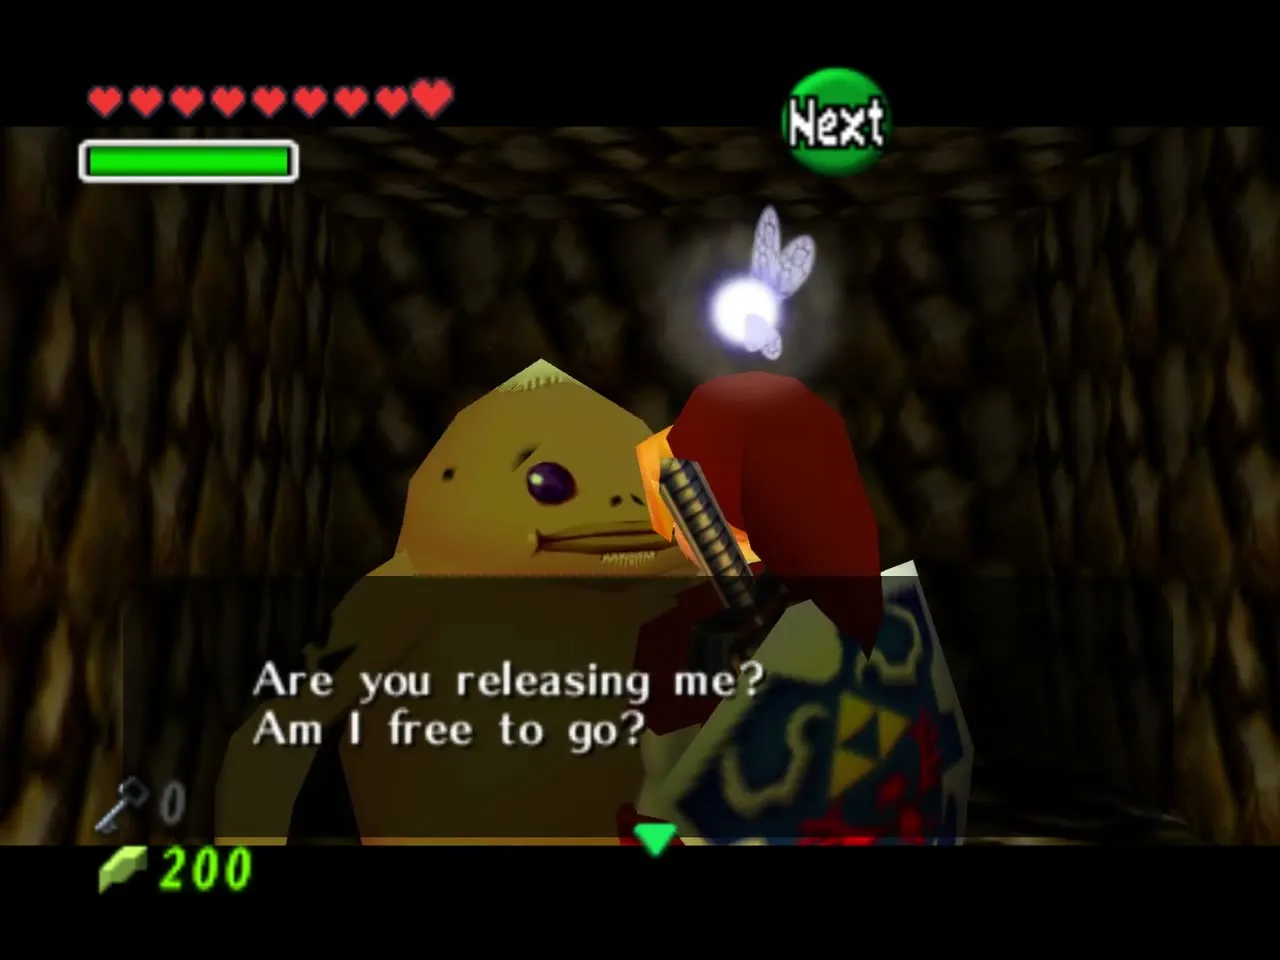
Leave through the south door and strike the rusted switch by the cell with the Hammer. The Goron inside runs out and tells you to help Darunia. Open the chest in his cell for the Dungeon Map, then return to the entrance hall.
Central lava room
Into the lava room
Climb the stairs to the upper level and smash the stone blocks sealing the northwest door with the Hammer. You enter the big lava room, which you will cross several times with the Goron Tunic on. Platforms and fire walls divide it, and torches here raise Hookshot targets all over the room.
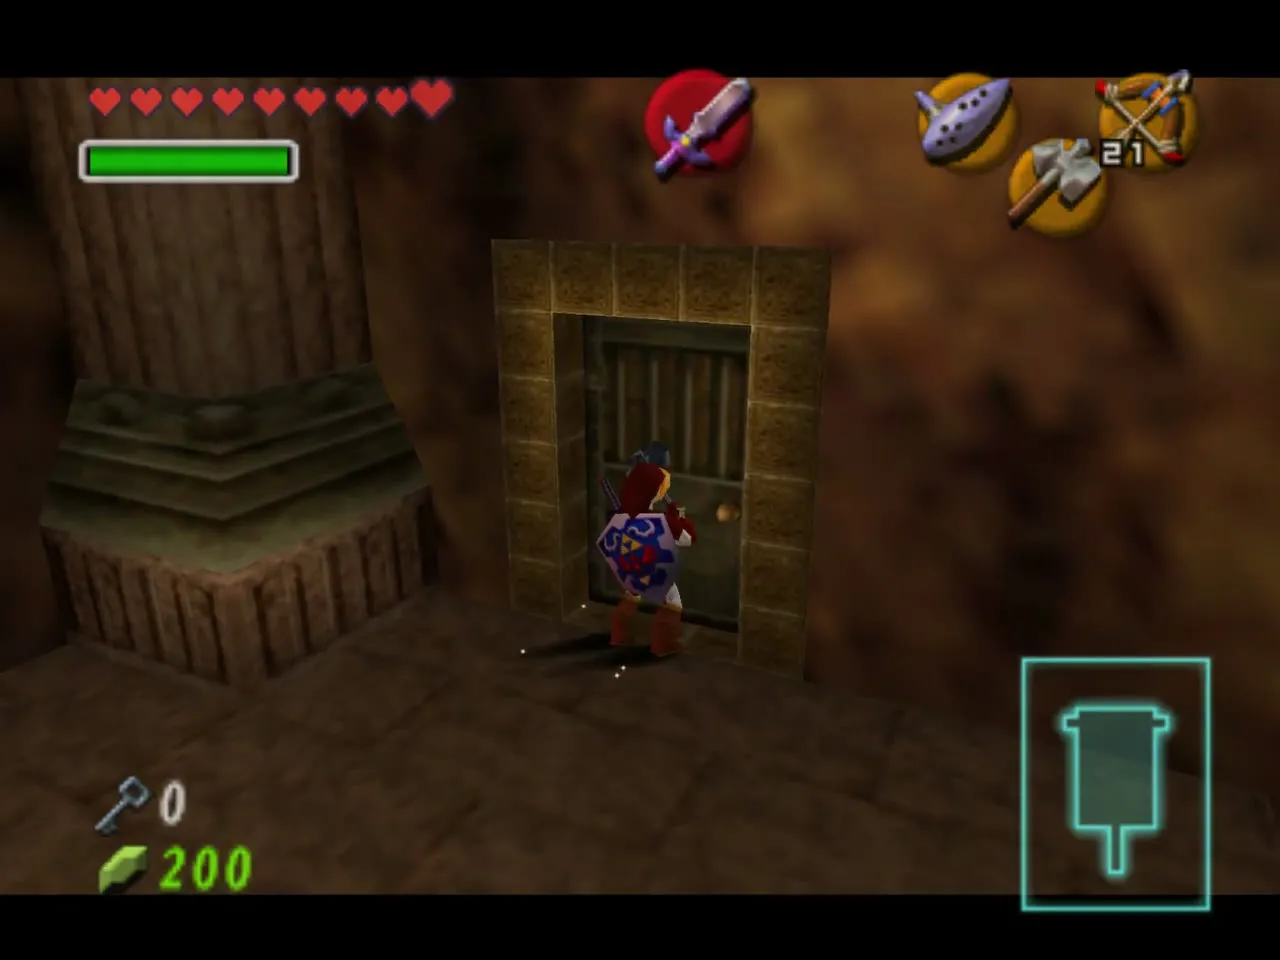
Goron and Gold Skulltula in the north cell
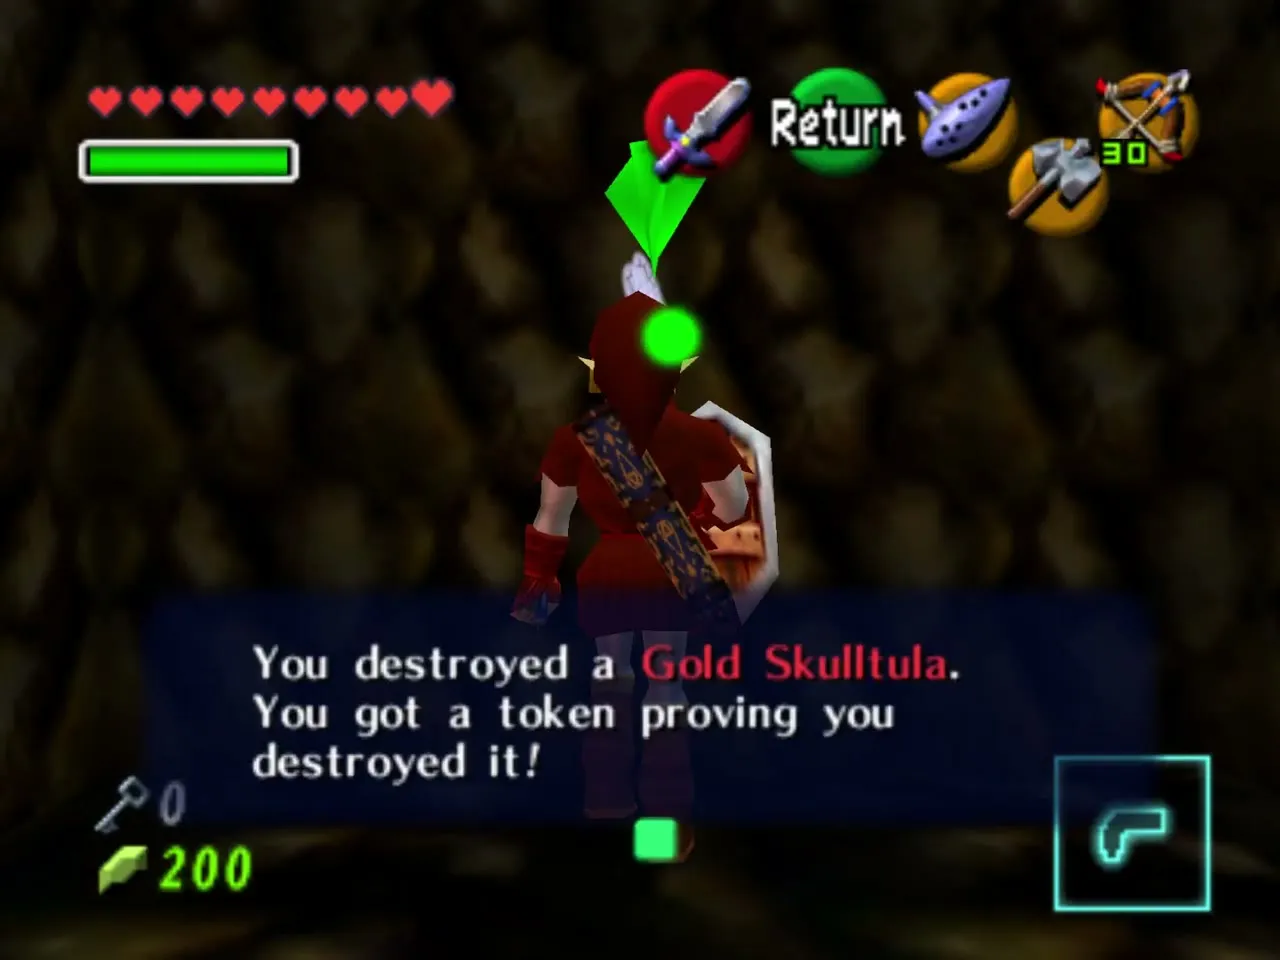
Take the lower door on the north side of the room and pound the rusted switch to free the Goron in the cell. Inside the cell waits a Gold Skulltula; slash it to take its token.
Opening the barred door
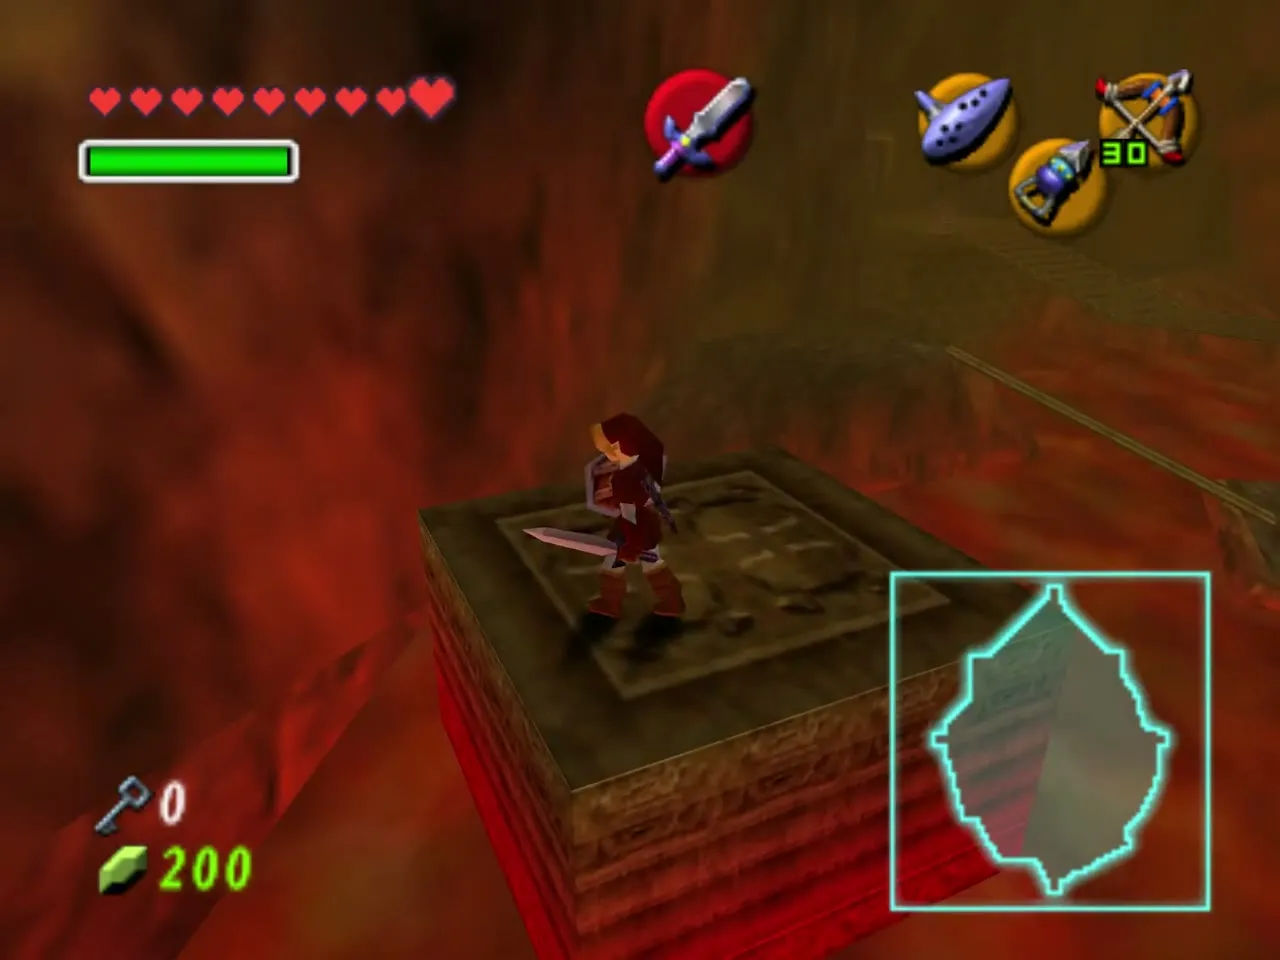
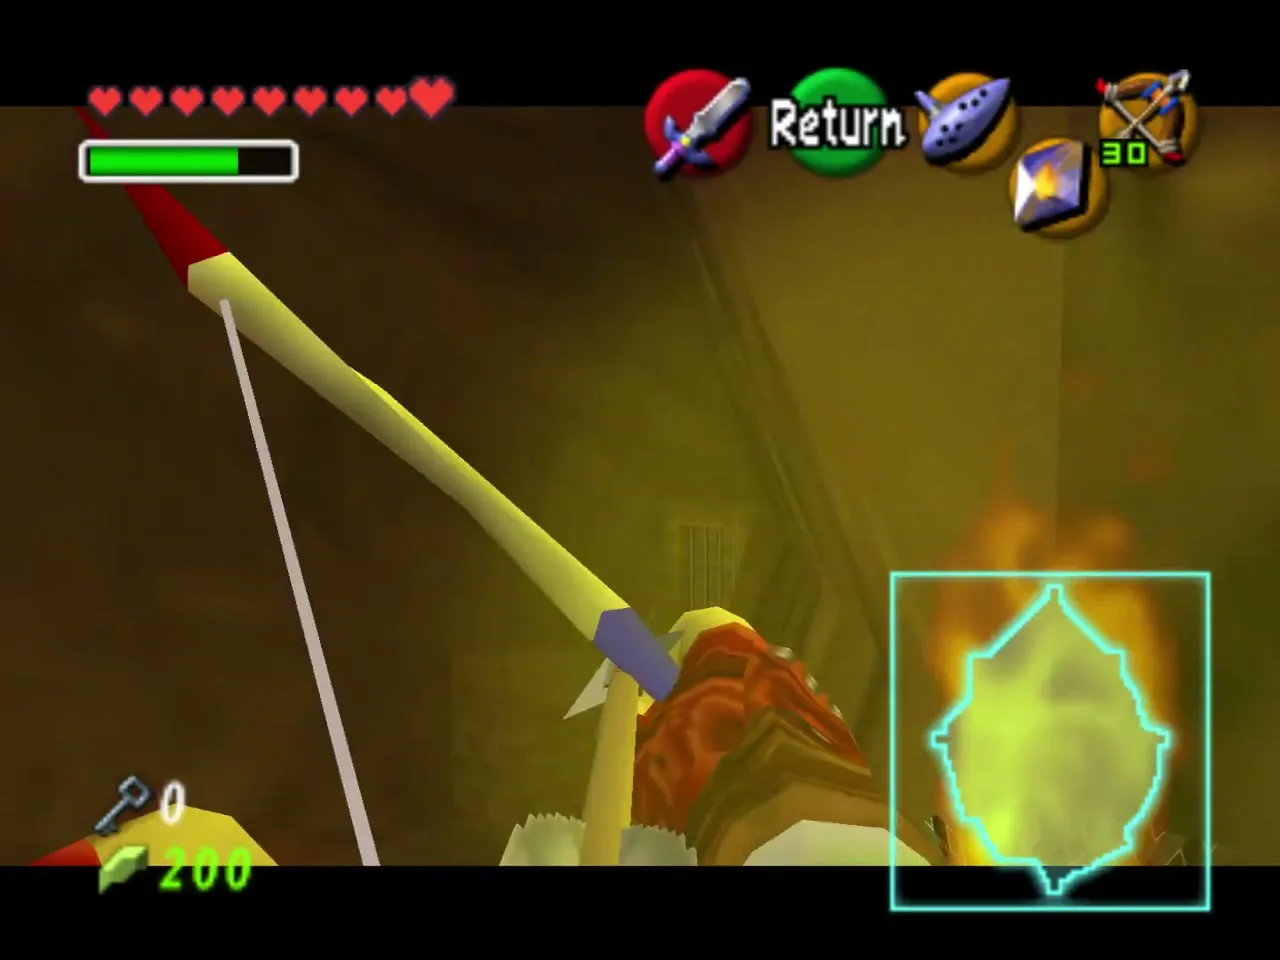
Look for a platform on the north side near the west wall that shakes and then shoots you upward. It lands you in a small alcove with a torch. Light it with Din’s Fire, then shoot an arrow through the flame to the torch near the barred door far below. The door unlocks.
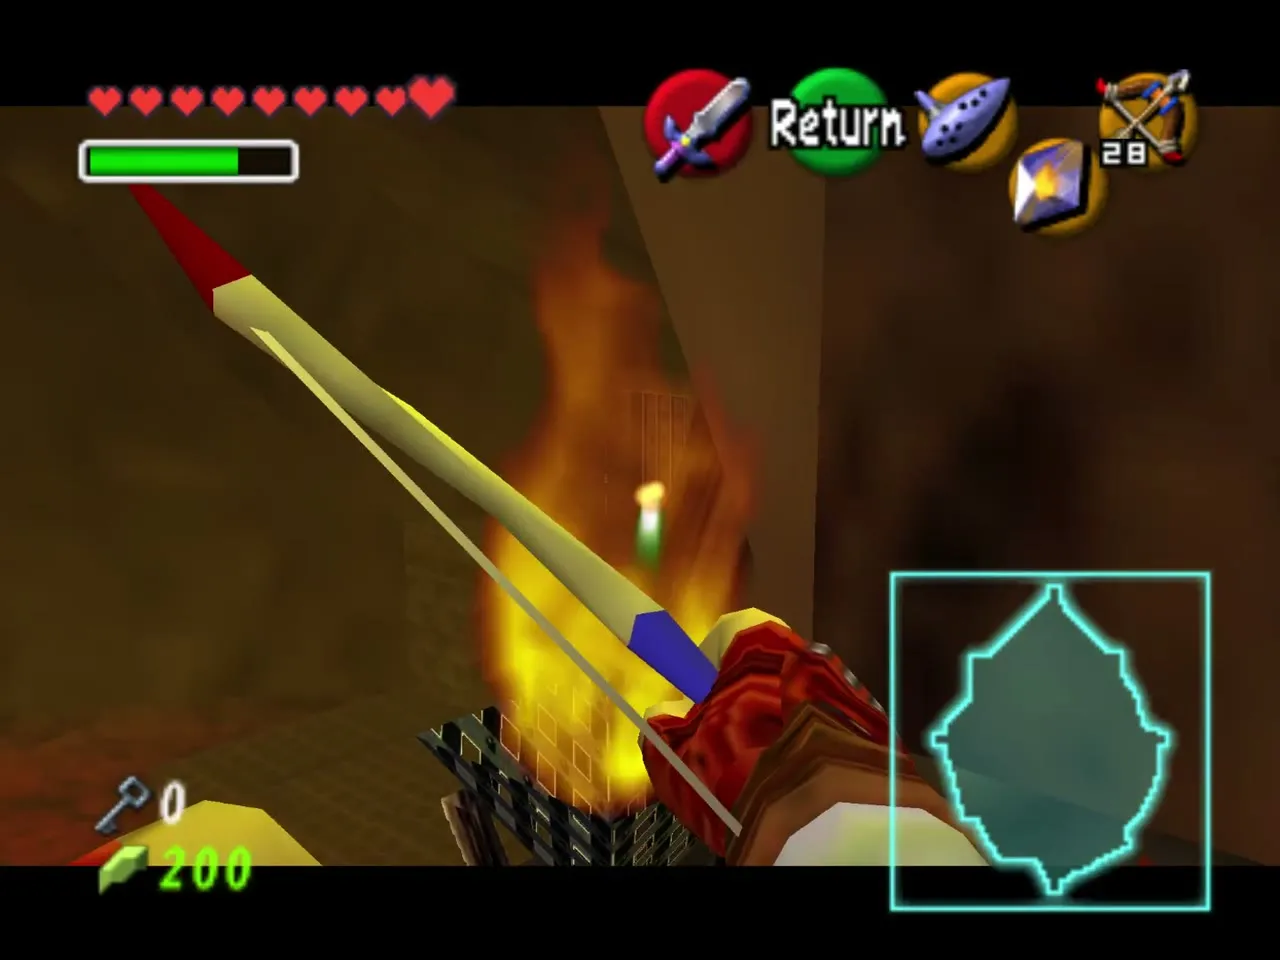
Boss Key
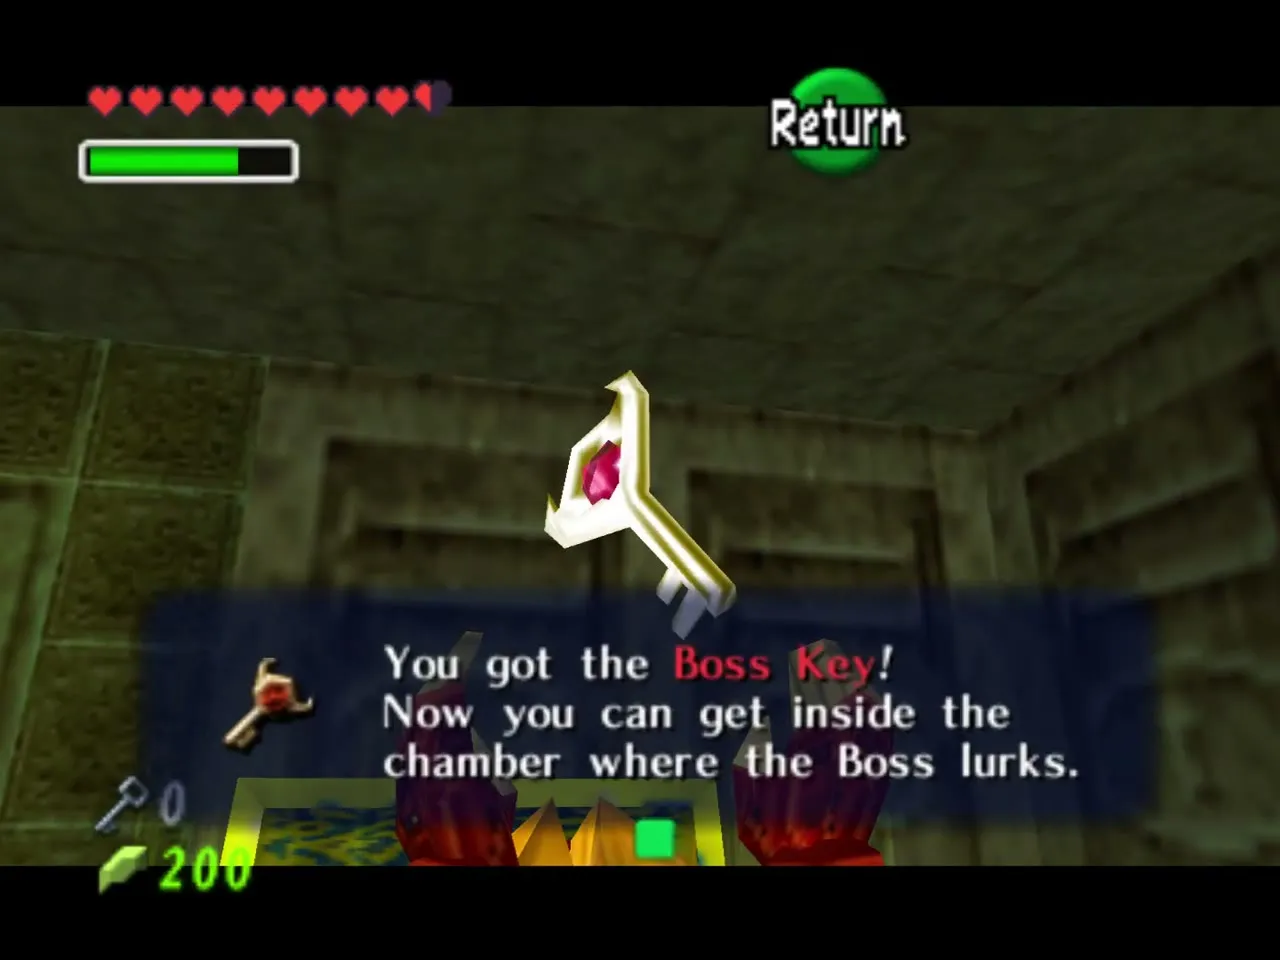
Hookshot the target above the door to reach the upper doorway. Floor tiles attack as you walk in, so shield yourself, then Hookshot across the room to the large chest. It holds the Boss Key. Use the torch on the other side to light your way out through the flame wall.
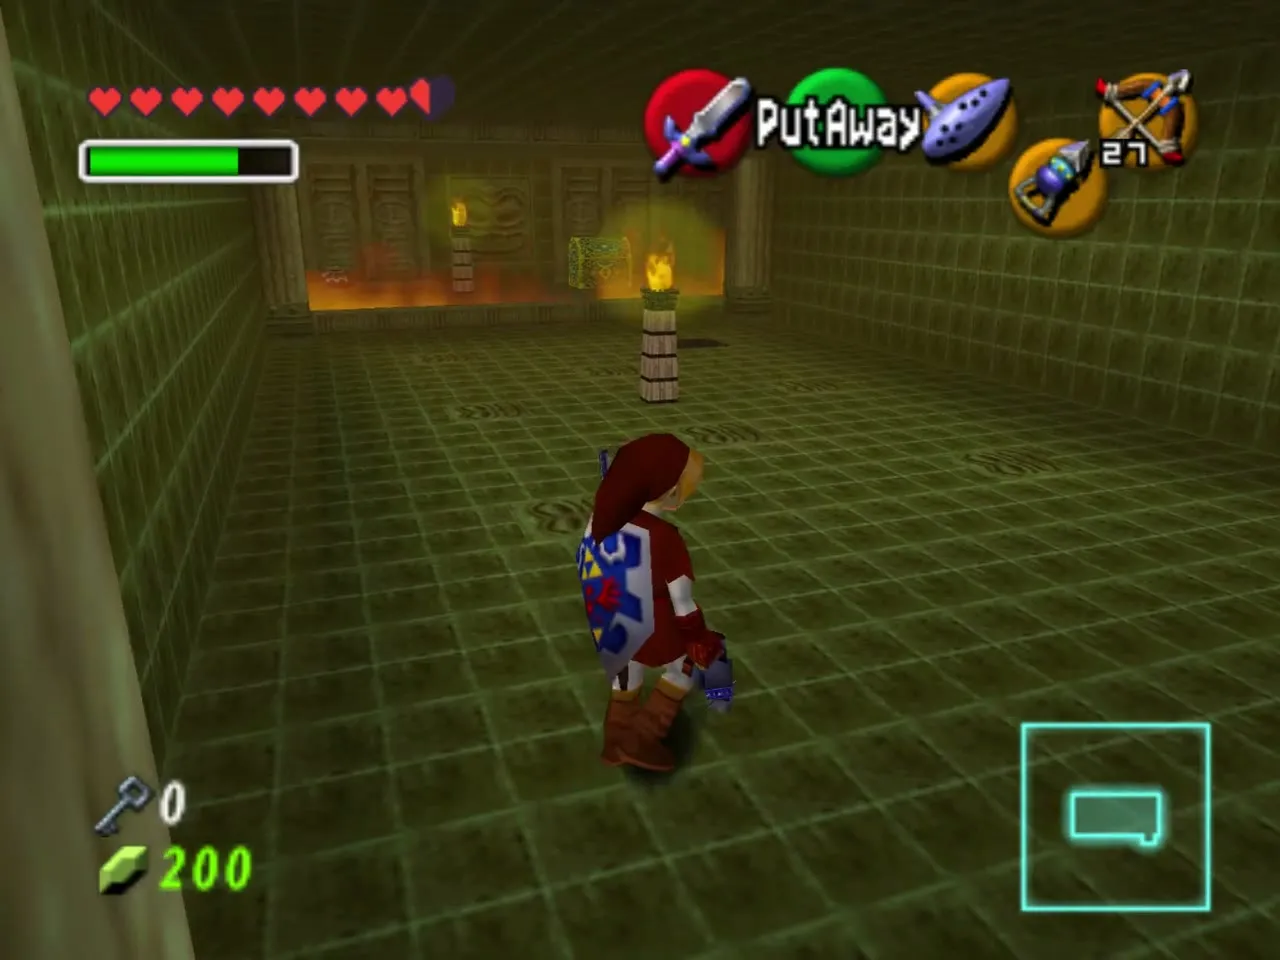
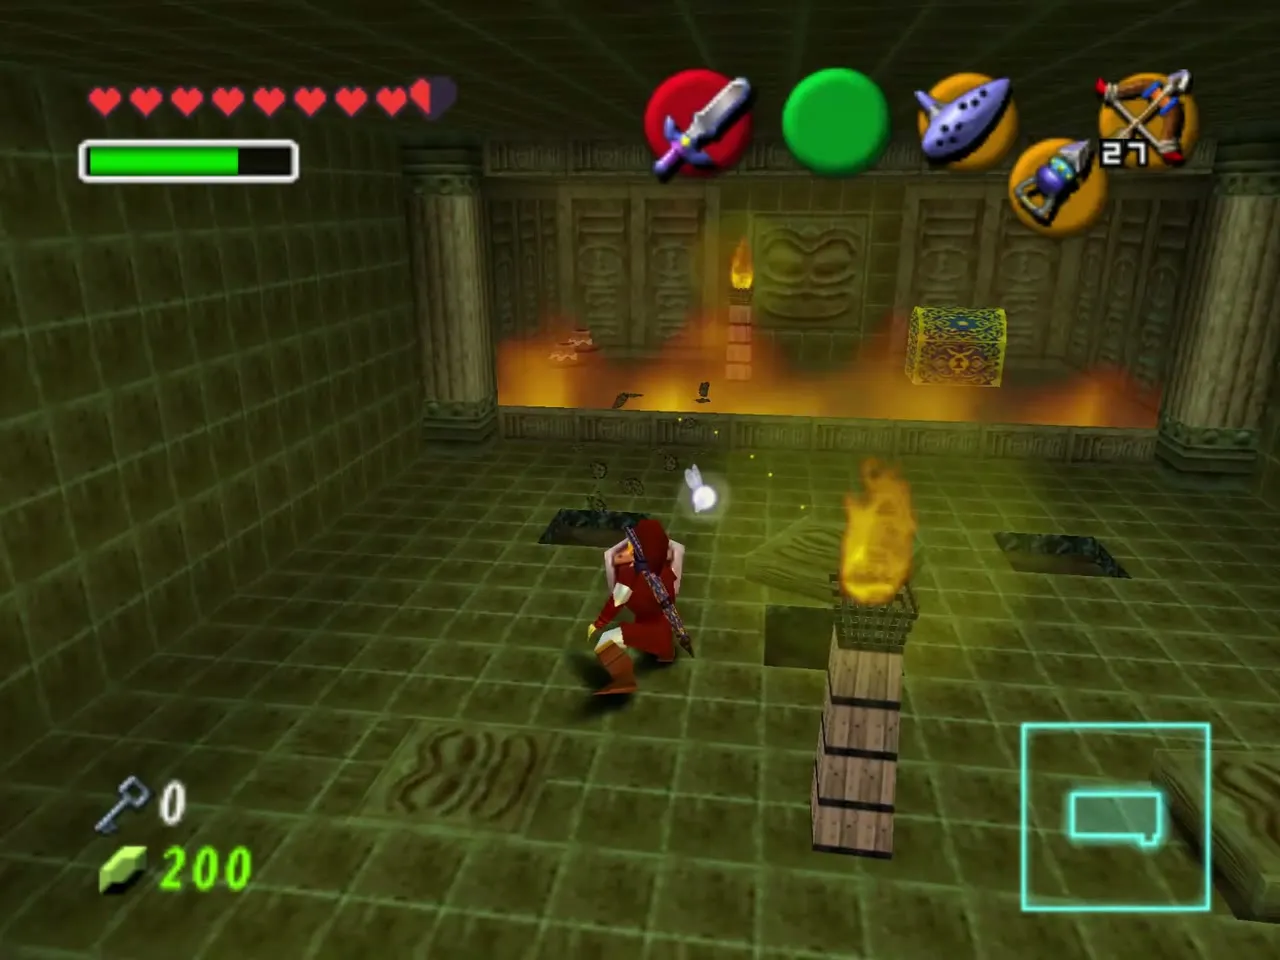
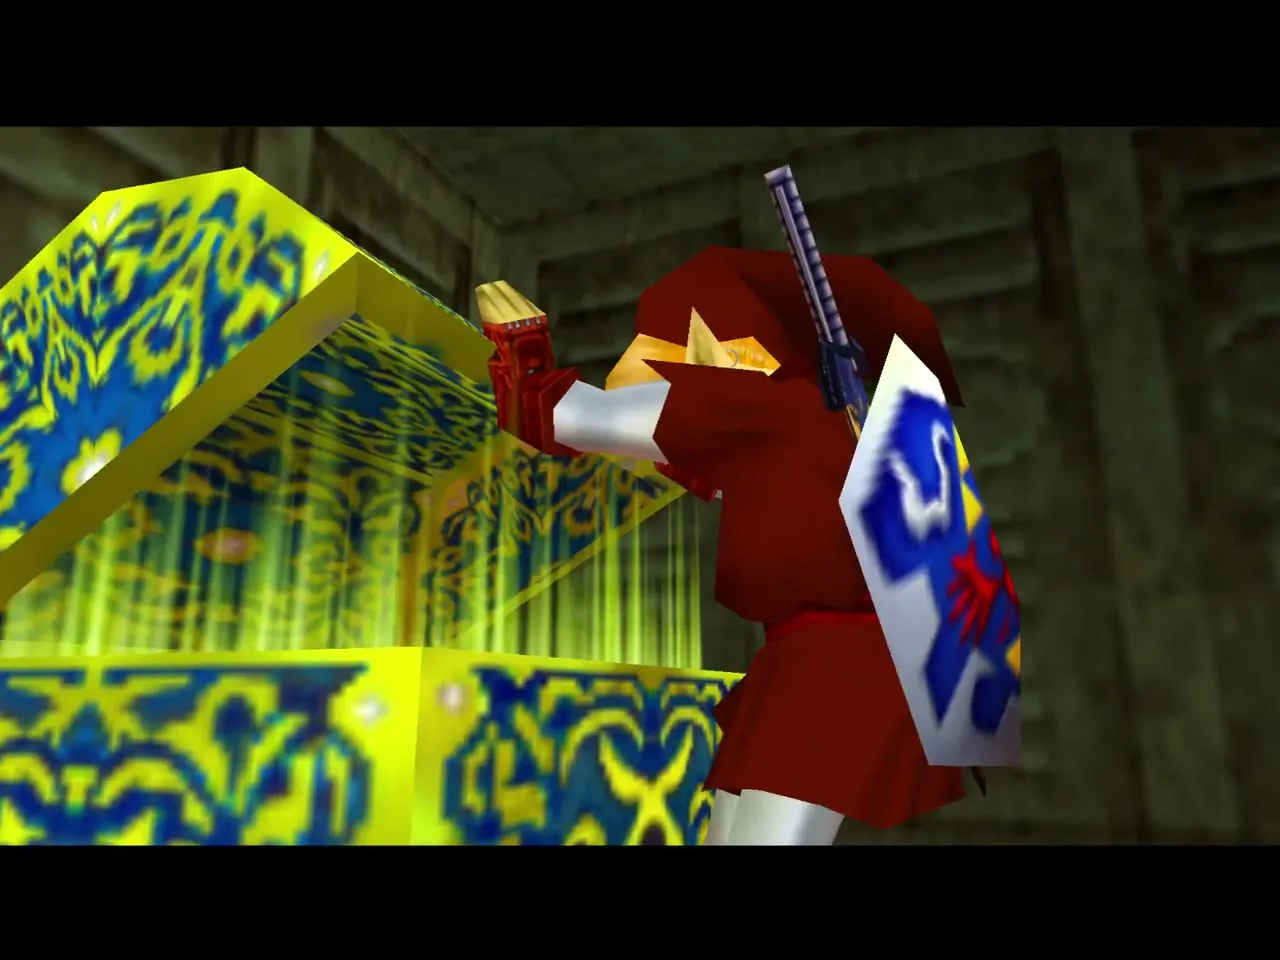
Small Key 2: the hidden Goron
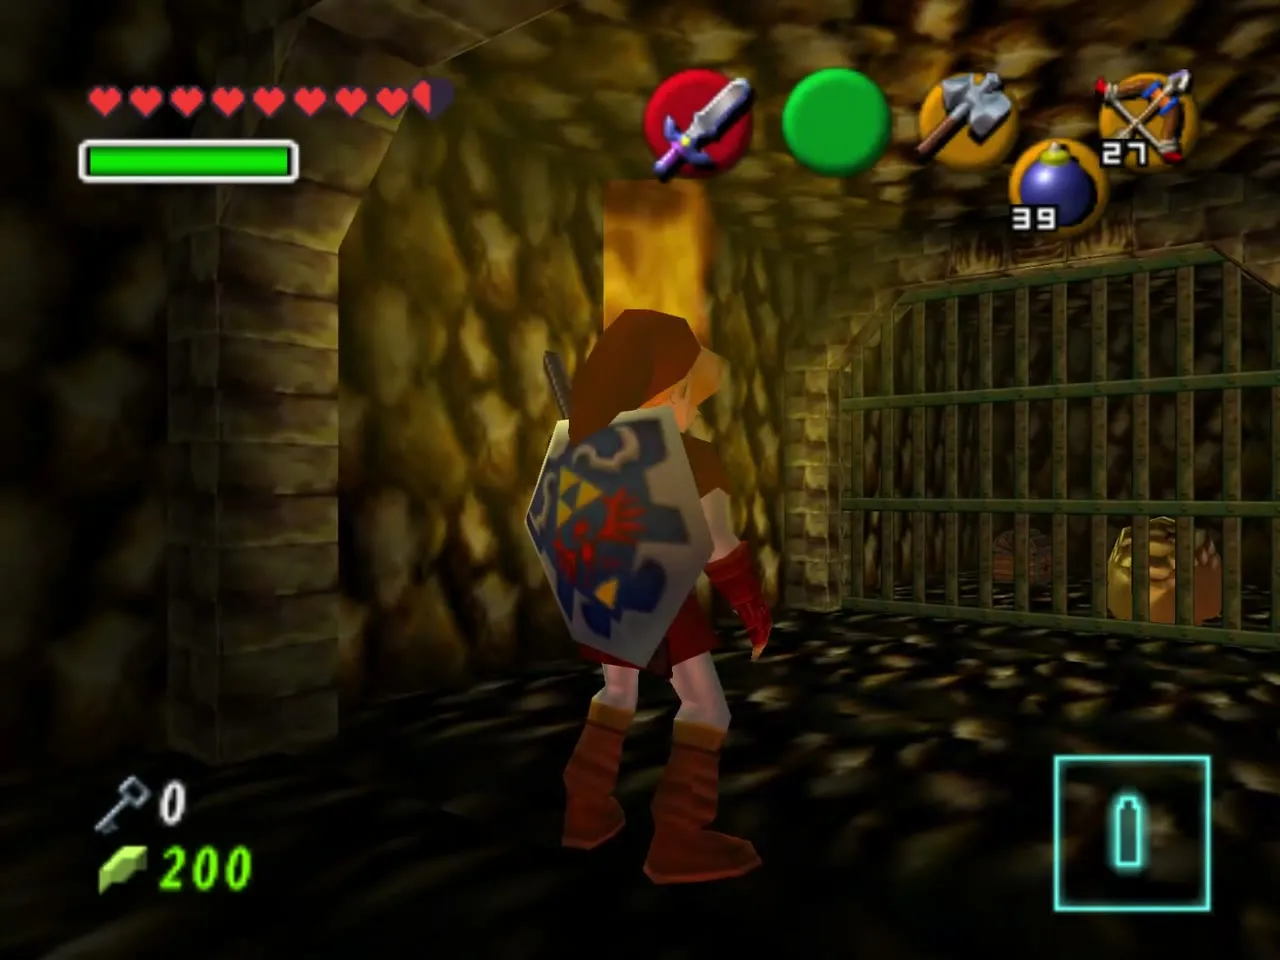
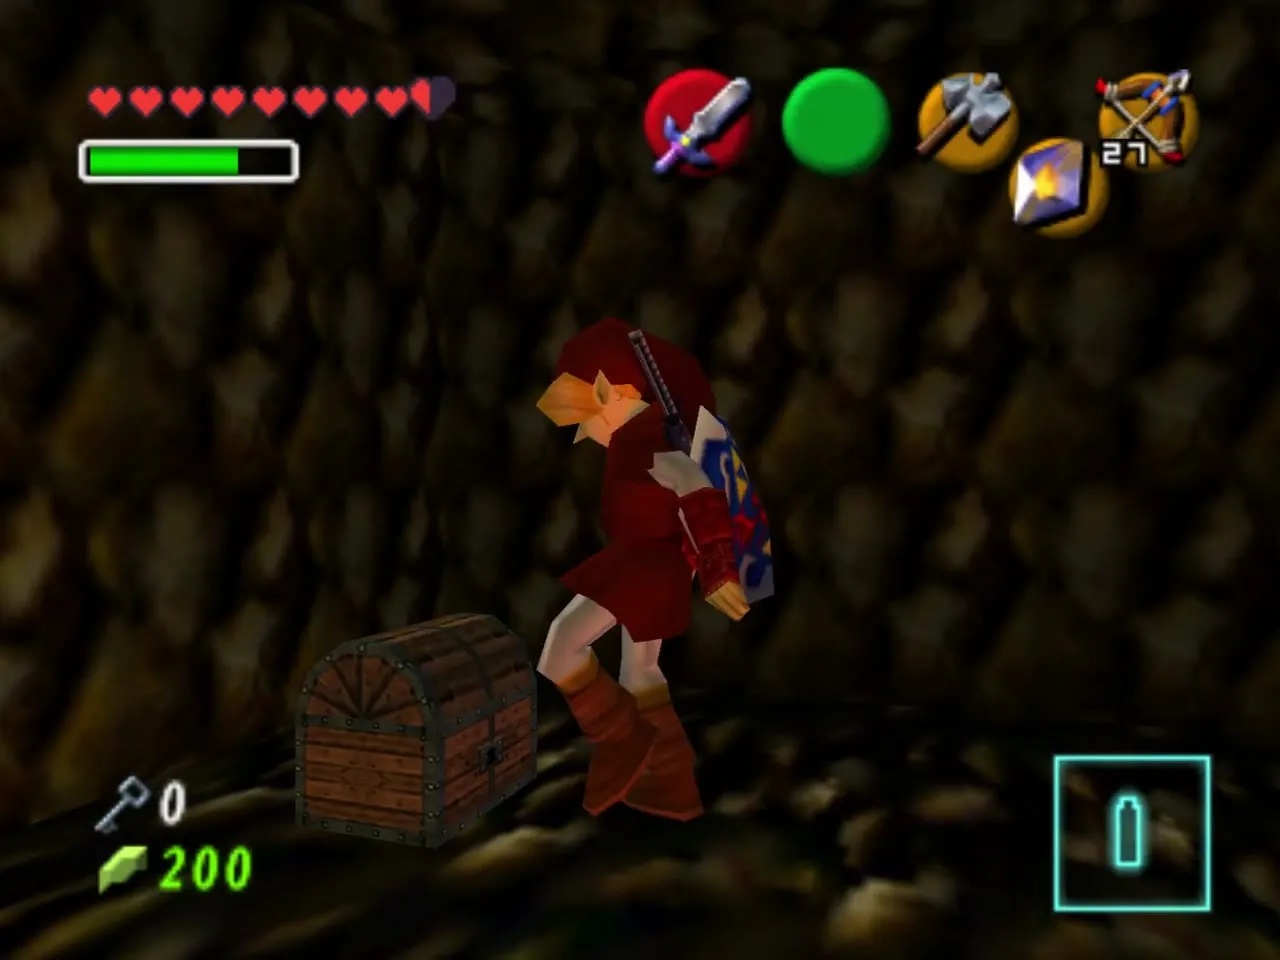
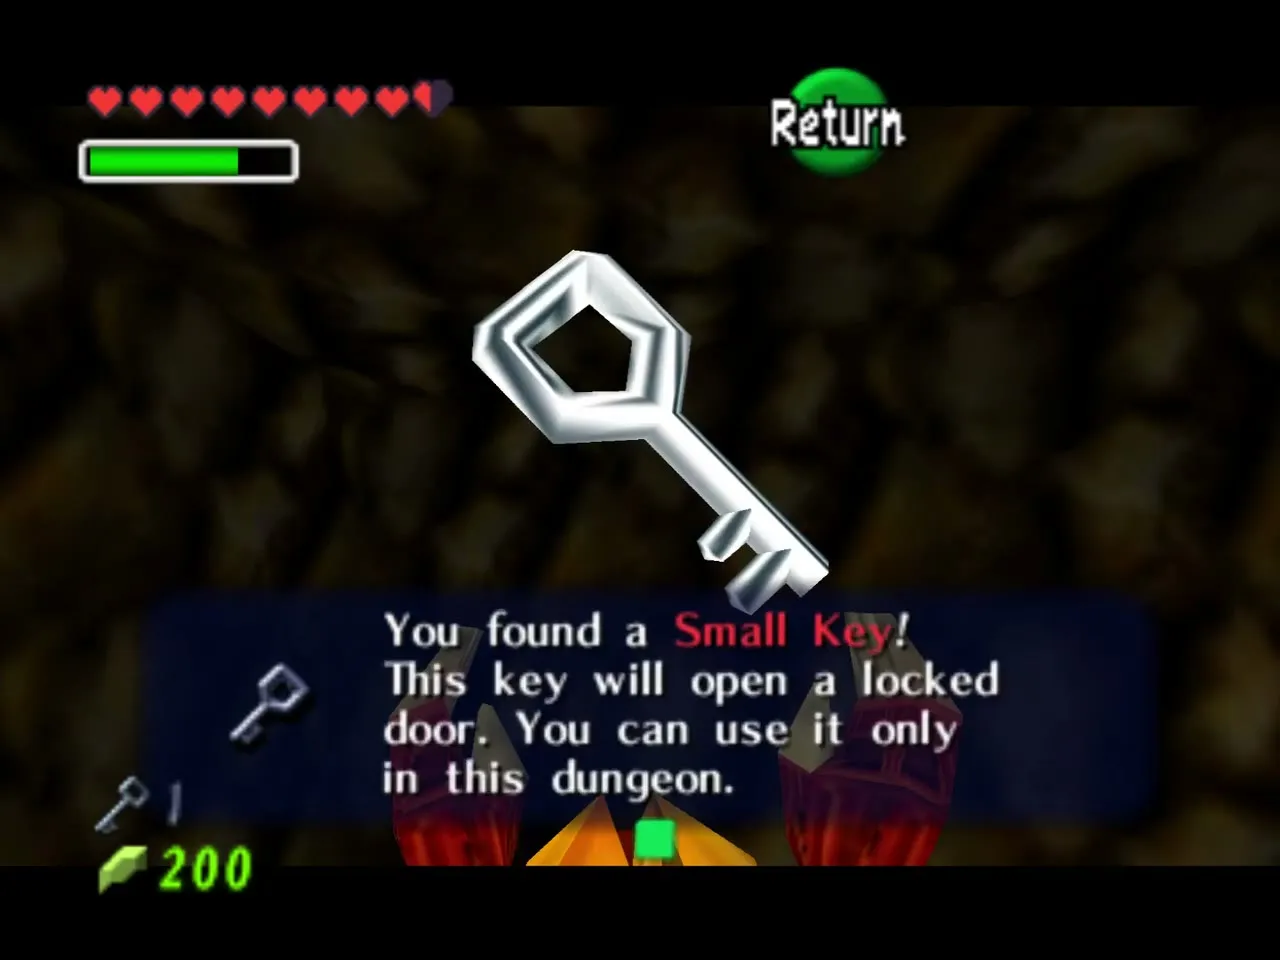
Cross the lava platforms to the fire wall at the south end. Hookshot the torch beyond it and cast Din’s Fire to light it, which makes Hookshot targets appear. Bomb the wall behind the torch to reveal a door. Inside, cast Din’s Fire between the two wall torches to open the Goron’s cell, and open the chest beside him for Small Key 2.
The geyser block and the climb
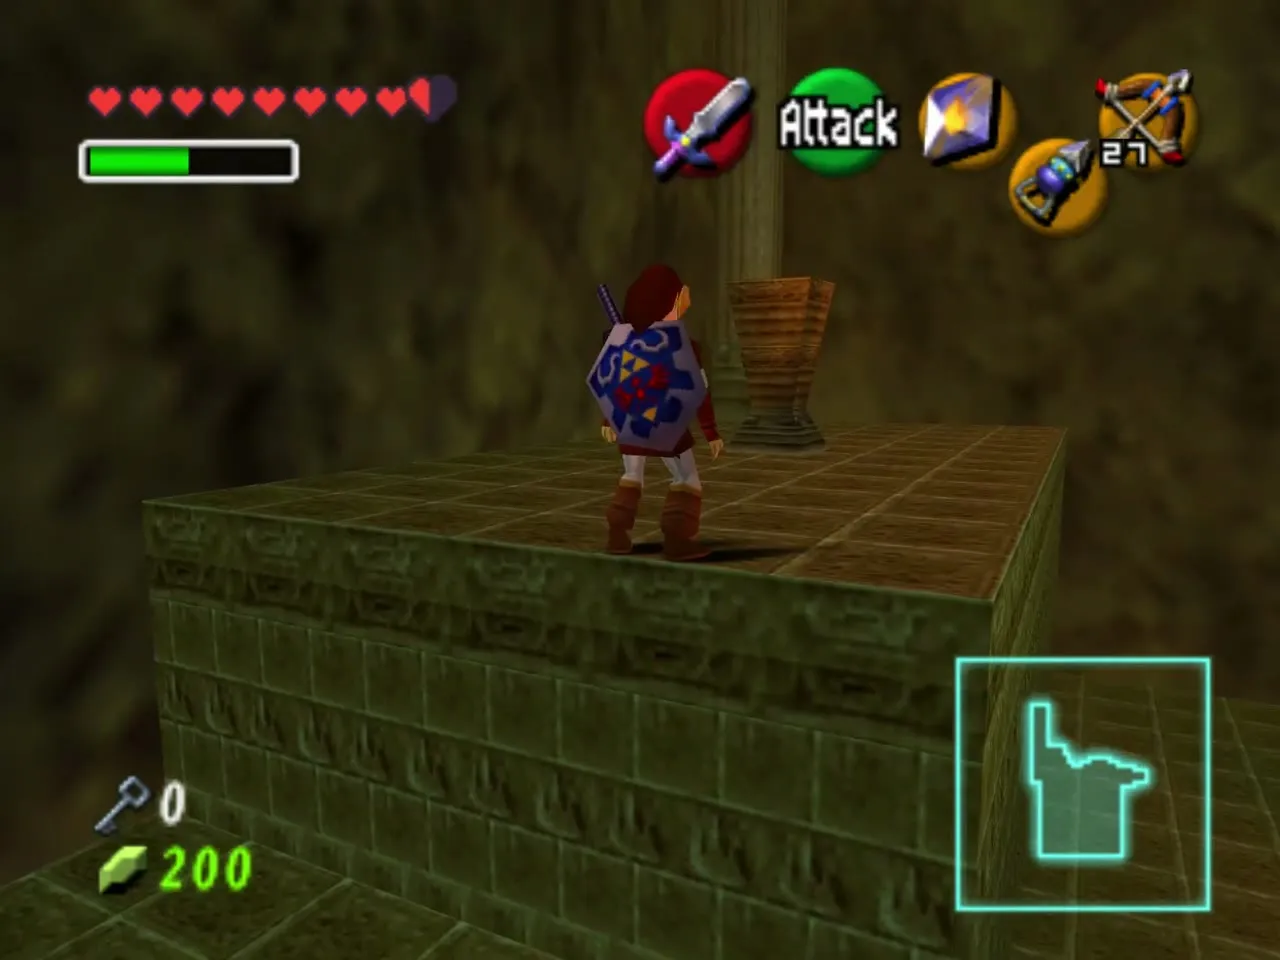
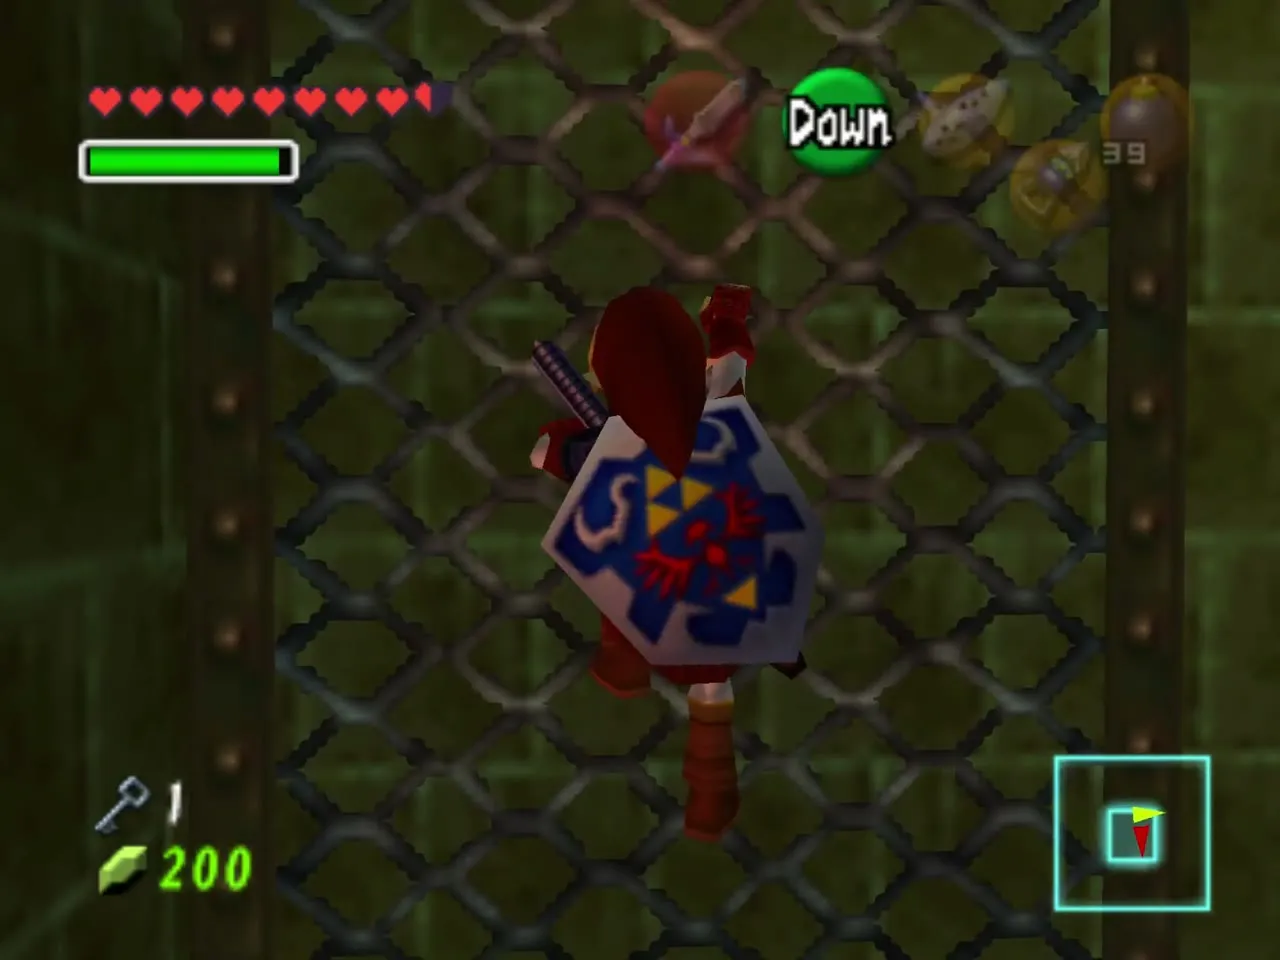
Go to the locked door at the end of the bridge and use the key. Slide down the plank into the caged chamber, climb the grate and jump to the pillars in the middle. A block rises on a column of lava from time to time; jump onto it just as it is lifted, not before, and it carries you through the ceiling. Take the door in the room above.
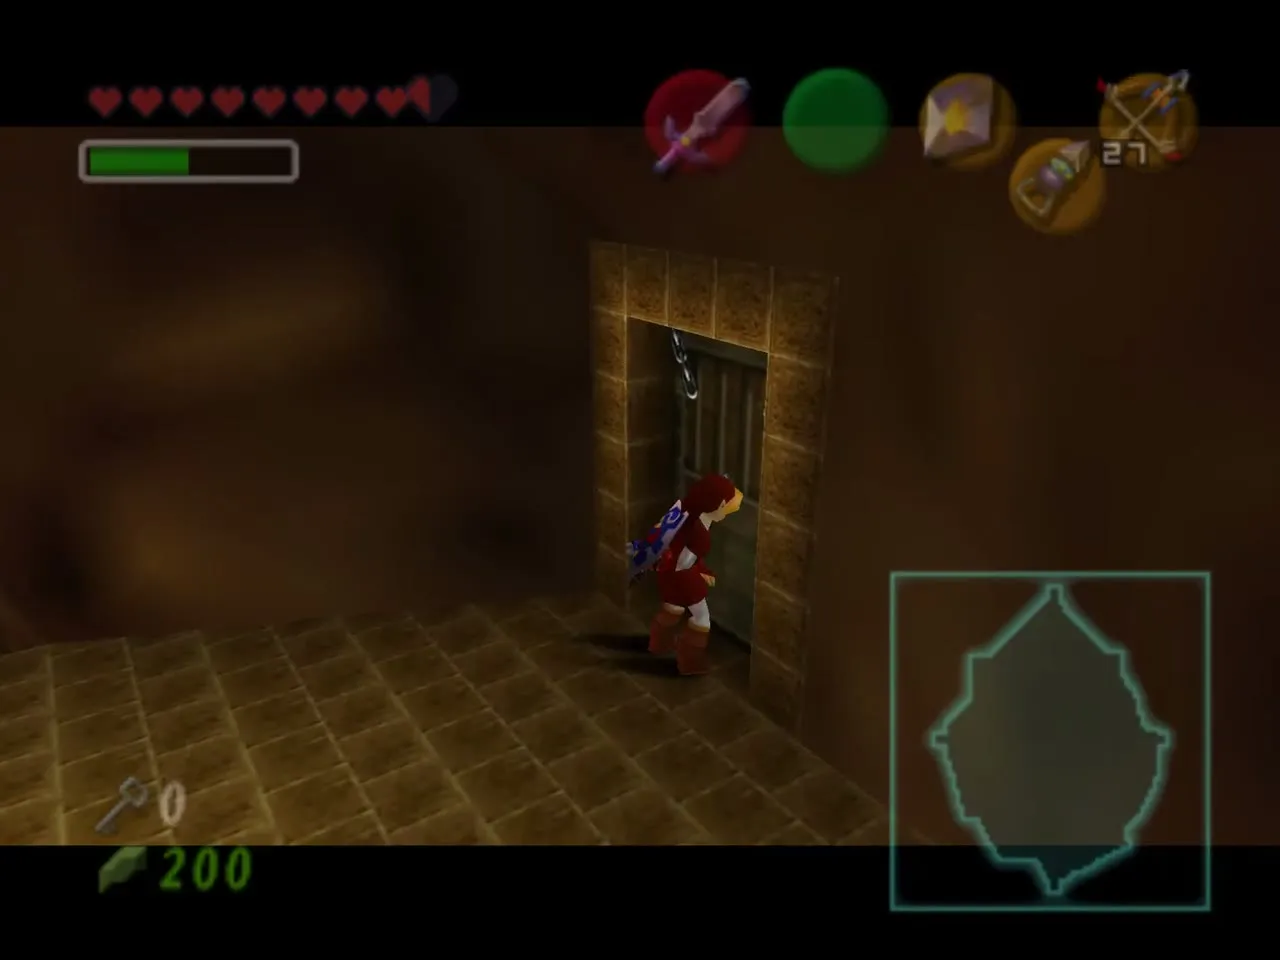
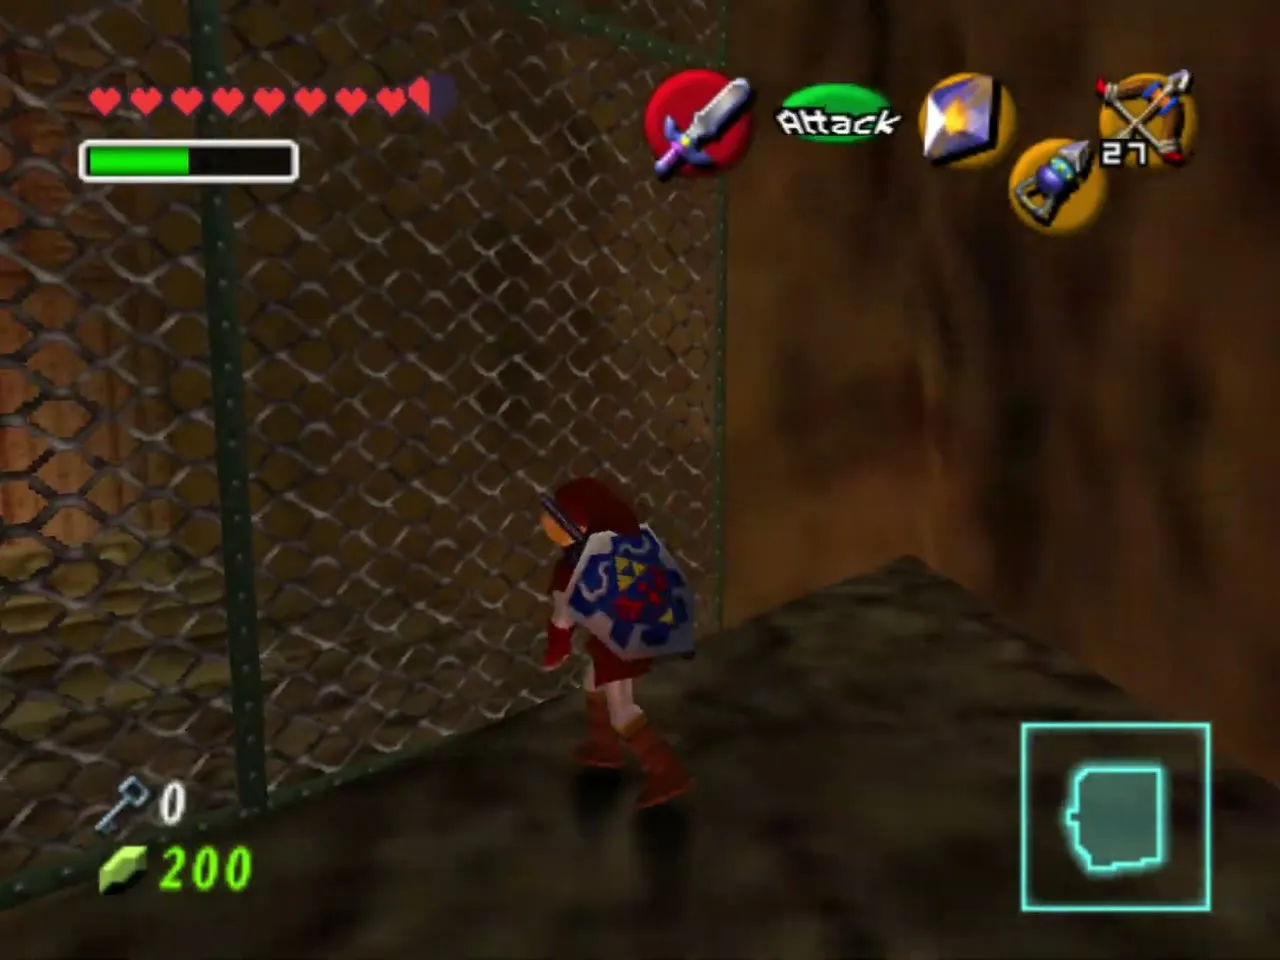
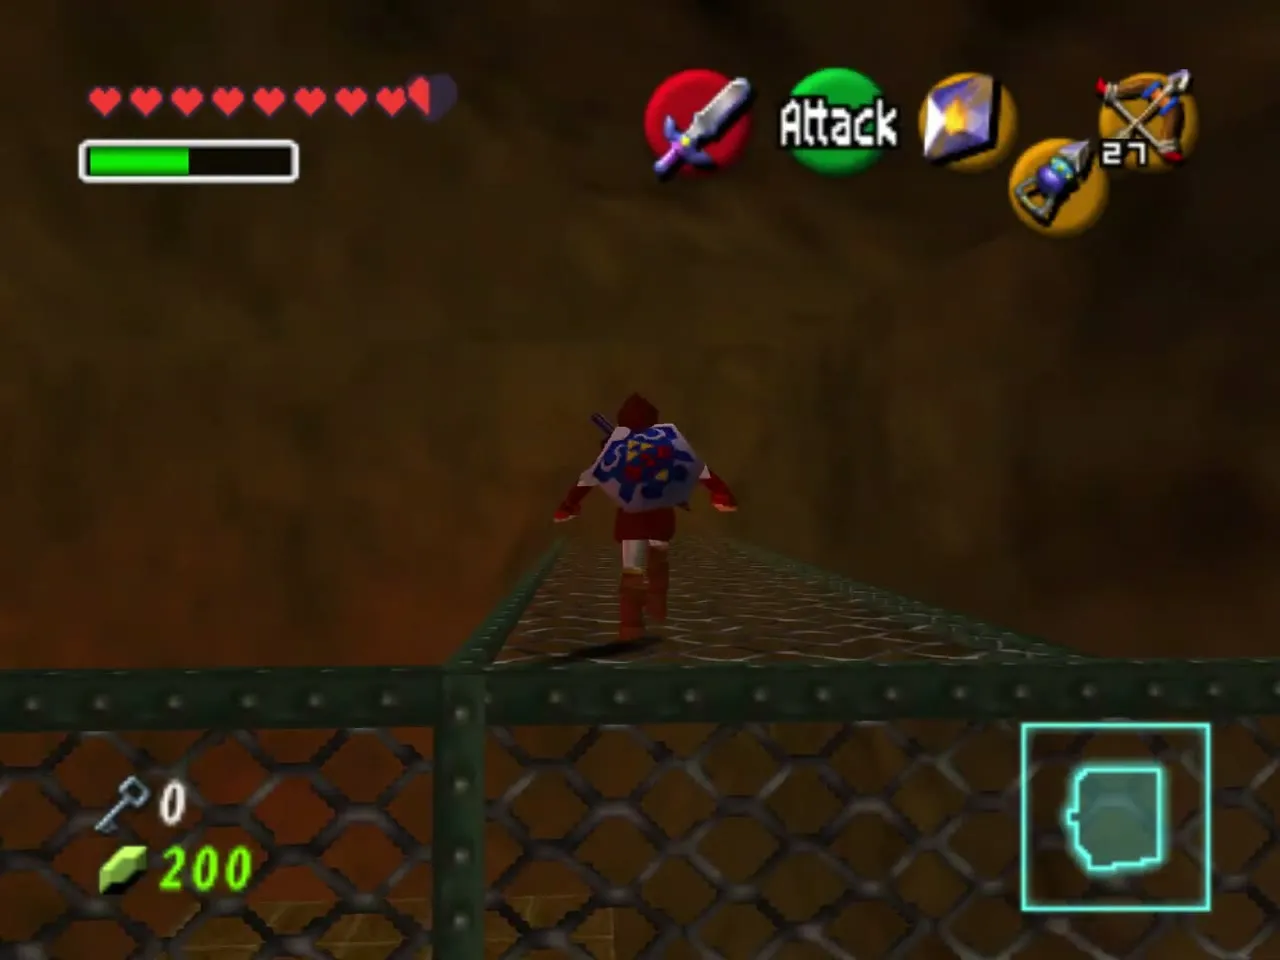
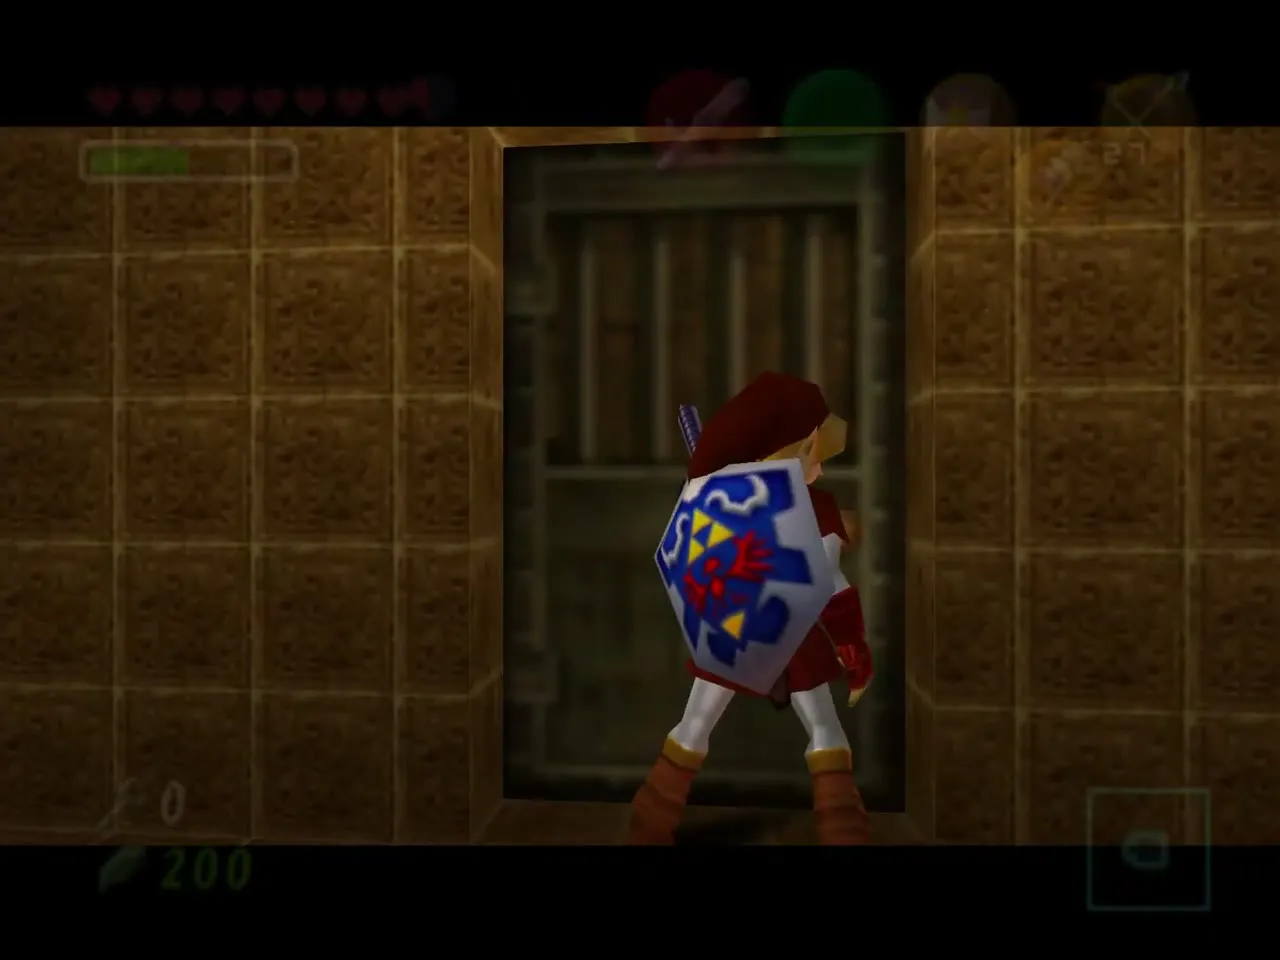
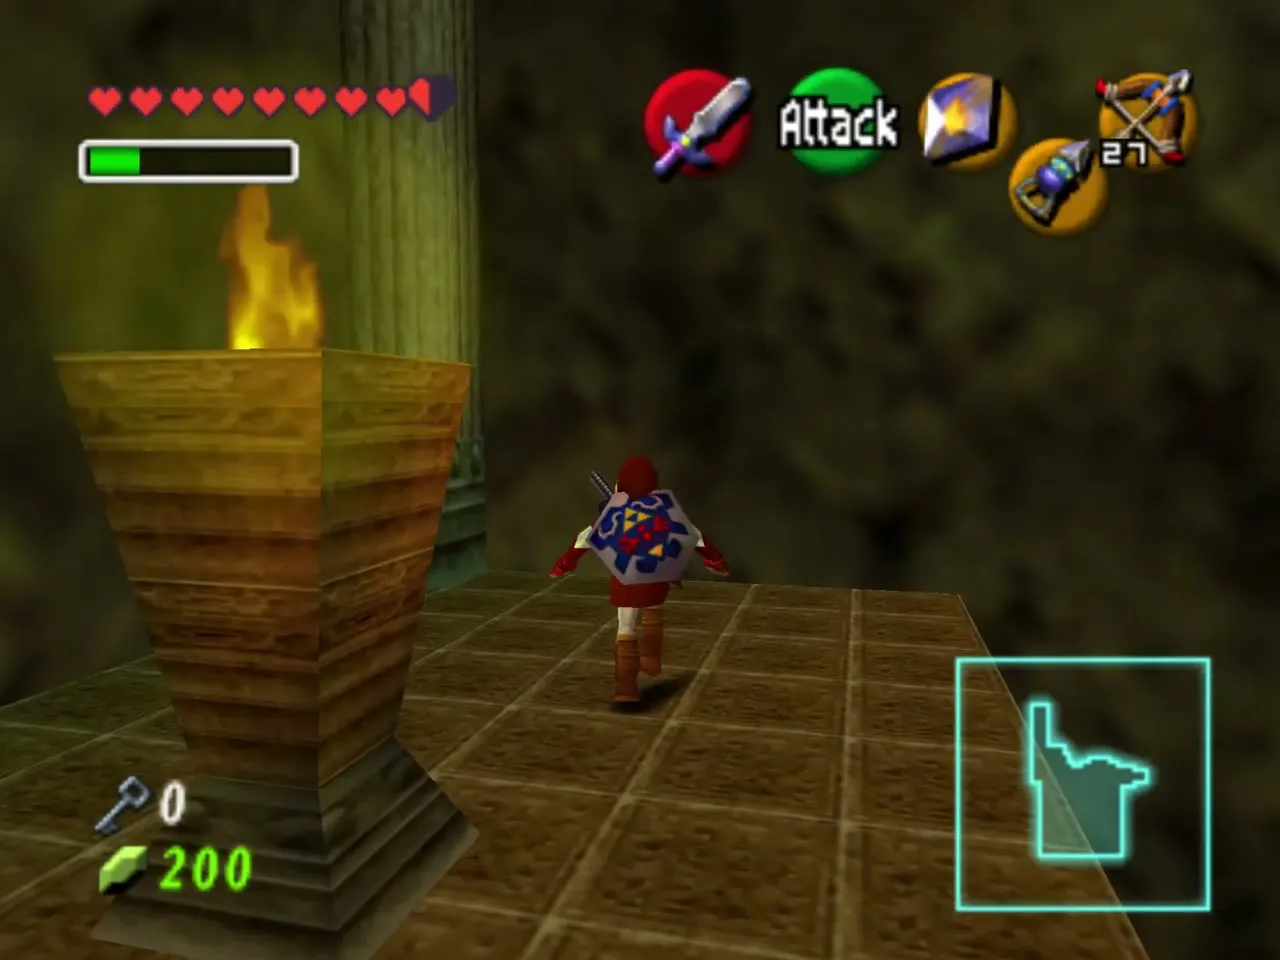
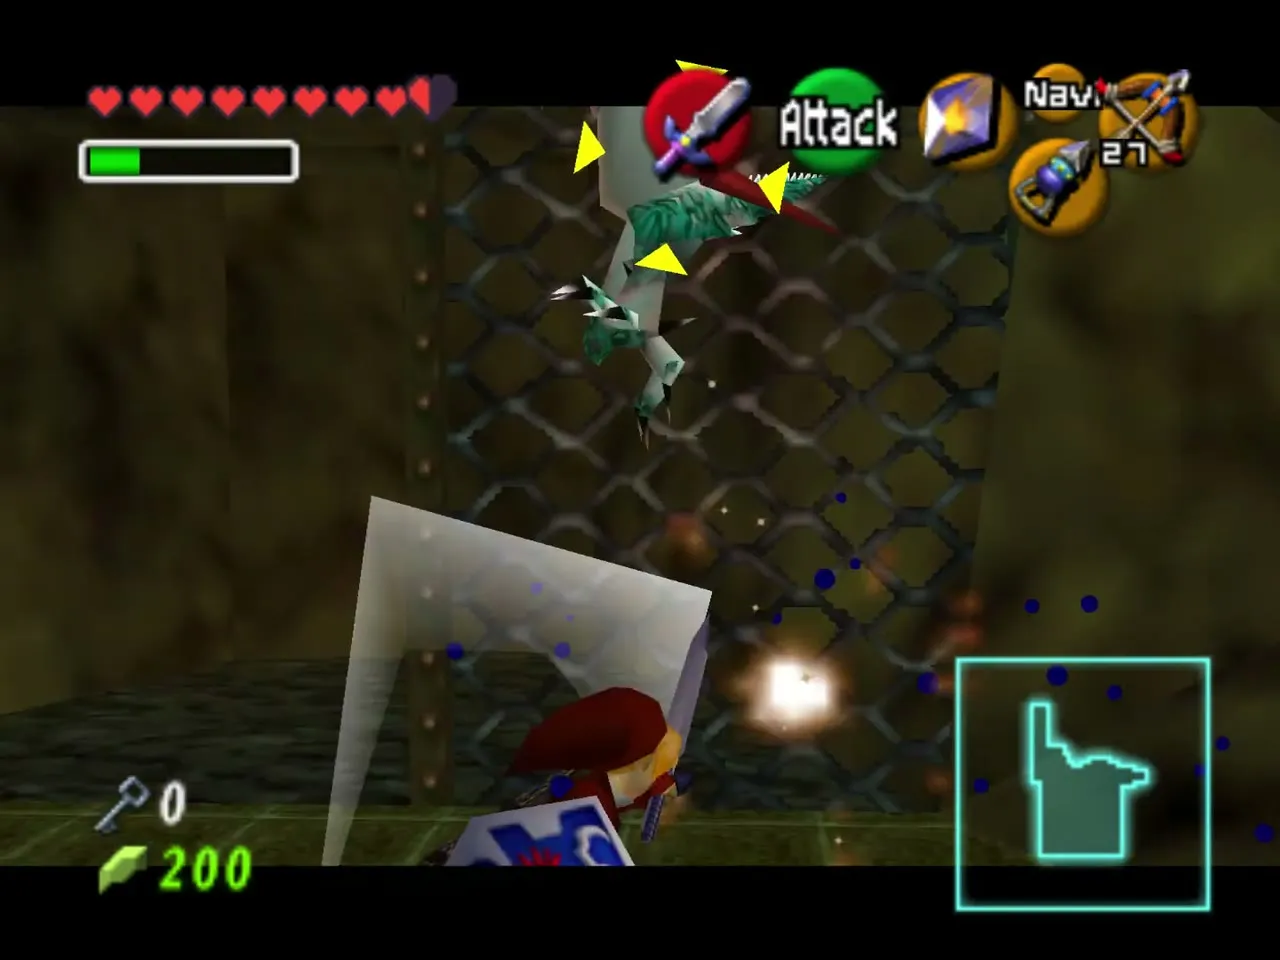
Climb the ledges on the left until you reach a huge unlit torch. Light it with Din’s Fire so that a Hookshot target appears over the pit. Cross, kill the Lizalfos that drops onto the grate, climb the grate (or Hookshot to it) and go through the door at the top.
The Lizalfos maze
Cage and crates
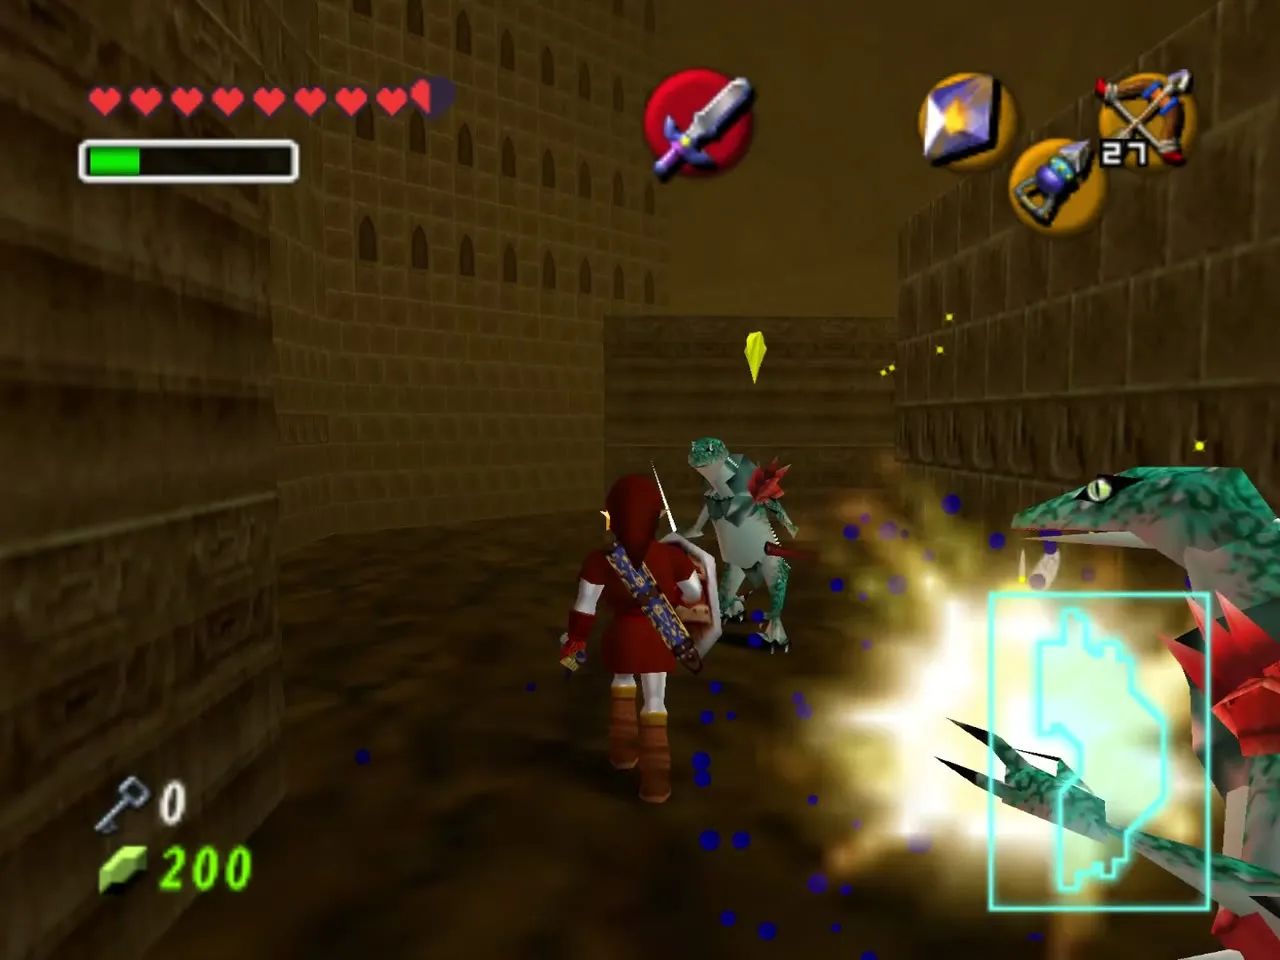
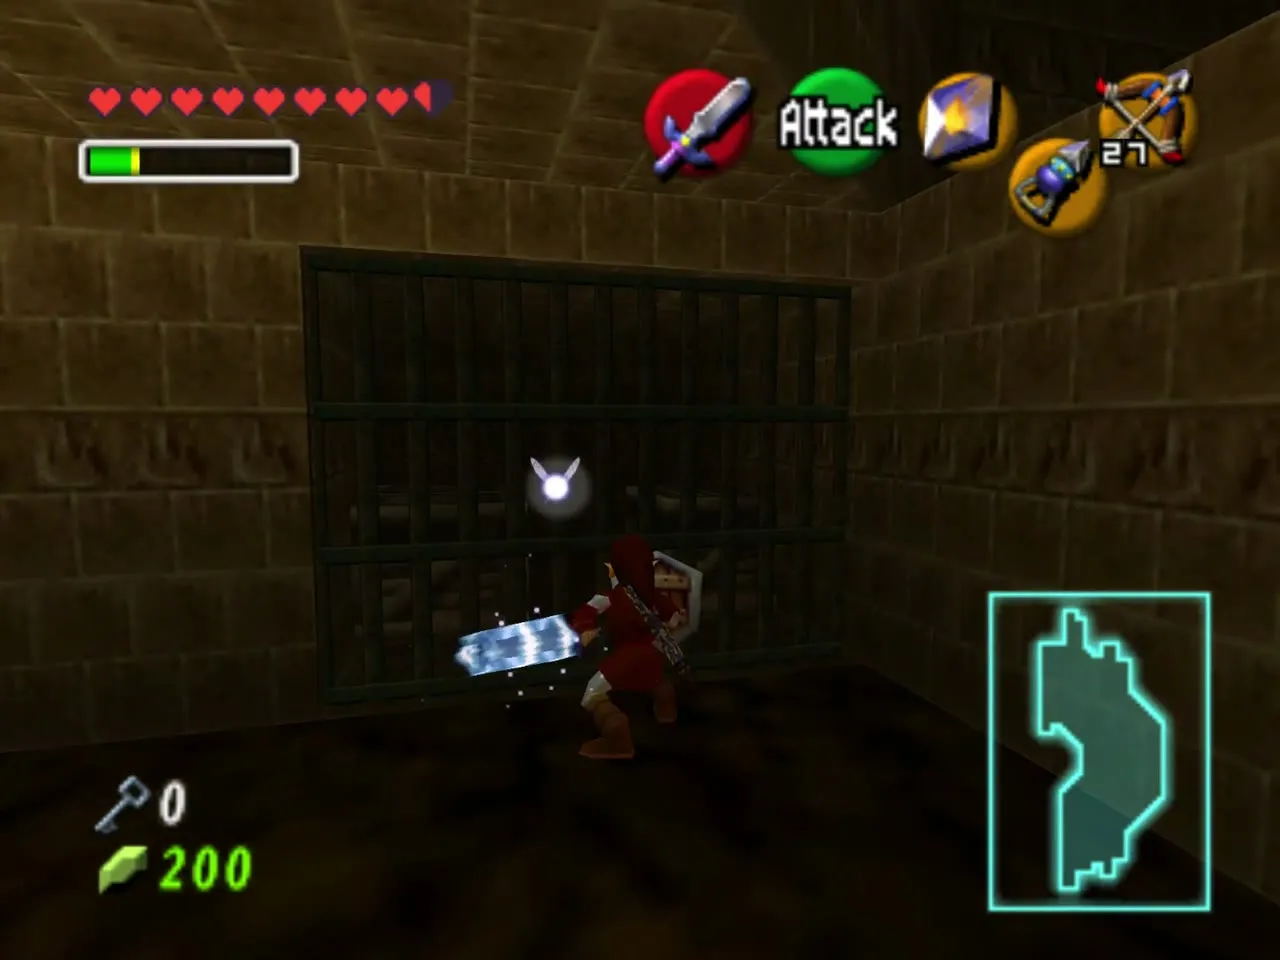
The boulders of the original are gone; this brick maze is full of Lizalfos instead. Fight them as they come. A caged alcove holds crates: charge a spin attack to cut the bars, then smash the crates for rupees and other pickups.
Crystal switch and gates
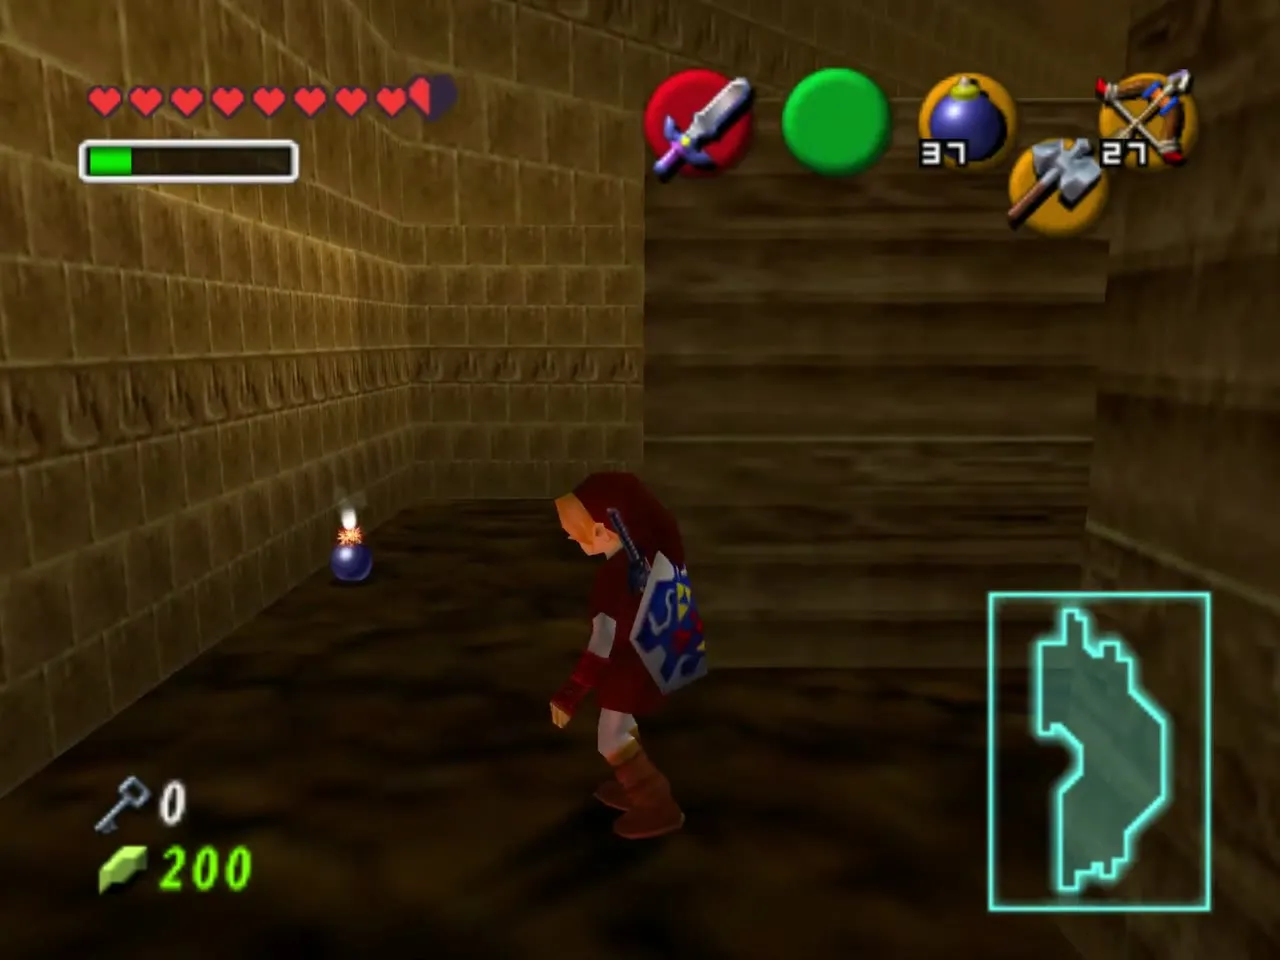
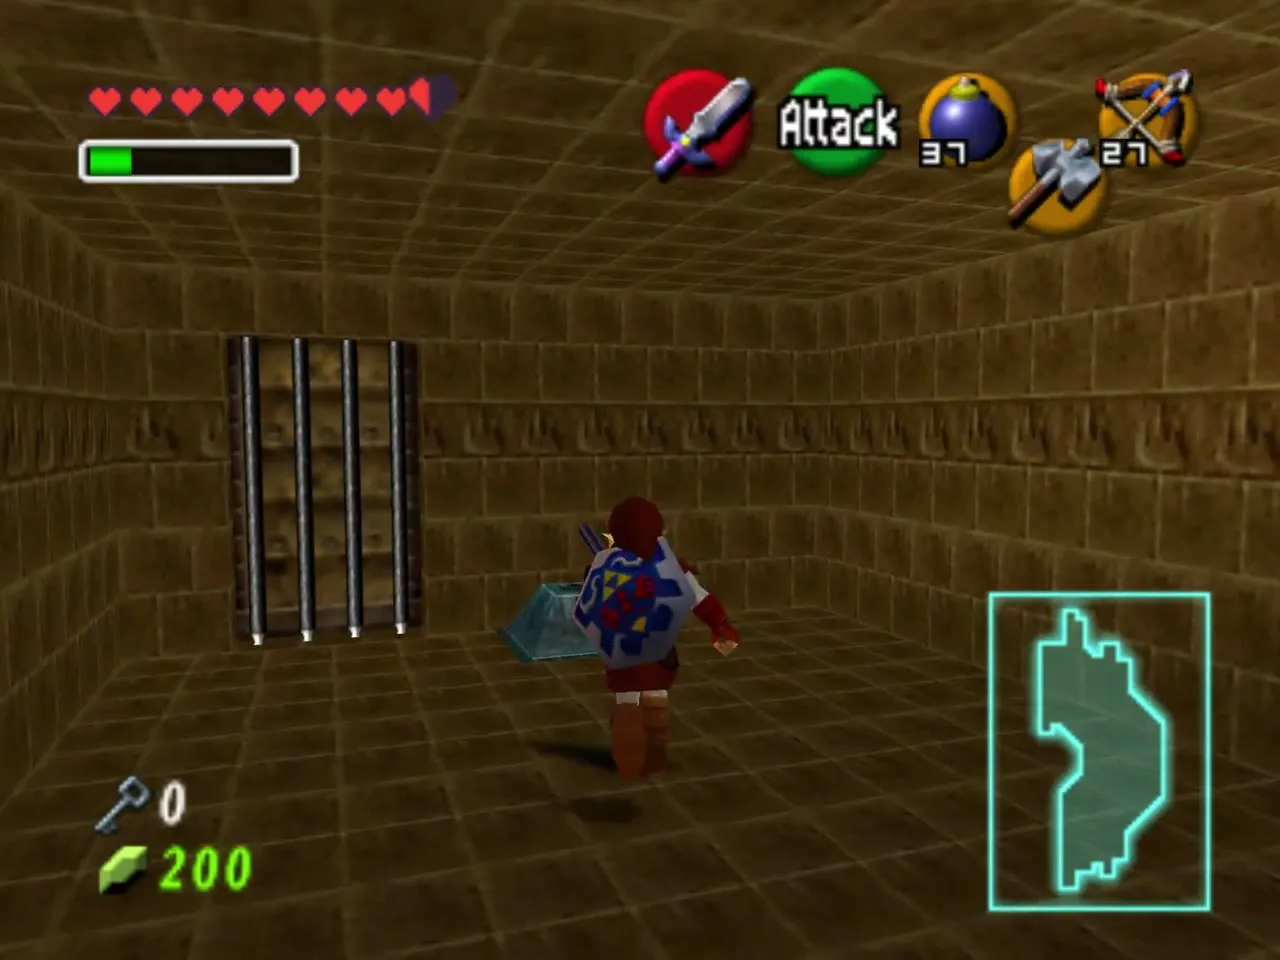
Near the southwest corner is a gate and, behind it, a crystal switch. Shoot it with an arrow, which passes through the bars, then jump across the maze tops. Bomb the walls that sound hollow when you slash them; they hide switches and side rooms.
Small Key 3
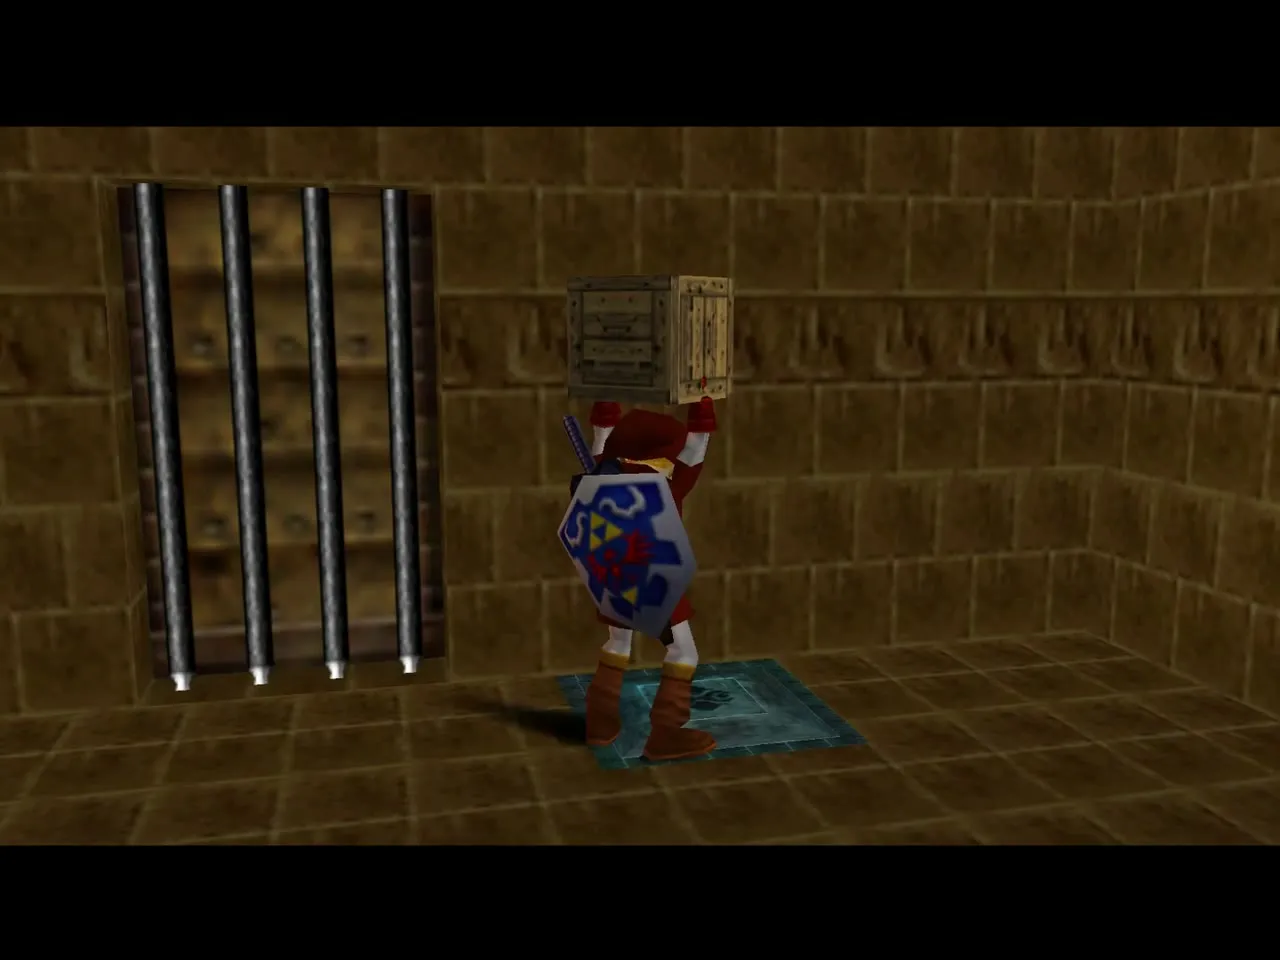
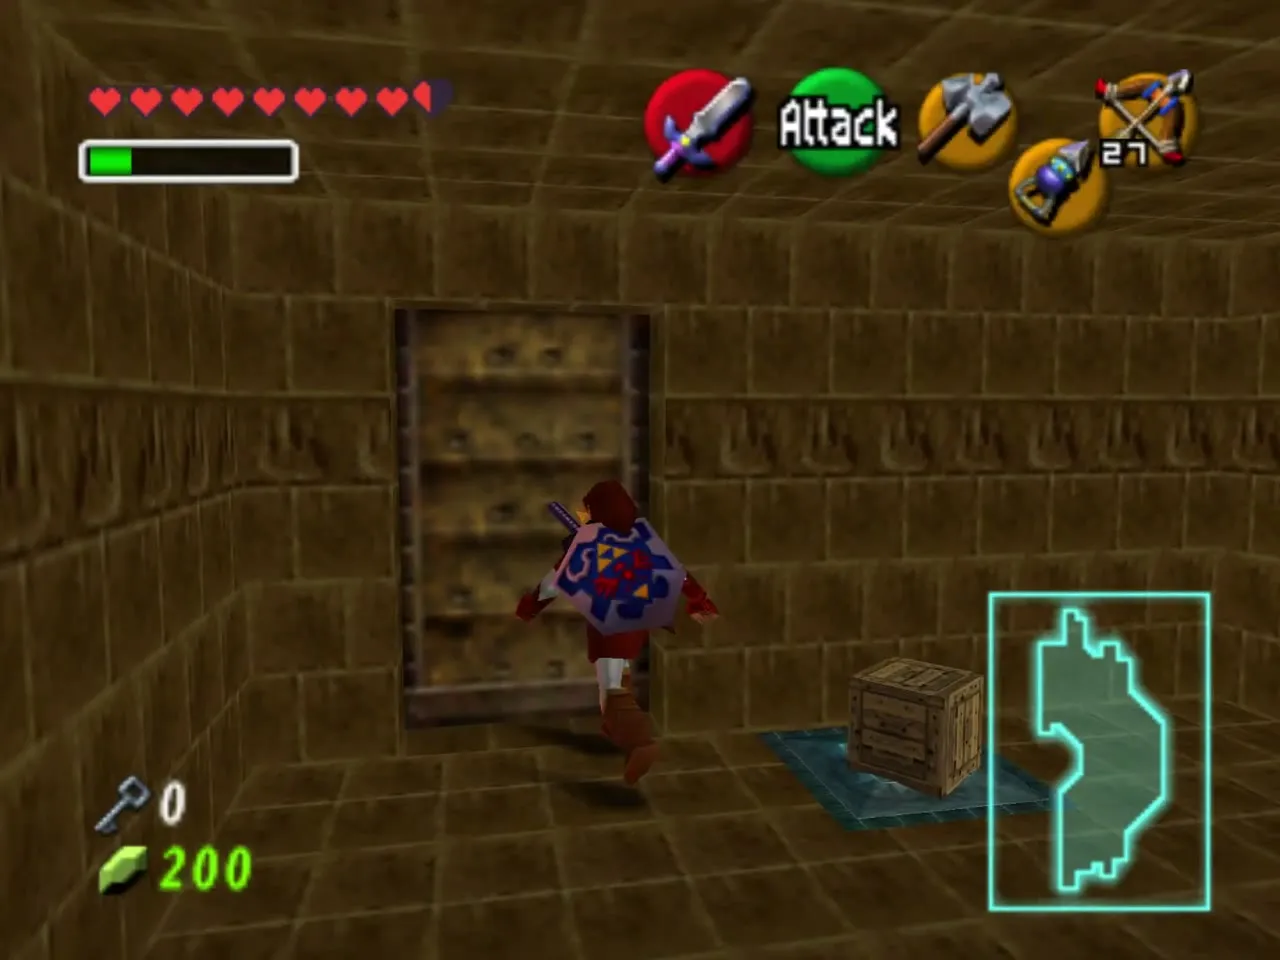
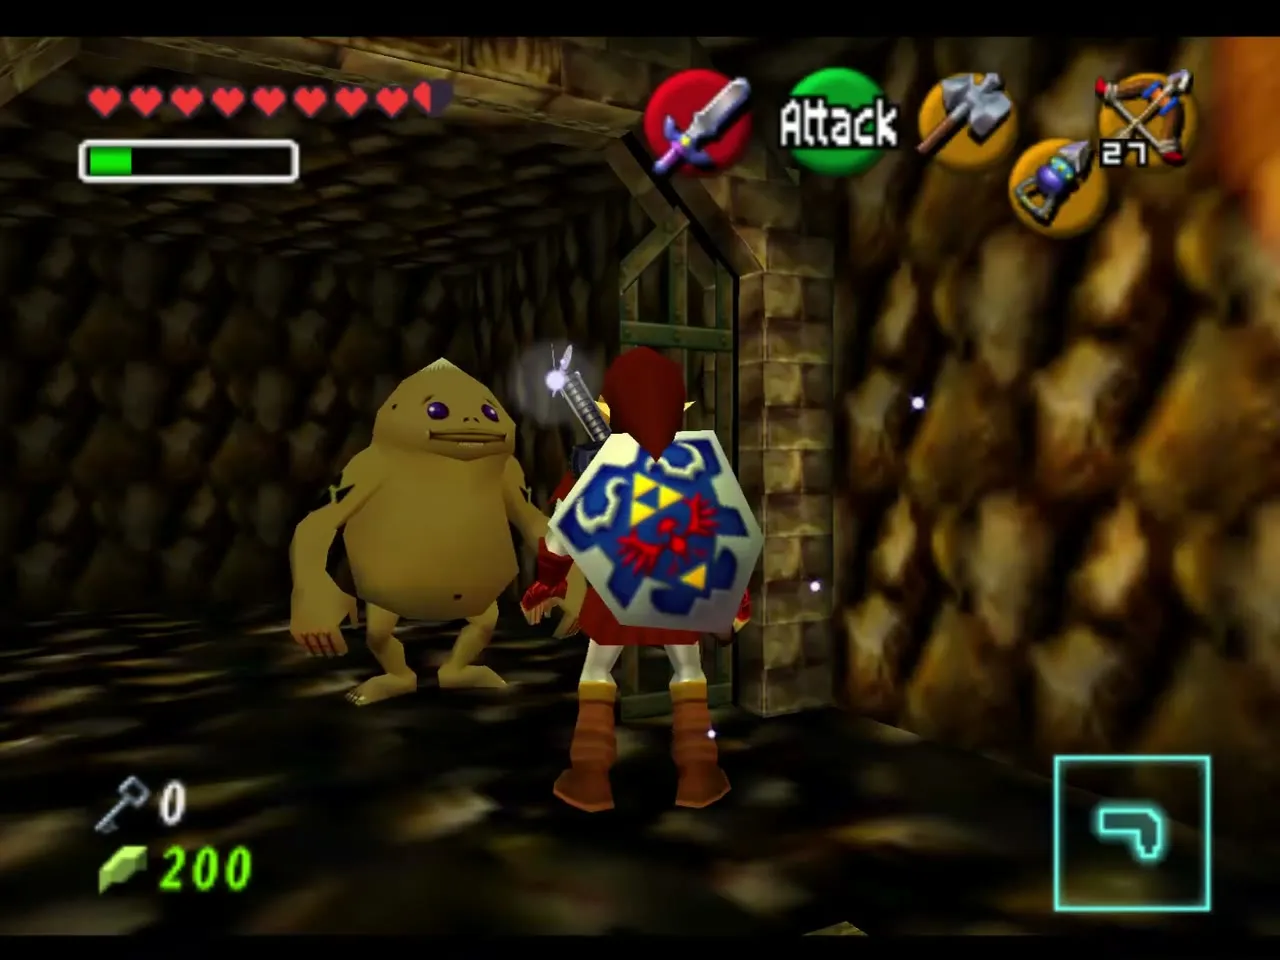
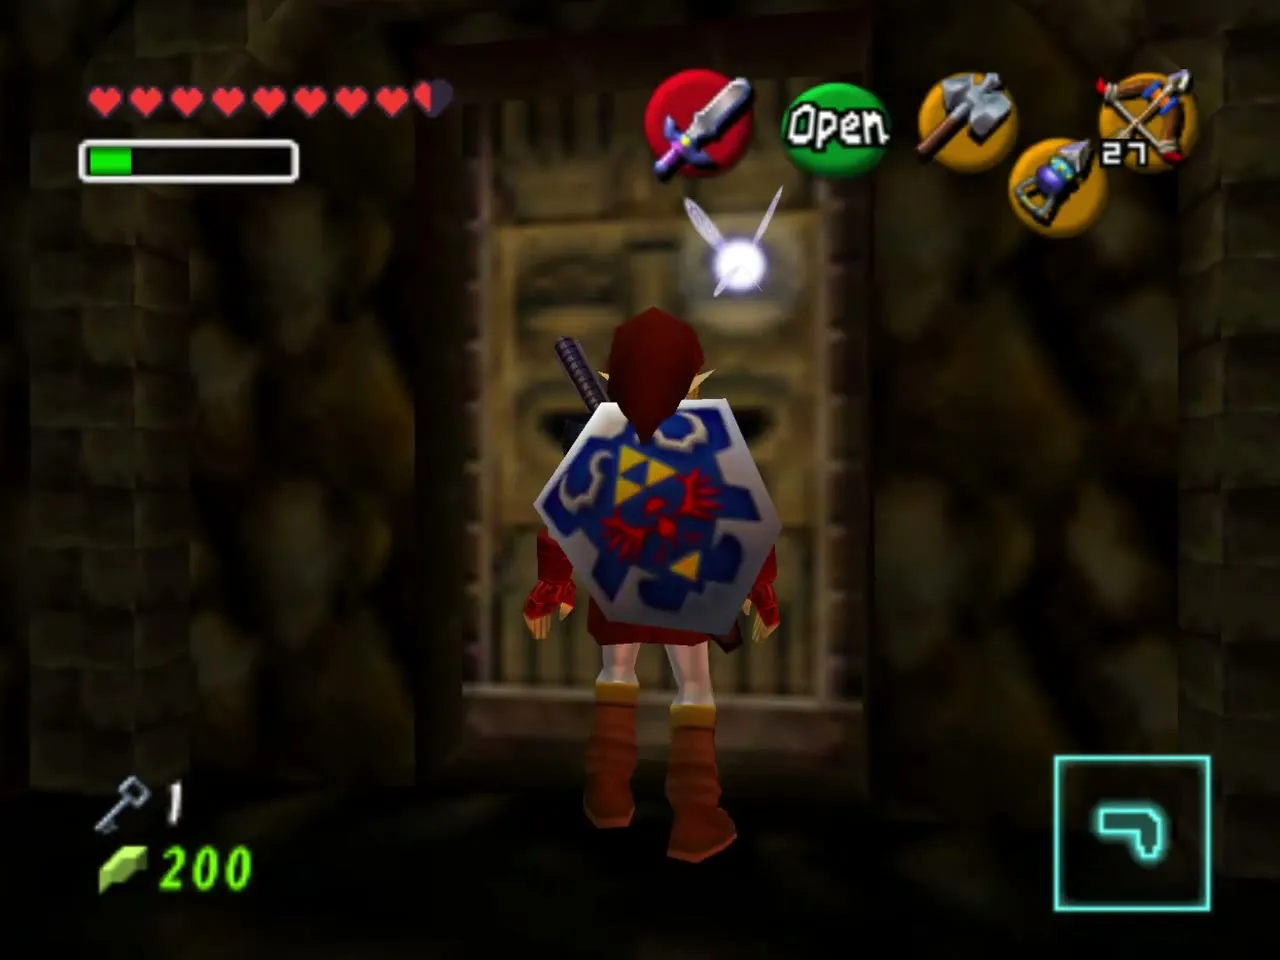
Pick up a small crate and carry it to the blue switch behind a bombed false wall. Drop it on the switch to open the door, step on the switch inside to free the Goron and open the chest for Small Key 3.
Compass
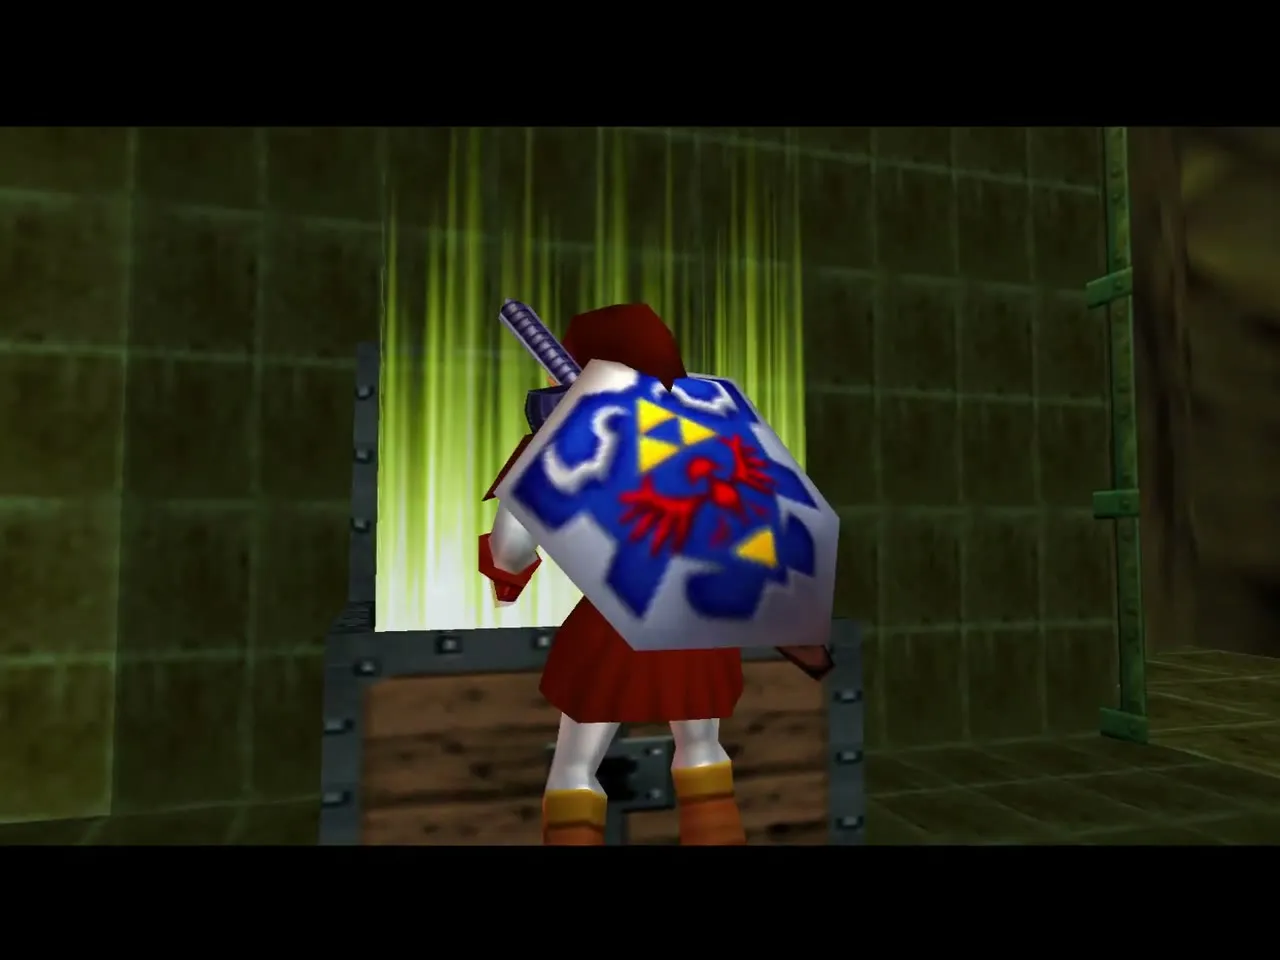
A rusted switch in the maze, struck with the Hammer, raises Hookshot targets. Pull yourself to the upper level, bomb the cracked floor and drop down into the room below. Break the crates to find the second rusted switch, hit it and open the chest for the Compass.
The tower and the spiral room
Song of Time block
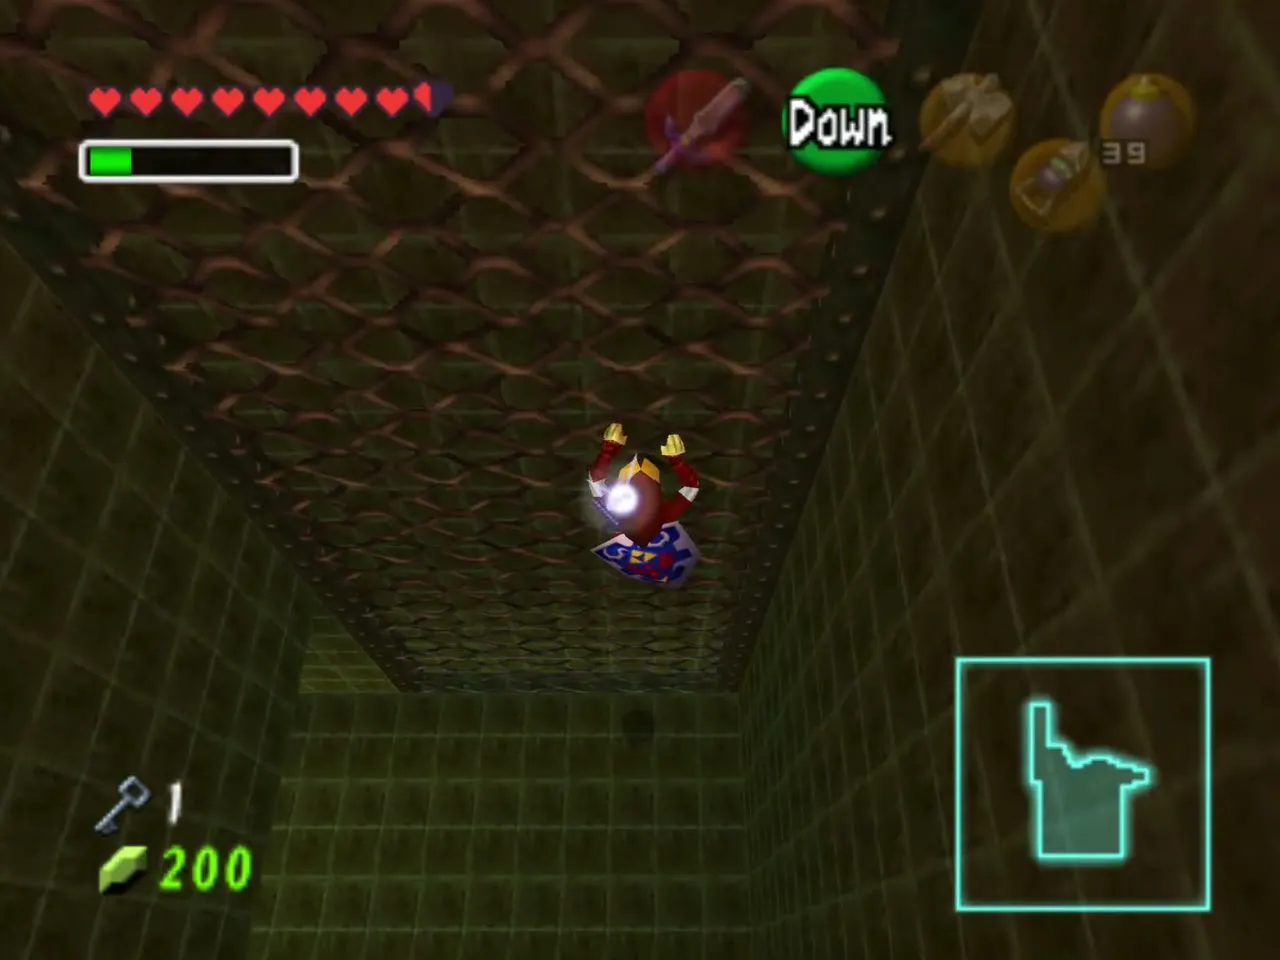
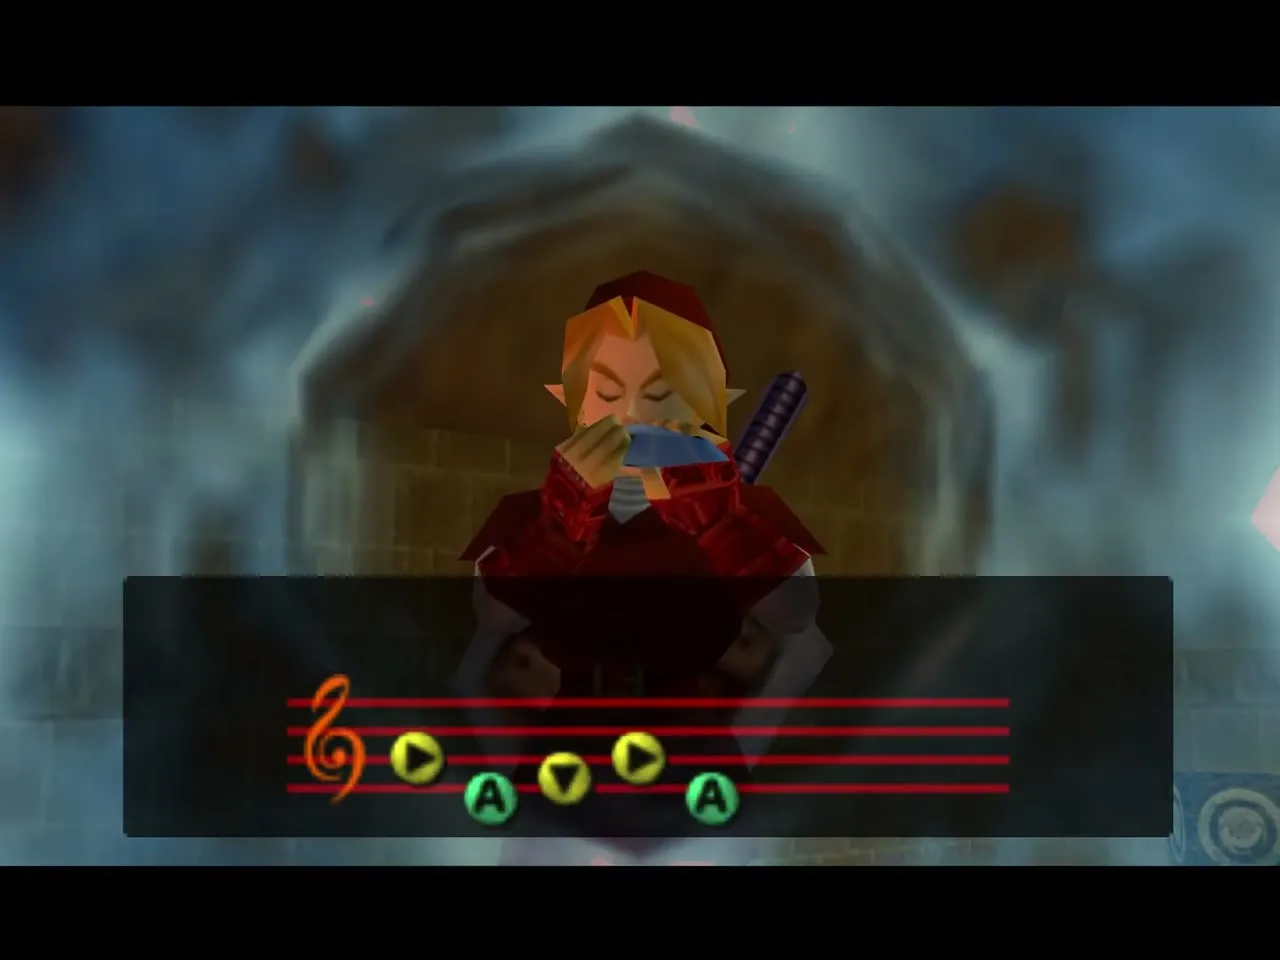
Back on top of the maze, stand where Navi turns green and play the Song of Time to make a blue block. Climb the Hookshot target pillar, jump to the block and Hookshot onward until you reach an elevator platform that carries you up a floor.
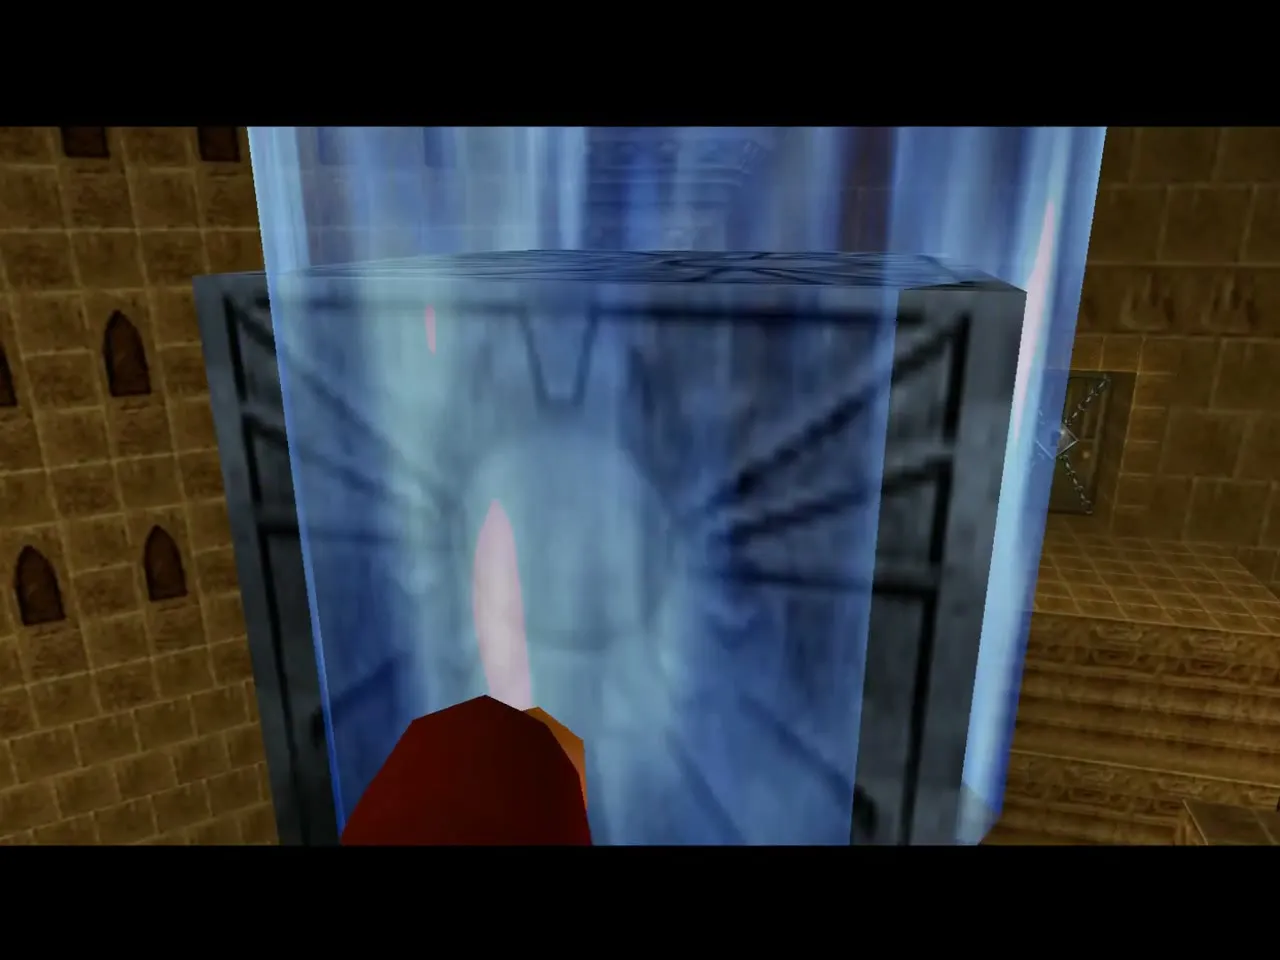
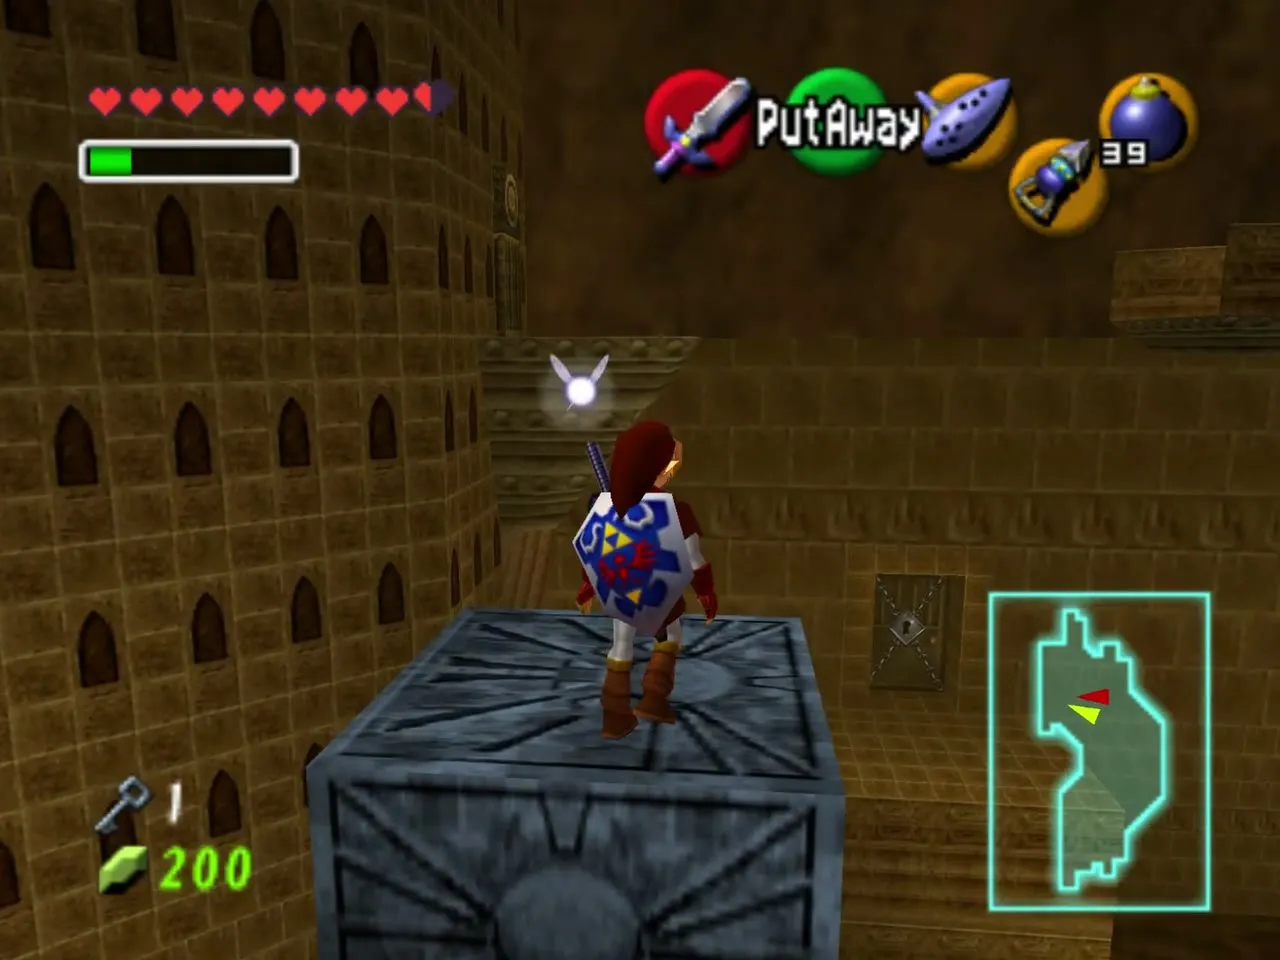
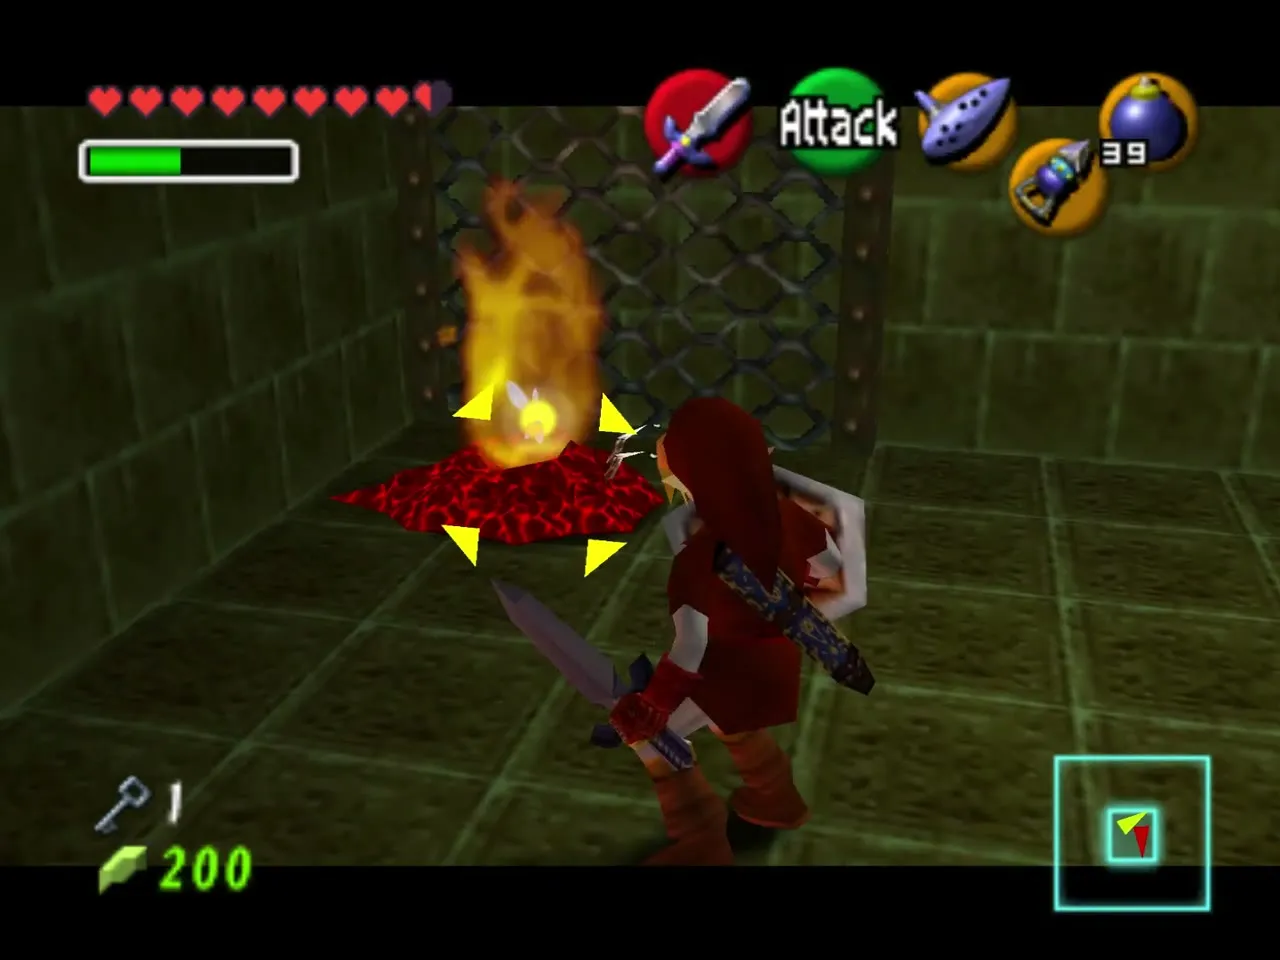
Take the door, then Hookshot the stone face on the wall to unbar the door above. Torch Slugs live here: smash one with the Hammer to put out its flame, then finish it with the sword. Climb the grates to the top.
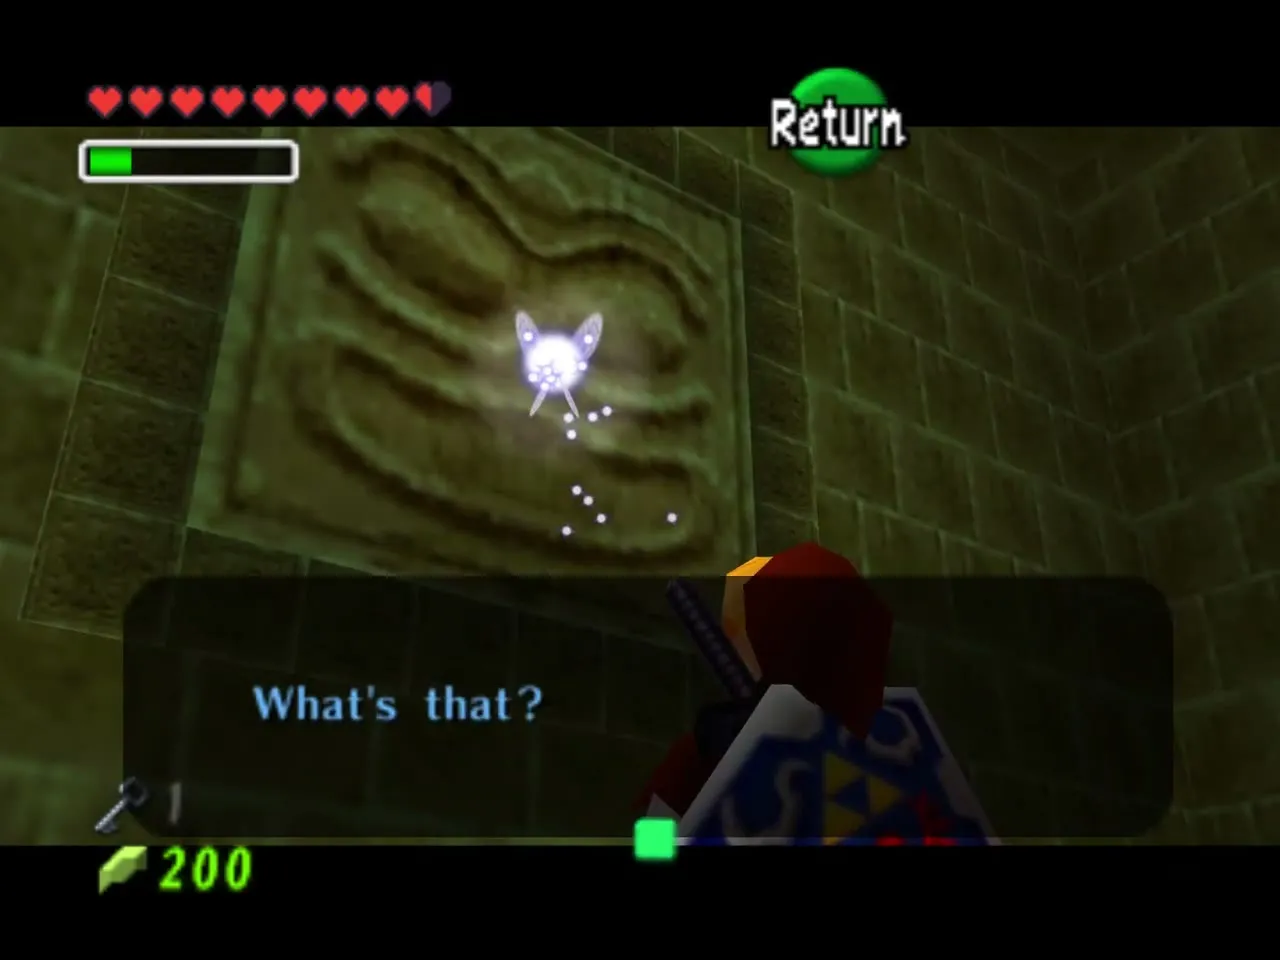
Gold Skulltula under the flame block
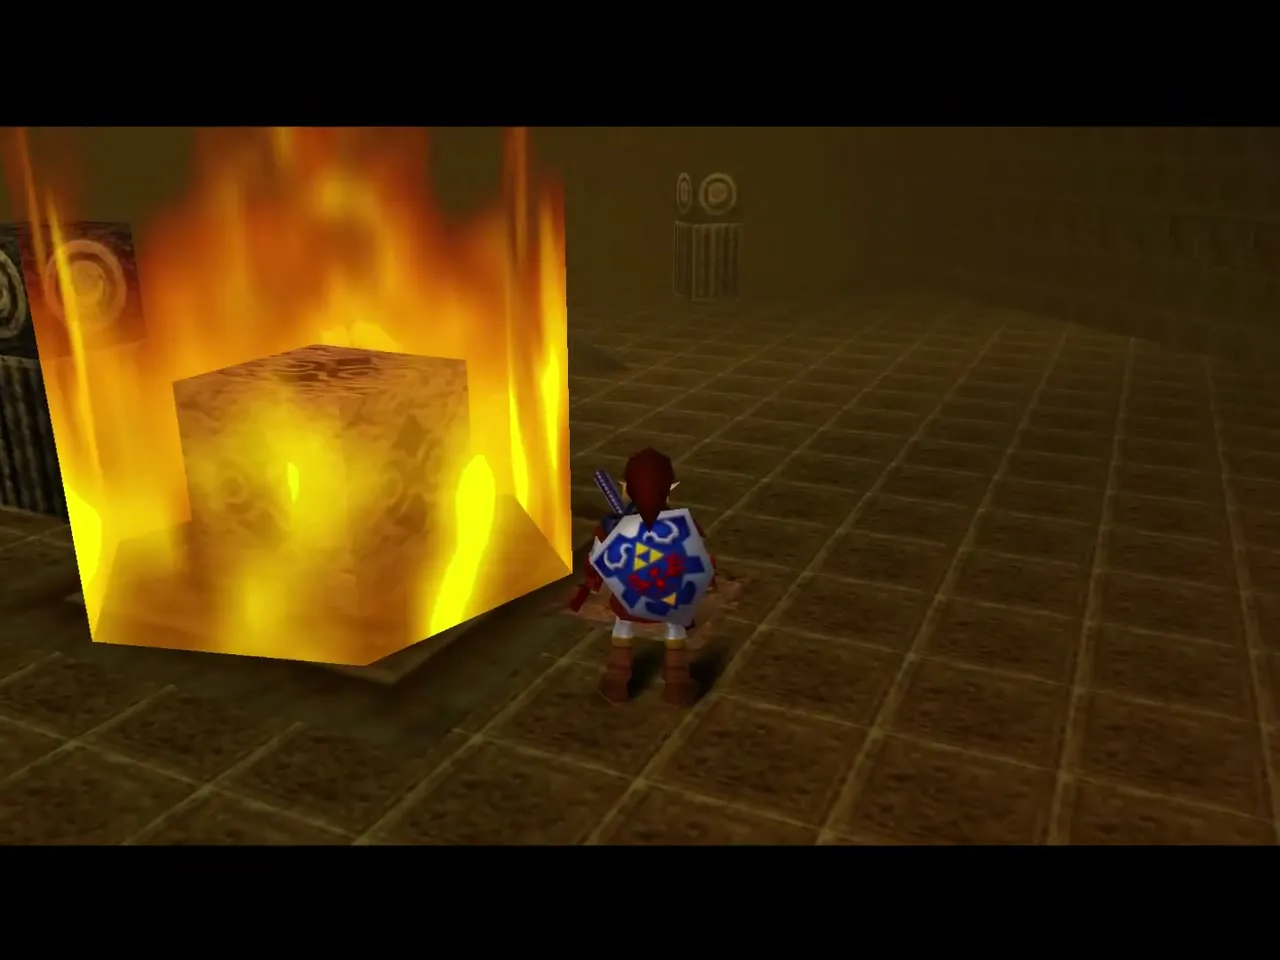
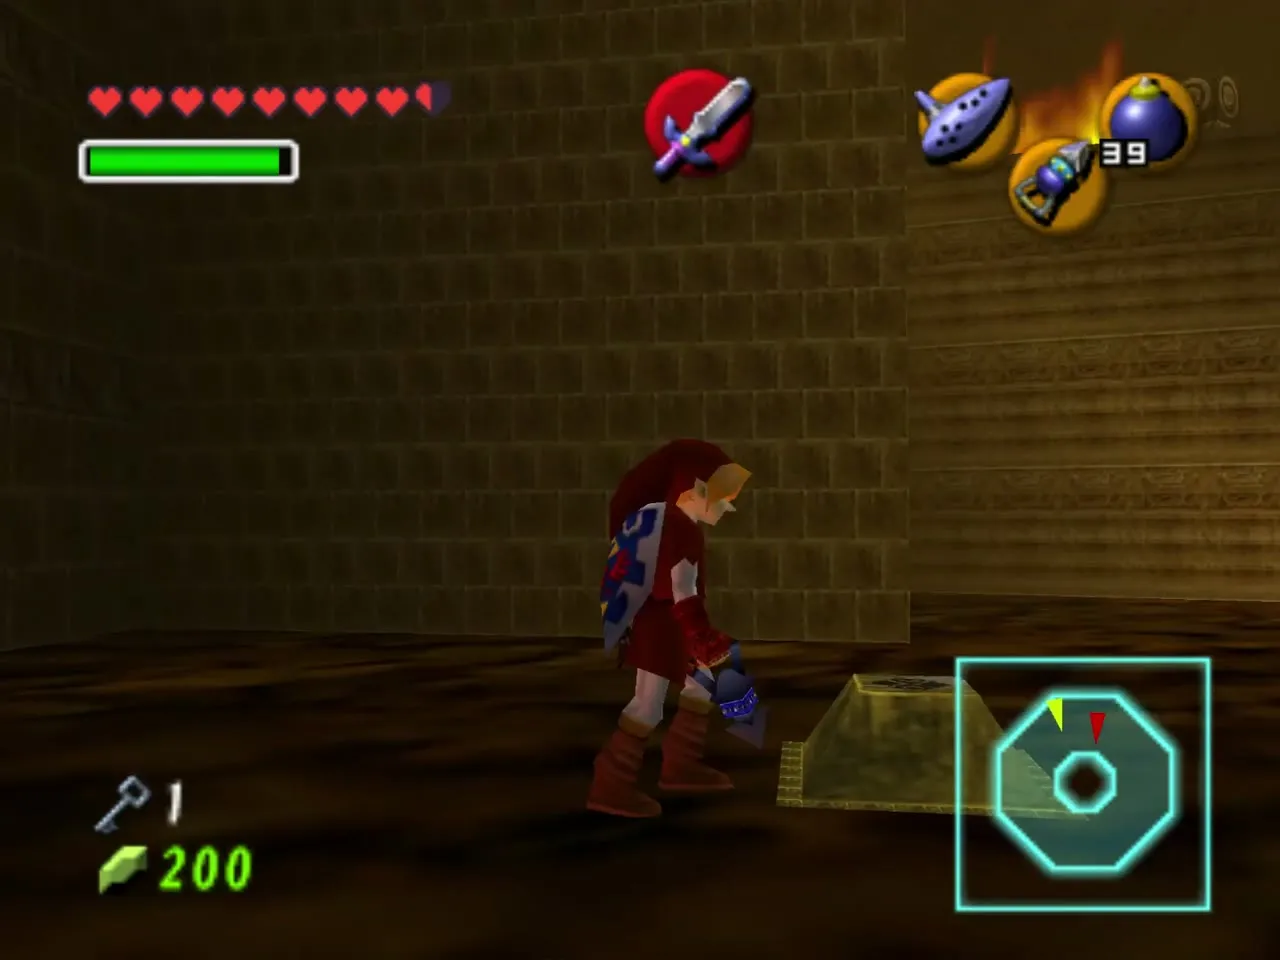
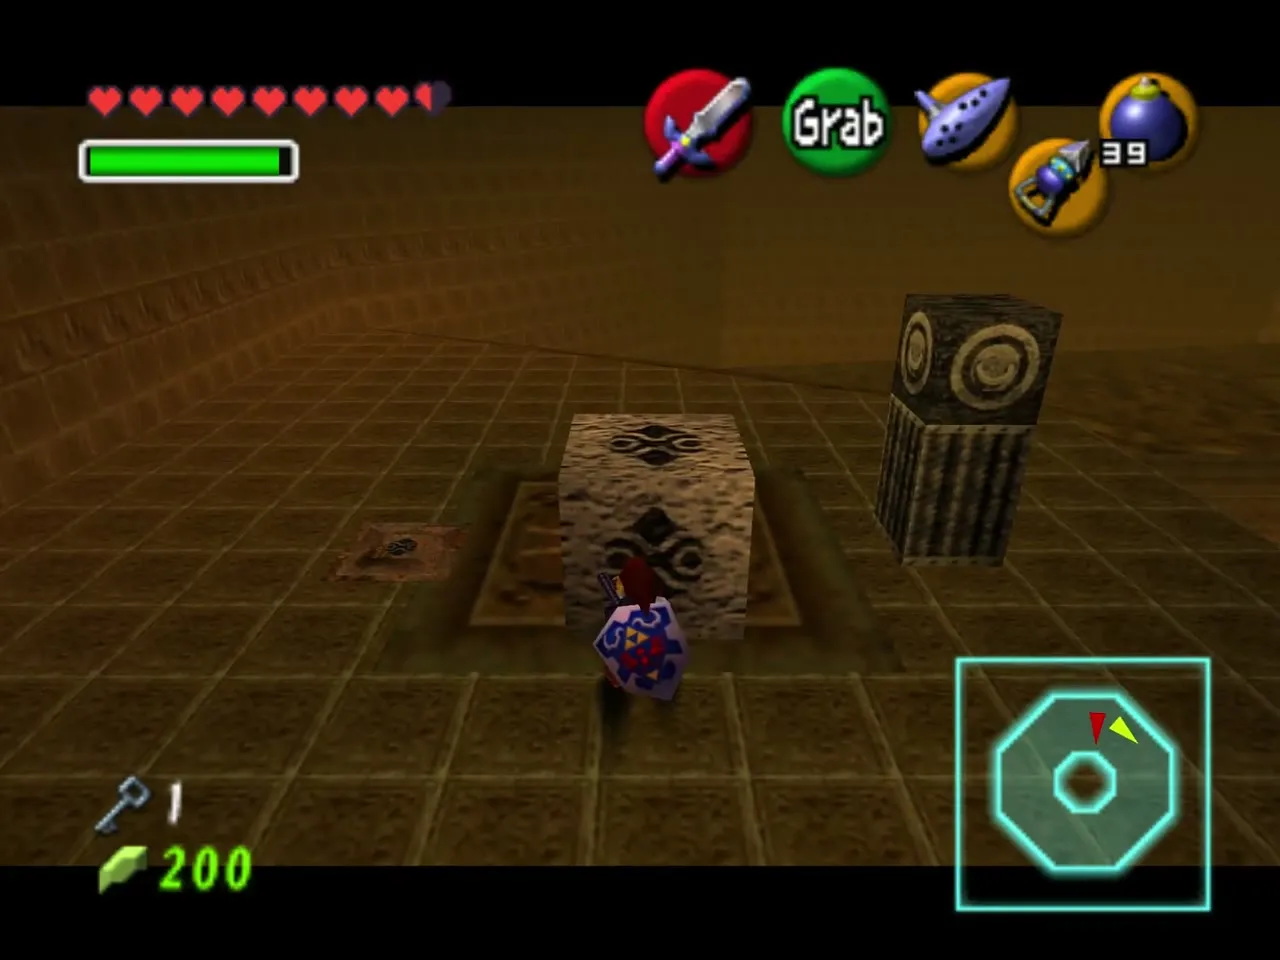
The top is a spiral chamber with a pit in the middle. A block ringed by fire hides a Gold Skulltula. Hammer the rusted switch behind it to raise a Hookshot target, then step on the ordinary floor switch to put the fire out for a moment. Hookshot to the new target, run to the block and push it aside; Hookshot the Skulltula before the flames return.
Cage hall and the second key door
Go back to the locked door you passed in the maze and open it with Small Key 3. Beyond is a hall of metal platforms over lava. Hookshot to the crate on the right but do not smash it. Take the small crate from below, jump down and drop it onto the pressure switch.
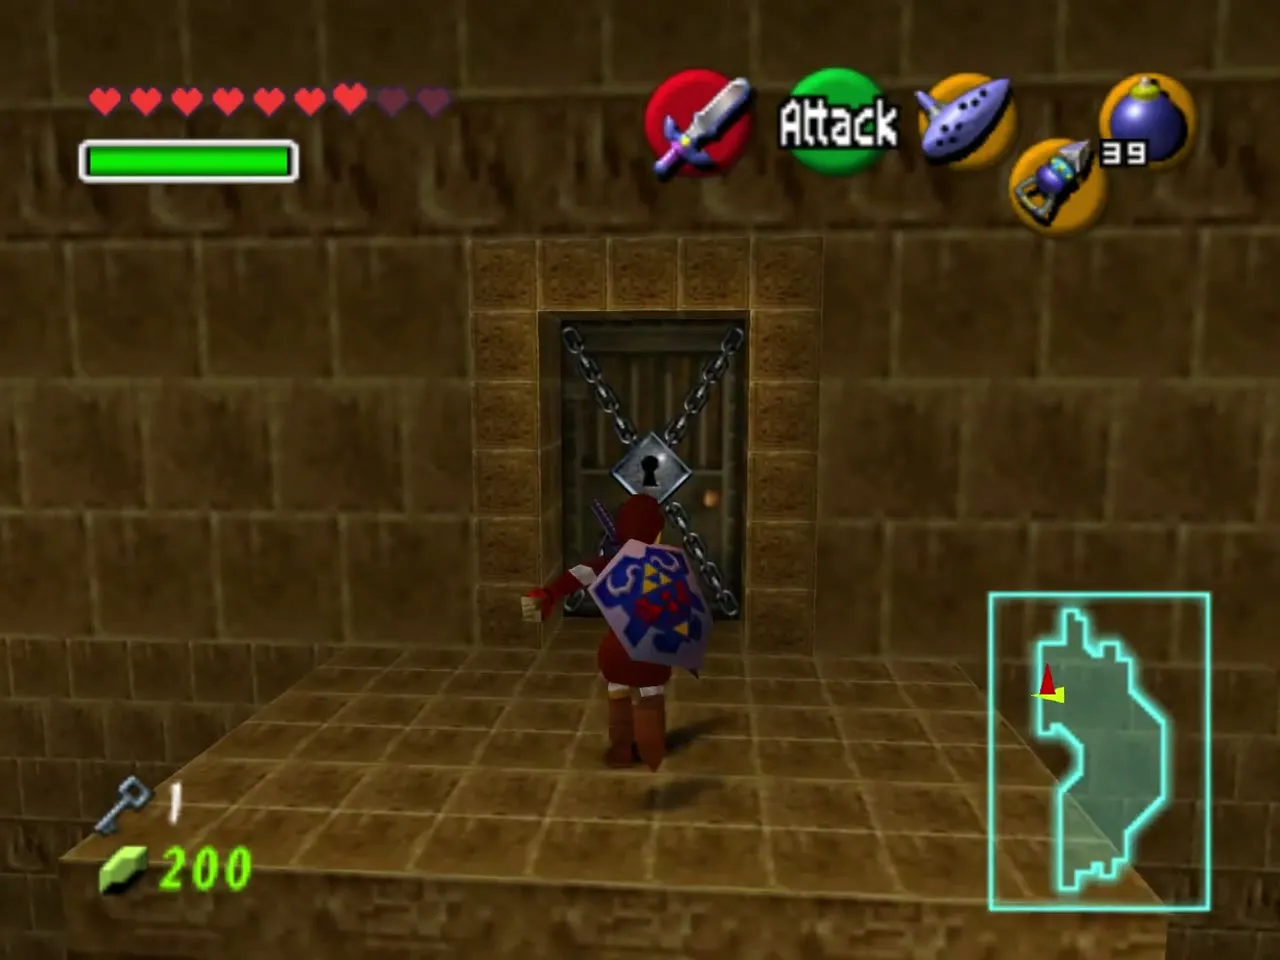
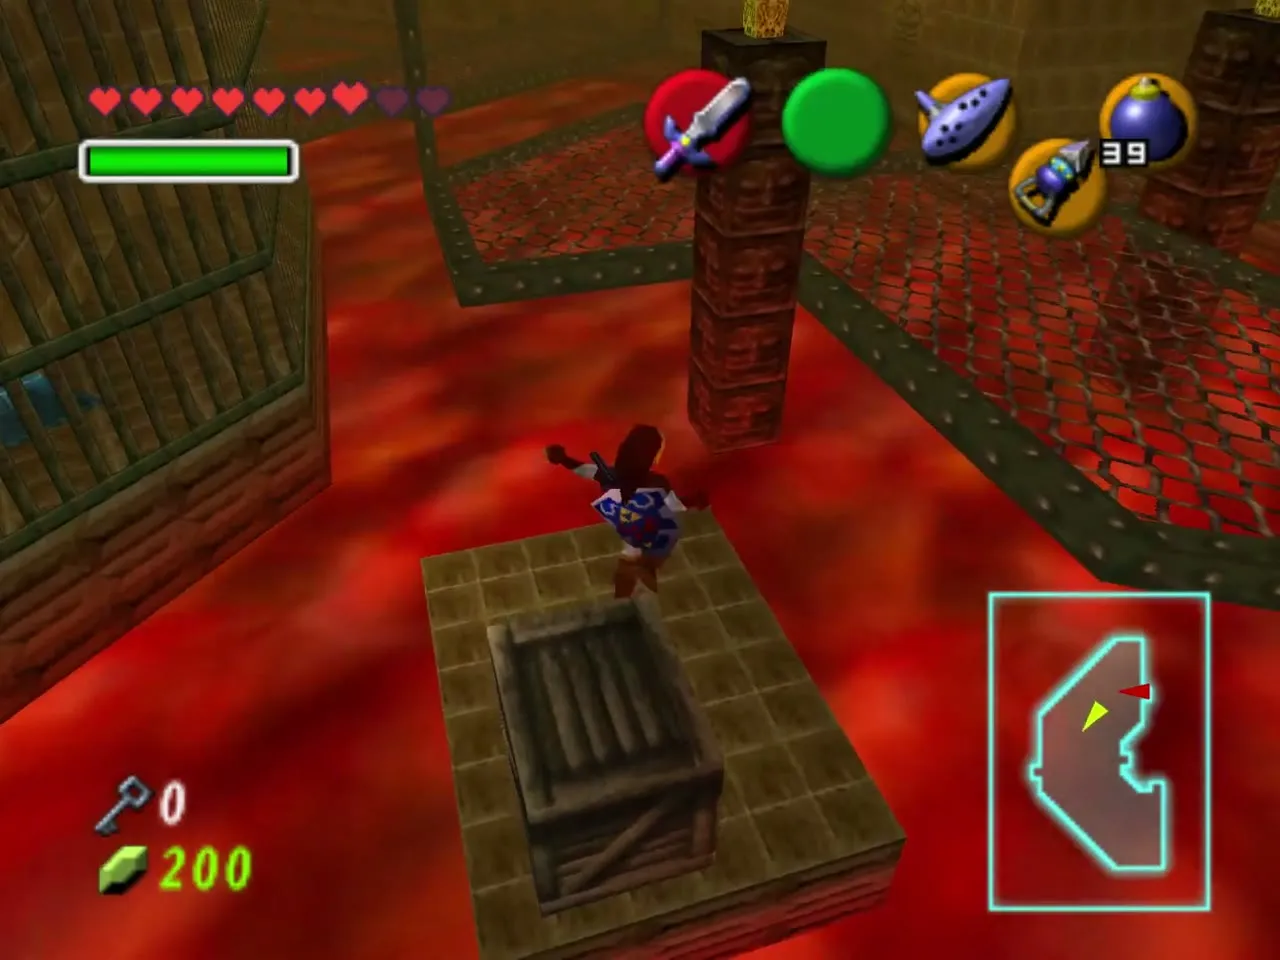
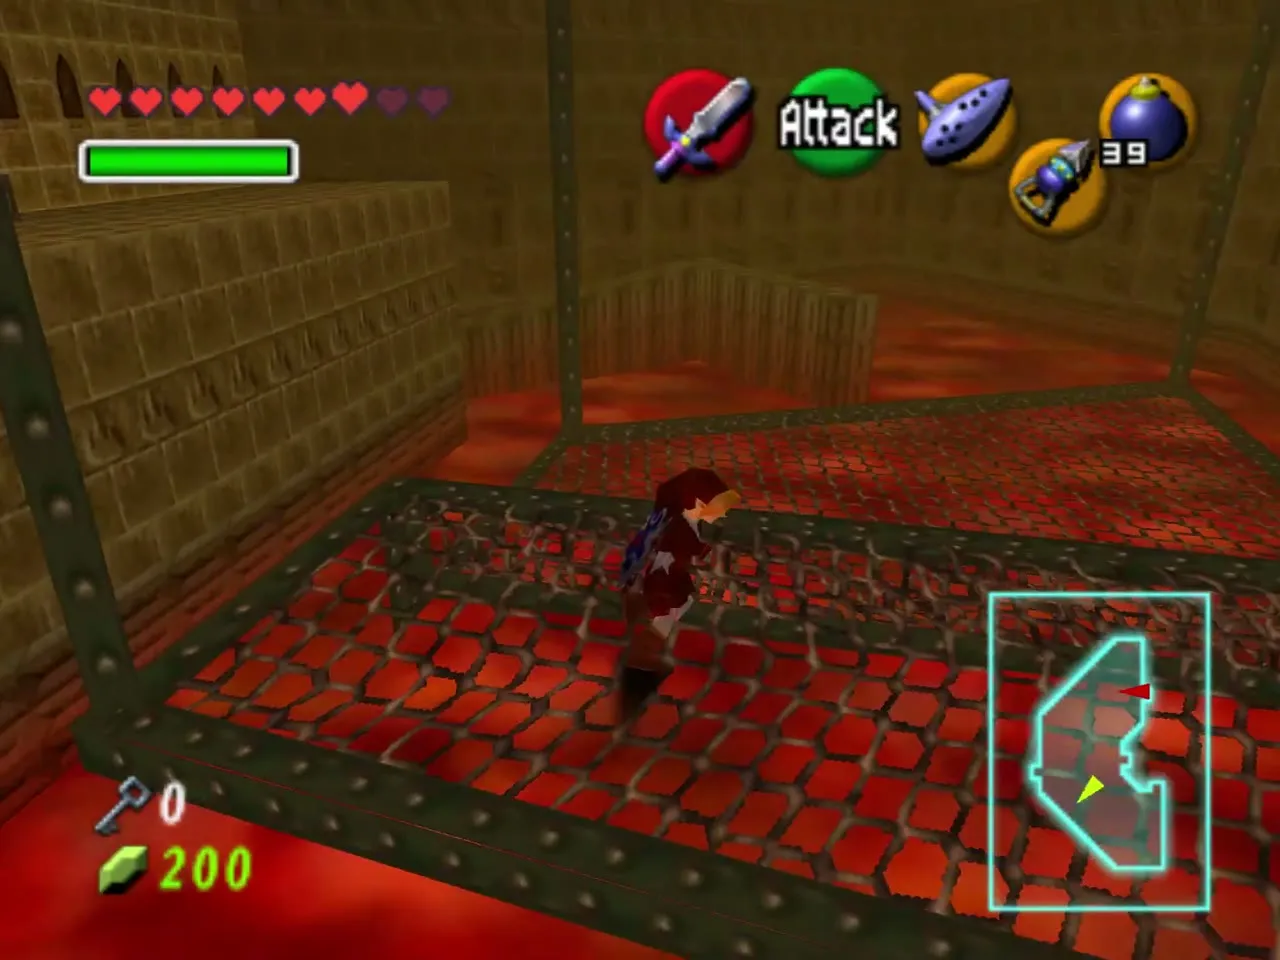
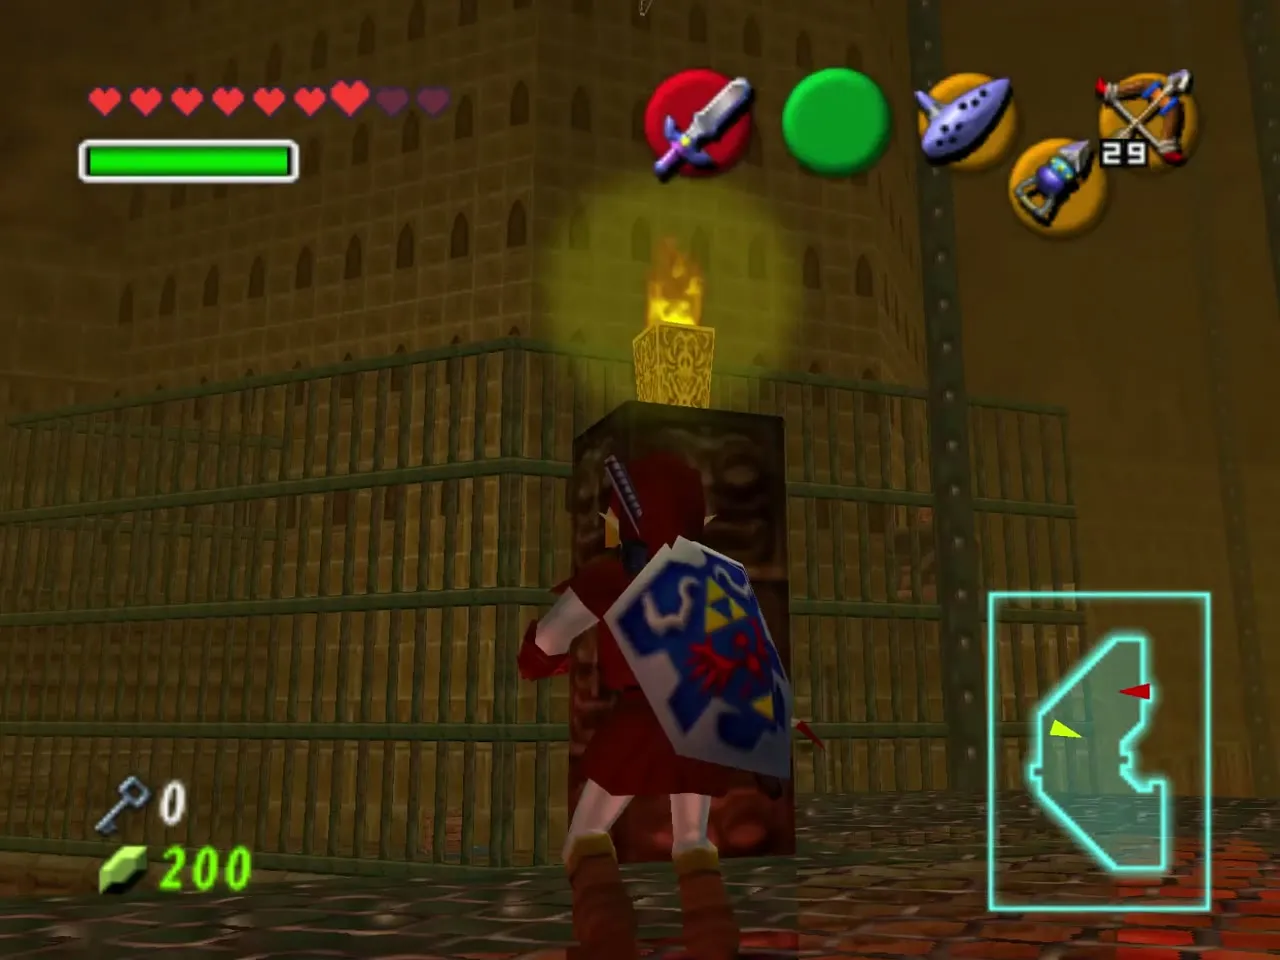
Hookshot back up and stand between the two lit torches. Draw the bow, look at the unlit torch near the ceiling and shoot an arrow through a flame to light it. The door opens; follow the corridor on to the next area.
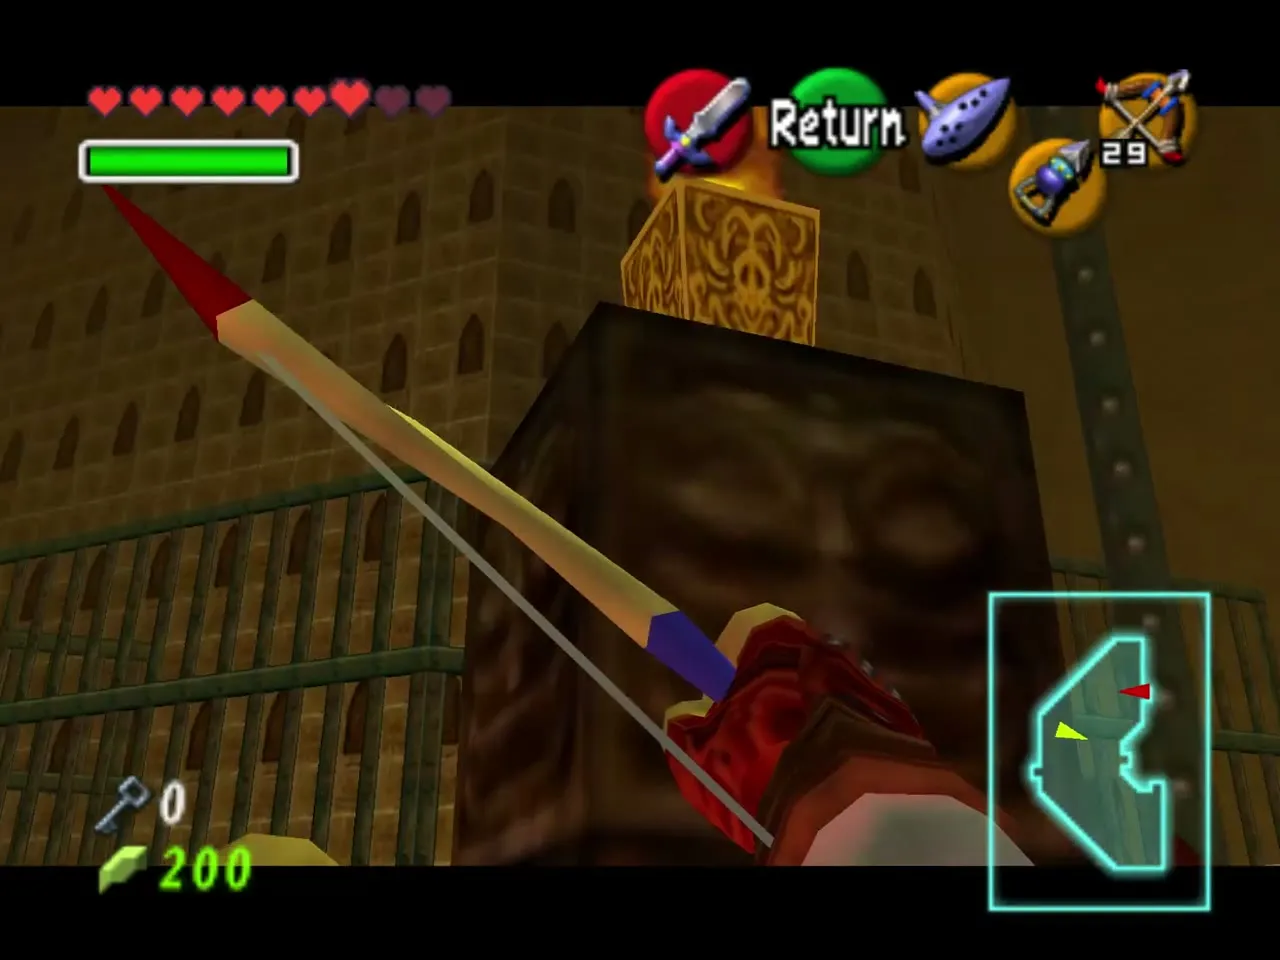
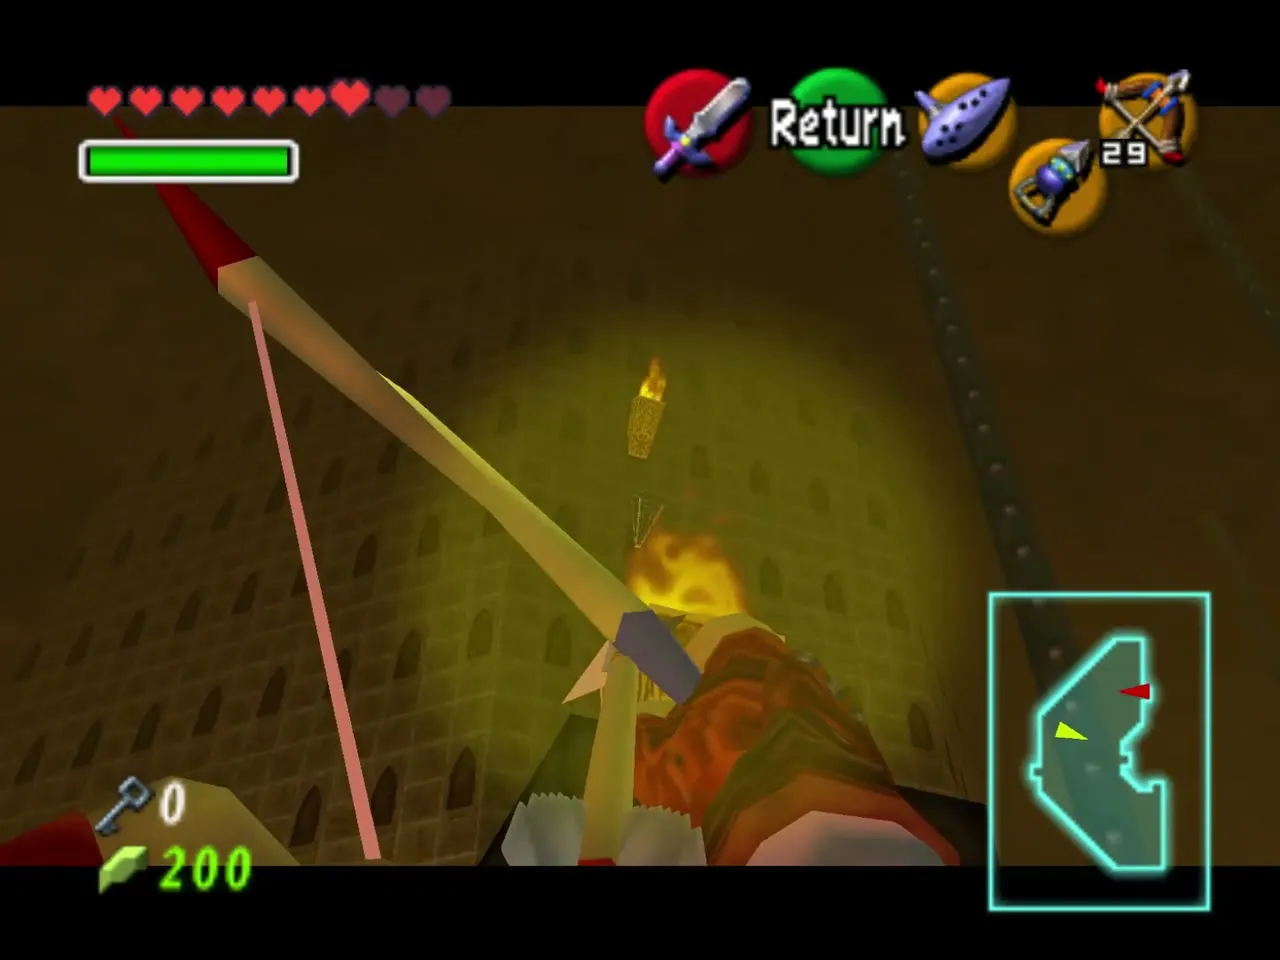
Boss door and the pillar
You arrive in a C-shaped chamber with fire walls and time blocks. Jump across to the central platform and hit the face block with the Hammer so the pillar sinks. Once it is down you can drop into the hole it left and reach the boss door. If you are collecting everything, finish the remaining rooms first, because they all start from this chamber.
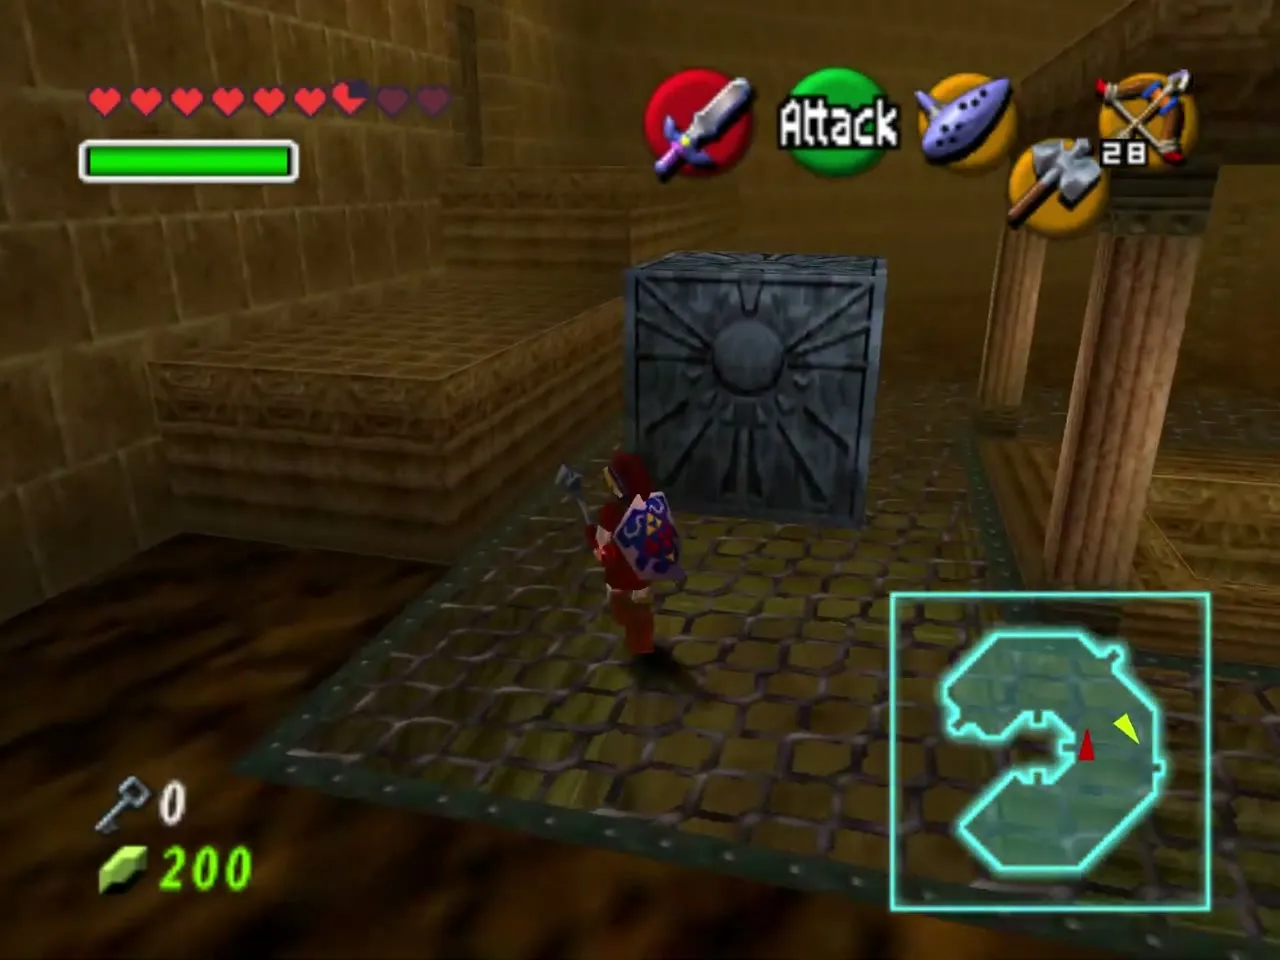
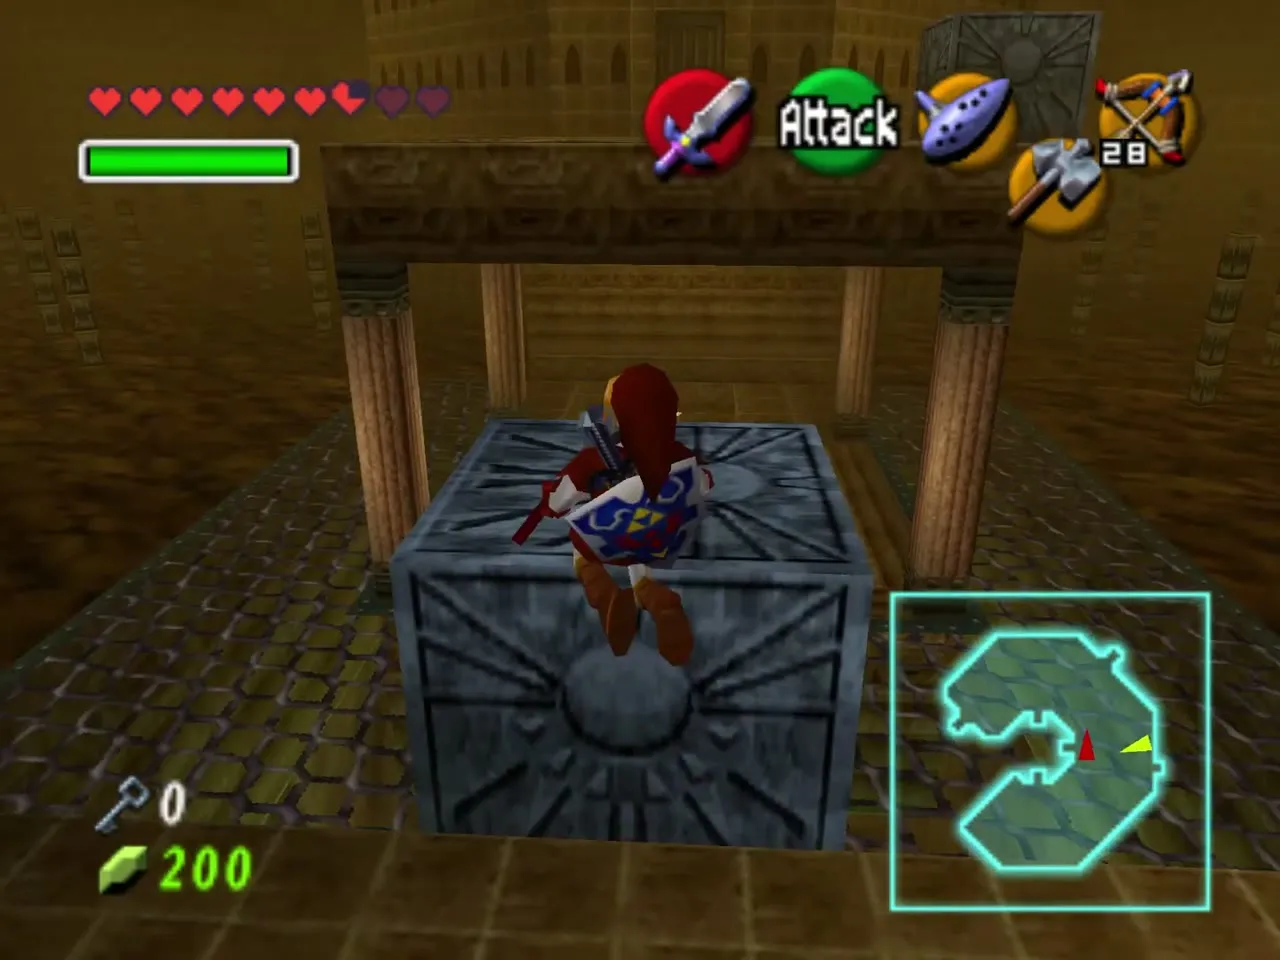
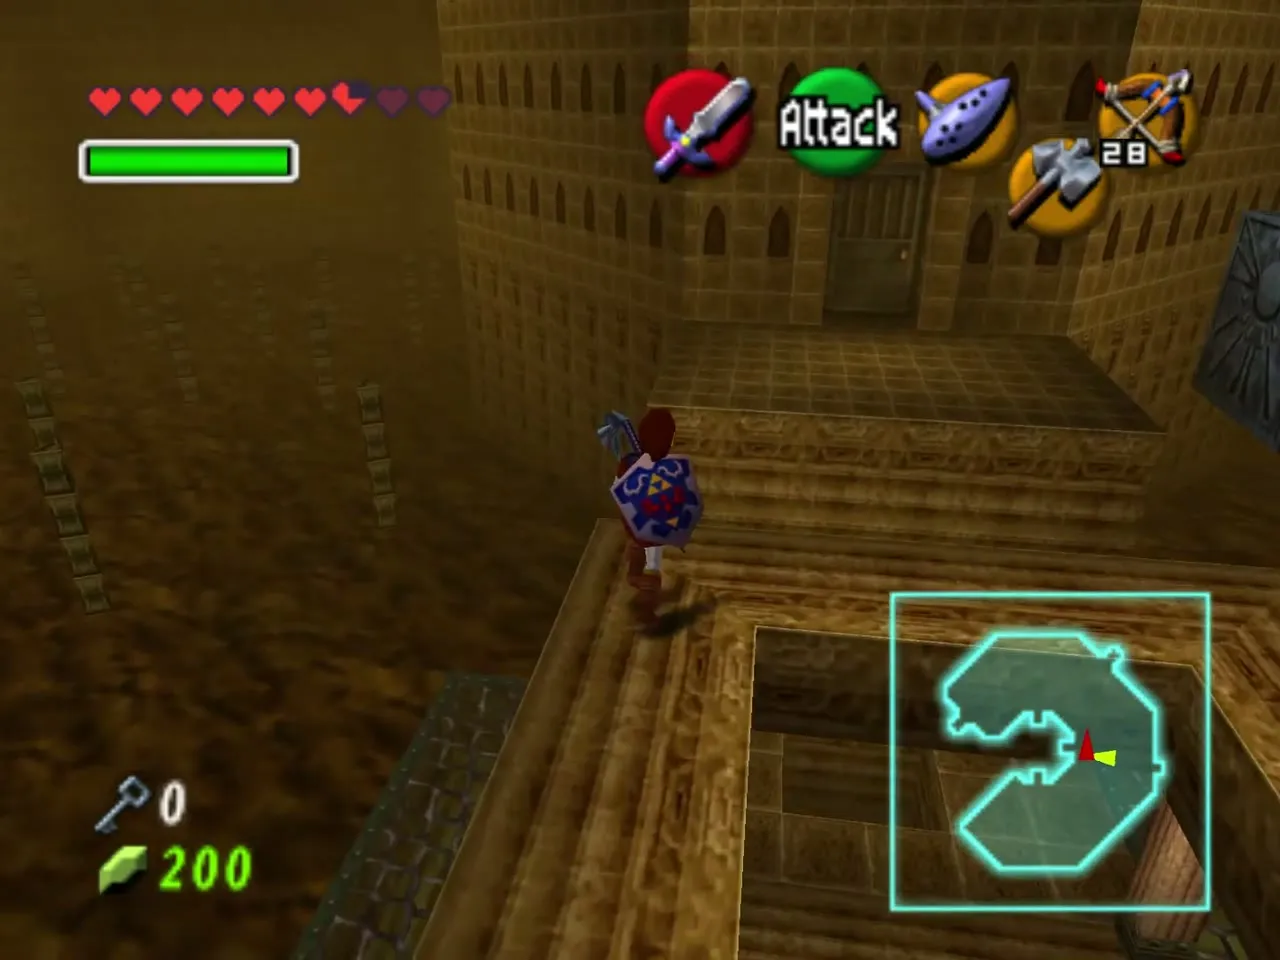
Gold Skulltula in the tunnel
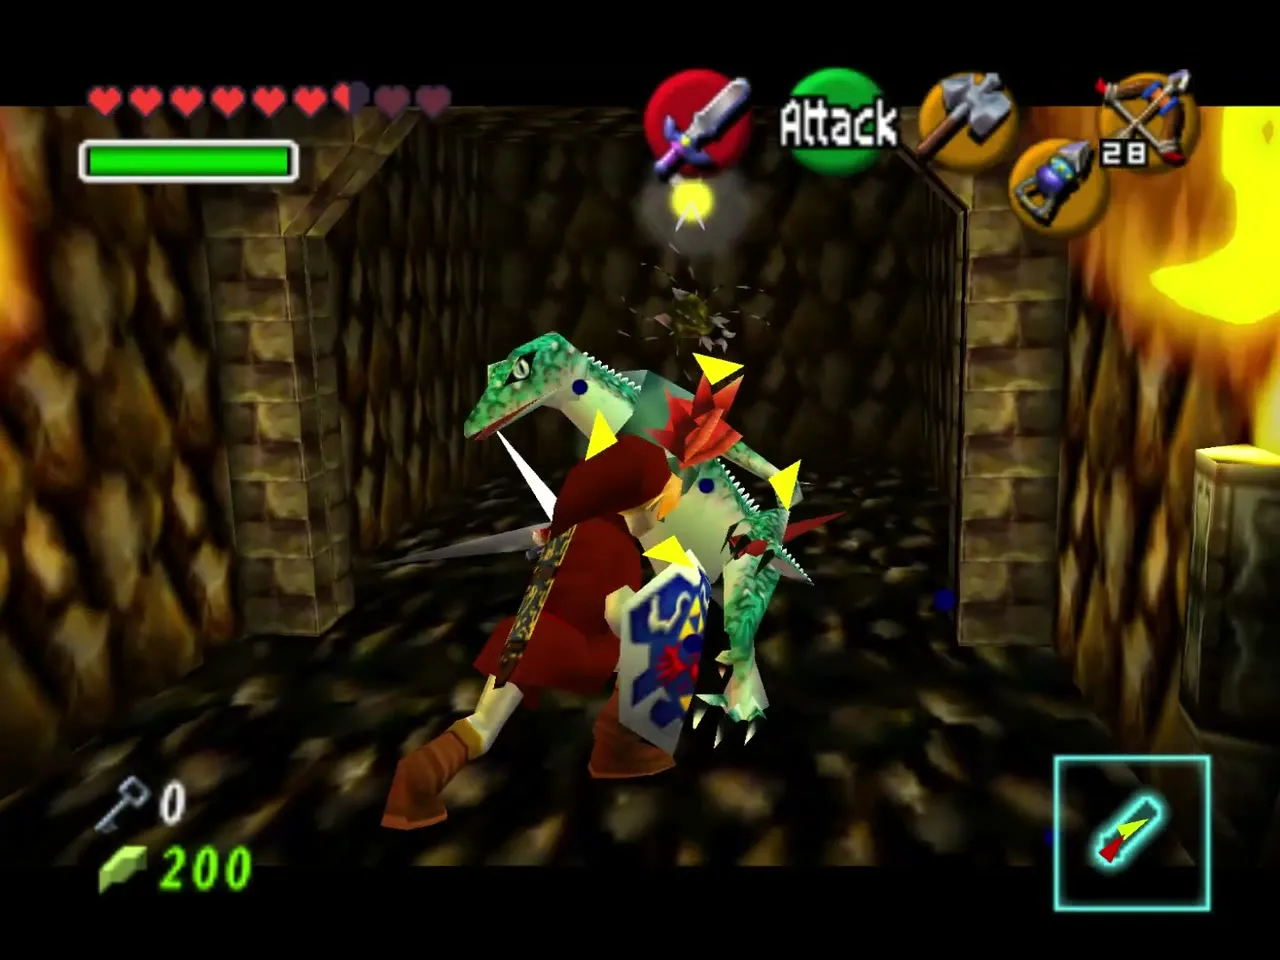
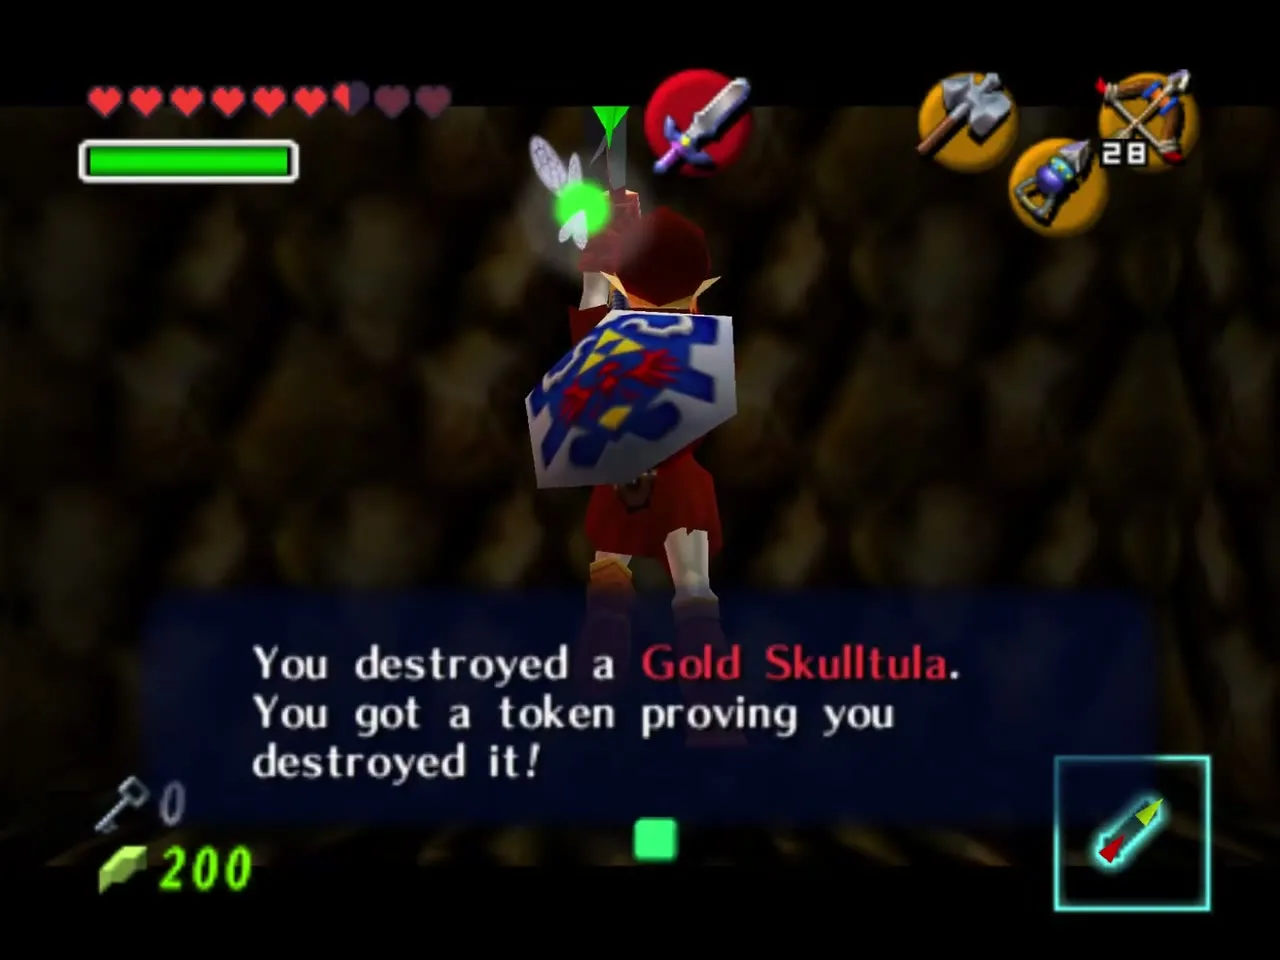
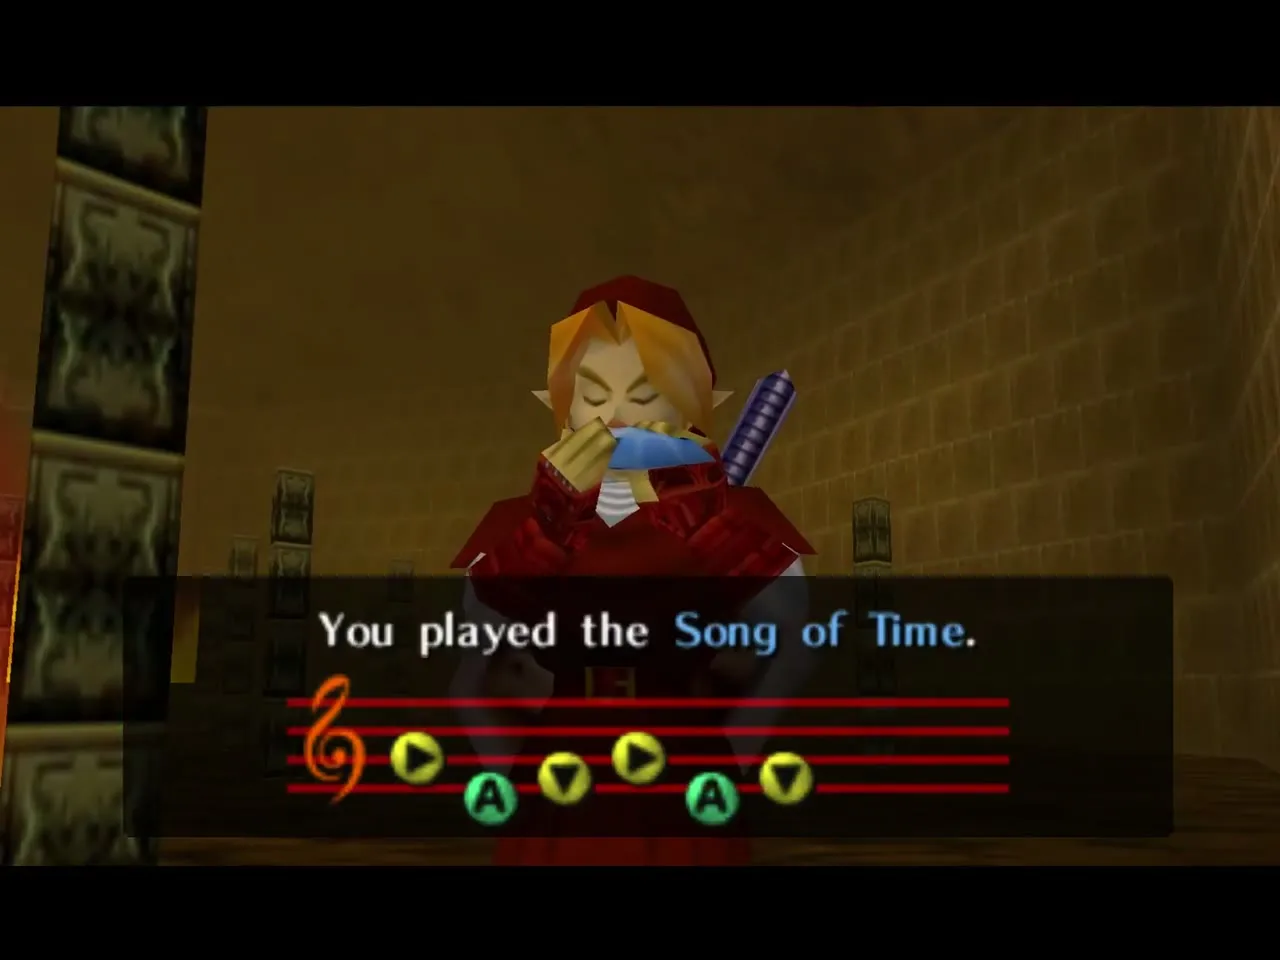
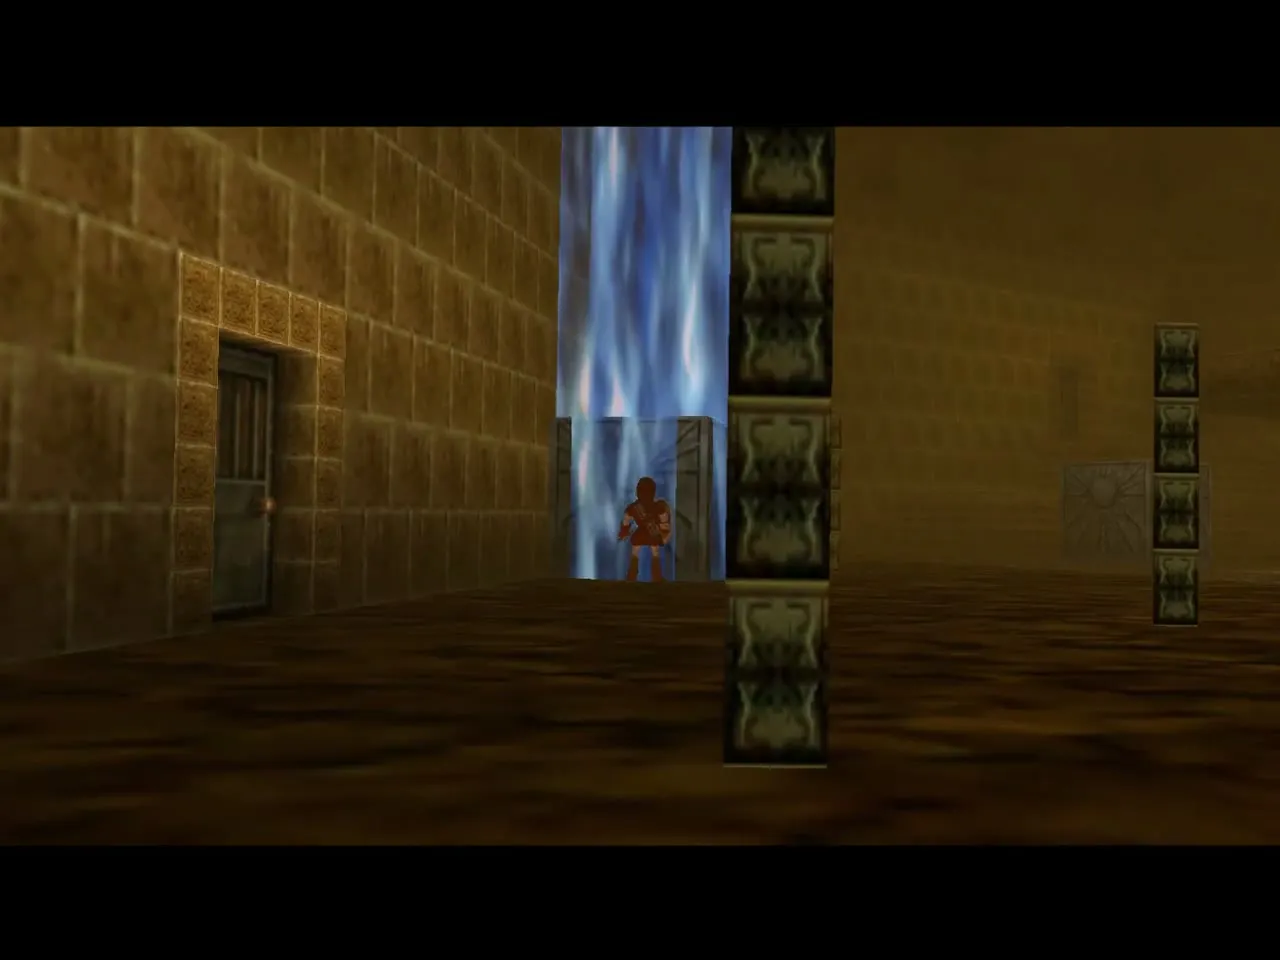
On the east platform of the chamber, play the Song of Time where Navi turns green to make a time block and jump over the flame wall to the doorway beyond. A Lizalfos fights you in the torch-lit tunnel; defeat it and take the Gold Skulltula in there.
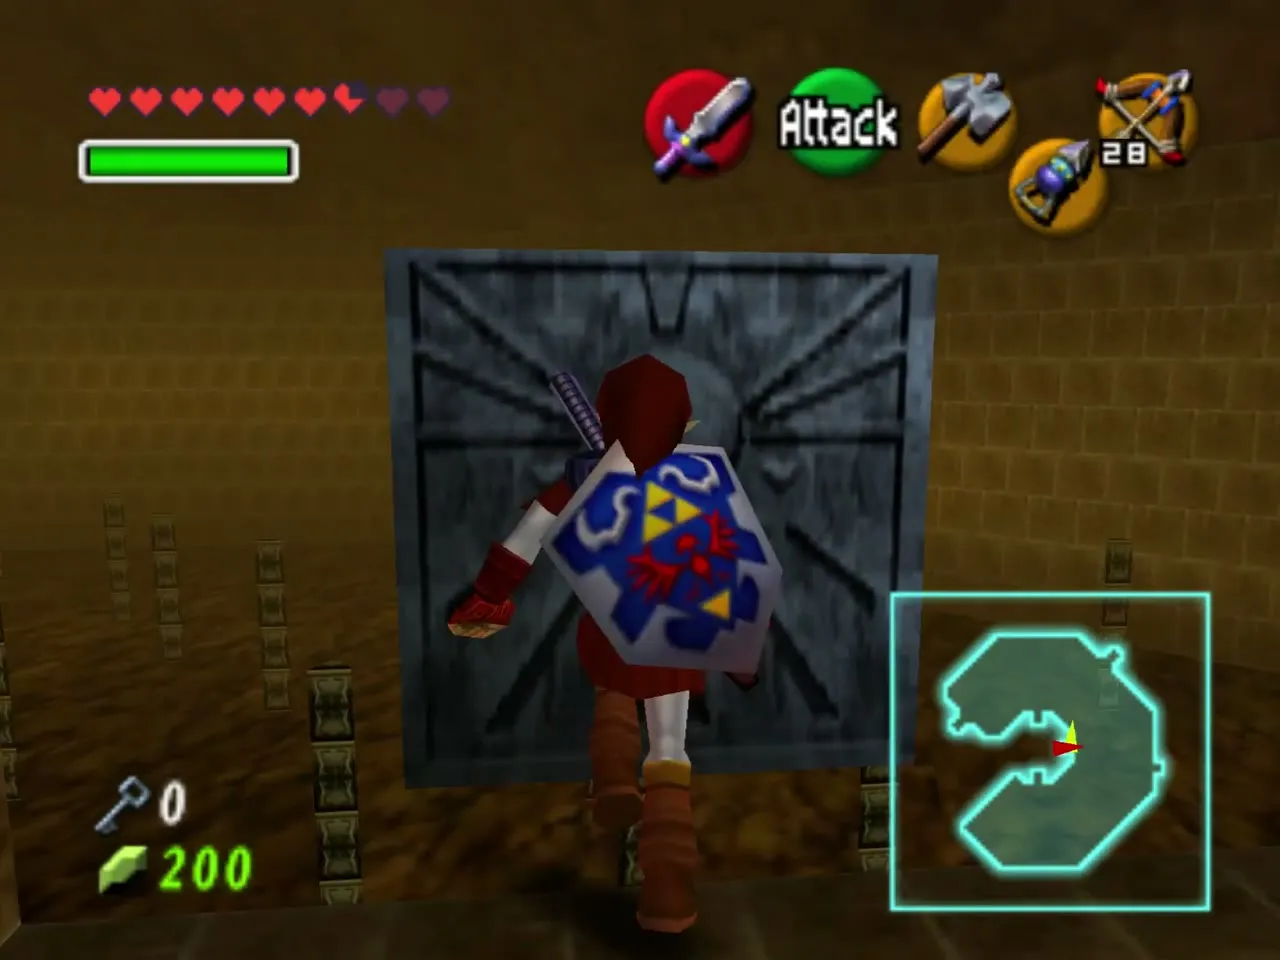
Play the Song of Time again in the corridor outside to put a block over the fire wall and cross back, then enter the next door off the chamber.
Bomb wall and Gold Skulltula
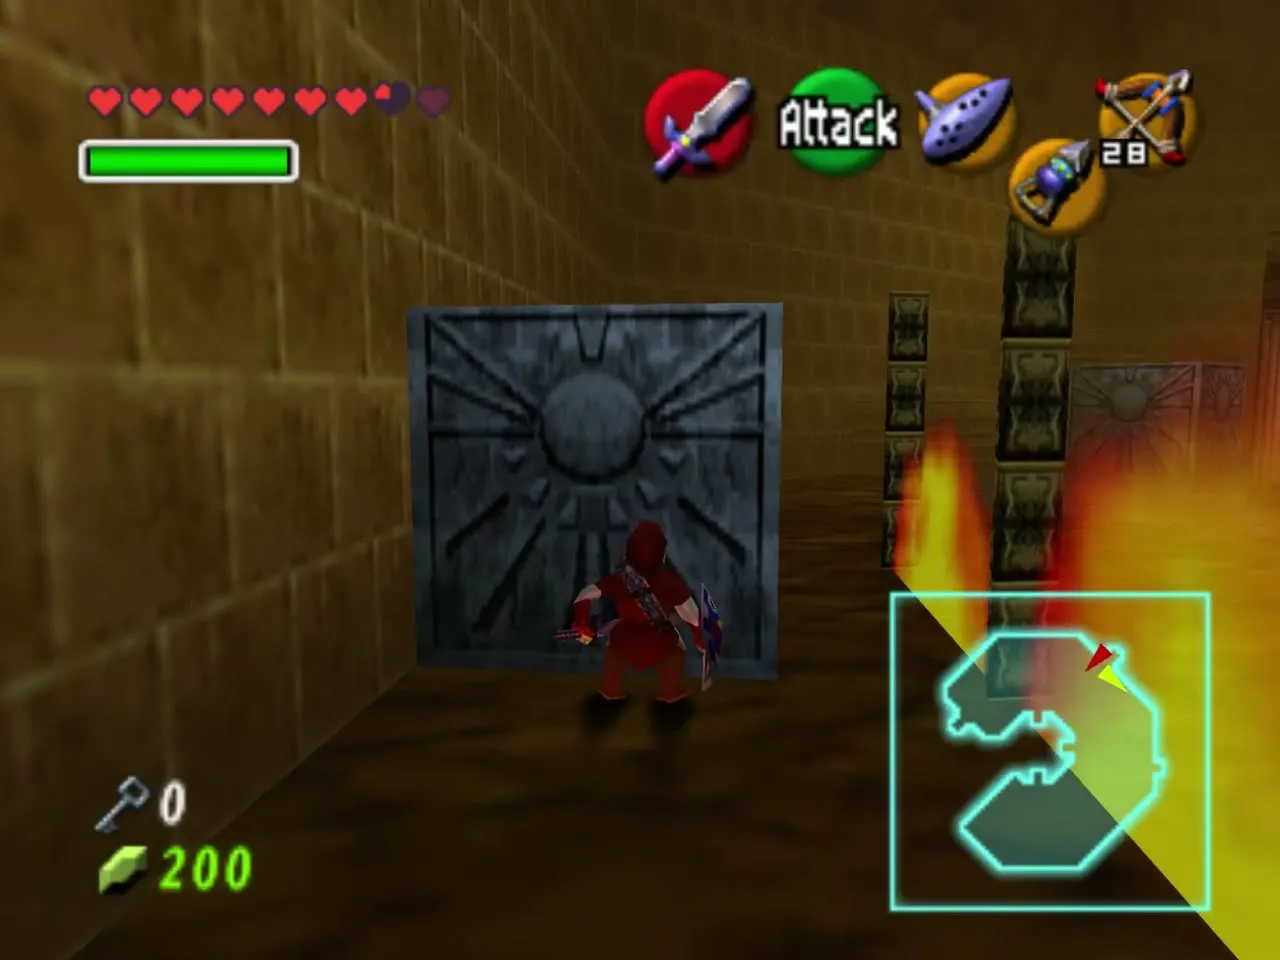
Hookshot to the target across the flames, hammer the rusted switch and ride the target block over the fire. In the alcove below, bomb the false back wall to uncover another Gold Skulltula.
Small Key 4
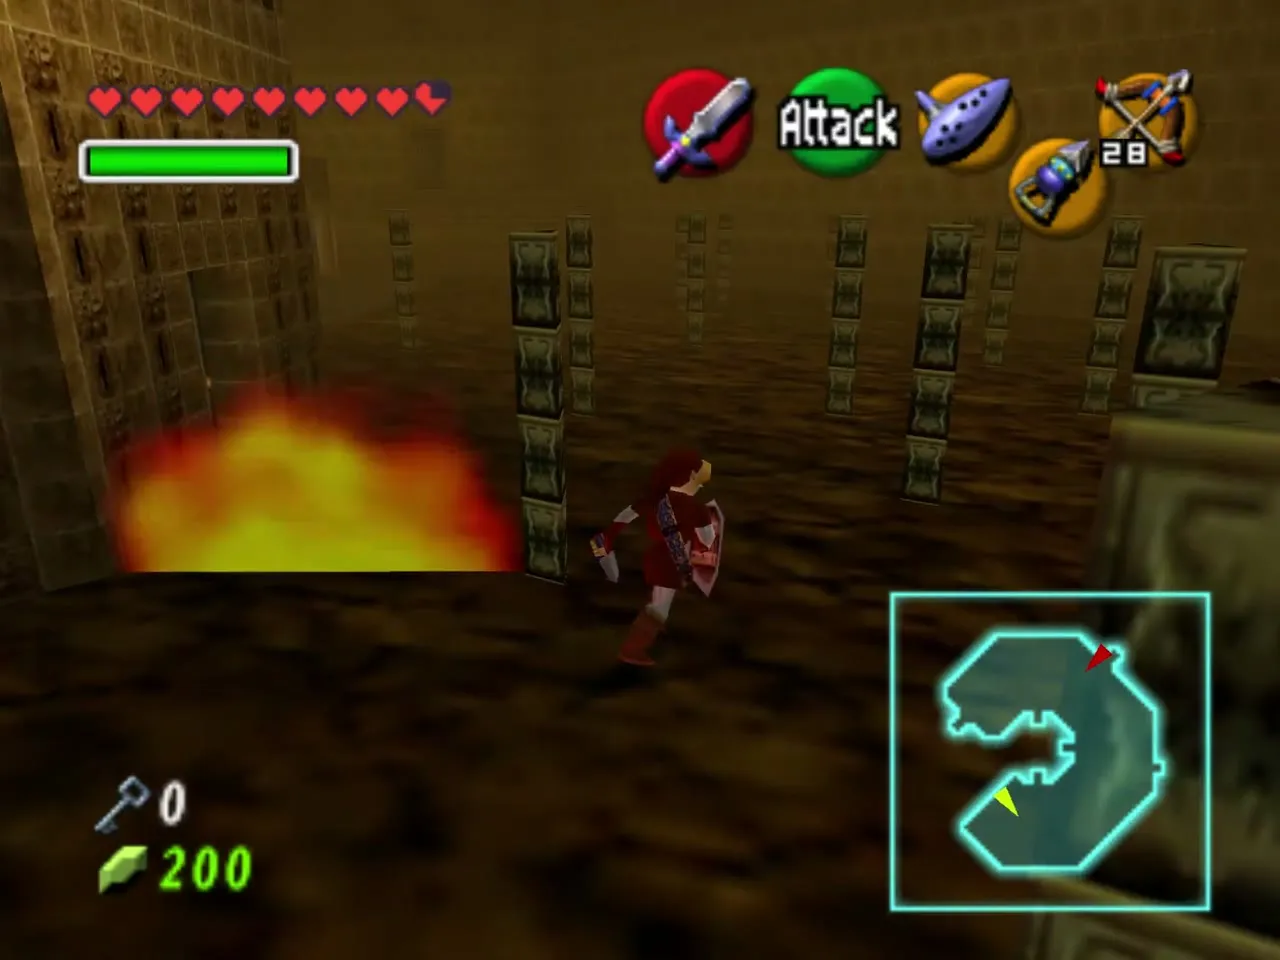
Walk the fire corridor past the burning pillars and into the room beyond. Hammer the red floor switch; Small Key 4 appears out in the open. Pick it up and walk to the locked door ahead.
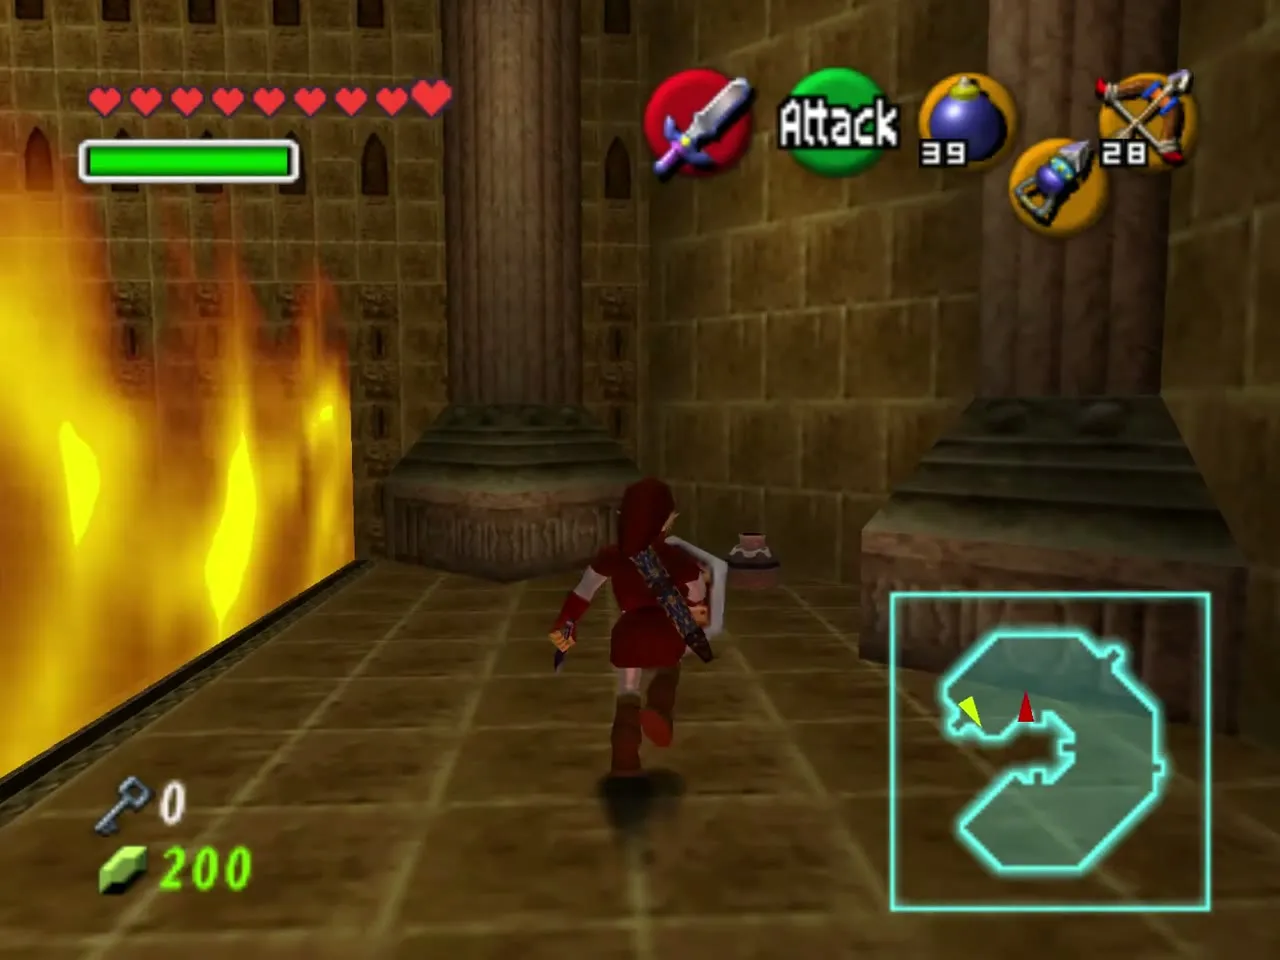
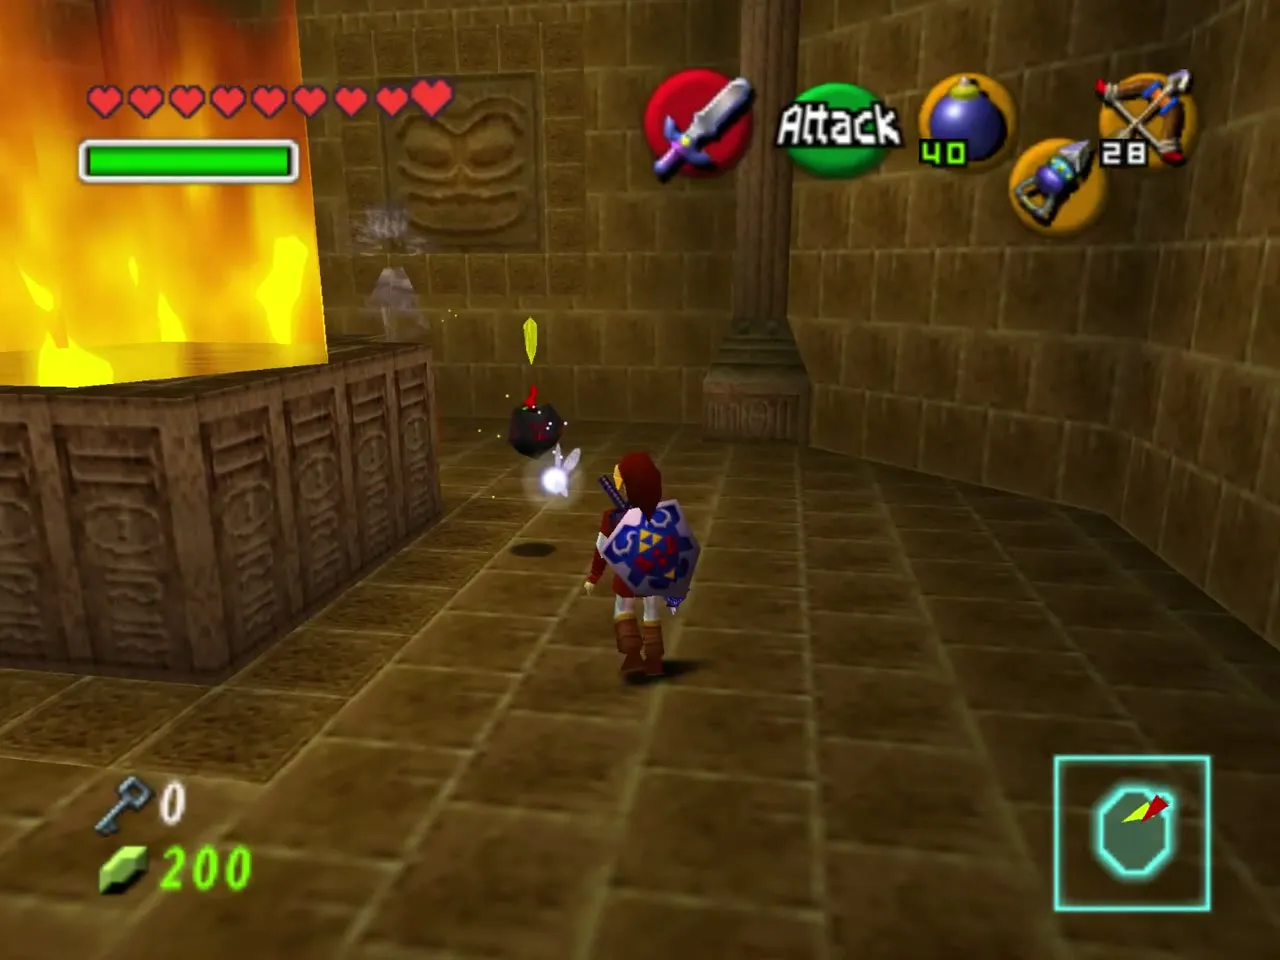
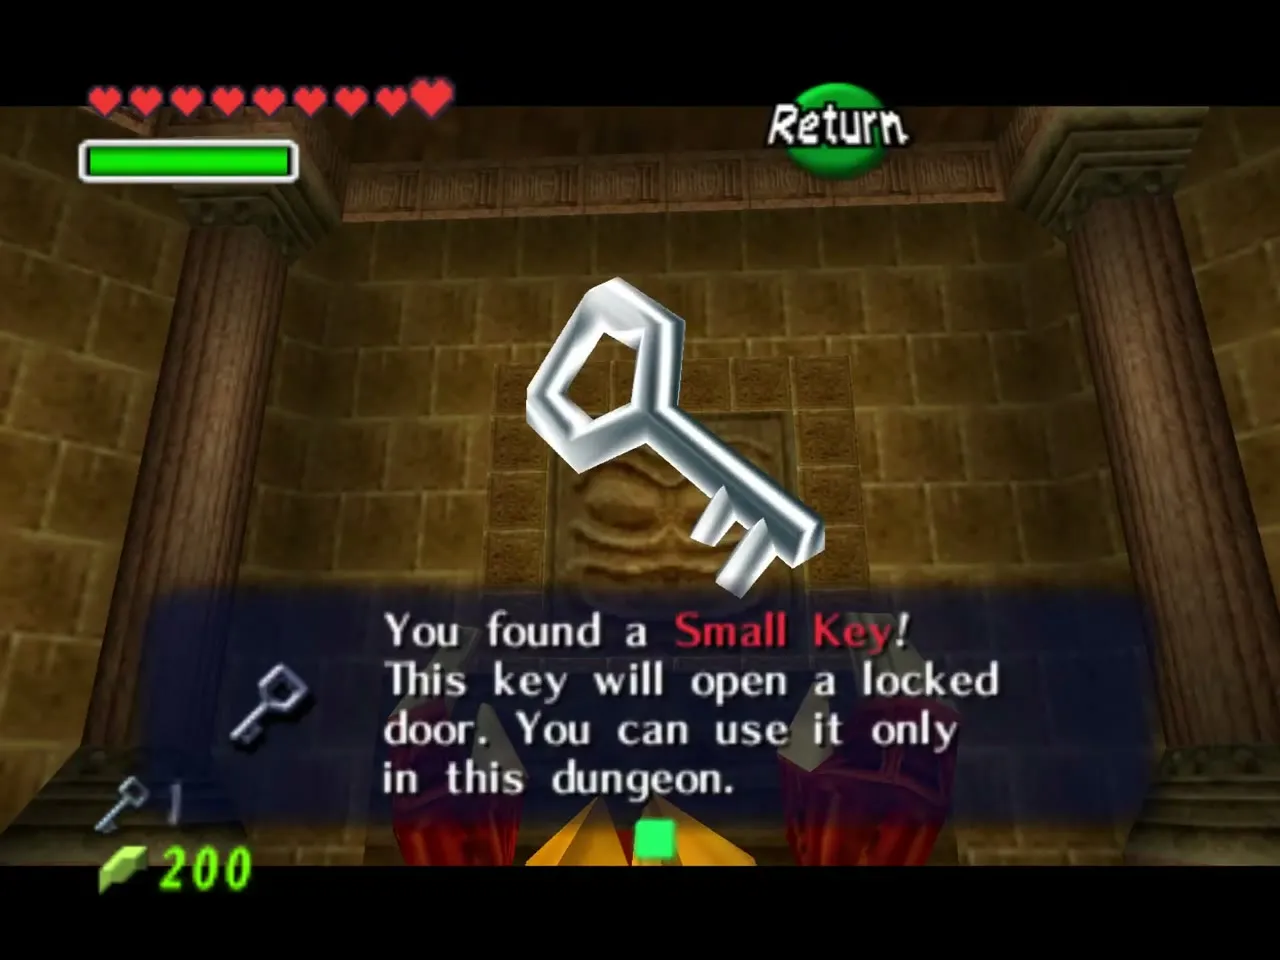
Unlock the door, sprint through the green-tiled room and Hookshot the glyph on the wall to open the way. Climb the grate up to the large circular room.
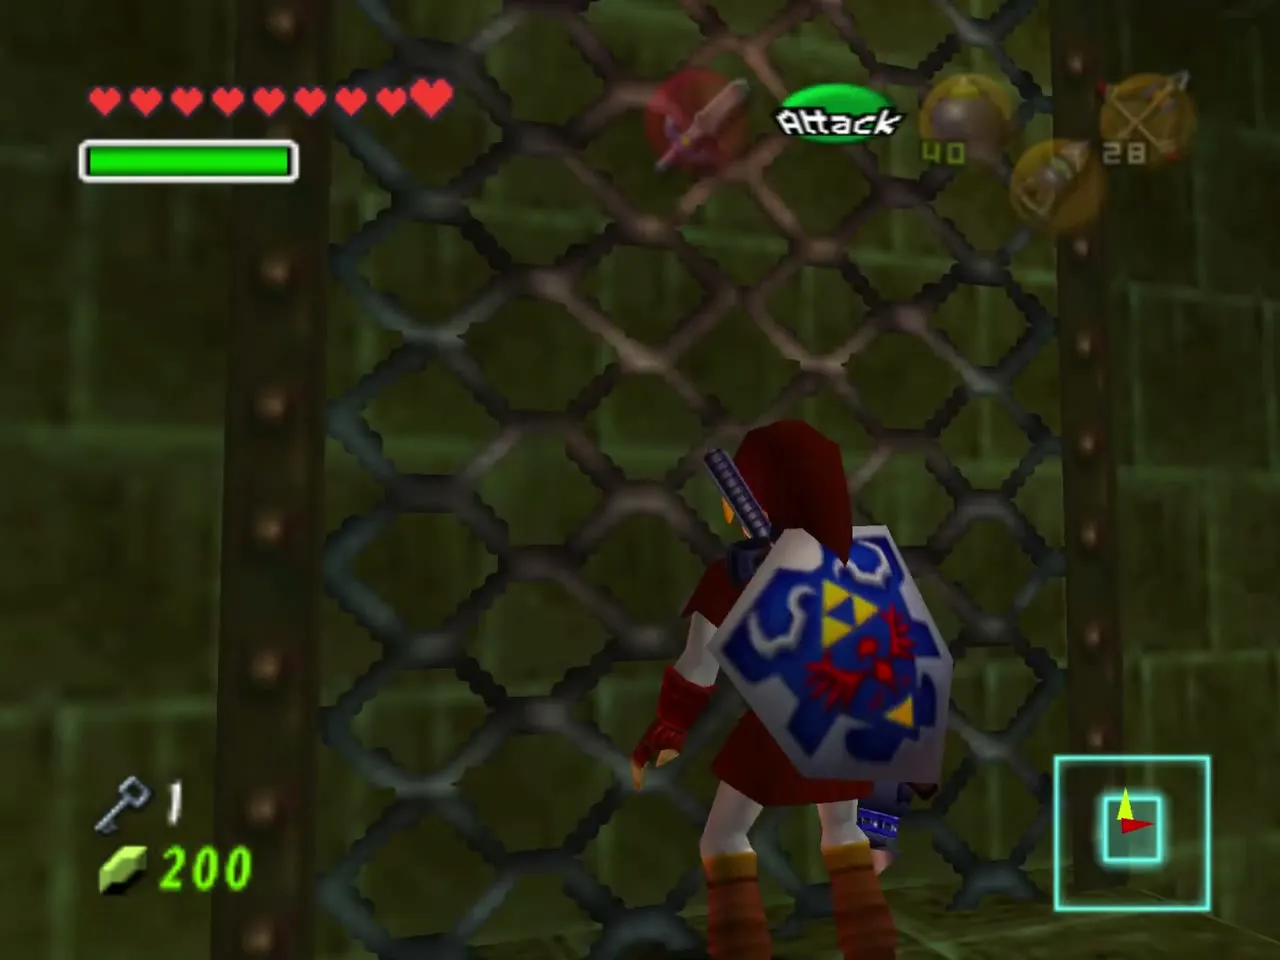
The octagon room and the last key
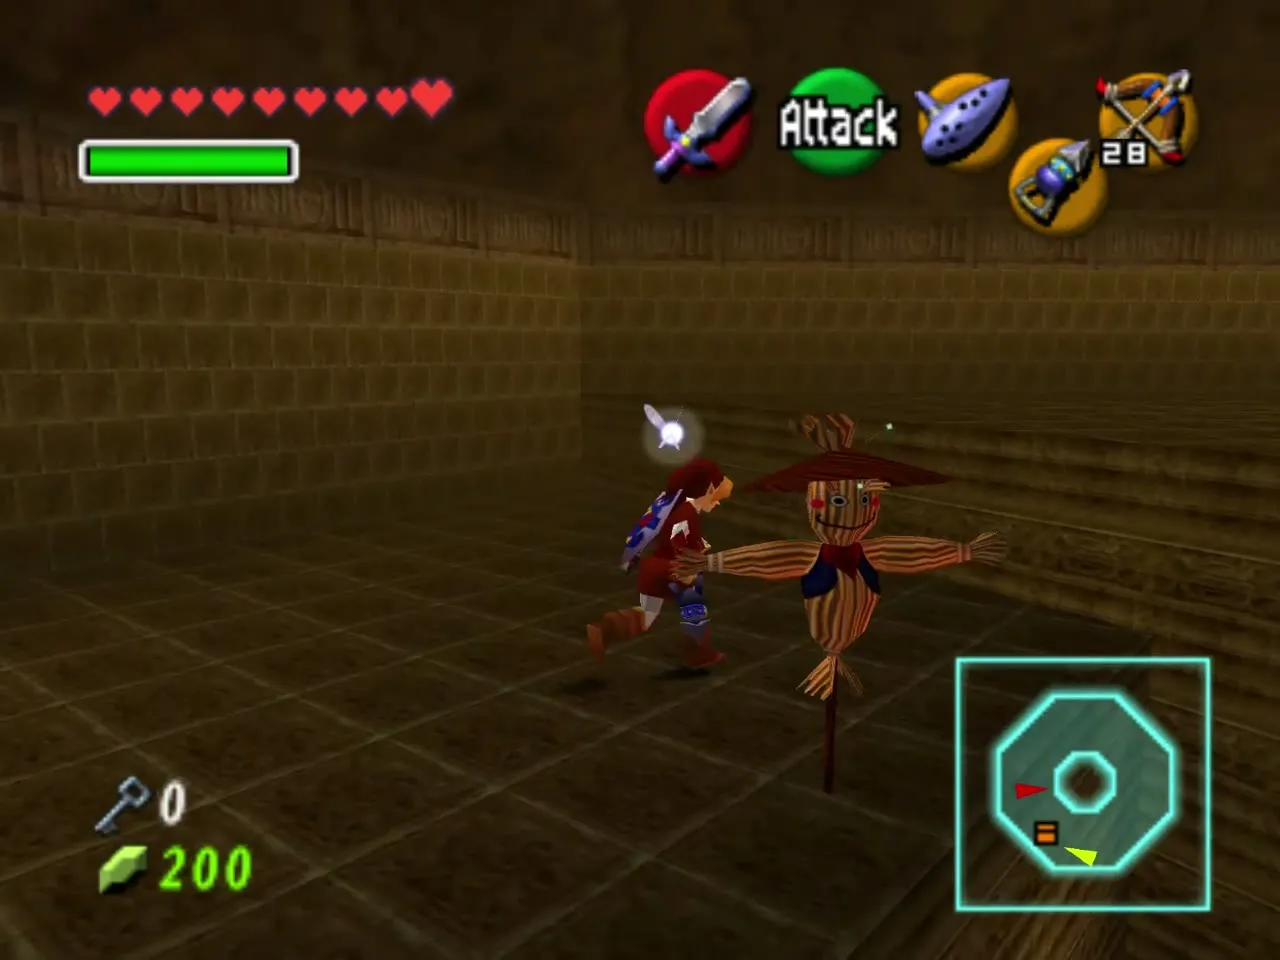
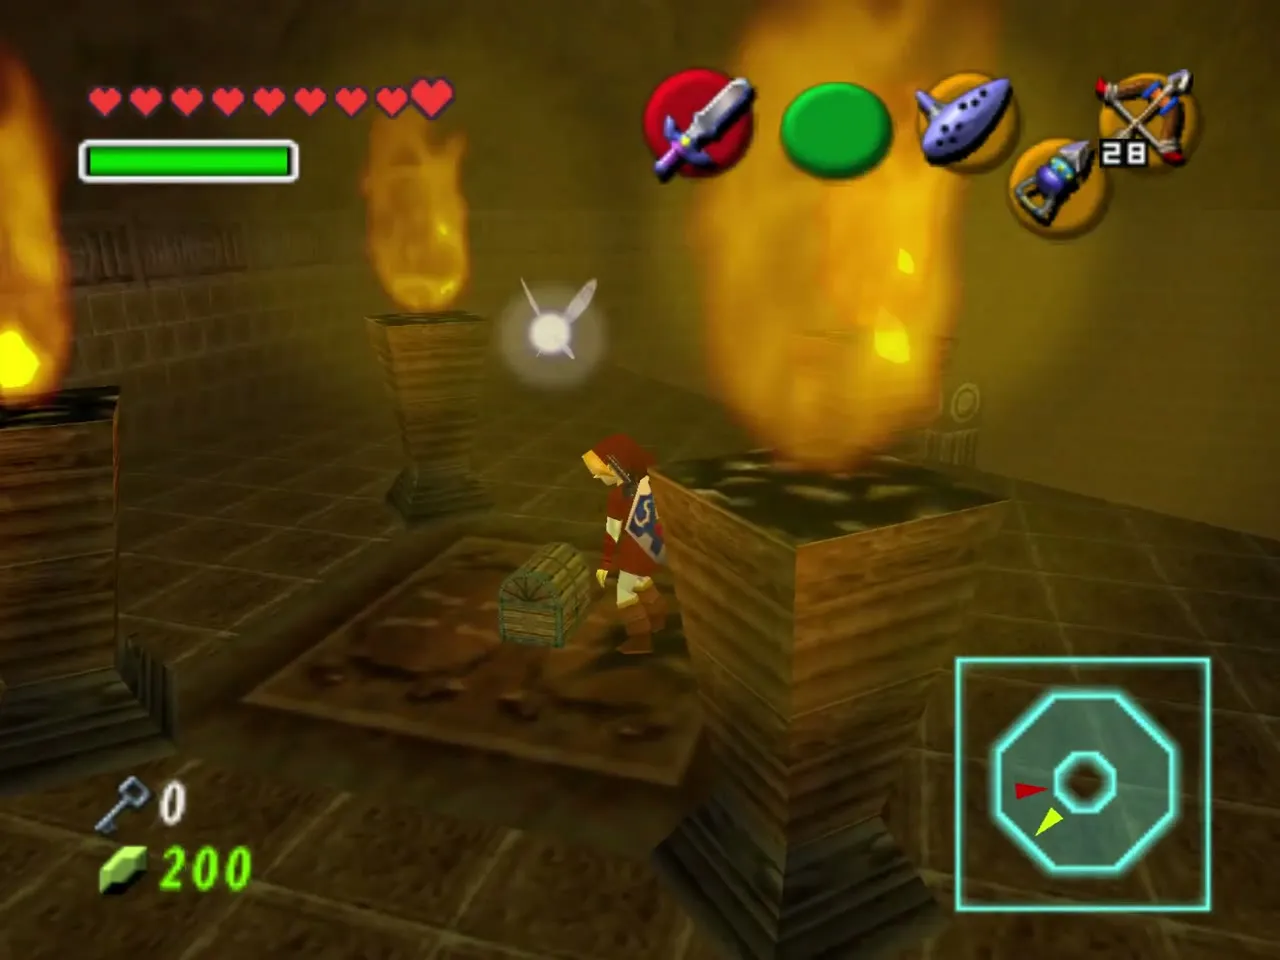
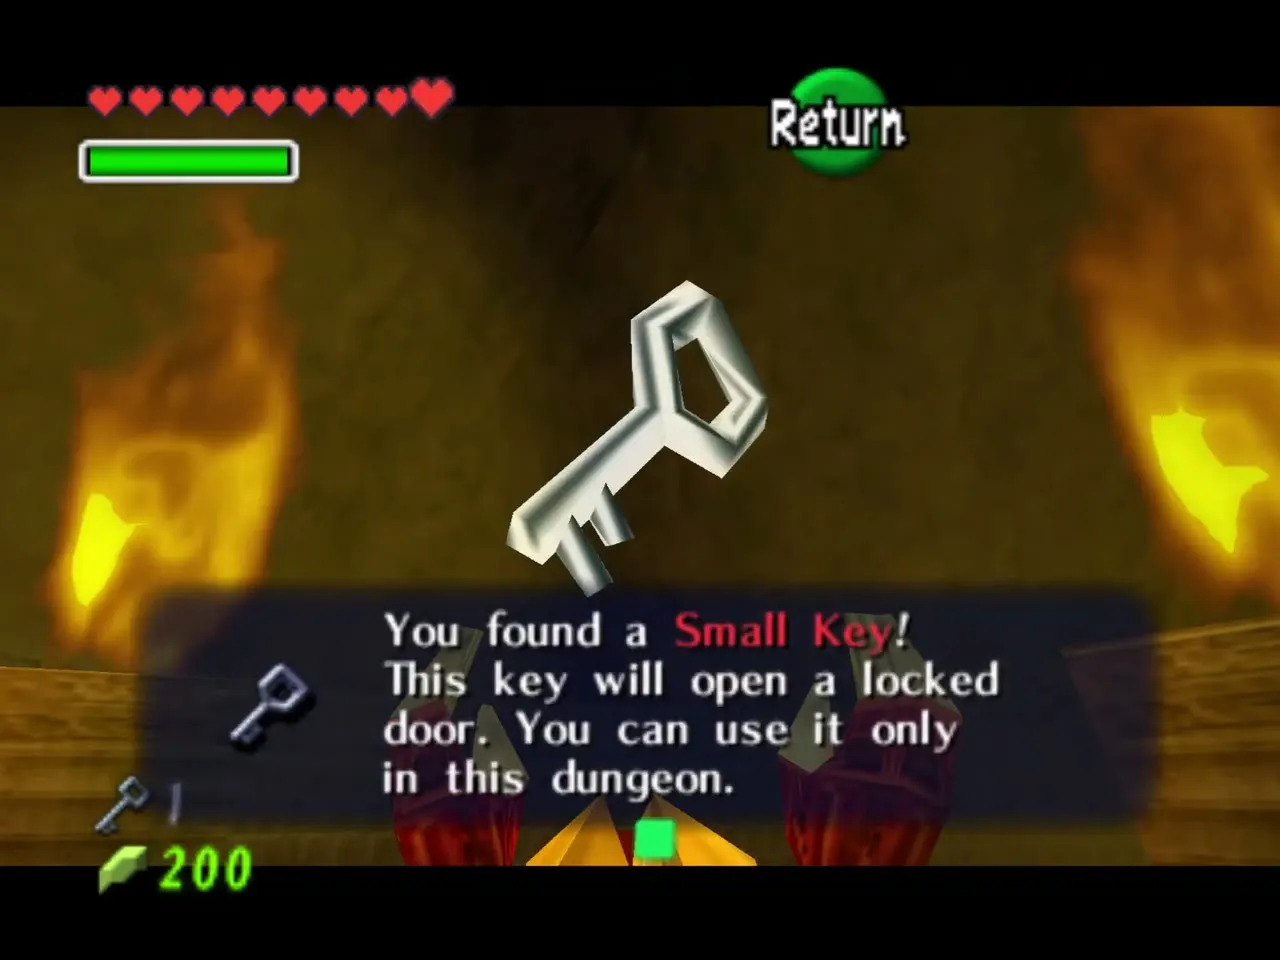
This round room has Hookshot targets, a diamond switch and a chest ringed by flames. A button in the moat on the southwest side puts the fire out for a few seconds. Plan your route: call Pierre the scarecrow by playing the Scarecrow’s Song above the button, ride him in with the Hookshot and run to the chest. It holds Small Key 5.
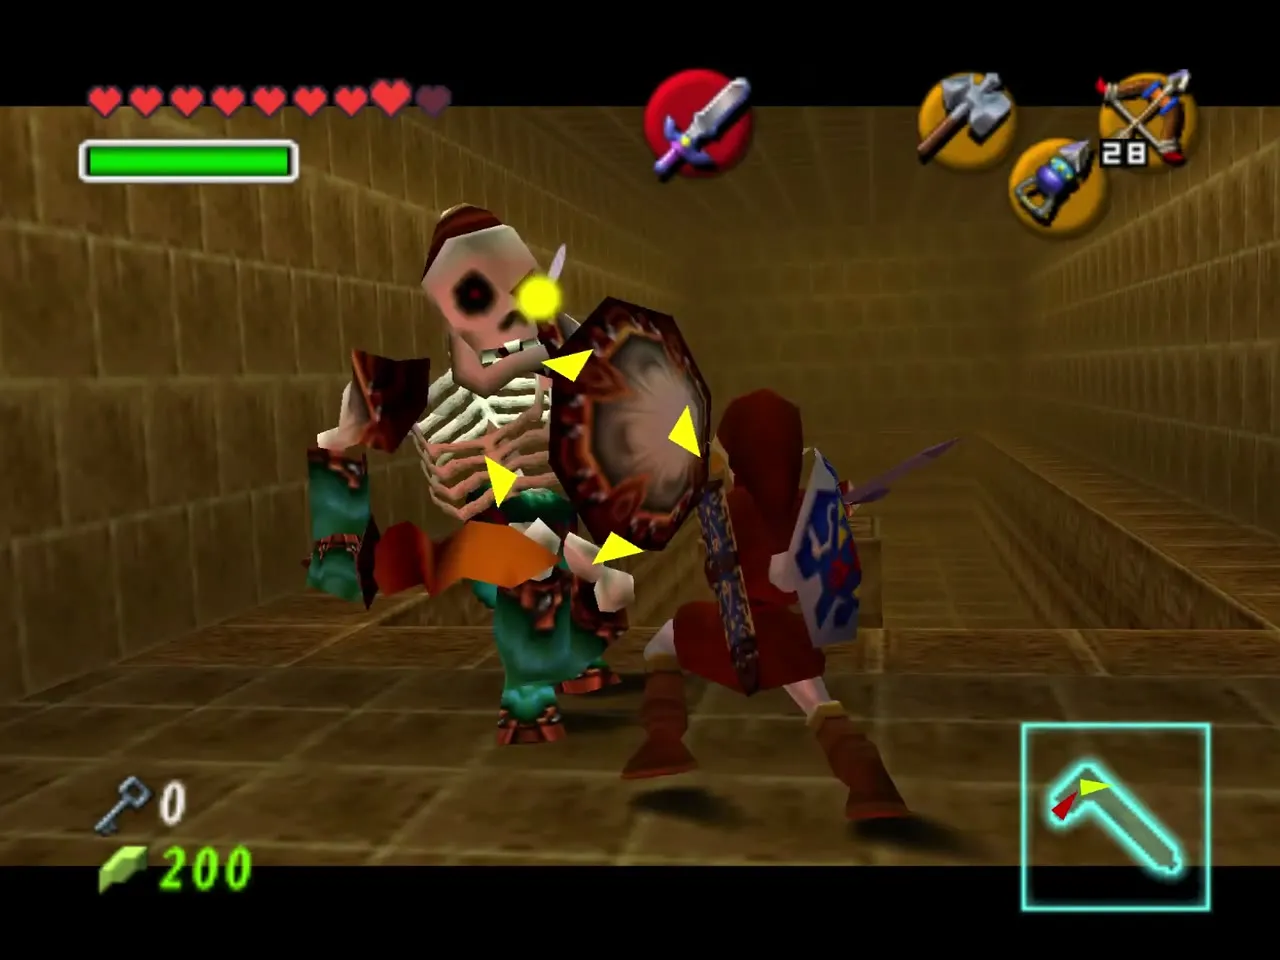
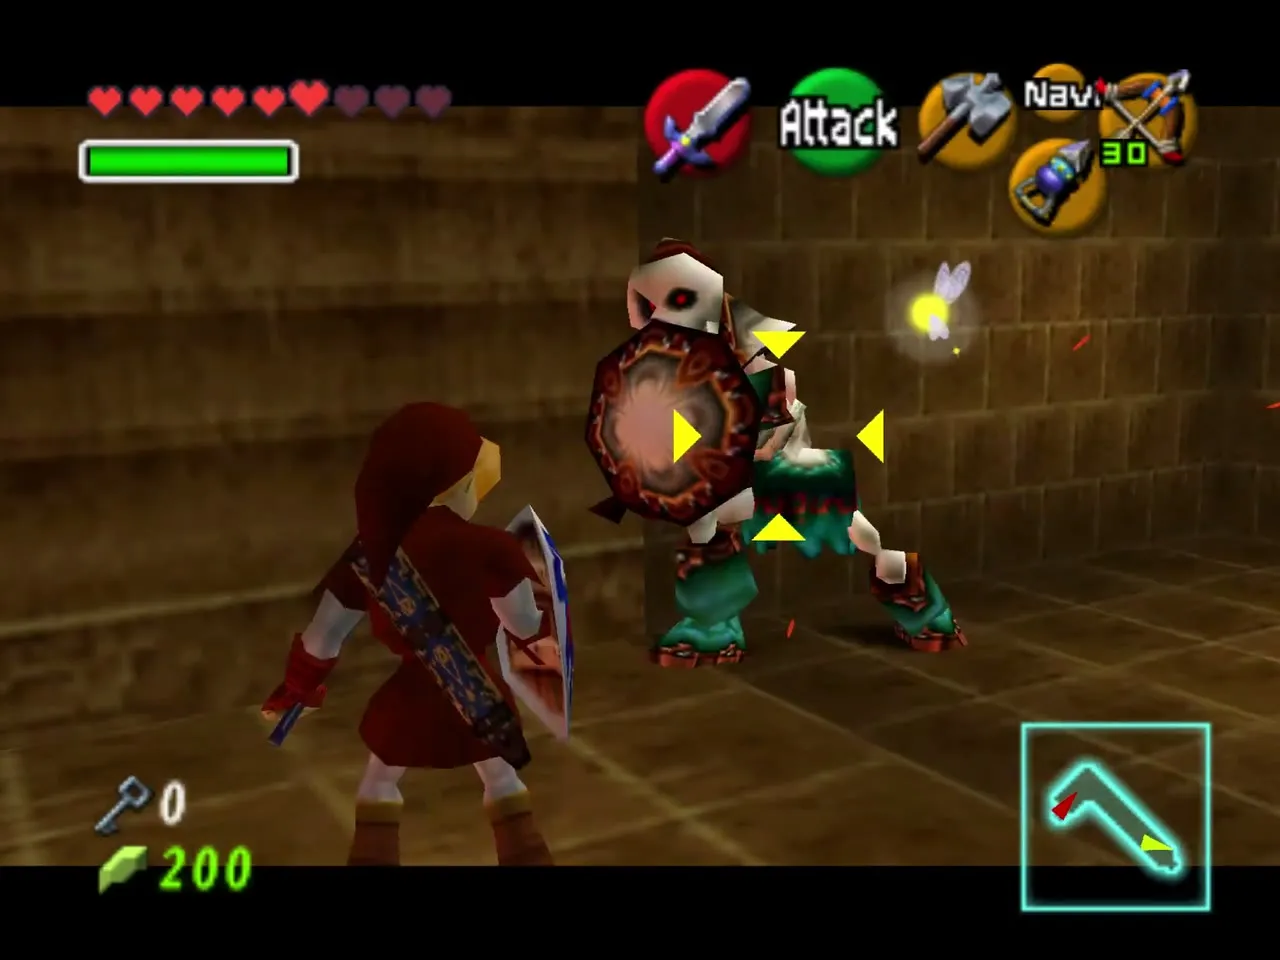
Hammer the face block down, drop into the hole and unlock the only door in the room with your key. A Stalfos ambushes you at once. After the first, pound the second face block to build a stairway; another Stalfos attacks on the way down. Refill with the pink fairy if your hearts are low.
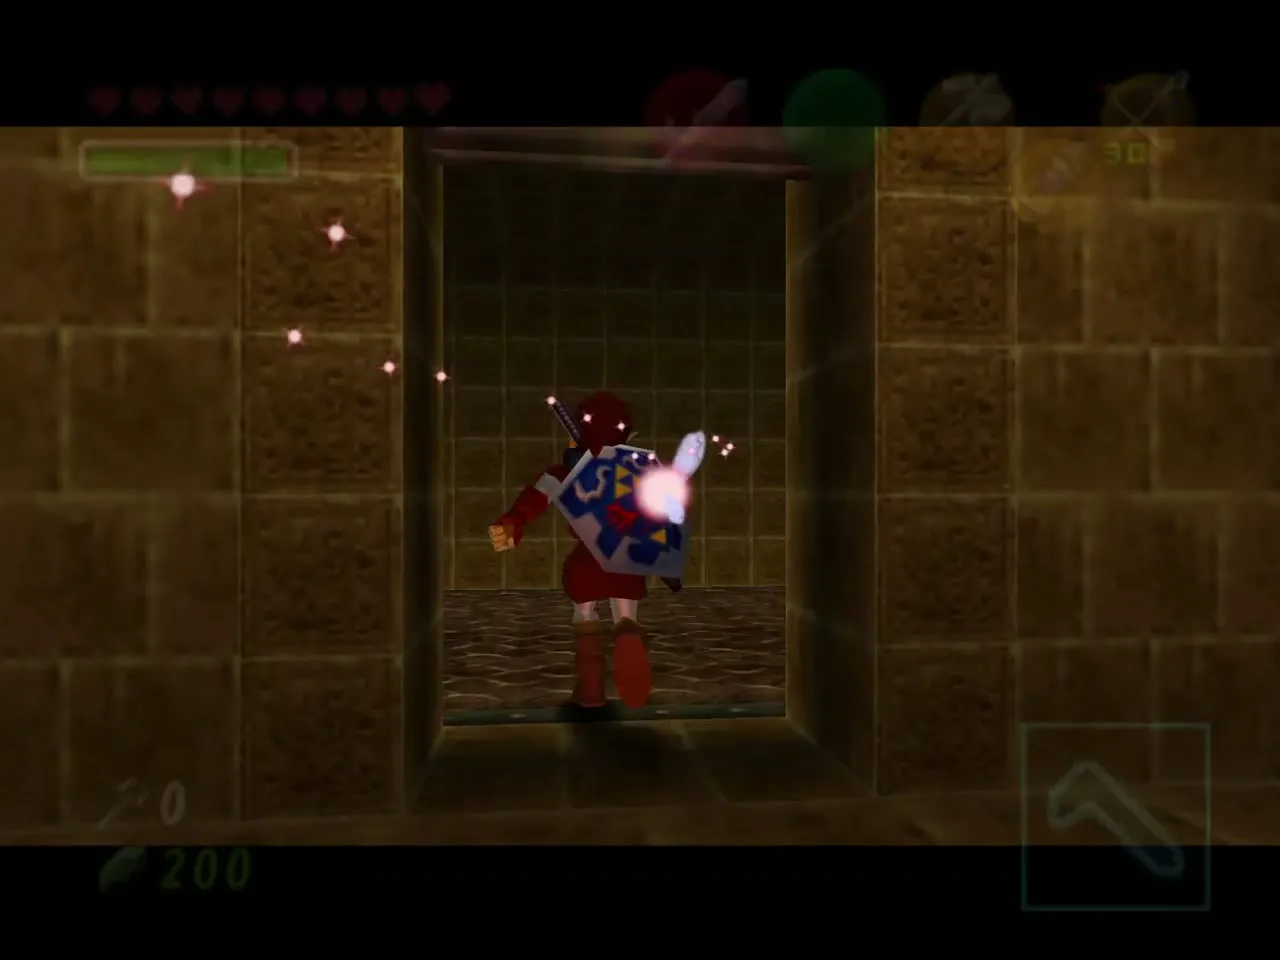
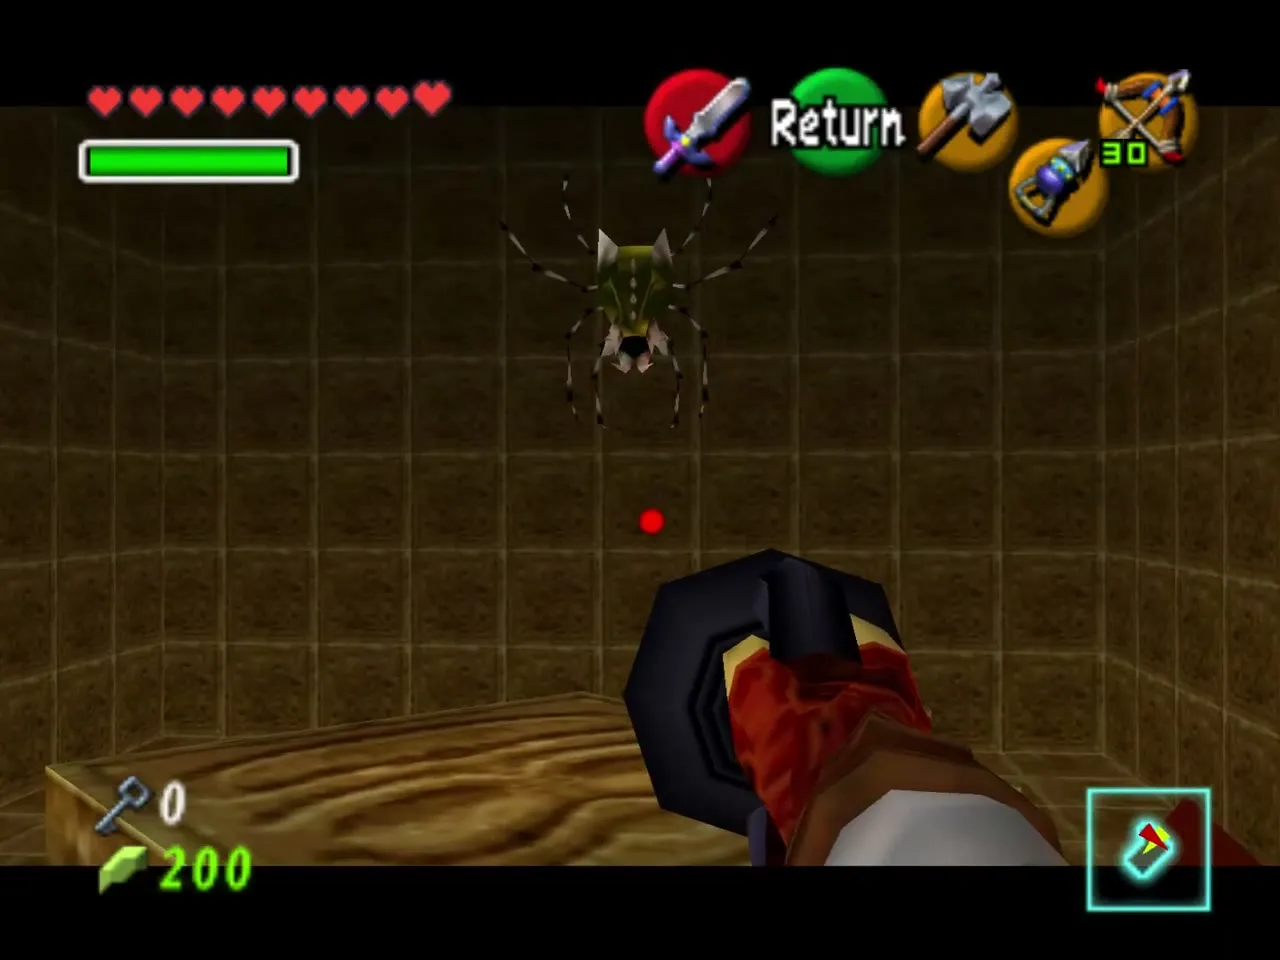
Fifth Gold Skulltula
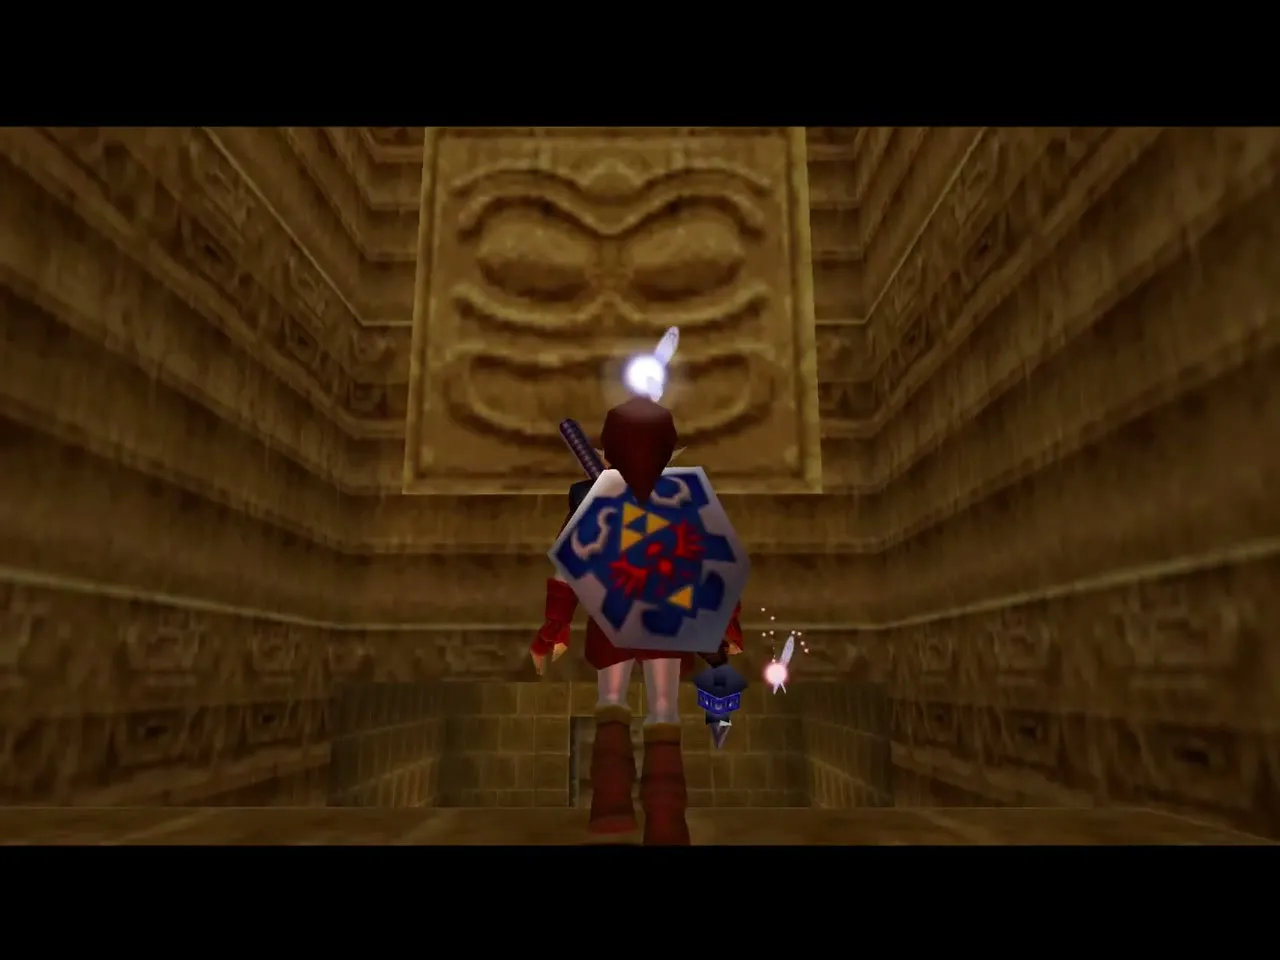
When you reach the bottom, Navi points at a stone face on the wall. Hookshot it to open the door, then Hookshot the Gold Skulltula clinging to the wall of the next room.
Down to the boss
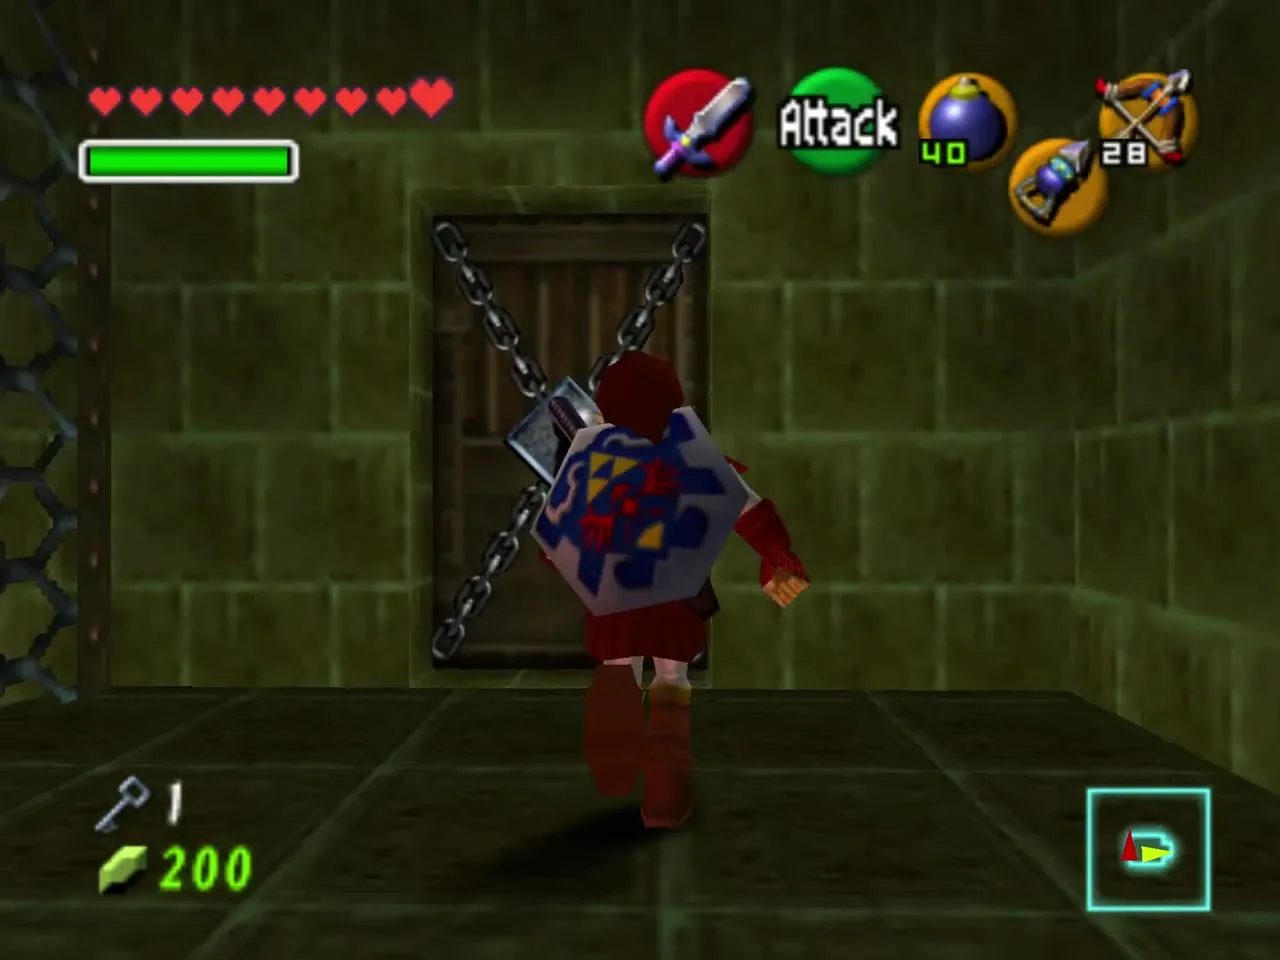
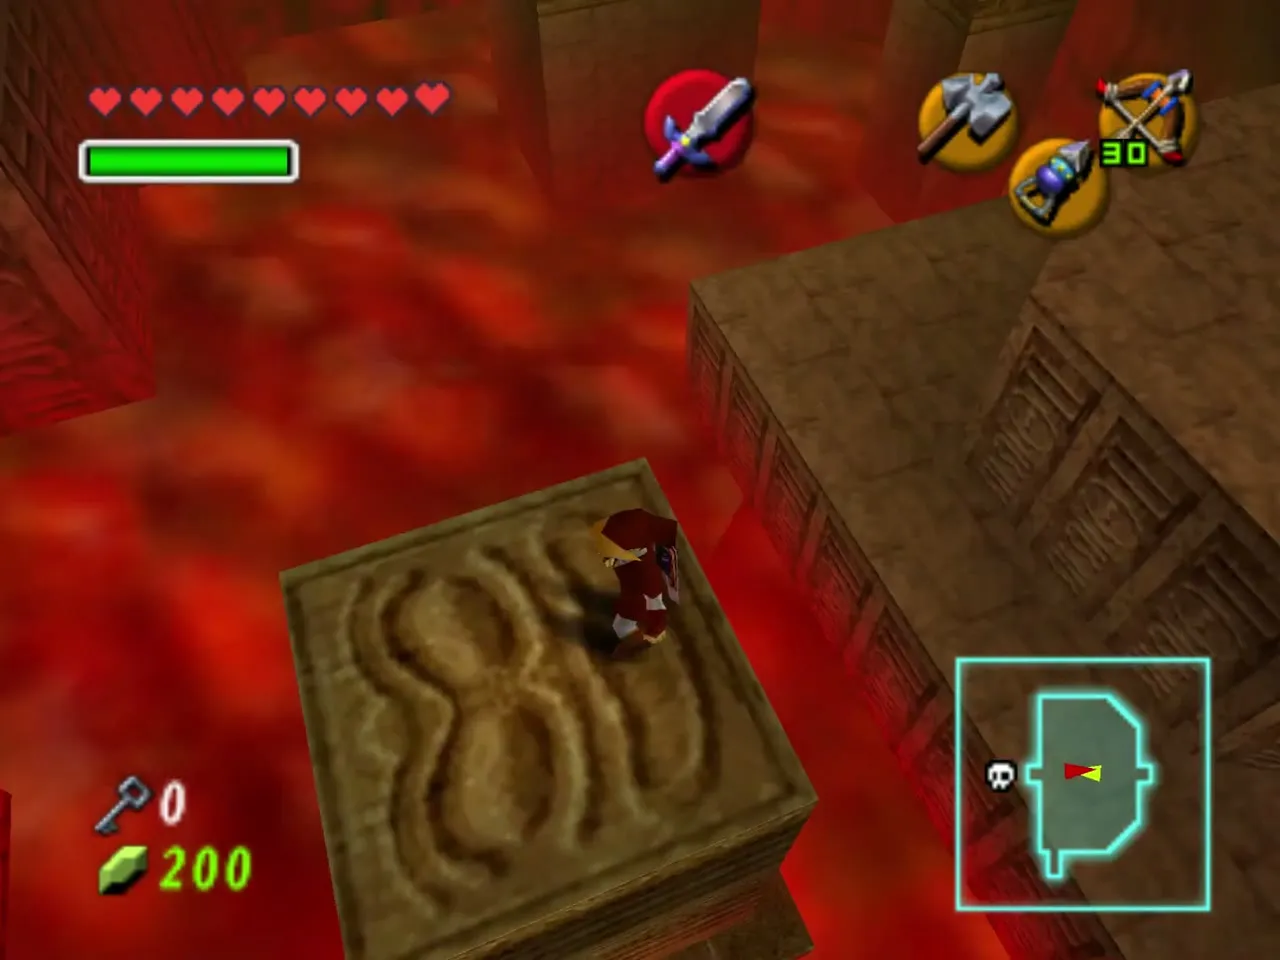
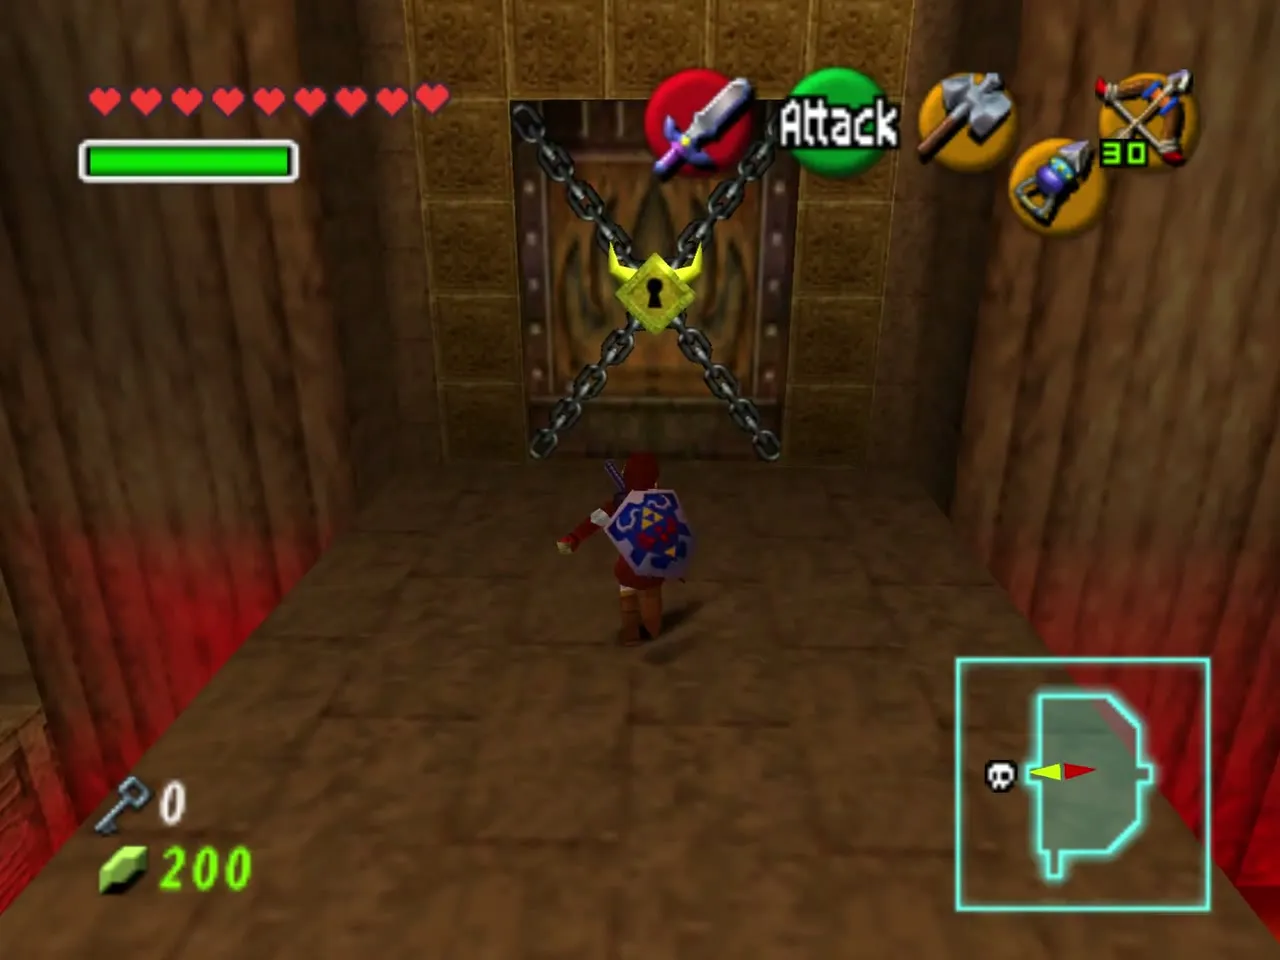
Hammer the last face block and fall back into the C-shaped chamber. Drop into the hole left by the central pillar, cross the lava platform to the chained boss door and open it with the Boss Key.
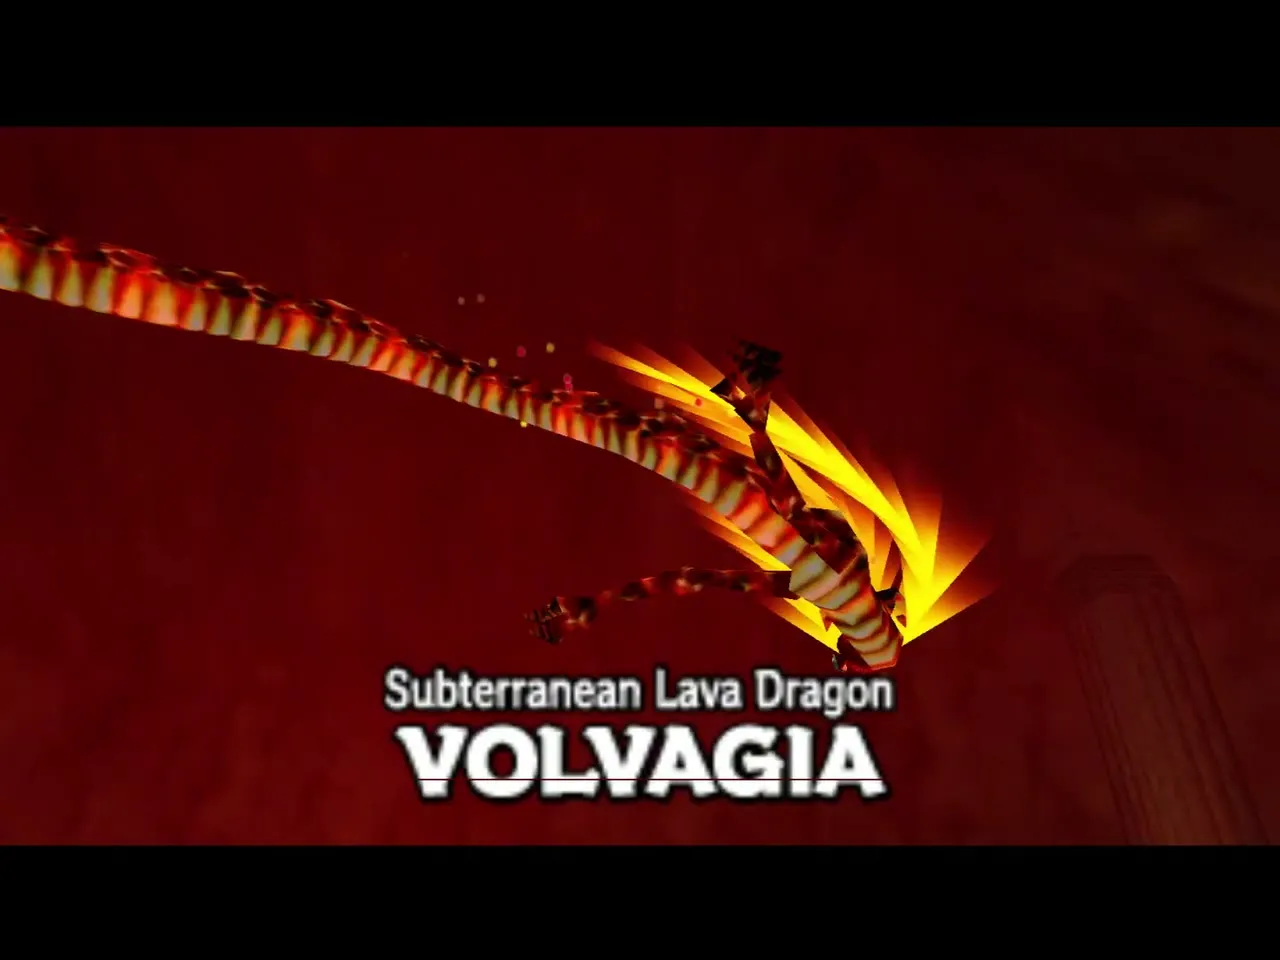
Boss: Volvagia
The arena
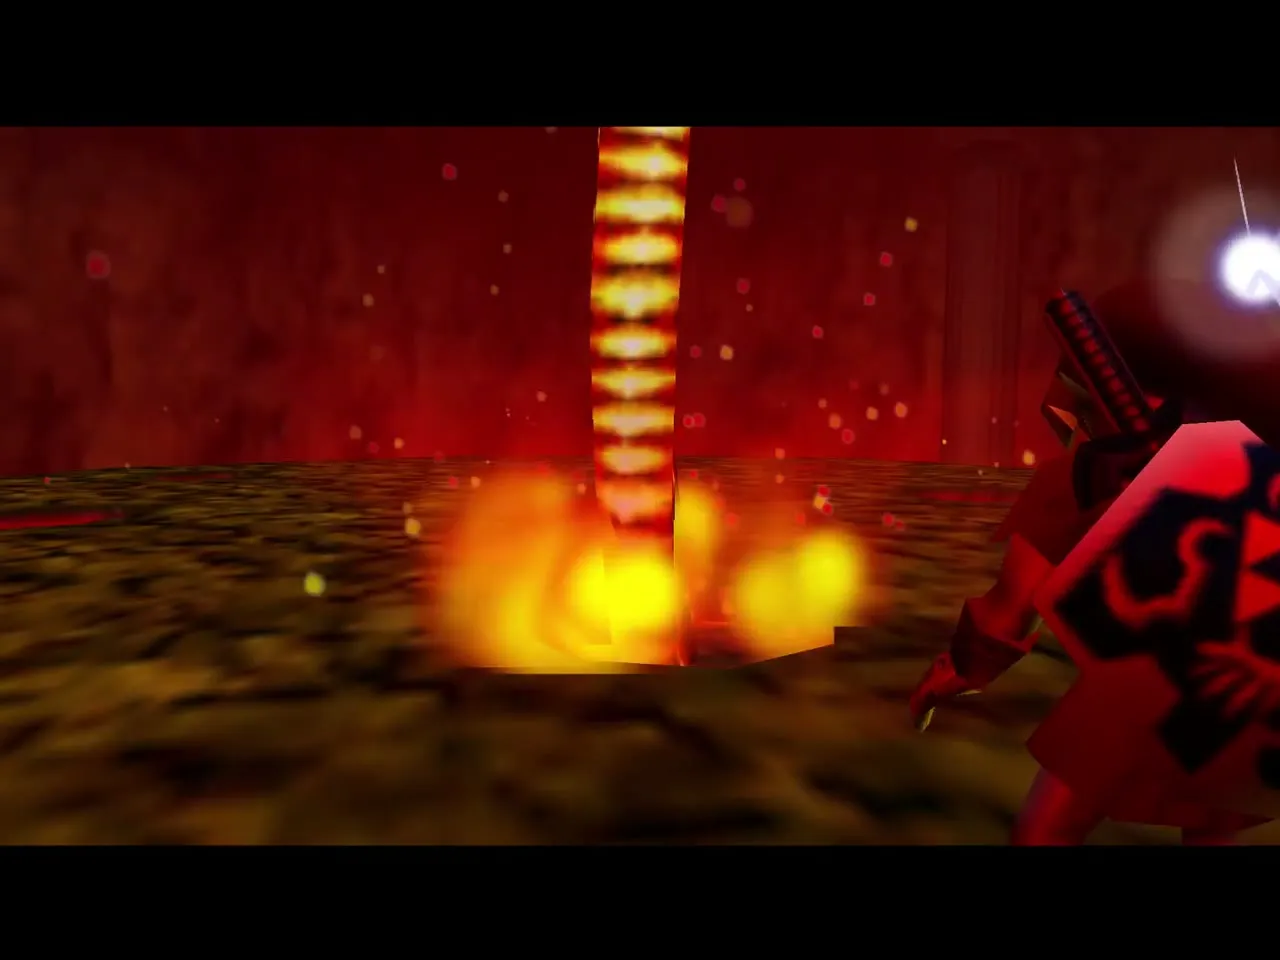
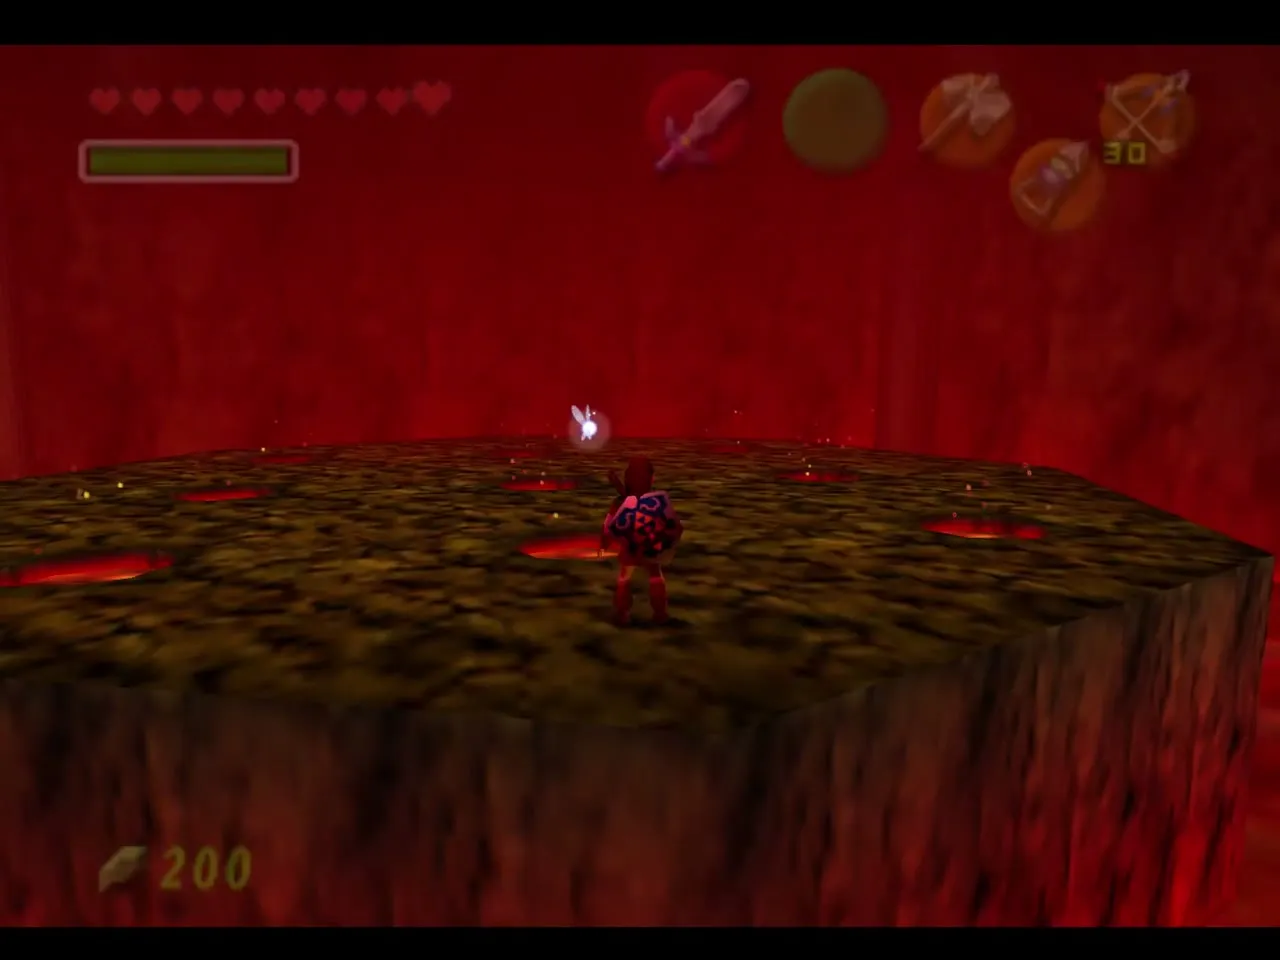
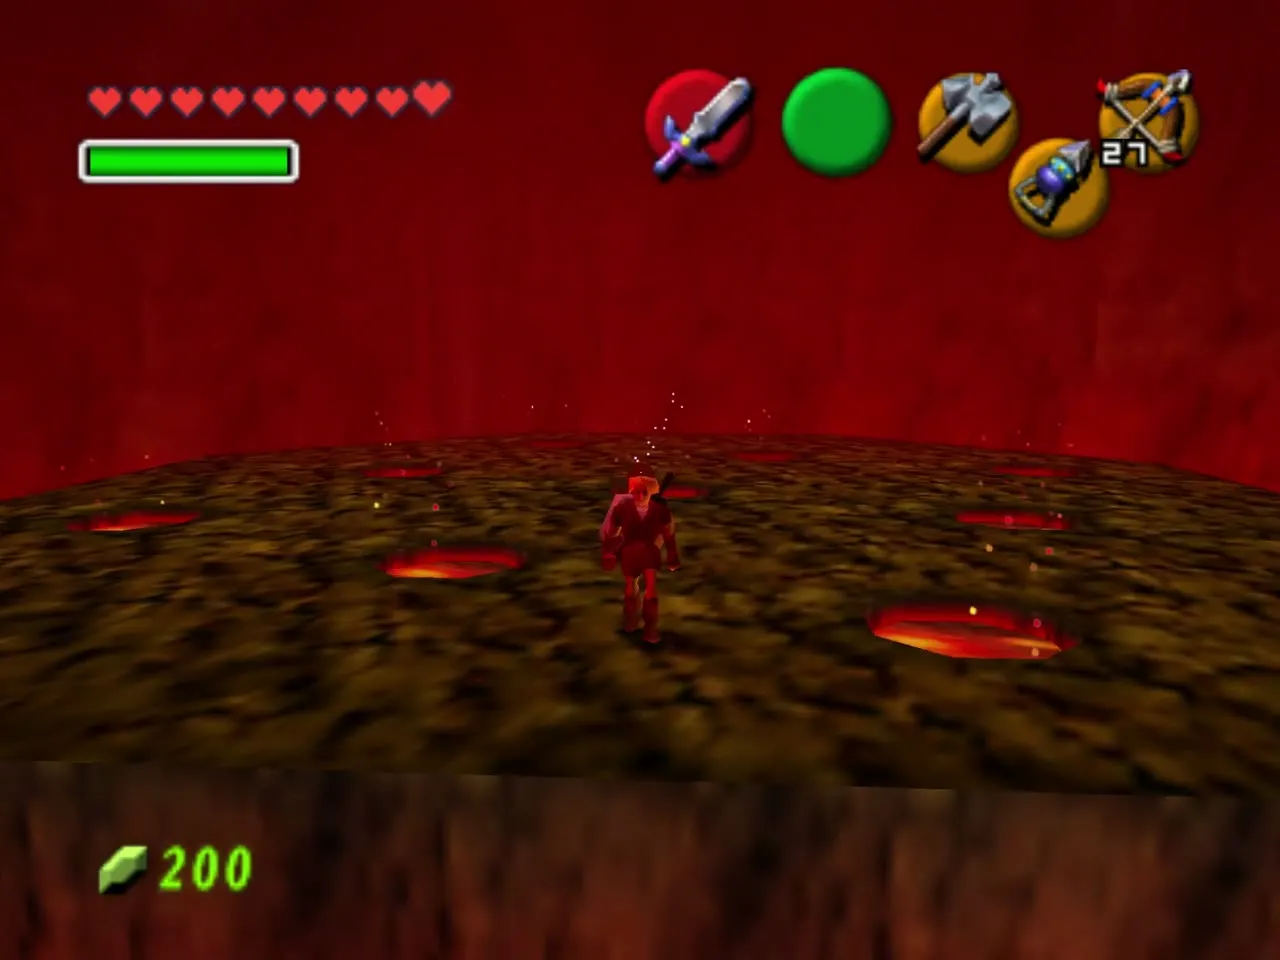
The fight takes place on a round platform ringed by lava and pocked with holes. If you fall in, you can climb back up the edge. Volvagia pops out of the holes and flies laps; his fire does a lot of damage in Master Quest, so keep your health topped up.
Hammer his head
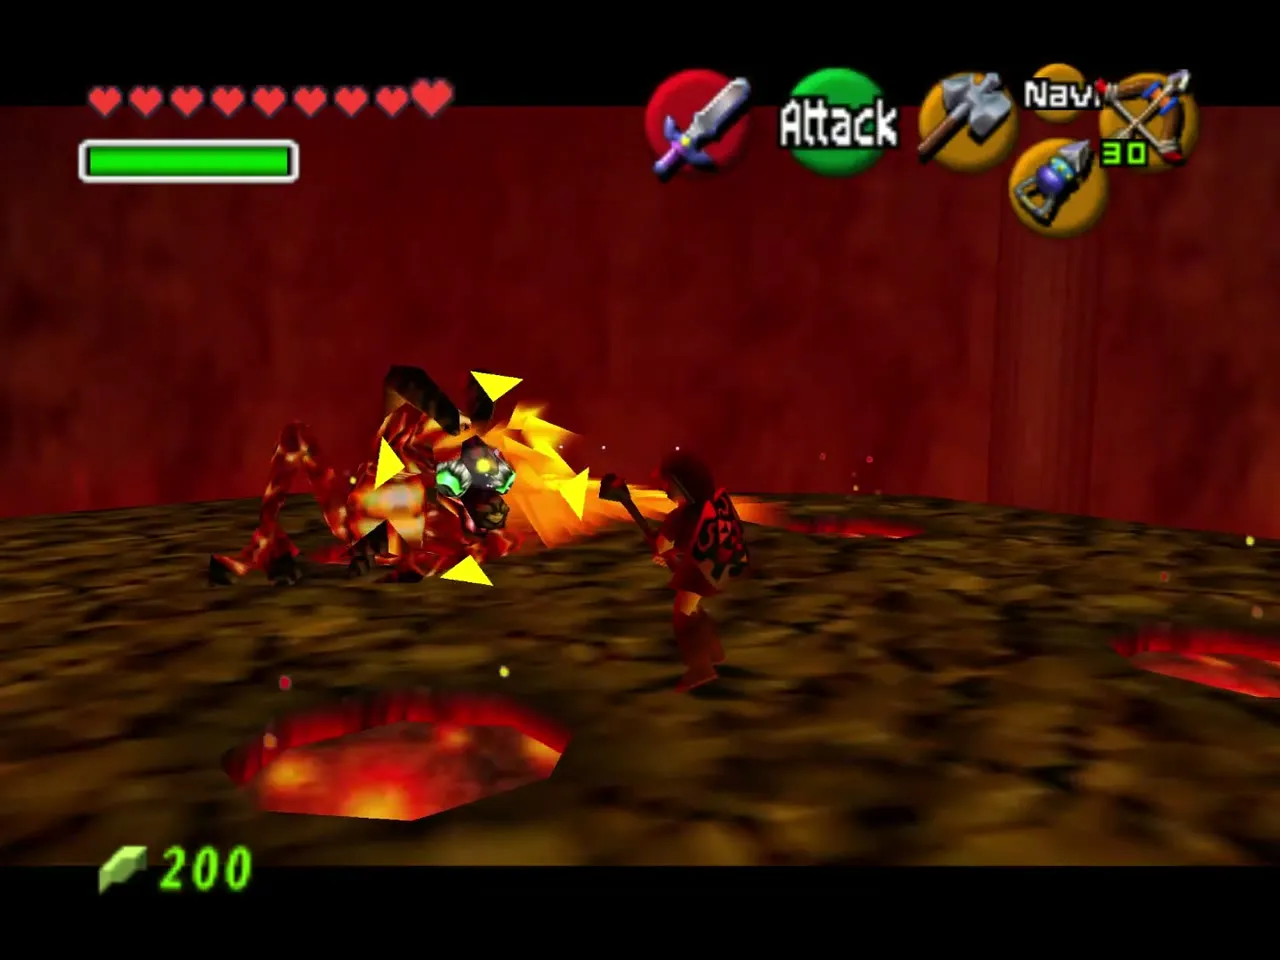
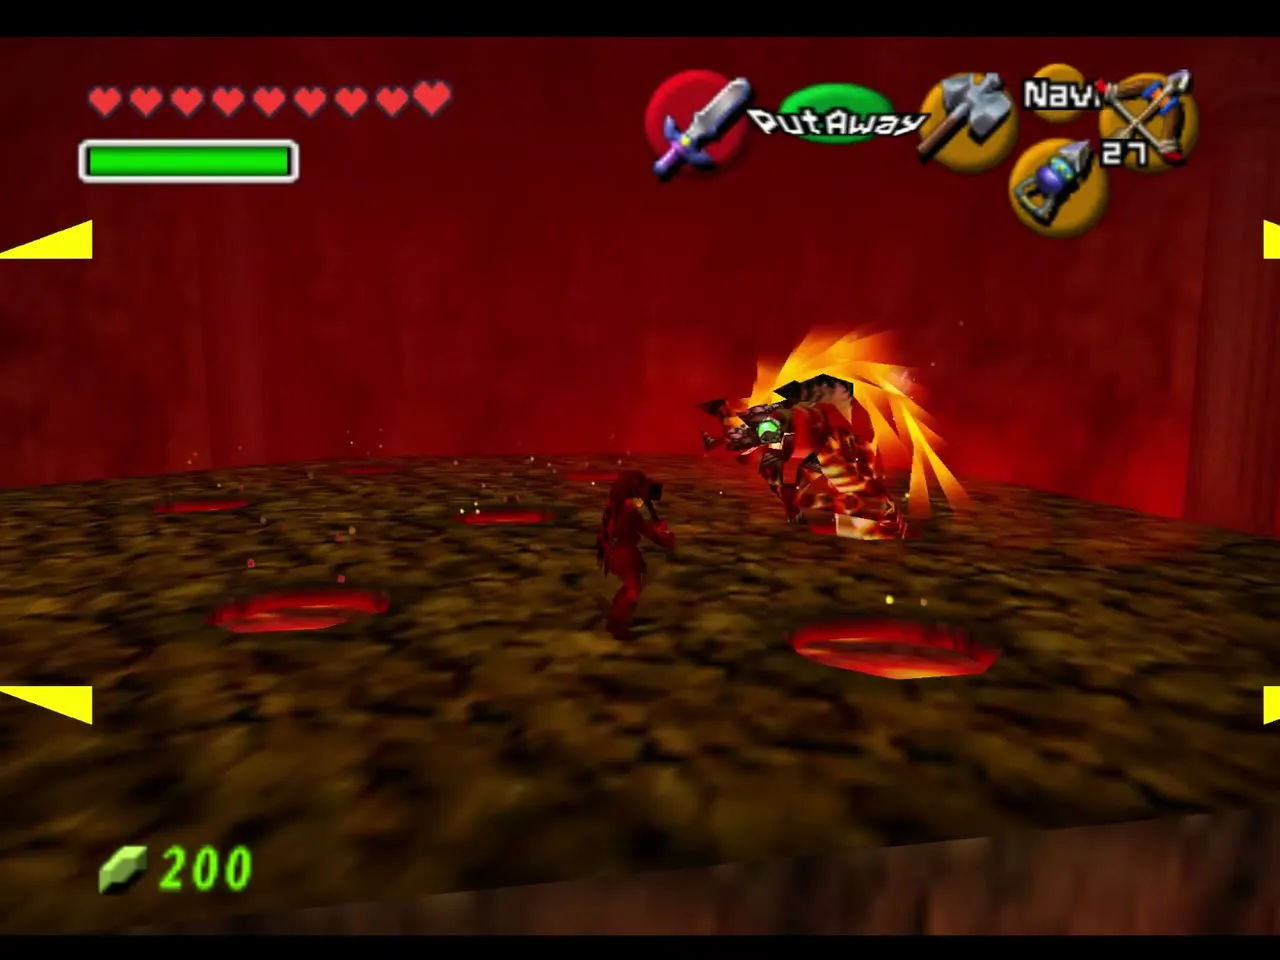
When Volvagia pokes his head out of a hole and leans over the edge, run over and smash it with the Megaton Hammer to stun him, then slash it with the sword. If you miss the swing he bites or breathes fire.
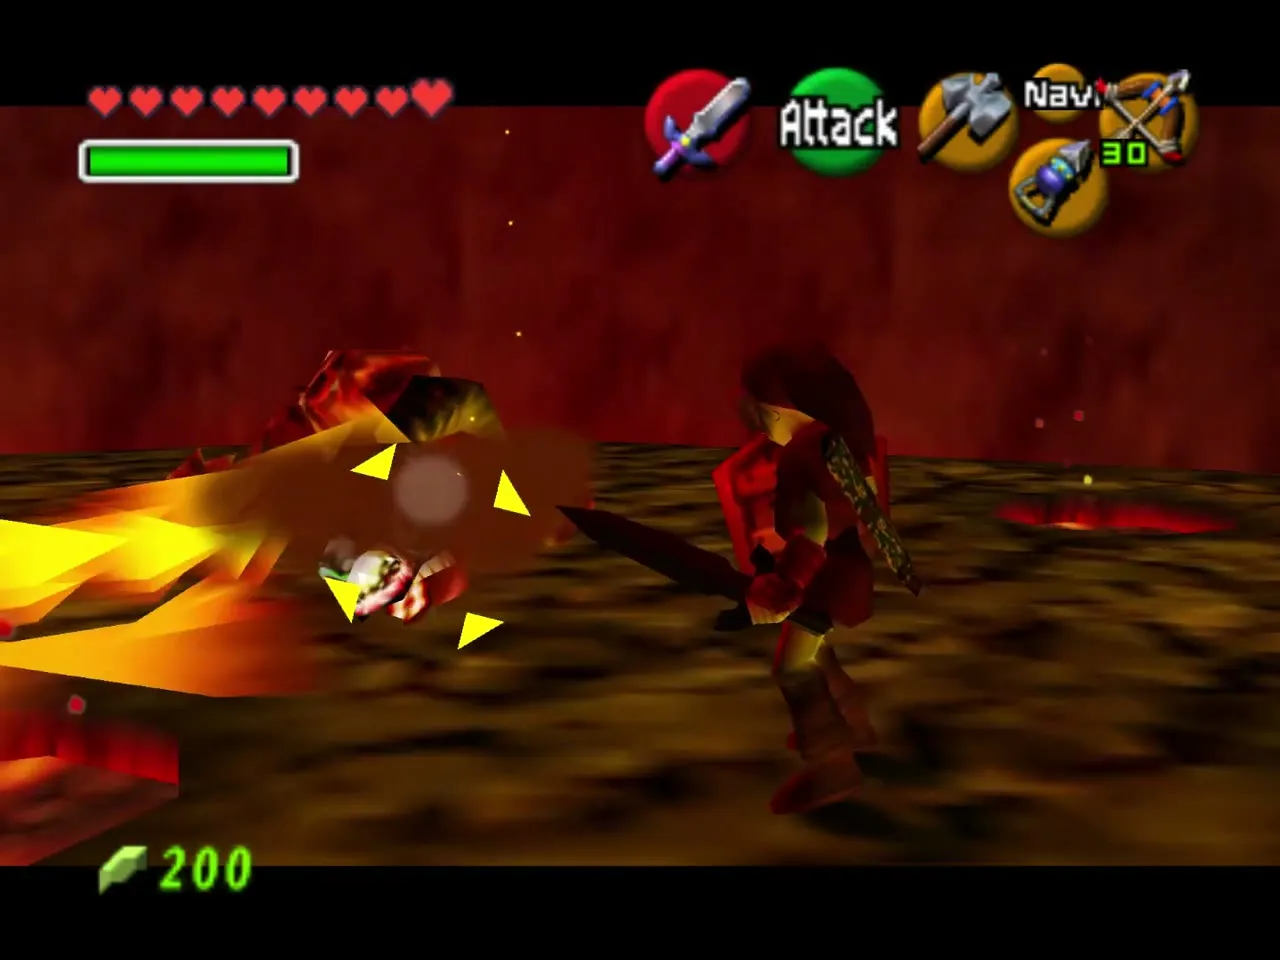
Flying phase
He also flies up to the ceiling and bumps it, dropping burning rocks at the spot where you stood; run to the opposite side and watch the shadows on the floor. When he flies around breathing fire, stand next to the hole he came out of or hang from the platform edge until he passes. Arrows hit him while he flies.
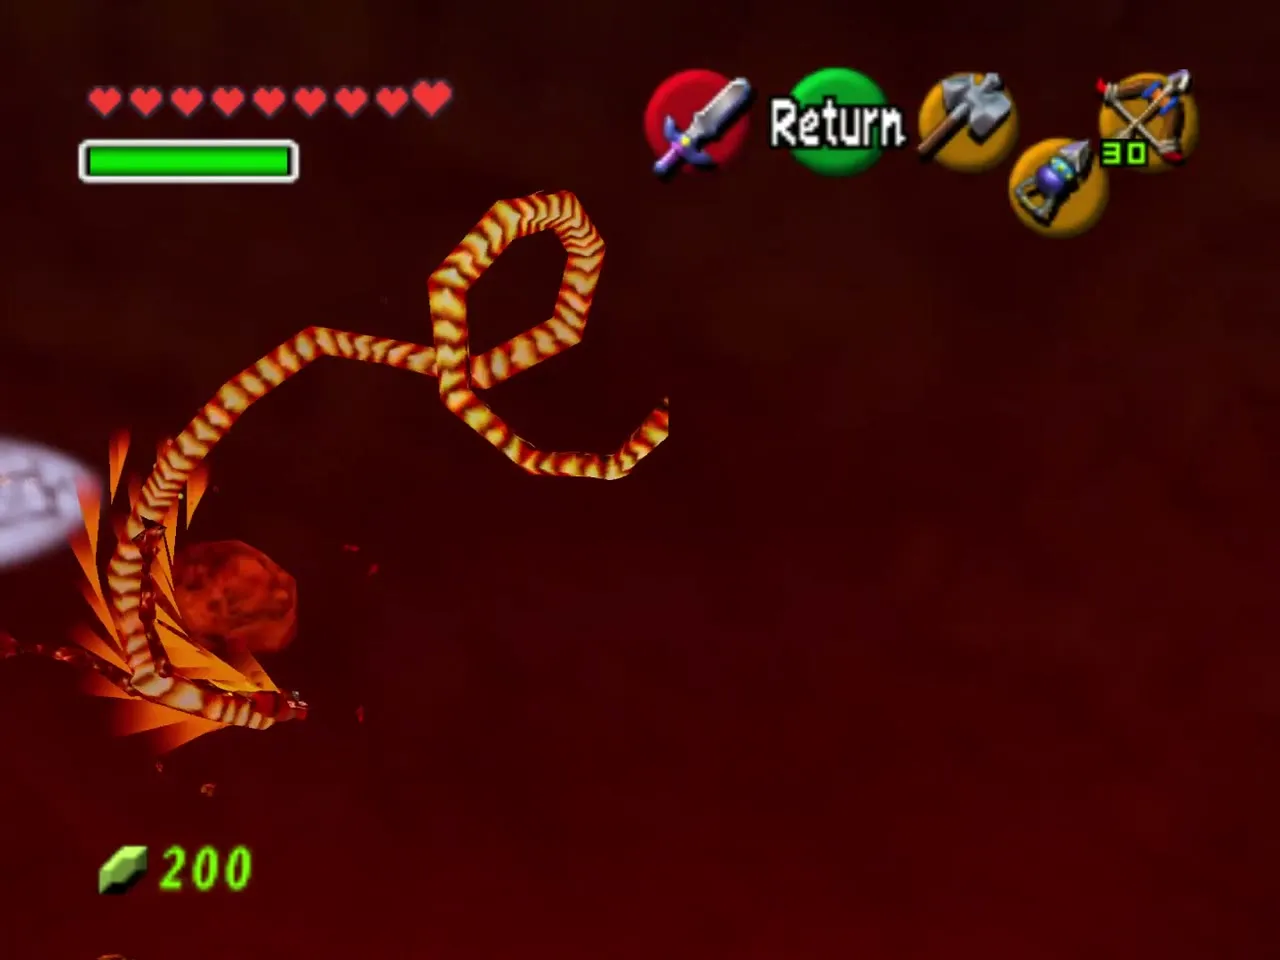
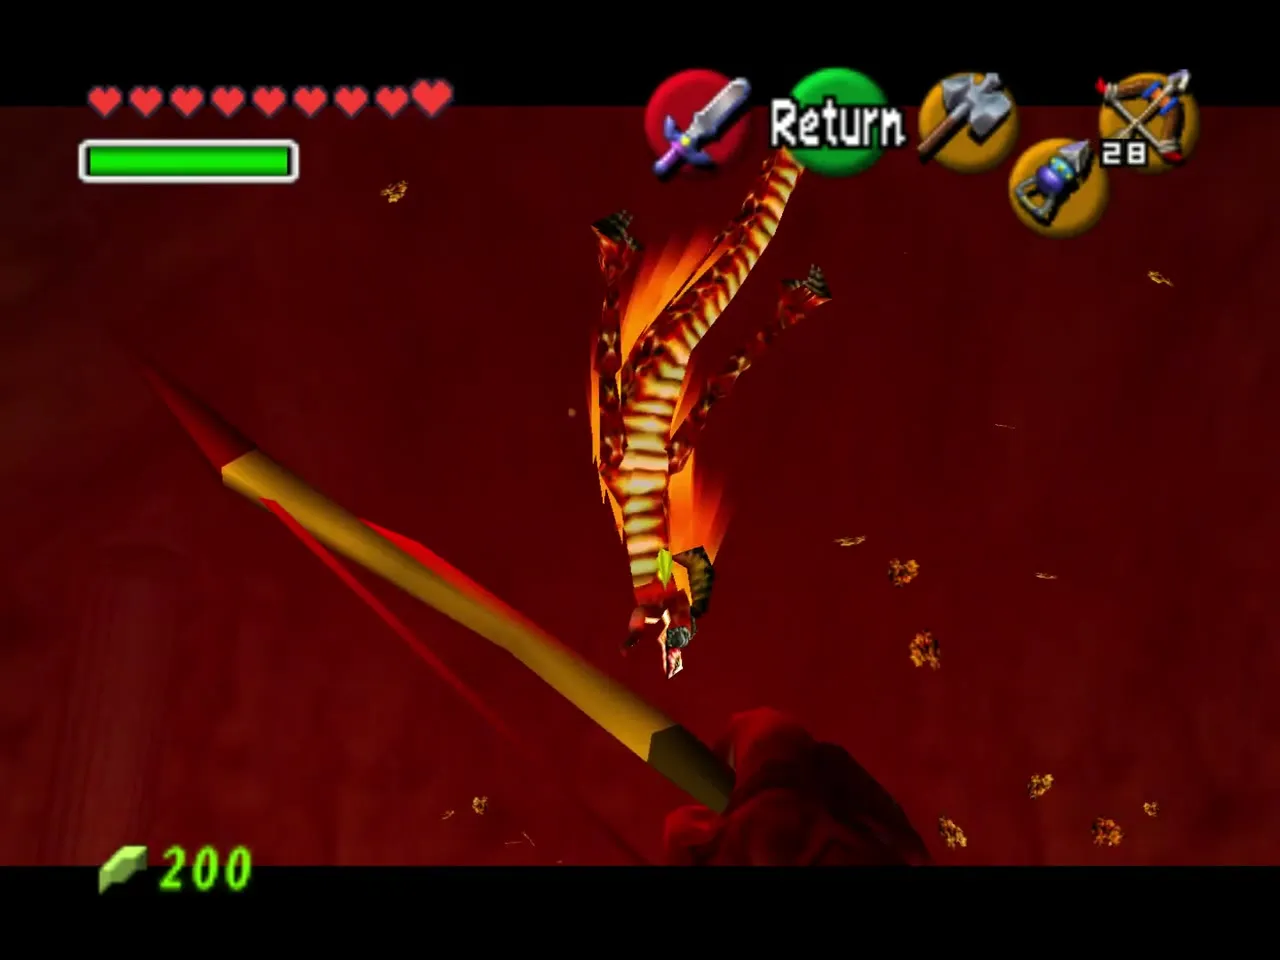
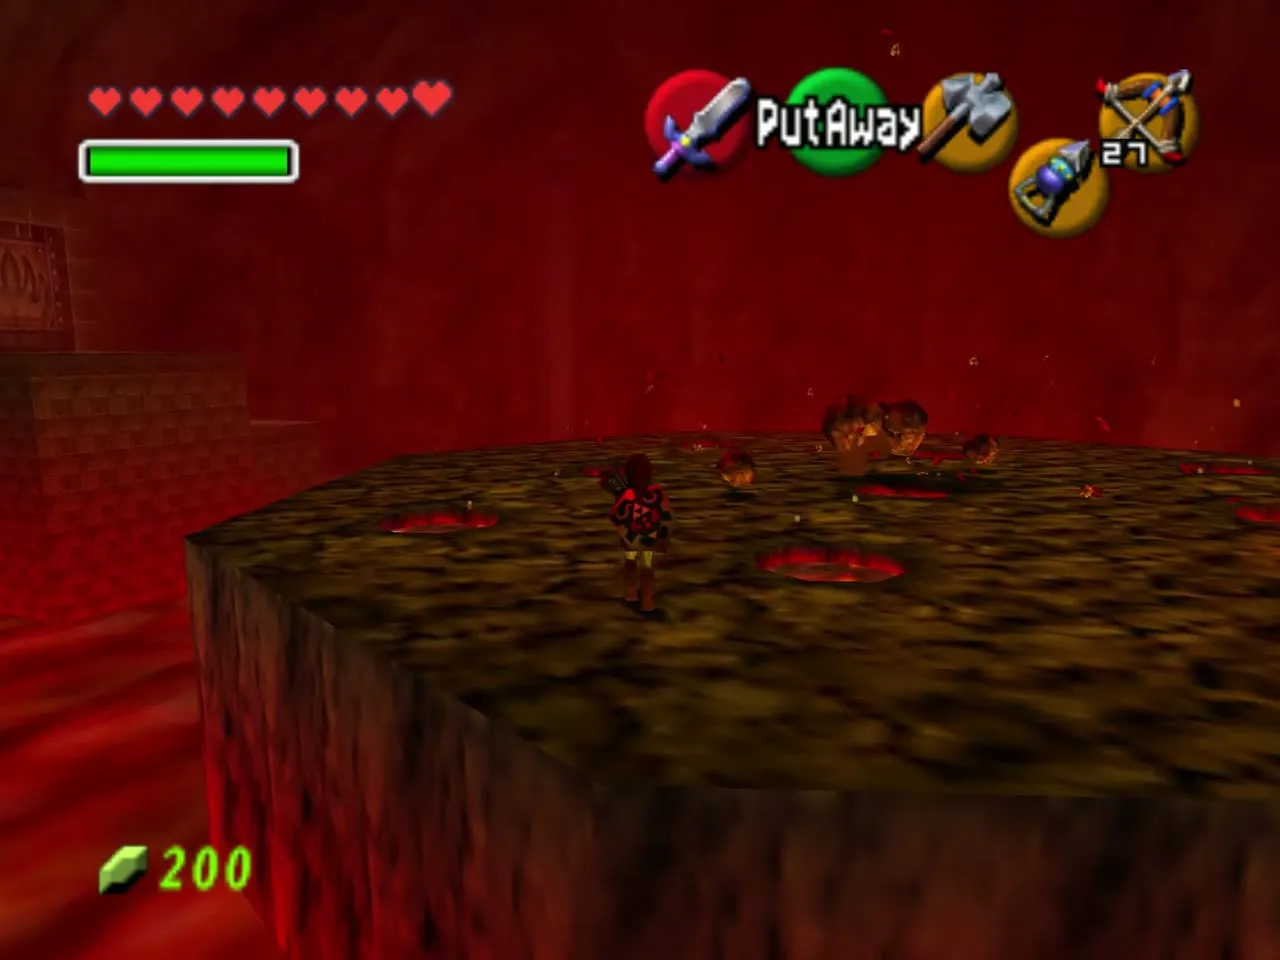
Fake holes and defeat
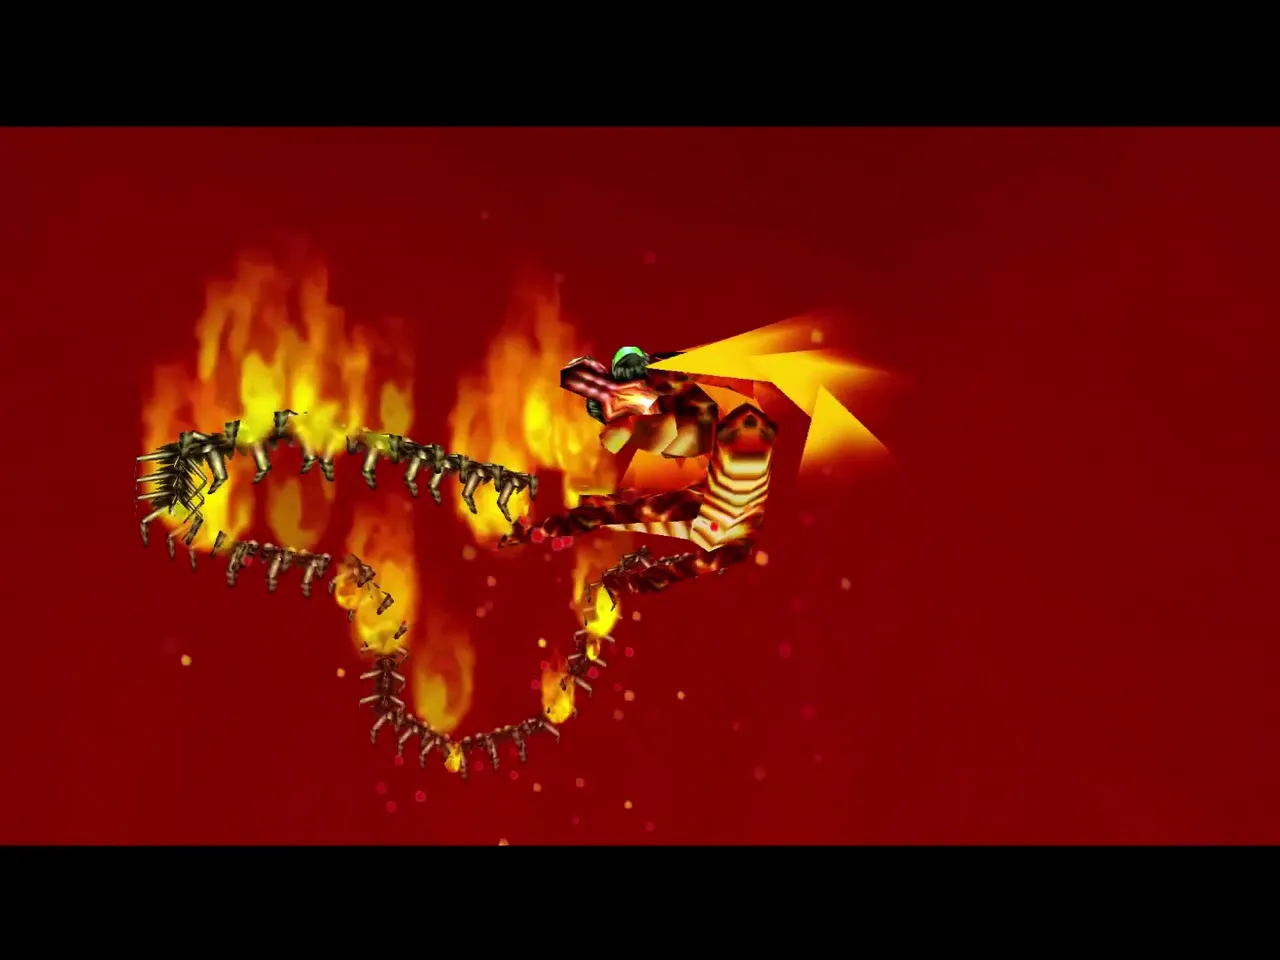
As he weakens, he lingers and fakes you out. Two holes in a row show nothing, and the third is the real one, so wait near the middle and run to the last. After a few more hits he screams, rises in flames and falls to pieces.
Rewards
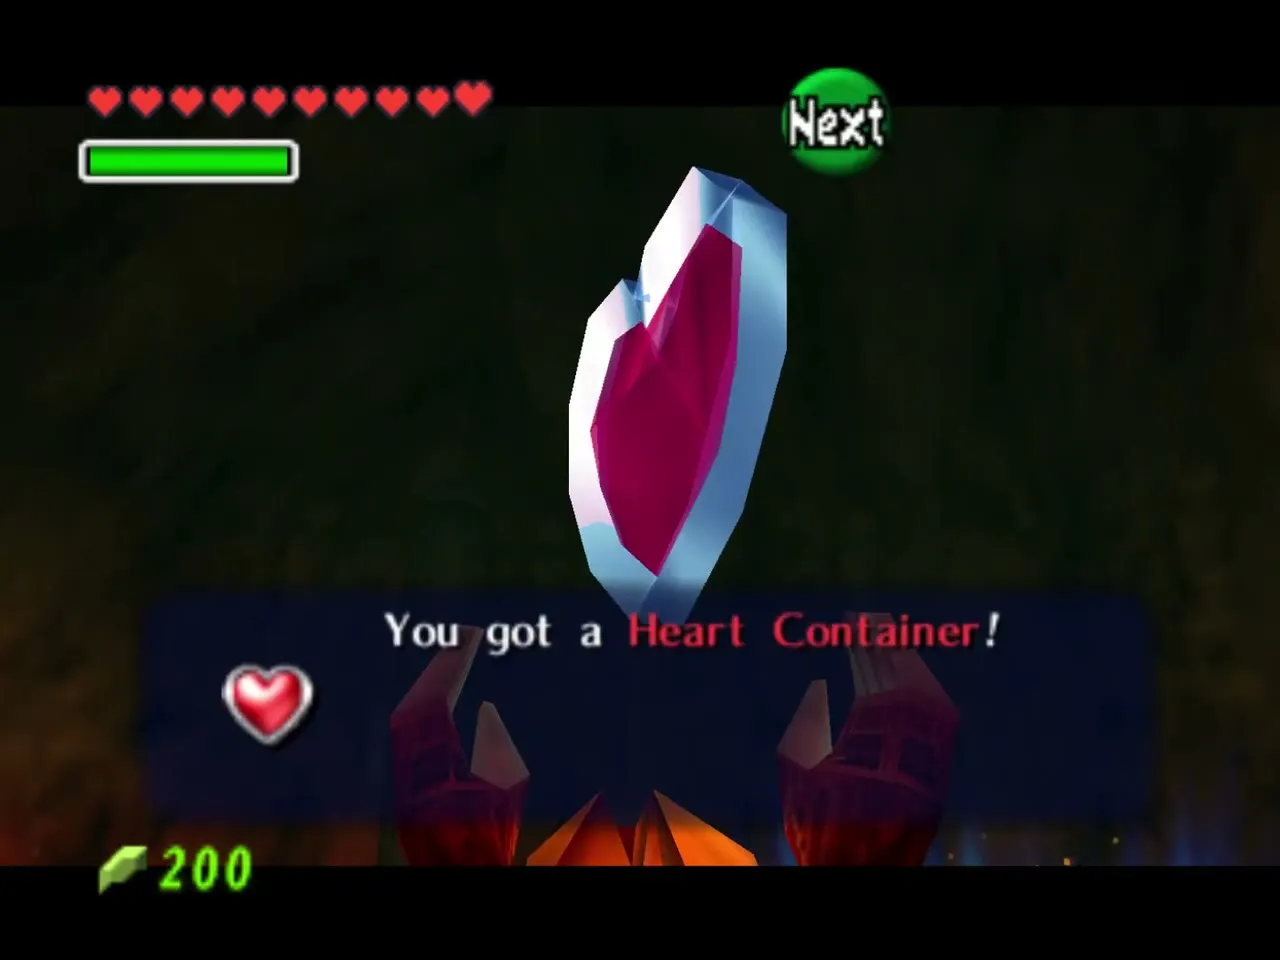
A Heart Container floats up from the arena; grab it before stepping into the blue light.
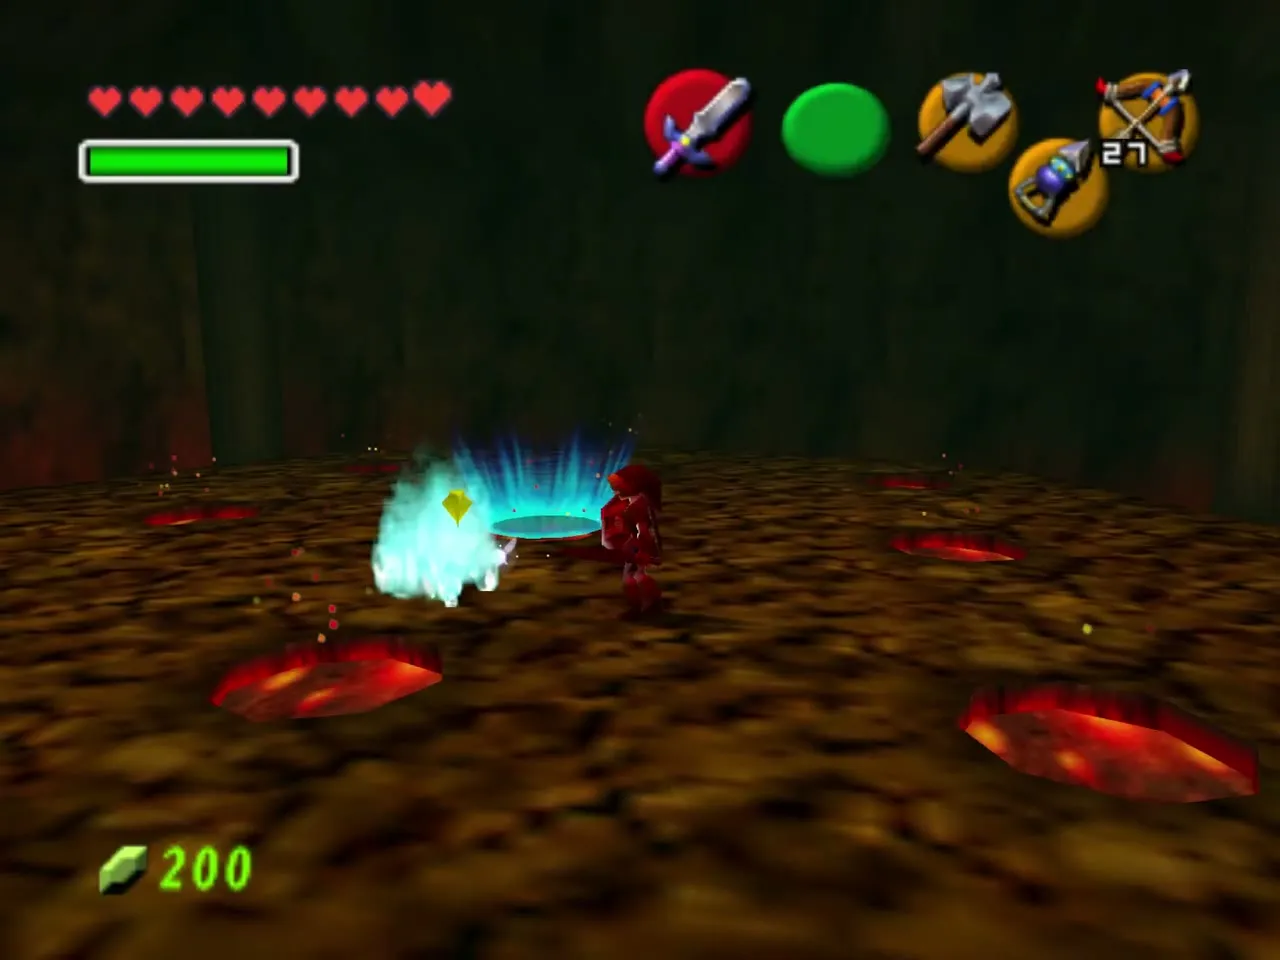
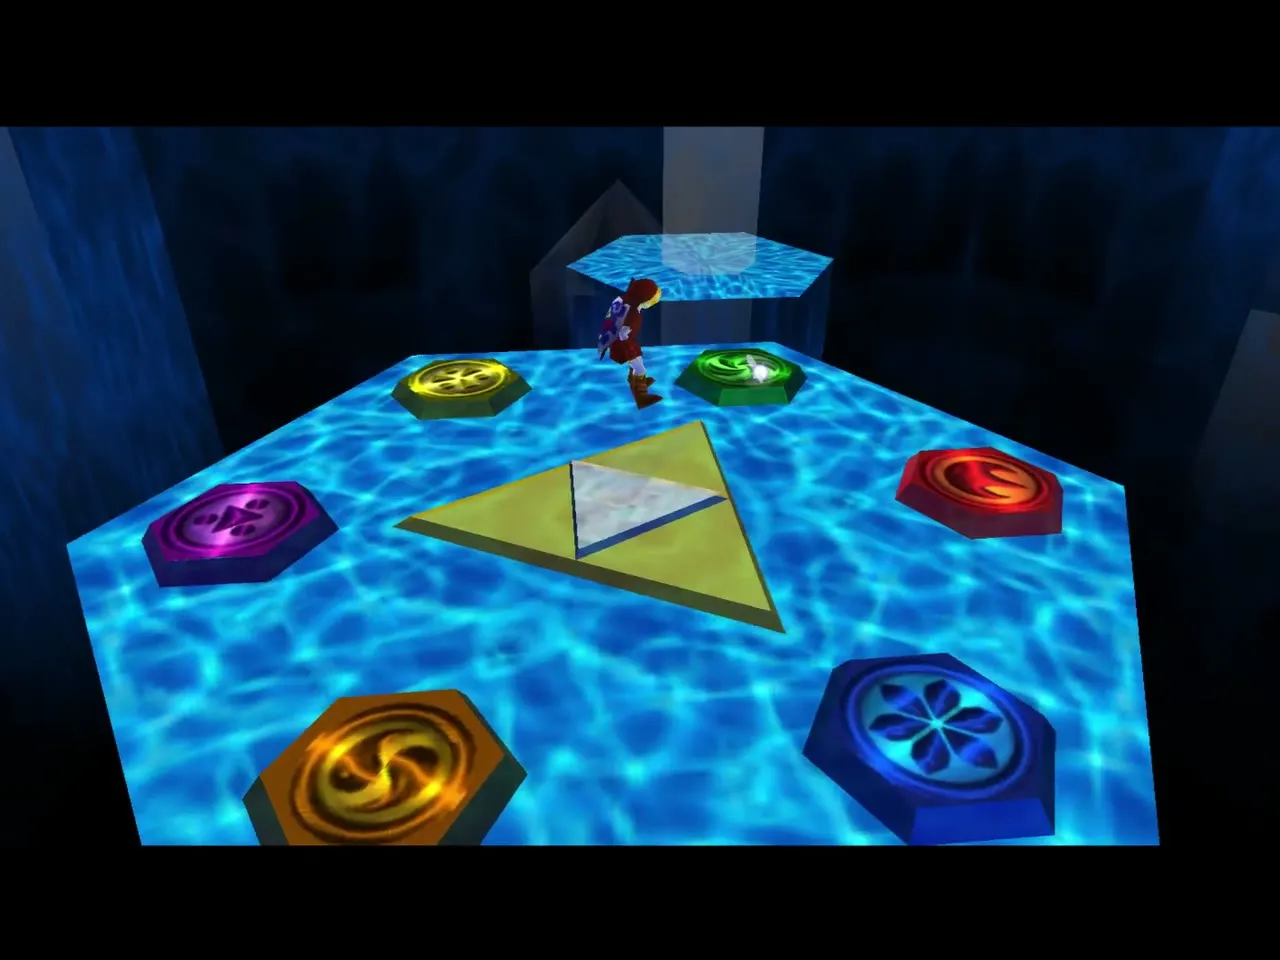
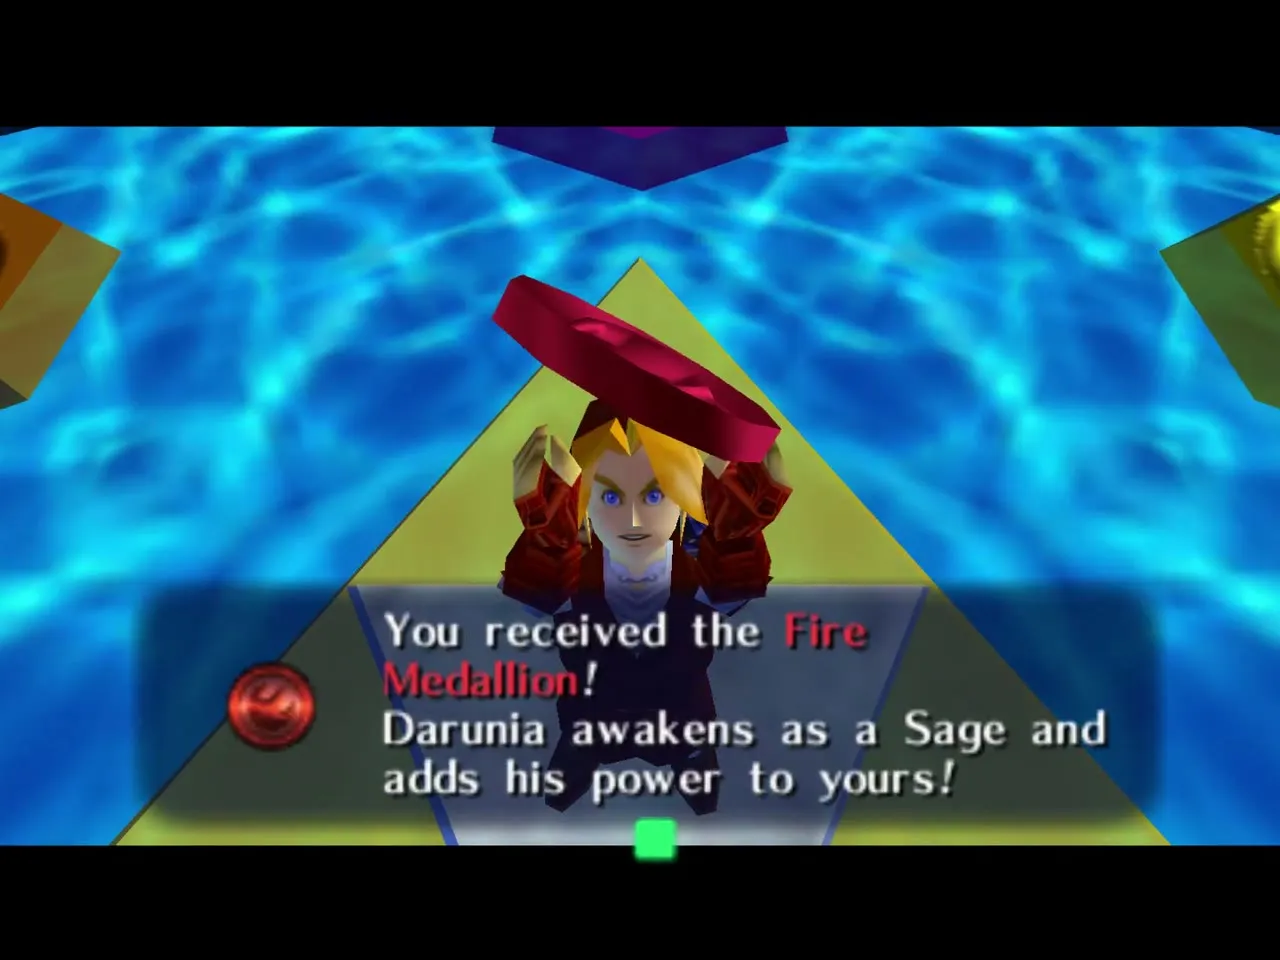
In the Chamber of Sages, Darunia thanks you as his Sworn Brother and gives you the Fire Medallion. See Medallions and Spiritual Stones for the set.
How Master Quest changes the Fire Temple
| Feature | Original | Master Quest |
|---|---|---|
| Small Keys | Eight | Five, from a chest or lying in the open |
| Megaton Hammer | After a long climb and the first Flare Dancer | After the first rooms, behind an Iron Knuckle and a Flare Dancer |
| Main tools | Hookshot, Bombs, Hammer | Din’s Fire, bow through torches, Hookshot, Hammer, Song of Time |
| Gold Skulltulas | Five | Five, in new places |
| Enemies | Torch Slugs, Like-Likes, Flare Dancers | Plus Stalfos, Lizalfos and an Iron Knuckle |
| Boss | Volvagia | Same fight, same rewards |
The layout and the order of rooms are completely different, so a memorized original route will not help; follow the rooms above. For the original, see the Fire Temple walkthrough.
Chapter checklist
| Type | Item | Where |
|---|---|---|
| Song | Bolero of Fire | Sheik, Death Mountain Crater |
| Small Key | Key 1 | Chest behind the torch-and-arrow gate |
| Key item | Megaton Hammer | Chest after the Flare Dancer |
| Dungeon item | Dungeon Map | Chest in the first Goron’s cell |
| Gold Skulltula | North cell | Cell of the Goron freed with the rusted switch |
| Dungeon item | Boss Key | Large chest across the tile room |
| Small Key | Key 2 | Chest in the Goron cell behind the bombed wall |
| Small Key | Key 3 | Chest in the Goron cell of the Lizalfos maze |
| Dungeon item | Compass | Chest under the cracked maze floor |
| Gold Skulltula | Spiral room | Under the flame-ringed block |
| Gold Skulltula | Time-block tunnel | Guarded by a Lizalfos |
| Gold Skulltula | Lower alcove | Behind a bombable wall |
| Small Key | Key 4 | On the floor after the red switch |
| Small Key | Key 5 | Chest in the octagon room, via the scarecrow |
| Gold Skulltula | Final room | Wall, behind the stone-face door |
| Boss reward | Heart Container | Volvagia |
| Medallion | Fire Medallion | Darunia, Chamber of Sages |
