





















Phantom Hourglass 100% Completion Walkthrough19 chapters
- Temple of FireEvery key, the Boomerang, the Boss Key, how to beat Blaaz, the Heart Container, Leaf and Astrid’s Power Gem.
- Temple of WindGet the bombs, the Boss Key, beat Cyclok, free Neri and take the Heart Container.
- Molida Island and the Temple of CourageBeat the Giant Eye Plant, light Molida’s statues, get the Bow, defeat Crayk and awaken the Spirit of Courage.
- The Ghost ShipFind the ship with the Spirits, free the Cubus sisters, win their volley game, get the Ghost Key and Heart Container.
- Goron TempleTeam up with Gongoron, get the Bombchus and the Boss Key, beat Dongorongo and take the Crimsonine.
- Temple of IceLever order, three small keys, Grappling Hook, Boss Key, Gleeok fight, Heart Container and Azurine.
- Mutoh’s TempleGet the Hammer, find both small keys and the Boss Key, beat Eox and collect the Aquanine.
- Mercay Island and the First Sea ChartGet Oshus’s Sword, solve the lever passage, rescue Linebeck and find the first sea chart.
- Temple of the Ocean KingTake the Phantom Hourglass, sneak past Phantoms, carry three Force Gems and find the Northwestern Sea Chart.
- Temple of the Ocean KingPhantom Eyes, the hourglass crest door, the Salvage Arm, treasure salvage and the Sun Key.
- Zauz and the Temple of the Ocean KingPure Metals, Triforce door, crystal puzzles and the Southeastern Sea Chart.
- Temple of the Ocean KingGold Phantoms, the B11 bridges, three Force Gems on B12 and the Northeastern Sea Chart.
- The Phantom Sword and BellumPhantom Hourglass walkthrough for the Phantom Sword, the last Temple of the Ocean King descent, Bellum.
- Isle of Ember and AstridFirst voyage, Beedle’s Shop Ship, Kayo’s torches, freeing Astrid and the volcano path to the Temple of Fire.
- Cannon Island, the Ghost Ship Chase and Molida IslandBuy the Cannon from Eddo, chase the Ghost Ship, then reach Molida Island and take the Shovel.
- Northwestern Sea and the Isle of GustThe fog route, Bannan Island fishing, Zauz, the Cyclone Slate, Golden Frogs and the way to the Temple of Wind.
- Goron Island and GongoronSail the Southeastern Sea, beat the Massive Eye, pass Biggoron’s quiz, find Gongoron and reach the Goron Temple.
- Isle of Frost and the Yook MysteryCannon the ice, Anouki Estates, find the Yook among six villagers and fight through the Great Ice Field.
- Isle of the Dead and the Isle of RuinsDig spot, Phantom Corridor path, Regal Necklace, King’s Key, Max and the door symbol.
| Covers | Temple of Fire on the Isle of Ember, the Blaaz boss fight, Leaf the Spirit of Power, Astrid’s Power Gem and the voyage back to Mercay Island |
|---|---|
| You need | Sword, Shield and a working microphone (to blow out candles). The temple door is open once you have finished the Isle of Ember chapter. |
| Rewards |  Boomerang,  3 small keys,  the Boss Key,  1 Heart Container,  Leaf (Spirit of Power),  1 Power Gem (number 2 of 20),  2 red Rupee chests;  the Sand of Hours dropped by Blaaz goes into your Phantom Hourglass later |
The Temple of Fire is the first dungeon of Phantom Hourglass and the place where you win the Boomerang, the item that drives almost every puzzle for the next hours. You work up through five floors by memorising a safe path, hitting far-off switches with the Boomerang and carrying the heavy Boss Key to the locked gate on 3F, then defeat Blaaz, take a Heart Container and free Leaf, the Spirit of Power. Astrid rewards you with a Power Gem and you sail back to Mercay Island.
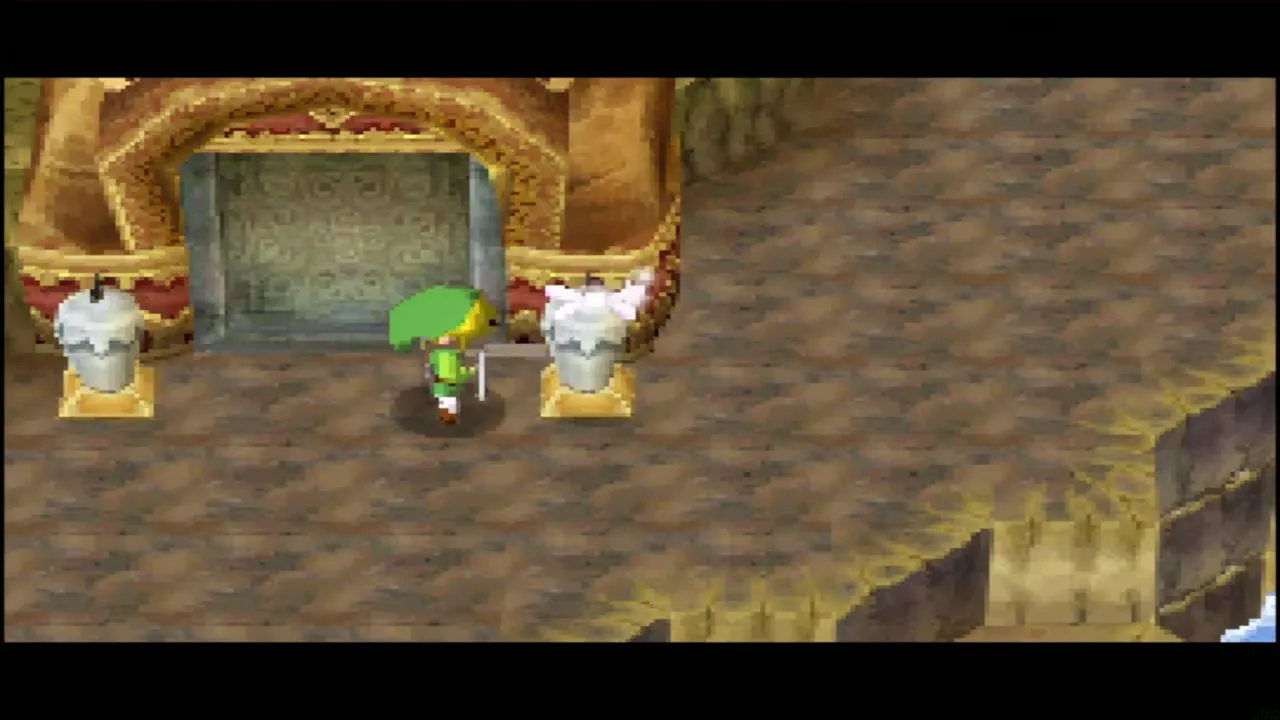
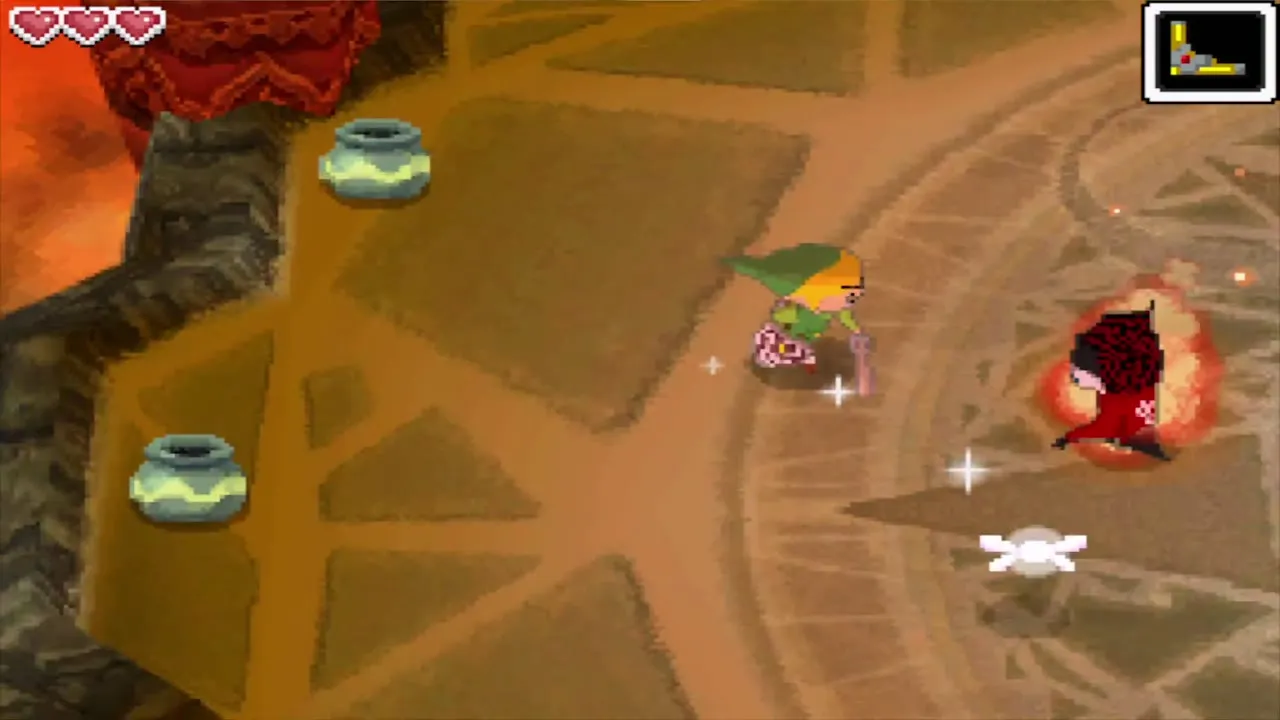
Table of Contents
Temple of Fire entrance and map notes
Enter the Temple of Fire
Once the two candles at the summit are out and the gate has opened, walk in through the gate. The temple’s floors are drawn on the bottom screen as you move, and each floor has its own map that you can scribble on with the Memo pen, so use it whenever a room hints at a route.

Copy the safe path onto your map
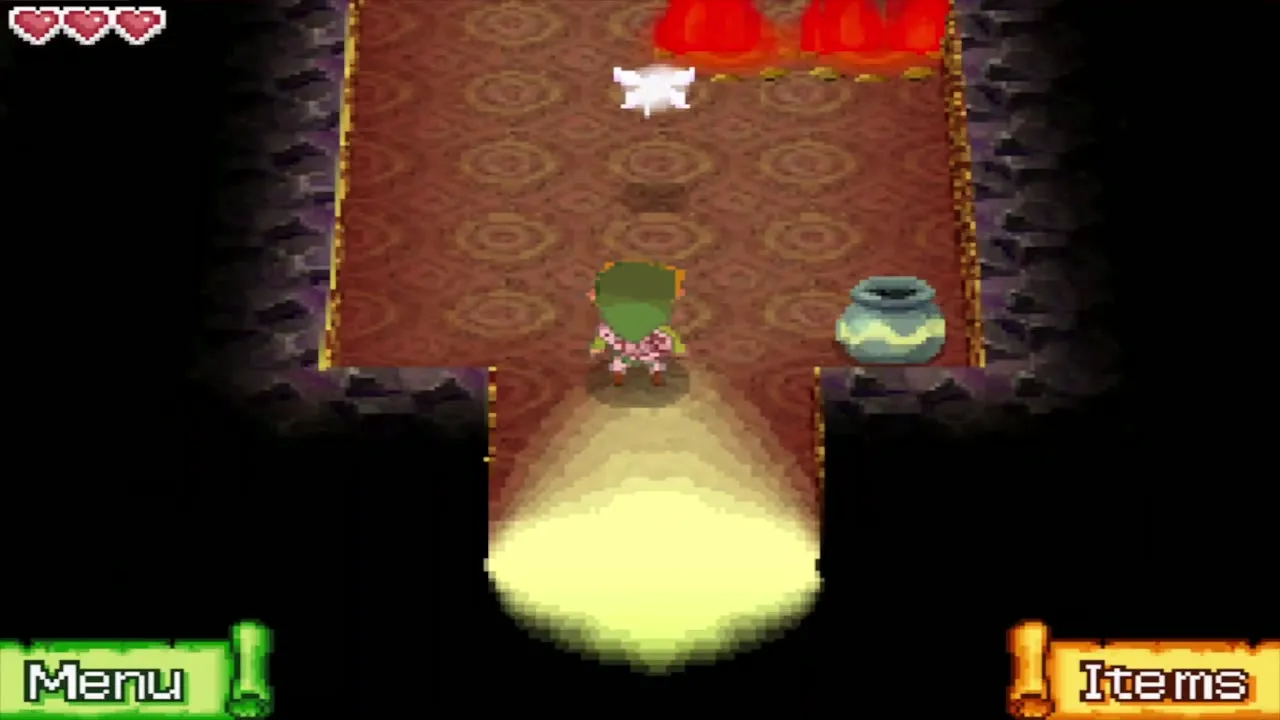
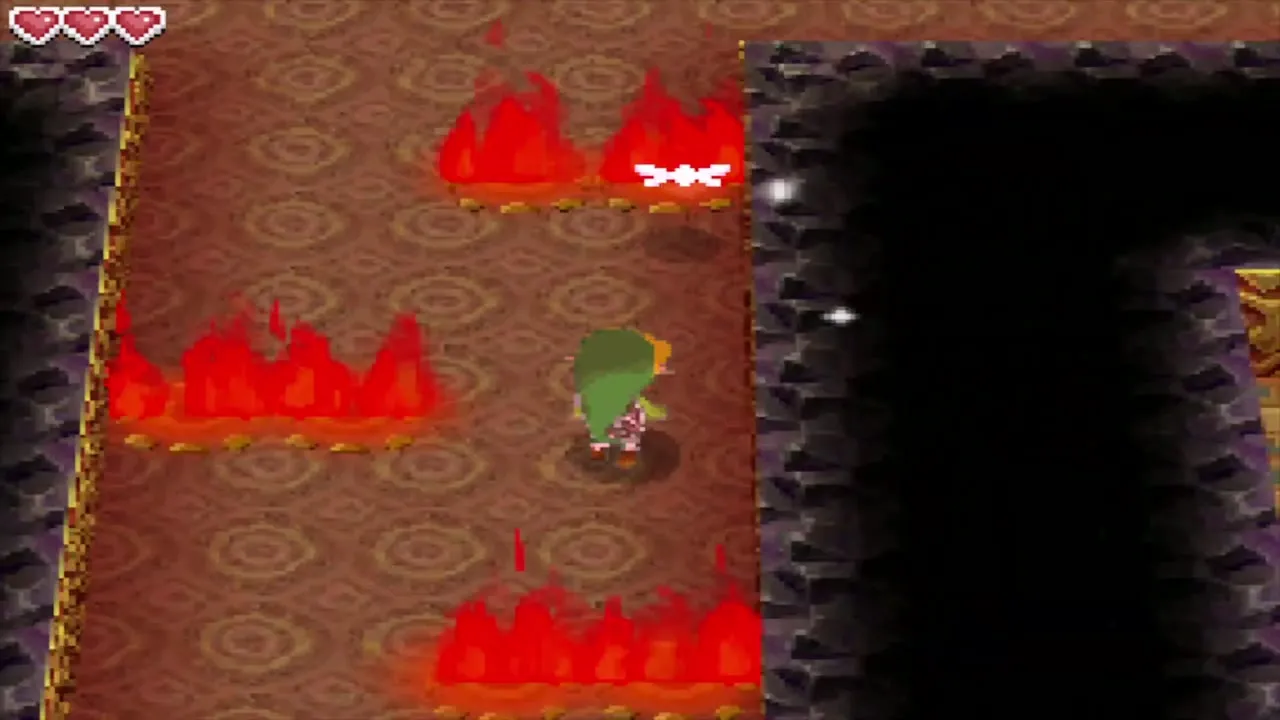
The first room is full of fire, and touching it hurts, so walk around the flames and circle the spinning fire rod clockwise. Go east and then to the south-east room. North of it, a picture on the wall shows the one safe route through the false-floor maze beyond the locked door. Open the map, tap Memo and trace the route on it with the stylus. You will need that line in a moment.

Temple of Fire 1F: first small key and the four switches
Temple of Fire first small key
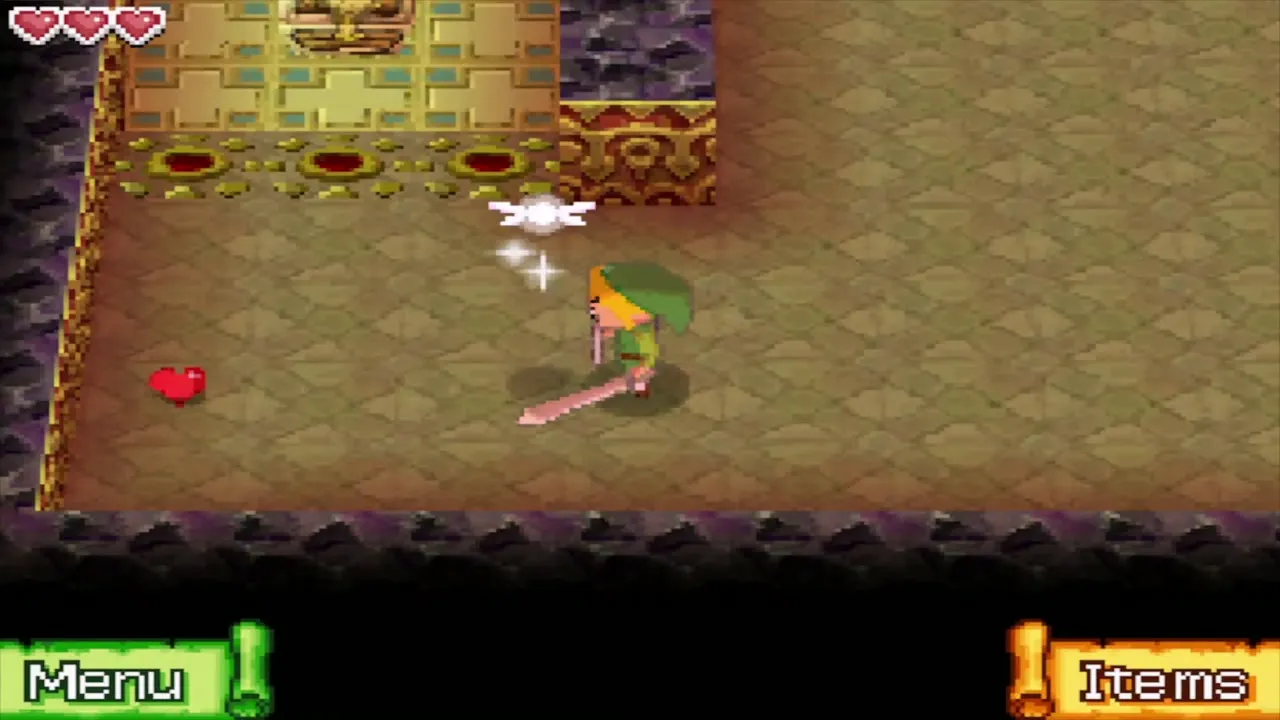
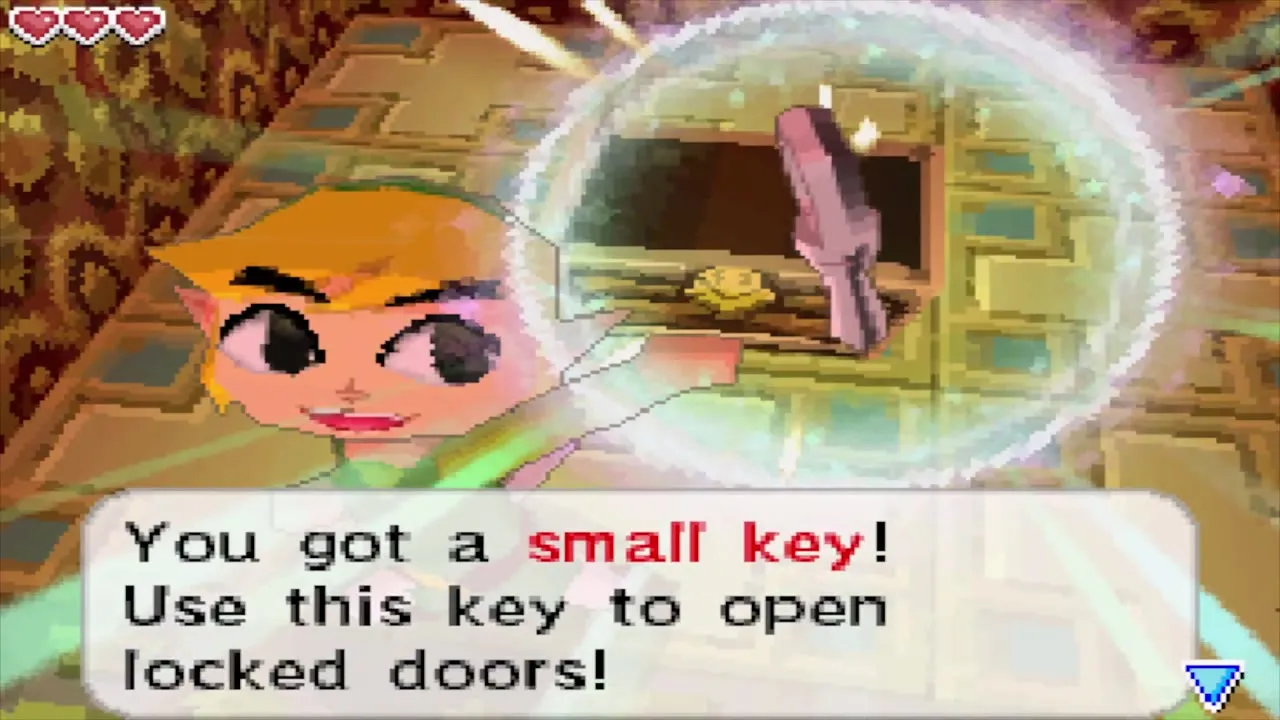
Go south into the room next to the picture and defeat the four Keese. As soon as they fall, a chest appears. Open it to get your first small key, then return north to the locked door by the picture and tap it to unlock it. A small key is used up when you open a door, so spend it here.

Walk the maze and use the spin attack
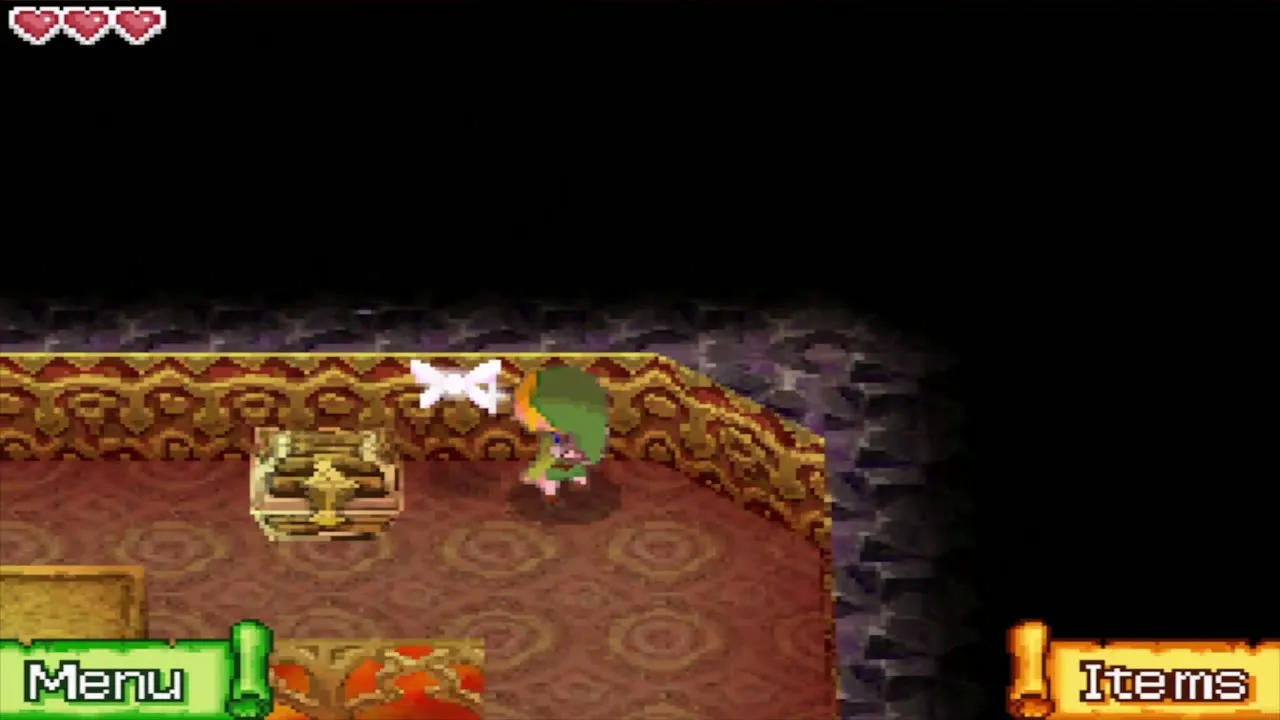
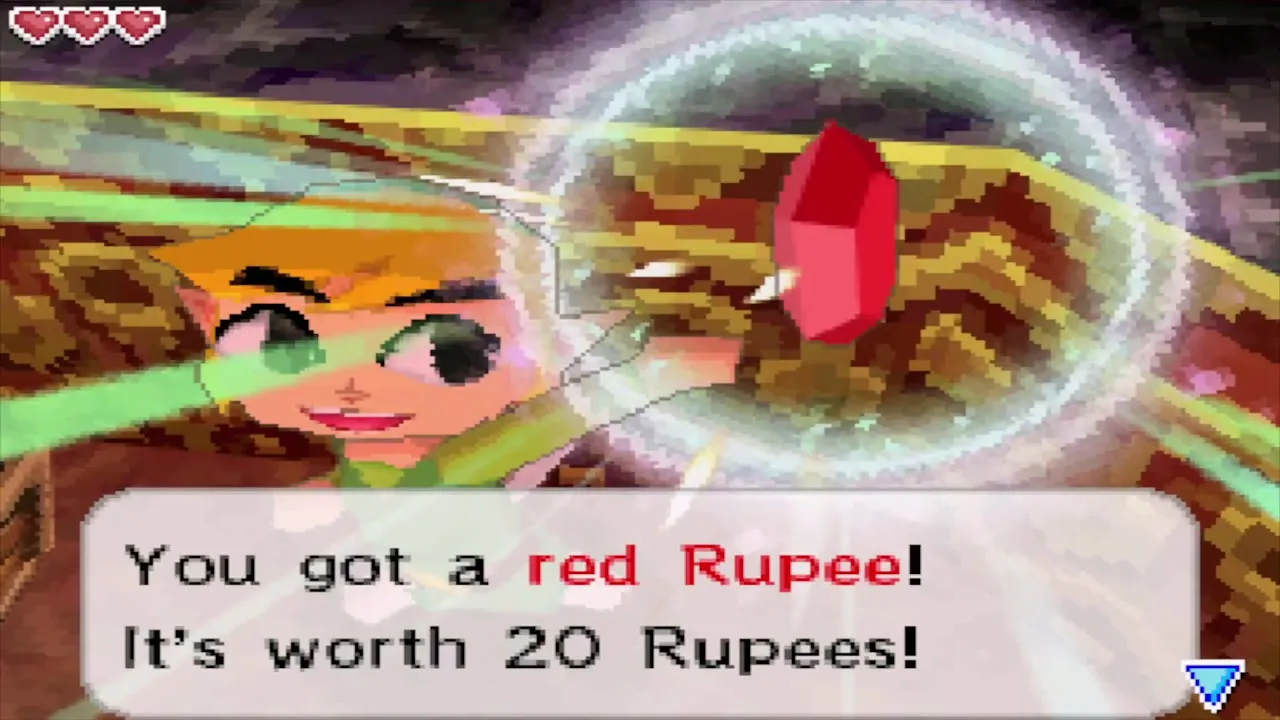
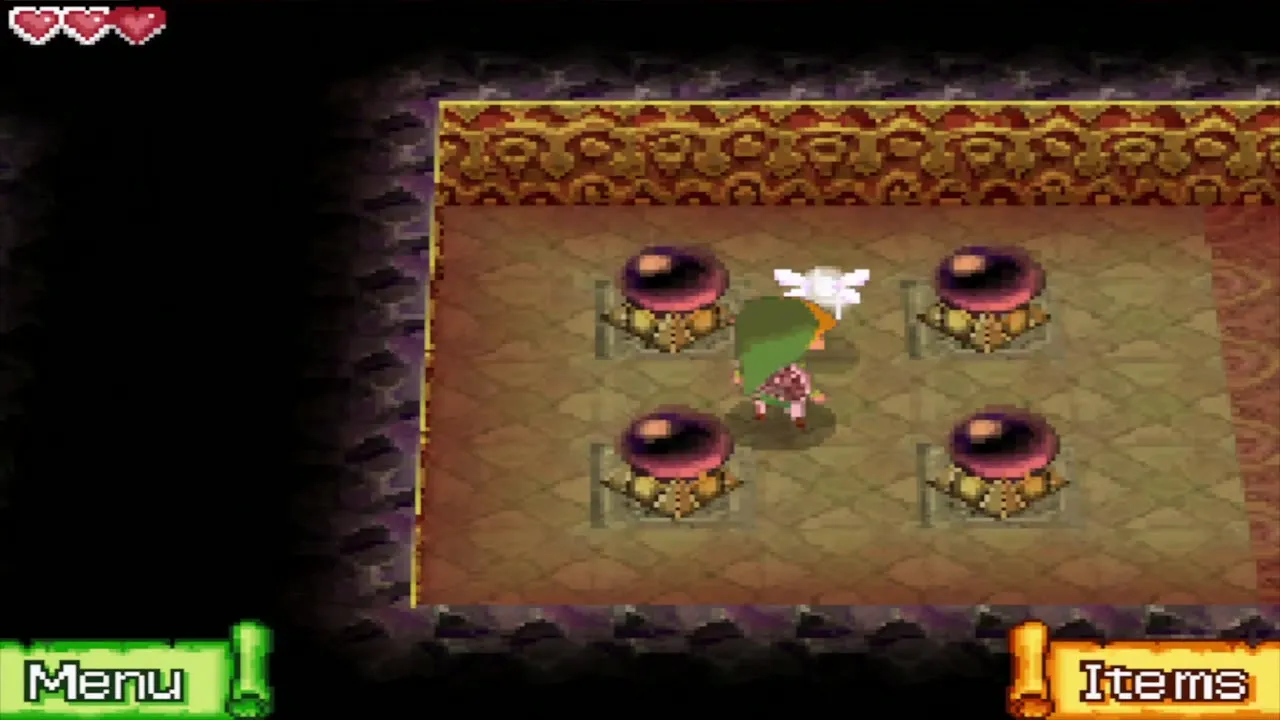
Follow your memo through the maze and keep to the line you drew. On the way a chest on the path holds a red Rupee, worth 20 Rupees. At the far end of the maze you reach a small room with four crystal switches in a square. Stand in the middle, draw a circle around Link with the stylus to make a spin attack and hit all four at once. A doorway opens in the central room, which leads to the staircase up.
Temple of Fire 2F: how to get the Boomerang
Hit the red switch and open the Boomerang chest
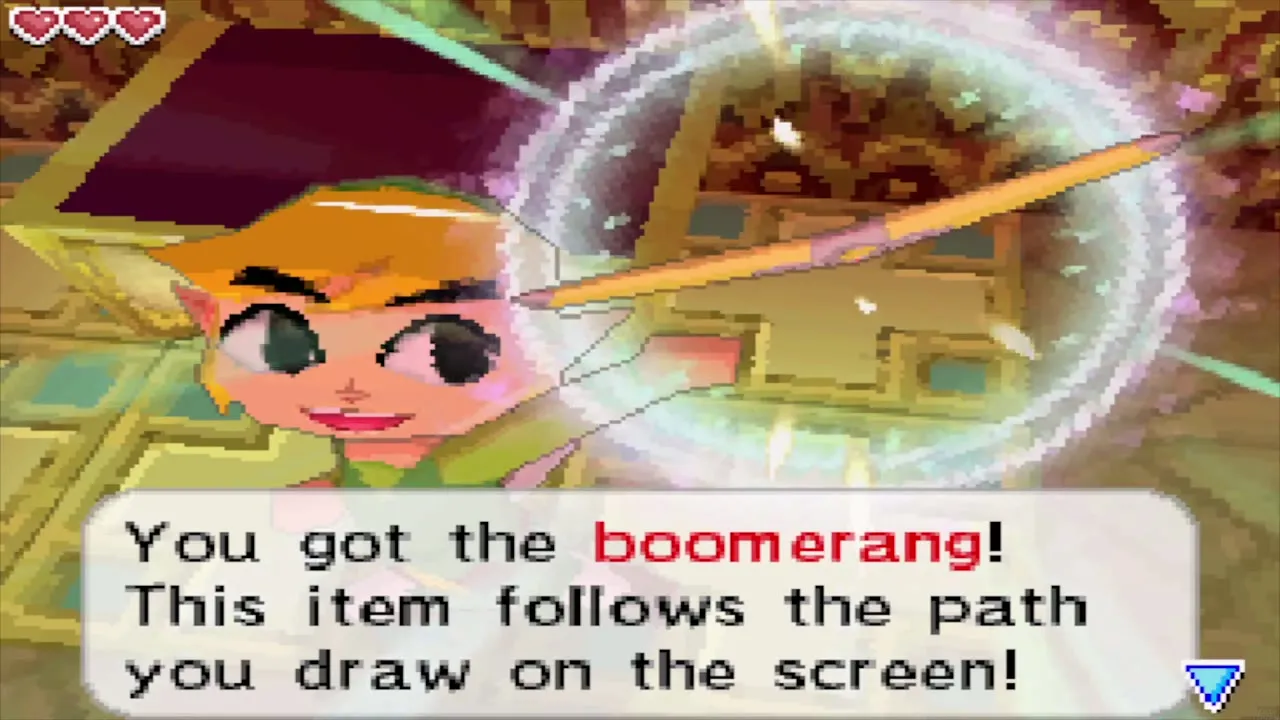
On 2F go east and circle the raised platform in the middle of the room until you find a red switch. Hit it with your sword. Circle again to the east side and walk into the room to the south. A group of green Gels waits there. Defeat them and a chest appears with the Boomerang inside. This is the dungeon item of the Temple of Fire.


Throw the Boomerang
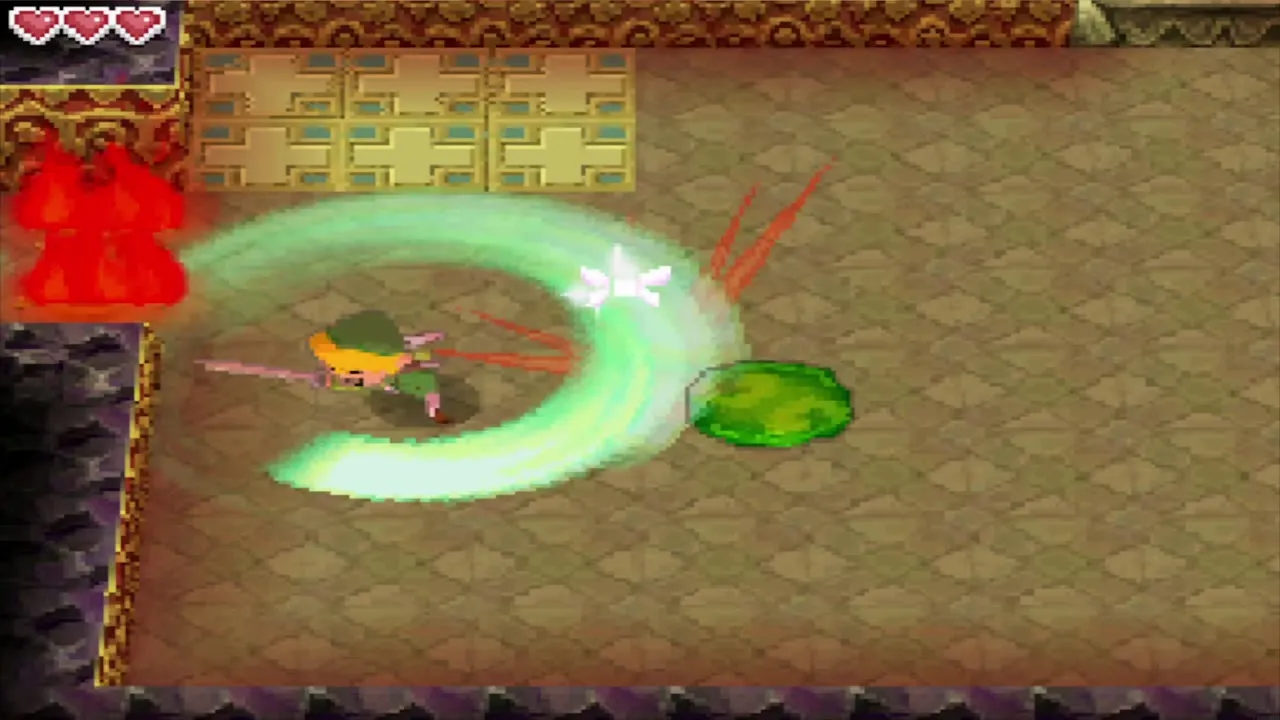
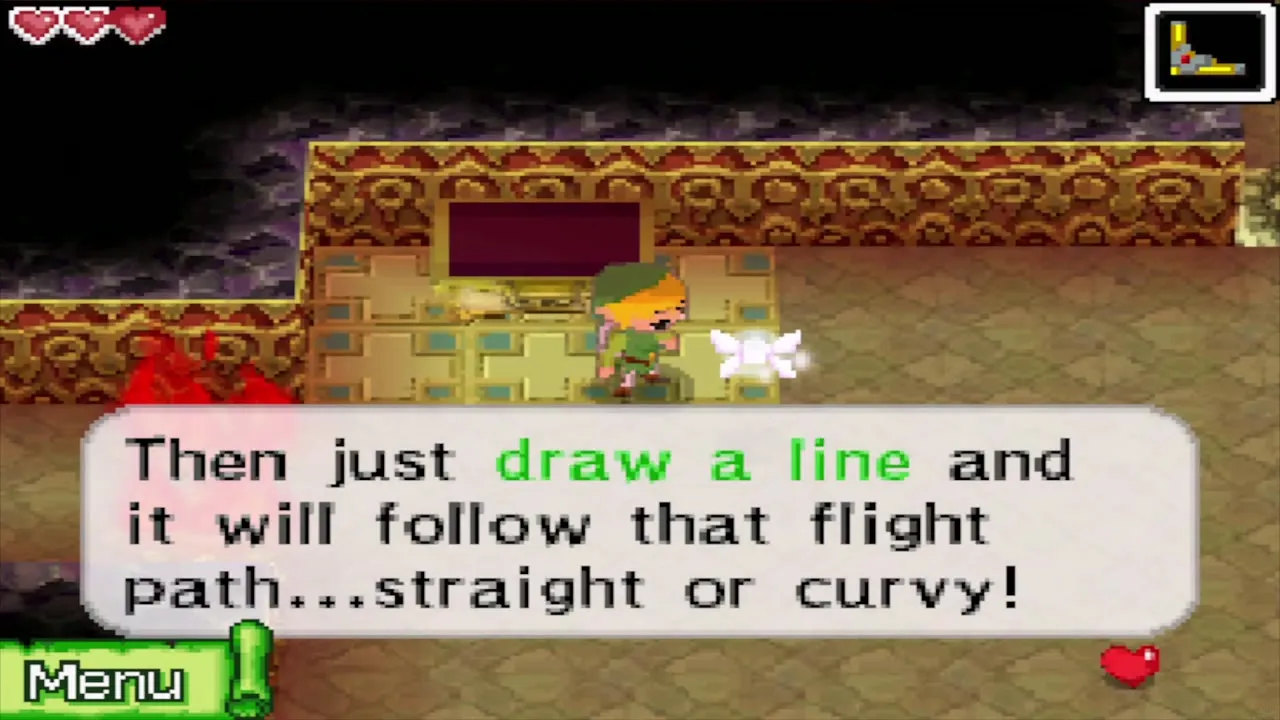
Tap the Item icon at the corner of the screen to equip the Boomerang, then draw a line from Link with the stylus. The Boomerang follows the line exactly, curves included, and comes back to Link at the end of it. It can strike switches from far away and stun enemies. Throw it around the room a few times to get the feel. The game lets you practise in the room before moving on.

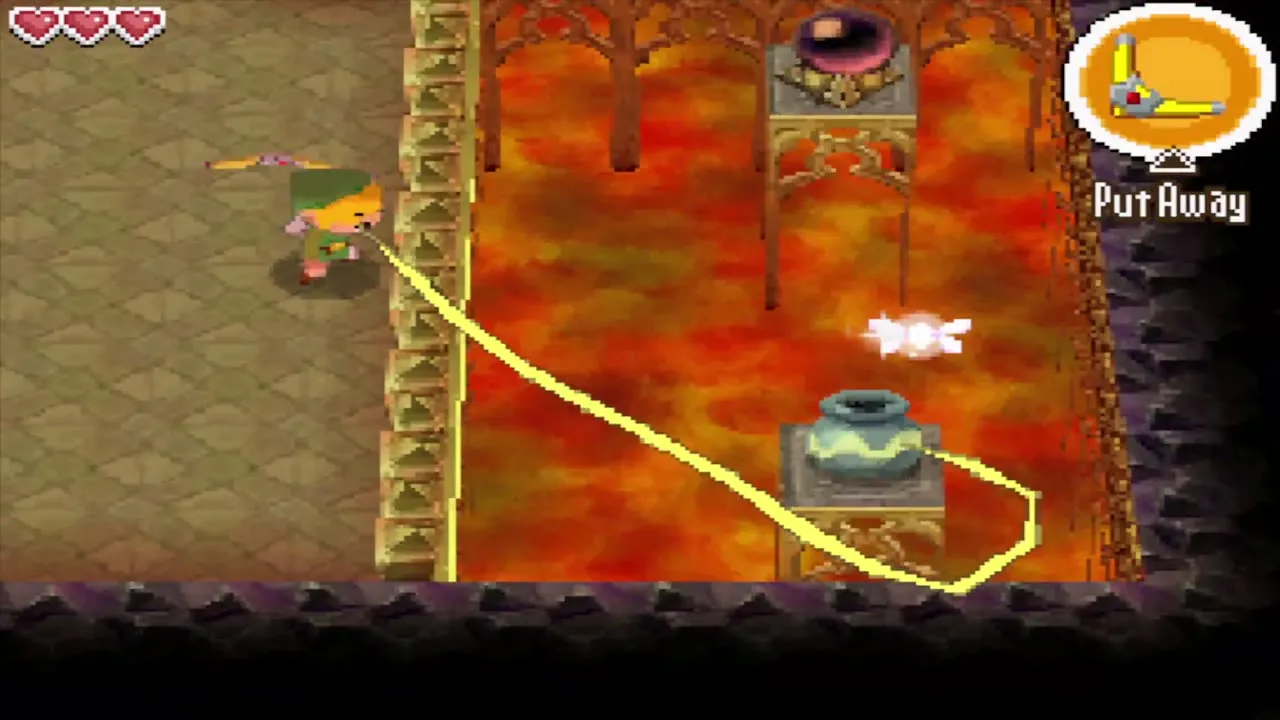
Boomerang the crystal switches to the stairs
Use the Boomerang on the crystal switch on the east side of the room to put out the nearby flames. Follow the path to the northwest room and boomerang the two crystal switches across the lava. That puts out the flames in front of the stairs, so you can go down to 1F.
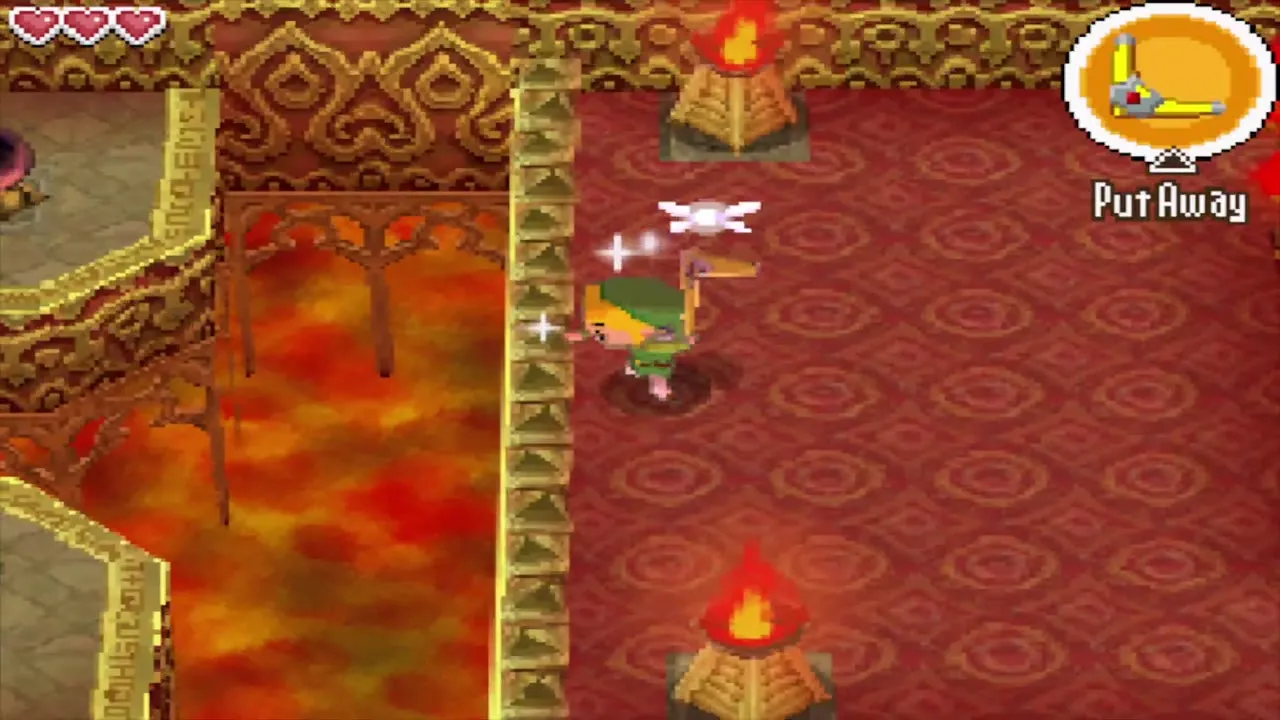
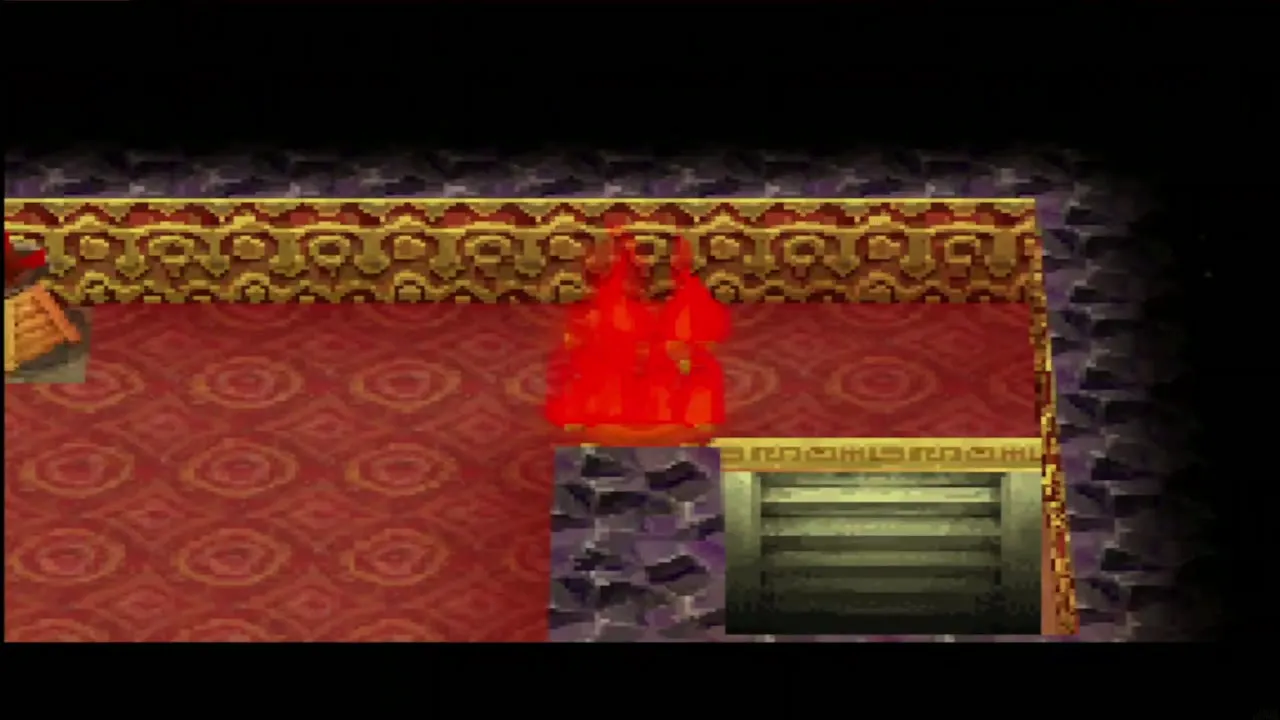
Temple of Fire 1F: blue blocks, Bubbles and the second 2F
Lower the blue blocks and open the shortcut
Head east and stop just right of the row of red blocks. Throw the Boomerang over the lava to hit the blue switch and lower the blue blocks that bar the way south. In the room below, a very similar puzzle sits on the west side, where a crystal switch on the far side puts out the flames to the east. That gives you a quick way back to the temple entrance if you ever need it.

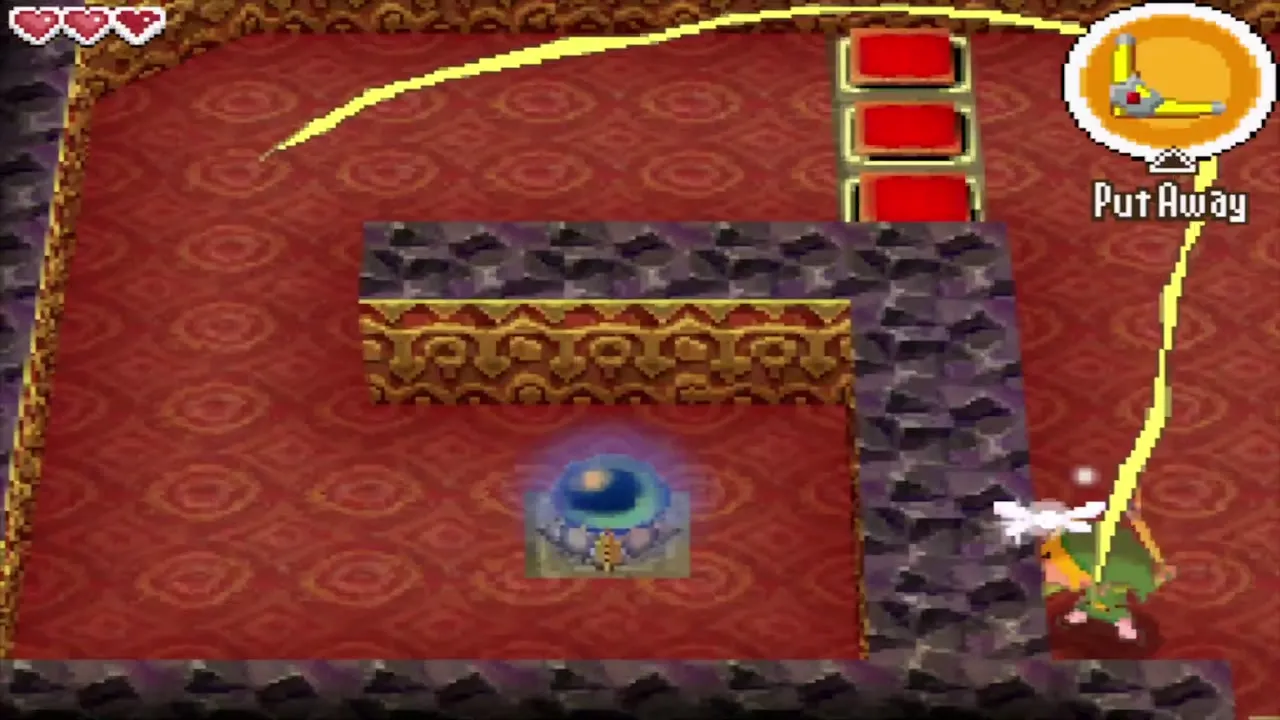

Defeat the Bubbles
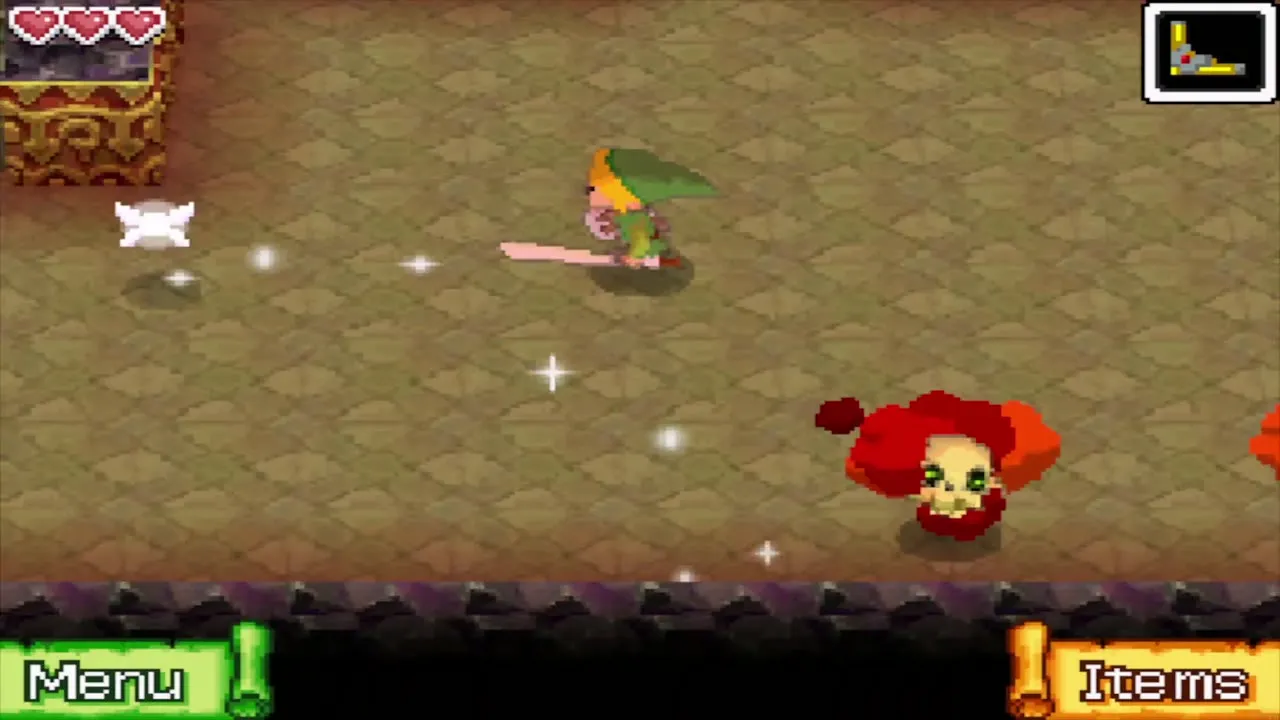
Continue south to the southwest room. Two Bubbles, flaming skulls, float here. Their flames make them untouchable, so draw a path with the Boomerang through each one to knock the fire off, then cut them down with your sword before the fire returns. Then climb the nearby staircase to 2F.


Temple of Fire 2F: the rat key and the Fire Keese chest
Work the switches on the second visit to 2F
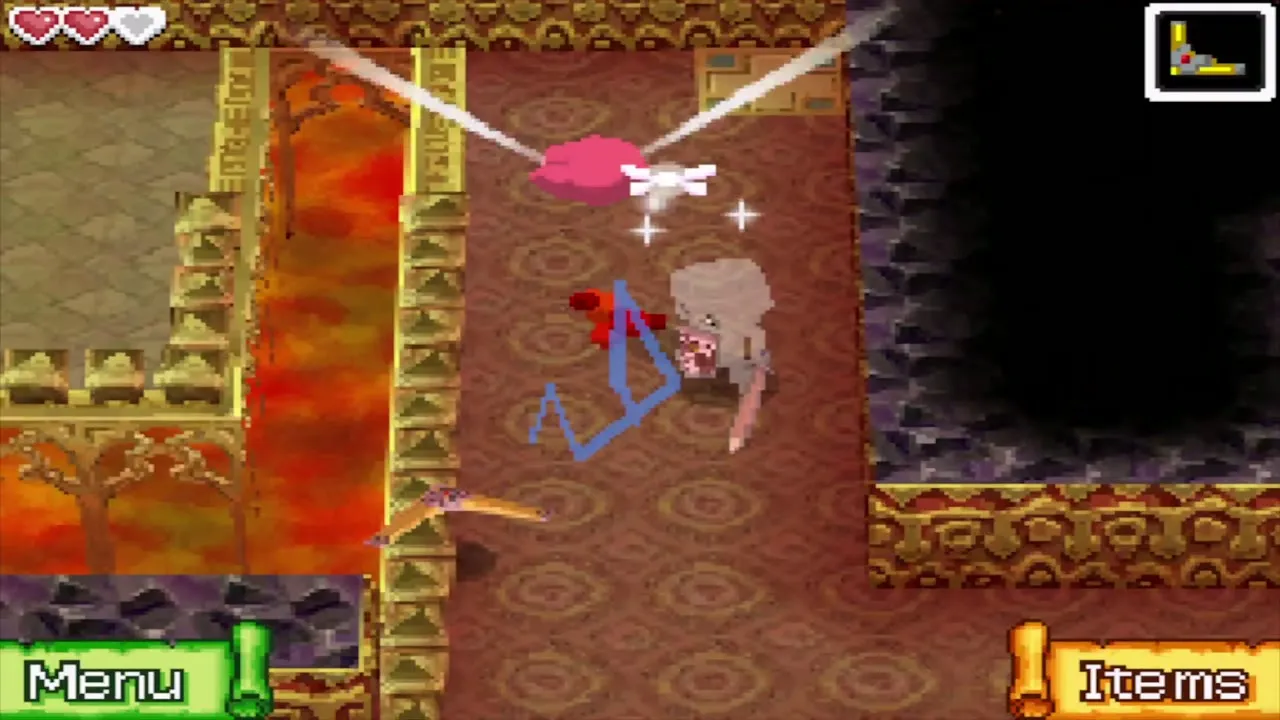
Go back up. A pack of three Fire Keese lives in this room and cannot be hurt with the sword. Throw the Boomerang through each one to defeat it. When all are gone, a chest appears that holds a red Rupee worth 20 Rupees. Then pull the two levers at the south end of the room; the door on the west side opens.

Catch the rat and take the second small key
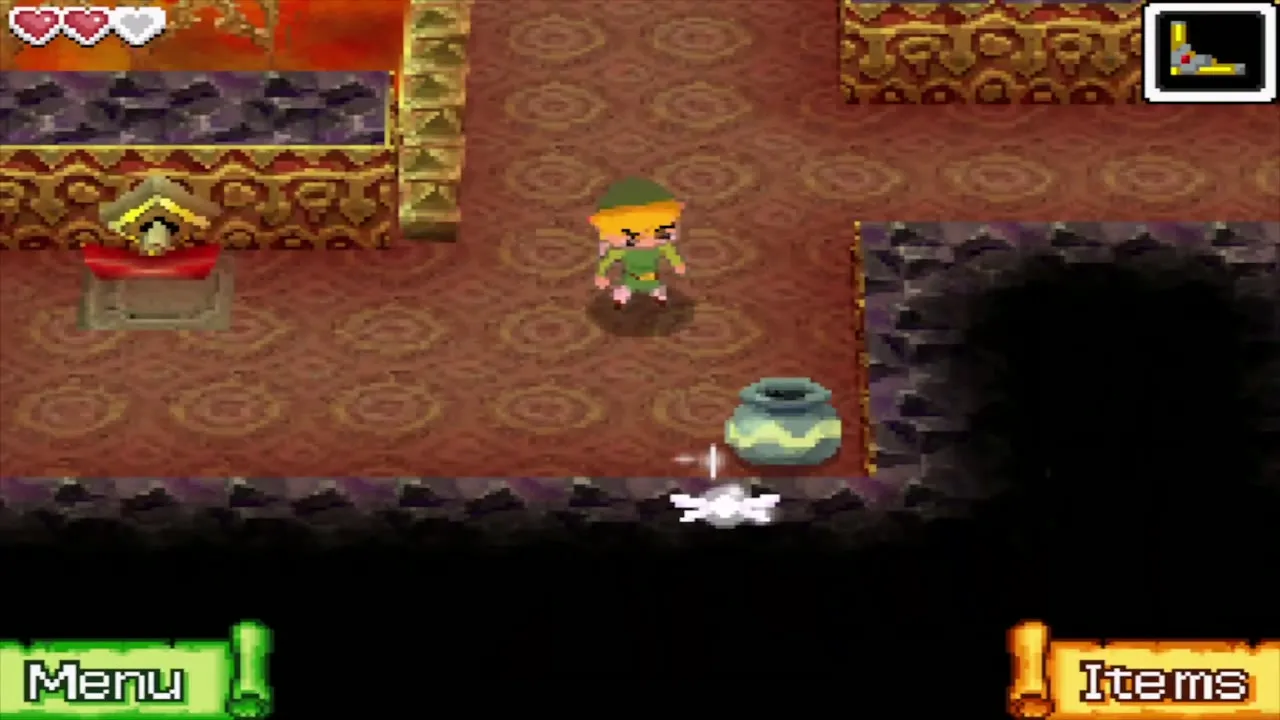
At the west end of the room a rat runs around with a small key. A sword cannot catch it, so draw the Boomerang’s path in front of it so that the rat is hit as it runs. It drops the key, which is your second small key.


Open the east door from the red and blue blocks
Head to the room in the southeast corner. Hit the switch with the Boomerang, defeat the Octorok, stand between the red and blue blocks and boomerang the same switch a second time. Unlock the door with your second small key and take the staircase beyond it up to 3F.

Temple of Fire 3F: candles, four switches and the Boss Key
Blow out the candles and hit the four switches in order
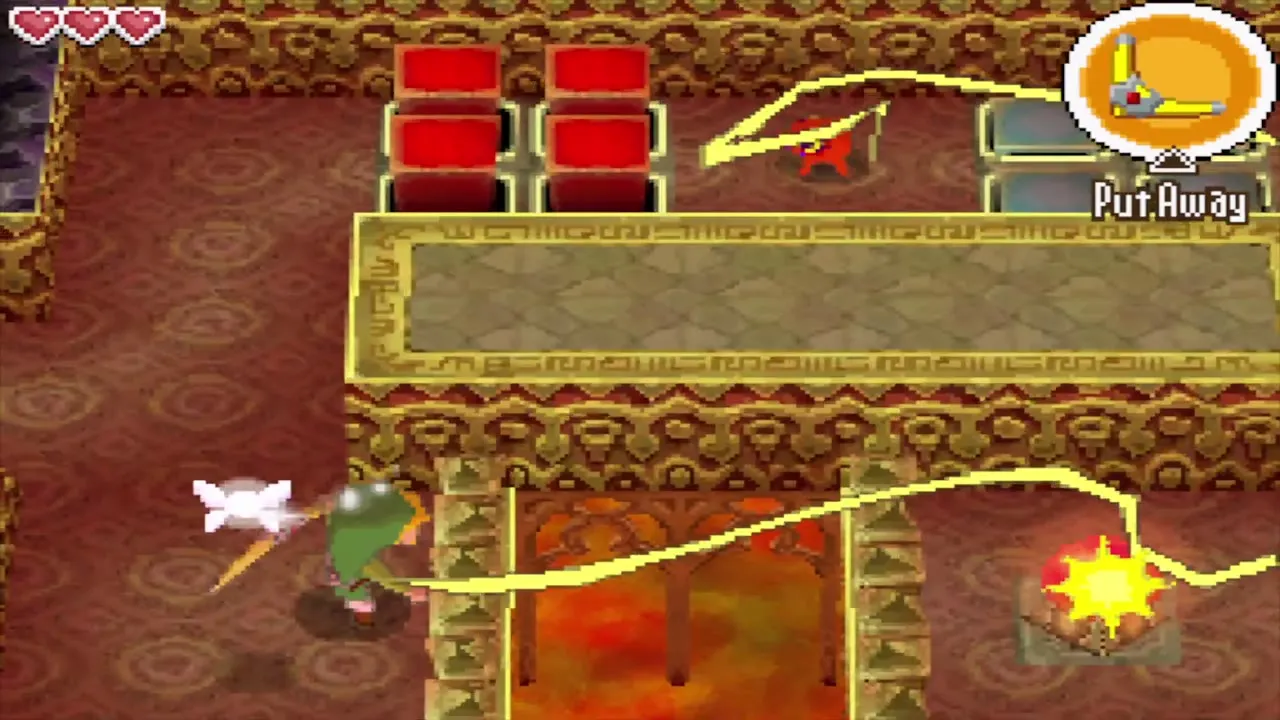
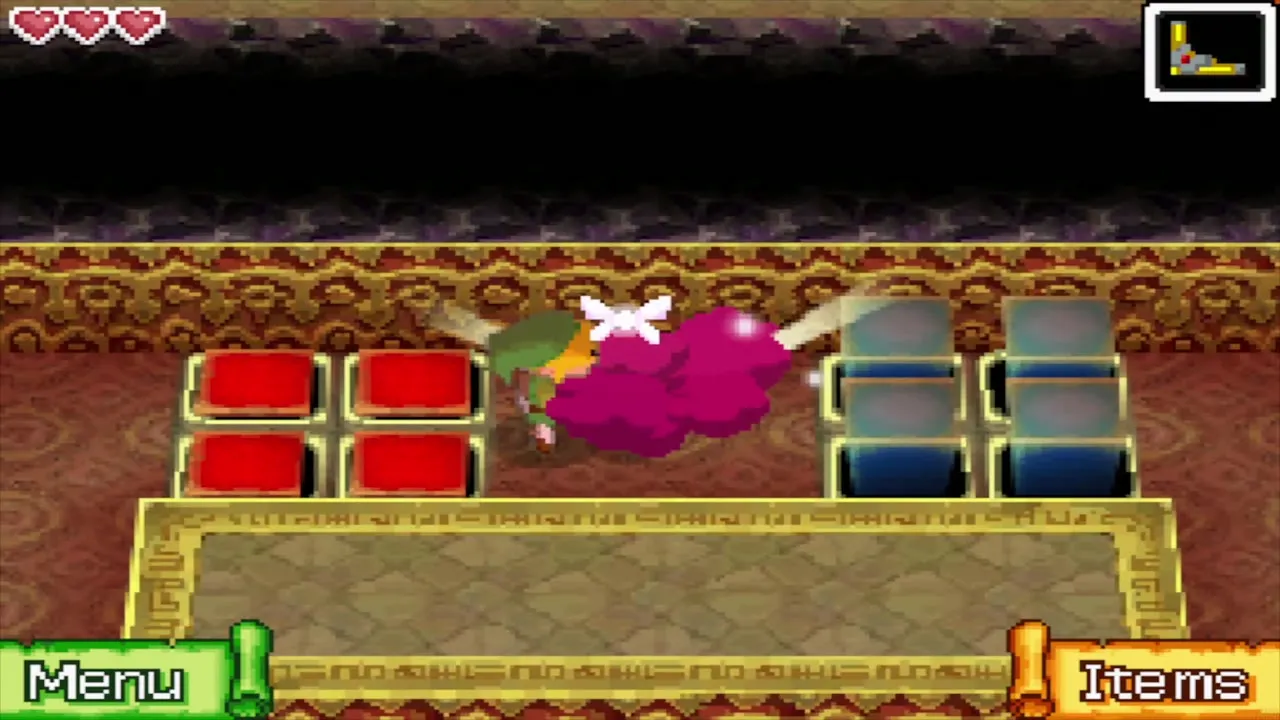
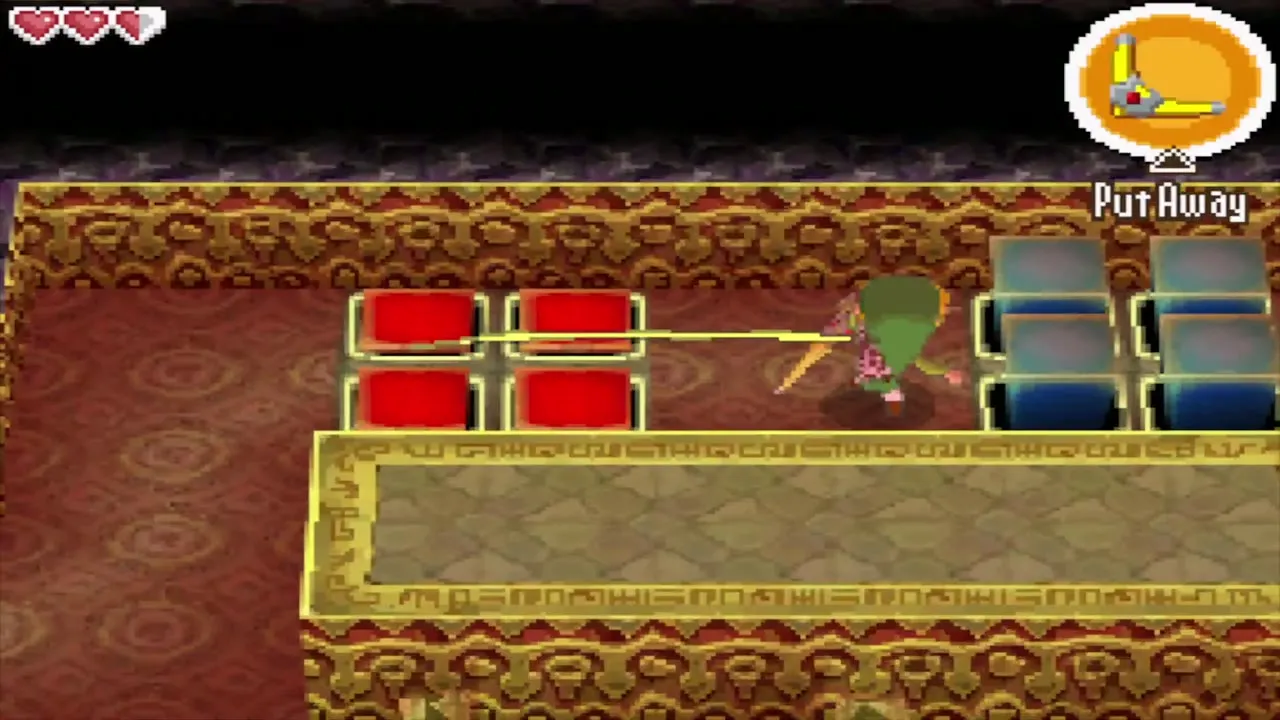
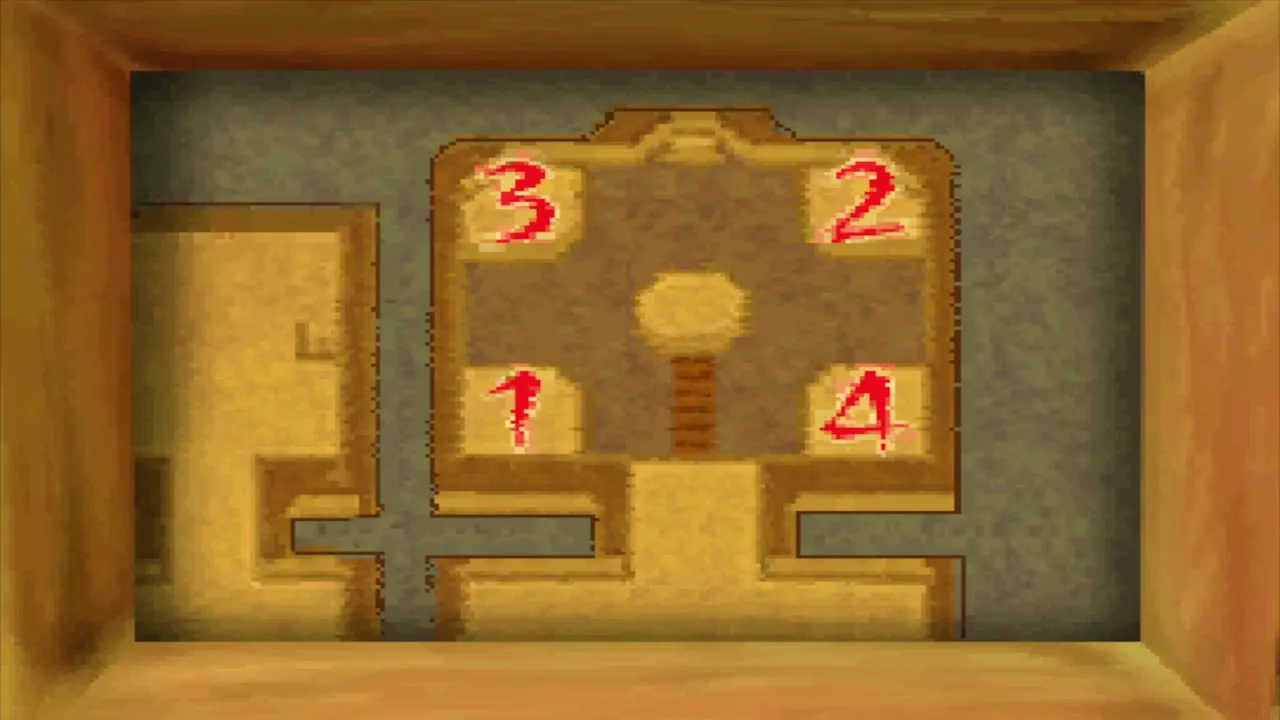
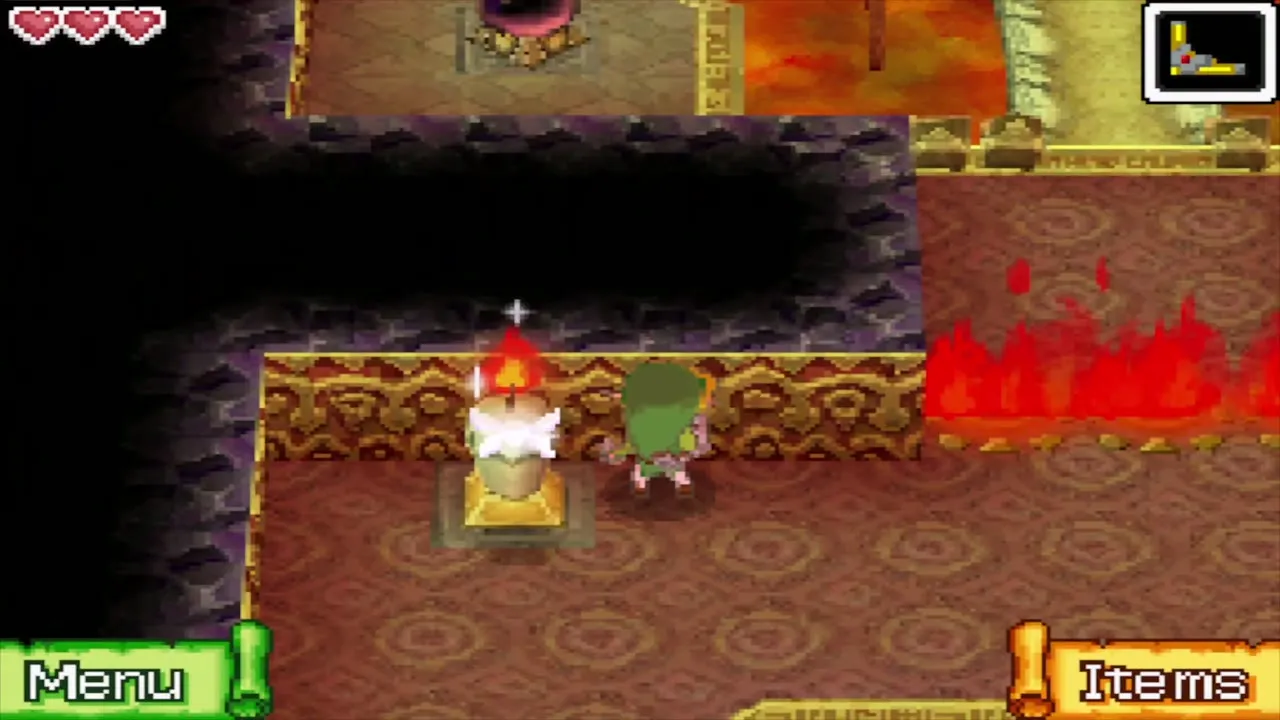
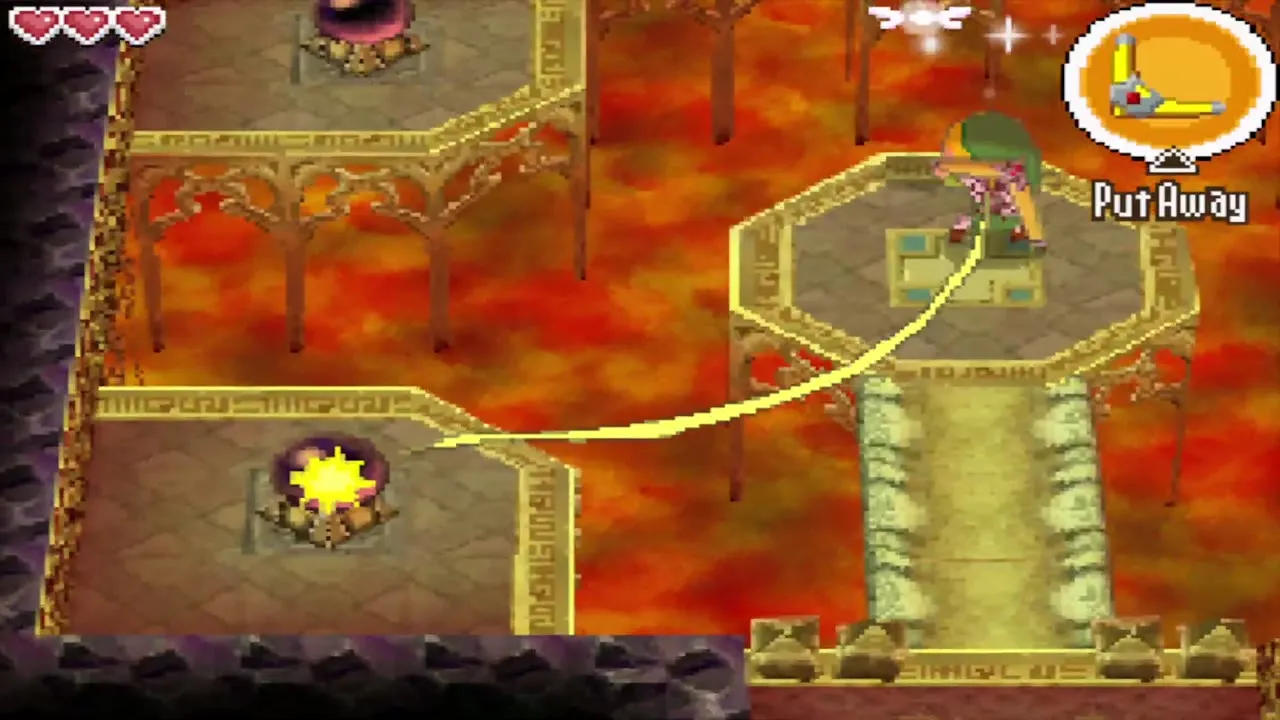
On 3F, find the picture in the south-east part of the room. It shows four numbers that match the four switches in the north-east of the floor, so write the numbers on the map. Walk north and blow into the microphone to snuff the two candles, which lowers the flames that block the way. Stand by the switches and hit the four switches quickly, in this order: bottom left, top right, top left, then bottom right.
Catch the third small key
A small key falls from the ceiling when you hit the last switch. Catch it with the Boomerang or pick it up from the floor, then unlock the locked door at the south end of the room. This is your third and last small key in the temple.
Talking chest and the chest count
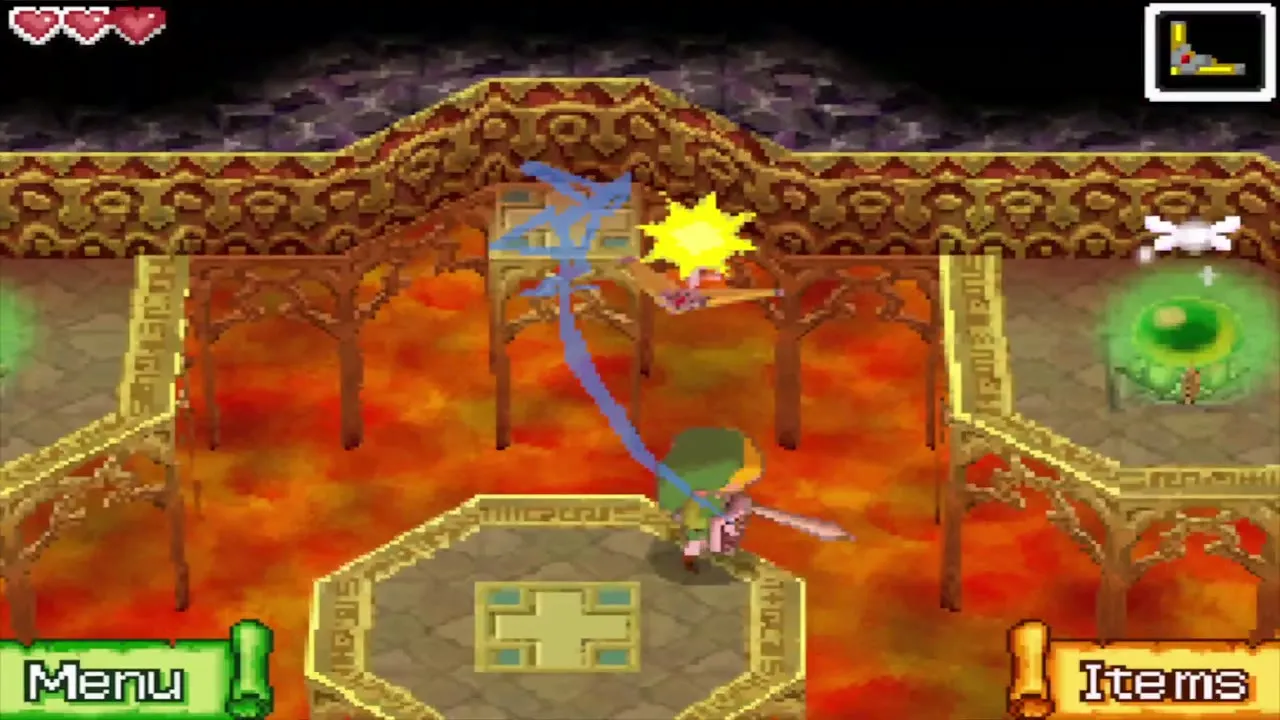
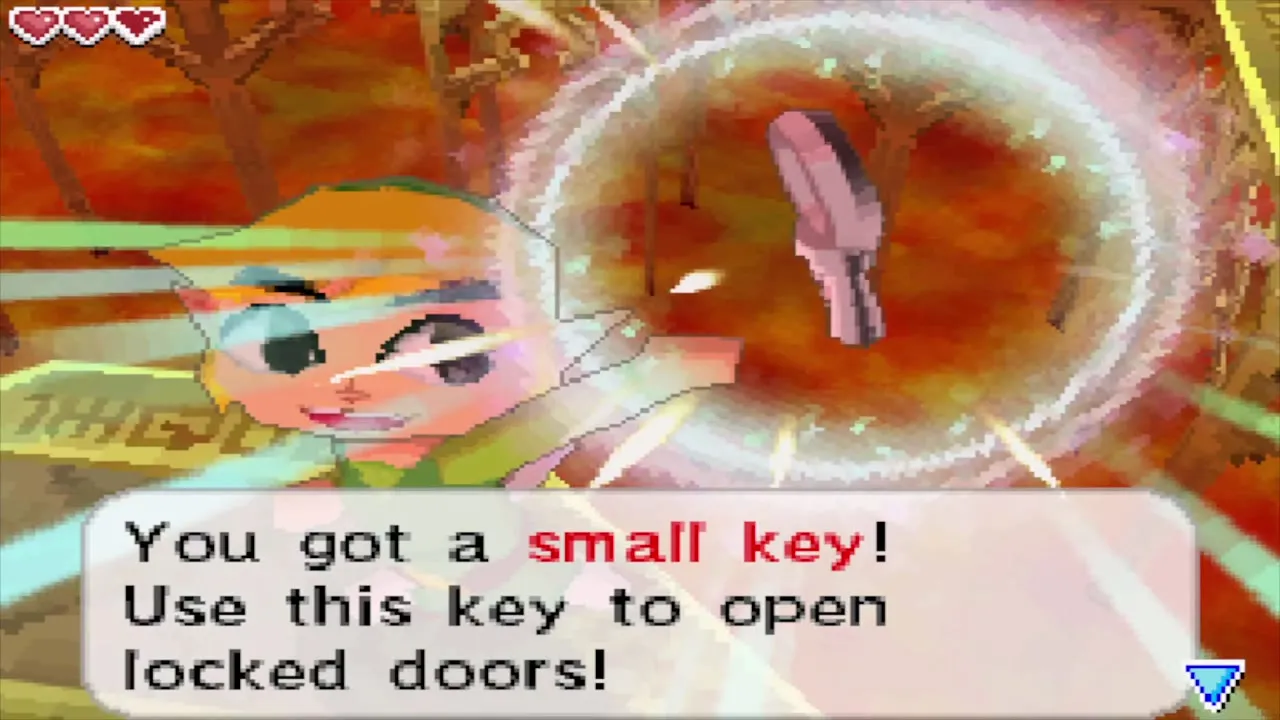
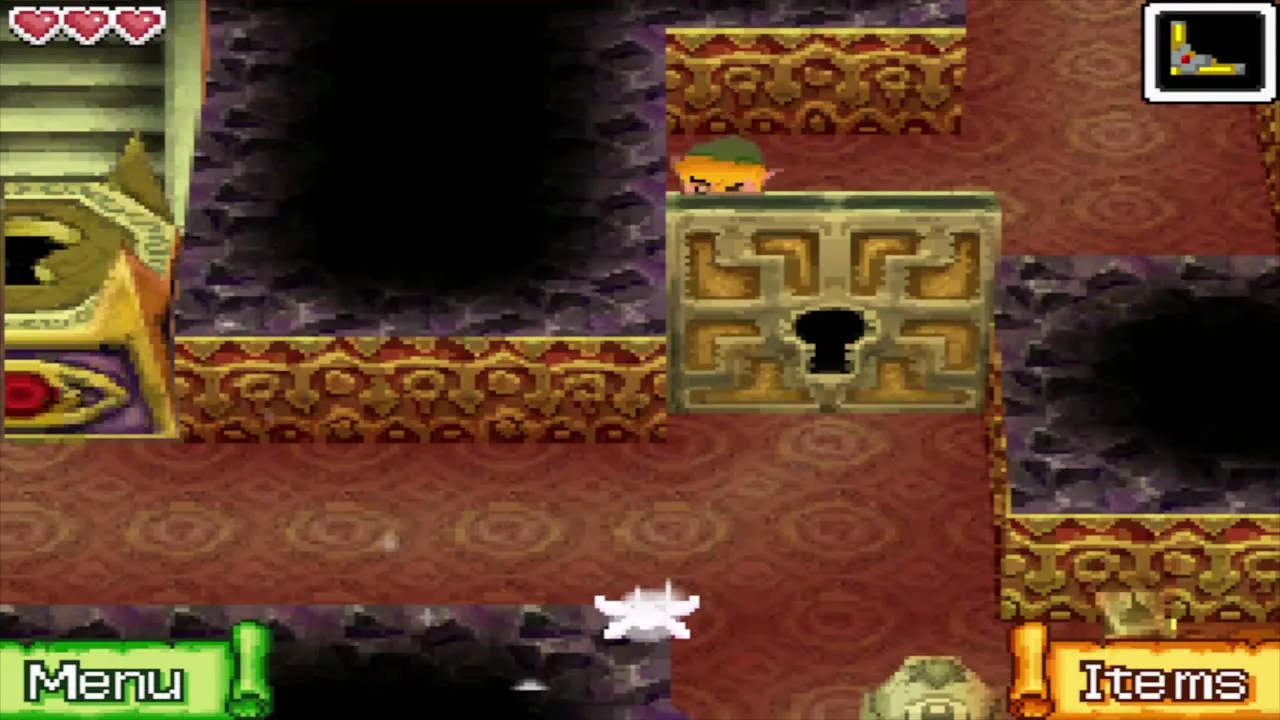
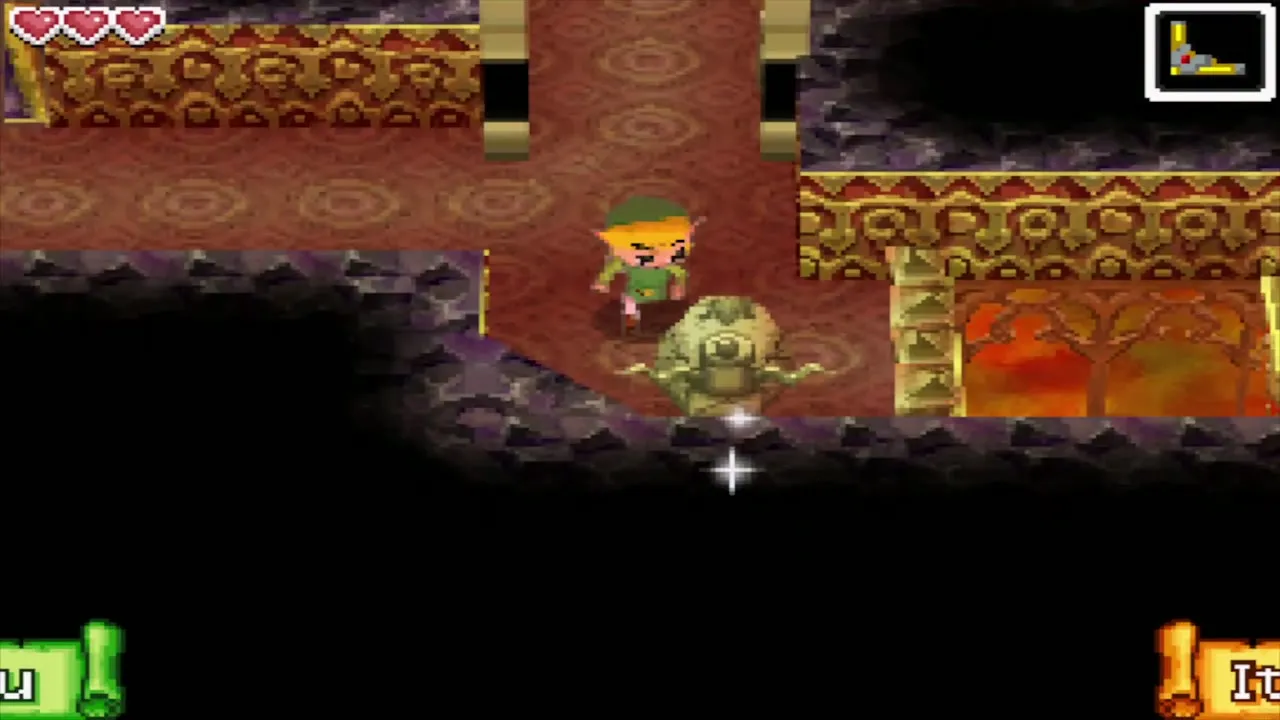
A Boing Statue beyond the door announces that exactly one treasure chest is left on the floor. That chest holds the Boss Key. Beat the enemies that attack in this part of the floor with the Boomerang and your sword.

Light the three torches and take the Boss Key
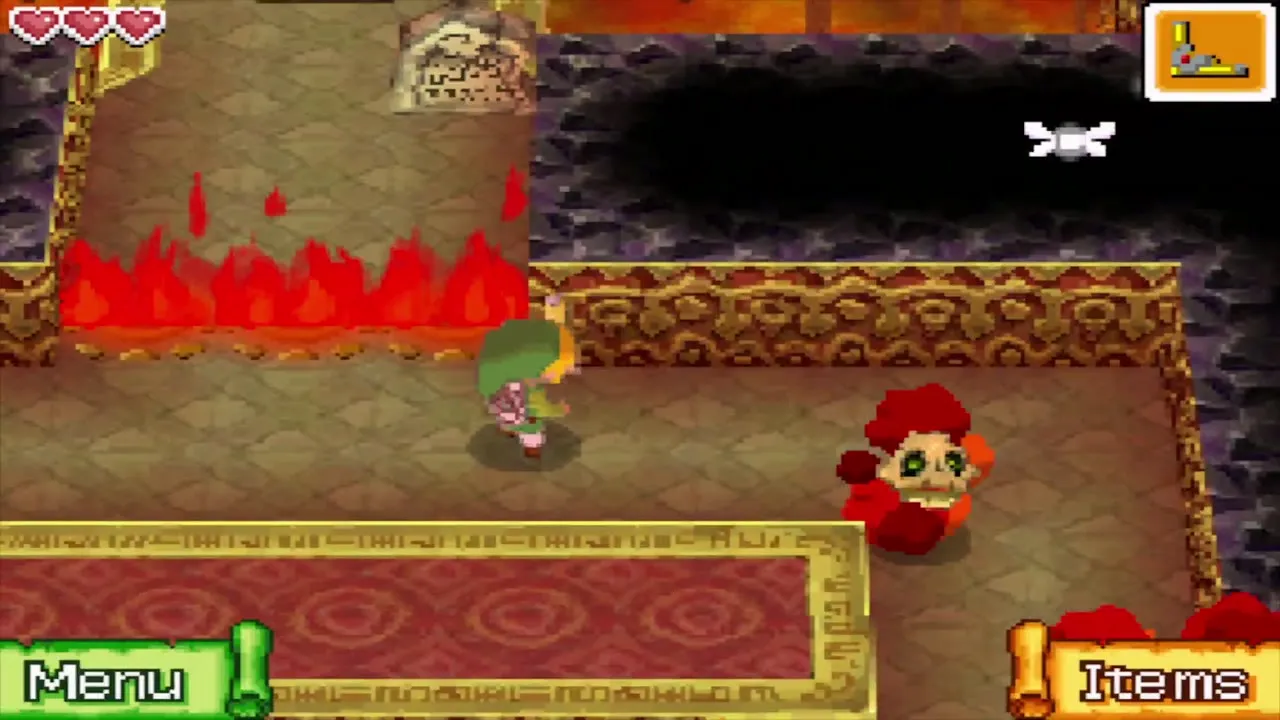
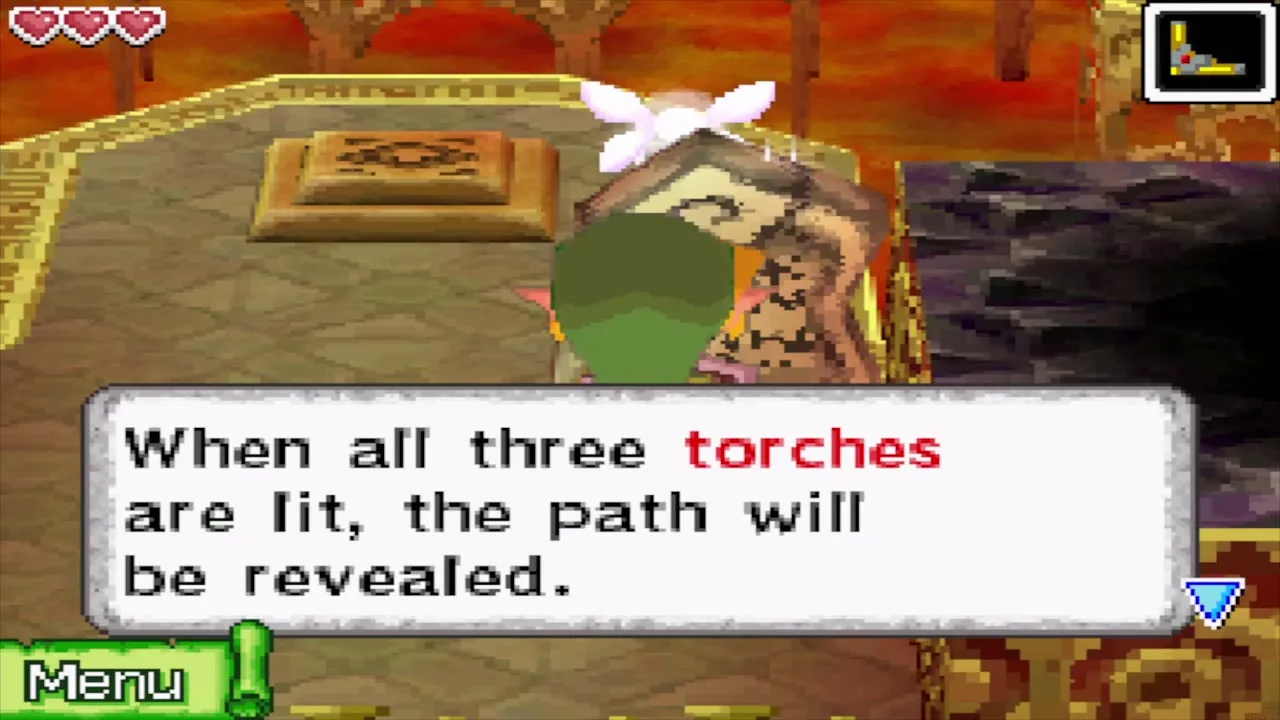
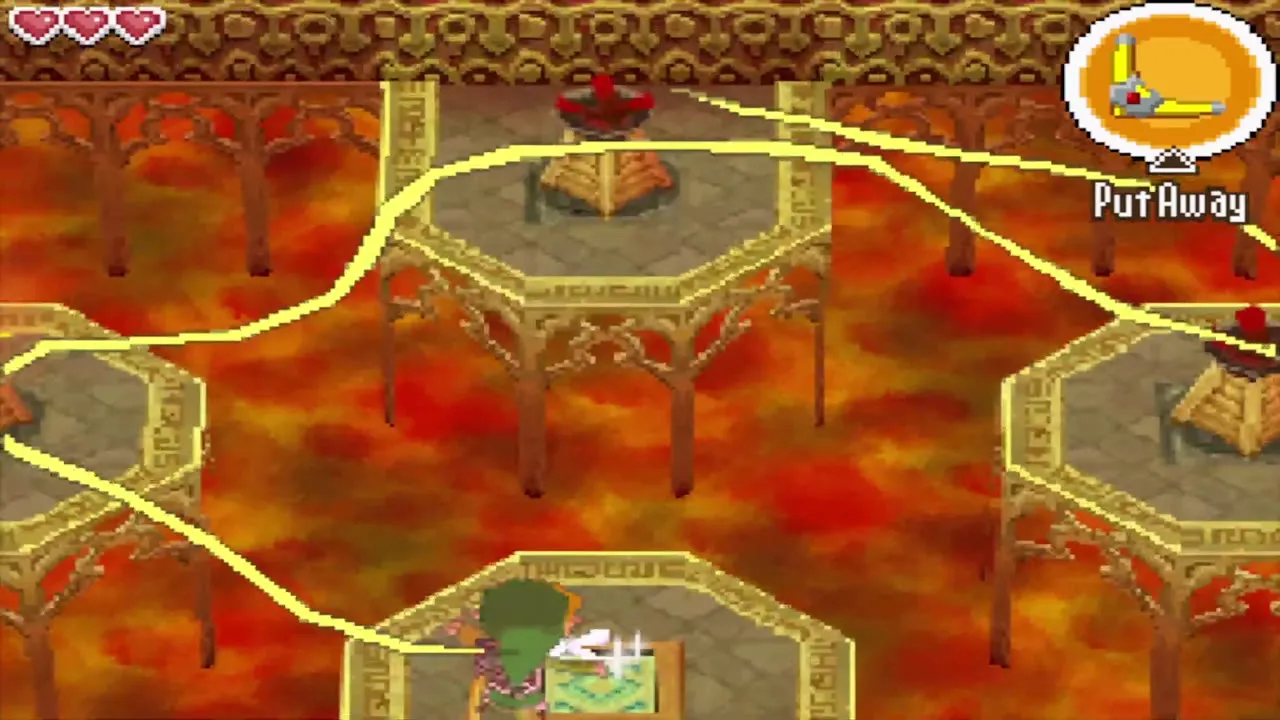
Go north and defeat the two Bubbles with the Boomerang and your sword so their fire stops blocking the path. Step on the switch to light the first torch, then trace a Boomerang path through its flame to the other two torches. When all three are alight, the flames die down. Boomerang the crystal switch on the wall to the right to raise a platform, avoid the flames and open the large chest to get the Boss Key.
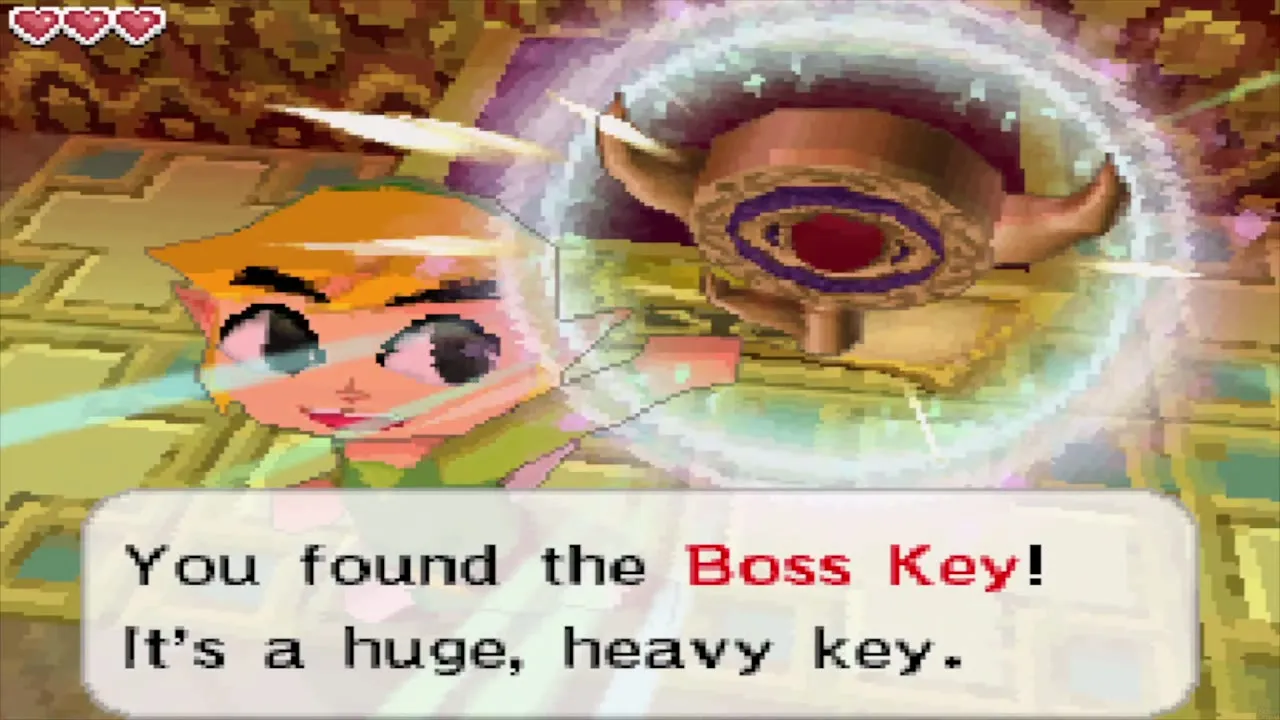
Carry the Boss Key to the barrier
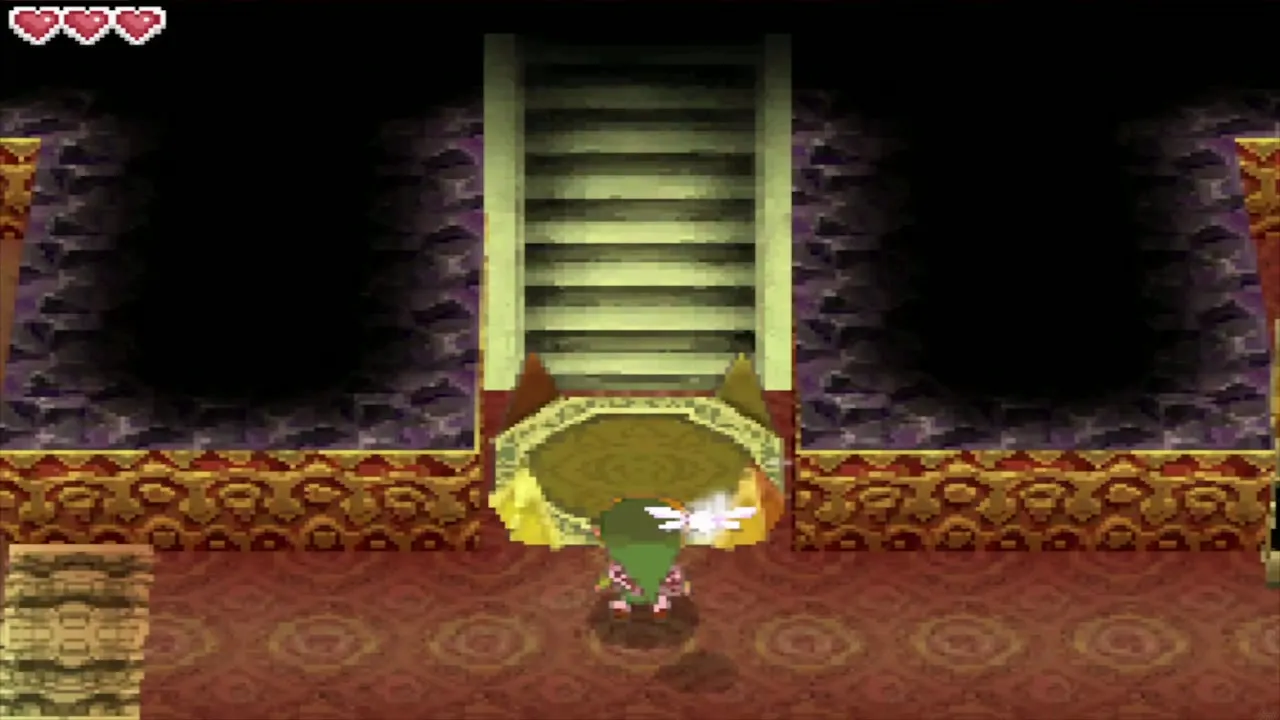
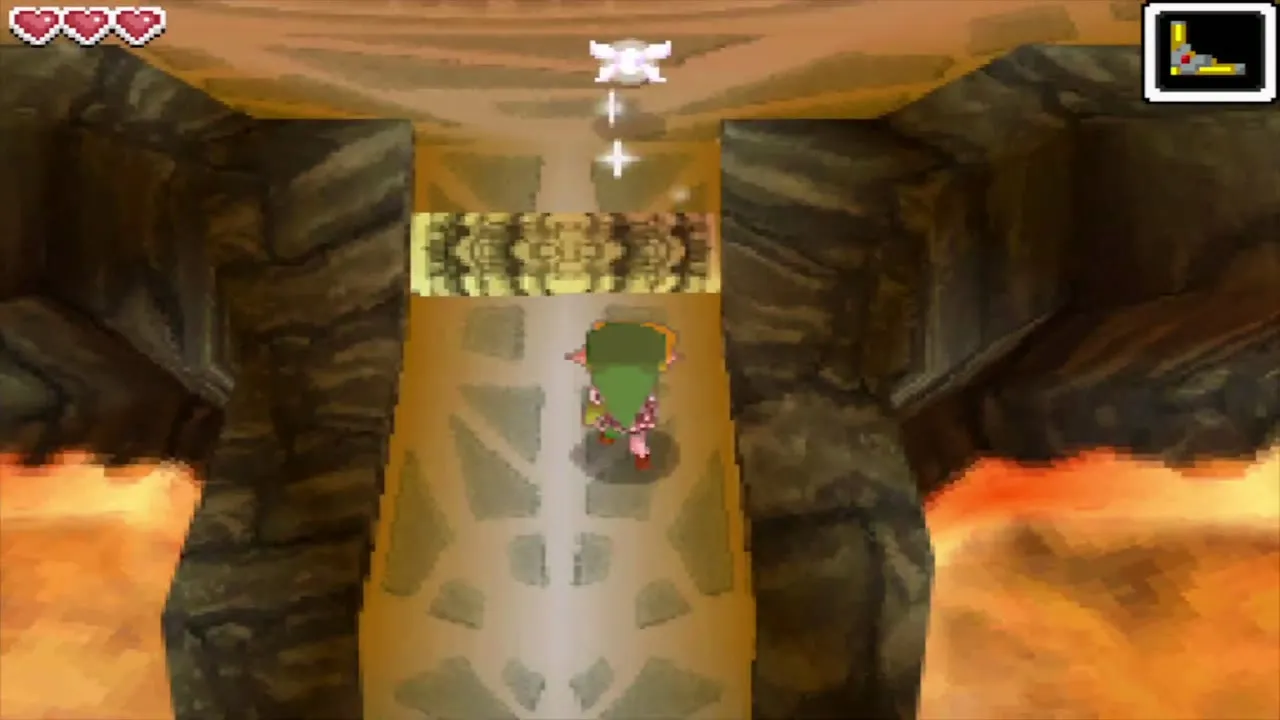
The Boss Key is large, and you carry it over your head. Tap close to Link to set it down and tap far away to throw it across gaps. Take it carefully past the fire to the large locked gate at the south end of the floor. Tap the lock to toss the key at it, then climb the stairs behind it.



Blaaz boss fight
Read the stone tablet before the boss
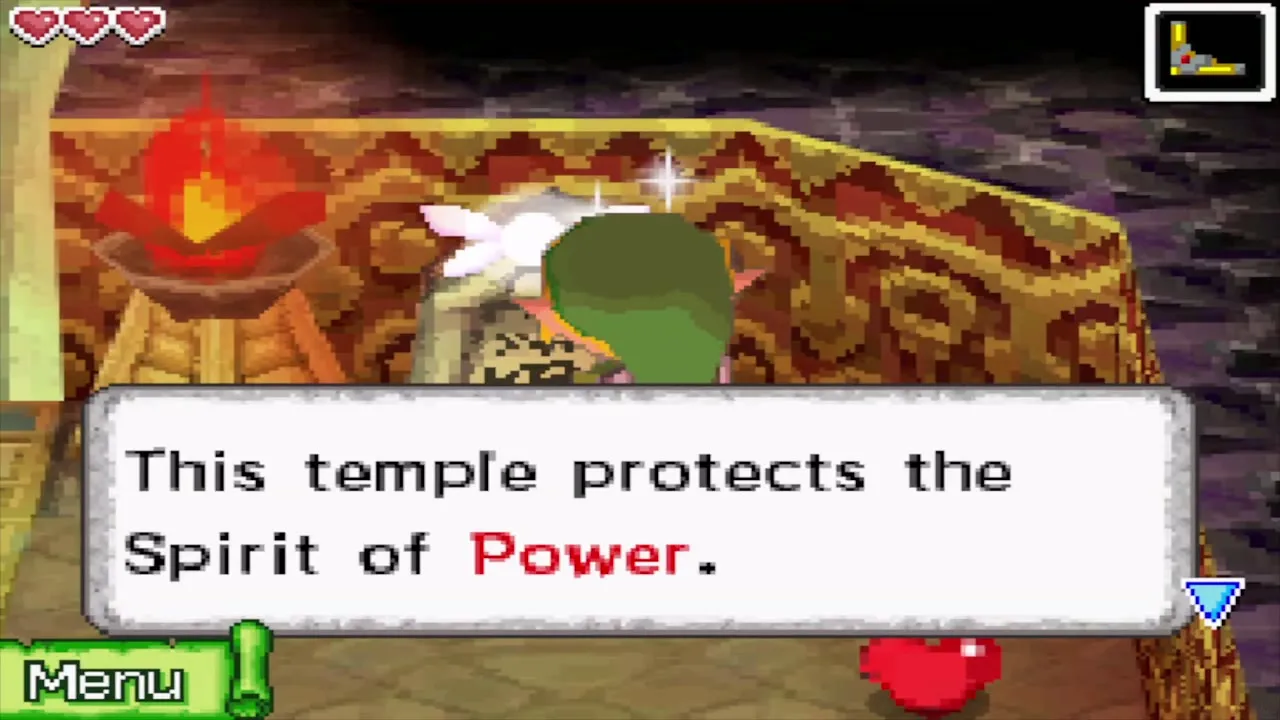
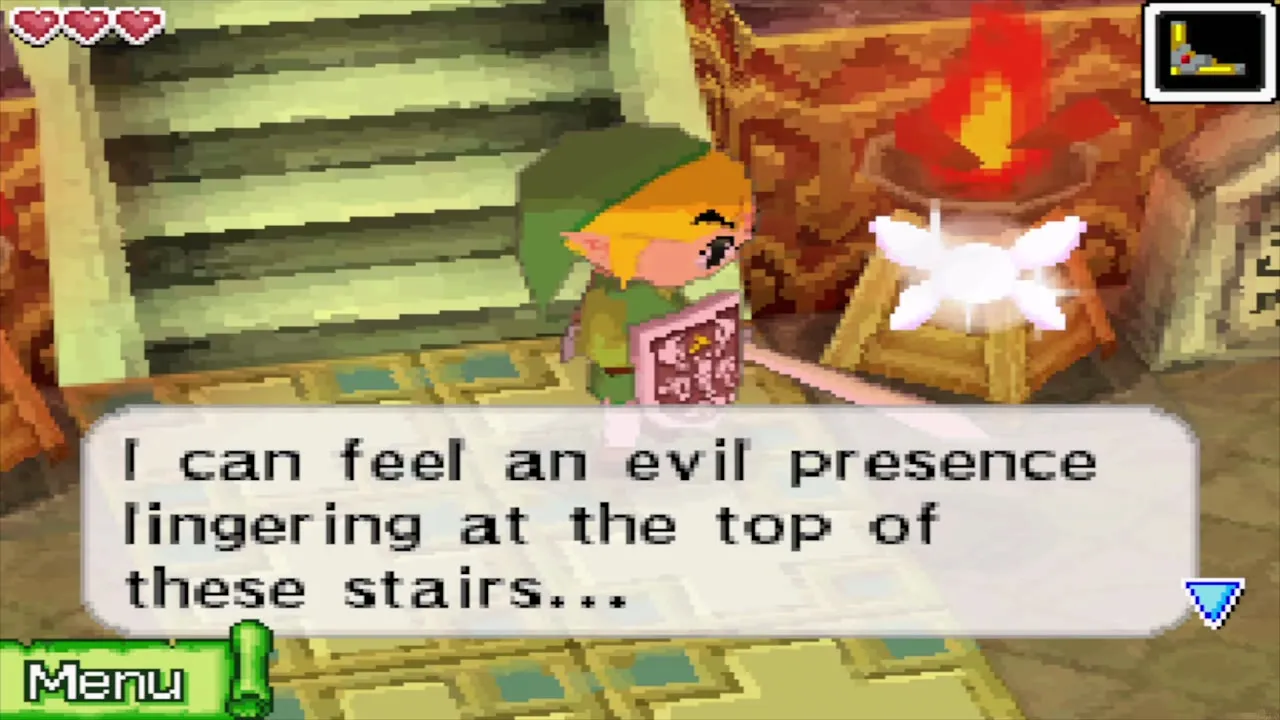
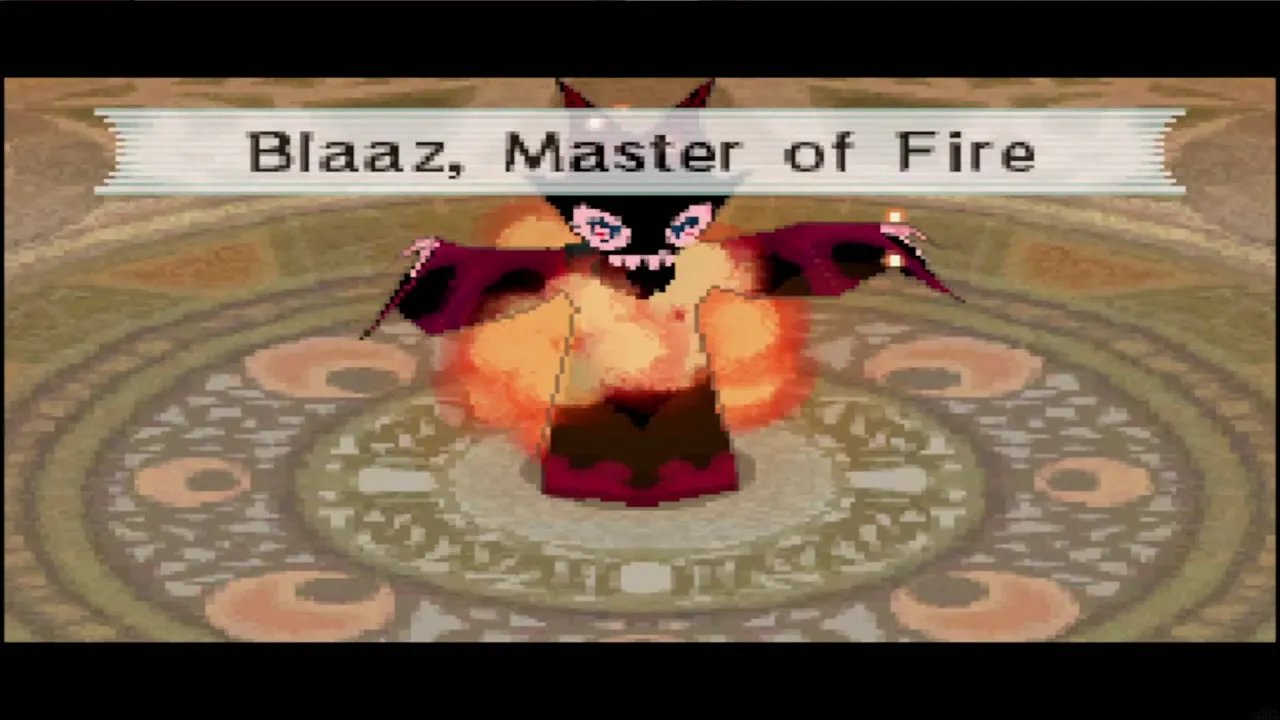
The stairs end at a stone tablet that says the temple guards the Spirit of Power. Read it and a warp point is set, so if you leave the temple you can come back to this spot. Ciela warns you about the evil waiting at the top. Climb the last stairs to meet Blaaz, Master of Fire, in a round arena.
Blaaz splits into three
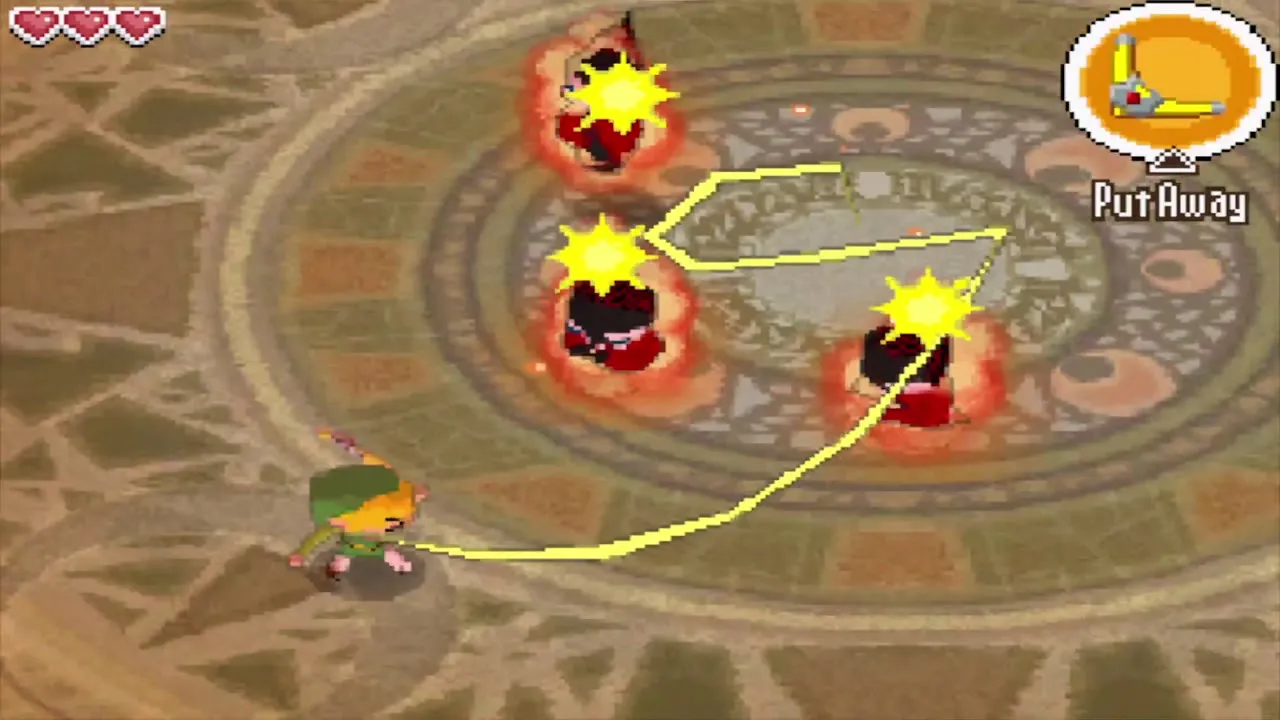
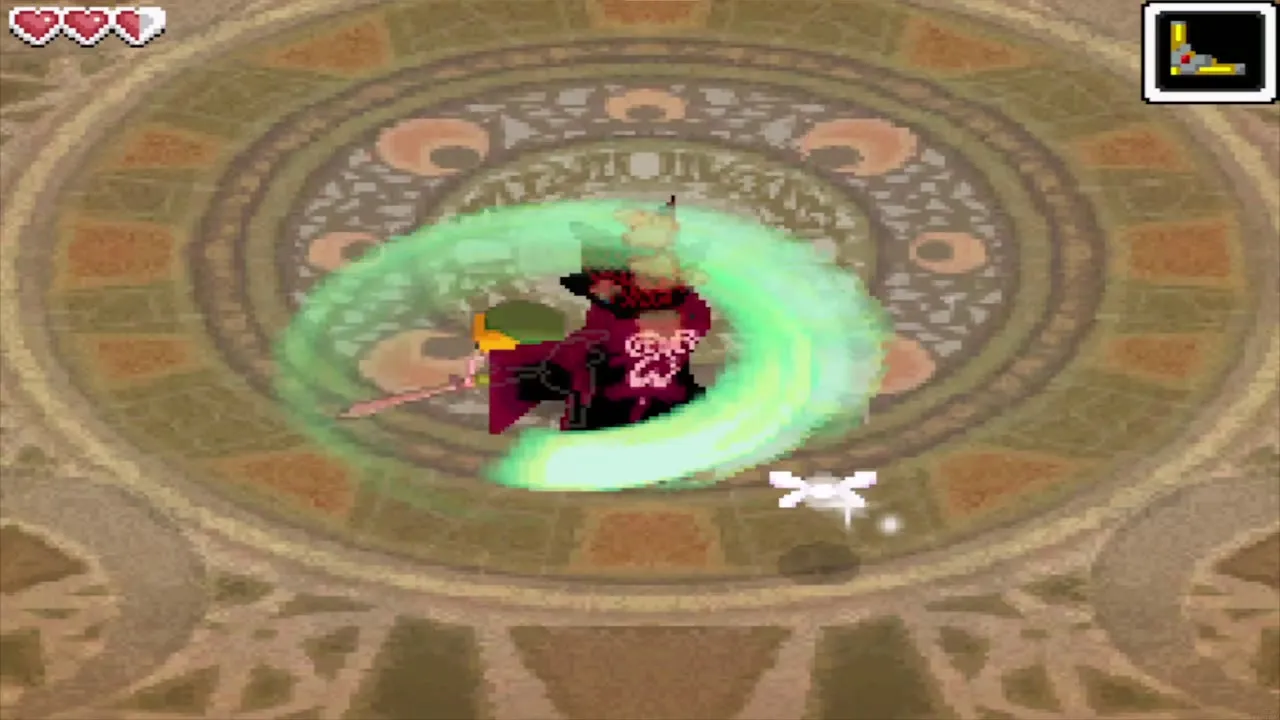
Blaaz breaks into three small fire skulls that you cannot hurt with the sword. Each has a different number of horns, one, two or three. Draw one Boomerang path that crosses them in order from the skull with one horn, to the two-horned one, to the three-horned one. A flash of stars marks each hit.

Slash Blaaz and survive the boulders
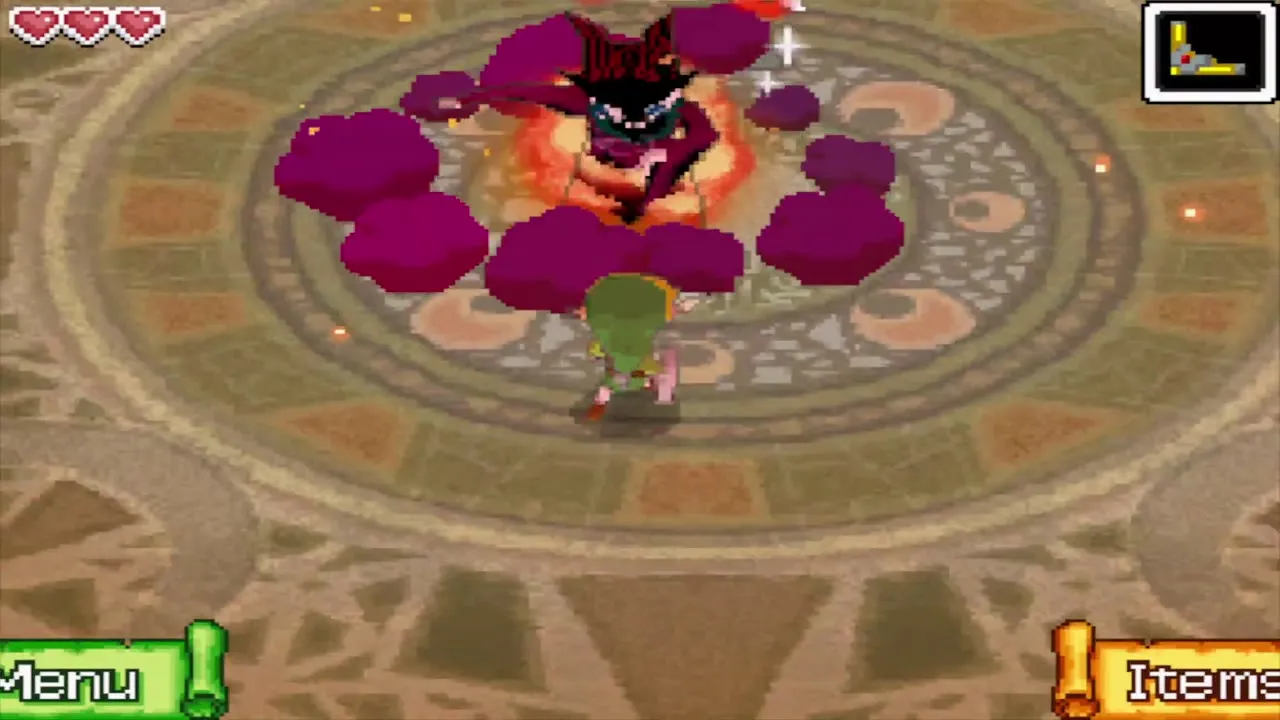
When all three are hit they merge back into Blaaz, who is stunned for a few seconds. Run up and slash him as many times as you can. He soon teleports and drops fire boulders, so watch the shadows on the floor and step out of them. When he splits again, repeat the horn order until he is beaten.

Heart Container and Leaf, Spirit of Power
Take the Heart Container
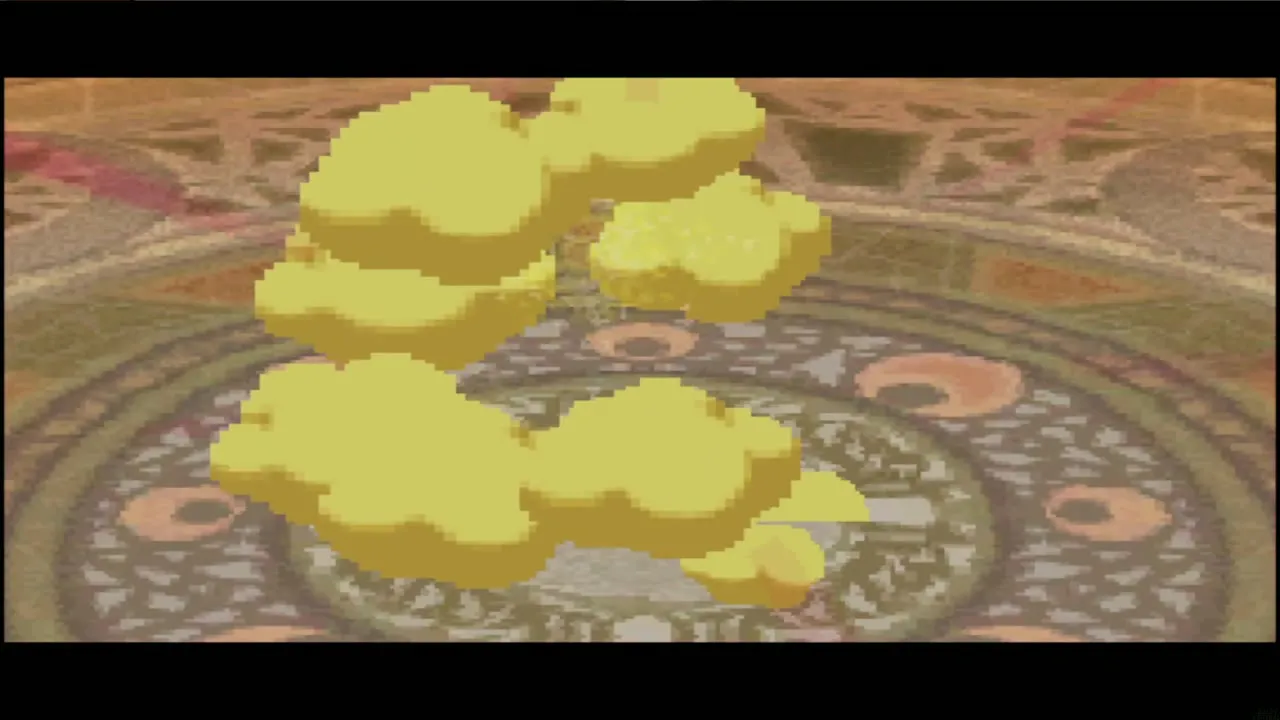
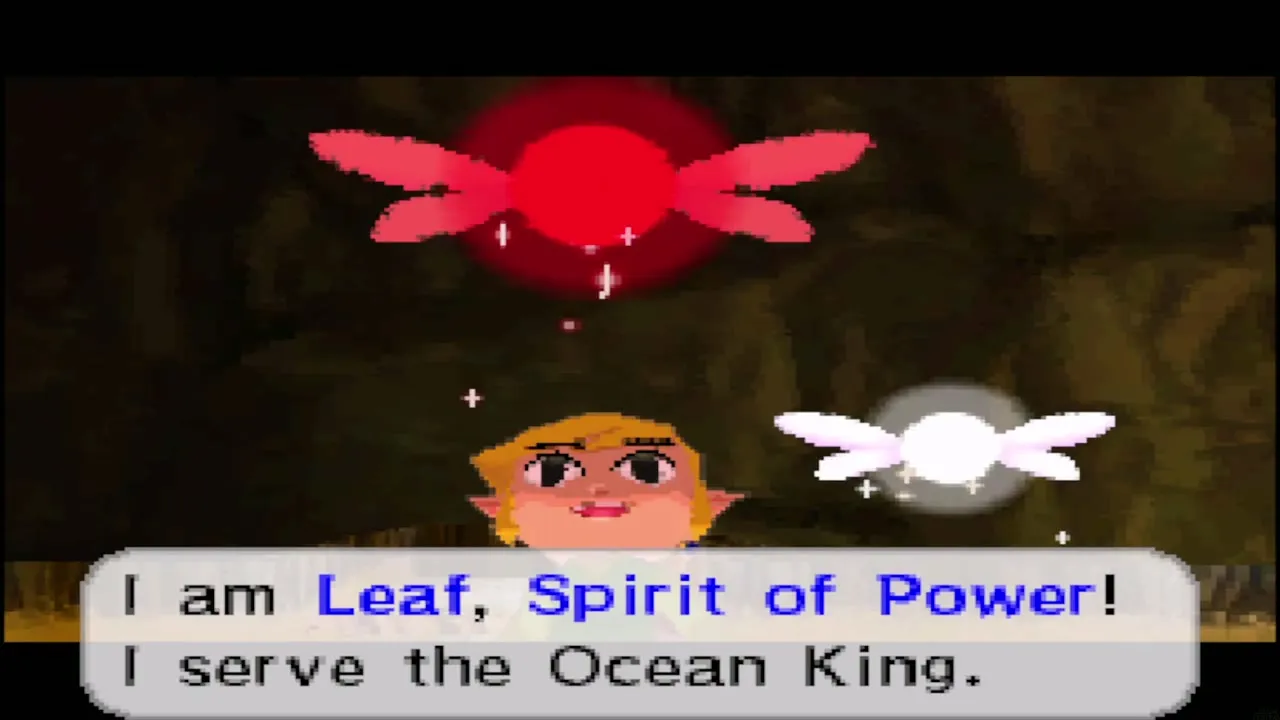
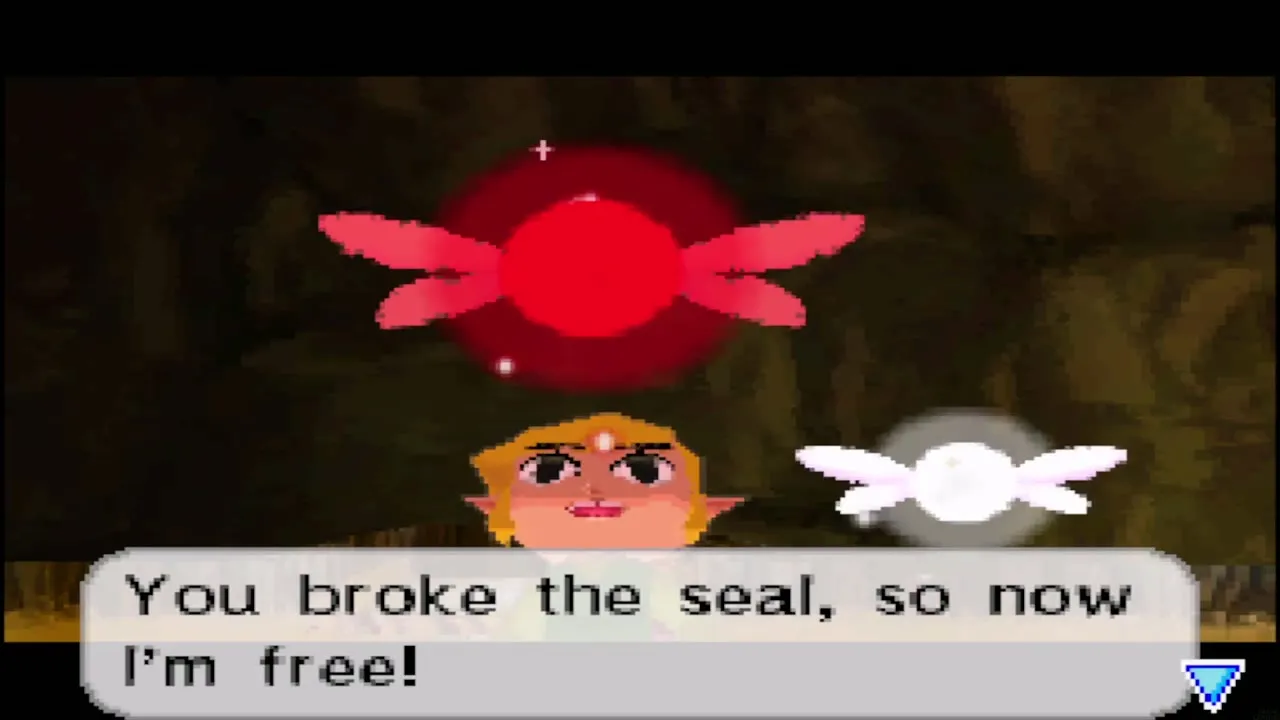
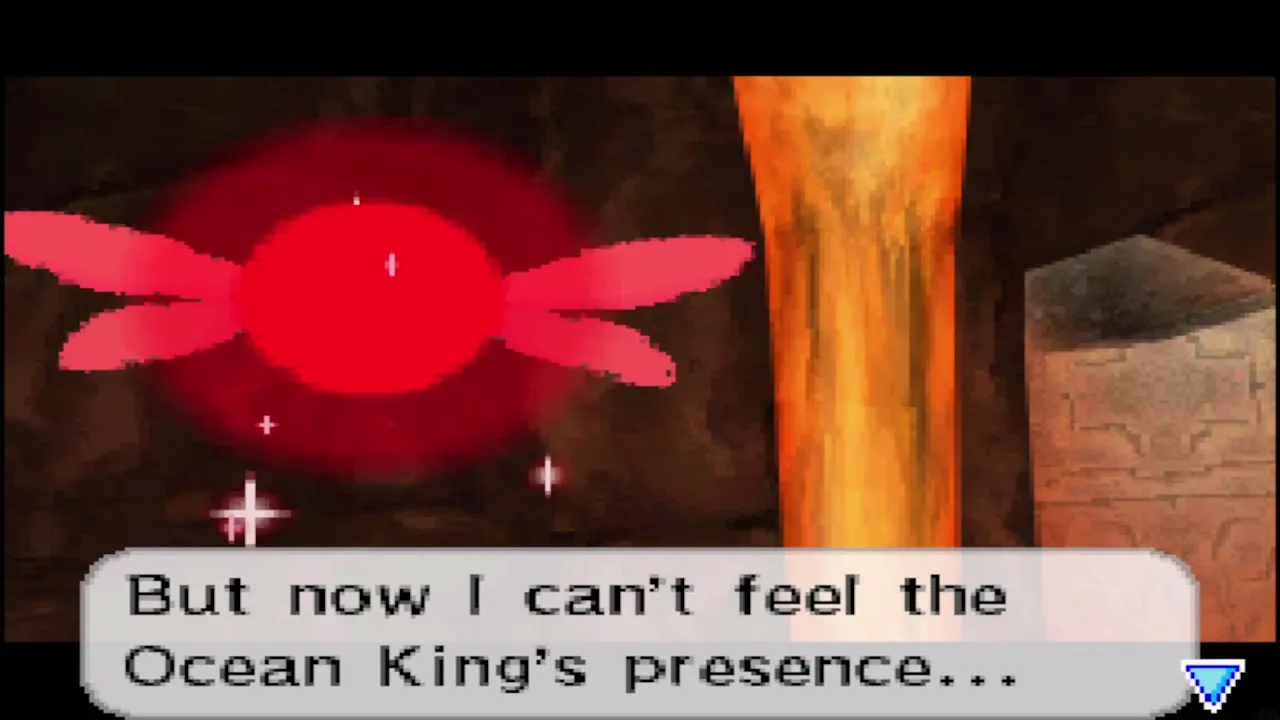
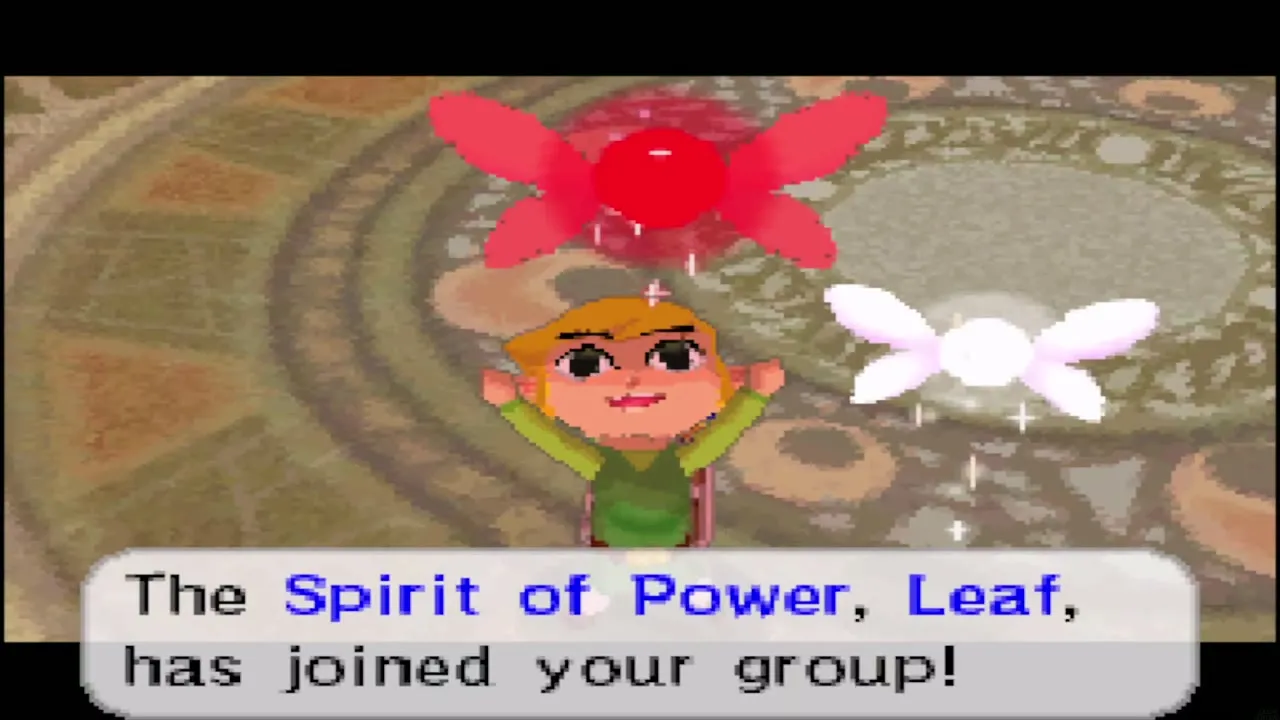
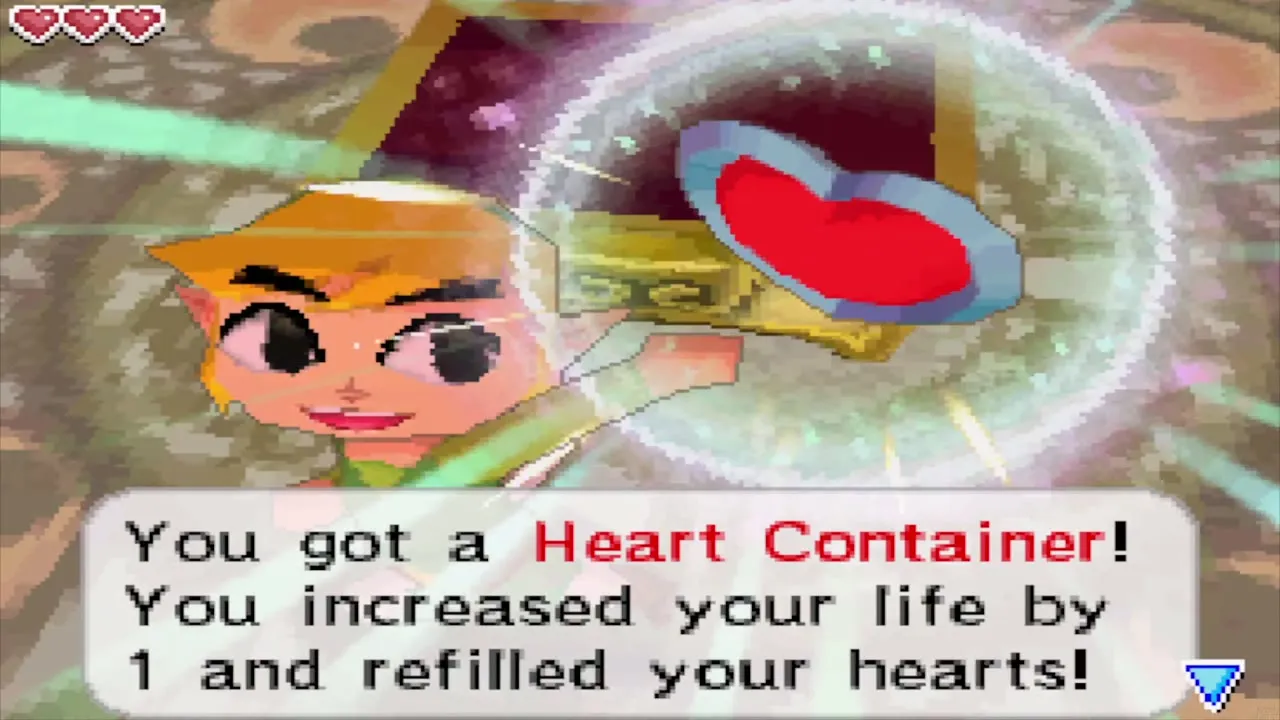
When Blaaz bursts into yellow sparks, light gathers in the arena and the Spirit of Power, Leaf, appears. Leaf explains that the Spirit of Power was locked away with the Ocean King years ago, can no longer feel the Ocean King and offers to come with you to find out. Talk to Leaf until the message says the Spirit of Power has joined your group. A Heart Container waits in a golden pedestal room nearby: take it and your life meter grows from three hearts to four and refills.
Leaf and the Sand of Hours
Leaf is the first of the three Spirits you need. Without Wisdom and Courage you cannot yet find the Ghost Ship. The grains of sand that Blaaz held go into the Phantom Hourglass when you receive it, which is why it starts with ten minutes. You will not find any other sand in this temple.

Leave the Temple of Fire
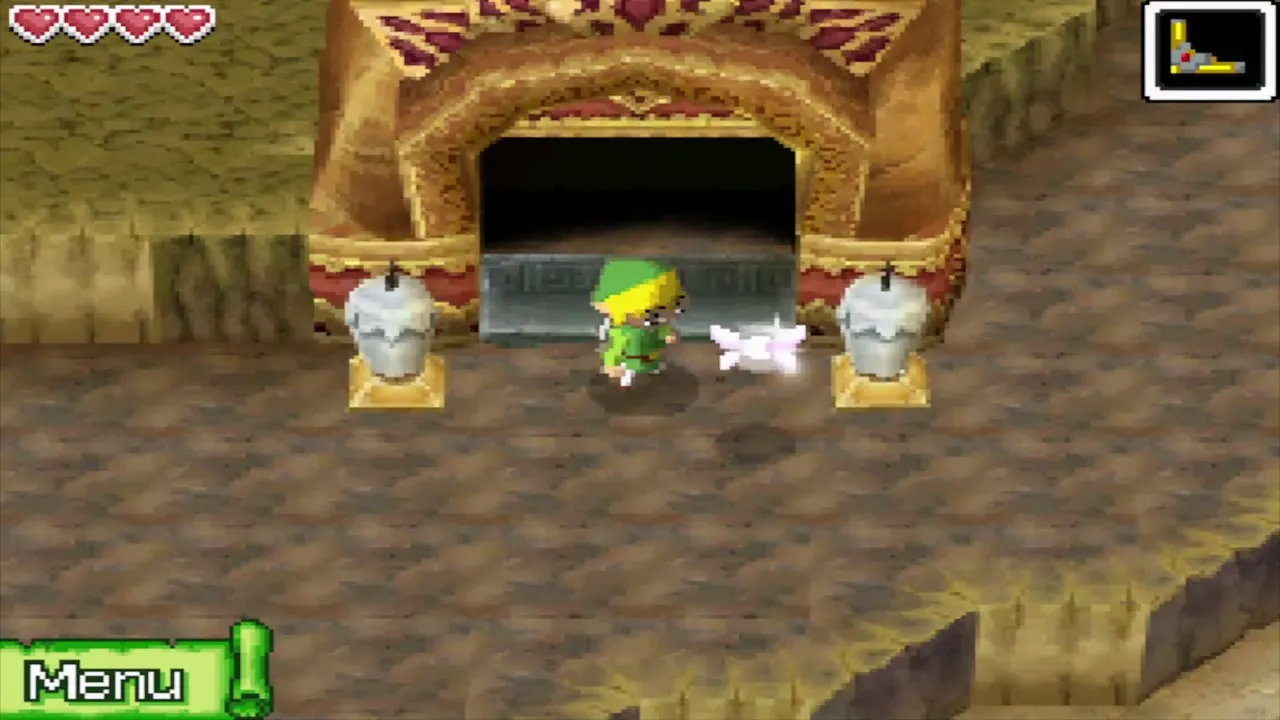
A blue warp pad carries you back toward the entrance, so you do not have to climb back down through every room. Follow the route out of the temple and down the summit path to Astrid’s house.

Astrid’s Power Gem and back to Mercay
Talk to Astrid
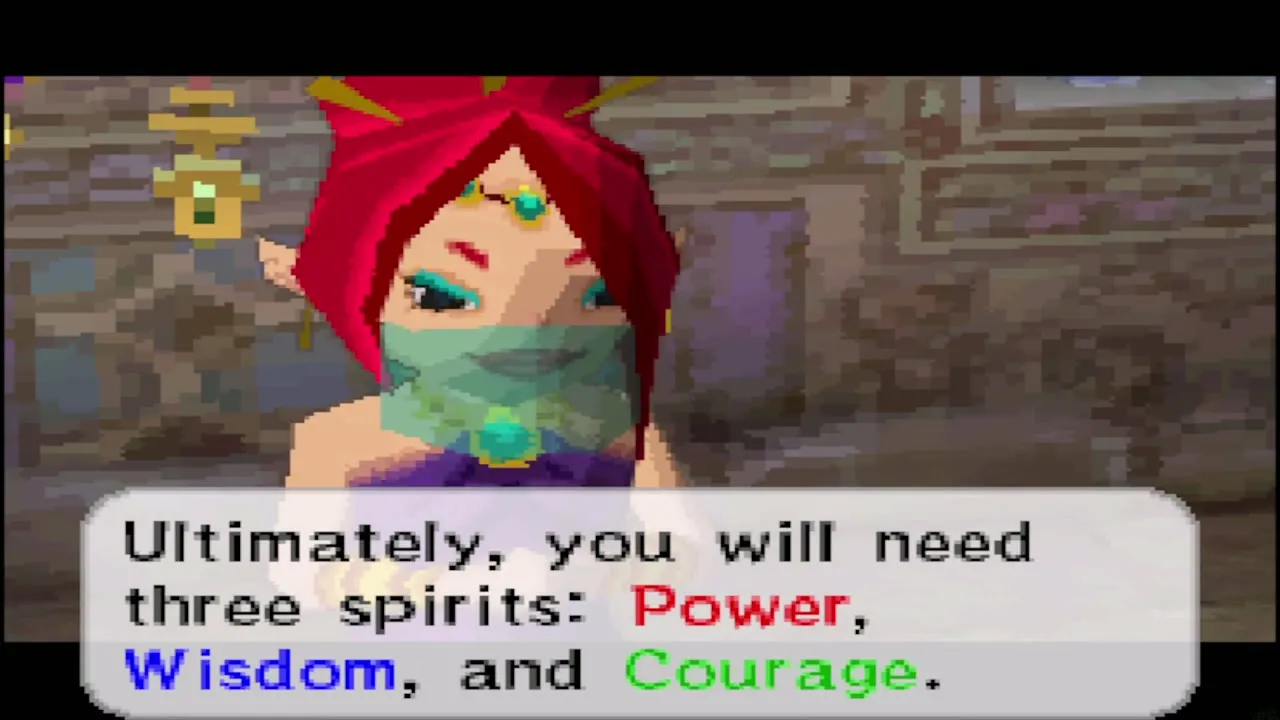
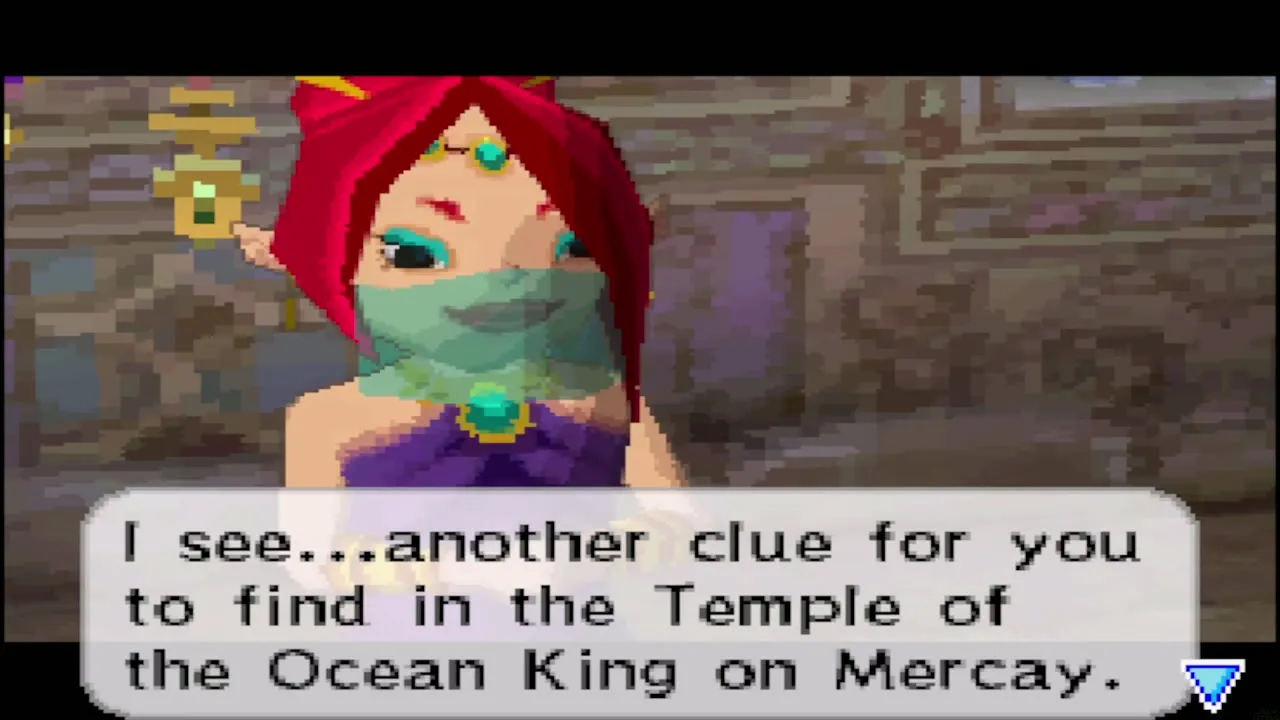
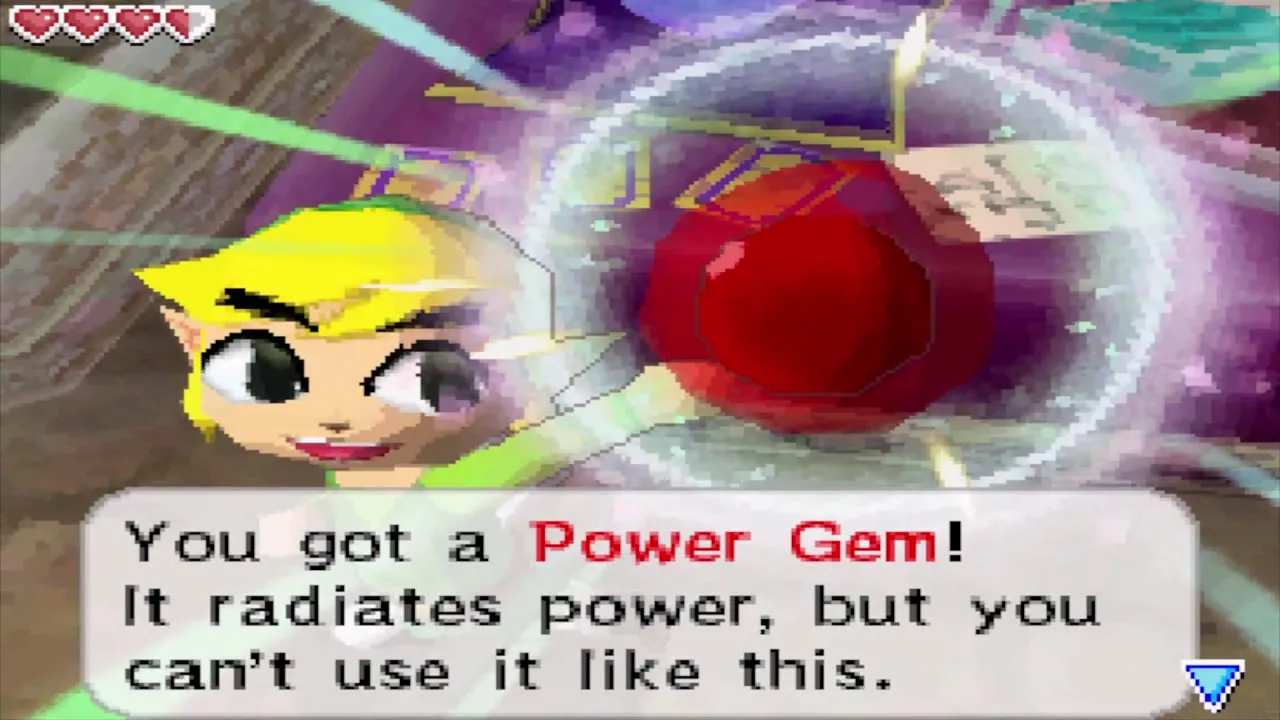
Astrid is waiting in her room on the Isle of Ember. She says you will need all three Spirits (Power, Wisdom and Courage) to find the Ghost Ship, and that another clue lies in the Temple of the Ocean King on Mercay Island. She then gives you a Power Gem, the second of the twenty Power Gems. Gems do nothing in your pocket; you take them to the servant at the shrine on Spirit Island, and ten of one type power up that Spirit.

Sail back to Mercay Island
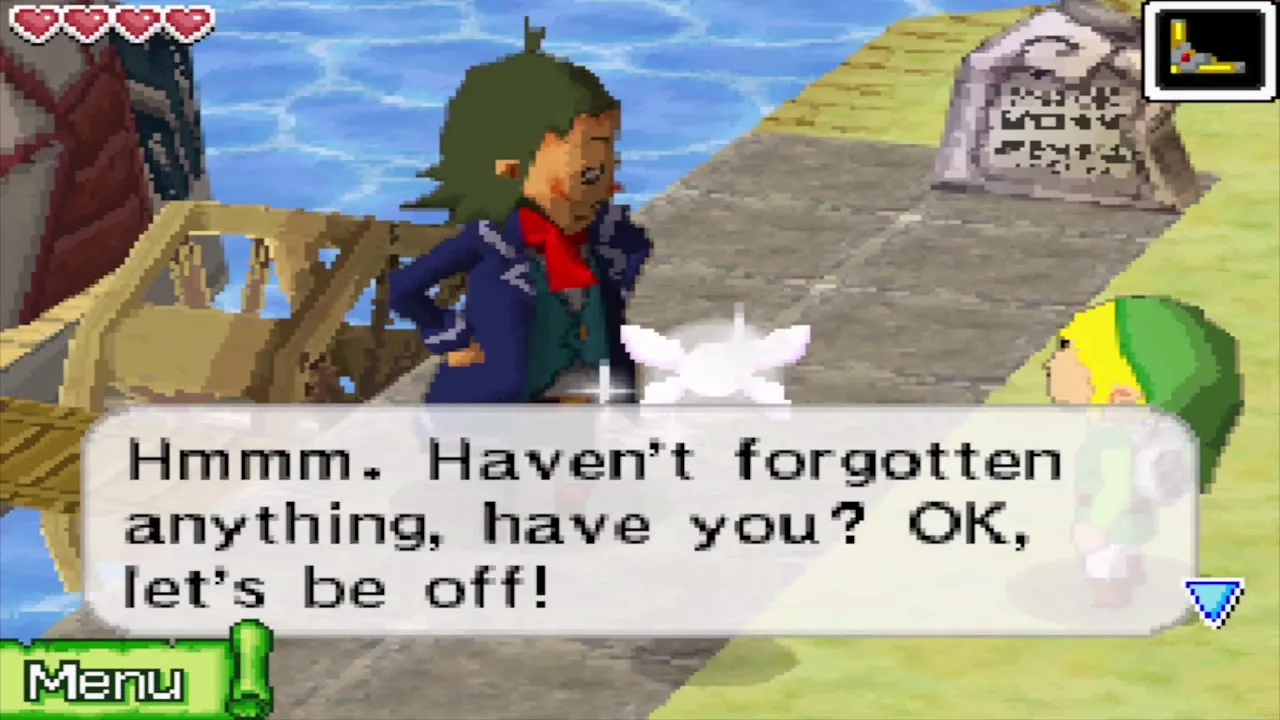
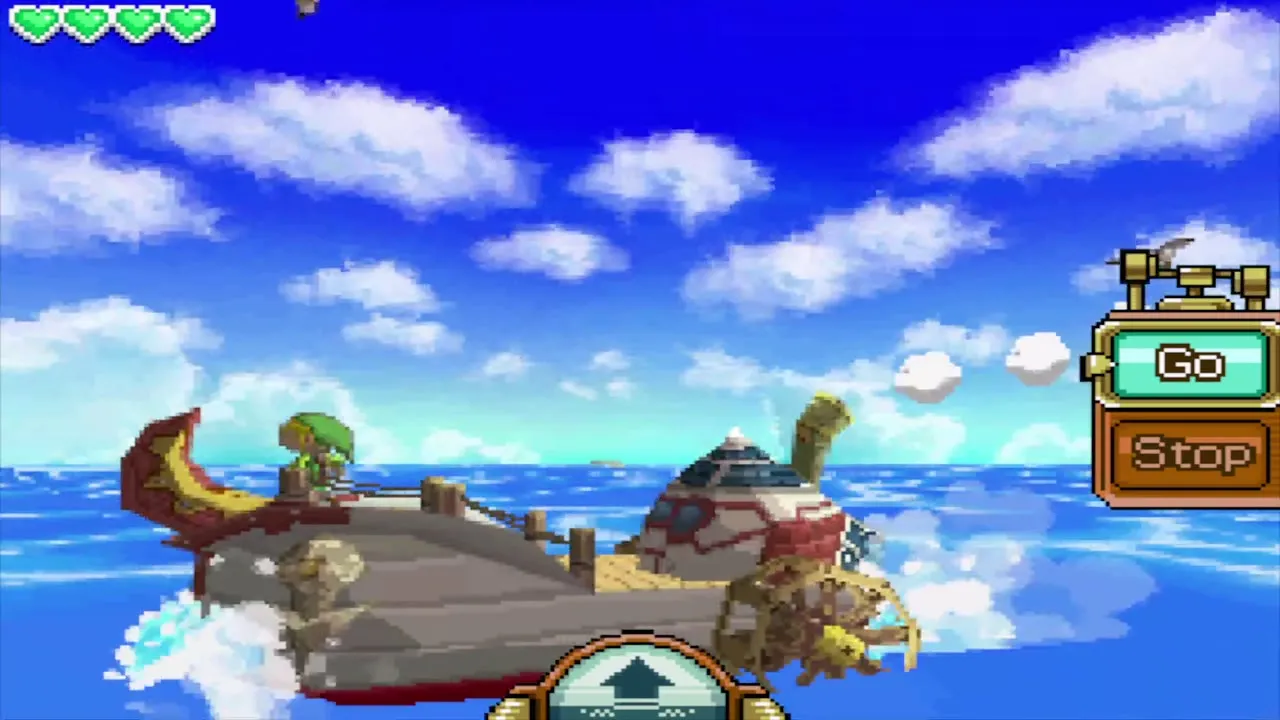
Walk out to Linebeck at the dock. He asks whether you have forgotten anything, so say no when you are ready. Open the Southwestern Sea Chart, tap Mercay Island, draw a course from the ship to the island and press Go. Beedle’s Shop Ship lies on the way if you want to stop and buy something. Dock at Mercay and head for the Temple of the Ocean King, which is the next chapter.

What you can only collect later
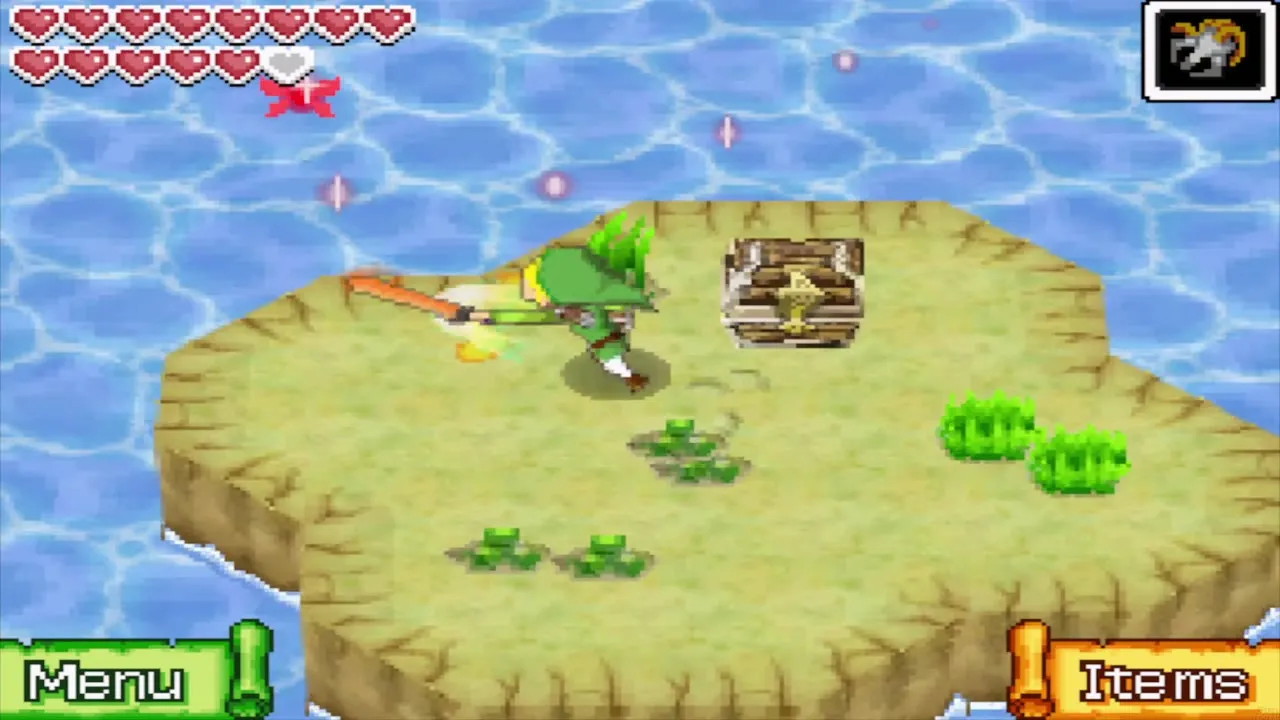
Two things on the Isle of Ember are out of reach for now. A treasure map is buried in the grass northeast of the temple entrance, which Kayo hints at, and you need the Shovel to dig it up; you get the Shovel in the Cannon Island and Molida Island chapter. The map marks a Sand of Hours at sea that needs the Salvage Arm, which comes in the Temple of the Ocean King B4 to B6 chapter. The Courage Gem on the tiny islet in the northwest needs the Grappling Hook, which comes from the Temple of Ice. Astrid gives a Wisdom Gem only after you clear the Temple of Wind.
Chapter checklist
| Collectible | Type | Where |
|---|---|---|
| Small key (1st) | Key | 1F chest behind fire, after beating the Keese |
| Red Rupee (20) | Rupees | 1F maze chest |
| Boomerang | Item | 2F chest, east side, after beating the Gels |
| Red Rupee (20) | Rupees | 2F chest after defeating all Fire Keese |
| Small key (2nd) | Key | 2F rat, hit with the Boomerang |
| Small key (3rd) | Key | 3F, falls after the four switches in order |
| Boss Key | Key | 3F chest, after lighting the three torches |
| Heart Container | Life | Blaaz arena |
| Leaf, Spirit of Power | Spirit | Blaaz arena |
| Power Gem | Spirit Gem | Astrid, Isle of Ember (number 2) |
Next, sail back to Mercay Island and enter the Temple of the Ocean King in Temple of the Ocean King: B1 to B3 and the Phantom Hourglass.
