
























Phantom Hourglass 100% Completion Walkthrough19 chapters
- Temple of FireEvery key, the Boomerang, the Boss Key, how to beat Blaaz, the Heart Container, Leaf and Astrid’s Power Gem.
- Temple of WindGet the bombs, the Boss Key, beat Cyclok, free Neri and take the Heart Container.
- Molida Island and the Temple of CourageBeat the Giant Eye Plant, light Molida’s statues, get the Bow, defeat Crayk and awaken the Spirit of Courage.
- The Ghost ShipFind the ship with the Spirits, free the Cubus sisters, win their volley game, get the Ghost Key and Heart Container.
- Goron TempleTeam up with Gongoron, get the Bombchus and the Boss Key, beat Dongorongo and take the Crimsonine.
- Temple of IceLever order, three small keys, Grappling Hook, Boss Key, Gleeok fight, Heart Container and Azurine.
- Mutoh’s TempleGet the Hammer, find both small keys and the Boss Key, beat Eox and collect the Aquanine.
- Mercay Island and the First Sea ChartGet Oshus’s Sword, solve the lever passage, rescue Linebeck and find the first sea chart.
- Temple of the Ocean KingTake the Phantom Hourglass, sneak past Phantoms, carry three Force Gems and find the Northwestern Sea Chart.
- Temple of the Ocean KingPhantom Eyes, the hourglass crest door, the Salvage Arm, treasure salvage and the Sun Key.
- Zauz and the Temple of the Ocean KingPure Metals, Triforce door, crystal puzzles and the Southeastern Sea Chart.
- Temple of the Ocean KingGold Phantoms, the B11 bridges, three Force Gems on B12 and the Northeastern Sea Chart.
- The Phantom Sword and BellumPhantom Hourglass walkthrough for the Phantom Sword, the last Temple of the Ocean King descent, Bellum.
- Isle of Ember and AstridFirst voyage, Beedle’s Shop Ship, Kayo’s torches, freeing Astrid and the volcano path to the Temple of Fire.
- Cannon Island, the Ghost Ship Chase and Molida IslandBuy the Cannon from Eddo, chase the Ghost Ship, then reach Molida Island and take the Shovel.
- Northwestern Sea and the Isle of GustThe fog route, Bannan Island fishing, Zauz, the Cyclone Slate, Golden Frogs and the way to the Temple of Wind.
- Goron Island and GongoronSail the Southeastern Sea, beat the Massive Eye, pass Biggoron’s quiz, find Gongoron and reach the Goron Temple.
- Isle of Frost and the Yook MysteryCannon the ice, Anouki Estates, find the Yook among six villagers and fight through the Great Ice Field.
- Isle of the Dead and the Isle of RuinsDig spot, Phantom Corridor path, Regal Necklace, King’s Key, Max and the door symbol.
| Covers | sailing to the Isle of Frost on the Southeastern Sea Chart, cannoning the ice, the Anouki village, Anouki Estates, the Yook mystery, the Great Ice Field and the door of the Temple of Ice |
|---|---|
| You need | the Southeastern Sea Chart, the Cannon, the Shovel, Bombs and the Boomerang; the Goron Temple finished, so that Crimsonine is already yours; a few Red Potions and a full Bomb Bag for the Yooks |
| Rewards |  one treasure map (number 17, it leads to a ship part),  one big red Rupee worth 200 Rupees,  a Big Green Rupee and  two red Rupees in chests on the Great Ice Field, and the way into the Temple of Ice. Two more pick-ups here need the Grappling Hook or the Cyclone Slate and are listed in the checklist |
The Azurine, the second Pure Metal, lies in the Temple of Ice, and the Isle of Frost is wrapped in so much ice that you cannot even dock. This chapter takes you through the whole approach: sail around the island firing the cannon until the ice breaks, meet the Anouki and their Island Chief, work out which of six villagers is a Yook in disguise, and fight your way across the Great Ice Field to the temple door.
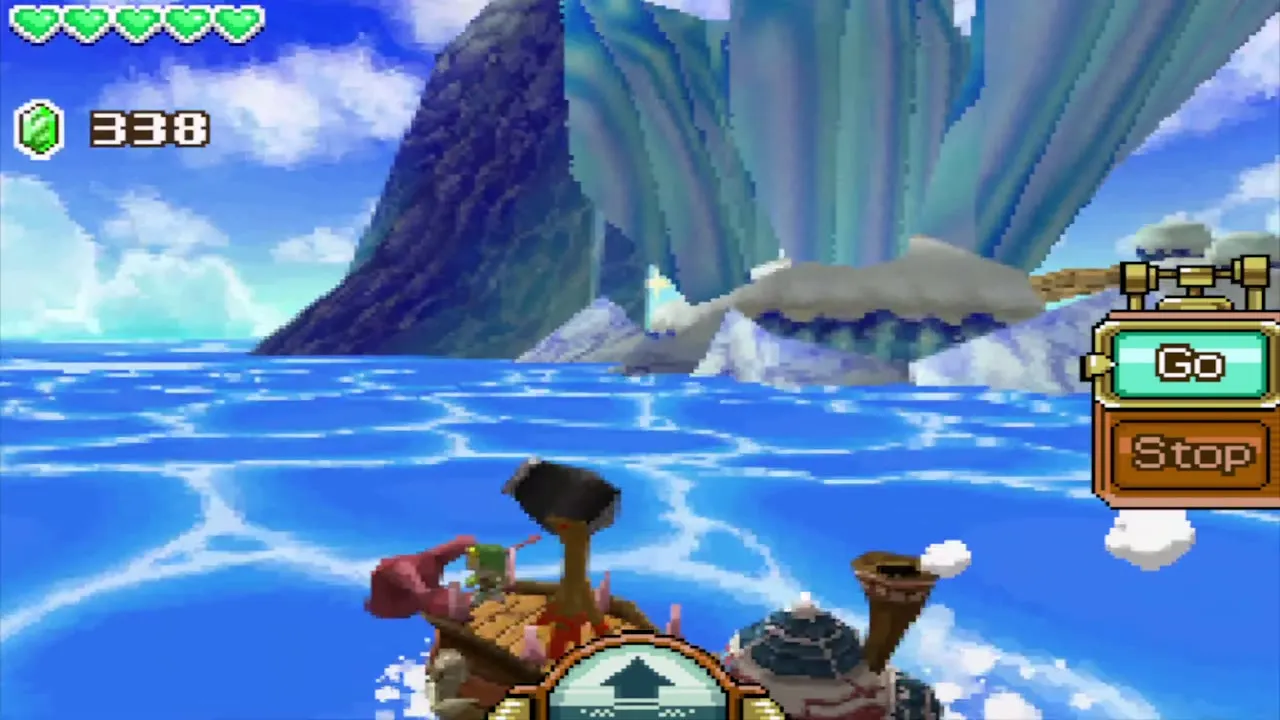
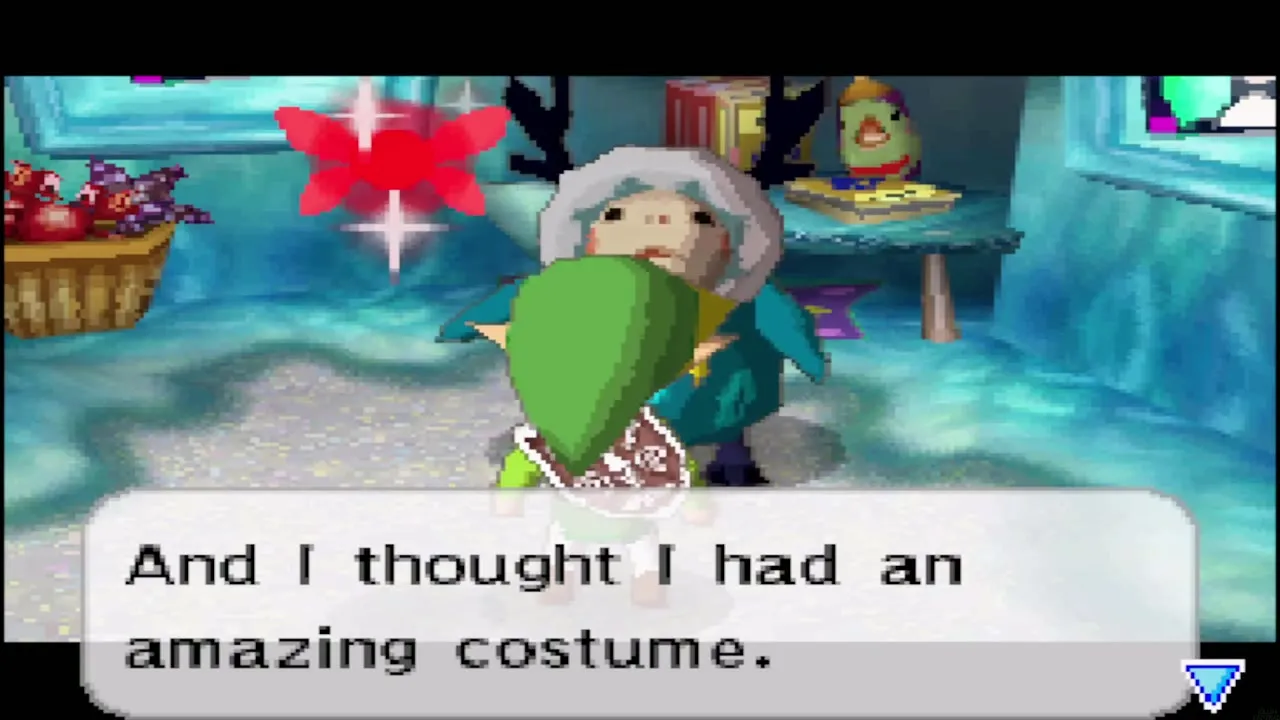
Table of Contents
Sailing to the Isle of Frost
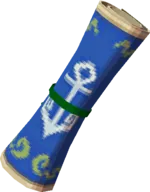
Choose the island on the Southeastern Sea Chart
The Isle of Frost is an island in the Southeastern Sea. Open the sea chart, set the Isle of Frost as your destination and draw the line from wherever you are, as on every earlier voyage. Pirate ships still roam this sea, so keep the cannon ready and use the Stop button to halt the ship when you need to aim. The line ends at a wall of ice, and Linebeck complains that you cannot dock.
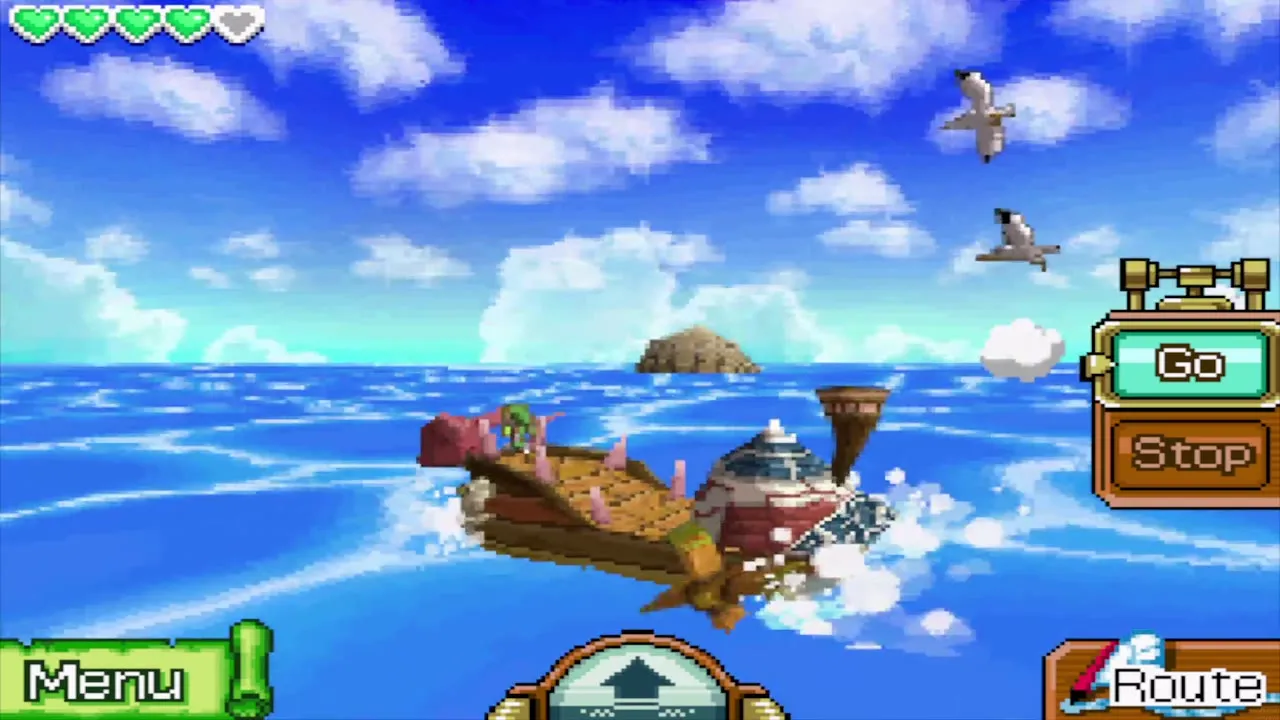
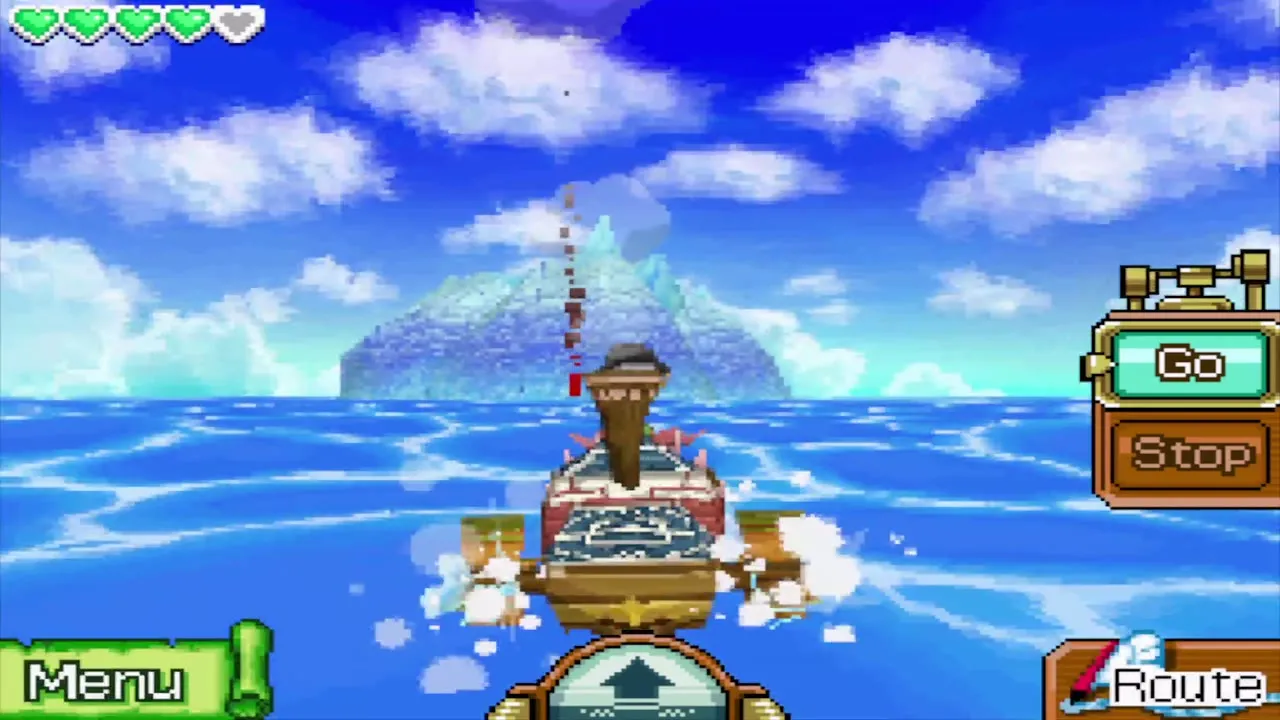
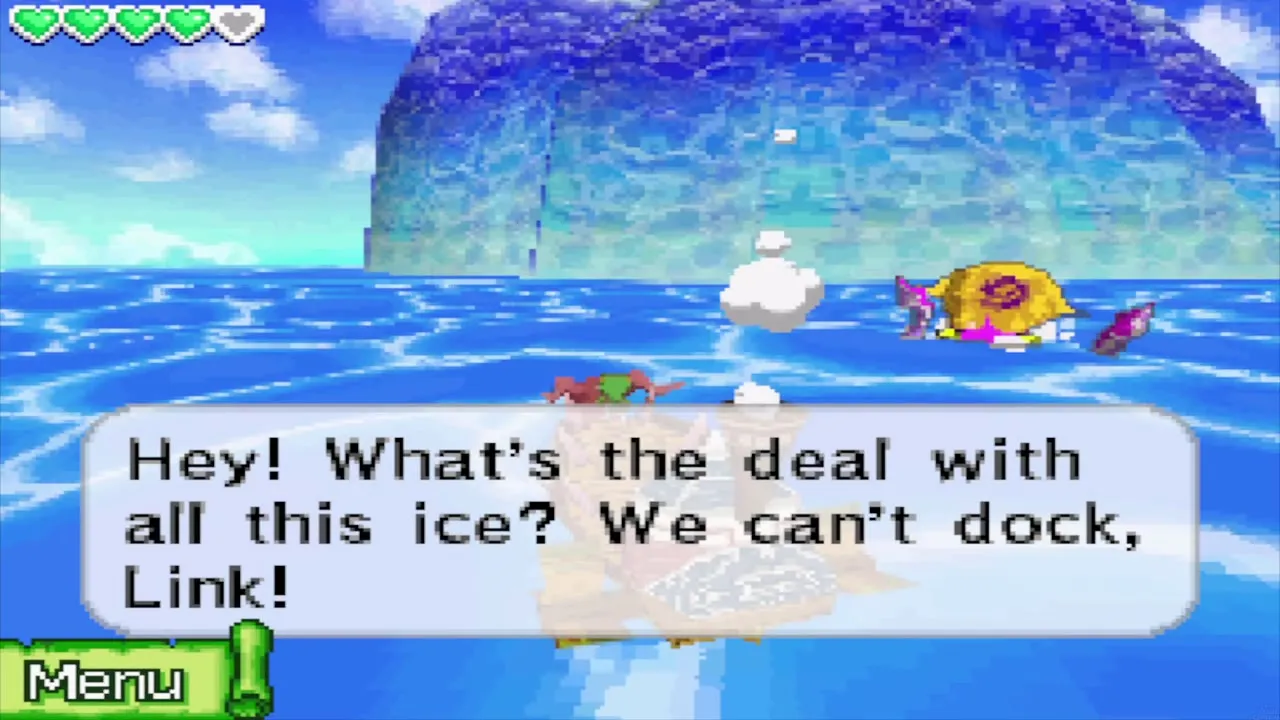
Break the ice with the cannon
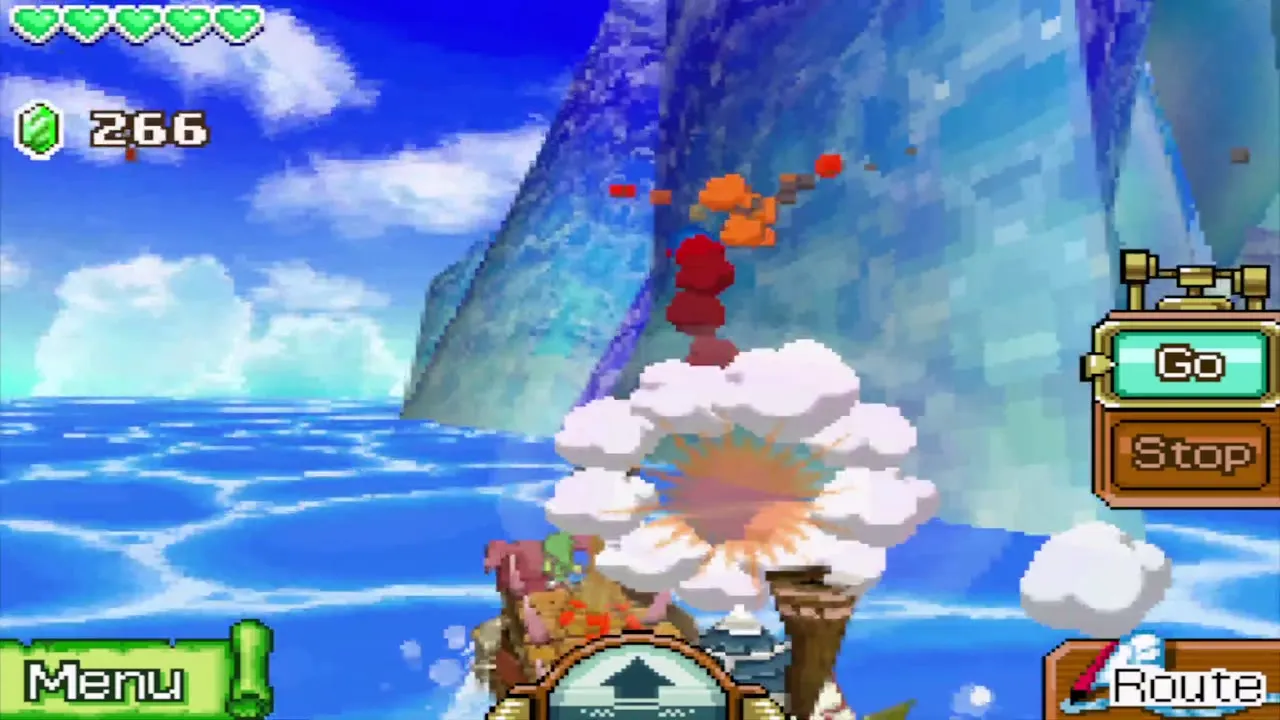
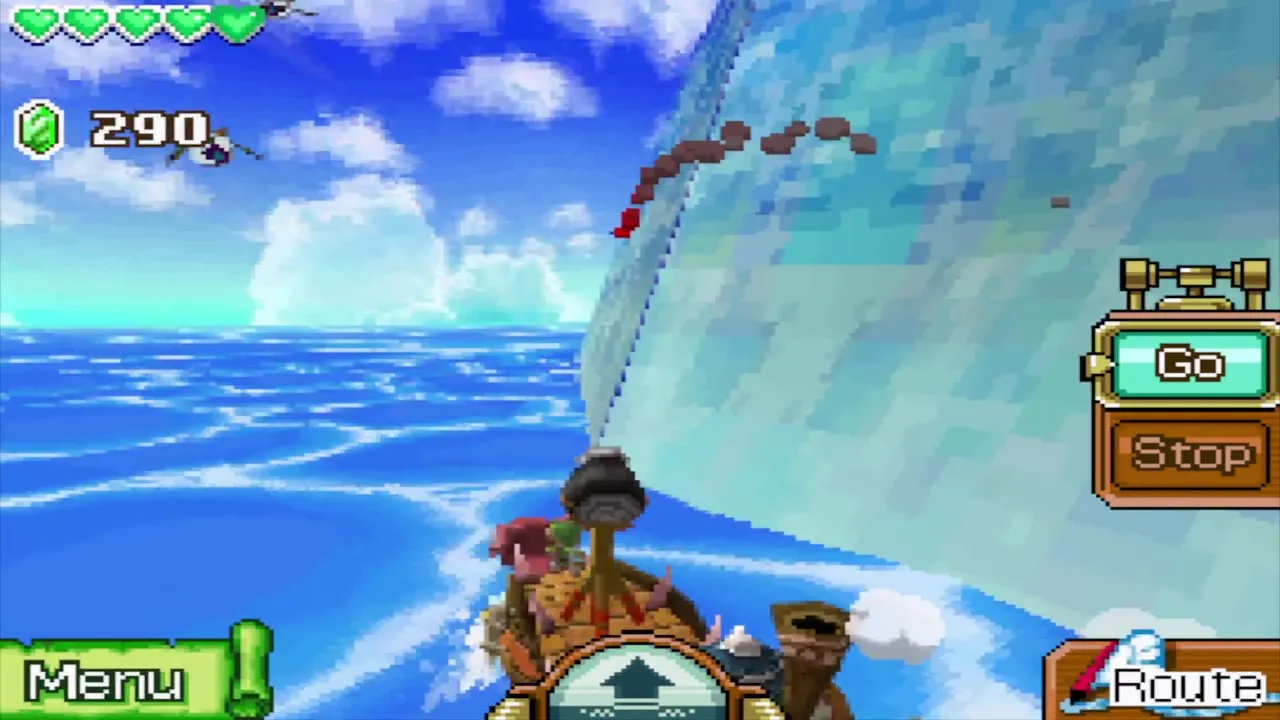
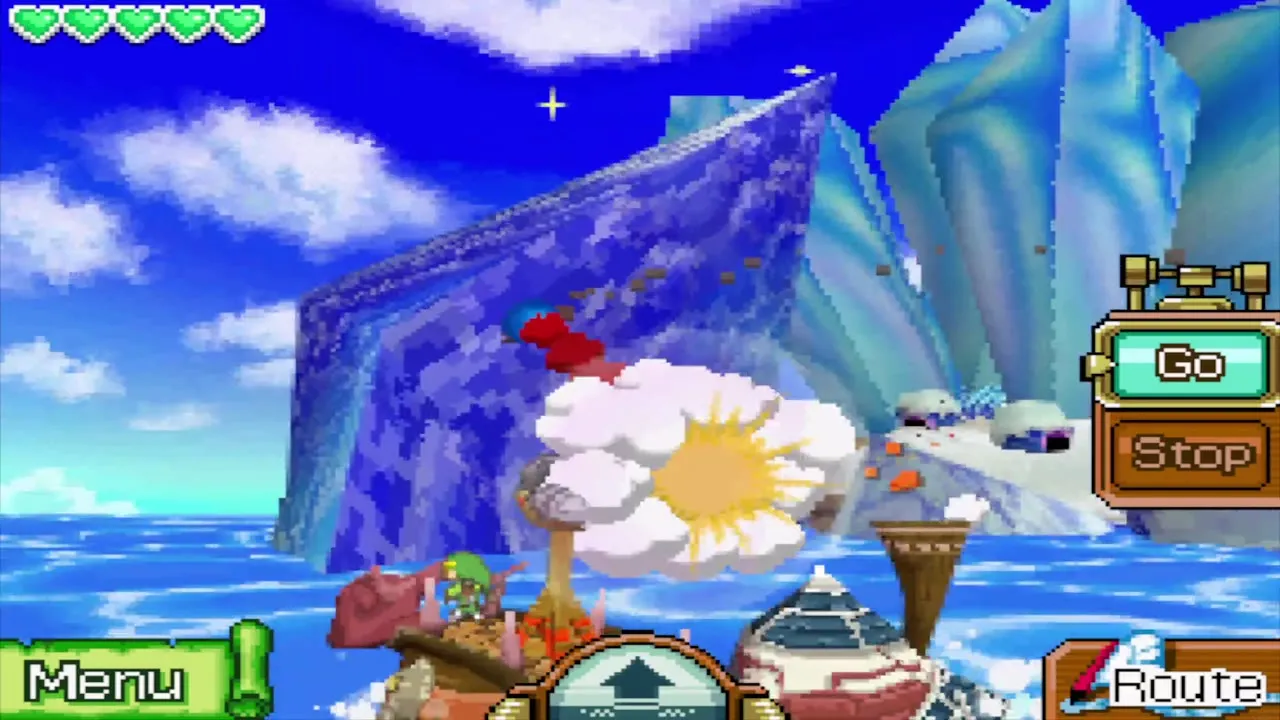
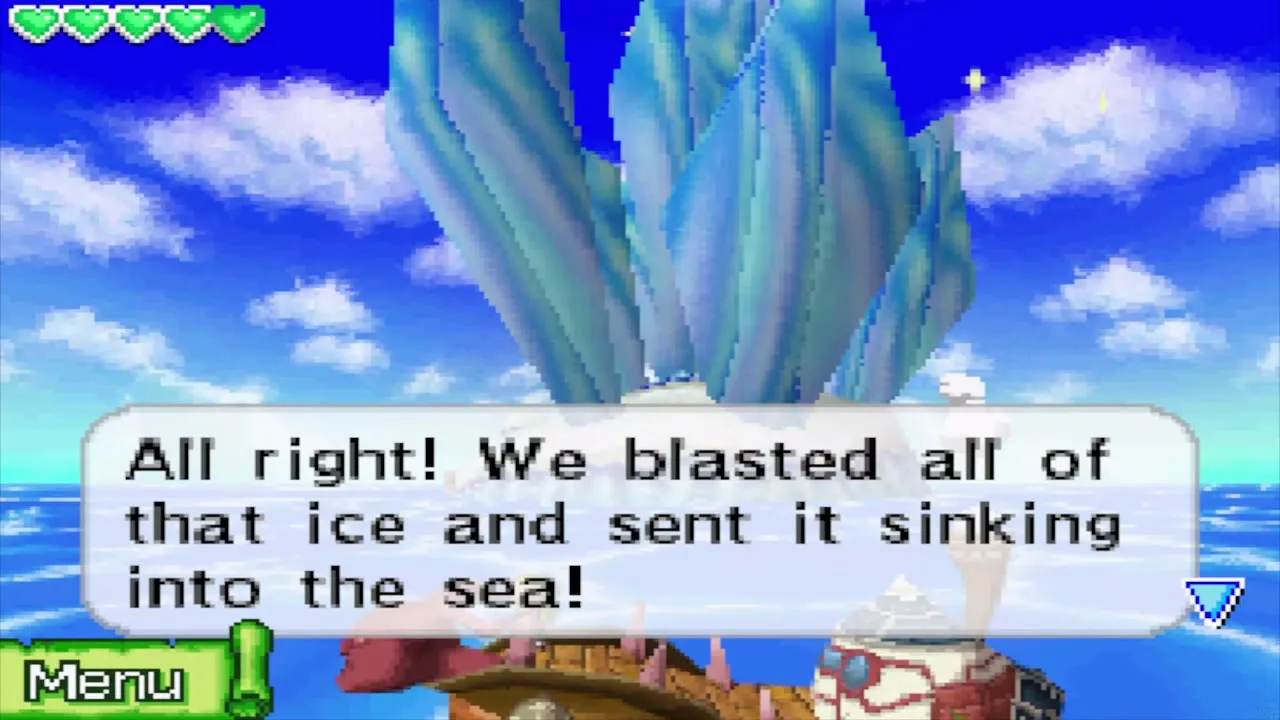
Linebeck’s answer is to draw a new course that circles the island and blast the ice as you pass. Draw a loop around the island on the chart and set off. Tap the ice to fire the cannon, and keep tapping, because every chunk takes more than one hit. Flying eye monsters swoop in while you aim, so shoot them down too. If ice is still standing when the loop ends, draw it again. Once all of it has sunk, the dock is clear and you can land.
Golden Frog near the island
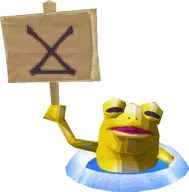
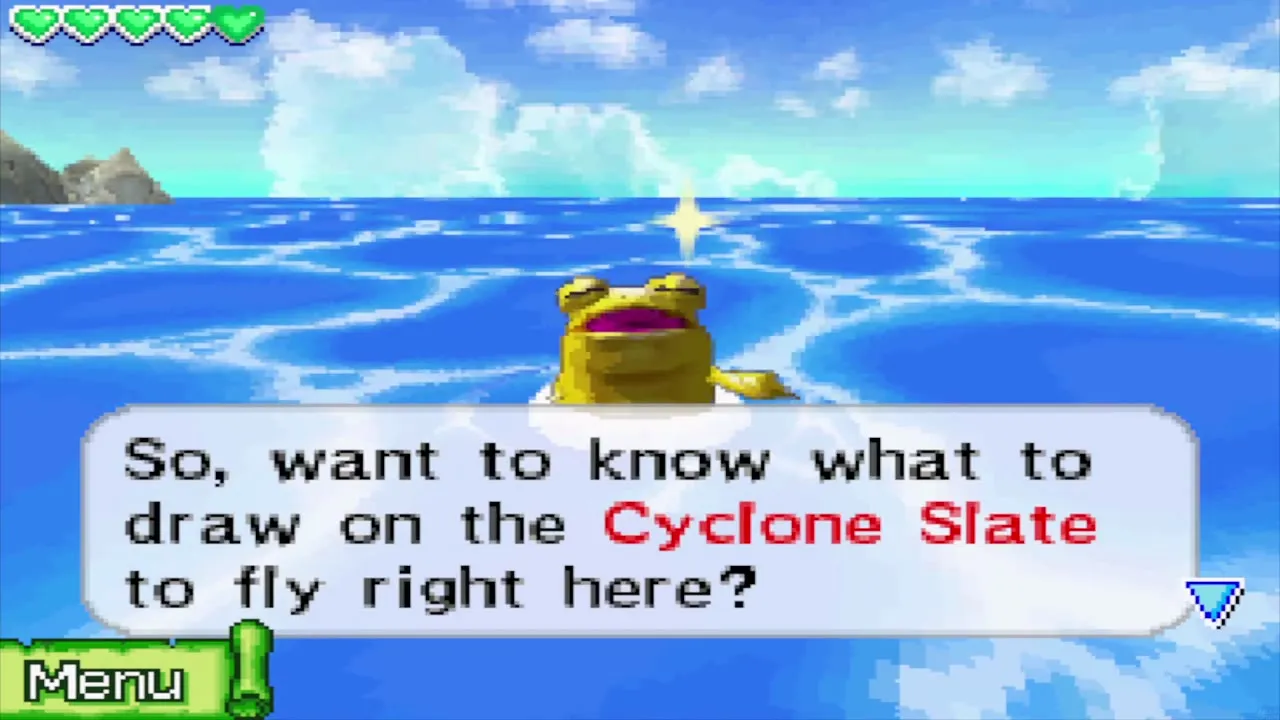
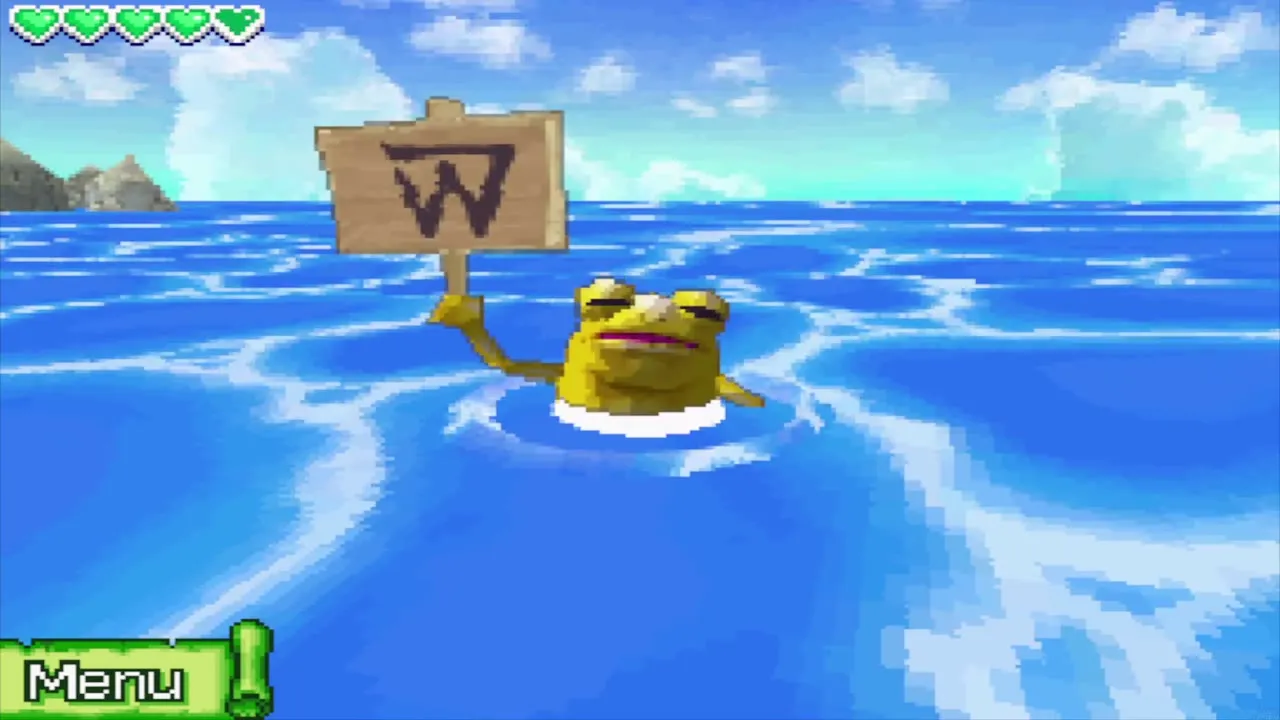
A Golden Frog sits in the water north-west of the Isle of Frost. Shoot it with the cannon and draw the symbol it shows on the Cyclone Slate to set up a warp to the Isle of Frost (it also covers Harrow Island). If you have not collected the Slate yet, the Northwestern Sea chapter explains how; come back and shoot the frog once you have it, because it saves a long sail every time you return for the gems below.
Anouki village and the Island Chief
Meet the first Anouki
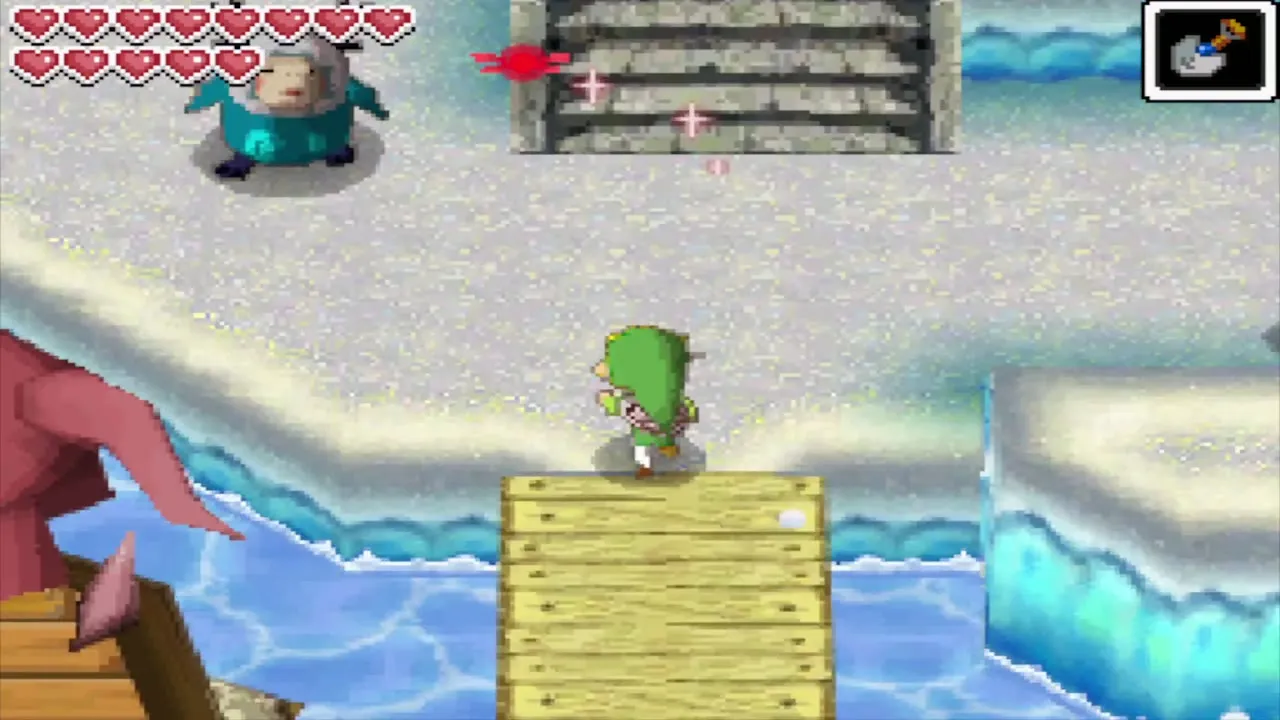
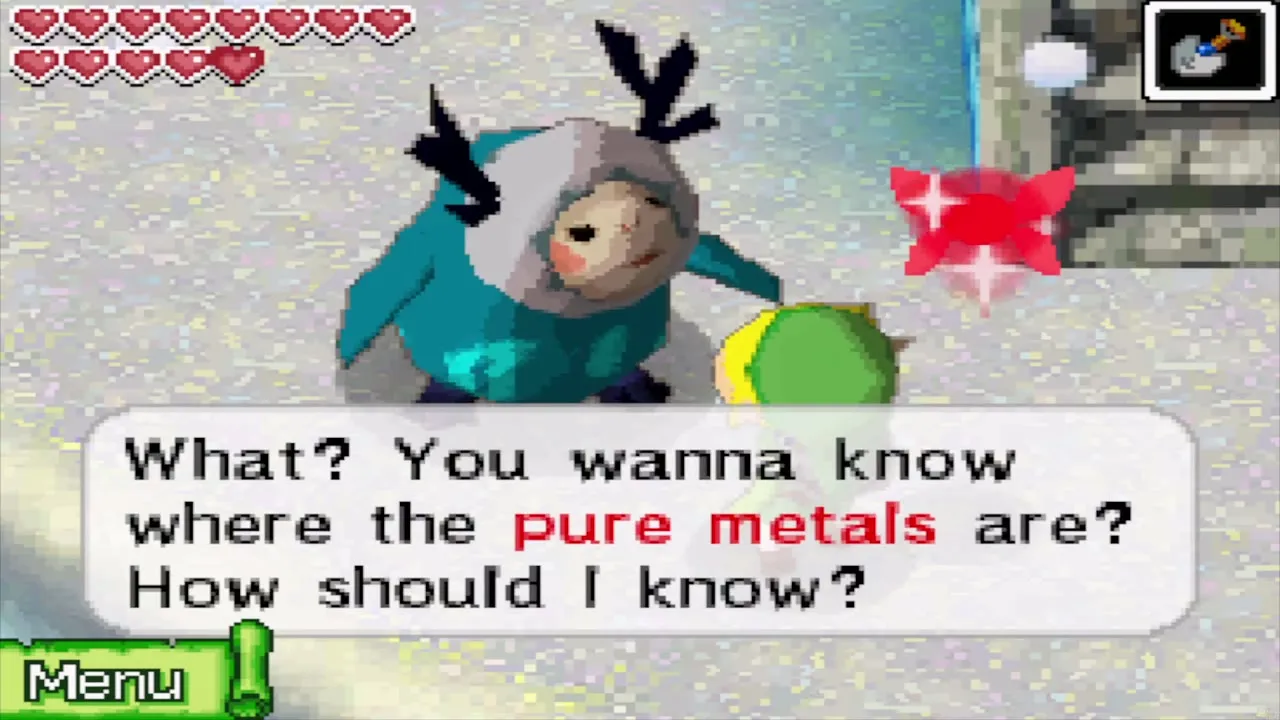
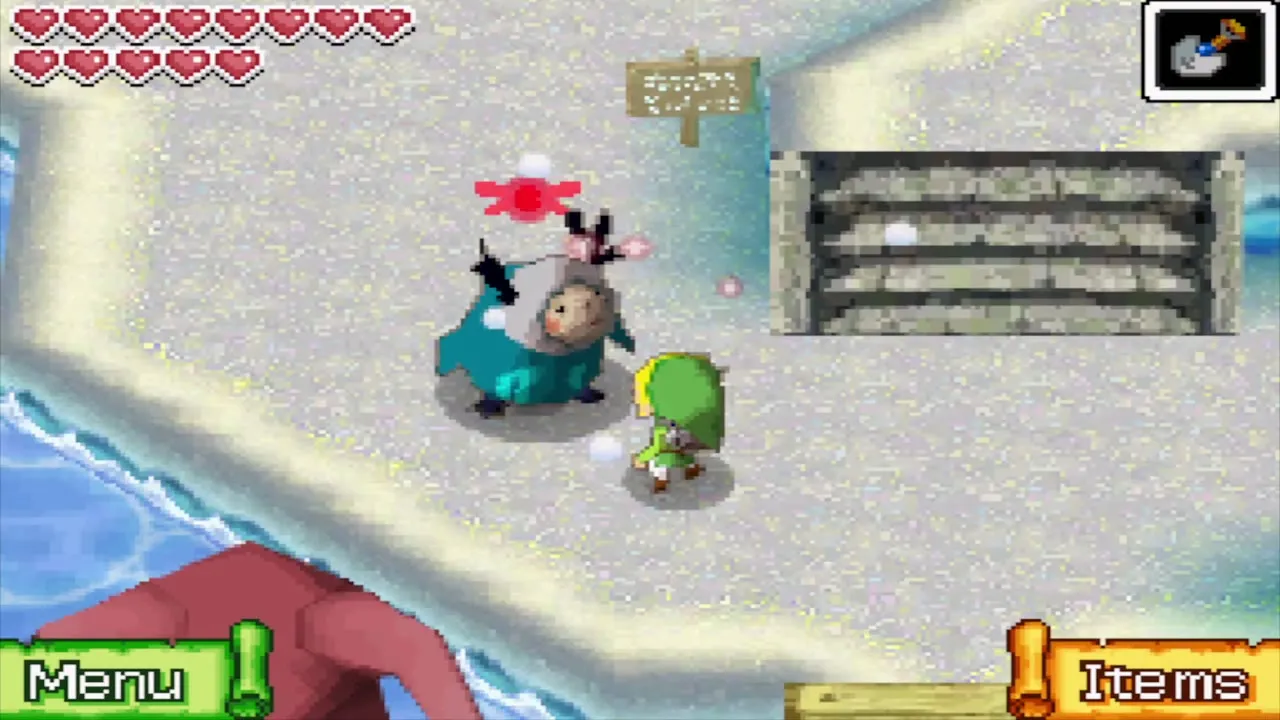
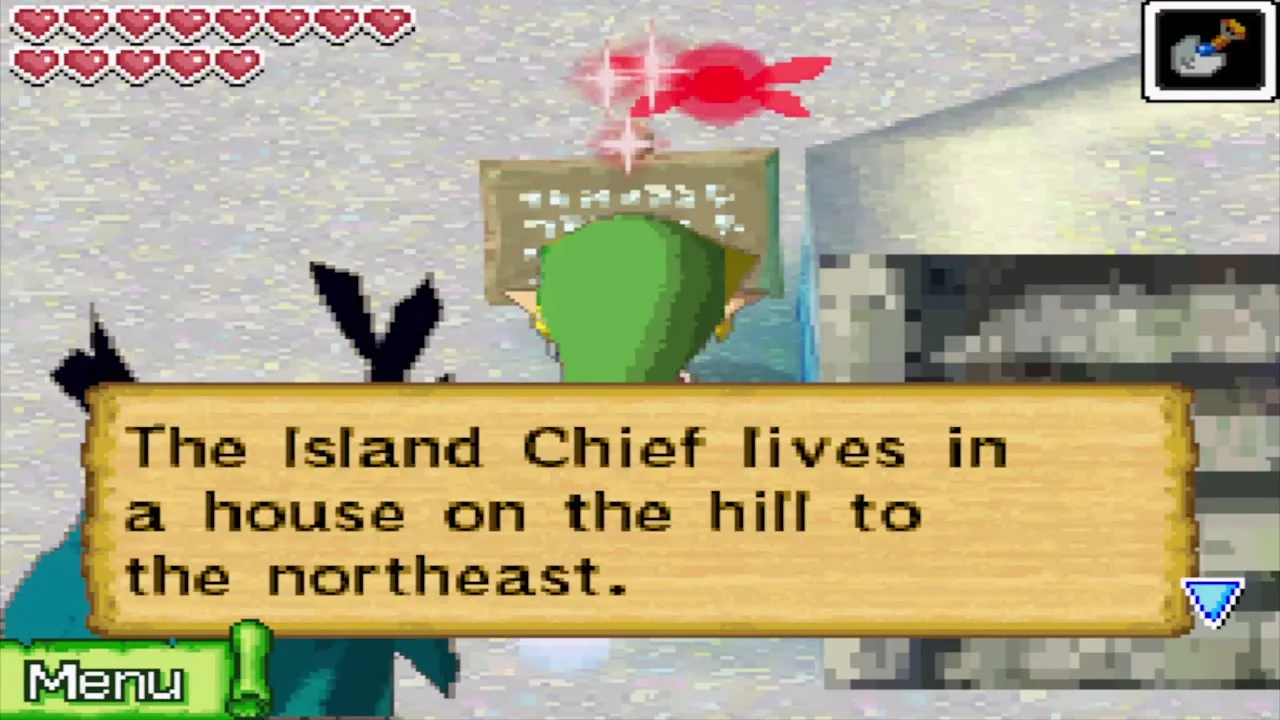
Step off the ice and cross the wooden bridge. An Anouki stops you, astonished that anyone came from outside the ice. Ask him about the Pure Metals and he sends you to the Island Chief, then follows you round the village, chattering about the island’s history. Read the wooden signs on the way: they explain that the Anouki live in the west and the Yook in the east, and they point out the road to the Great Ice Field, the Estates and the Chief’s house.
Speak to the Island Chief
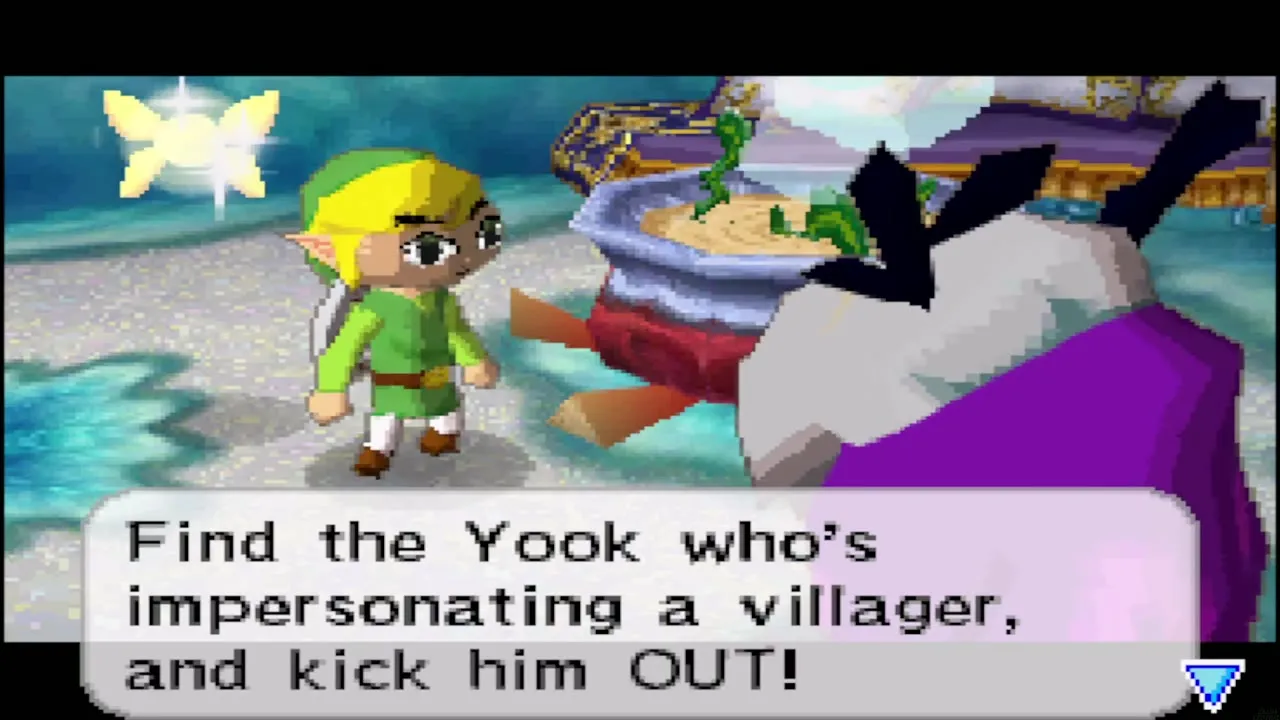
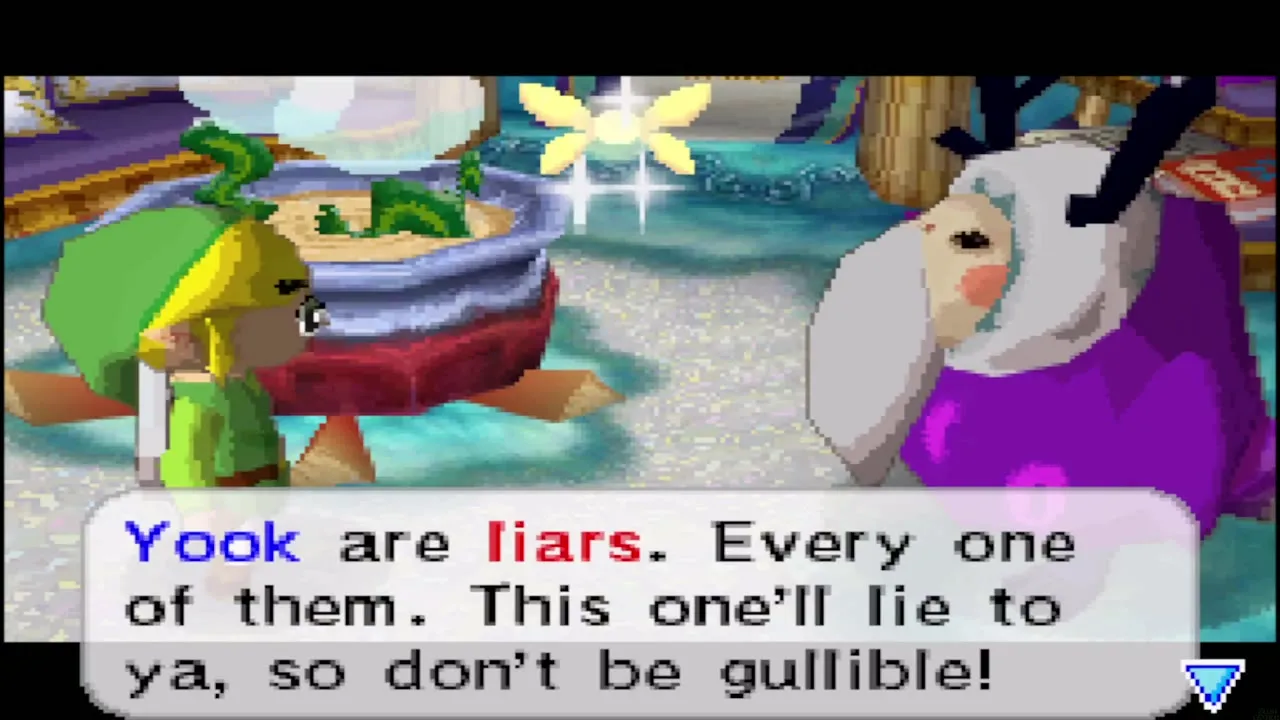
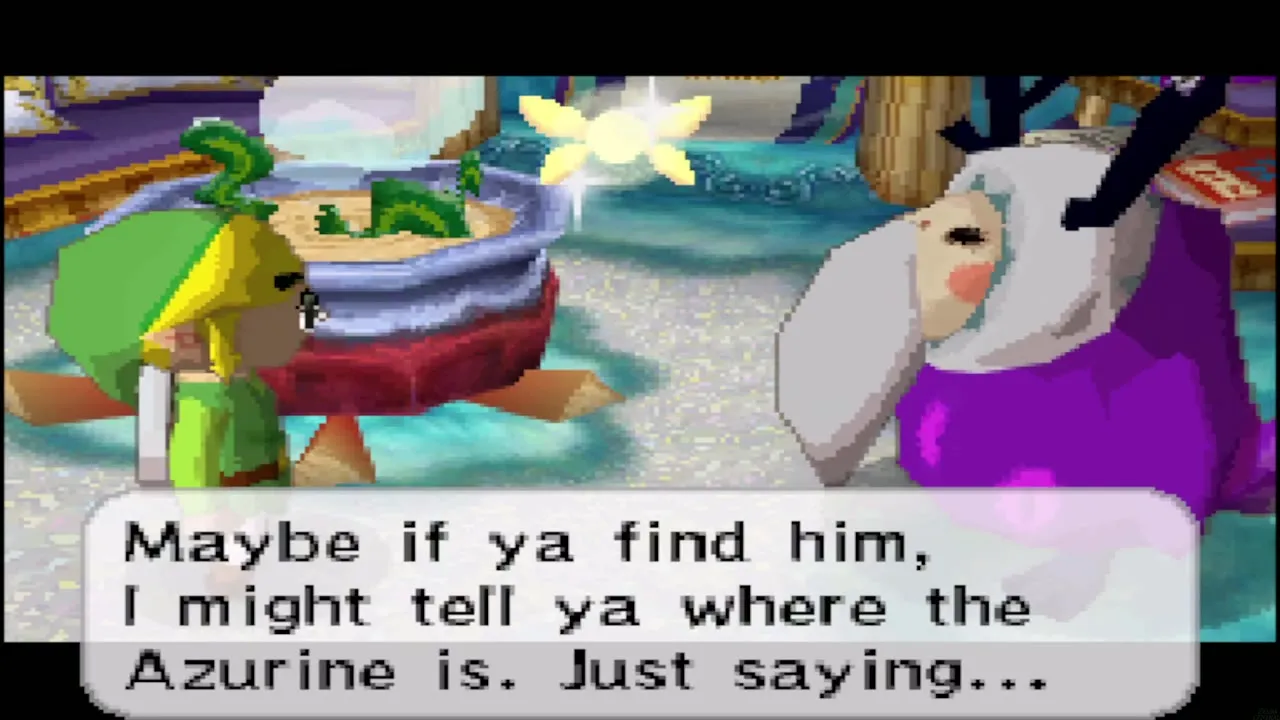
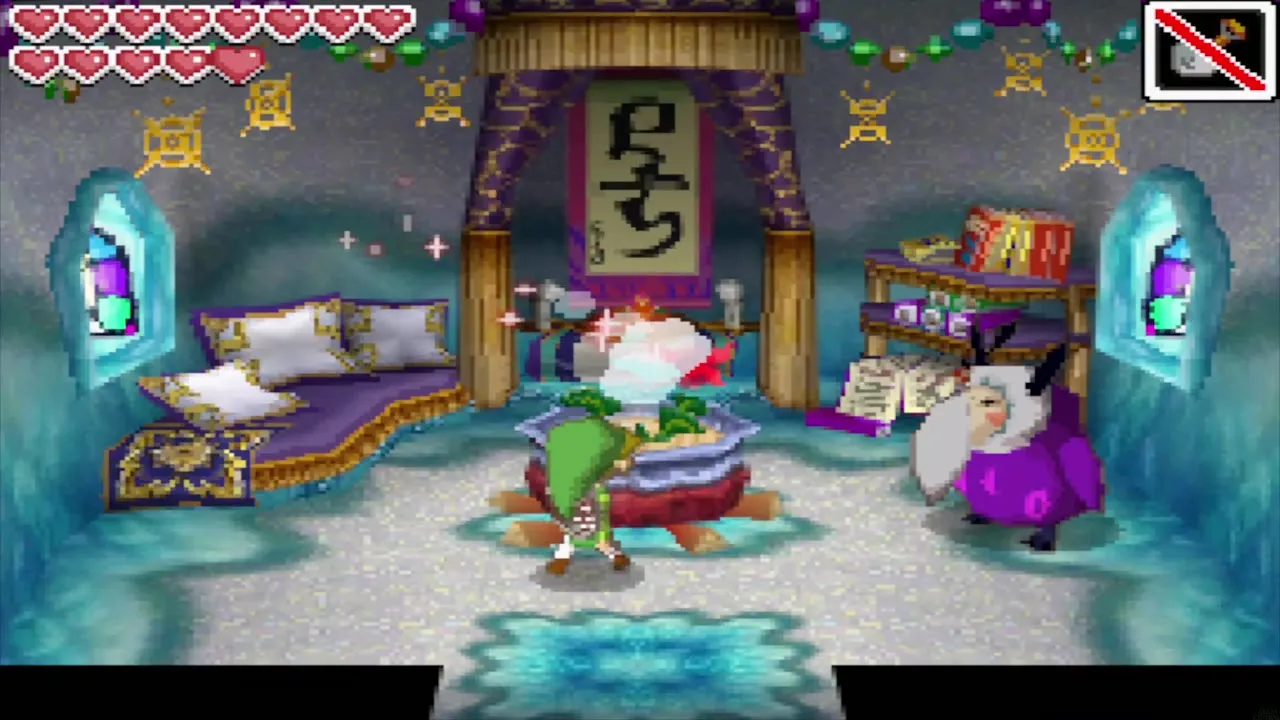
Follow the signs to the Island Chief’s house and go in. When you ask about the Azurine, the Chief tells you the story: a hundred years ago the Anouki and the Yook agreed to keep to opposite ends of the island, and now a Yook has sneaked into the Anouki village dressed as one of them.
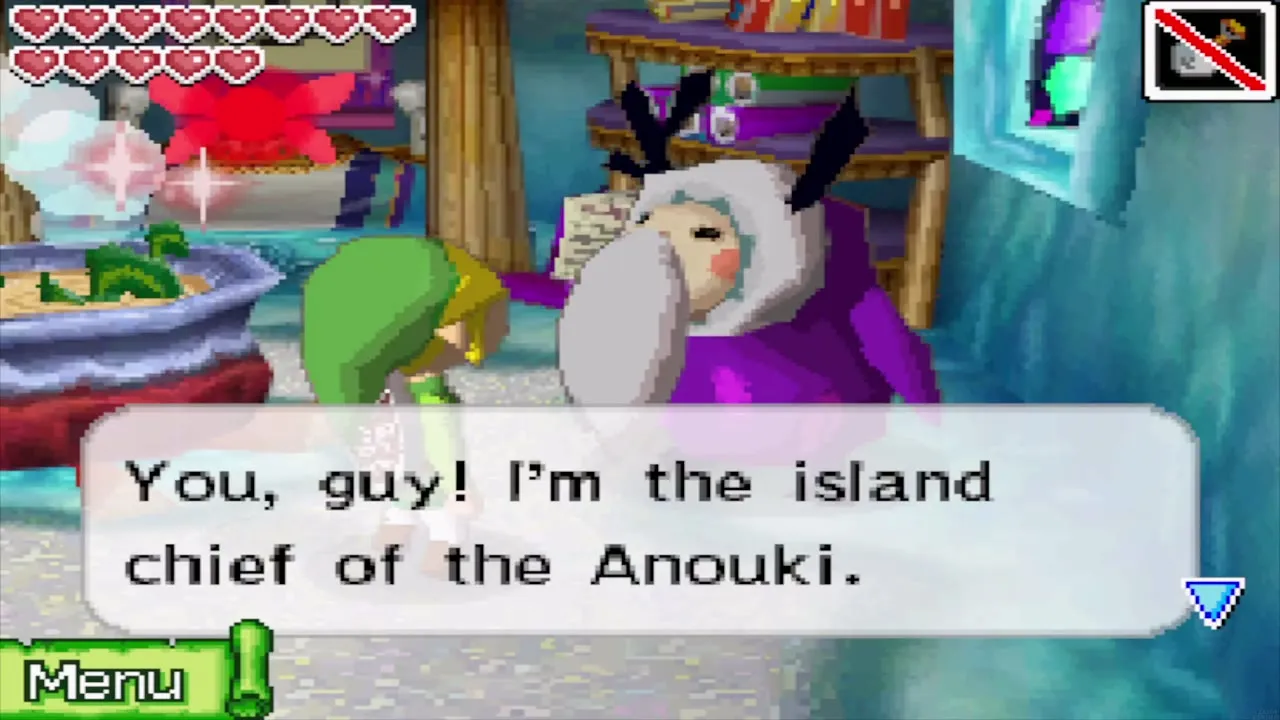
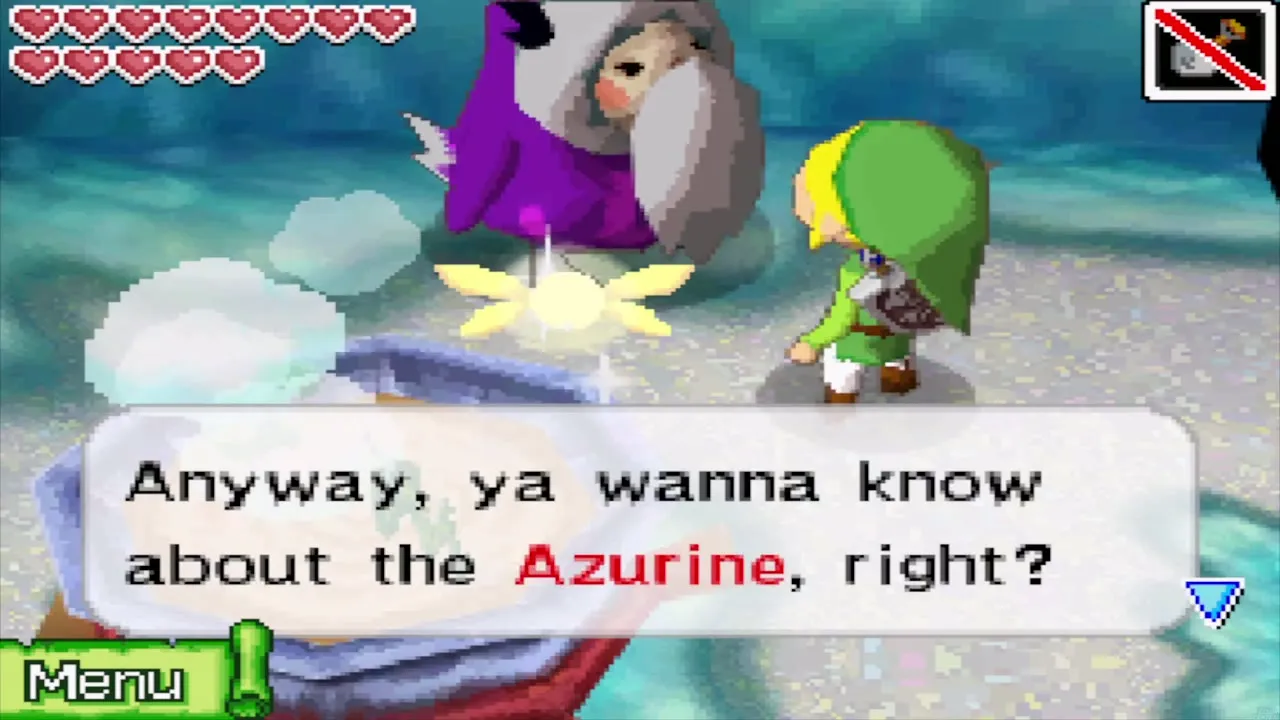
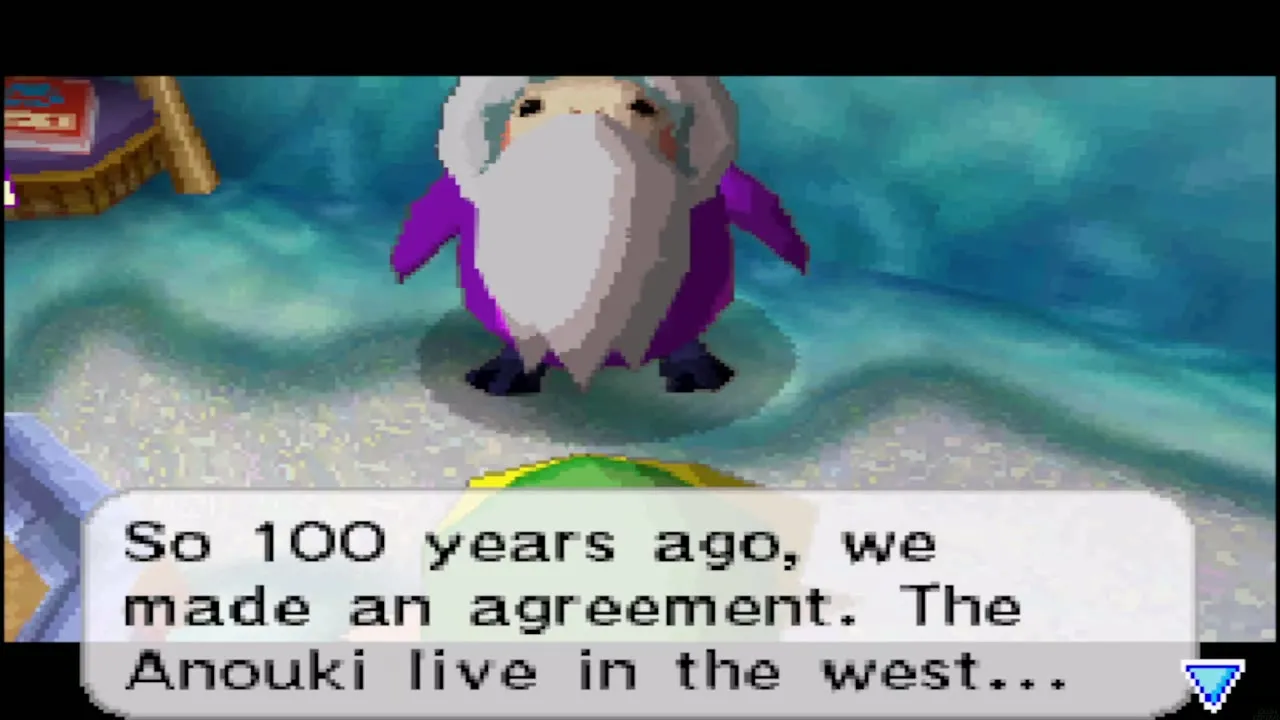
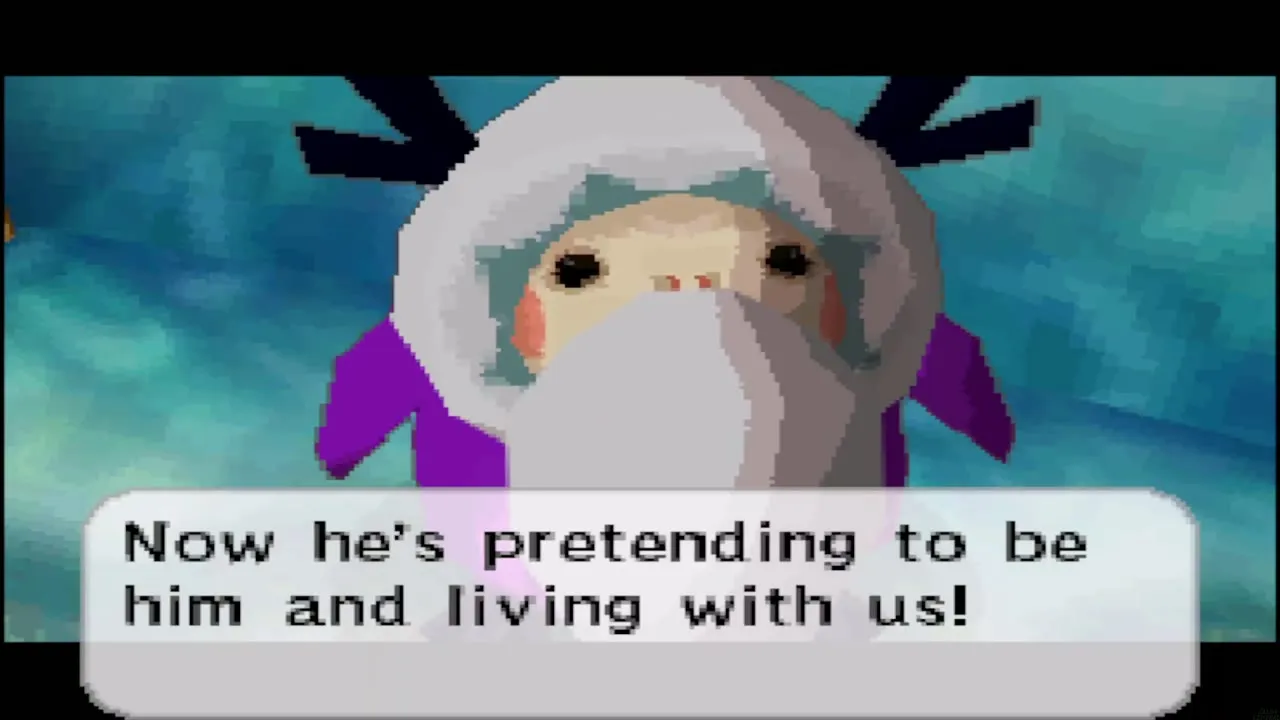
Find the imposter and the Chief may tell you where the Azurine is. He warns you that Yook always lie, so do not be gullible. Answer that you understood him, then leave and head north to Anouki Estates.
Anouki Estates
Dig for the treasure map
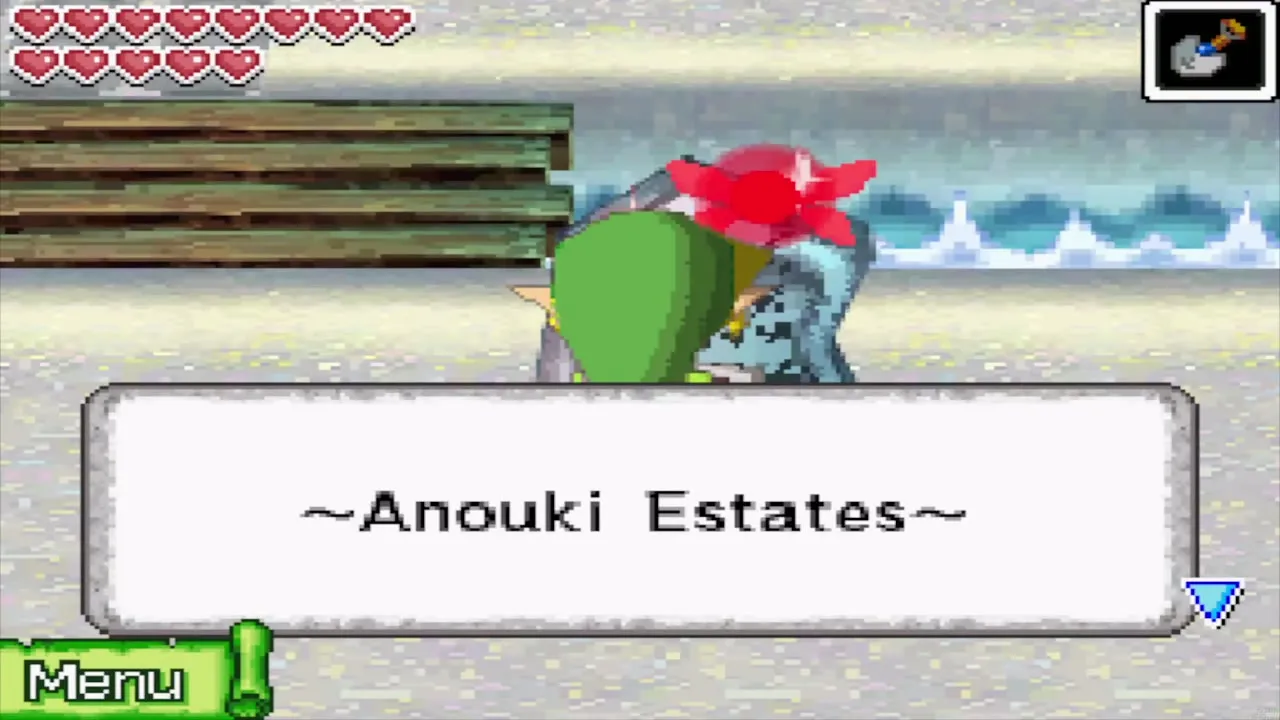
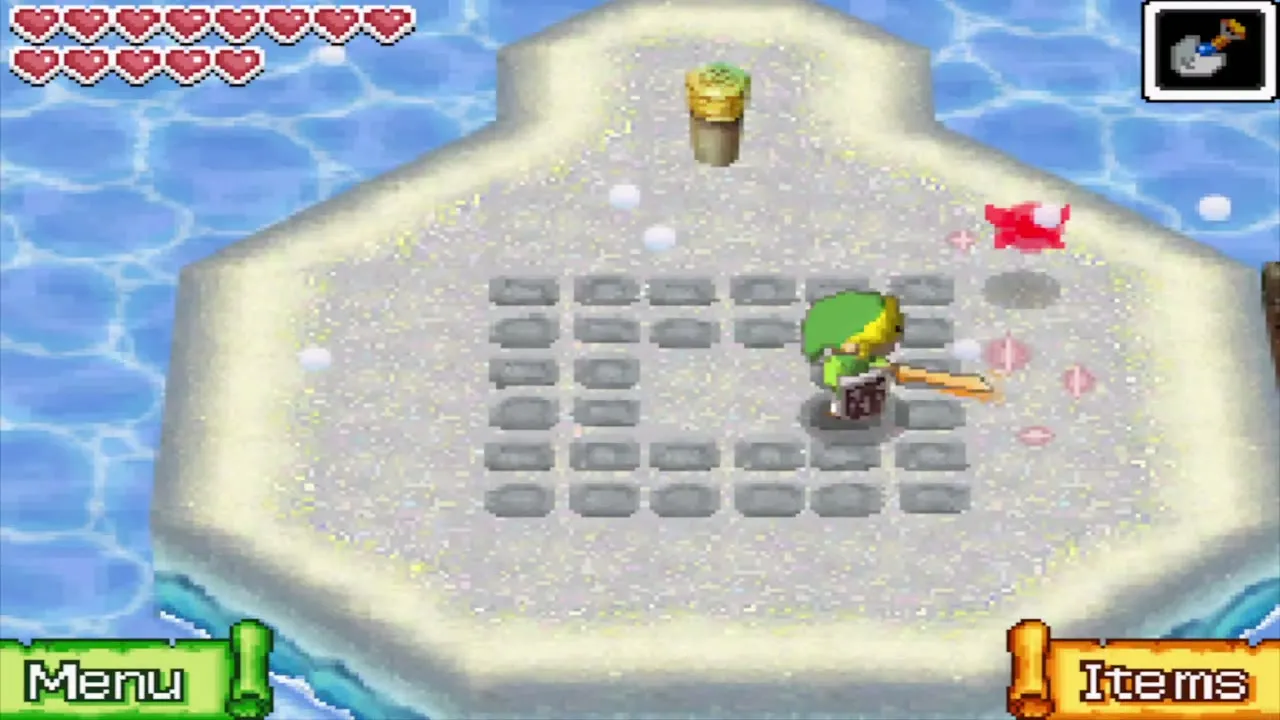
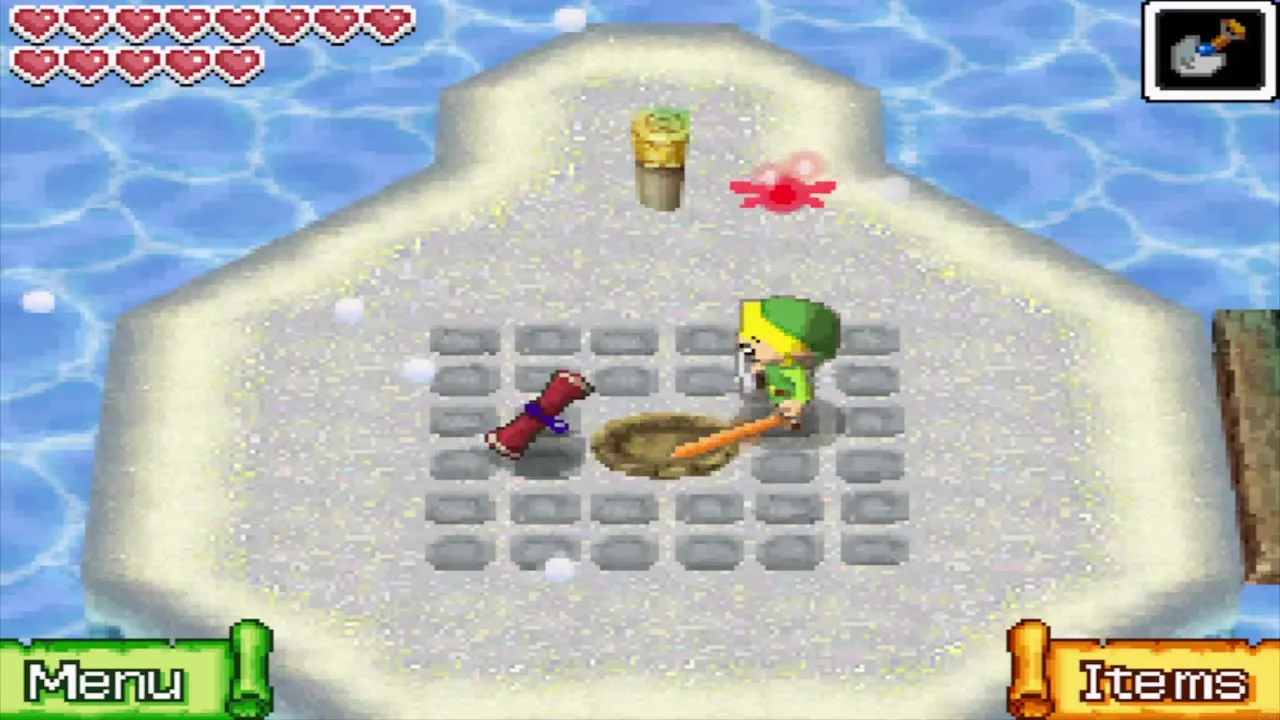
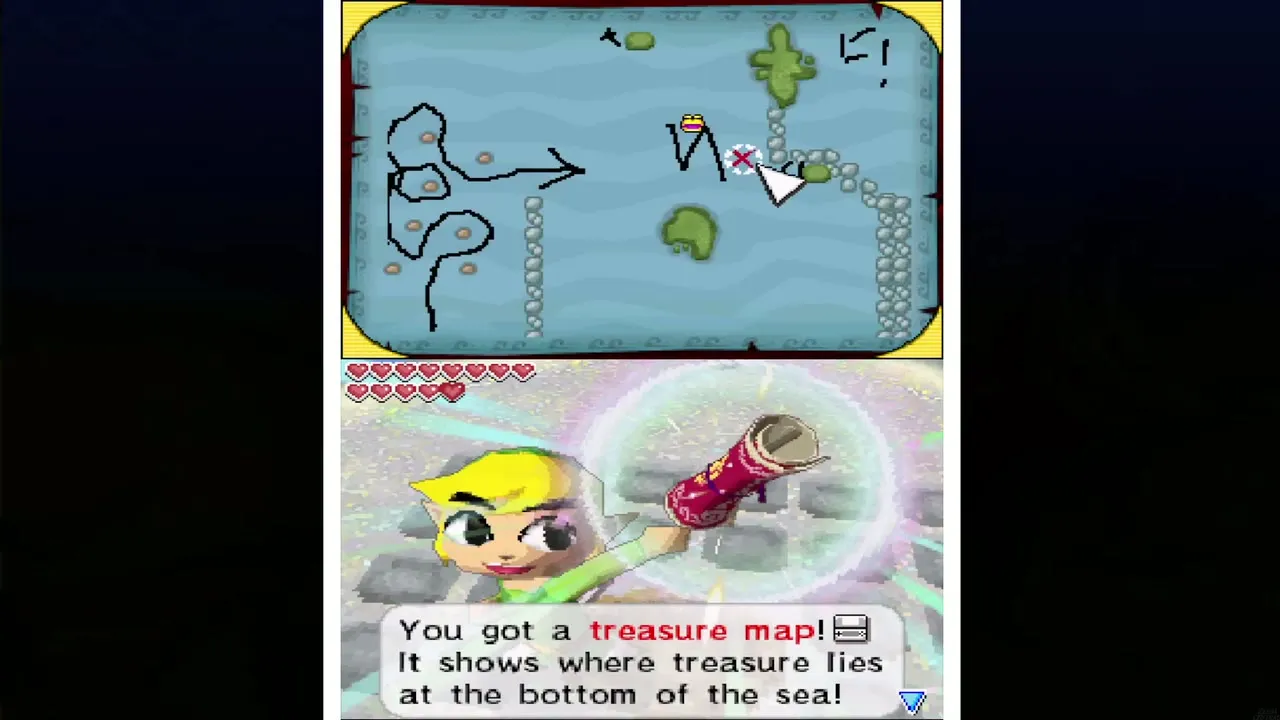
A title card announces Anouki Estates as you cross the plank bridges to the north. Grids of stone tiles mark ground you can dig. On the small island in the south-west of the Estates, dig in the middle of the tile grid with the Shovel and you pull up treasure map 17, which adds a red X to your chart. Dive for that spot with the Salvage Arm when you pass this way; the reward is a ship part. The treasure maps page lists all the others.
Dig for the big red Rupee
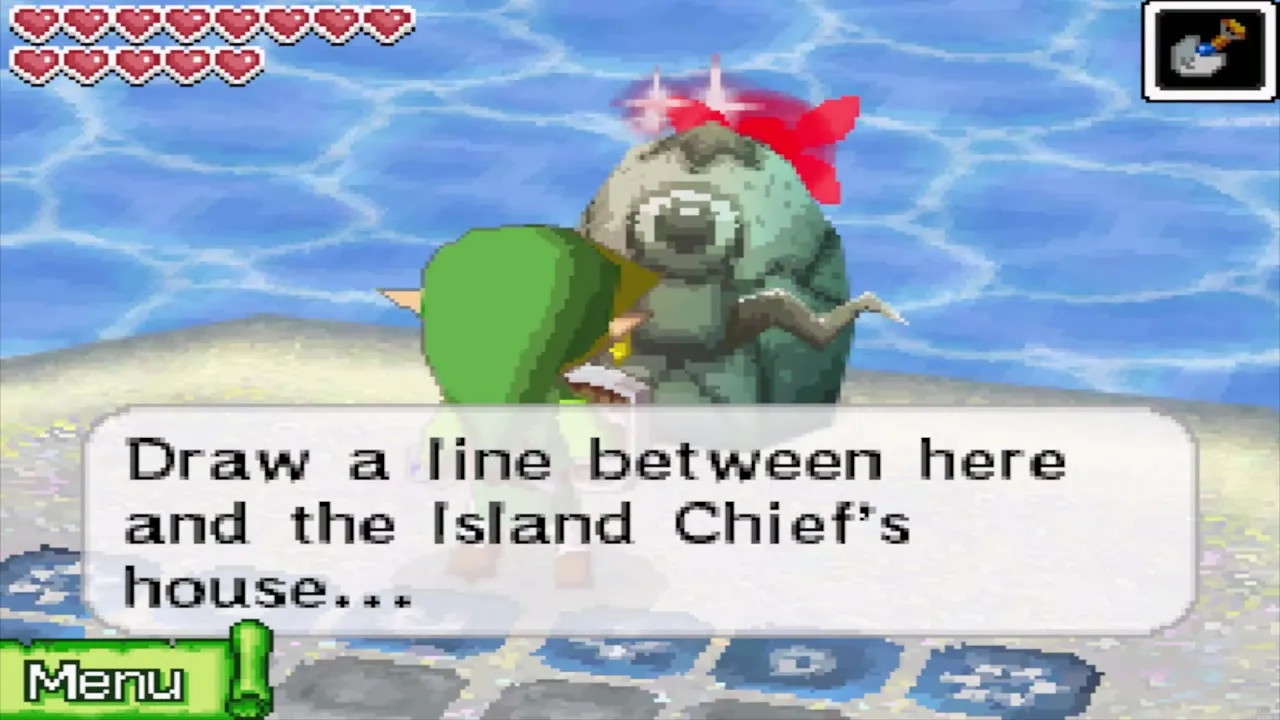
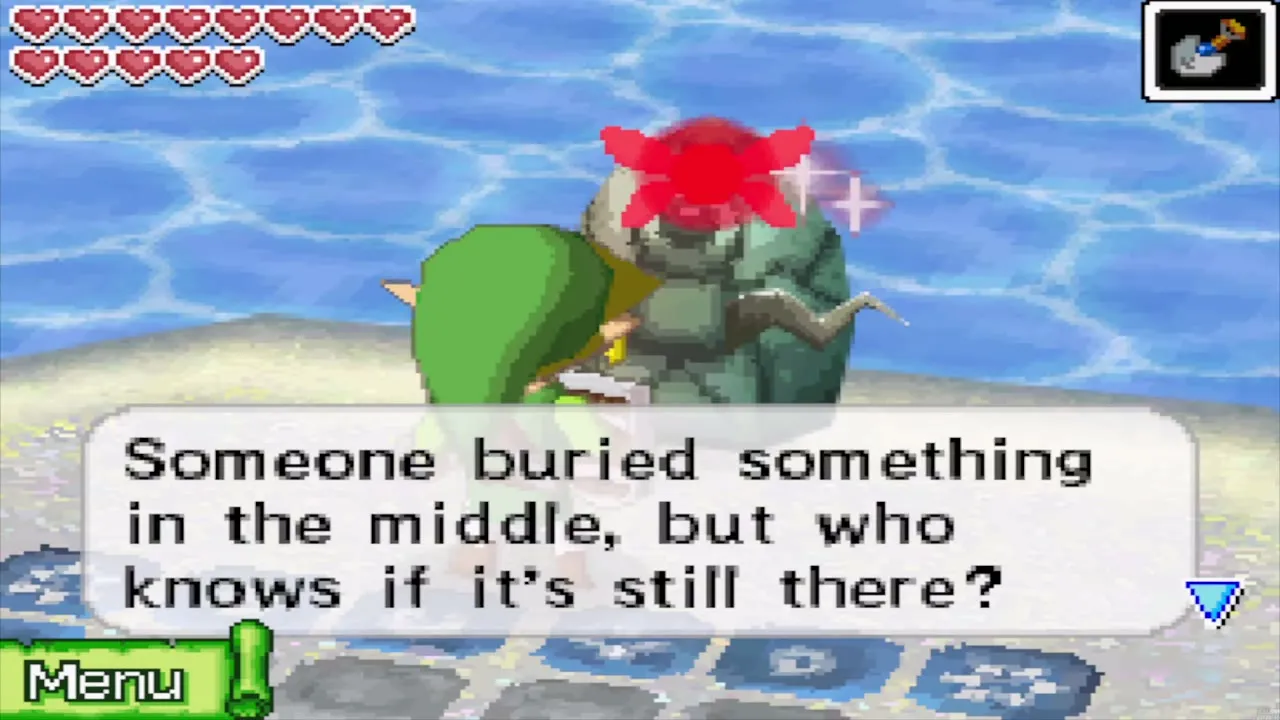
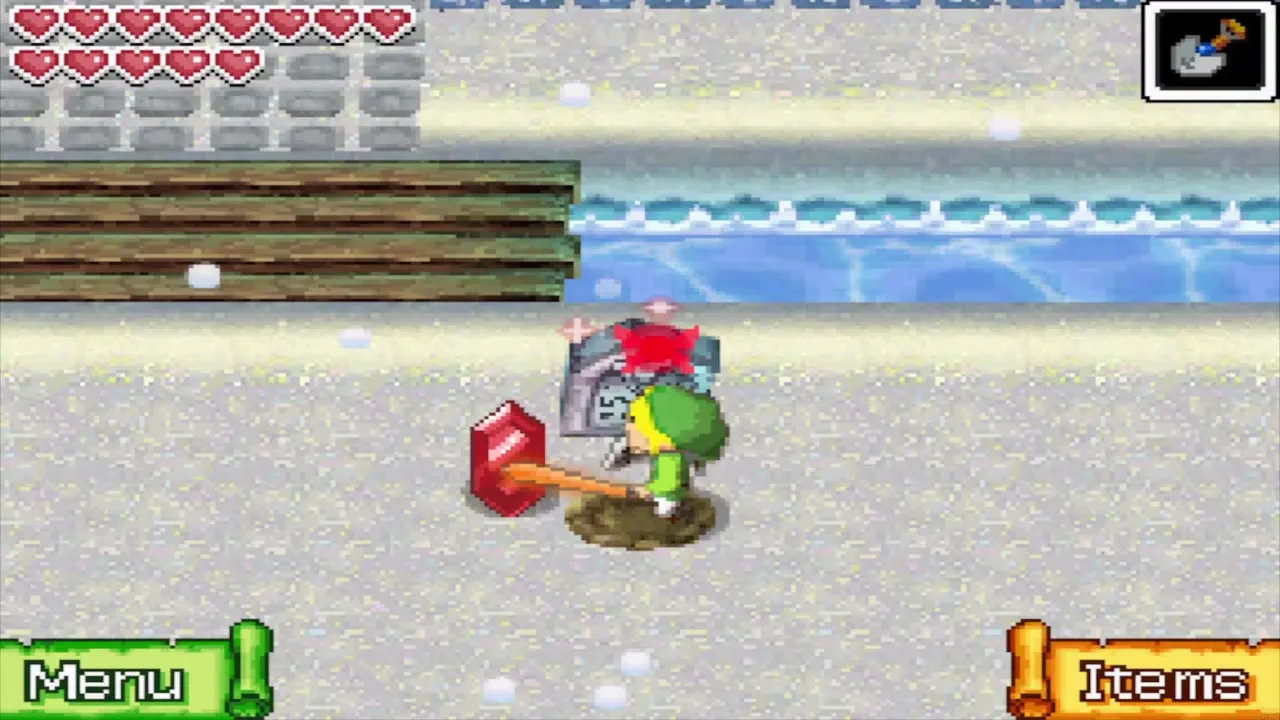
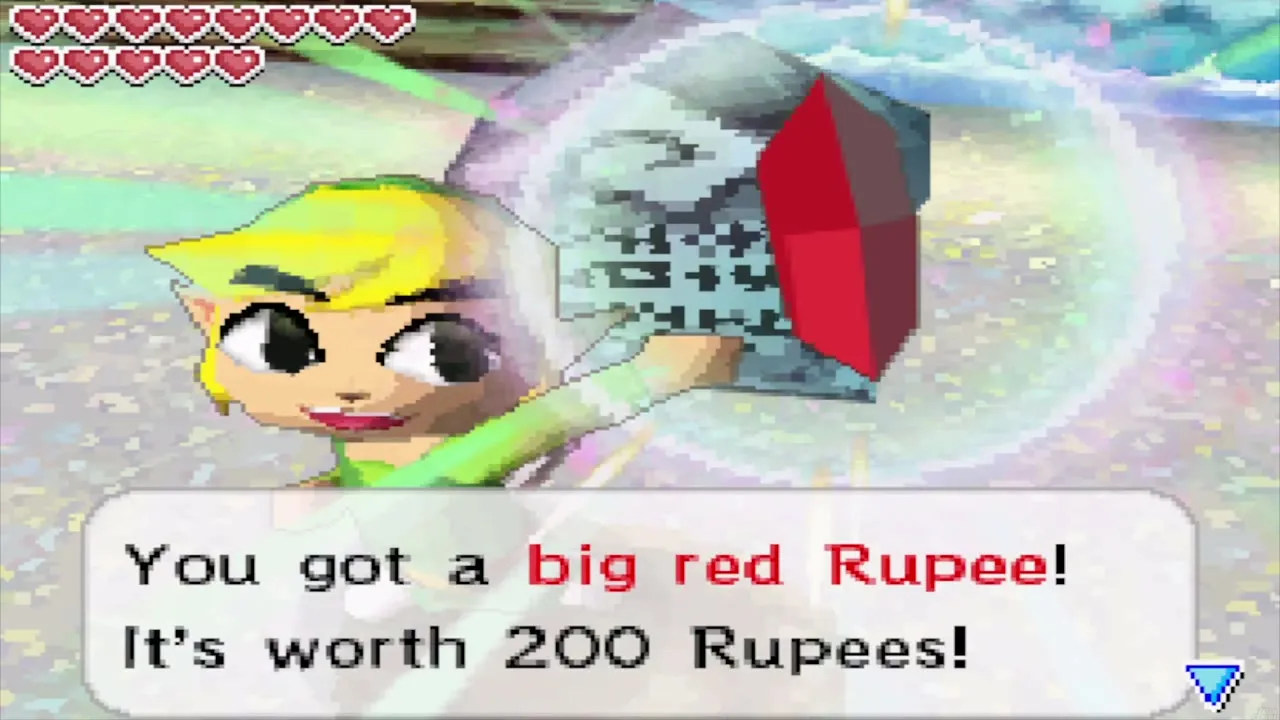
Further on, a stone wearing a red bow tells you to draw a line between its own position and the Island Chief’s house, and says that something is buried in the middle. Open the map, use the memo pen to draw that line, and walk to its midpoint on the tiled ground near the houses. Dig there and a big red Rupee worth 200 Rupees comes up.
The hint seller
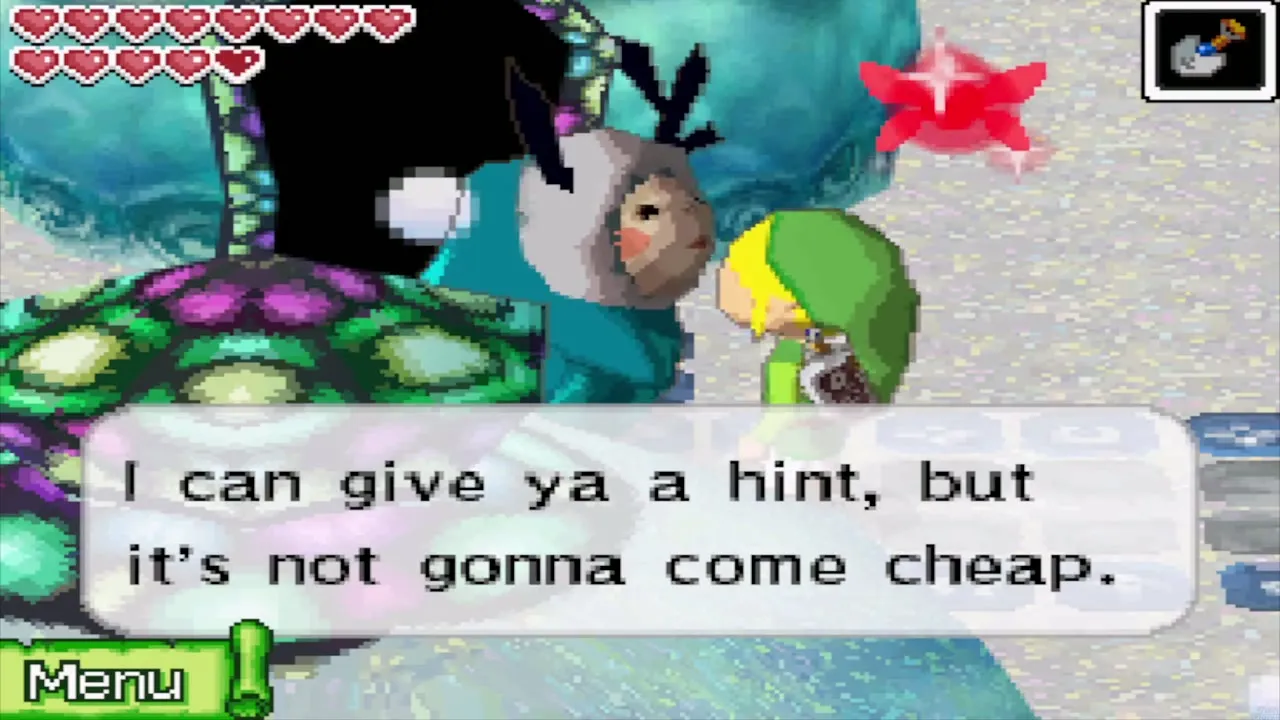
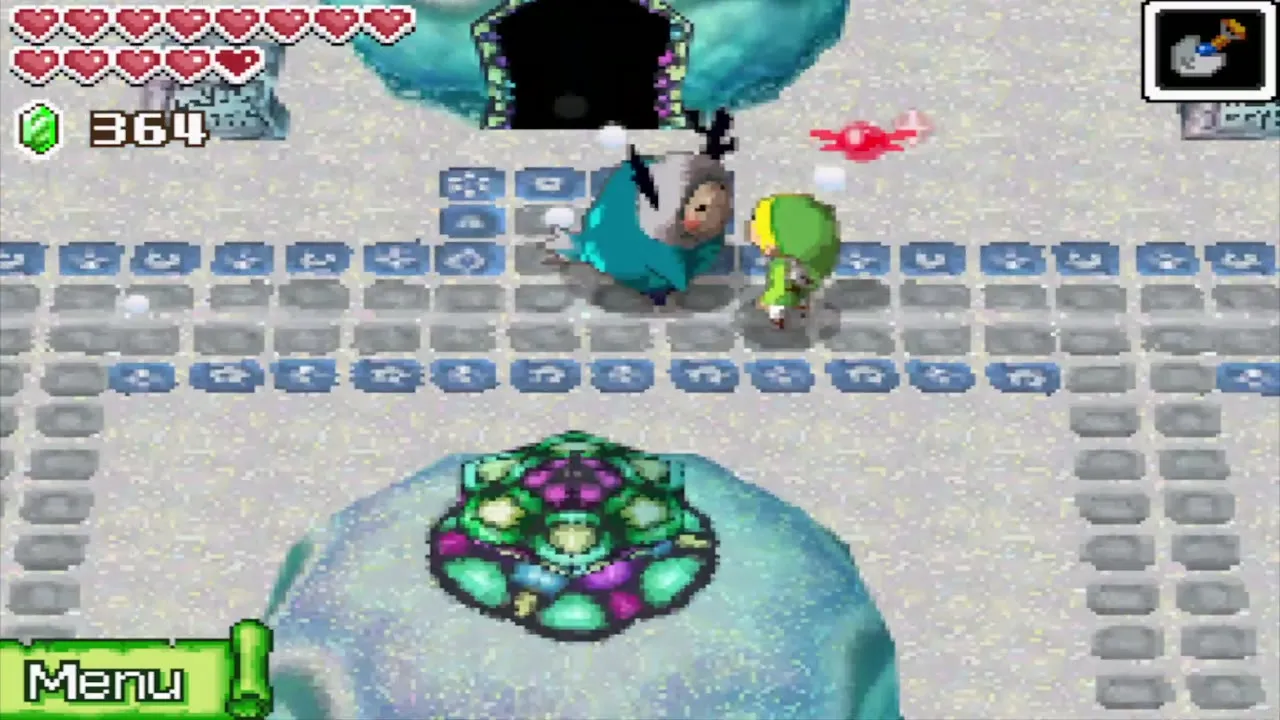
Hintobo, an Anouki wandering the Estates, sells a hint for 100 Rupees. Say no: the villagers’ statements below give you everything you need.
Find the Yook among the Anouki
Talk to all six villagers
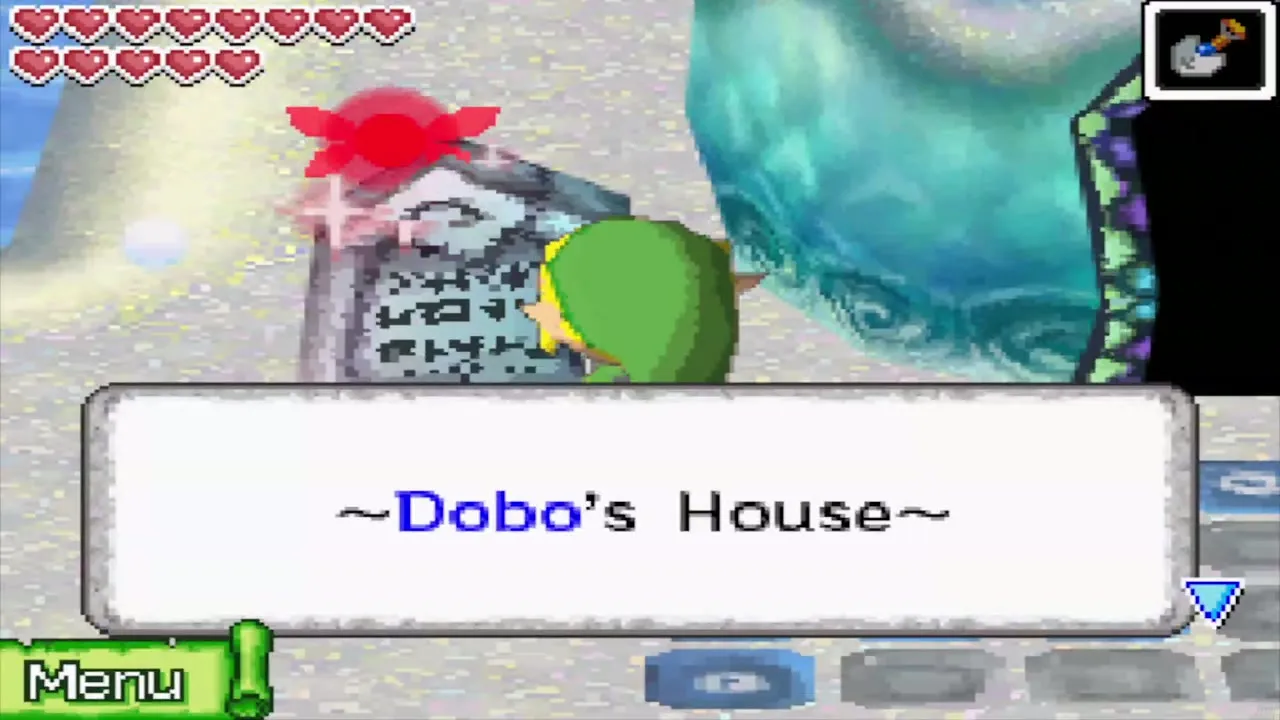
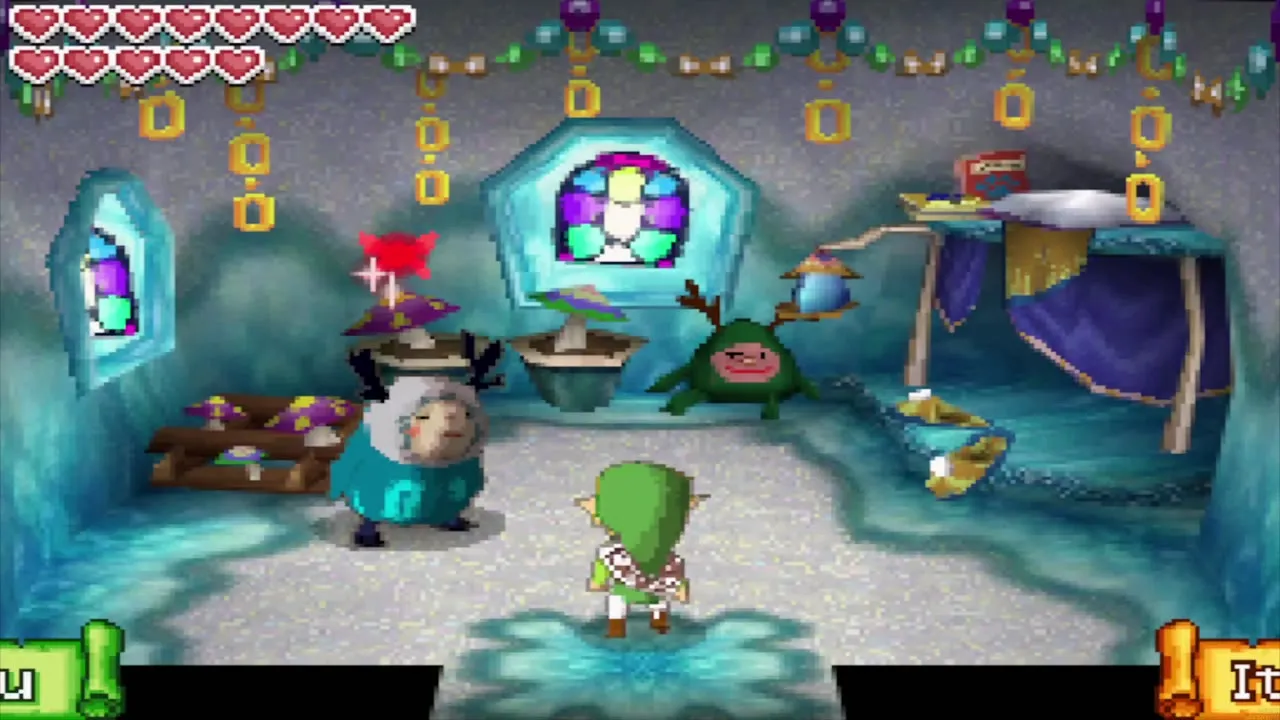
Six houses stand in two rows of three. Enter each and talk to the villager inside: Dobo, Kumu and Fofo live in the front row, Gumo, Aroo and Mazo in the back. Each villager says something about one of the others, and the rule is that the Anouki always tell the truth while the Yook always lies, and there is only one liar.
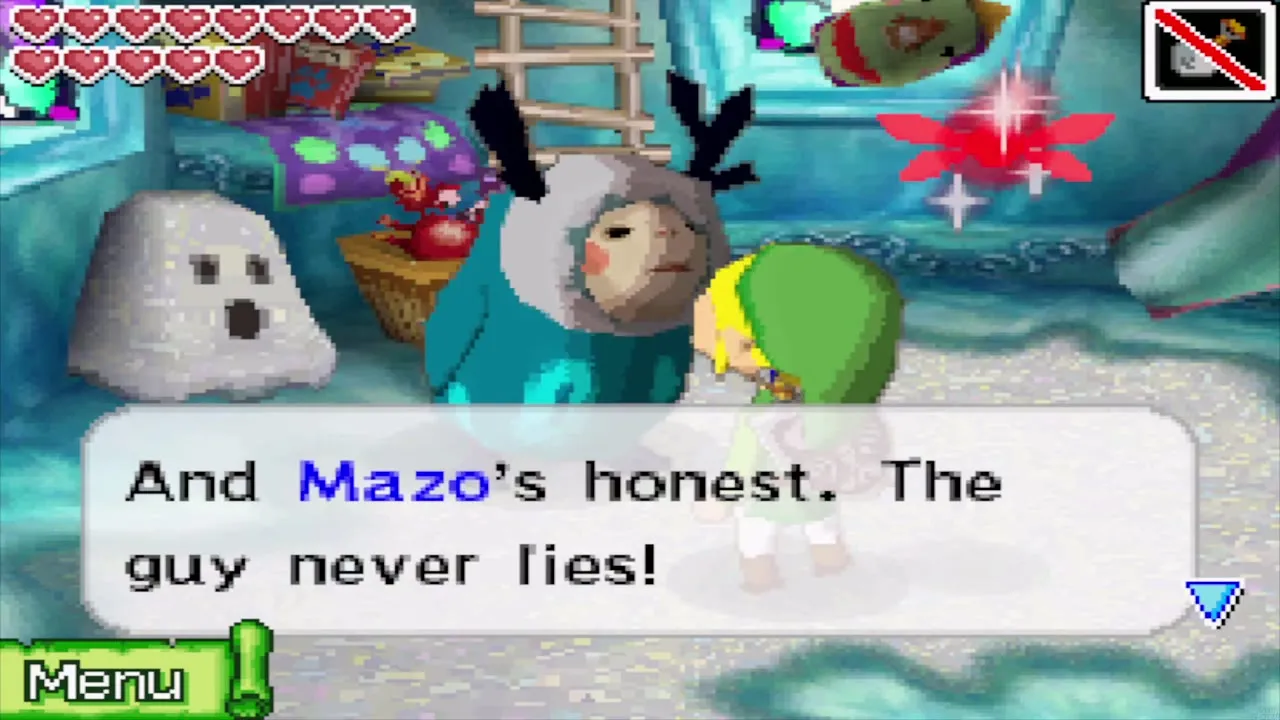
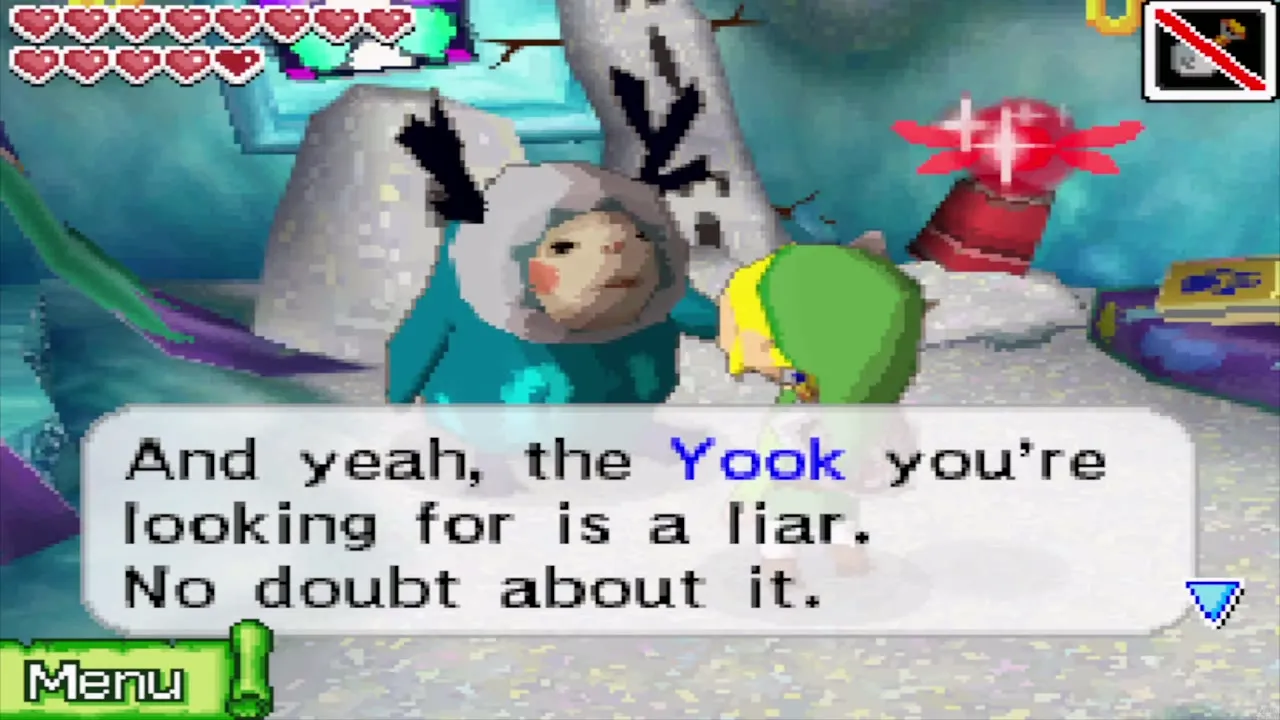
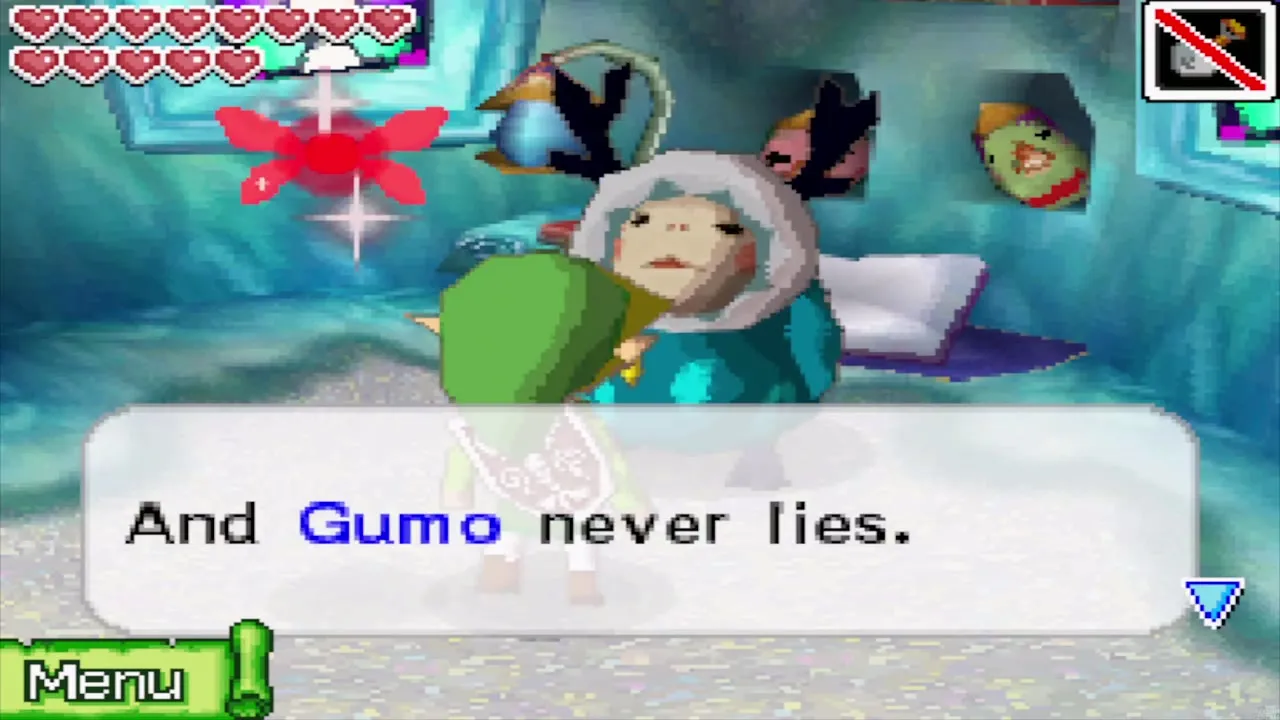
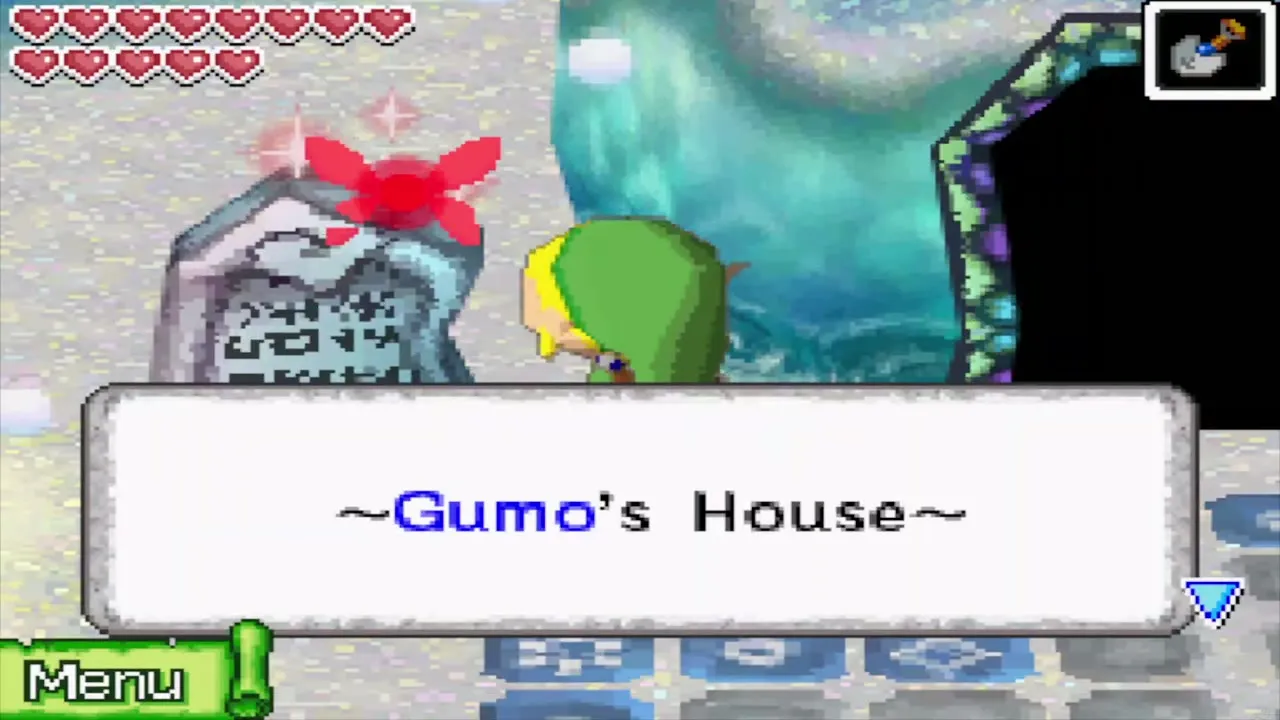
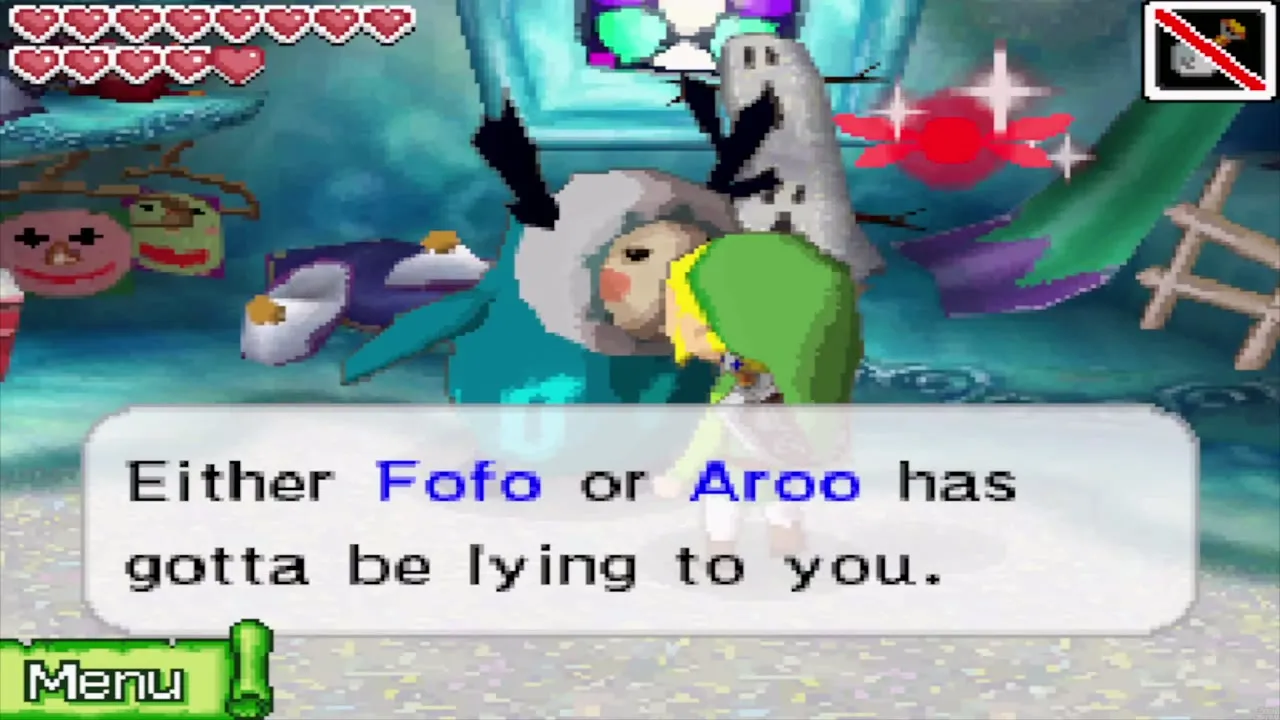
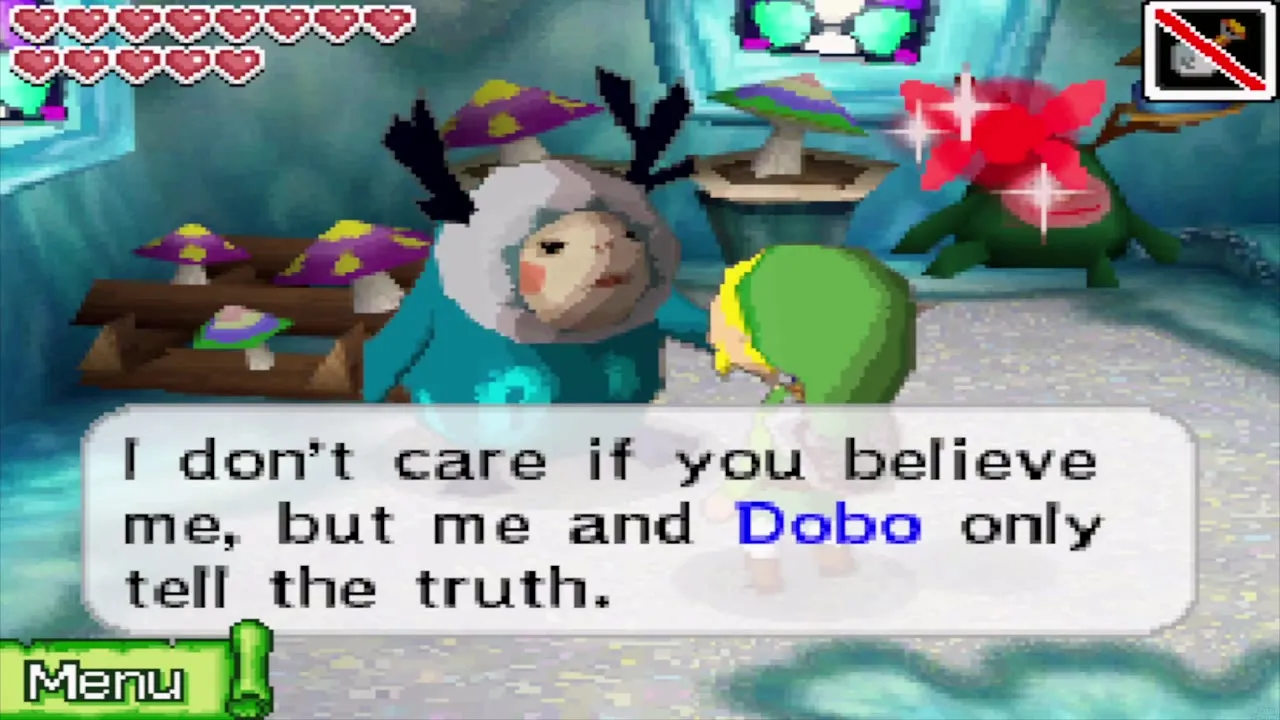
Compare what they say. Dobo says Mazo is honest, and Mazo says he and Dobo only tell the truth. Fofo says he and Gumo never lie. Gumo says that either Fofo or Aroo is lying, and Kumu says that either Mazo or Aroo is lying. Aroo says Kumu is lying. Fofo’s claim clears both Fofo and Gumo, so Gumo’s warning can only mean Aroo, and Kumu’s agrees. Aroo is the Yook.
Accuse the villager in the middle house
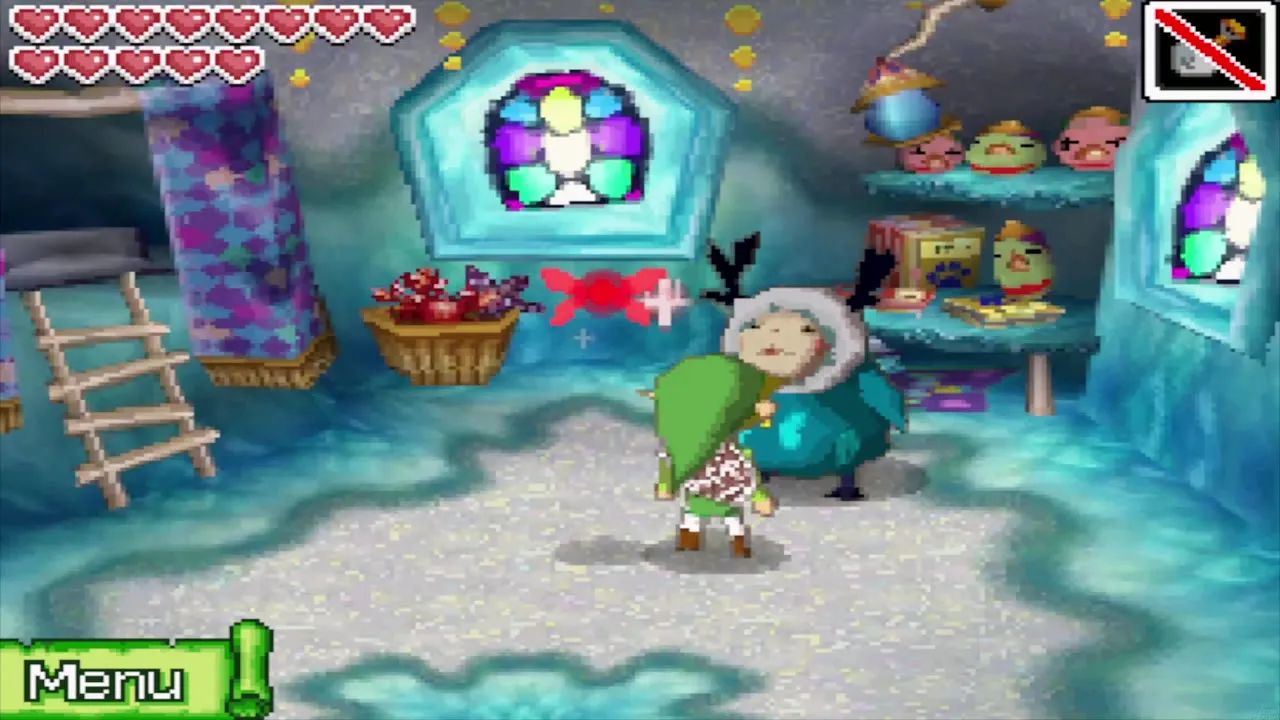
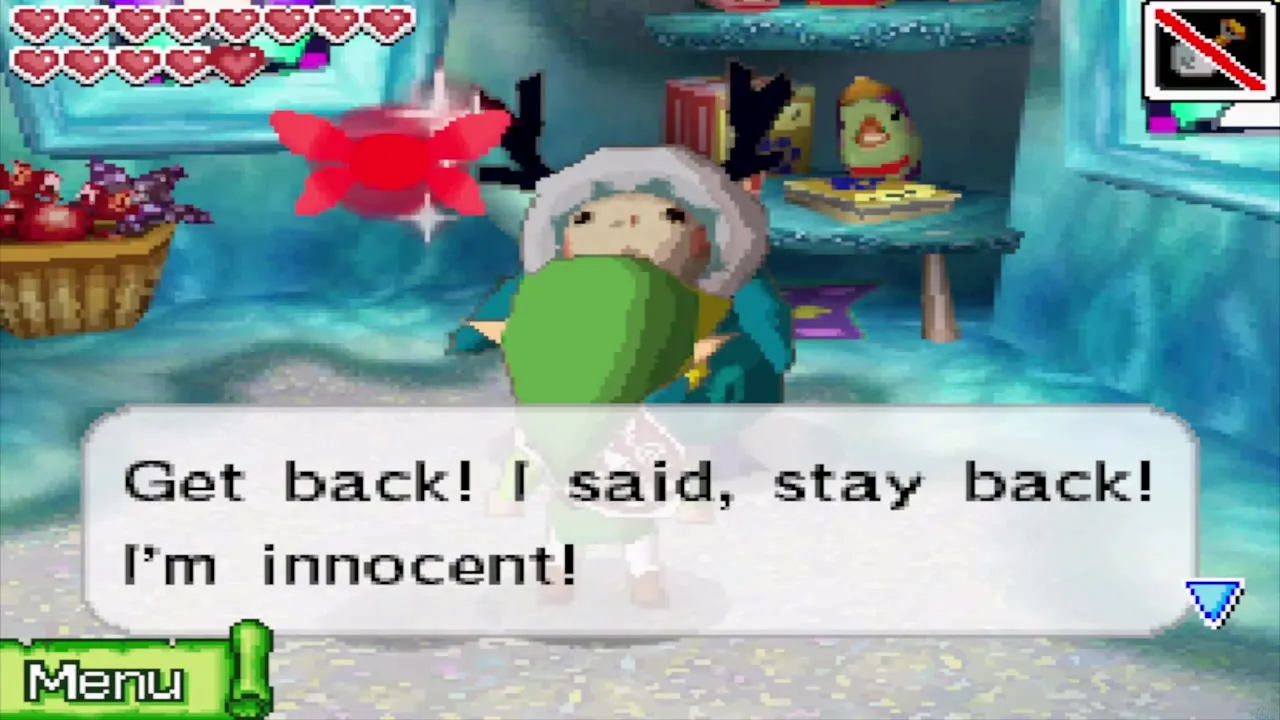
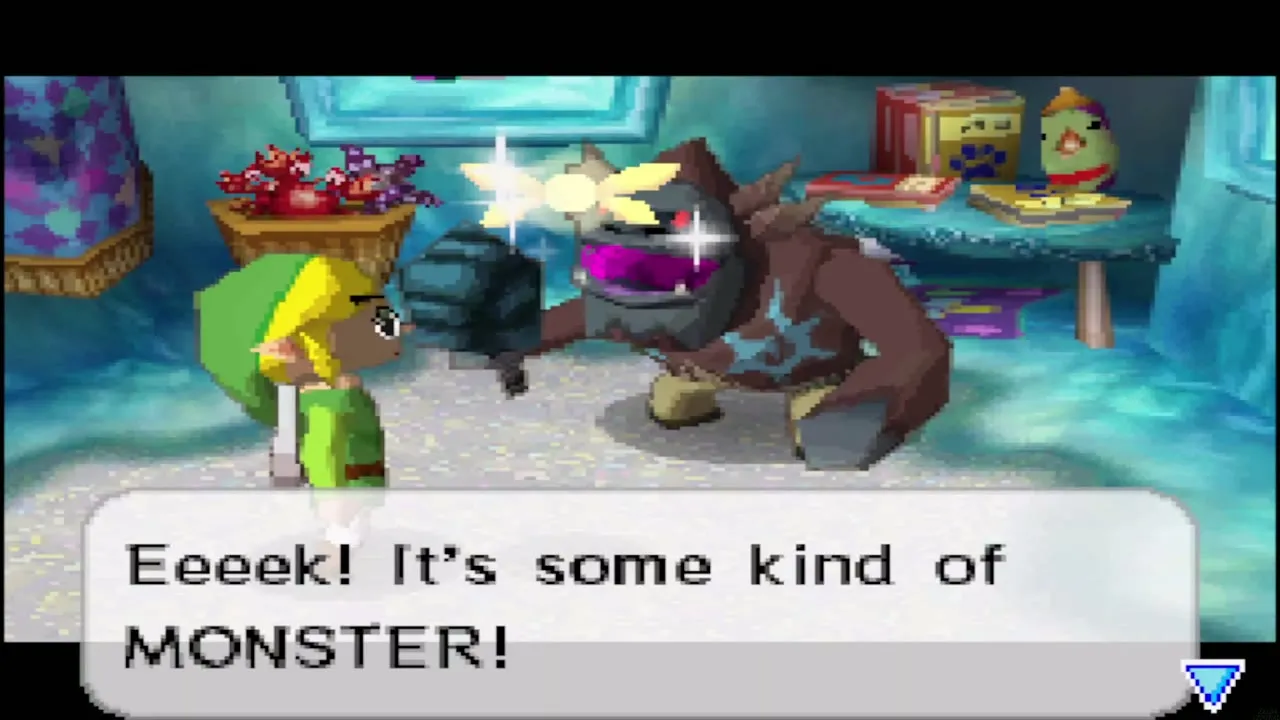
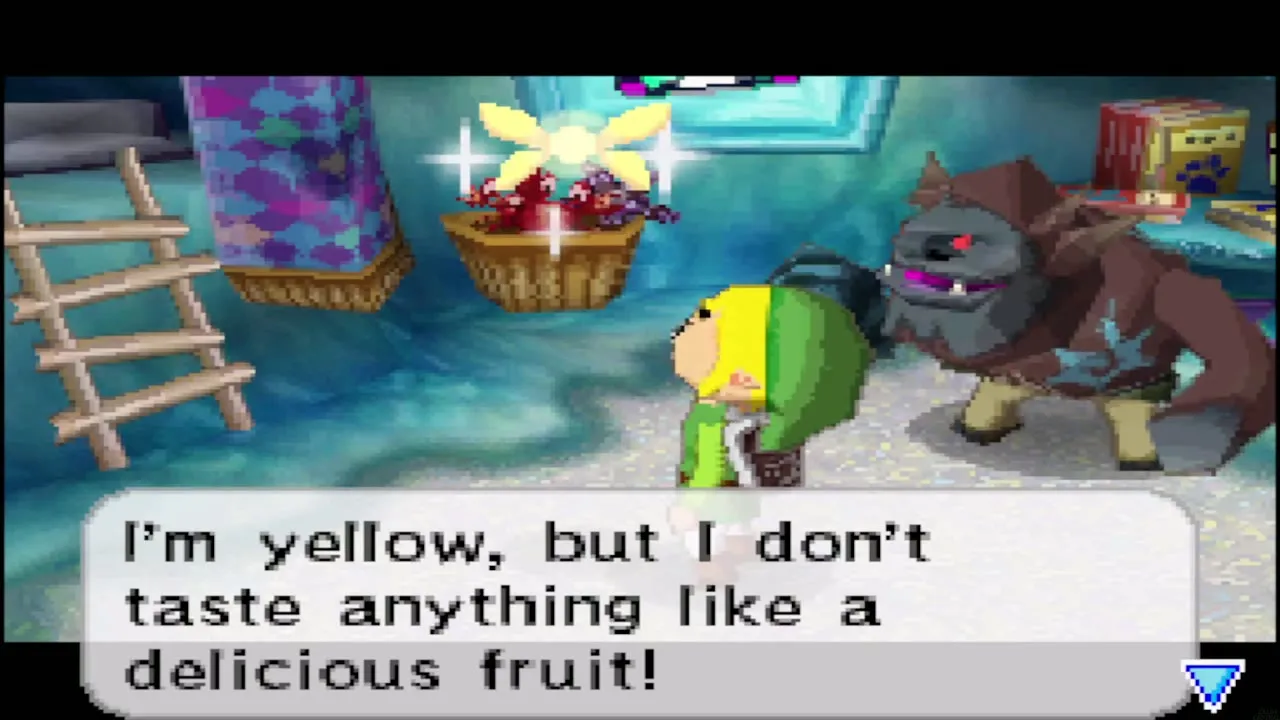
Go back into Aroo’s house, the middle house of the back row, and talk to the villager again. Accuse him, and the disguise slips: Aroo is a Yook. You cannot fight him here, because he blasts you out of the house and escapes.
Report to the Chief
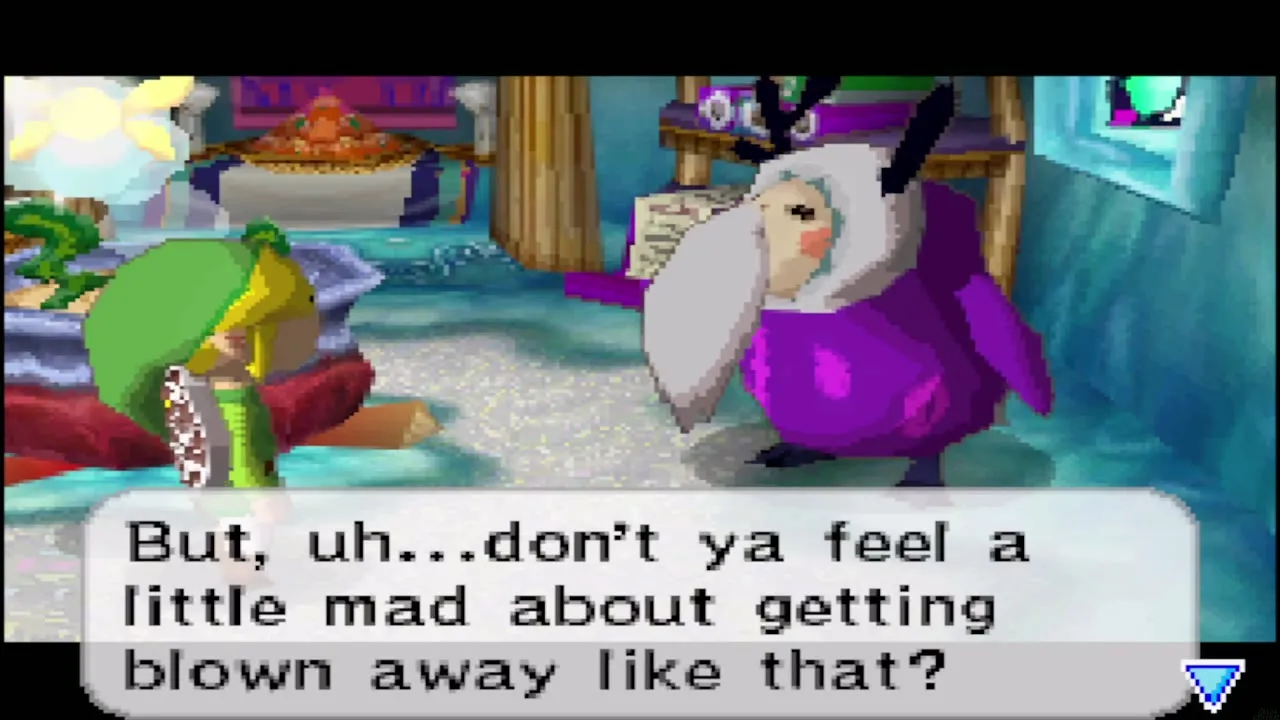
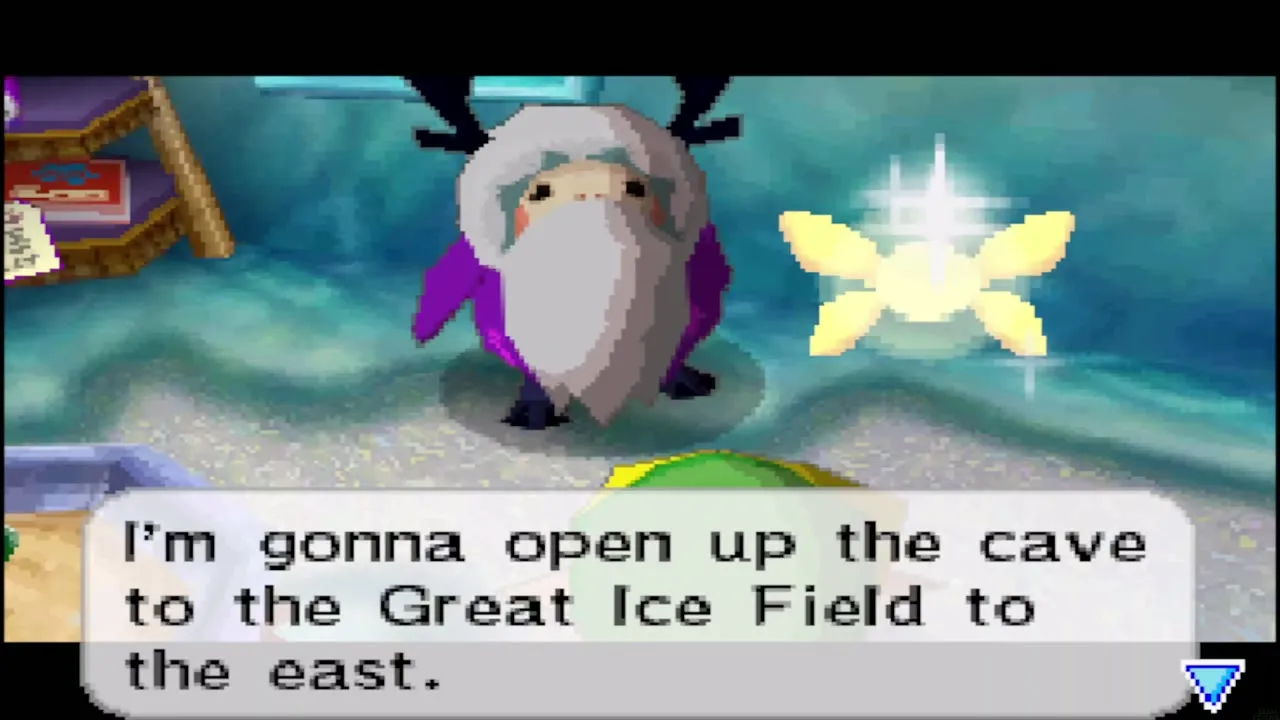
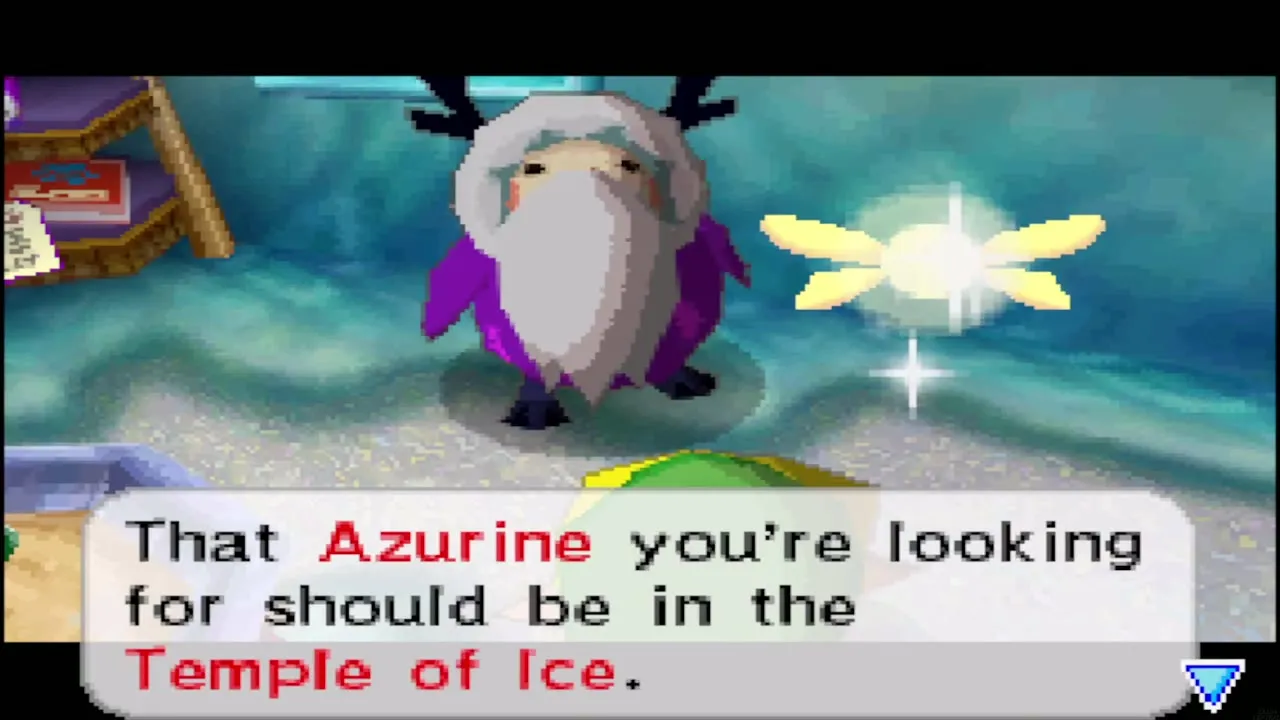
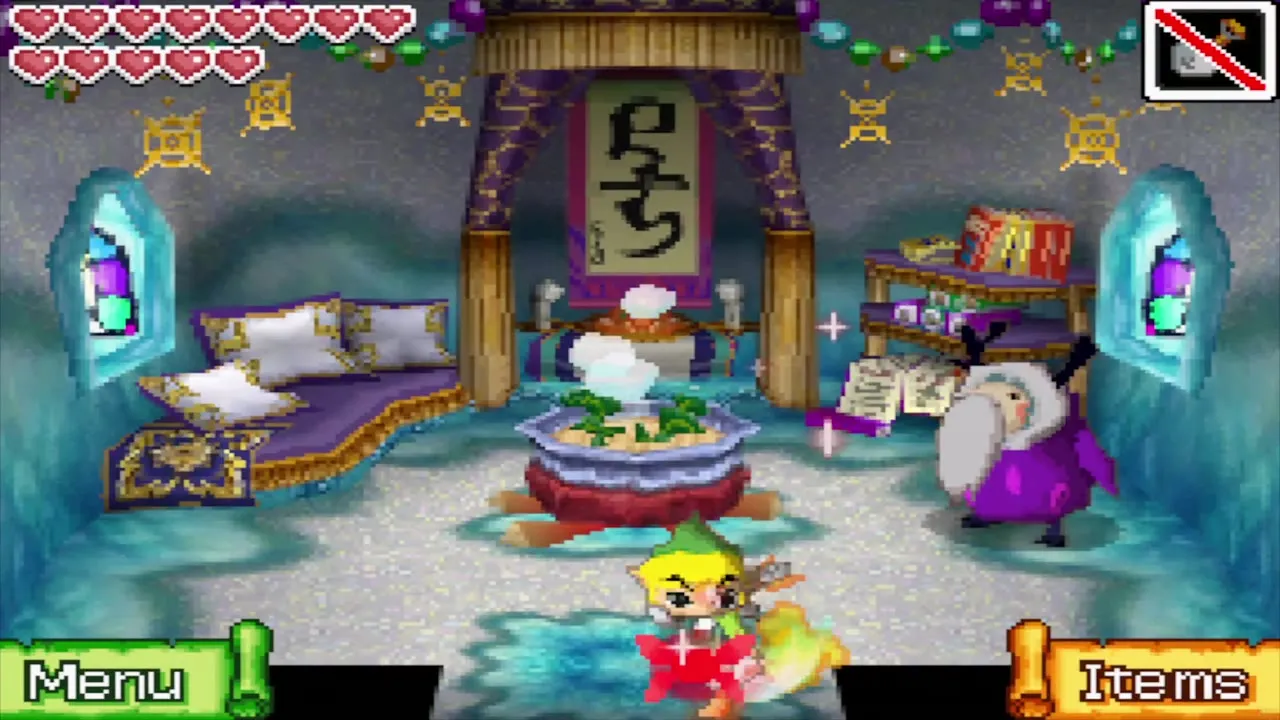
Walk back to the Island Chief’s house and tell him what happened. He sends you east to the Yook, and tells you that the Azurine is in the Temple of Ice.
Great Ice Field and the Temple of Ice door
Pass the guard at the cave
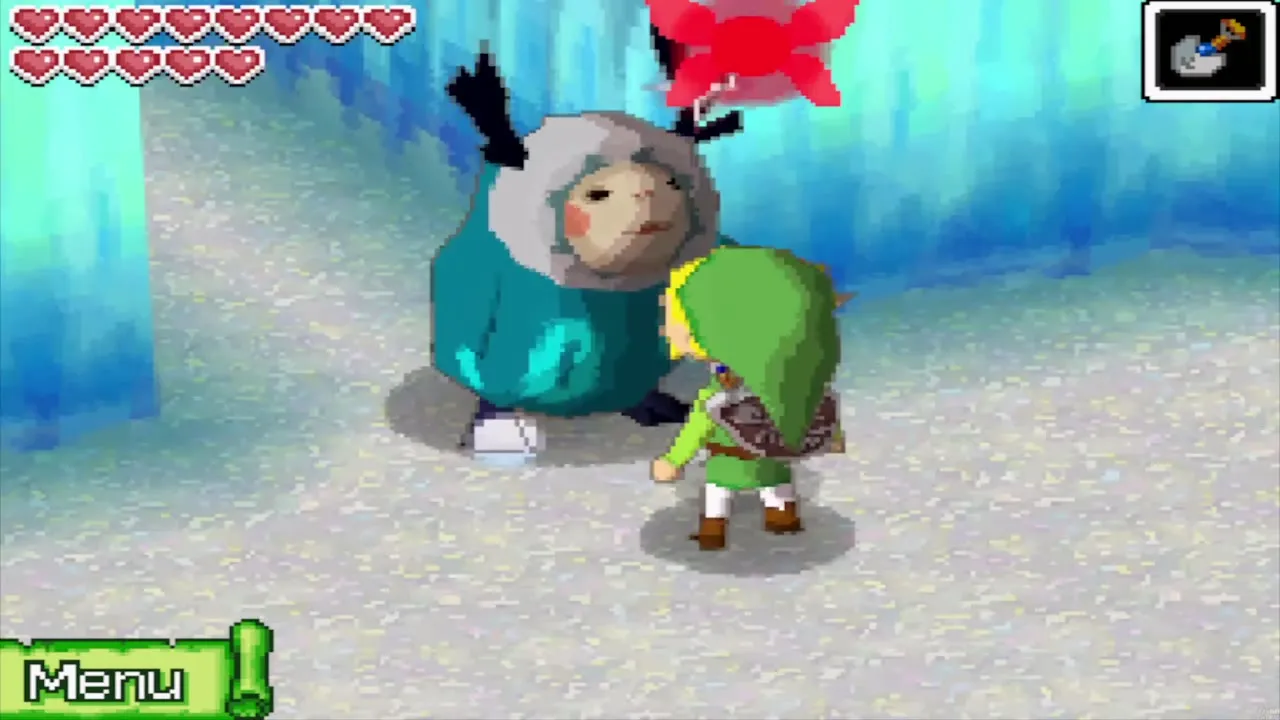
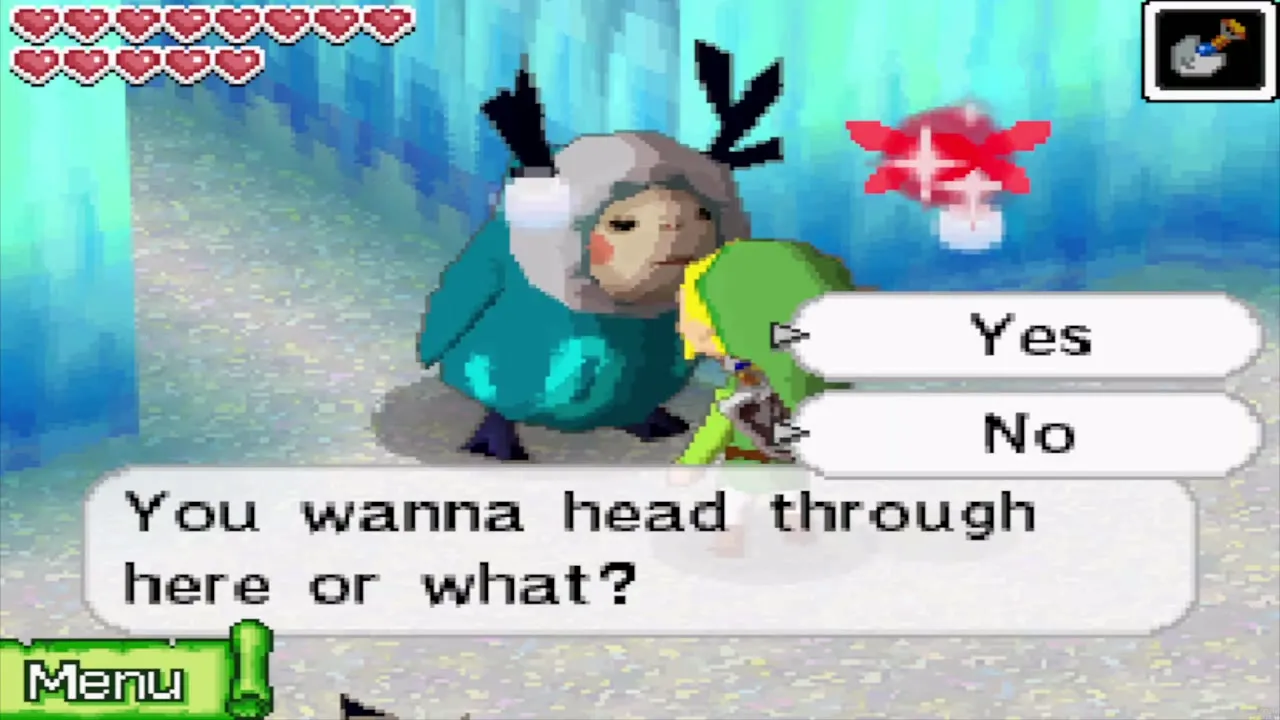
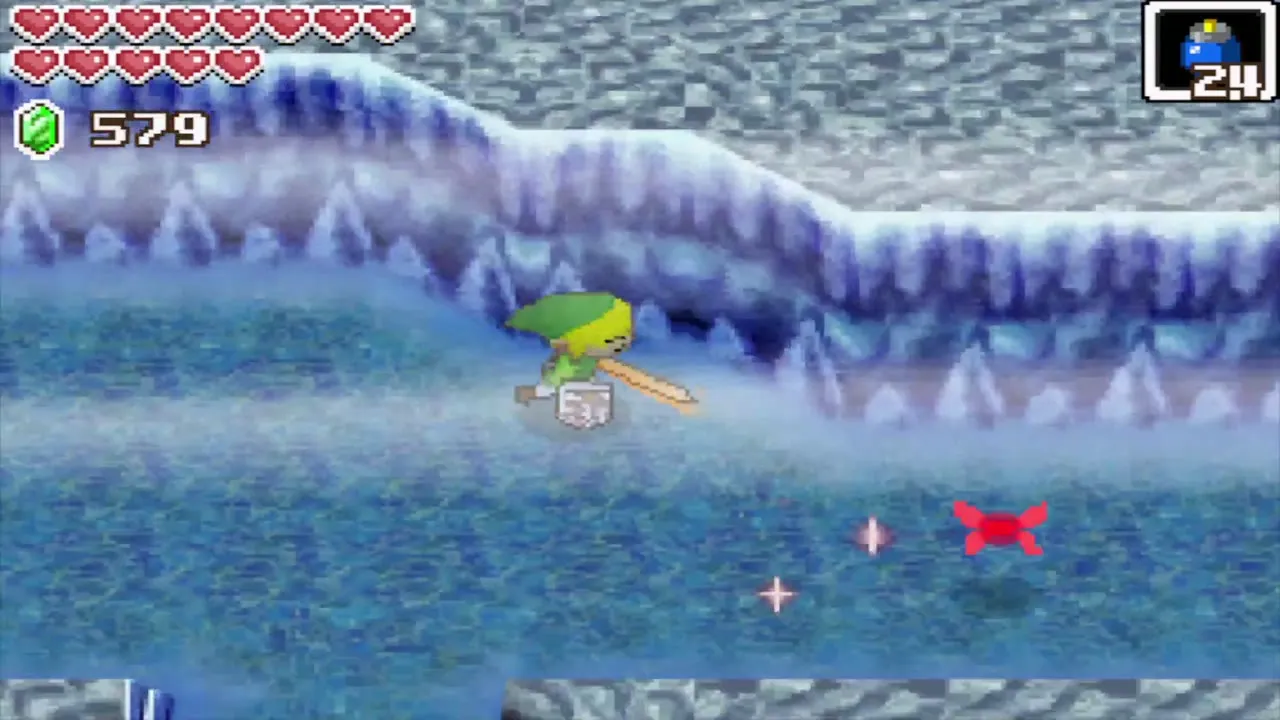
The path east leads to a cave with an Anouki standing in front of it. Once you have reported to the Chief he steps aside. Walk through the cave to reach the Great Ice Field, a frozen sea of narrow ice paths with water on both sides.
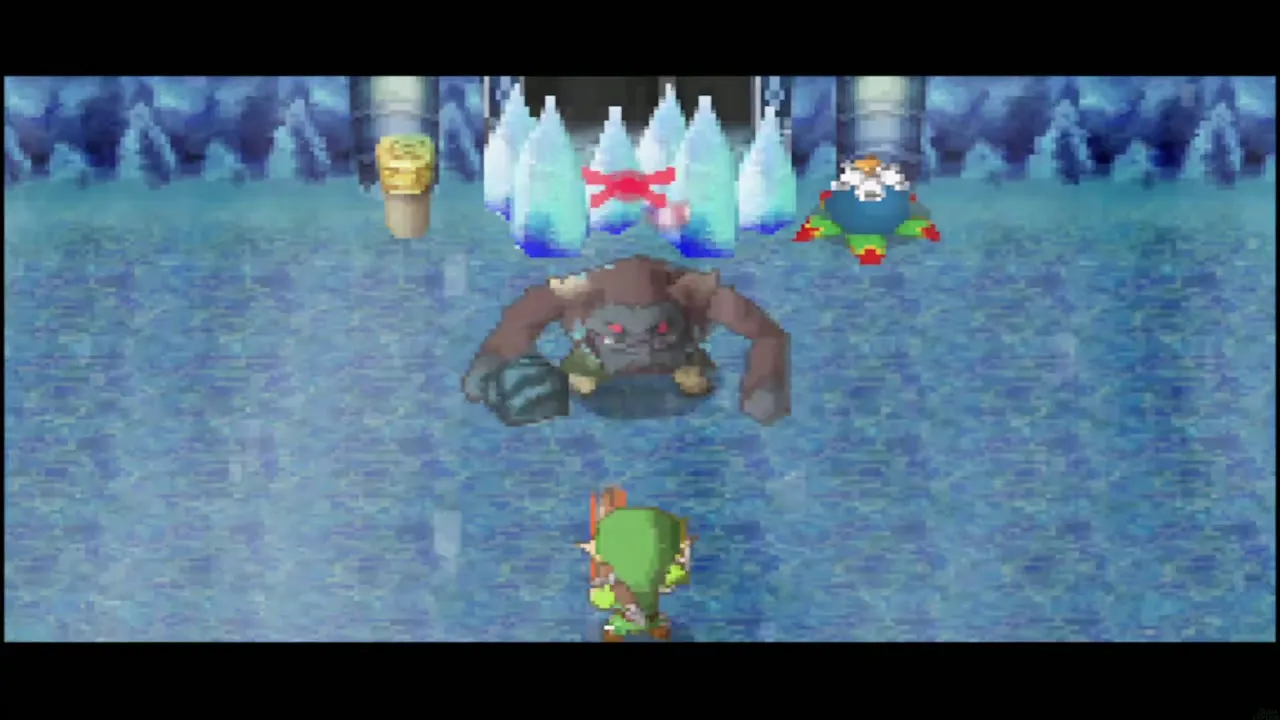
Beat the six Yook guardians
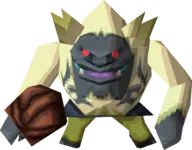
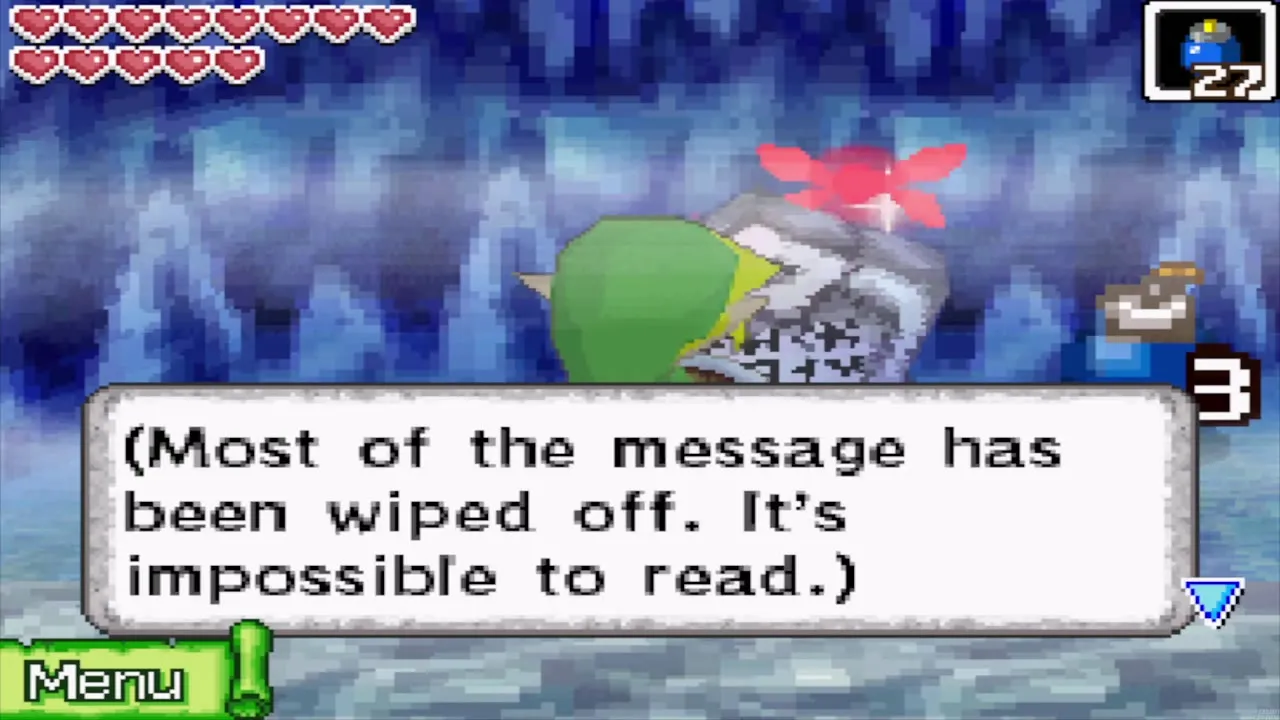
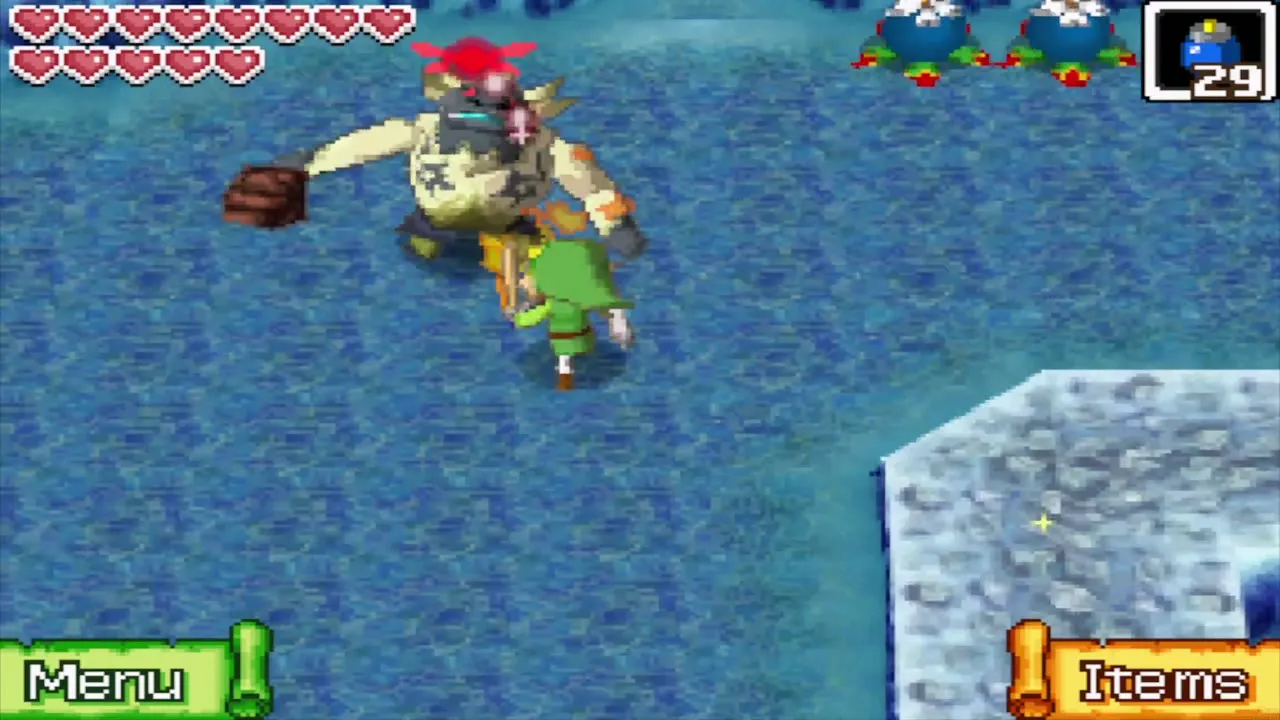
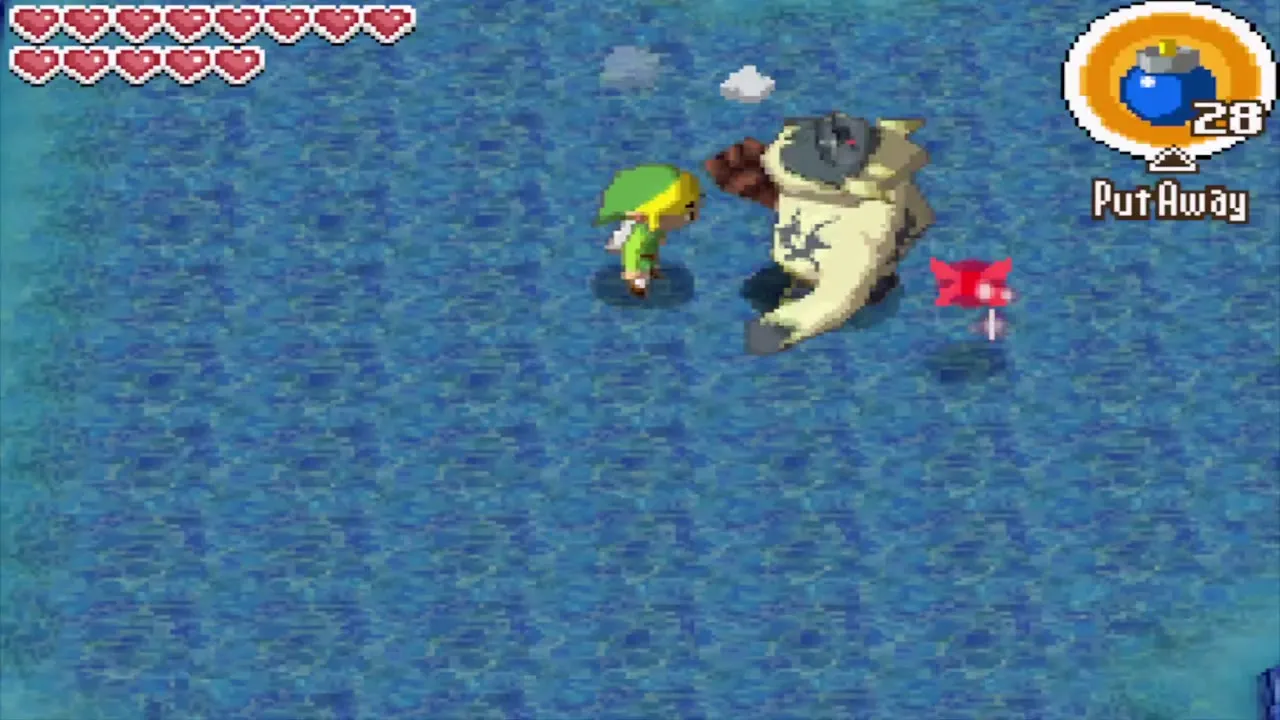
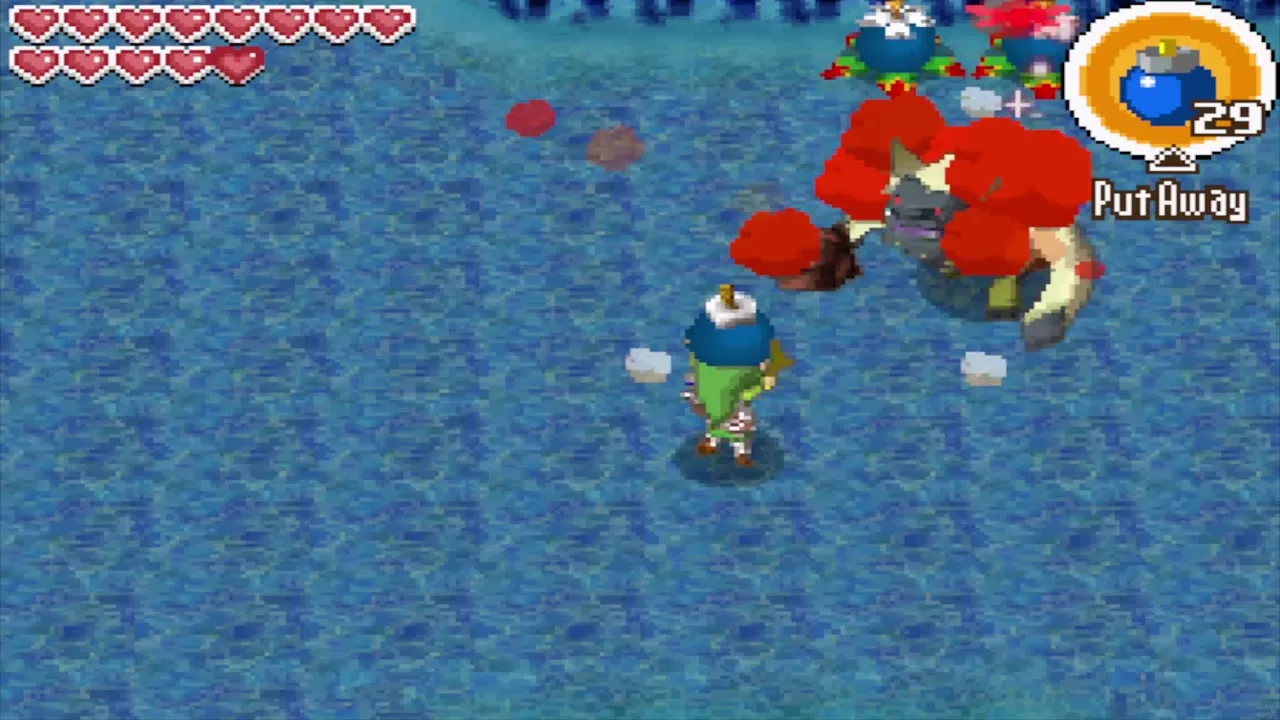
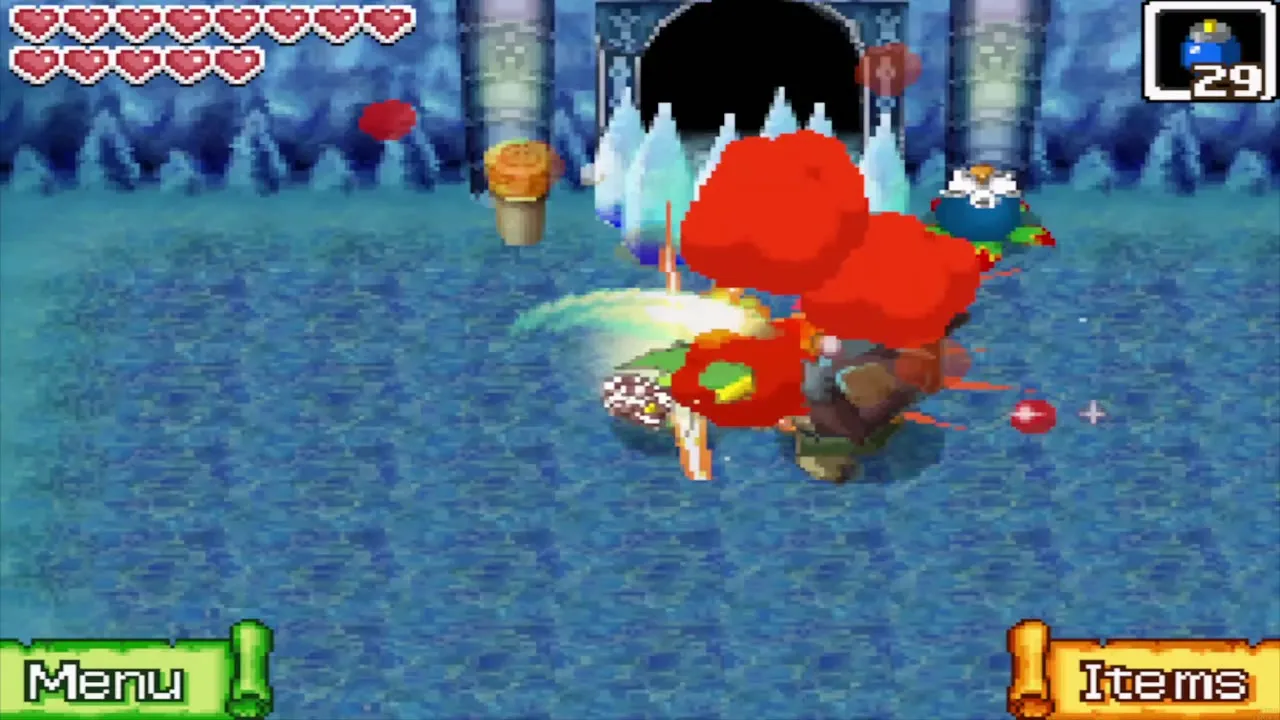
A stone tablet on the ice describes the Yook’s weakness, but most of the message has been wiped away. The Yook have clubs and charge at you, so a sword alone is slow. Back away until a Yook breathes in deeply, throw a Bomb at it, and it swallows the Bomb and is stunned. Slash it while it staggers until it falls. Six of these guardians stand between you and the temple.
You will pass chests on ledges you cannot reach yet. A high ledge in the Great Ice Field holds a Power Gem, and an elevated platform in the south-west of the island holds a Wisdom Gem, but both need the Grappling Hook from the Temple of Ice. Come back for them after that chapter.
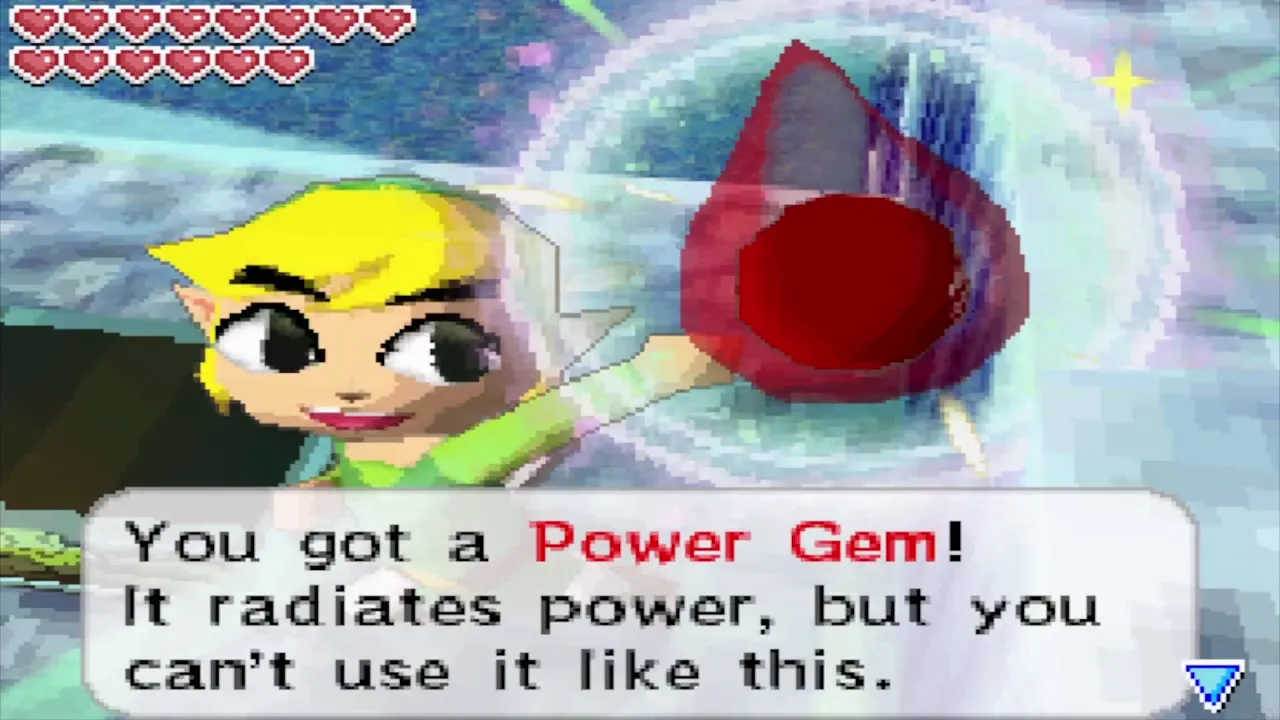
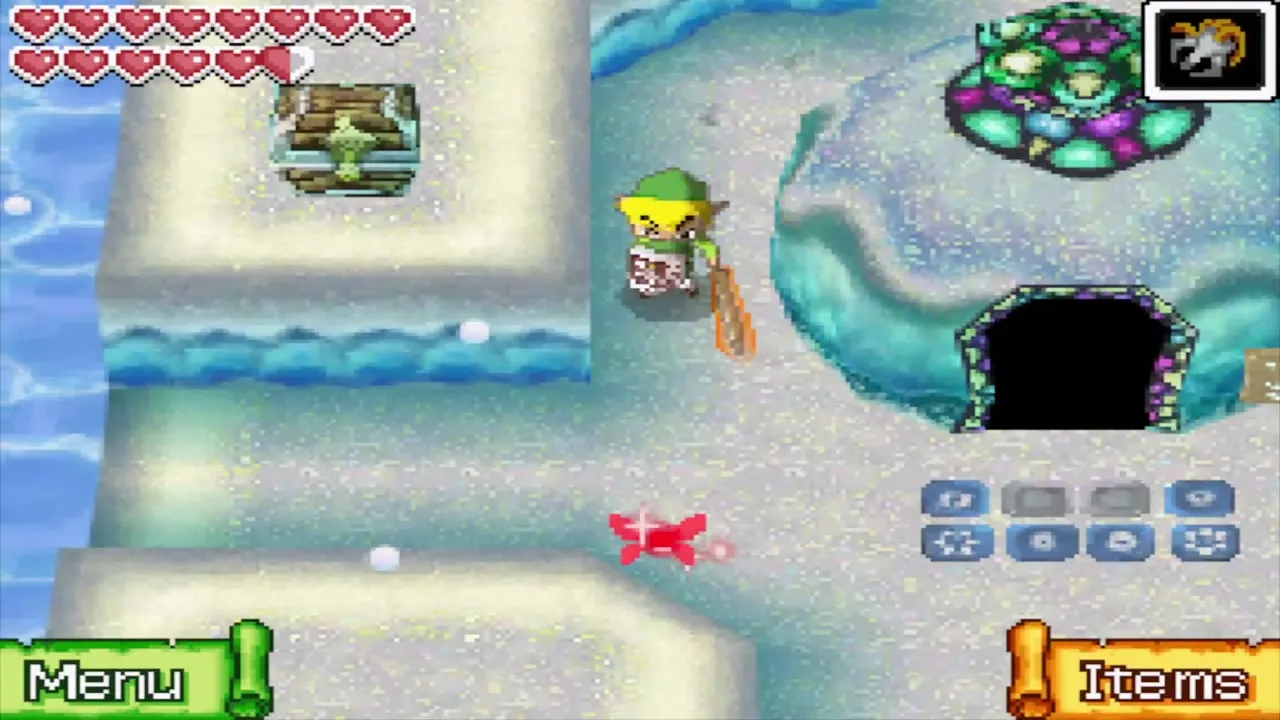
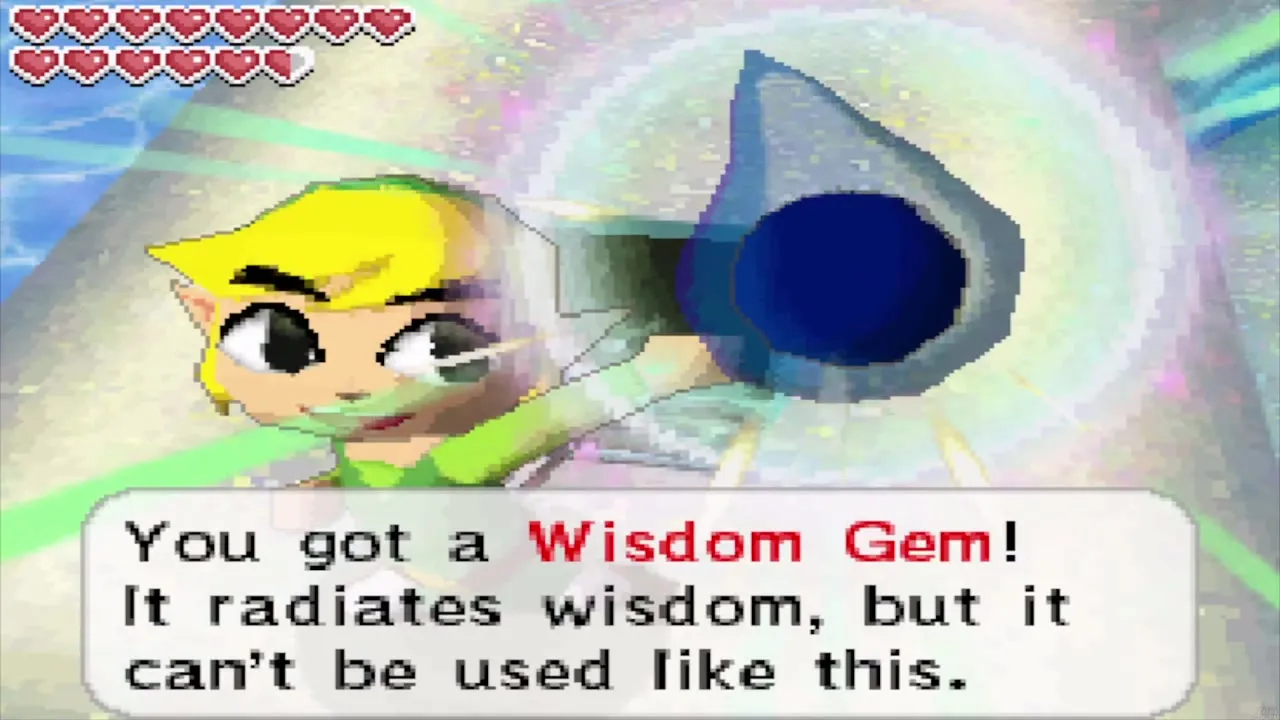
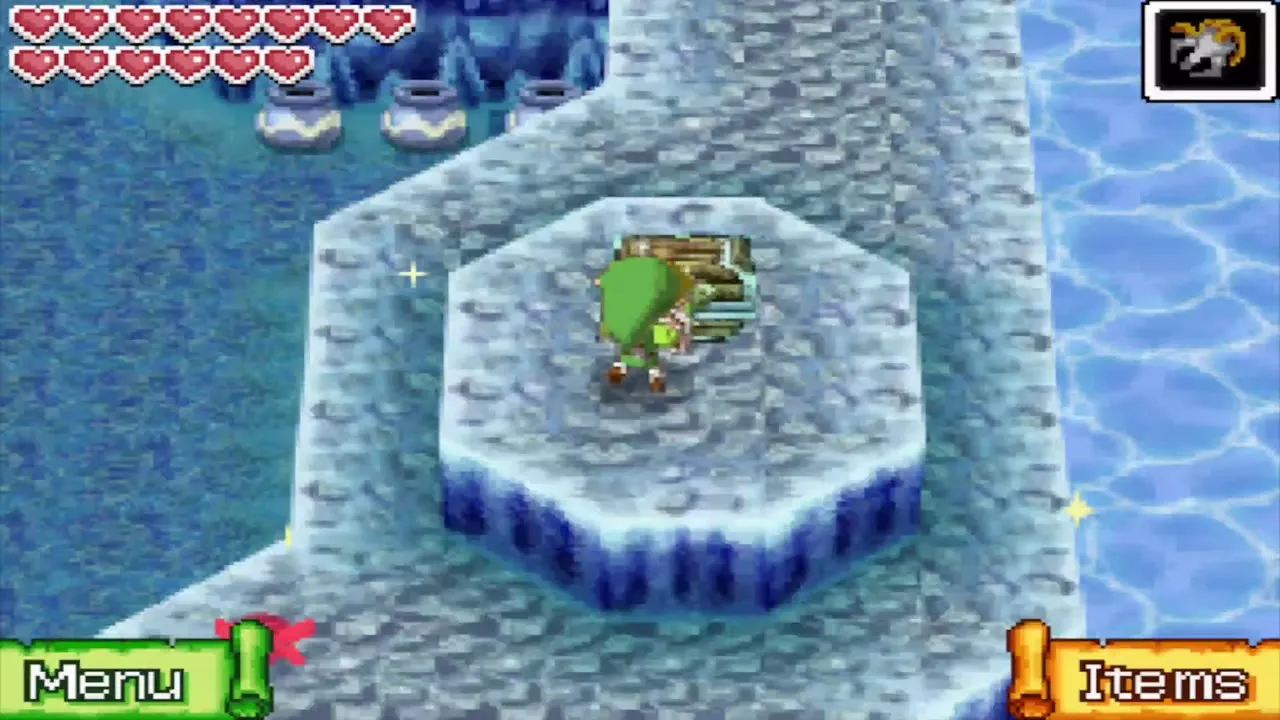
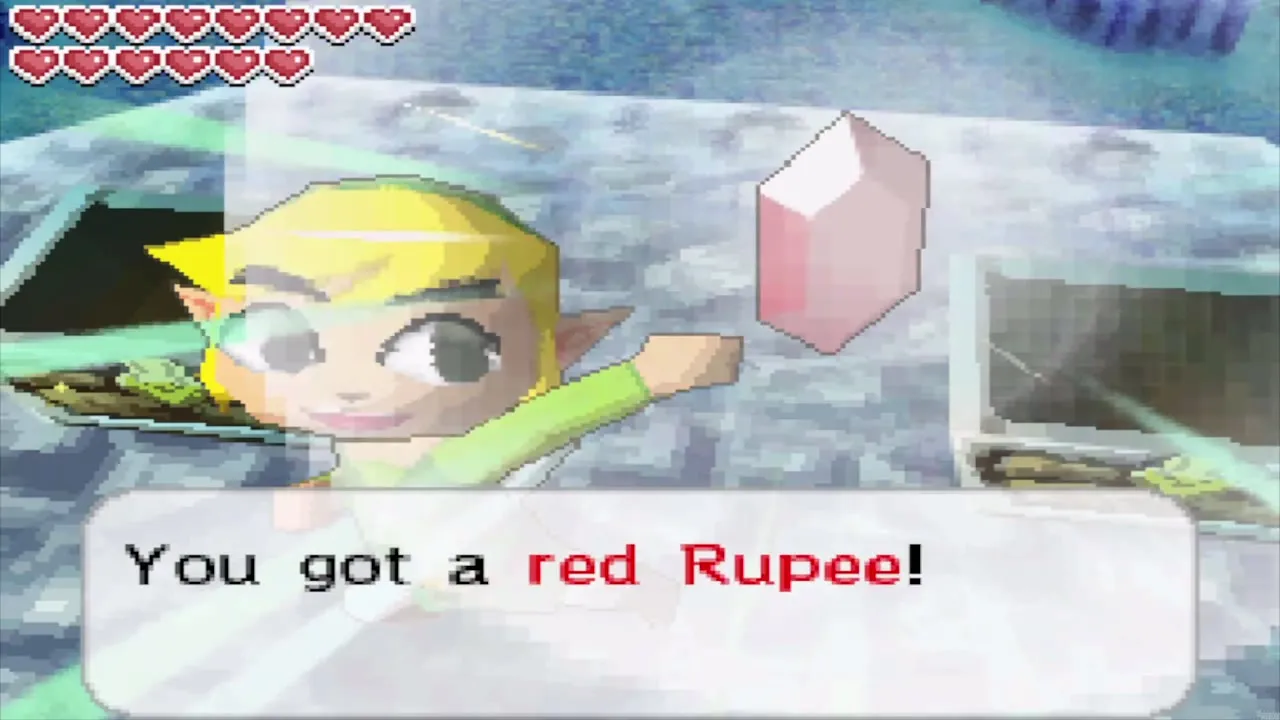
Four chests stand on the Great Ice Field in all: the Power Gem above, a Big Green Rupee and two red Rupees.
Walk up to the temple
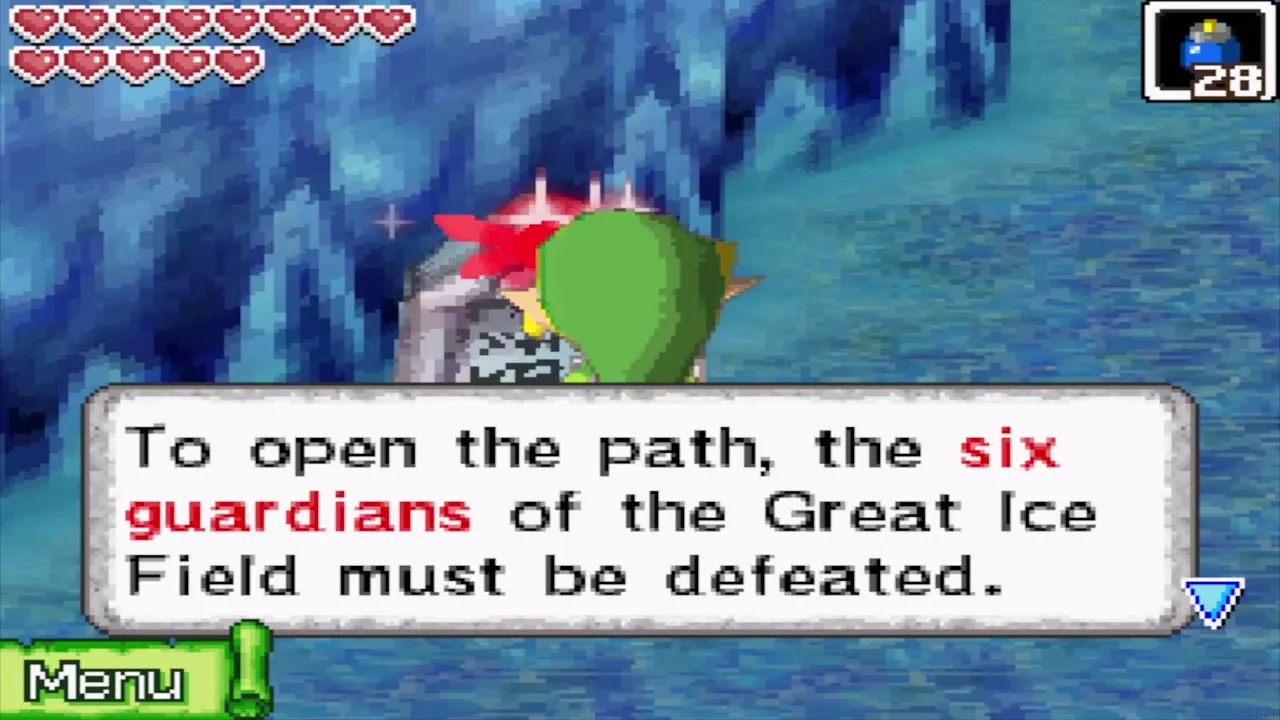
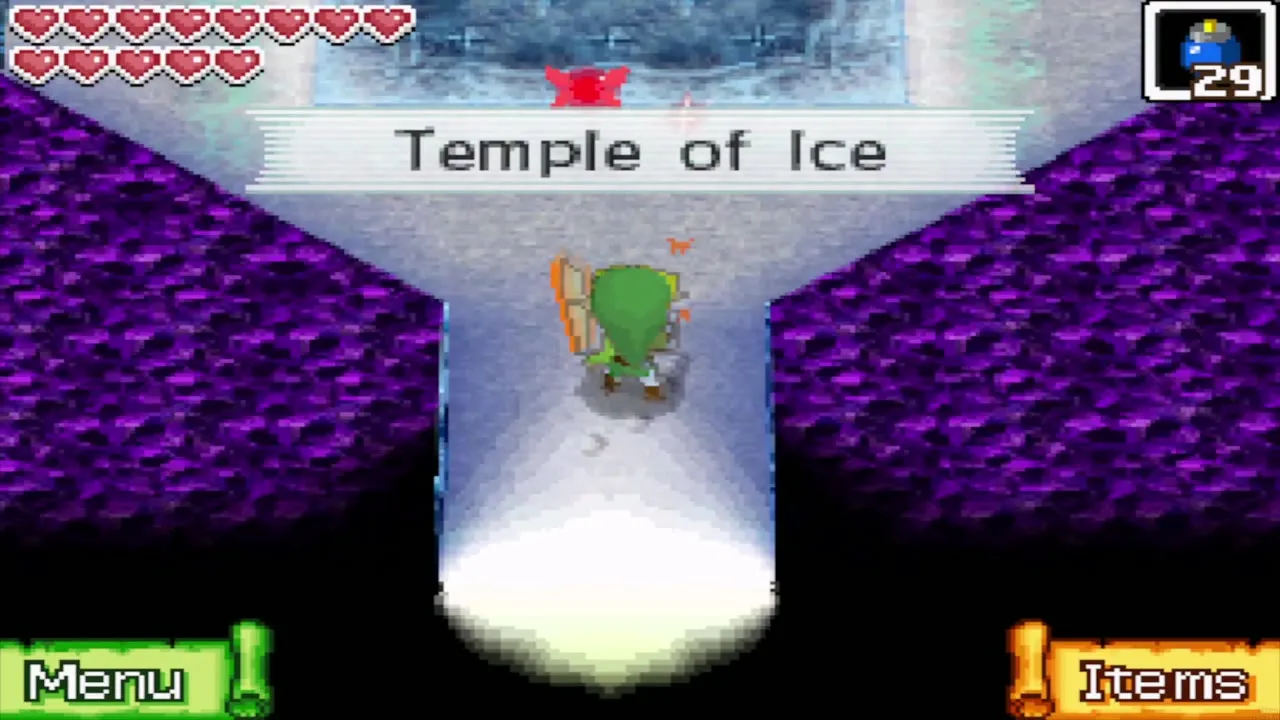
A stone near the end of the field says that the six guardians of the Great Ice Field must be beaten to open the path, and that the Temple of Ice, home of the Pure Metal, stands ahead. Once the six are down, a tougher brown Yook guards the way north; beat it the same way, with a Bomb at the moment it inhales. Then walk through the entrance.
Chapter checklist
| Collectible | Type | Where |
|---|---|---|
| Treasure map 17 (ship part at its X) | Treasure map | Dig in the middle of the tile grid on the small south-west island of Anouki Estates |
| Big red Rupee (200) | Rupees | Dig at the midpoint of the line between the red-bowed stone and the Island Chief’s house |
| Golden Frog (Isle of Frost warp) | Golden Frog | North-west of the Isle of Frost; needs the Cyclone Slate |
 Power Gem | Spirit Gem | Chest on a high ledge in the Great Ice Field; needs the Grappling Hook |
 Wisdom Gem | Spirit Gem | Chest on an elevated platform in the south-west; needs the Grappling Hook |
| Big Green Rupee | Rupees | Chest on the Great Ice Field |
| Red Rupee (2) | Rupees | Two chests on the Great Ice Field |
 Ship part | Ship part | Salvage the X from the treasure map with the Salvage Arm |
The way to the temple is open and the Azurine waits inside: continue with the Temple of Ice walkthrough.
