





















Phantom Hourglass 100% Completion Walkthrough19 chapters
- Temple of FireEvery key, the Boomerang, the Boss Key, how to beat Blaaz, the Heart Container, Leaf and Astrid’s Power Gem.
- Temple of WindGet the bombs, the Boss Key, beat Cyclok, free Neri and take the Heart Container.
- Molida Island and the Temple of CourageBeat the Giant Eye Plant, light Molida’s statues, get the Bow, defeat Crayk and awaken the Spirit of Courage.
- The Ghost ShipFind the ship with the Spirits, free the Cubus sisters, win their volley game, get the Ghost Key and Heart Container.
- Goron TempleTeam up with Gongoron, get the Bombchus and the Boss Key, beat Dongorongo and take the Crimsonine.
- Temple of IceLever order, three small keys, Grappling Hook, Boss Key, Gleeok fight, Heart Container and Azurine.
- Mutoh’s TempleGet the Hammer, find both small keys and the Boss Key, beat Eox and collect the Aquanine.
- Mercay Island and the First Sea ChartGet Oshus’s Sword, solve the lever passage, rescue Linebeck and find the first sea chart.
- Temple of the Ocean KingTake the Phantom Hourglass, sneak past Phantoms, carry three Force Gems and find the Northwestern Sea Chart.
- Temple of the Ocean KingPhantom Eyes, the hourglass crest door, the Salvage Arm, treasure salvage and the Sun Key.
- Zauz and the Temple of the Ocean KingPure Metals, Triforce door, crystal puzzles and the Southeastern Sea Chart.
- Temple of the Ocean KingGold Phantoms, the B11 bridges, three Force Gems on B12 and the Northeastern Sea Chart.
- The Phantom Sword and BellumPhantom Hourglass walkthrough for the Phantom Sword, the last Temple of the Ocean King descent, Bellum.
- Isle of Ember and AstridFirst voyage, Beedle’s Shop Ship, Kayo’s torches, freeing Astrid and the volcano path to the Temple of Fire.
- Cannon Island, the Ghost Ship Chase and Molida IslandBuy the Cannon from Eddo, chase the Ghost Ship, then reach Molida Island and take the Shovel.
- Northwestern Sea and the Isle of GustThe fog route, Bannan Island fishing, Zauz, the Cyclone Slate, Golden Frogs and the way to the Temple of Wind.
- Goron Island and GongoronSail the Southeastern Sea, beat the Massive Eye, pass Biggoron’s quiz, find Gongoron and reach the Goron Temple.
- Isle of Frost and the Yook MysteryCannon the ice, Anouki Estates, find the Yook among six villagers and fight through the Great Ice Field.
- Isle of the Dead and the Isle of RuinsDig spot, Phantom Corridor path, Regal Necklace, King’s Key, Max and the door symbol.
| Covers | first voyage on the Southwestern Sea Chart, Beedle’s Shop Ship, Isle of Ember, Kayo, the three torches, Astrid’s basement, the volcano path and the door of the Temple of Fire |
|---|---|
| You need | Oshus’s Sword, the Southwestern Sea Chart from the Temple of the Ocean King; the Wooden Shield and a Red Potion help; at least 150 rupees if you want to shop on the way |
| Rewards |  one chest with 20 rupees; a ship part, a treasure and  a Wisdom Gem on sale at Beedle’s Shop Ship; the way into the Temple of Fire. No Heart Container, Sand of Hours or Golden Frog can be collected yet; the later pick-ups on this island are listed in the checklist |
This chapter takes you from the dock on Mercay Island to the door of the Temple of Fire. You learn to sail by drawing a course, stop at Beedle’s Shop Ship, land on the Isle of Ember, find the ghost Kayo, mark three torches to free the fortune-teller Astrid, and climb the volcano to blow out two candles at the temple entrance.
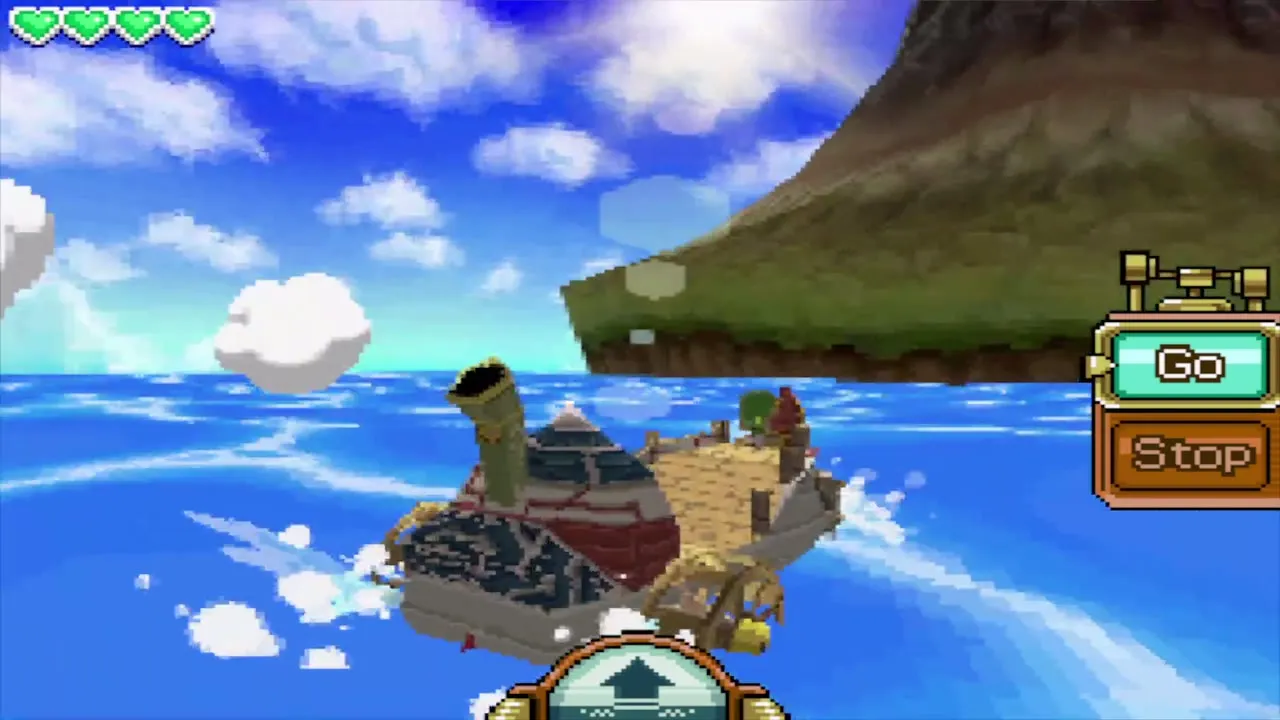

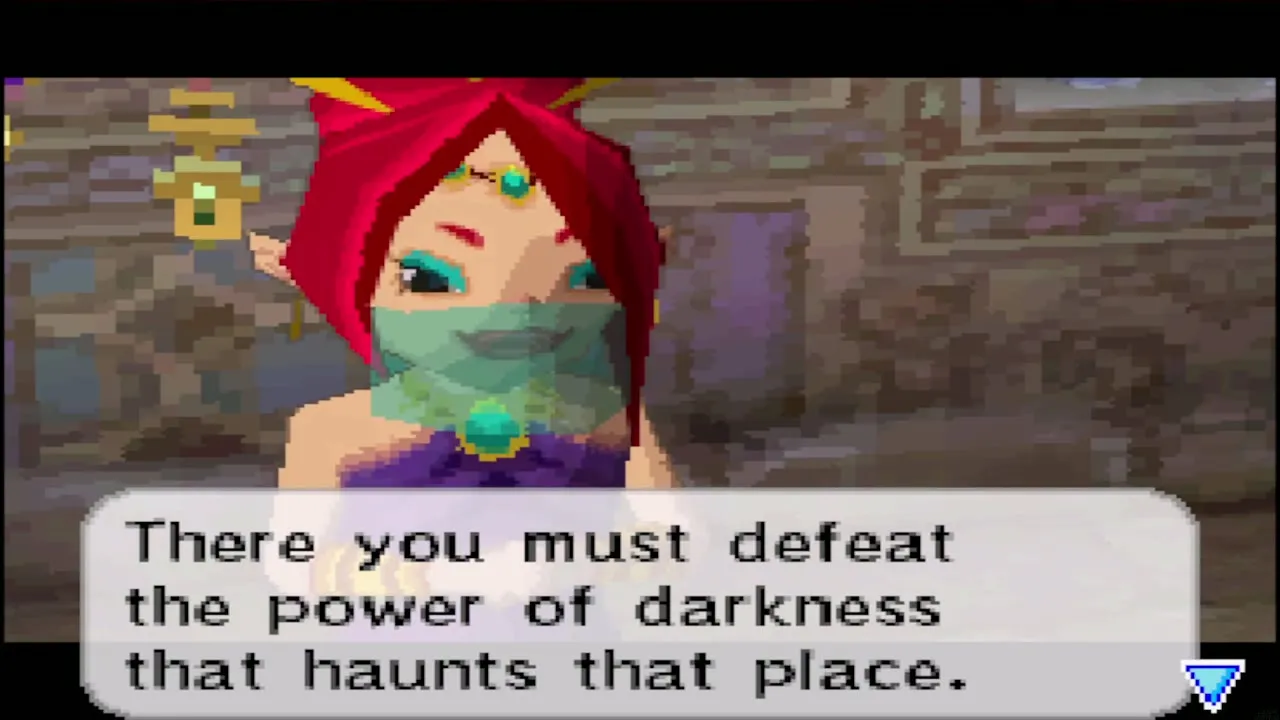

Table of Contents
Oshus and the secret mark on the treasure map
Reveal the Isle of Ember
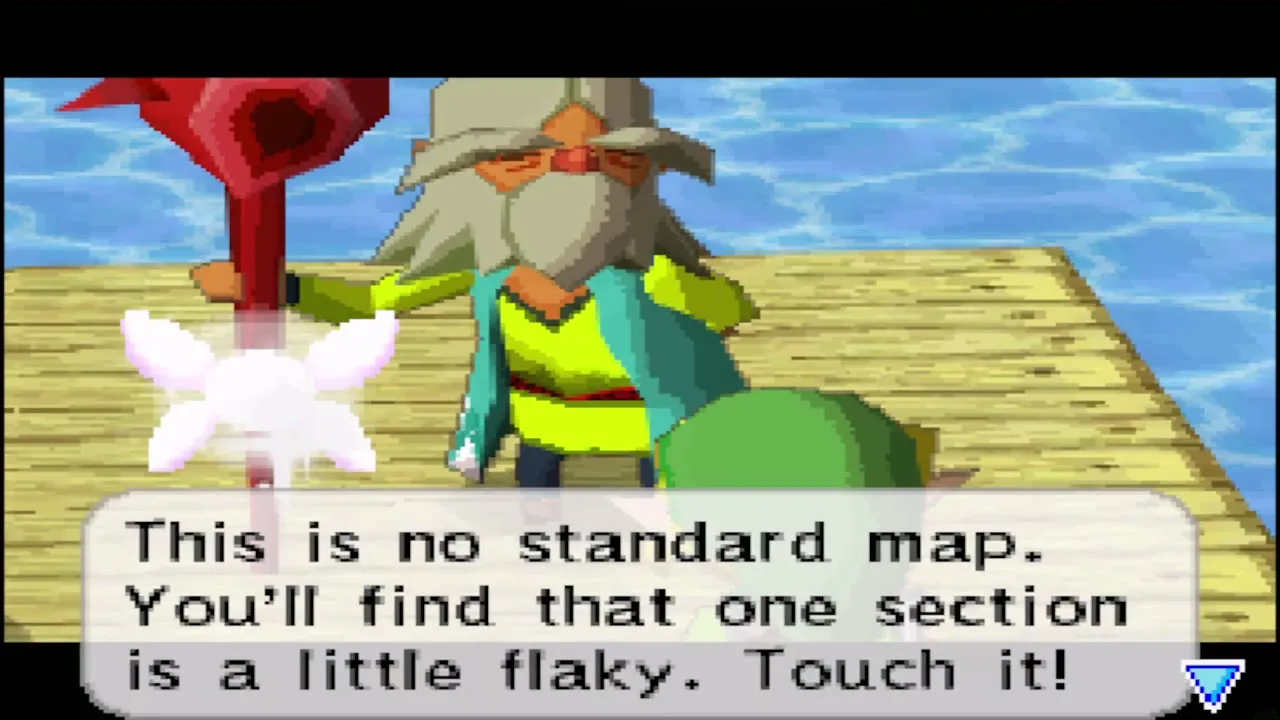
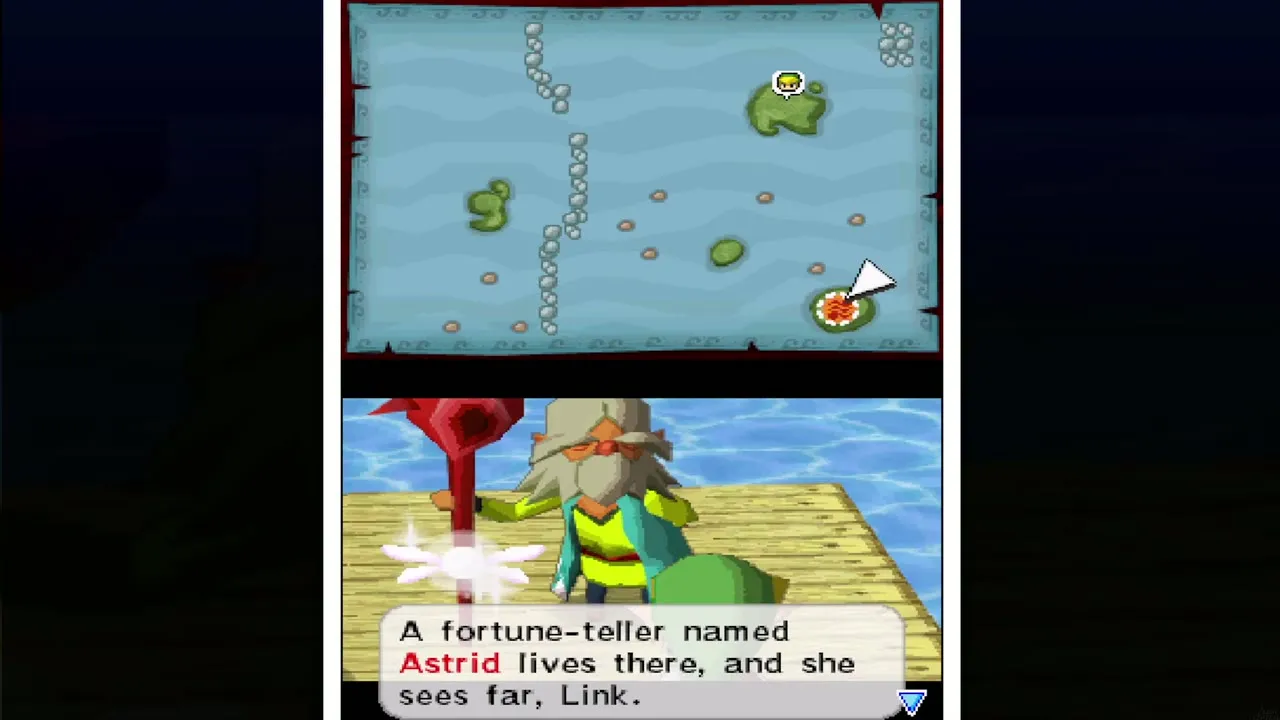
Back on the dock, Oshus asks to see the chart from the temple. He tells you it is no ordinary map: one flaky patch hides something, so touch that patch on it. A secret mark appears. It points to the Isle of Ember, home of a fortune-teller named Astrid, who may be able to tell you where the Ghost Ship is. Oshus asks Ciela to travel with you, and Linebeck agrees to sail you there. Answer Ready when asked whether you want to set sail.

First voyage: how to sail the S.S. Linebeck
Draw a course
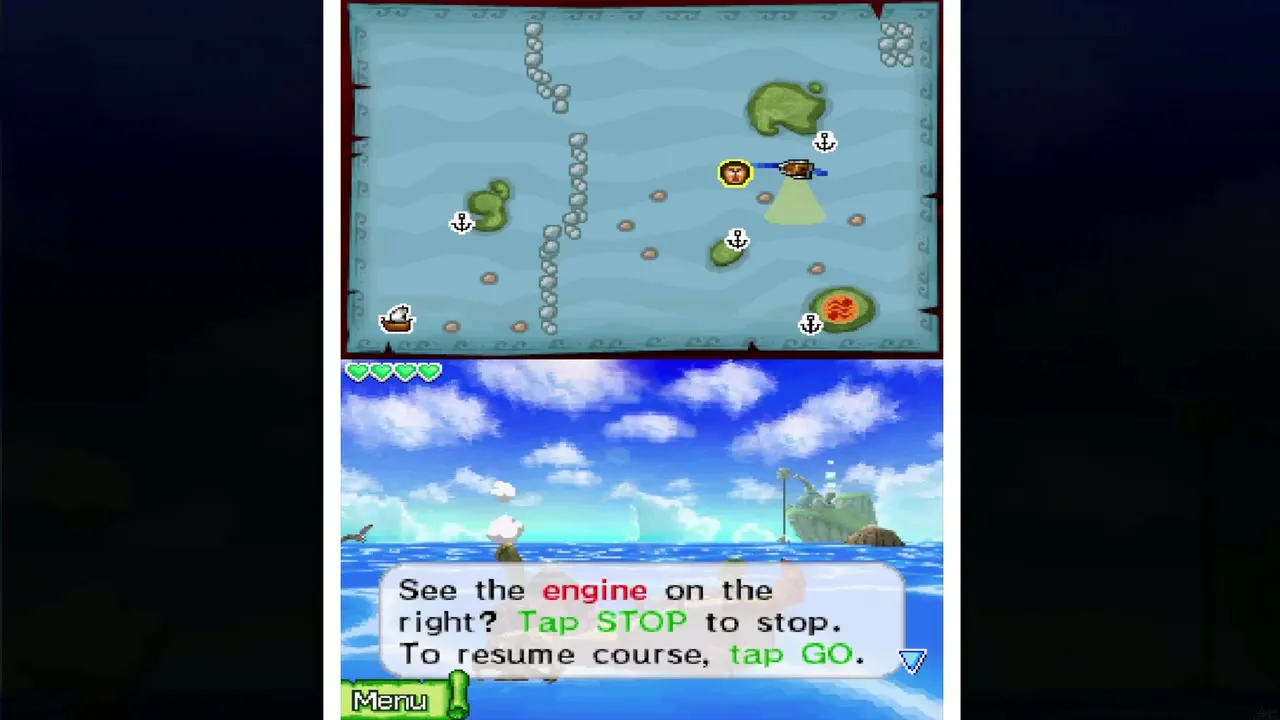
The sea chart fills the touch screen once you are on board. Put the stylus on the ship and draw a line to the island you want. The ship follows that exact path, so a short, straight line is enough for this trip. Draw a new line whenever you change your mind, even while the ship is moving.


Go, Stop and looking around
The engine on the right of the screen has a Stop button that halts the ship and a Go button that sends it back along your line. Touch the edge of the screen to look up, down, left and right while you sail. There is also an arrow button that makes the ship jump, which you will need later to clear the barbed wire of Sea Traps. This first crossing is short, so you have time to practise.

Beedle’s Shop Ship
Board the ship in your path
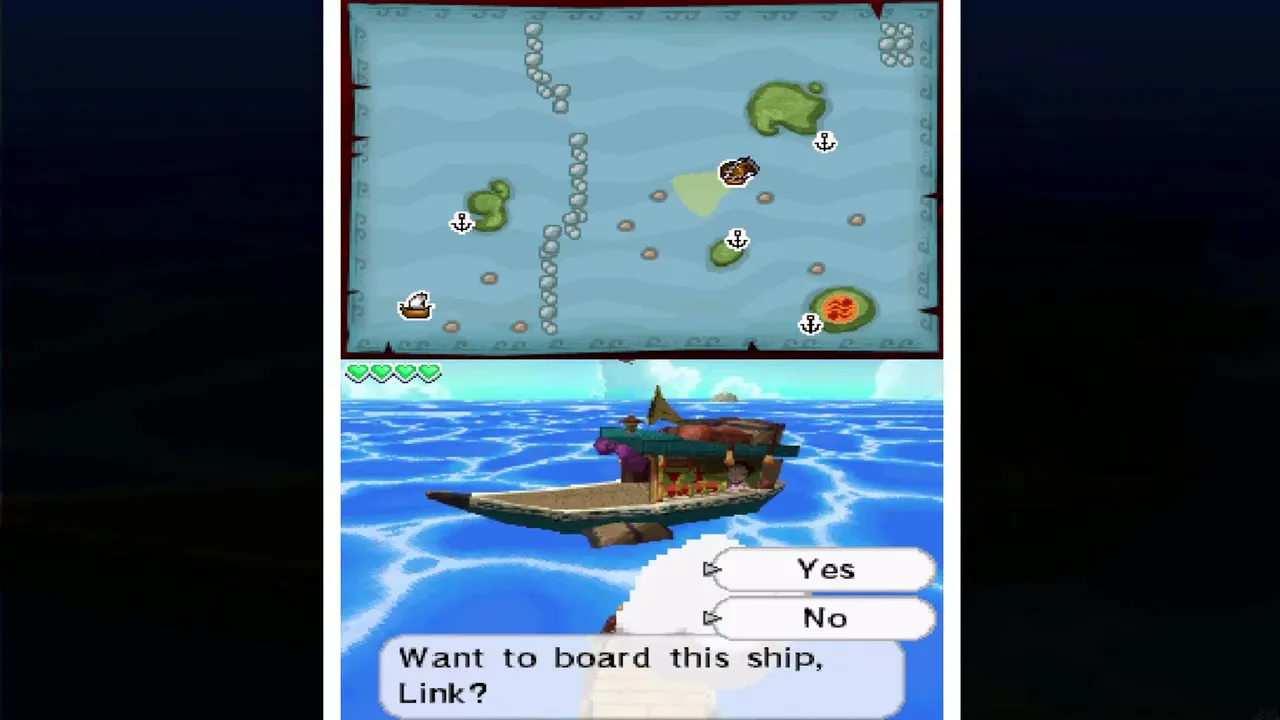
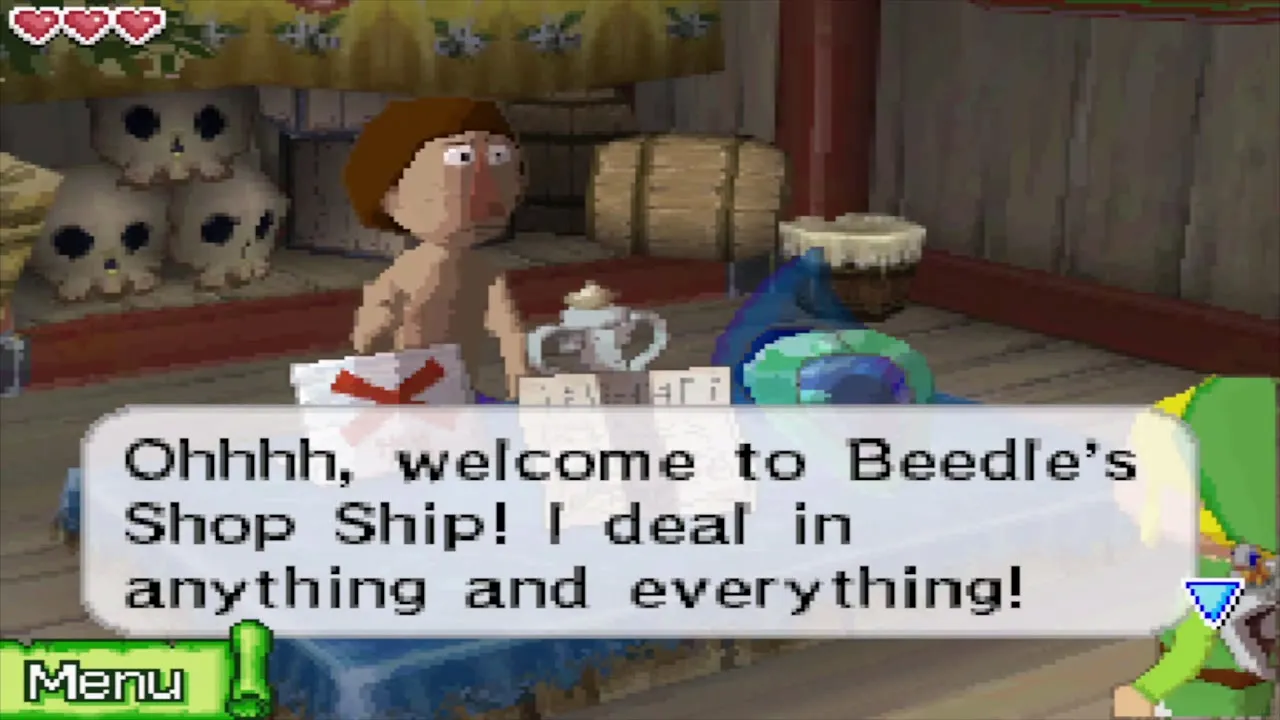
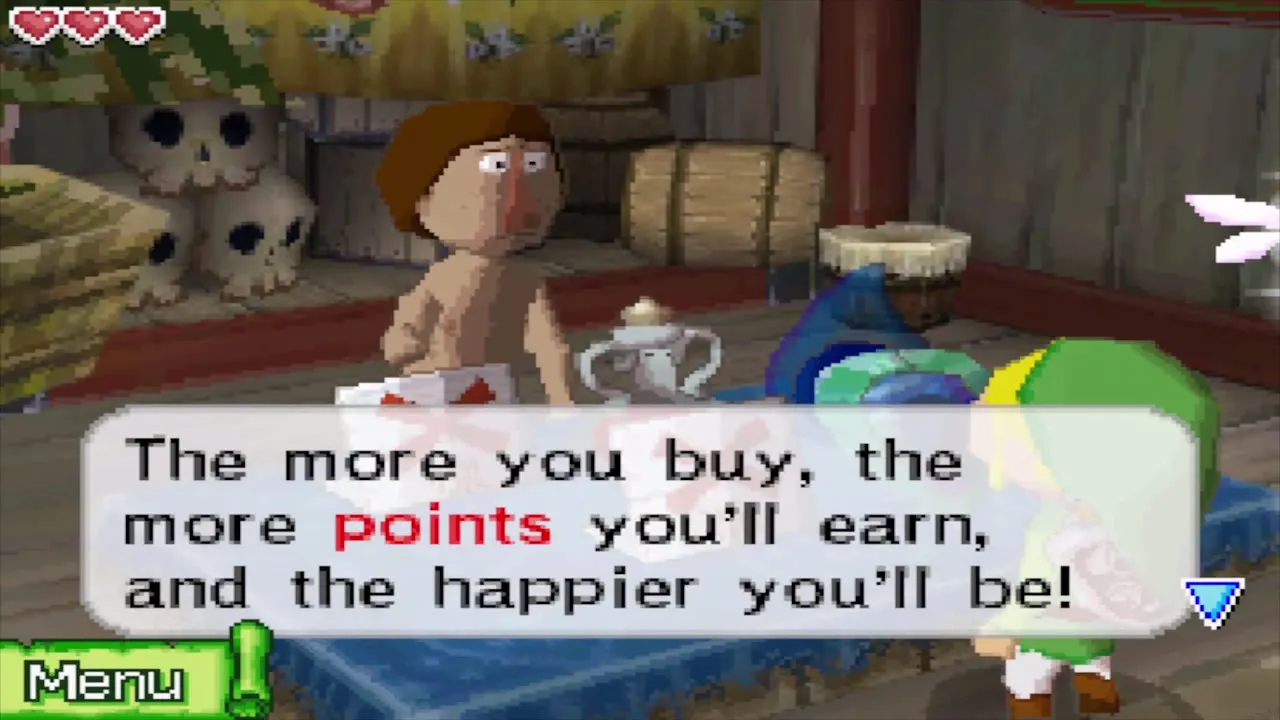
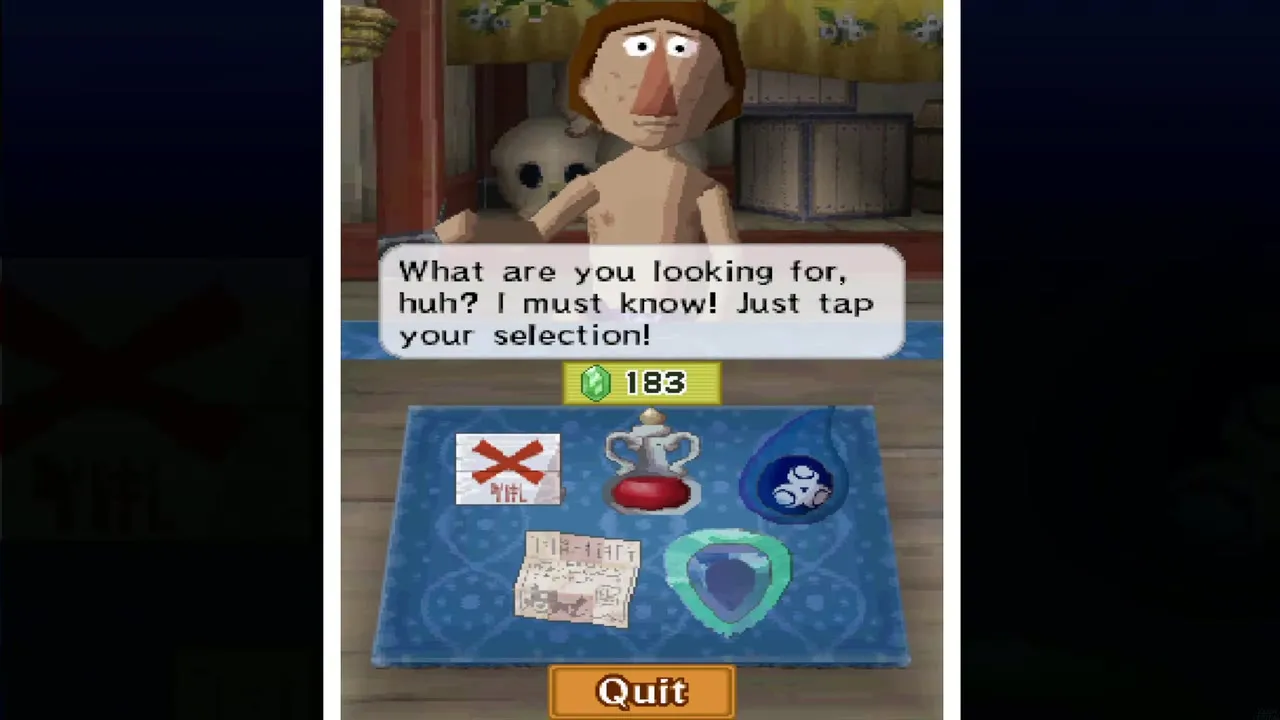
Sail towards the volcanic island and you pass a boat flying a shop flag. Sail up to it to go aboard. This is Beedle’s Shop Ship. From now on it follows you from sea to sea, one sea at a time, so you can come back to it later. Beedle hands out a Member’s Card and awards points for what you buy, which adds up to discount cards over time.
What to buy
Beedle sells one random ship part and one random treasure, and the stock changes each day. On this visit the part on offer is the Paddling Wheel for 150 rupees; tap the item, then press Buy. A part matters once you fit matching ones at the Mercay shipyard, because three, six or eight parts of one set raise the ship’s hearts. The ship parts page lists every set. Do not spend your last rupees: a Red Potion costs 80 here and only 50 in the Mercay shop.

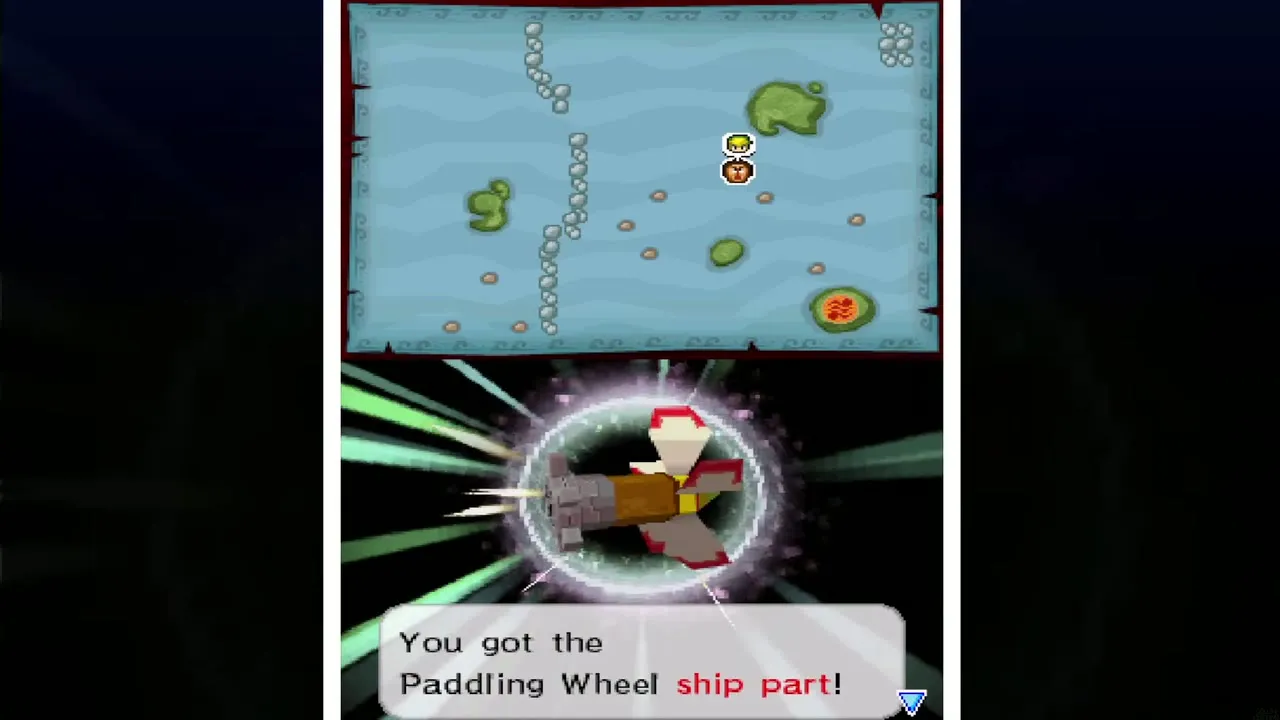
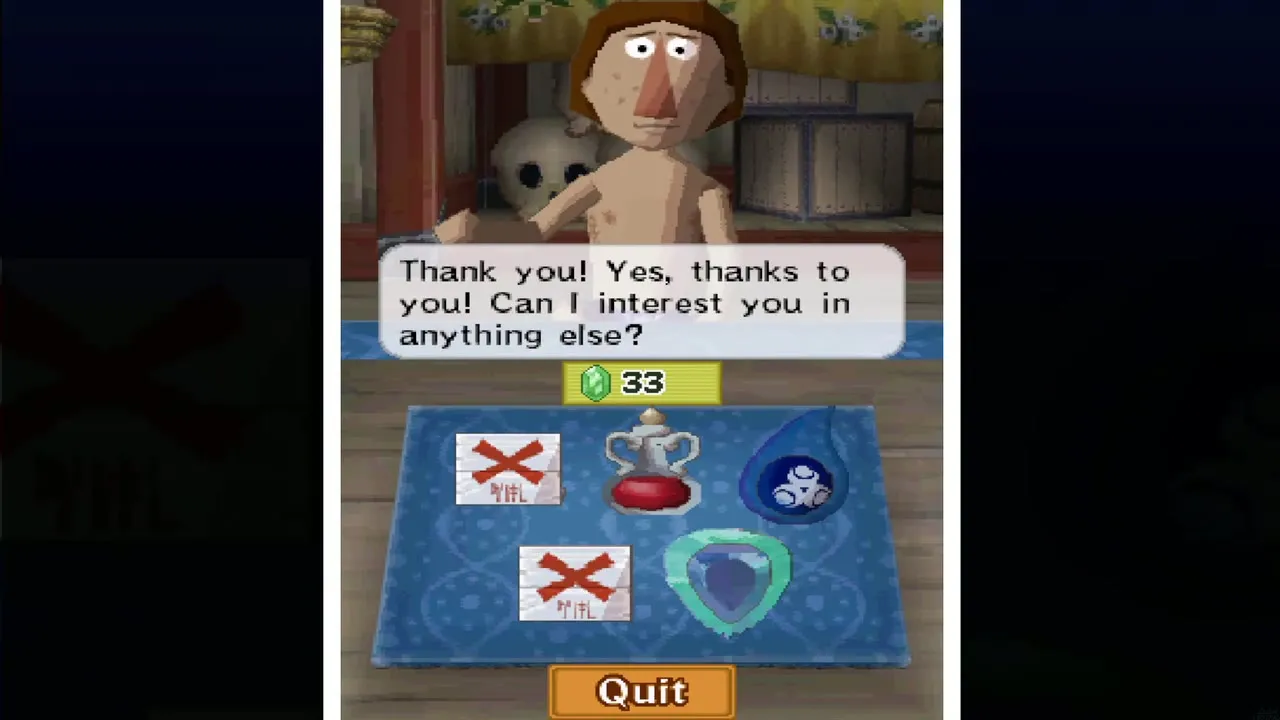
Beedle also stocks a Wisdom Gem for 500 rupees. Spirit Gems do nothing until you show them to the servant at the Spirit Island shrine, so there is no hurry to buy it now. Beedle’s treasure can wait too, since you cannot learn what a treasure is worth until you sell it to the Treasure Teller on Mercay Island. Leave the shop when you are done and draw your line on to the Isle of Ember.
Isle of Ember: landing and the three houses
Dock and island layout
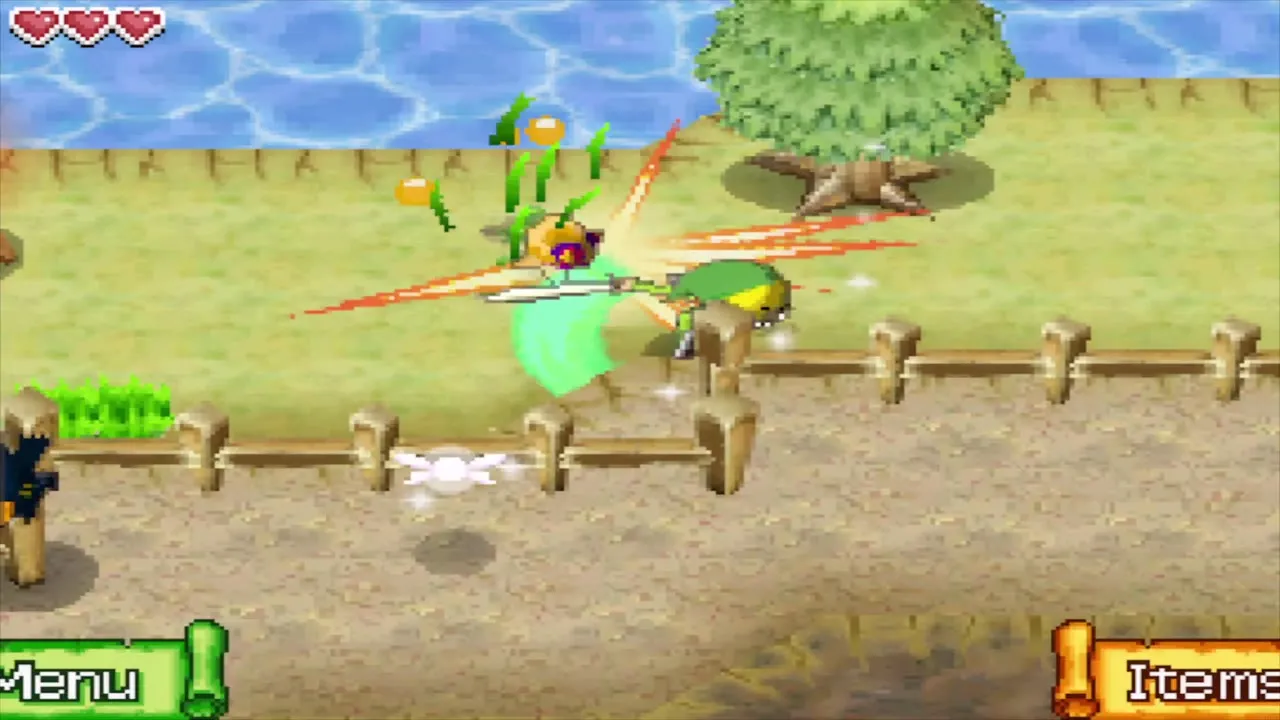
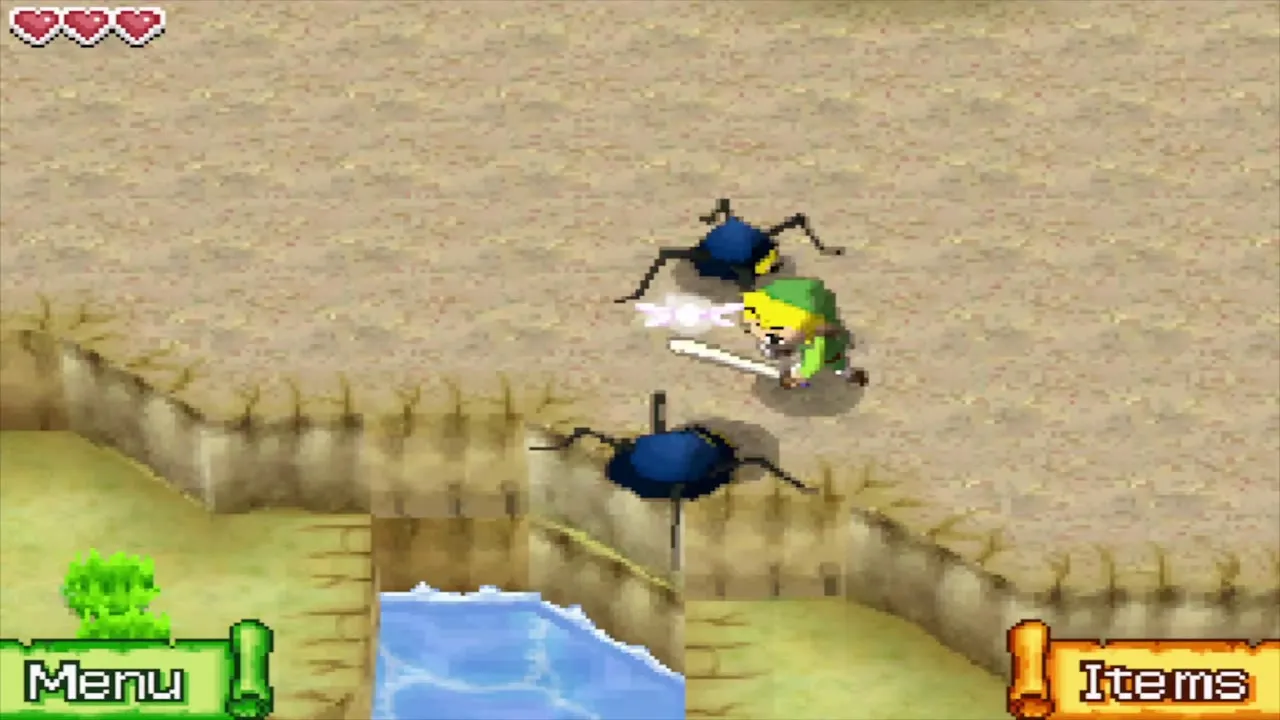
Sail into the island’s dock. The island is a volcano with paths that wind around it in rings, and the way up is closed by a sealed gate that opens only after Astrid has spoken to you. Linebeck announces that he will stay with the ship and sends you on alone. Three houses stand on the slope above the dock: Astrid’s, Kayo’s, and one that looks empty. Defeat the Chuchus, Tektites and Crows that attack along the paths with the sword.


Read the letter in Kayo’s house
Kayo’s house is the southernmost of the three. Step inside and read the letter lying open on the table beside the burning torch. It says that its writer has fallen and asks the finder to look east and take up his duty. Nothing in the house can be taken yet, but remember the torch, because it is one of the three you will have to mark.
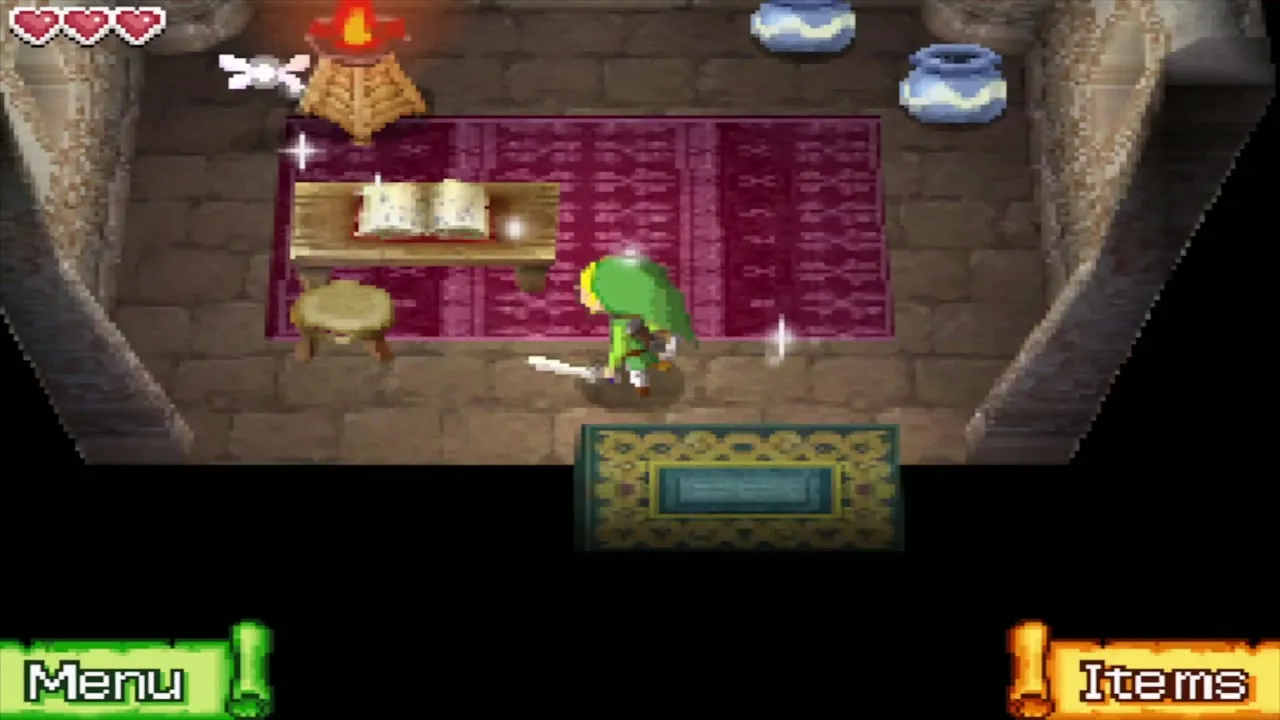
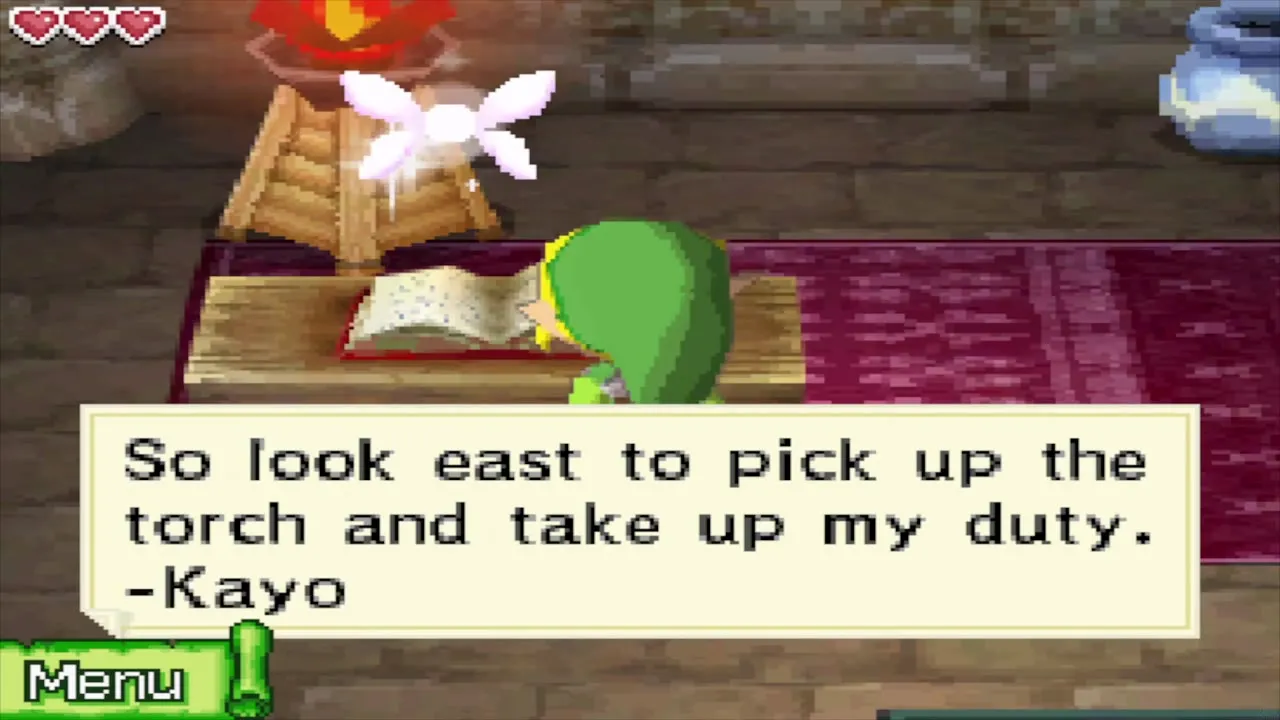
Go on up the island and you reach a stone gate with a sealed door. A hint tells you that only what the fortune-teller can offer will open the summit gate, and that you should decide for yourself whether to trust her fortunes. You cannot open it yet, so follow the paths to the eastern end of the island instead.


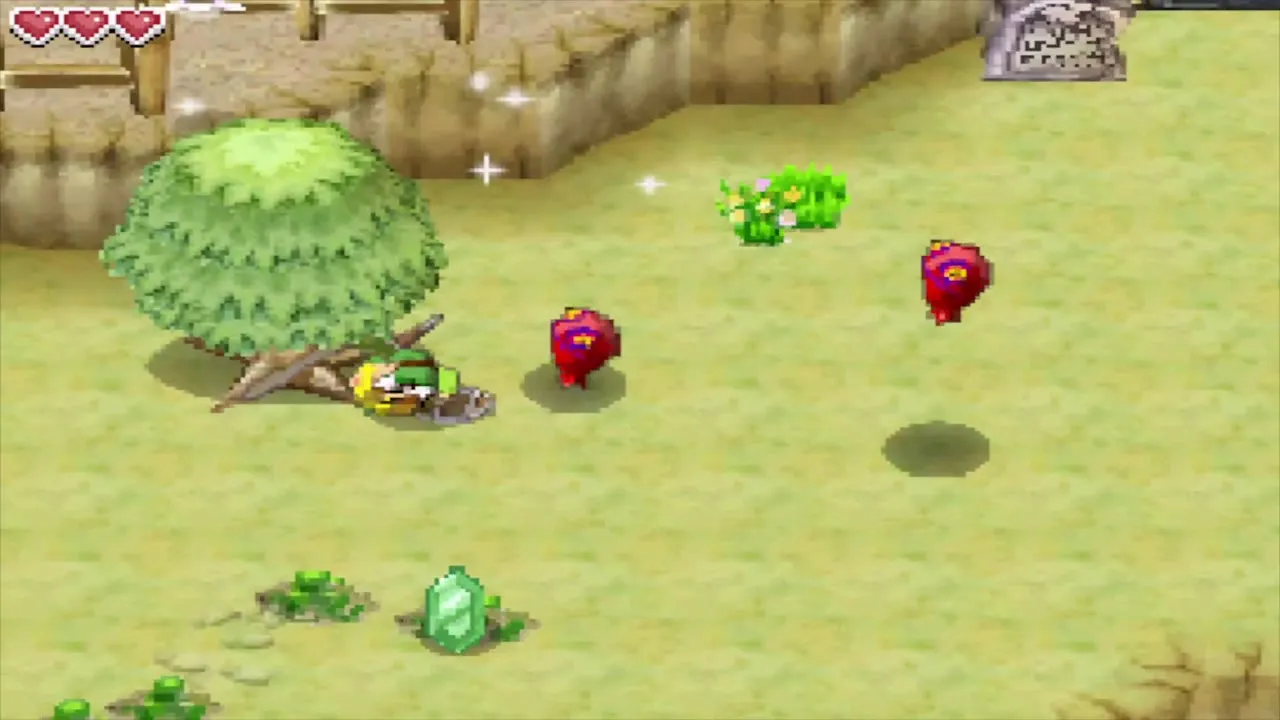
While you walk the island, try rolling into the trees in the north and east: several of them drop a red Rupee when you do the somersault, which you learn from the Boing Statue on Mercay Island.

Kayo and the three torches
Find Kayo at the eastern point
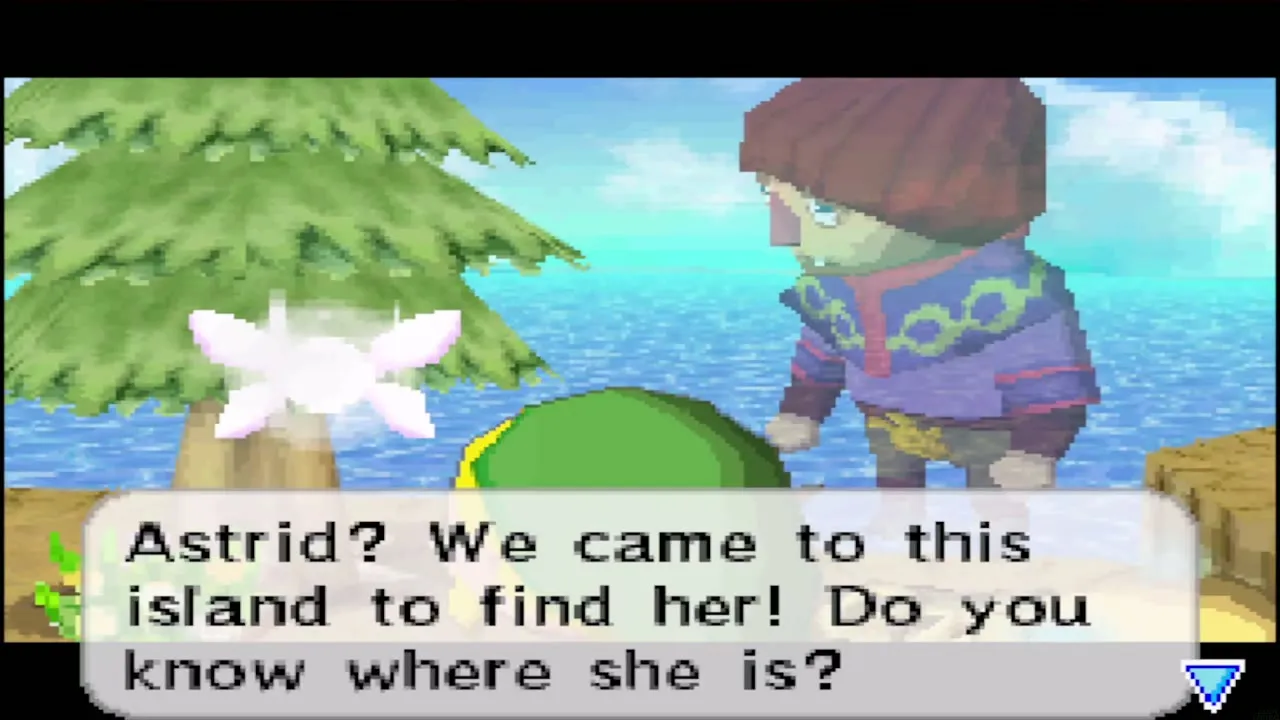
Cross the bridges to the far eastern end of the island and walk up to the ghost standing by a set of bones. Kayo is startled and begs you to warn him before you come close. He says he was Astrid’s assistant, that Astrid is shut in her home, and that he cannot open the door. Answer Yes when he asks for your help. He explains that the three torches on the island are the key to opening her door.


Find and mark all three torches
The first torch burns on the tiny islet right beside Kayo. Go up to it, then open the island map and write a note on the spot with the memo tool so you can find it again. You cannot mark the torches until Kayo has told you about them, so talk to him before you do anything else here.

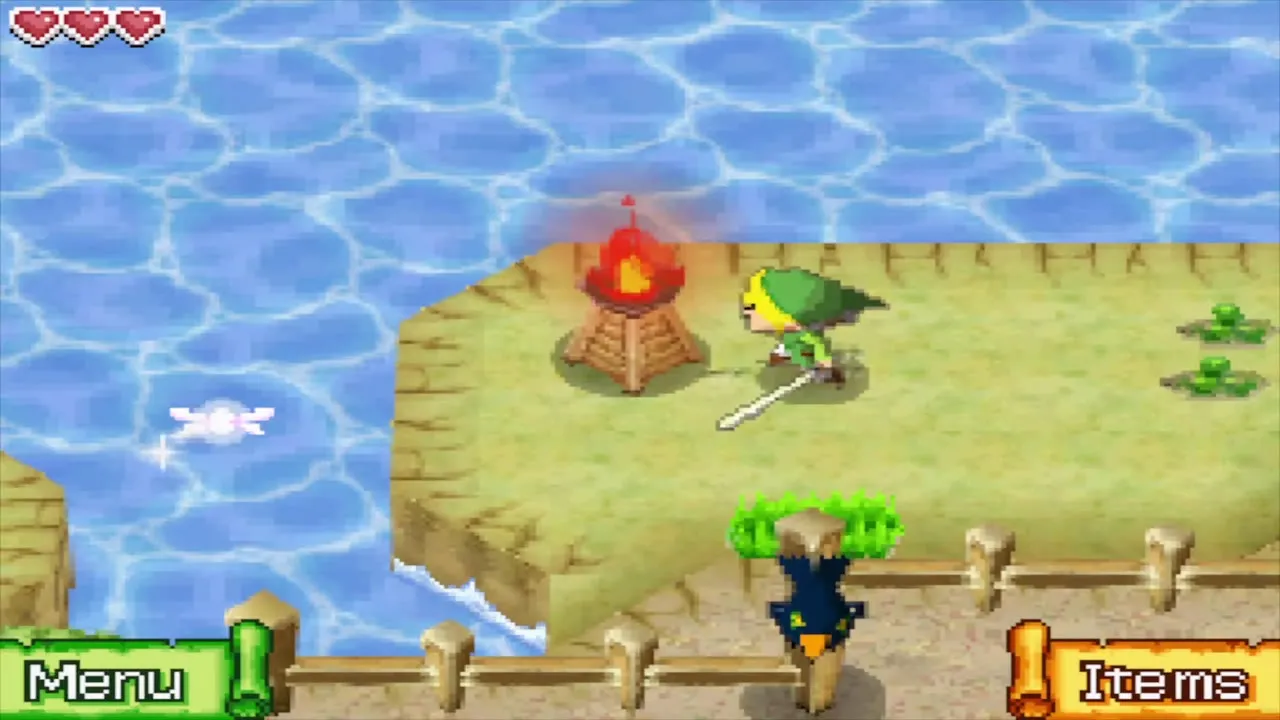
The second torch is the one you already saw in Kayo’s house in the south. The third burns on a small, grassy point at the northern end of the island, just east of the small island up there; reach it over the bridges and fences on the north side, fighting Tektites on the way. Note each of the three places on your own map as you pass it.
Astrid’s basement
Enter the basement and call out
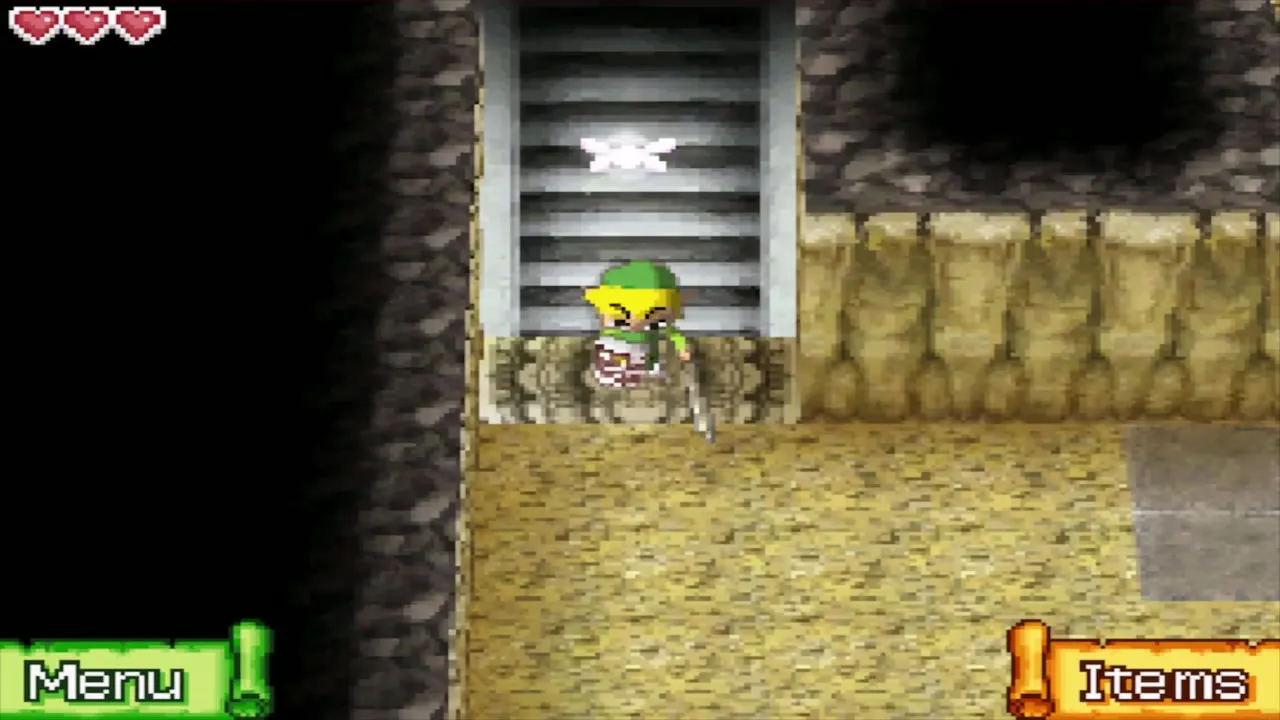
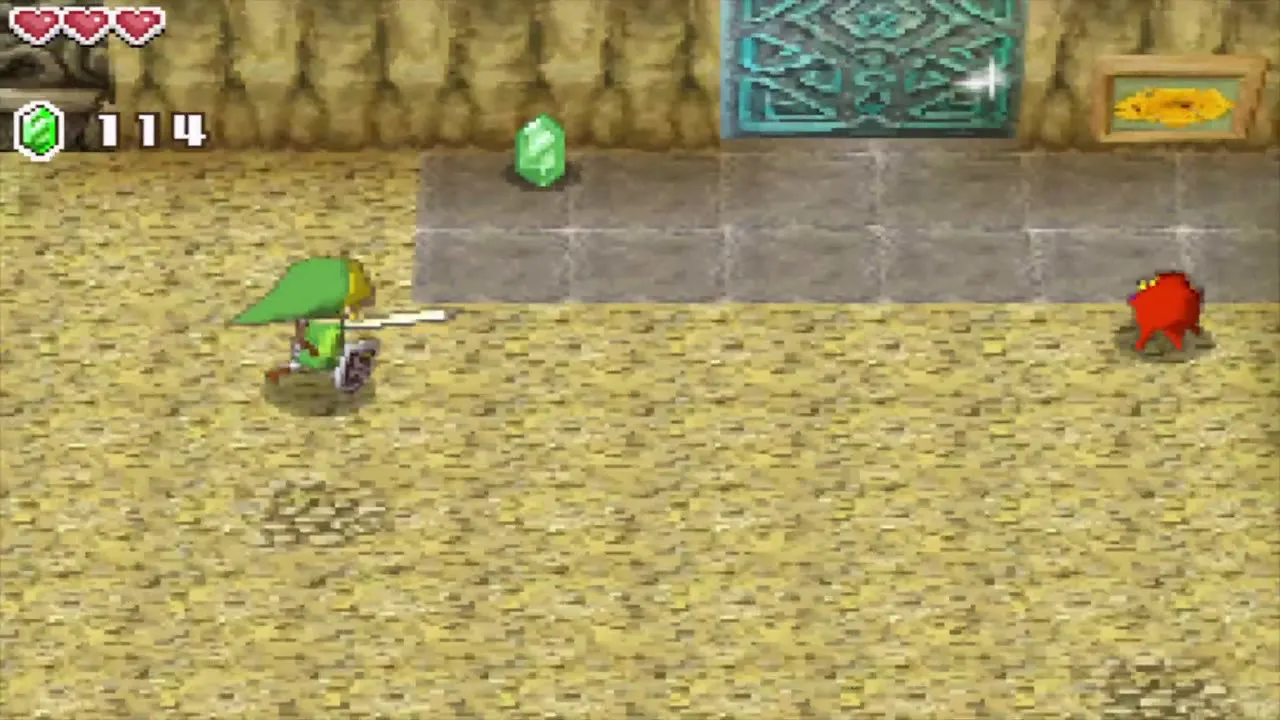
Enter Astrid’s house, the one with the crystal ball, and go down to the basement. Defeat the Octoroks that fill the big room; they are what Astrid hid from. Beyond them is a sealed teal door. The game tells you to call out, so shout something loudly into the DS microphone, for instance “Hey, back there!”. Astrid answers and asks who is there. Tell her Kayo asked you to open the door, and answer Yes when she asks you to open it.

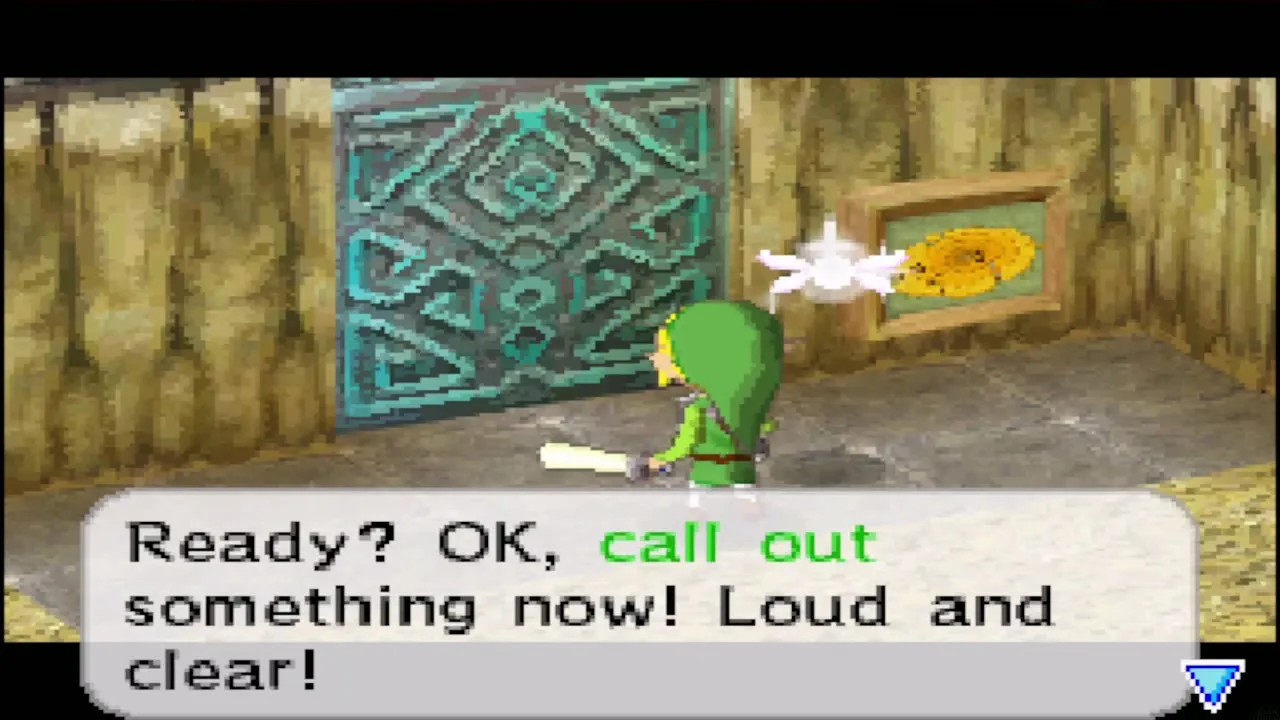
Mark the torches on the plaque map
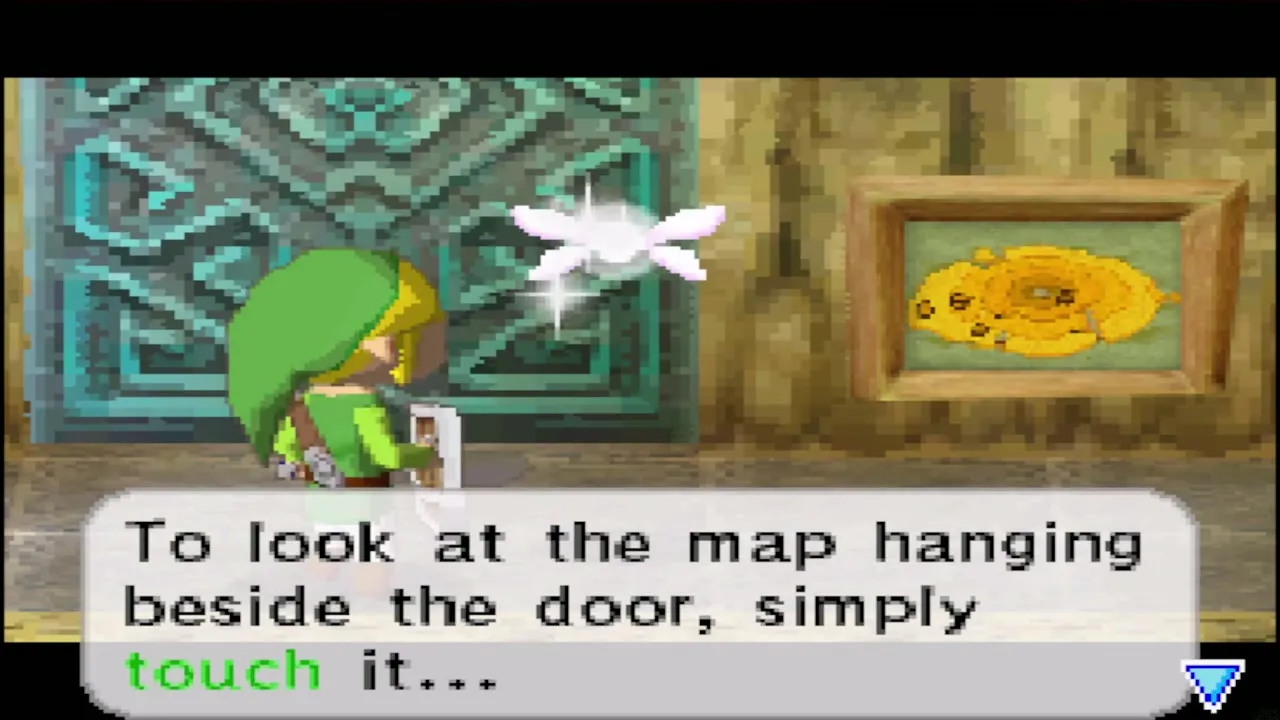
Beside the door hangs a map of the island. Touch it to look at it, then tap the three torch locations on it: the islet by Kayo, Kayo’s house and the northern point. When the three places are right, the seal breaks and the door opens. Astrid steps out of her cell.

Astrid’s fortune
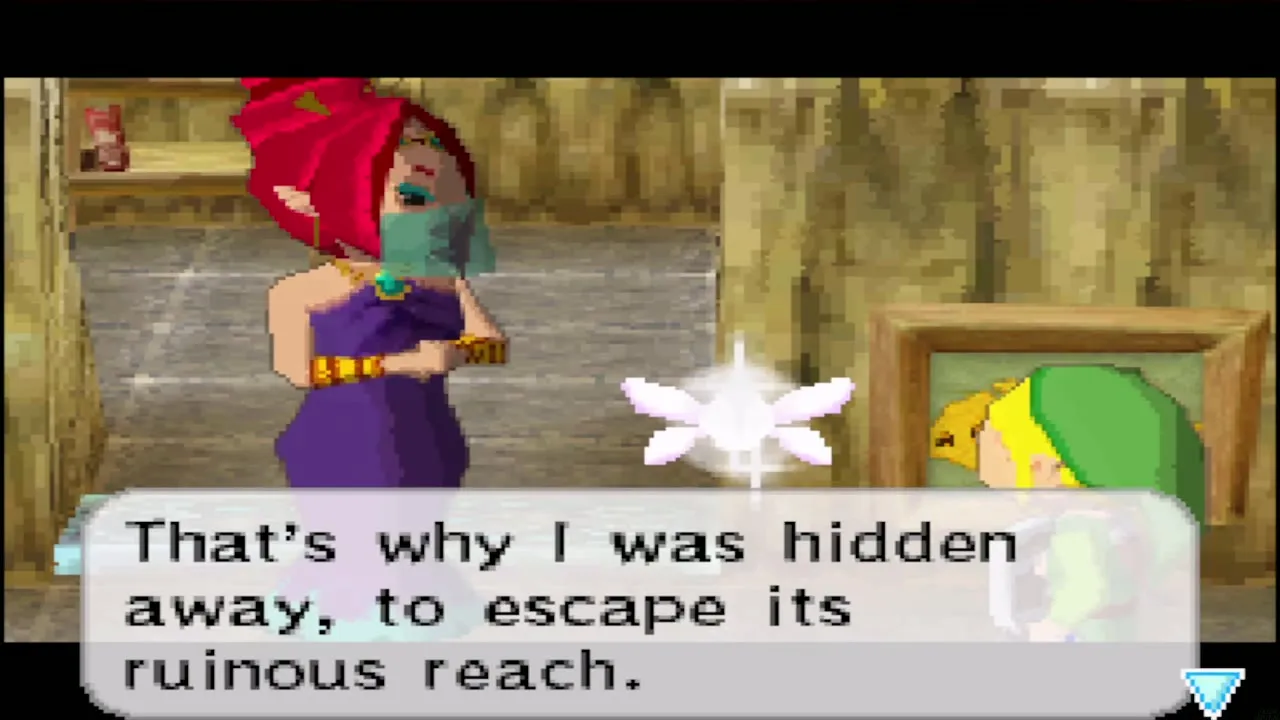
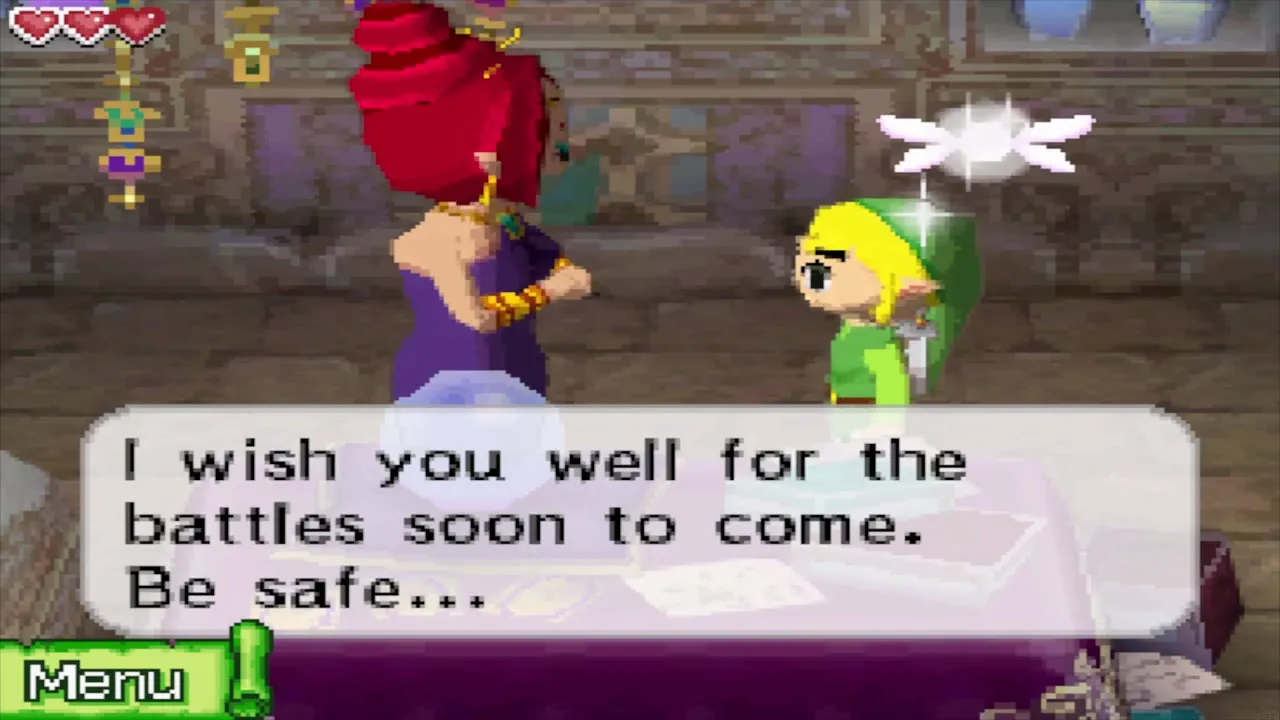
Astrid thanks you and asks your names and what brought you to her island. She says the Ghost Ship stopped here a few days ago, and she hid in the basement to escape it. She offers to tell your fortune and asks you to bring the others in your party, so Linebeck arrives, grumbling that a fortune-teller ought to be on time. Astrid asks whether you still want to rescue Tetra, so answer Yes. She tells you to go to the Temple of Fire at the top of the island and defeat the darkness there.

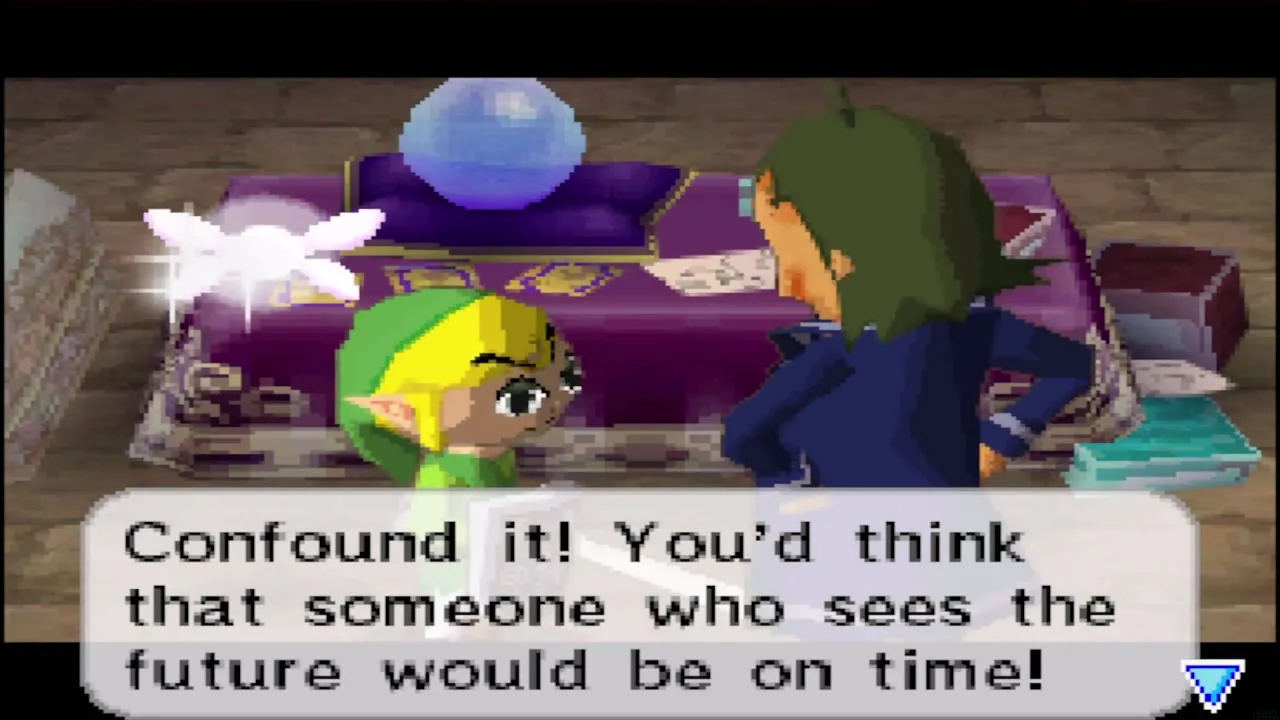
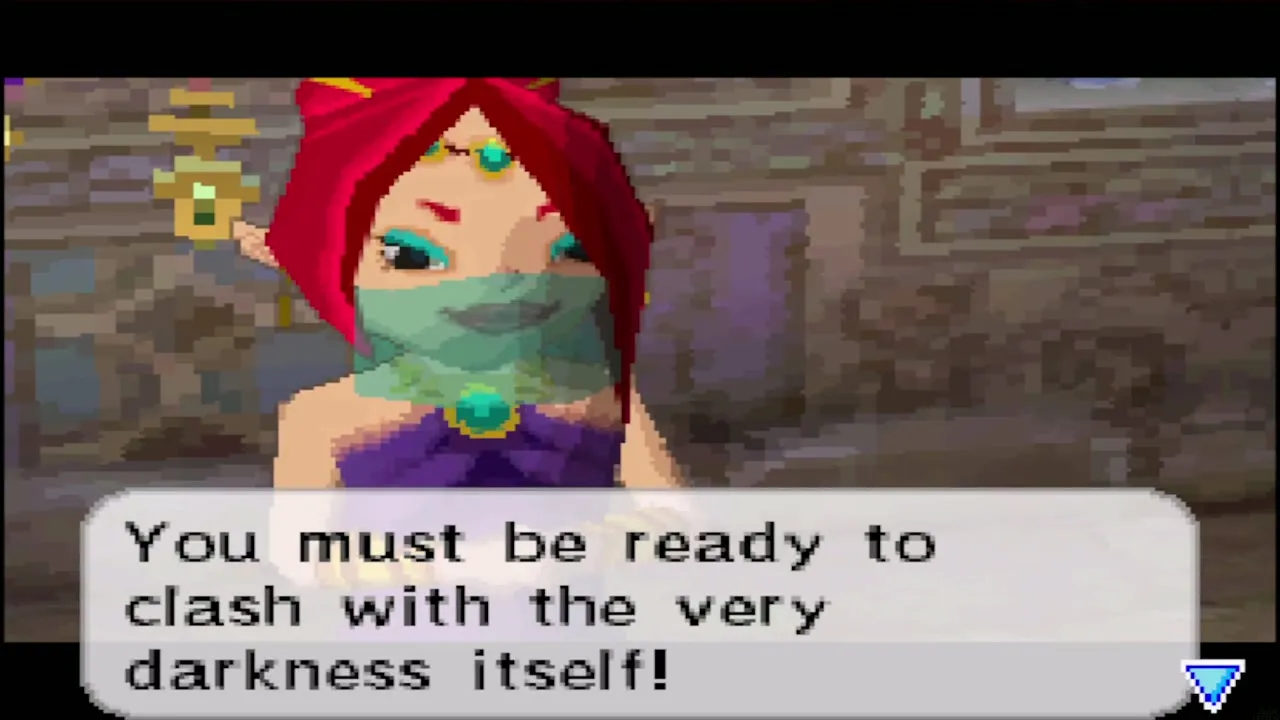
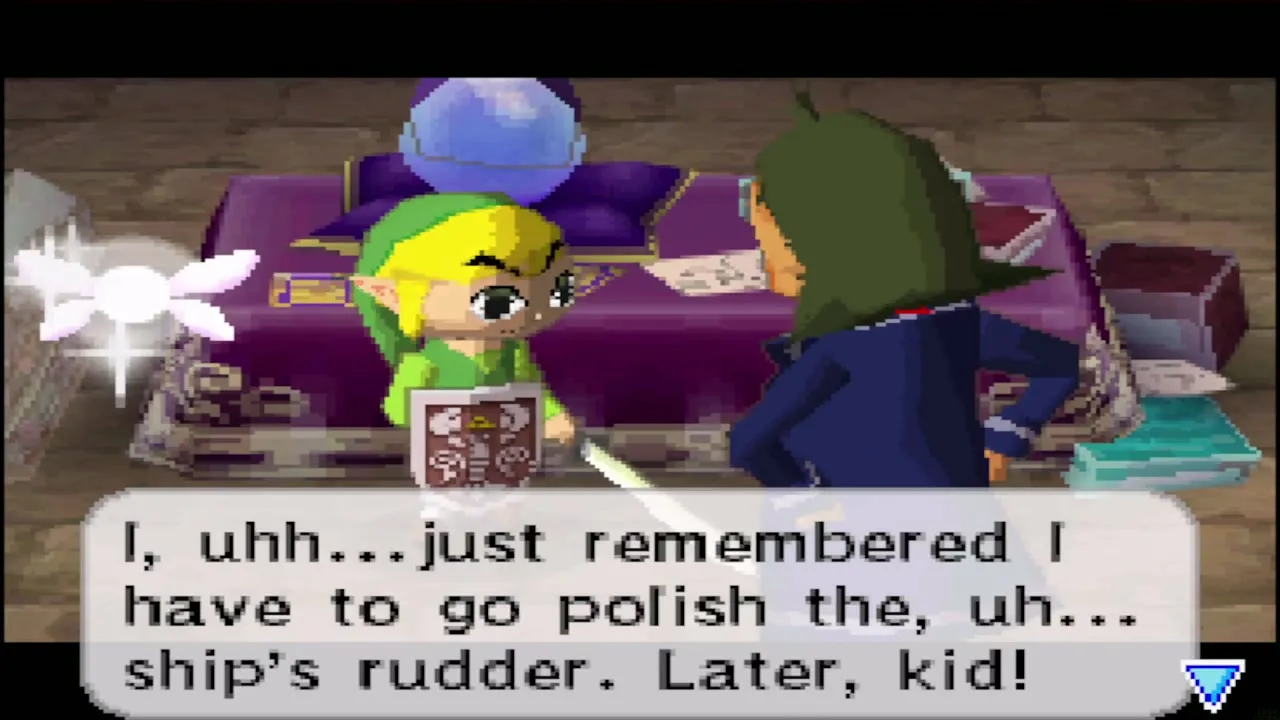
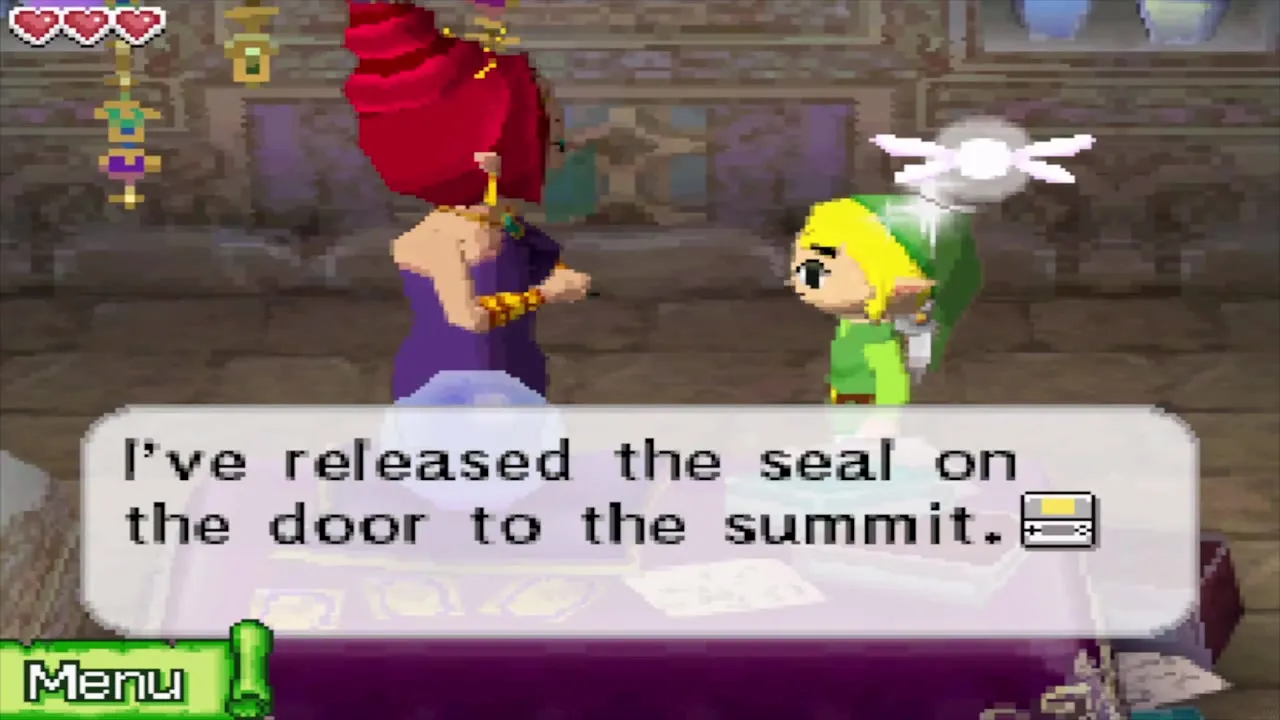
Linebeck suddenly remembers that he has to polish the ship’s rudder and leaves. Astrid then releases the seal on the summit gate and wishes you luck. Leave the house and head east to the gate that was closed before.
Volcano path to the Temple of Fire
Climb to the summit gate
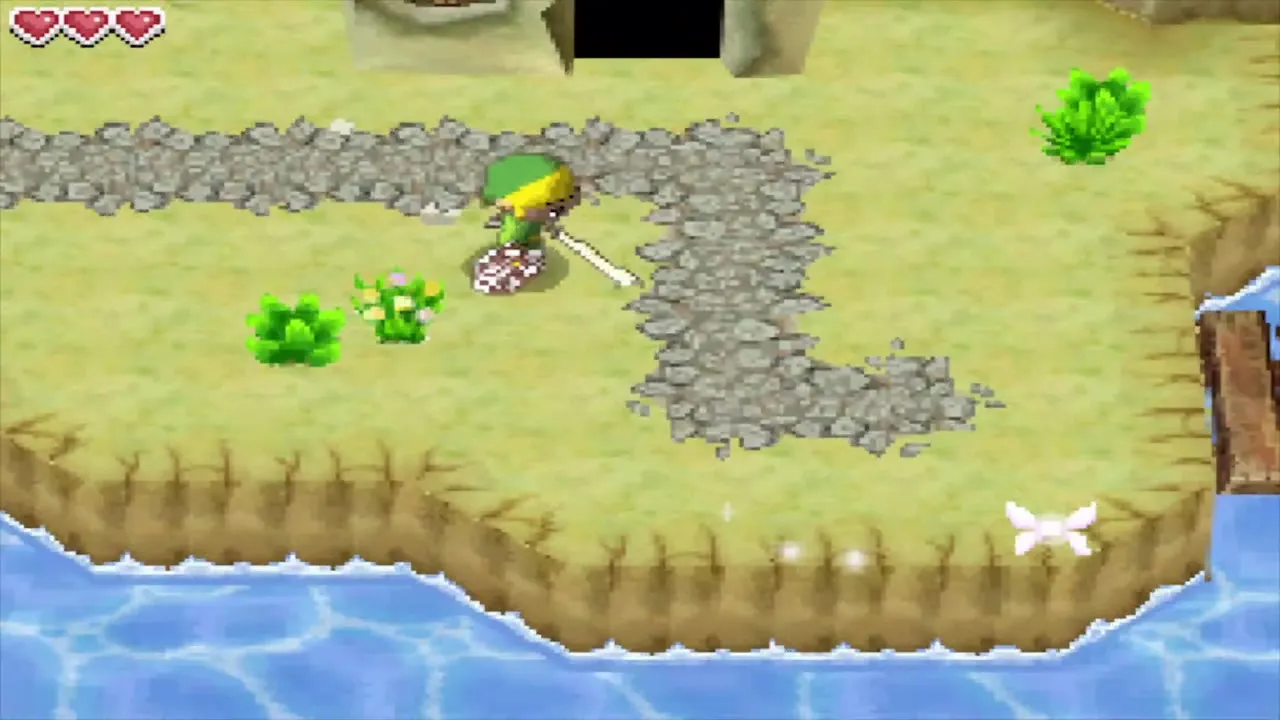
Take the stairs down, cross the bridges to the east and follow the path to the stone gate with the two pillars; Ciela confirms that this is the way to the temple. Chuchus, Tektites and Crows are all that stands in your way, and a few sword strikes handle each. Go through the gate and climb the paths that wind around the volcano, always keeping to the clockwise route.

Dodge the falling rocks
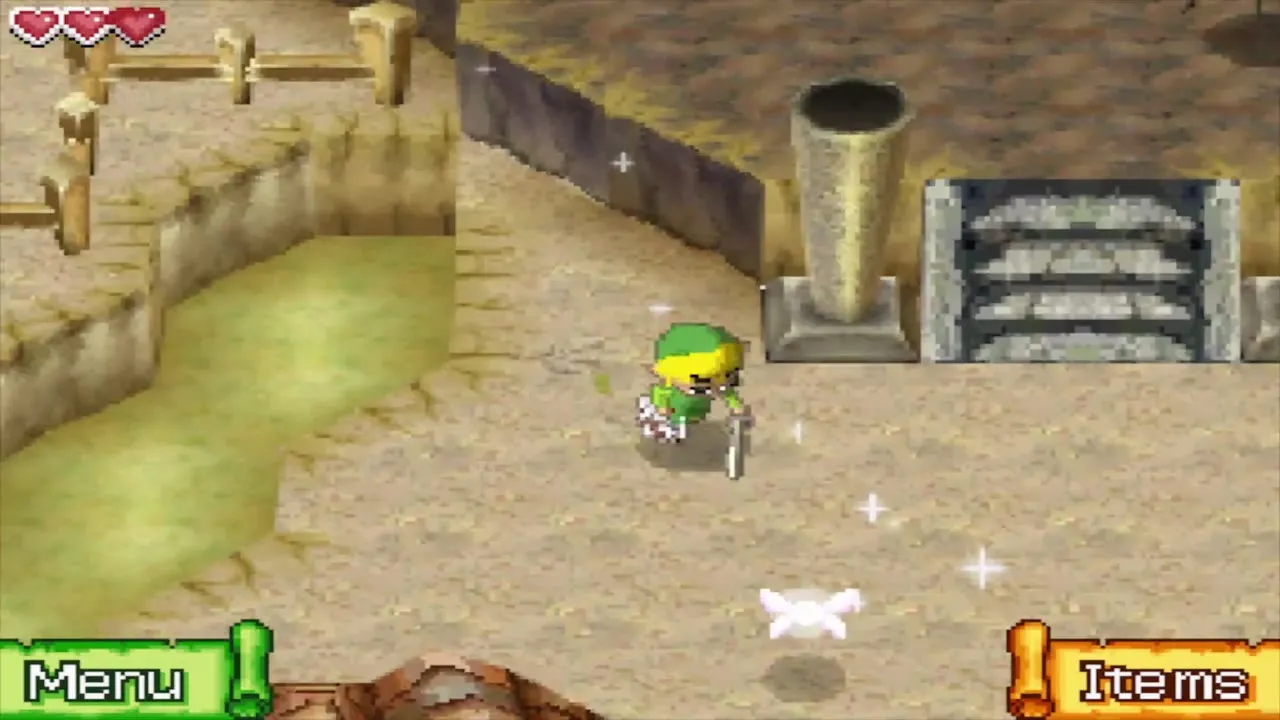
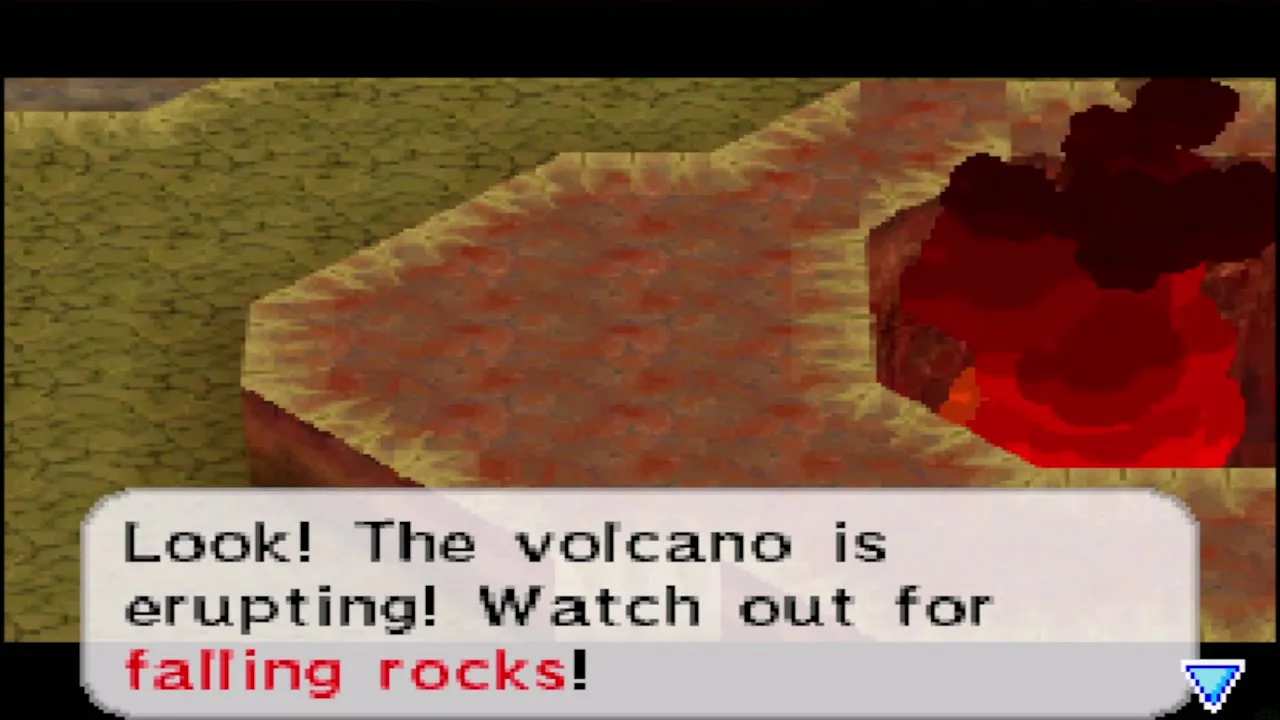
As soon as you pass the gate, the volcano erupts. A dark shadow appears on the ground before every rock lands, so step out of the shadow and wait for the rock to hit before you go on. The rocks hurt but are easy to avoid if you watch the ground, and you can take your time on every ring of the path.
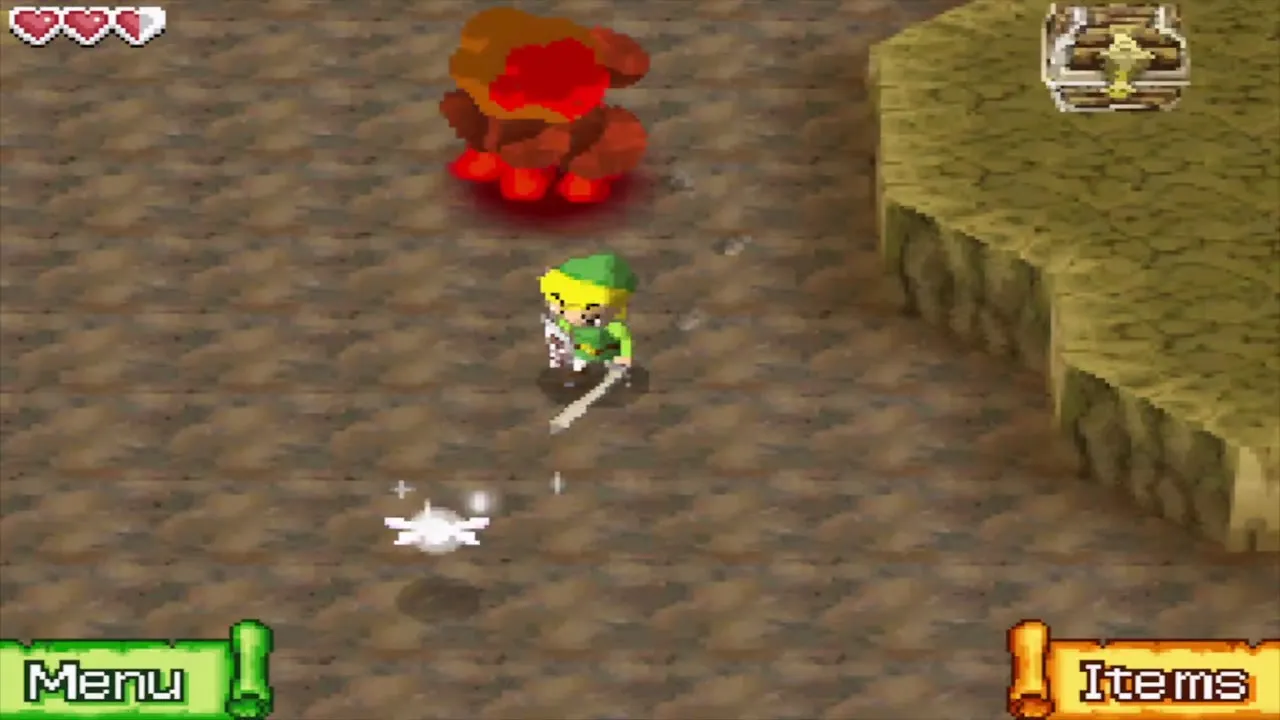

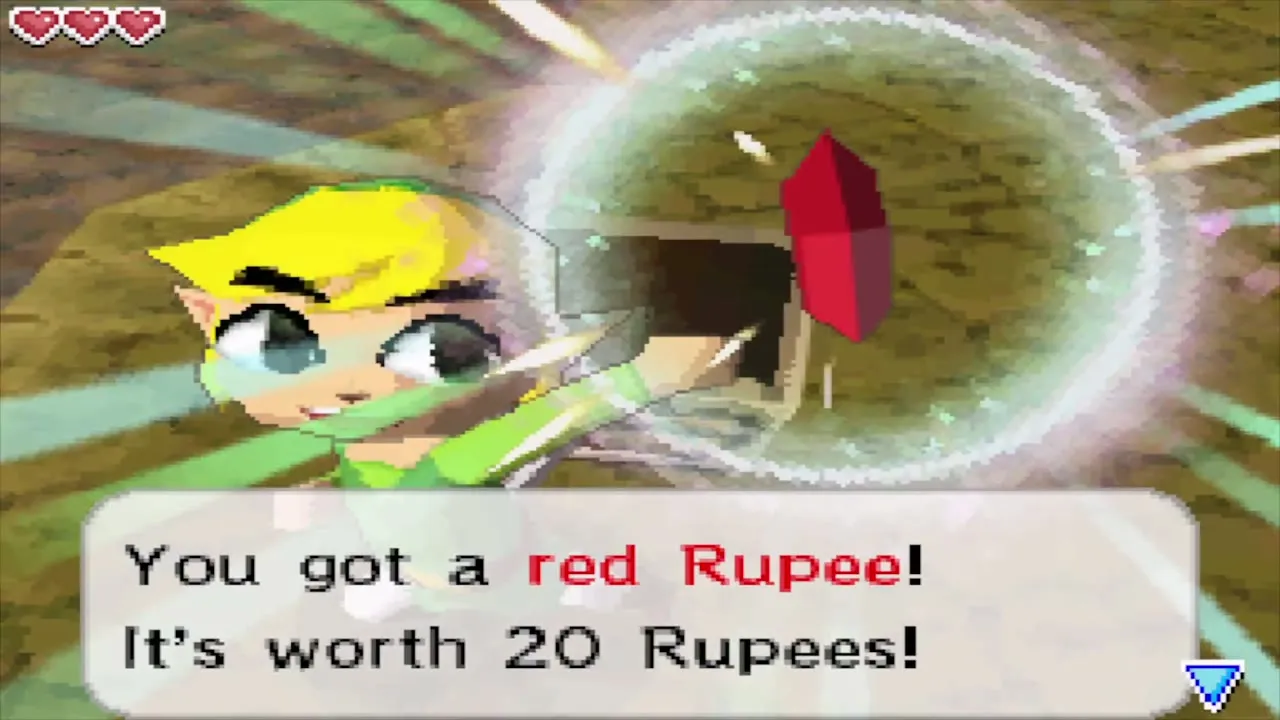
Just before the temple entrance, a chest sits on a higher ledge as you keep walking clockwise. Open it for a red rupee worth 20 rupees.

Blow out the candles at the Temple of Fire door
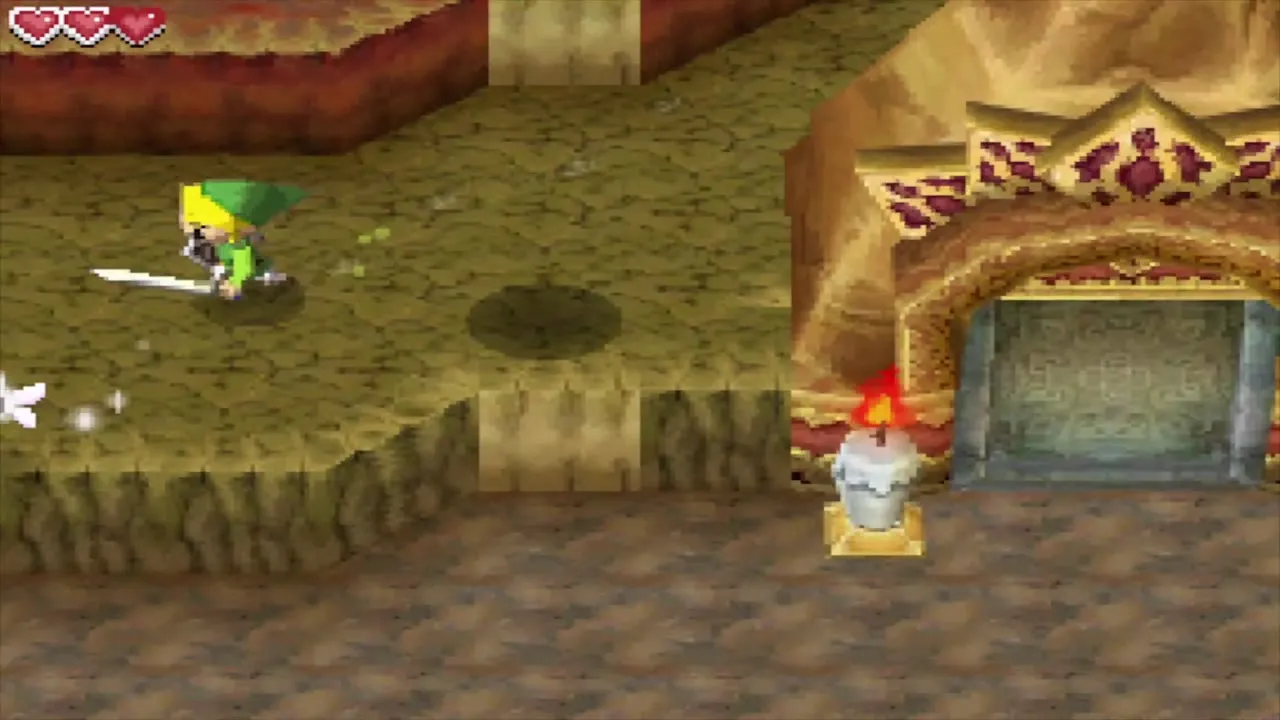
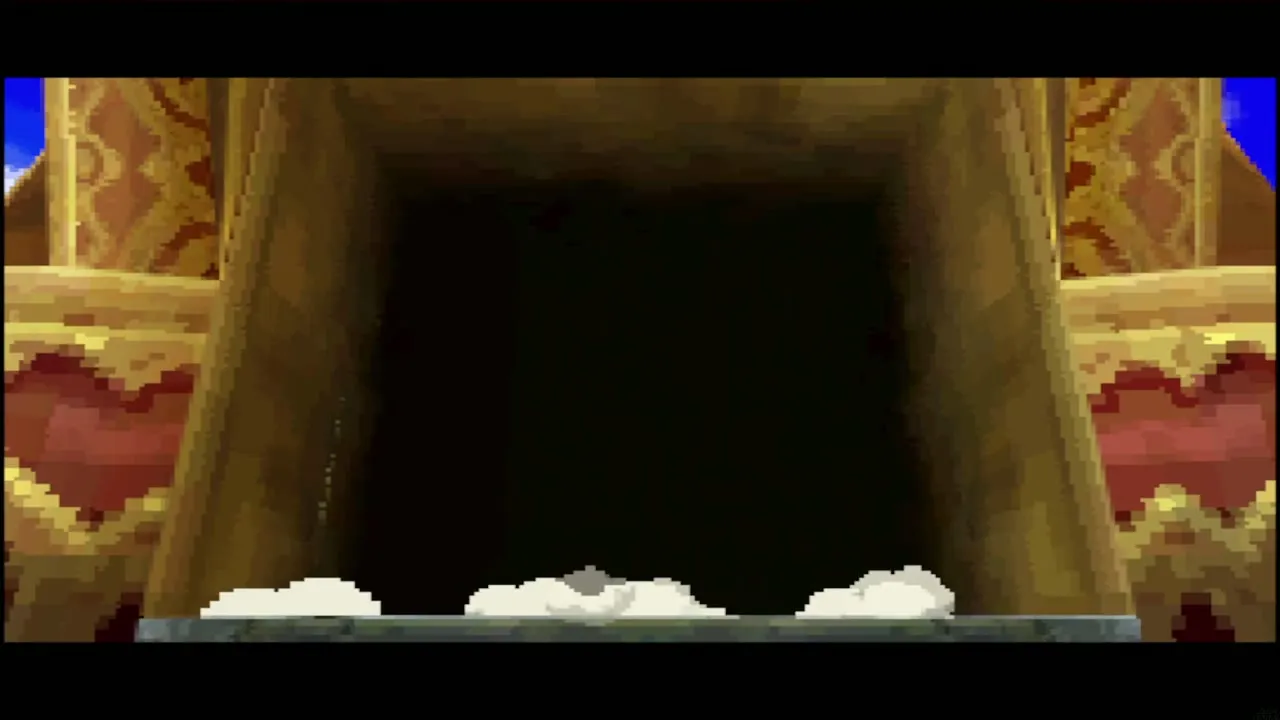
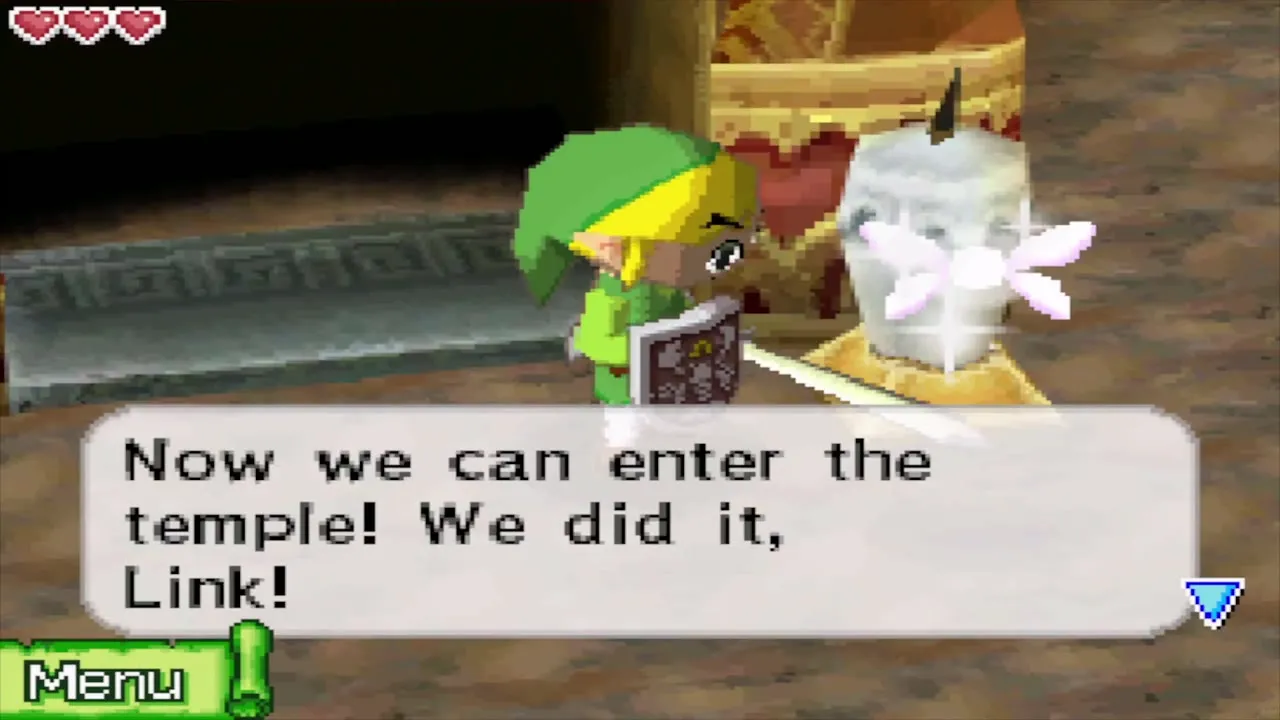
At the top, a stone tablet tells you to blow out the flames to light your path, and two lit candles burn on either side of the temple gate. Stand close to a candle and blow hard into the DS microphone until it goes out, then do the same for the other. The gate opens and the way into the Temple of Fire is clear. Go on to the Temple of Fire walkthrough to find the Boomerang.

Chapter checklist
| Collectible | Type | Where |
|---|---|---|
| Red Rupees from trees | Rupees | Several trees in the north and east of the island; roll into them. Available now. |
| Chest on the volcano path | 20 rupees | Higher ledge near the Temple of Fire entrance. Available now. |
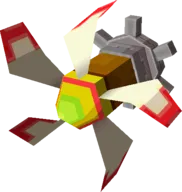 Paddling Wheel | Ship part (for sale) | Beedle’s Shop Ship for 150 rupees on this visit; the stock changes daily. |
| Wisdom Gem | Spirit Gem (for sale) | Beedle’s Shop Ship for 500 rupees. Available now. |
 Treasure Map #3 | Treasure map | Dark soil in the lower right of Astrid’s basement. Needs the Shovel (Cannon Island and Molida Island); the X at sea gives a ship part and needs the Salvage Arm. |
| Treasure Map #4 | Treasure map | Patch of grass north-east of the Temple of Fire entrance. Needs the Shovel; the X at sea holds 1 minute of Sand of Hours and needs the Salvage Arm. |
 Power Gem | Spirit Gem | Astrid gives it once you have cleared the Temple of Fire. |
| Wisdom Gem | Spirit Gem | Astrid gives it after the Temple of Wind. |
 Courage Gem | Spirit Gem | Chest on a tiny islet at the north-west of the island. Needs the Grappling Hook. |
 Golden Frog | Golden Frog | Southwestern Sea, south of Mercay Island. Needs the Cannon and the Cyclone Slate; see Golden Frog locations. |
With the candles out and the gate open, your next stop is the Temple of Fire.
