





















Phantom Hourglass 100% Completion Walkthrough19 chapters
- Temple of FireEvery key, the Boomerang, the Boss Key, how to beat Blaaz, the Heart Container, Leaf and Astrid’s Power Gem.
- Temple of WindGet the bombs, the Boss Key, beat Cyclok, free Neri and take the Heart Container.
- Molida Island and the Temple of CourageBeat the Giant Eye Plant, light Molida’s statues, get the Bow, defeat Crayk and awaken the Spirit of Courage.
- The Ghost ShipFind the ship with the Spirits, free the Cubus sisters, win their volley game, get the Ghost Key and Heart Container.
- Goron TempleTeam up with Gongoron, get the Bombchus and the Boss Key, beat Dongorongo and take the Crimsonine.
- Temple of IceLever order, three small keys, Grappling Hook, Boss Key, Gleeok fight, Heart Container and Azurine.
- Mutoh’s TempleGet the Hammer, find both small keys and the Boss Key, beat Eox and collect the Aquanine.
- Mercay Island and the First Sea ChartGet Oshus’s Sword, solve the lever passage, rescue Linebeck and find the first sea chart.
- Temple of the Ocean KingTake the Phantom Hourglass, sneak past Phantoms, carry three Force Gems and find the Northwestern Sea Chart.
- Temple of the Ocean KingPhantom Eyes, the hourglass crest door, the Salvage Arm, treasure salvage and the Sun Key.
- Zauz and the Temple of the Ocean KingPure Metals, Triforce door, crystal puzzles and the Southeastern Sea Chart.
- Temple of the Ocean KingGold Phantoms, the B11 bridges, three Force Gems on B12 and the Northeastern Sea Chart.
- The Phantom Sword and BellumPhantom Hourglass walkthrough for the Phantom Sword, the last Temple of the Ocean King descent, Bellum.
- Isle of Ember and AstridFirst voyage, Beedle’s Shop Ship, Kayo’s torches, freeing Astrid and the volcano path to the Temple of Fire.
- Cannon Island, the Ghost Ship Chase and Molida IslandBuy the Cannon from Eddo, chase the Ghost Ship, then reach Molida Island and take the Shovel.
- Northwestern Sea and the Isle of GustThe fog route, Bannan Island fishing, Zauz, the Cyclone Slate, Golden Frogs and the way to the Temple of Wind.
- Goron Island and GongoronSail the Southeastern Sea, beat the Massive Eye, pass Biggoron’s quiz, find Gongoron and reach the Goron Temple.
- Isle of Frost and the Yook MysteryCannon the ice, Anouki Estates, find the Yook among six villagers and fight through the Great Ice Field.
- Isle of the Dead and the Isle of RuinsDig spot, Phantom Corridor path, Regal Necklace, King’s Key, Max and the door symbol.
| Covers | Zauz’s forge, Jolene’s last duel, the Phantom Sword, Spirit Island, the final Temple of the Ocean King descent (B1 to B13), Bellum, the Ghost Ship battle, Bellumbeck and the ending |
|---|---|
| You need | All three Pure Metals (Crimsonine, Azurine, Aquanine), the Hammer from Mutoh’s Temple, the Bow, Bombs, Bombchus, the Grappling Hook, the Boomerang, the Shovel, the Cannon and the Northeastern Sea Chart |
| Rewards |  the Phantom Sword, 1  Power Gem from King Mutoh’s letter, the final Spirit Island upgrades, the  Courage Gem and Power Gem on Spirit Island (if you skipped them earlier), 2  Treasure Maps (#30 on B10 and #31 on B12), 1  big green Rupee (100), 1  big red Rupee (200), 1  big gold Rupee (300), Ship Parts and Treasures from the floor chests, 2 Ship Part chests at the Stairway to Bellum; no Heart Container, no Sand of Hours |
This is the final stretch of the main quest. You give the three Pure Metals to Zauz, win one last sword duel against Jolene, collect the finished blade, carry it to Oshus on Mercay Island to become the Phantom Sword, and power up your Spirits on Spirit Island. Then you go down the Temple of the Ocean King one last time, defeat the nine Phantoms on B13, take the stairway to Bellum and win the final battle in three parts: Bellum in his chamber, the possessed Ghost Ship at sea and Bellumbeck on the wreck.
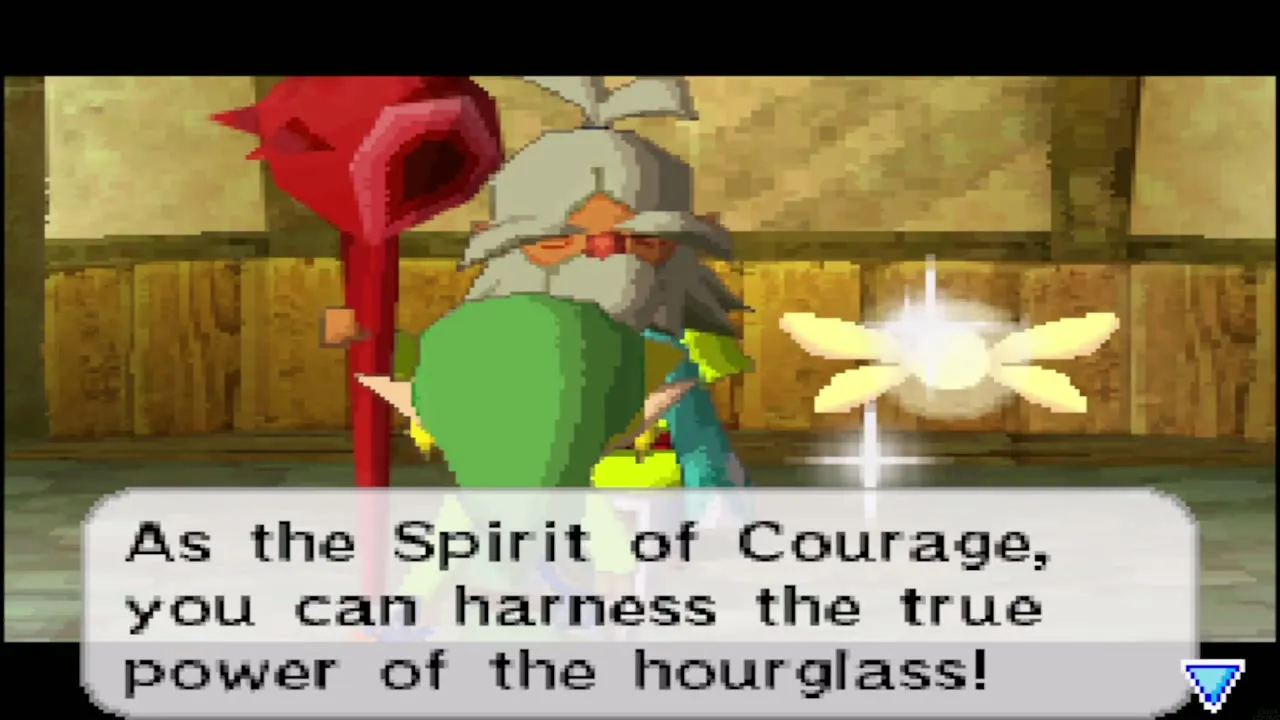
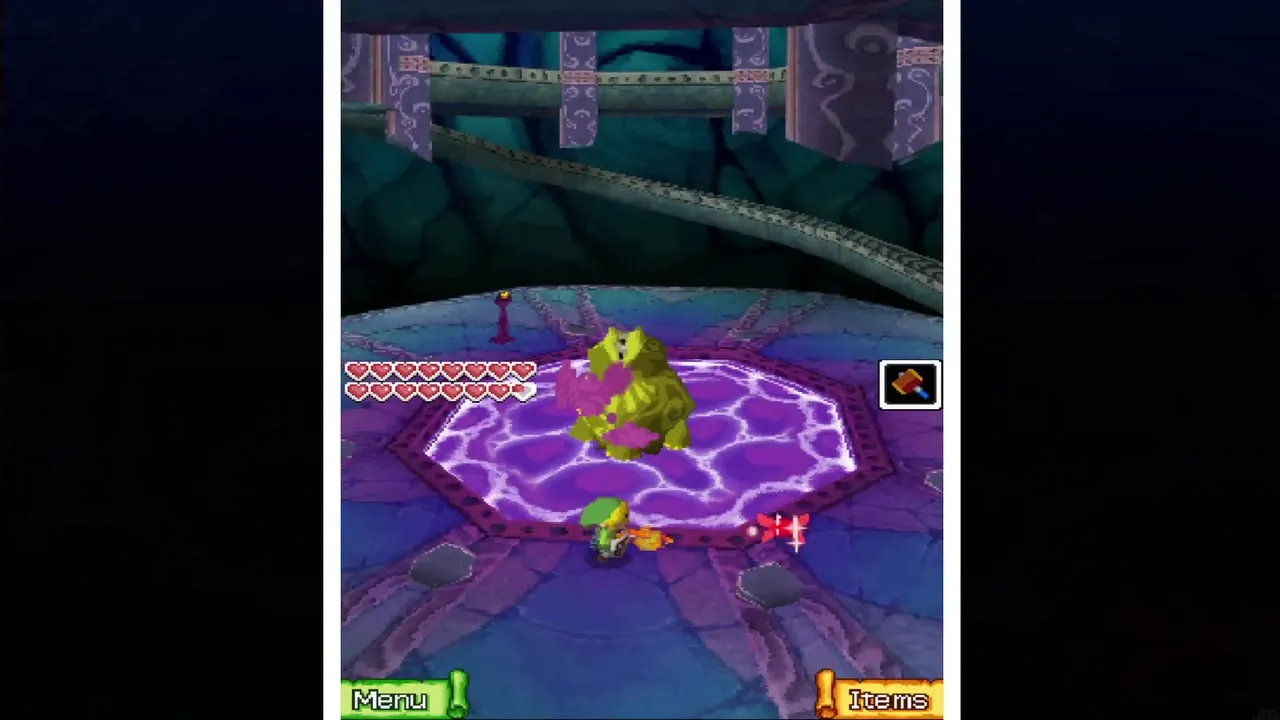
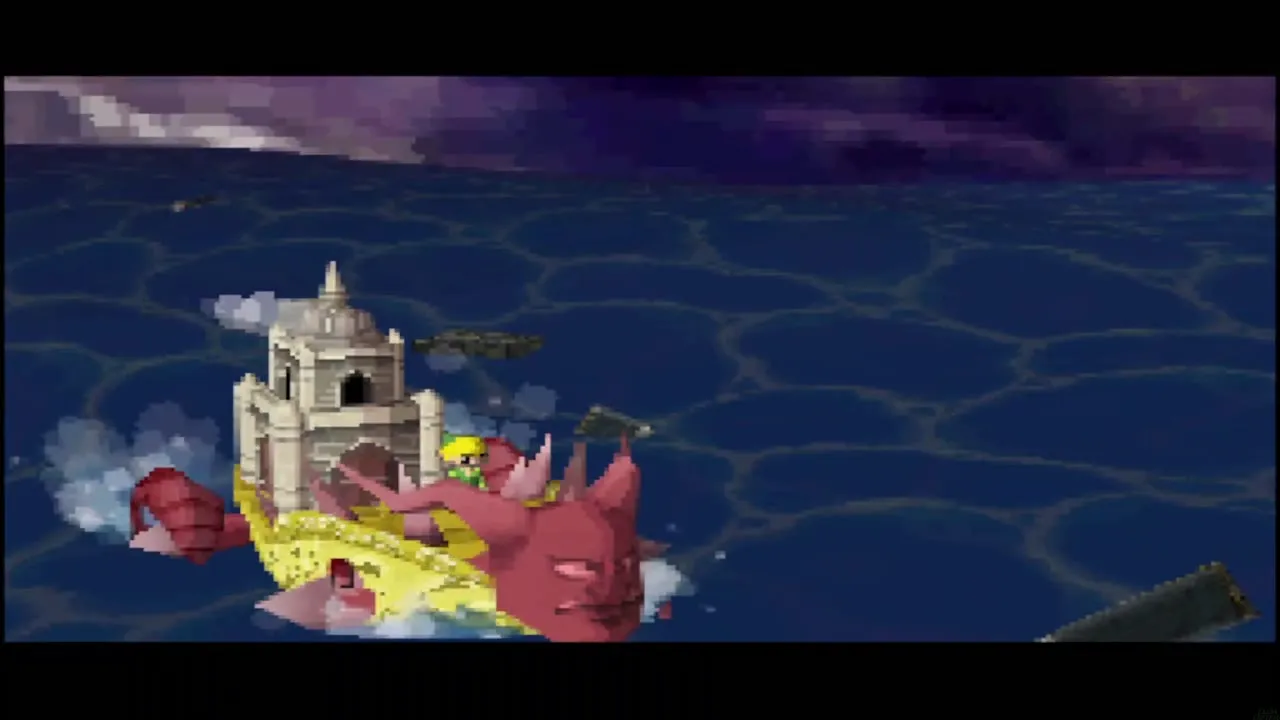
Table of Contents
Zauz’s Island: forging the blade
Give the Pure Metals to Zauz
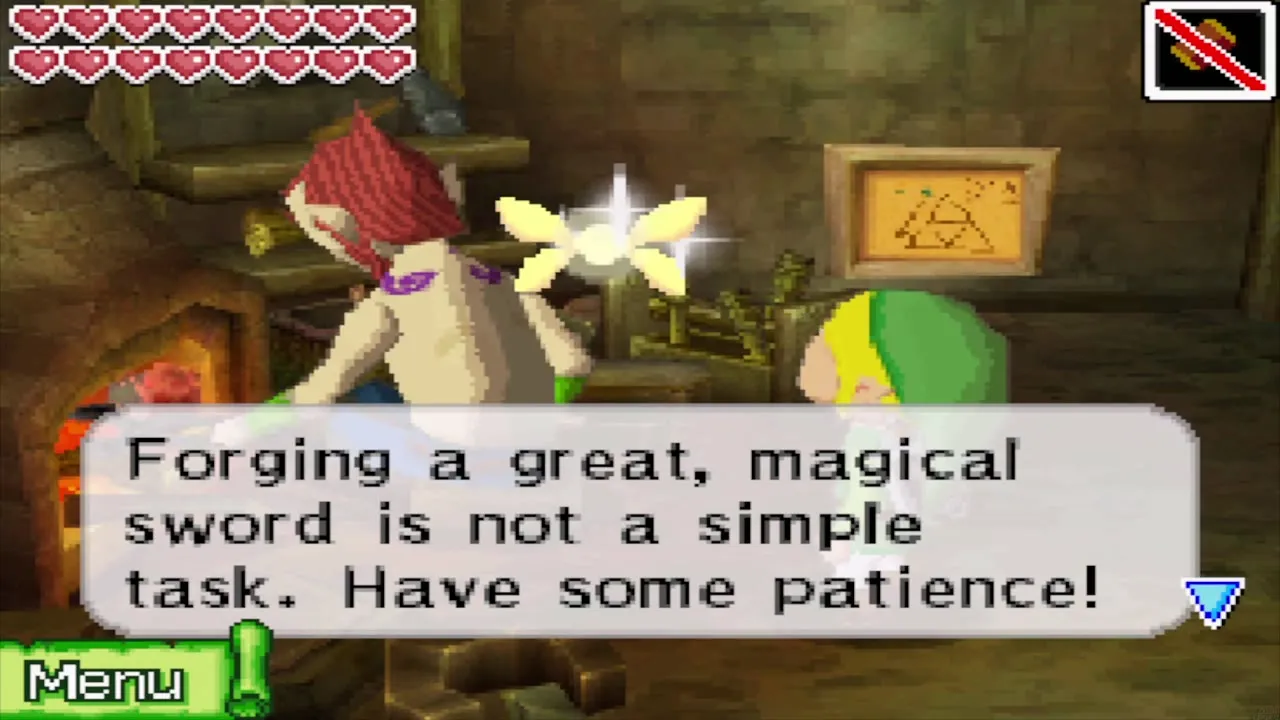
Leave Mutoh’s Temple with the Aquanine and sail to Zauz’s Island in the north of the Northwestern Sea. Walk to the forge hut and show Zauz the metals. He names all three, the Crimsonine, the Azurine and the Aquanine, and says he can forge a mighty sword from them. It will take some time, though, so you have to come back later.


Jolene’s challenge
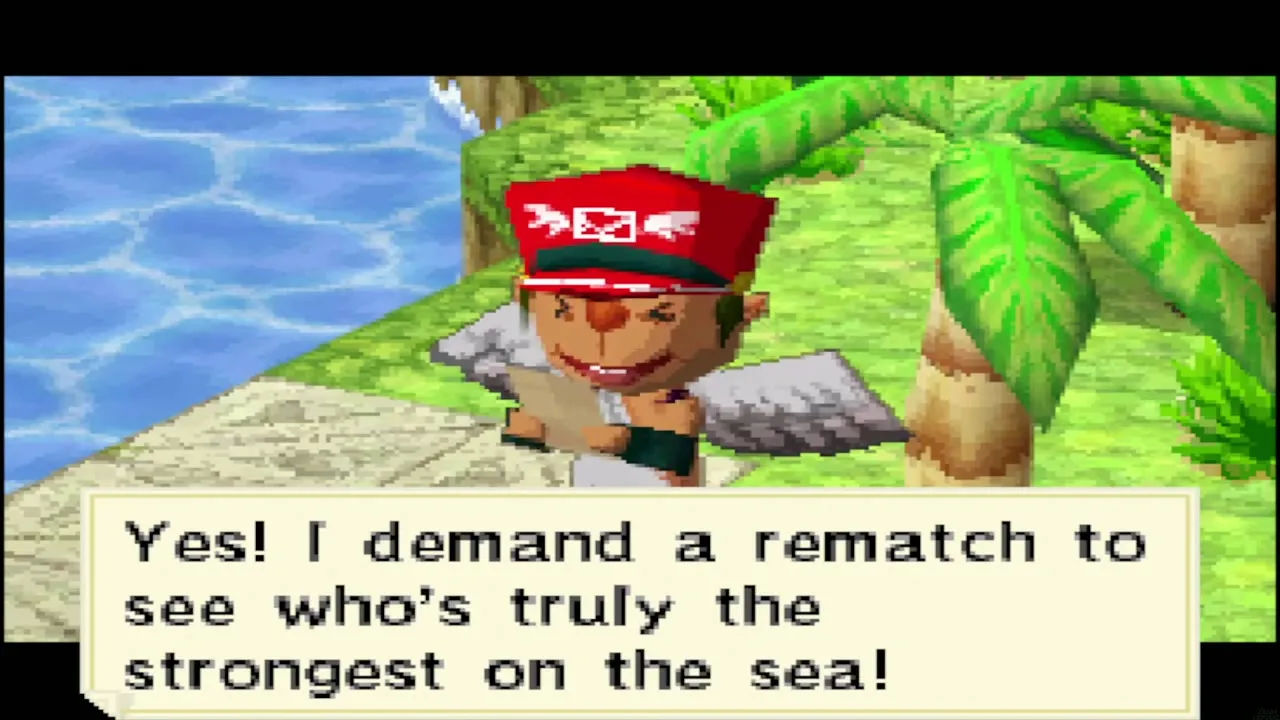
Check the mailbox on Zauz’s Island, a few steps from the dock. A letter from Jolene is waiting in which she demands one last duel. Linebeck wants nothing to do with her, but Zauz needs time anyway, so set sail. Draw a course on the Sea Chart and press Go; Jolene’s pirate ship will find you on the water.


Jolene’s last duel
Beat Jolene on her ship
Jolene sails up and boards the S.S. Linebeck, so the duel is fought inside your own ship while Linebeck hides in a crate. She boasts that her swordplay has improved since last time and attacks.
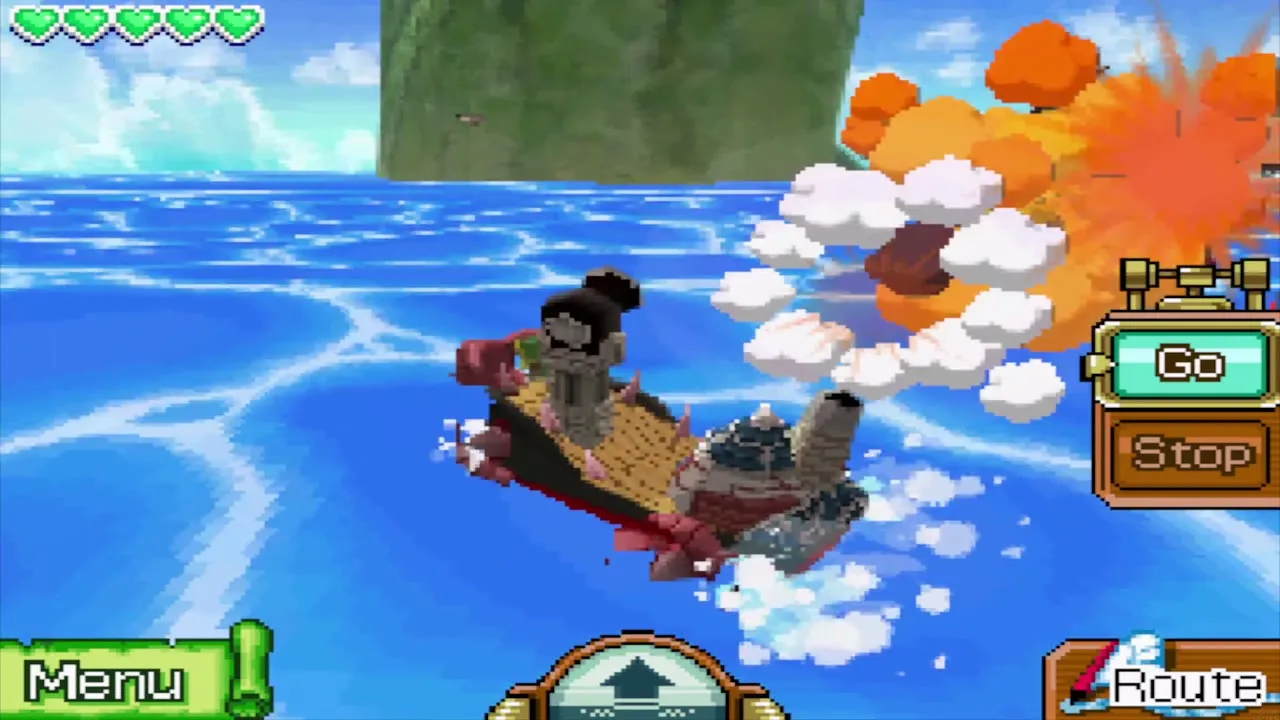

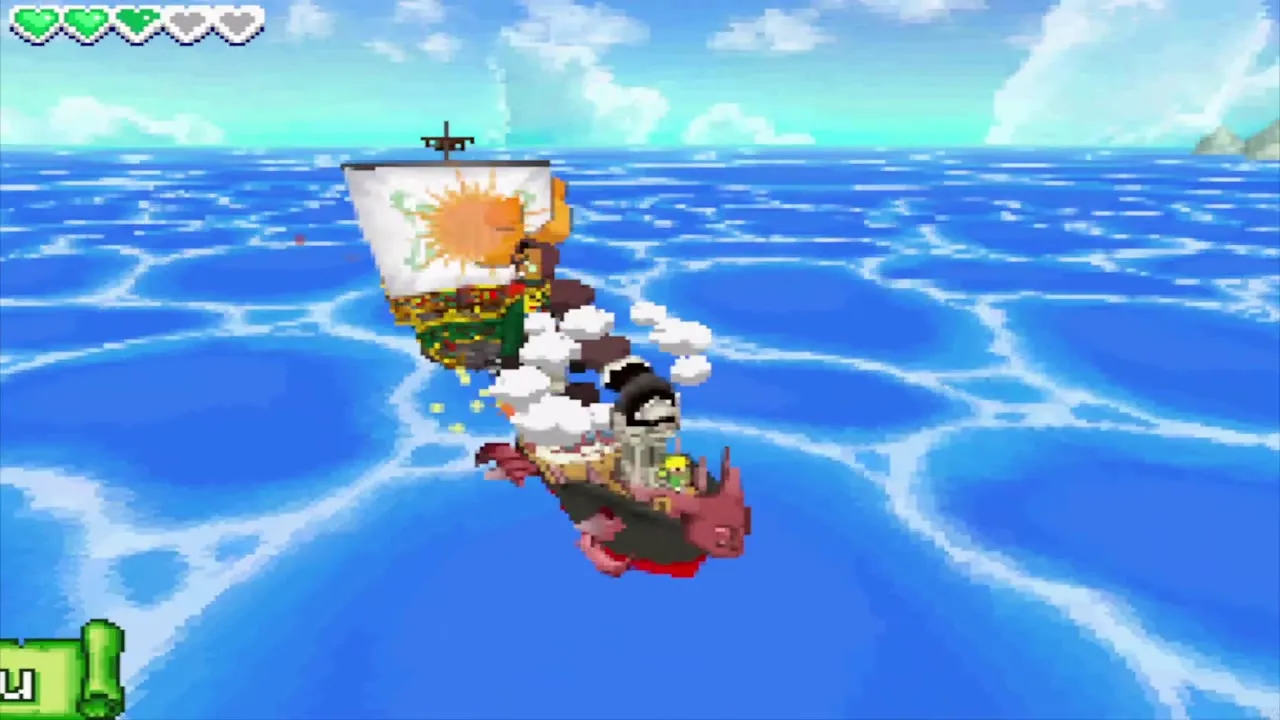
Dodge her lunge and dash, then slash while she recovers; once she has taken a few hits she blocks attacks from the front, so go for her back. When your blades lock, rub the stylus back and forth across the touch screen to win the clash. Knock her sword to the ground; she picks it up again and fights on, and the next hit finishes her. Expect to lose a few hearts.
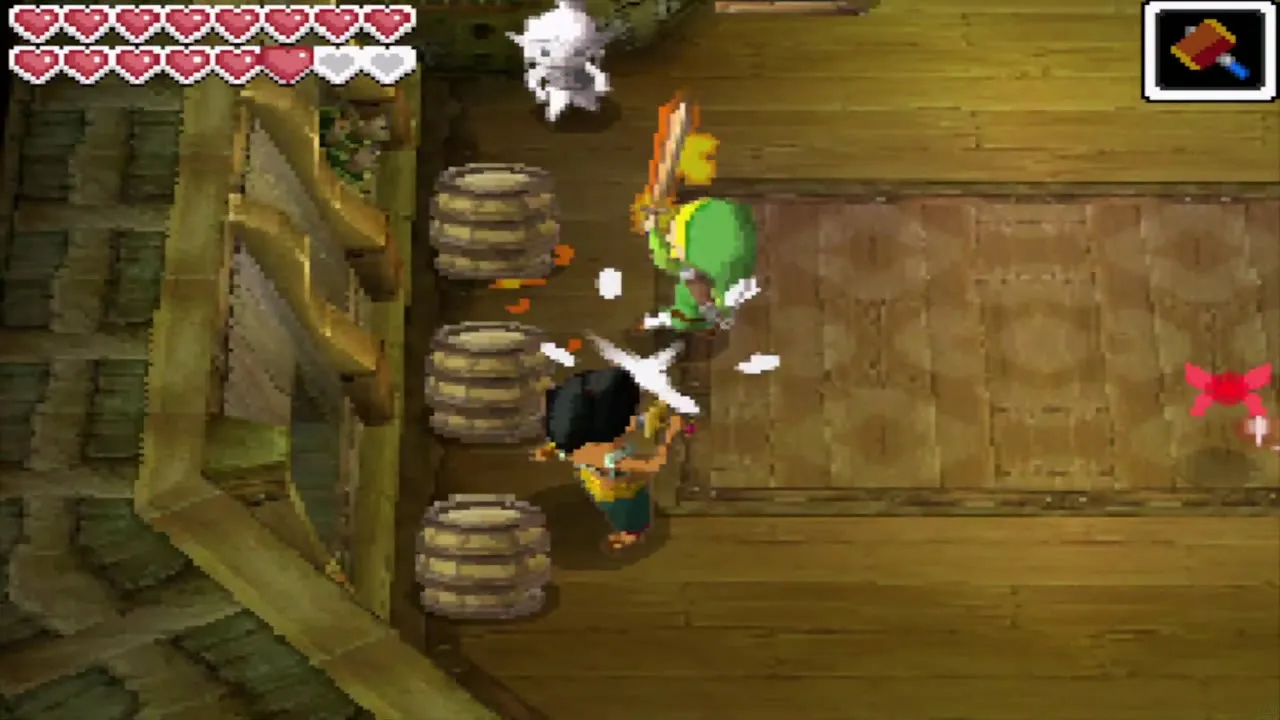

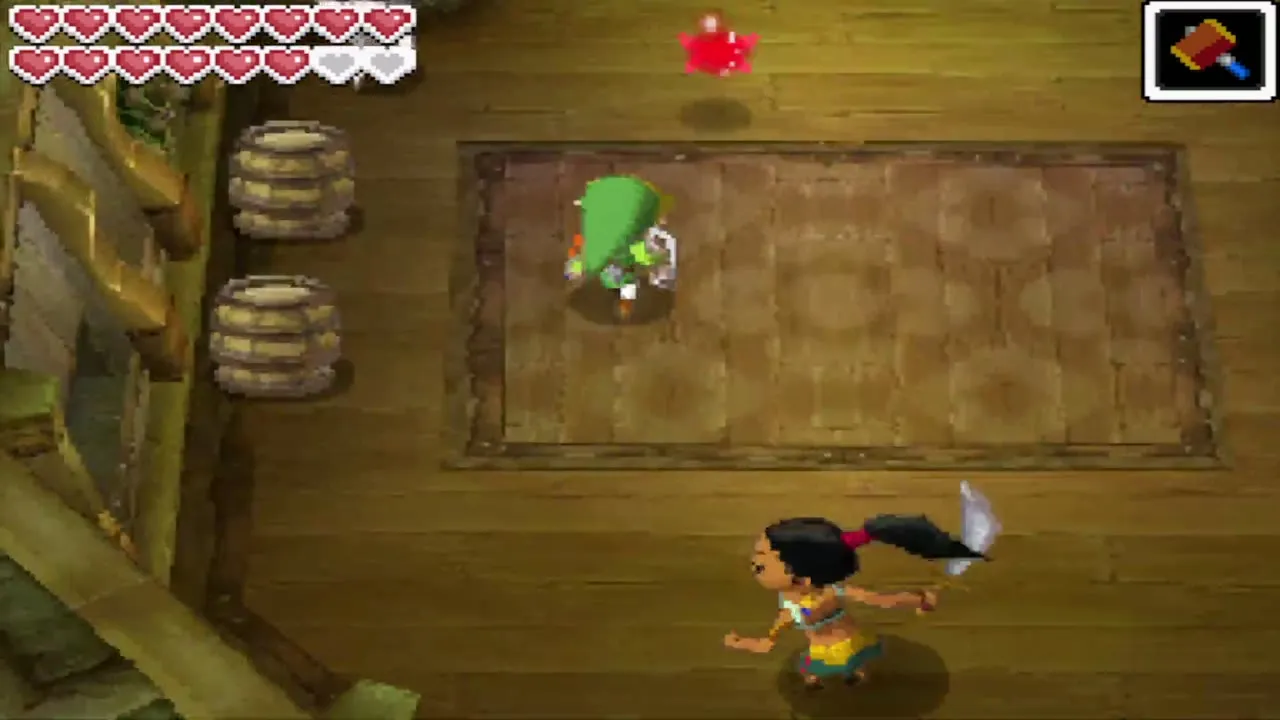
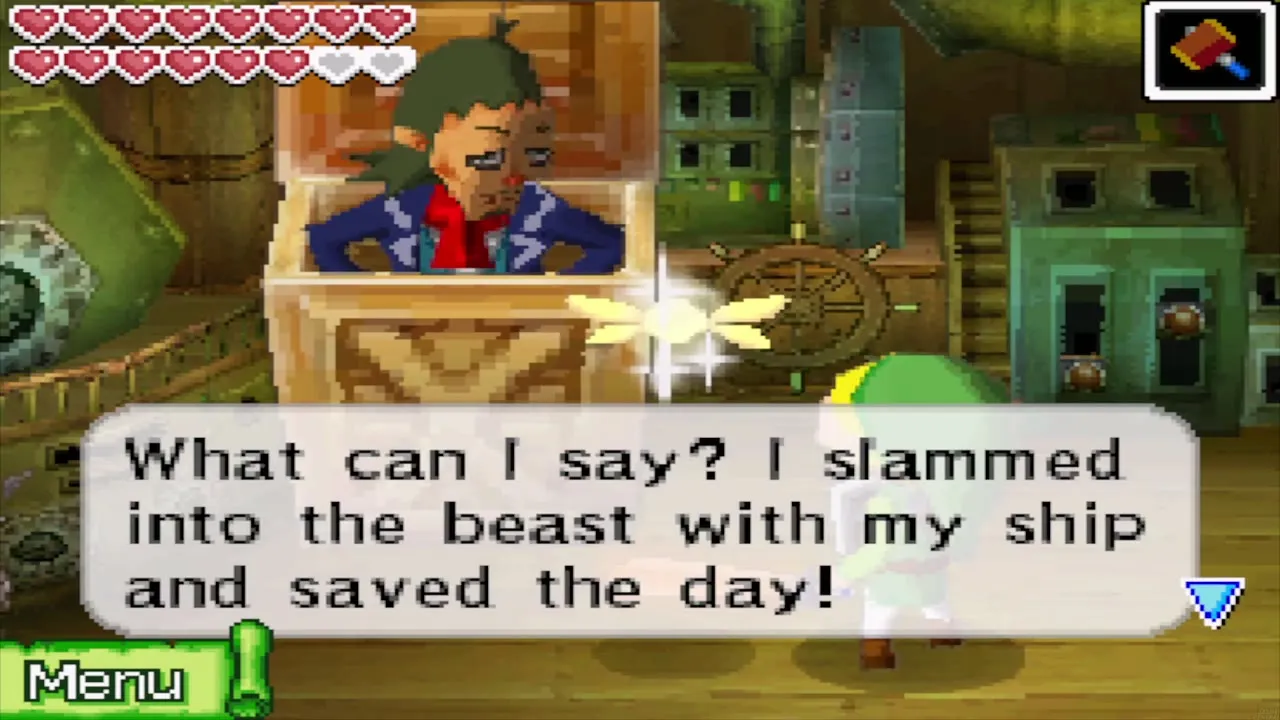
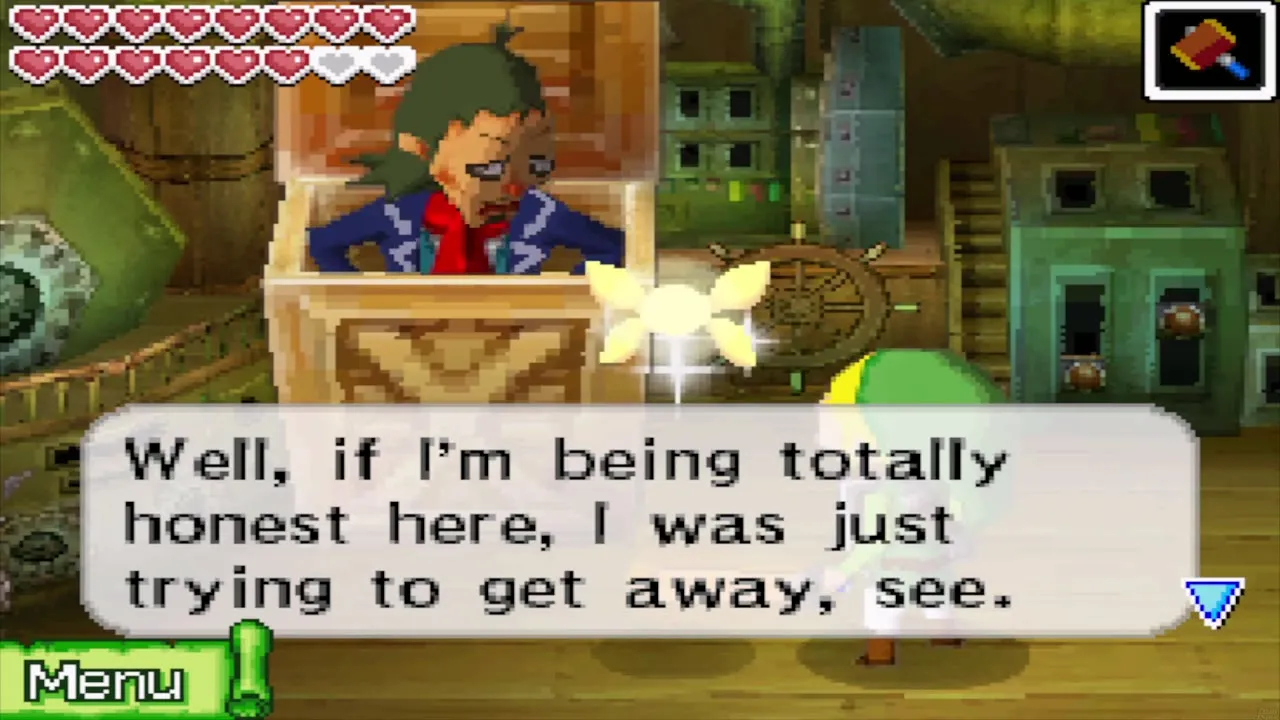
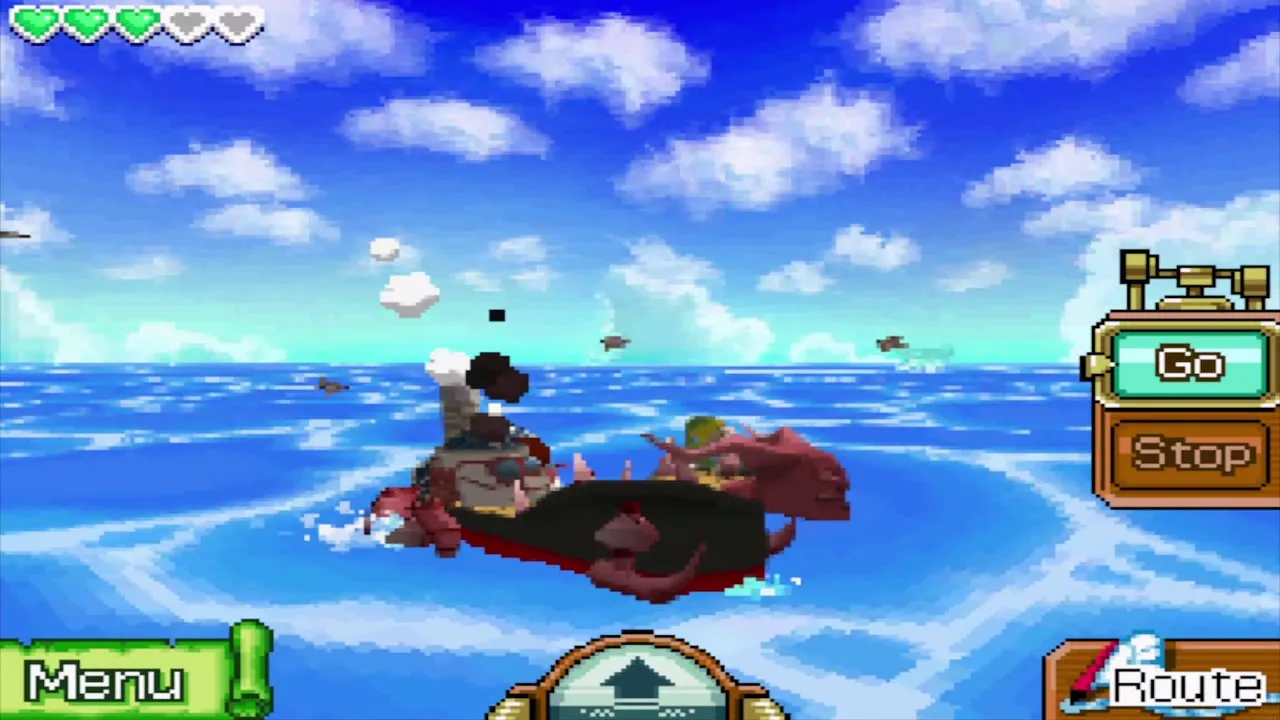
Jolene admits defeat, tells you to pass on to the man in the crate that he should take notes, and sails off. Linebeck then tells the story of how he and Jolene met. Nothing needs to be done during the talk. When it ends, open the Sea Chart and pick Zauz’s Island as your destination.


Collect the sword blade
The trip back is a good chance to salvage. If you have the Salvage Arm and a Treasure Map marked on your chart, sail over the red X, lower the arm and avoid the mines; each successful salvage gives a Treasure, a Ship Part, Sand of Hours or Rupees. The topic page on Treasure Maps lists what lies under it.


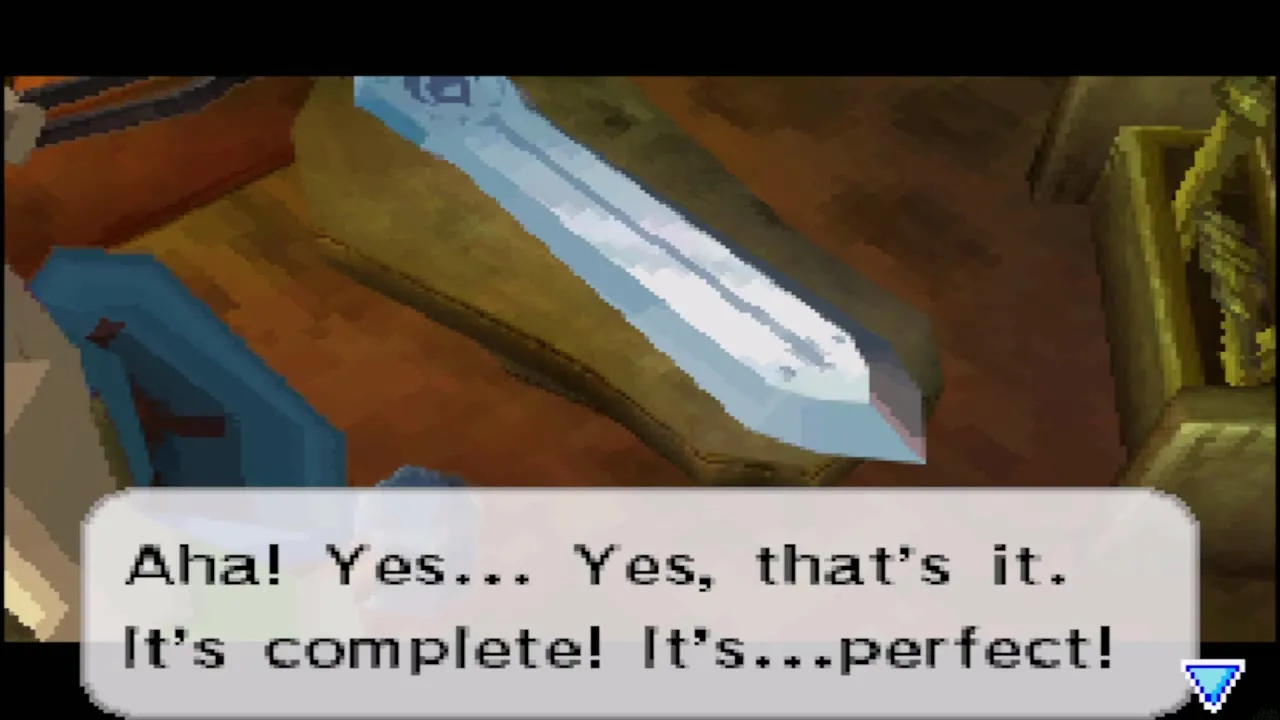
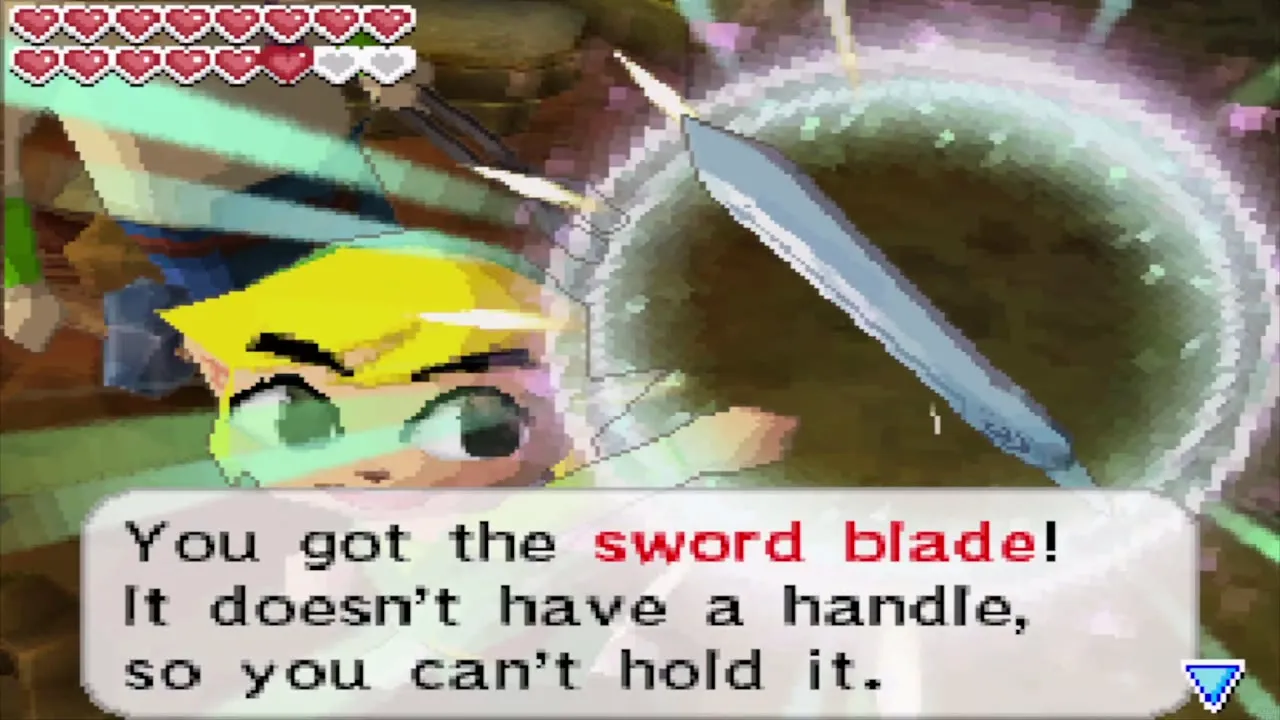
Walk into the forge. Zauz declares the blade perfect and hands it over. It has no handle yet, so you cannot use it. He tells you to take the blade to the Ocean King, who alone can add the Sand of Hours.

Mercay Island: the Phantom Sword
Stop at the shipyard
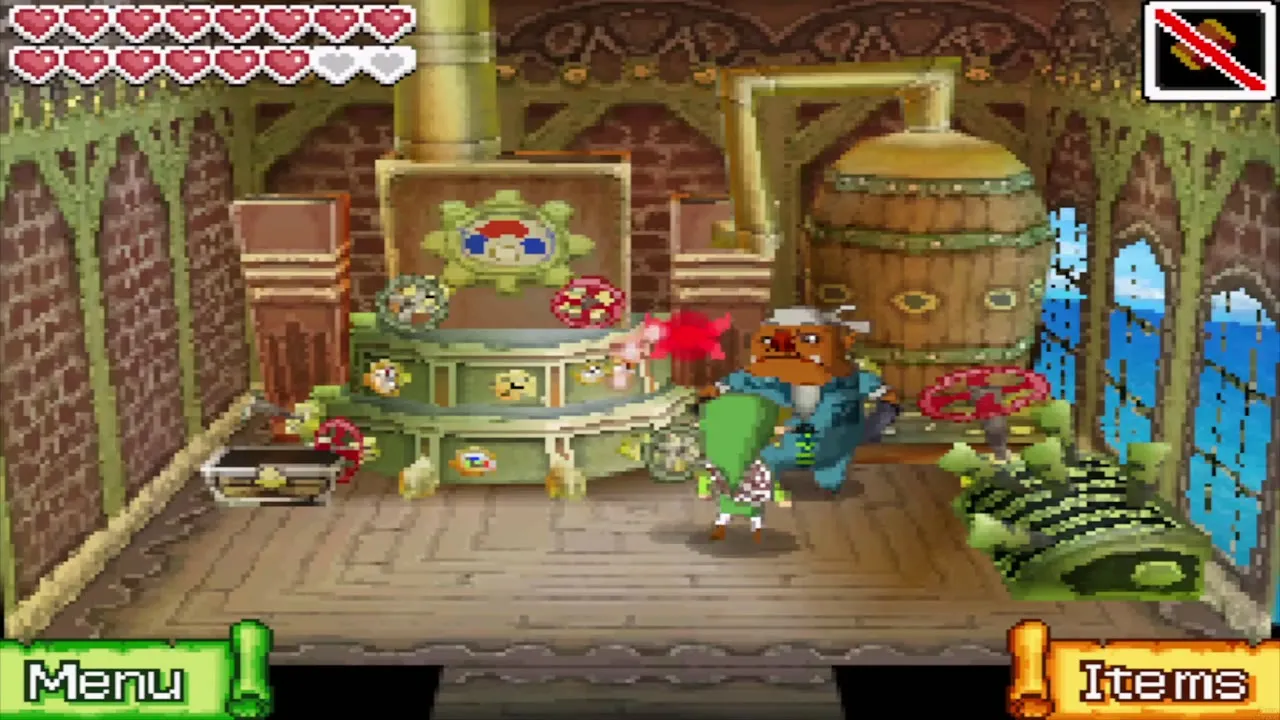
Sail to Mercay Island. If you want, visit the shipyard first: Gazpacho the shipwright repairs a damaged Salvage Arm for up to 100 Rupees, depending on the damage, and sets up your ship with any Ship Parts you carry at no charge. Match parts of the same set for extra hearts of ship health, as described on the Ship Parts page.


Take the blade to Oshus
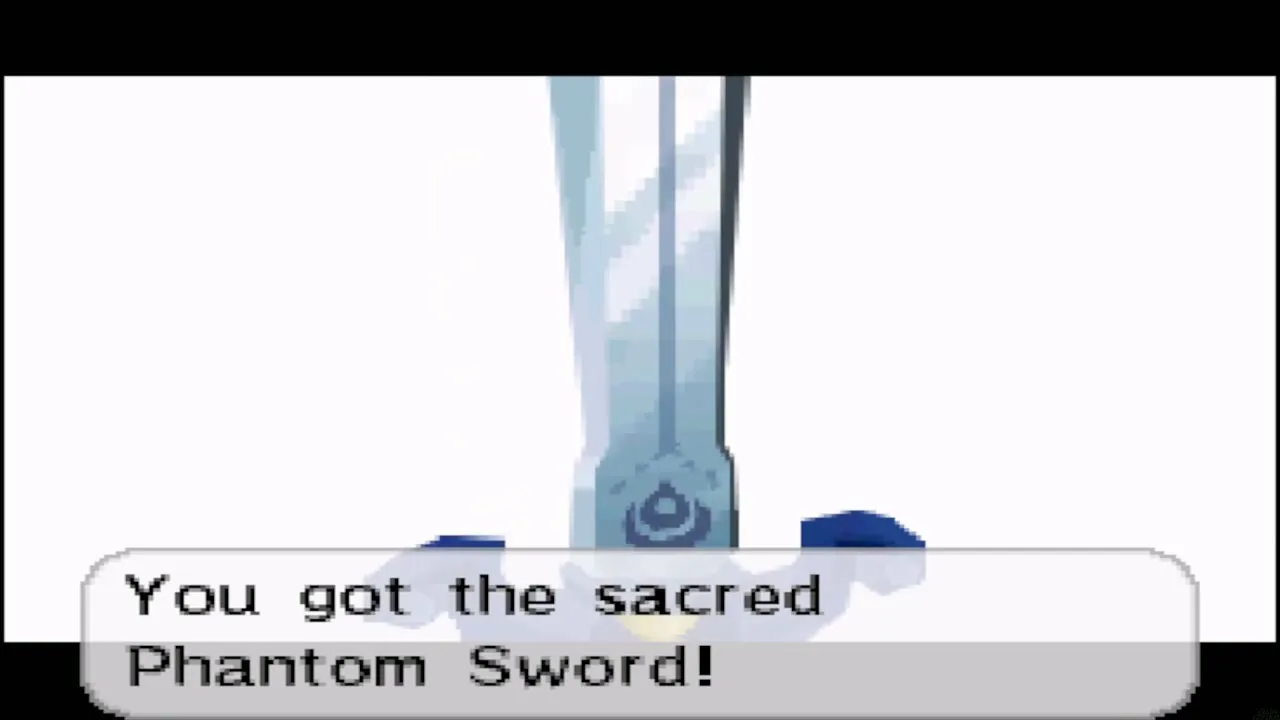
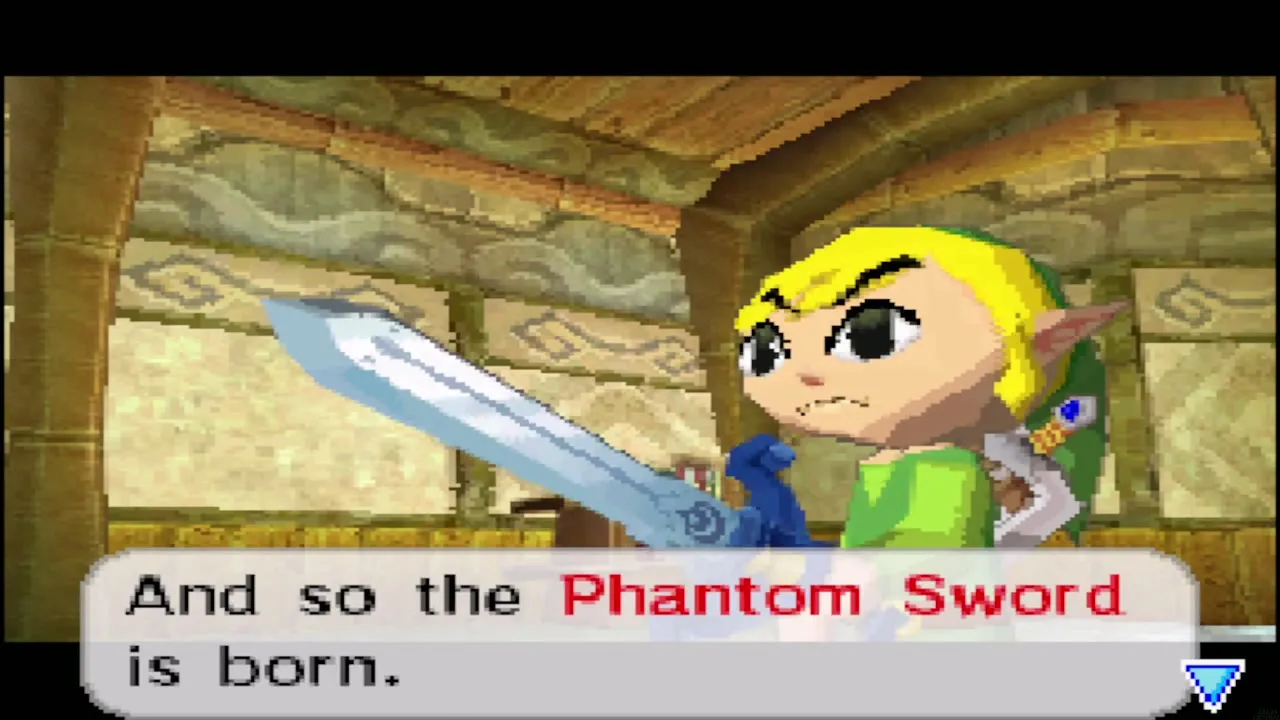
Walk to Oshus’s house on the north-east of the island and give him the blade. He fuses it with the Phantom Hourglass and the Sand of Hours and hands it over as the Phantom Sword. Only this sword can harm the Phantoms of the Temple of the Ocean King and defeat Bellum. It is no stronger than your old sword, so use Leaf’s power upgrades to raise your damage.
Collect King Mutoh’s Power Gem
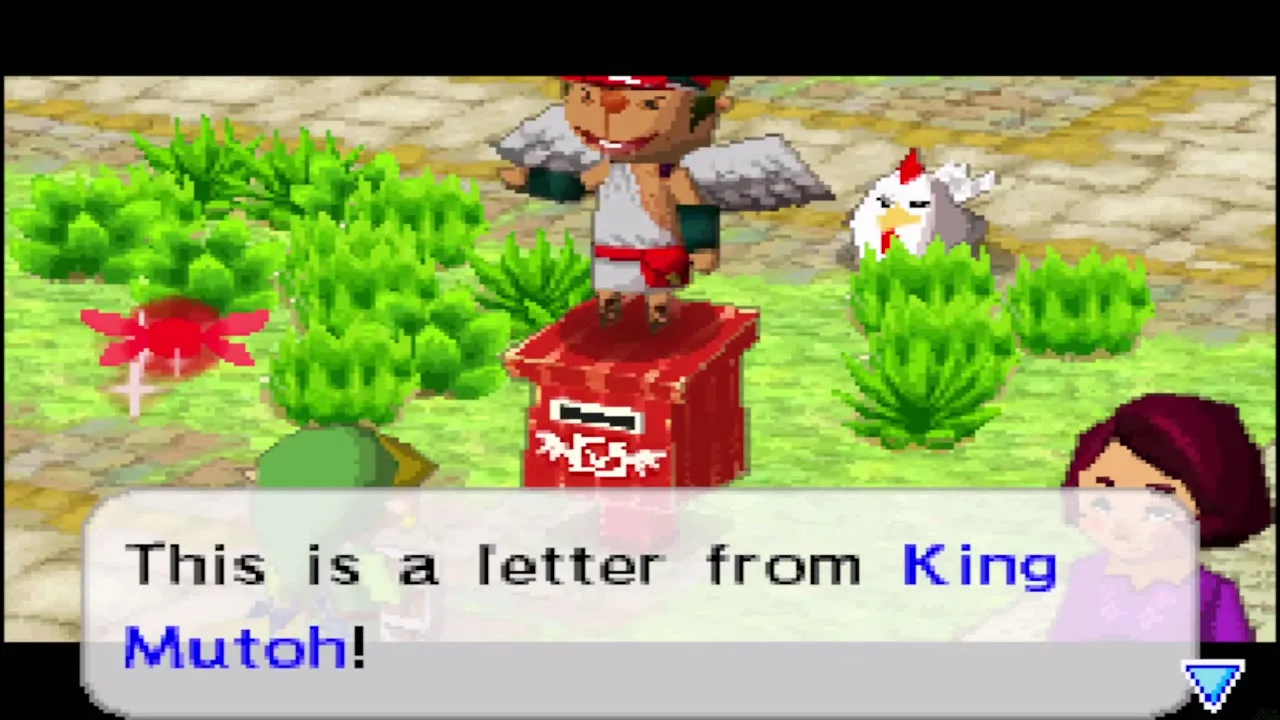
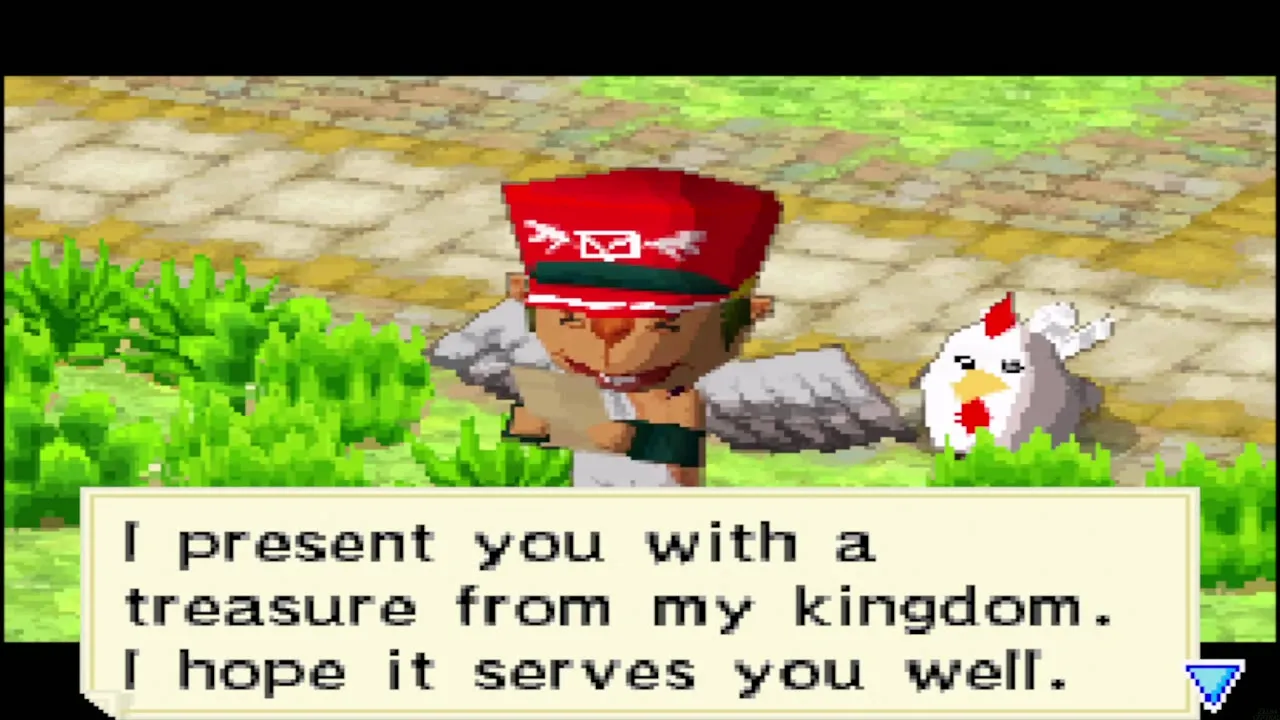
King Mutoh’s gift is a Power Gem that comes in a letter. Once Mutoh’s Temple is done, a messenger delivers it when you pass a red mailbox, so go to one if you have not already collected it. It is Power Gem 20; see the Power Gems page for the full list. The gem does nothing until you show it to the servant on Spirit Island.

Meet Linebeck on the way
Linebeck is no longer at the shipyard. Follow the path to the Temple of the Ocean King and you will meet him along the way. If you want the Spirit upgrades before the last descent, return to the dock first and set sail for Spirit Island; otherwise walk straight on to the temple.
Spirit Island: final Spirit upgrades
Offer your gems at the shrine
Spirit Island is the tiny island south of Molida Island, in the middle of three rocks; select it on the Sea Chart. Go north into the cave and show the servant at the shrine your gems. Each Spirit has two upgrades: the first at 10 gems of its kind, the second at 20. Afterwards, equip the Spirit on the Collection screen.


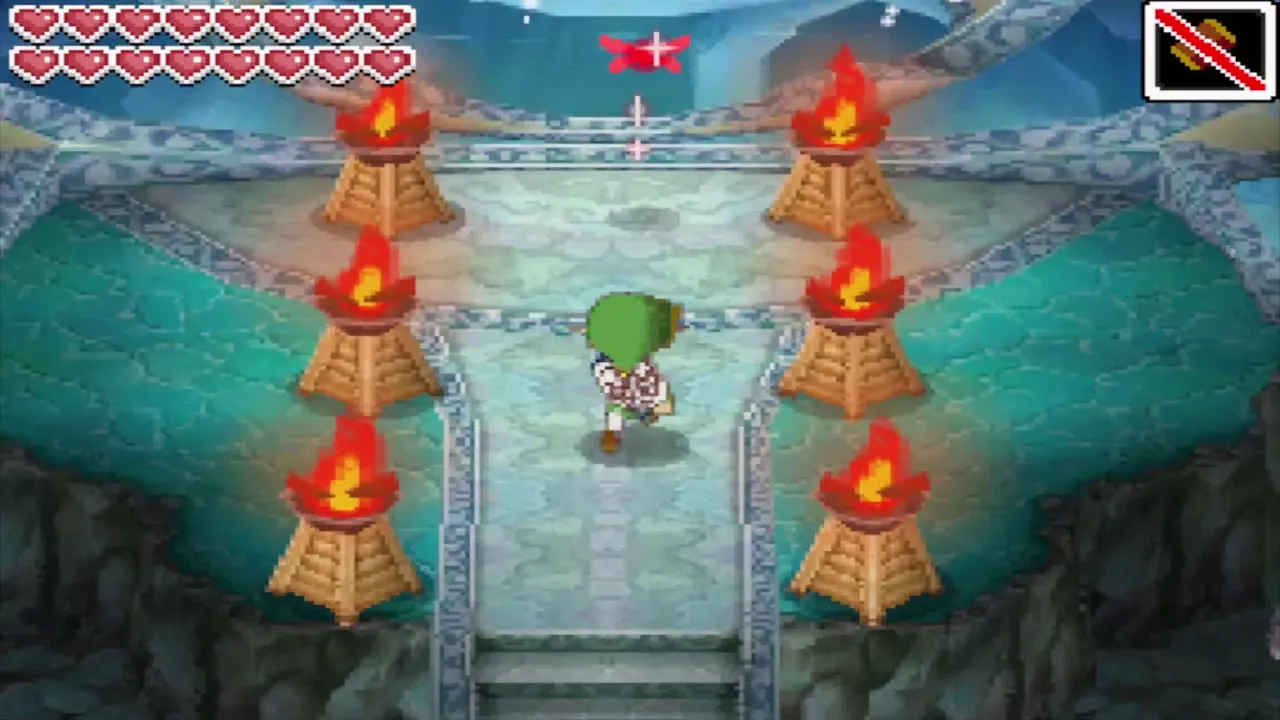

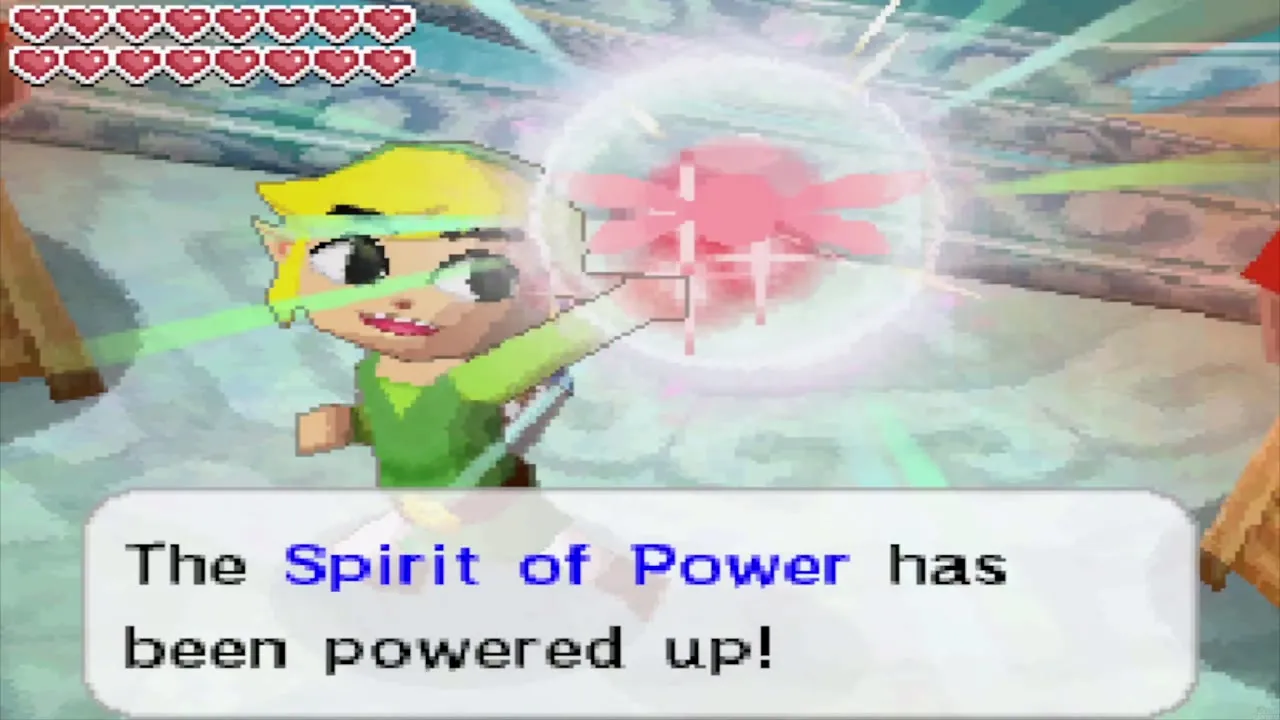
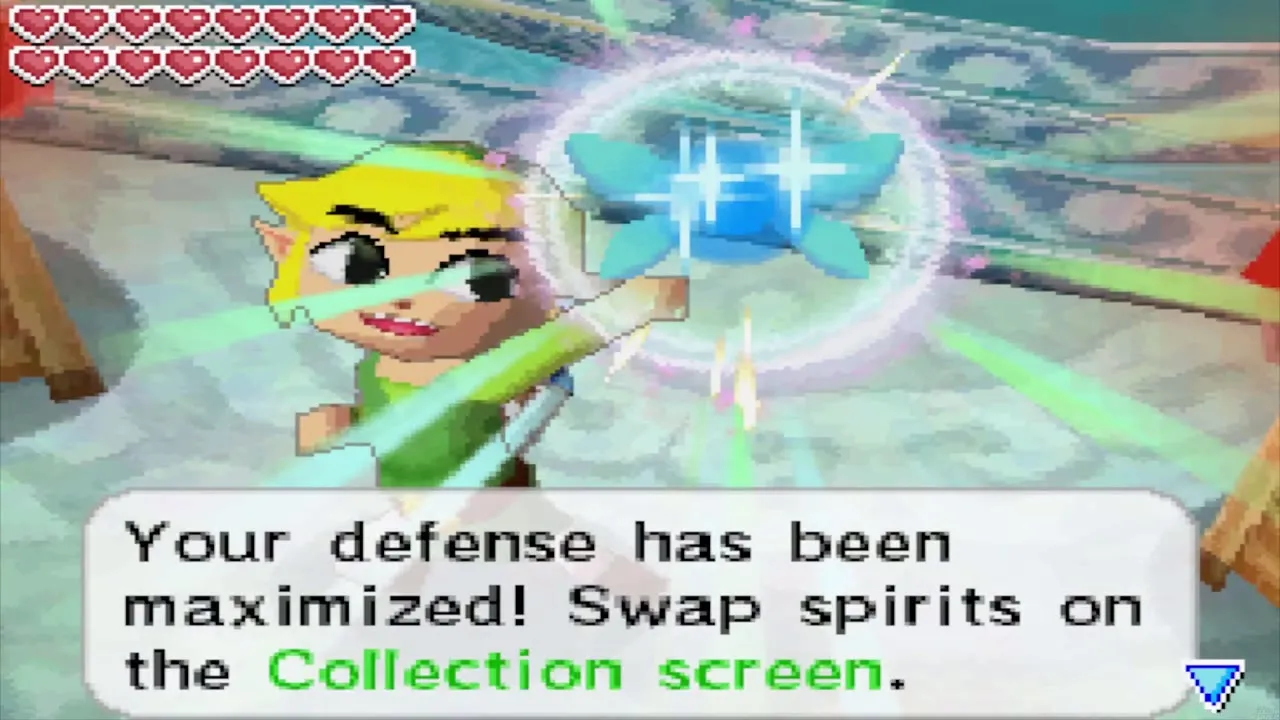
Leaf, the Spirit of Power, sets your sword on fire at level 1 (double damage) and quadruples it at level 2, and lets you stun Phantoms from behind. Neri, the Spirit of Wisdom, halves the damage you take at level 1 and quarters it at level 2, which also cuts the sand a Phantom hit costs to 15 seconds and then 5. Ciela, the Spirit of Courage, gives your sword a beam at level 1 and doubles its width at level 2. For the last descent, Wisdom is the safest choice because a Phantom hit then costs so little sand; Power makes the fights against Phantoms and Bellum shorter.

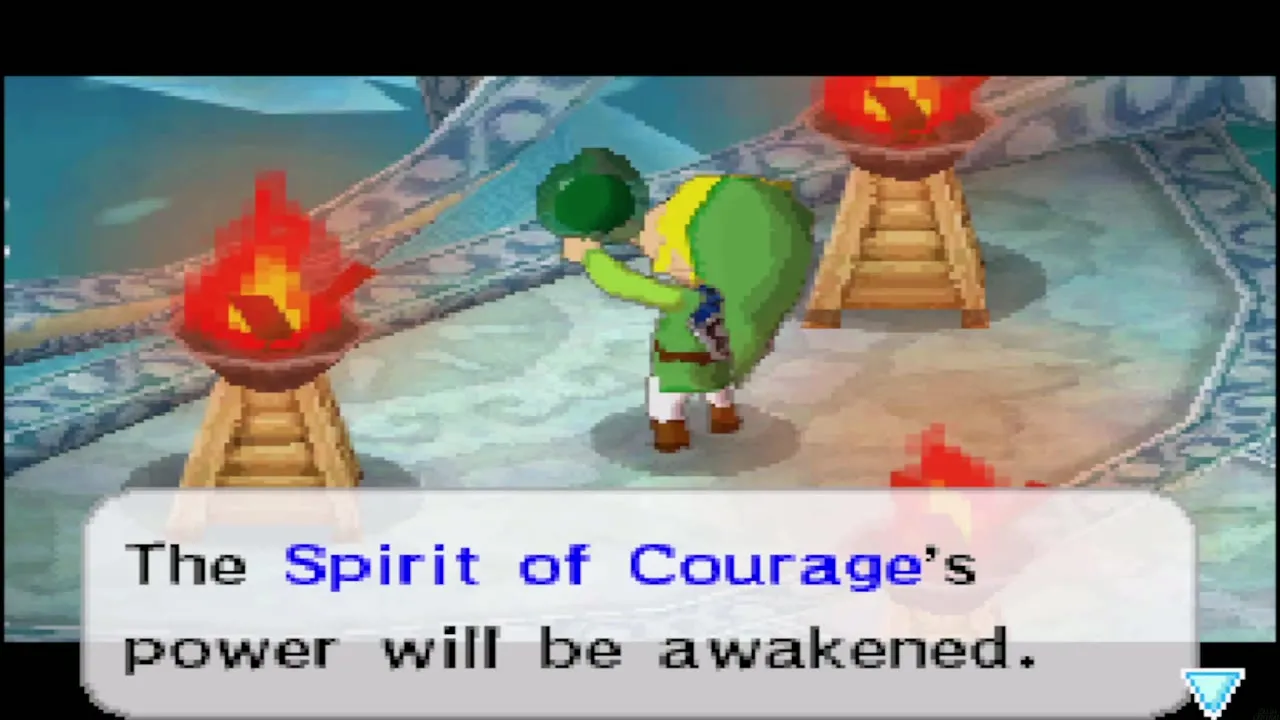
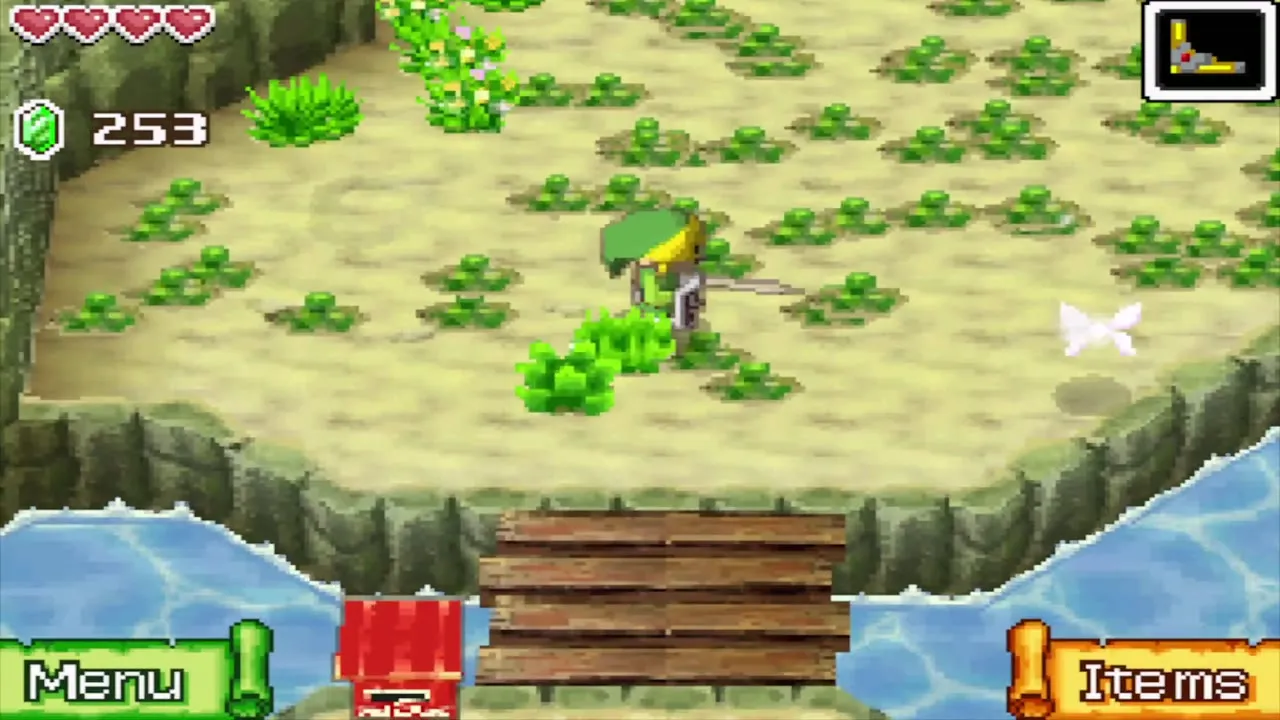
Spirit Island has two chests. The Courage Gem sits right beside the channel that splits the island, and the east section across the channel opens up once you own the Grappling Hook. Octoroks, Like Likes and Rupee Likes roam its stacks of land; at the highest point a chest holds Power Gem 15. Skip both if you already took them.

Temple of the Ocean King: the last descent
Enter and clear B1 to B3
Walk up from the shore on Mercay Island to the temple gate and go in. This is your sixth and final visit. The curse still drains the Phantom Hourglass outside safe zones, so you can step into the yellow light in the Entry Hall to jump to the Sacred Crest Chamber after B6, as described in the B7 to B9 chapter. The floors are the ones you know, but Phantoms can now be defeated as well as avoided.


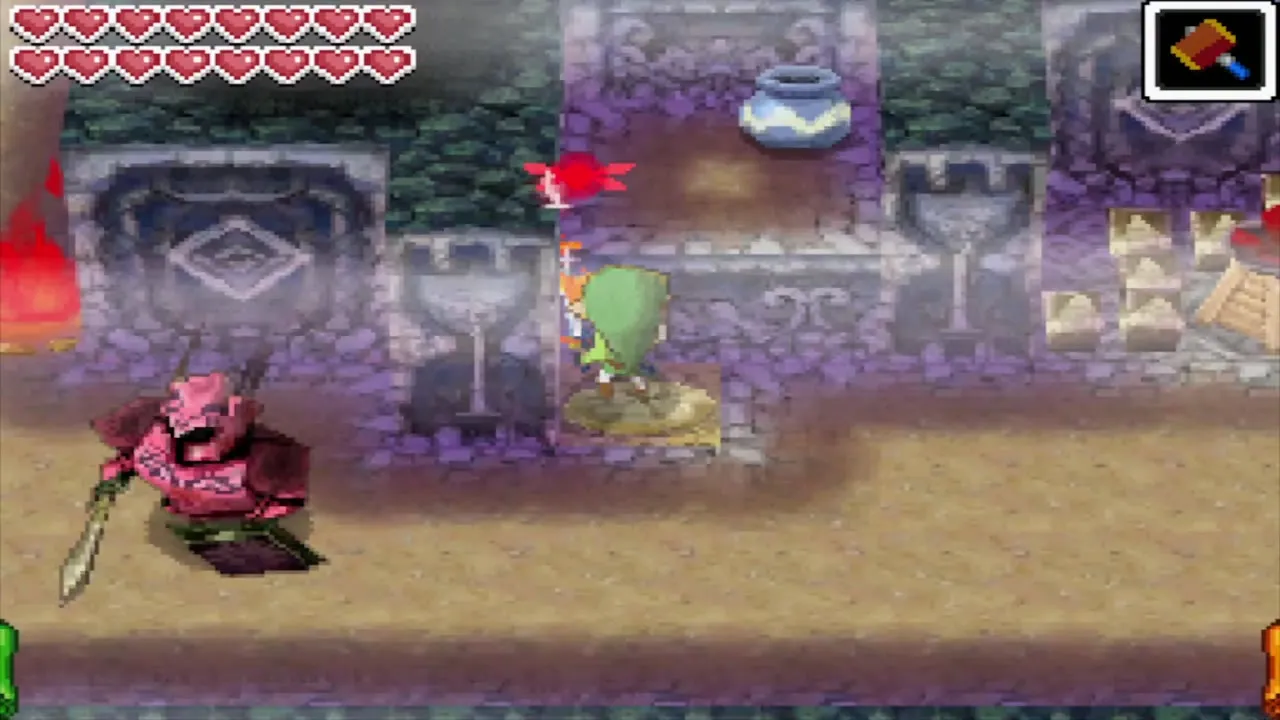
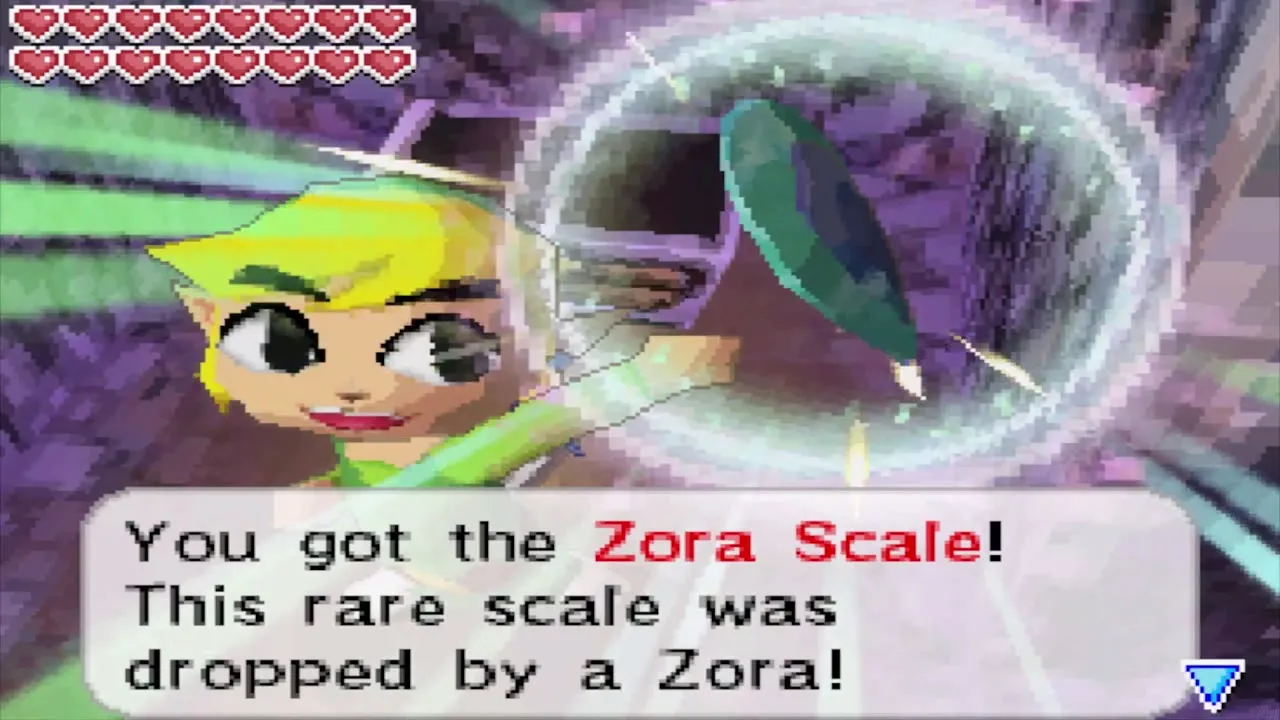
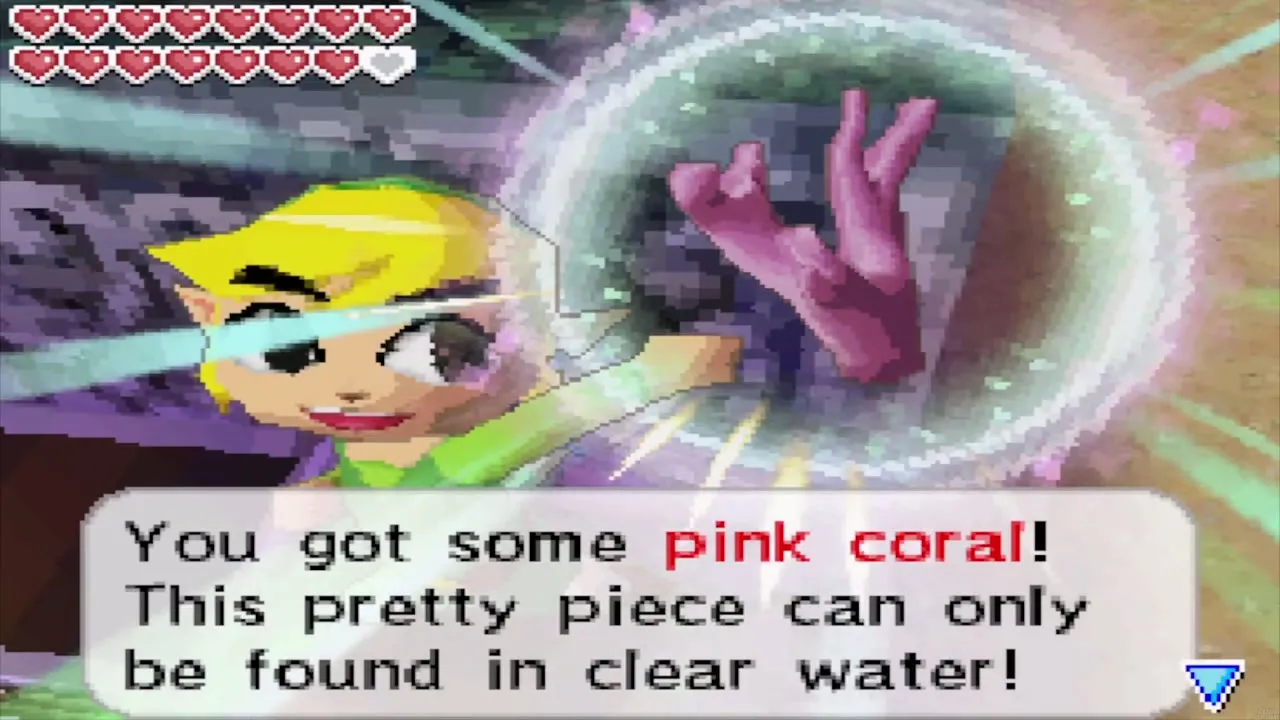
On B1, B2 and B3 defeat the Phantoms with the Phantom Sword. Kill every Phantom on B1, B2, B3 and B4 and a chest holding a Treasure appears (on B3 it sits on a ledge you reach with the Grappling Hook). Yellow jars add up to 30 seconds. Take the small keys on the way and use shortcuts you made earlier with bombs and the Boomerang. Treasures such as the Pink Coral can be sold to the Treasure Teller on Mercay Island.

B4 to B6
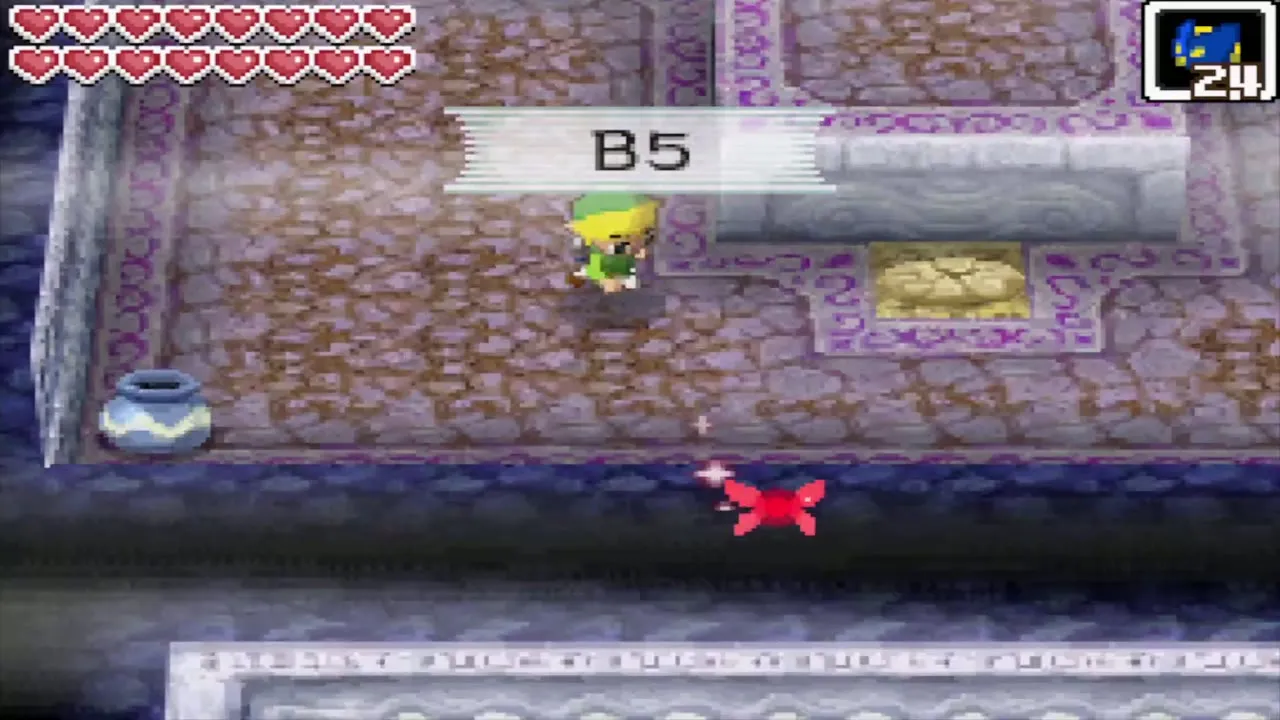
B4 has Phantom Eyes as well as Phantoms; stun the eyes with the Boomerang and then slash them. B5 has no Phantom chest, but a Red Potion chest appears near the stairs to B6 when you hit the shock switch beside it. Kill every Phantom on B6 and a Treasure chest appears in the middle of the south hall. Collect the small keys so that doors stay open on the way down.
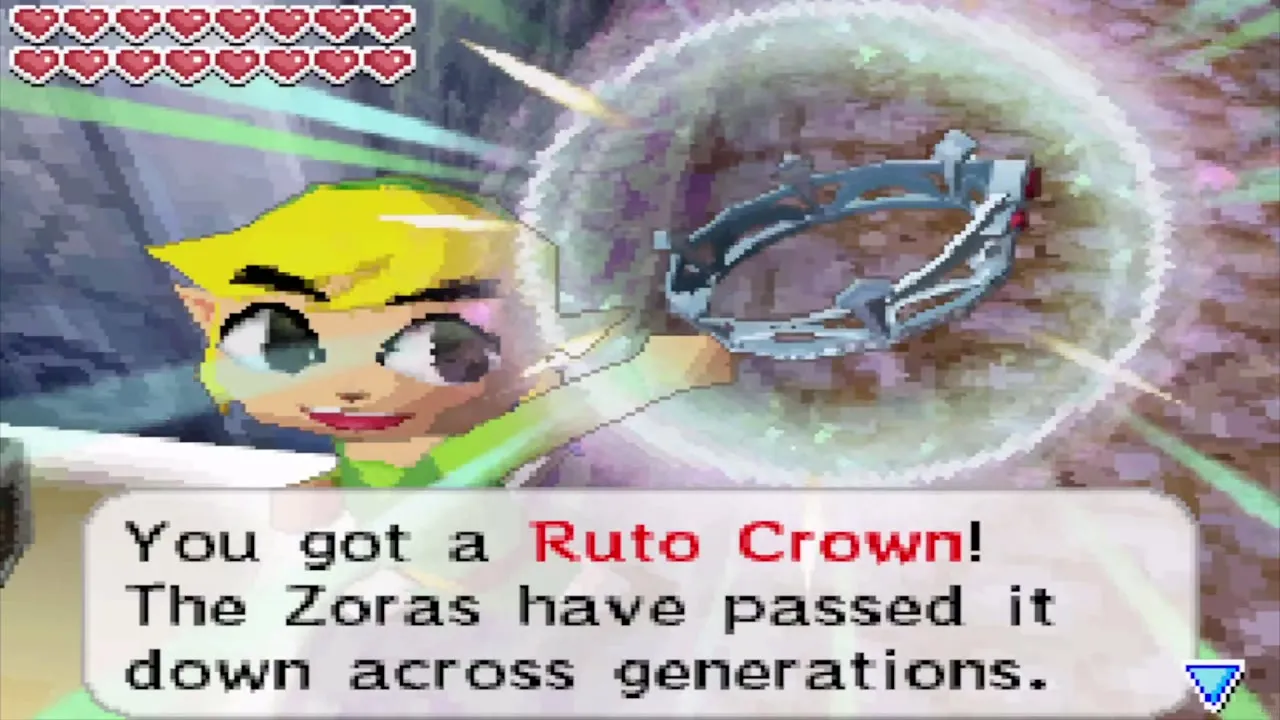
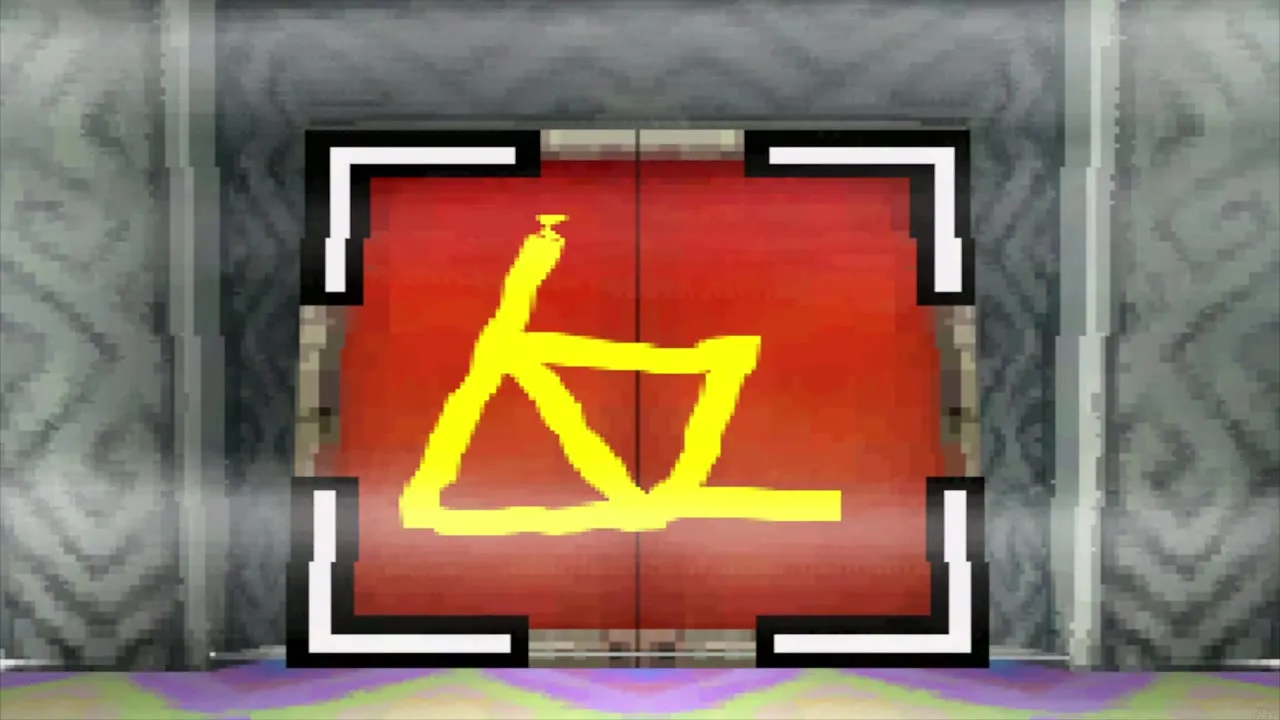
On B6 the Crested Door in the middle of the floor already opens with the Triforce, the symbol you drew after Zauz showed it to you; if it asks again, draw it in one unbroken stroke from the top point toward the lower left. It leads to the Sacred Crest Chamber, where Ciela has already opened the Door of Courage that leads down to B7.



B7 to B9
B7: the Round Crystal
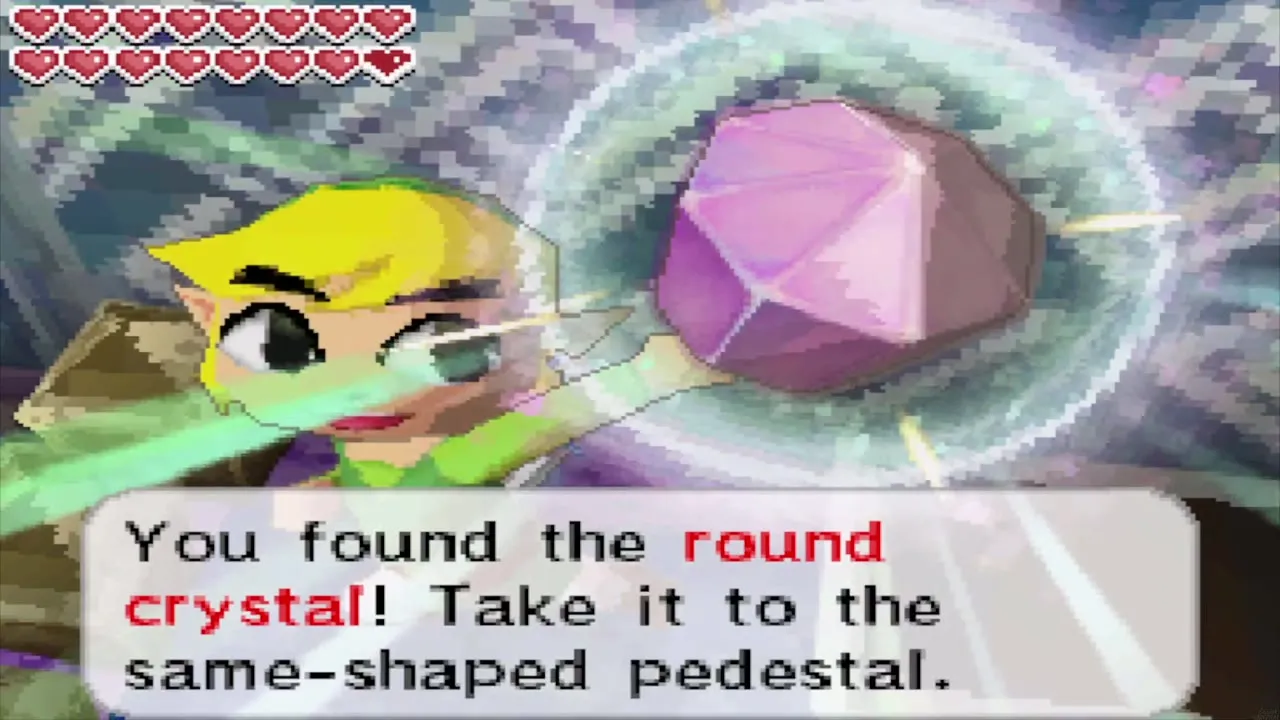
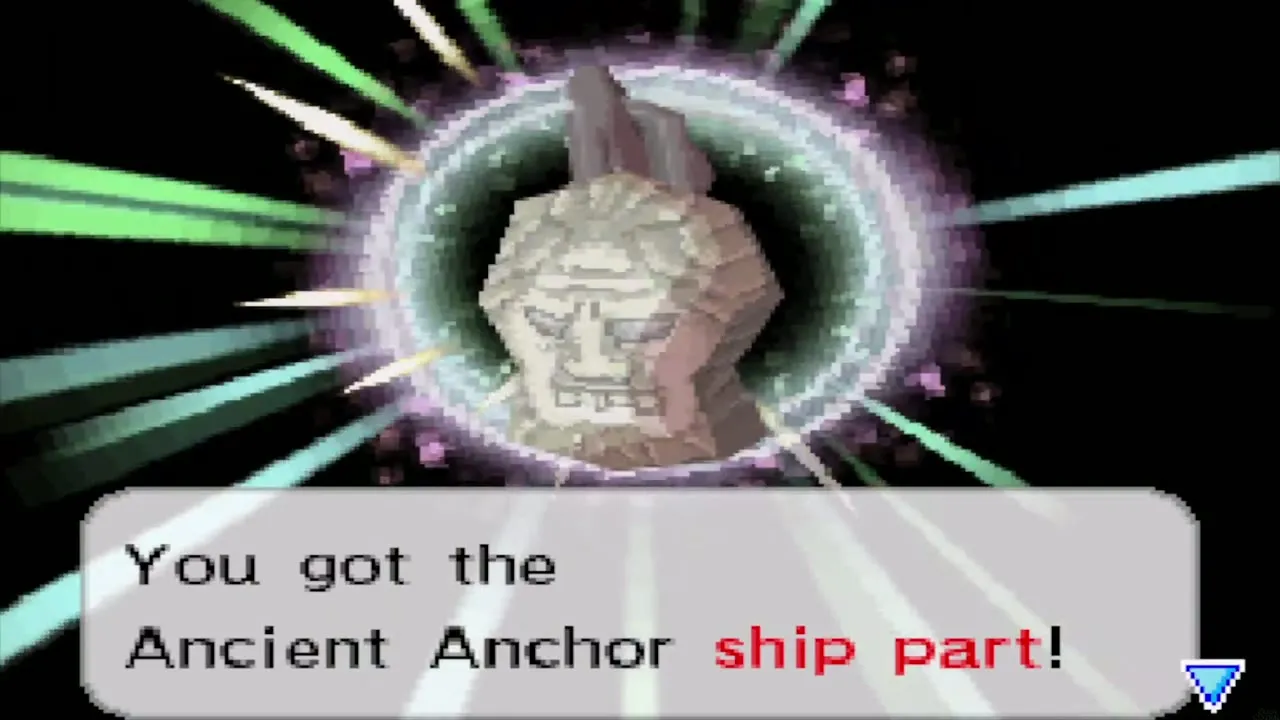
On B7 the Round Crystal sits in a chest on a platform behind the start. The Grappling Hook lets you swing across to it from the first set of moving platforms. Defeat the Phantoms and Swift Phantoms and a Ship Part chest appears in the north-west safe zone. Take the Power Gem here too if you have not done so yet; see the B7 to B9 chapter for its location. Carry the crystal down to B8.
B8: the Bombchu switch
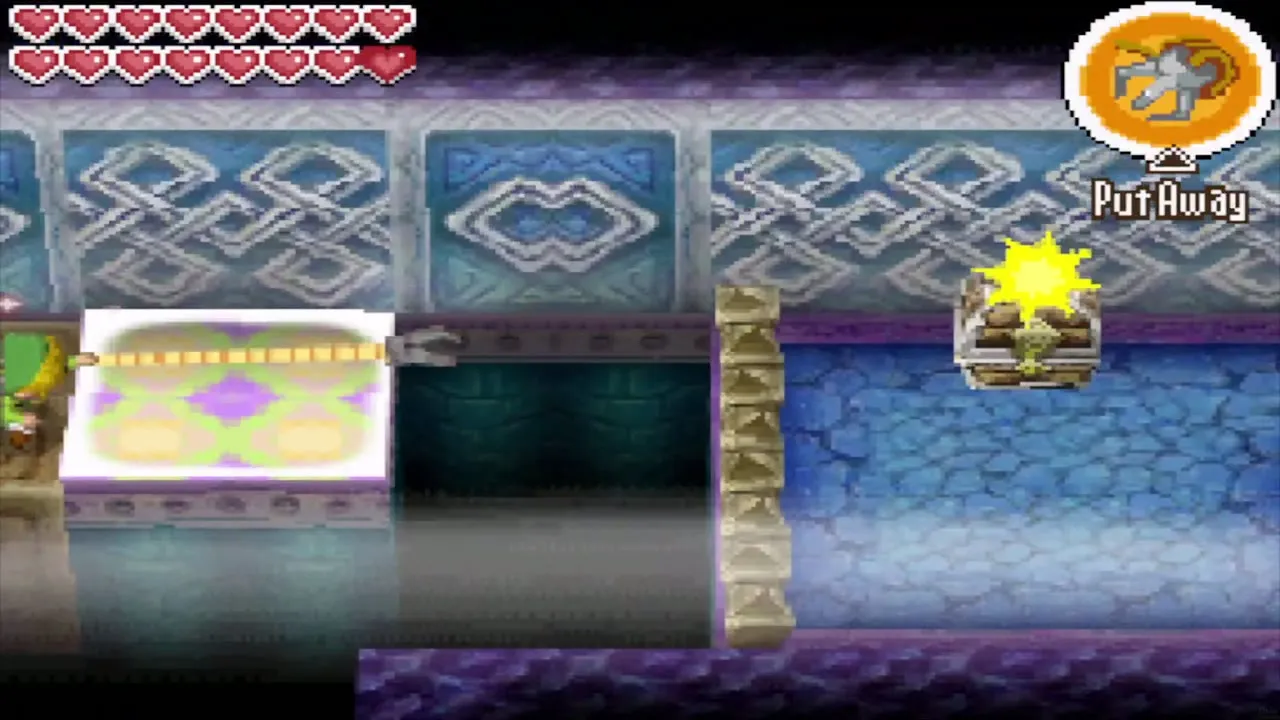
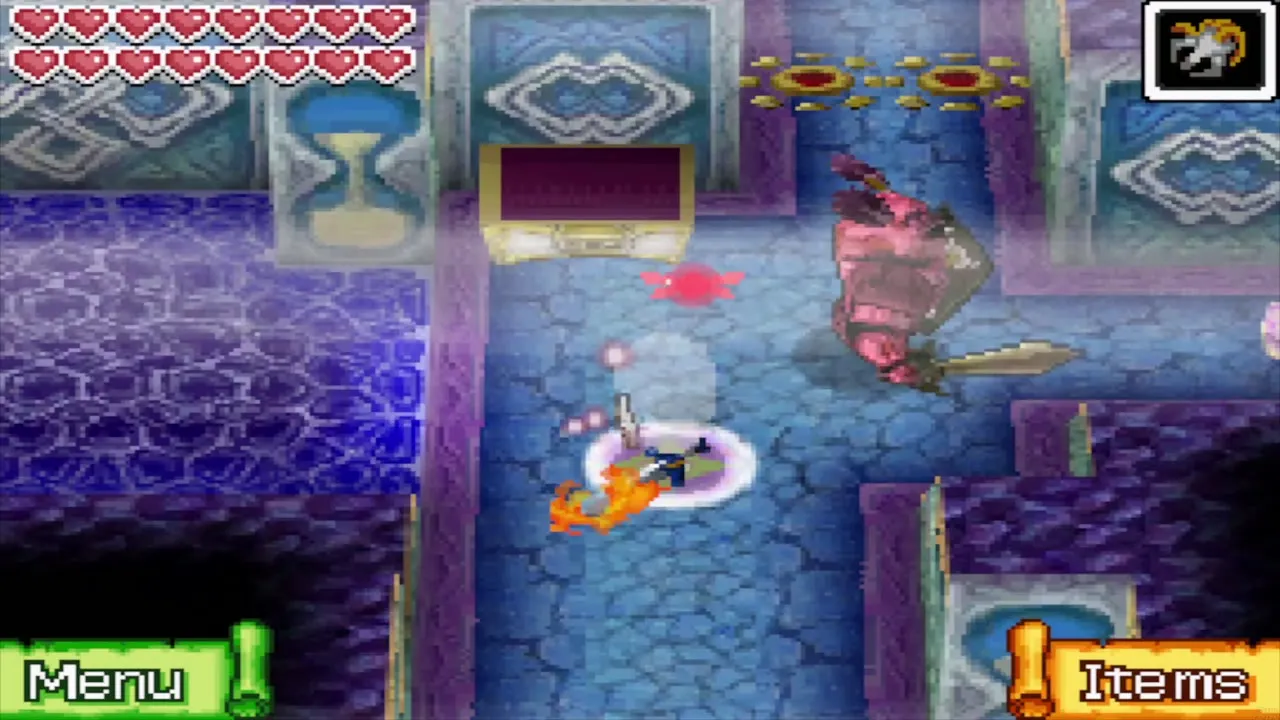
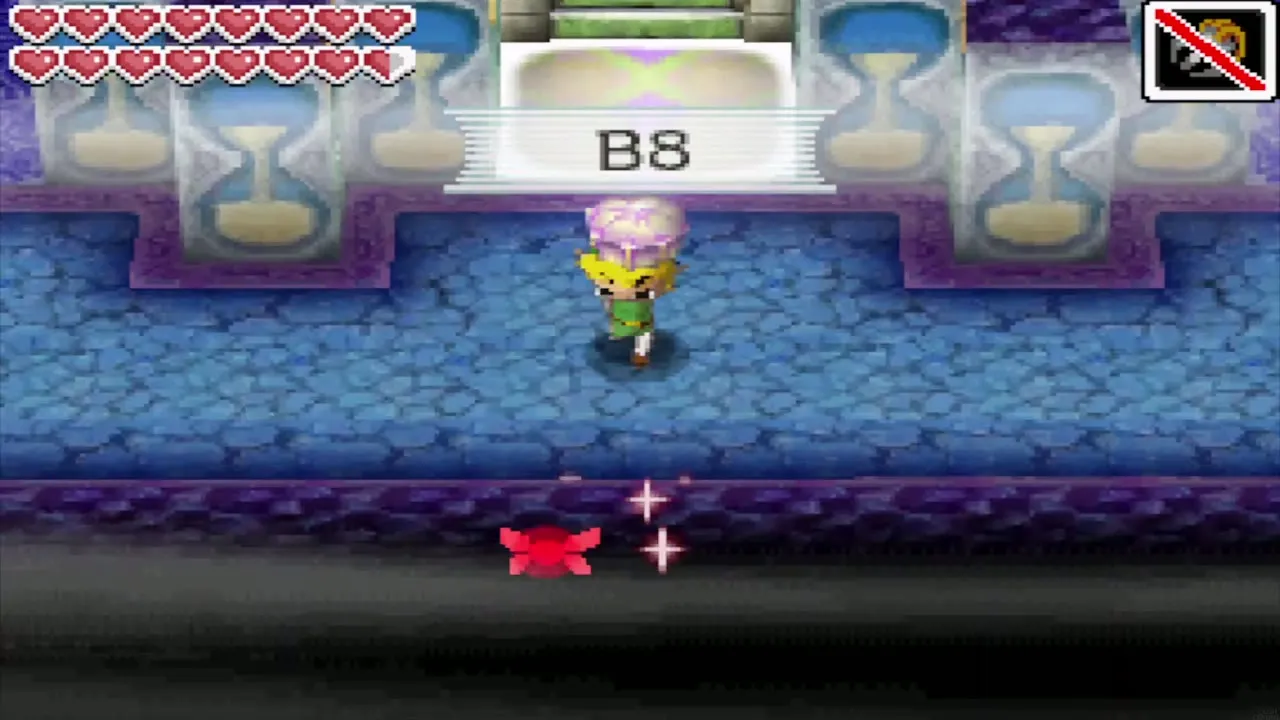
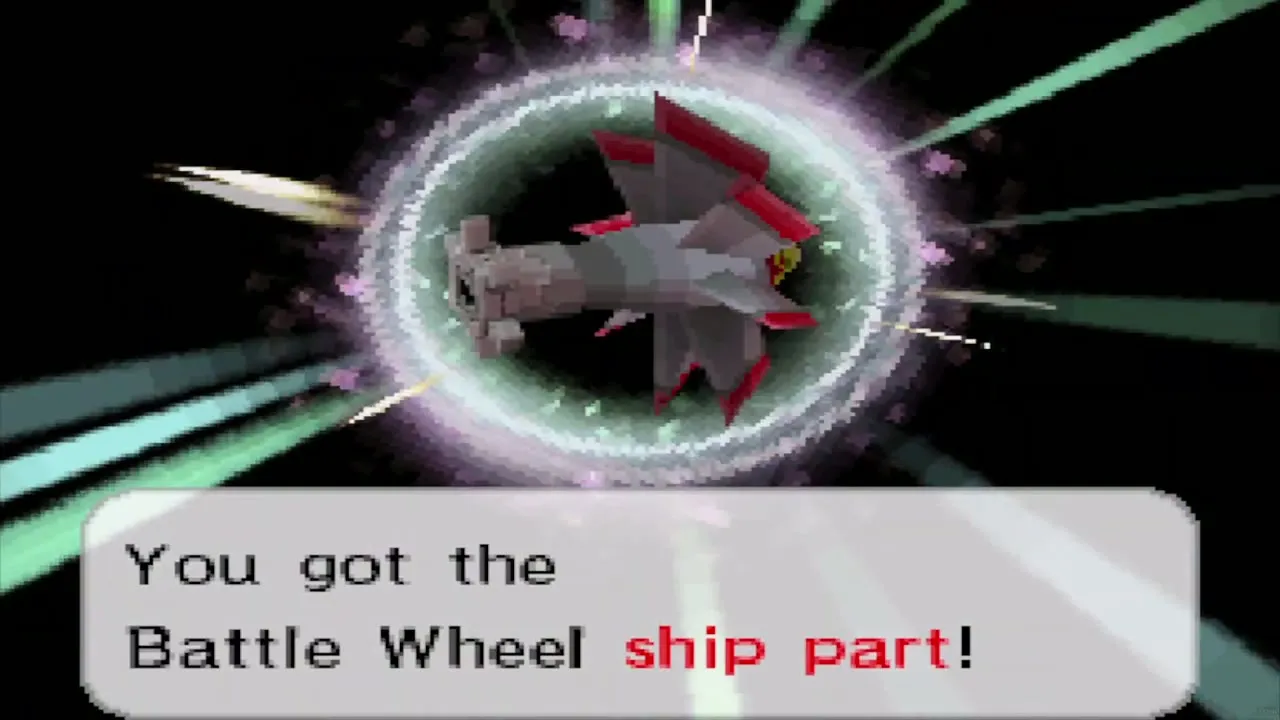
On B8, send a Bombchu through the hole in the wall of the north-east structure to hit the shock switch inside. That gives you the stairs to B9 without fetching the Triangle Crystal first. Defeat the Phantoms and a Ship Part chest appears on the east side, just south of that structure; which part it holds is random.
B9: the crystal order
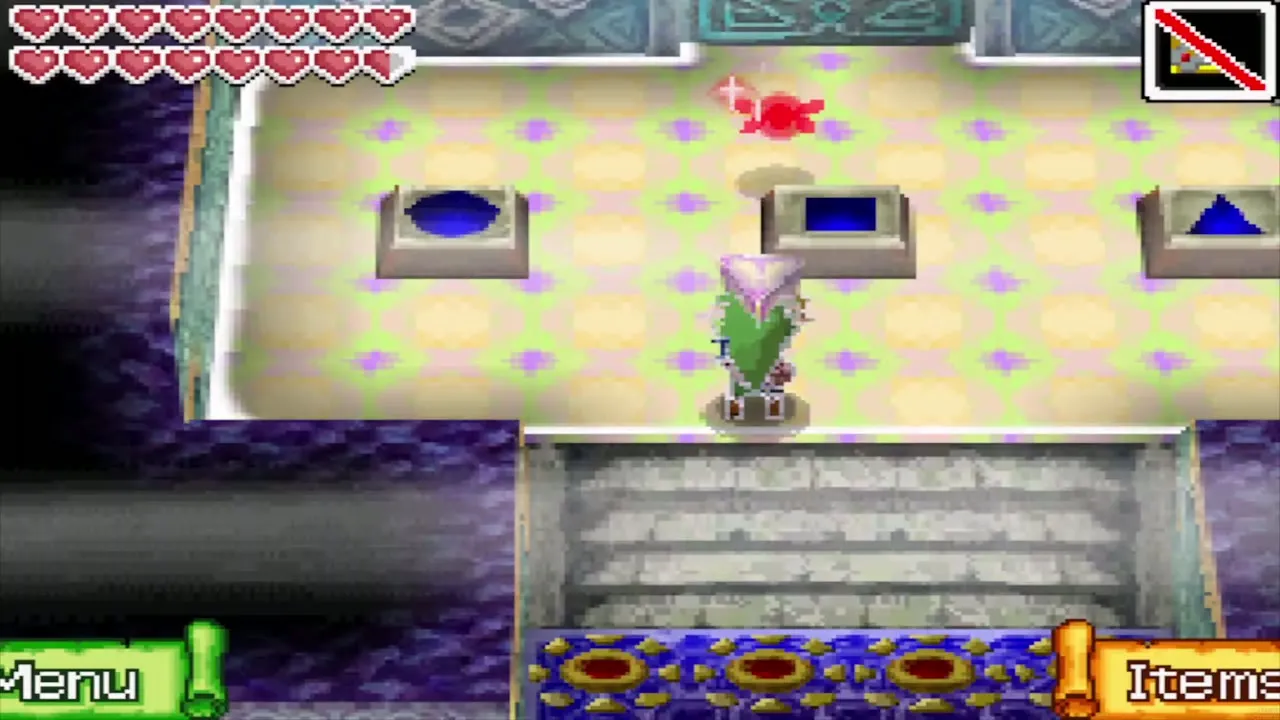
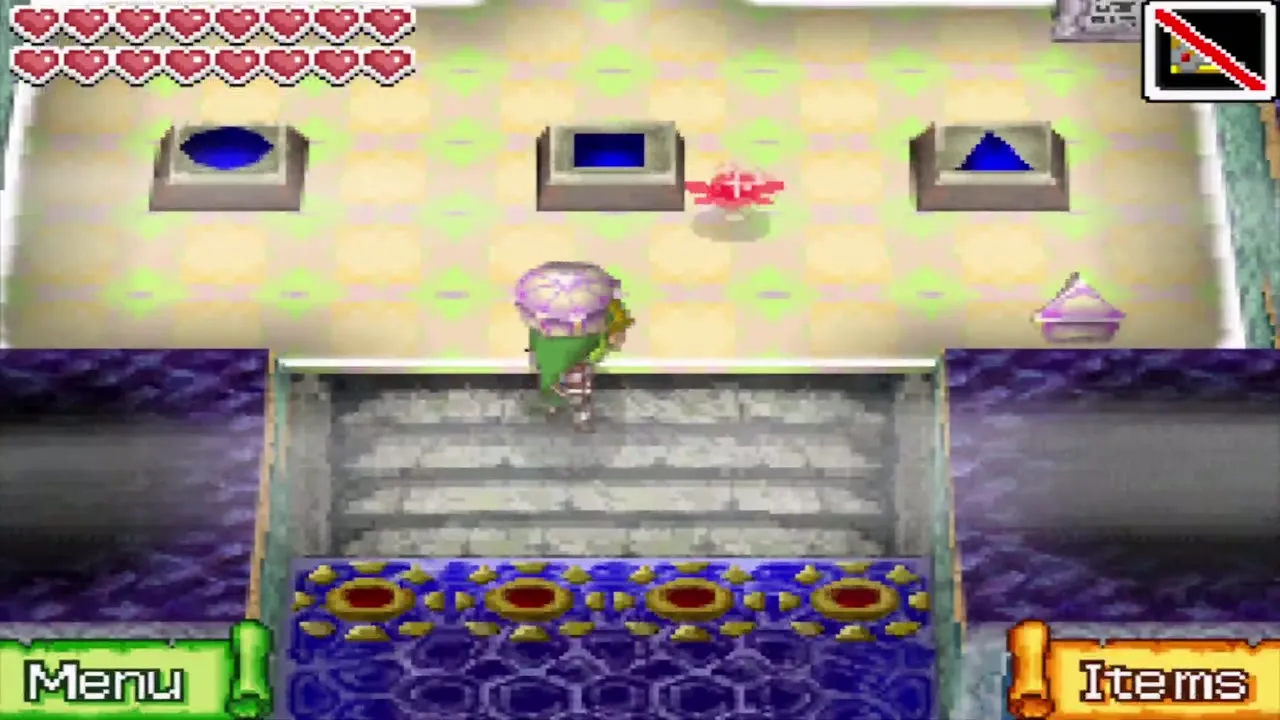
Take the Round Crystal to the large safe zone in the north. Defeat the Swift Phantom carrying the Square Crystal; a Ship Part chest then appears in the south-west safe zone. Take the crystal to the pedestal outside the north-west alcove to put out the flames and open the chest with the Triangle Crystal, then put the crystals on the safe-zone pedestals in the order Square, Round, Triangle. Kill the four Wizzrobes, one in each corner, for the Wisdom Gem chest. The door that opens leads to the Elevator Chamber; step inside, and when you walk out you are on B10.
B10 to B12
B10: Gold Phantoms
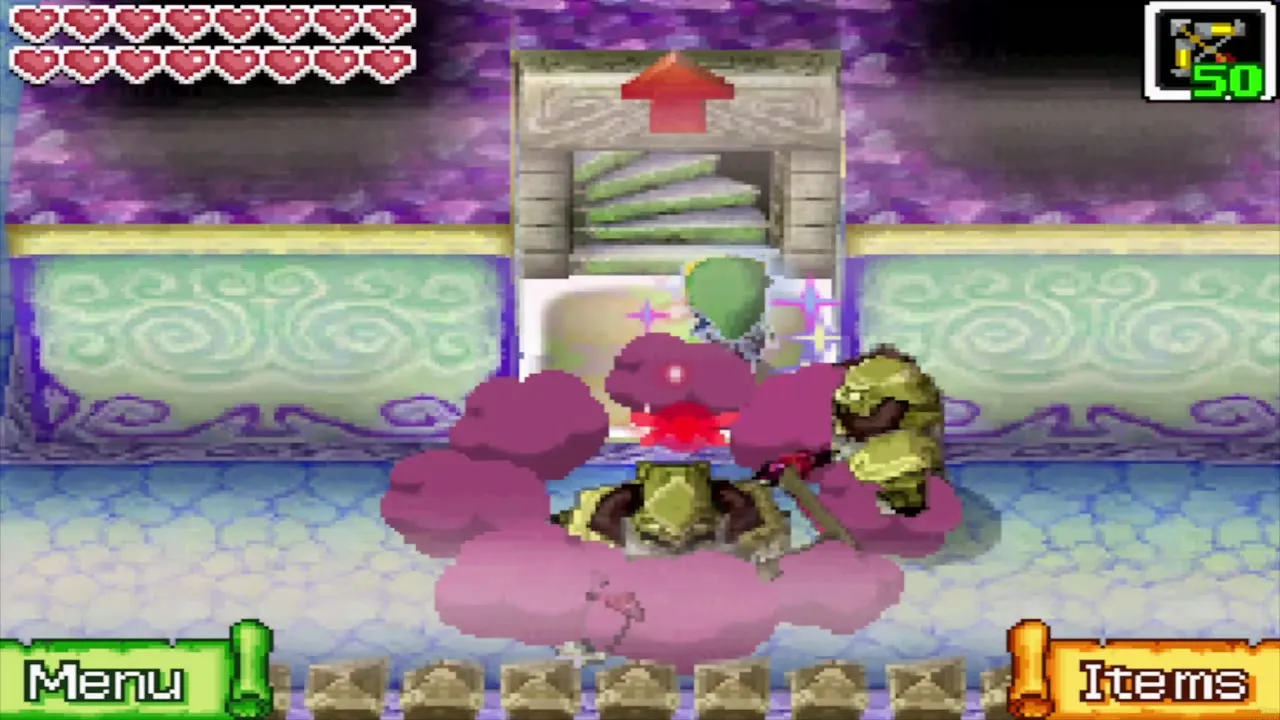
B10 has three concentric rings of hallways with two Gold Phantoms in the outer ring, one carrying the small key, and Phantom Eyes in the inner rings. Gold Phantoms teleport to wherever they spot you. Use the Shock Switches and the Bombs, Bombchus or Grappling Hook shortcuts to remove the floor spikes, defeat the key carrier and unlock the door to the central stairs. Defeating both Gold Phantoms makes a chest with a big green Rupee (worth 100) appear in the west passage between the middle and inner rings, Defeating all the Phantom Eyes makes a chest with a Red Potion (or a big green Rupee if you cannot carry another potion) appear beside the stairs to B11. Pounding the Rusty Switch in the south-west corner with the Hammer makes a large chest with Treasure Map #30 appear in the east passage between the middle and inner rings. Go down to B11.


B11: bridges and geysers
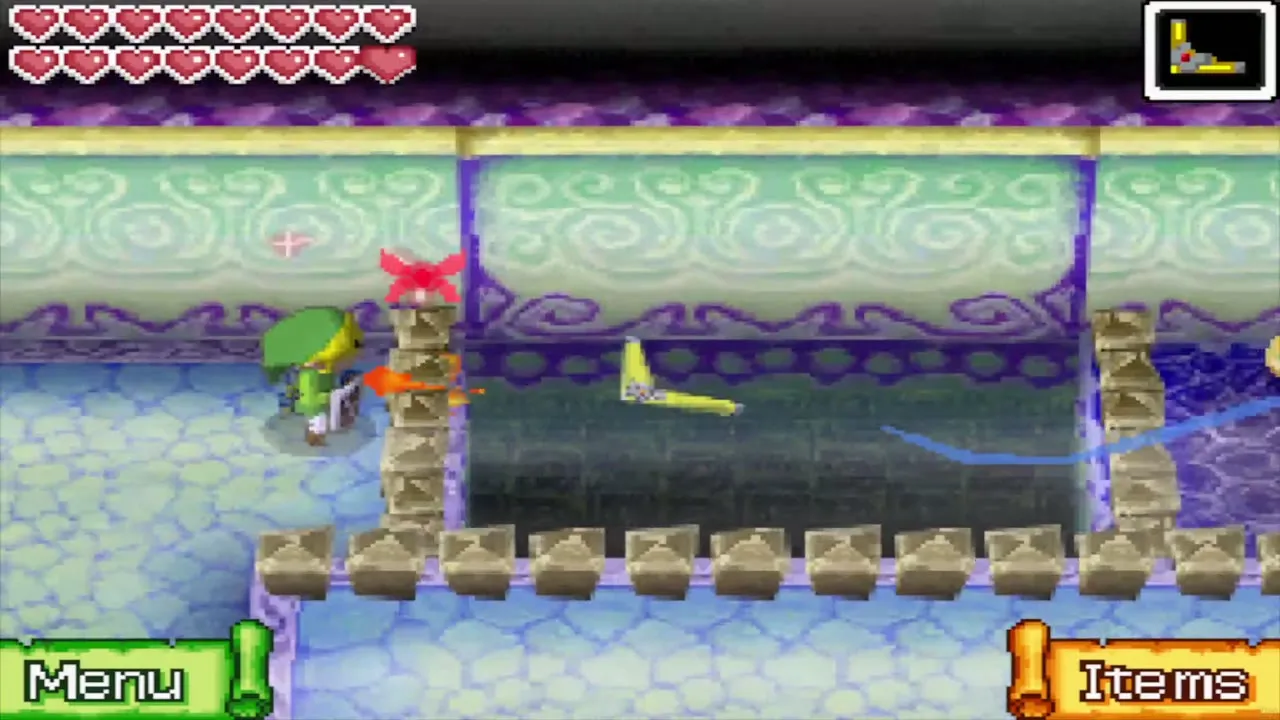
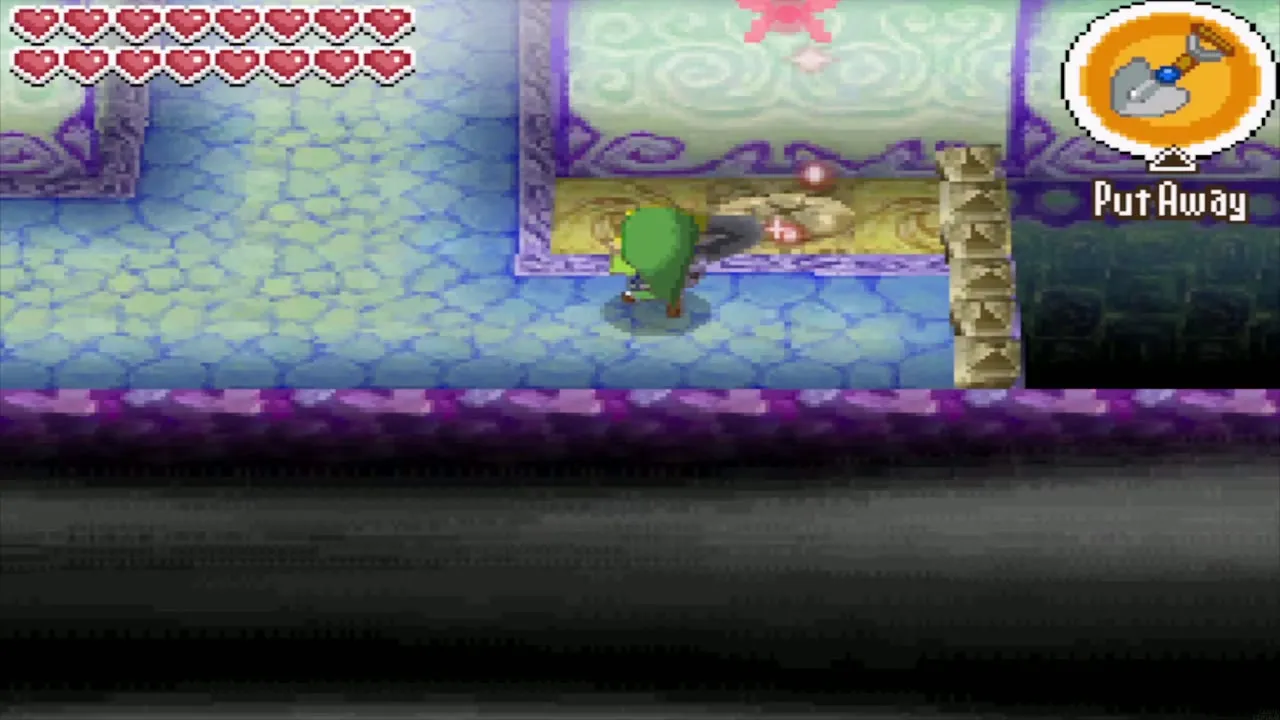
B11 is a grid of nine blocks with two Gold Phantoms and four Phantom Eyes. Four floor switches on top of the four corner blocks open the west stairway to B12. Pull the levers in the north-east and north-west corners to extend bridges from the central north block, dig the soil spot in the north hall, ride the gust geyser up and step on the two northern switches. The bridge to the south-east block is already in place; strike the Shock Switch in the south-east corner to extend the bridge to the south-west block for only about 10 seconds, then reach that side’s gust geyser and step on the last switches. With the Hammer you can skip all this and take the east stairway instead. Defeating all four Phantom Eyes opens a Treasure chest in the north-east safe zone, and defeating both Gold Phantoms opens a big red Rupee chest in the south-west safe zone.

B12: three Force Gems
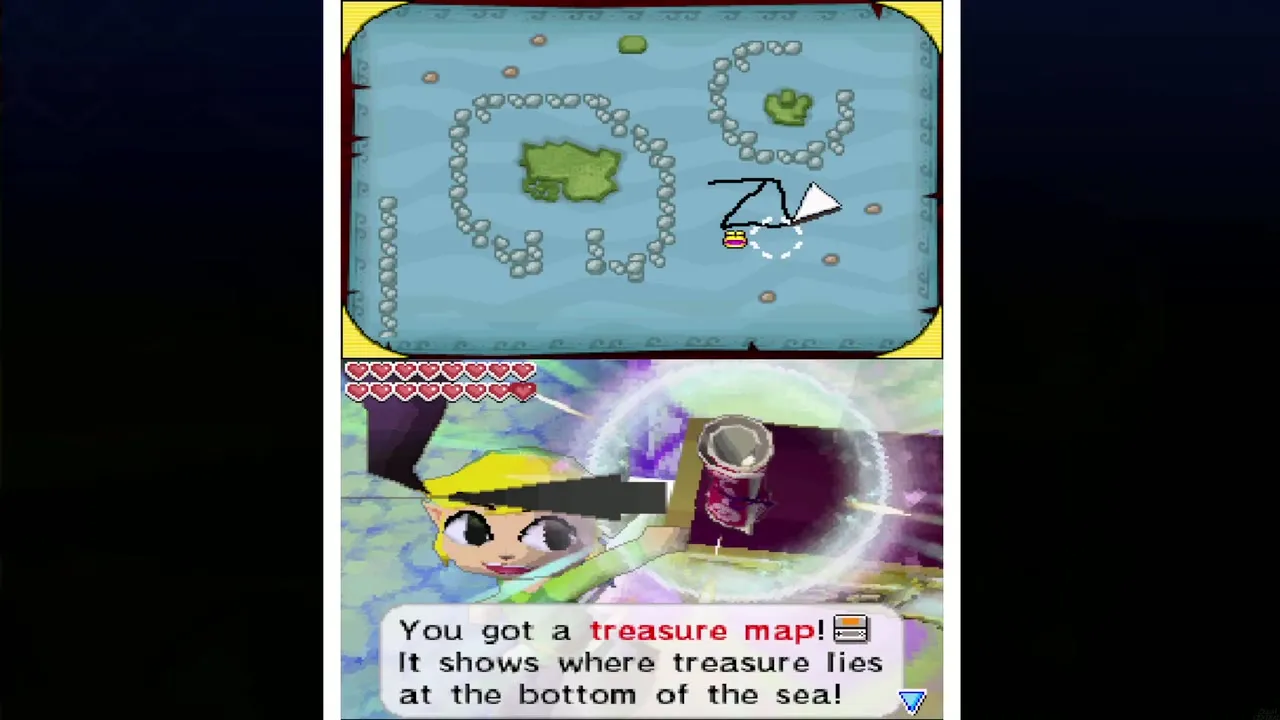
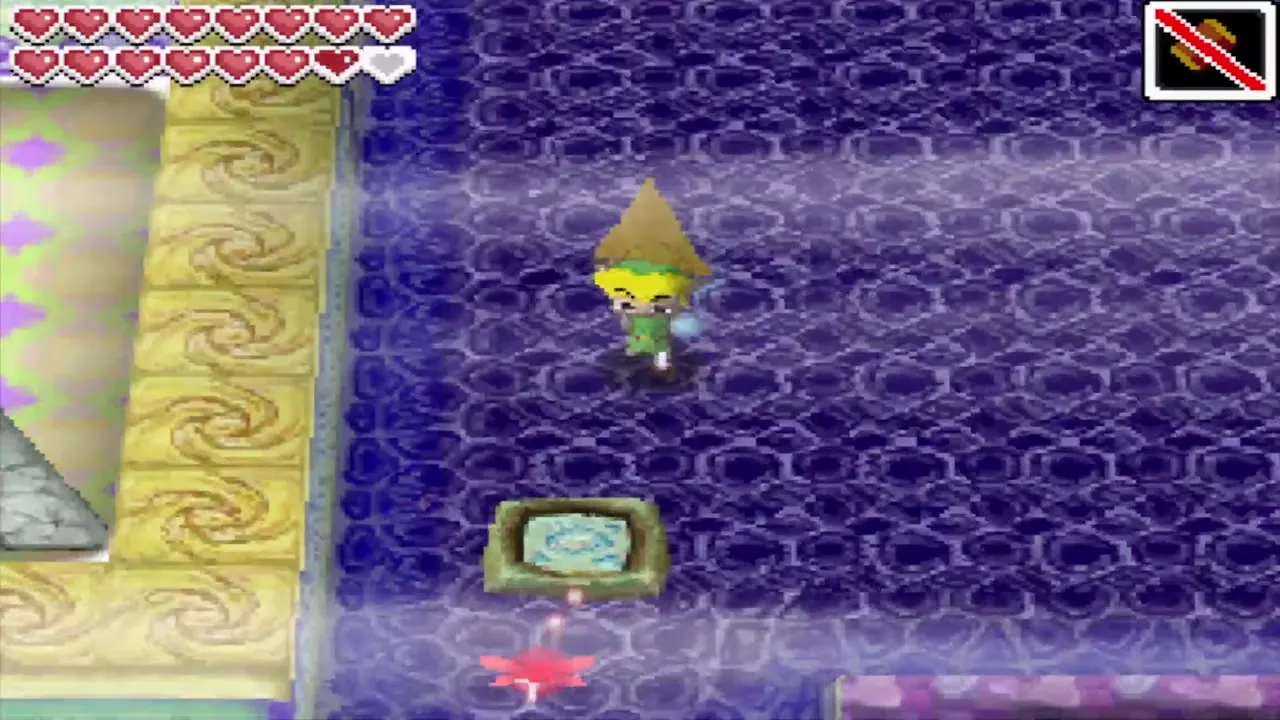
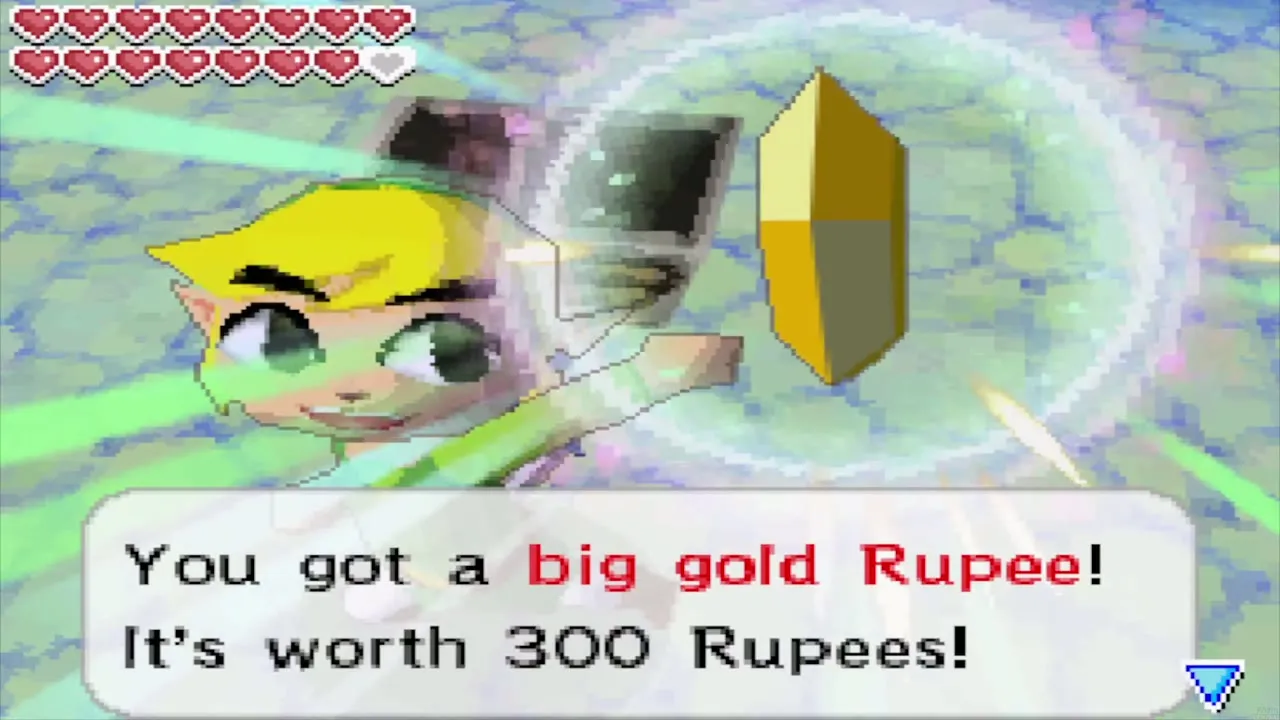
Three Force Gems are hidden on B12: one carried by the Gold Phantom in the centre-south area, and two in chests in alcoves along the north wall. Opening the north-west chest spawns a Phantom and the north-east chest spawns a Swift Phantom. Carry all three to the pedestals in the large safe zone at the centre-north to open the stairs to B13; each of the first two gems placed makes a Wizzrobe appear. Defeating both Wizzrobes makes a Ship Part chest appear in the west hall, and defeating all three Phantoms with the Phantom Sword makes a big gold Rupee (worth 300) chest appear in the centre. With the Hammer, the Shock Switch in the east enclosure makes a chest with Treasure Map #31 appear for only 10 seconds in the east hall.


B13: the nine Phantoms
Defeat the Phantom wave
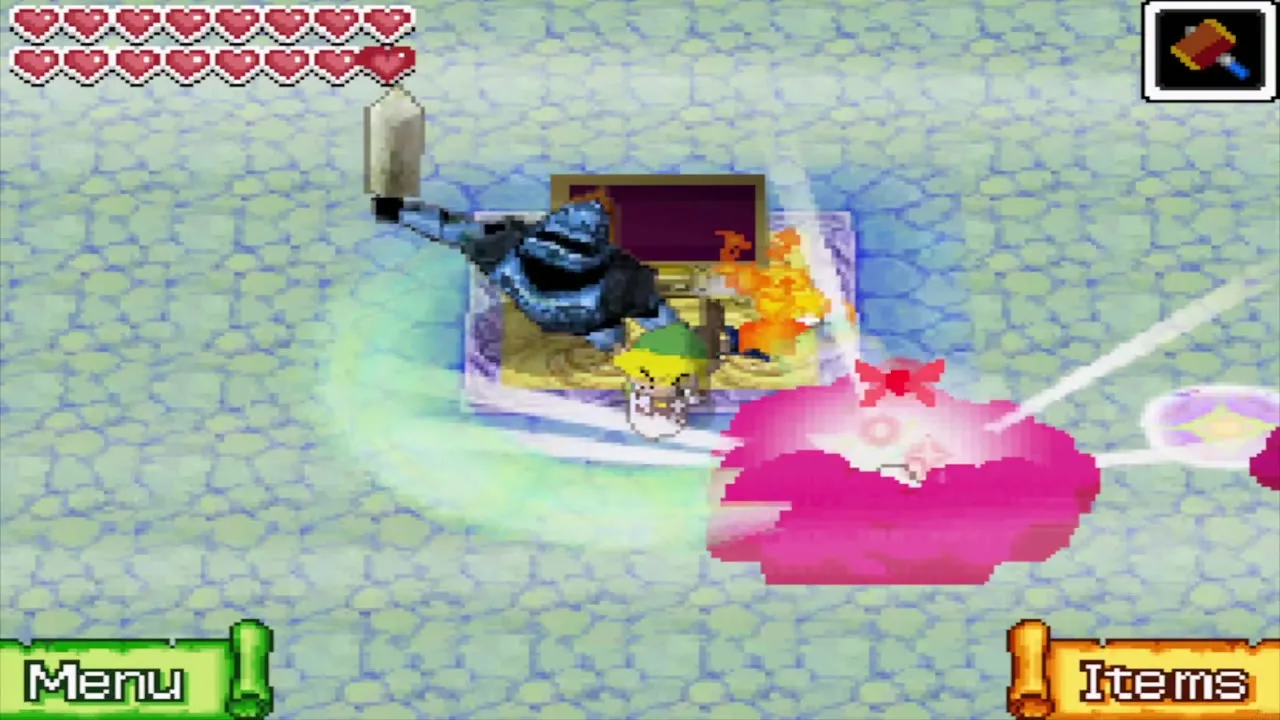
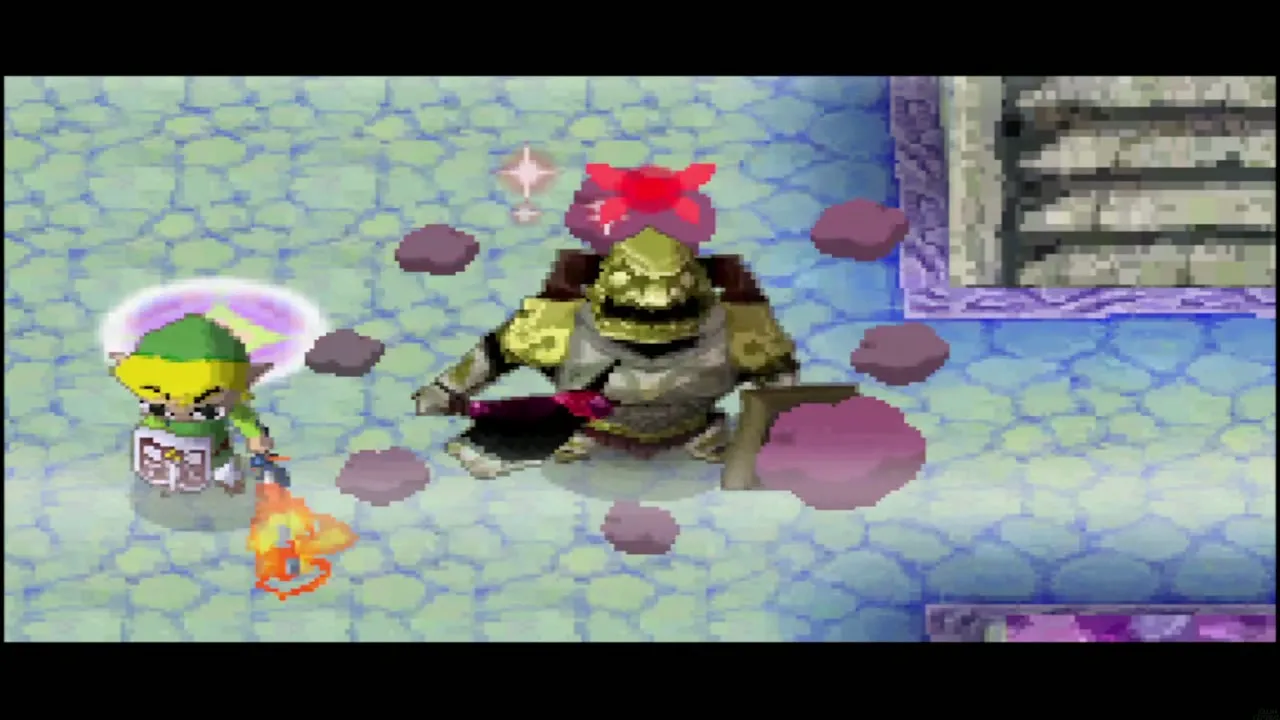
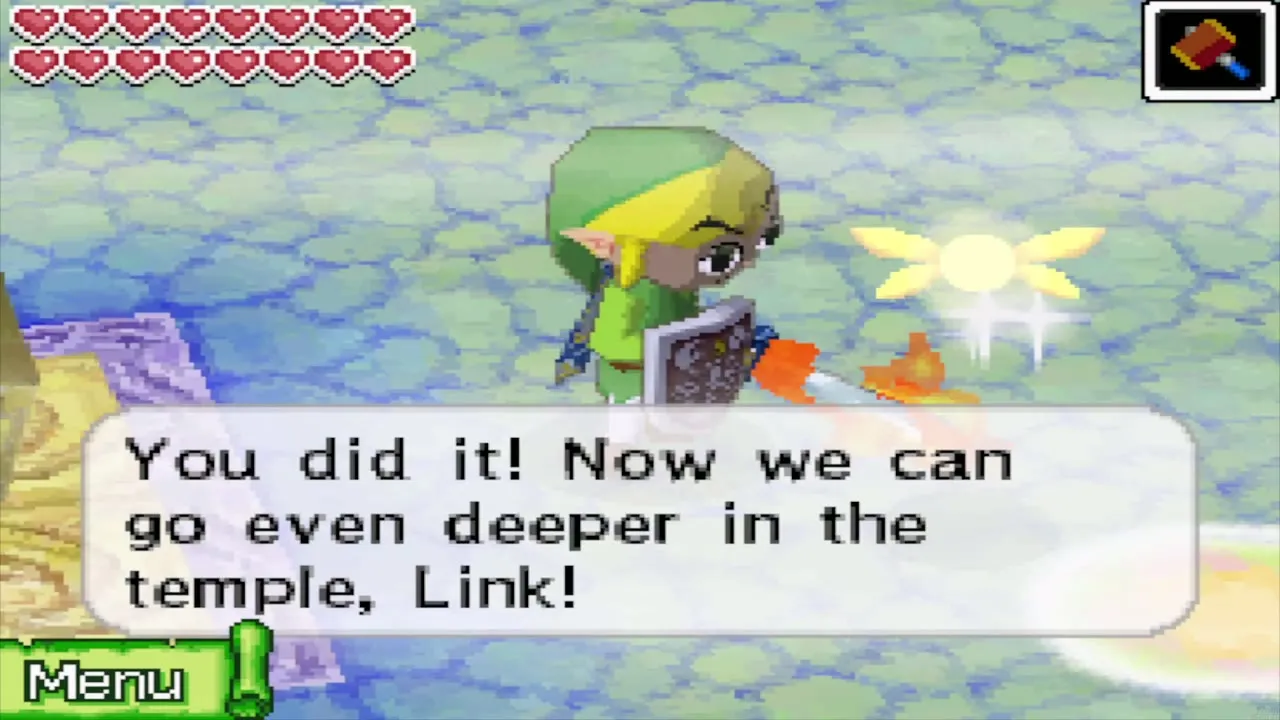
B13 is a smaller floor shaped like the Entry Hall, and it was empty on your earlier visit. Now three Phantoms appear close together on the lower level; once they fall, three Swift Phantoms appear in the same spots, and then three Gold Phantoms. When one spots you, flame walls block the staircases. Dig the soil spot for a gust geyser, ride it to the upper level and take the red pot, which creates a portable safe zone when you break it. Fight from inside the safe zone and slash the Phantoms with the Phantom Sword. When the last one drops, the large door in the north wall opens.

Stairway to Bellum
The door leads to the Stairway to Bellum. As you cross the bridge, it collapses behind you, and Ciela asks whether you are ready. A warp point then appears that takes you back to the altar in the Entry Hall and lets you return here from the temple entrance, so you can repair your ship or buy supplies first. Each time you reach this stairway after the first, two chests with random Ship Parts wait at the entrance. Climb the stairs to the arena.


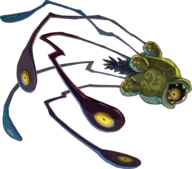
Bellum boss fight
First stage: the pool
Bellum rises from the pool in the middle of a round chamber, spitting slime that turns into small eyes. Avoid the slime and cut down the eyes that come close. Equip the Grappling Hook and pull the slime off Bellum’s body; once it is gone, hook him, pull him to the edge of the pool and slash his eye. After a few rounds he floats up out of reach and the next stage begins.

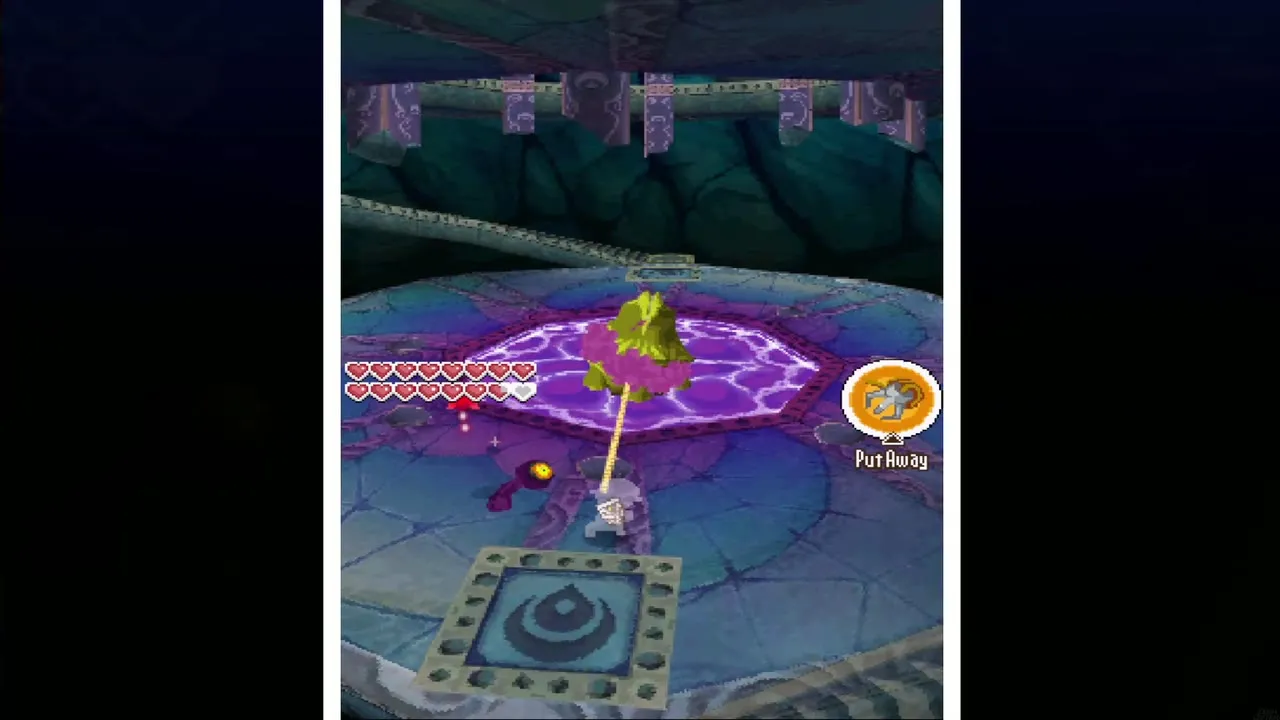
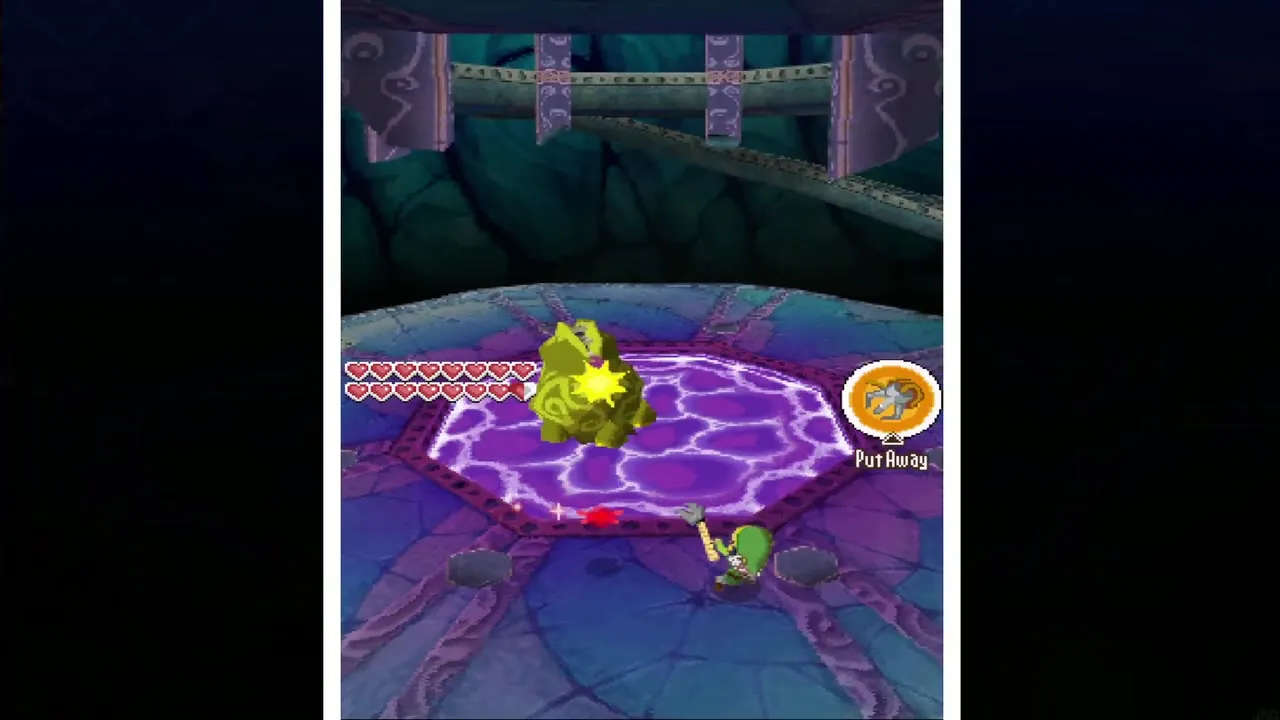
Second stage: tentacle eyes
Climb the spiral stairs to the second level. His tentacles grab the columns around the room, and each has an eye. Shoot every eye with the Bow, circling round the pillars as the tentacles swing. When all are hit, he drops back into the pool and you repeat the first stage. Each time he floats higher, and some eyes close as you approach, so keep moving until you find one you can shoot.
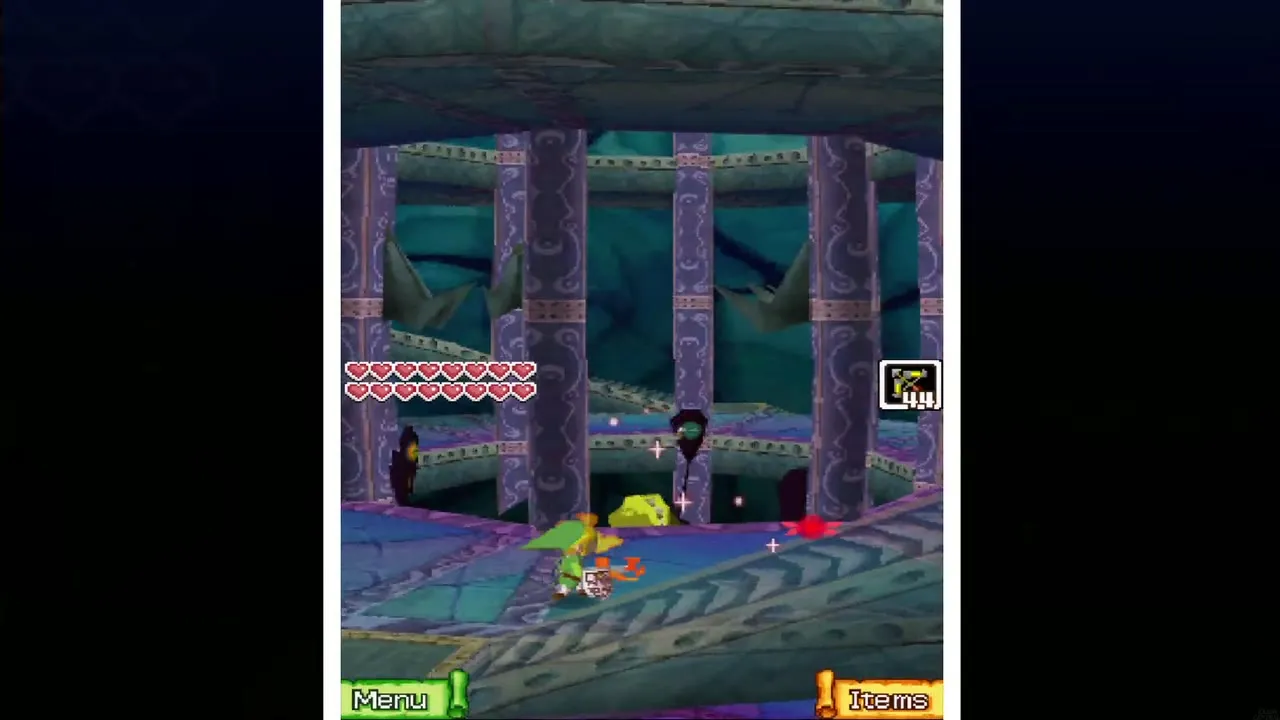


Third stage and Ciela’s memory
On the top level the tentacles slap and swing wildly; shelter behind the pillars and shoot the eyes the same way. When the last eye is hit, Bellum spits out a glowing orb, the memory that he stole from Ciela. She touches it and remembers that she is the Spirit of Time and Courage, which gives her the power to create Phantom Spheres.


Final stage: the Phantom Spheres
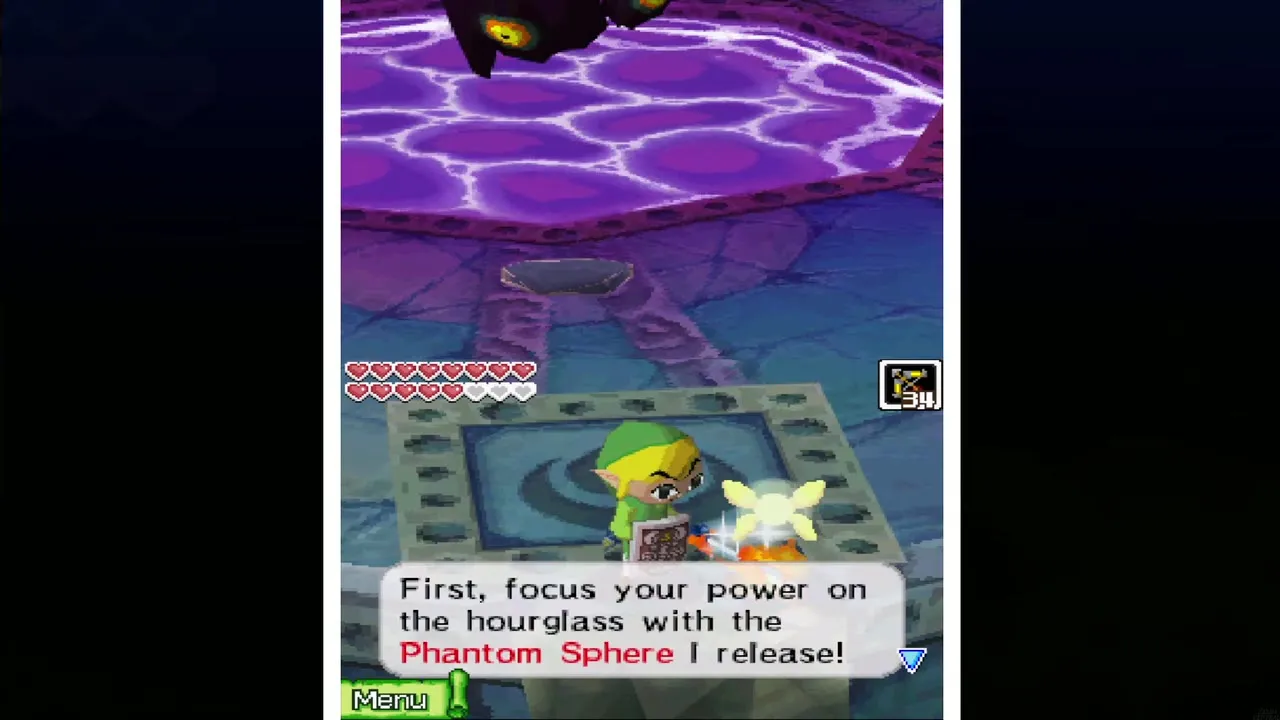
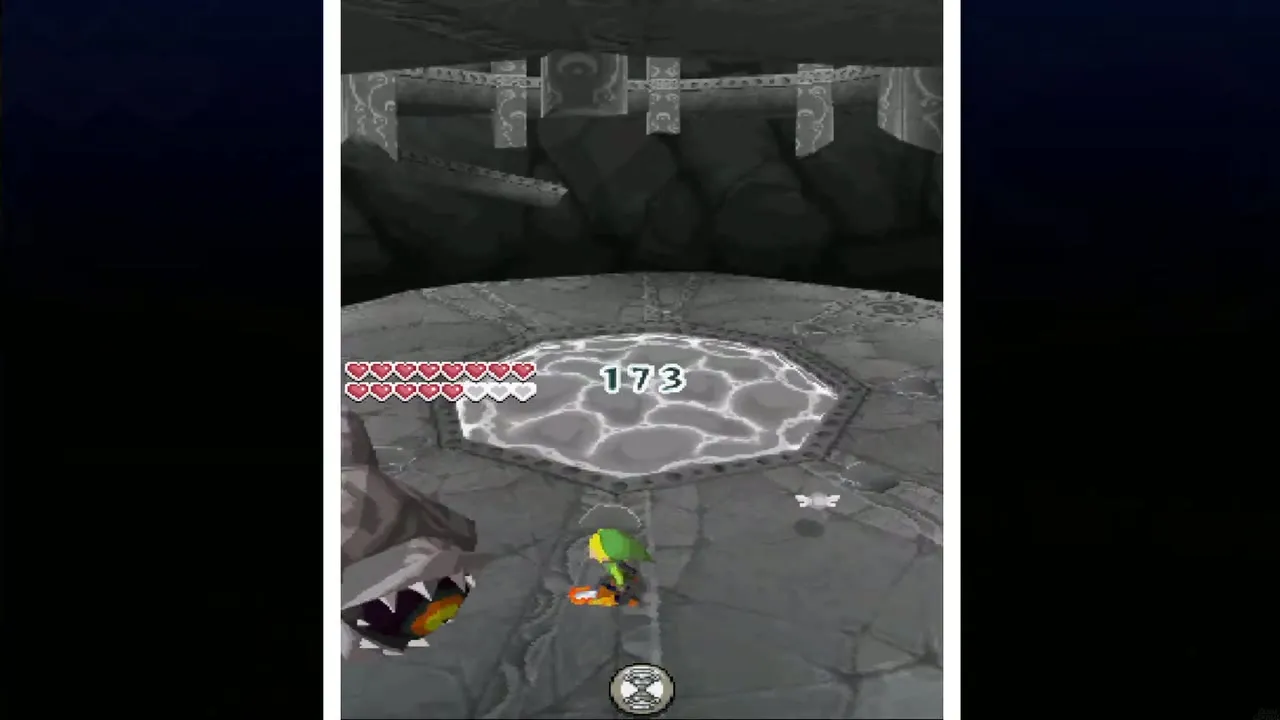
Back on the ground floor, Ciela creates a Phantom Sphere for you. When Bellum’s eye turns toward you, tap the hourglass icon at the bottom of the screen and draw an hourglass shape (a figure eight on its side) on the touch screen to freeze time, then run to the eye and slash it with the Phantom Sword. Do not wait too long, or he floats out of sword reach. Ciela makes a new sphere after each use, so repeat until he falls.

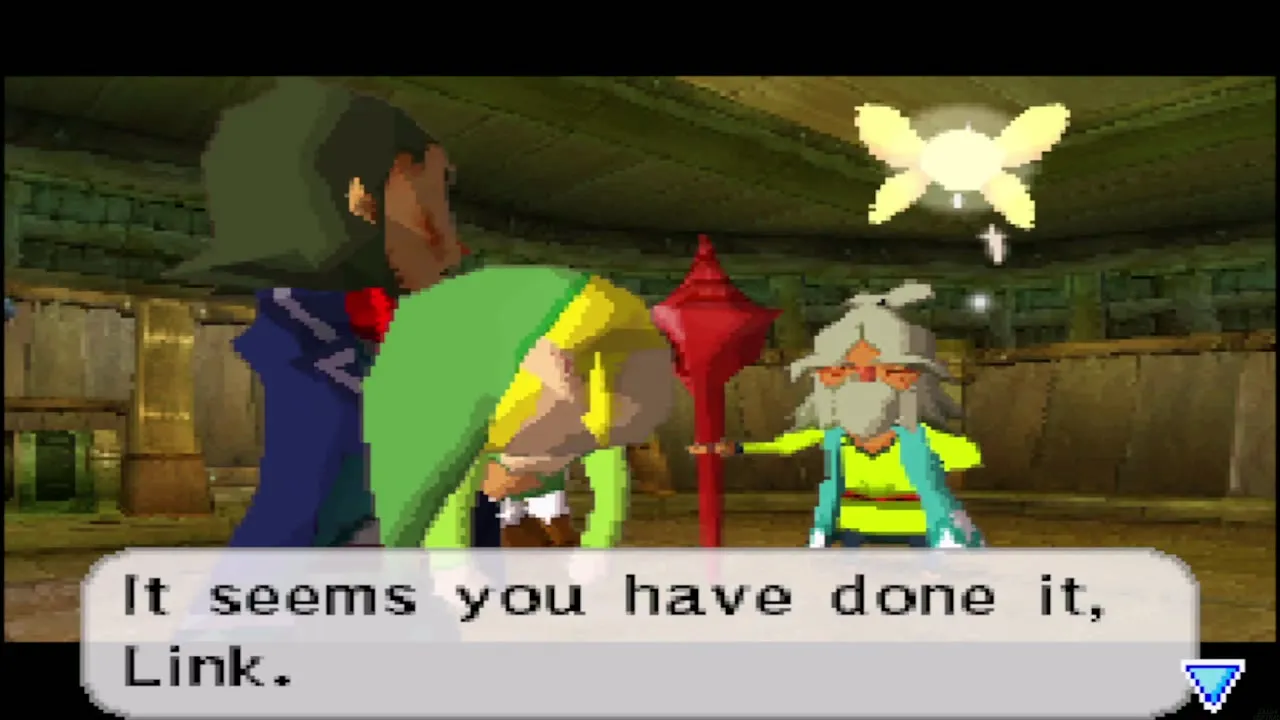
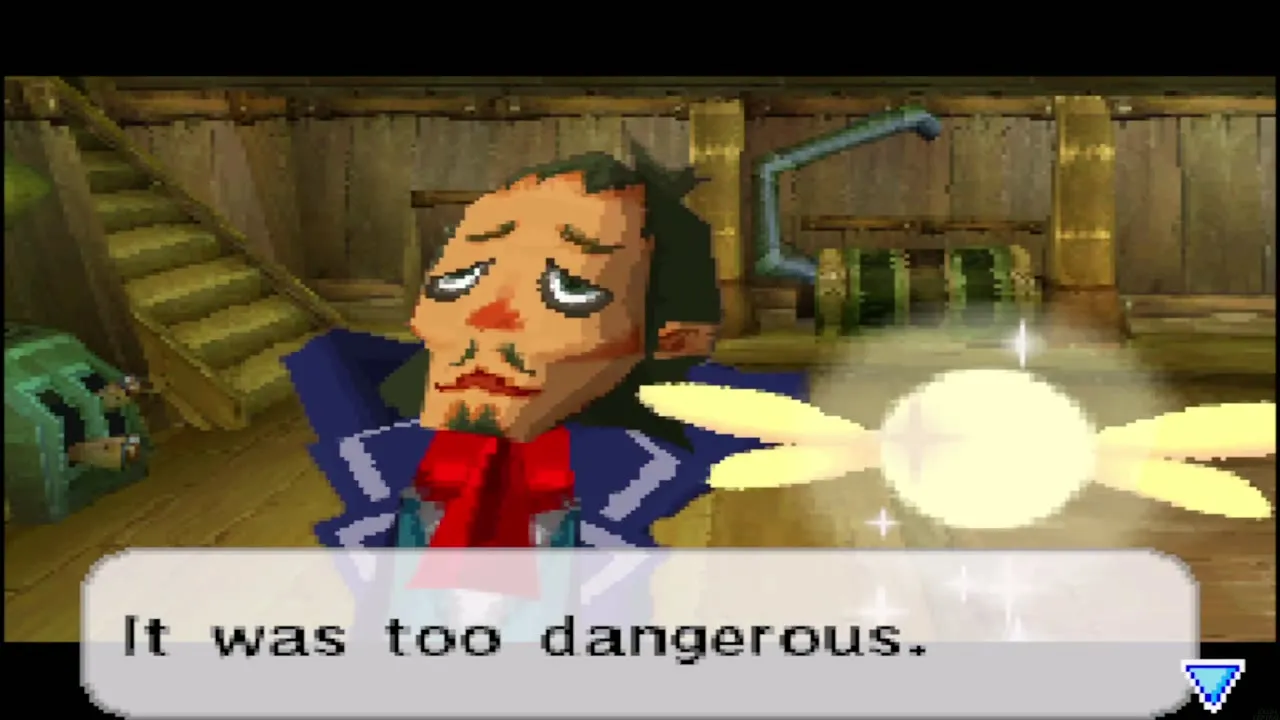
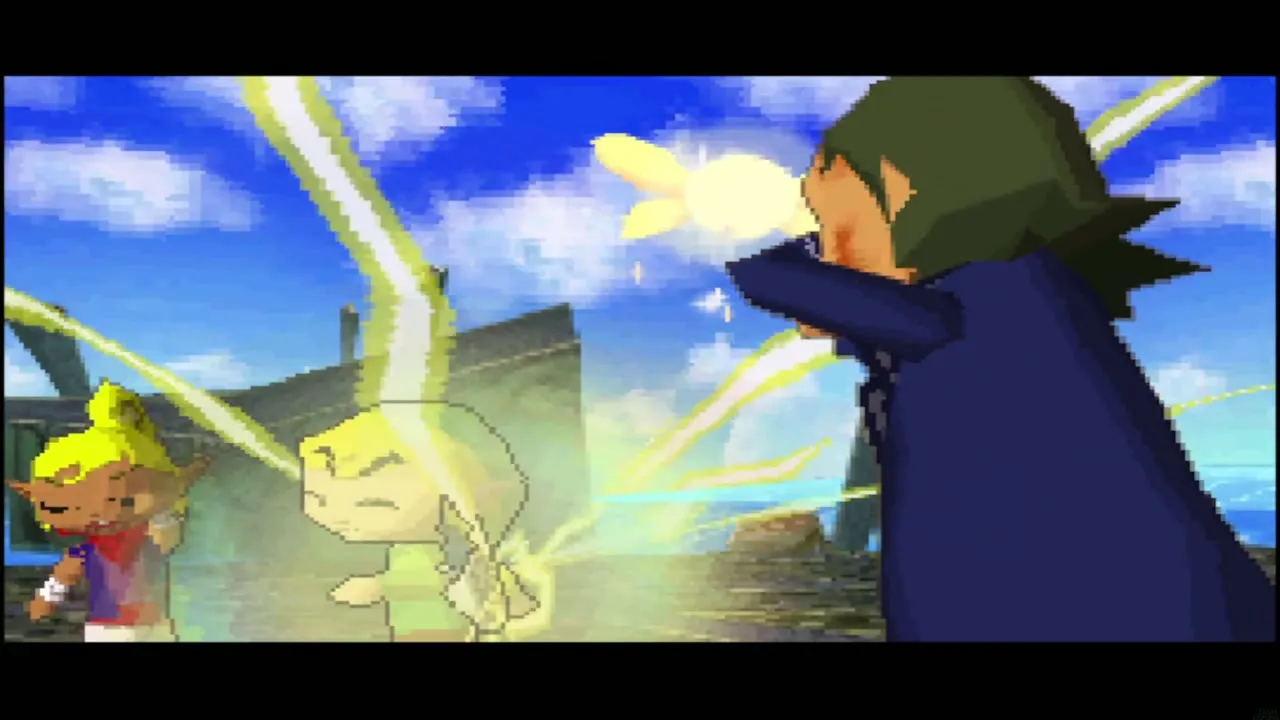
With Bellum down, Oshus restores Tetra on the S.S. Linebeck, but Bellum snatches her away to the Ghost Ship, which he now controls.

The Ghost Ship battle
Shoot the ooze and the eyes
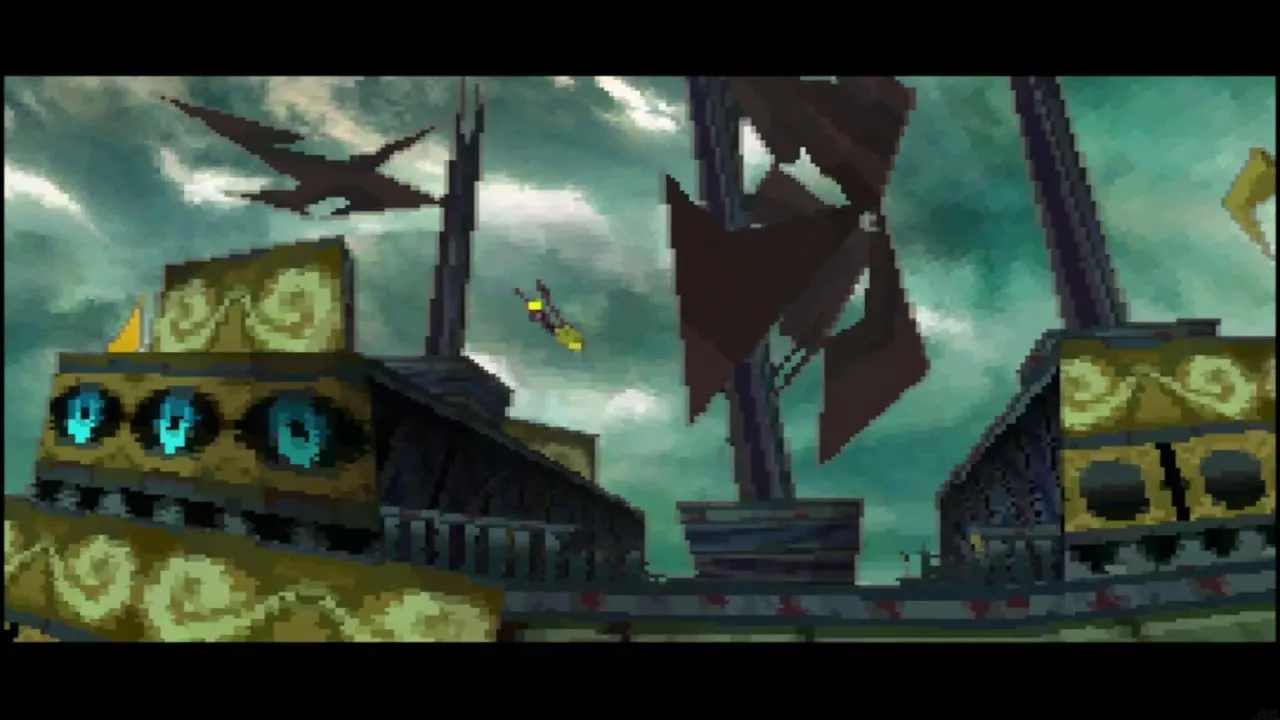
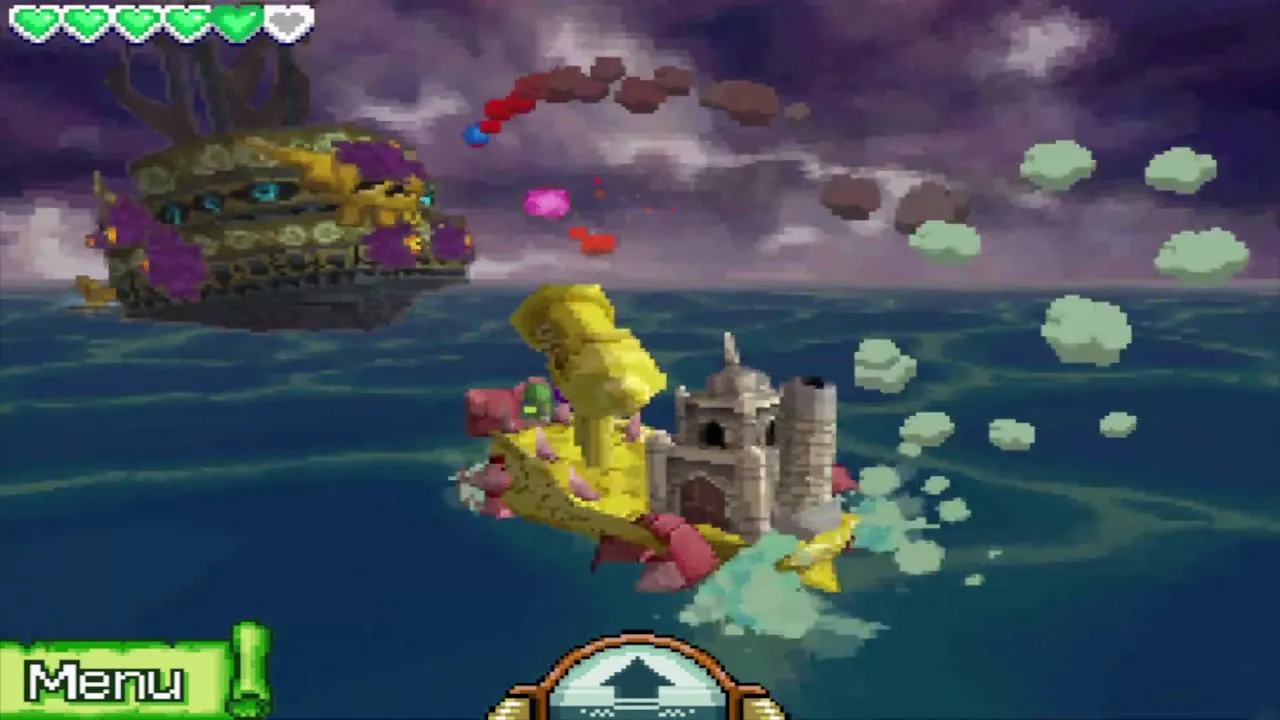
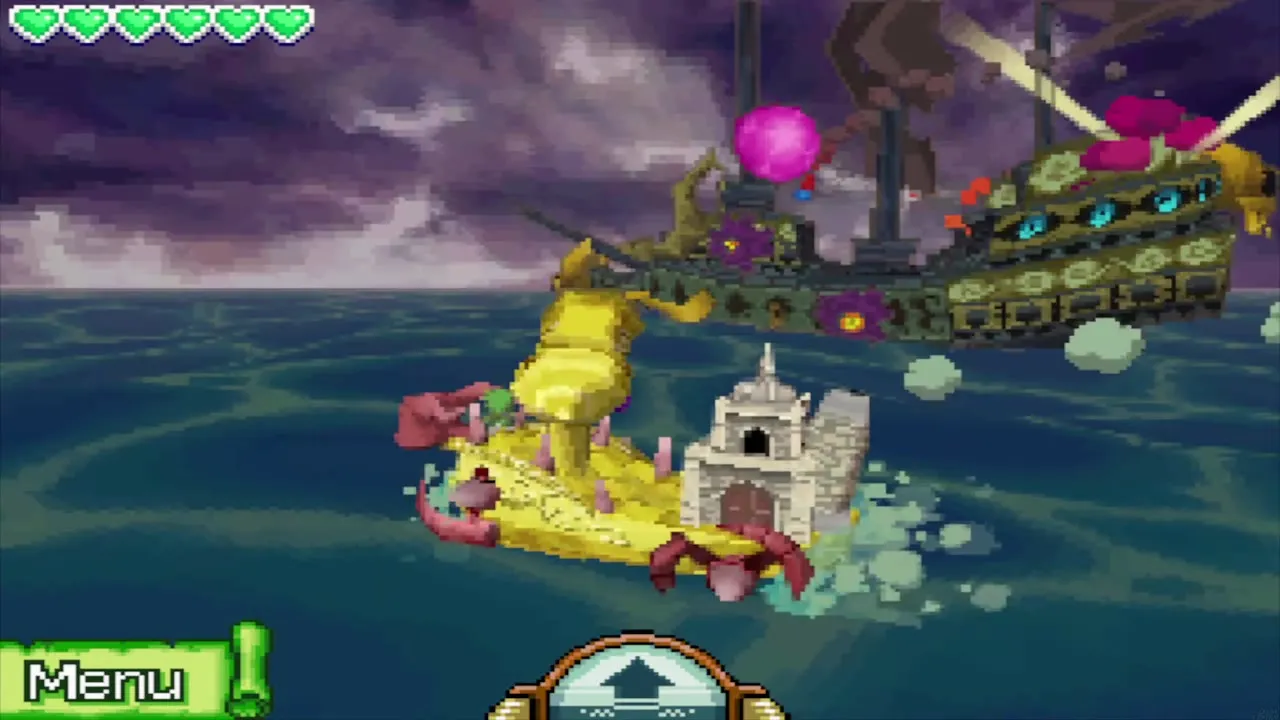
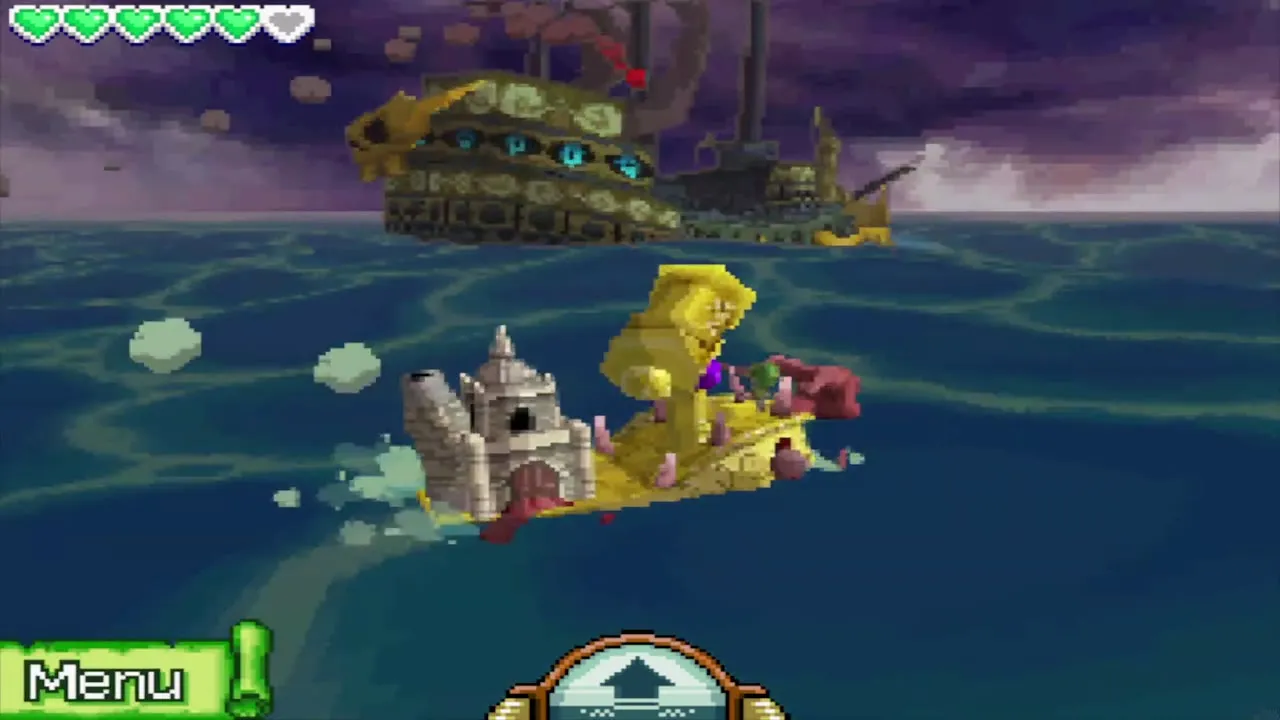
Bellum has taken over the Ghost Ship, which now spits slime at the S.S. Linebeck. You aim the cannon by tapping. Shoot the balls of slime the ship hurls at you before they land (some hits restore your ship’s hearts), and shoot the eyes on its sides; the map shows which are still open. Then shoot the main eyes inside the ship. The ship circles you, so keep moving your aim. Keep going until the Ghost Ship is destroyed, then save your game when asked before you board.
Bellumbeck boss fight
Fight Bellumbeck on the wreck
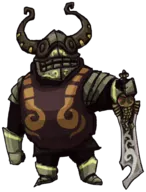
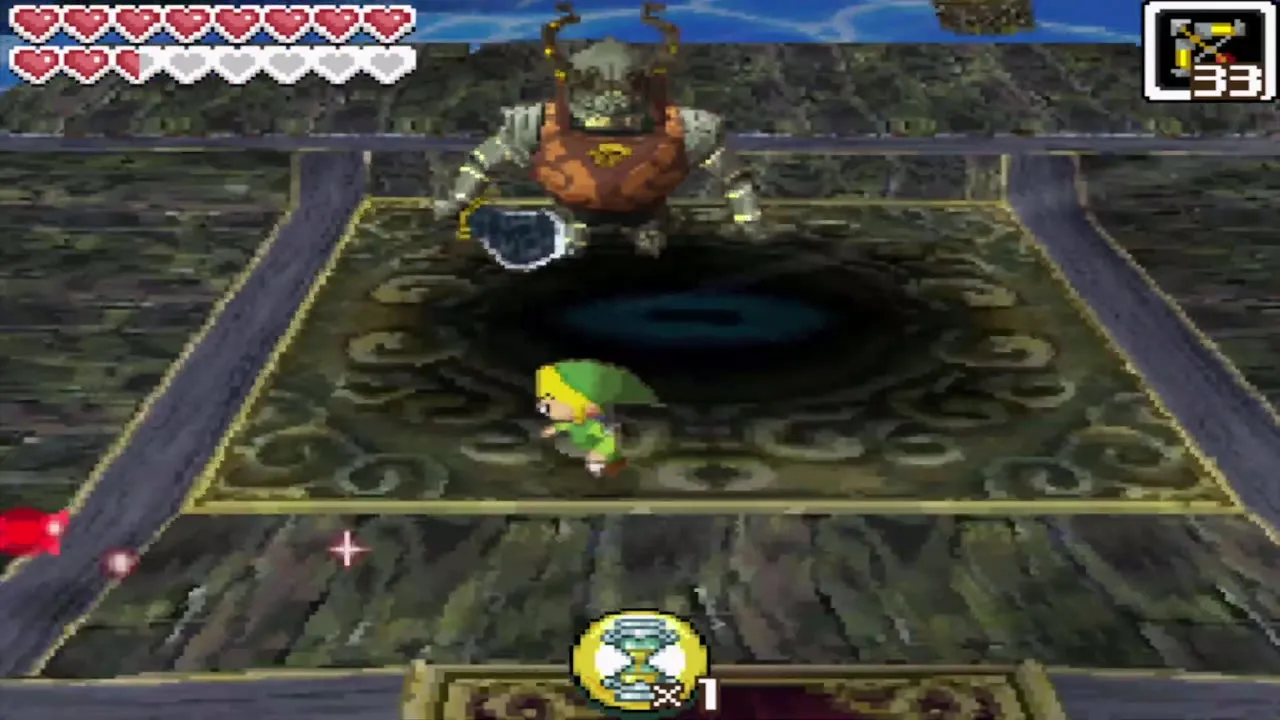
The Ghost Ship sinks and the last fight takes place on its wreck, where Bellum has possessed Linebeck and turned him into Bellumbeck, a huge armoured Phantom that you cannot hurt from the front. His weak point is the eye on his back, which opens only now and then. Ciela flies behind him, and the top screen shows her view, so you know when the eye is open. When it opens, tap the hourglass icon, draw the hourglass to stop time and slash the eye. Bellumbeck traps Ciela with a tentacle; when your swords lock, rub the stylus to break free and strike once more to free her, which gives you a Phantom Sphere. Later he spins back and forth, and a spin attack of your own clashes with his. Repeat until he falls.


The ending
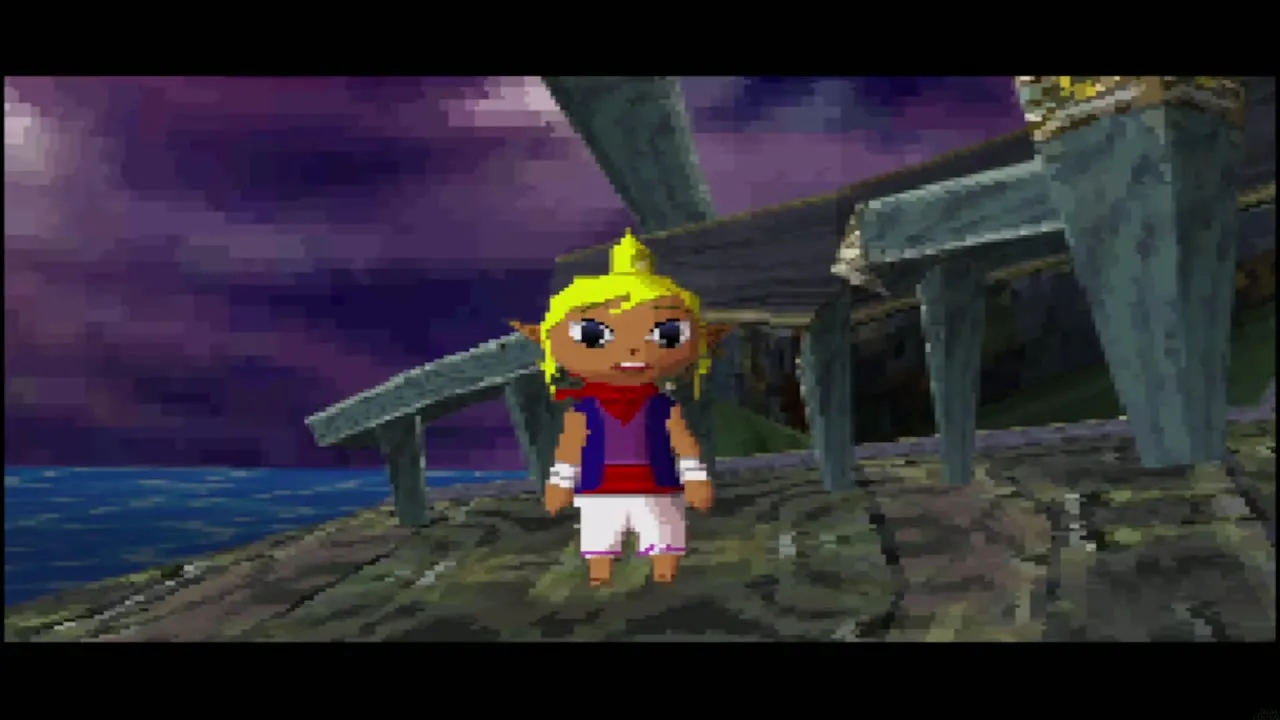
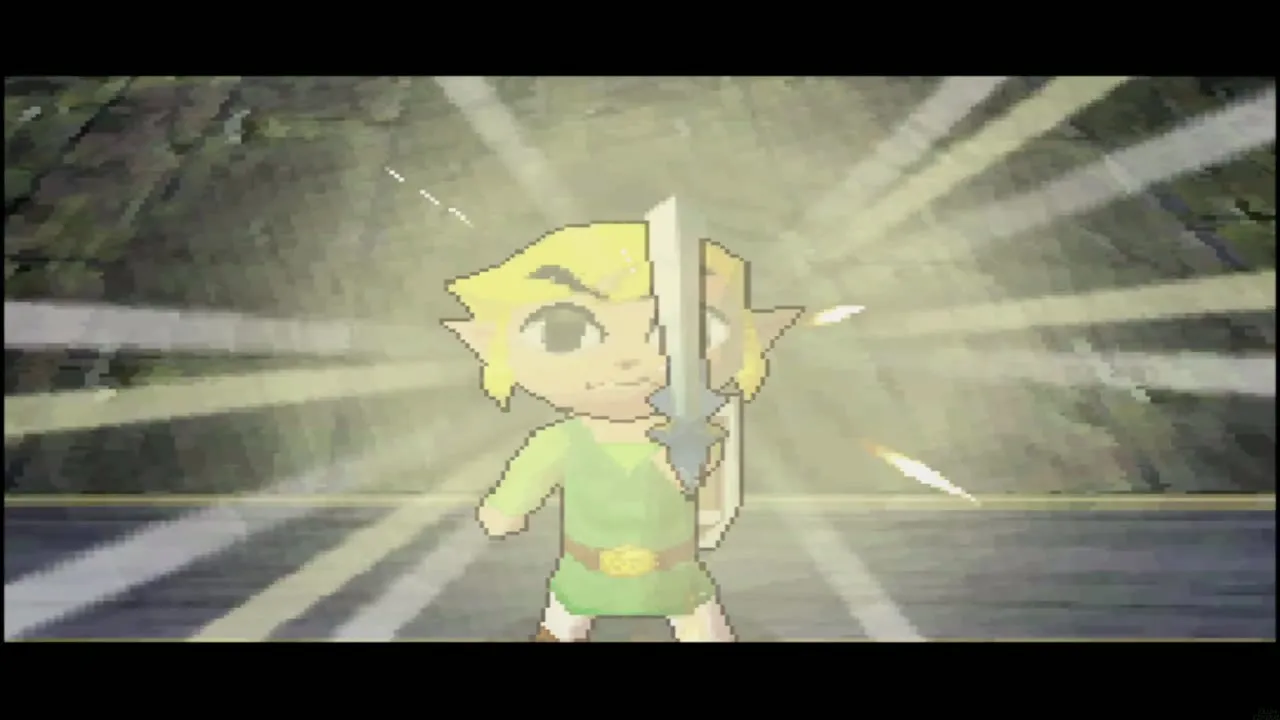
When Bellumbeck is destroyed, Linebeck is freed and the last of the Sand of Hours is absorbed by the Phantom Sword, which ends Bellum. The credits roll; tap the touch screen when “The End” appears. Link and Tetra then find themselves back on Tetra’s pirate ship, where the crew say only ten minutes have passed and insist it was all a dream. The Ghost Ship is gone, and Link still has the empty Phantom Hourglass. Afterwards you can finish collecting any remaining Heart Containers, Spirit Gems, Treasure Maps and Ship Parts from the 100% completion checklist.

Chapter checklist
| Collectible | Type | Where |
|---|---|---|
| Phantom Sword | Item | Oshus’s house, Mercay Island, after Zauz forges the blade |
| Power Gem | Spirit Gem | Letter from King Mutoh, delivered by a messenger at a red mailbox after Mutoh’s Temple |
| Power, Wisdom and Courage upgrades | Spirit upgrade | Spirit Island shrine (10 and 20 gems each) |
| Floor chests B1, B2, B3, B4 and B6 | Treasure | Kill every Phantom on the floor (B3: Grappling Hook ledge) |
| Floor chests B7, B8 and B9 | Ship Part | Kill the Phantoms (B9: the Swift Phantom) |
 Red Potion (or big green Rupee) | Potion | B5 shock-switch chest; B10 chest after all Phantom Eyes |
| Treasure Map #30 (B10) | Treasure Map | Large chest in the east passage, needs the Hammer |
| Big green Rupee | Rupees (100) | B10 |
| Treasure Map #31 (B12) | Treasure Map | B12 timed chest, needs the Hammer |
| Big gold Rupee | Rupees (300) | B12, centre, after all three Phantoms |
 Treasure and big red Rupee (200) | Treasure, Rupees | B11: Treasure after the Phantom Eyes, big red Rupee after both Gold Phantoms |
| Ship Part | Ship Part | B12 chest after both Wizzrobes |
 Force Gems (3) | Key item | B12 |
| Courage Gem 1 | Spirit Gem | Spirit Island, chest beside the channel (skip if taken) |
| Power Gem 15 | Spirit Gem | Spirit Island, east section, needs the Grappling Hook (skip if taken) |
| 2 Ship Part chests | Ship Part | Stairway to Bellum, on every arrival after the first |
This is the end of the main walkthrough. Go back to the B10 to B13 chapter if you skipped any floor, or use the 100% checklist to finish what is left.
