
























Phantom Hourglass 100% Completion Walkthrough19 chapters
- Temple of FireEvery key, the Boomerang, the Boss Key, how to beat Blaaz, the Heart Container, Leaf and Astrid’s Power Gem.
- Temple of WindGet the bombs, the Boss Key, beat Cyclok, free Neri and take the Heart Container.
- Molida Island and the Temple of CourageBeat the Giant Eye Plant, light Molida’s statues, get the Bow, defeat Crayk and awaken the Spirit of Courage.
- The Ghost ShipFind the ship with the Spirits, free the Cubus sisters, win their volley game, get the Ghost Key and Heart Container.
- Goron TempleTeam up with Gongoron, get the Bombchus and the Boss Key, beat Dongorongo and take the Crimsonine.
- Temple of IceLever order, three small keys, Grappling Hook, Boss Key, Gleeok fight, Heart Container and Azurine.
- Mutoh’s TempleGet the Hammer, find both small keys and the Boss Key, beat Eox and collect the Aquanine.
- Mercay Island and the First Sea ChartGet Oshus’s Sword, solve the lever passage, rescue Linebeck and find the first sea chart.
- Temple of the Ocean KingTake the Phantom Hourglass, sneak past Phantoms, carry three Force Gems and find the Northwestern Sea Chart.
- Temple of the Ocean KingPhantom Eyes, the hourglass crest door, the Salvage Arm, treasure salvage and the Sun Key.
- Zauz and the Temple of the Ocean KingPure Metals, Triforce door, crystal puzzles and the Southeastern Sea Chart.
- Temple of the Ocean KingGold Phantoms, the B11 bridges, three Force Gems on B12 and the Northeastern Sea Chart.
- The Phantom Sword and BellumPhantom Hourglass walkthrough for the Phantom Sword, the last Temple of the Ocean King descent, Bellum.
- Isle of Ember and AstridFirst voyage, Beedle’s Shop Ship, Kayo’s torches, freeing Astrid and the volcano path to the Temple of Fire.
- Cannon Island, the Ghost Ship Chase and Molida IslandBuy the Cannon from Eddo, chase the Ghost Ship, then reach Molida Island and take the Shovel.
- Northwestern Sea and the Isle of GustThe fog route, Bannan Island fishing, Zauz, the Cyclone Slate, Golden Frogs and the way to the Temple of Wind.
- Goron Island and GongoronSail the Southeastern Sea, beat the Massive Eye, pass Biggoron’s quiz, find Gongoron and reach the Goron Temple.
- Isle of Frost and the Yook MysteryCannon the ice, Anouki Estates, find the Yook among six villagers and fight through the Great Ice Field.
- Isle of the Dead and the Isle of RuinsDig spot, Phantom Corridor path, Regal Necklace, King’s Key, Max and the door symbol.
| Covers | Bannan Island Cannon Game, Isle of Ember and Mercay gems, Temple of the Ocean King B4 to B6, Eddo’s Salvage Arm, first salvage dives, the Sun Key |
|---|---|
| You need | Boomerang, Bombs, Shovel, Cannon, Neri (Spirit of Wisdom) from the Temple of Wind, the Cyclone Slate (optional, saves sailing), and at least 200 Rupees for the Salvage Arm |
| Rewards | Bomb Bag upgrade (next size up), 3  Power Gems, 2  Wisdom Gems,  Red Potion, 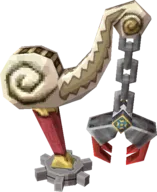 Salvage Arm, 2  Sand of Hours (1 minute each, salvaged), a  treasure map, several ship parts, the  Sun Key |
This chapter takes you from the Temple of Wind to the Sun Key. You collect Spirit Gems on Bannan Island, the Isle of Ember and Mercay Island, return to the Temple of the Ocean King and climb through B4, B5 and B6 with Neri’s help, copy the sun crest onto your Southwestern Sea Chart, buy the Salvage Arm from Eddo on Cannon Island and pull the Sun Key out of the sea at the marked spot.
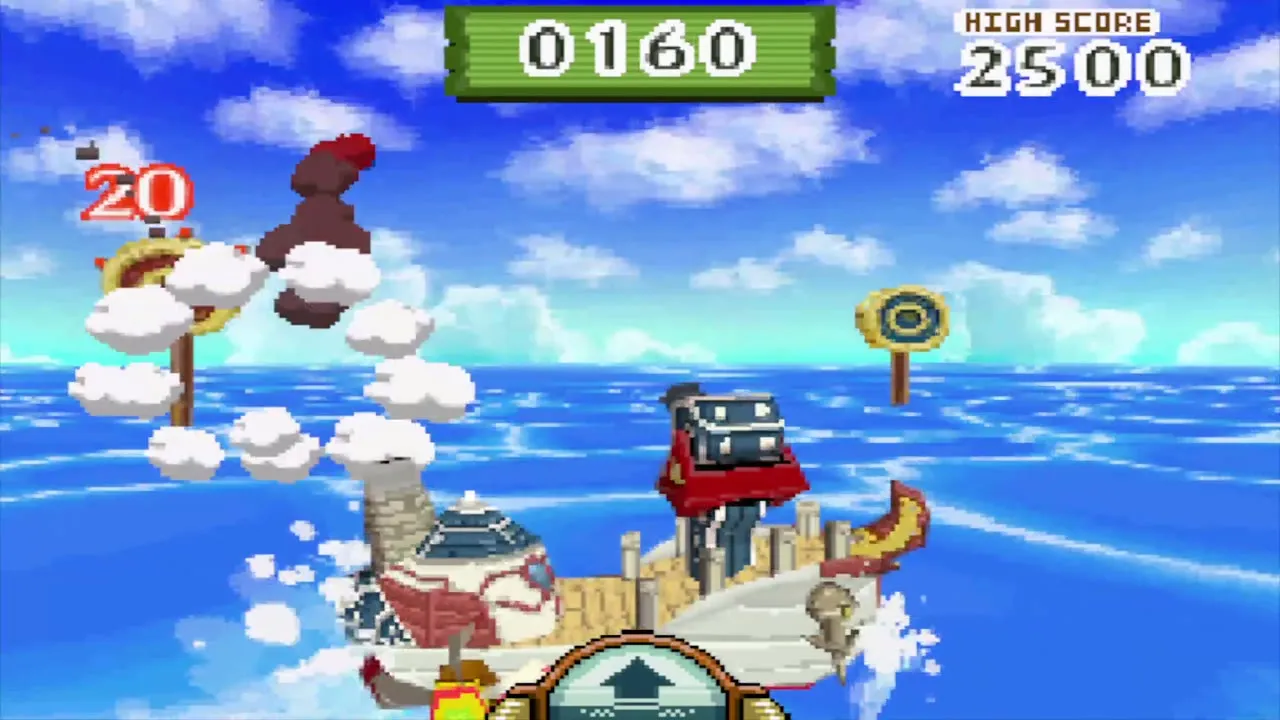
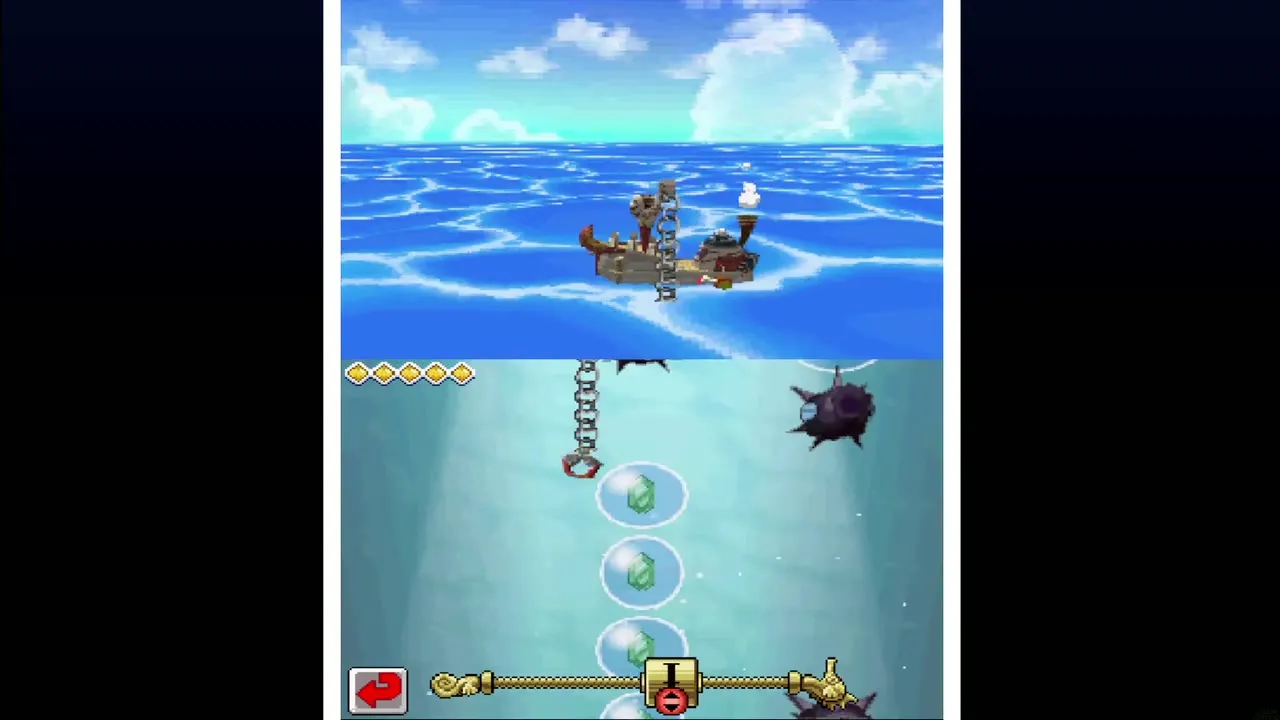
Table of Contents
Bannan Island and the Cannon Game
Sail to Bannan Island
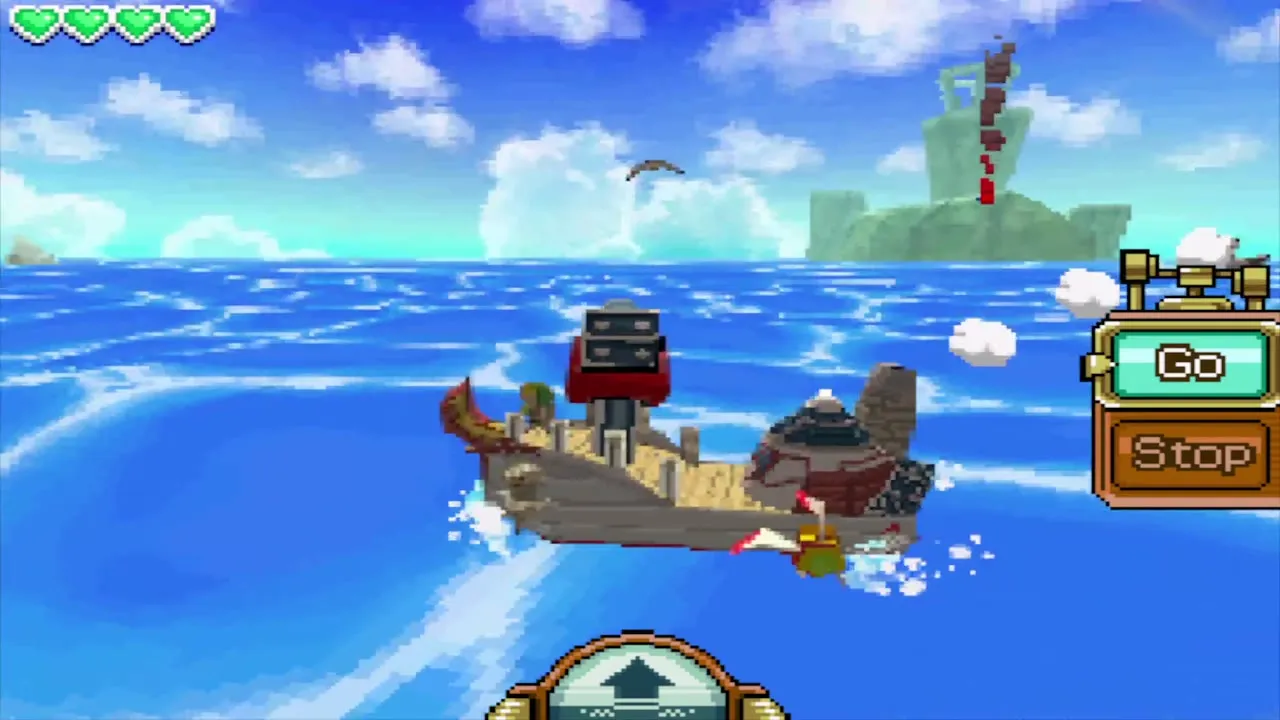
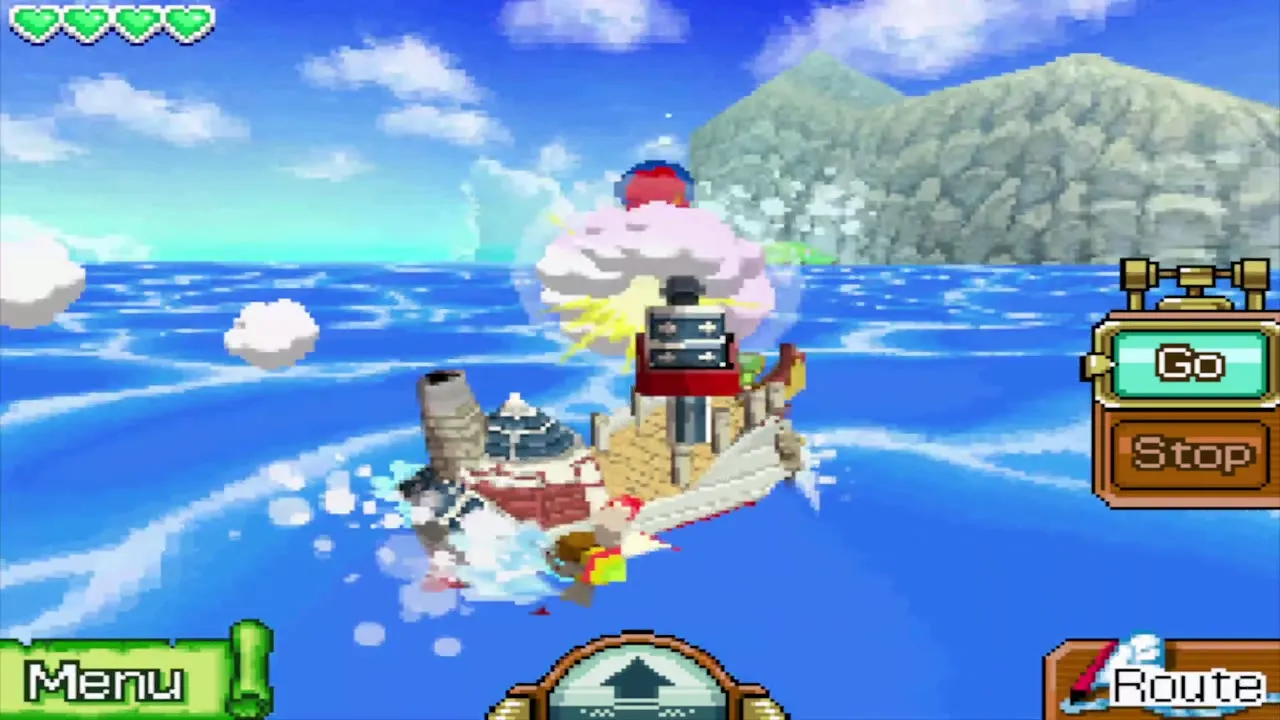
Leave the Isle of Gust and head for Bannan Island in the Northwestern Sea. If you own the Cyclone Slate, open it from the menu and warp to the Golden Frog between Bannan Island and the Isle of Gust, then draw a short course to the island. A pirate ship patrols this stretch of water: stop the ship, tap the enemy to aim the Cannon and keep firing until it sinks.
Play the Cannon Game for the Bomb Bag
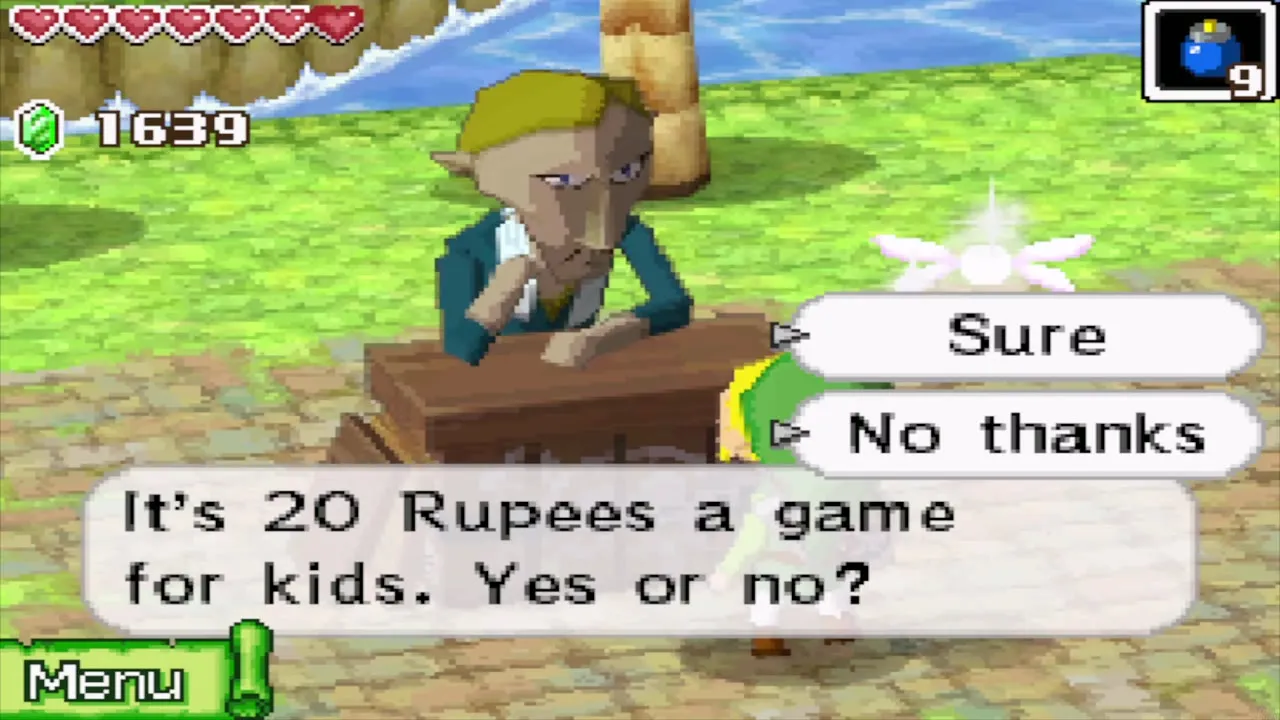
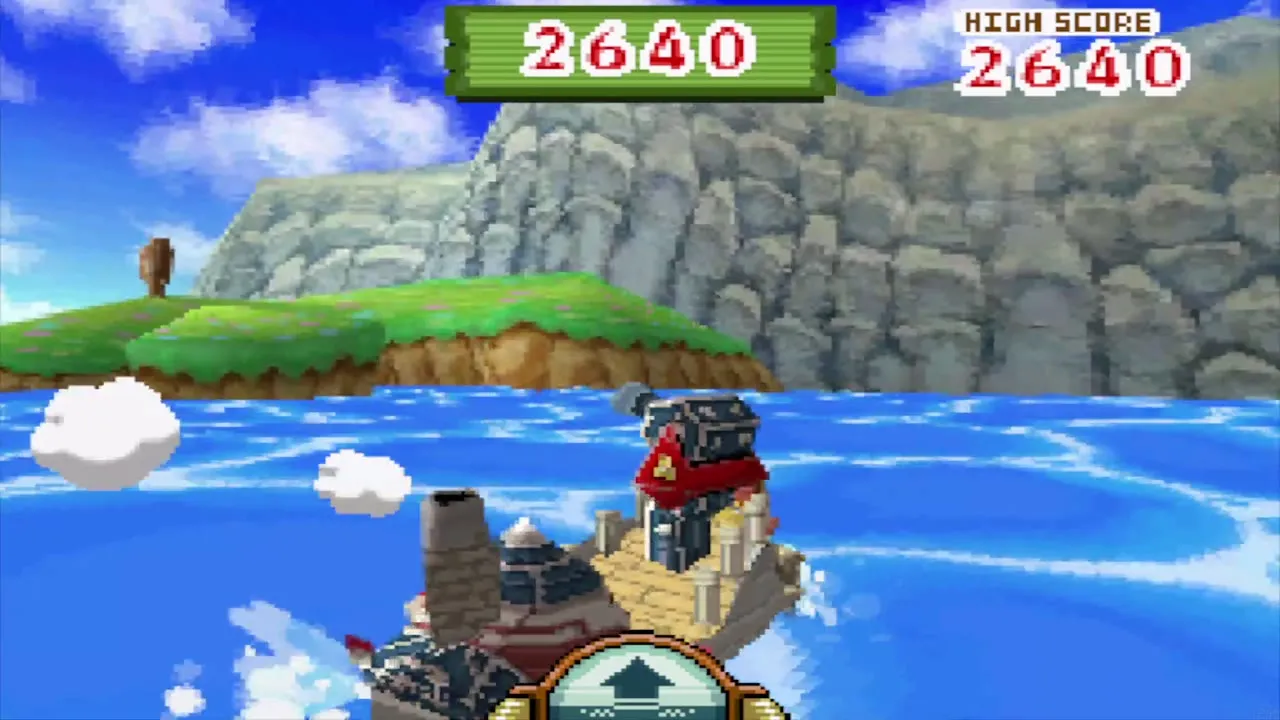
From the dock, follow the paths across the island and through its caves, bombing any cracked wall that blocks you, until you reach a village with a stone counter. The man behind it runs the Cannon Game for 20 Rupees. Say yes and he explains the rules: your ship sails a course on its own, you tap to fire the Cannon at floating targets, and a blue target is worth 100 points. A red target cannot be destroyed, but every hit on it is worth 20 points, so keep firing at it while it is in range.
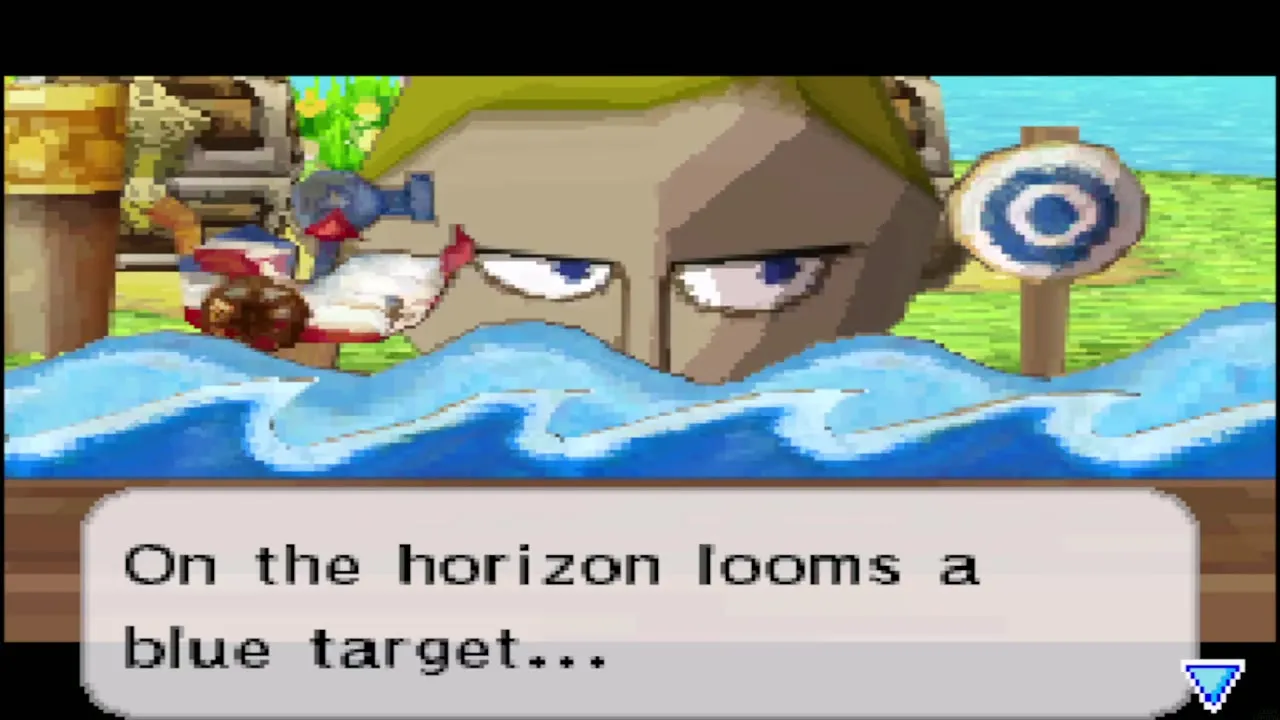
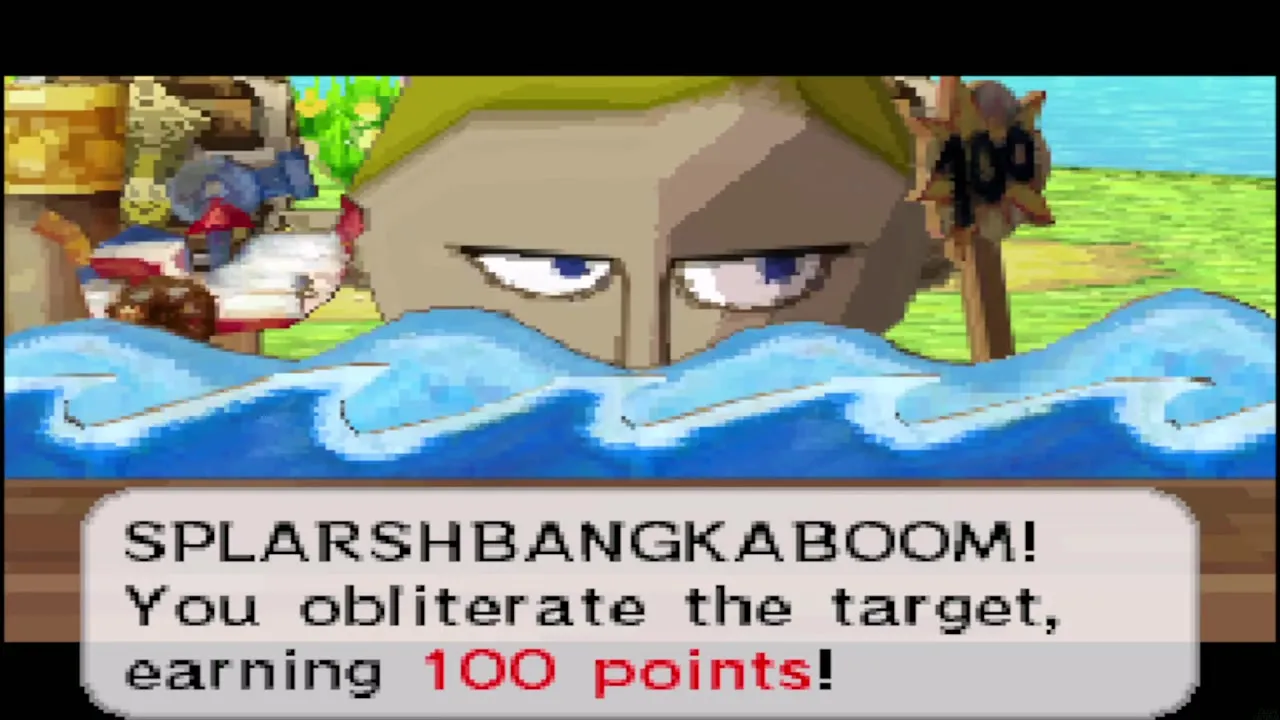
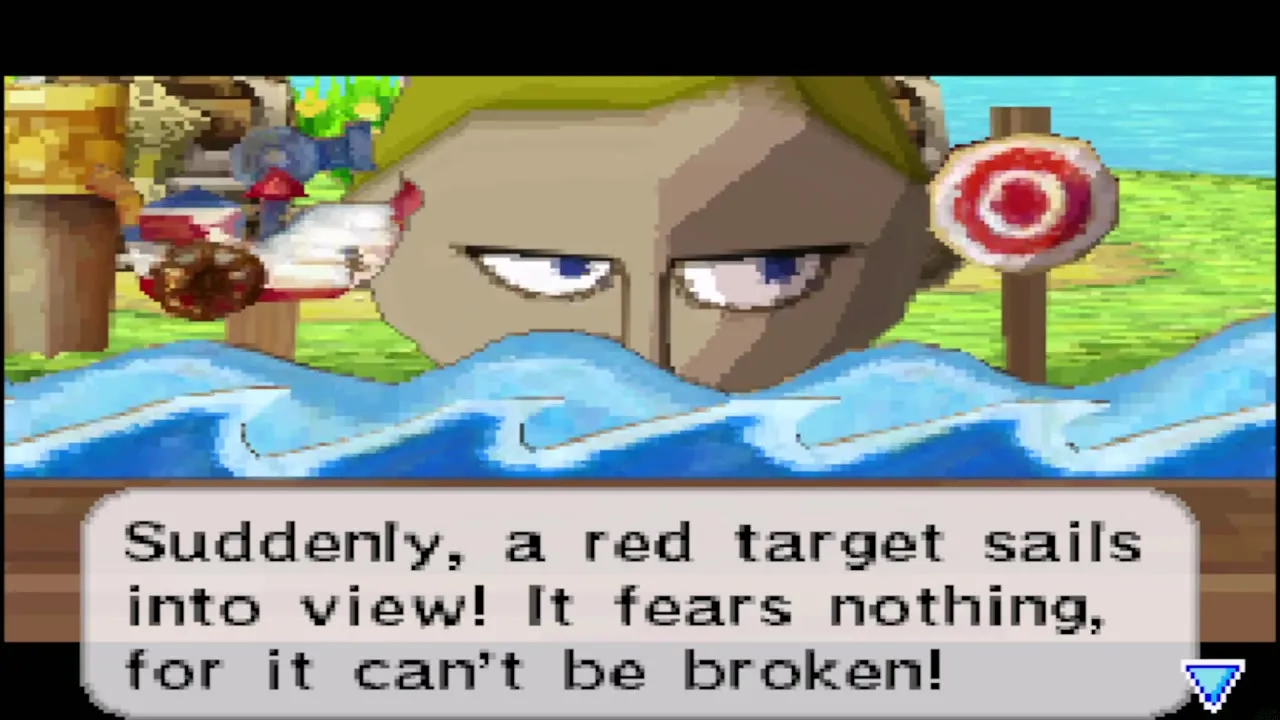
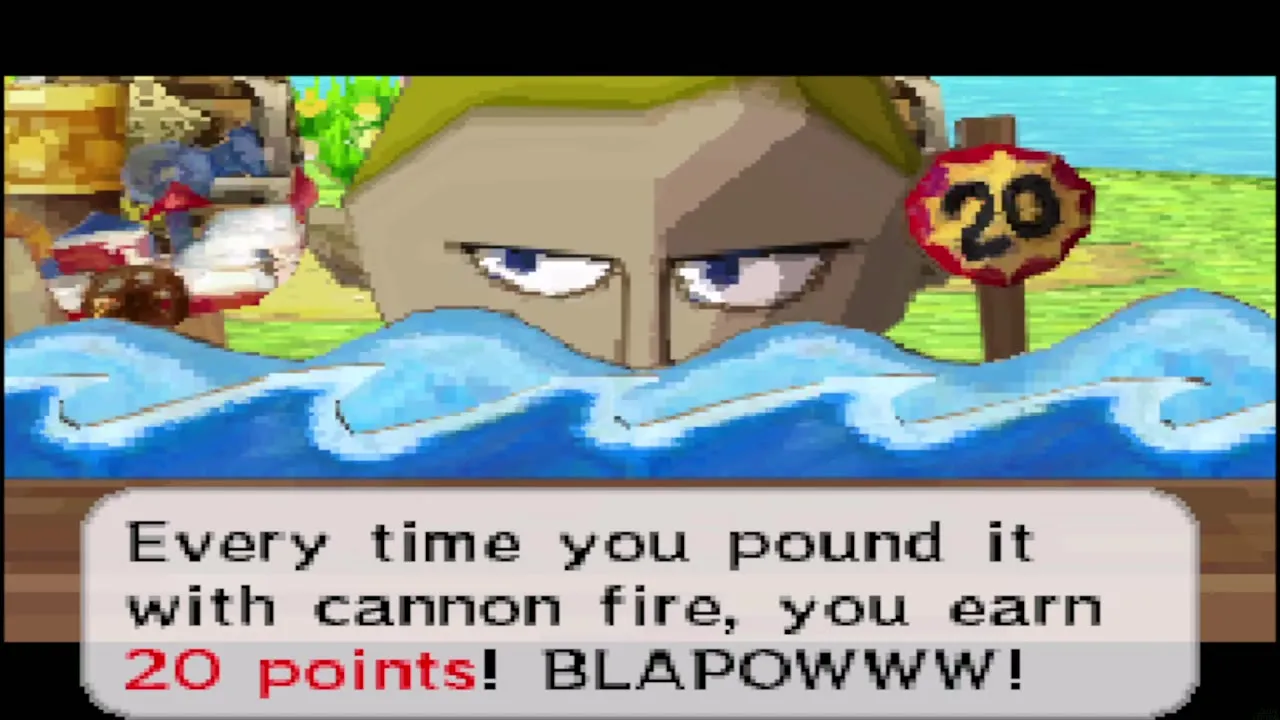
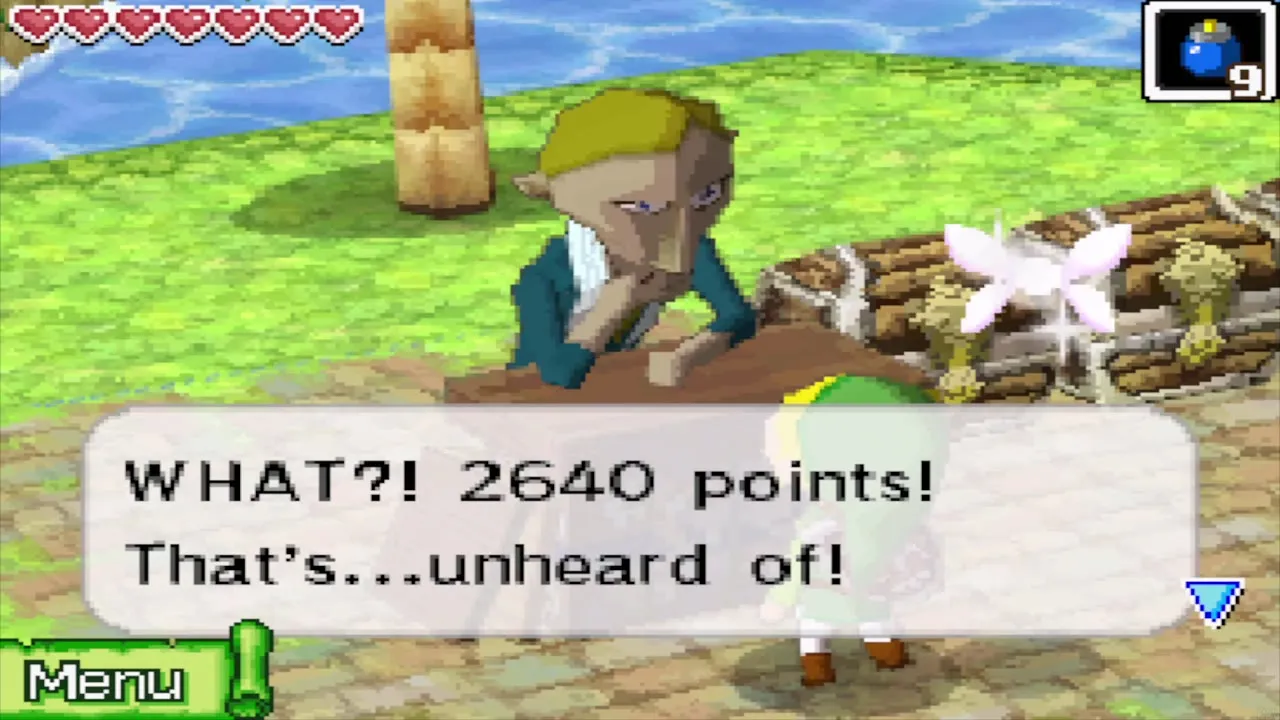
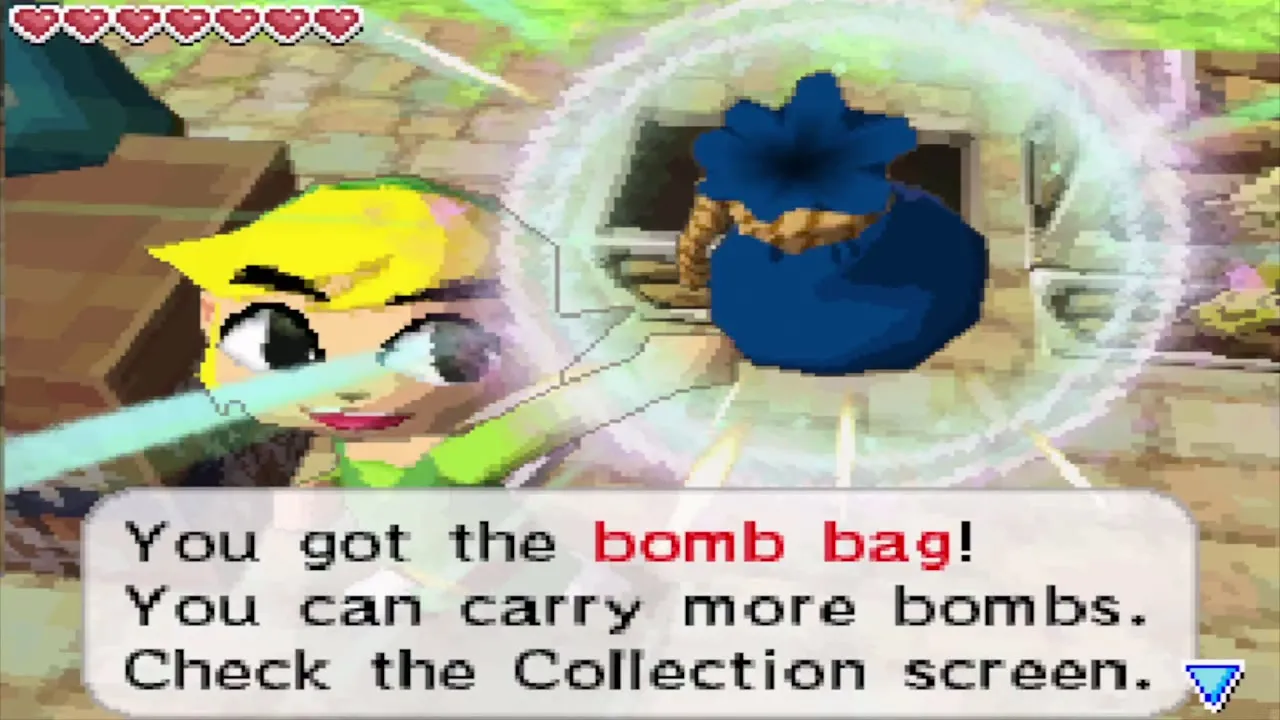
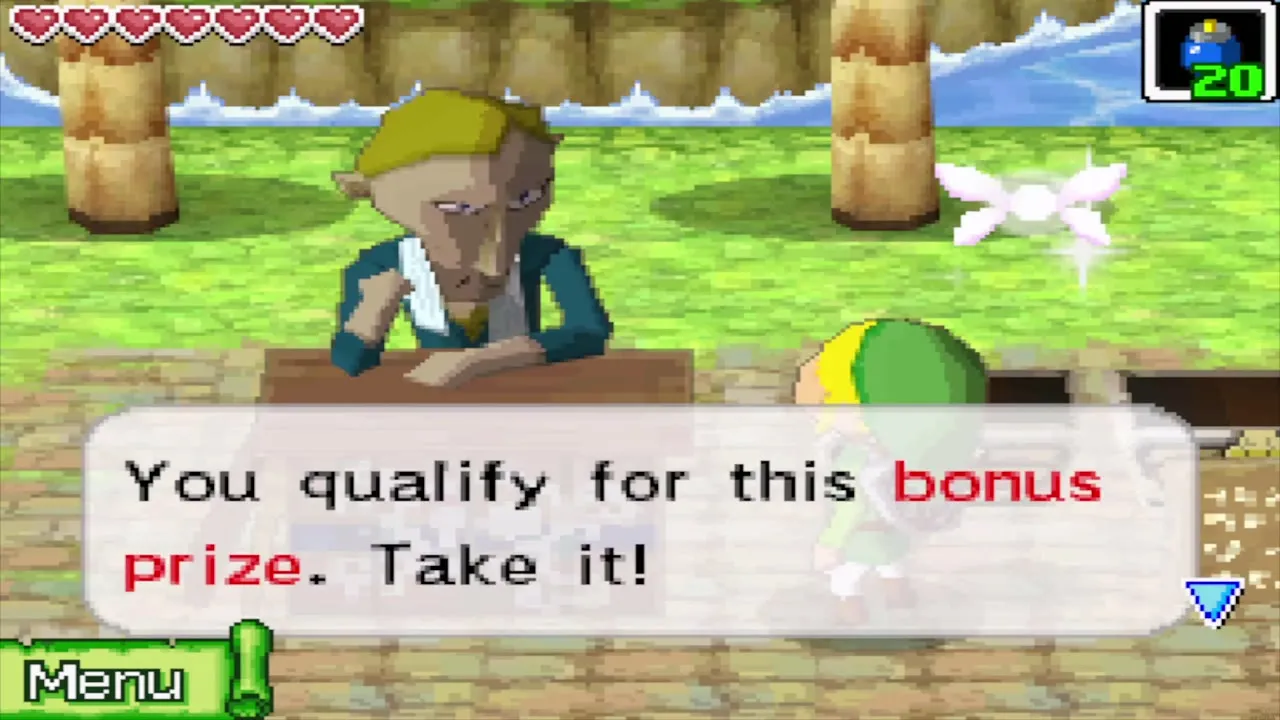
Score more than 2,500 points to beat the old record and win a Bomb Bag upgrade, which raises your bomb limit by one size: from 10 to 20 if this is your first upgrade, or from 20 to 30 if you already bought one from Beedle’s Shop Ship. Go for the blue targets first, then keep hammering the red ones as they pass. Beating the record also earns a small bonus prize at the counter. Playing the game at least once matters for another reason: it is one of the conditions for Salvatore’s letter that brings a Wisdom Gem to Mercay Island later in this chapter.
Isle of Ember and Mercay Island: three Spirit Gems
Astrid’s Wisdom Gem
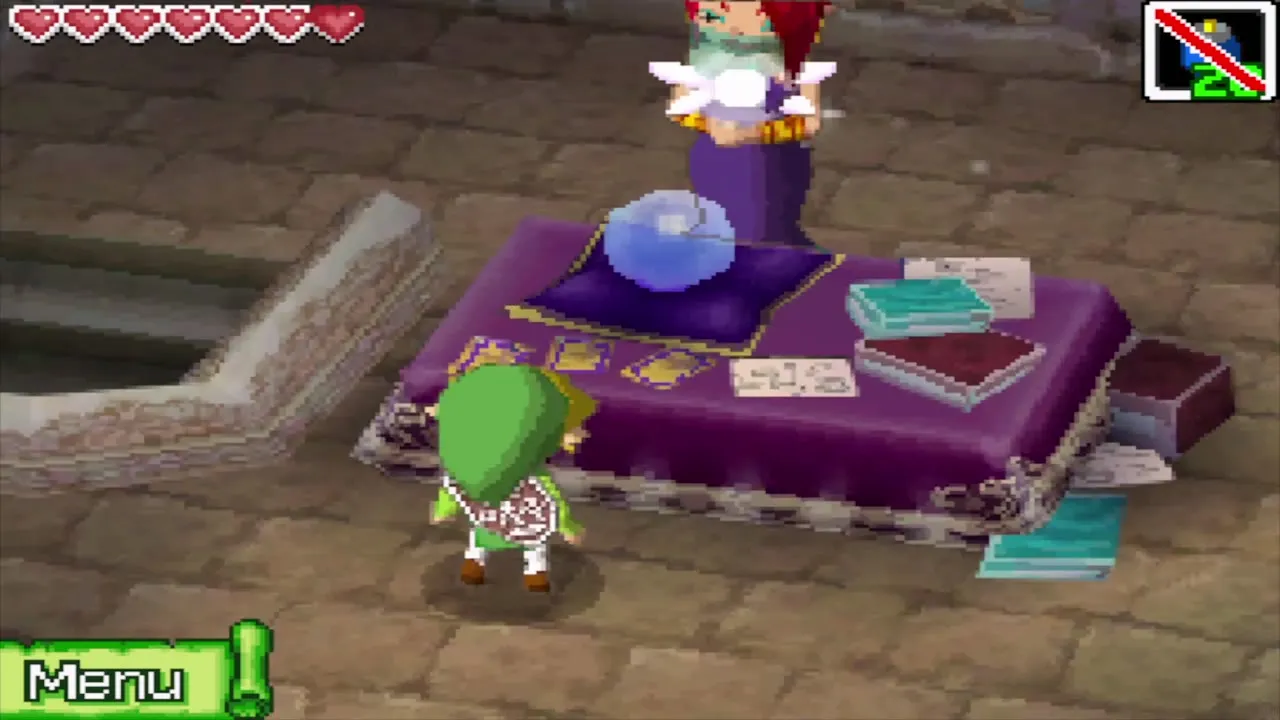
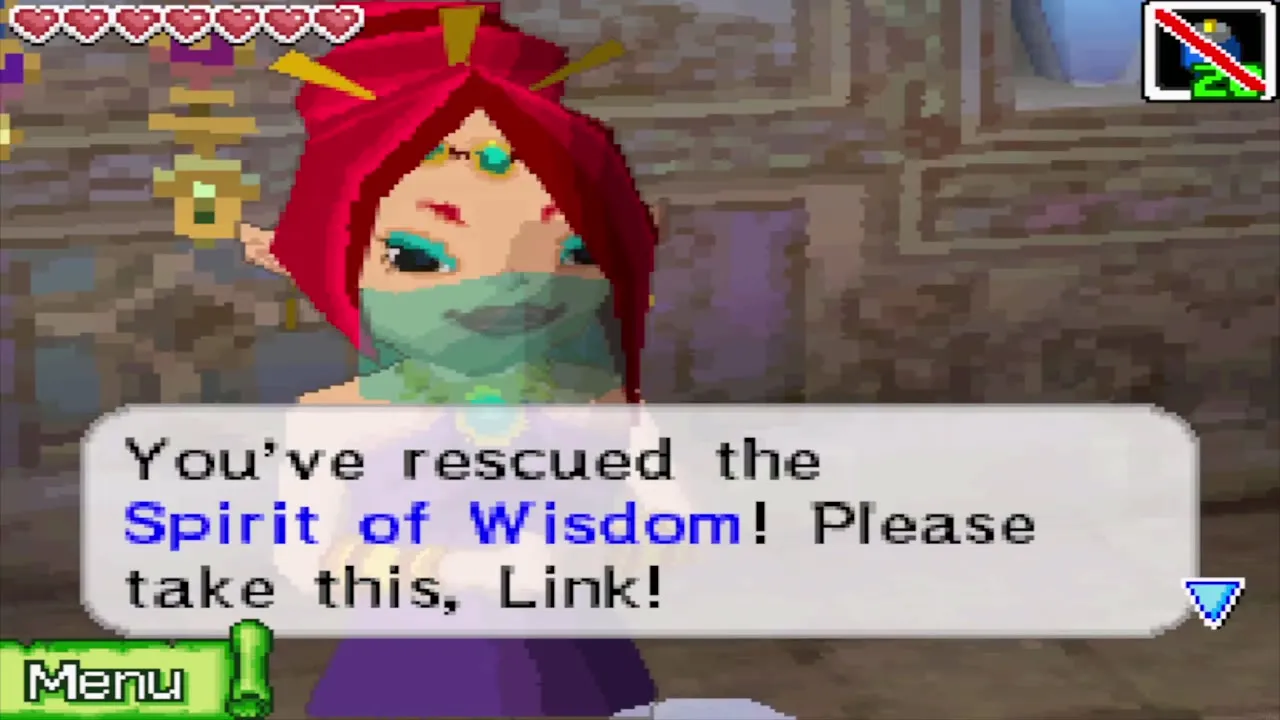
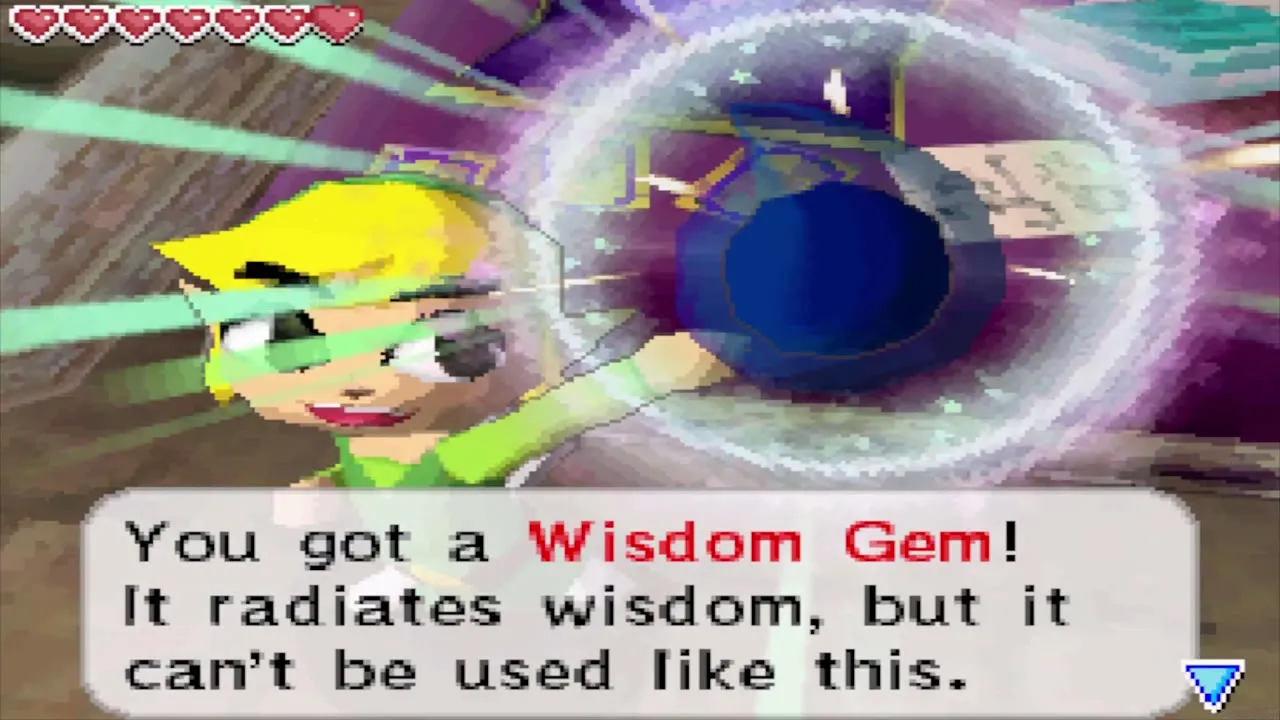
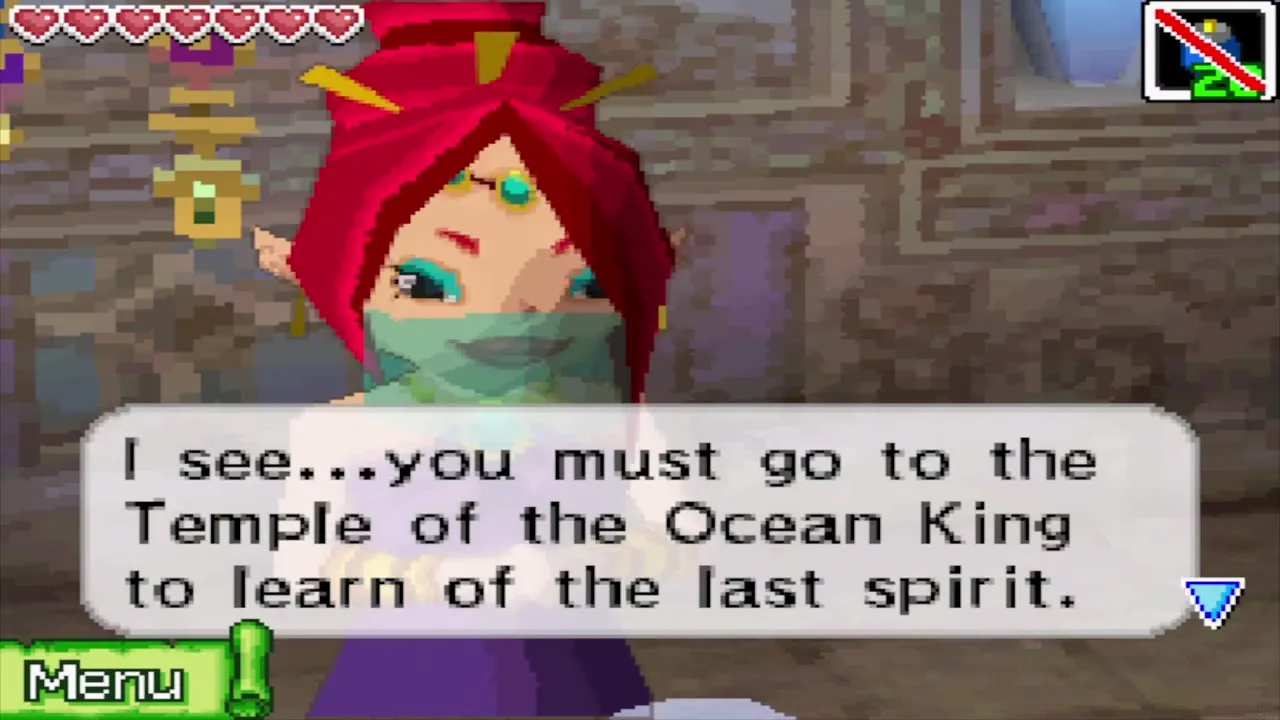
Use the Cyclone Slate or sail back across the Southwestern Sea to the Isle of Ember and visit the fortune teller Astrid in her hut. She congratulates you on rescuing the Spirit of Wisdom and gives you a Wisdom Gem, then tells you to go to the Temple of the Ocean King to learn where the last spirit is. Gems do nothing in your pocket: you take them to the shrine on Spirit Island later to level up the Spirits.
Oshus’s Power Gem
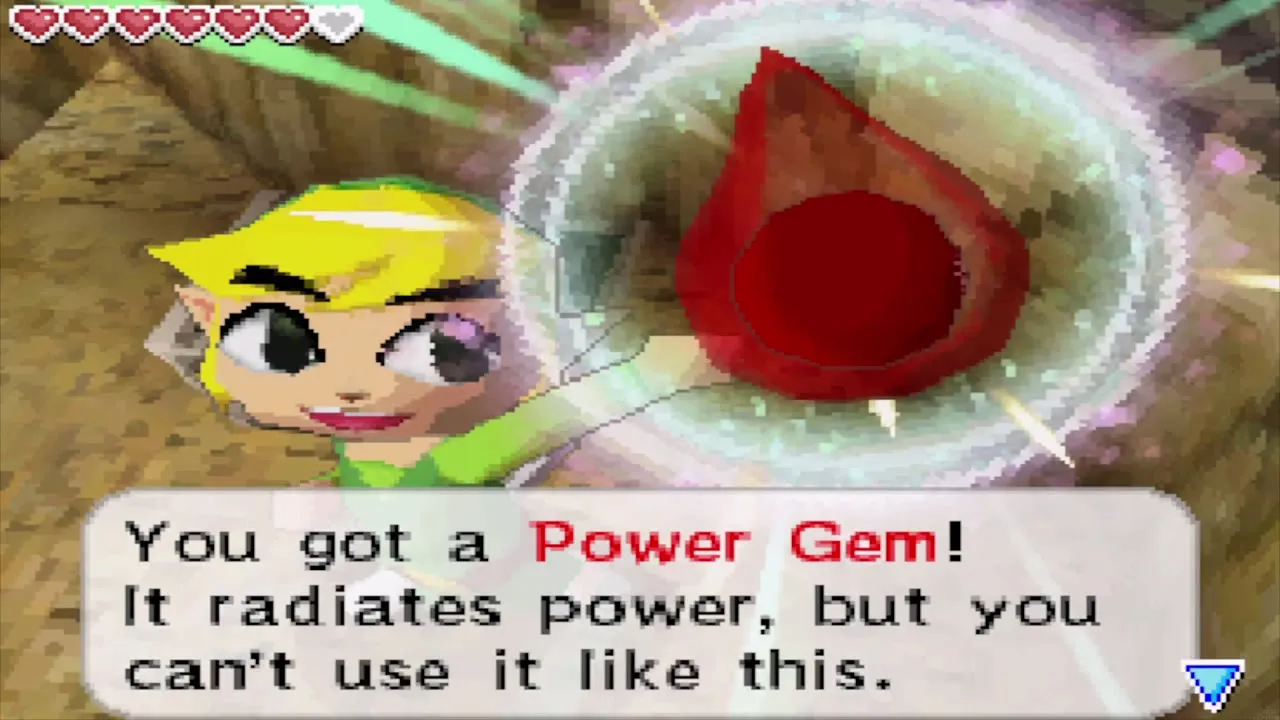
Sail to Mercay Island and go to Oshus’s house. He congratulates you on freeing Neri, tells you to find one more spirit and gives you a Power Gem, adding that 20 Spirit Gems of each kind are scattered around the sea. If you skip him, the gem is posted to you later, but it is quicker to collect it now.
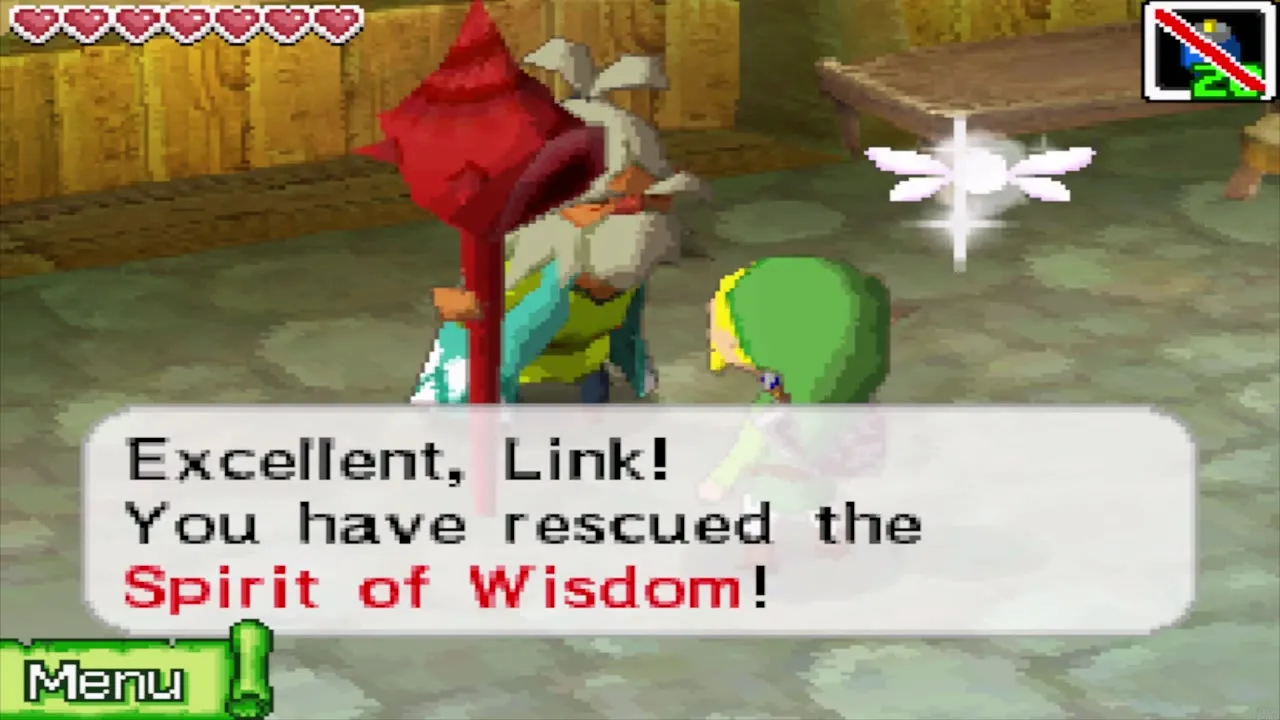
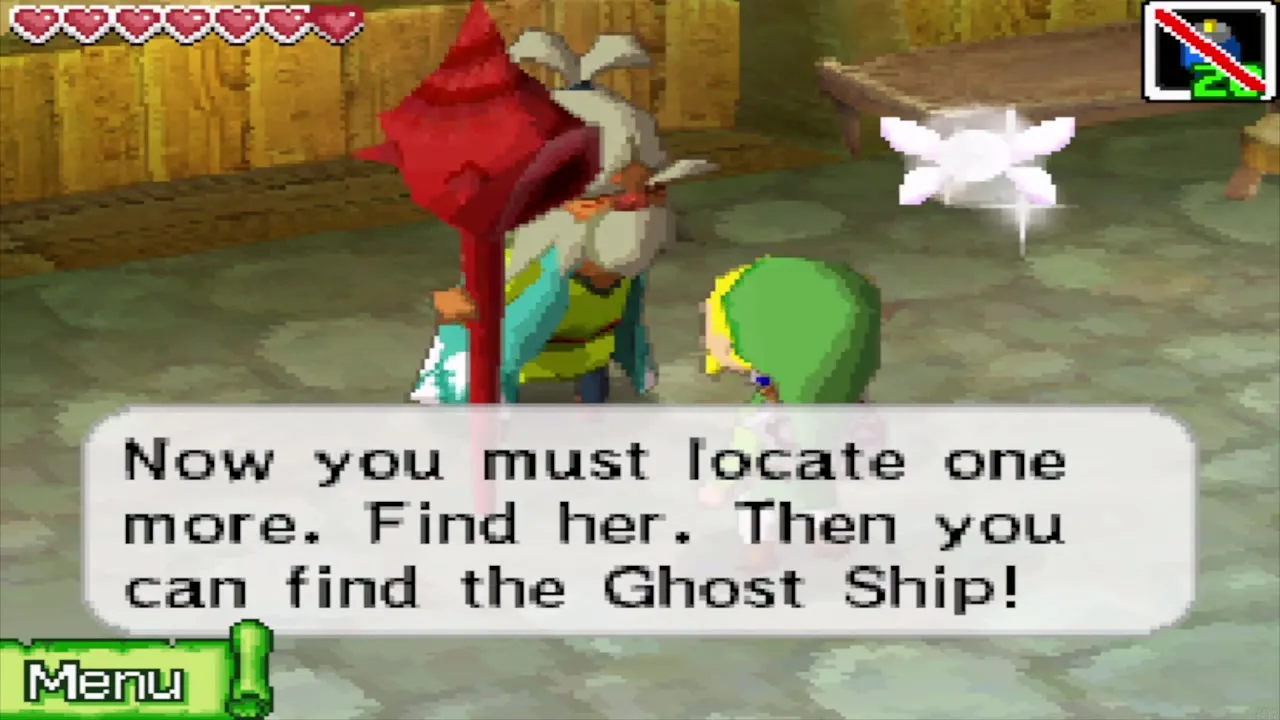
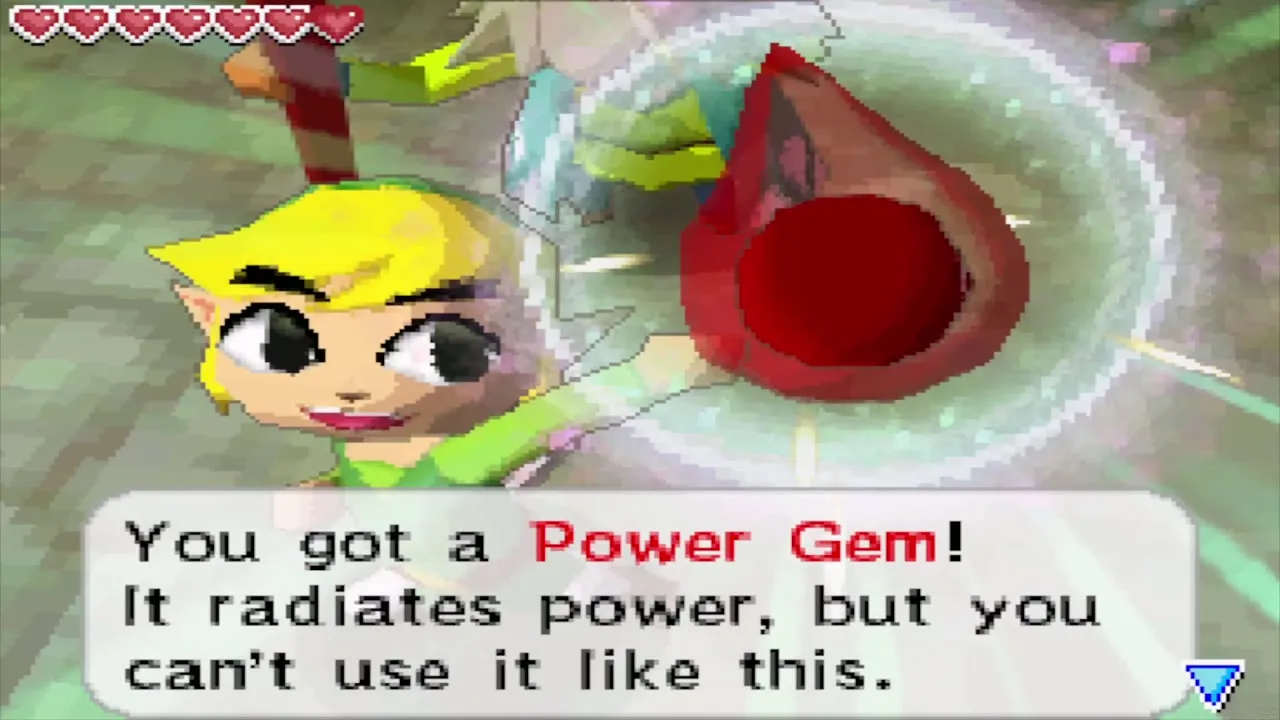
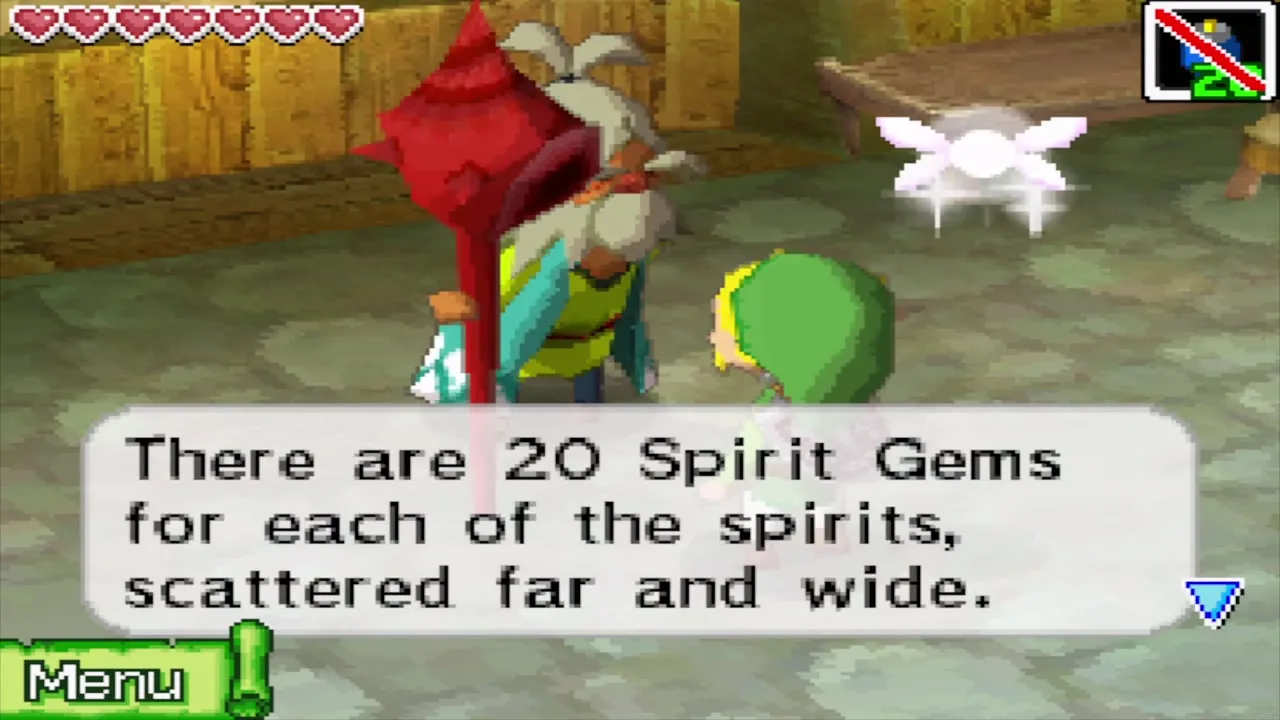
Power Gem in the cave near the Temple of the Ocean King
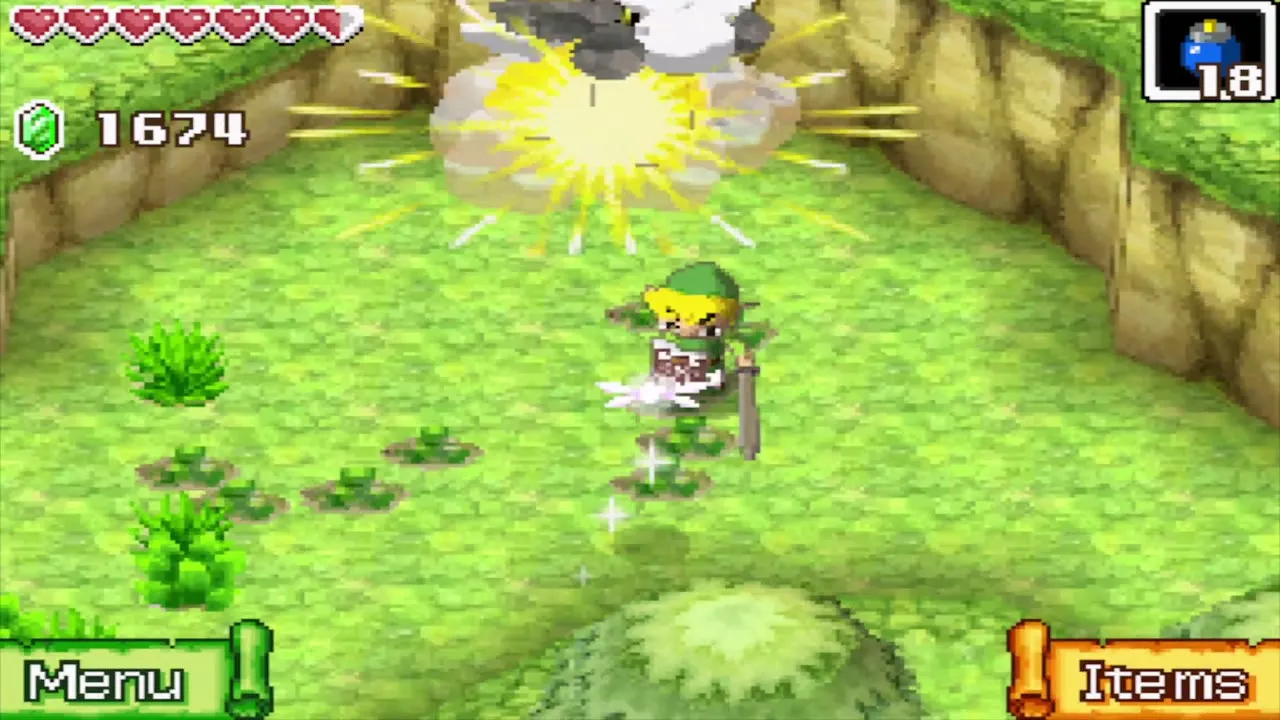
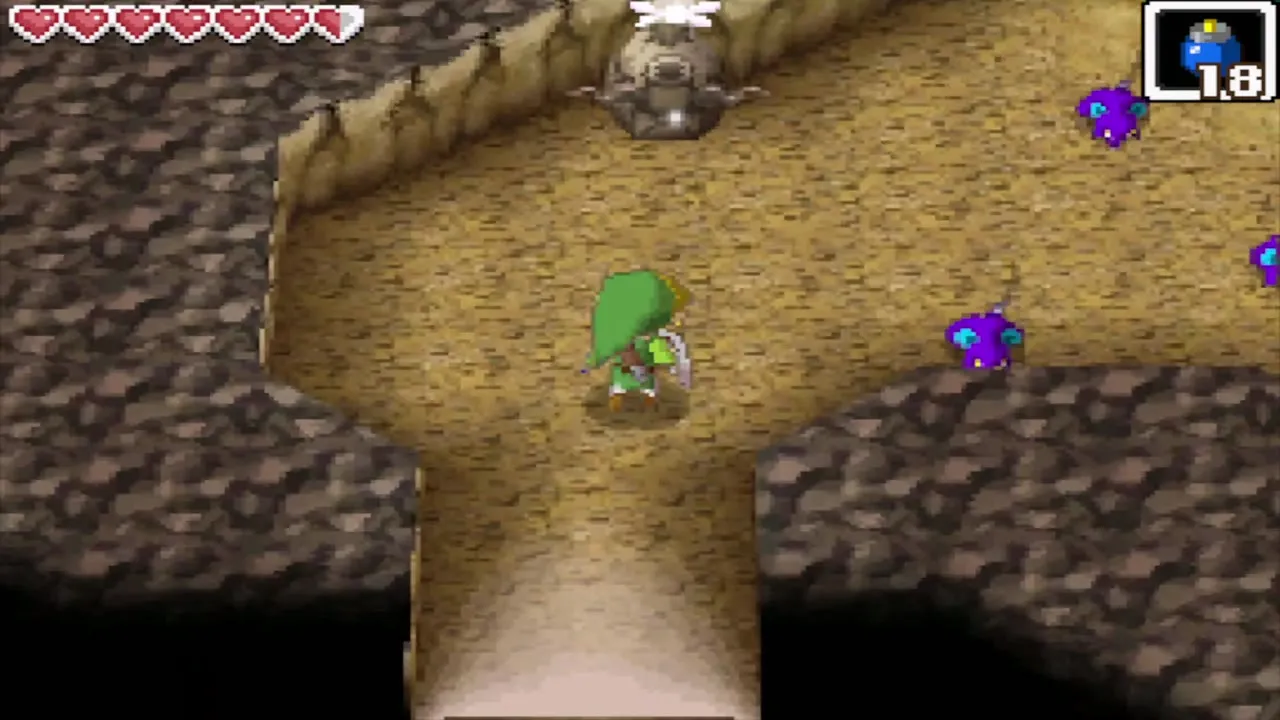
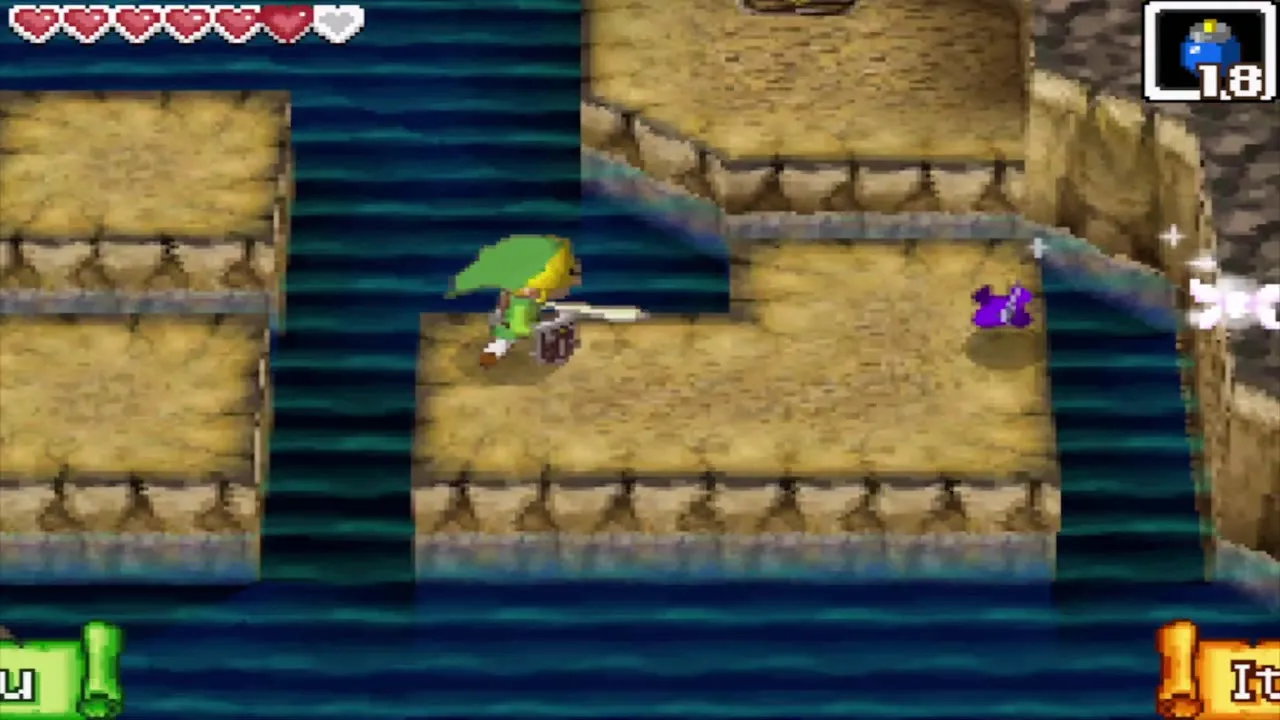
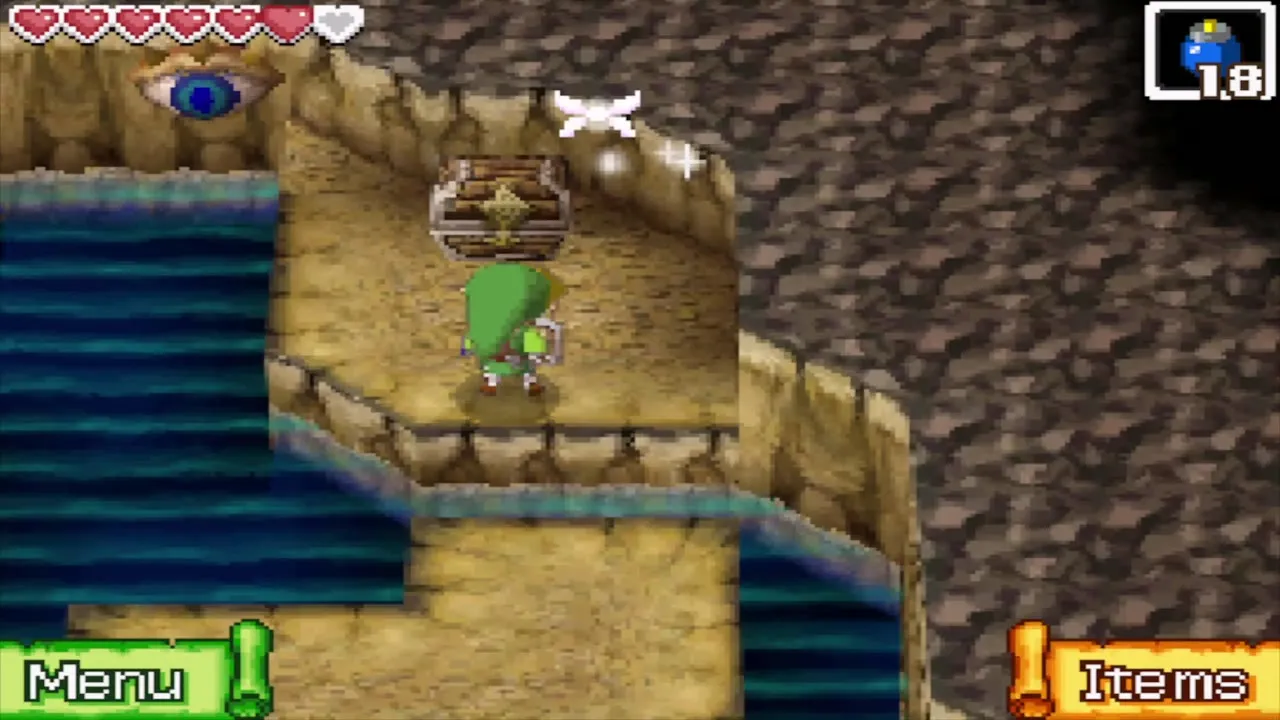
On the way to the temple, walk through the grassy fields north of the village until you find a cave. Bomb the cracked wall inside, cross the ledges by the water and open the chest to receive another Power Gem. A save point in the cave lets you save before you go on. Then continue to the temple entrance.
Temple of the Ocean King: back to the Door of Wisdom
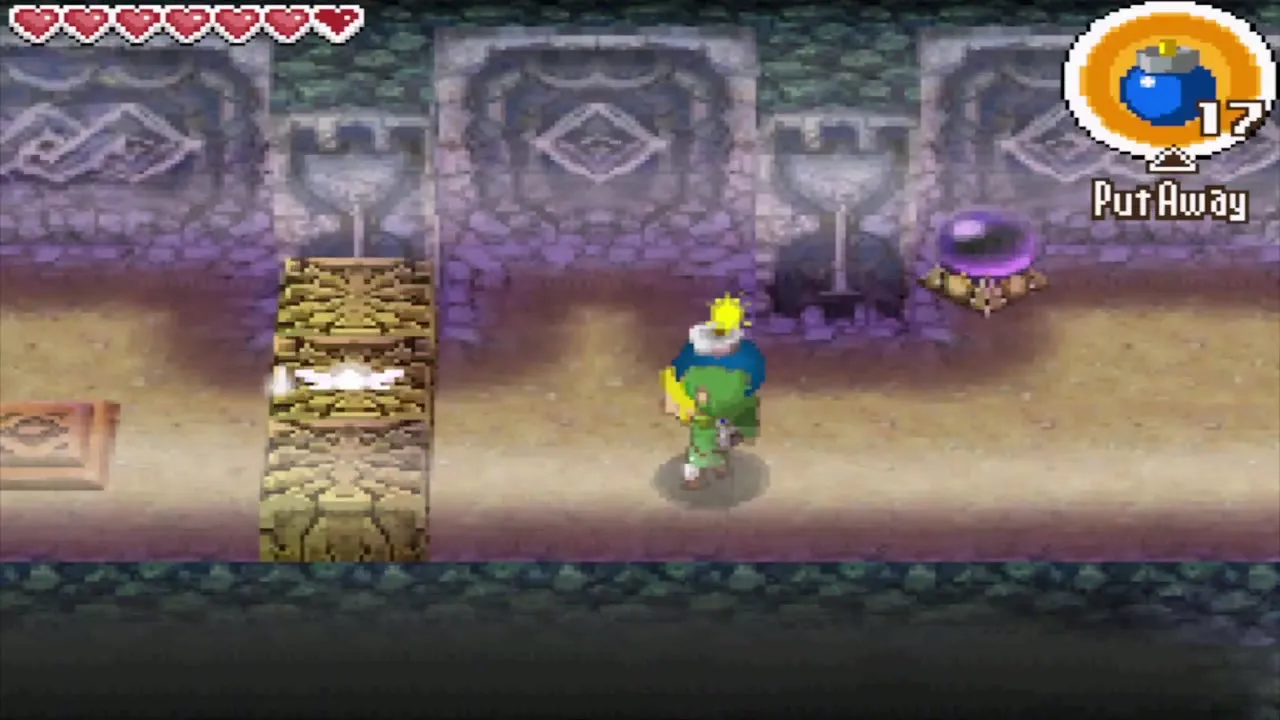
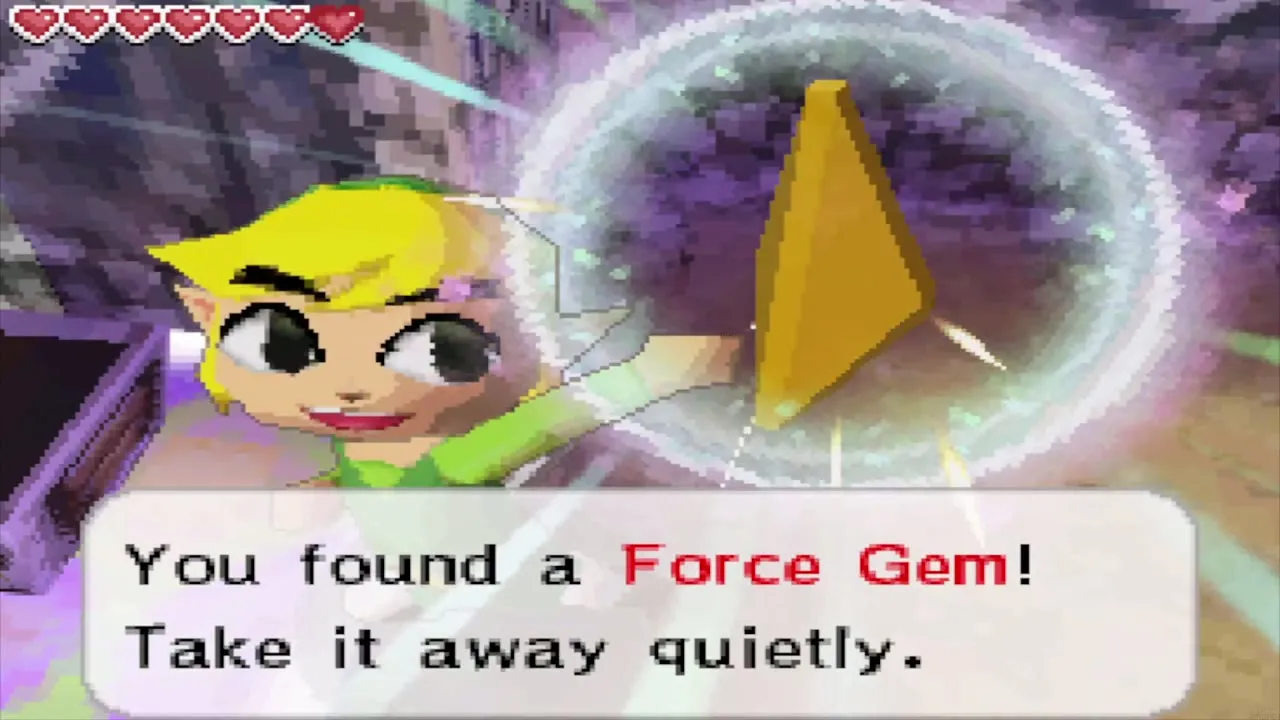
Enter the temple and repeat B1, B2 and B3 using the routes you already know; the layouts do not change and the Phantoms patrol the same corridors. Collect the small key on B1, the keys on B2 and the three Force Gems on B3, running between the Safe Zones. Your Phantom Hourglass now holds twelve minutes of sand, which is plenty for B4 to B6 if you do not waste time.
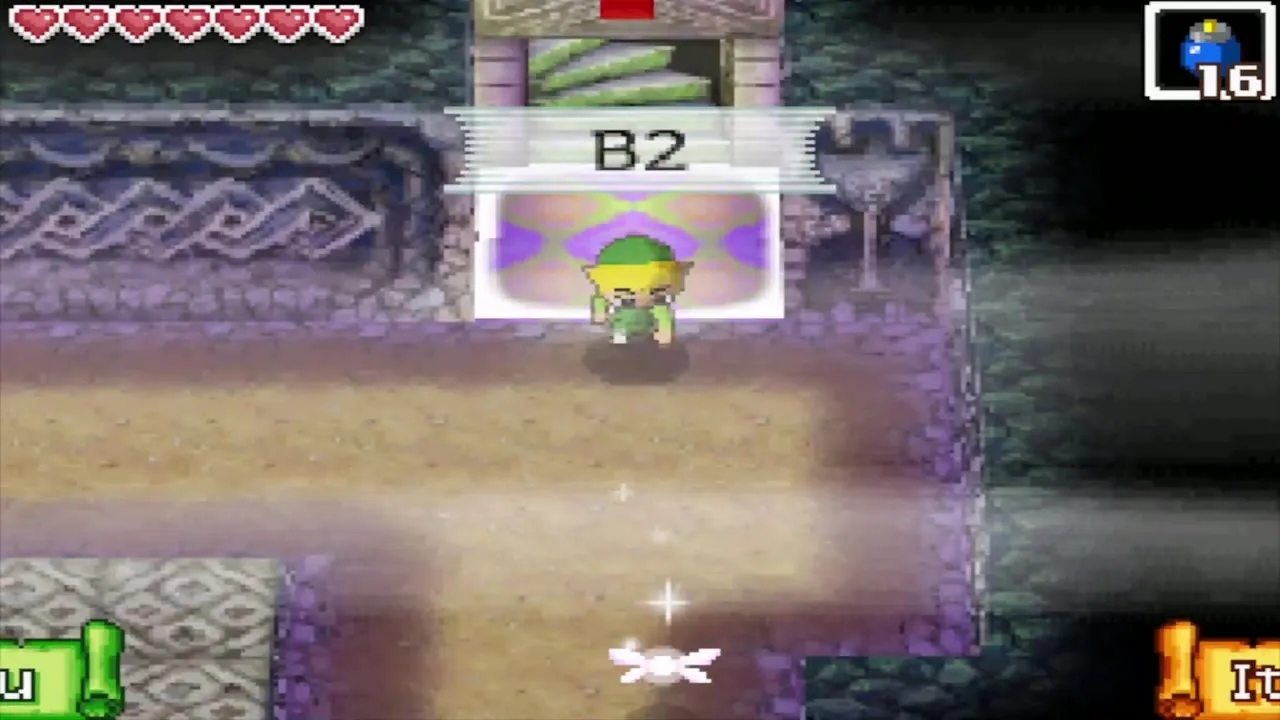
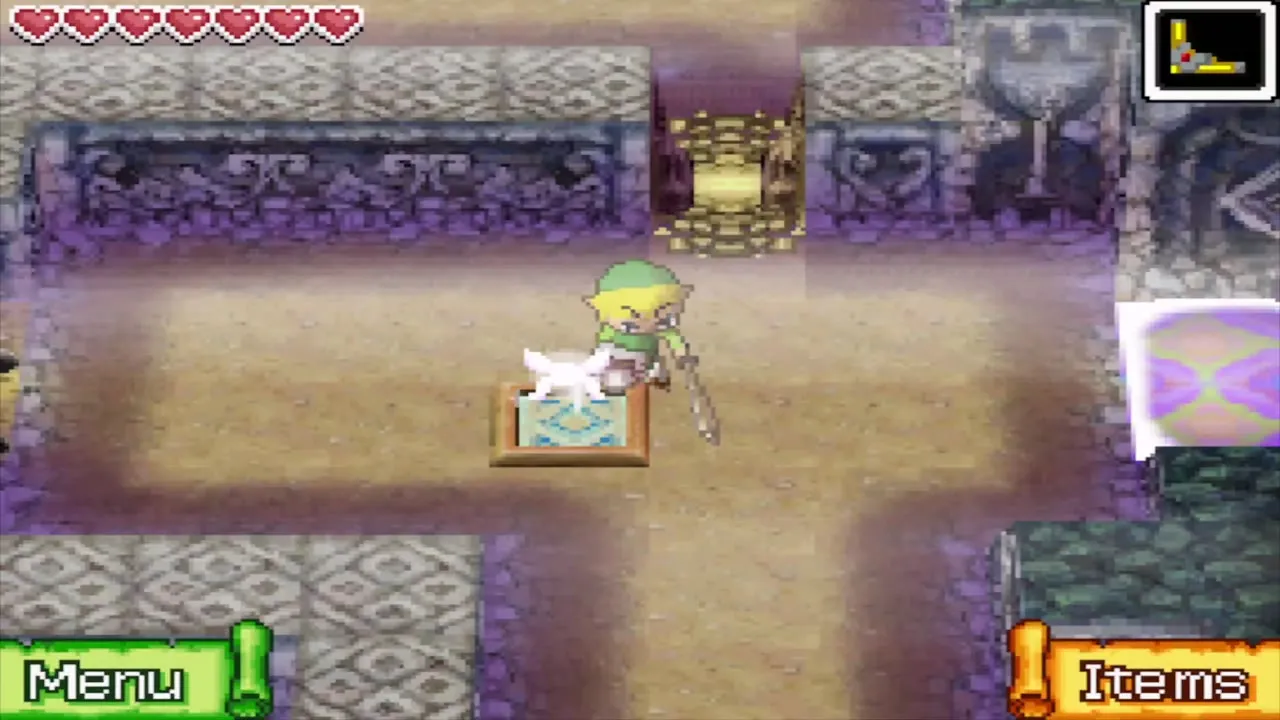
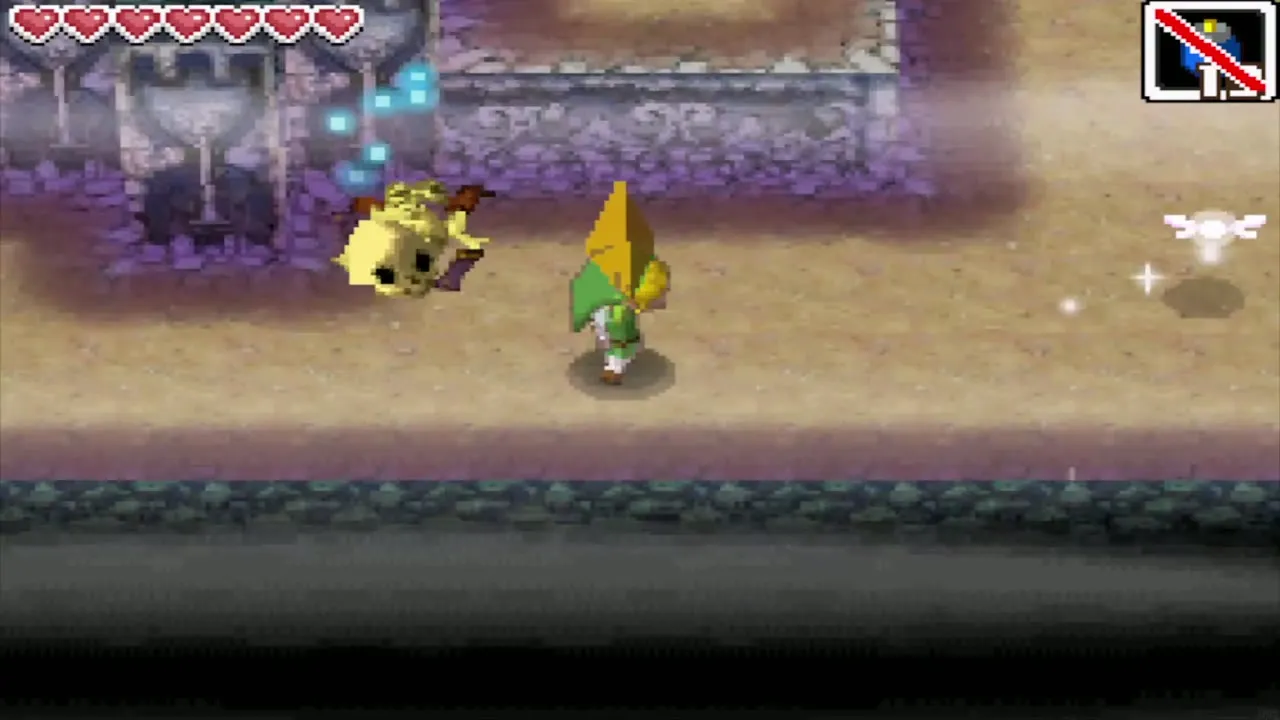
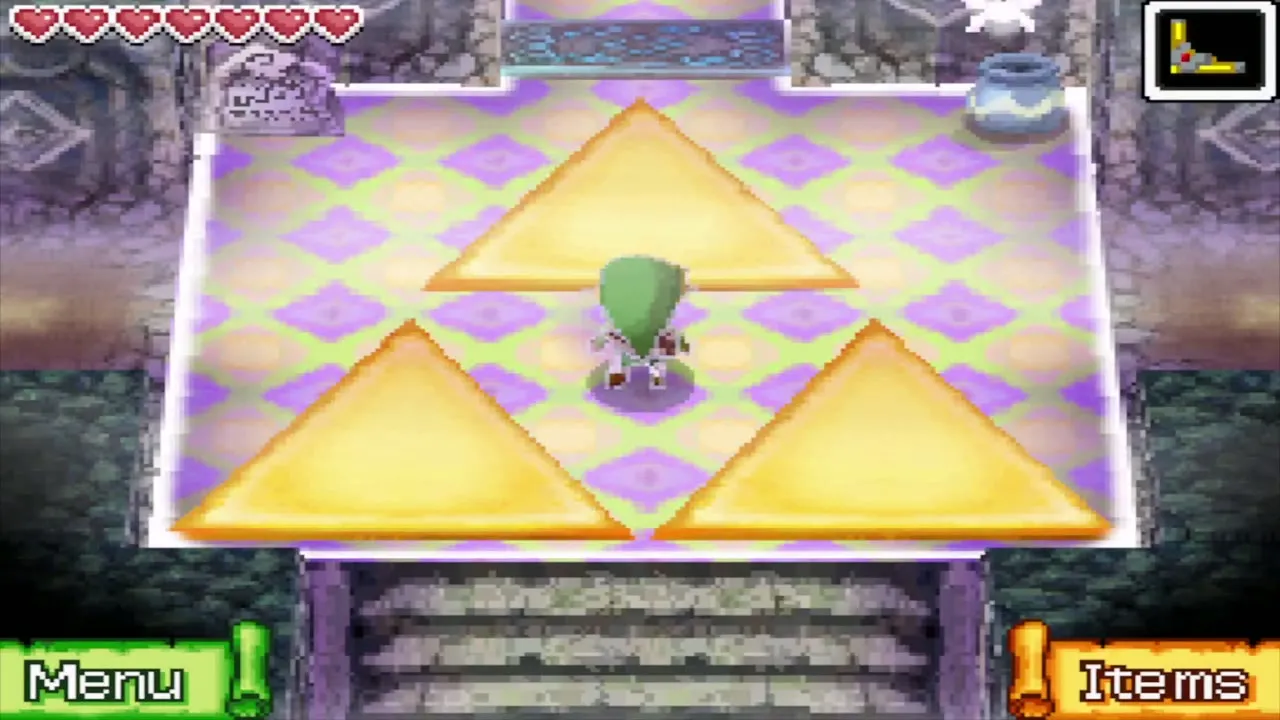
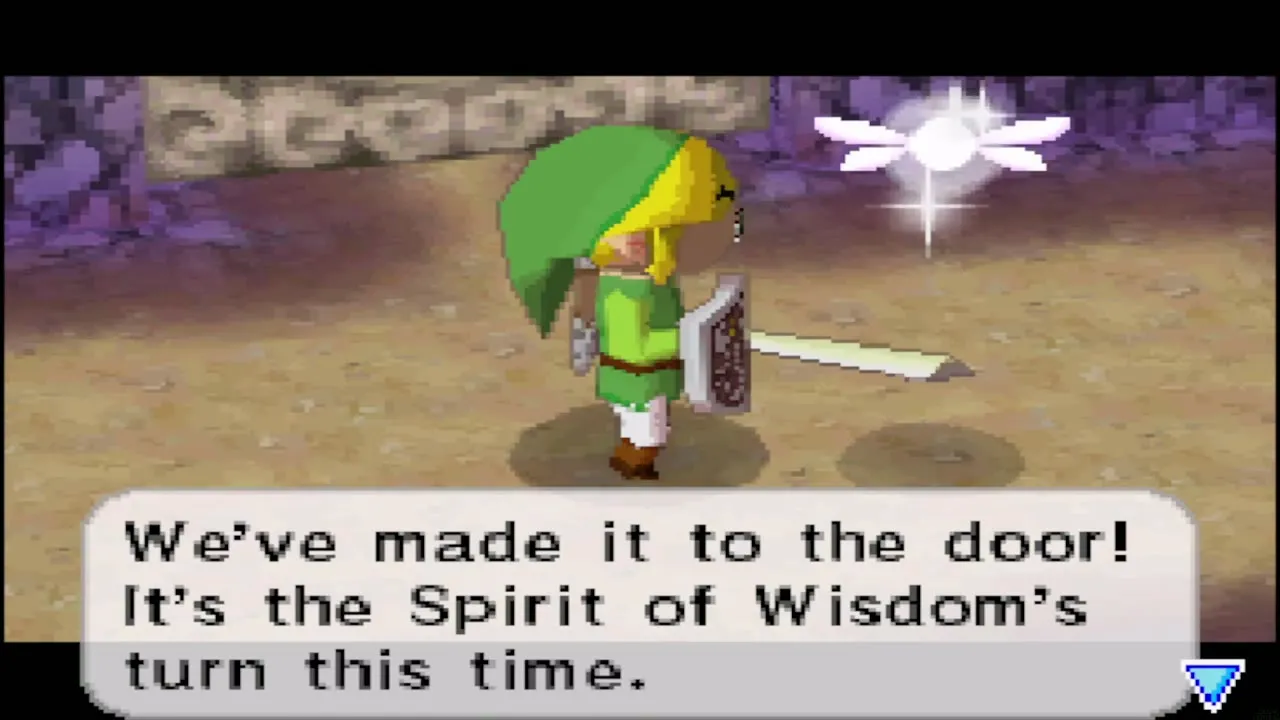
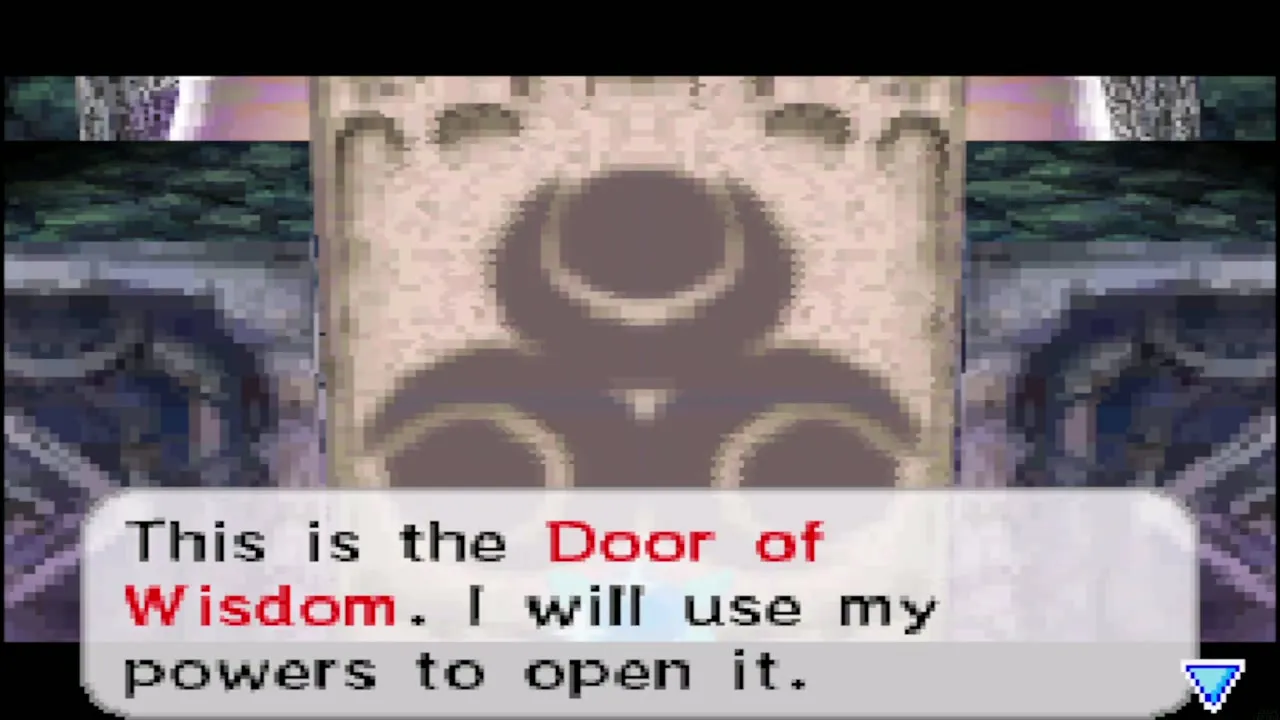
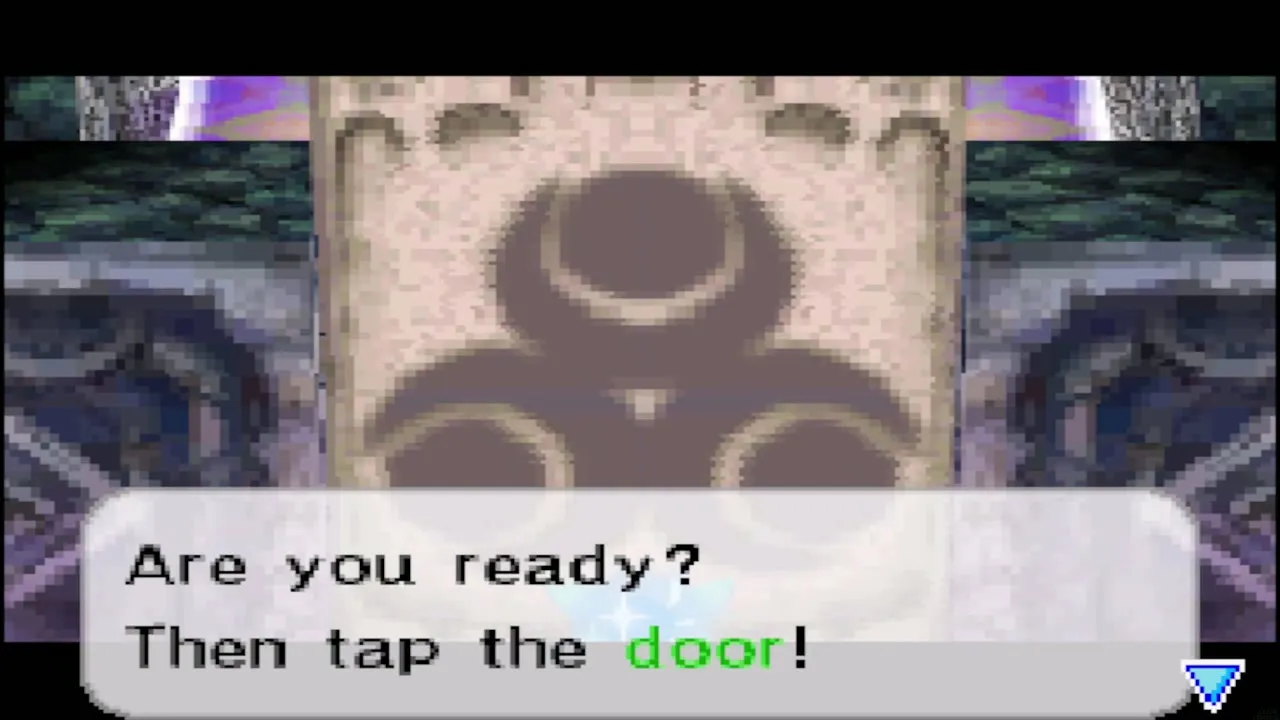
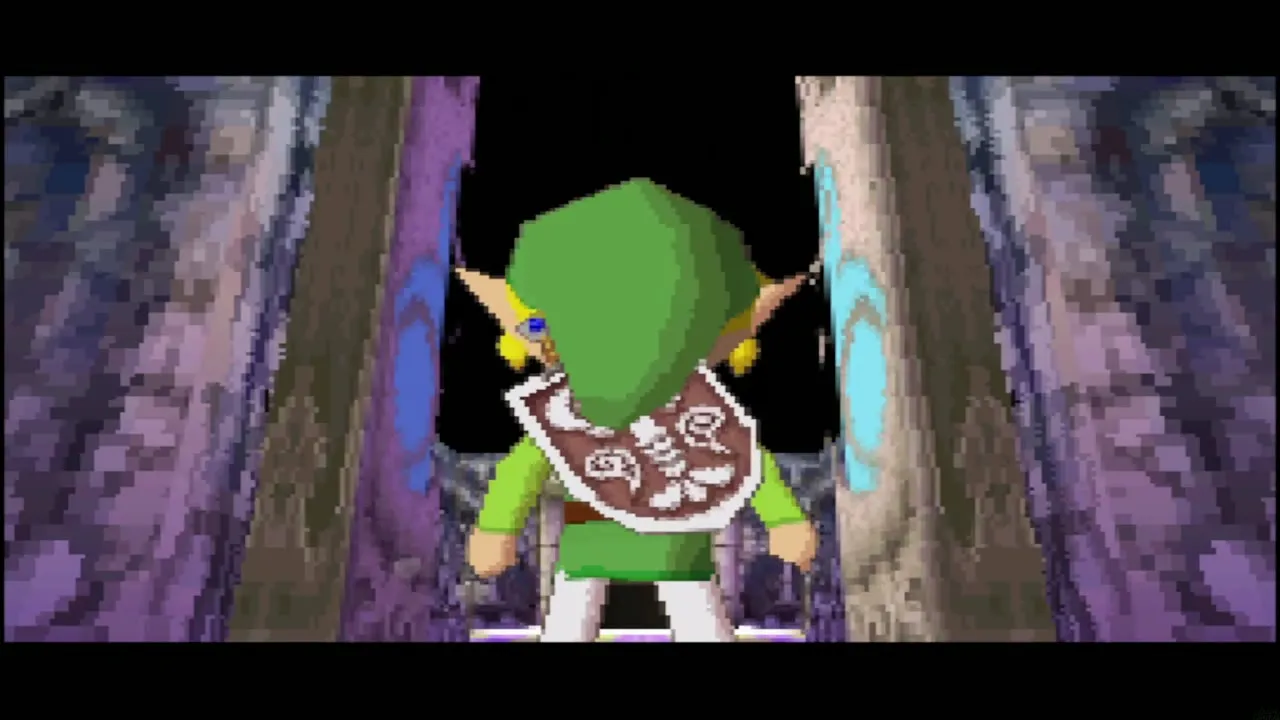
At the Checkpoint Chamber after B3 you meet the Door of Wisdom. Neri says she can open it with her power; tap the door when she asks and walk through. Sand does not drain in the Checkpoint Chamber, so you can read your map here and plan.
Temple of the Ocean King B4 and the Phantom Eyes
How to beat the Phantom Eyes
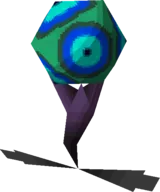
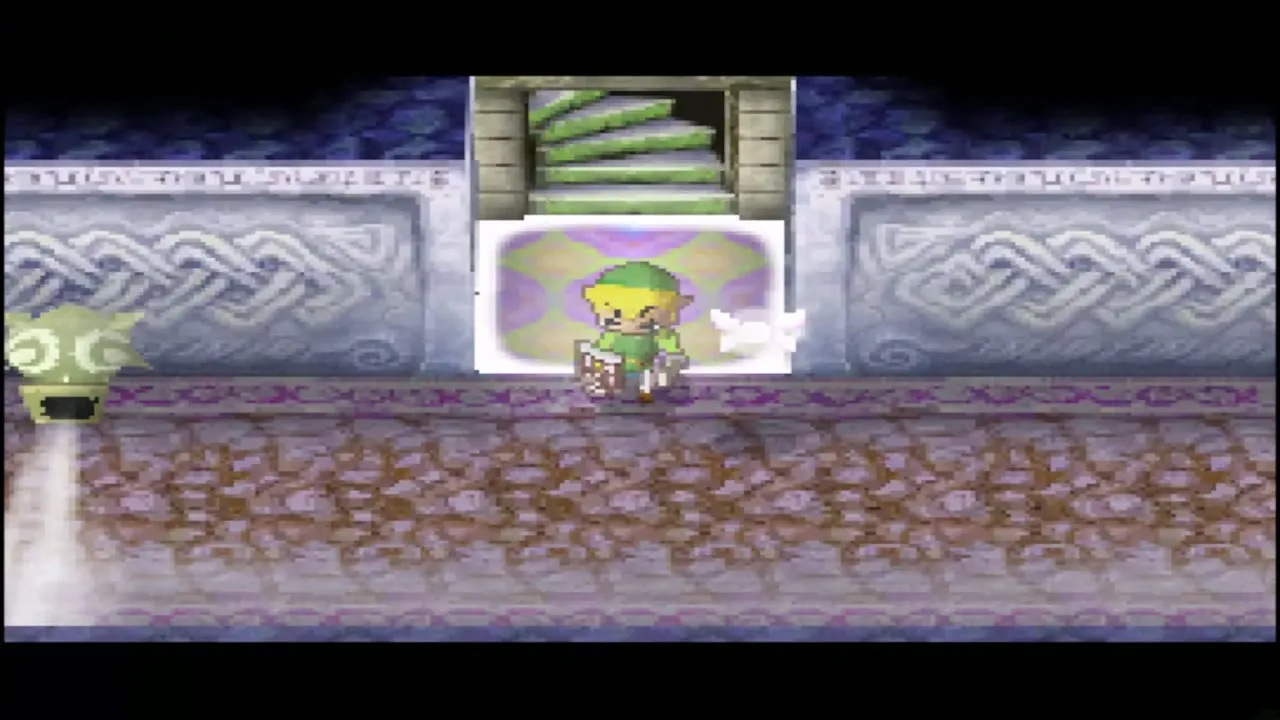
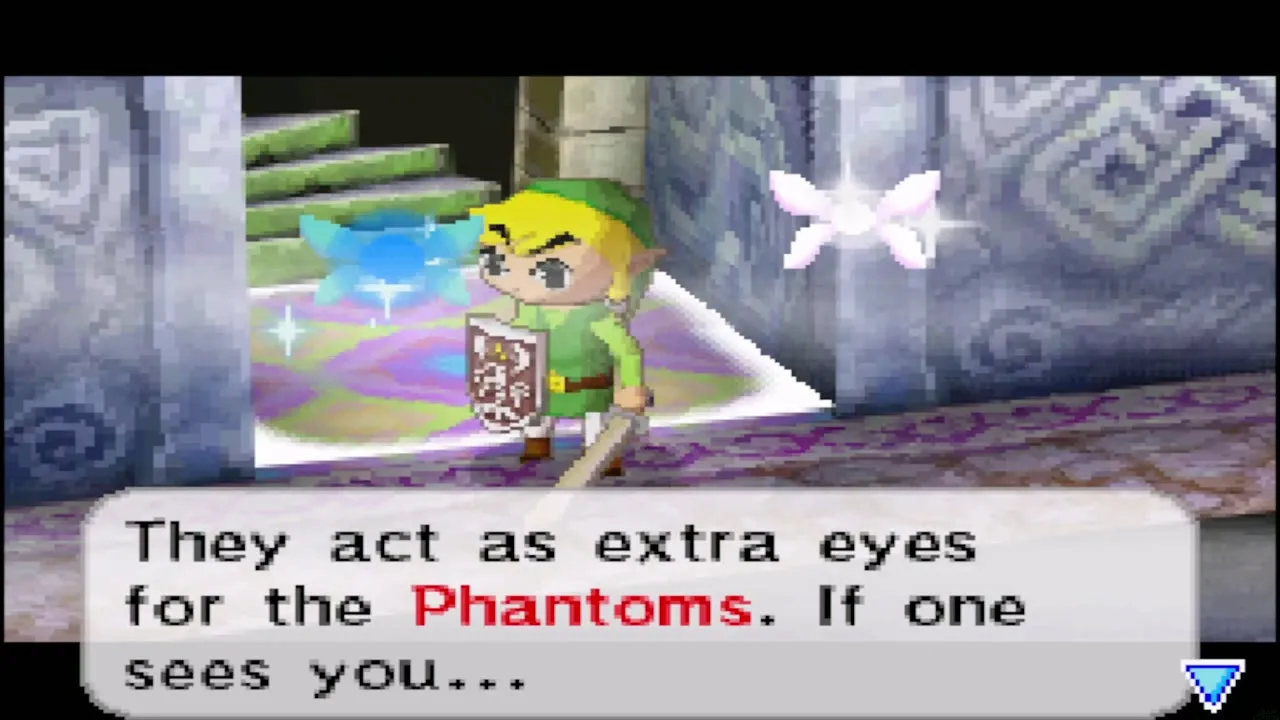
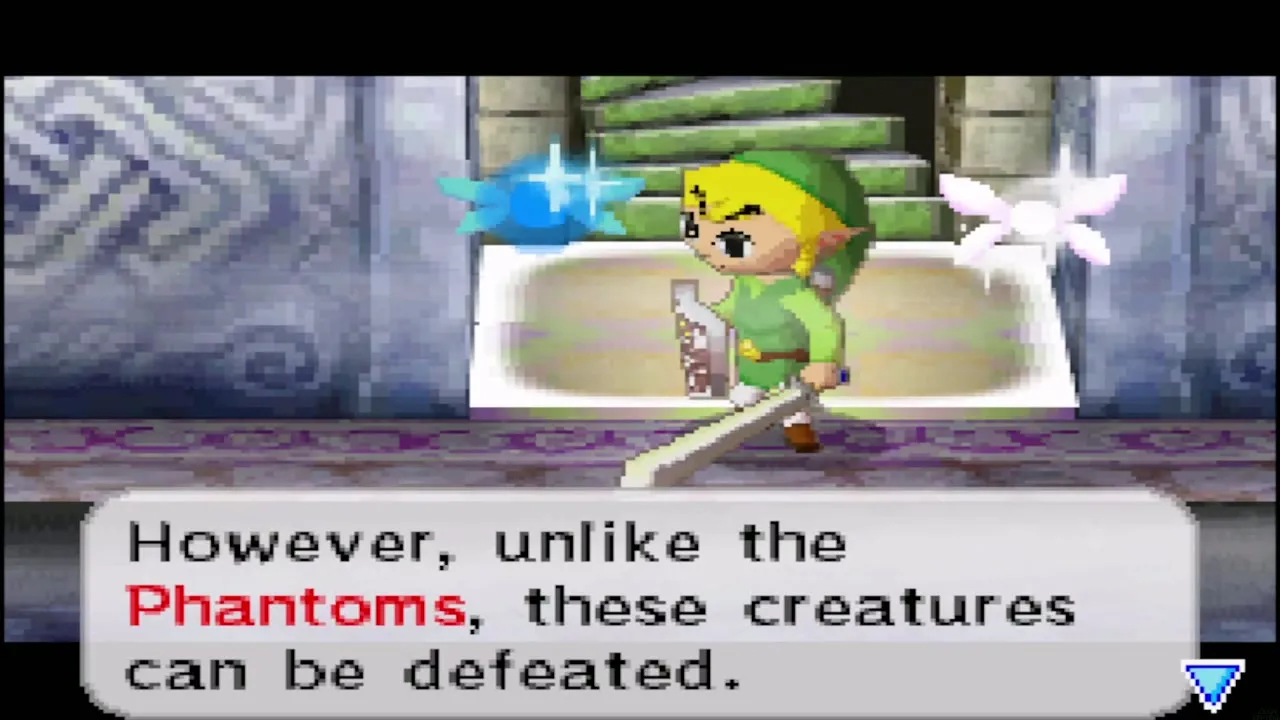
B4 adds a new enemy. Phantom Eyes float in the corridors and act as extra eyes for the Phantoms: if one sees you, the Phantoms come after you. Unlike the Phantoms, they can be beaten. Throw the Boomerang to stun an eye, then slash it. There are three on this floor and they are marked on your map, so look at the map and plan your order before you move.
B4 route and Safe Zones
Look for soft ground you can dig with the Shovel and cracked walls you can bomb; both open shortcuts through the floor. Safe Zones are scattered along the way. When a Phantom or an eye turns toward you, step into a Safe Zone and wait; a hit from a Phantom costs 30 seconds and sends you back to the start of the floor.
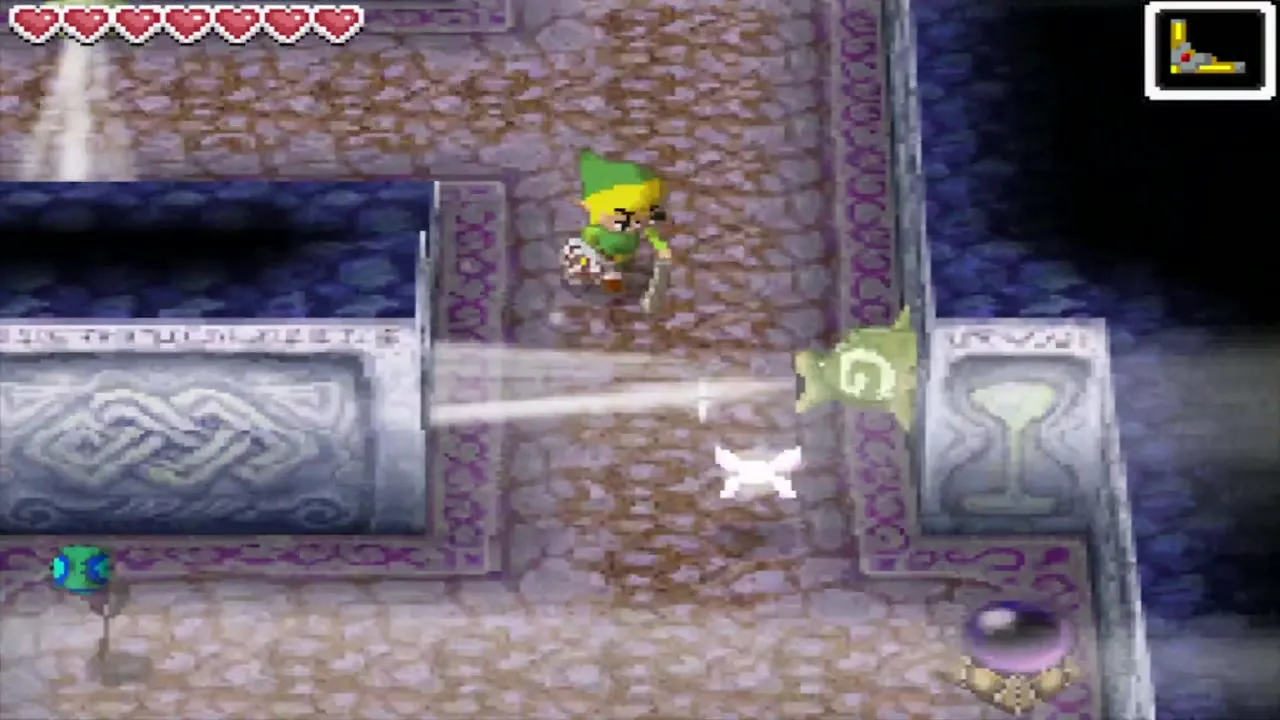
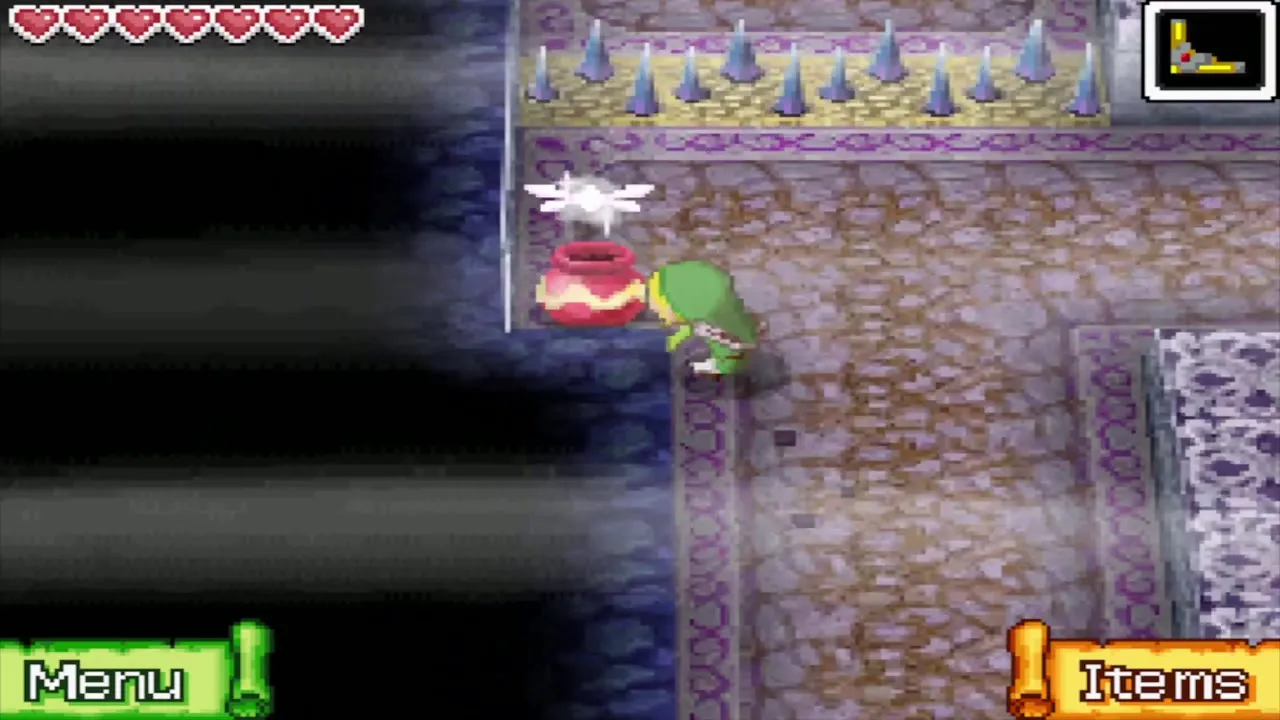
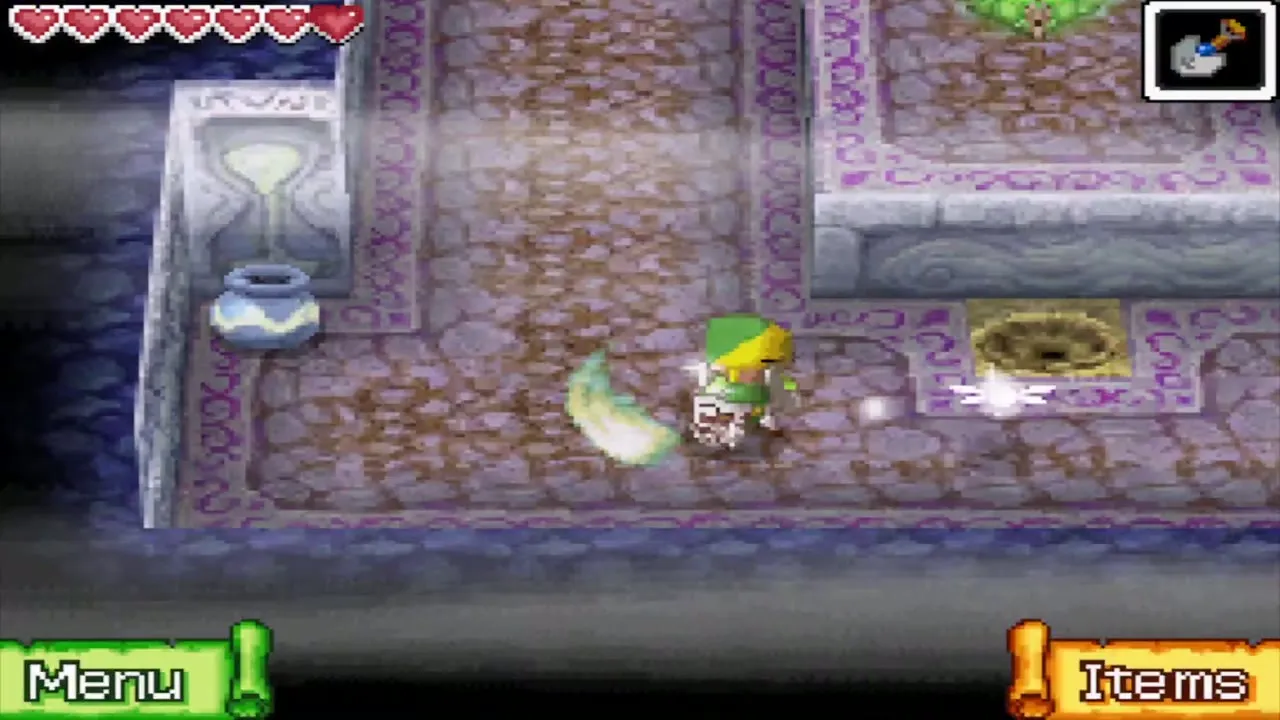
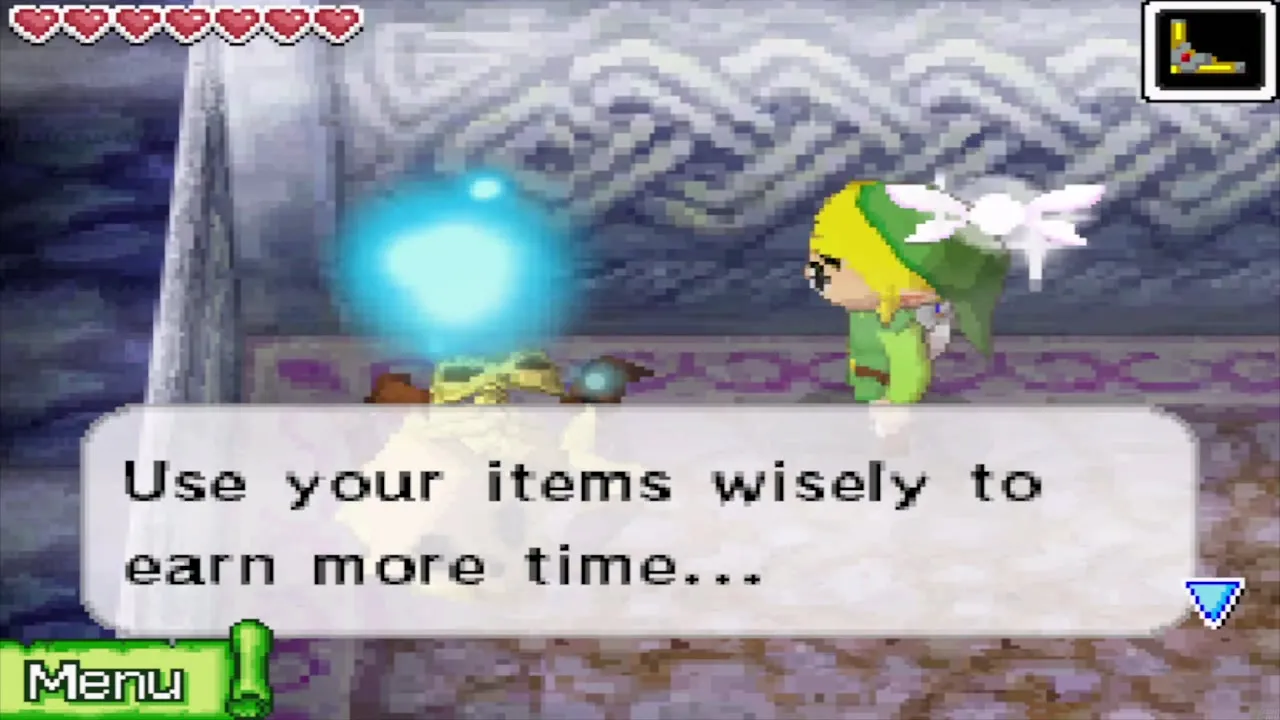
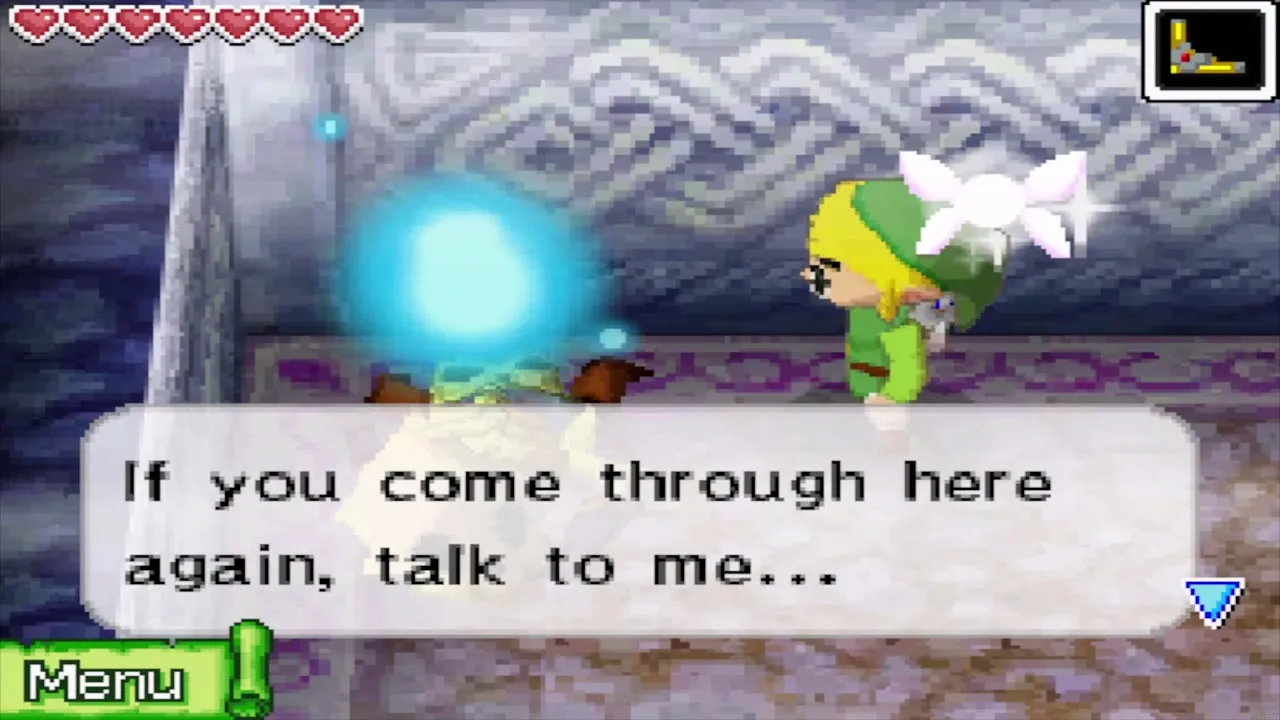
A small key sits in a walled-off spot behind floor spikes: bomb the cracked wall nearby to reach a switch that lowers the spikes (a Bombchu could do this faster later). A Fallen Adventurer near the key promises a tip if you pass again. Beat the three Phantom Eyes and a chest holding a Power Gem appears in a small Safe Zone in the east hall. Use the small key on the locked door in the south hall and take the stairs down to B5.
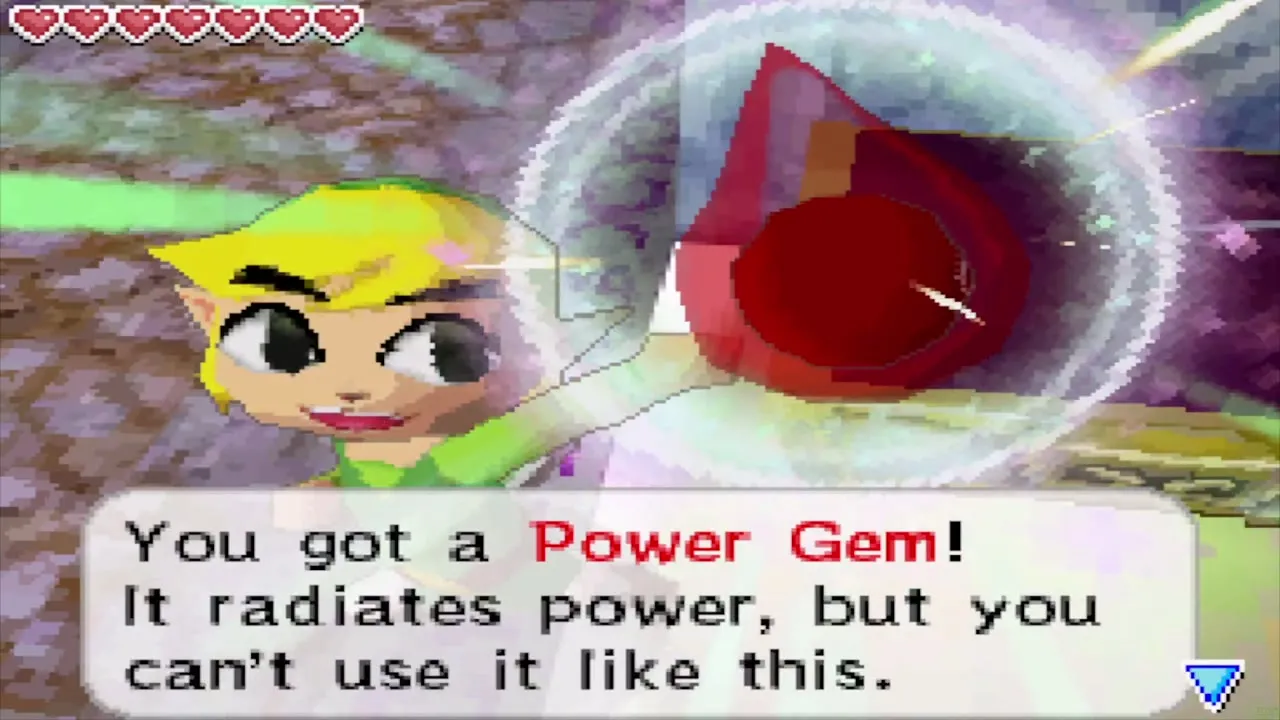
Temple of the Ocean King B5: Miniblins and the Red Potion
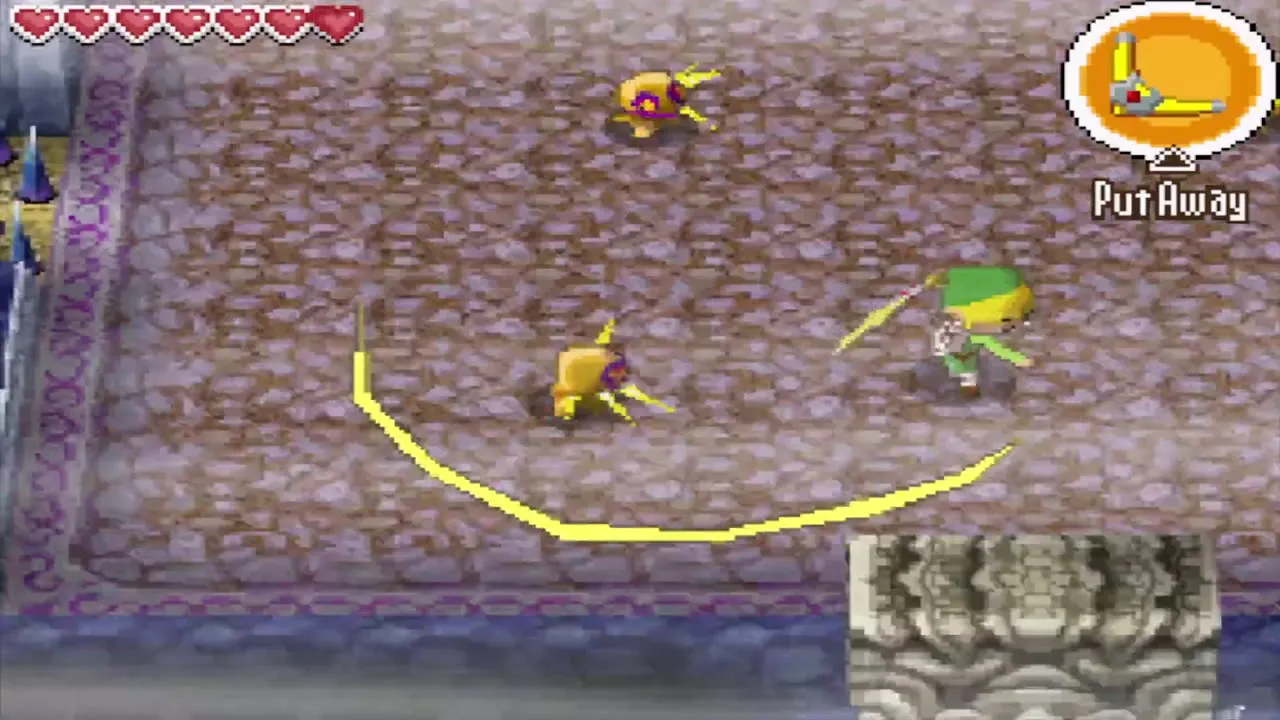
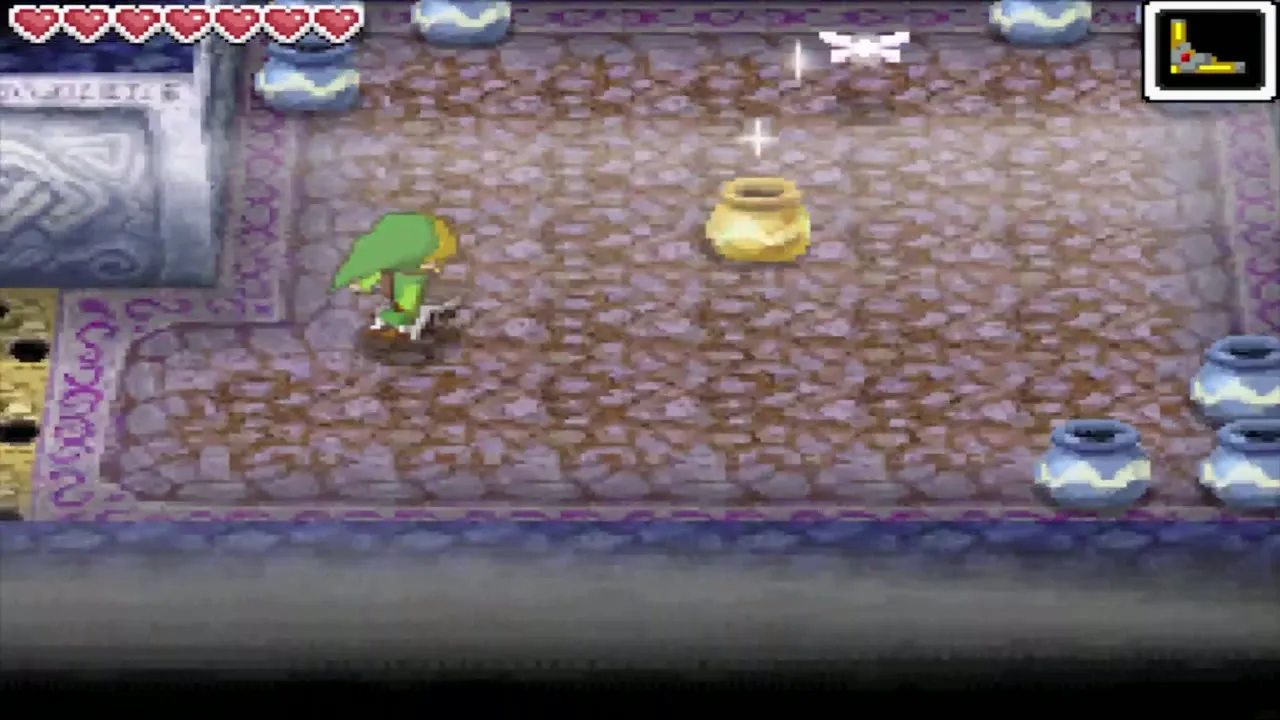
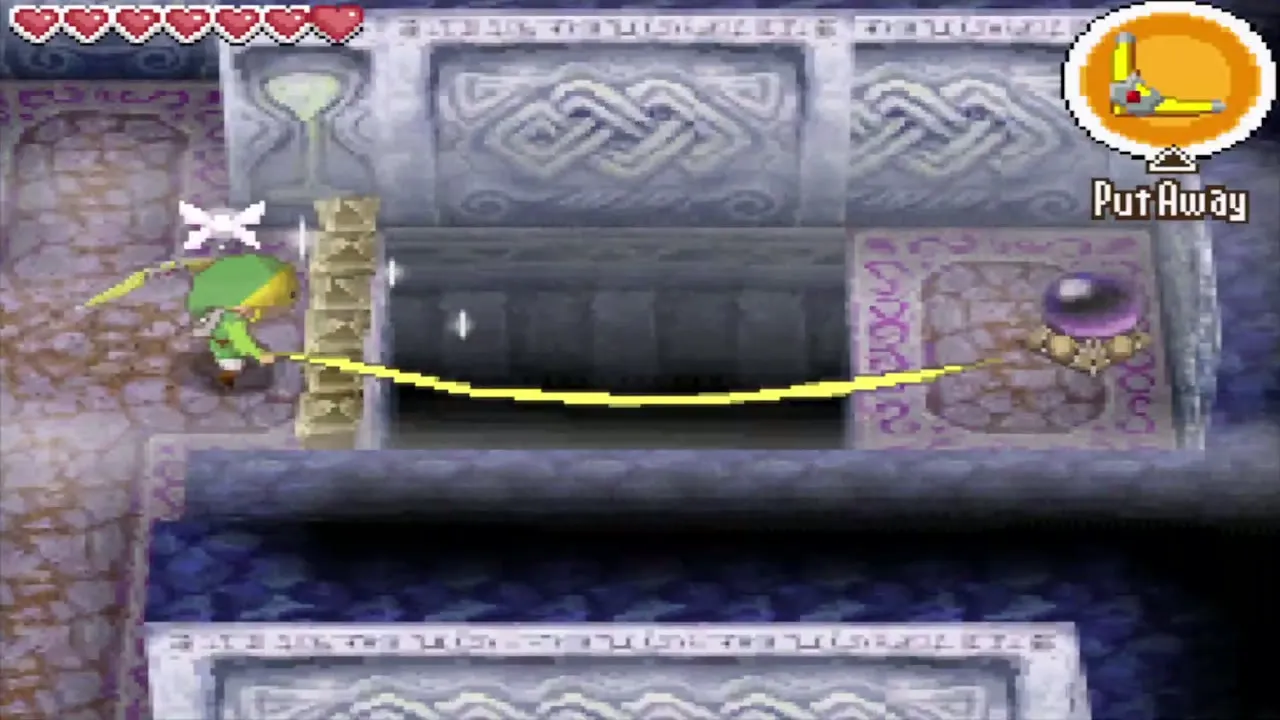
B5 is a mostly linear route with fewer Phantoms and more ordinary enemies. Yellow jars hold bonus time, so break them as you pass. Four Miniblins guard a room on the way. Draw a loop with the Boomerang through all four so a single throw hits every one of them, then finish them with the sword.
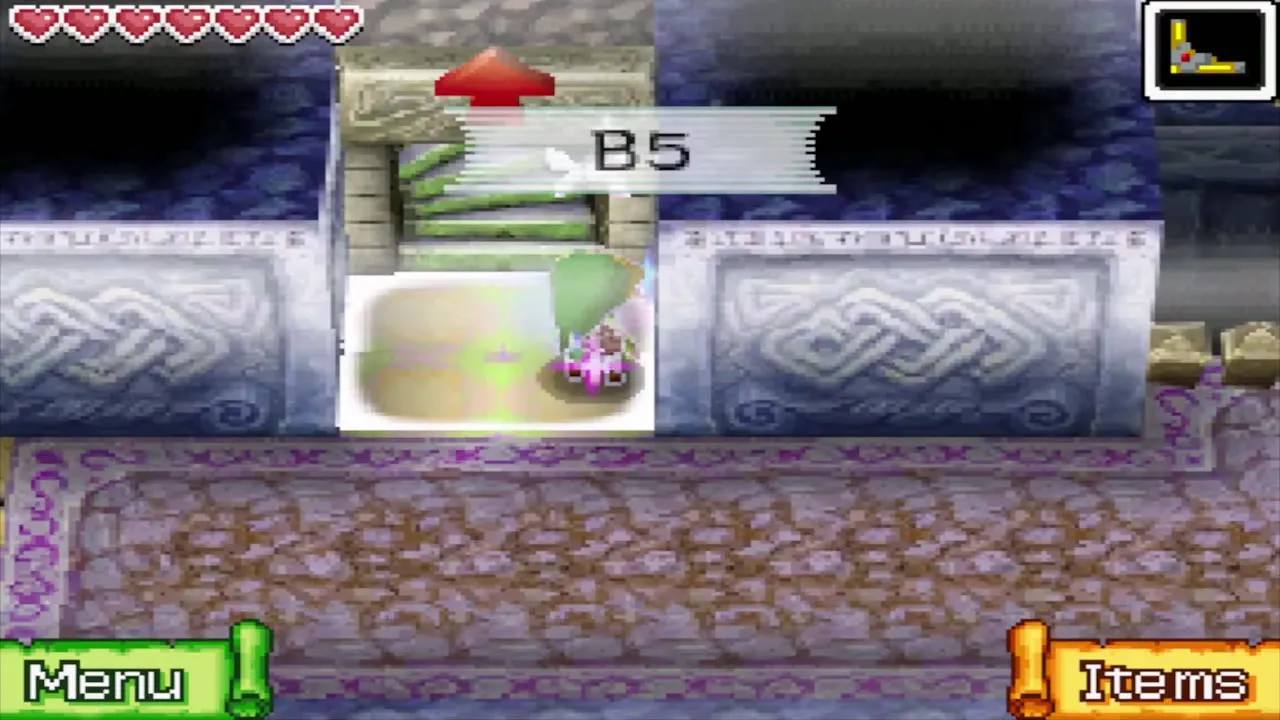
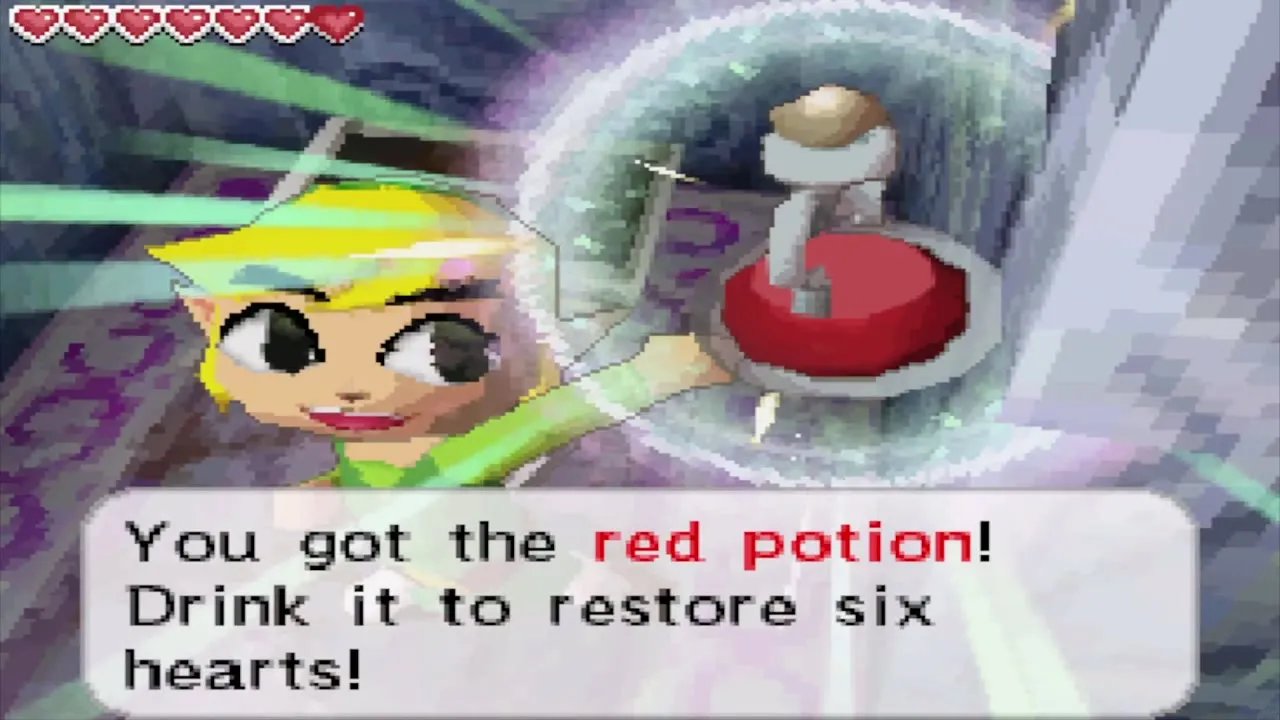
Spikes block the way until you hit a switch in the west with the Boomerang. Four Yellow Chuchus fill a large room after that, and its doors stay shut until all four are beaten. Near the stairs, the Boomerang also reaches a switch that stops the wind in a hallway and makes a chest appear, which holds a Red Potion (or a Big Green Rupee if your potion slots are full). The potion is stored in the Items menu, where you can tap it once to restore your hearts. Take the stairs at the end of the floor down to B6.
Temple of the Ocean King B6 and the hourglass crest door
Find the four crest tablets
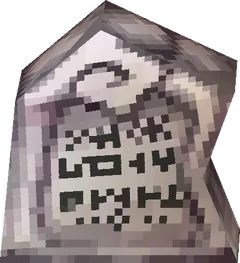
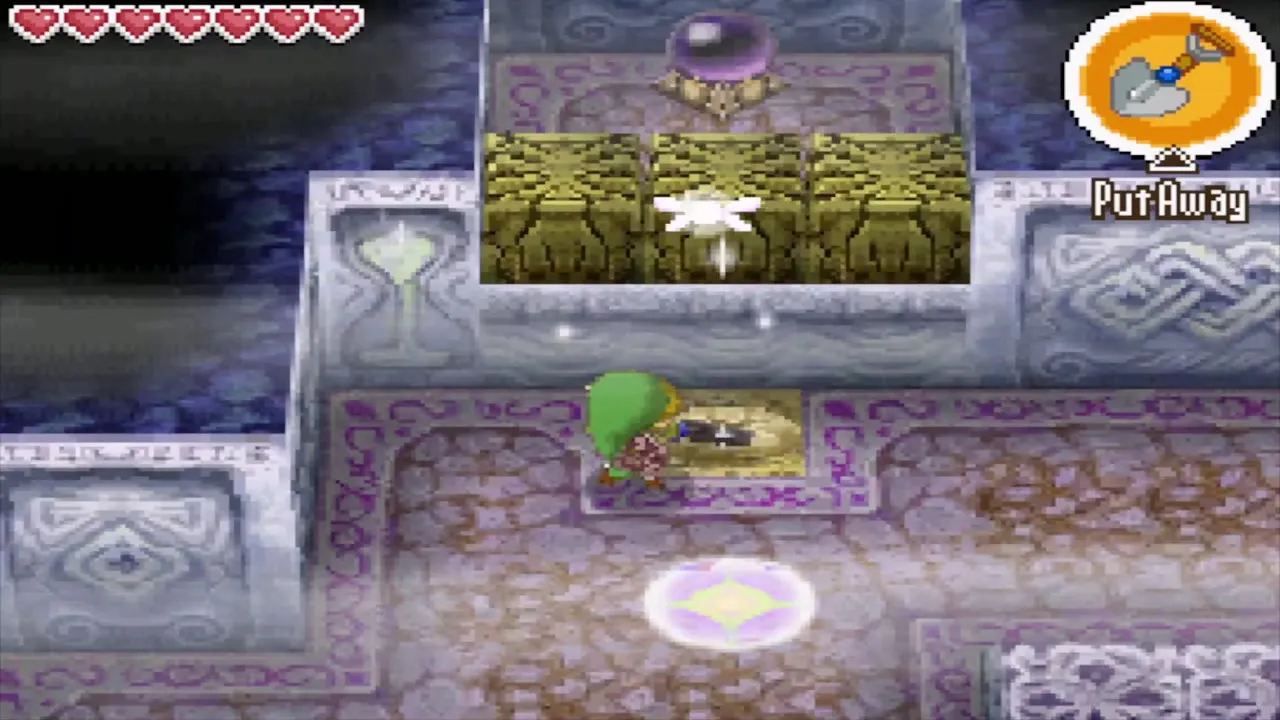
B6 holds a large red door and six stone tablets, four of which govern the crest. The tablets say which one they are (the one that begins and ends the crest, then the second, third and fourth), so read them in turn and, with the Memo on your map, note what they say. Two Phantoms and two Phantom Eyes patrol the floor, so use the Boomerang and the Safe Zones as you go. Do not read the cursed tablet, because it makes two more Phantom Eyes appear.
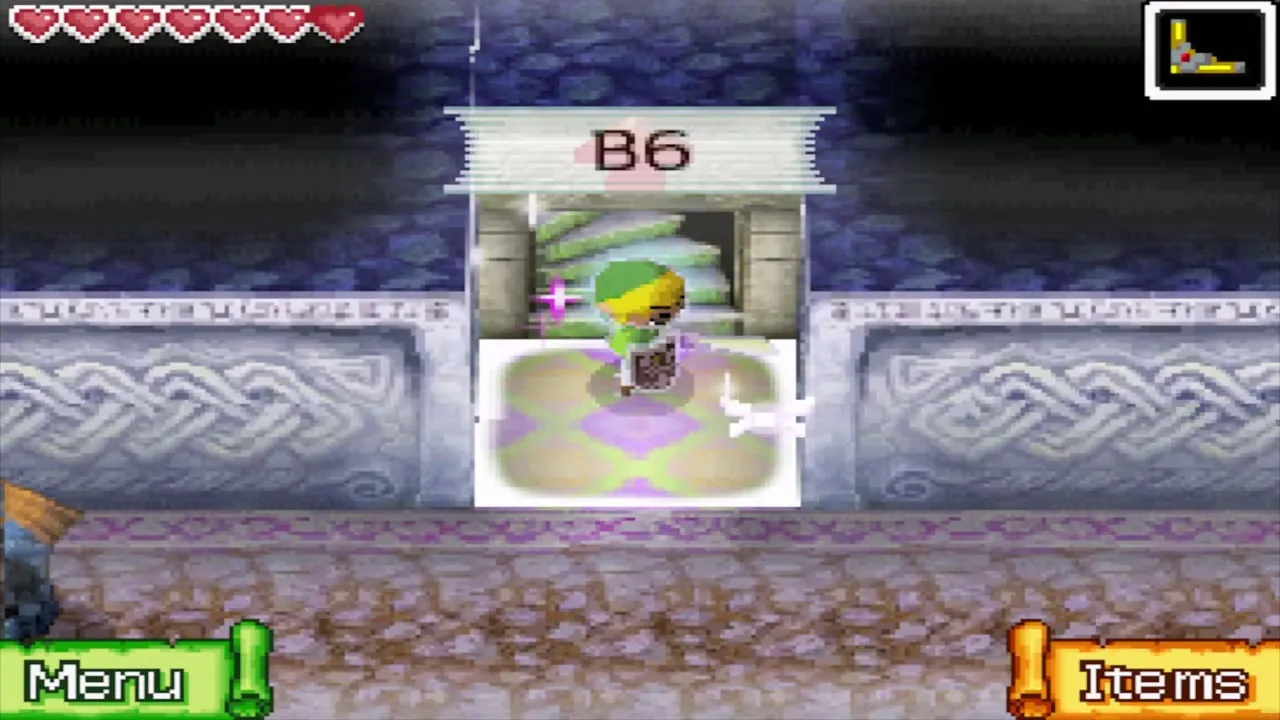
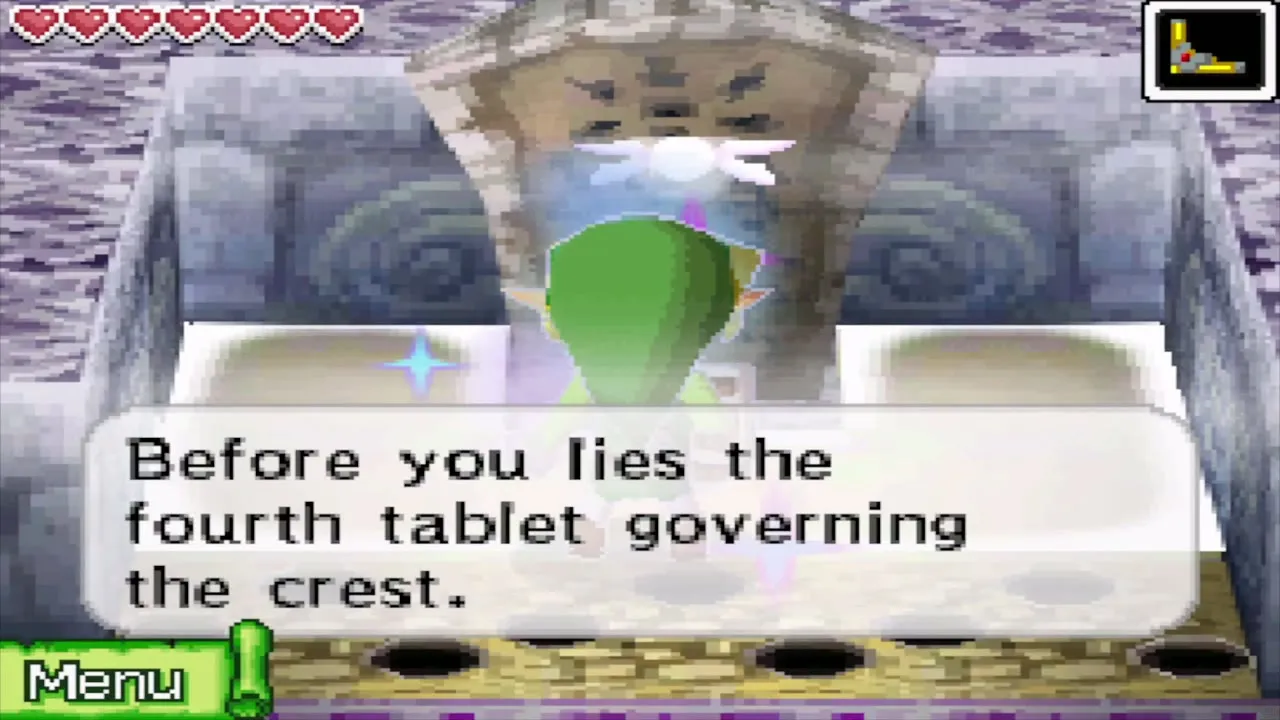
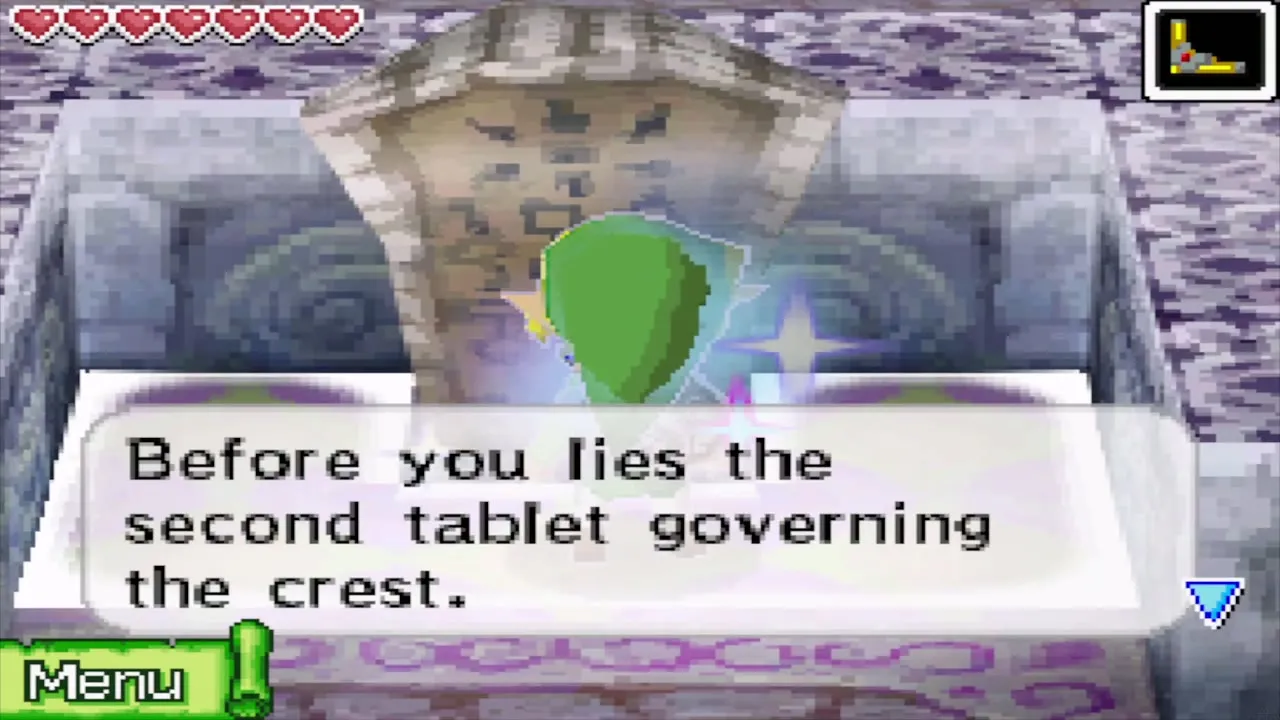
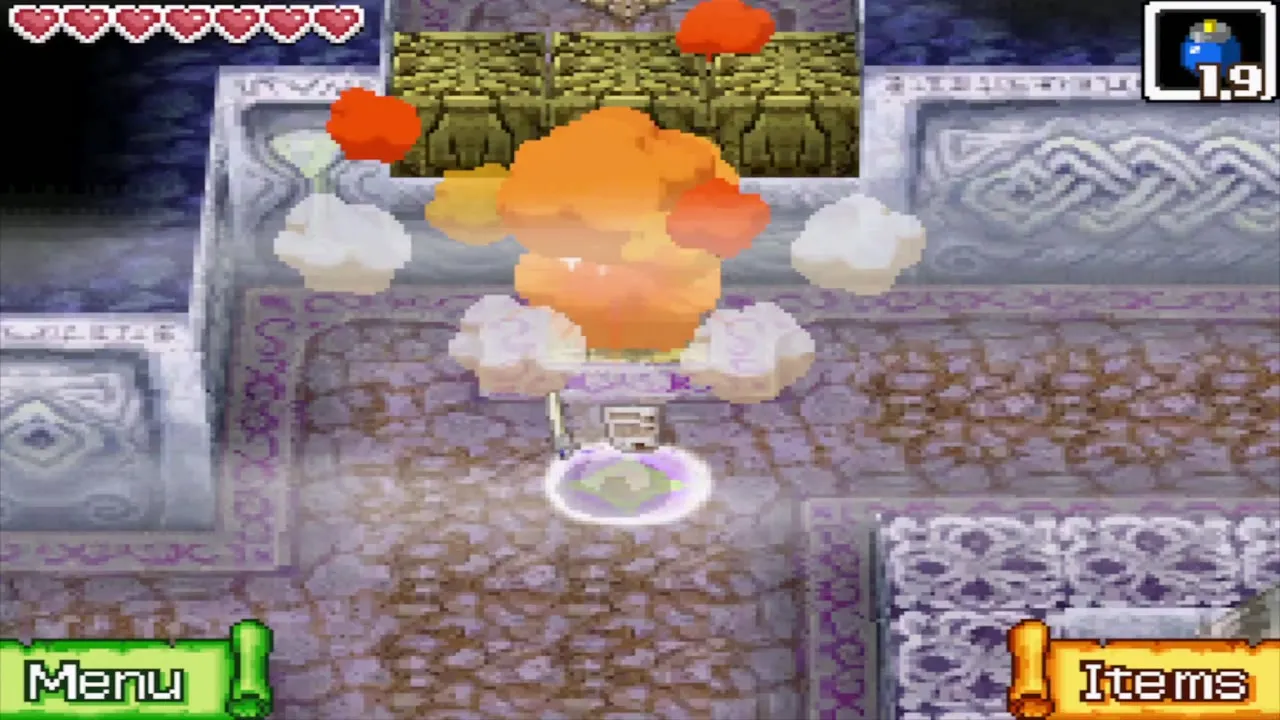
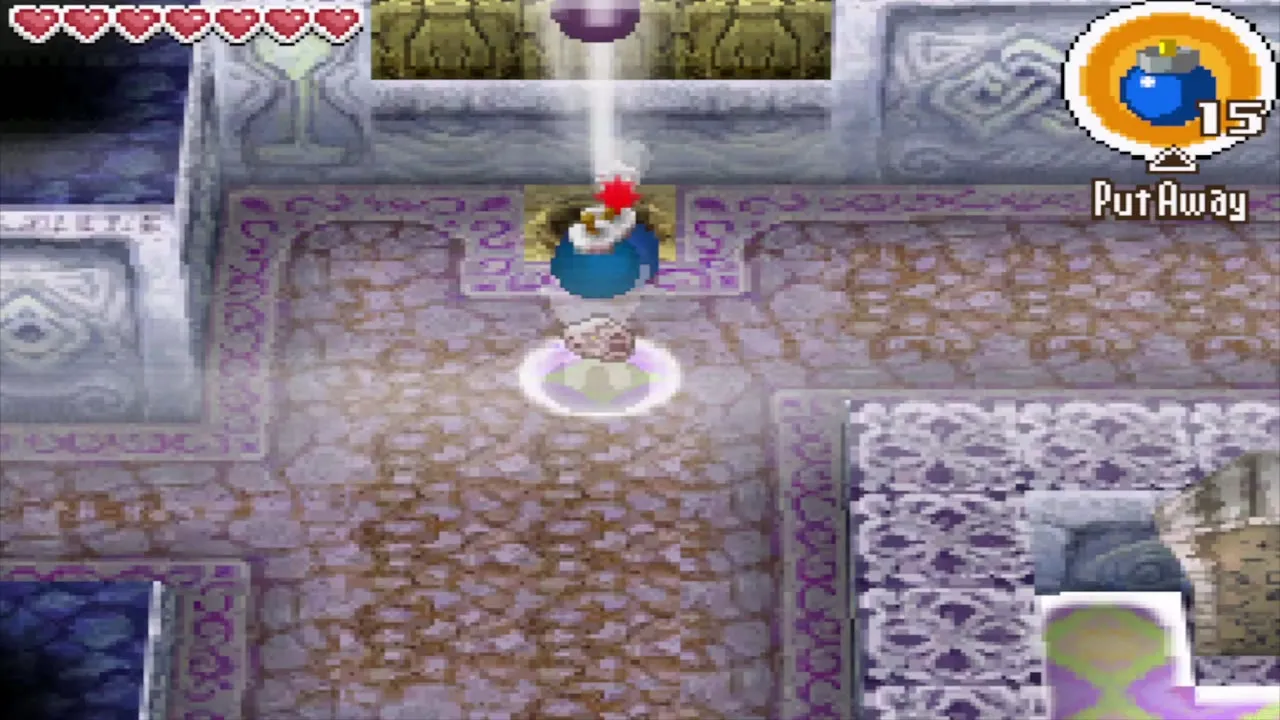
The tablets sit in small Safe Zones around the floor and some need a little work: floor spikes in the south-east are lowered by a nearby switch, cracked blocks in the south-west need a bomb, and in the north-west you dig soft ground with the Shovel to raise a gust geyser and time a bomb so it blows up the blocks in front of the switch. Keep an eye on the Phantoms between rooms.
Draw the hourglass on the red door
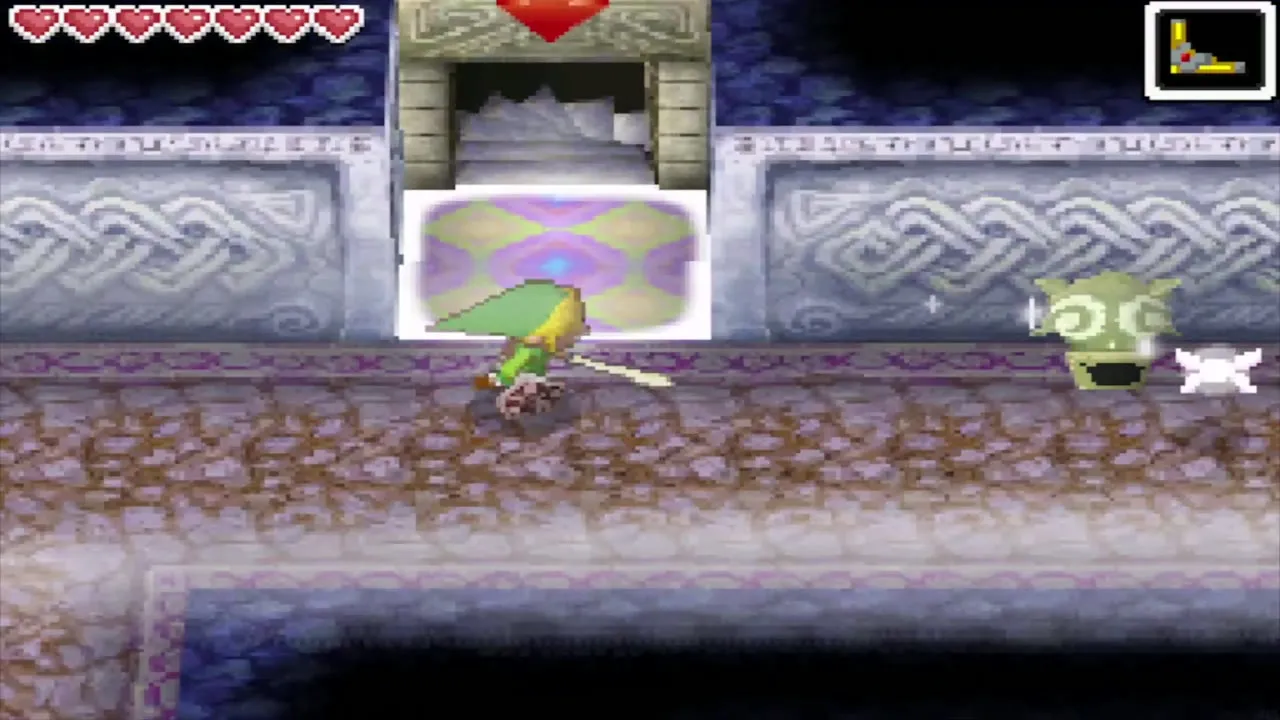
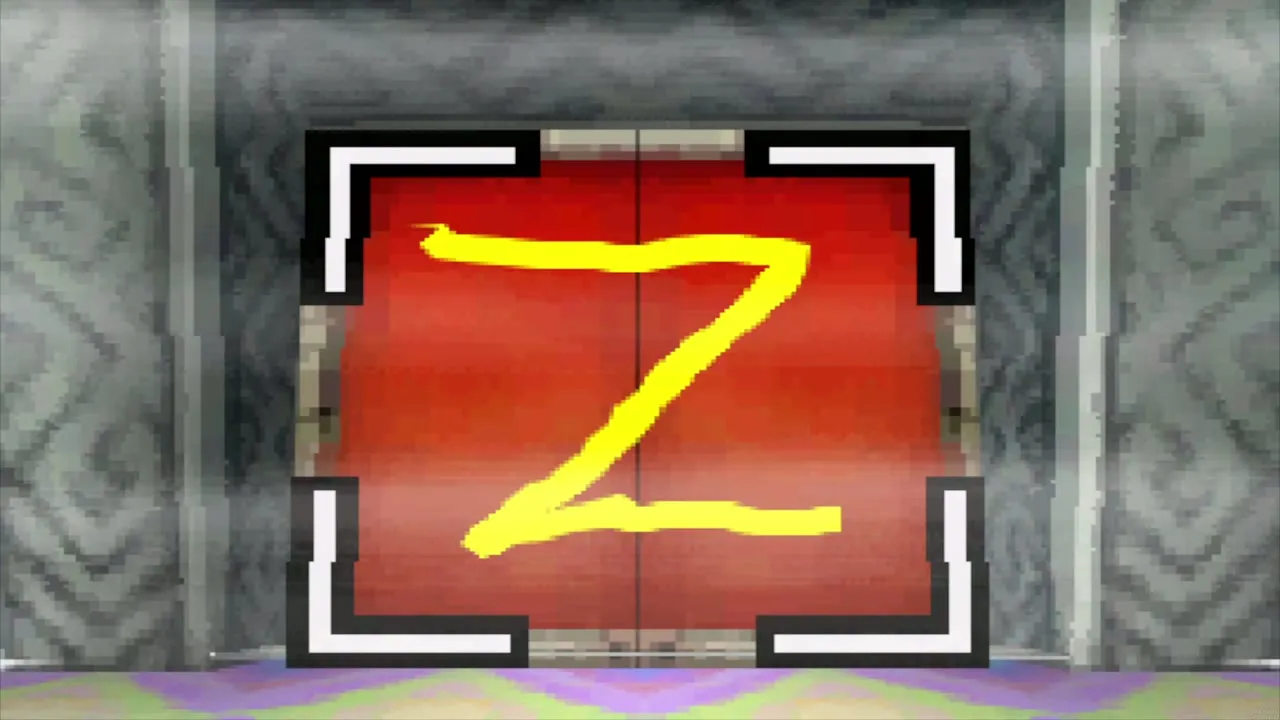
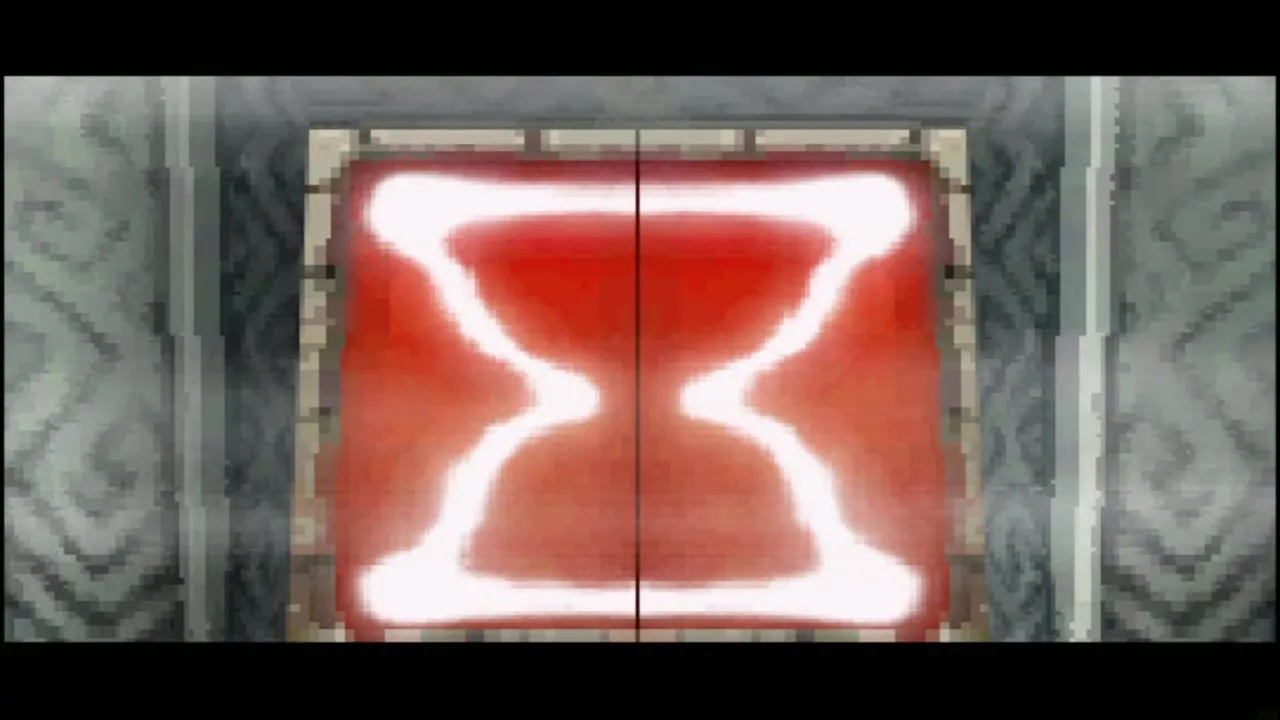
With all four tablets read, go to the red door. Draw the crest with the stylus in one stroke: start at the top-left corner, go across to the top-right, then diagonally to the bottom-left, across to the bottom-right and back up to the top-left. The door glows with an hourglass shape and opens.
Copy the sun crest to your Sea Chart
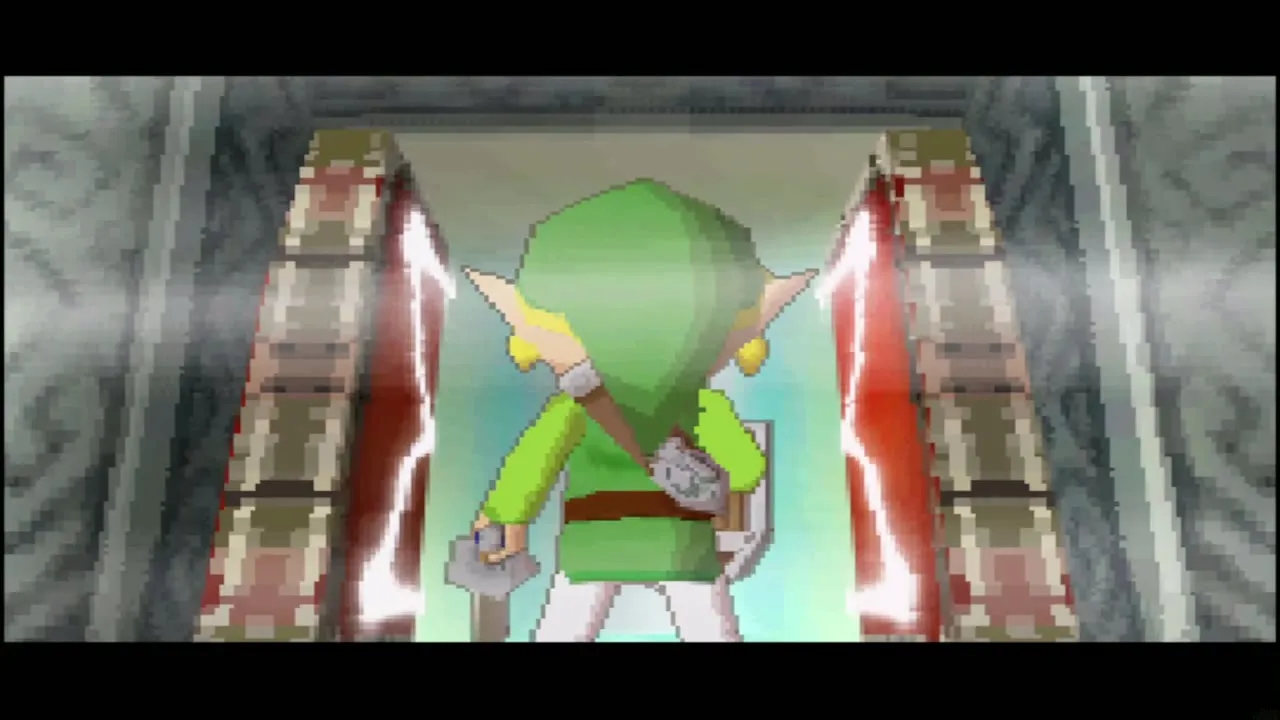
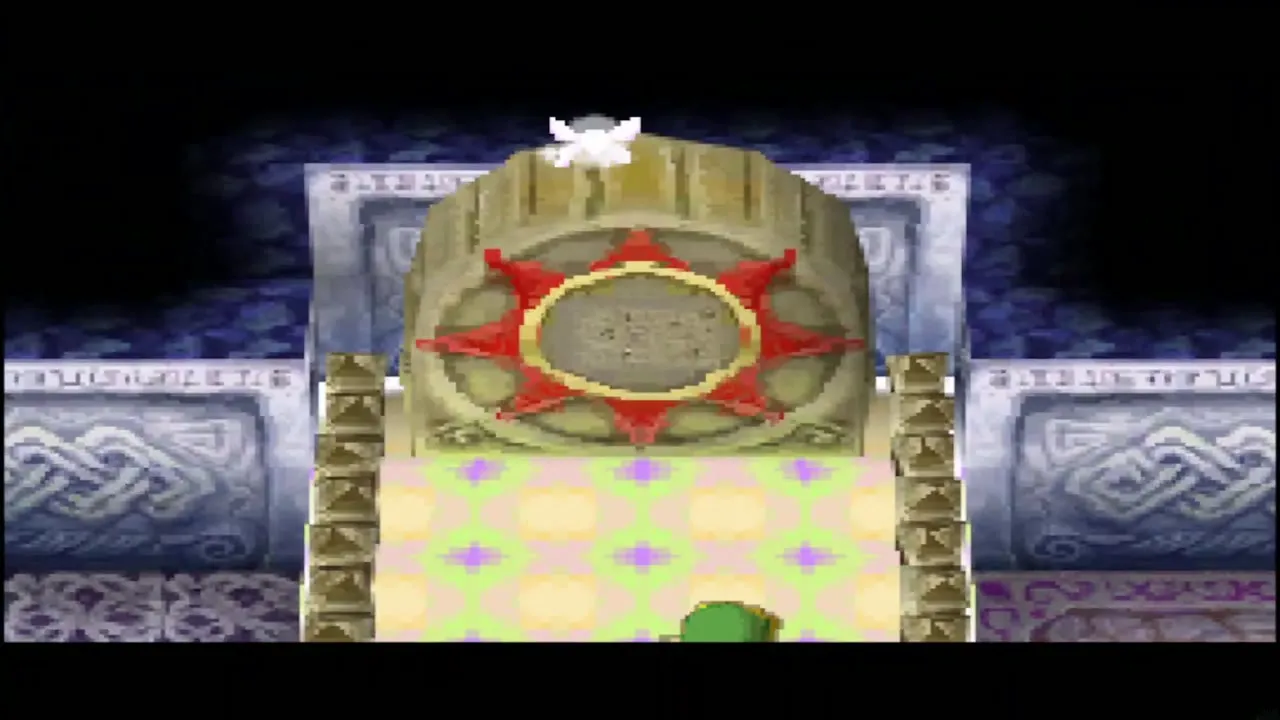
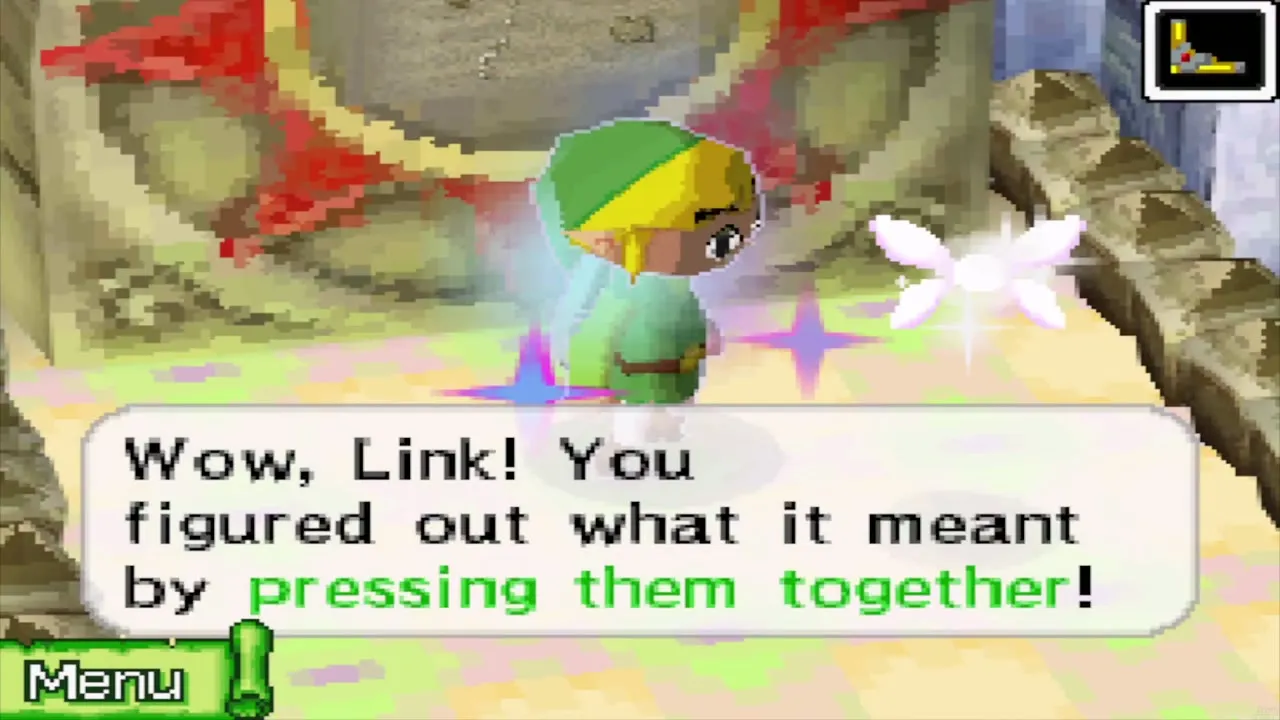
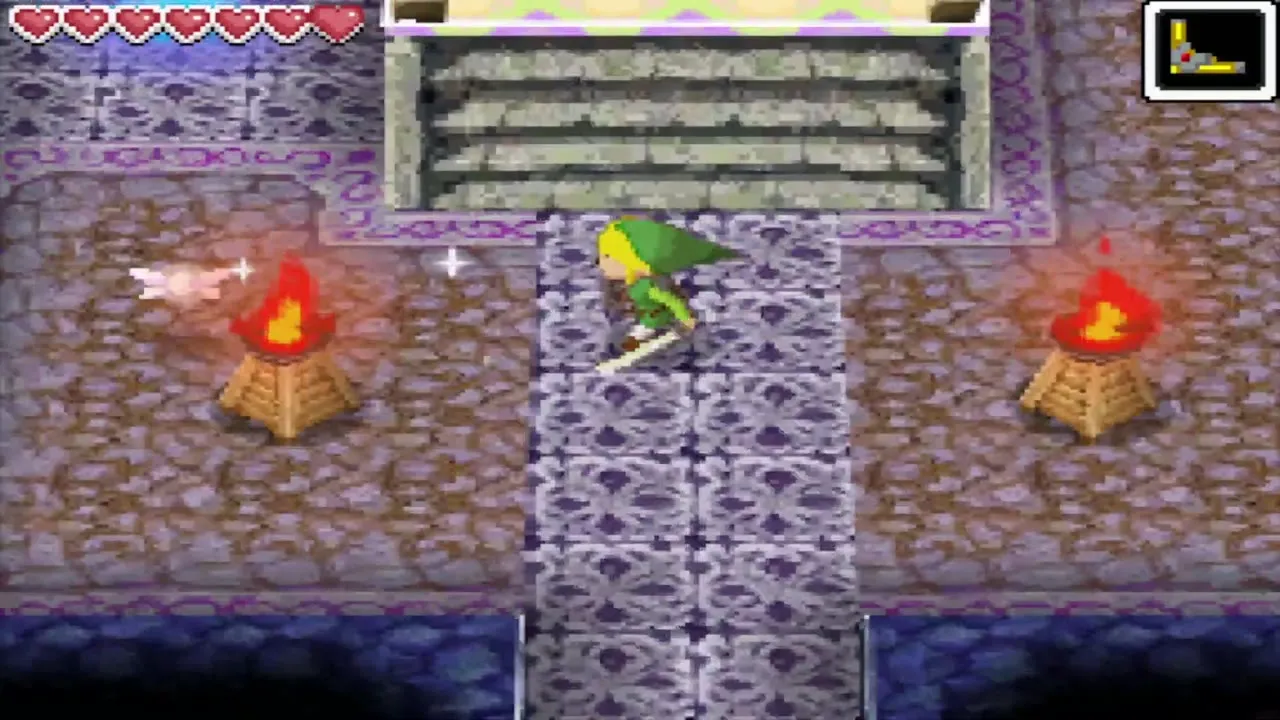
Beyond the door is the Sacred Crest Chamber, where no sand drains. A large stone tablet carries a sun crest. Open the Sea Chart from the menu and show the Southwestern Sea. Then close the DS and open it again. The crest is pressed onto the chart as a new mark in the middle of the sea, and a message tells you that the Temple of Courage will open for the holder of the Sun Key.
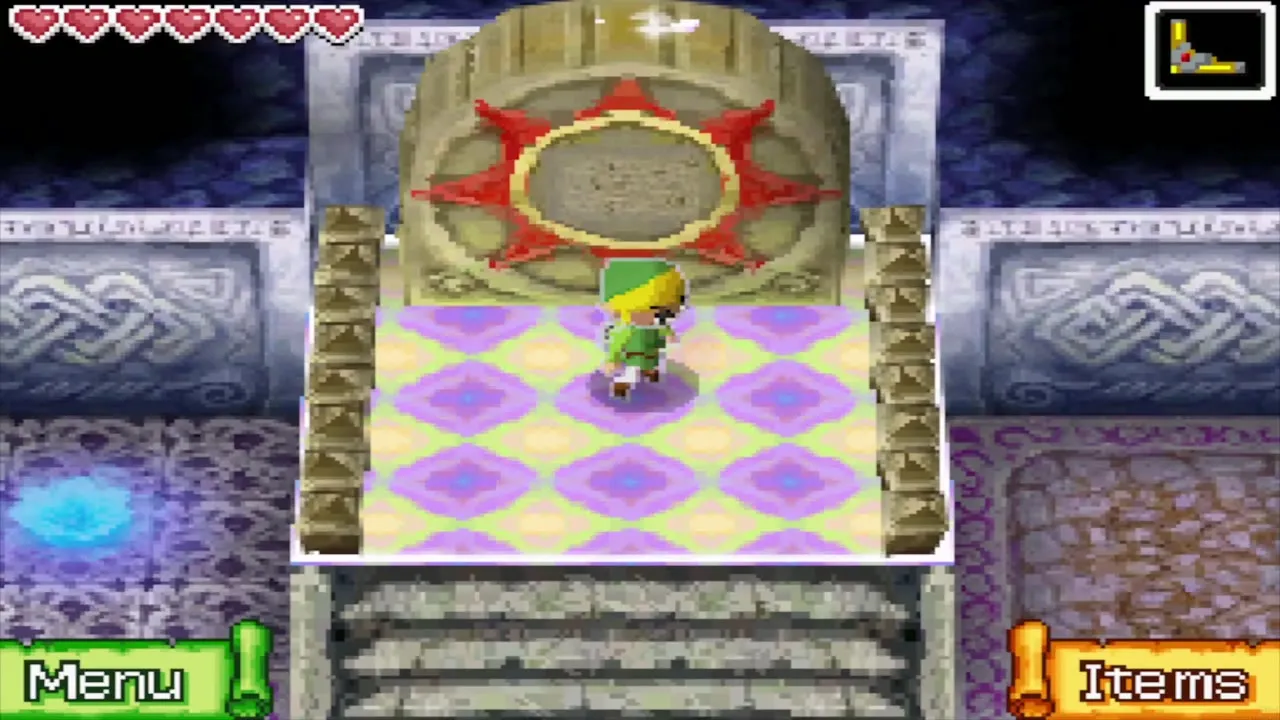
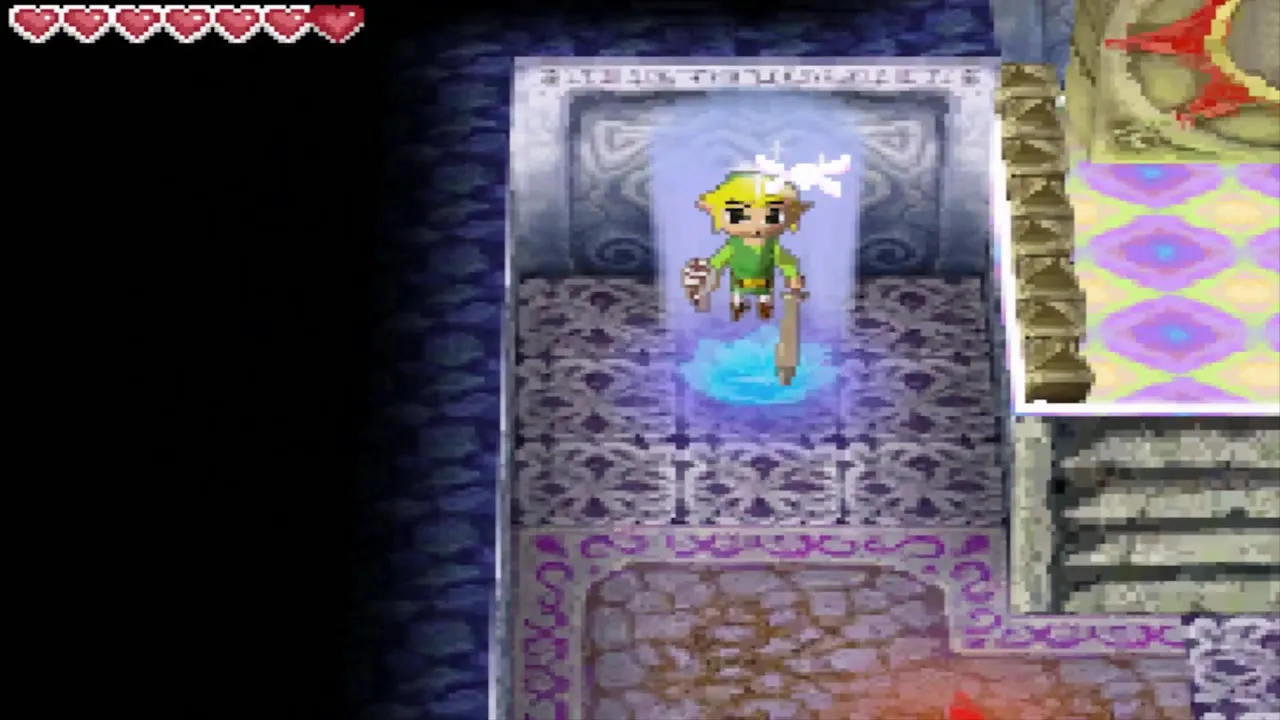
Step onto the light column to leave the temple. When you return, the hourglass door stays open. Two collectibles on these floors are out of reach for now: Treasure Map 23, in the northwest of B5, needs a Bombchu on B4 (after the Goron Temple), and Treasure Map 11 on B6 appears for a few seconds in the northeast after you shoot the eye switch west of the entrance with the Bow. The Goron Temple chapter and the Temple of Courage chapter pick them up.
Mercay Island: Treasure Teller and the postman
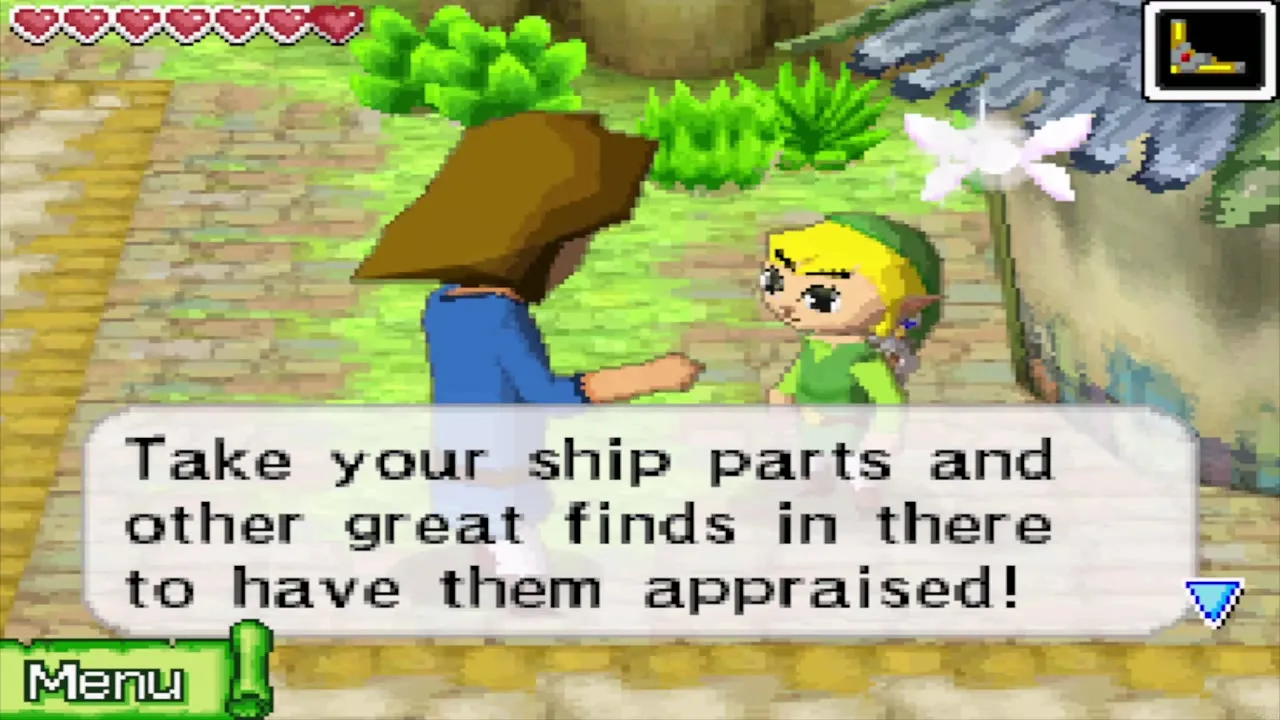
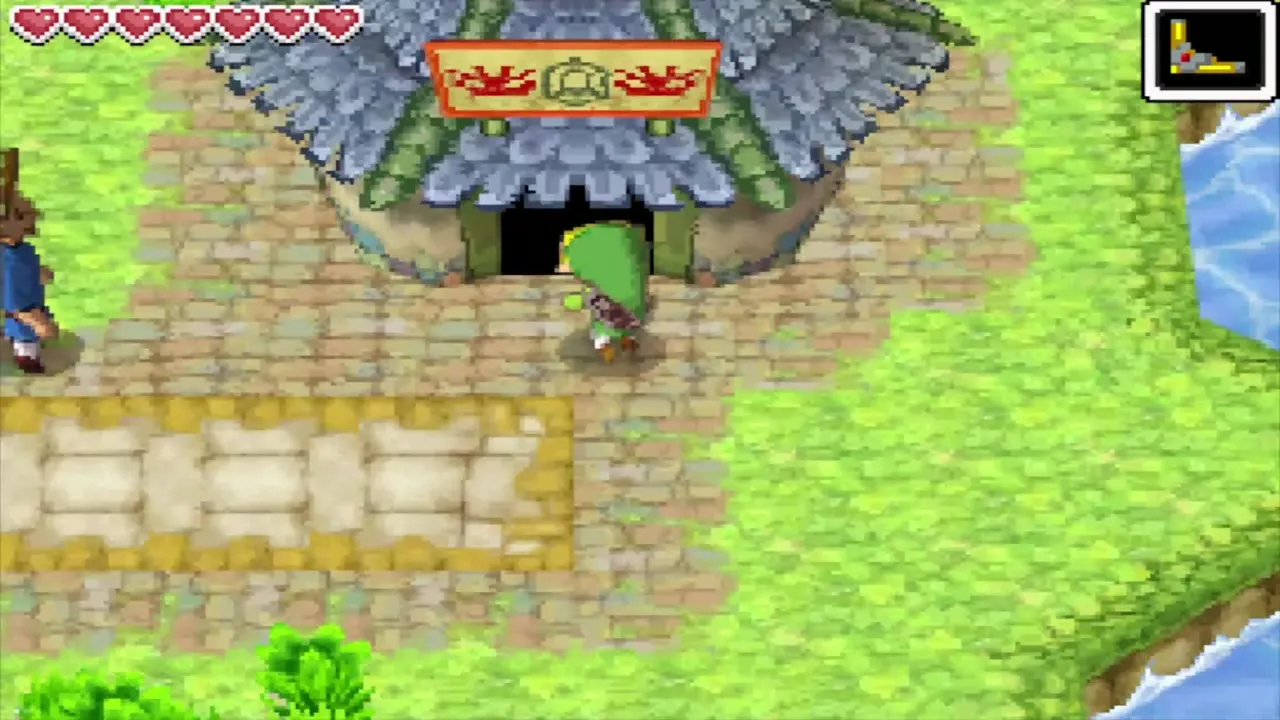
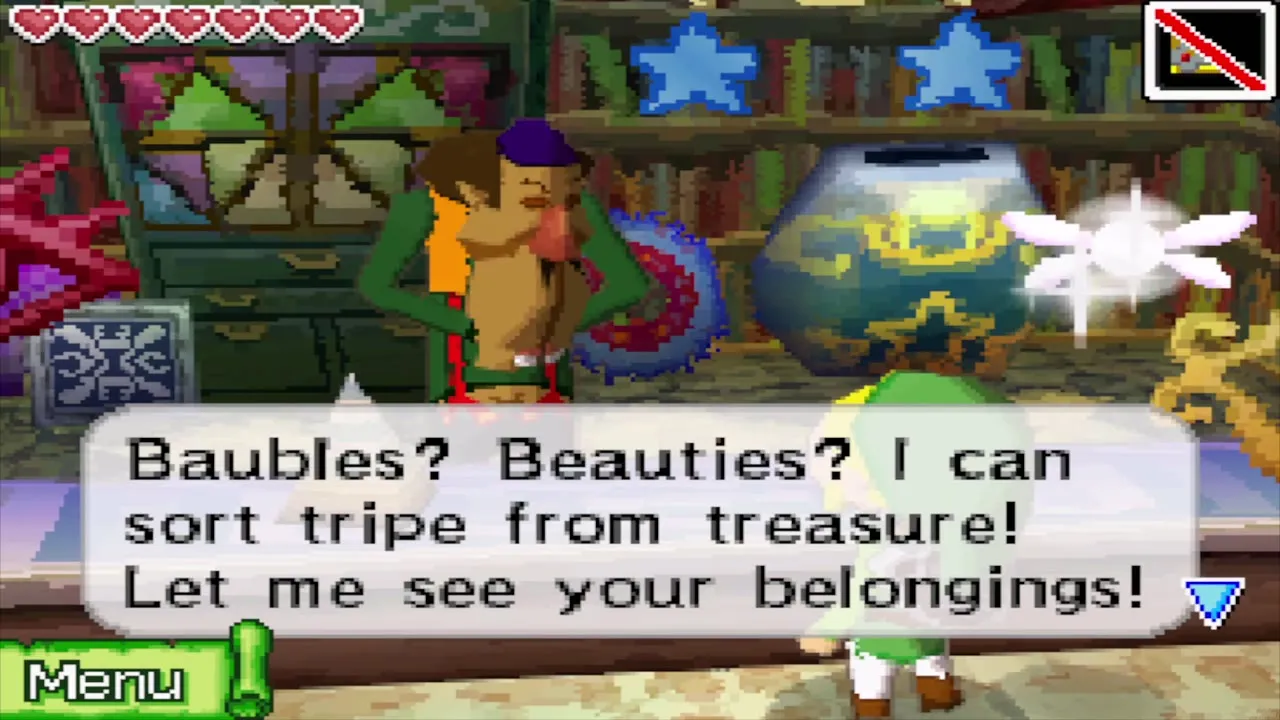
On the way back through Mercay Island, a villager tells you that the Treasure Teller’s hut is finally open. Go in and the teller offers to value your ship parts and treasures and to buy them from you. Take your ship parts and treasures to him to see what they are worth and to sell duplicates.
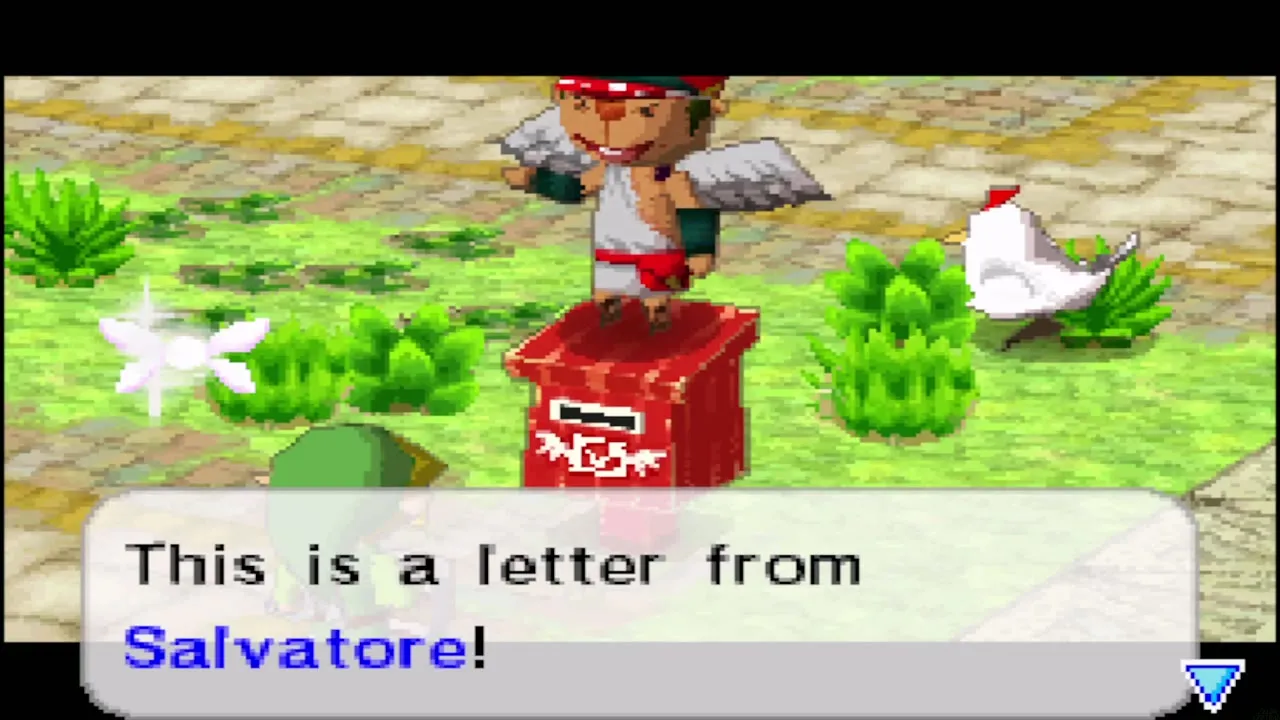
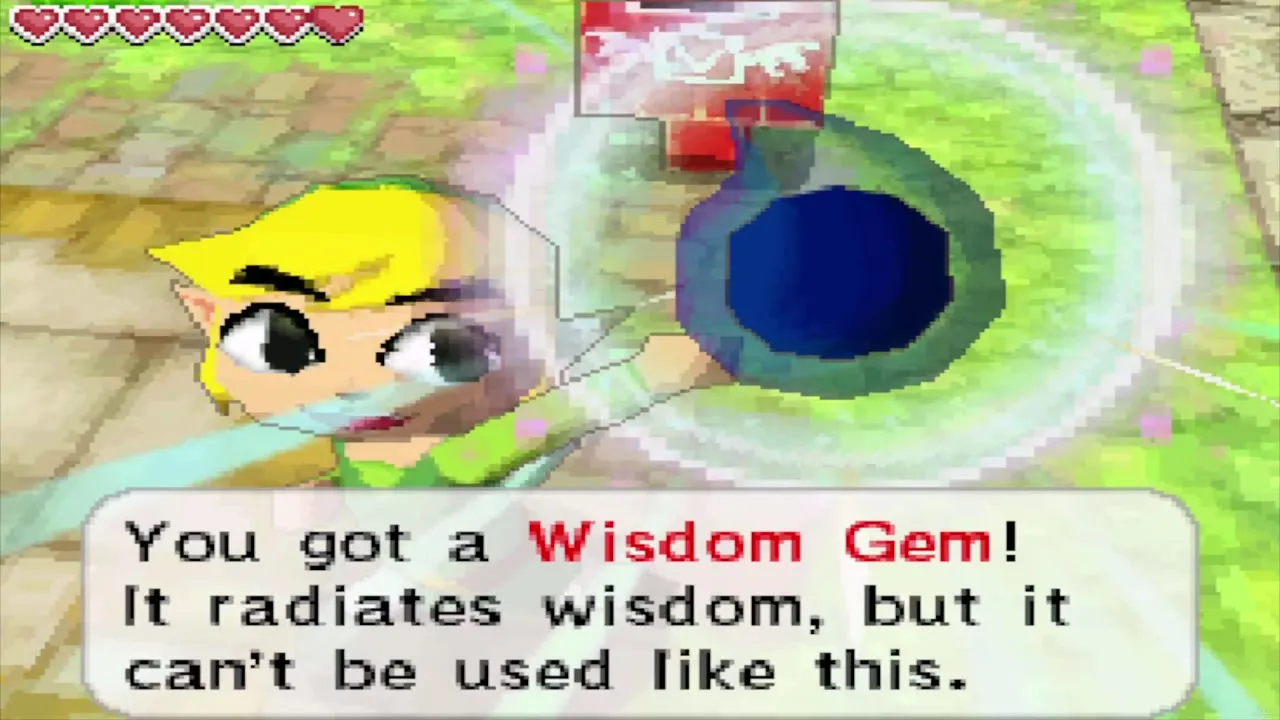
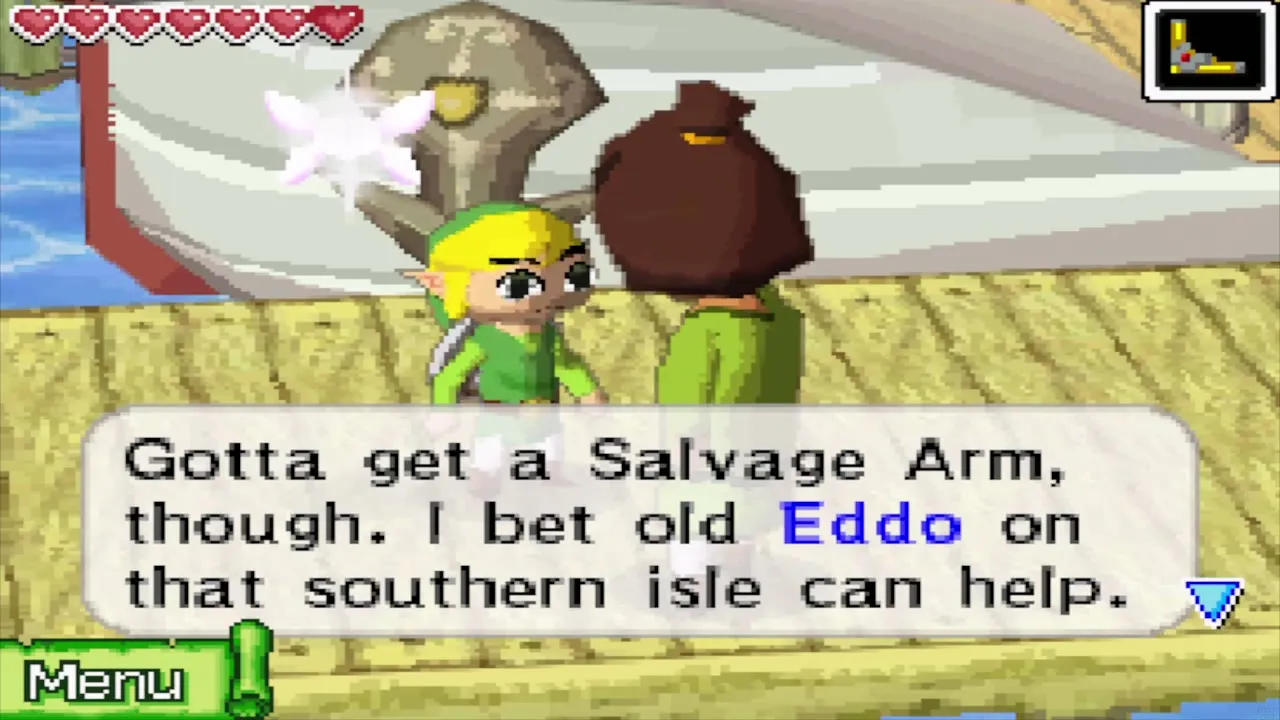
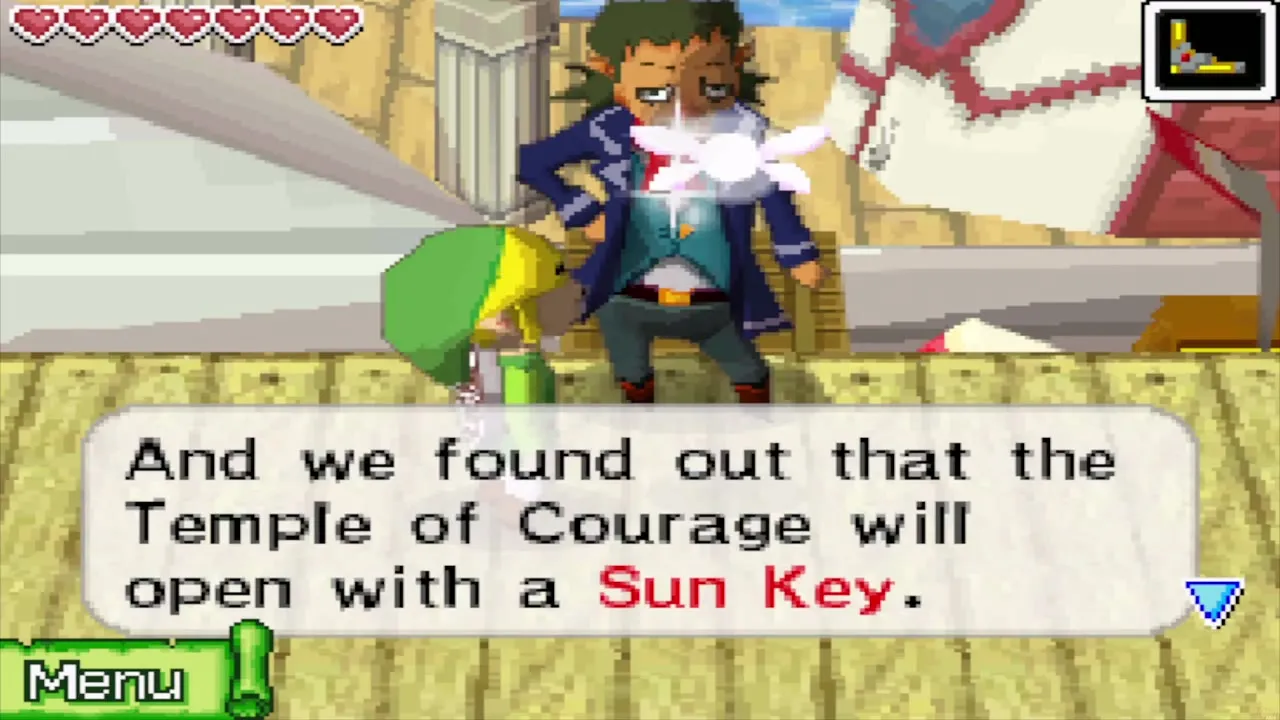
Outside, stop by the red mailbox. The postman hands over a letter from Salvatore, the Master of Diversions, and with it a Wisdom Gem. Then go to the dock. A sailor asks whether your ship has a Salvage Arm and says that Eddo, on the island to the south, can help. Talk to Linebeck as well: you tell him about the secret mark you copied onto your chart and the Sun Key that the Temple of Courage waits for.
How to get the Salvage Arm from Eddo
Sail to Cannon Island
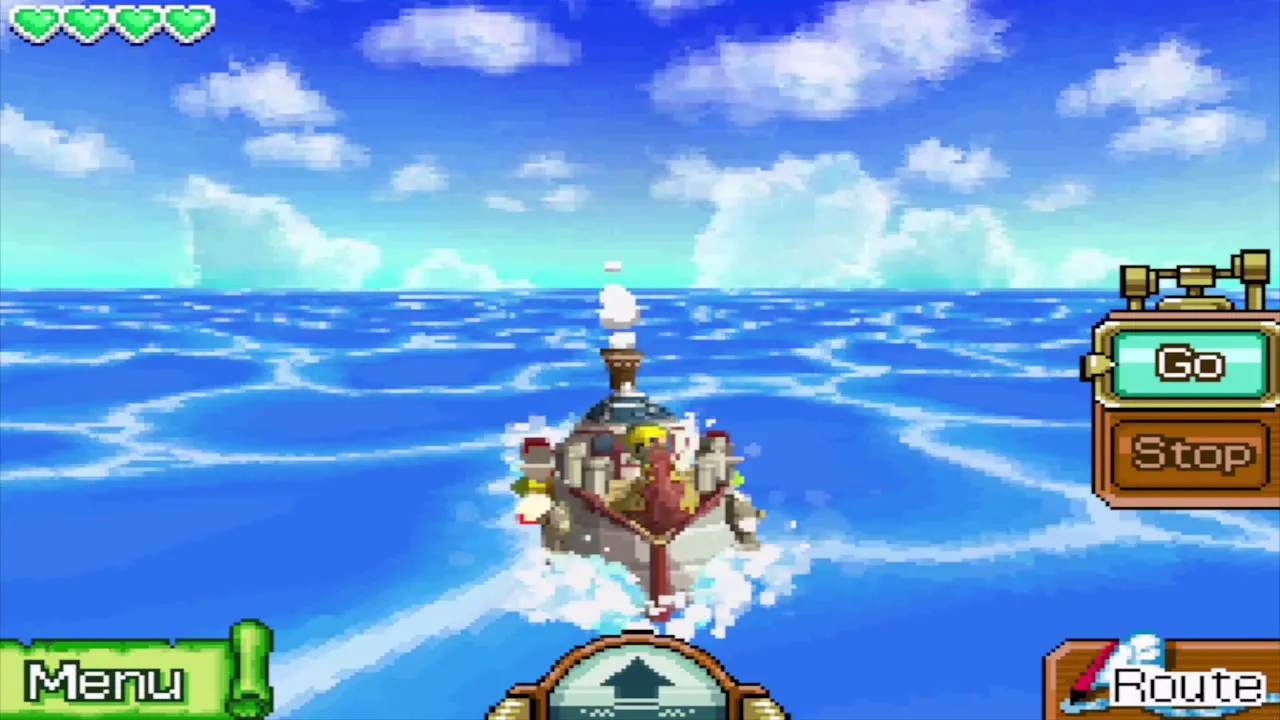
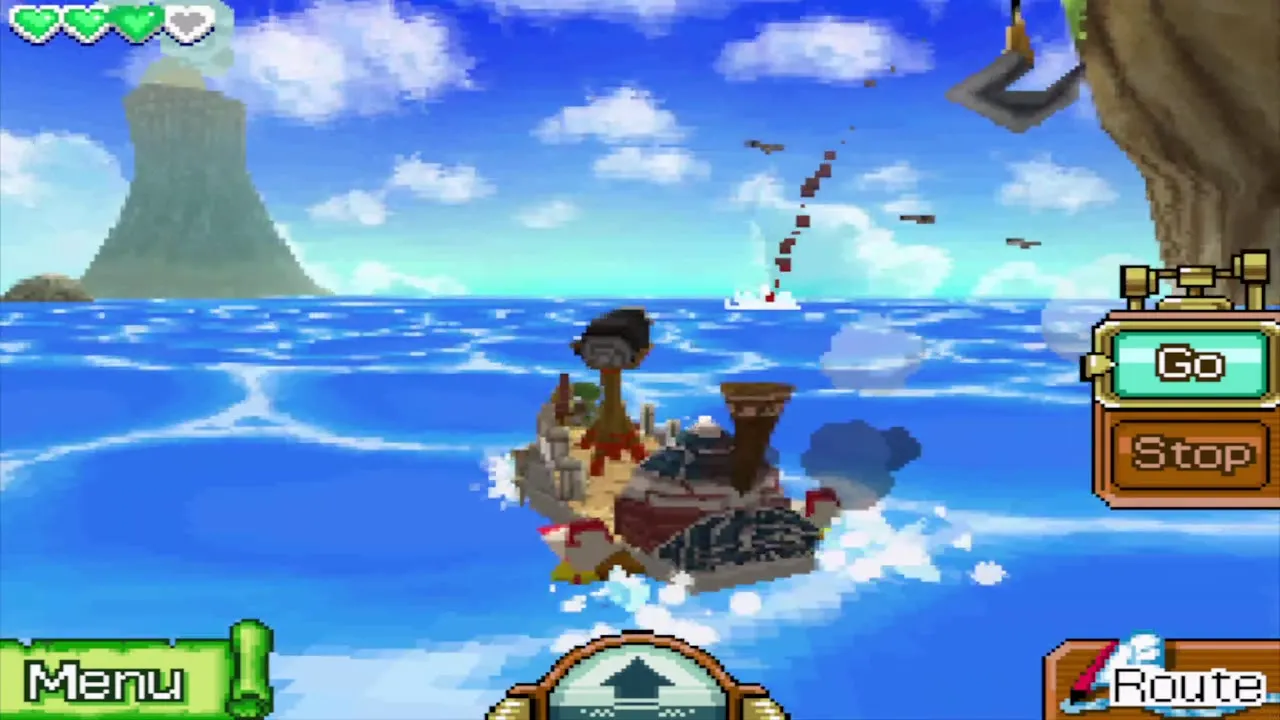
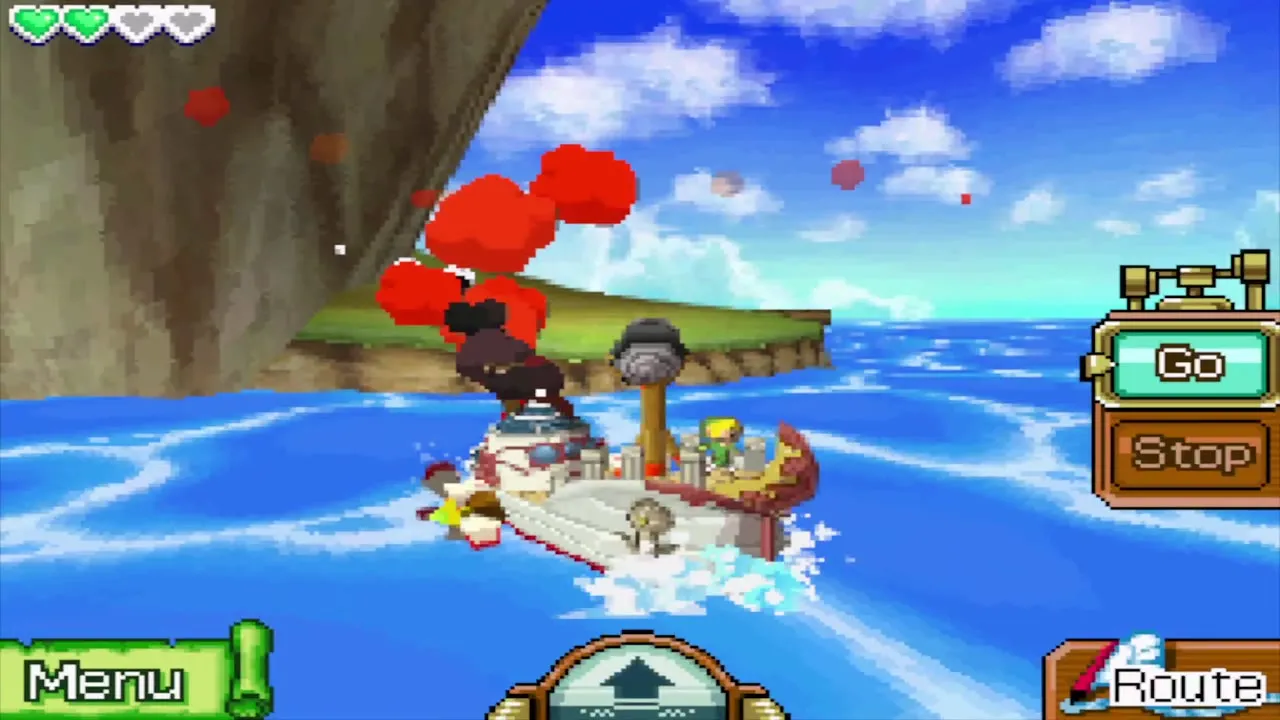
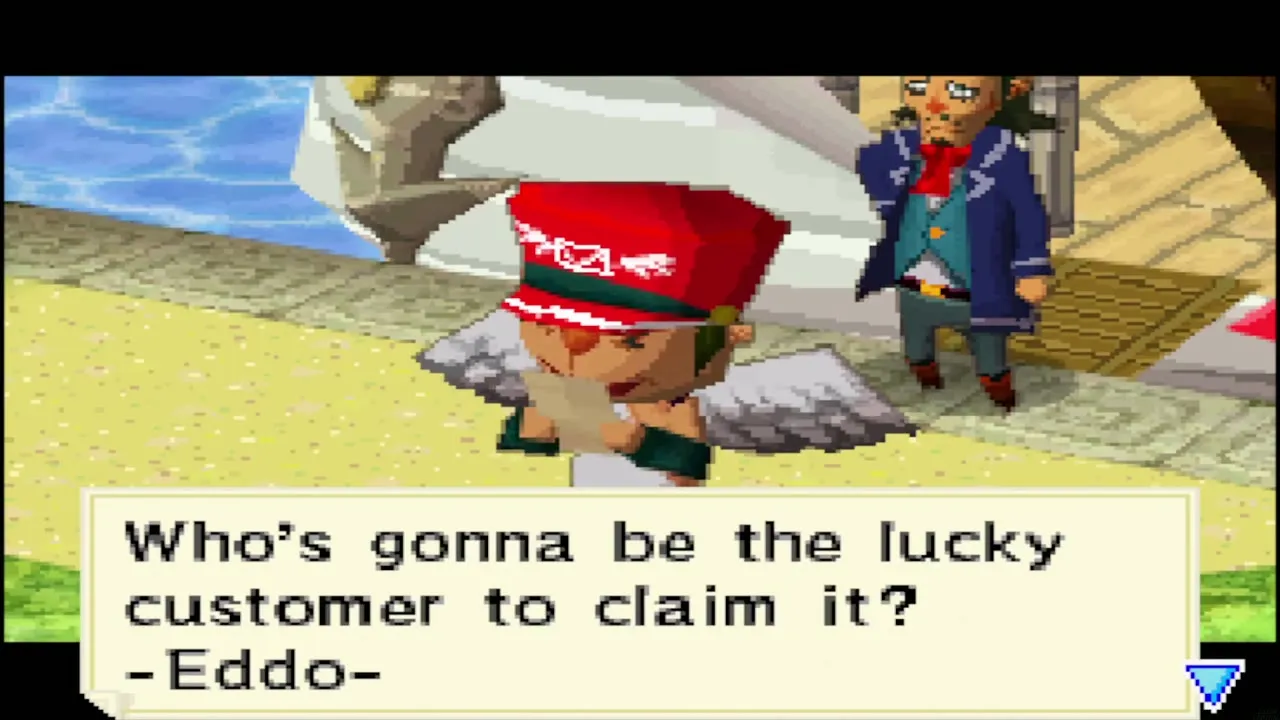
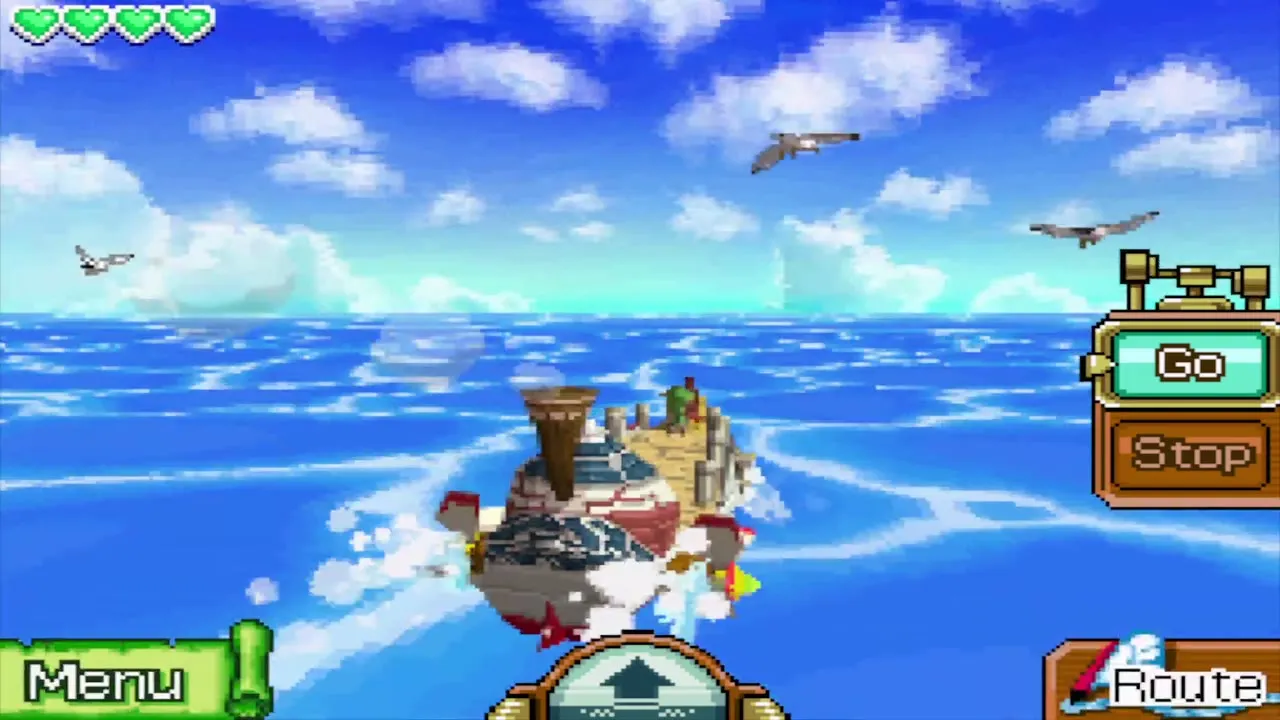
Board the ship and draw a course to Cannon Island, south of Mercay Island, on the Southwestern Sea Chart. A pirate ship cuts across the route: aim the Cannon at it and keep firing until it sinks. When you land, go to the mailbox. The postman delivers a letter from Eddo saying his Salvage Arm is finished and that he will sell it to the first person who reaches his workshop.
Buy the Salvage Arm
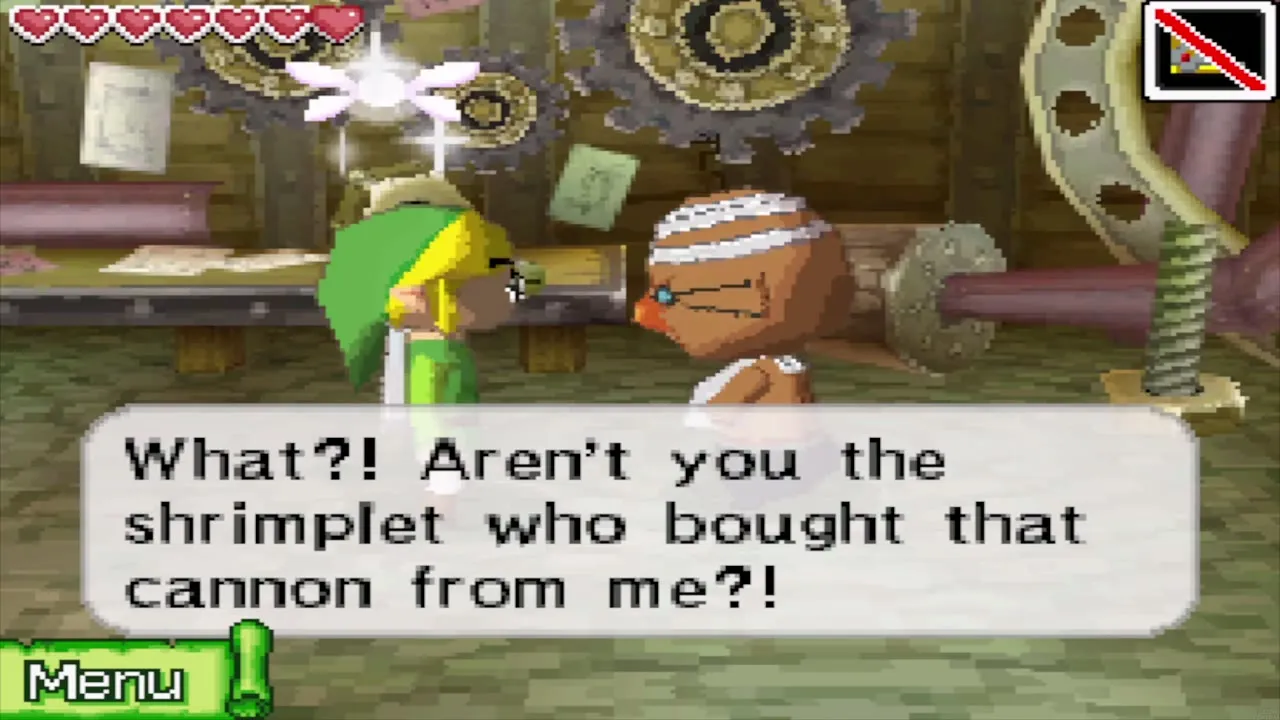
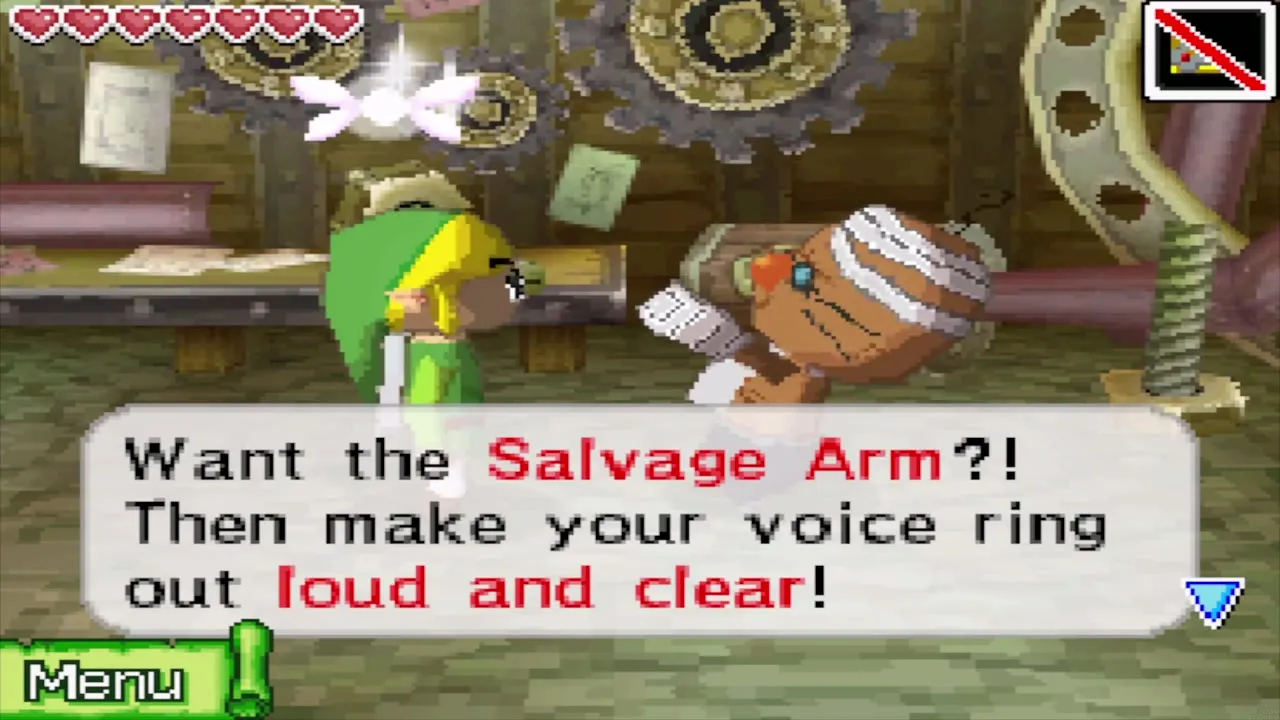
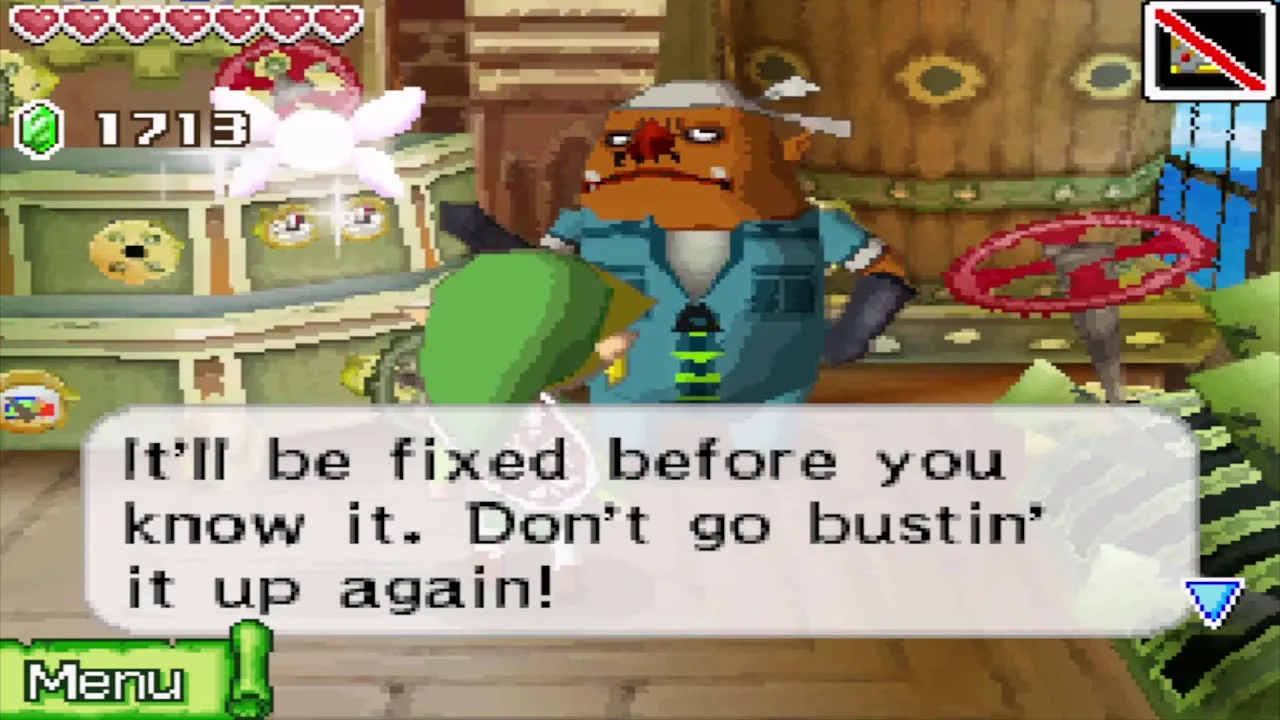
Go into Eddo’s workshop. He recognises you as the person who bought his Cannon and tells you that he will set the price by how loud you shout into the DS microphone. Shout clearly and loudly: the price runs from 200 to 1,000 Rupees, and a loud shout brings it down to 200. Pay and you receive the Salvage Arm. At sea, open the menu and tap the Salvage icon to lower it.
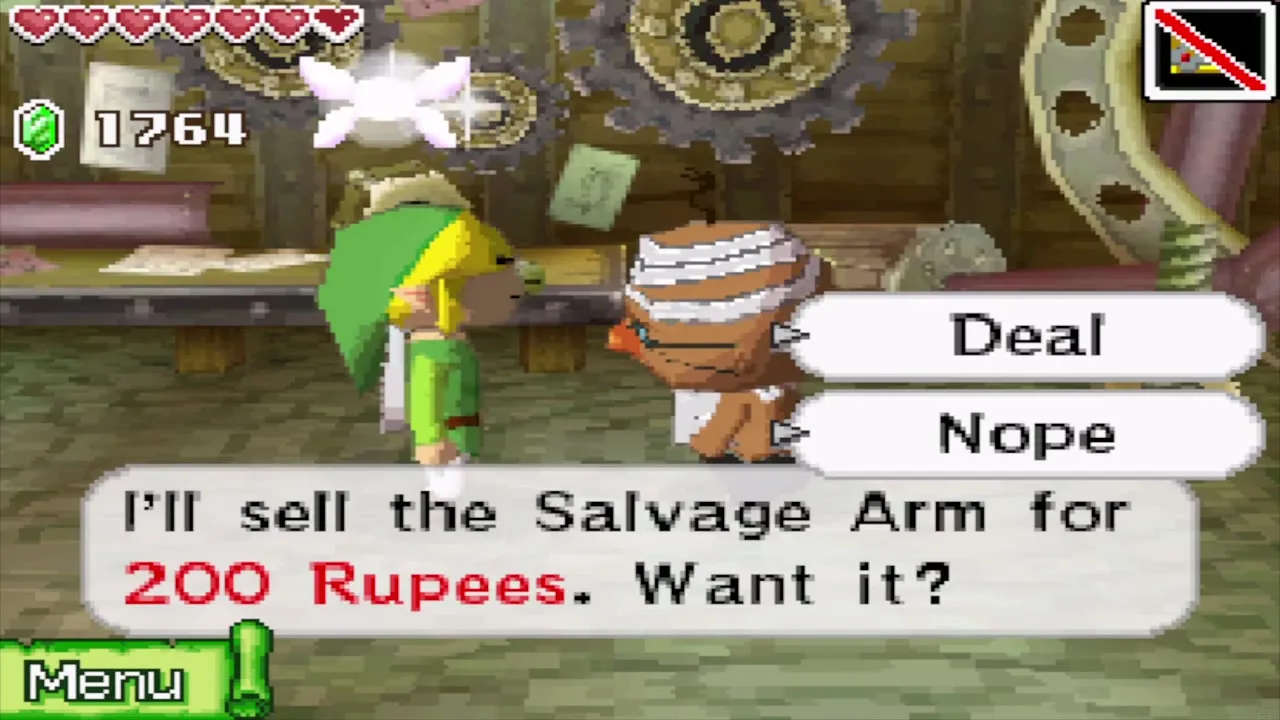
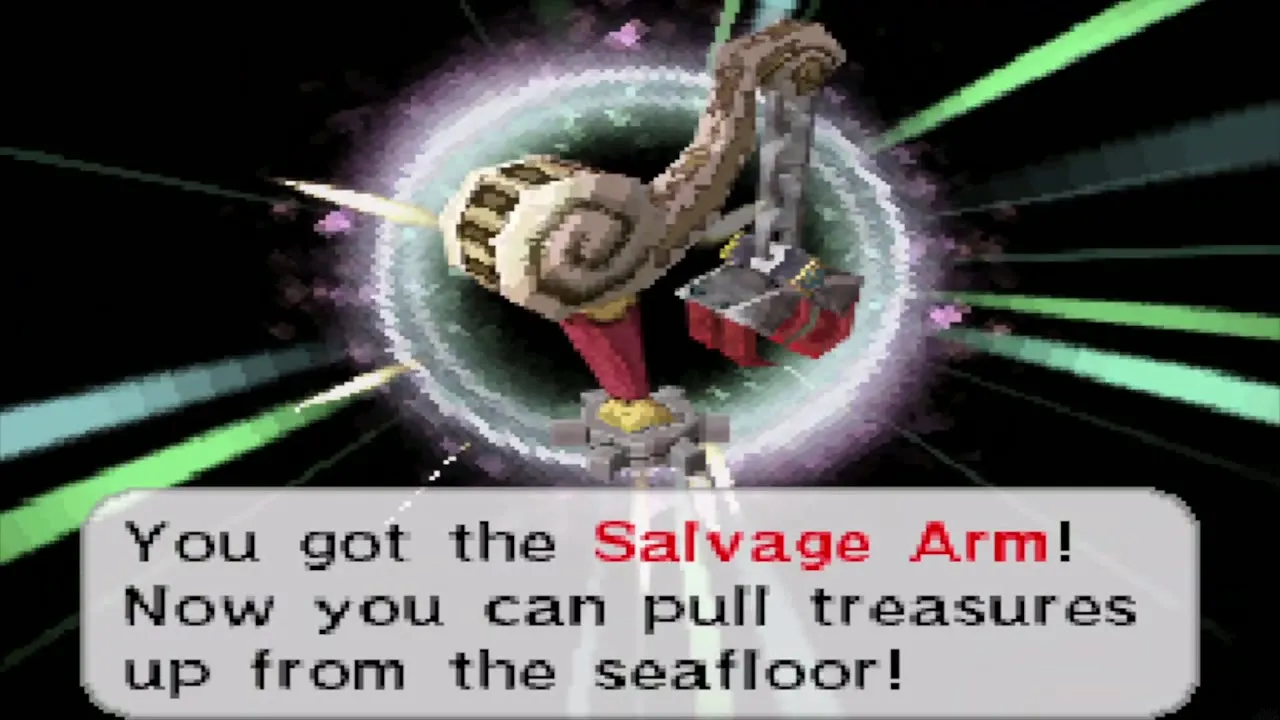
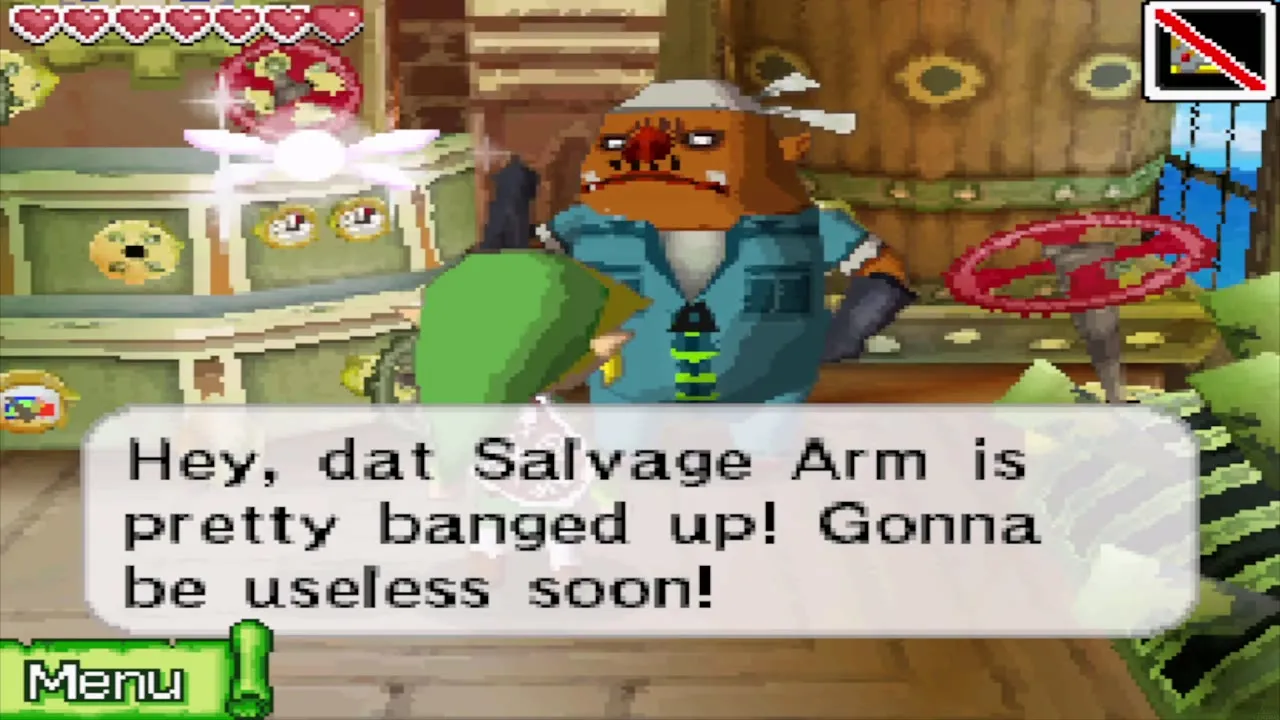
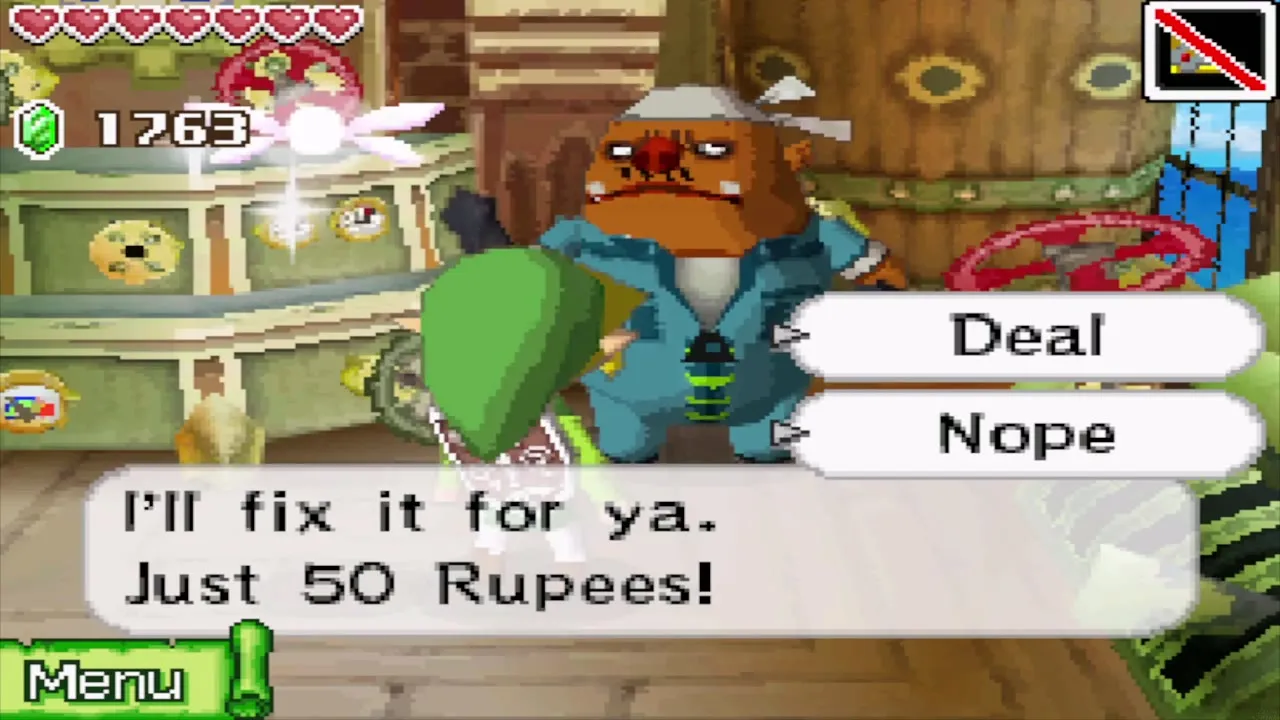
The arm can break. Mines damage it, and when it is badly hurt a warning appears. Take it to the shipyard on Mercay Island, where the mechanic Gazpacho repairs it: 20 or 50 Rupees for a banged-up arm and 100 Rupees if it has broken. Keep some Rupees in hand on every dive trip.
First salvage dives and ship repairs
Treasure Map 9 and the dive controls
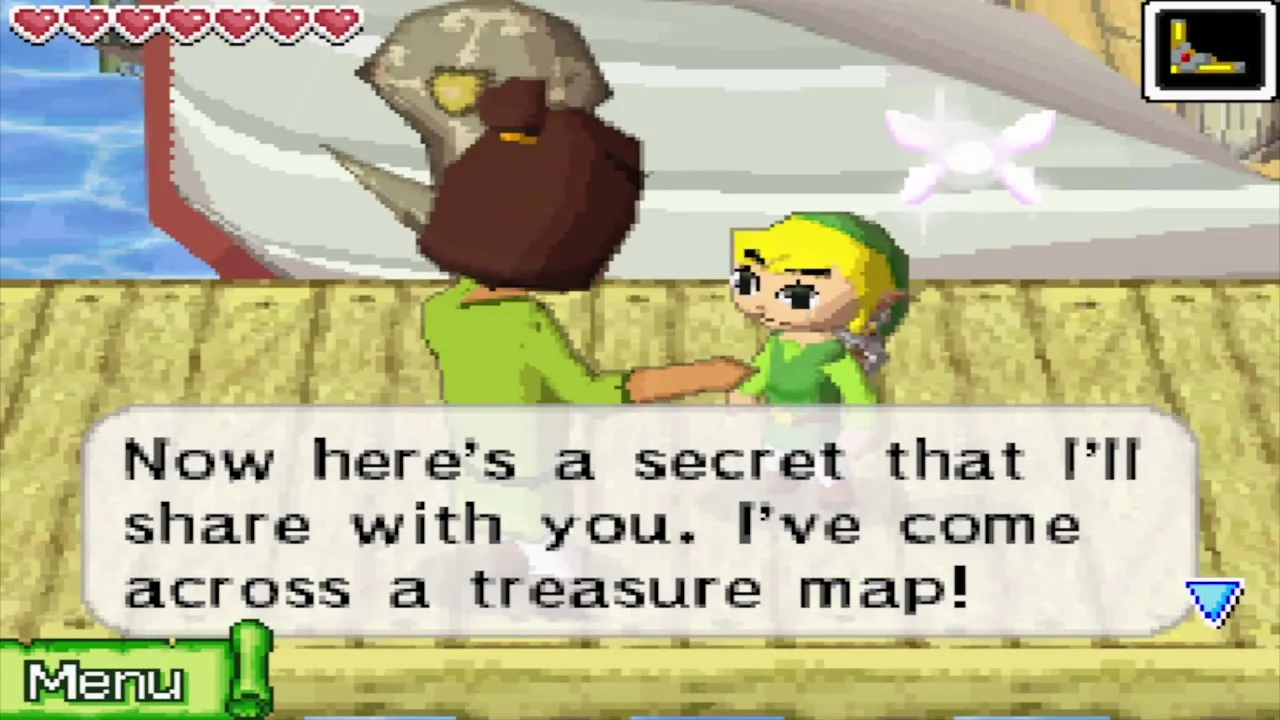
Return to Mercay Island and talk to the sailor Ojibe on the dock. Once you own the Salvage Arm he sells you a treasure map for 50 Rupees (Treasure Map 9), which puts a red X on your Southwestern Sea Chart. Say you are ready, sail to the X and stop the ship on it. Open the menu and tap the Salvage icon to start a dive.
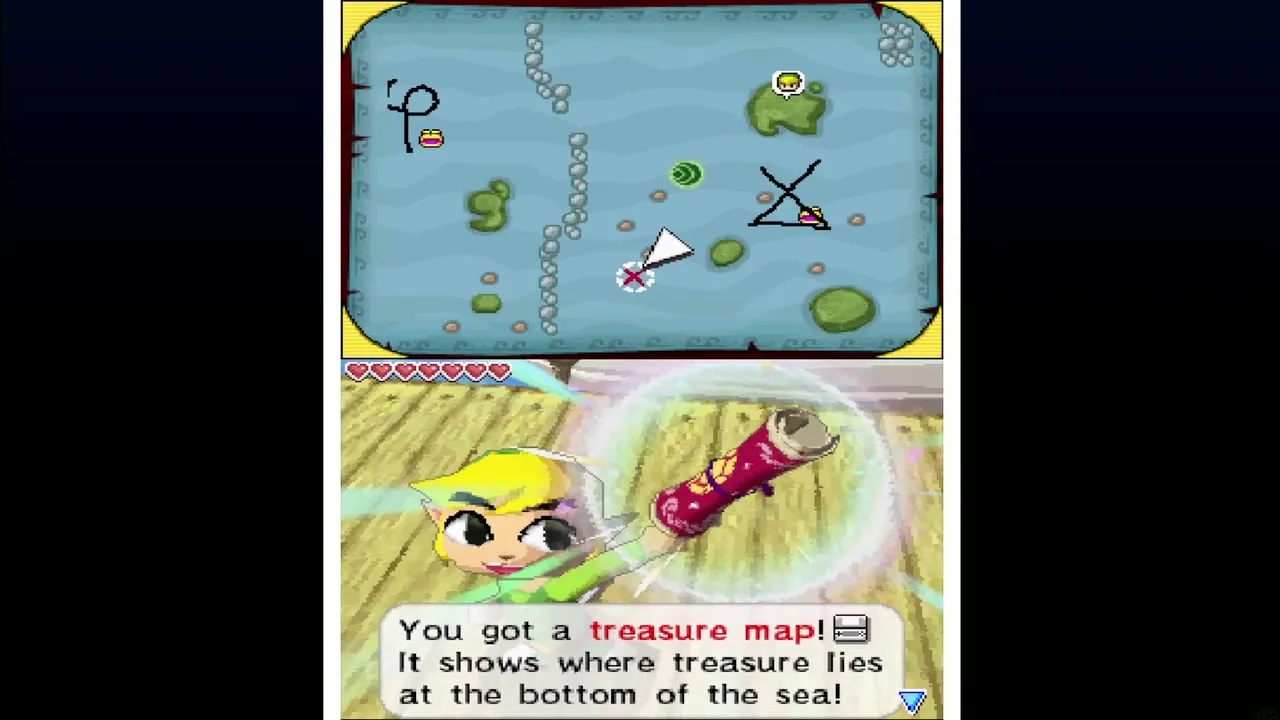
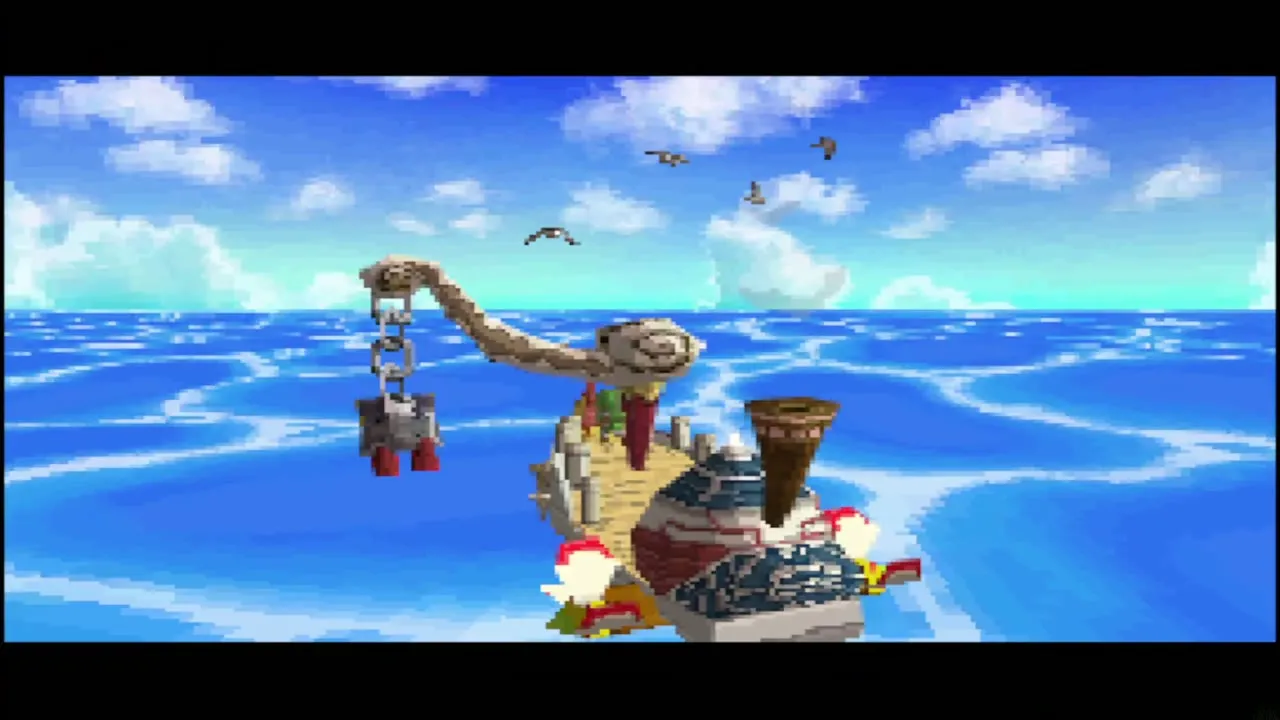
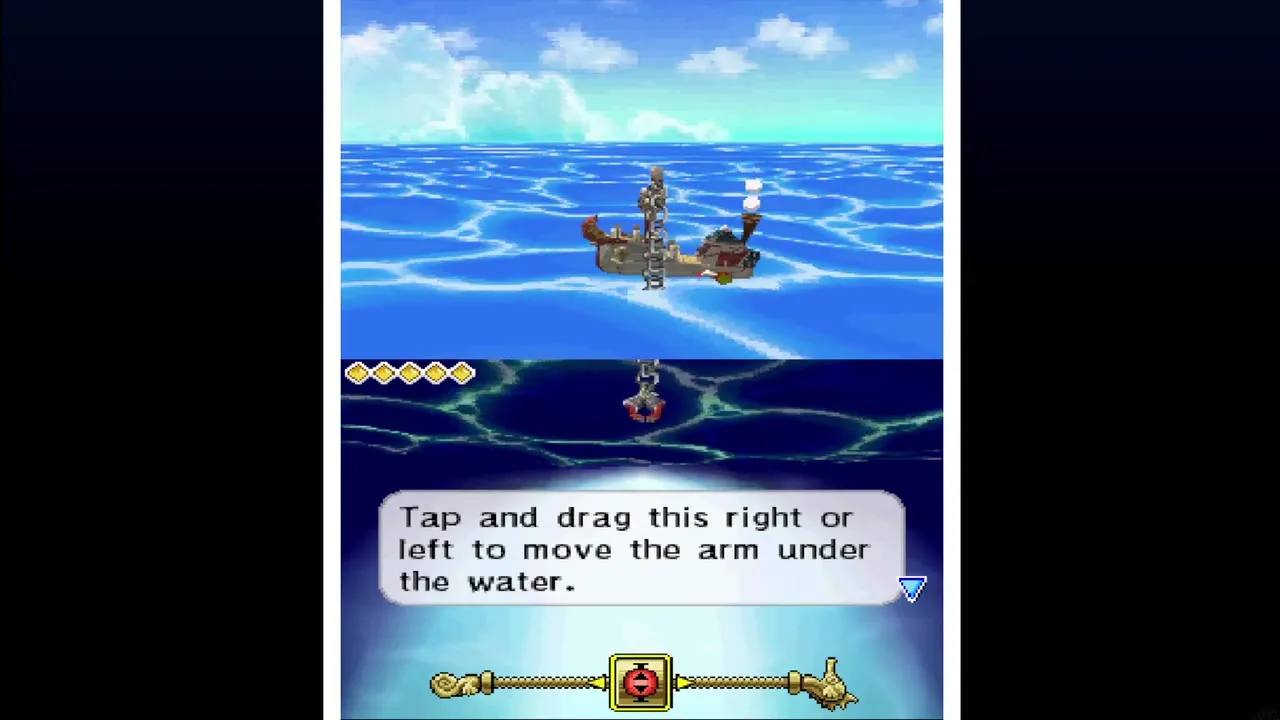
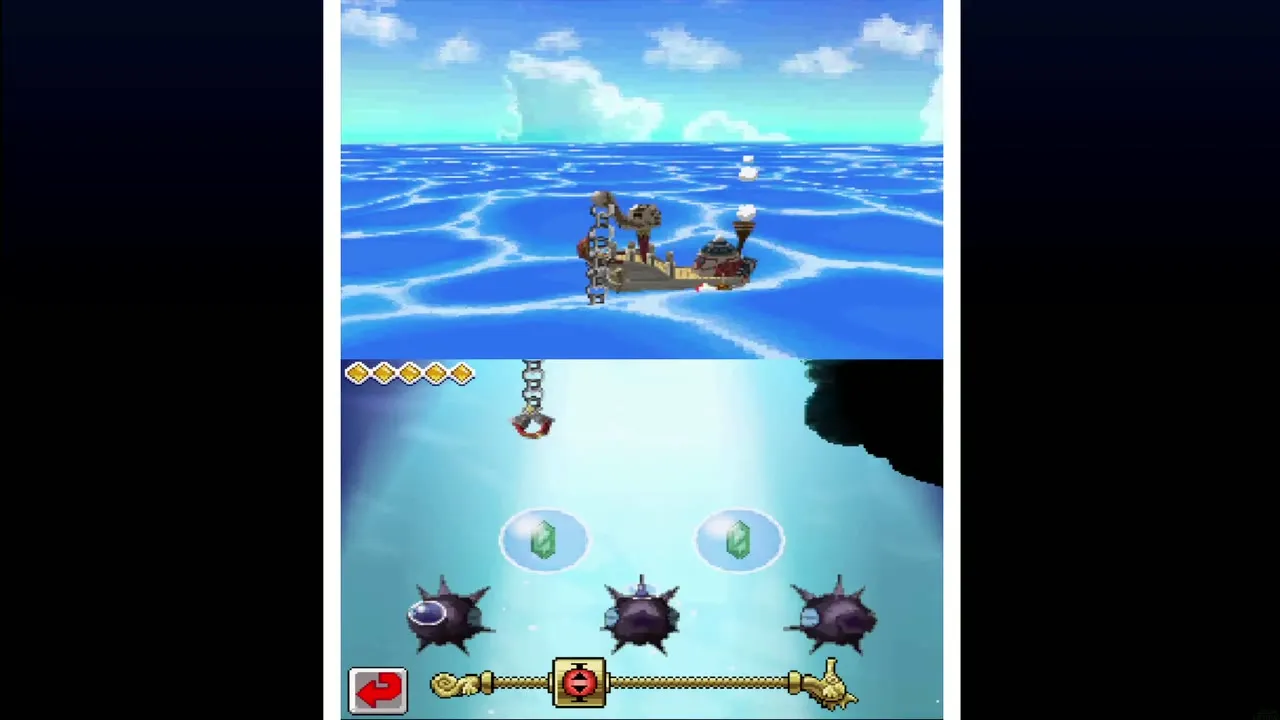
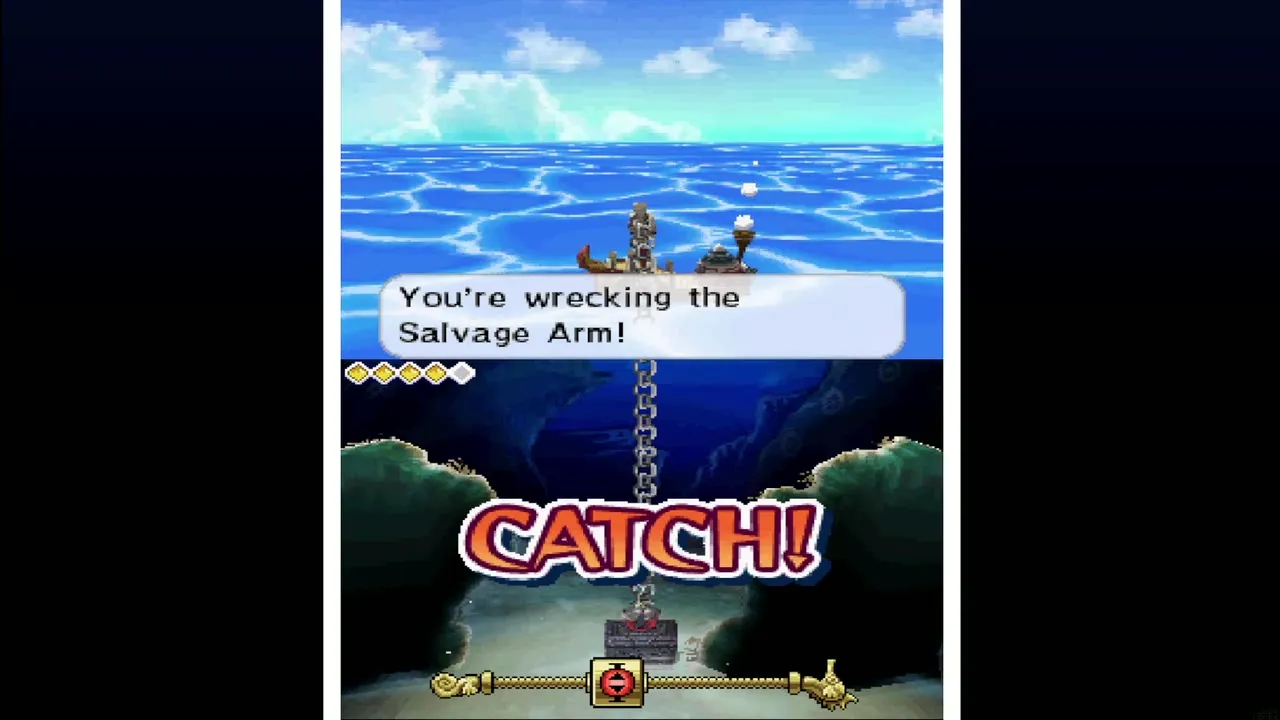
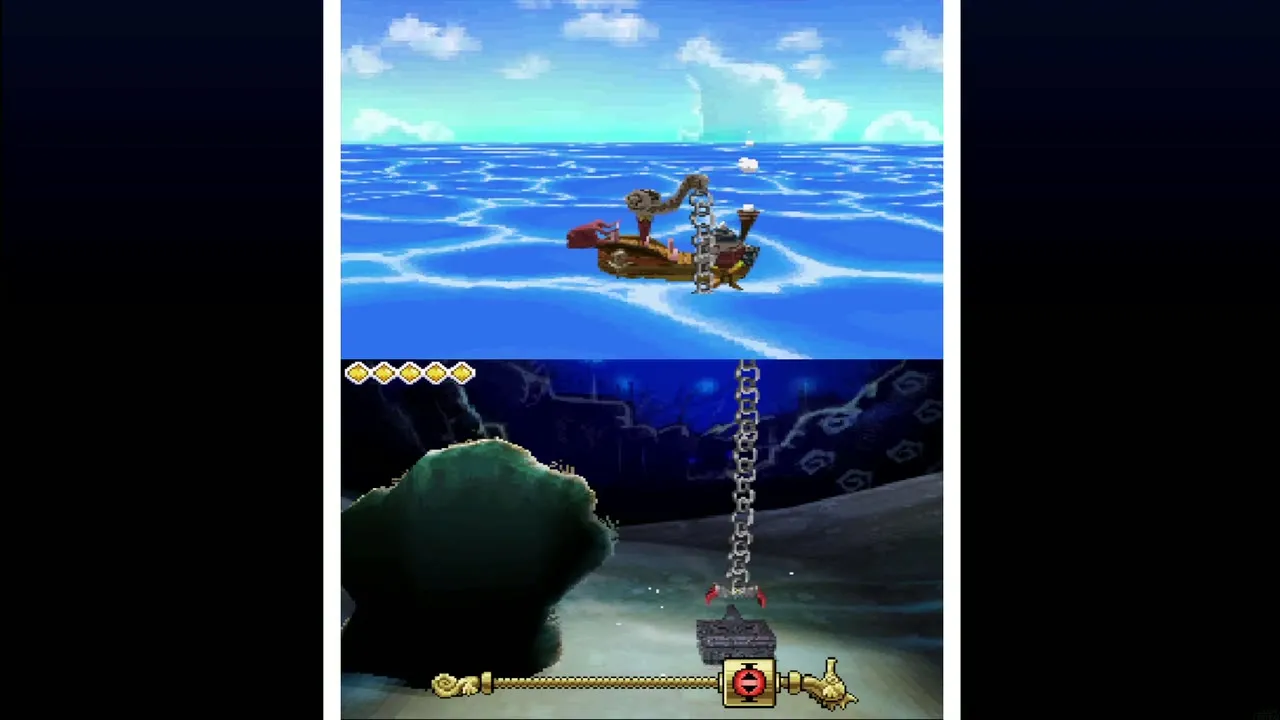
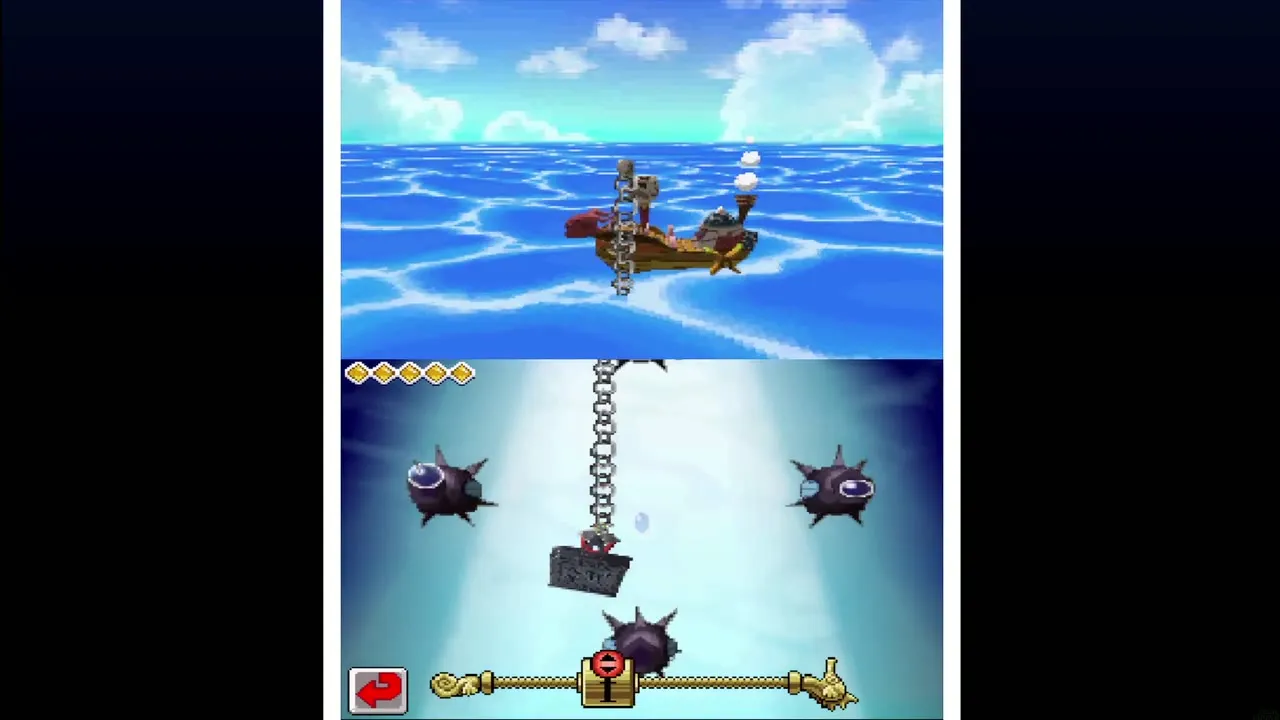
A bar at the bottom of the touch screen controls the arm. Drag the handle left or right to move the arm under the water, and drag it up or down to change how fast it sinks and rises. Octomines drift through the dark water and explode if the arm touches them. Move slowly around them, watch the arm’s health gauge and wait for “Catch” when the hook reaches a chest. Then bring the arm back up.
What the dives bring up
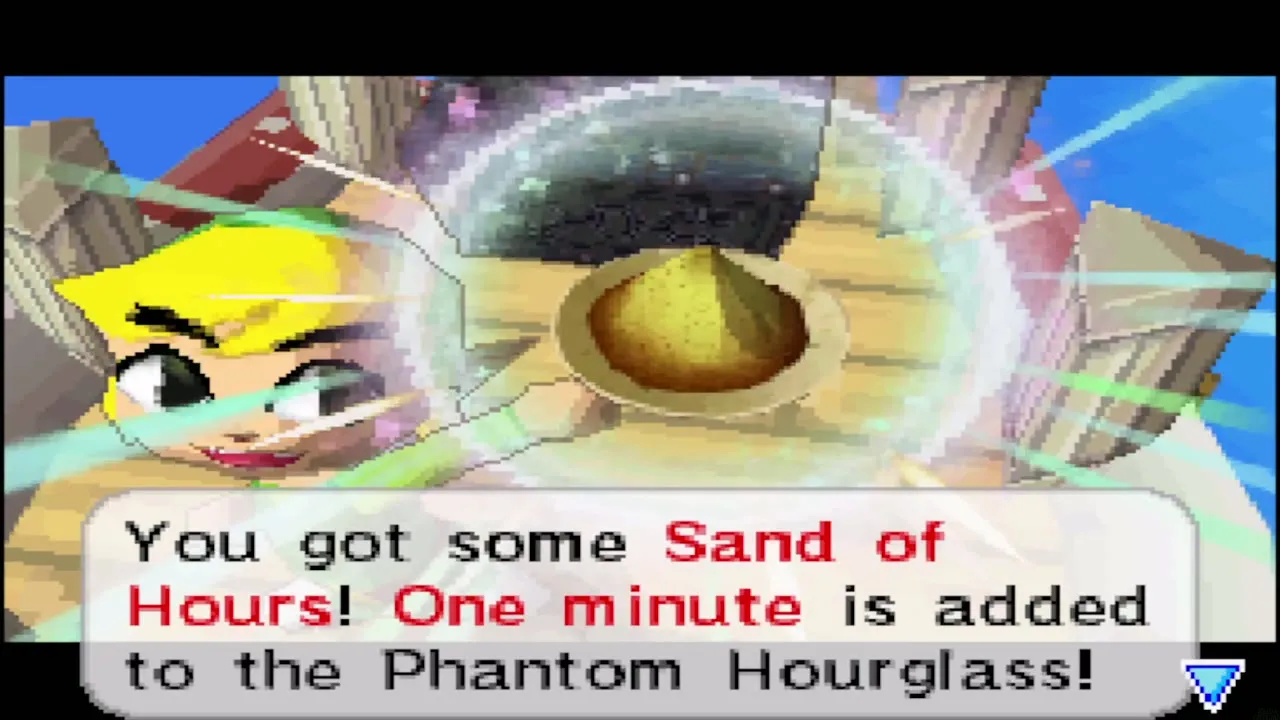
Each treasure map shows a different spot and a different reward. Sunken chests pay out in ship parts and Sand of Hours; each Sand of Hours adds one minute to the Phantom Hourglass, so go after those first. The Spike Handrail, the Simple Wheel and the Vintage Hull all come up from sunken chests in the Southwestern Sea, along with other ship parts. Parts only count once you fit them at the shipyard.
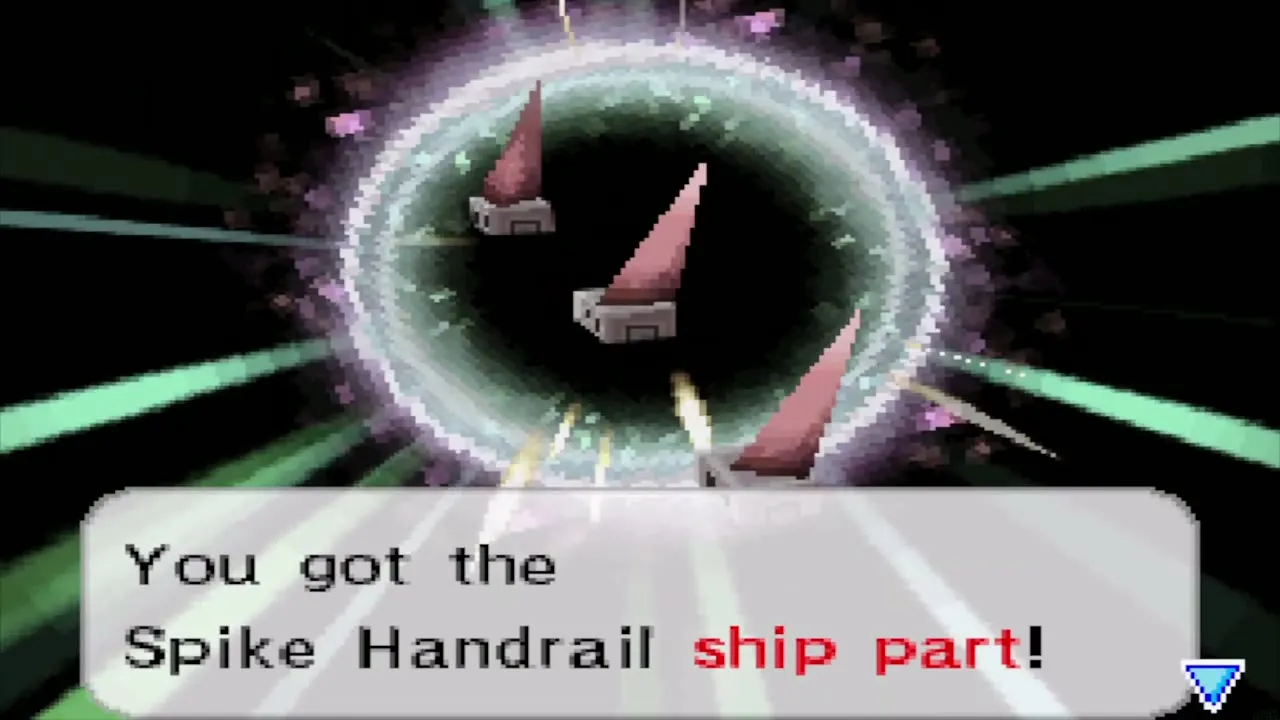
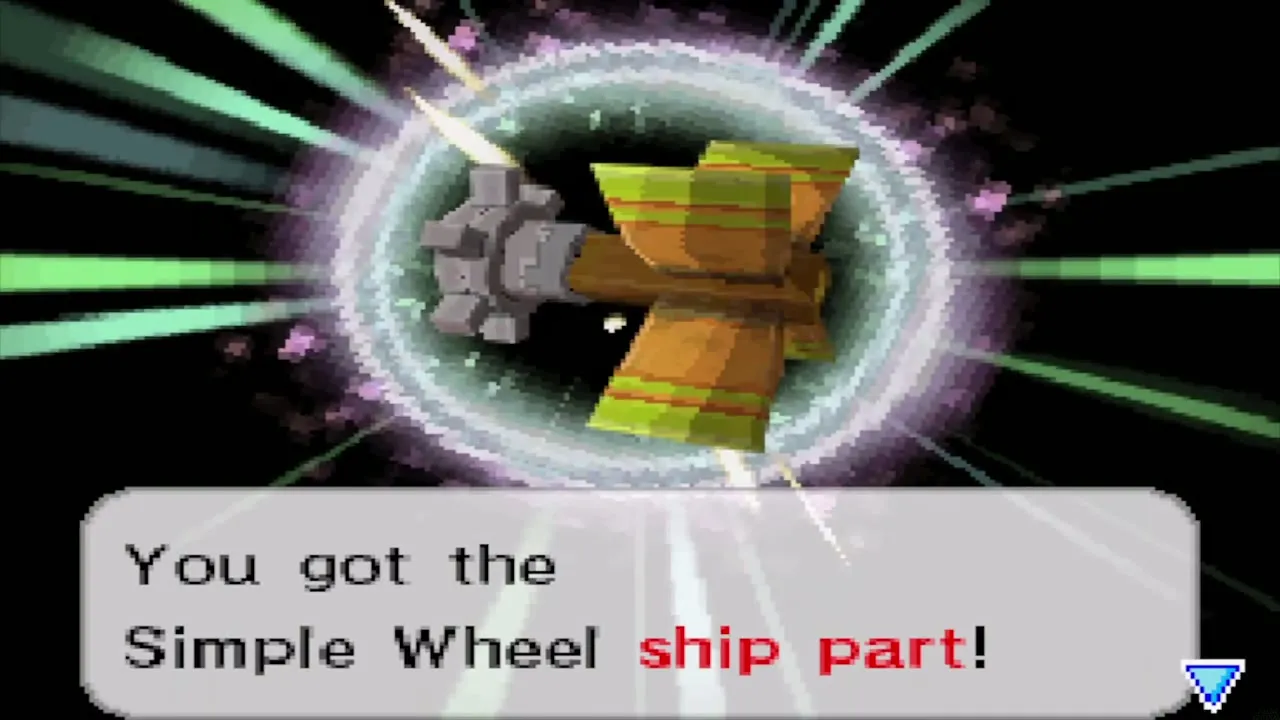
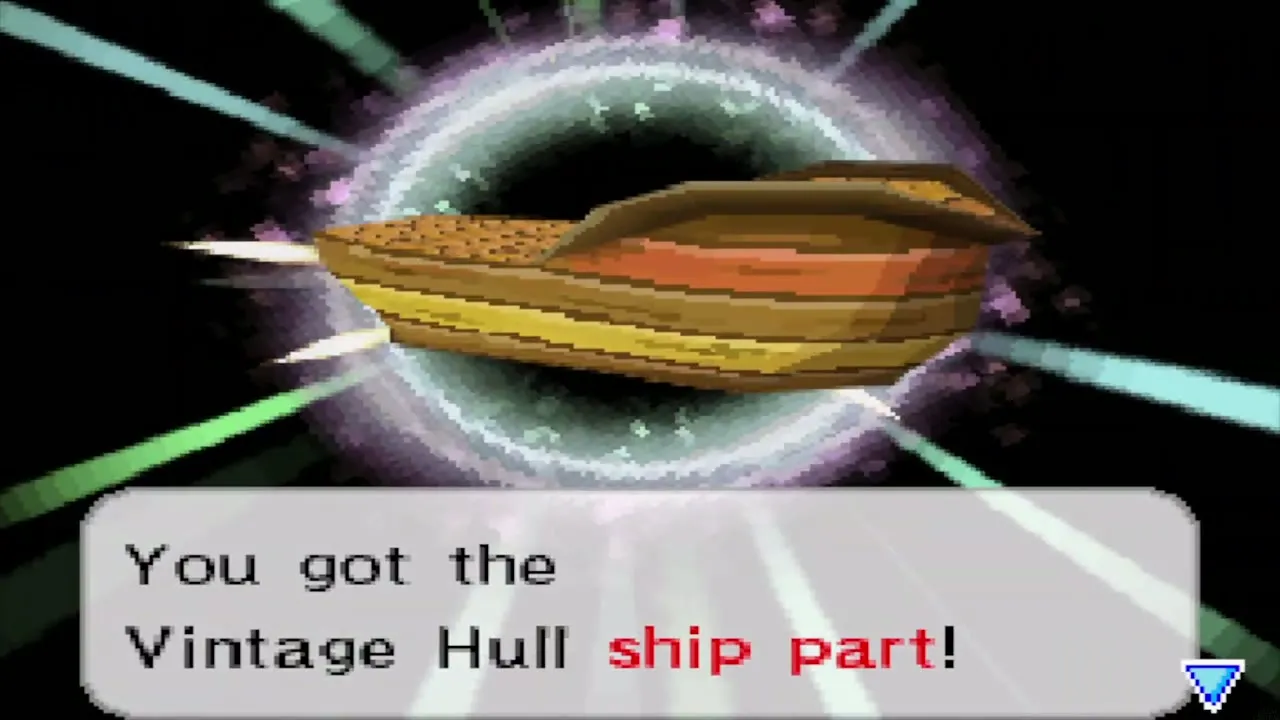
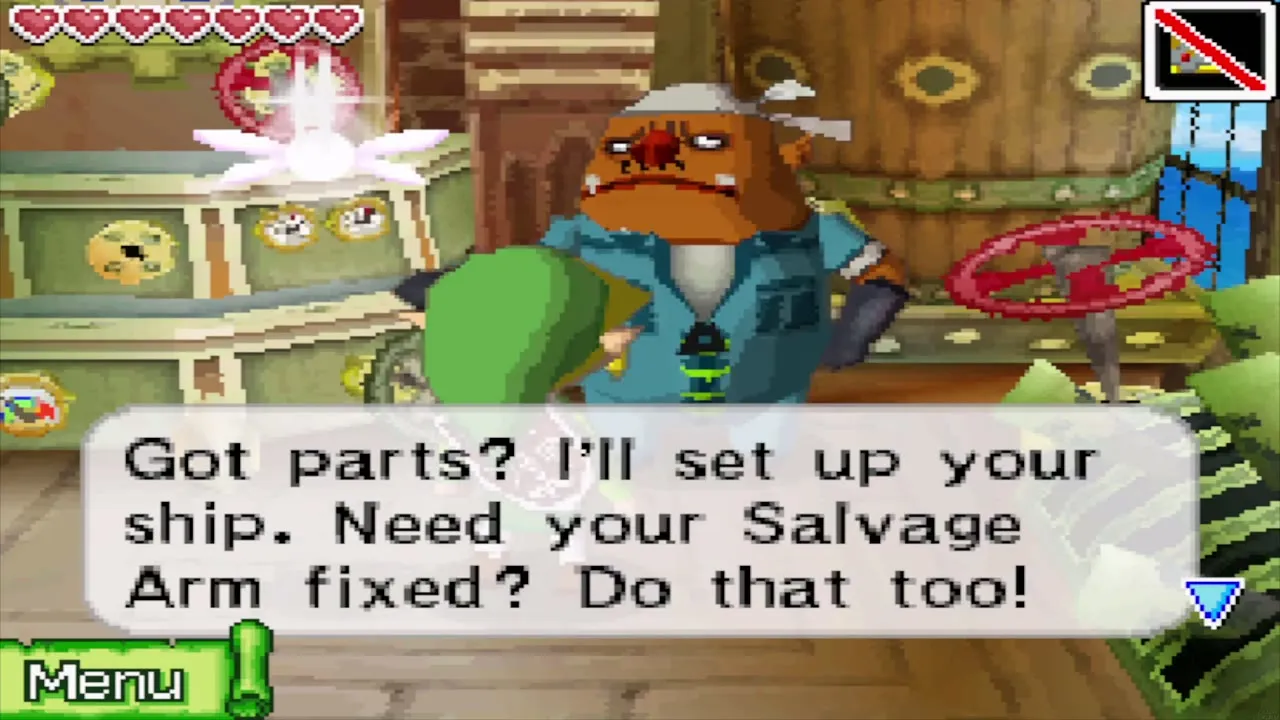
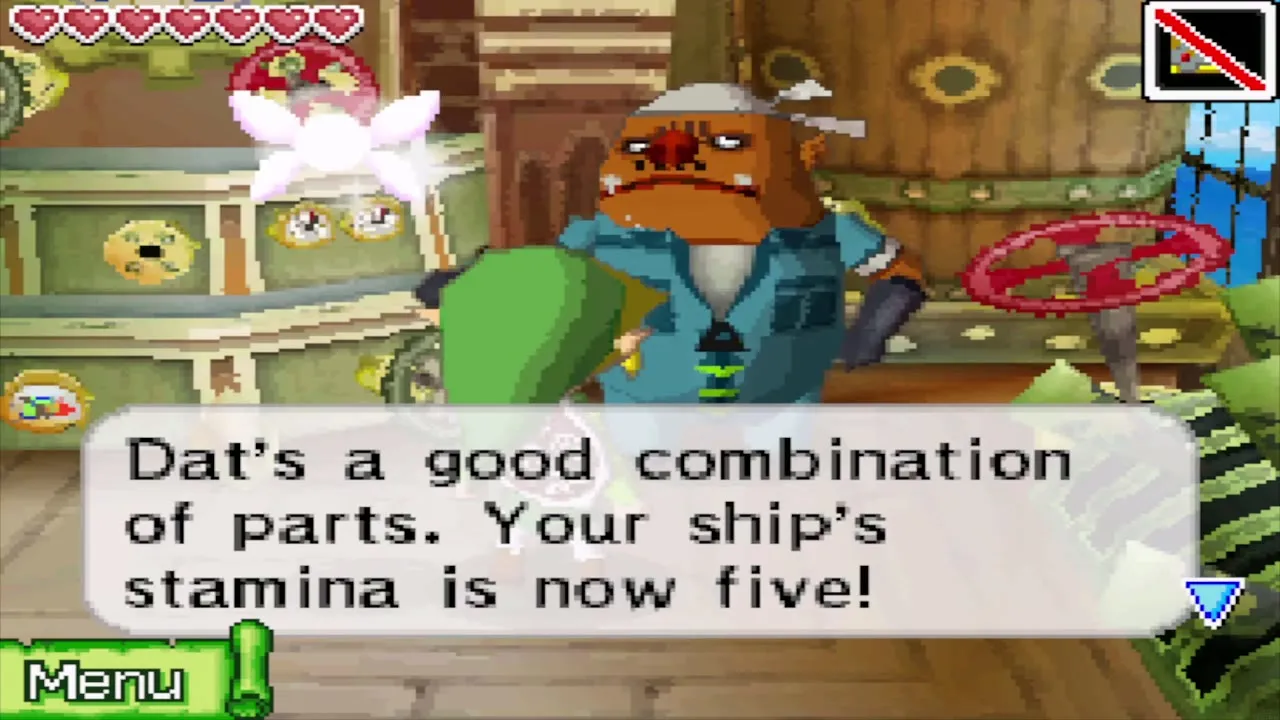
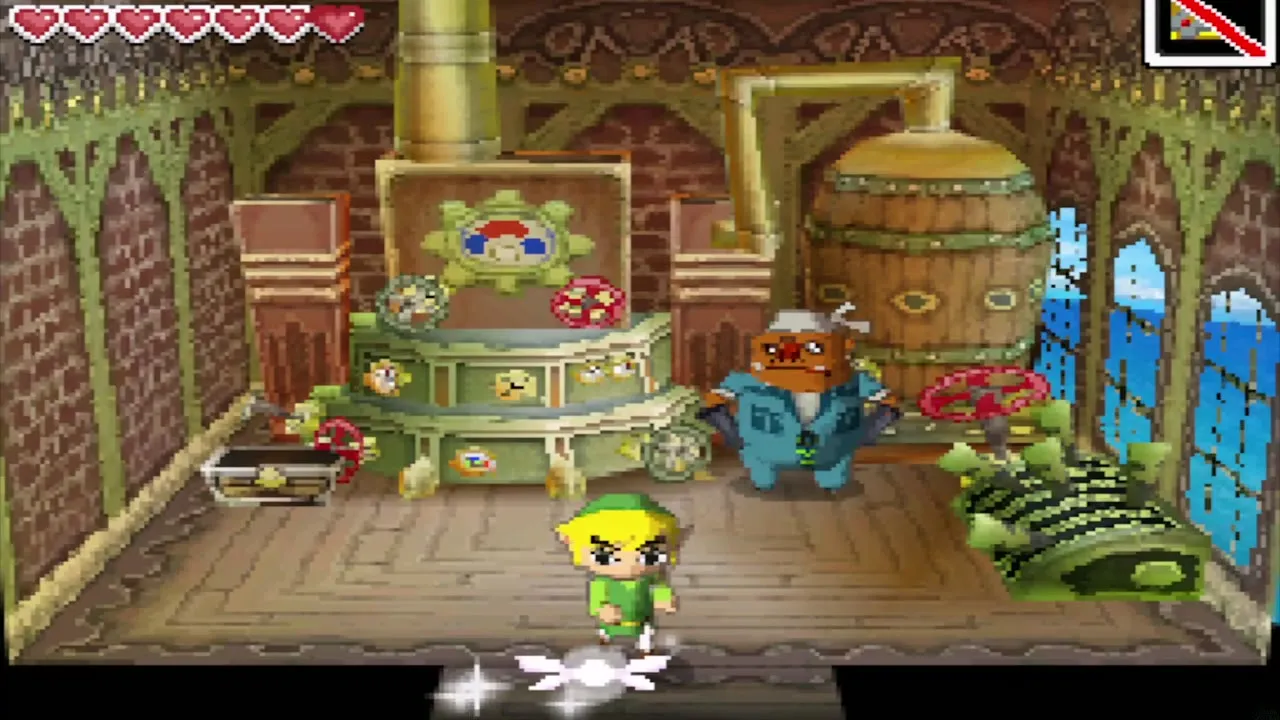
Use the shipyard on Mercay Island to fit the parts: choose Customize and pick a part from each list. When three parts come from the same set, the mechanic announces that your ship’s stamina has risen from four hearts to five. A mixed ship gets no bonus, so group your parts by set. Docking at any port refills the ship’s hearts.
Golden Frogs on the Southwestern Sea
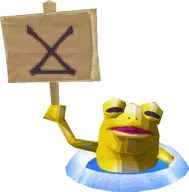
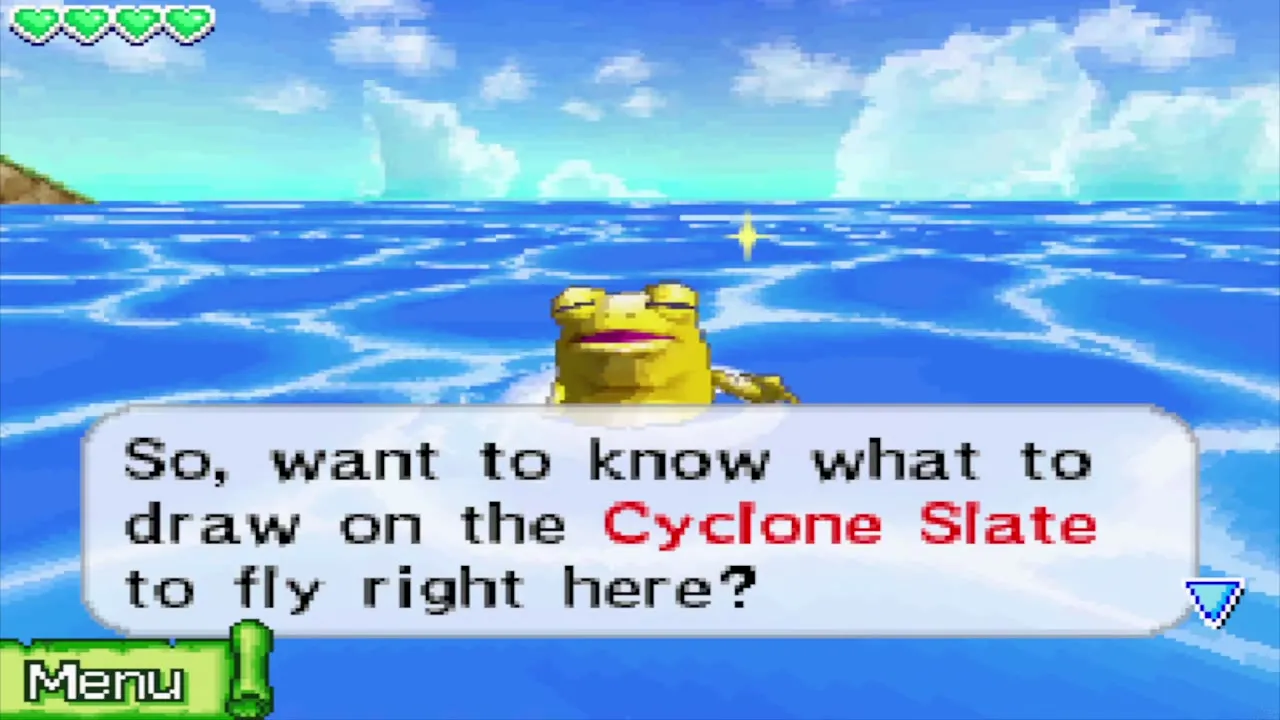
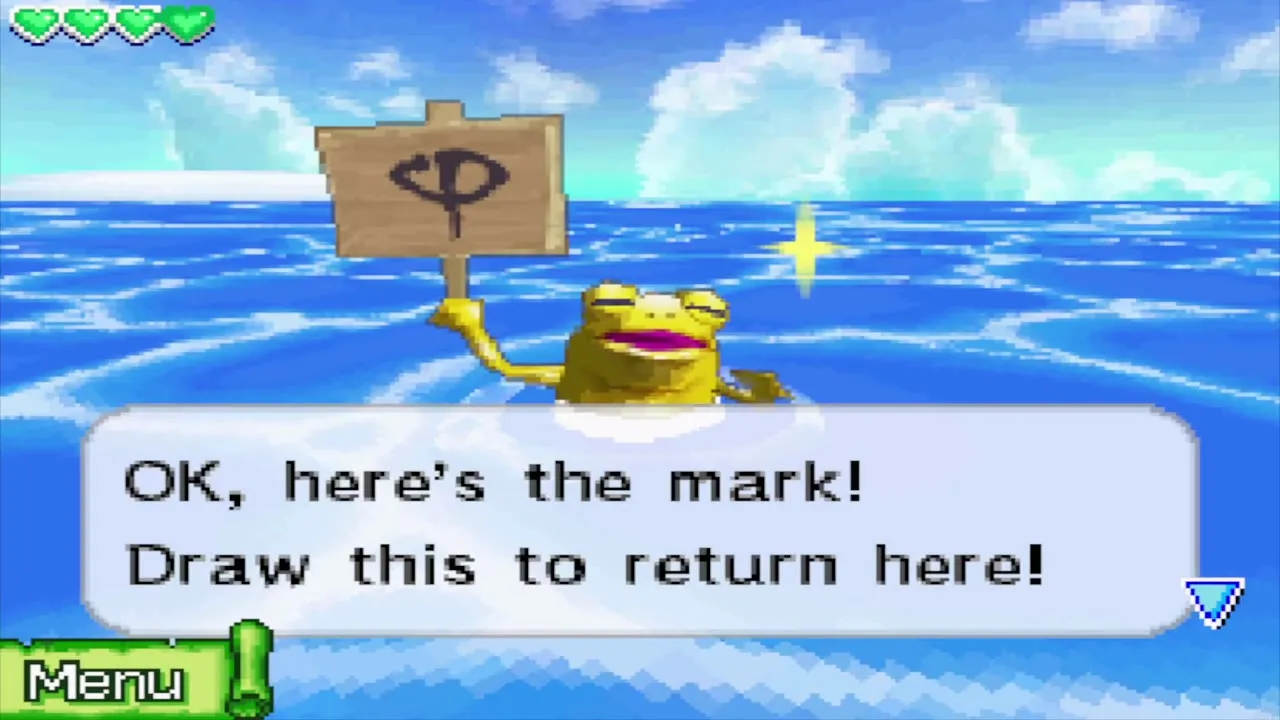
With the Cyclone Slate you can also hunt Golden Frogs while you sail. A frog sits on the water holding a sign with a symbol: fire the Cannon at it and the symbol is saved to the Slate. In the Southwestern Sea one frog floats south of Mercay Island and another north of Molida Island, whose symbol looks like a lowercase phi. Draw a saved symbol from the Slate menu to warp straight back. The frog south of Mercay Island is the most useful, because it puts you next to Mercay Island, the Isle of Ember and Cannon Island.
How to get the Sun Key
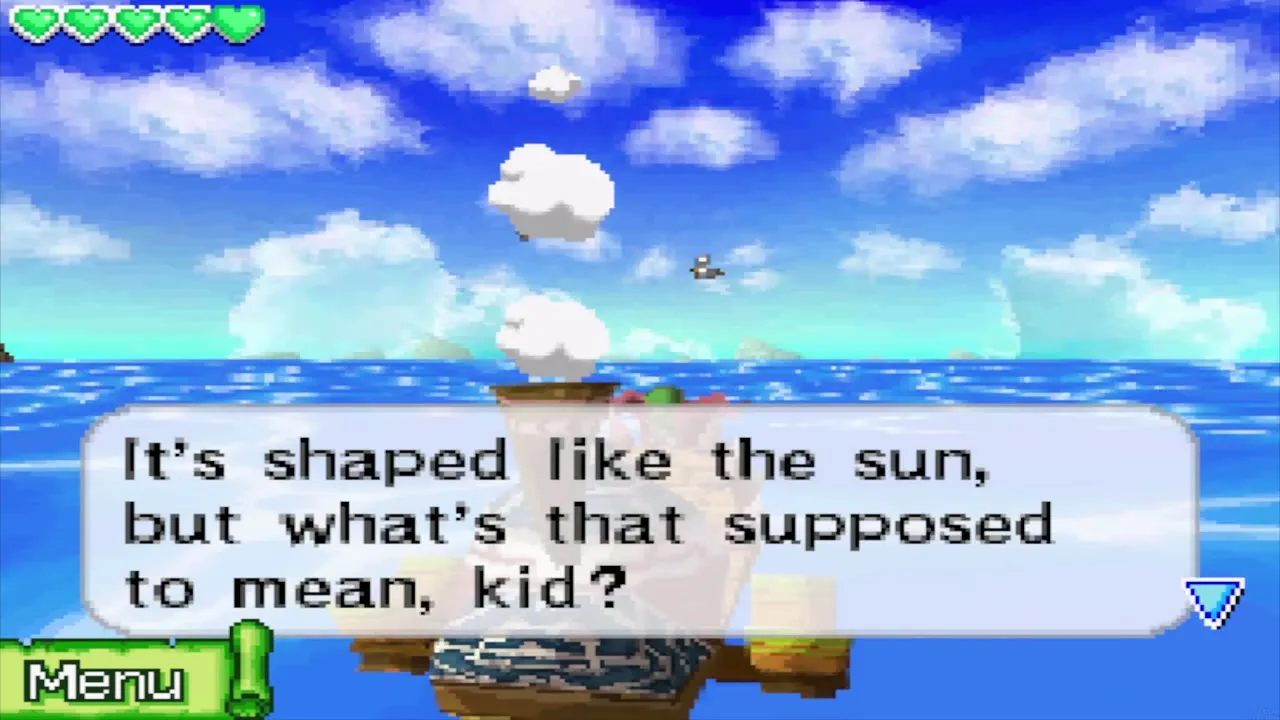
Open the Sea Chart and set a course to the sun mark in the middle of the Southwestern Sea. When the ship stops, nothing at the surface looks like the crest, so lower the Salvage Arm. Take the arm all the way down through the Octomines to a crate on the sea floor, hook it and bring it up.
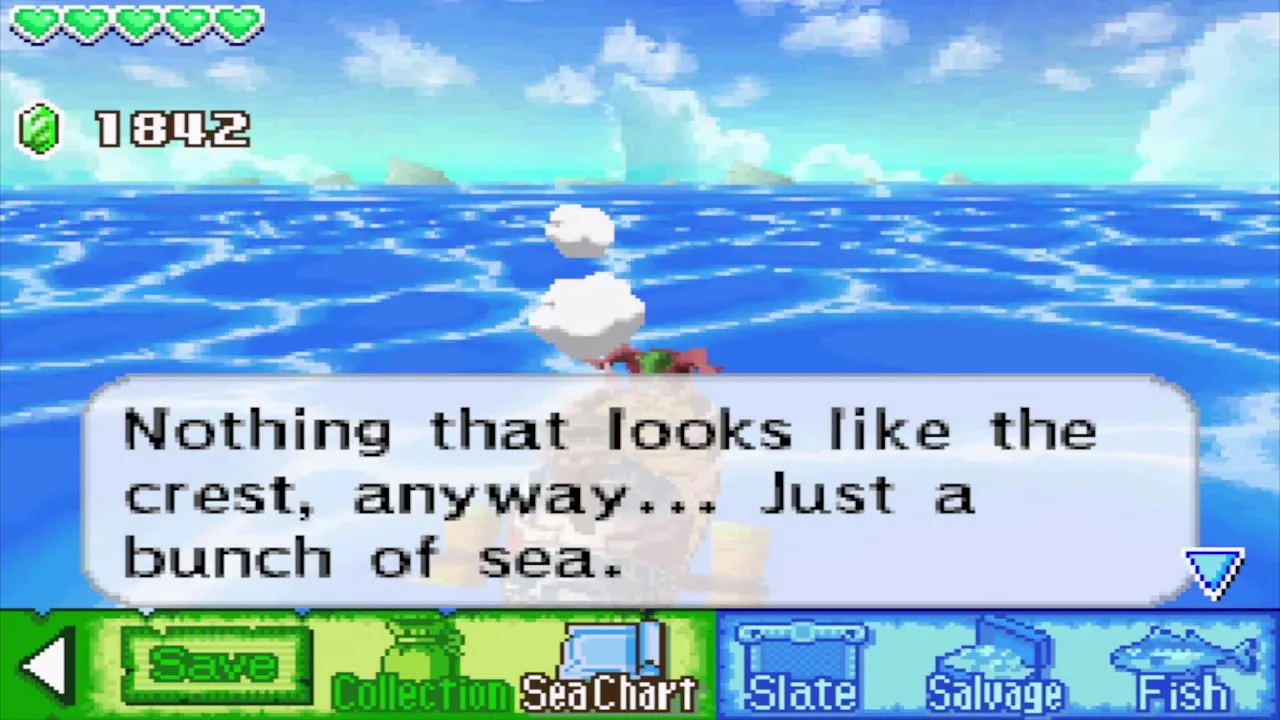
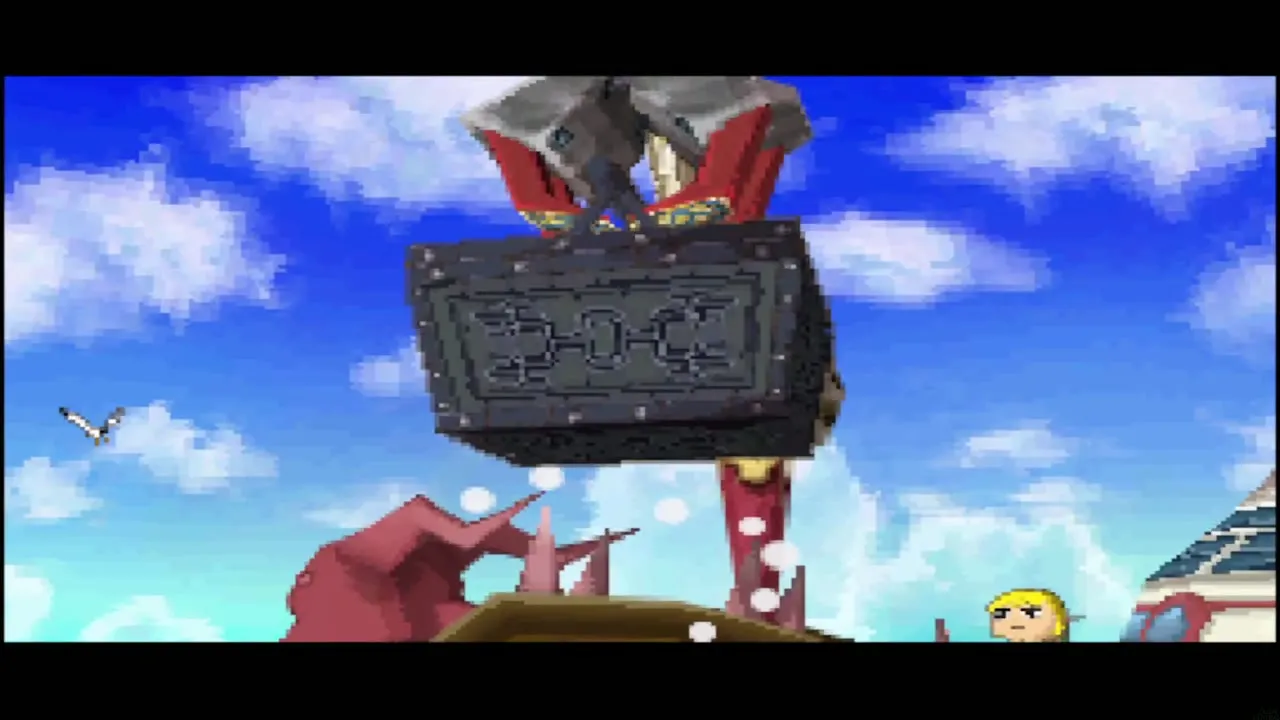
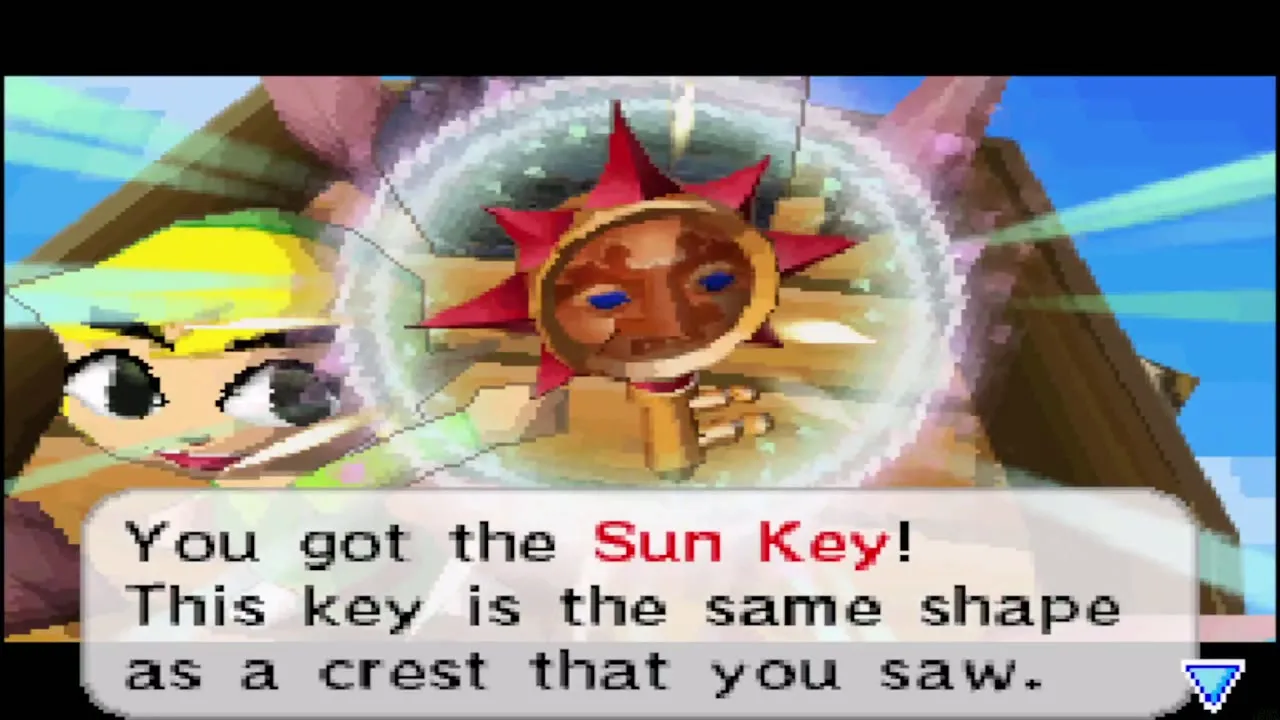
Open the crate to receive the Sun Key. The message says the key is the same shape as the crest you saw. The Sun Key opens the hidden door in the second hideout on Molida Island, so your next stop is Molida and the Temple of Courage. A Giant Eye Plant blocks the dock there, so keep the Cannon ready.
Chapter checklist
| Collectible | Type | Where |
|---|---|---|
| Bomb Bag upgrade (next size up) | Upgrade | Cannon Game on Bannan Island, more than 2,500 points |
| Wisdom Gem | Spirit Gem | Astrid on the Isle of Ember, after the Temple of Wind |
| Power Gem | Spirit Gem | Oshus on Mercay Island, after the Temple of Wind |
| Power Gem | Spirit Gem | Chest in the cave near the Temple of the Ocean King (bomb the cracked wall) |
| Wisdom Gem | Spirit Gem | Salvatore’s letter at the Mercay Island mailbox, after the Cannon Game and the Temple of Wind |
| Power Gem | Spirit Gem | Temple of the Ocean King B4, chest in a small Safe Zone after the three Phantom Eyes |
| Red Potion | Potion | Temple of the Ocean King B5, chest near the stairs after the switch |
| Salvage Arm | Key item | Eddo’s workshop on Cannon Island, 200 to 1,000 Rupees |
| Treasure map | Treasure map | Ojibe, Mercay Island dock, 50 Rupees, once you own the Salvage Arm (Treasure Map 9) |
| Sand of Hours (1 minute each, two salvaged) | Sand of Hours | Sunken chests in the Southwestern Sea |
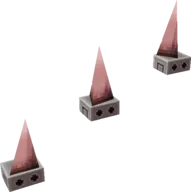 Spike Handrail, 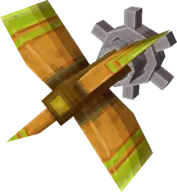 Simple Wheel, 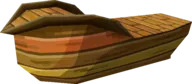 Vintage Hull | Ship parts | Sunken chests in the Southwestern Sea |
| Sun Key | Key item | Sunken crate at the sun mark in the middle of the Southwestern Sea |
| Treasure Map 23, northwest of B5 | Later | Needs a Bombchu on B4 (Goron Temple chapter) |
| Treasure Map 11, northeast alcove of B6 | Later | Needs the Bow for the eye switch west of the entrance (Temple of Courage chapter) |
| Golden Frogs, Southwestern Sea (2) | Golden Frog | South of Mercay Island and north of Molida Island, with the Cyclone Slate |
With the Sun Key in your pocket, continue to Molida Island and the Temple of Courage.
