
























Phantom Hourglass 100% Completion Walkthrough19 chapters
- Temple of FireEvery key, the Boomerang, the Boss Key, how to beat Blaaz, the Heart Container, Leaf and Astrid’s Power Gem.
- Temple of WindGet the bombs, the Boss Key, beat Cyclok, free Neri and take the Heart Container.
- Molida Island and the Temple of CourageBeat the Giant Eye Plant, light Molida’s statues, get the Bow, defeat Crayk and awaken the Spirit of Courage.
- The Ghost ShipFind the ship with the Spirits, free the Cubus sisters, win their volley game, get the Ghost Key and Heart Container.
- Goron TempleTeam up with Gongoron, get the Bombchus and the Boss Key, beat Dongorongo and take the Crimsonine.
- Temple of IceLever order, three small keys, Grappling Hook, Boss Key, Gleeok fight, Heart Container and Azurine.
- Mutoh’s TempleGet the Hammer, find both small keys and the Boss Key, beat Eox and collect the Aquanine.
- Mercay Island and the First Sea ChartGet Oshus’s Sword, solve the lever passage, rescue Linebeck and find the first sea chart.
- Temple of the Ocean KingTake the Phantom Hourglass, sneak past Phantoms, carry three Force Gems and find the Northwestern Sea Chart.
- Temple of the Ocean KingPhantom Eyes, the hourglass crest door, the Salvage Arm, treasure salvage and the Sun Key.
- Zauz and the Temple of the Ocean KingPure Metals, Triforce door, crystal puzzles and the Southeastern Sea Chart.
- Temple of the Ocean KingGold Phantoms, the B11 bridges, three Force Gems on B12 and the Northeastern Sea Chart.
- The Phantom Sword and BellumPhantom Hourglass walkthrough for the Phantom Sword, the last Temple of the Ocean King descent, Bellum.
- Isle of Ember and AstridFirst voyage, Beedle’s Shop Ship, Kayo’s torches, freeing Astrid and the volcano path to the Temple of Fire.
- Cannon Island, the Ghost Ship Chase and Molida IslandBuy the Cannon from Eddo, chase the Ghost Ship, then reach Molida Island and take the Shovel.
- Northwestern Sea and the Isle of GustThe fog route, Bannan Island fishing, Zauz, the Cyclone Slate, Golden Frogs and the way to the Temple of Wind.
- Goron Island and GongoronSail the Southeastern Sea, beat the Massive Eye, pass Biggoron’s quiz, find Gongoron and reach the Goron Temple.
- Isle of Frost and the Yook MysteryCannon the ice, Anouki Estates, find the Yook among six villagers and fight through the Great Ice Field.
- Isle of the Dead and the Isle of RuinsDig spot, Phantom Corridor path, Regal Necklace, King’s Key, Max and the door symbol.
| Covers | sailing the Northeastern Sea, the Isle of the Dead (McNey’s cave, the Rupoor room, the dig spot, the King’s Eye, the sages’ graveyard, the Phantom Corridor, Brant), the Isle of Ruins (Bremeur, Doylan, the King’s Key, the drained water, Max, the star tablets and the red door) |
|---|---|
| You need | The Northeastern Sea Chart, the Shovel, the Bow, Bombs and the Boomerang, plus the Cannon and the Salvage Arm if you want the sunken treasure |
| Rewards | The  Regal Necklace and the  King’s Key;  2 Power Gems,  2 Courage Gems and  2 Wisdom Gems;  Treasure Maps #28 and #29; 2 ship parts ( 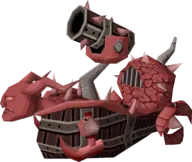 Demon Ship and  Tall Chimney); several  Big Green and  Big Red Rupees; no Heart Container and no Sand of Hours |
These two islands are one long errand. On the Isle of the Dead you solve the island’s riddles, read six gravestones, walk the Phantom Corridor and earn the Regal Necklace from the knight Brant. The necklace calms the cyclone around the Isle of Ruins, where you wake three more knights, unlock the island with the King’s Key, drain its water and draw a secret symbol on a red door. That door leads to Mutoh’s Temple and the third Pure Metal.
Table of Contents
Sailing to the Isle of the Dead
The route on the Northeastern Sea Chart
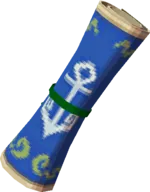
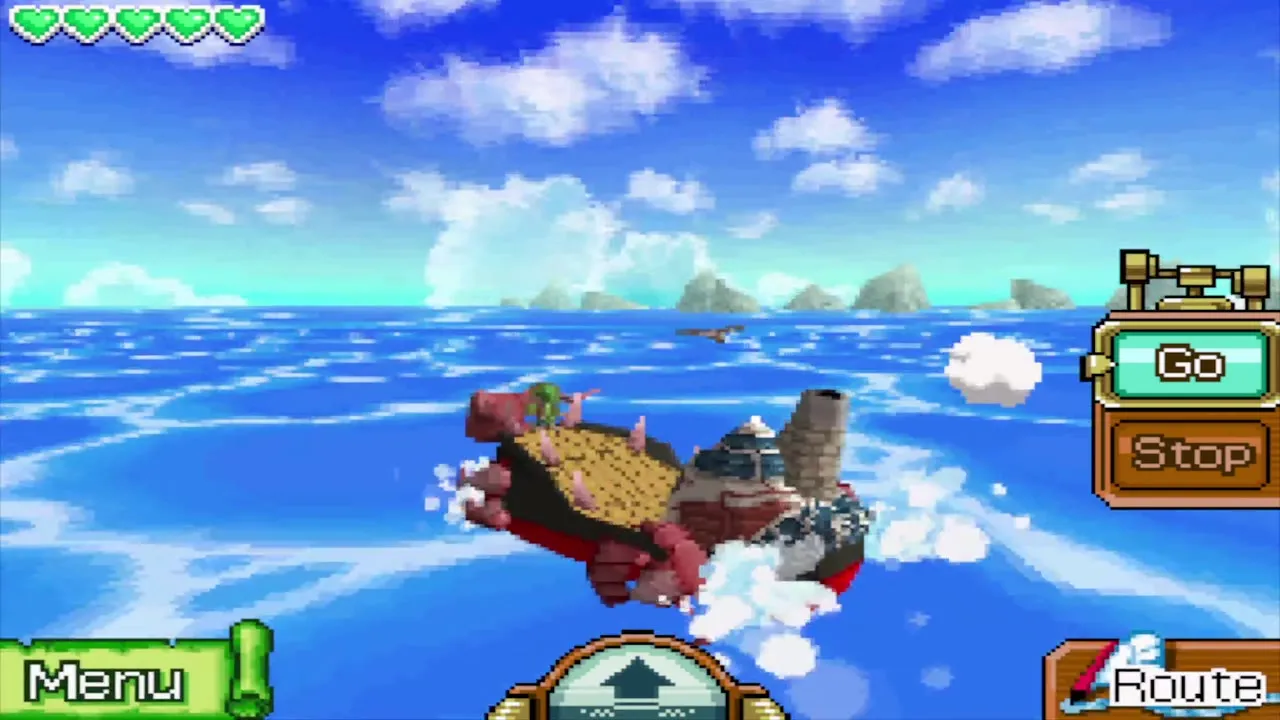
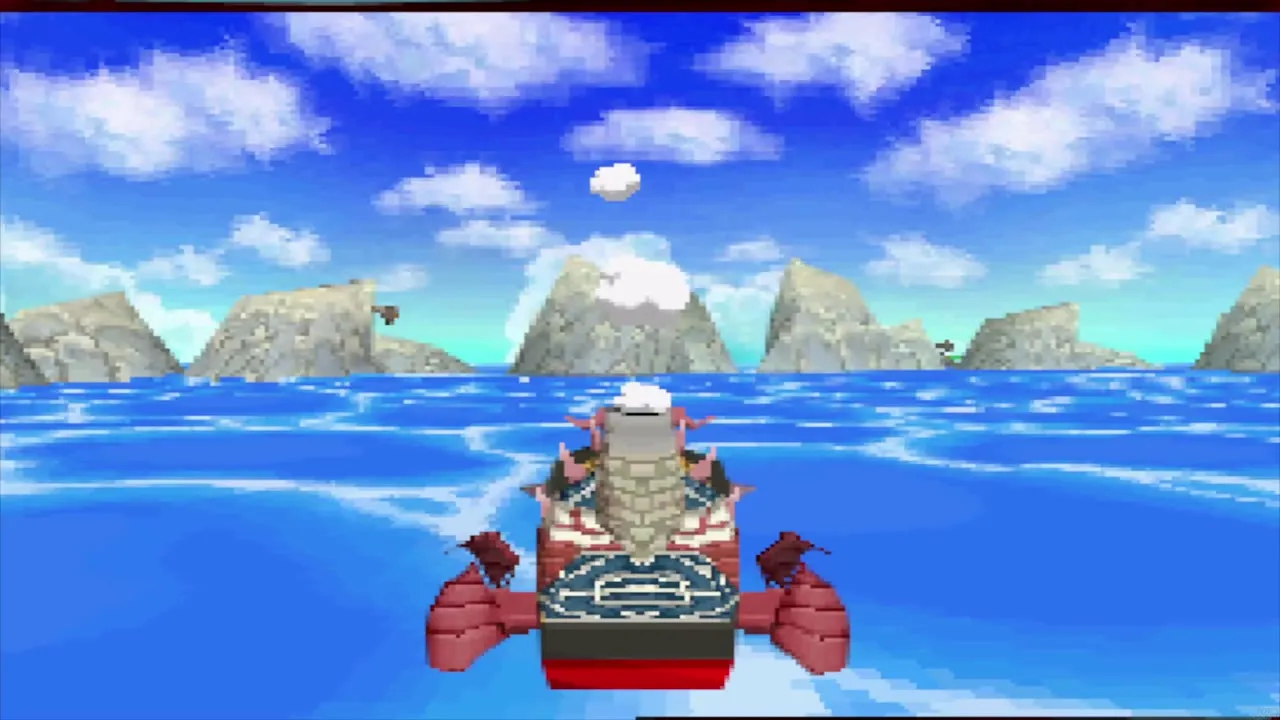
Open the Northeastern Sea Chart and look for the Isle of the Dead in the far northeast corner. Tap the island’s name to be offered a course, confirm it, and keep the engine on Go until the pier comes into view. Once you have the Cyclone Slate, the Golden Frog south of the Isle of the Dead is a quick way back to this sea; the Golden Frog page covers the symbol.
Maze Island on the way
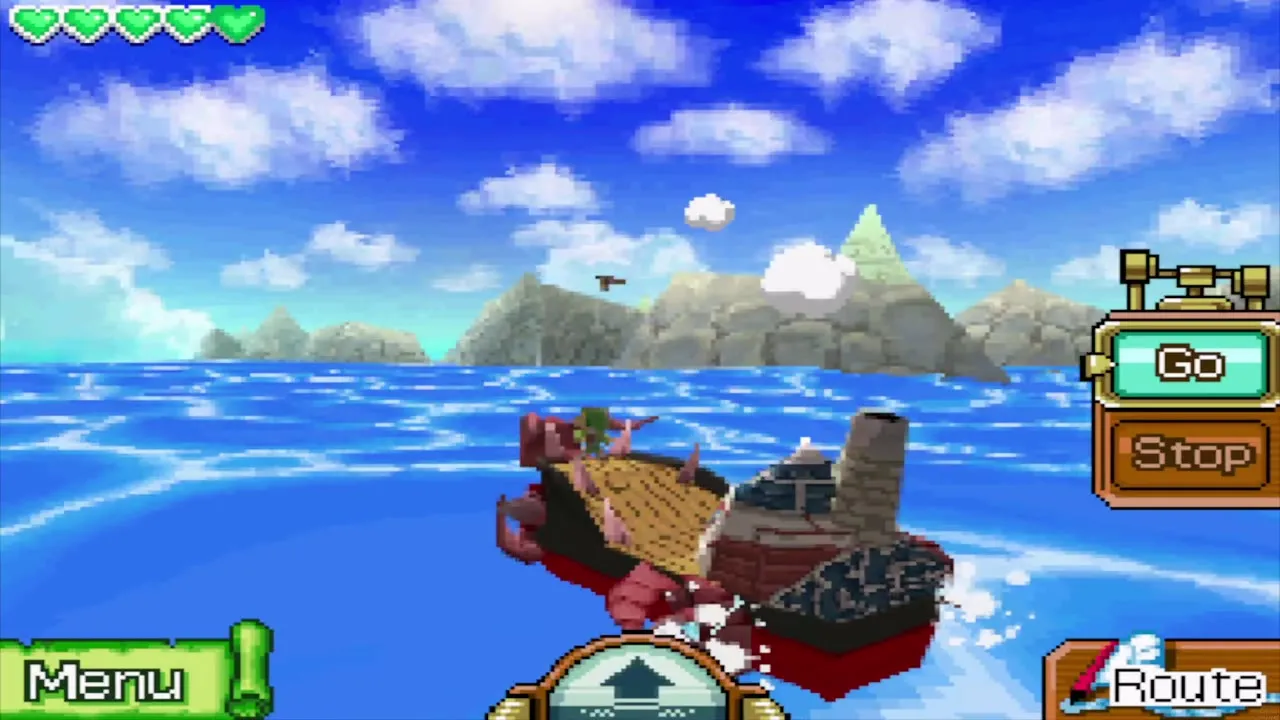
Maze Island sits in this same sea and is worth a stop if you carry the Grappling Hook. Its Treasure Maze has three levels, played in order from Beginner. Clearing the Expert level, which costs 100 Rupees and asks for fourteen Boing Statues in two minutes, earns a Heart Container. The other prizes and the rules are on the mini-games page, so you can also come back after the Isle of Ruins.
Enemy ships and salvage
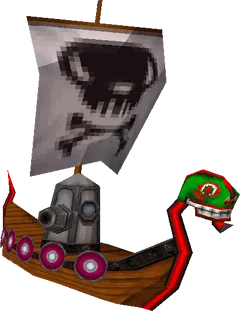
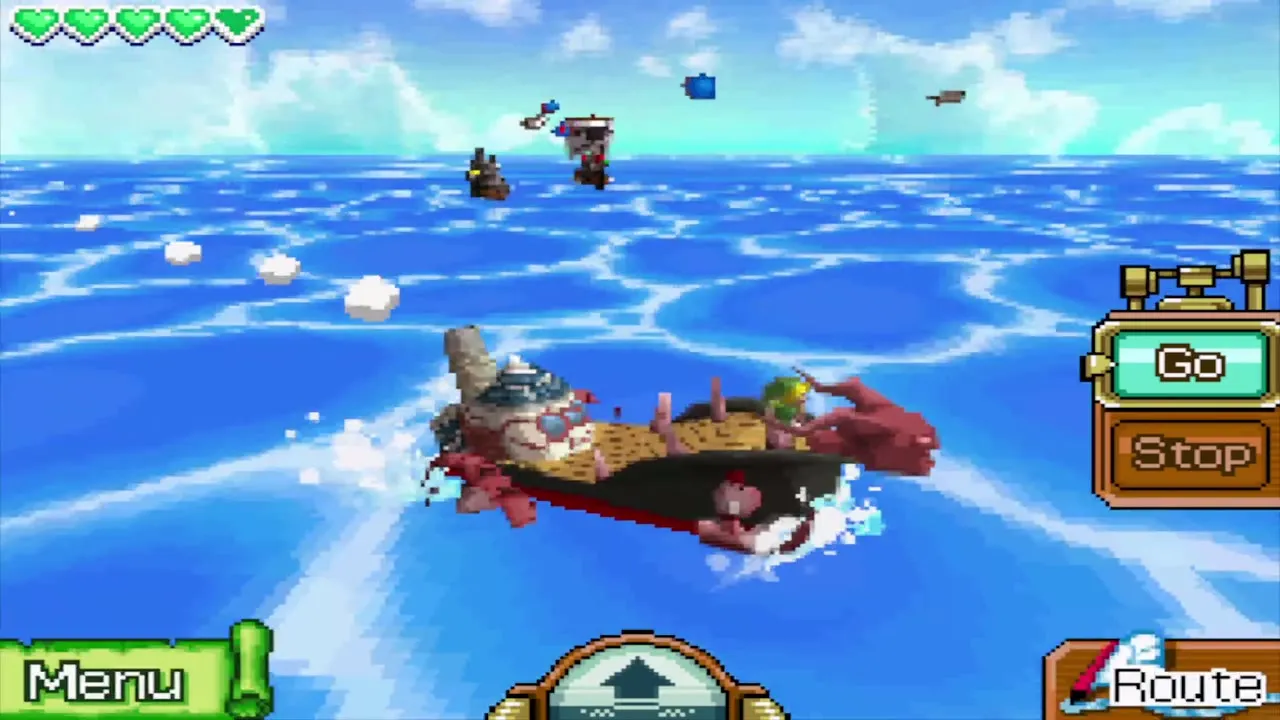
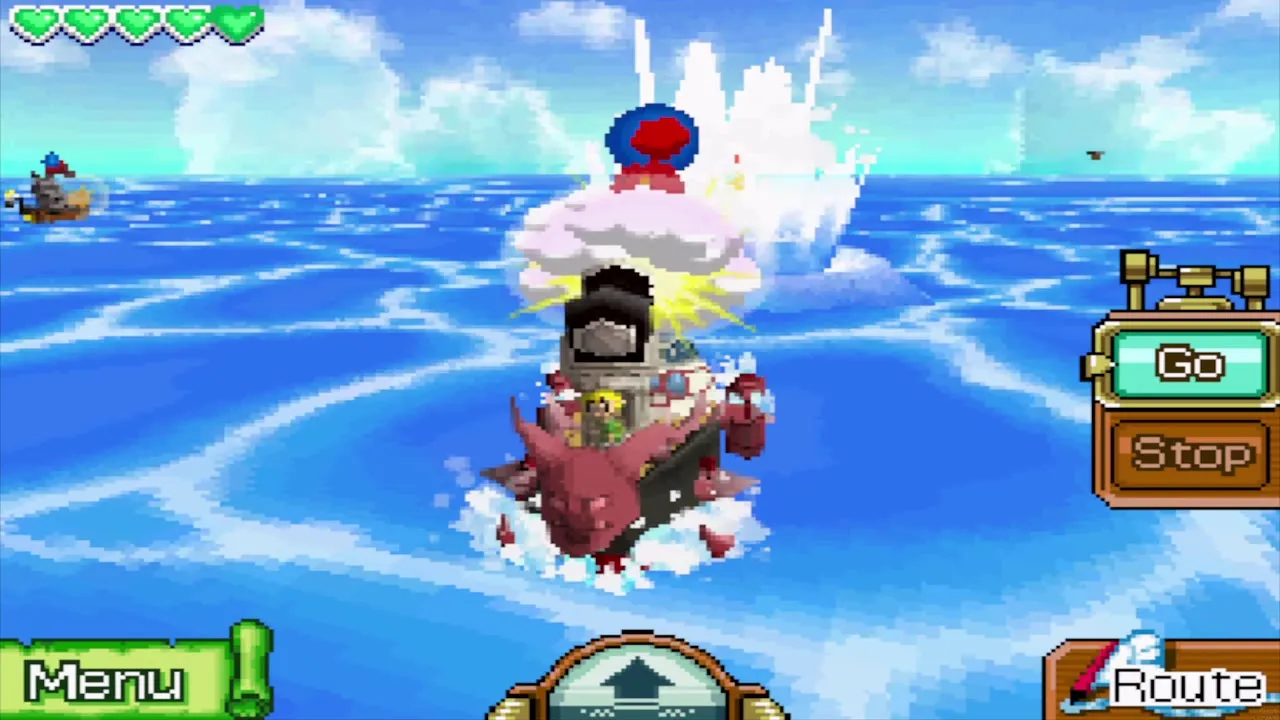
Enemy ships open fire on you in this sea. Tap their hulls to fire the cannon, and redraw your course away from any ship you cannot sink quickly.
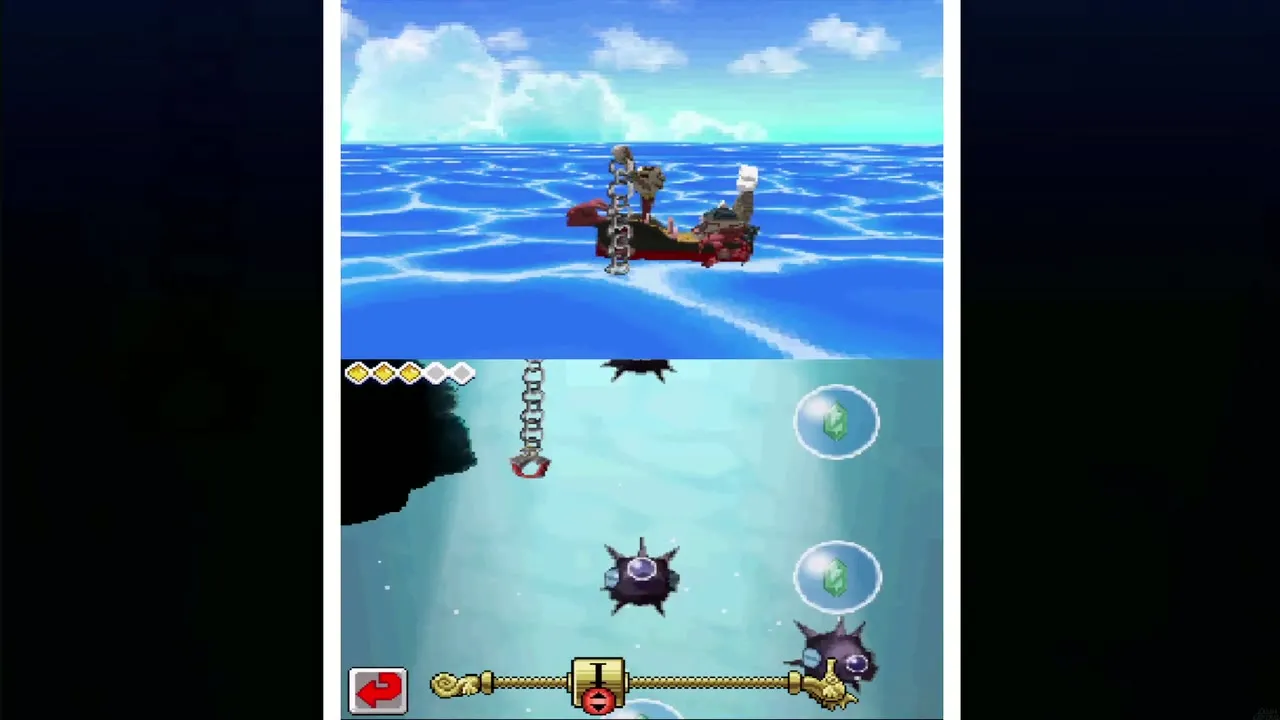
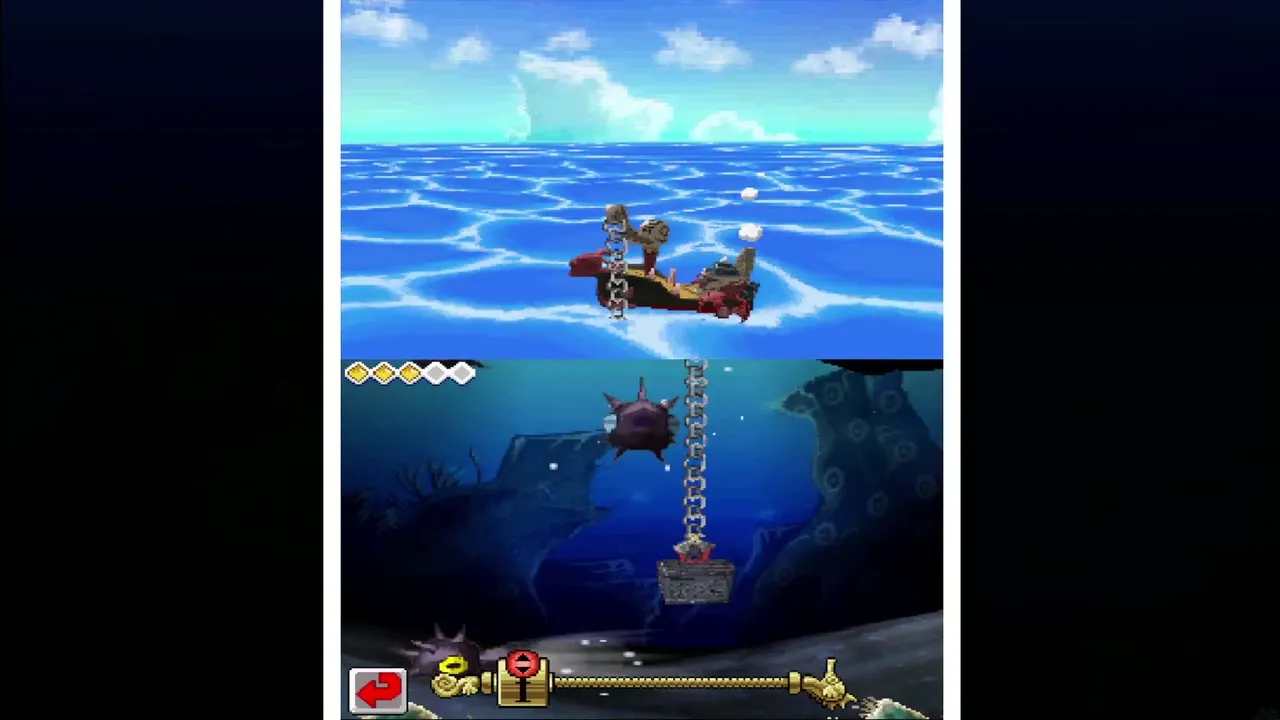
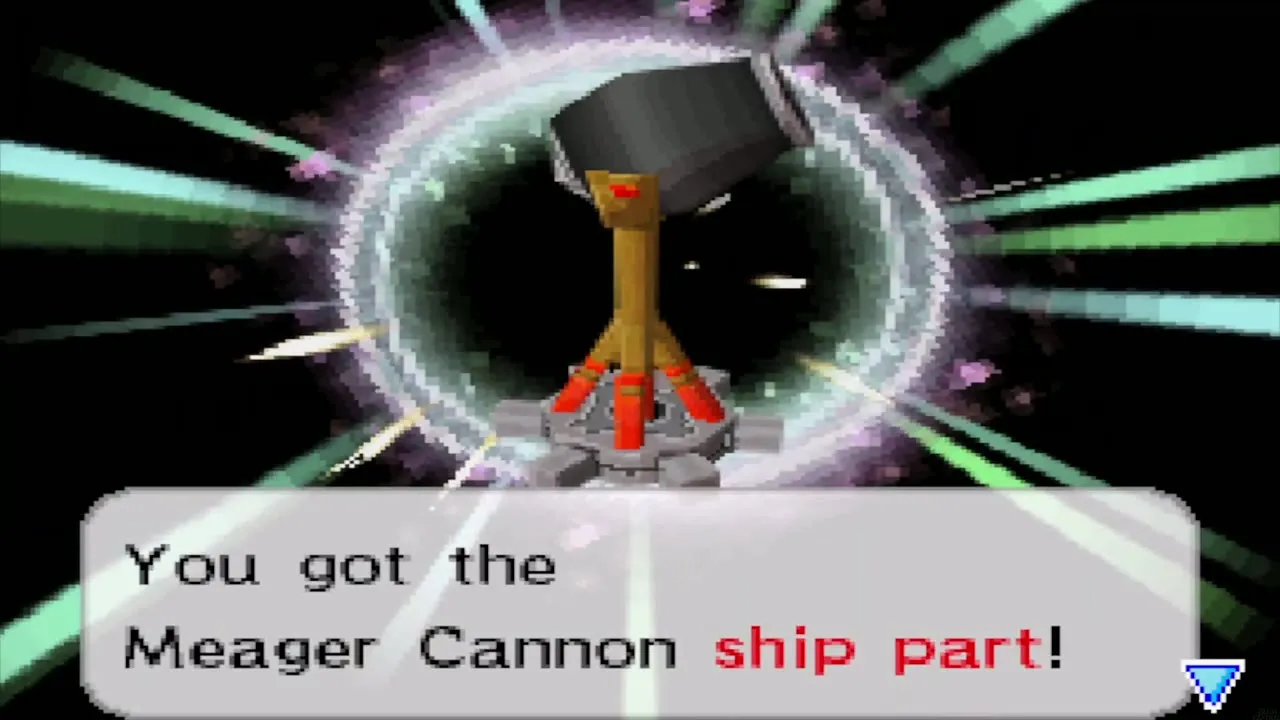
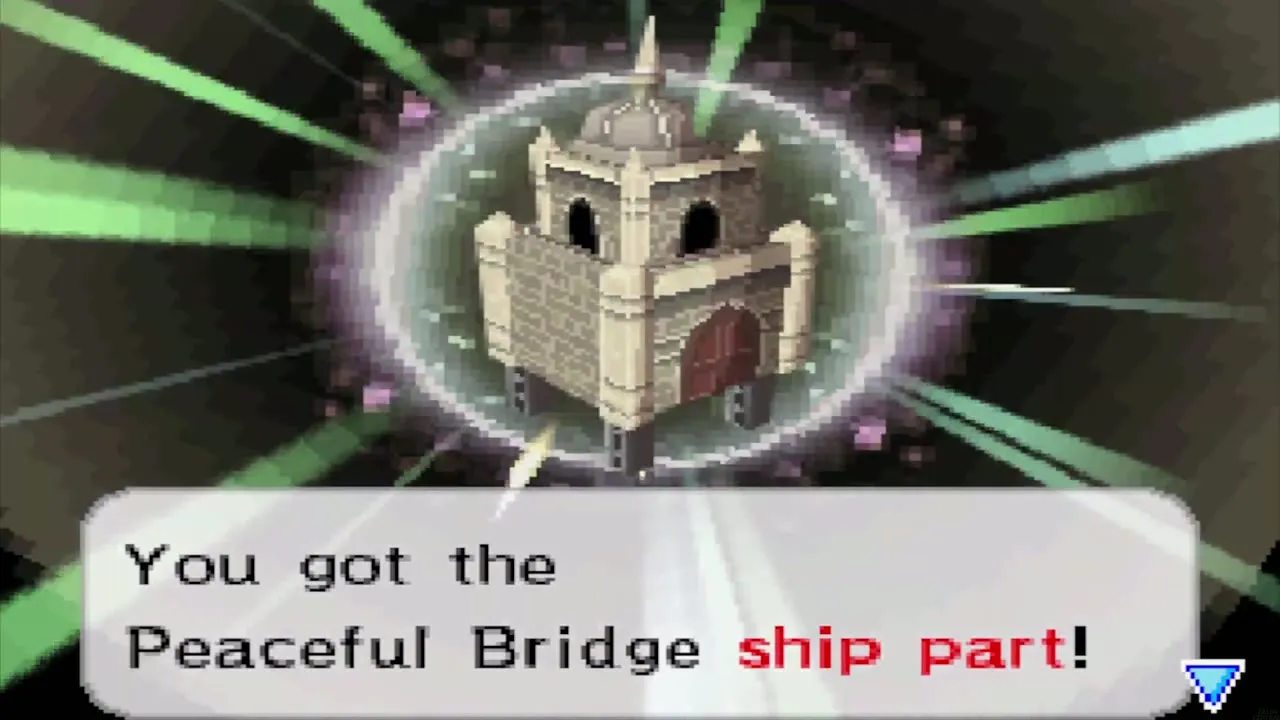
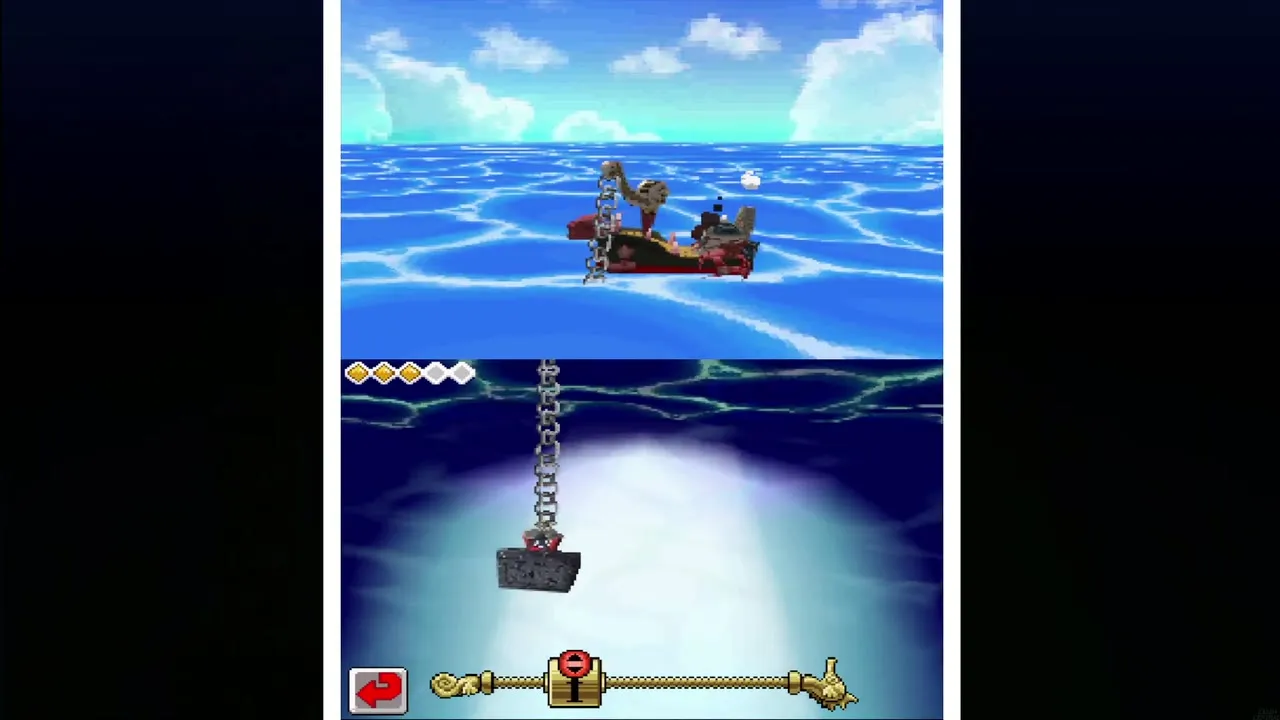
The Salvage Arm earns its keep here. Every red X on the chart is a sunken chest, and the two Treasure Maps you collect on the Isle of the Dead add two more. Salvage them as you pass, steering the chain around the spiked mines under the water. A chest hauled up this way often holds a ship part, such as the Meager Cannon, Peaceful Bridge, Bright Hull or Red Wheel; fit new parts at the shipyard on Mercay Island.
Isle of the Dead
Docking and the postbox
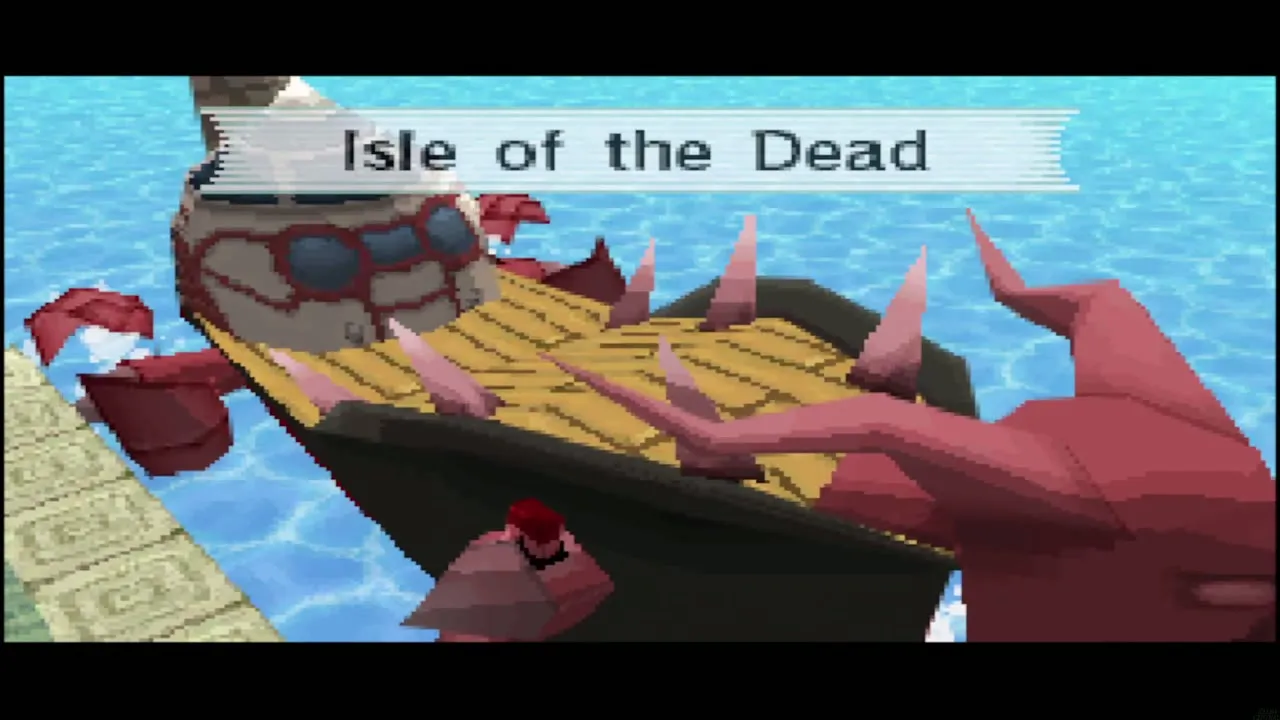
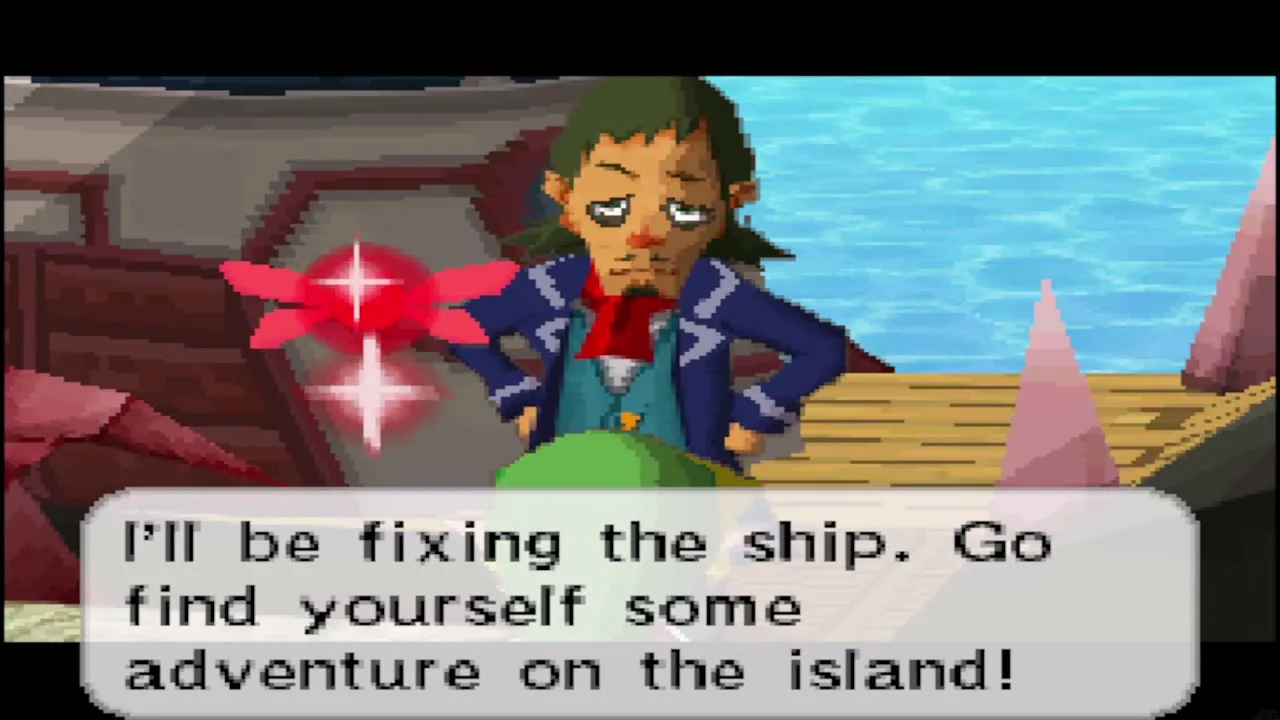
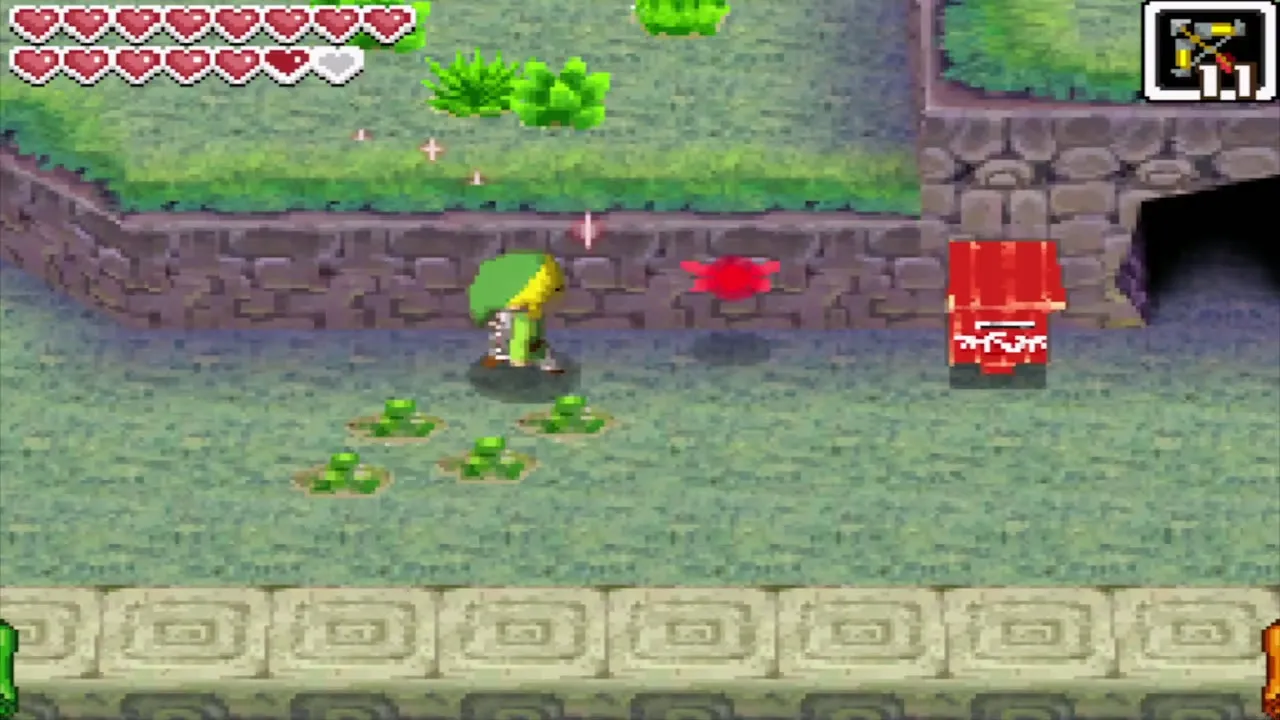
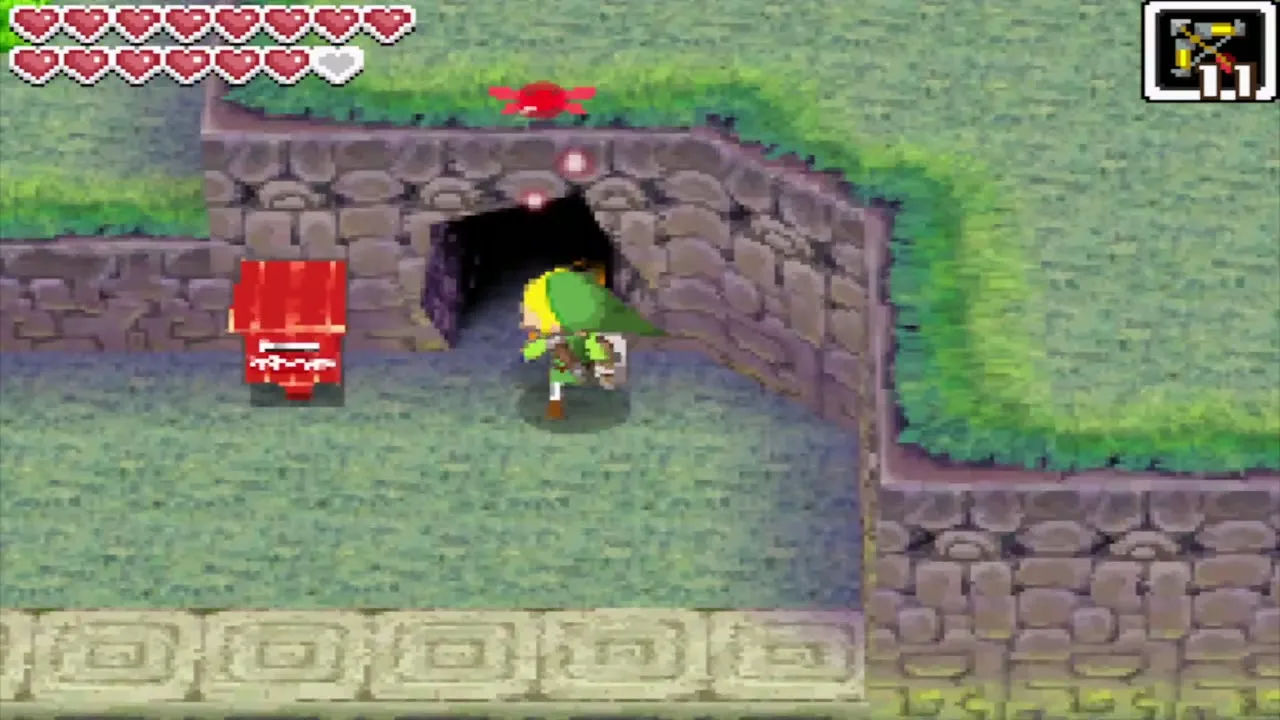
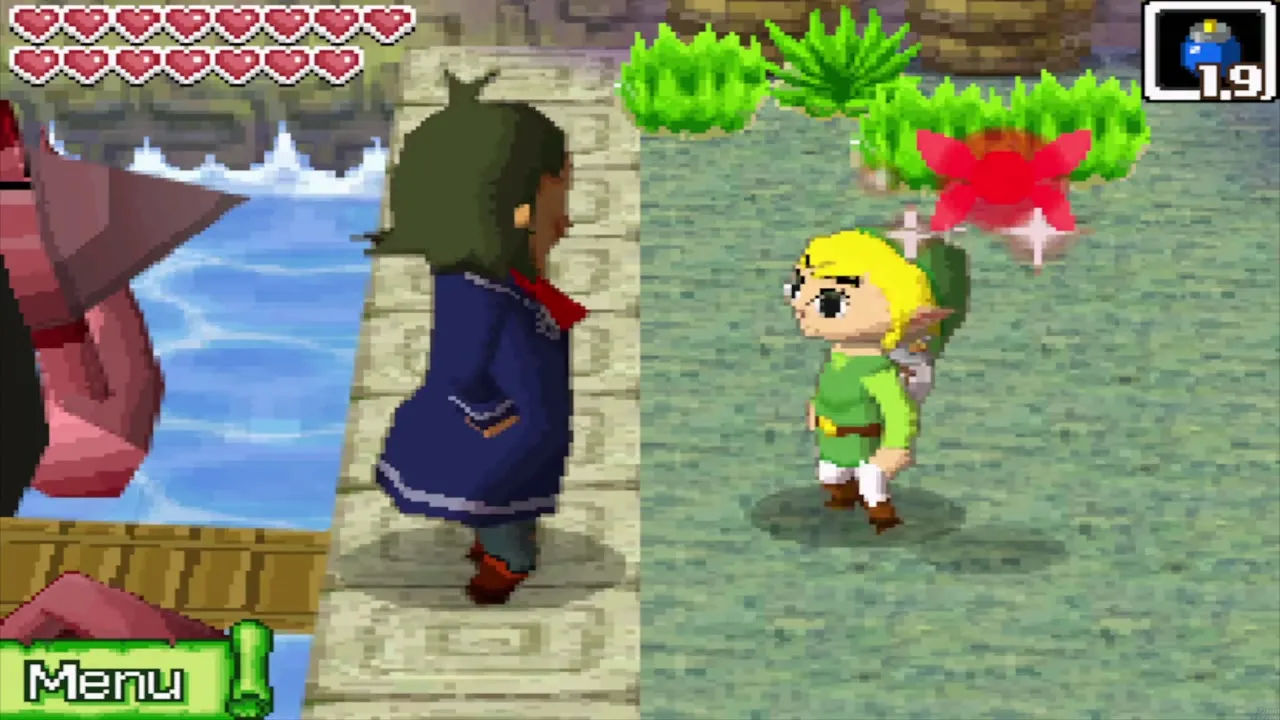
Sail up to the pier at the Isle of the Dead. Linebeck stays with the ship to make repairs and tells you to look for adventure on your own. A red postbox stands near the beginning of the path. Letters can be handed in there. Then head into the small cave next to it.
The books in McNey’s cave
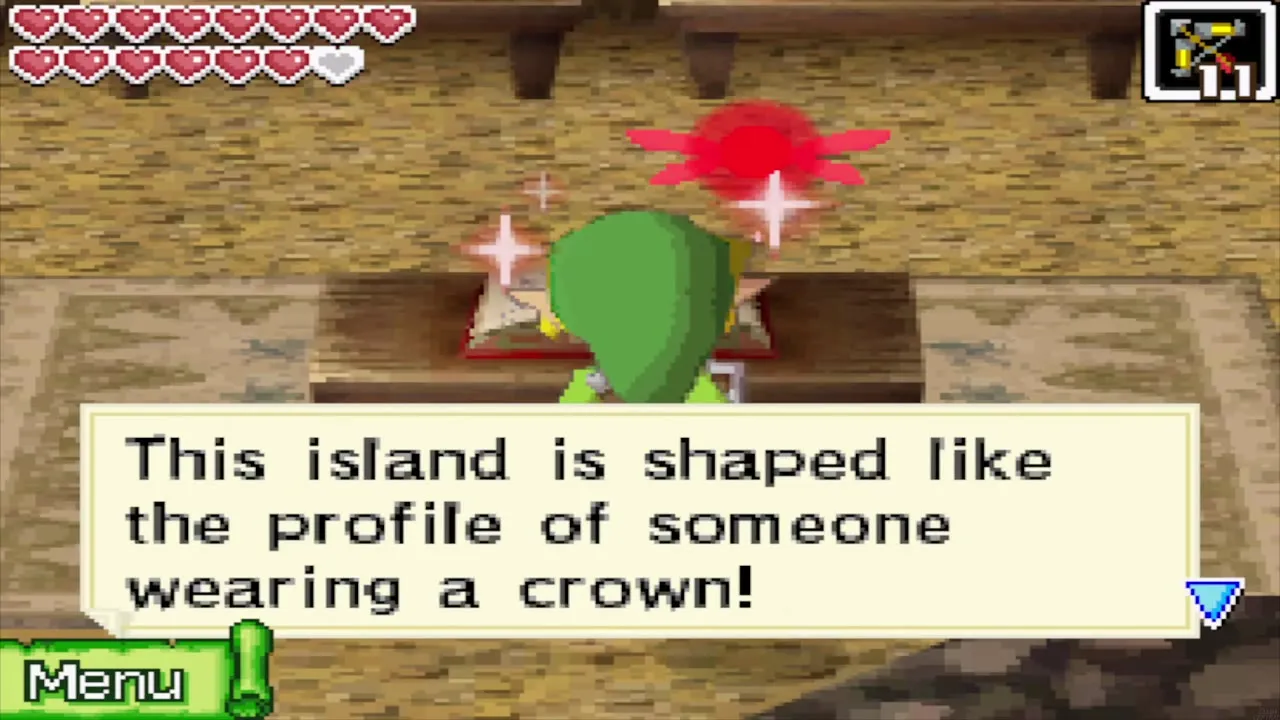
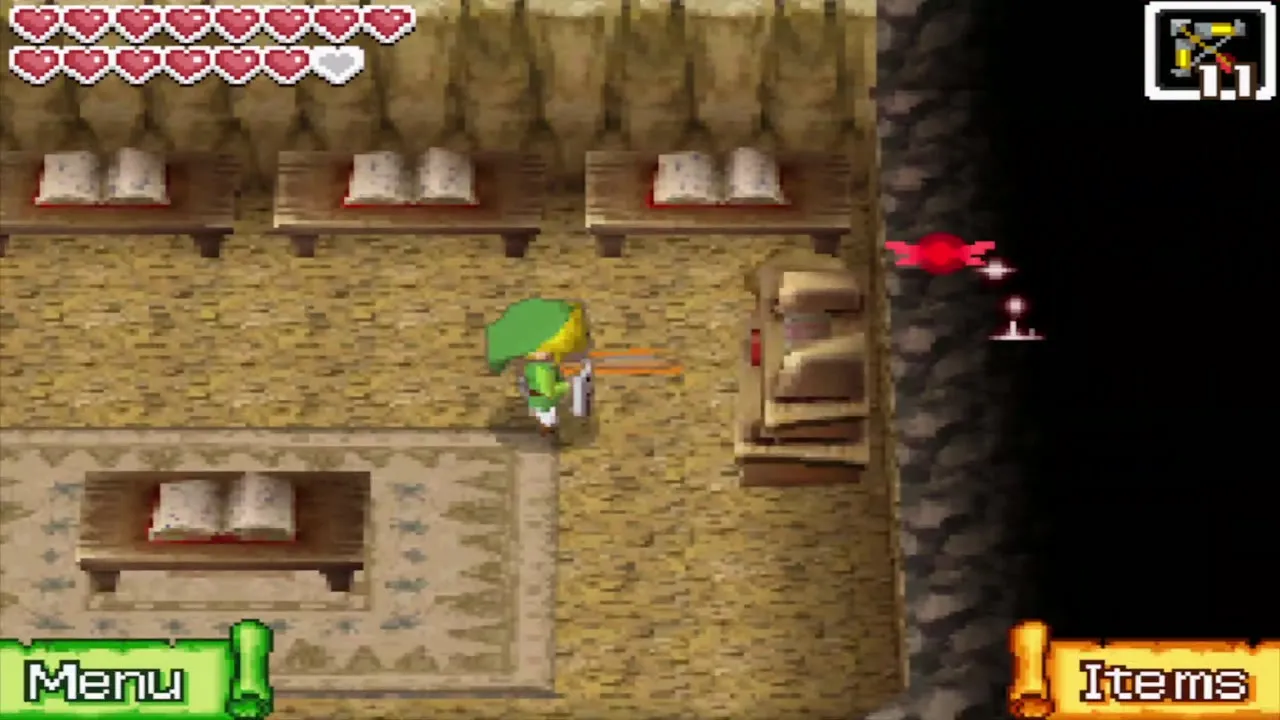
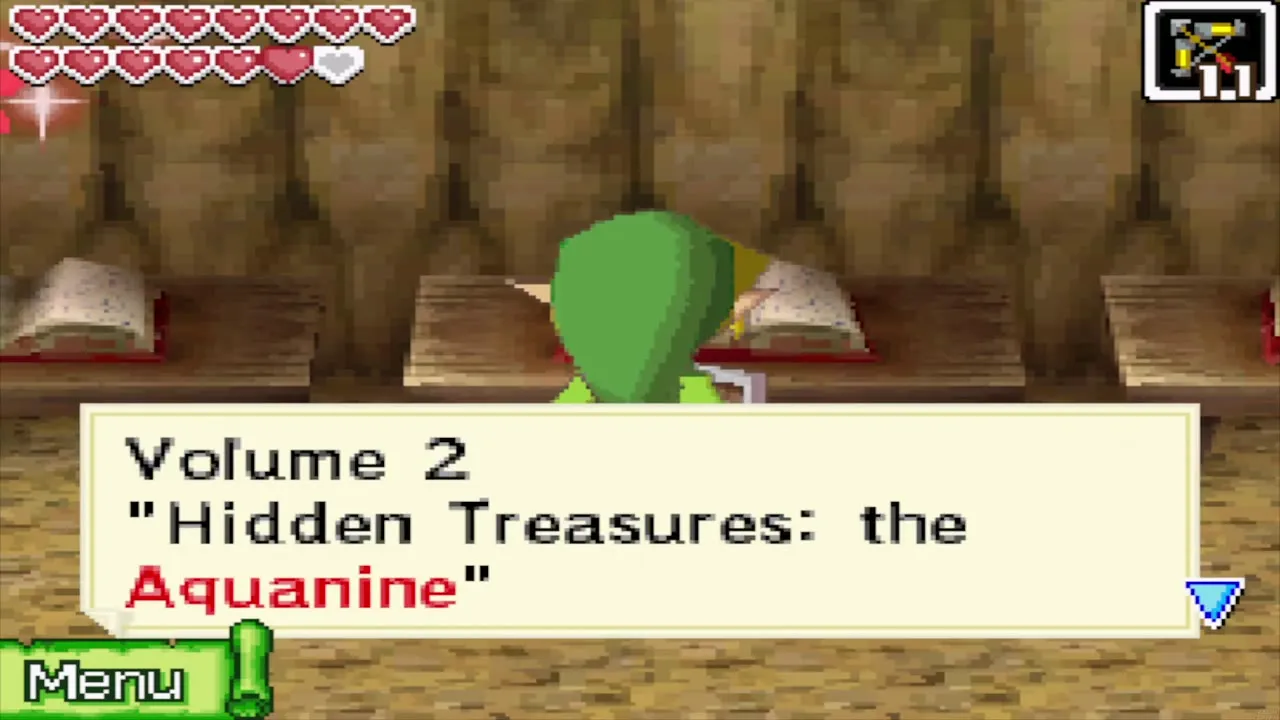
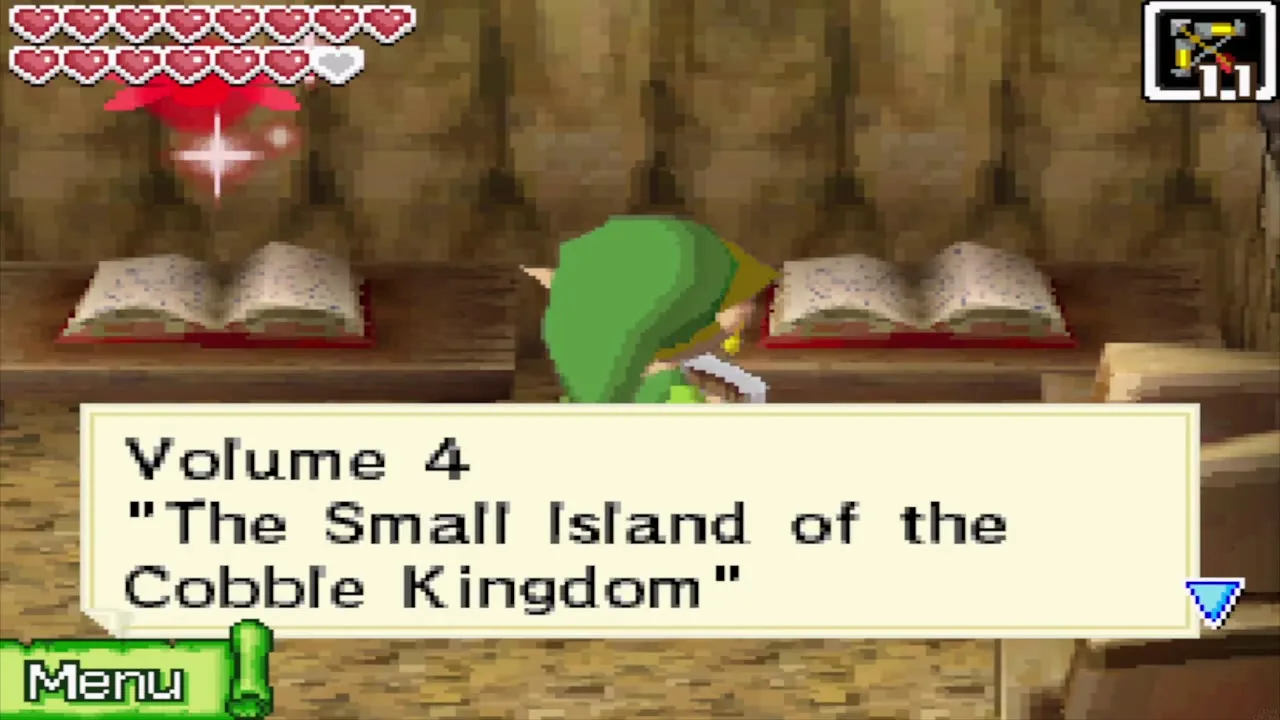
The cave is the study of an explorer called McNey. The desk holds his journal, and the shelves hold books about the Cobble Kingdom. McNey noticed that the island is shaped like the head of a king in a crown, in profile, looking east, with a visible eye and mouth. That is the key to every puzzle on the island. The books tell you that the kingdom was ruled by a king and four knights and that the Aquanine is one of the Pure Metals. Read what you like, then look to the west wall.
The Rupoor room: Treasure Map #28, a Courage Gem and two ship parts
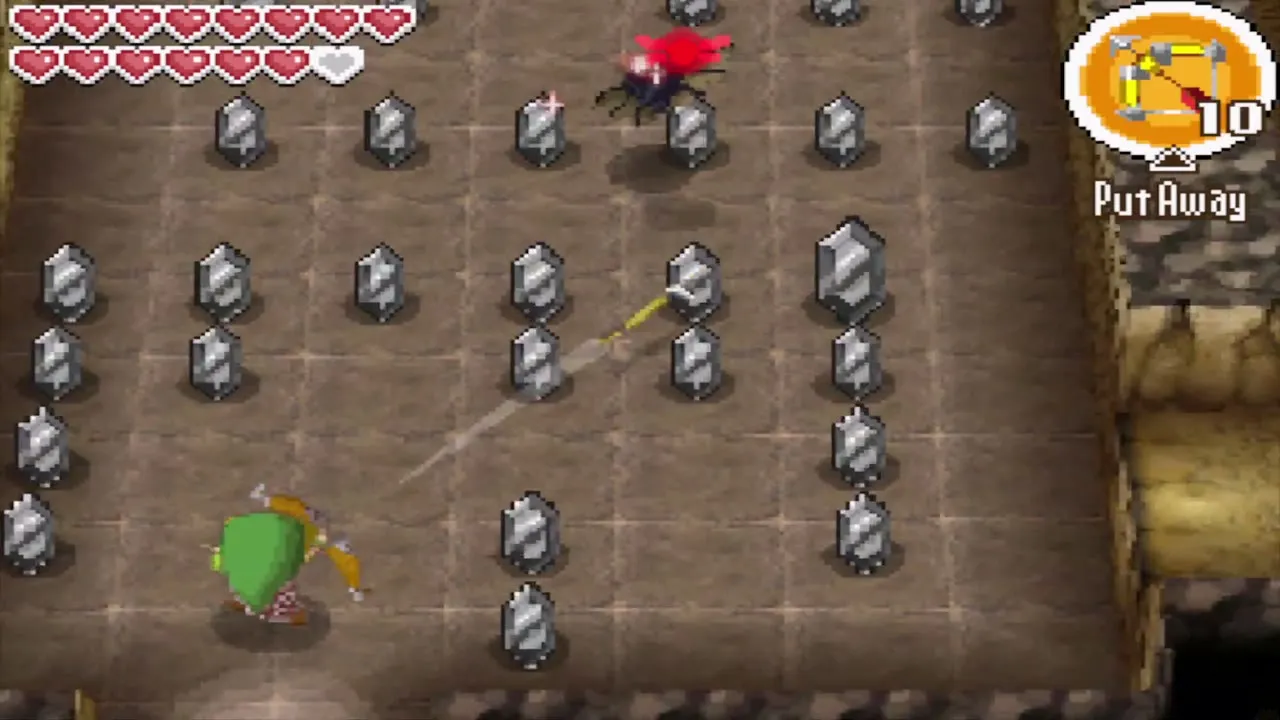
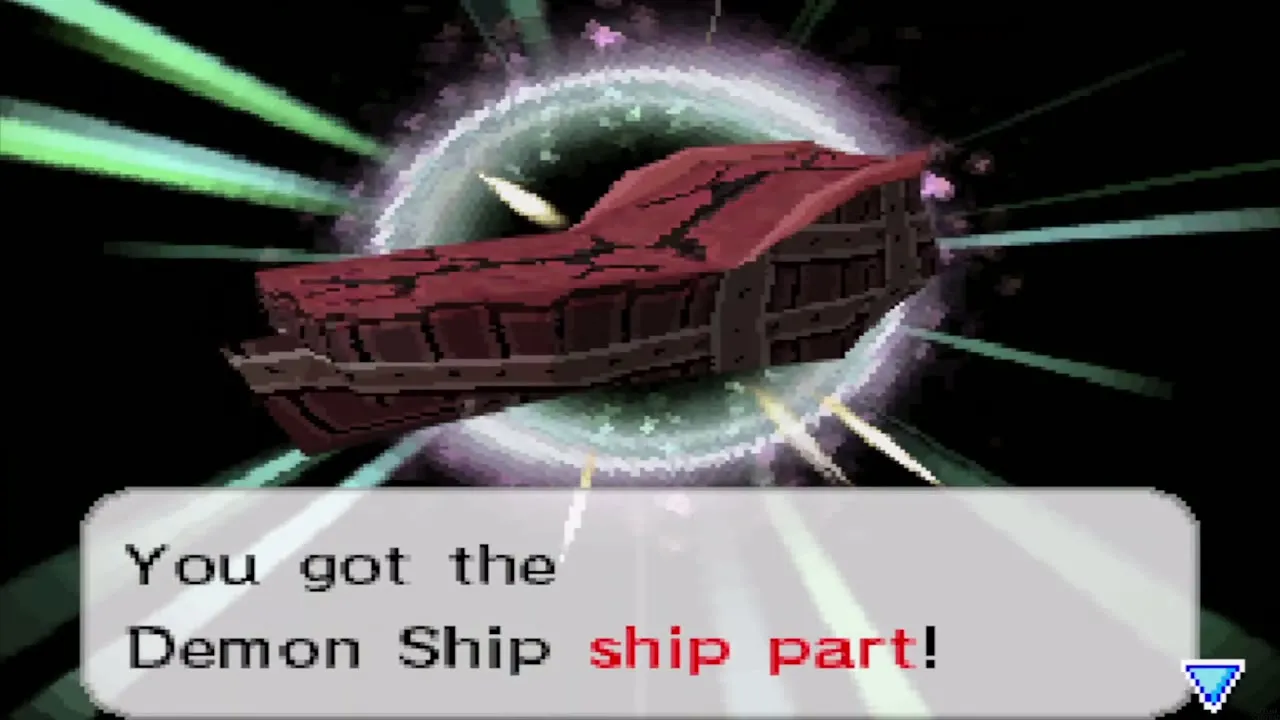
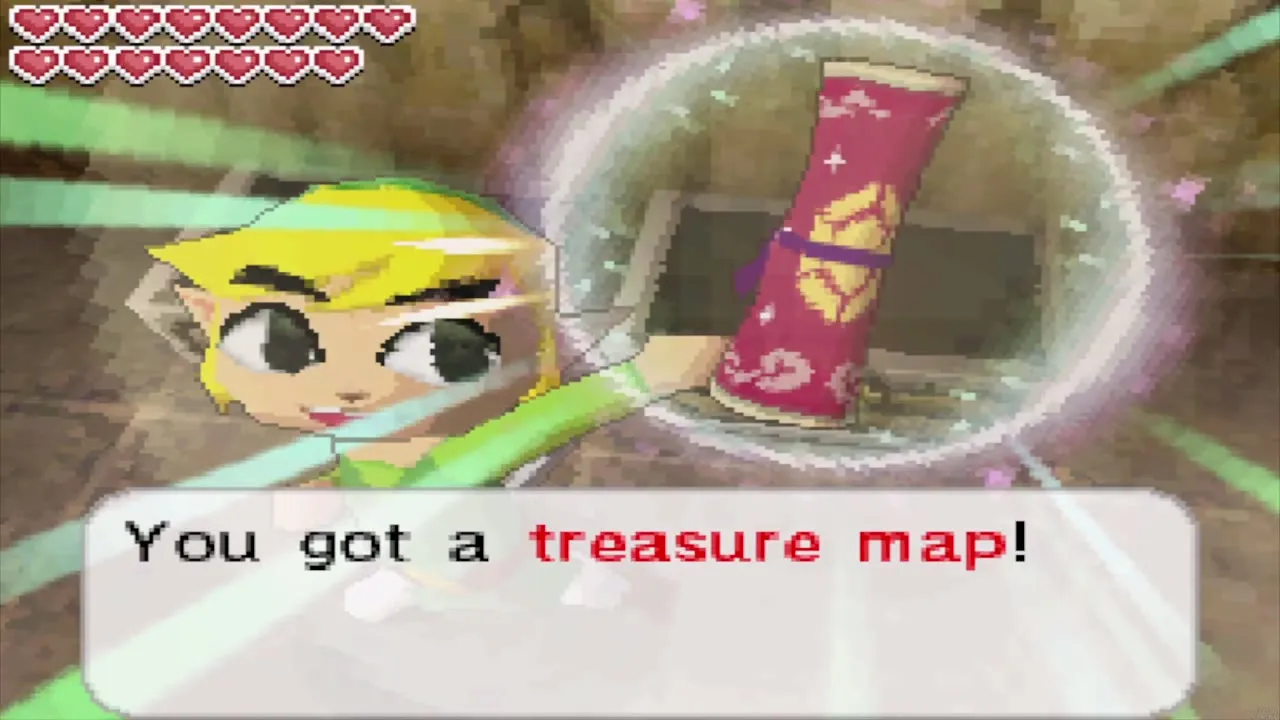
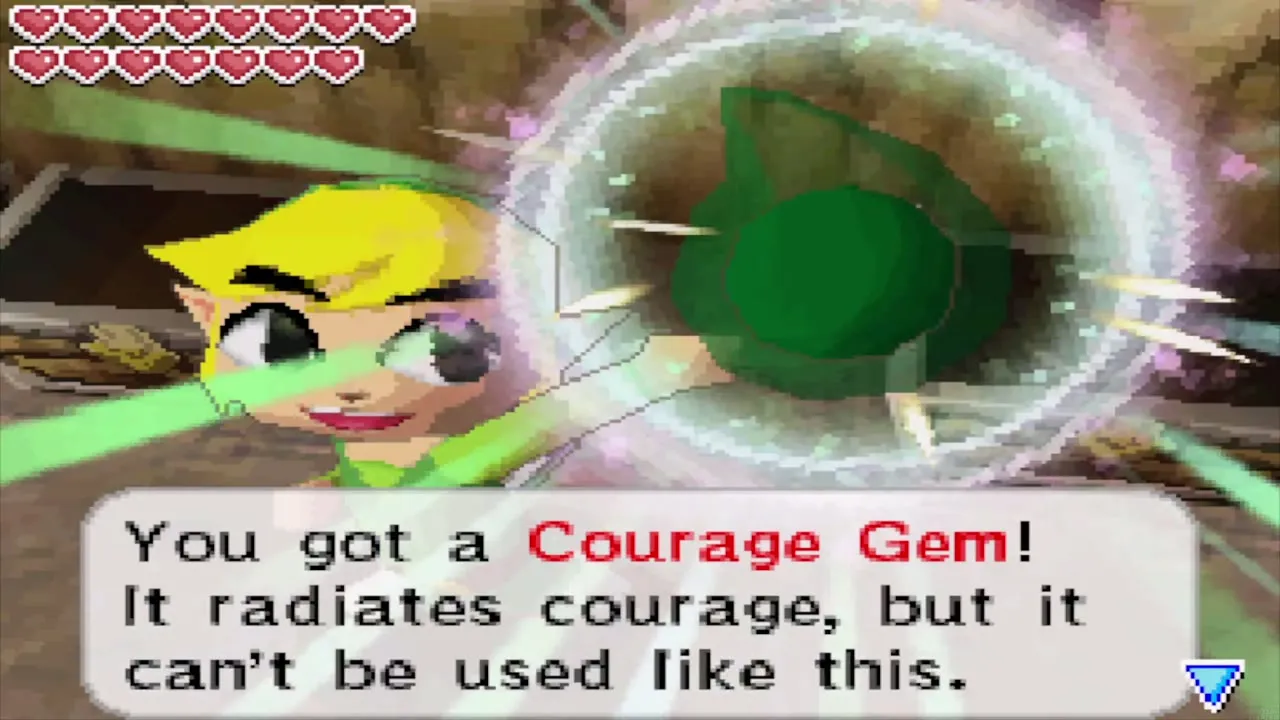
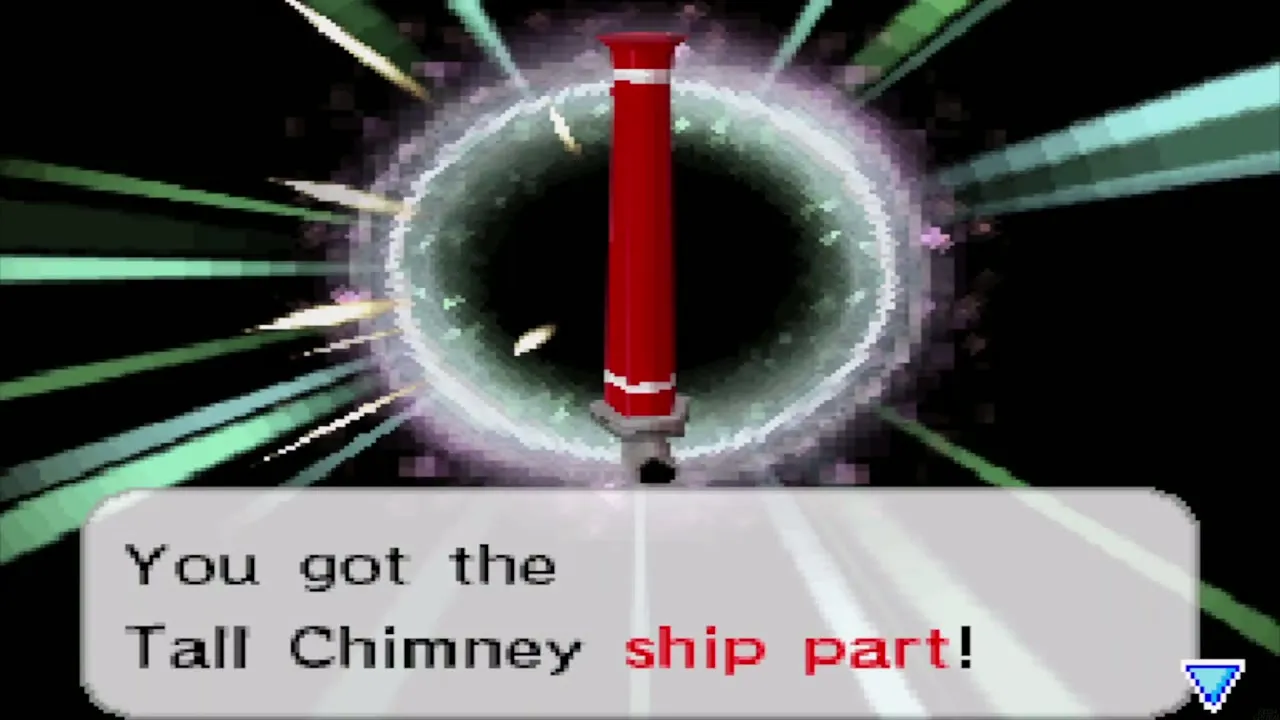
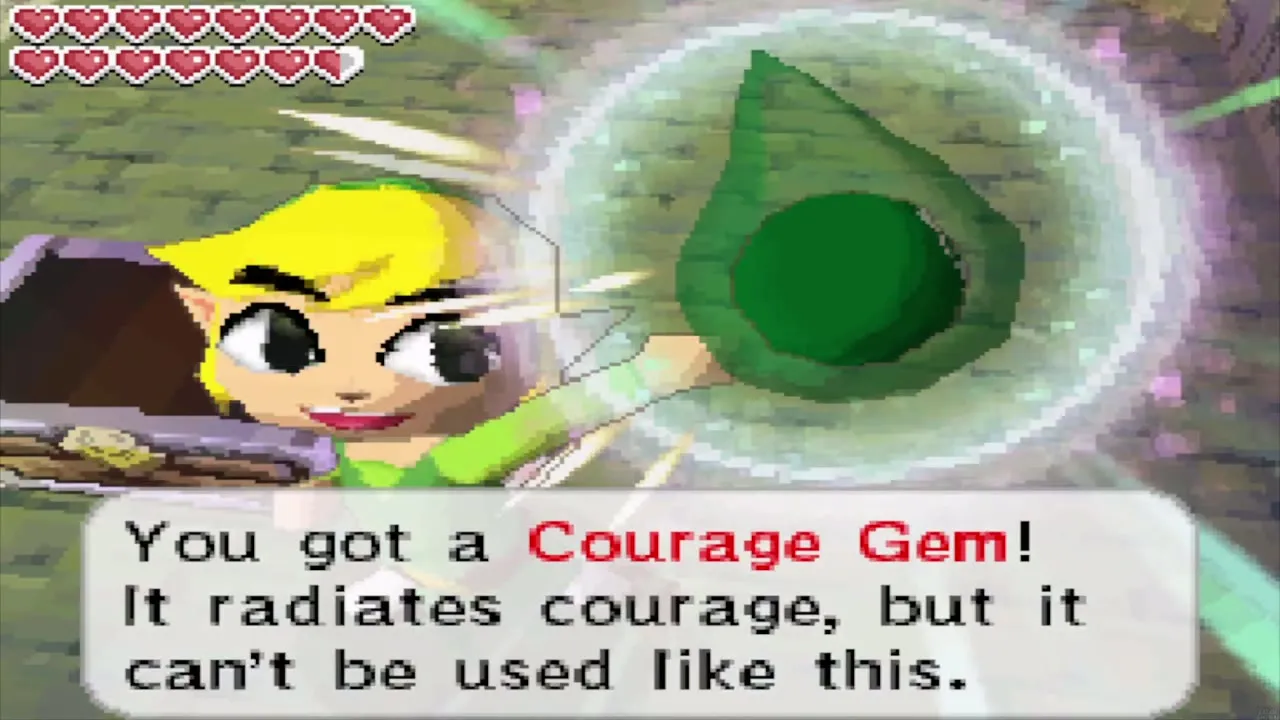
Before you leave the cave, set a bomb against the flat part of the west wall to open a secret passage. The room beyond is full of Rupoors, which take Rupees if you touch them, and large Rupoors take 50 at a time, and Keese that bump you into them. Shoot the Keese with the Bow, then pick your way along the narrow path to the north end. The room there holds loose Rupees and four chests. Open all four to get Treasure Map #28, the Demon Ship hull, the Tall Chimney and a Courage Gem (Courage Gem #18). The steps on the east side give you an easy way back to the exit. Treasure Map #28 raises a random treasure from the seabed.
The temple in the northeast corner
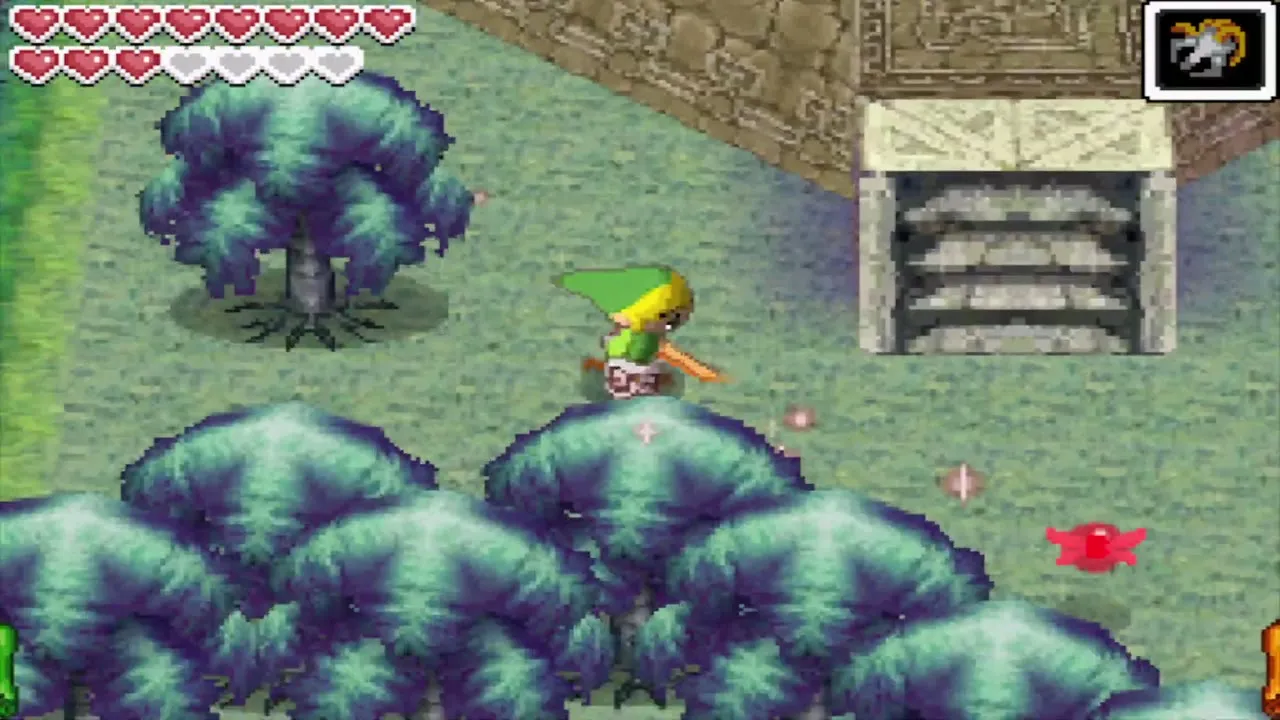
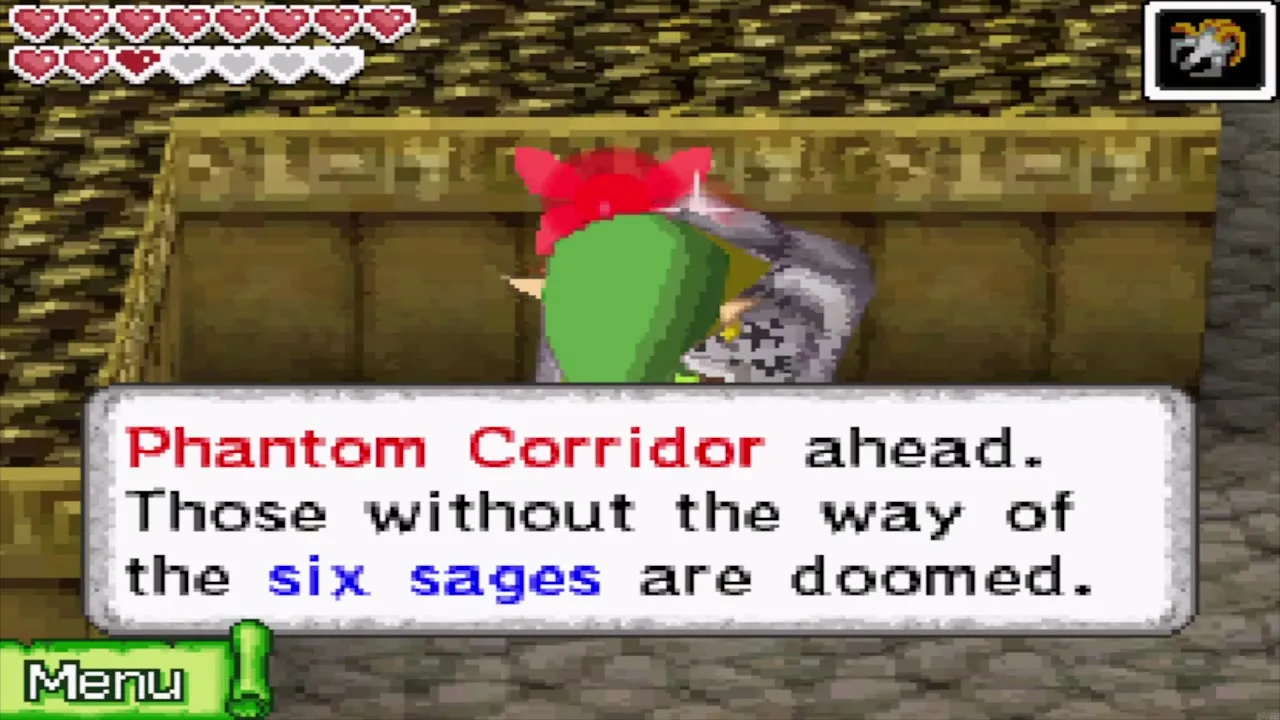
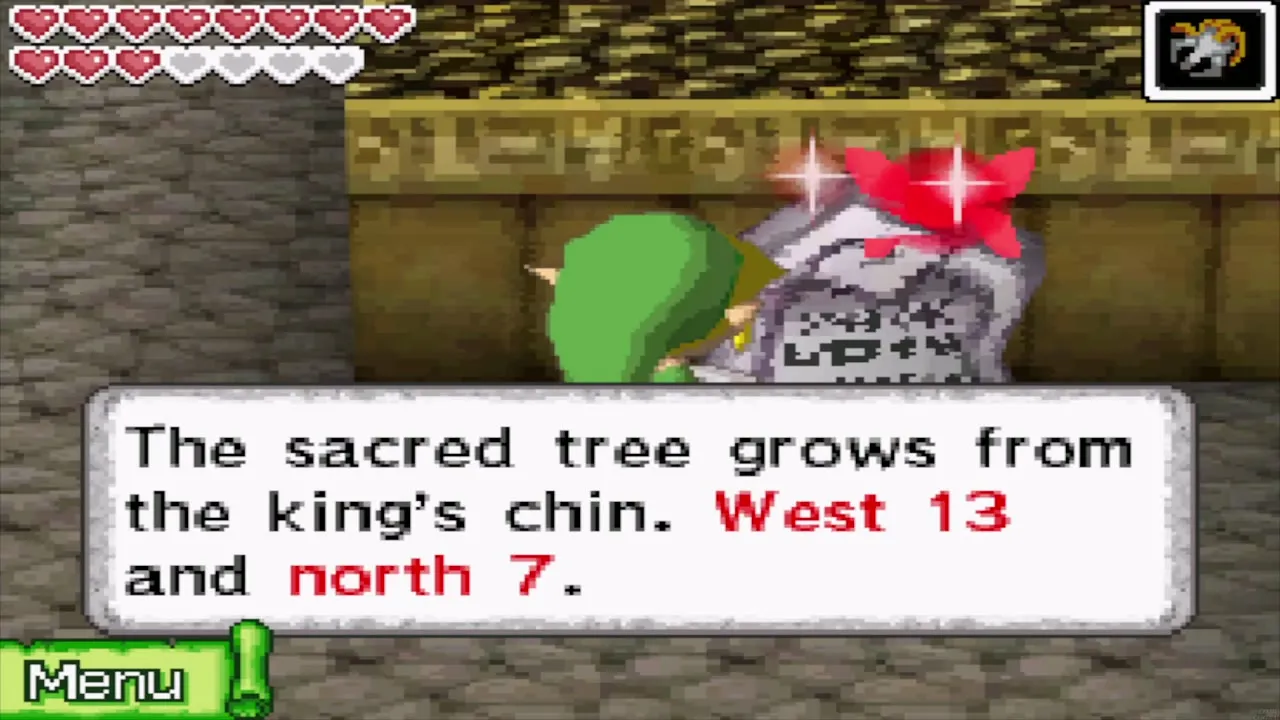
Outside, Stalfos and Rupee-Likes patrol the island, so clear as many as you can. Walk to the big temple in the northeast corner. It is a tomb, and its tablets say that it is a maze whose way is known only to six sages: anyone without the right directions will walk in circles. The tablet on the right gives a clue for the rest of the island: the sacred tree grows from the king’s chin, so go west 13 and north 7.

Where to dig: the sacred tree and the Shovel
The king’s chin is the southeast corner of the island, where the sacred tree grows. Stand at the tree, walk 13 squares west, then 7 squares north, and dig with the Shovel. The hole opens into an underground passage. Count squares carefully, because digging one square off finds nothing.
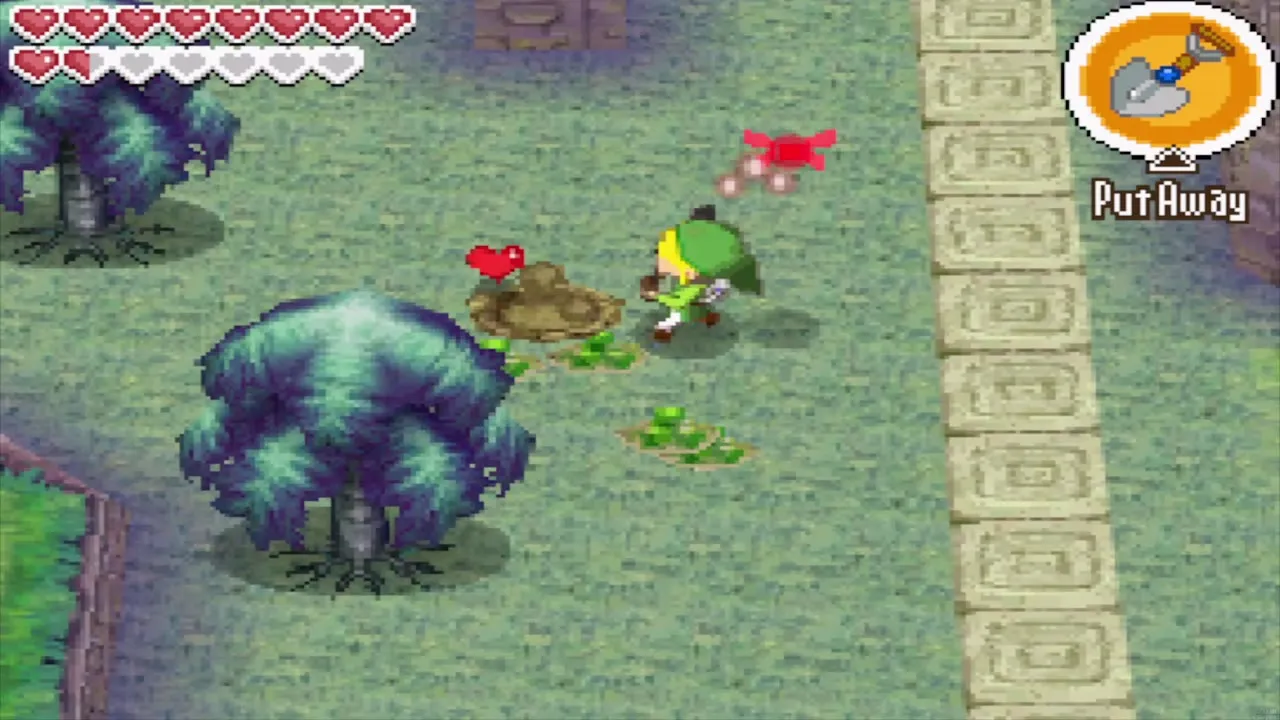
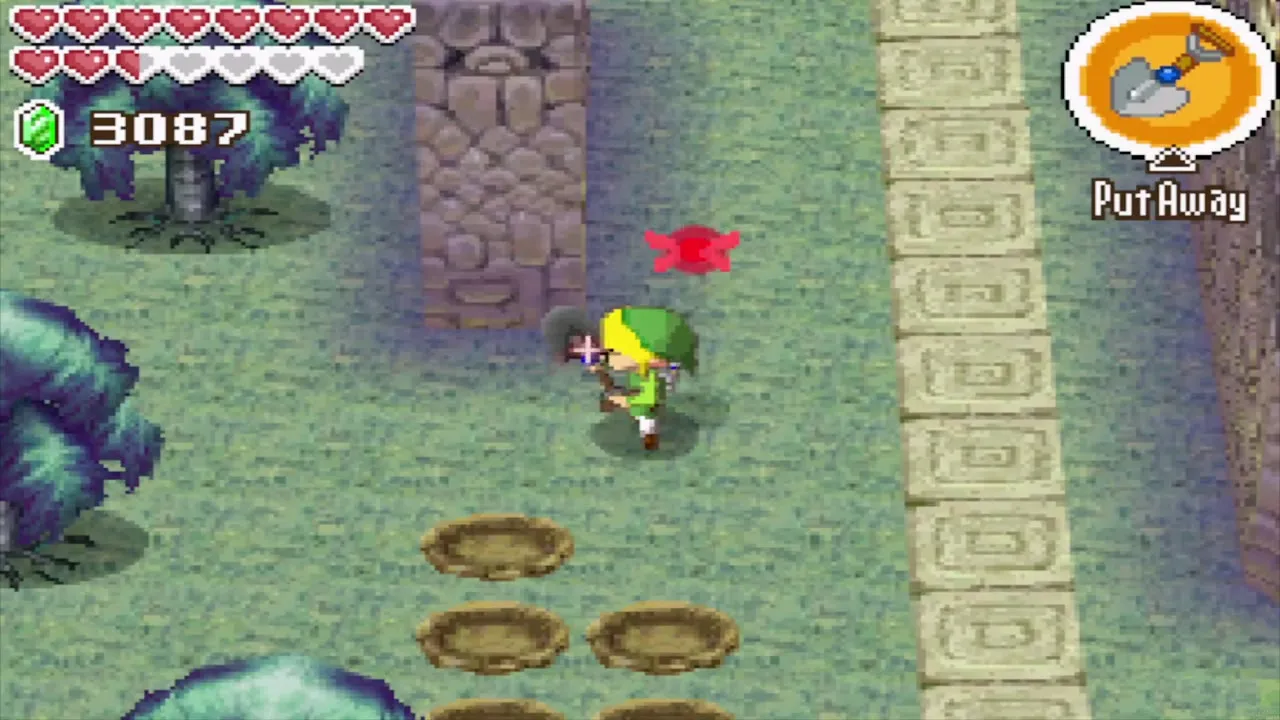
The underground passage and the Power Gem
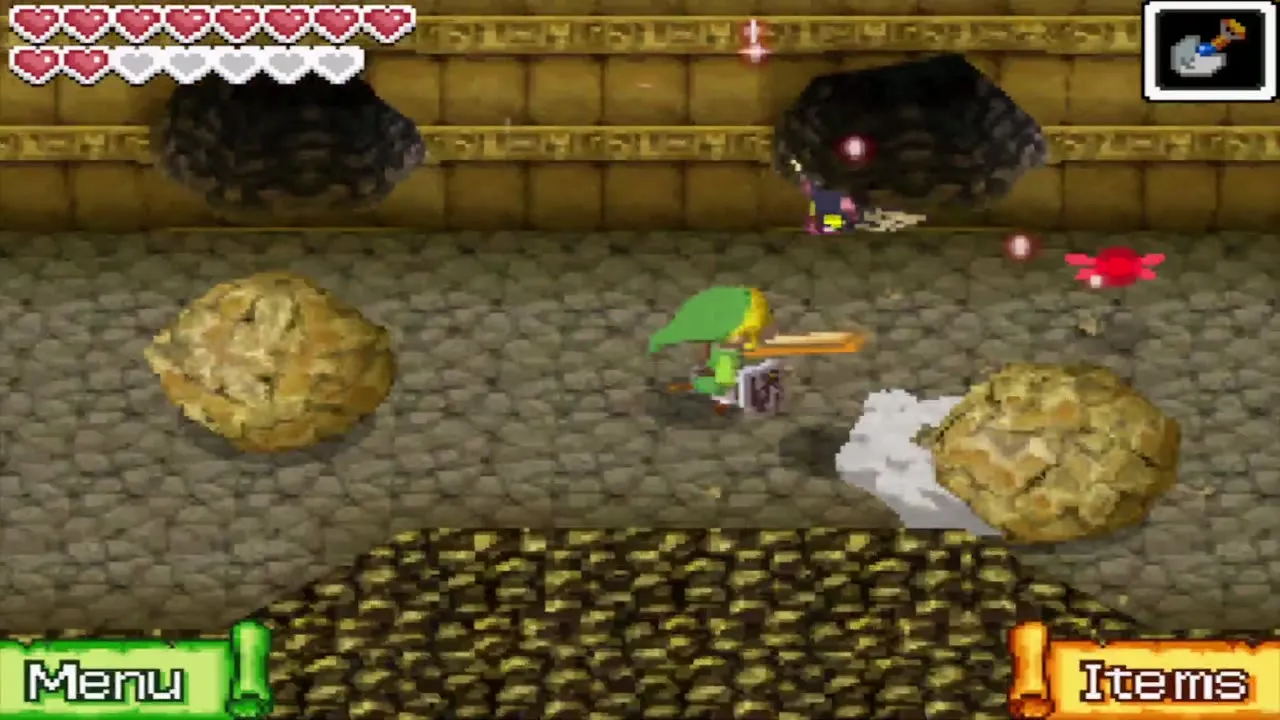
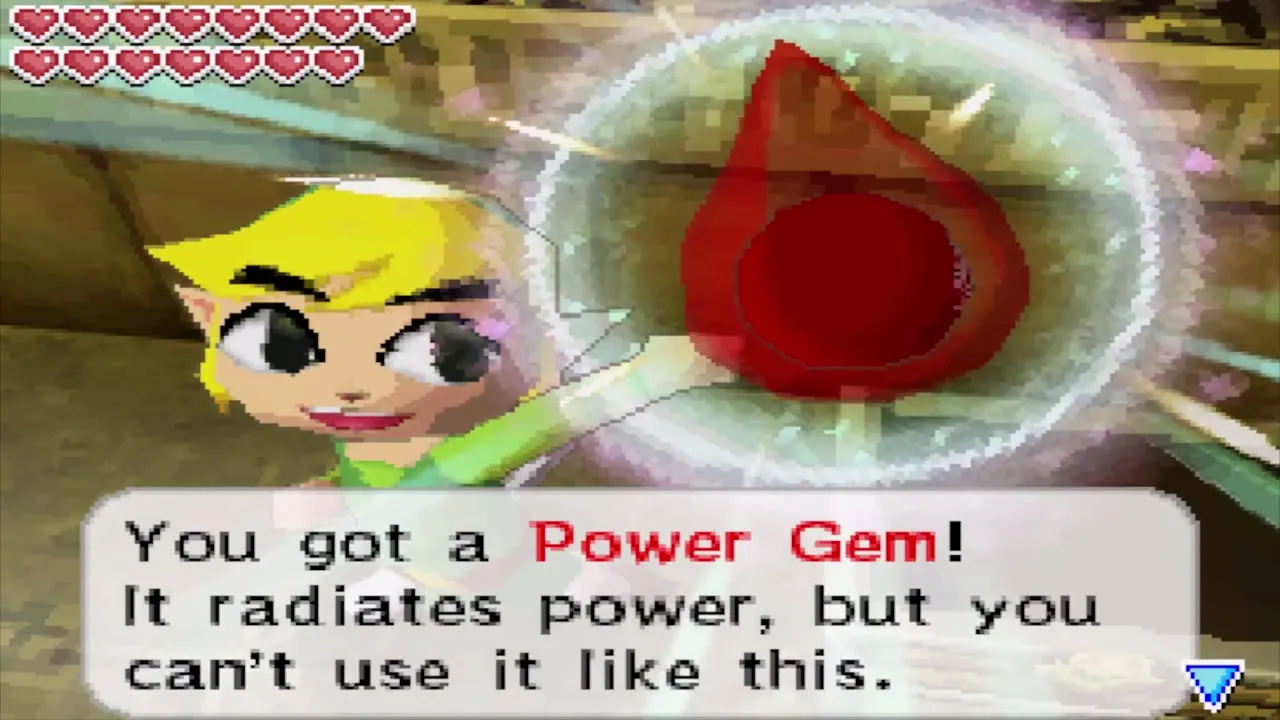
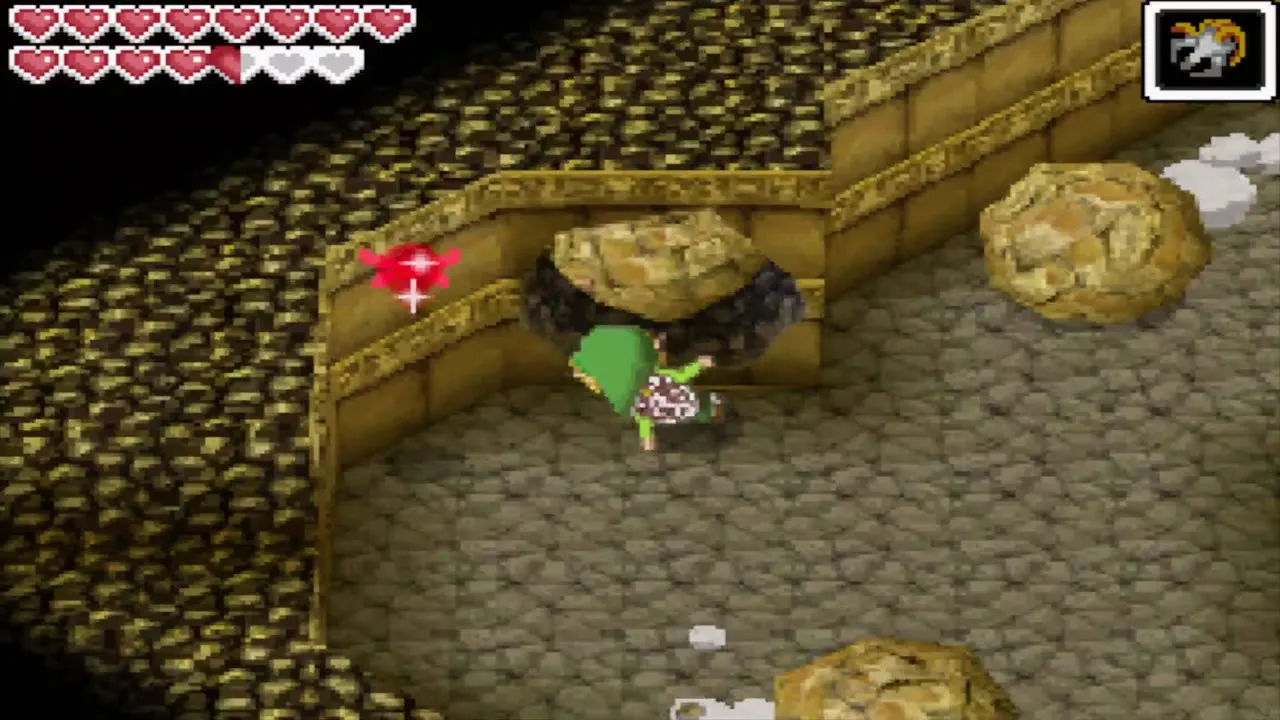
Underground you face rolling boulders and Keese, so move between the boulders and slash the Keese. Bomb the cracked wall ahead to find a tablet that hints at what to do at the king’s eye, then bomb the wall to the north to reach a small room with loose Rupees and a chest. The chest holds a Power Gem (Power Gem #18).
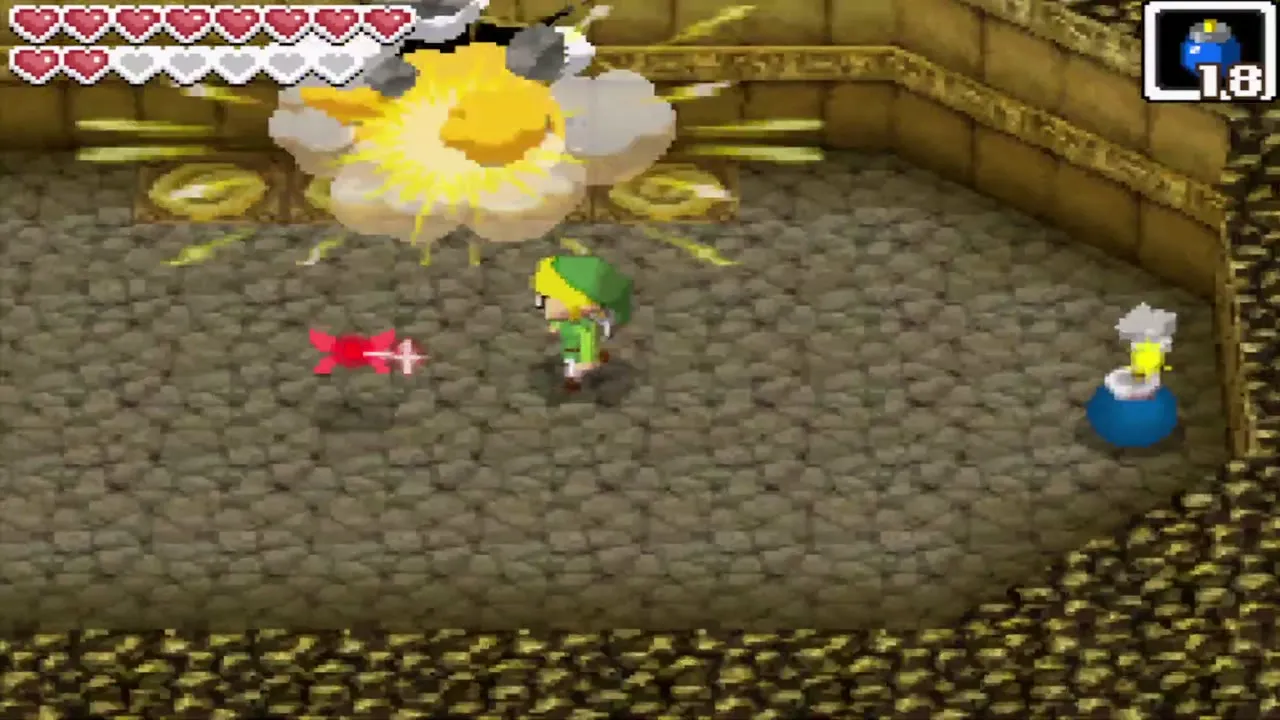
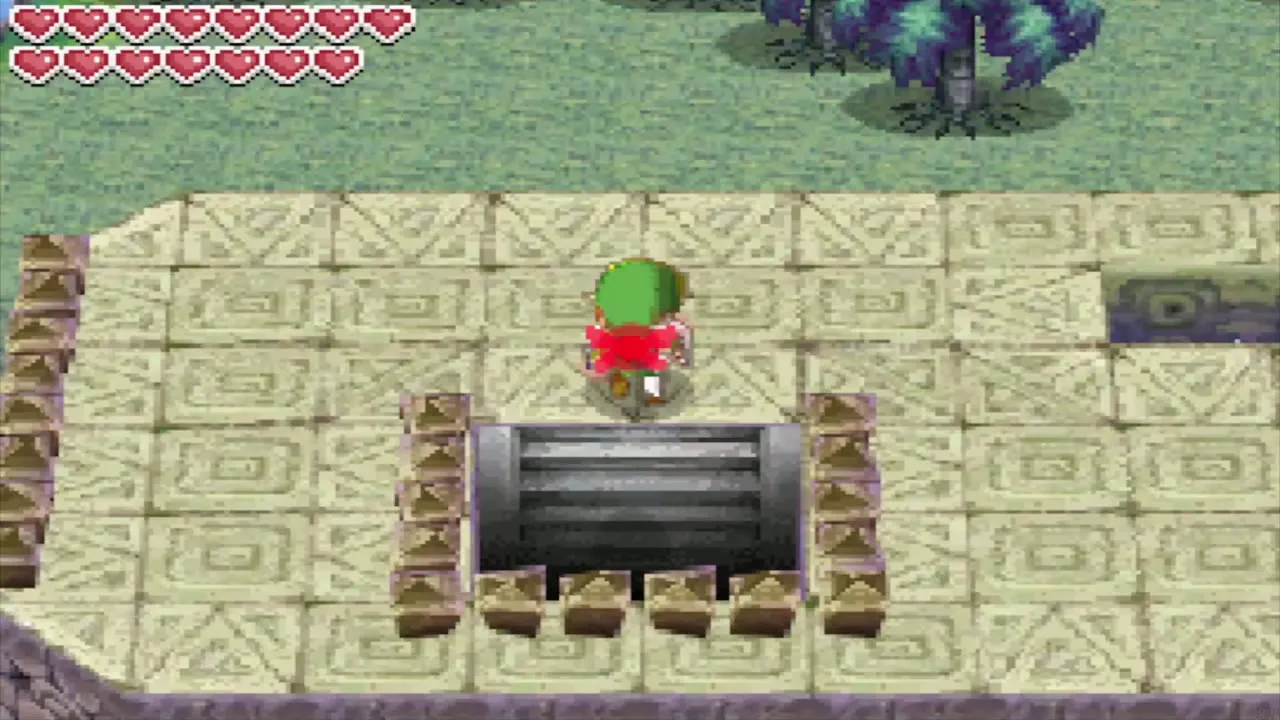
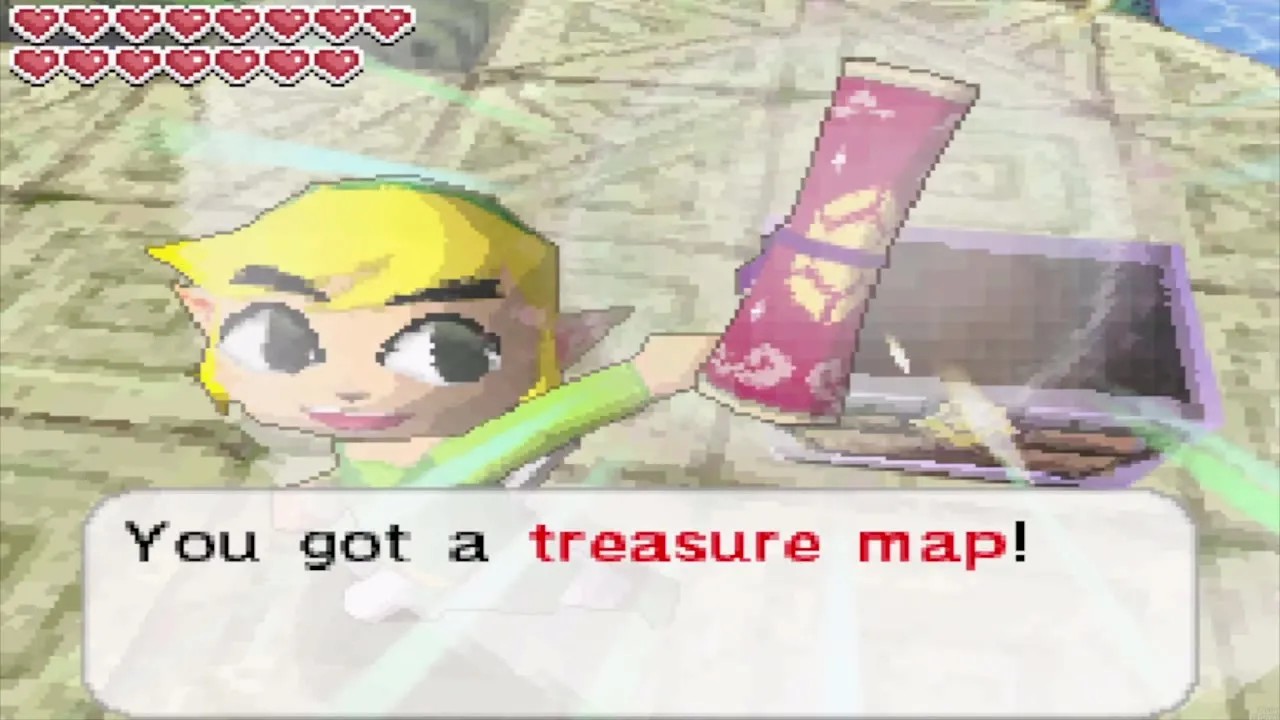
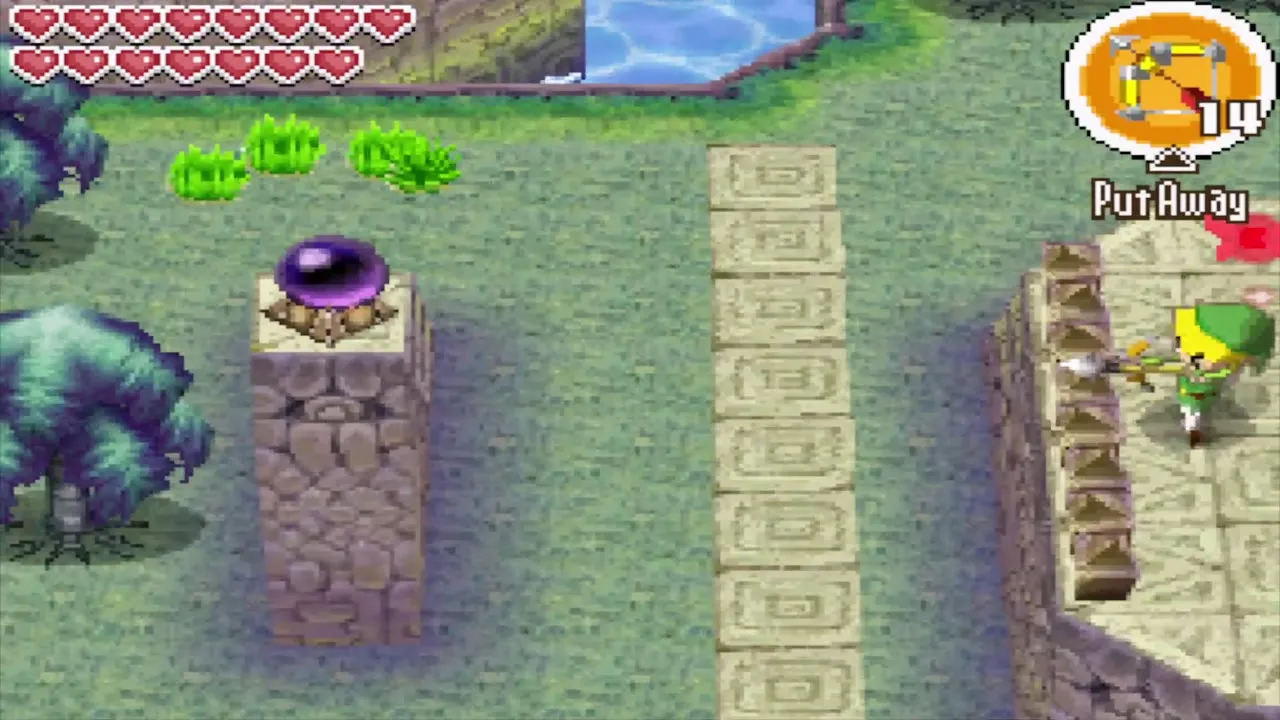
The passage ends in stairs up to the raised part of the island that forms the king’s eye. A small chest there holds Treasure Map #29, which raises a ship part from the seabed. The tablet underground told you to face west from the eye and shoot an arrow. Stand at the eye, aim the Bow straight west and hit the crystal switch. The gate in the northwest corner of the island opens.
The sages’ graveyard
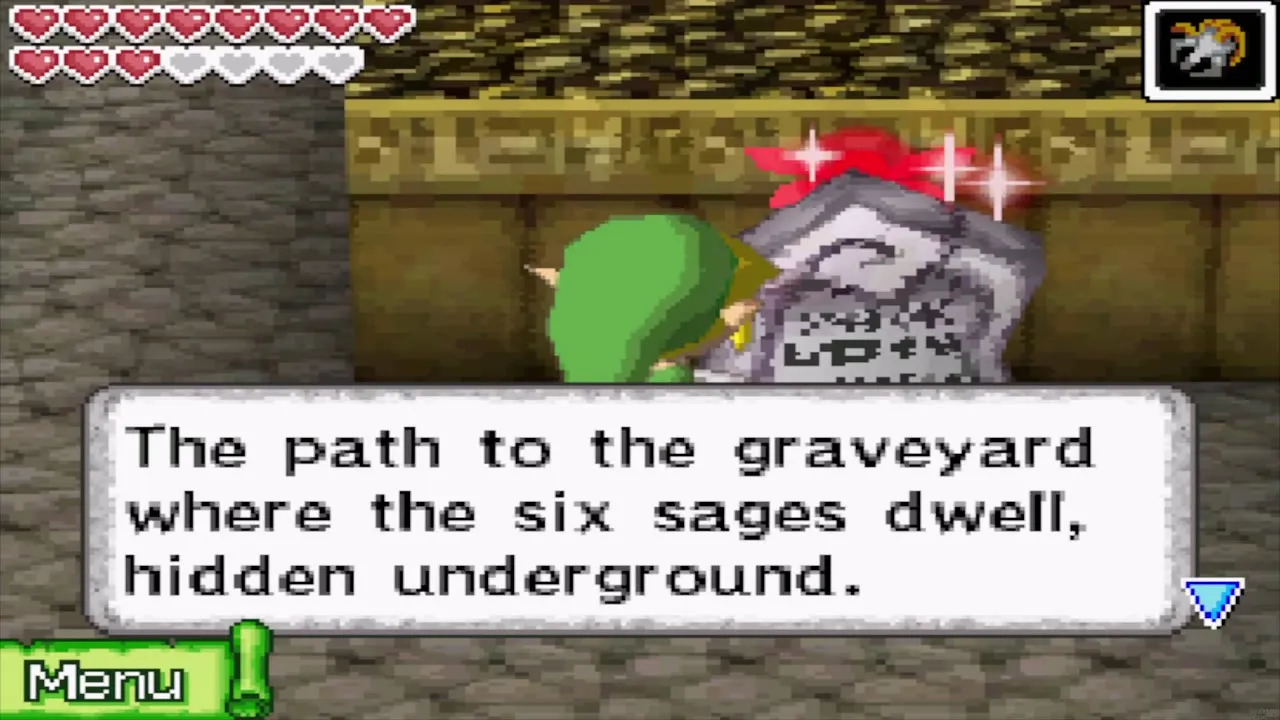
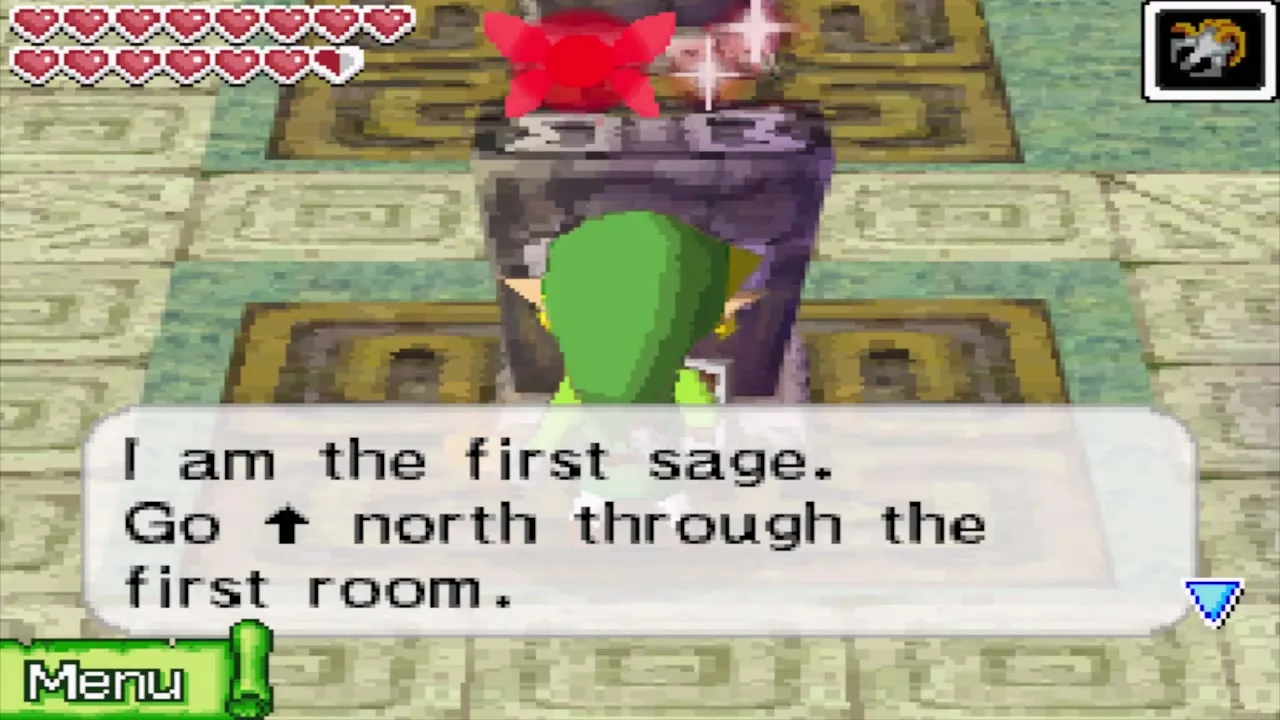
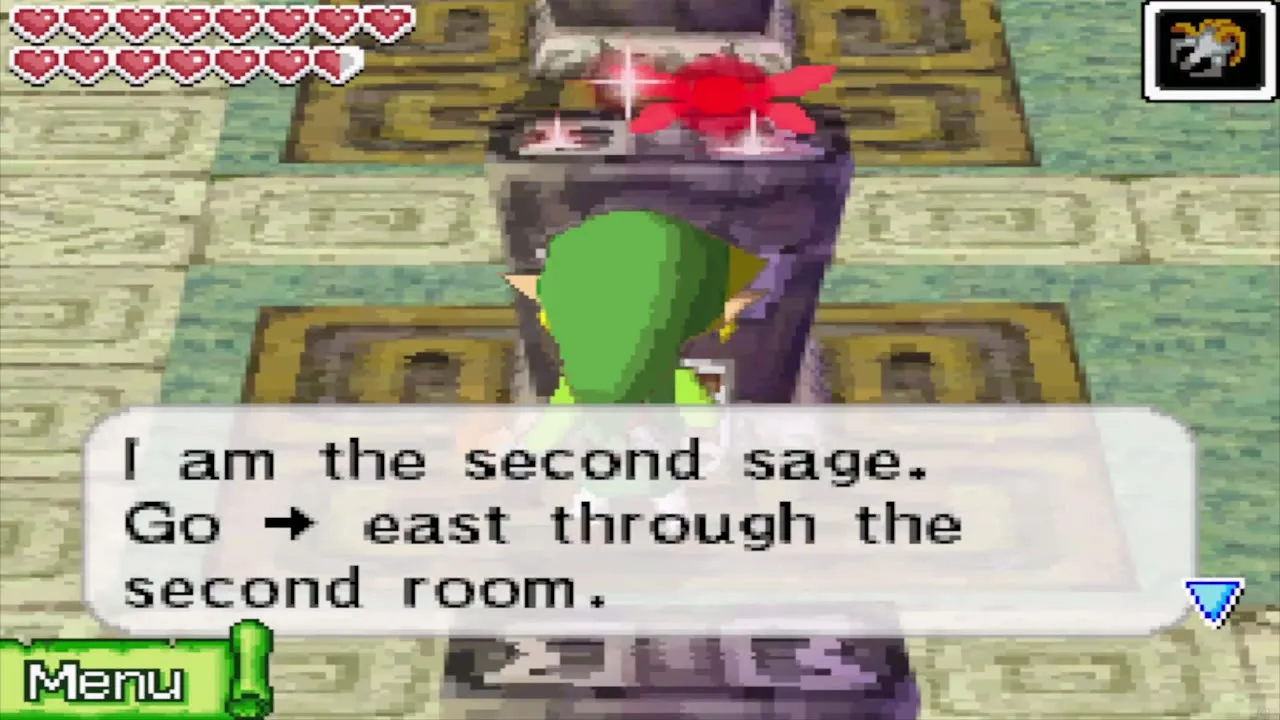
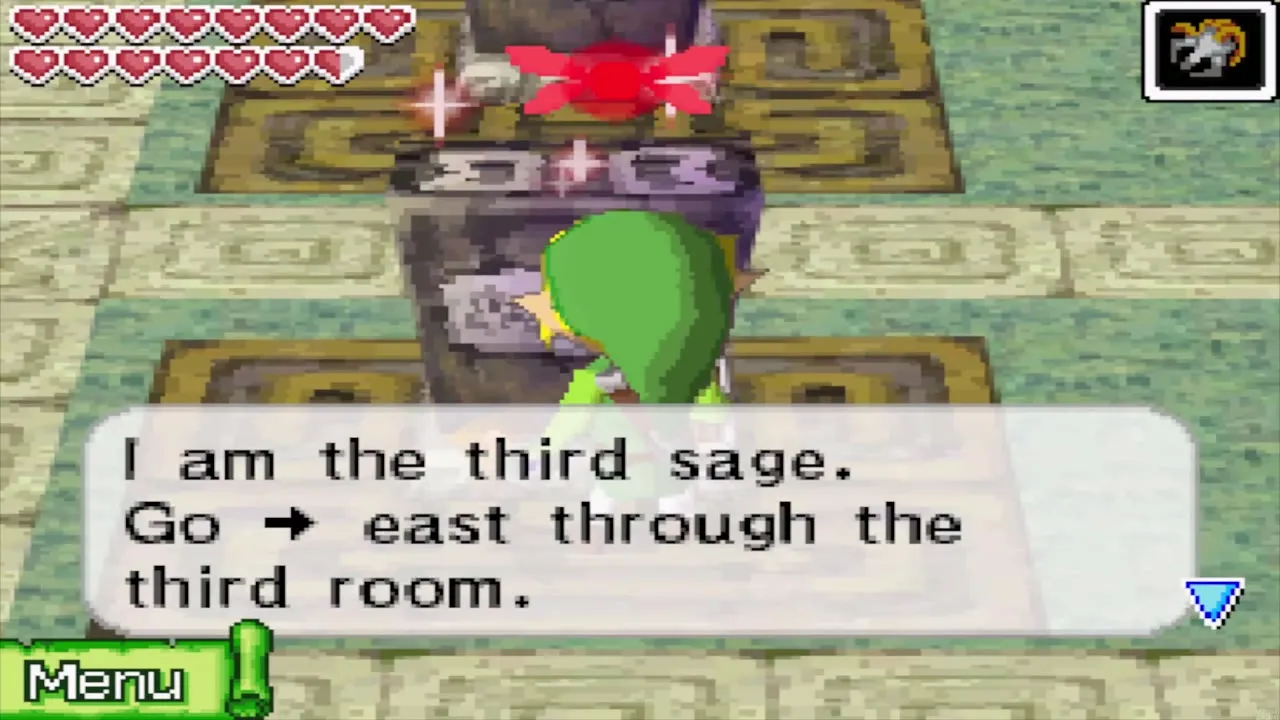
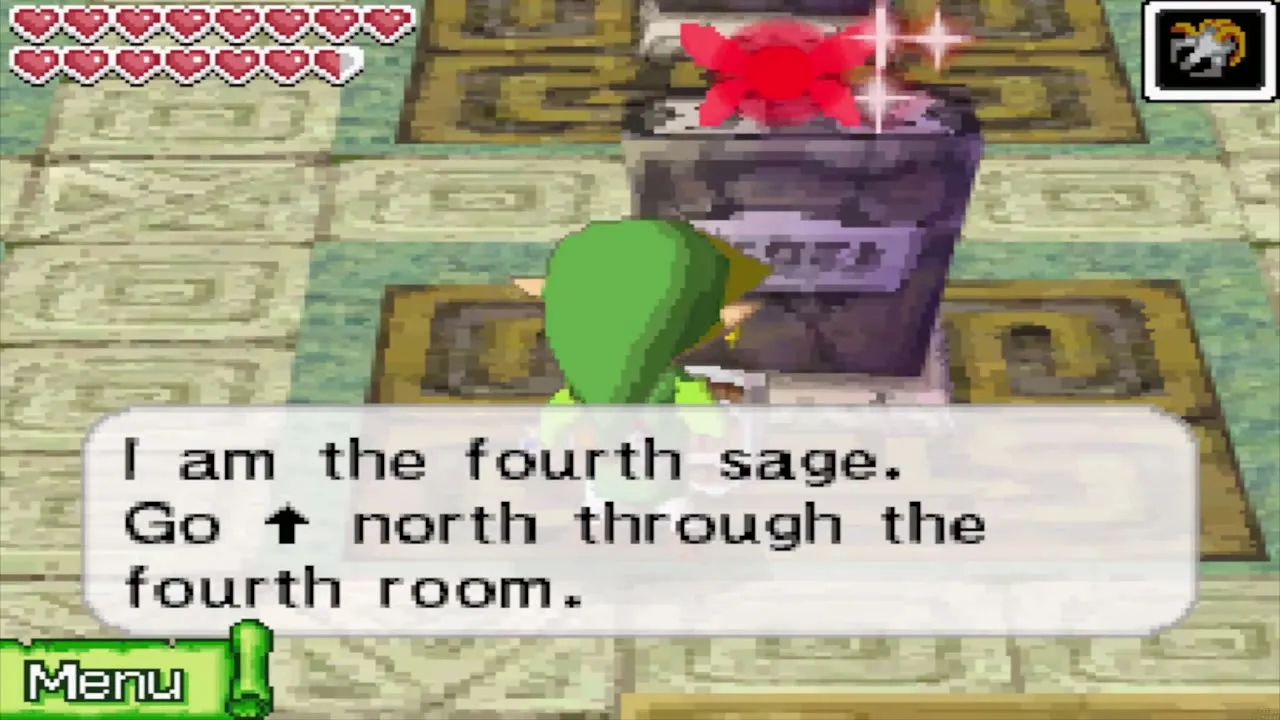
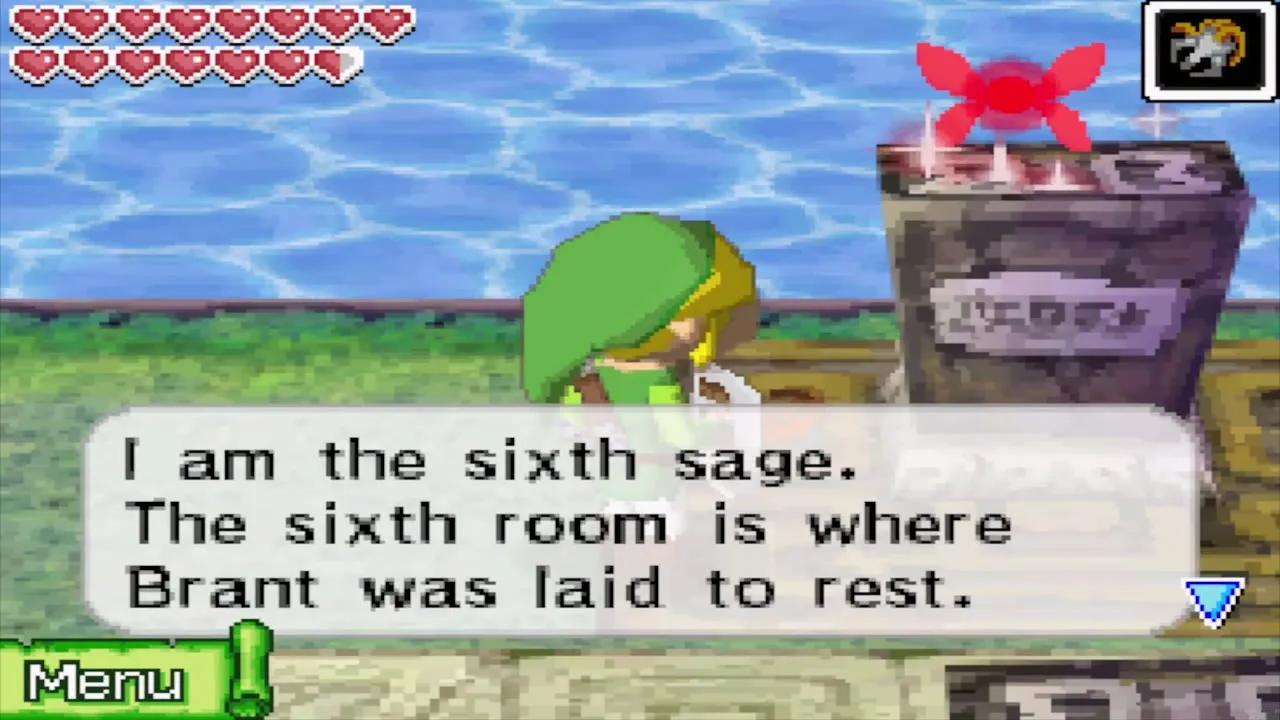
In the northwest corner, Stalfos hide among nine gravestones. Six of them speak, and three are too worn to read. Each reading gives you one move through the Phantom Corridor: the first sage says go north through the first room, the second says east, the third says east, the fourth says north, the fifth says north, and the sixth says that the sixth room is where Brant was laid to rest. The sequence is north, east, east, north, north. Memorize it.
The Phantom Corridor
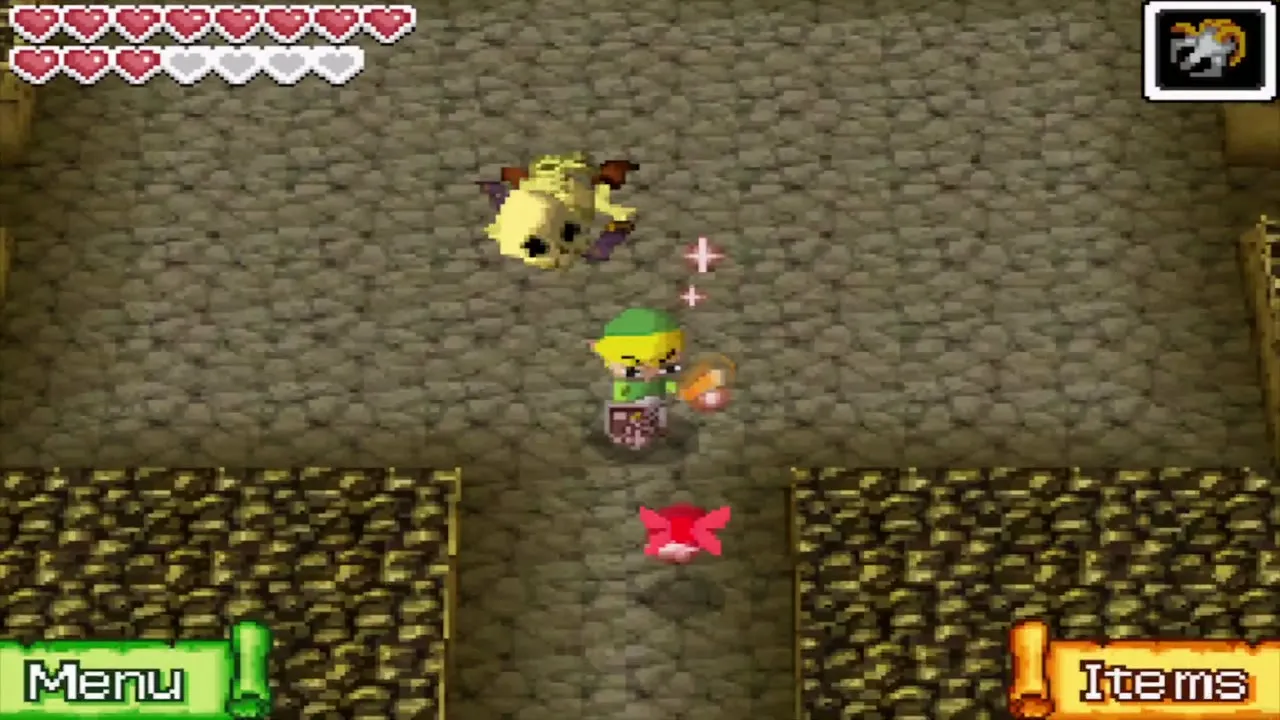
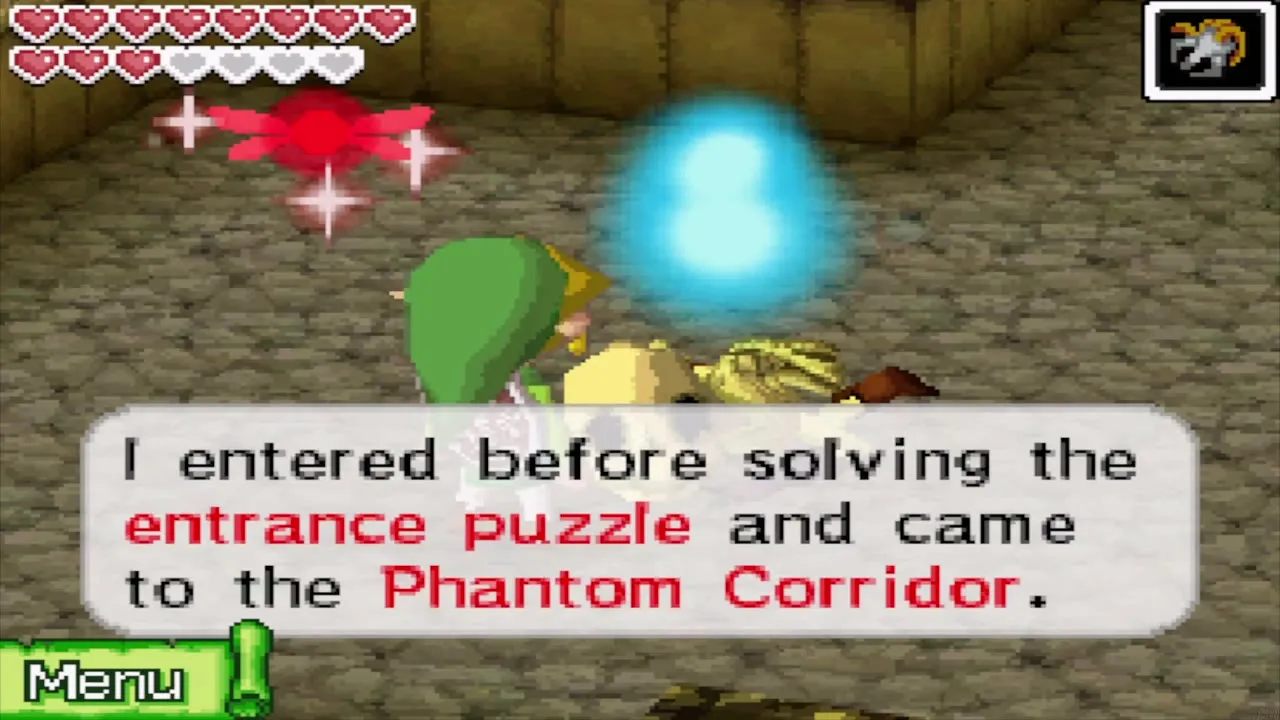
Go back to the northeast temple and enter it. Leave each room in the direction given for it, in the order from the graves: north, east, east, north, north. A wrong turn leaves you walking in circles. The ghost of McNey, the explorer who wandered in without solving the puzzle, drifts in the corridor and warns you that the way out is south.
Brant and the Regal Necklace
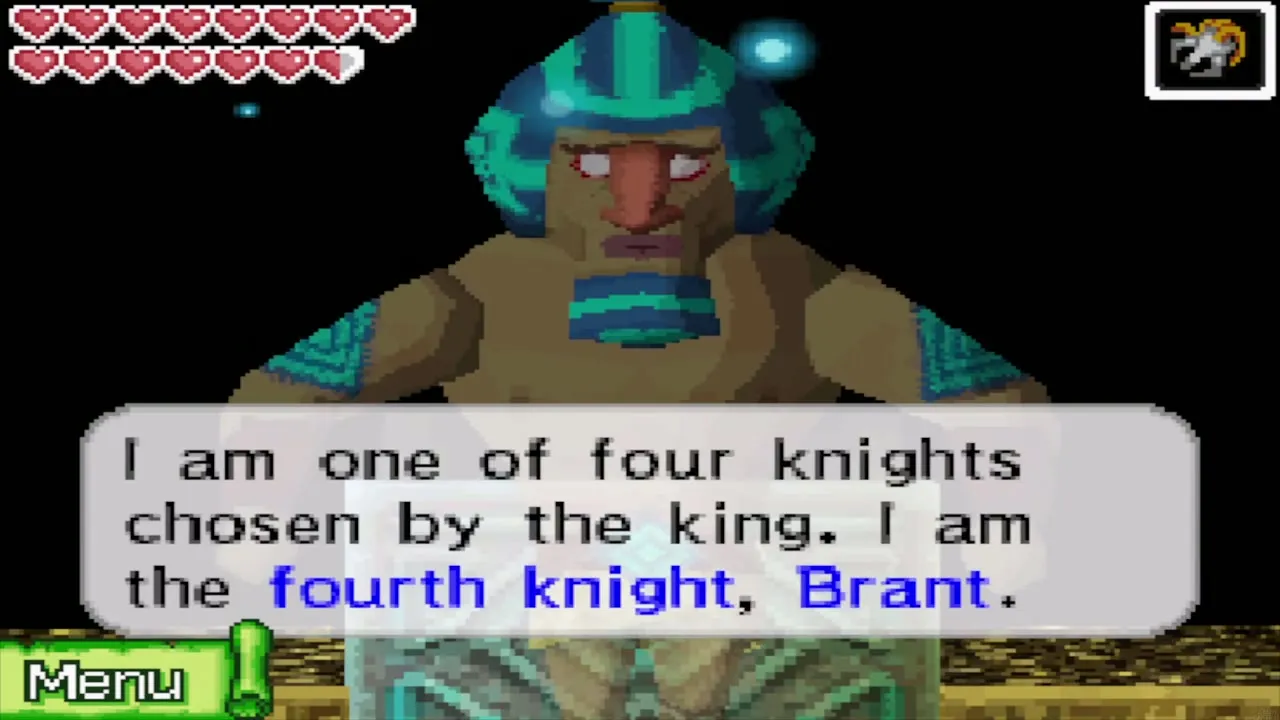
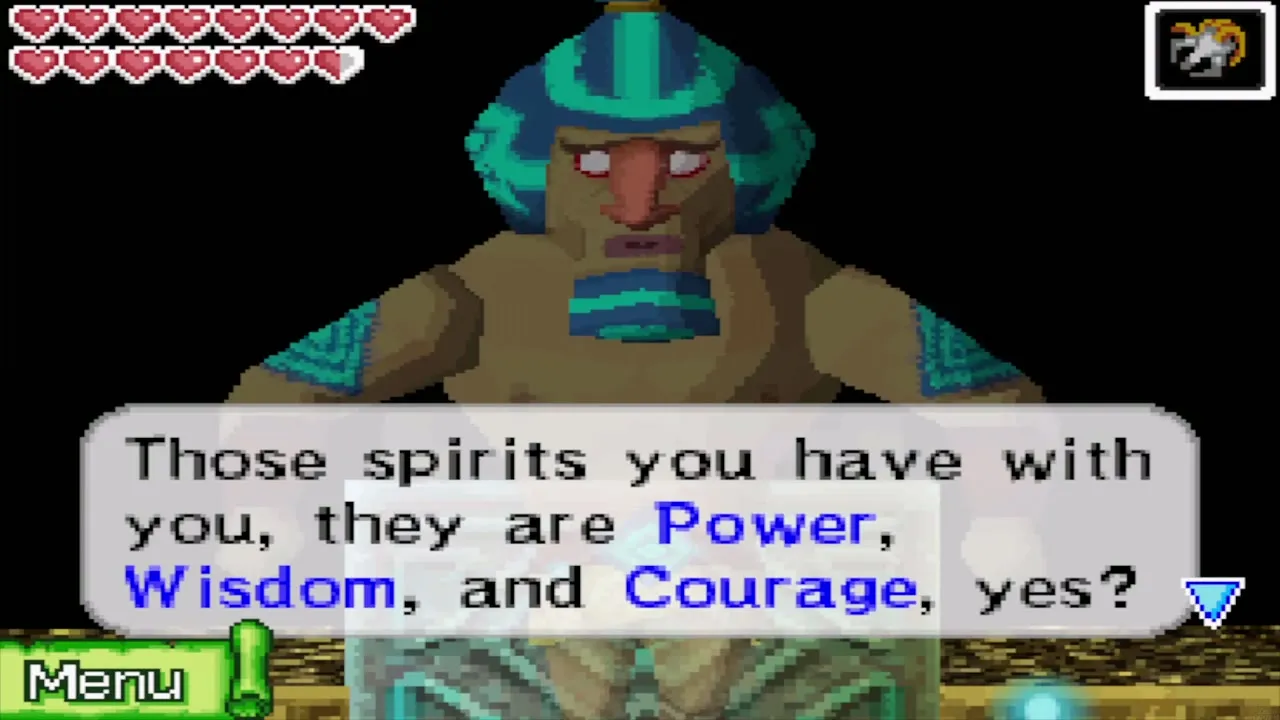
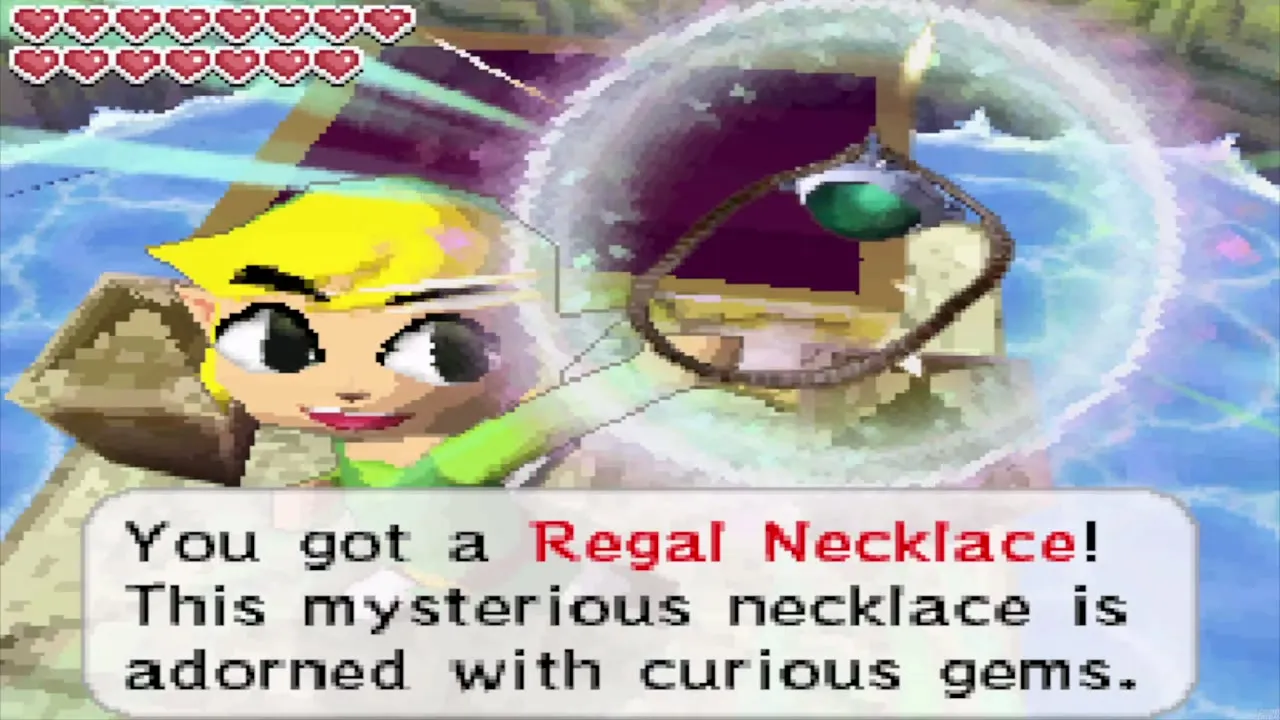
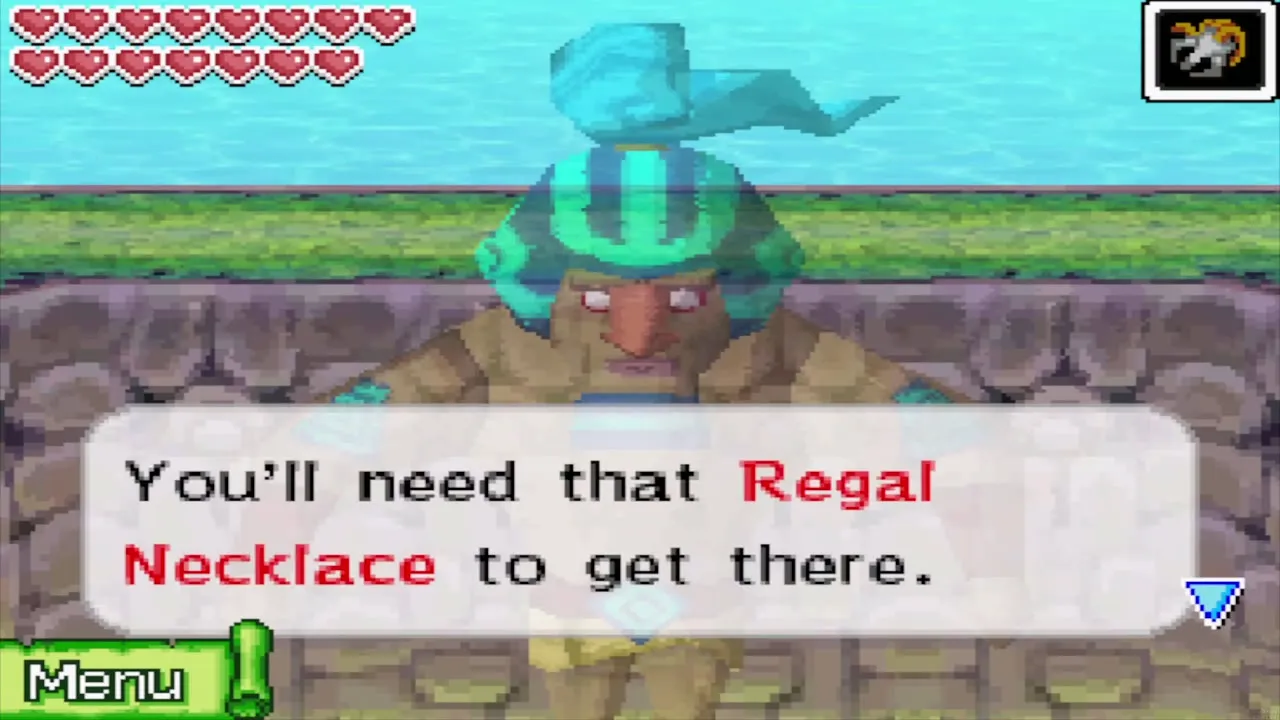
The sixth room holds a pedestal with the ghost of Brant, the fourth knight of the Cobble Kingdom. He recognizes the three Spirits with you, asks why they travel with you and says that your quest may convince King Mutoh, who holds the Aquanine, to hand it over. Go up the steps beyond the pedestal, cross the sandy bridge over the water and open the chest outside to take the Regal Necklace. Return to Brant if you want to hear the rest: Mutoh is not here but on the Isle of Ruins, guarded by a rock wall and a cyclone, which the necklace calms. Look for the third knight, Bremeur, there.
Go back to the pier and tell Linebeck to set sail. Both new Treasure Maps can be used right away with the Salvage Arm: one raises a random treasure and the other a ship part. The Treasure Maps page lists every map.
Isle of Ruins

Past the cyclone
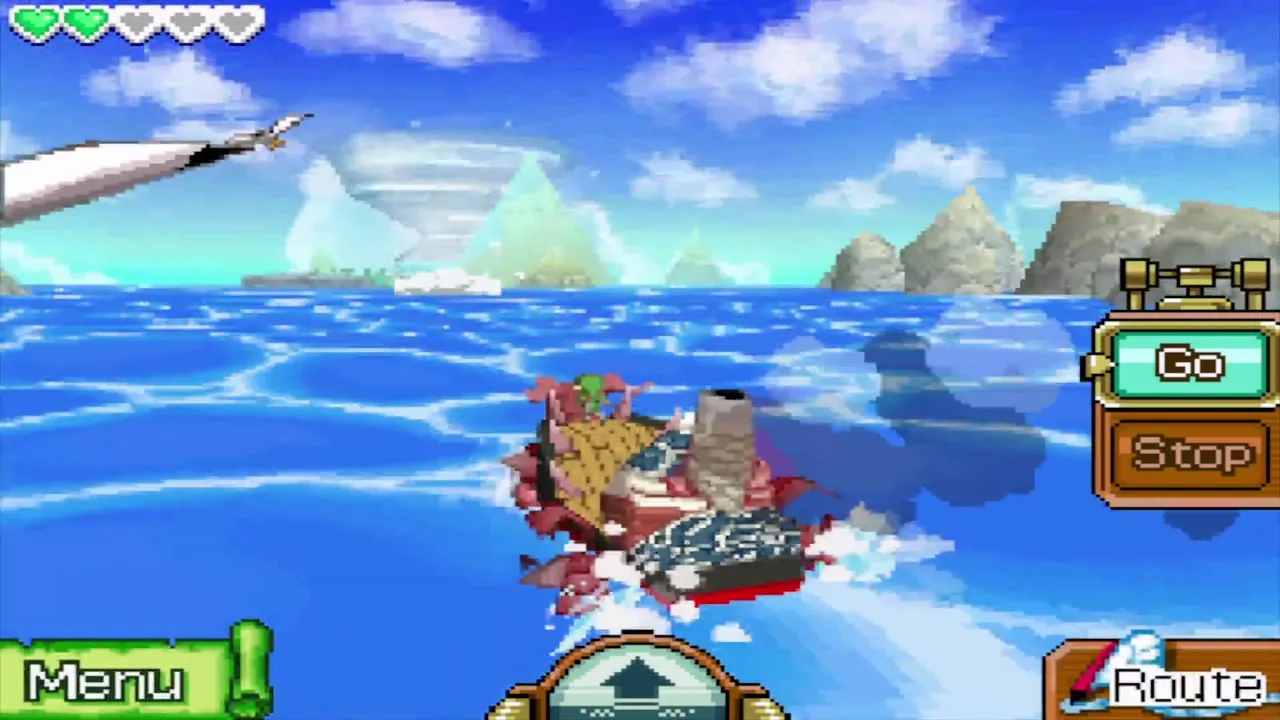
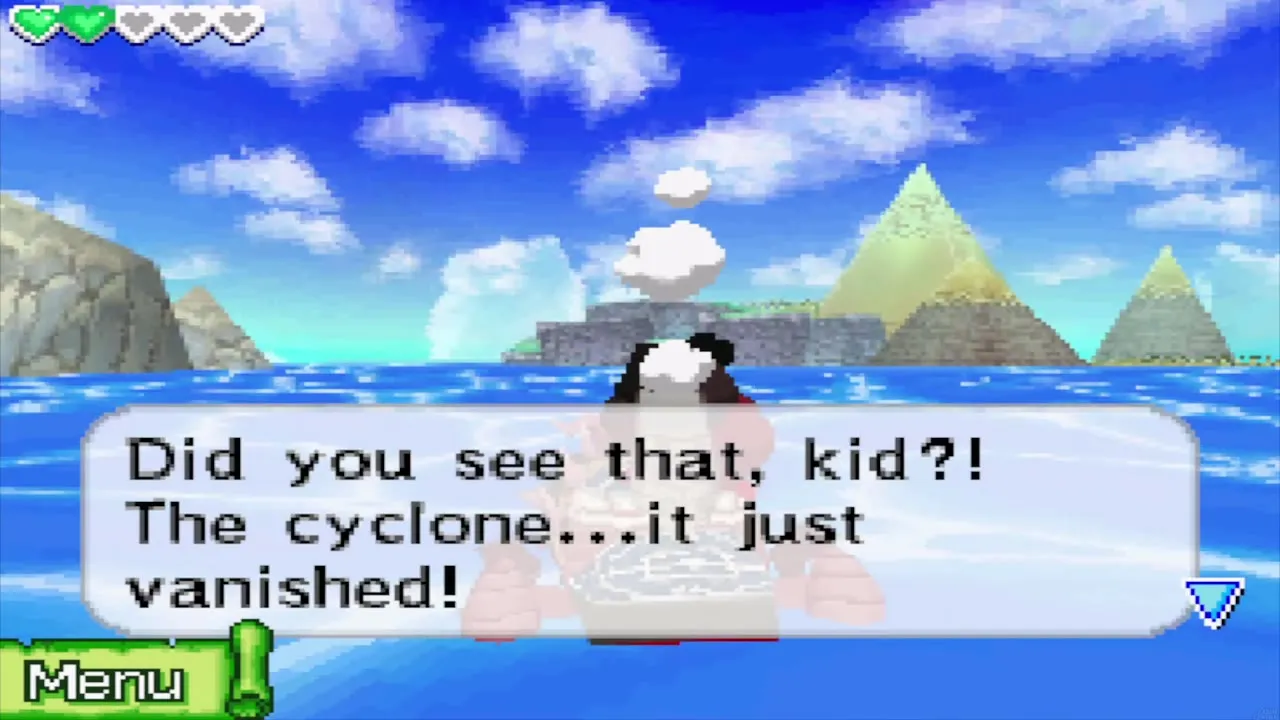
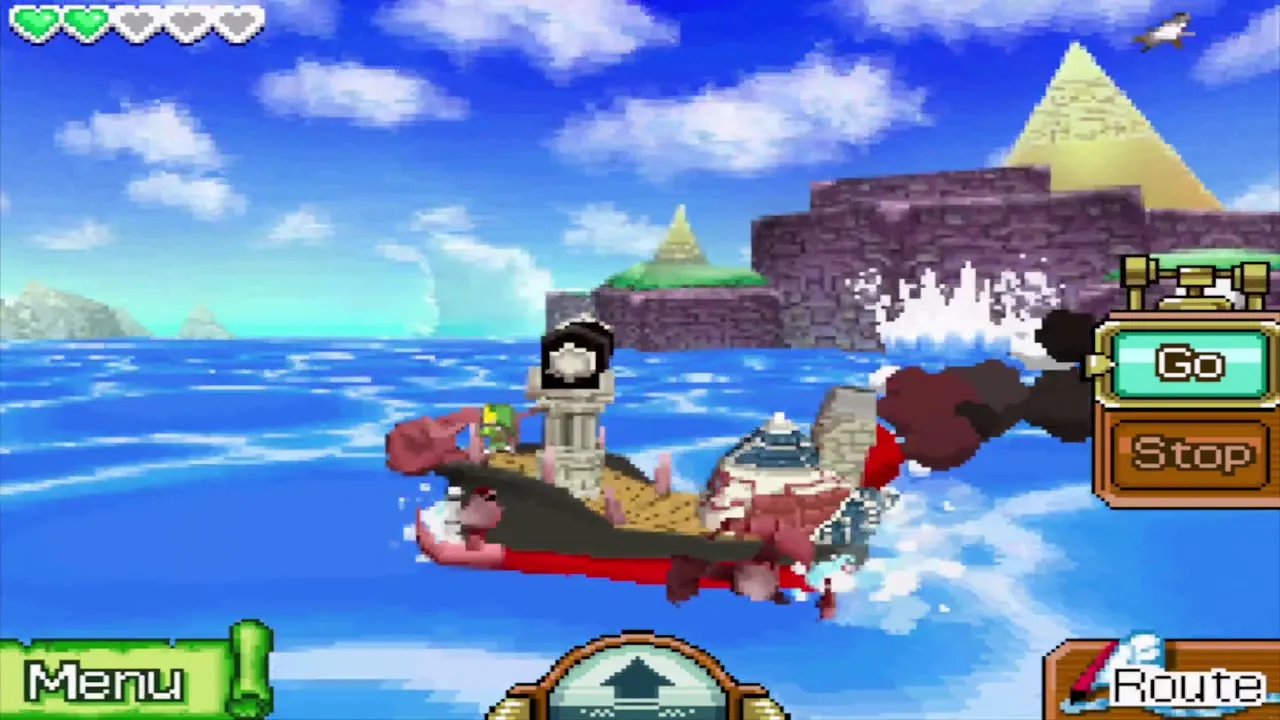
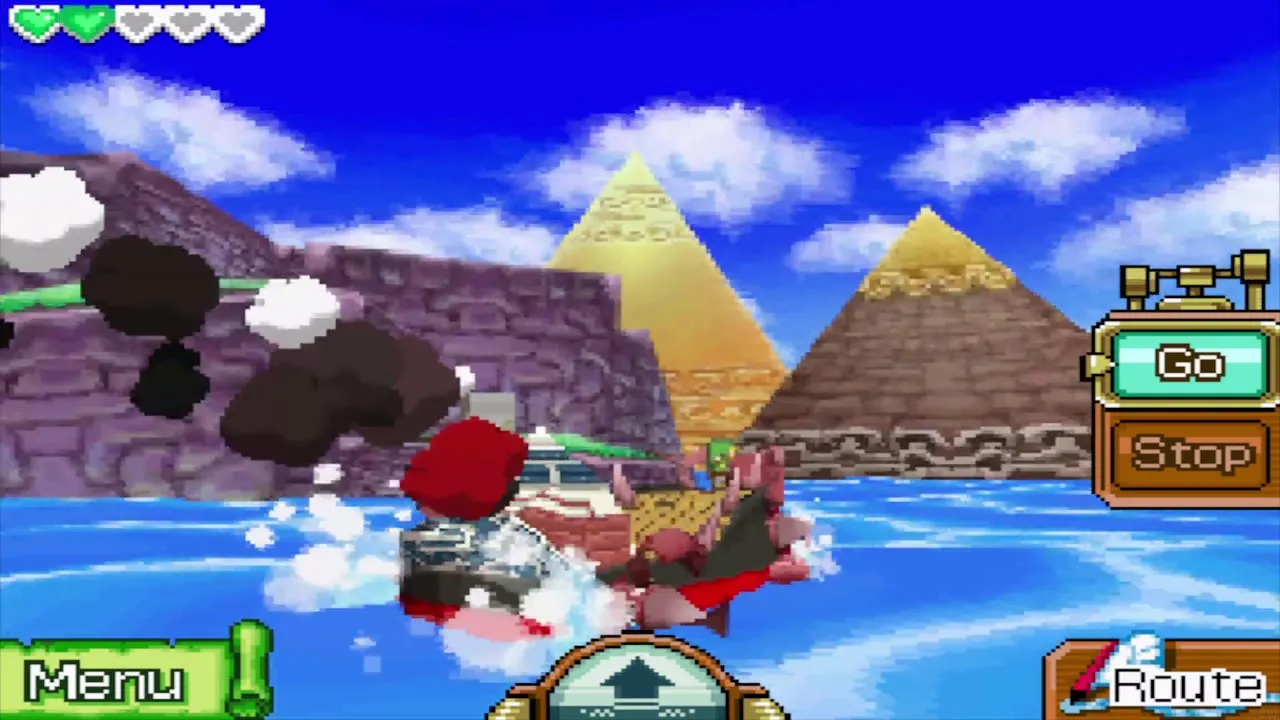
Sail towards the Isle of Ruins. Once the Regal Necklace is in your collection, the cyclone around the island fades by itself as you approach, and Linebeck is amazed that the old tale was true. Dock at the island. The land is a patchwork of grass terraces linked by walkways and stone stairs, which sit in deep water until you drain it later.
The first cave
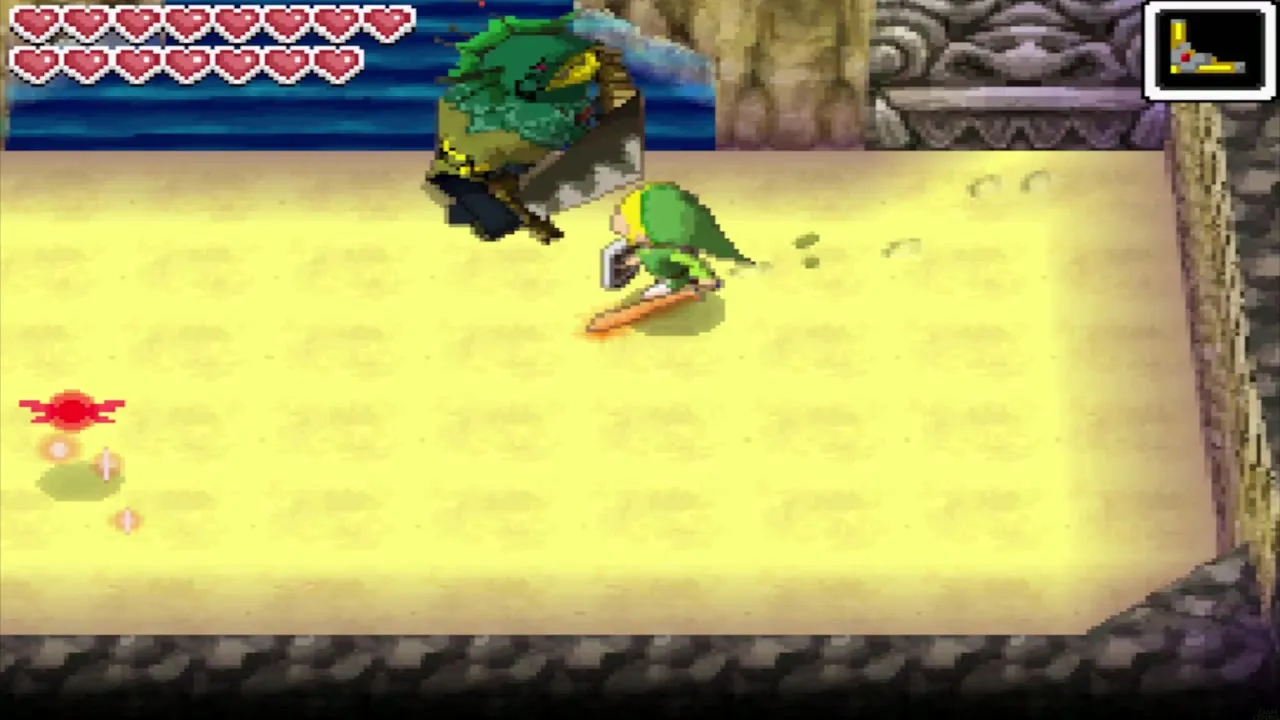
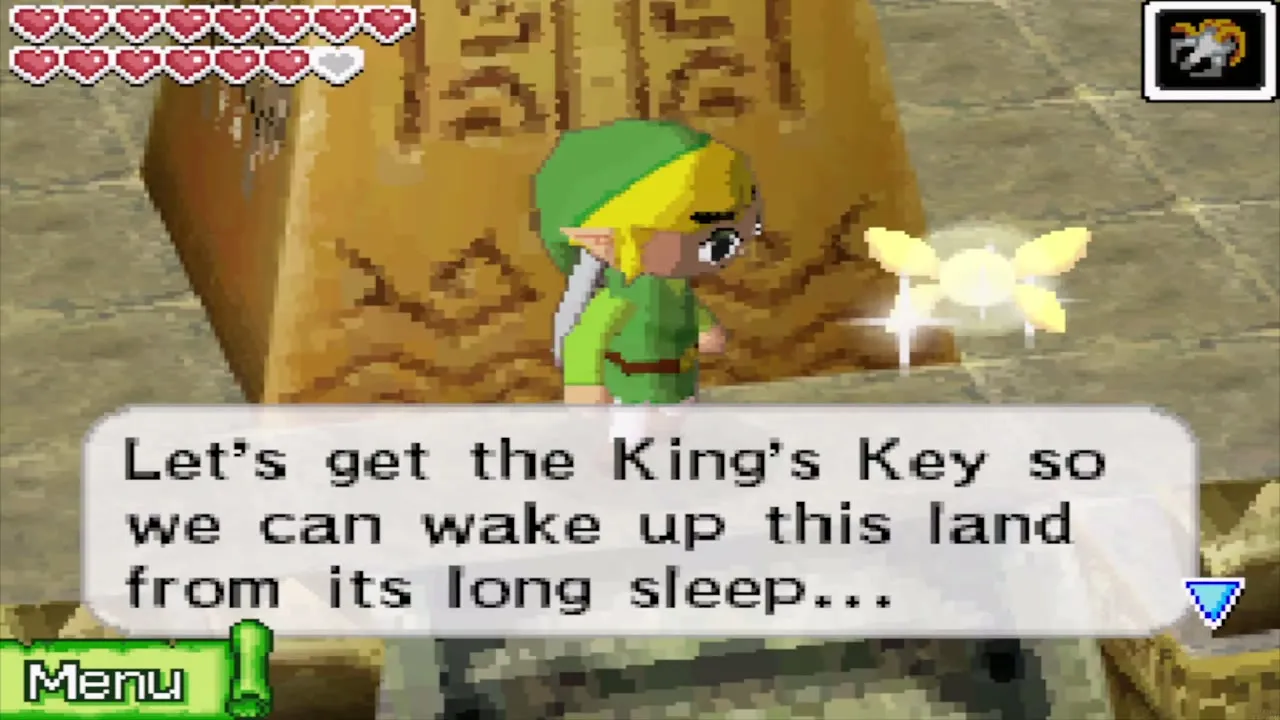
A cave at the entrance guards the way inland. Defeat the Zora Warrior inside and read the tablet near the exit. It speaks of a path to the kingdom for those with power, and your fairy points out that you must find Bremeur, the third knight.
The islets in the southwest
The goal is the temple on the northwest side. First you cross a cluster of small grass islets in the southwest. Rupee-Likes lurk there, so kill them with the sword, bombs or arrows rather than letting them pull you in. Some gaps are too wide to jump, which forces a longer way round. Keep working towards the bridge that leads north.
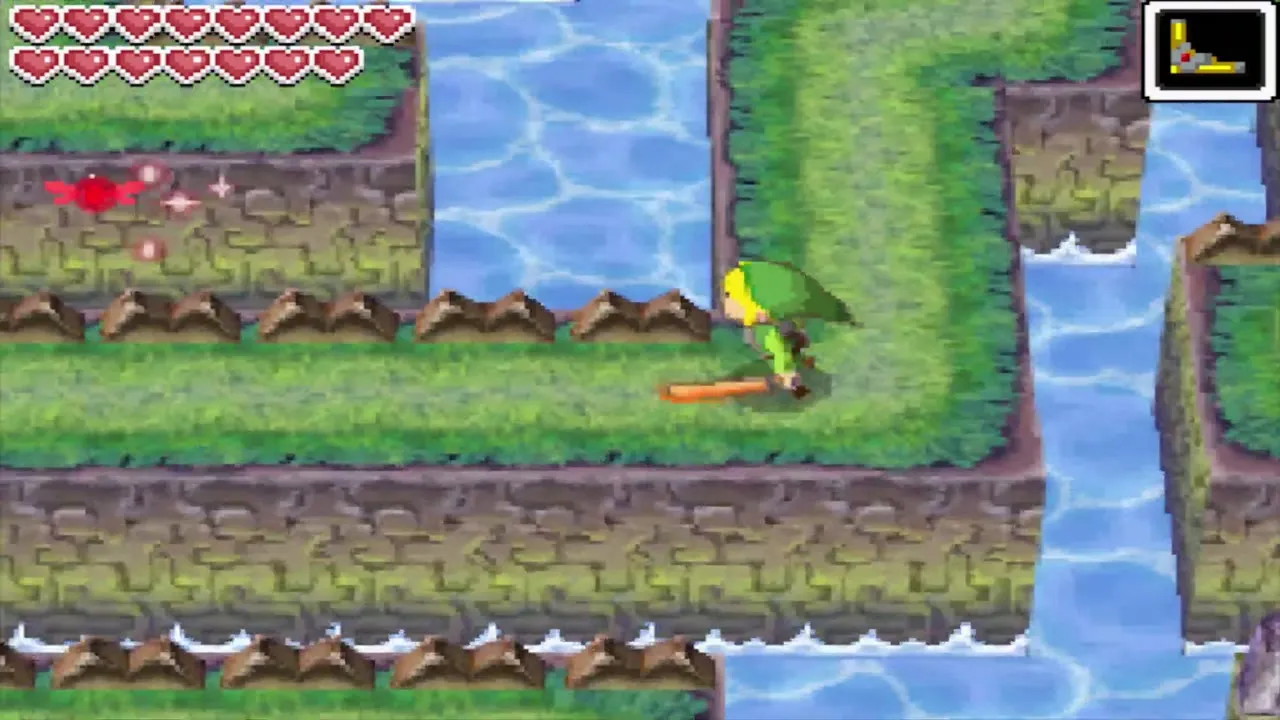
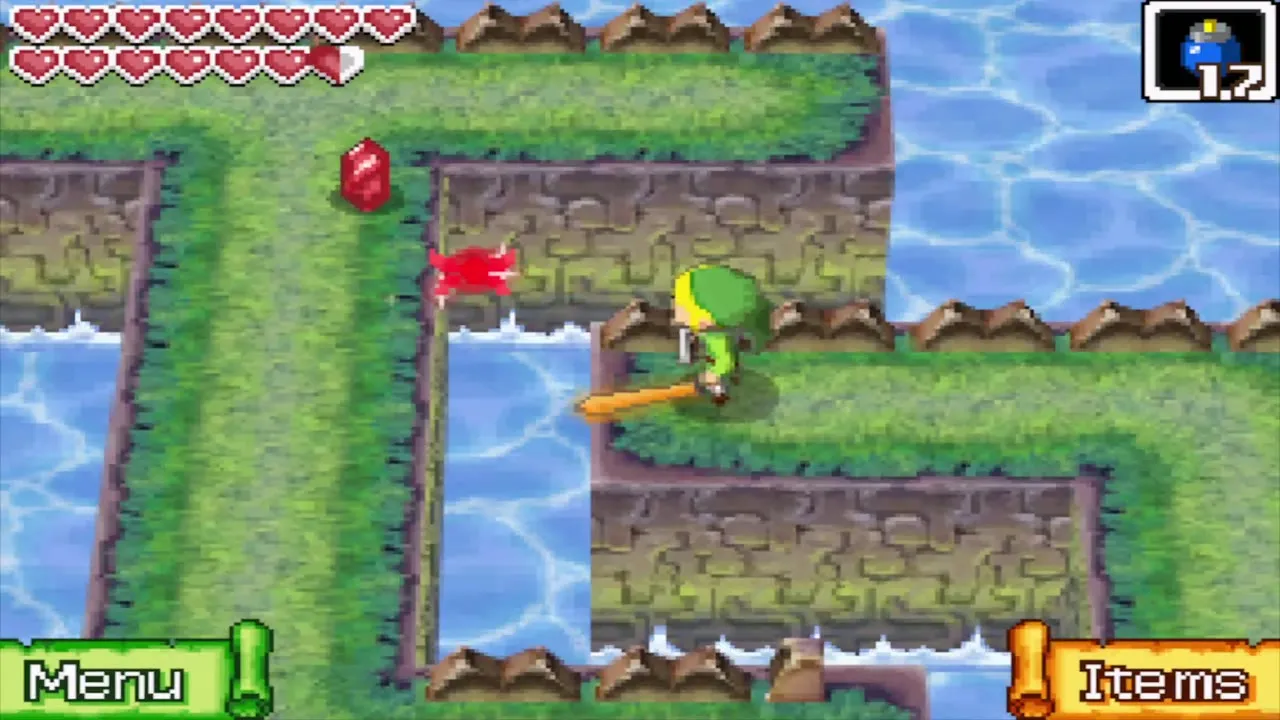
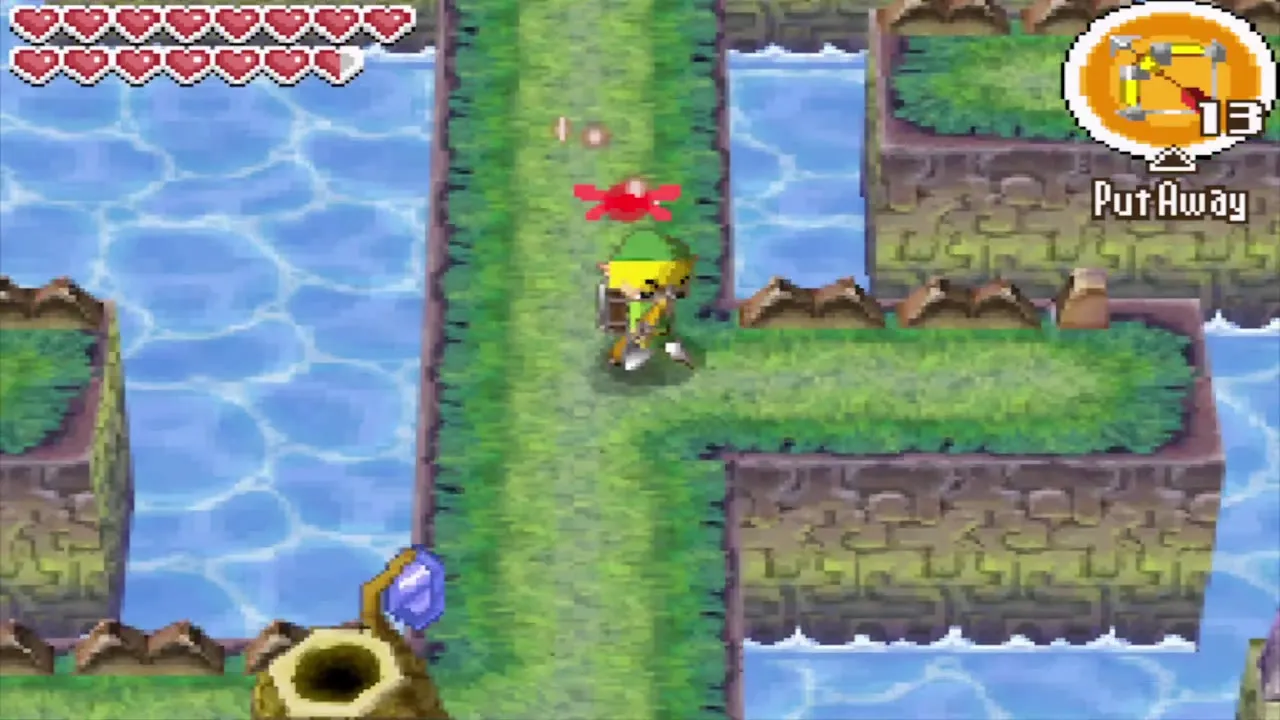
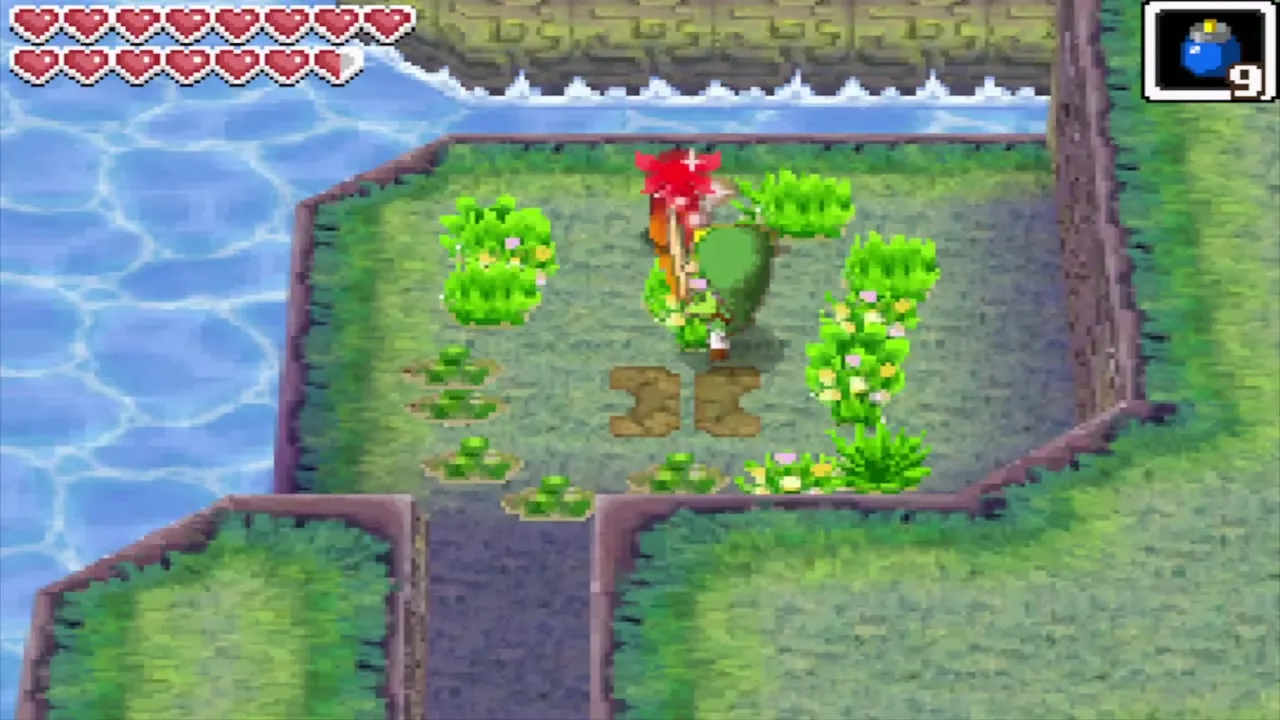
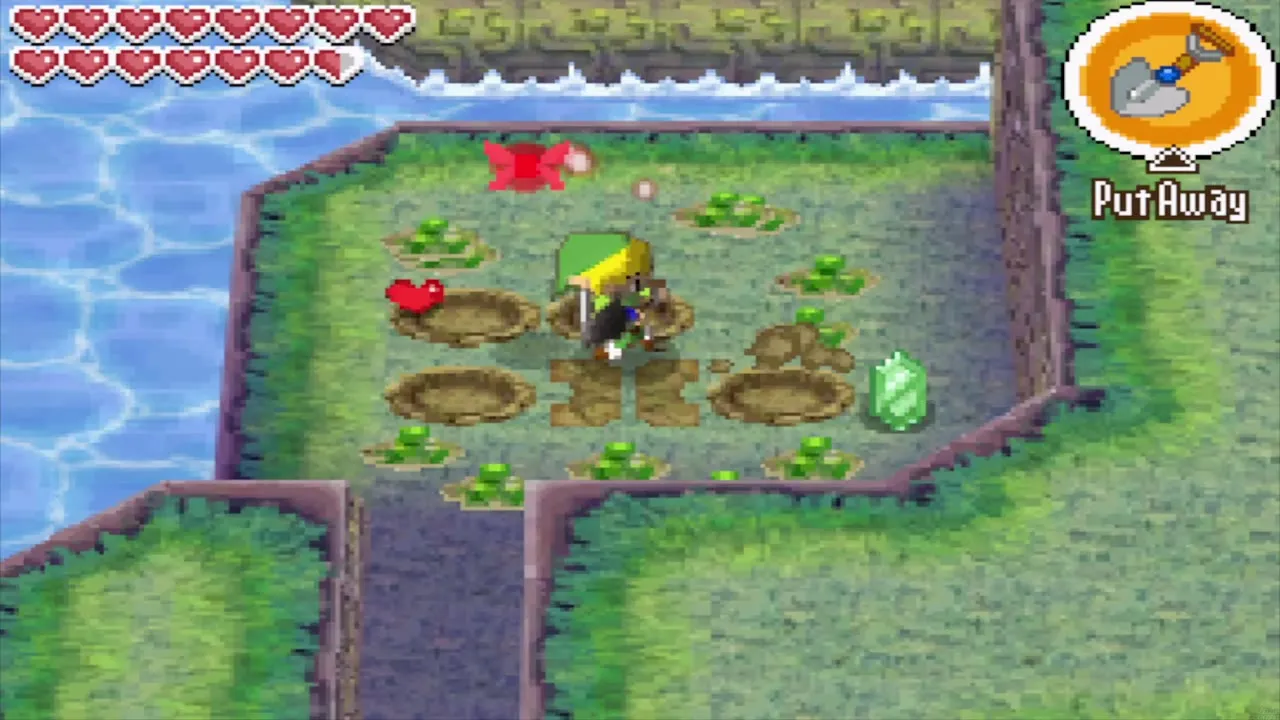
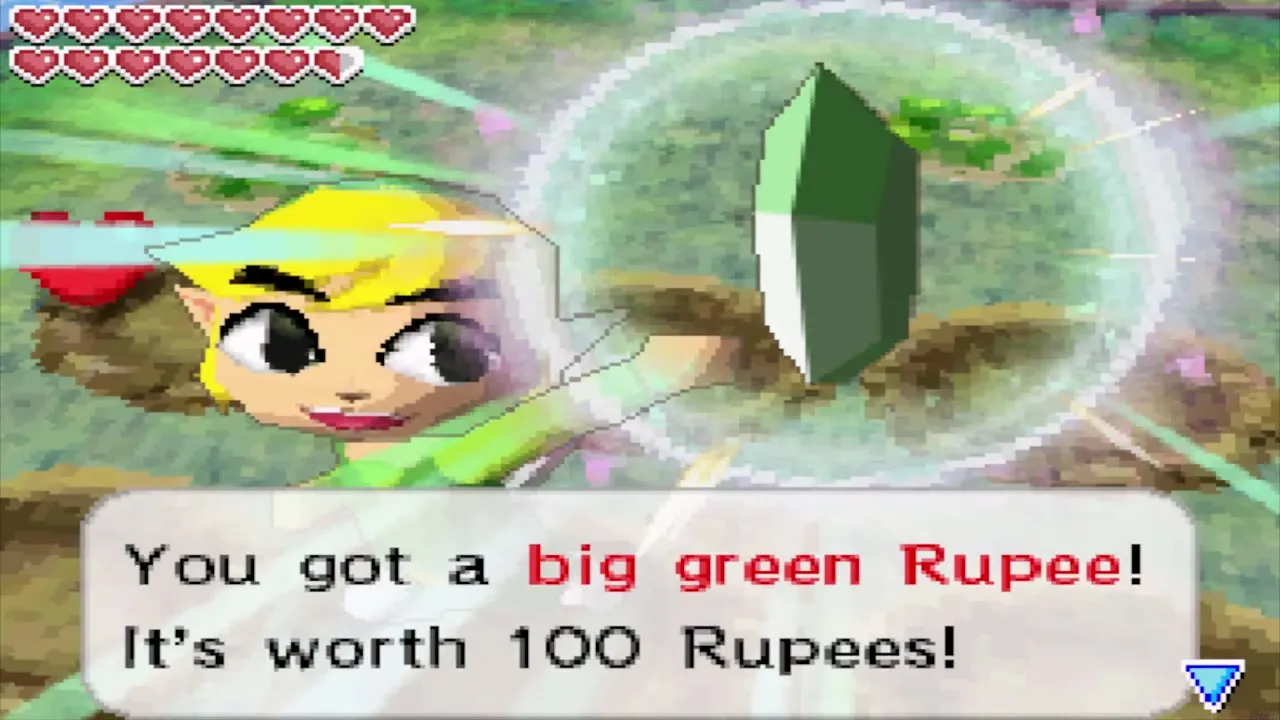
At the northwest end, drop off the ledge and go west. Beat the red Rupee-Like and dig the soft patch of soil to get a Big Green Rupee (100 Rupees).
Bremeur, the third knight
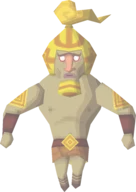
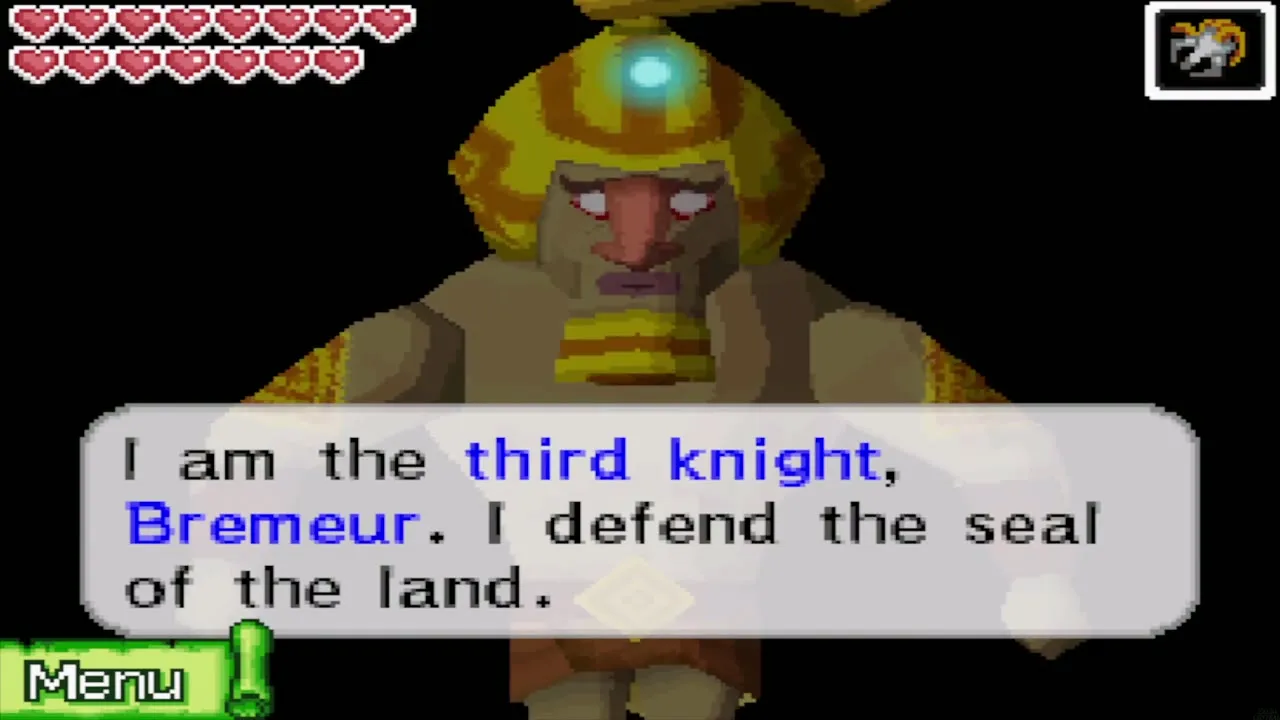
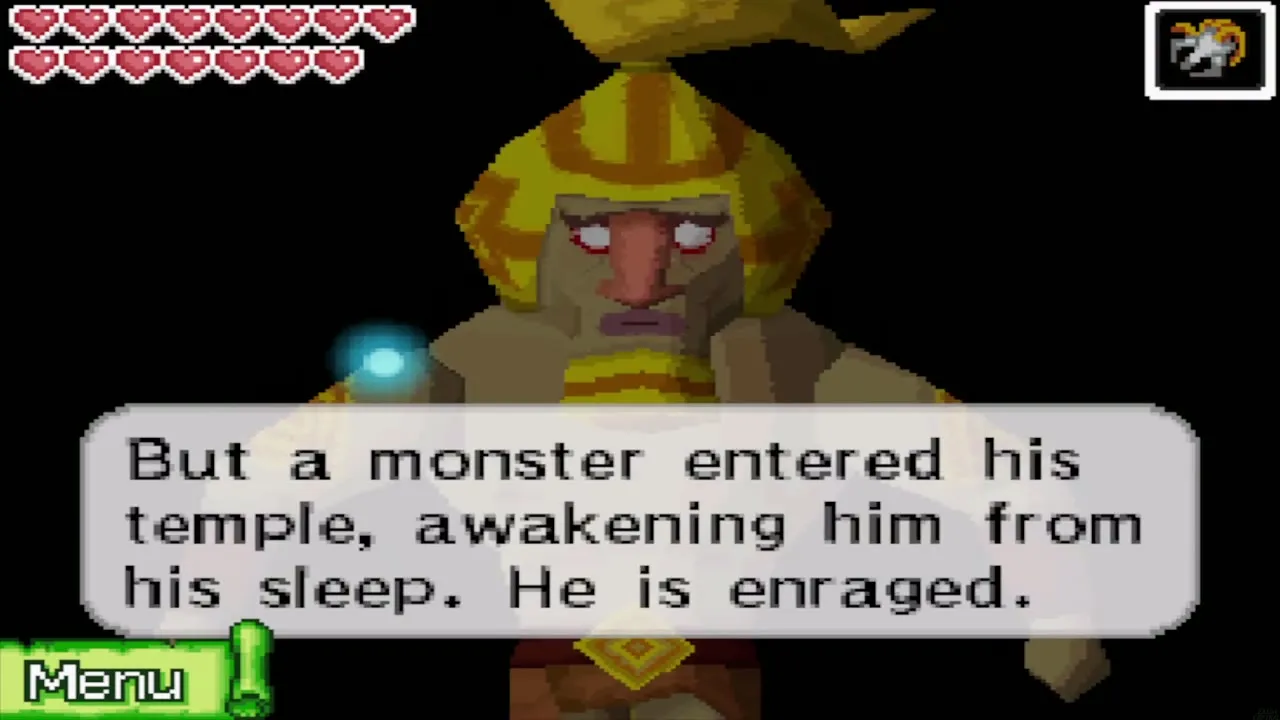
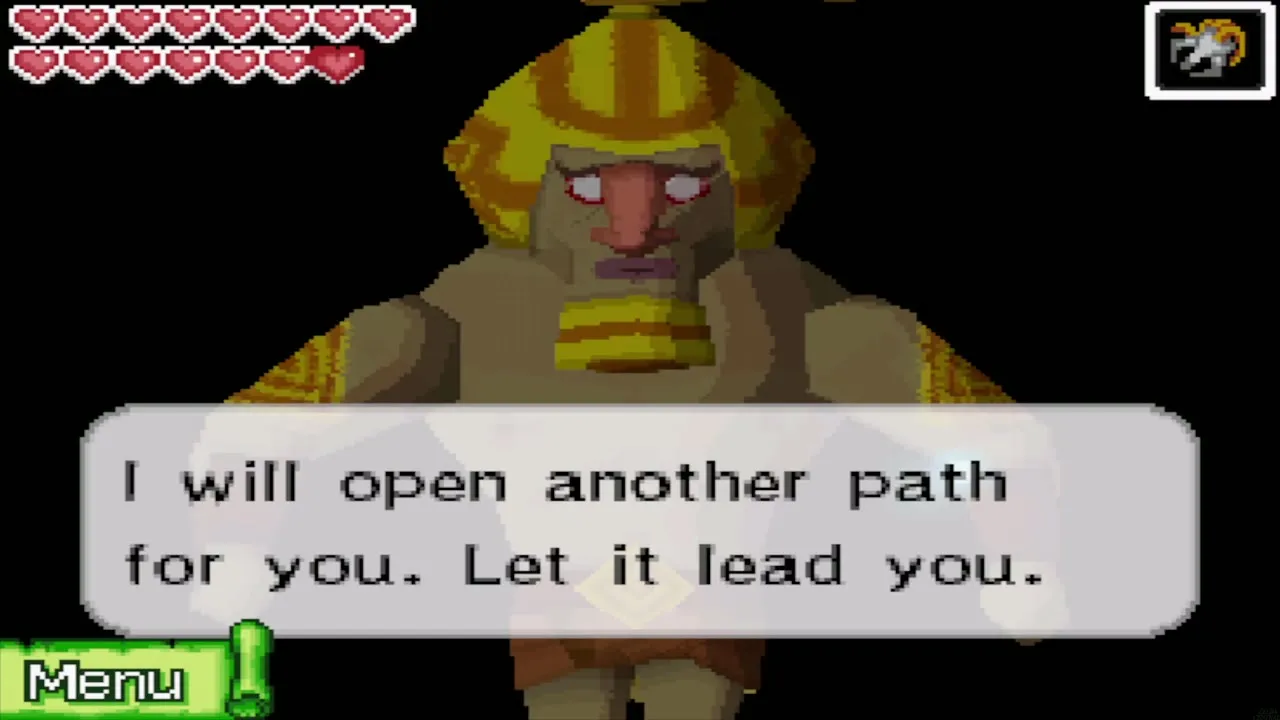
Climb back up and run east to two flights of stairs. Take the northern path, a winding walkway with rolling boulders, to reach the temple. At the far end of the hall, Bremeur explains that he defends the seal of the land, notes that you carry the Regal Necklace and asks you to defeat the monster that woke King Mutoh. He tells you to find Doylan, the second knight, in the temple on the east side, and opens a new path for you.
The way east
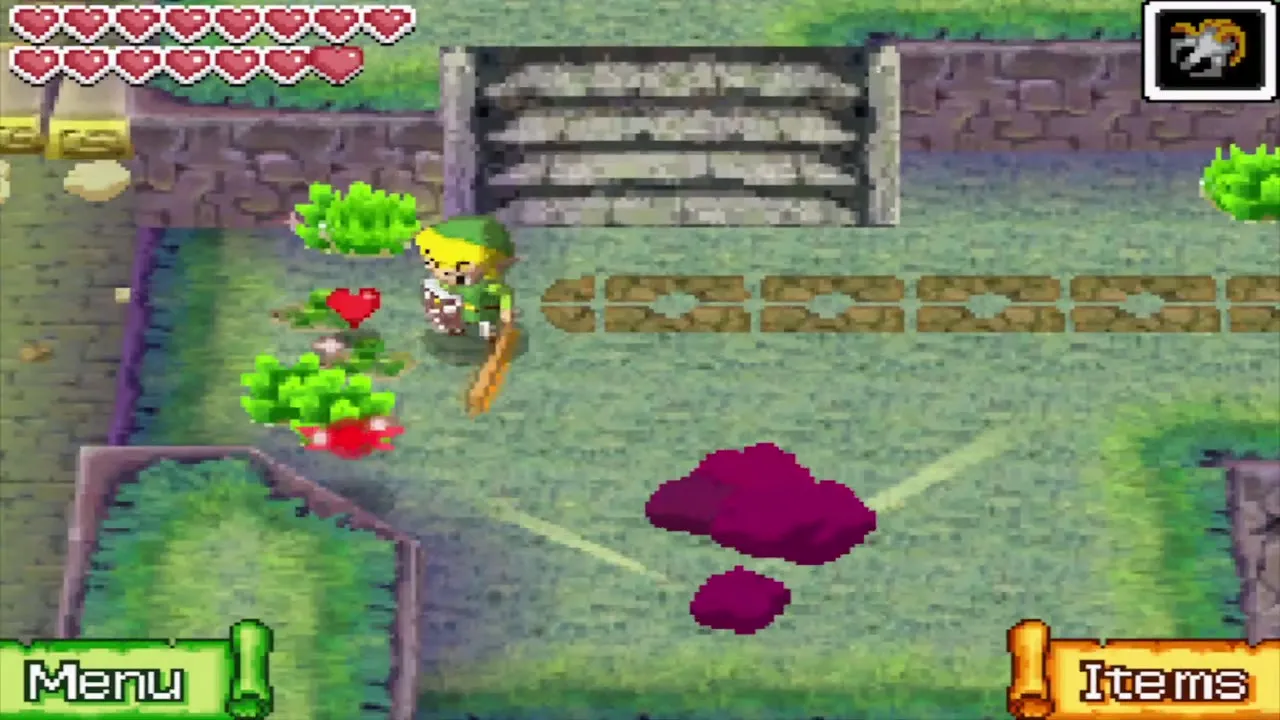
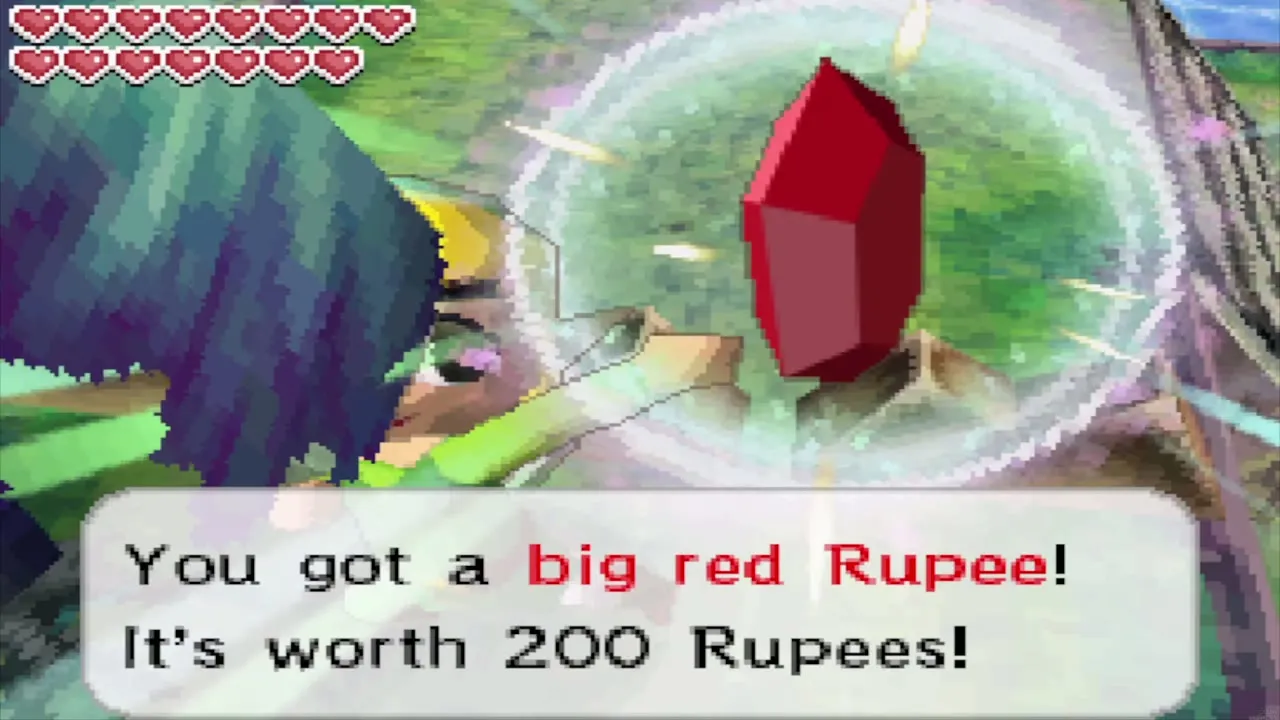
When you leave, a bridge has stretched out from the temple. Cross it and go east, defeating the Miniblins on the way. Keep running east over the bridges to the pyramid in the far northeast. Stalfos throw bones along this stretch, and the last of them is hard to dodge, so shoot it with an arrow. The path is also scattered with Rupees and a Big Red Rupee (200 Rupees) on a grass terrace.
Doylan’s Temple and the King’s Key
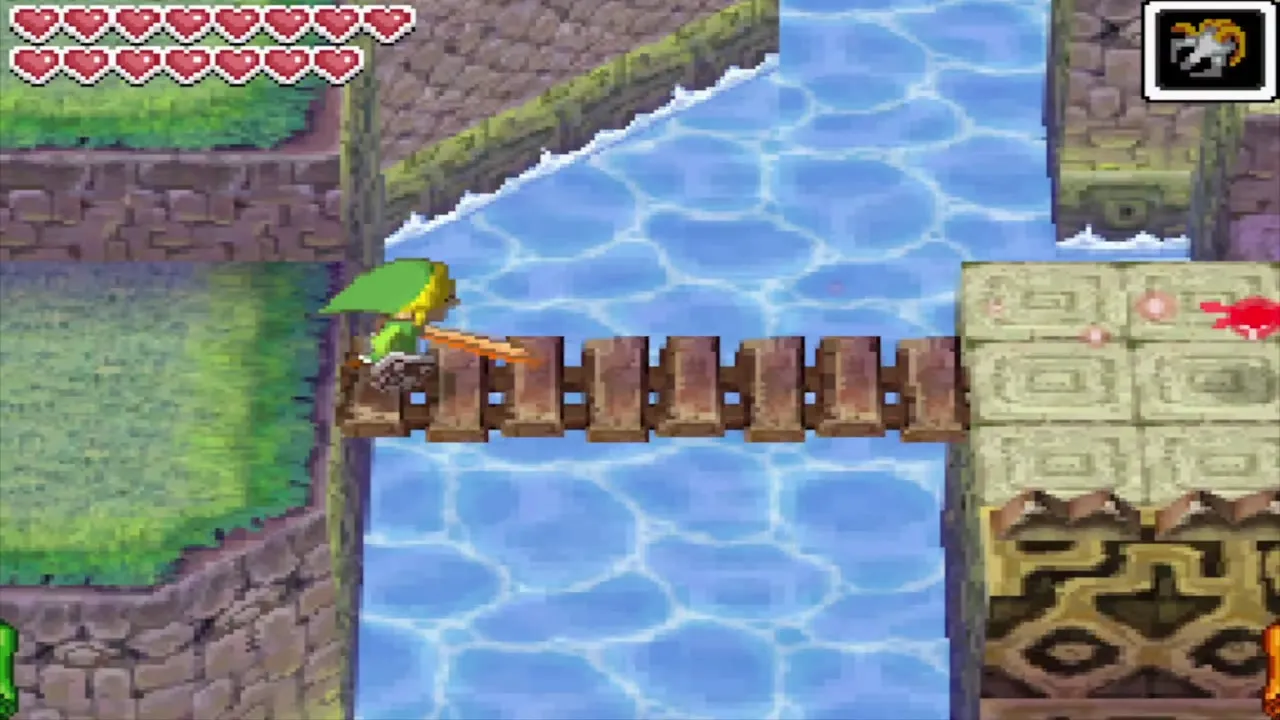
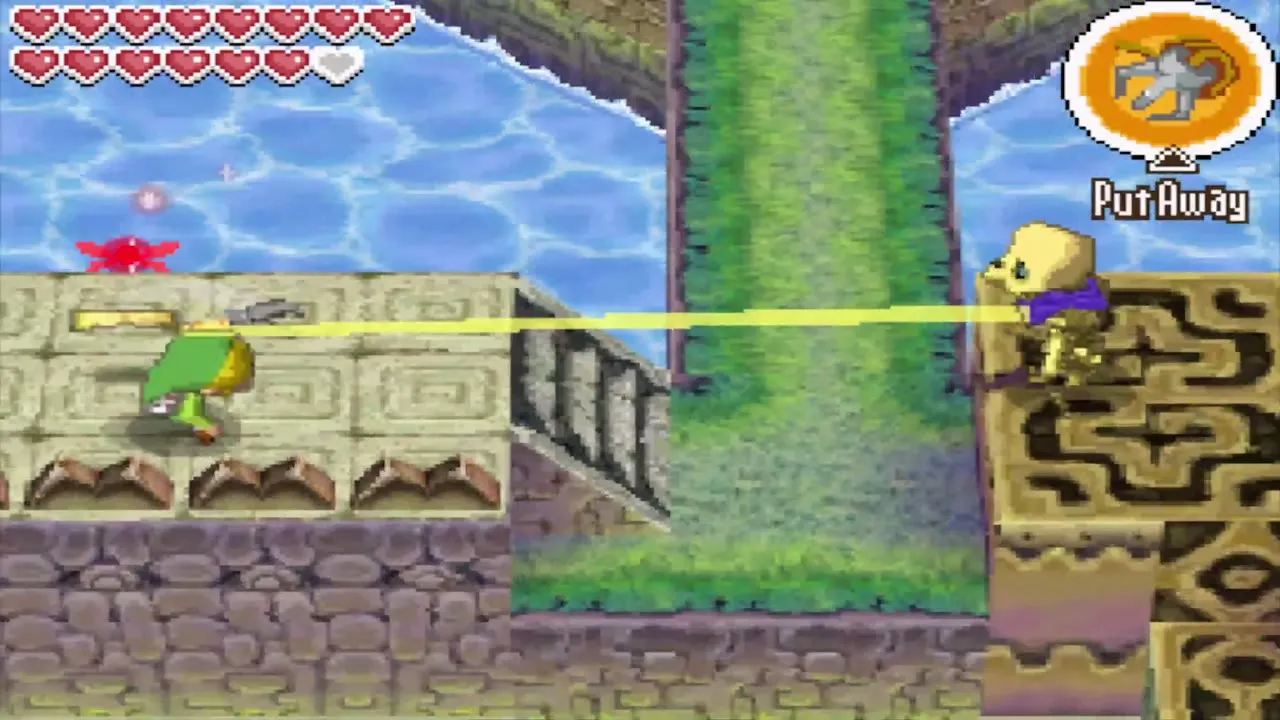
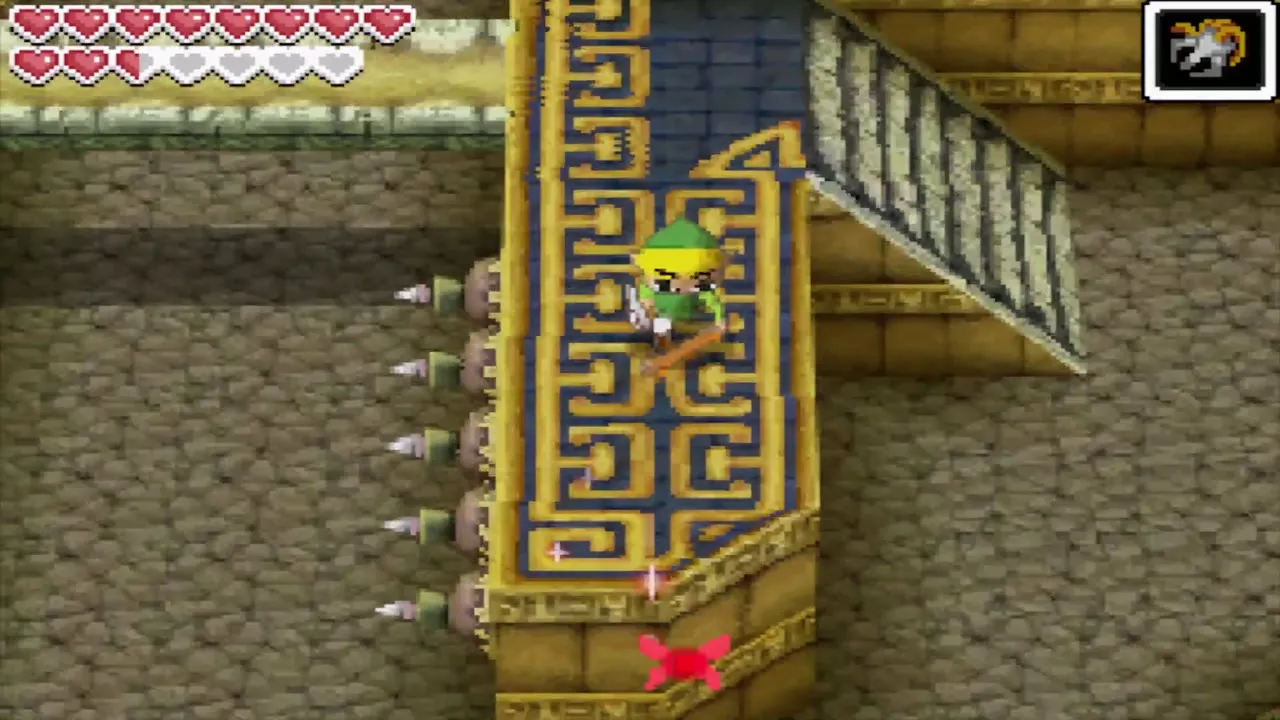
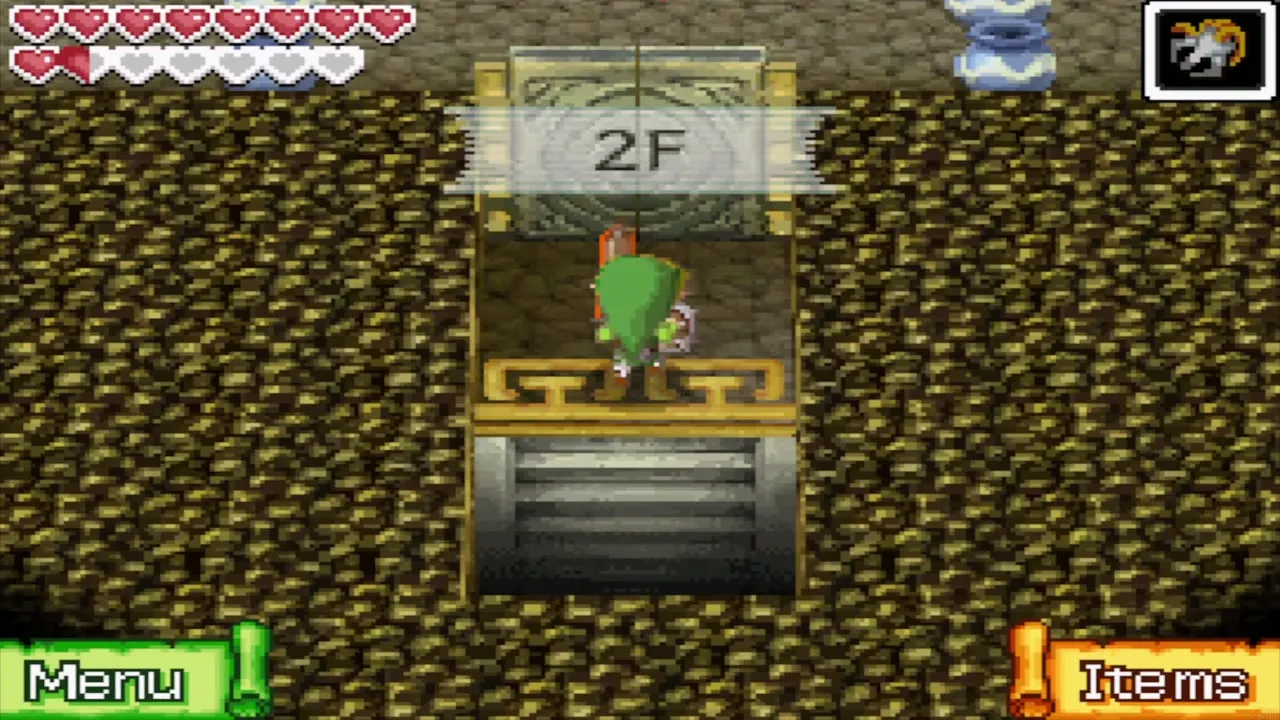
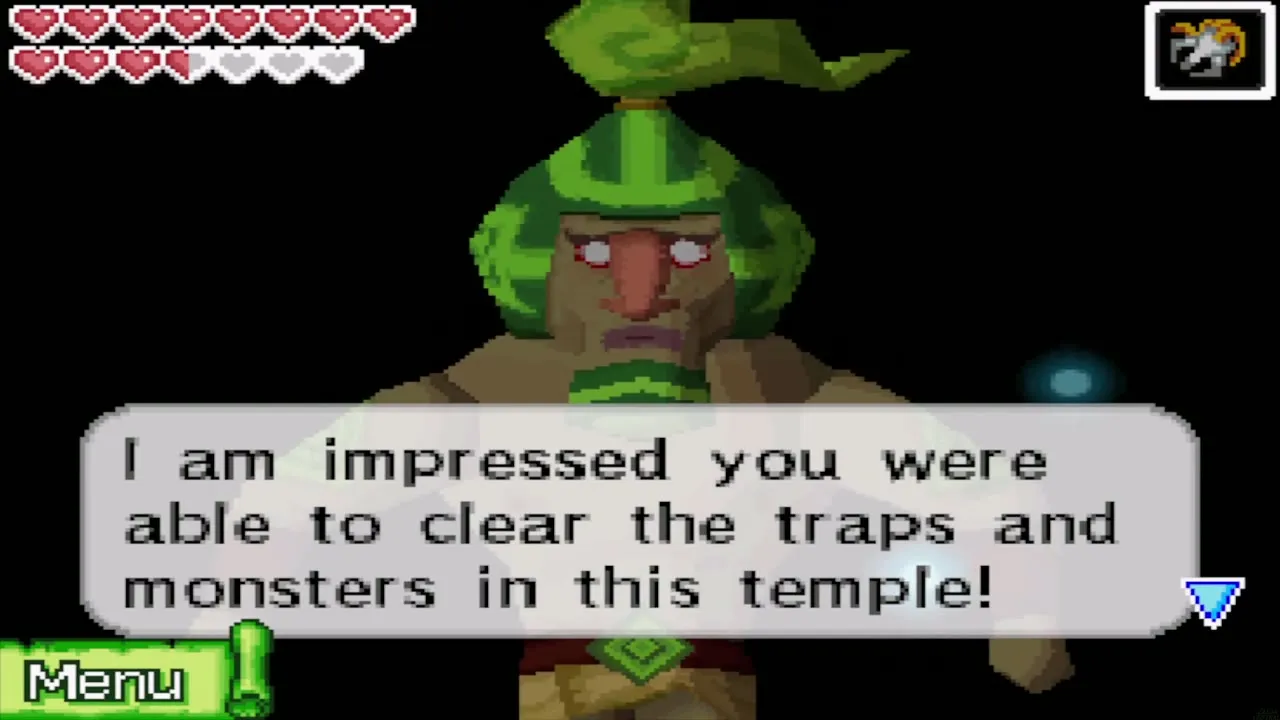
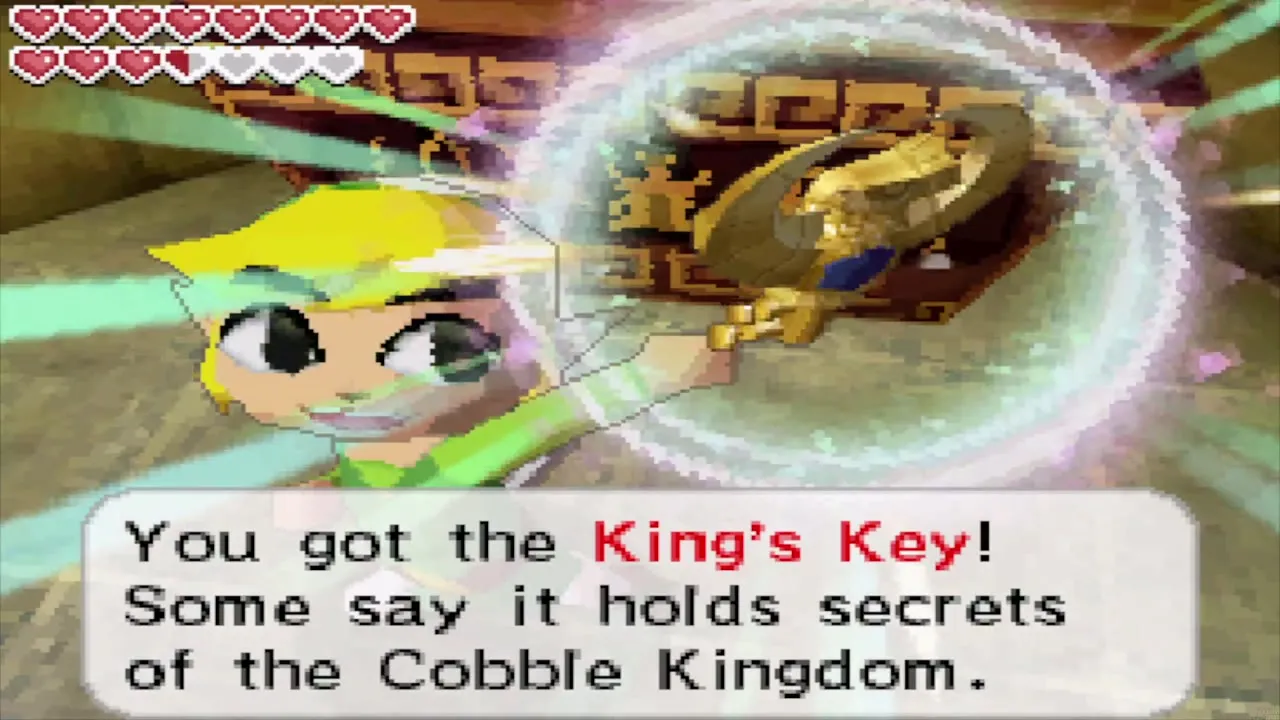
The first floor of Doylan’s Temple is a gauntlet of boulders, arrow traps and a trapdoor near the east end. Take the path in the gaps, climb up, get past the Stalfos and take the stairs to the second floor. Doylan, the second knight, is impressed that you cleared his traps. He gives you the King’s Key and asks you to take it to Bremeur and release the seal.
Placing the King’s Key
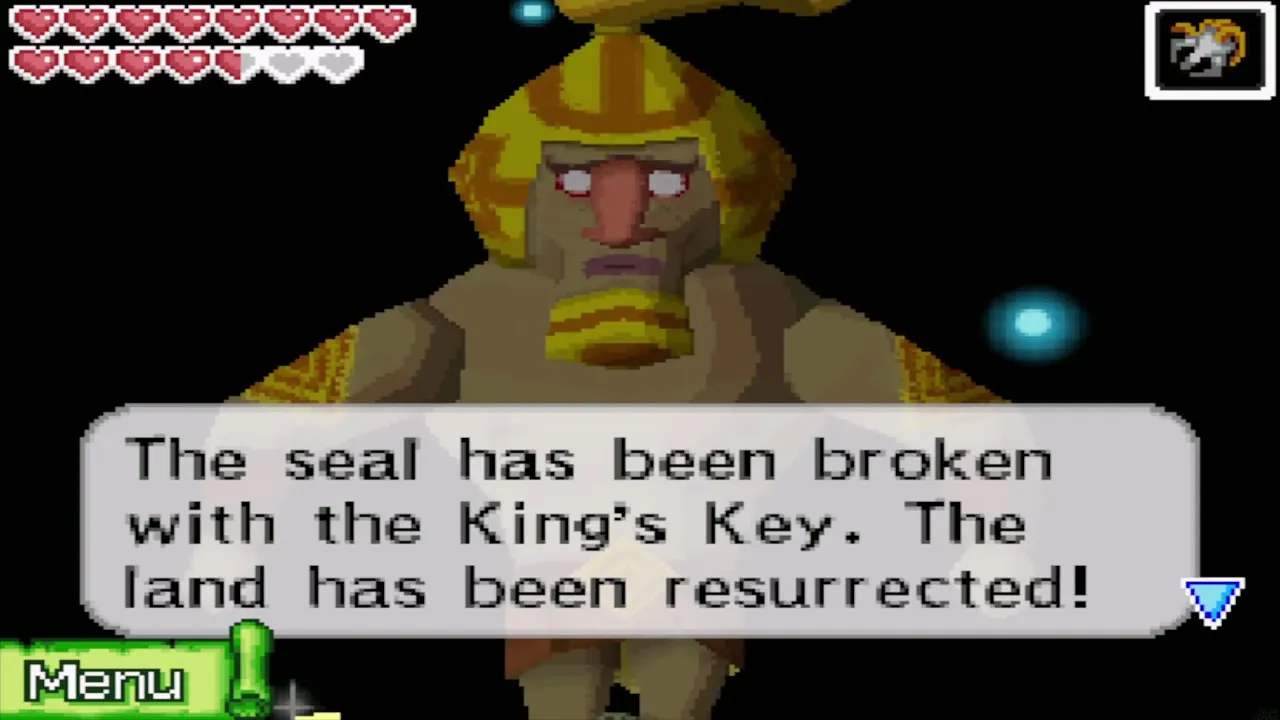
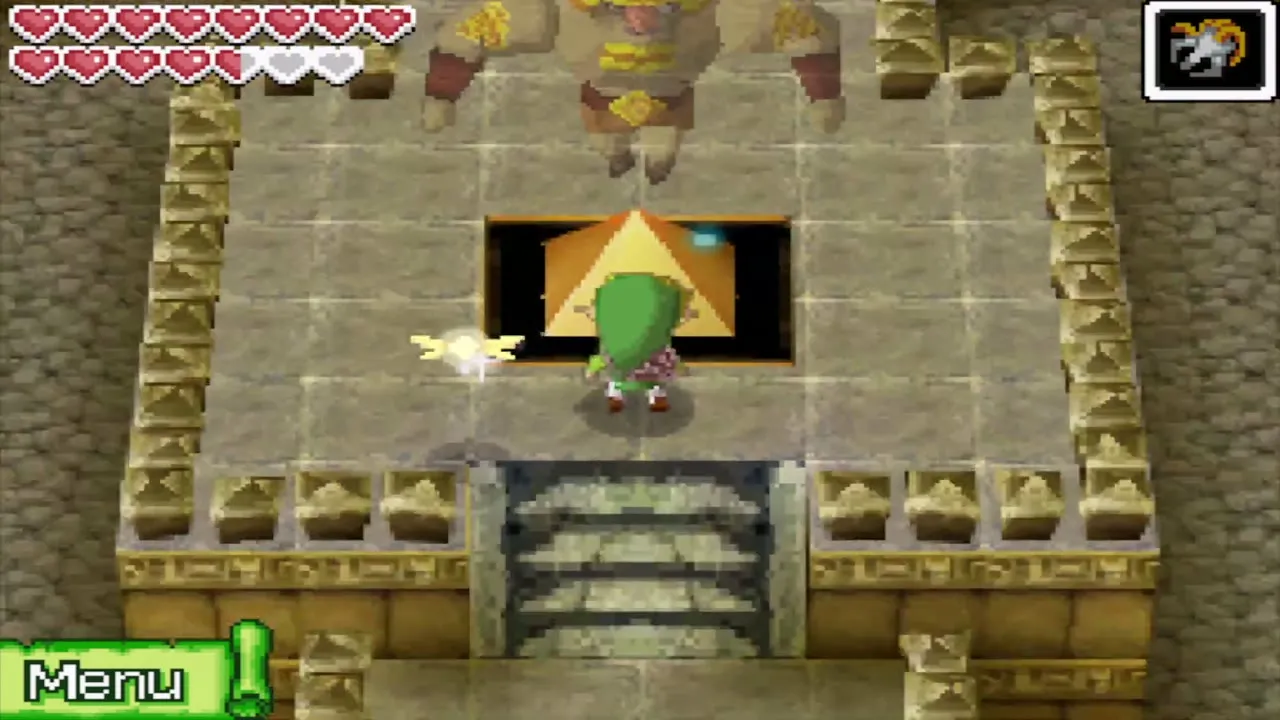
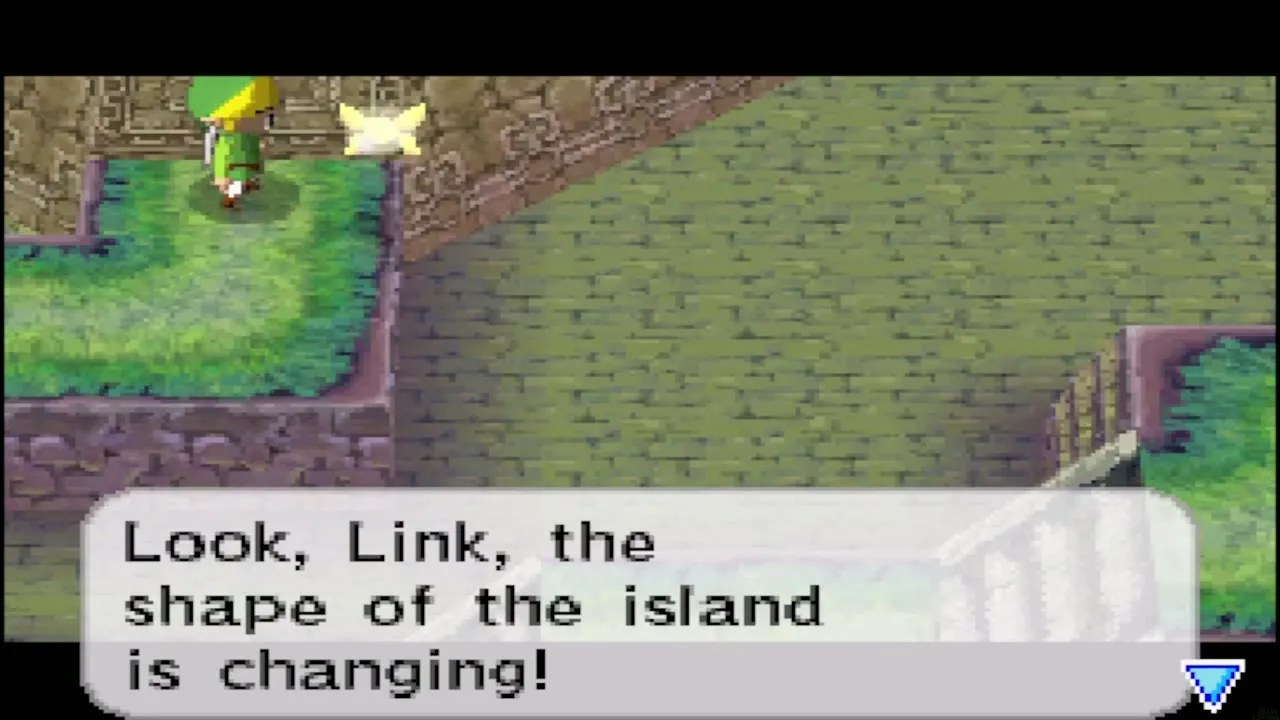
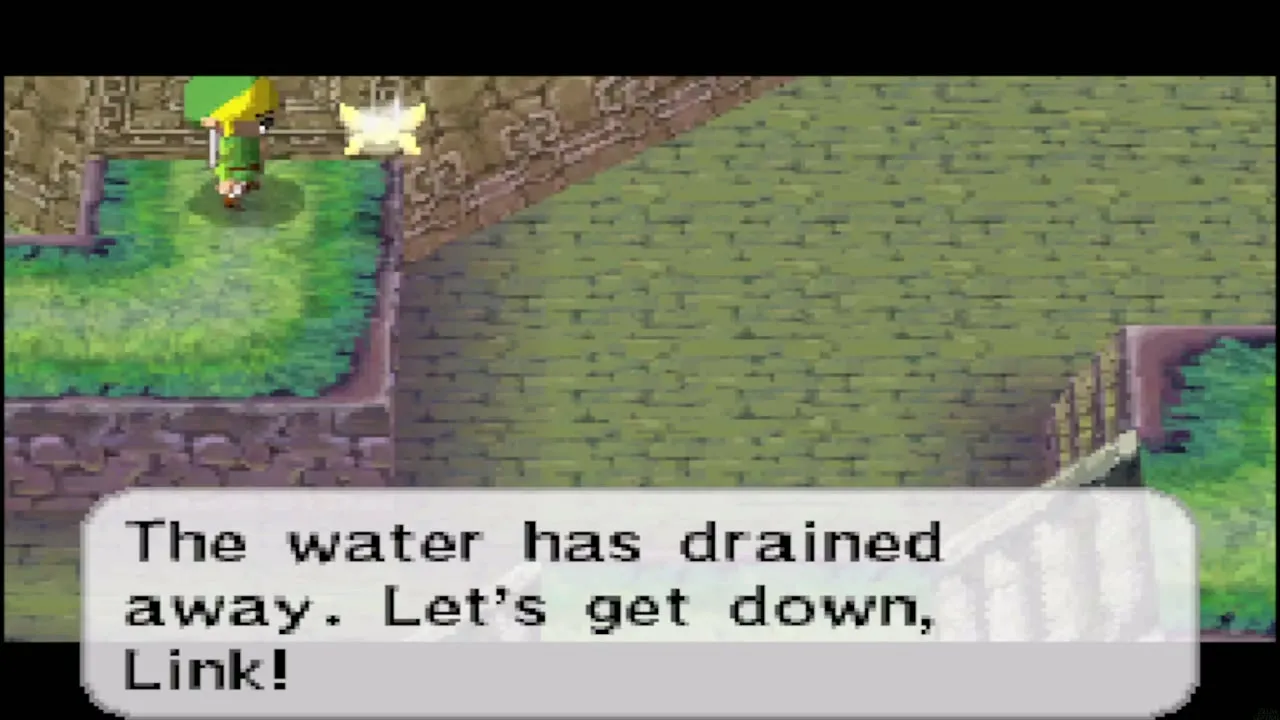
Walk back to the northwest temple along the northern path. A few Stalfos appear there, so deal with them using arrows. At the temple, put the King’s Key in the hole at the pedestal. The seal breaks, the shape of the island changes and the water drains all over the island, which exposes a lower level that you can now explore.
Wisdom Gem #19
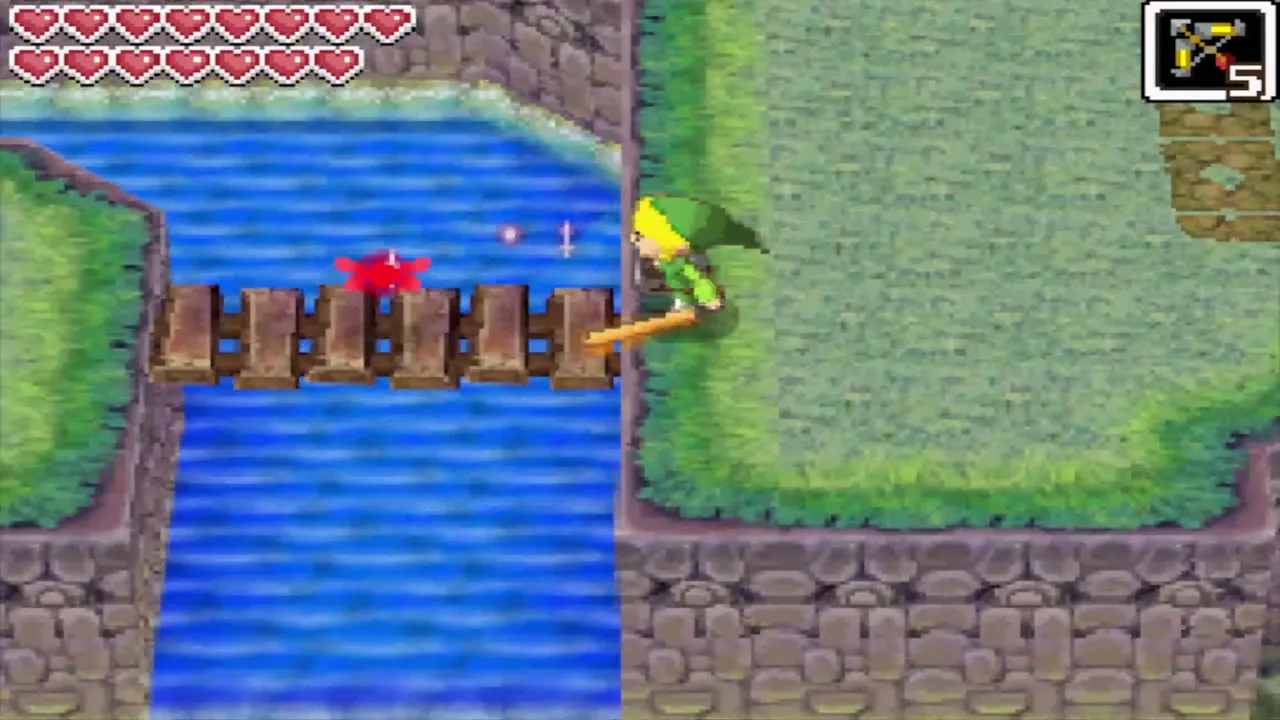
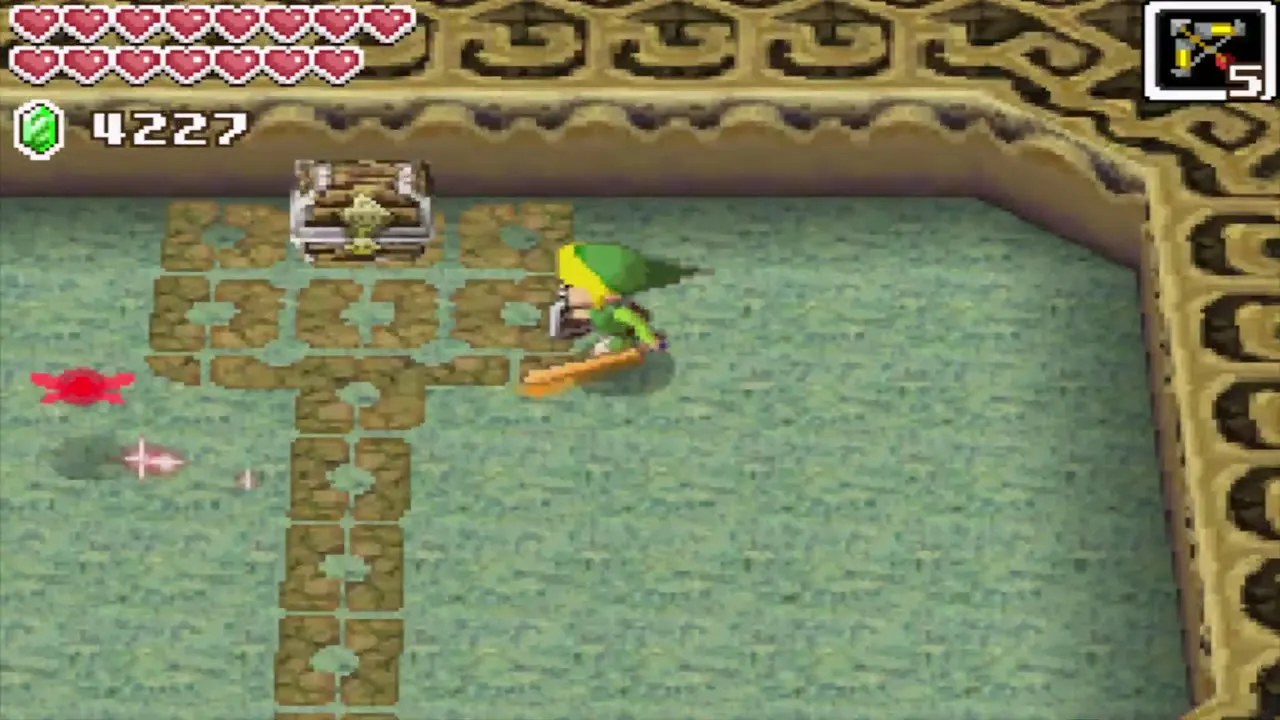
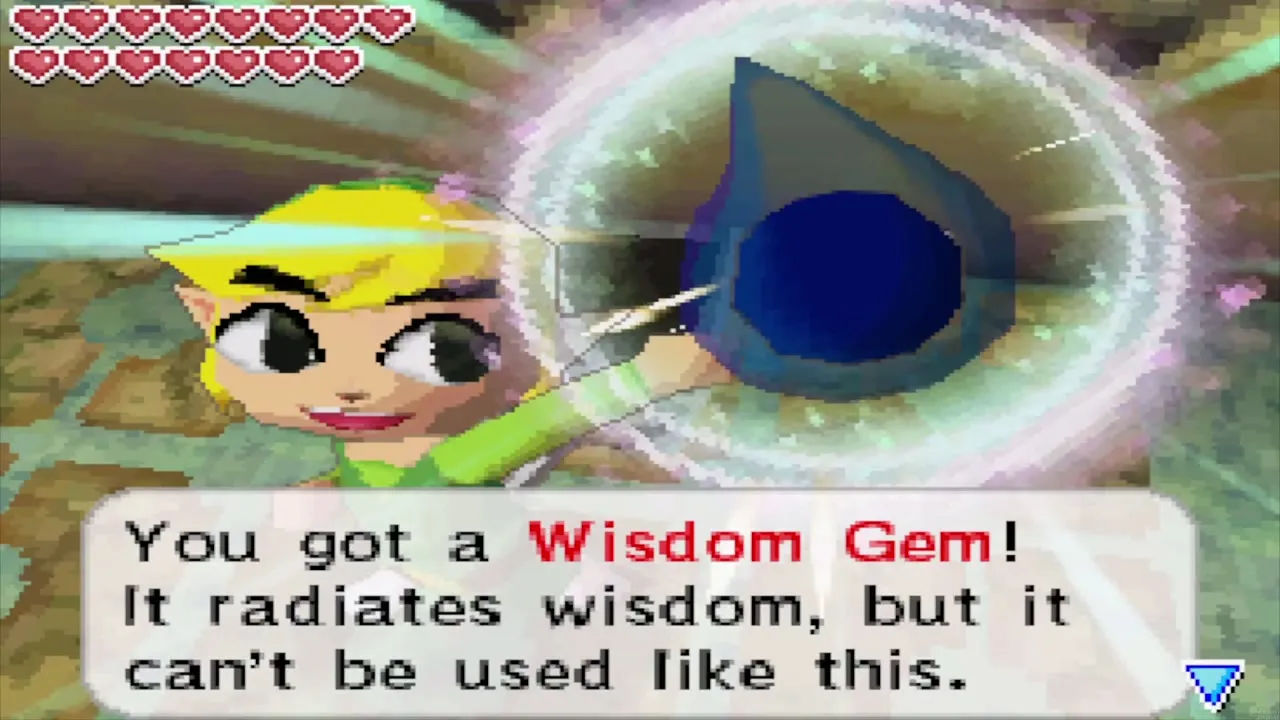
Do not drop to the lower level yet. Go back along the bridge that Bremeur stretched out and climb down to the cave south-east of Bremeur’s temple. Gather the Rupees inside and open the chest to get a Wisdom Gem (Wisdom Gem #19).
Down to the lower level
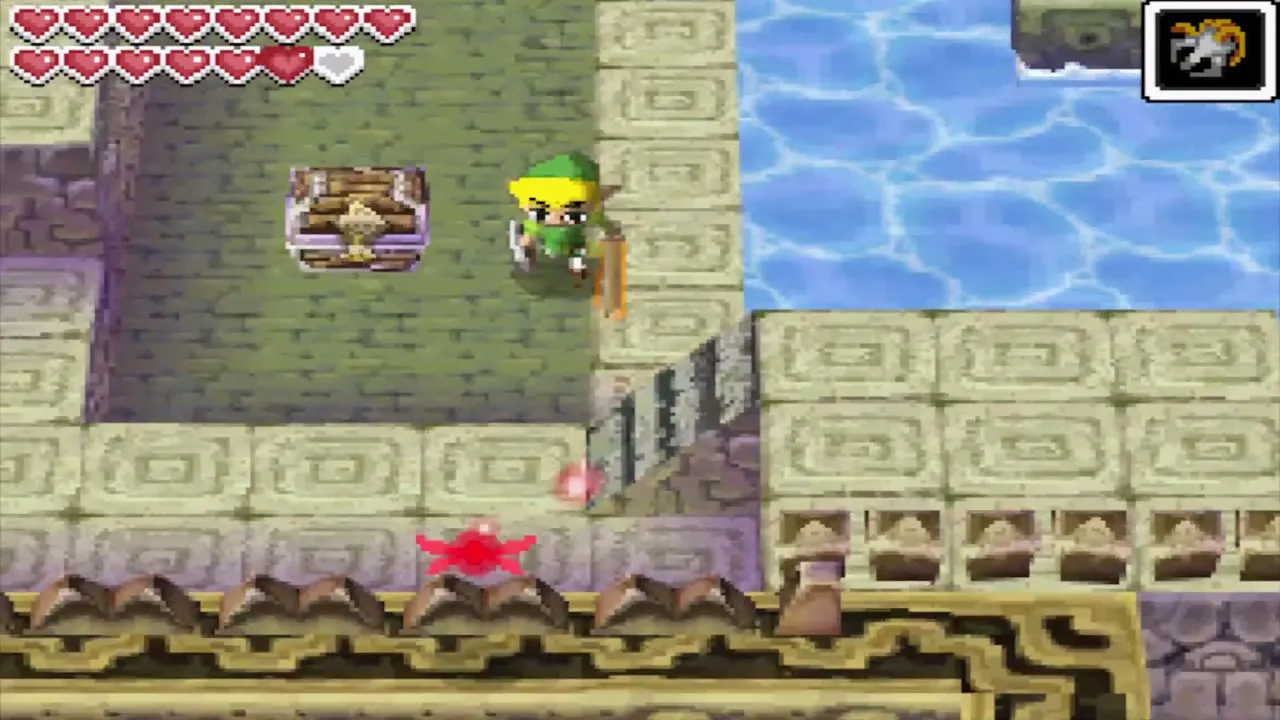
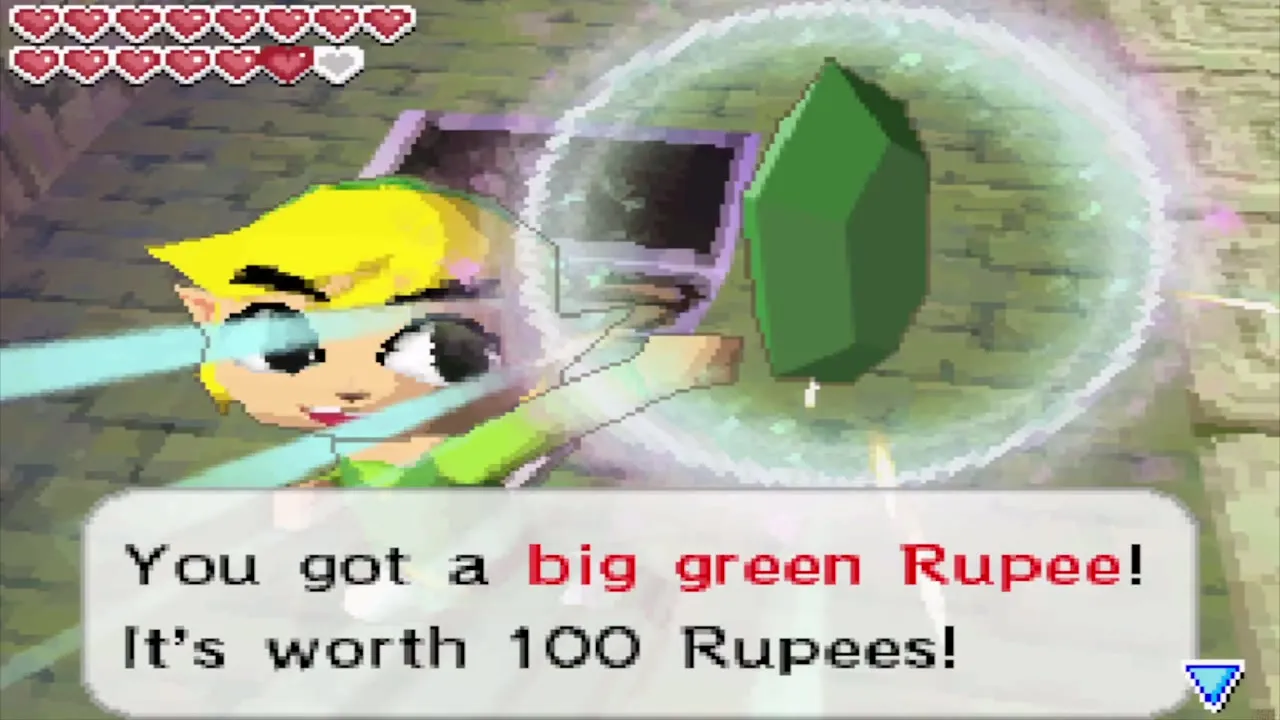
Jump off the ledge to the lowest level and run east to the northeast area. Just southwest of the big pyramid, a chest that was underwater holds a Big Green Rupee (100 Rupees).
The boulder puzzle and Wisdom Gem #20
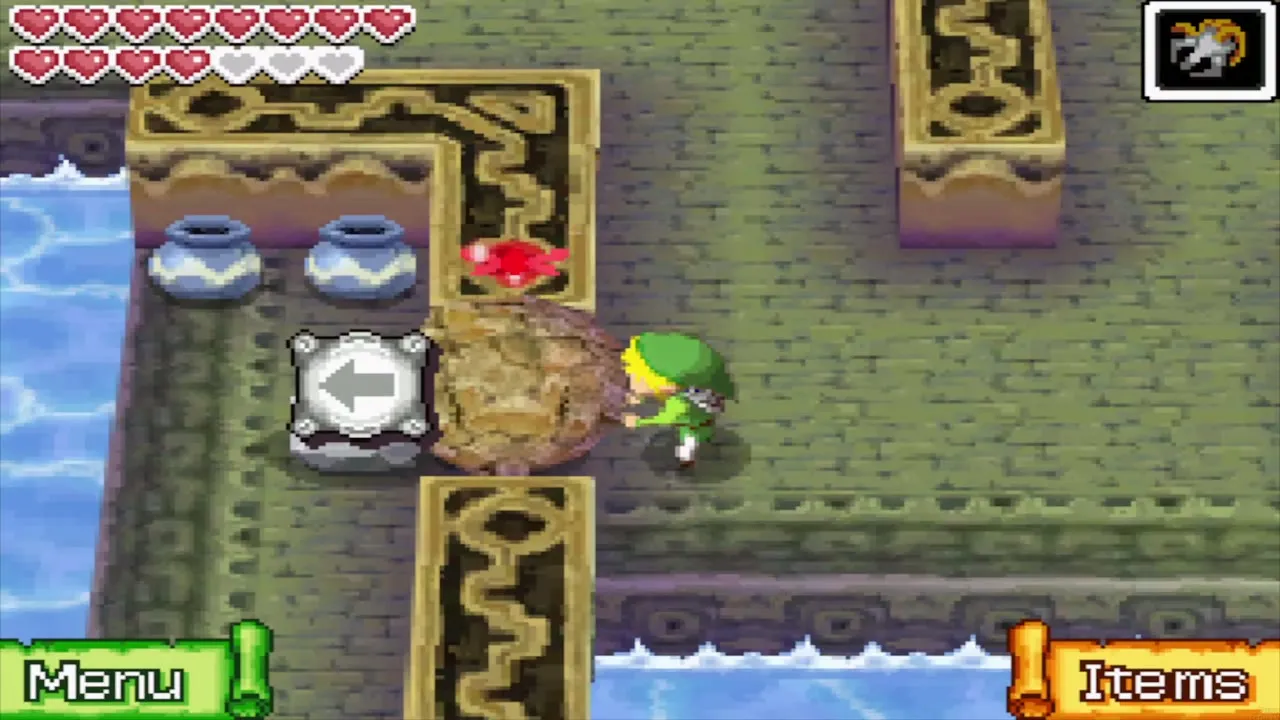
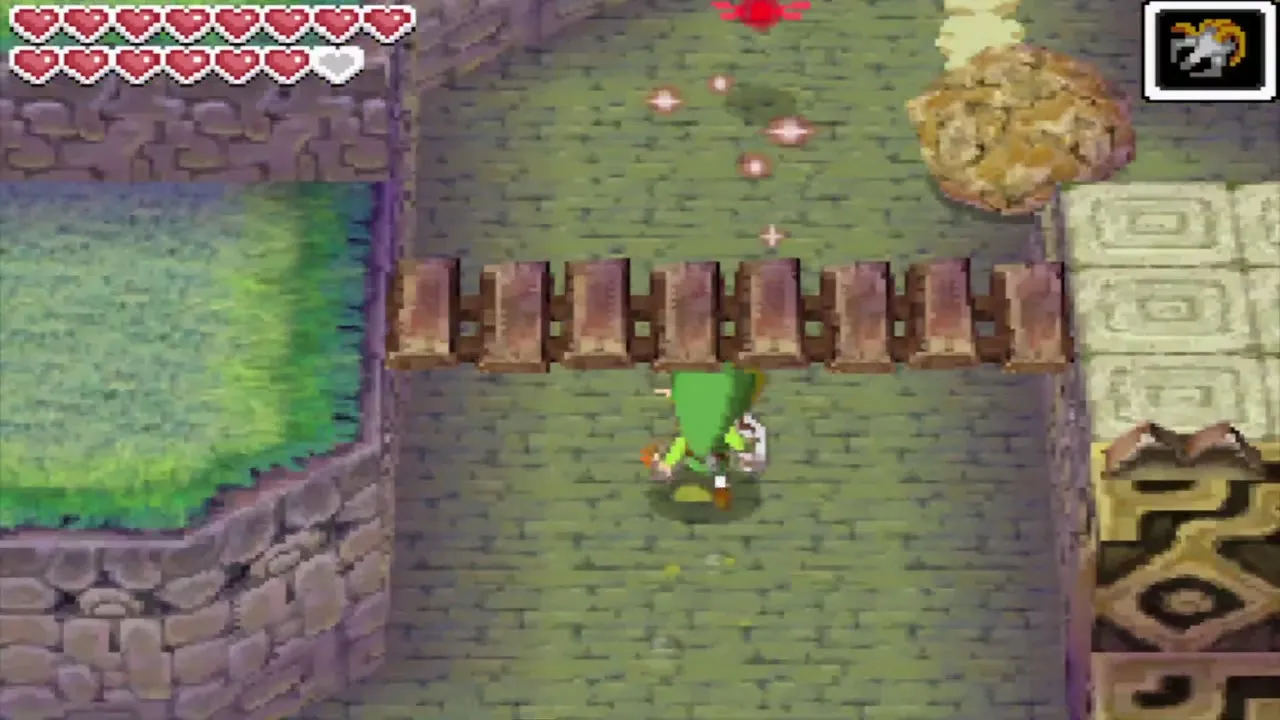
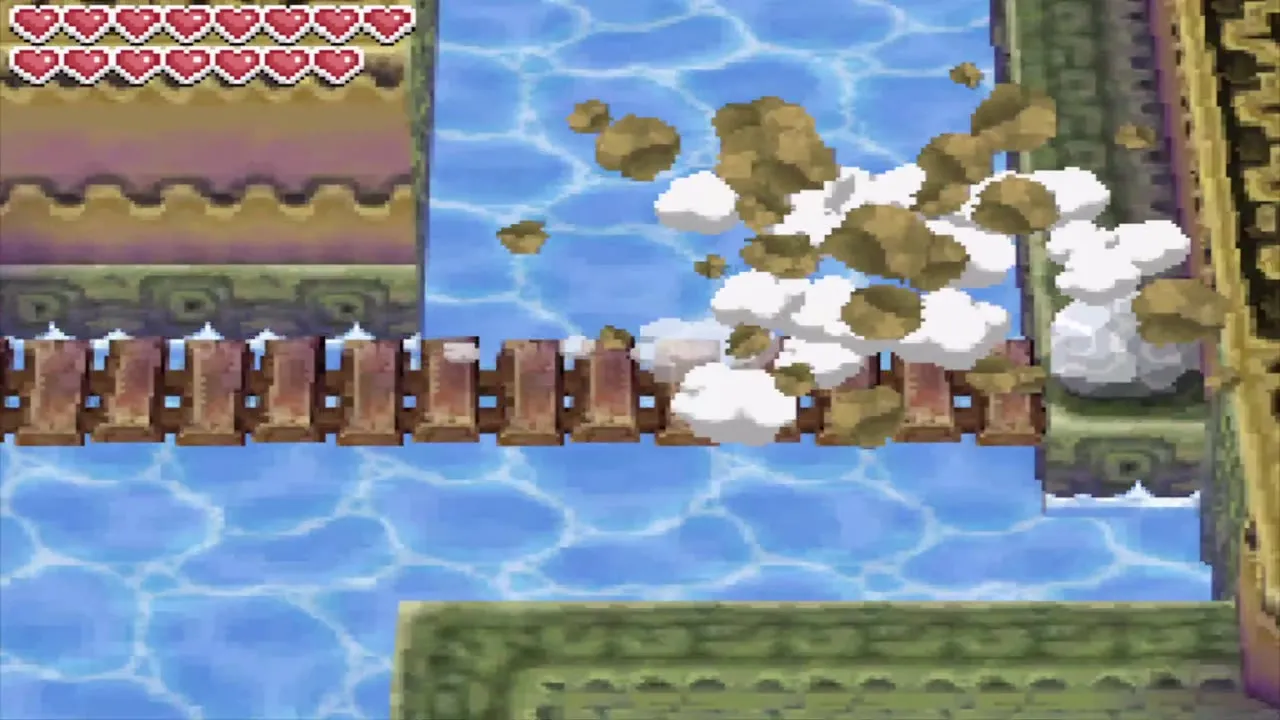
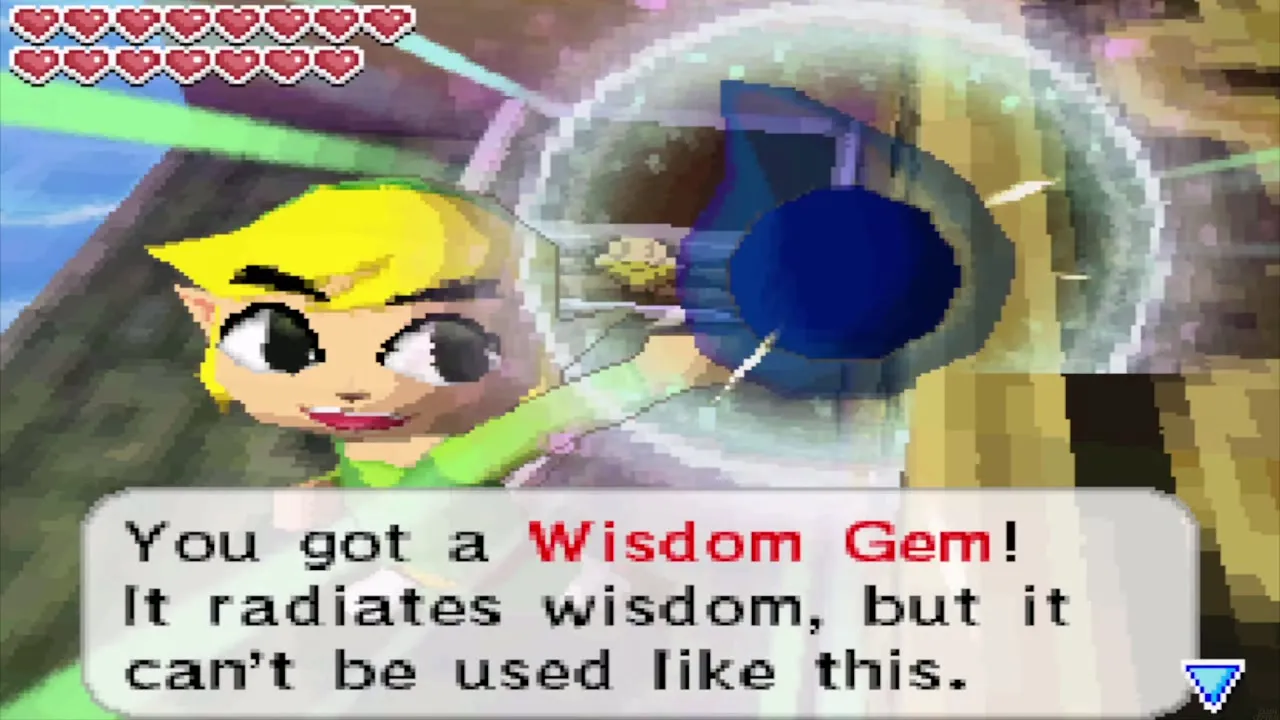
Max waits in the pyramid in the south of the island, and large boulders block the way. Run south, walk to the right and push the first boulder out of the way. Climb the two flights of stairs and push the next boulder to the left. It falls off the ledge, smashes another boulder and opens a way down. Lift the rock and go down a screen. Climb the steps to find a large boulder, push it up once and then to the right. It rolls across the bridge and breaks the boulder in the distance. Lift the rock in the way, go up a screen and open the chest for Wisdom Gem #20. That completes your Wisdom Gems for the whole game.
Max, the first knight
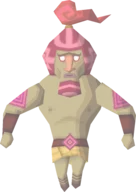
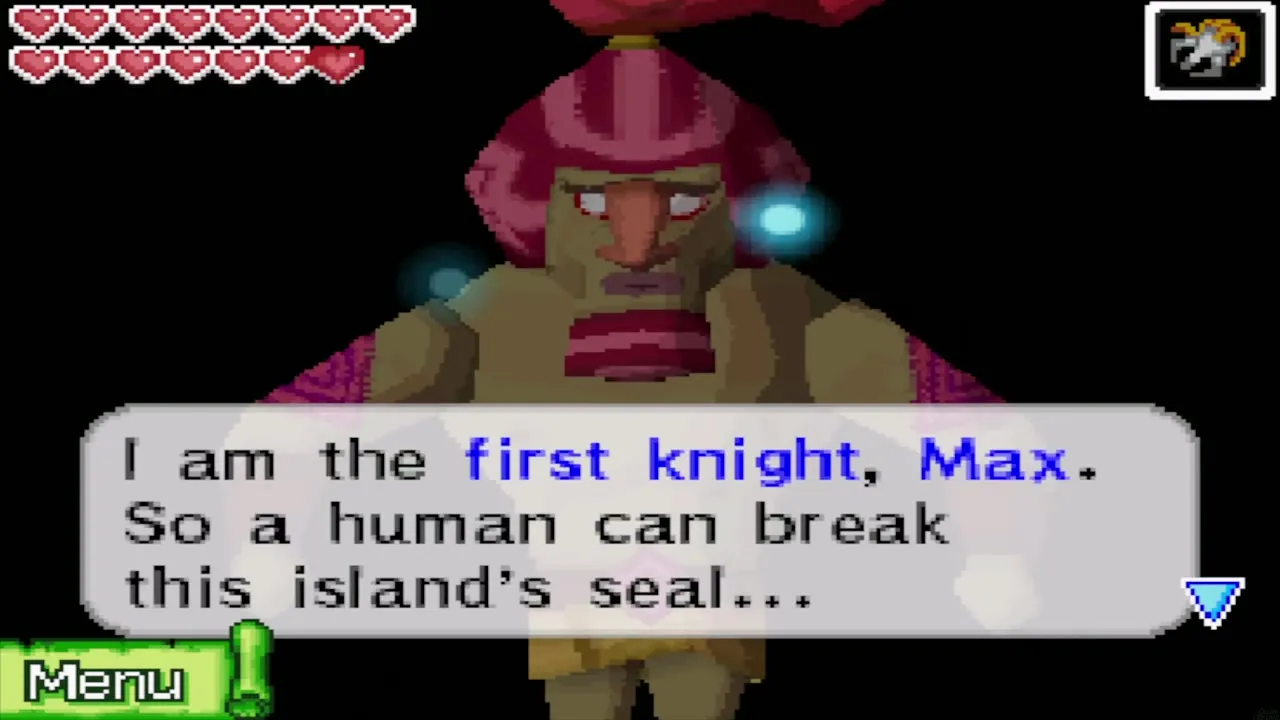
Climb the next steps and push the boulder to the right once, then down, so that it rolls into another boulder. Stalfos wander here and are best avoided. Run east to the entrance of the pyramid and climb the steps to speak with Max, the first knight. He tests whether you really want to face the monster, and then explains the final obstacle: you must draw the secret crest on the door of the corridor that leads to the king’s temple. He opens the way outside.
The star tablets in the southwest labyrinth
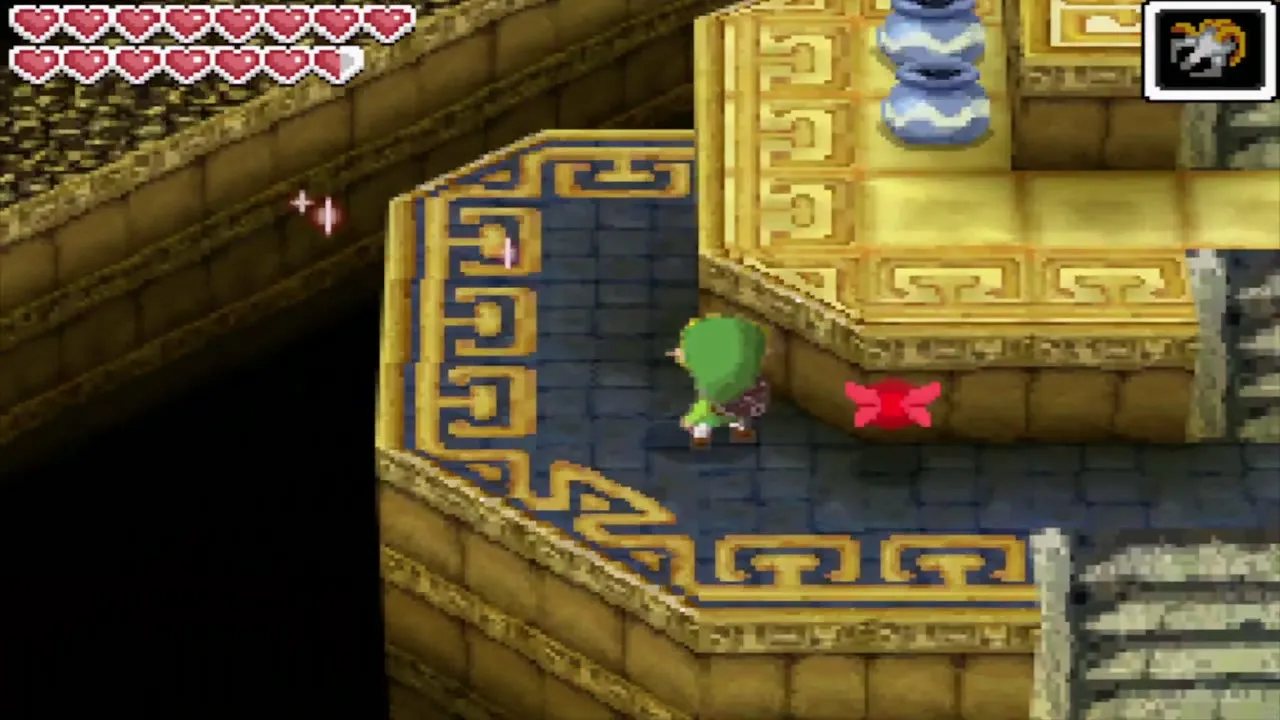
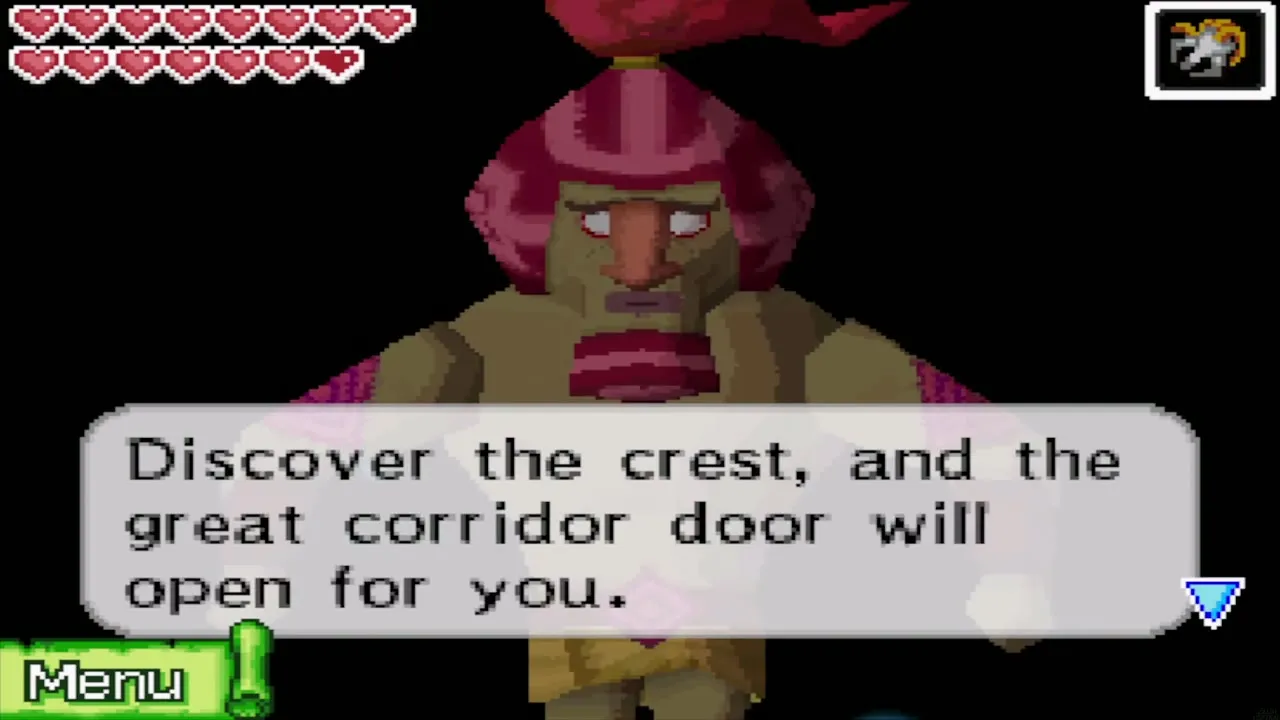
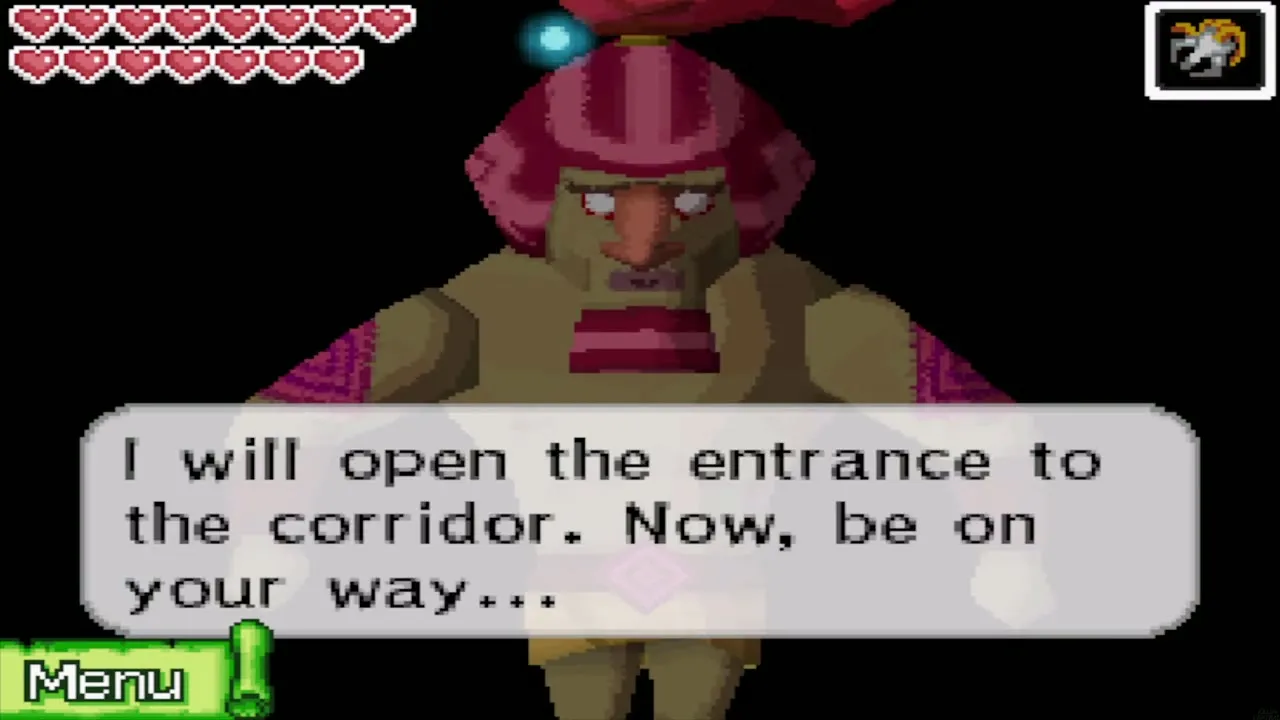
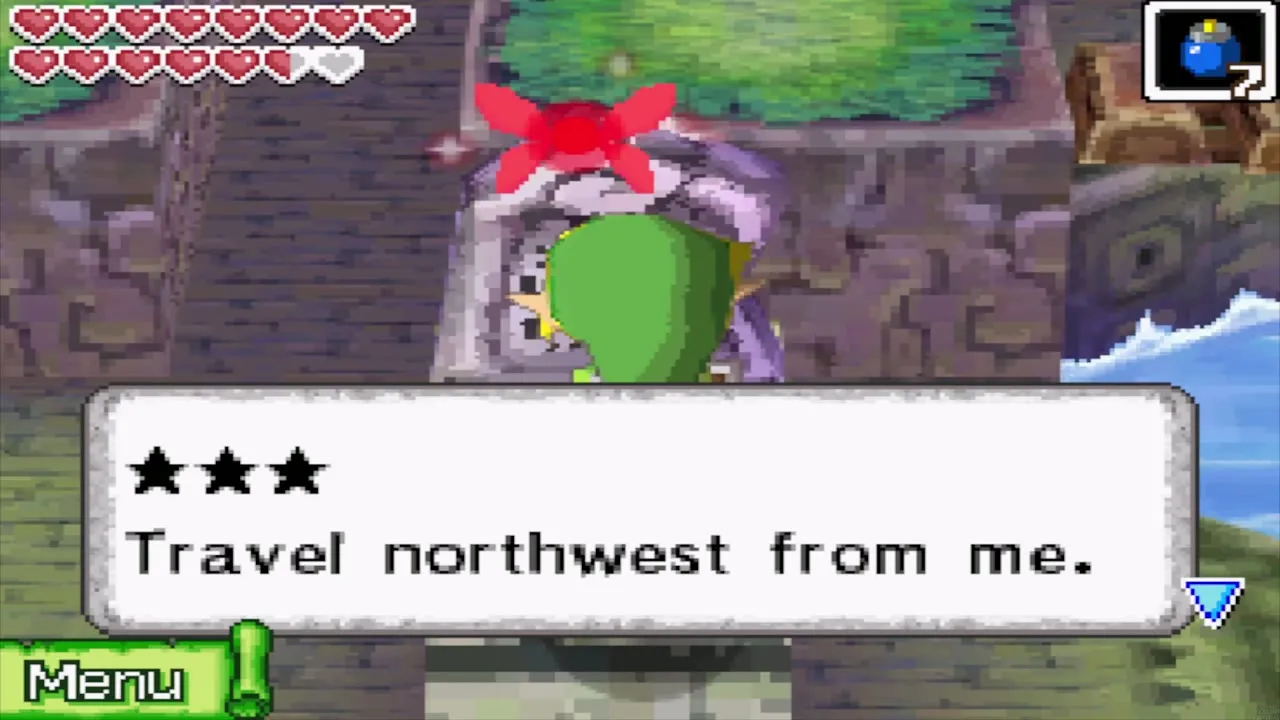
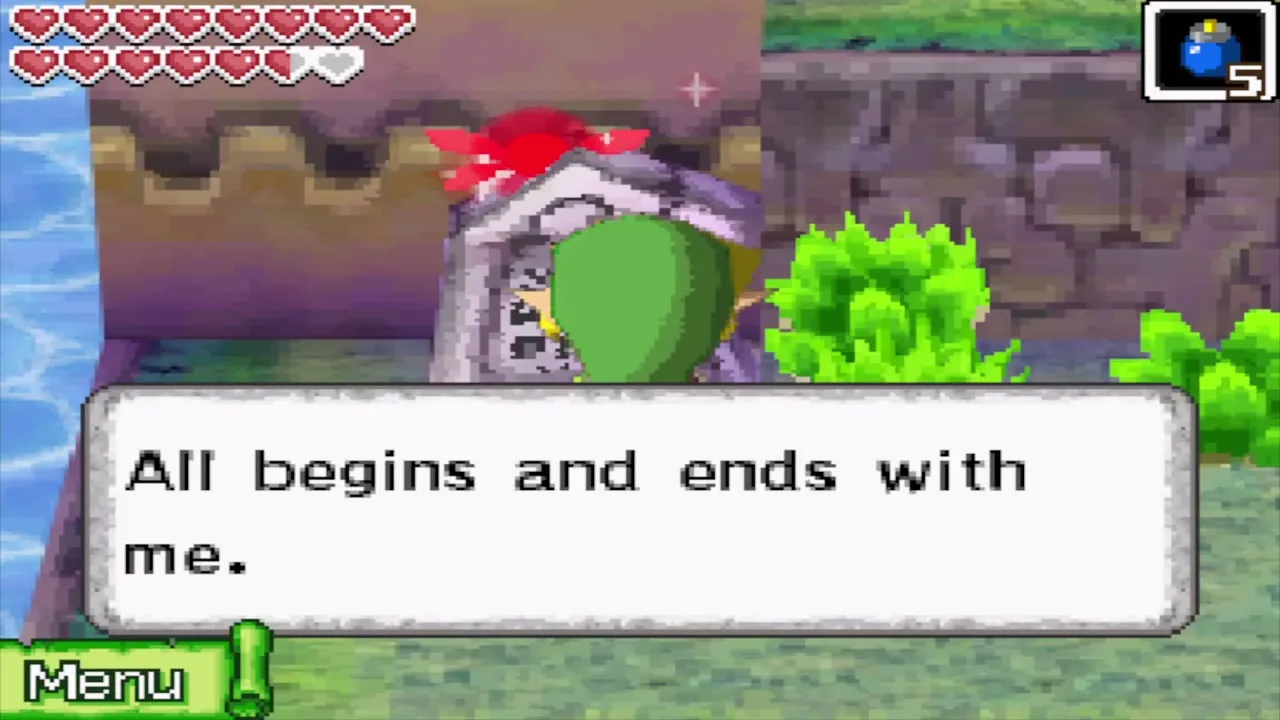
Outside, run east to the red door beside a stone tablet. The tablets at the door say the crest appears for those who know the solution, and that it appears when the five stars are aligned. The solution is a maze in the southwest, now dry. If you want to read it, climb the steps northwest of Max’s pyramid and stand on the floor switch, which extends a bridge to the southwest. Drop to the lowest level and read the stone tablets, each marked with stars and a direction. One star says travel east, two say south, three say northwest, four say southwest and five say north. The five moves they describe line up into the shape you need, which is given below, so you can skip this walk.
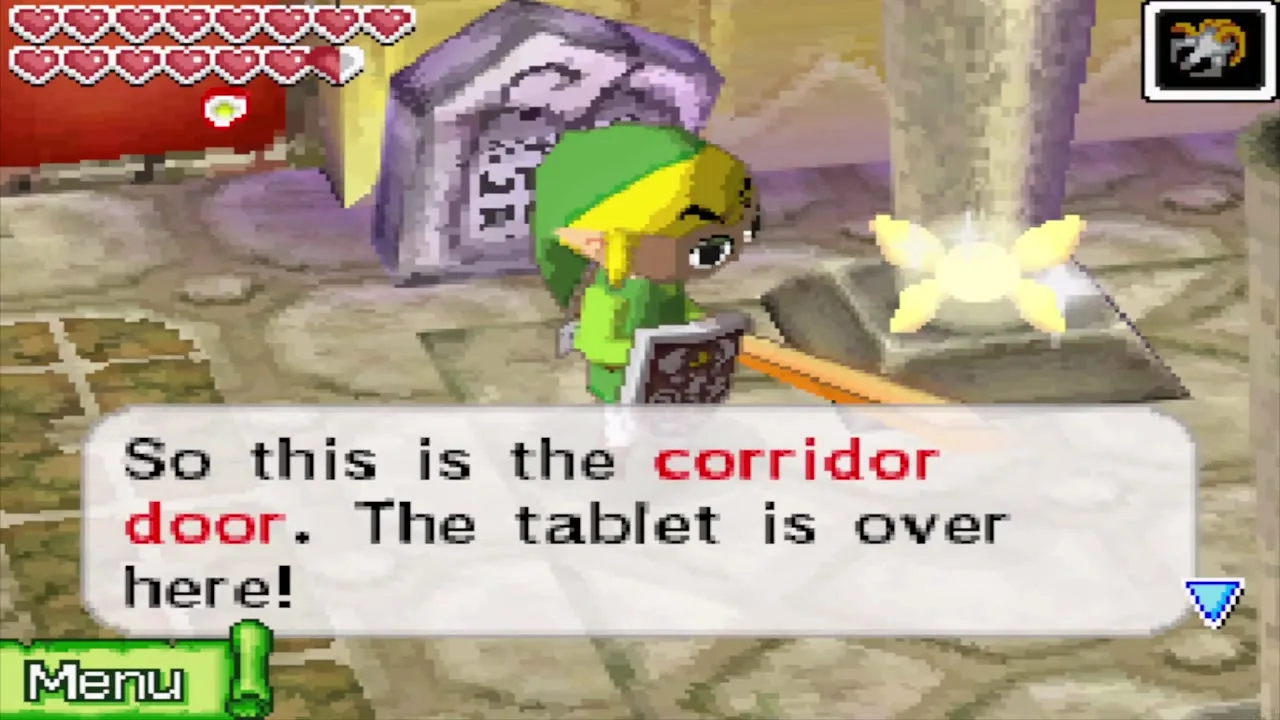
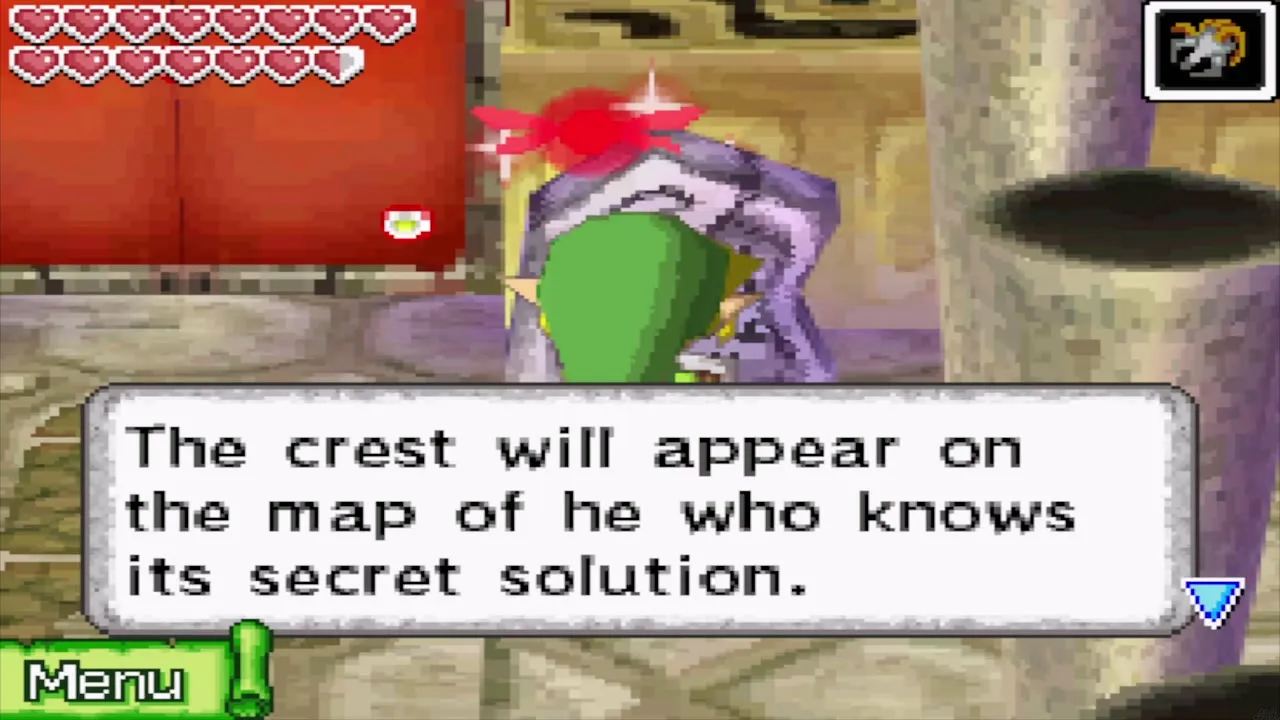
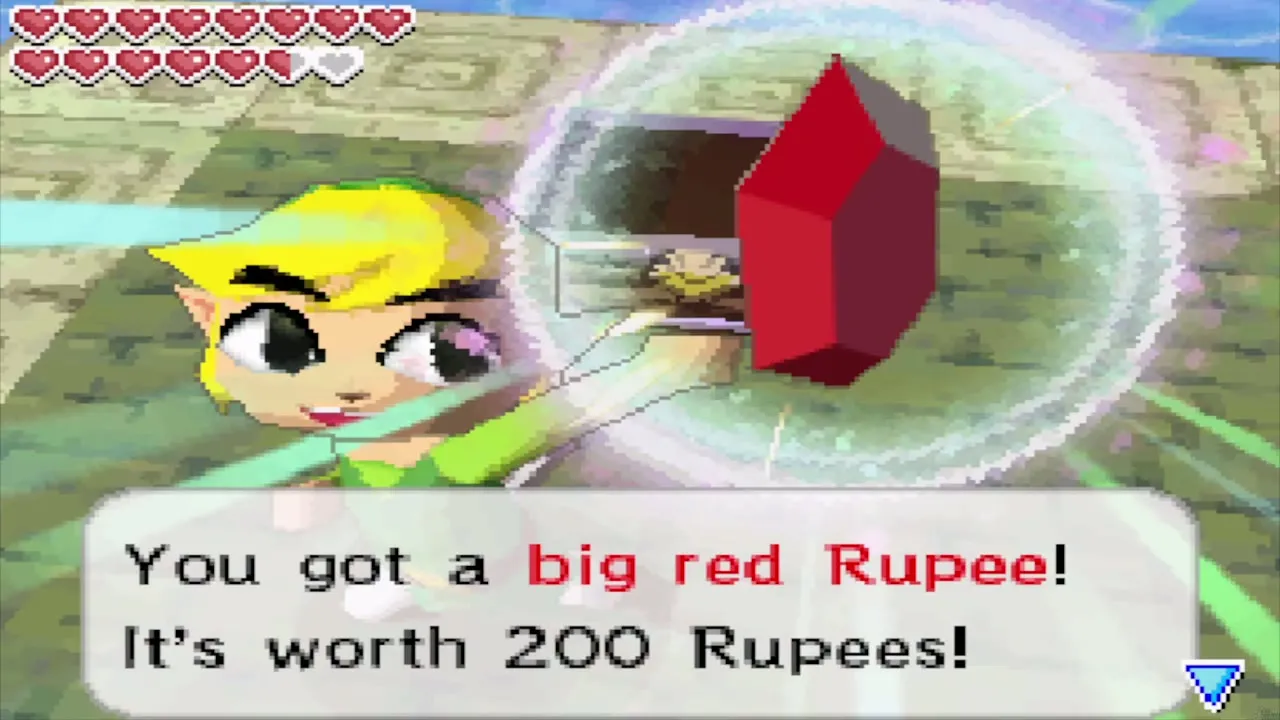
Three more chests are in reach once the water is low. In the northeast corner of the southwest maze, climb one screen to find a chest that was underwater with a Power Gem (Power Gem #19). Go back to Bremeur’s temple, cross his bridge, stay on the high ground and run east to the chest just southwest of Doylan’s pyramid for a Courage Gem (Courage Gem #19). A Big Red Rupee (200 Rupees) waits in a chest northwest of Mutoh’s Temple, which you reach across a small platform northwest of Doylan’s pyramid.
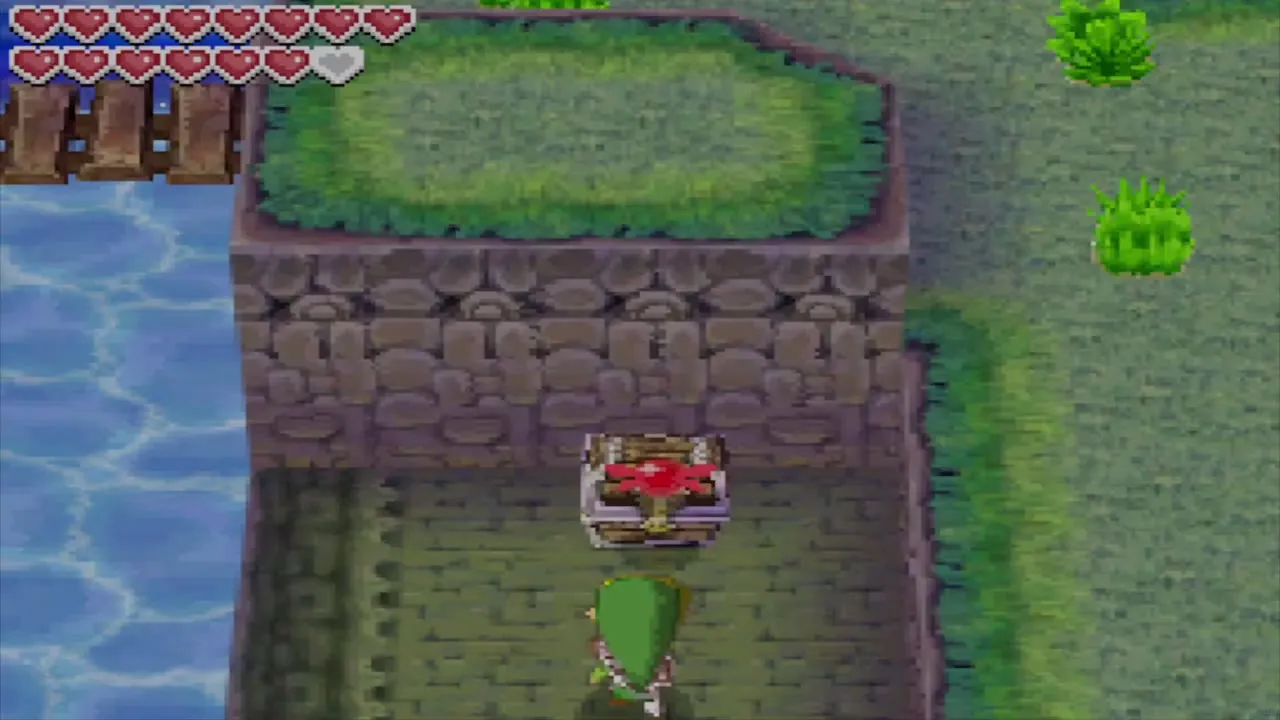
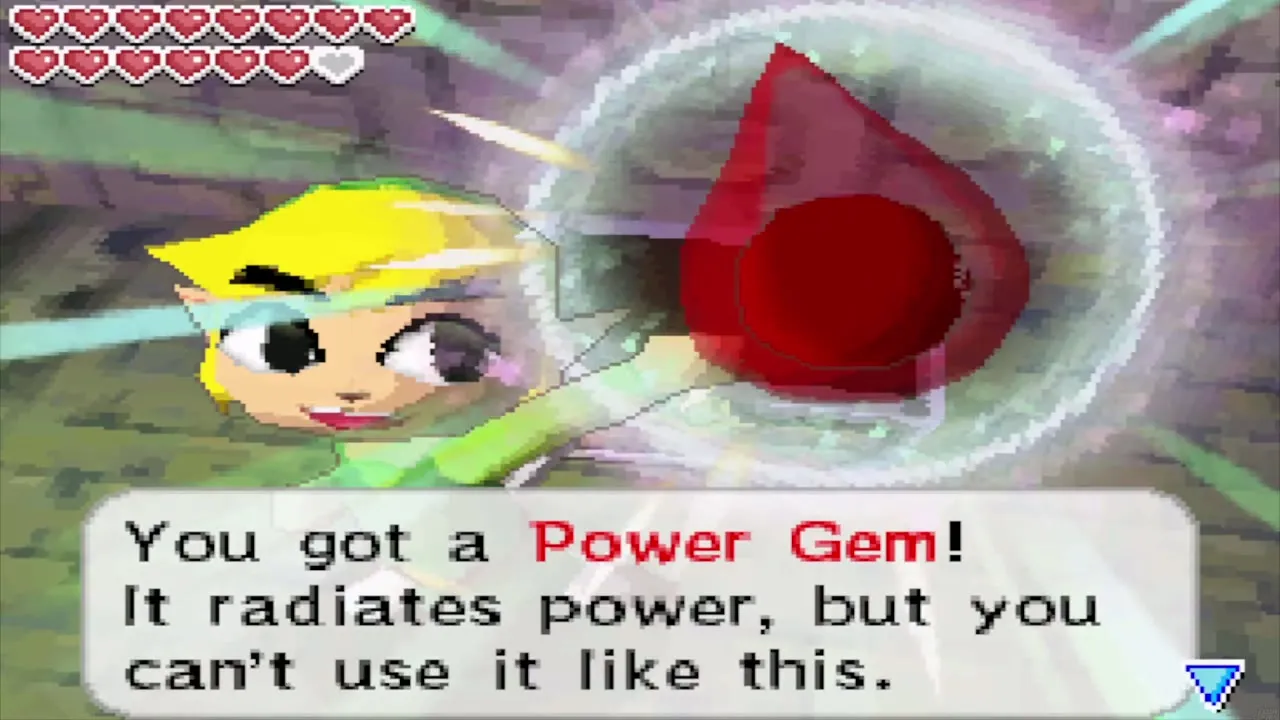
The red door symbol
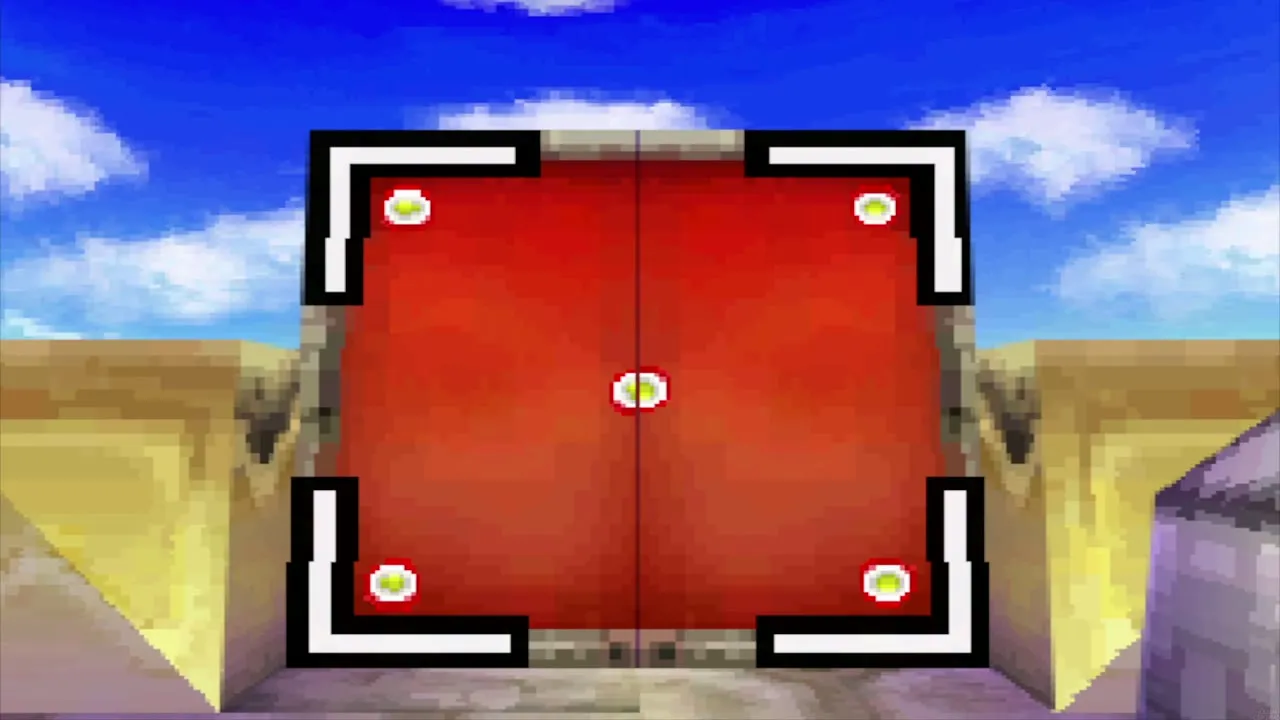
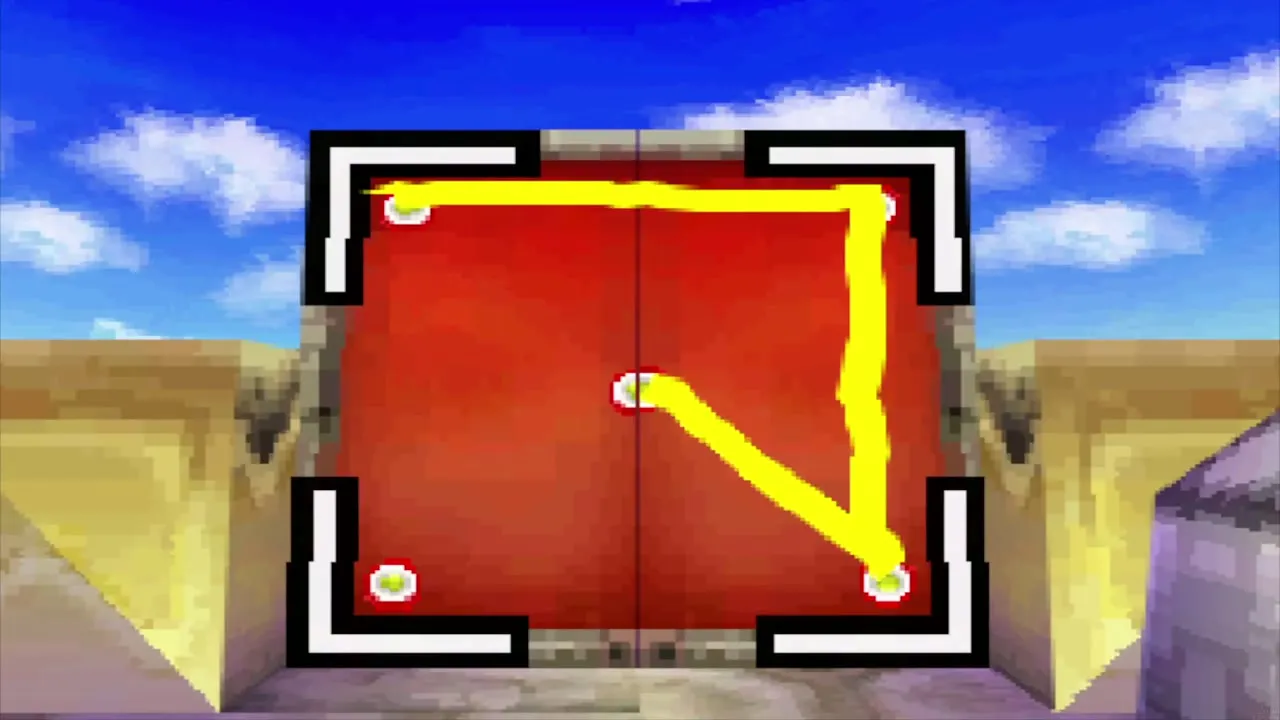
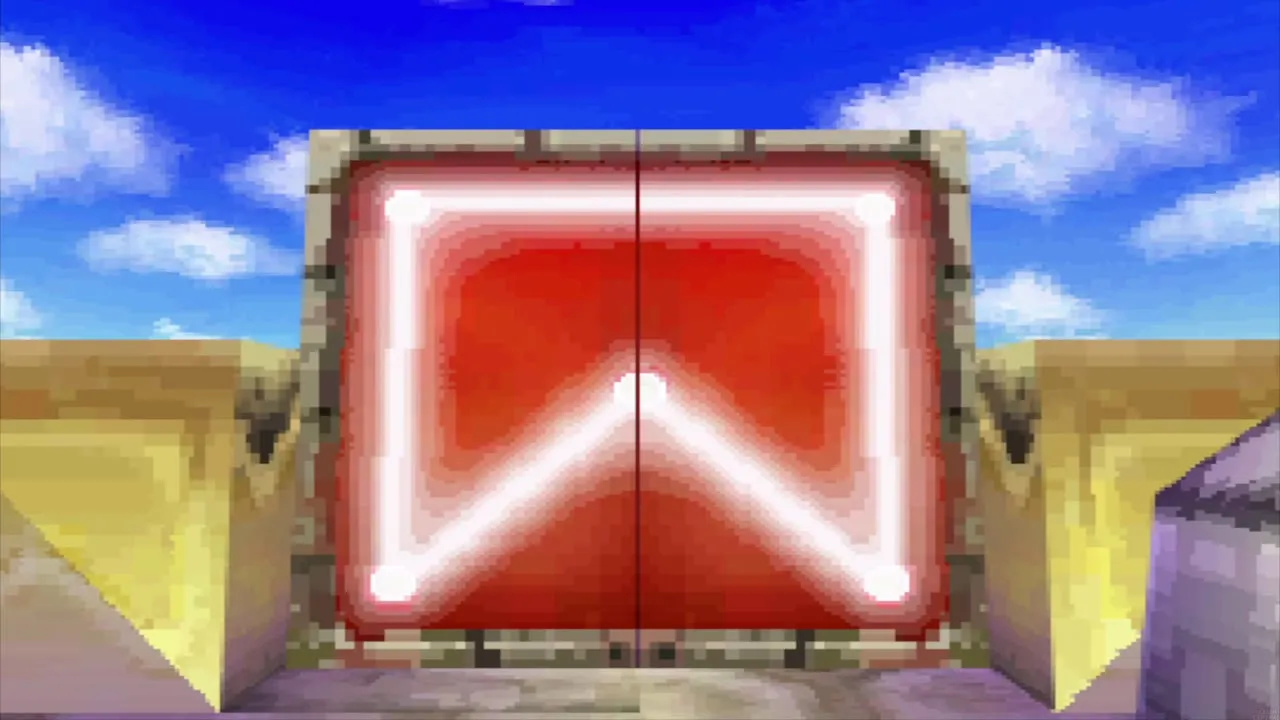
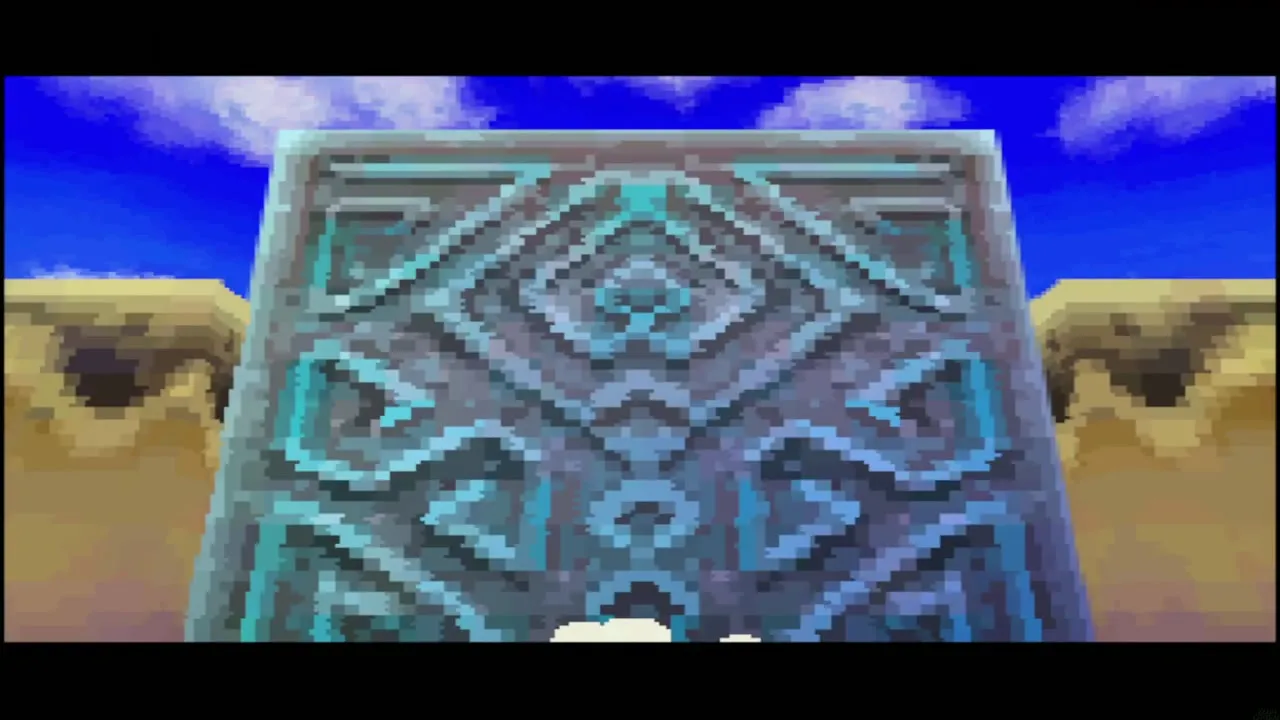
Return to the red door beside Max’s pyramid. Five glowing points mark its corners and centre. With the stylus, start at the top left, draw to the top right, then to the bottom right, then to the centre, then to the bottom left, and finish back at the top left in one stroke. The door glows and opens.
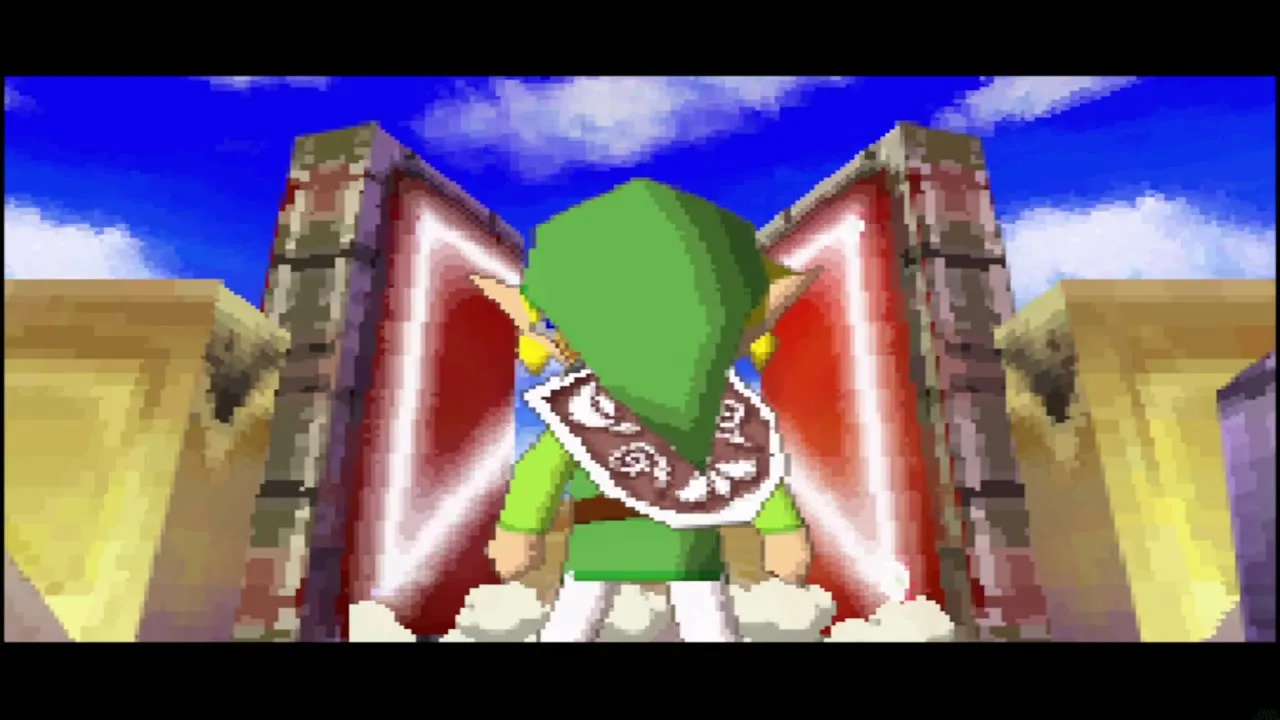
Two Zora Warriors and the temple
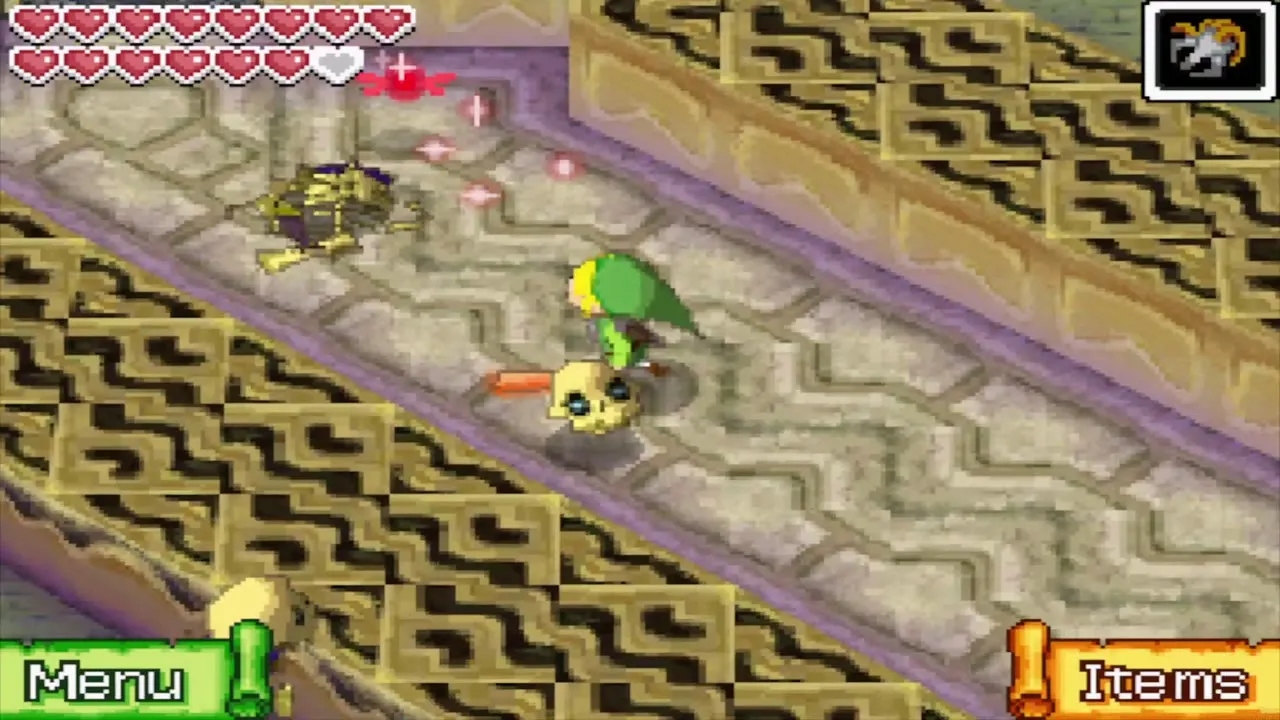
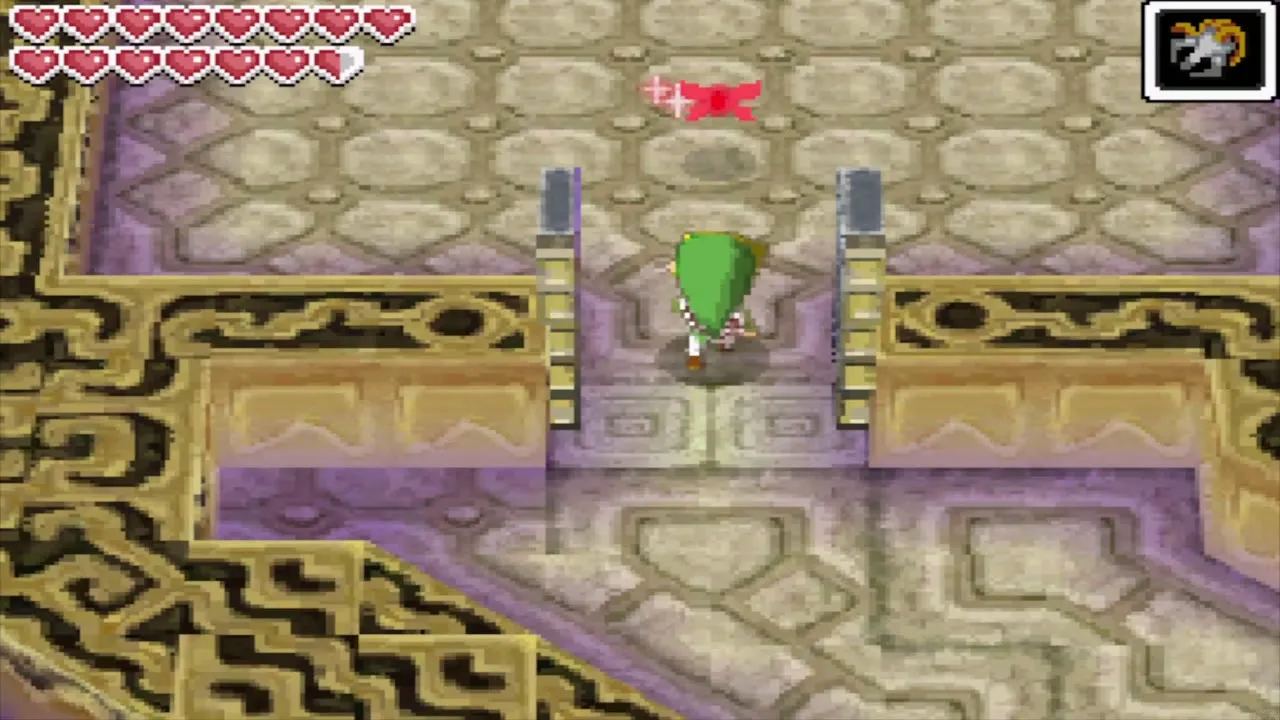
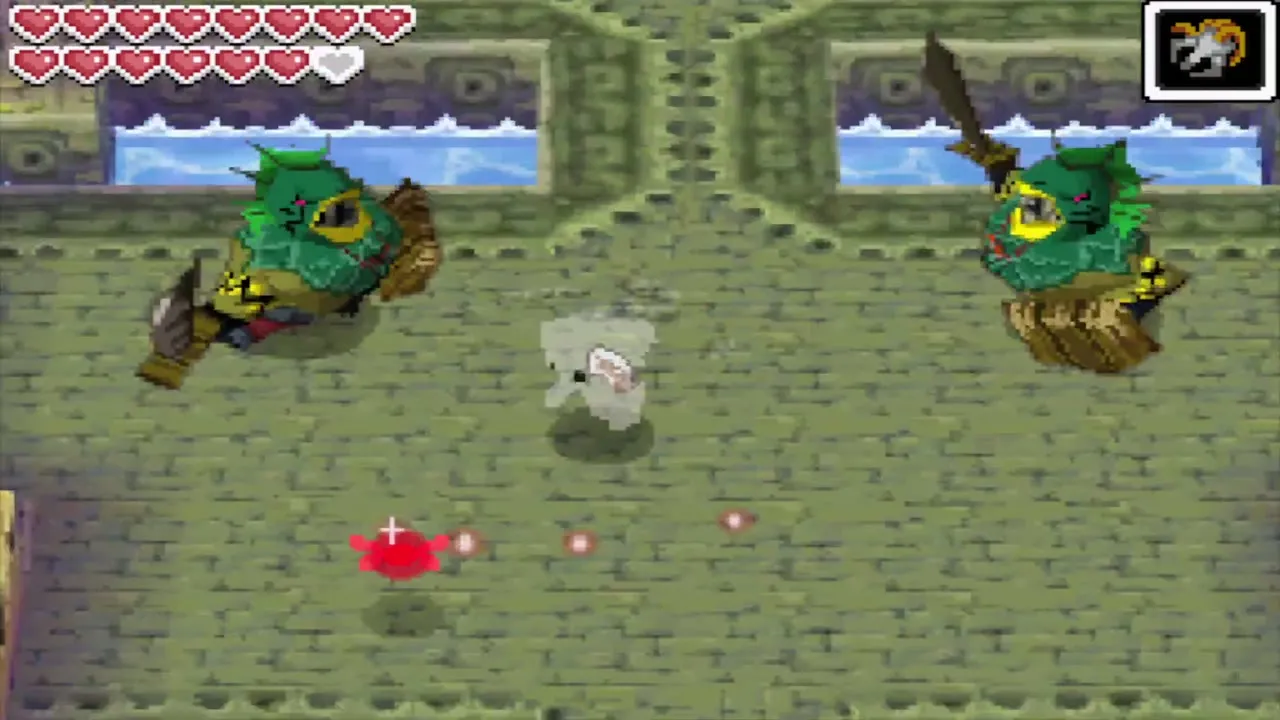
Run through the door and up a screen. Two Zora Warriors guard the end of the passage. Defeat them as you did before and walk into Mutoh’s Temple.
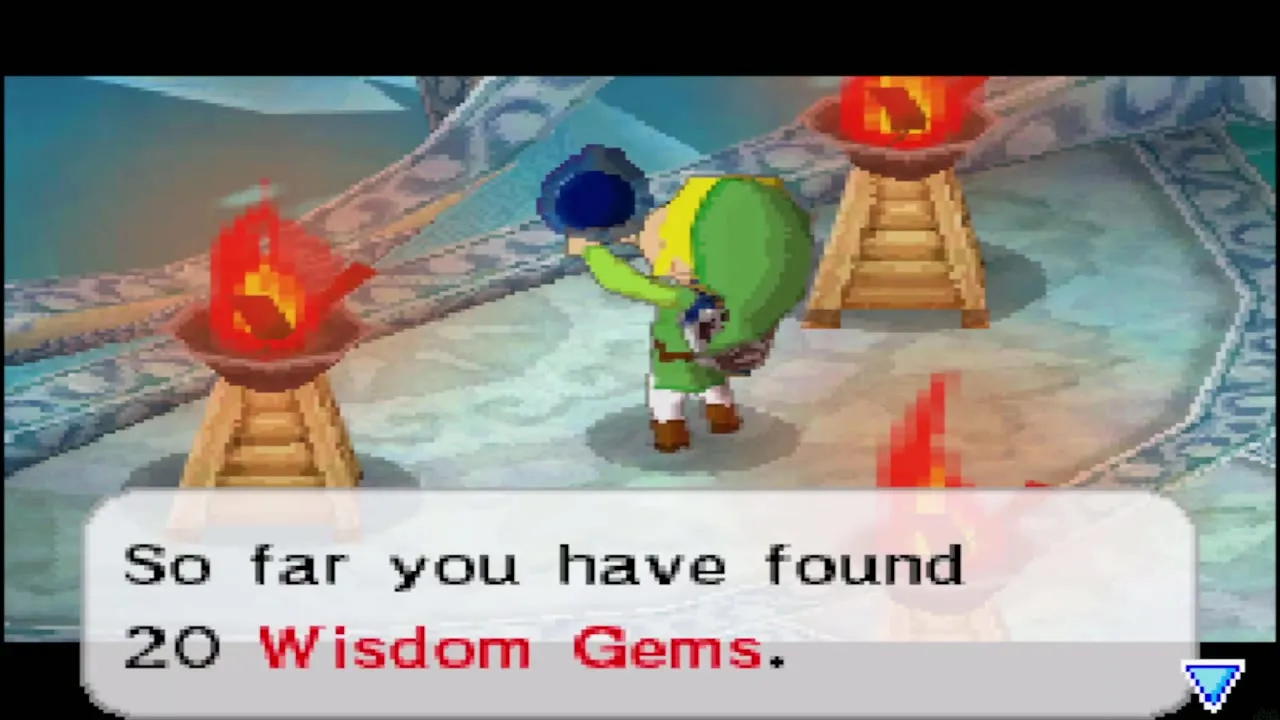
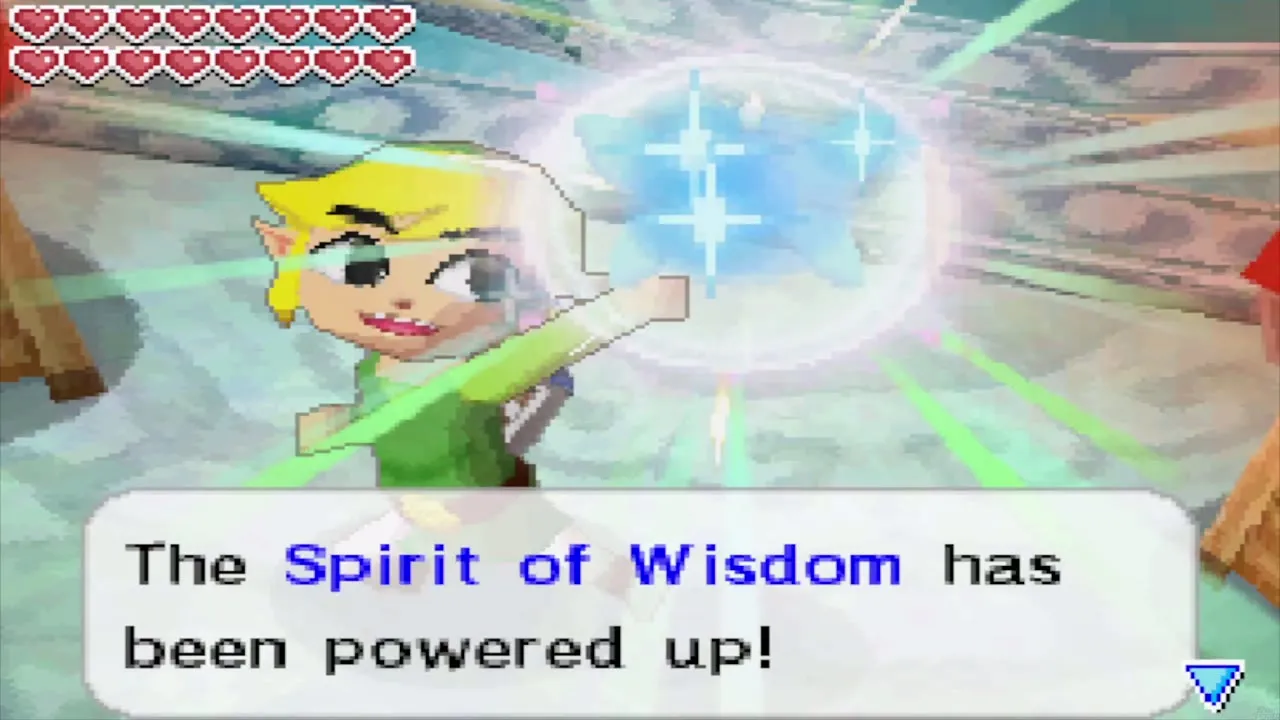
If every earlier Wisdom Gem is in your collection you now hold all 20, enough for Neri’s second level at the Spirit Island shrine. It is a long sail back, so it is fine to wait until Mutoh’s Temple is done.
Chapter checklist
| Collectible | Type | Where |
|---|---|---|
| Treasure Map #28 | Treasure Map | Isle of the Dead, Rupoor room chest; raises a random treasure |
| Demon Ship | Ship part | Isle of the Dead, Rupoor room chest |
| Tall Chimney | Ship part | Isle of the Dead, Rupoor room chest |
| Courage Gem #18 | Spirit Gem | Isle of the Dead, Rupoor room chest |
| Power Gem #18 | Spirit Gem | Isle of the Dead, chest in the hidden room behind the bomb wall in the dug passage |
| Treasure Map #29 | Treasure Map | Isle of the Dead, chest at the King’s Eye; raises a ship part |
| Regal Necklace | Key item | Isle of the Dead, chest outside Brant’s pedestal |
| Big Green Rupee (100) | Rupees | Isle of Ruins, dig spot west of the northwest ledge |
| King’s Key | Key item | Isle of Ruins, from Doylan on the second floor of his temple |
| Wisdom Gem #19 | Spirit Gem | Isle of Ruins, cave south-east of Bremeur’s Temple, after the water drains |
| Big Green Rupee (100) | Rupees | Isle of Ruins, chest southwest of the northeast pyramid |
| Wisdom Gem #20 | Spirit Gem | Isle of Ruins, chest beyond the boulder puzzle north of Max’s pyramid |
| Power Gem #19 | Spirit Gem | Isle of Ruins, chest at the northeast corner of the southwest maze |
| Courage Gem #19 | Spirit Gem | Isle of Ruins, chest southwest of Doylan’s pyramid |
| Big Red Rupee (200) | Rupees | Isle of Ruins, chest northwest of Mutoh’s Temple |
With the red door open you are ready for the temple behind it: continue with Mutoh’s Temple, where the Hammer, the Aquanine and the last Heart Container of the main quest wait.
